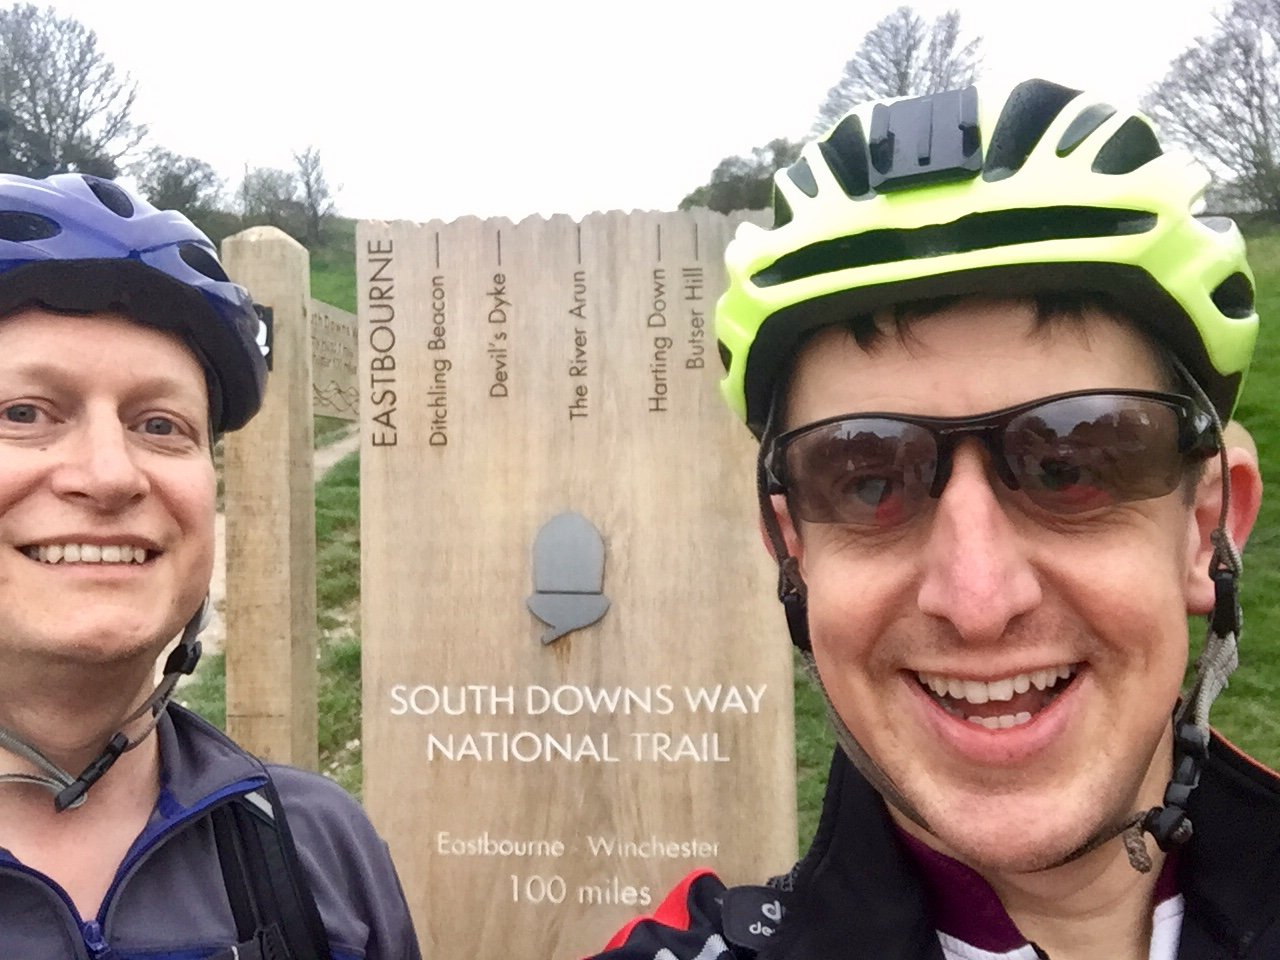
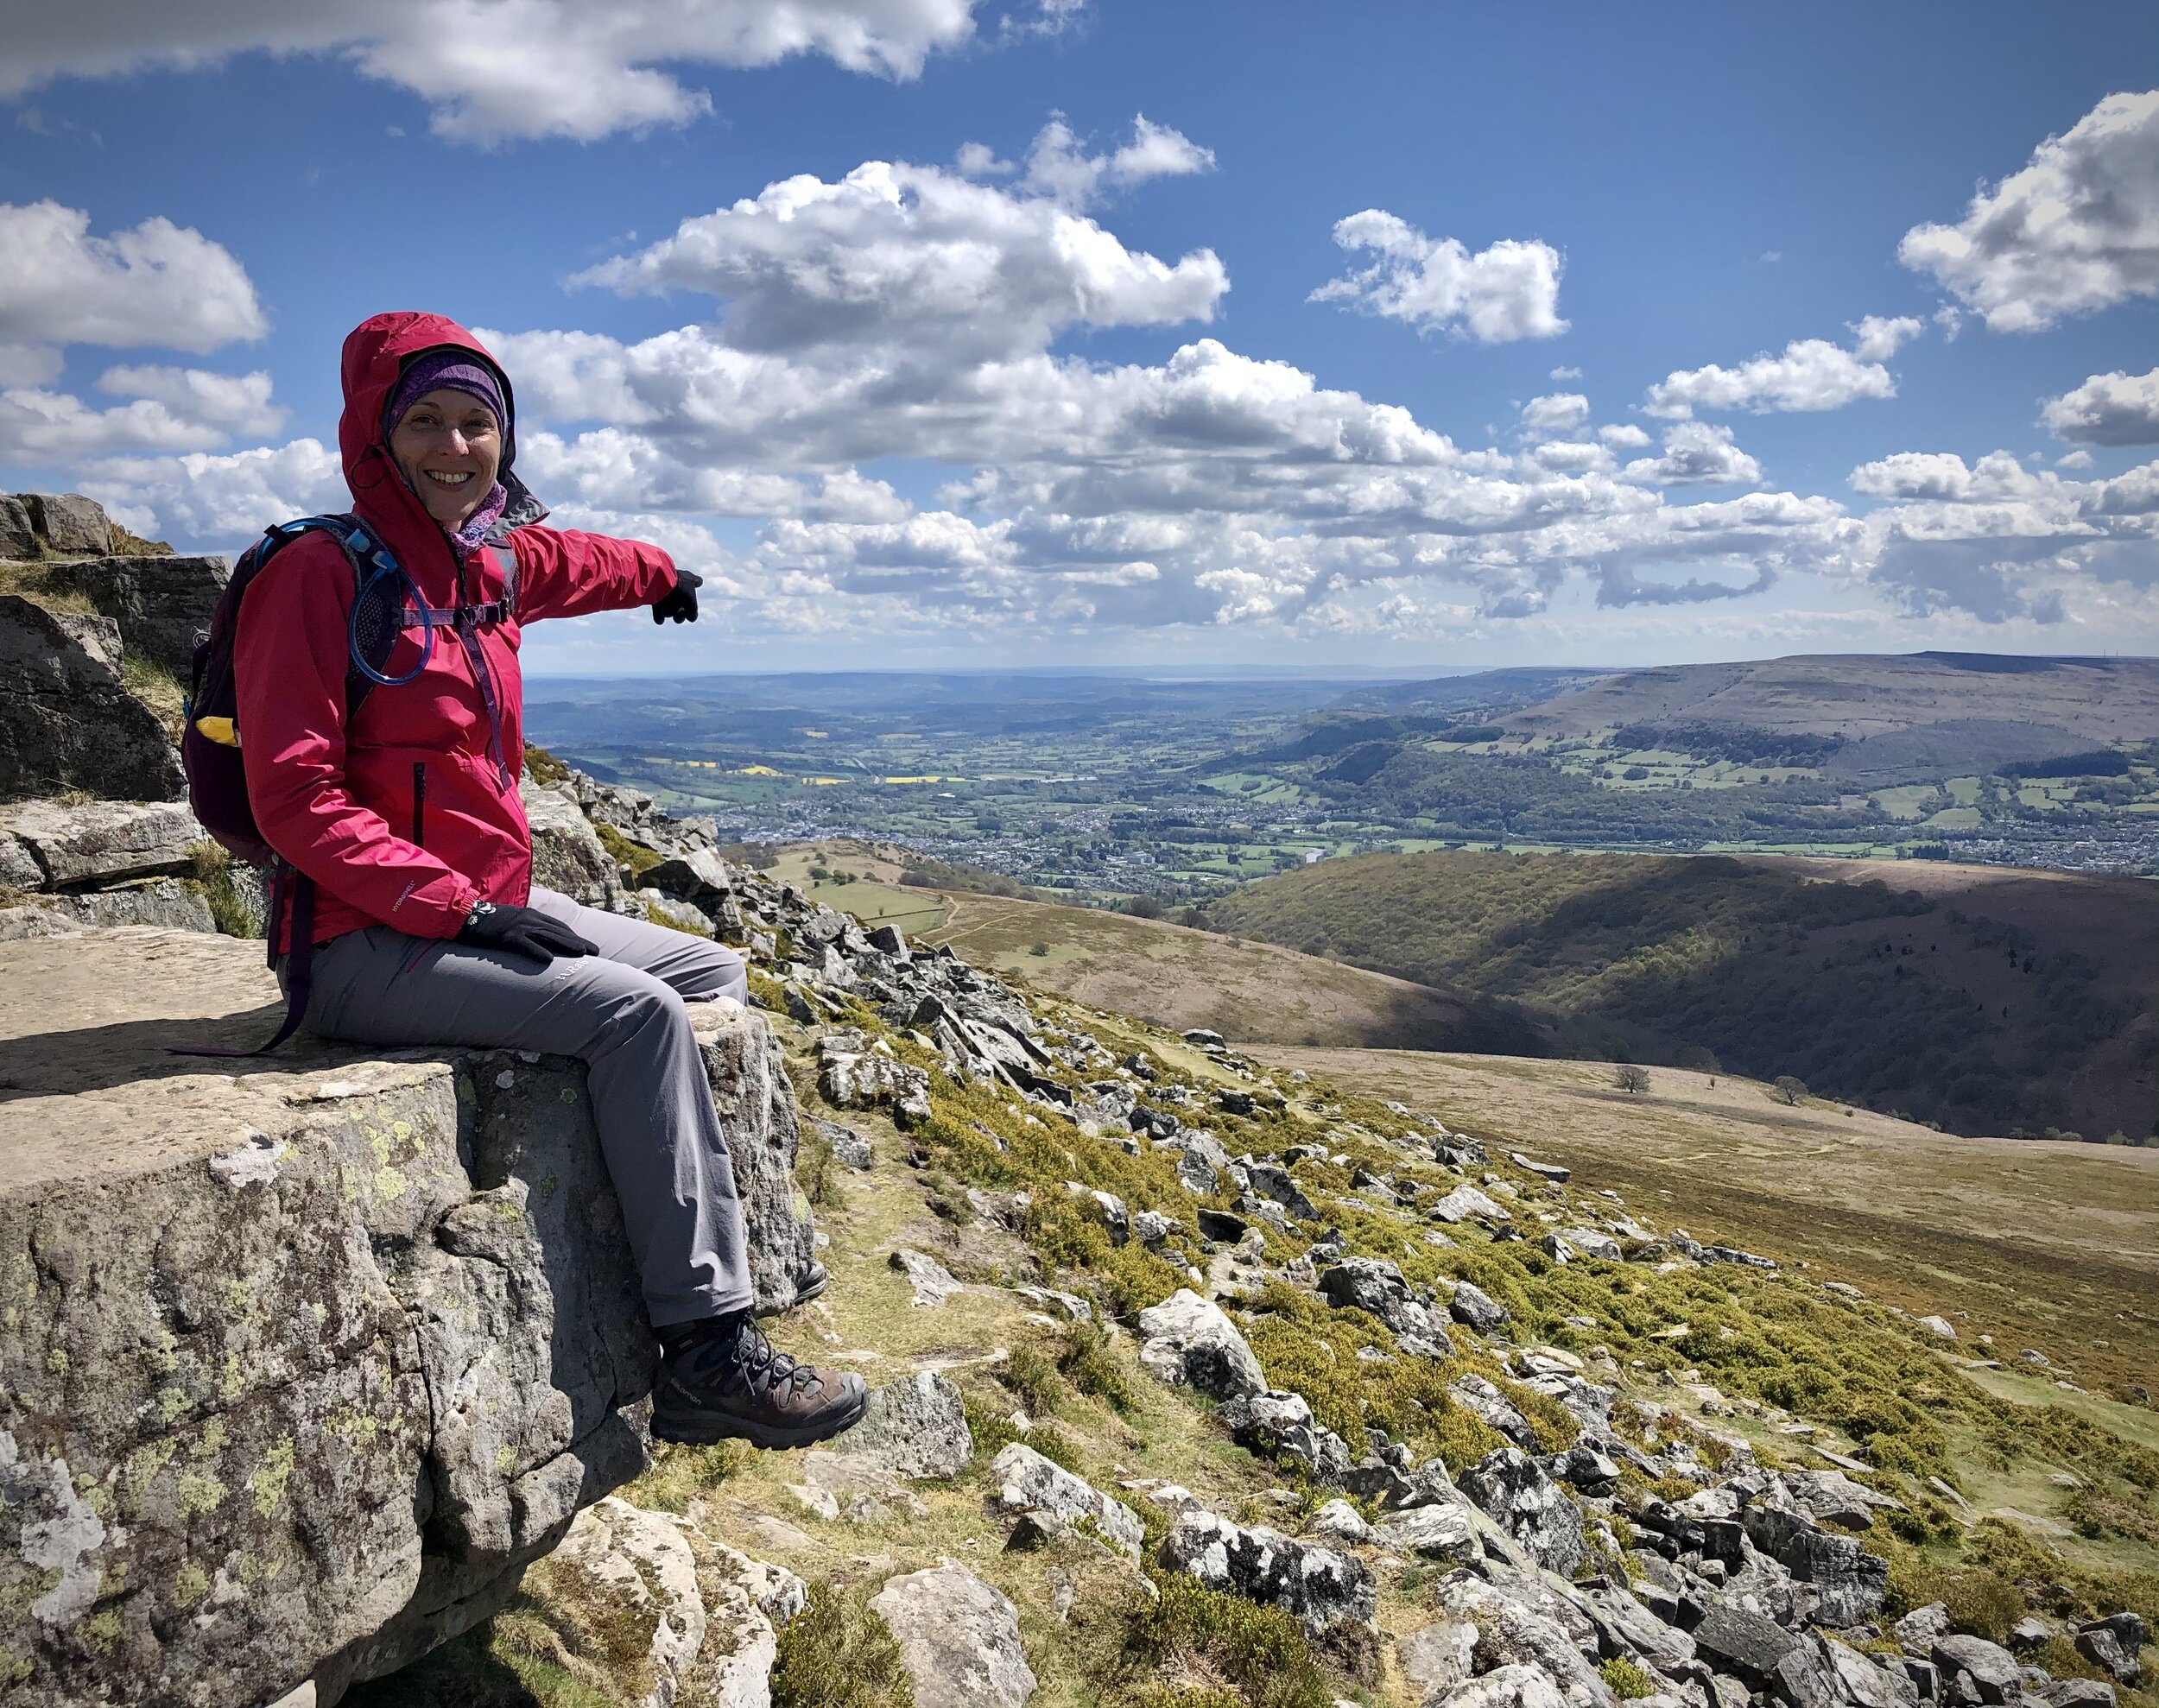
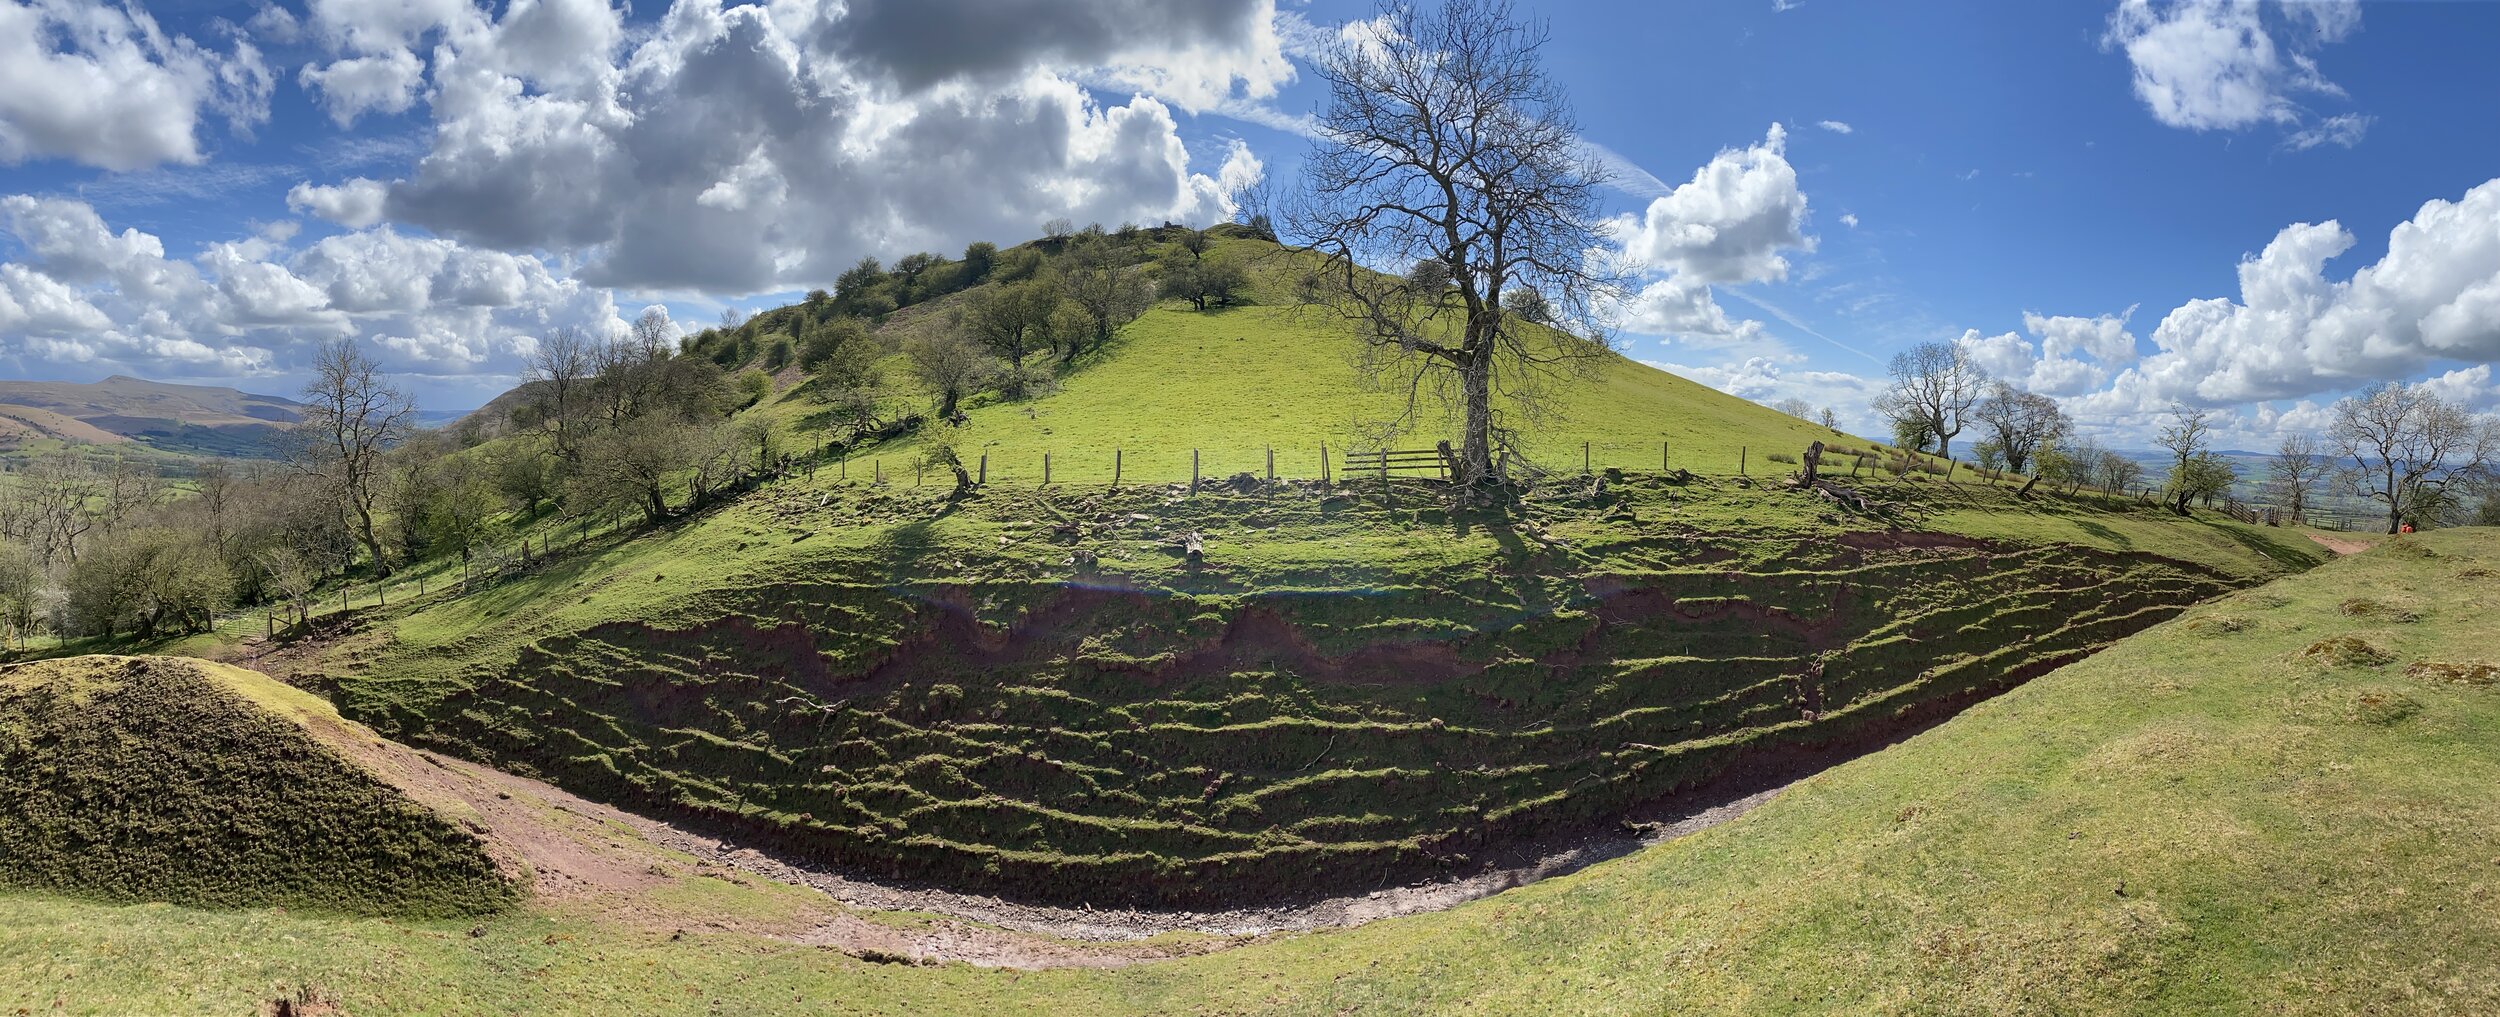
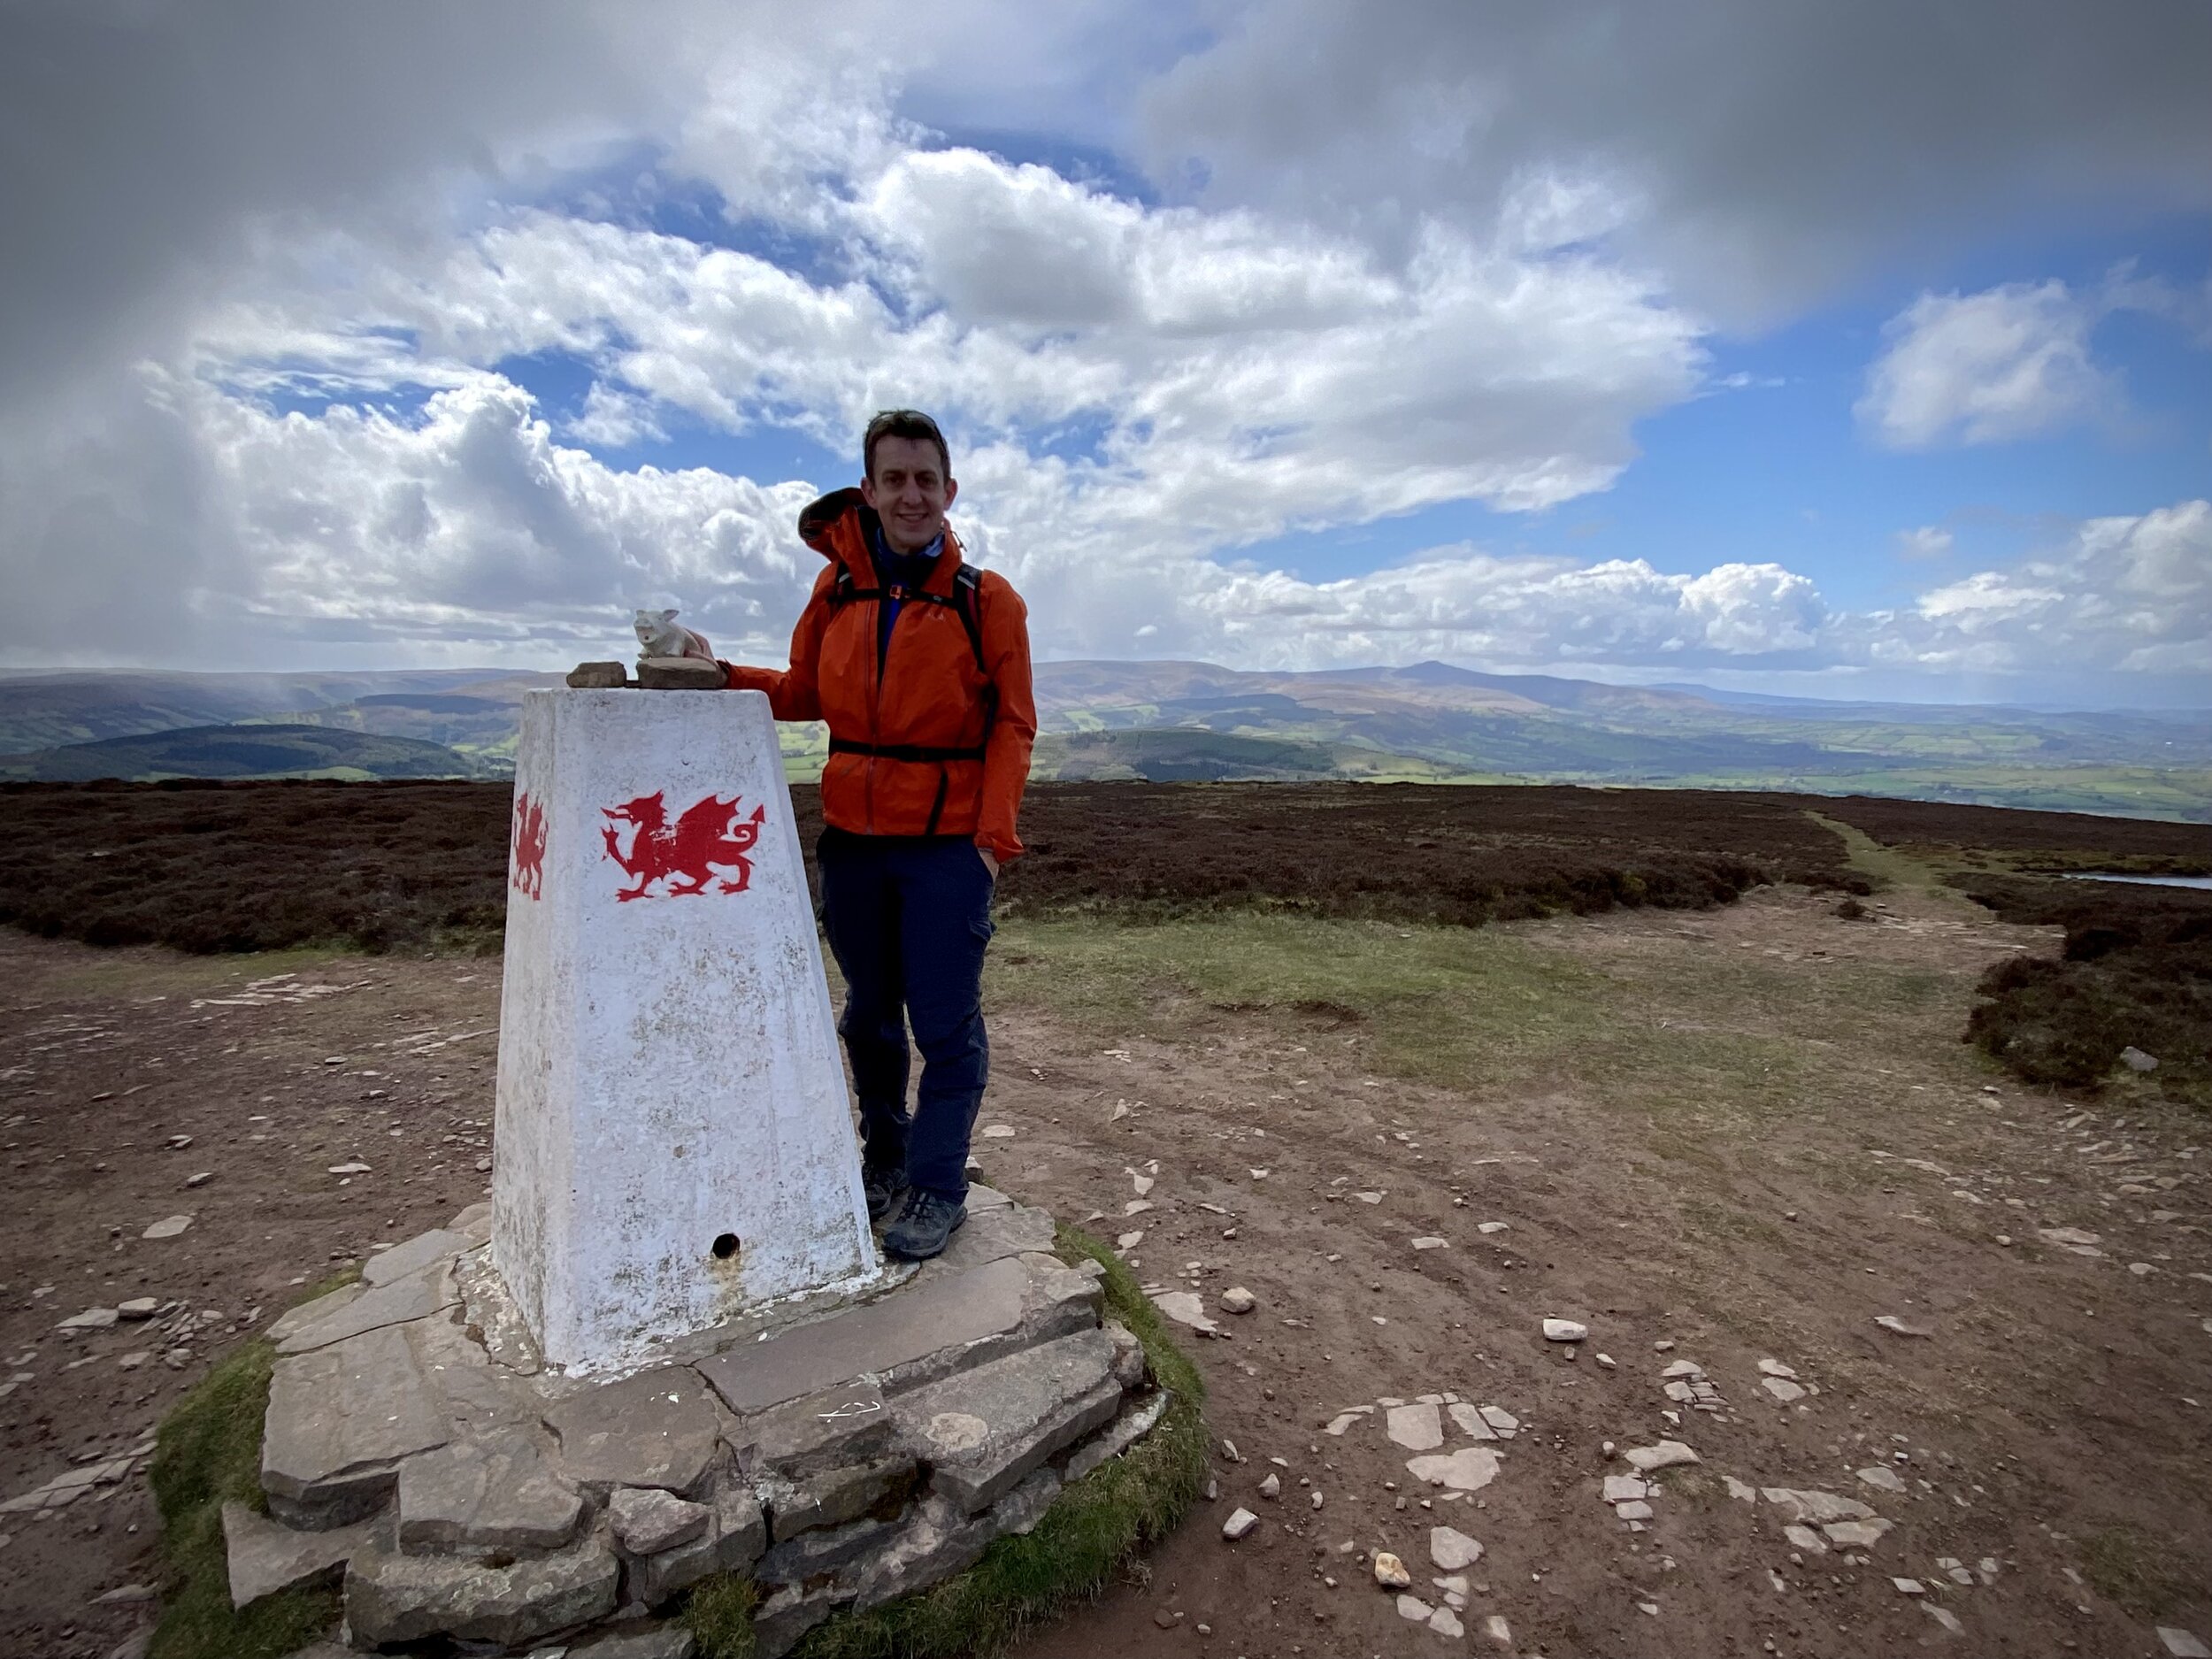
Telegraph Hill is generally understood to be the highest point in the New Forest National Park. However, other sources list the high point as Piper’s Wait which is 0.5m higher. I had only discovered Piper’s Wait after having bagged Telegraph Hill, so I had to return a couple of years later to complete them both.
Telegraph Hill
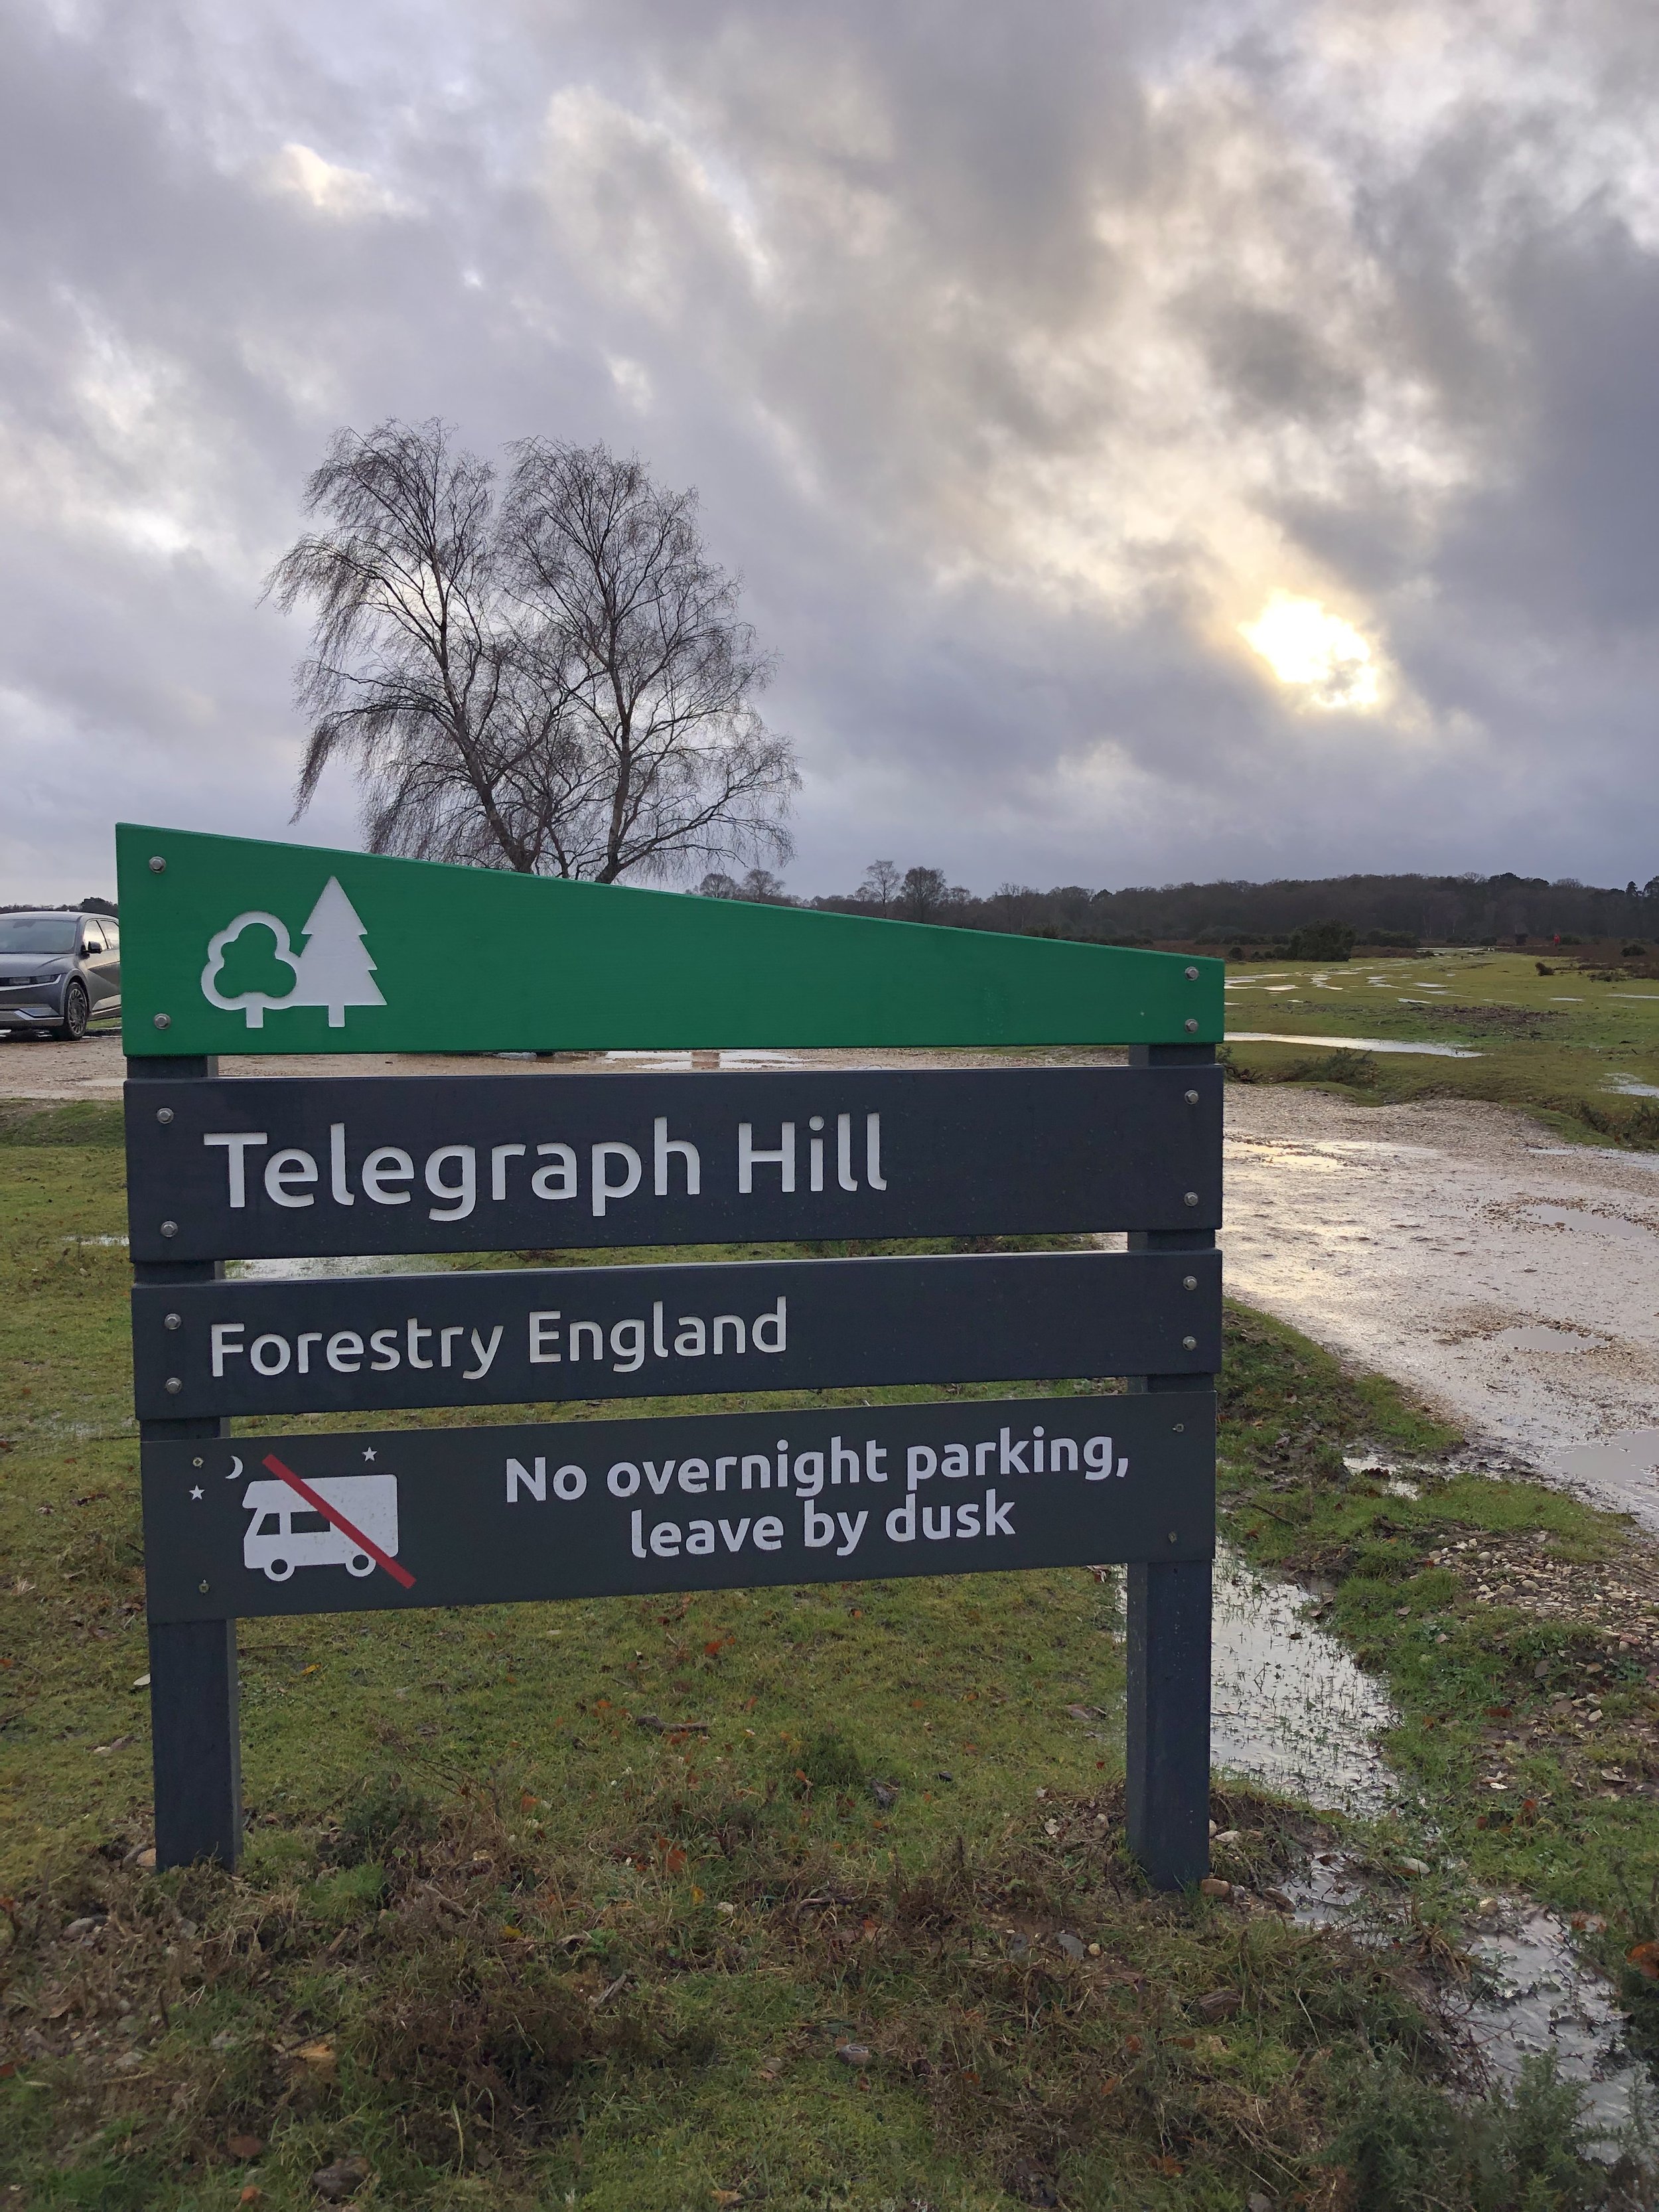

Significance: New Forest National Park high Point
Member of: N/A
Nearest Higher Neighbour = Farley Mount
Elevation: 127m
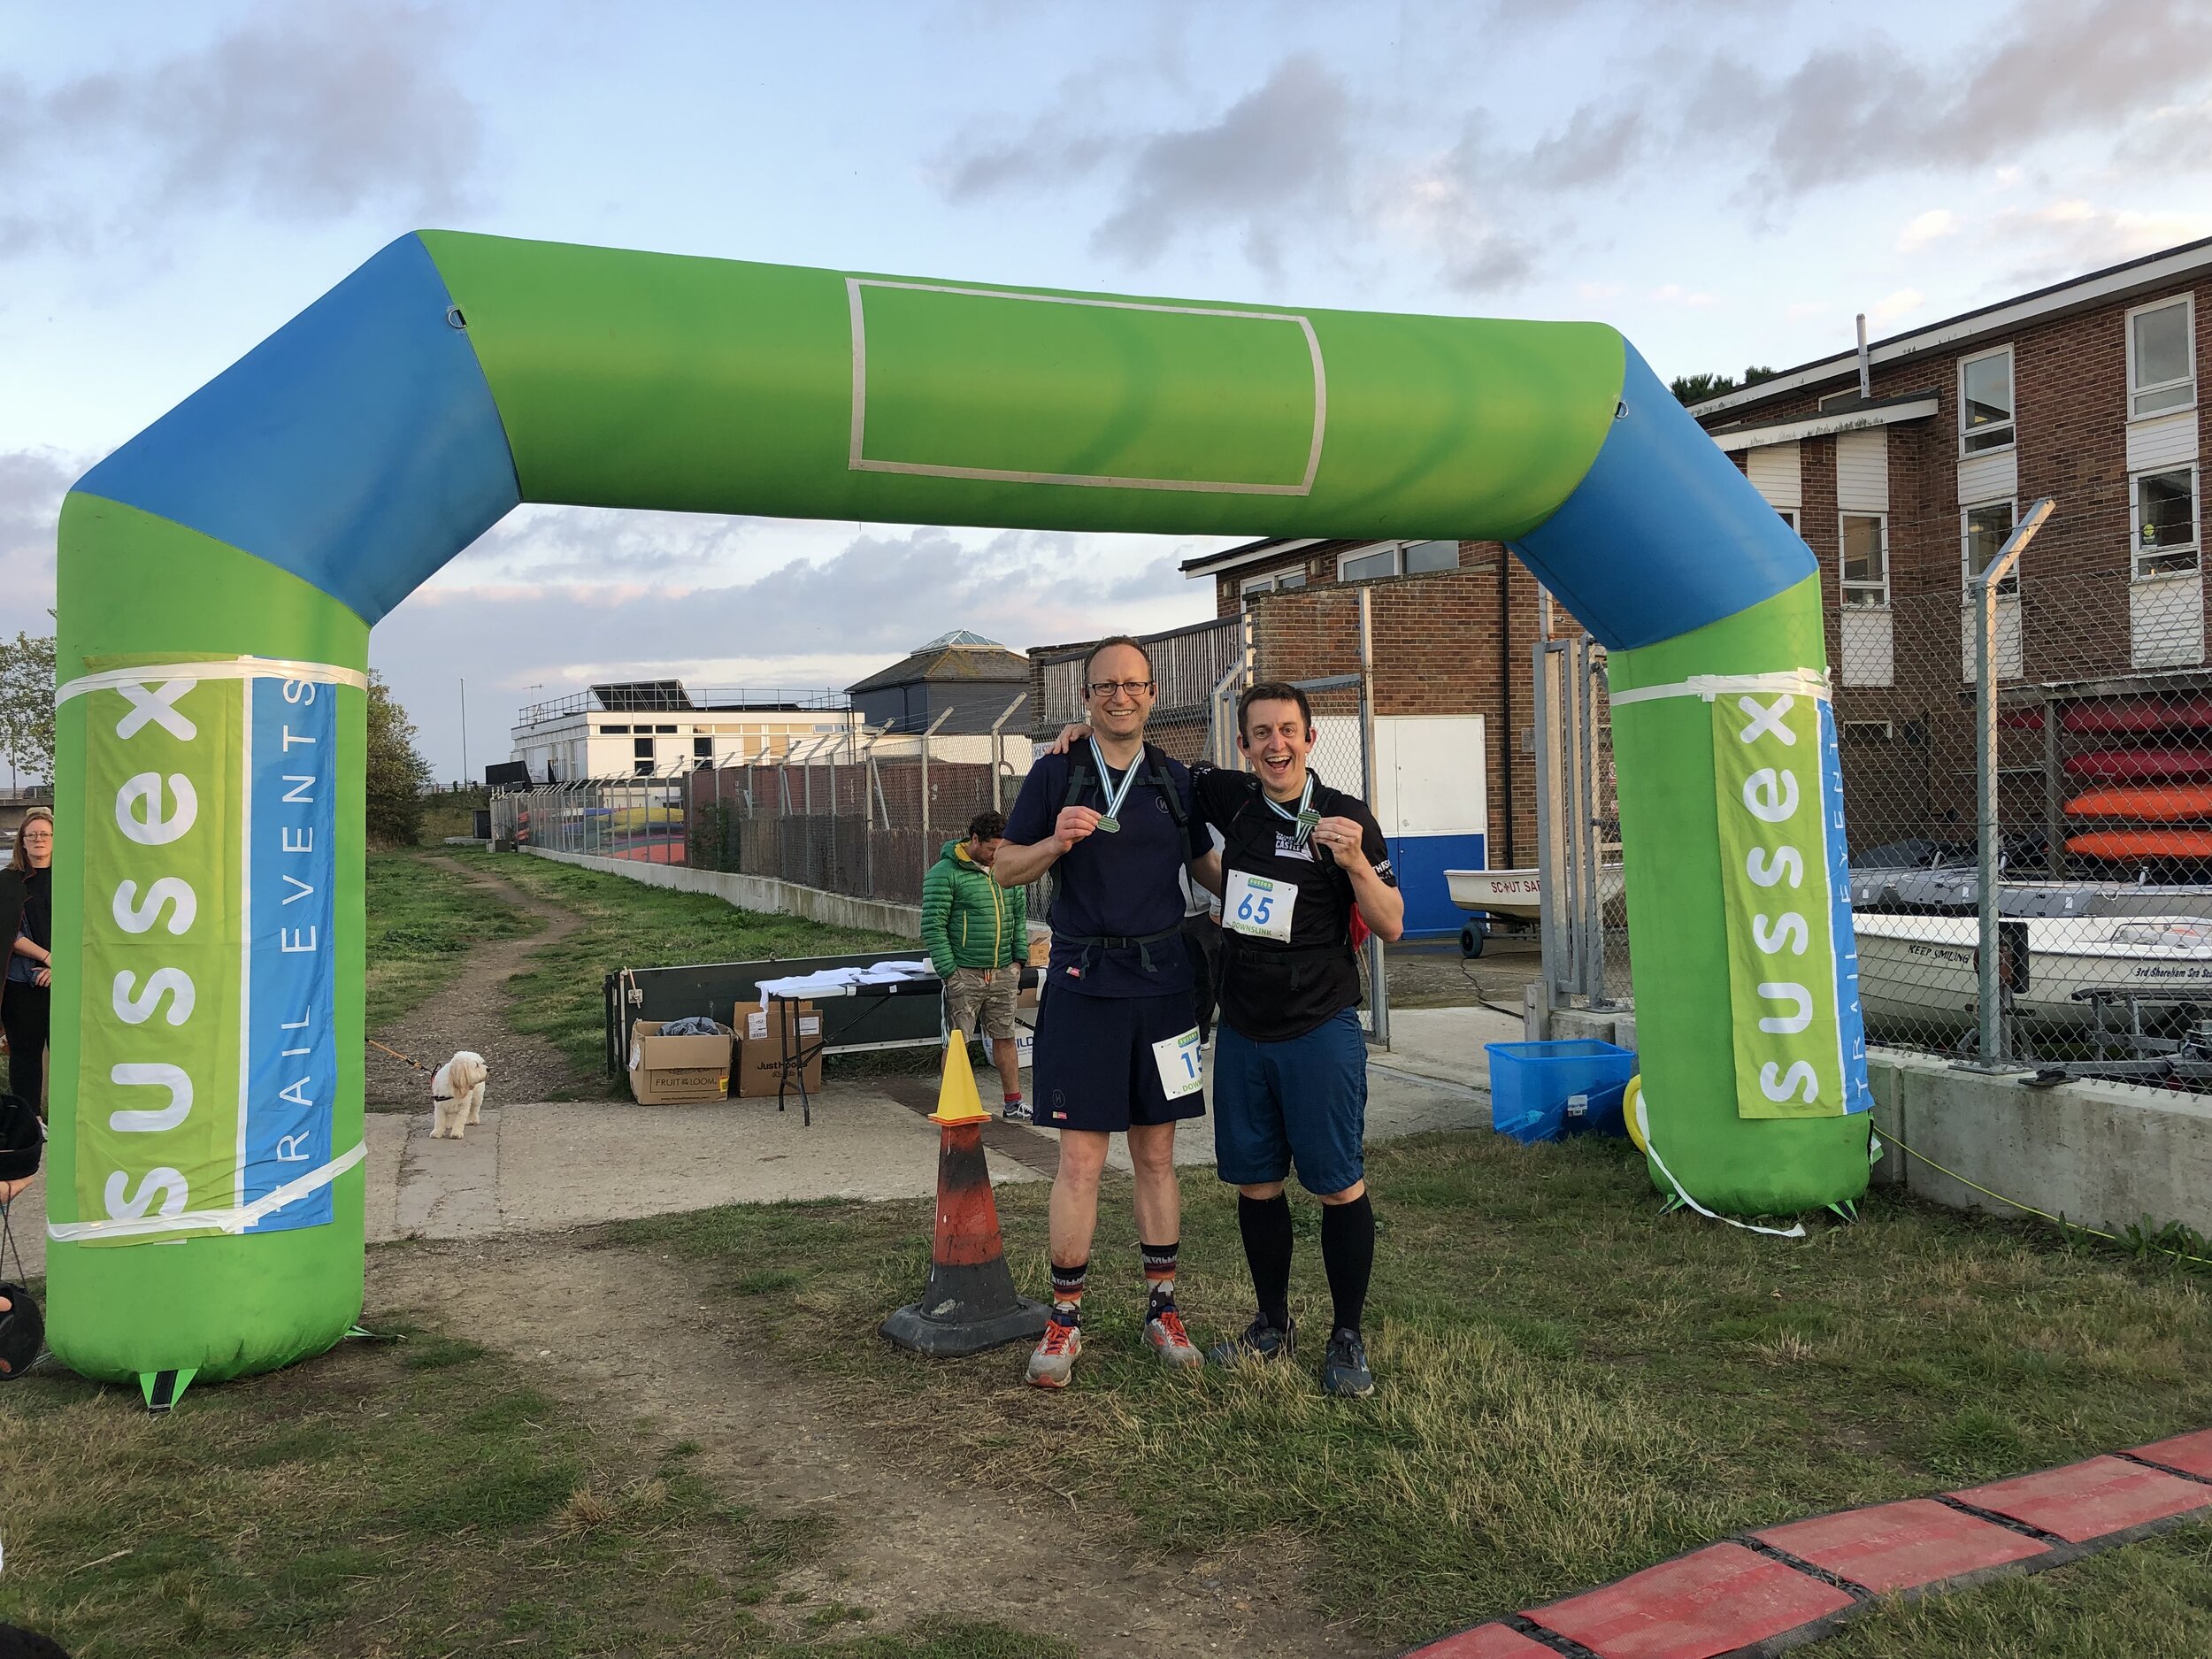
Date “climbed”: December 28th 2022
Coordinates: 50° 56' 57'' N, 1° 40' 37'' W
On route of: N/A
Map: New Forest Map | Southampton, Ringwood, Ferndown, Lymington, Christchurch & Bournemouth | Ordnance Survey | OS Explorer Map OL22
Links: Wikipedia (New Forest), Peakbagger
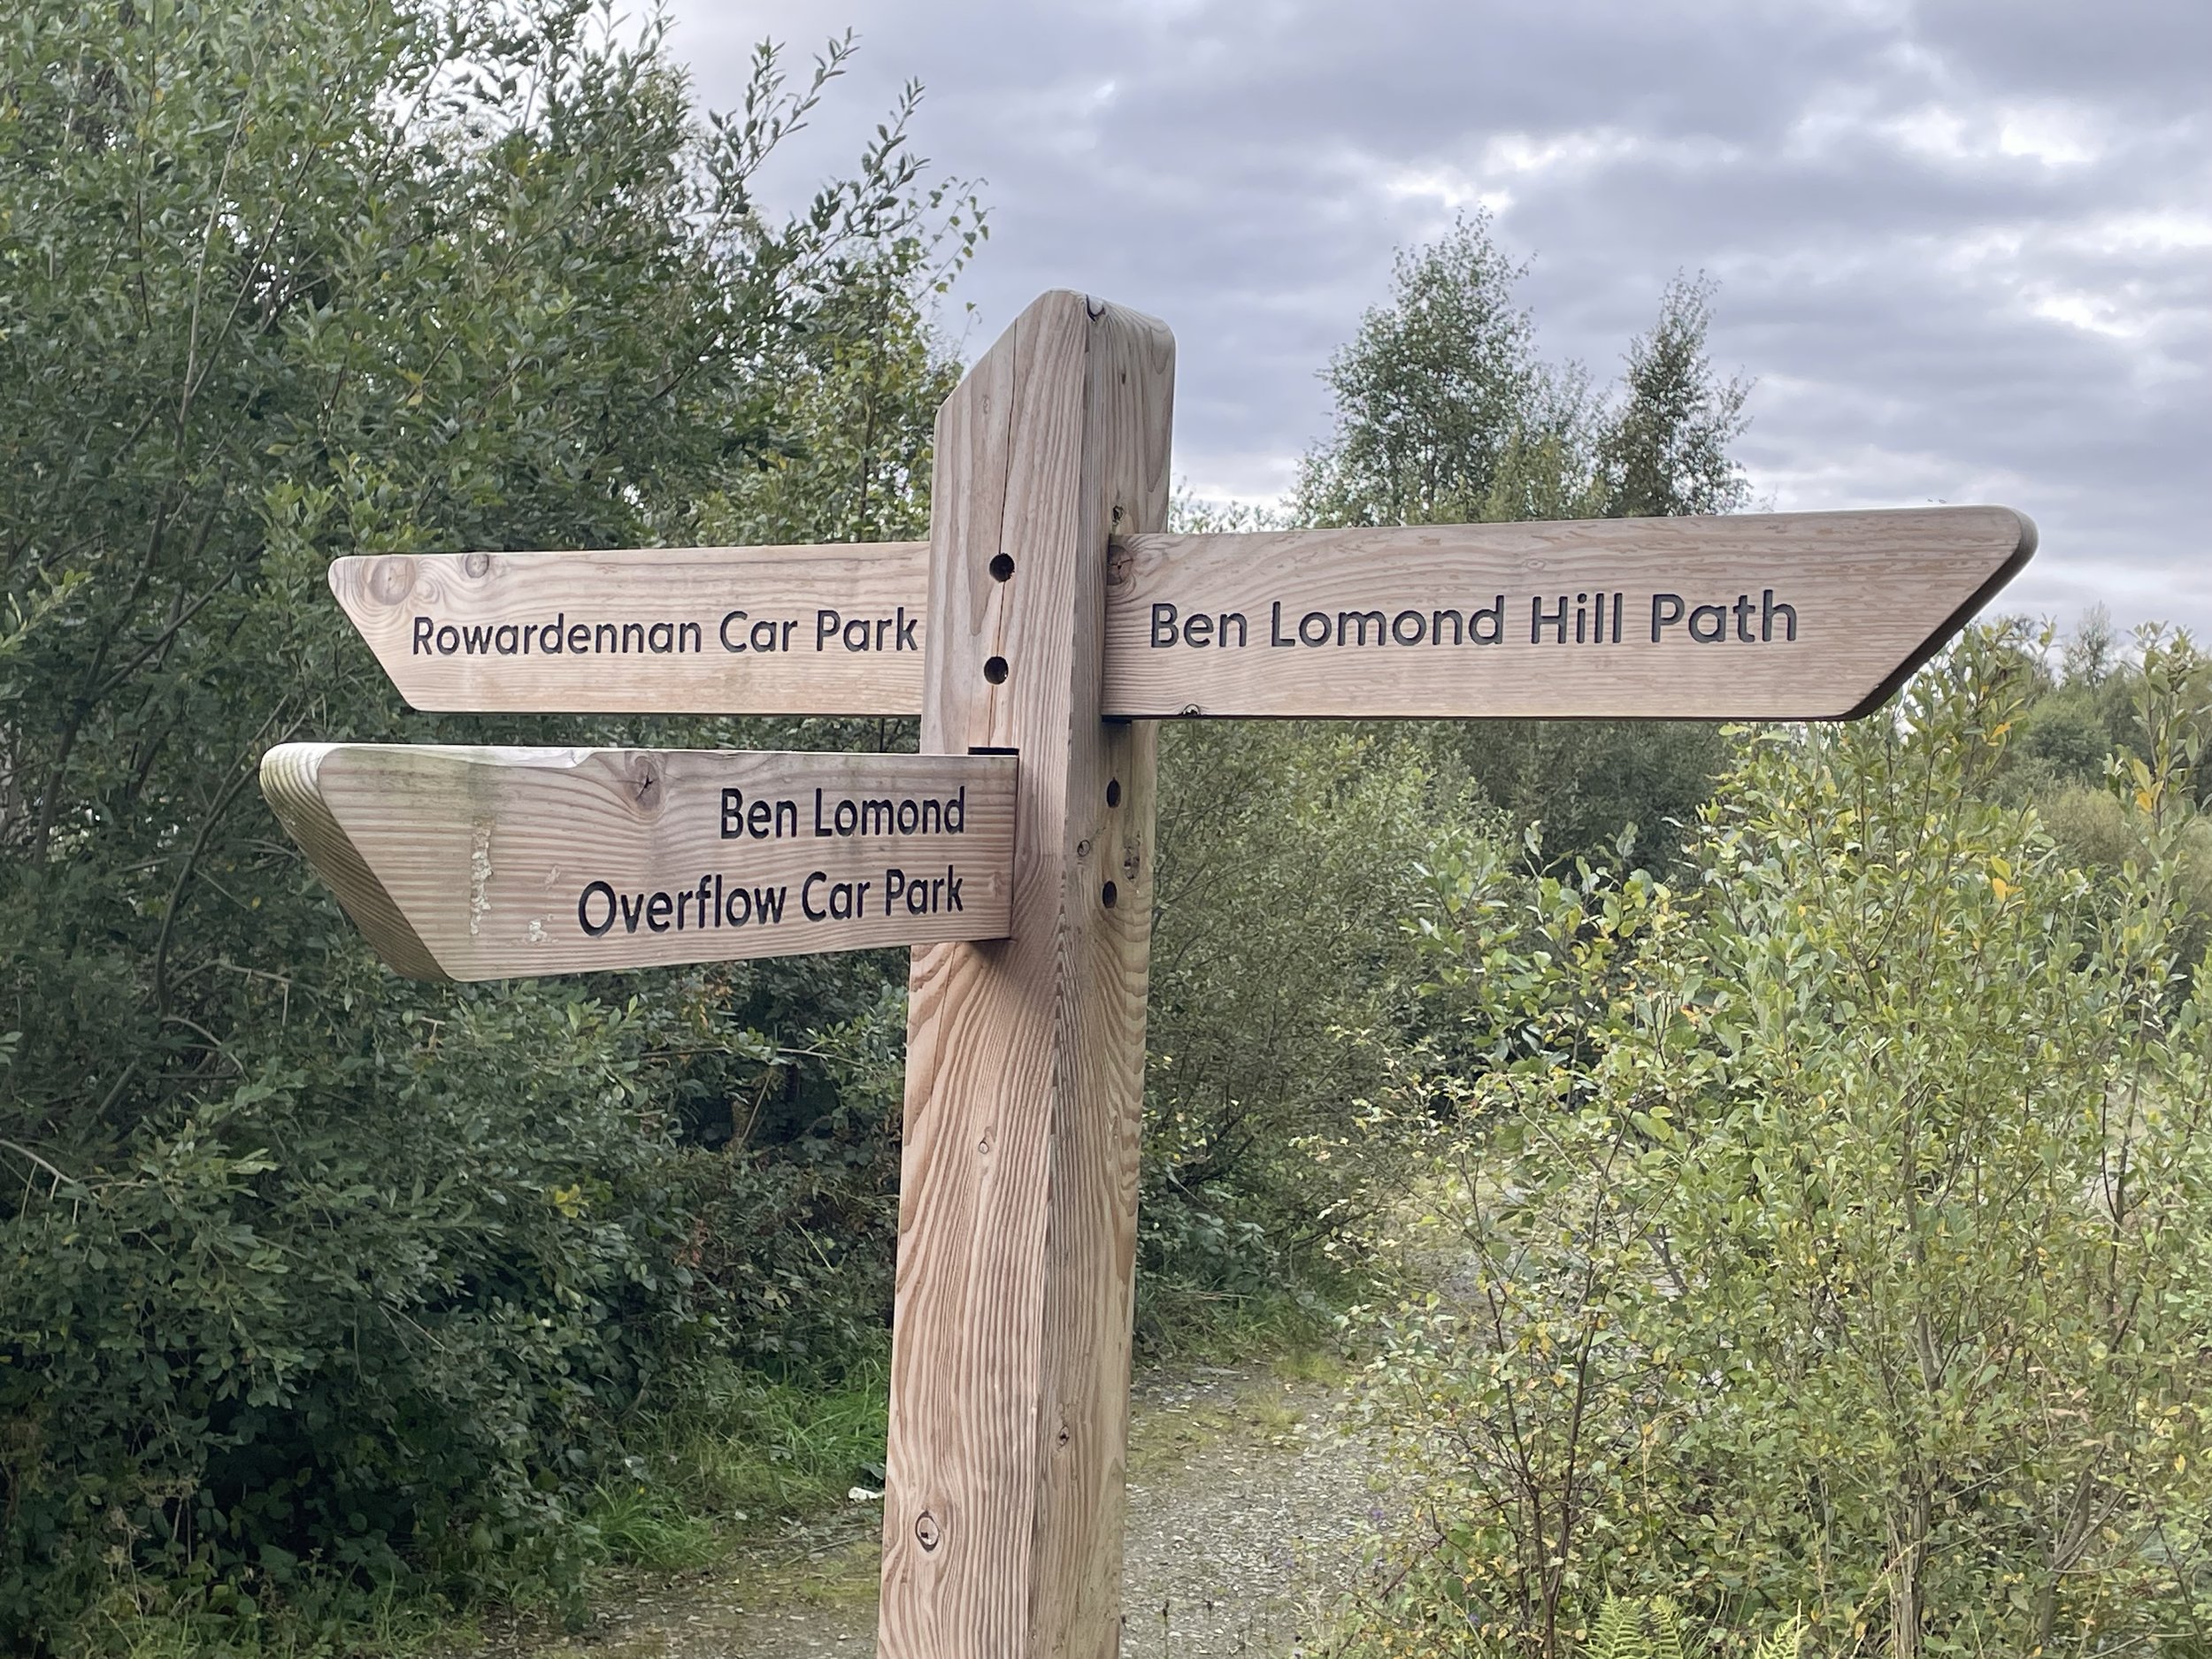
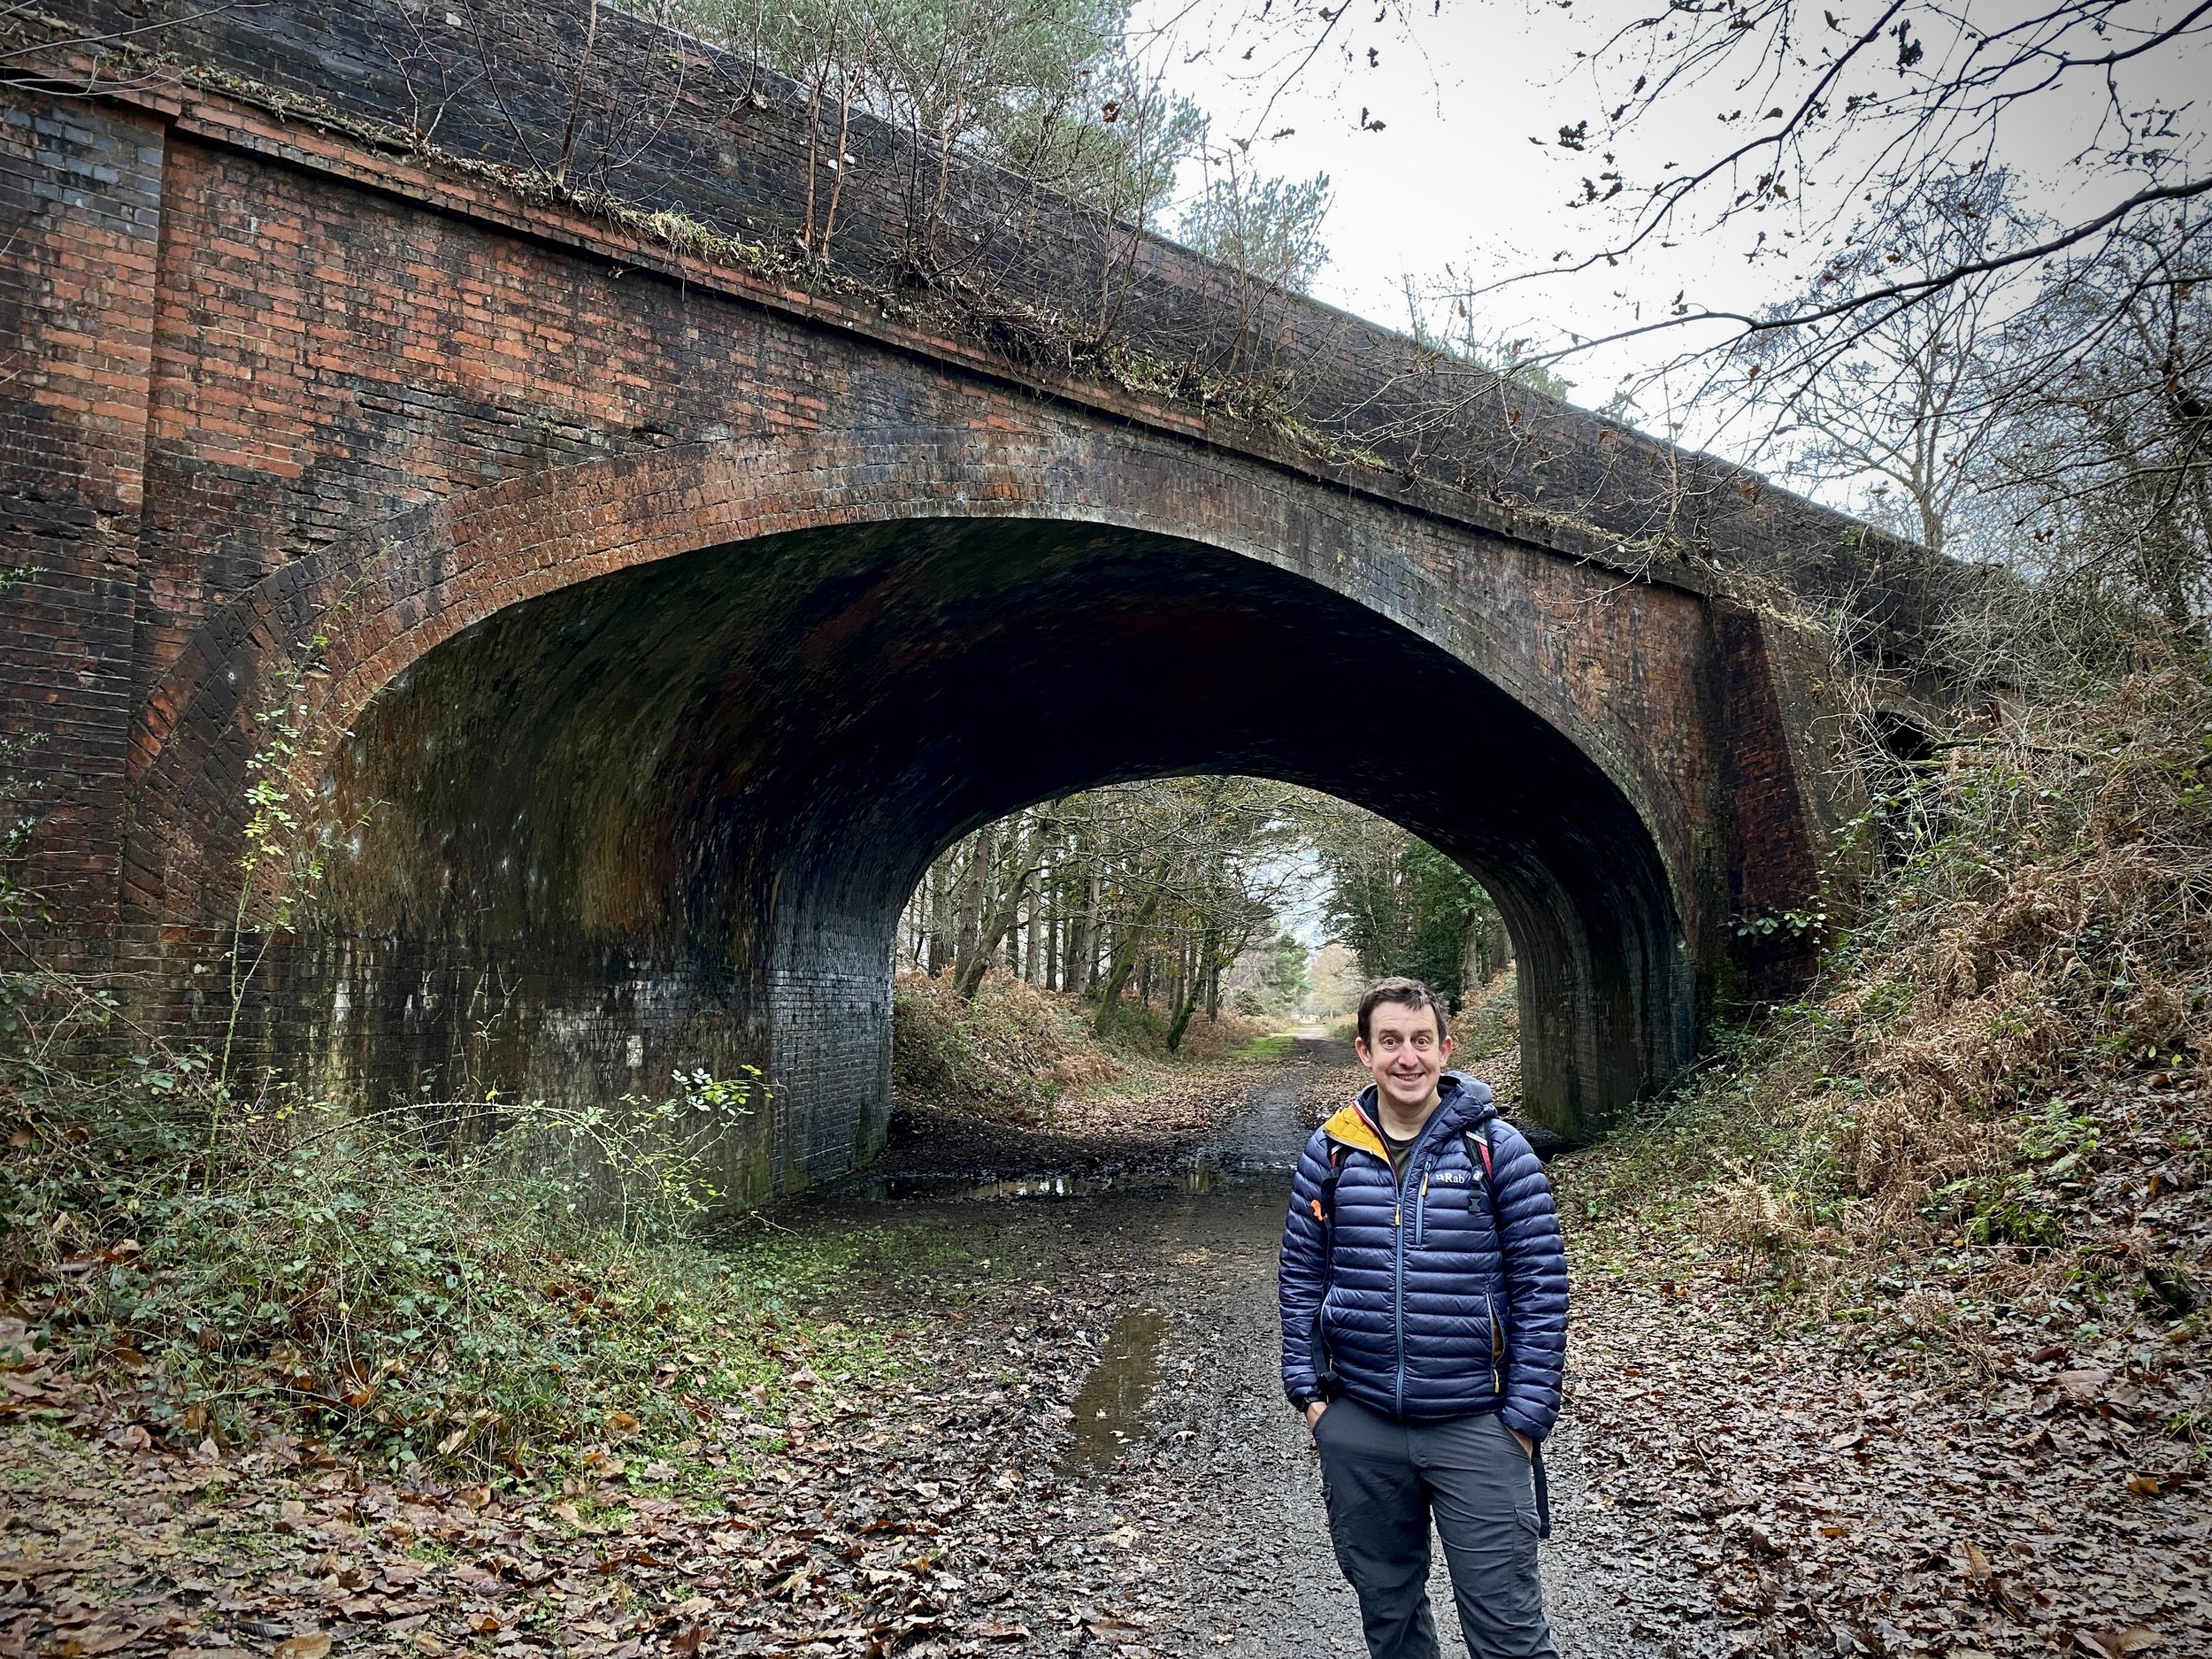
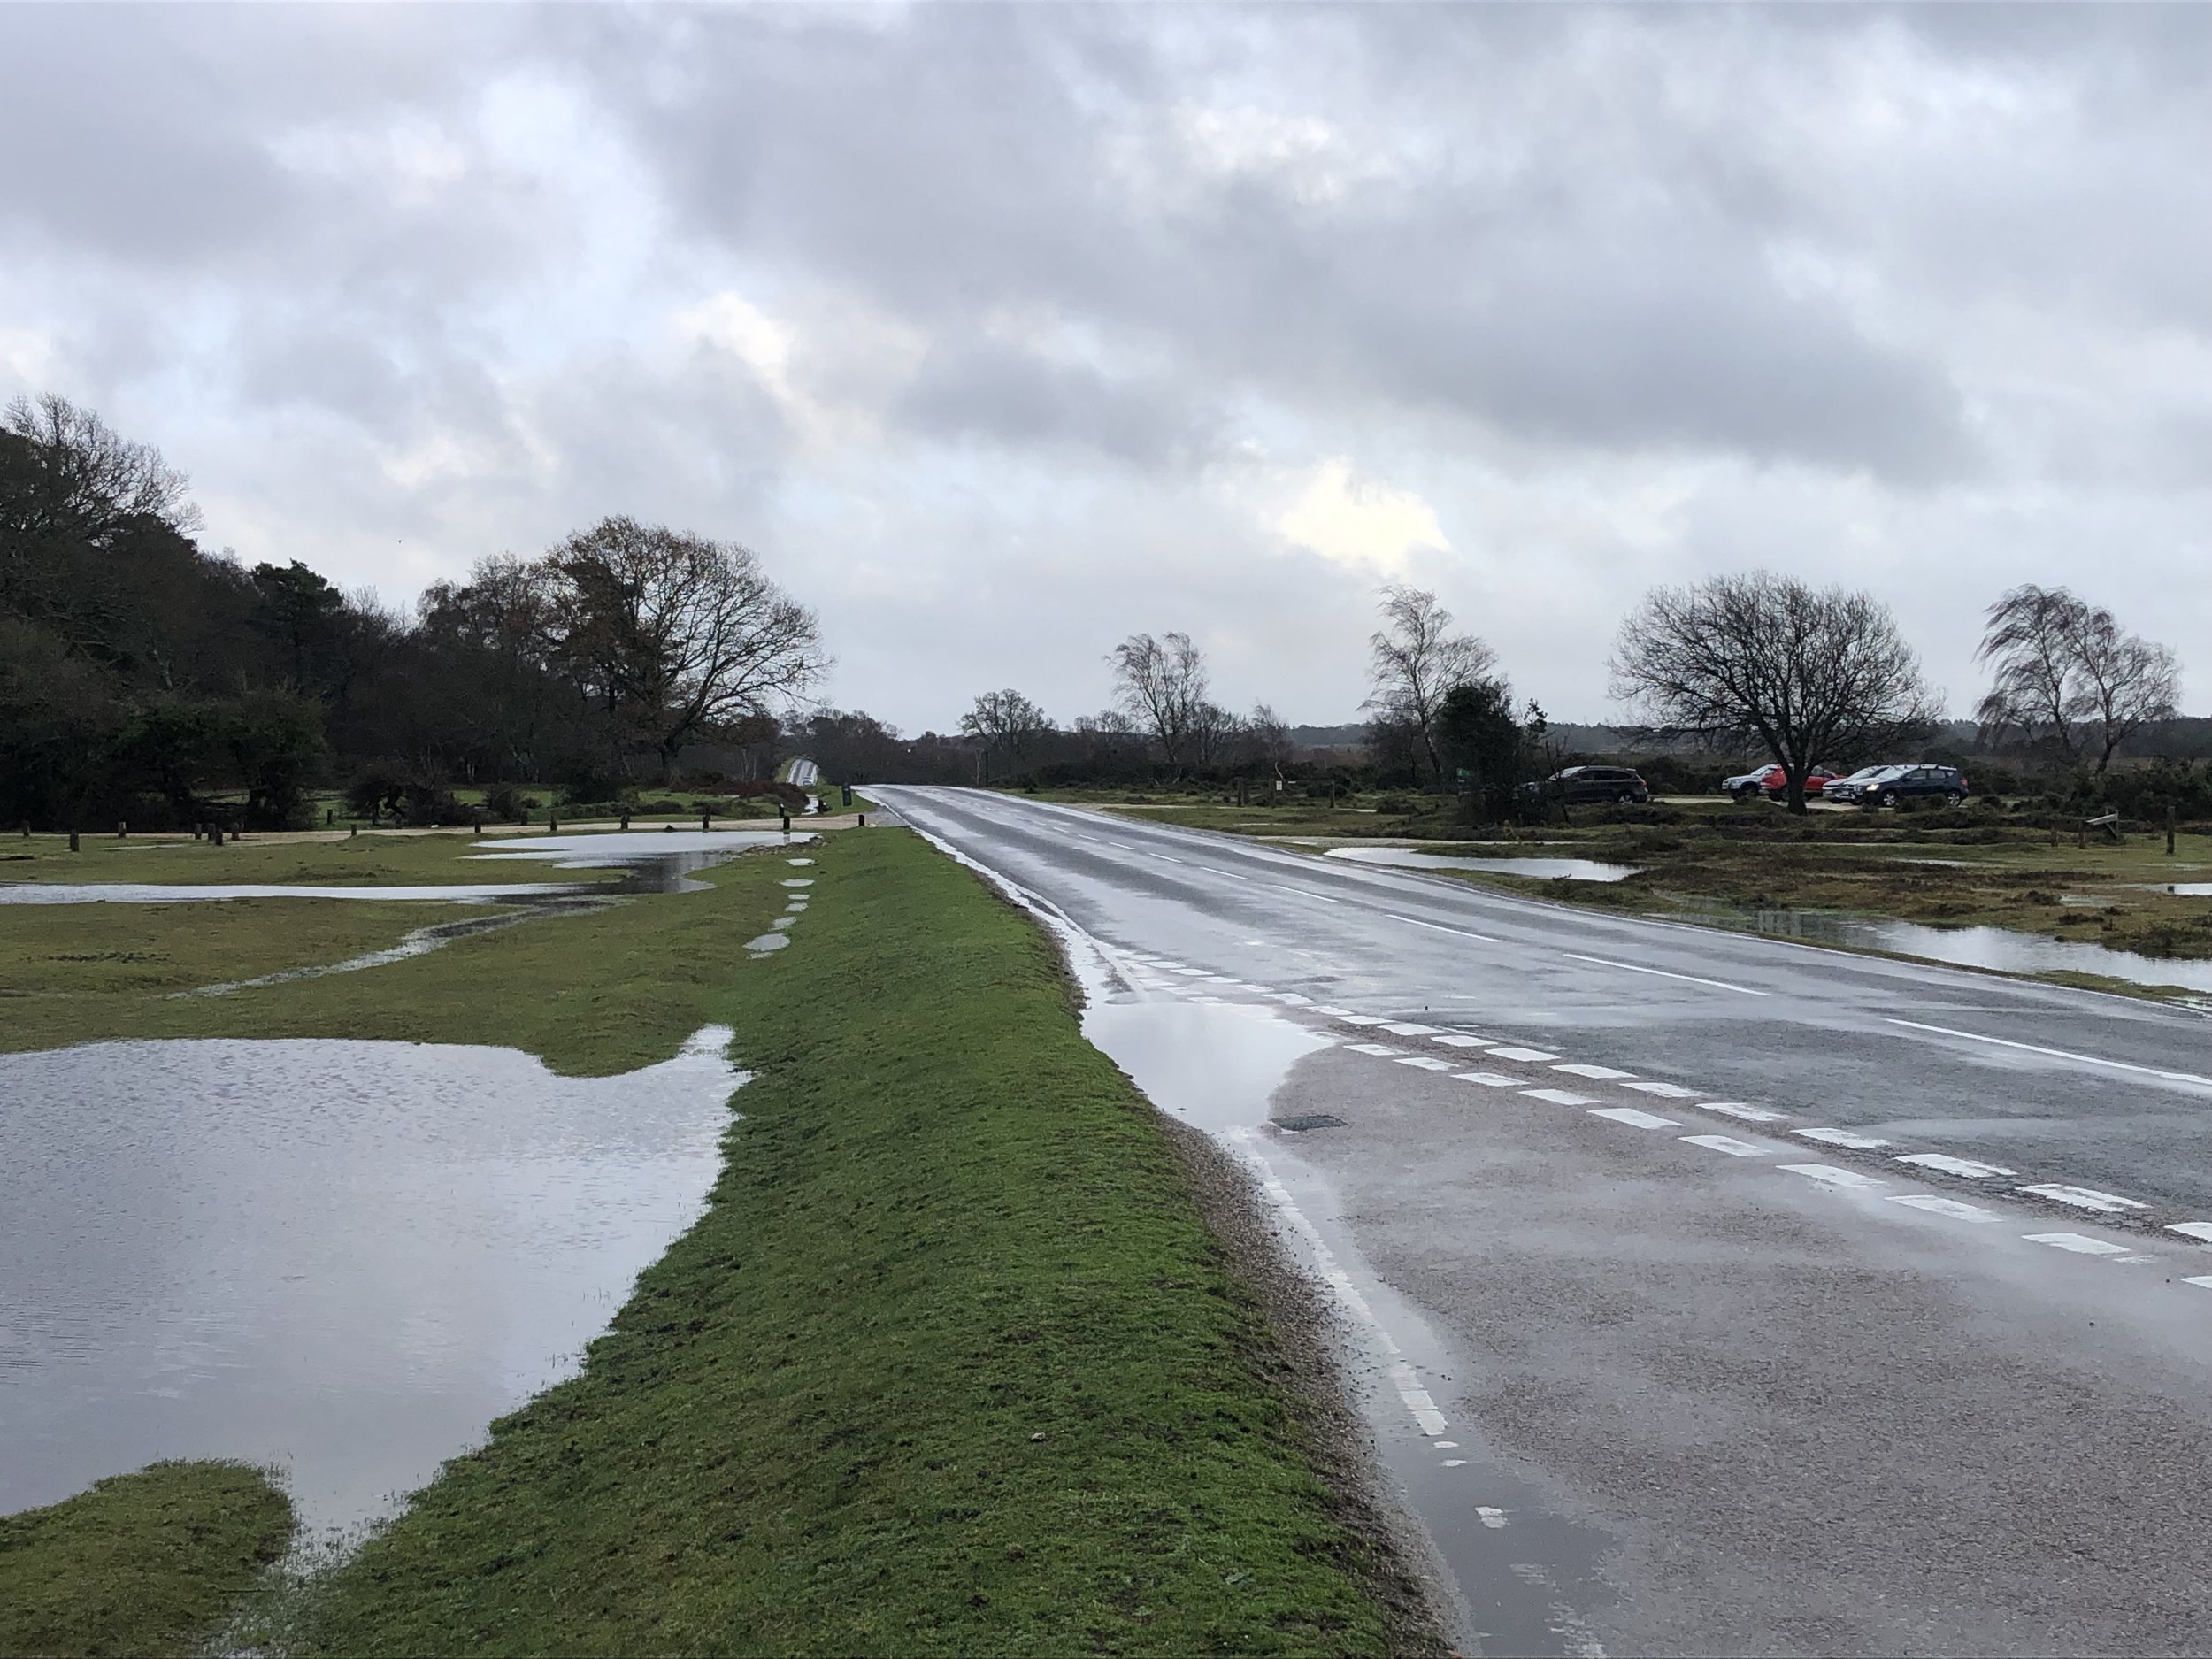
Bagging Telegraph Hill is pretty simple as the high ground is at and around the car park. The car park can be a good base for walk around the area. We were there on a rainy day just after Christmas so opted for a quick drive-by instead. Two nearby OS Trig Pillars, Pound Bottom and Bramshaw can be bagged in either a walk based from the Telegraph Hill car park or as quick drive-bys.
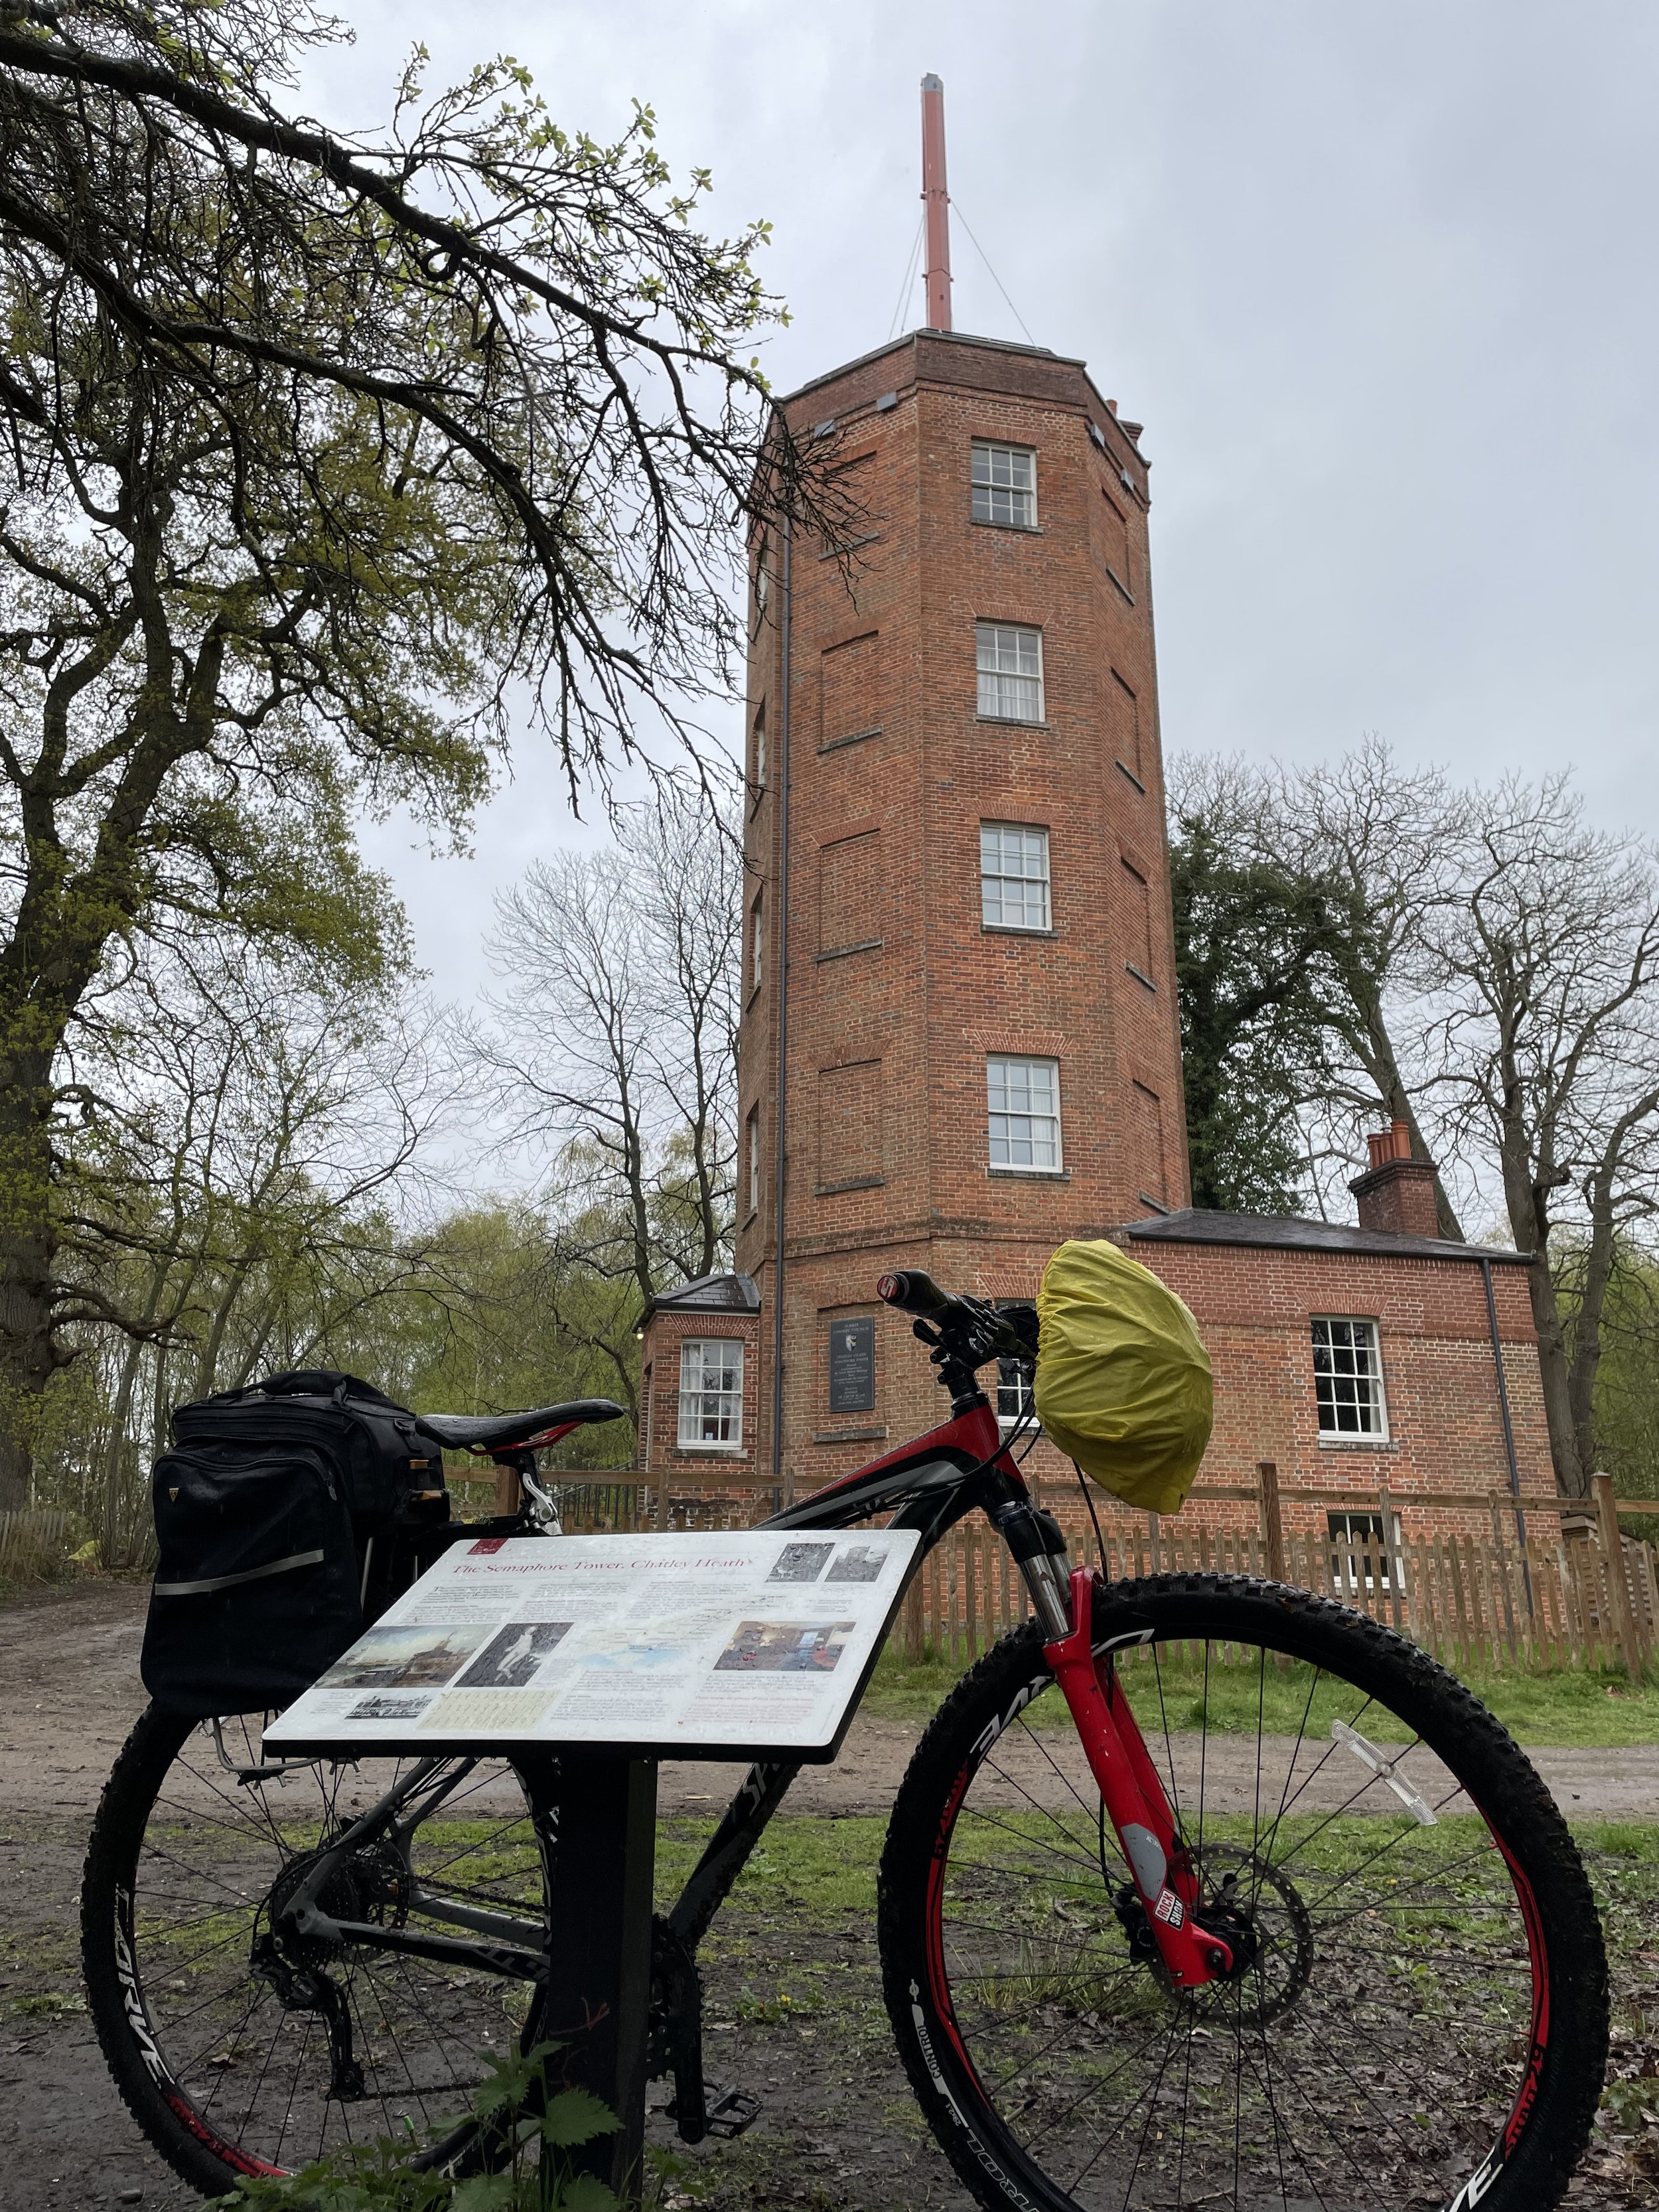
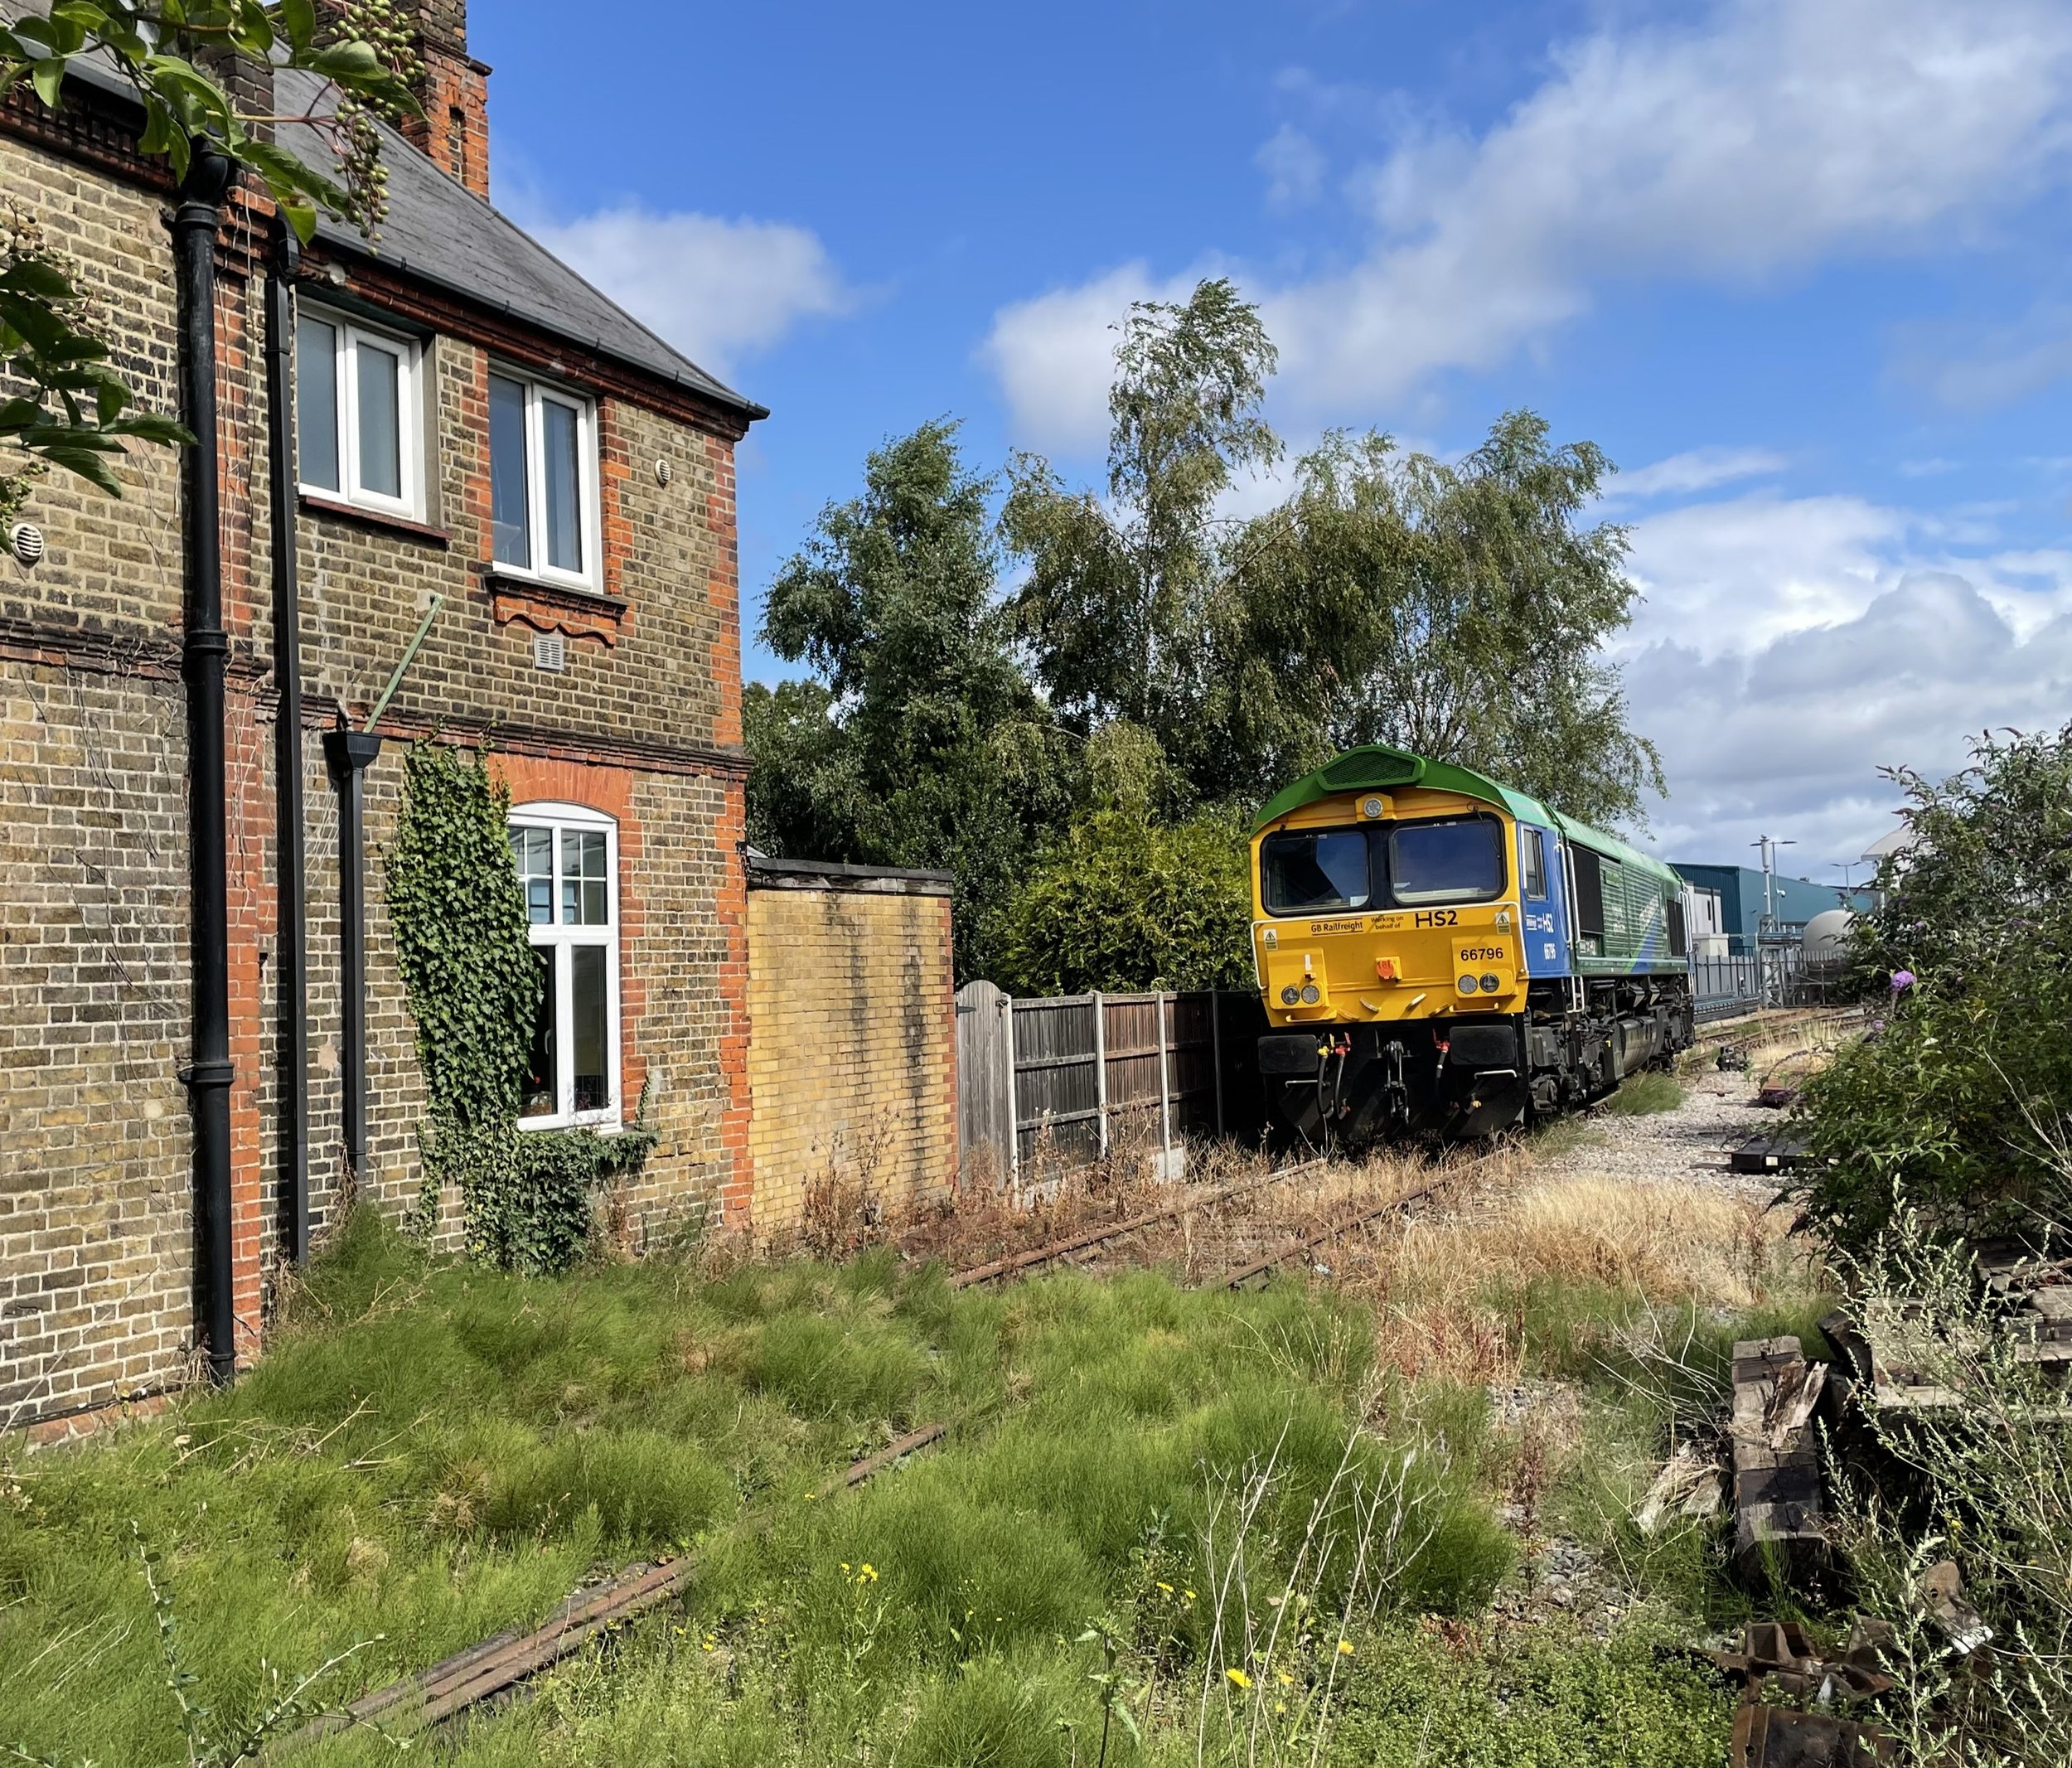
The name Telegraph Hill is due to a semaphore telegraph station built here in 1795. The station was one of the points where the admiralty communications were transmitted to London. This station was on the uncompleted London to Plymouth line.
Piper’s Wait


Significance: New Forest National Park high Point (alternative)
Member of: N/A
Nearest Higher Neighbour = Farley Mount
Elevation: 128m
Date “climbed”: July 26th 2025
Coordinates: 50° 56' 52'' N, 1° 38' 53'' W
On route of: N/A
Map: New Forest Map | Southampton, Ringwood, Ferndown, Lymington, Christchurch & Bournemouth | Ordnance Survey | OS Explorer Map OL22
Links: Wikipedia (New Forest), Peakbagger
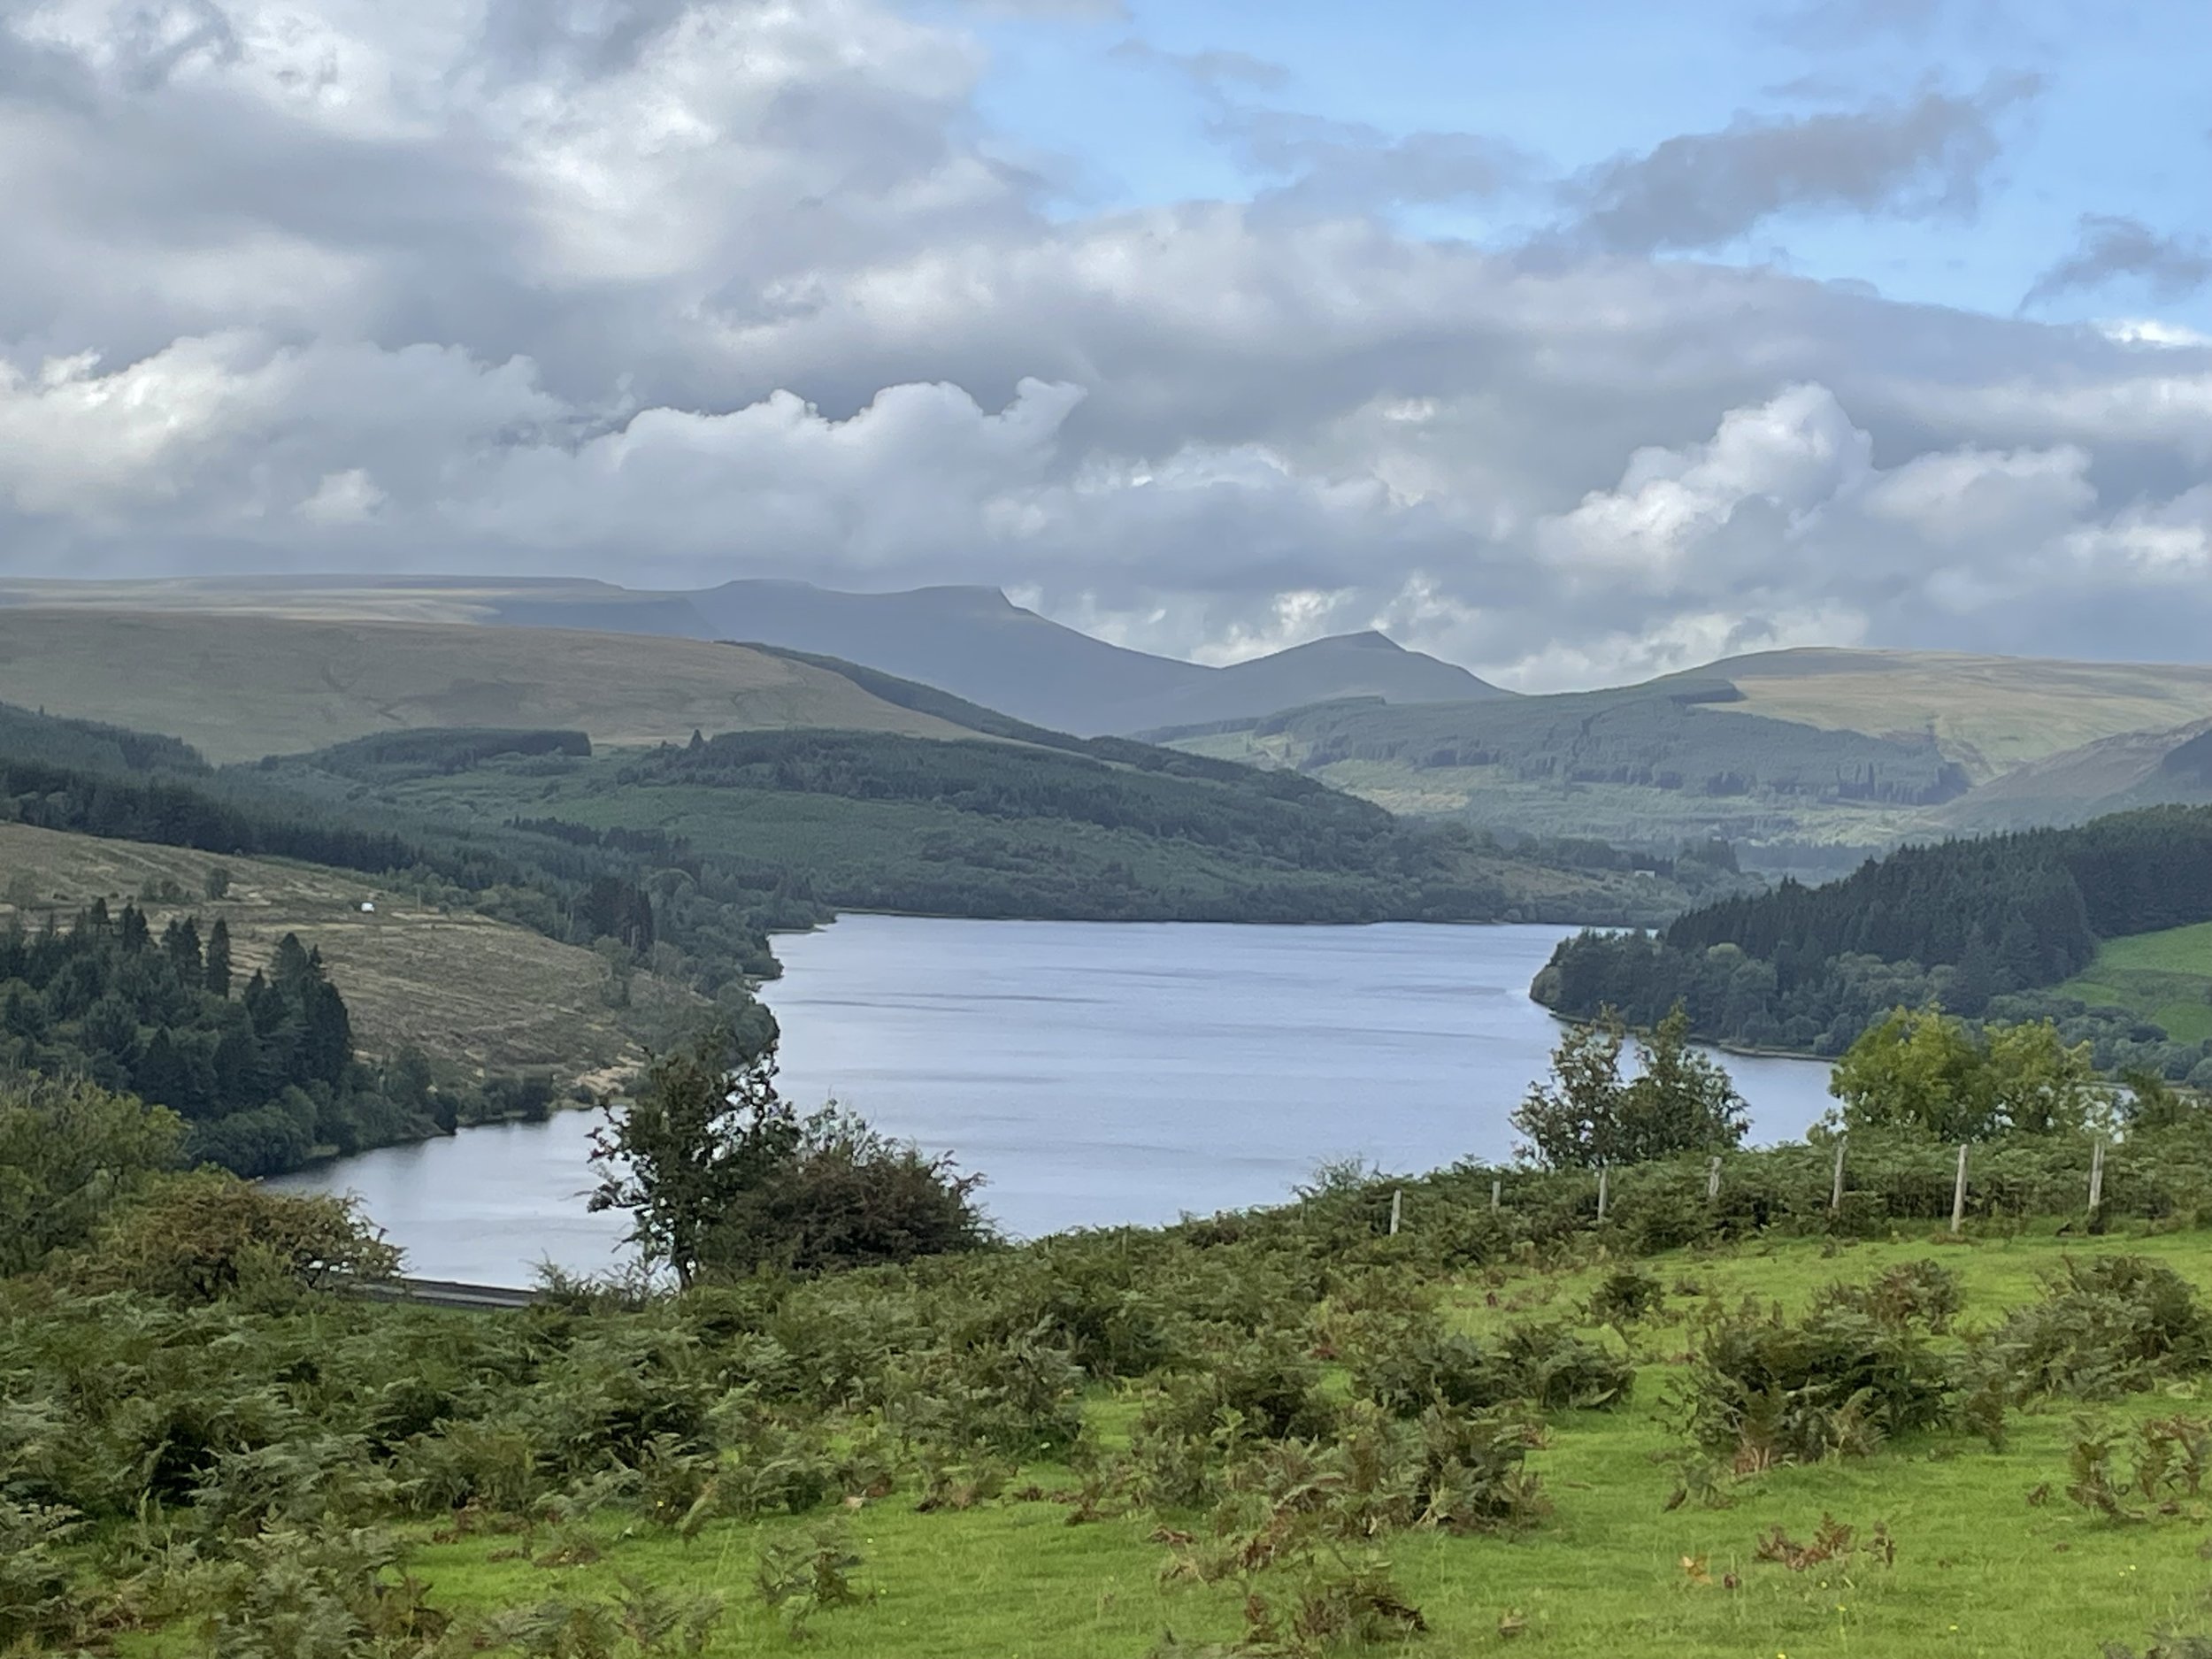
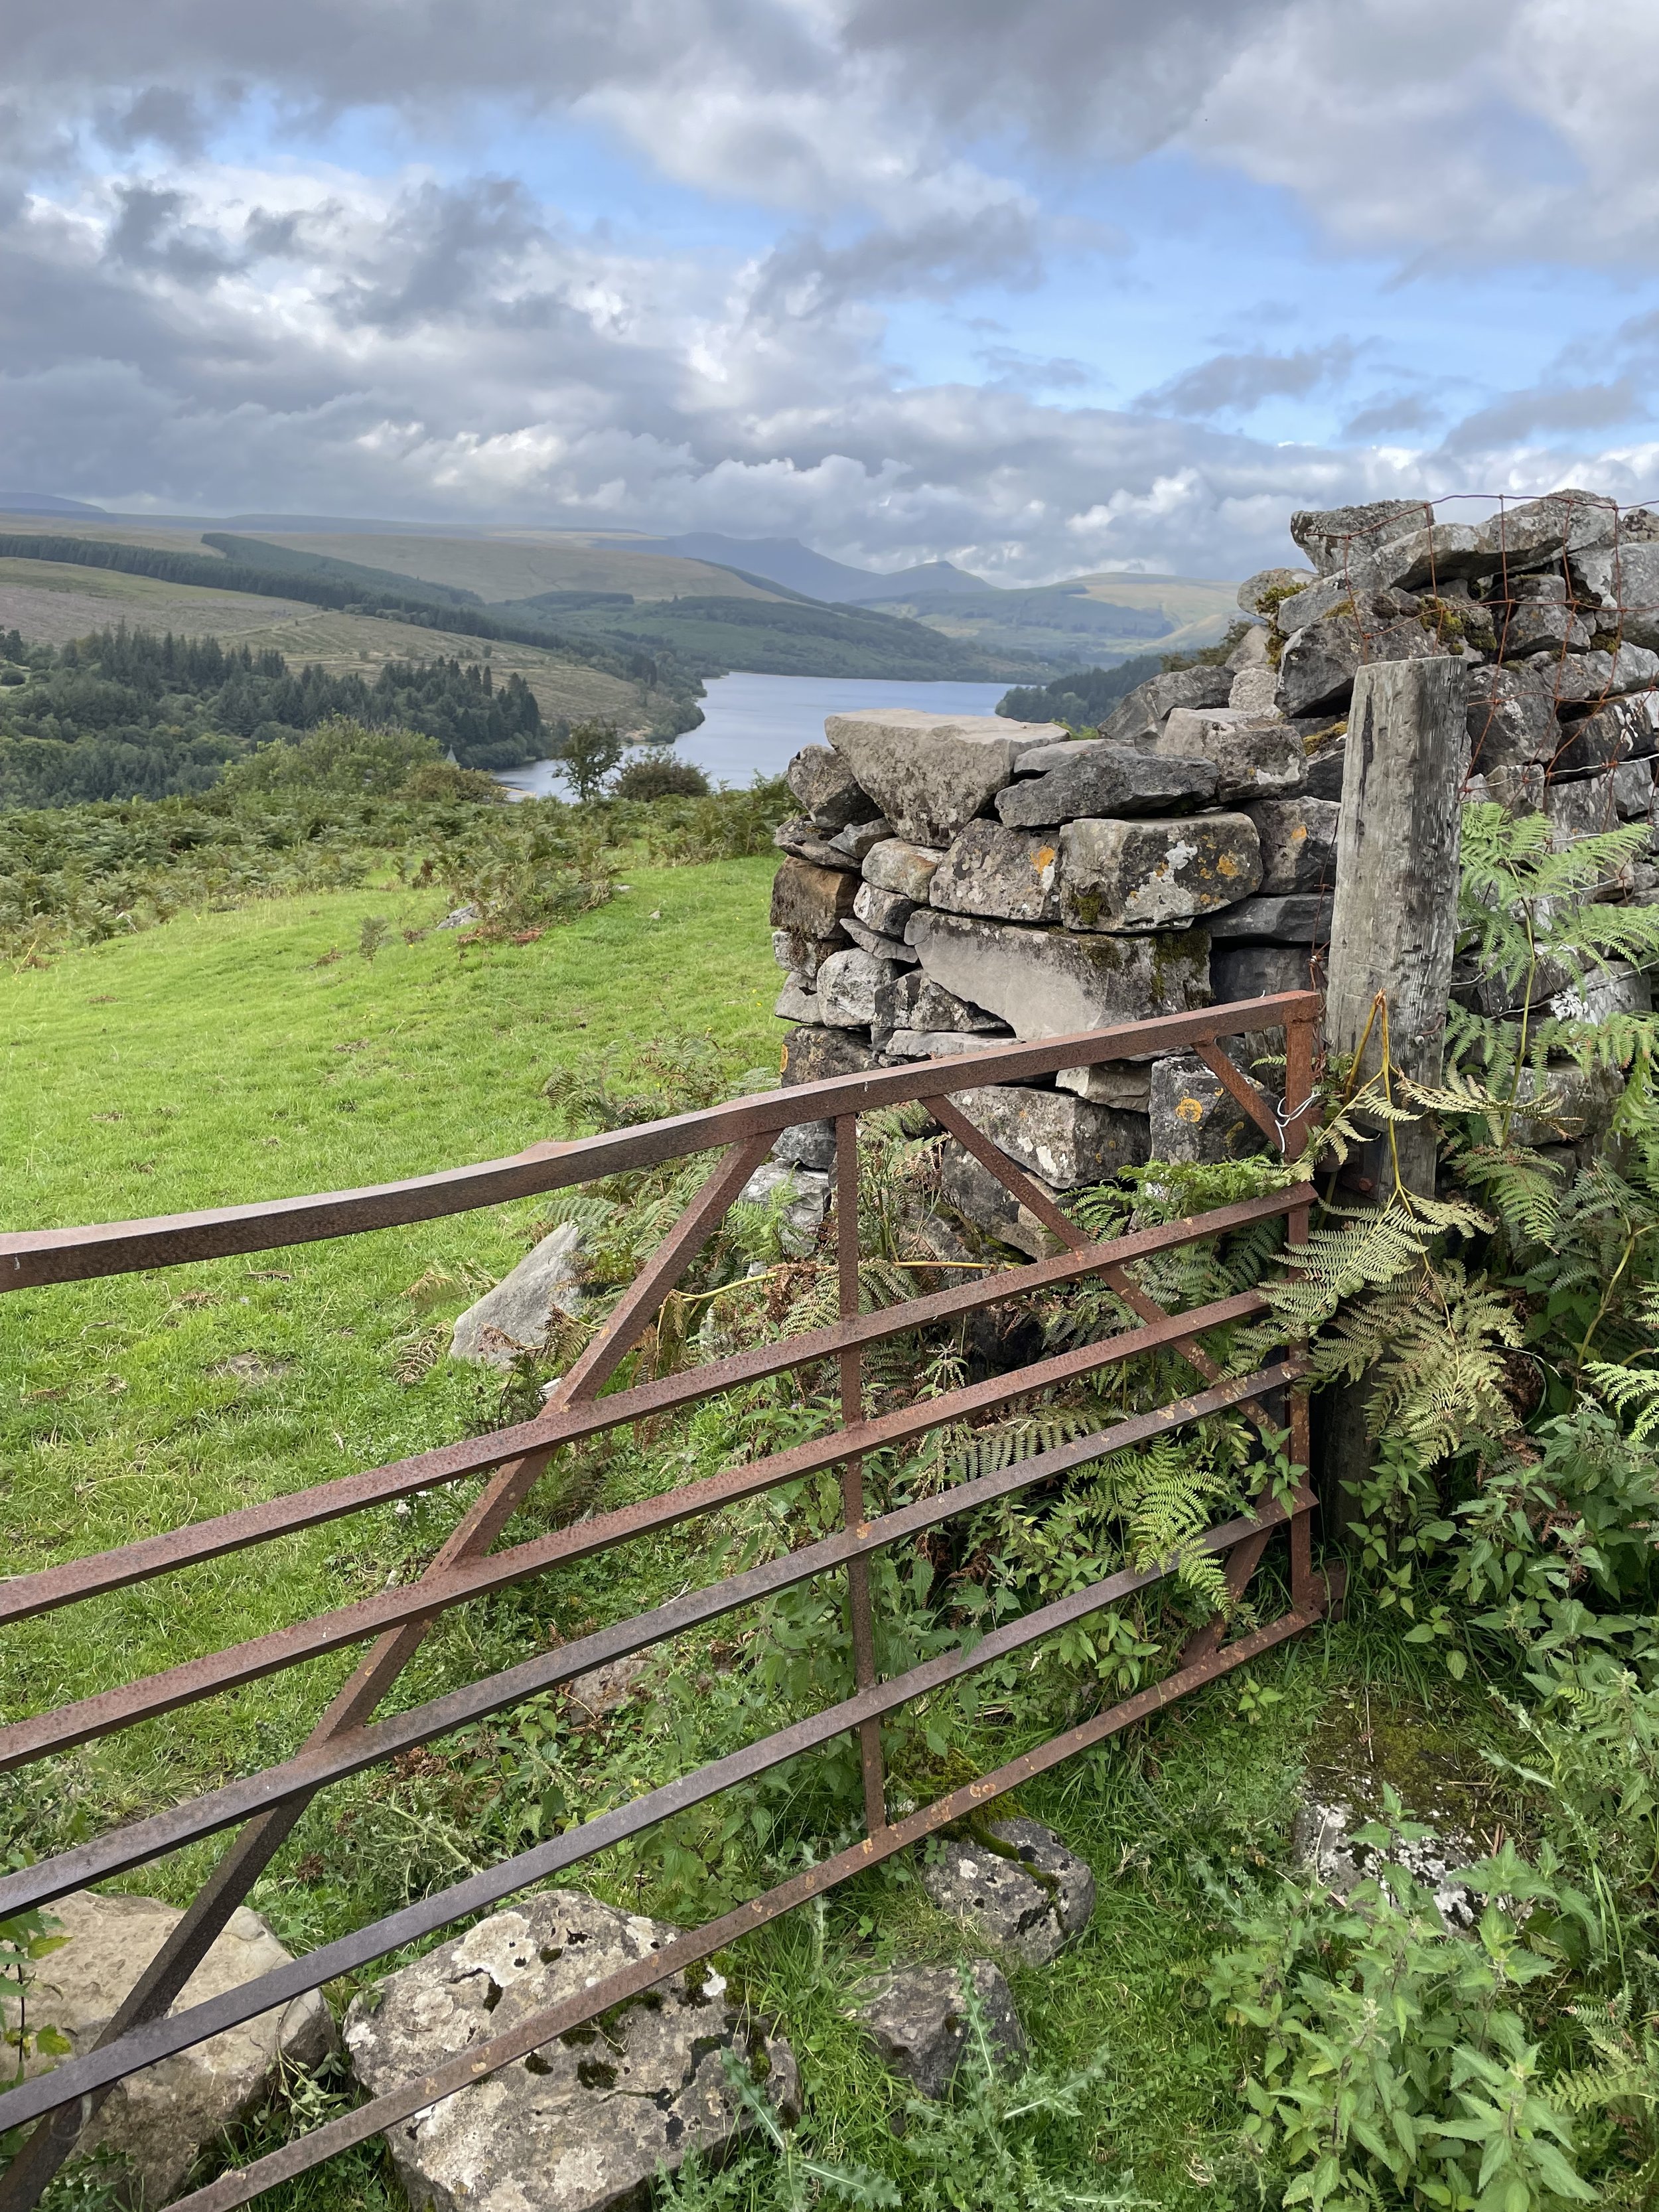
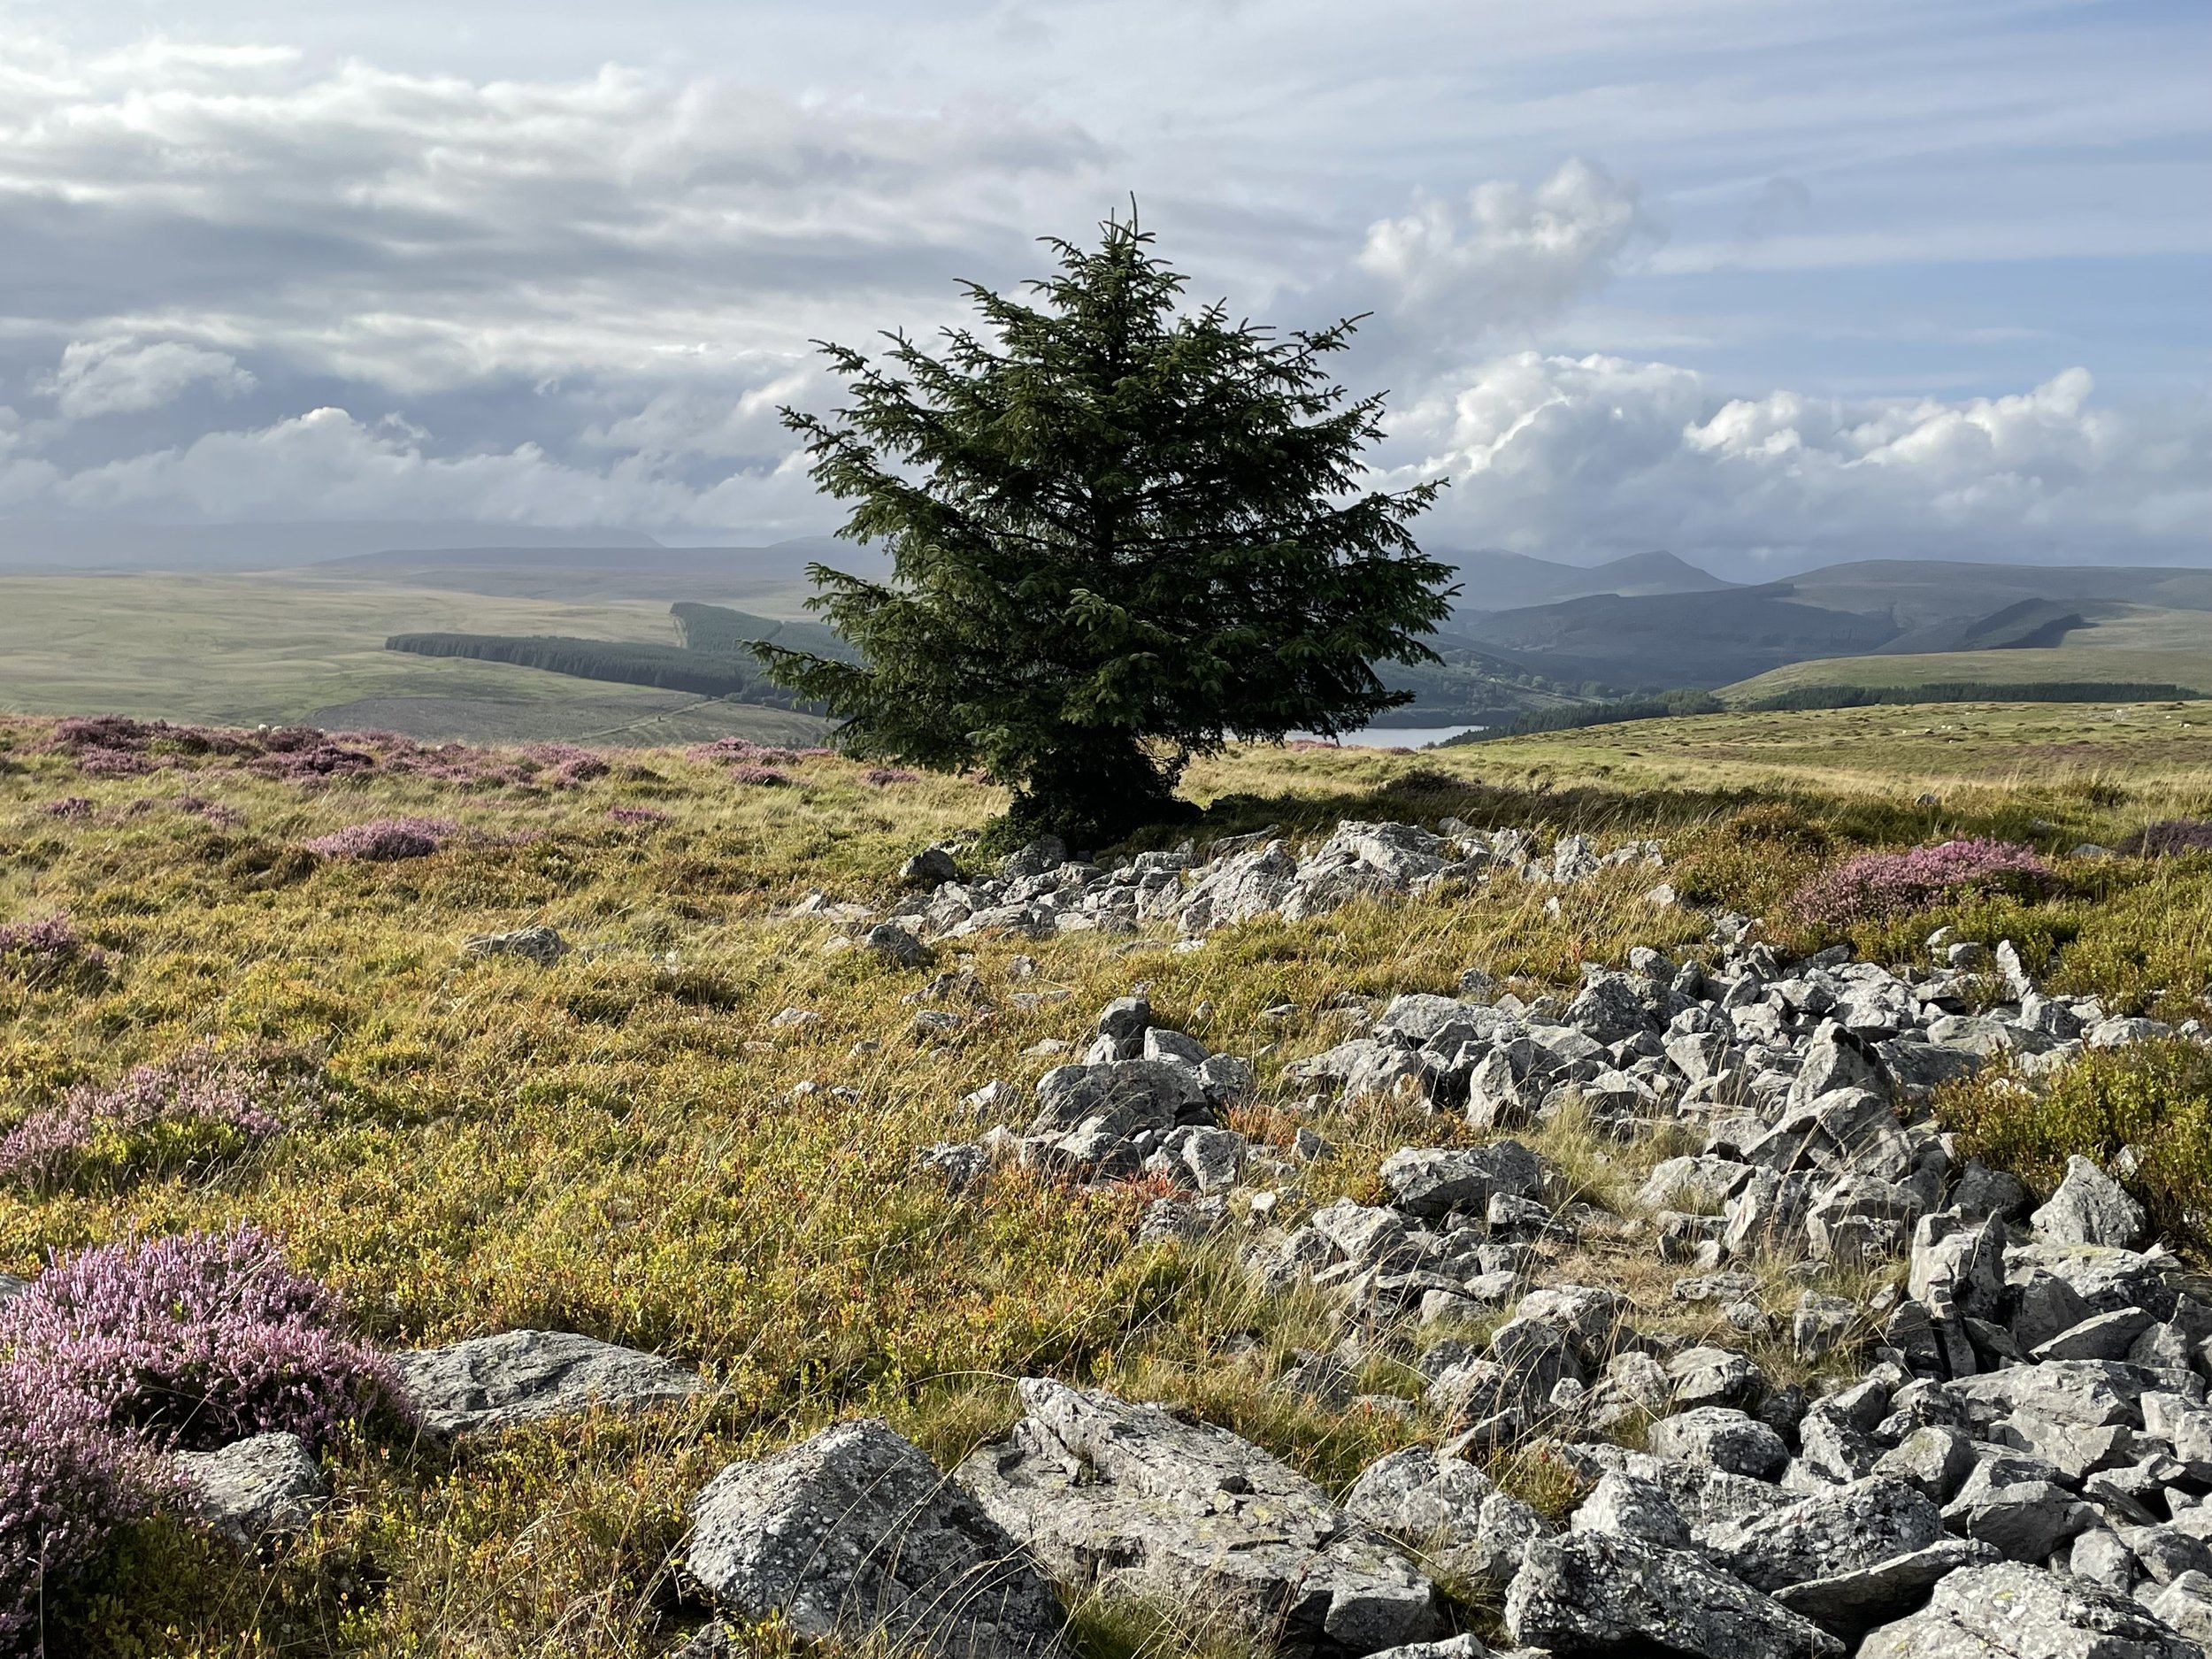
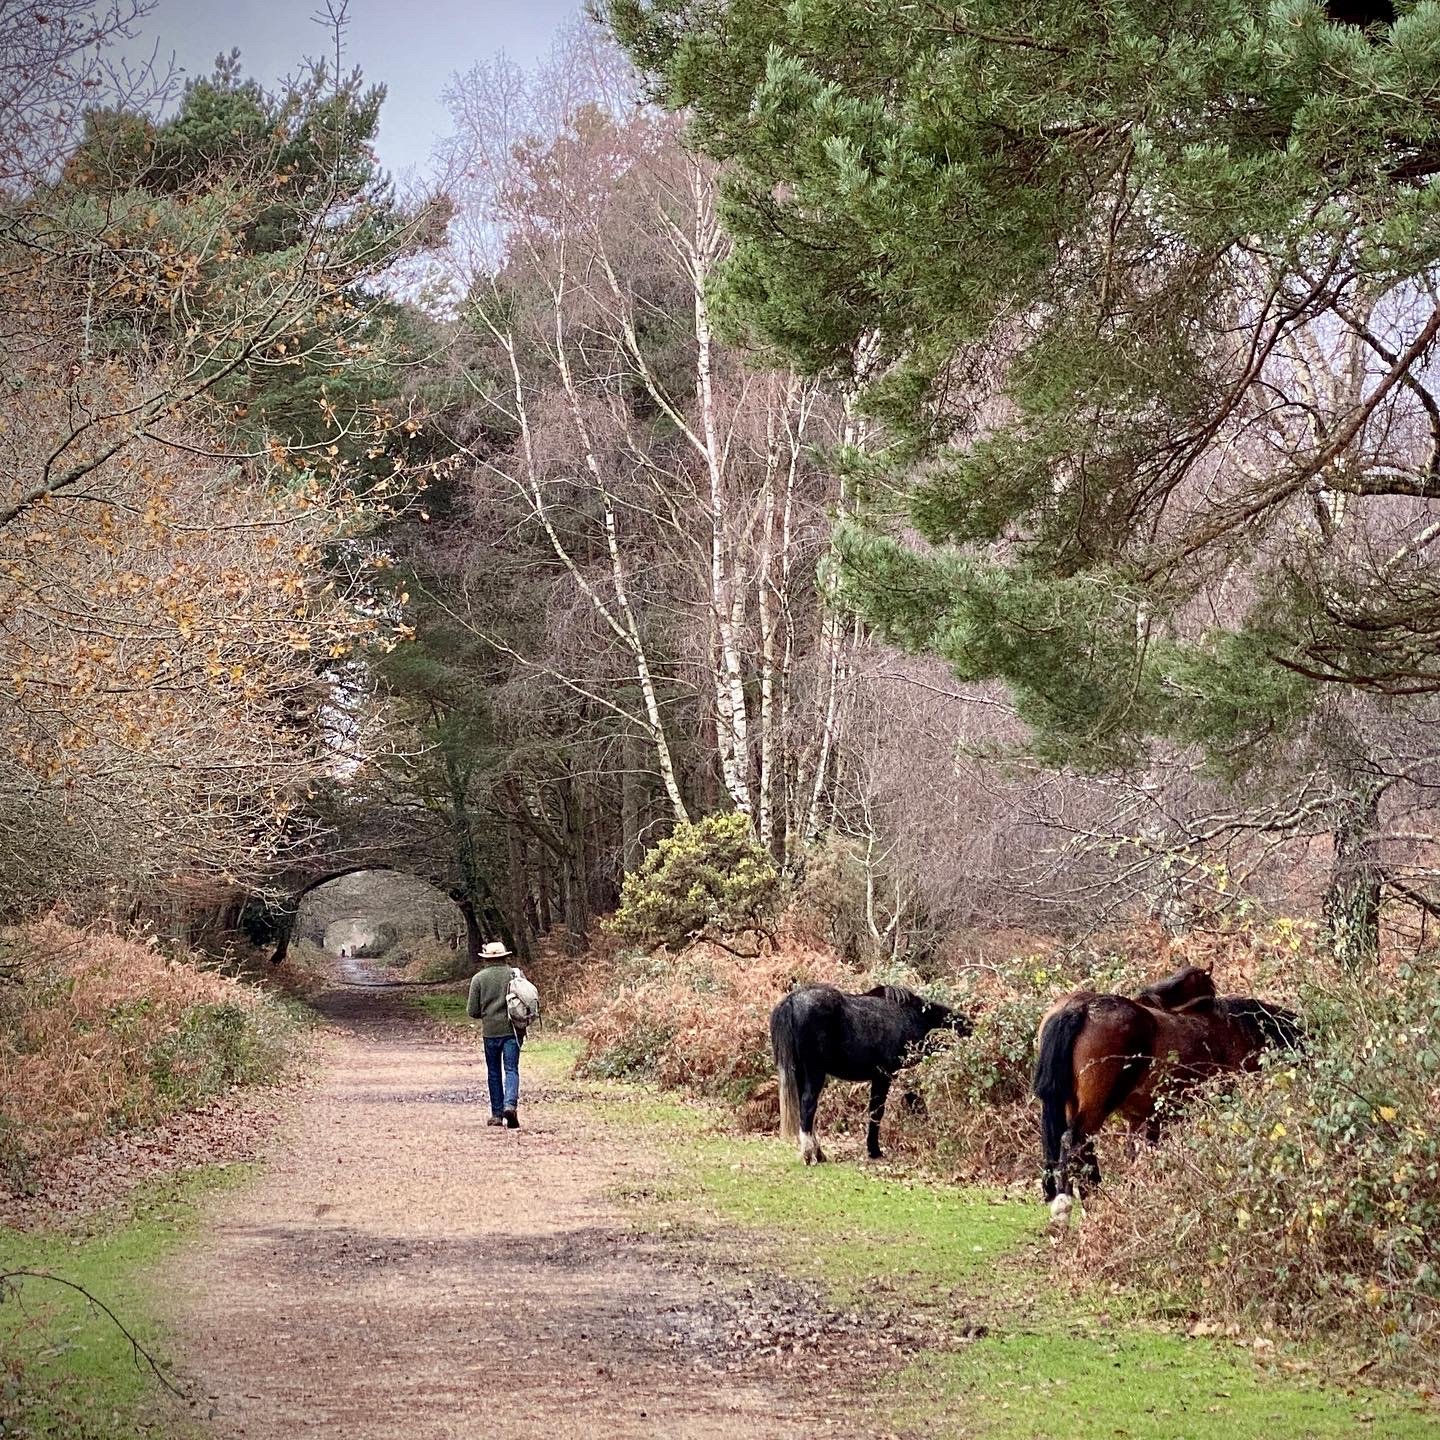
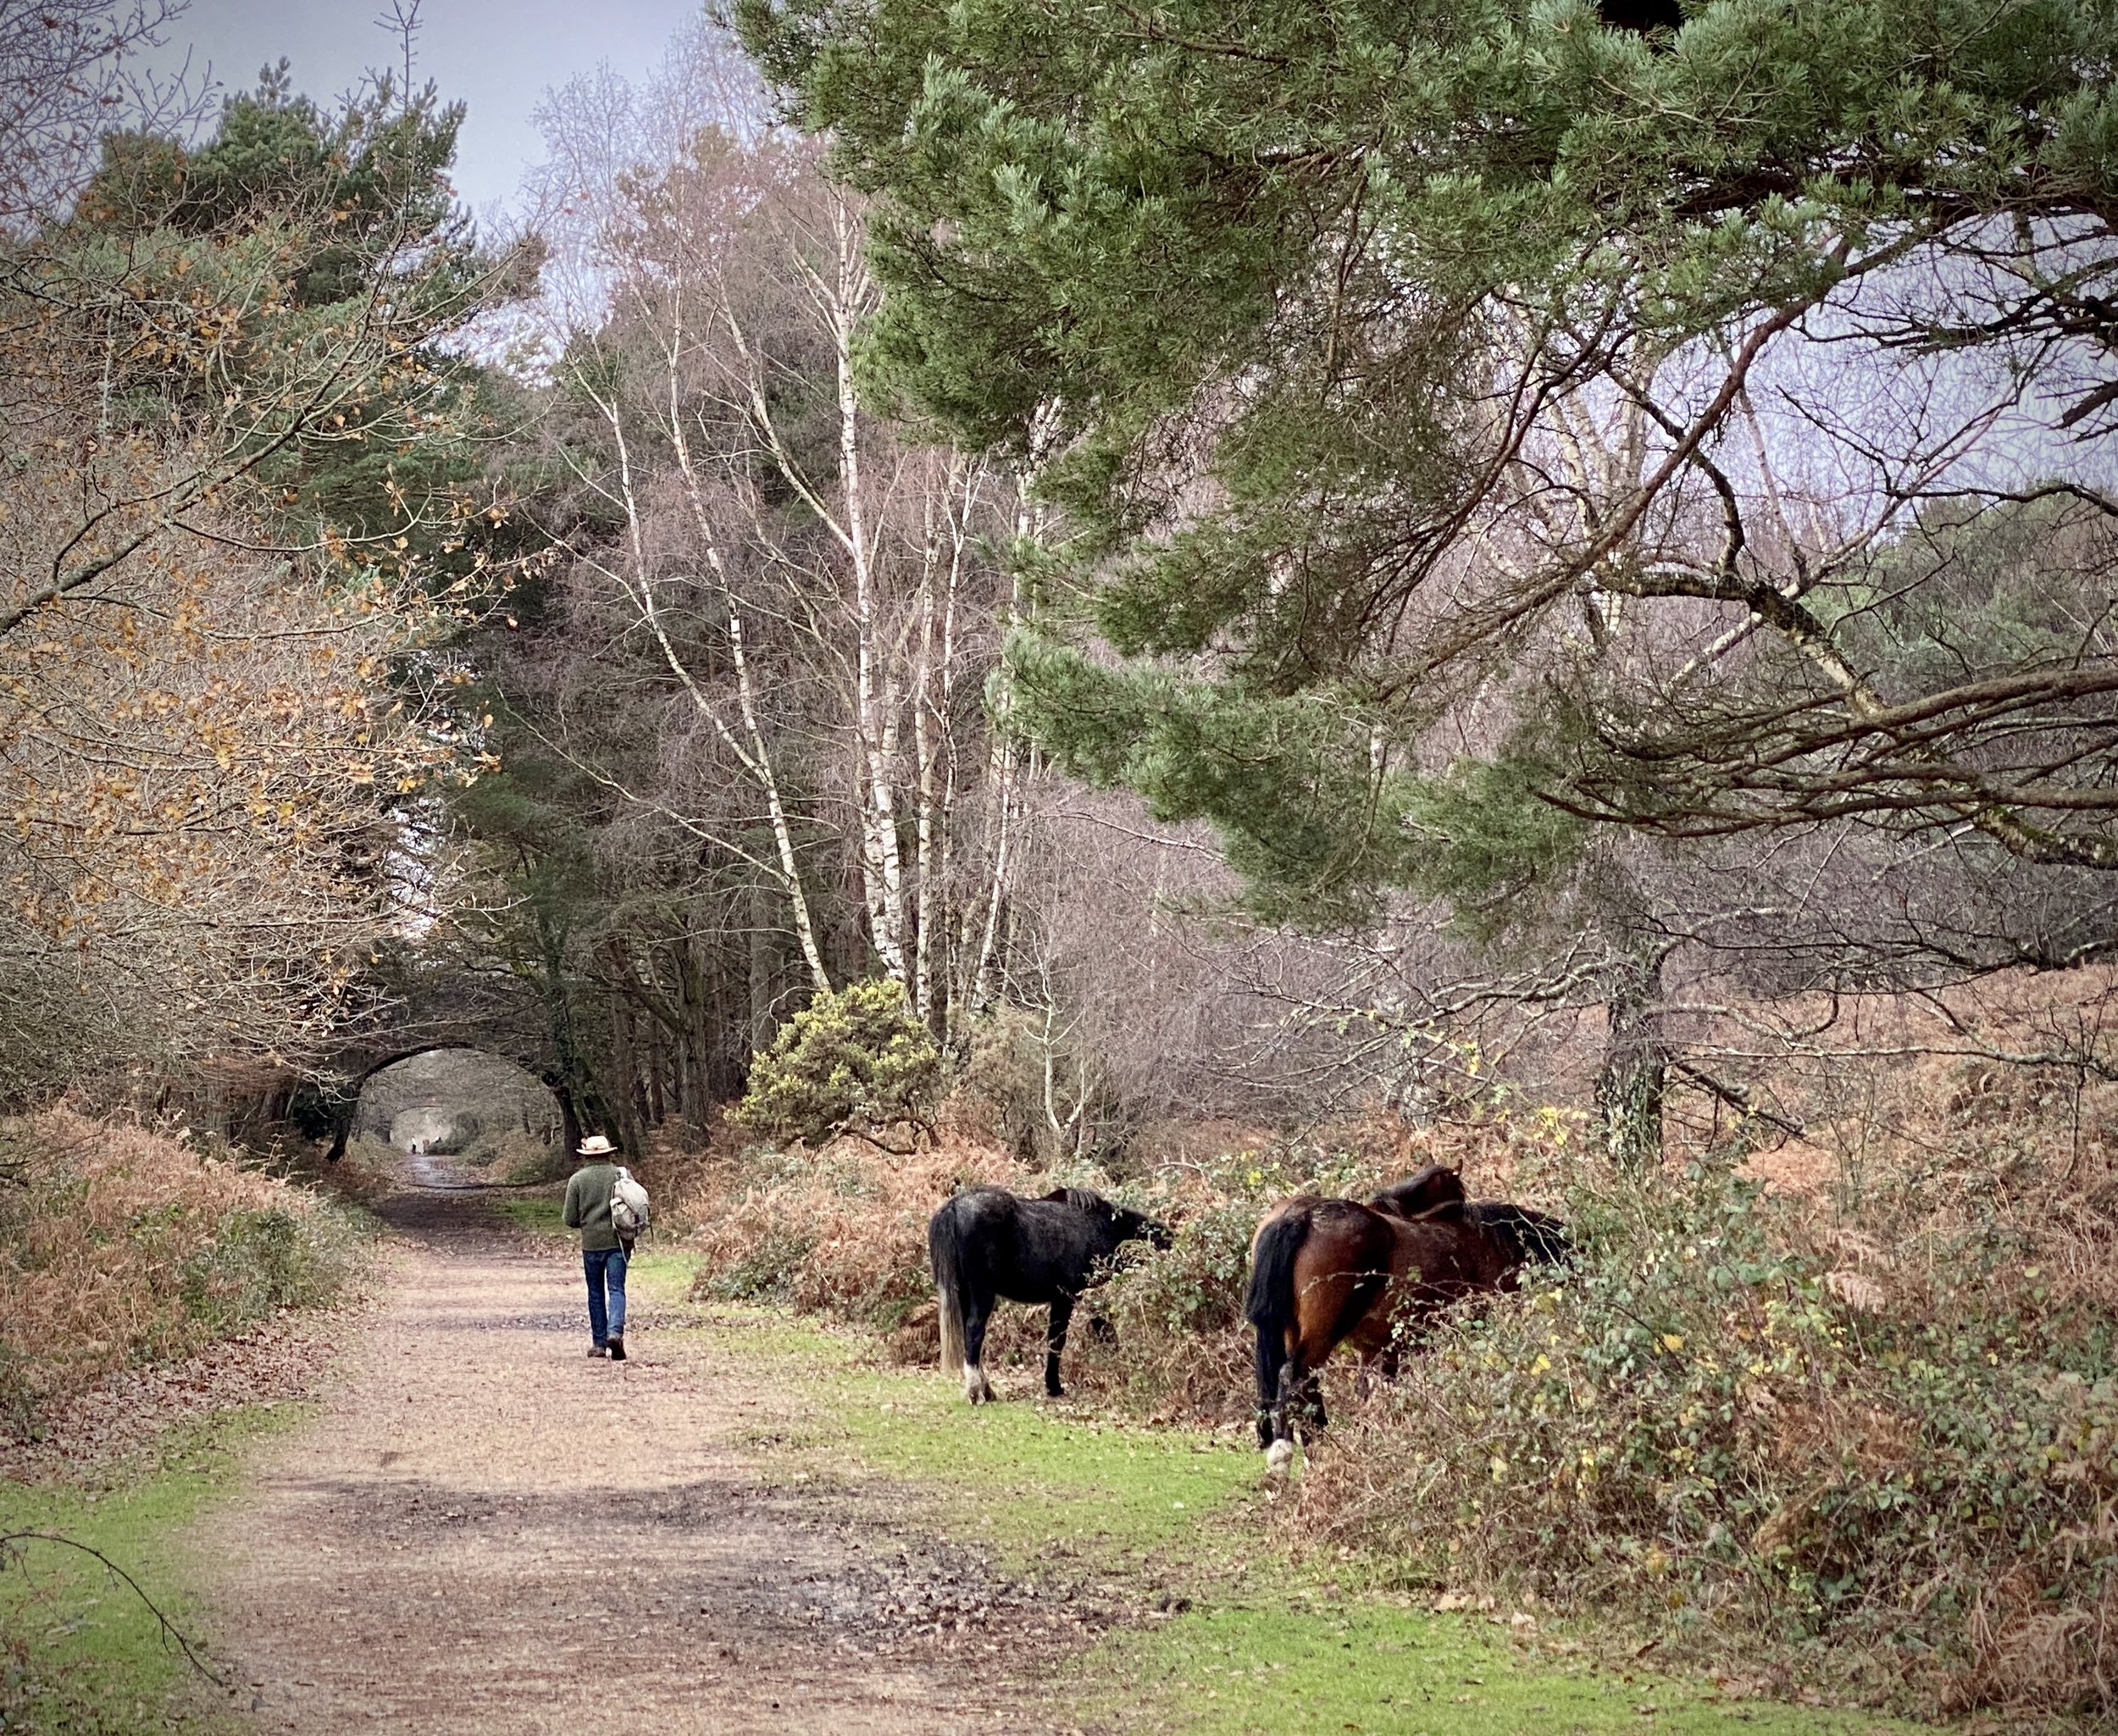
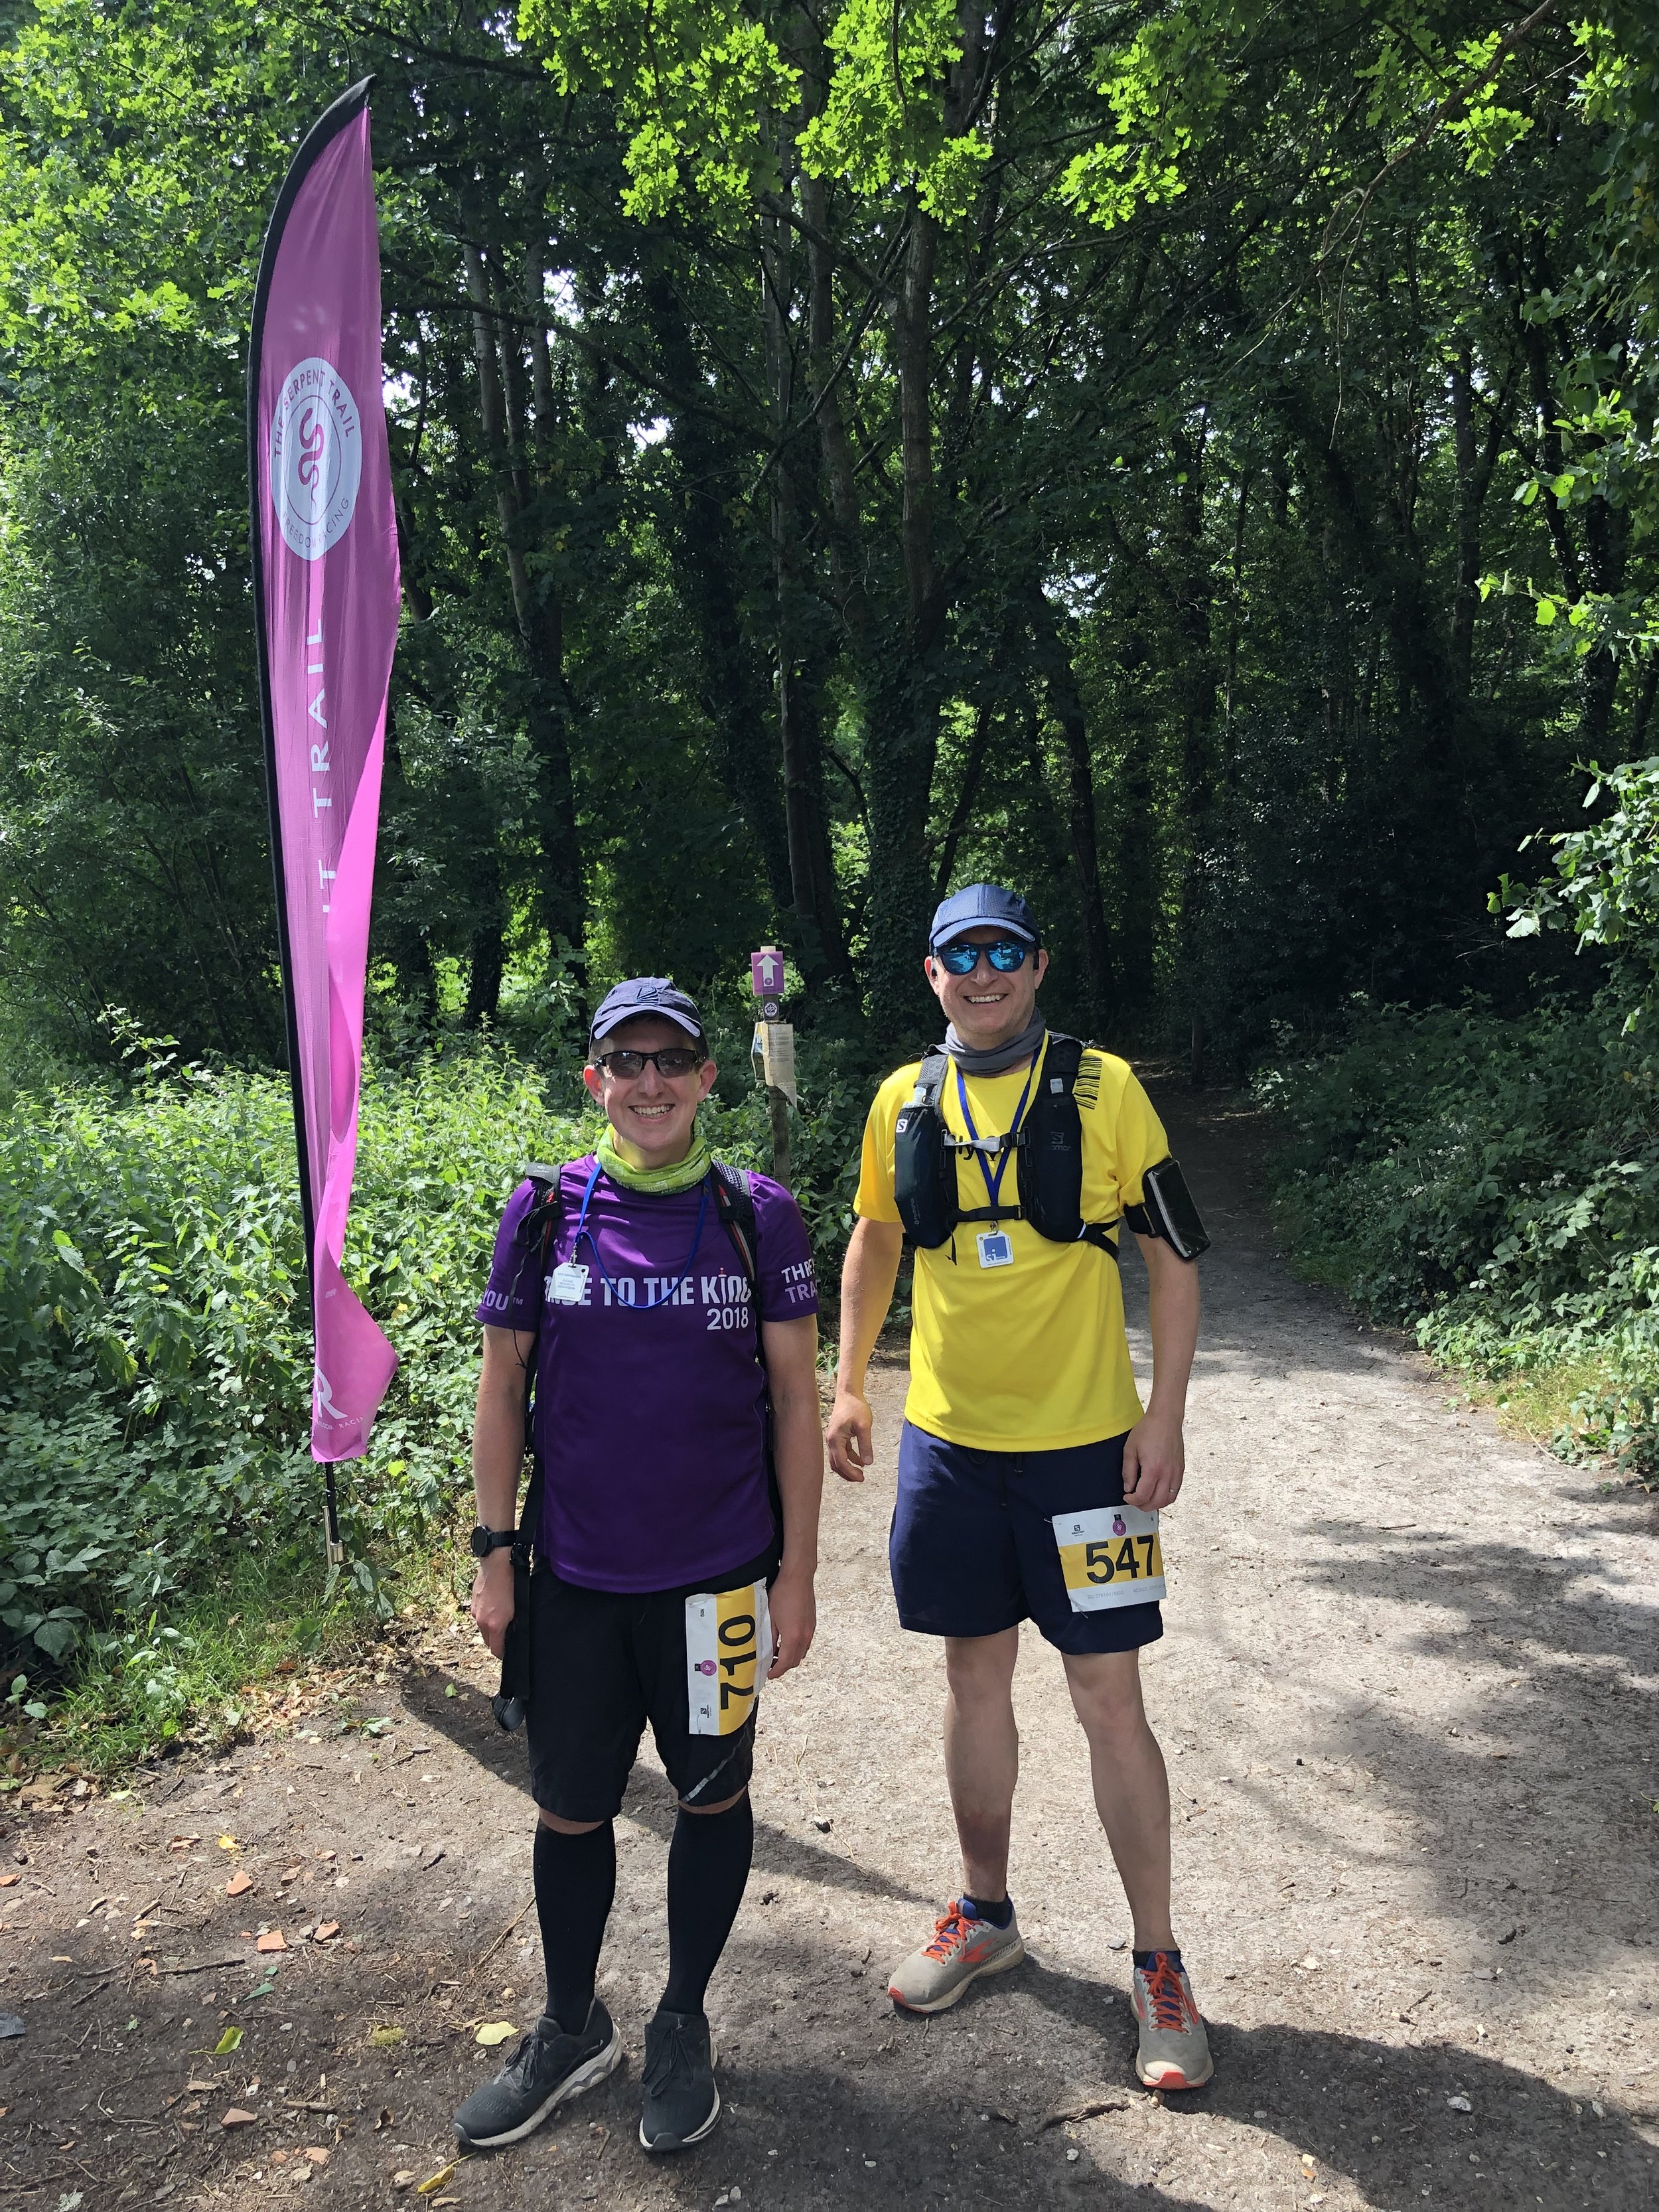
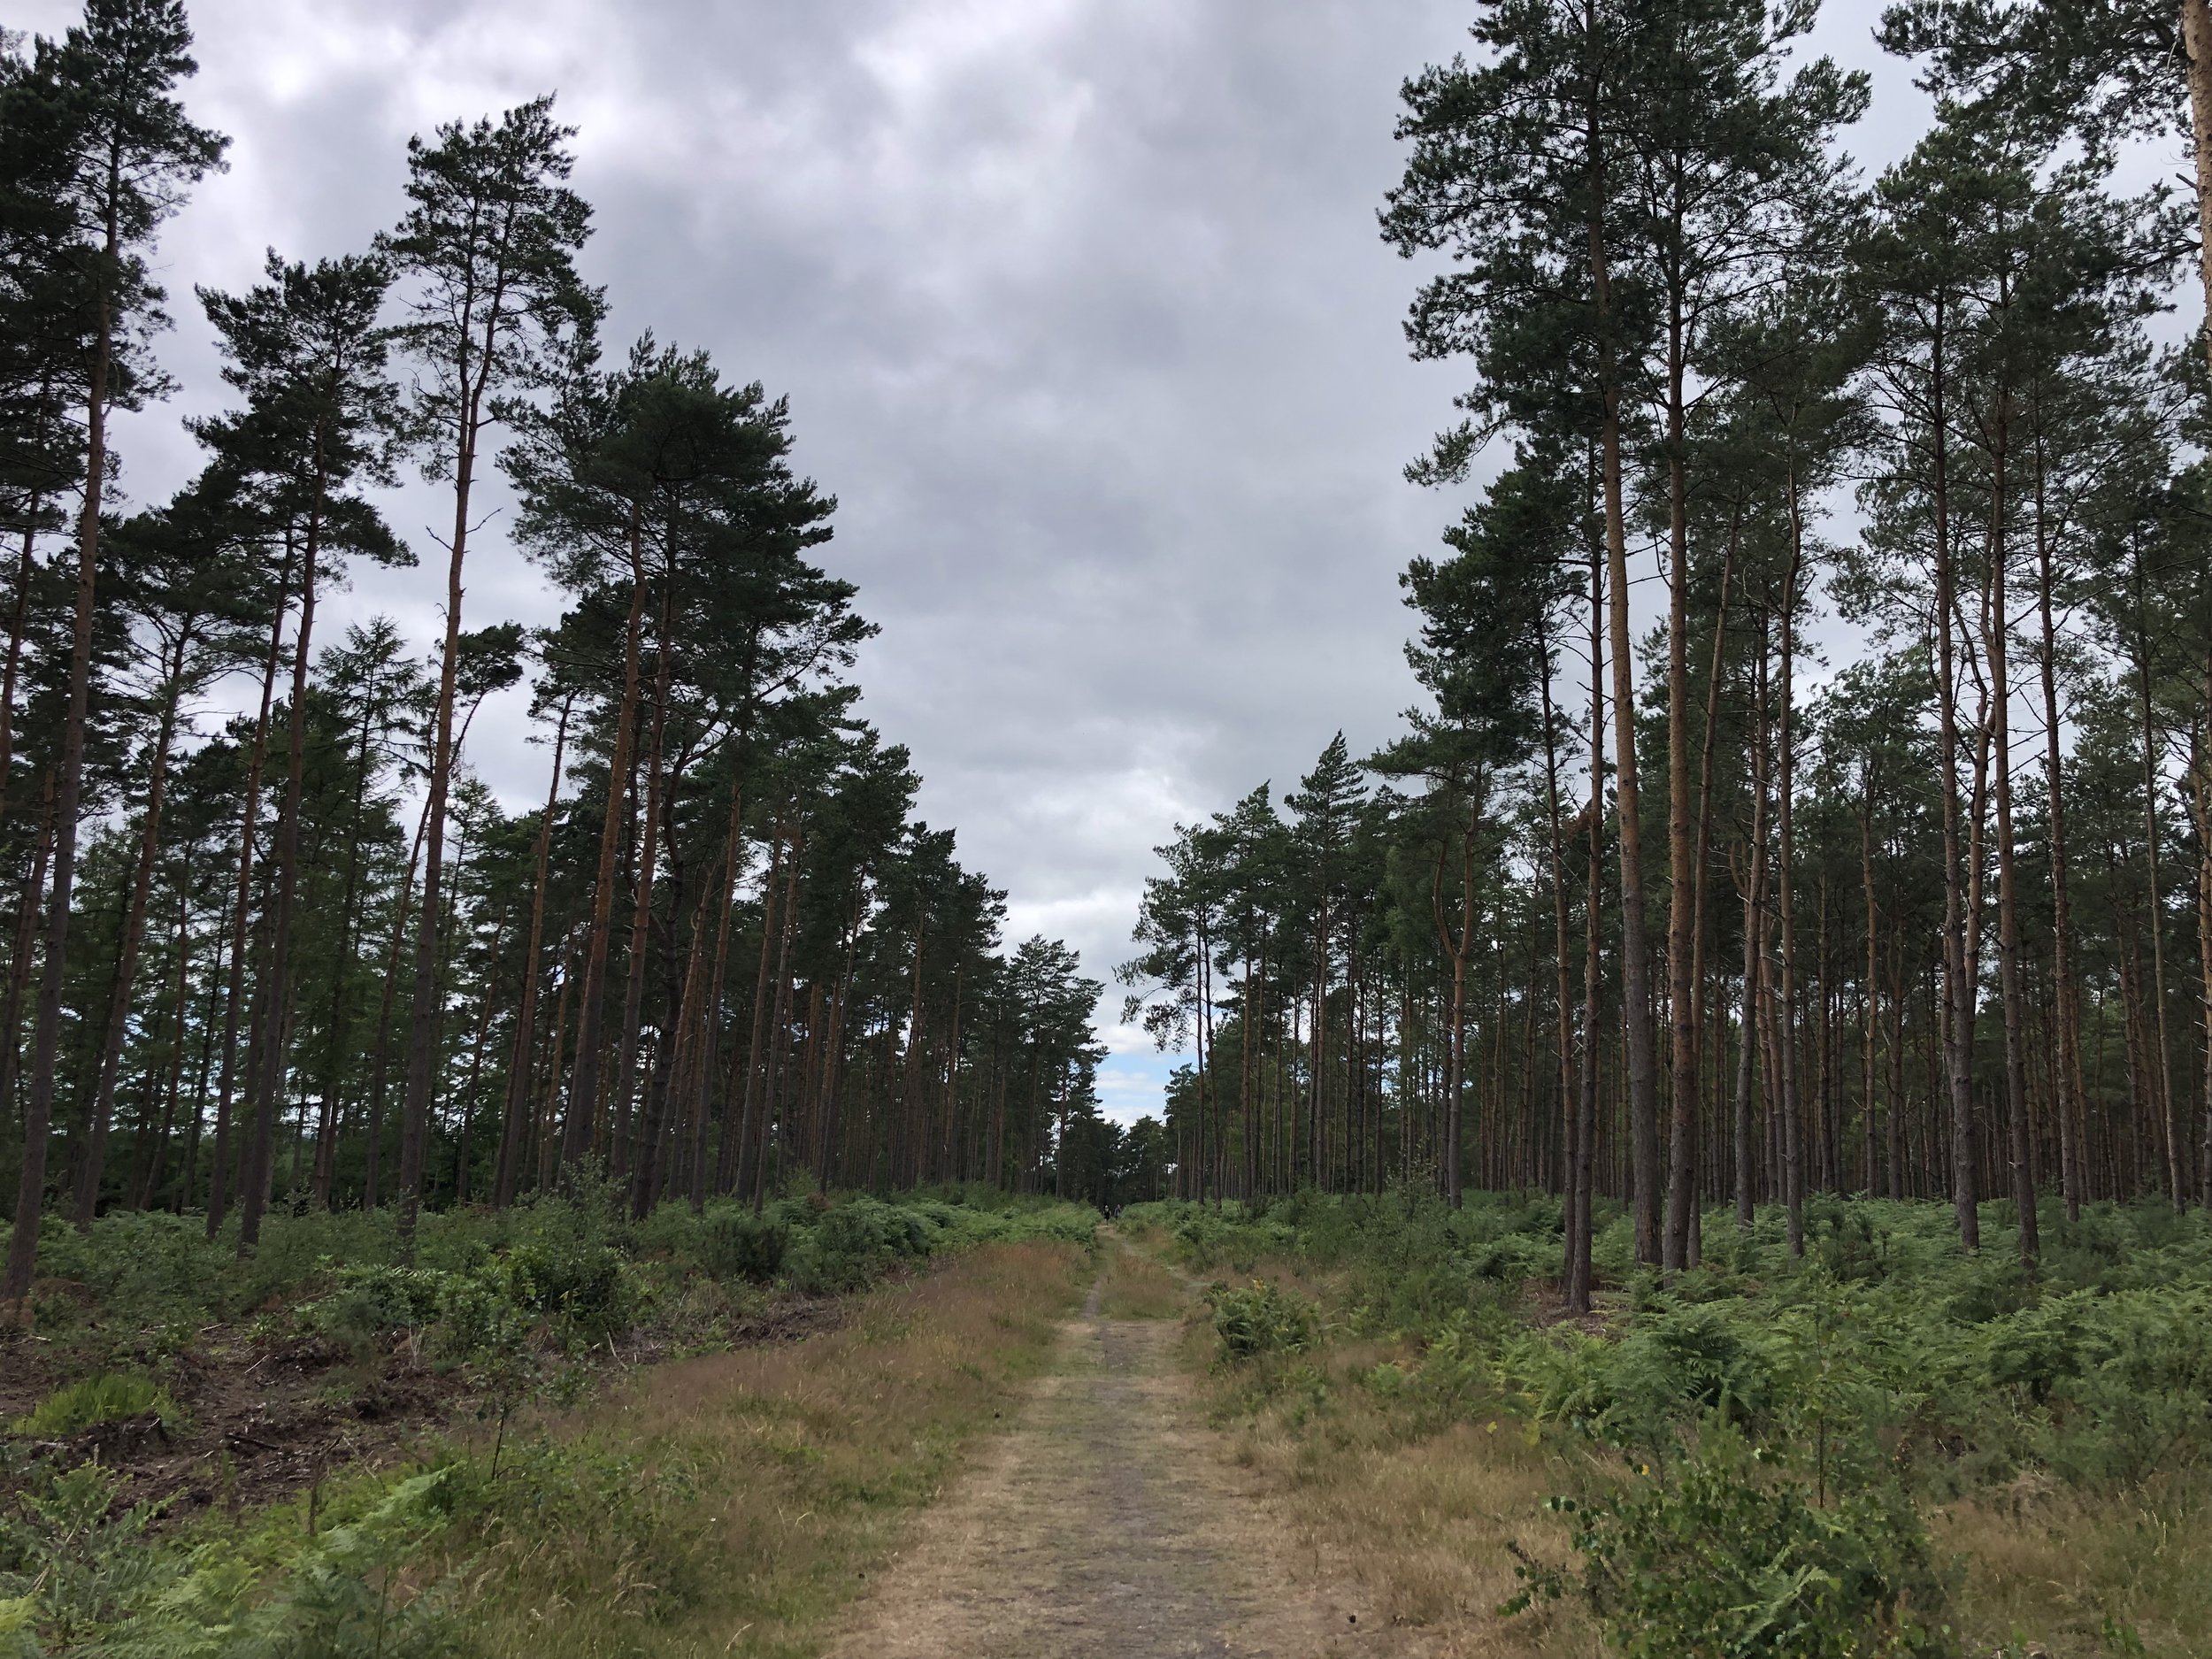
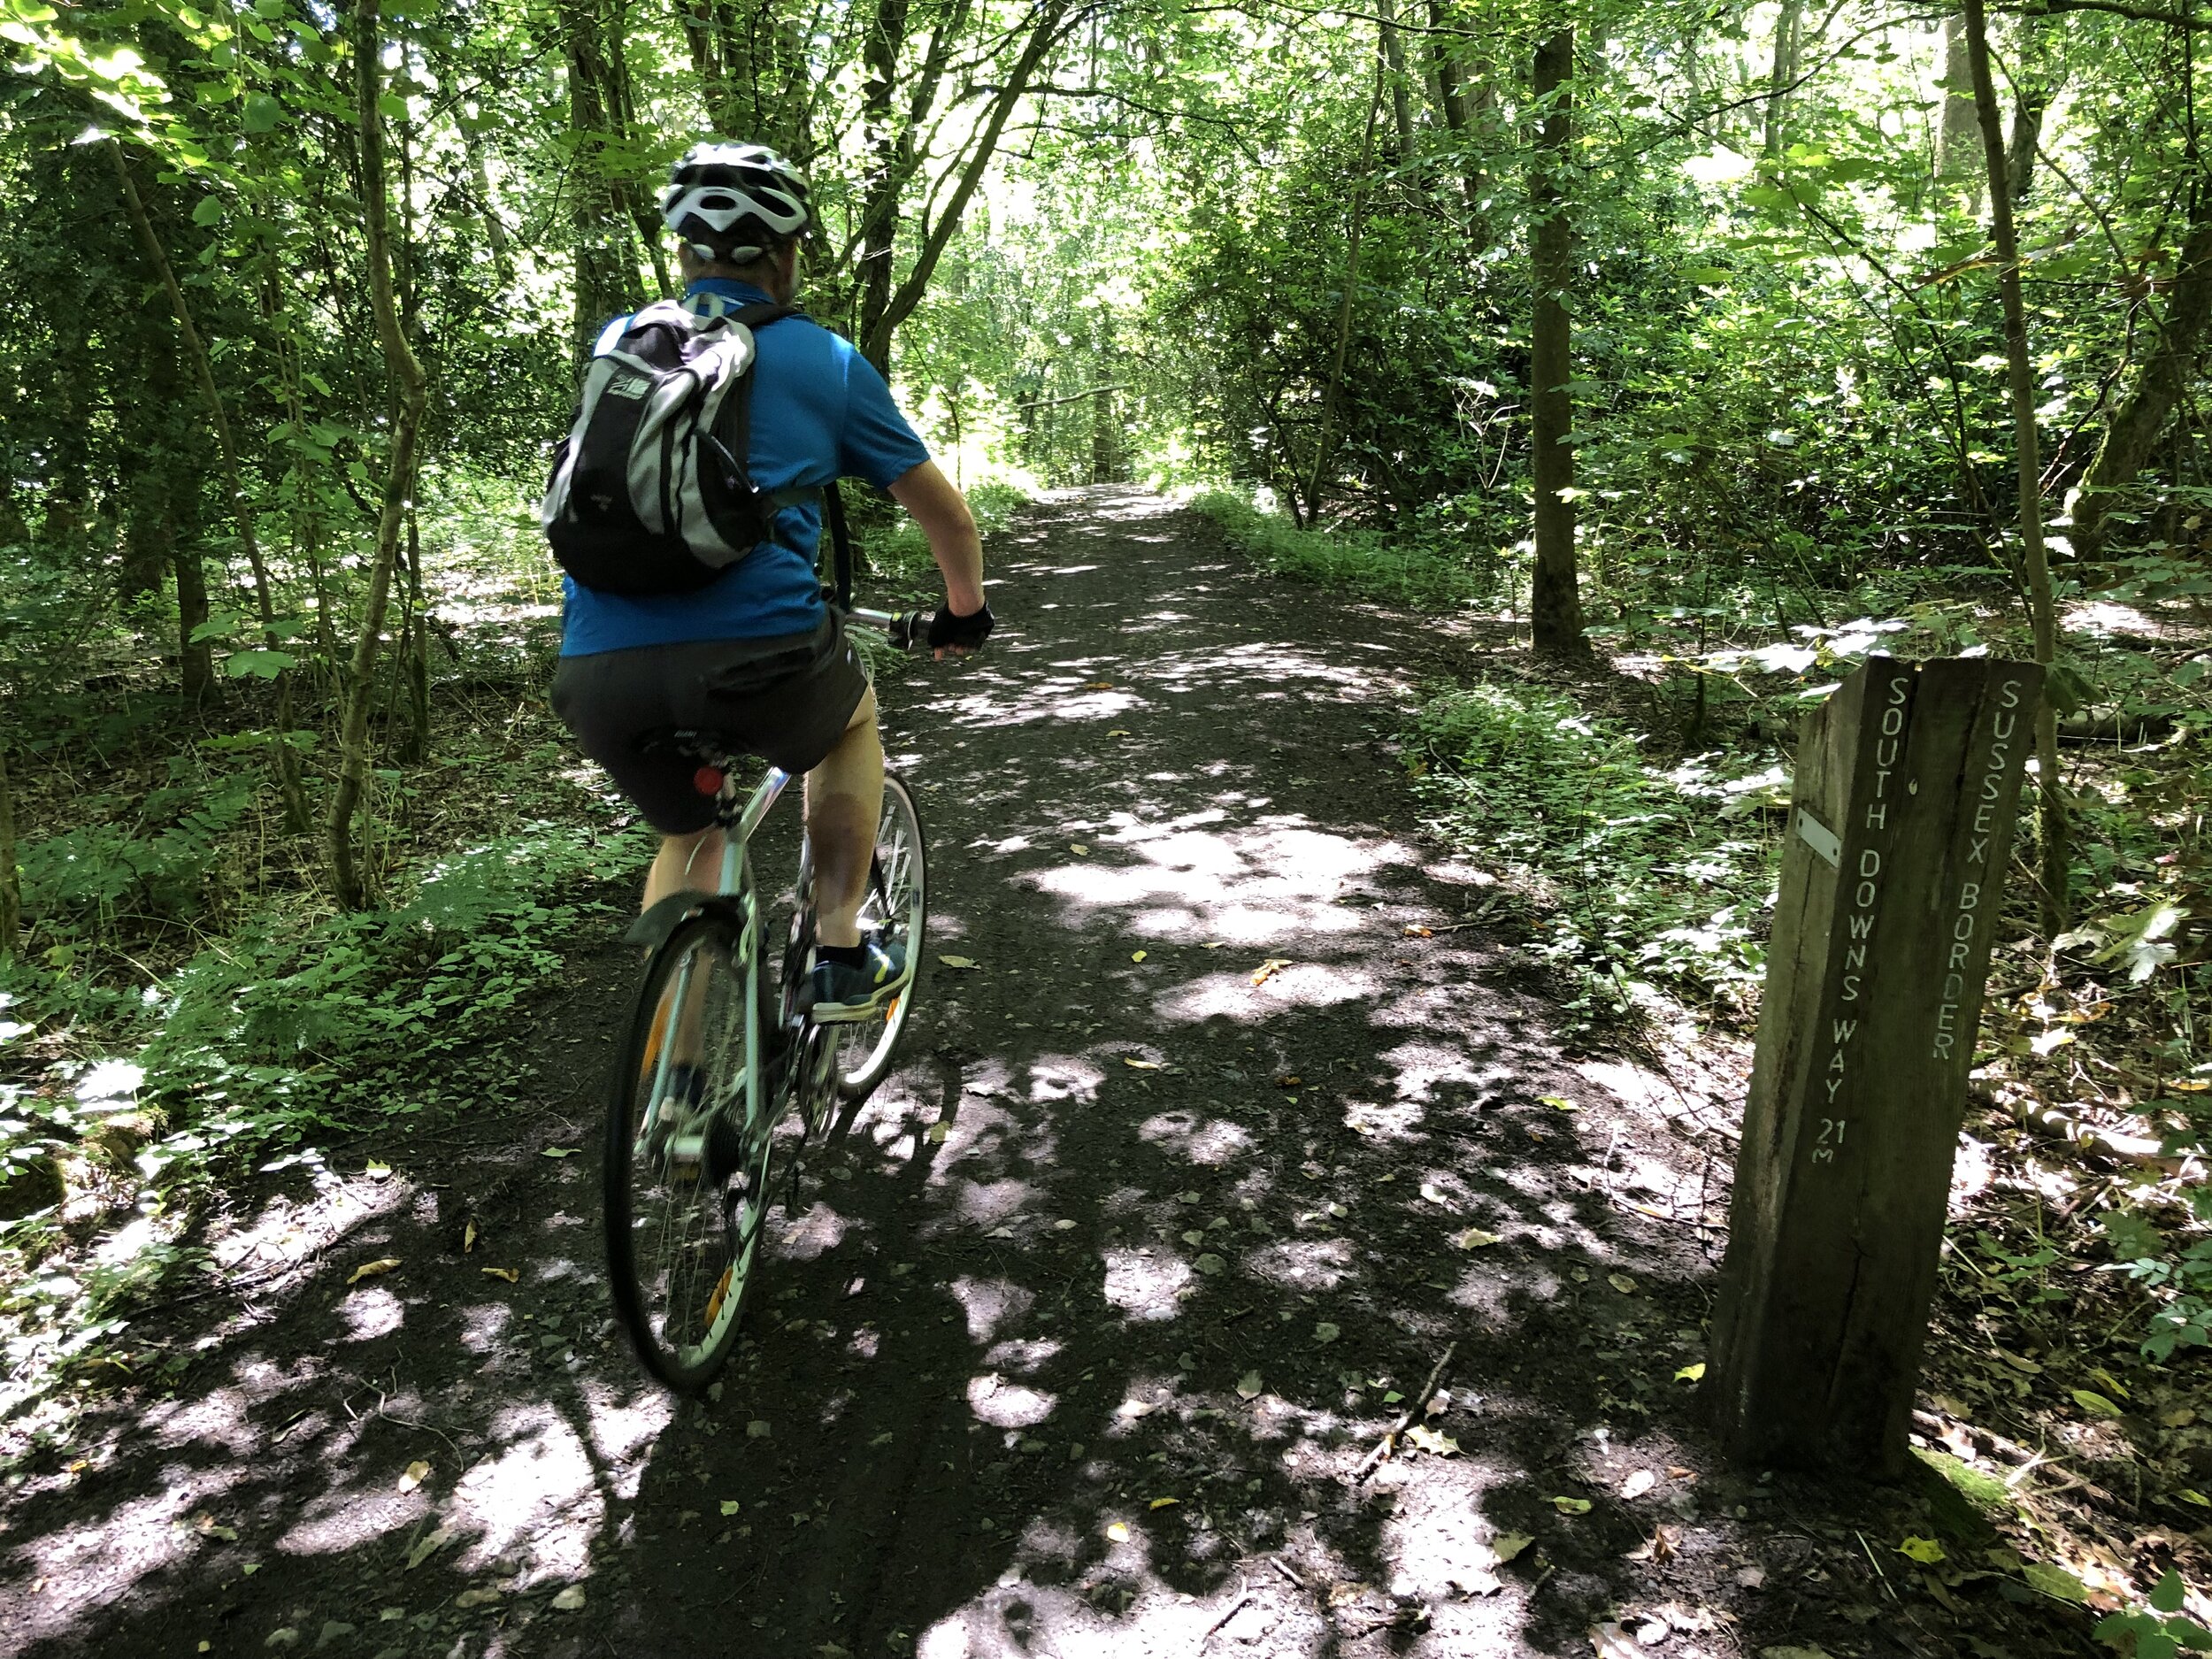
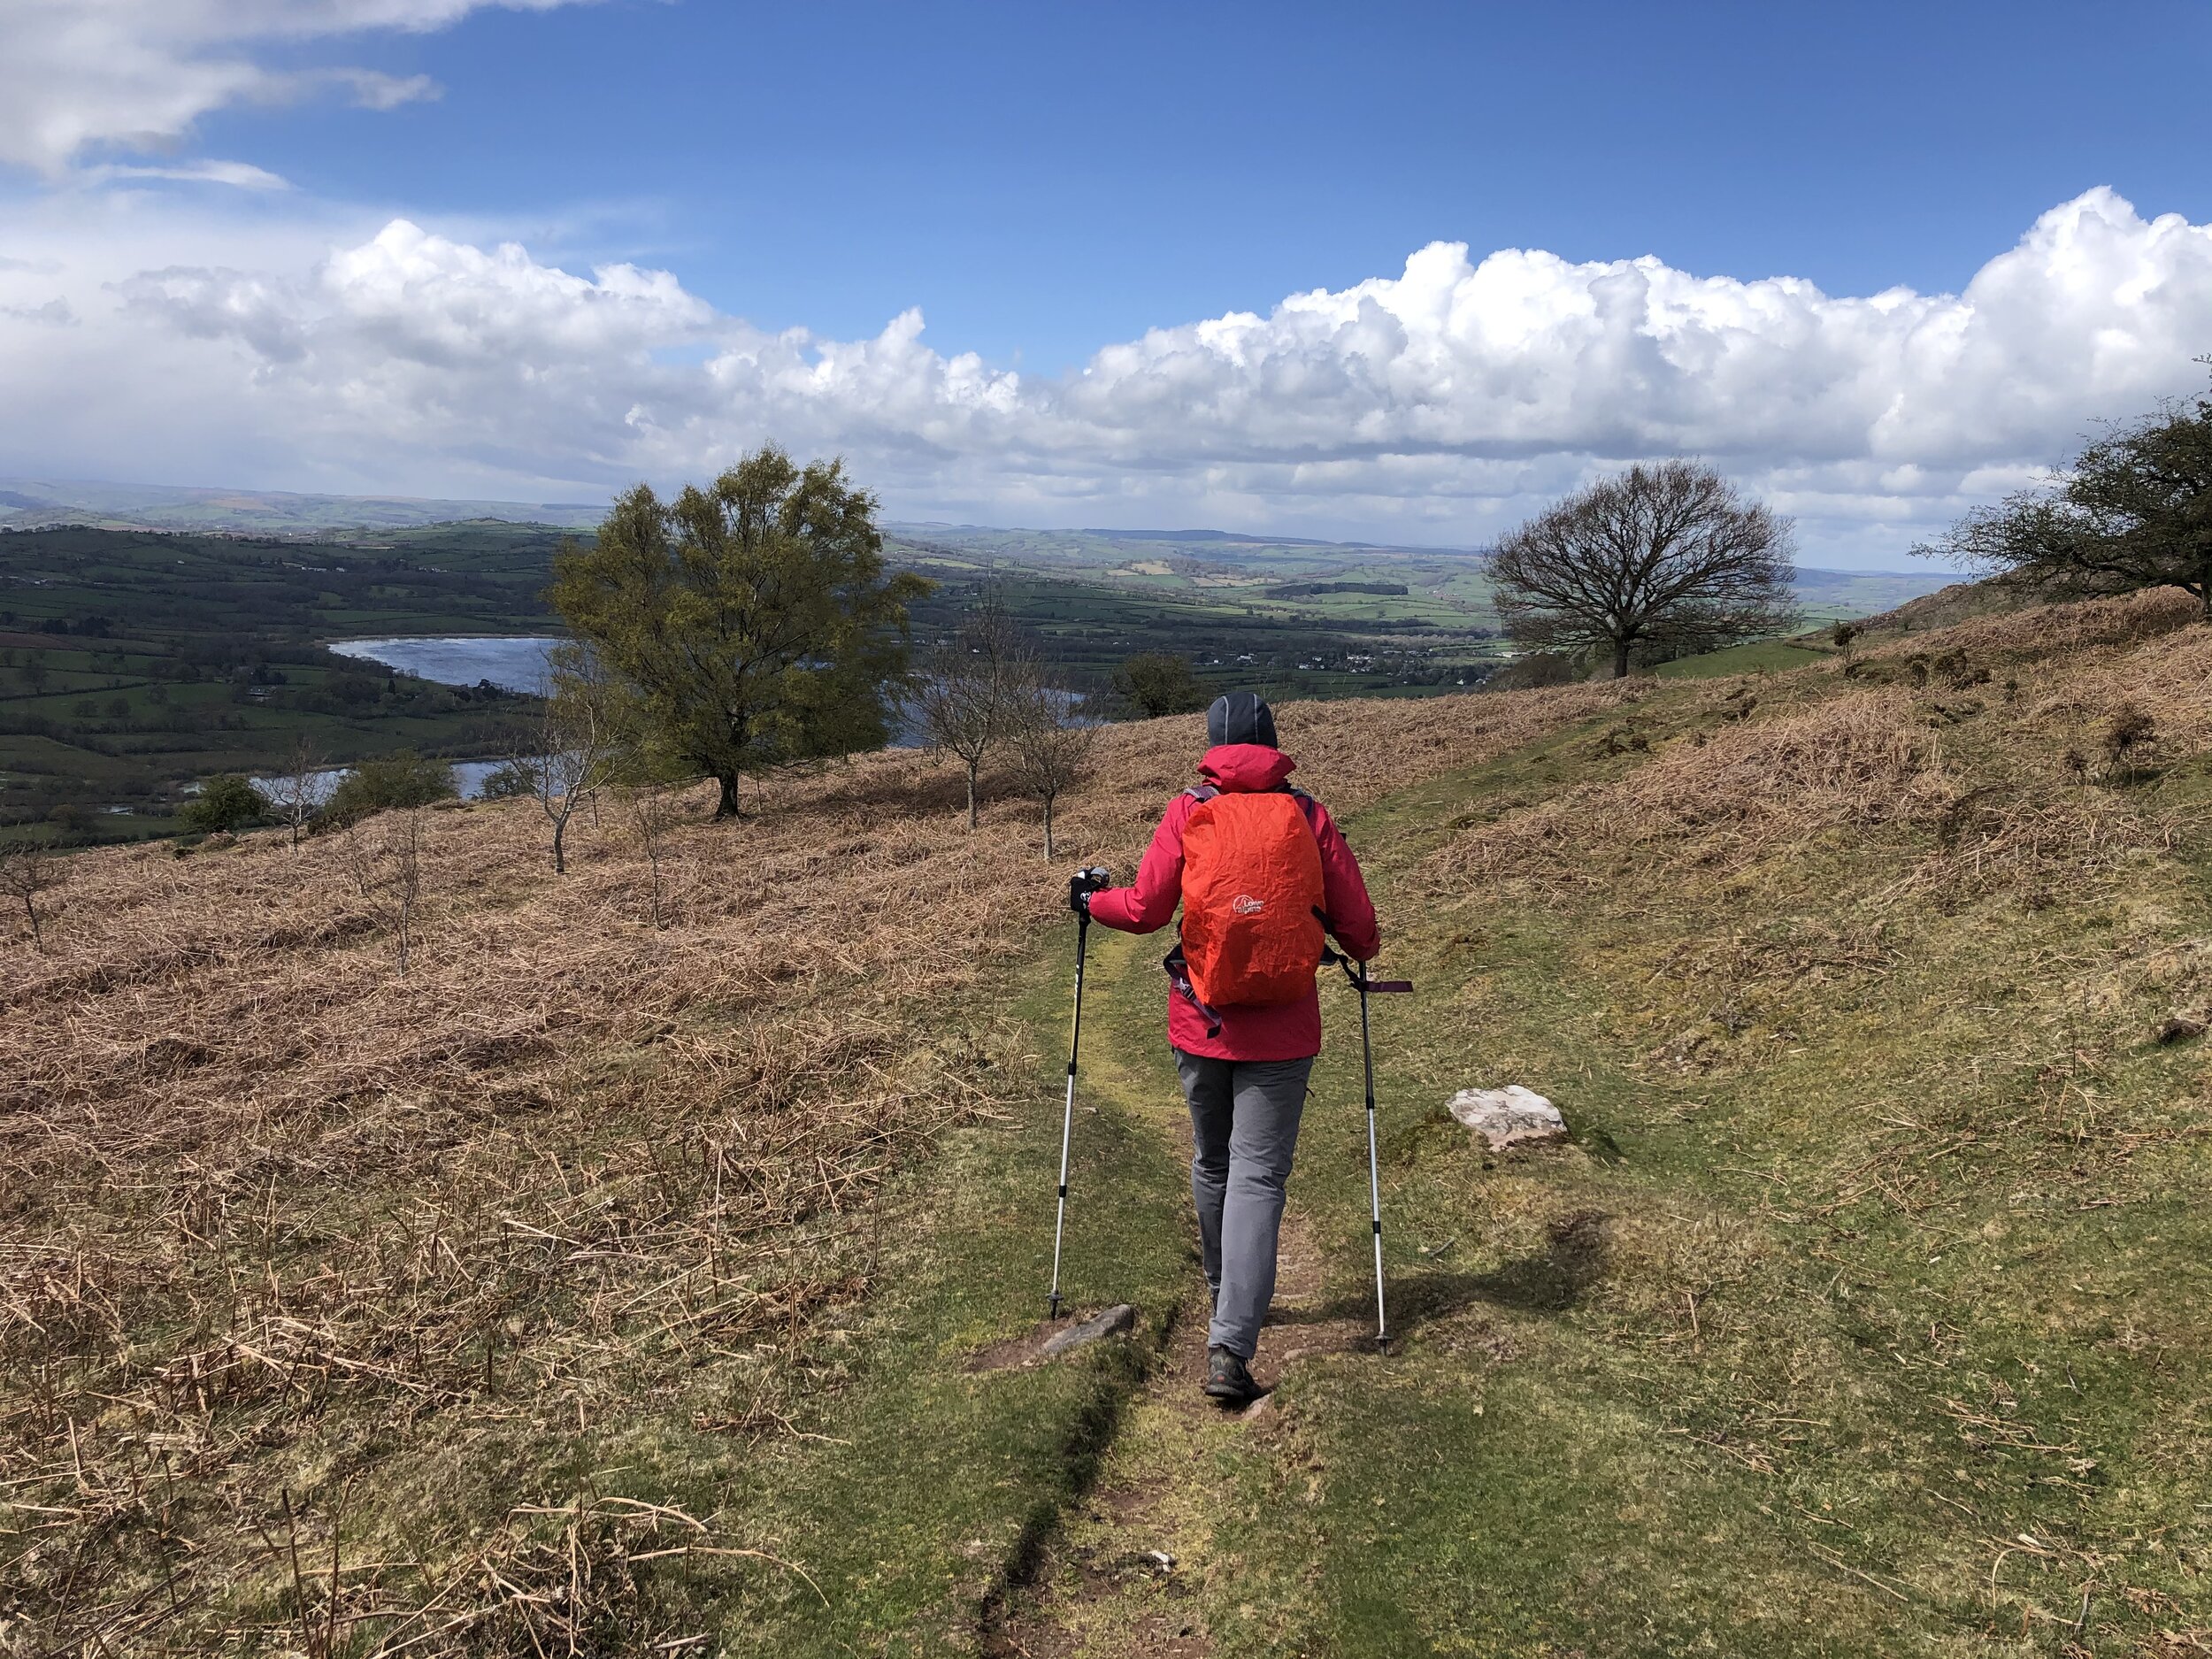
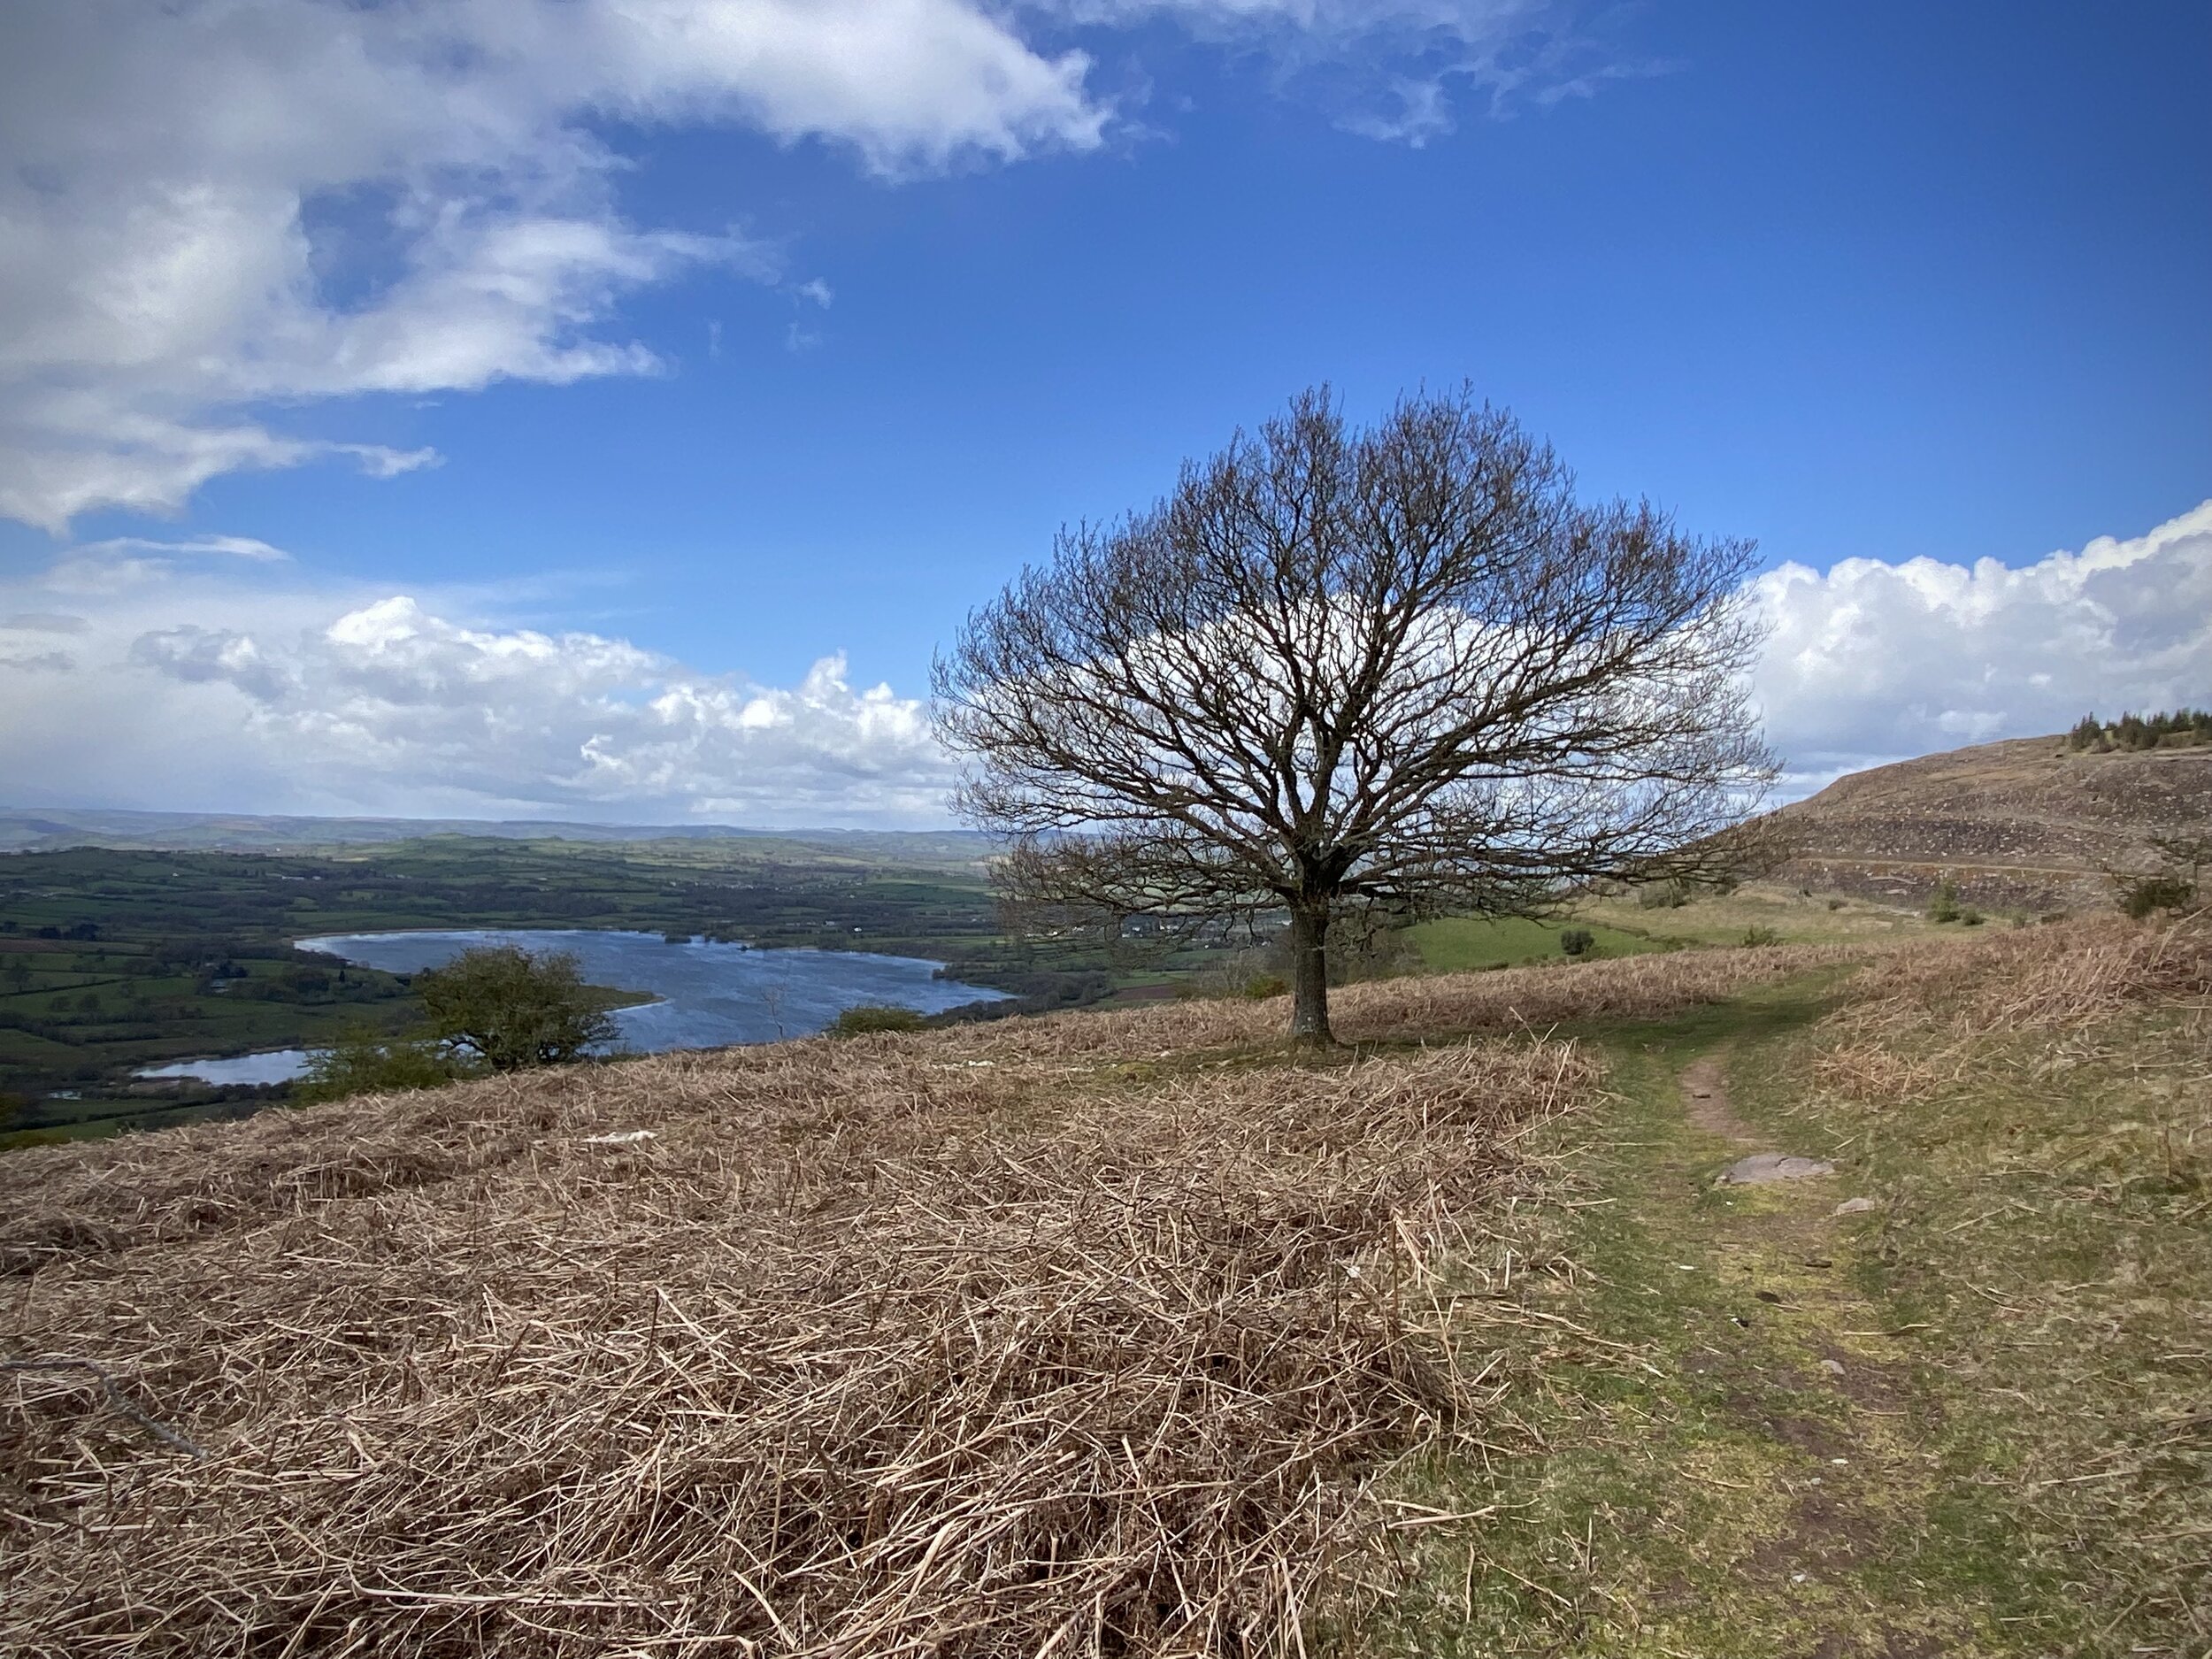
Piper’s Wait is an equally simple bag and worth doing in the same trip as it’s a very short drive from Telegraph Hill. There no need to wait 2.5 years between them like I did. Park at the Piper’s Wait Car Park, cross Forest Road and walk towards the reservoir. The natural high point is roughly half-way between the road and the reservoir. It’s very flat ground though, so use a GPS if you want to get to the exact point. It’s worth climbing up to the top of the reservoir for a better view.