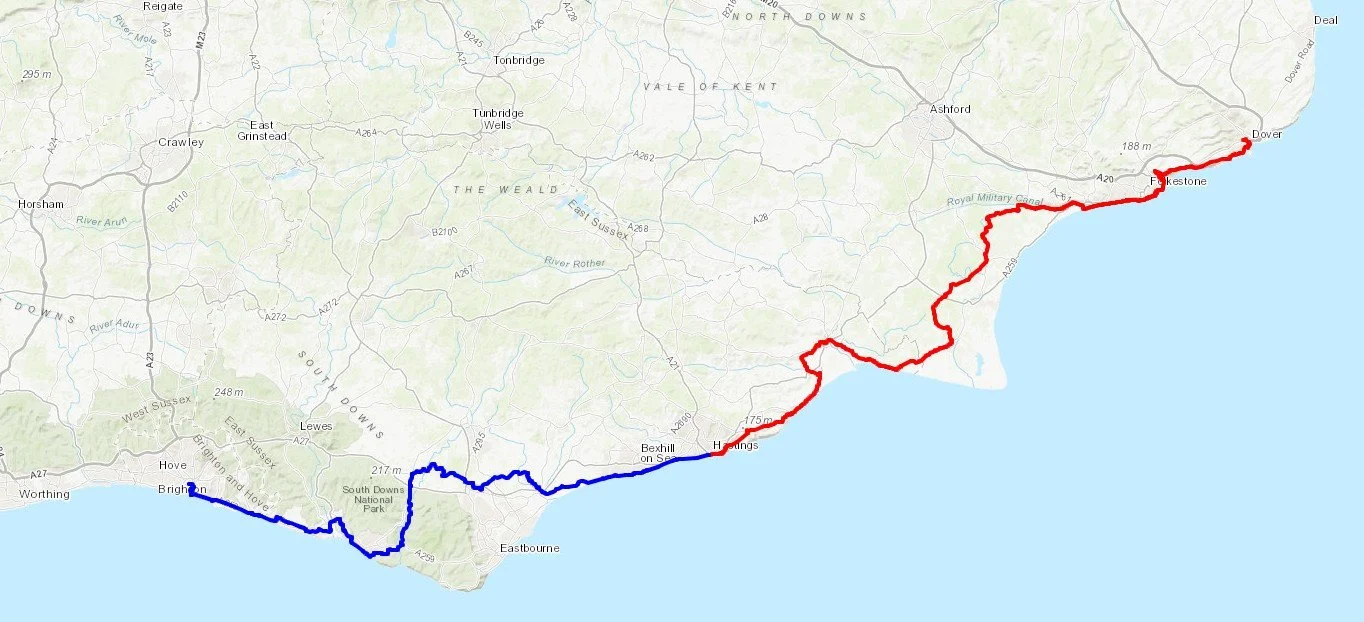
The United Kingdom stretches far beyond the British Isles, encompassing a diverse array of lands with unique political statuses: British Overseas Territories and Crown Dependencies. While both are inextricably linked to the UK, they differ significantly in their governance. The 14 British Overseas Territories, such as Gibraltar and the Falkland Islands, are territories under the sovereignty of the UK but do not form part of the UK itself; they often rely on the UK for defense and foreign affairs but manage their own internal matters. Conversely, the three Crown Dependencies, the Isle of Man, the Bailiwick of Jersey, and the Bailiwick of Guernsey, are self-governing possessions of the British Crown, distinct from the UK and the British Overseas Territories, with their own legislative assemblies and legal systems. Both, however, share a surprising and delightful export: parkrun. In this post, we'll journey beyond the mainland to explore the unique, beautiful, and sometimes challenging parkruns hosted in these fascinating far-flung corners of the British Crown.
There are currently 3 parkrun events in Crown Dependencies: Nobles on the Isle of Man, and one each on Guernsey and Jersey.
There are currently 3 publicly accessible parkrun events in the British Overseas Territories: Cape Pembroke Lighthouse, Falkland islands; Gibraltar Botanical Gardens and Plantation Forest, St Helena.
A fourth British Overseas Territory event, Festival Green parkrun will start in the Cayman Islands in August 2026.
There are also 4 parkrun events on secure facilities which I have not listed in the blog post below. These are Mount Pleasant parkrun on the Falkland Islands and 3 secure events on the Akrotiri Sovereign Base Area on Cyprus.
Note that parkrun’s definition of regions can differ from the official government definitions. parkrun has a Falkland Islands region which is separate to their British Overseas Territories Region. Guernsey and Jersey are part of parkrun’s Channel Islands region which is separate to the Crown Dependencies region which includes Nobles. Nobles was originally part of the North West England parkrun region when it started.

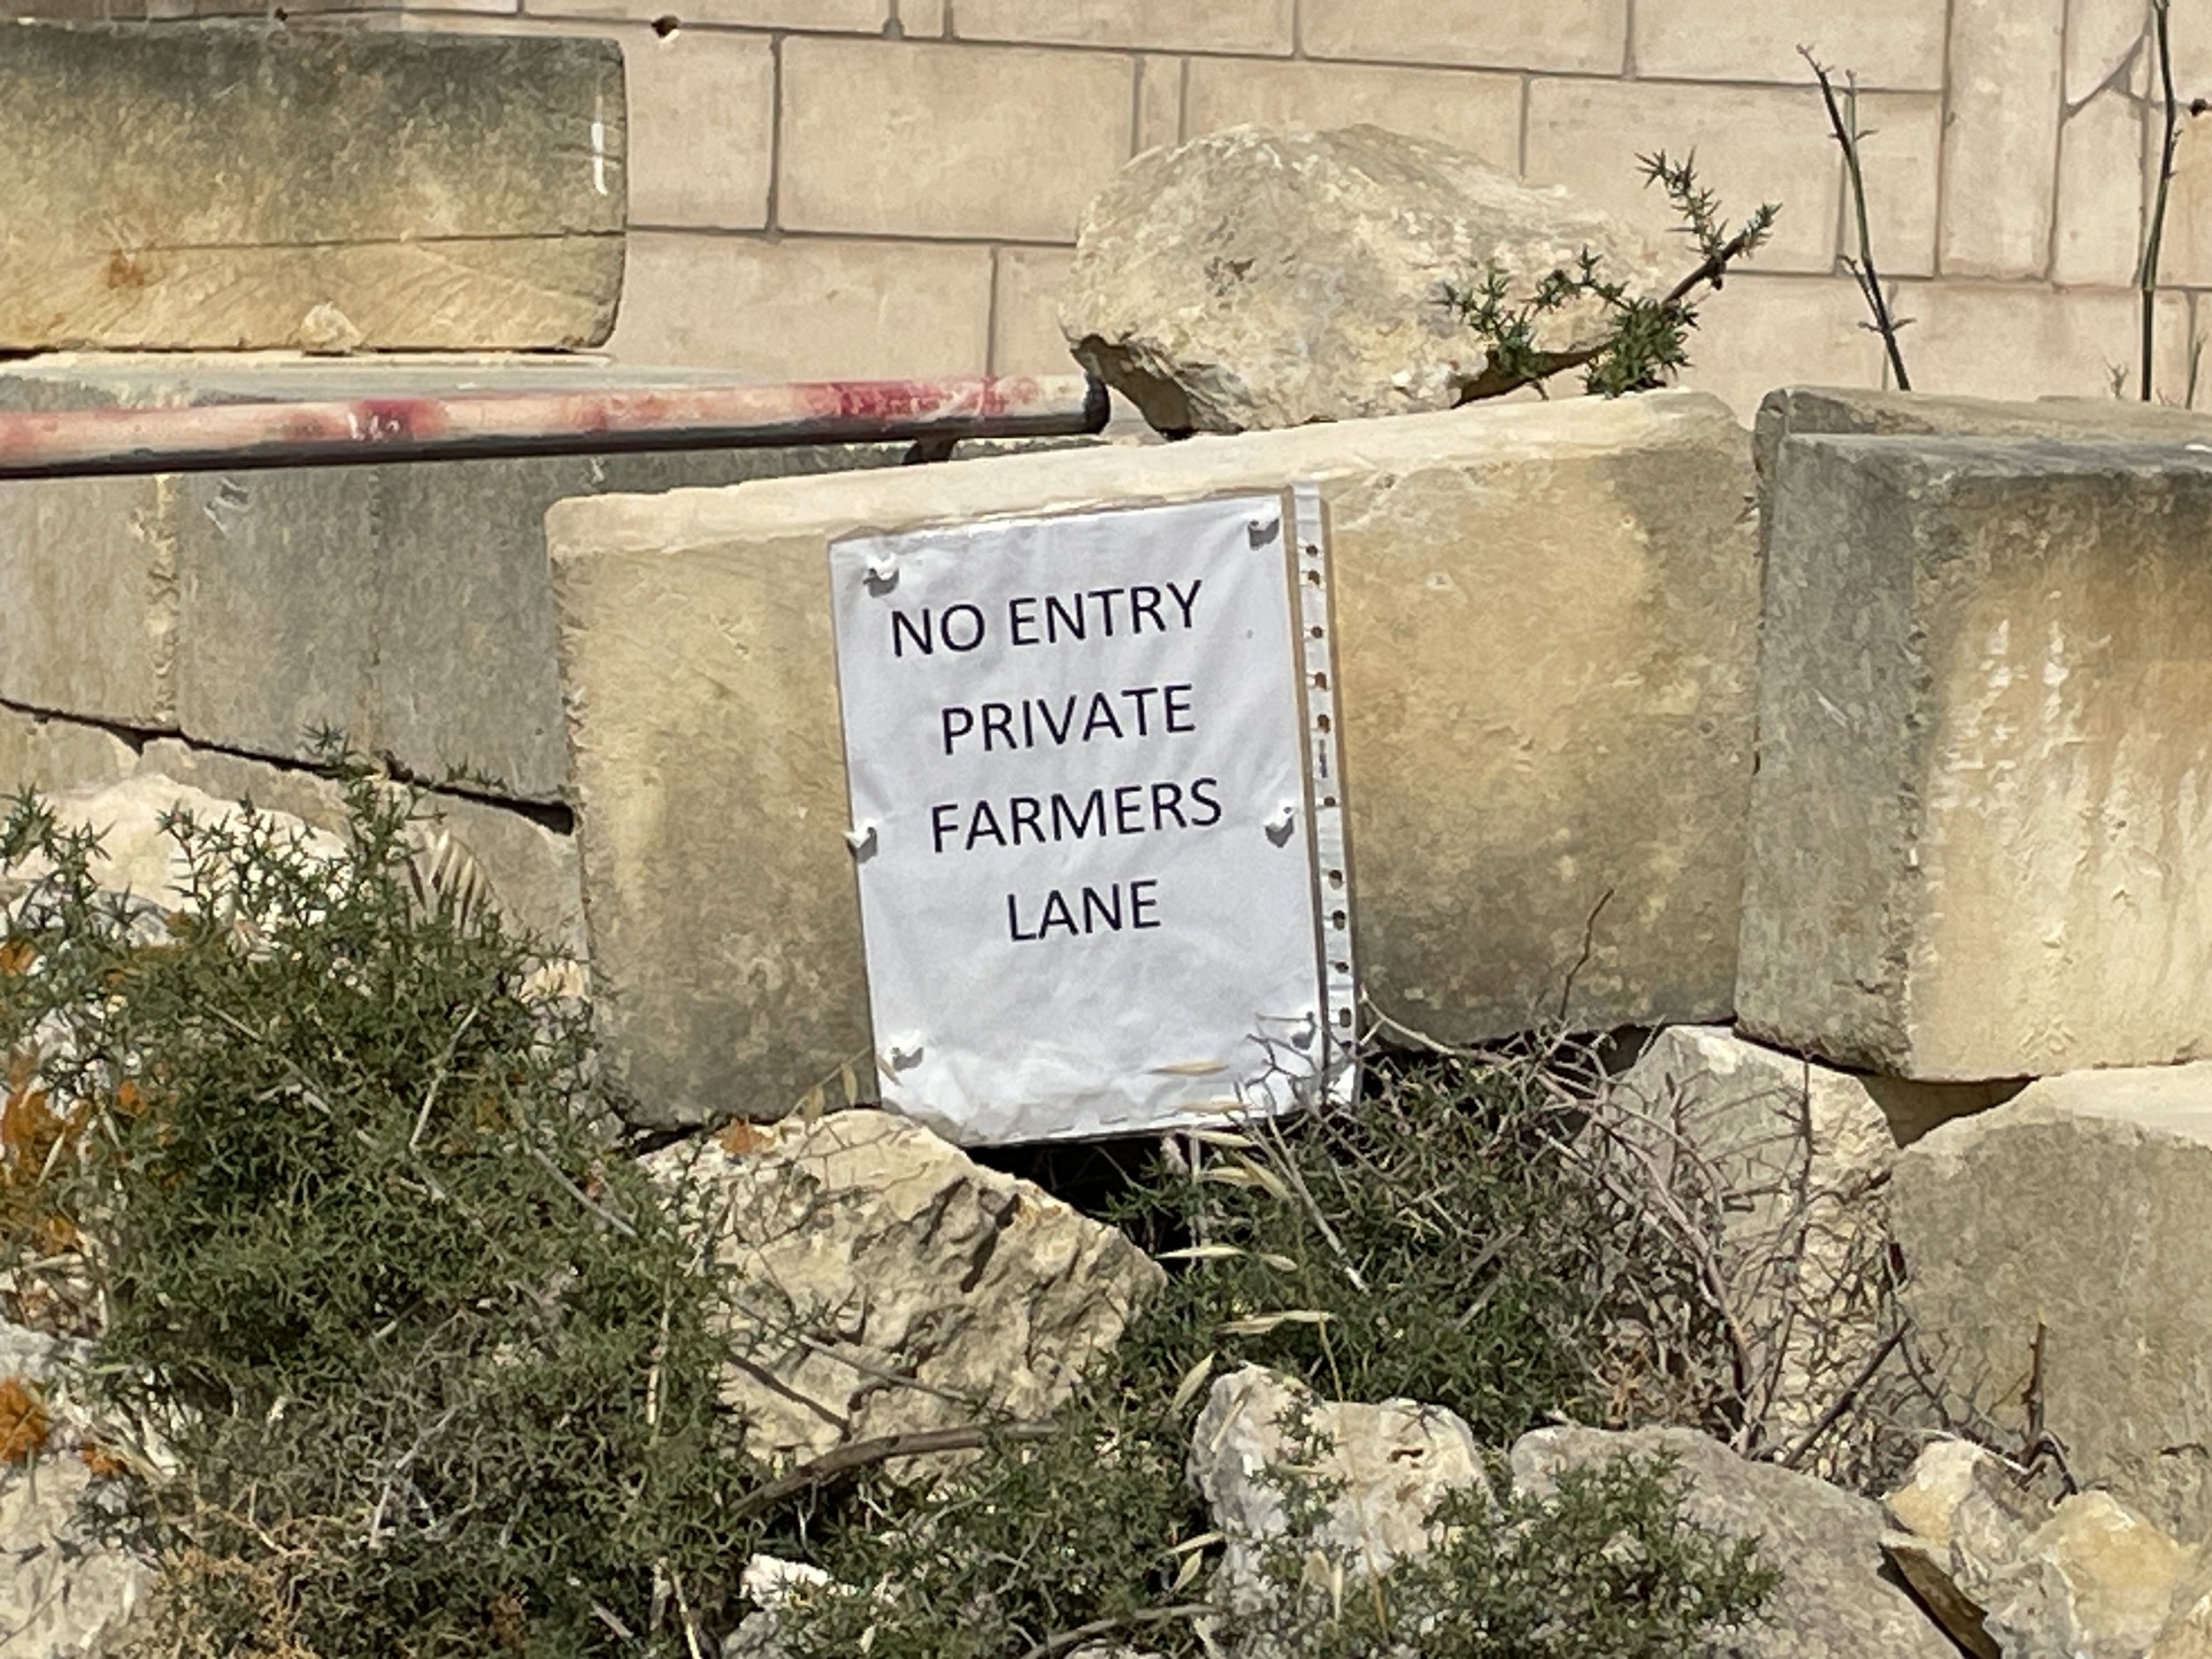
All of the British Overseas Territories and Crown Dependencies parkrun events …
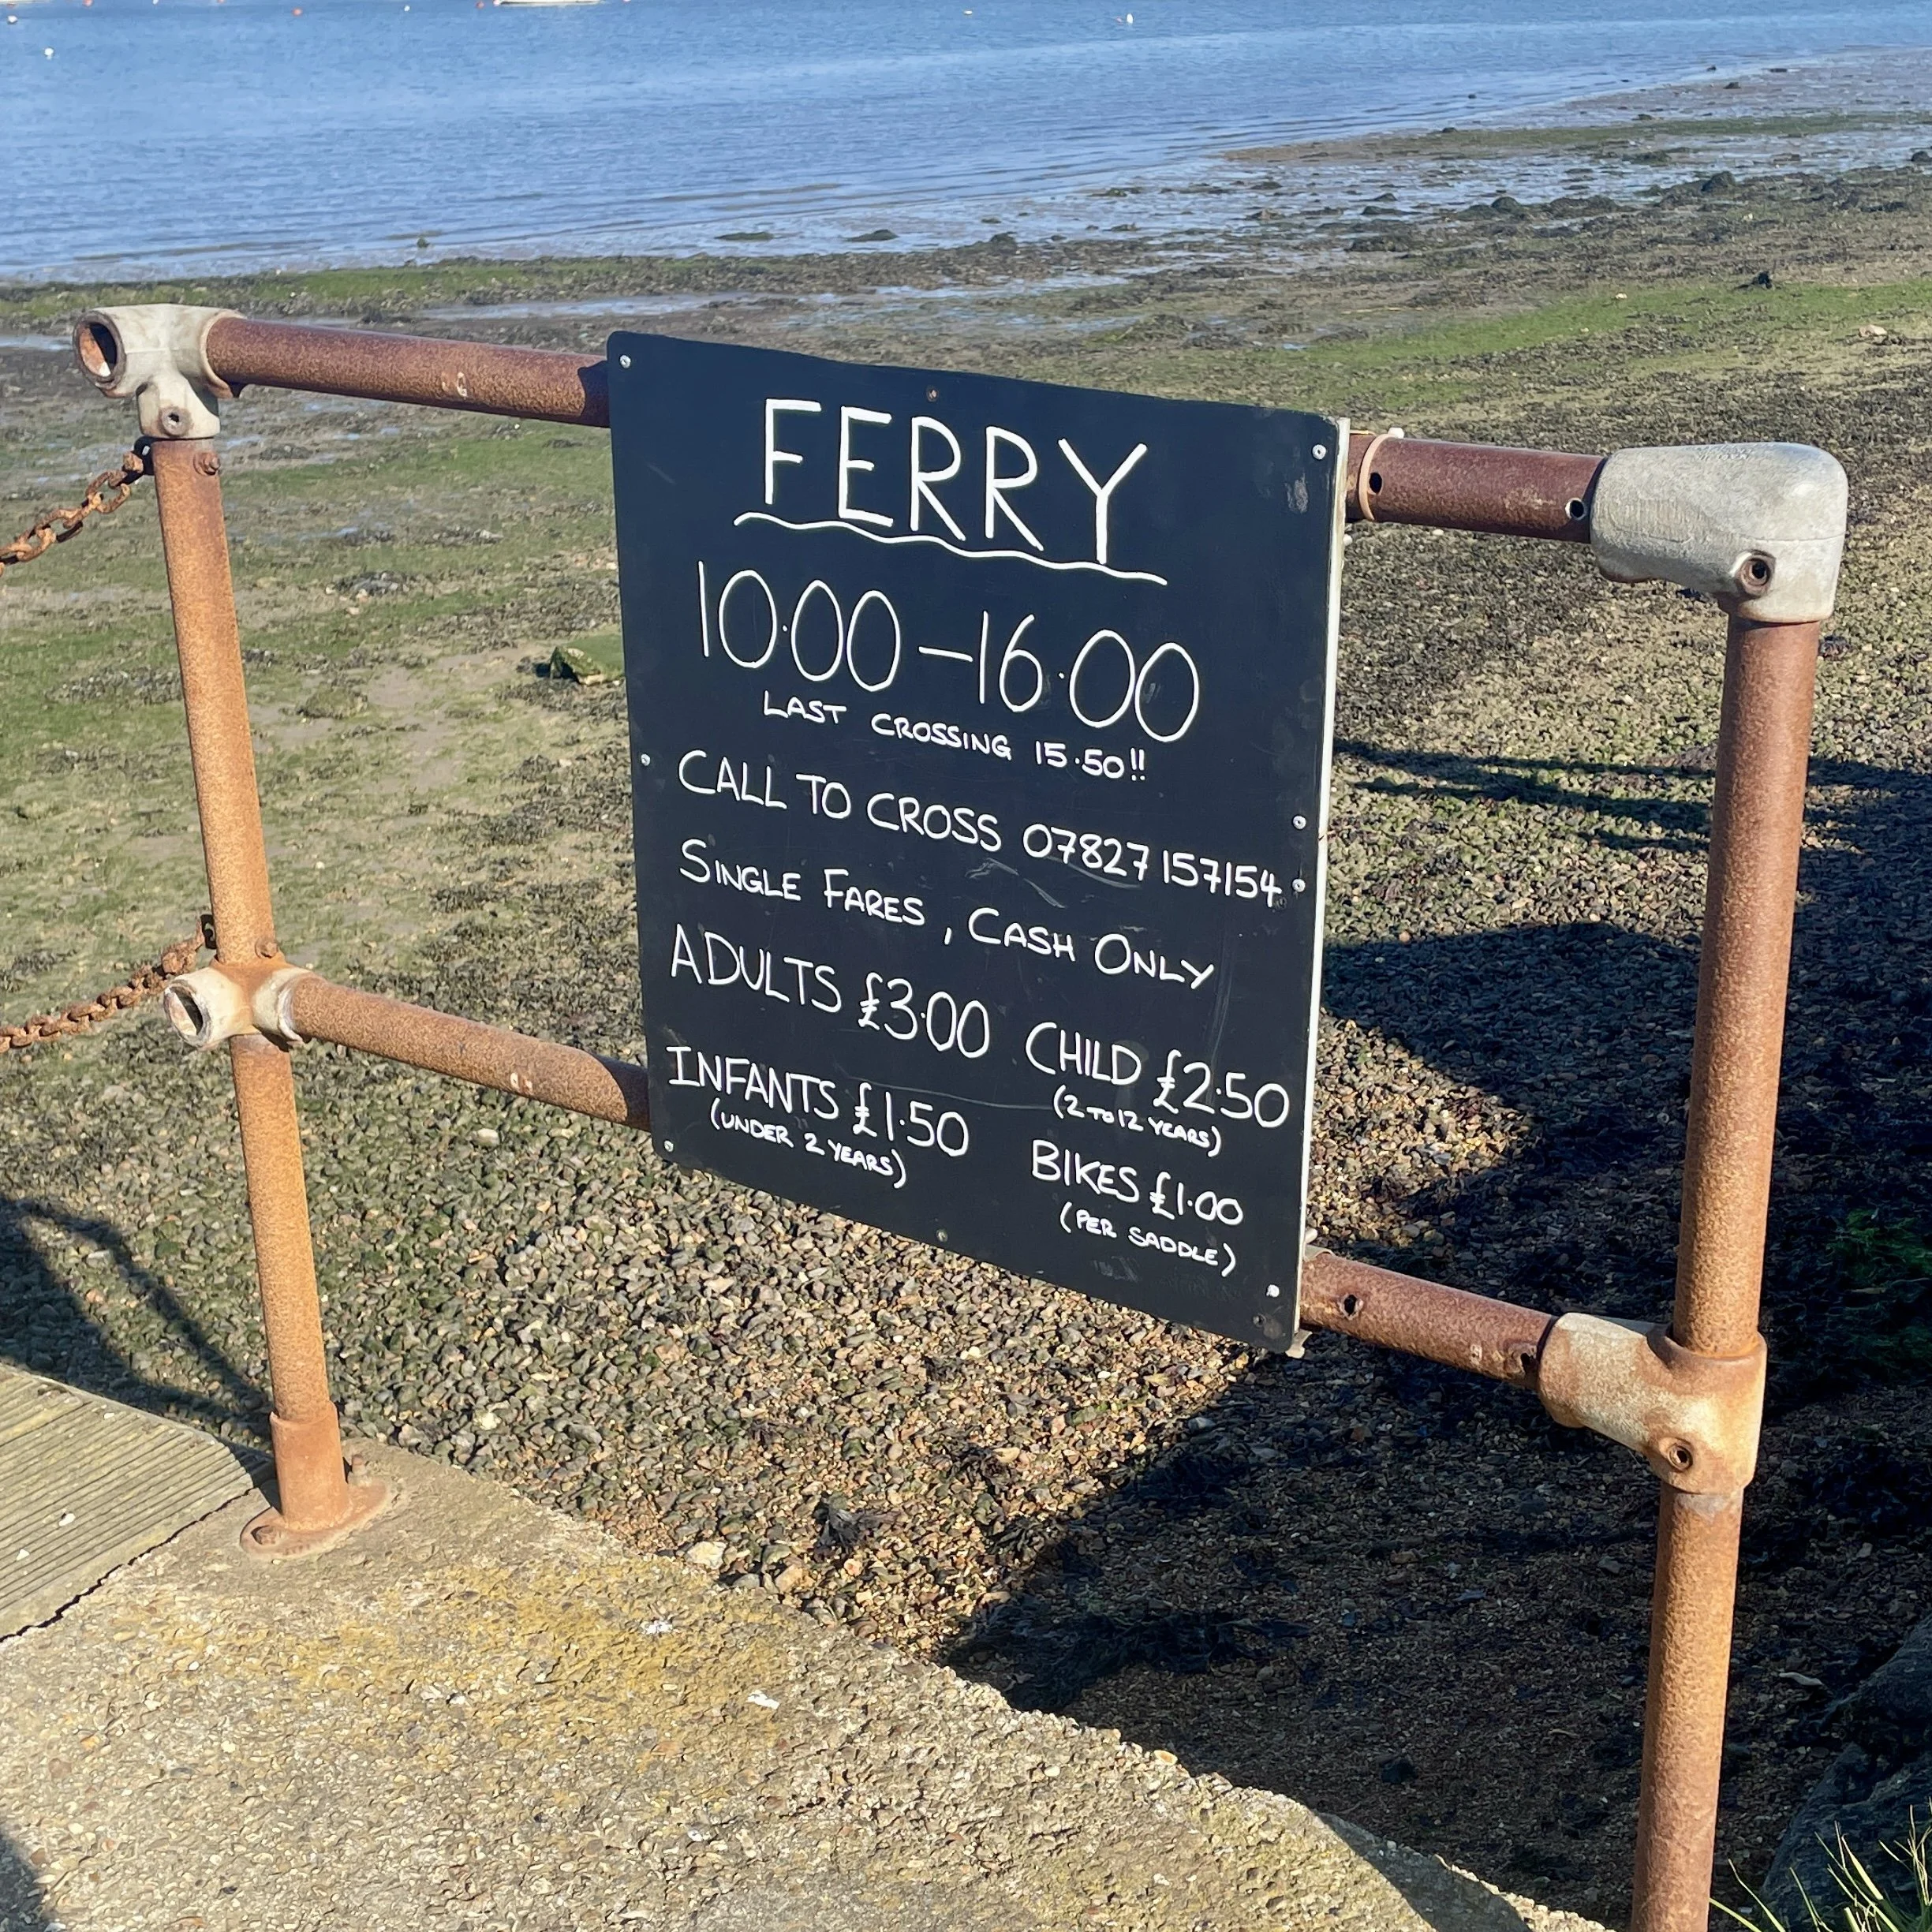
Below are each of the British Overseas Territories and Crown Dependencies 5k parkrun events in alphabetical order. A few things to note:
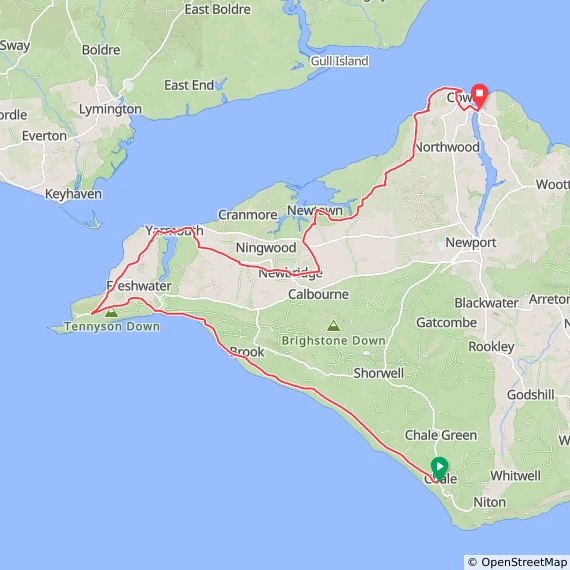
The interactive maps below take you to the approximate location for the course, typically the centre of the park. See the course instructions in the parkrun page for each event for specific directions to the start.
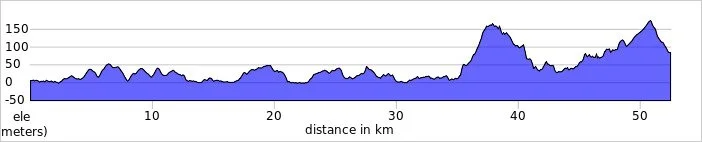
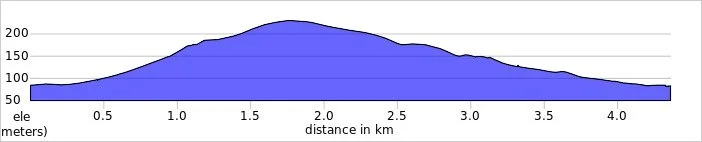
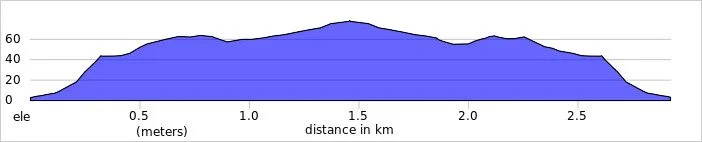
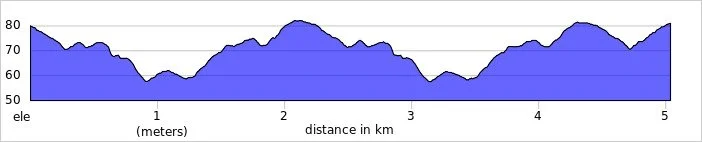
Course maps and elevation profiles show the route at the time that I ran it and may have changed since then. See the Course page in the event’s page on parkrun.org.uk for the current course outline. Note that course outlines are from Garmin data during a specific run and may vary from the officially measured distance.
Please contact me if you spot an event that doesn’t have a course map and elevation profile and you would like to donate one from your own run. I’m also interested in maps and elevation profiles for courses that have changed or where there’s a regular alternative route. I’ll need a GPX file from your run plus the date. I’ll include a credit for you and will donate £1 to parkrun.
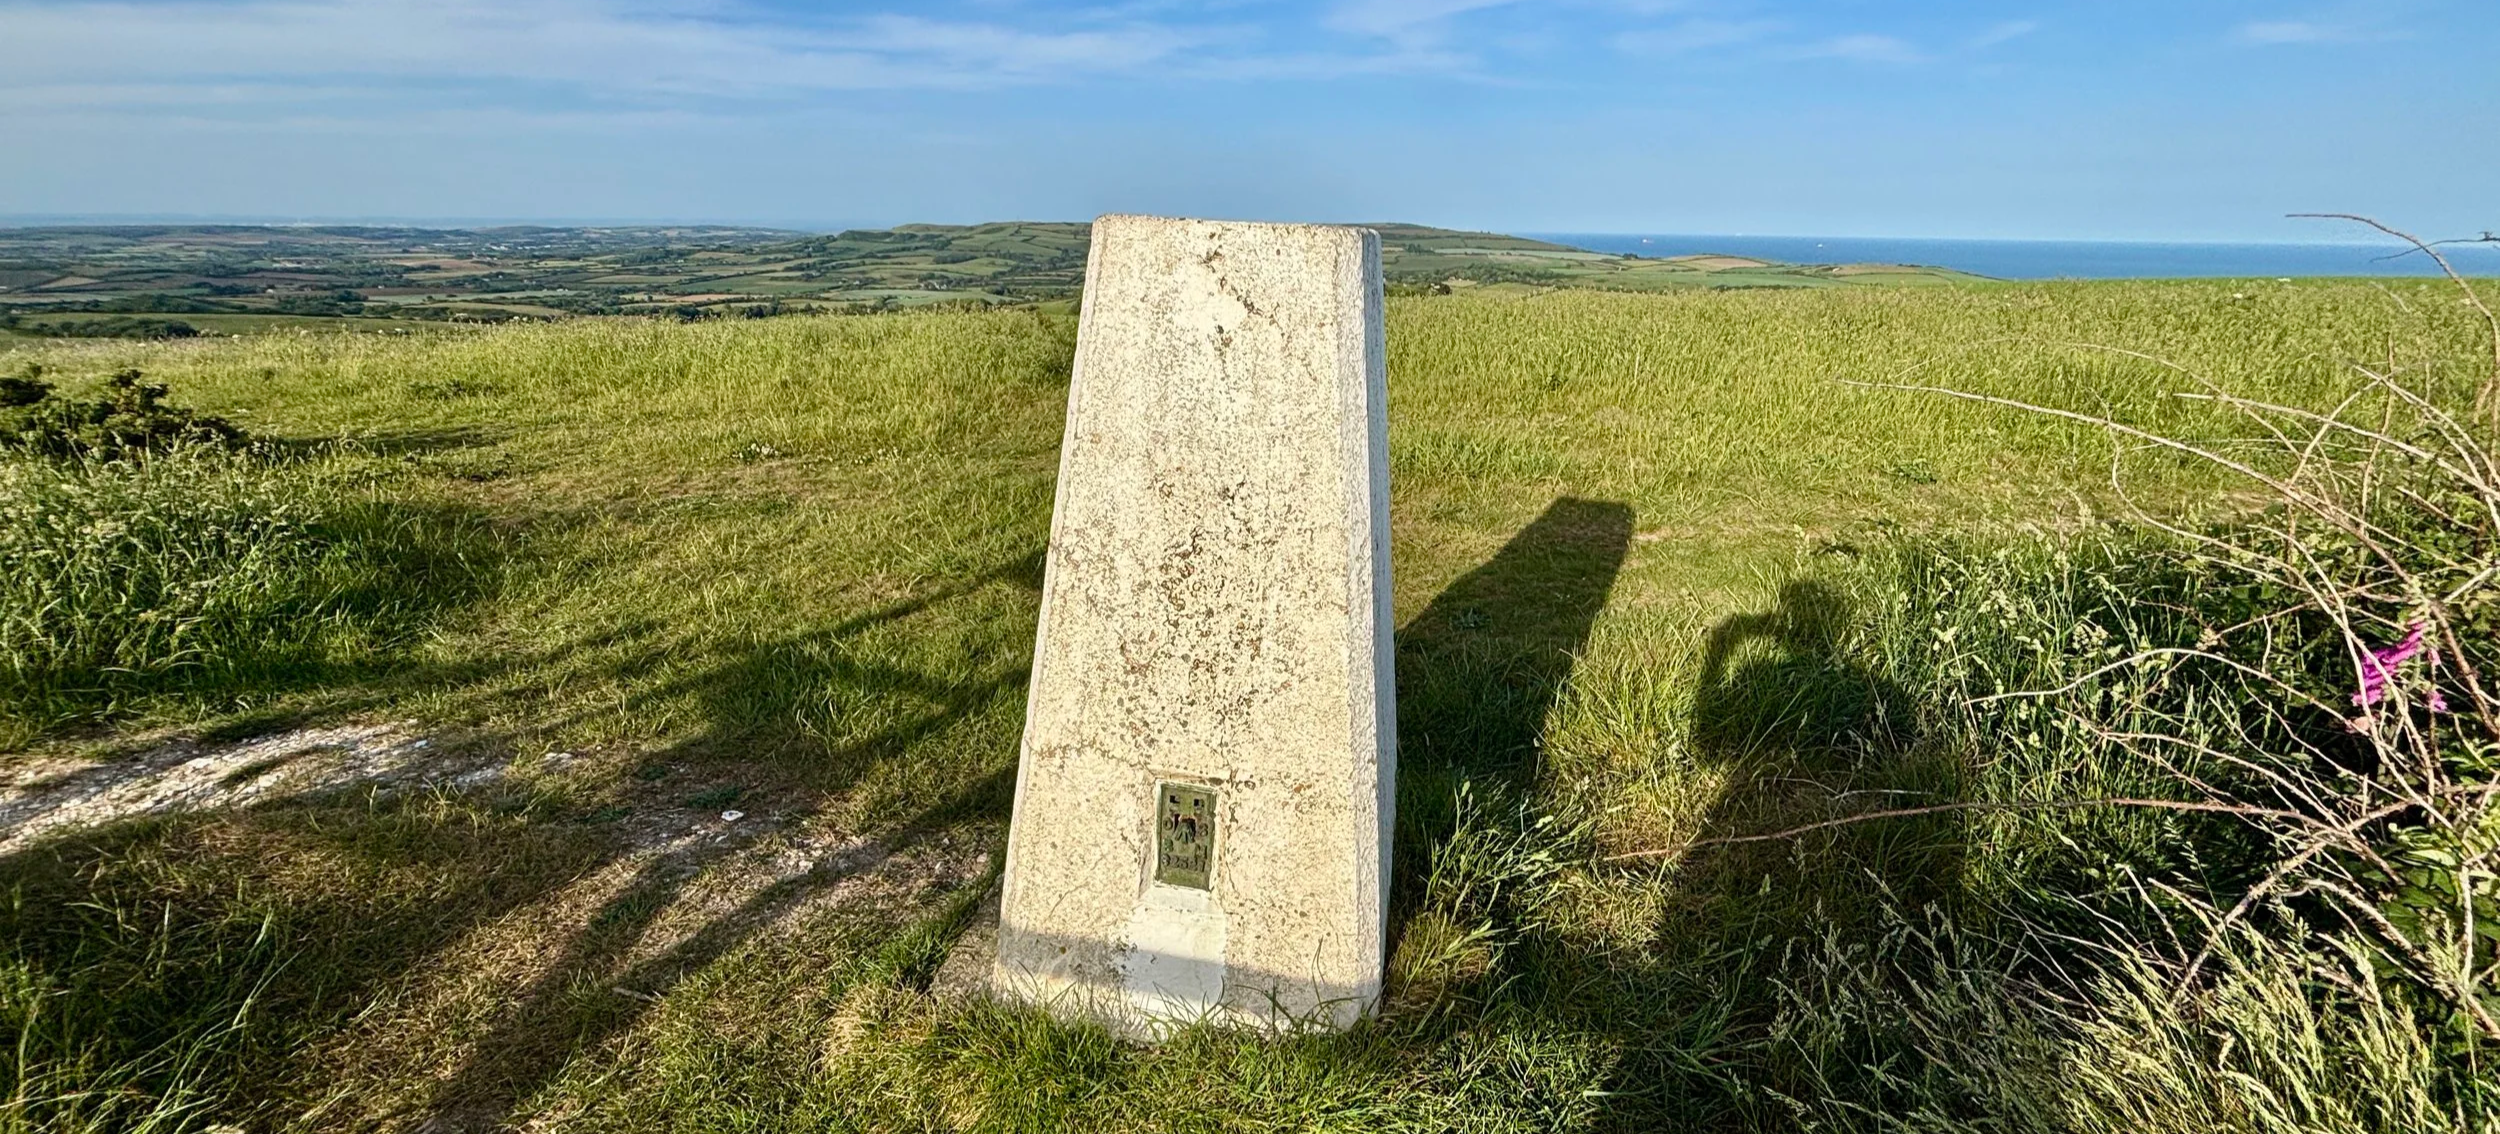
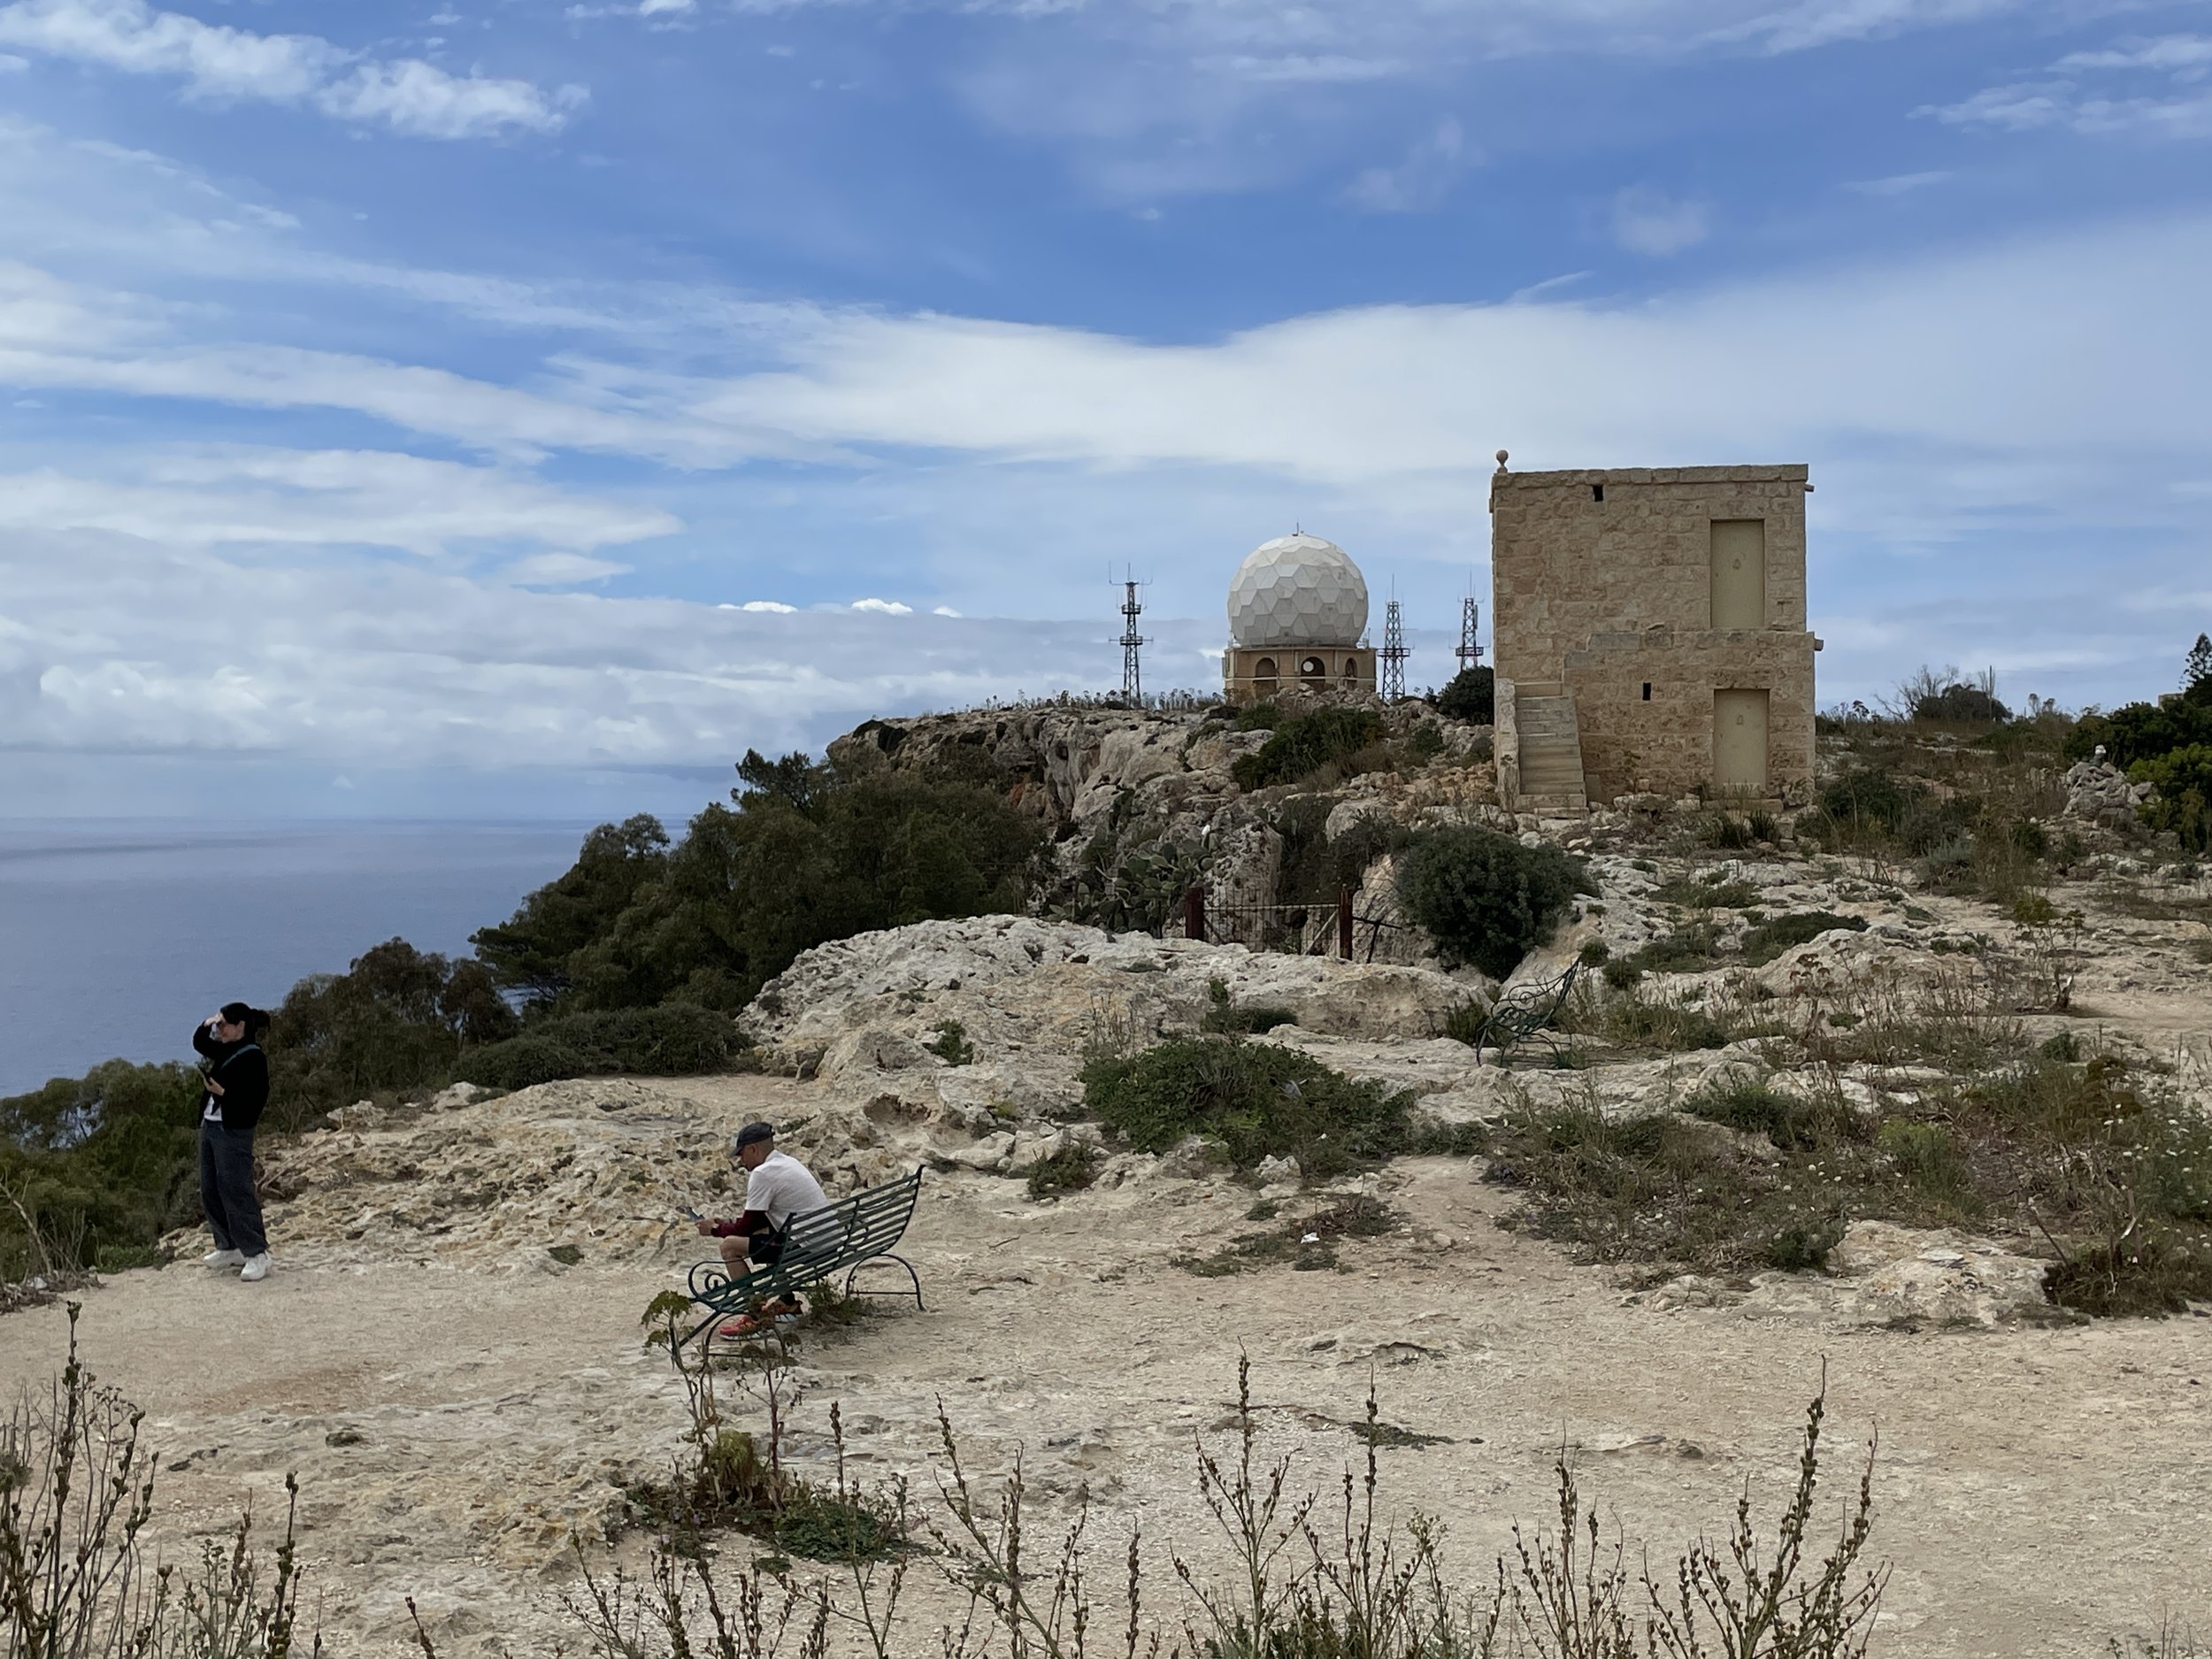
Cape Pembroke Lighthouse
I have not yet completed this event
Territory: Falkland Islands
Government Categorisation: British Overseas Territory
parkrun Region: Falkland islands
Inaugural: October 26th 2019
Links: Event Home Page, Course Page
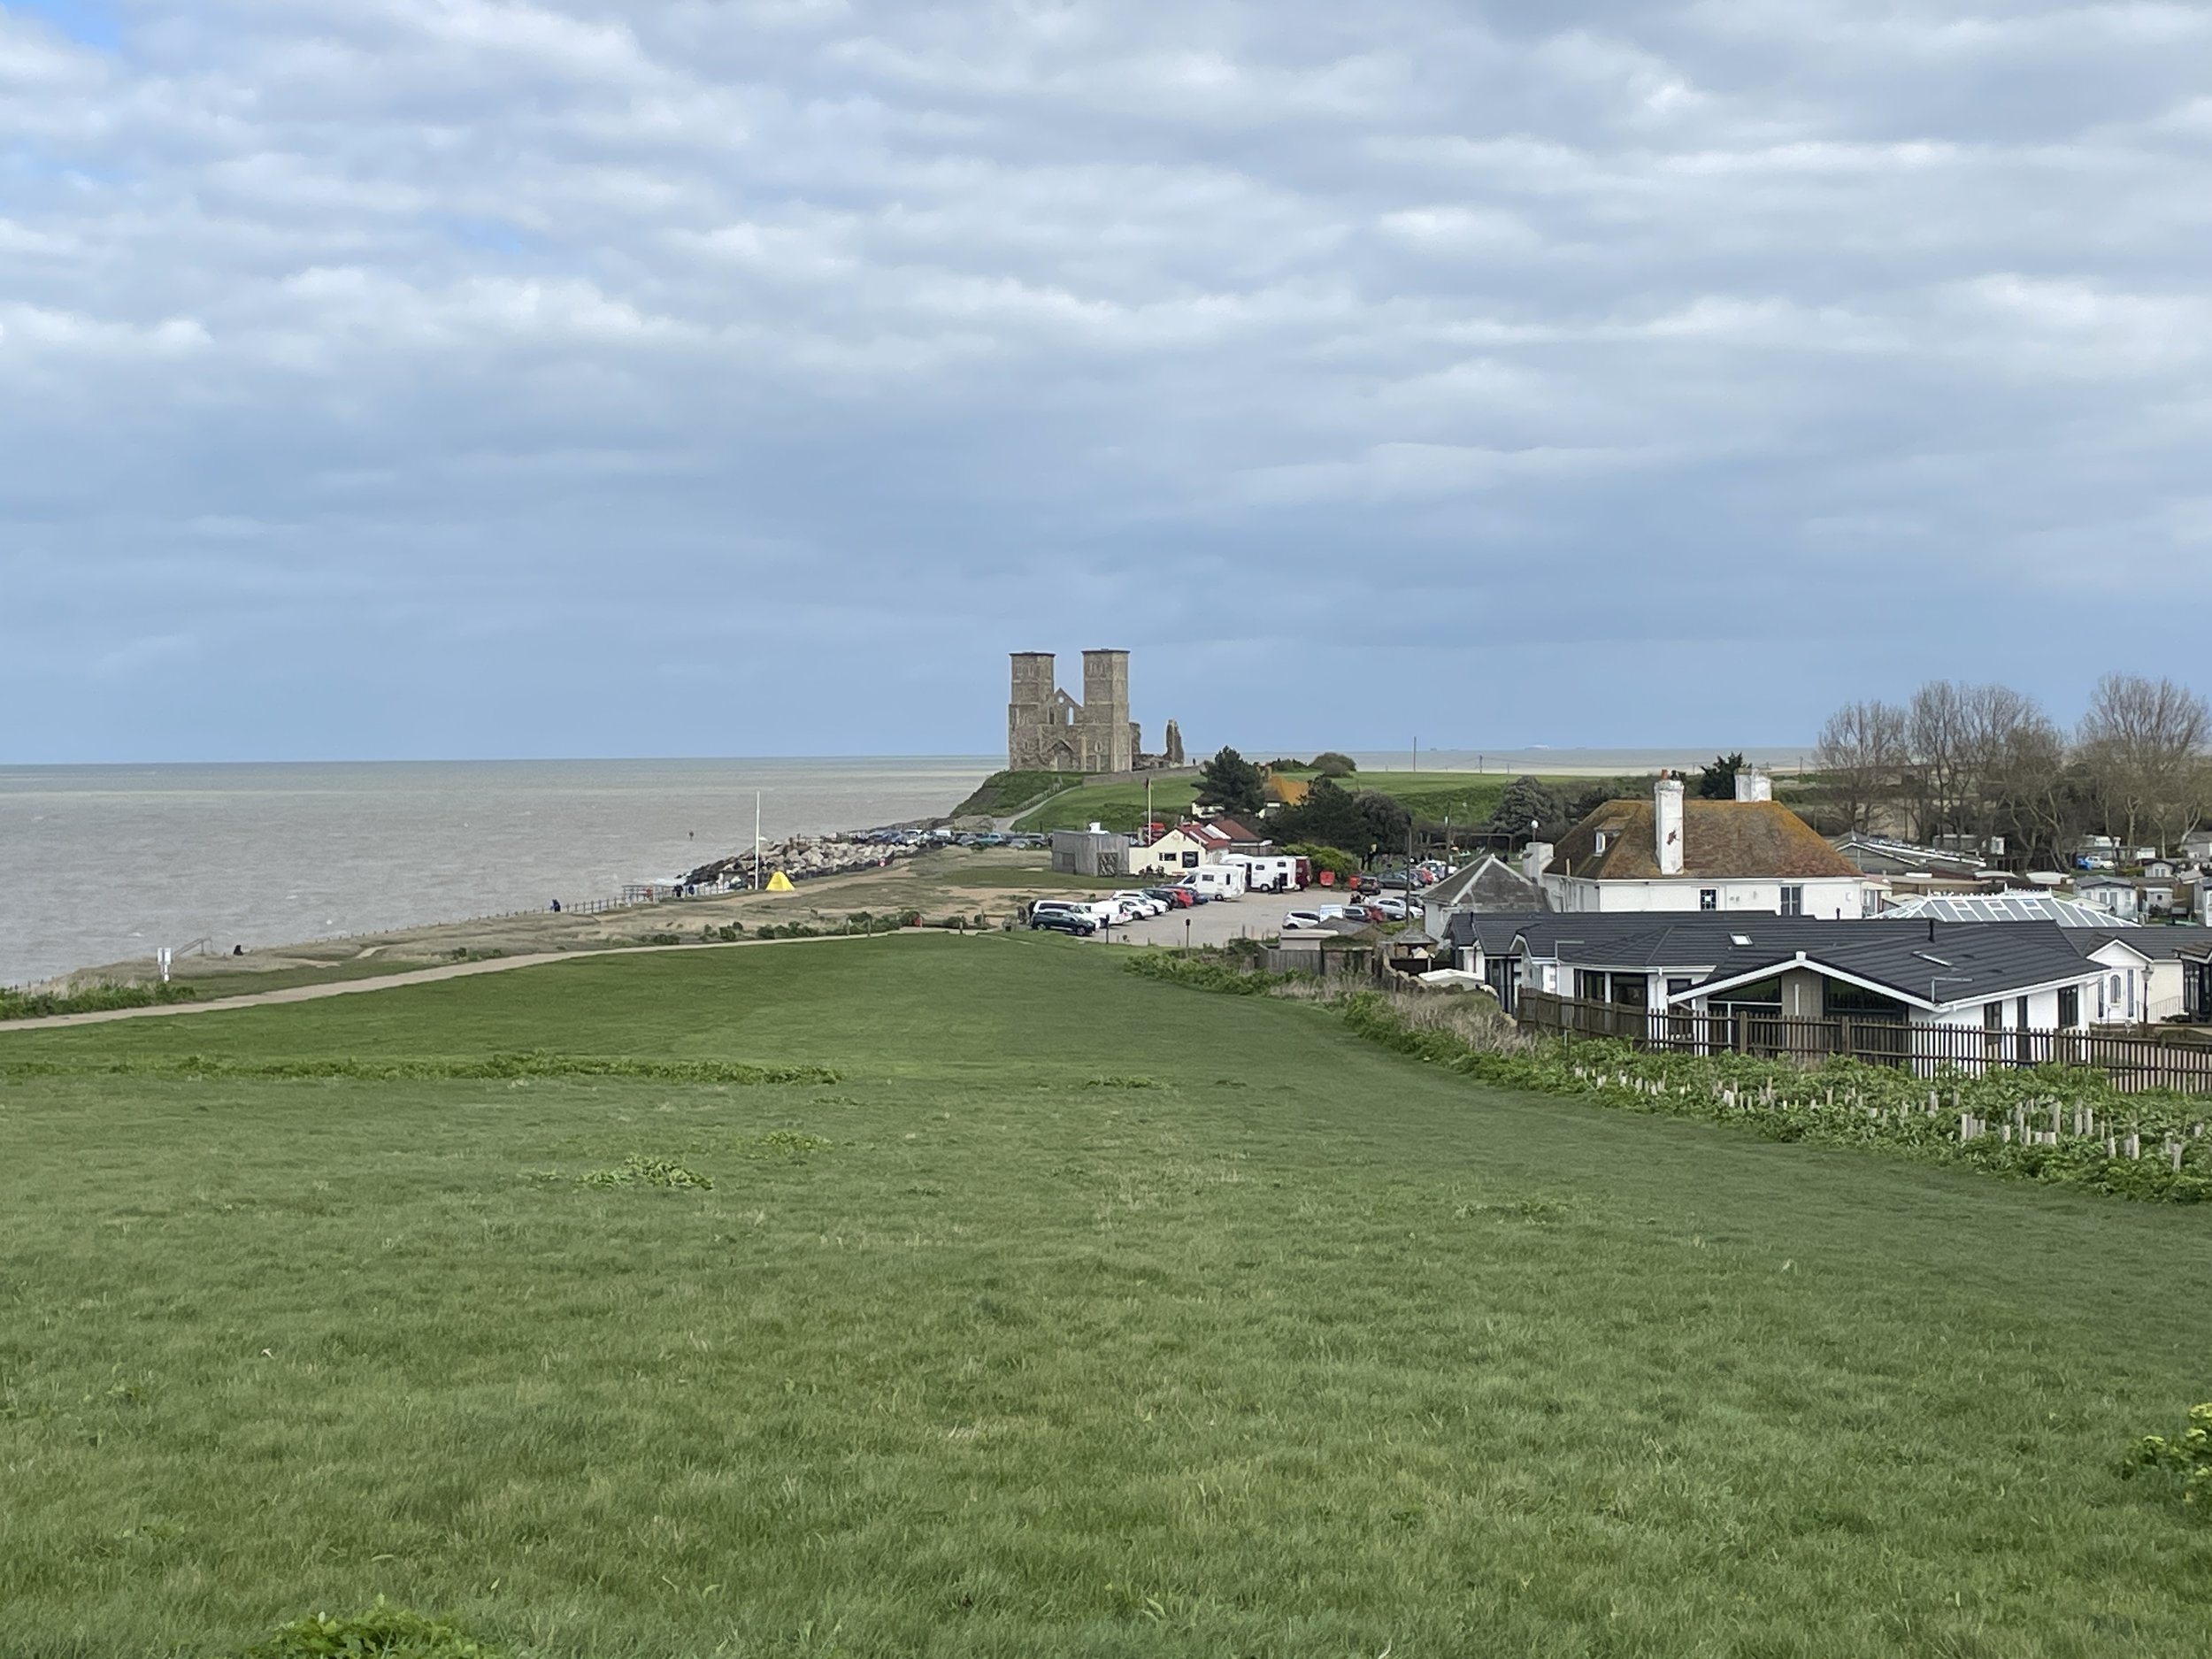
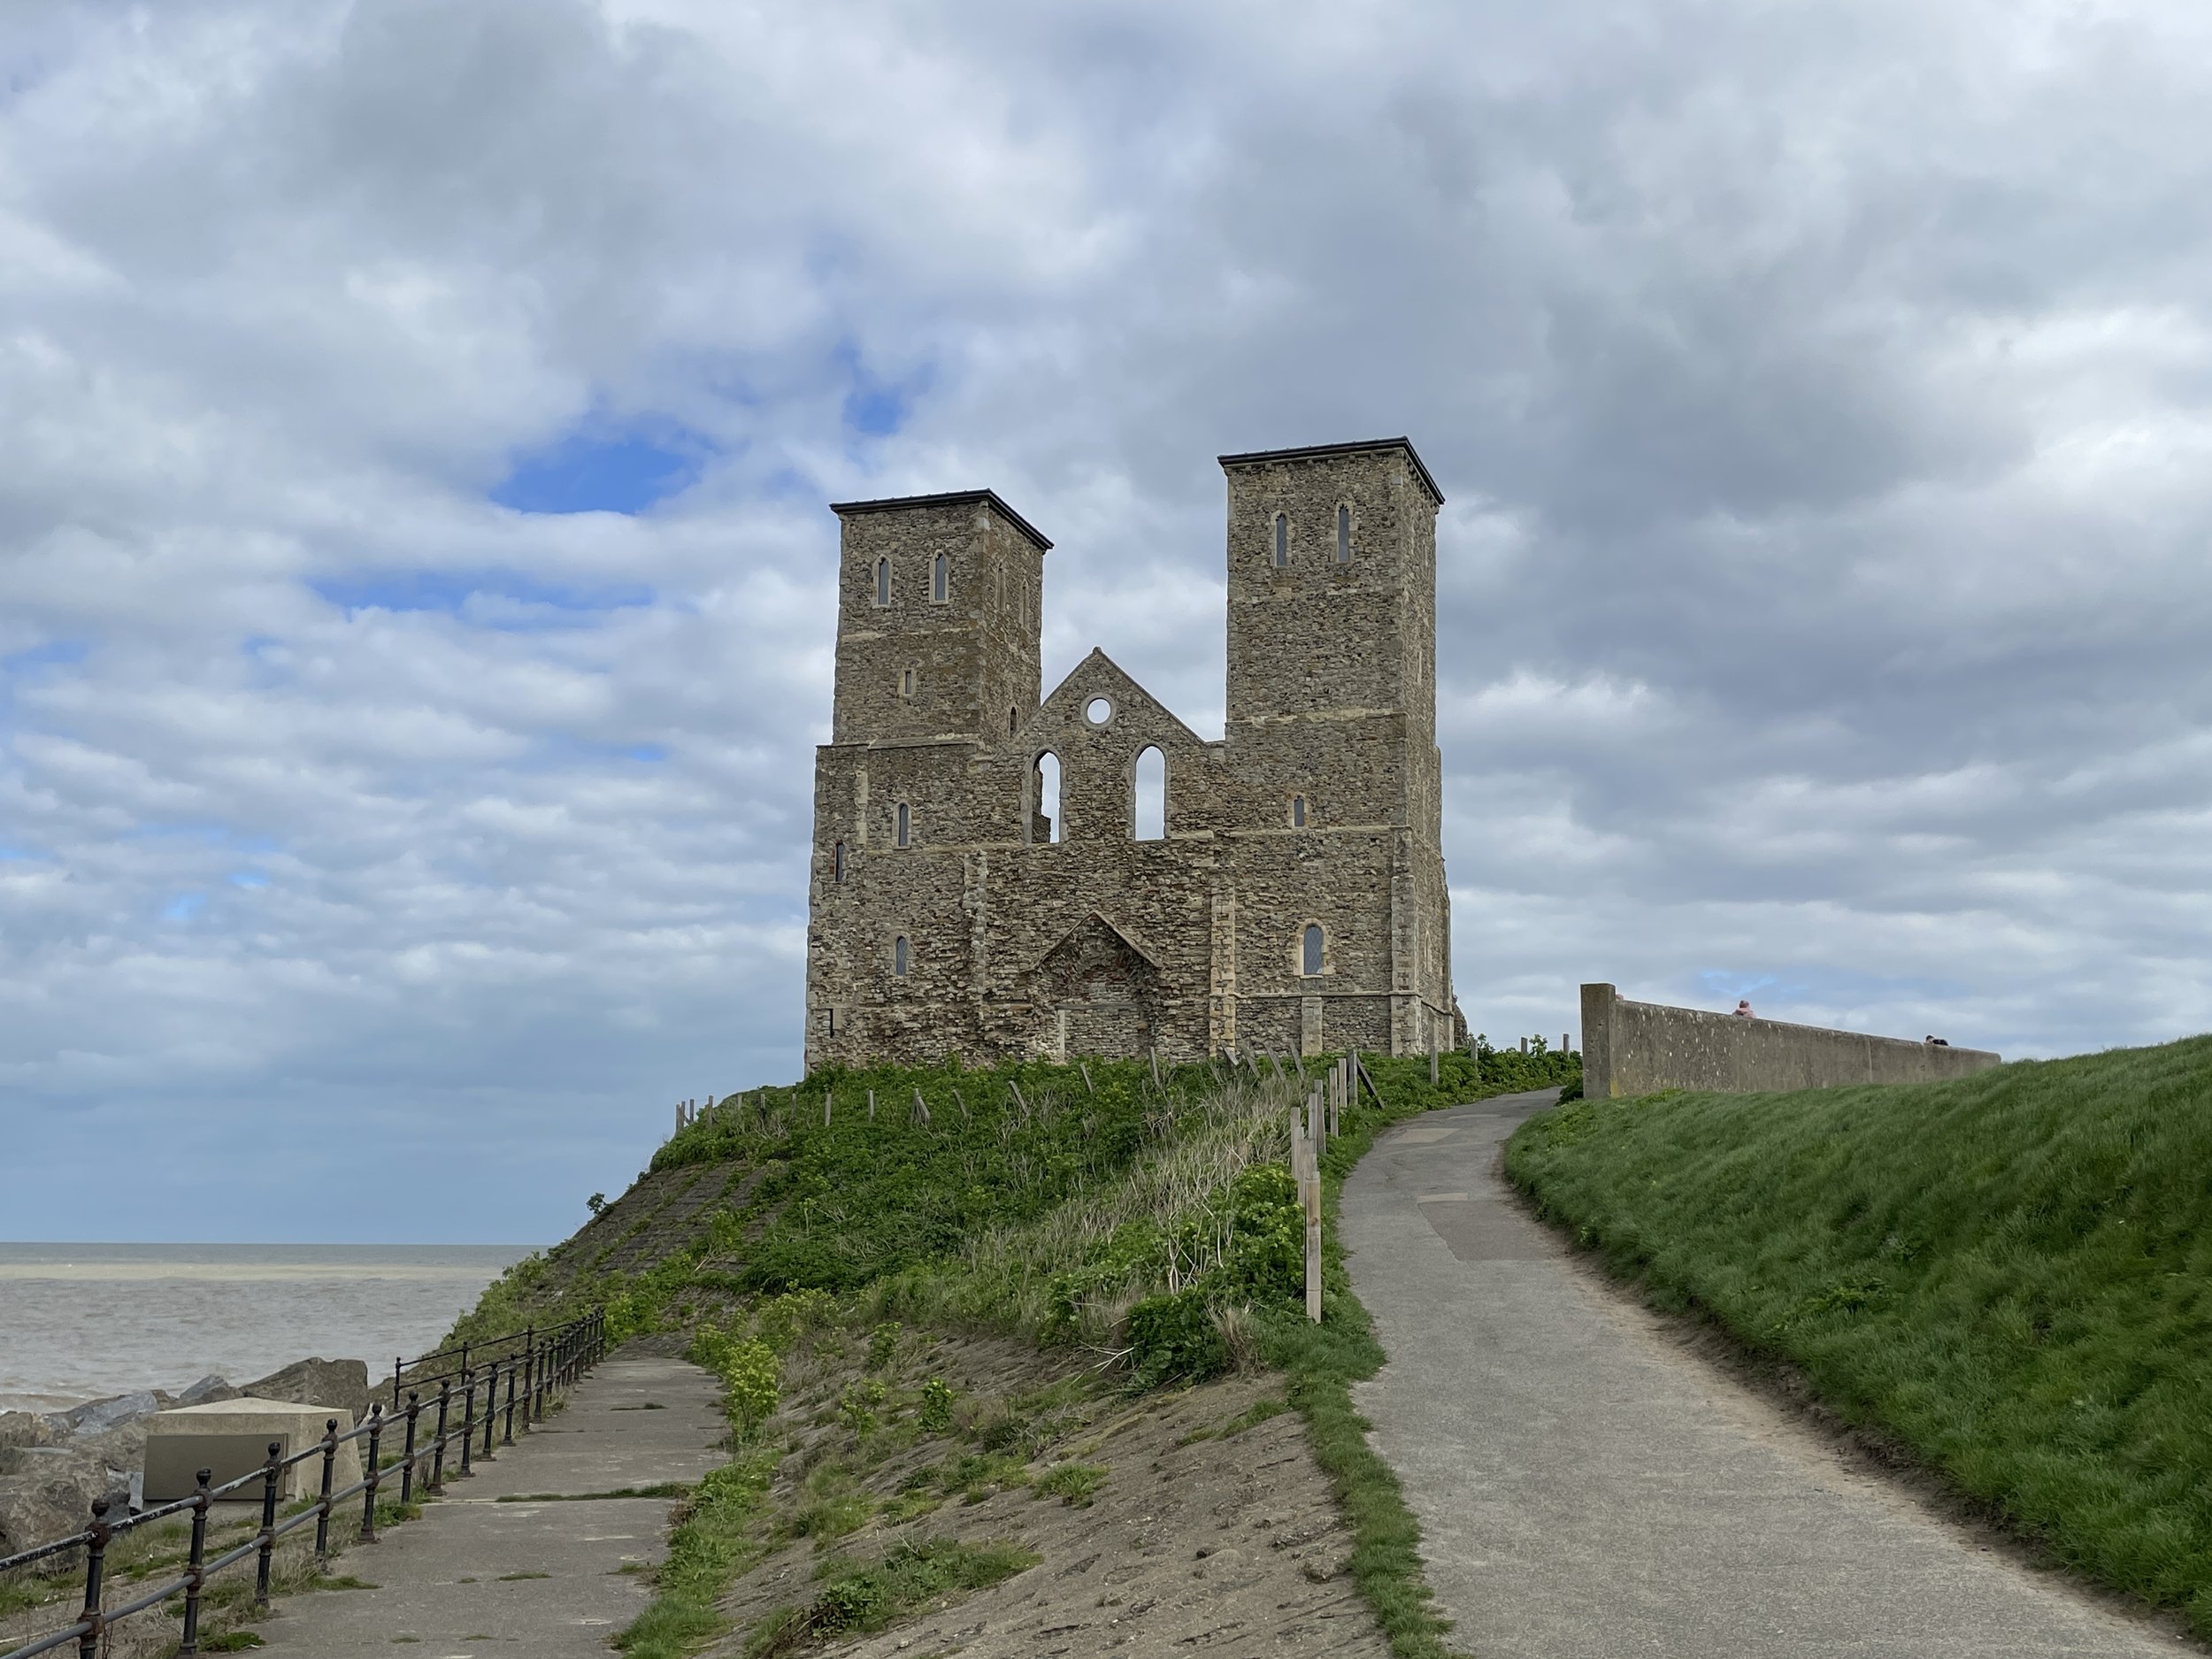
Located at the easternmost point of the Falkland Islands, this historic lighthouse was built in 1855 and later automated. It offers sweeping views of the rugged South Atlantic coastline, providing a dramatic, windswept backdrop that is frequently visited by local marine life and seabirds.
Festival Green
This event is scheduled to start in August 2026
Territory: Cayman Islands
Government Categorisation: British Overseas Territory
parkrun Region: British Overseas Territories
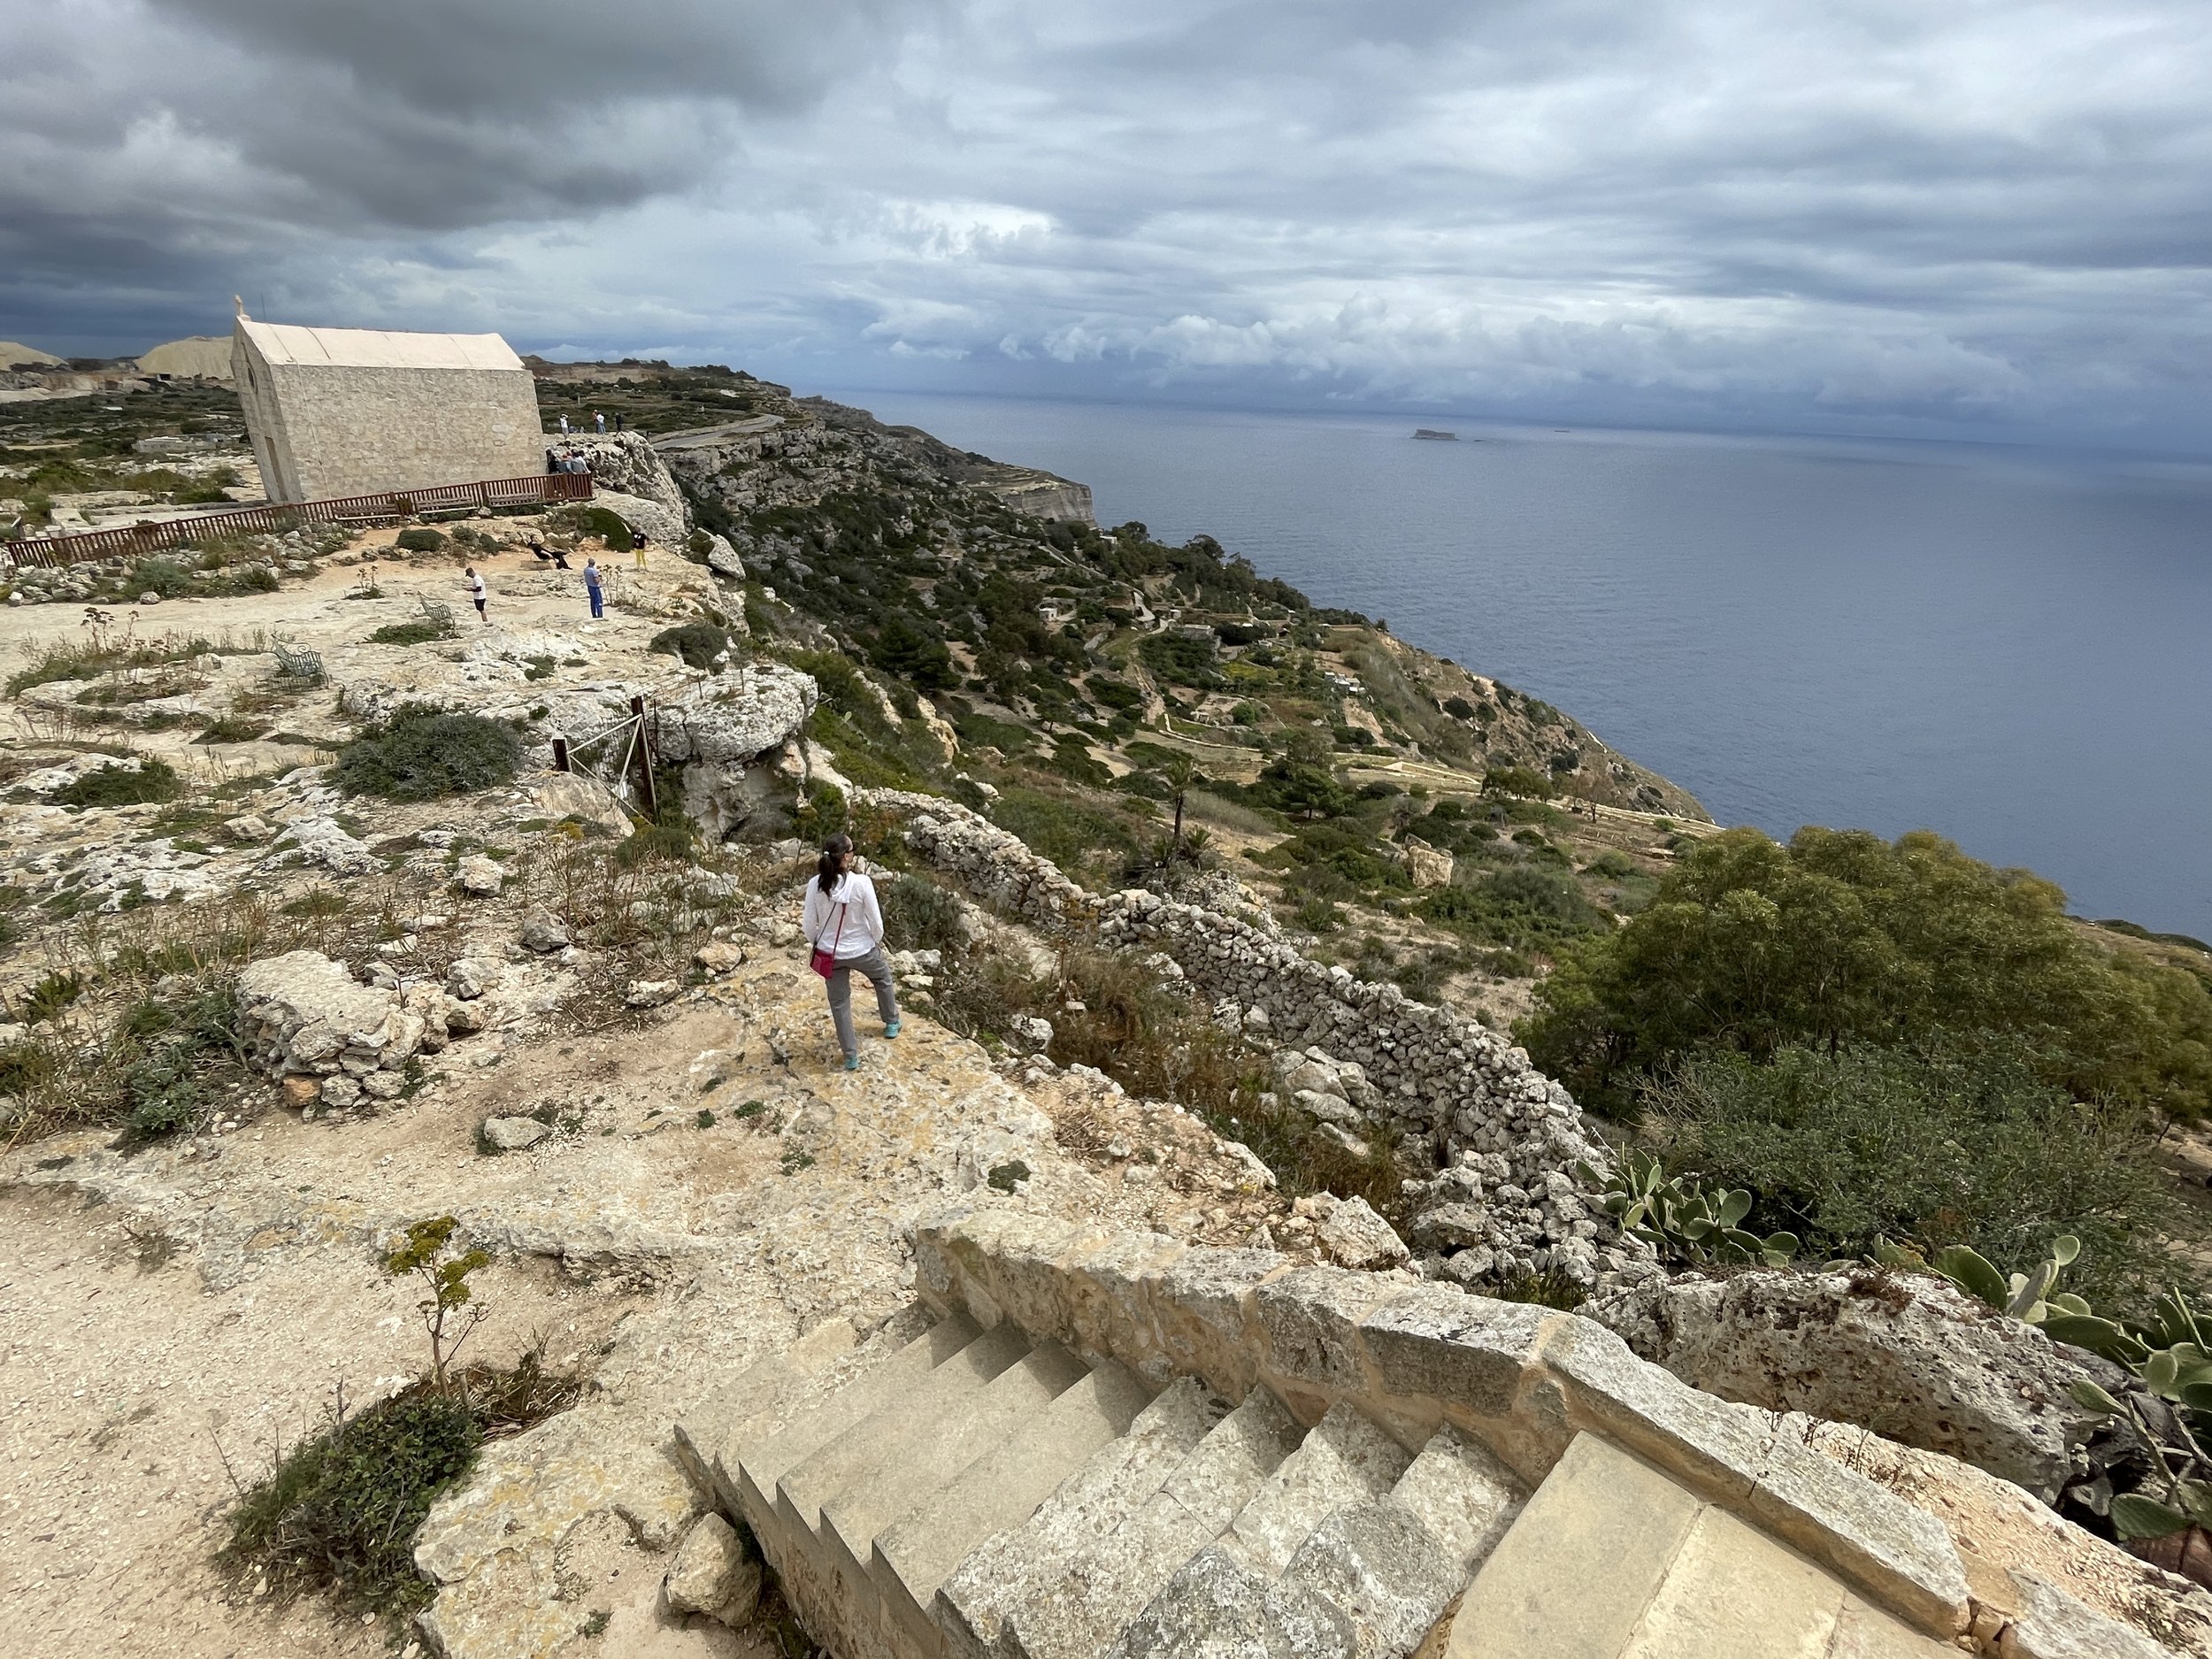
Gibraltar Botanical Gardens
I have not yet completed this event
Territory: Gibraltar
Government Categorisation: British Overseas Territory
parkrun Region: British Overseas Territories
Inaugural: February 14th 2026
Links: Event Home Page, Course Page
Also known as The Alameda, these lush gardens were opened in 1816. They combine vibrant Mediterranean and tropical flora with historic colonial architecture. Serving as a vital green lung for the territory, the gardens provide a striking and nature-filled environment for runners.
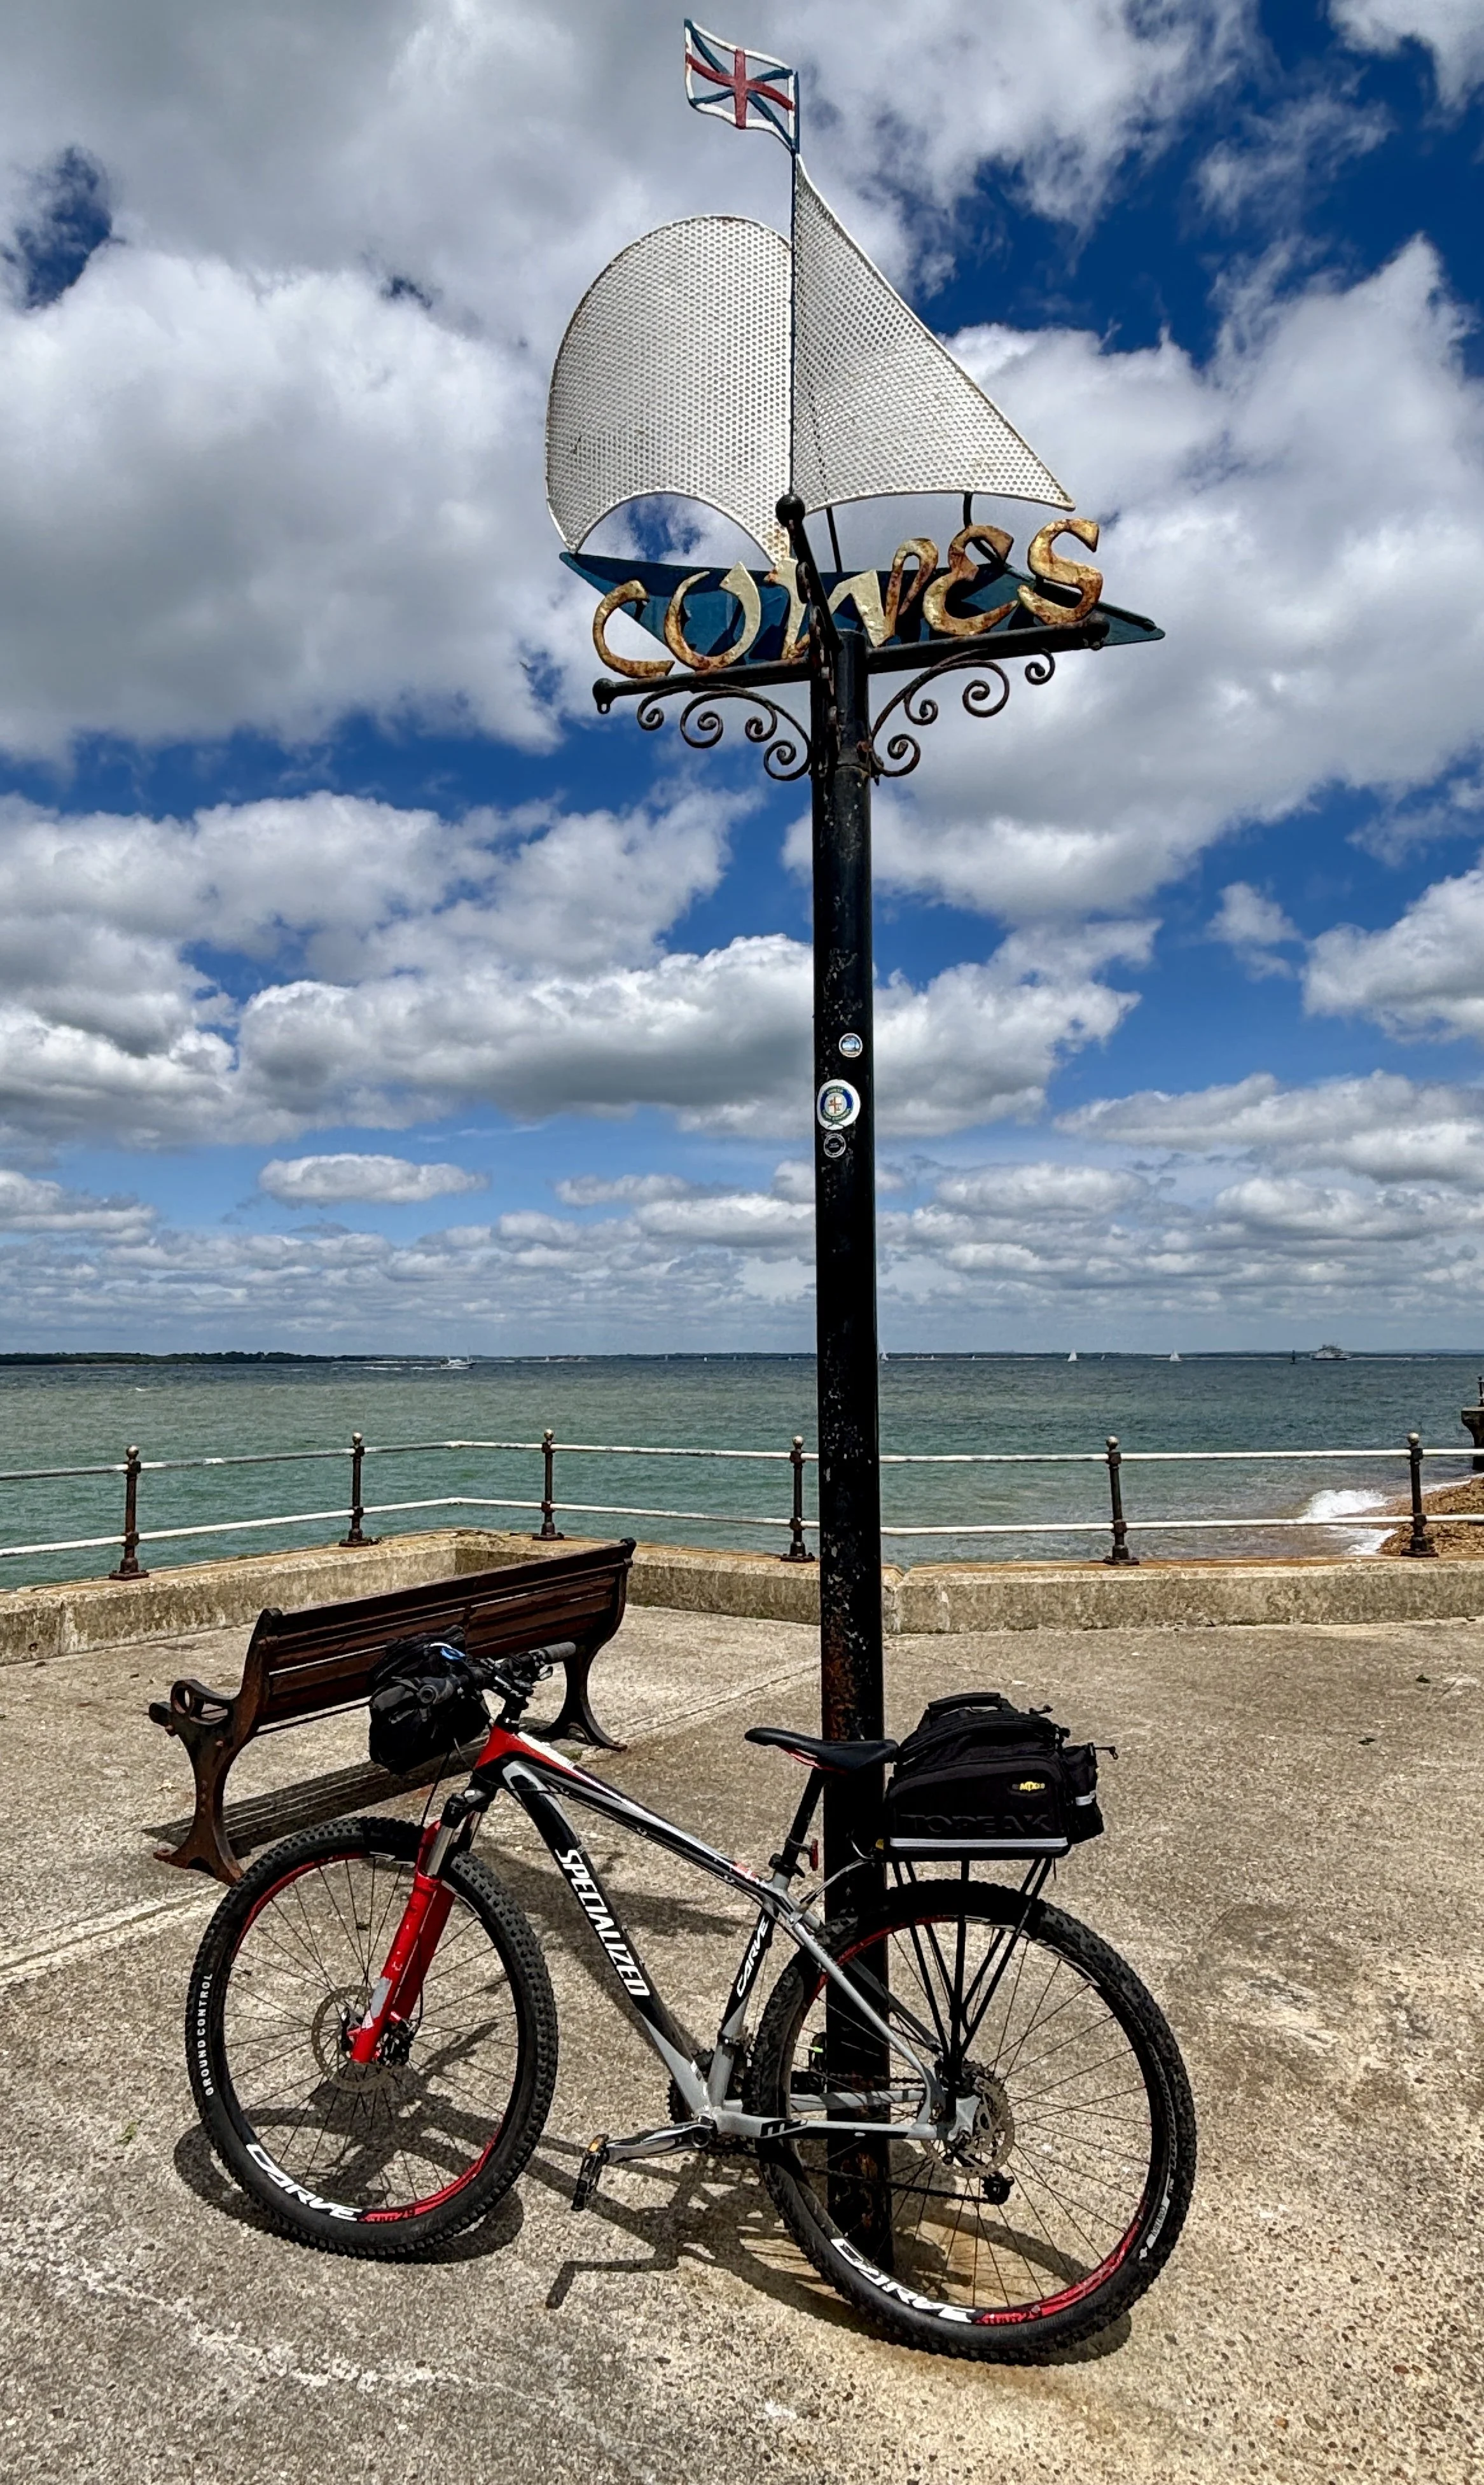
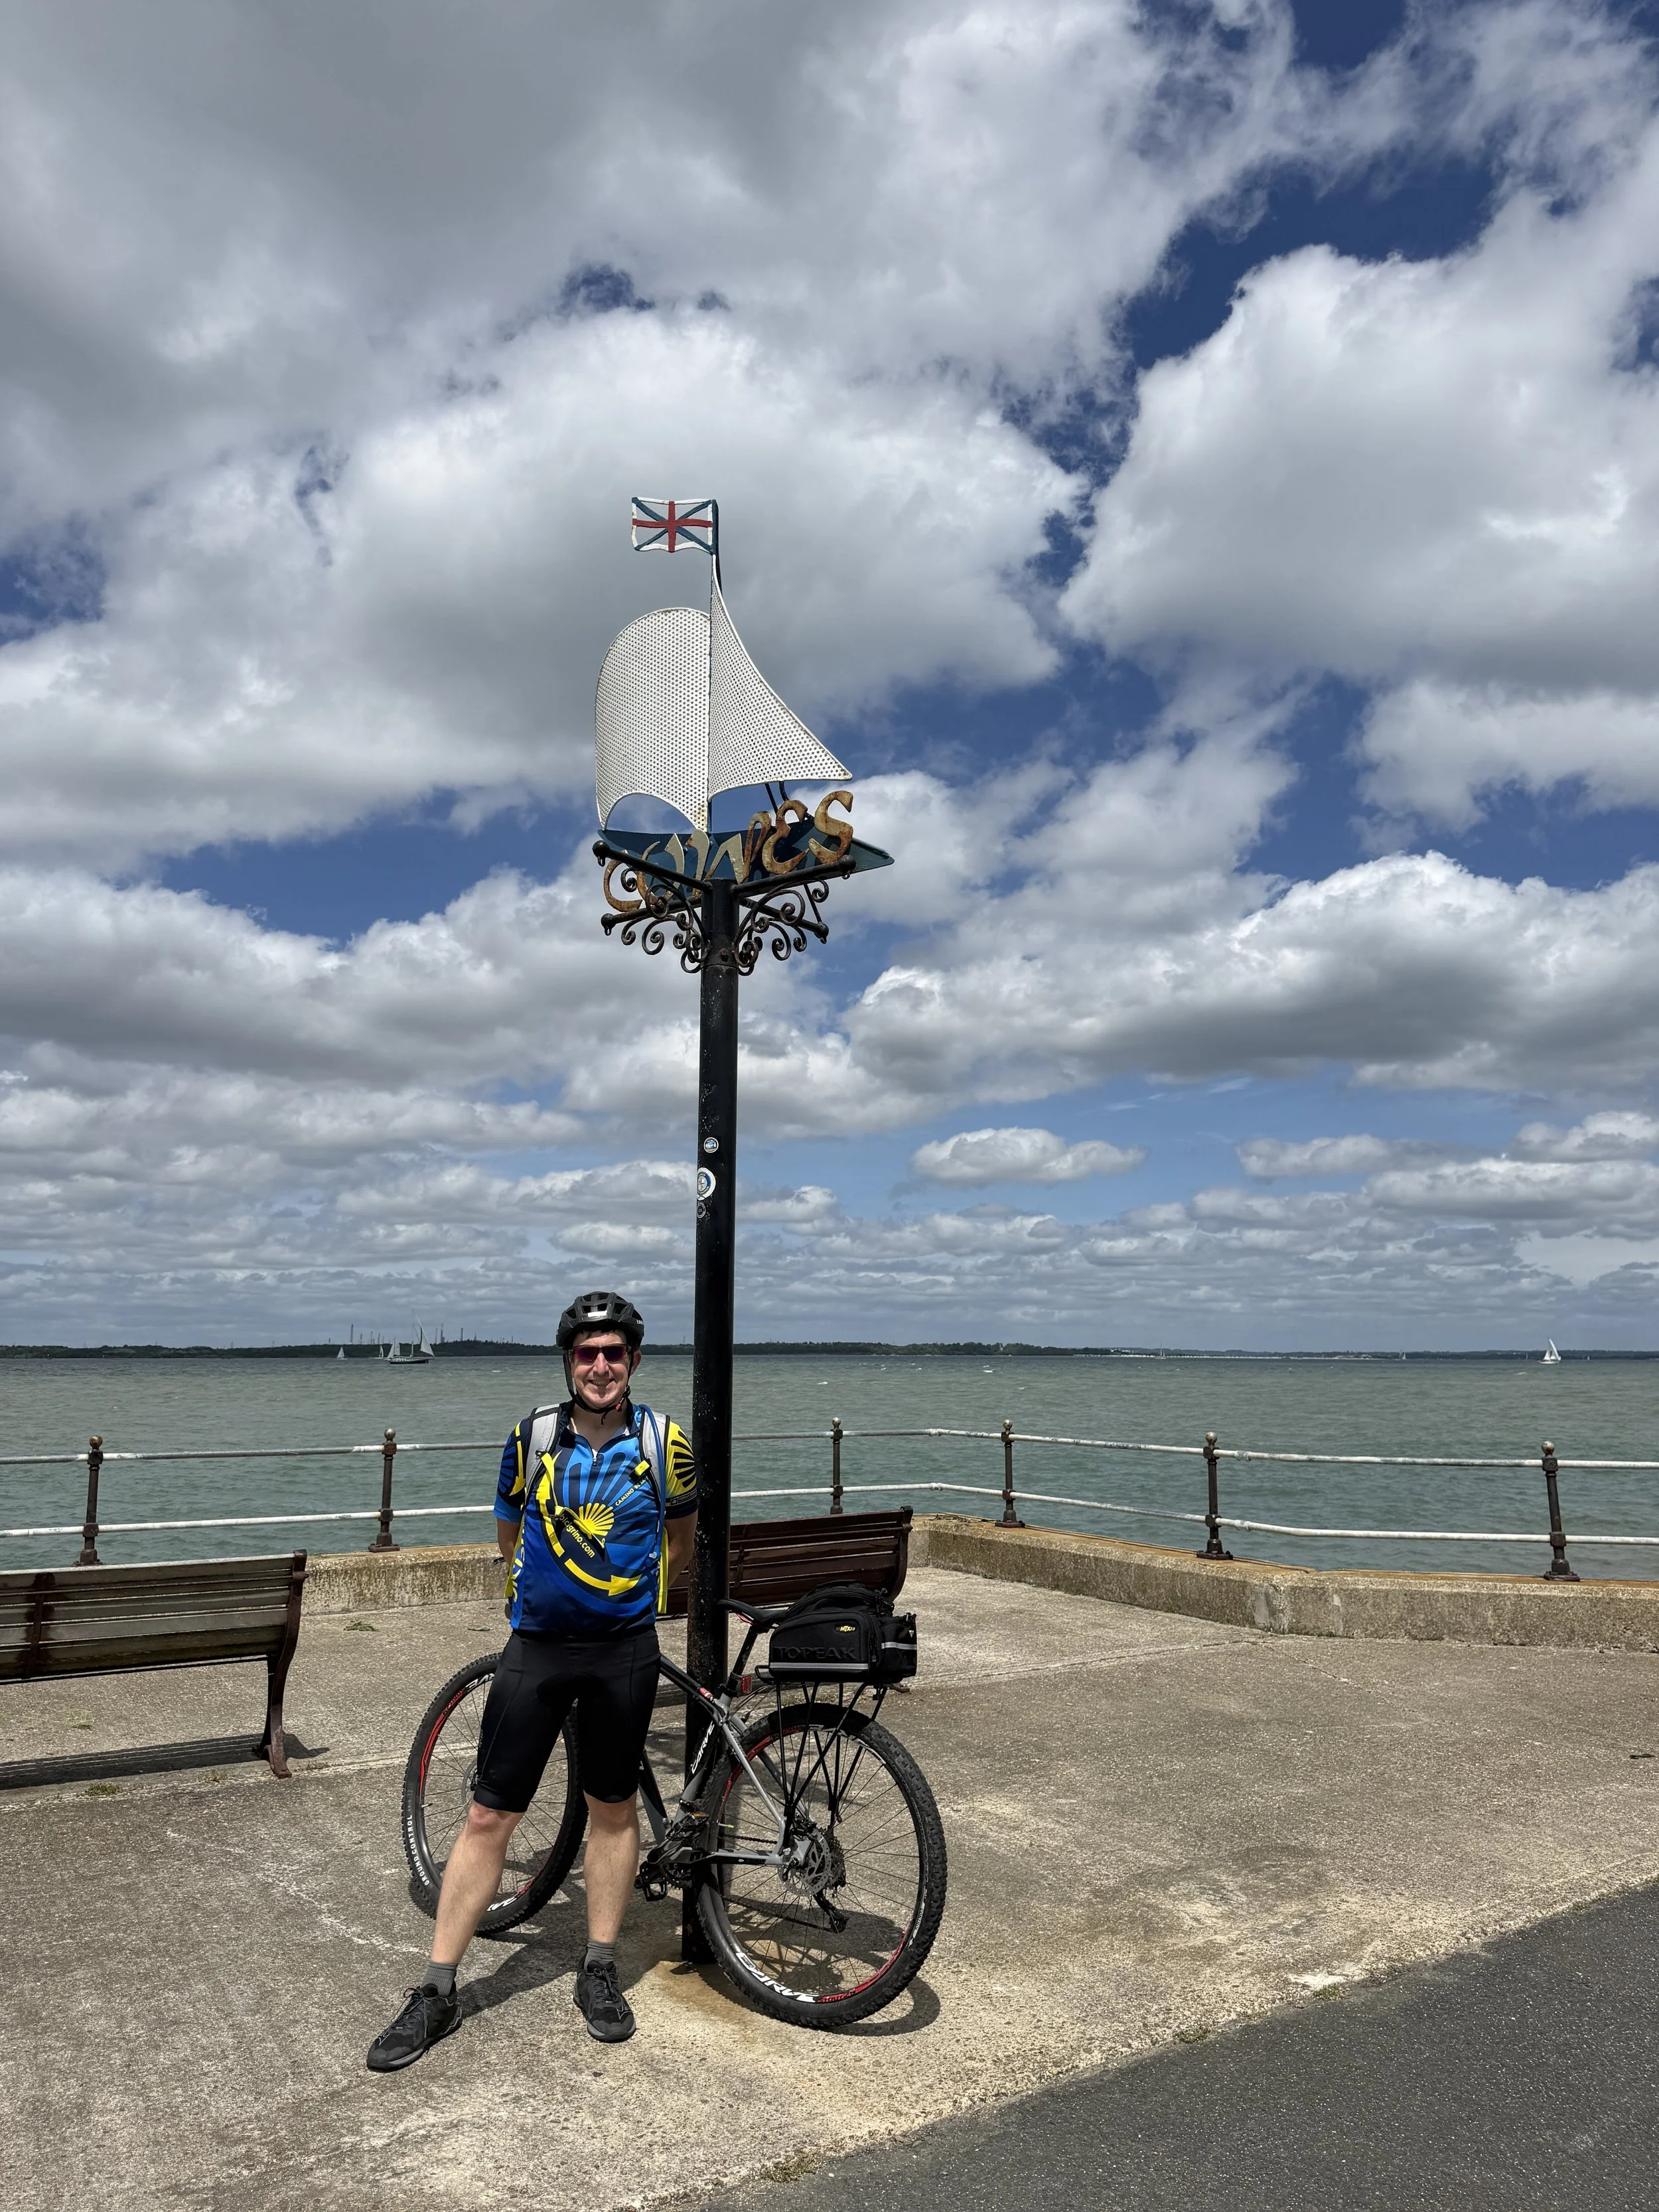
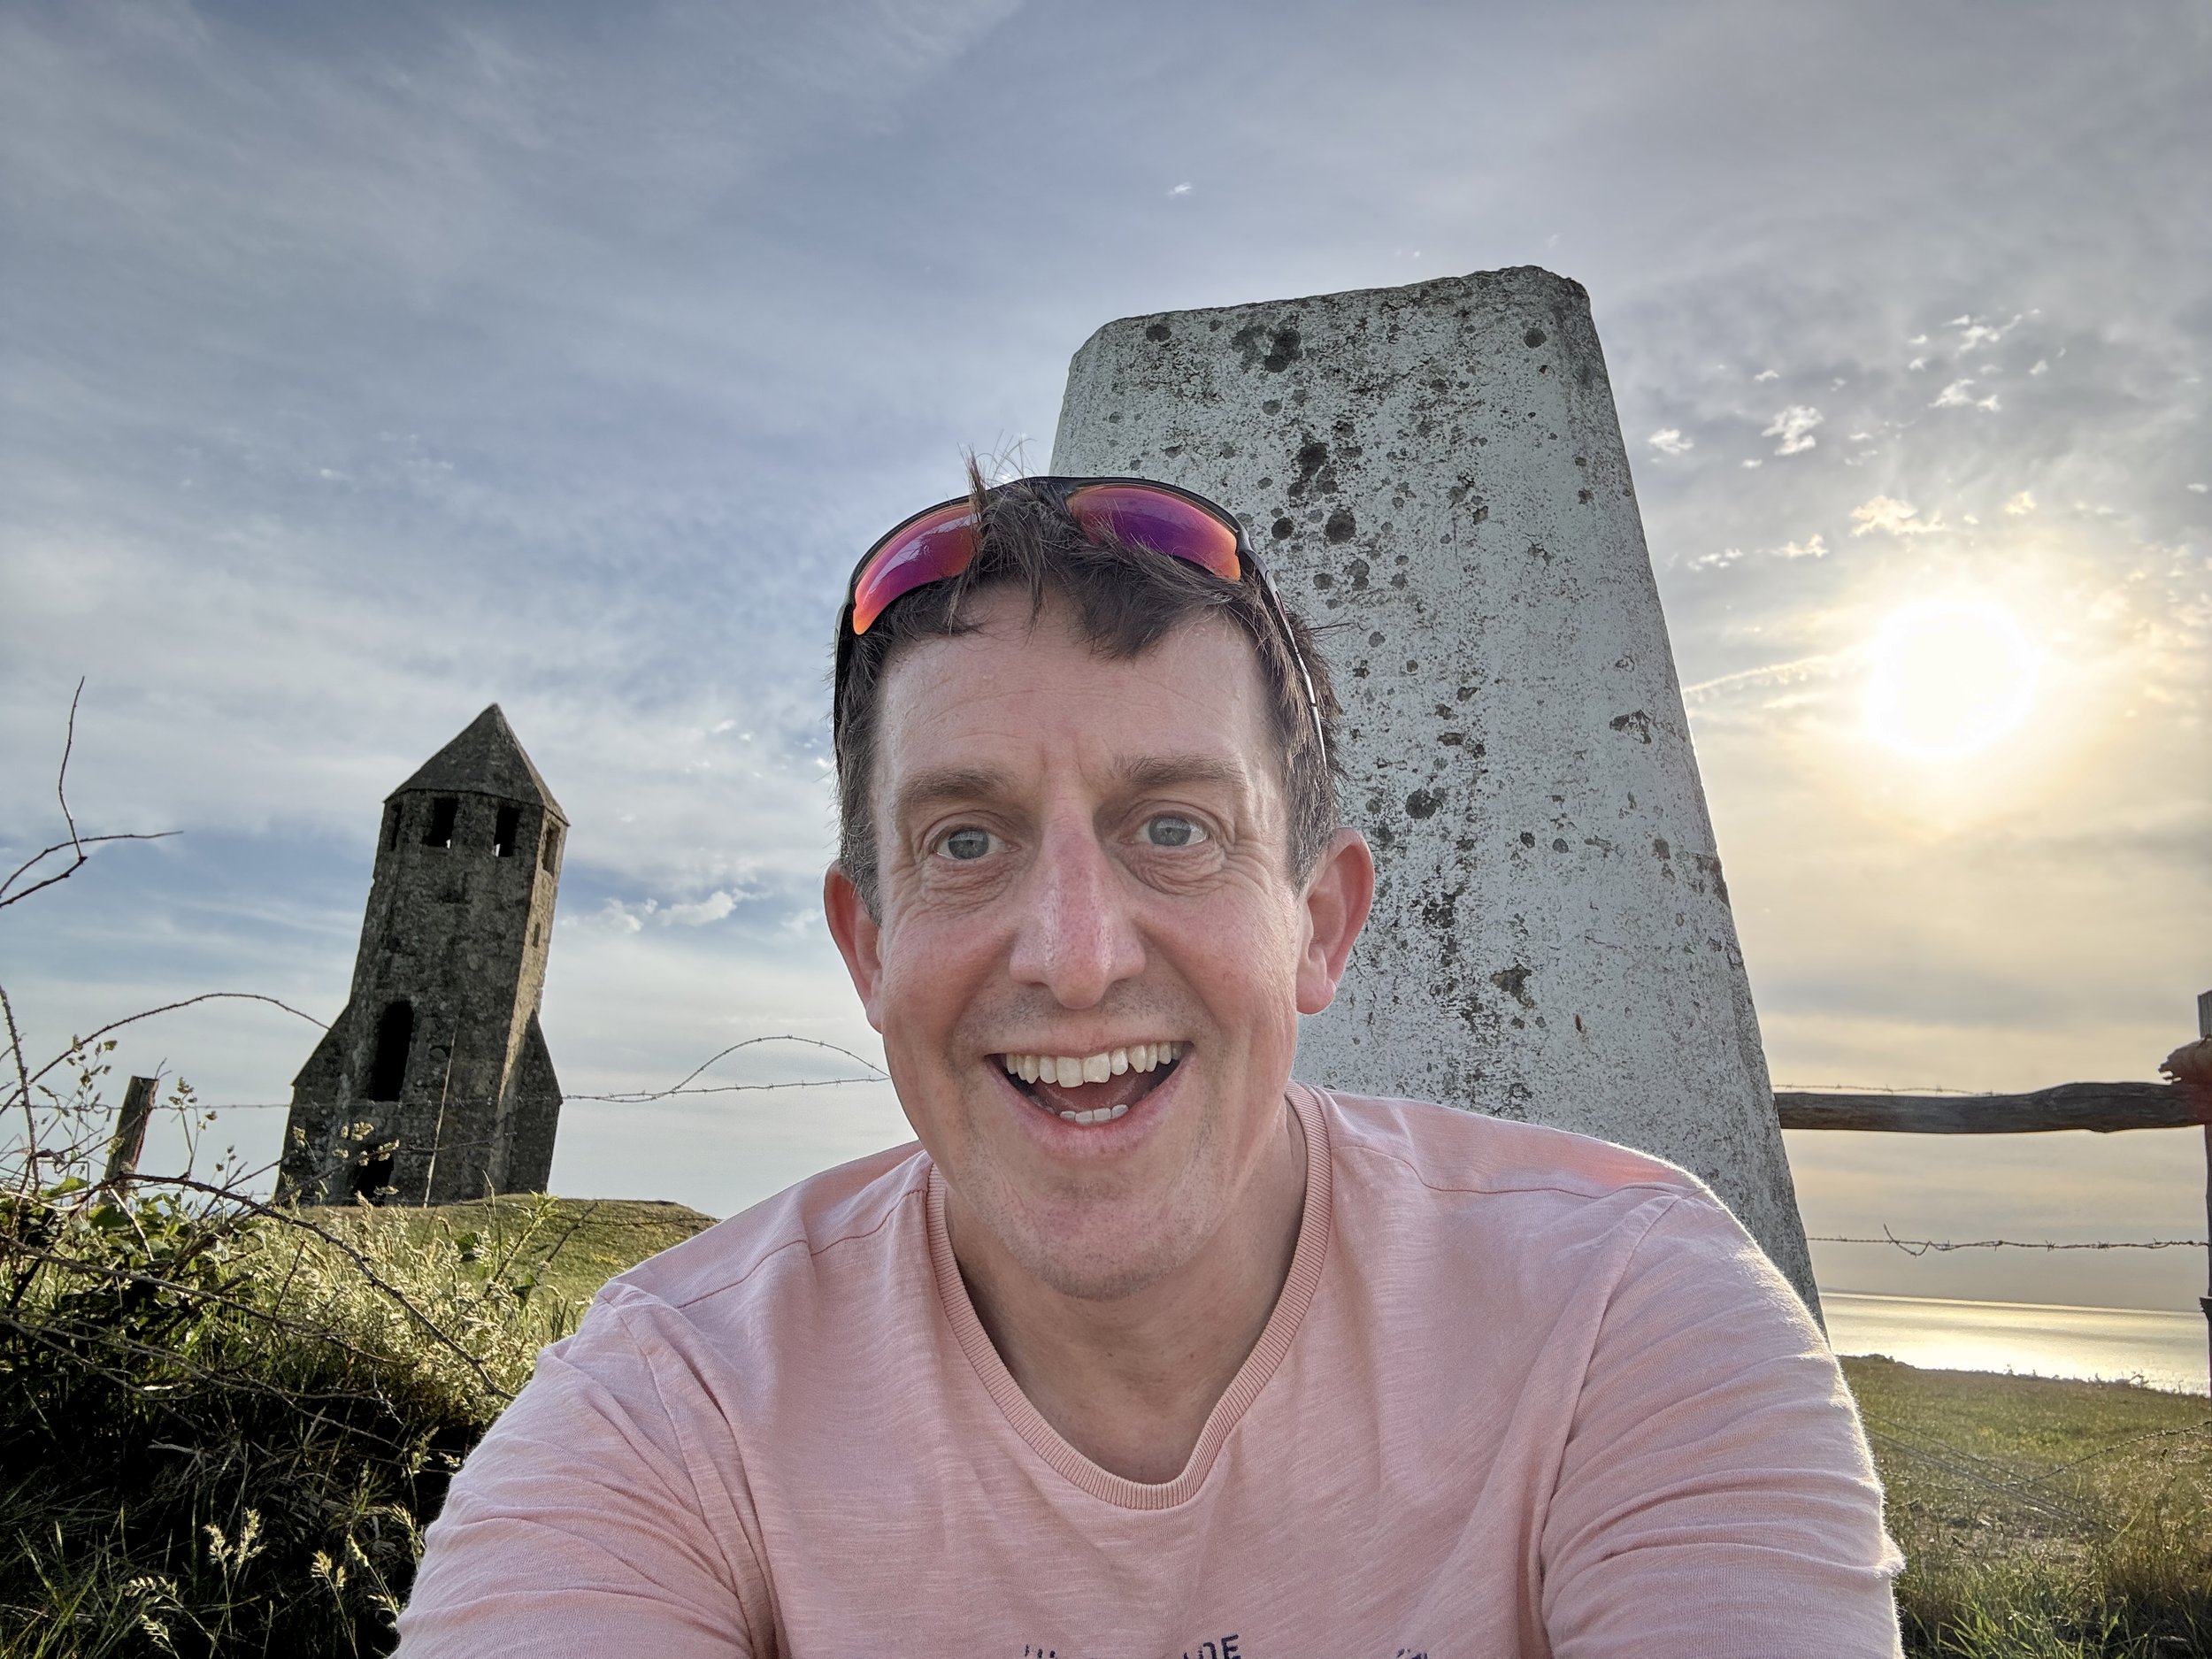
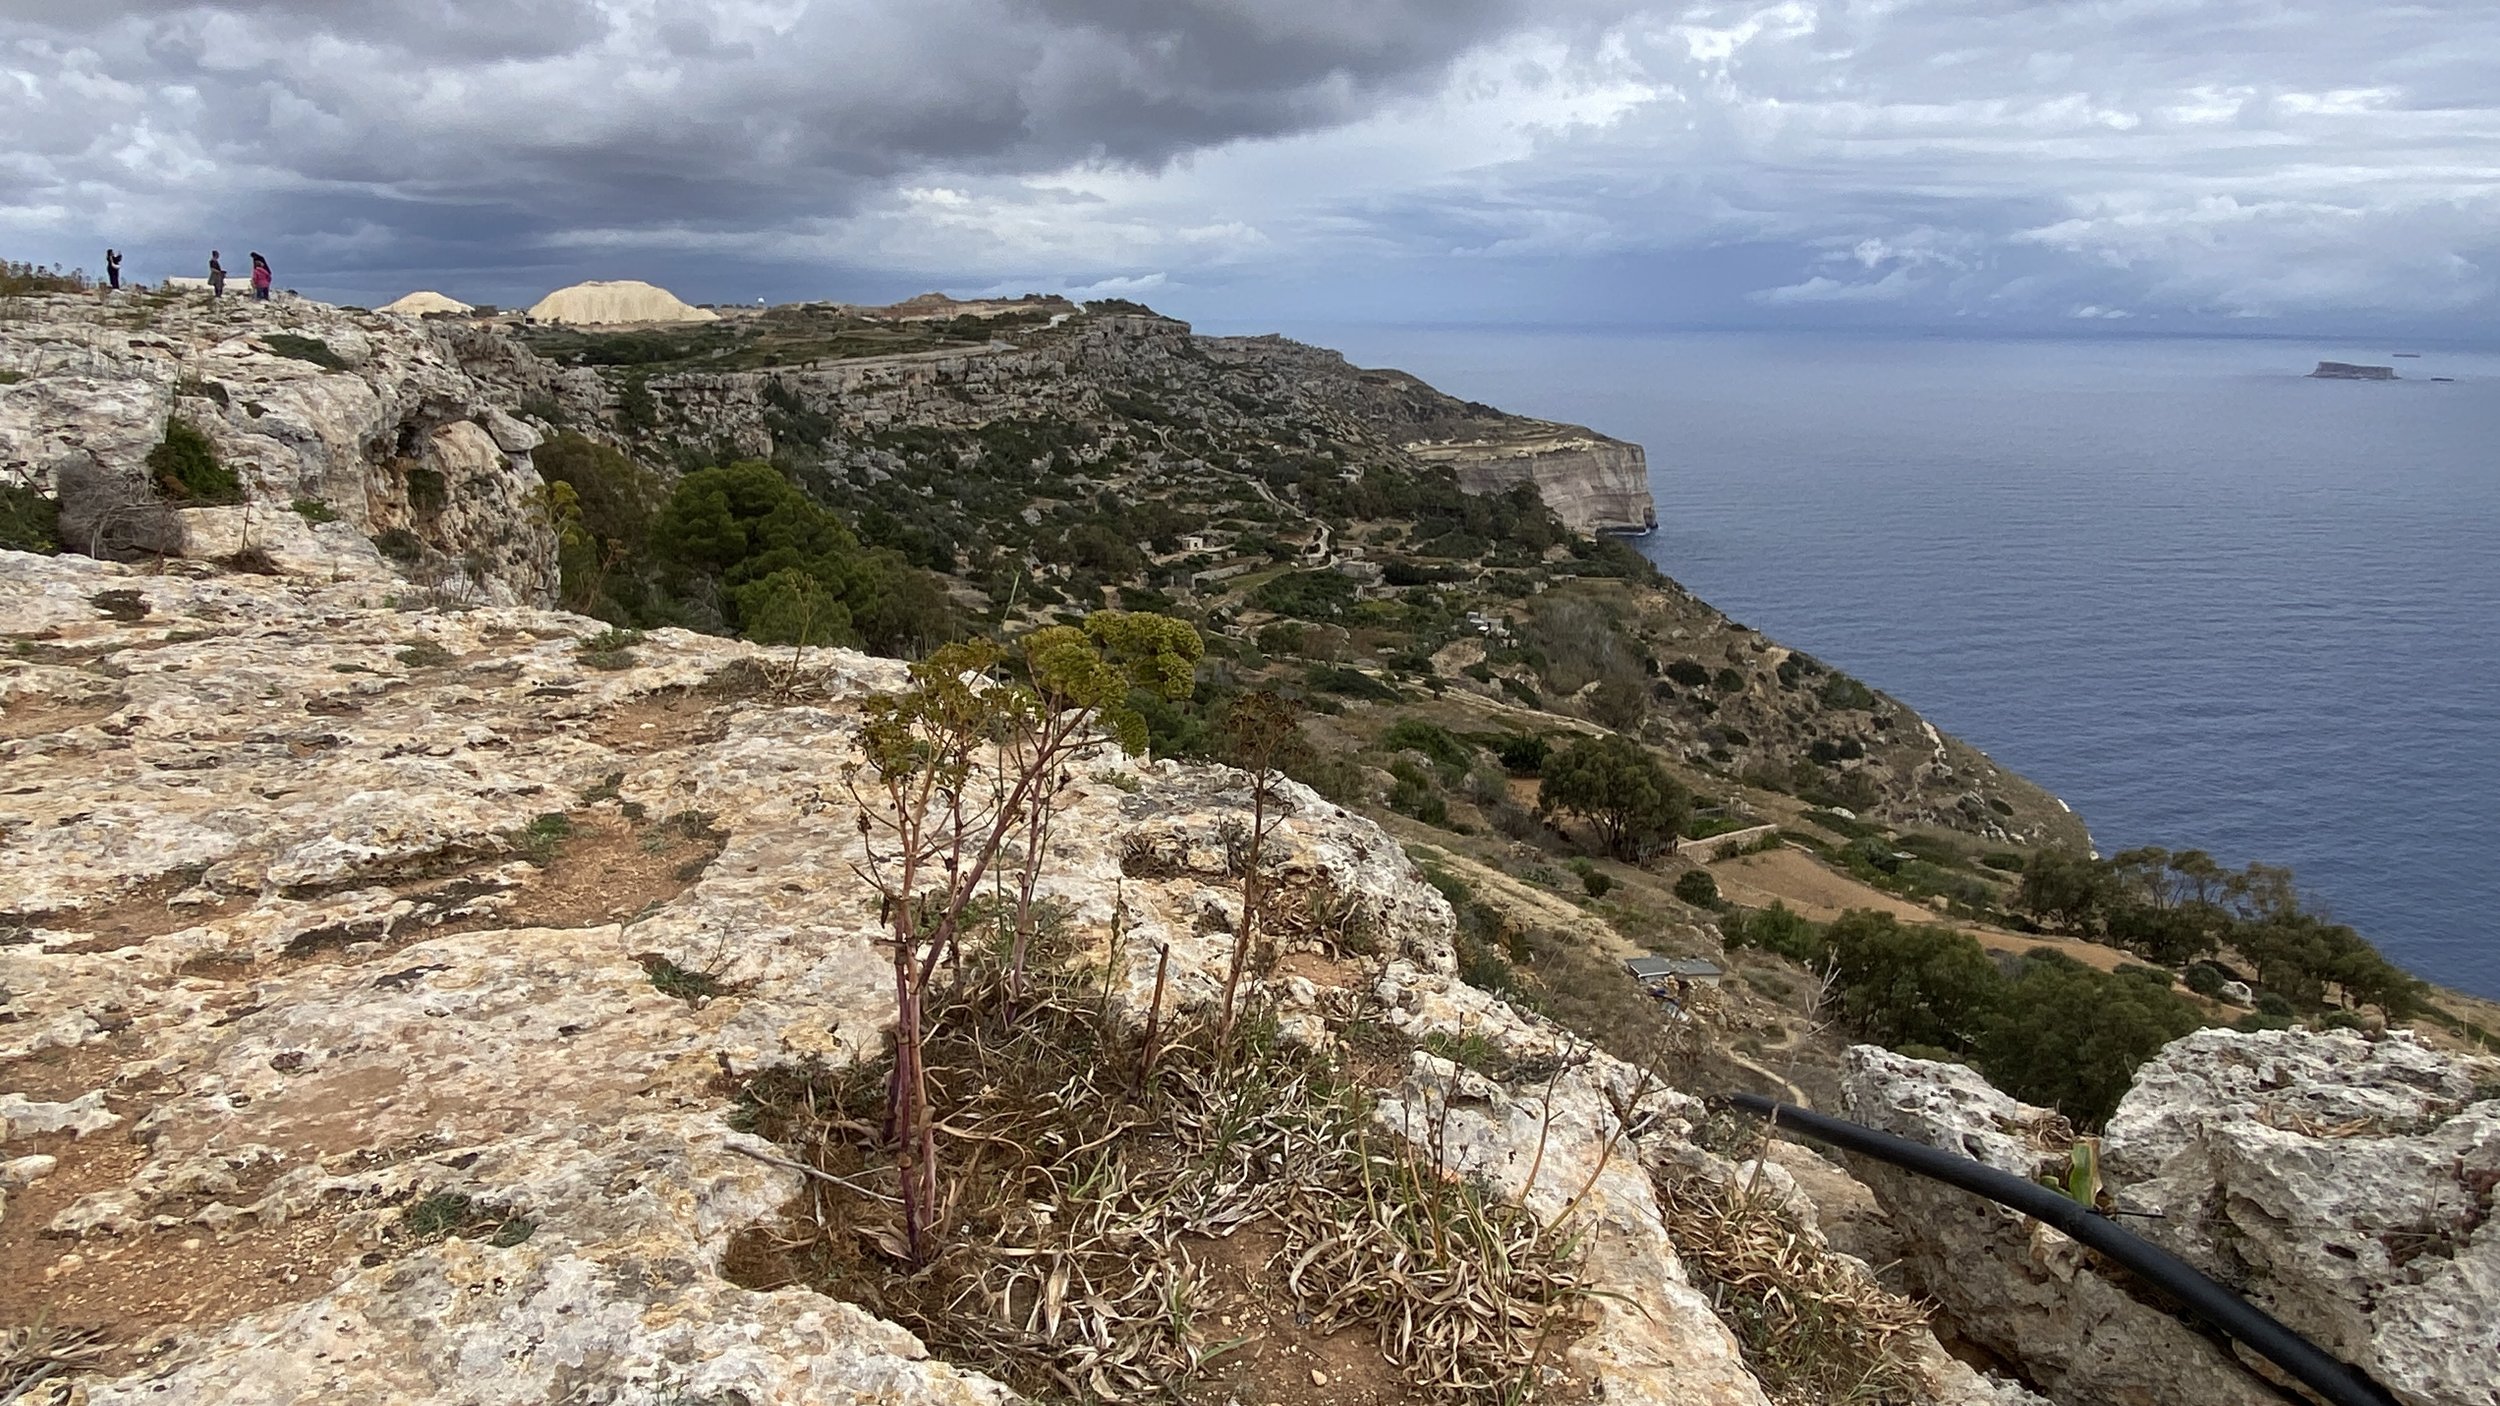
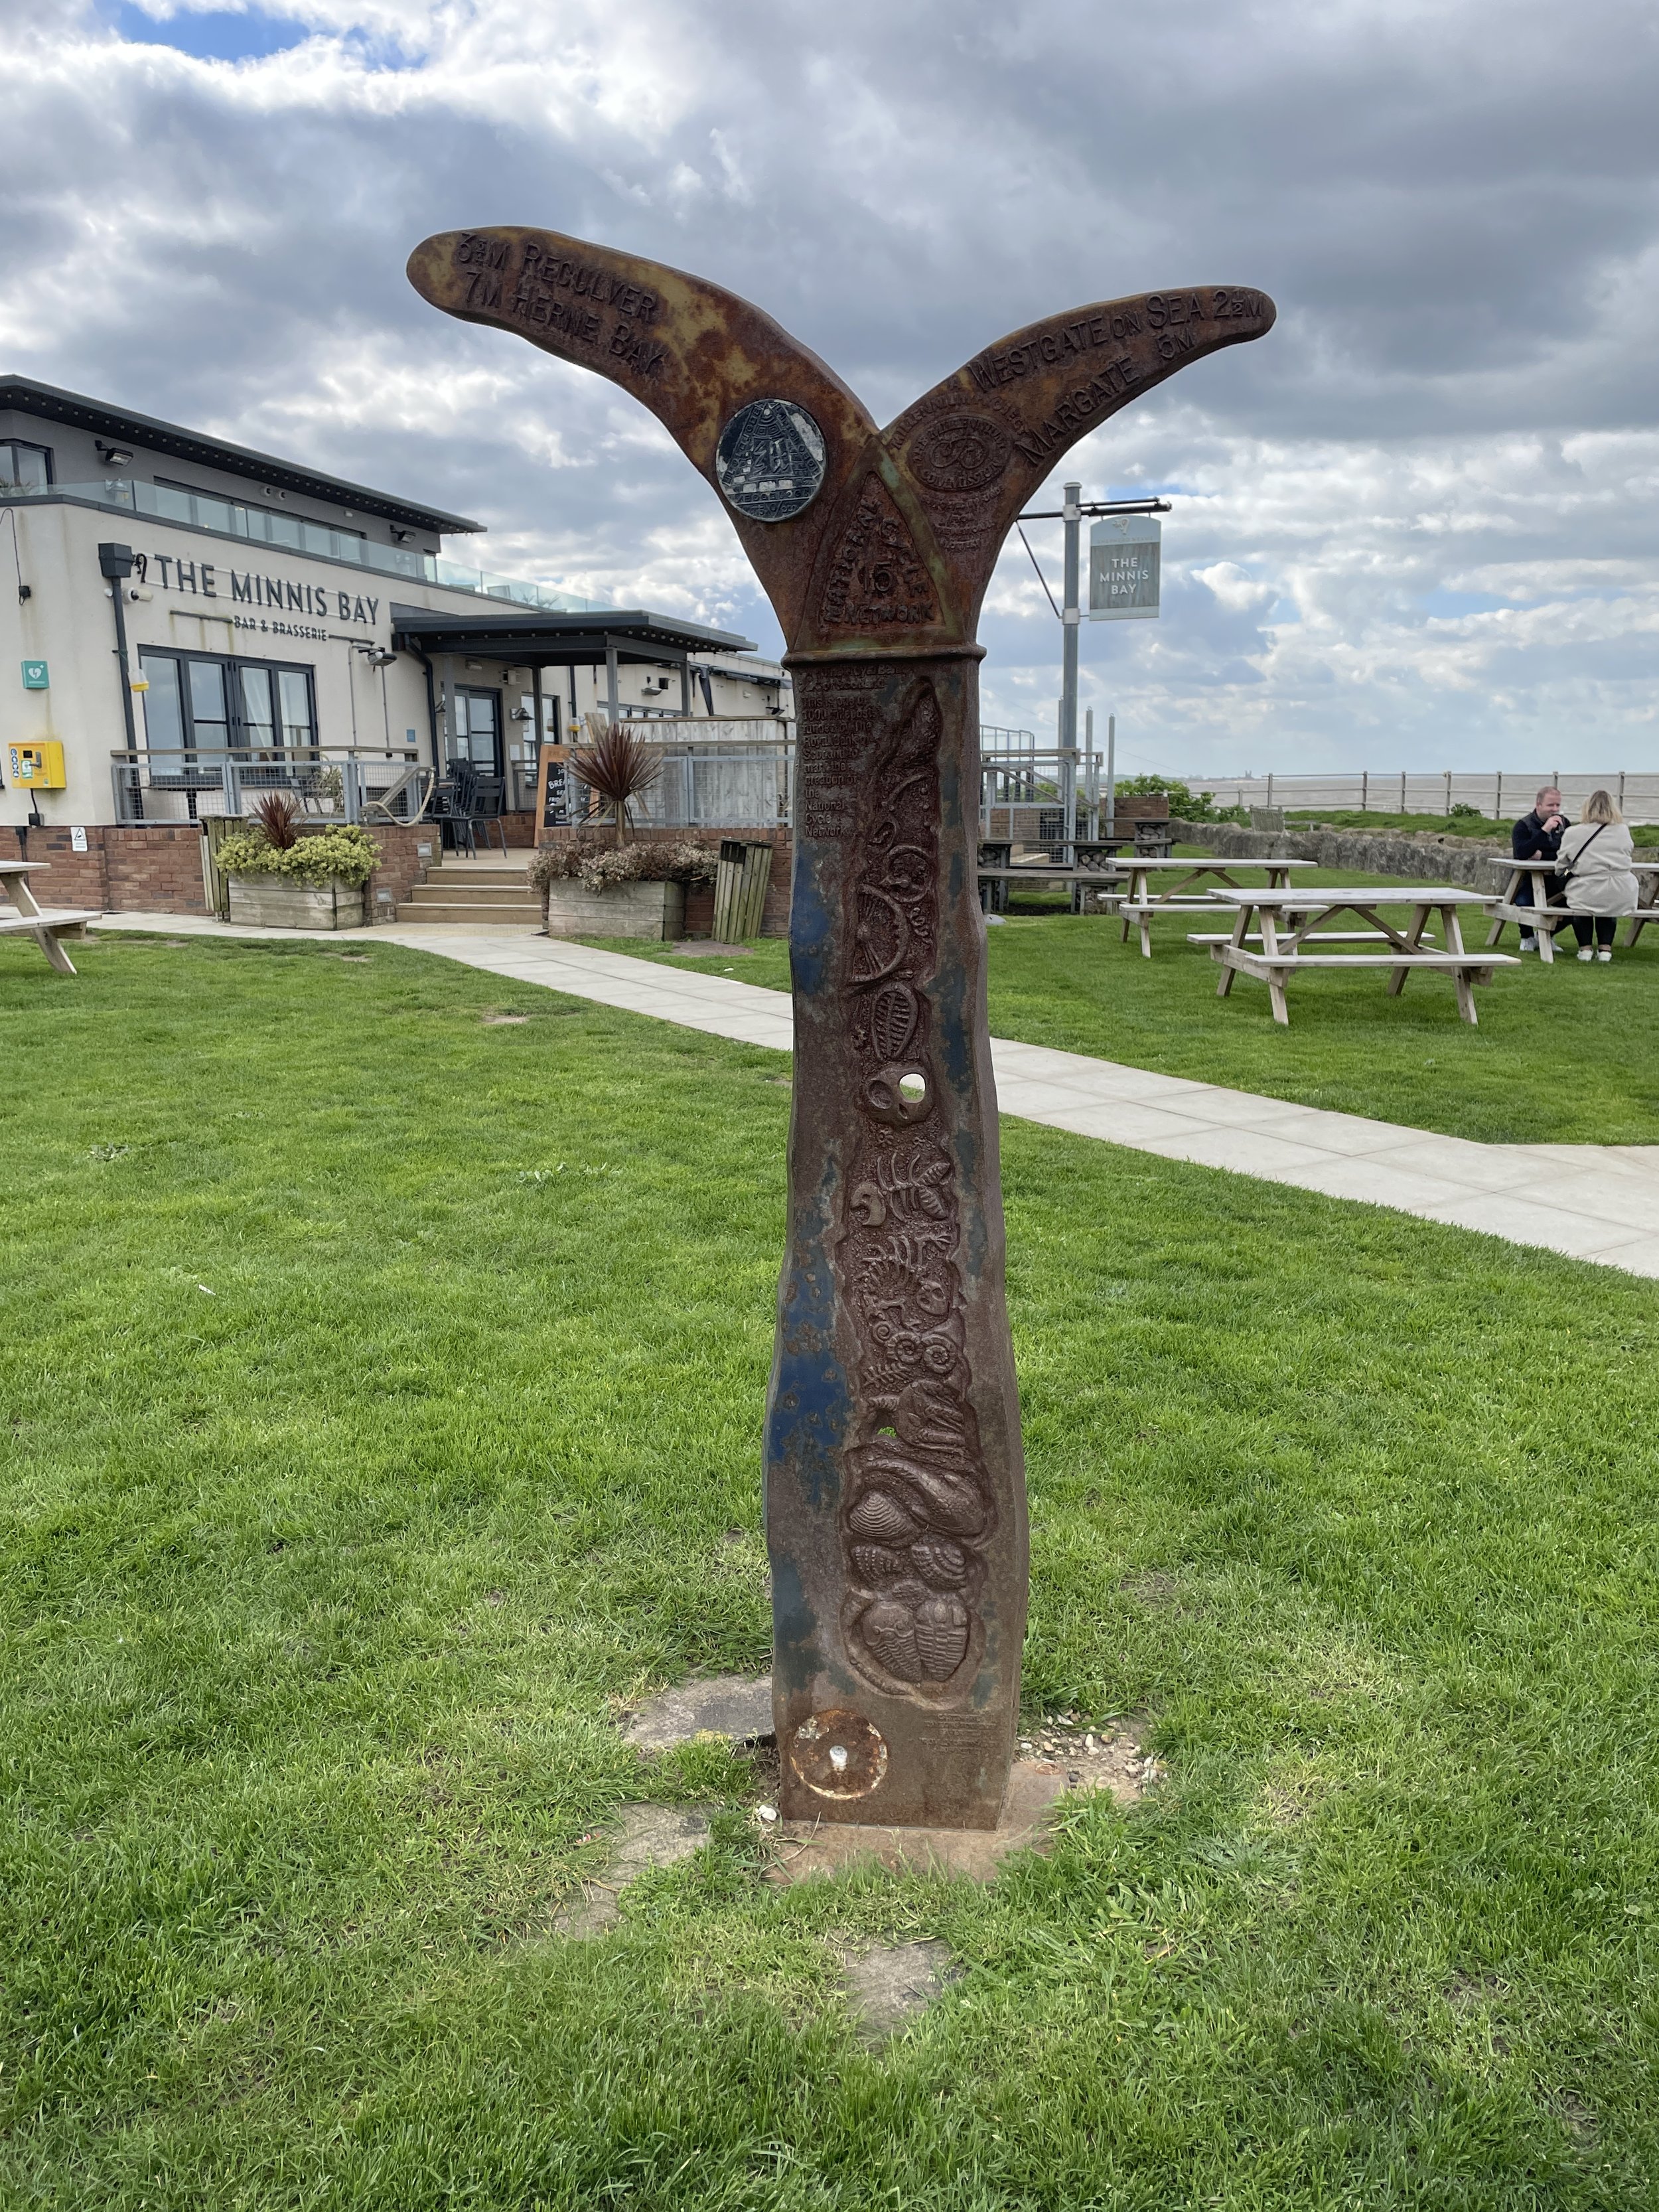
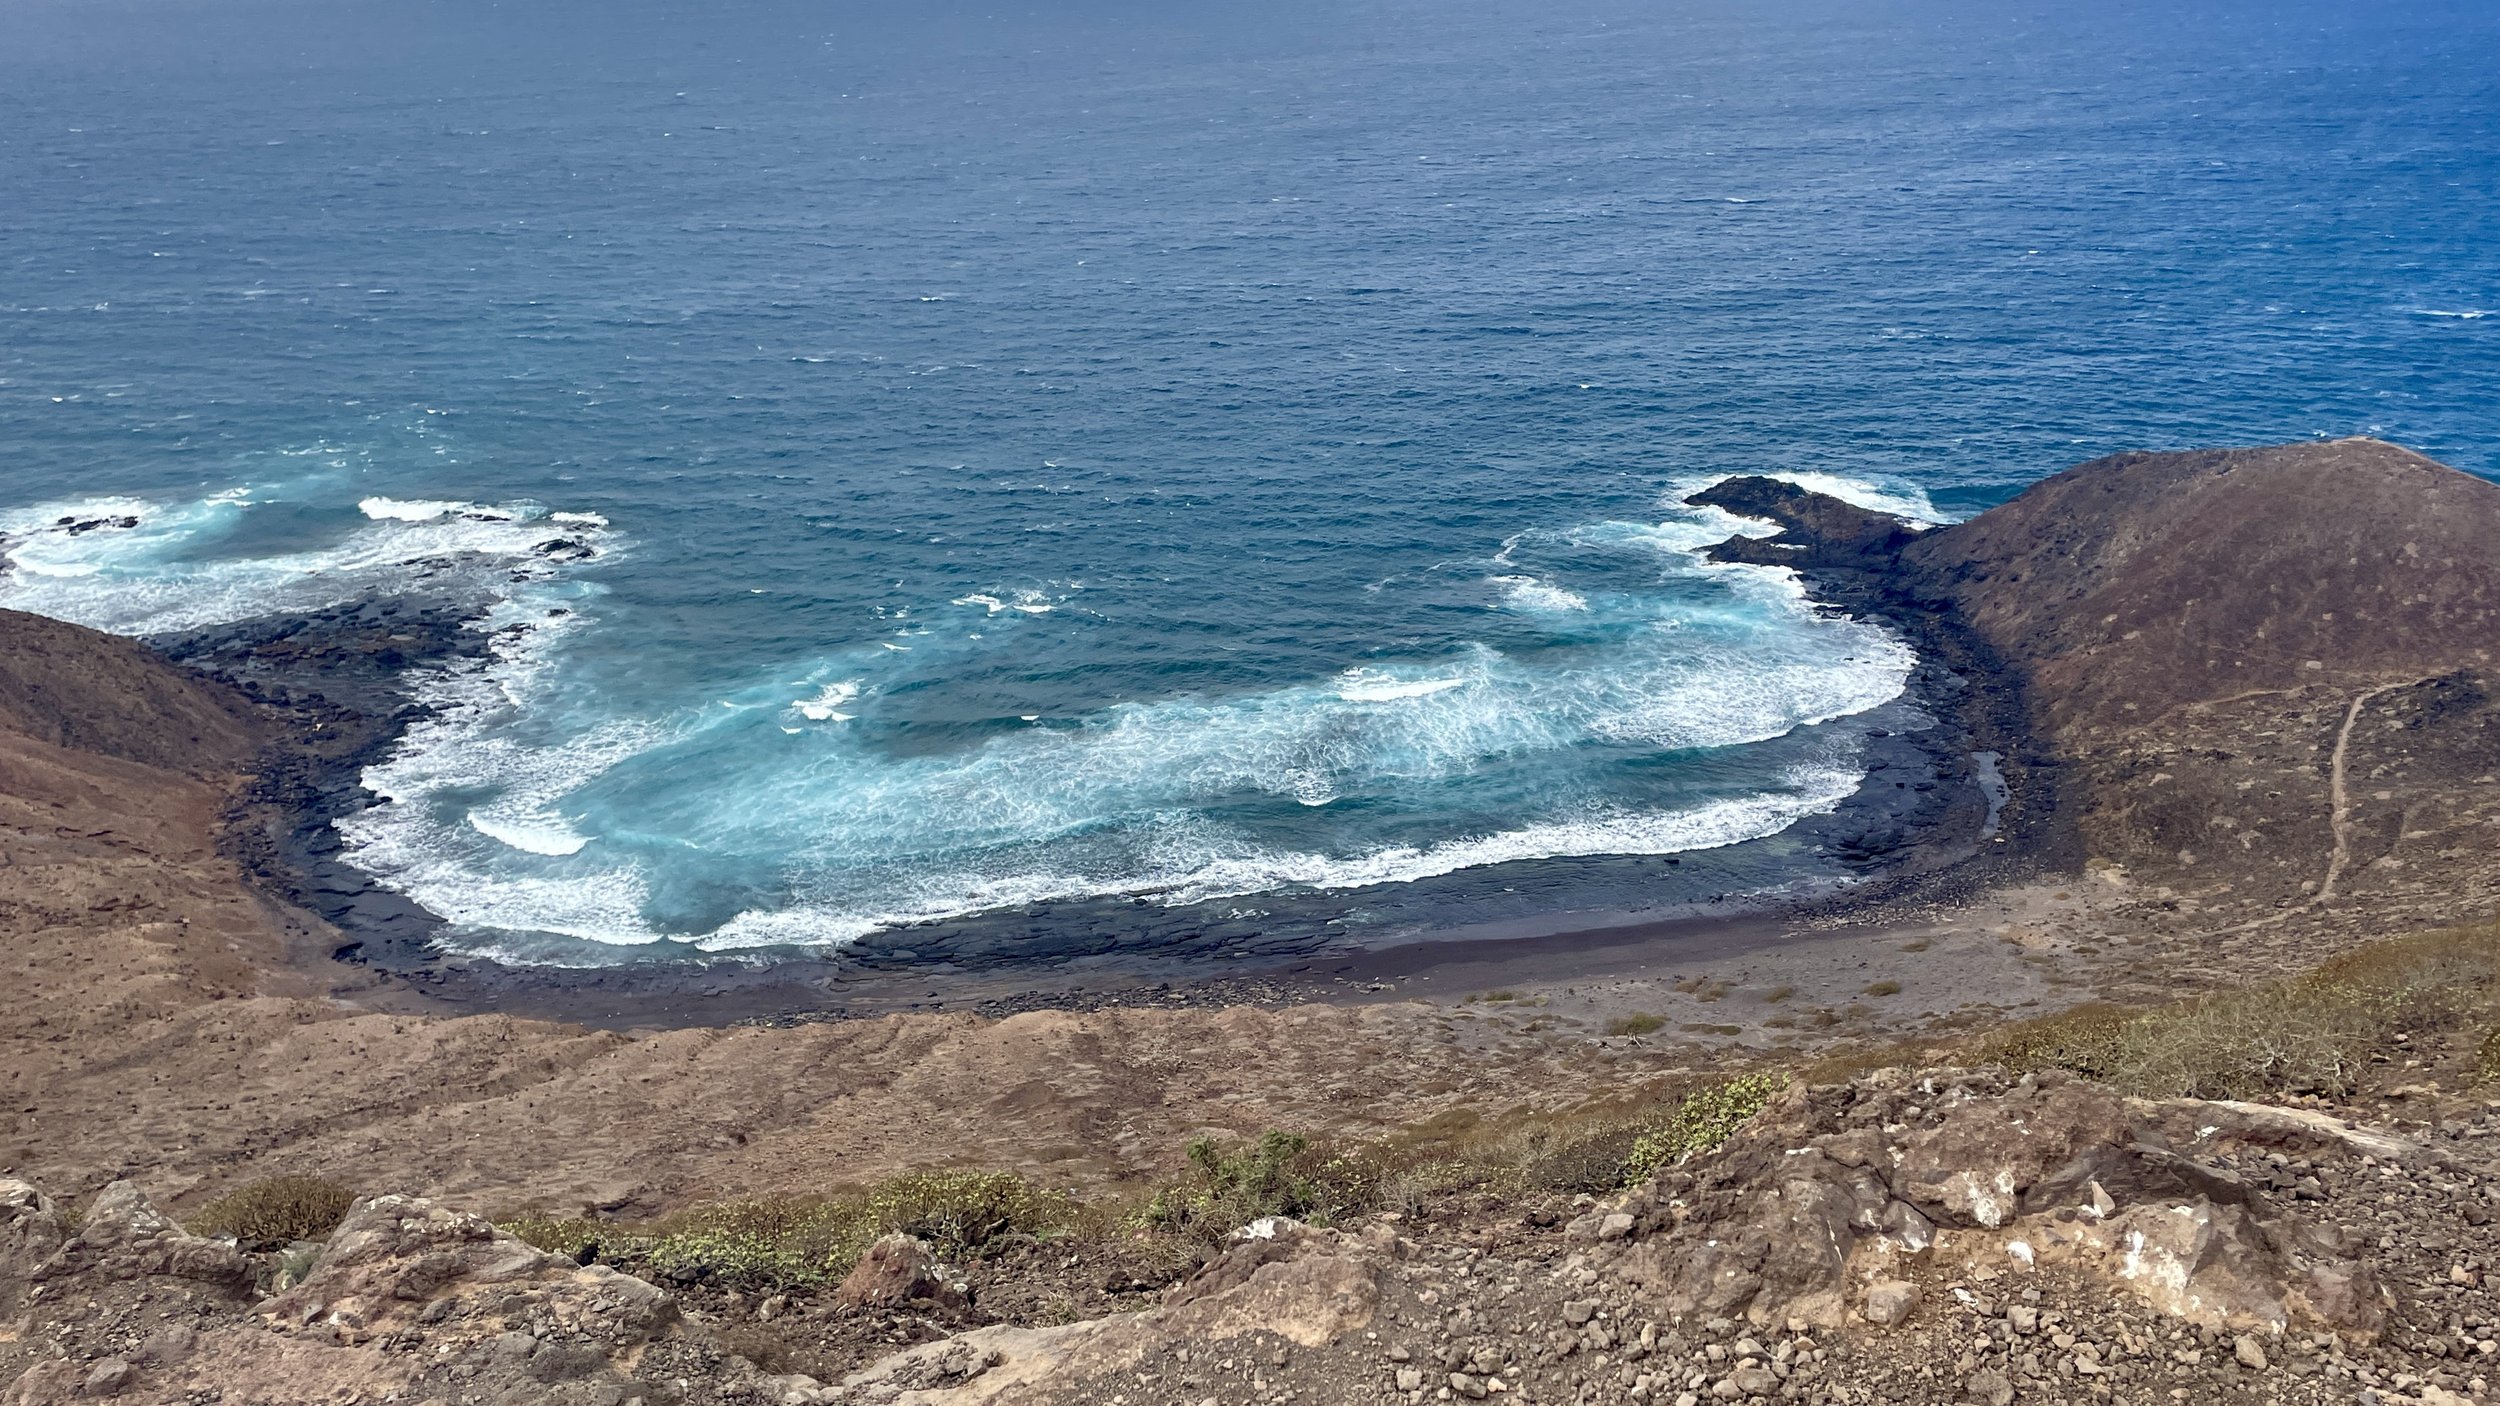
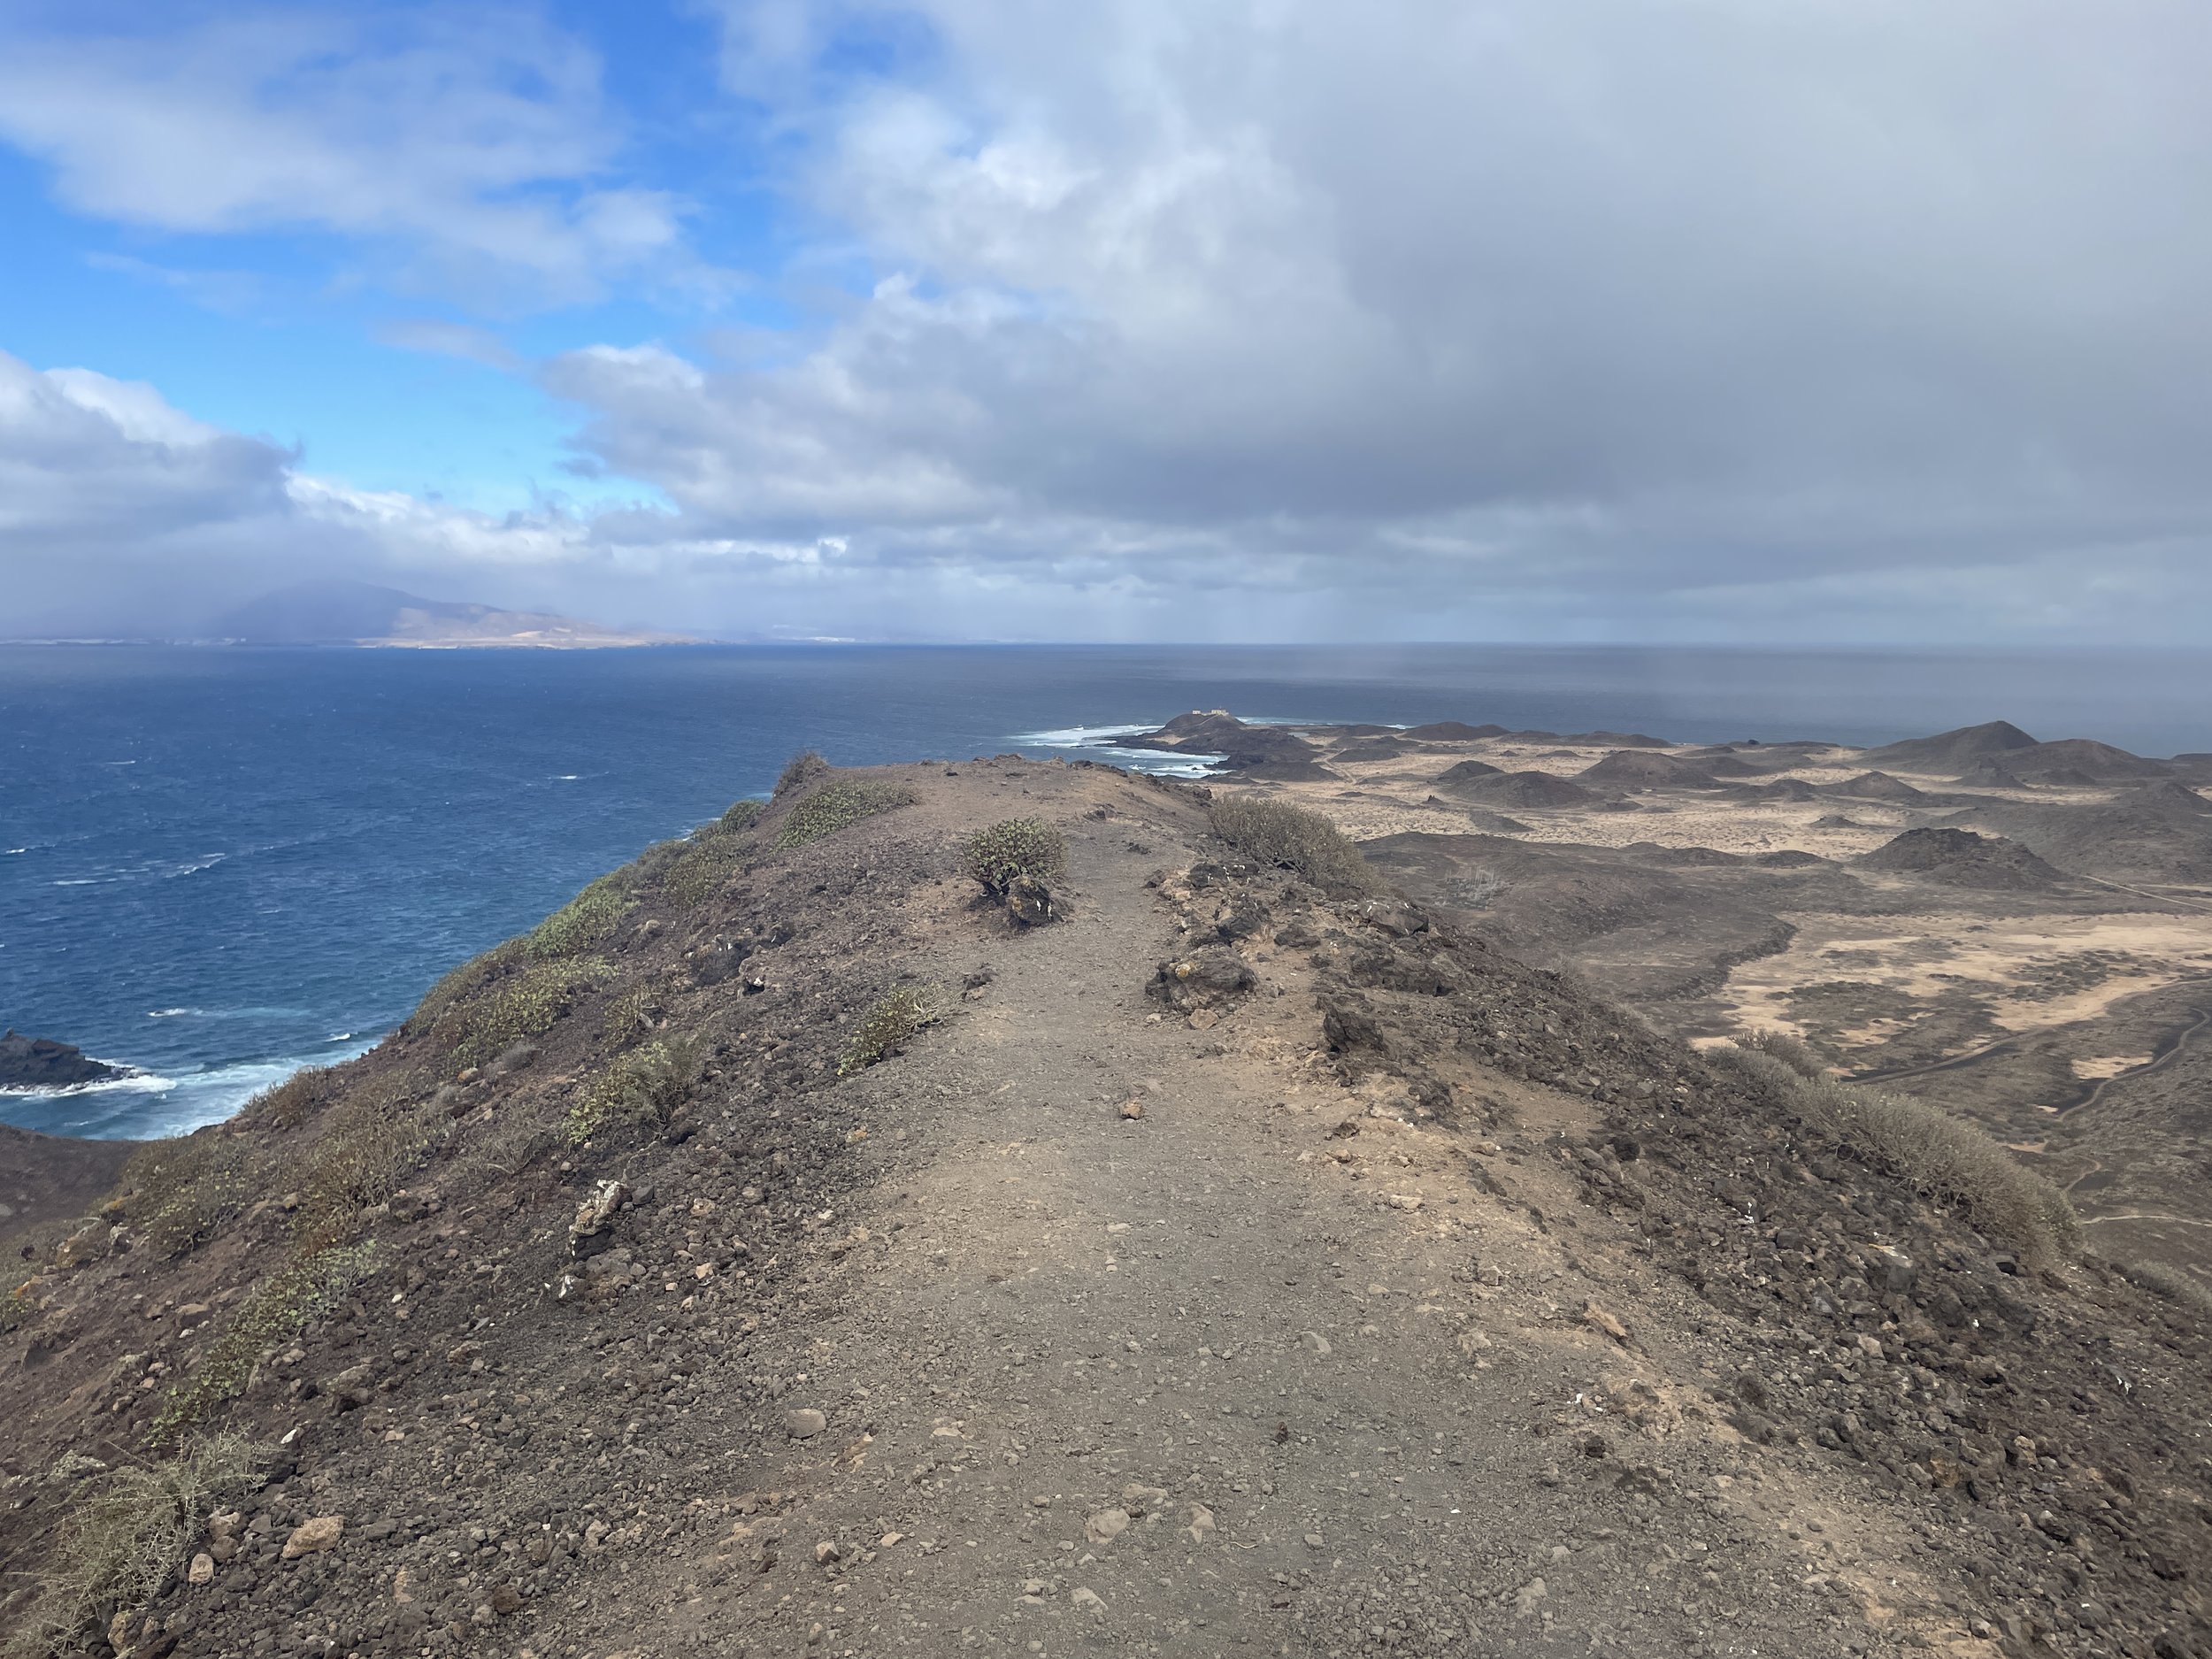
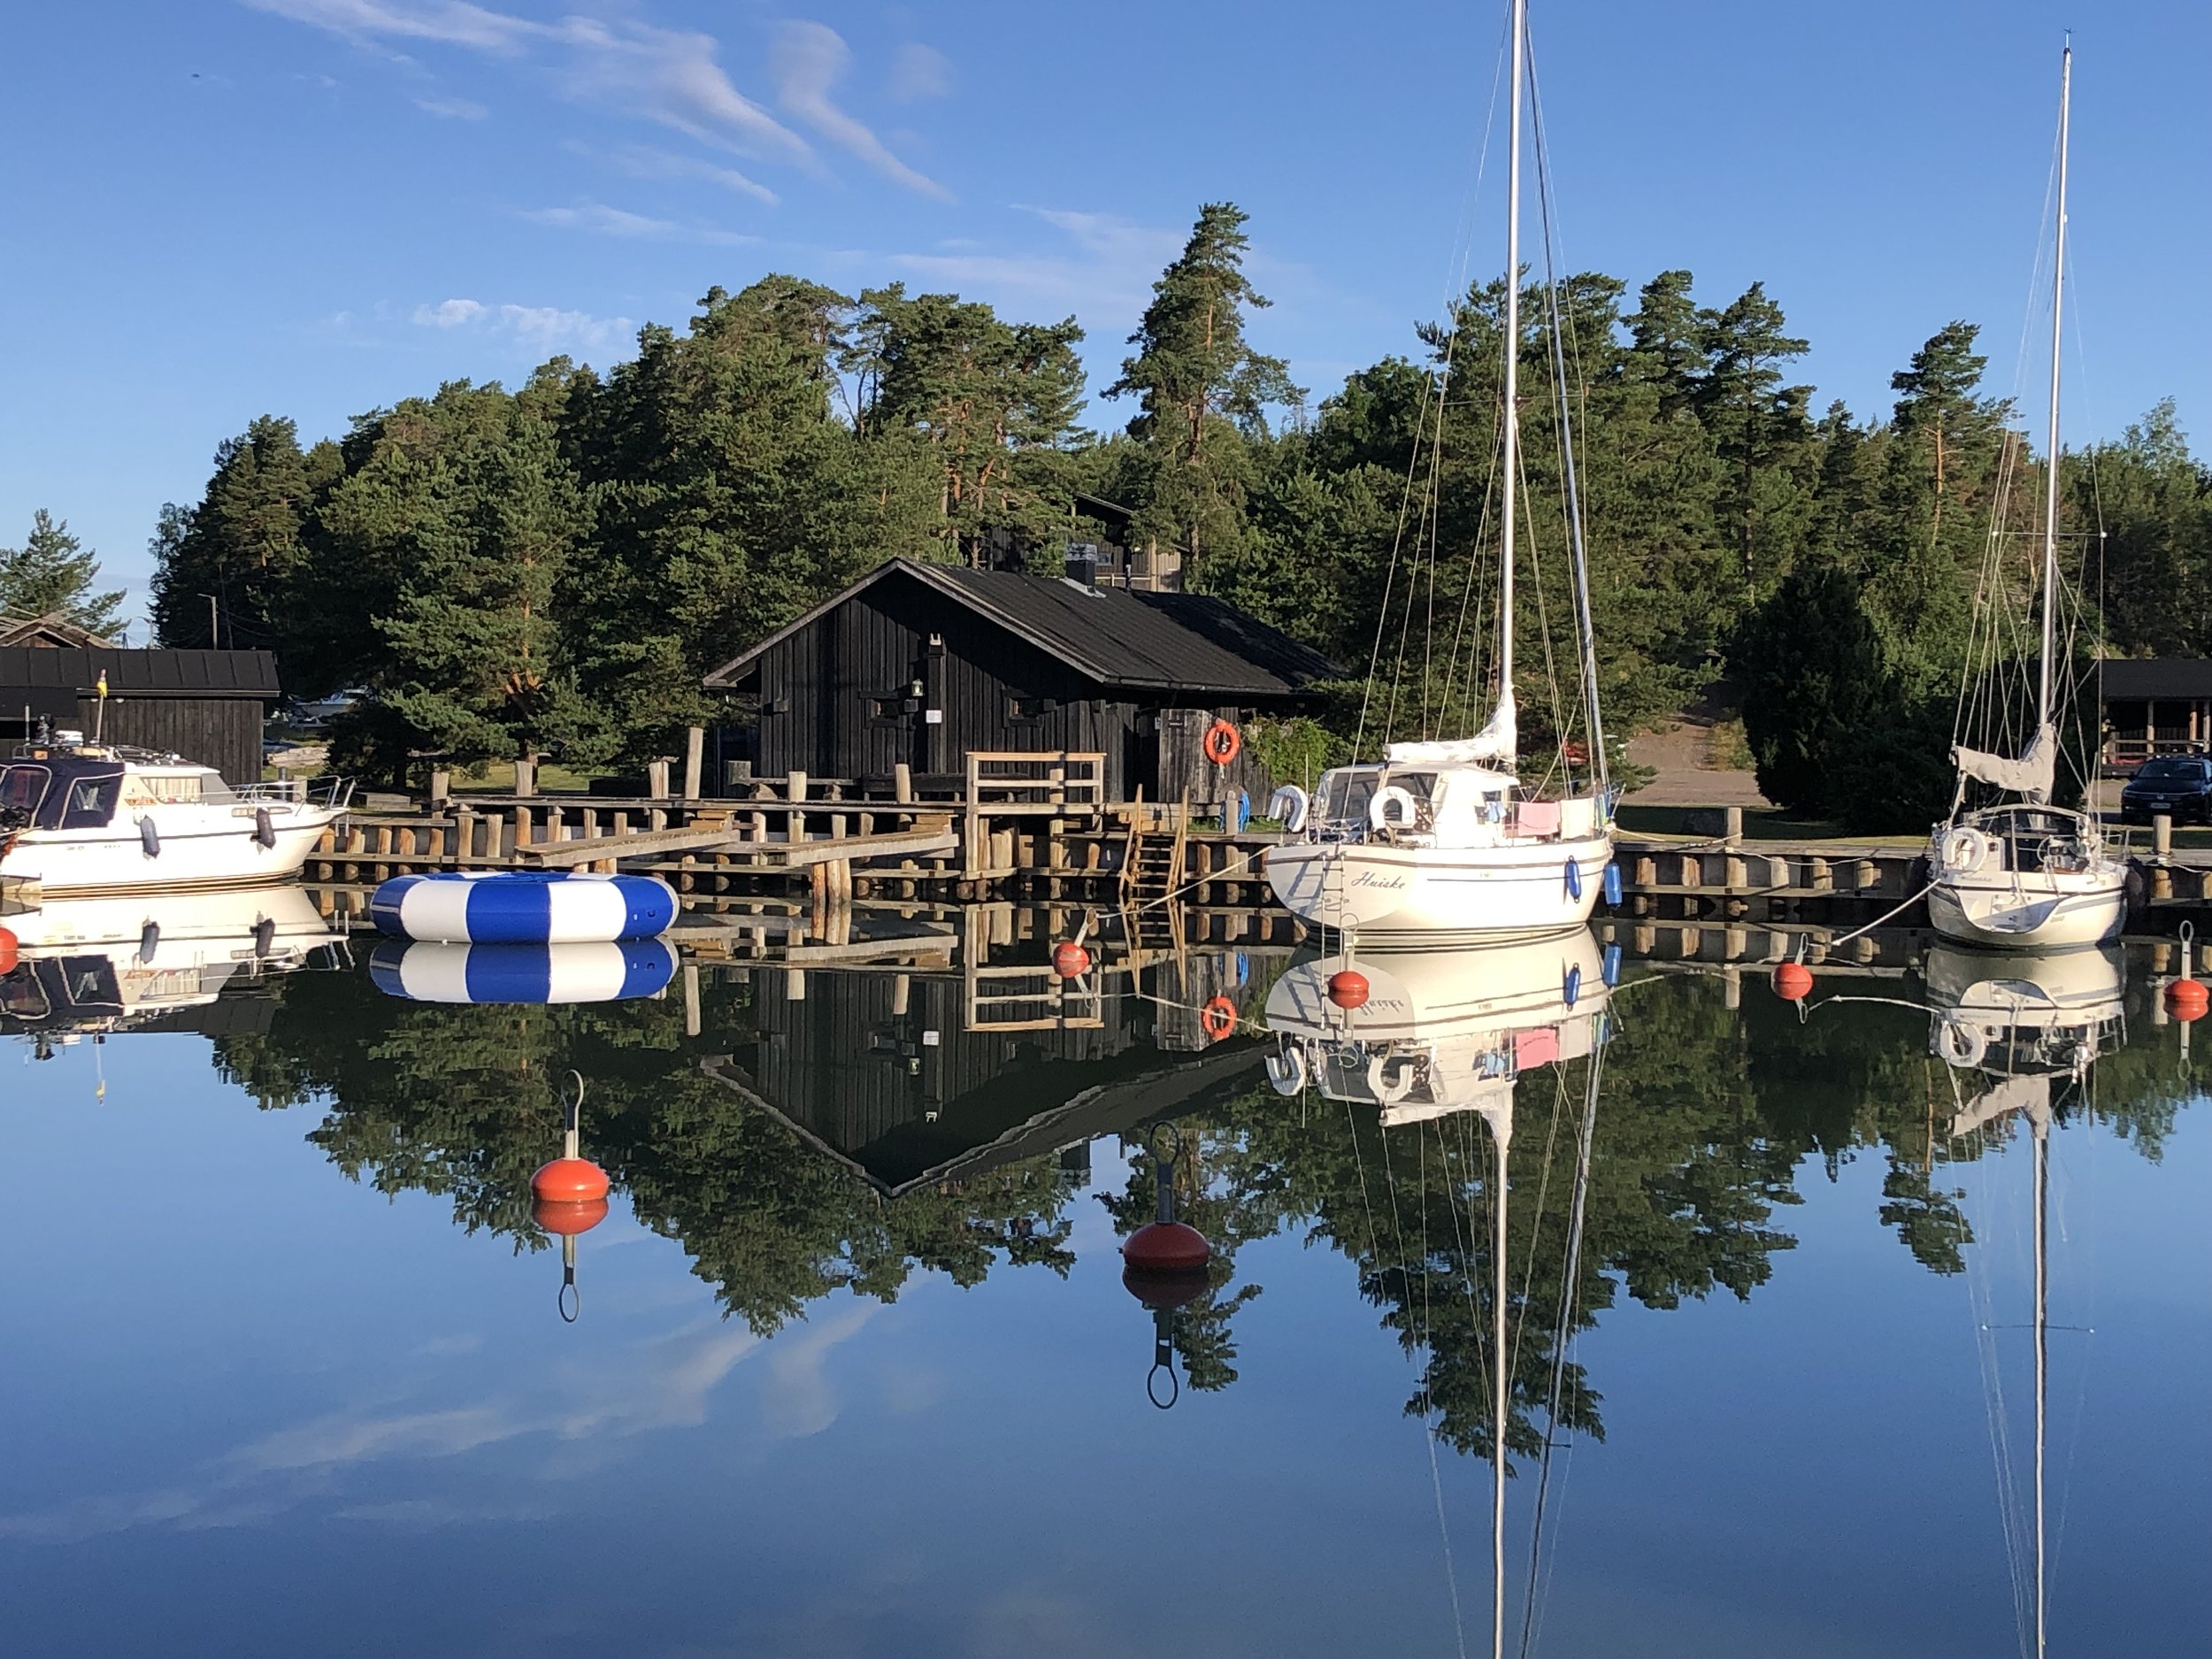
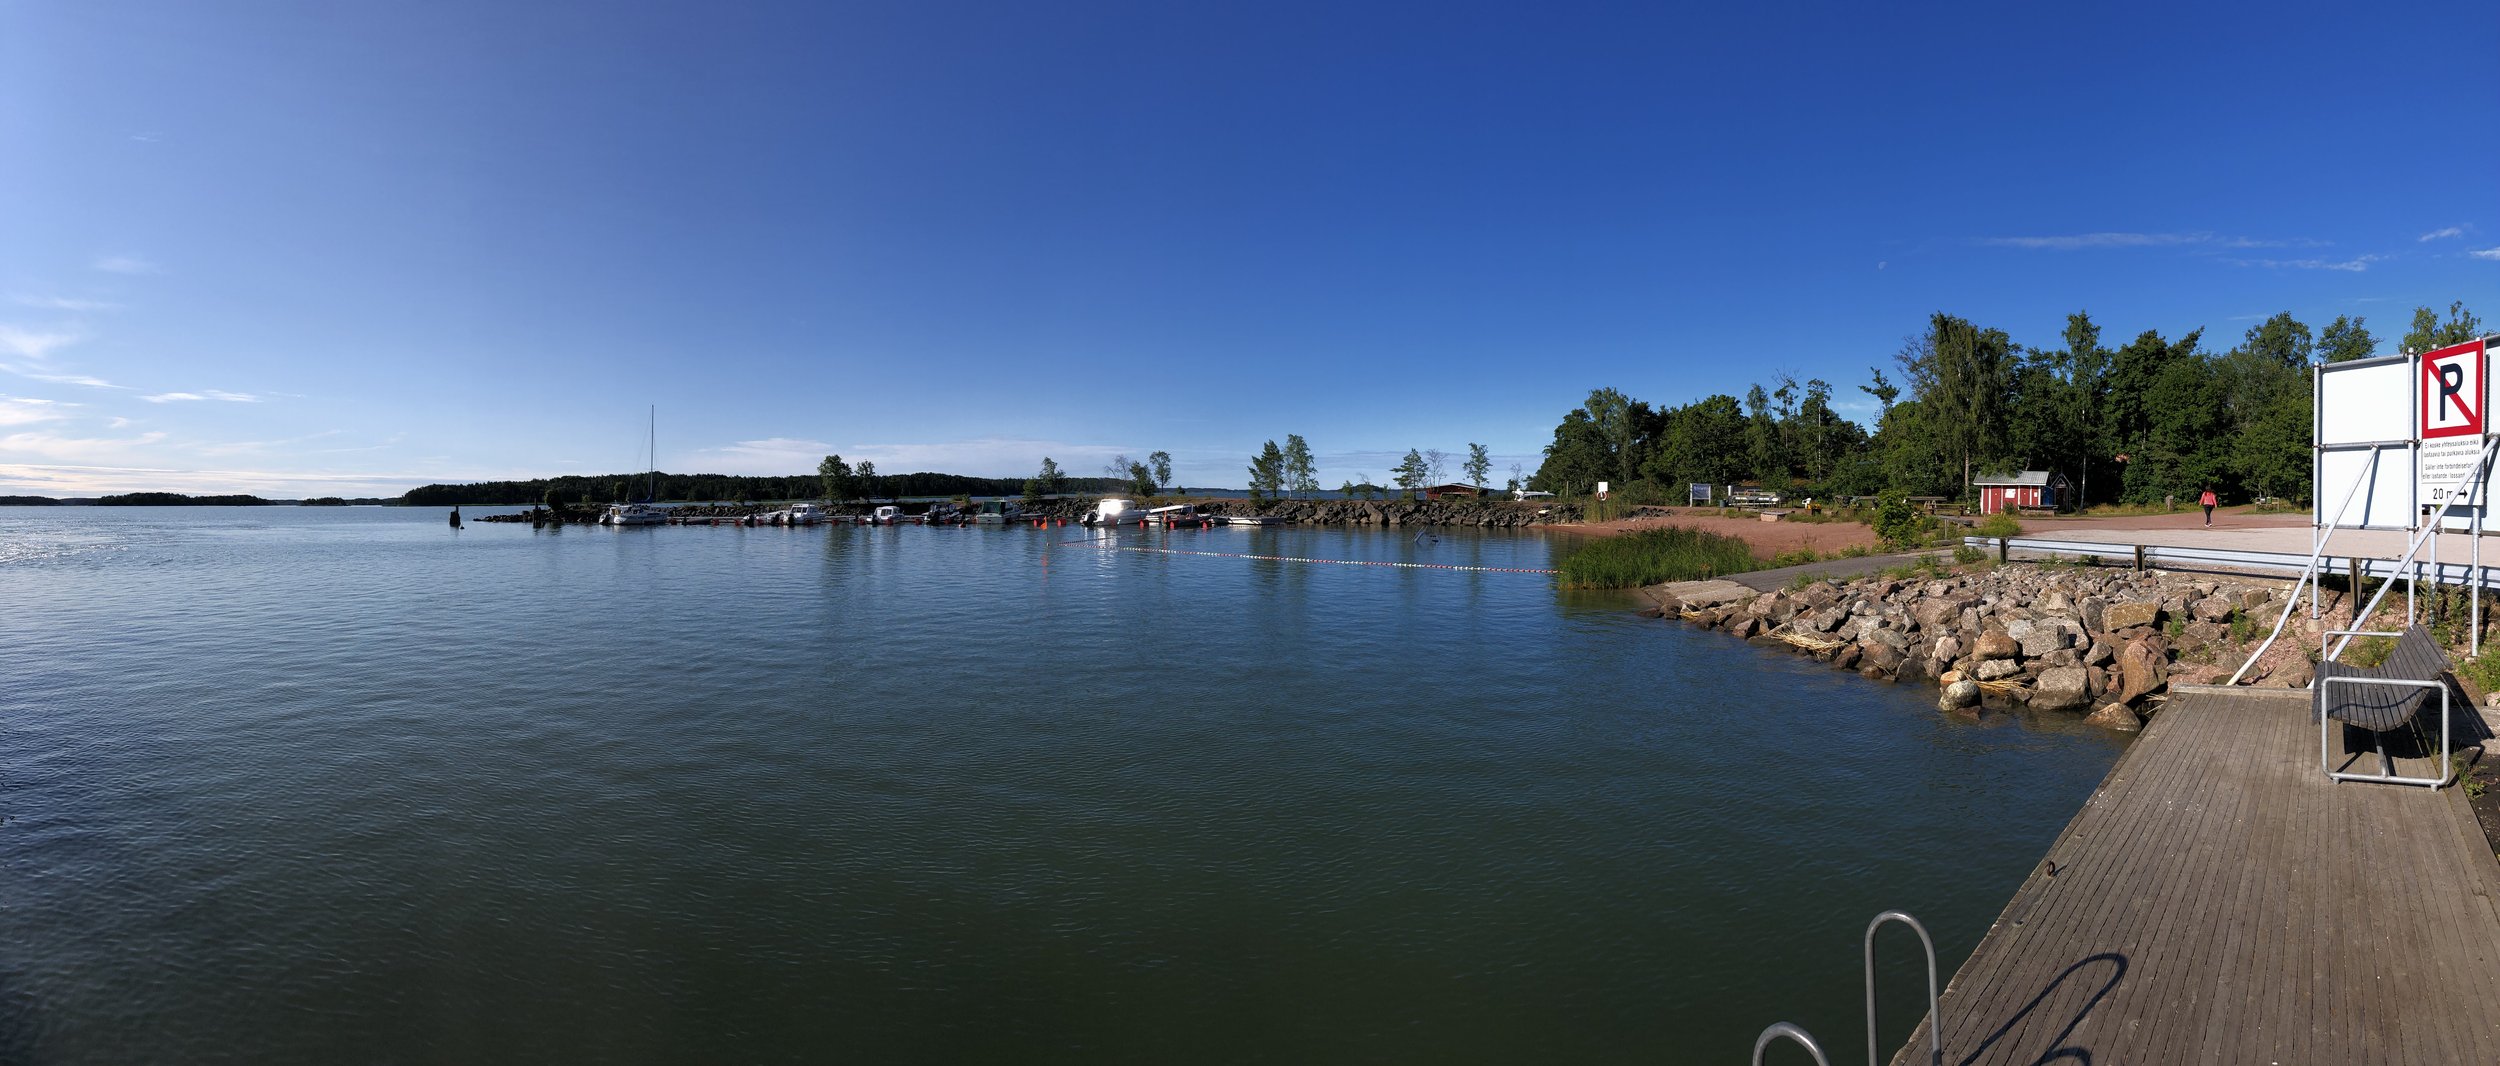
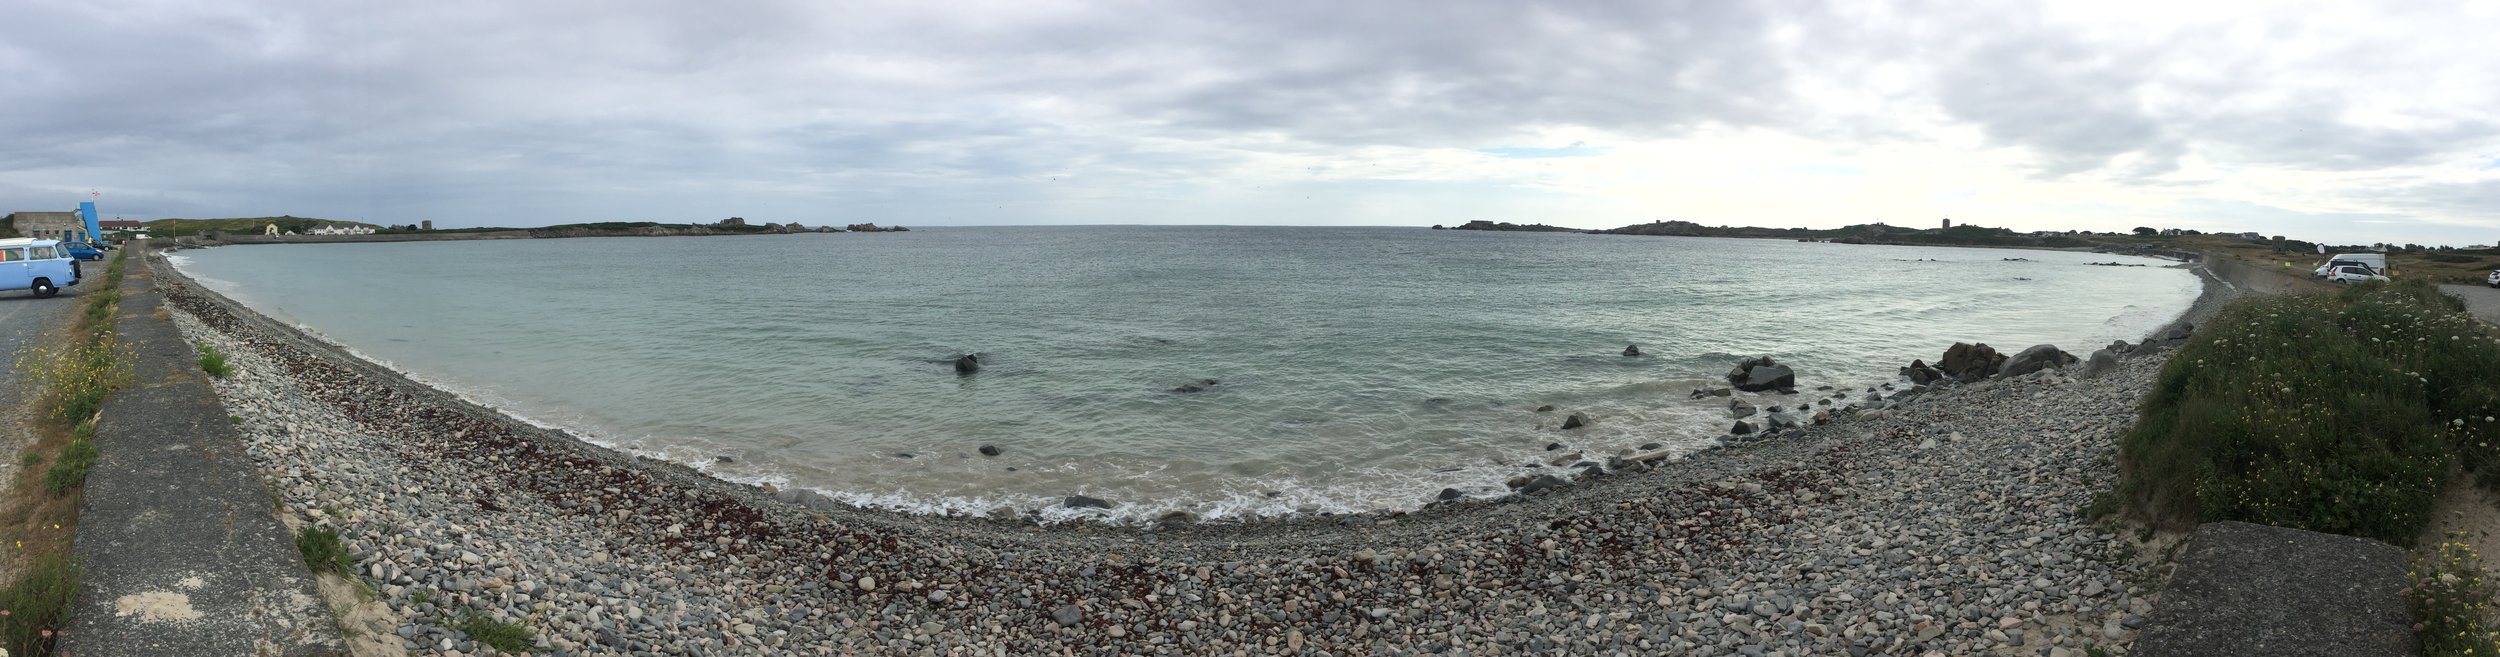
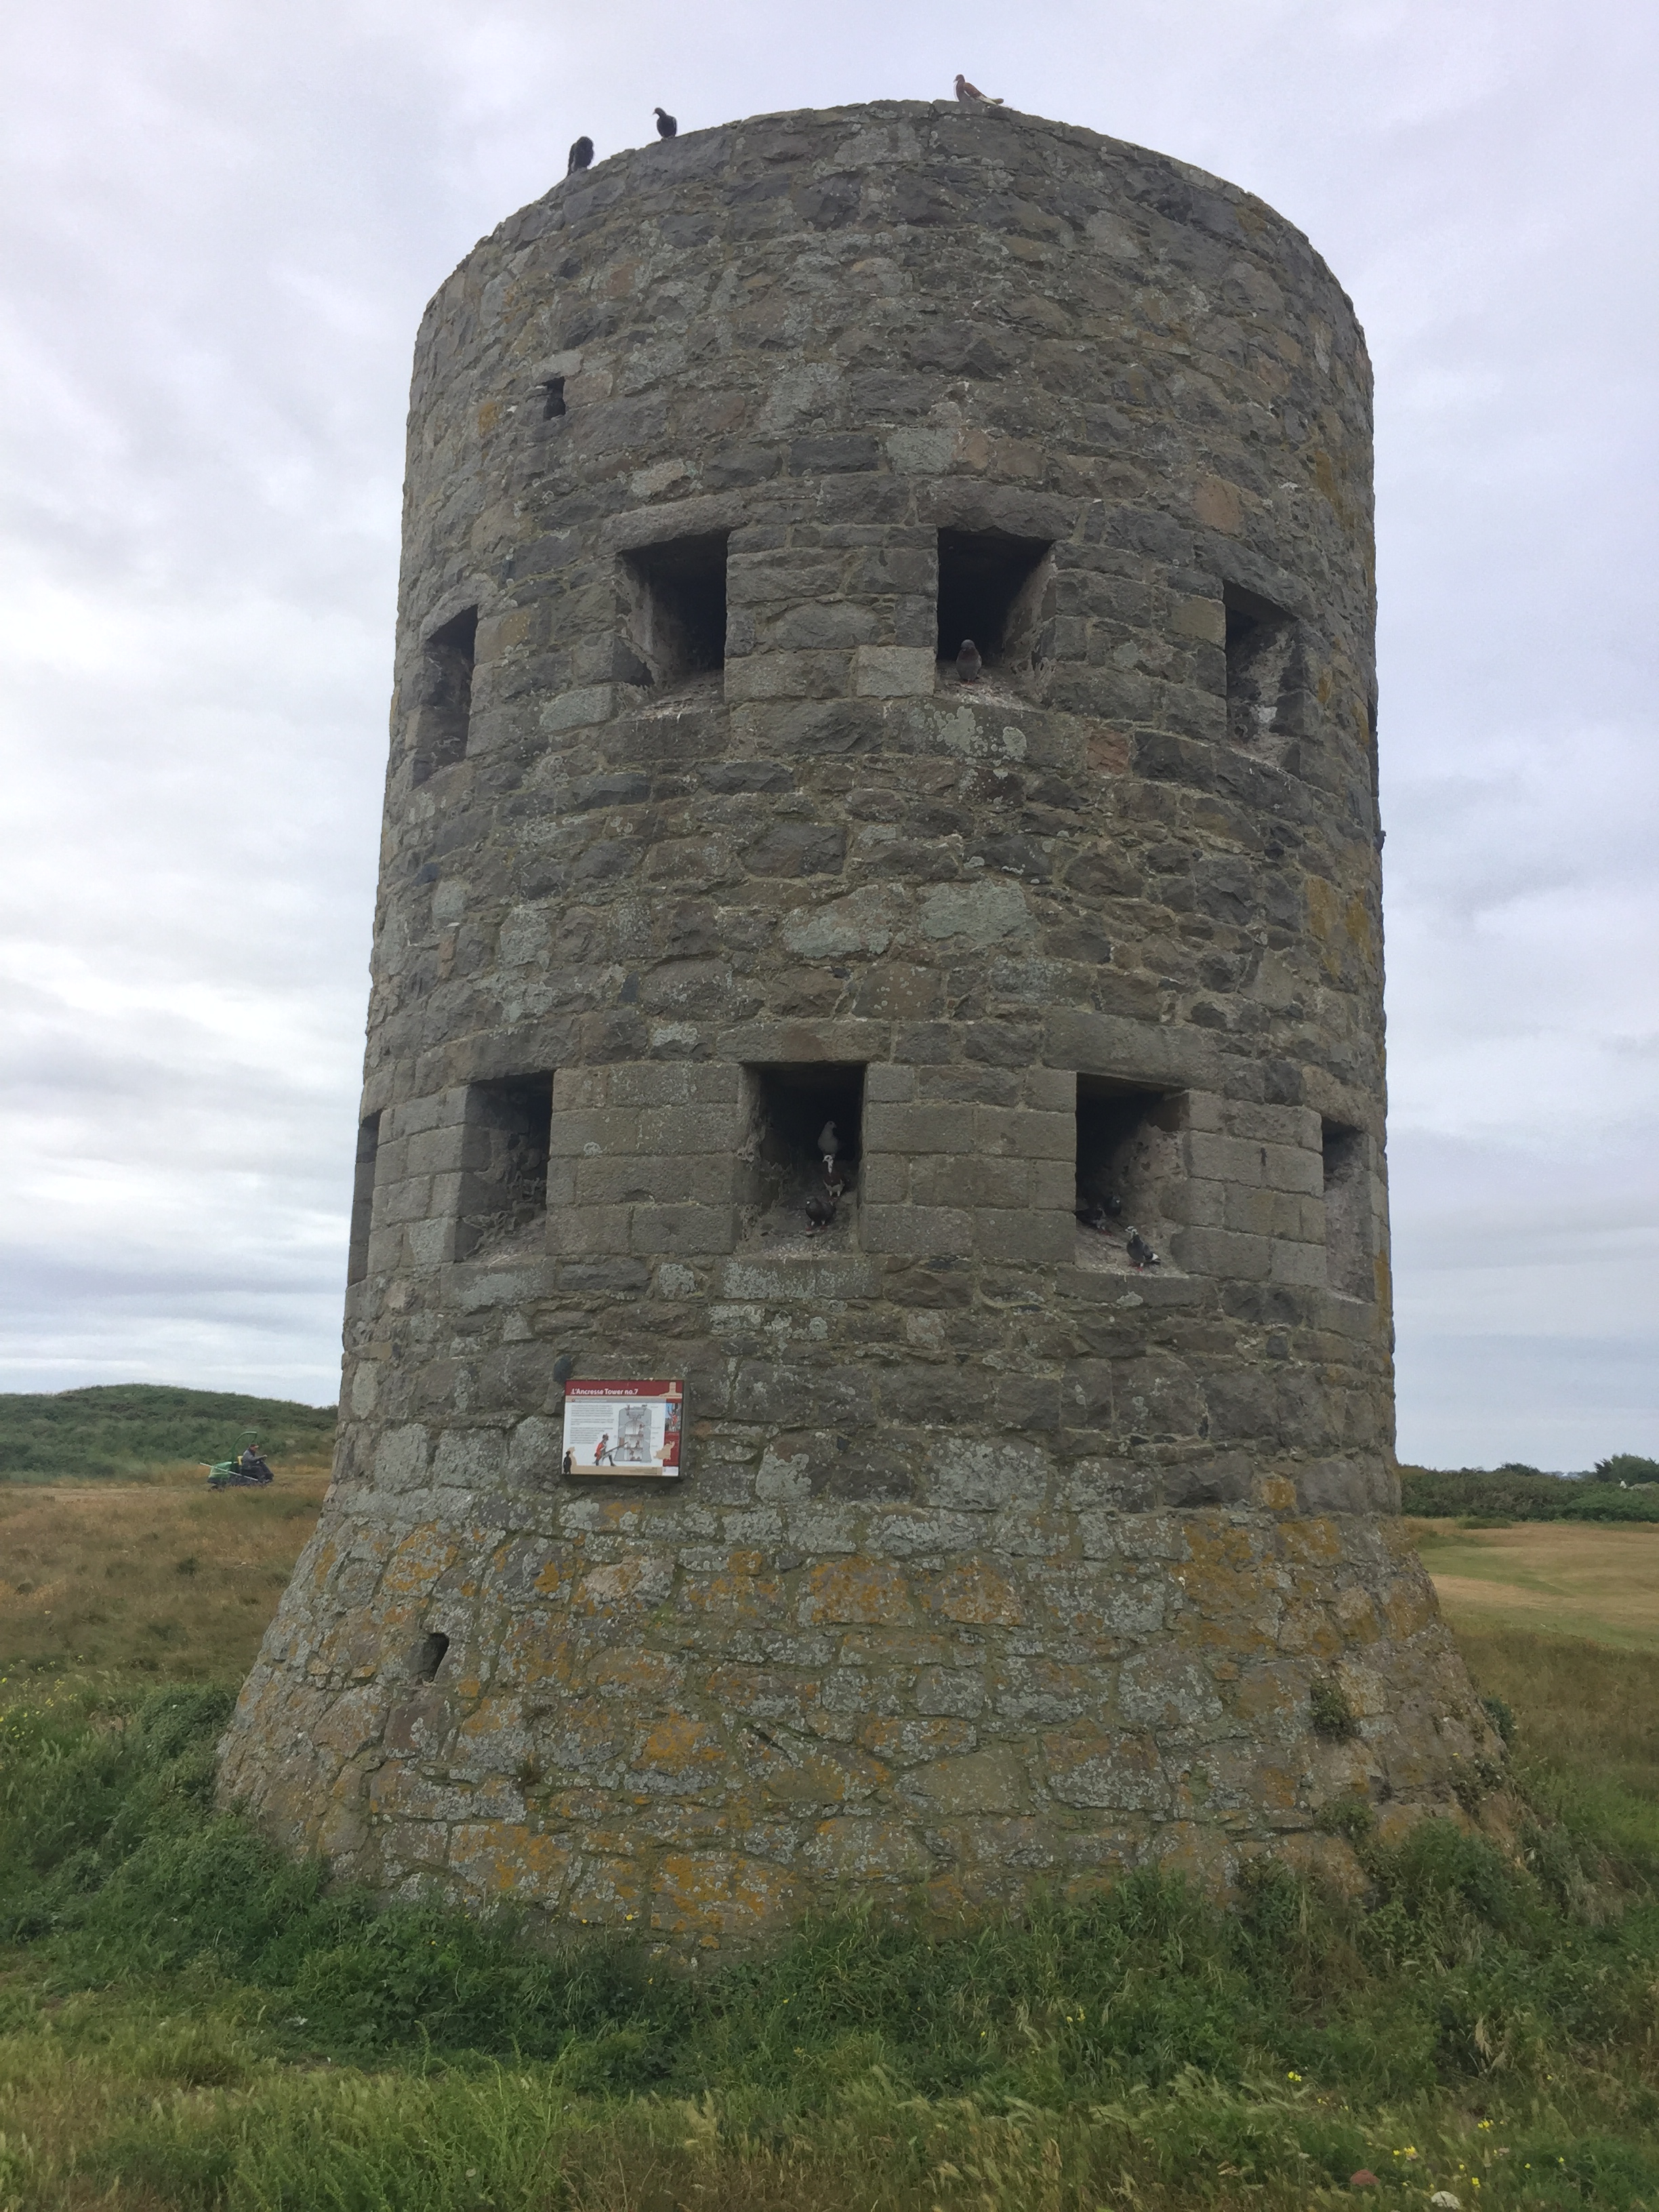
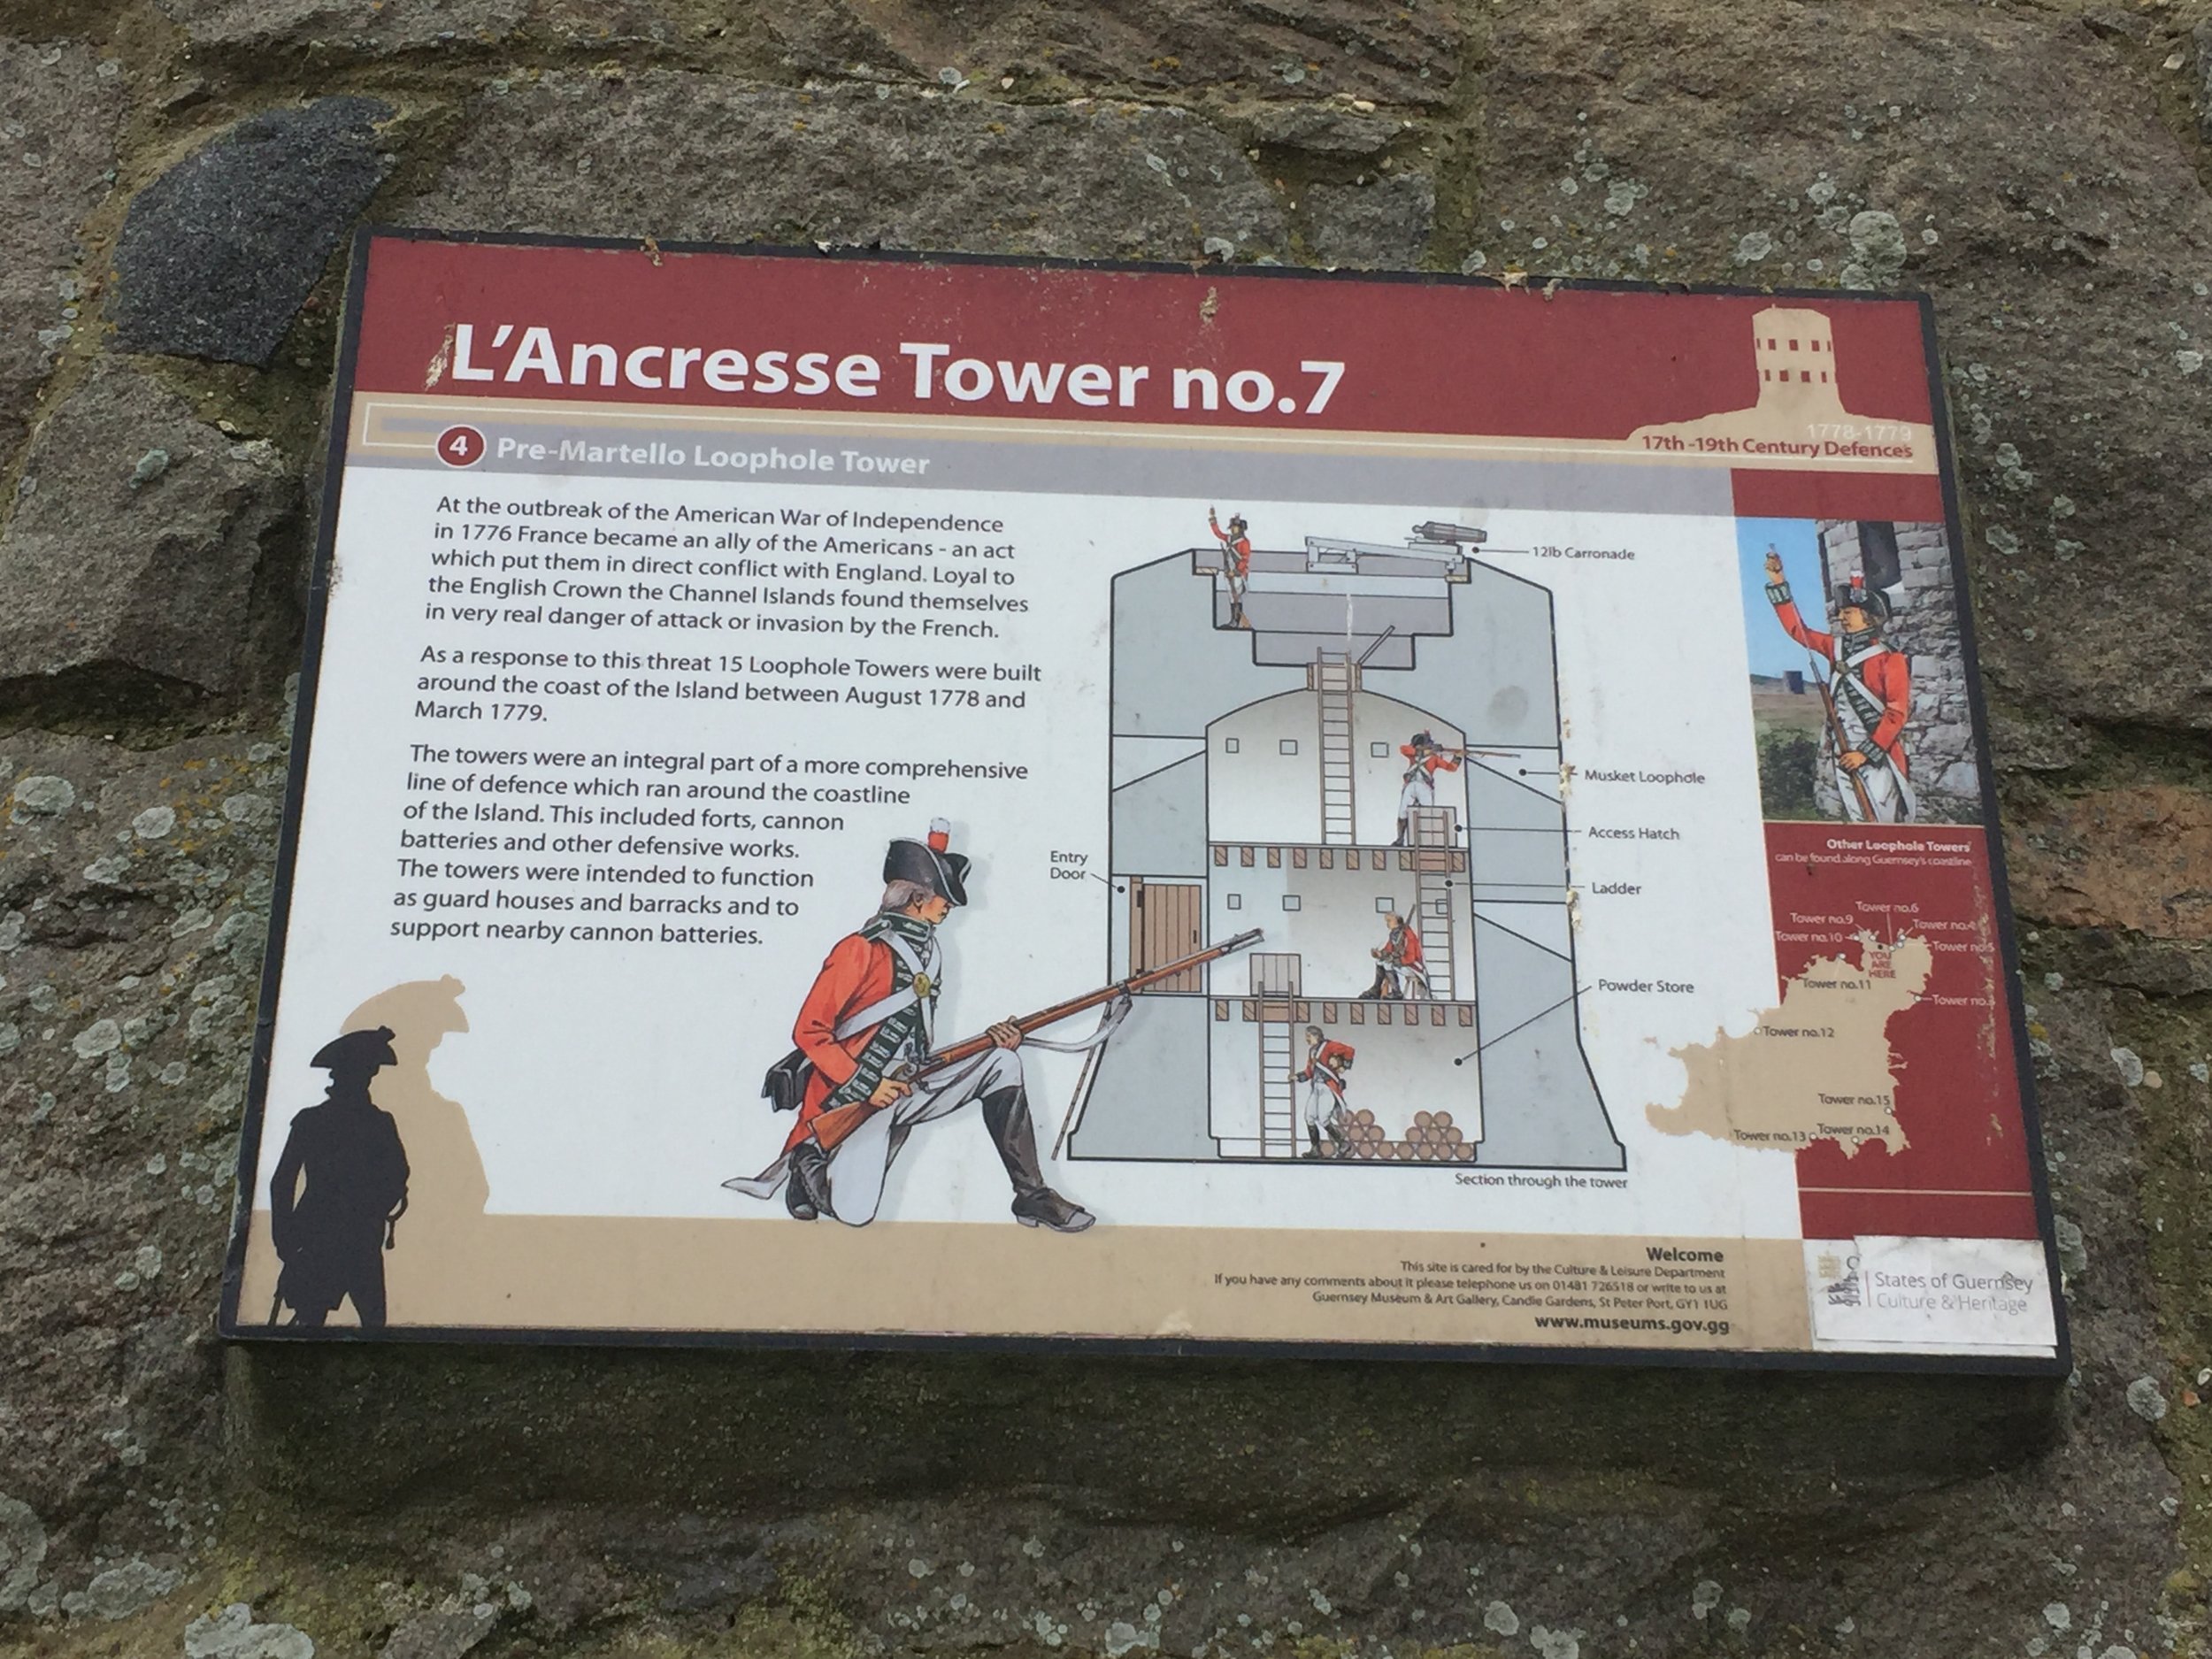
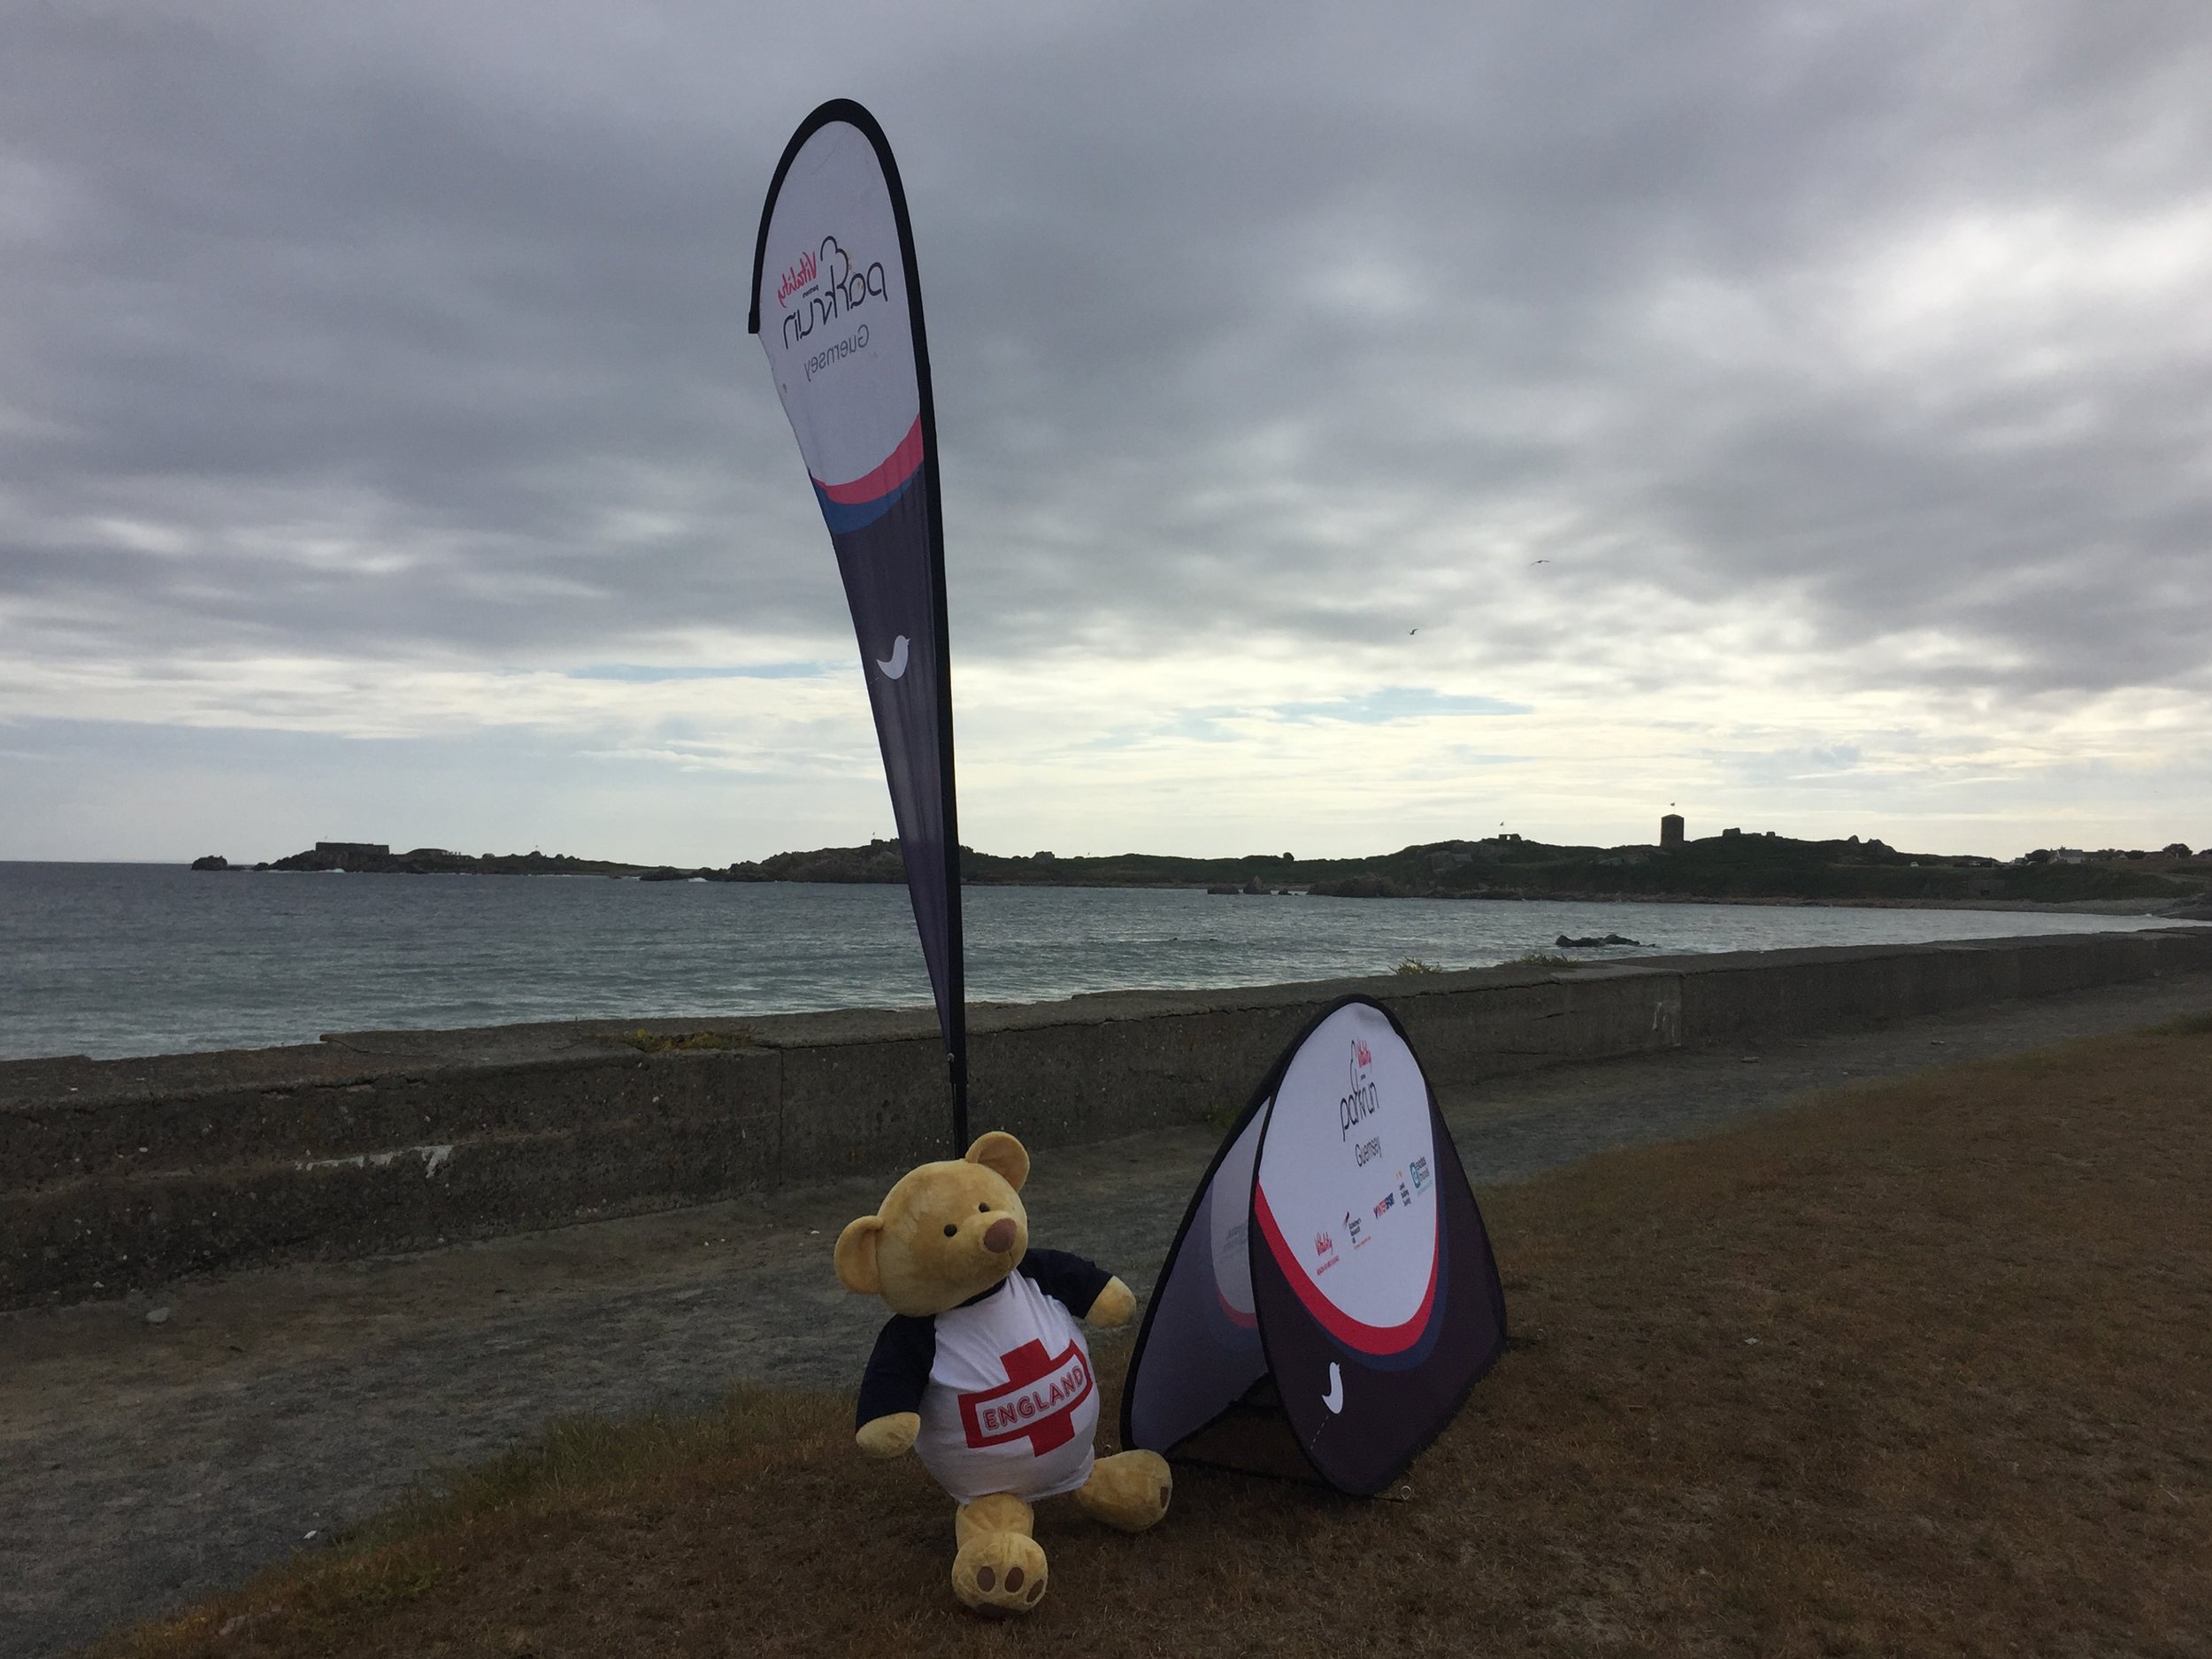
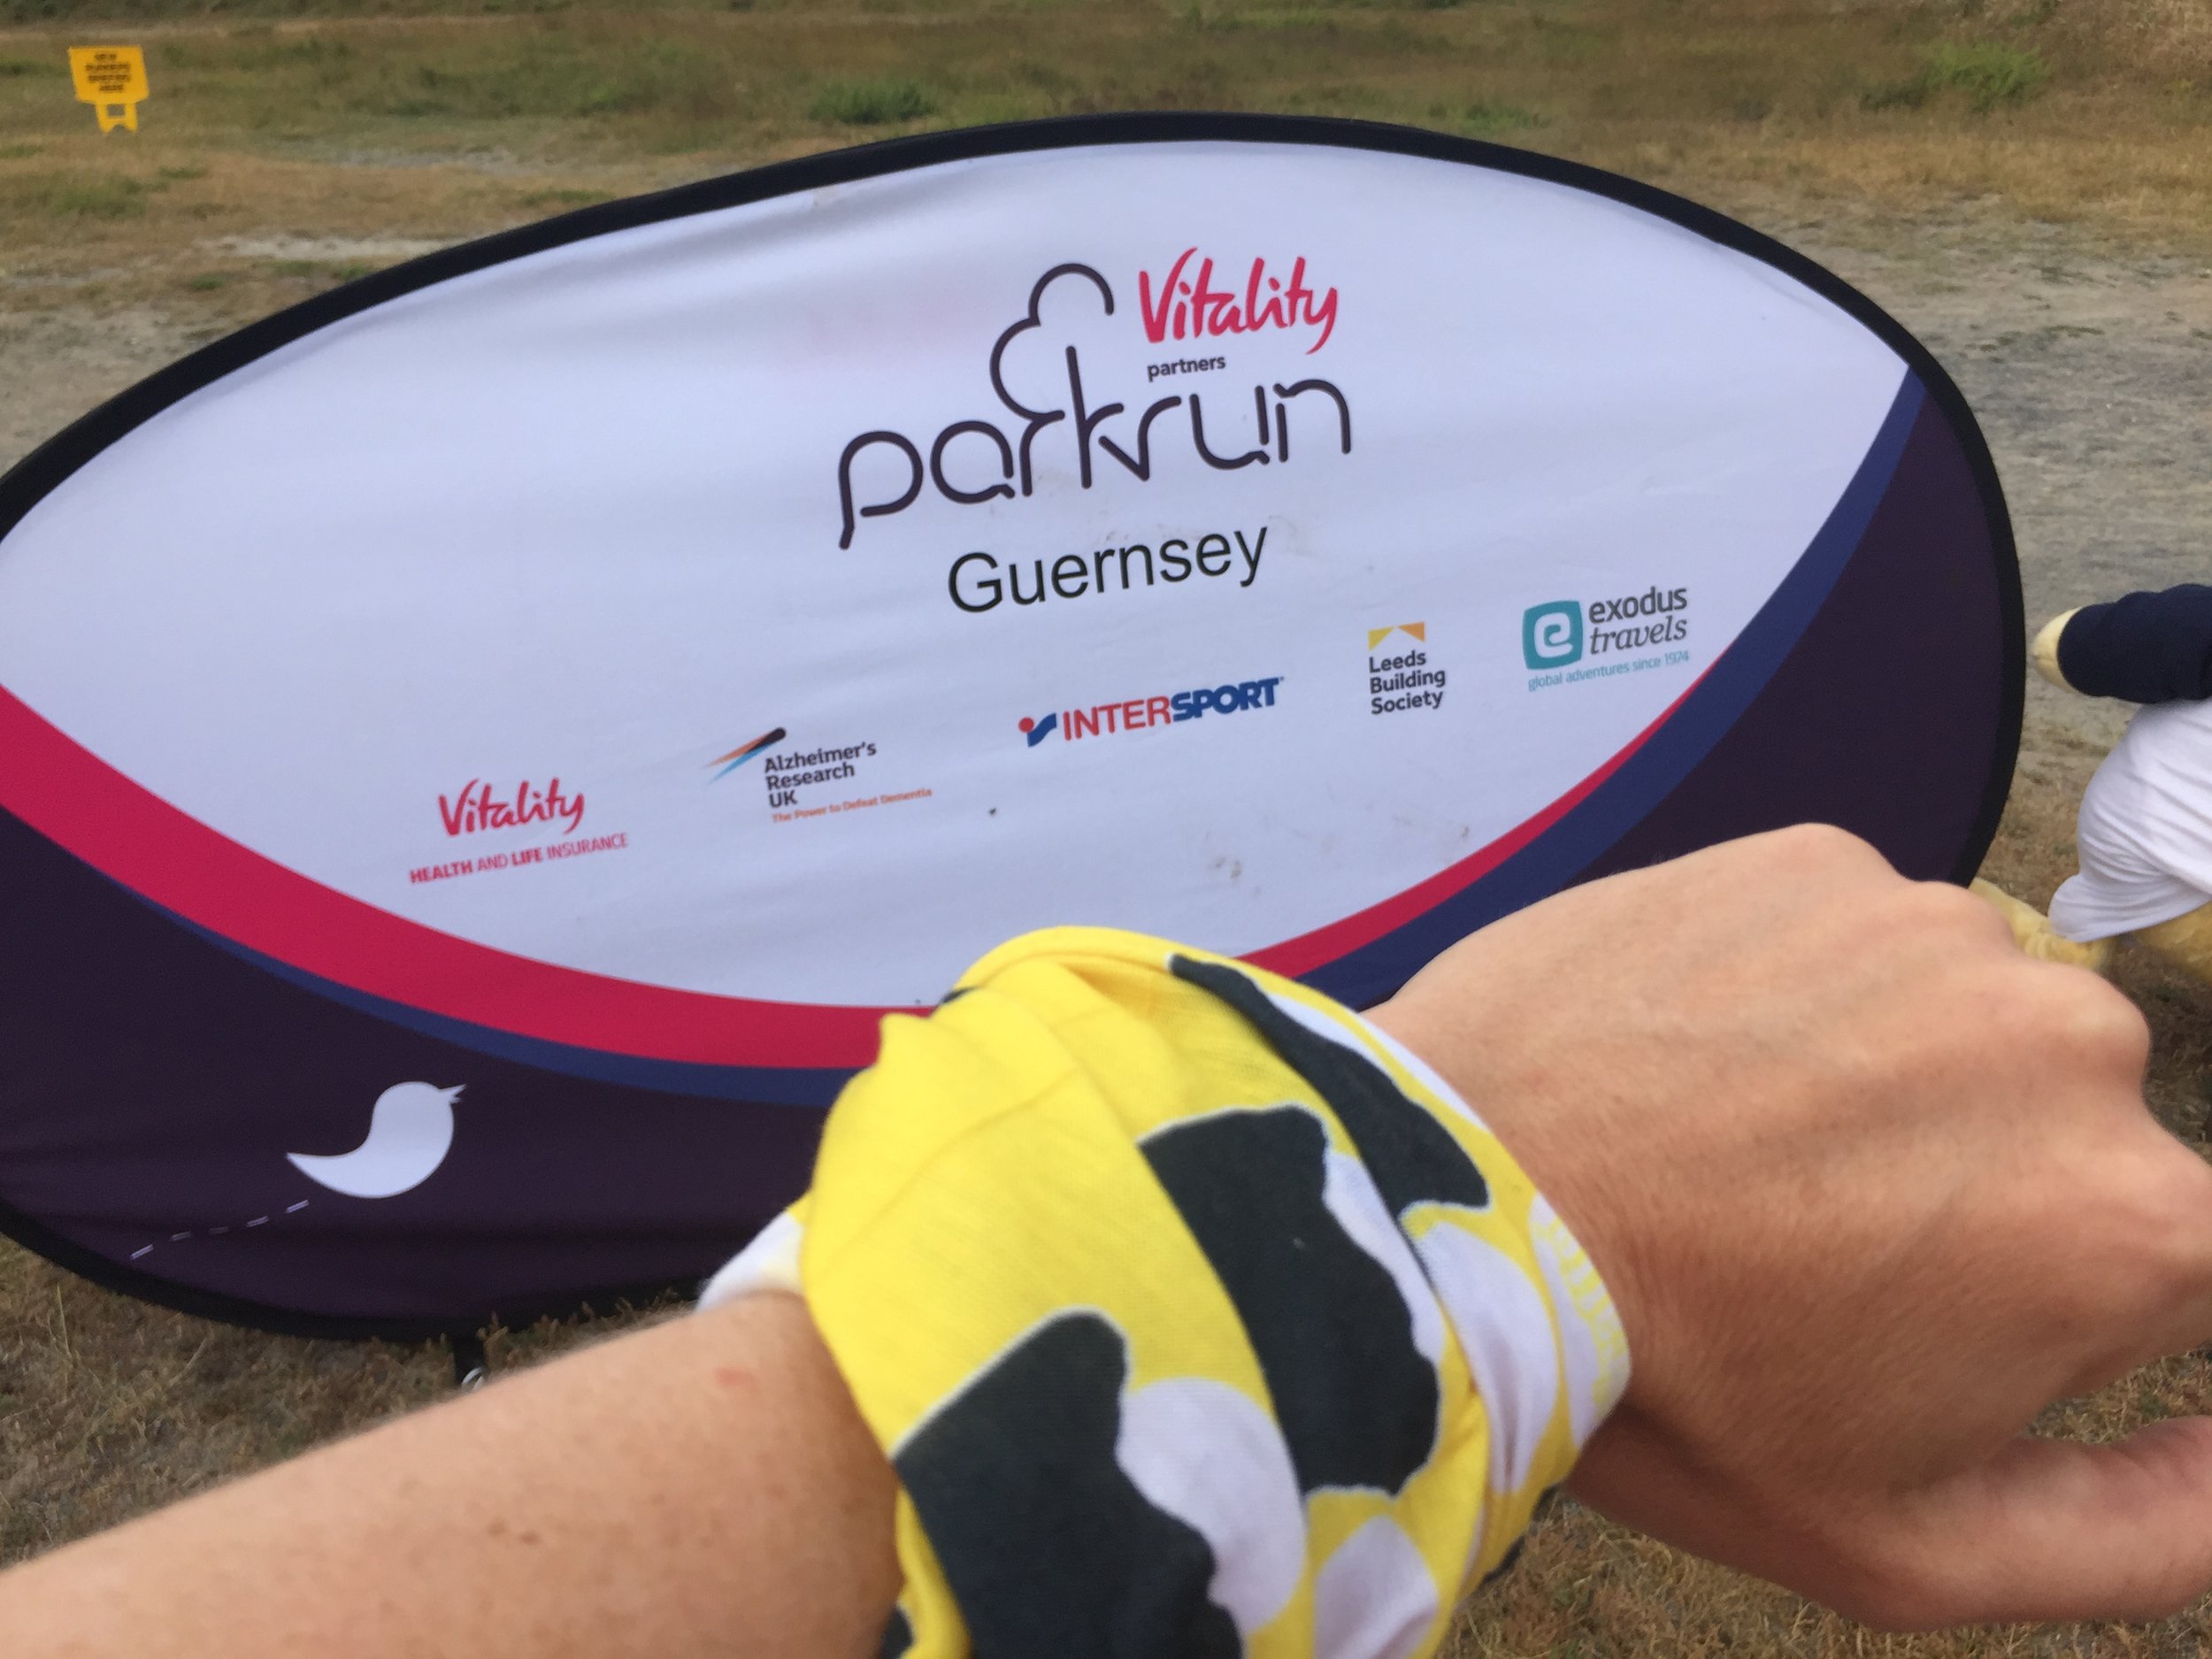
Guernsey
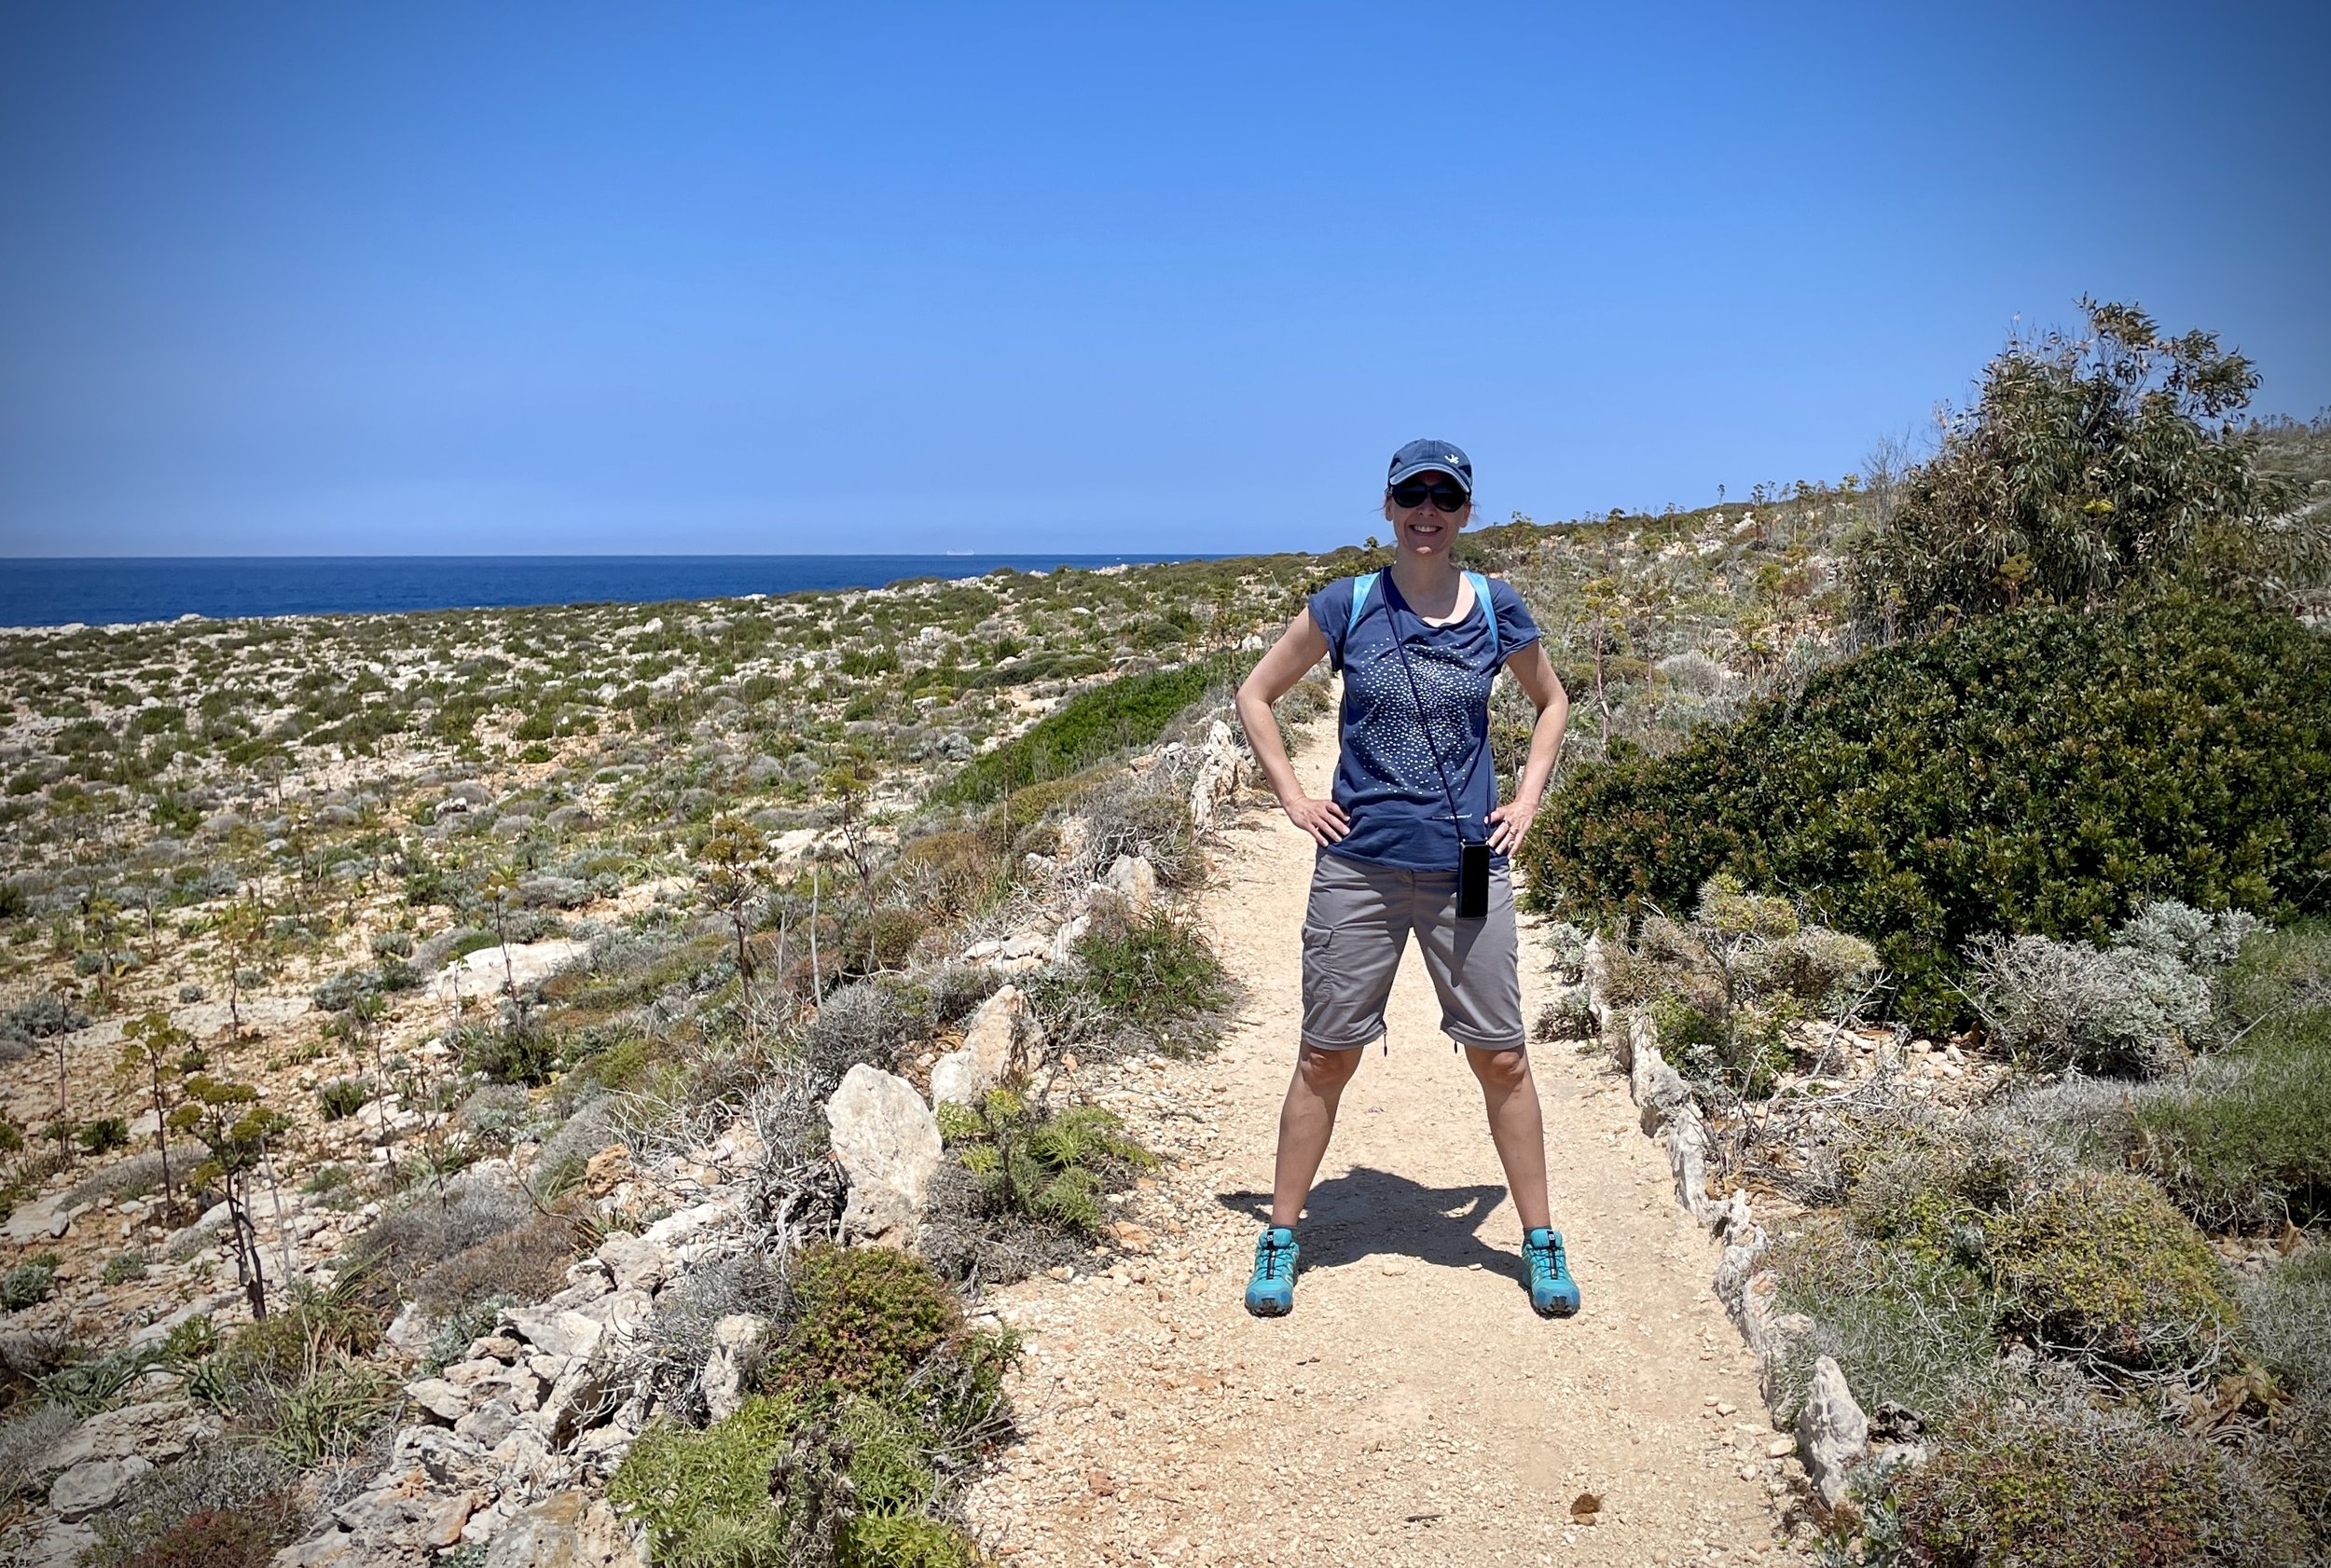
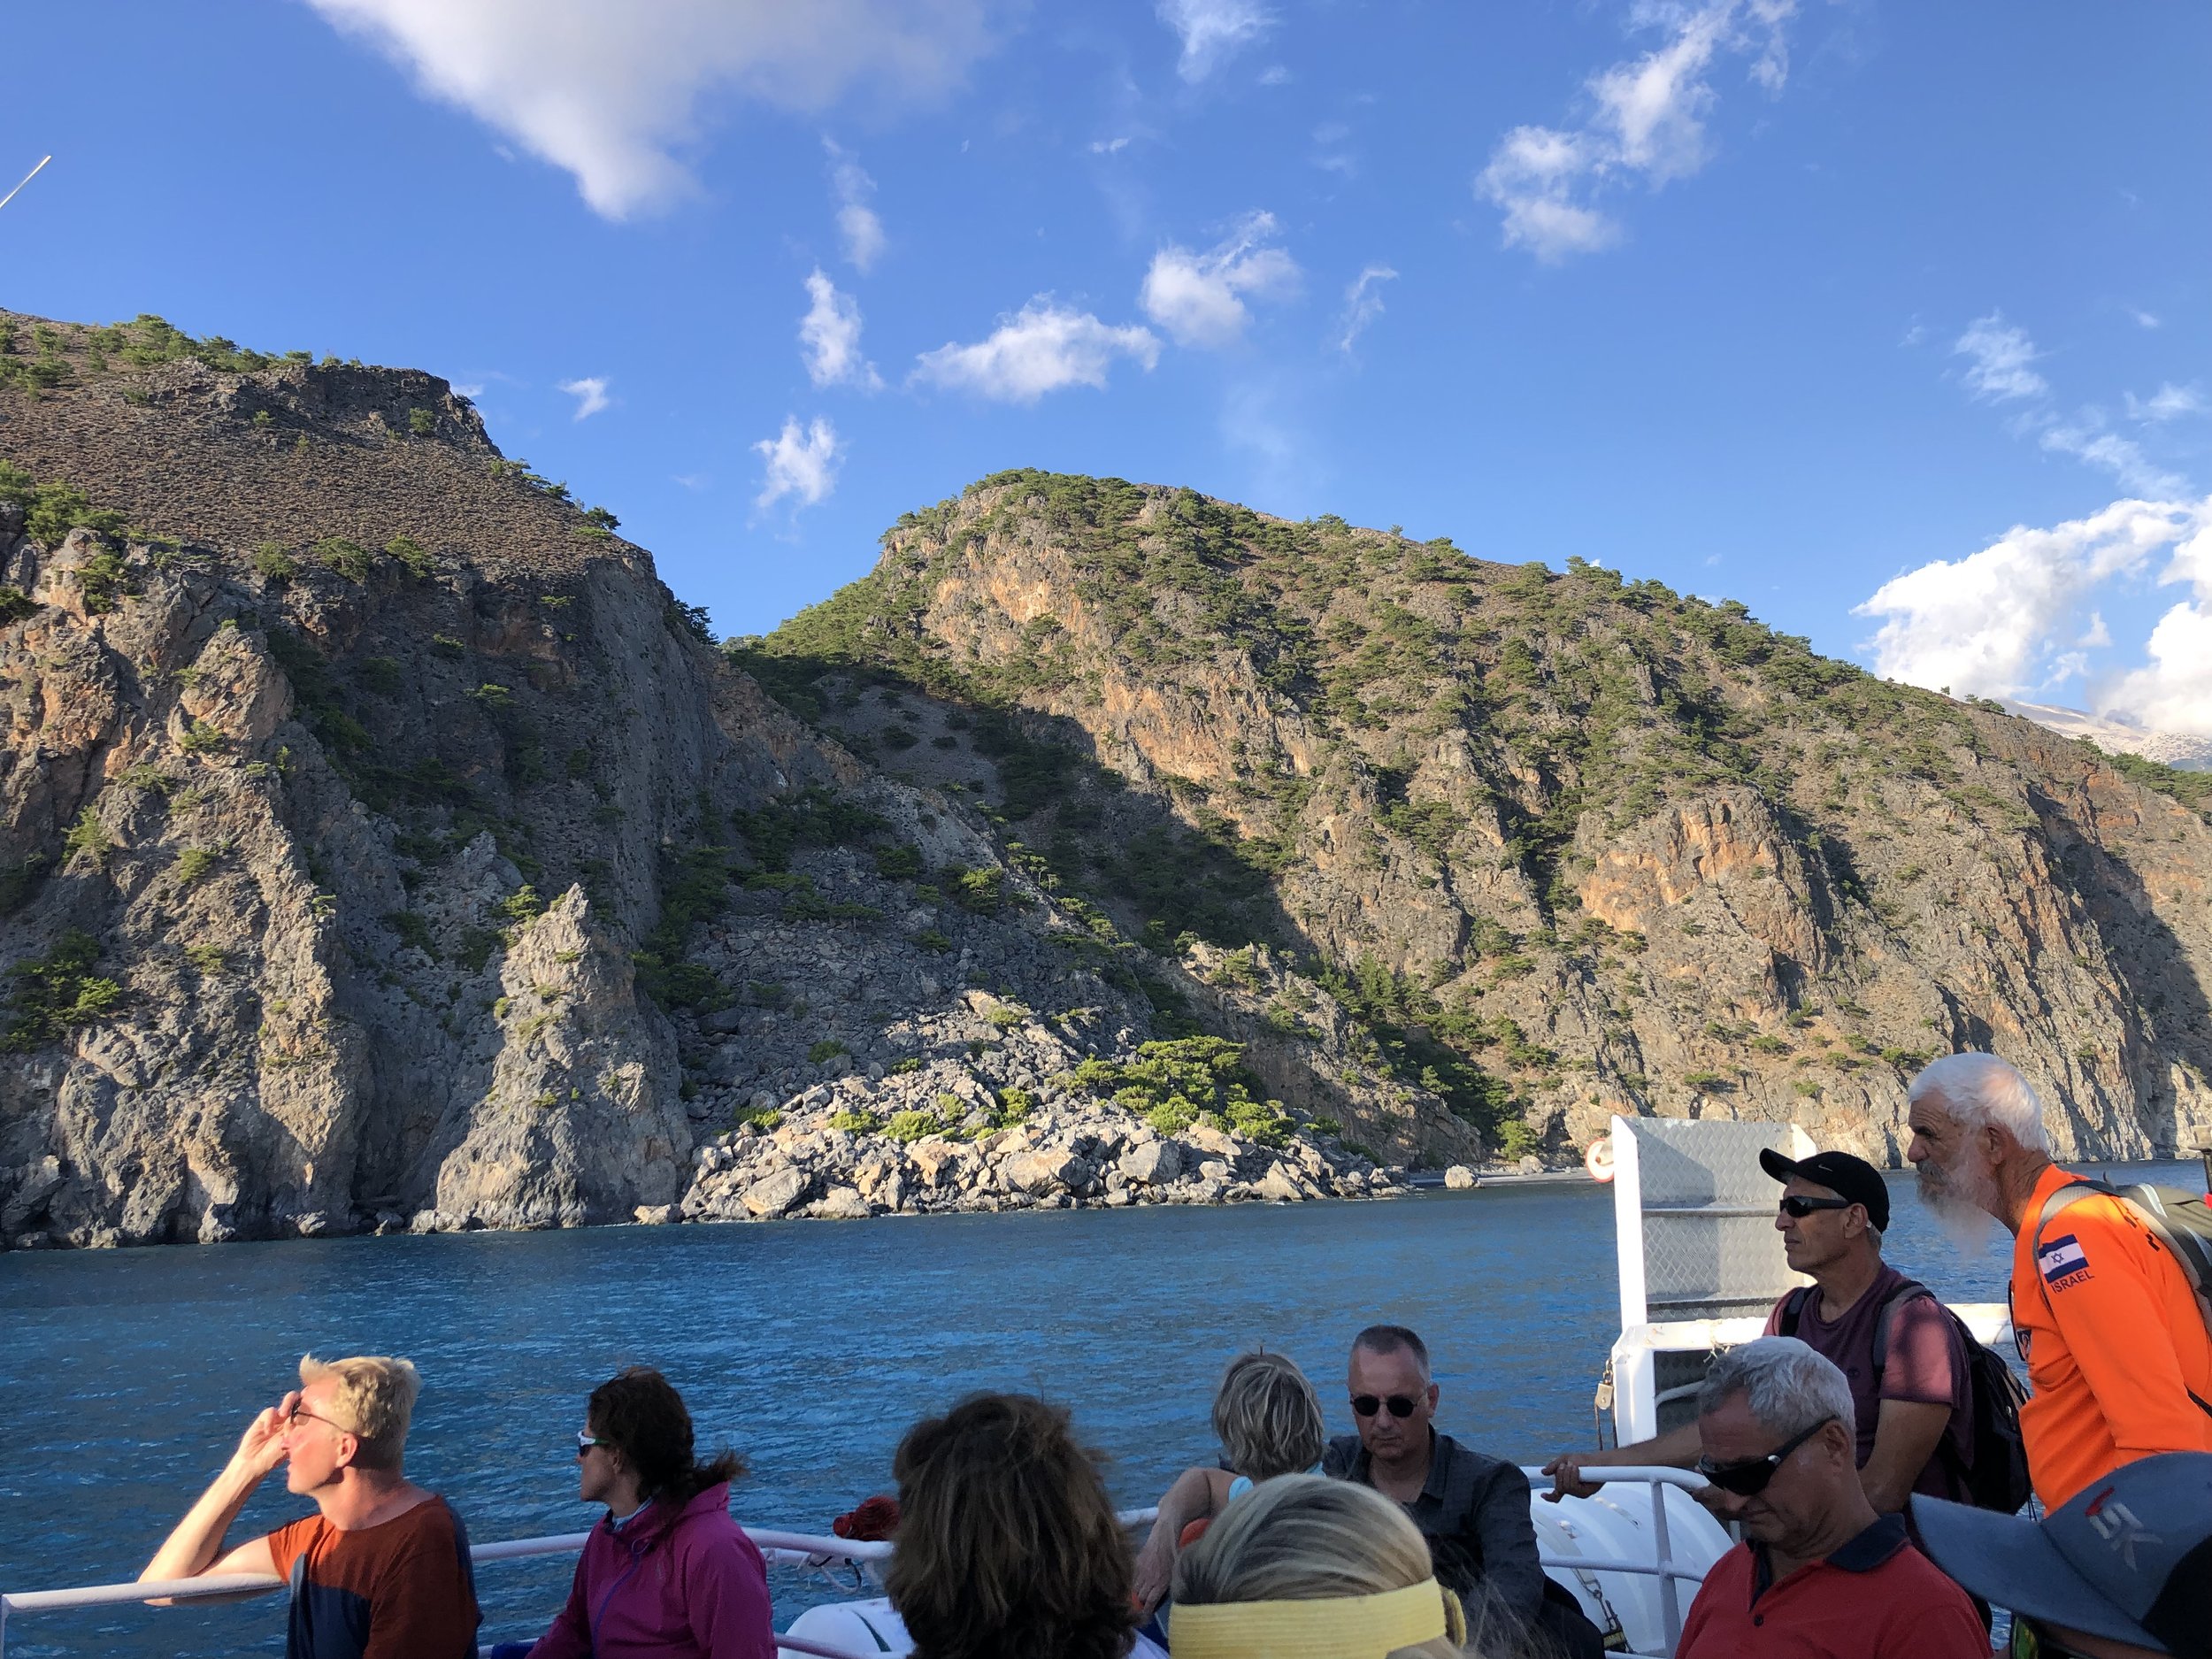
I completed this event on: June 16th 2018 with a finish time of: 25:58
Territory: Bailiwick of Guernsey
Government Categorisation: Crown Dependency
parkrun Region: Channel Islands
Other routes touched: N/A
Inaugural: April 9th 2016
Links: Event Home Page, Course Page
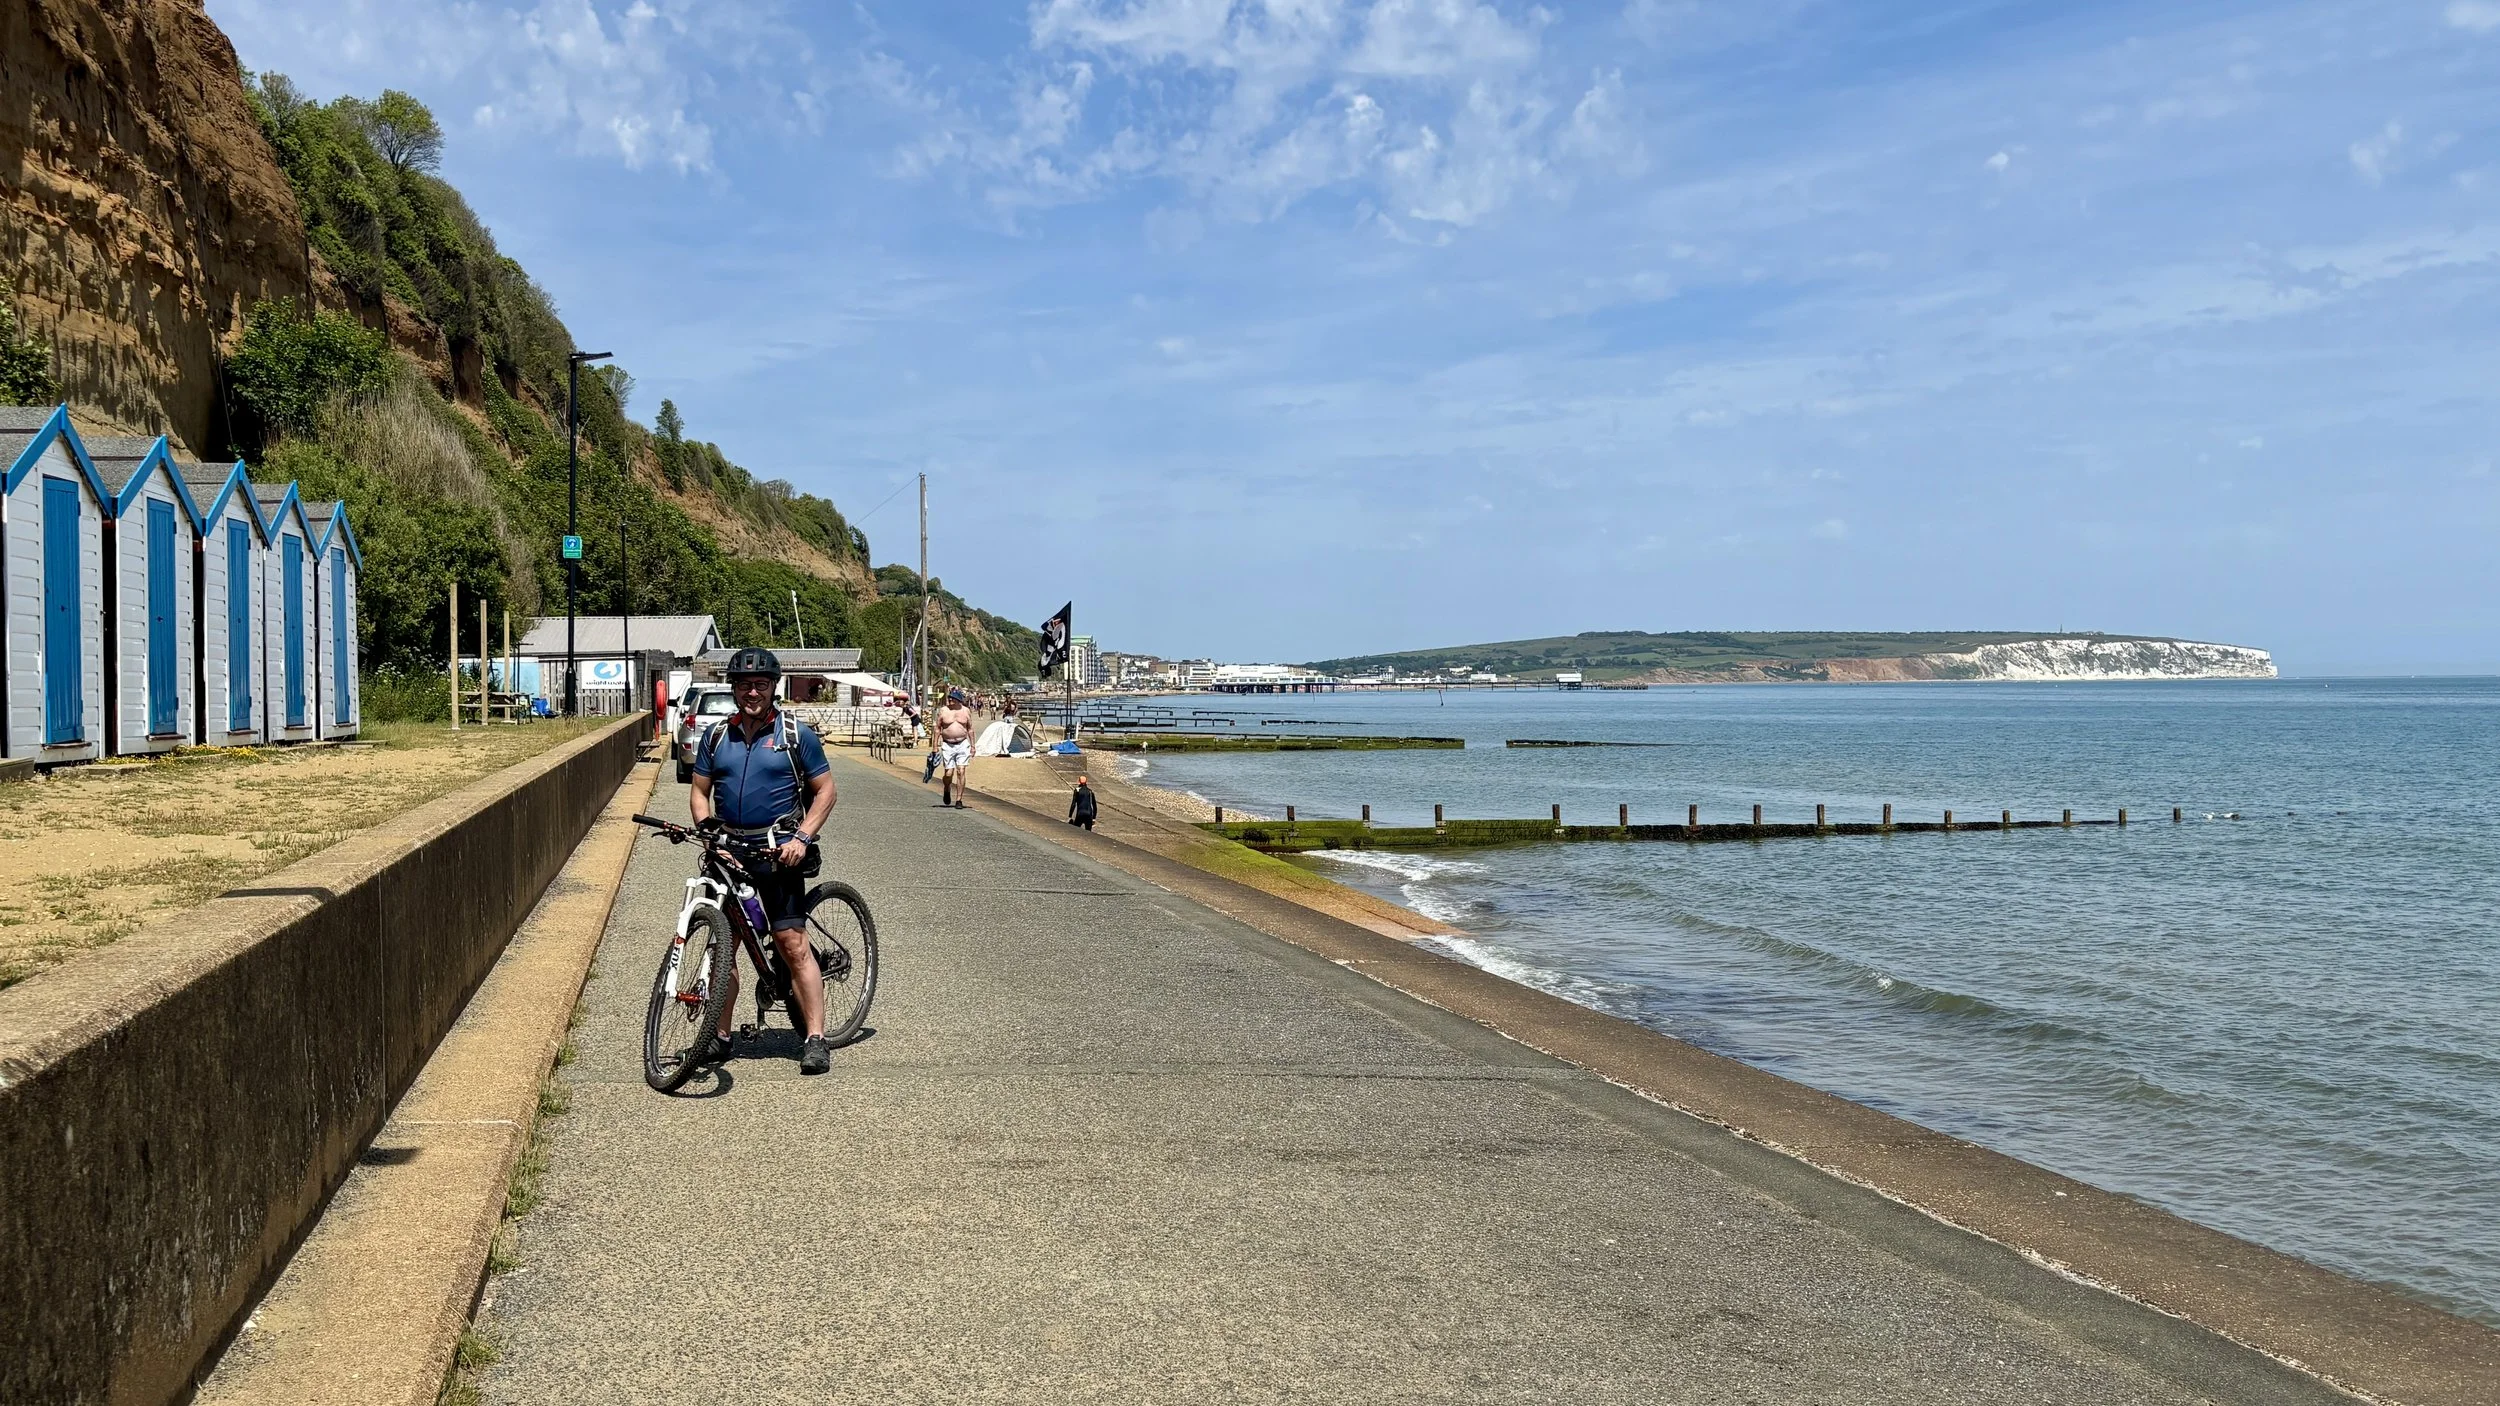
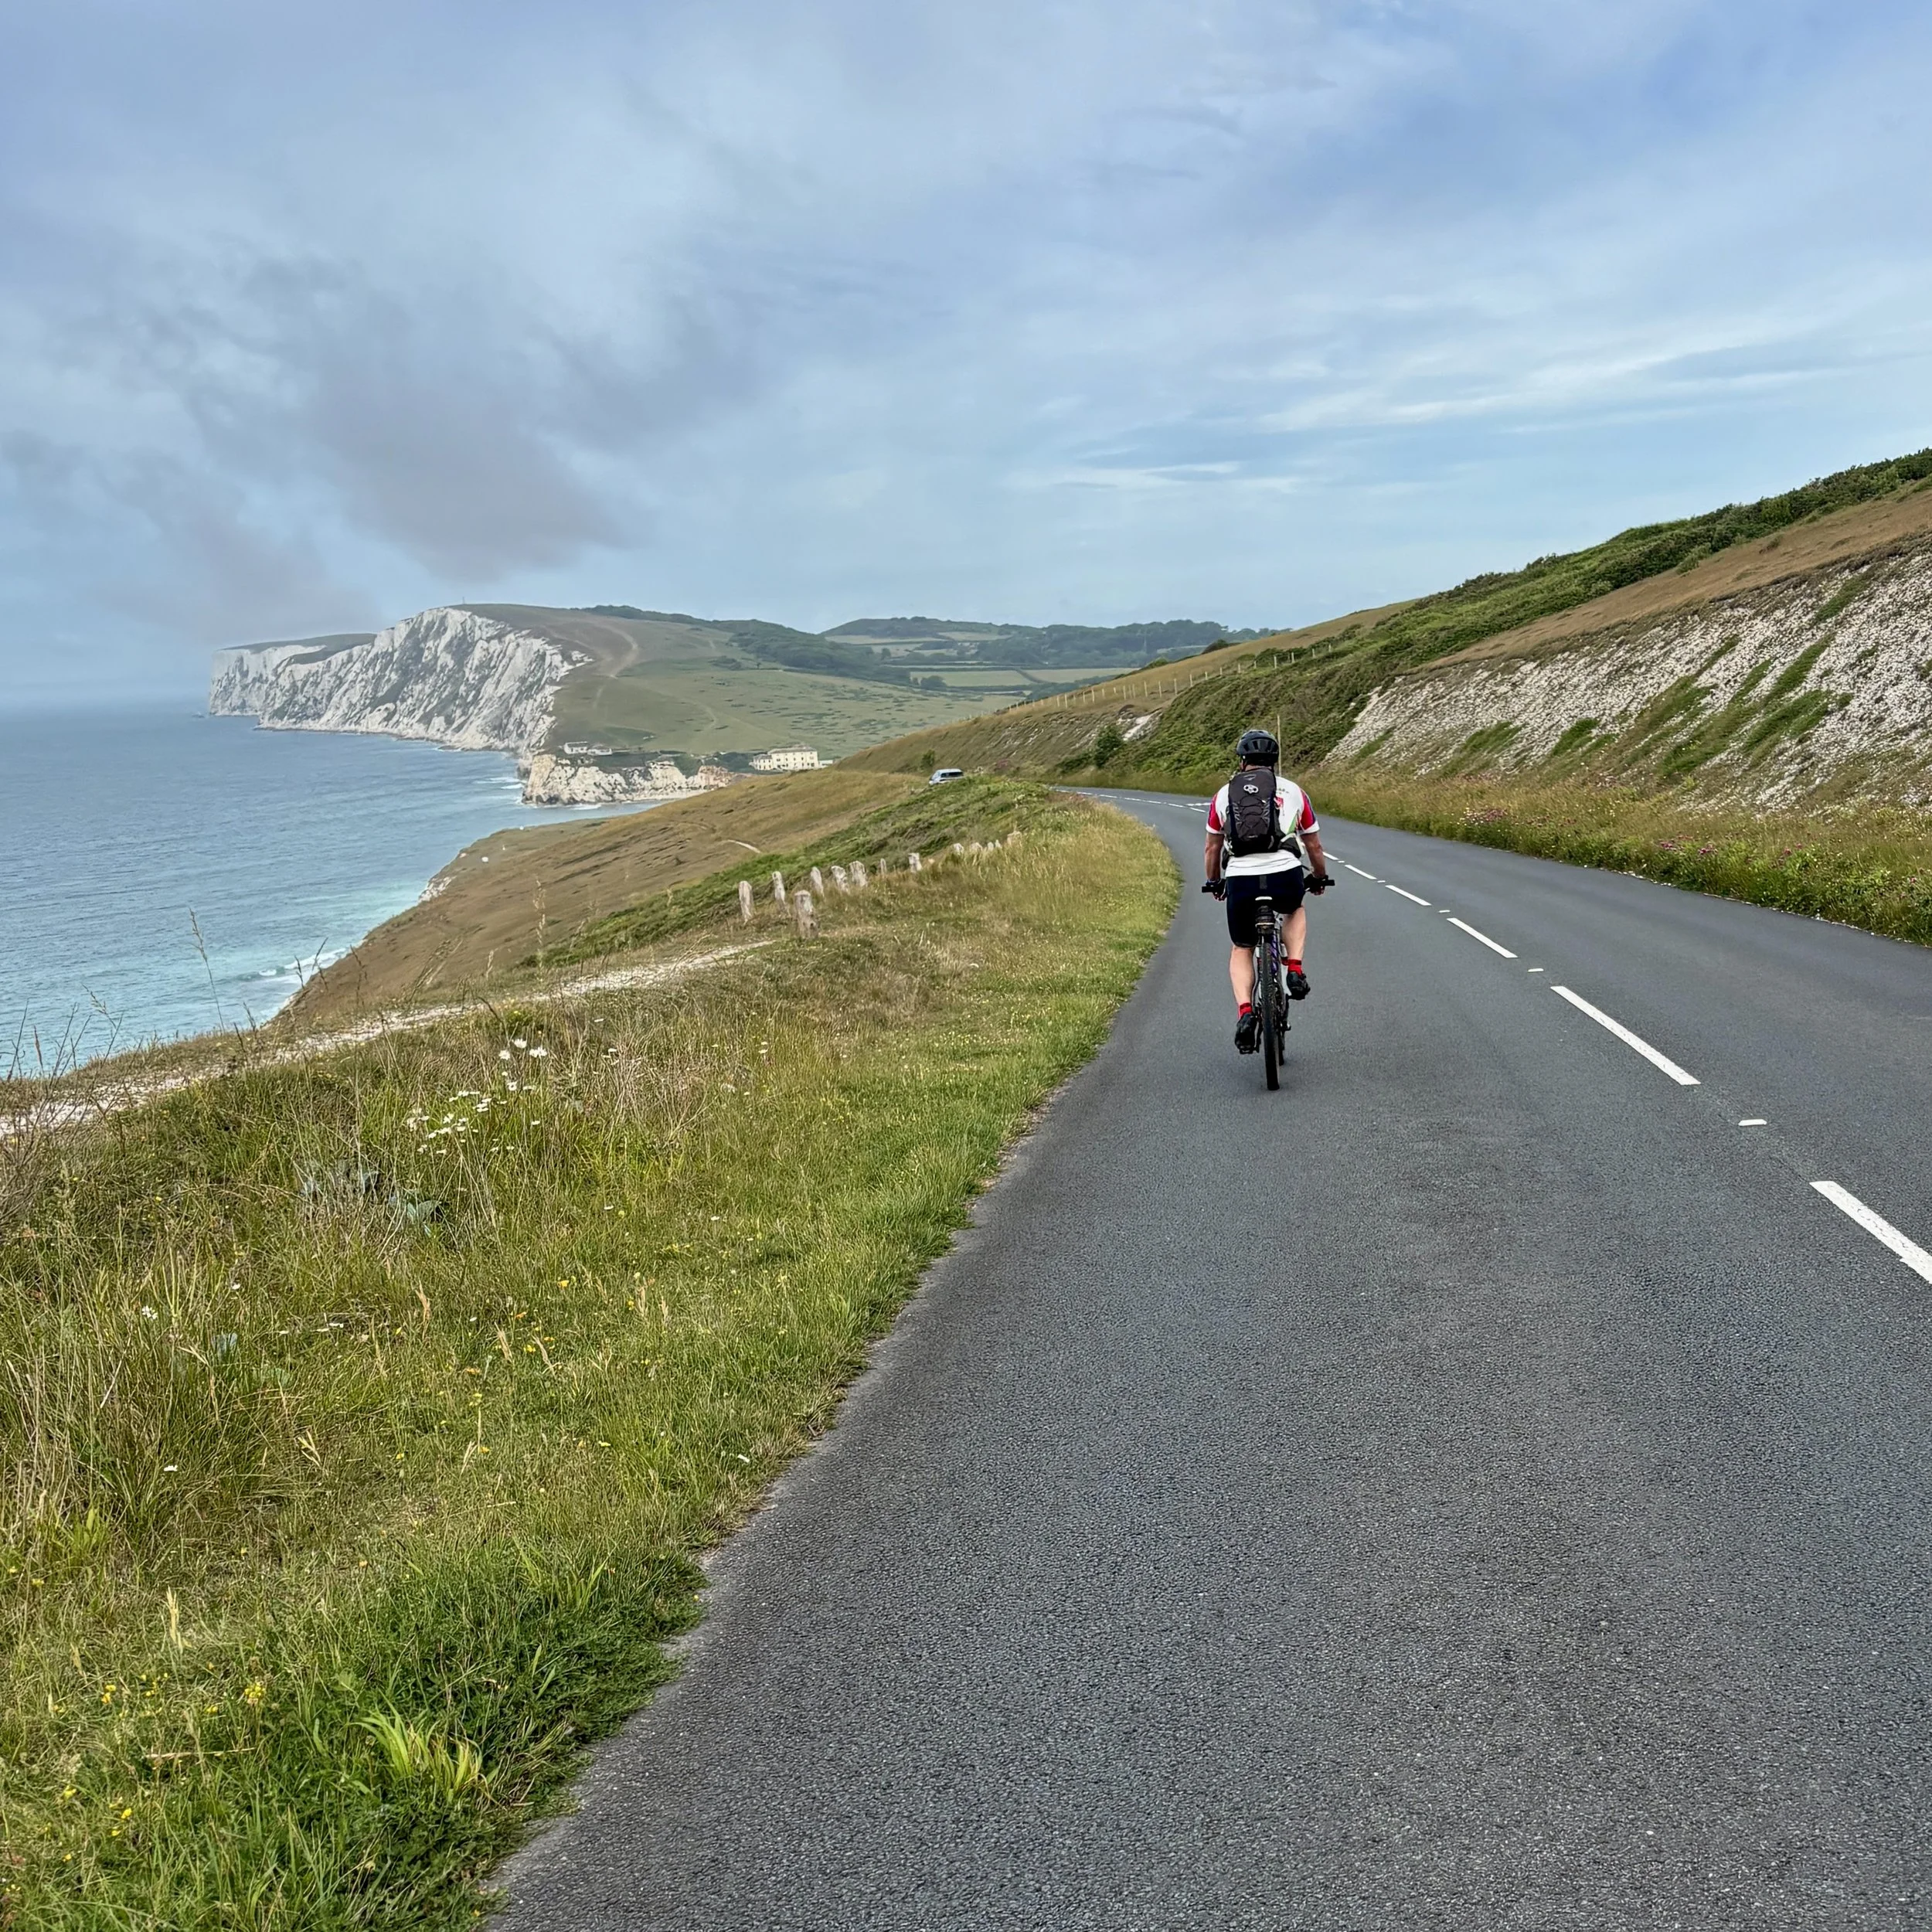
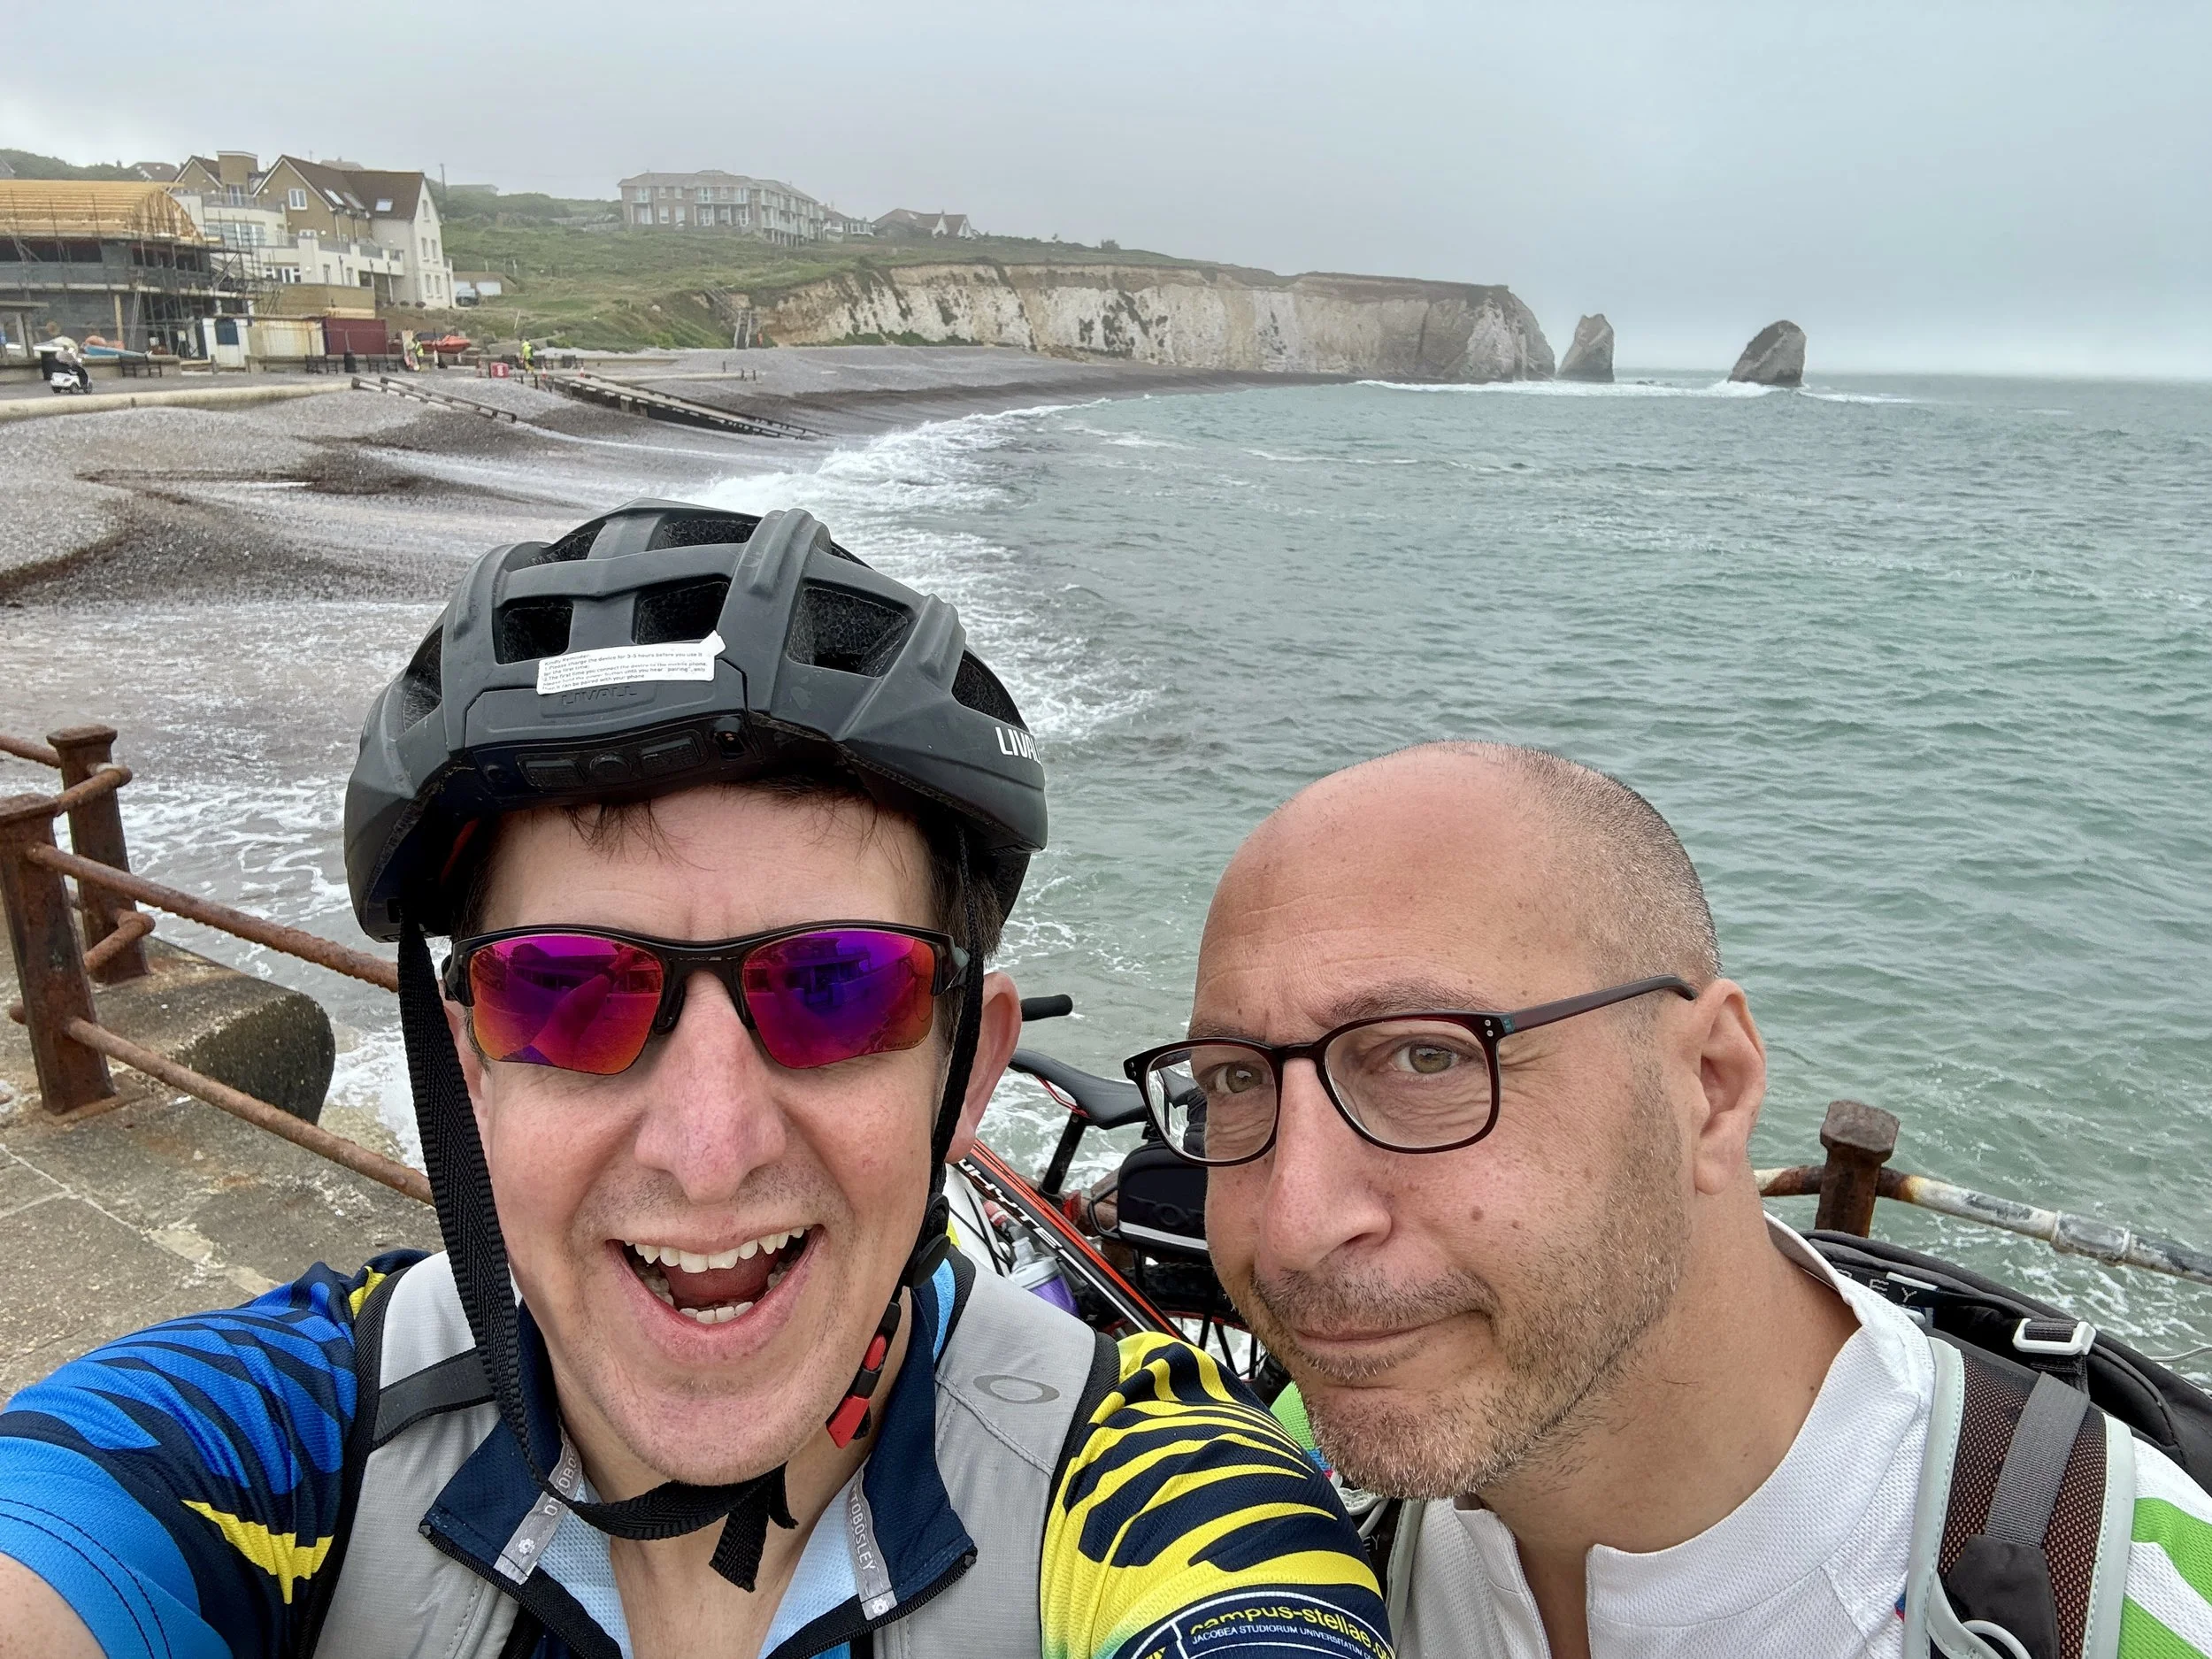
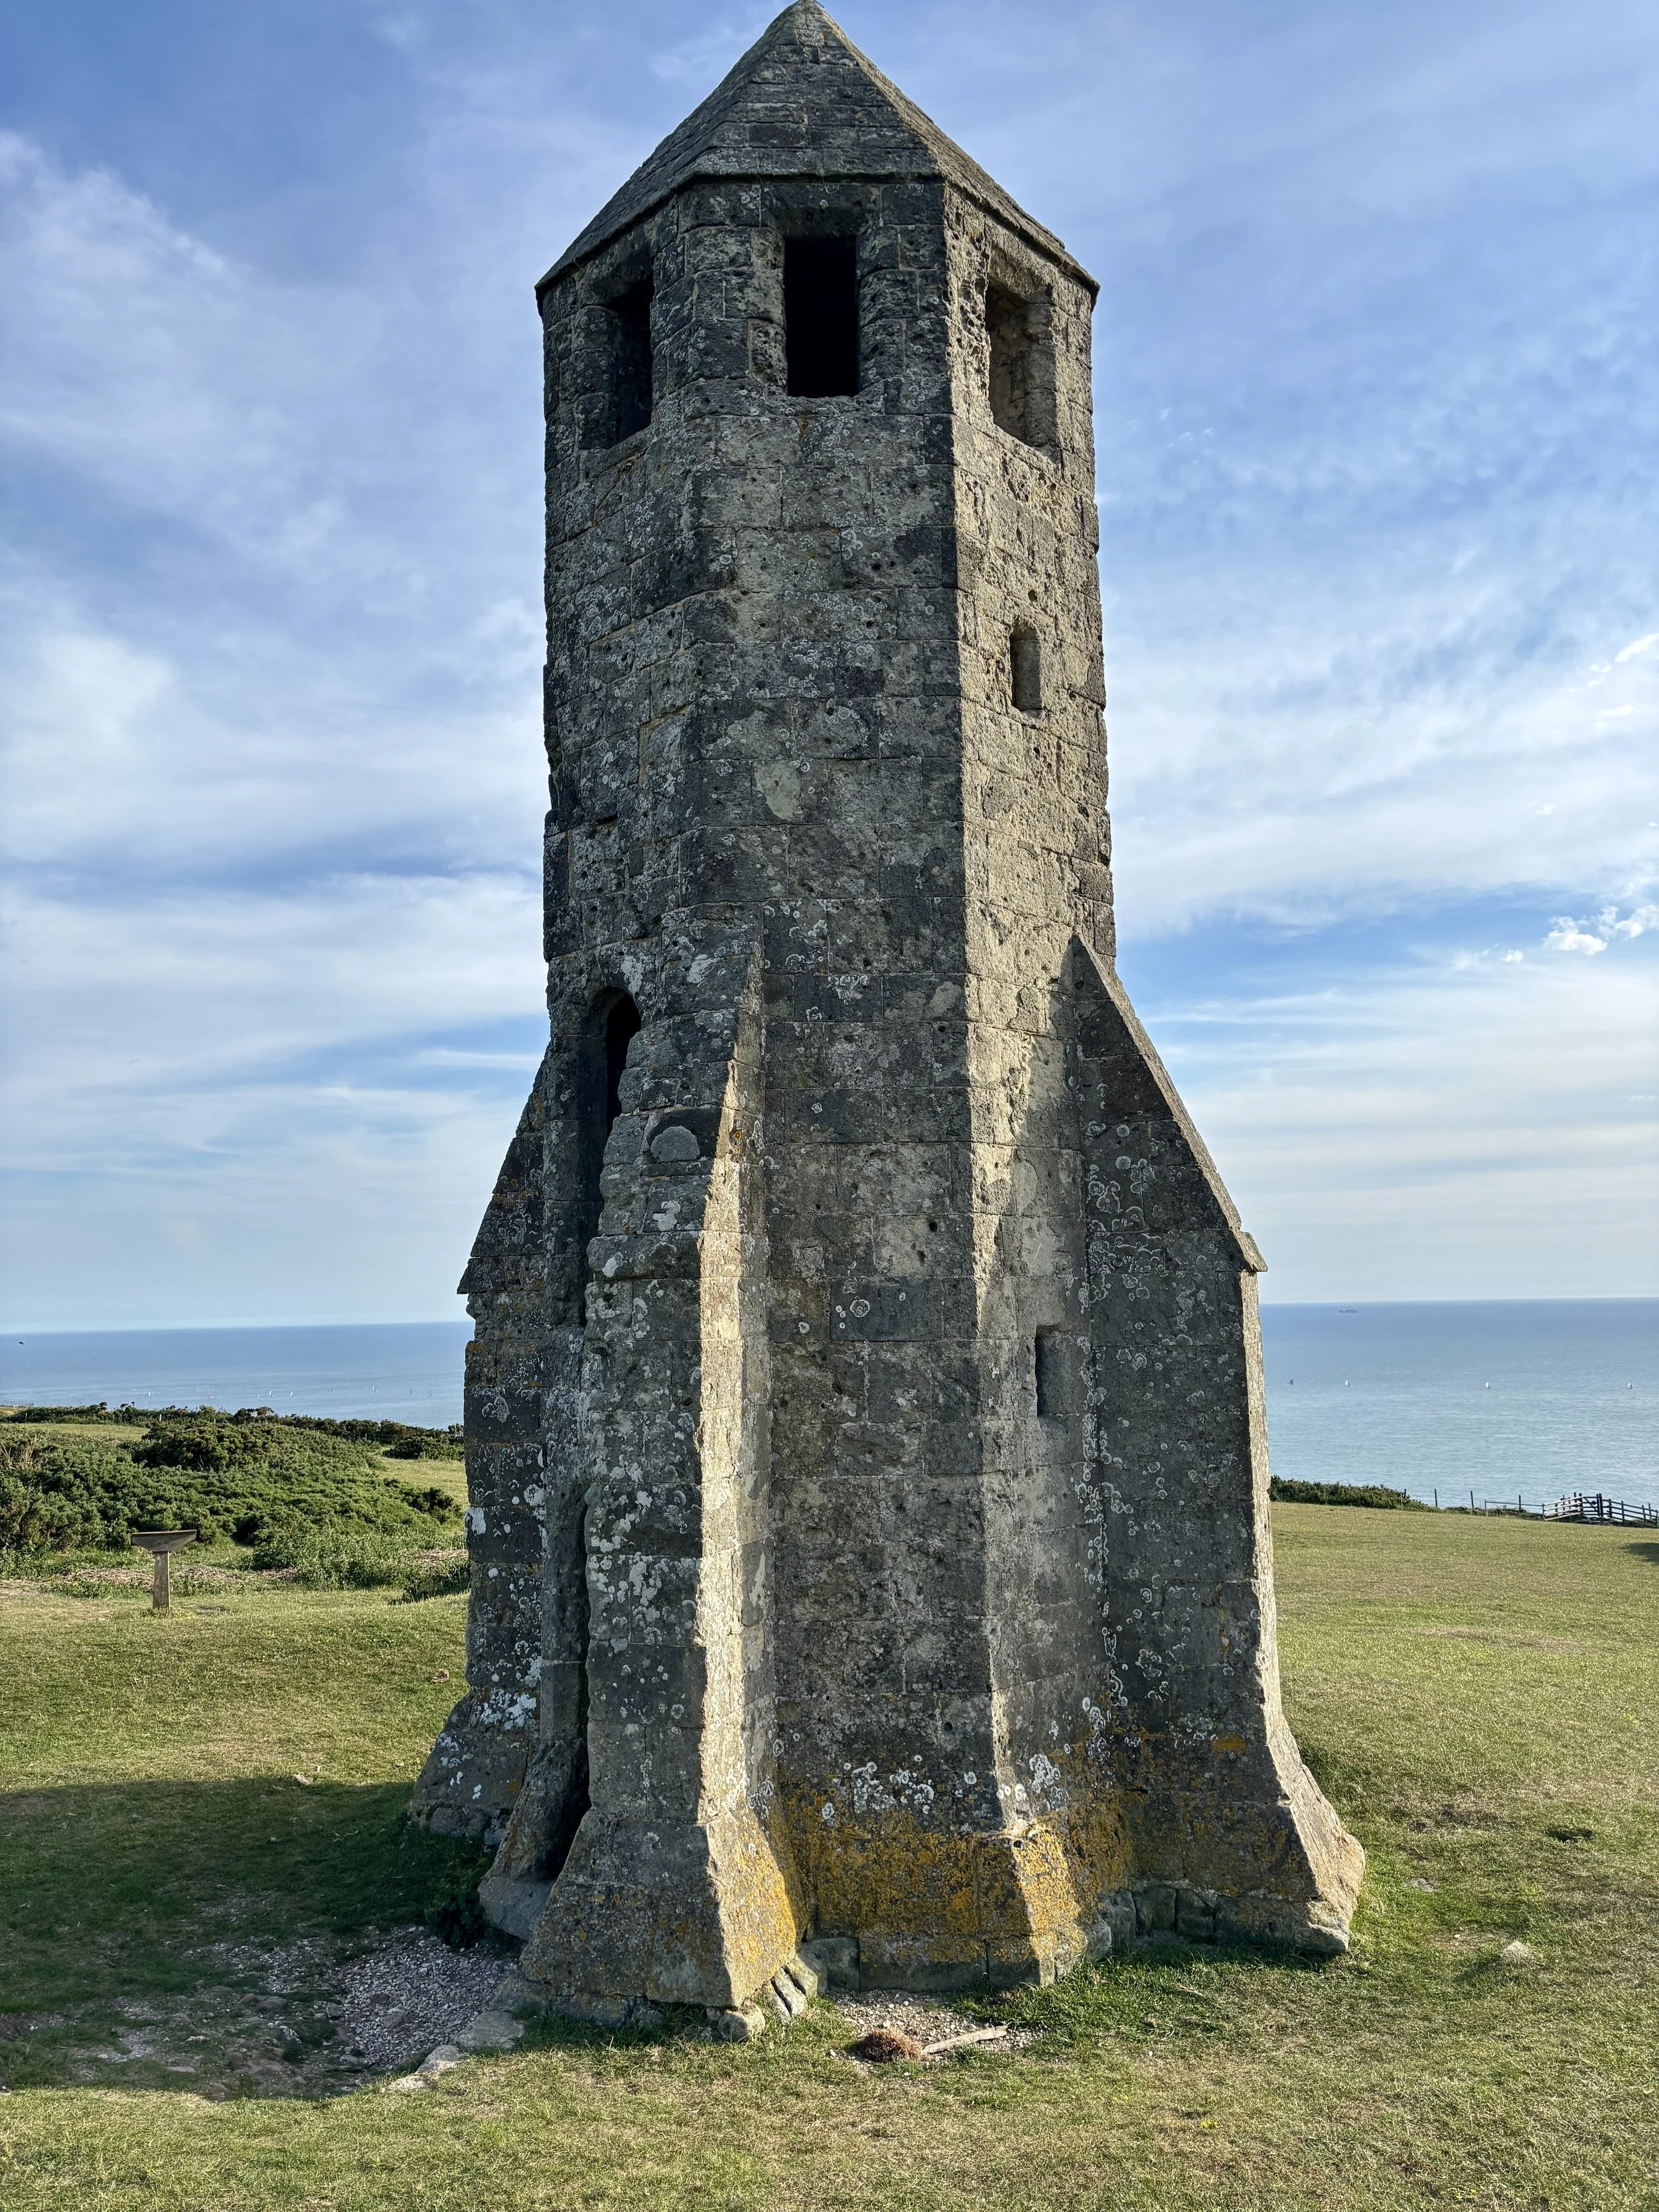
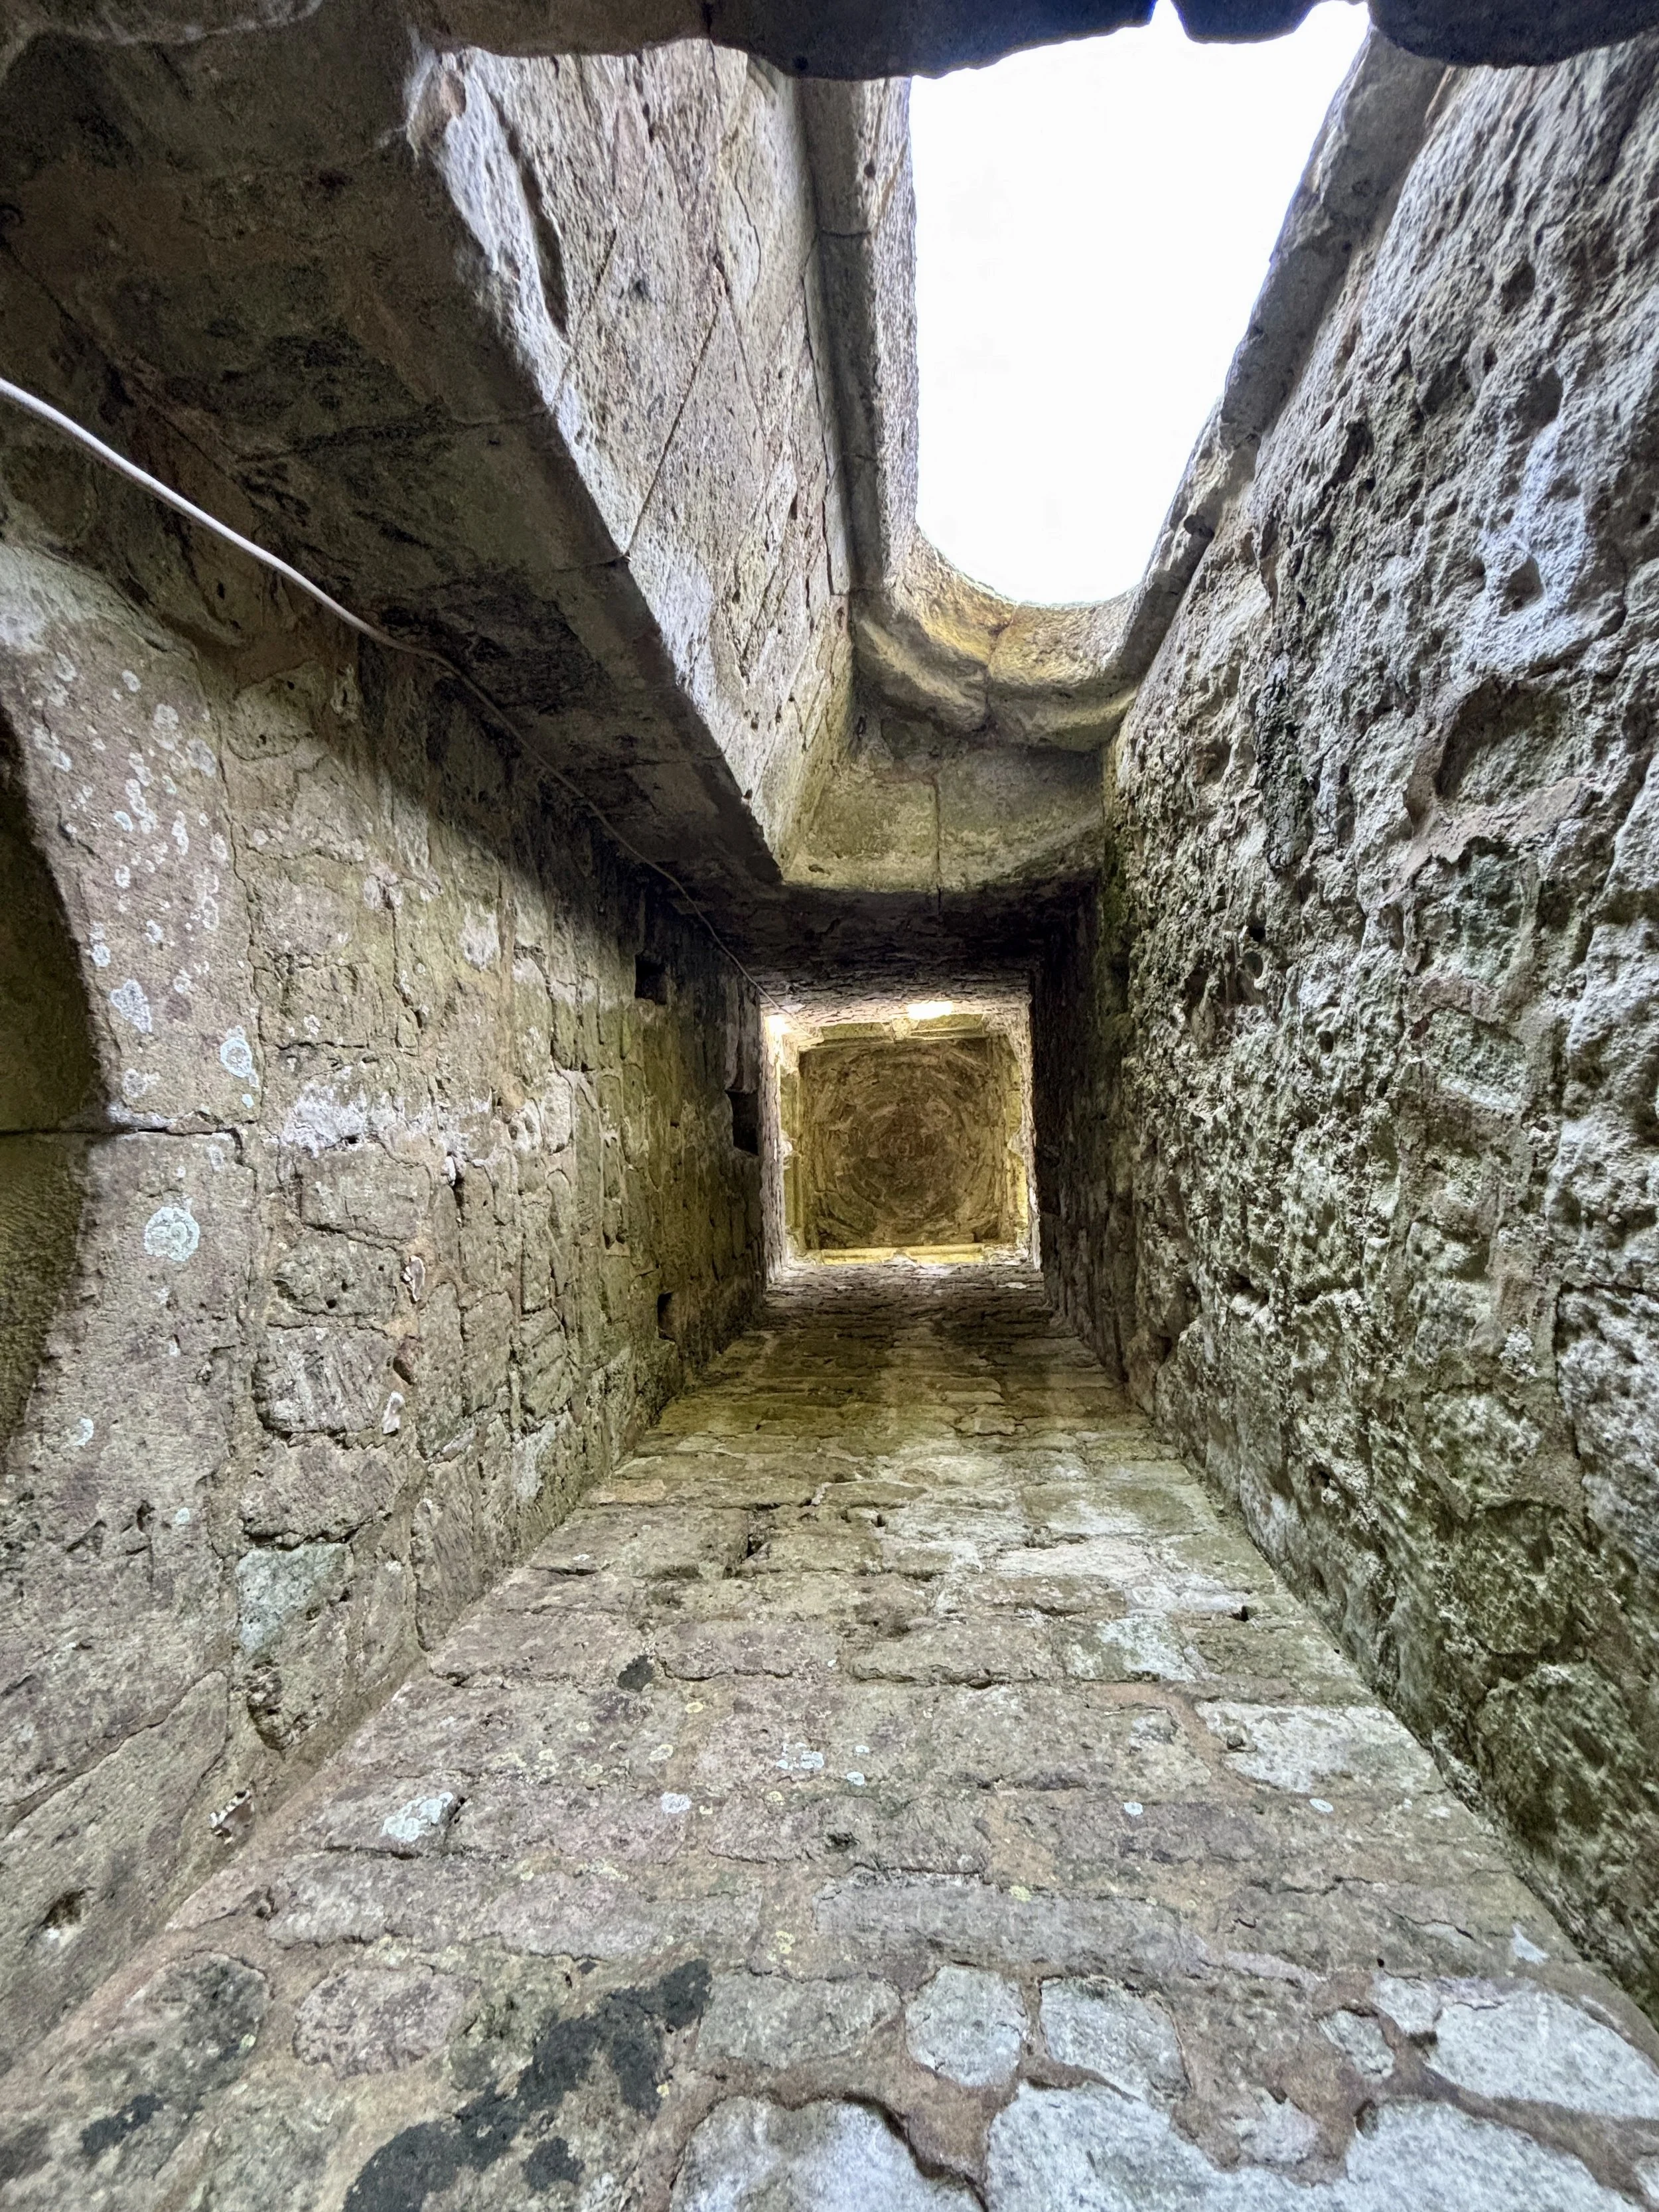
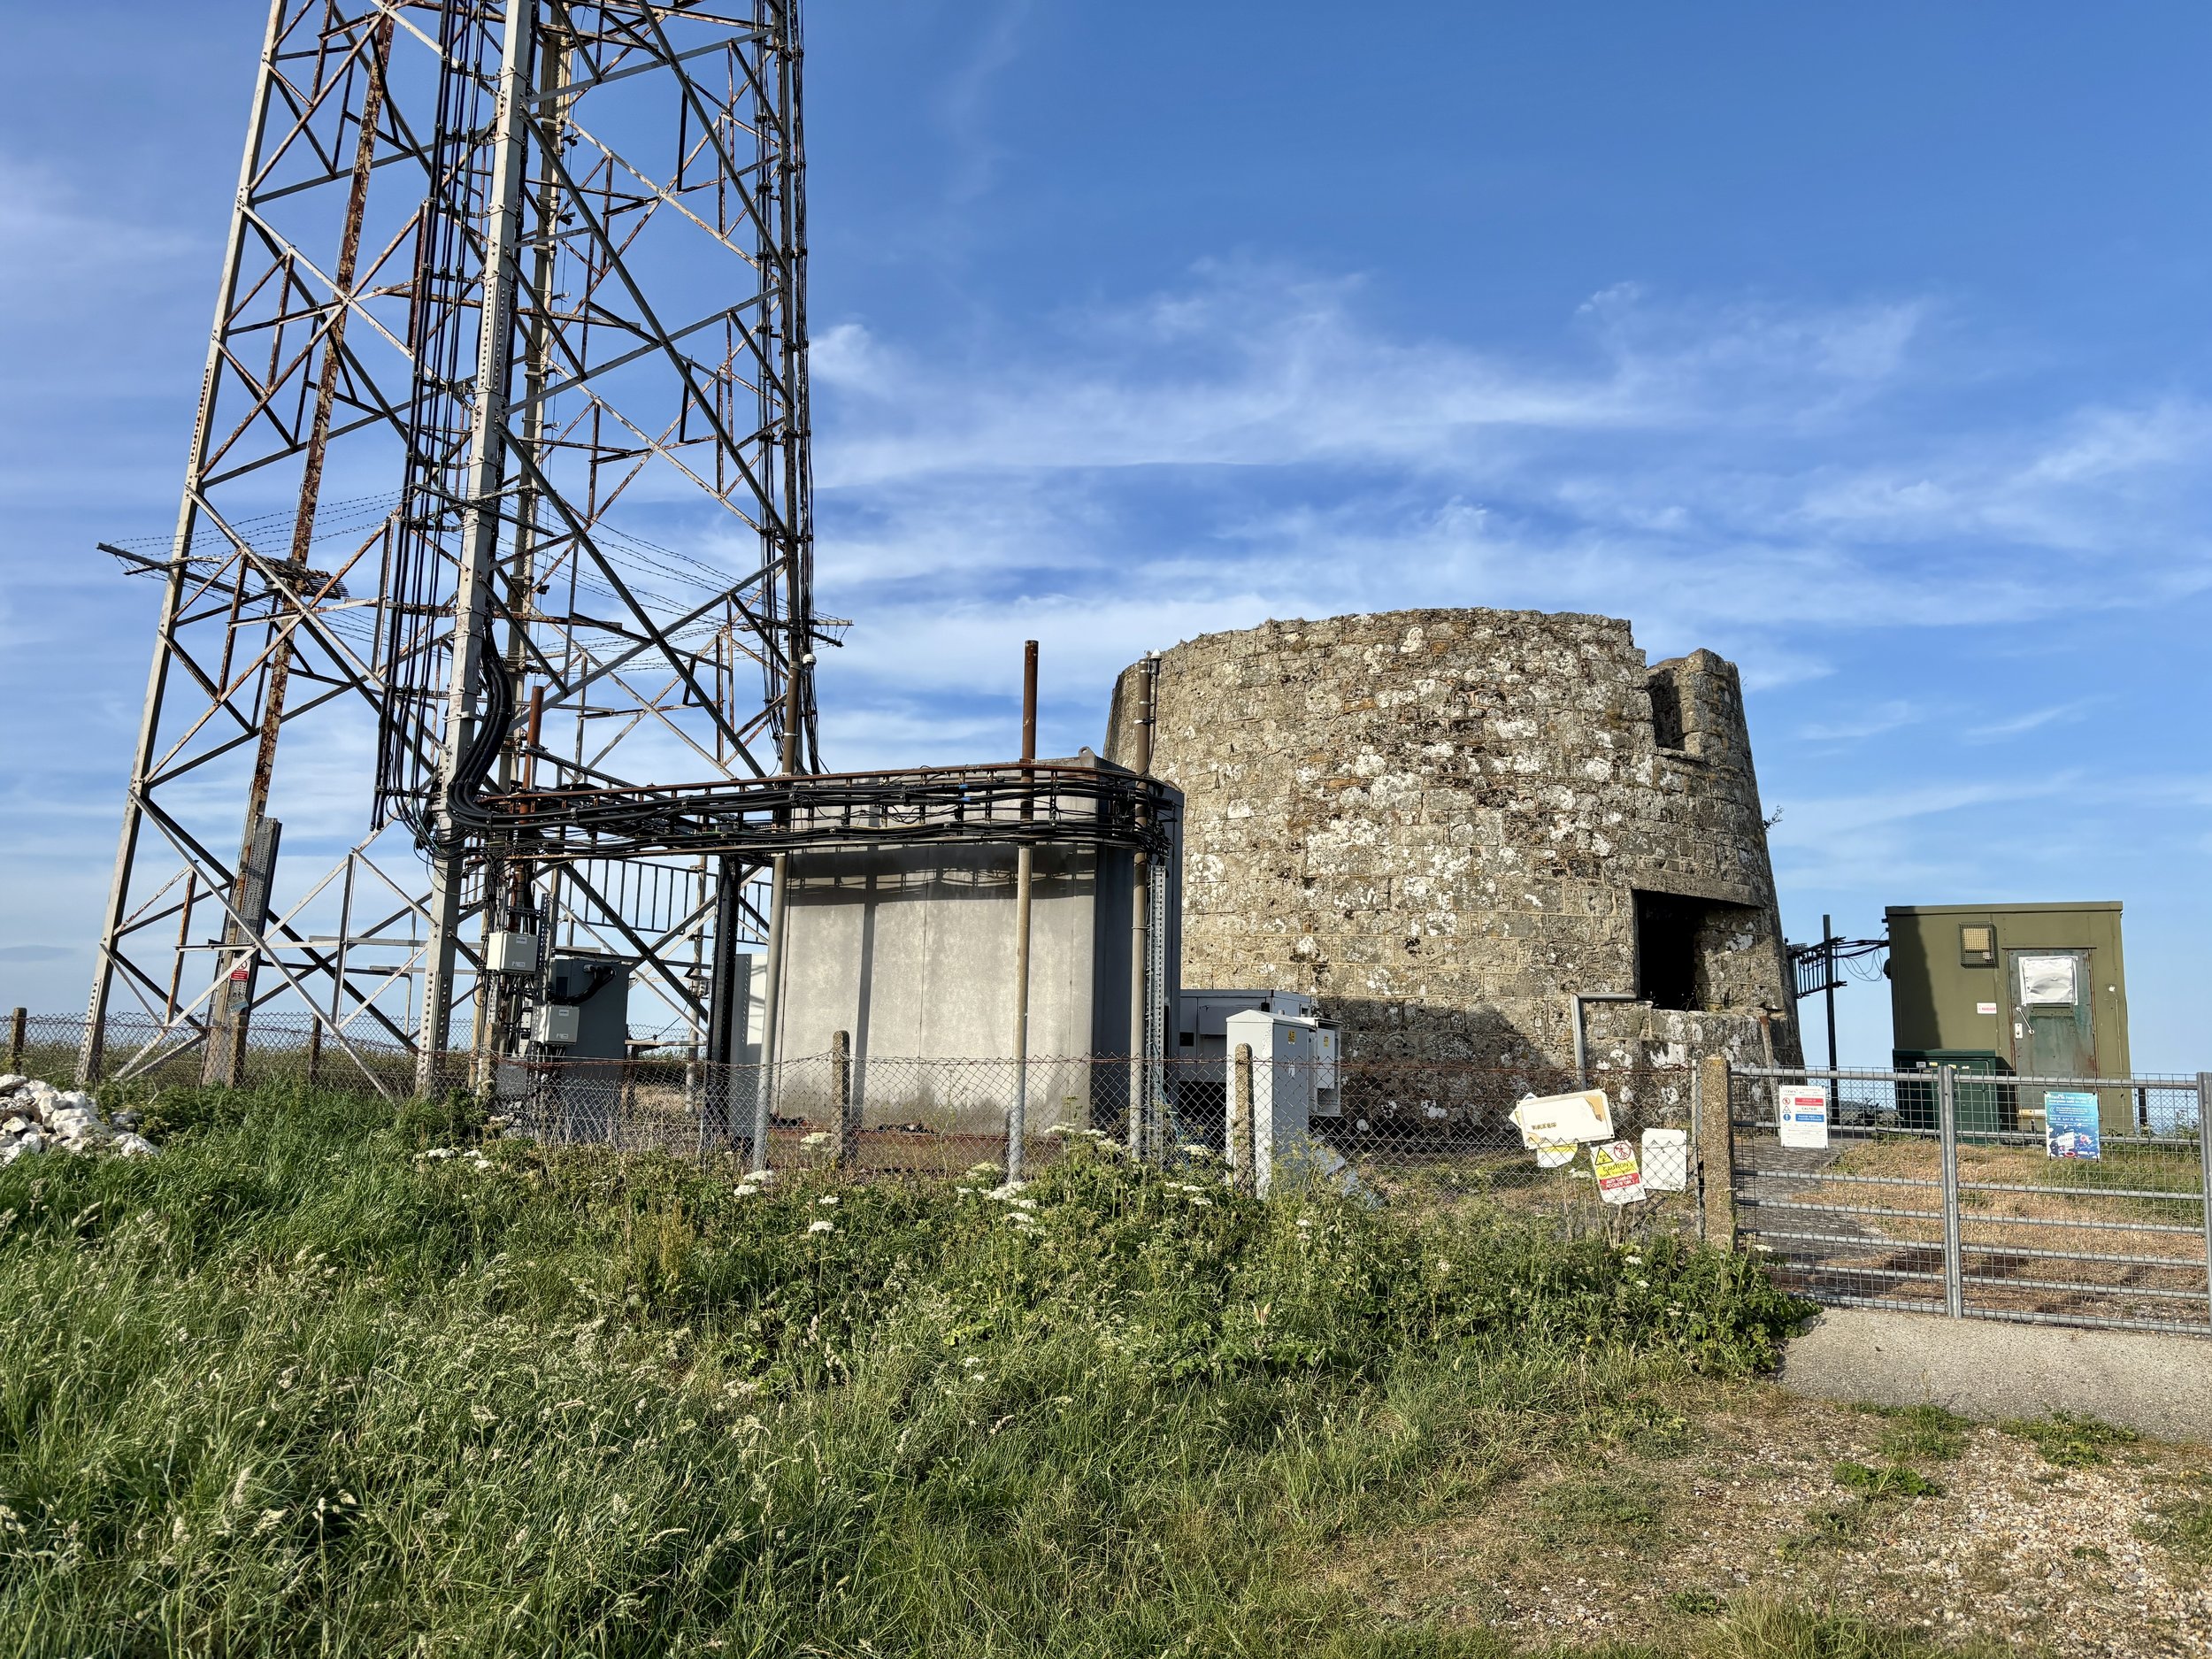
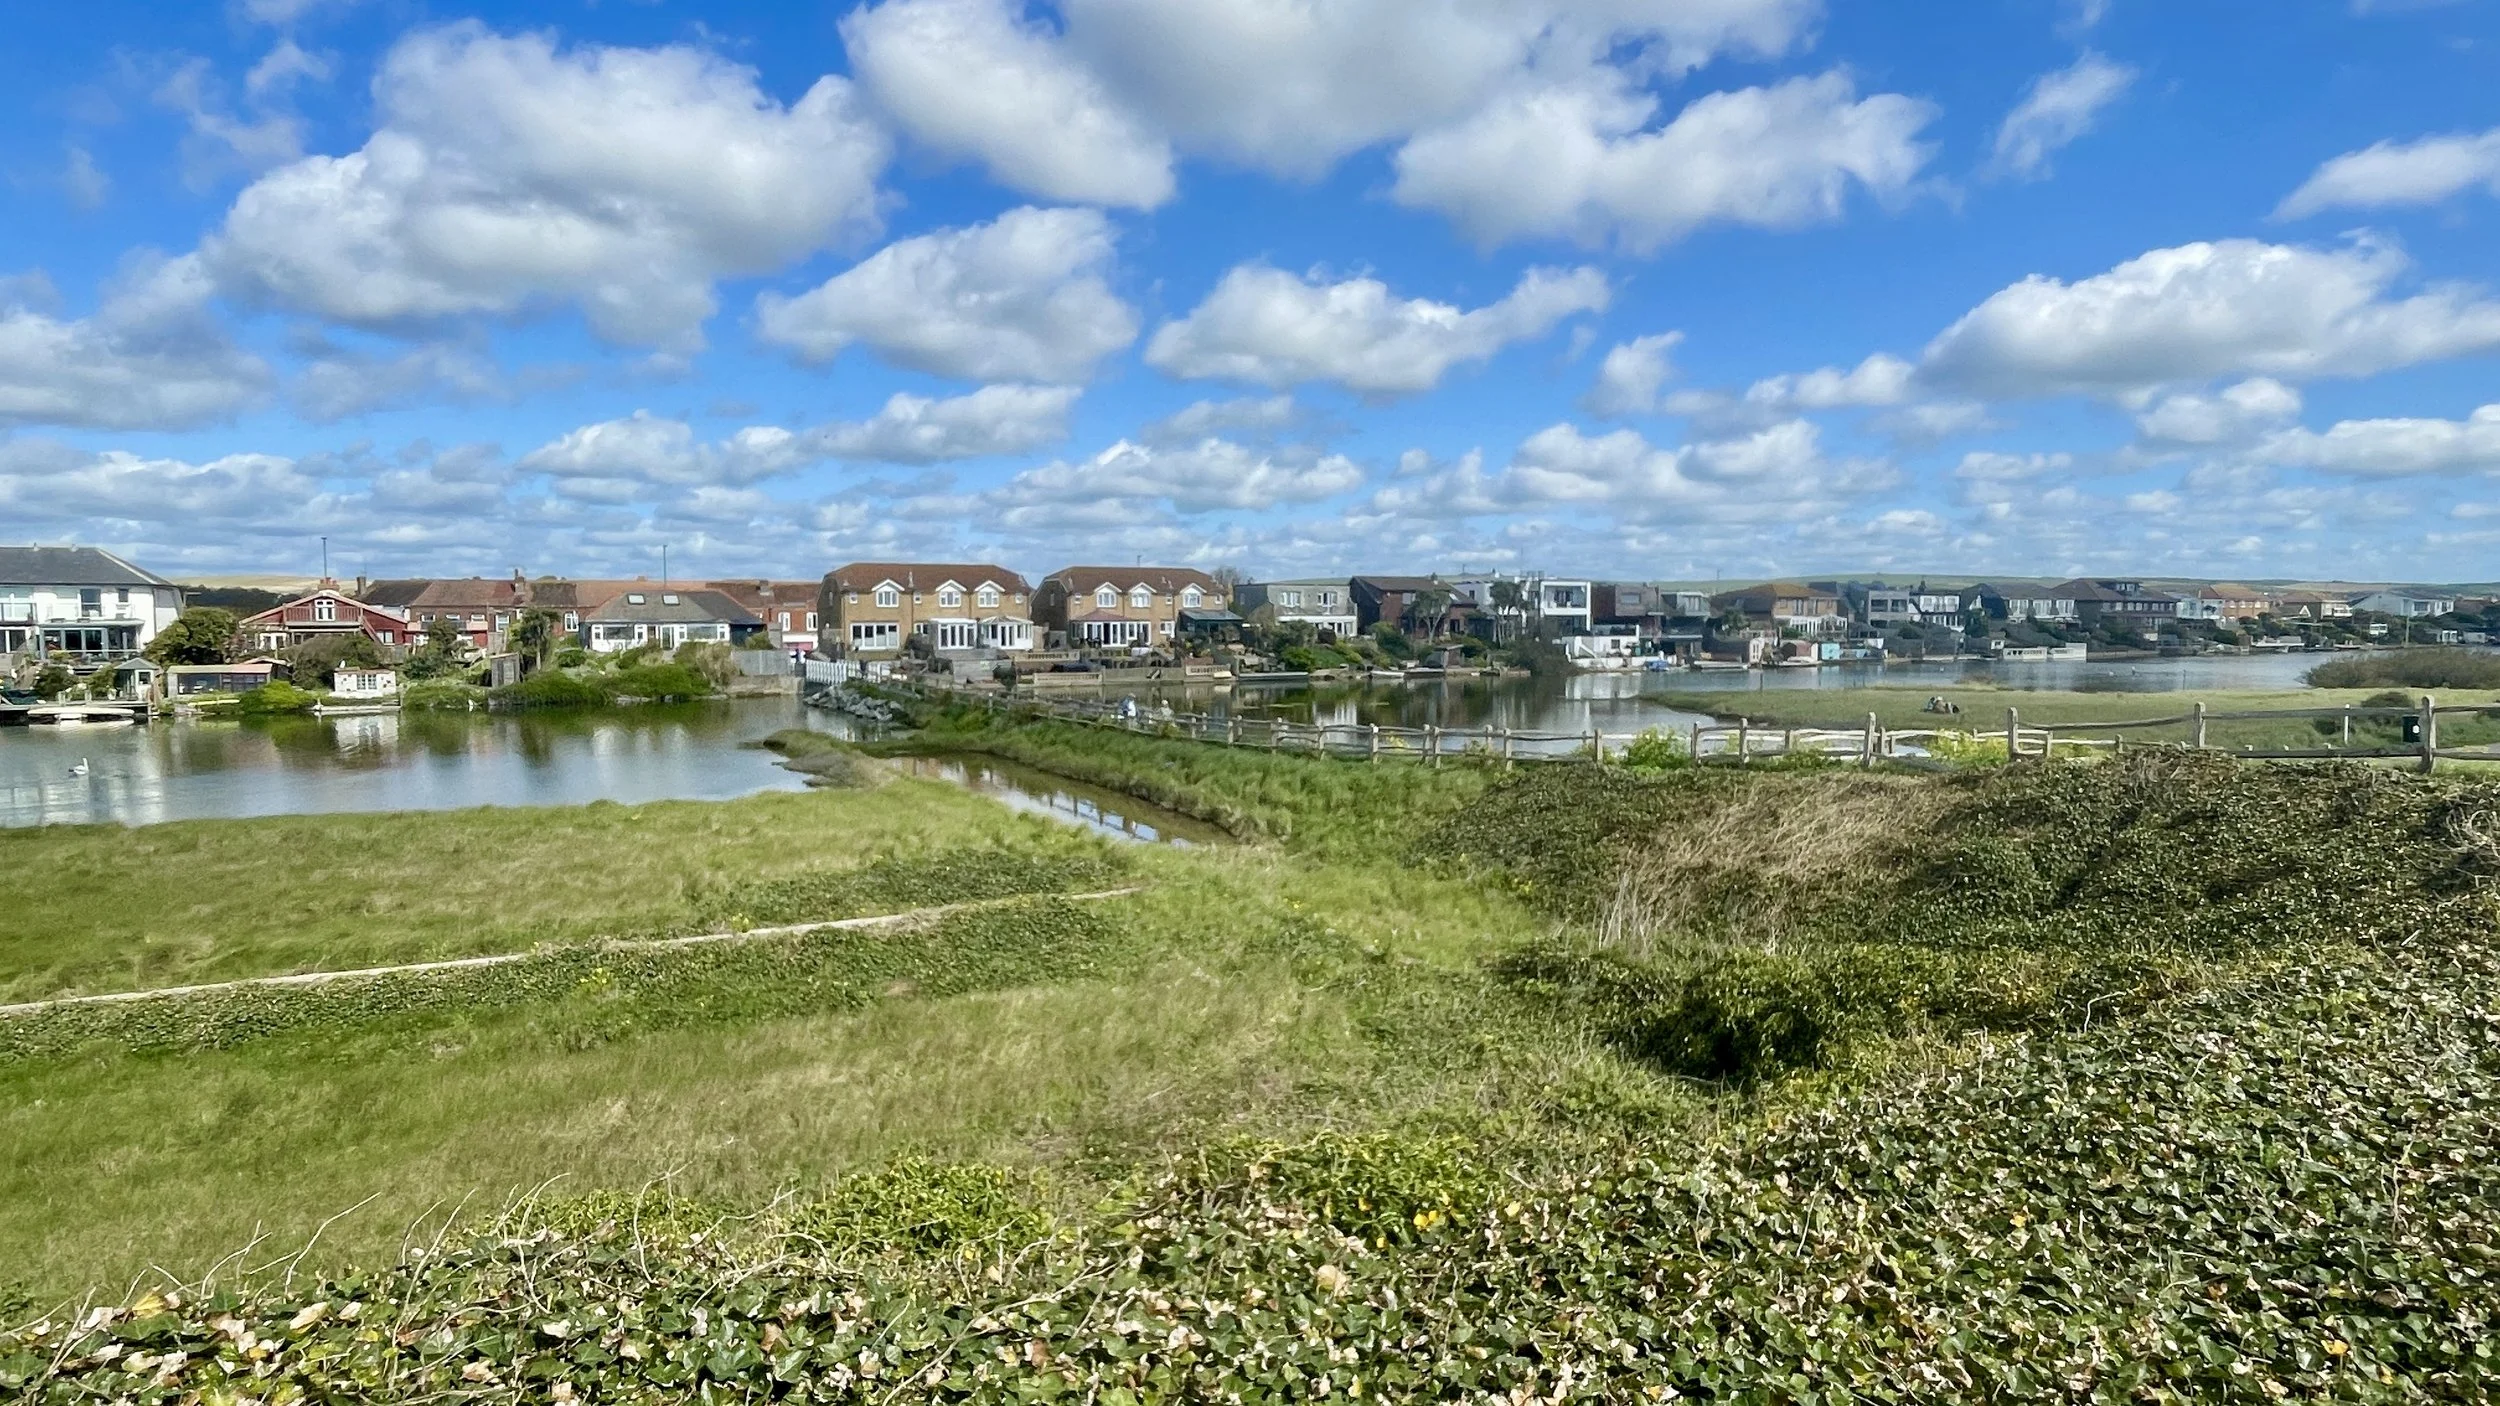
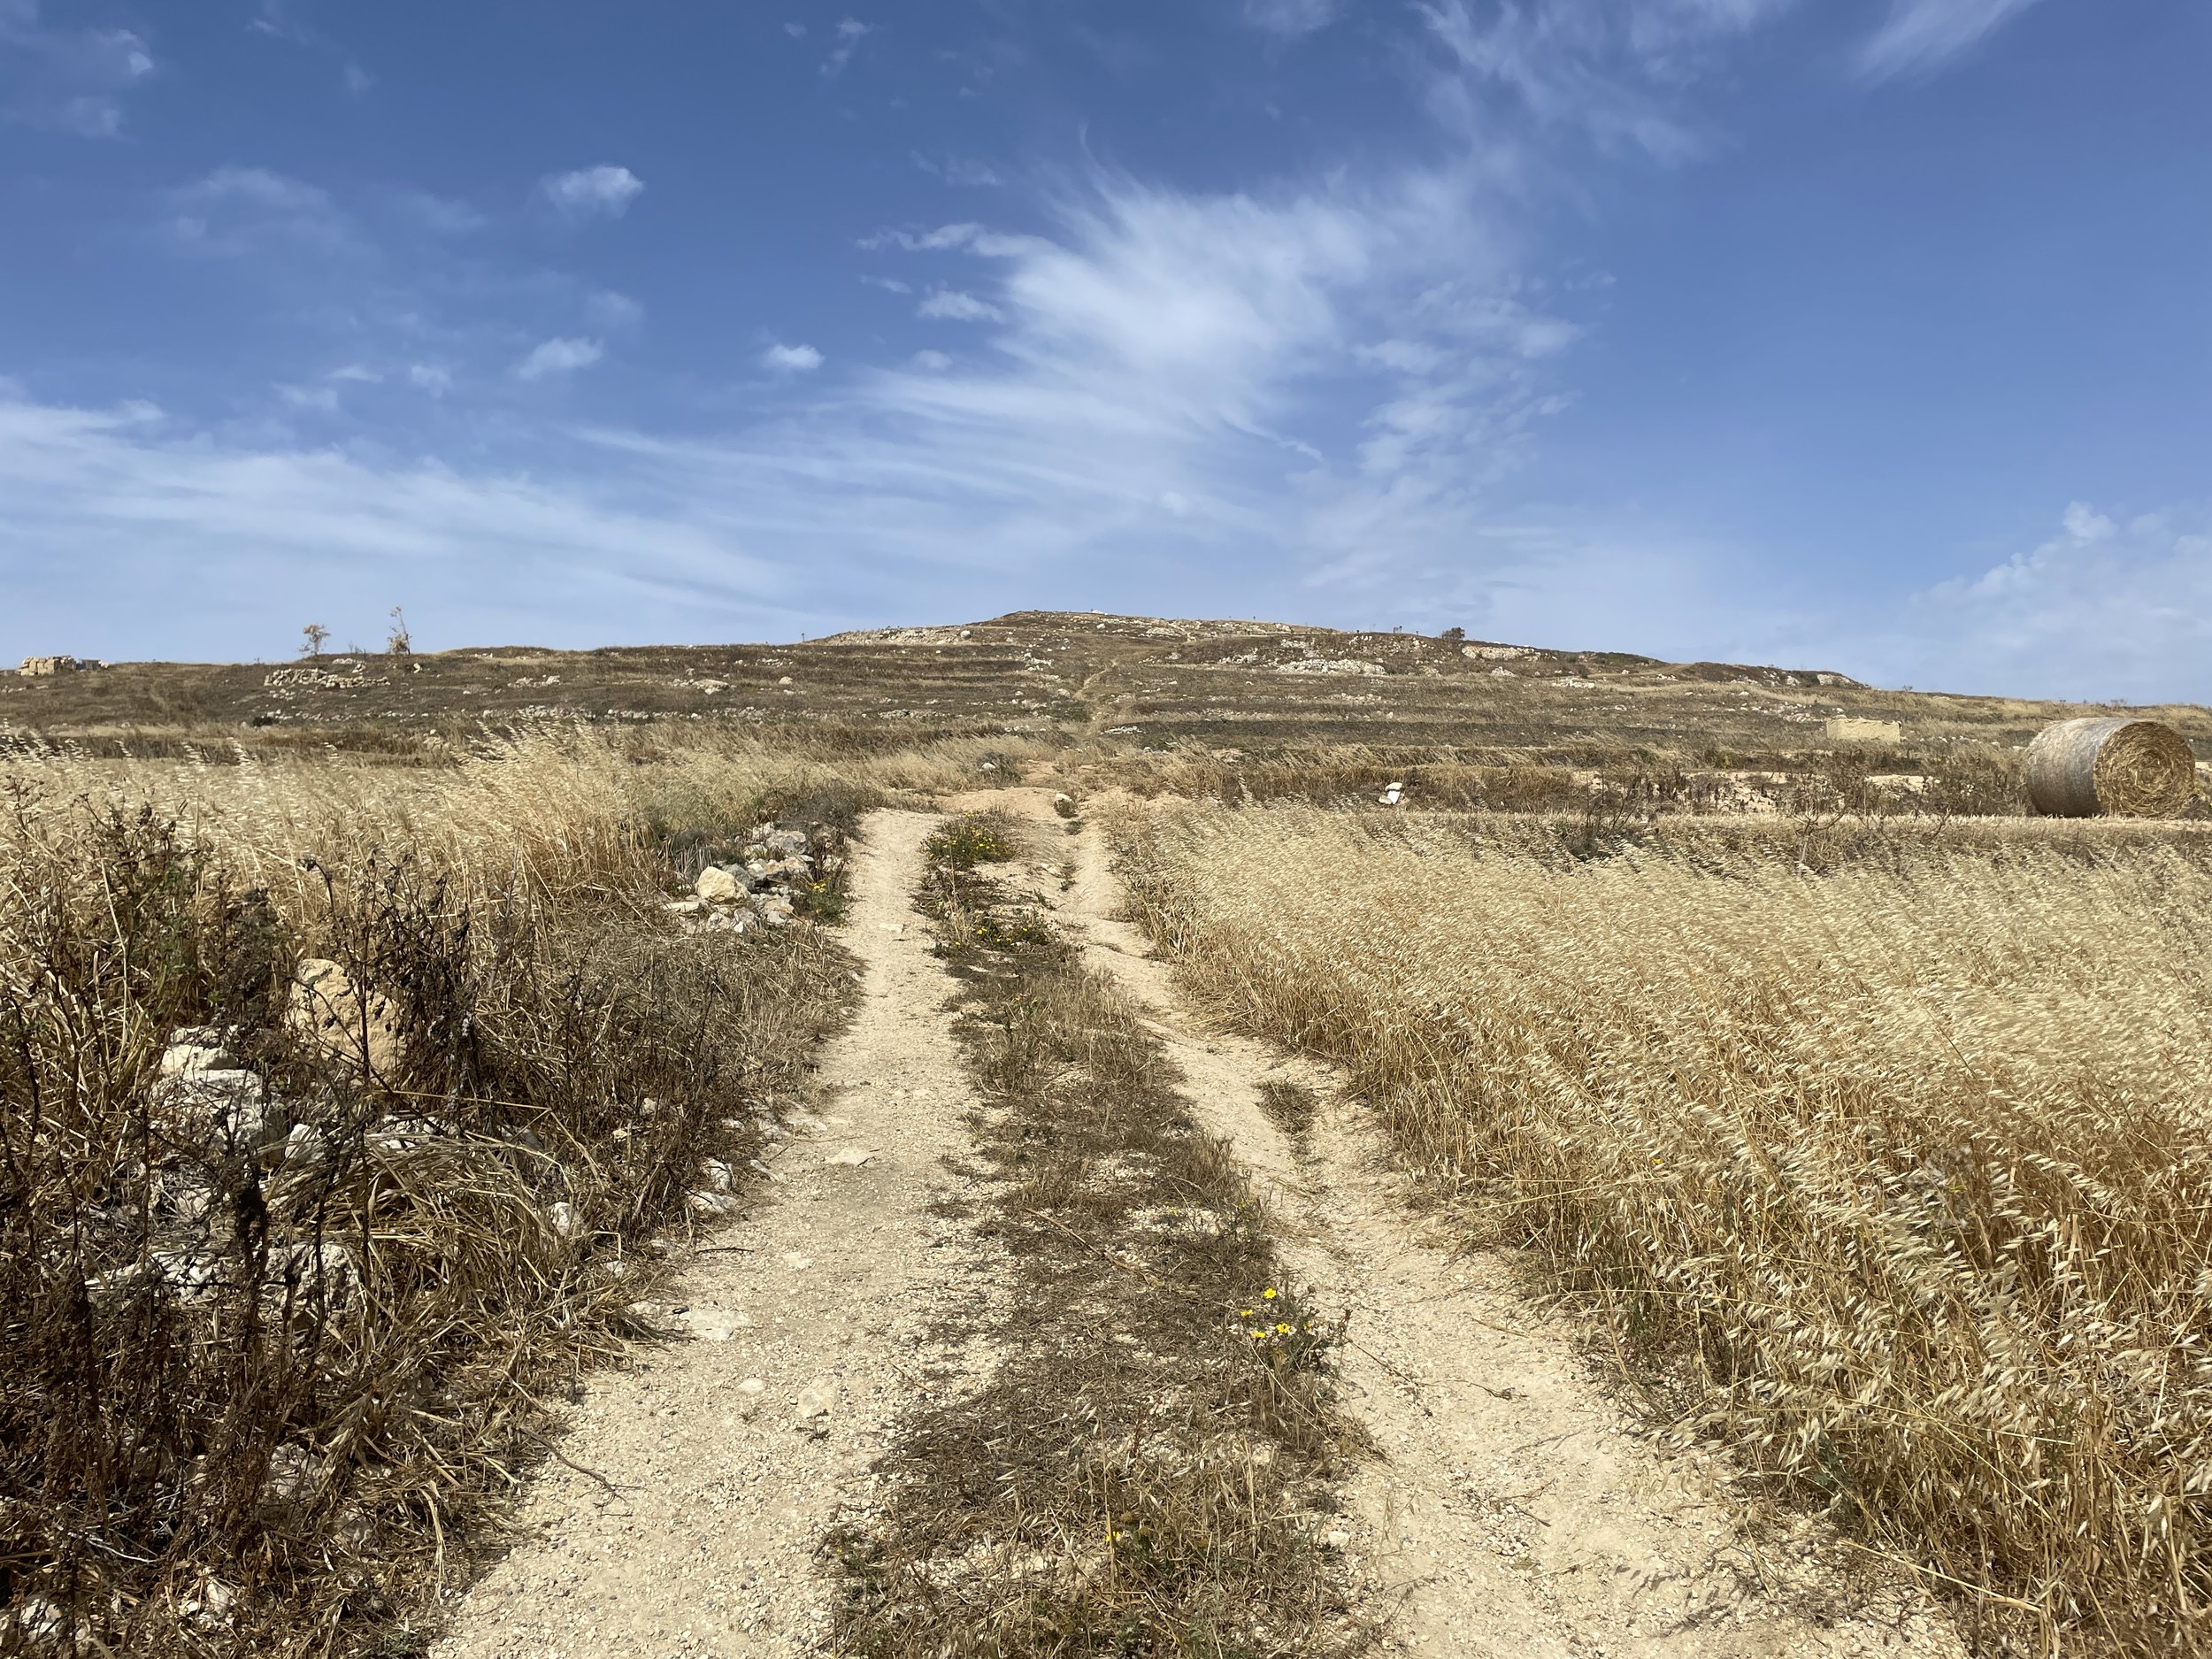
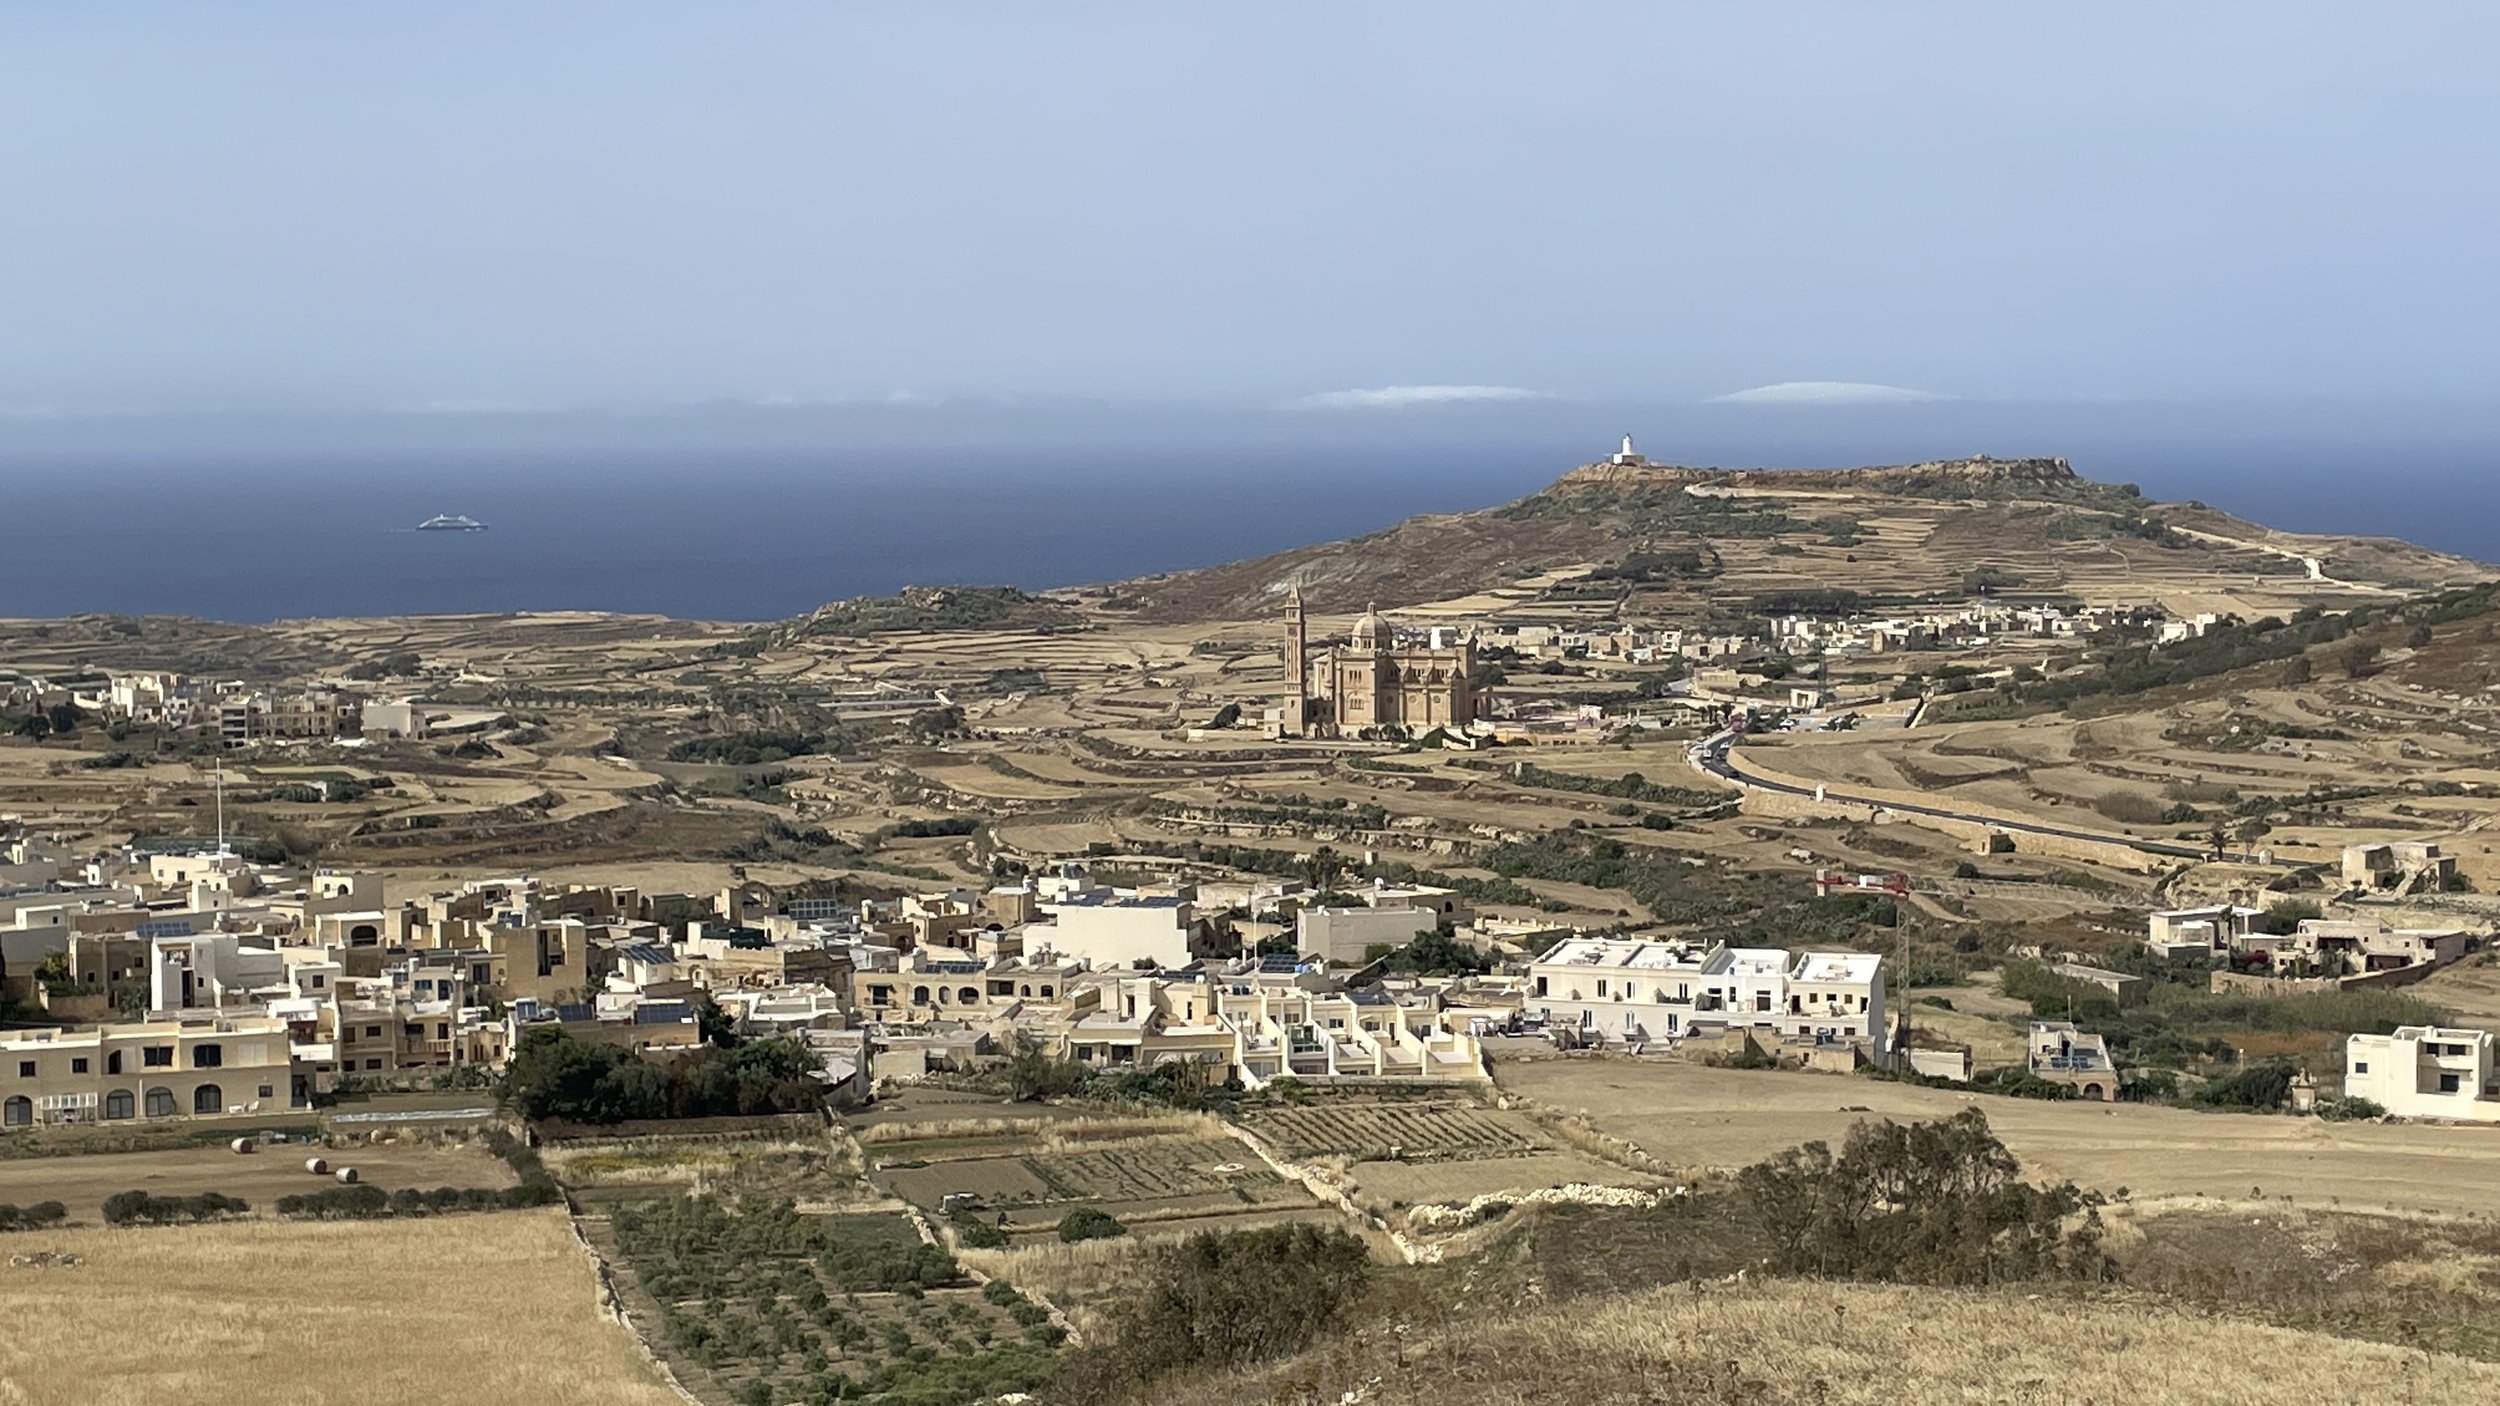
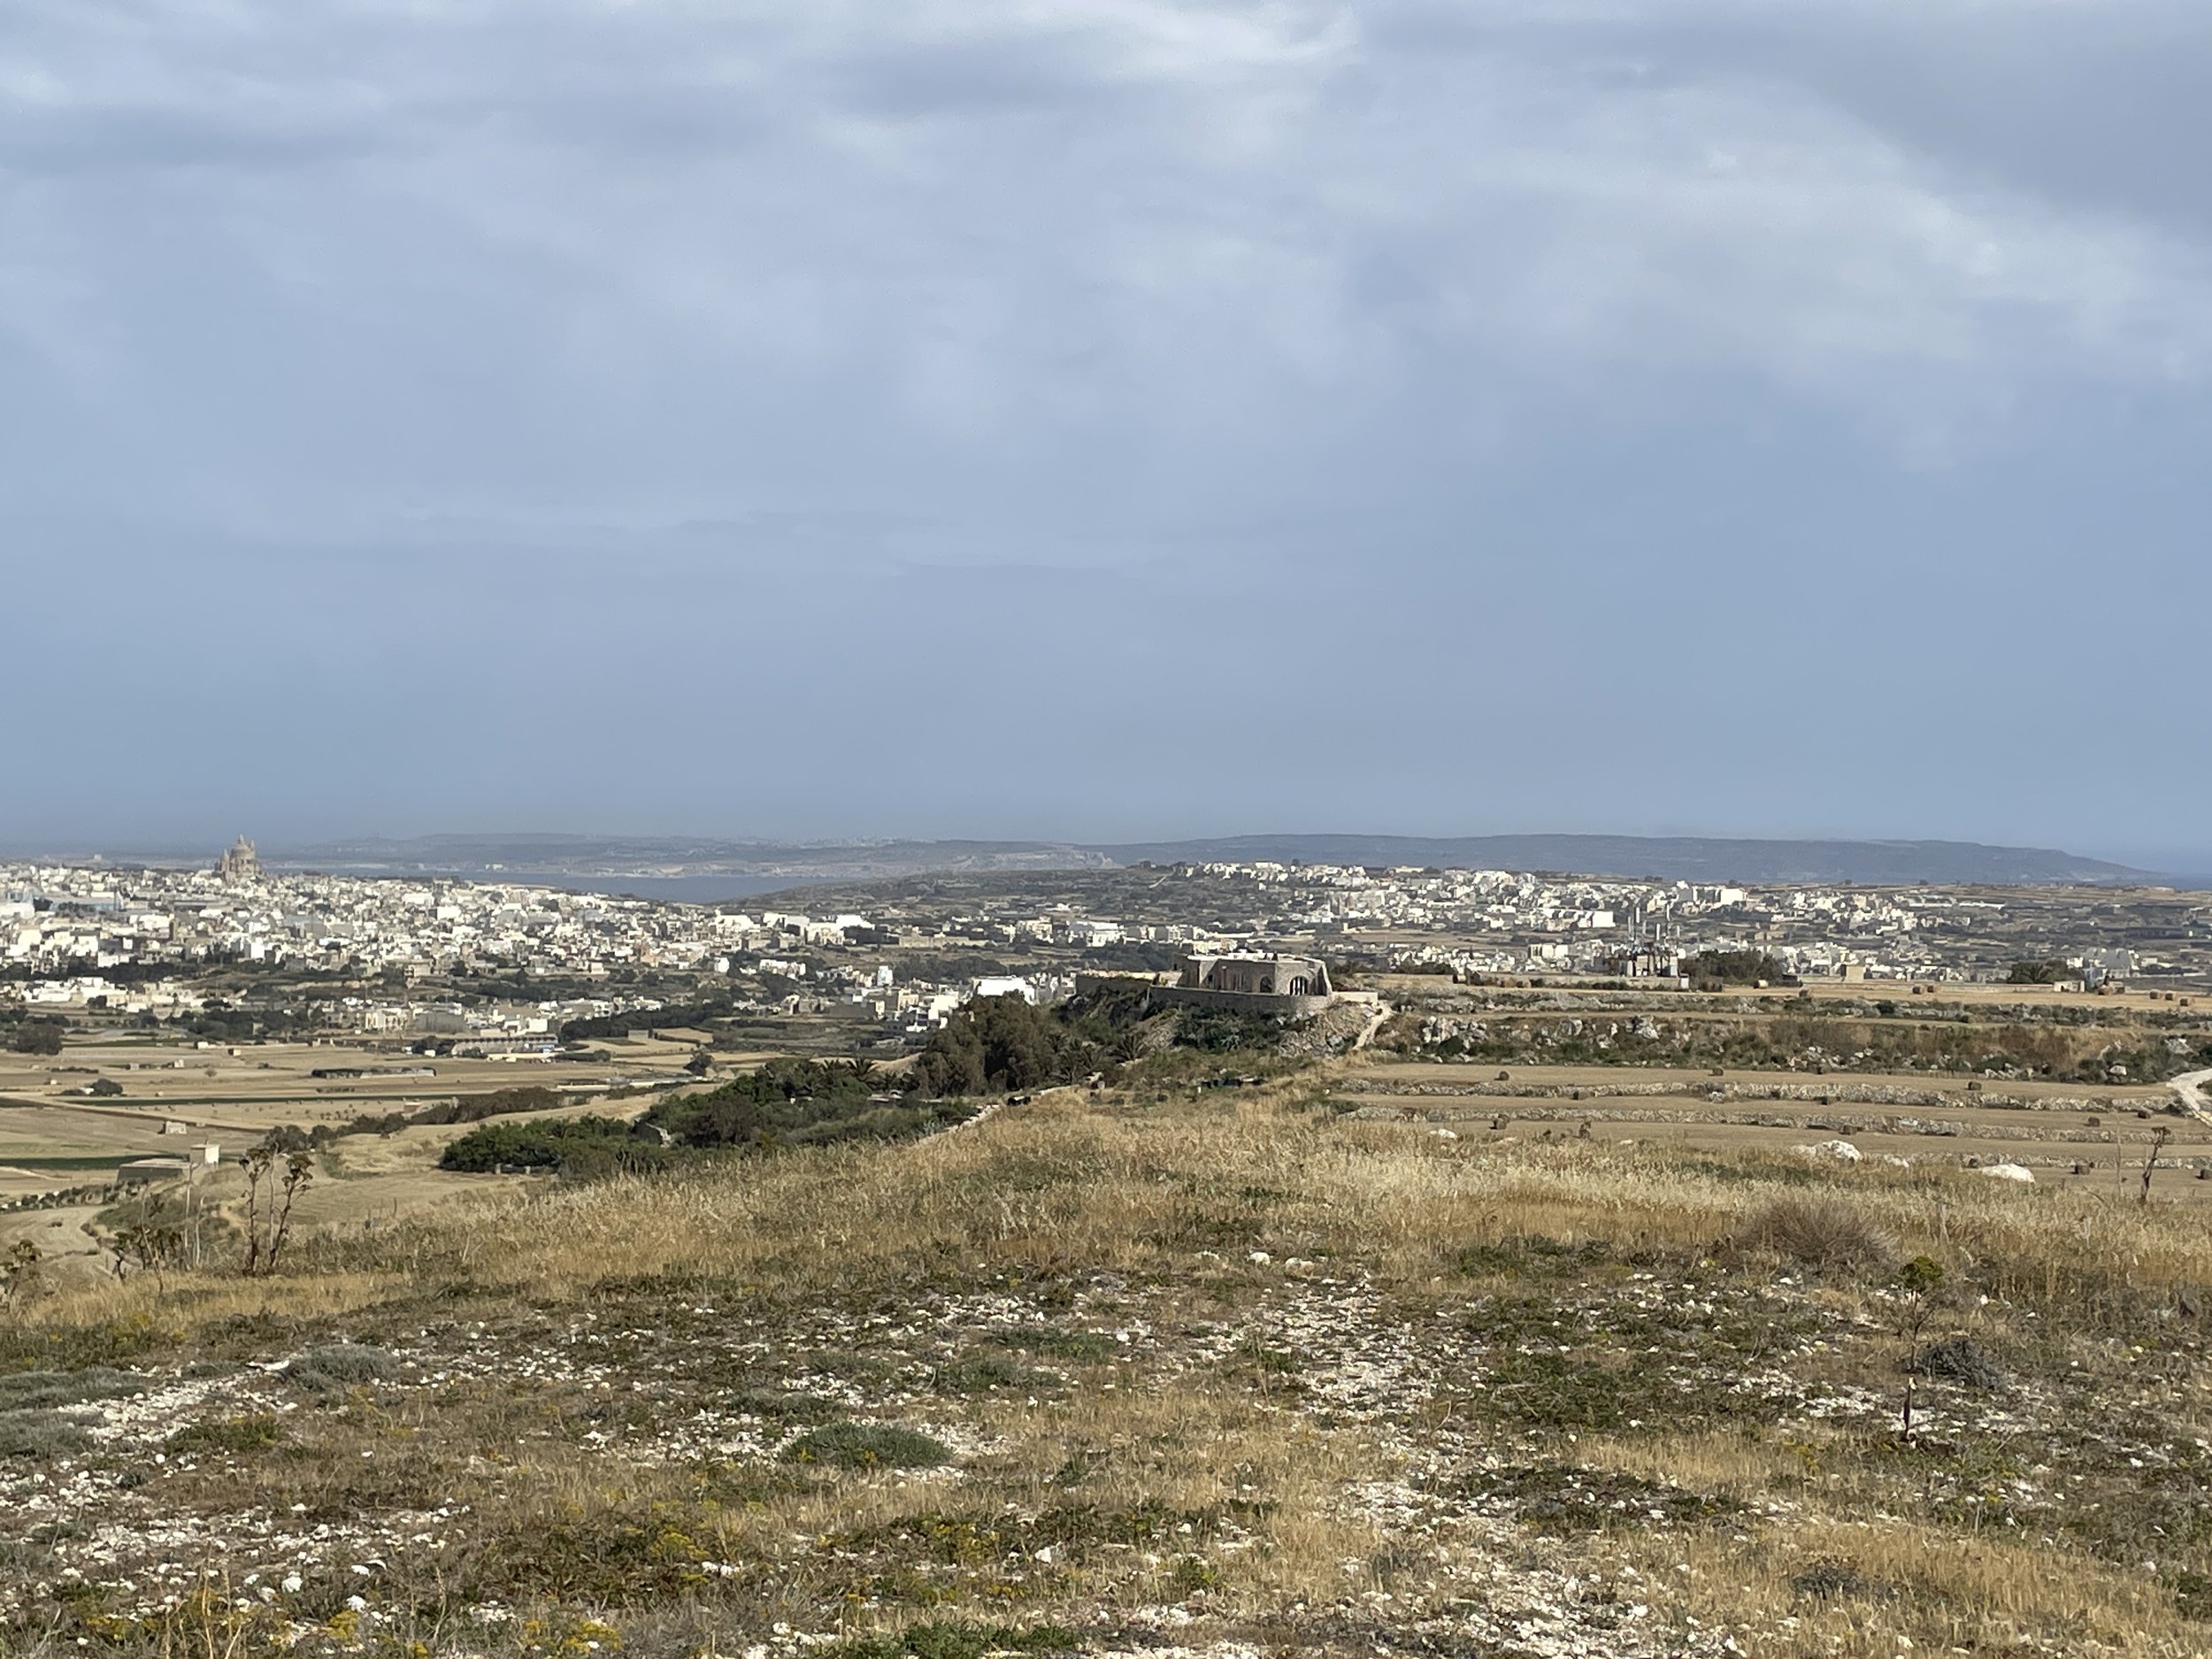
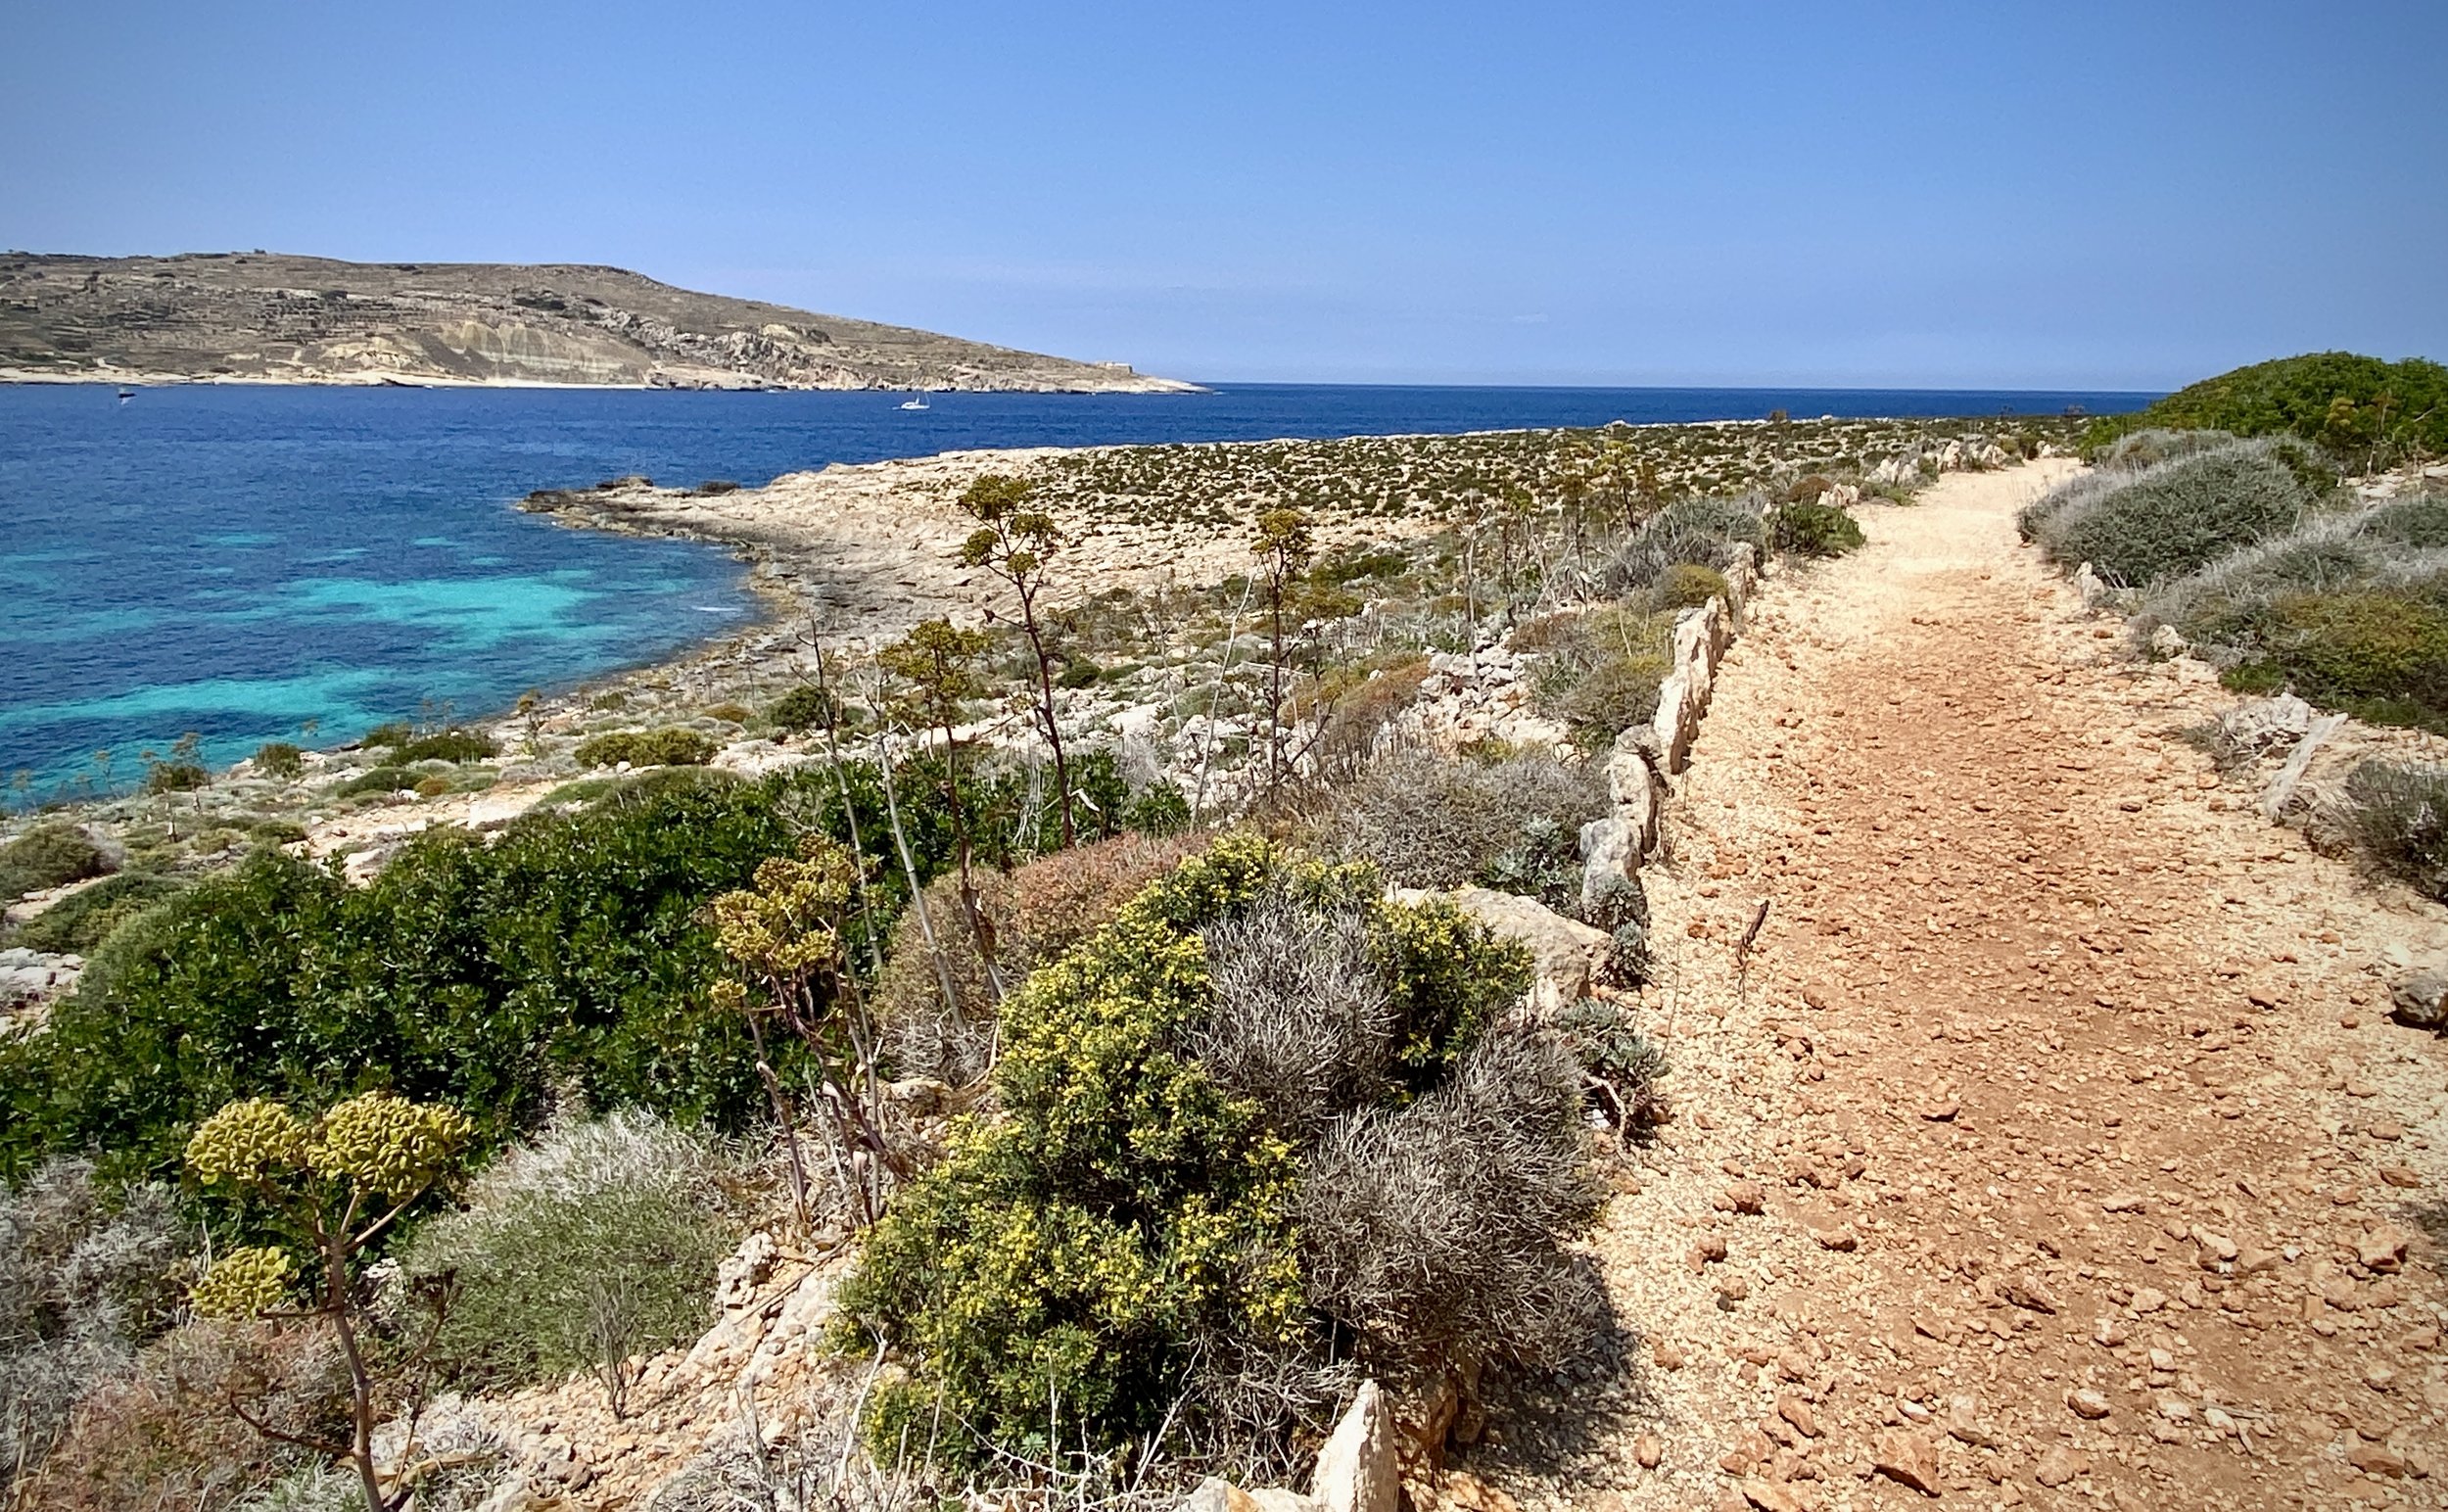
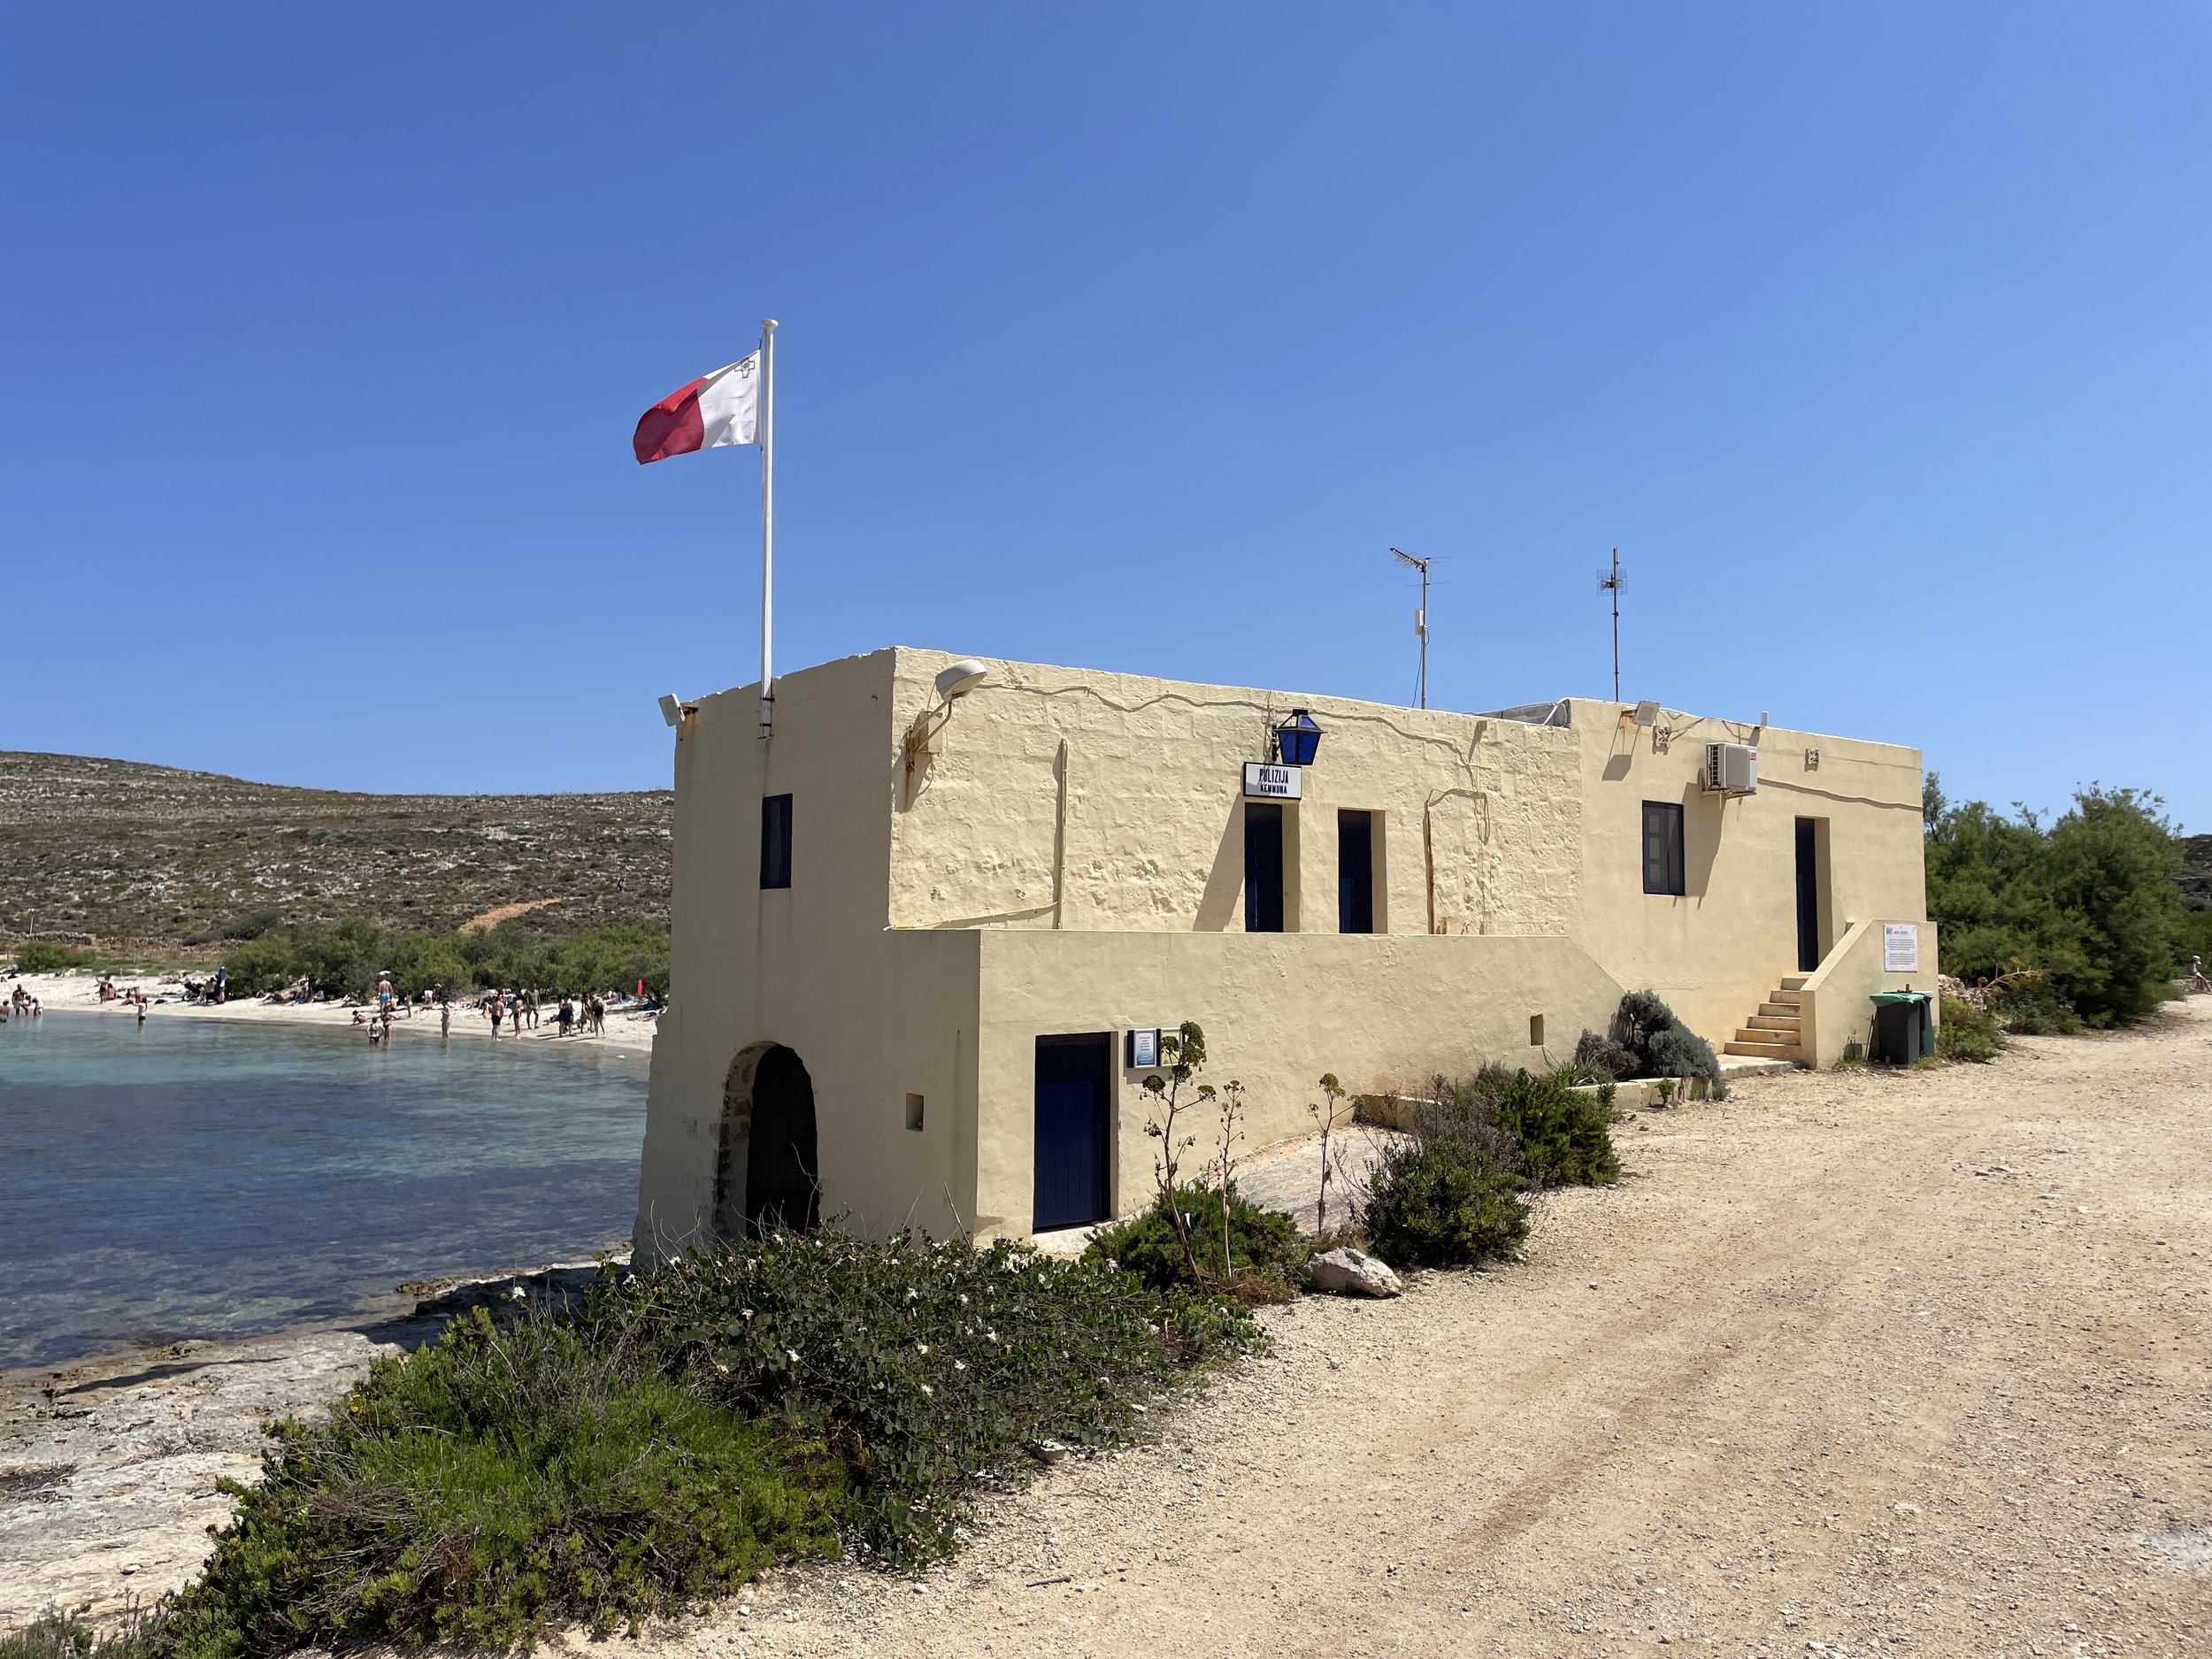
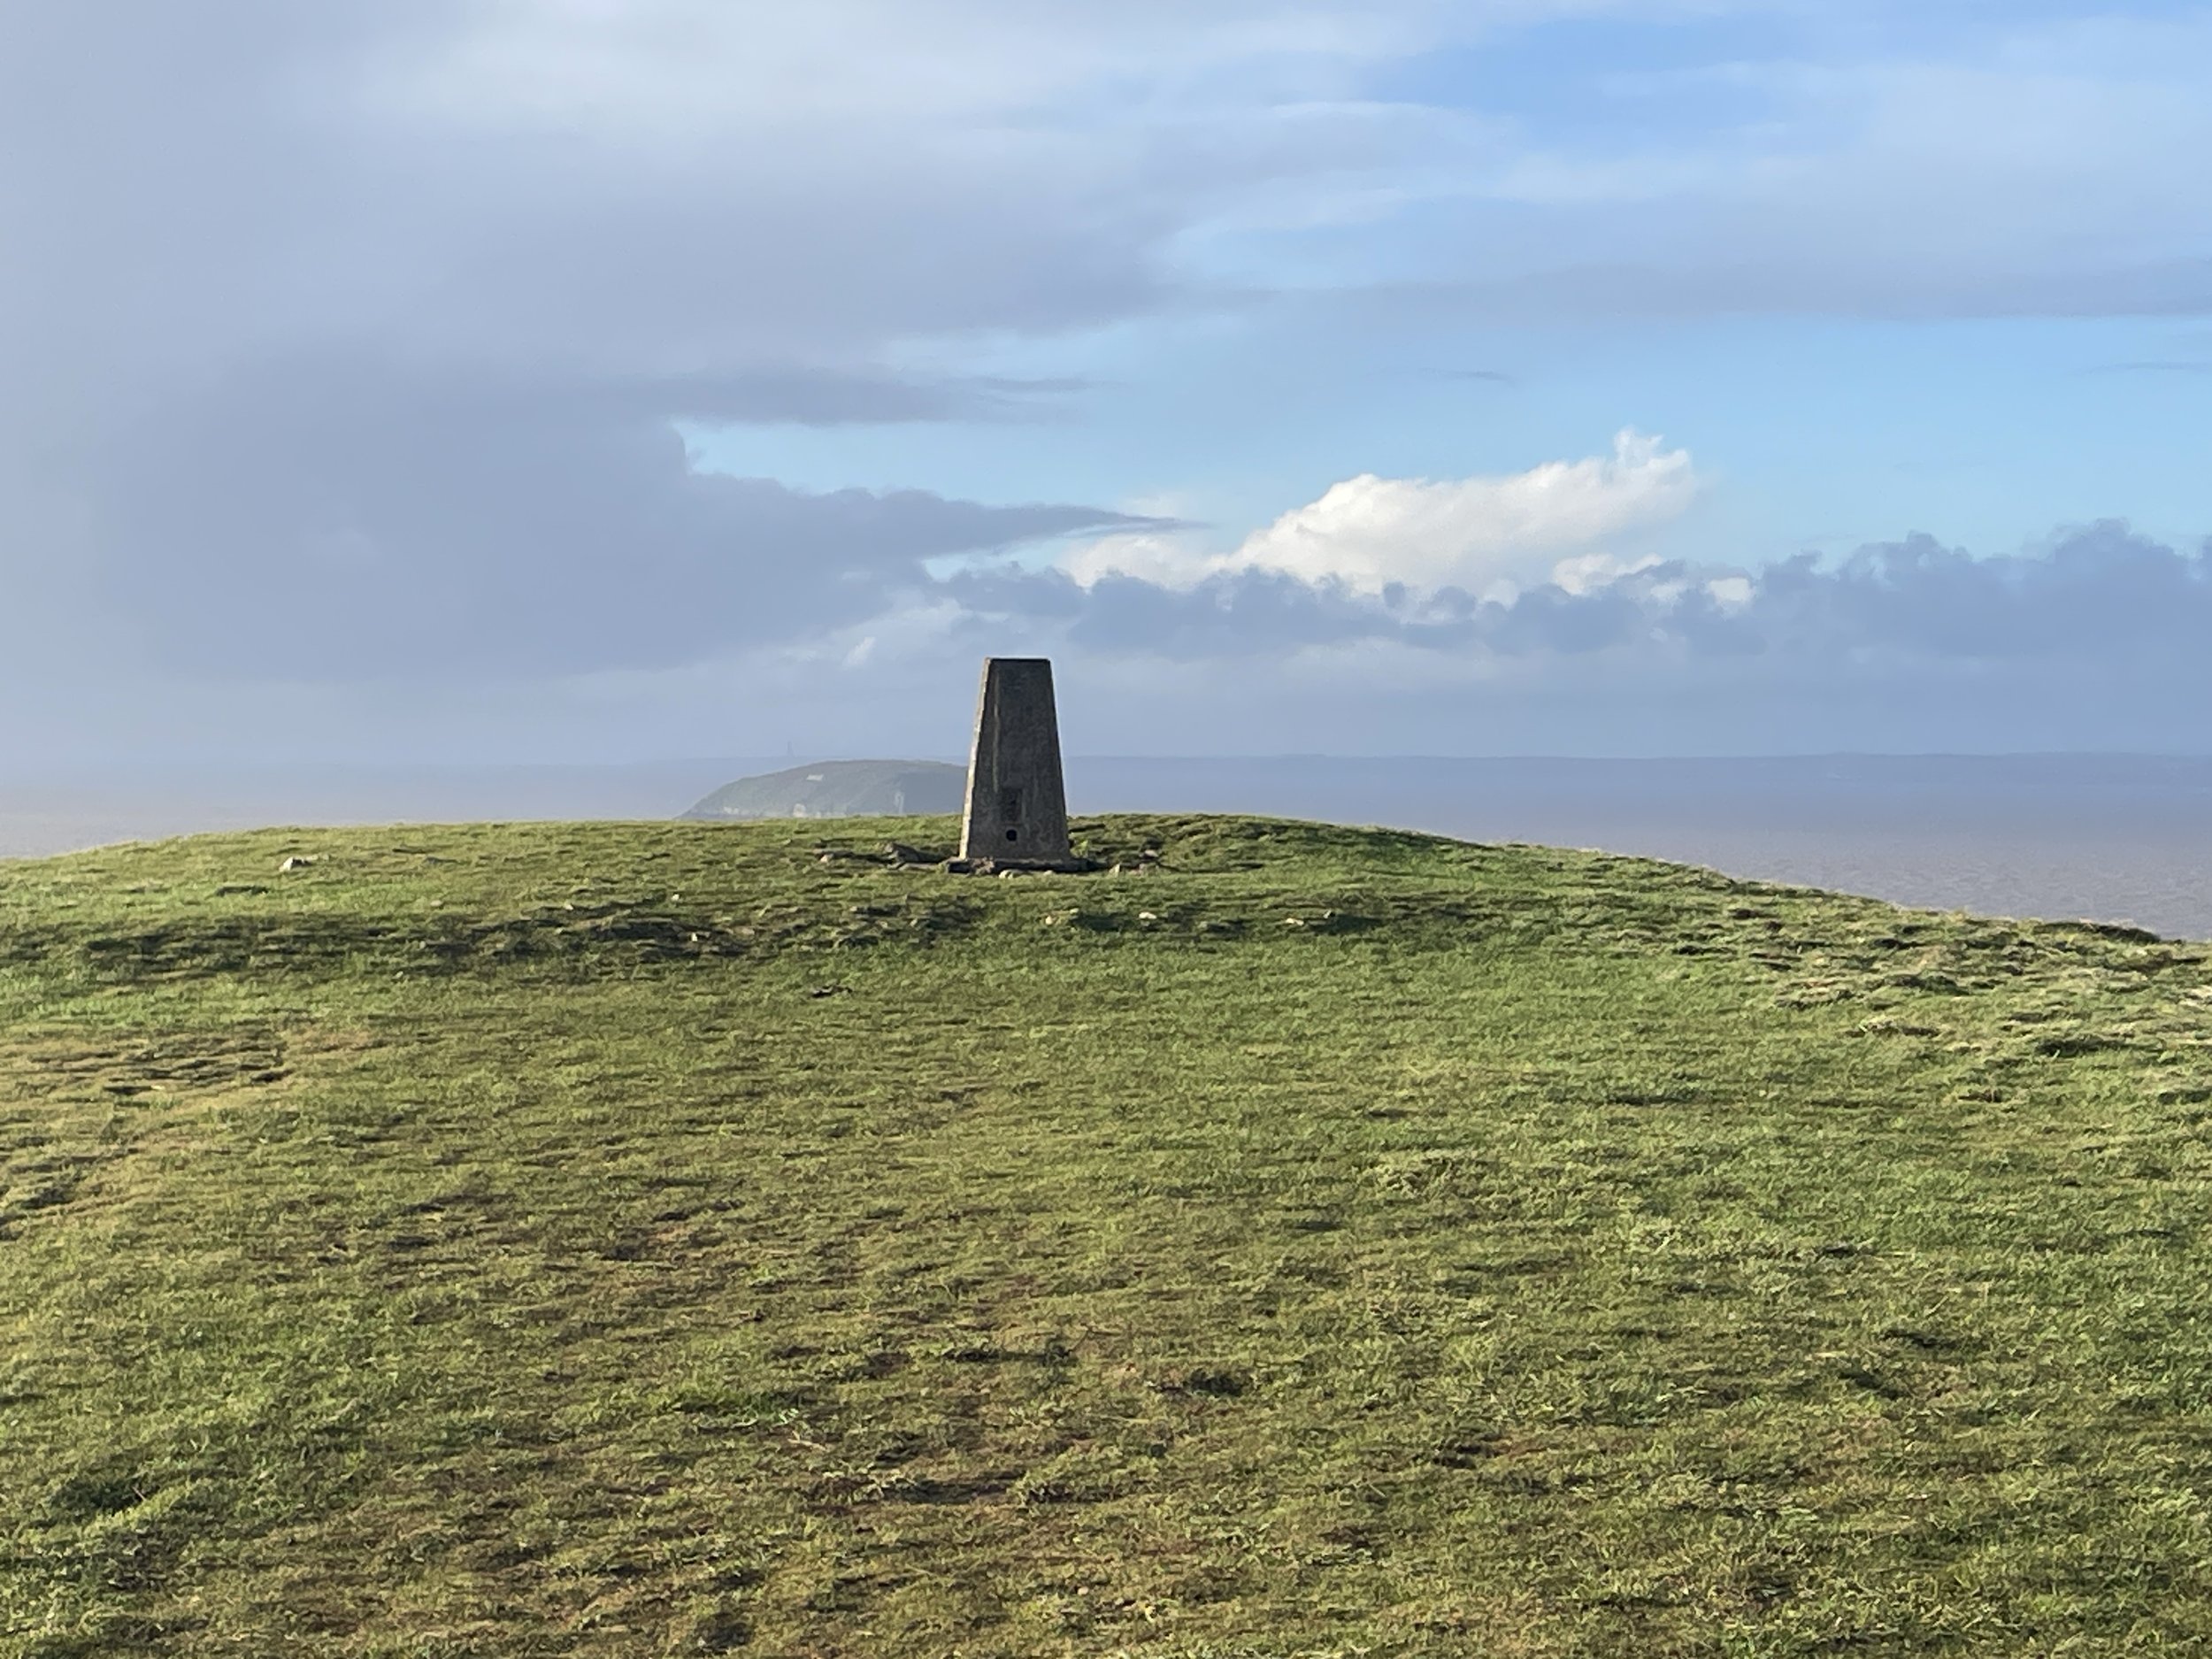
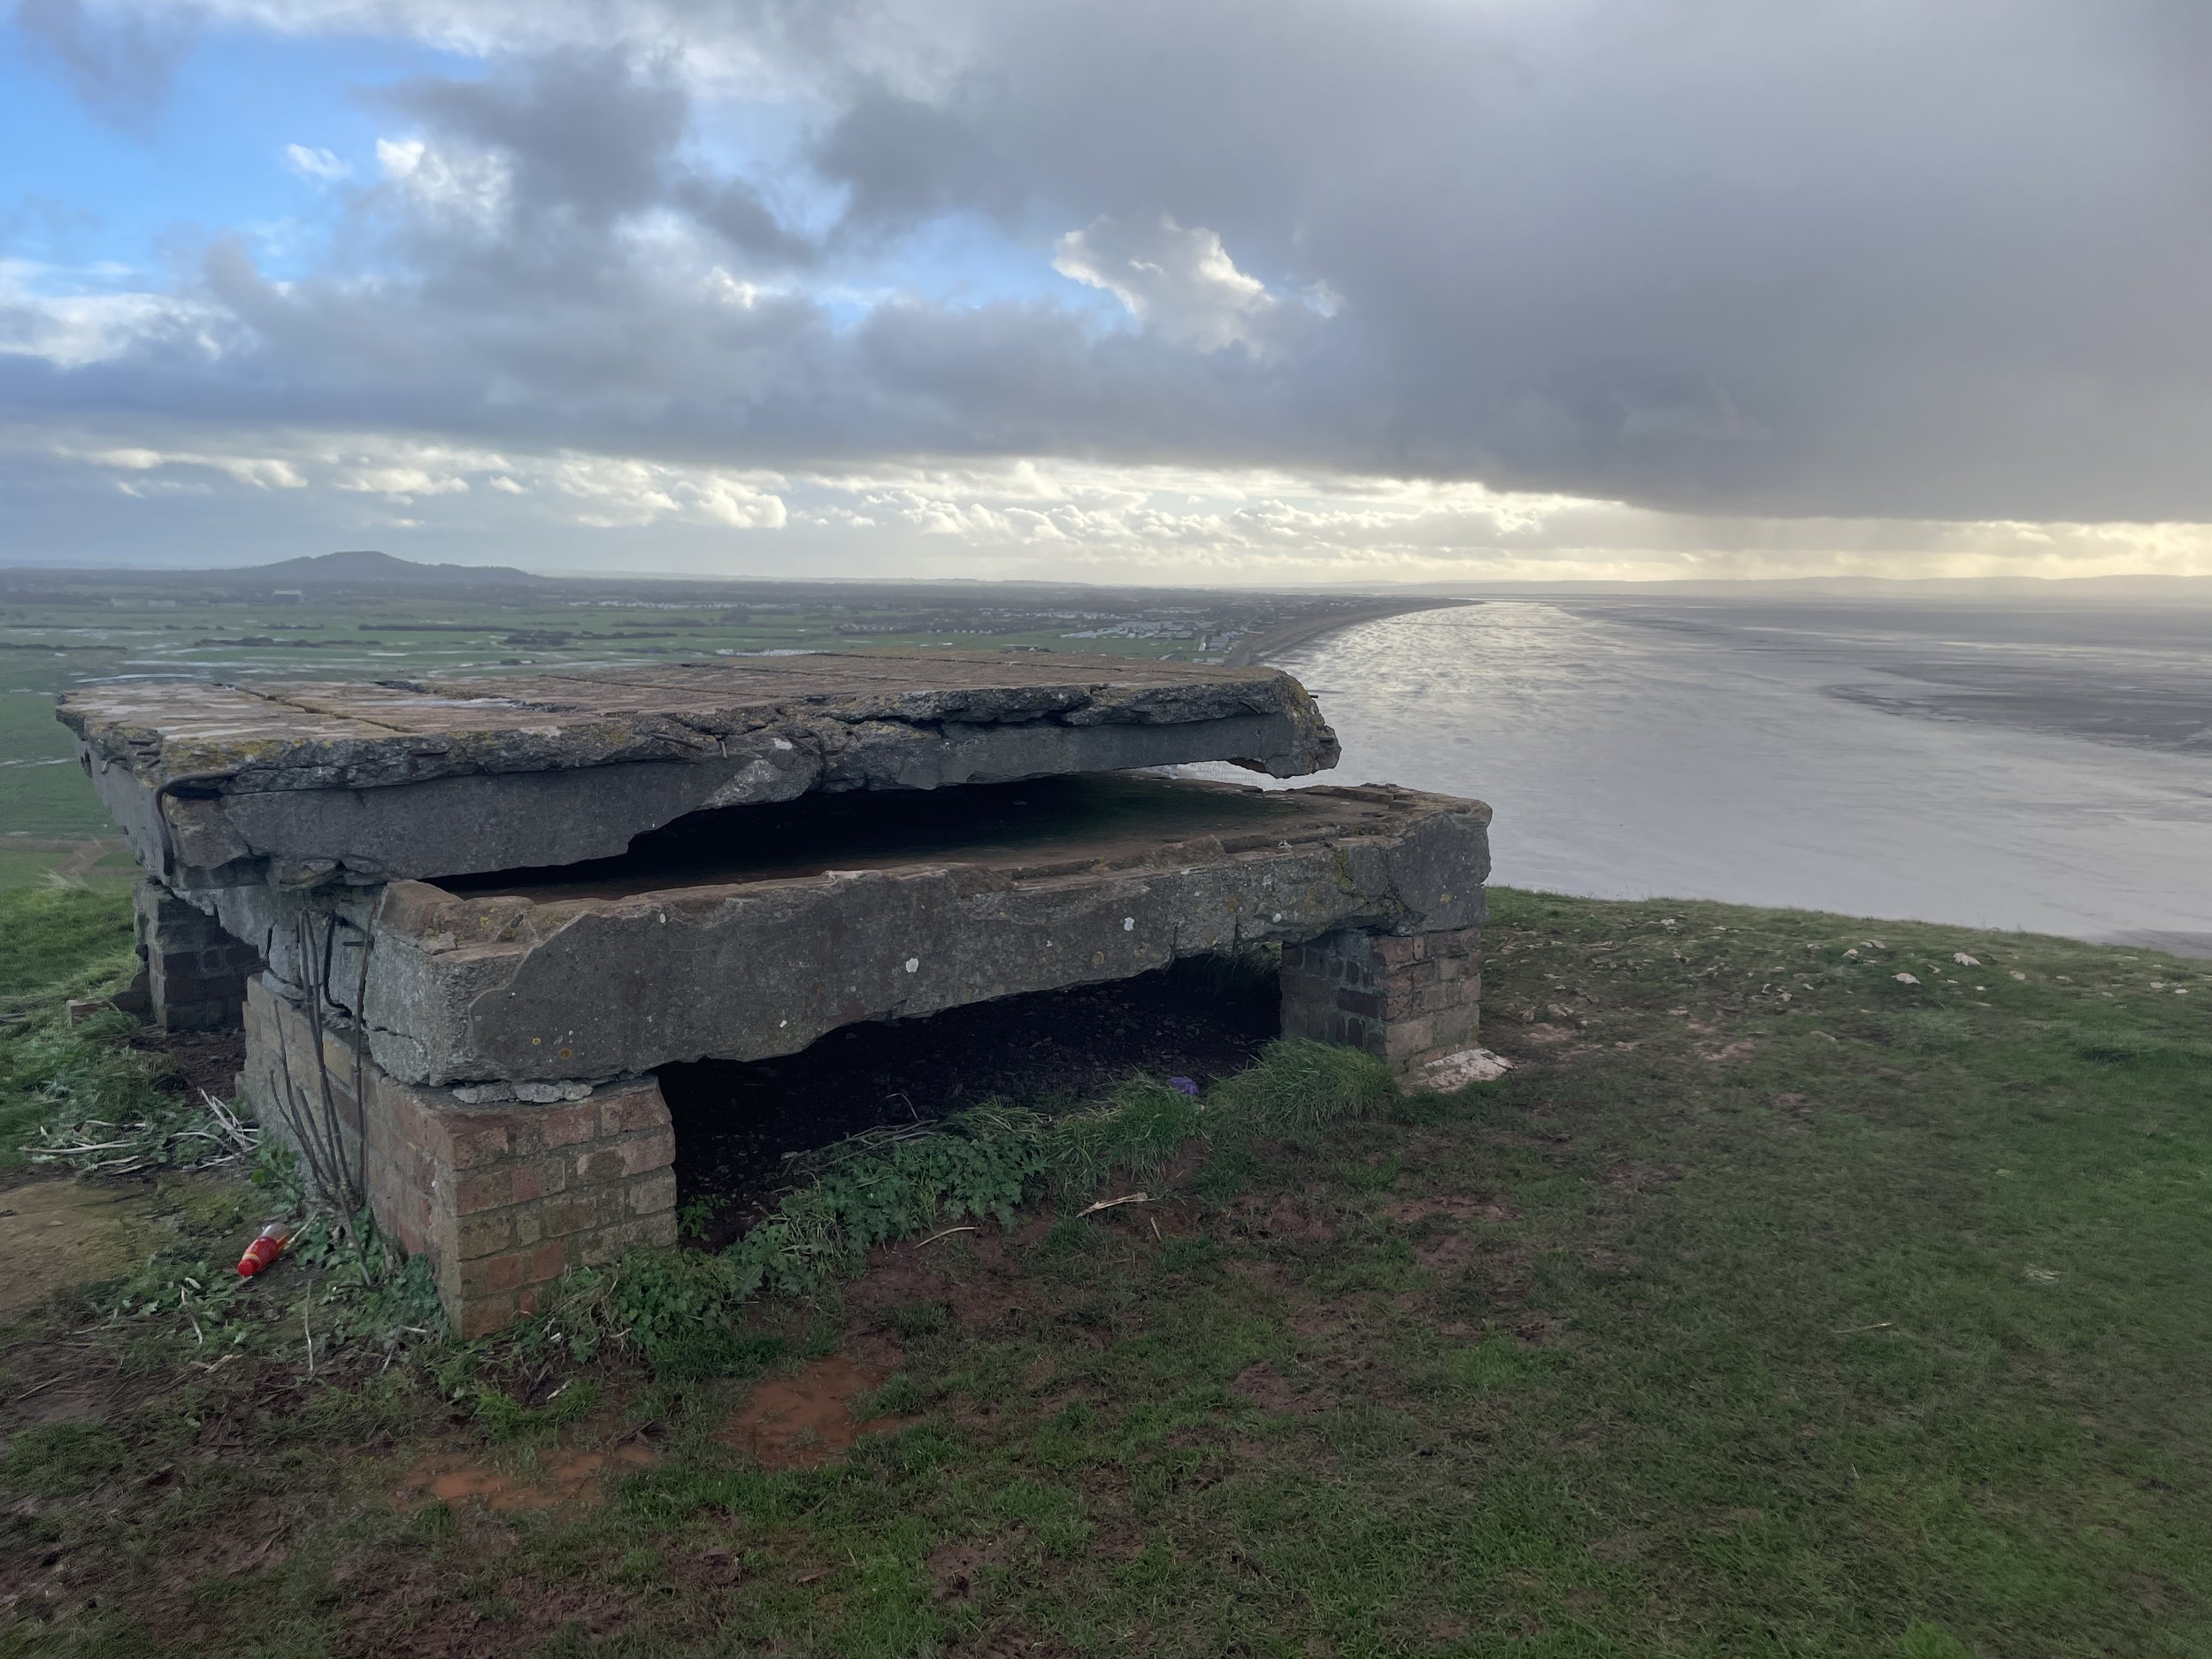
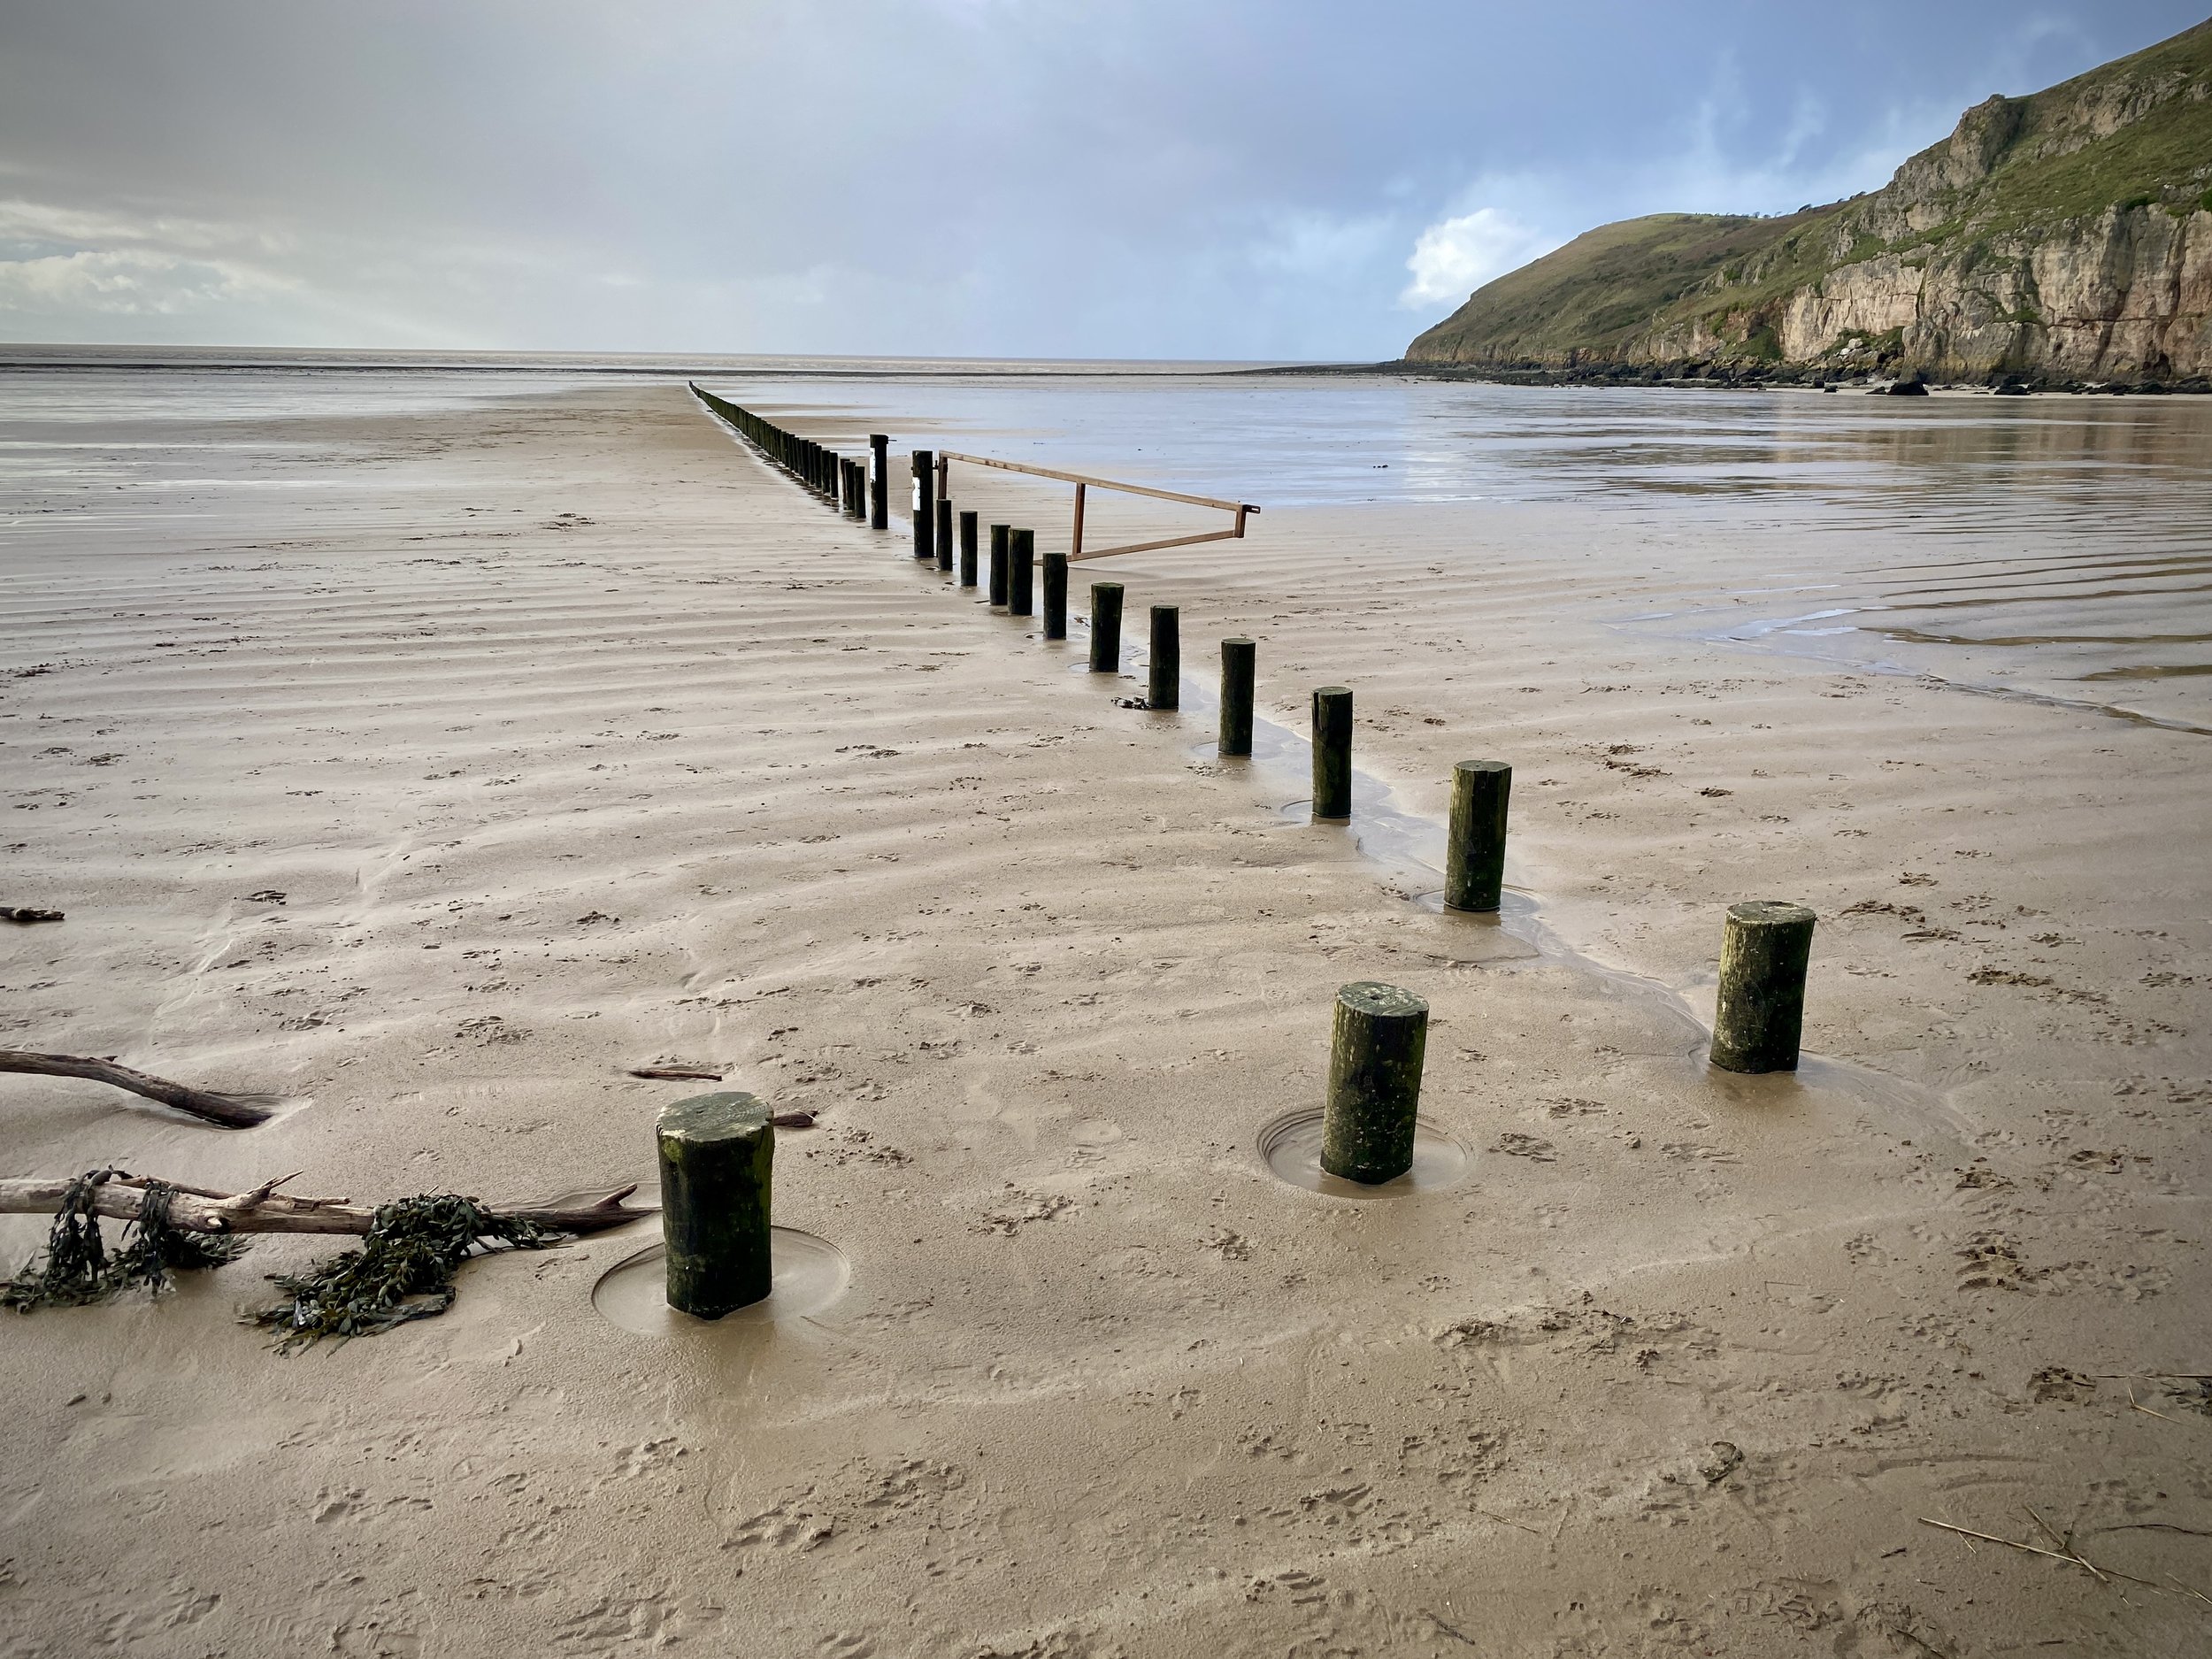
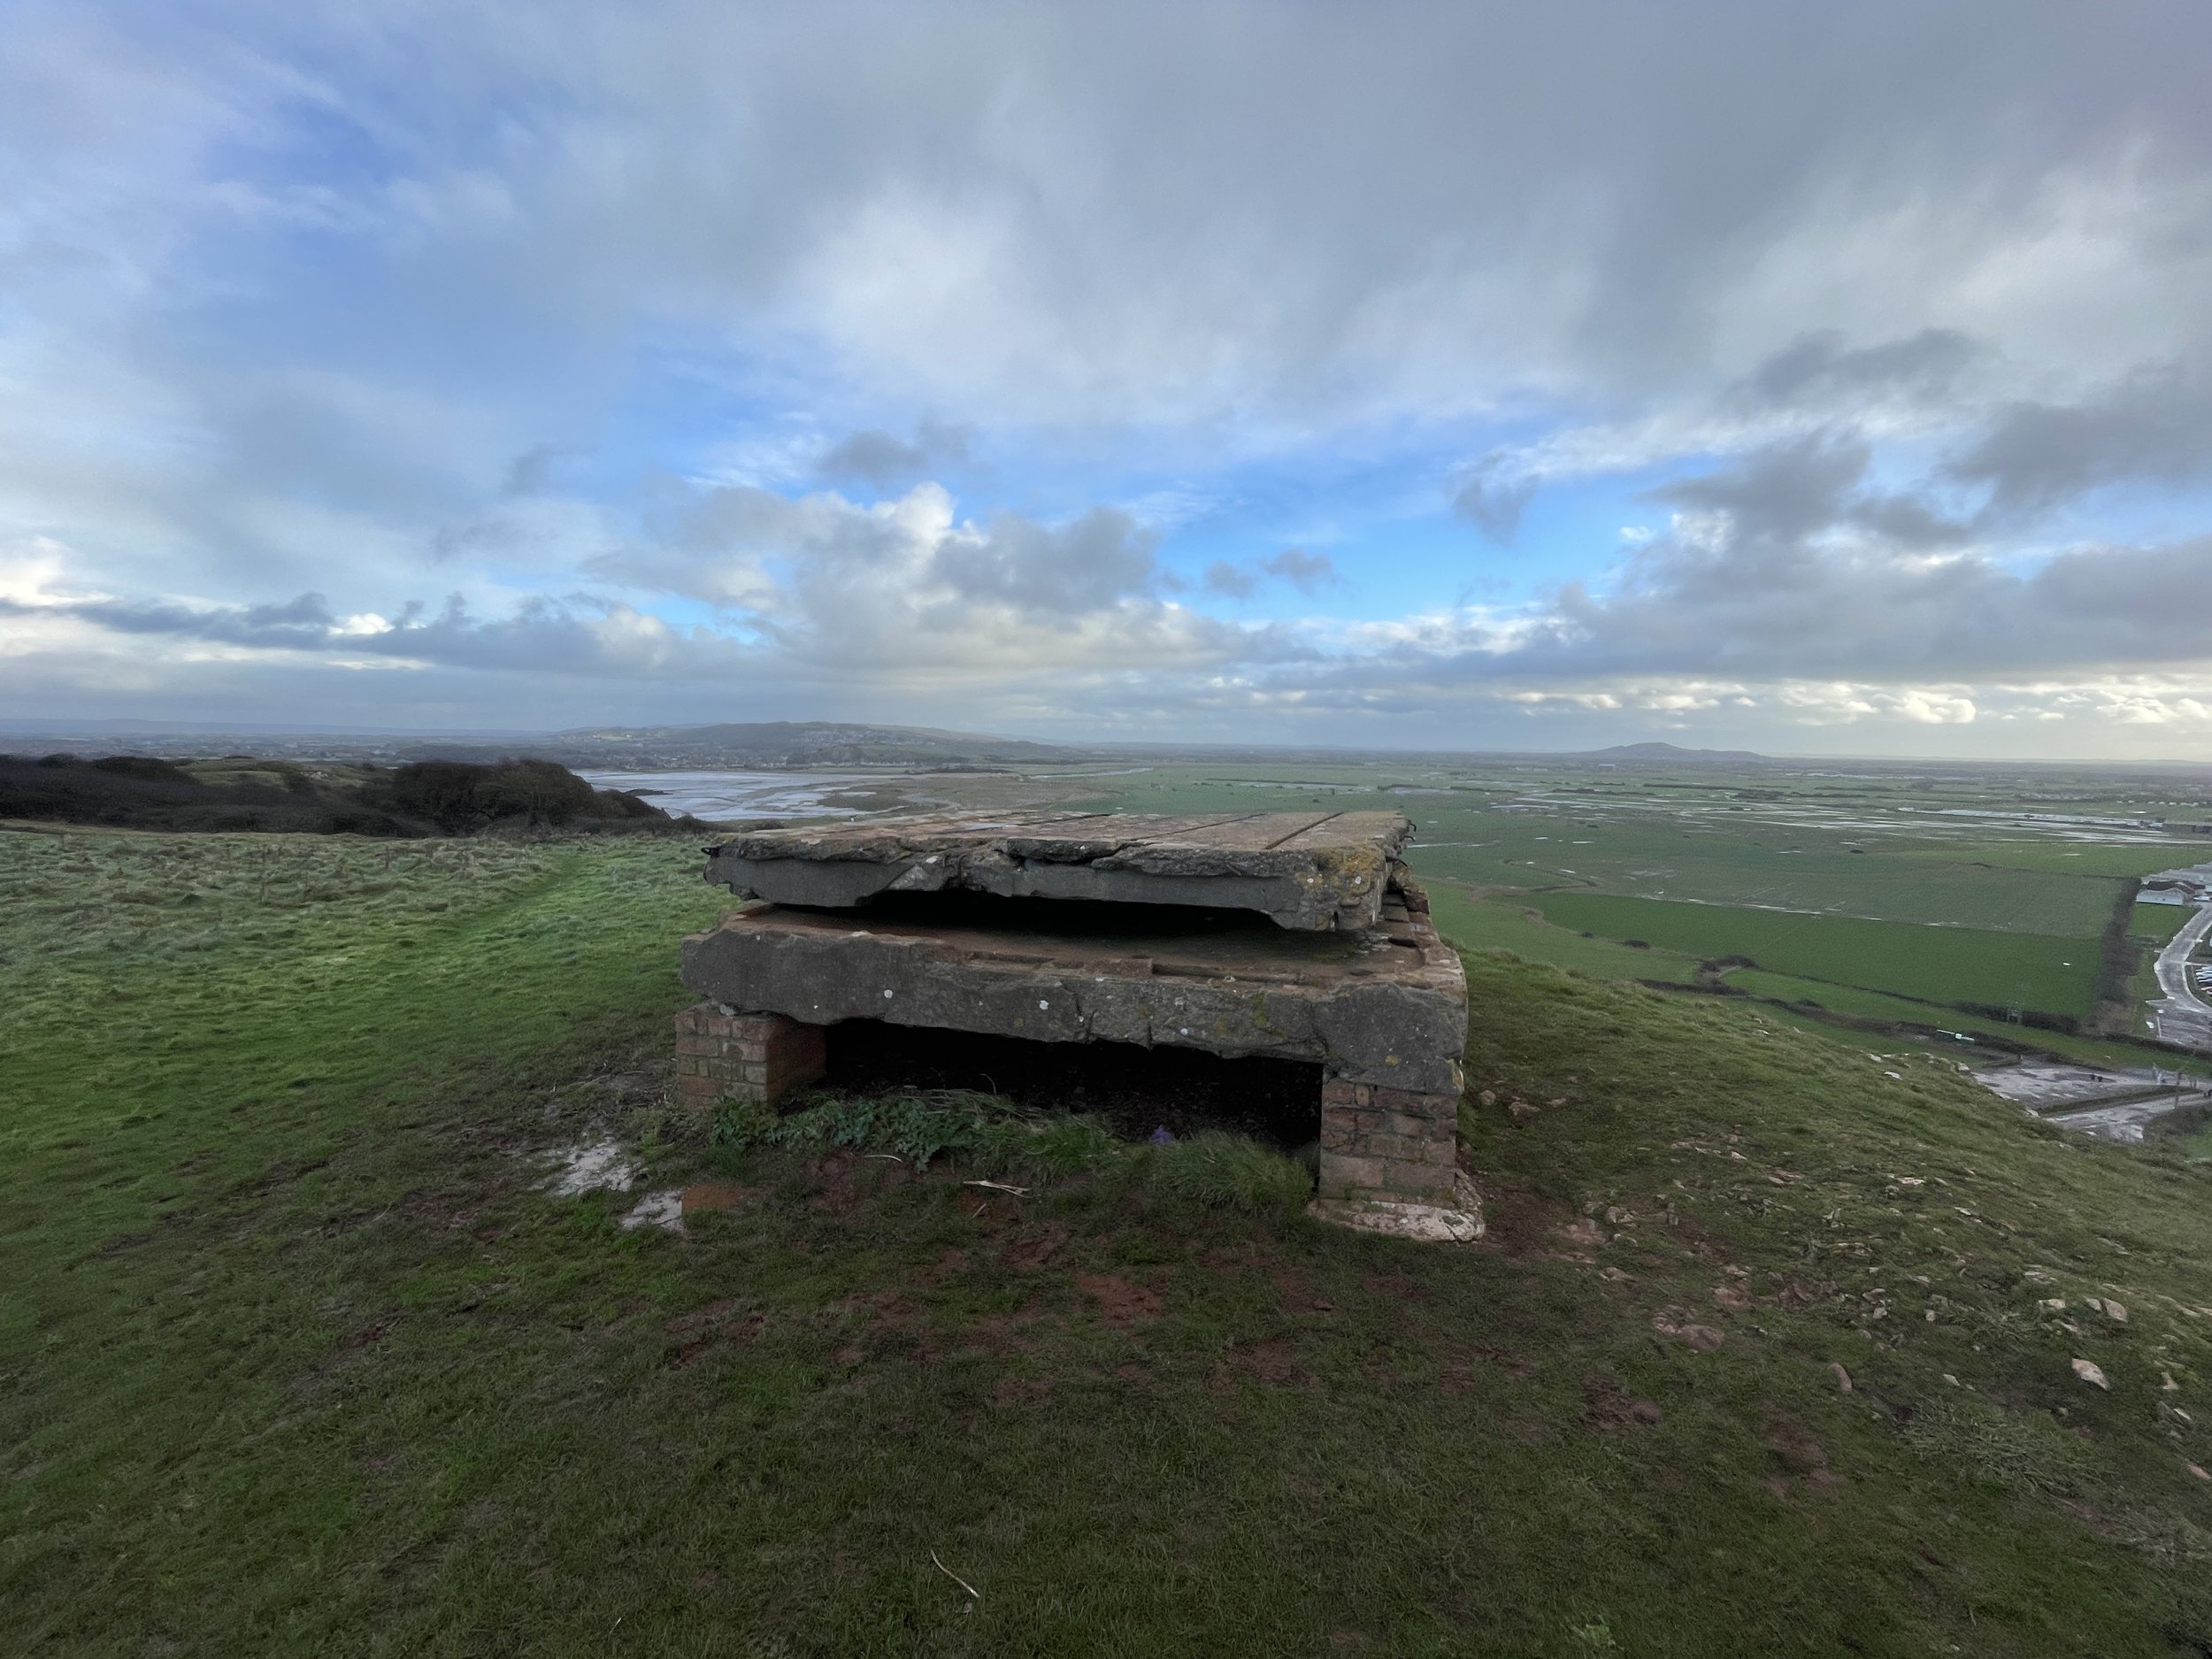
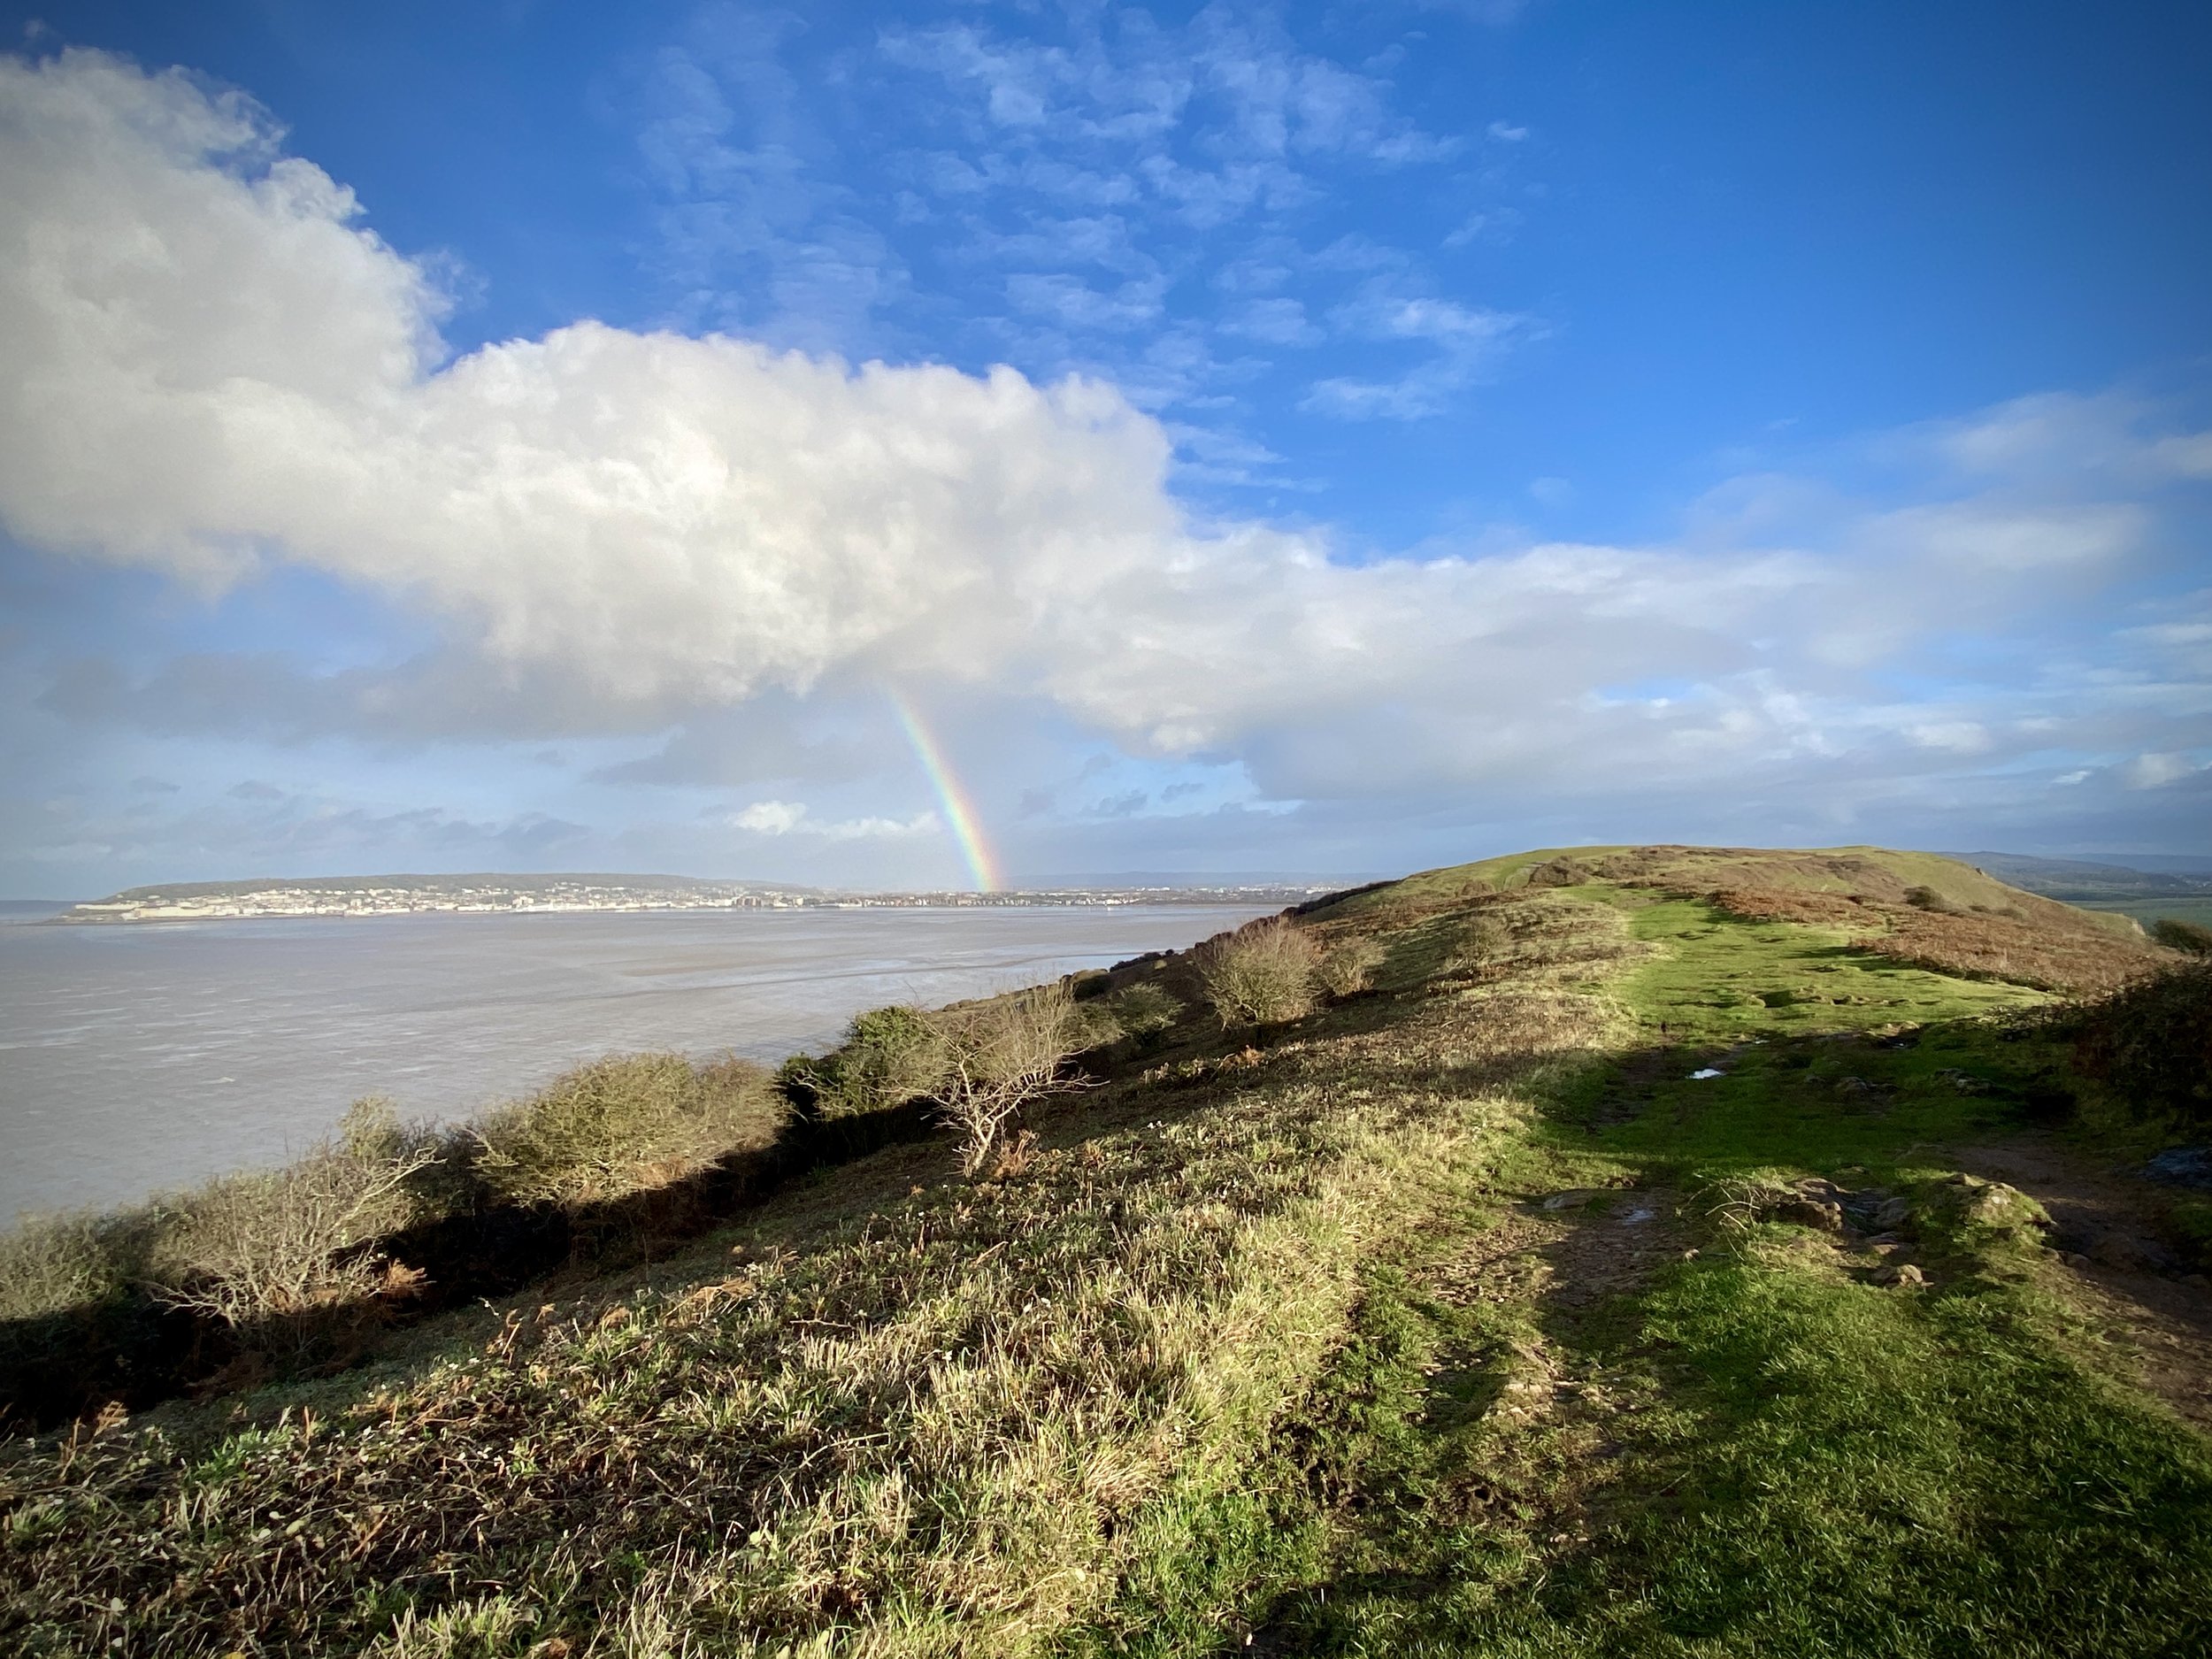
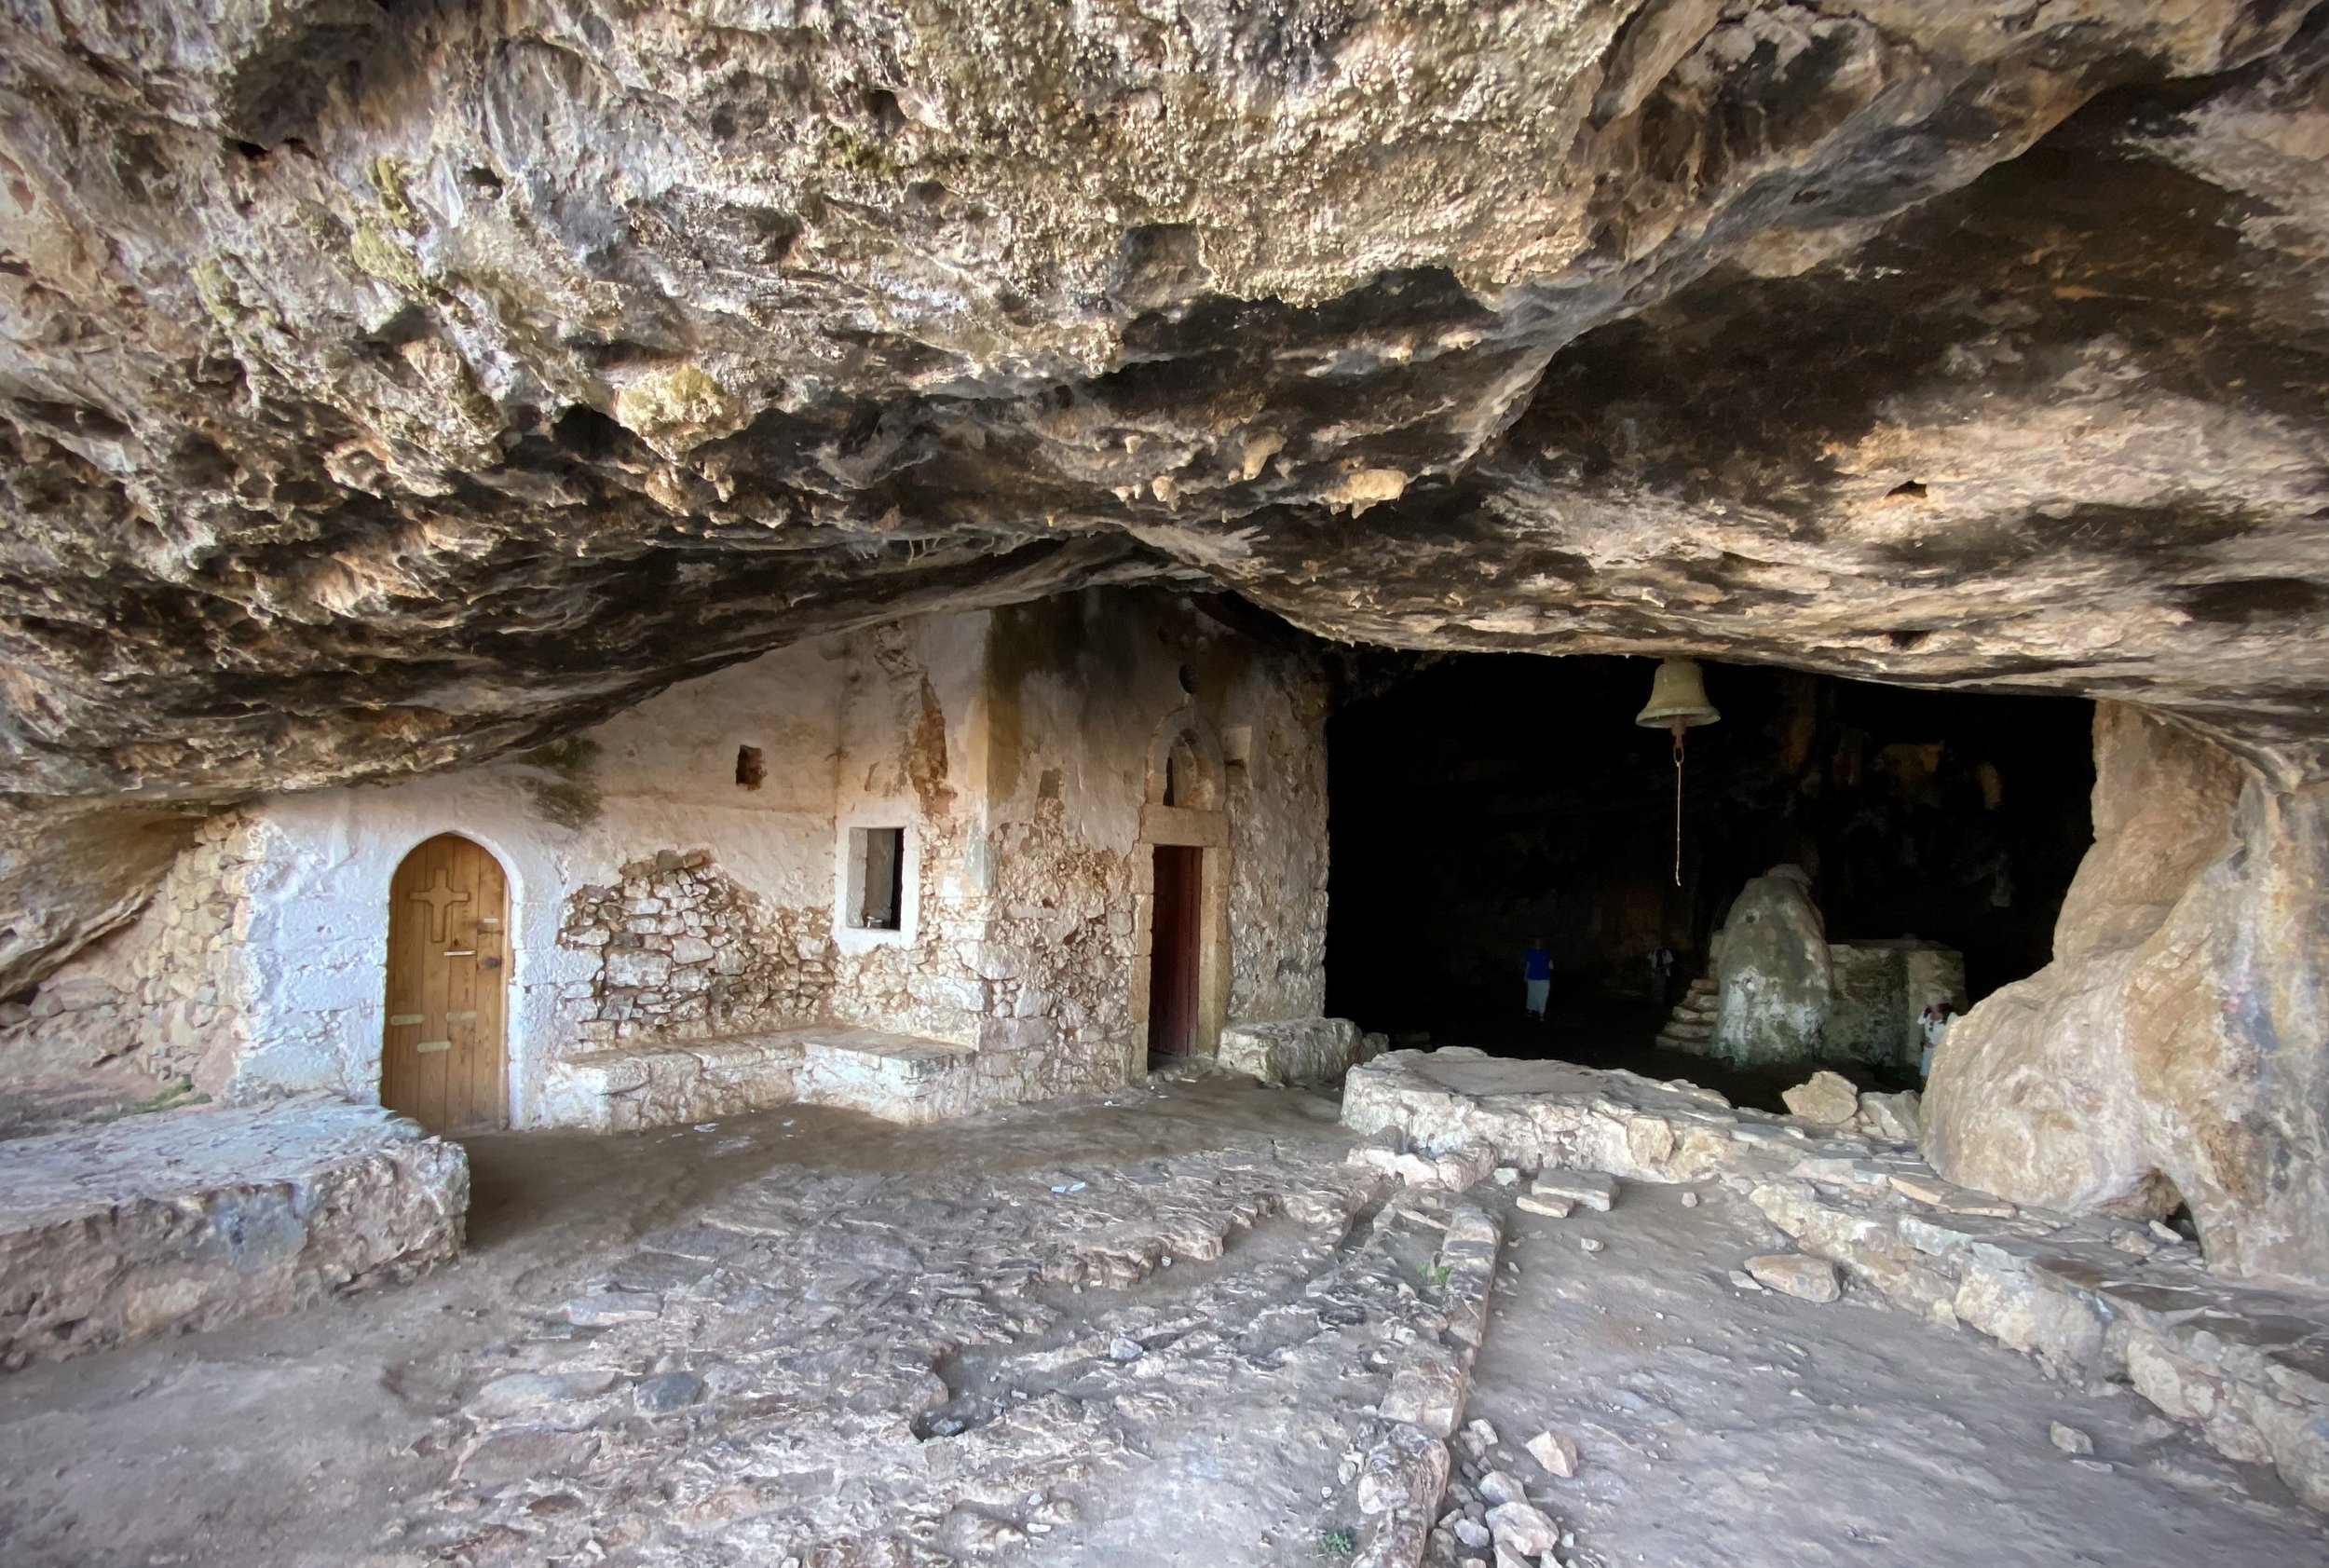
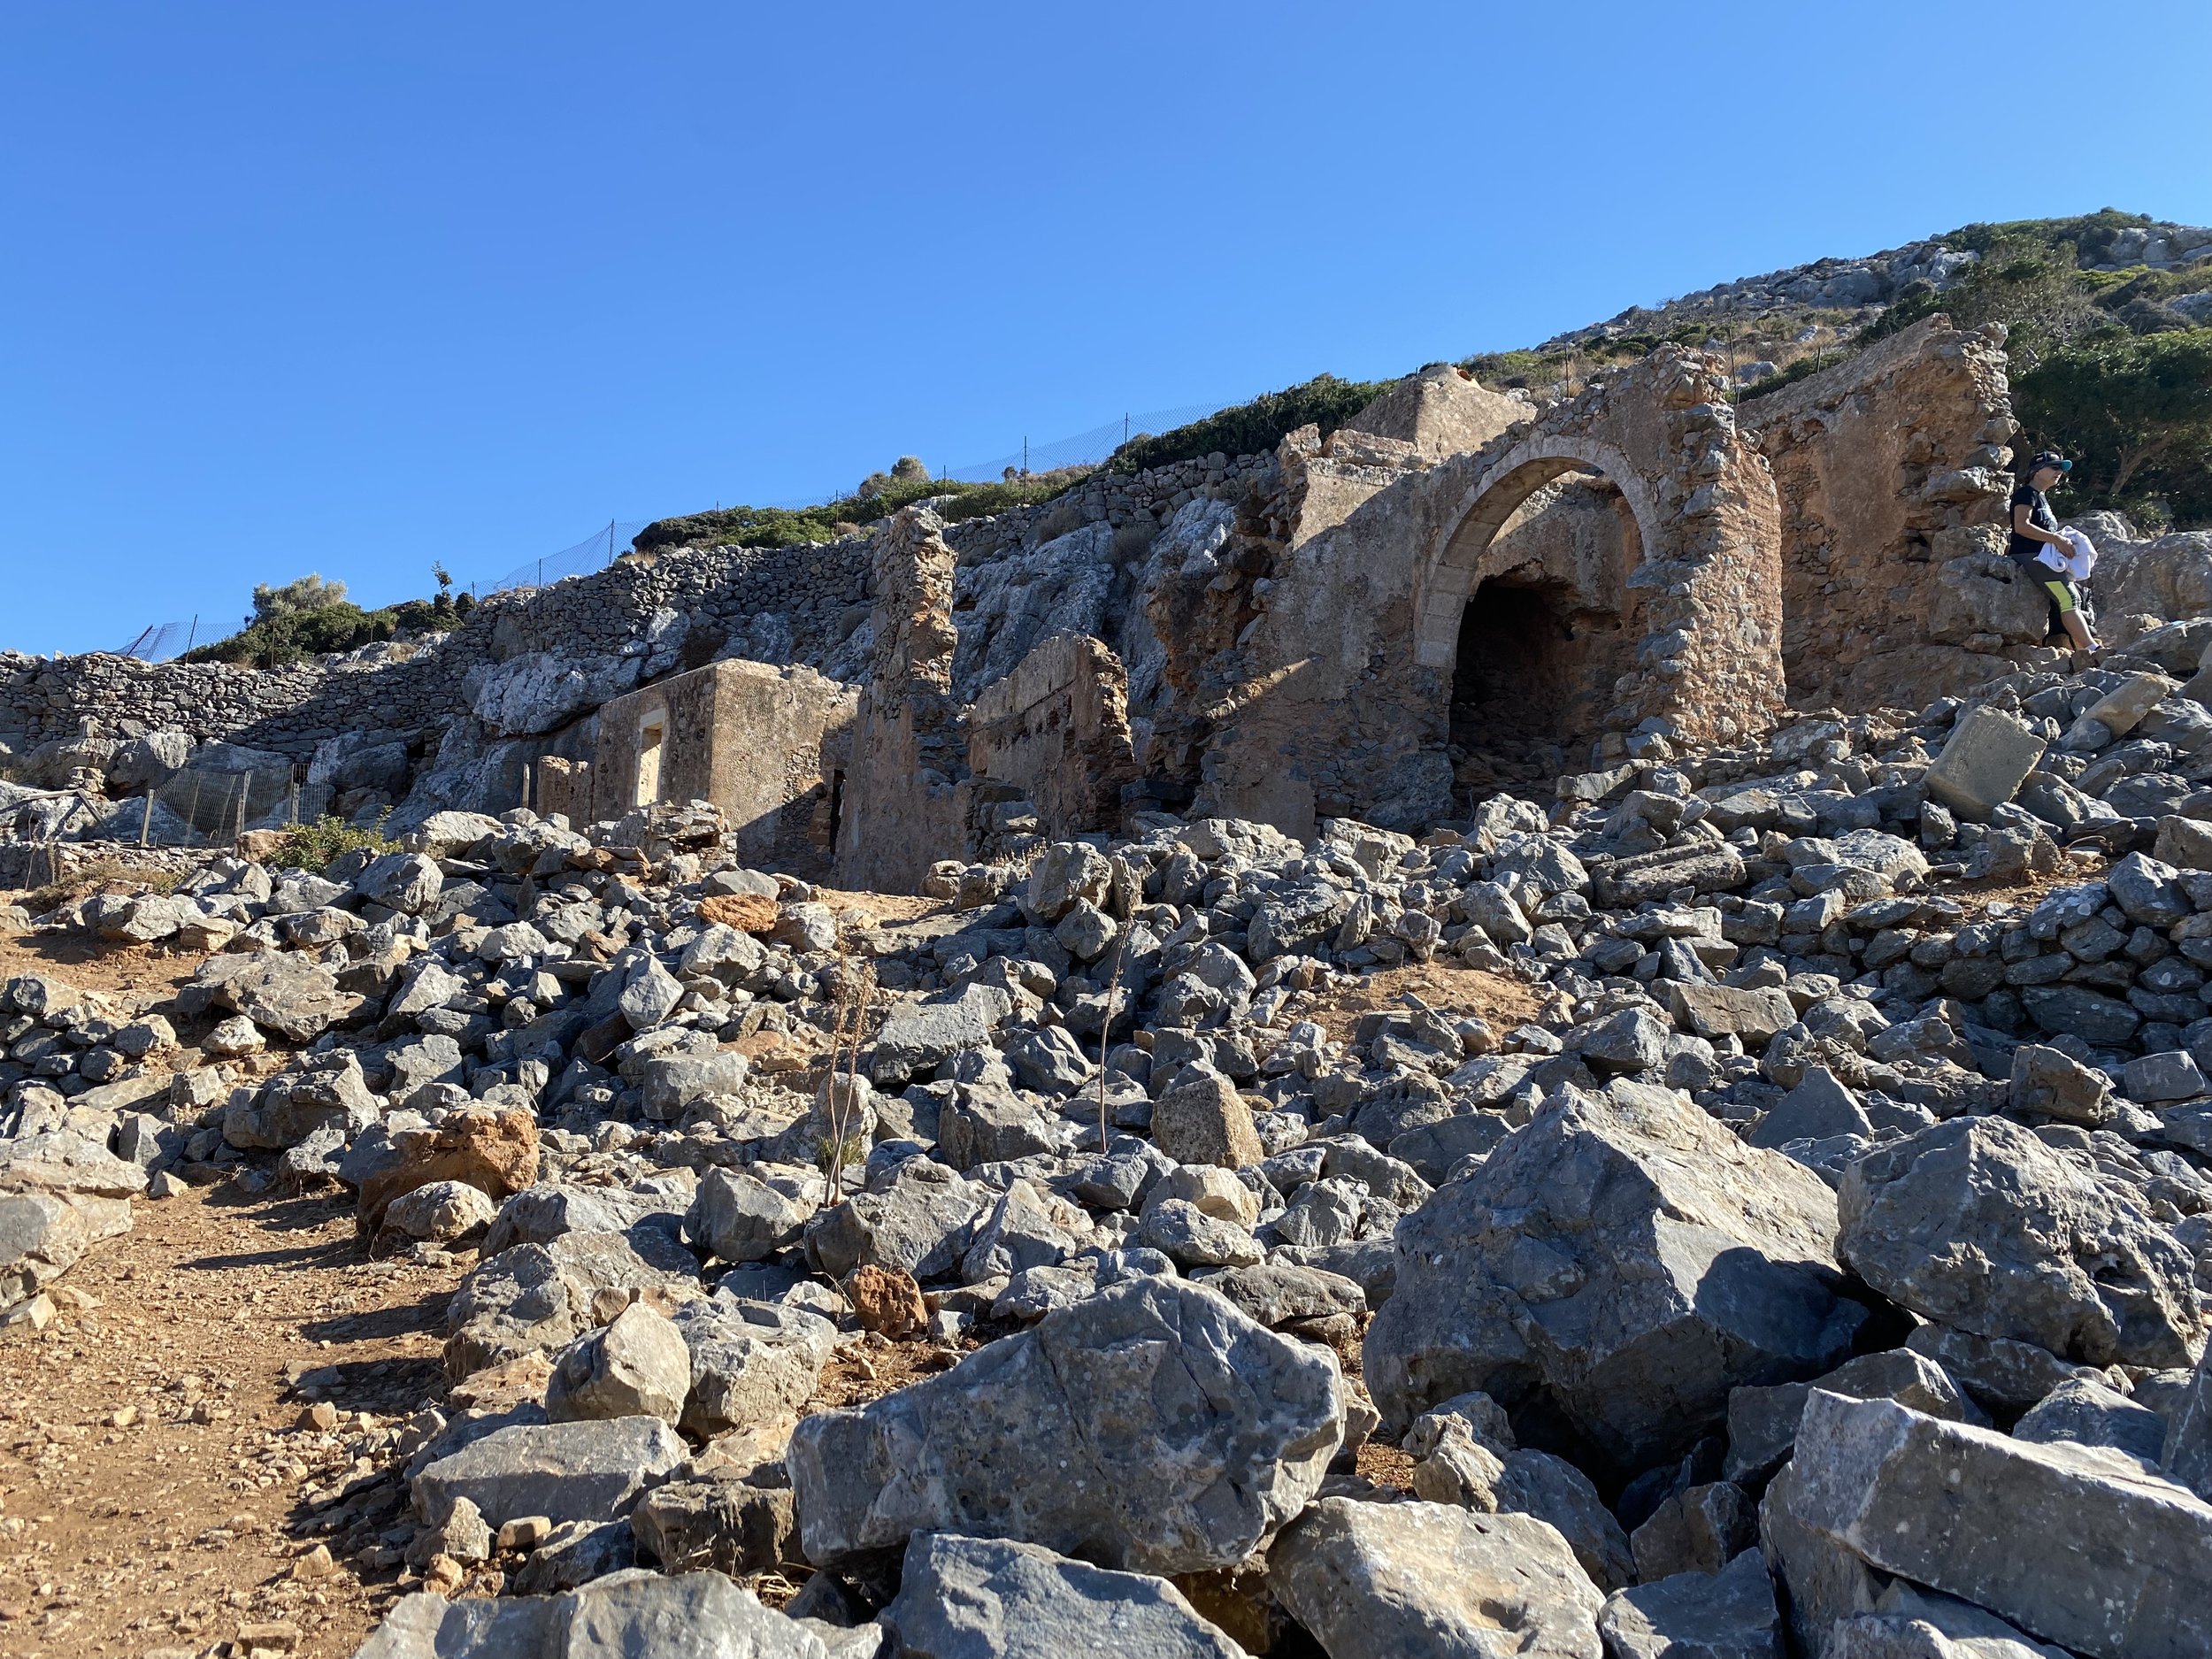
Taking place at Pembroke Bay on the northern tip of the island, this gently undulating coastal route crosses L'Ancresse Common. The scenic grassy tracks offer runners spectacular sea views and pass by striking historical landmarks, including fascinating remnants of World War II German bunkers and traditional loophole towers built to defend the coastline.
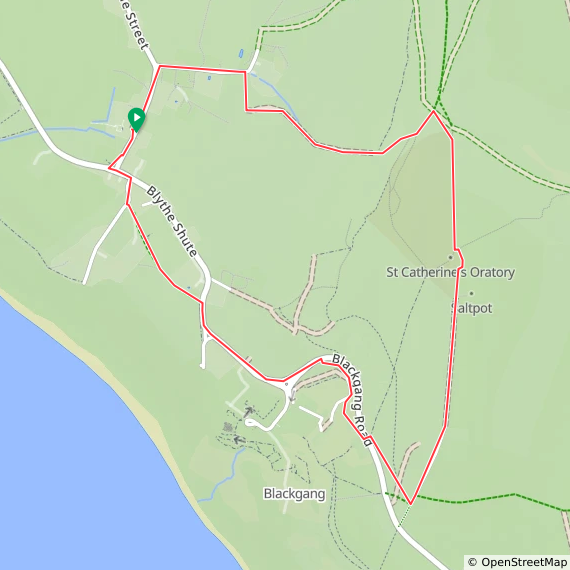
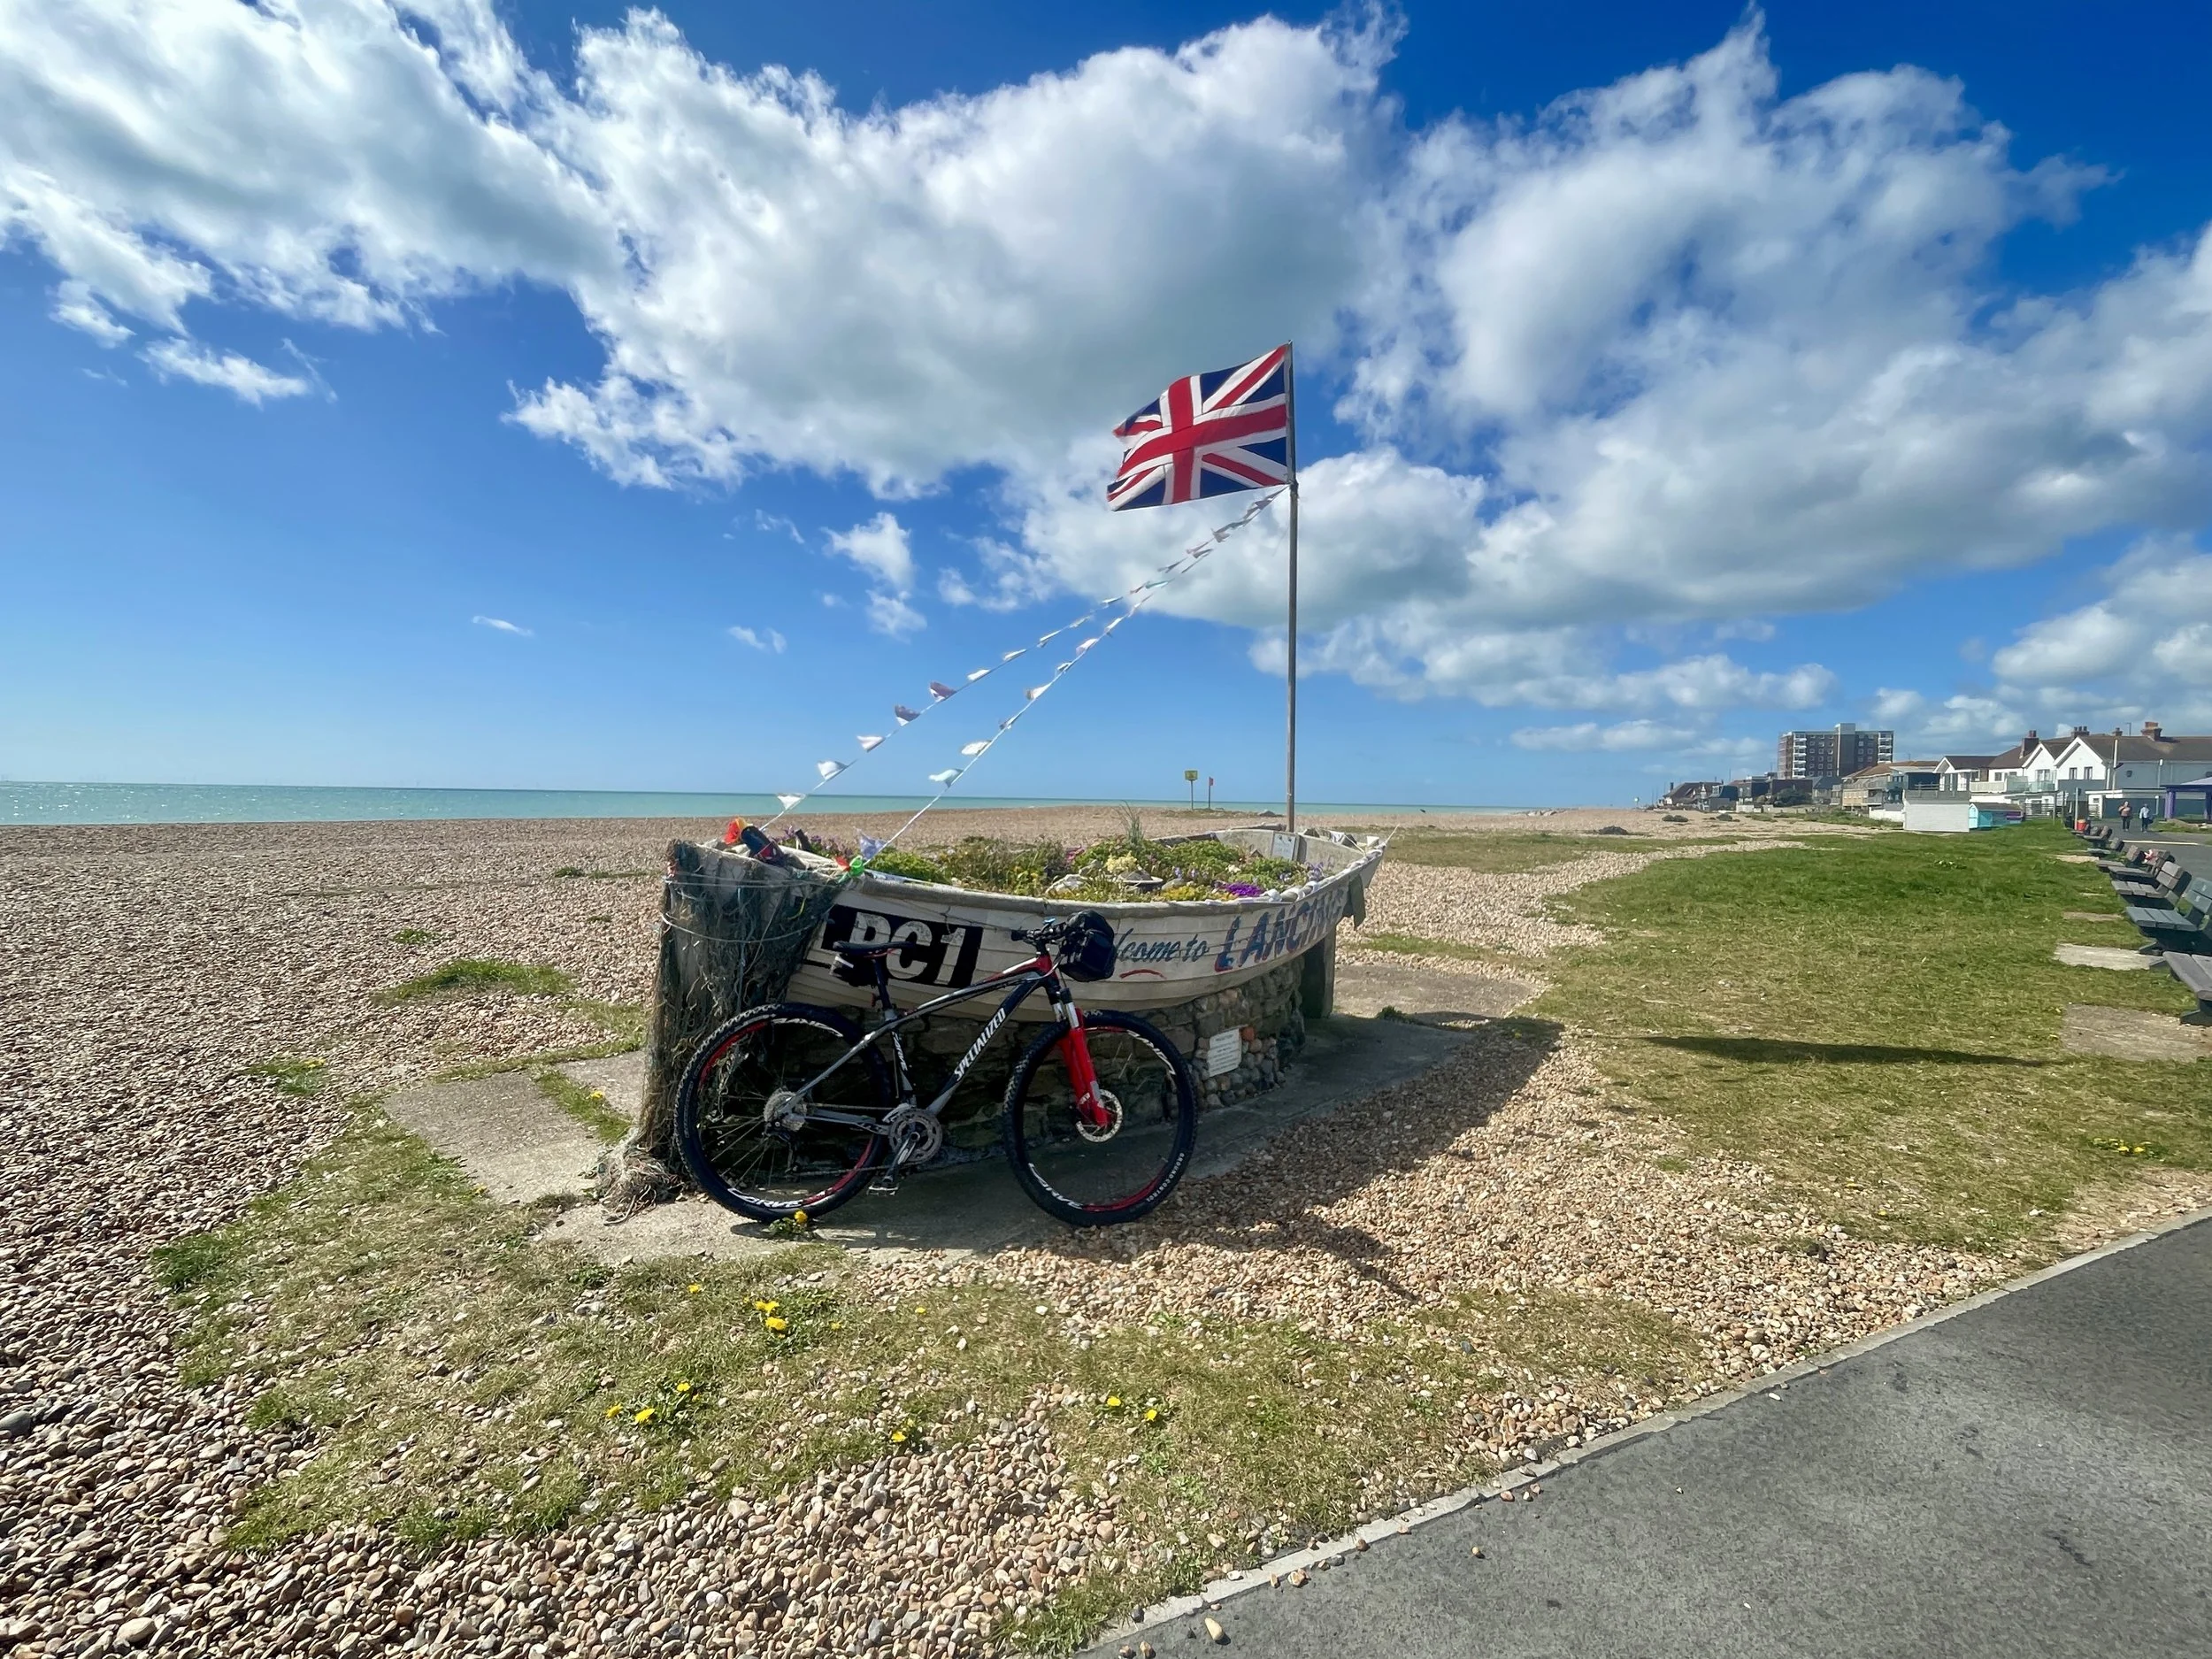
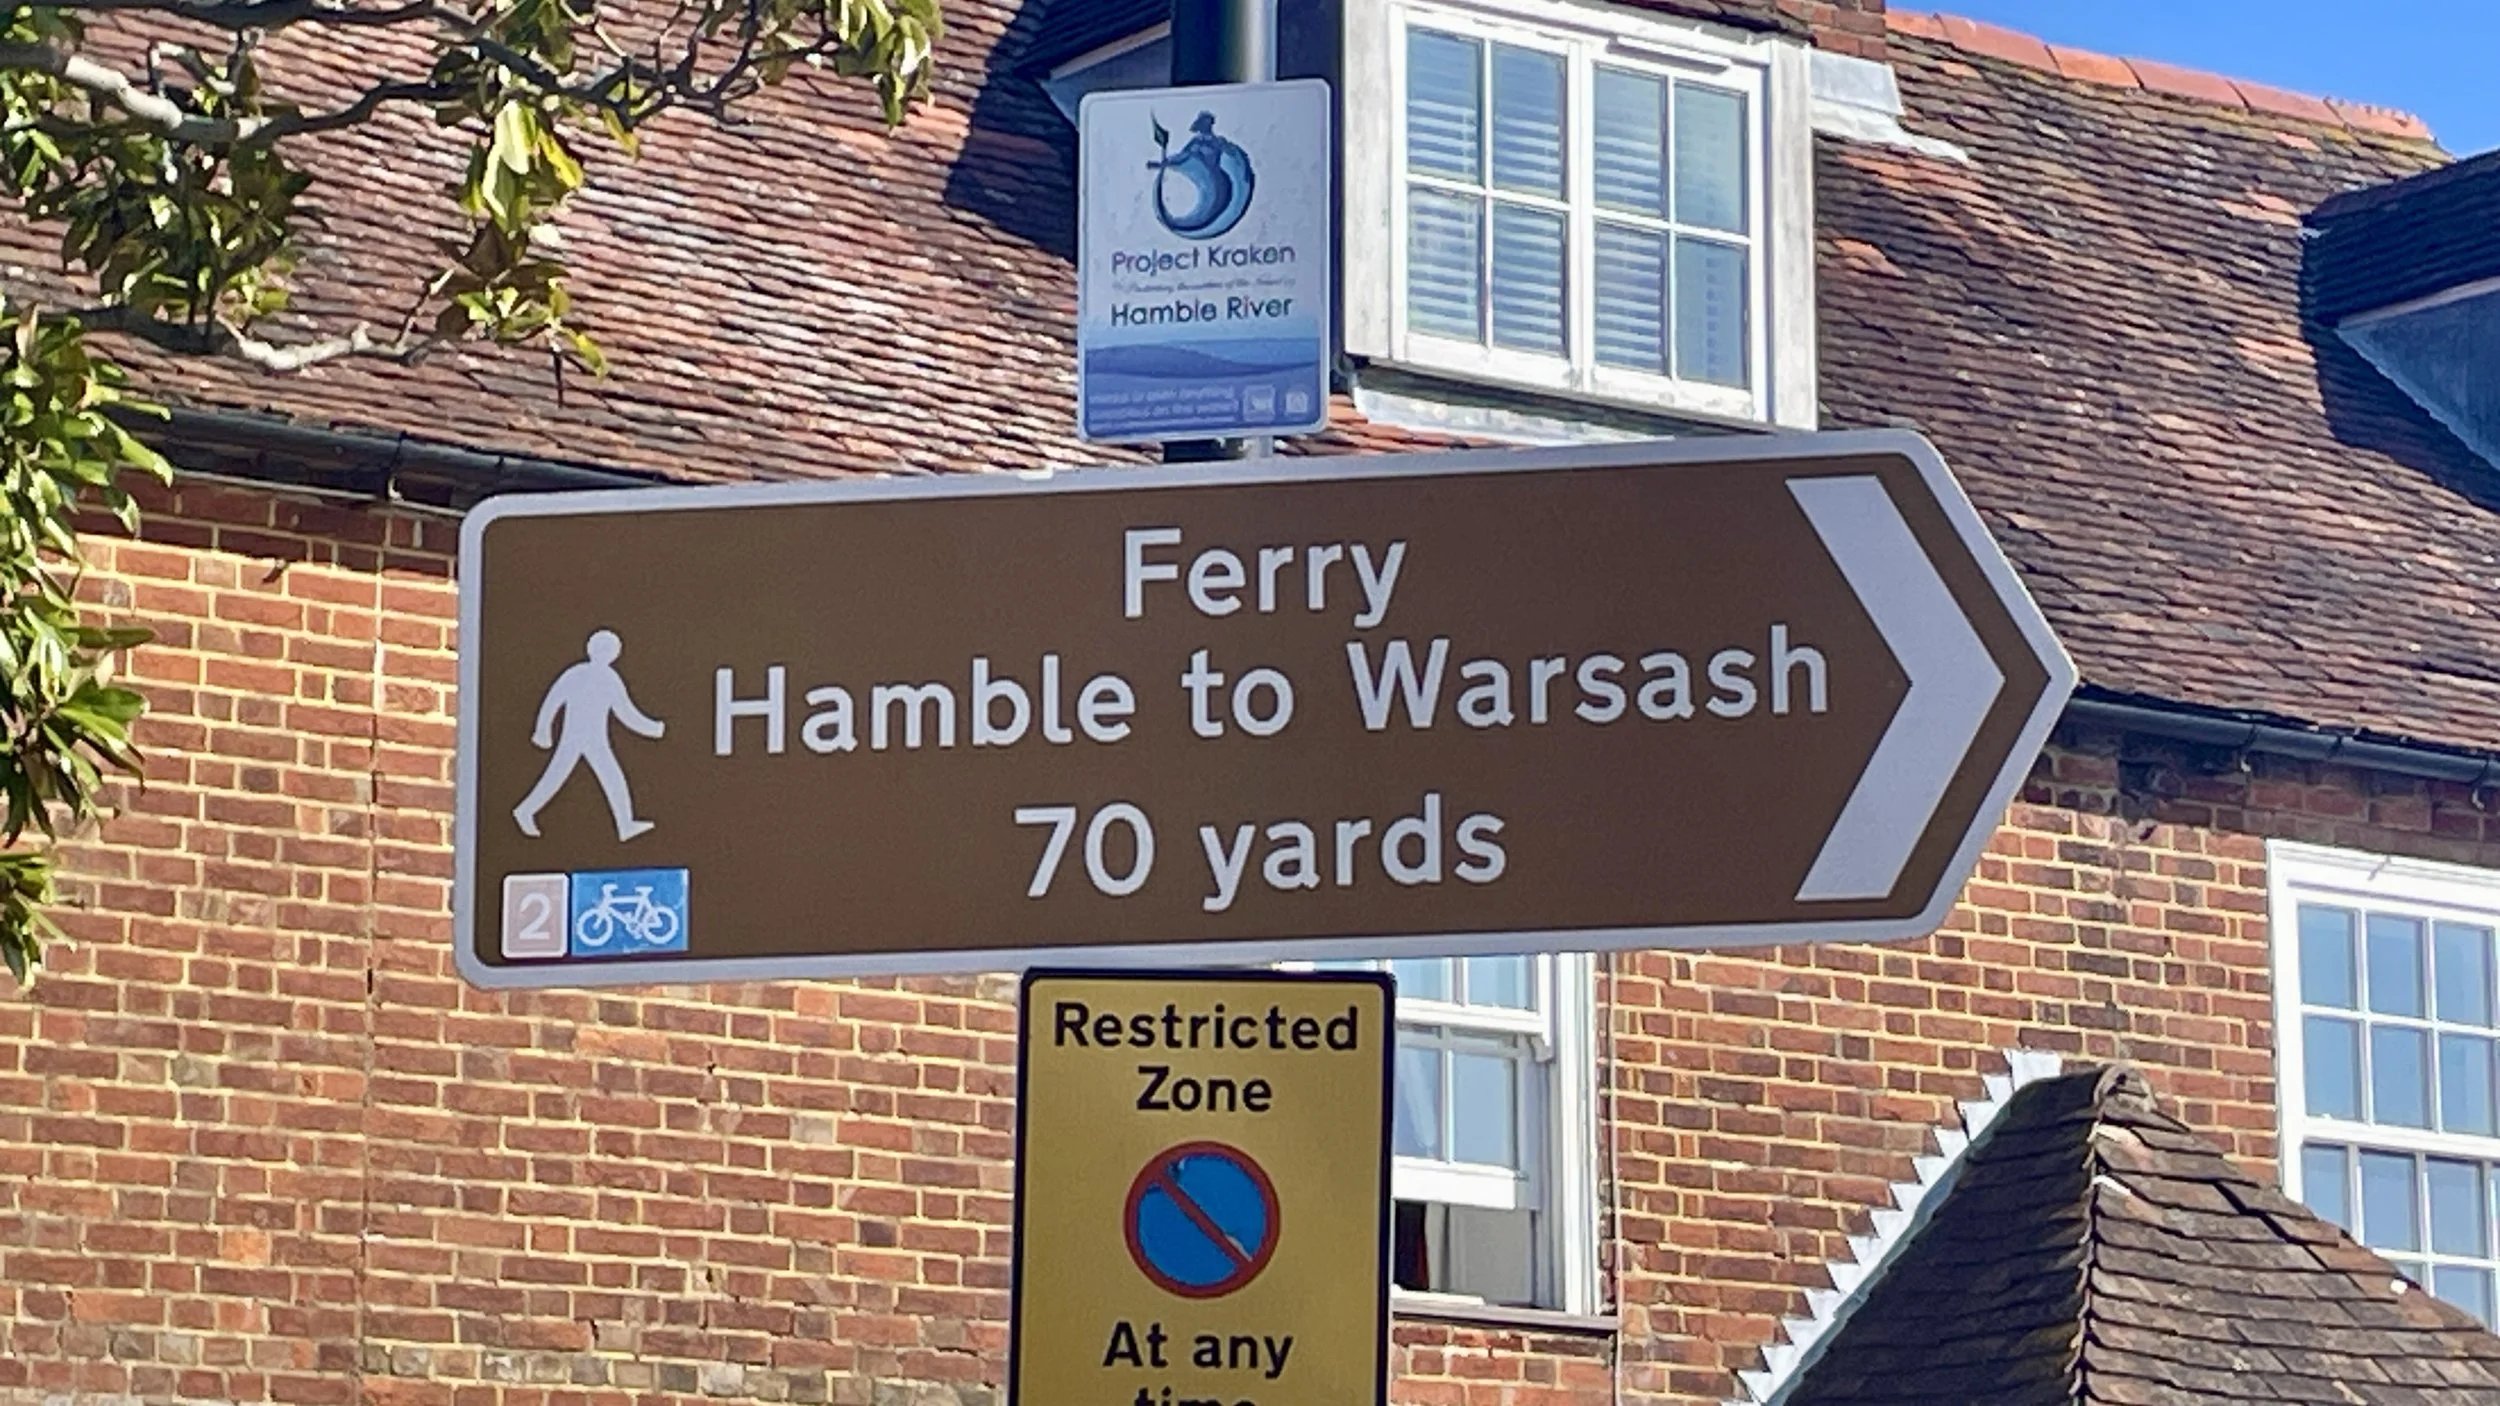
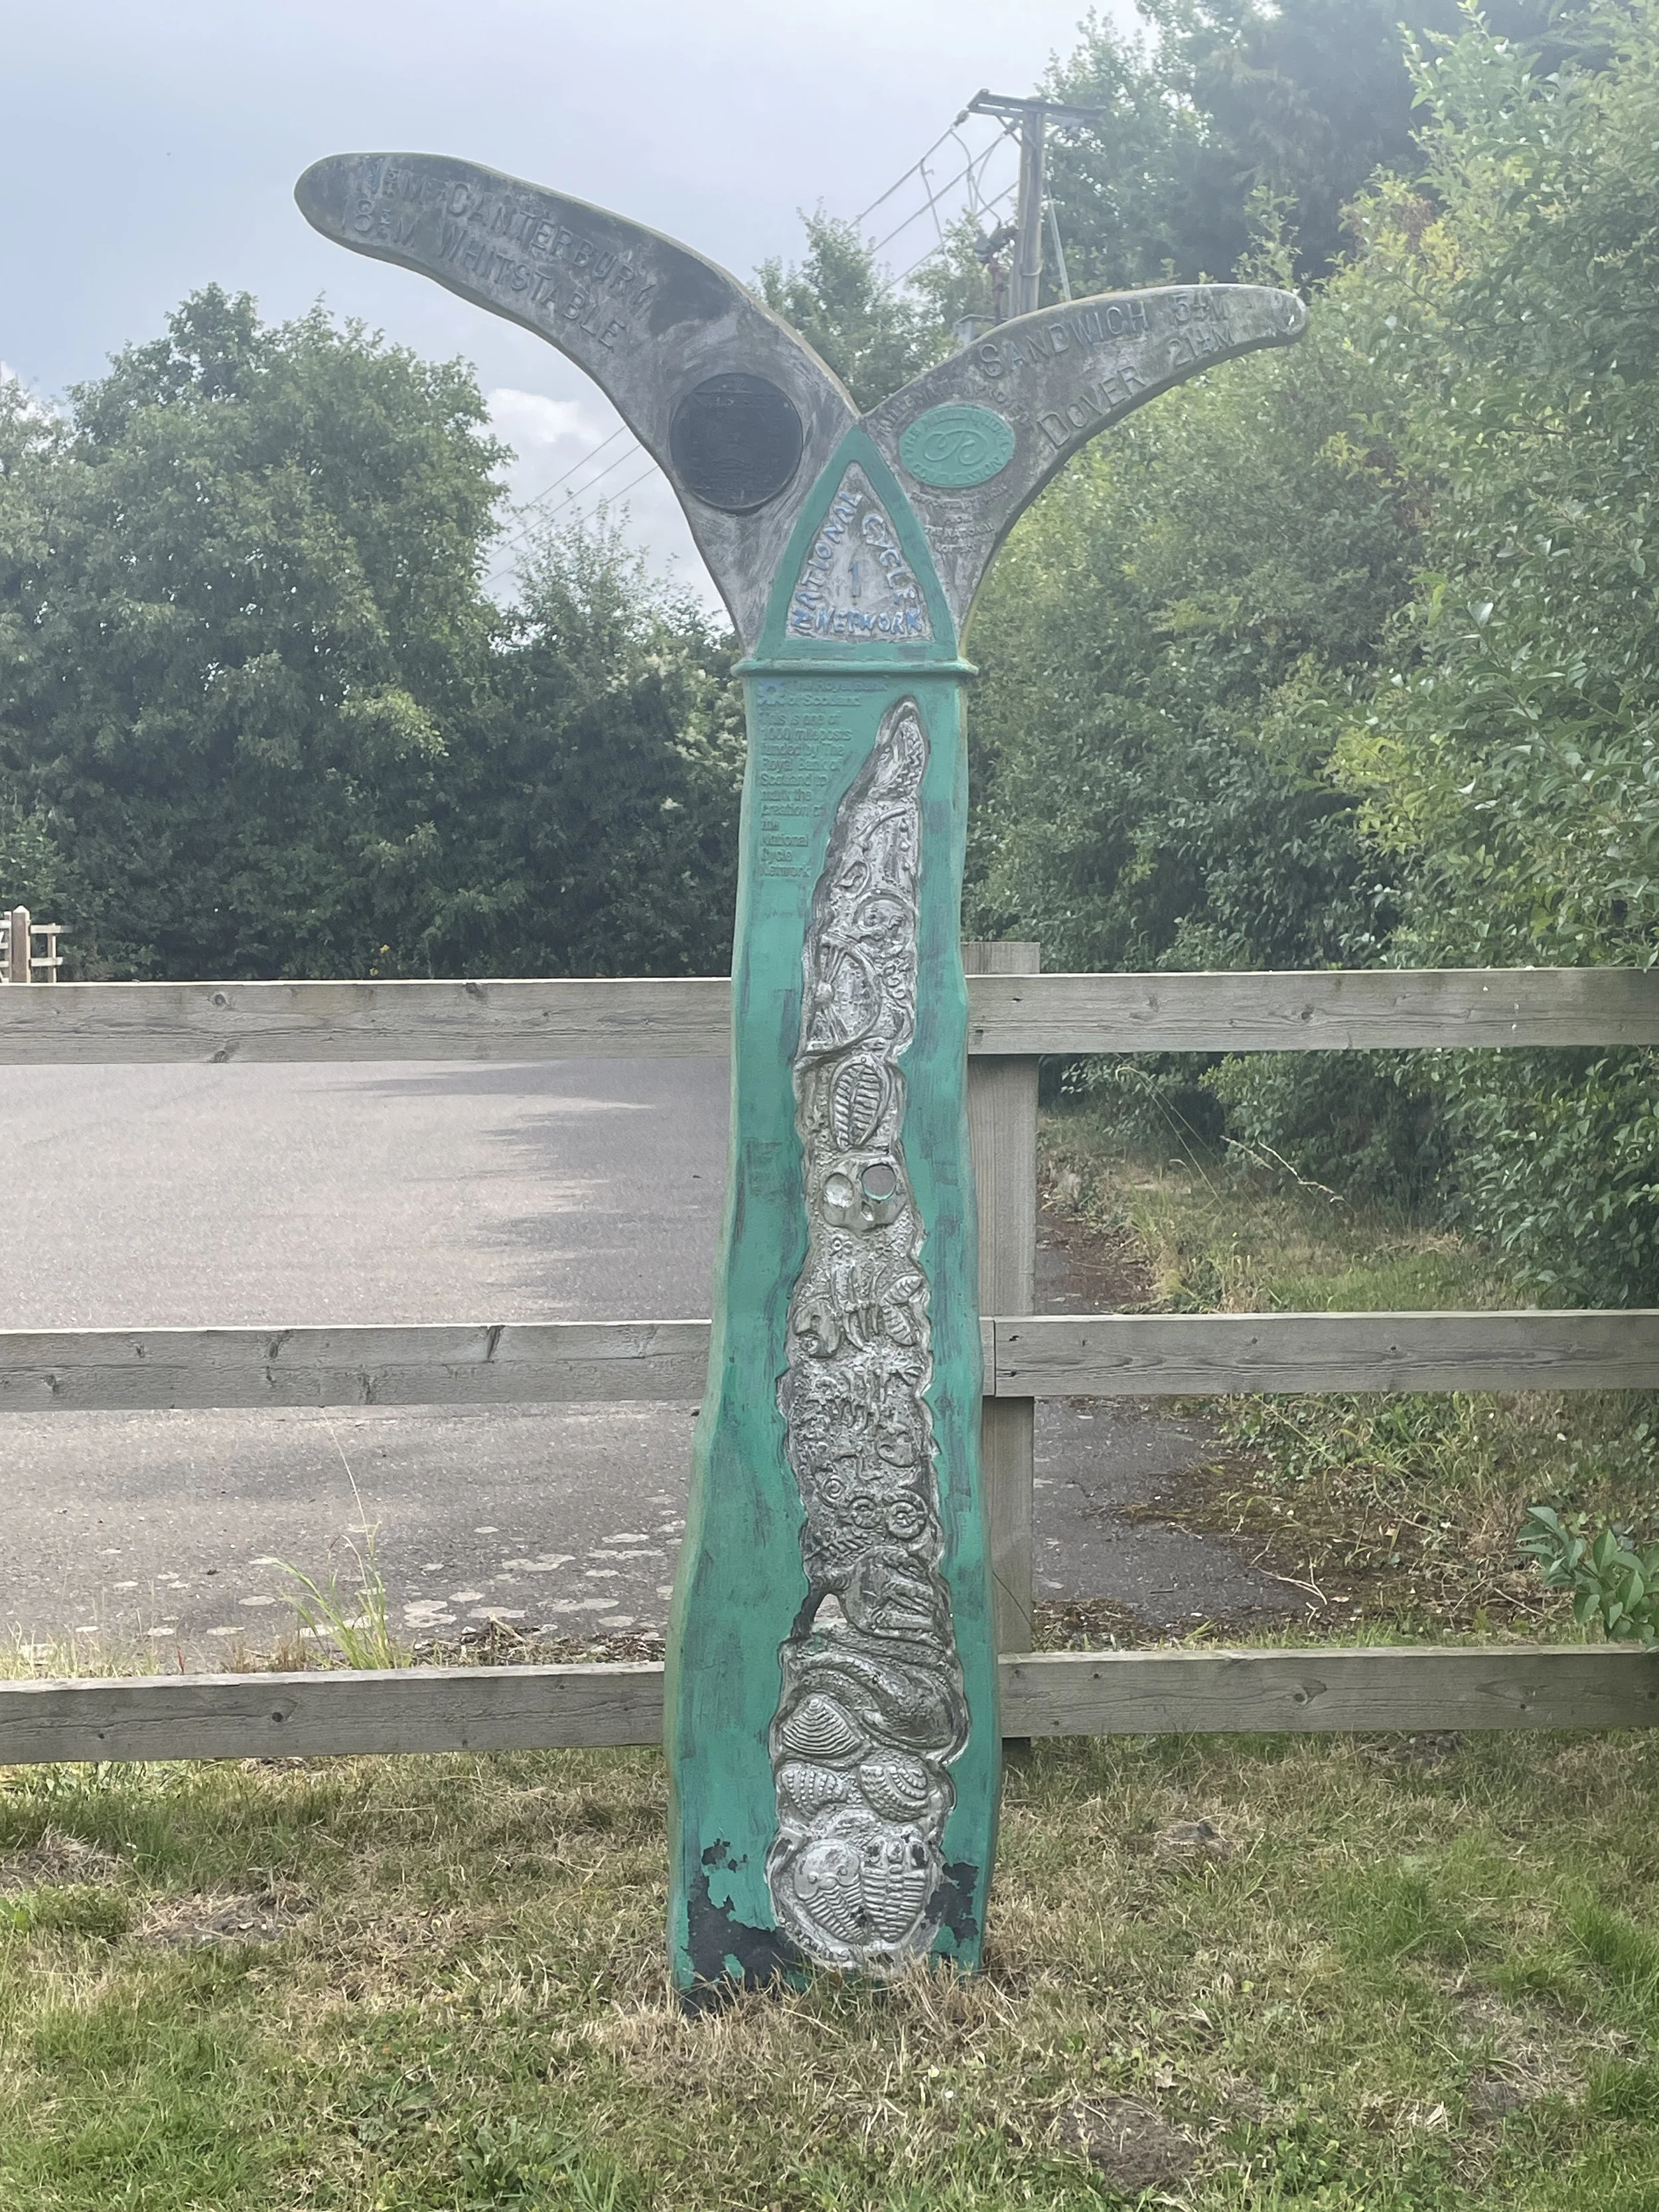
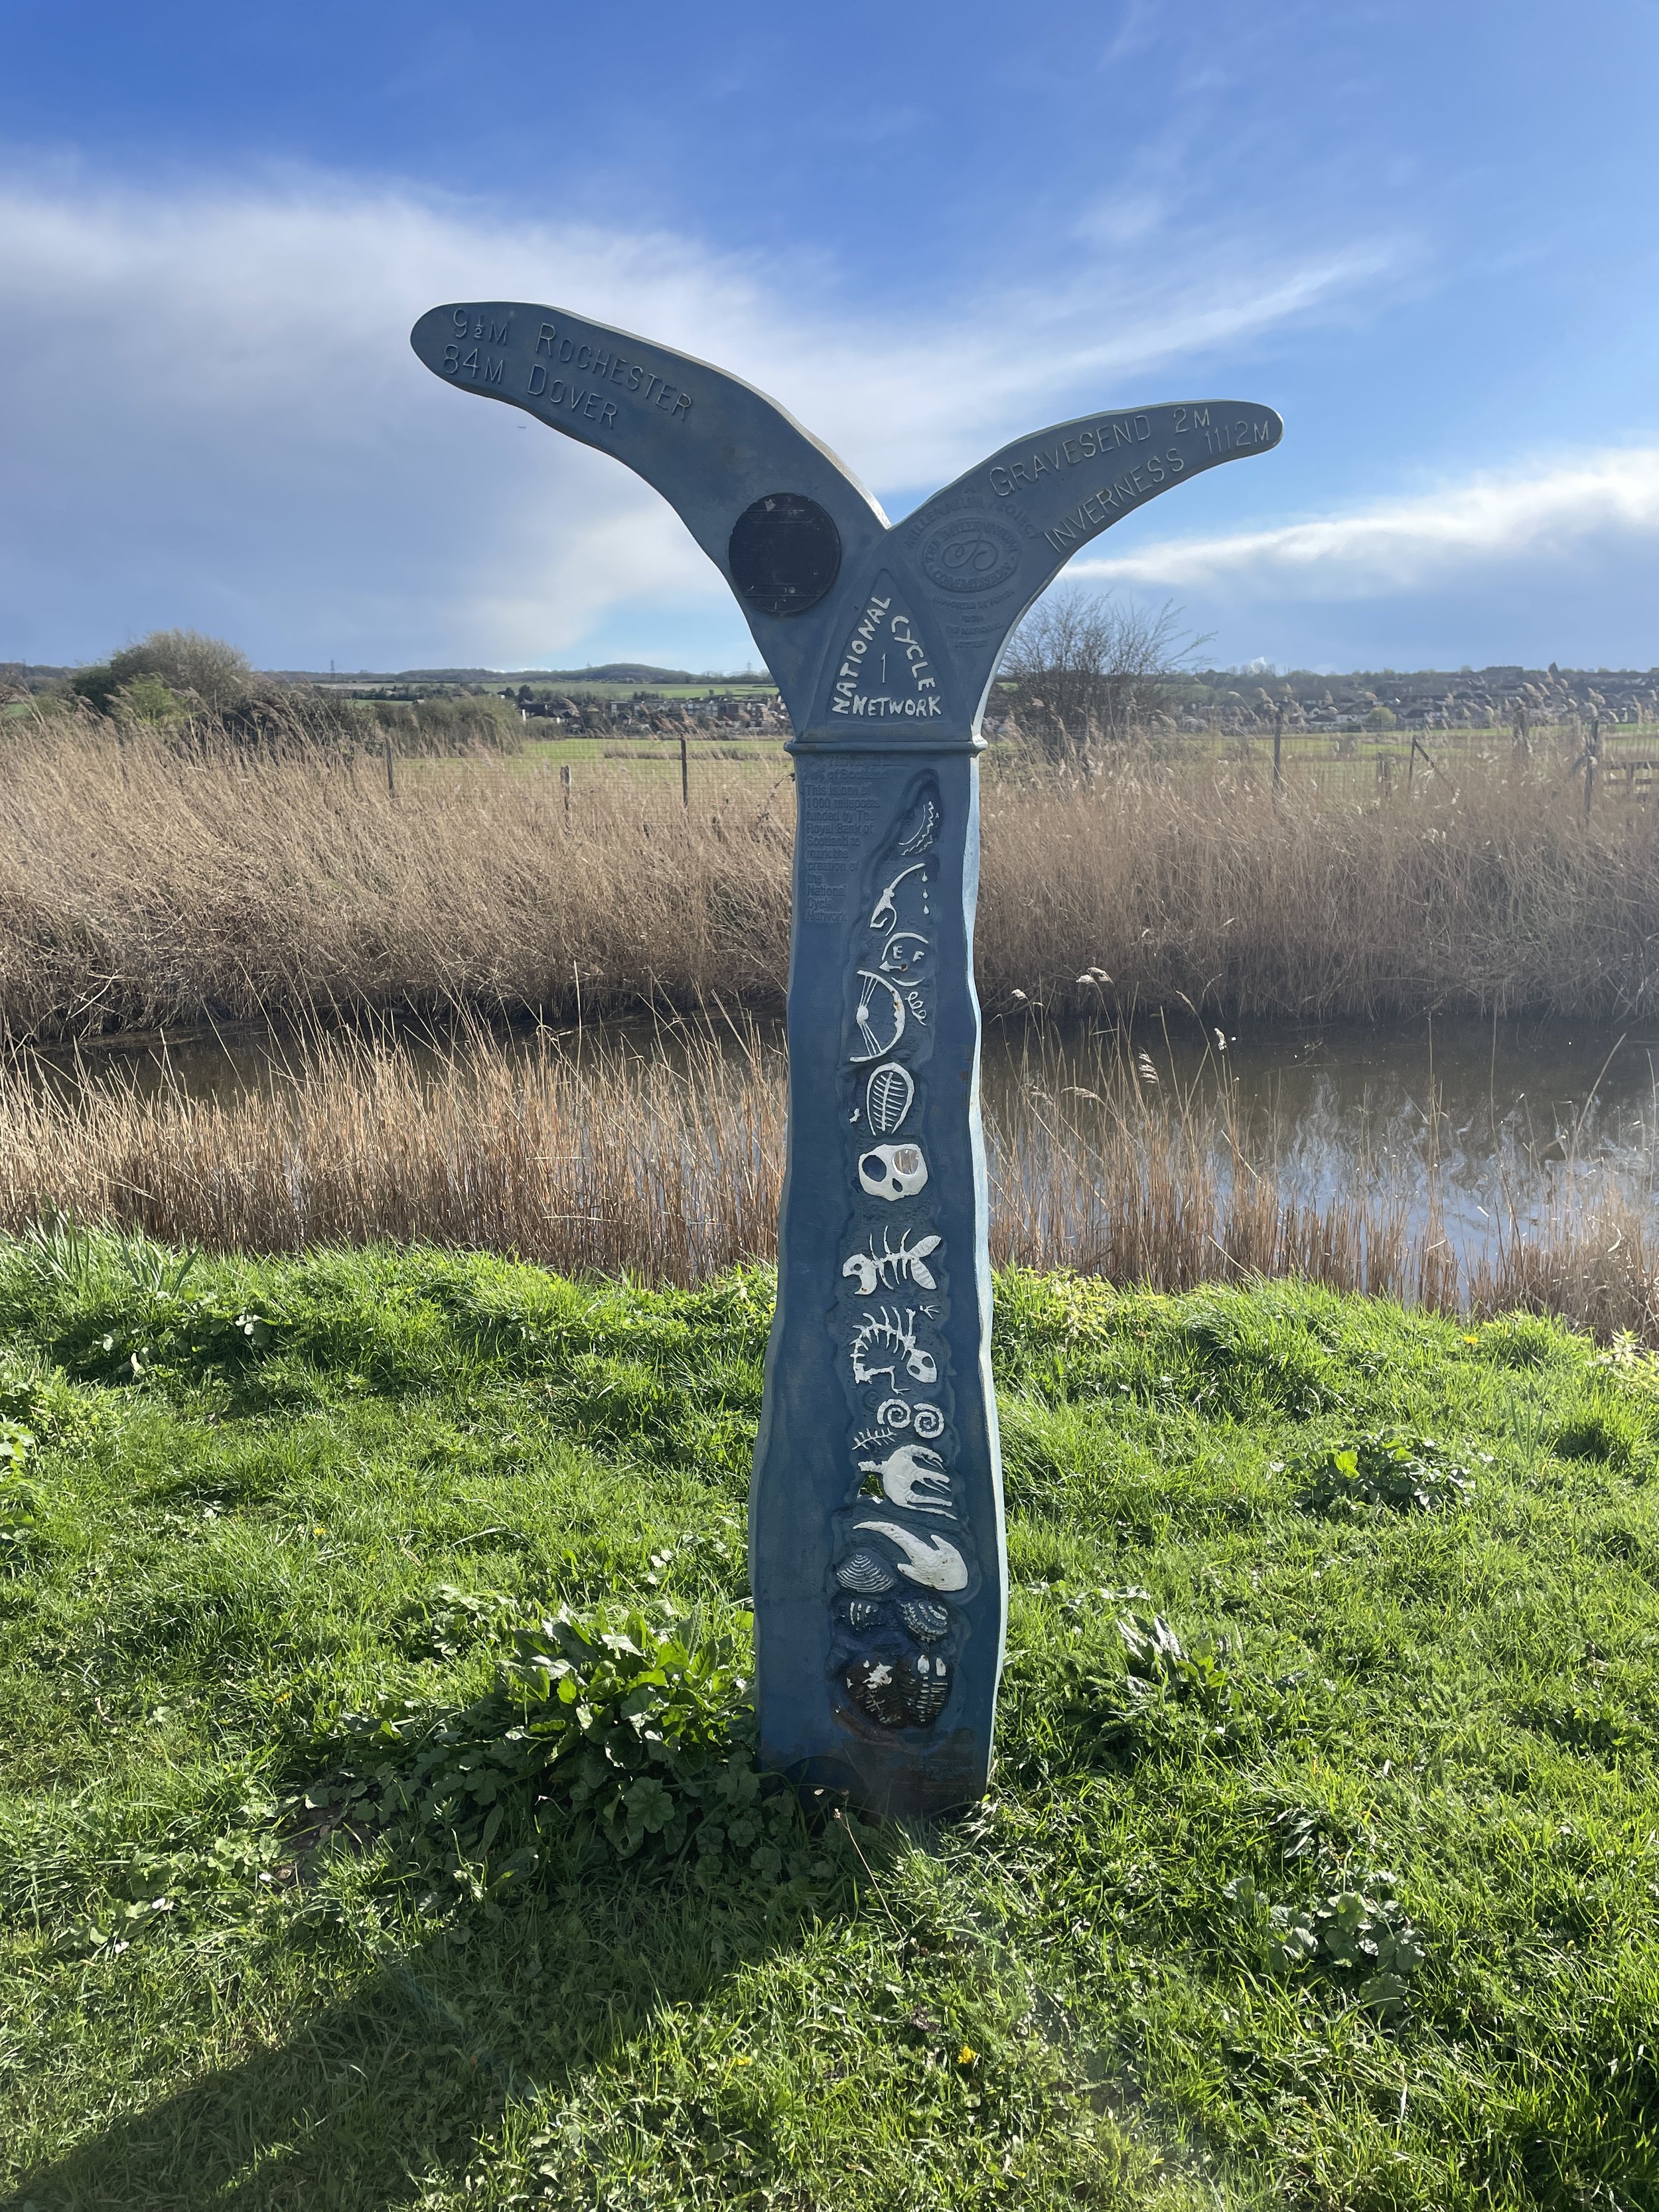
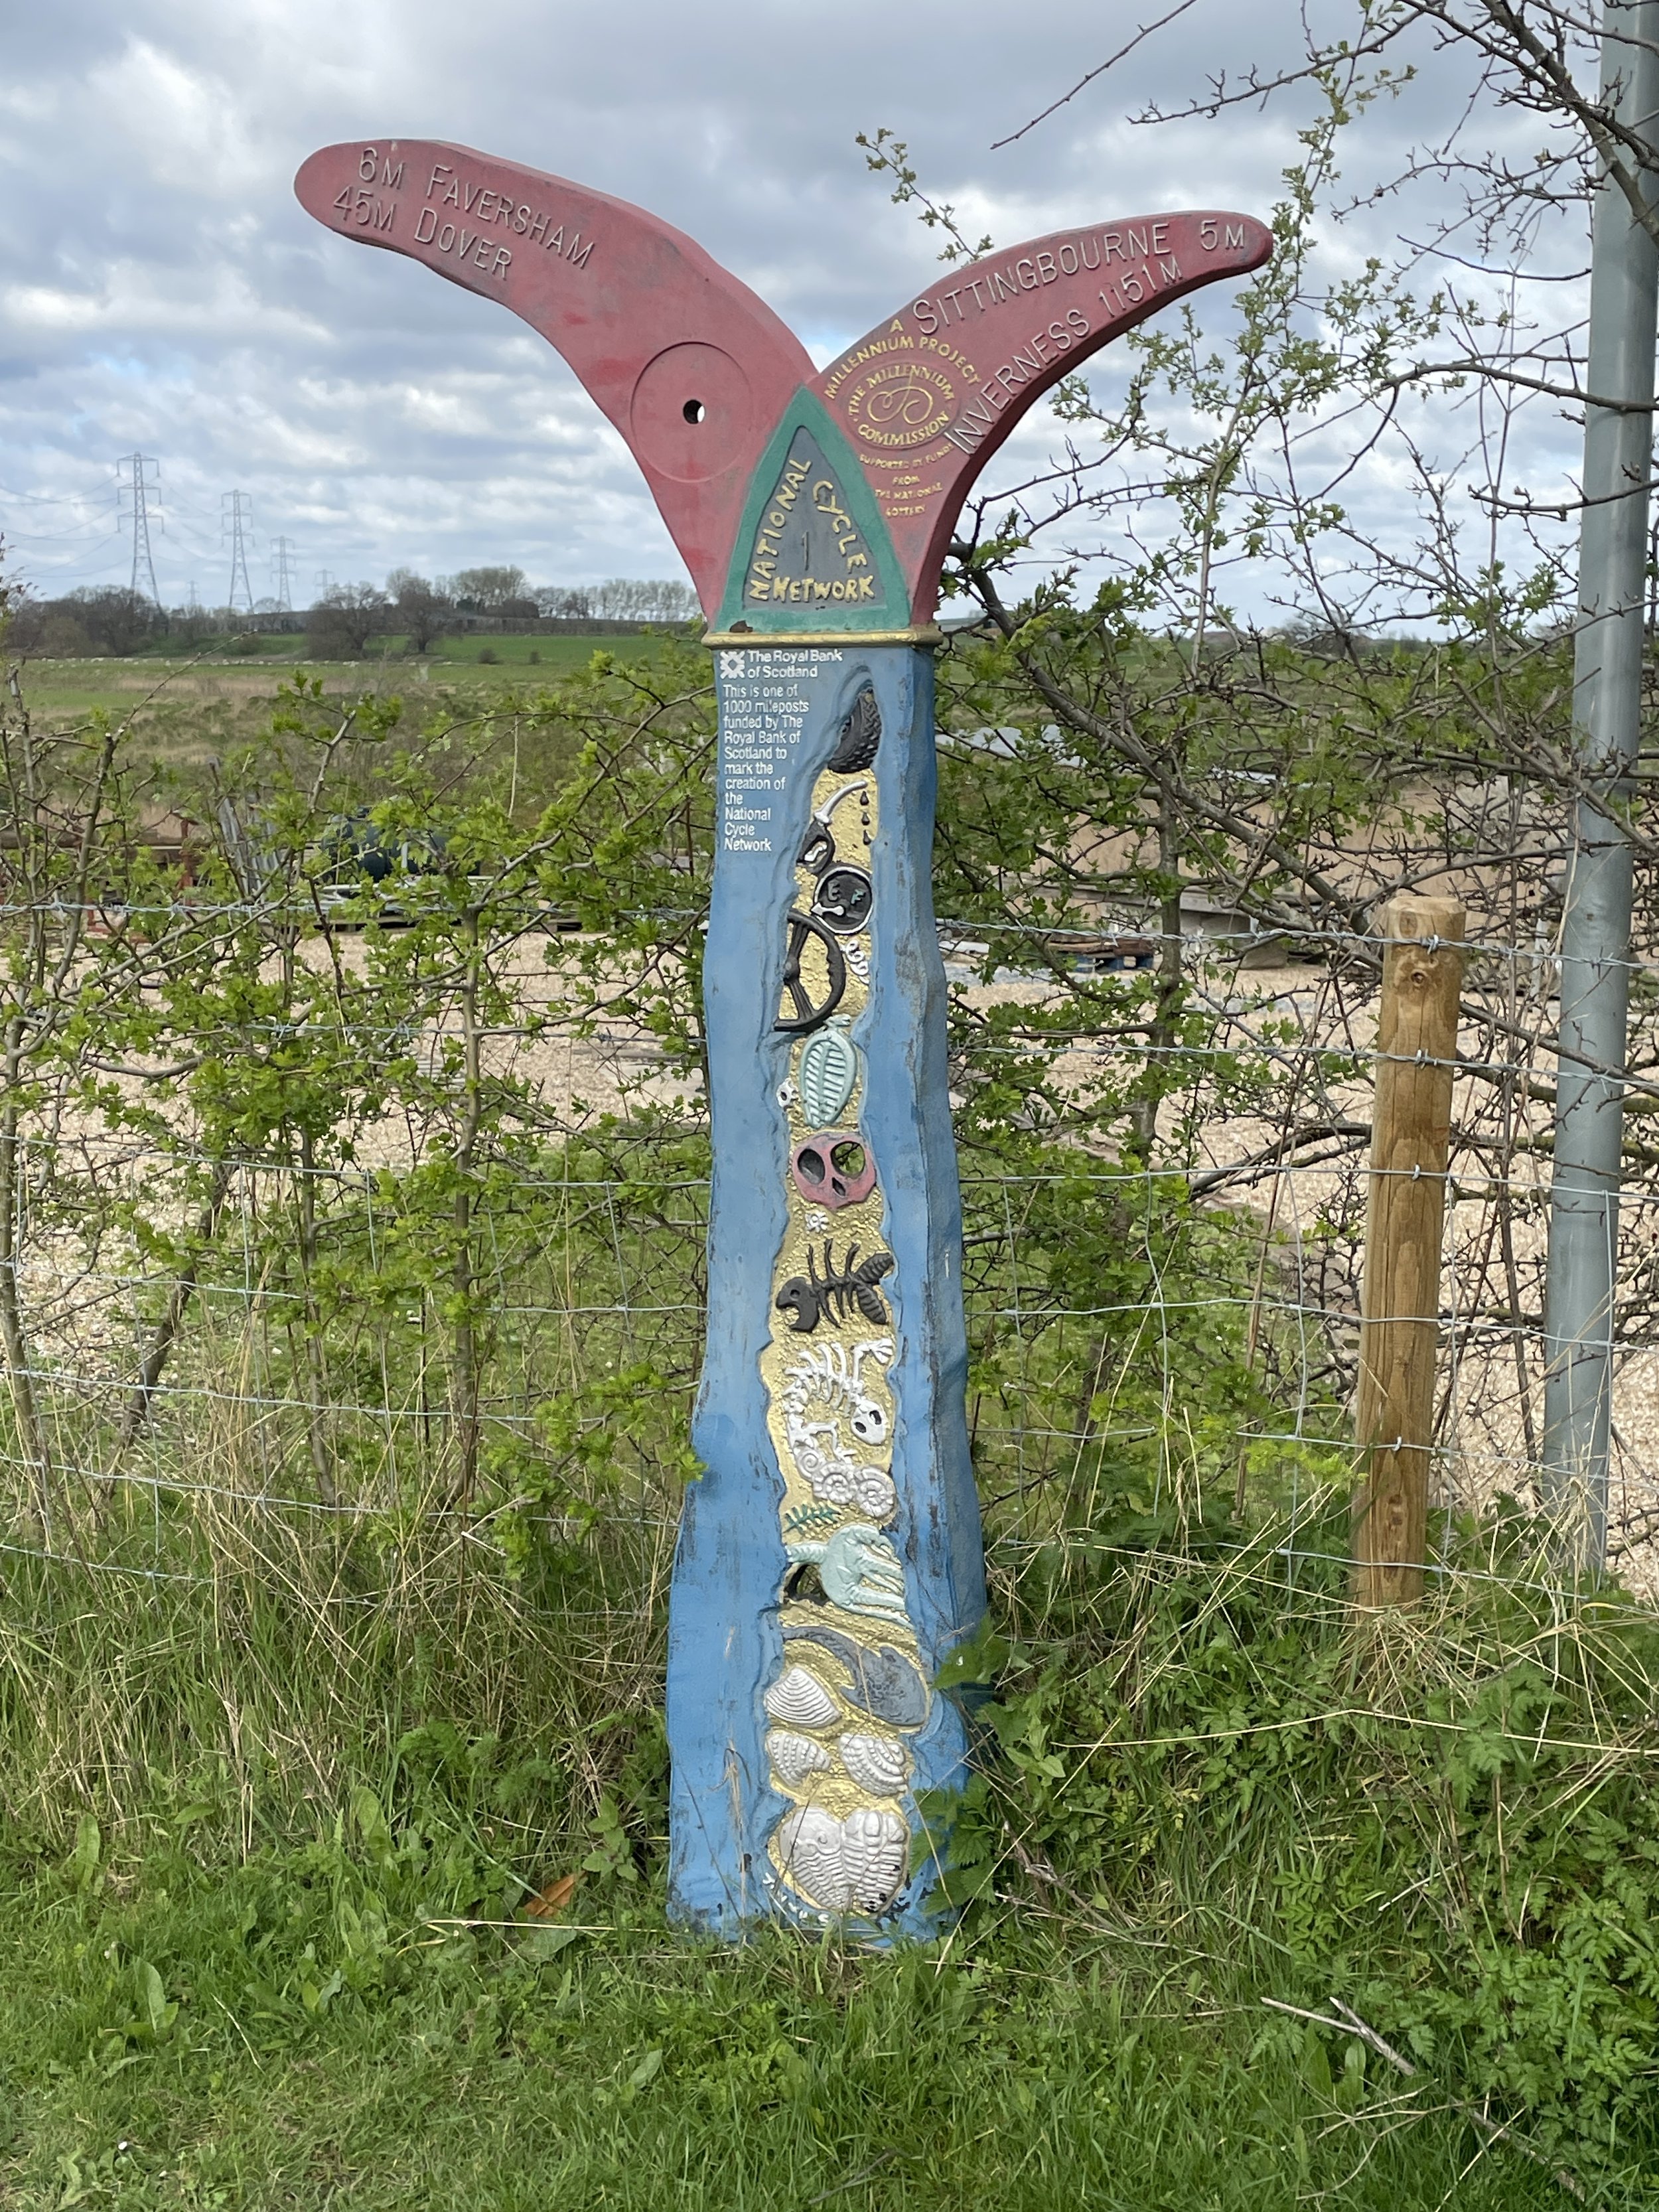
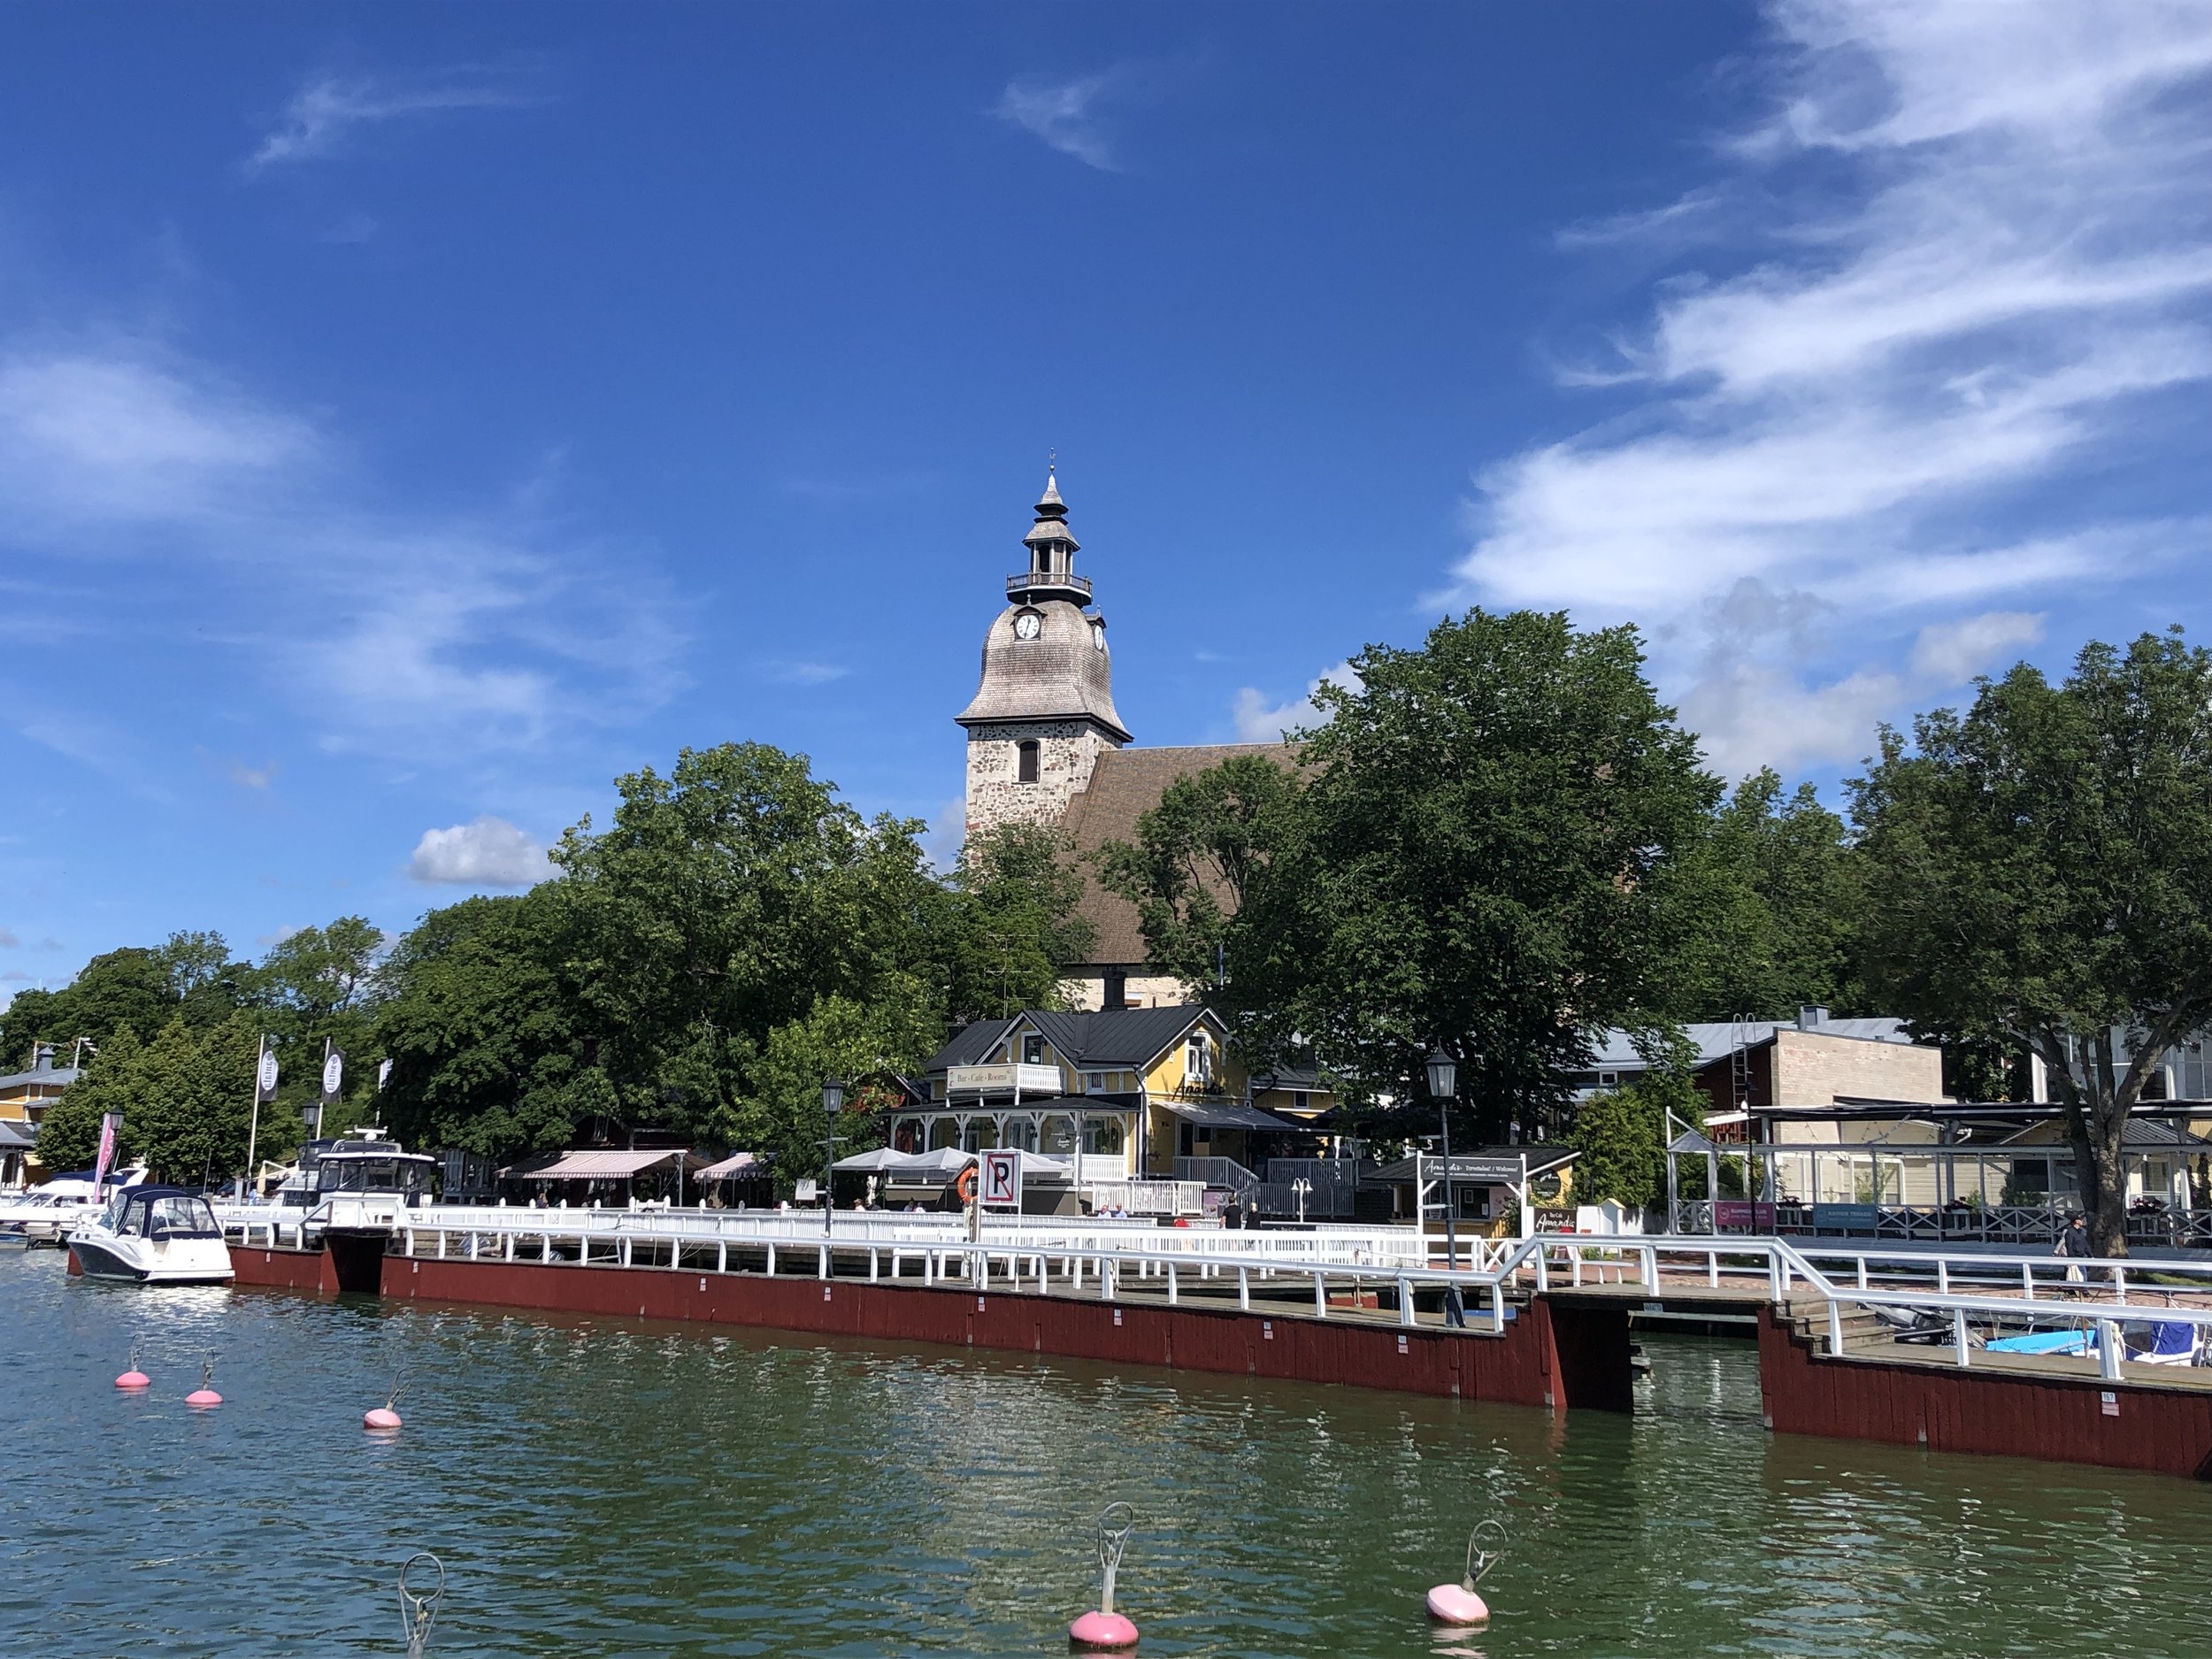
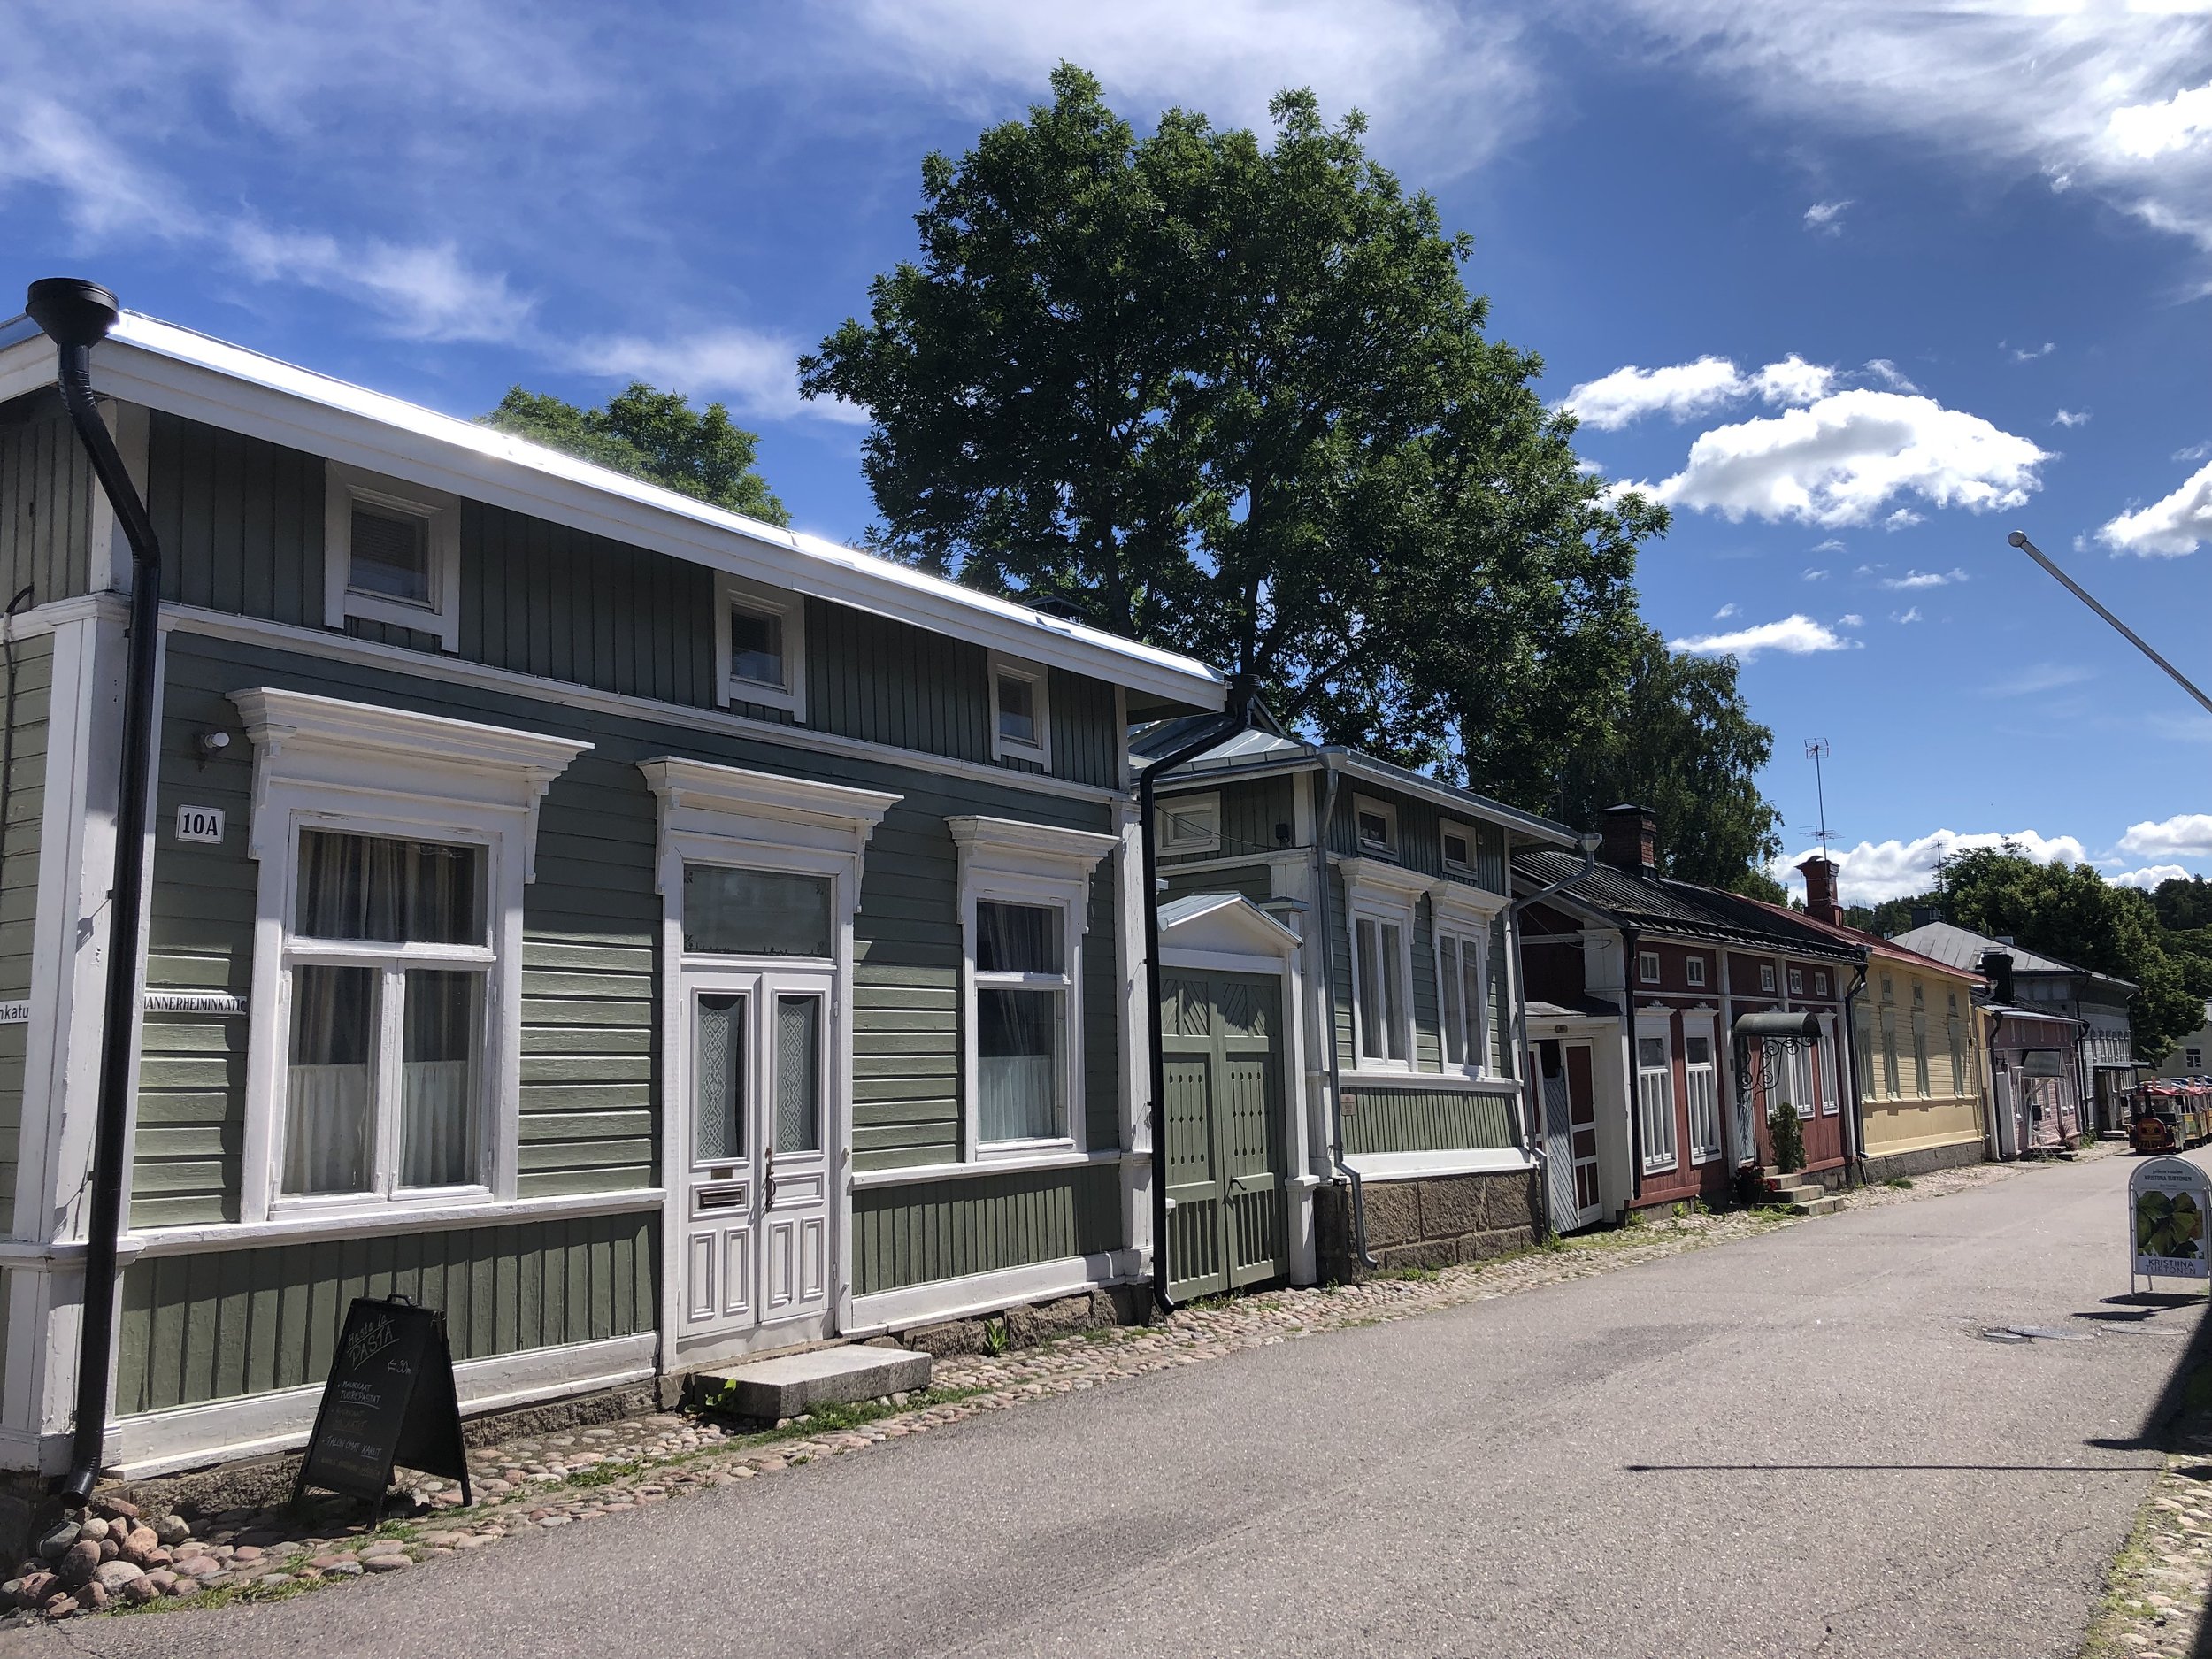
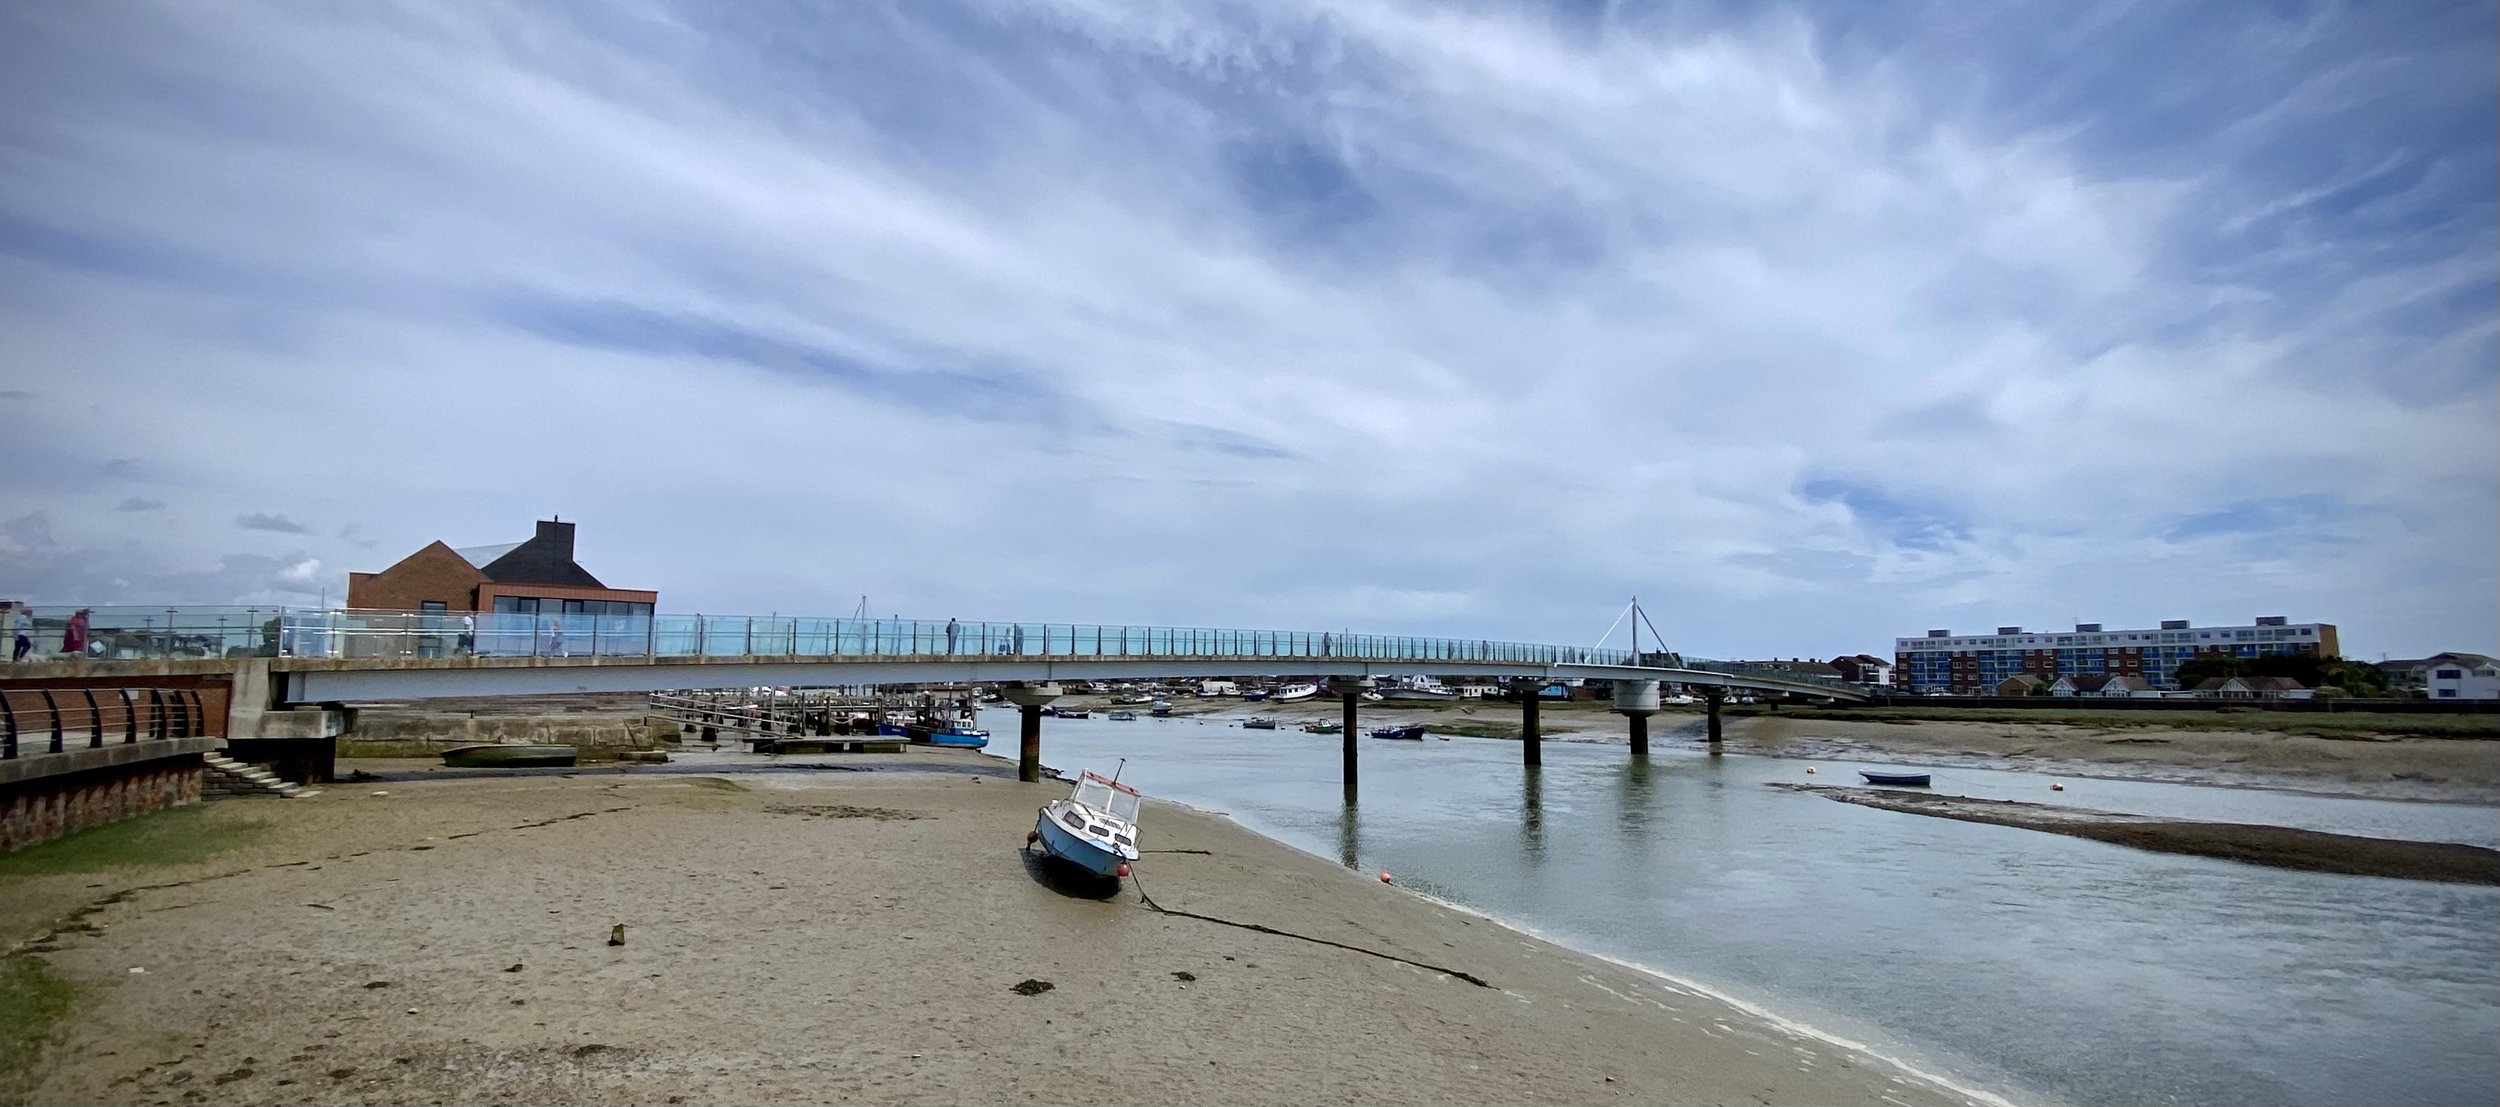
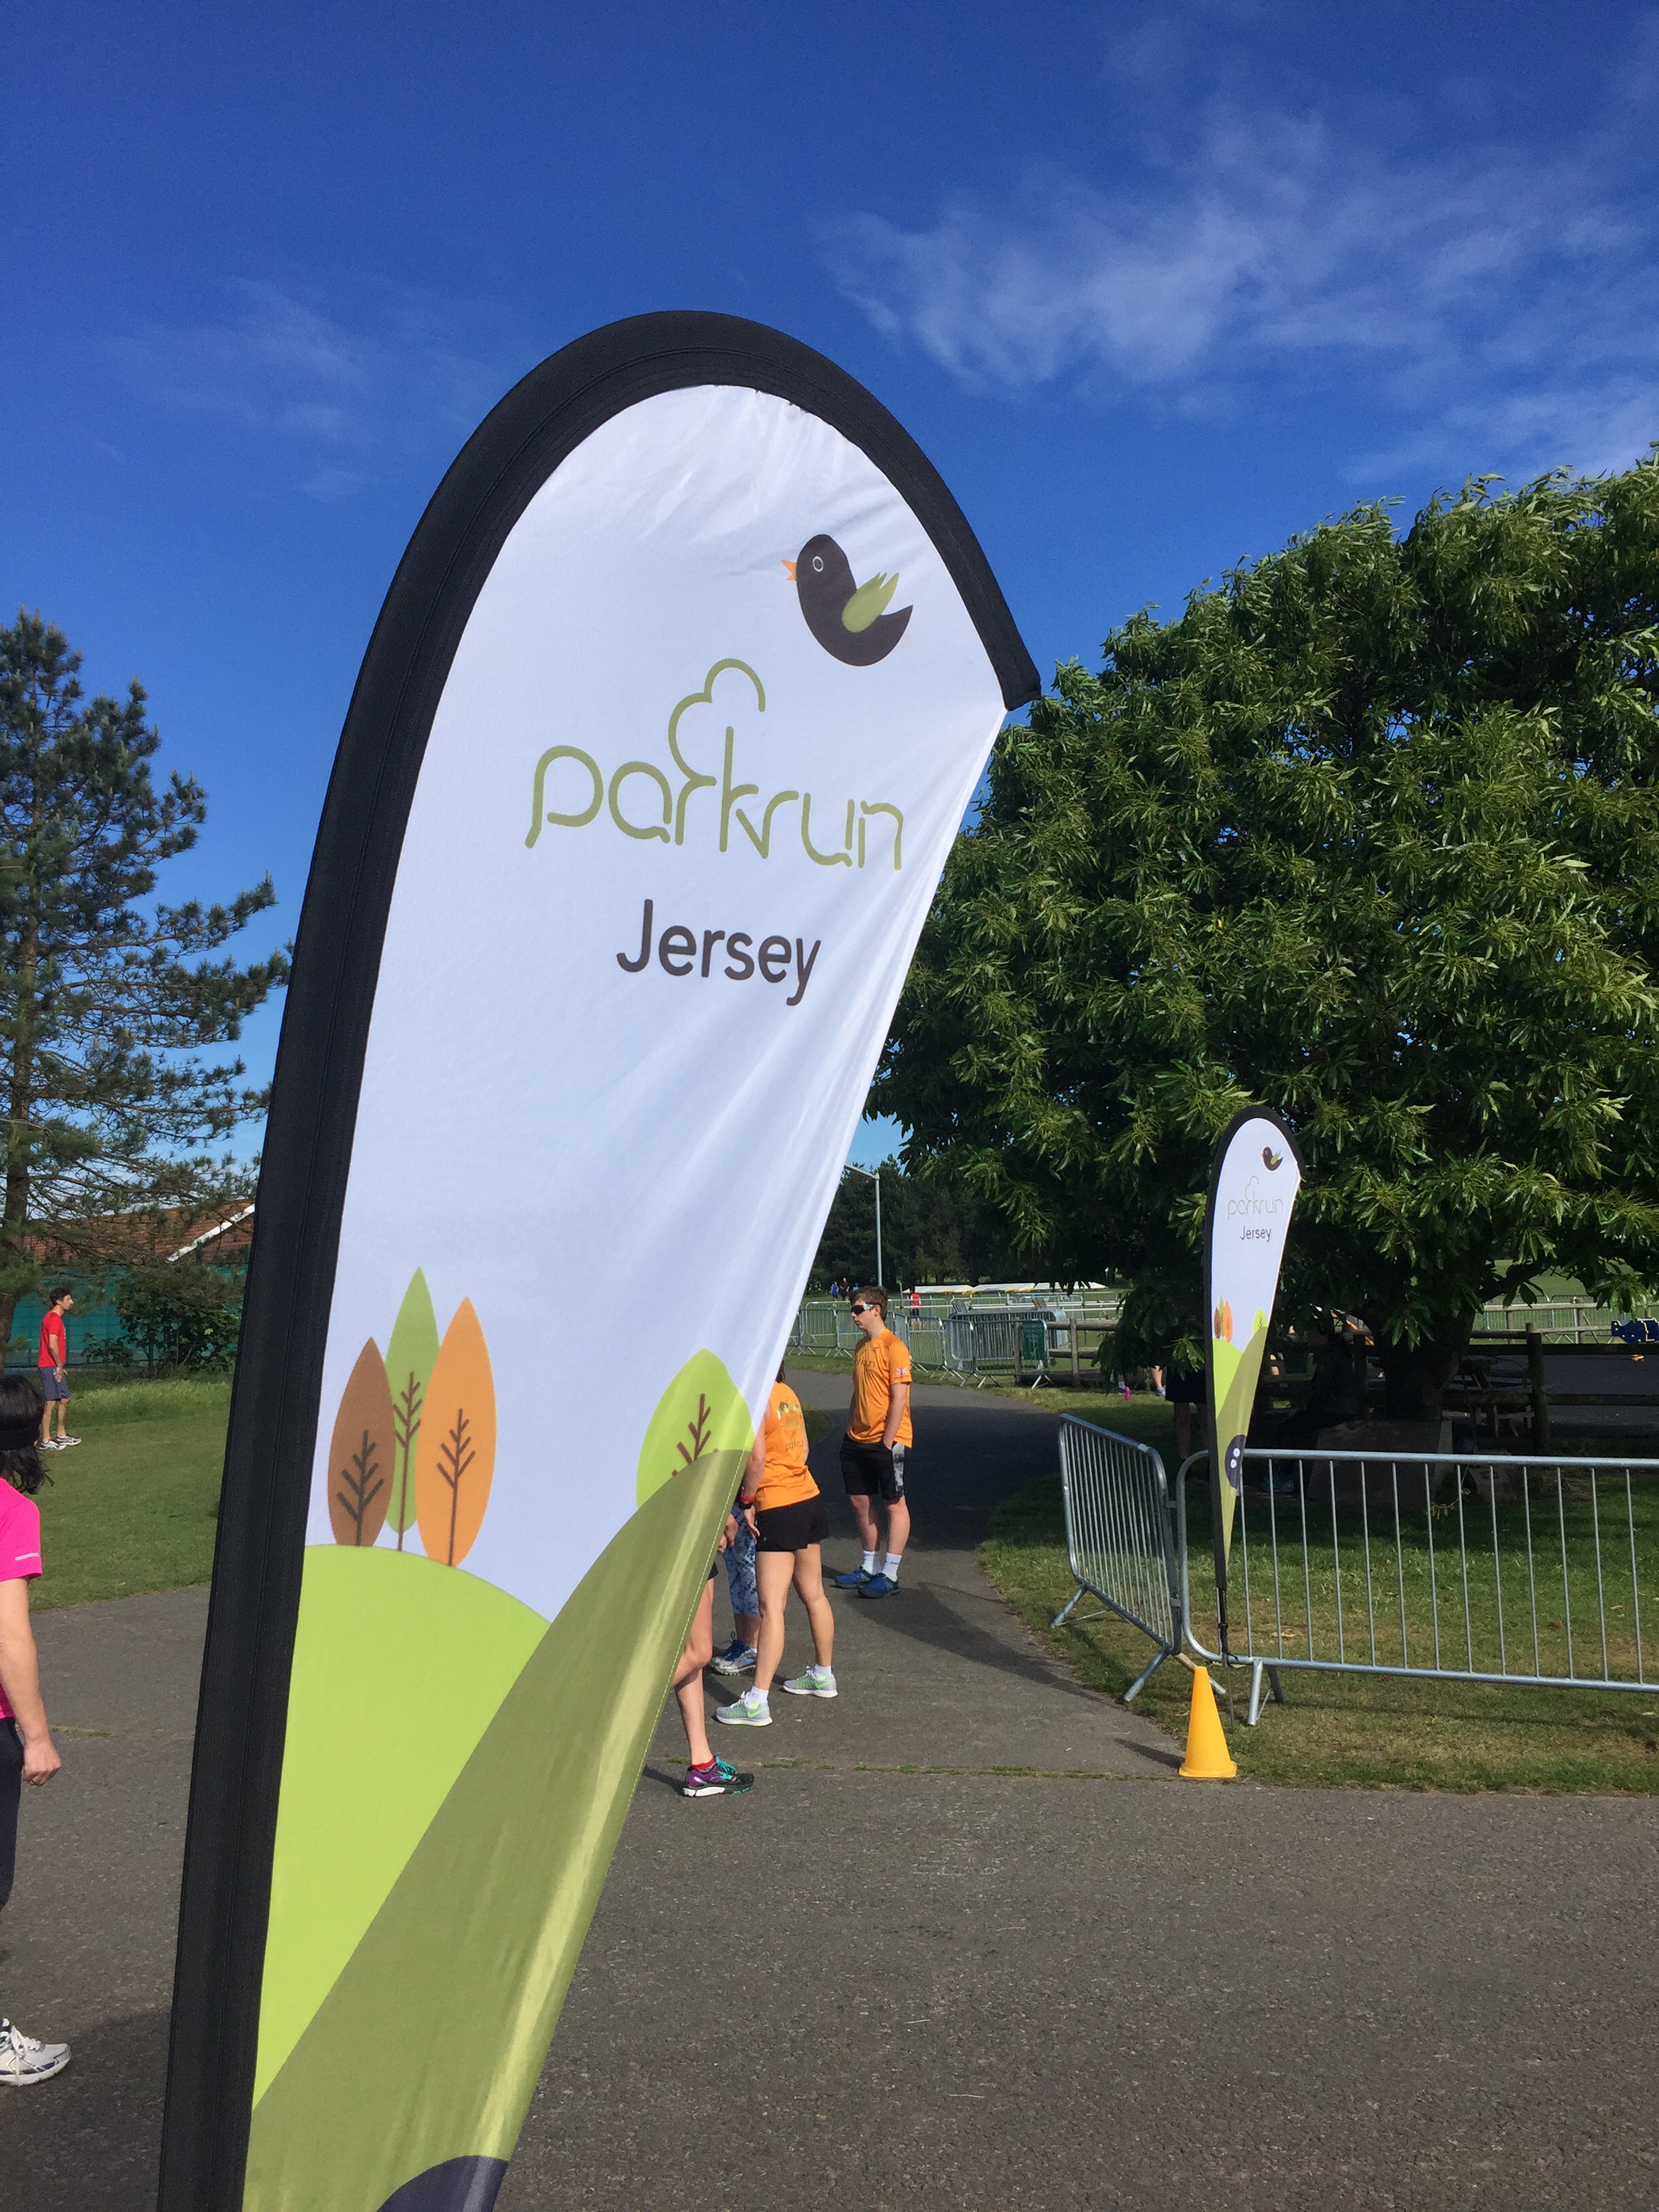
Jersey
I completed this event on: June 10th 2017 with a finish time of: 27:53
Territory: Bailiwick of Jersey
Government Categorisation: Crown Dependency
parkrun Region: Channel Islands
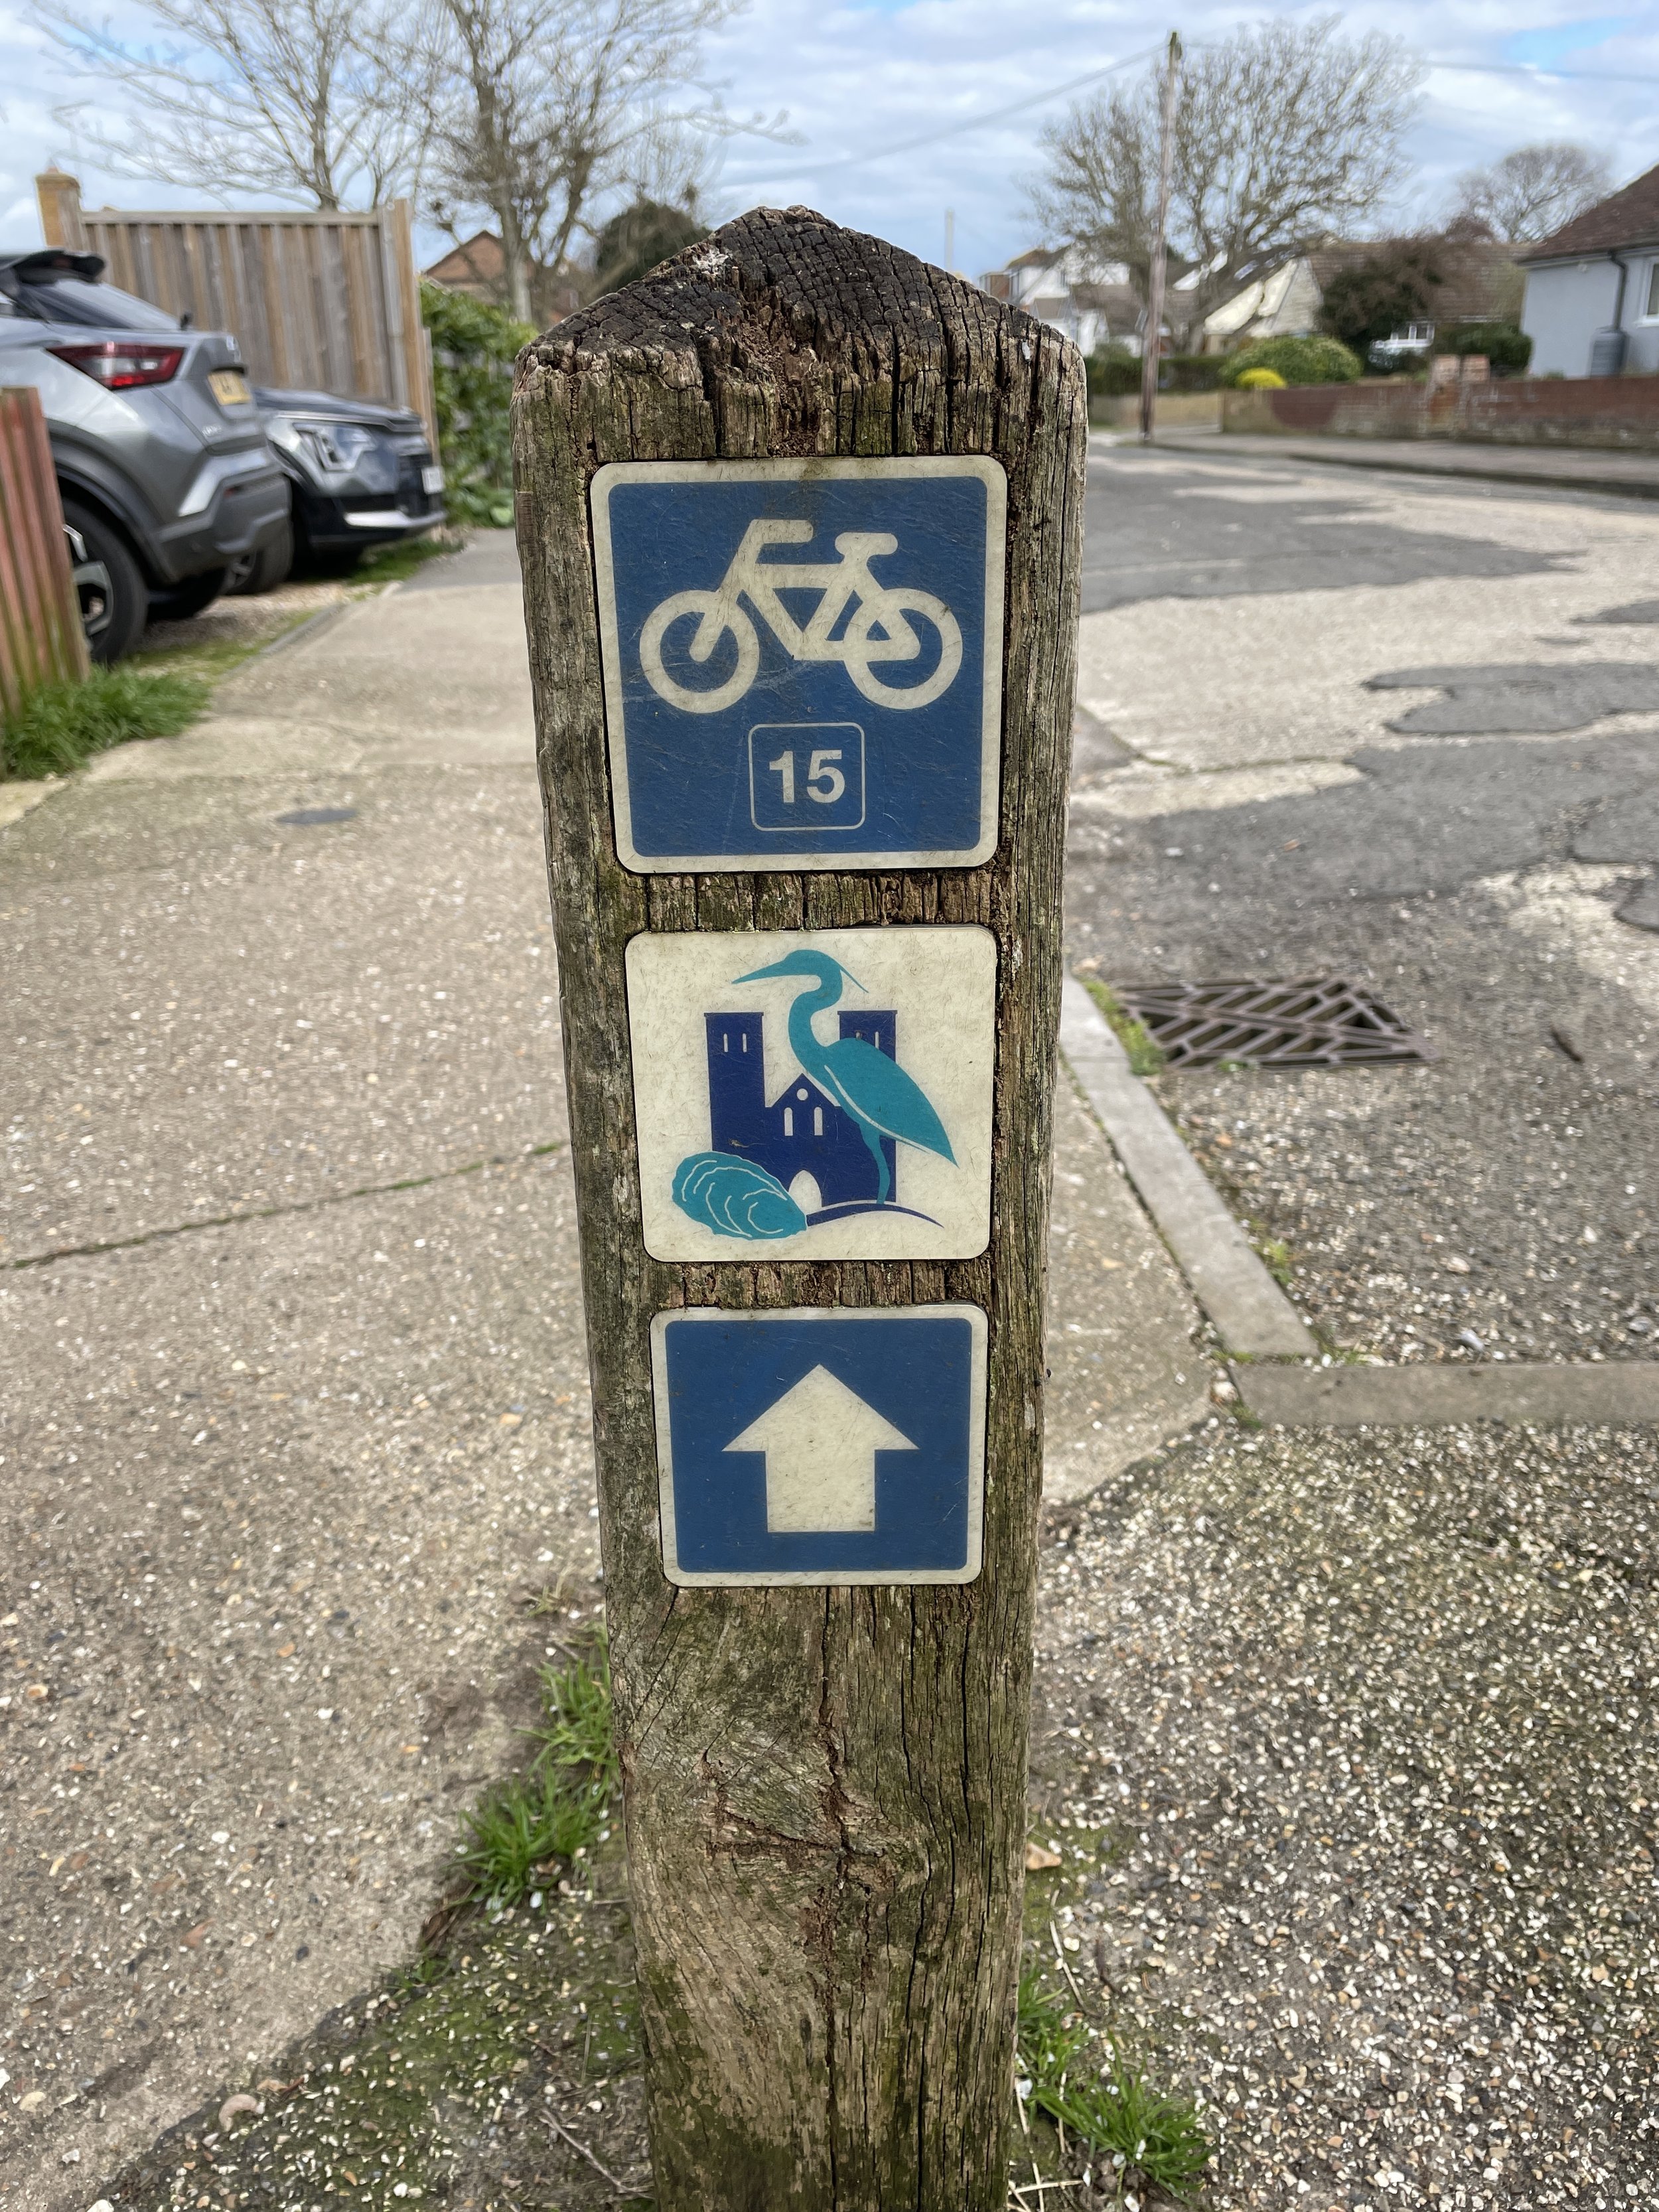
Other routes touched (walk): Corbiere Railway Walk
Other routes touched (cycle): Jersey Cycle Route 1
Inaugural: September 26th 2015
Links: Event Home Page, Course Page
Held at Les Quennevais Sports Centre in St Brelade, this route runs along the scenic Railway Walk, a popular tree-lined path following the route of the old Jersey Railway.


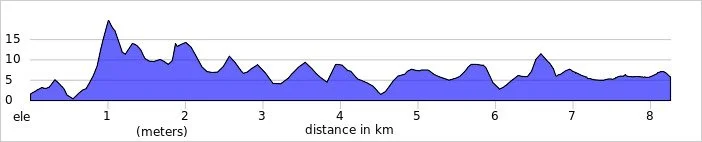
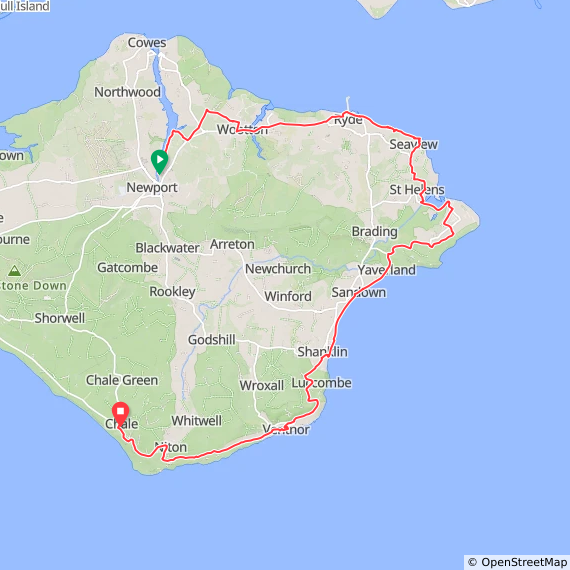
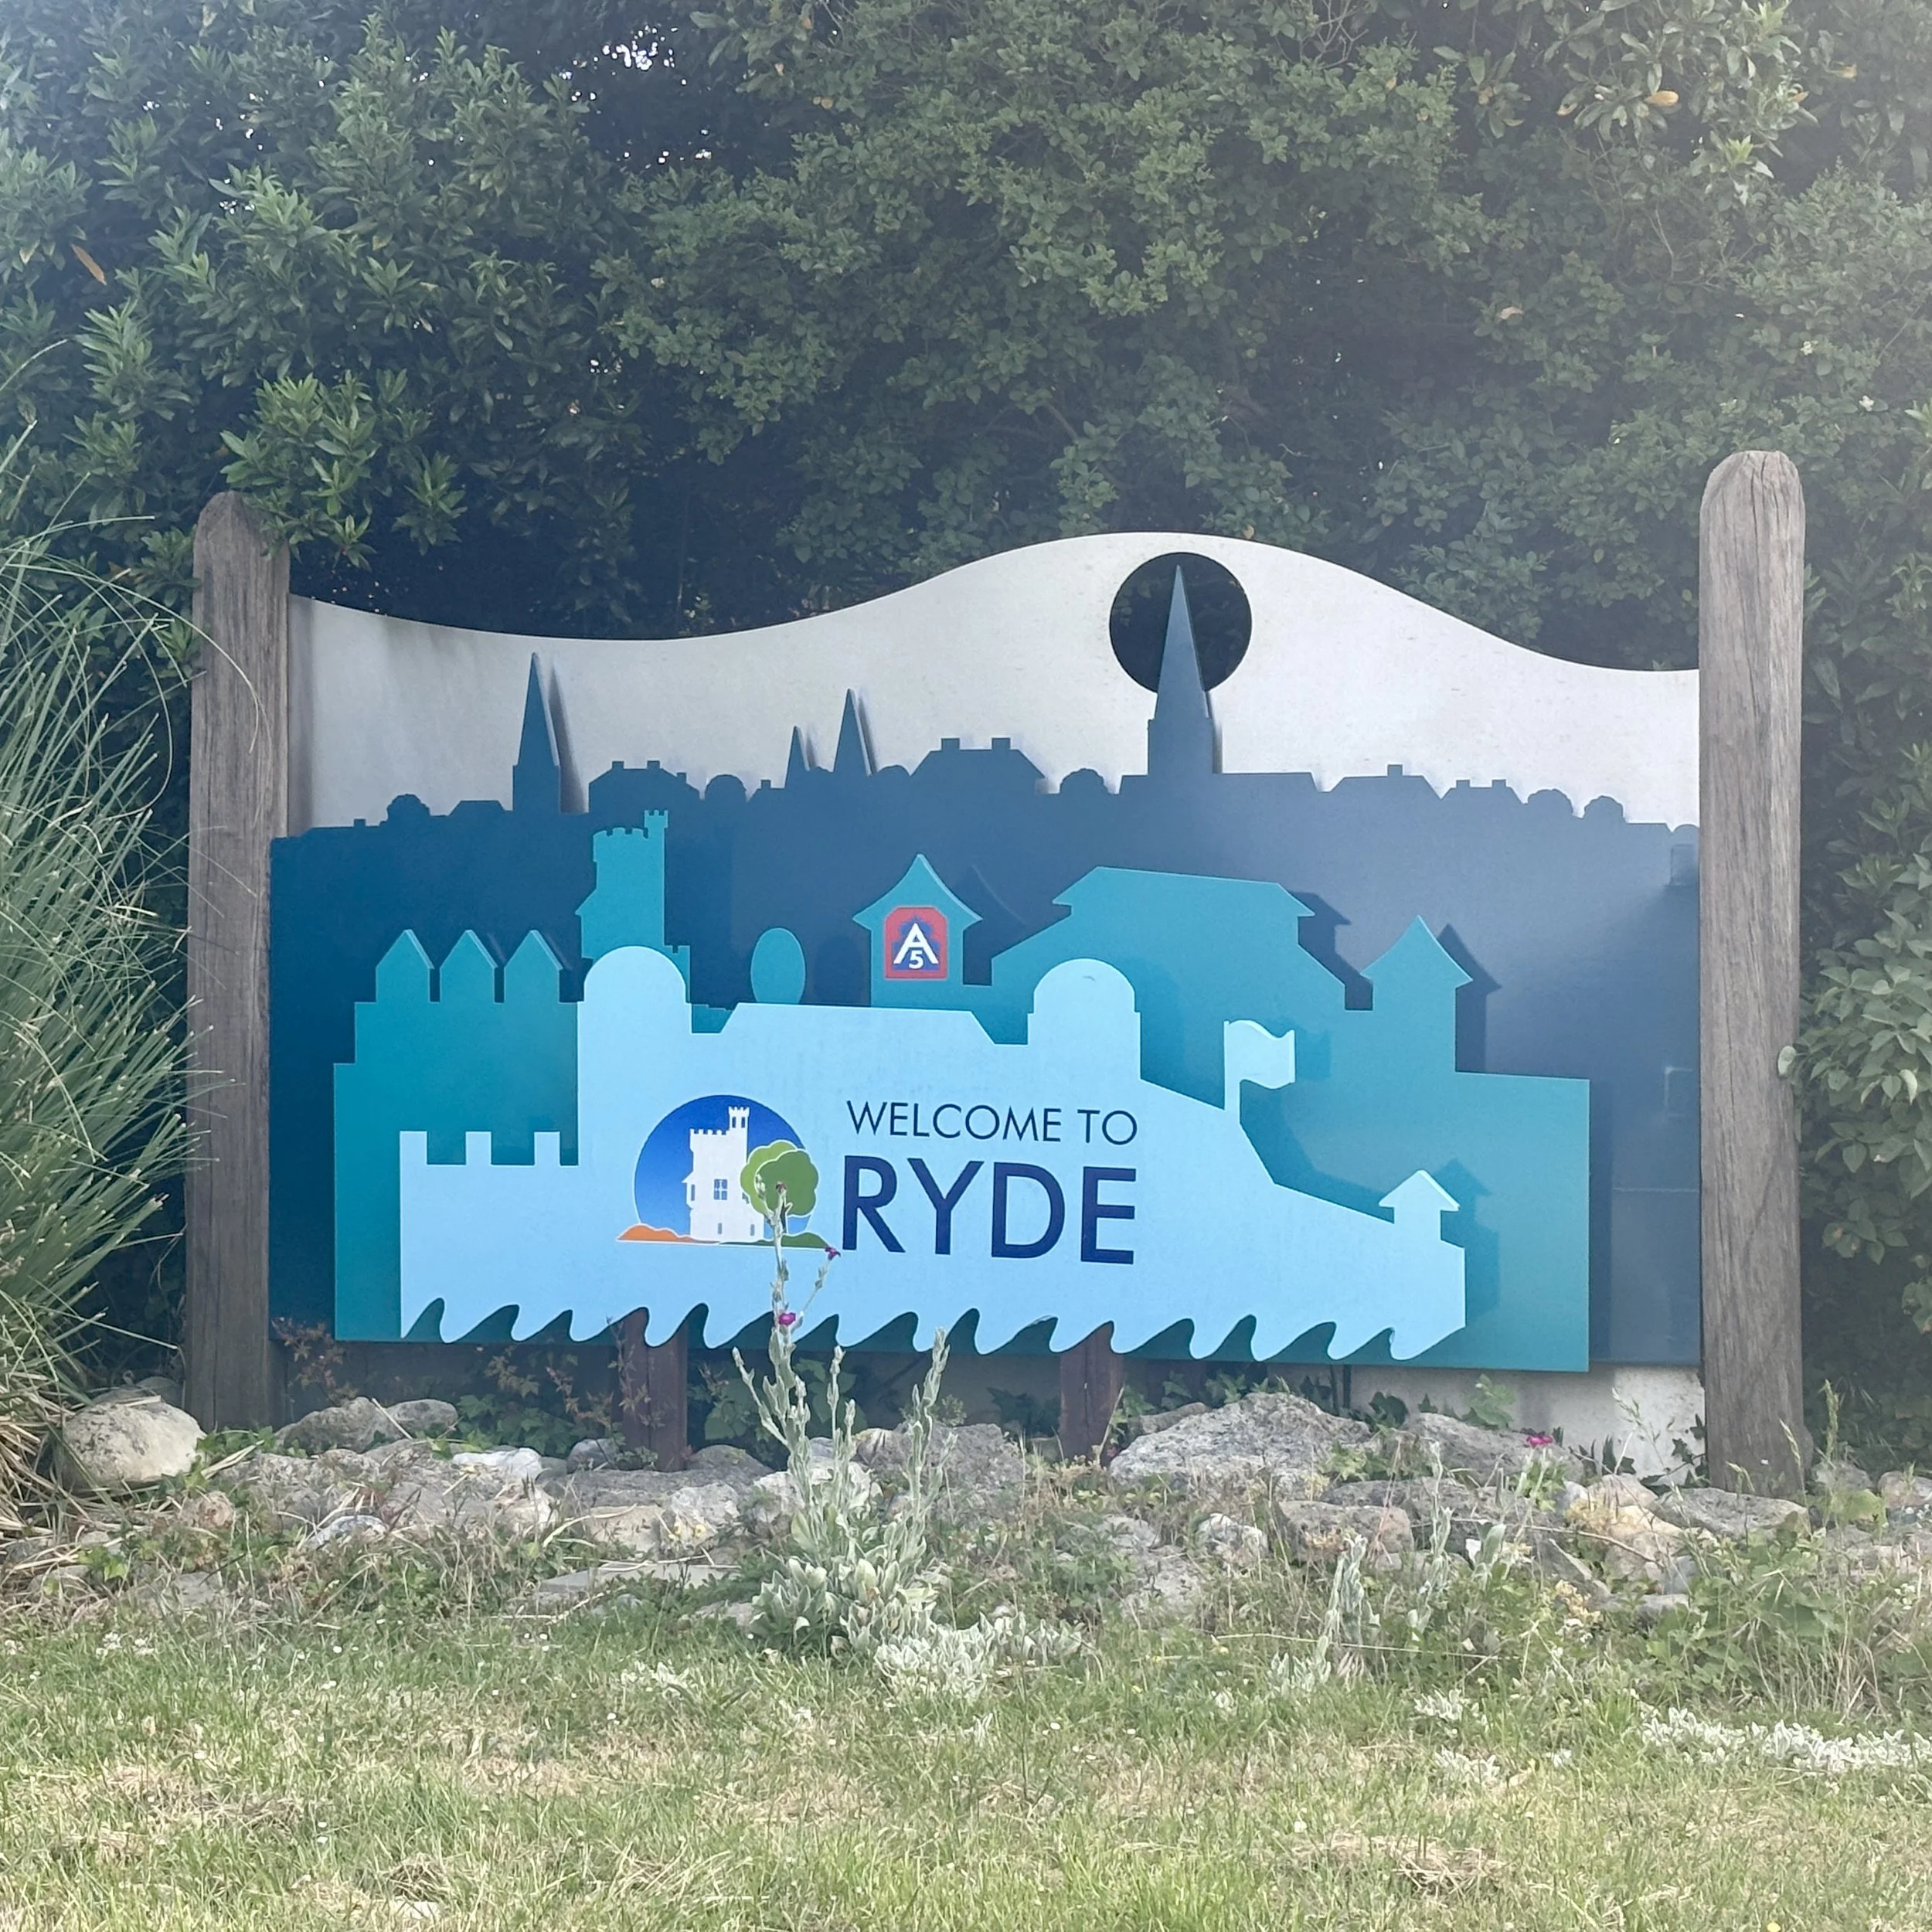
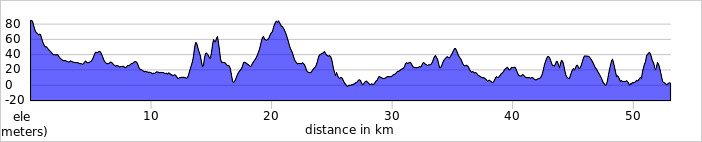
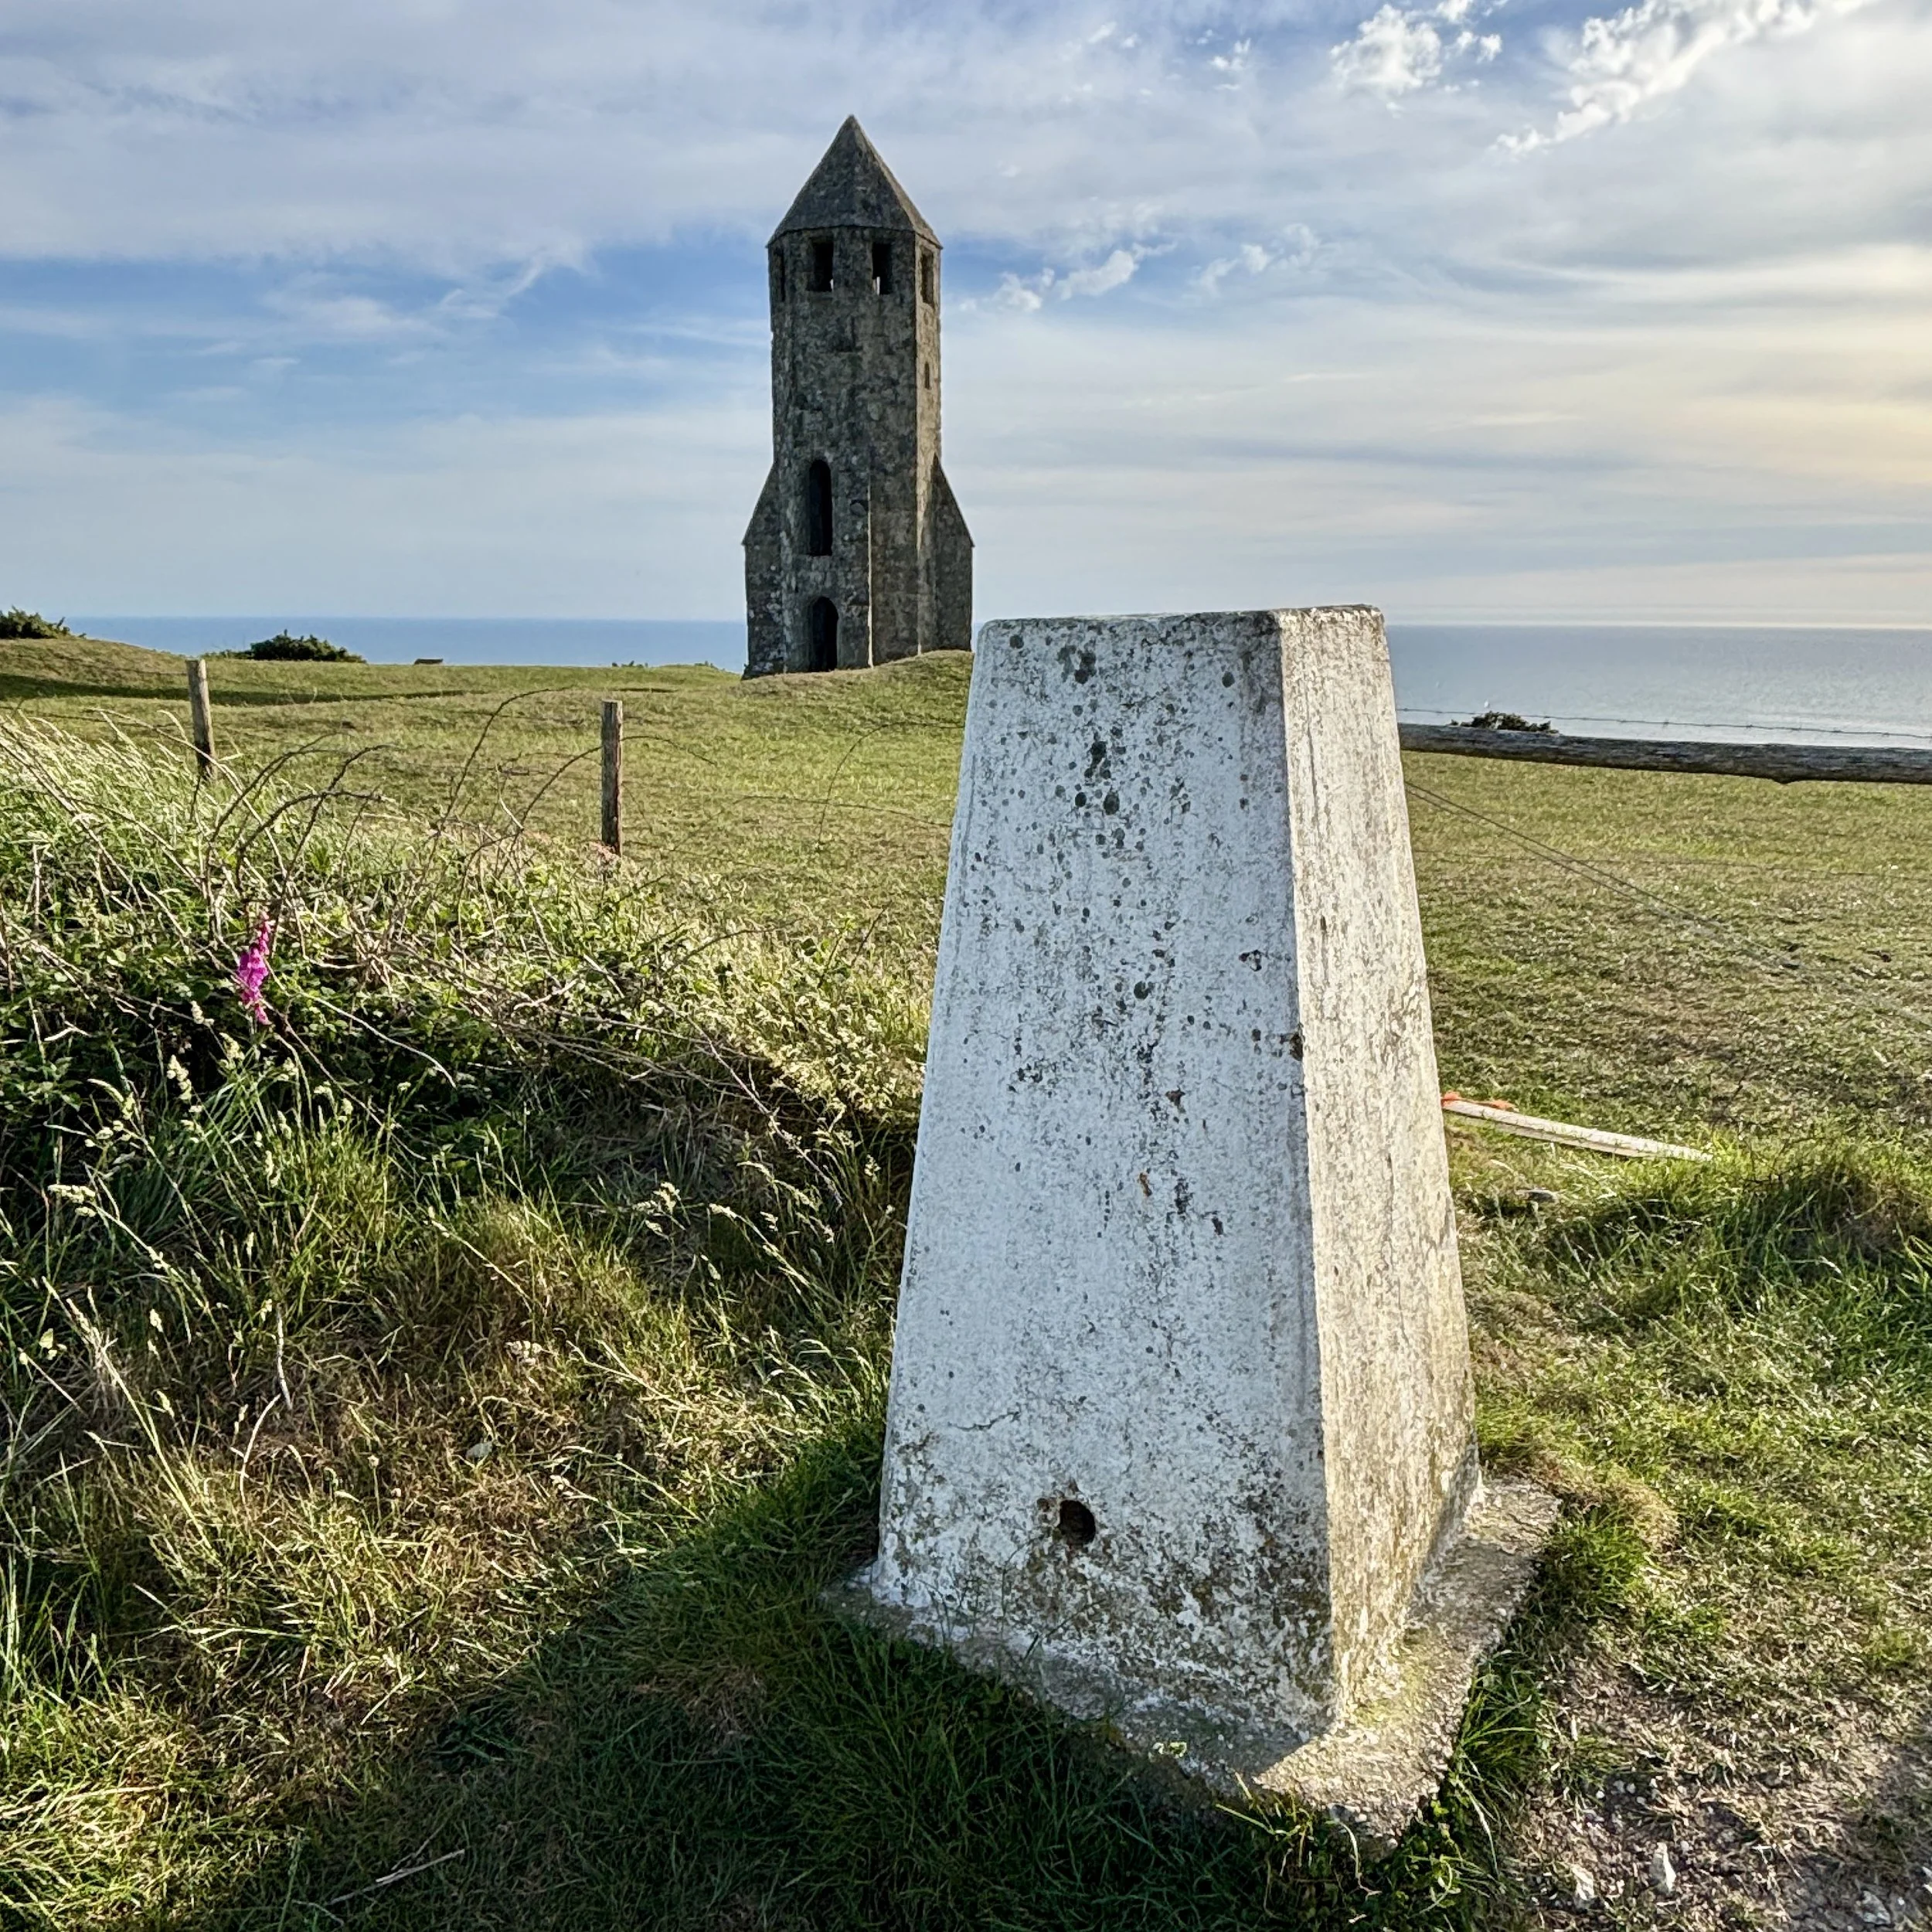
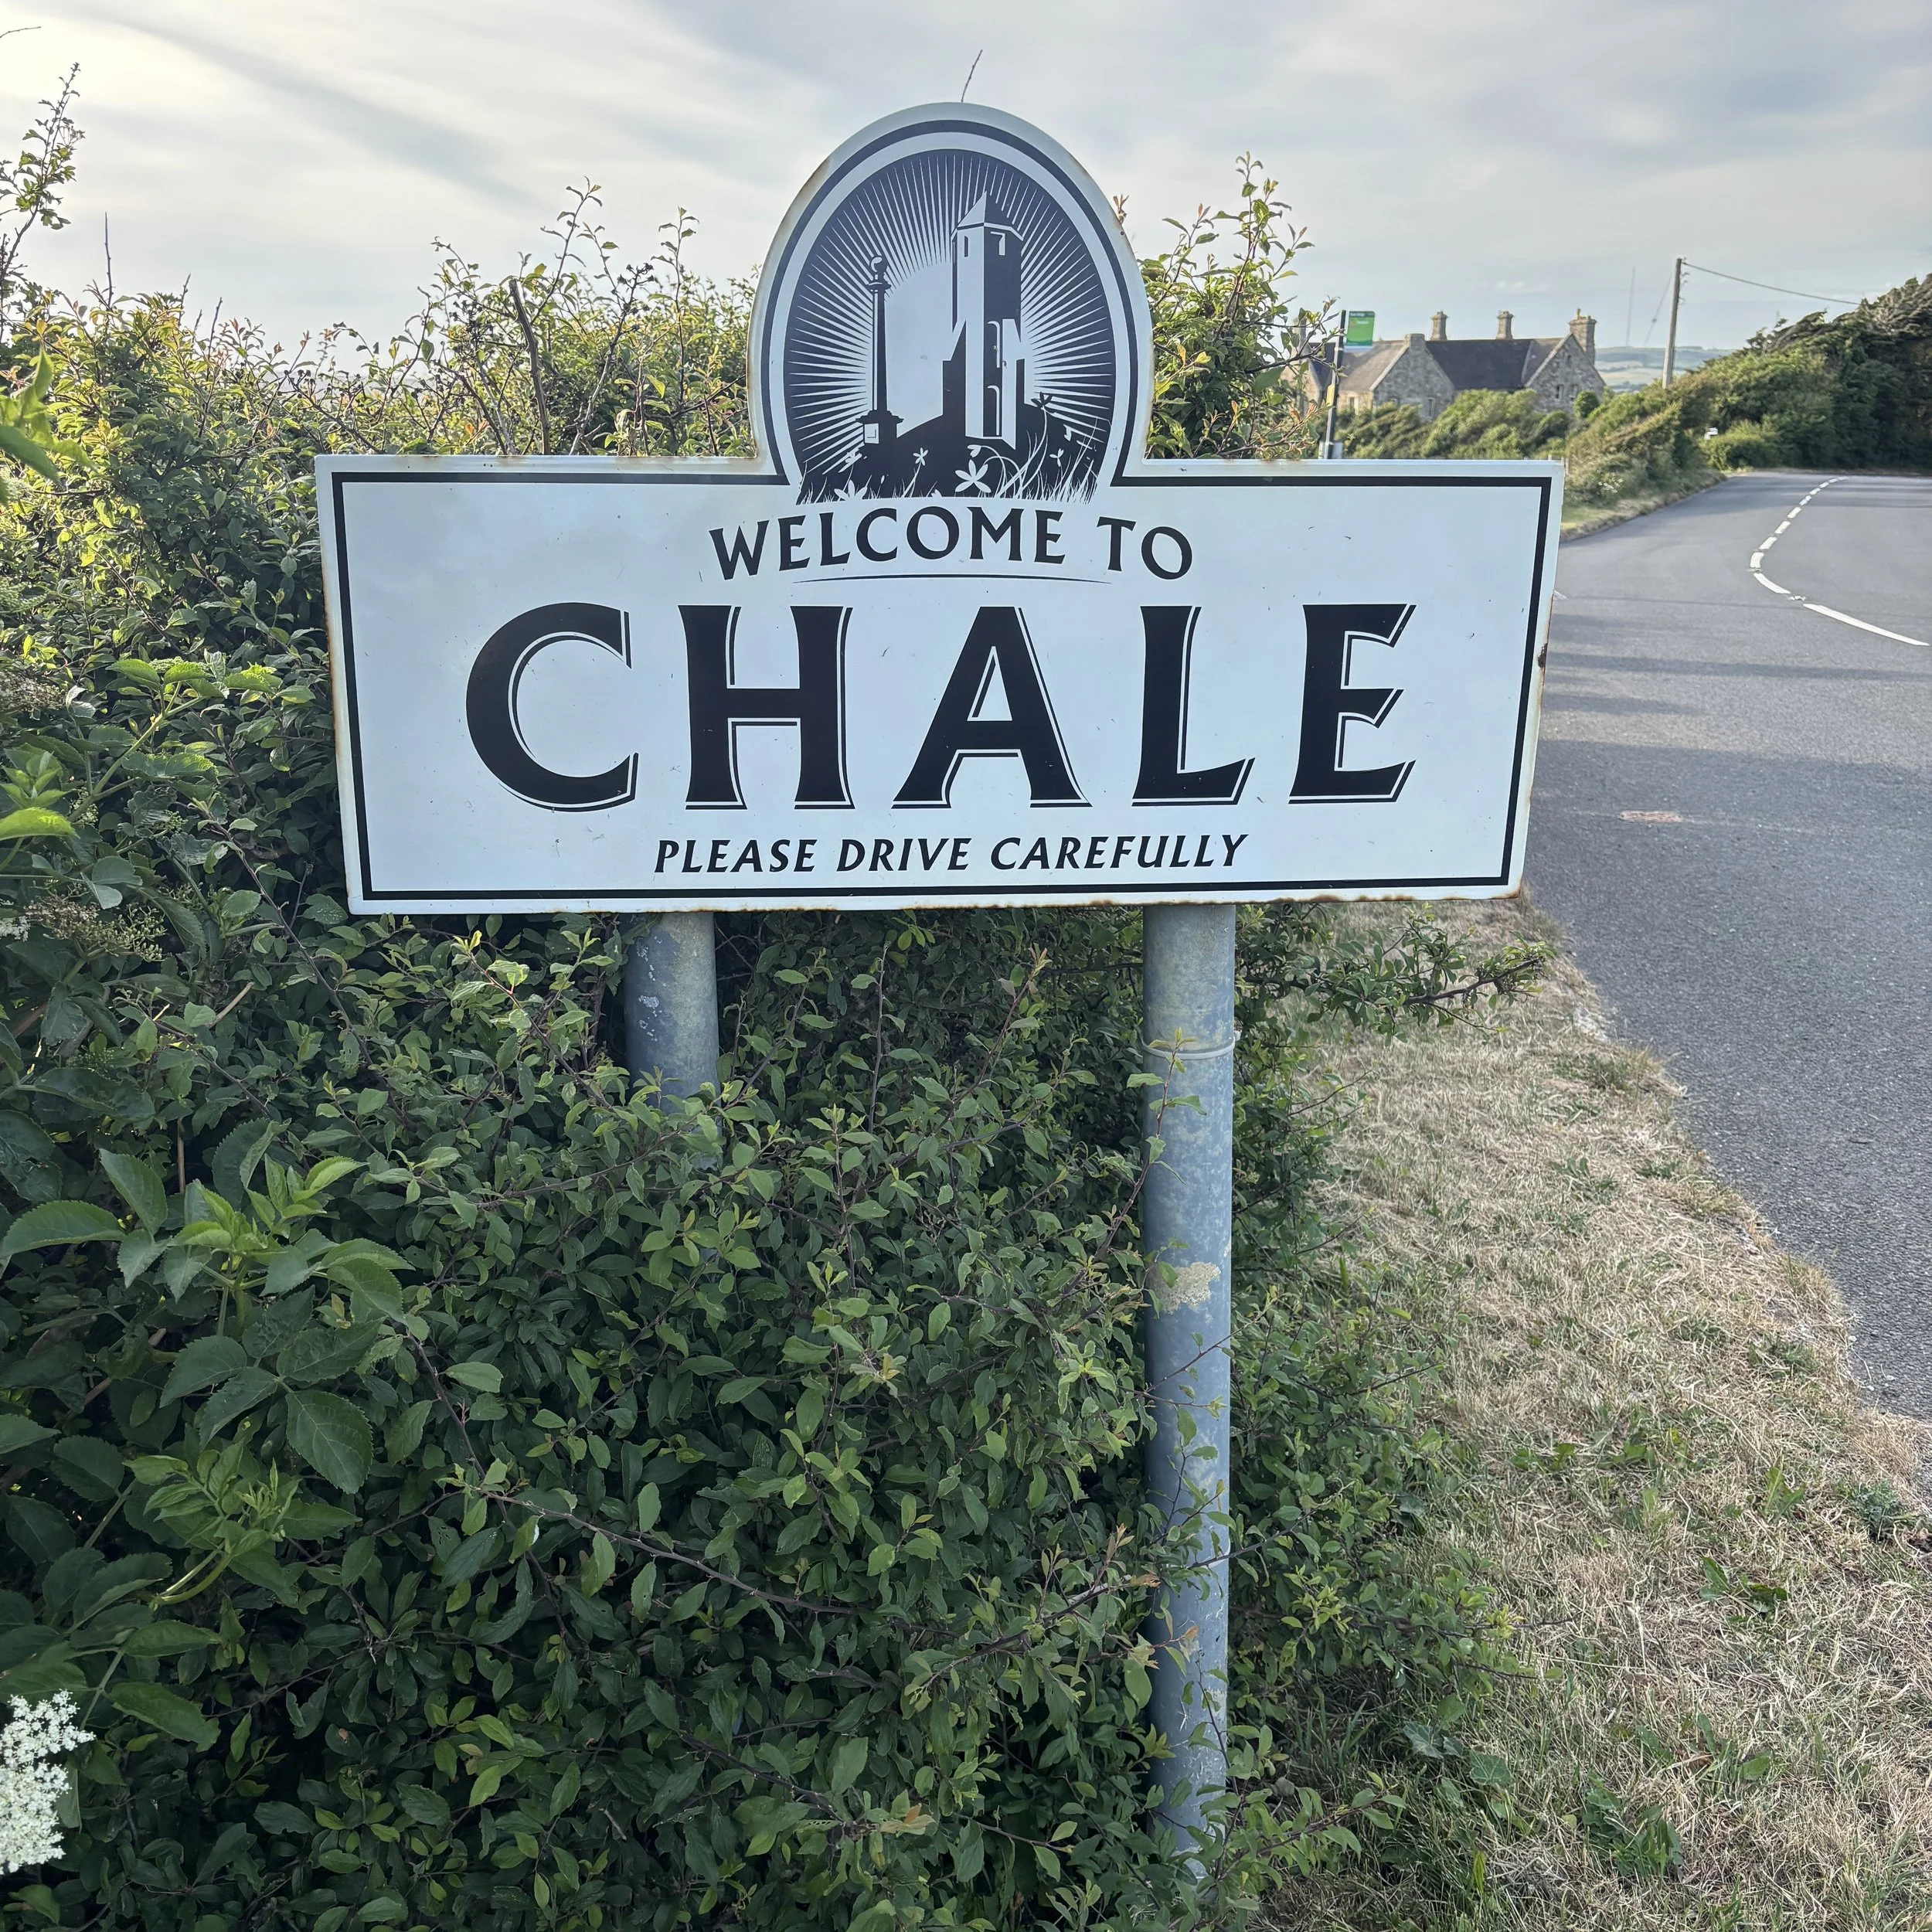
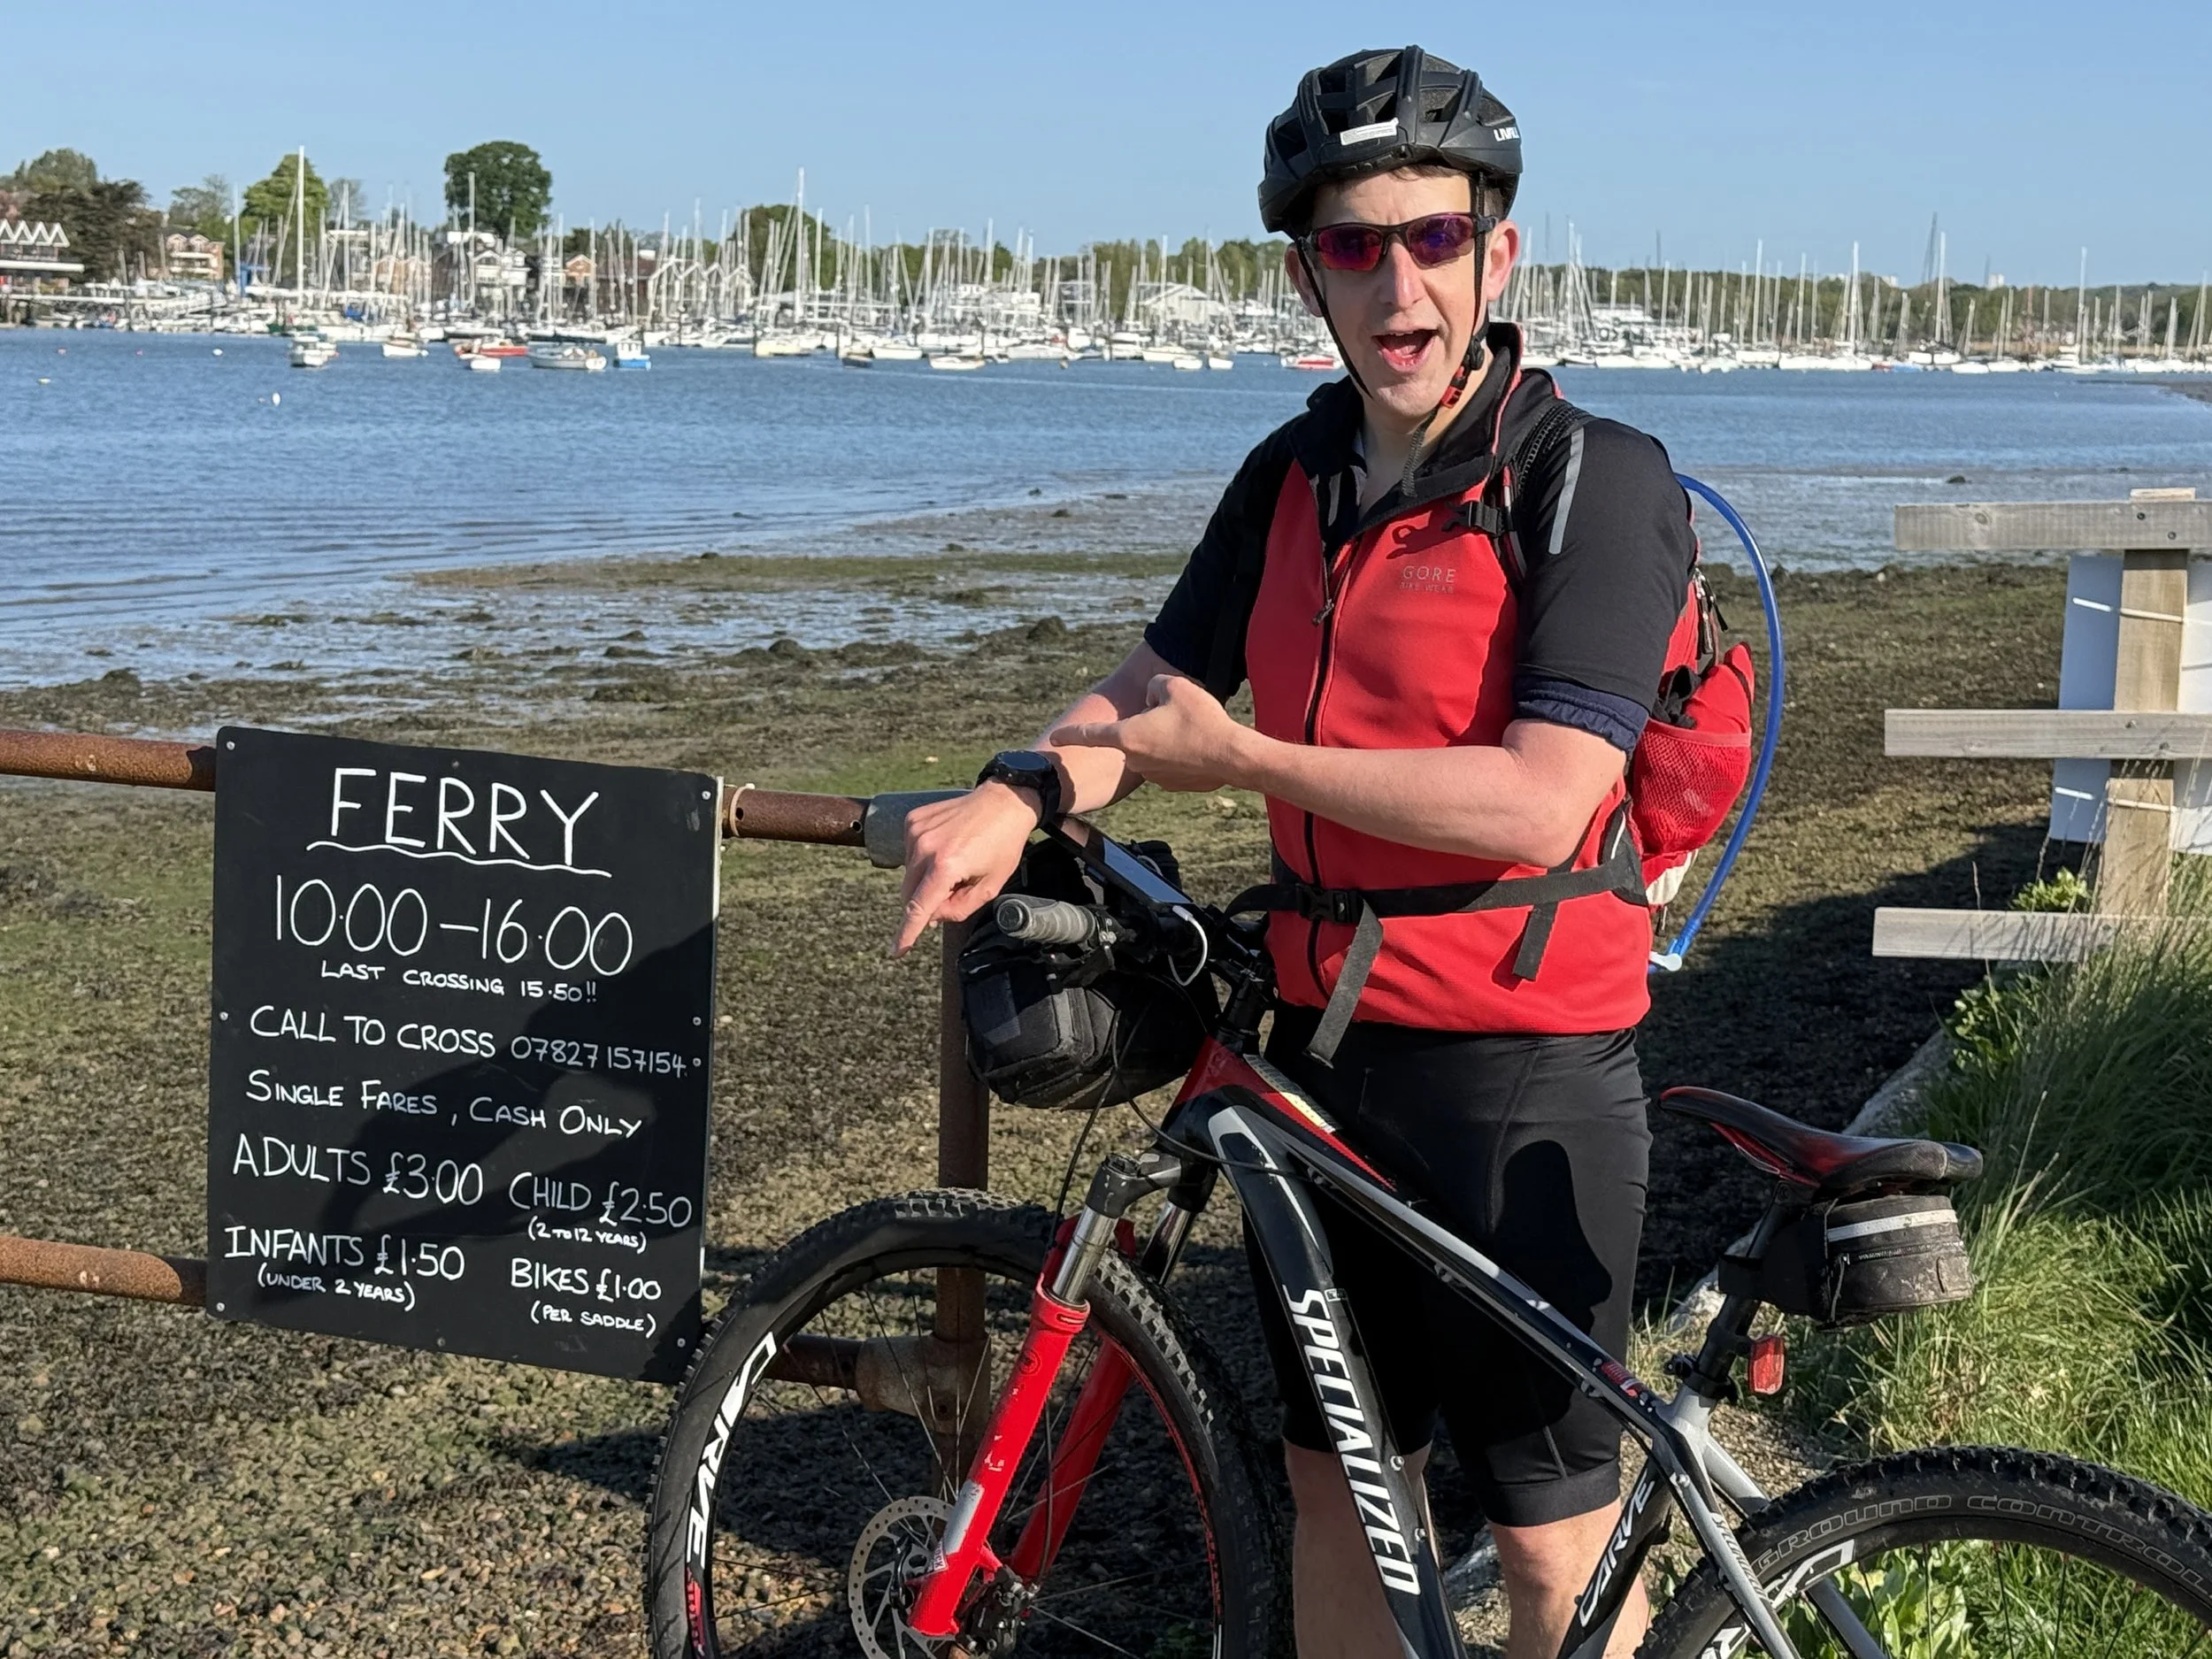
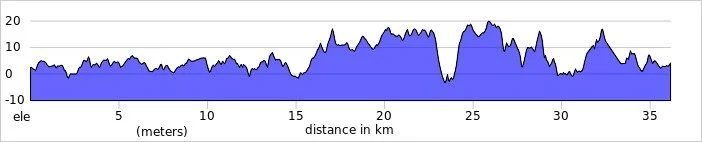
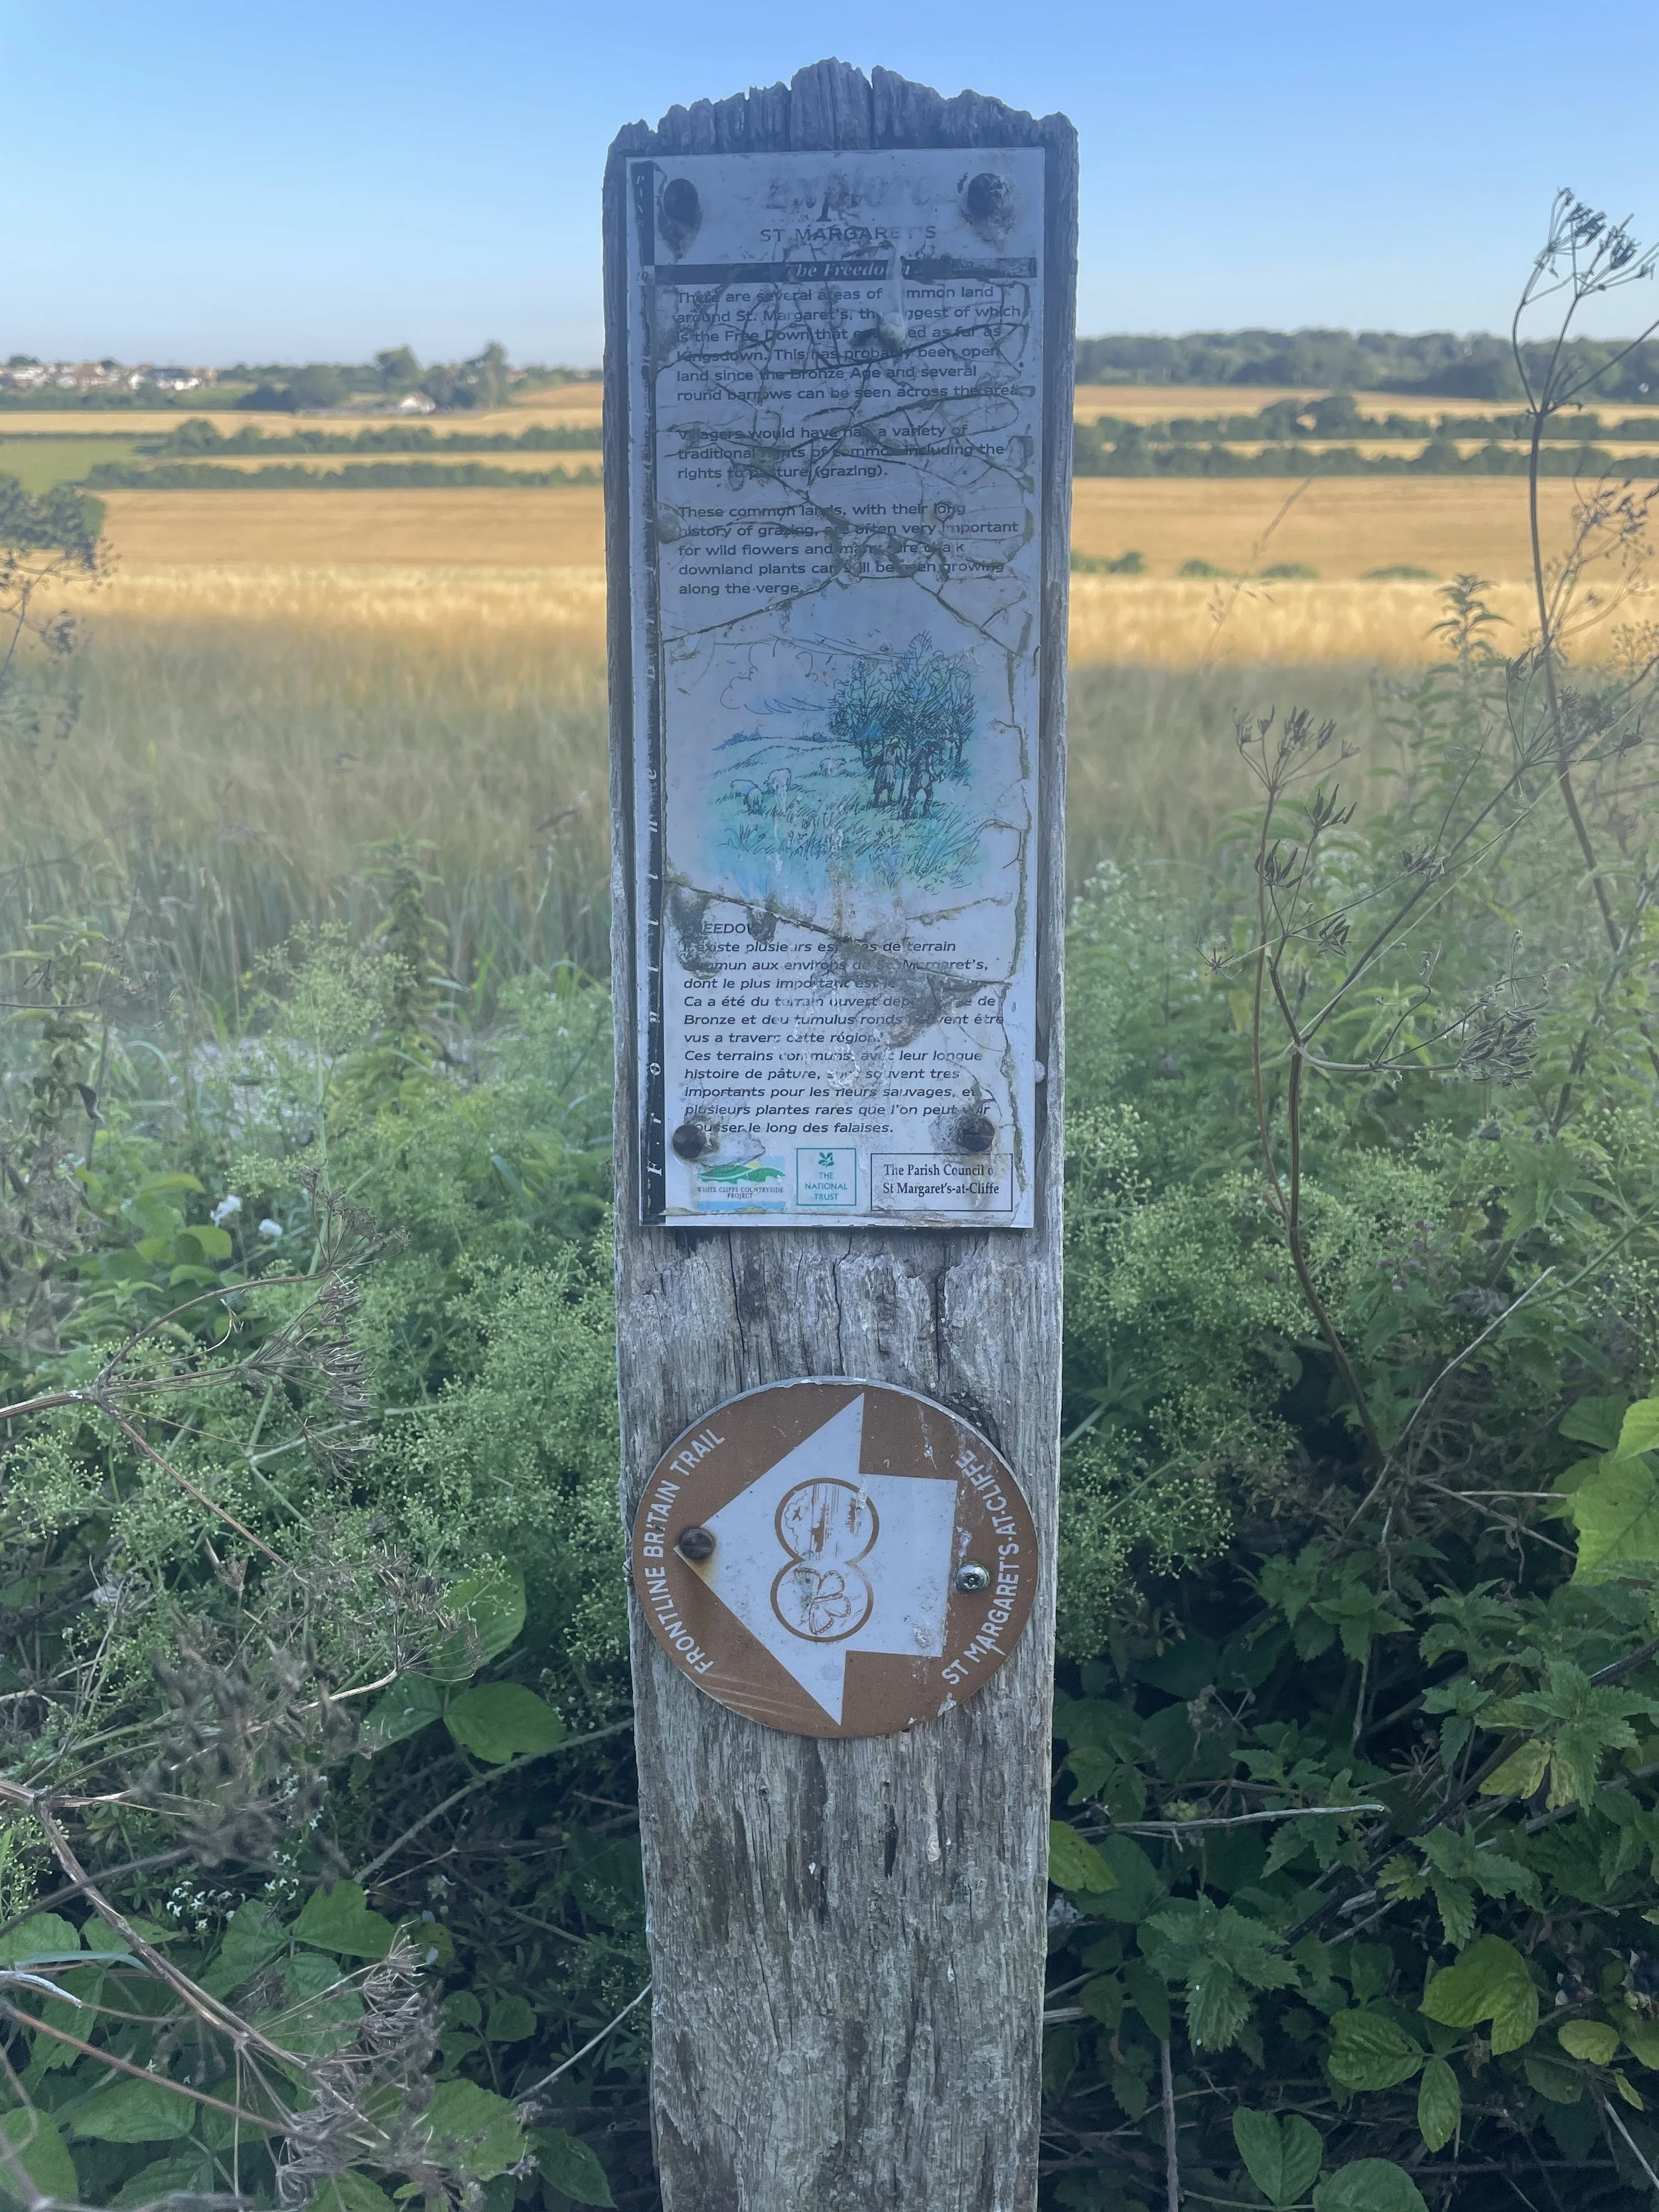
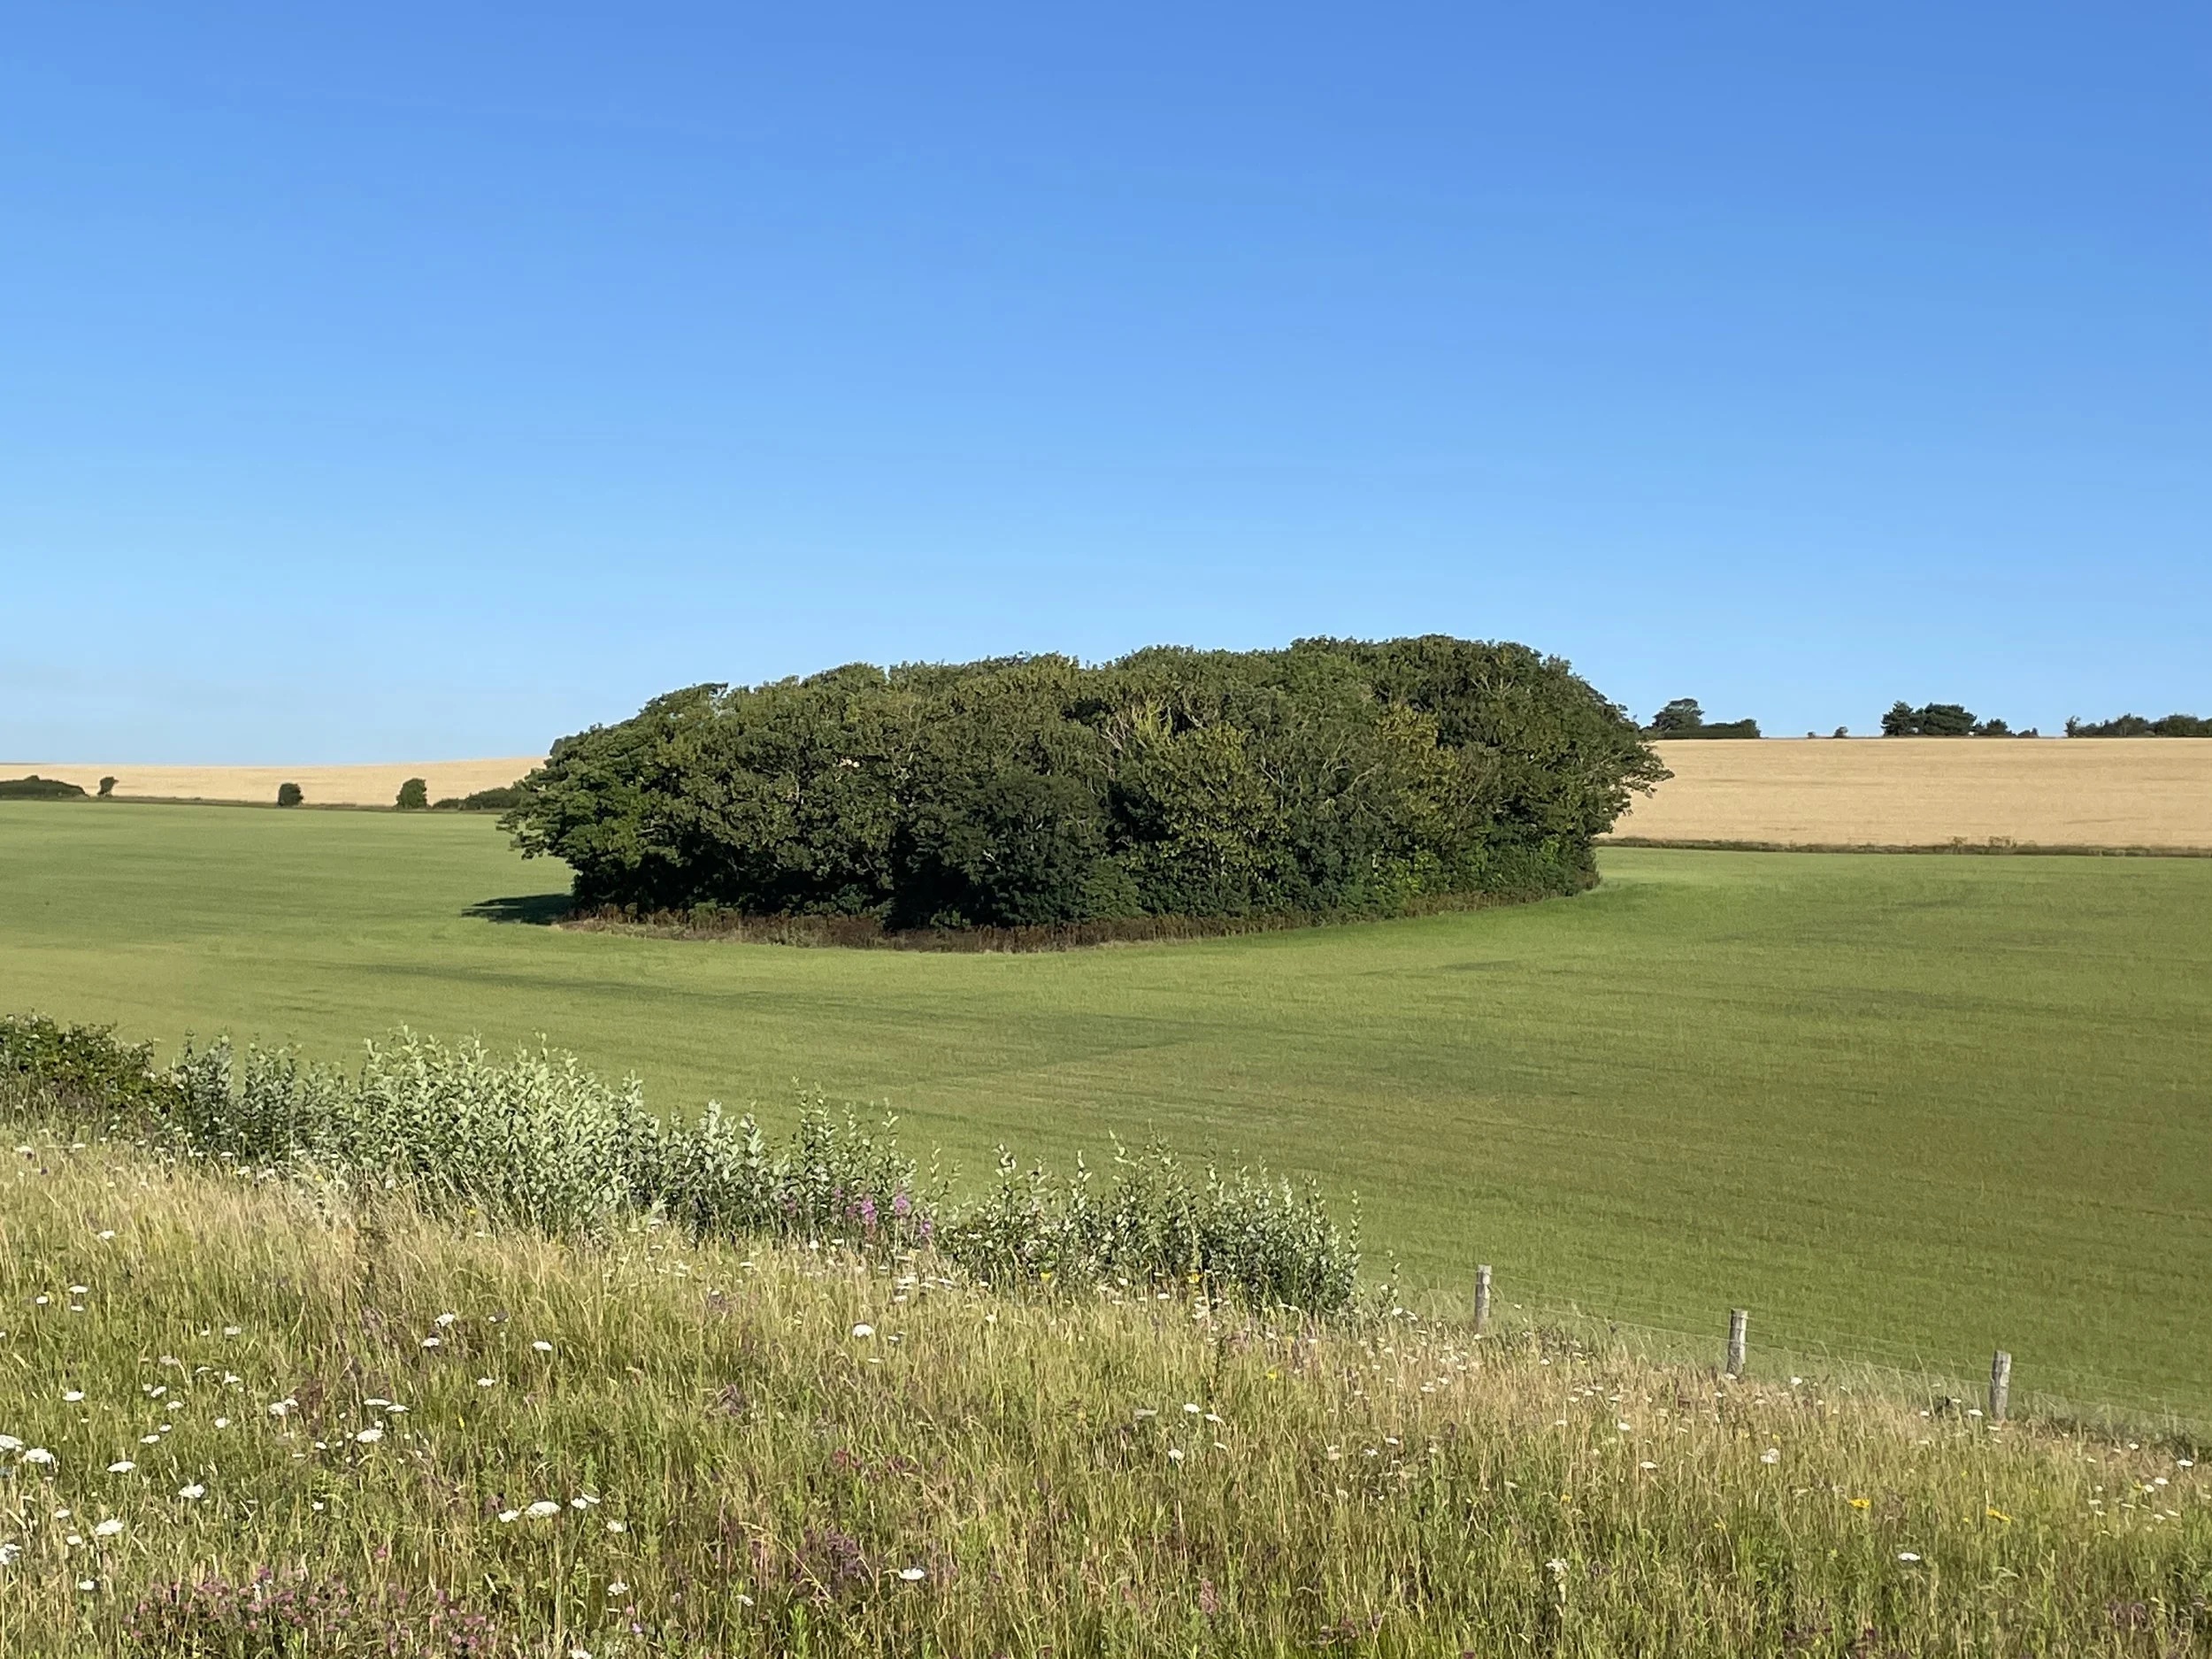
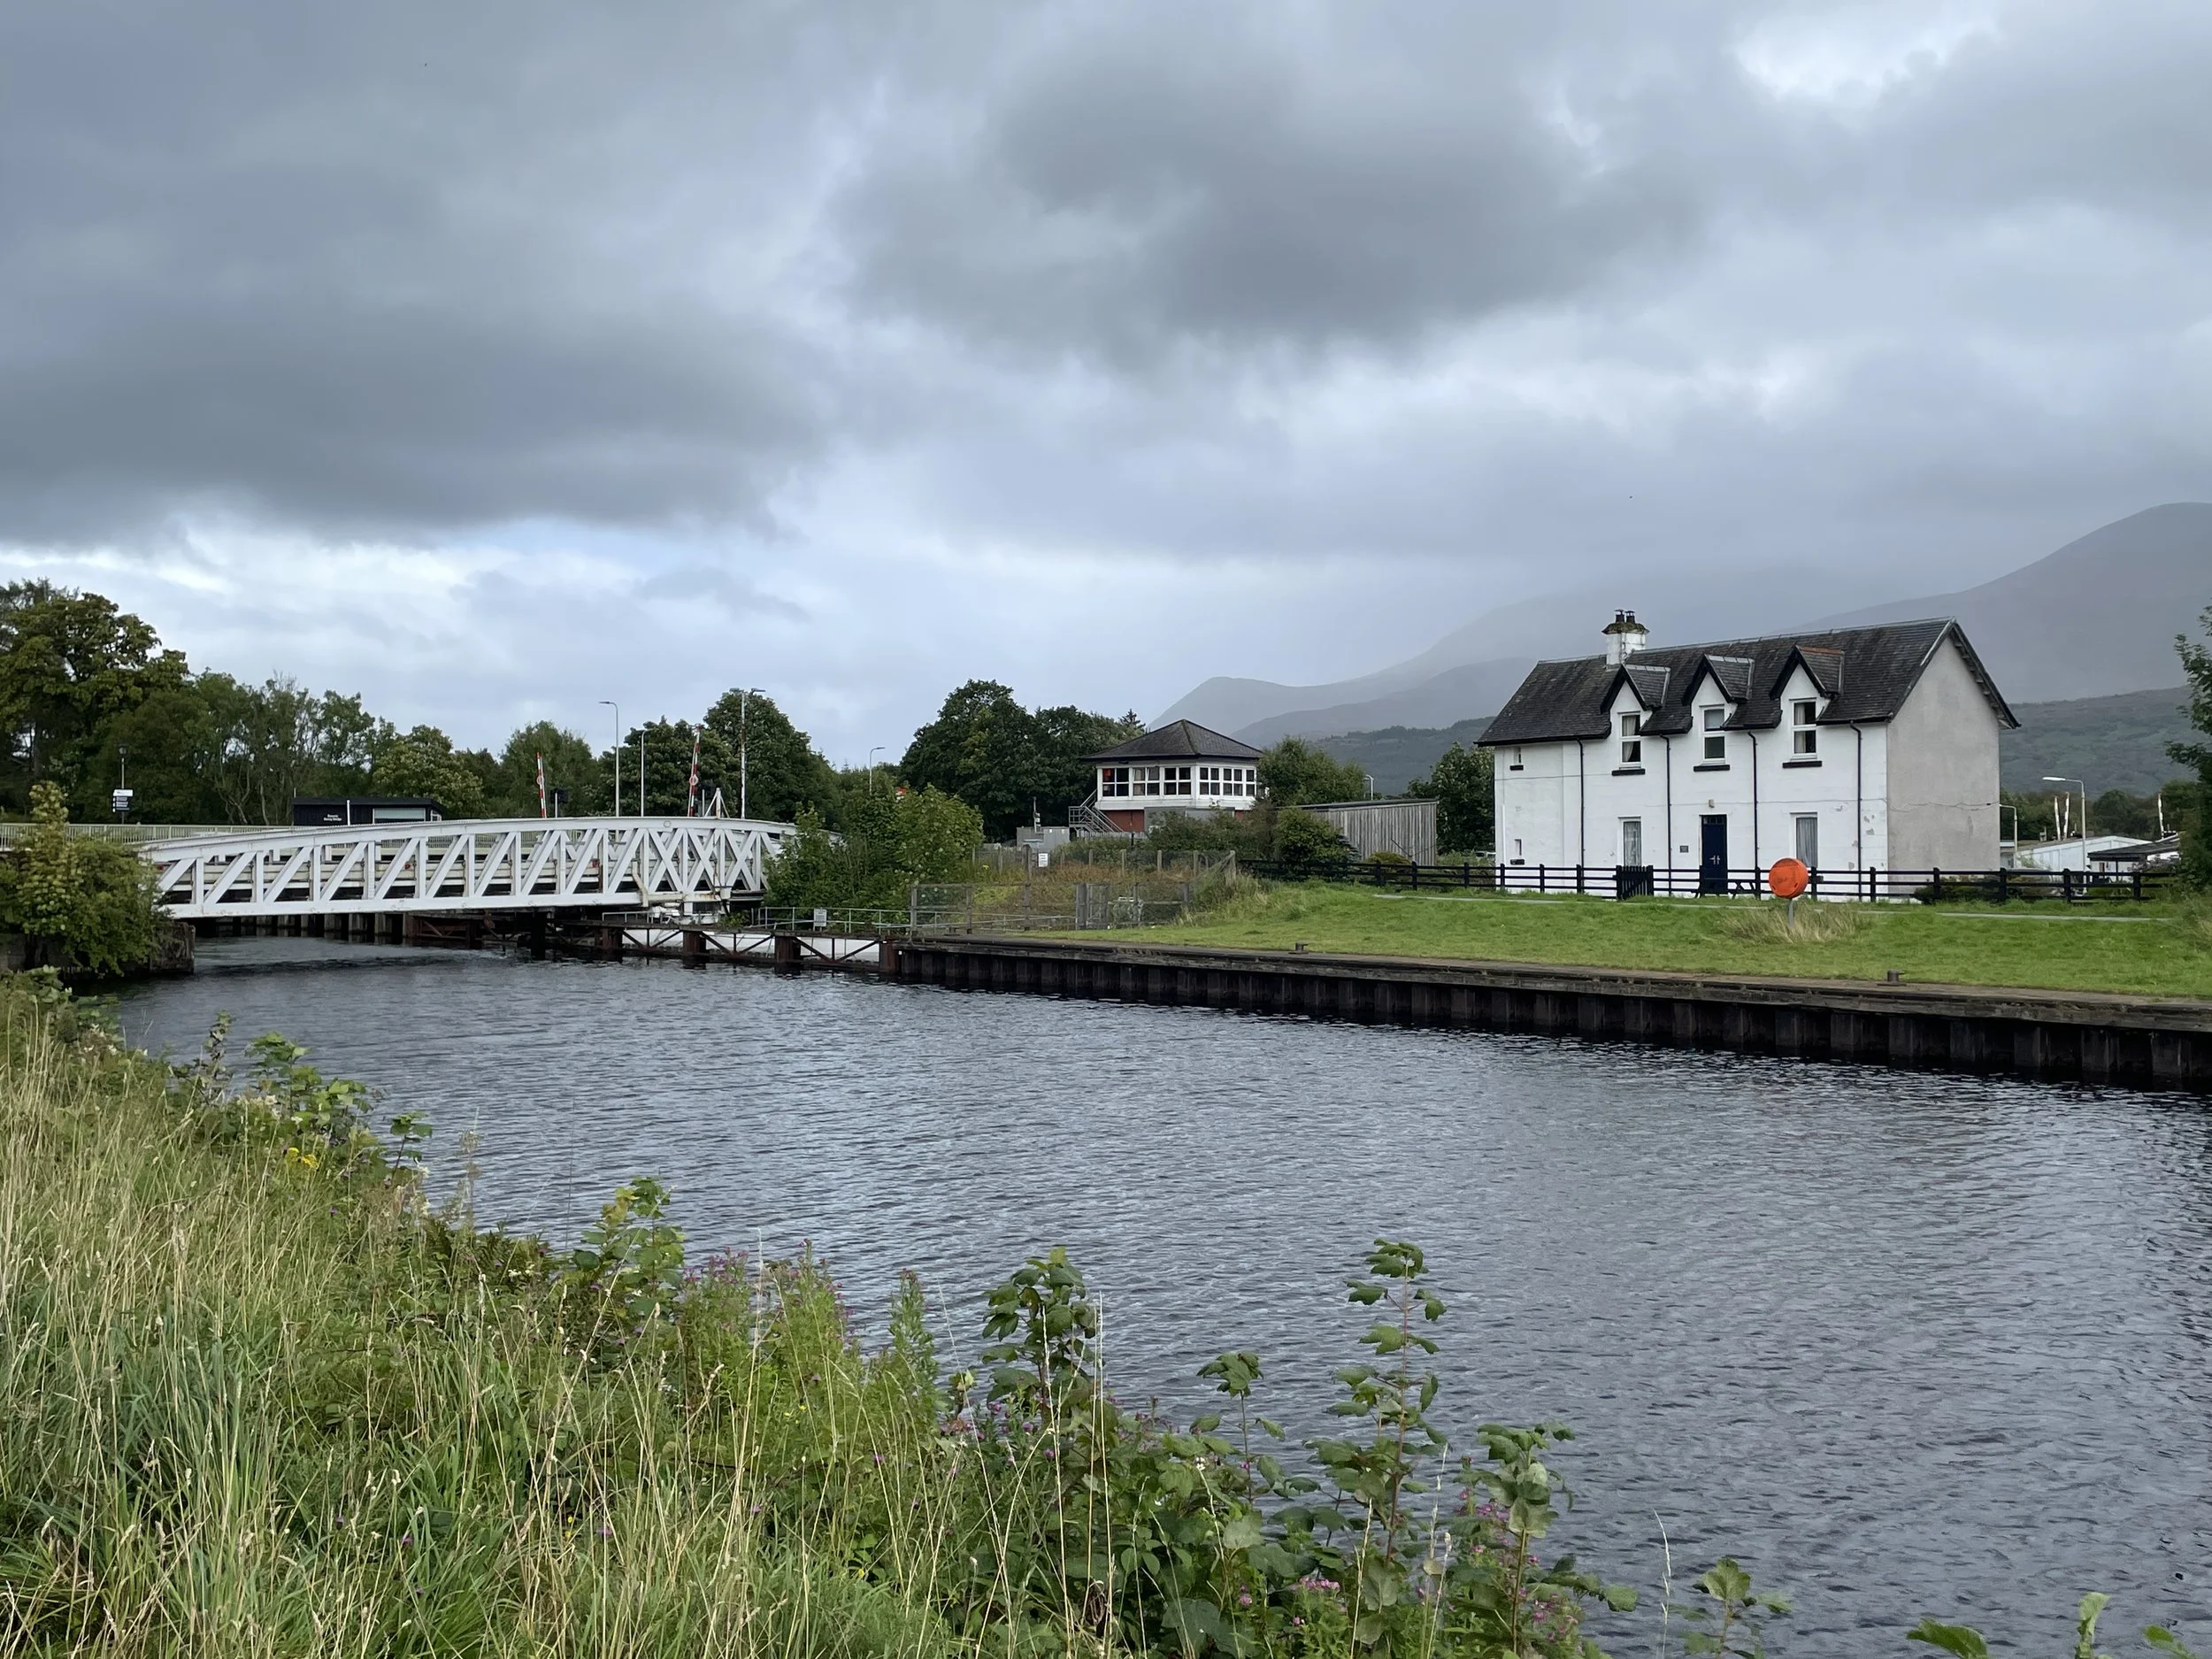
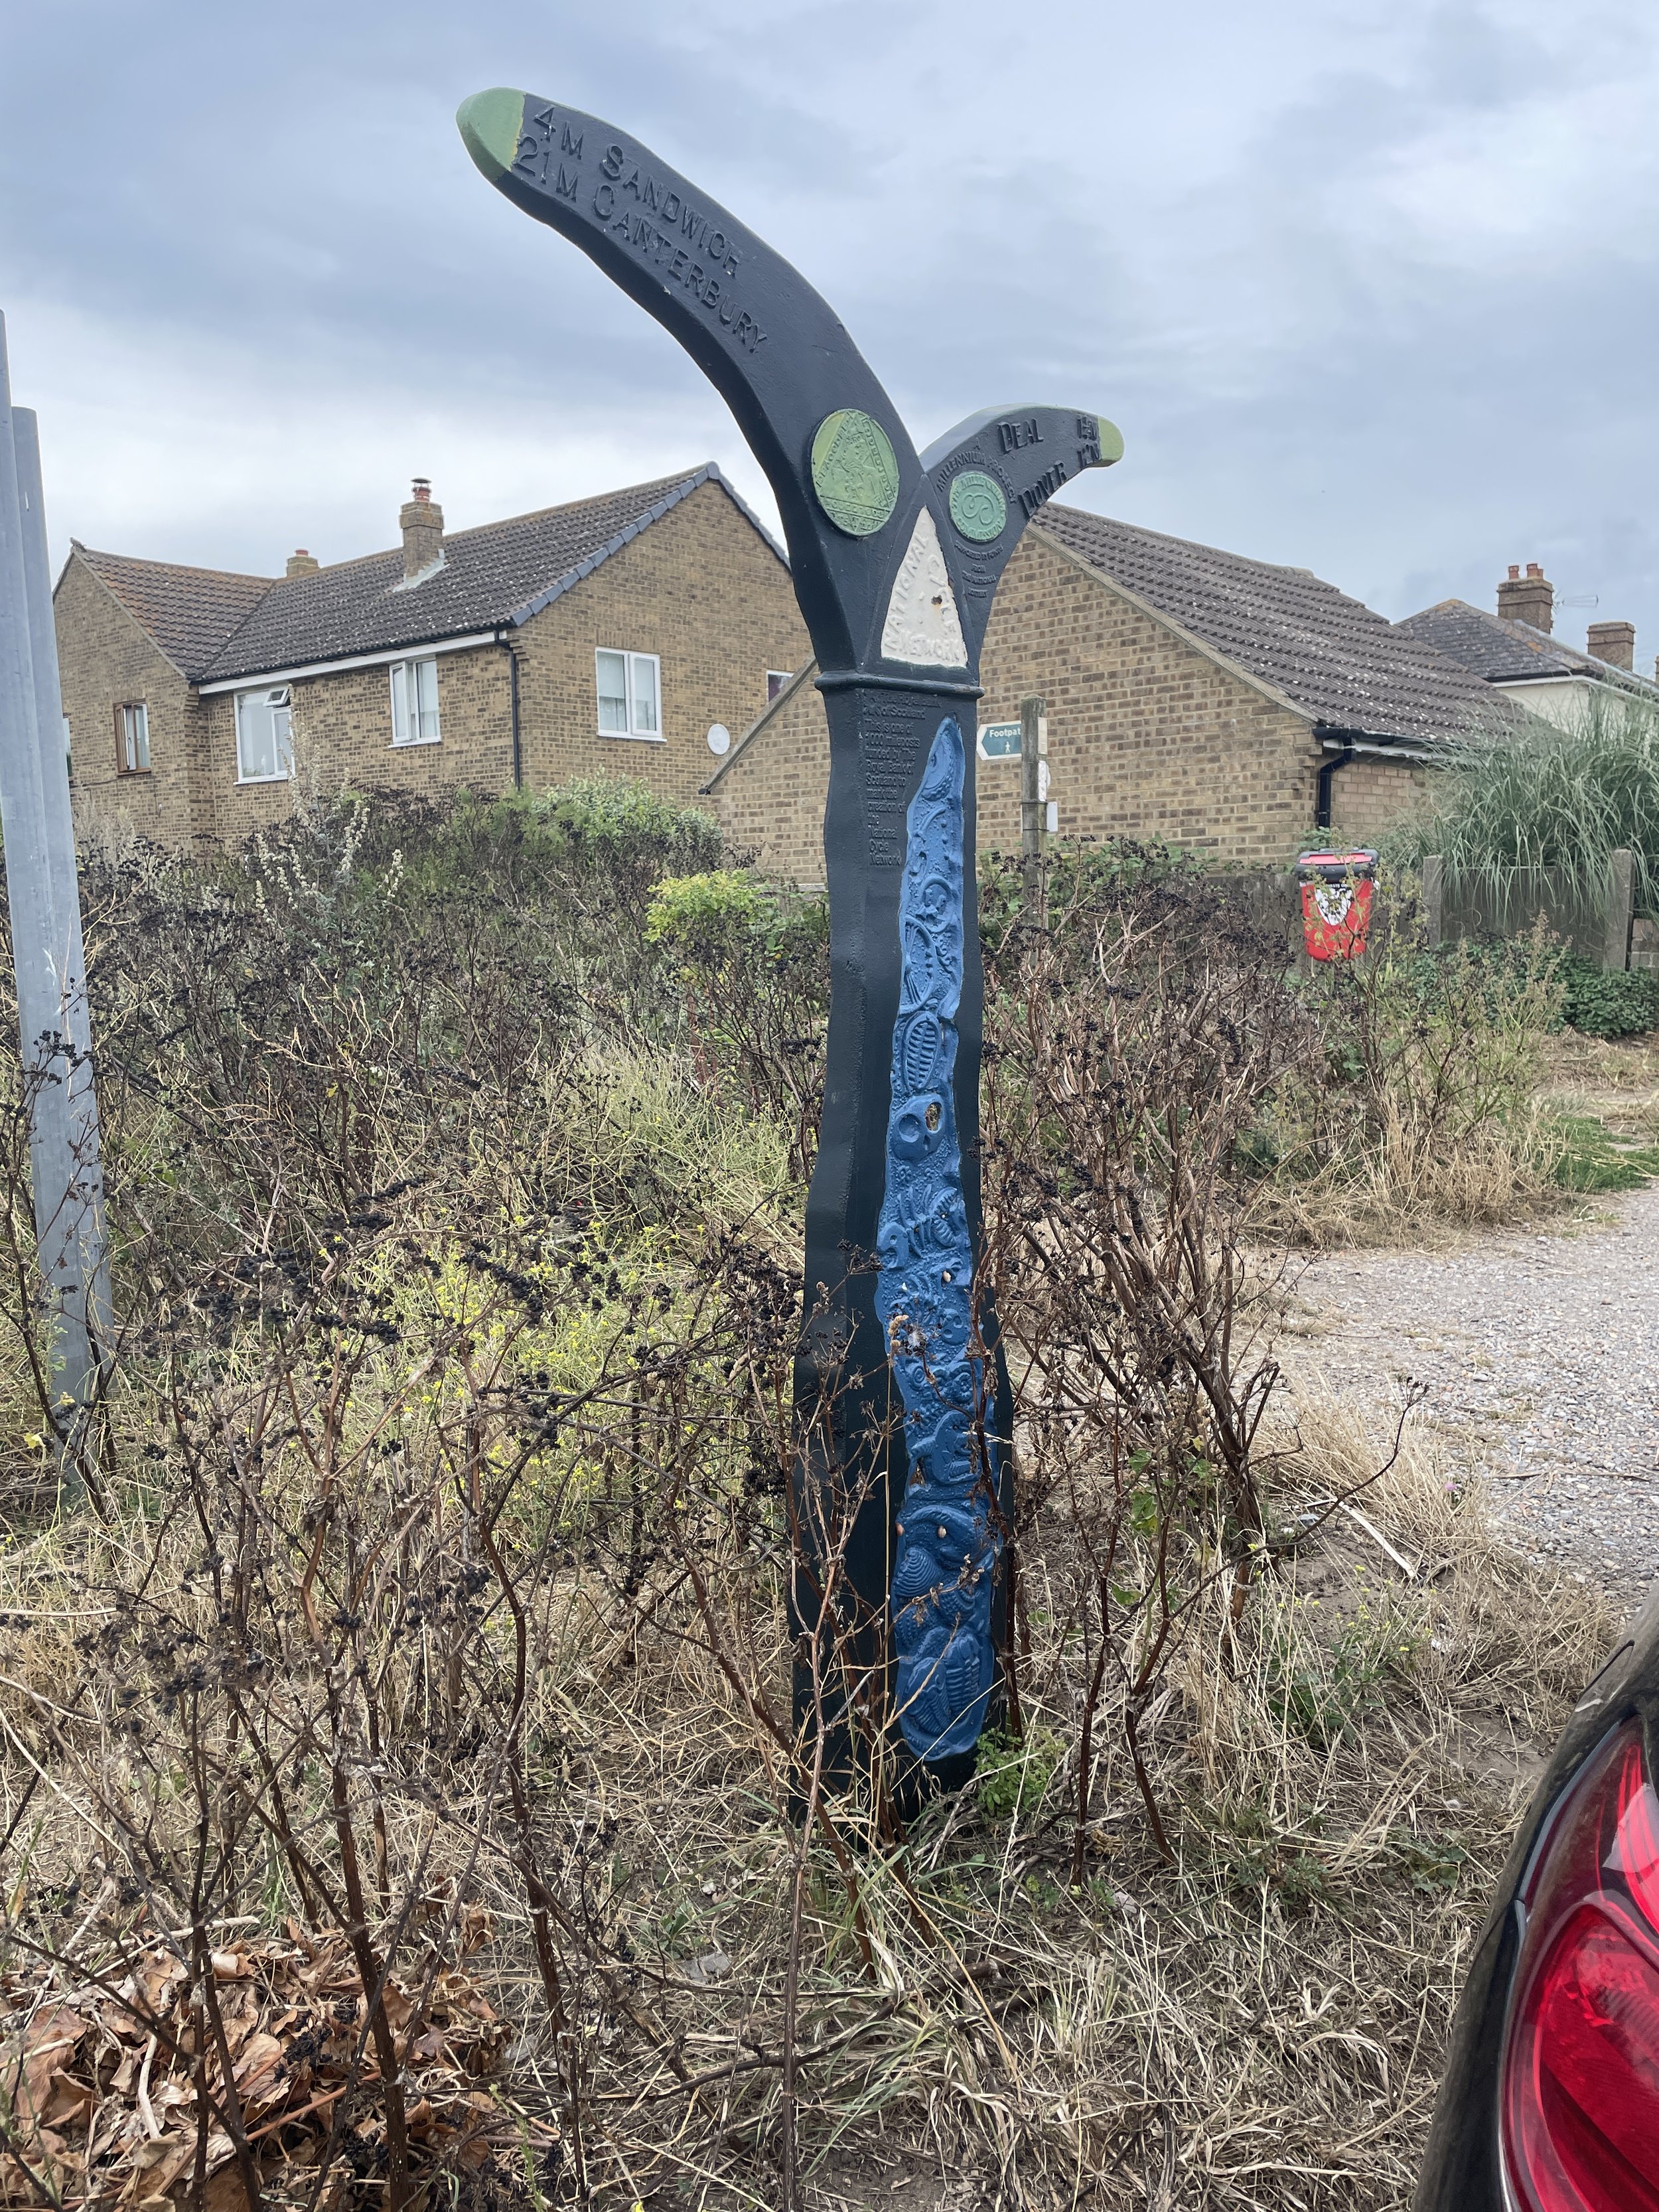
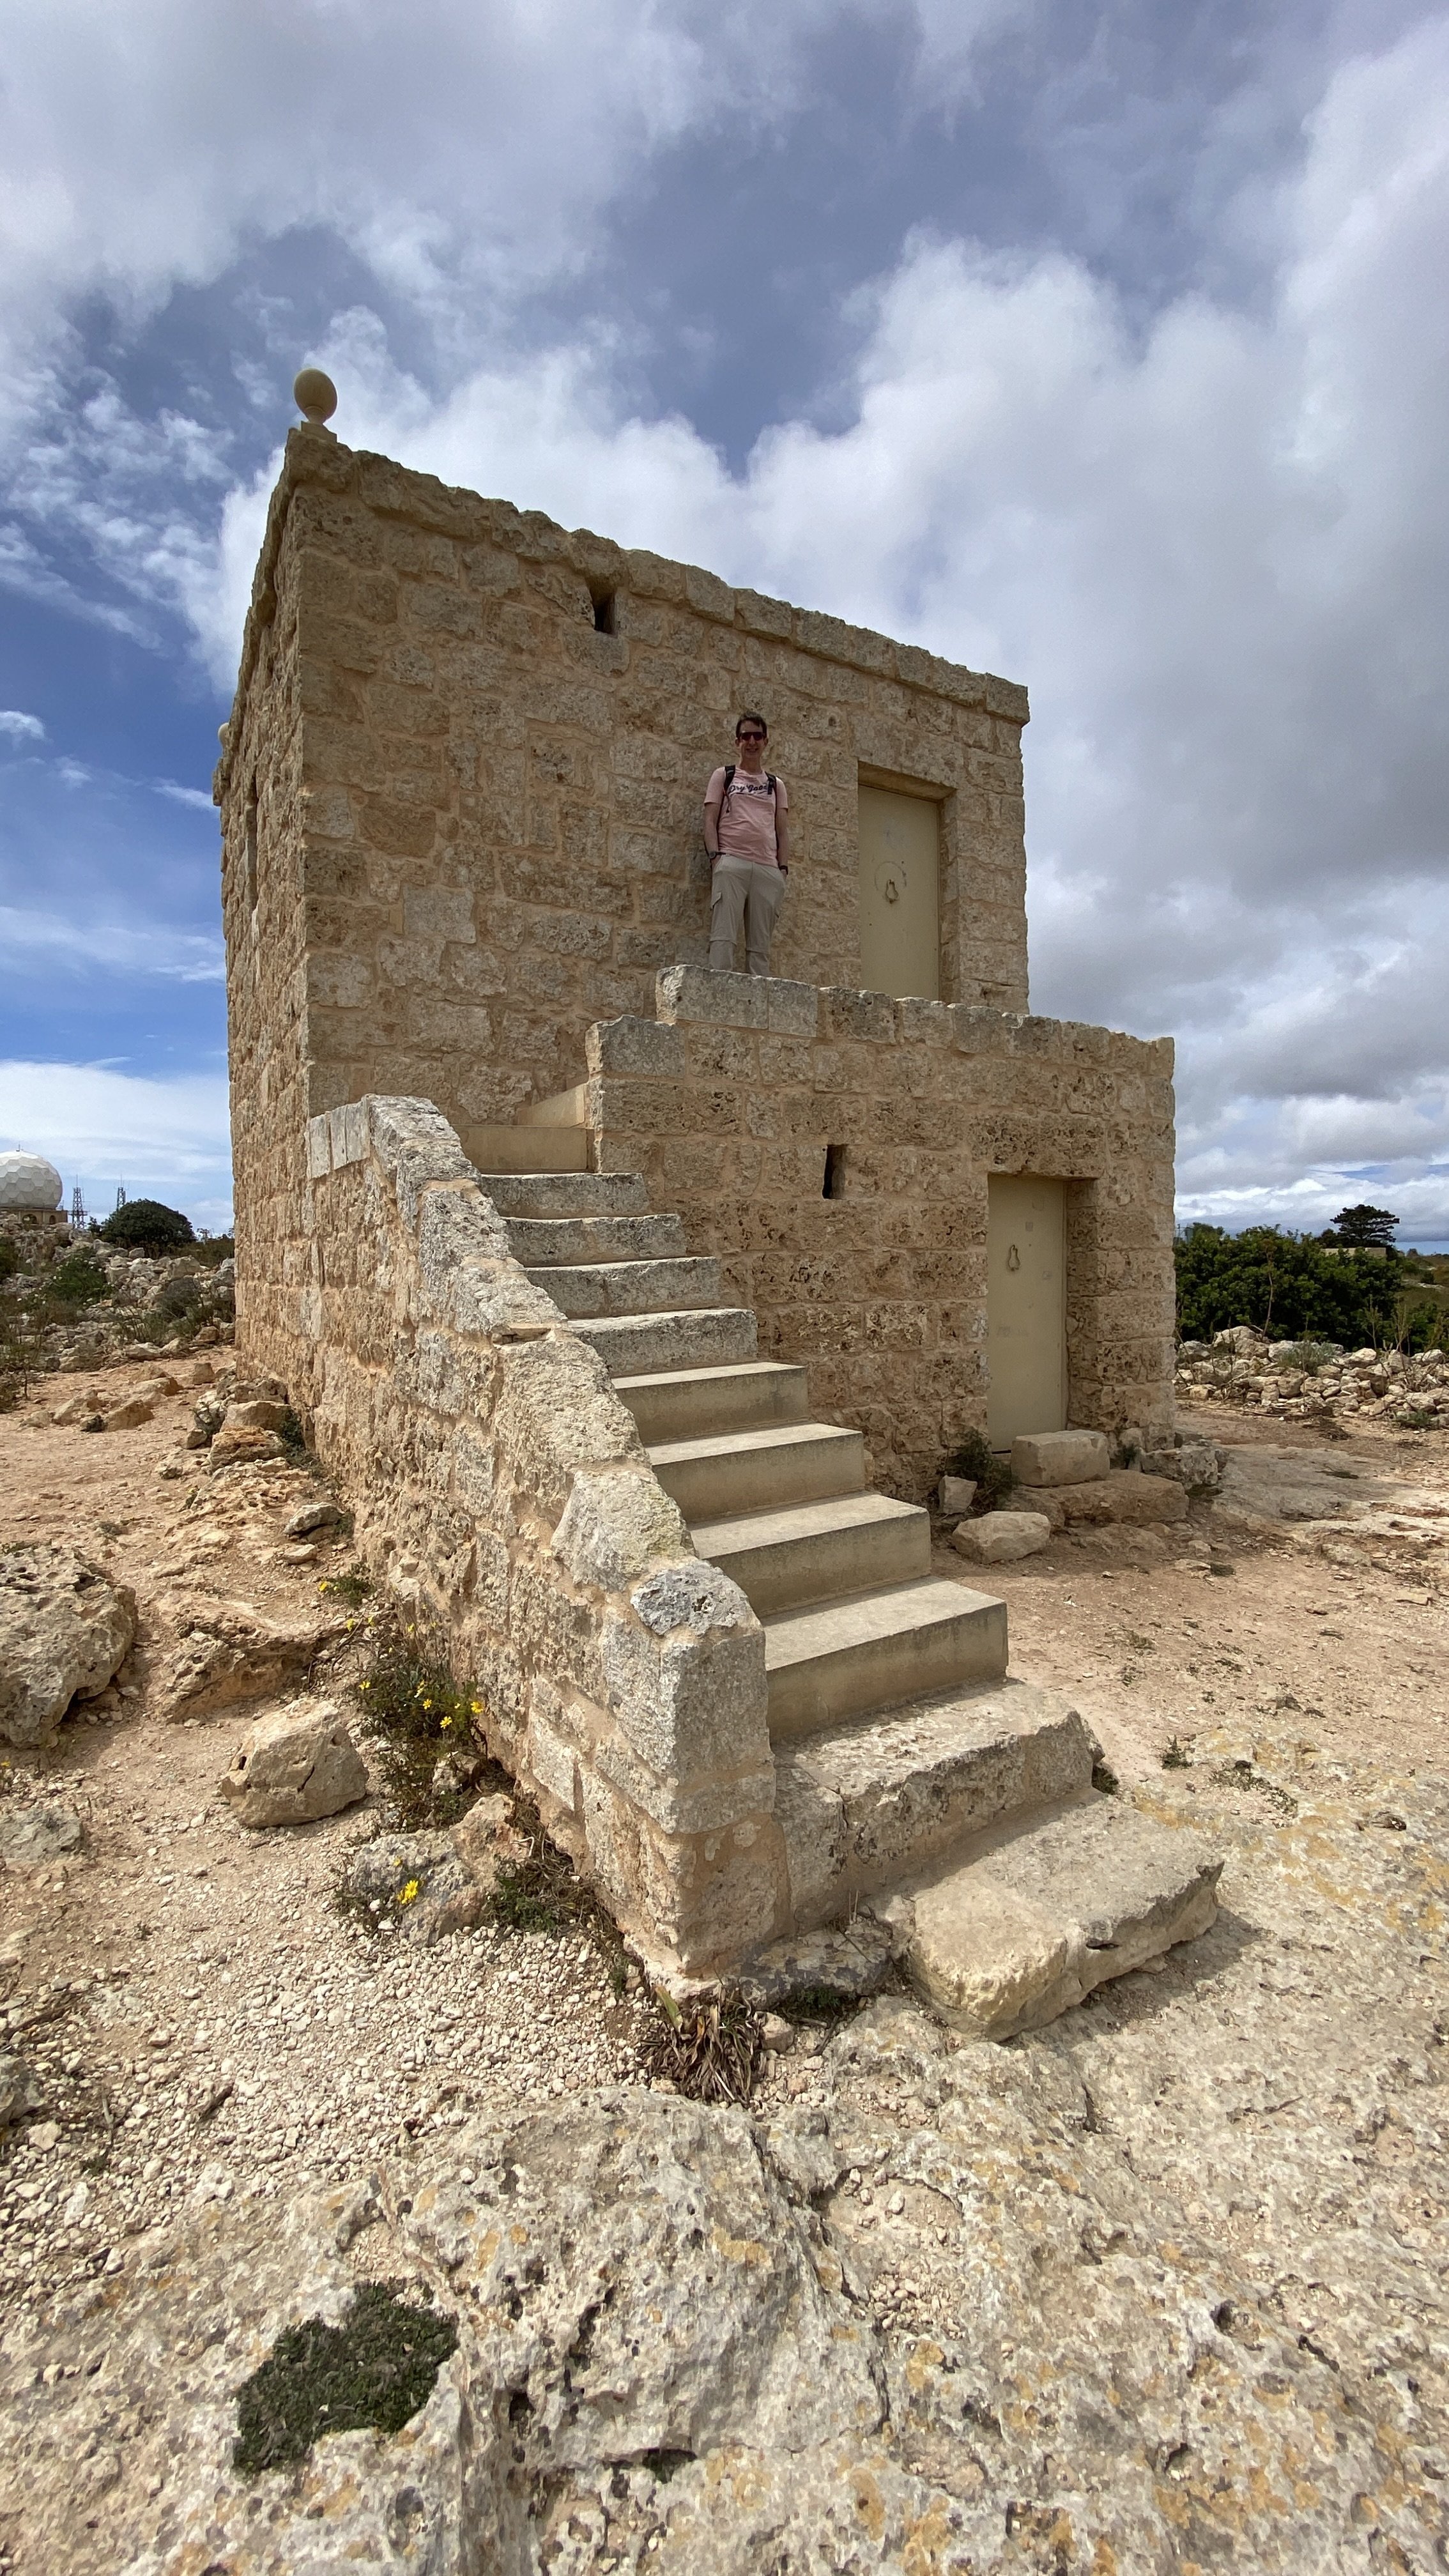
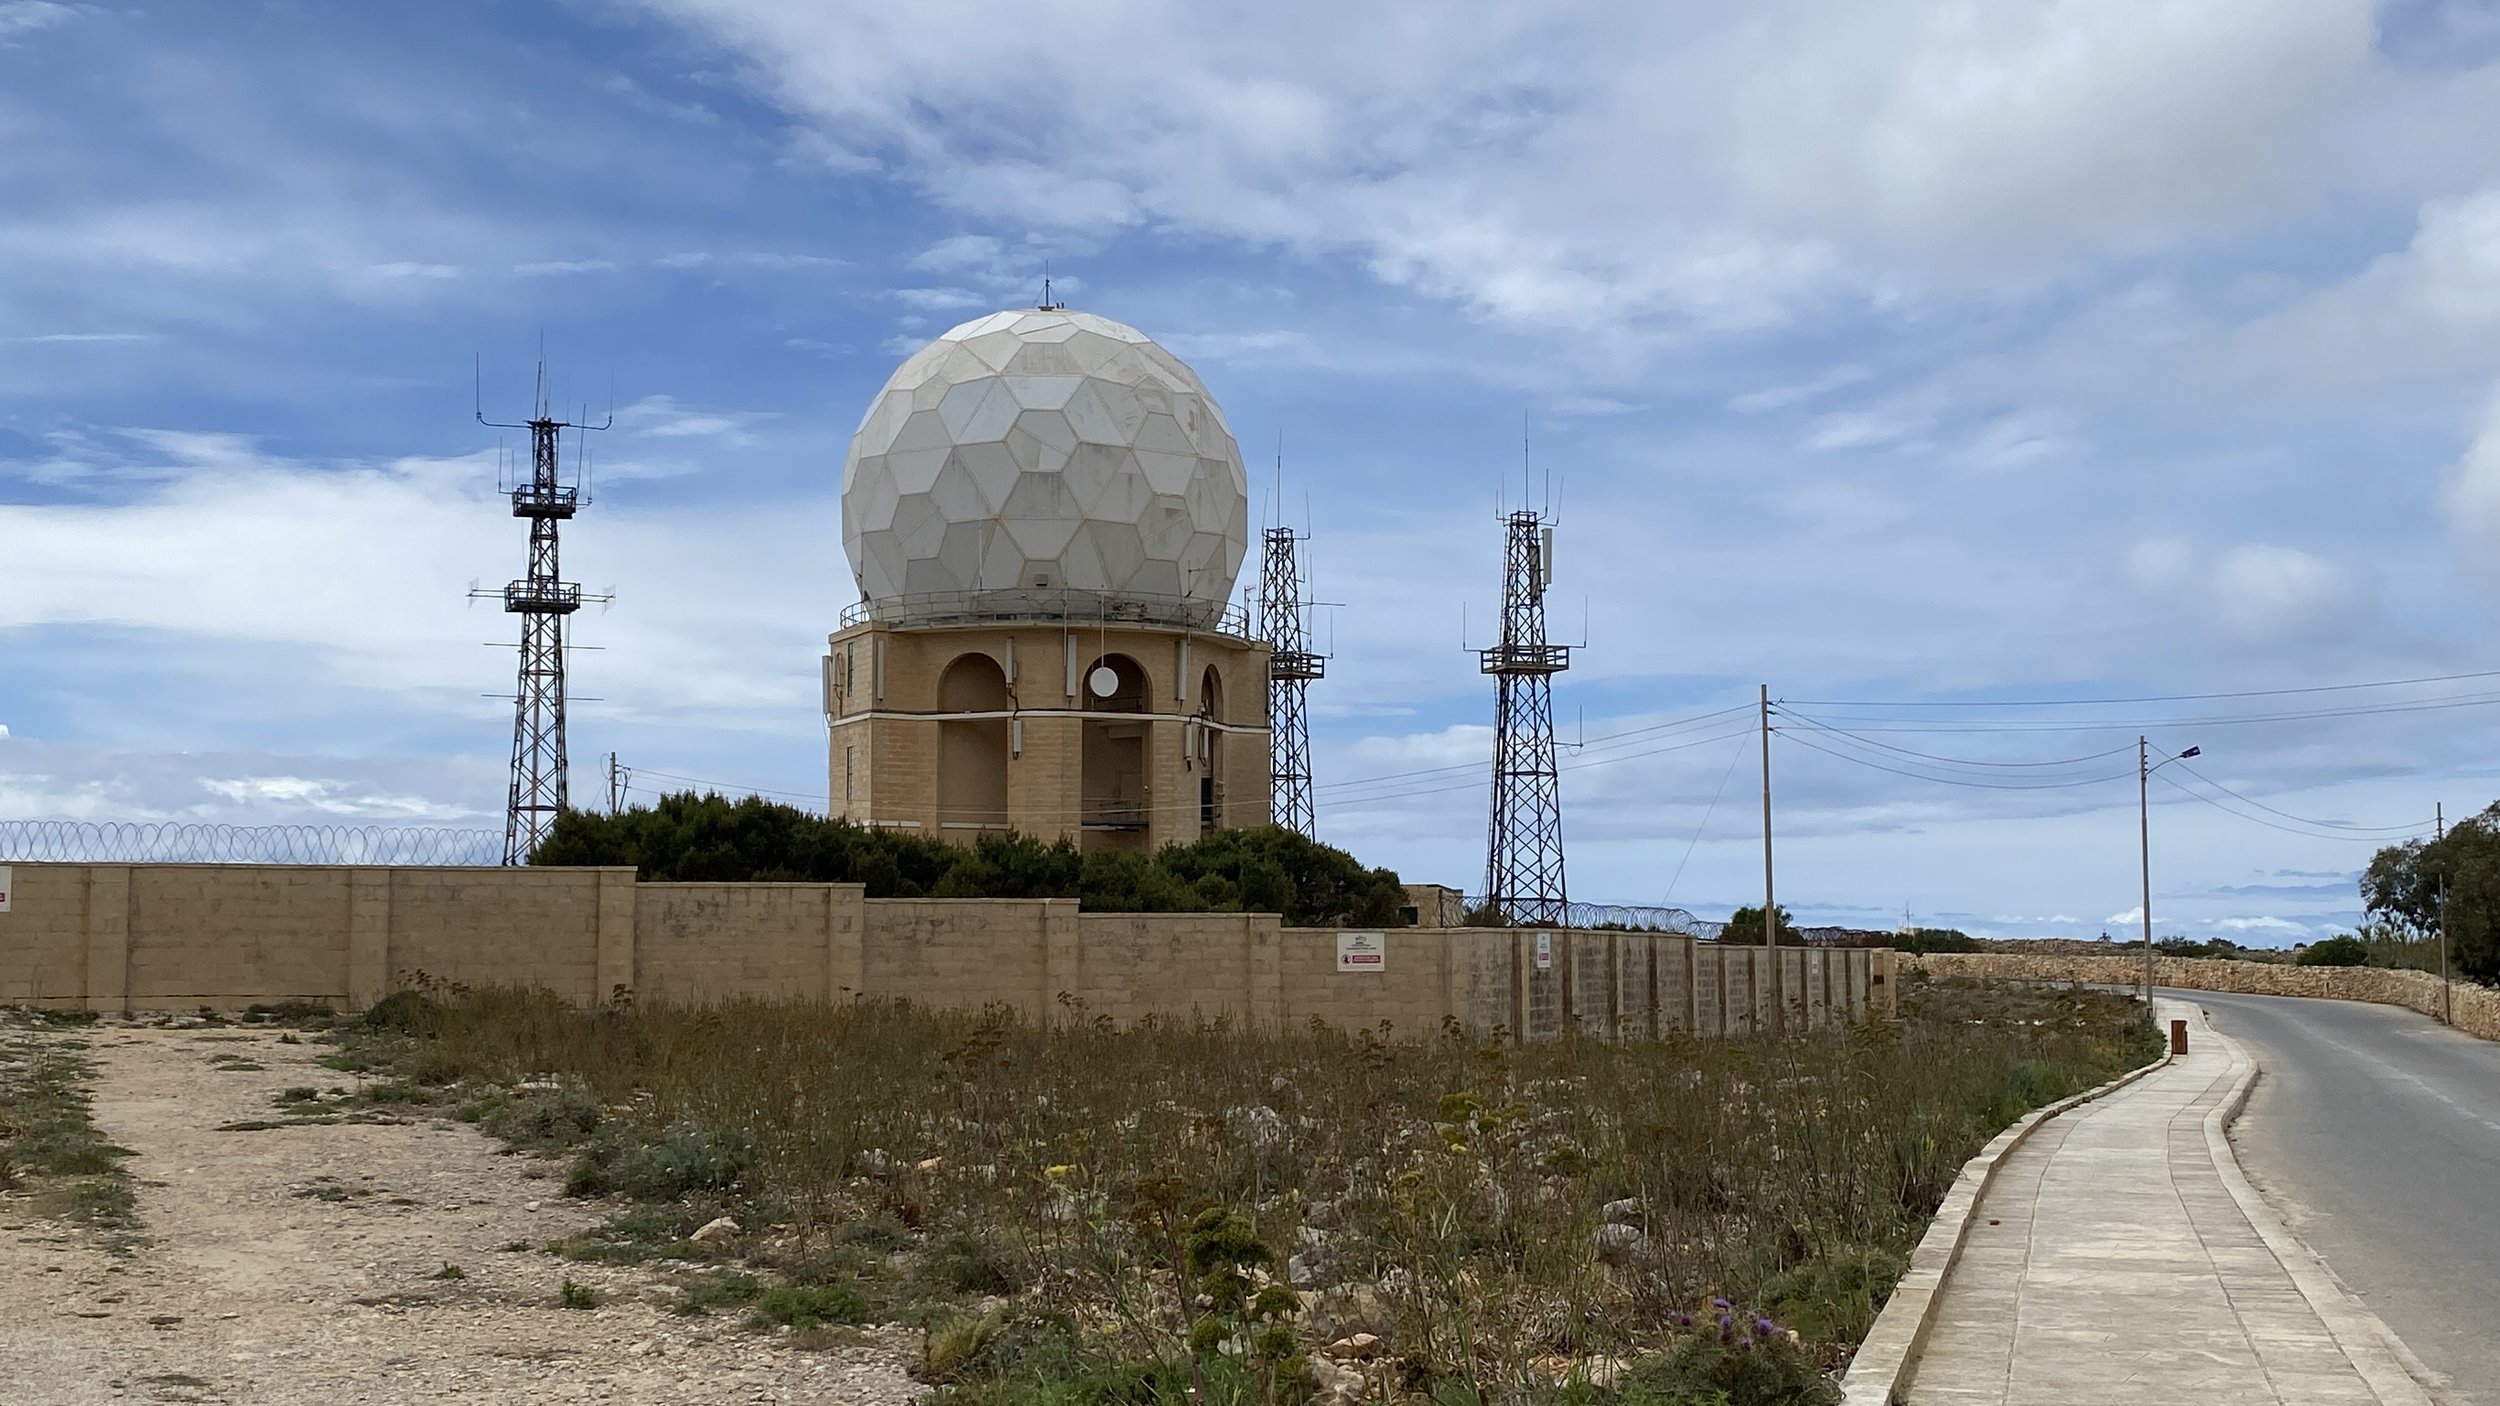
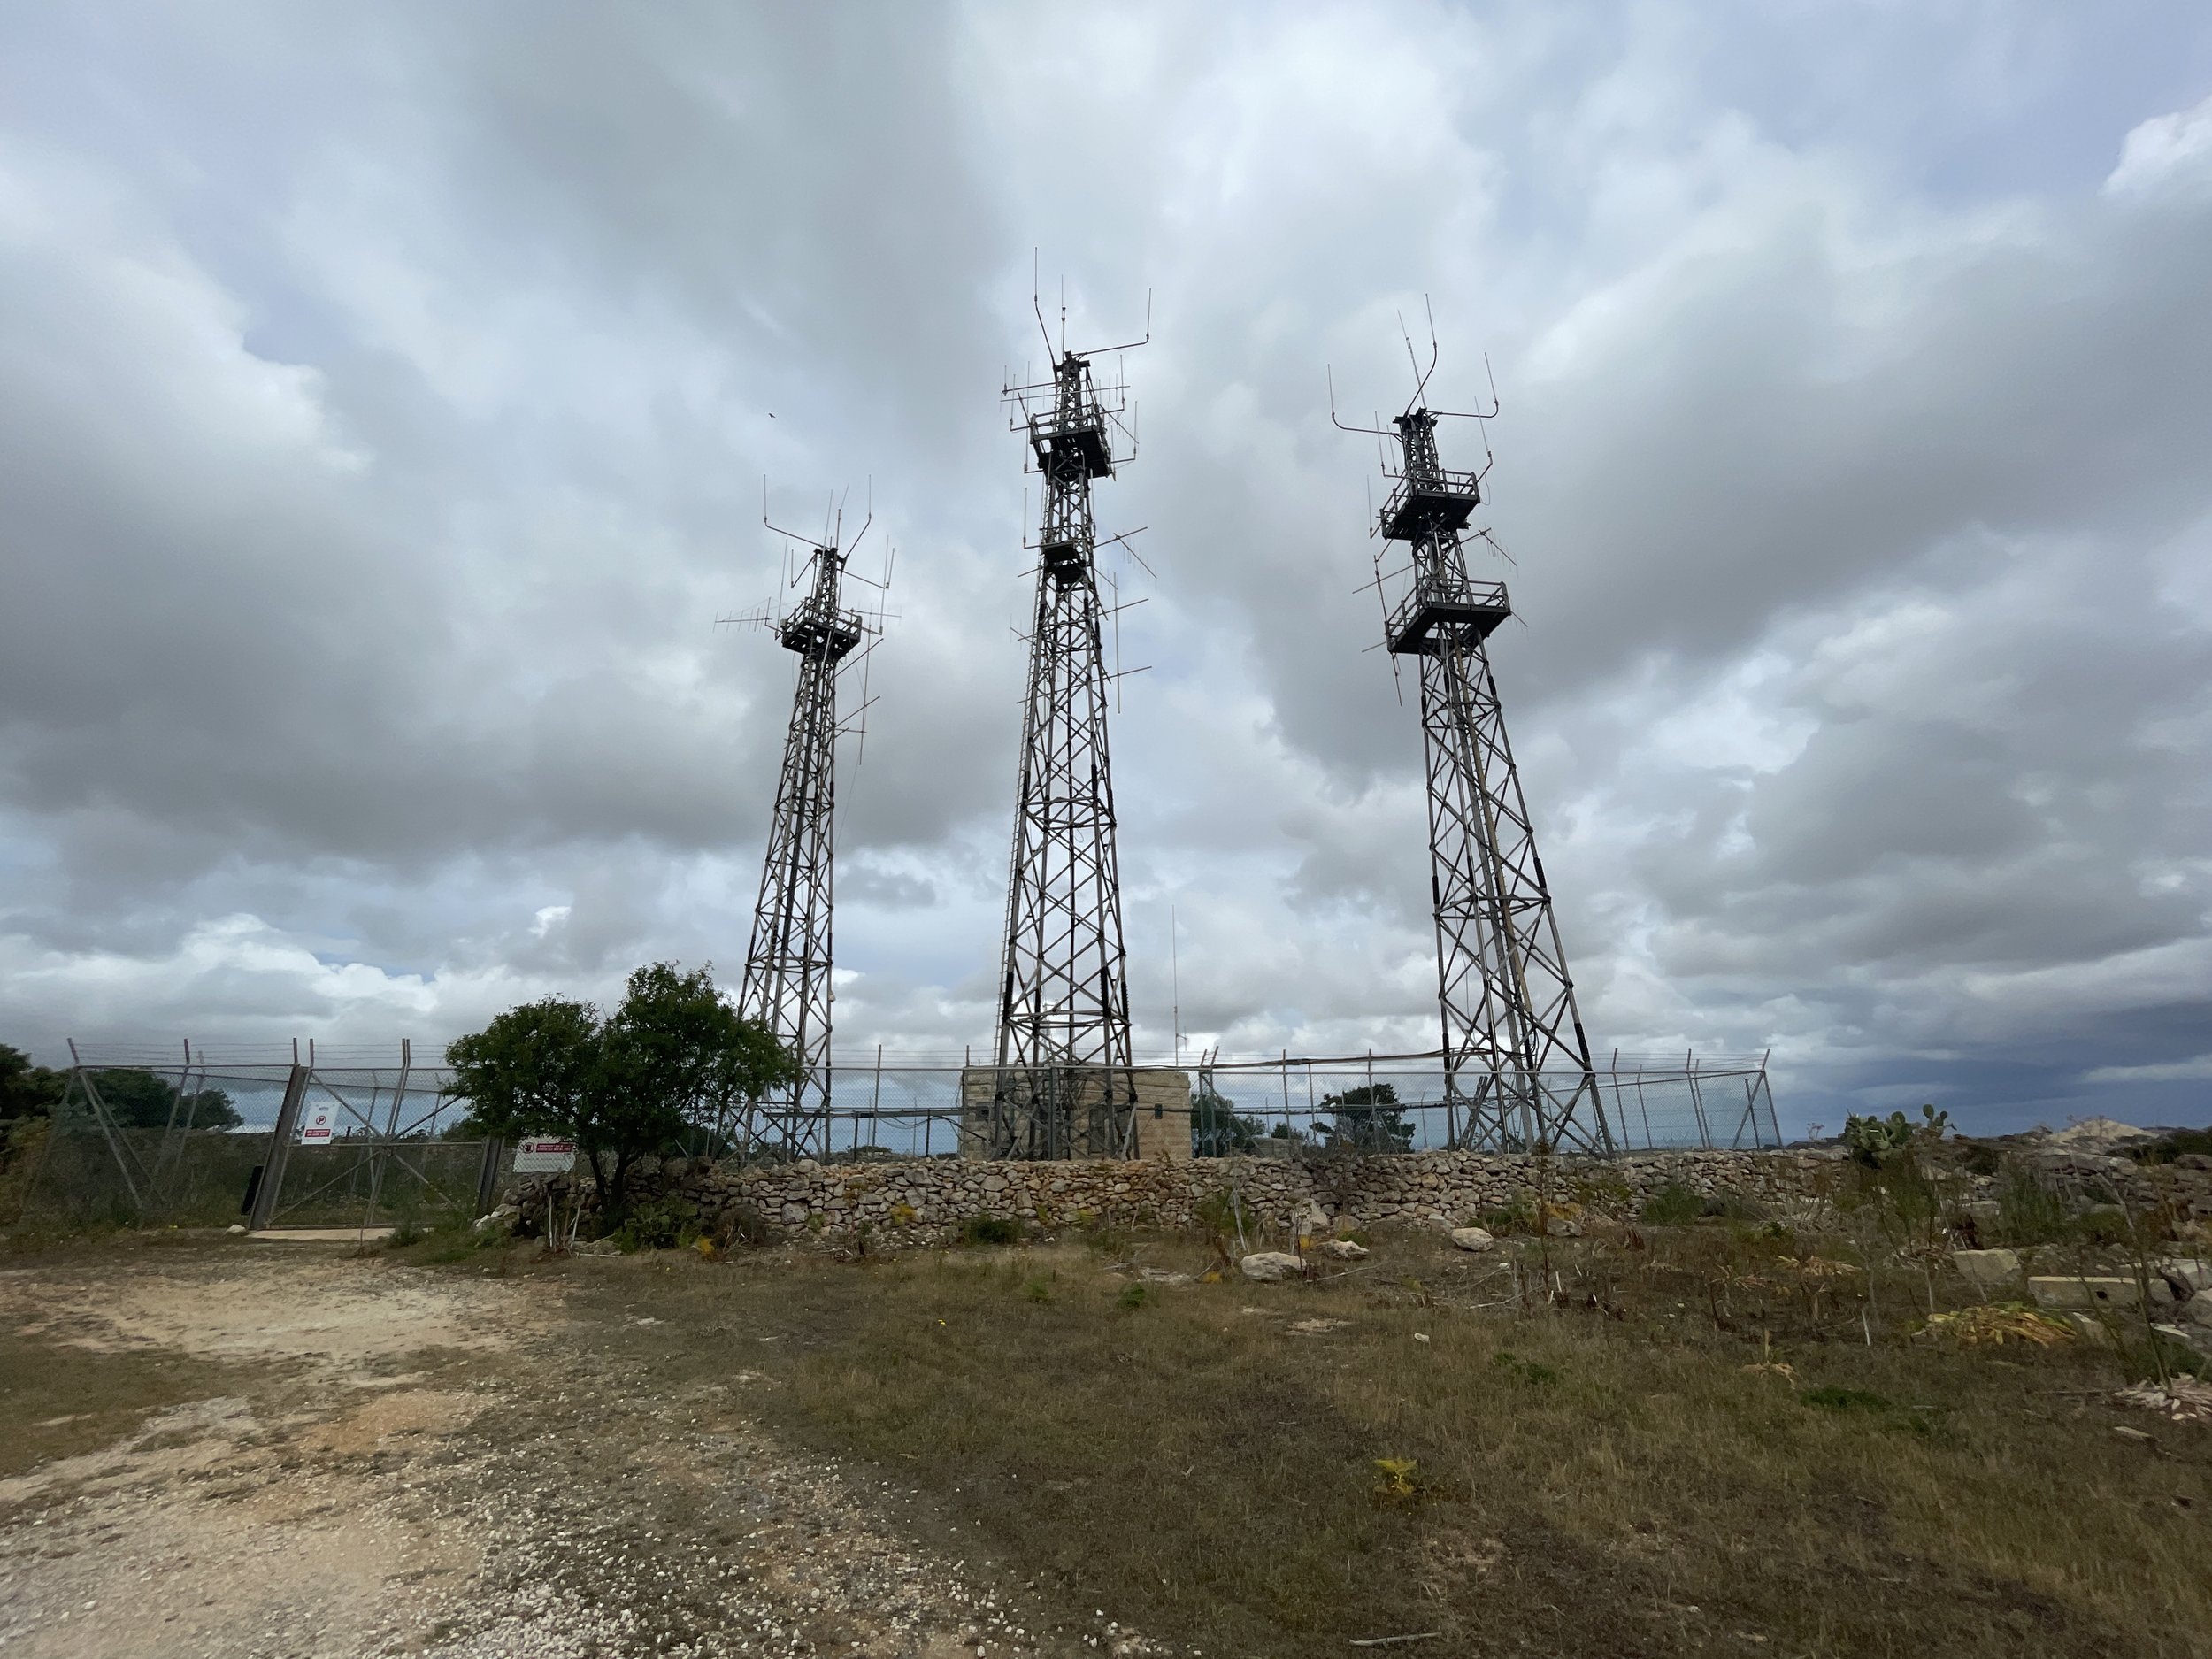
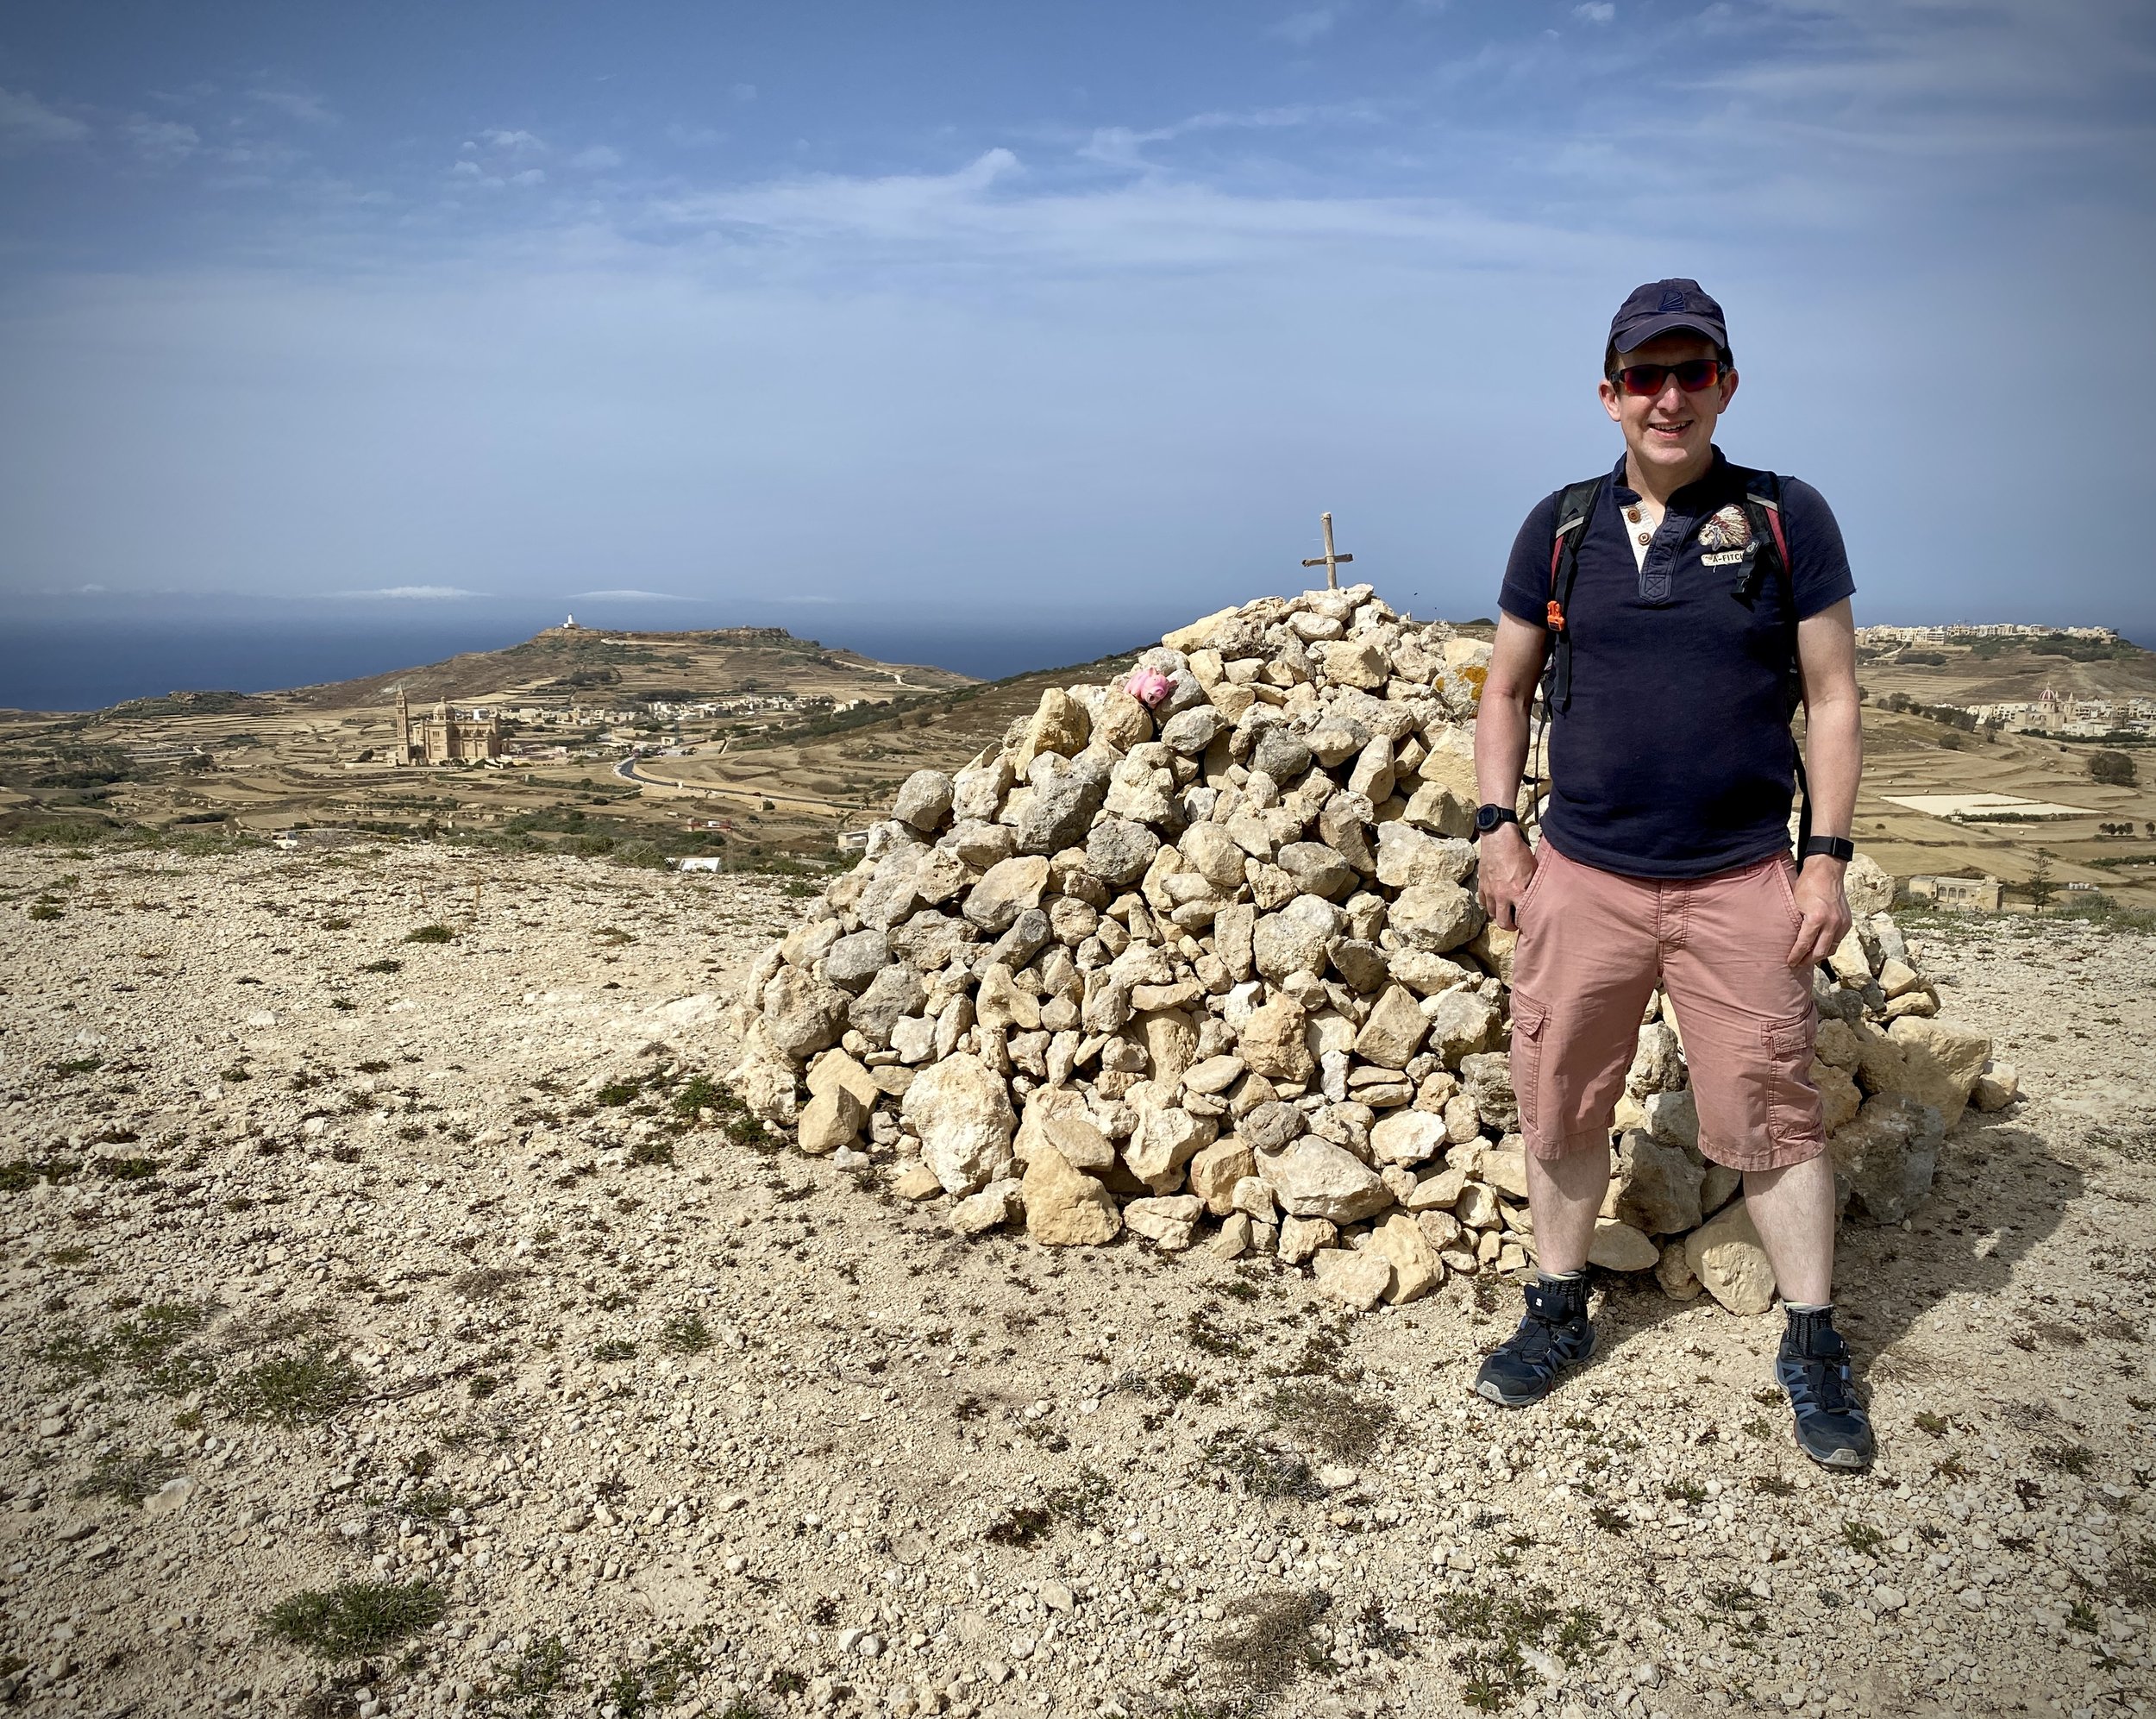
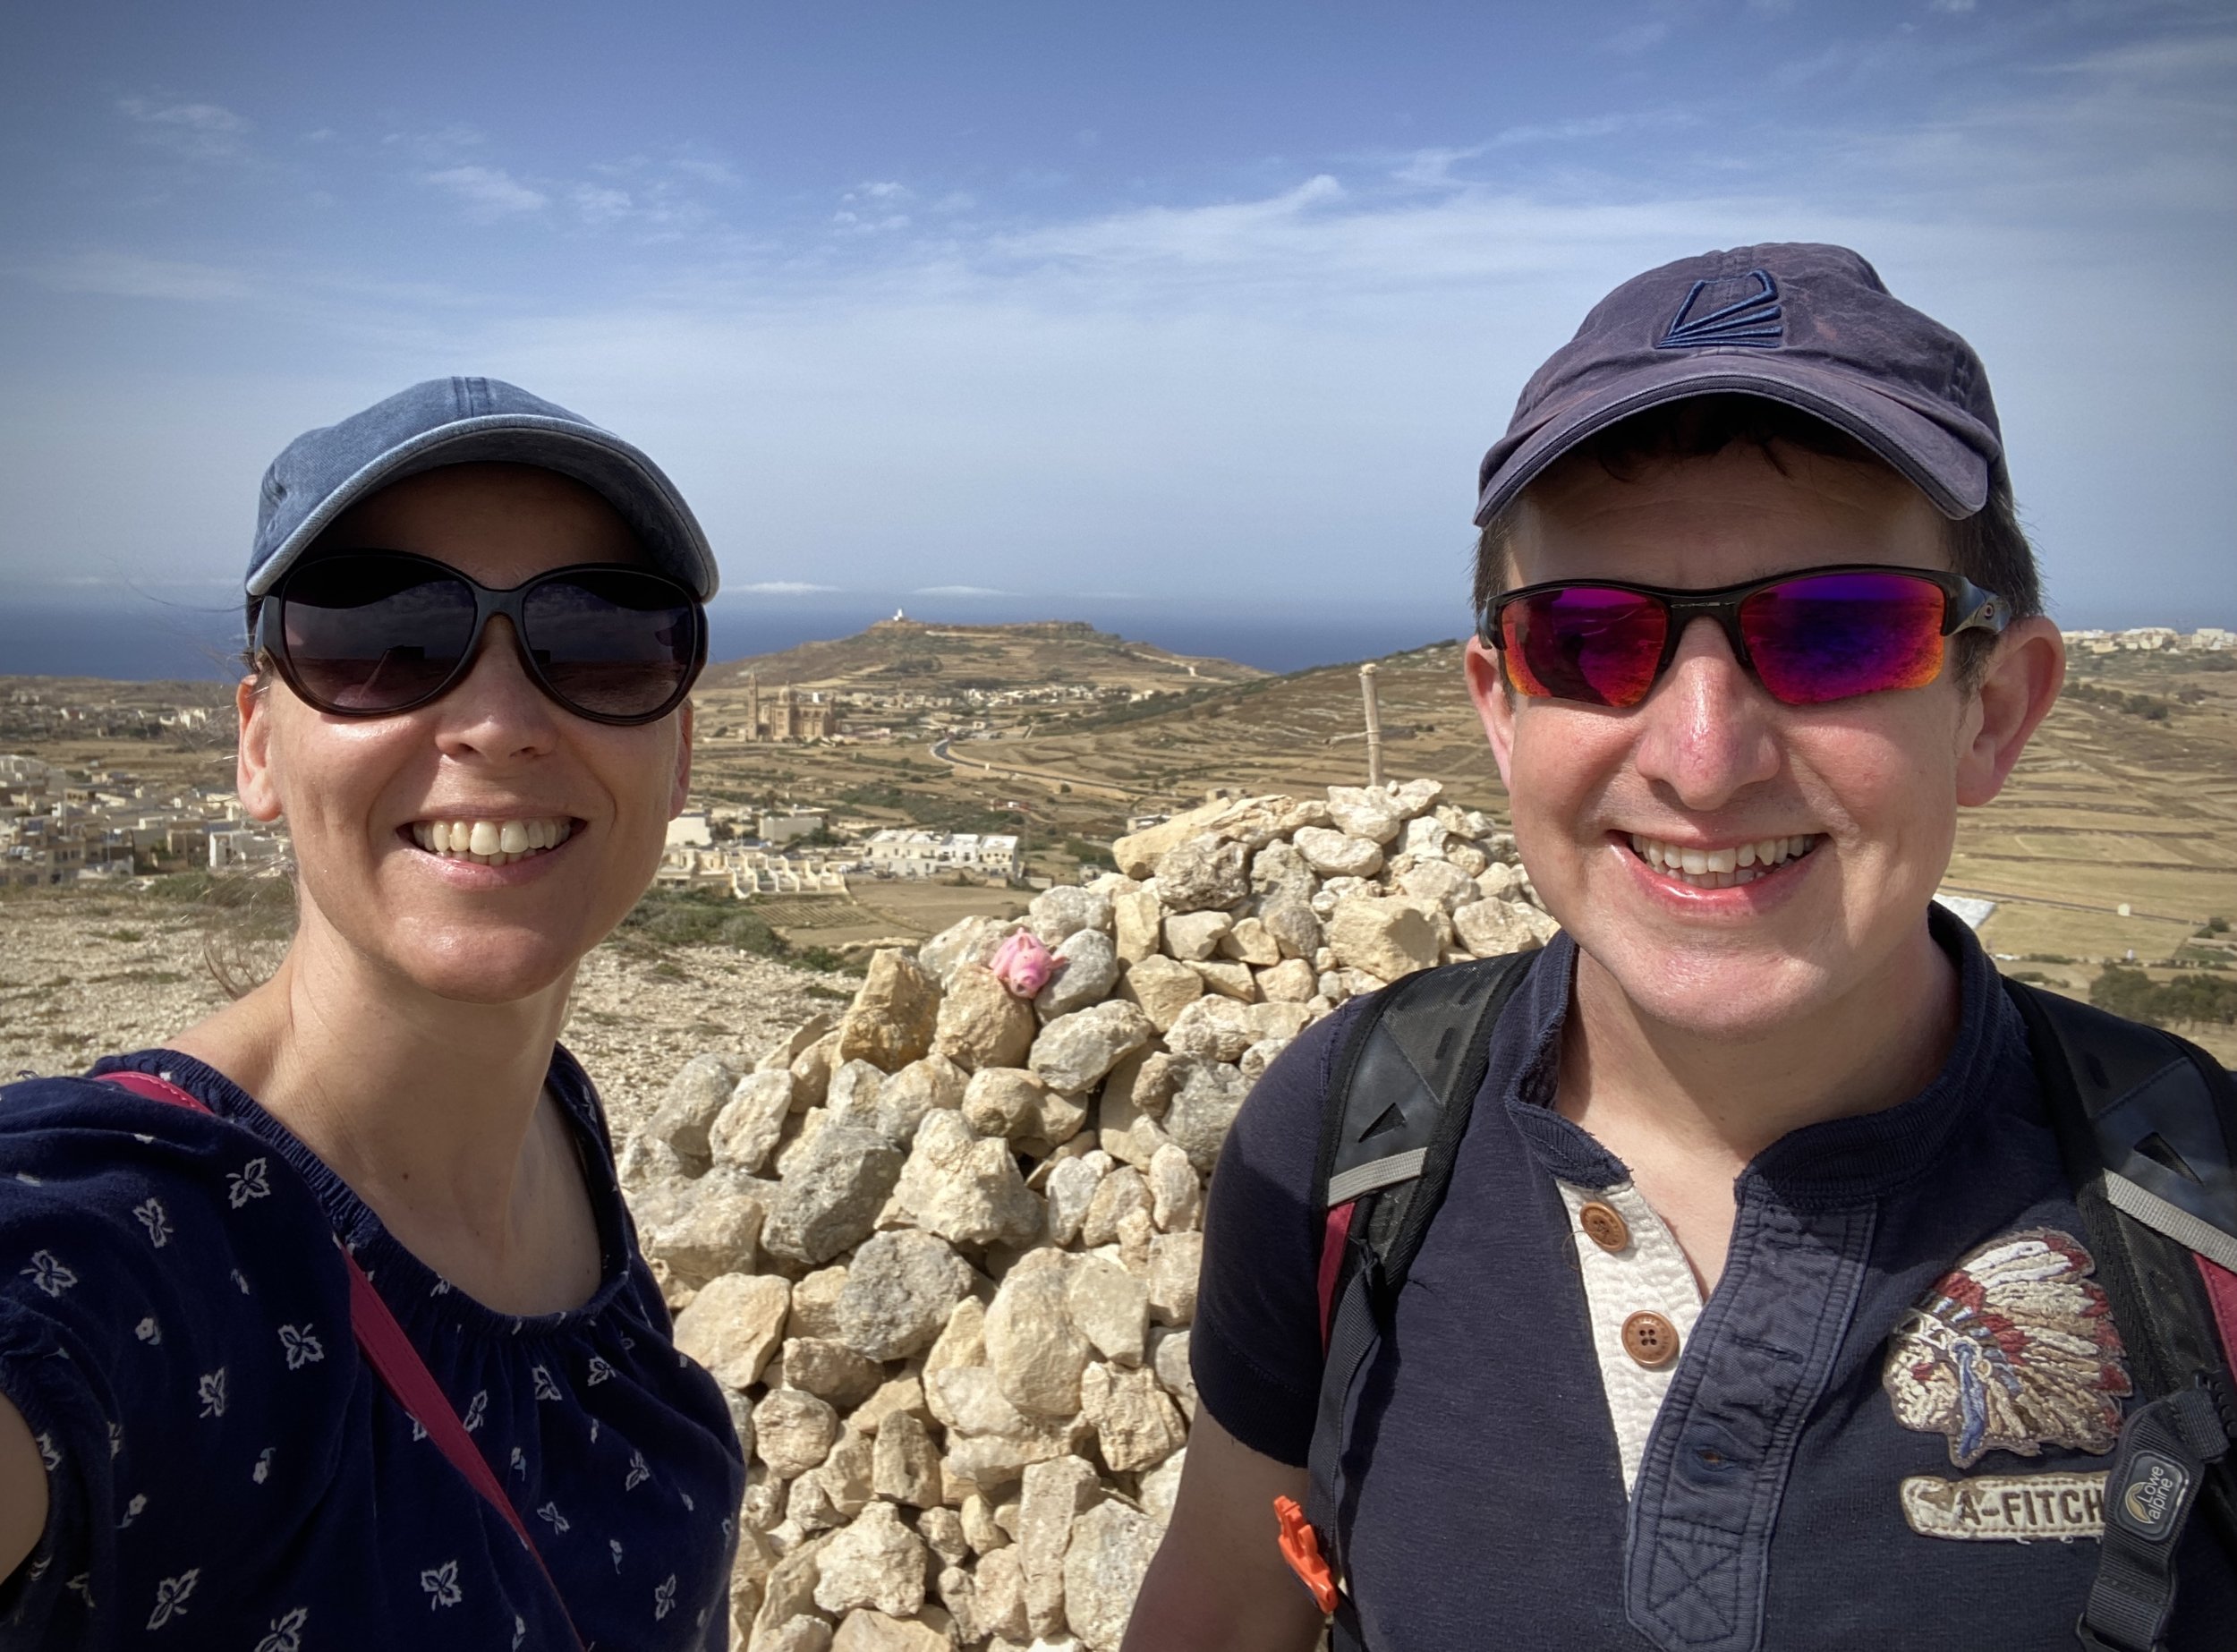
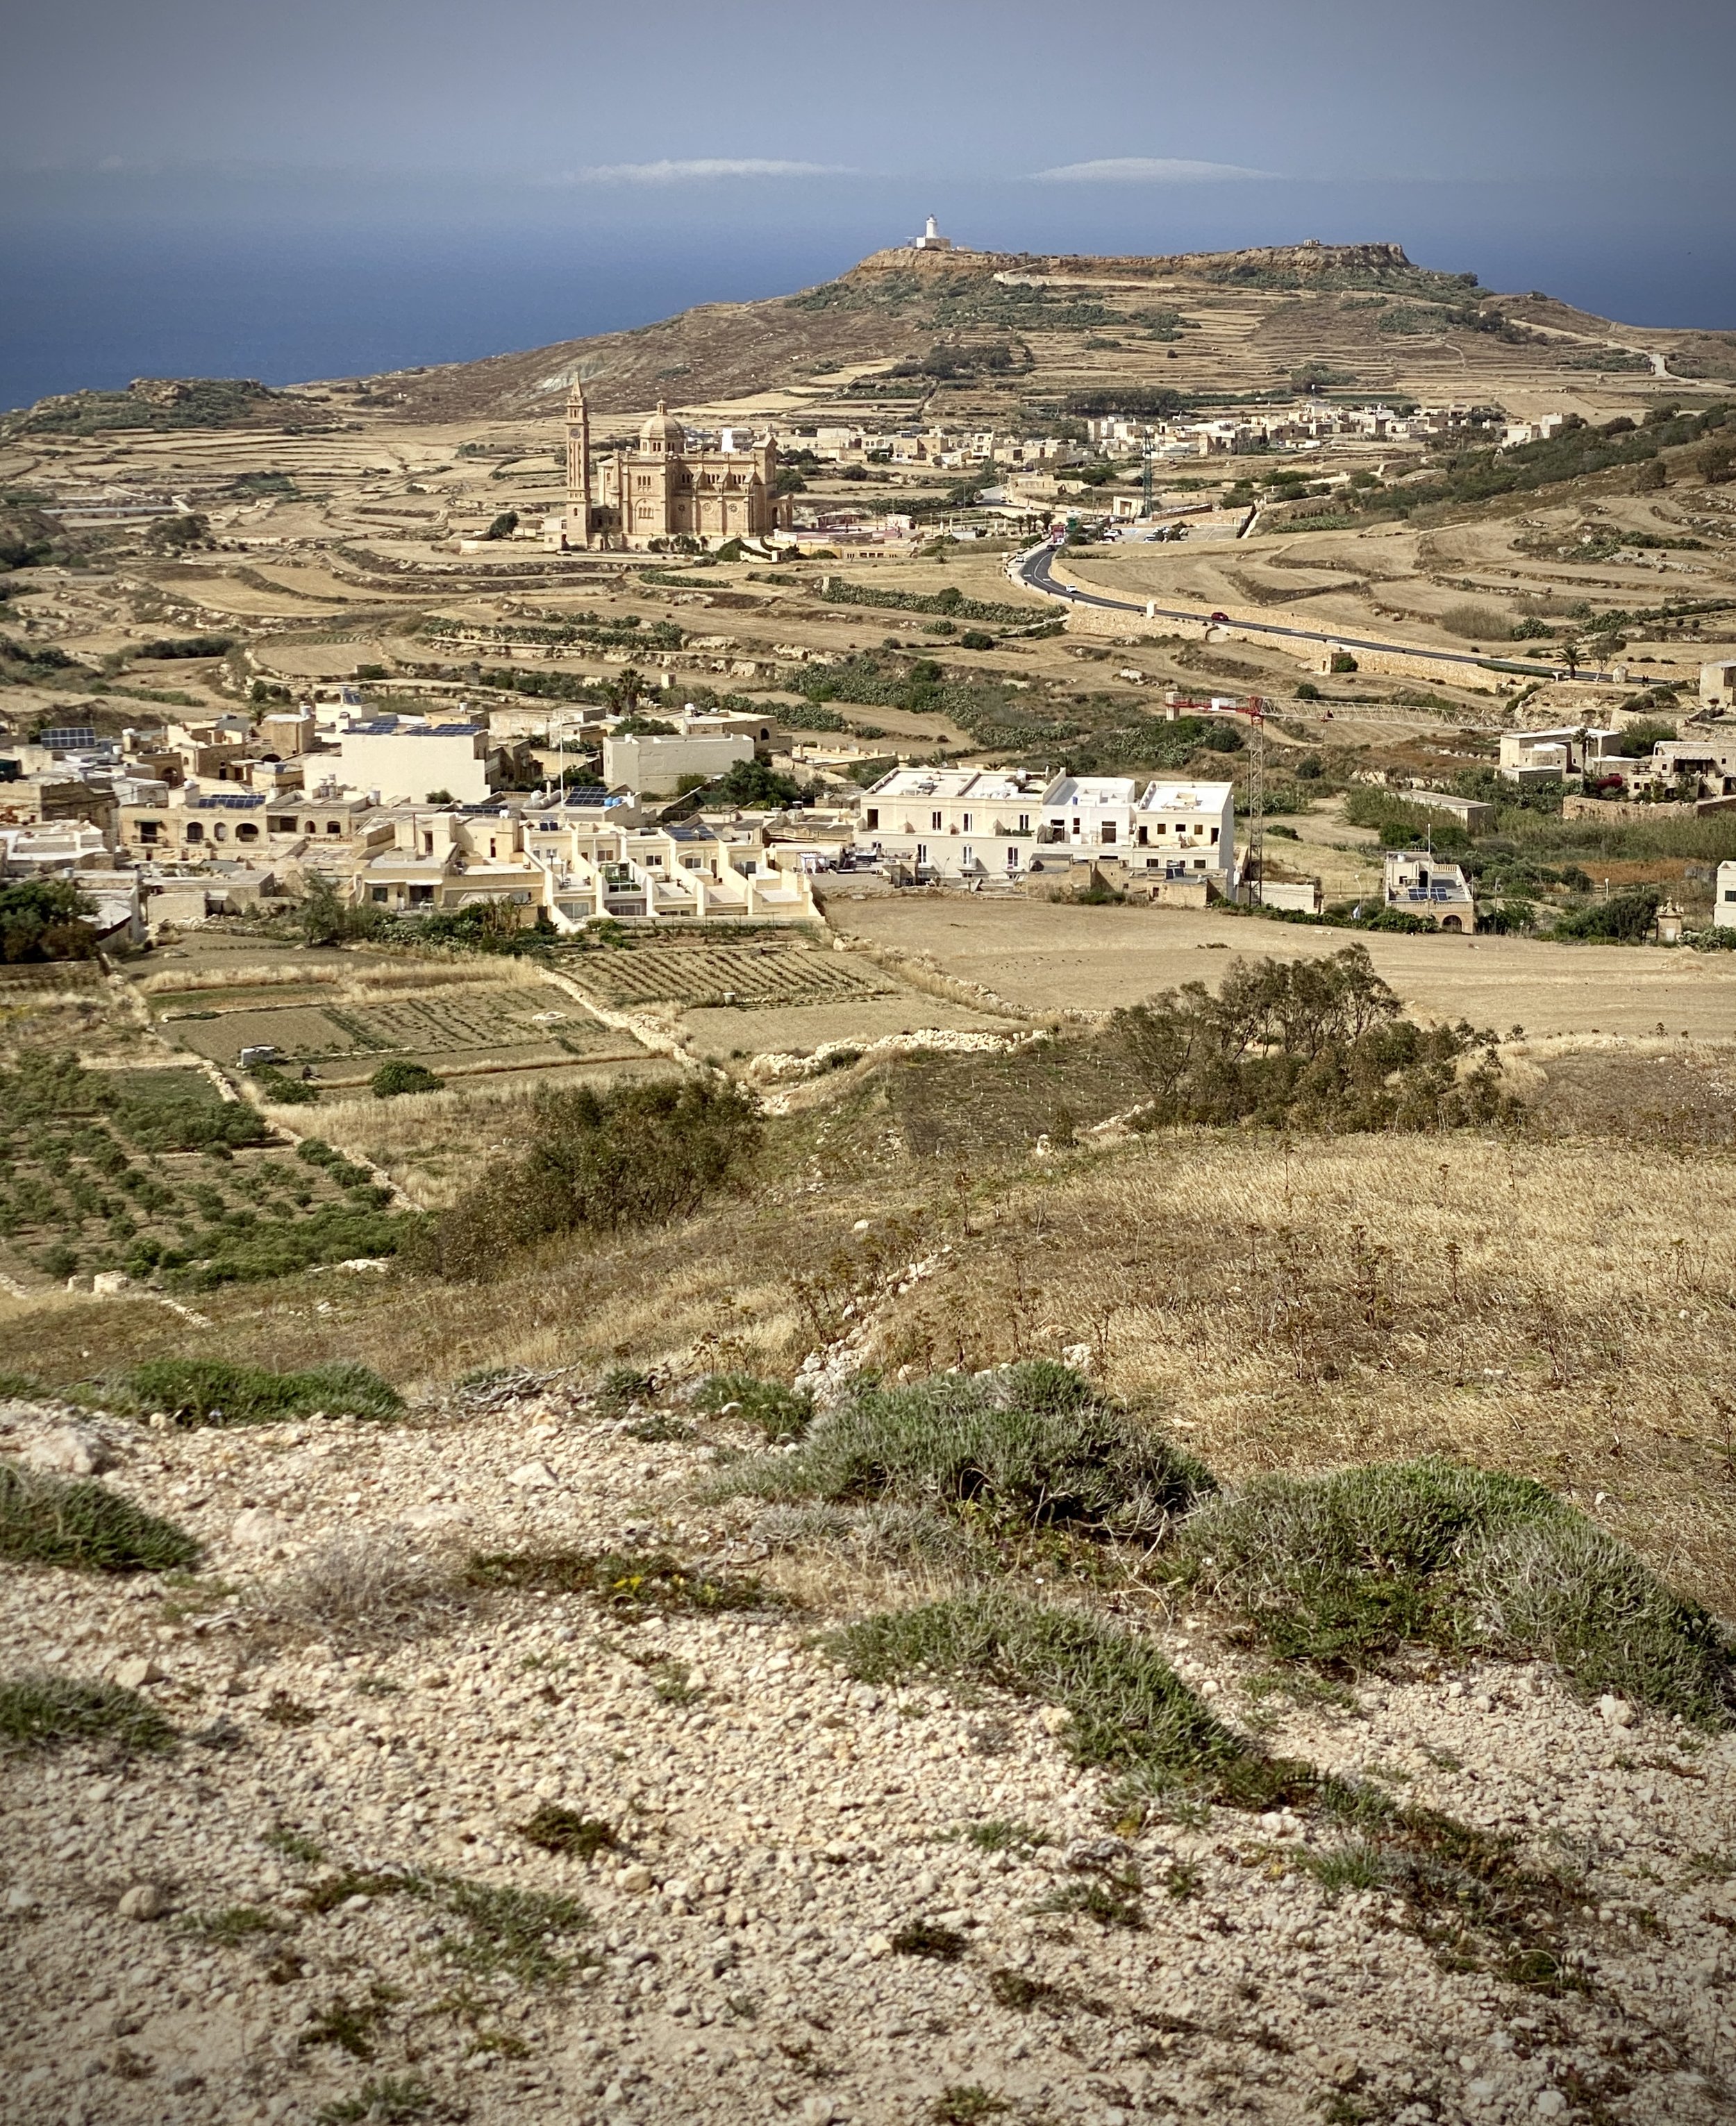
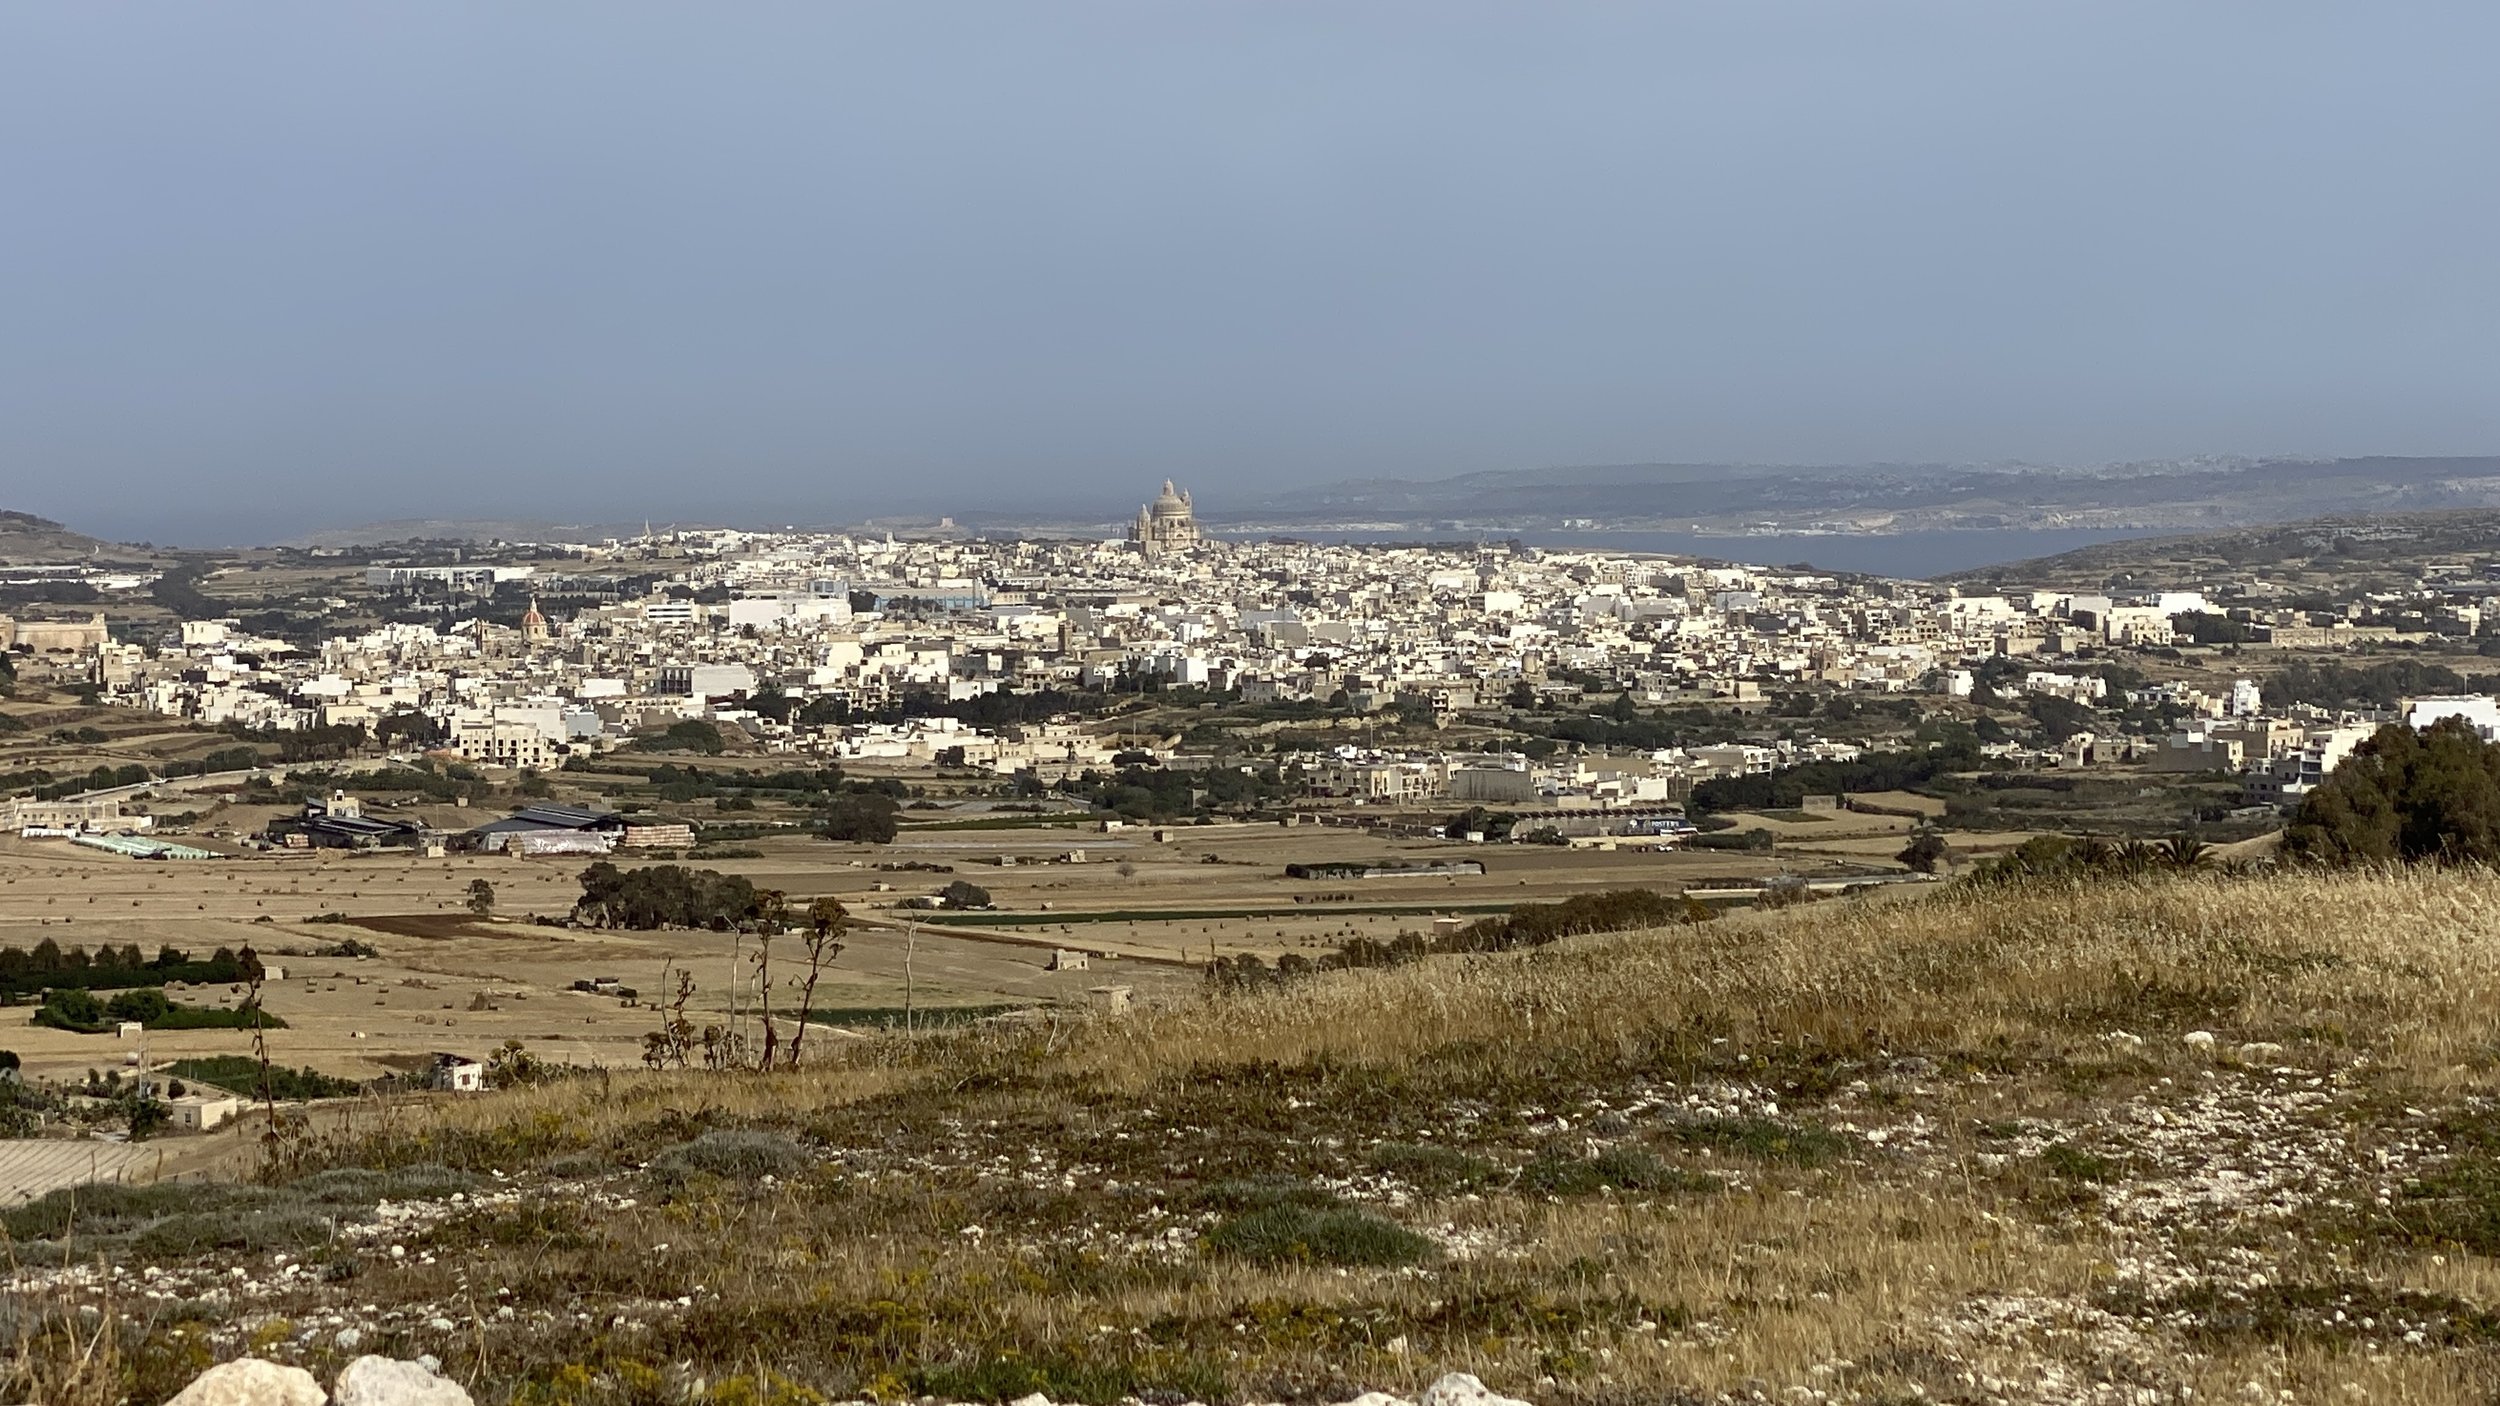
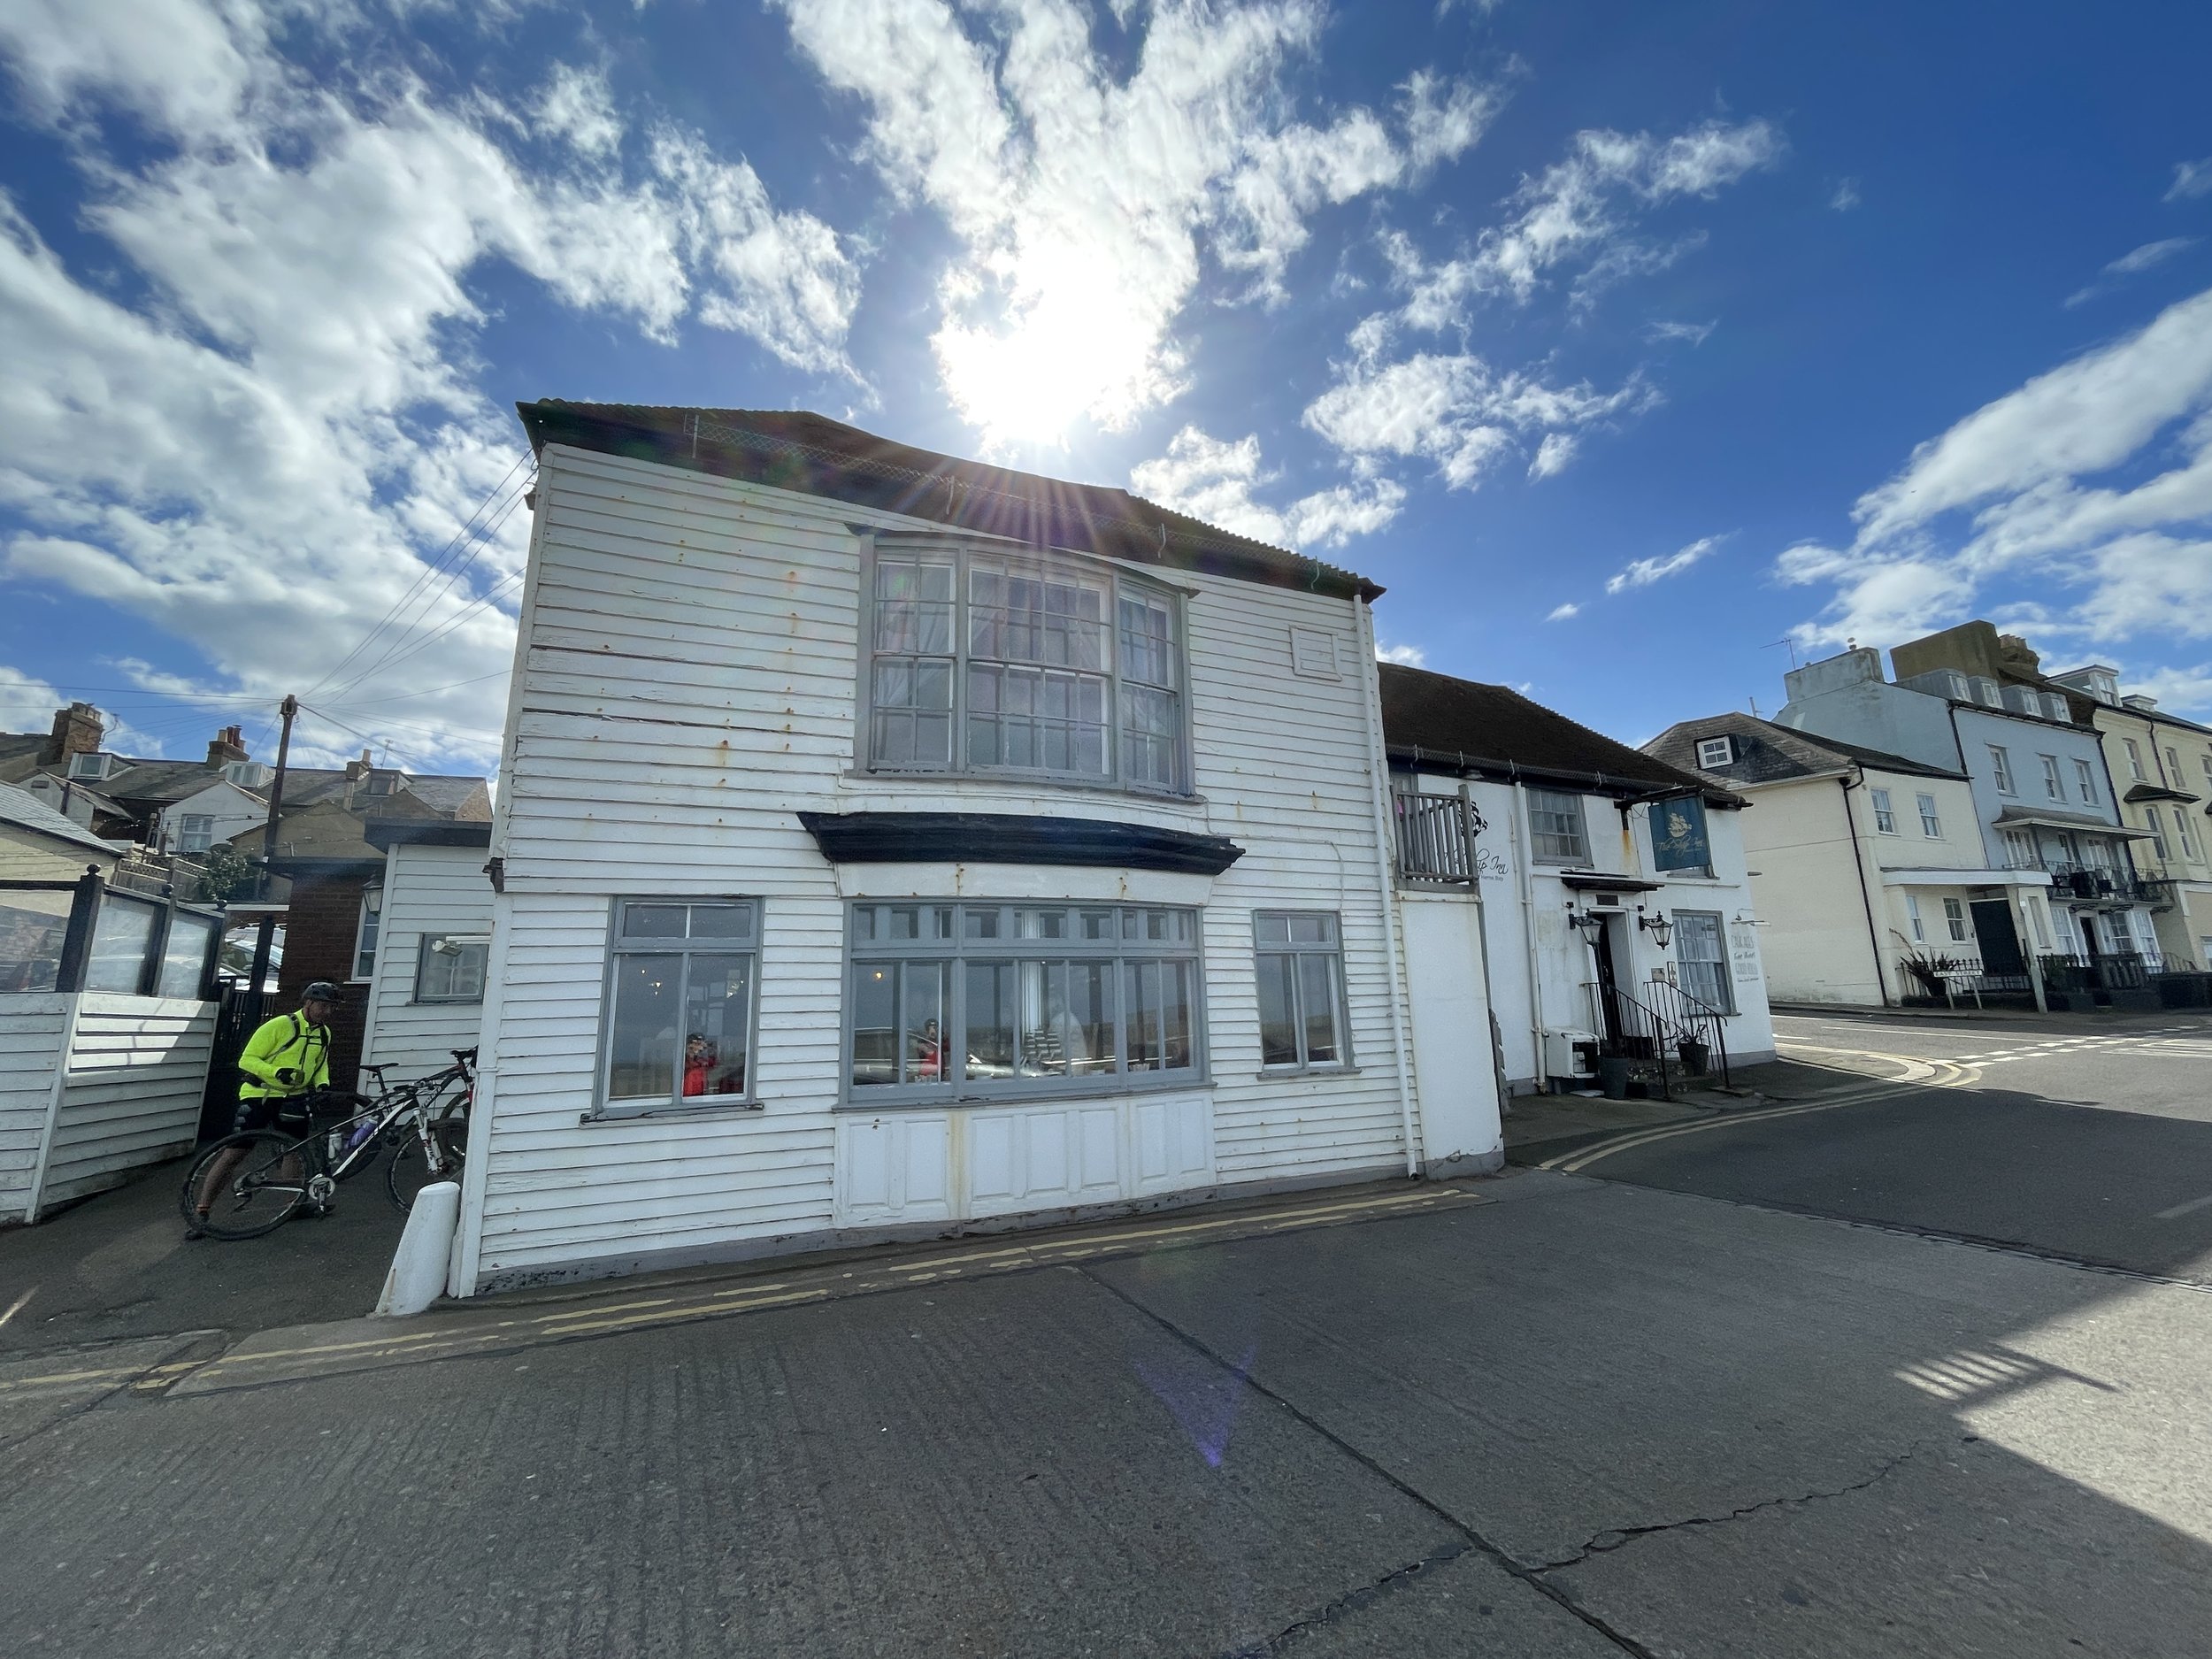
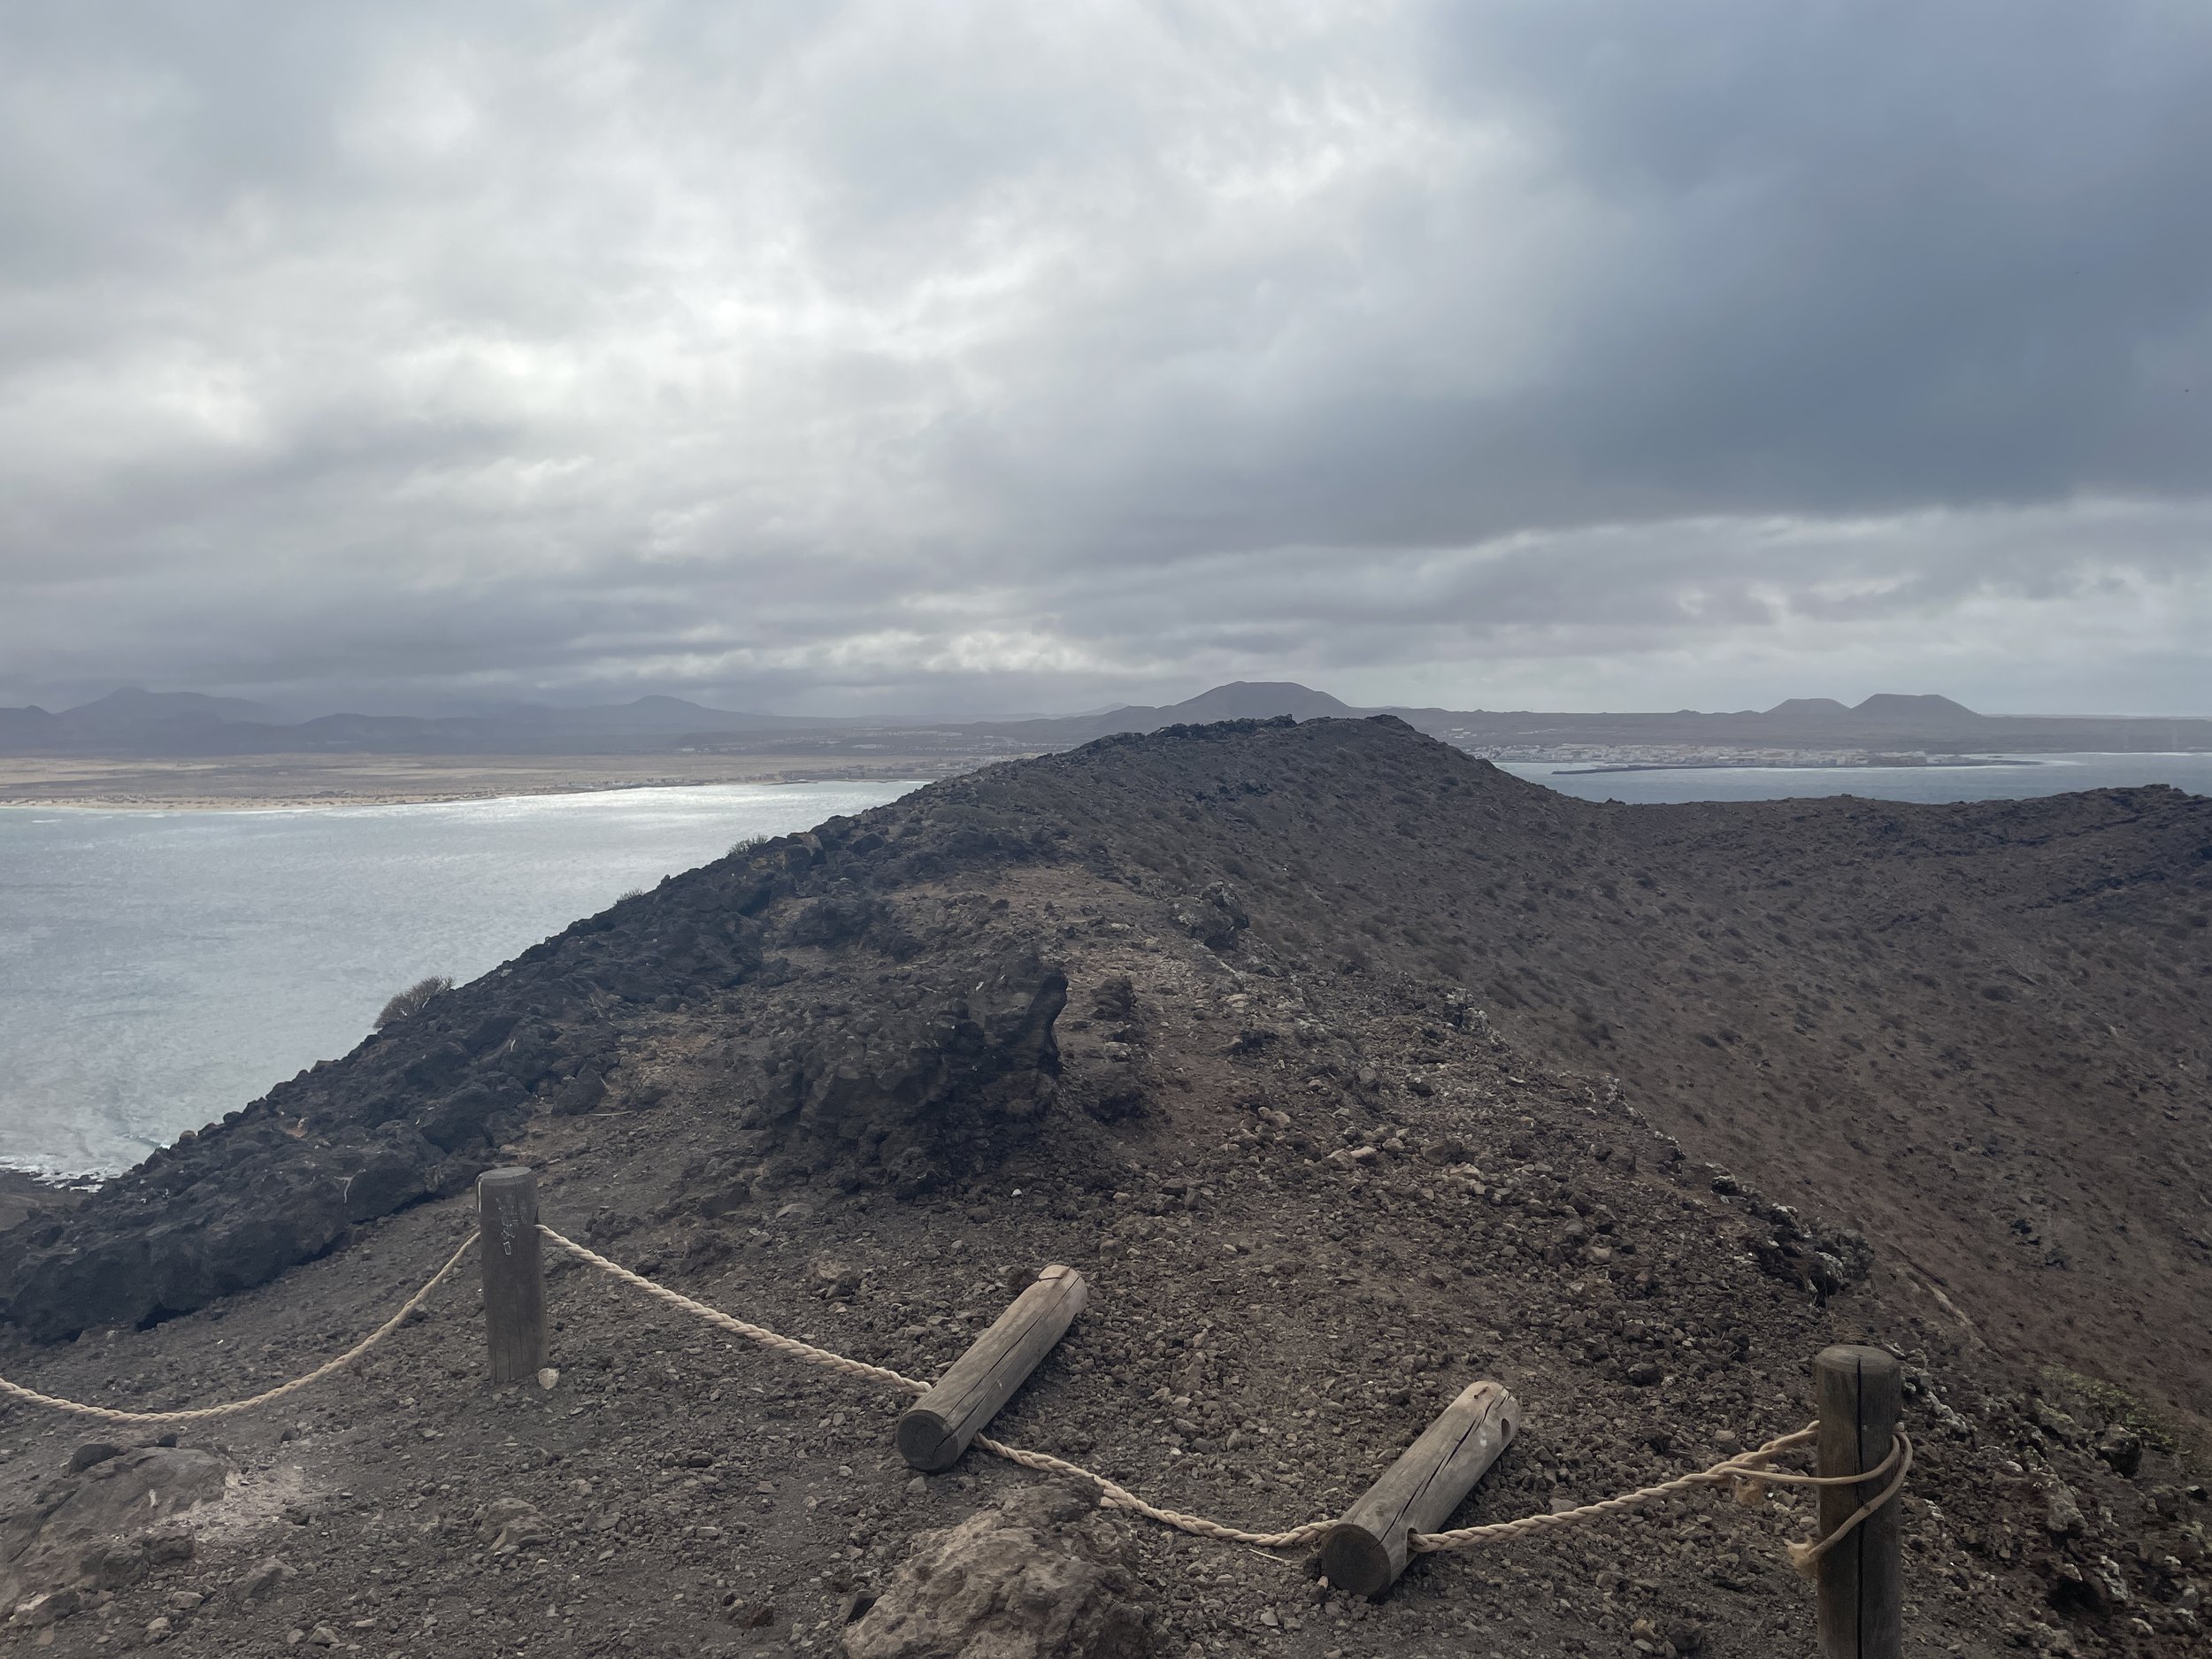
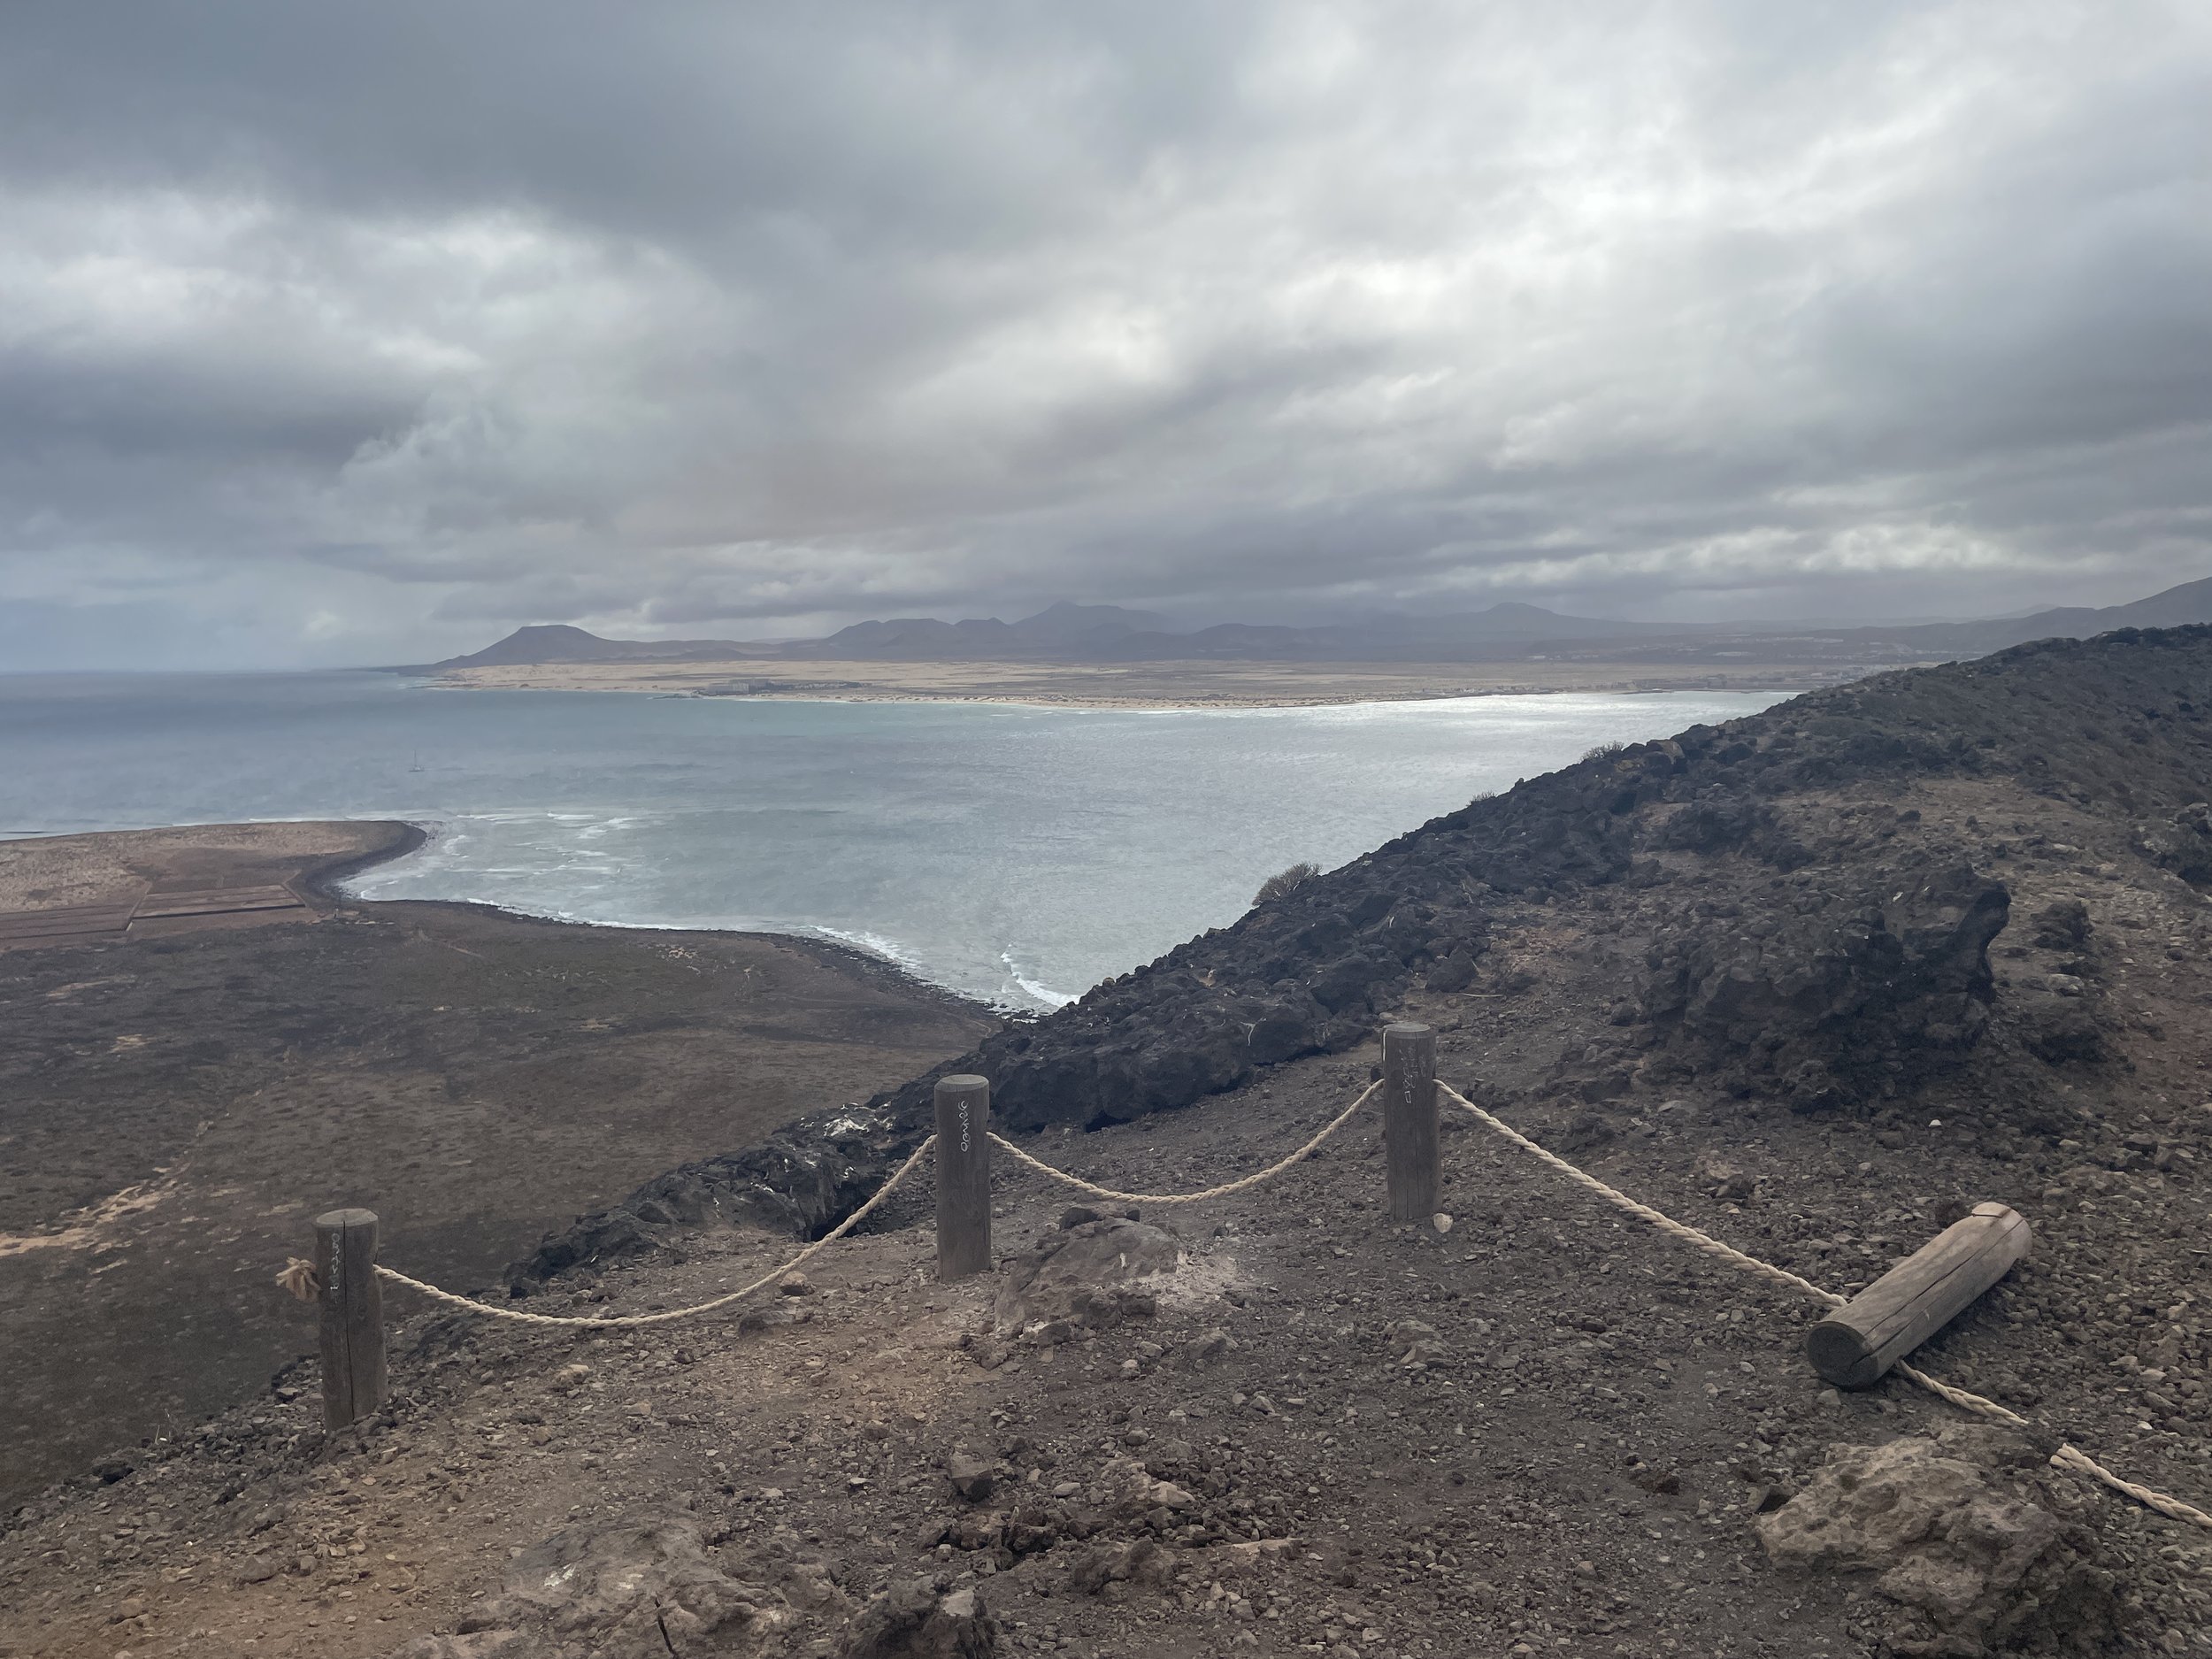
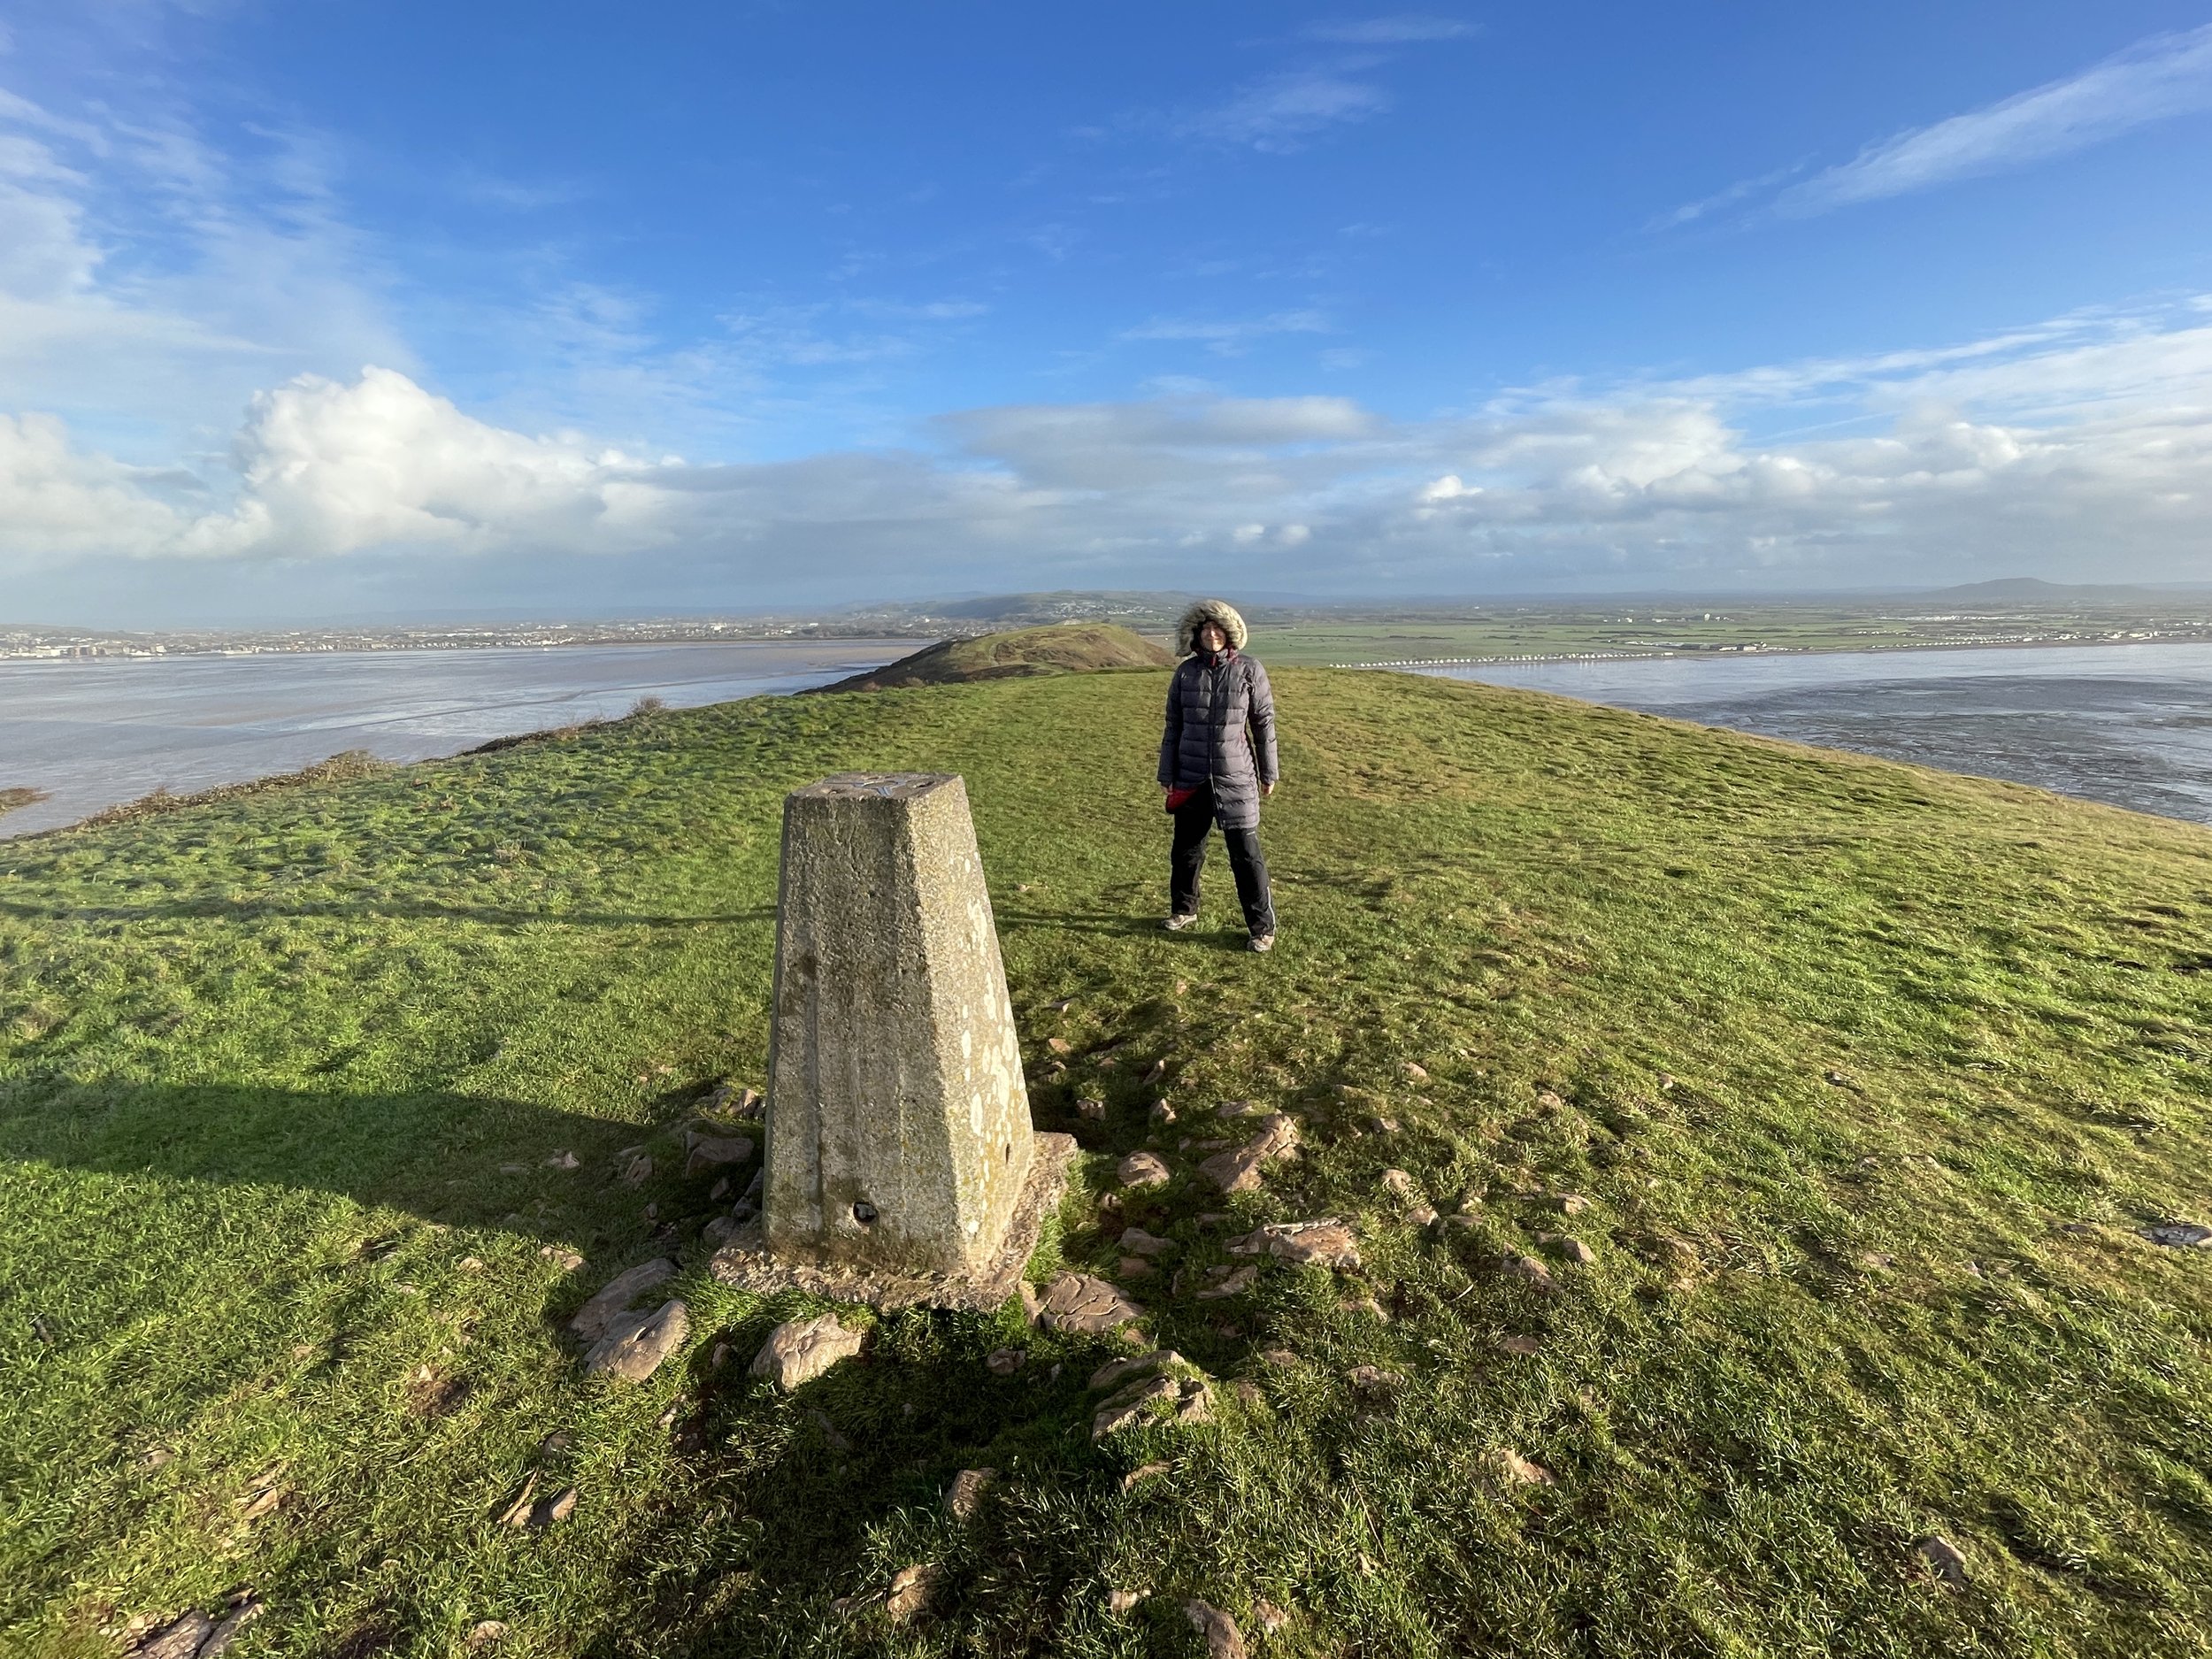
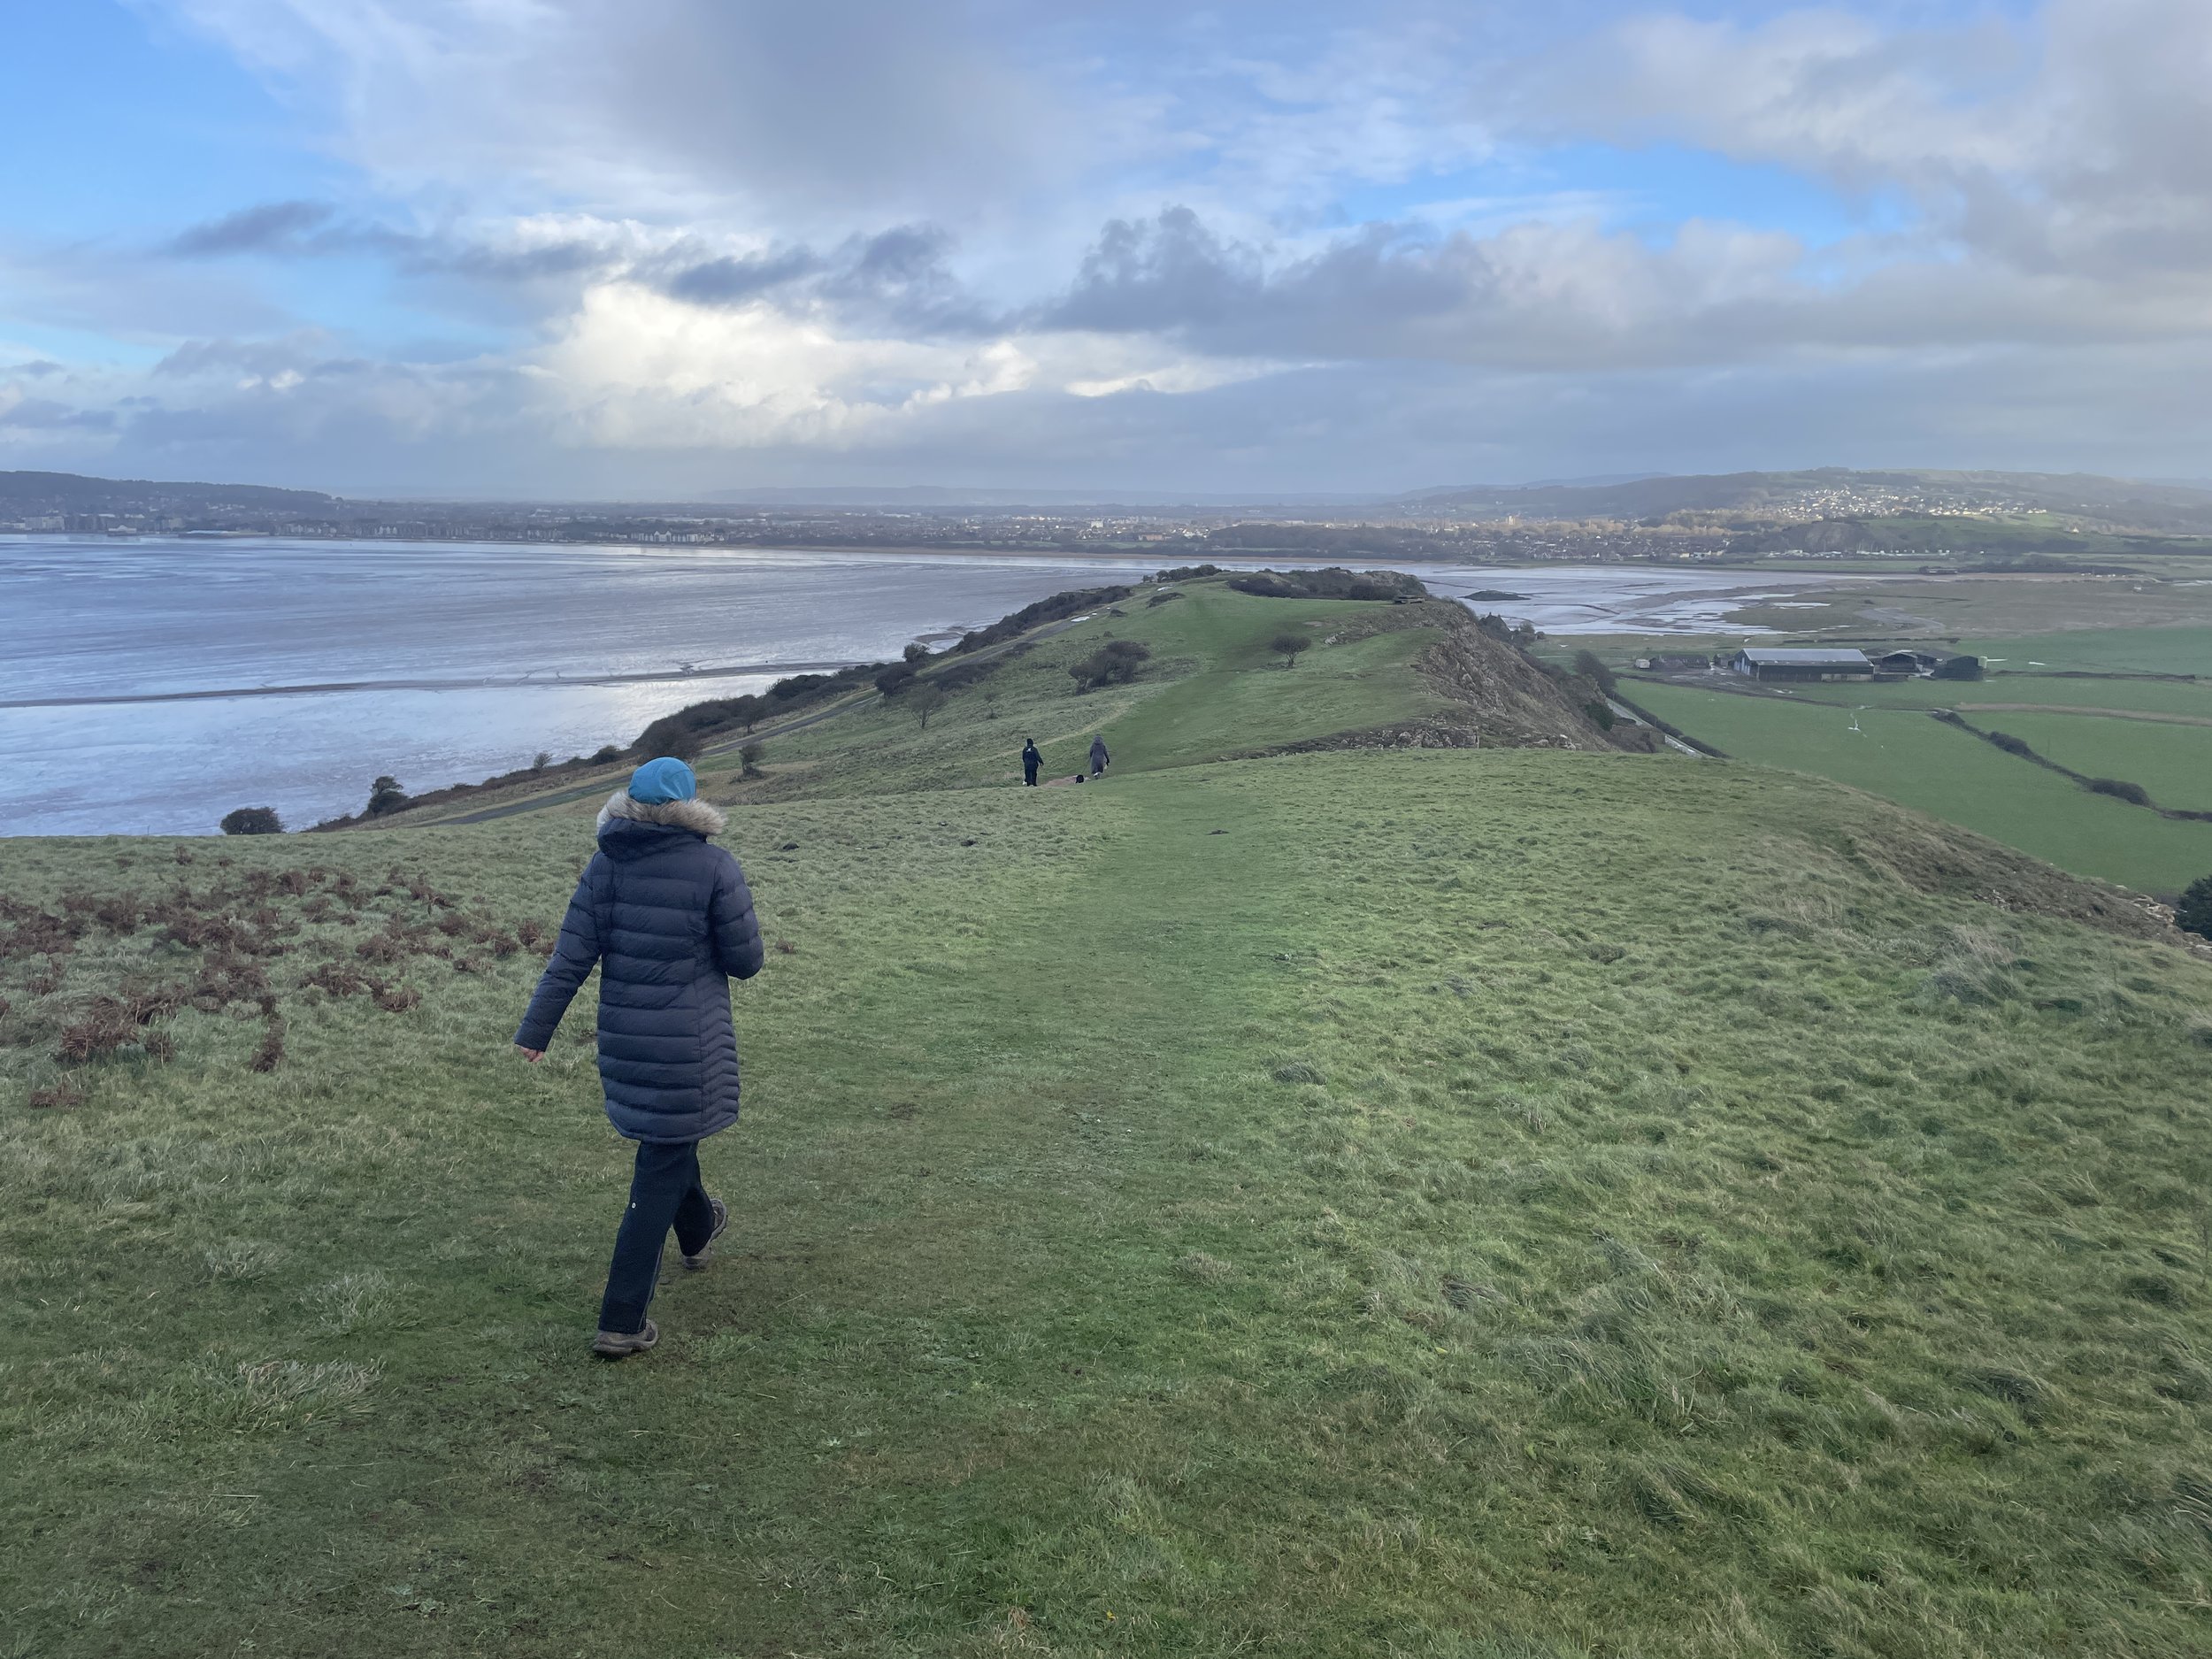
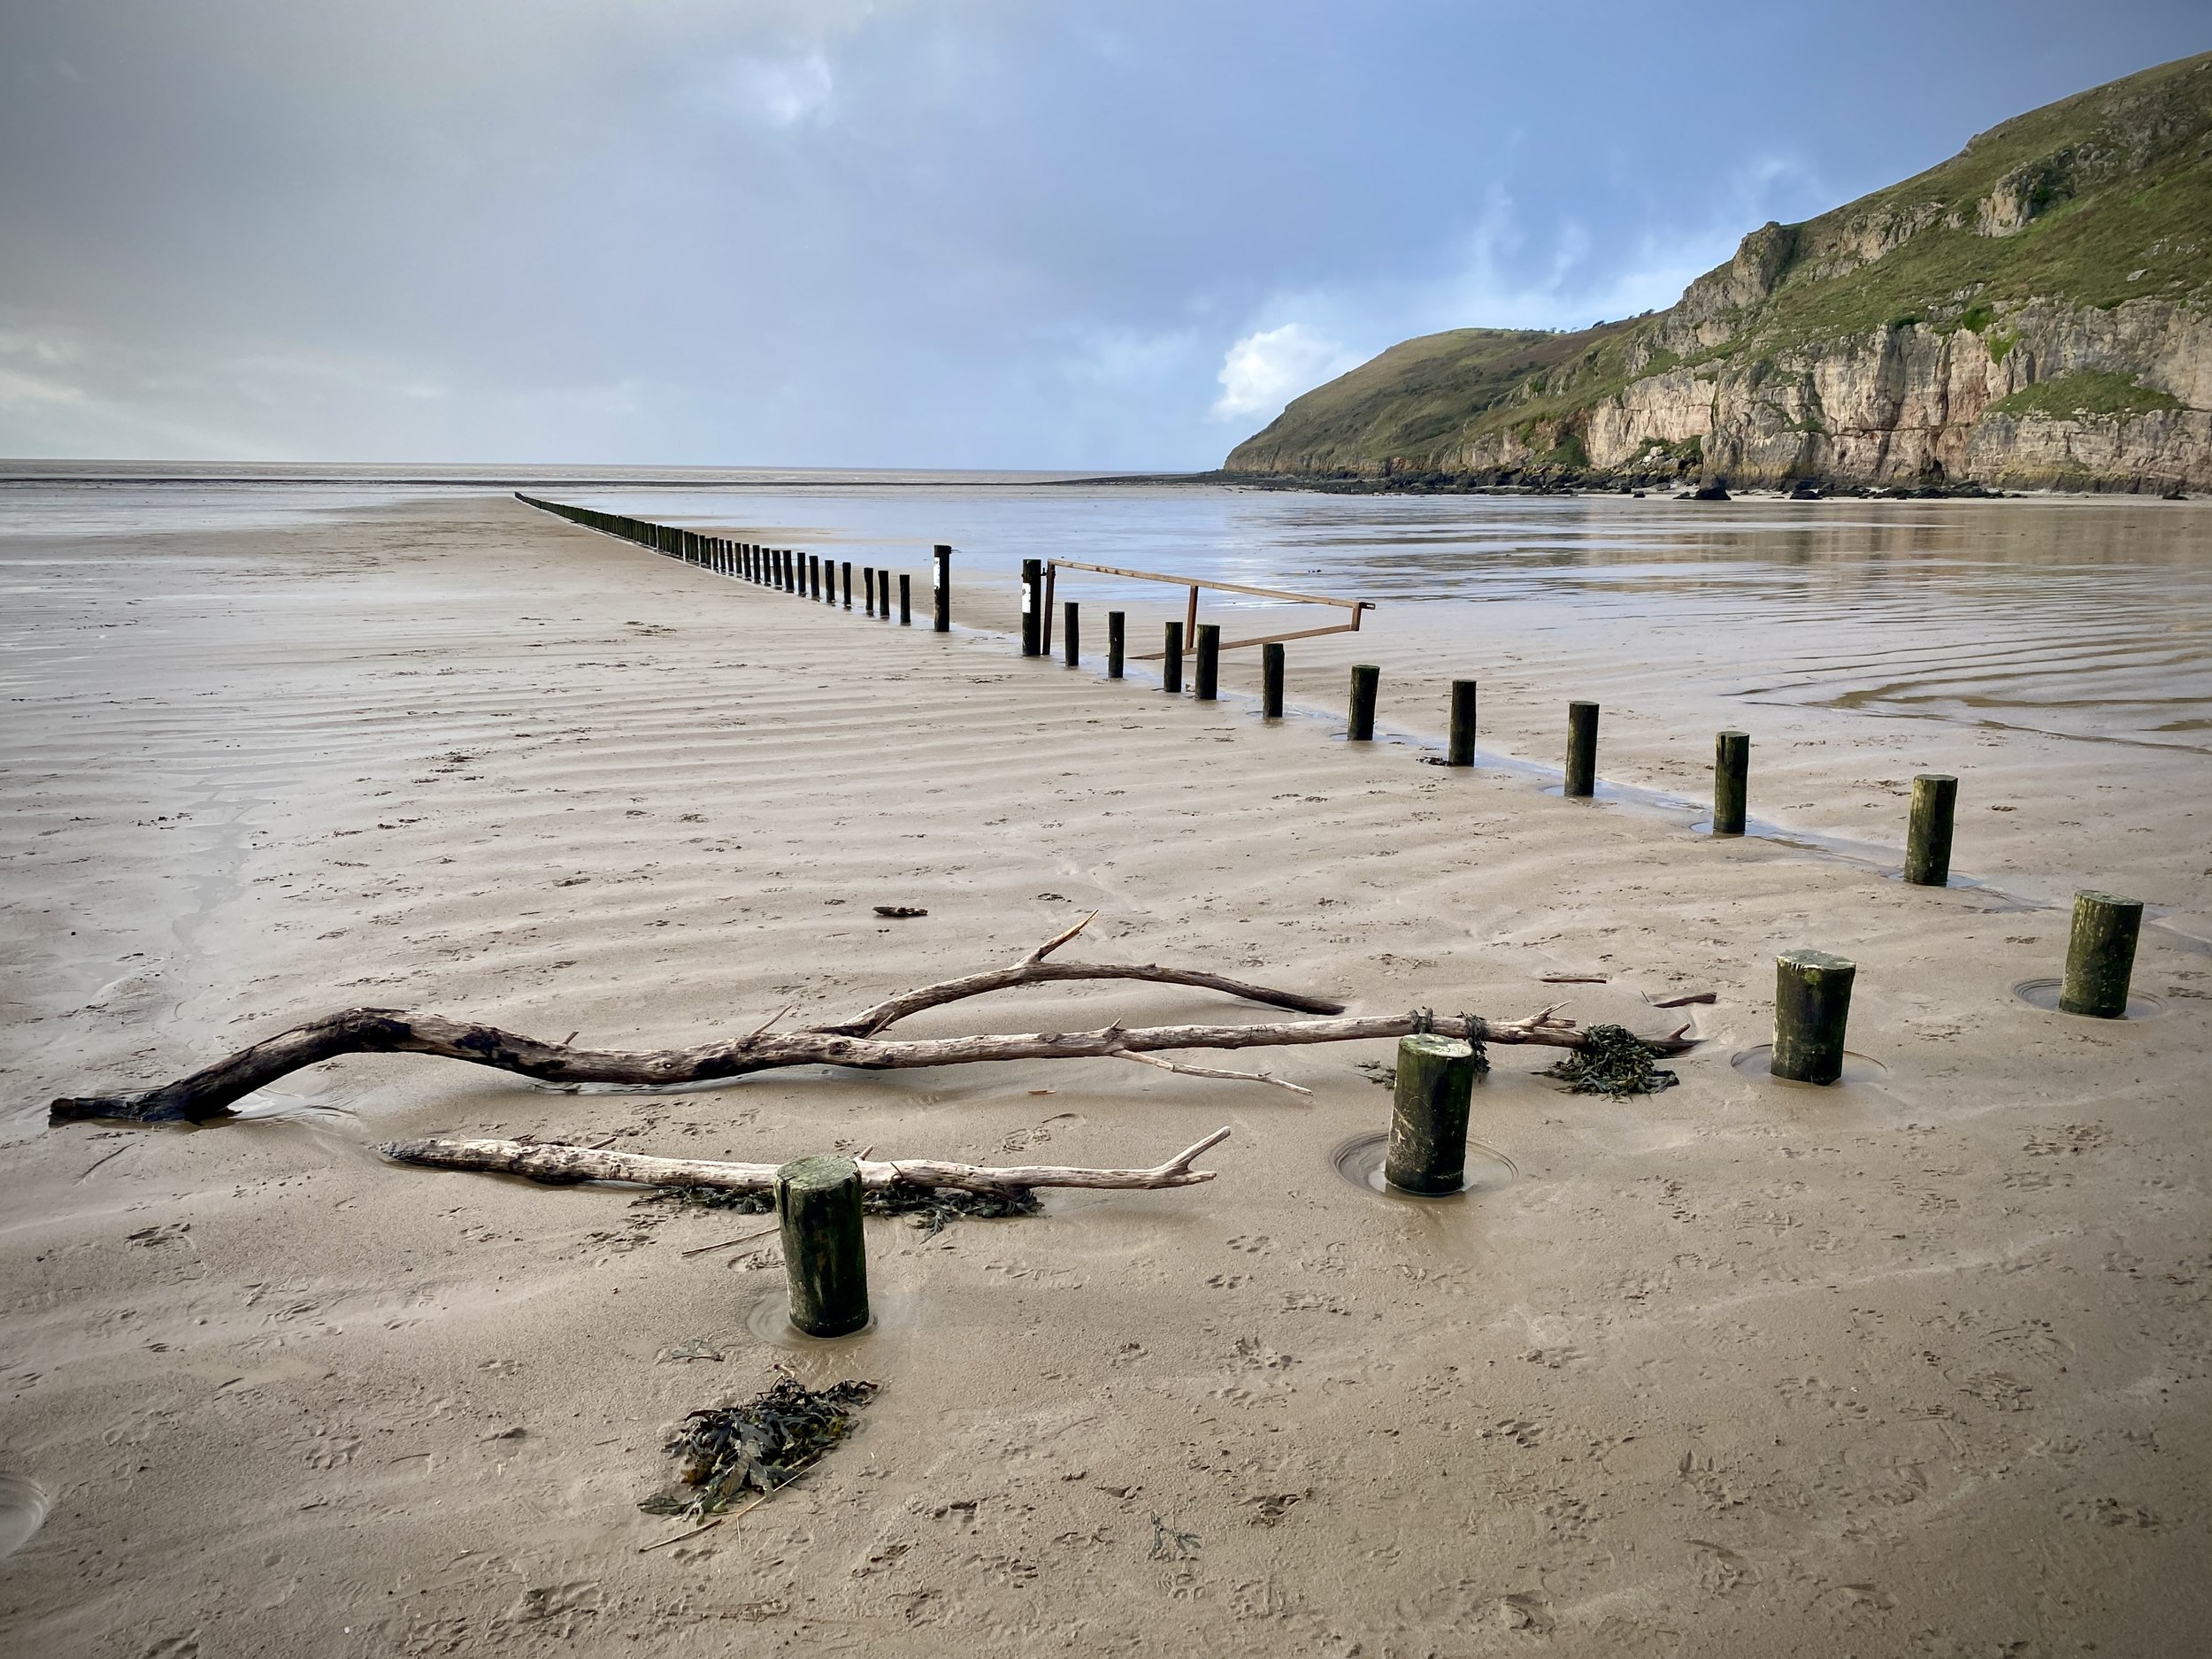
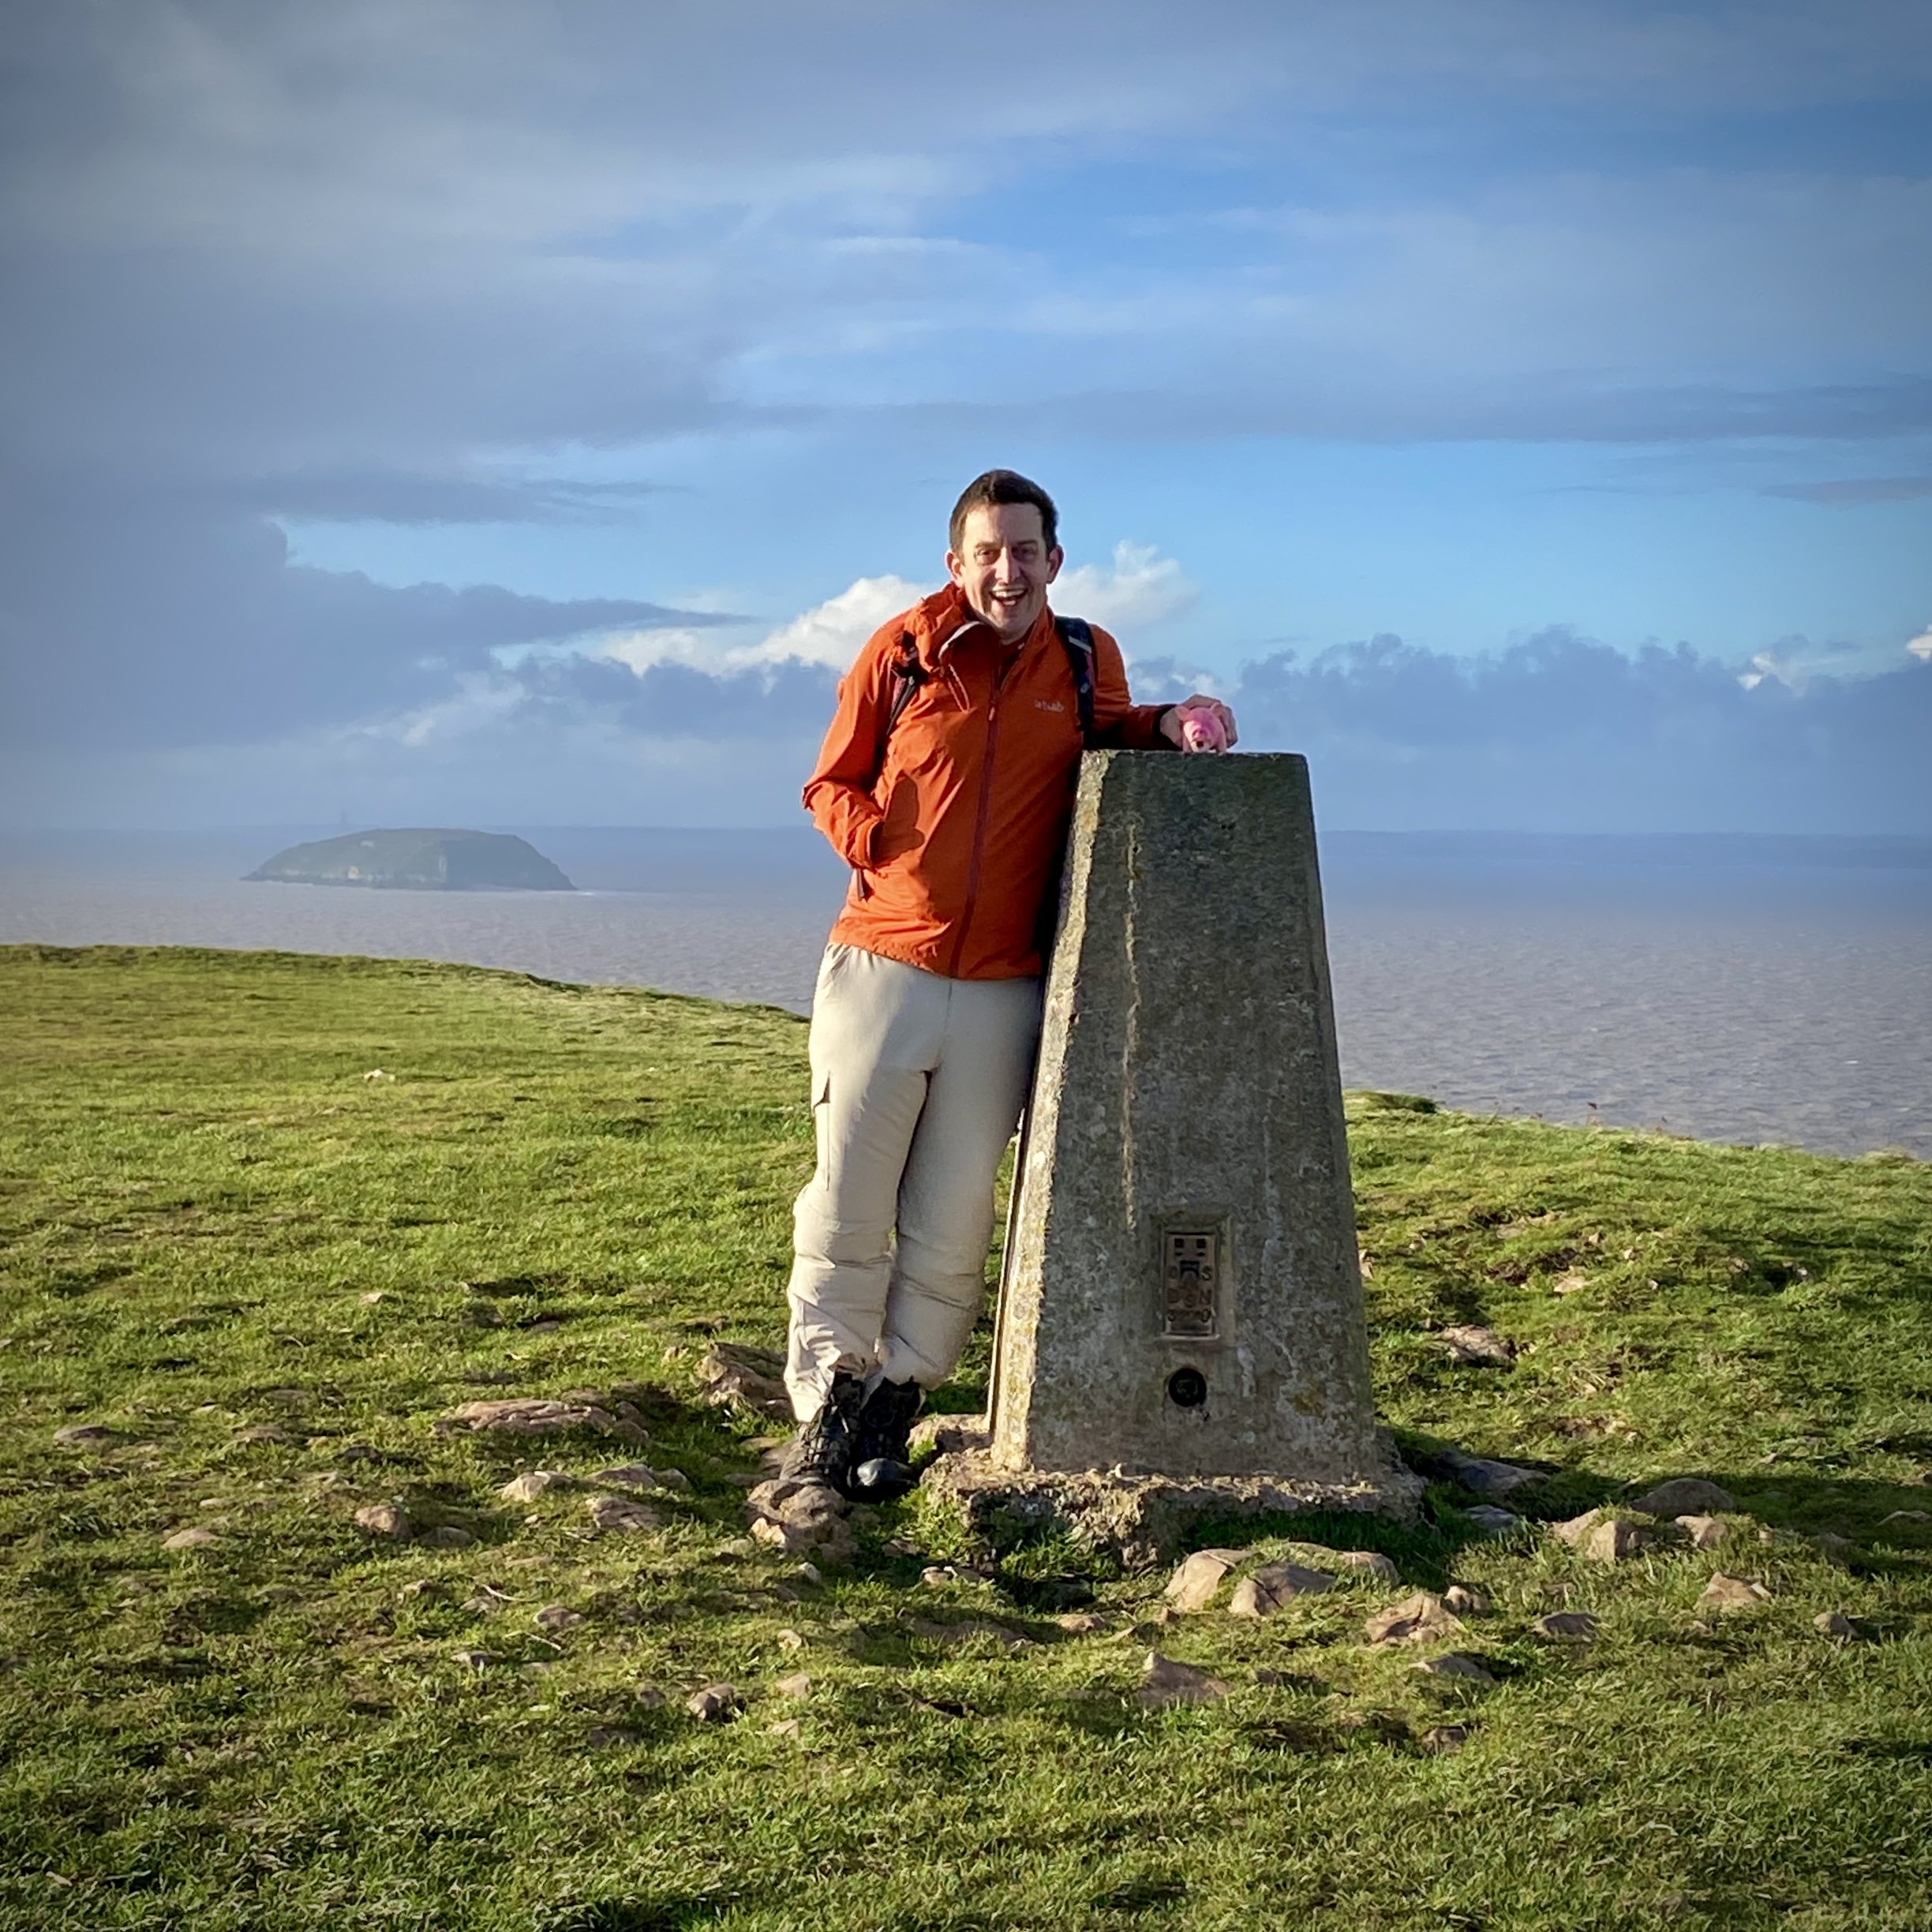
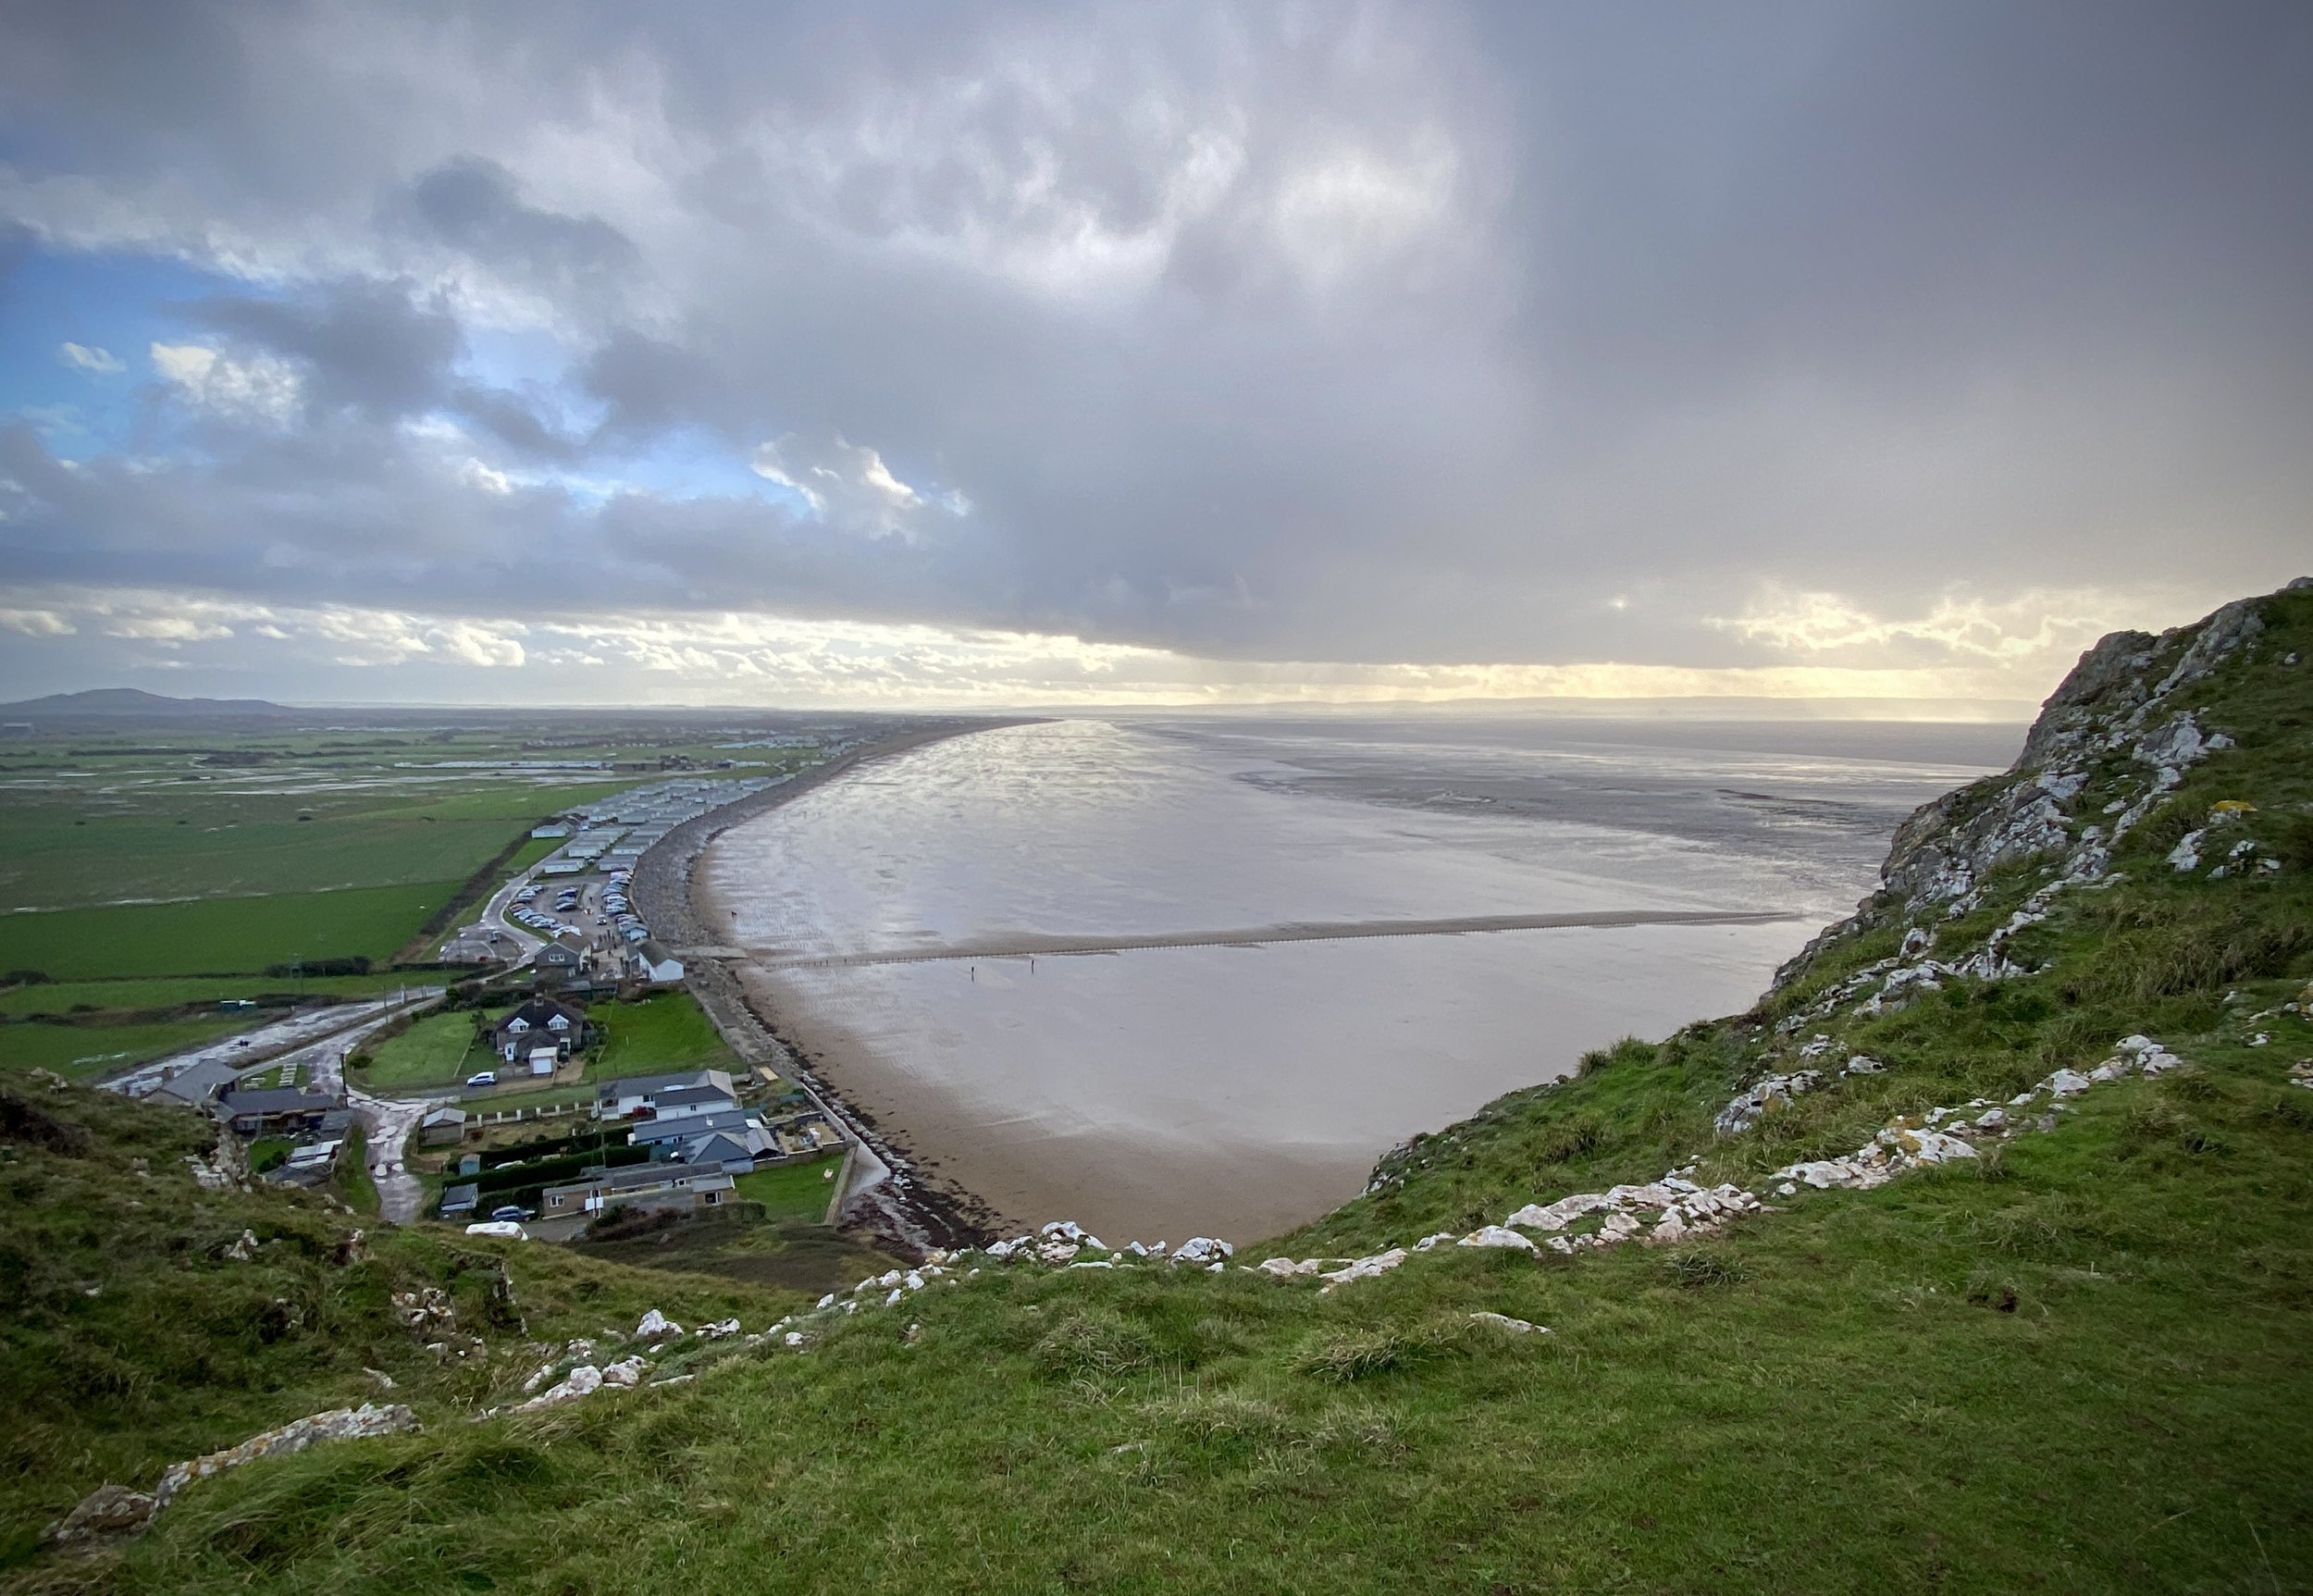
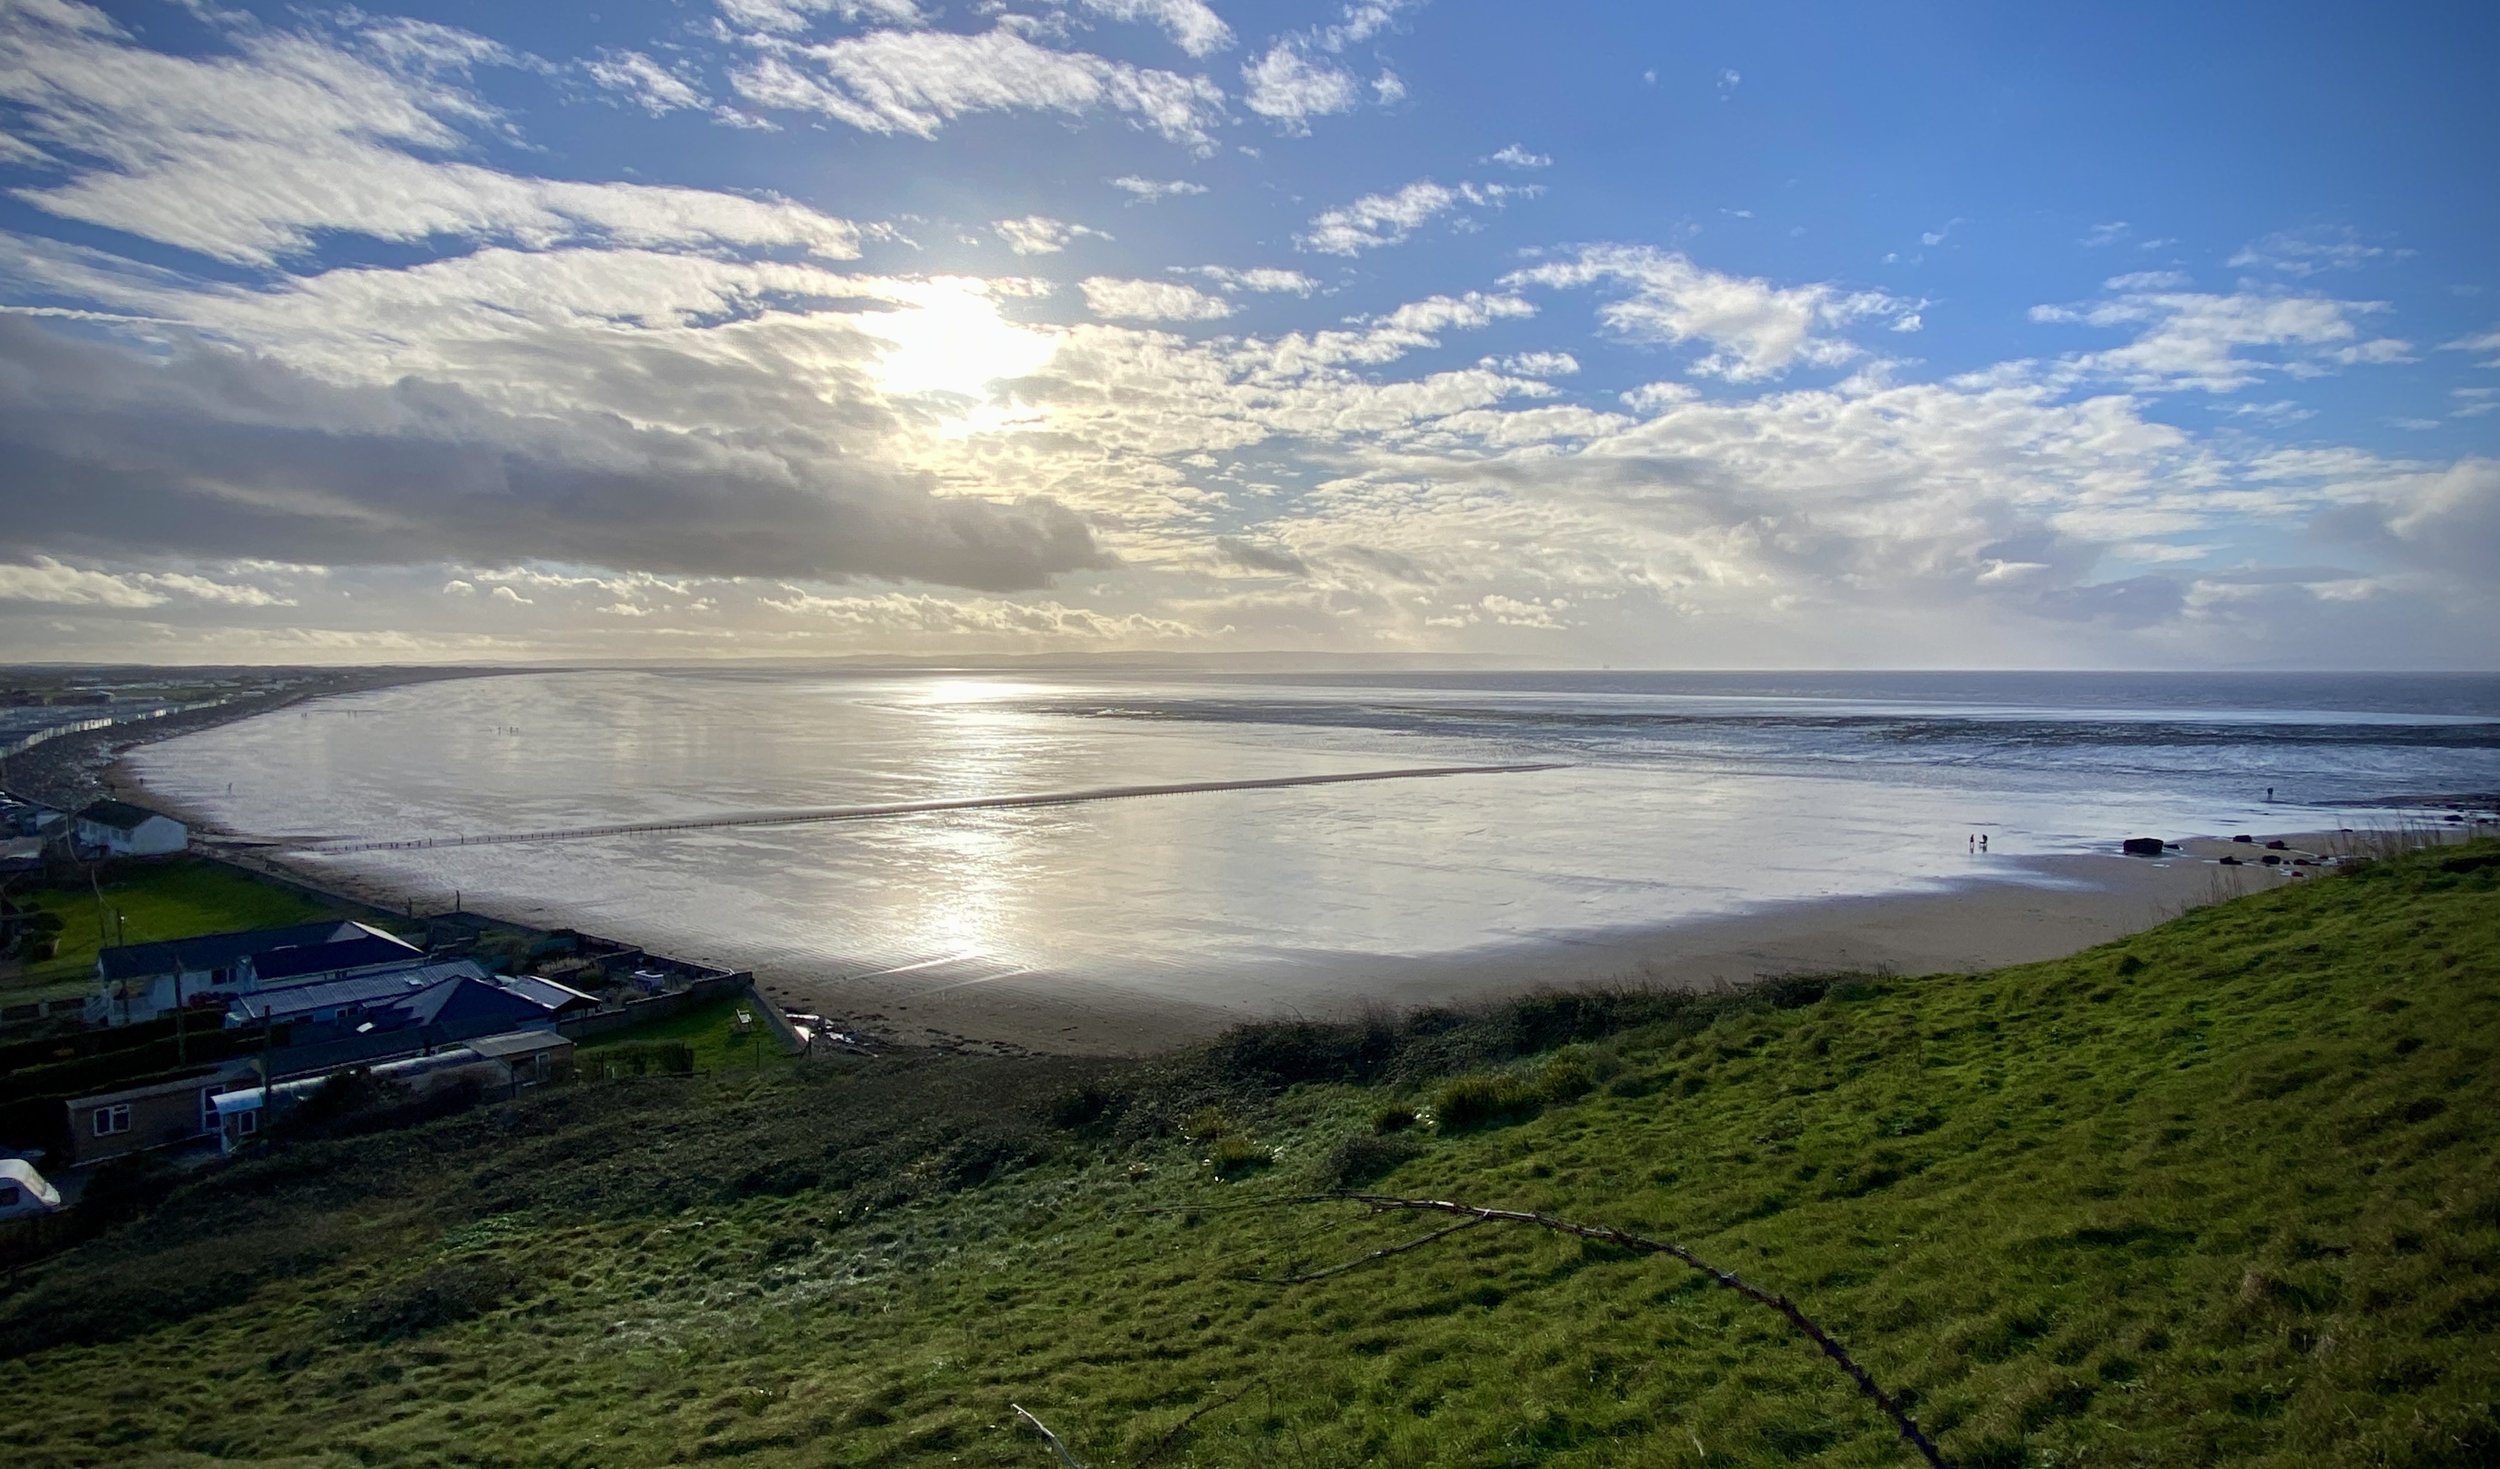
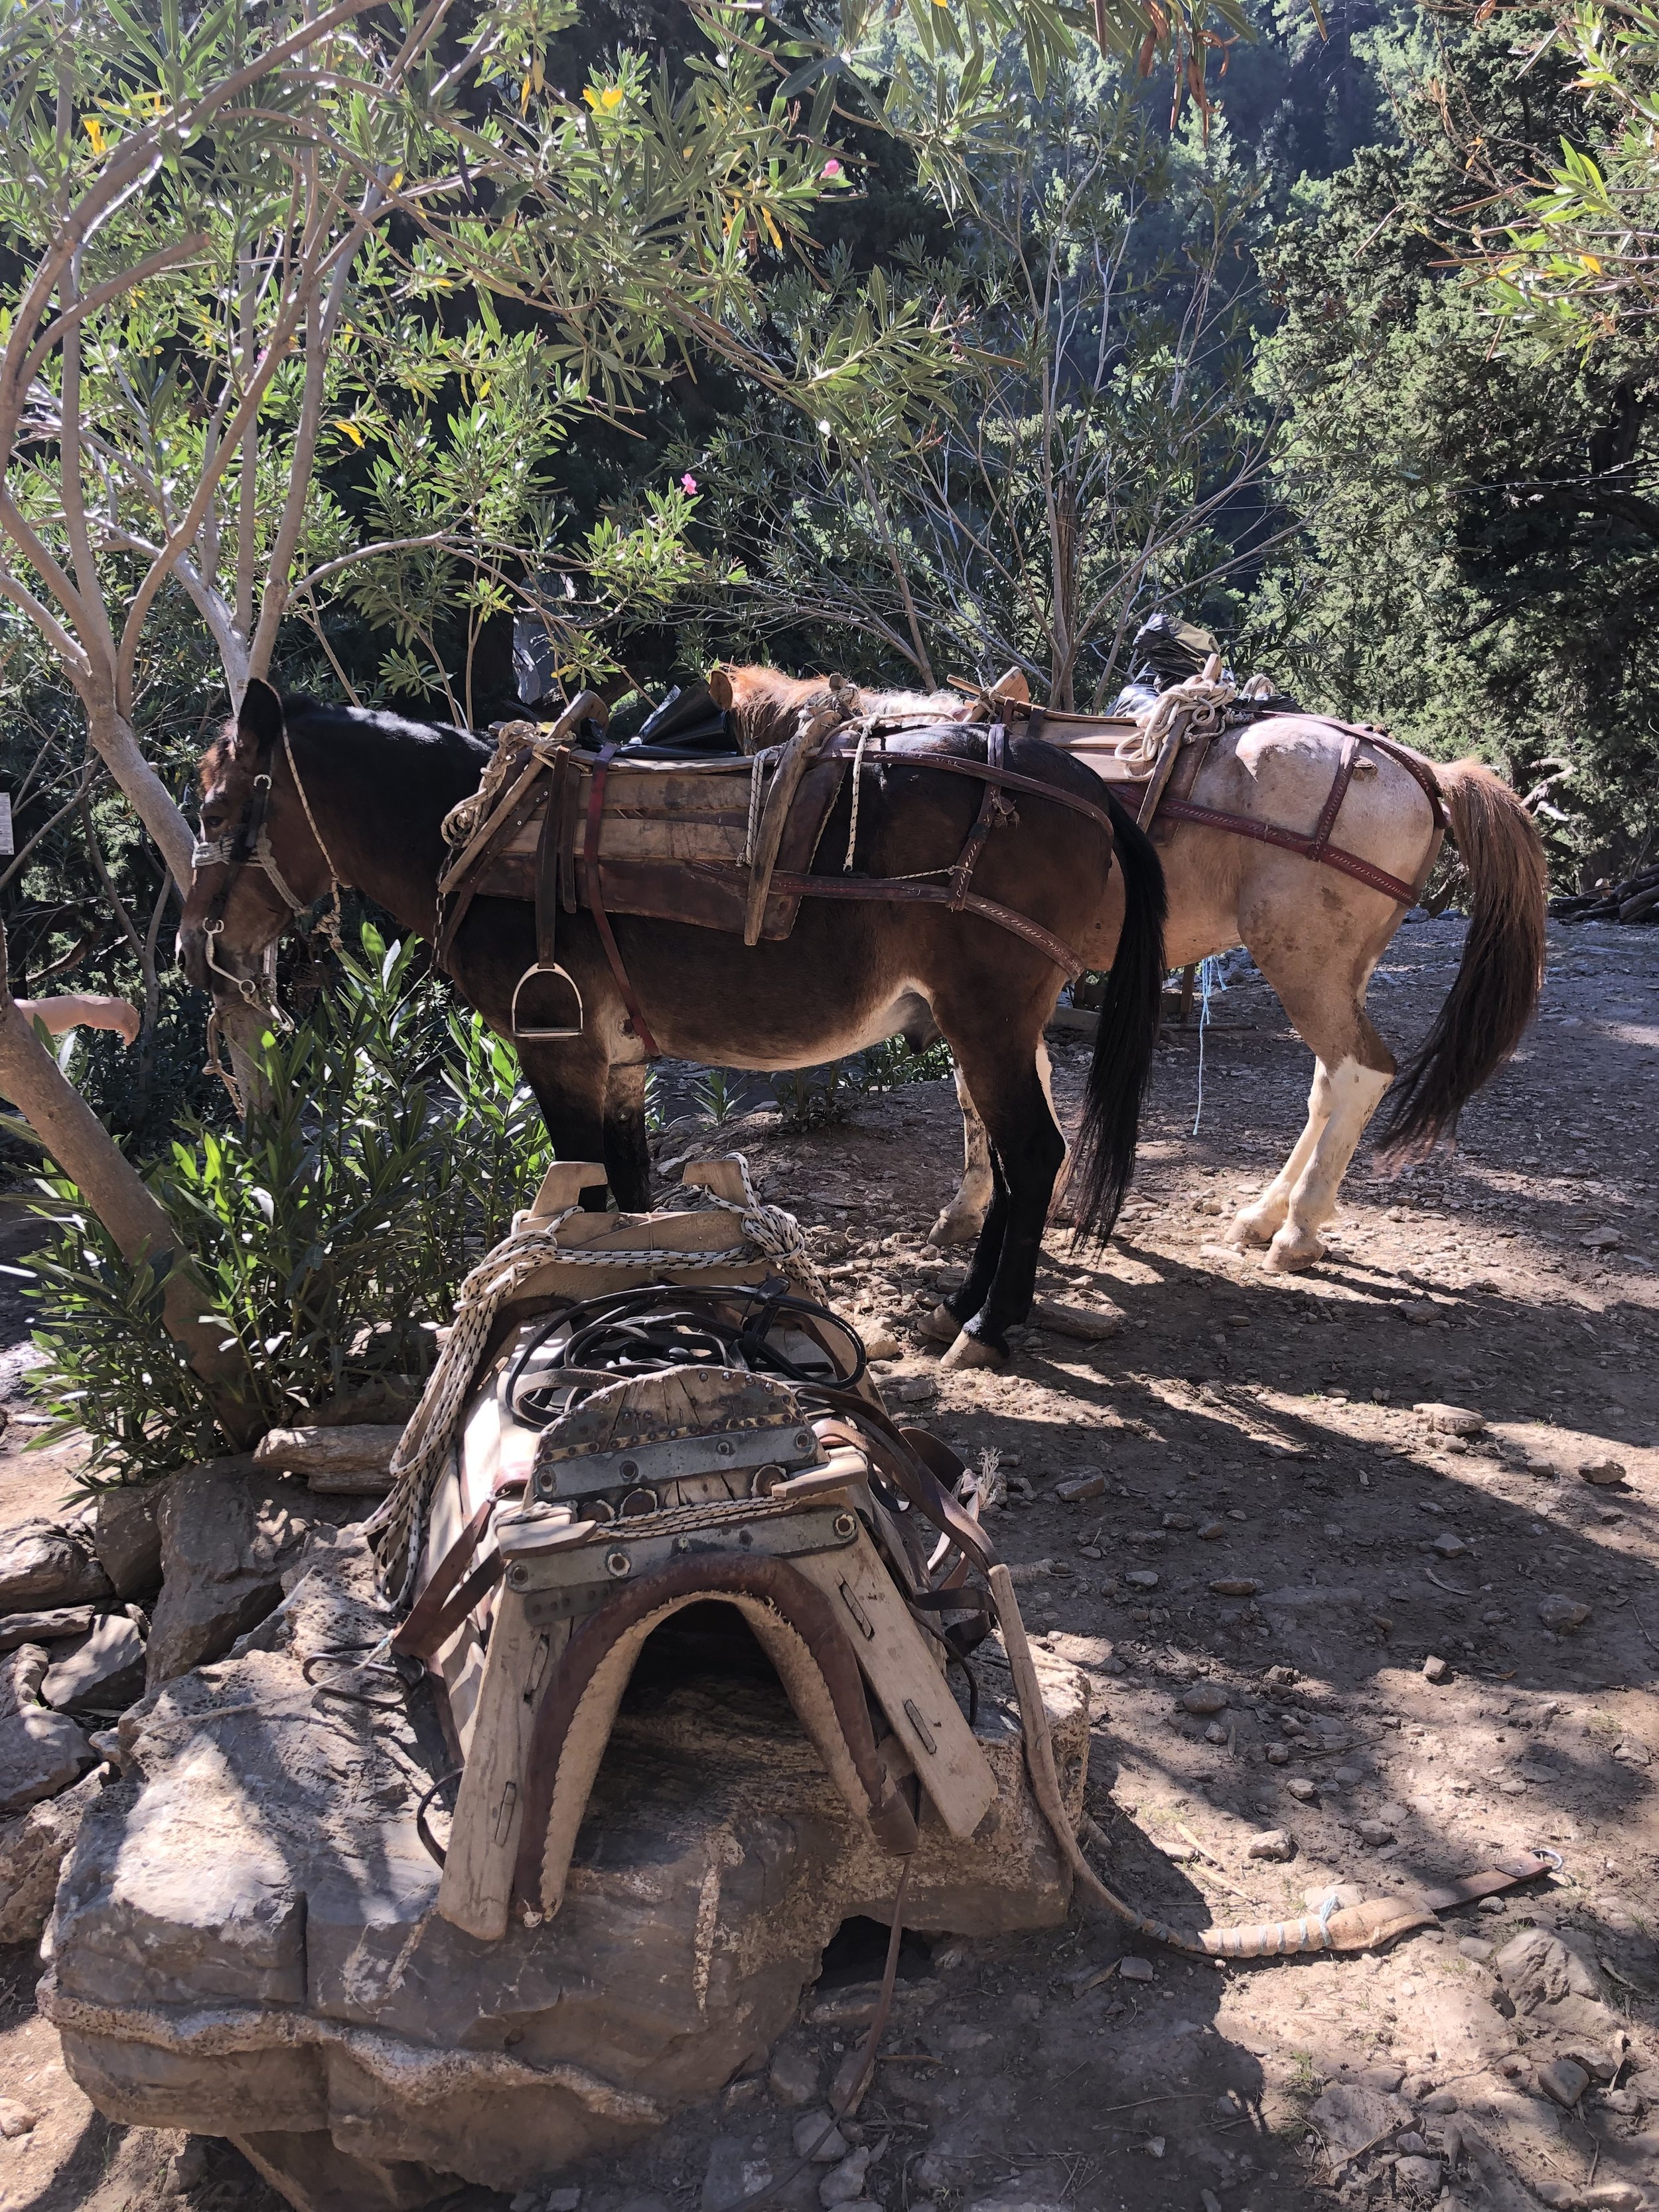
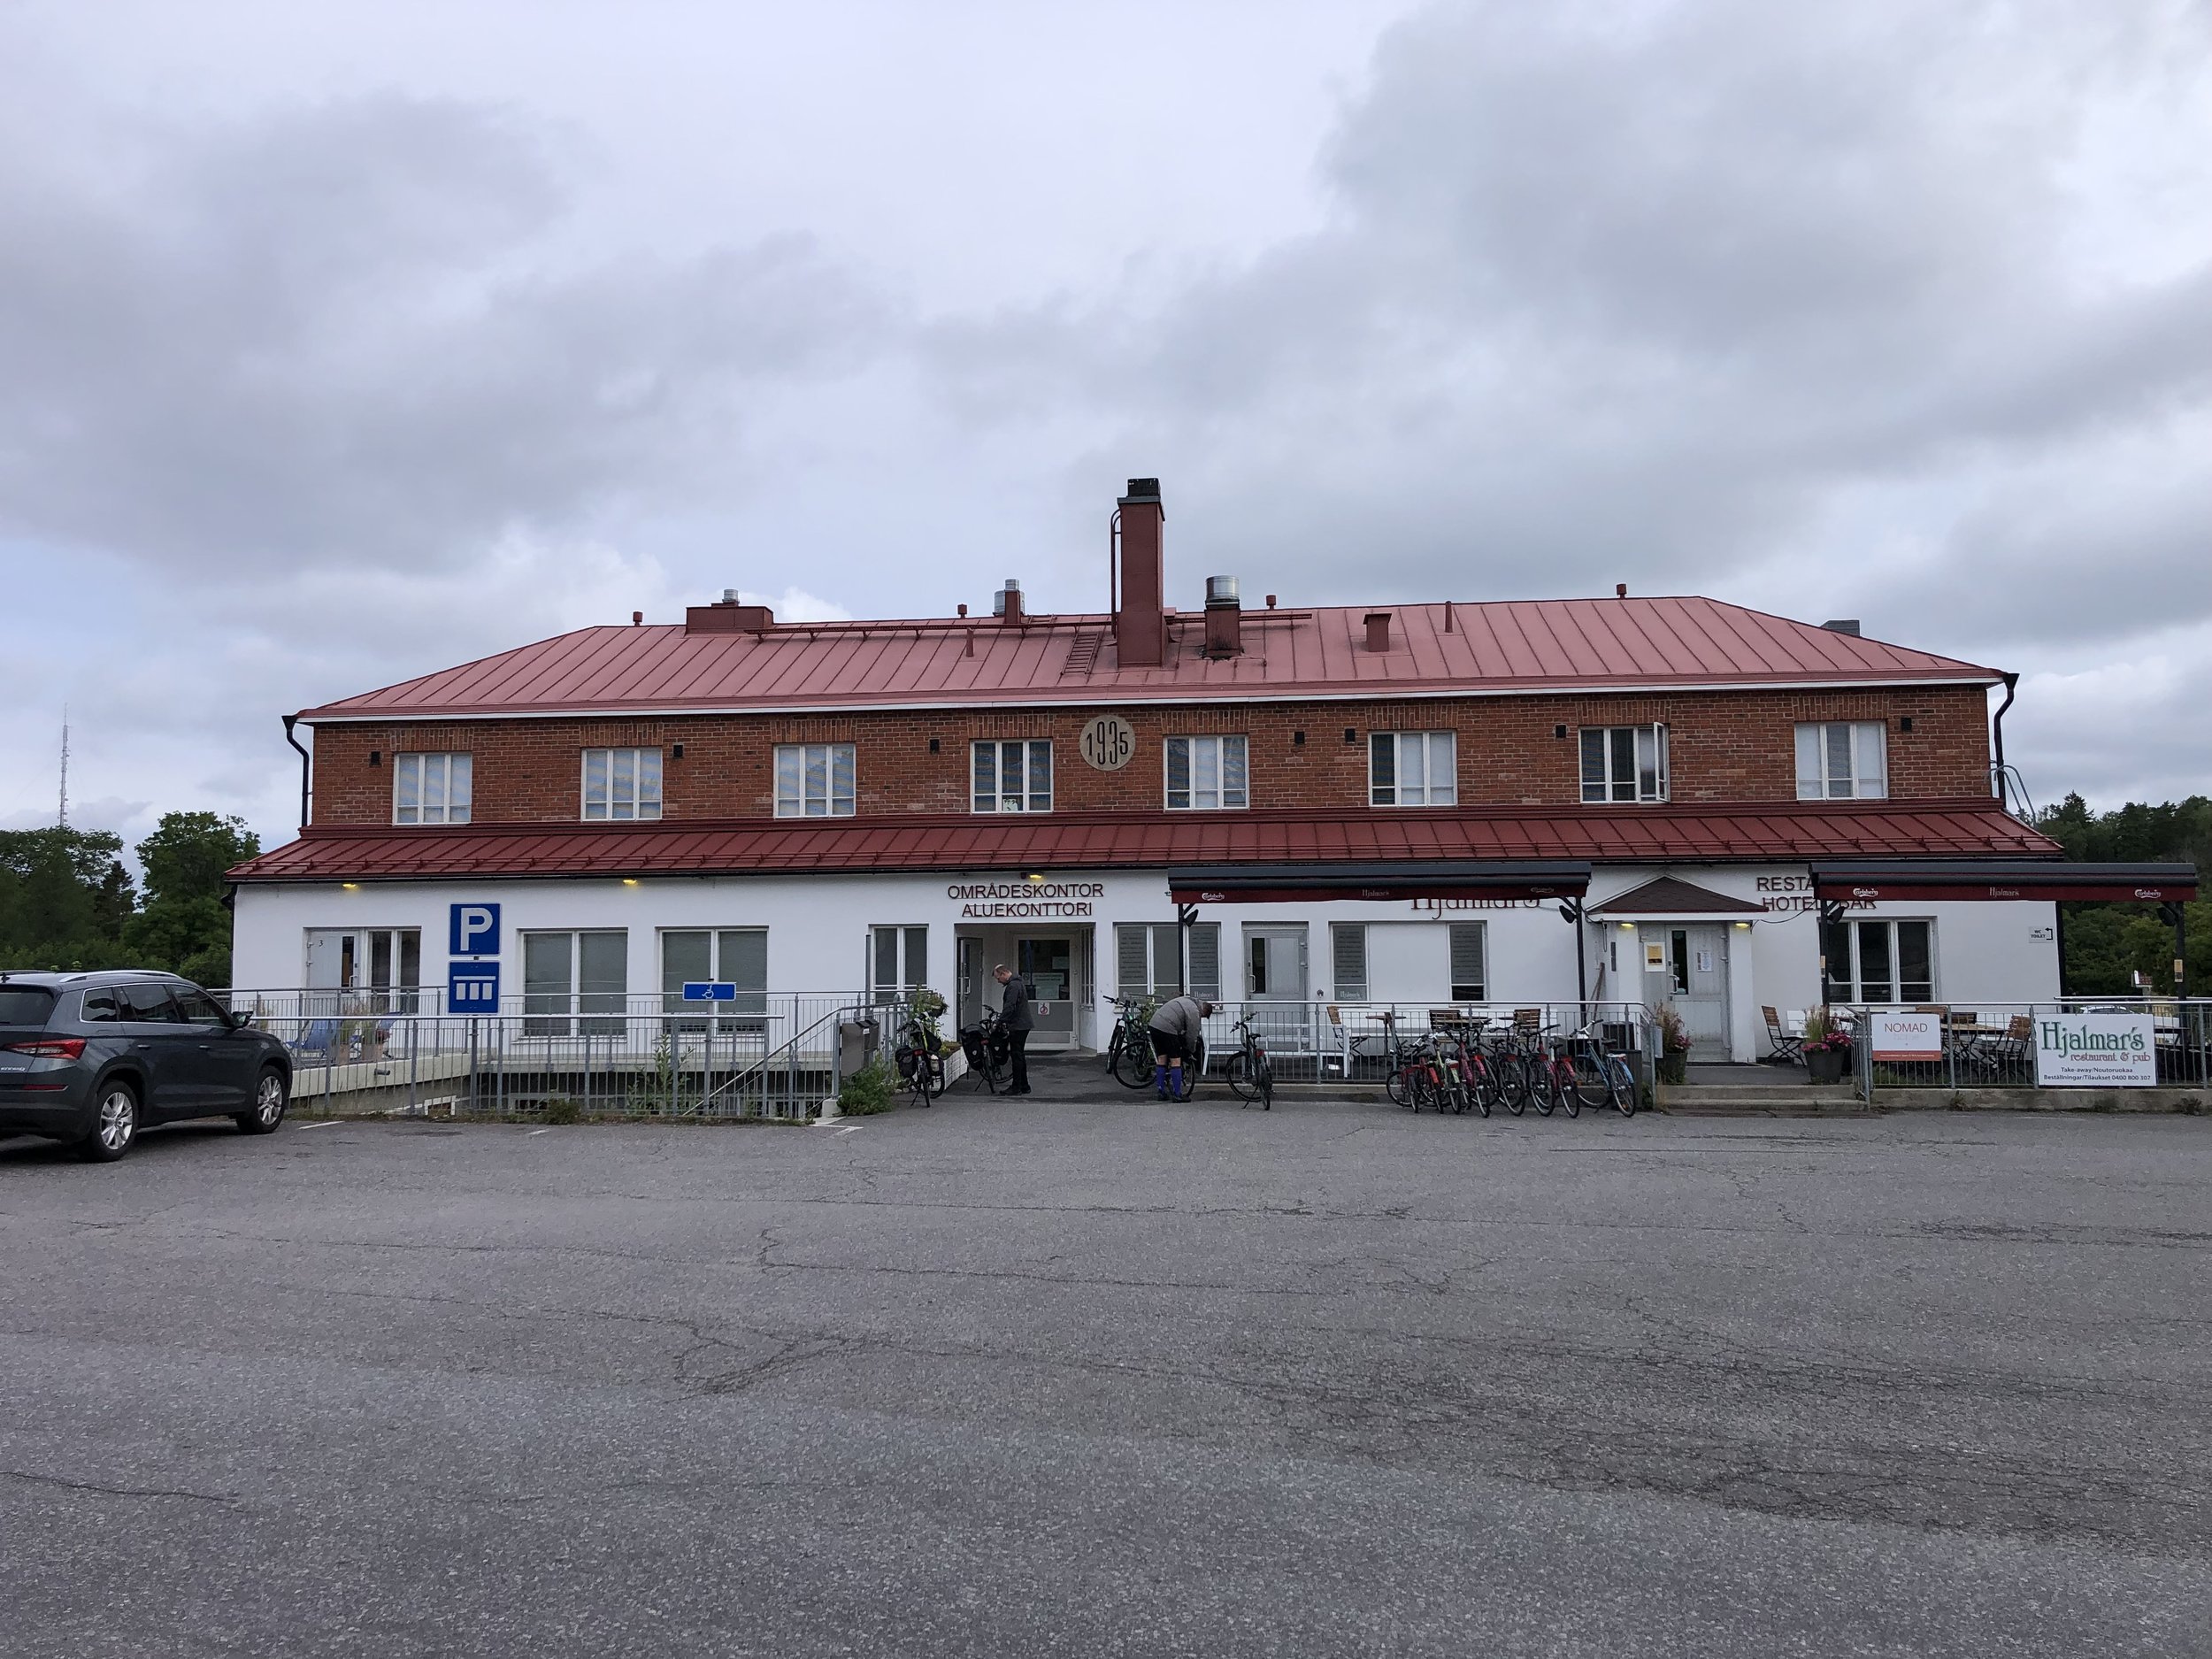
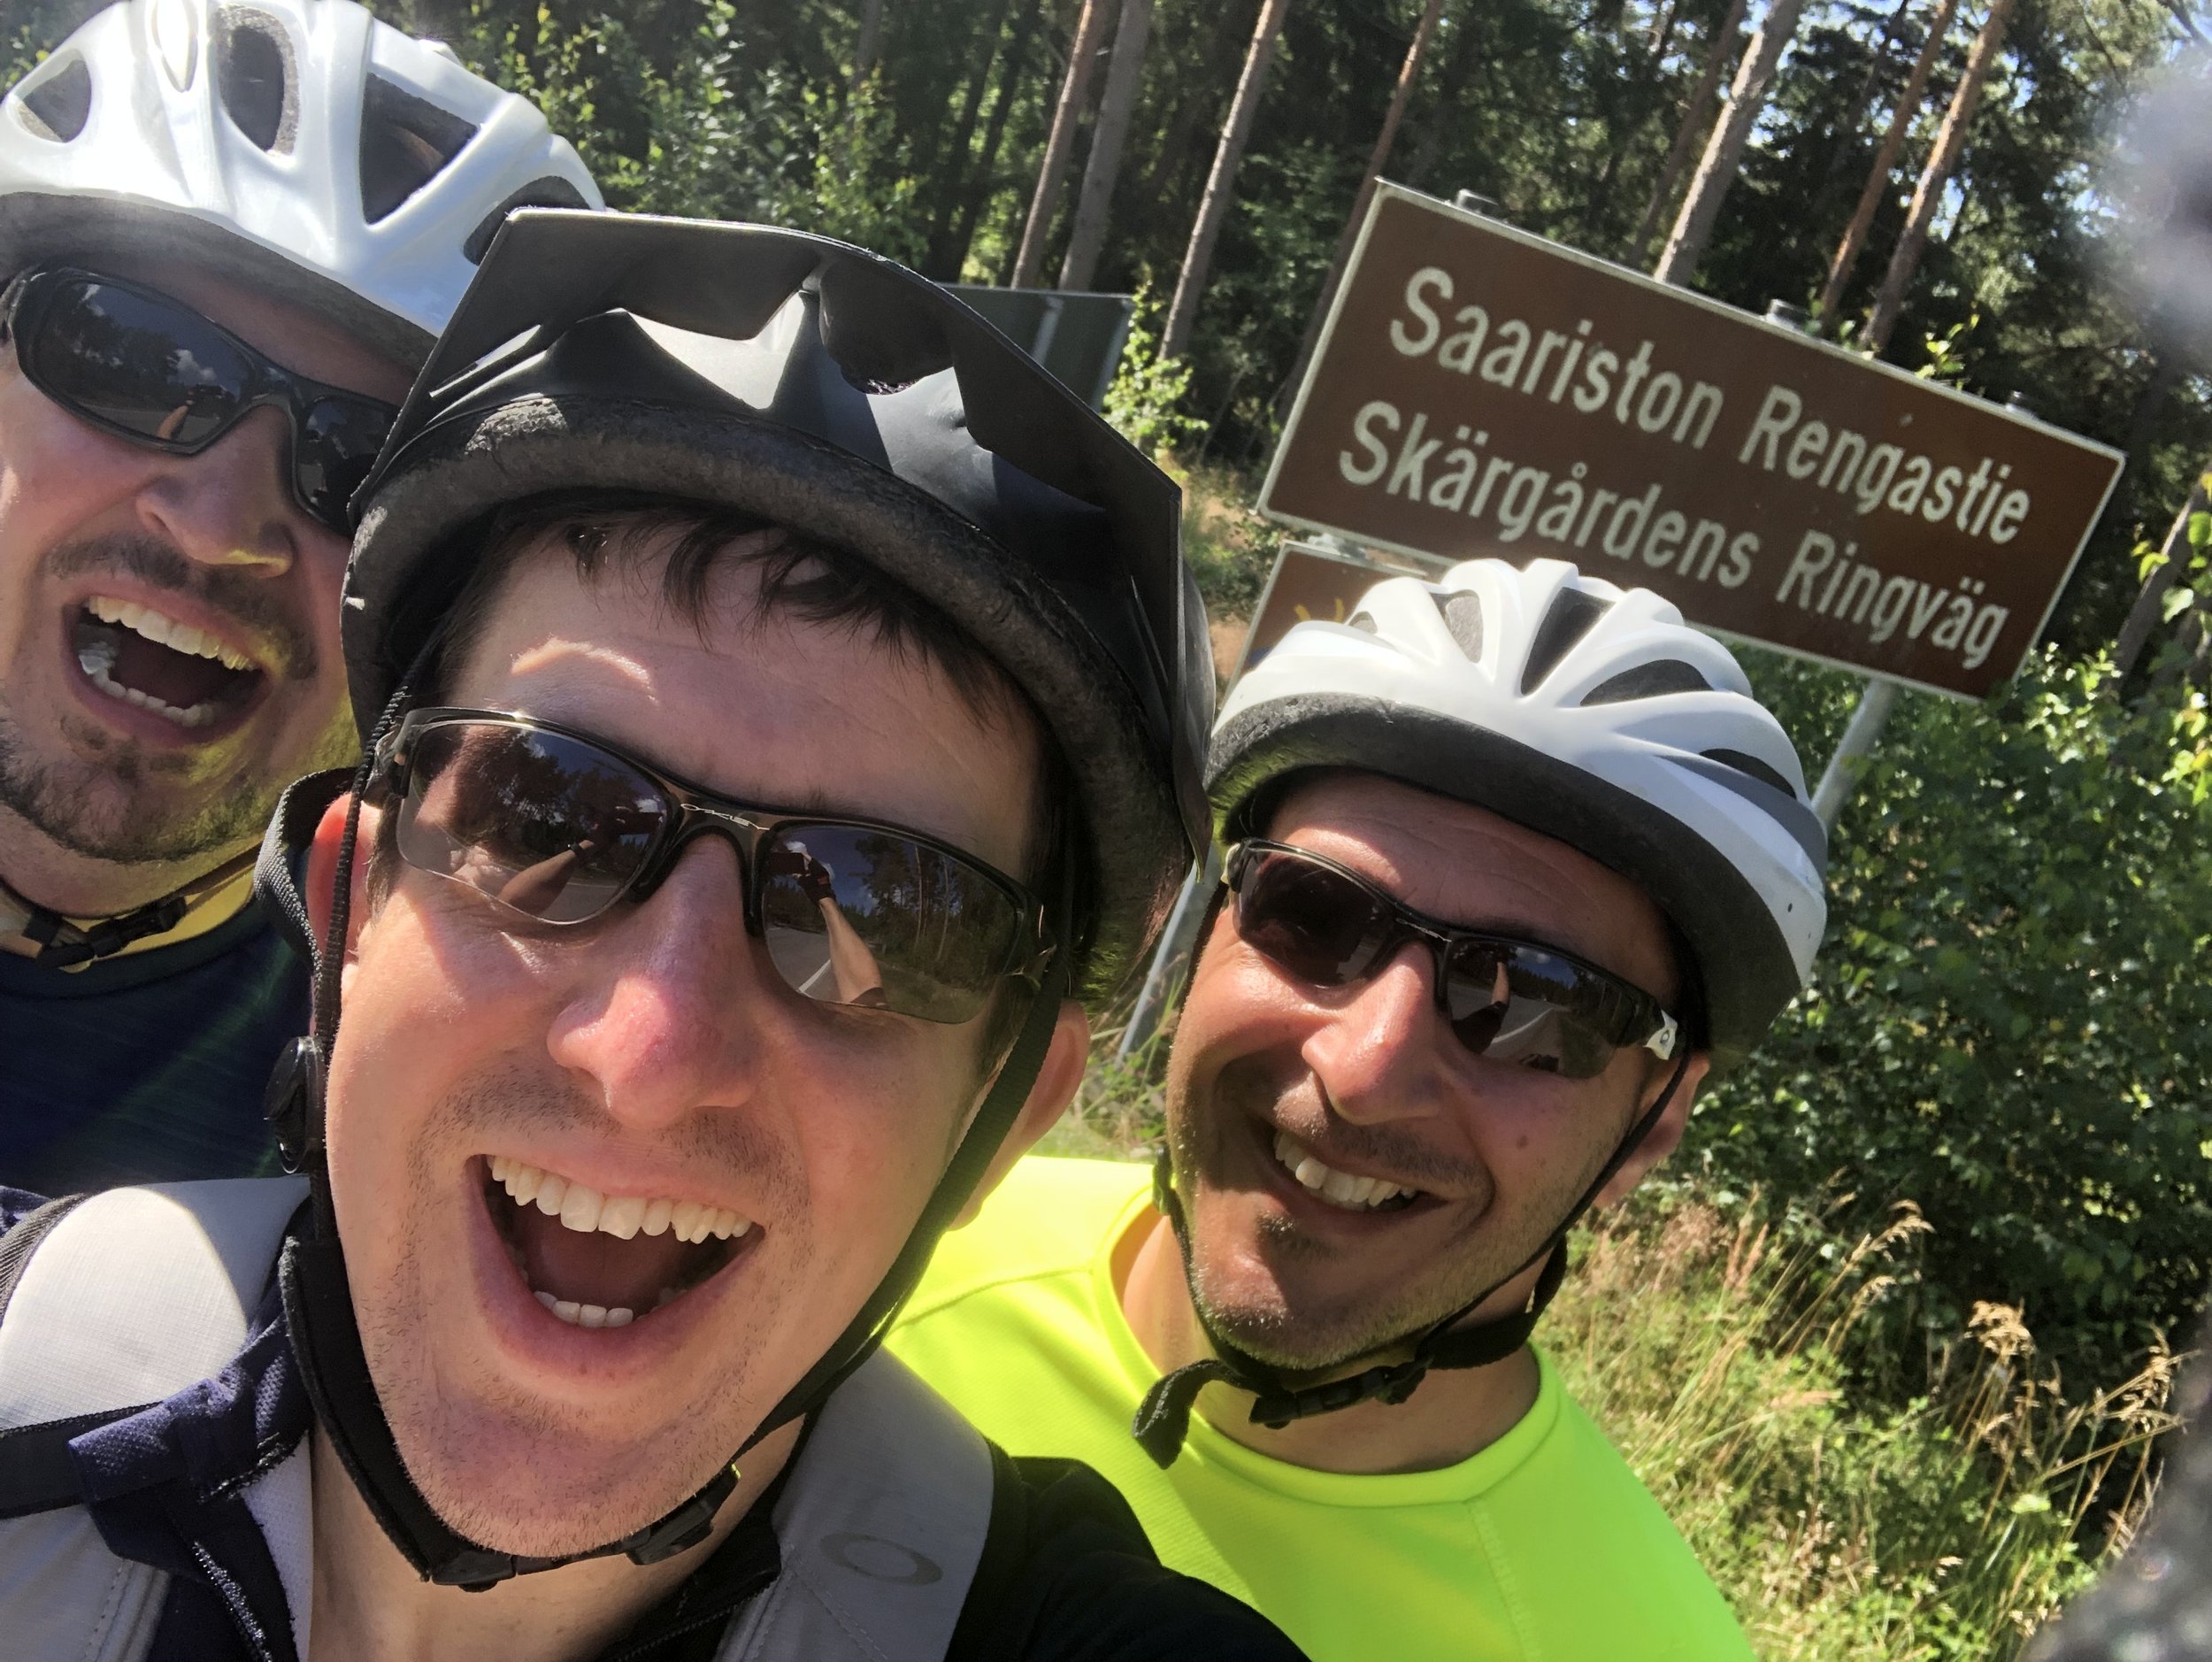
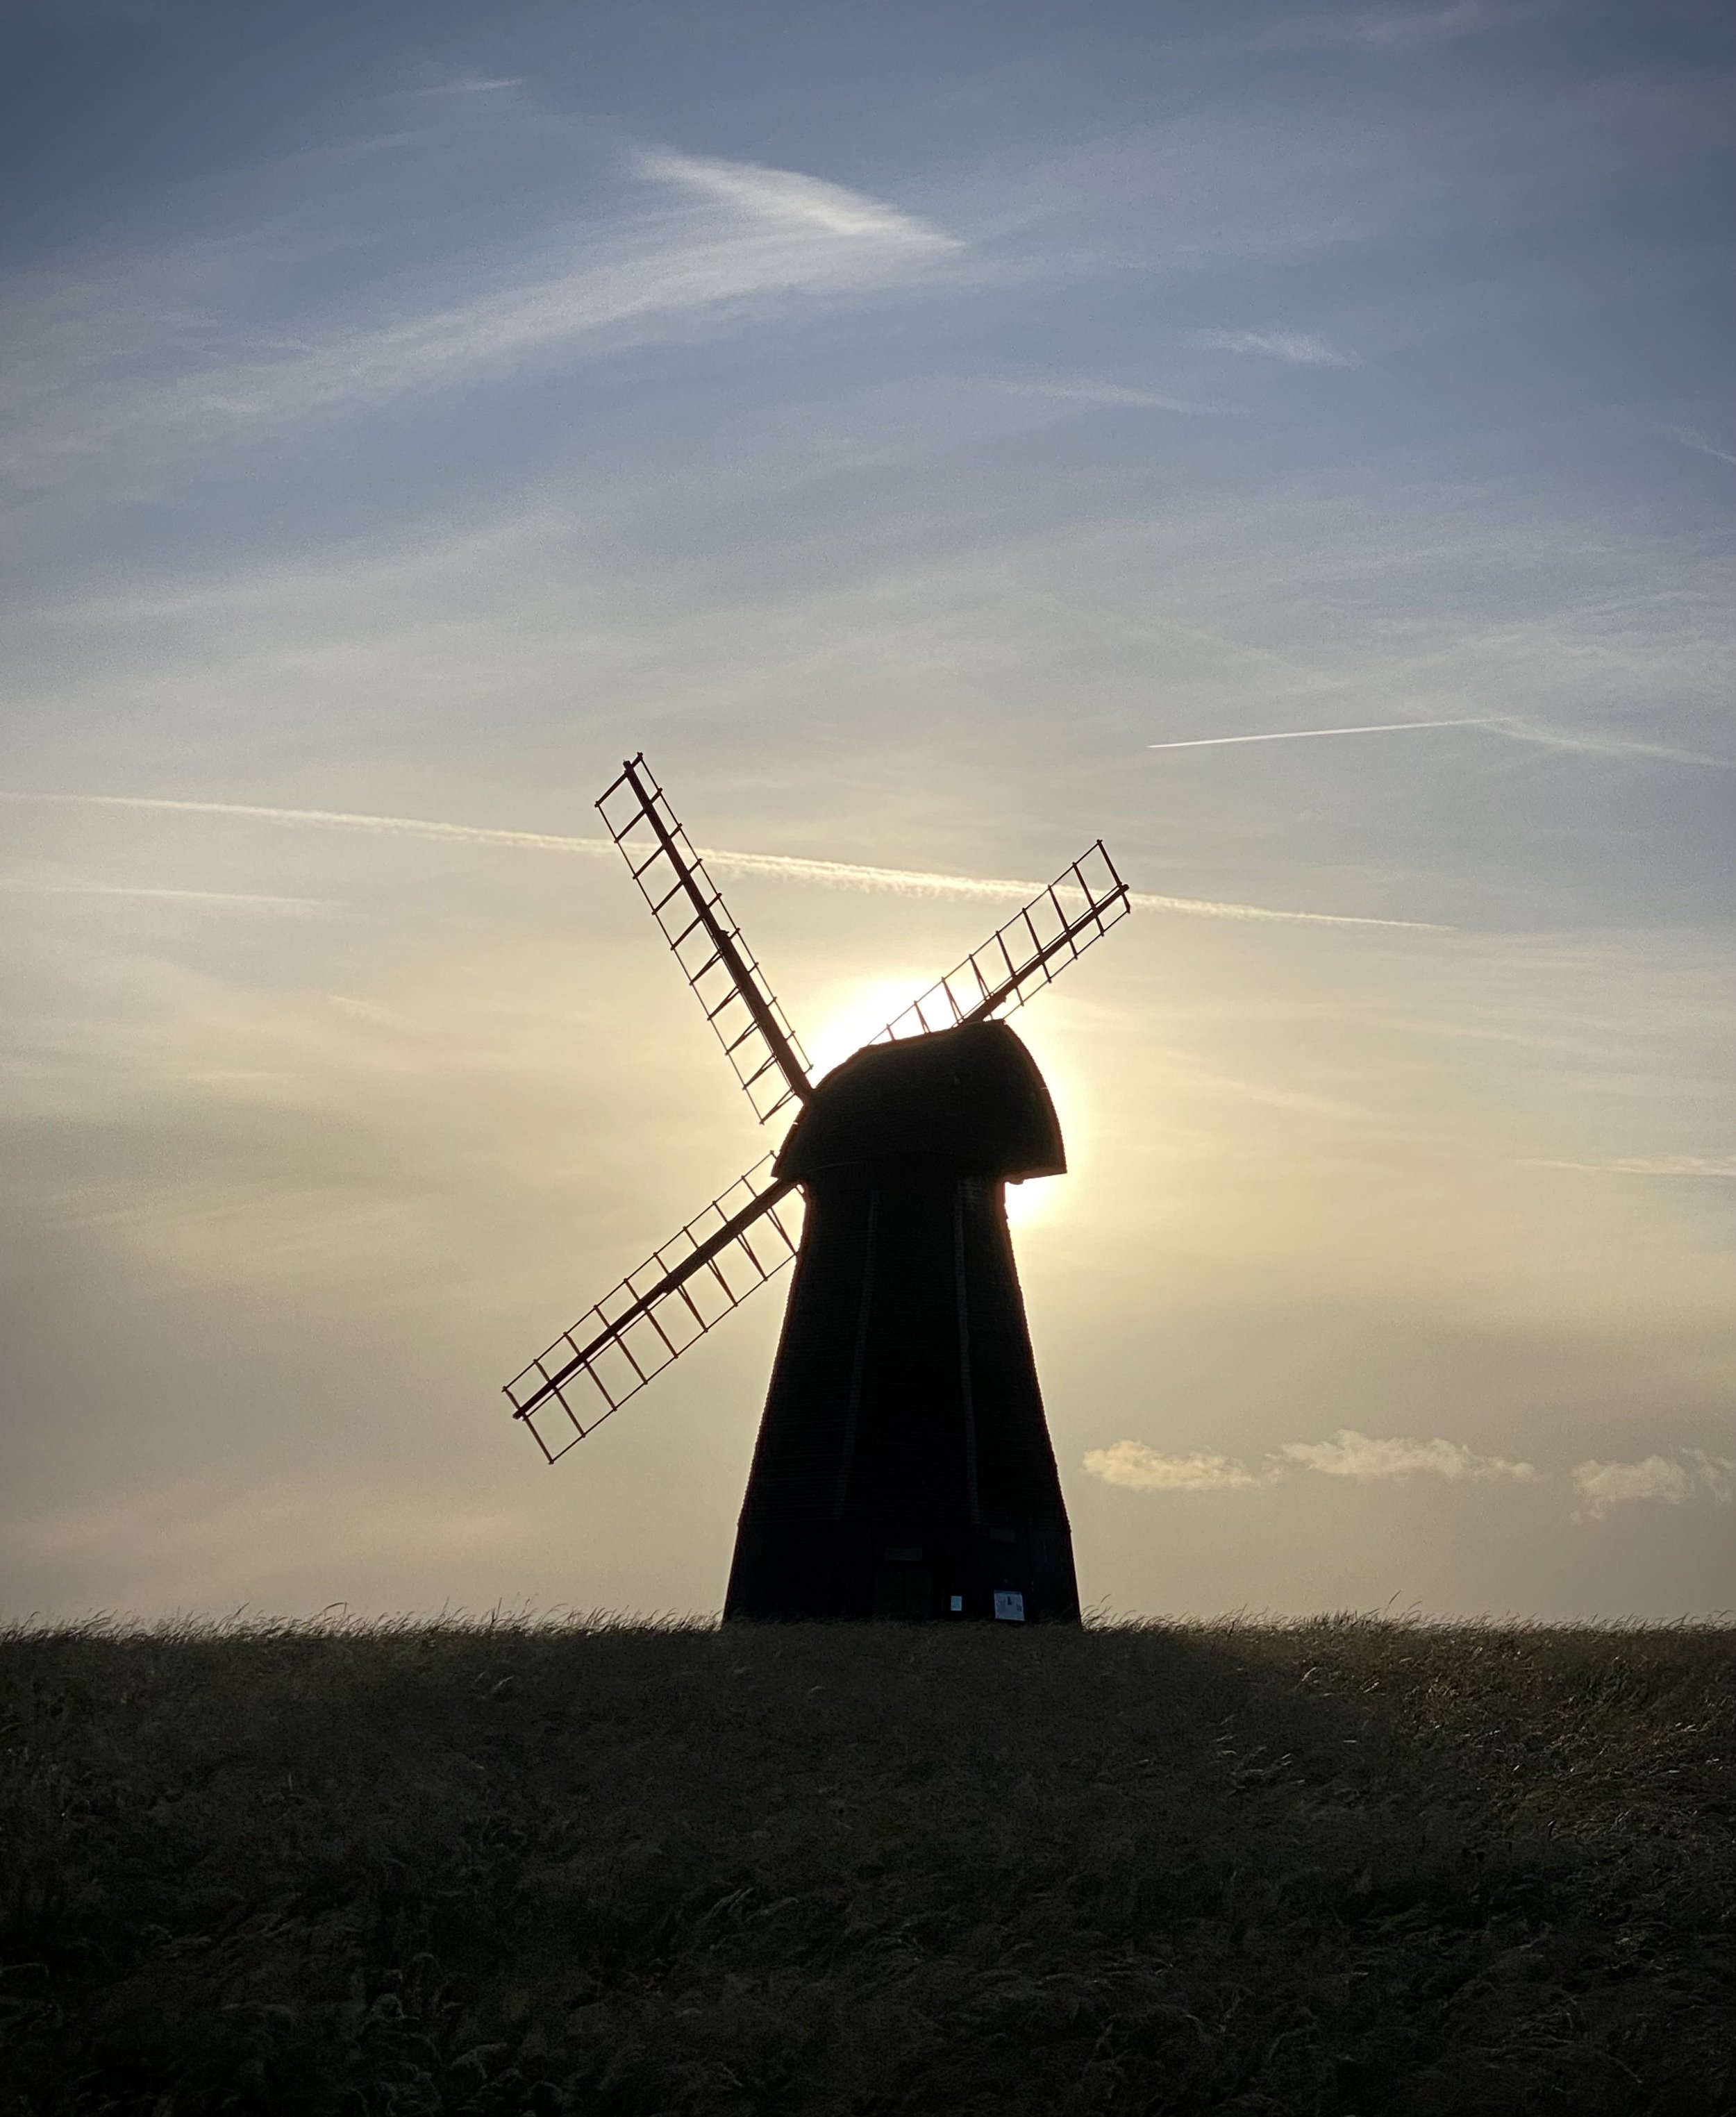
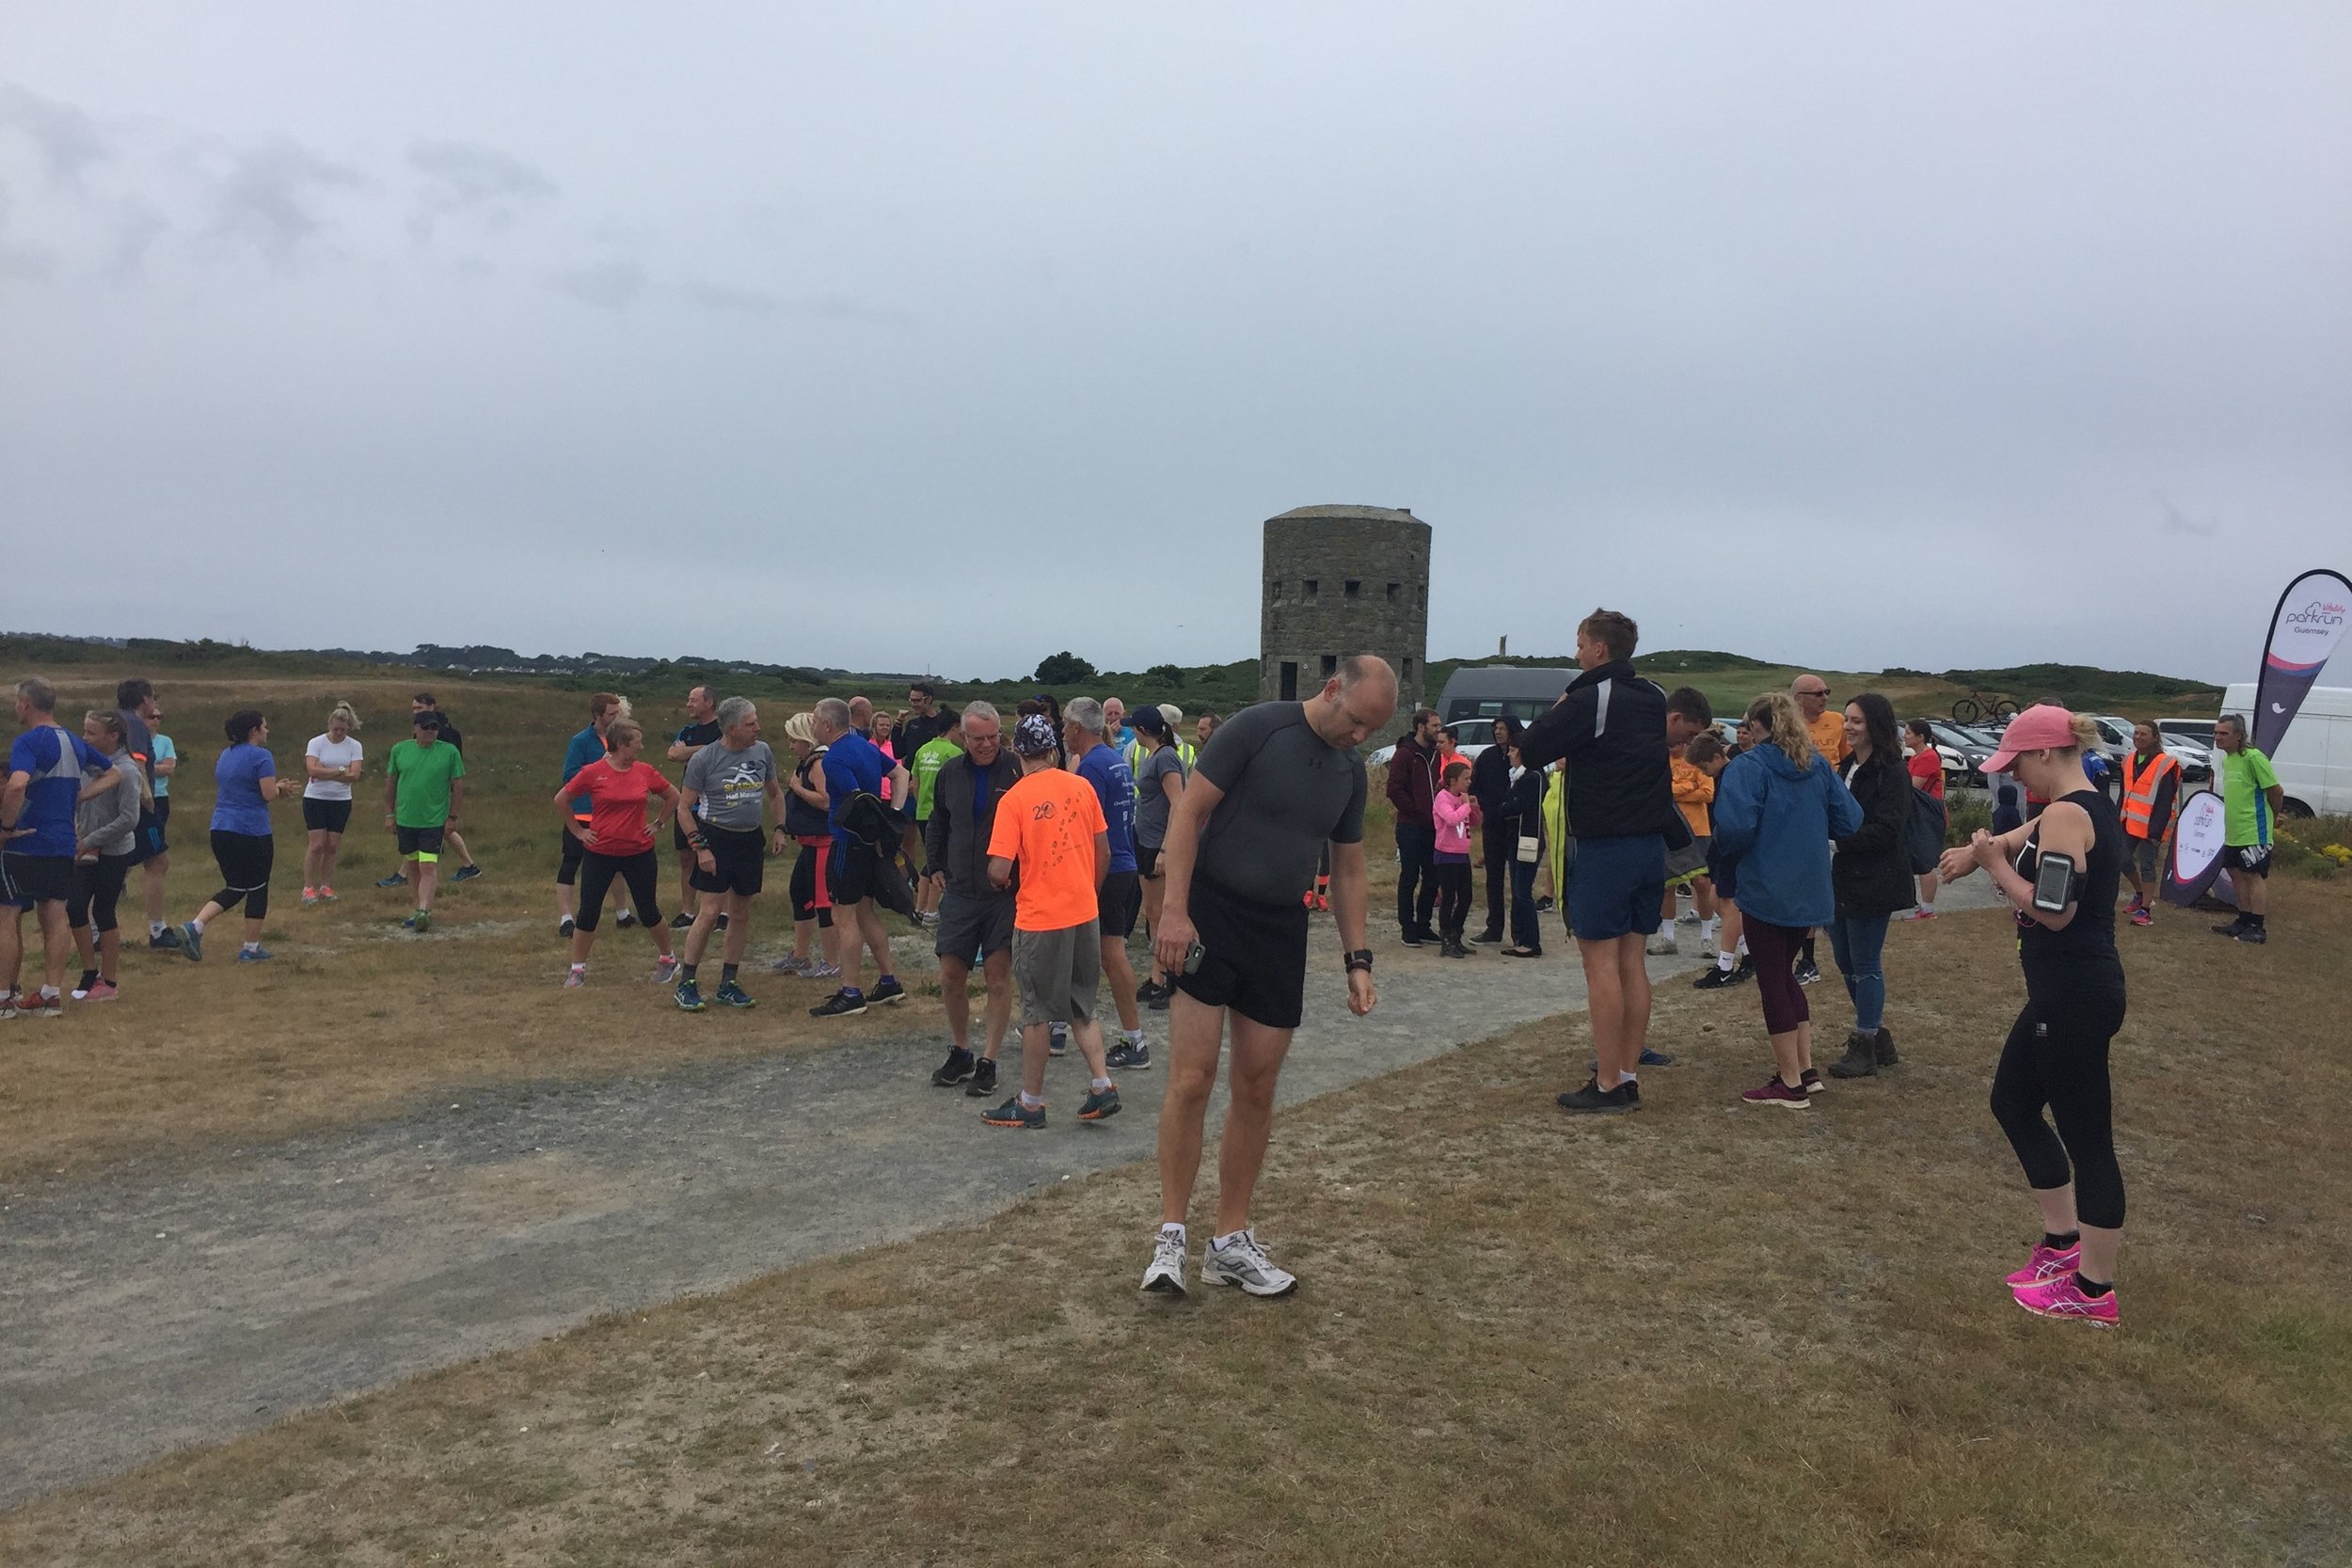
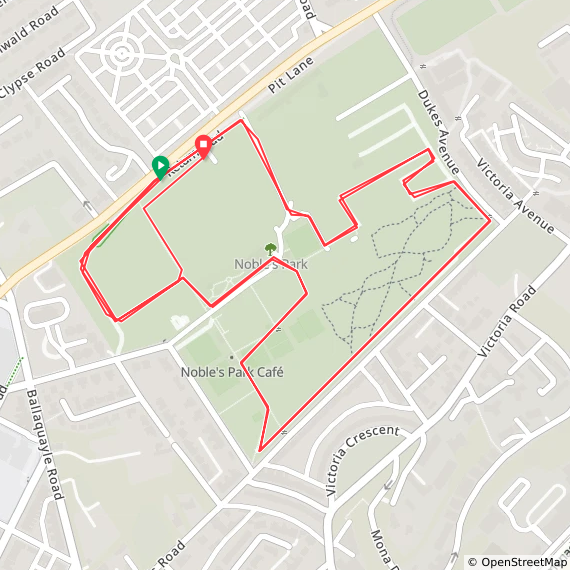
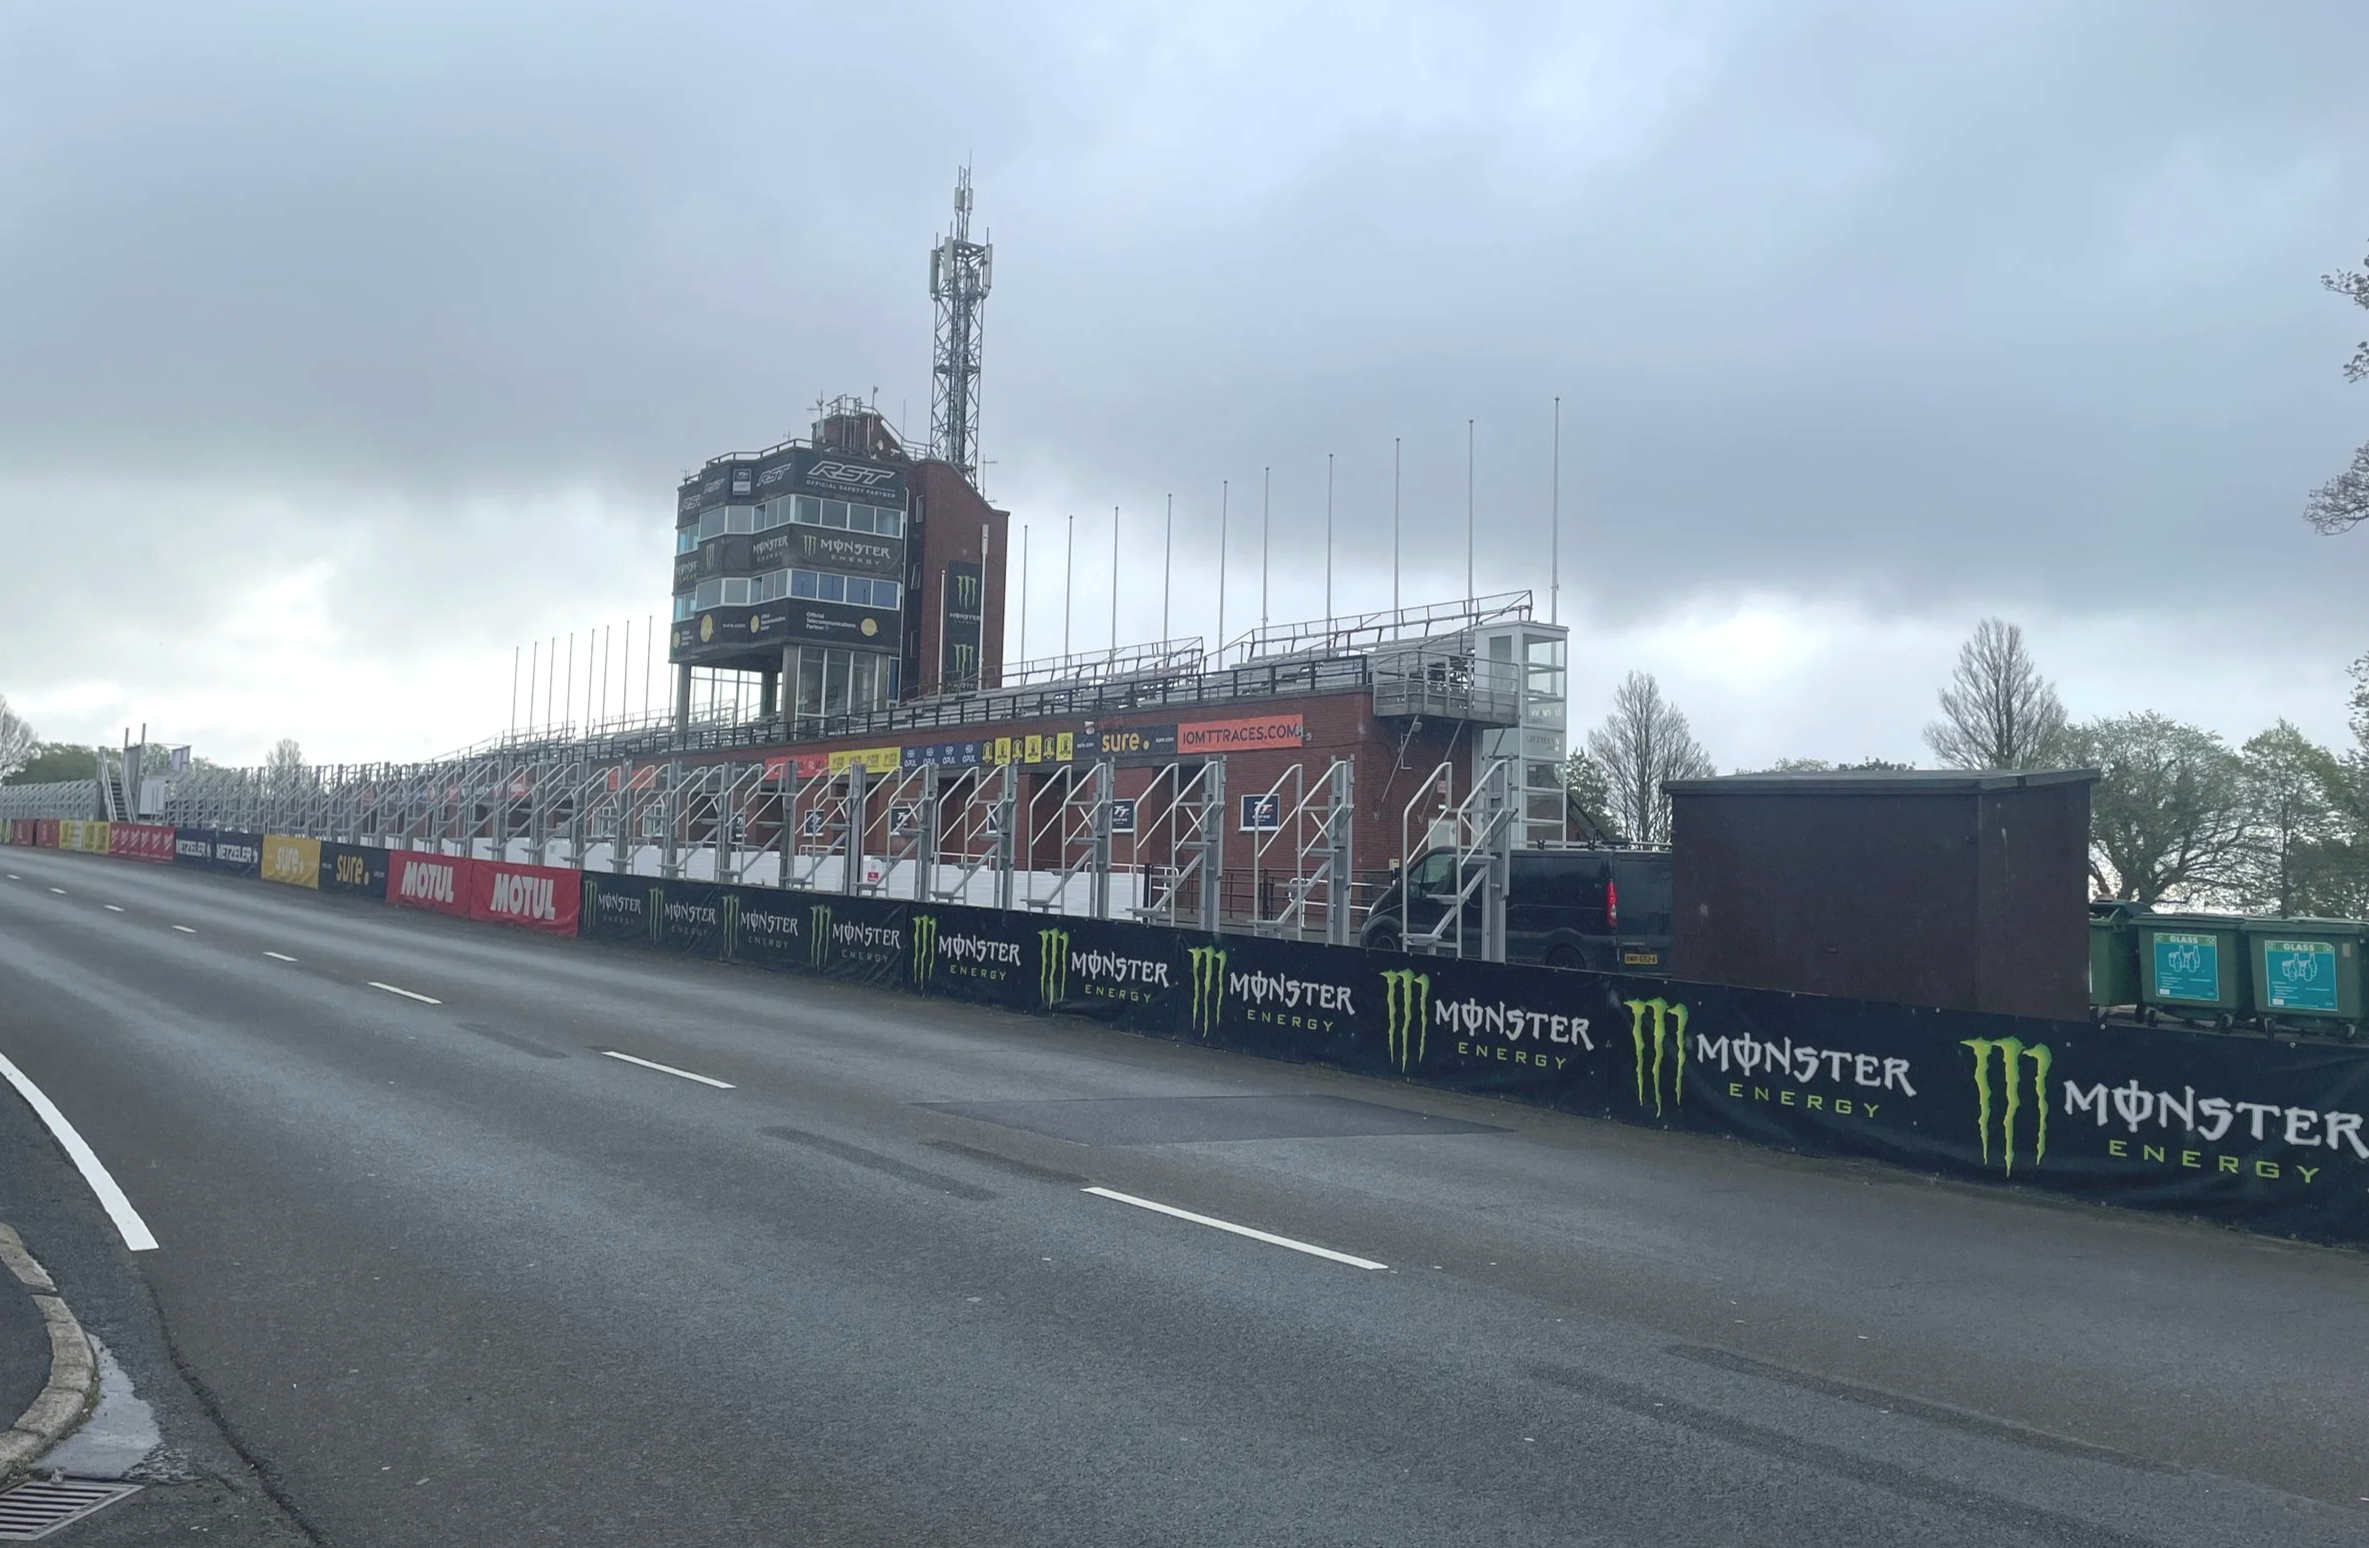
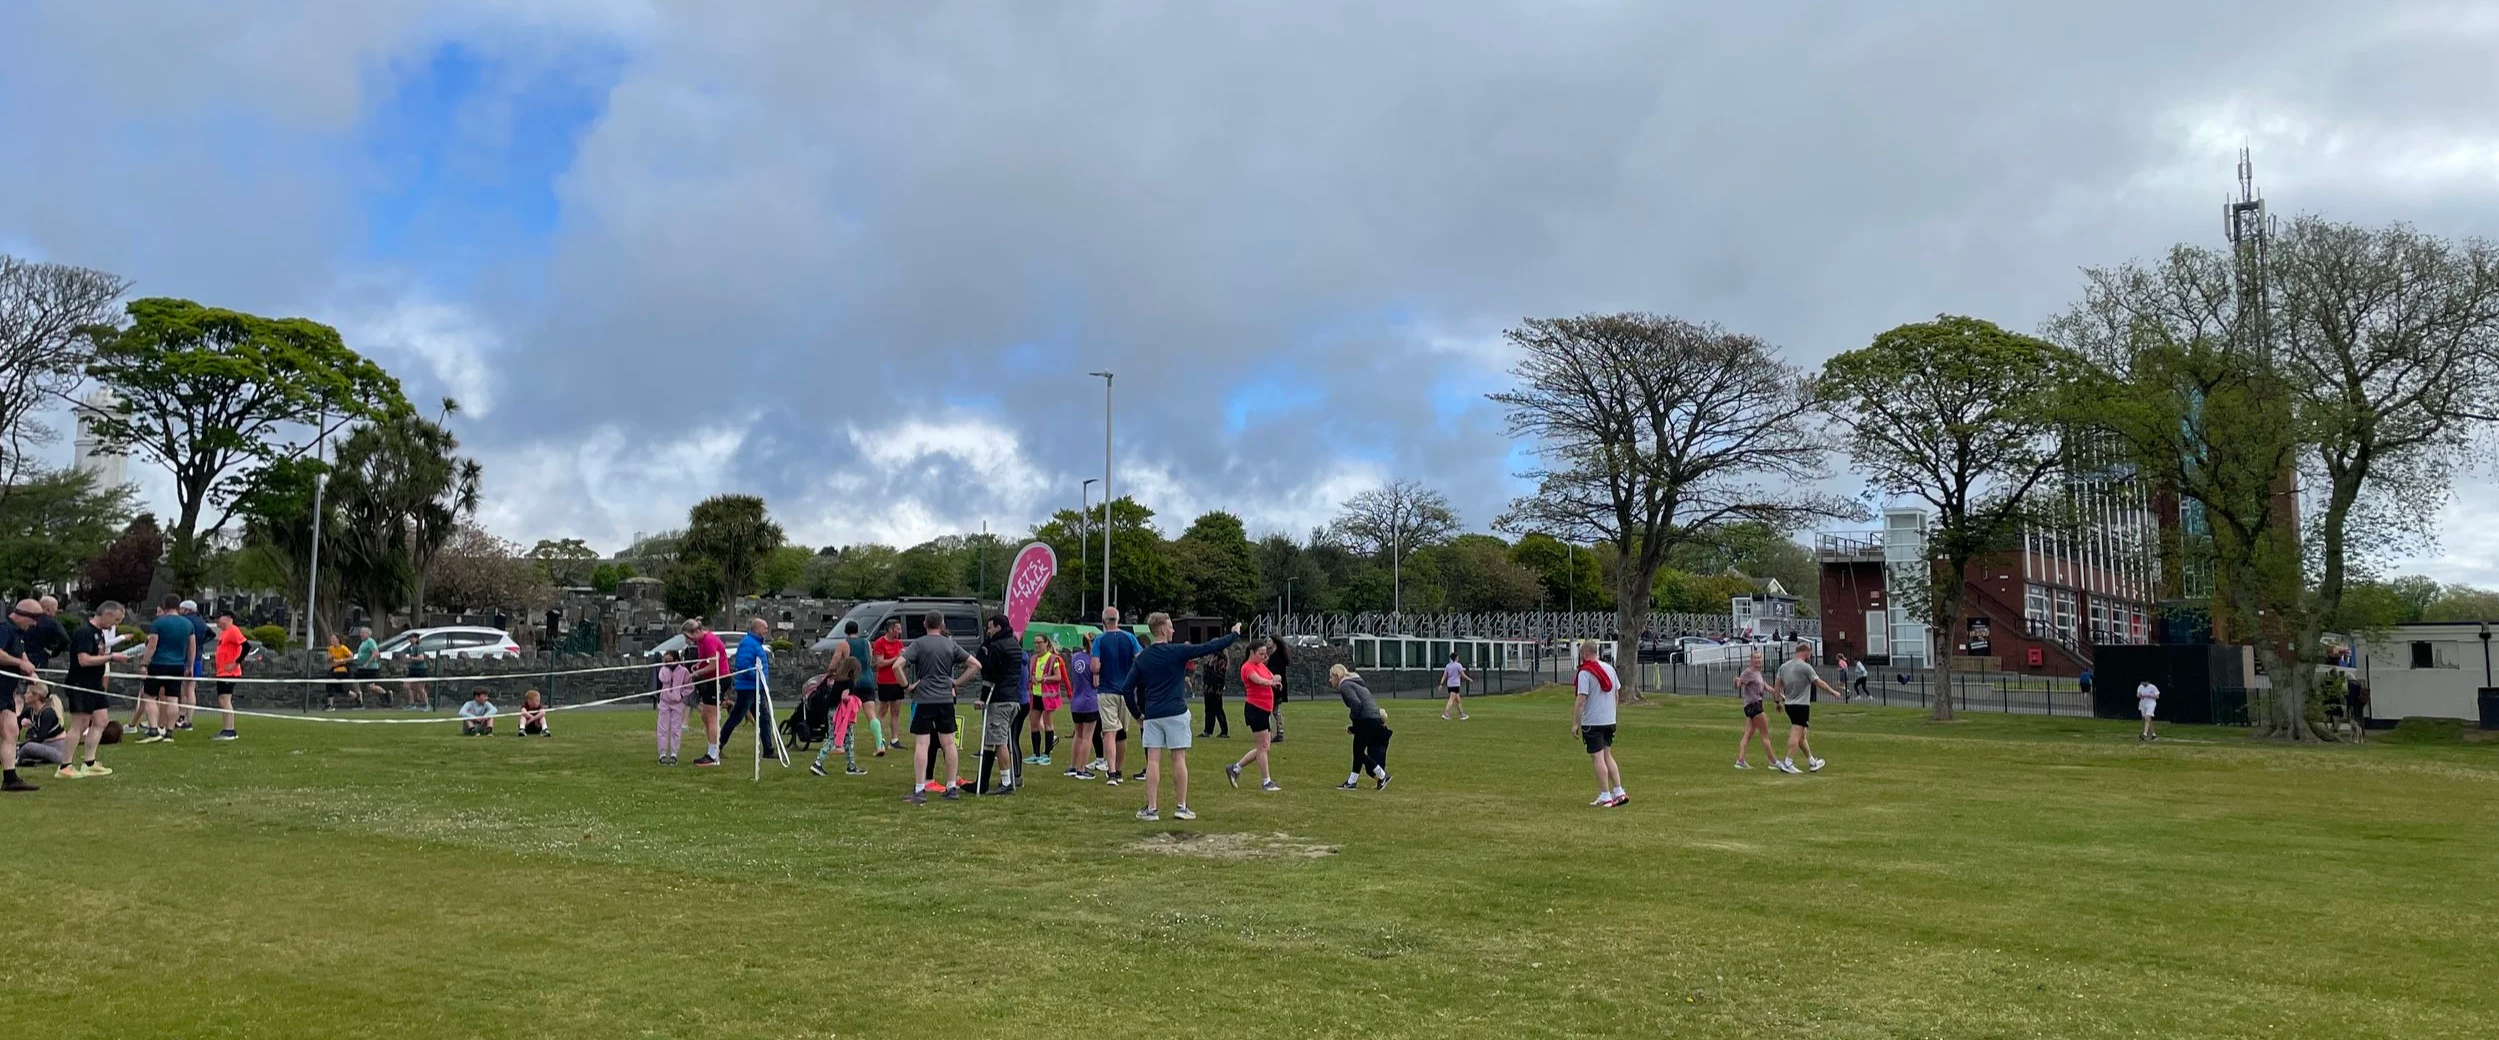
Nobles
I completed this event on: May 3rd 2025 with a finish time of: 27:08
Territory: Isle of Man
Government Categorisation: Crown Dependency
parkrun Region: Crown Dependencies
Other routes touched: N/A
Inaugural: October 21st 2017
Links: Event Home Page, Course Page
Situated in Douglas, Nobles Park is deeply tied to the island's rich sporting history, most famously near the grandstand area for the TT Races. Its carefully manicured lawns and mature trees offer an expansive, traditional parkland setting for the local parkrun.

Plantation Forest
I have not yet completed this event
Territory: Saint Helena, Ascension and Tristan da Cunha
Government Categorisation: British Overseas Territory
parkrun Region: British Overseas Territories
Inaugural: July 11th 2026
Links: Event Home Page, Course Page
Nestled in the remote South Atlantic, St Helena's Plantation Forest is renowned for its unique biodiversity and historical significance. It is located near Plantation House, the official residence of the Governor and home to Jonathan, a Seychelles giant tortoise who is the world's oldest known living land animal.
More parkrun posts

parkruns are free, weekly, community 5k events all around the world. I started in December 2012 and have been obsessive about it ever since. See my parkrun Collection page for details.
Featured and popular parkrun posts: