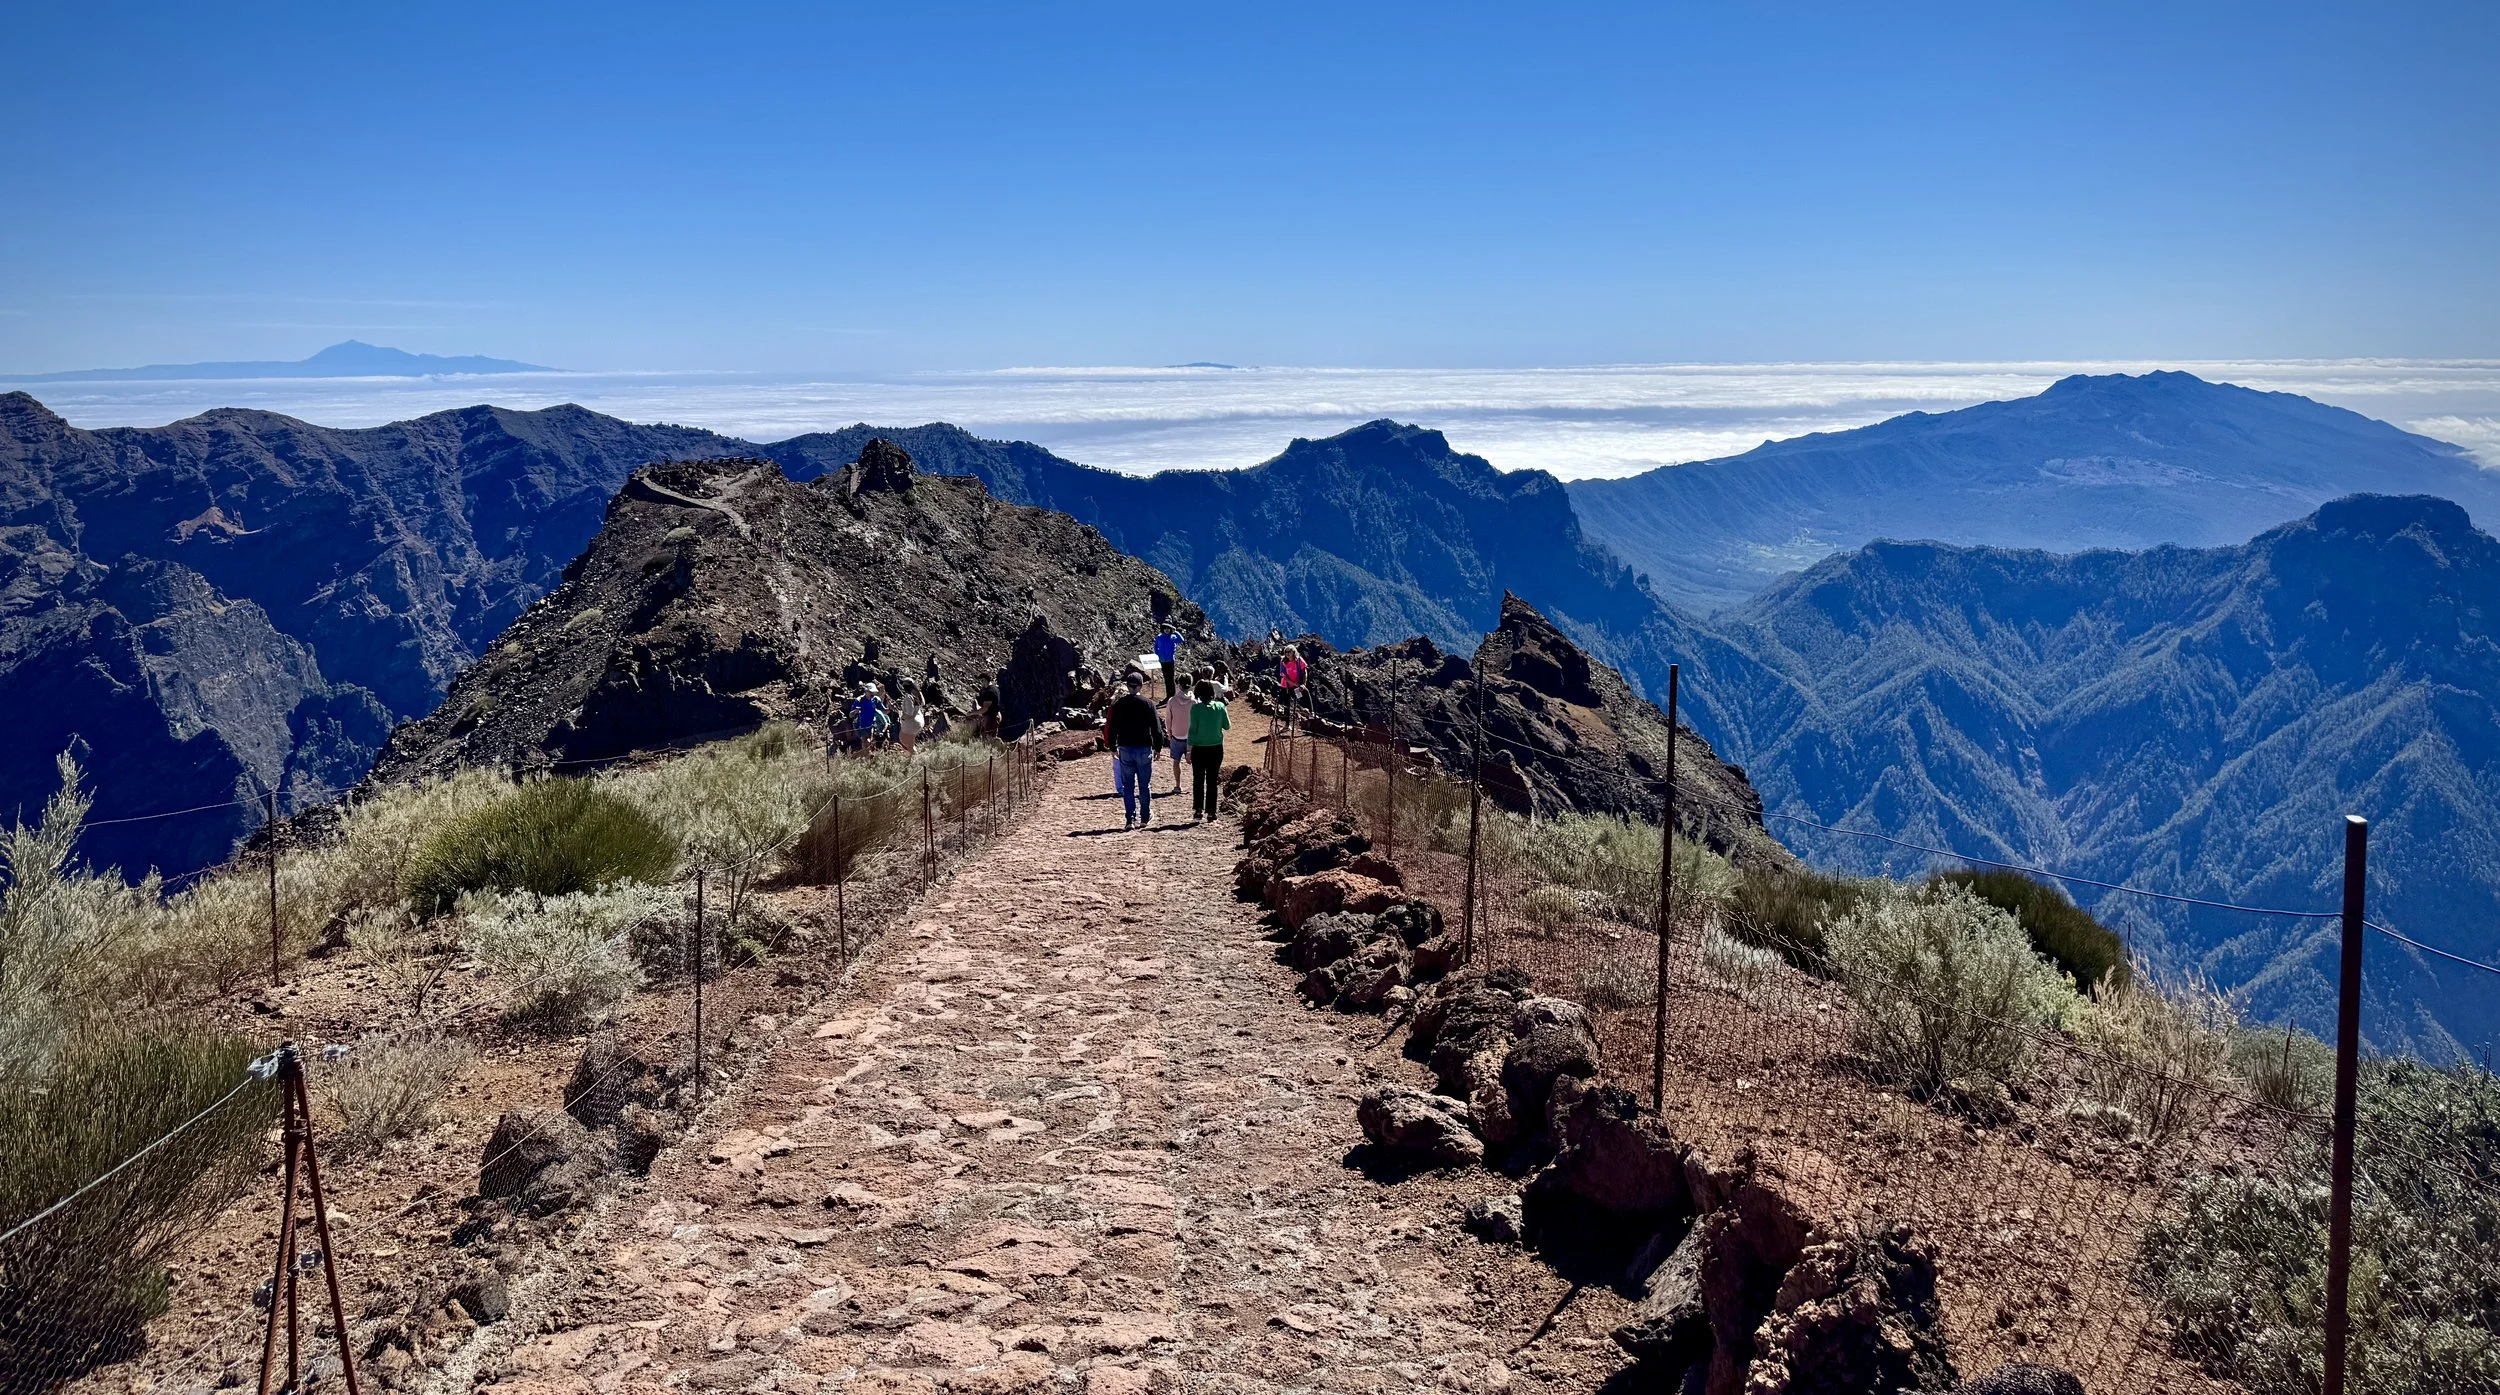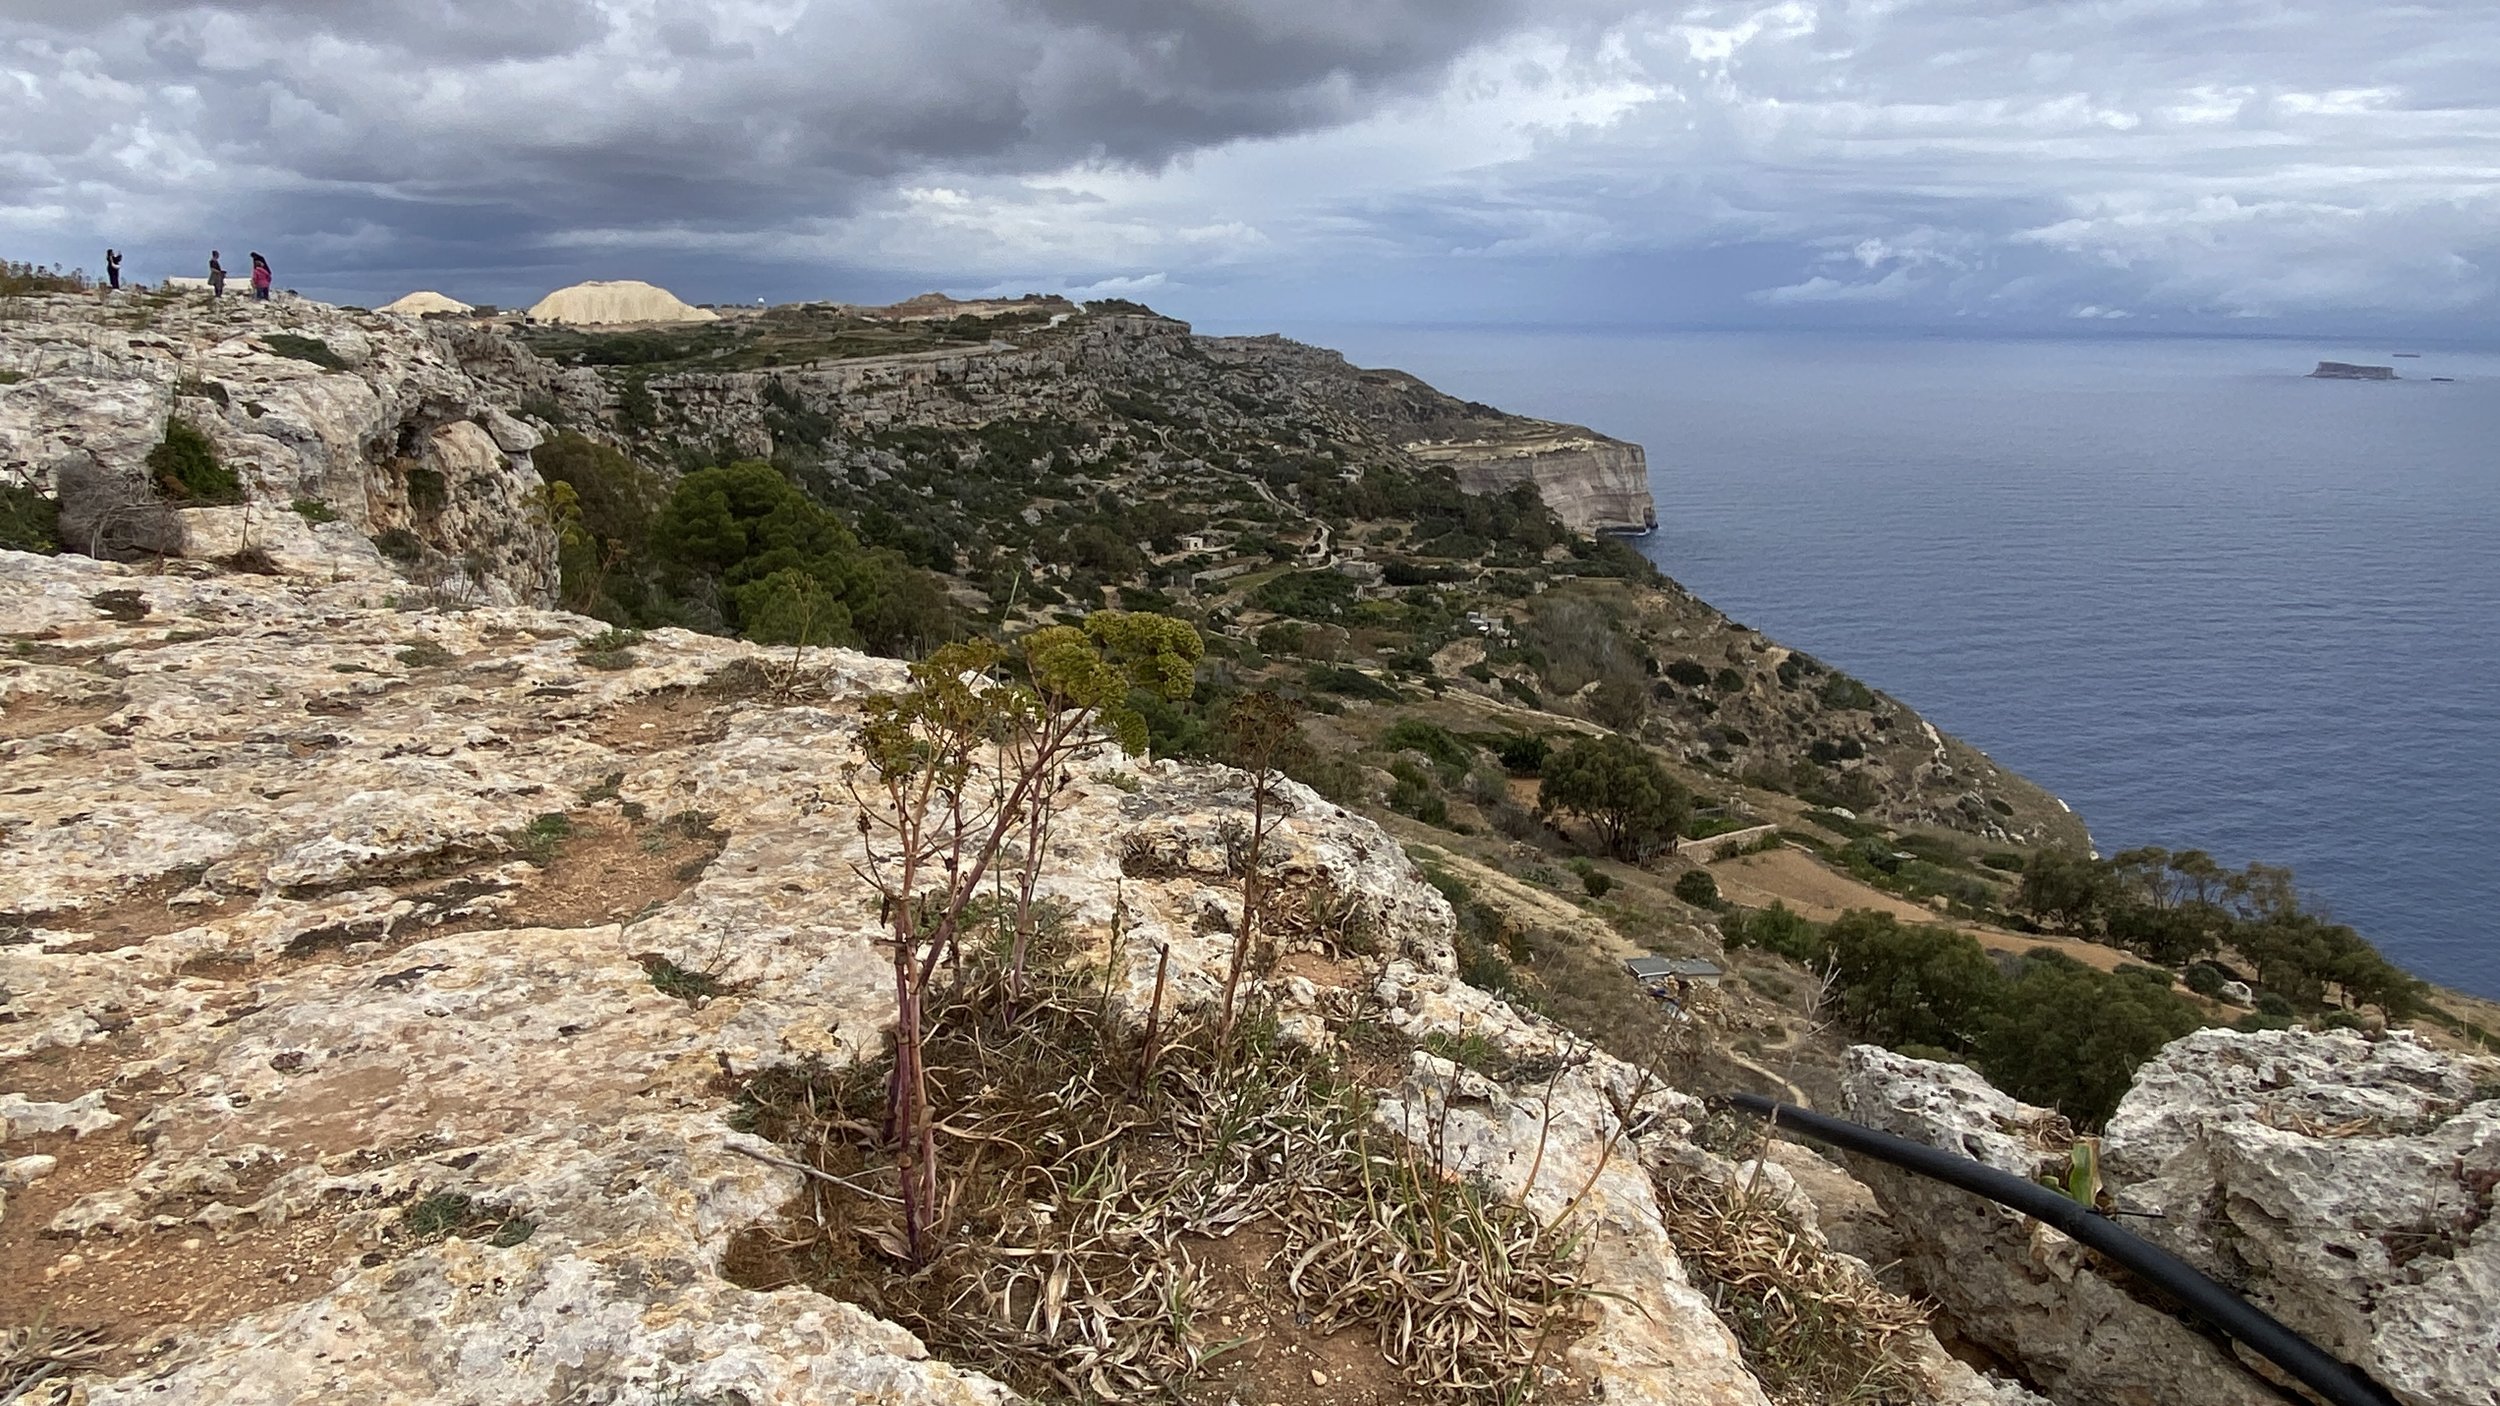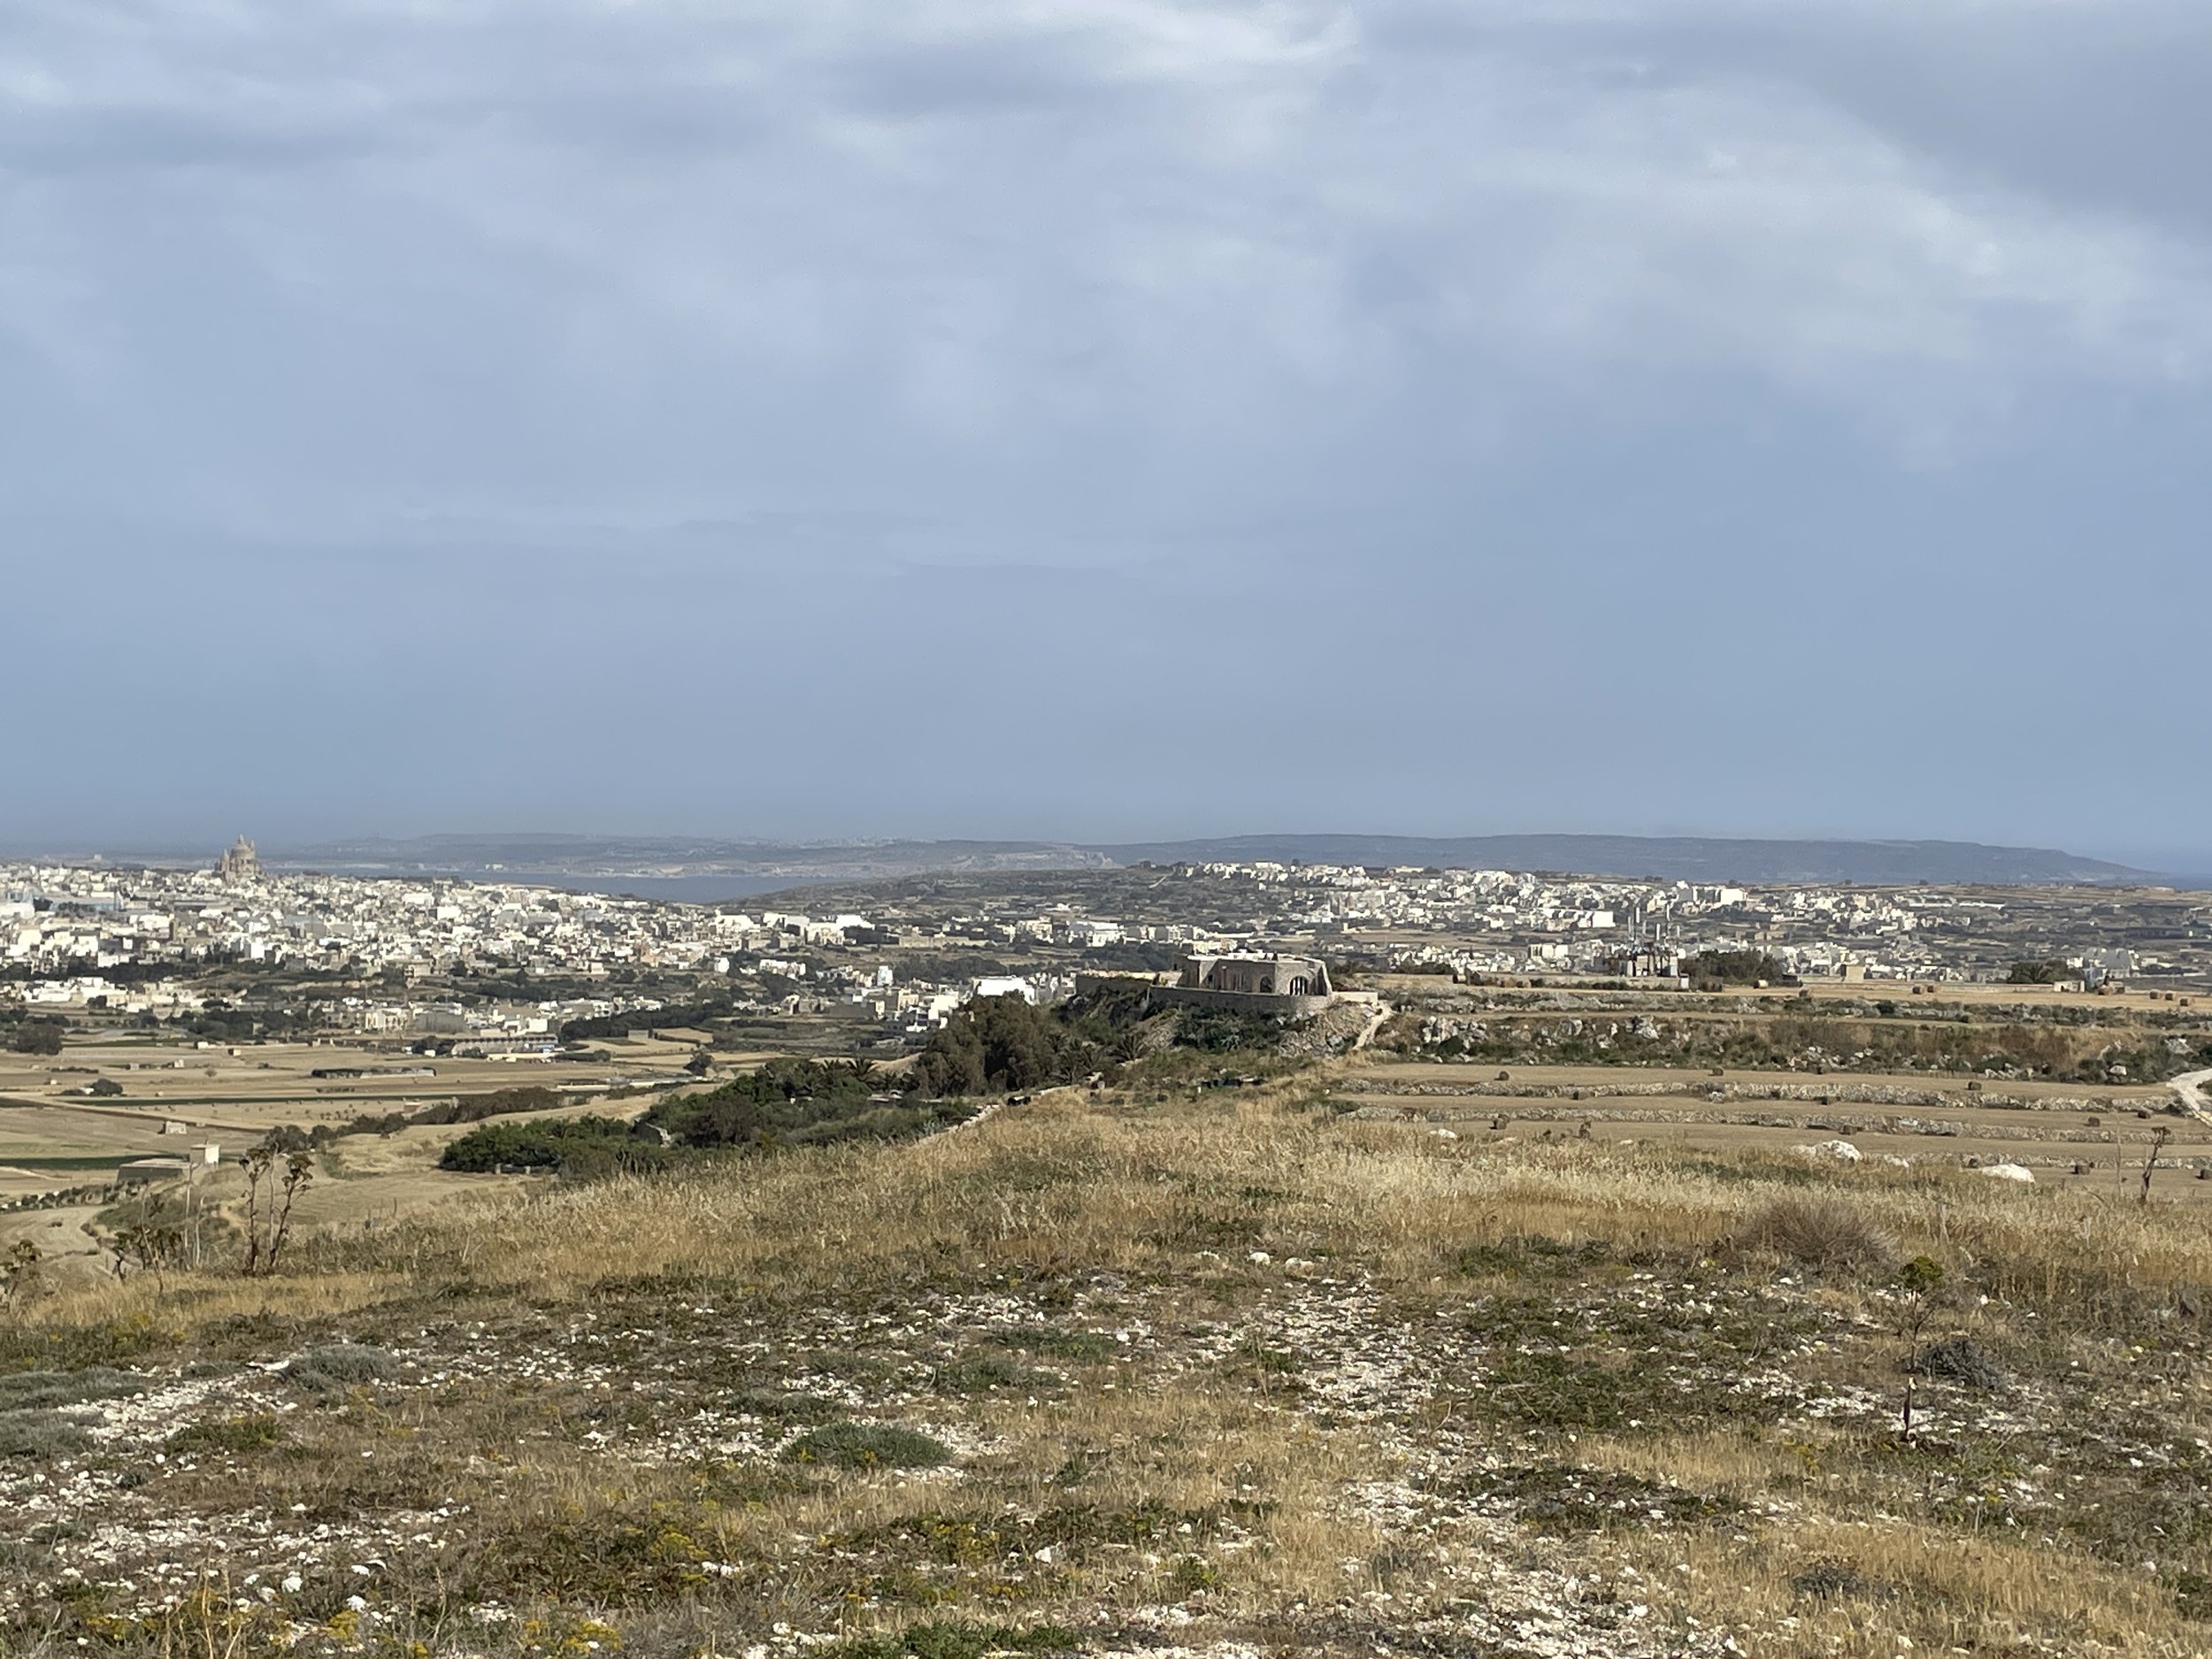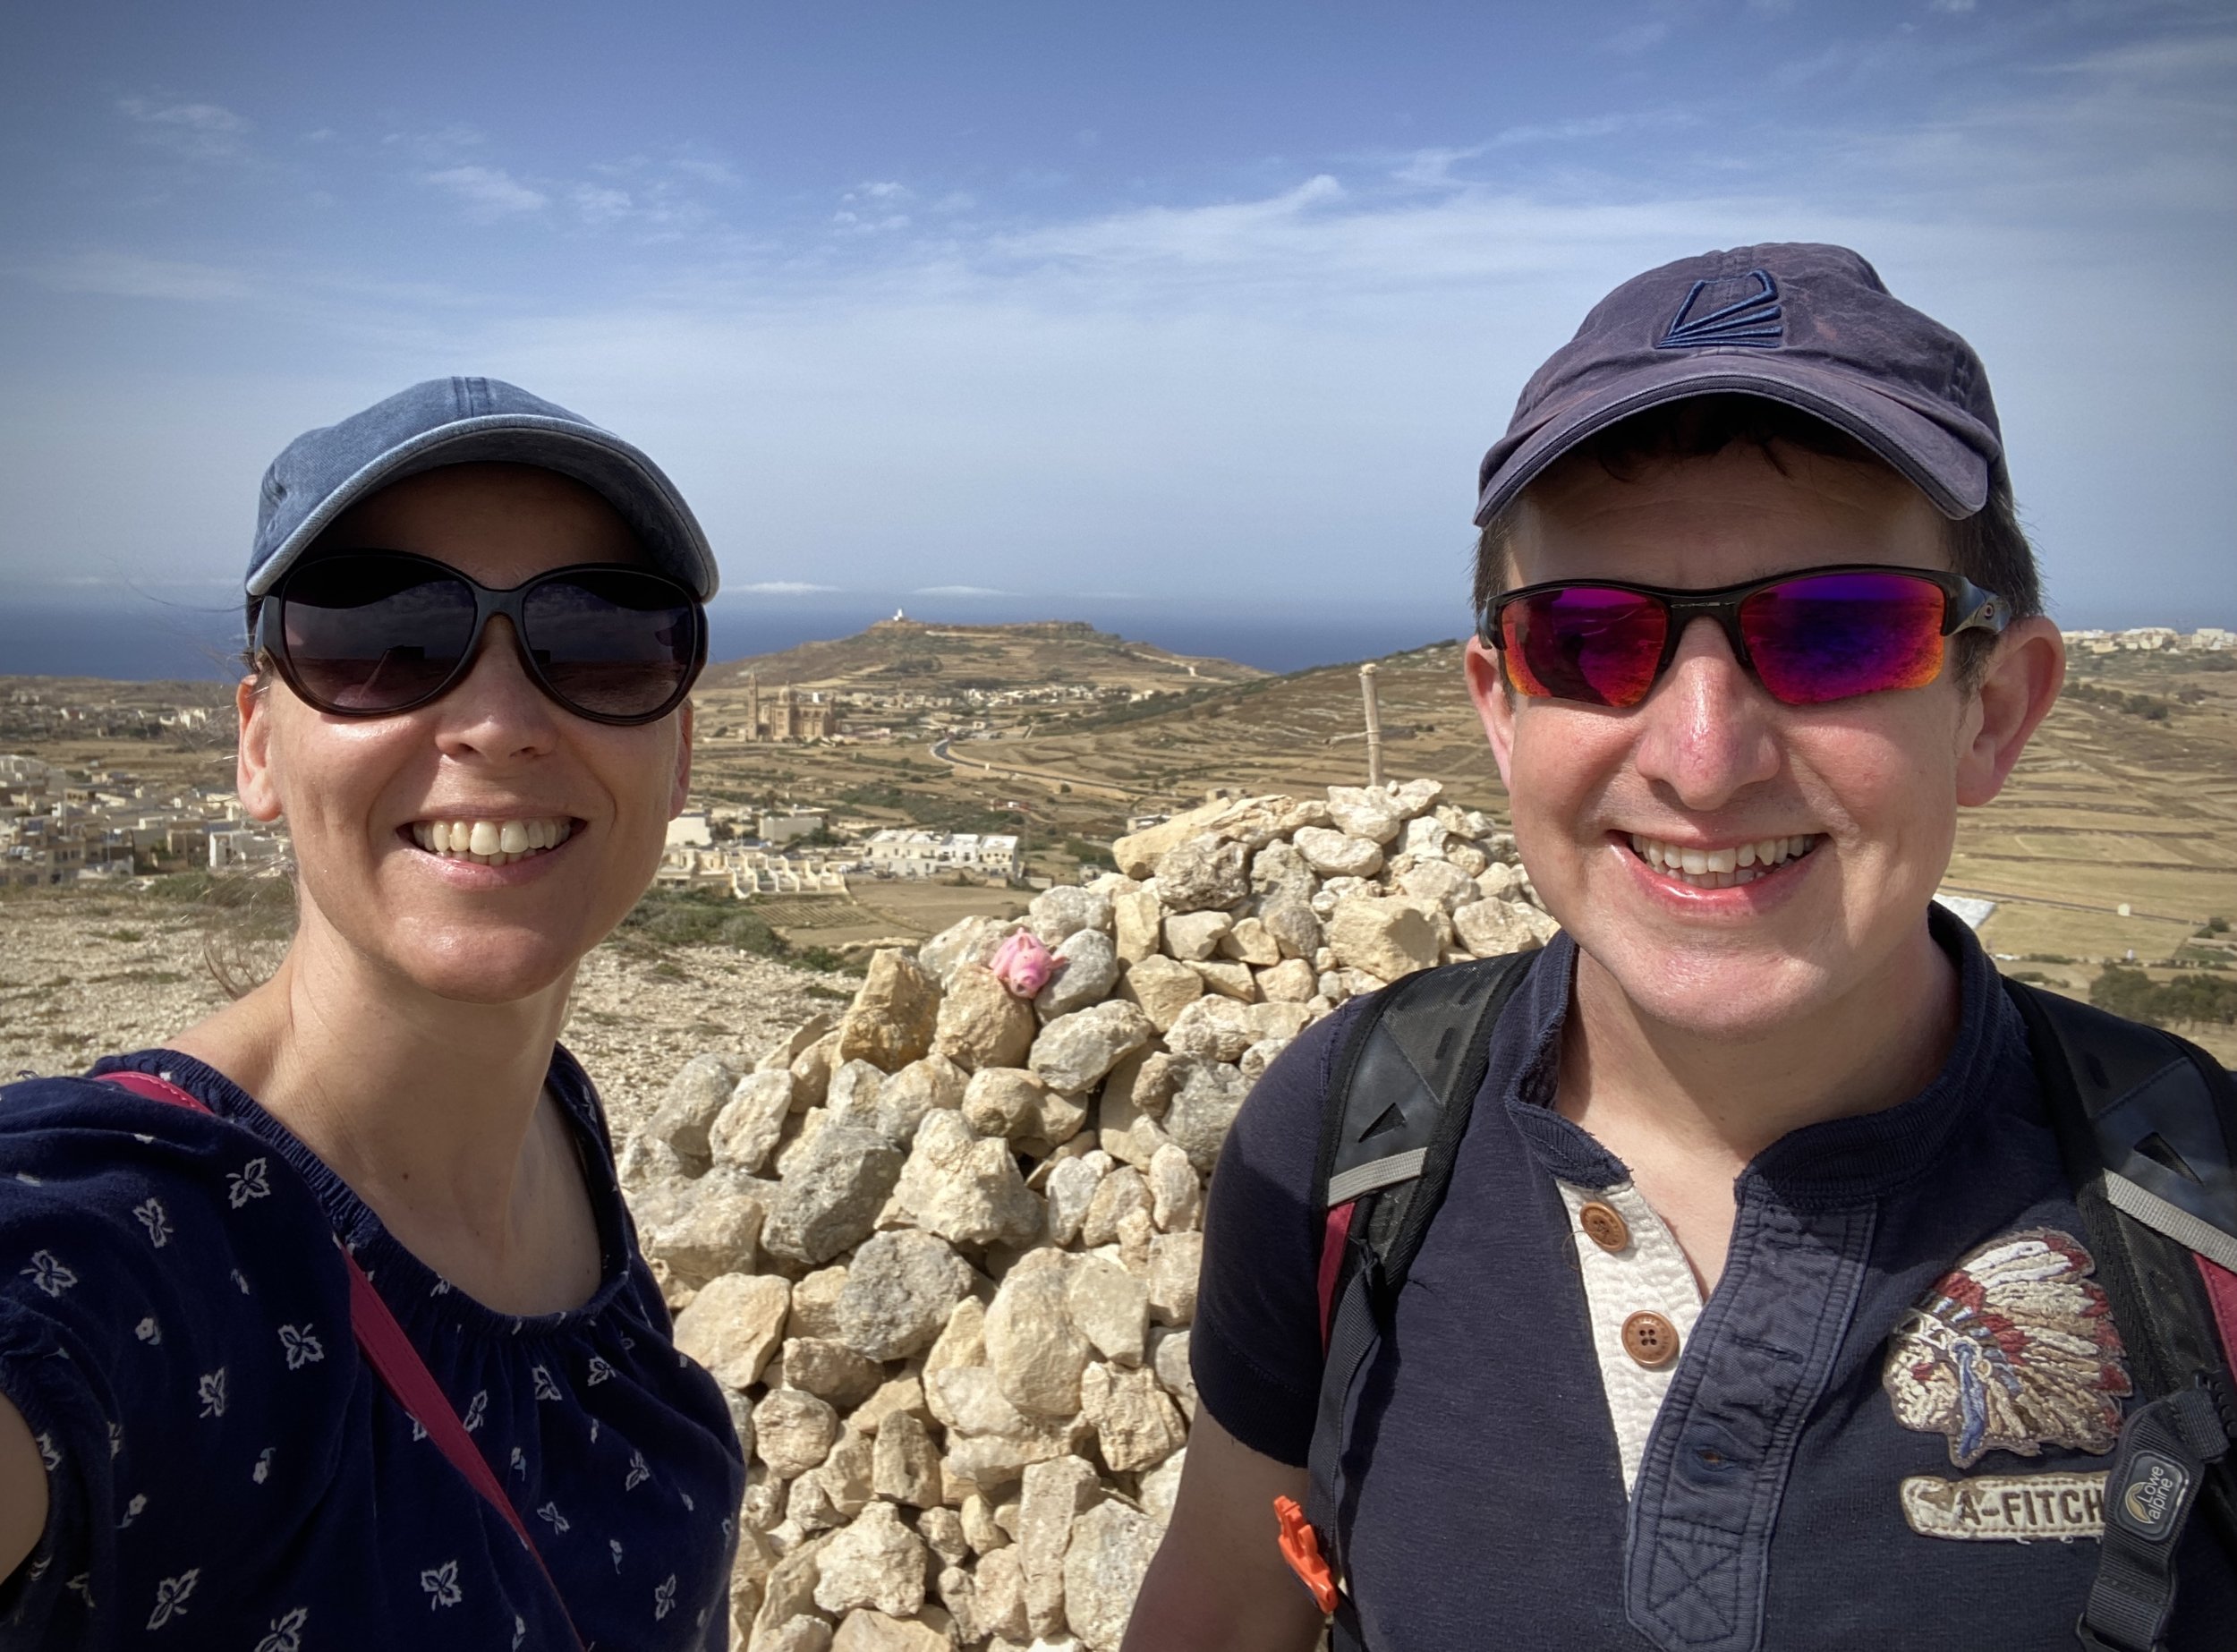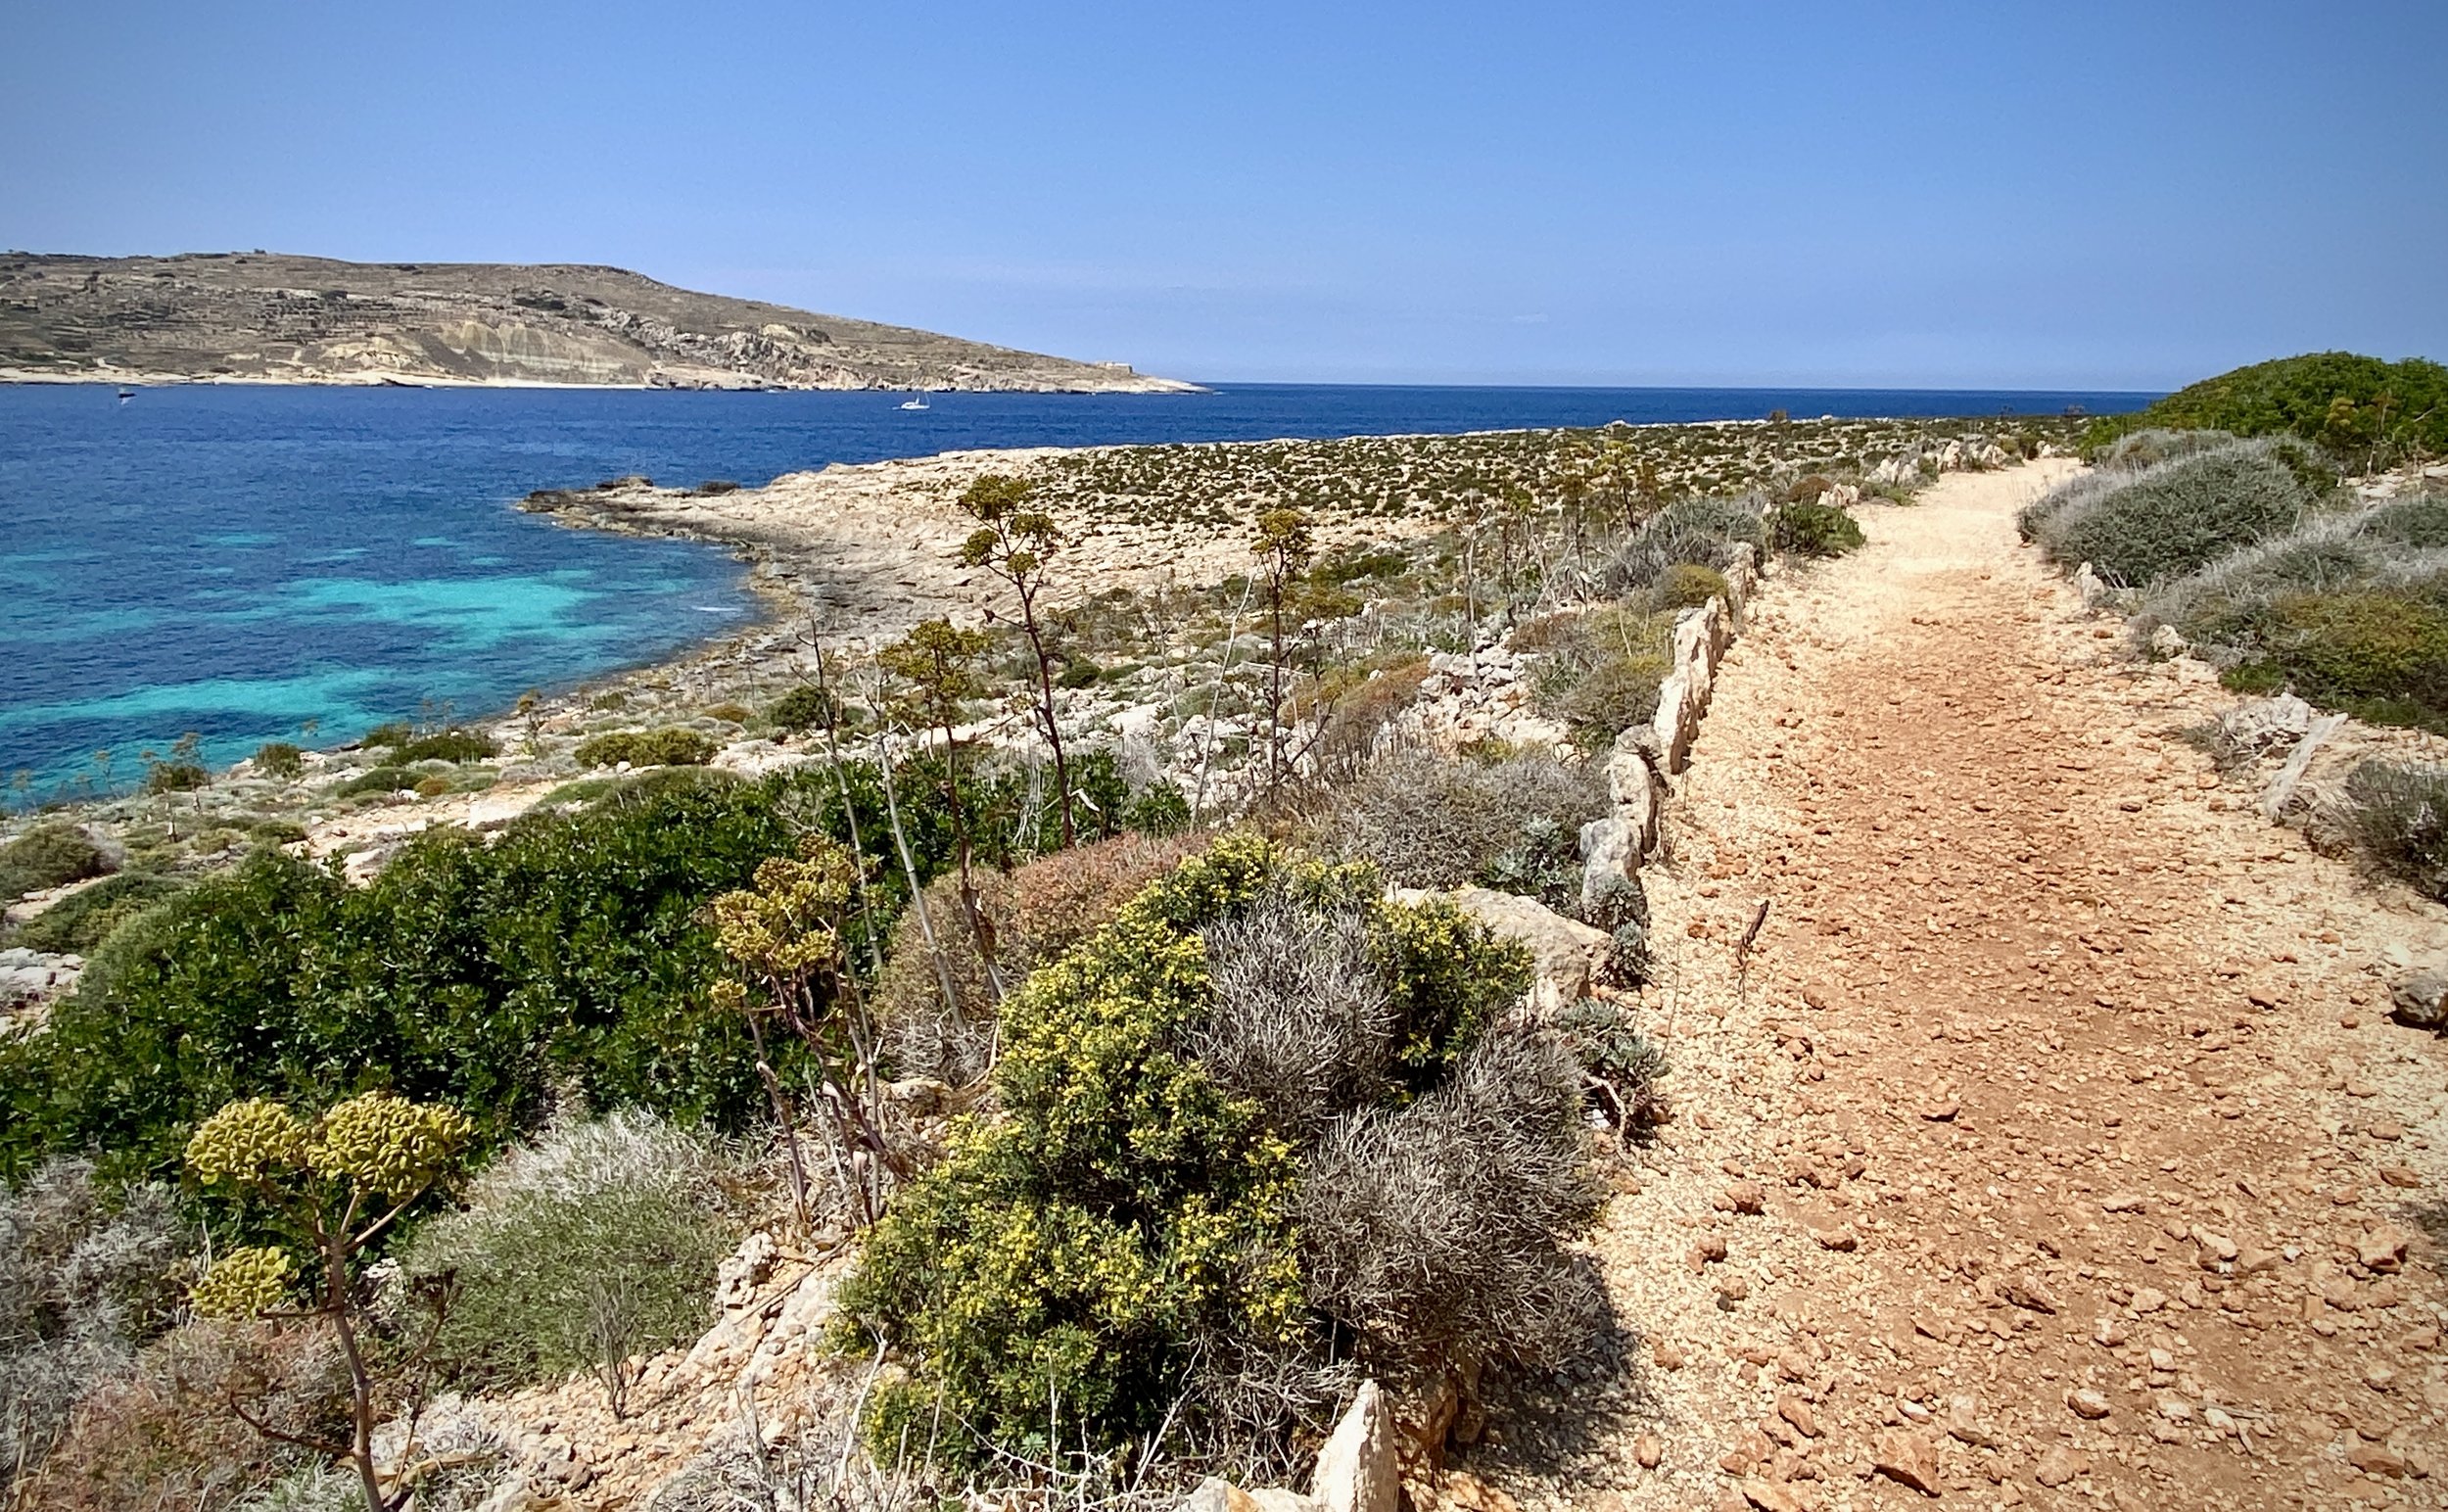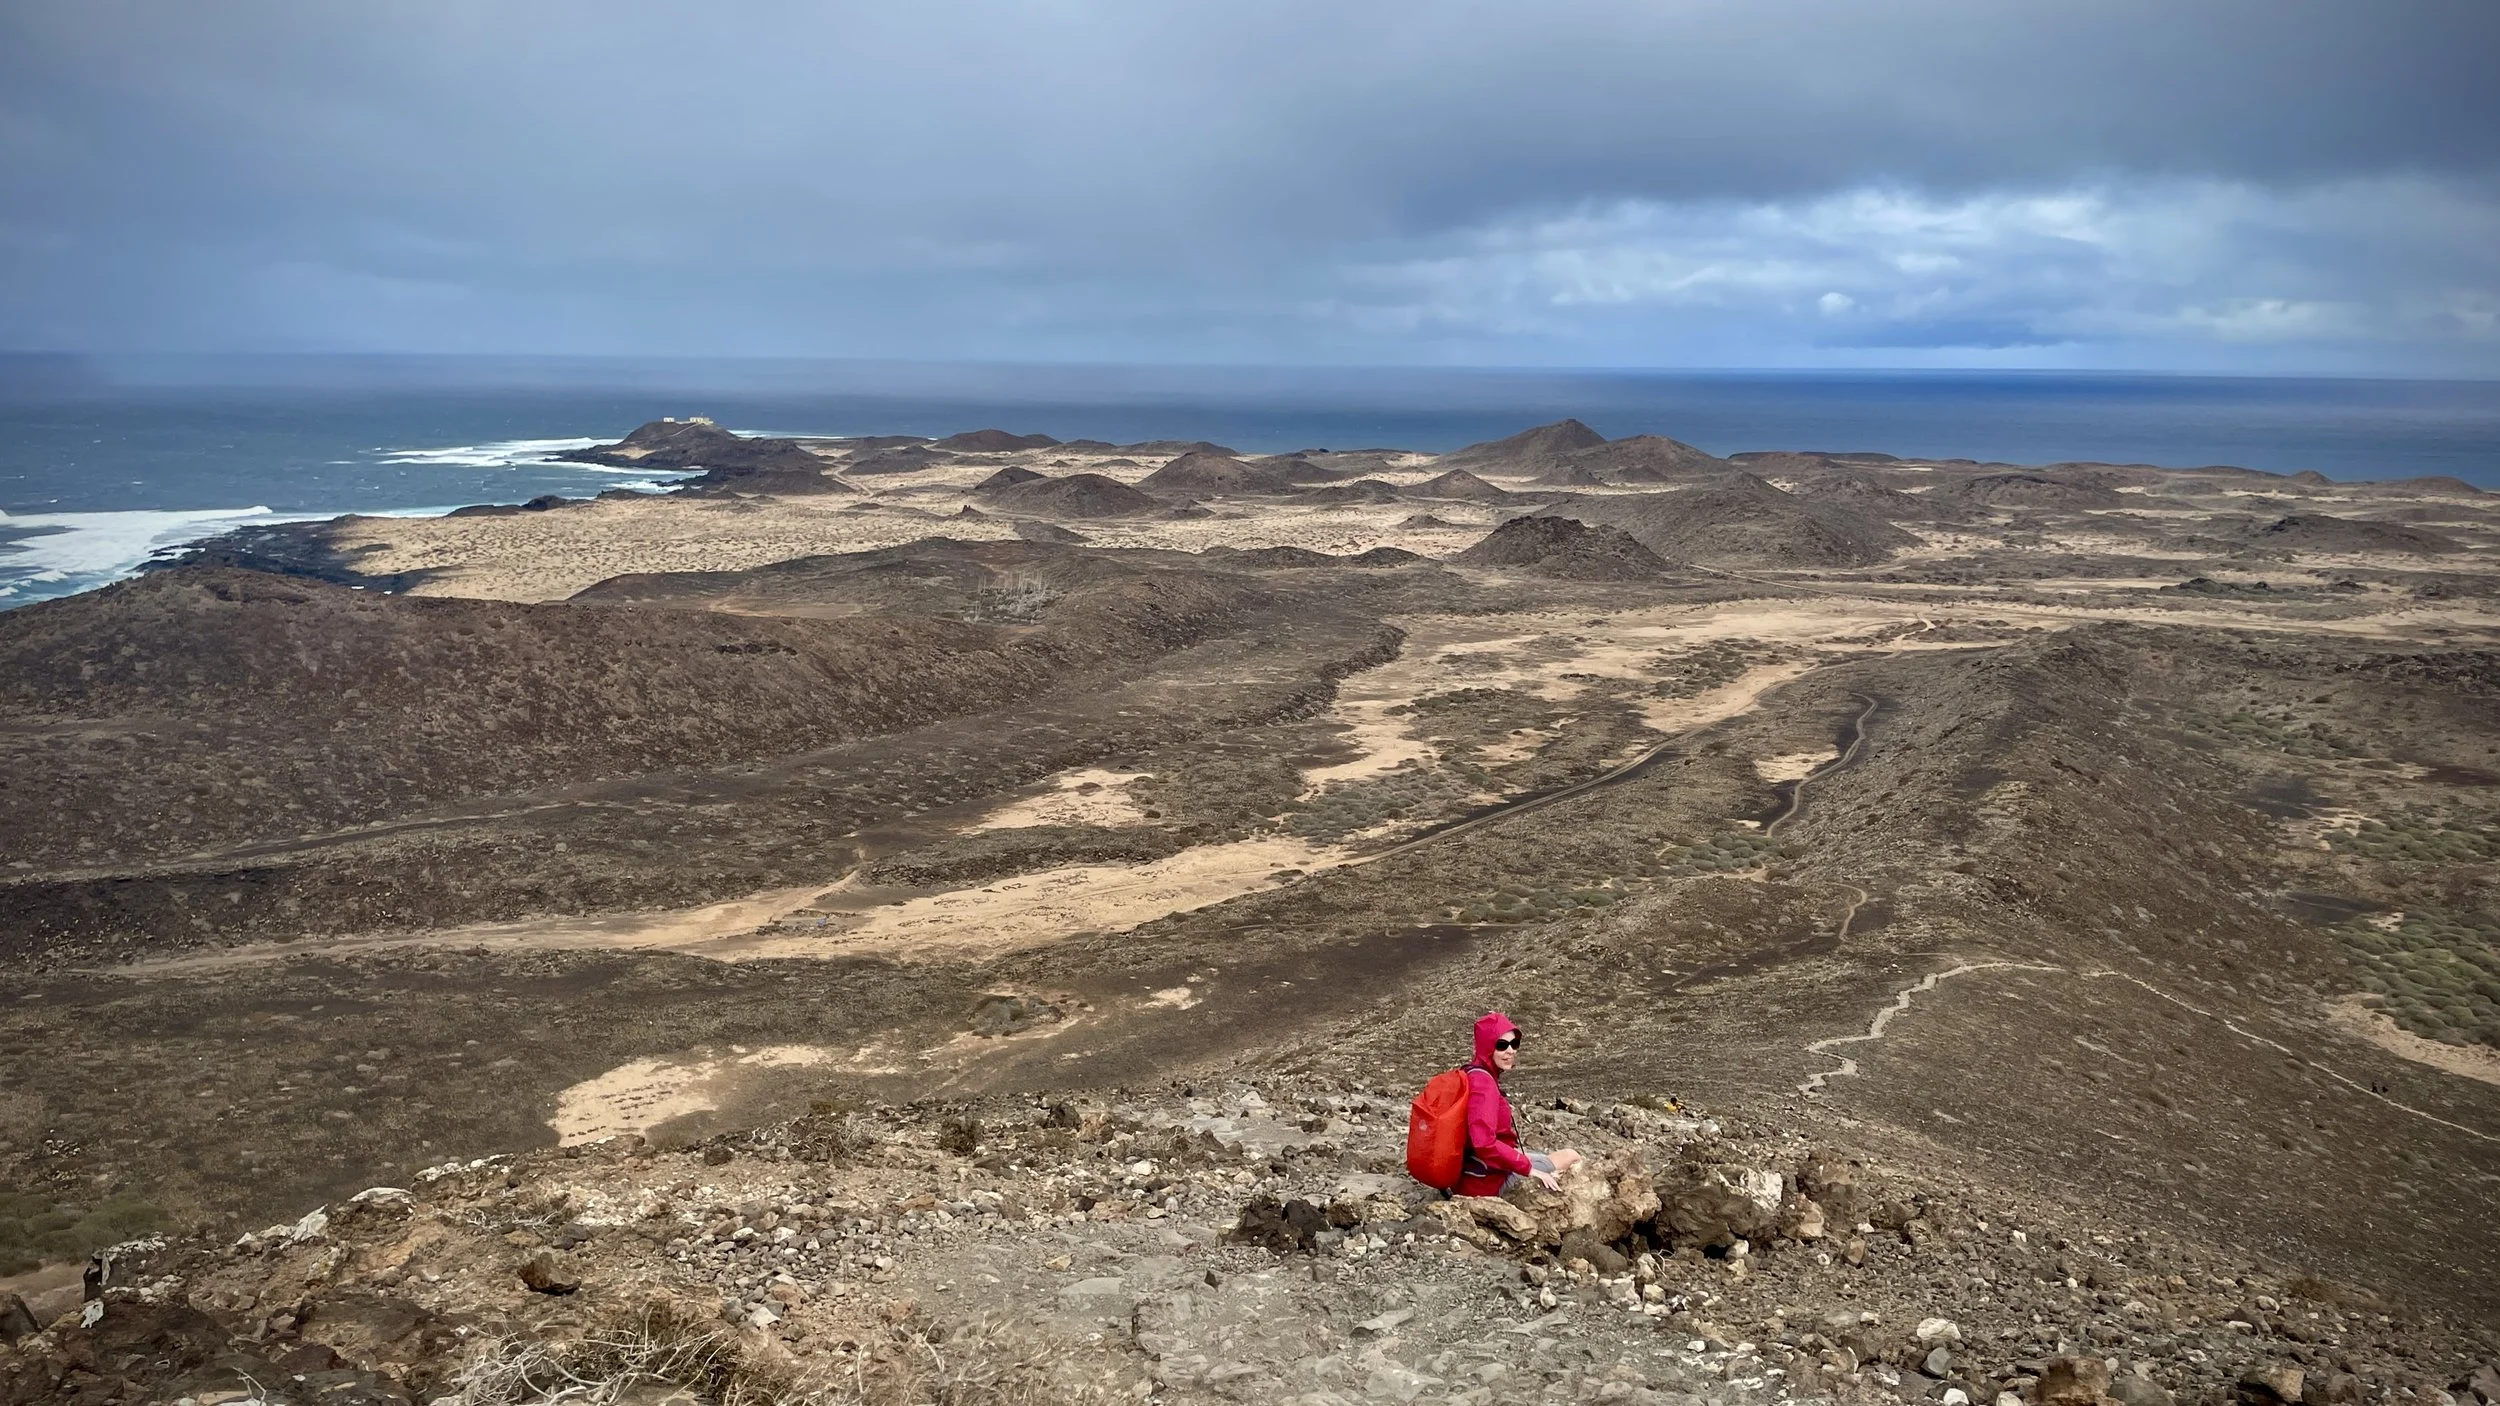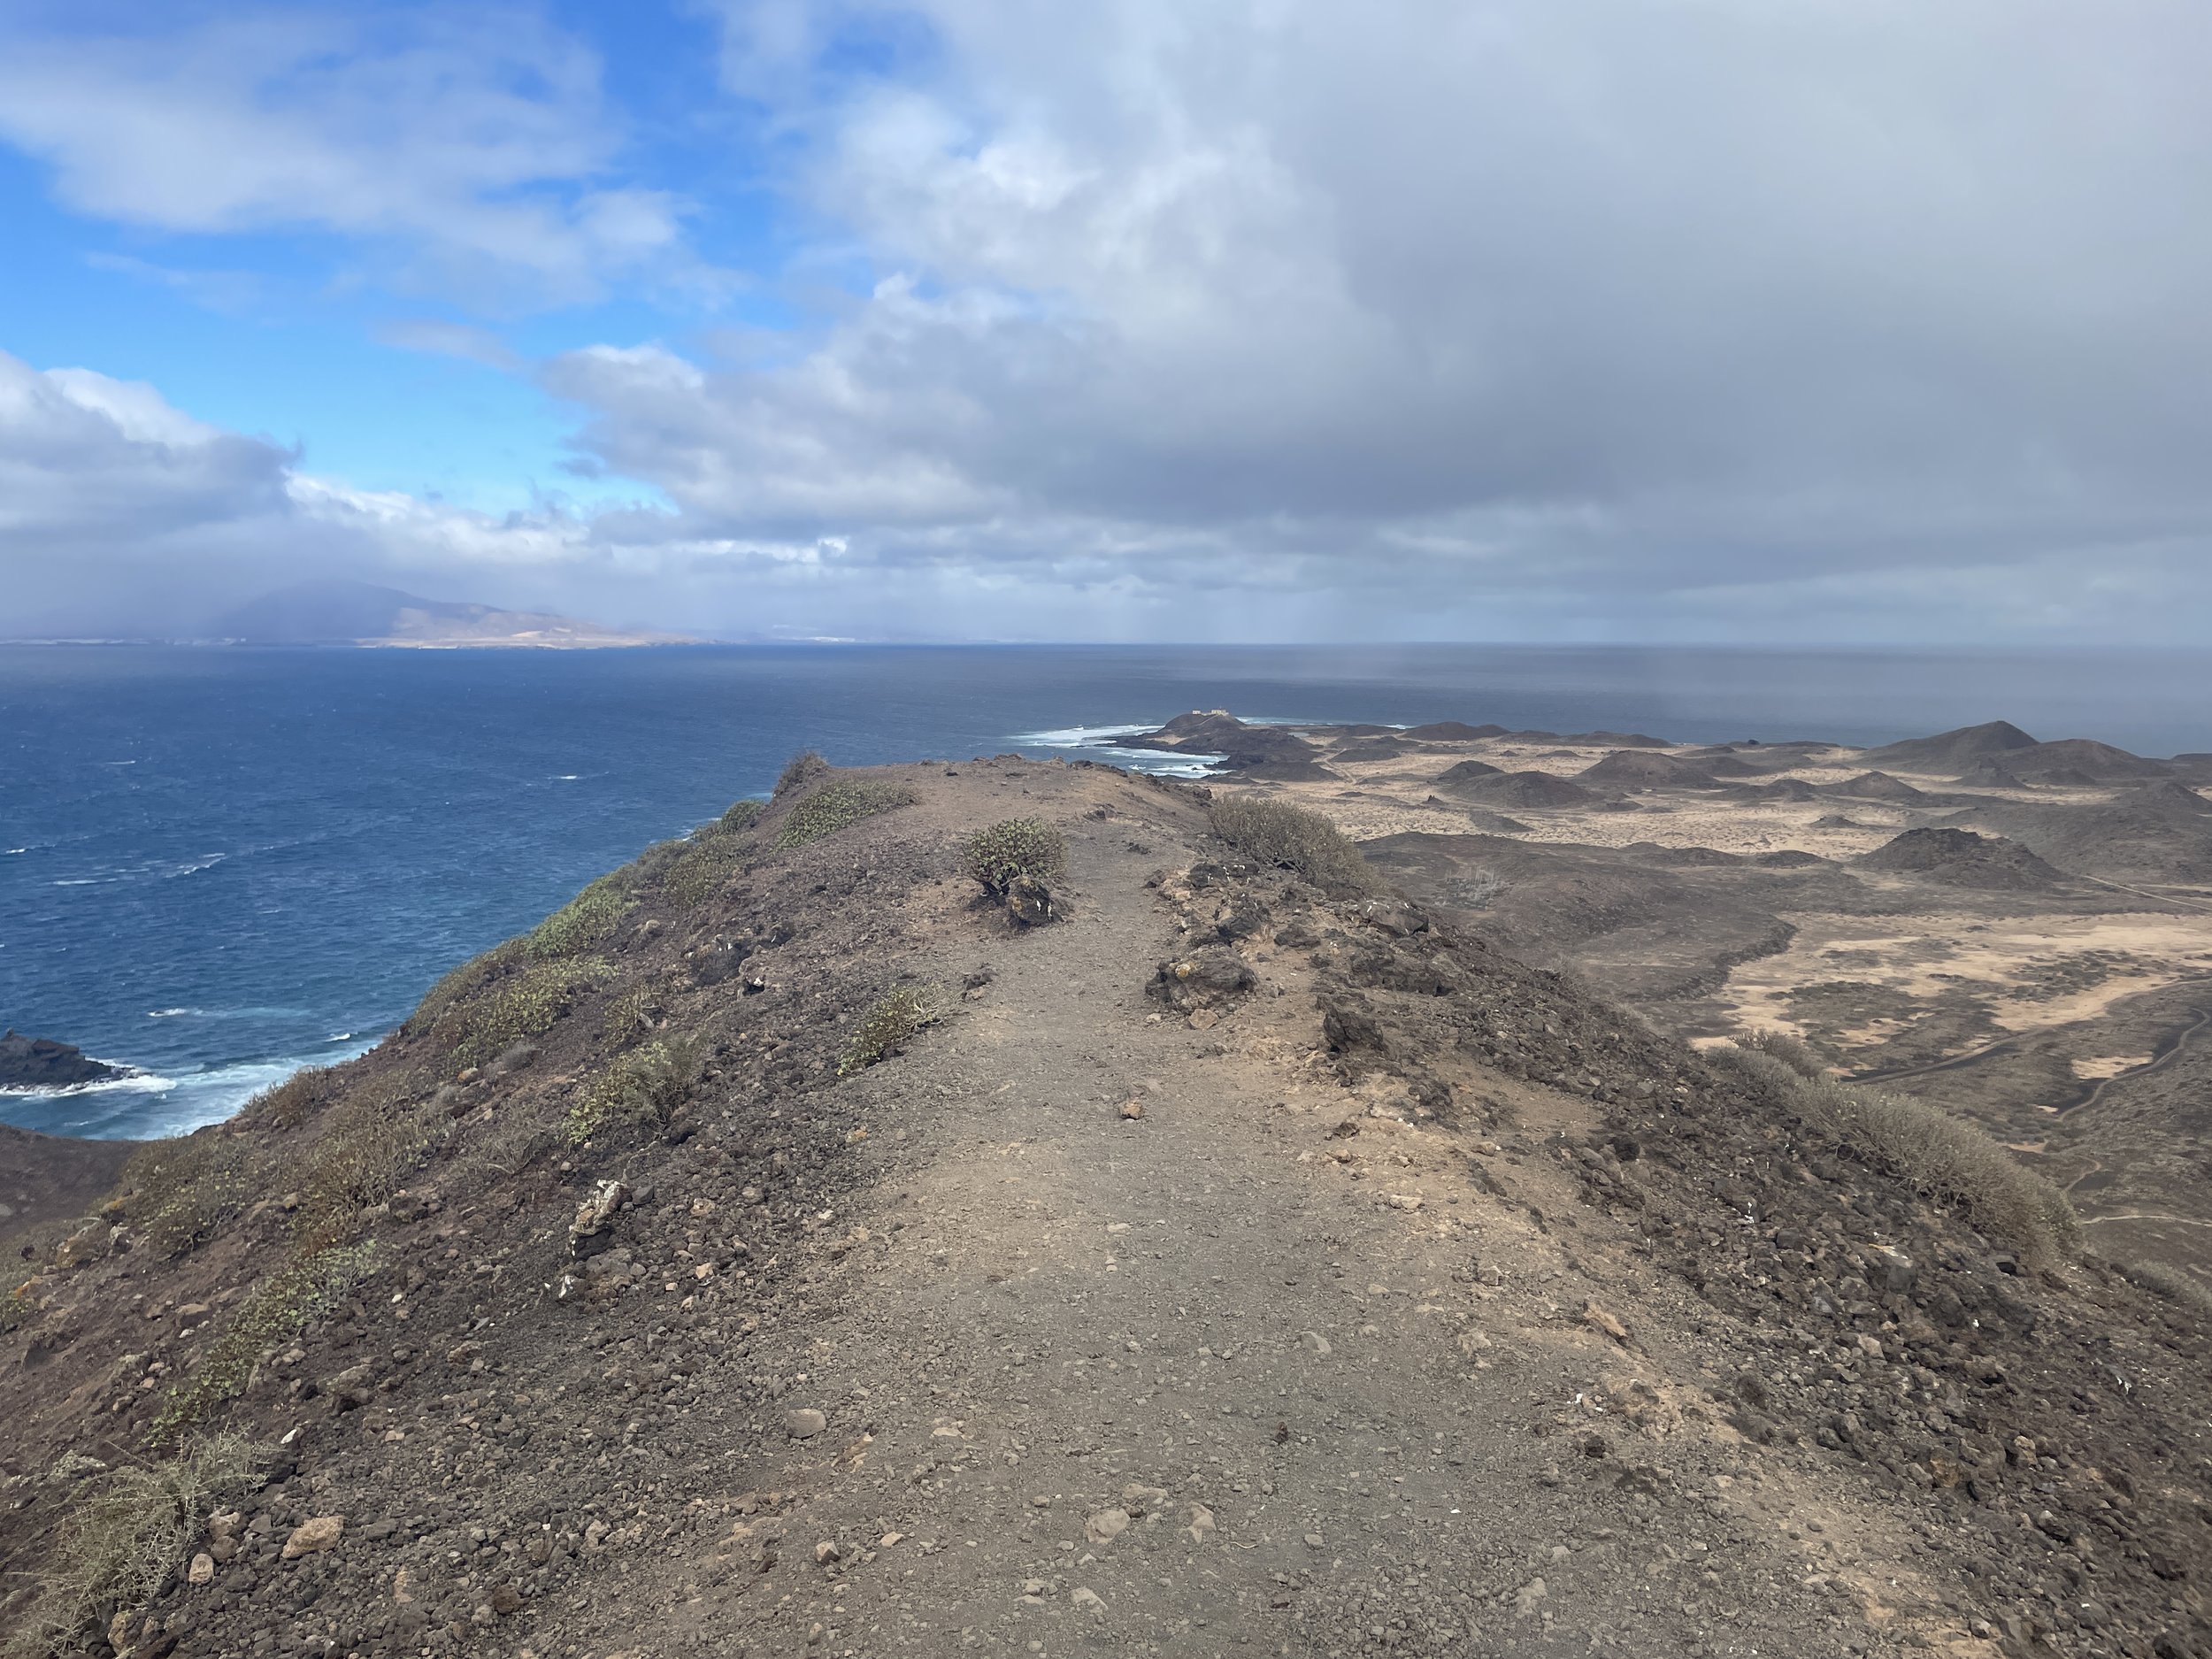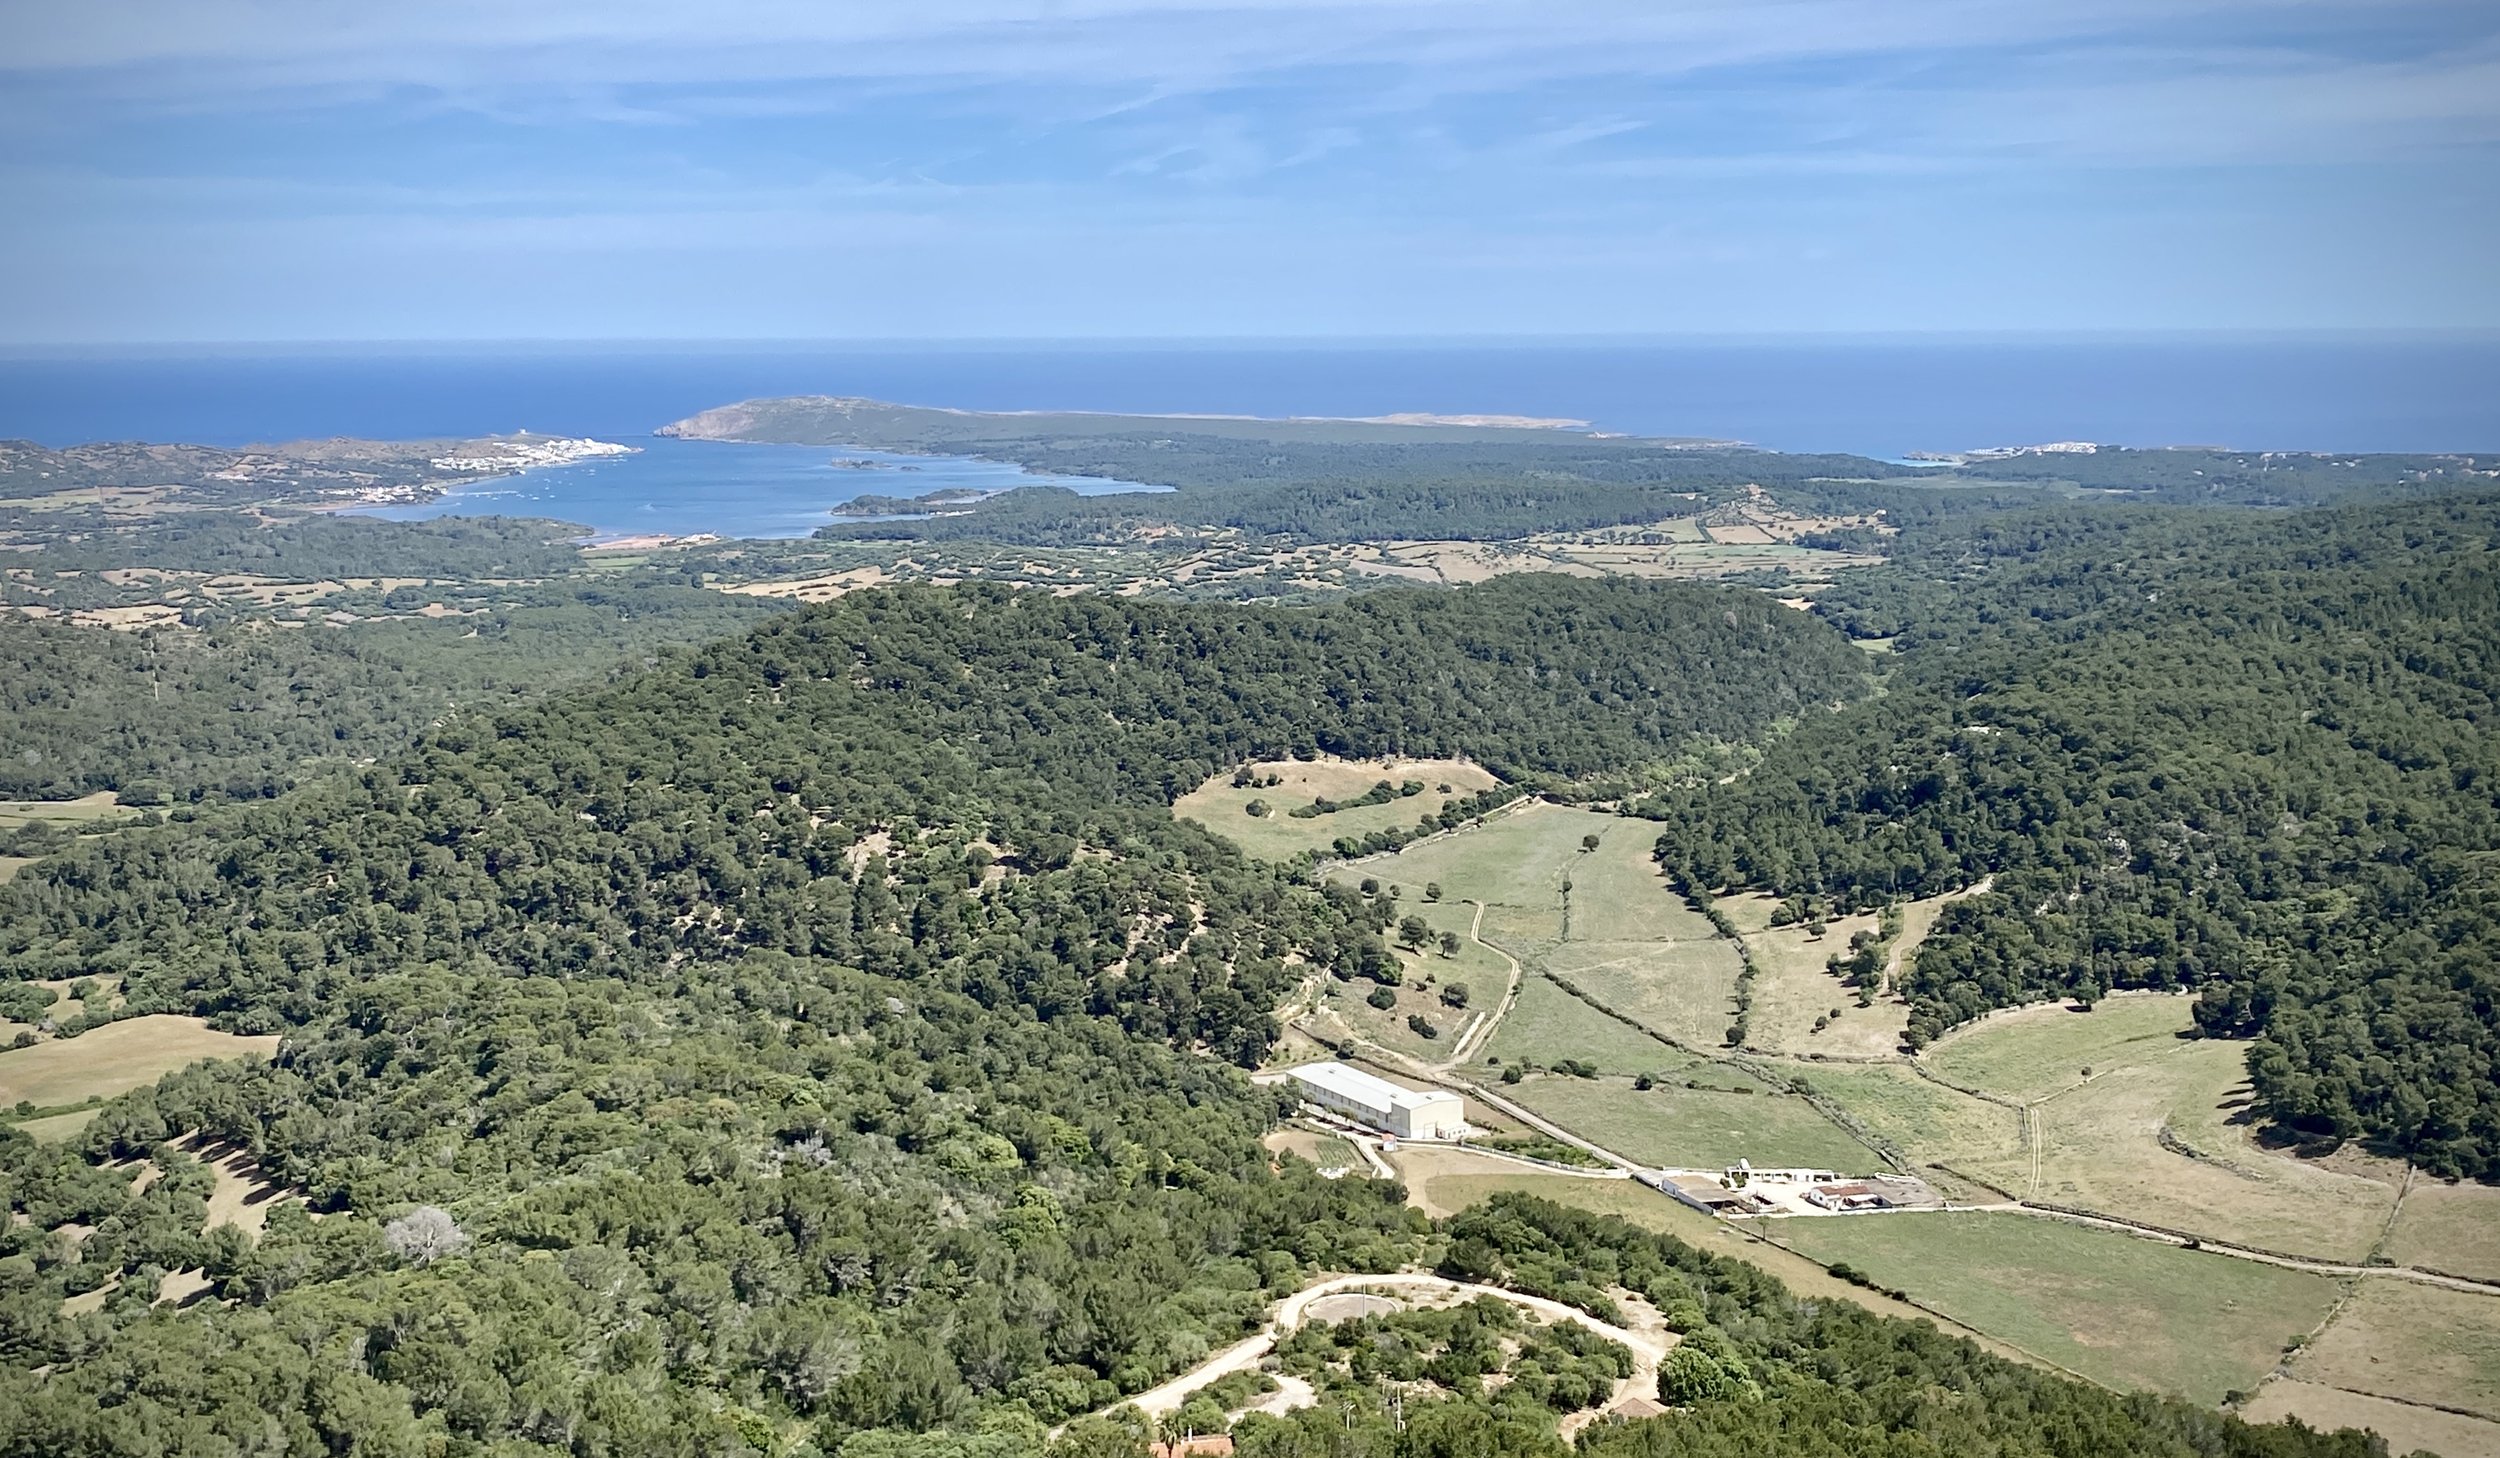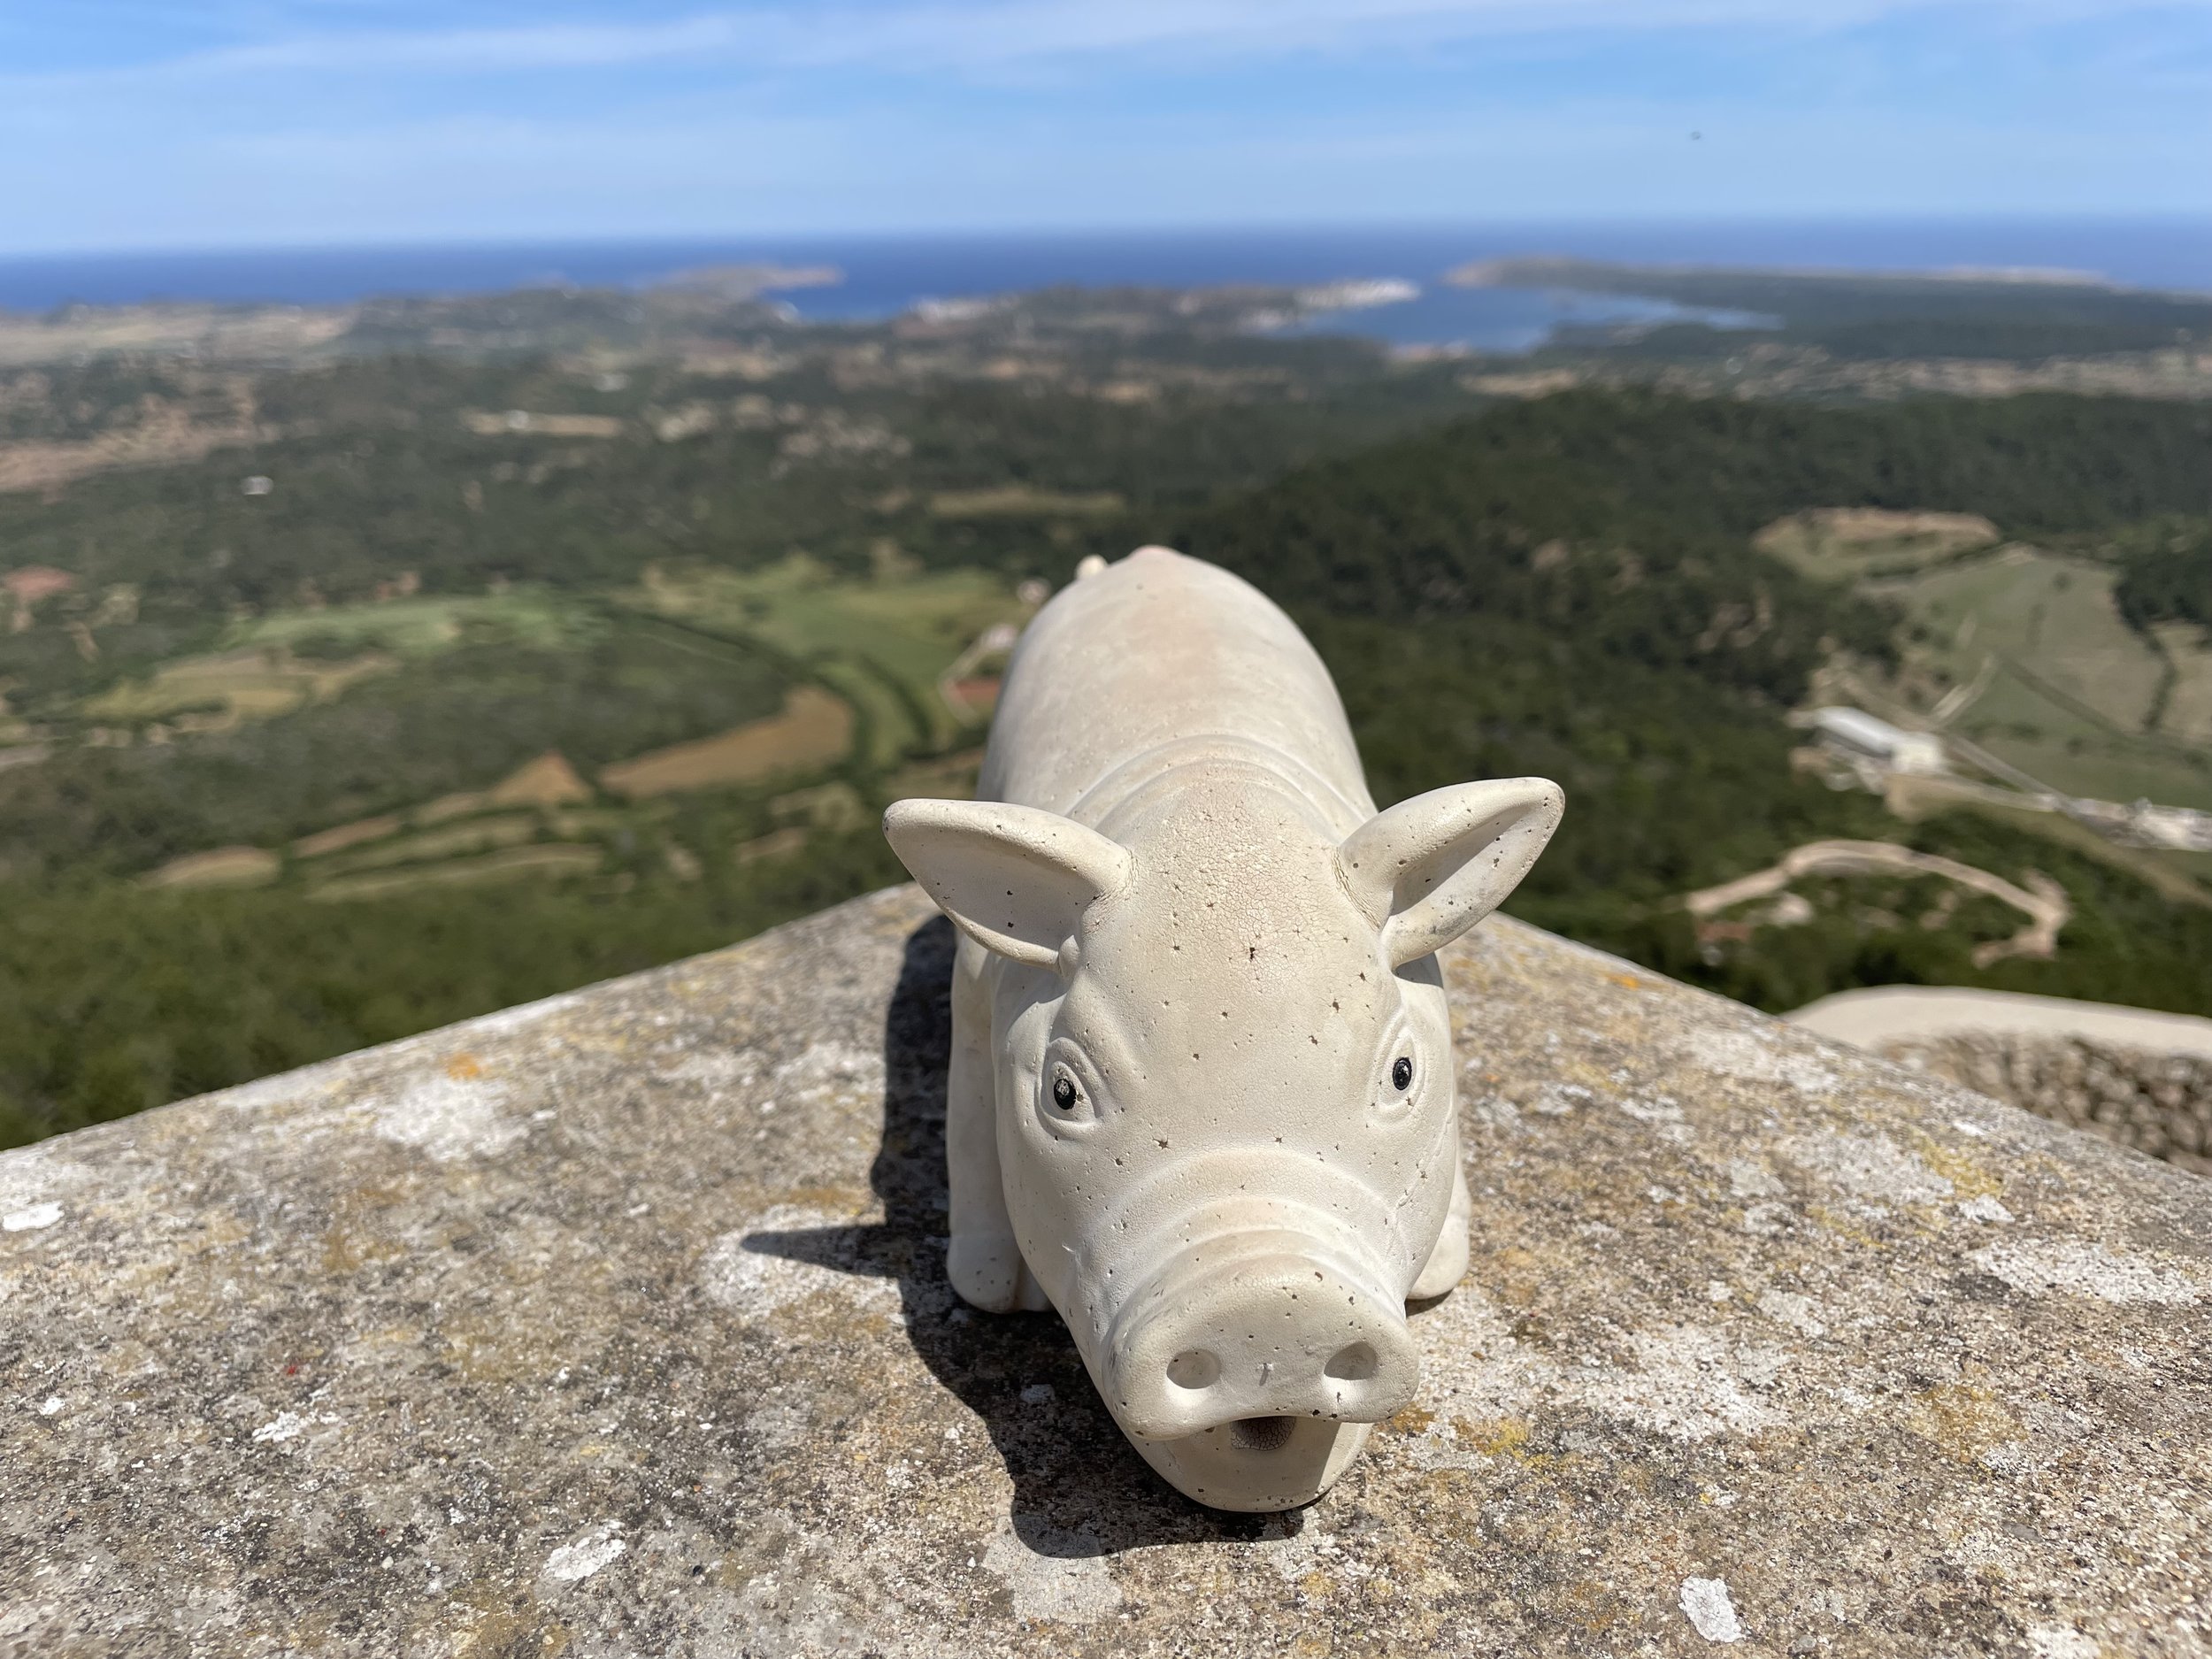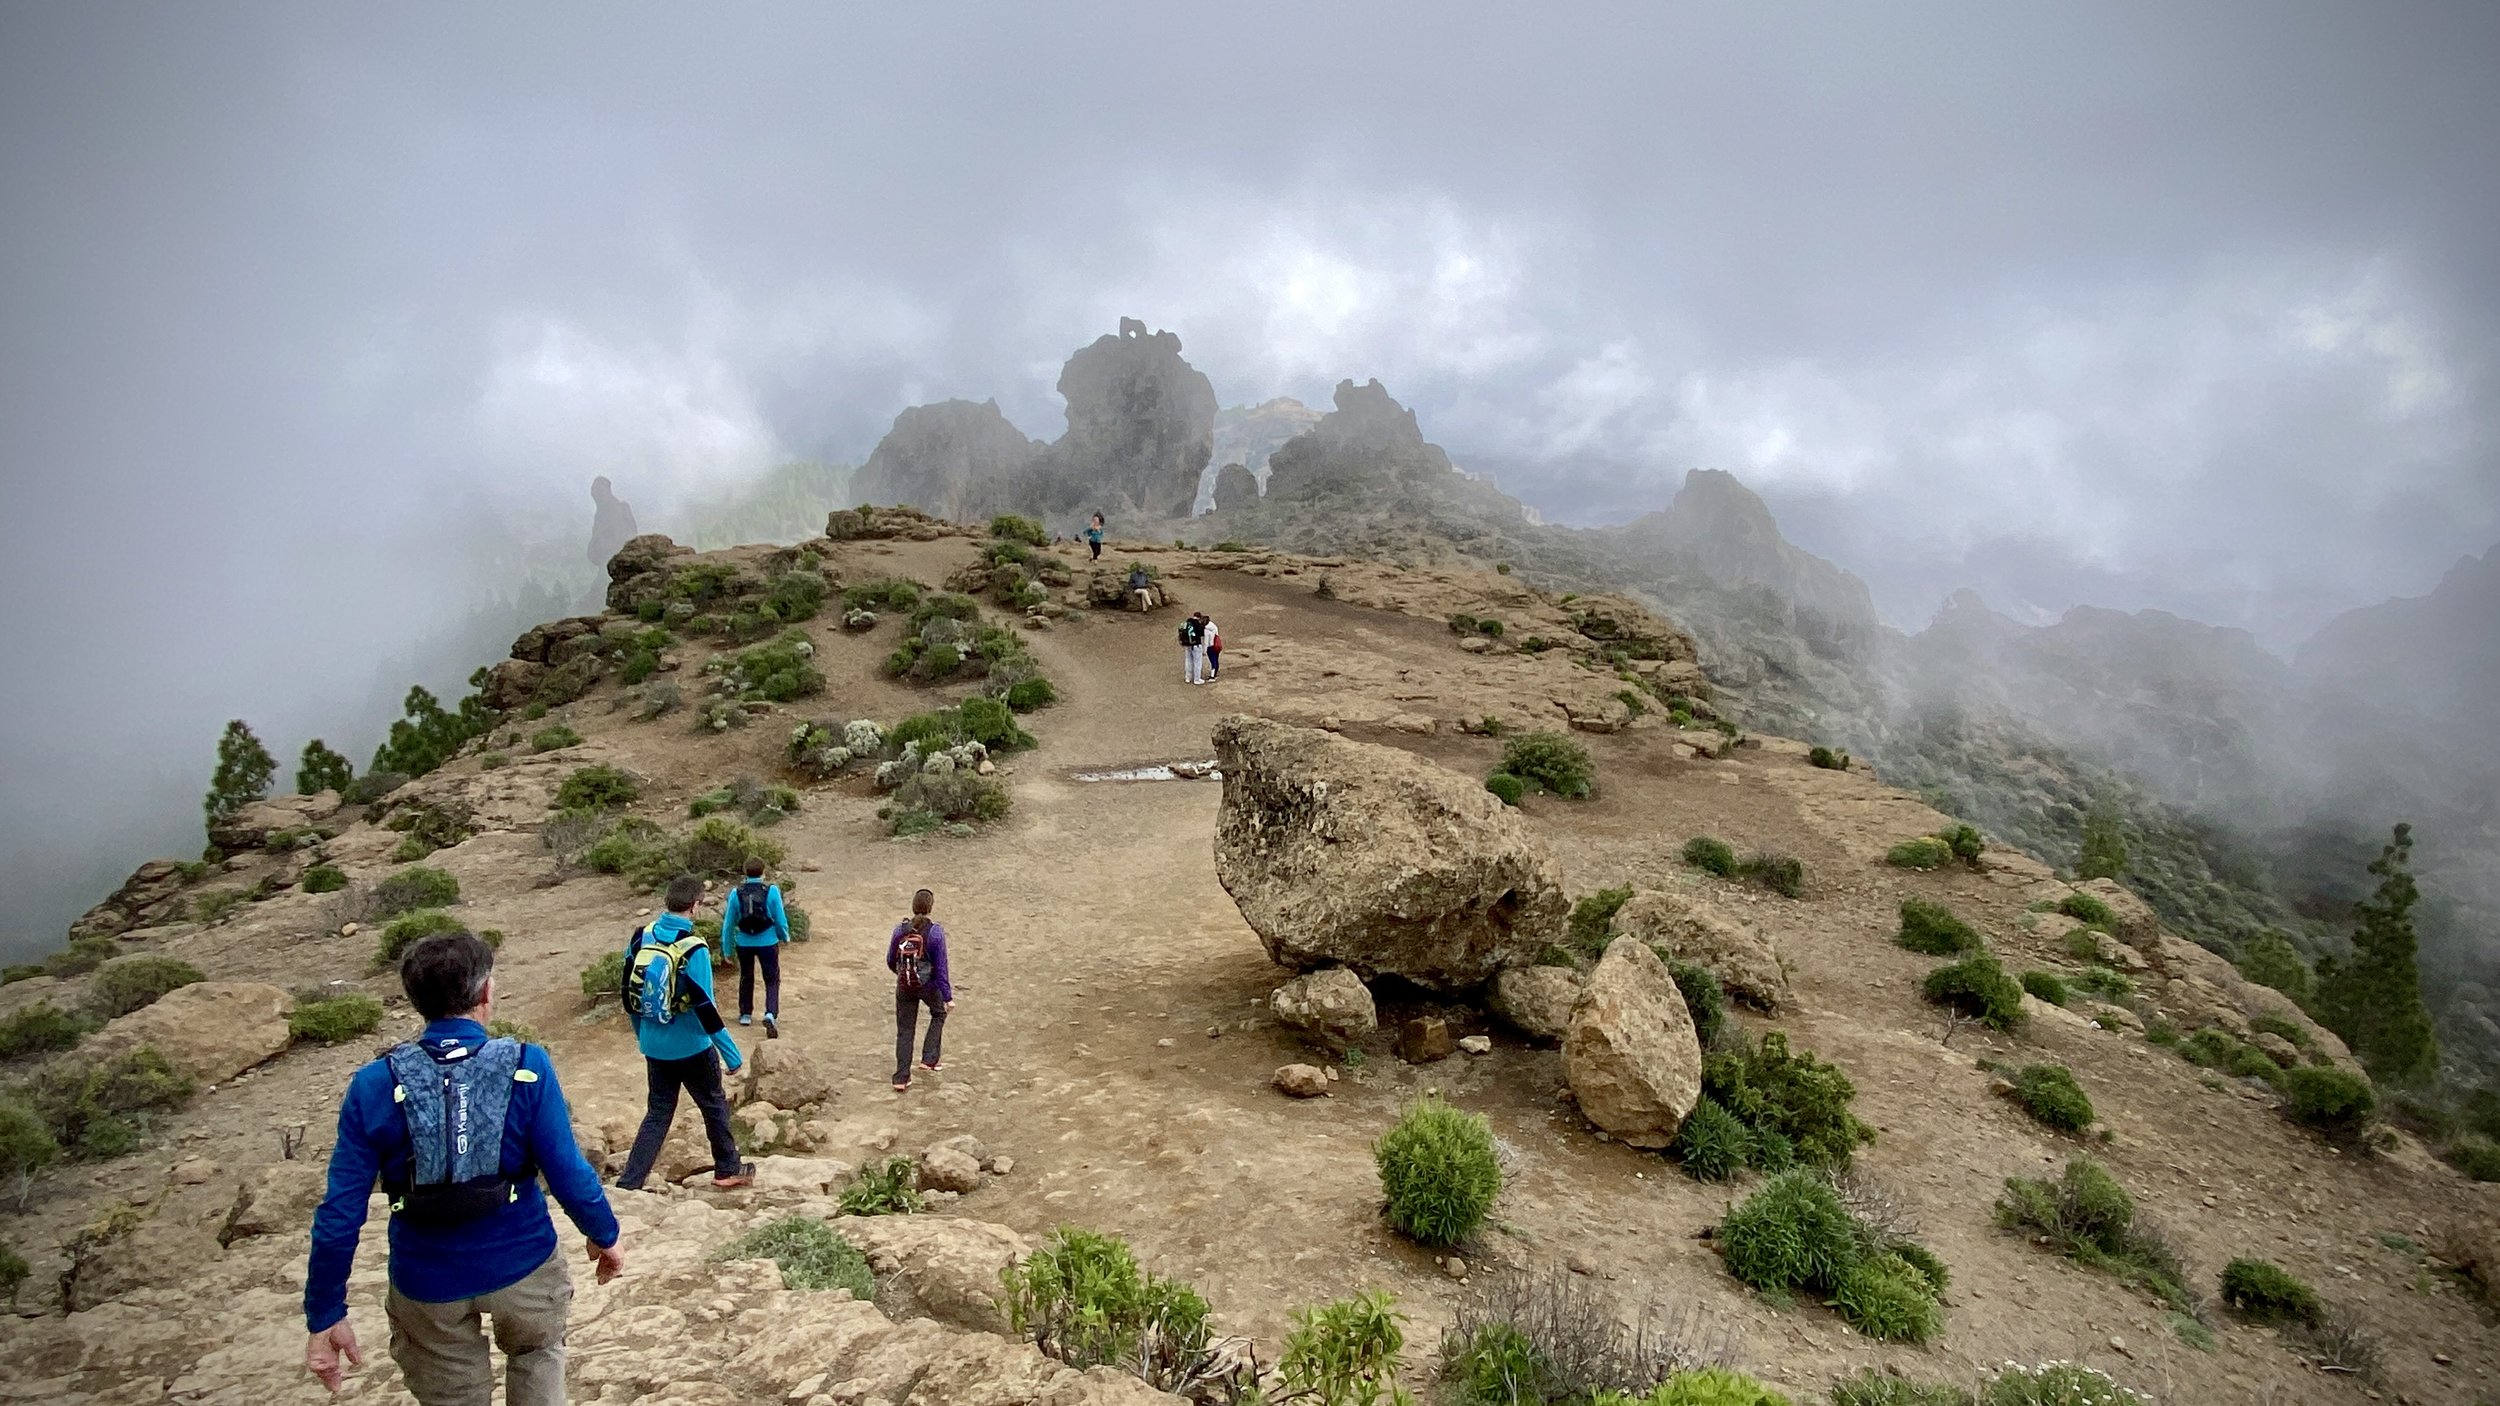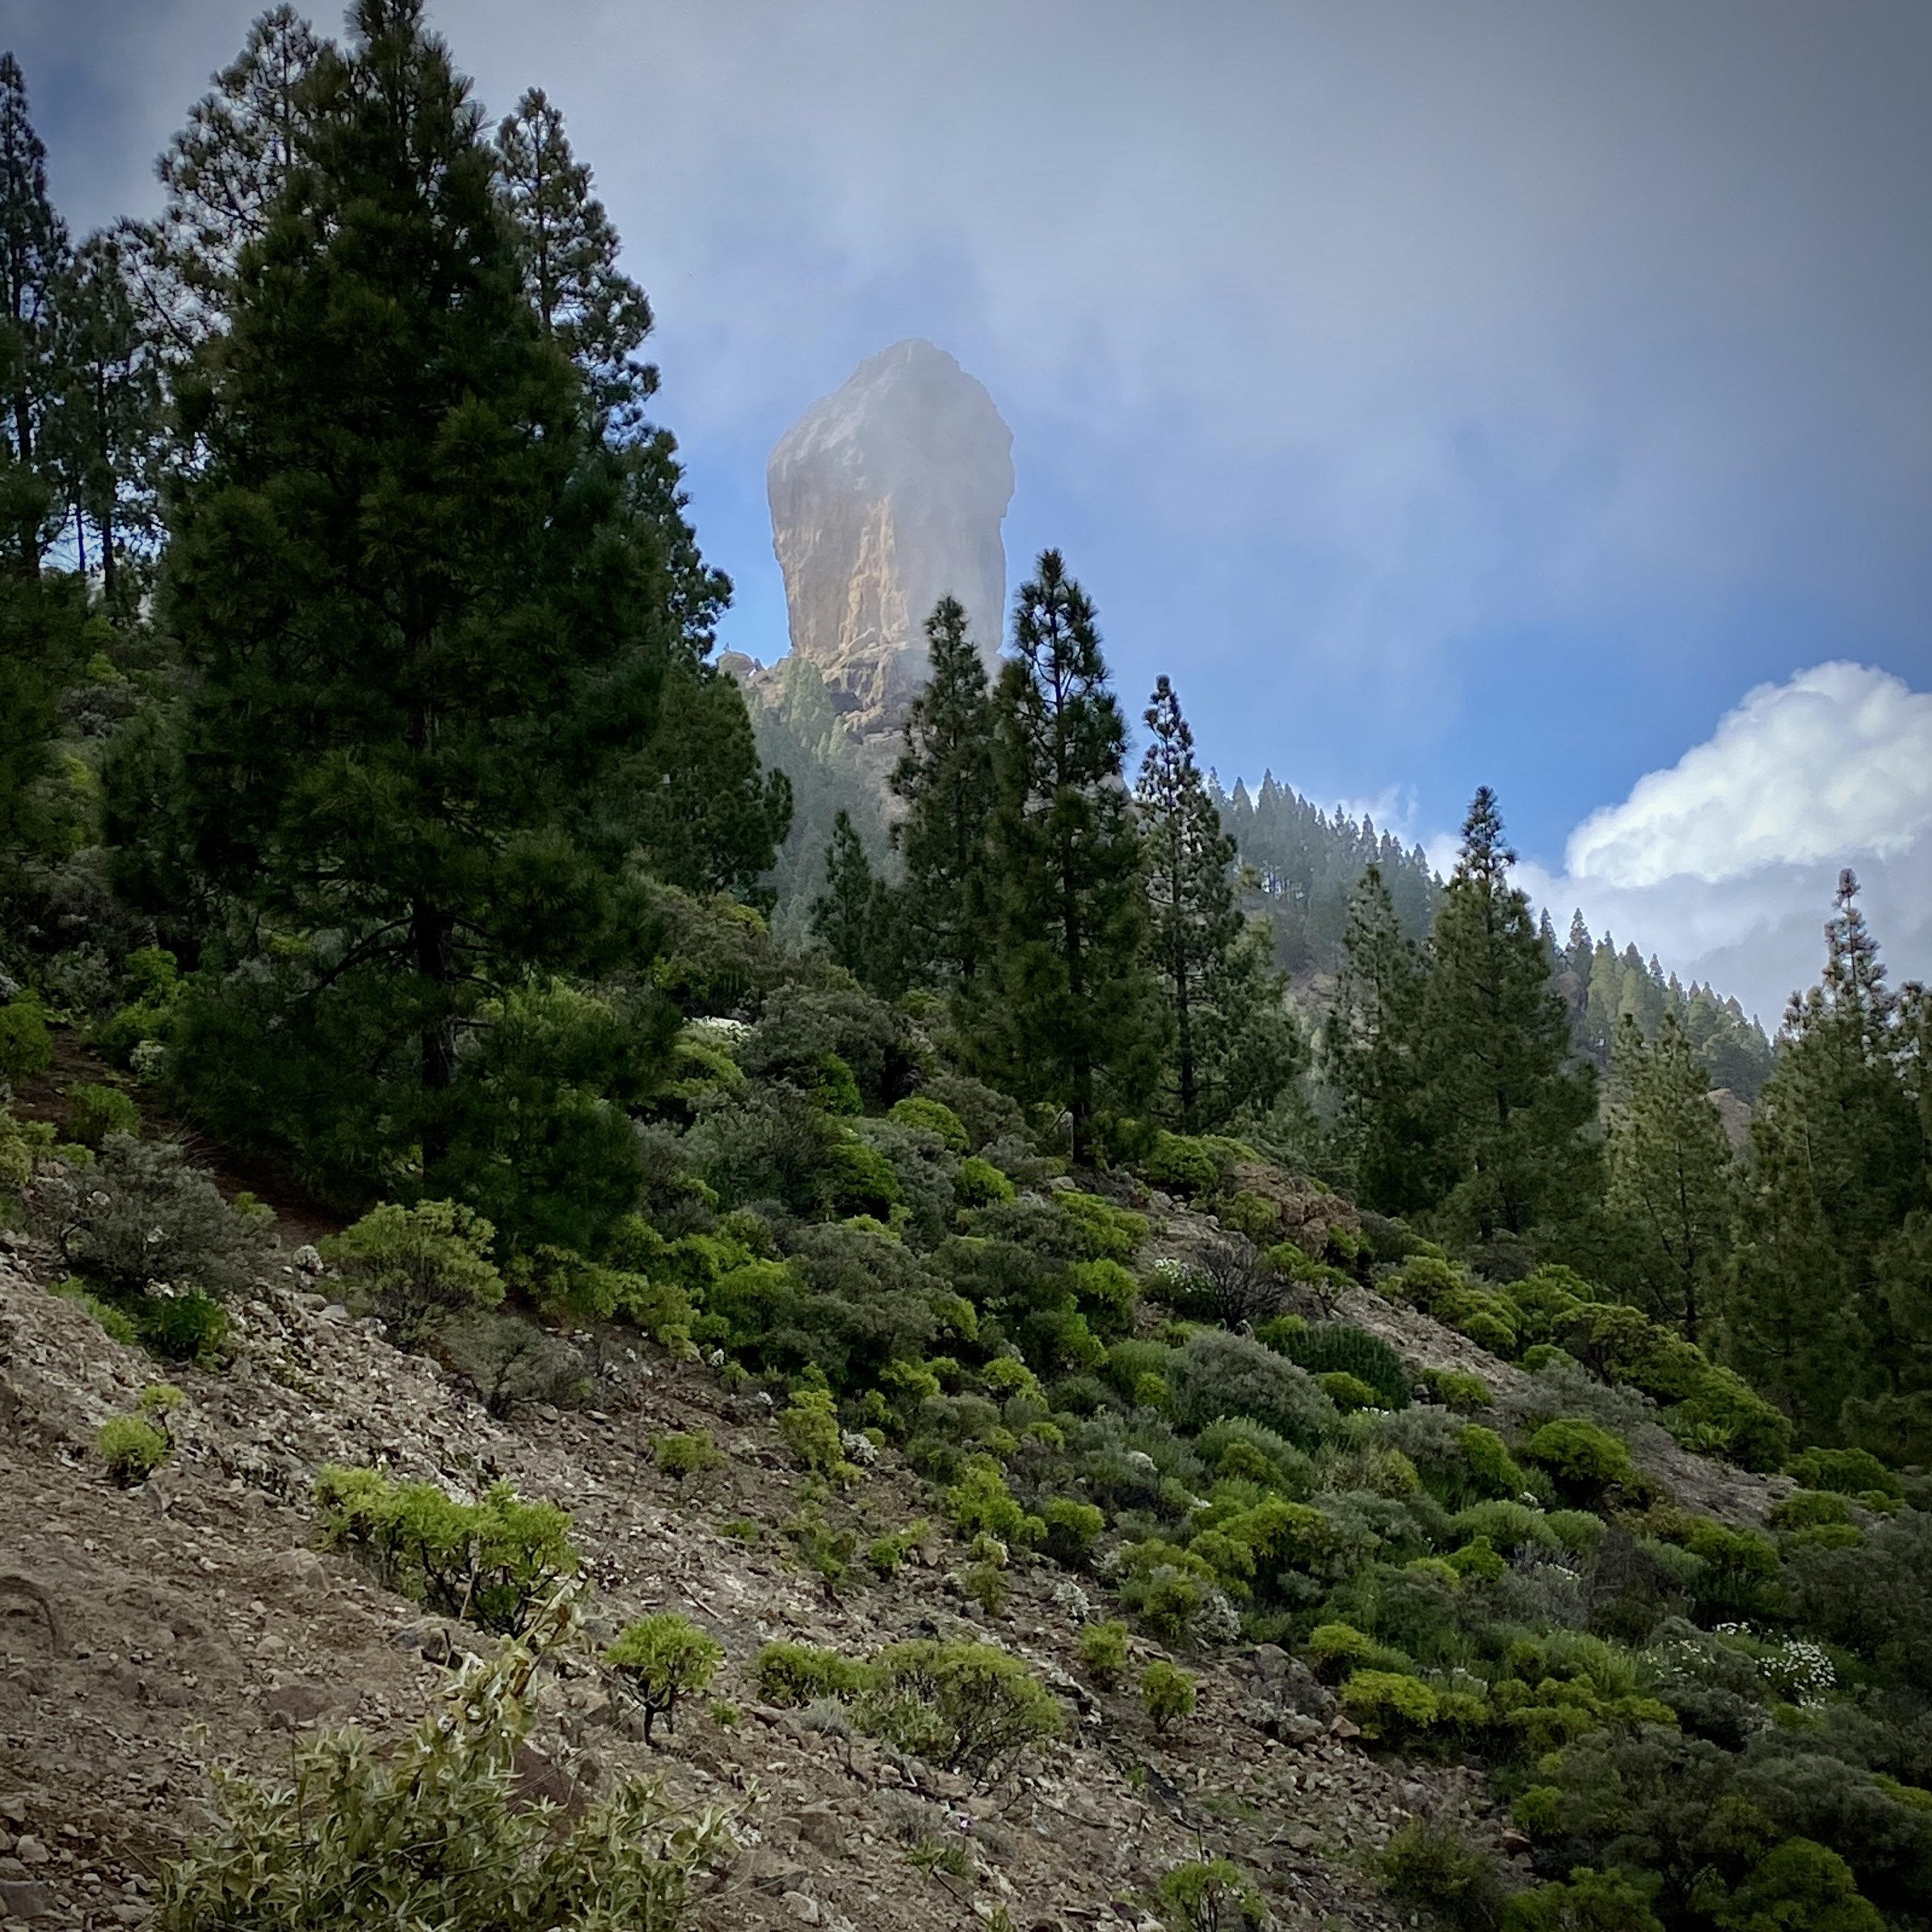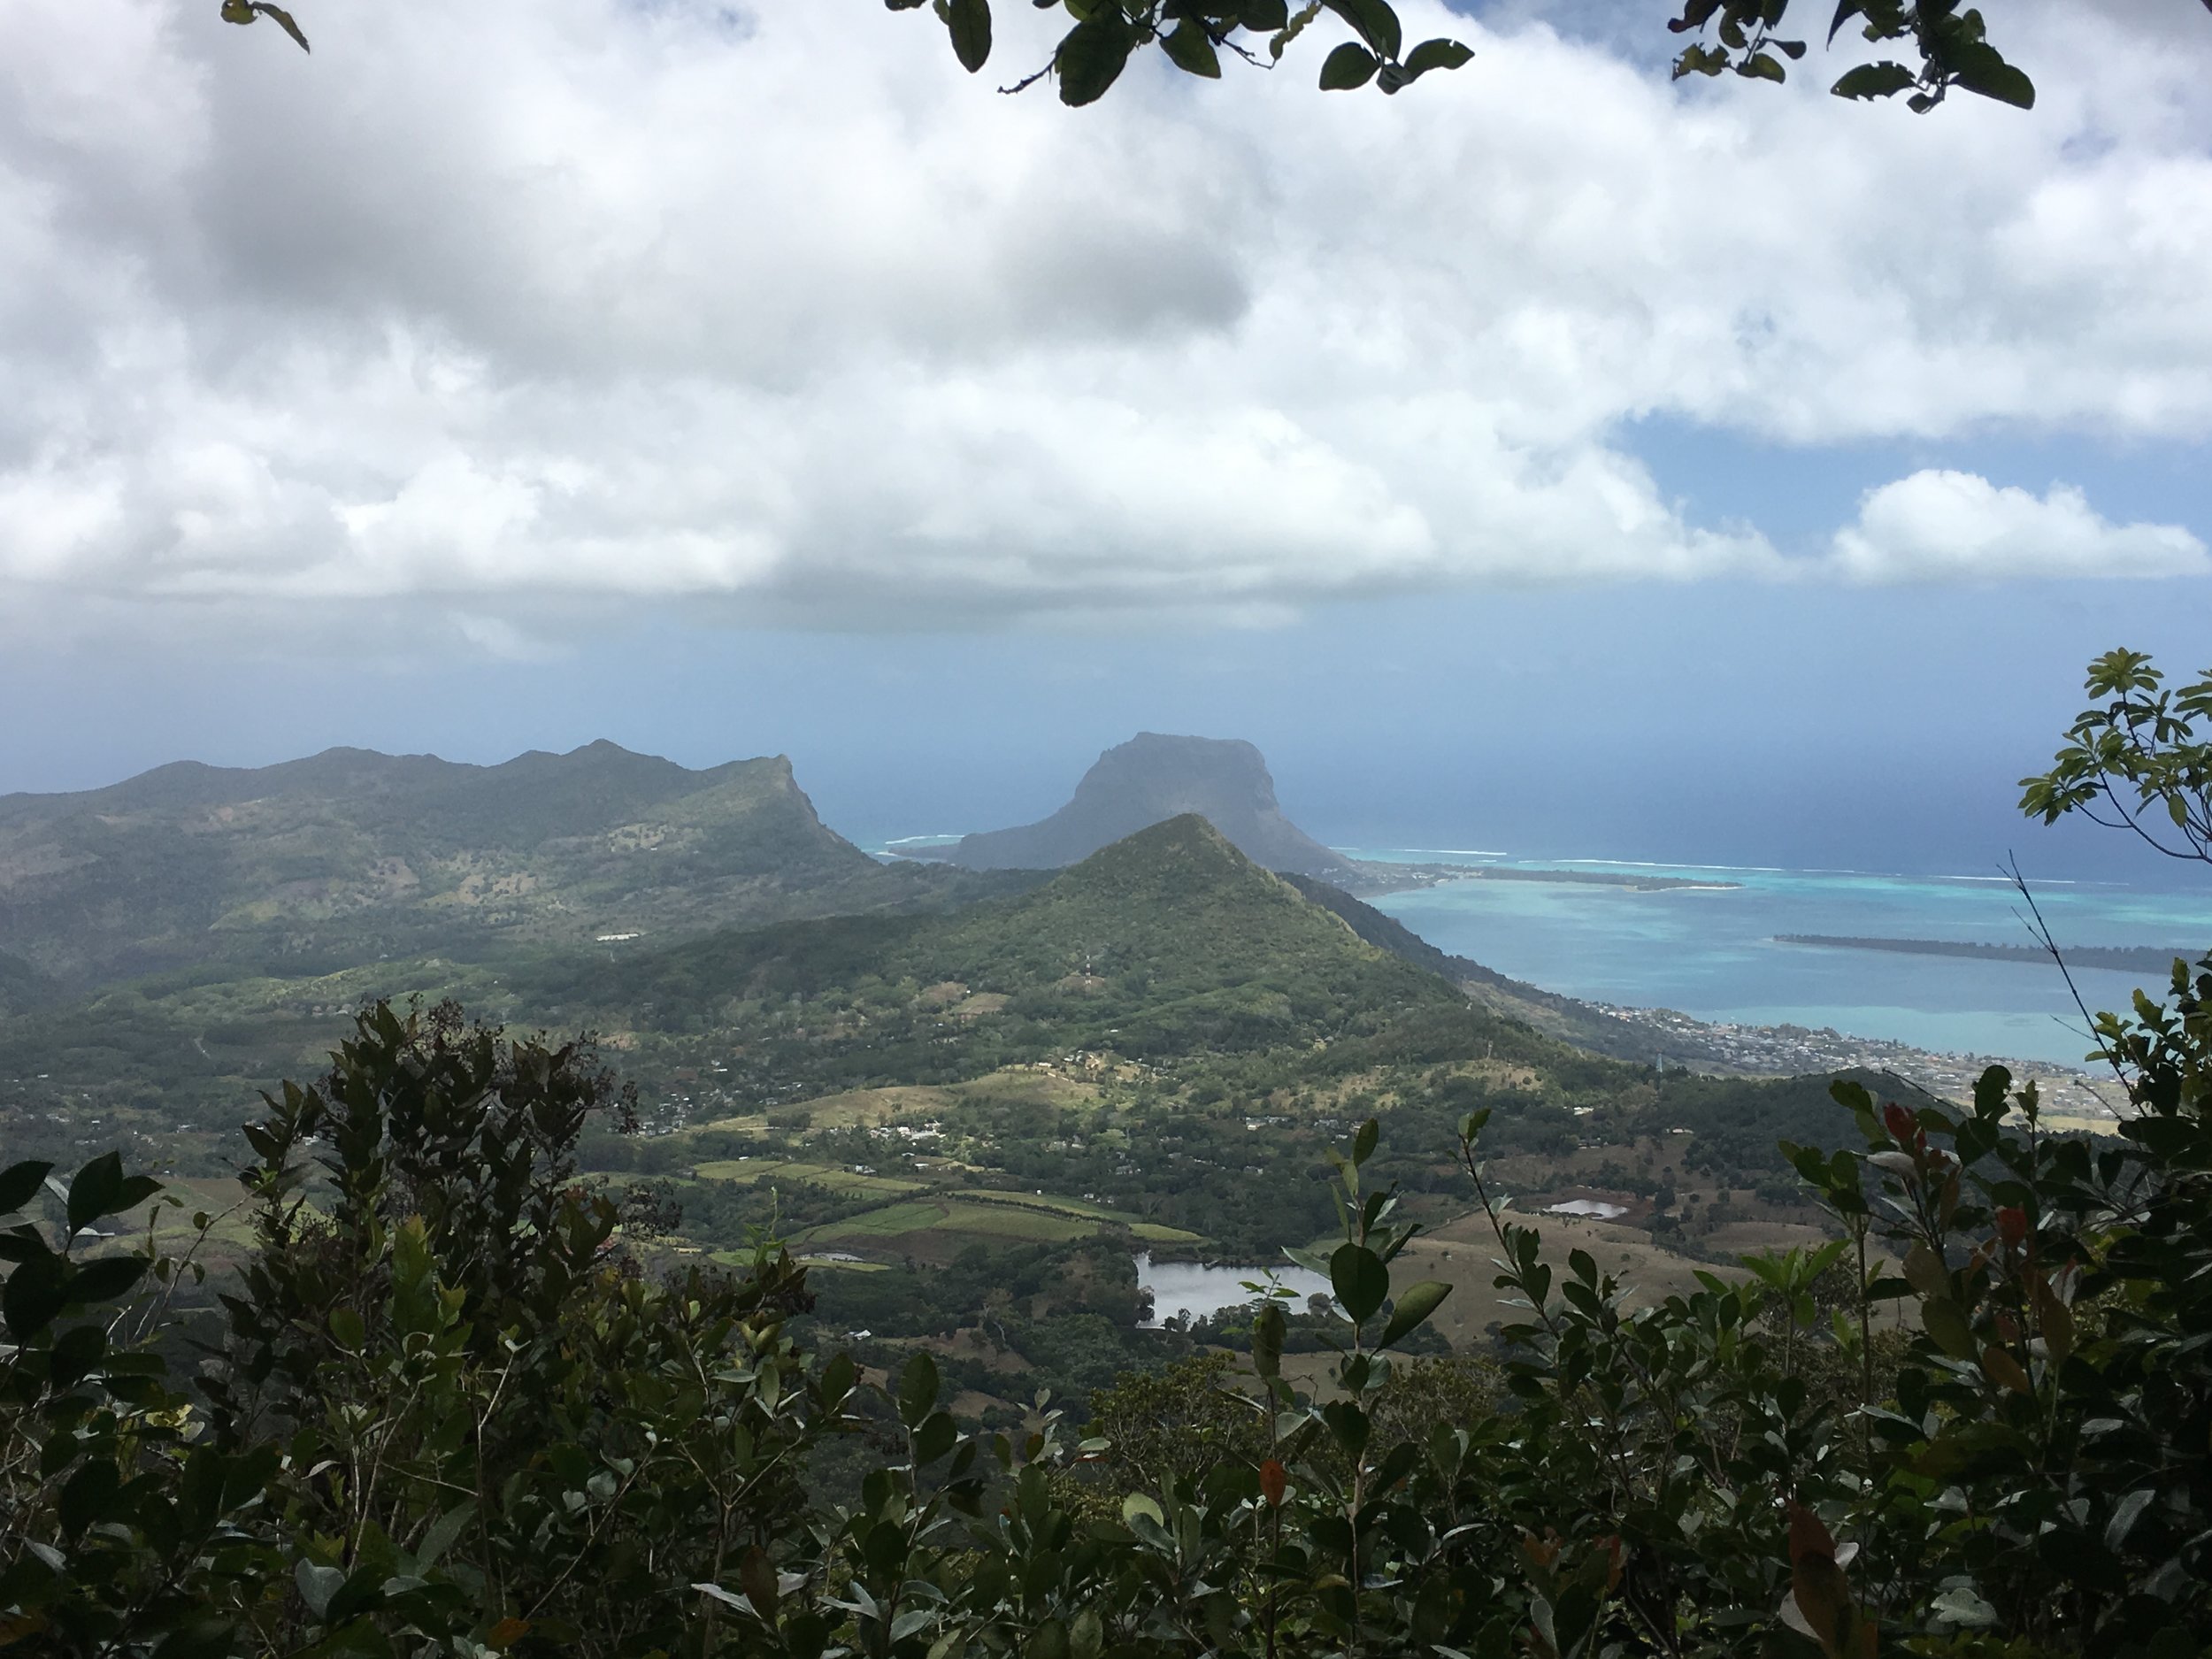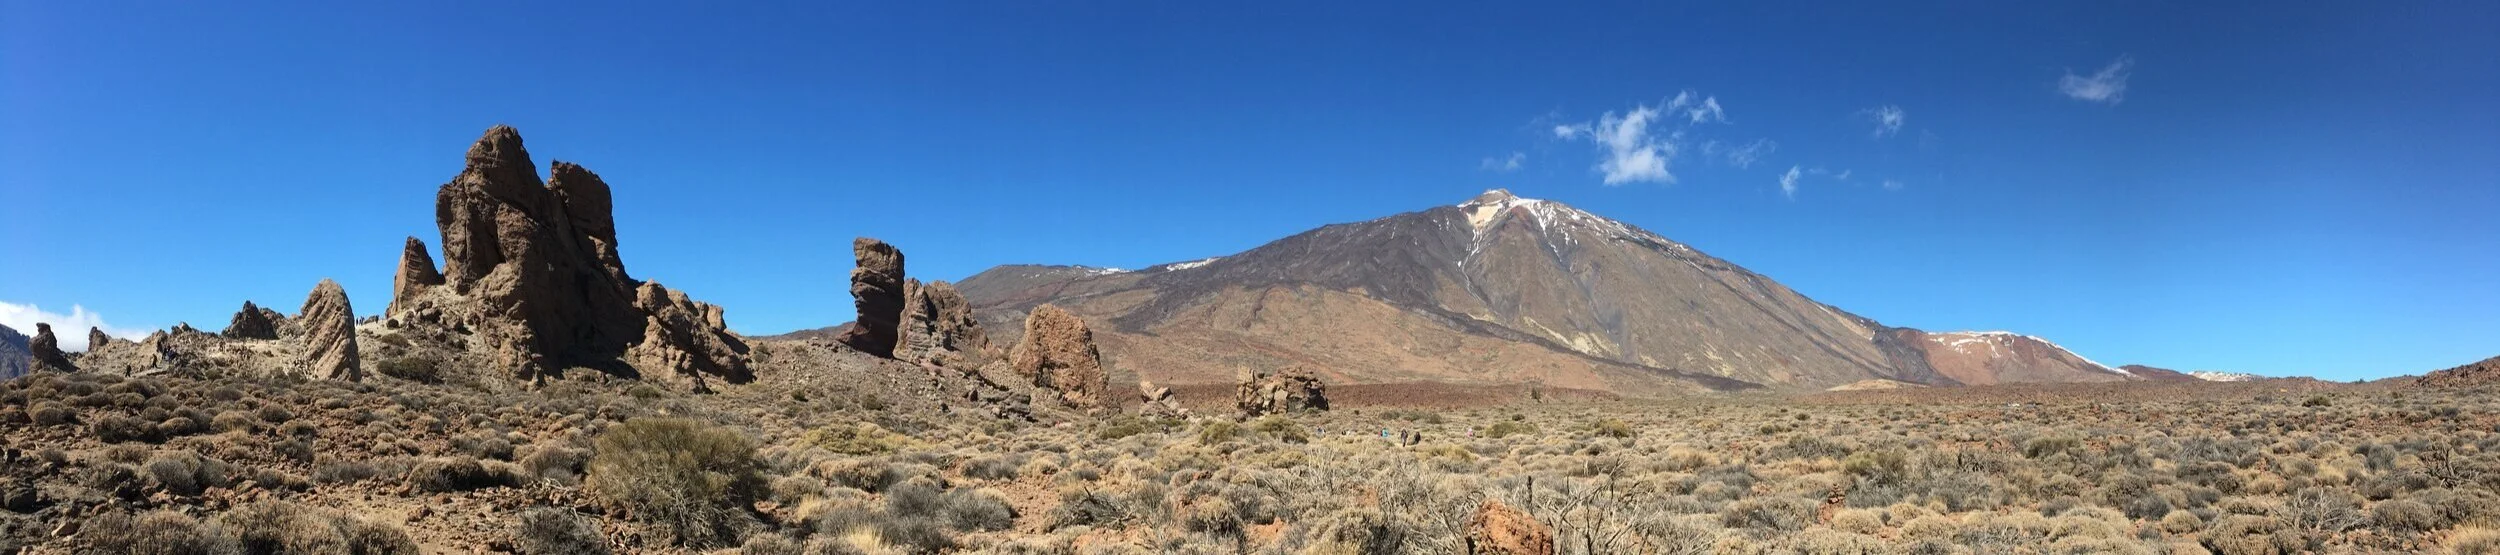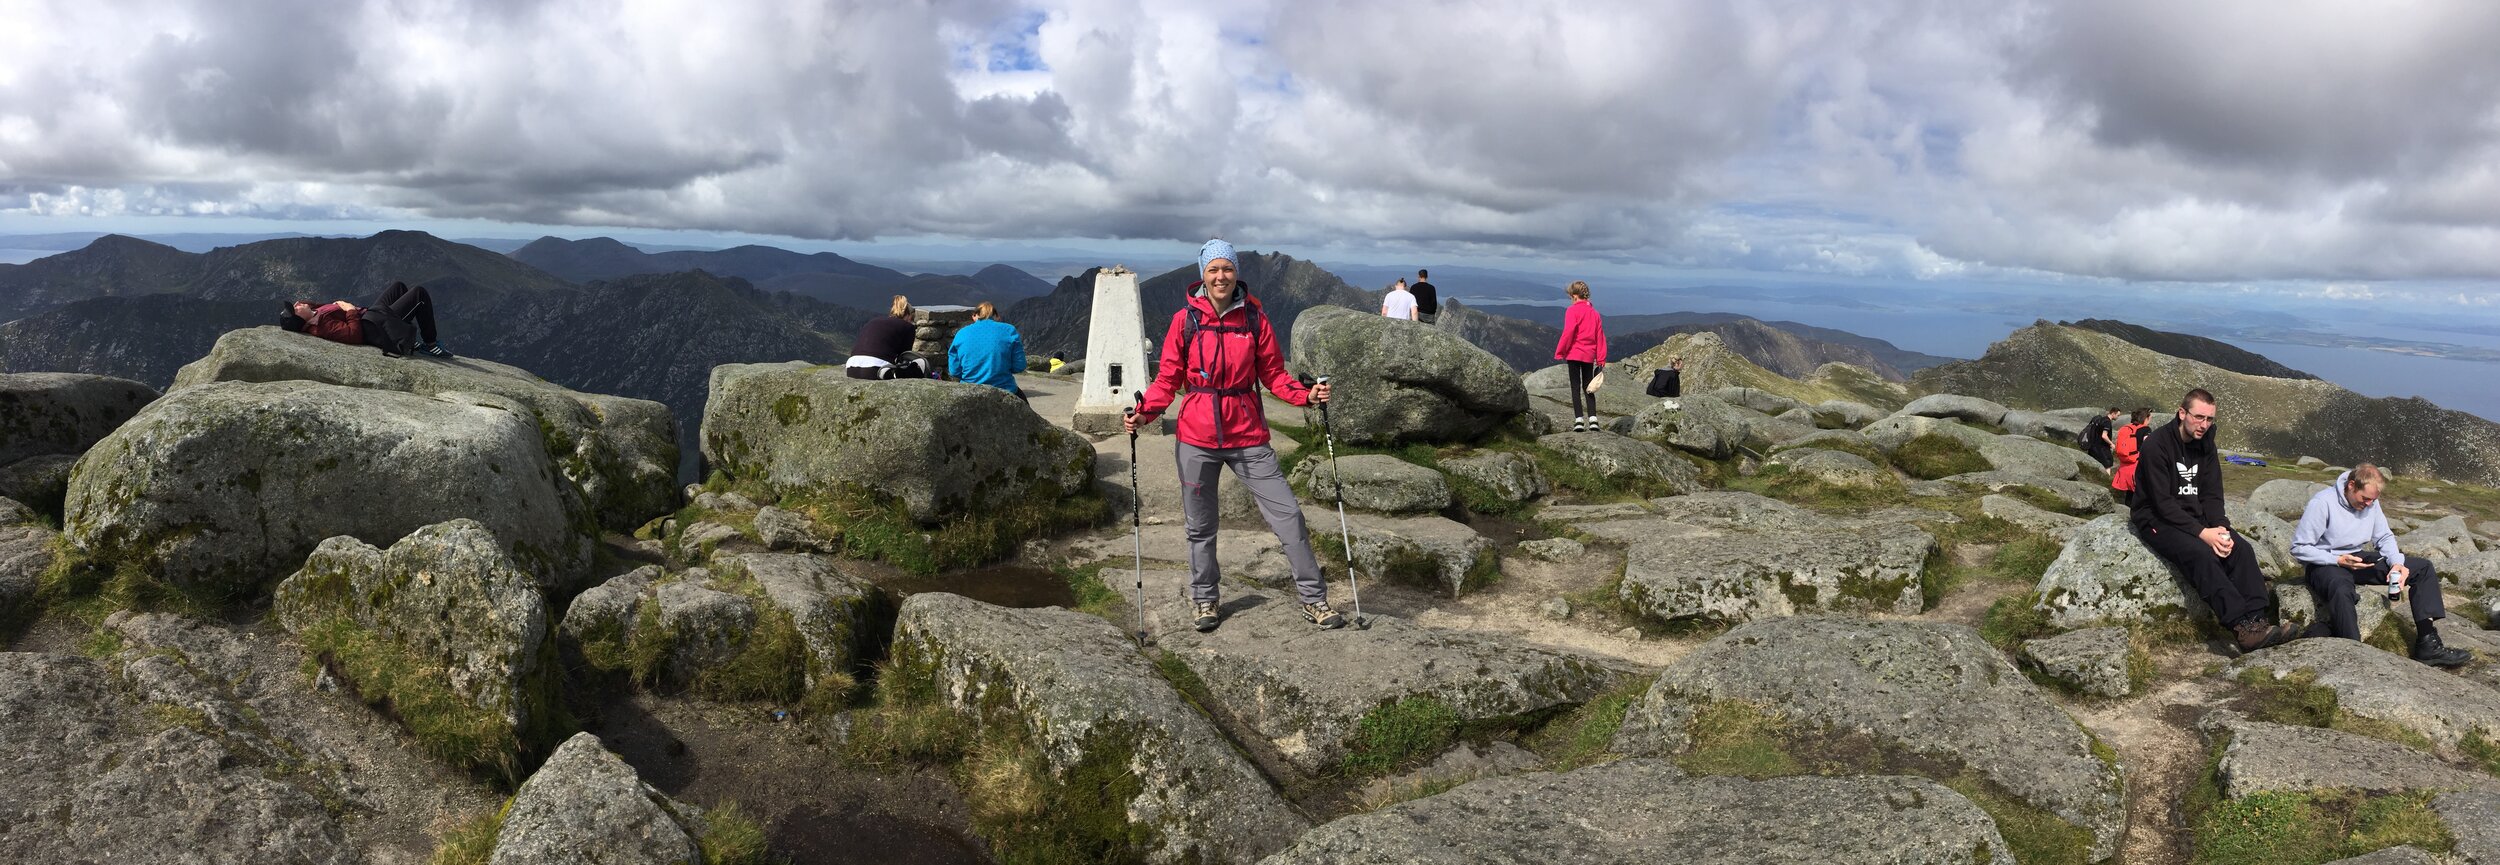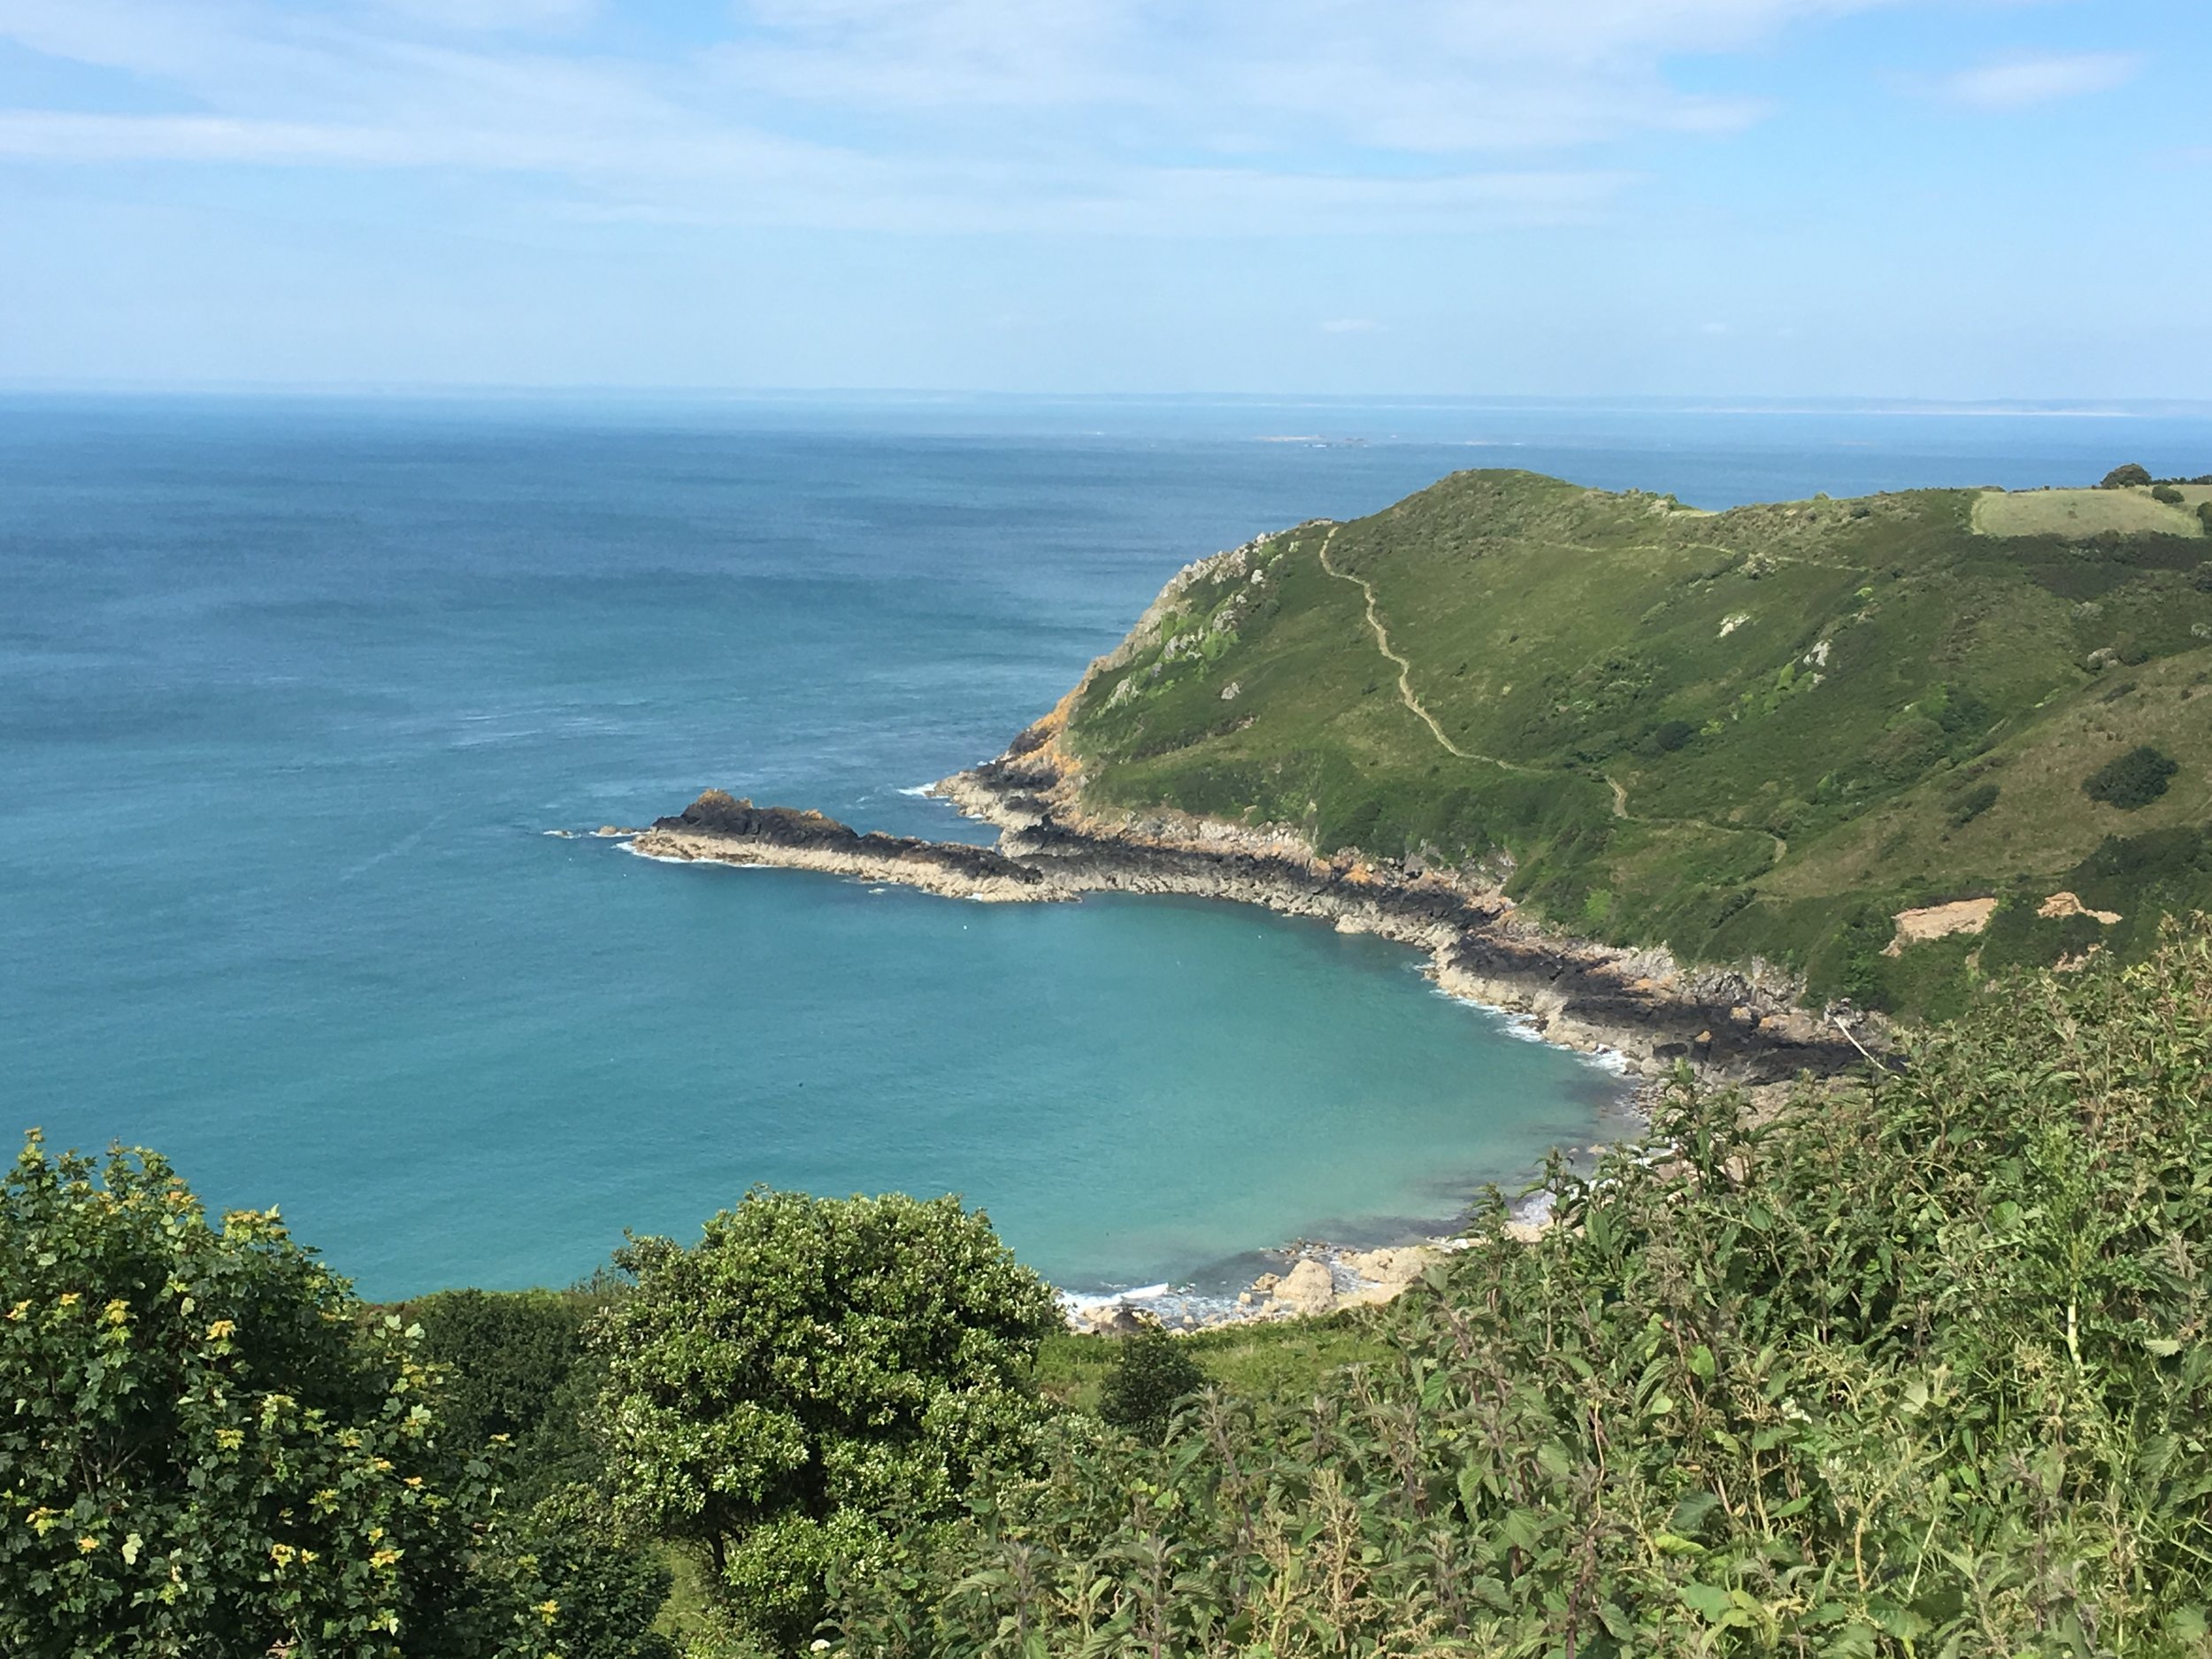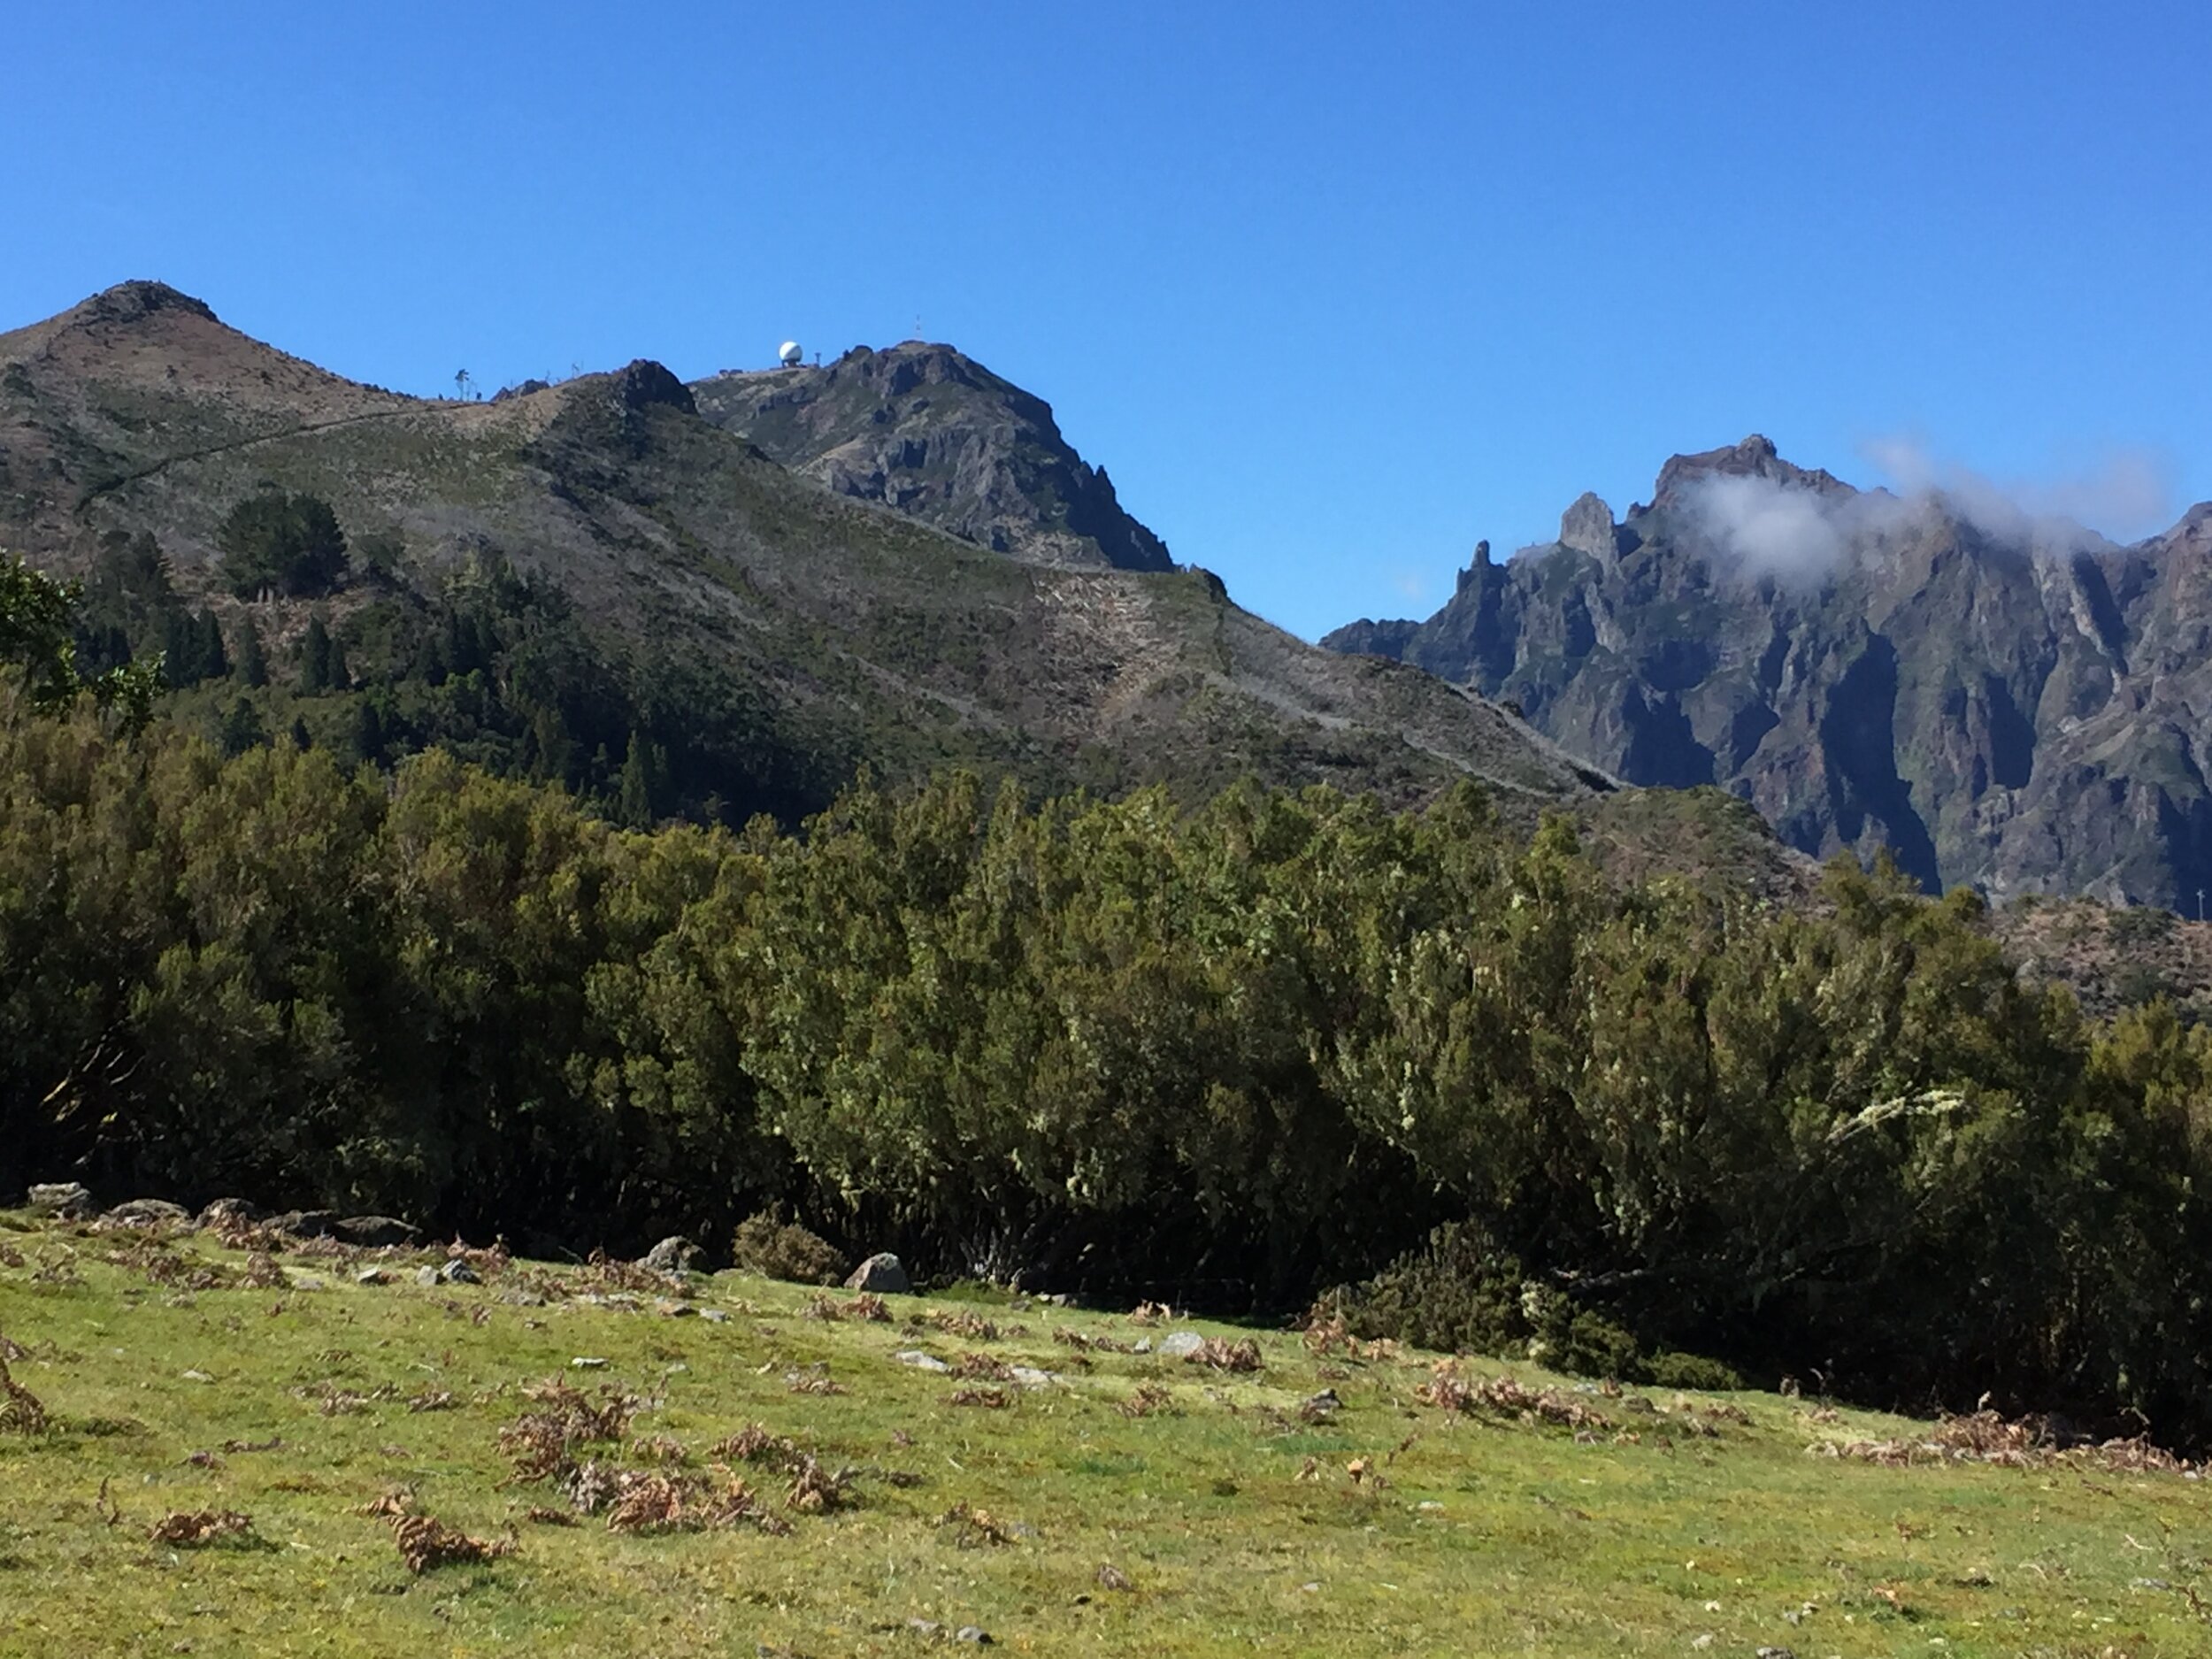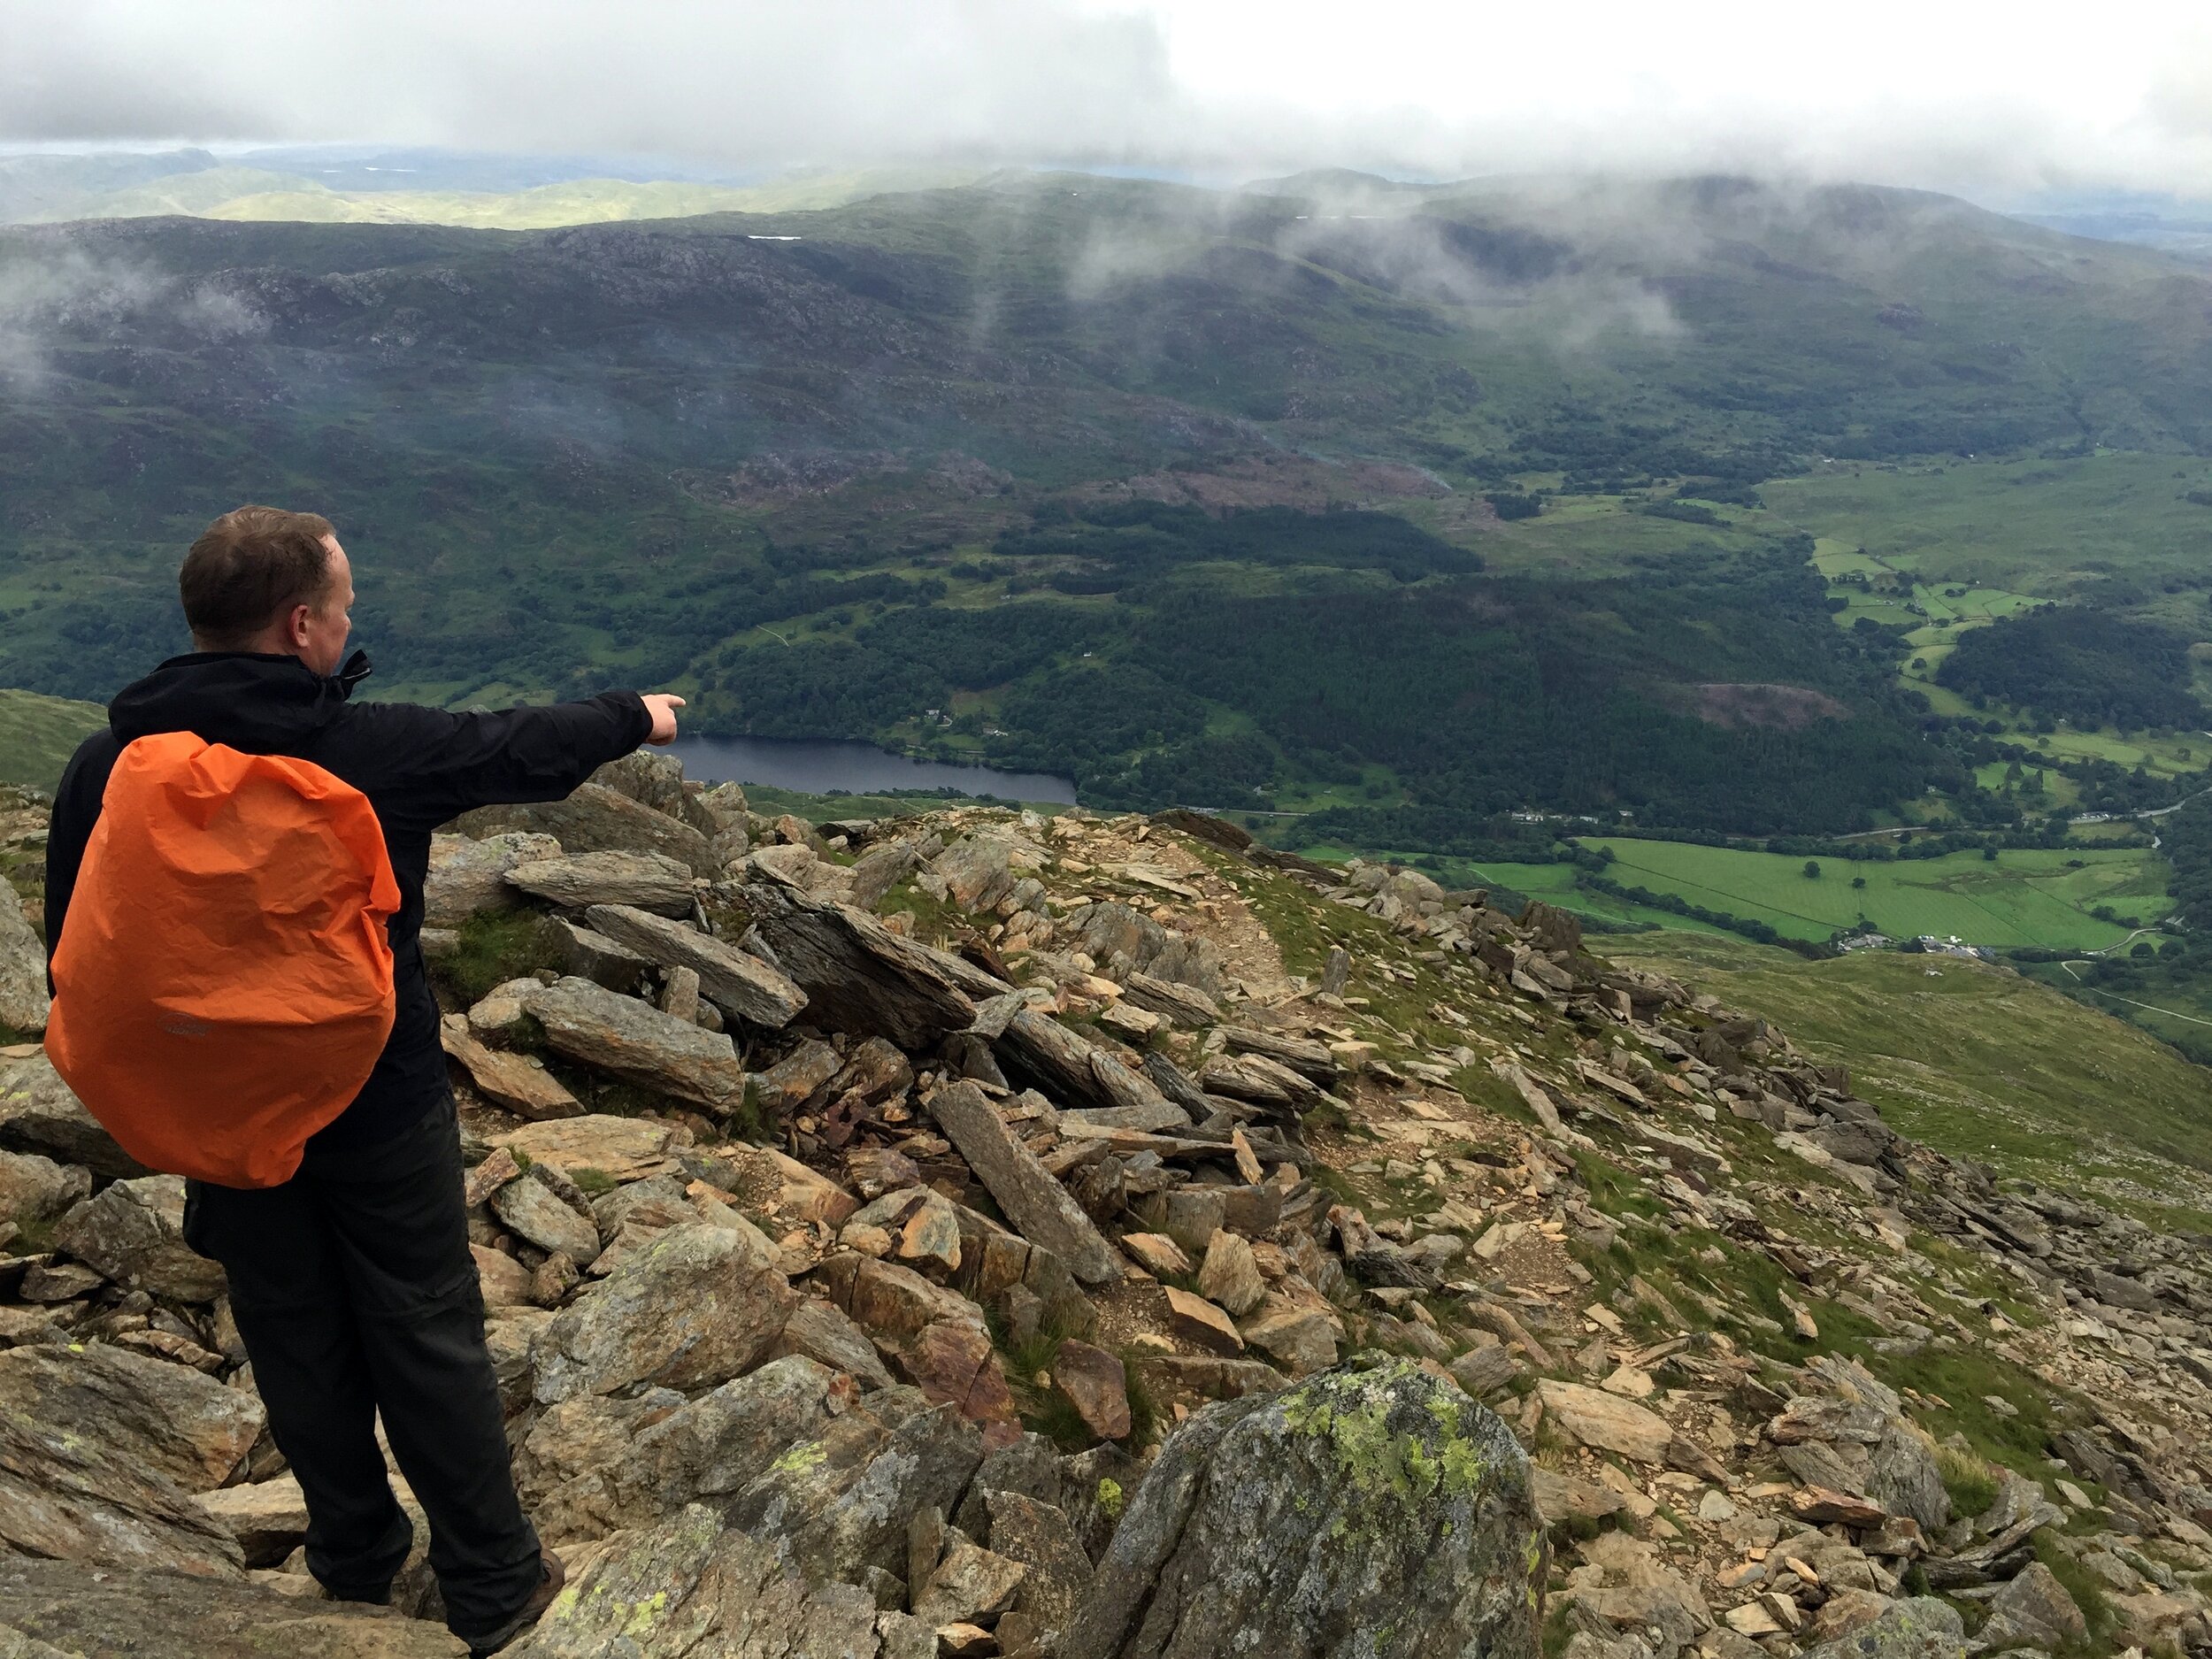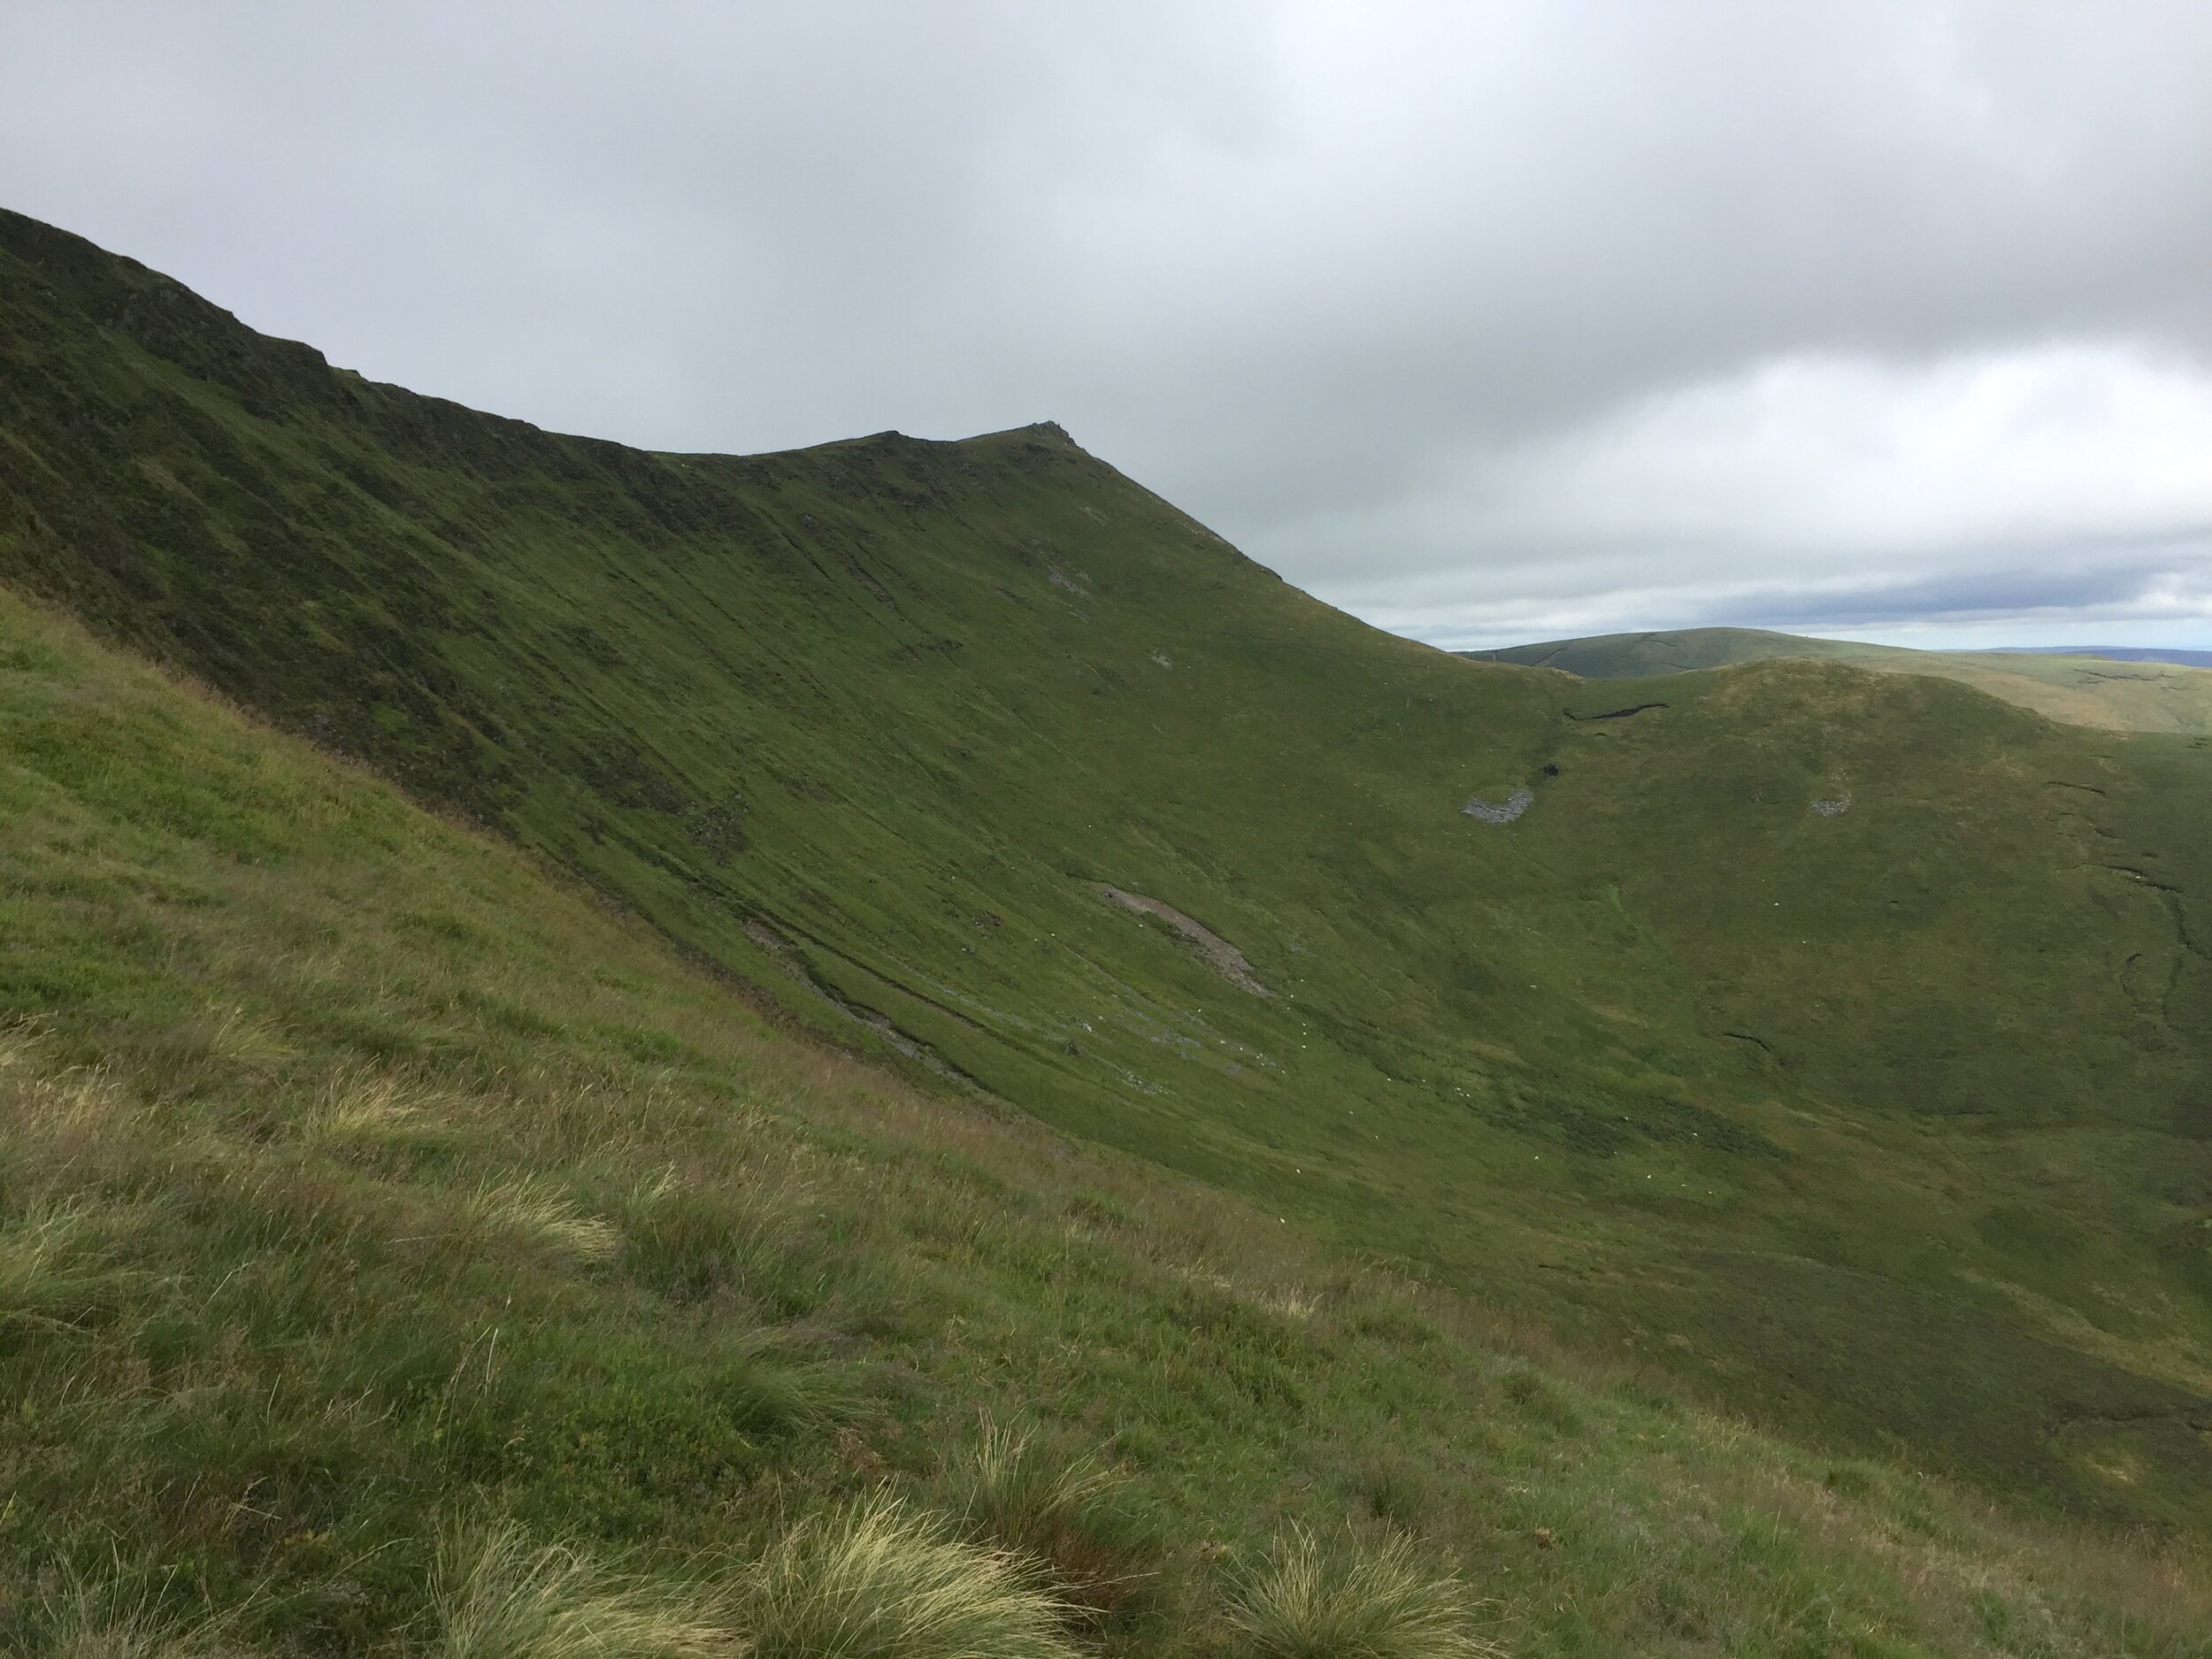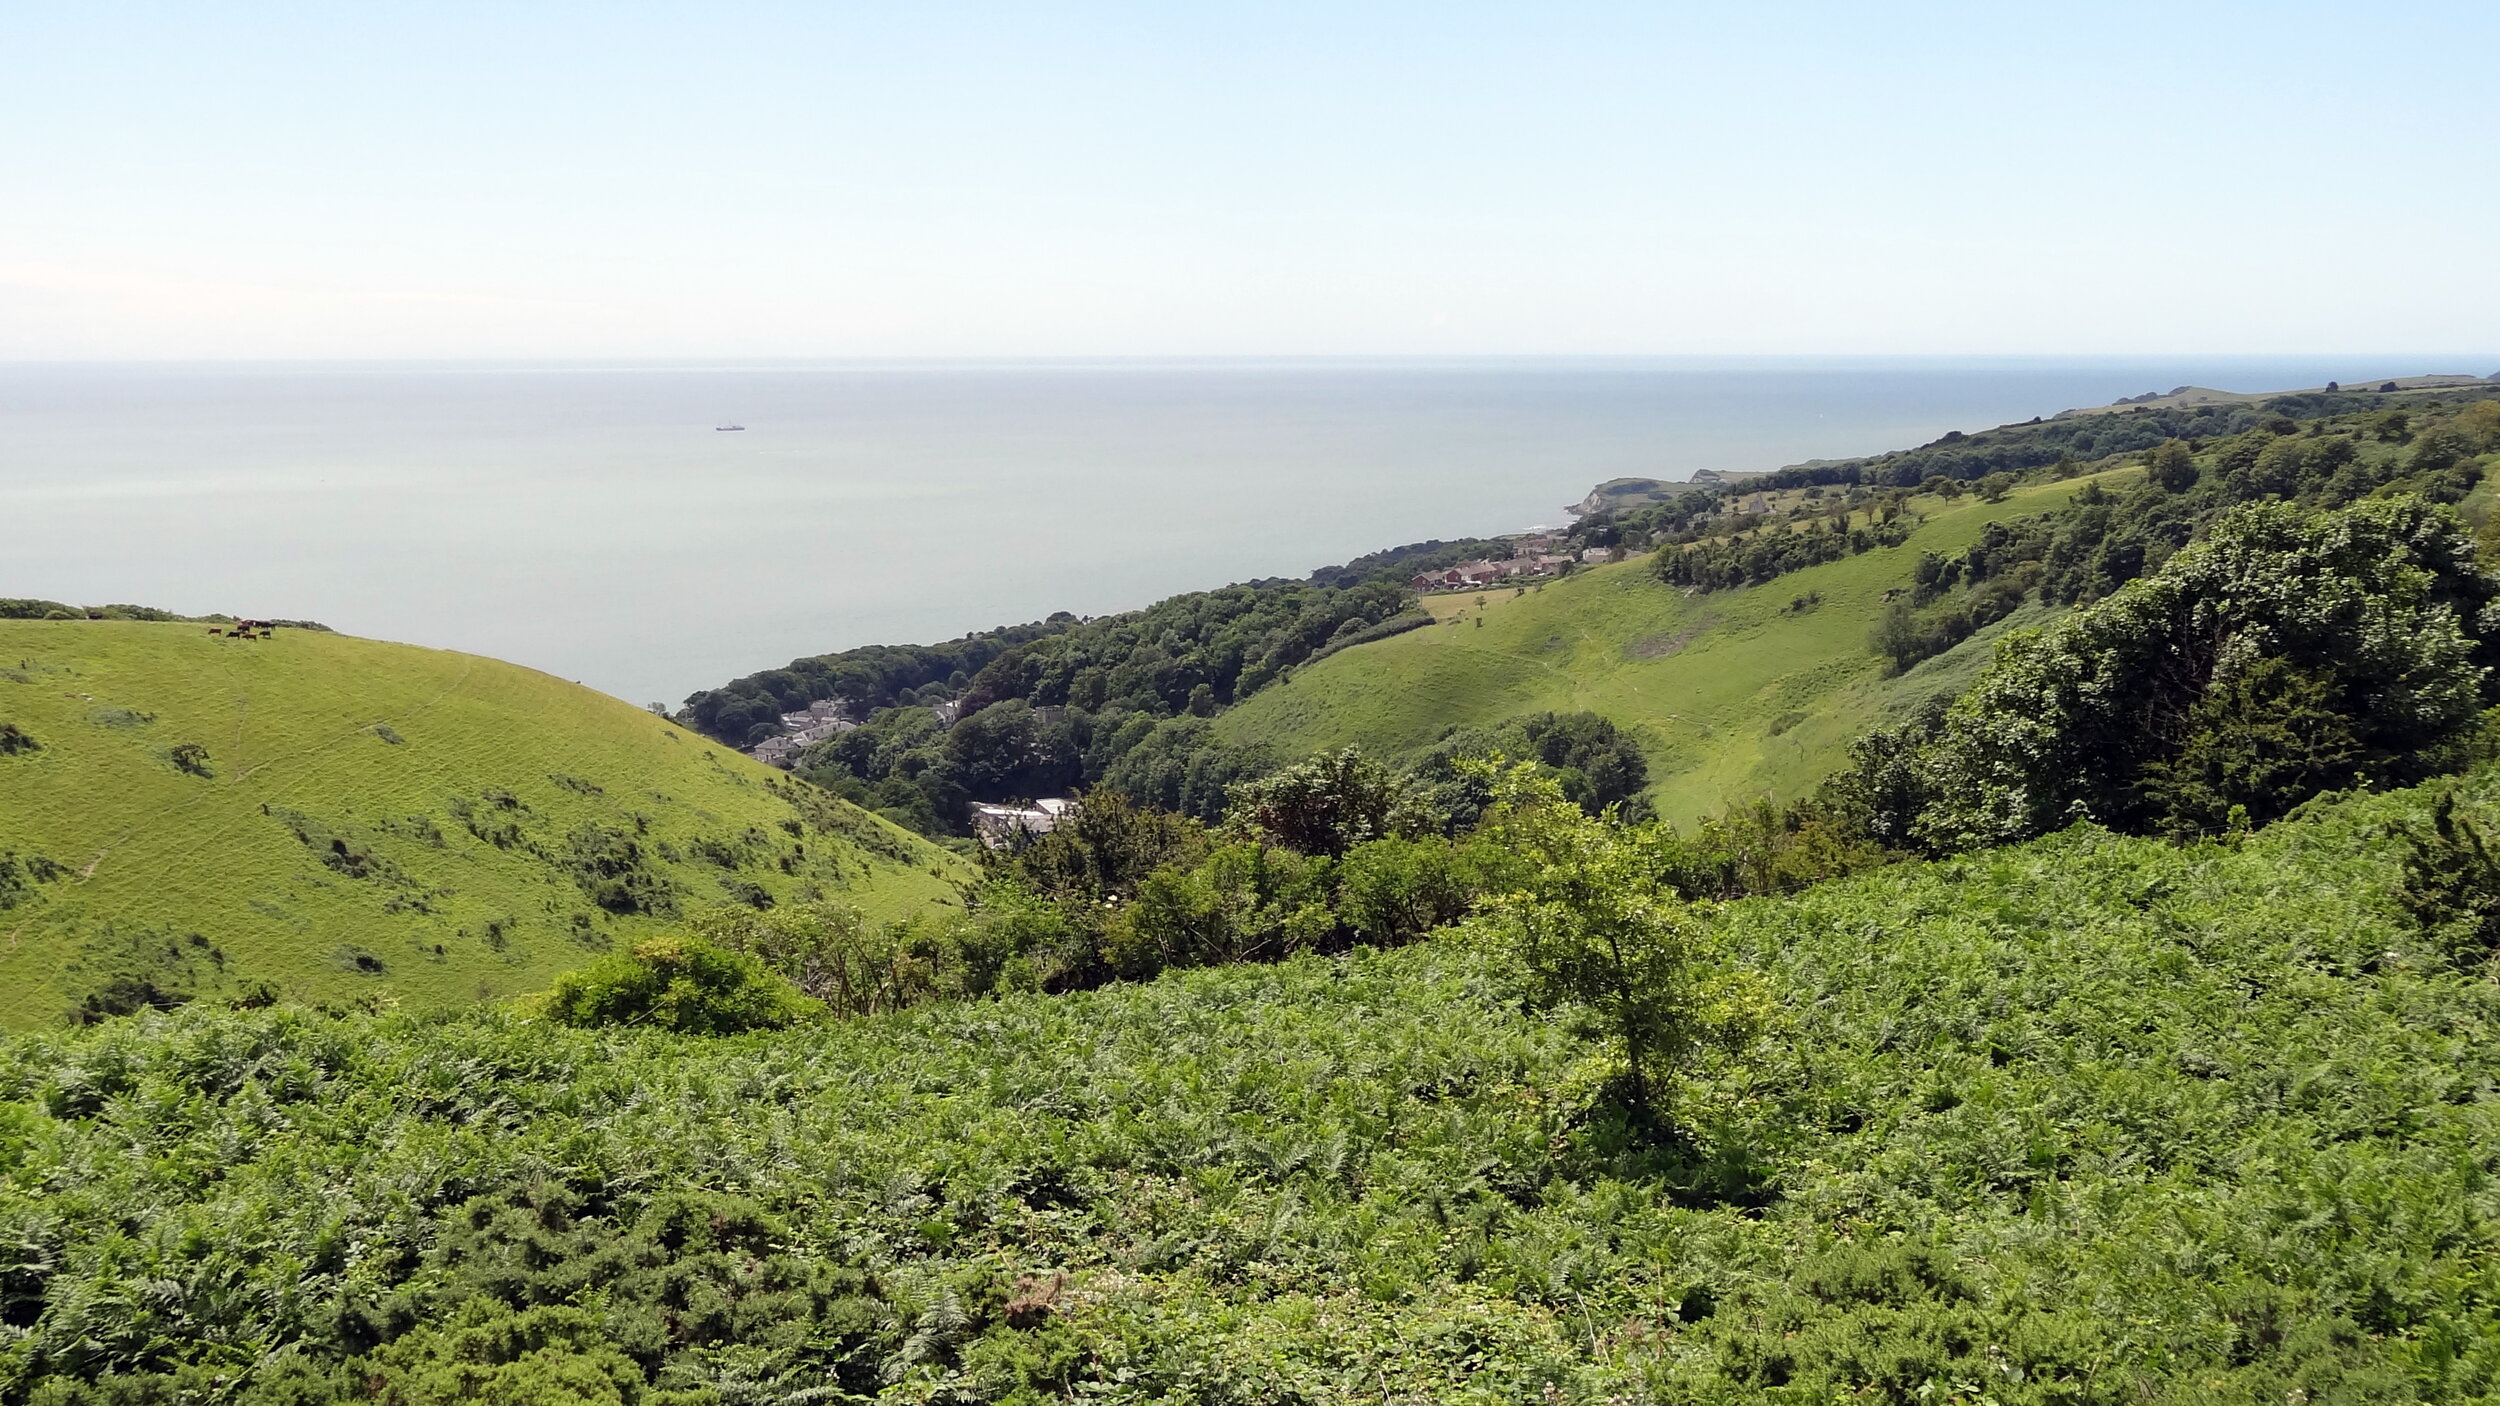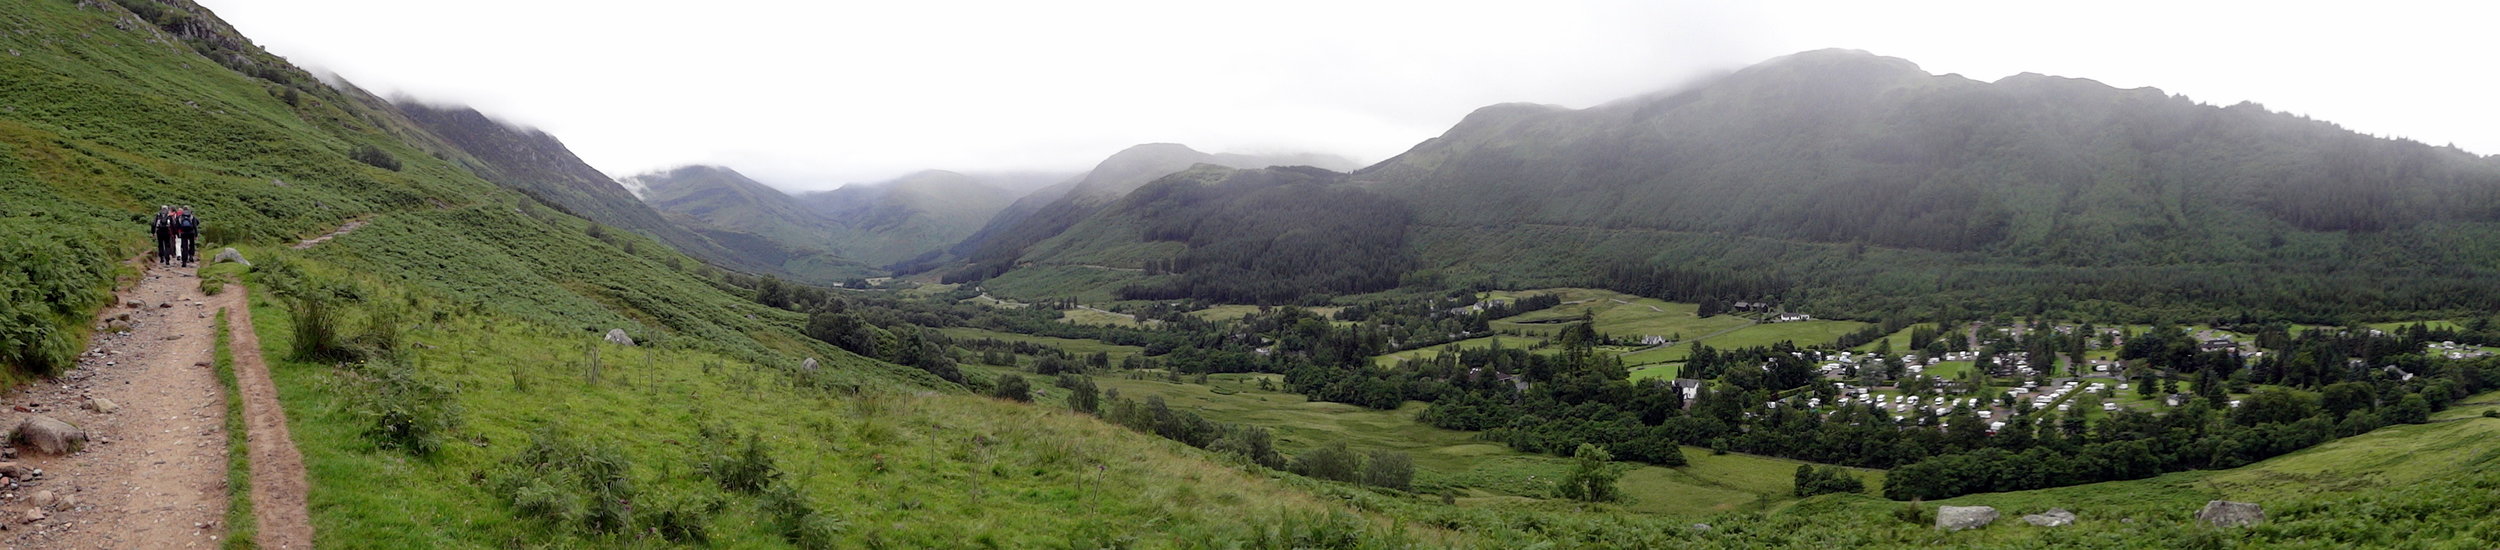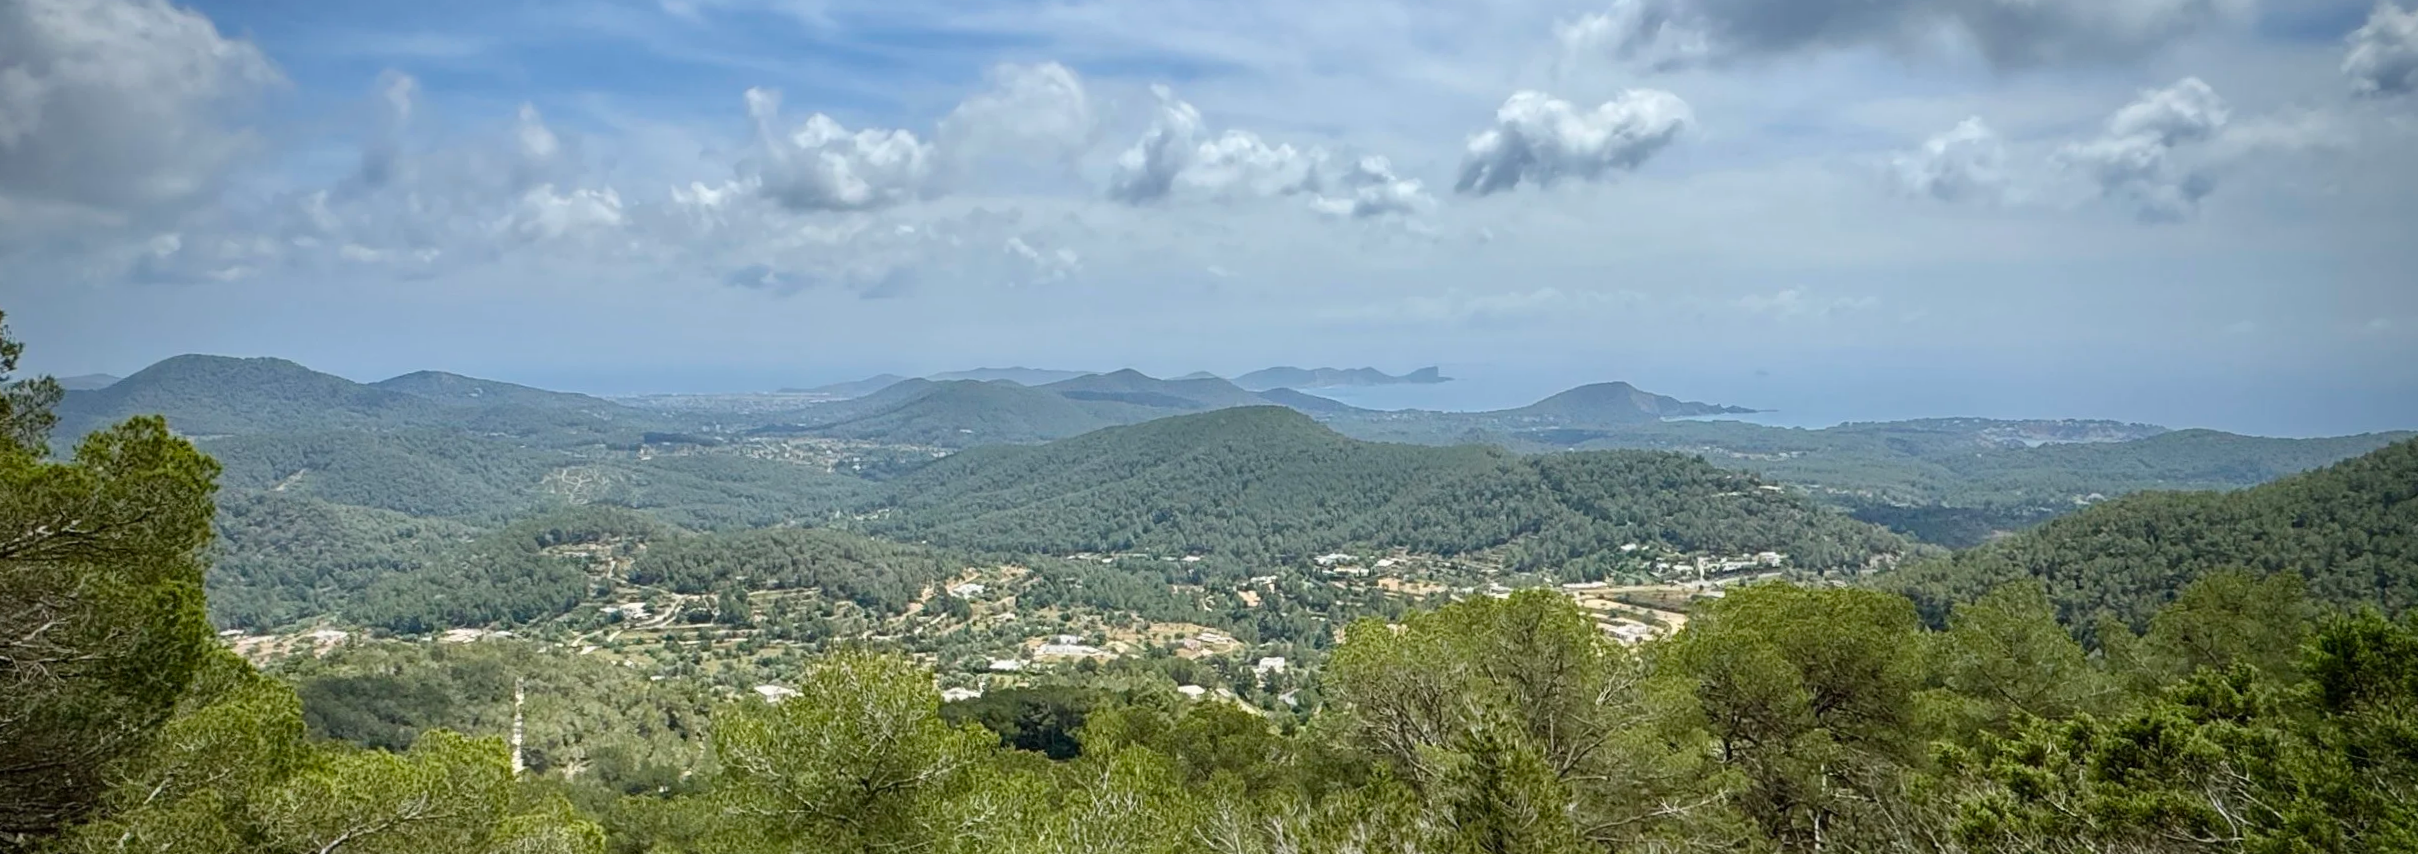
View to the south-east from Sa Talaiassa, Ibiza
Two years ago, we visited Menorca and ticked off its rather modest high point at just over 350 metres. We decided it was time to return to the Balearics to visit the final two islands, Ibiza and its very close neighbour, Formentera.
Here is how we got on walking the highest points of both islands.
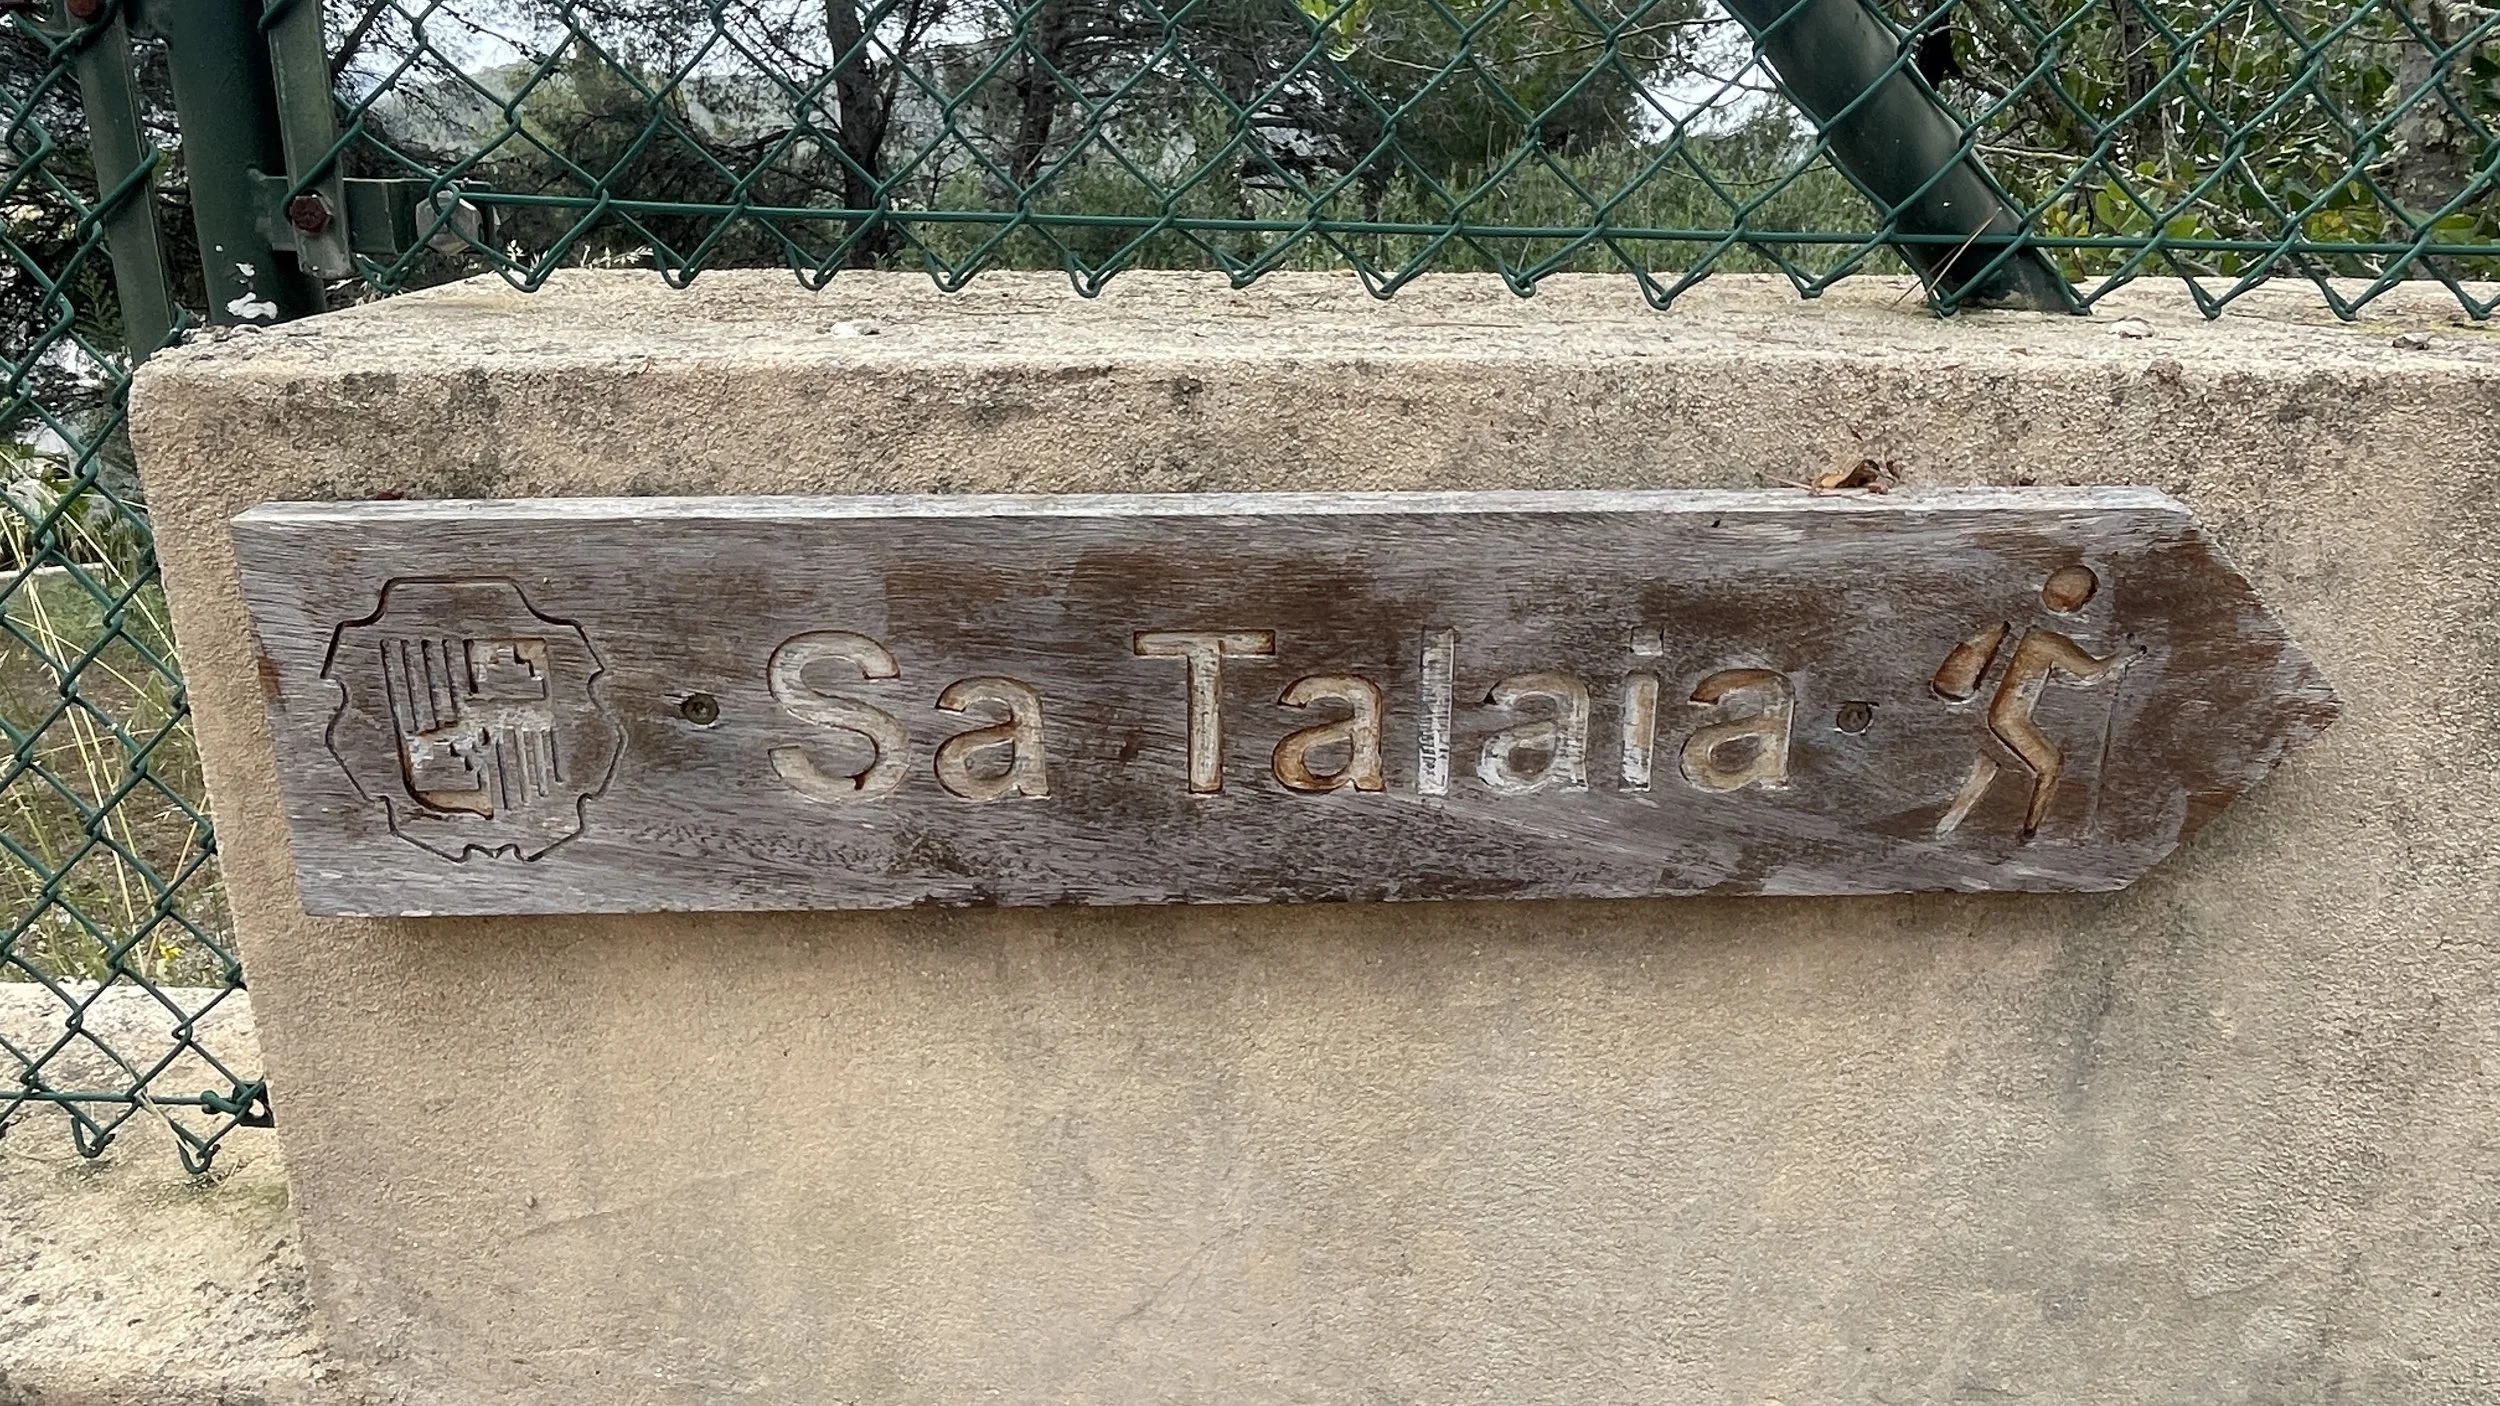
Sa Talaiassa, Ibiza
Also known as: Sa Talaia / Sa Talia de Sant Josep
Significance: High point of the island of Ibiza
Elevation: 487m
Date climbed: 5th May 2026
Coordinates: 38° 54' 39'' N, 1° 16' 25'' E
Start & Finish: Aparcament públic de Sant Josep, 07830 Sant Josep de sa Talaia, Ibiza
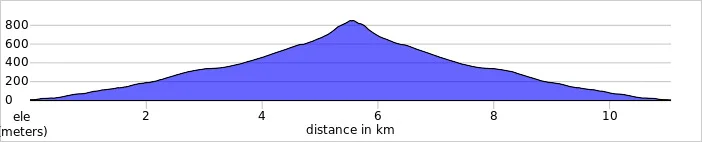
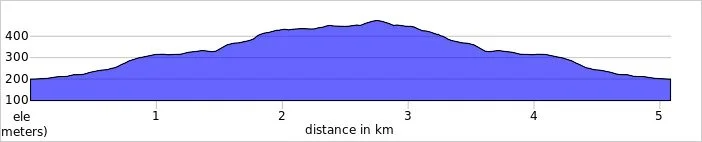
Distance: 5.1 km (3.2 miles)
Elevation change: +/- 262m
GPX File: get via Buy Me a Coffee
Other routes touched: None
Links: Ibiza, Sant Josep de sa Talaia, Sa Talaiassa, Peakbagger
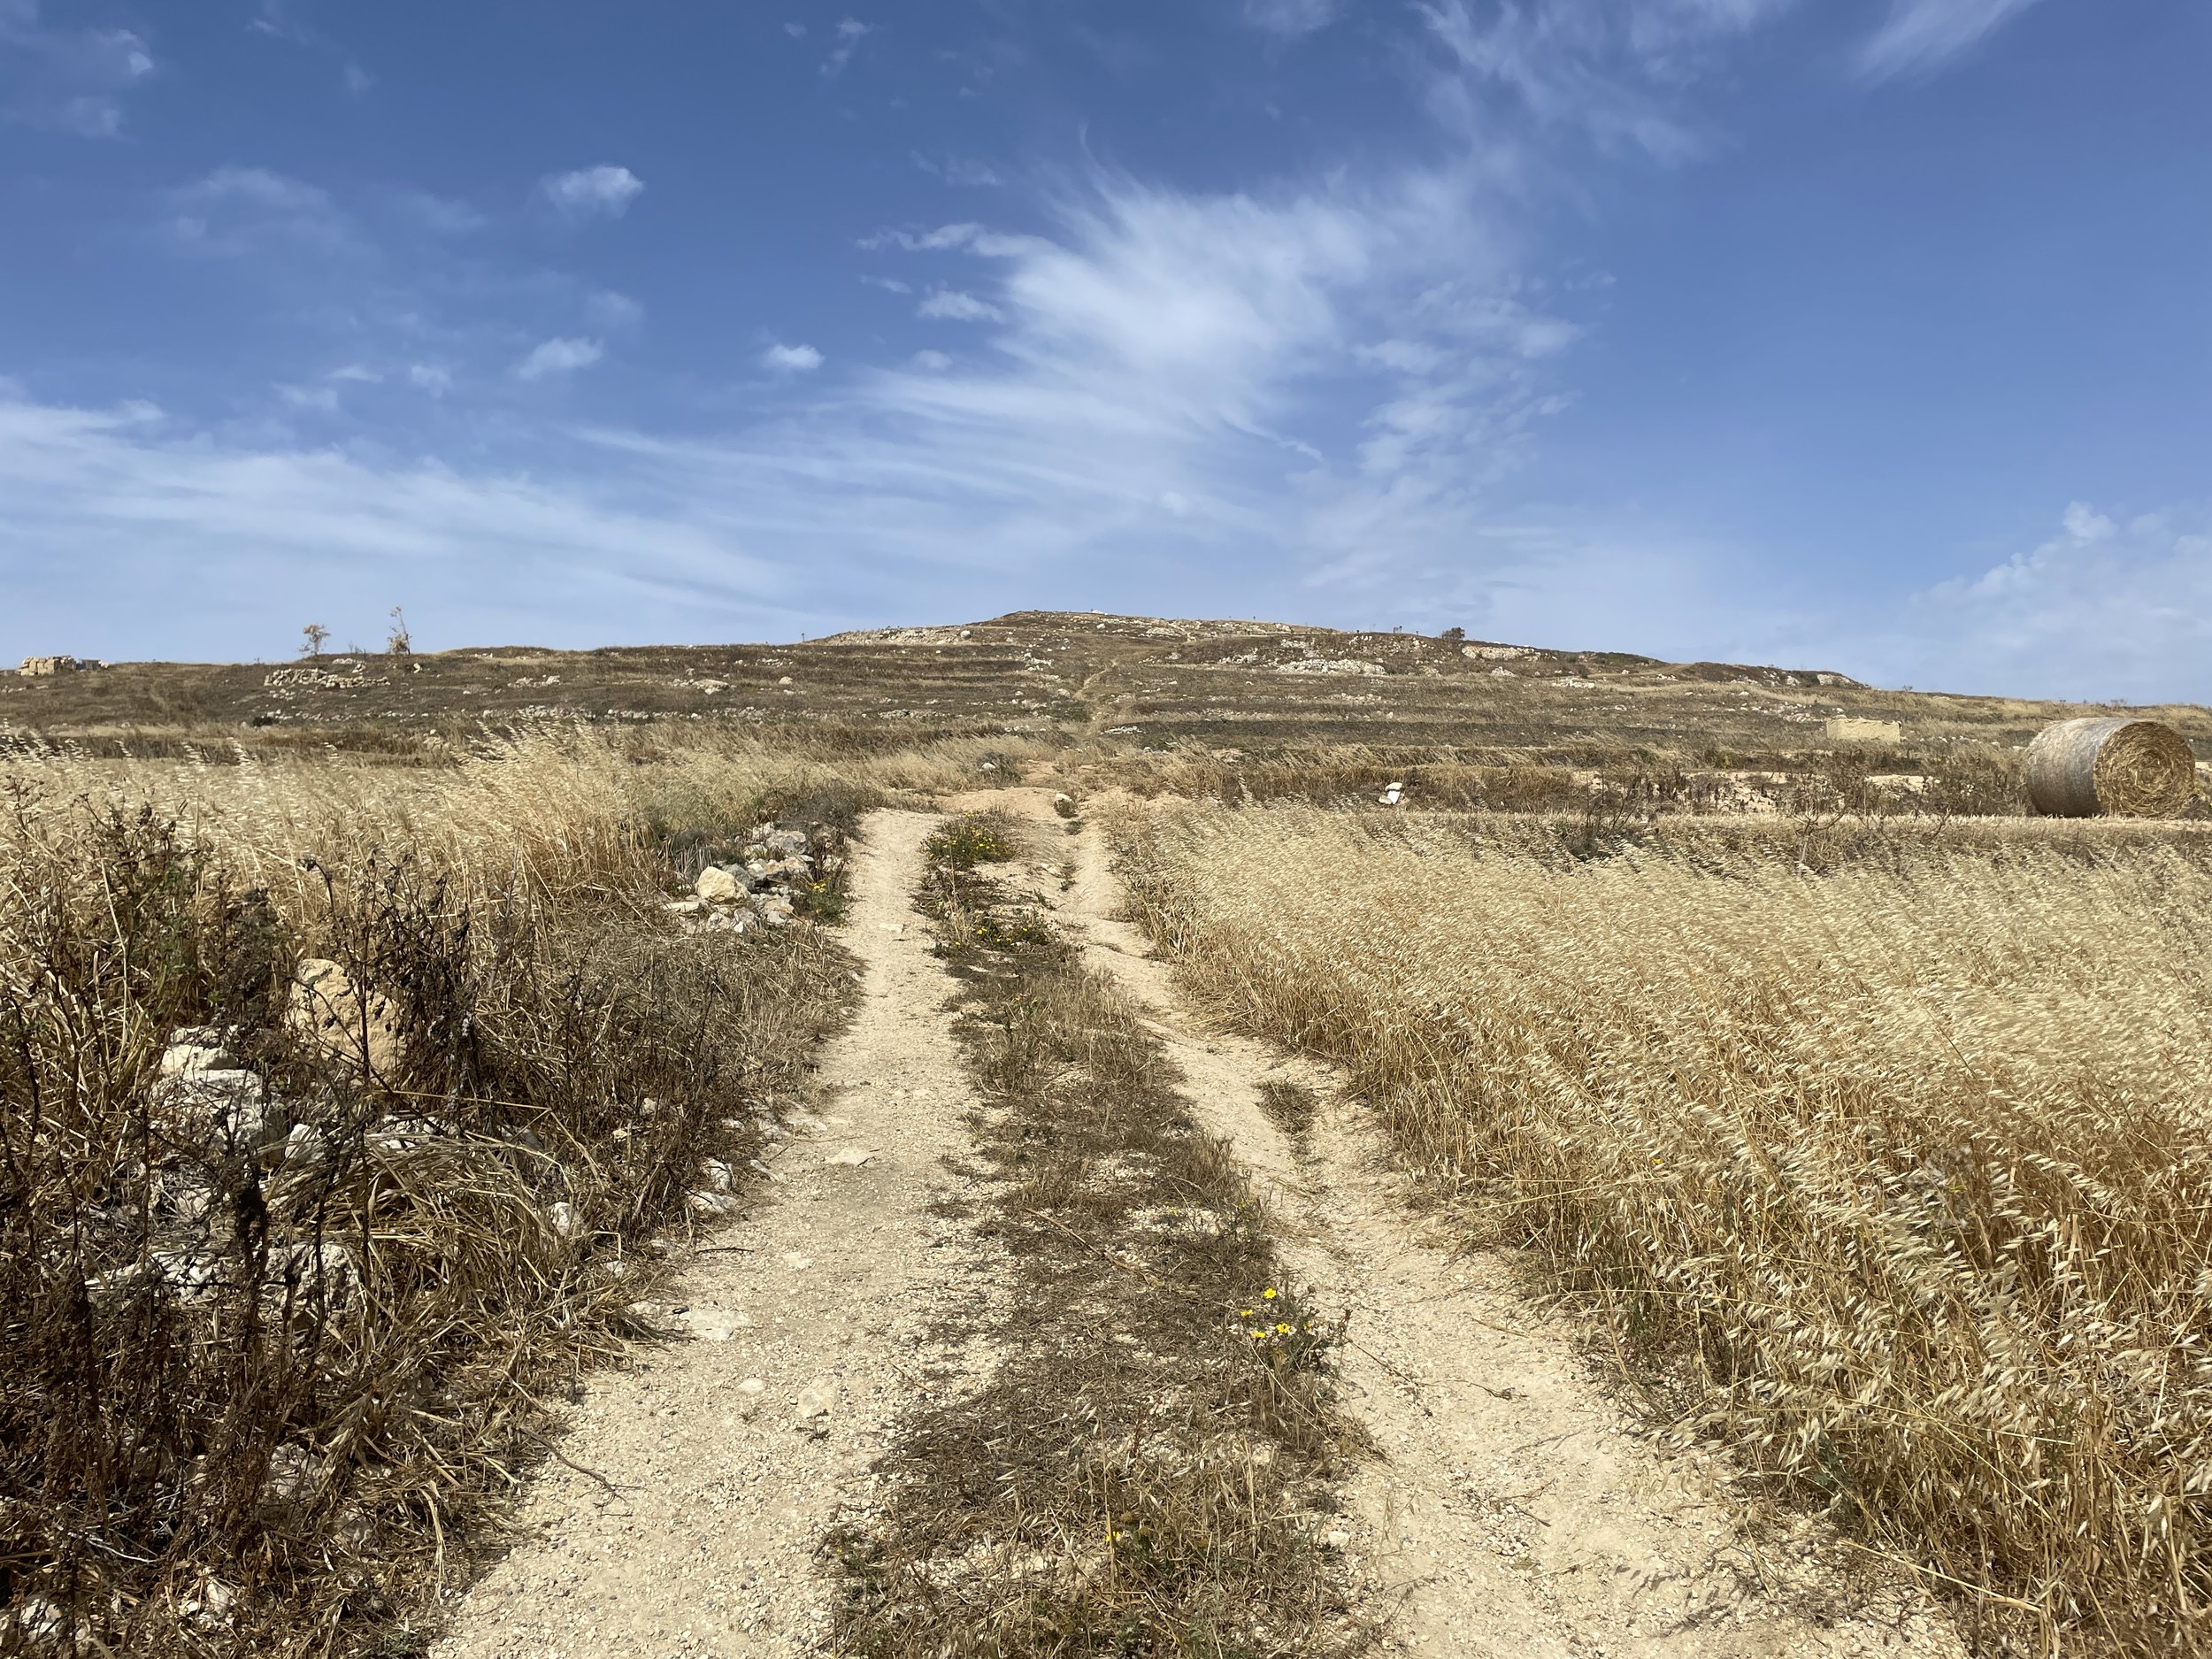
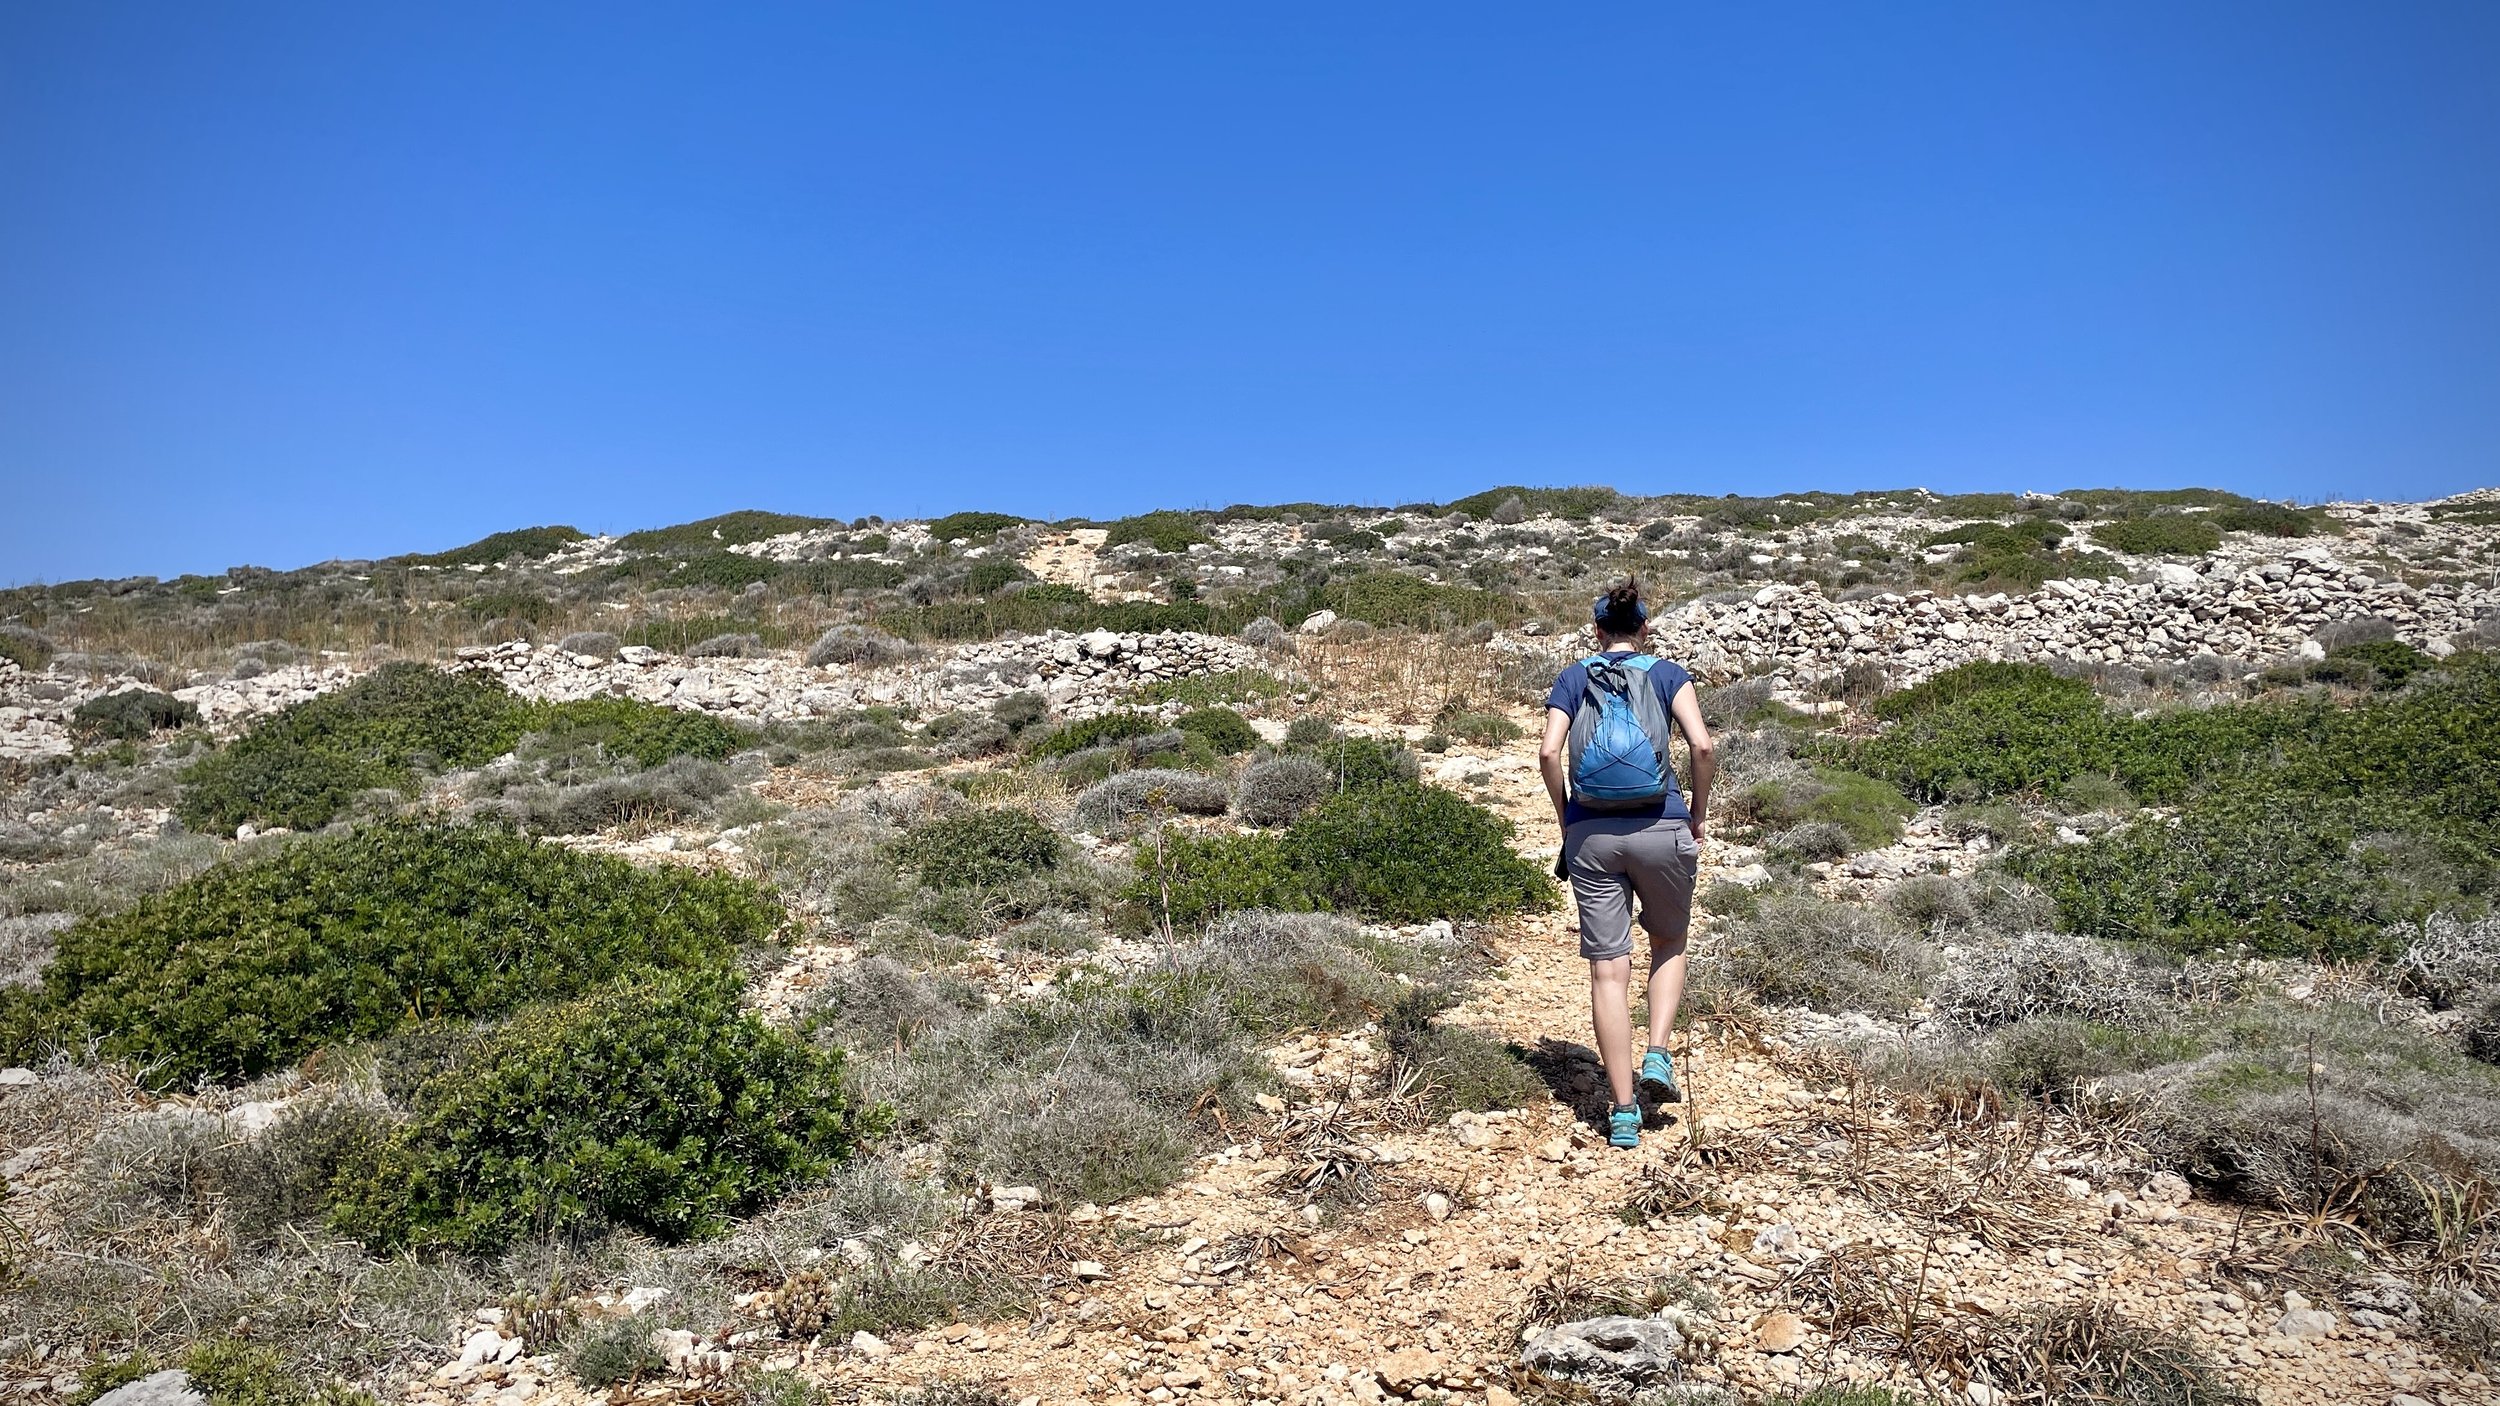
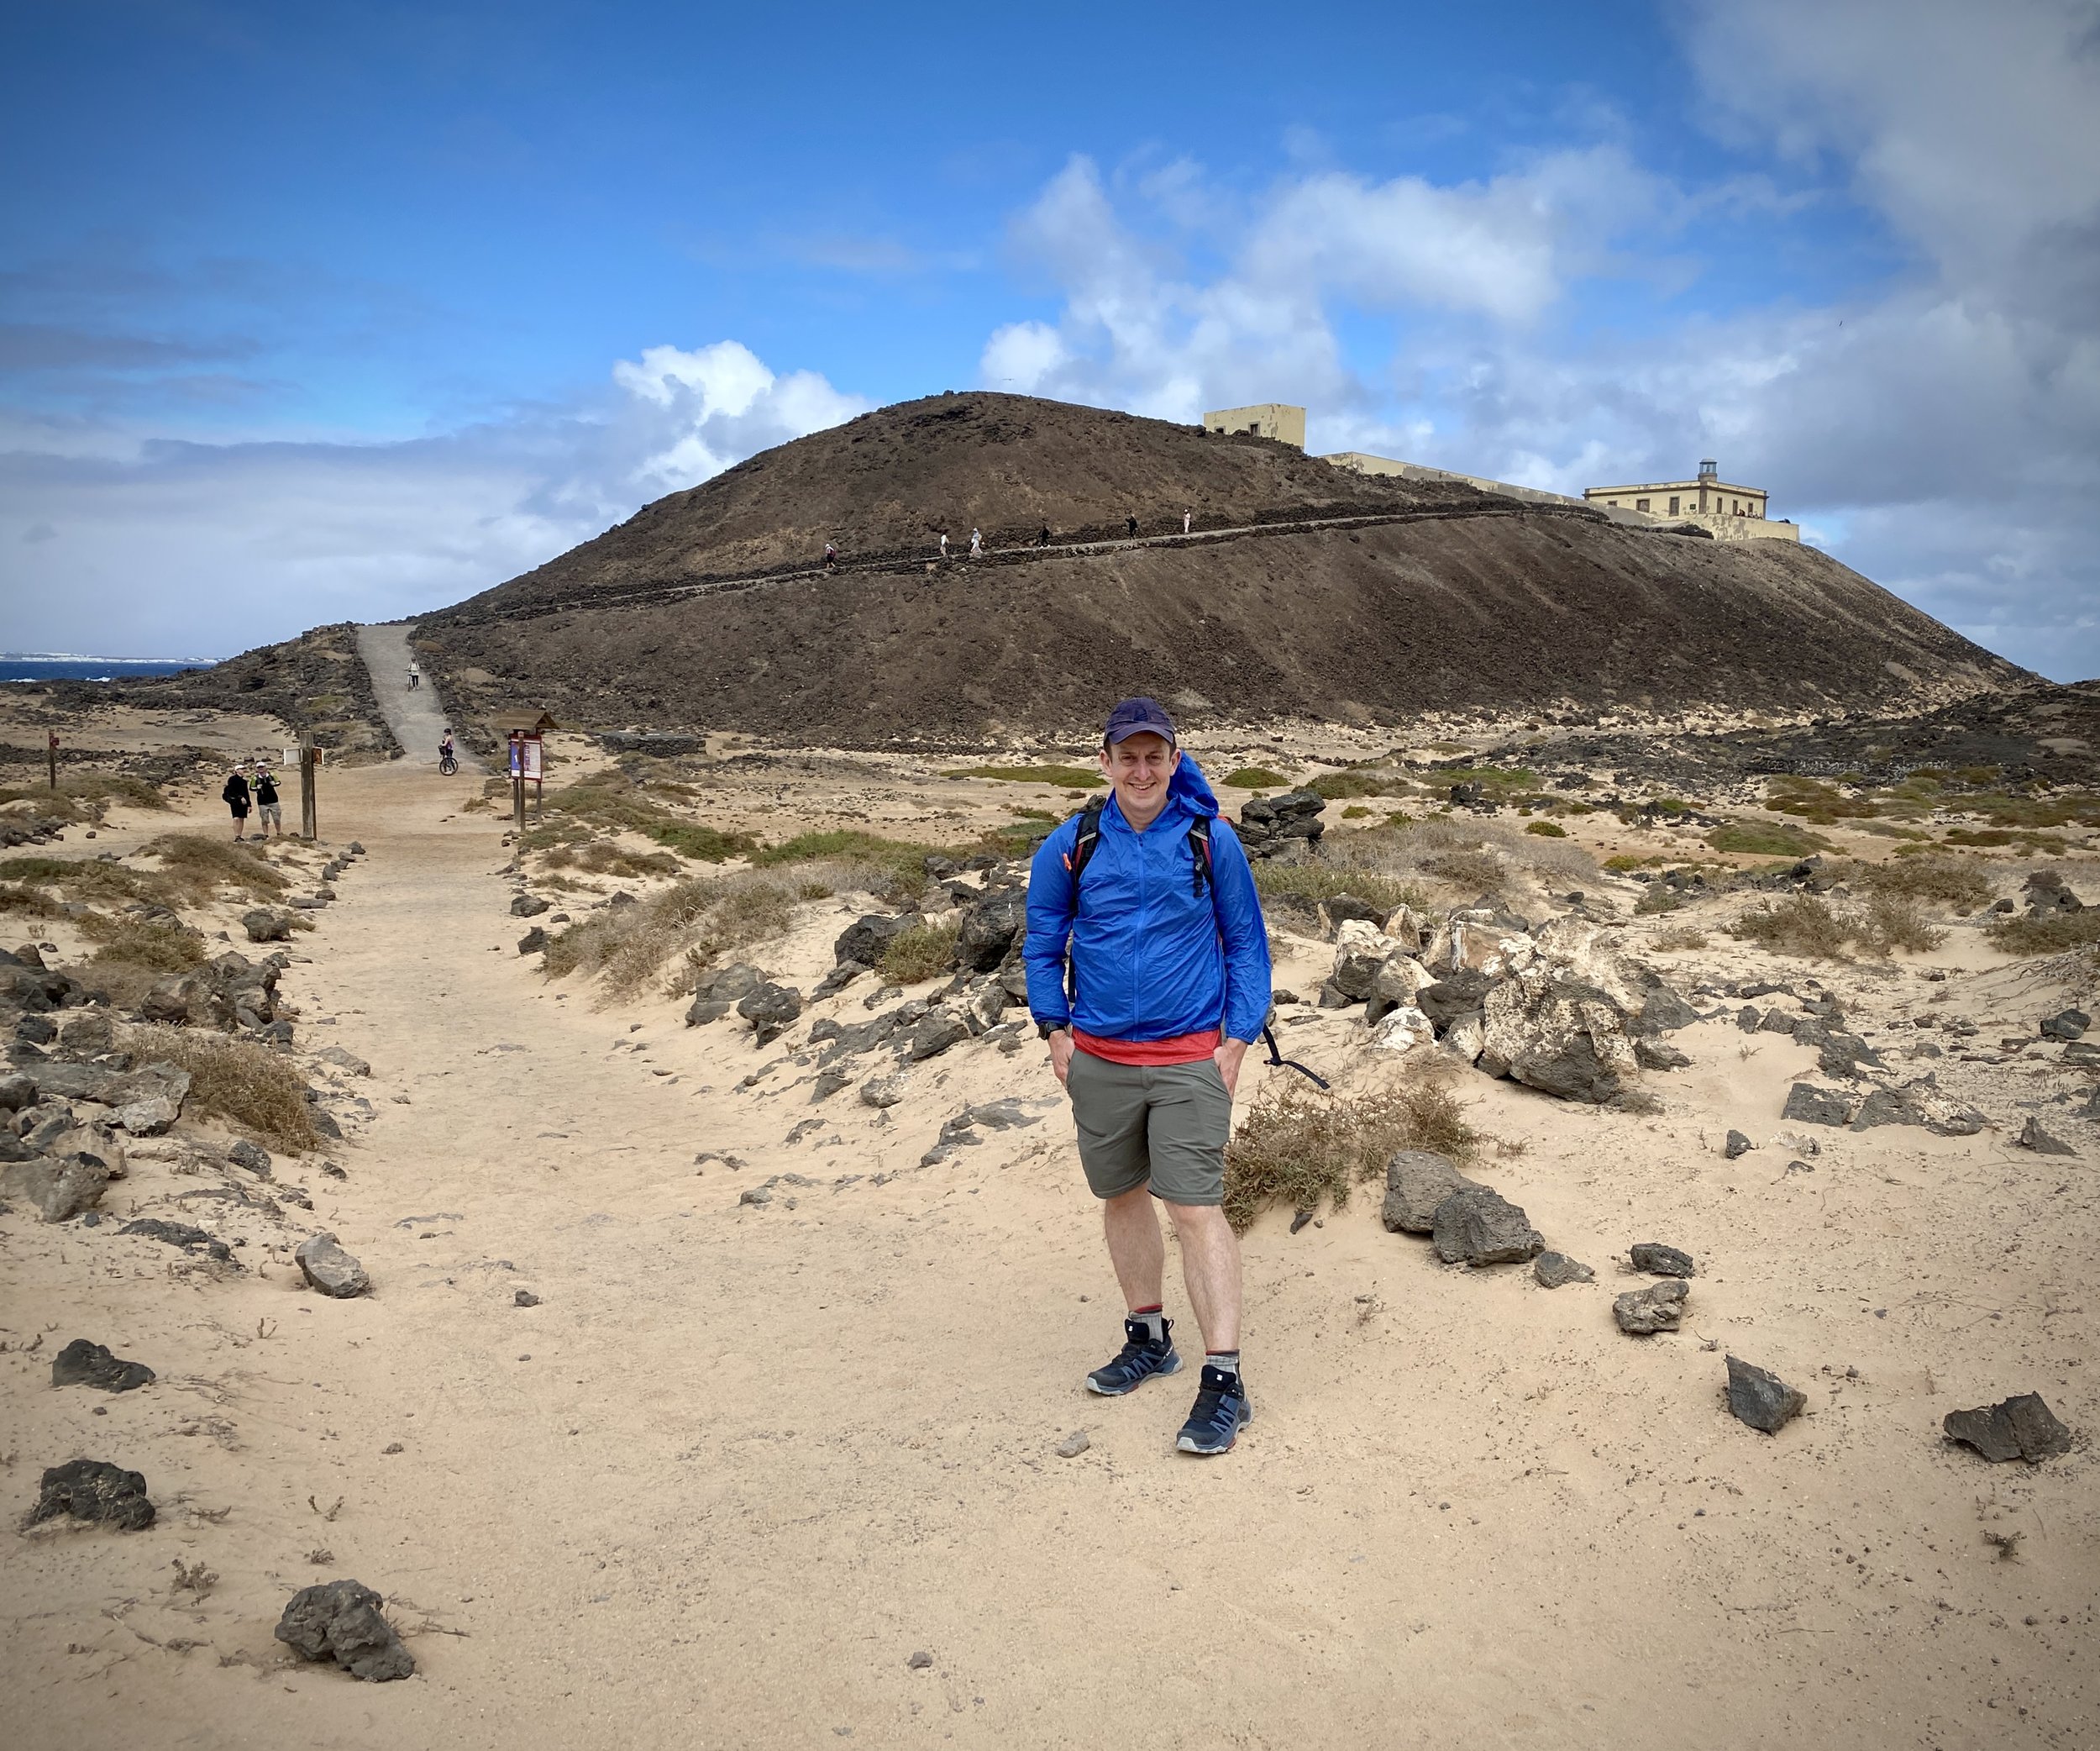
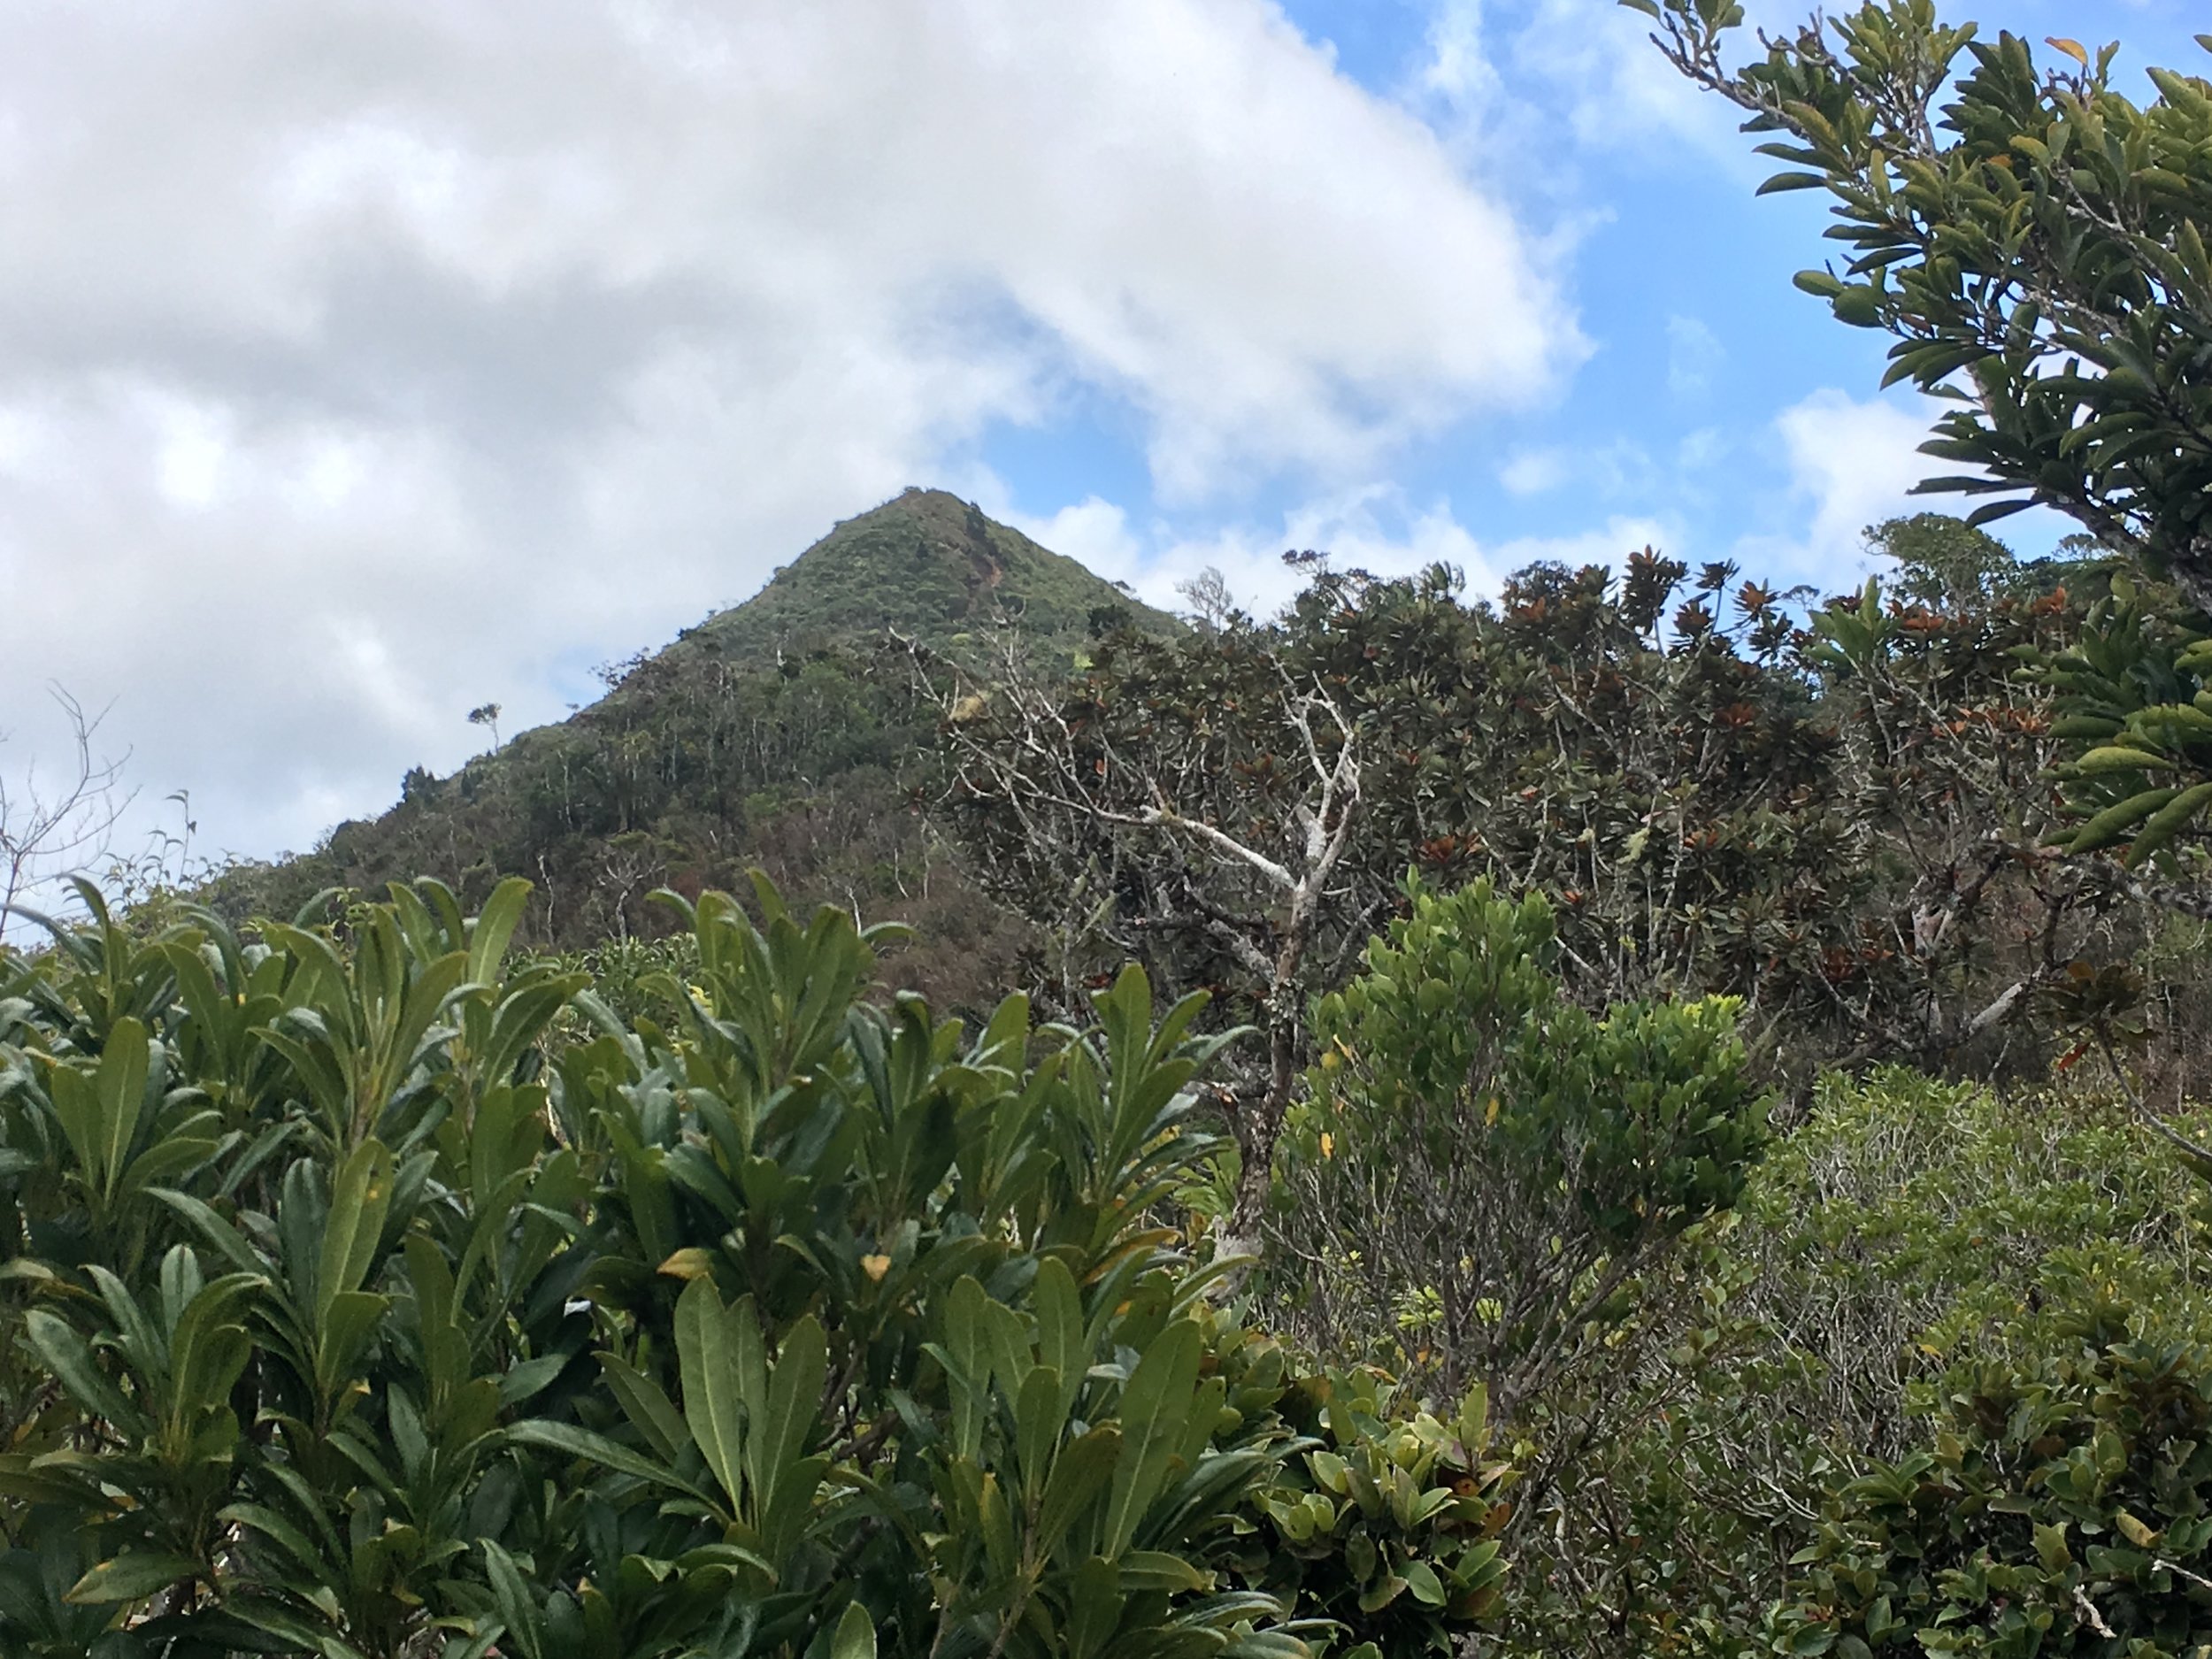
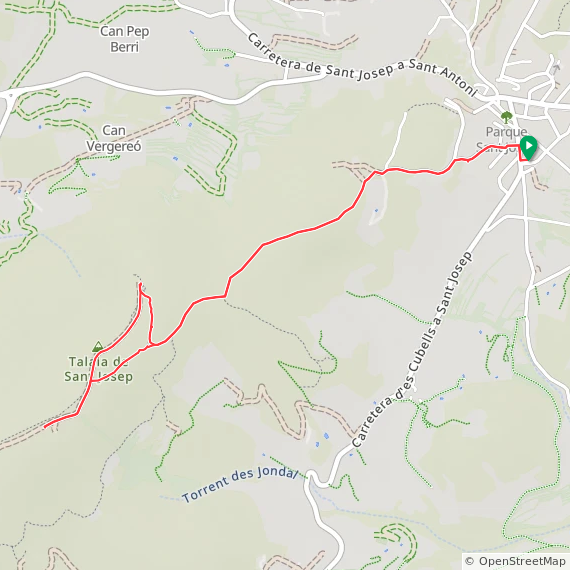
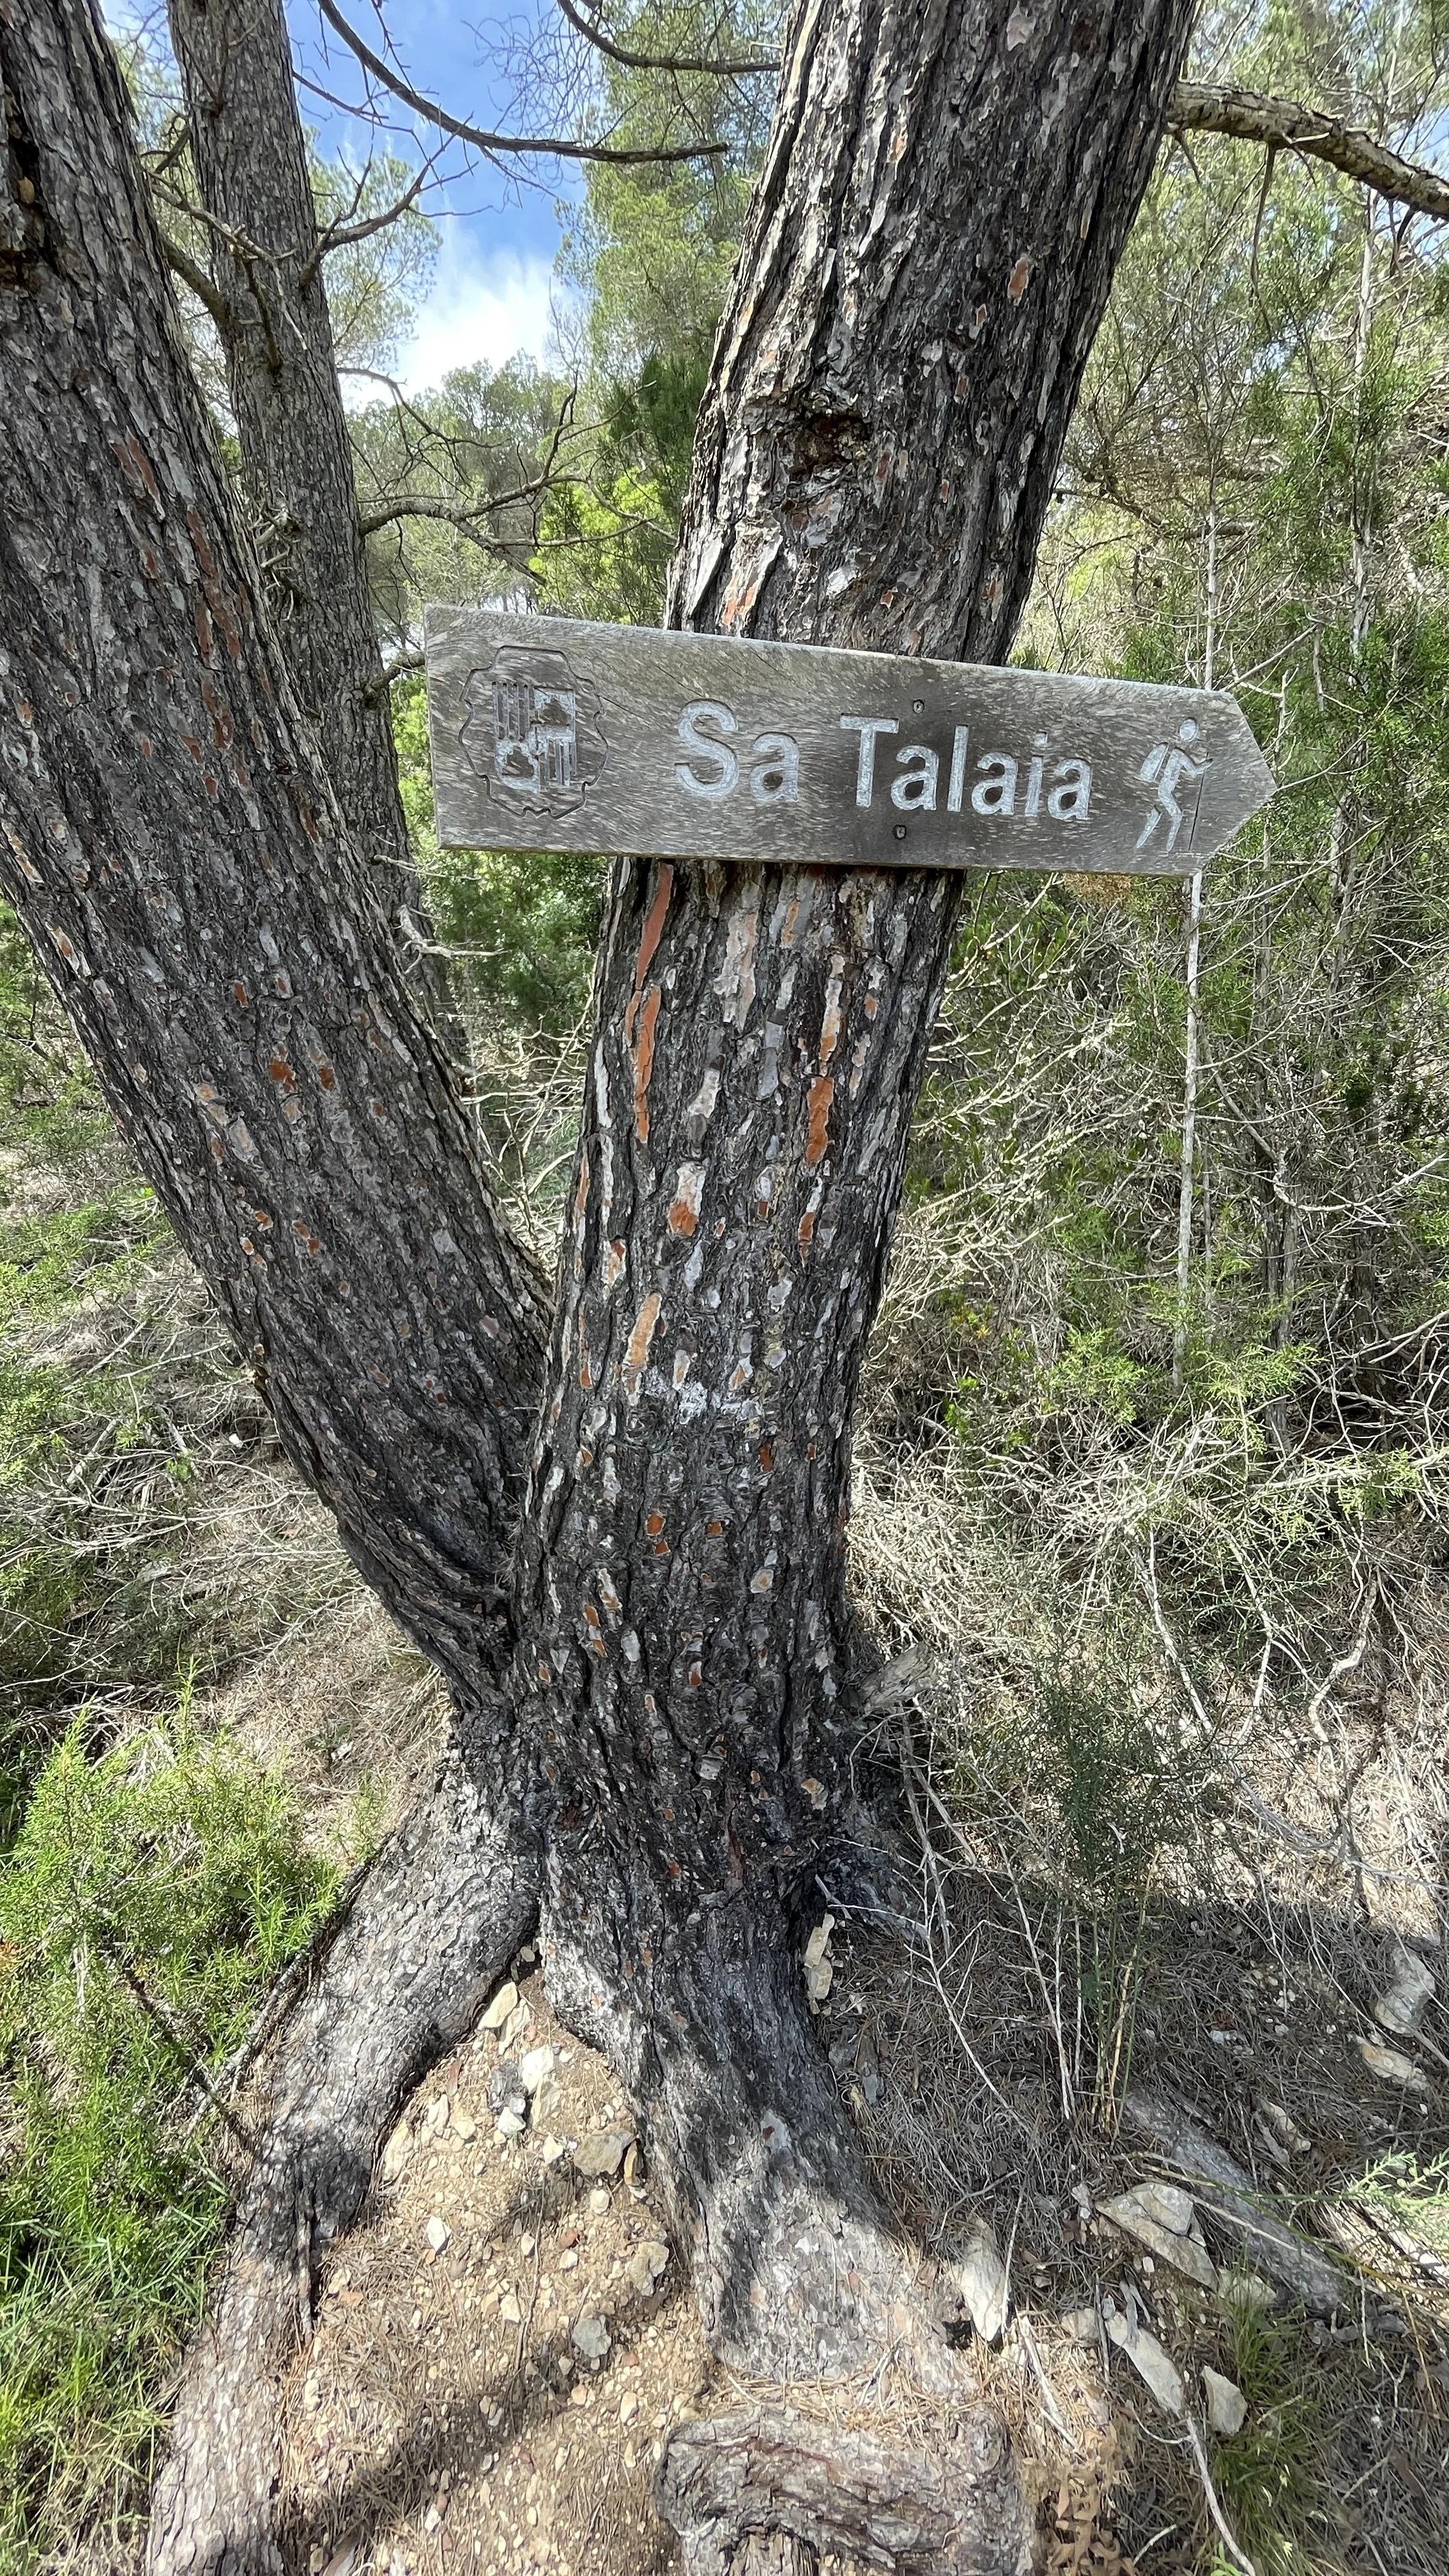
The highest area in Ibiza is generally known as Sa Talaia or Sa Talaiassa. It is an enjoyable and relatively easy out-and-back route totalling about 5 kilometres (roughly 2.5 kilometres up and the same back down).
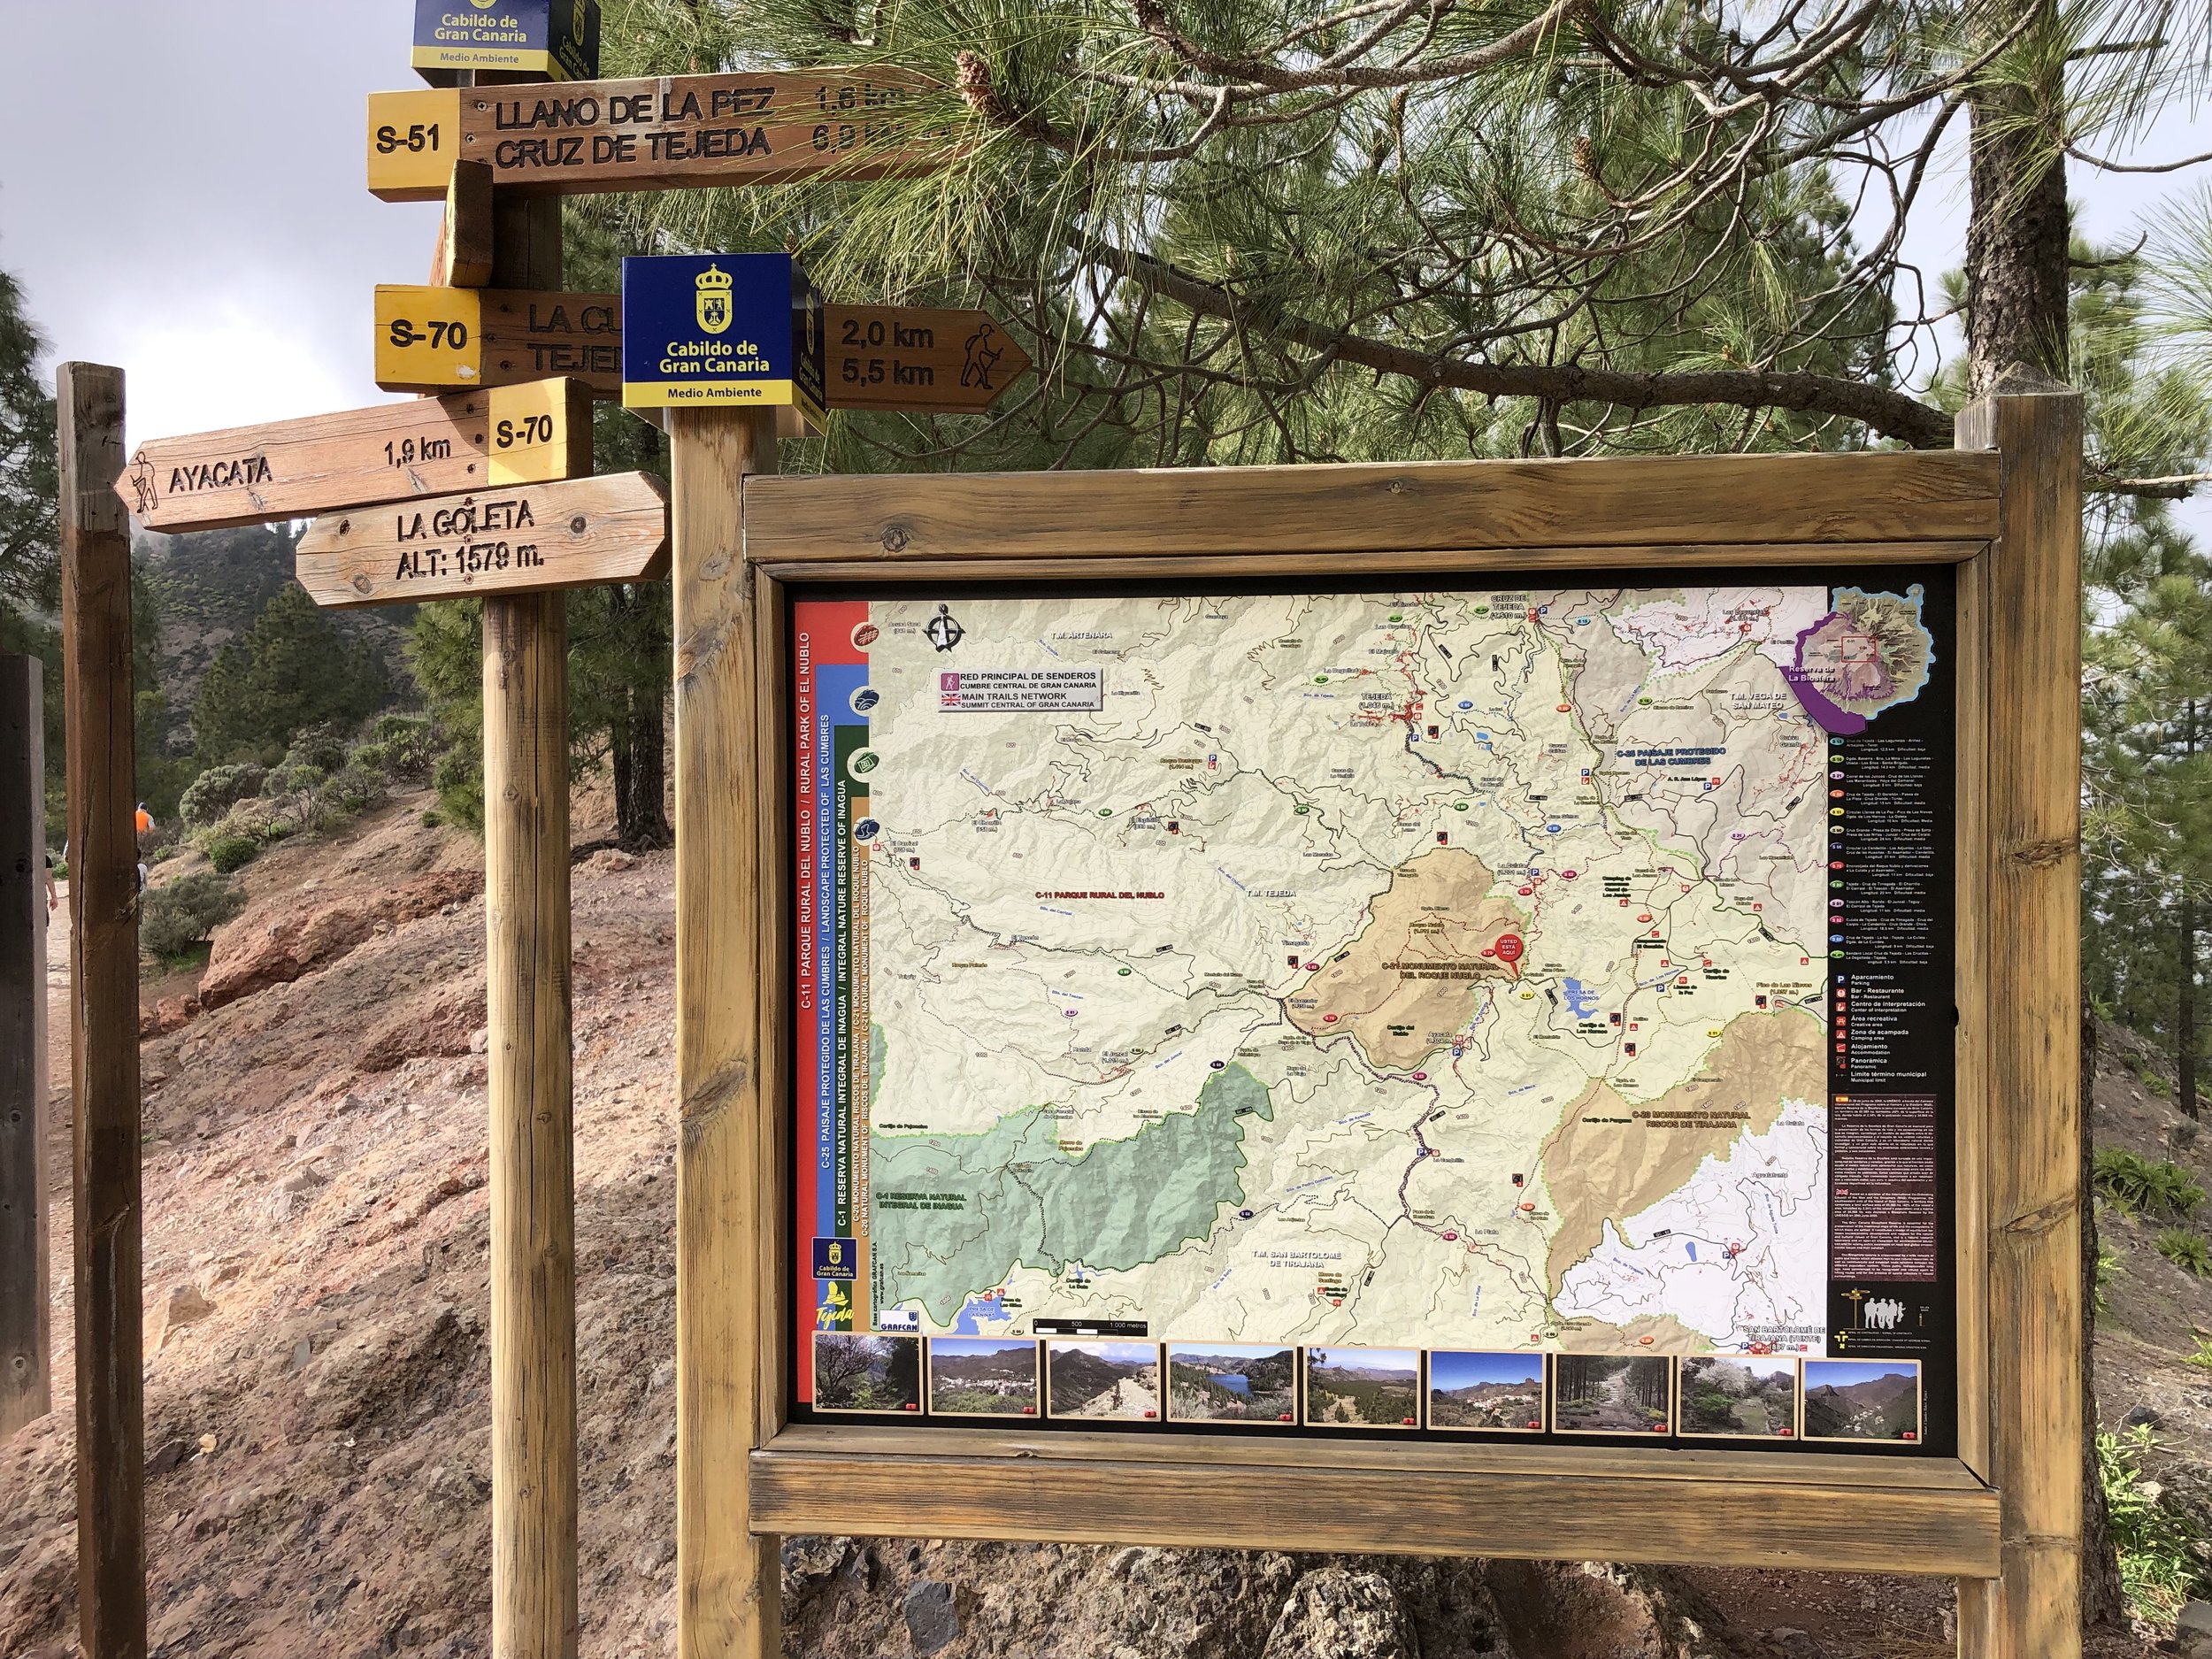
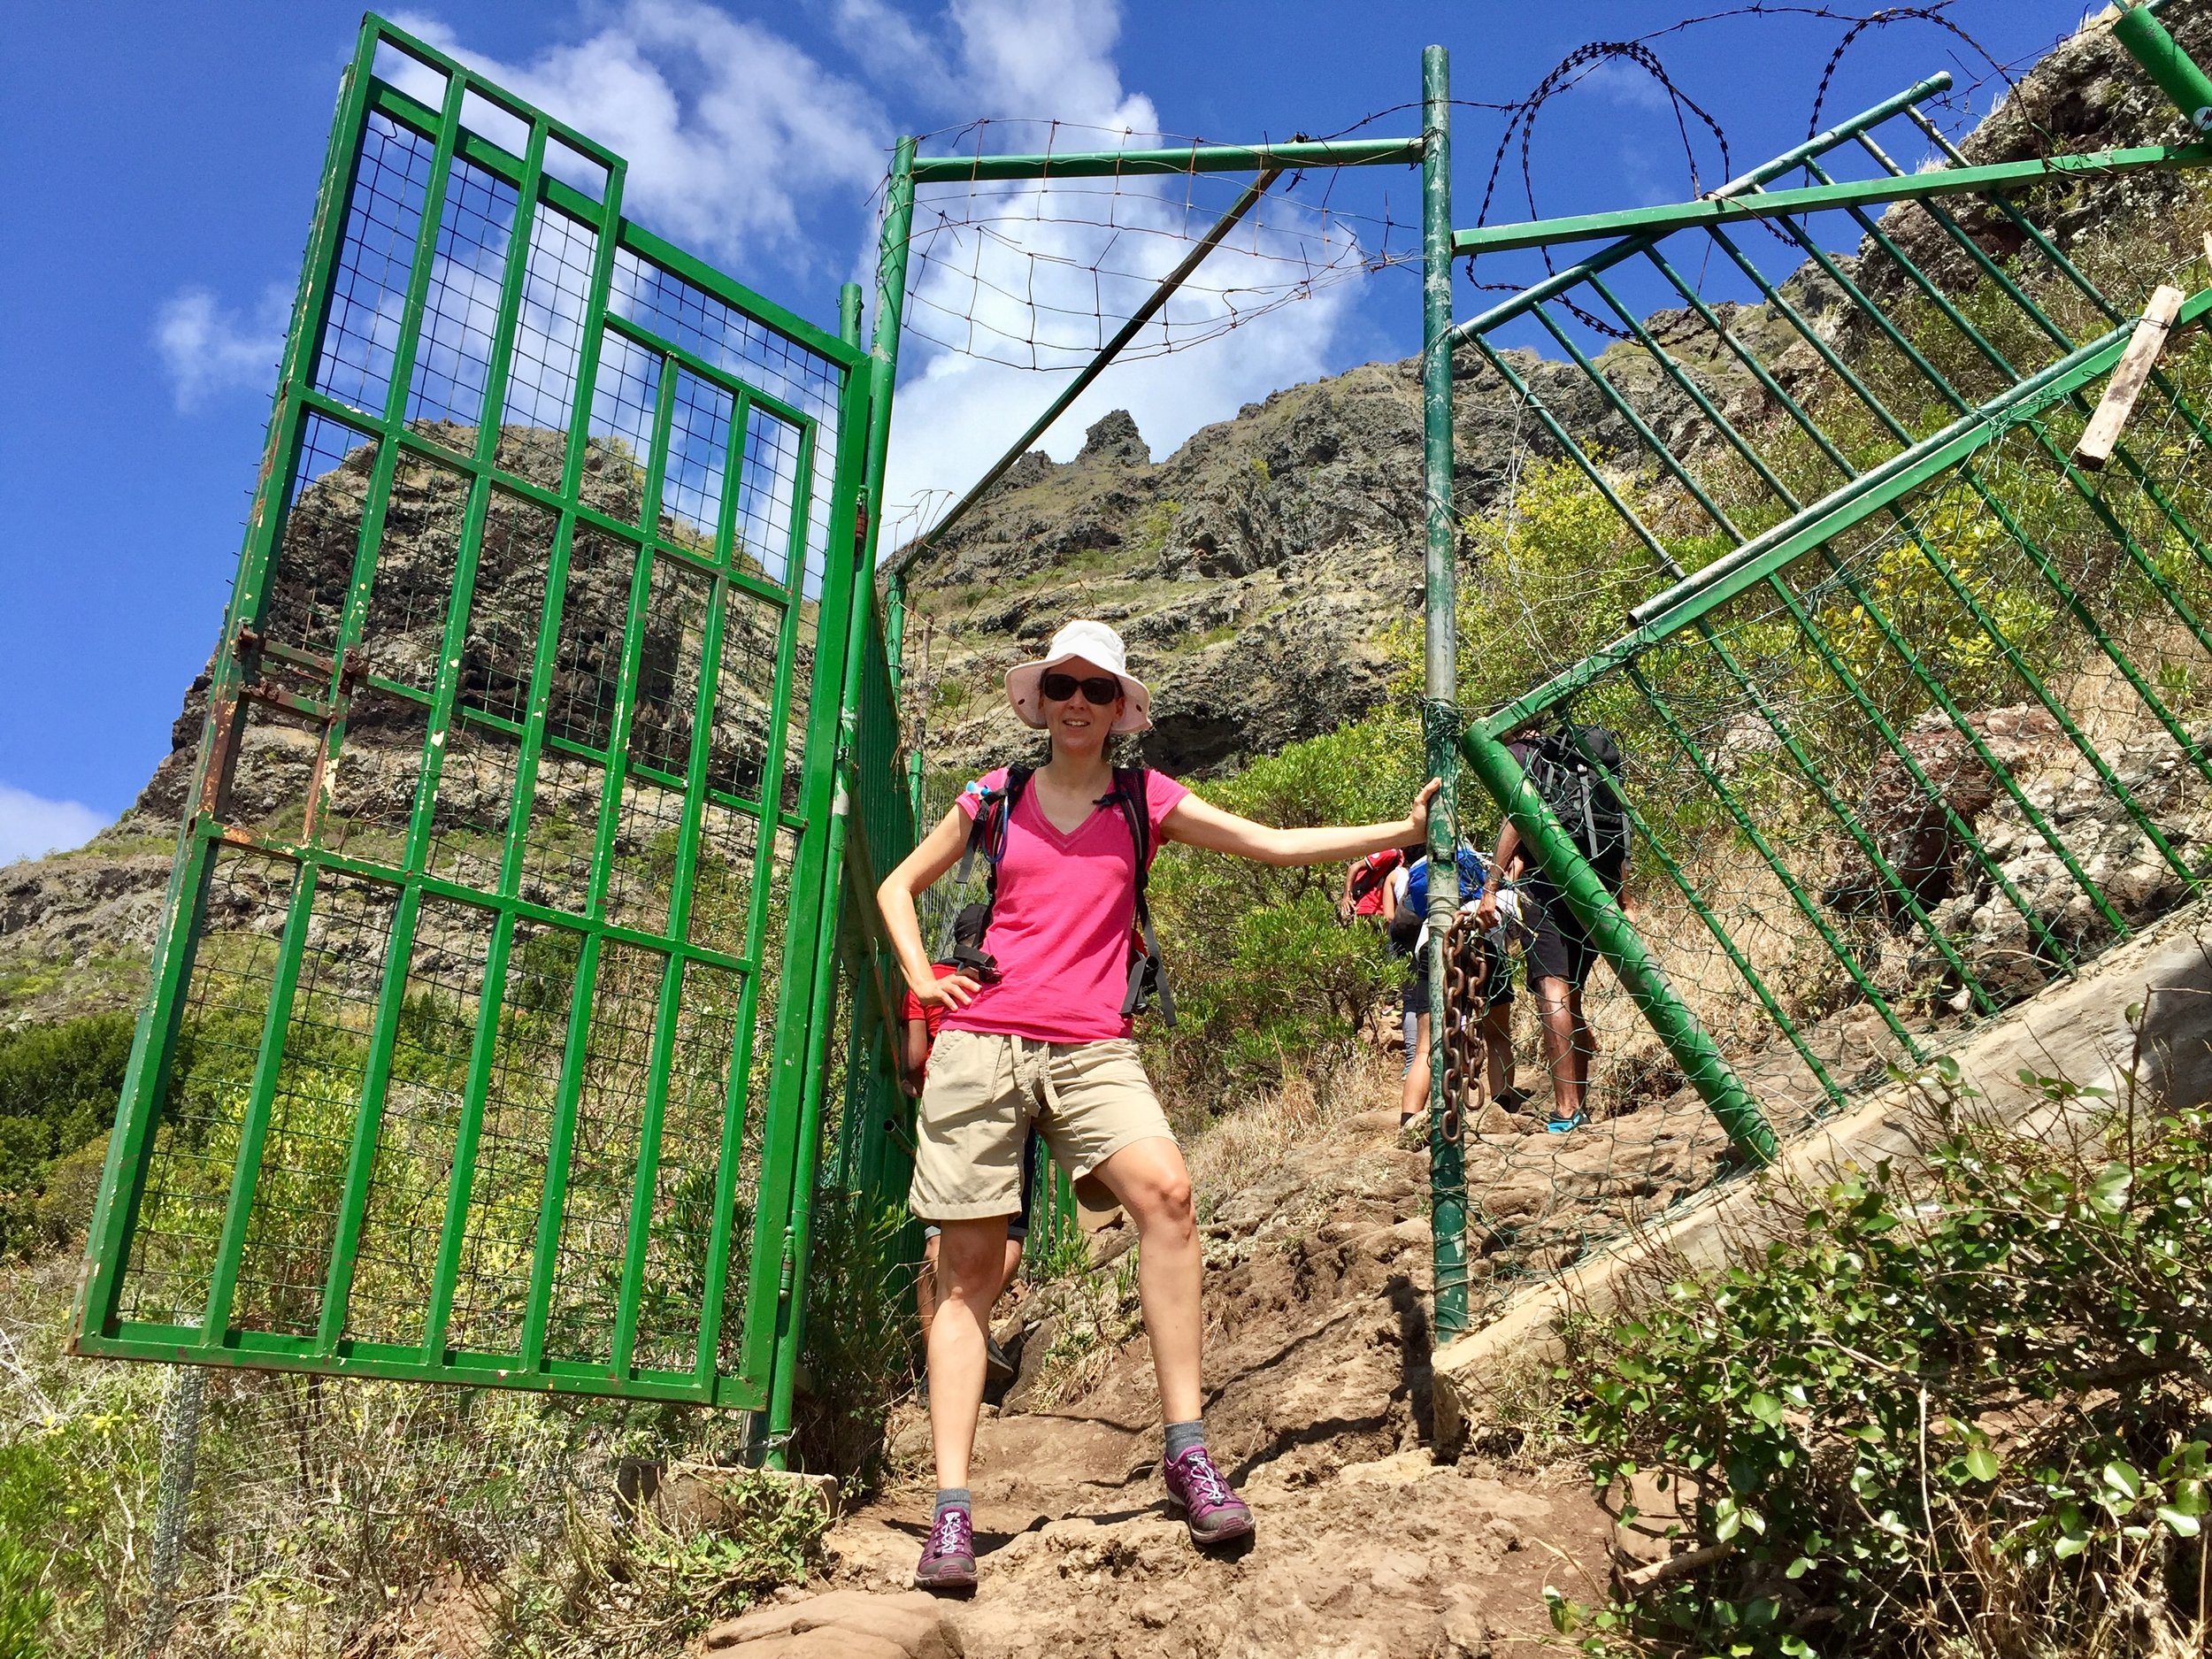
The best place to start your hike is the Aparcament públic de Sant Josep in the town of Sant Josep, which sits right near the mountain. From the car park, turn right onto the main street heading towards the town centre, and then take a left onto Carrer des Pujol d'en Cardona. You just need to continue walking up to the end of this road. There is actually some additional parking just off this road before it ends, which is where we ended up parking as the main car park was full.
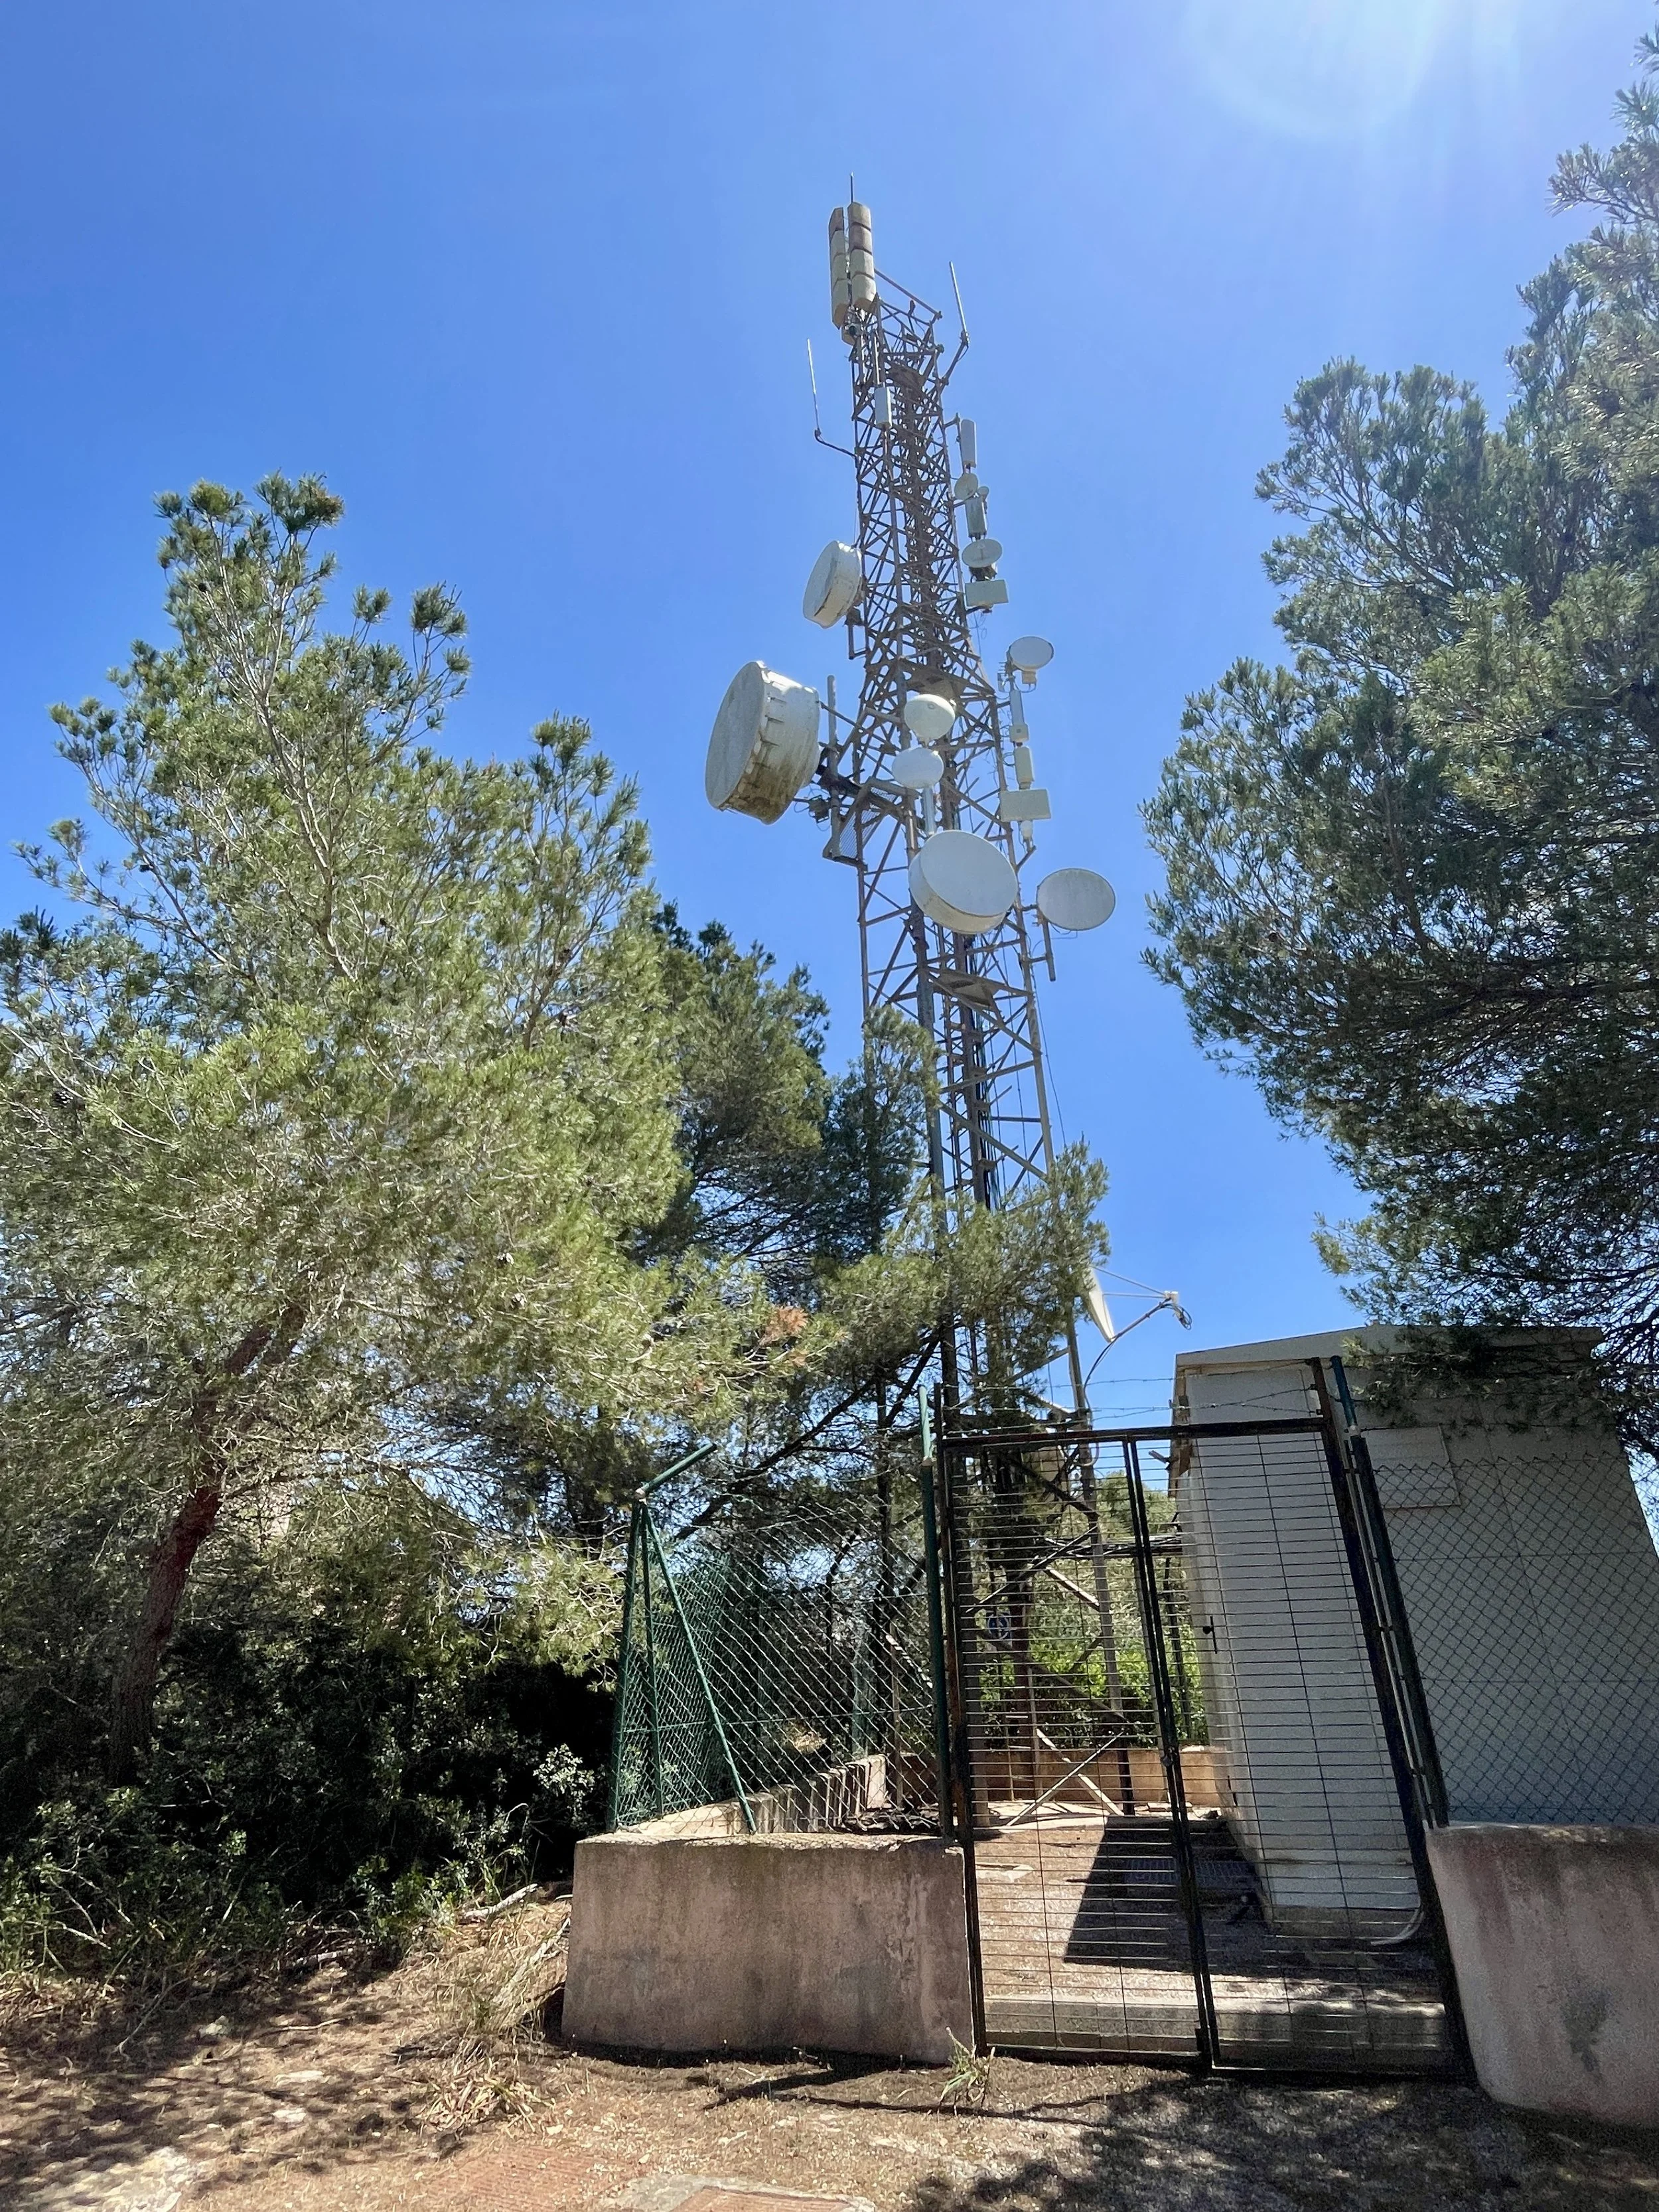
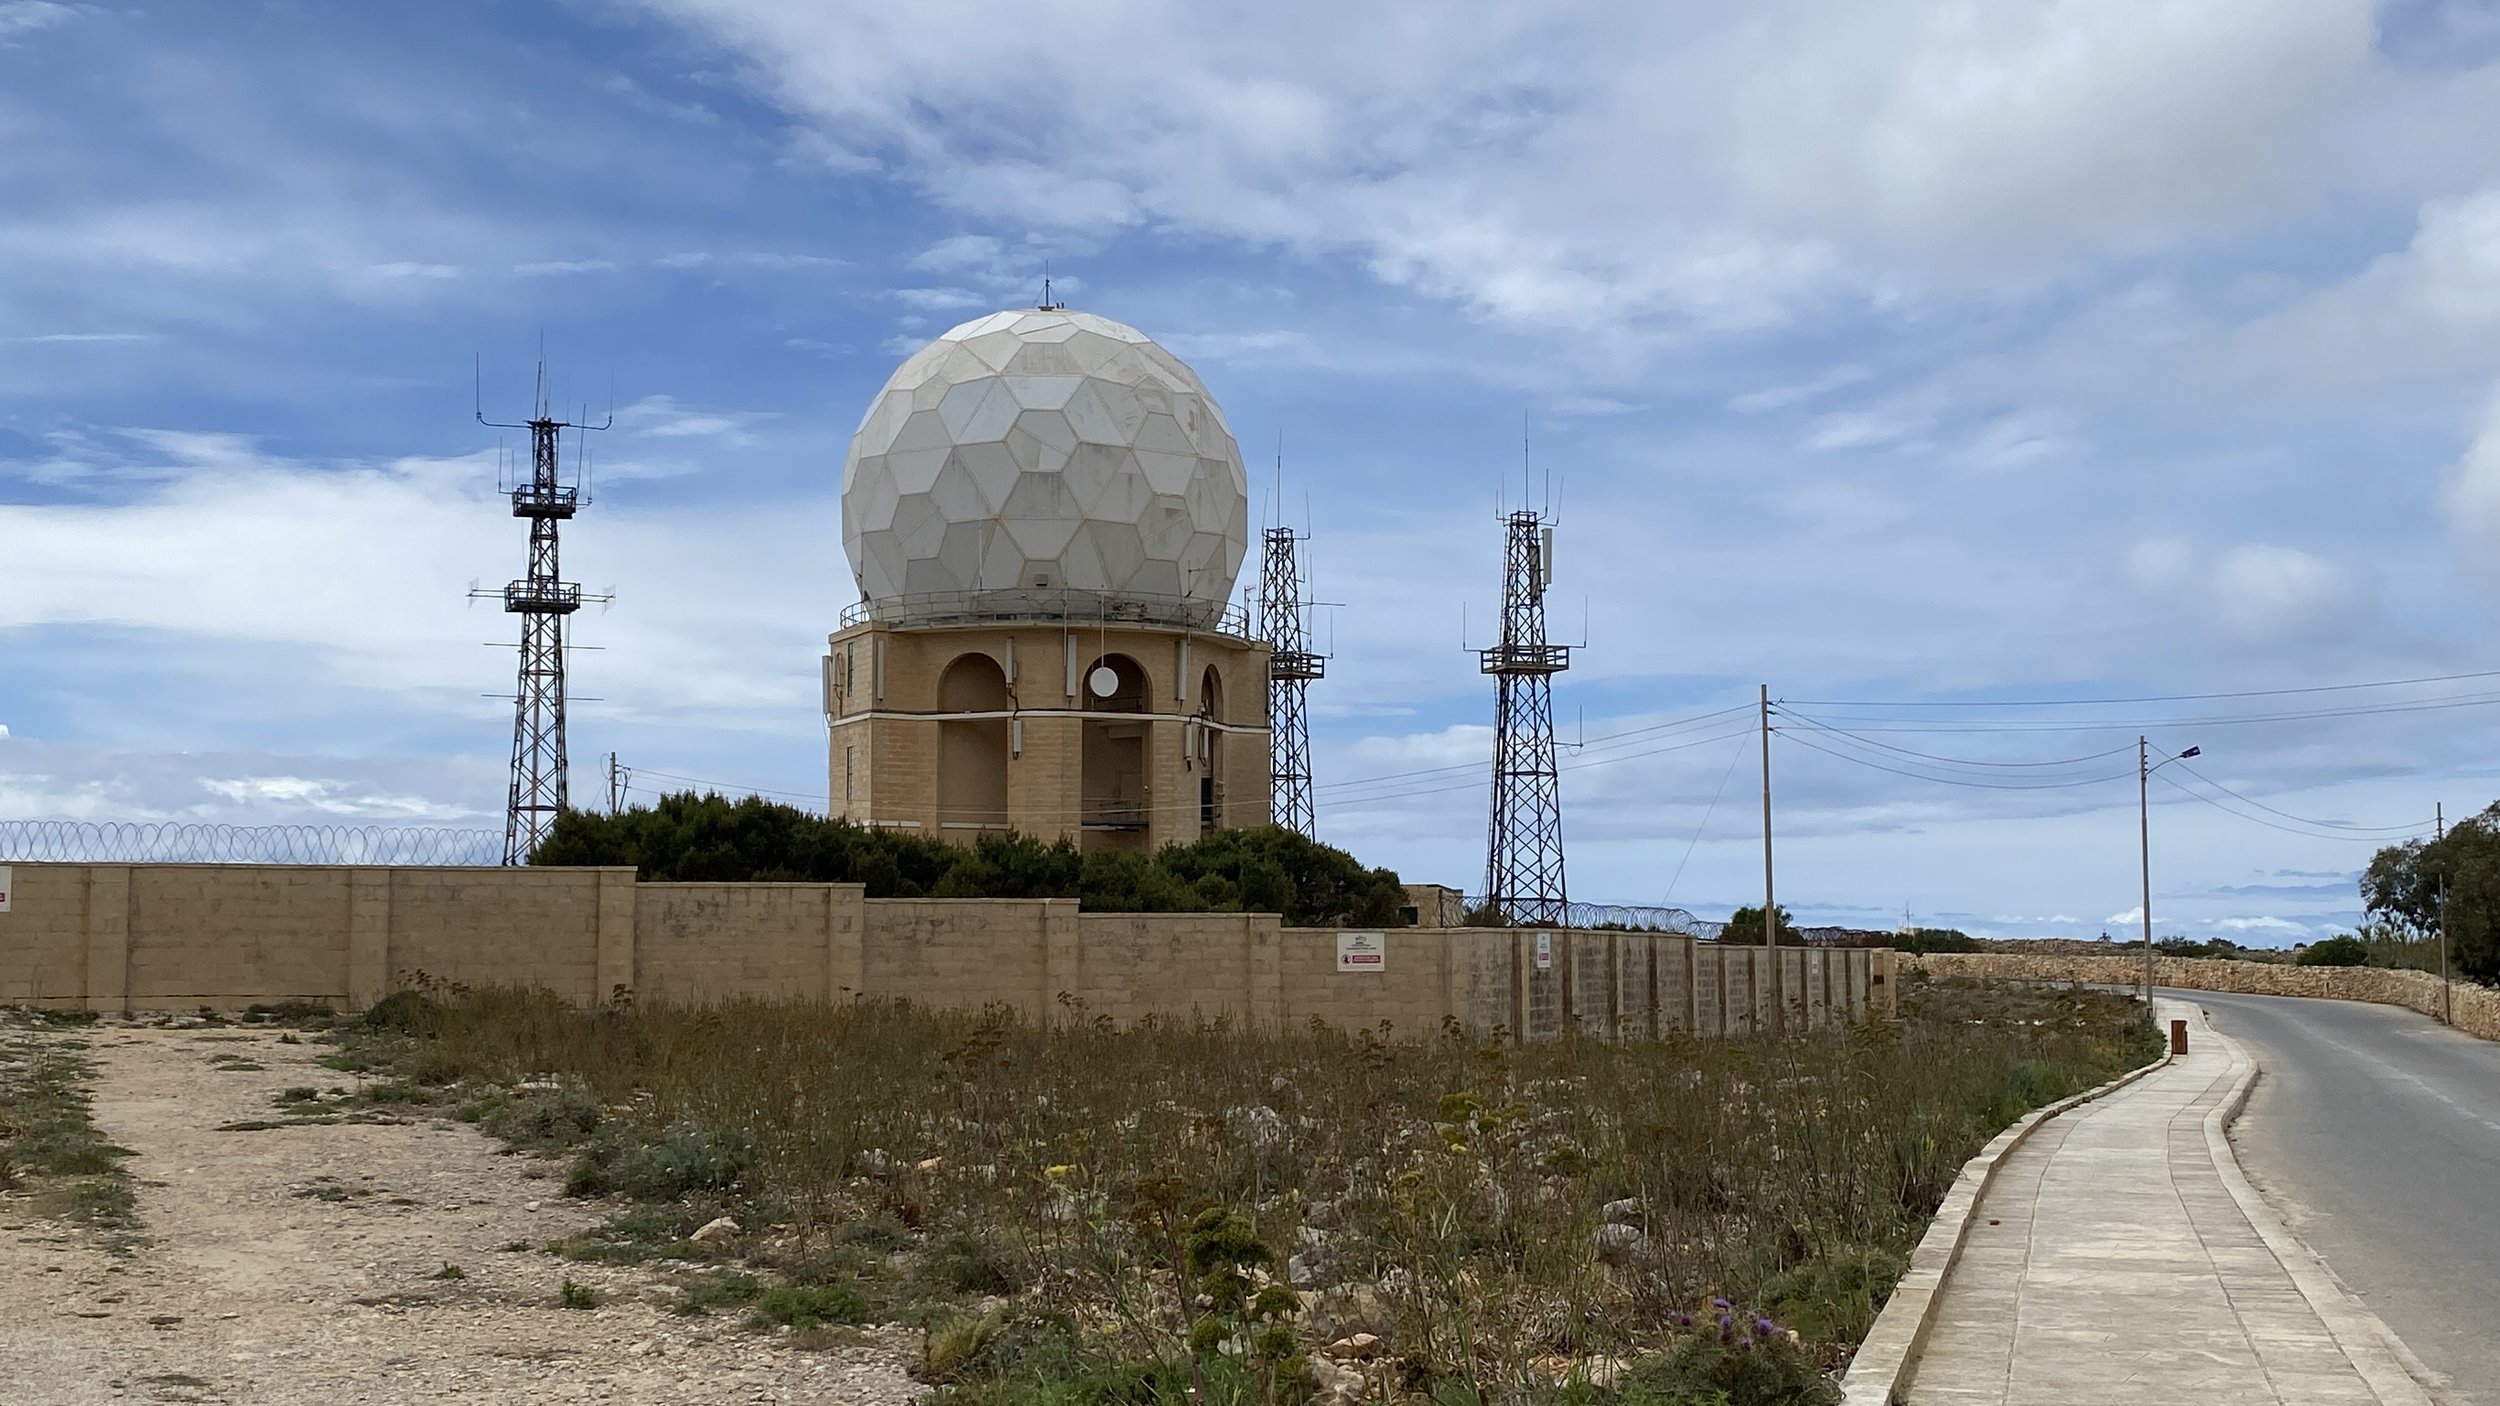
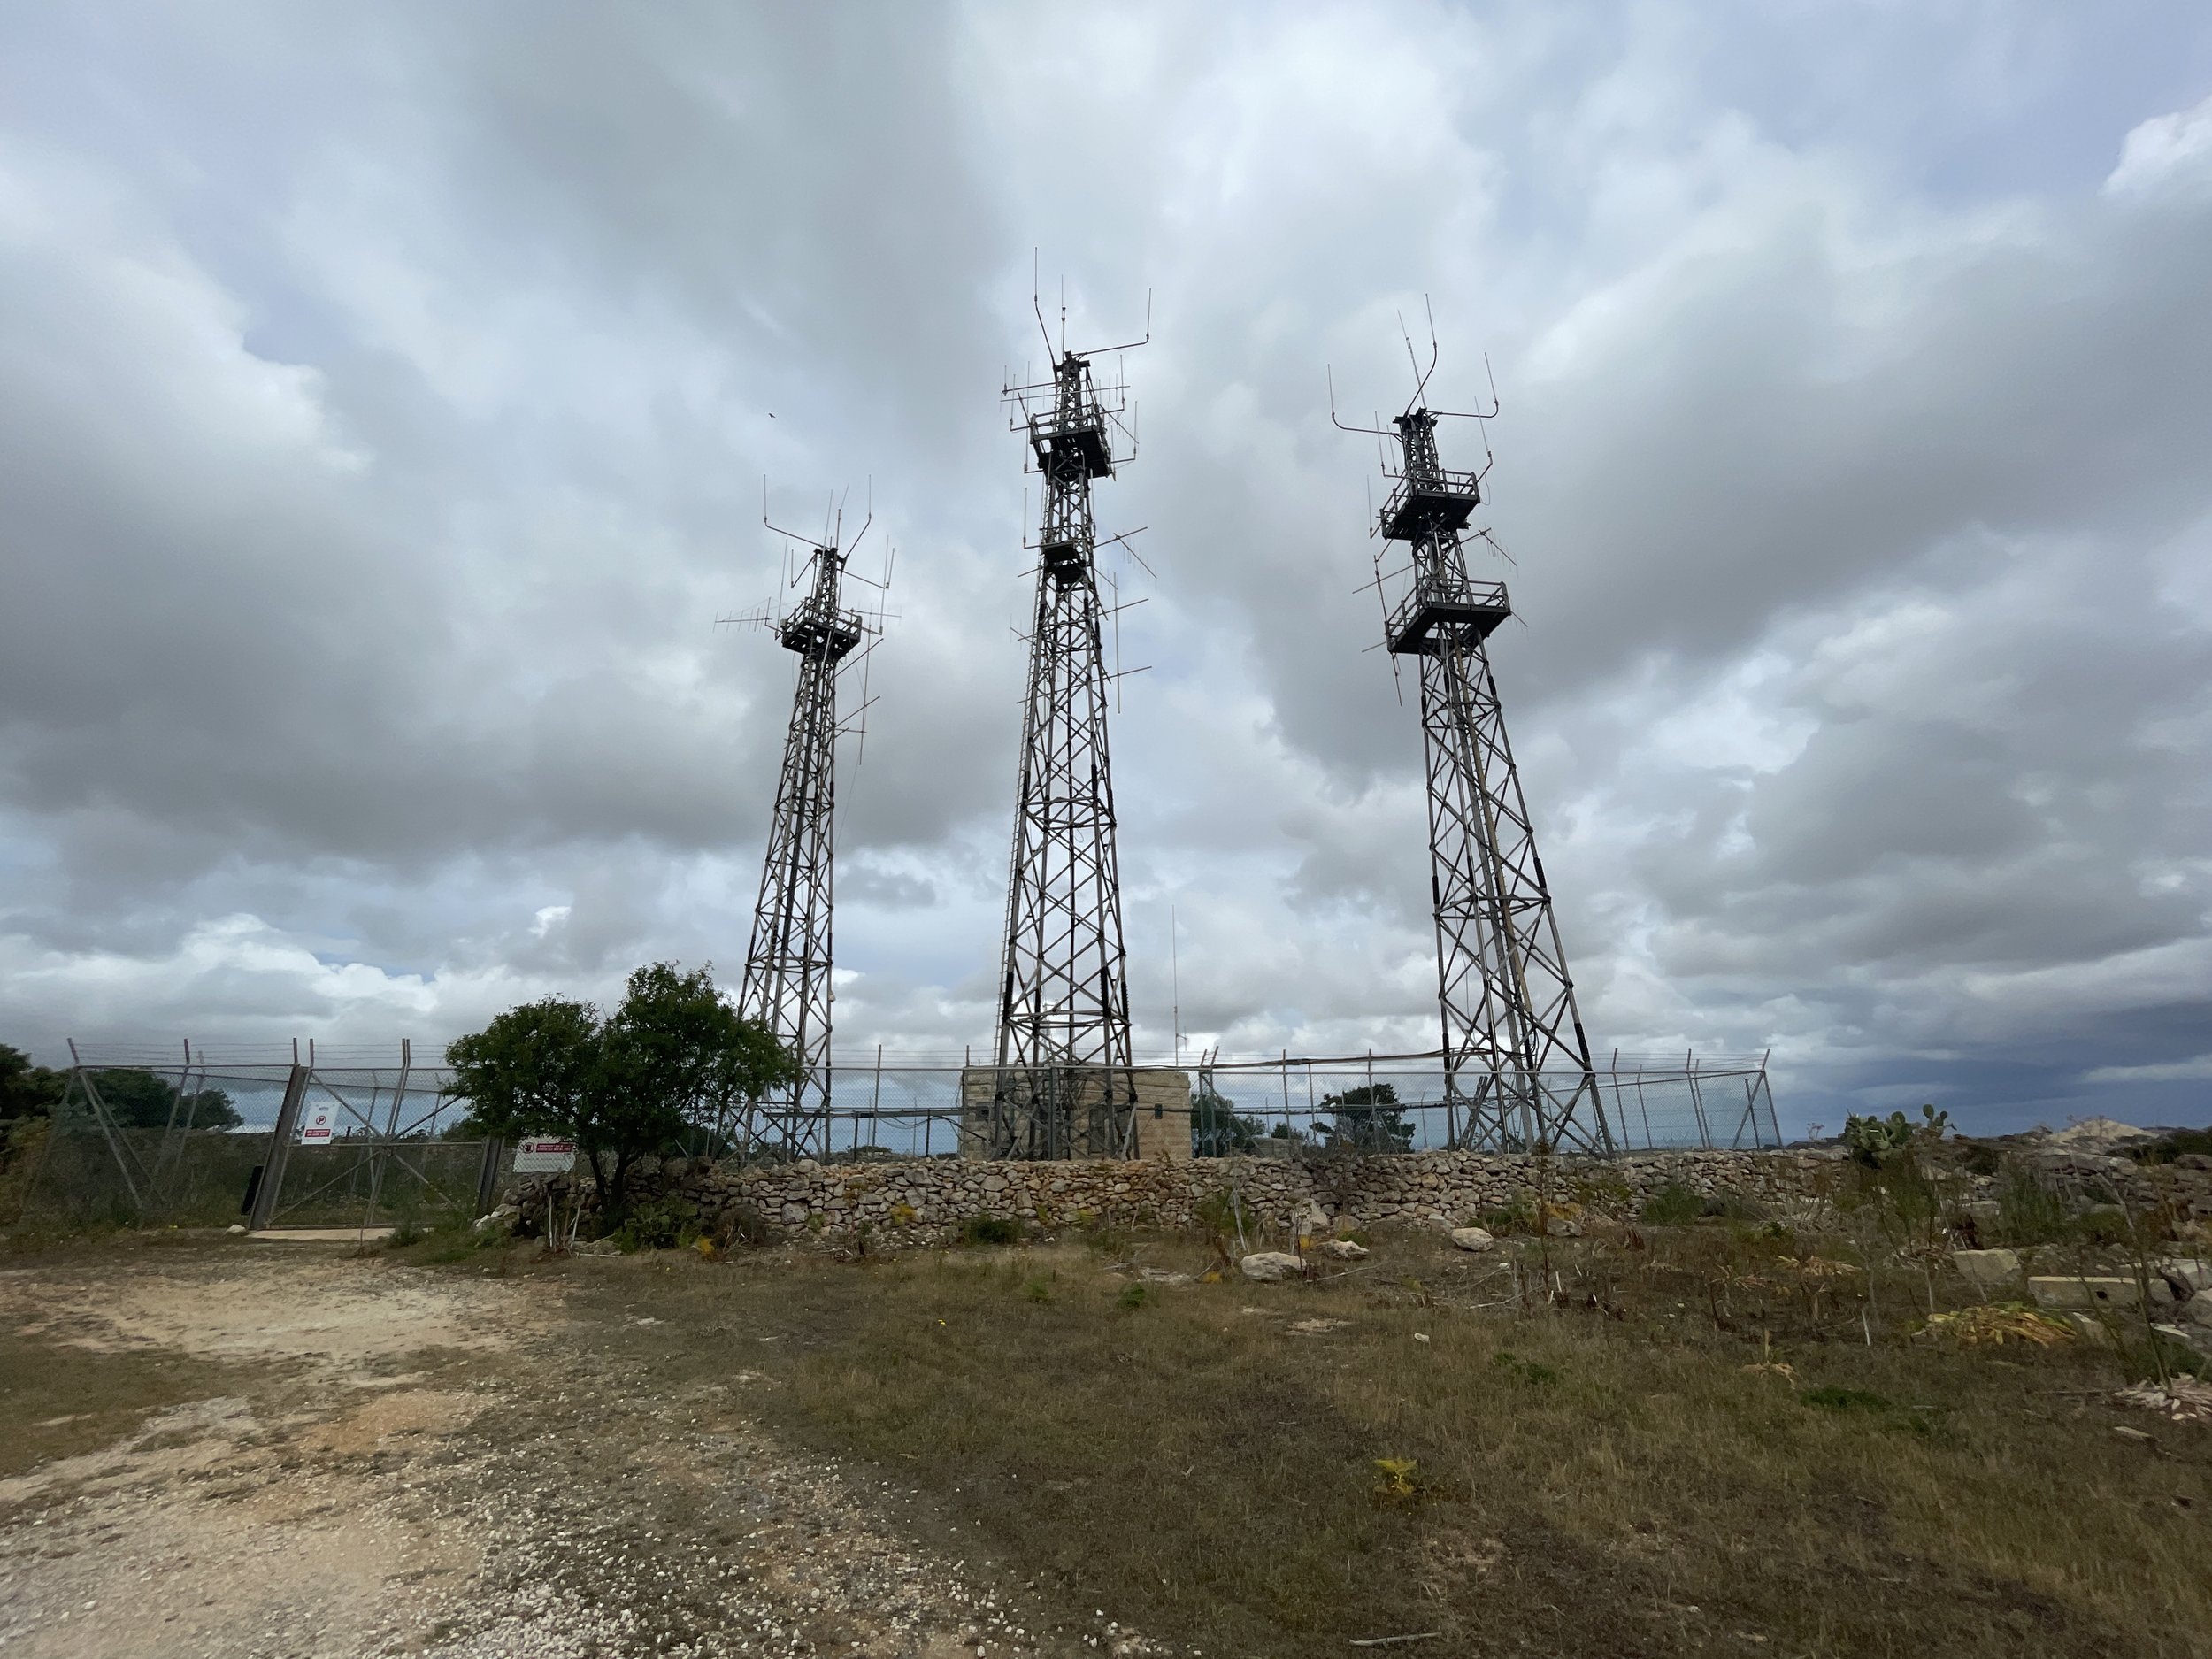
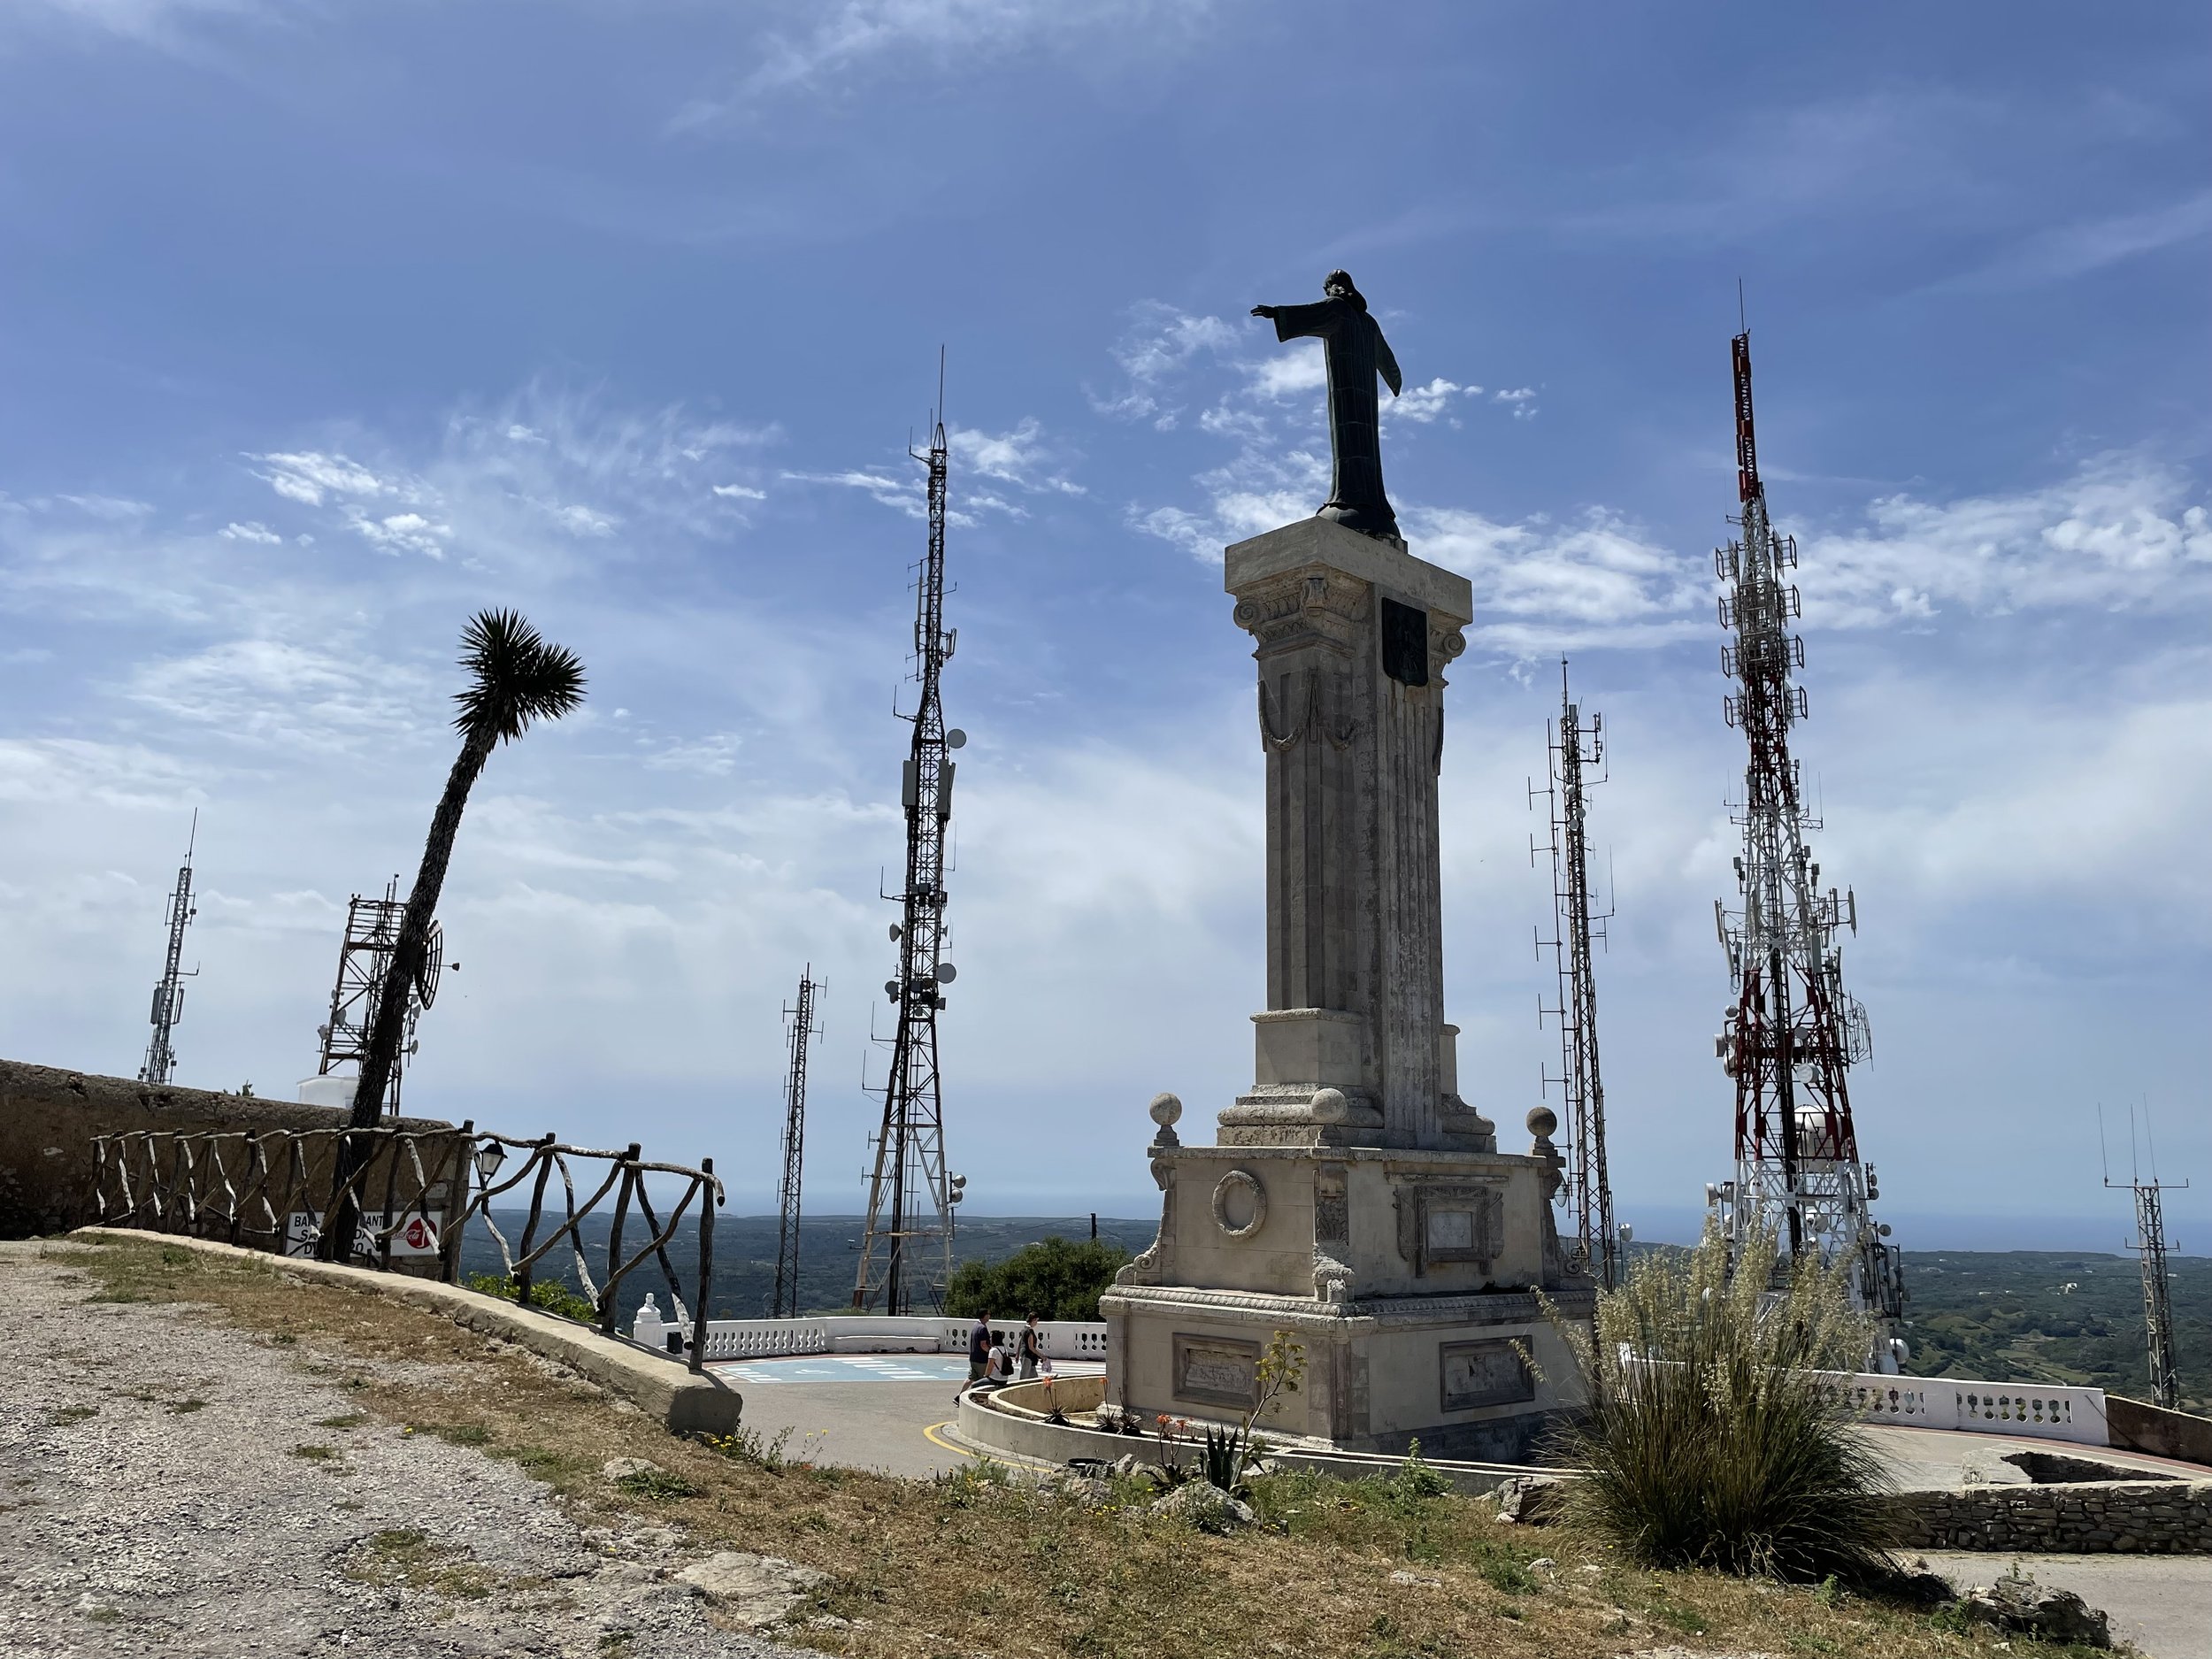
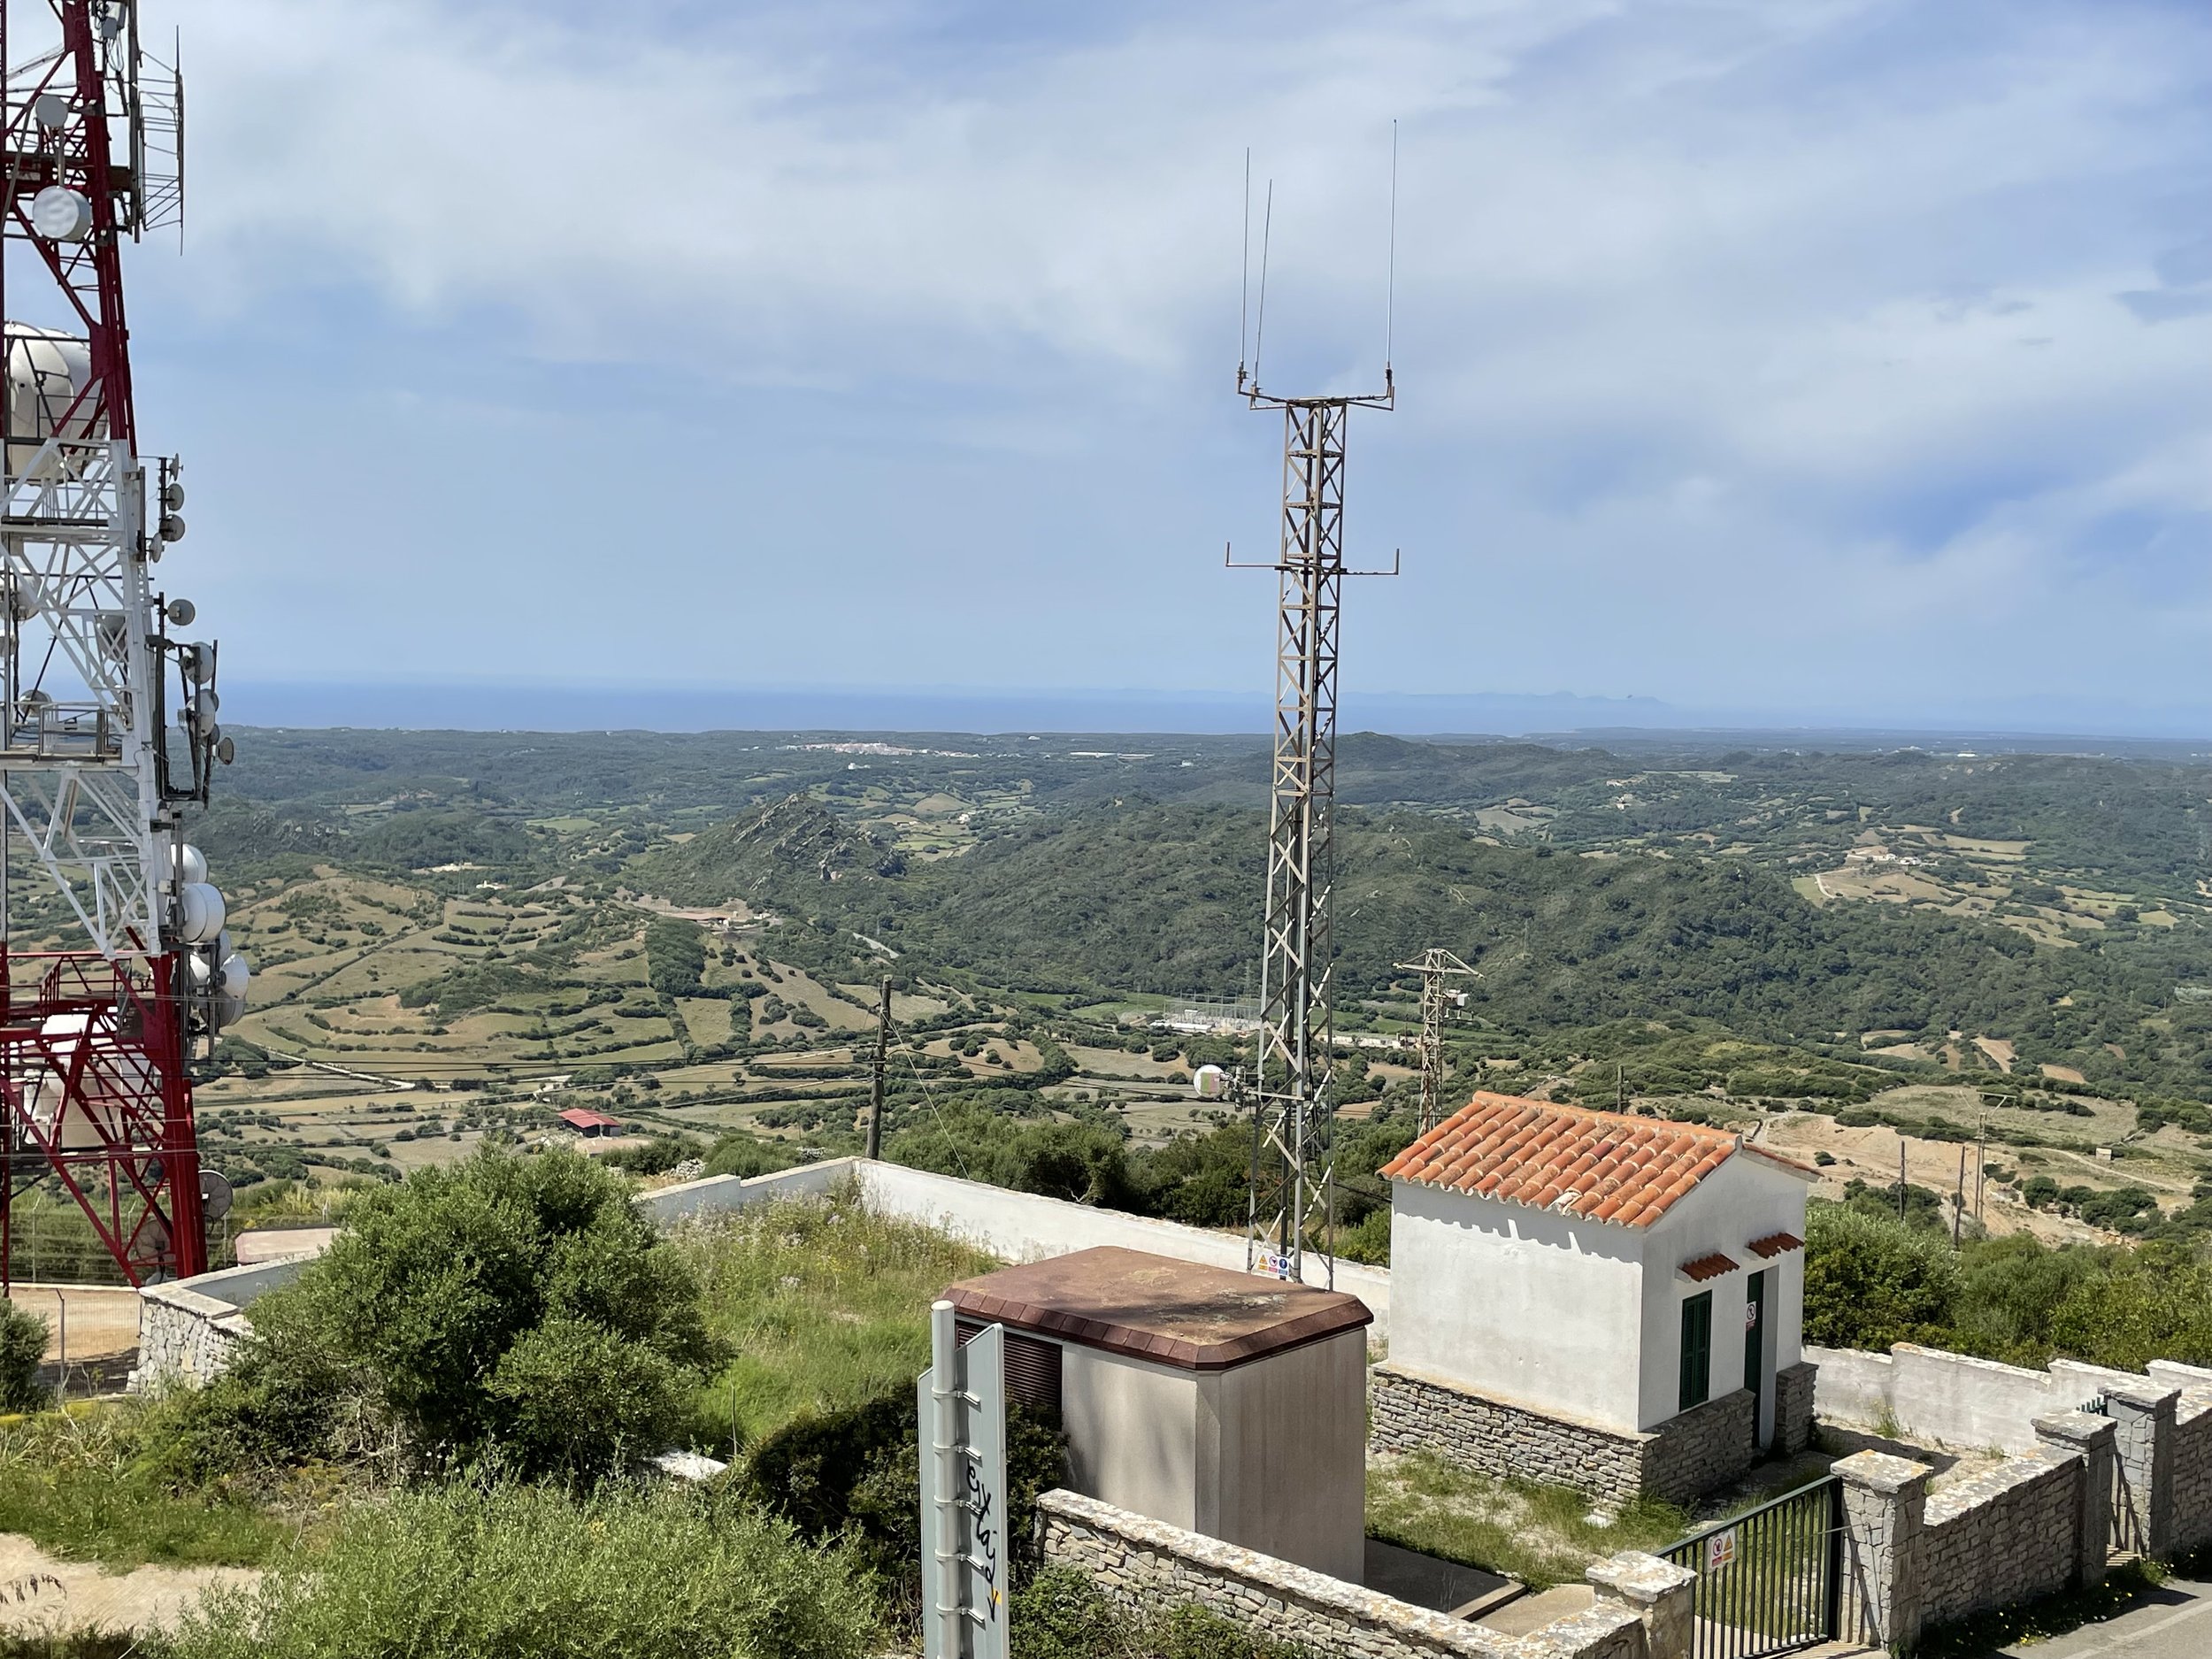
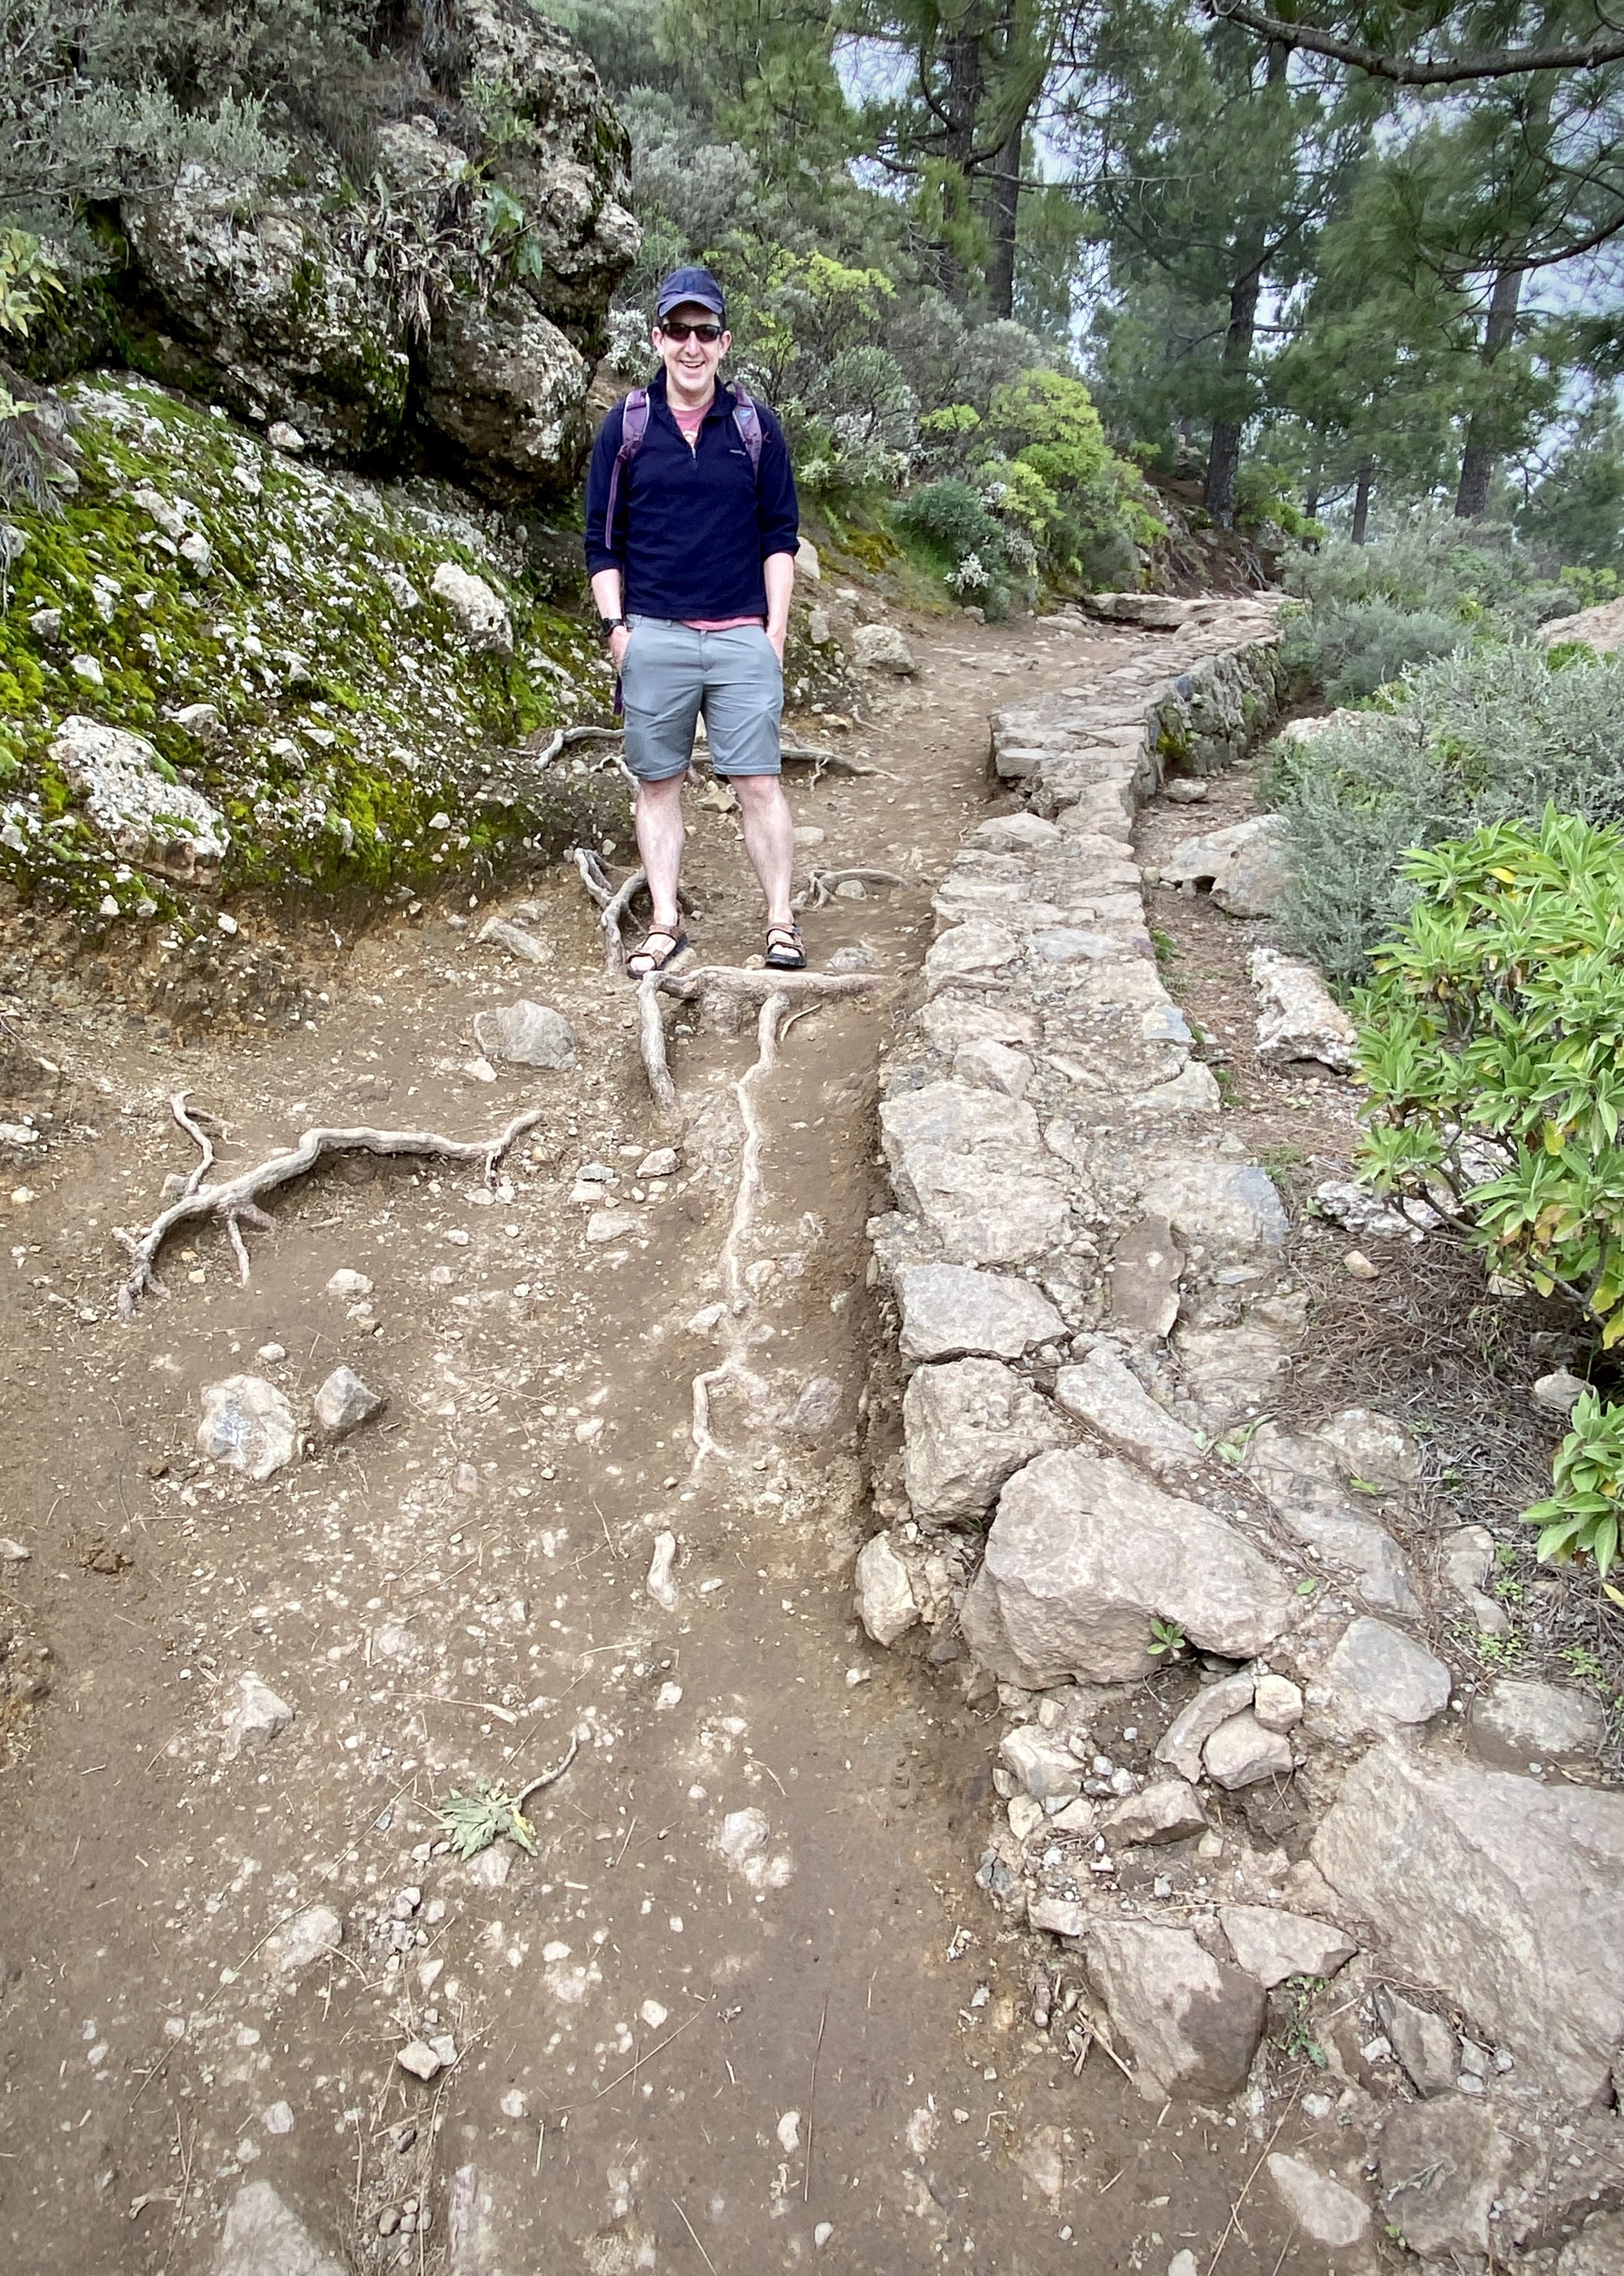
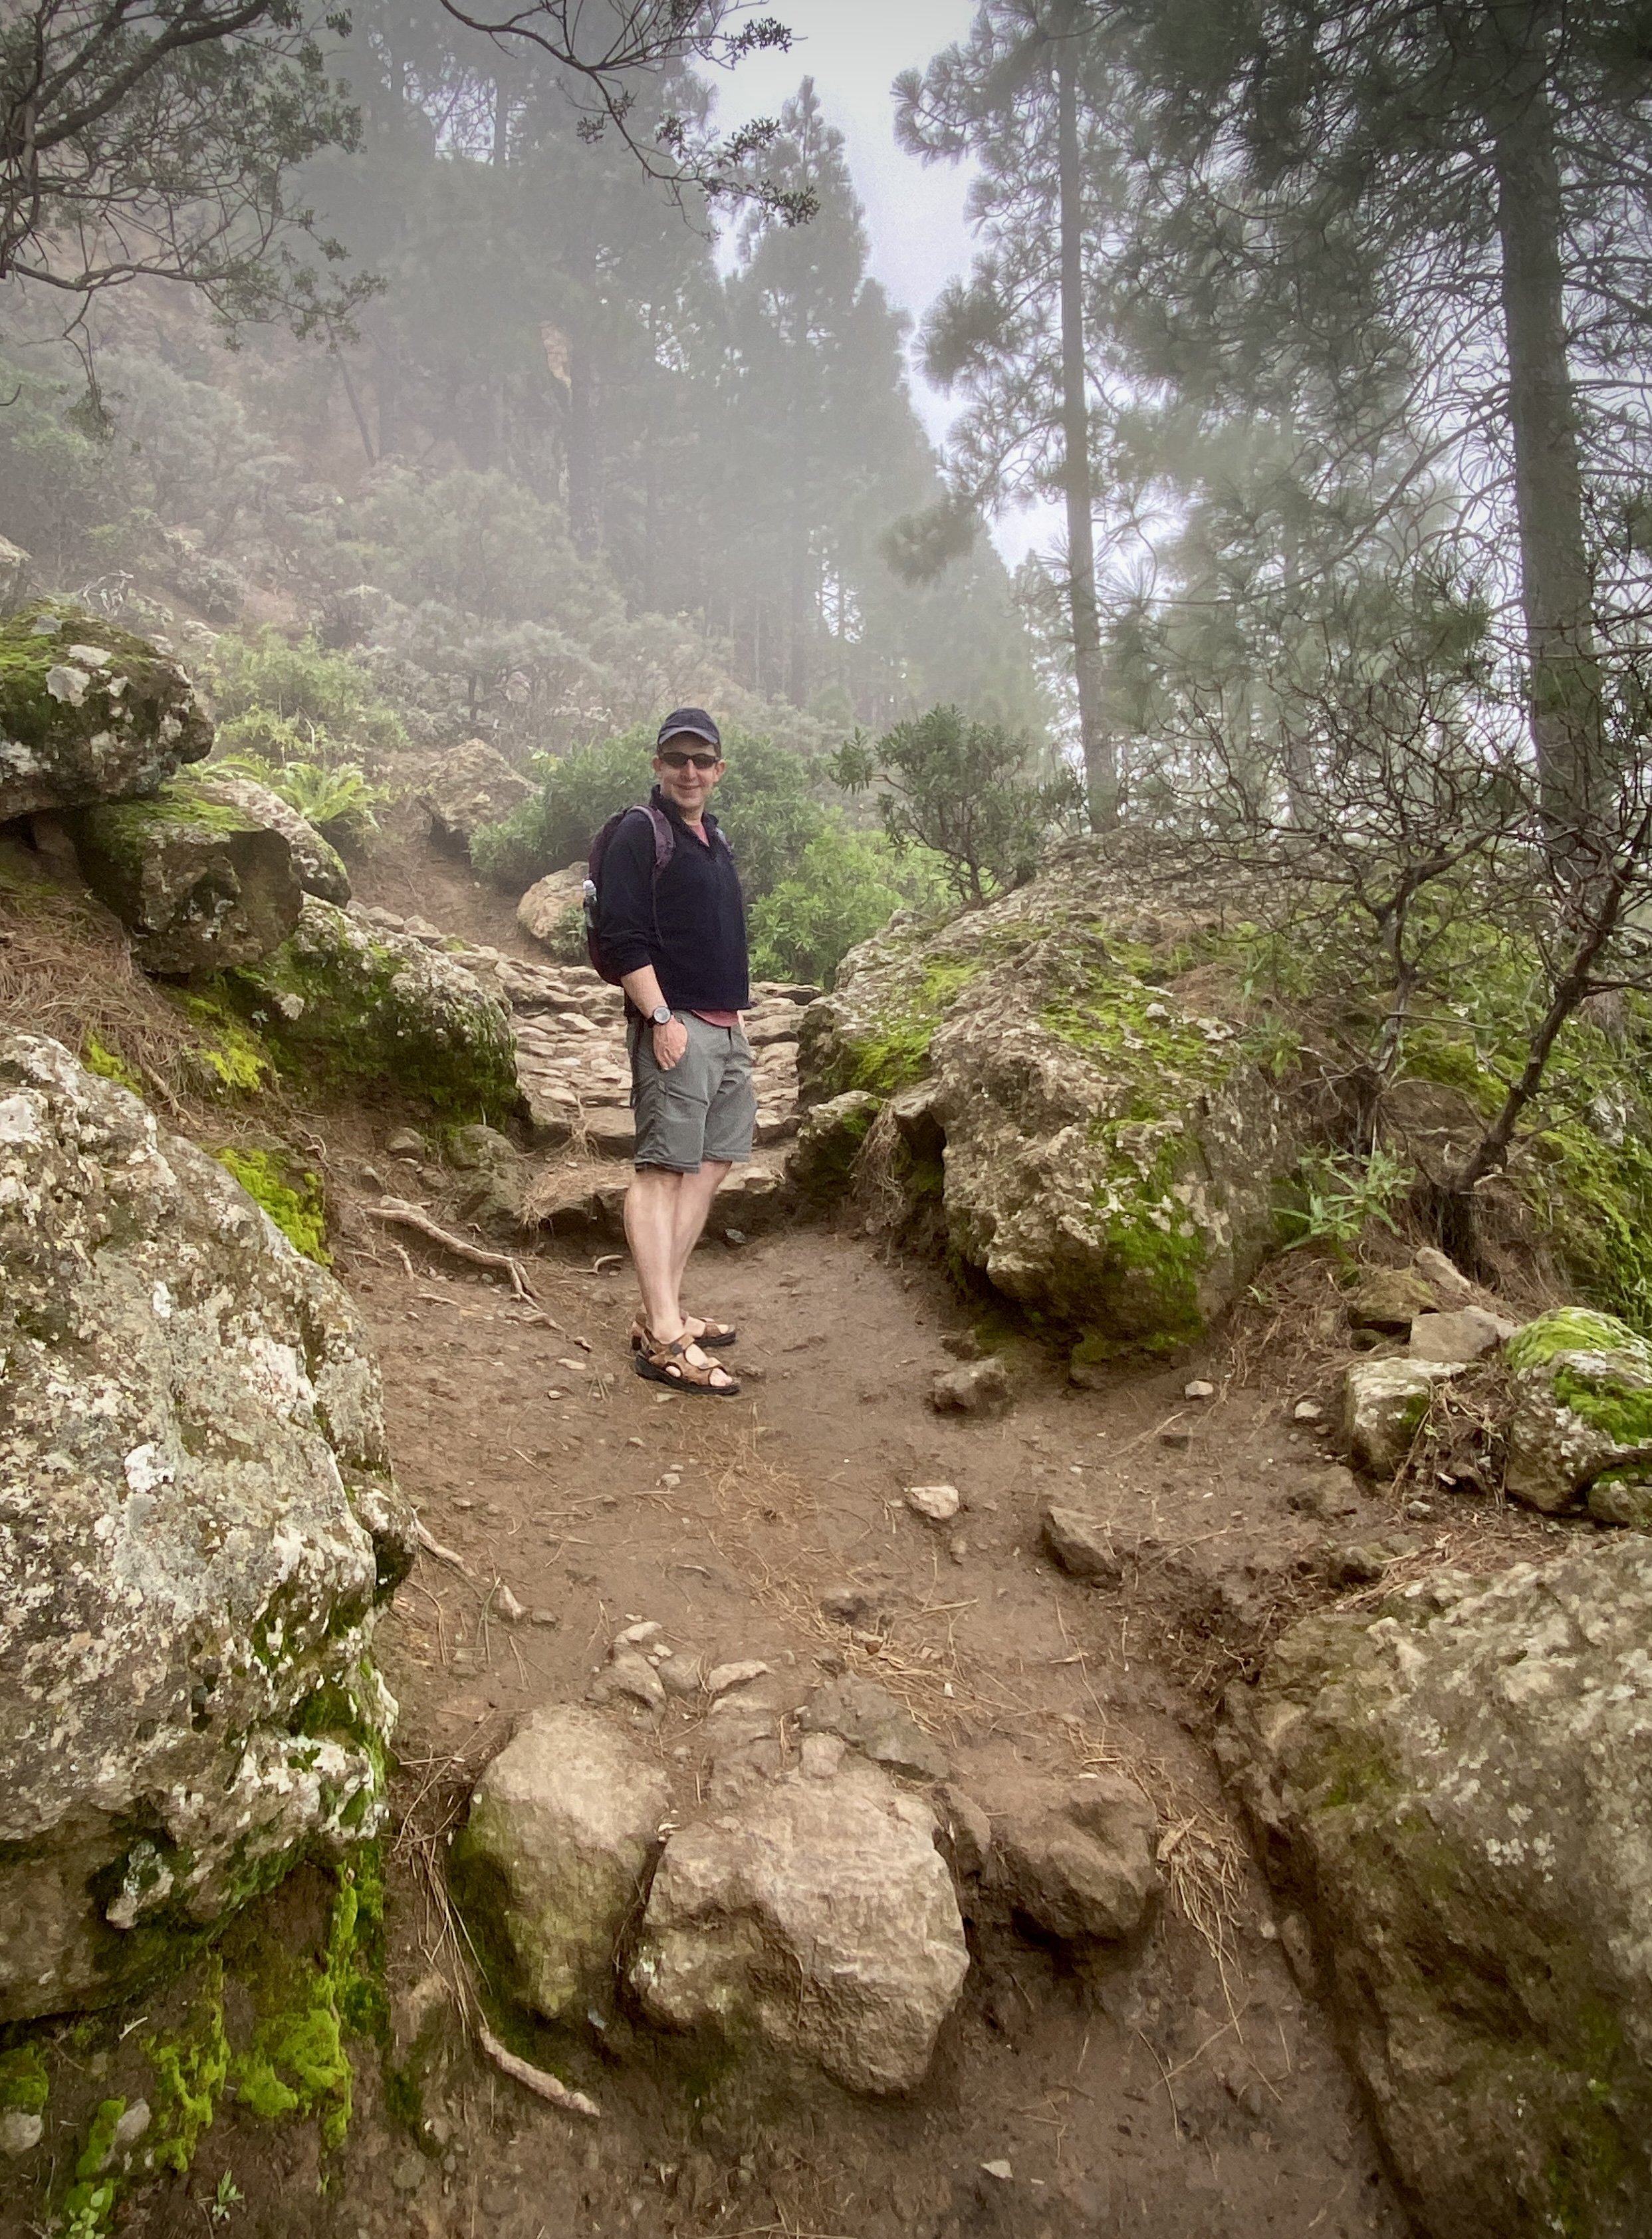
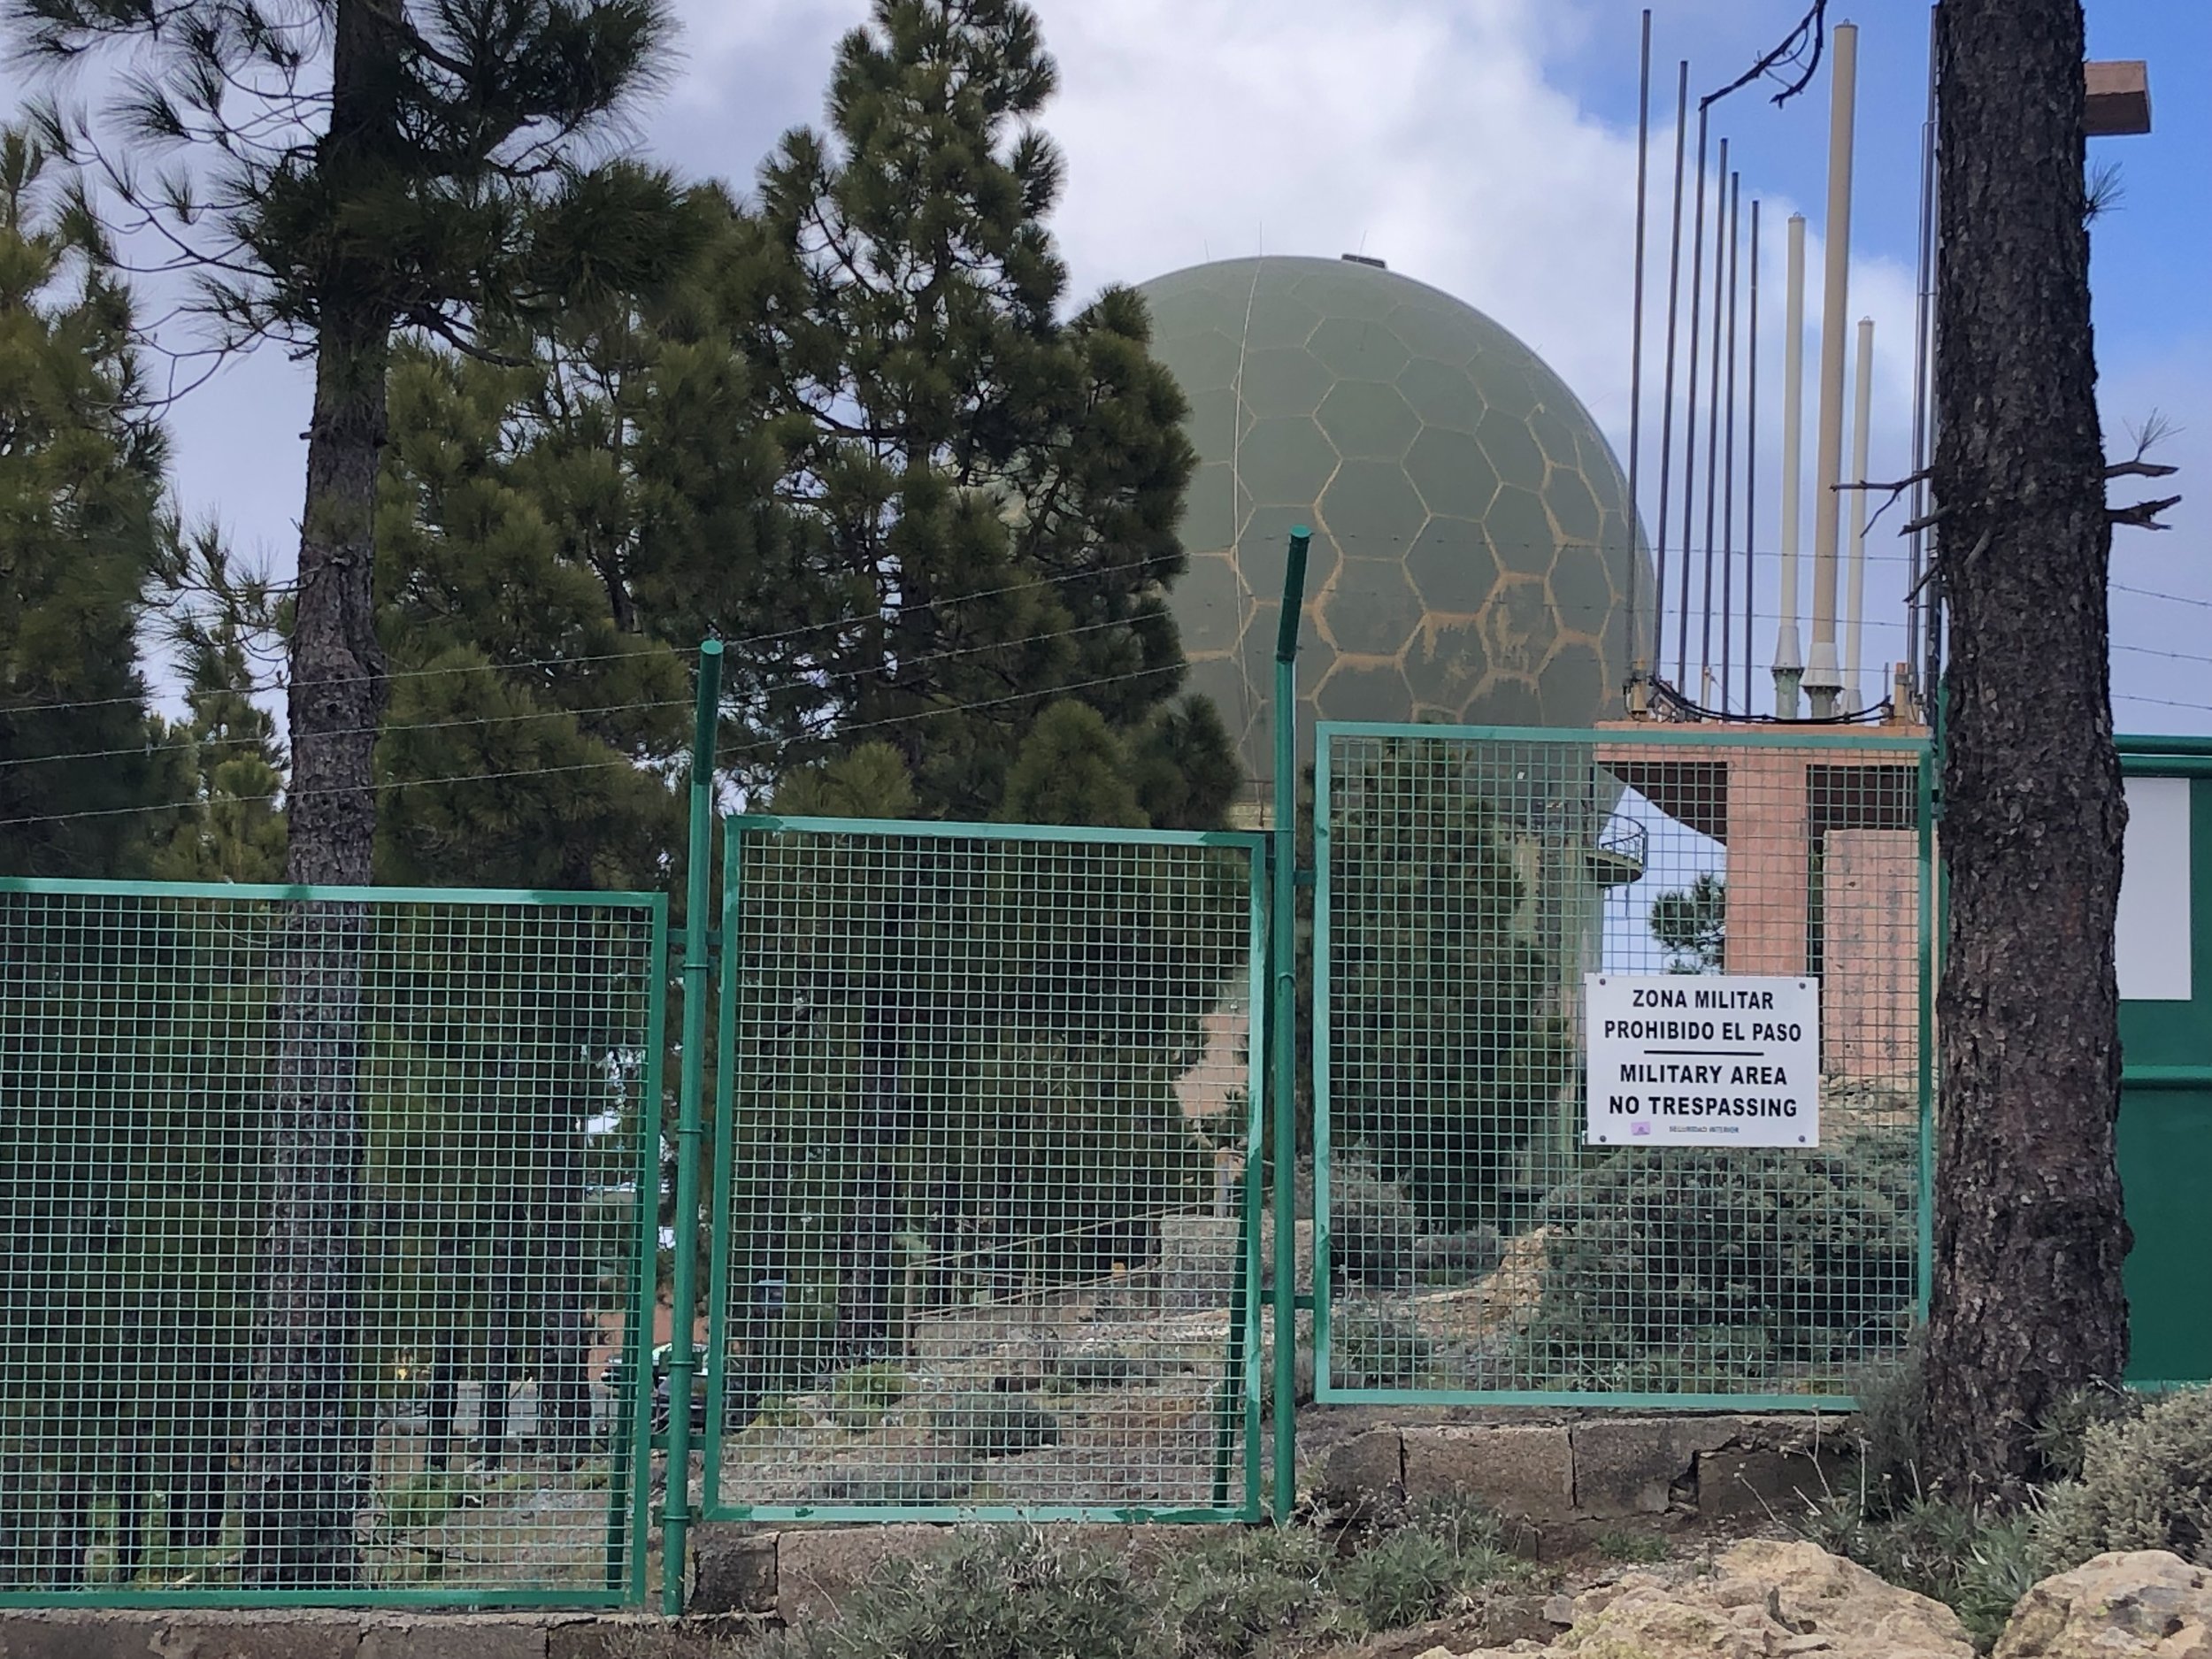
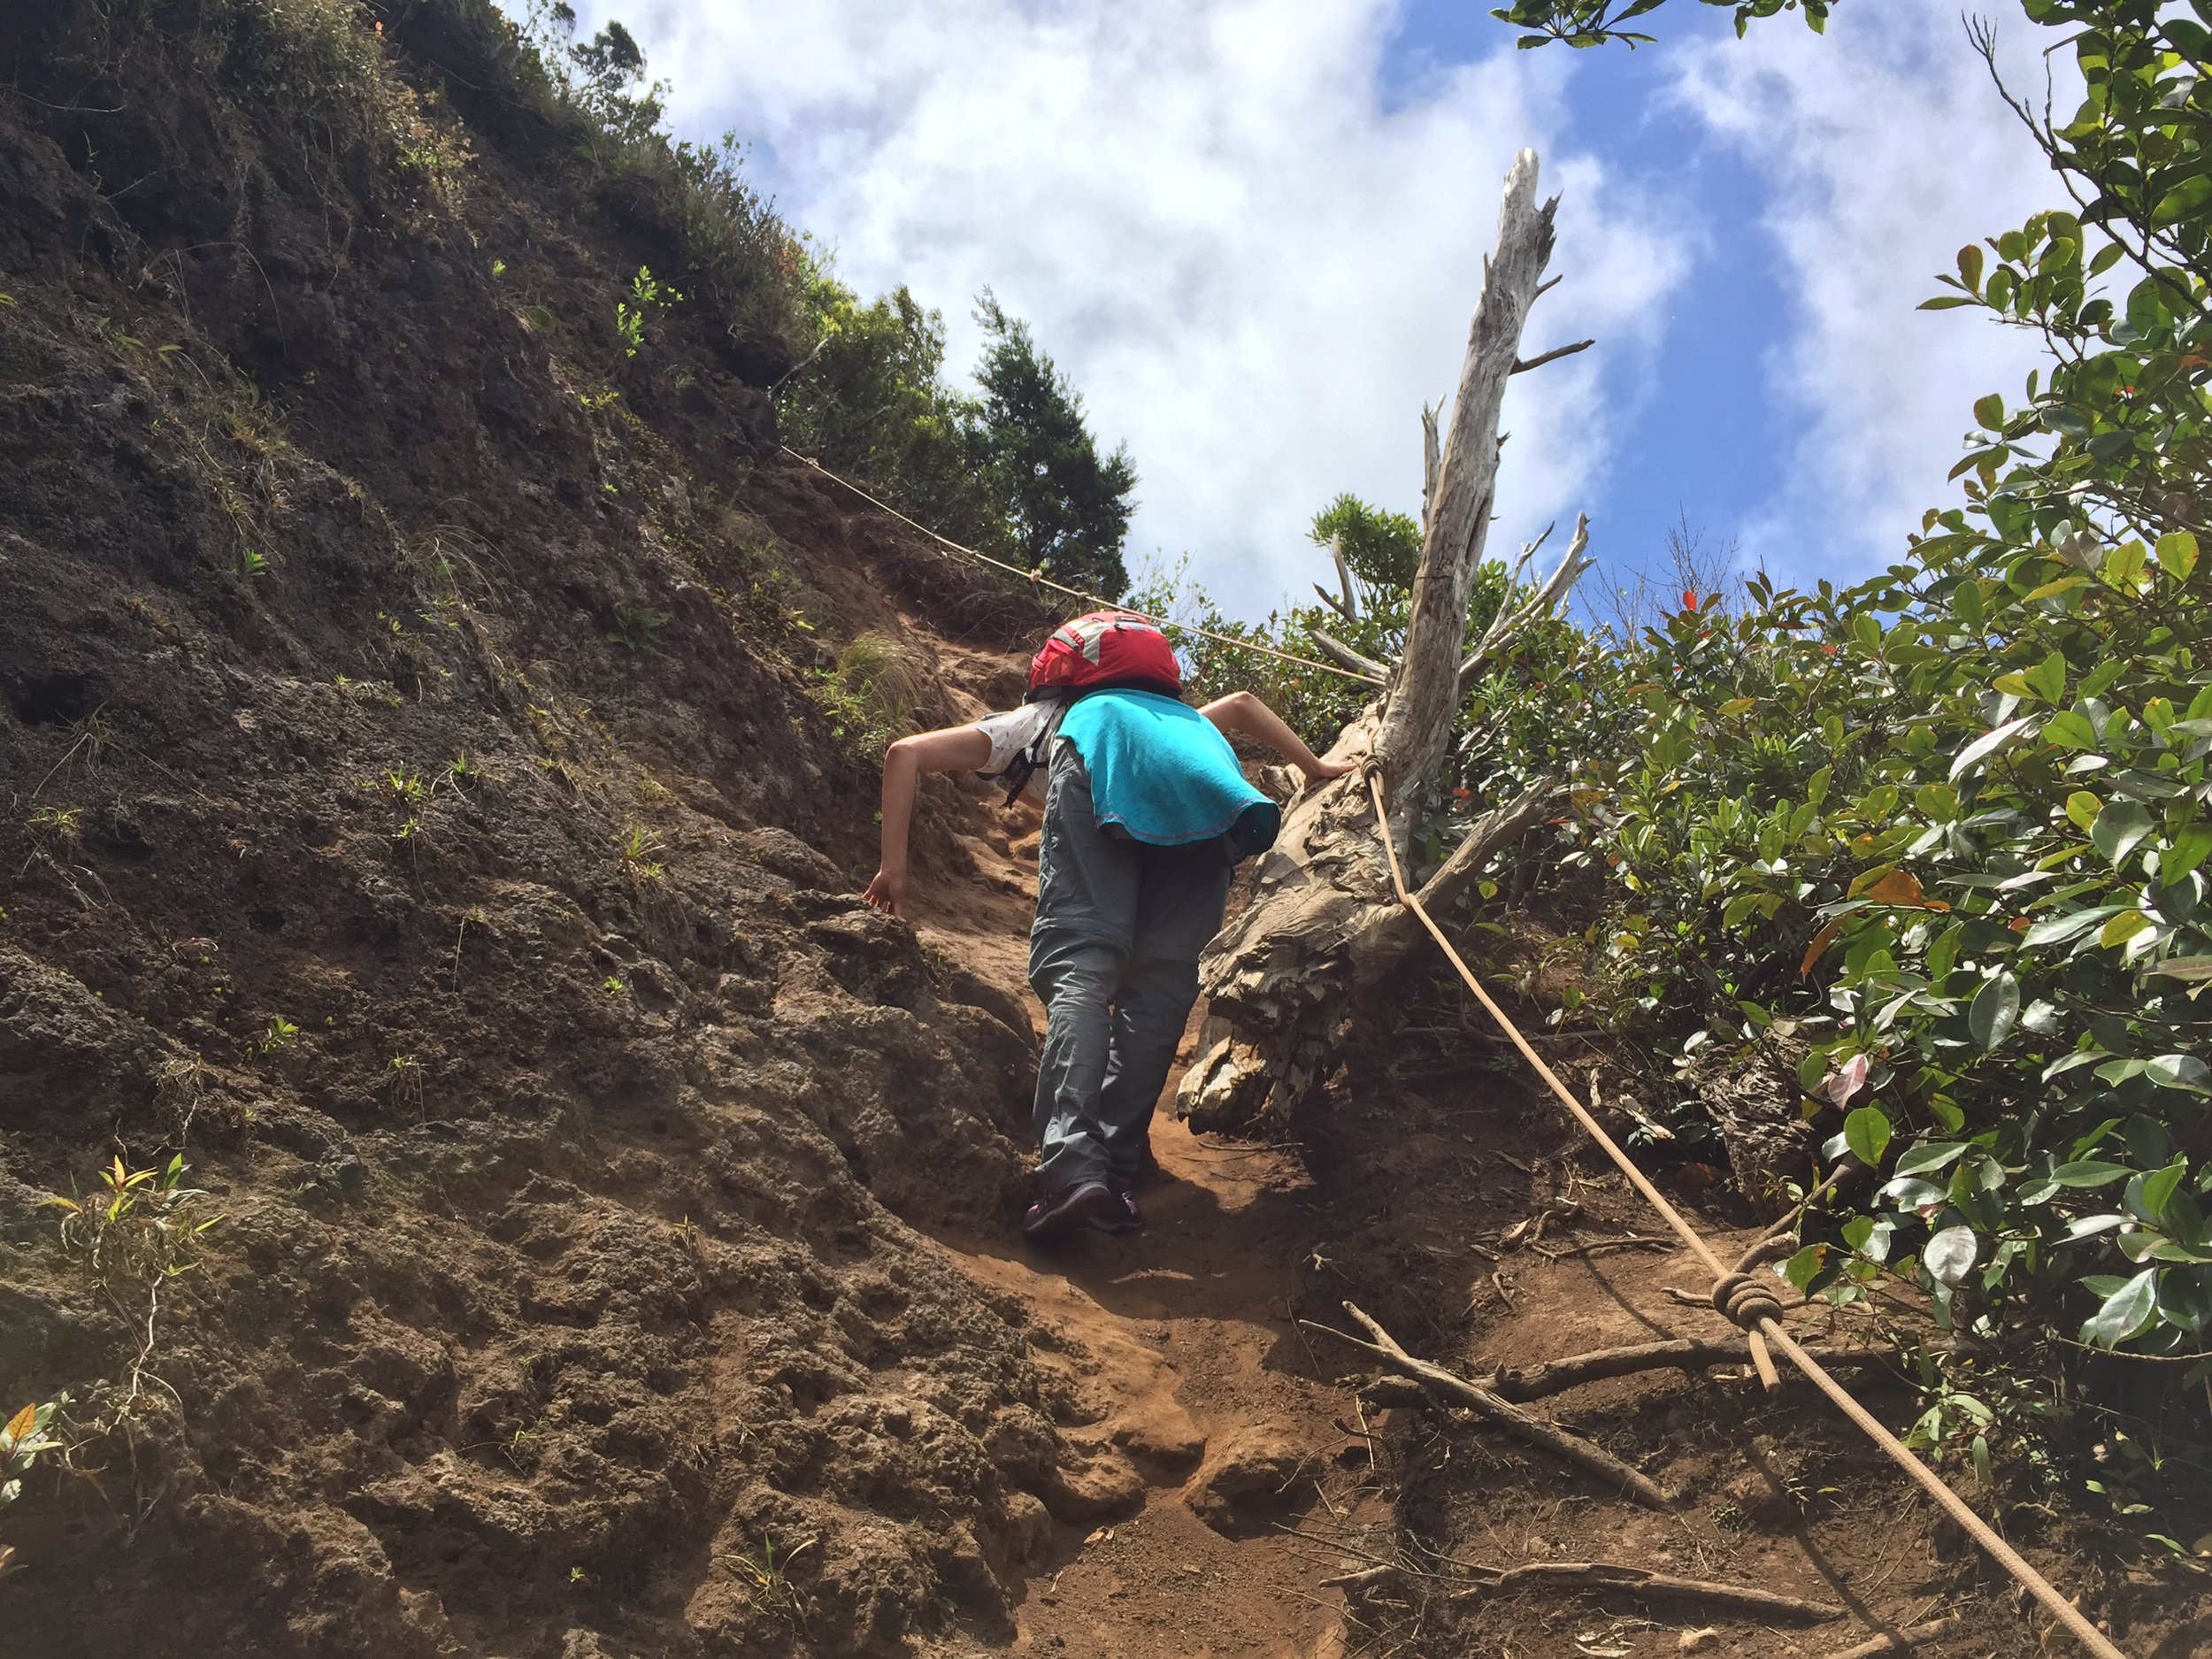
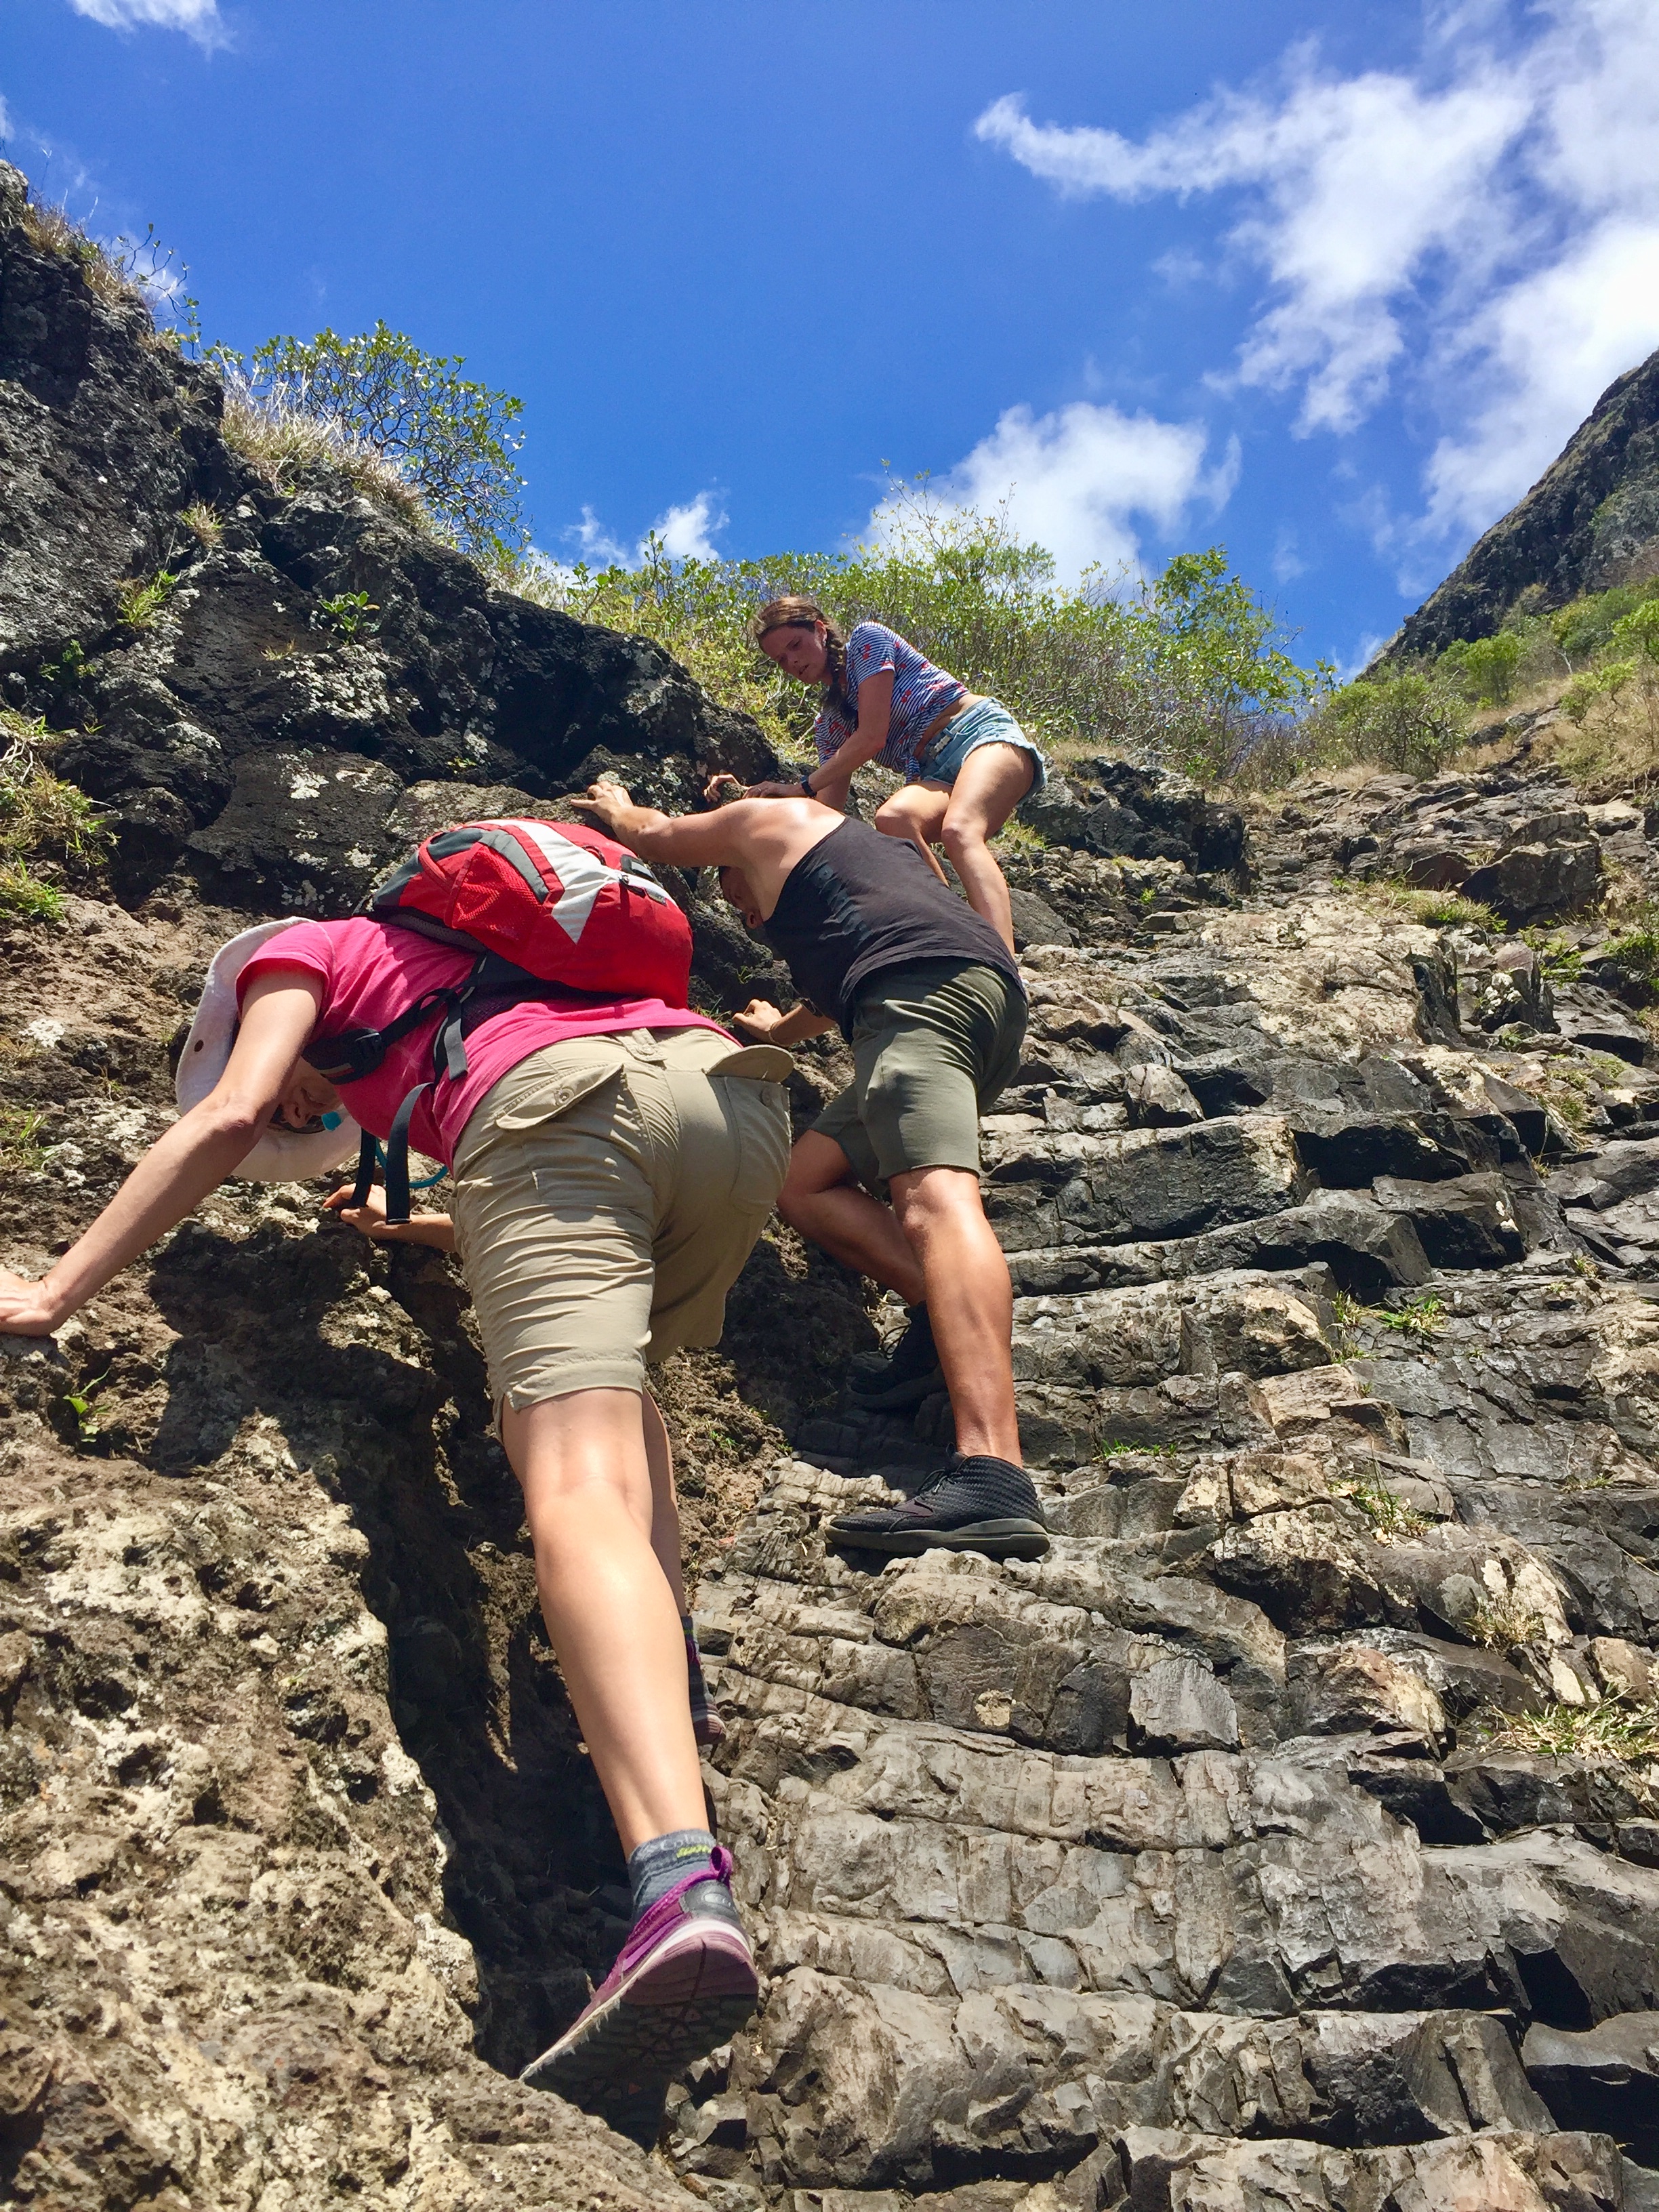
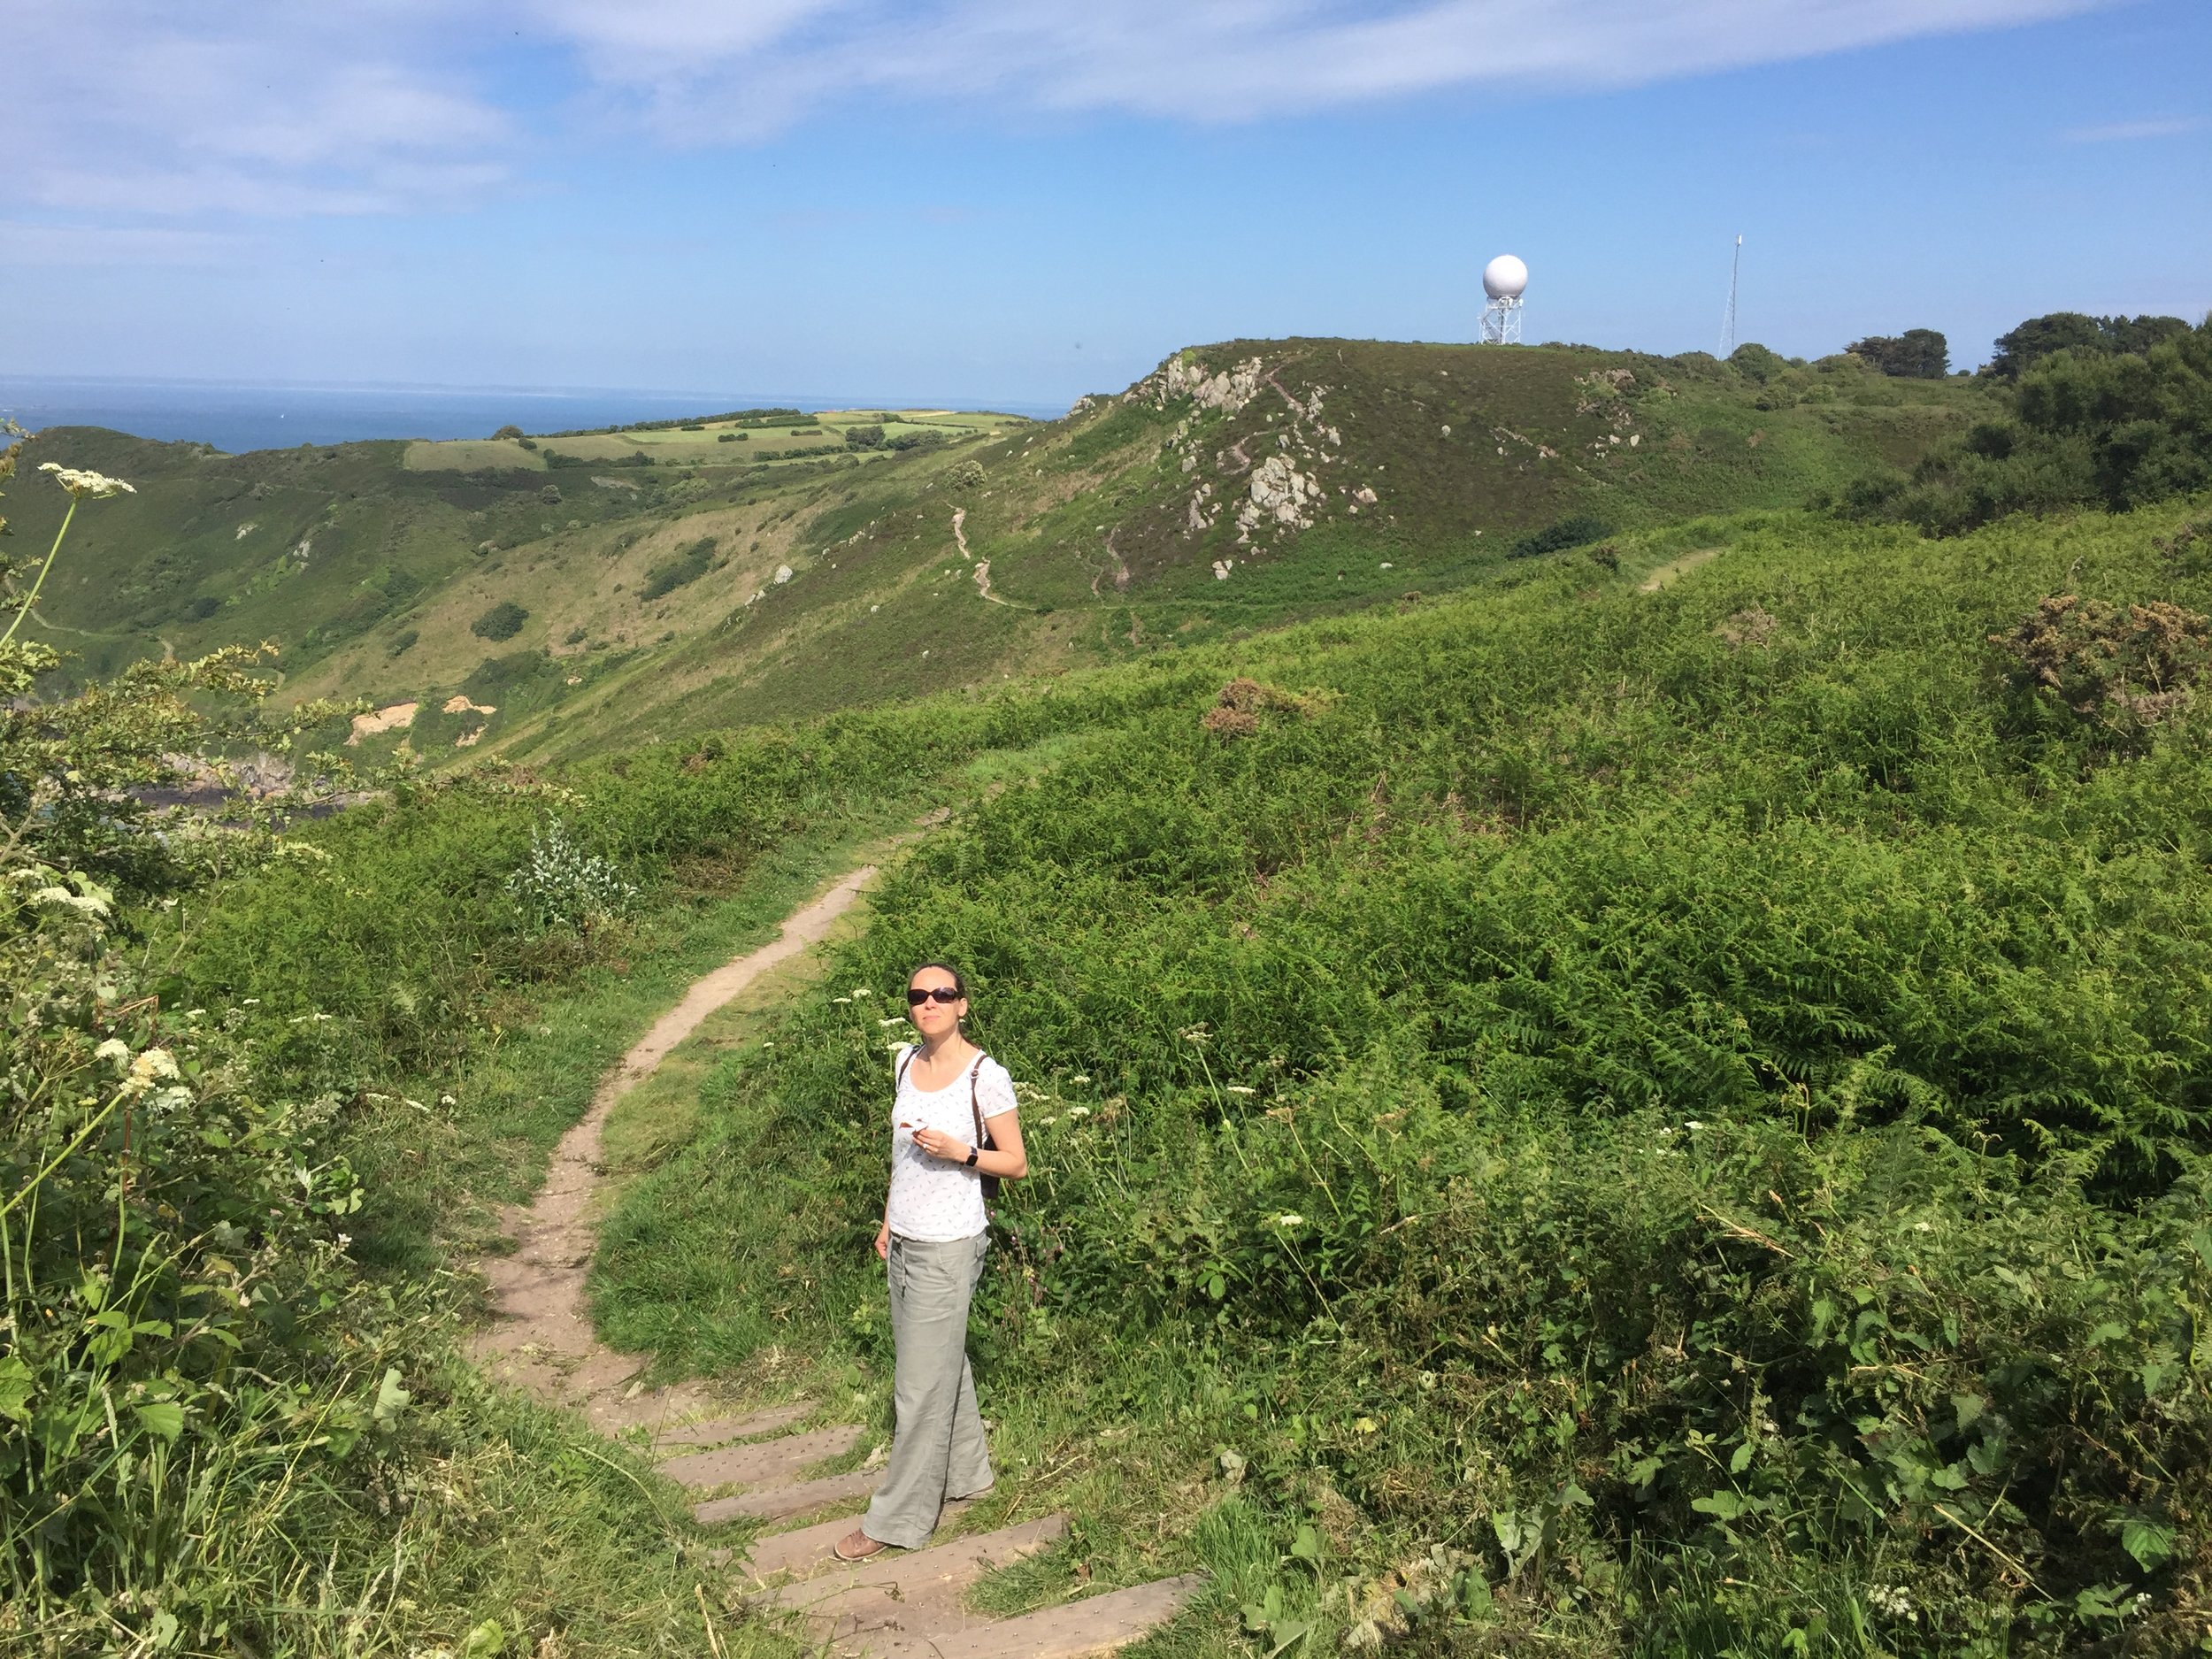
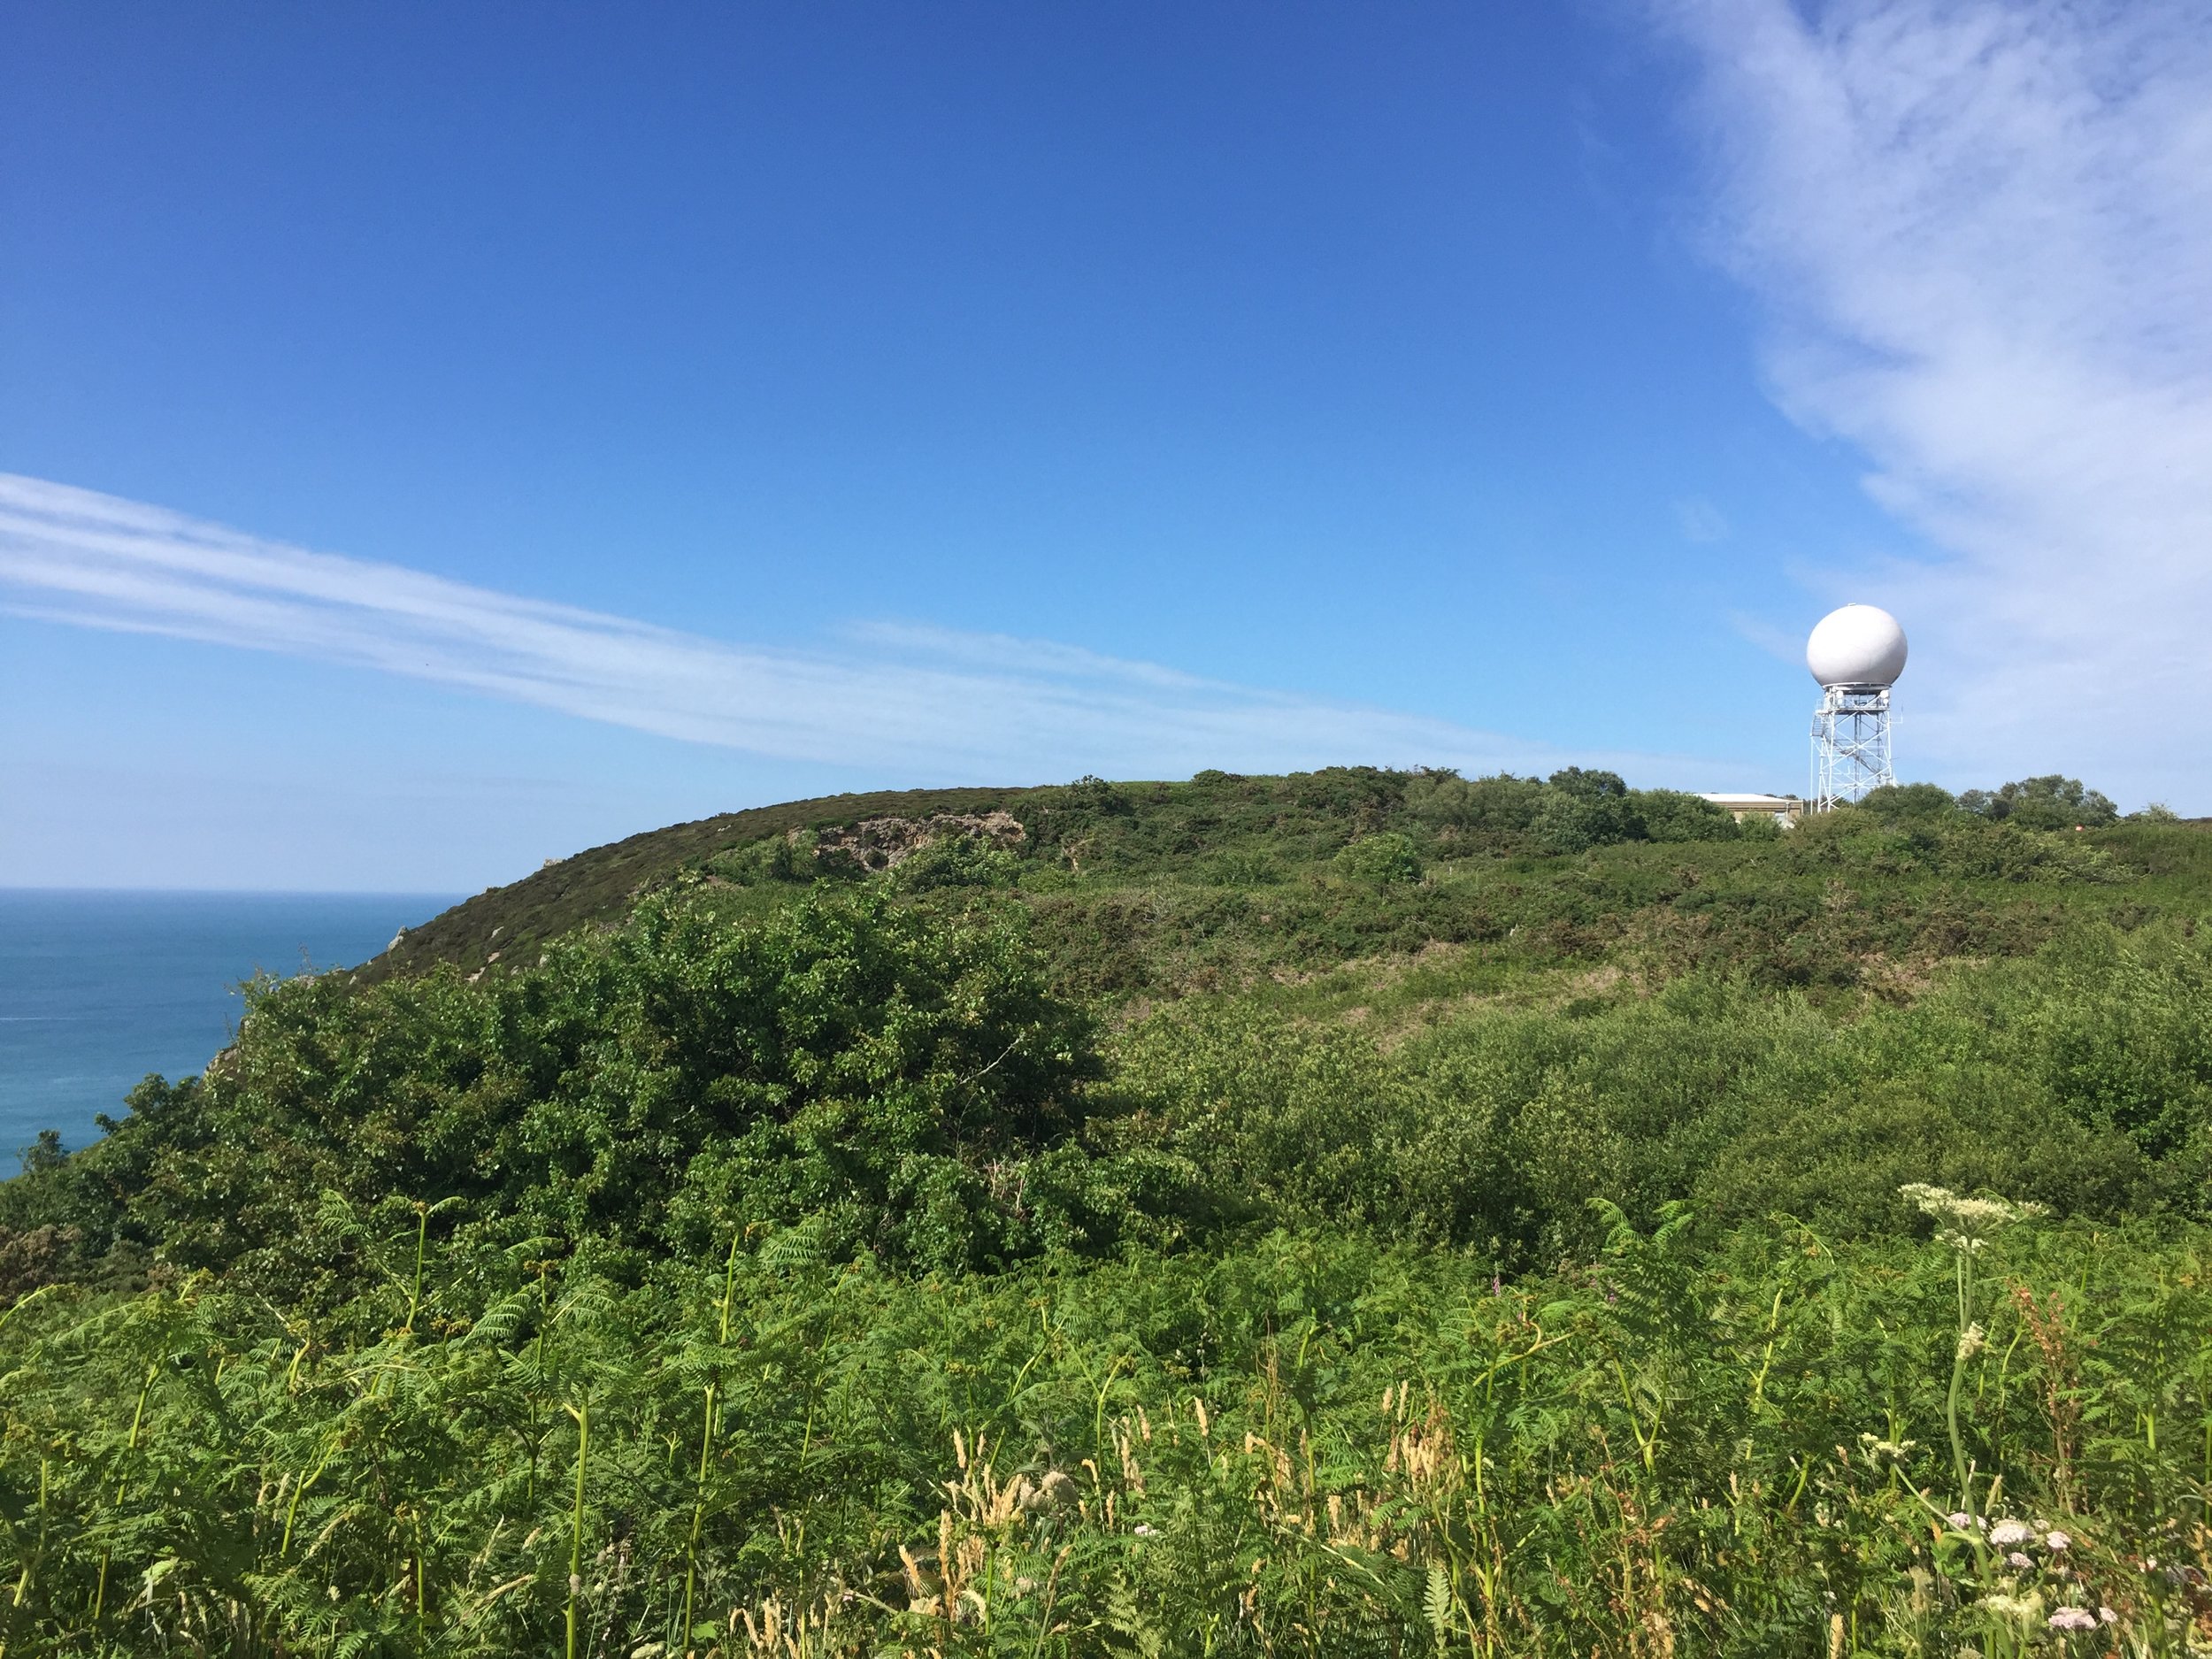
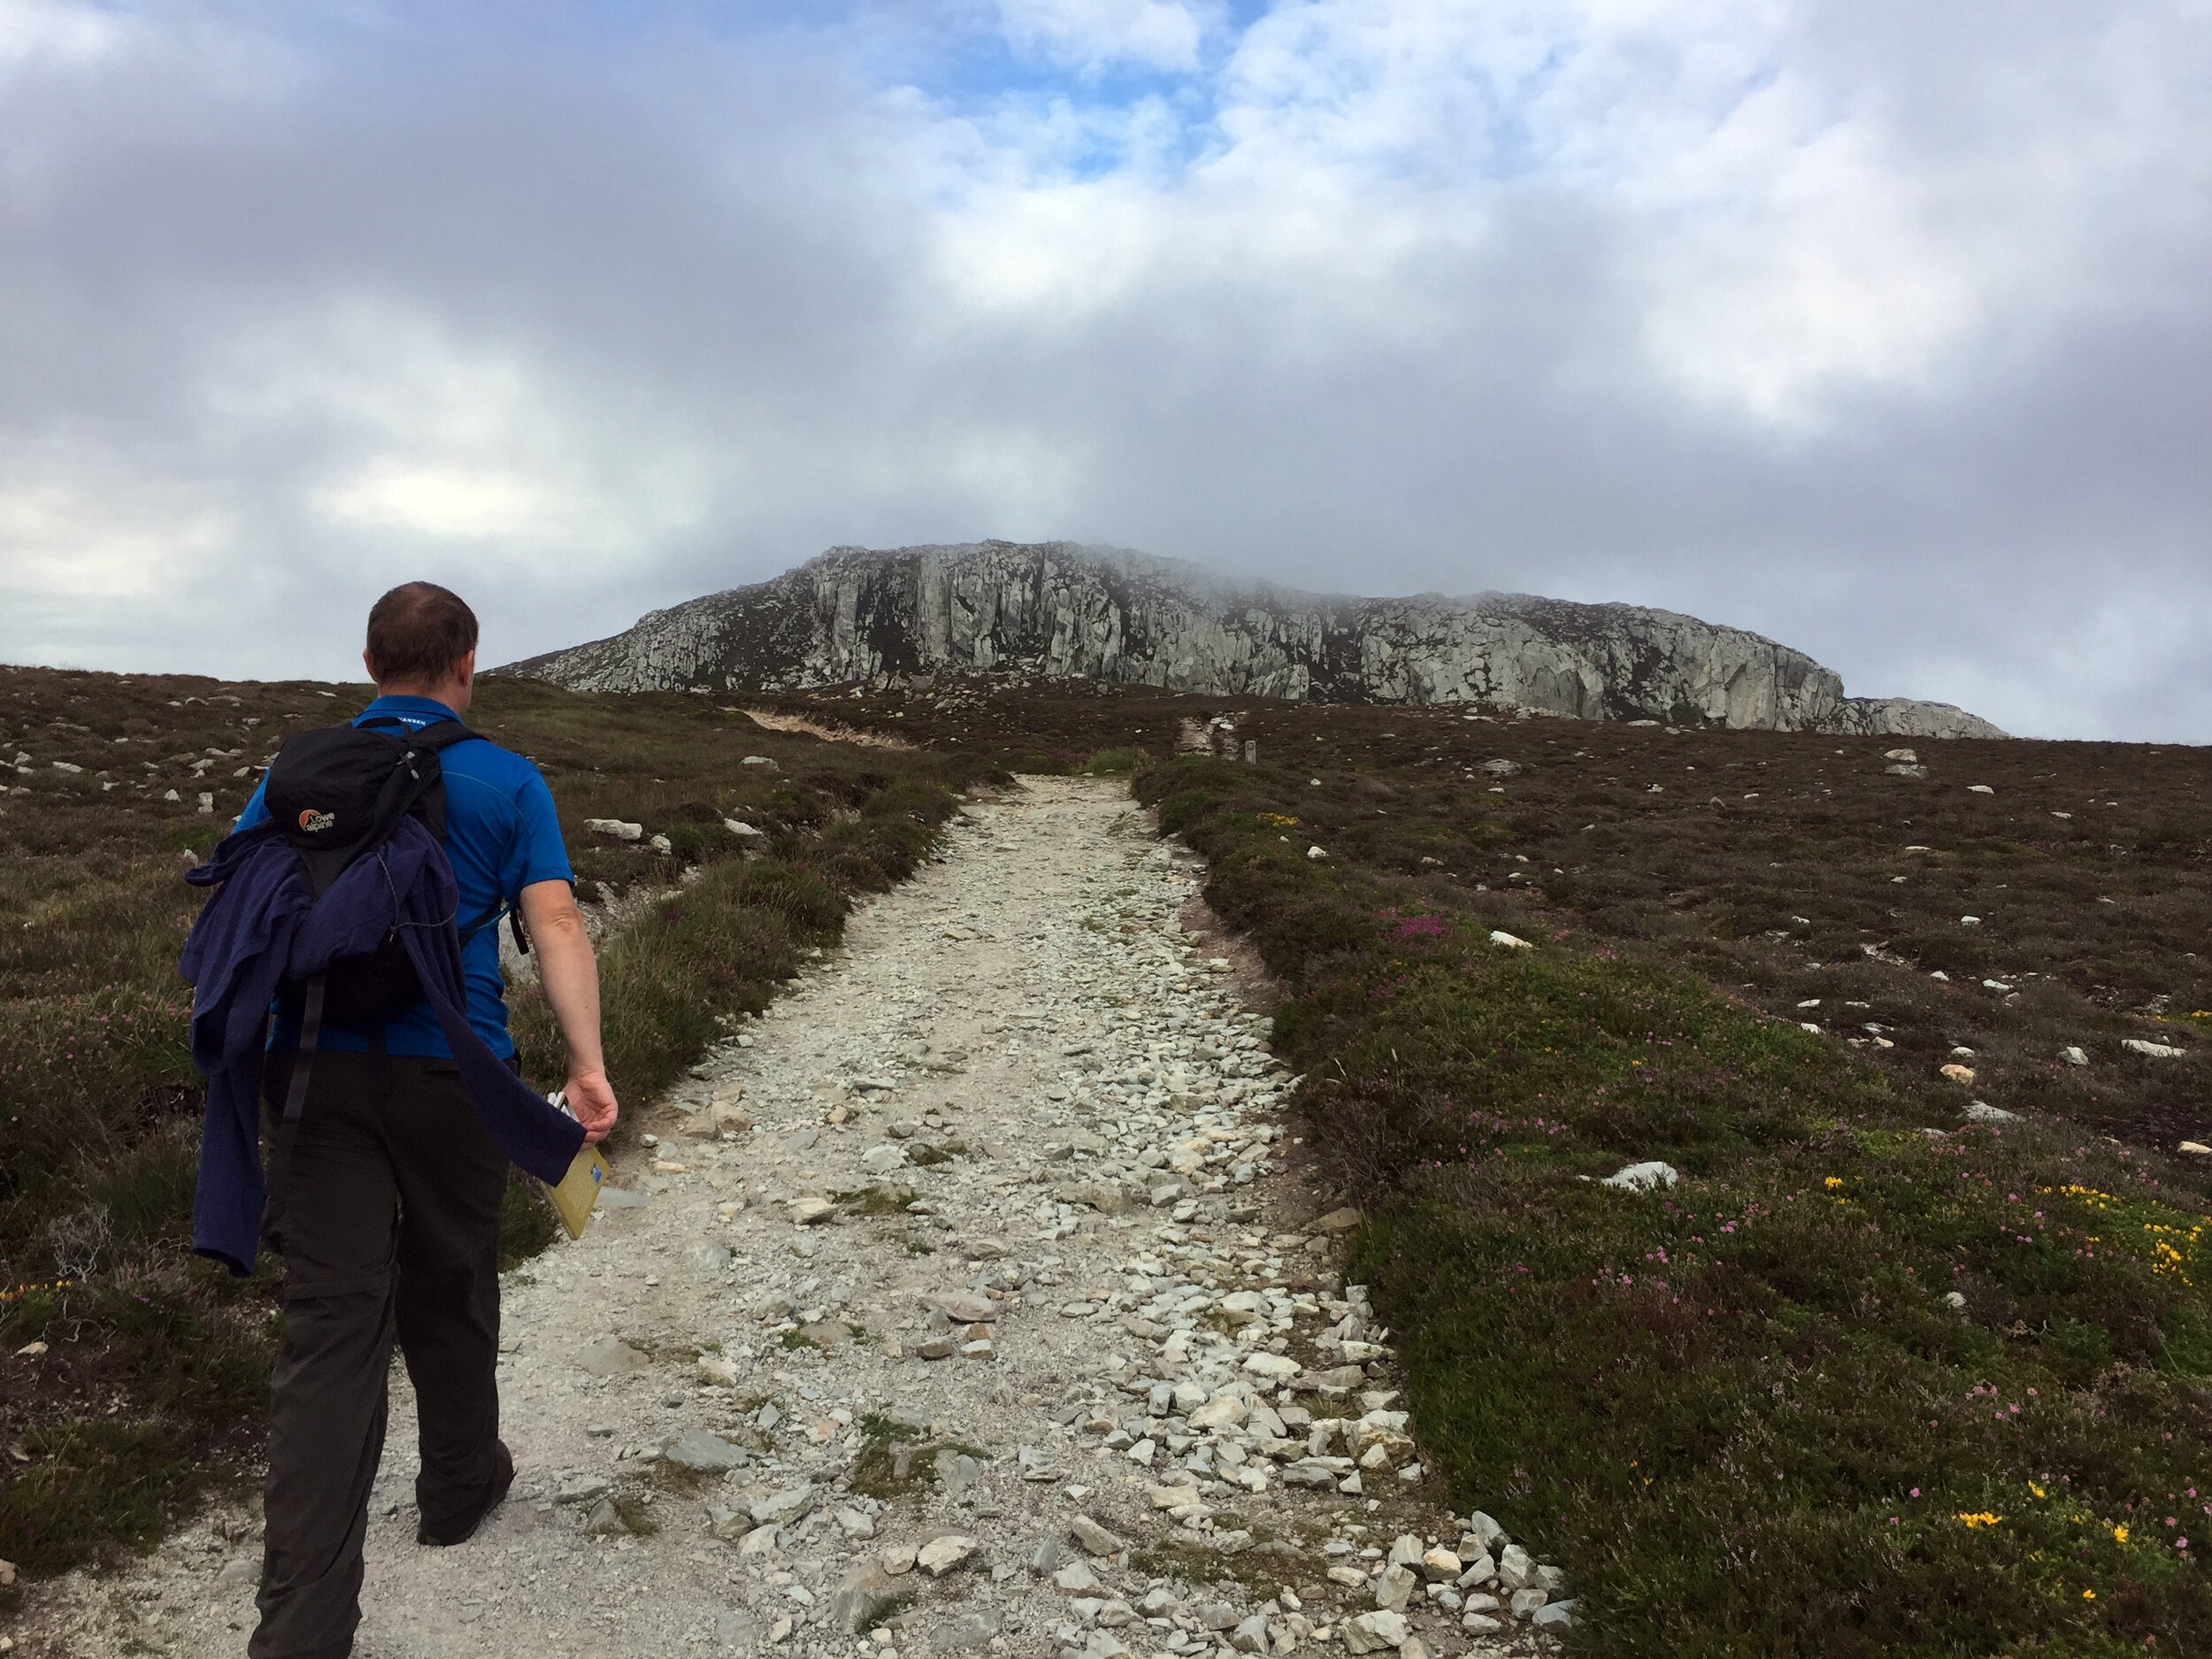
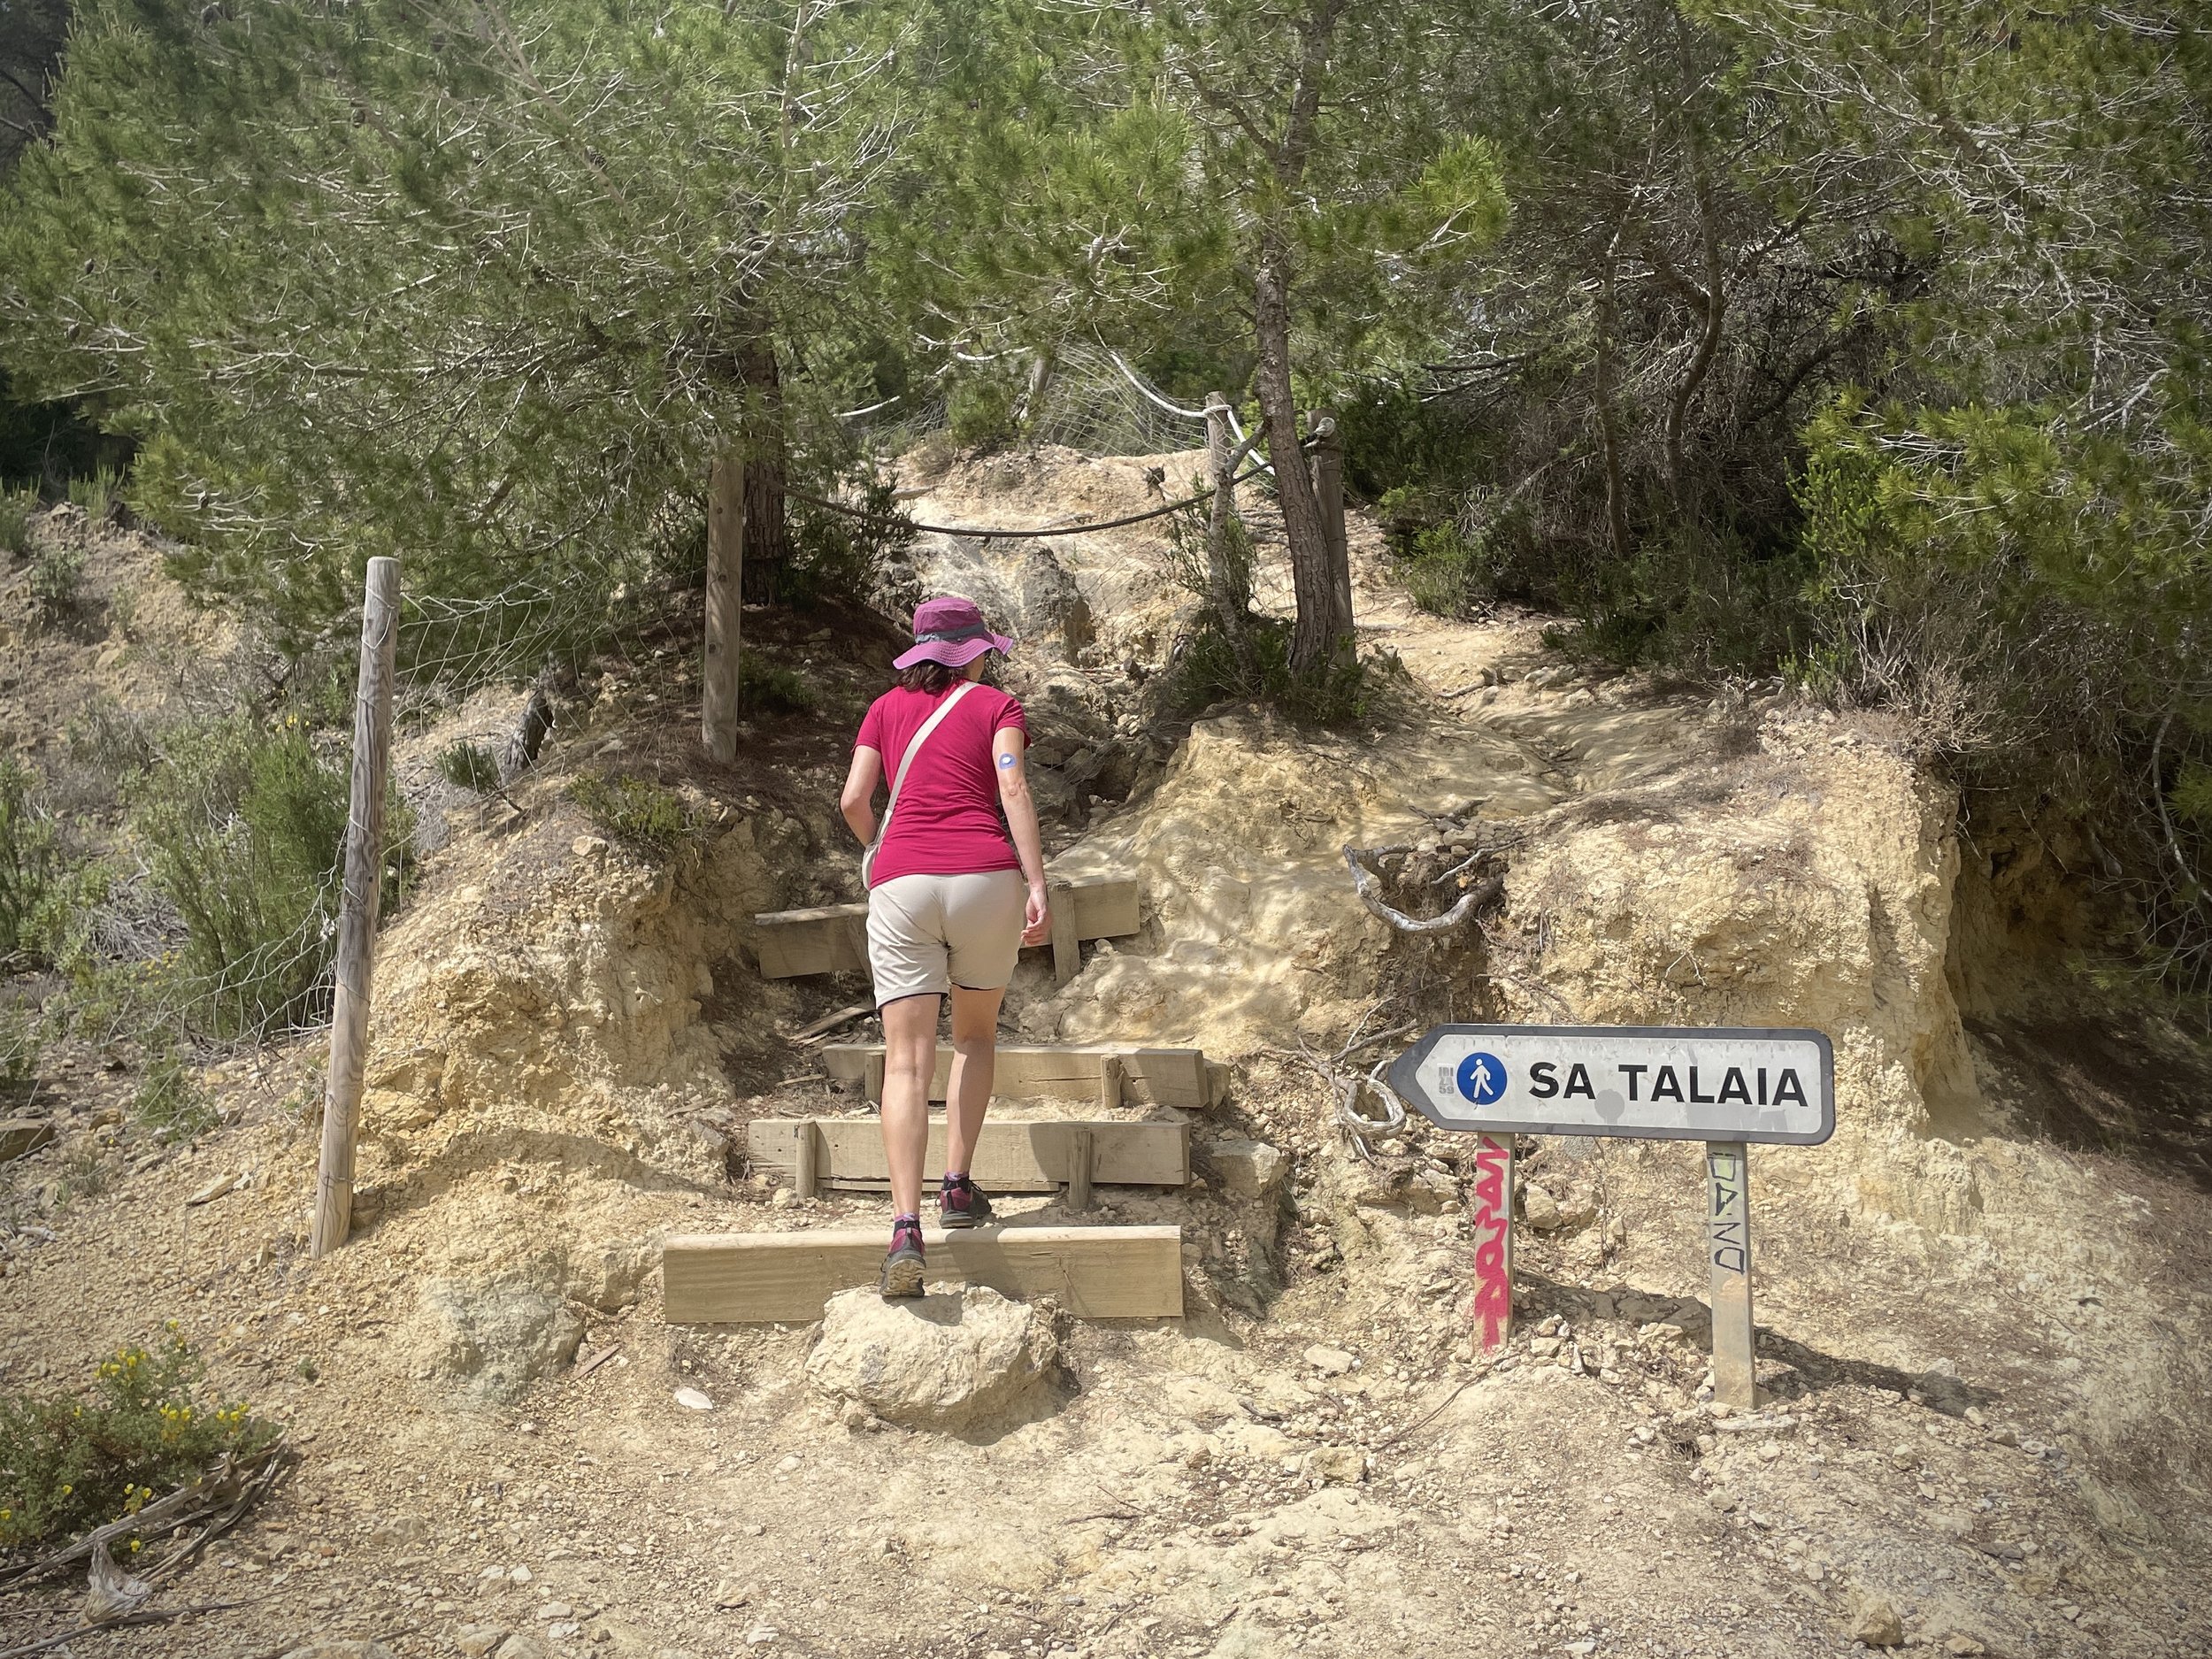
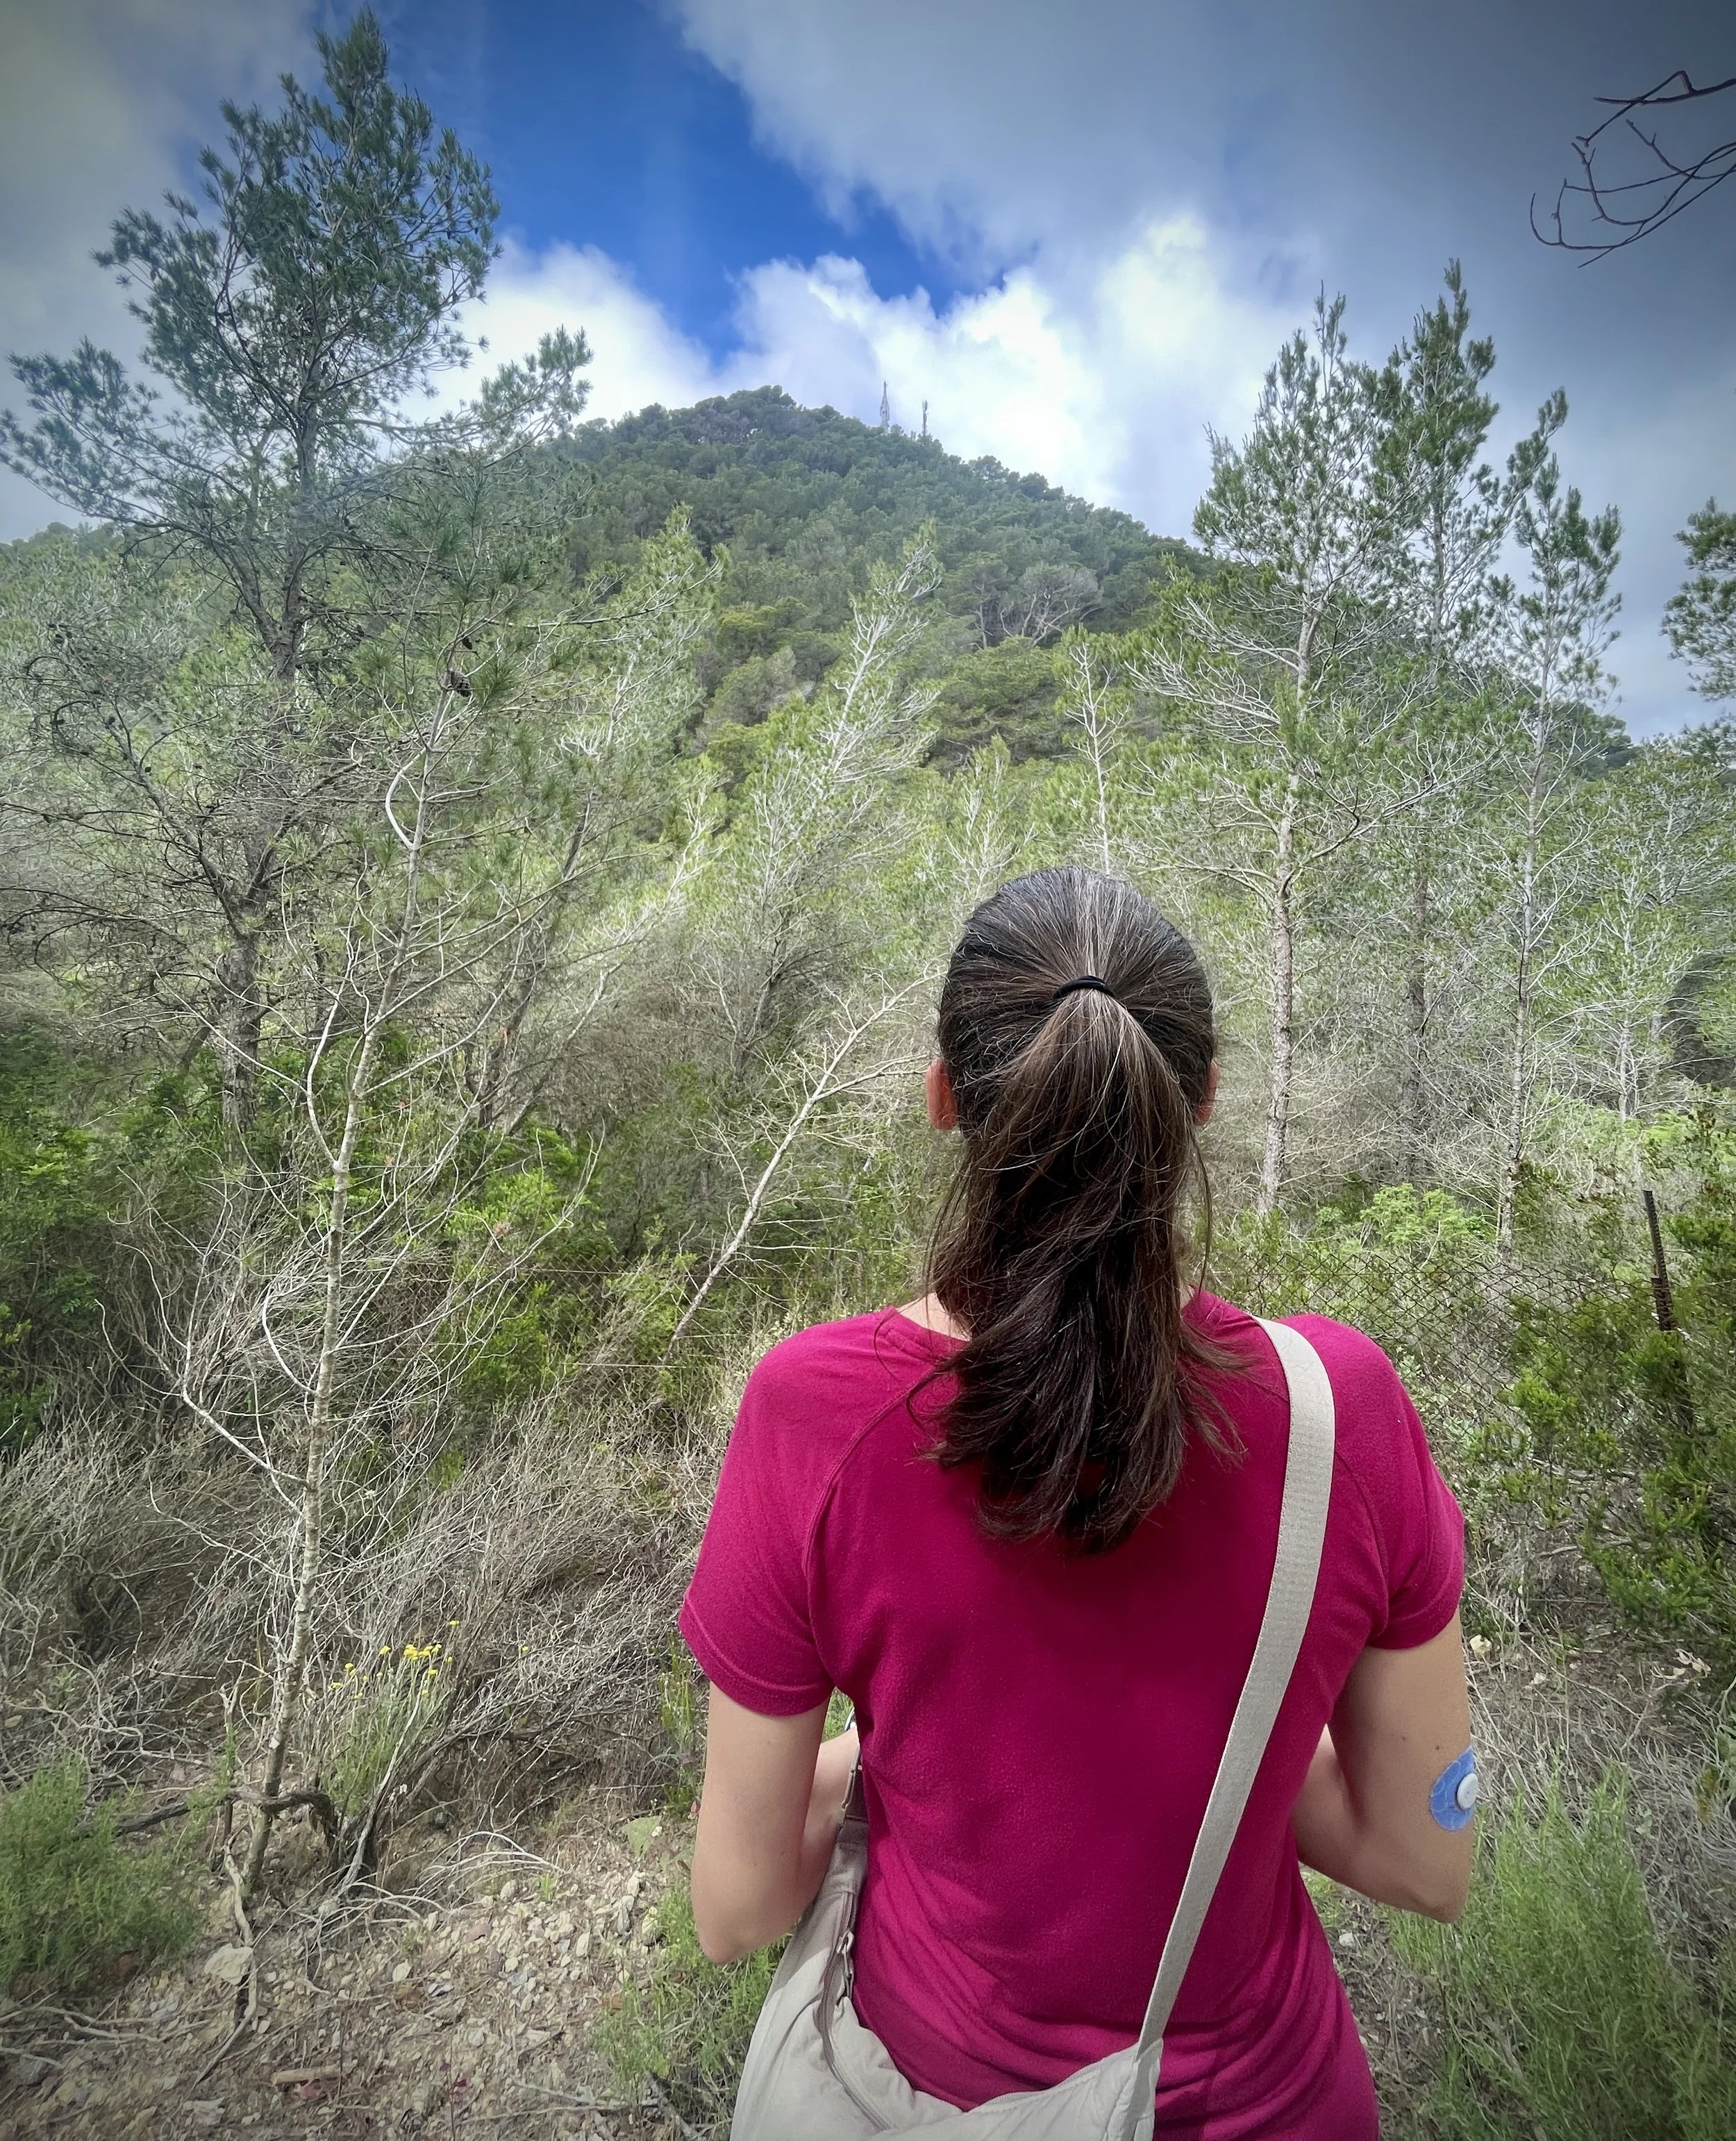
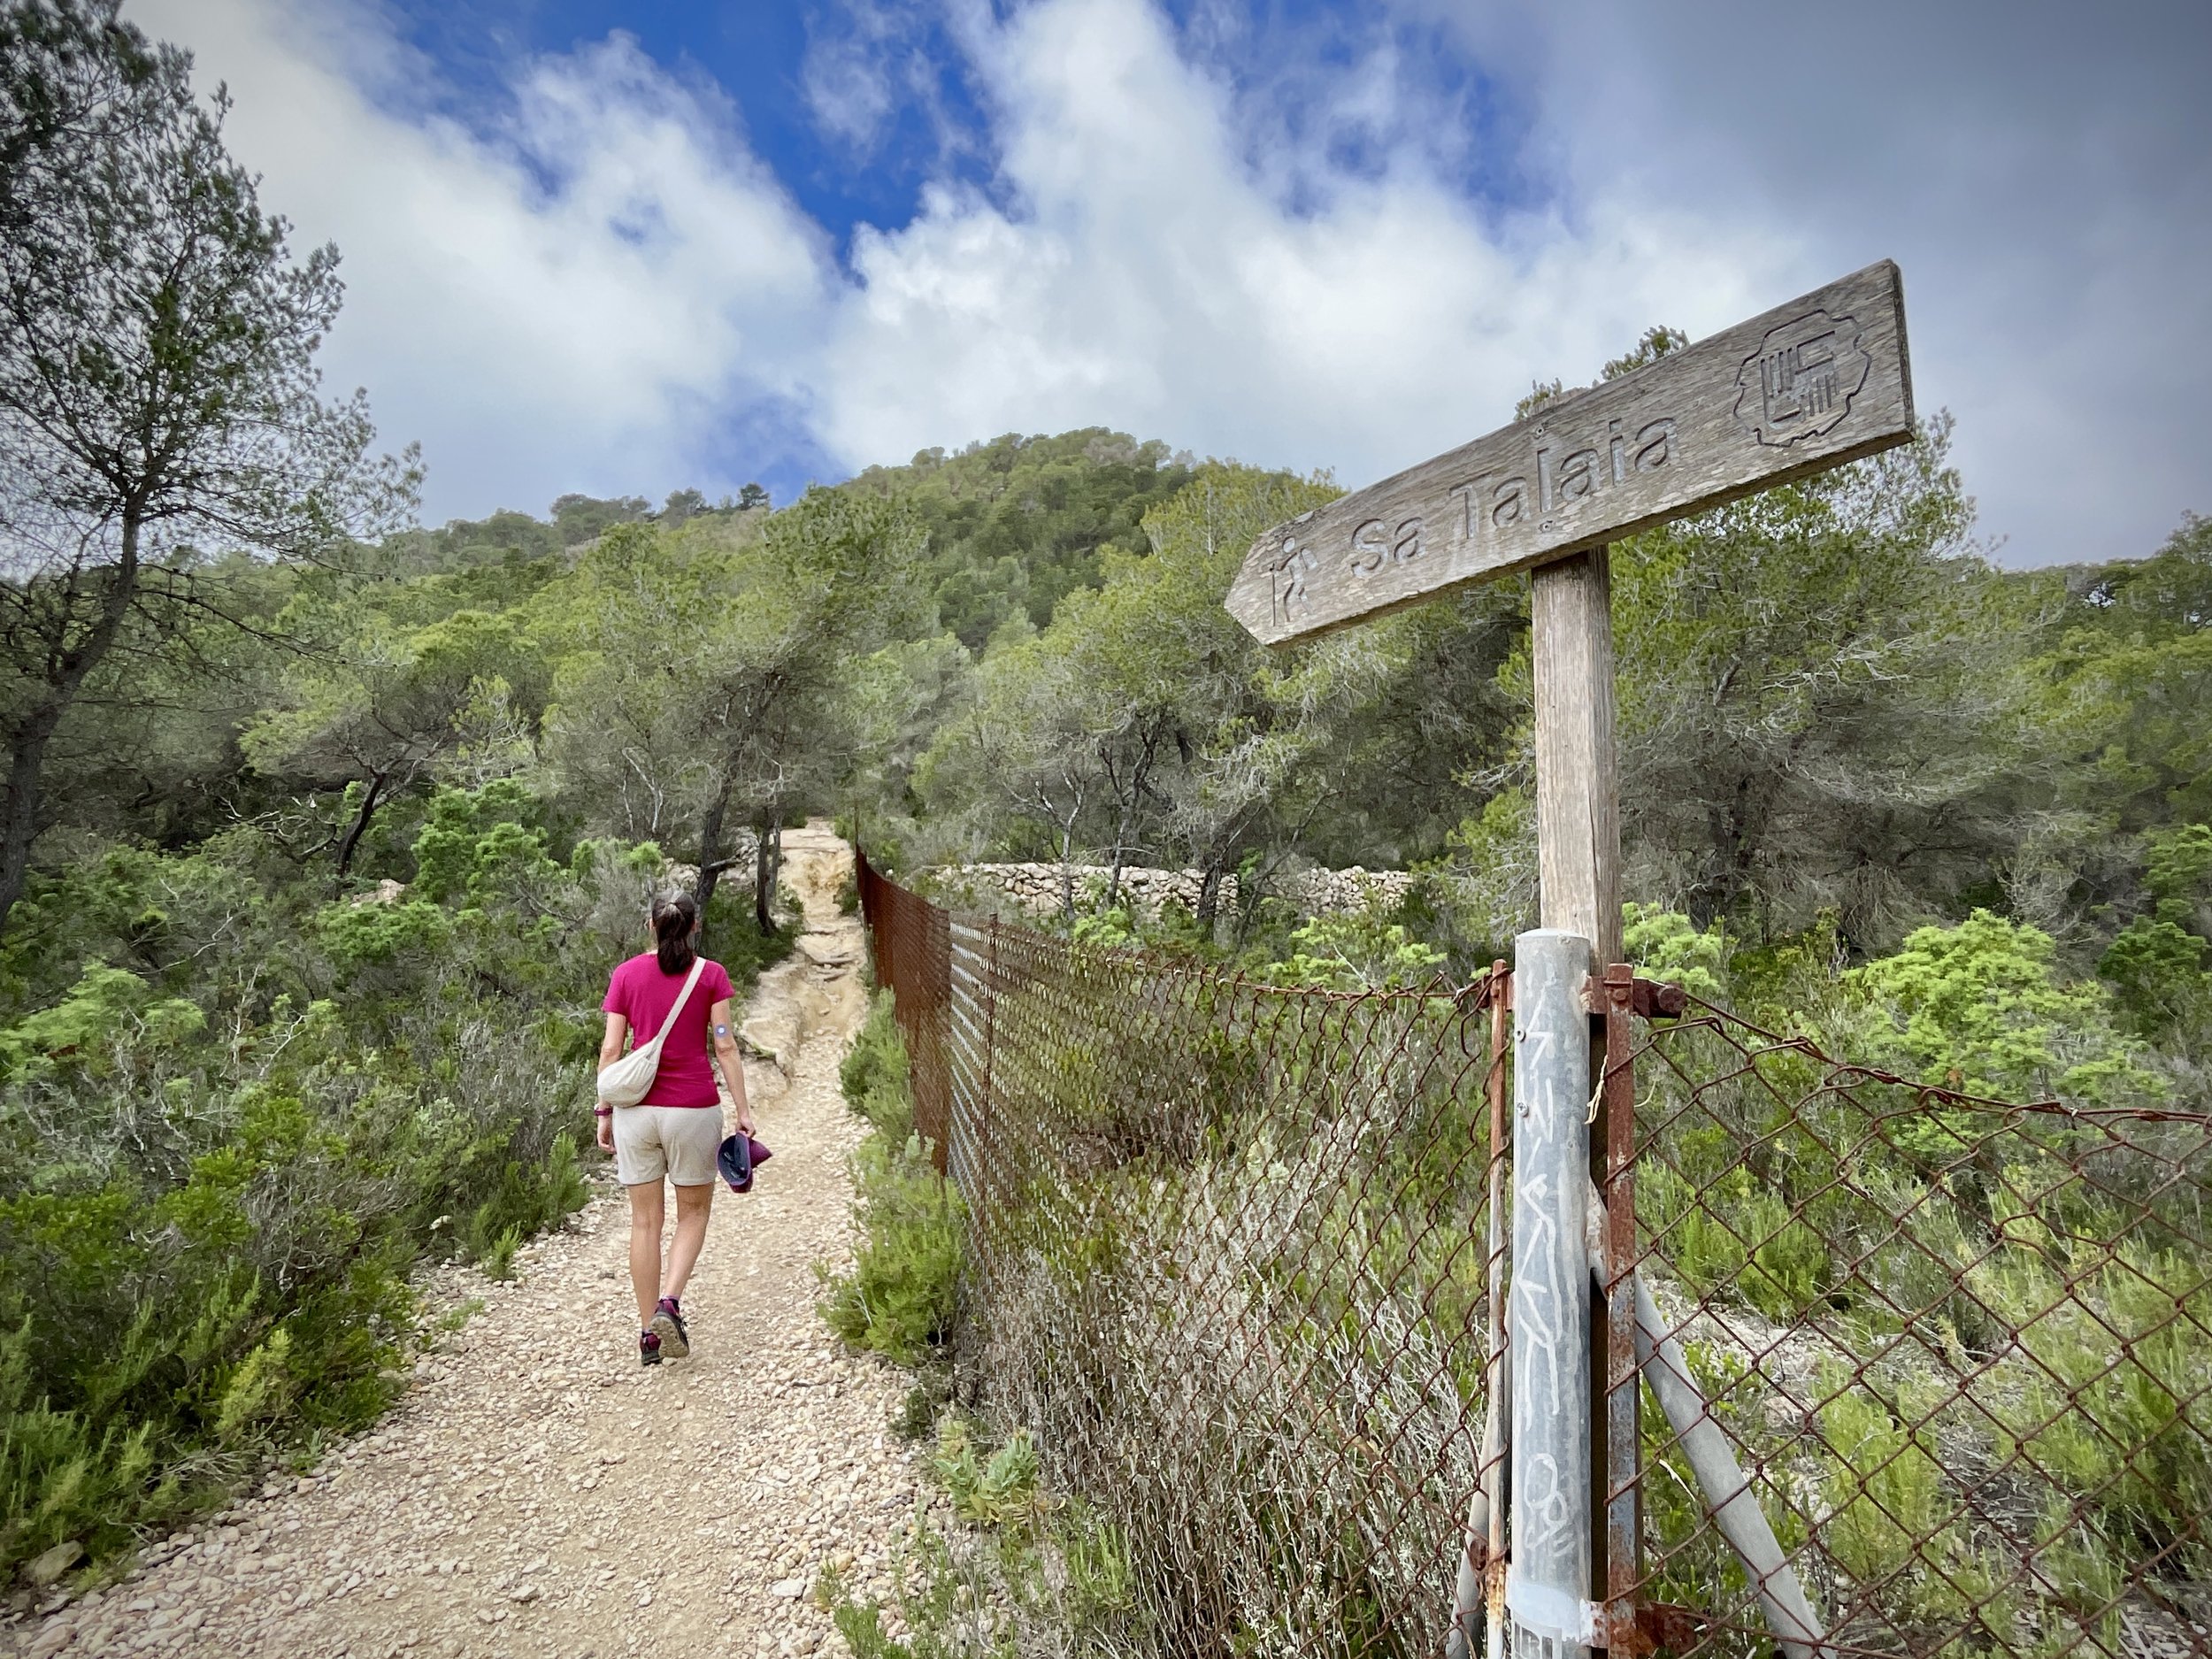
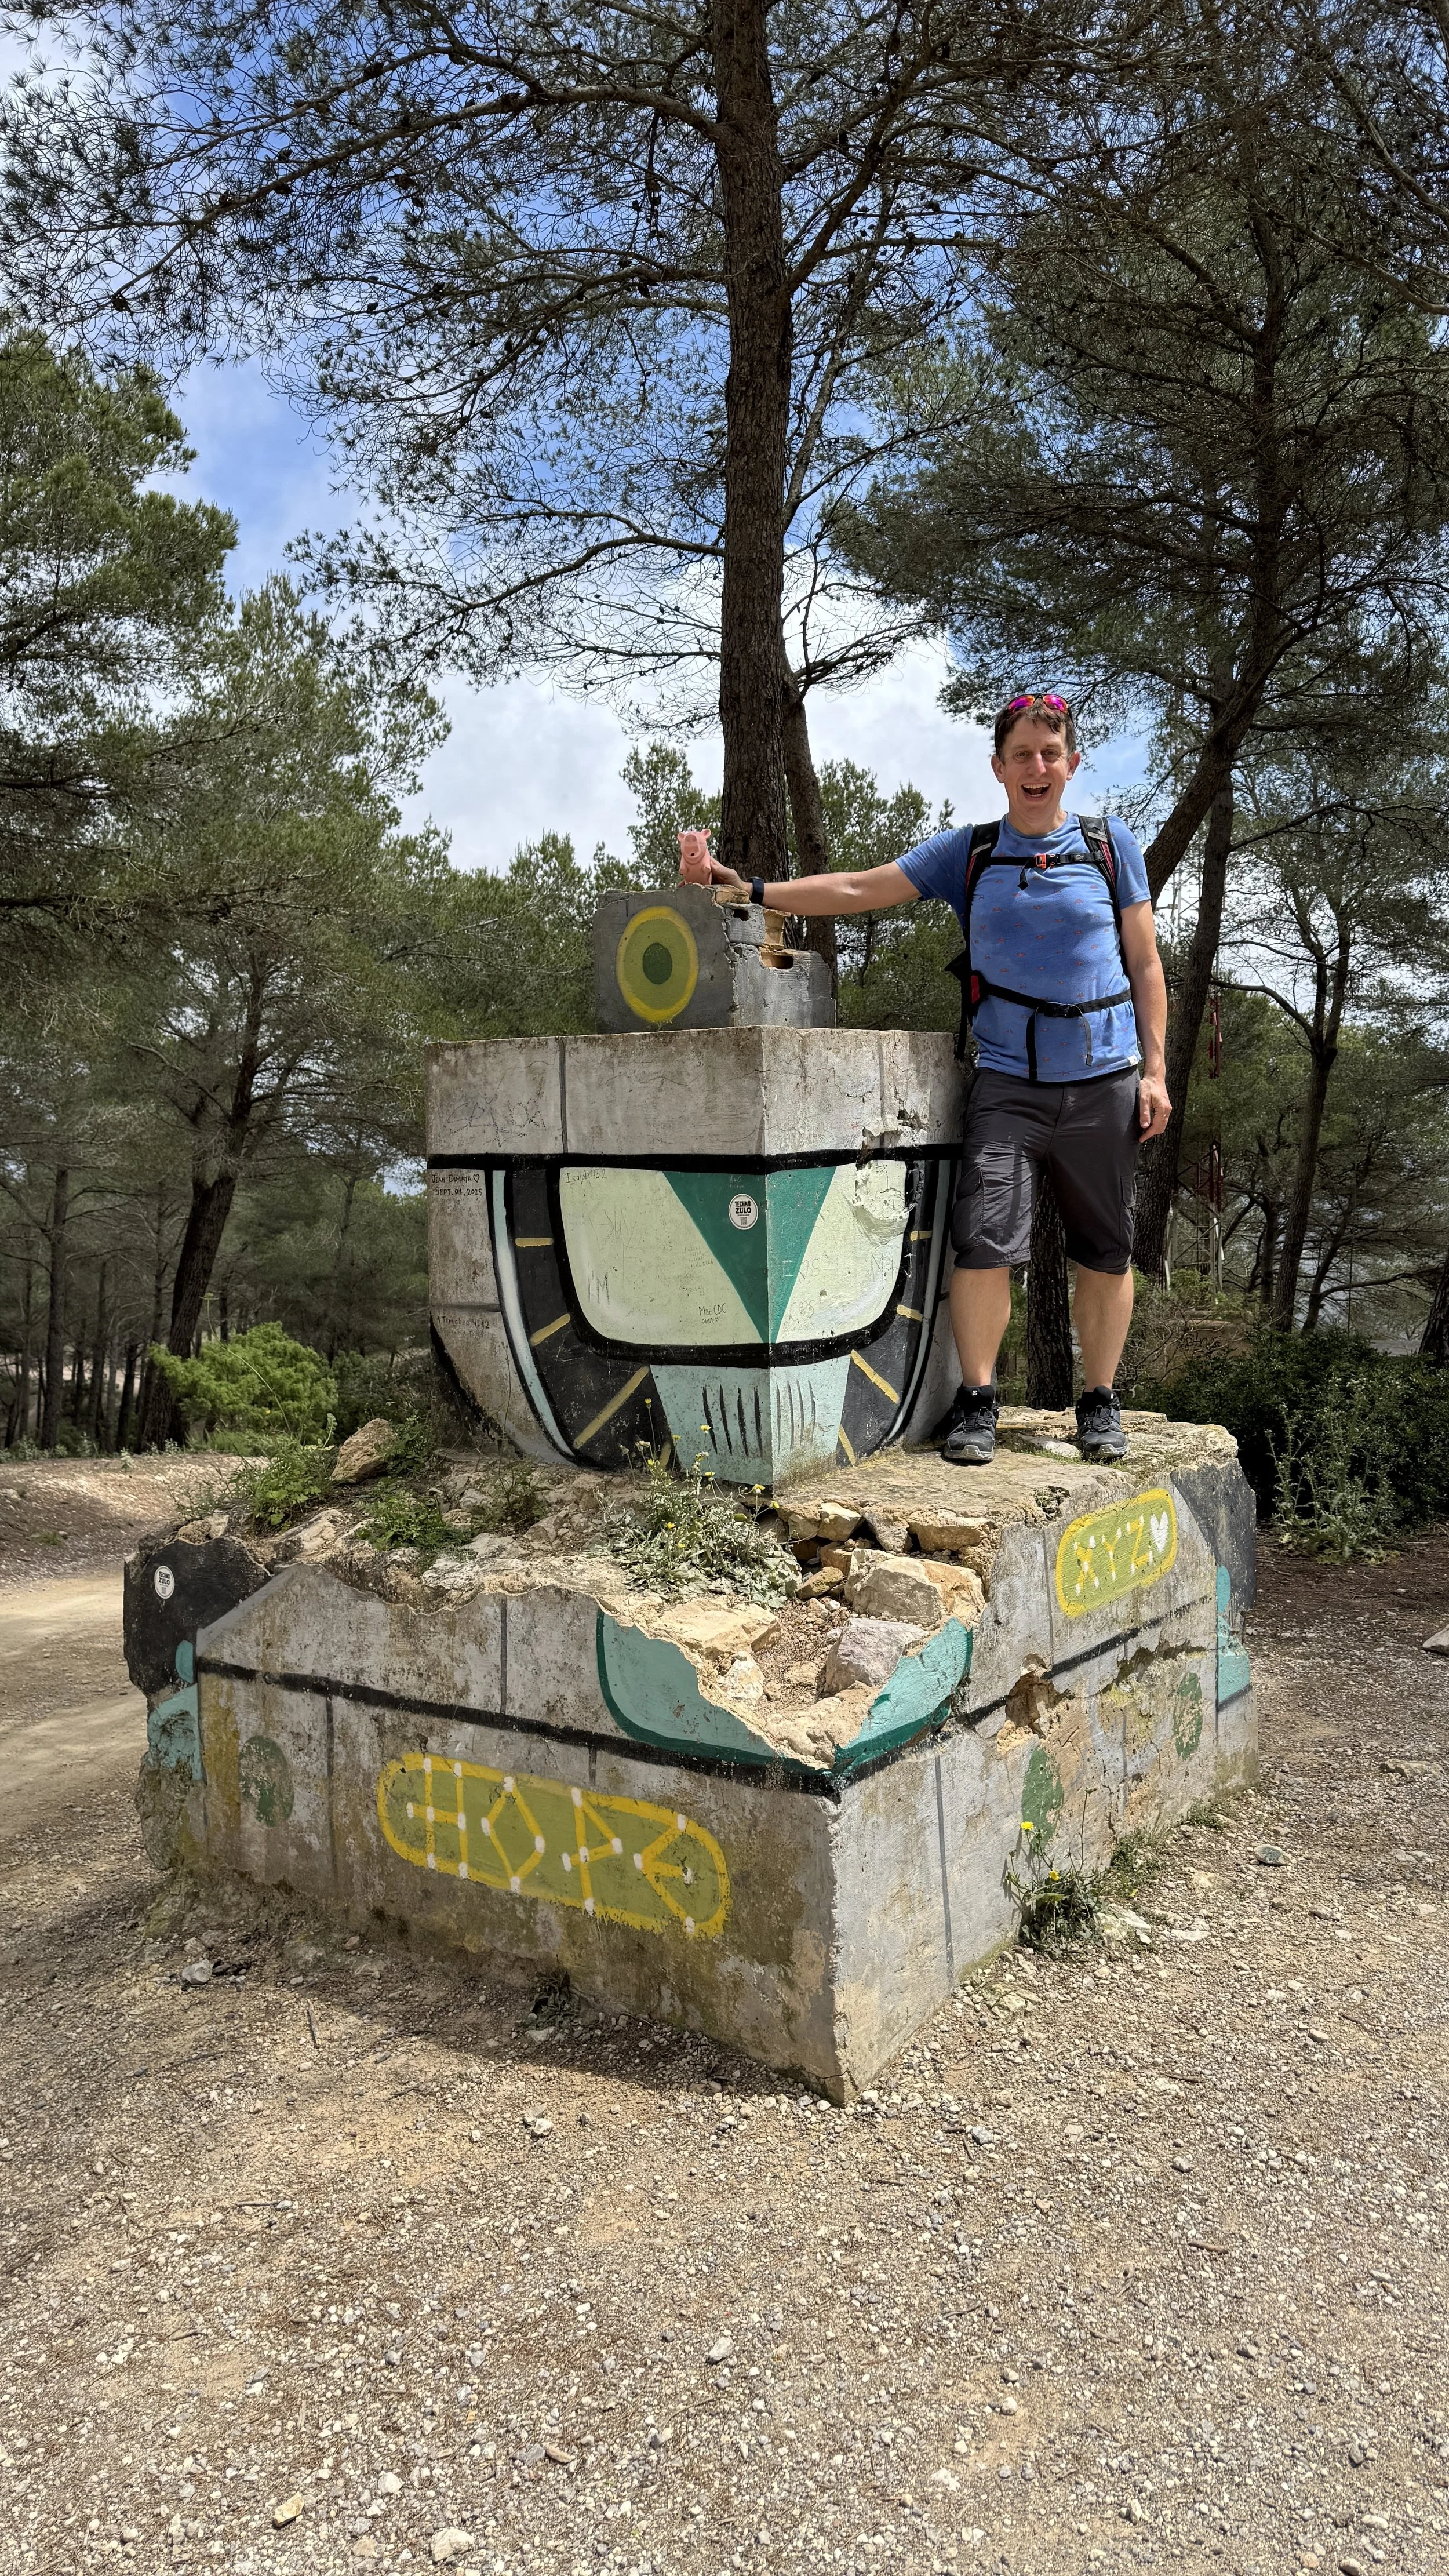
Just before the road comes to an end, you will see the signposted entrance to the trail. It goes steeply up the hill through the woods, winding its way up the northeasterly side of the mountain. As you climb, you get several glimpses of the hill ahead marked with a transmitter in the distance.
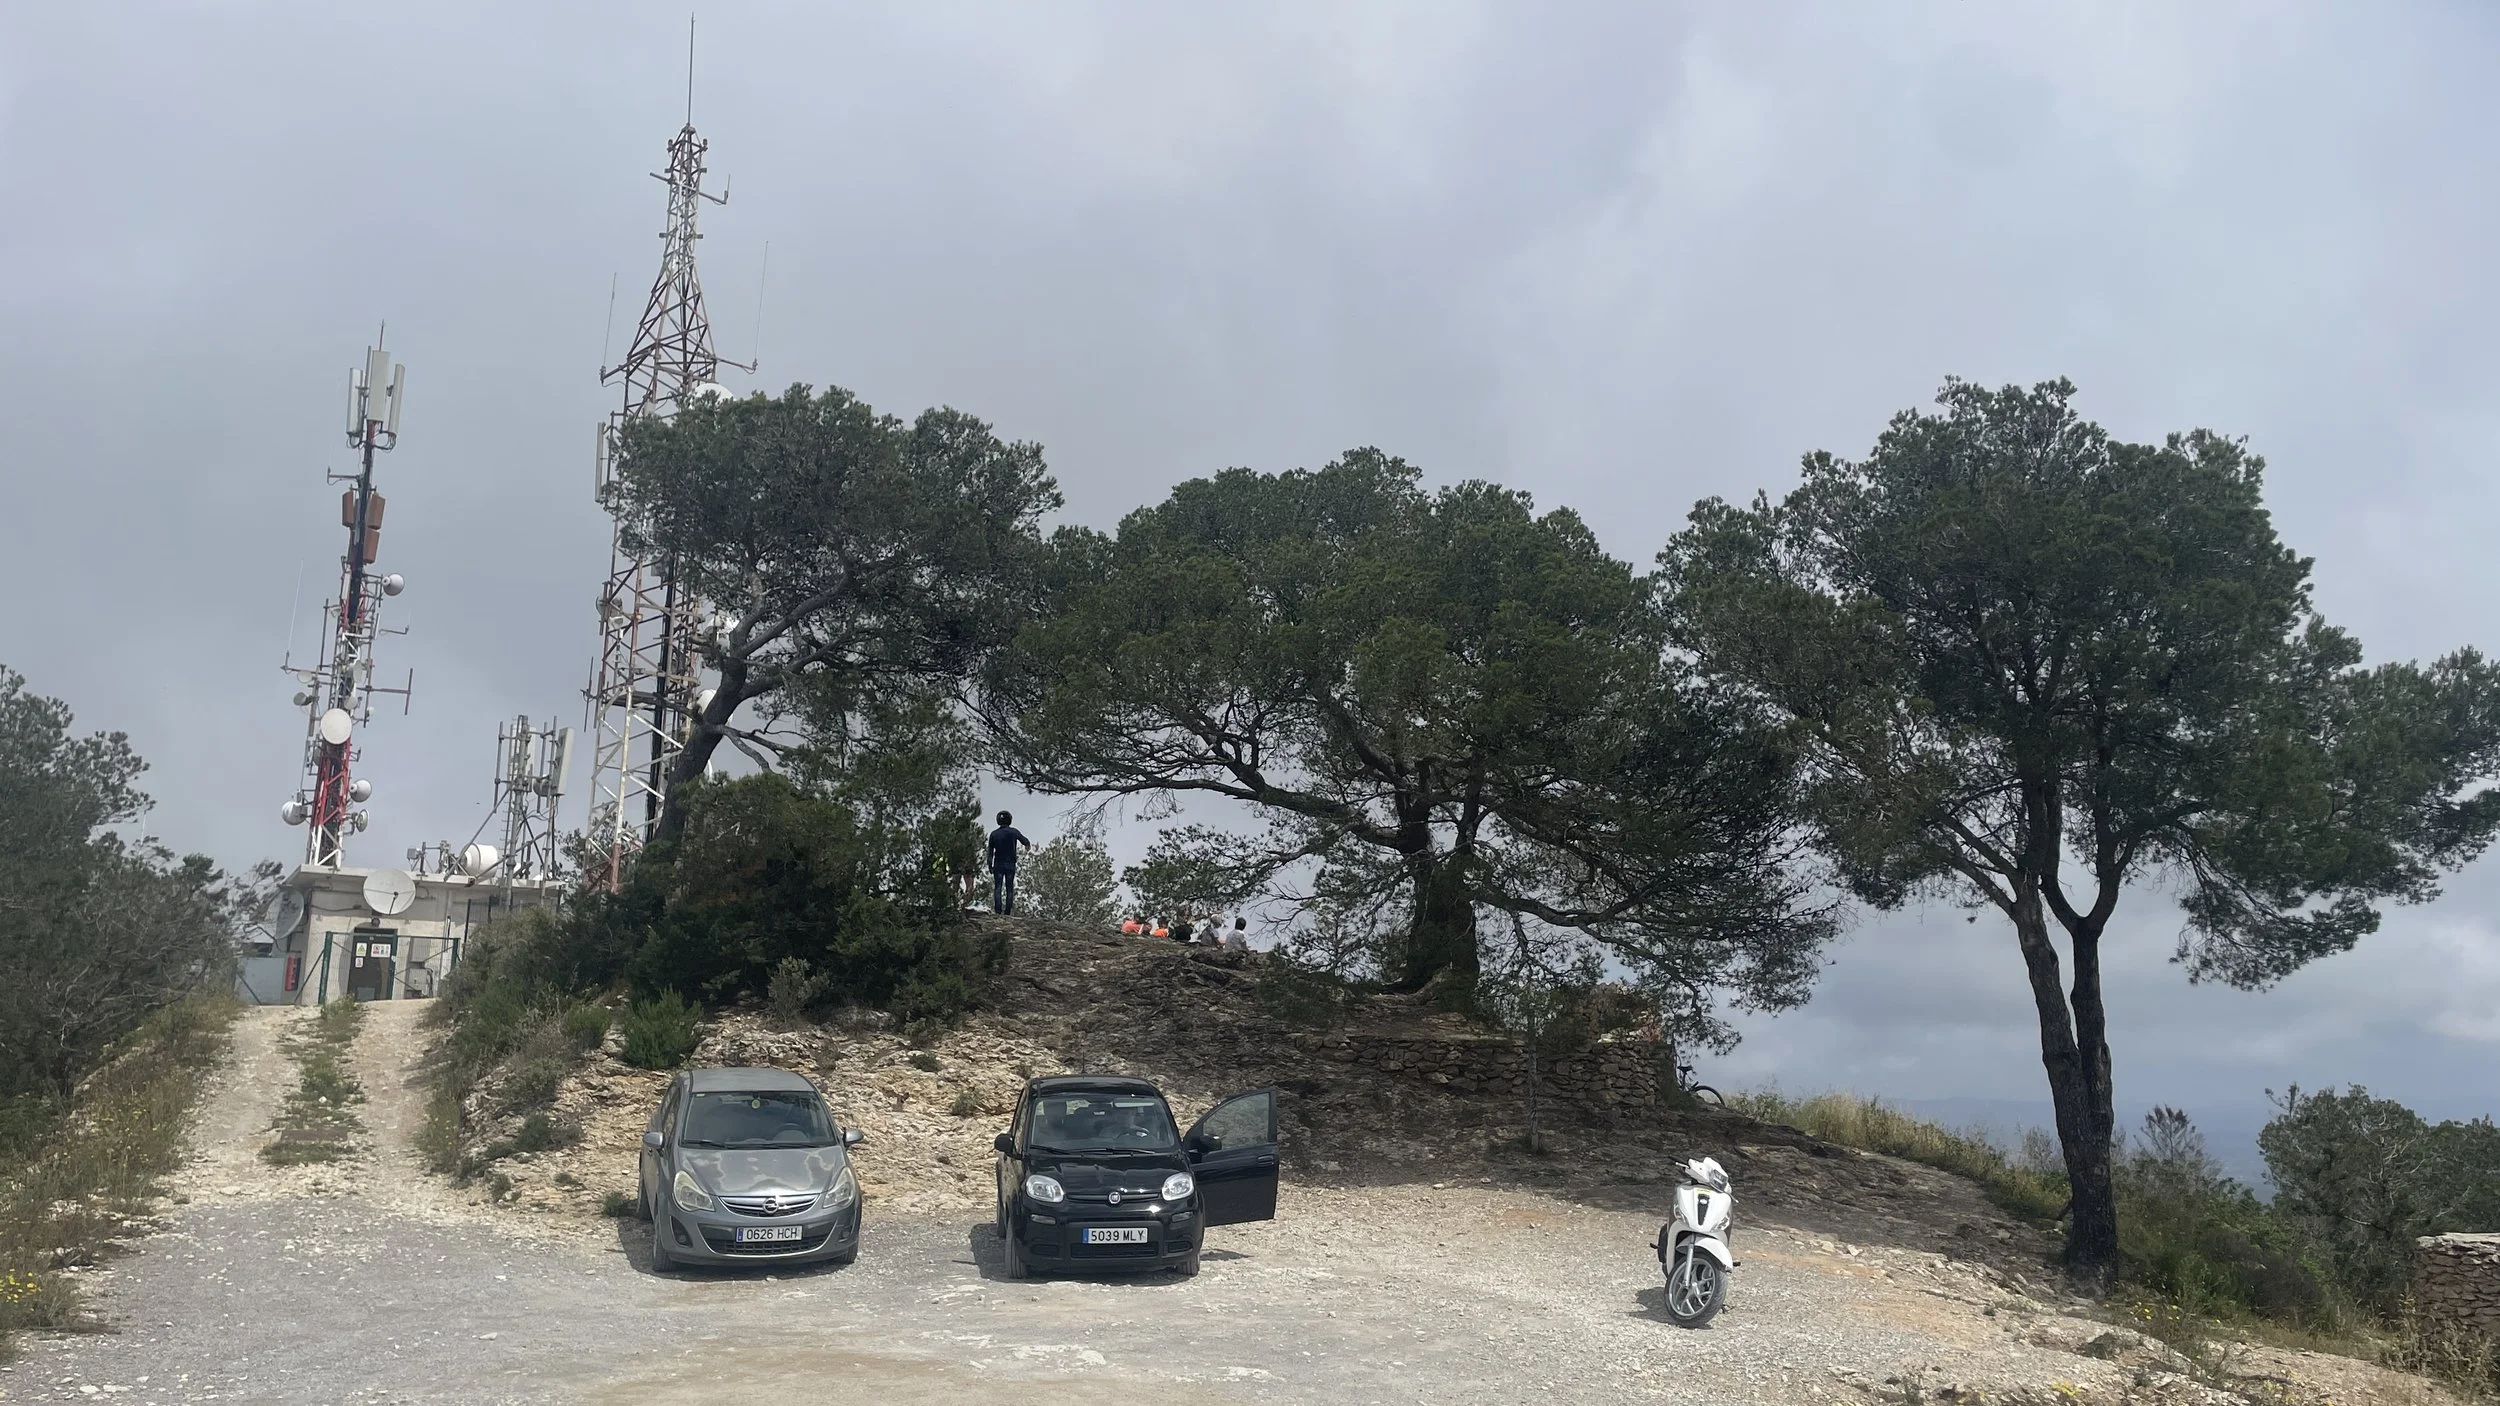
Keep heading up the hill and ignore any paths that branch off to the left. At around 1.8 kilometres from the car park, you will reach a fork in the path. We took the right-hand fork, climbing steeply in a northerly direction.
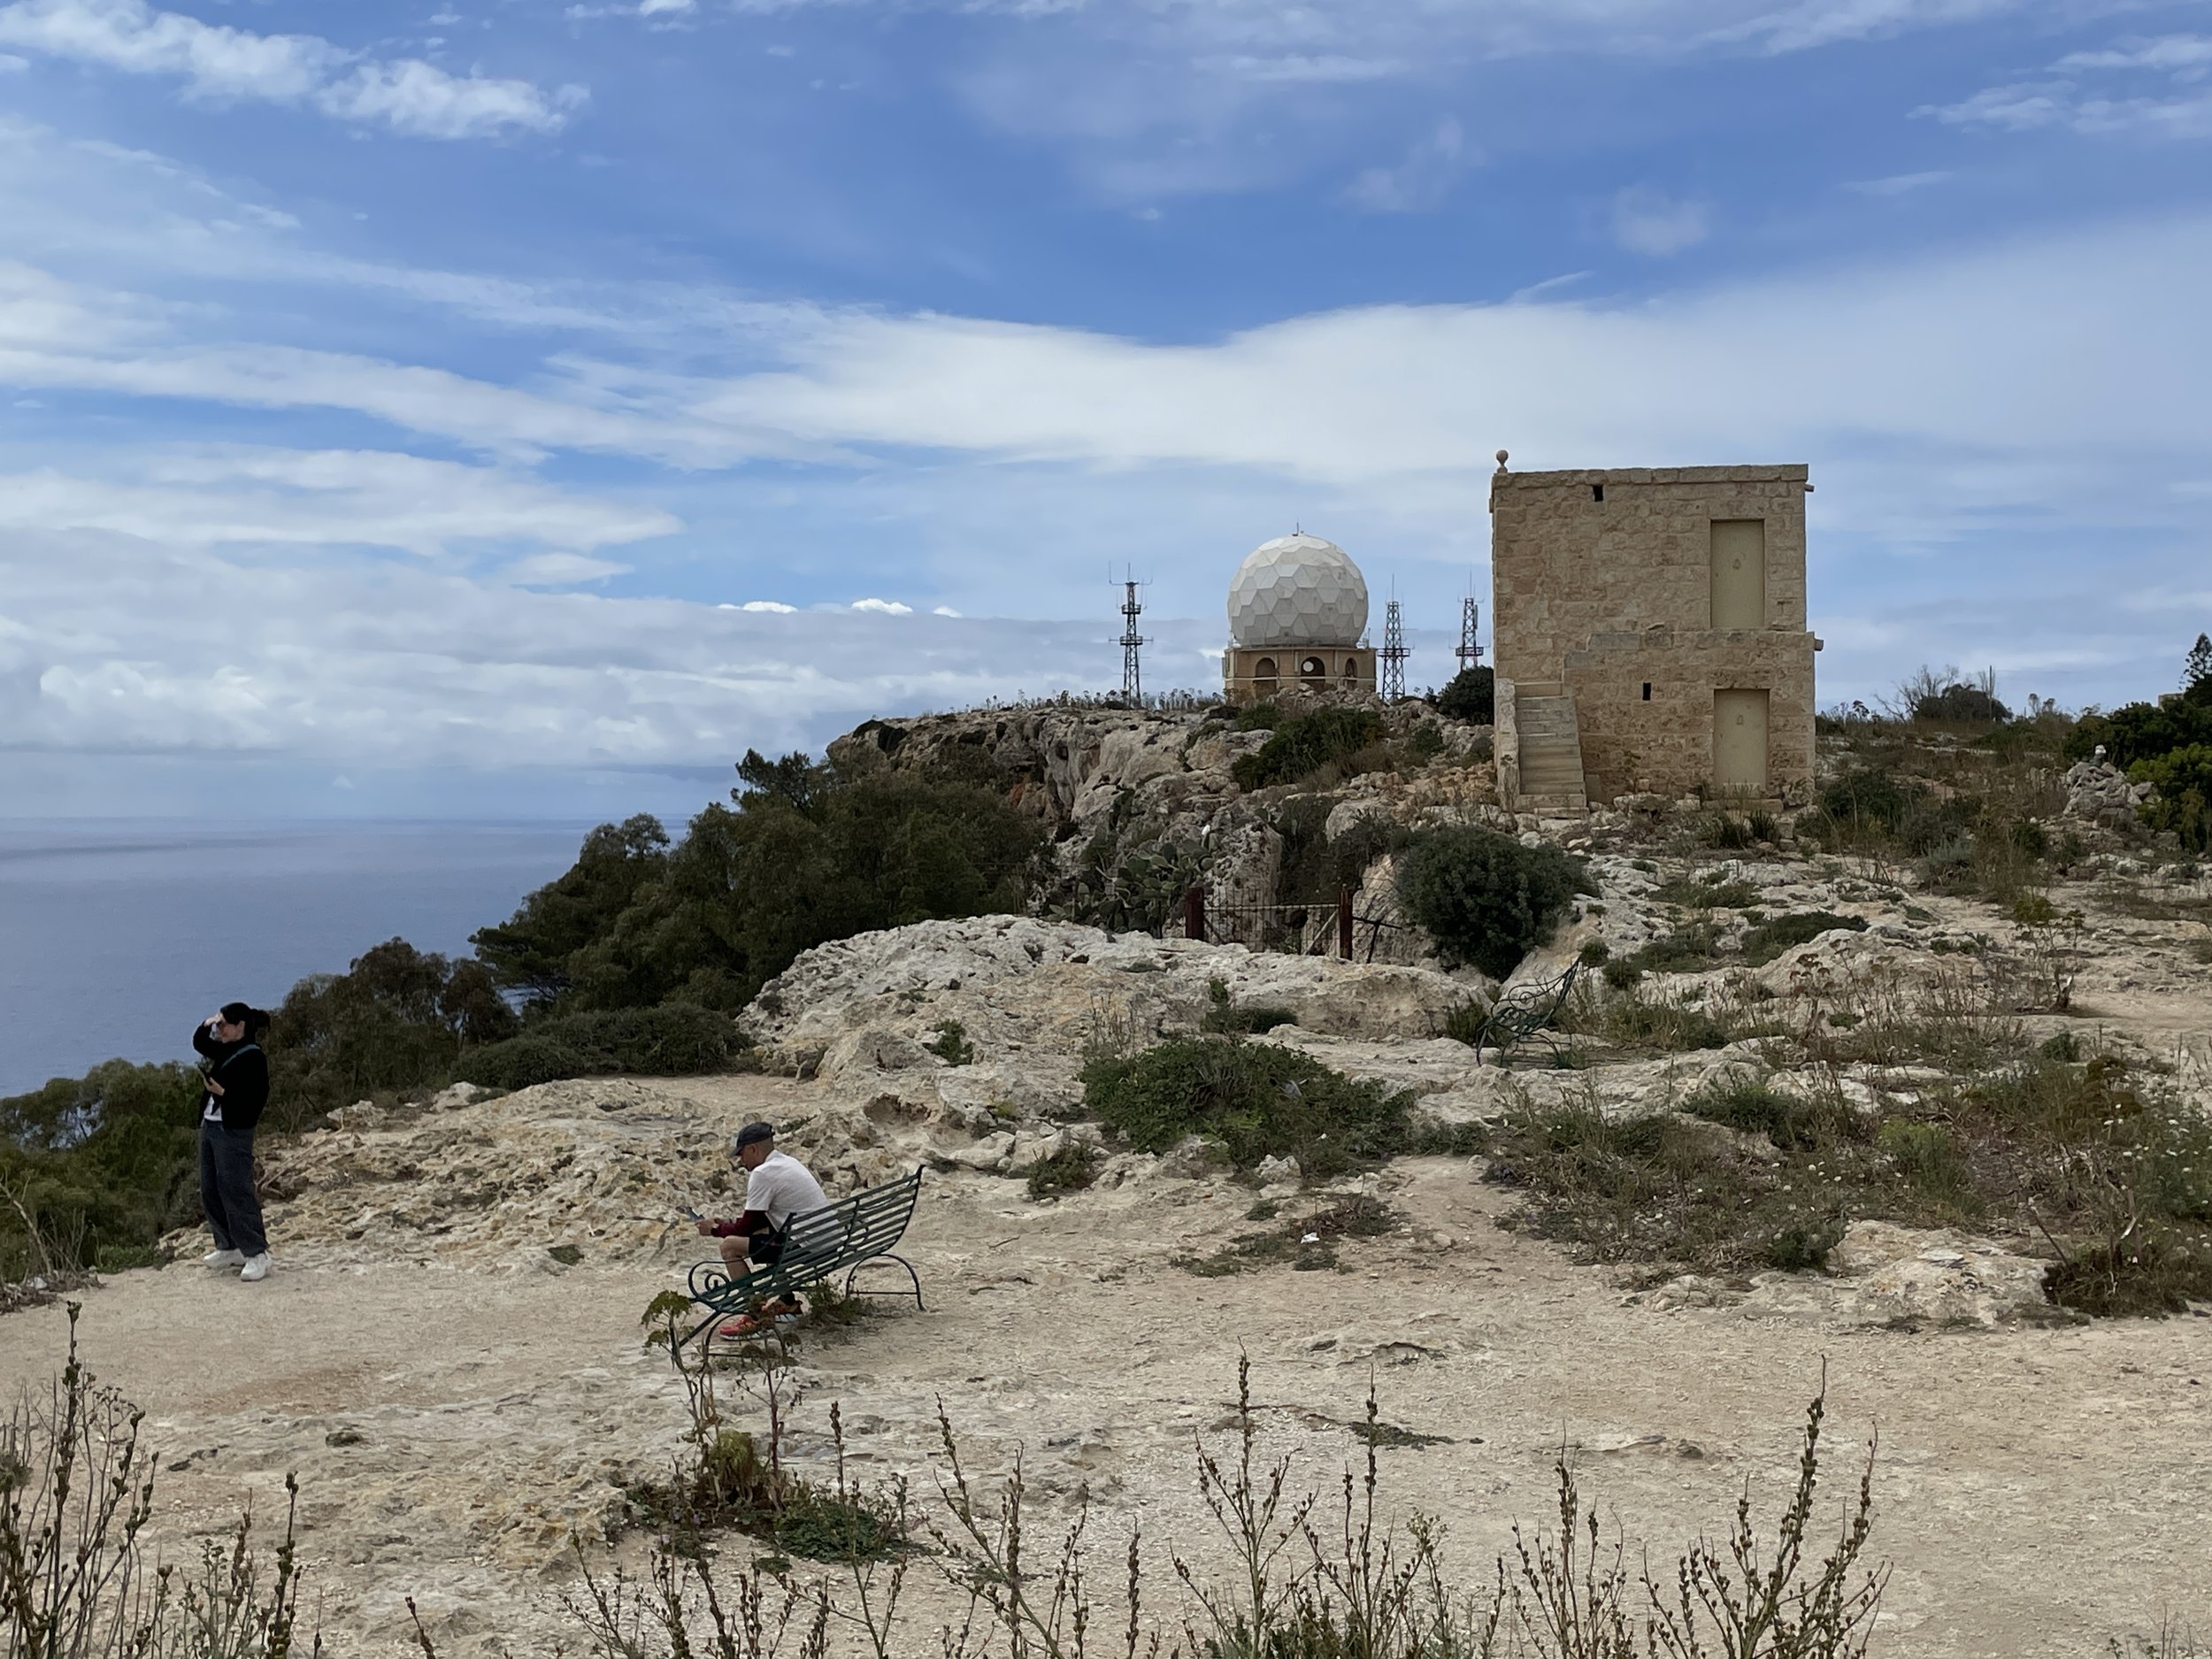
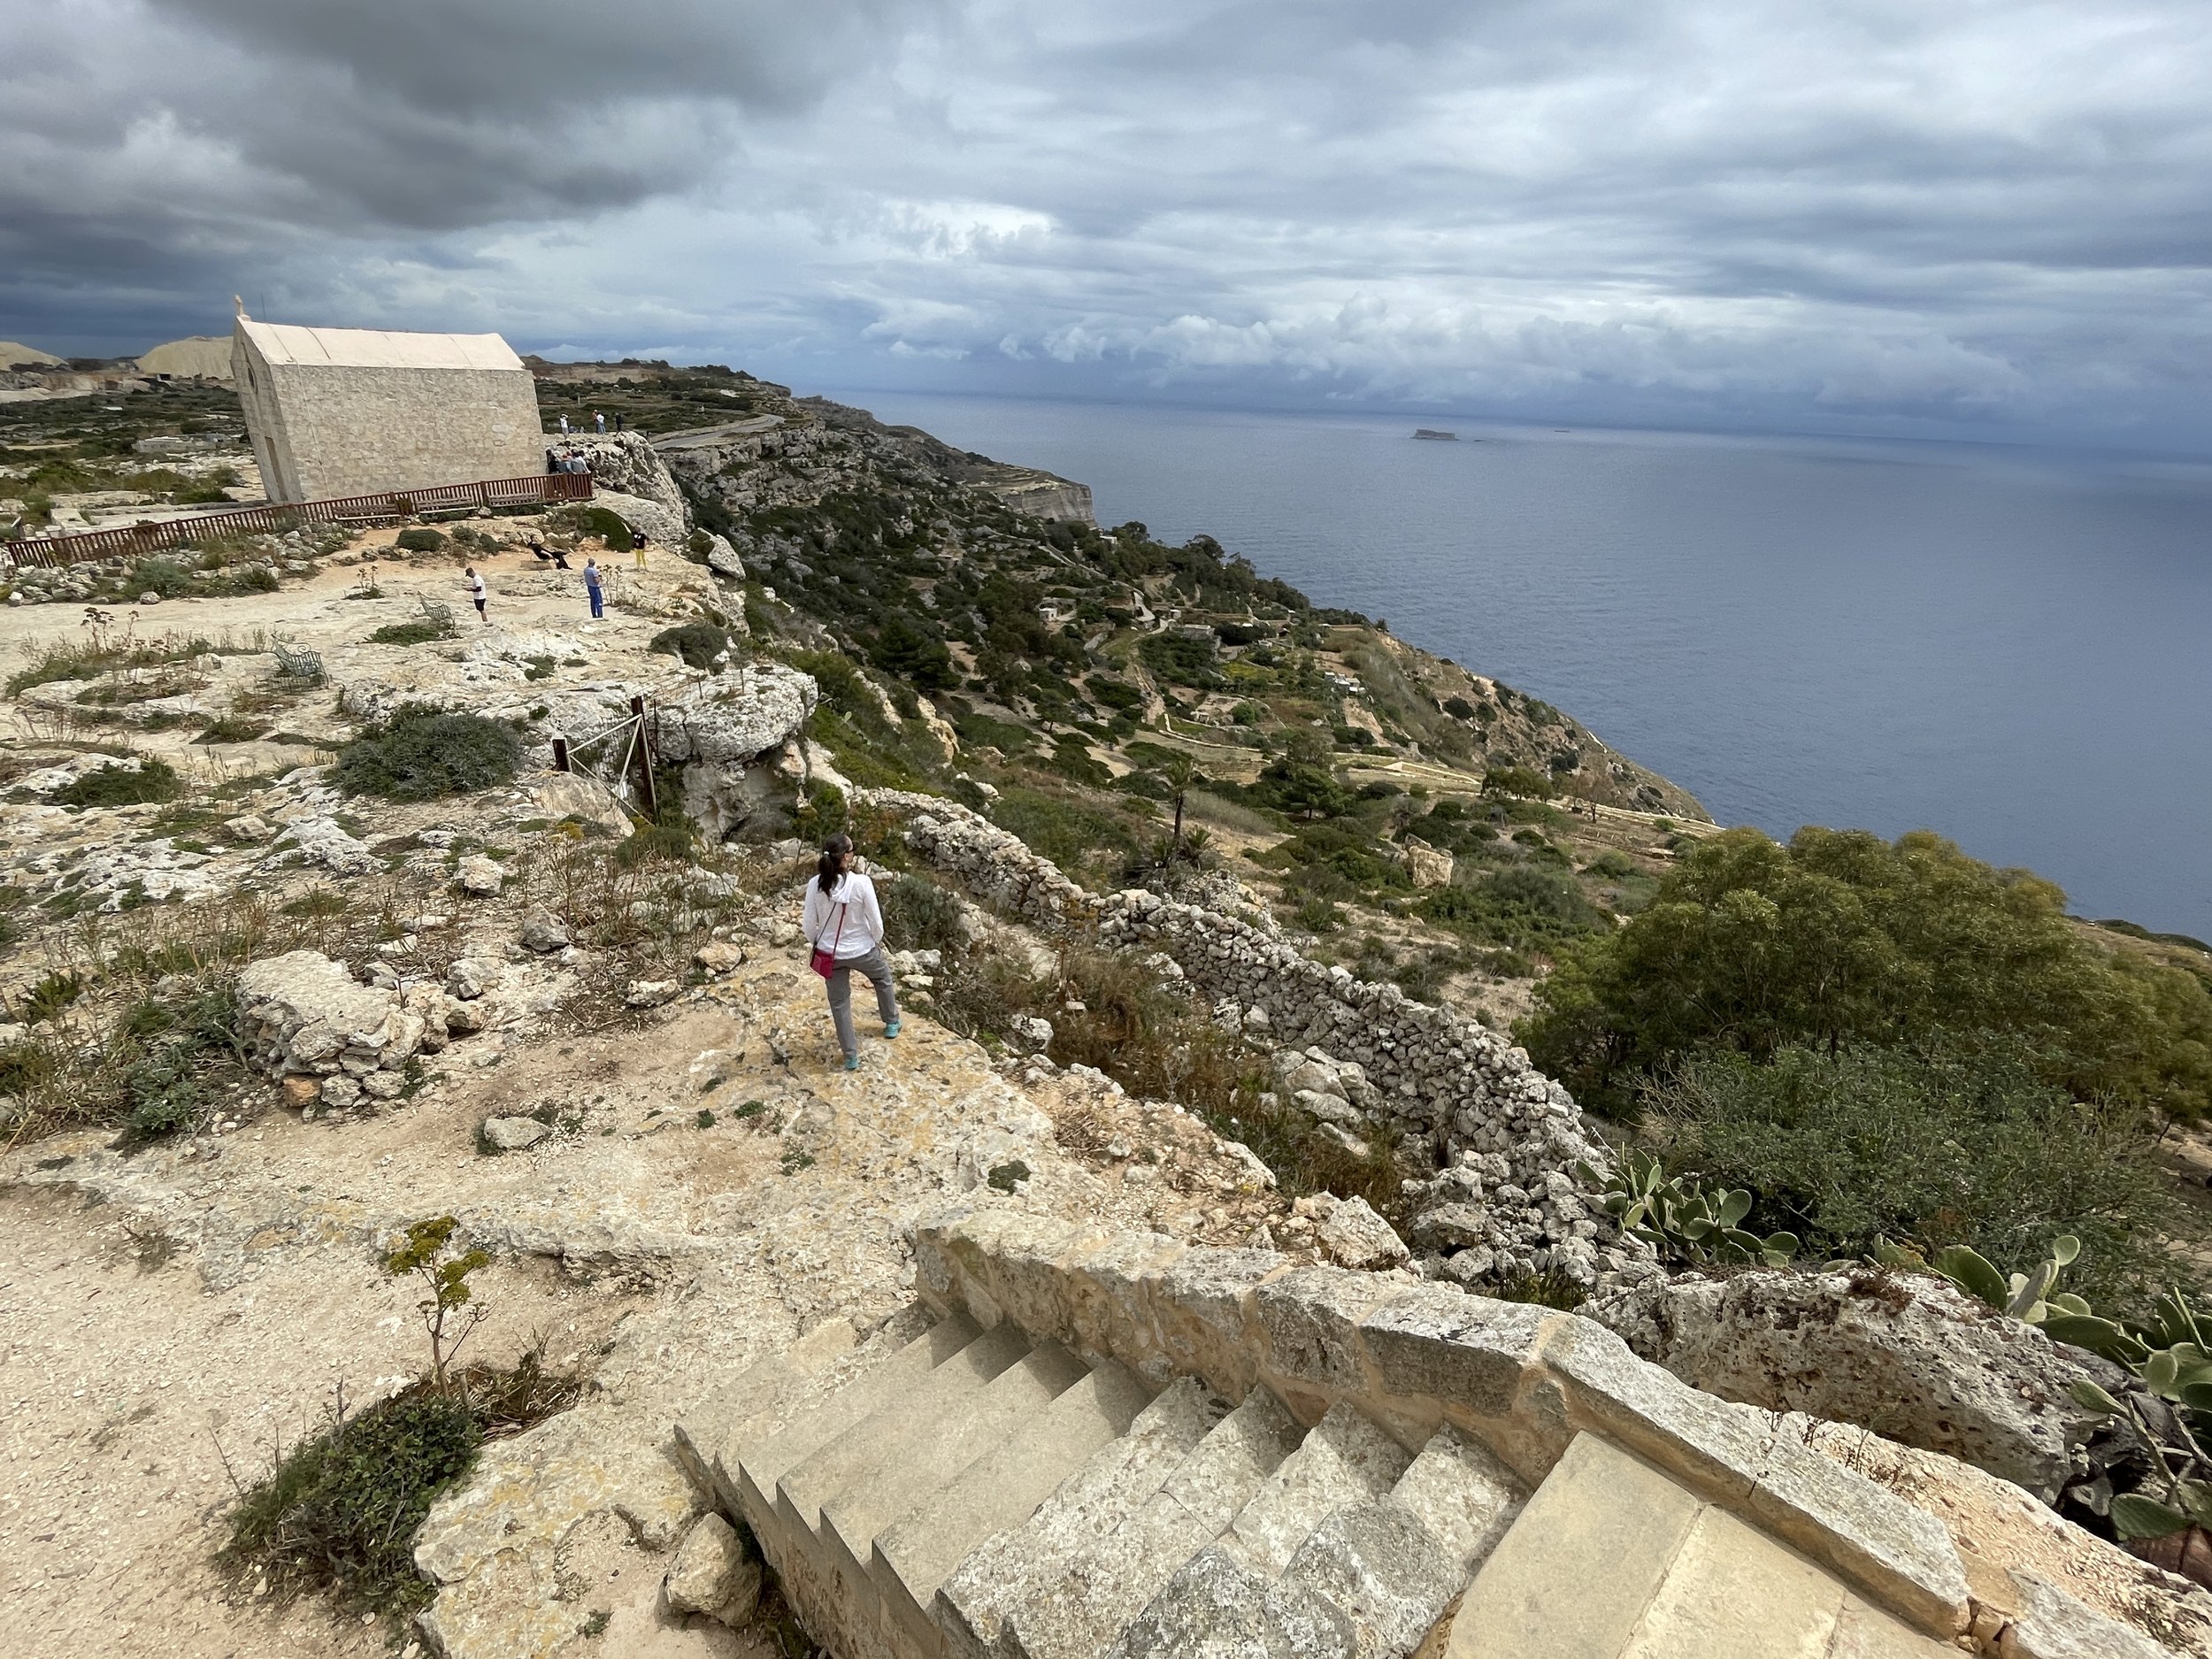
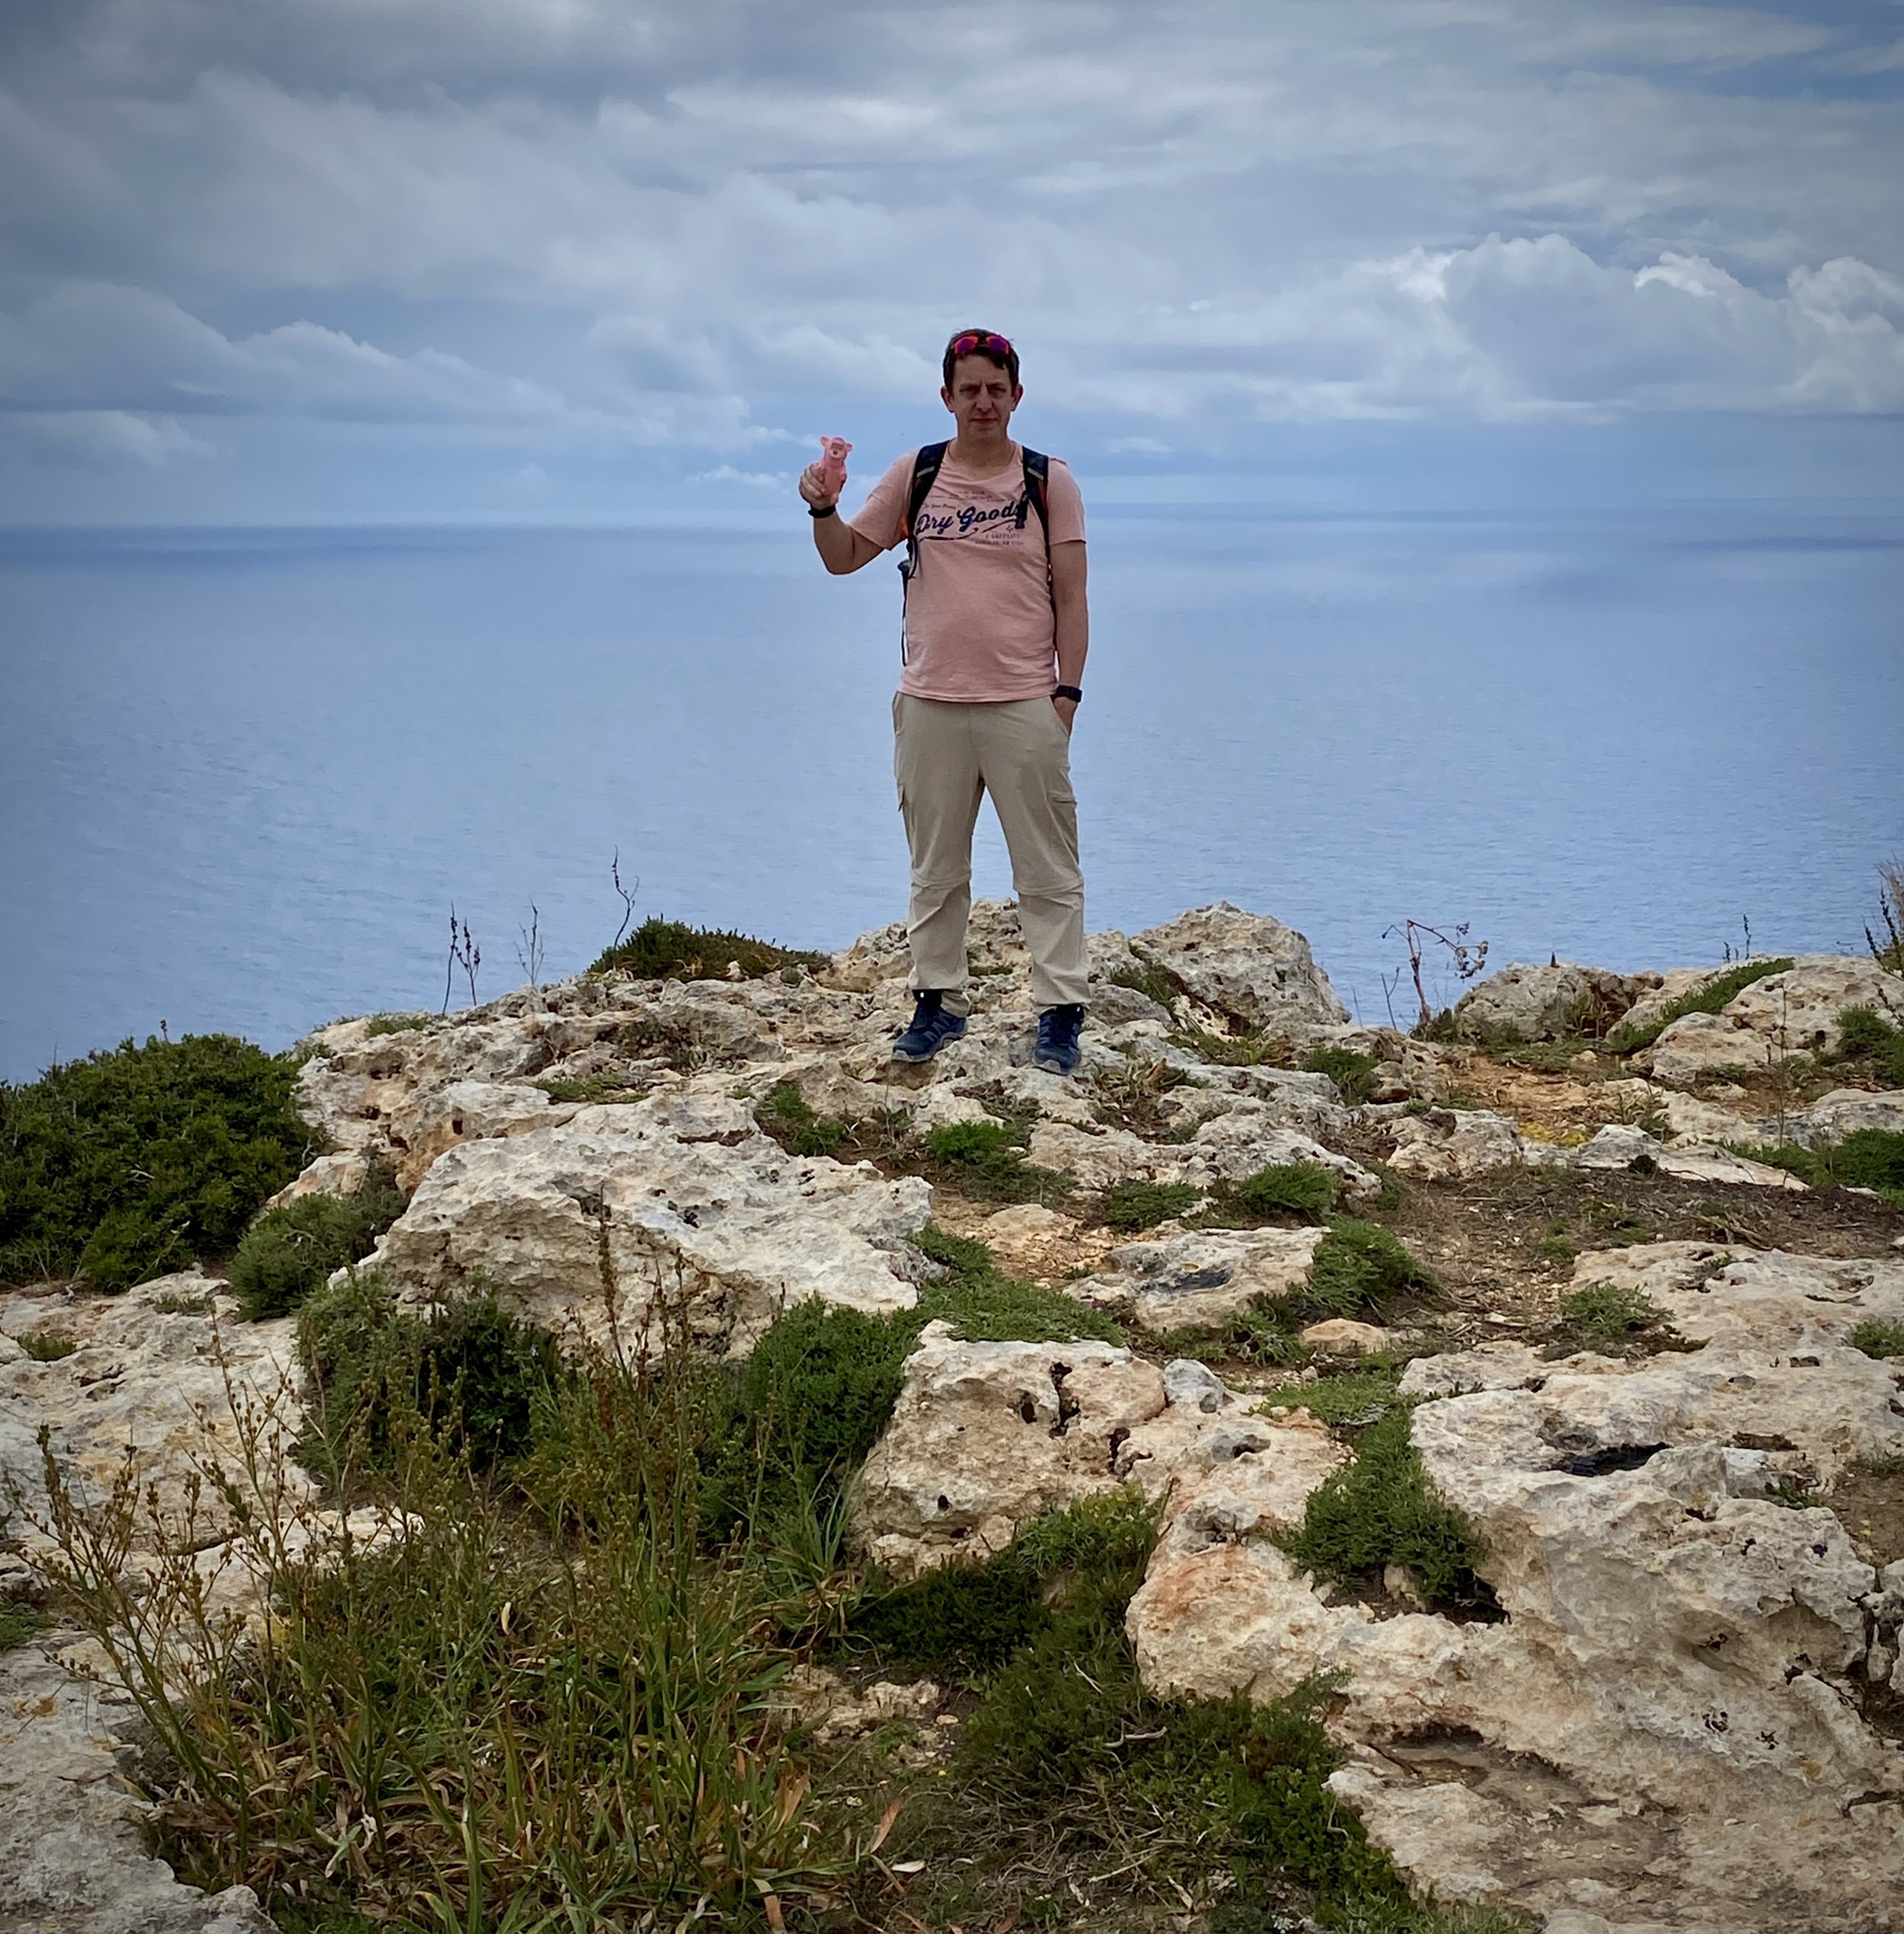
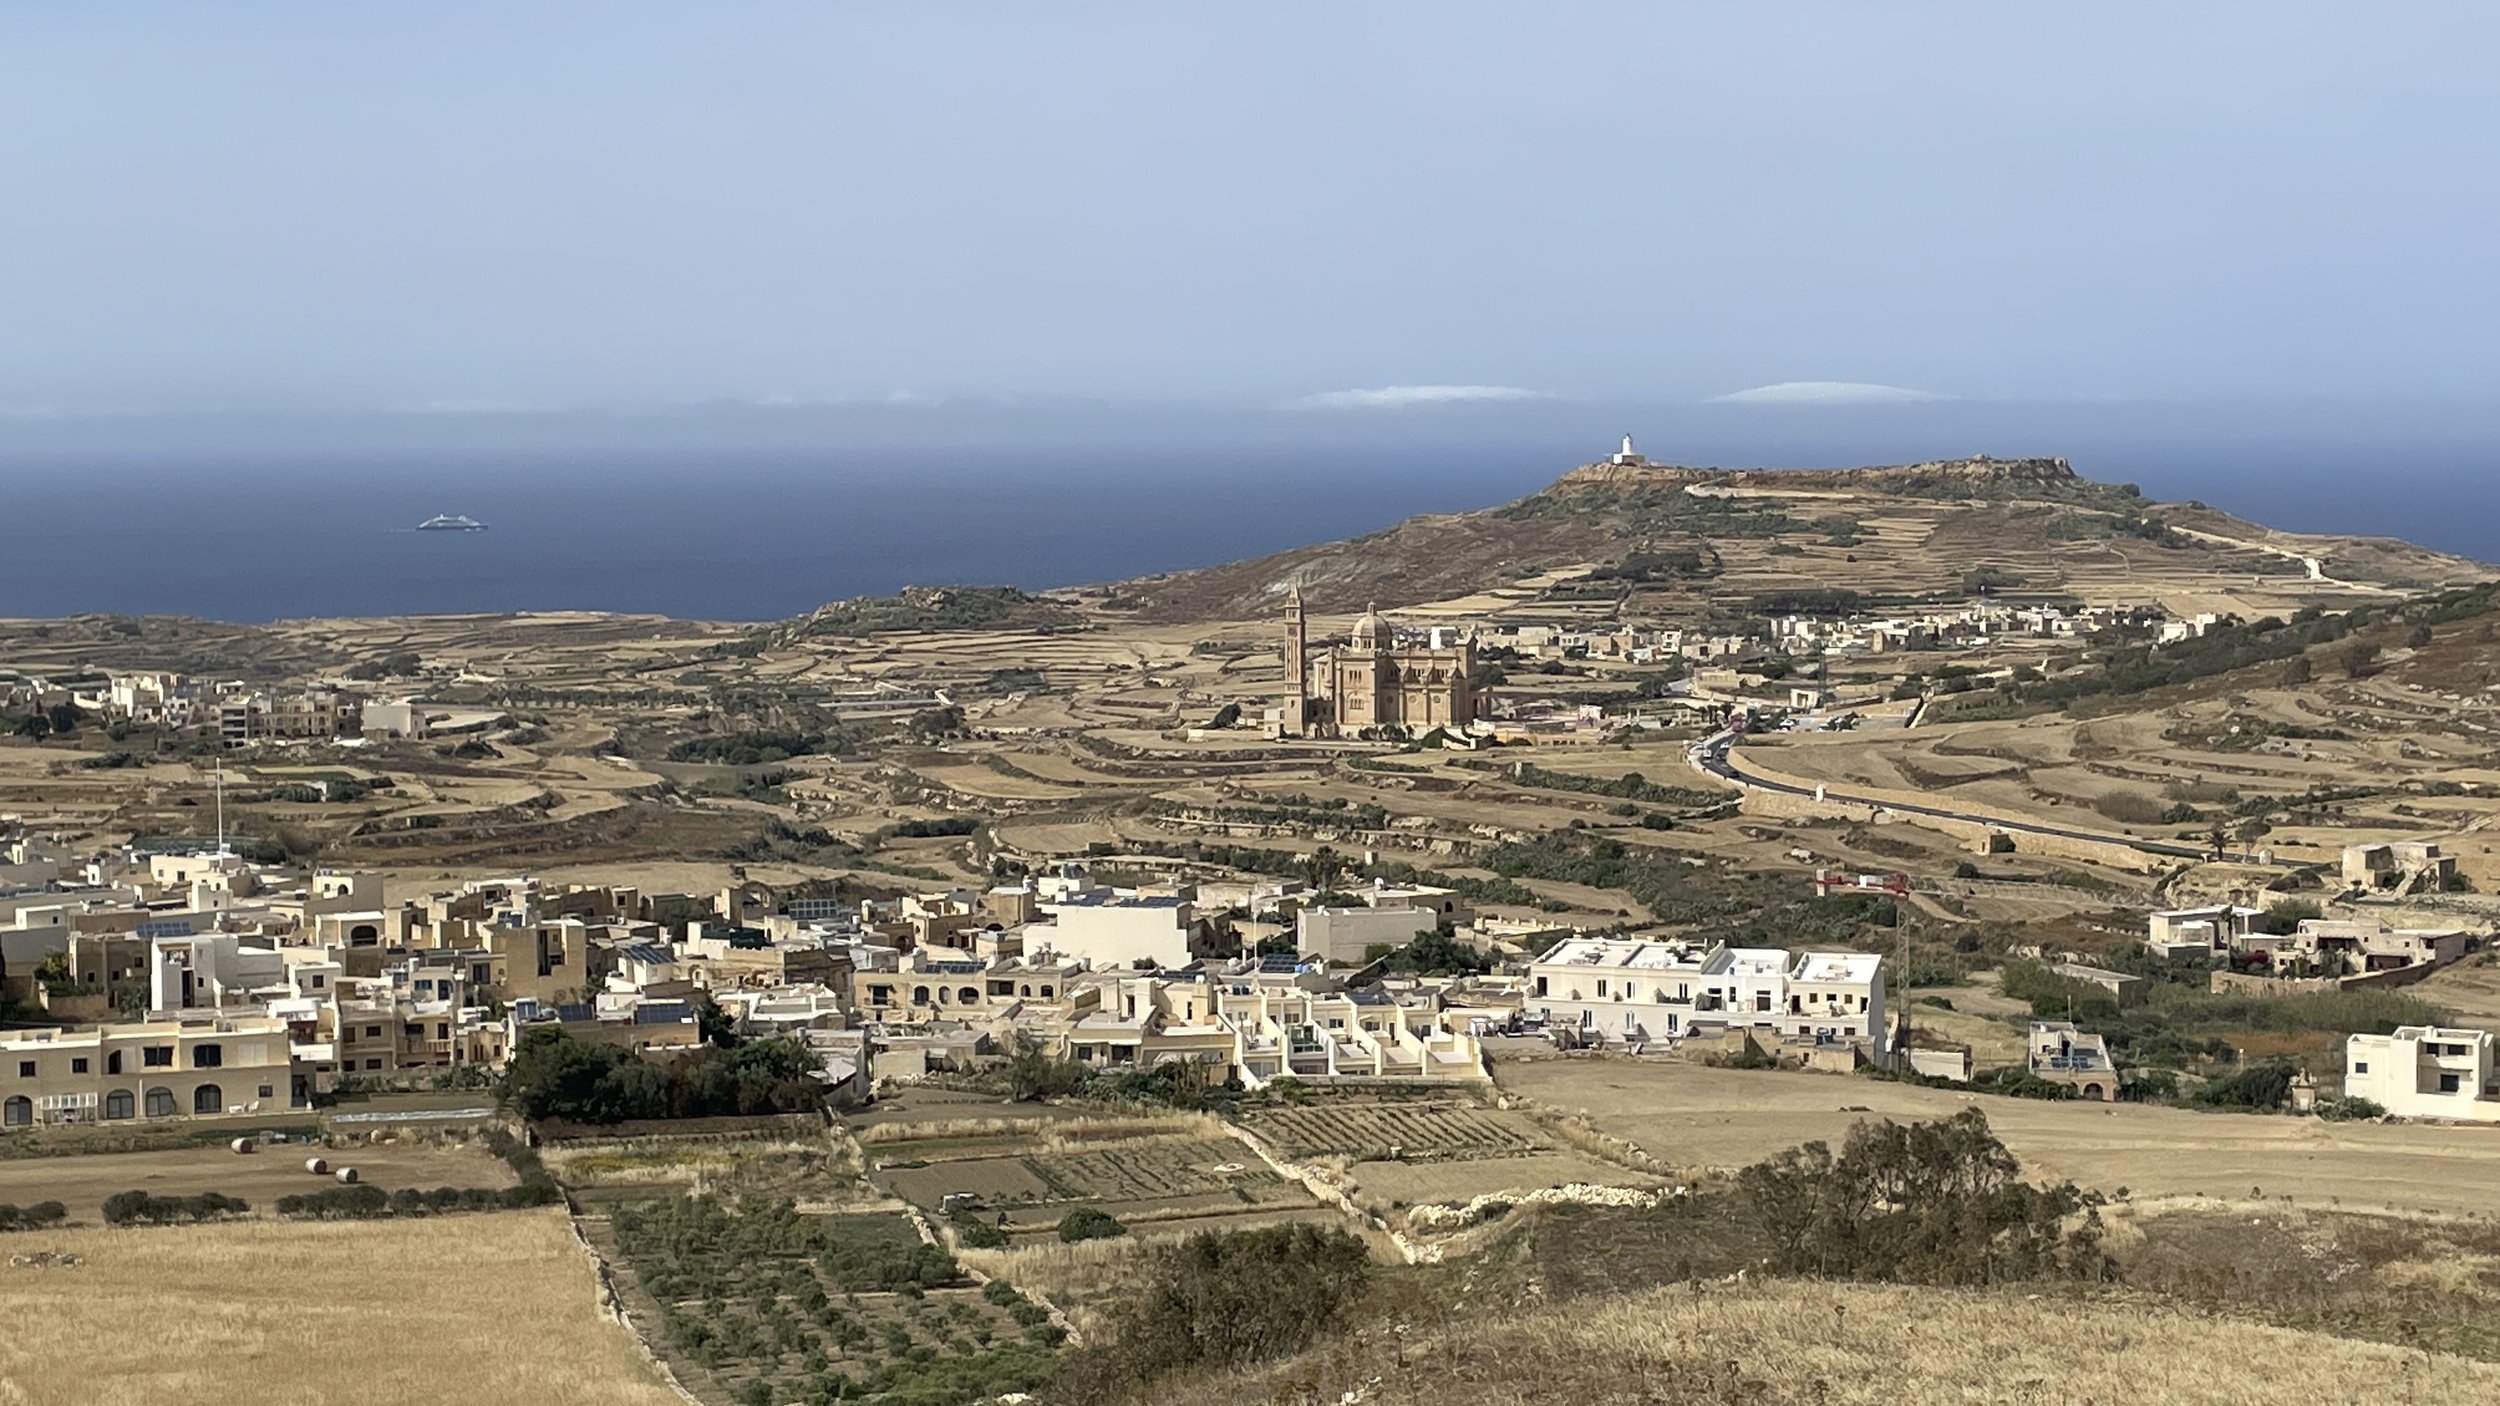
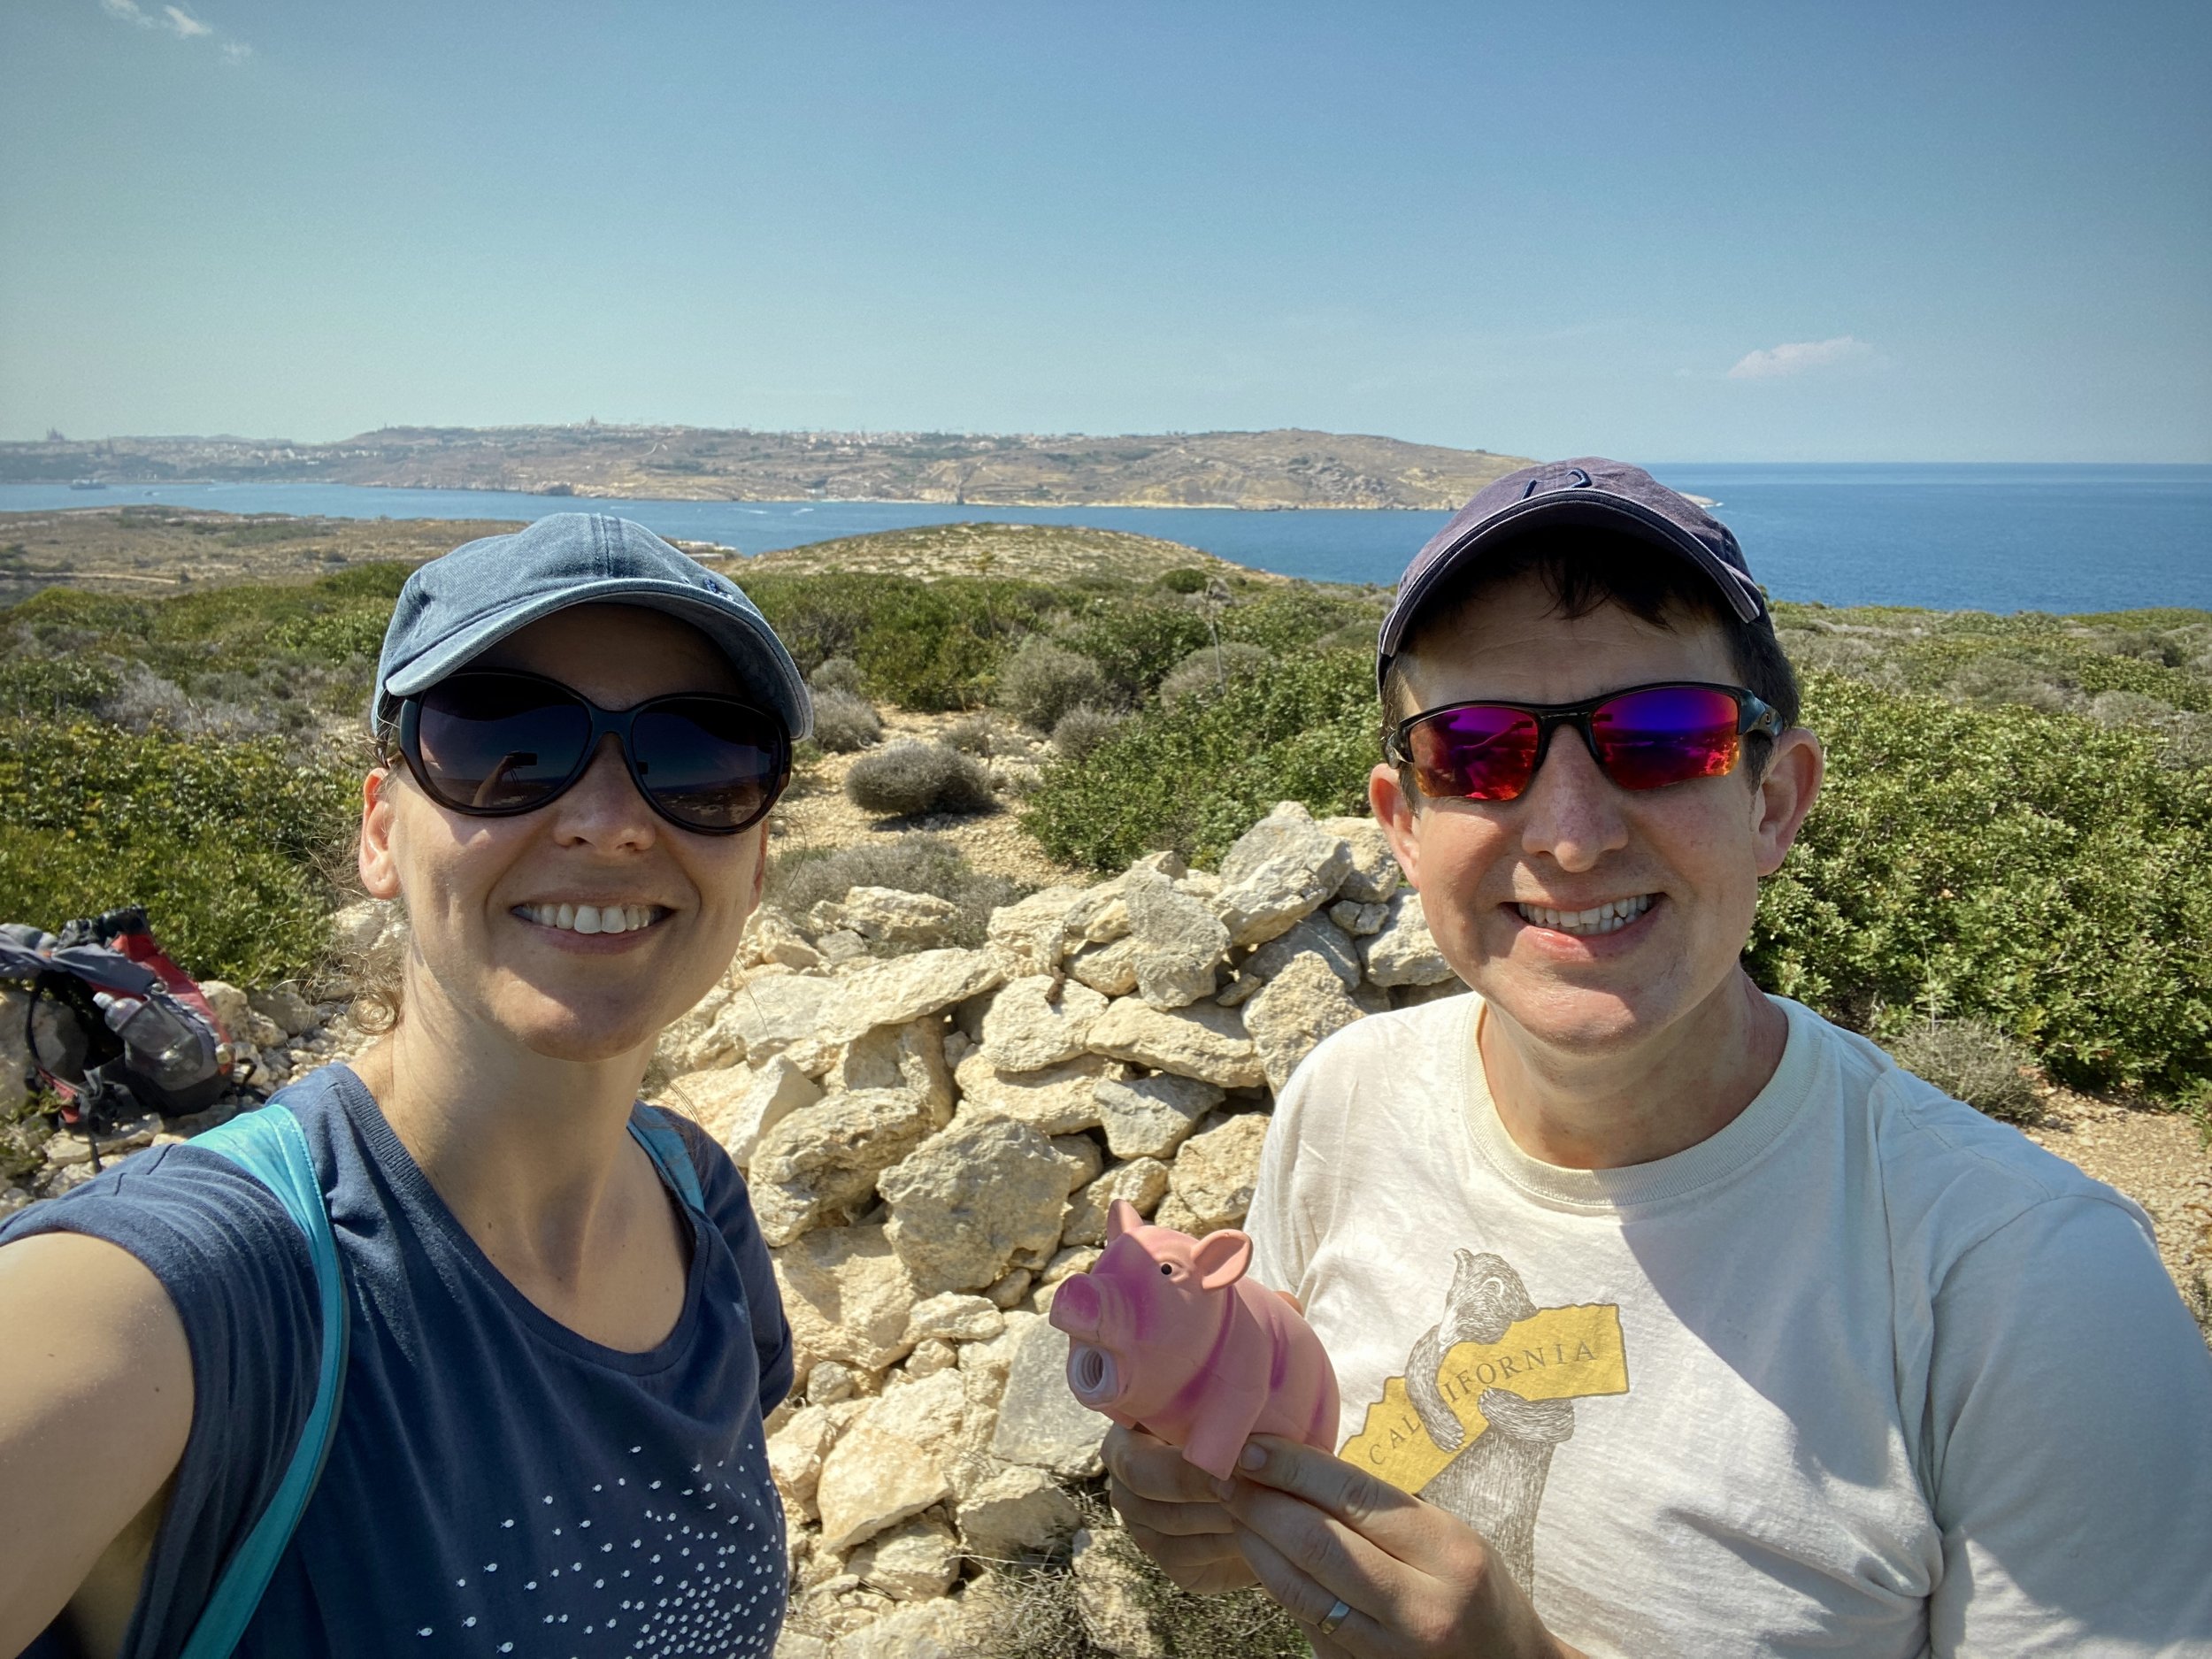
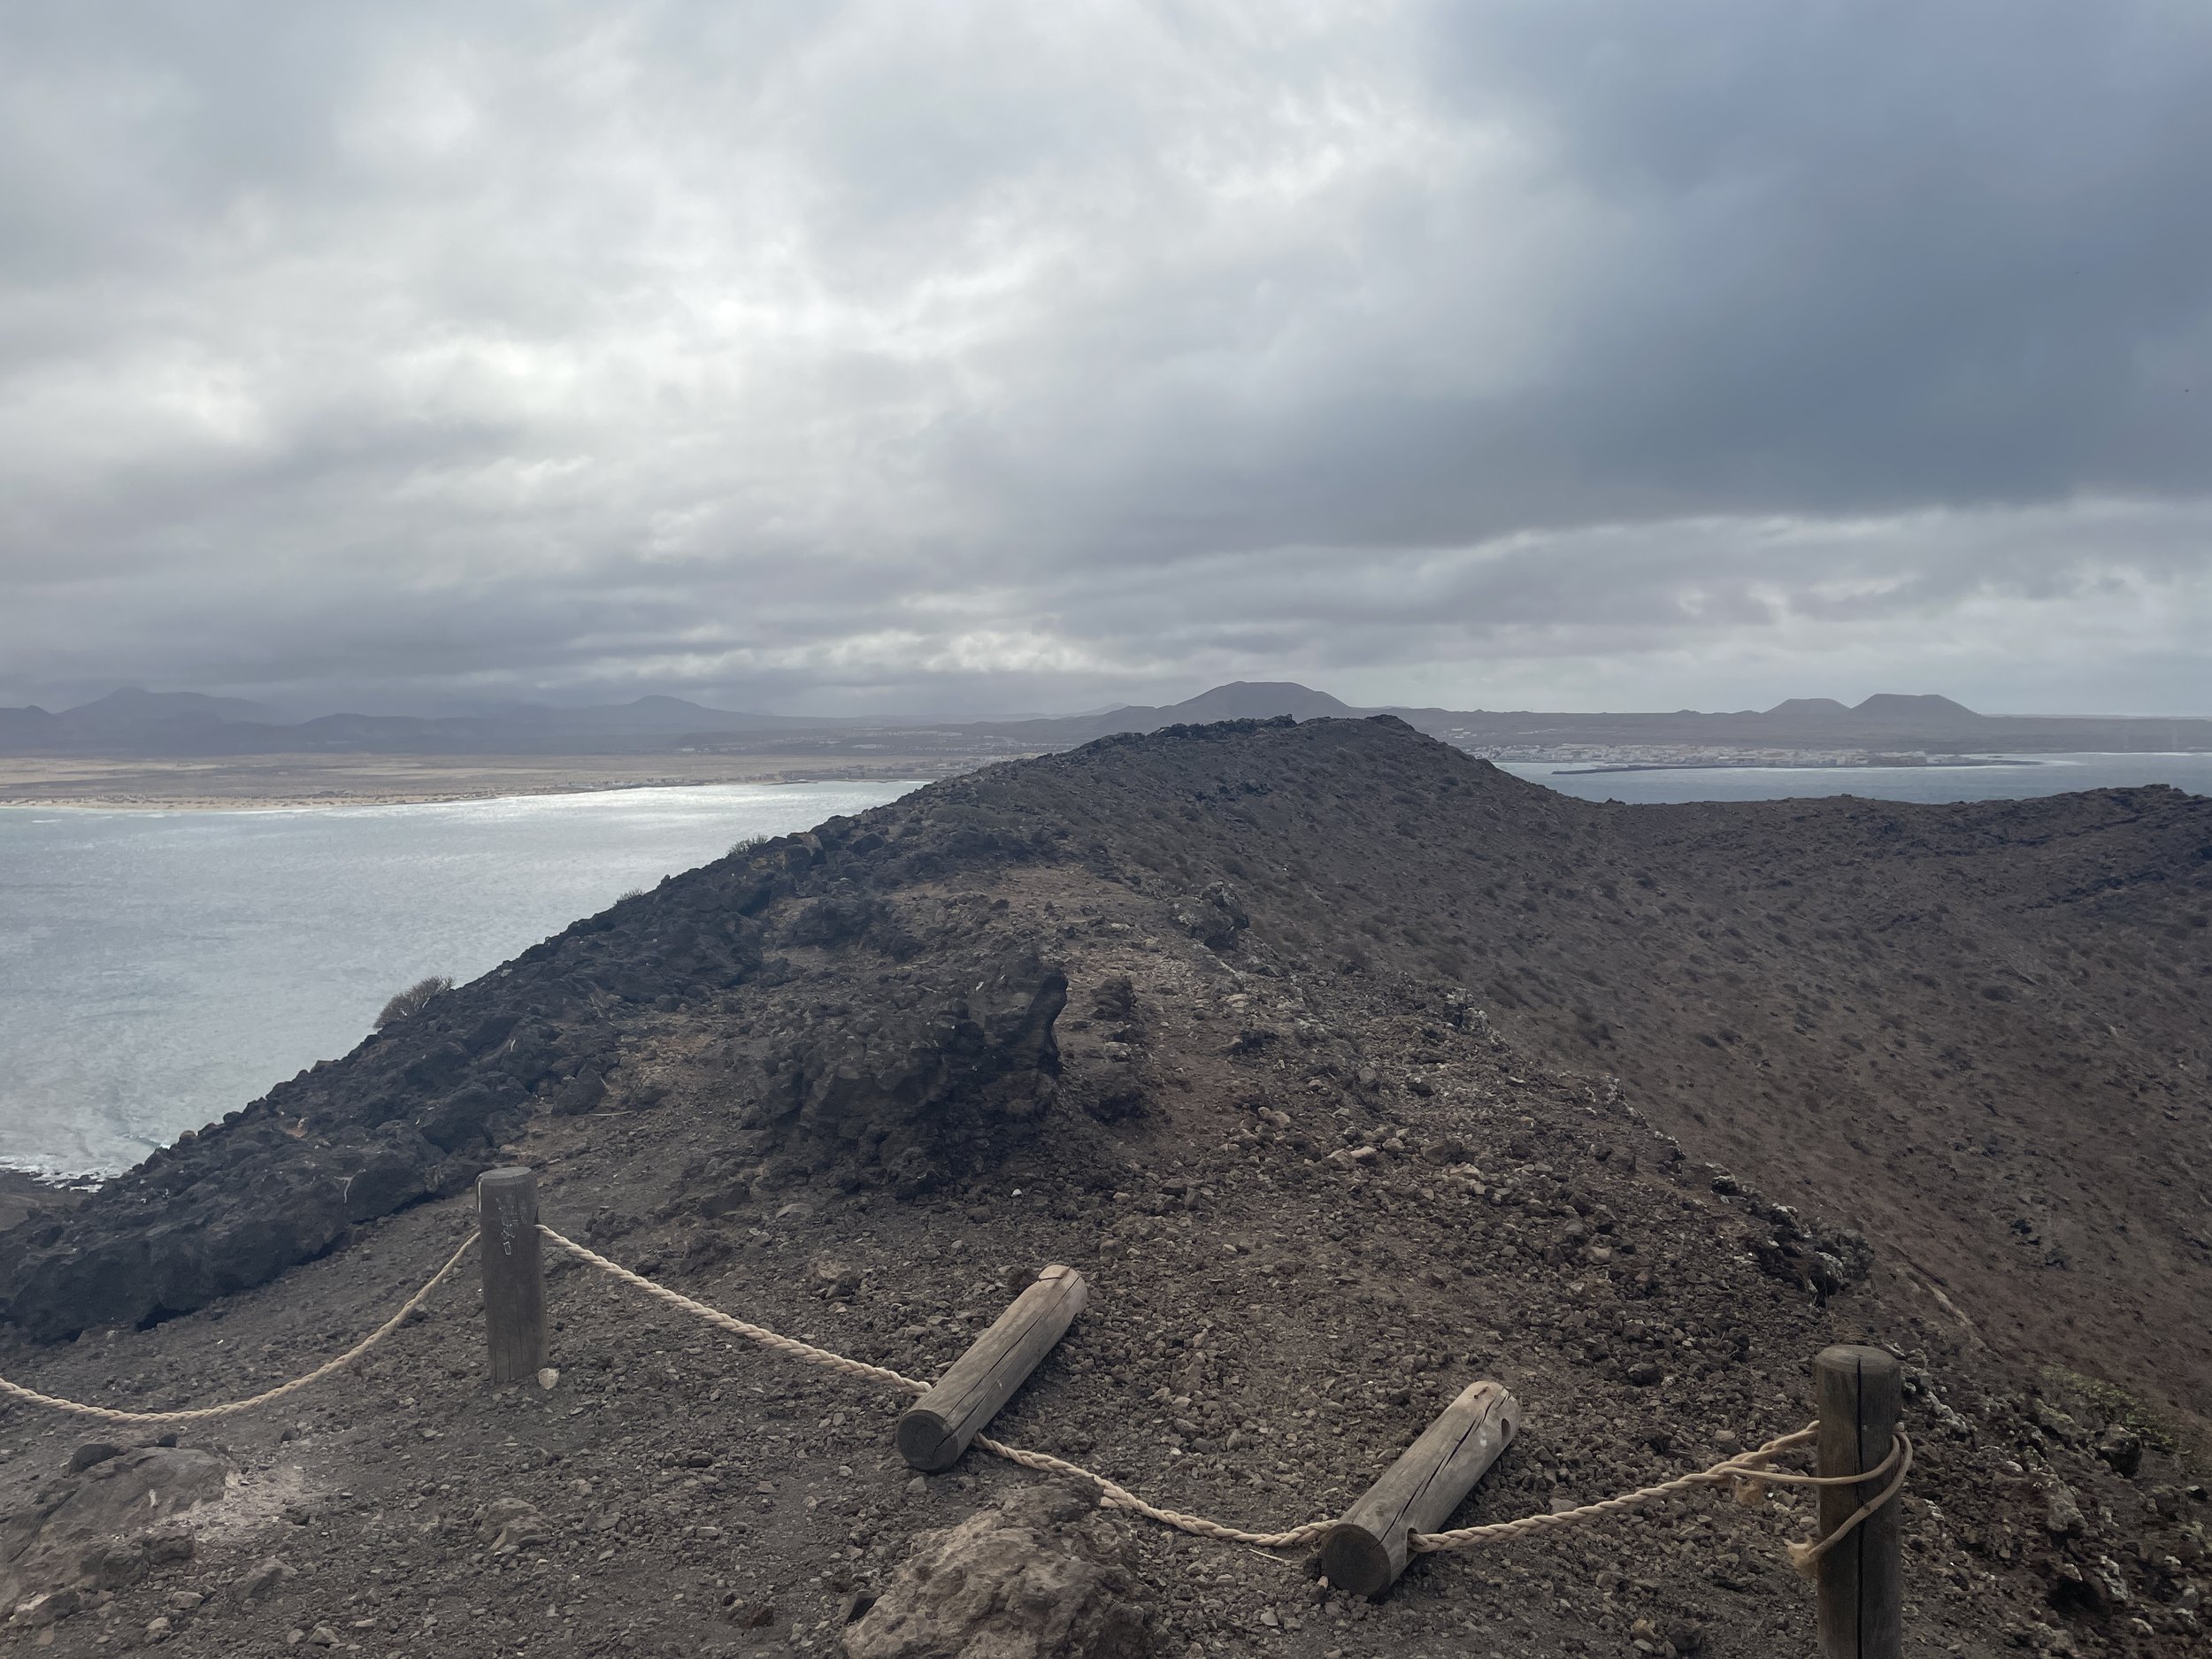
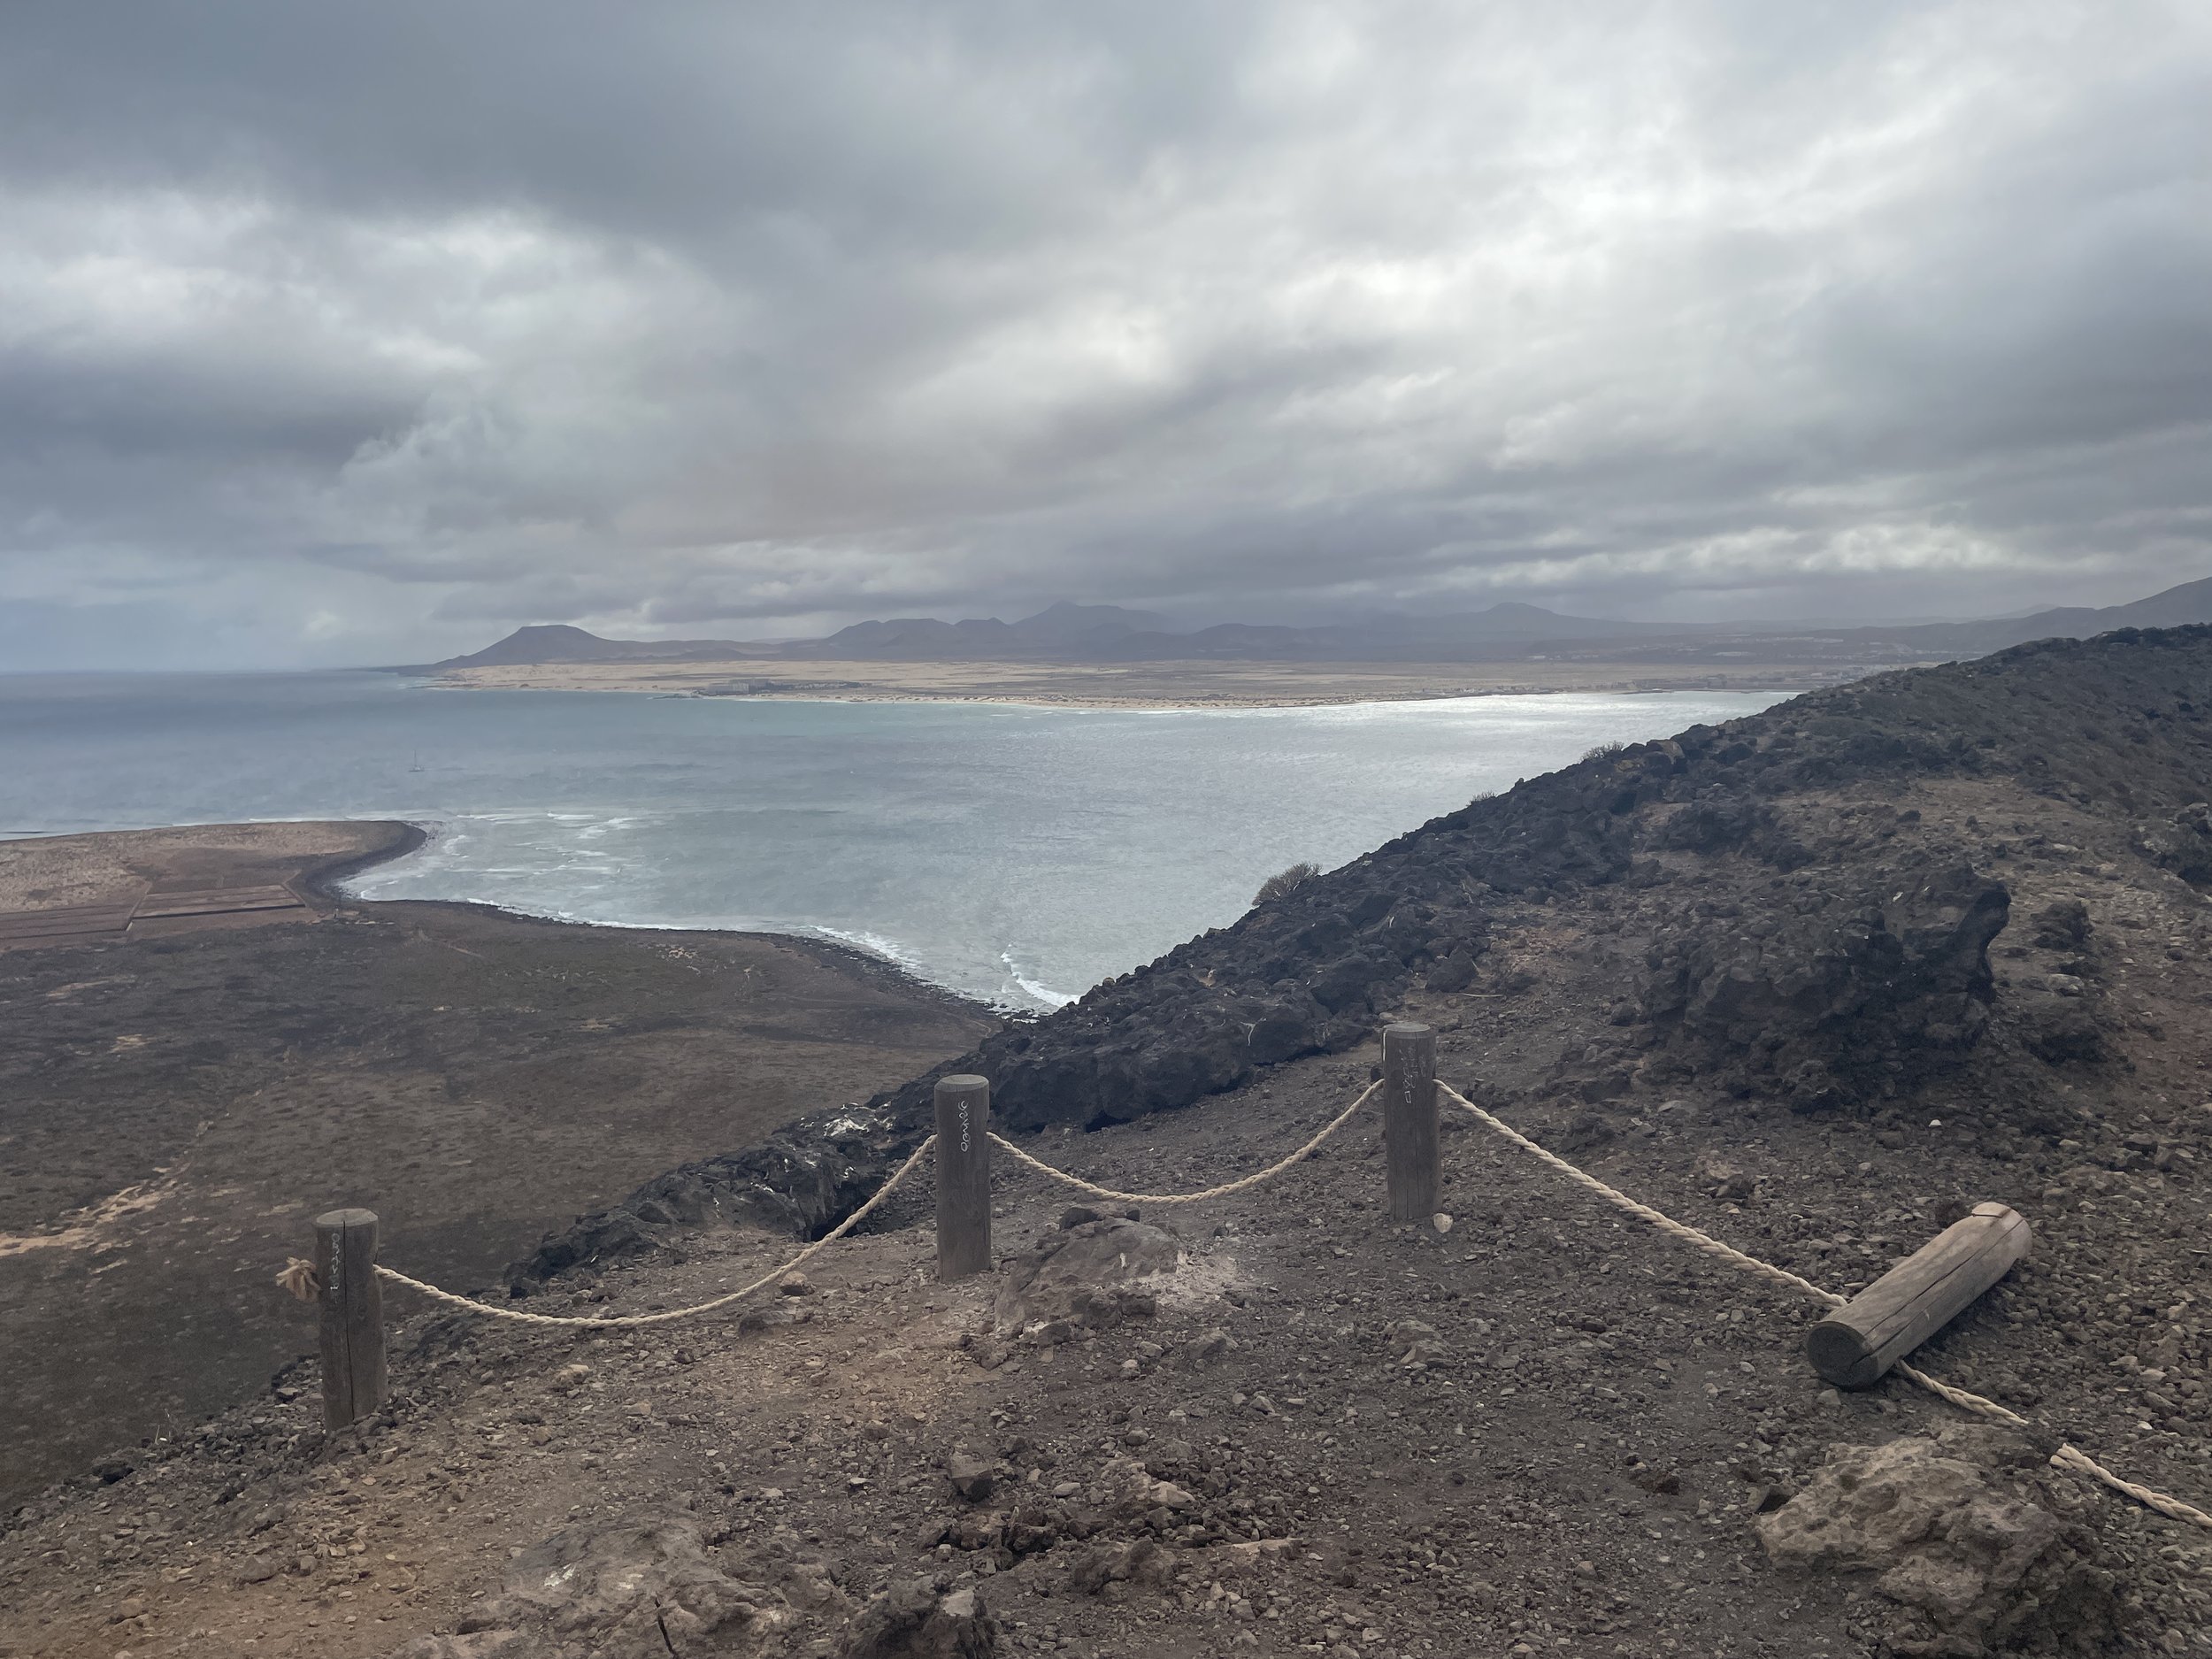
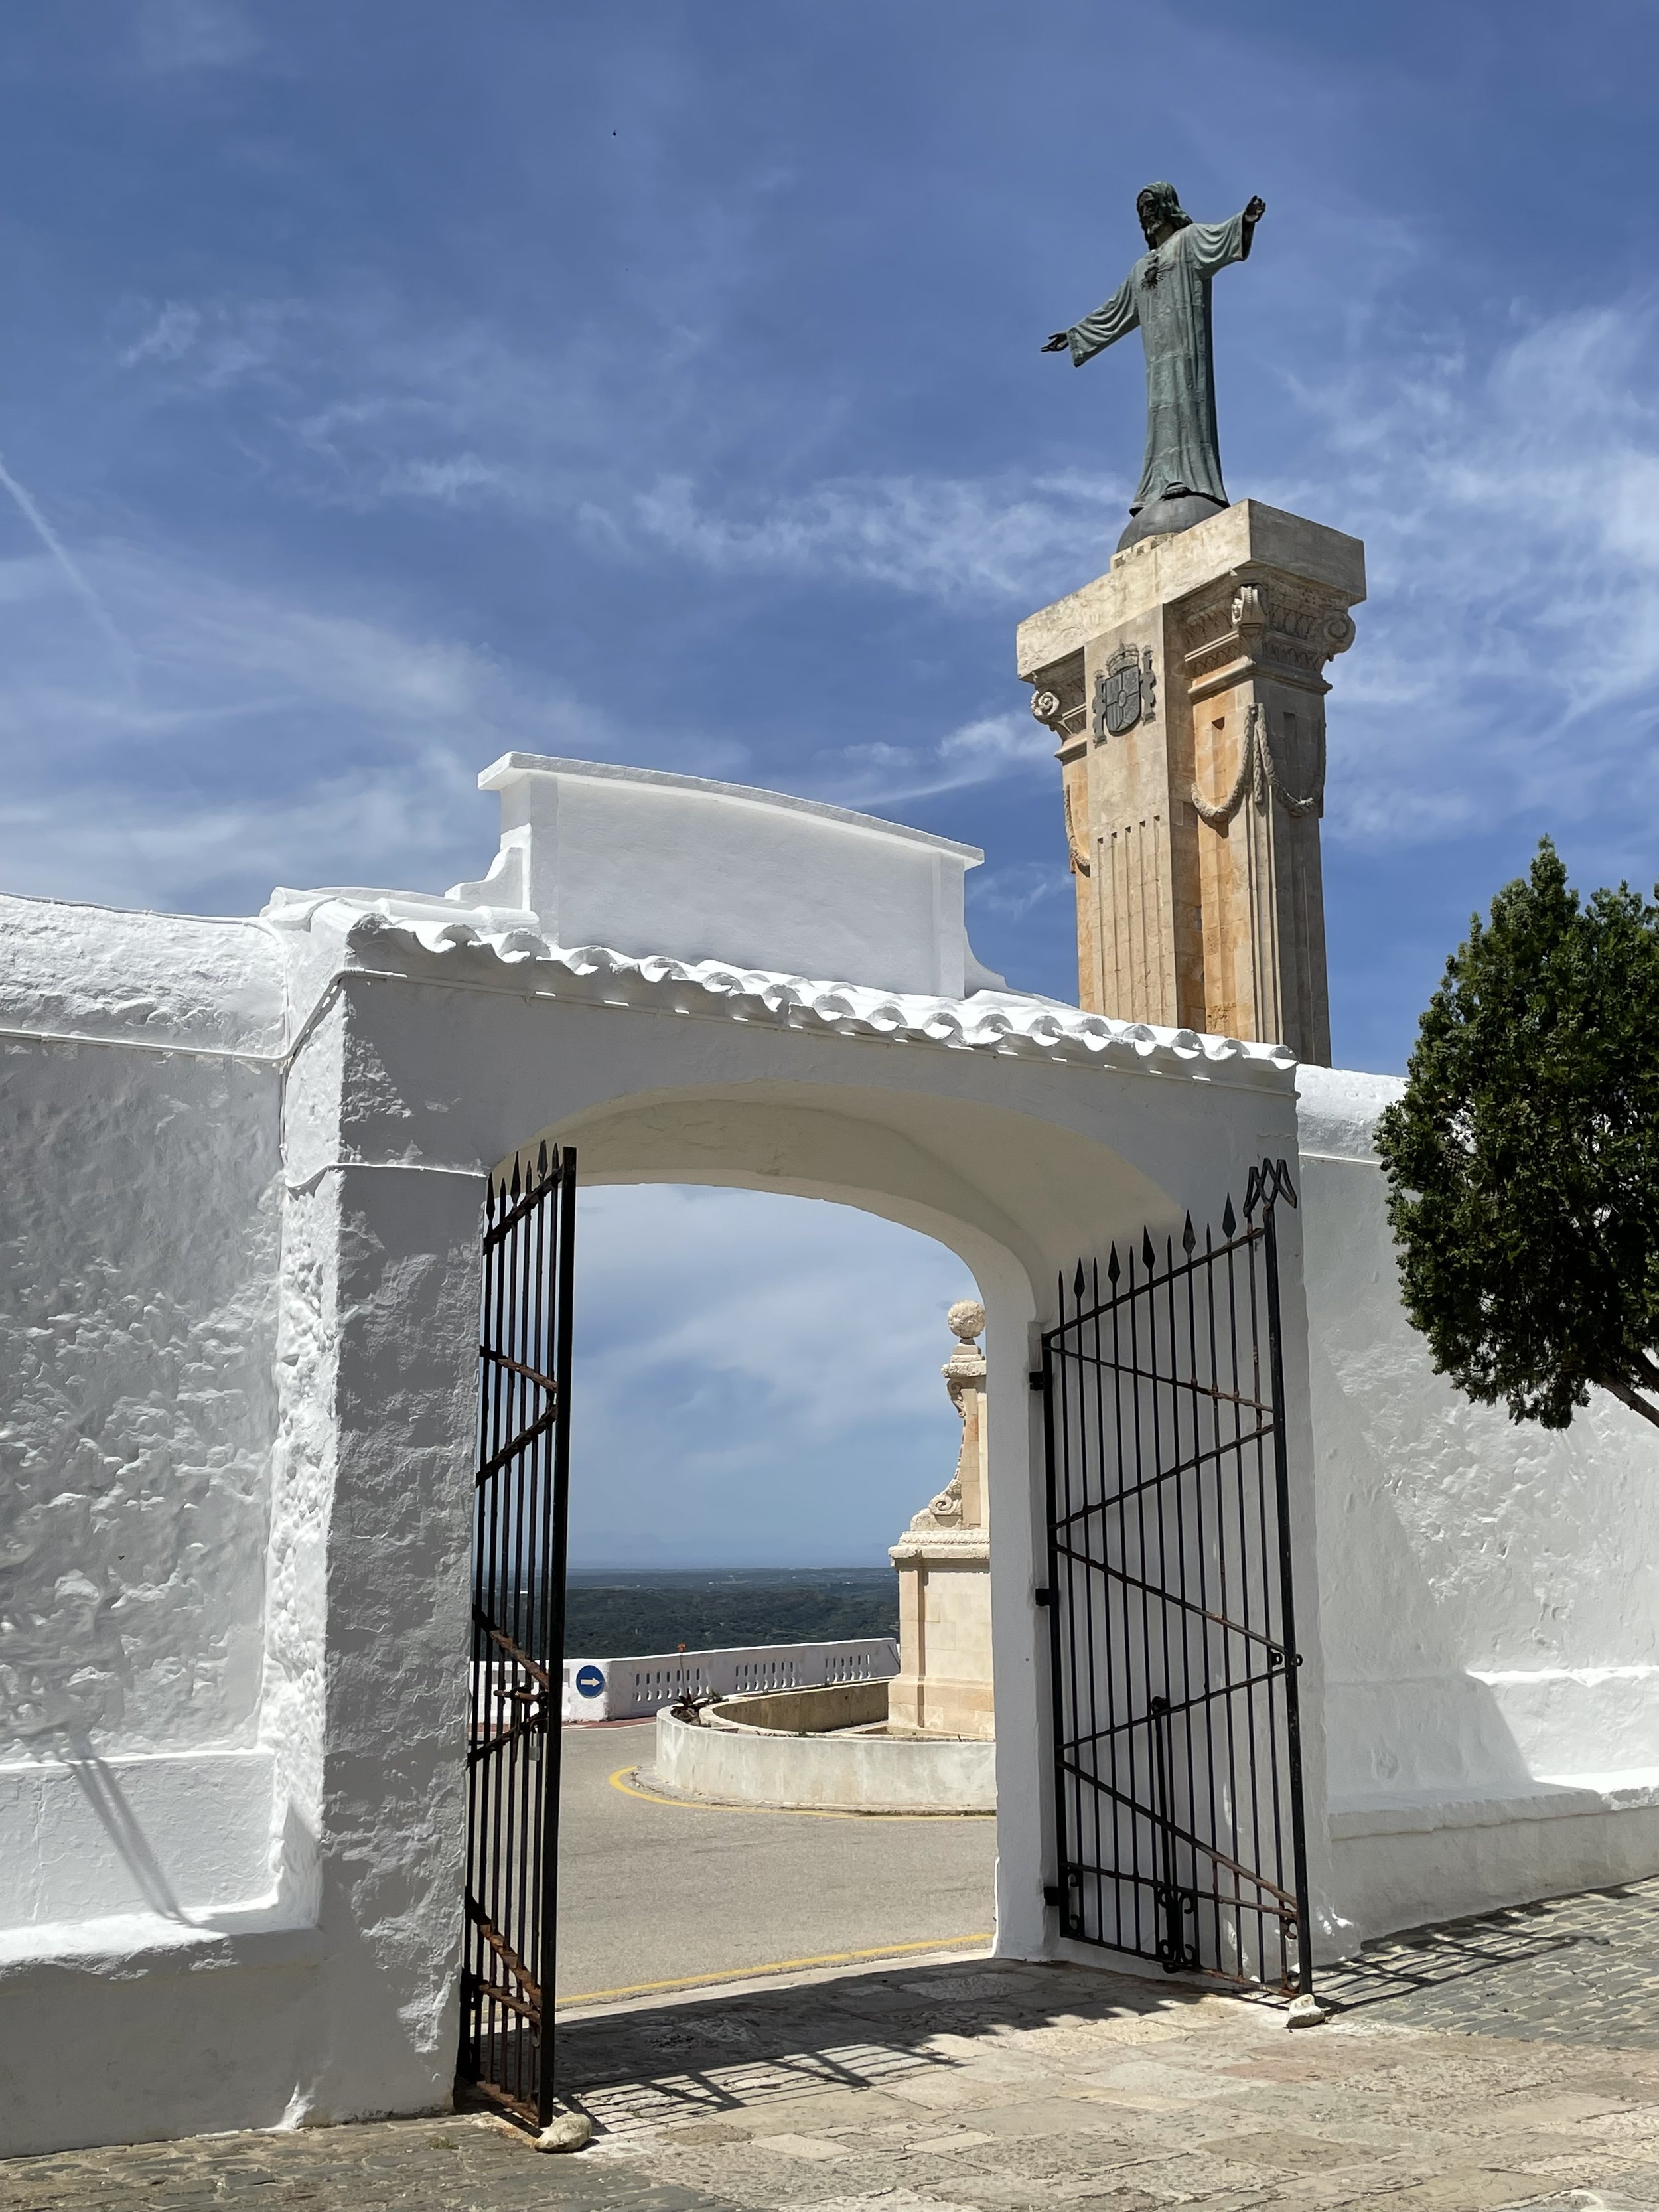
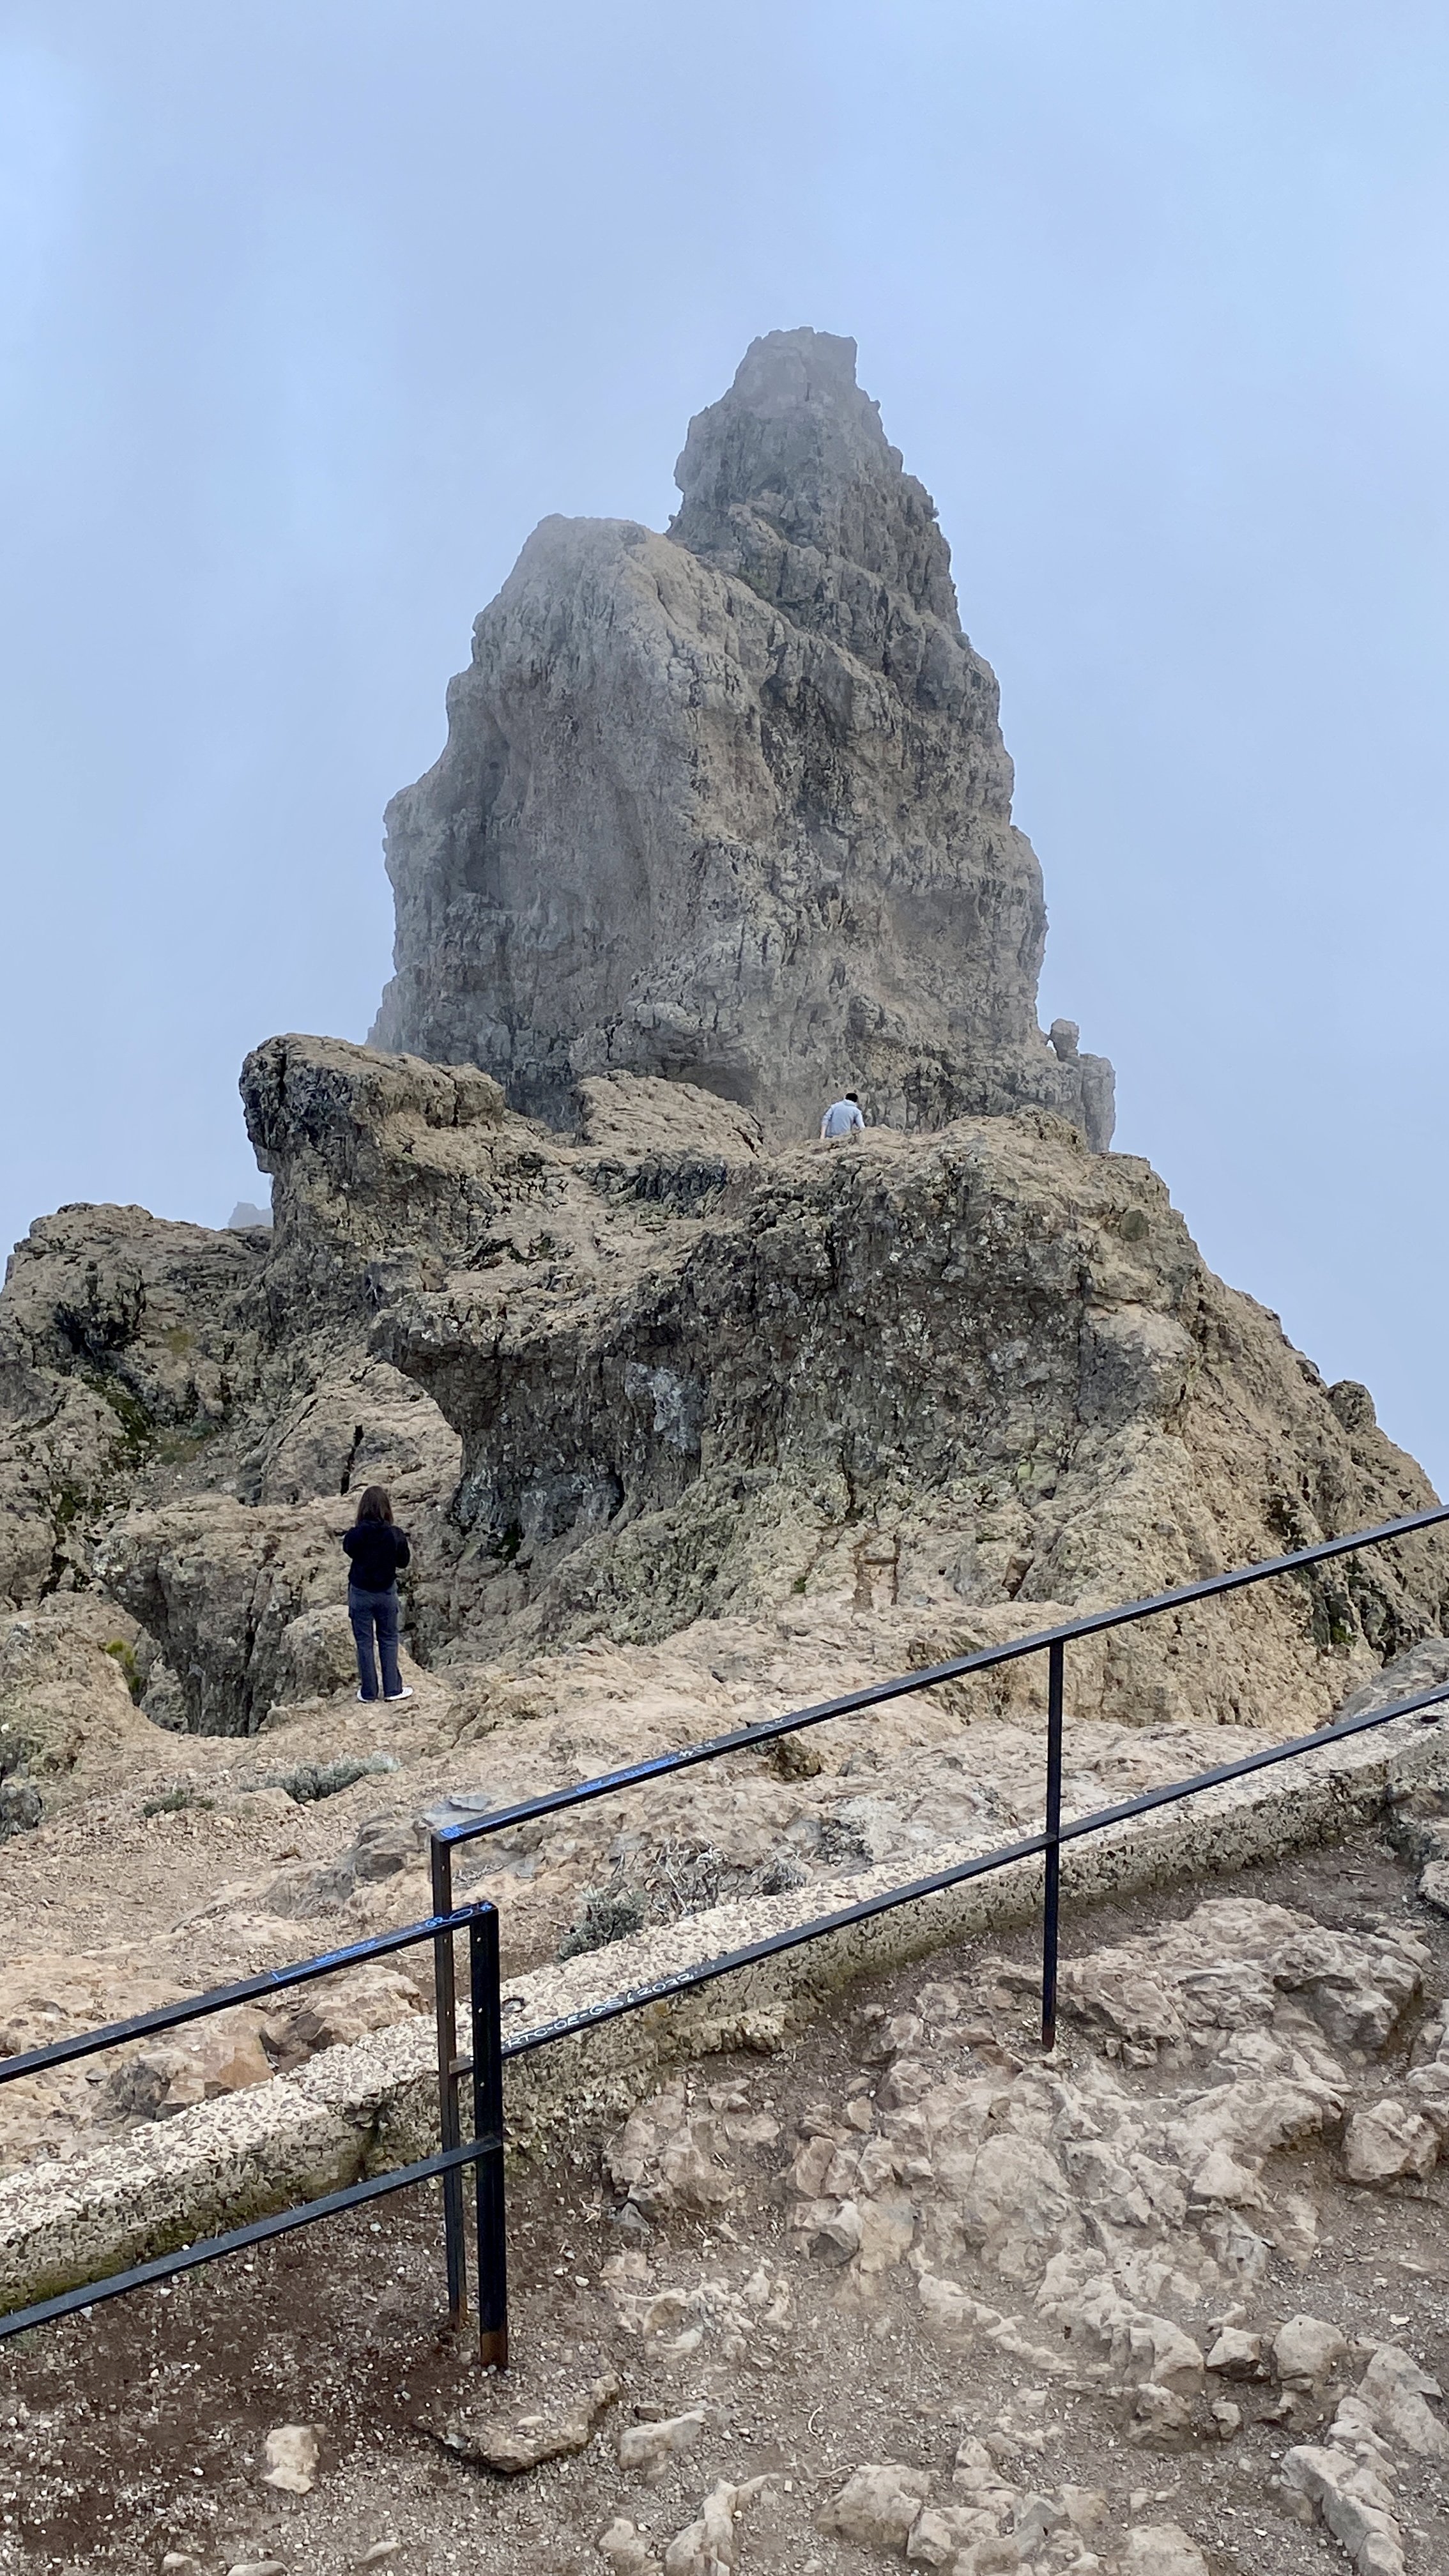
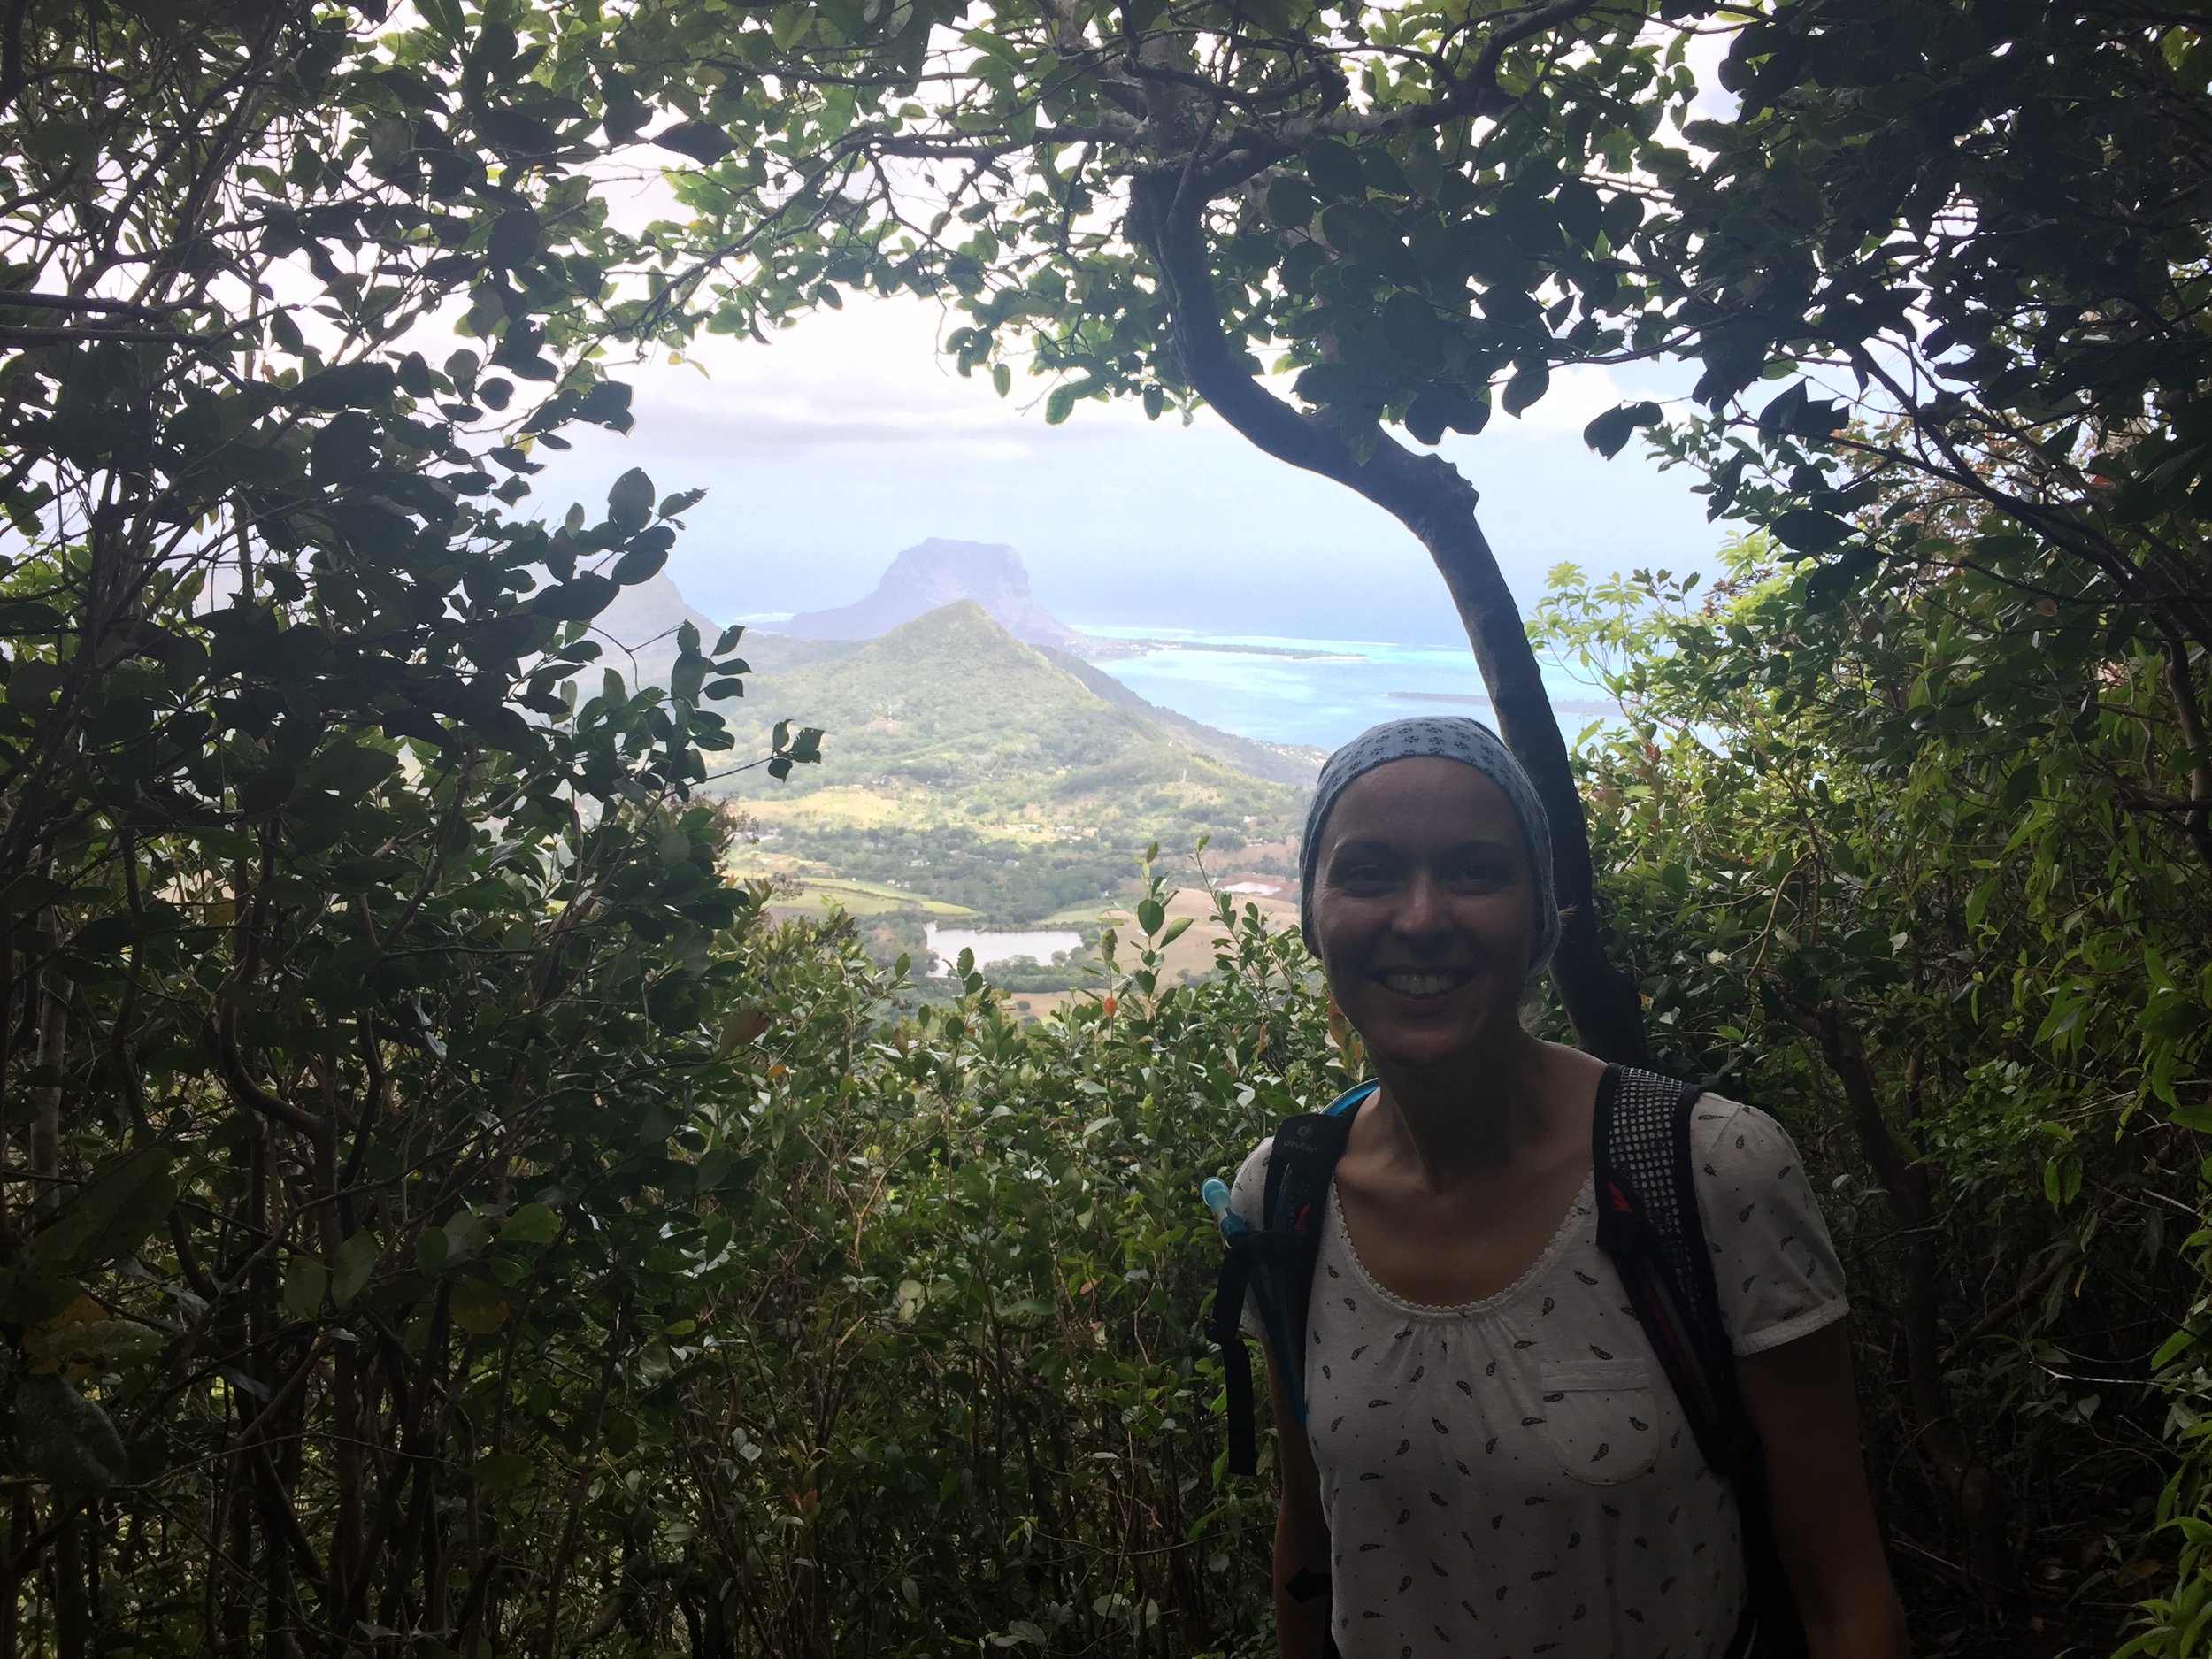
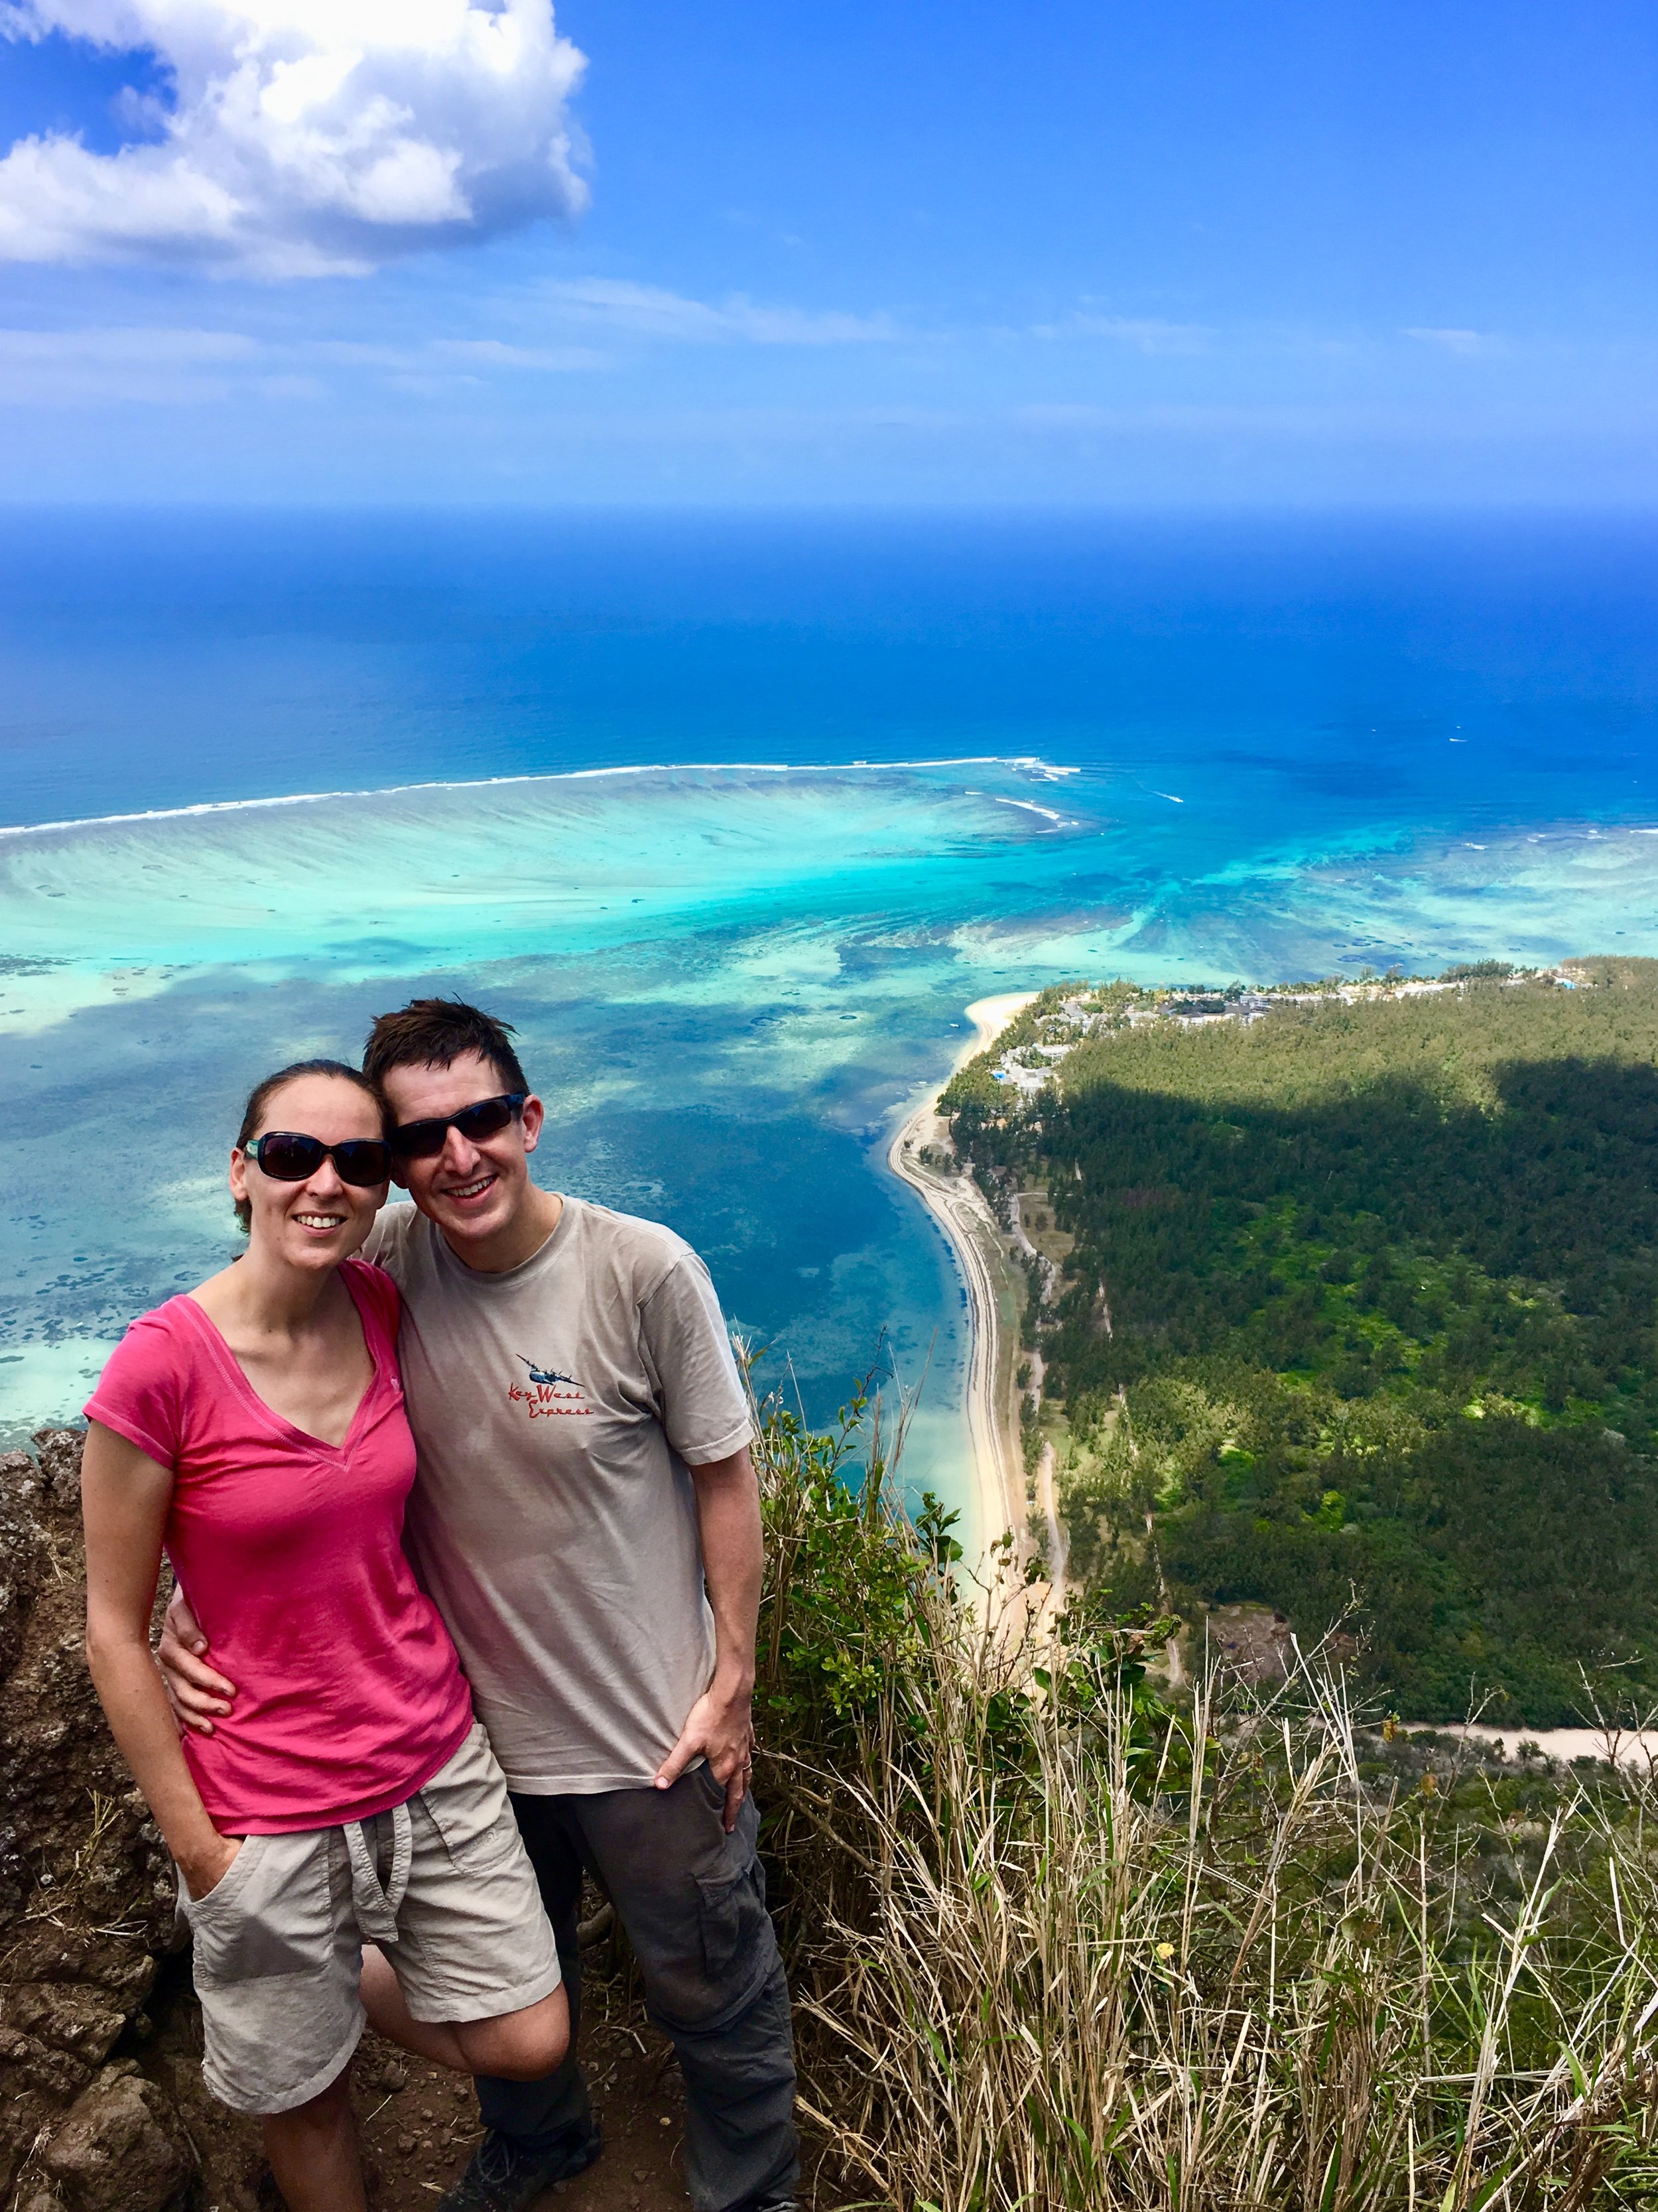
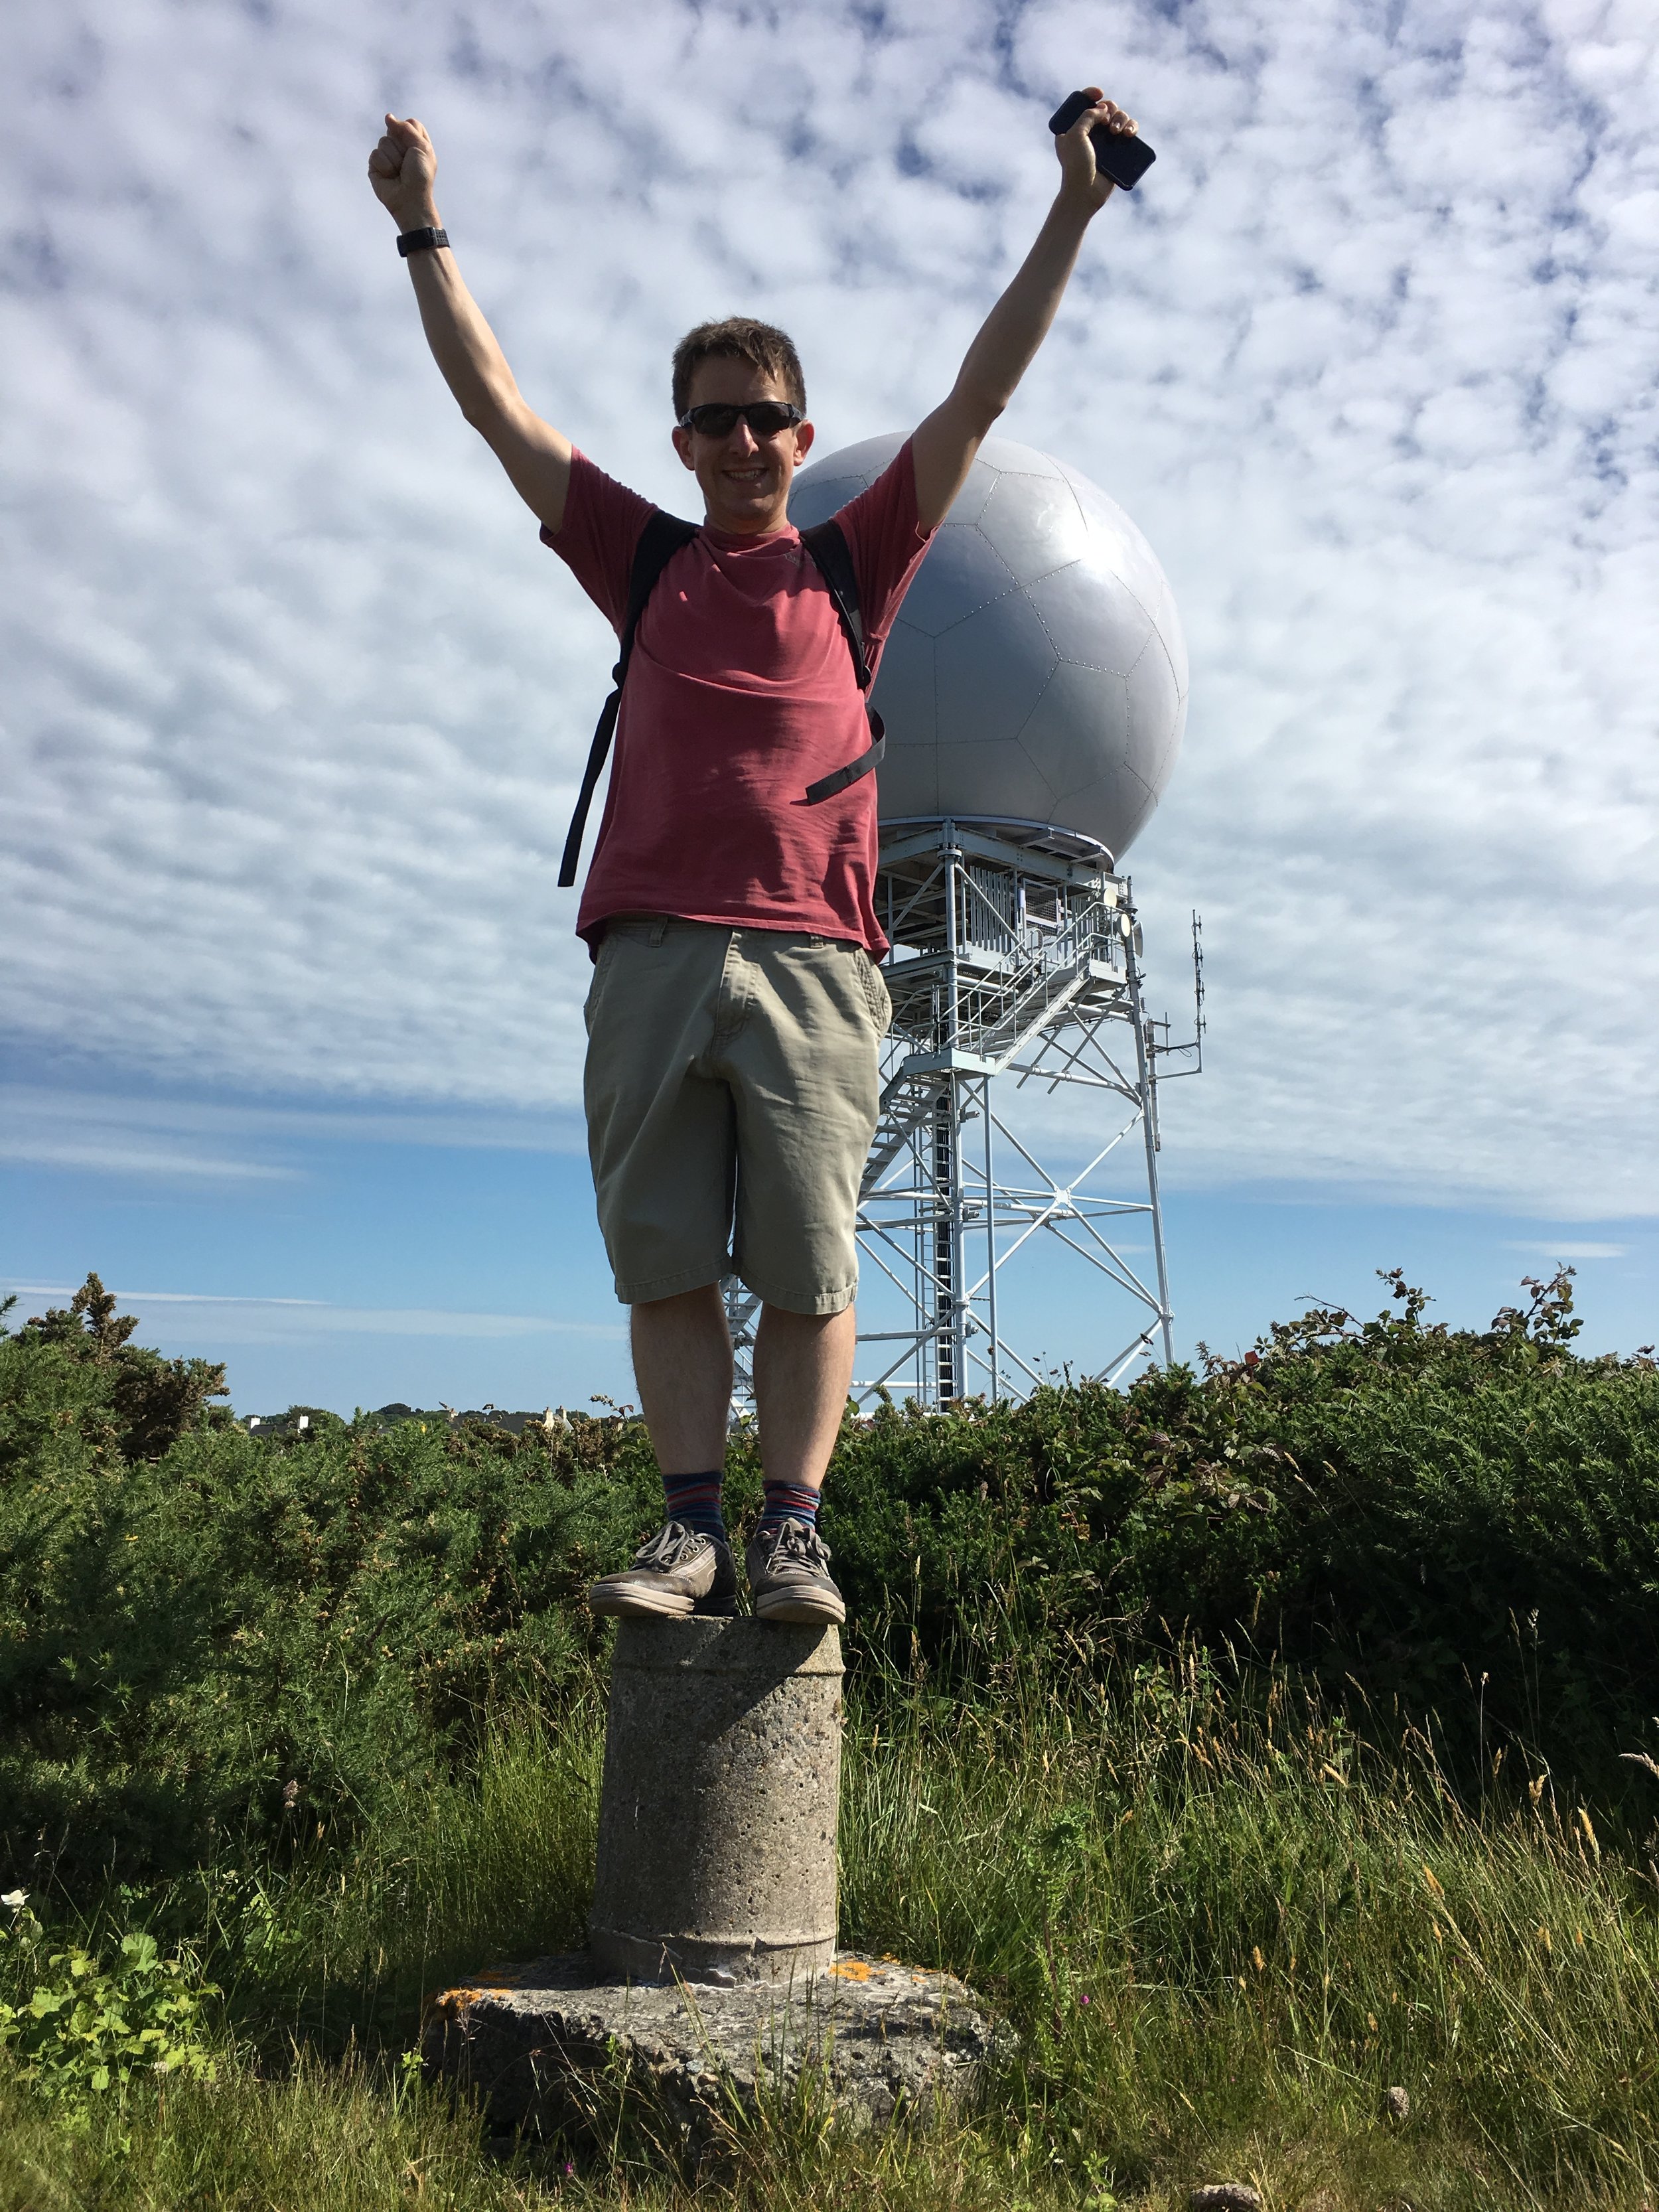
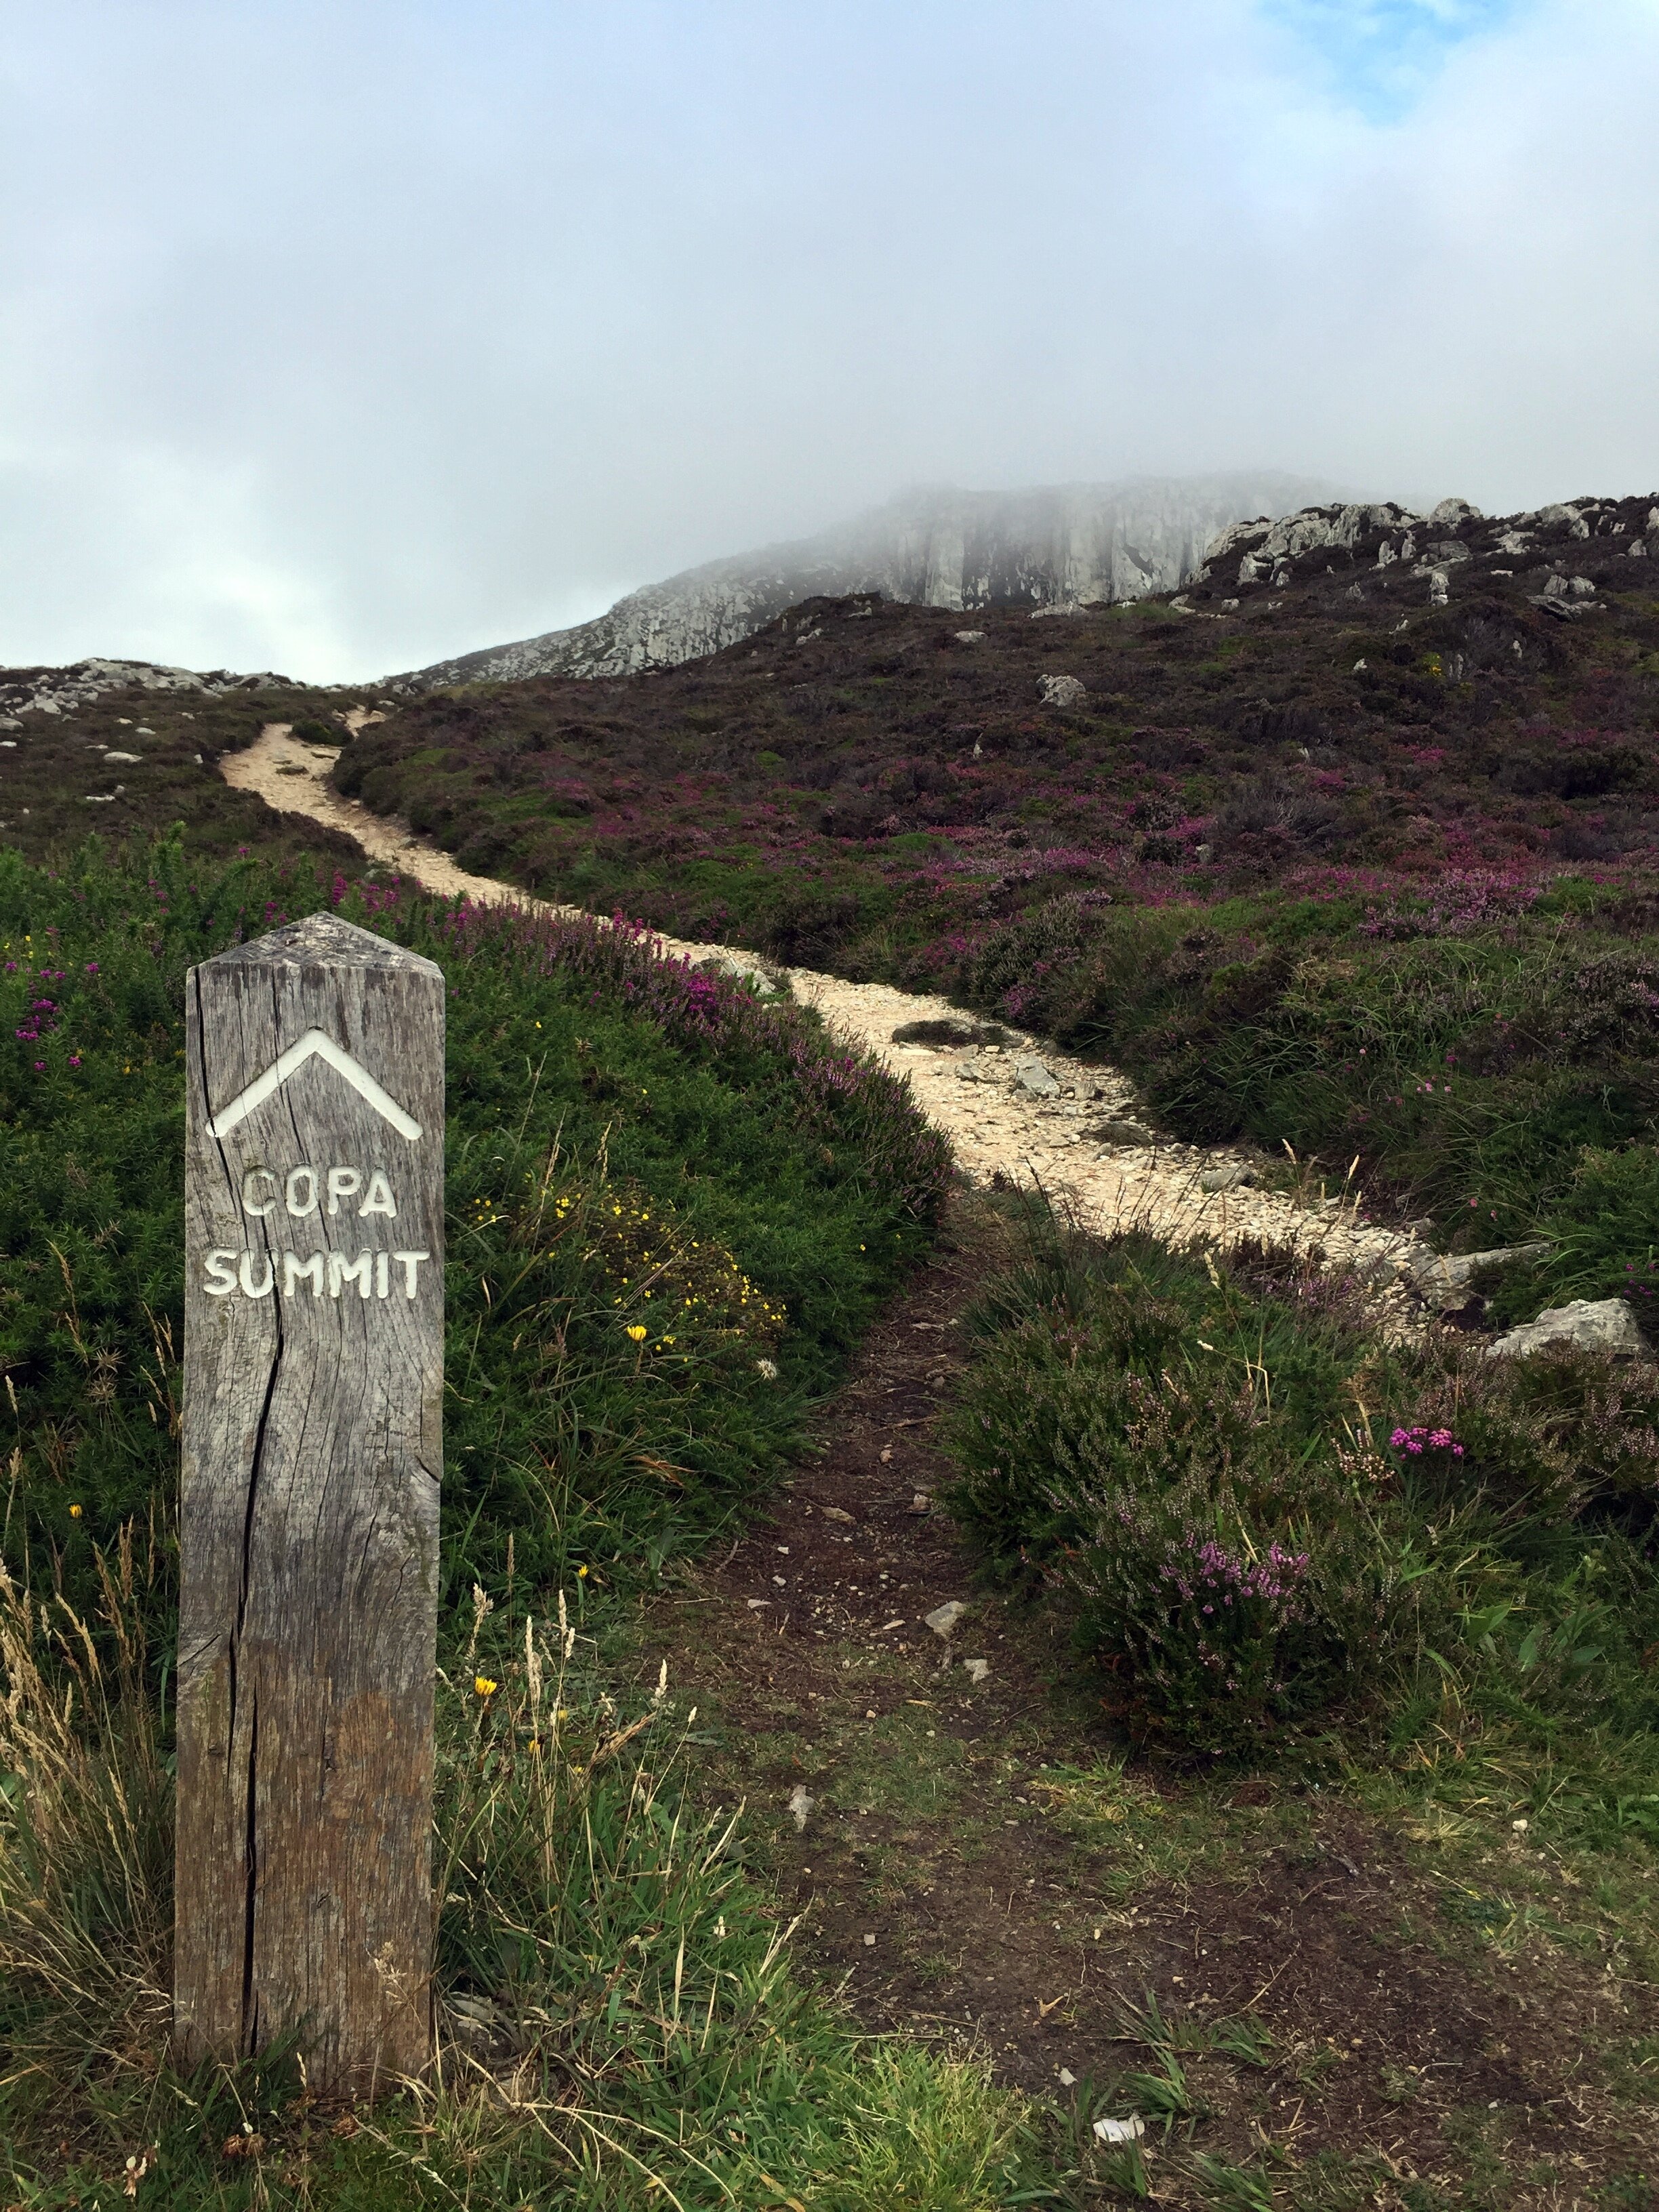
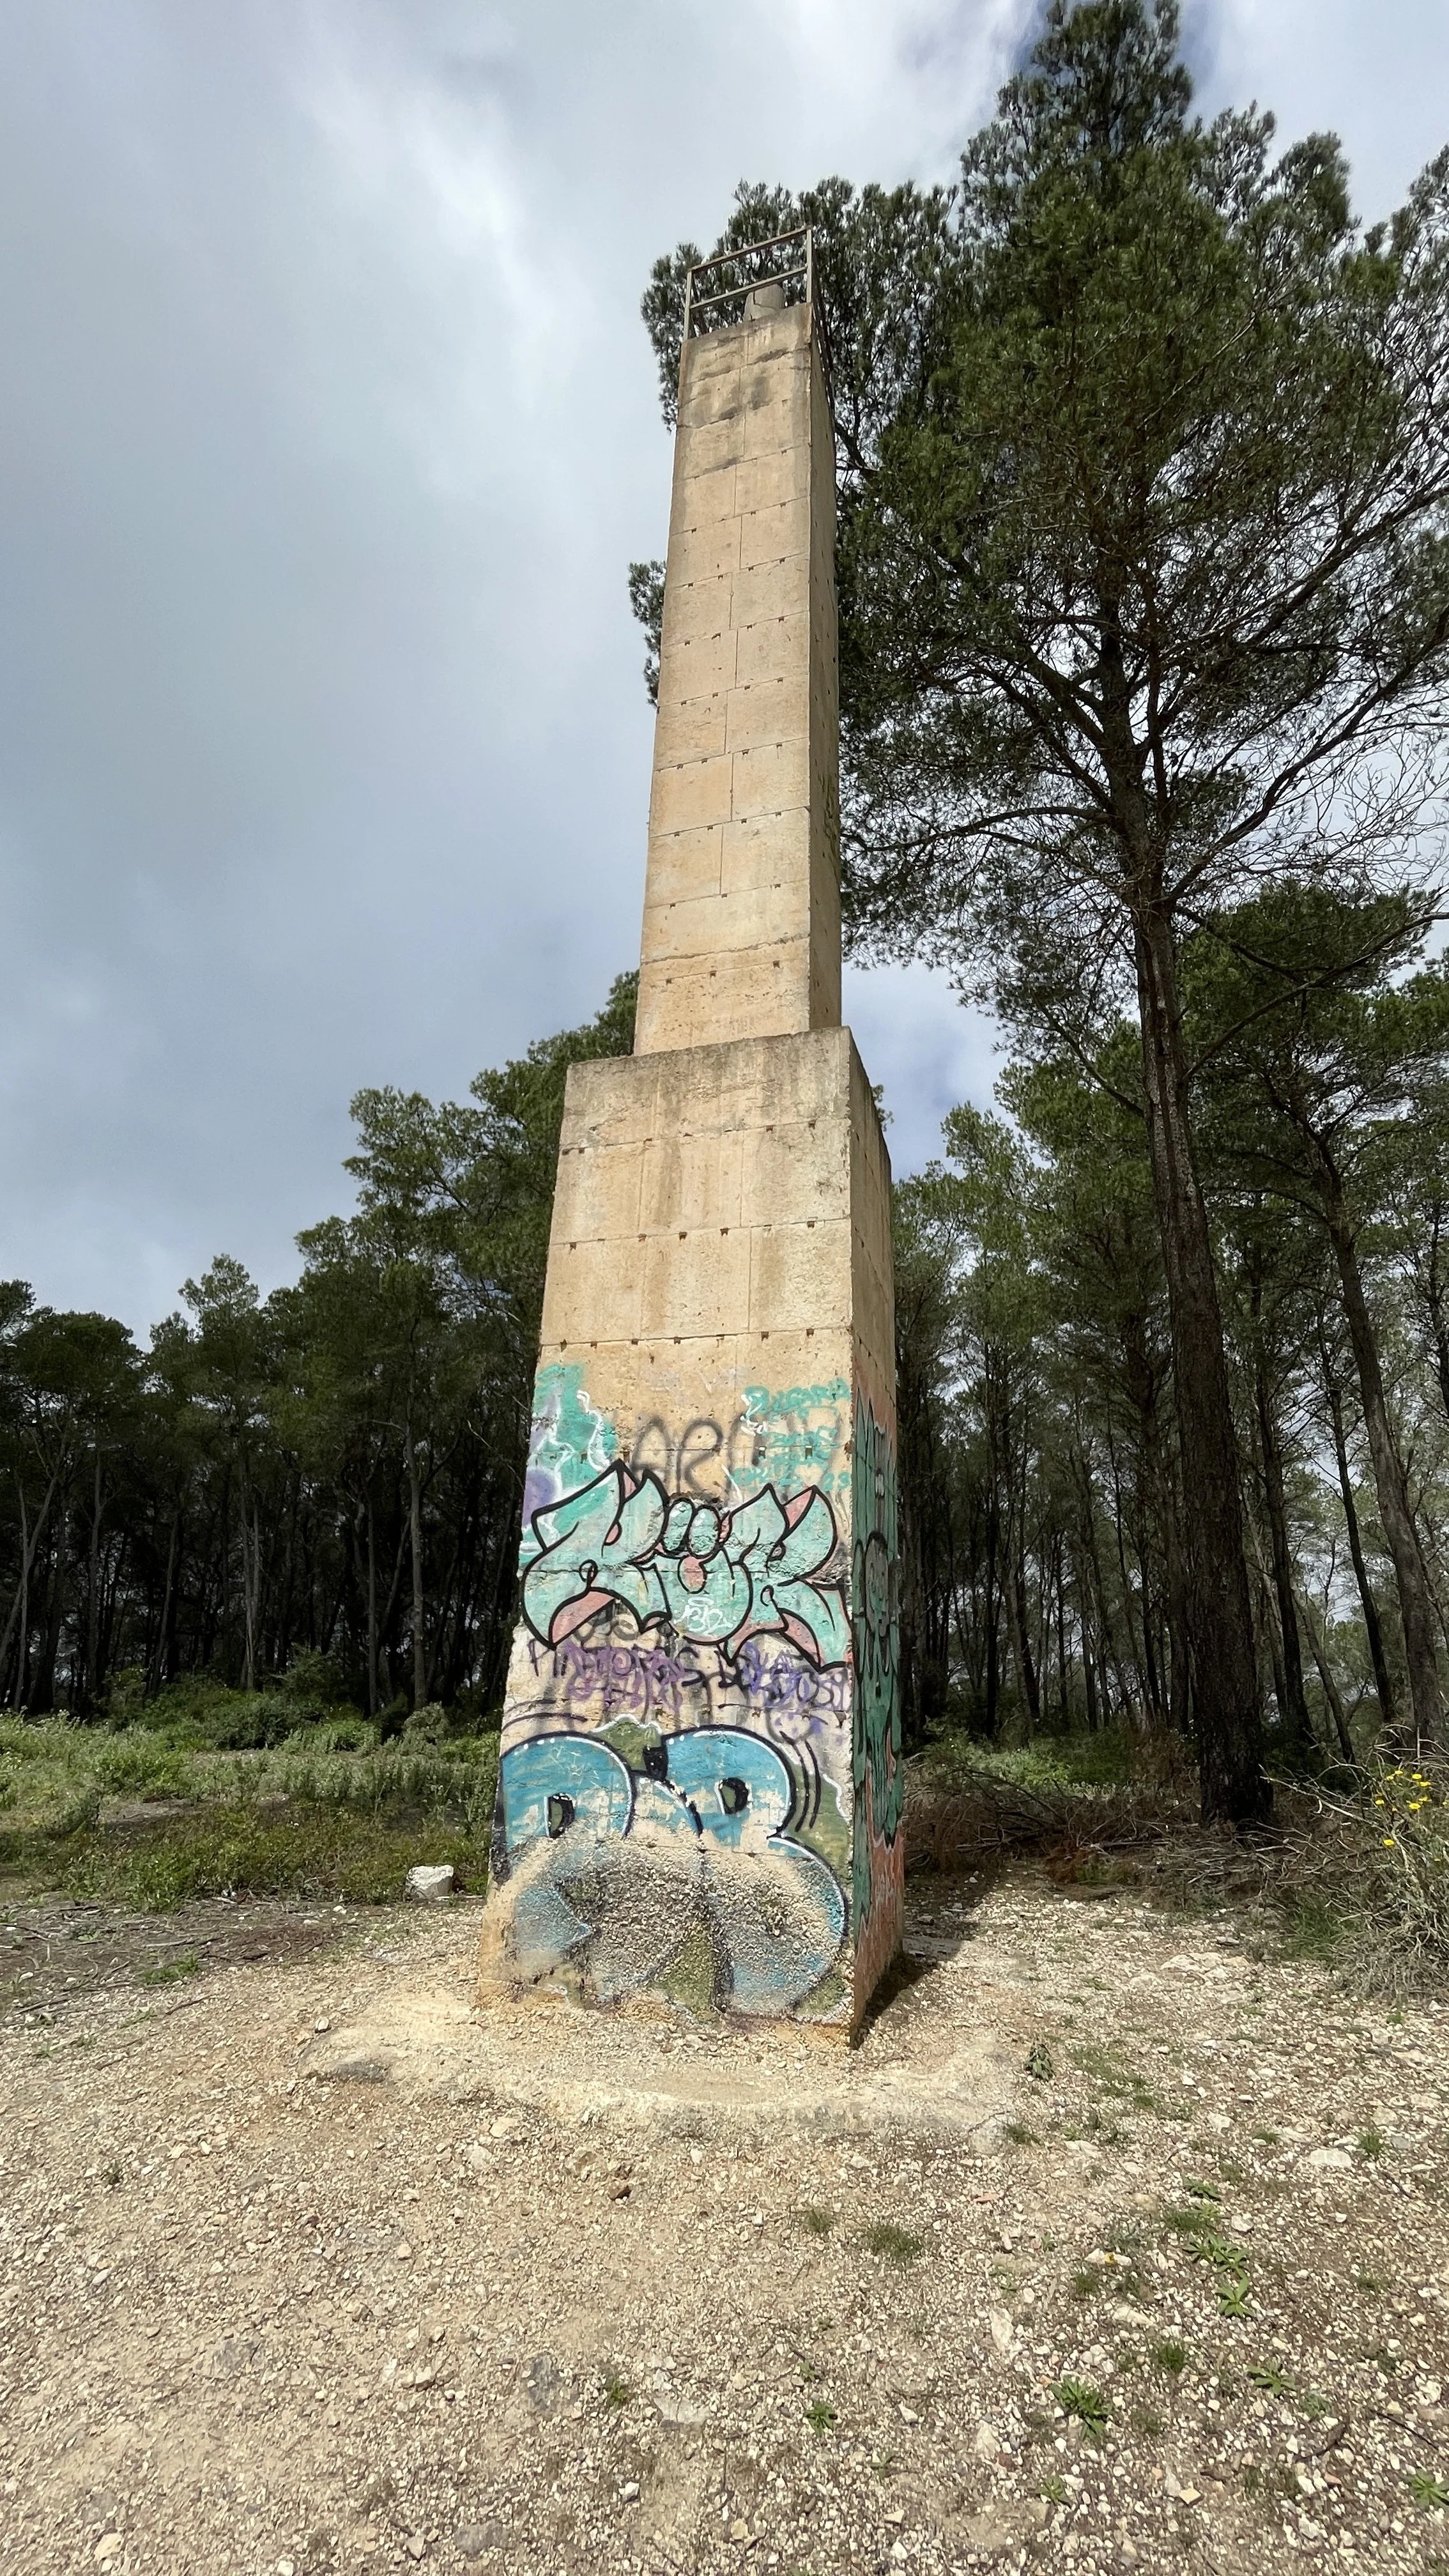
This path leads you to Cap de Sa Talaia. There is a transmitter mast here and absolutely fantastic views over the coast, the old town, and Formentera in the distance. It is an obvious viewpoint and you could easily be fooled into thinking this is the summit if you didn't know better! I imagine many people walk up to here, take in the view, and head back down. However, the true high point is a little further on.
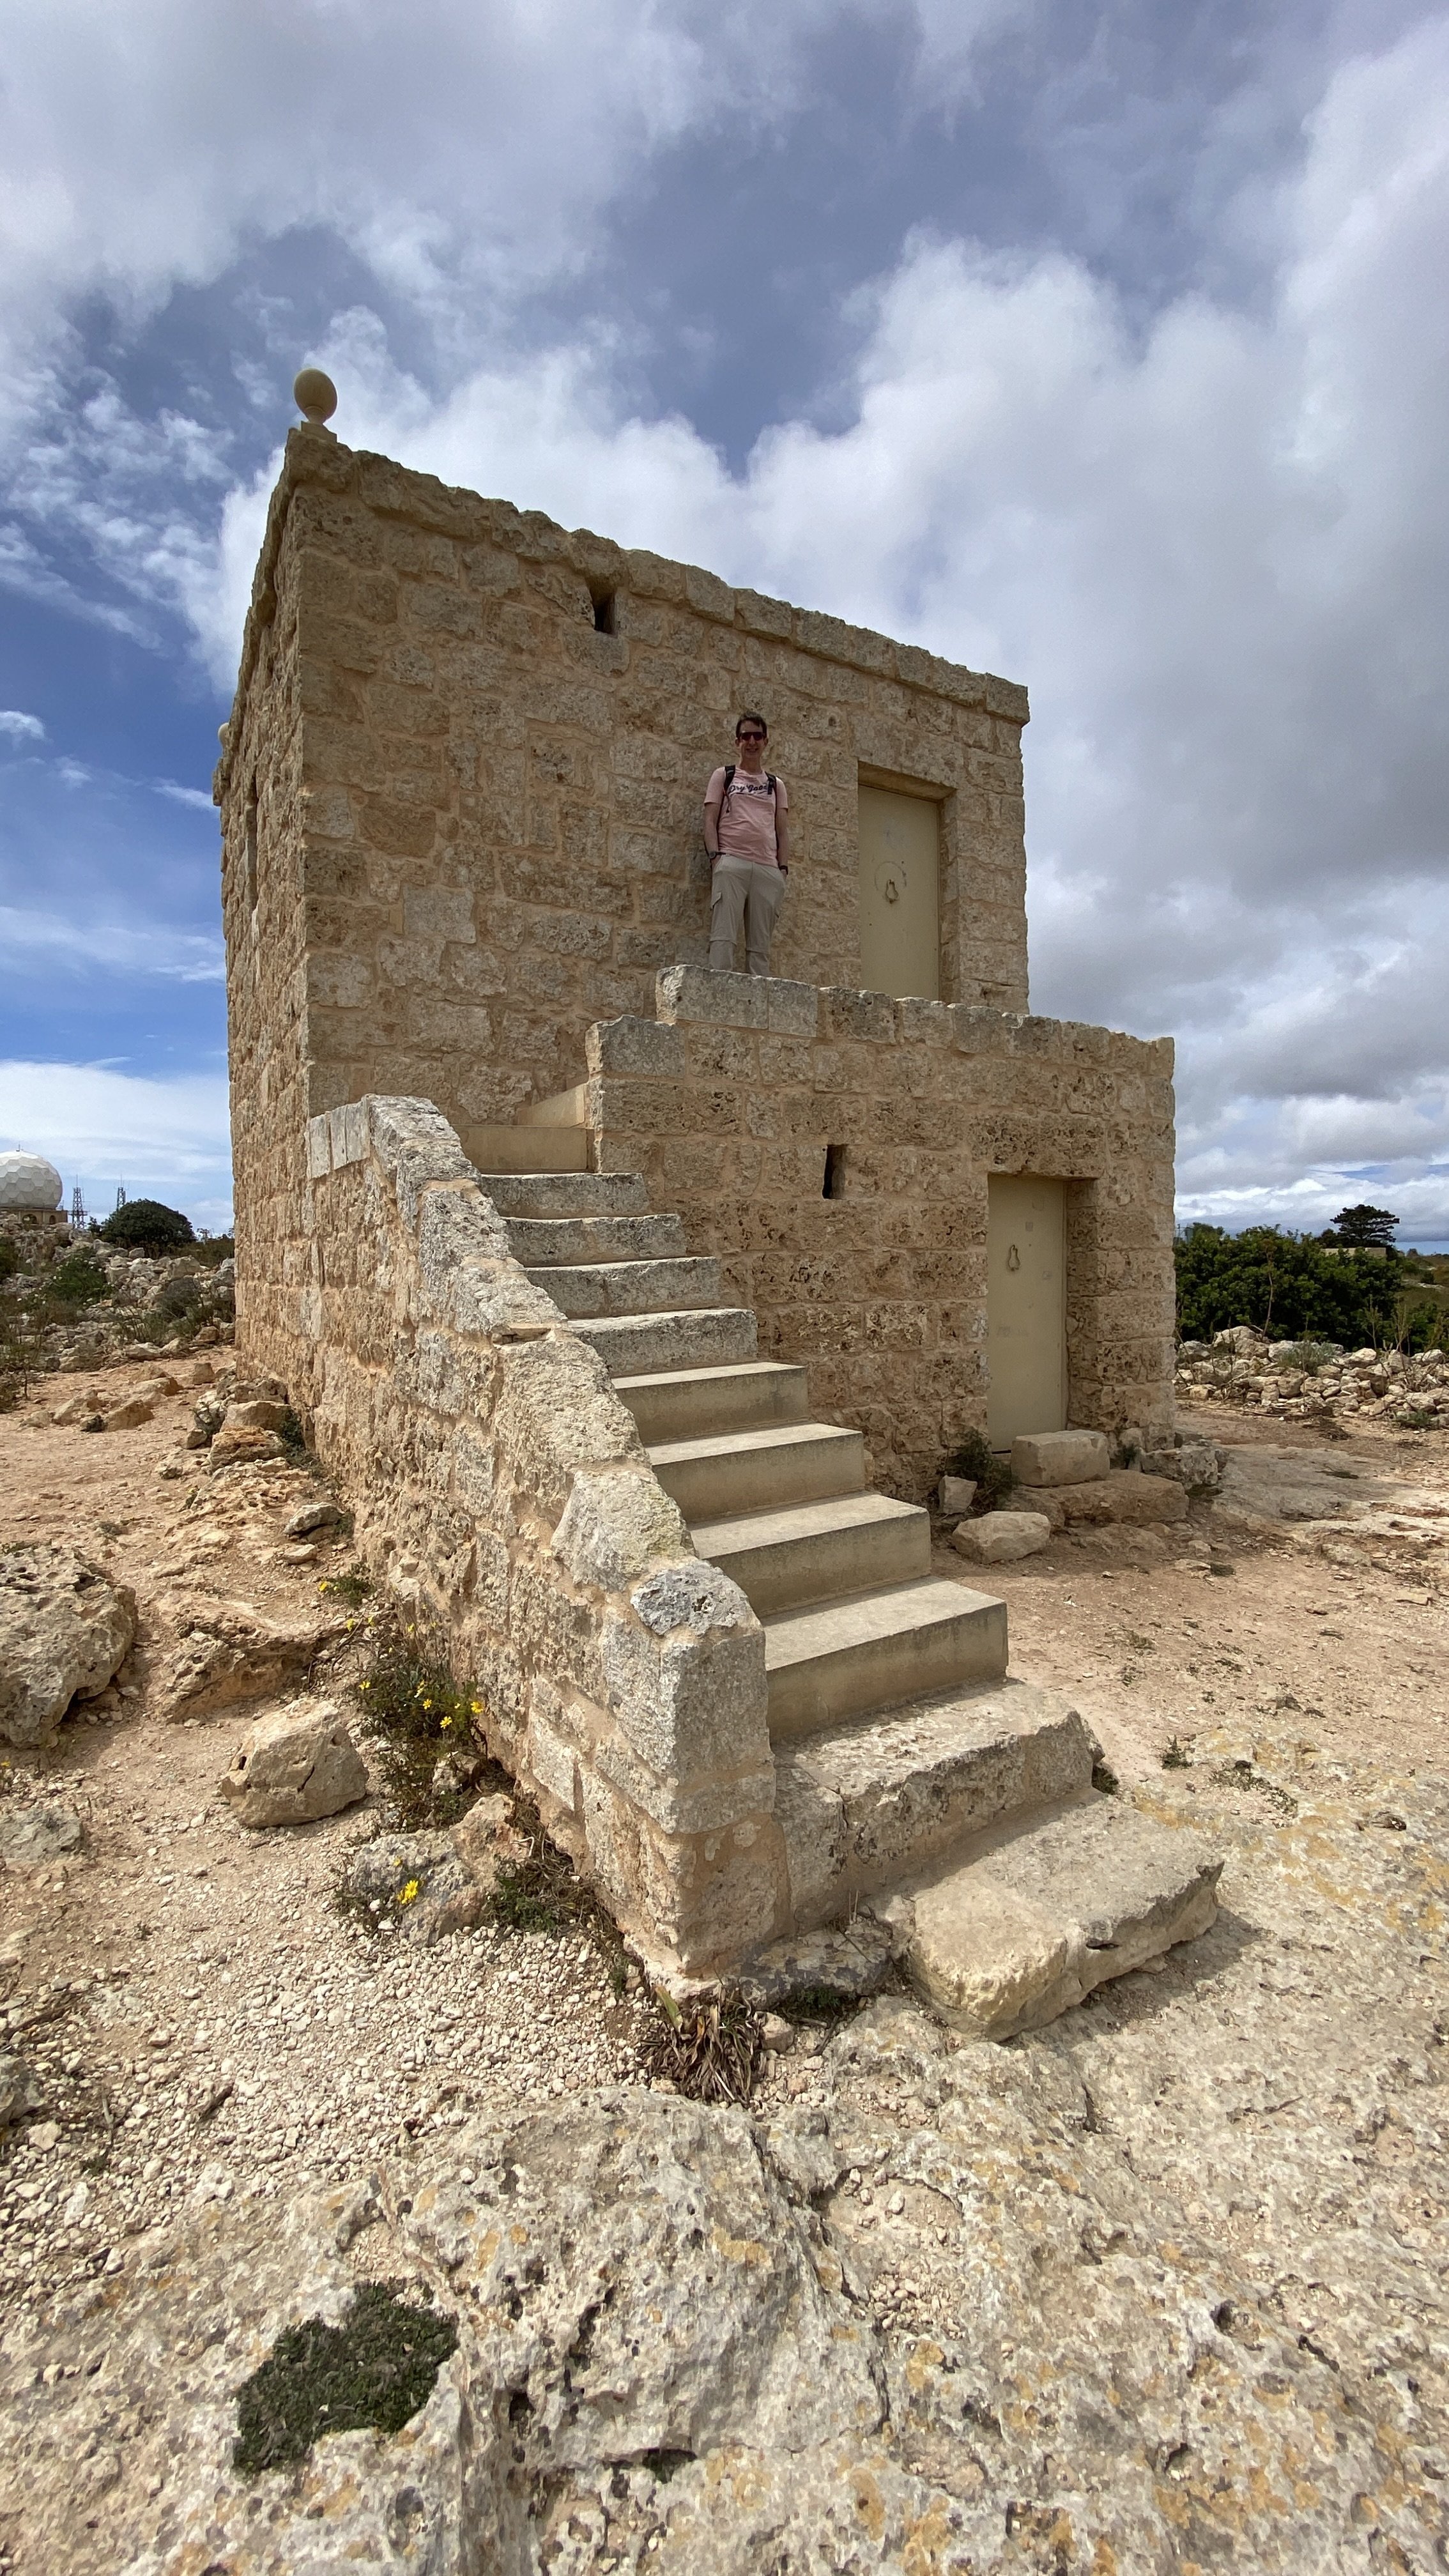
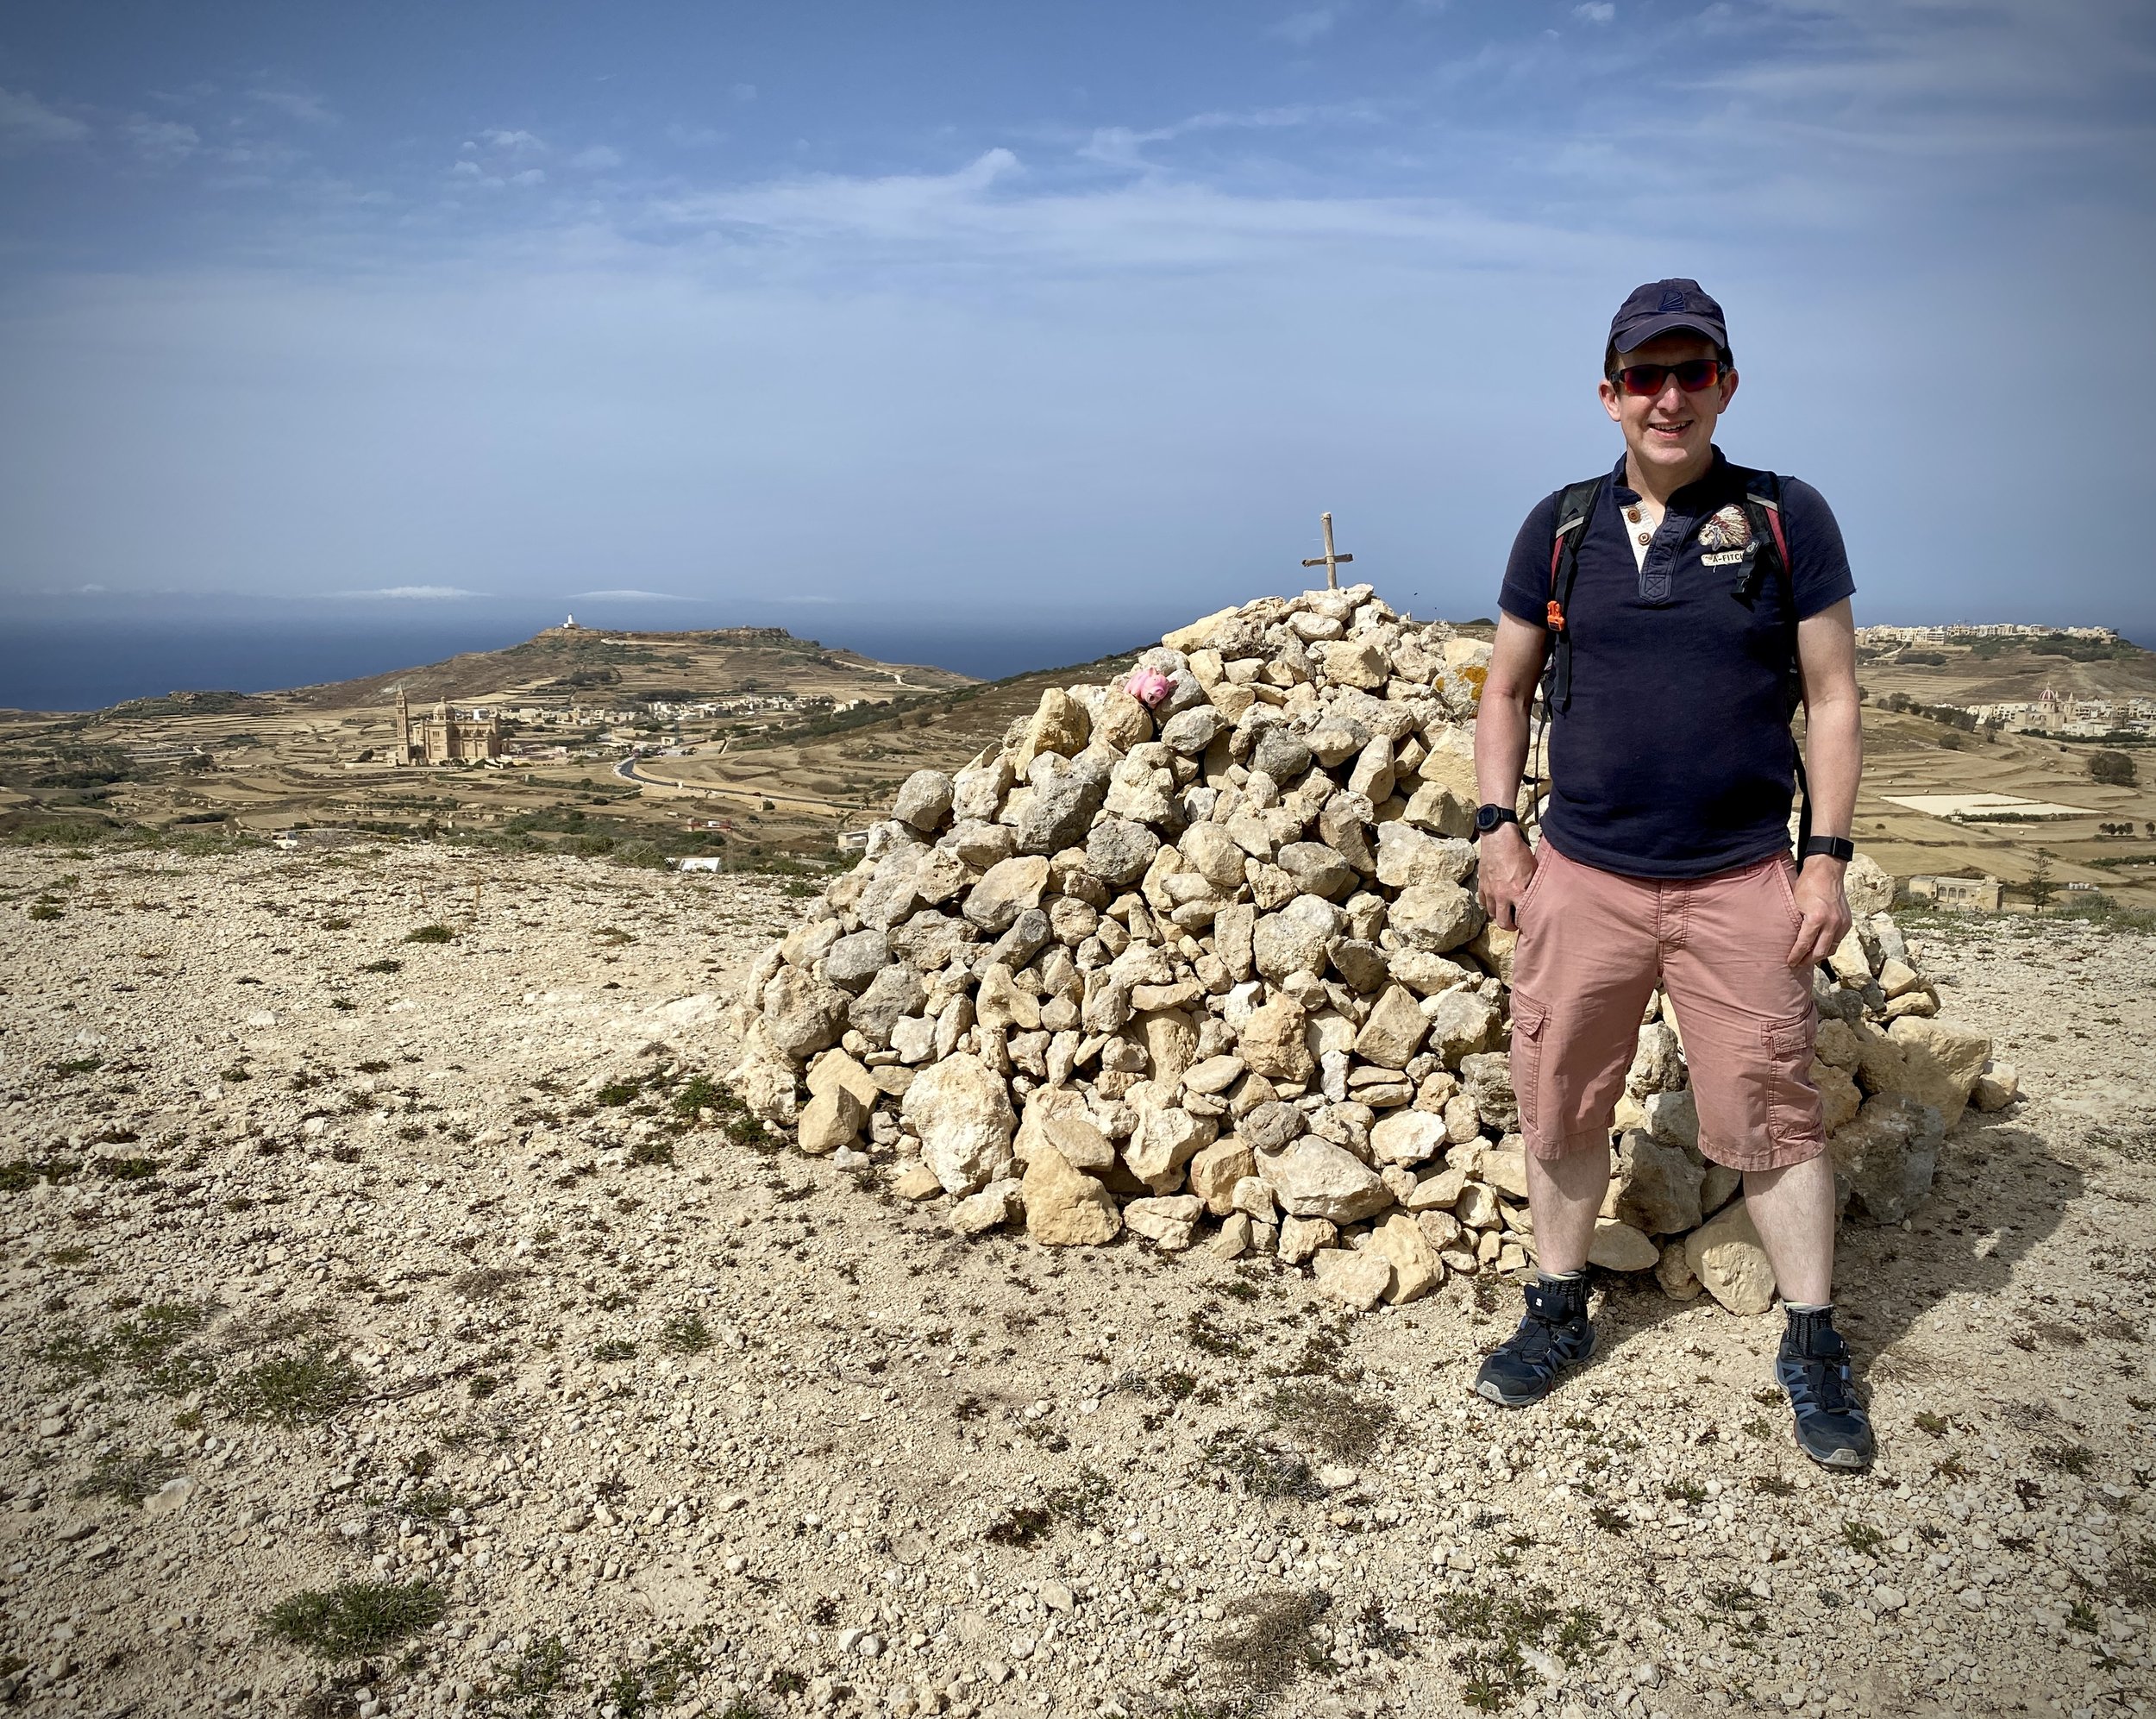
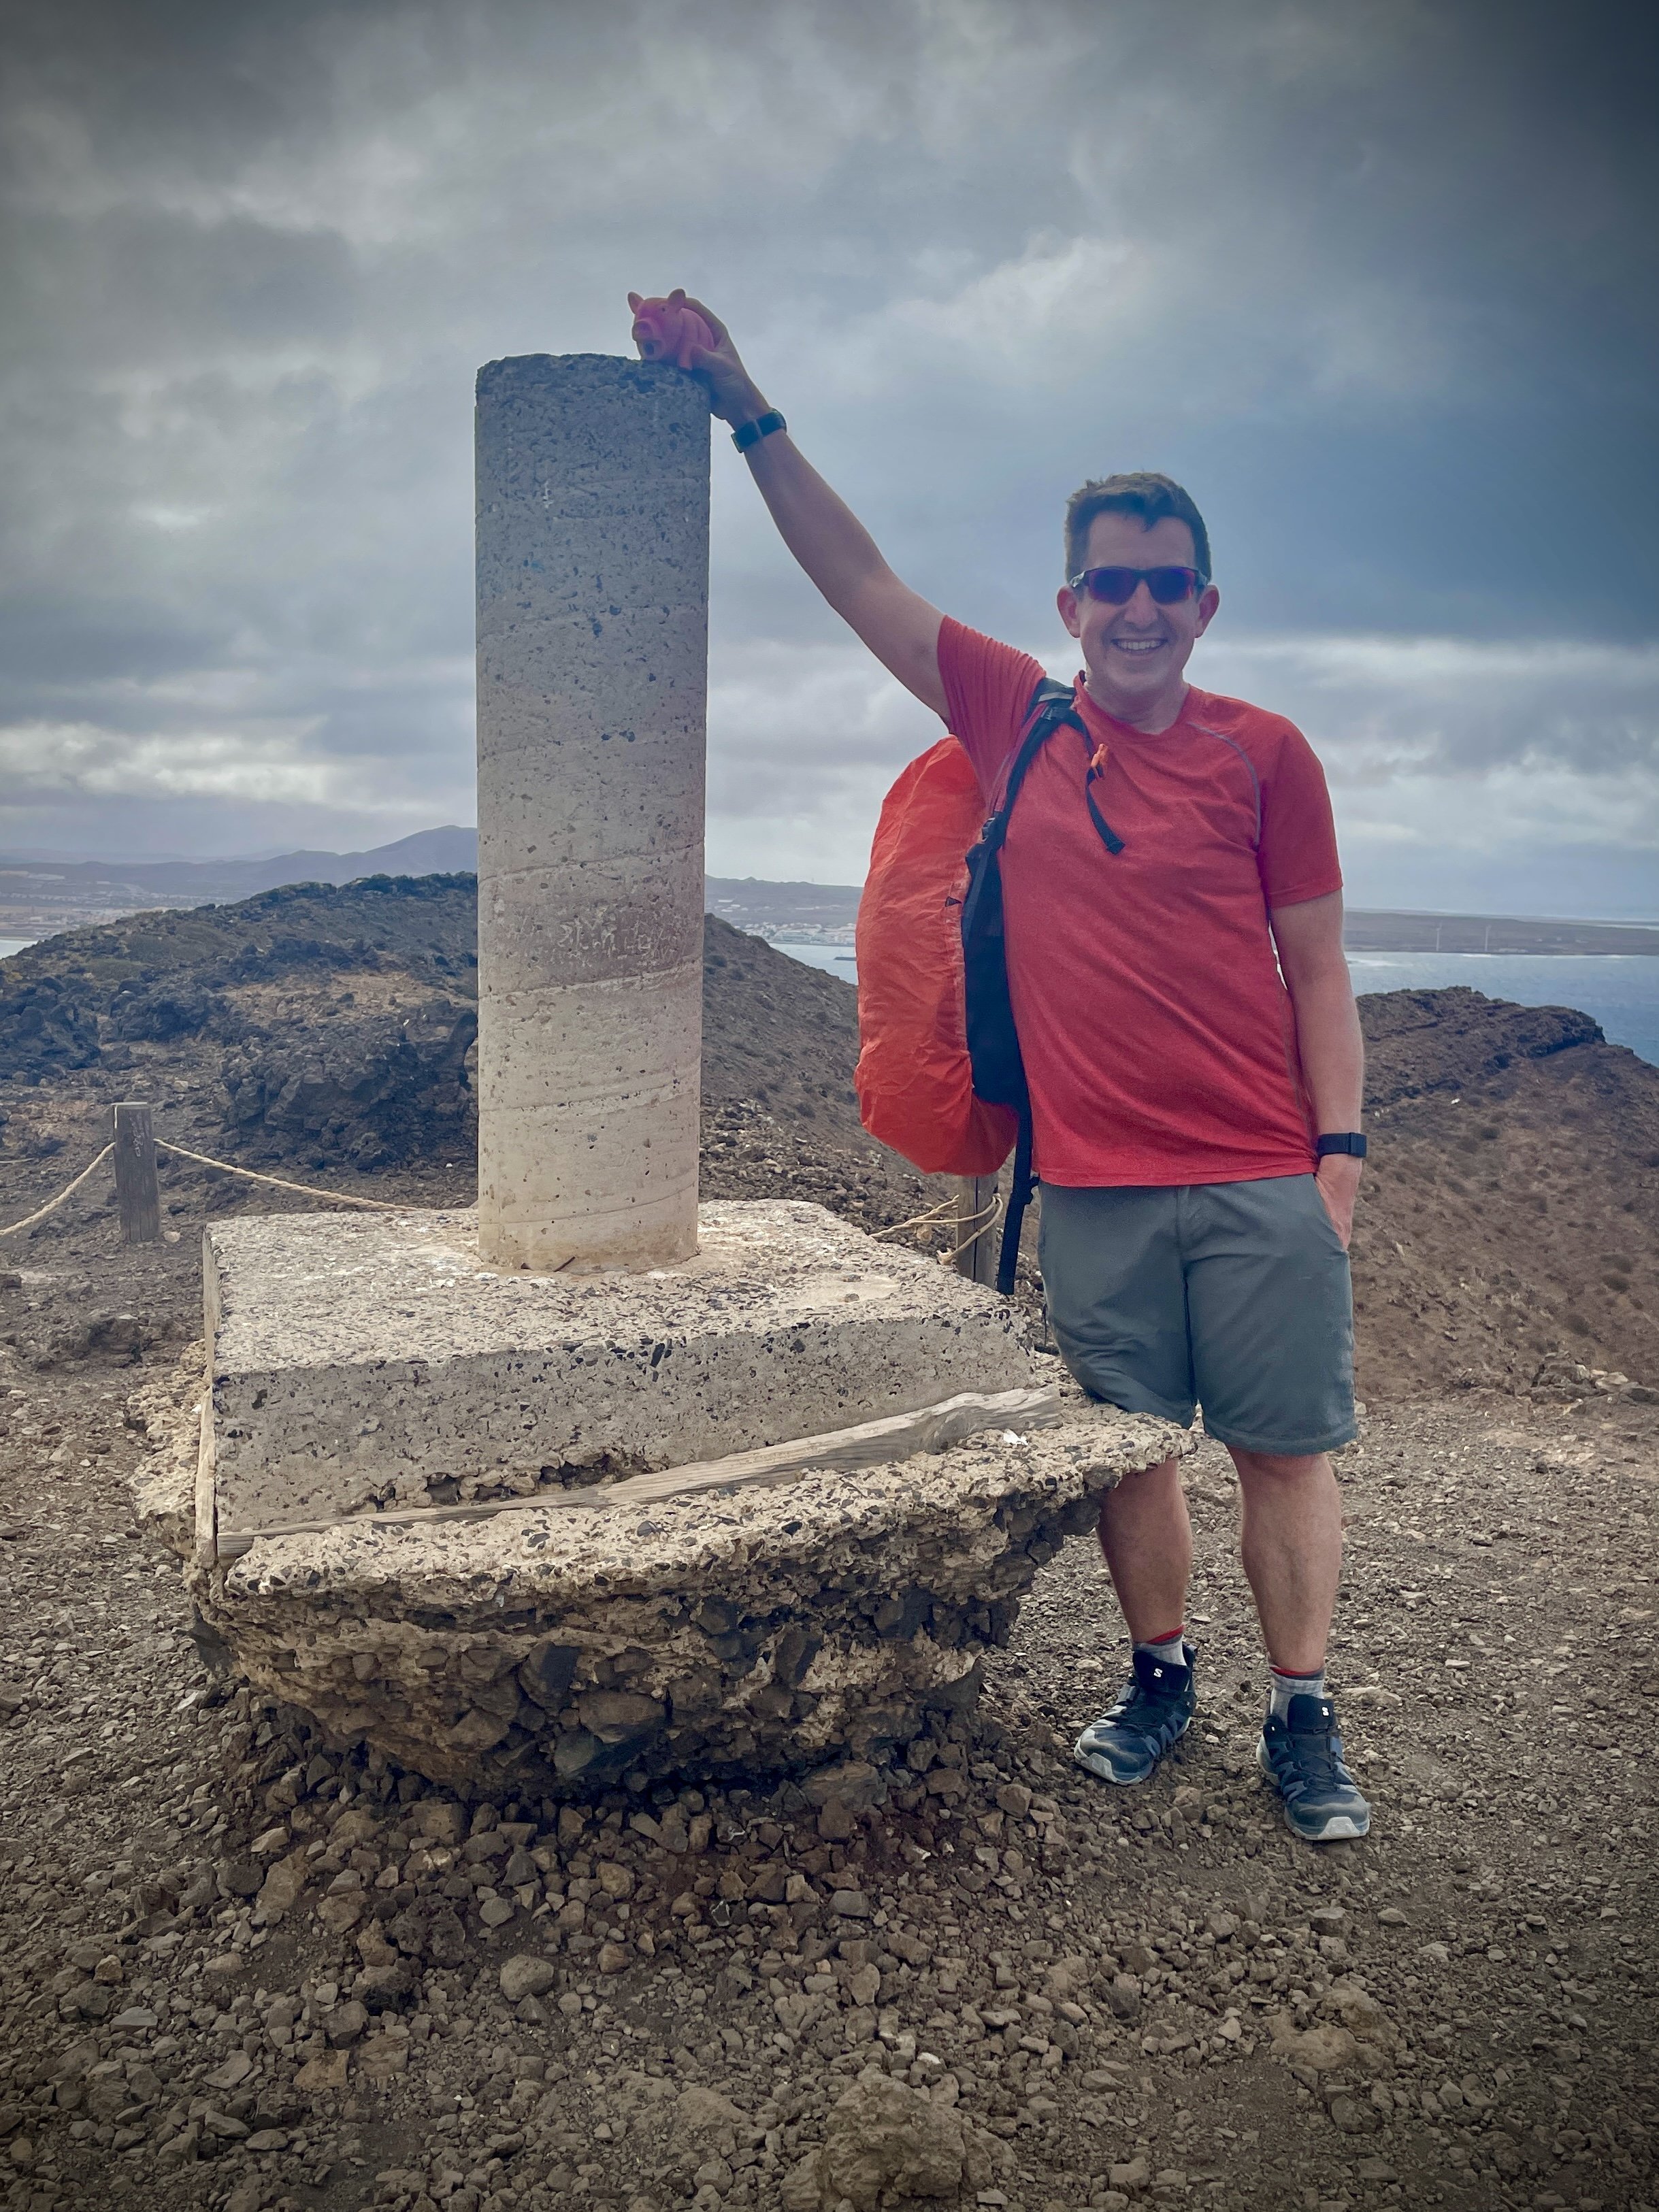
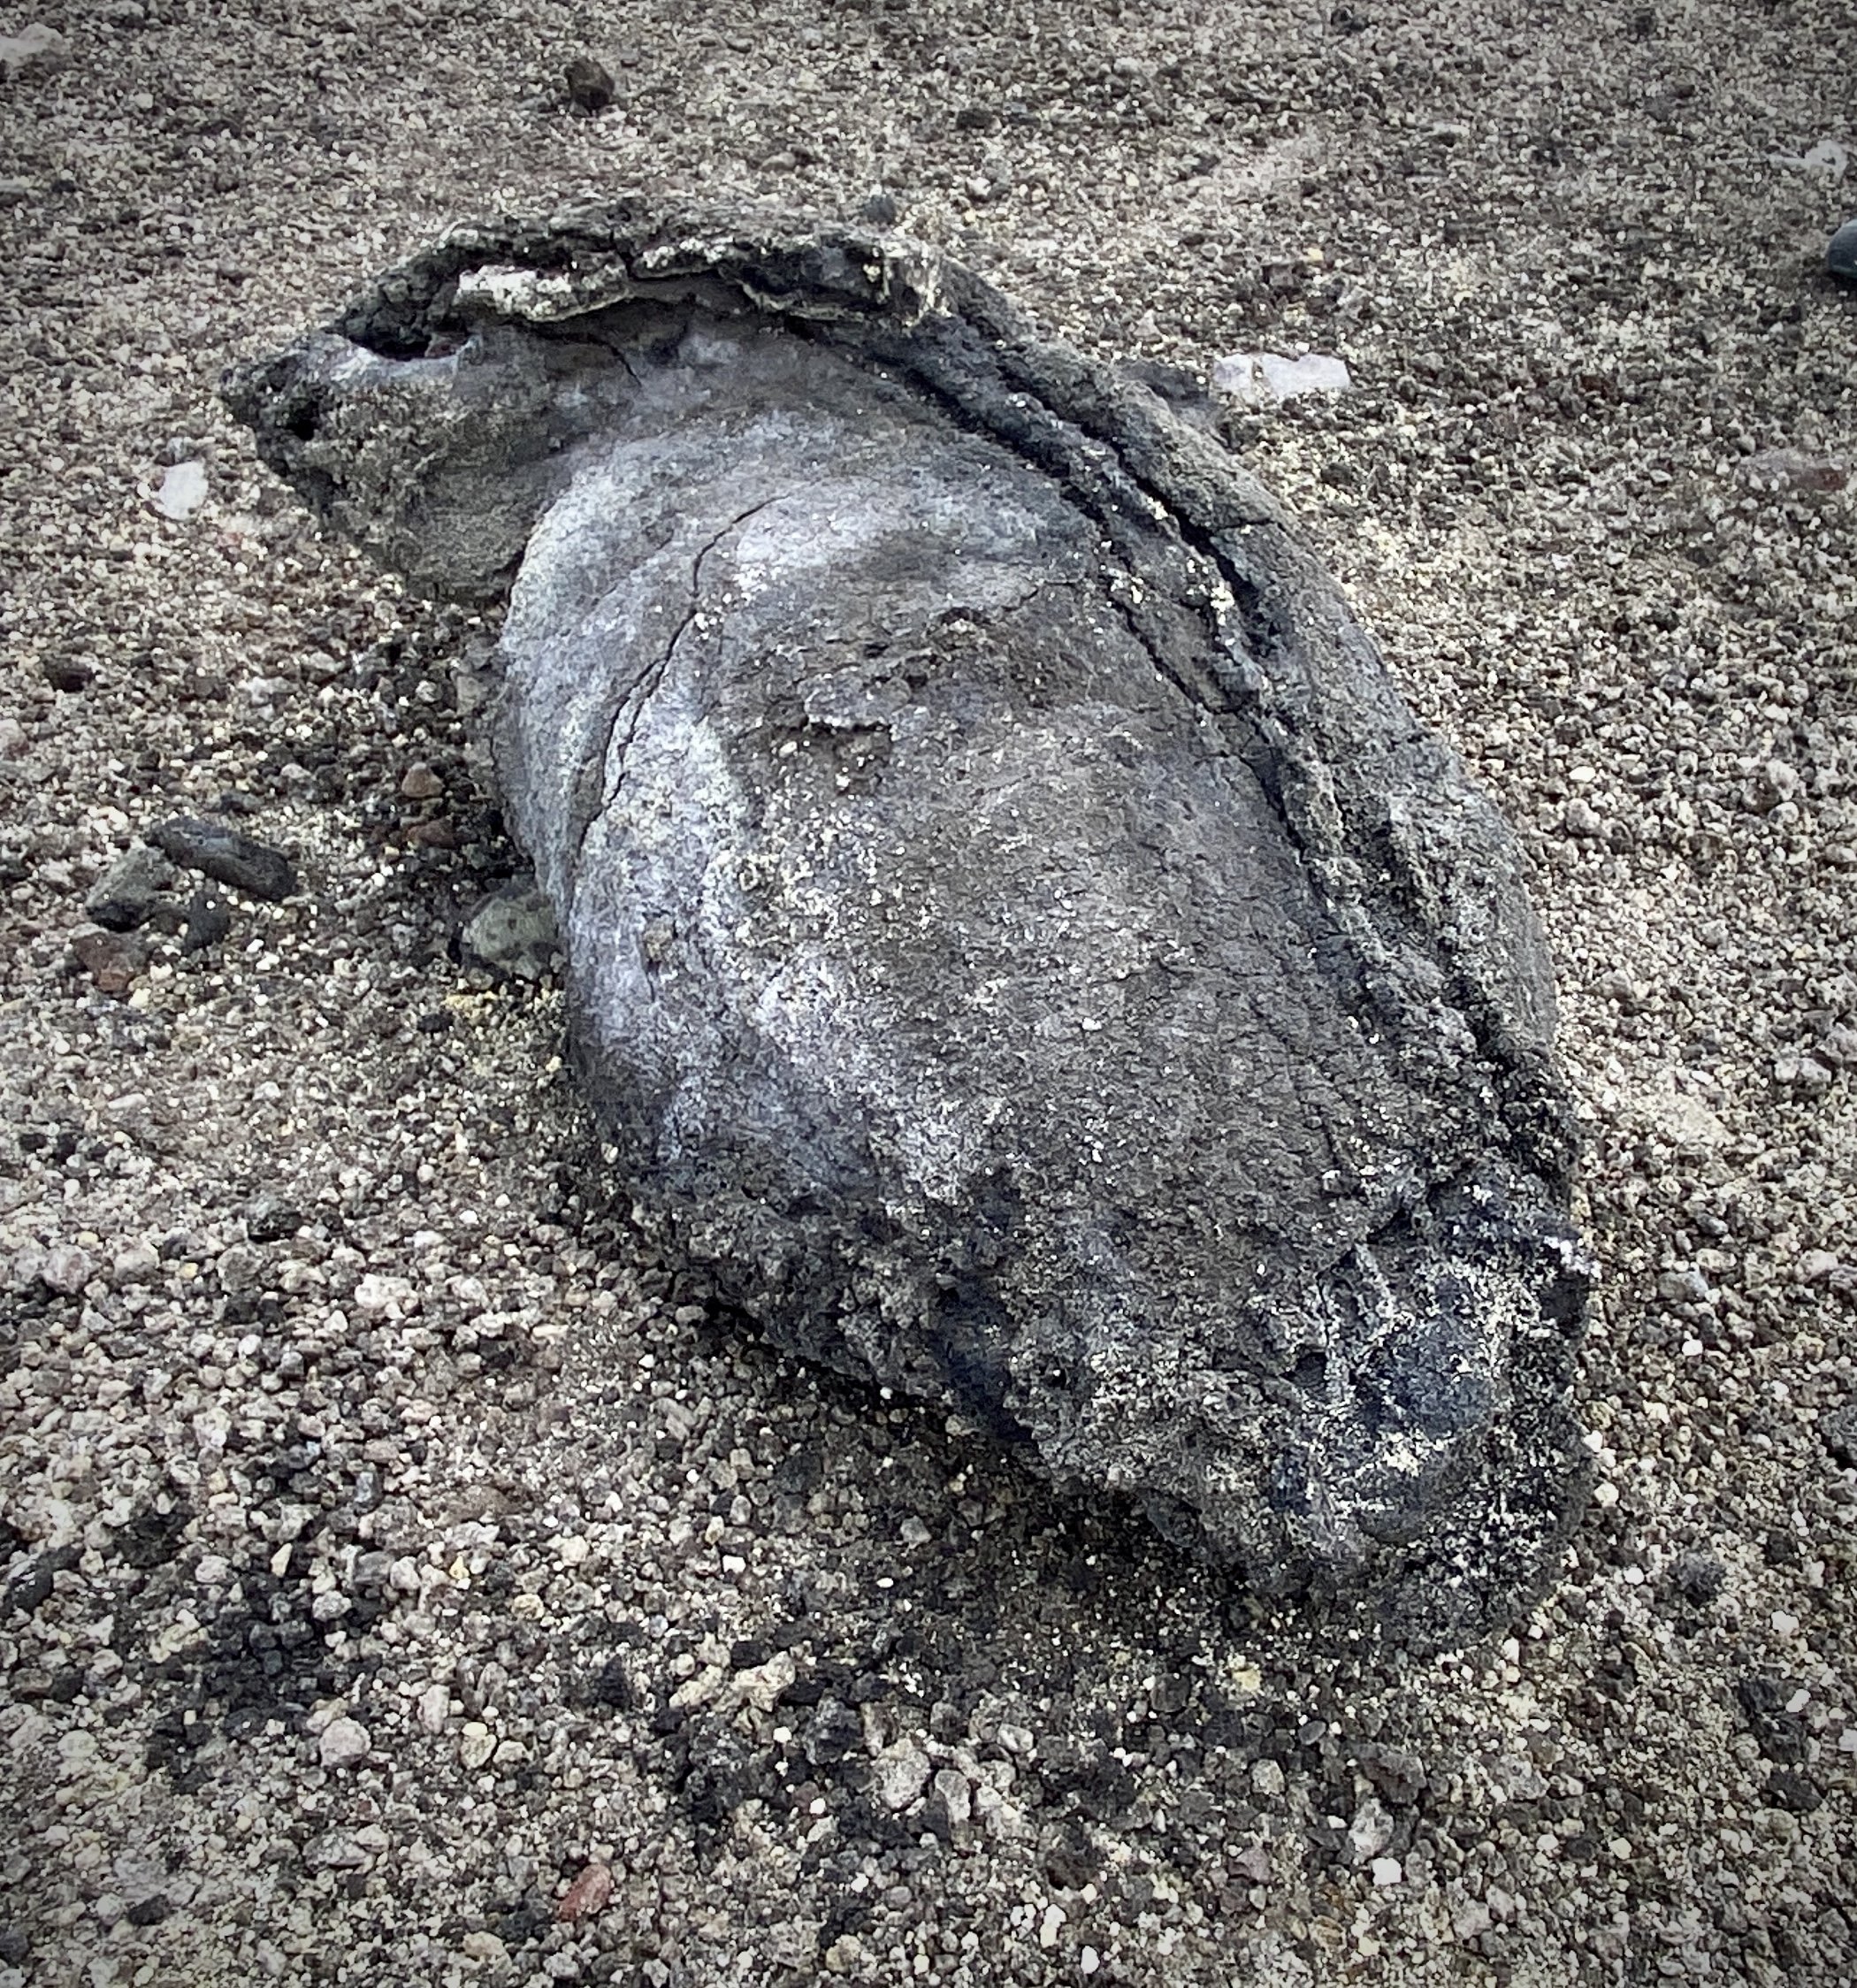
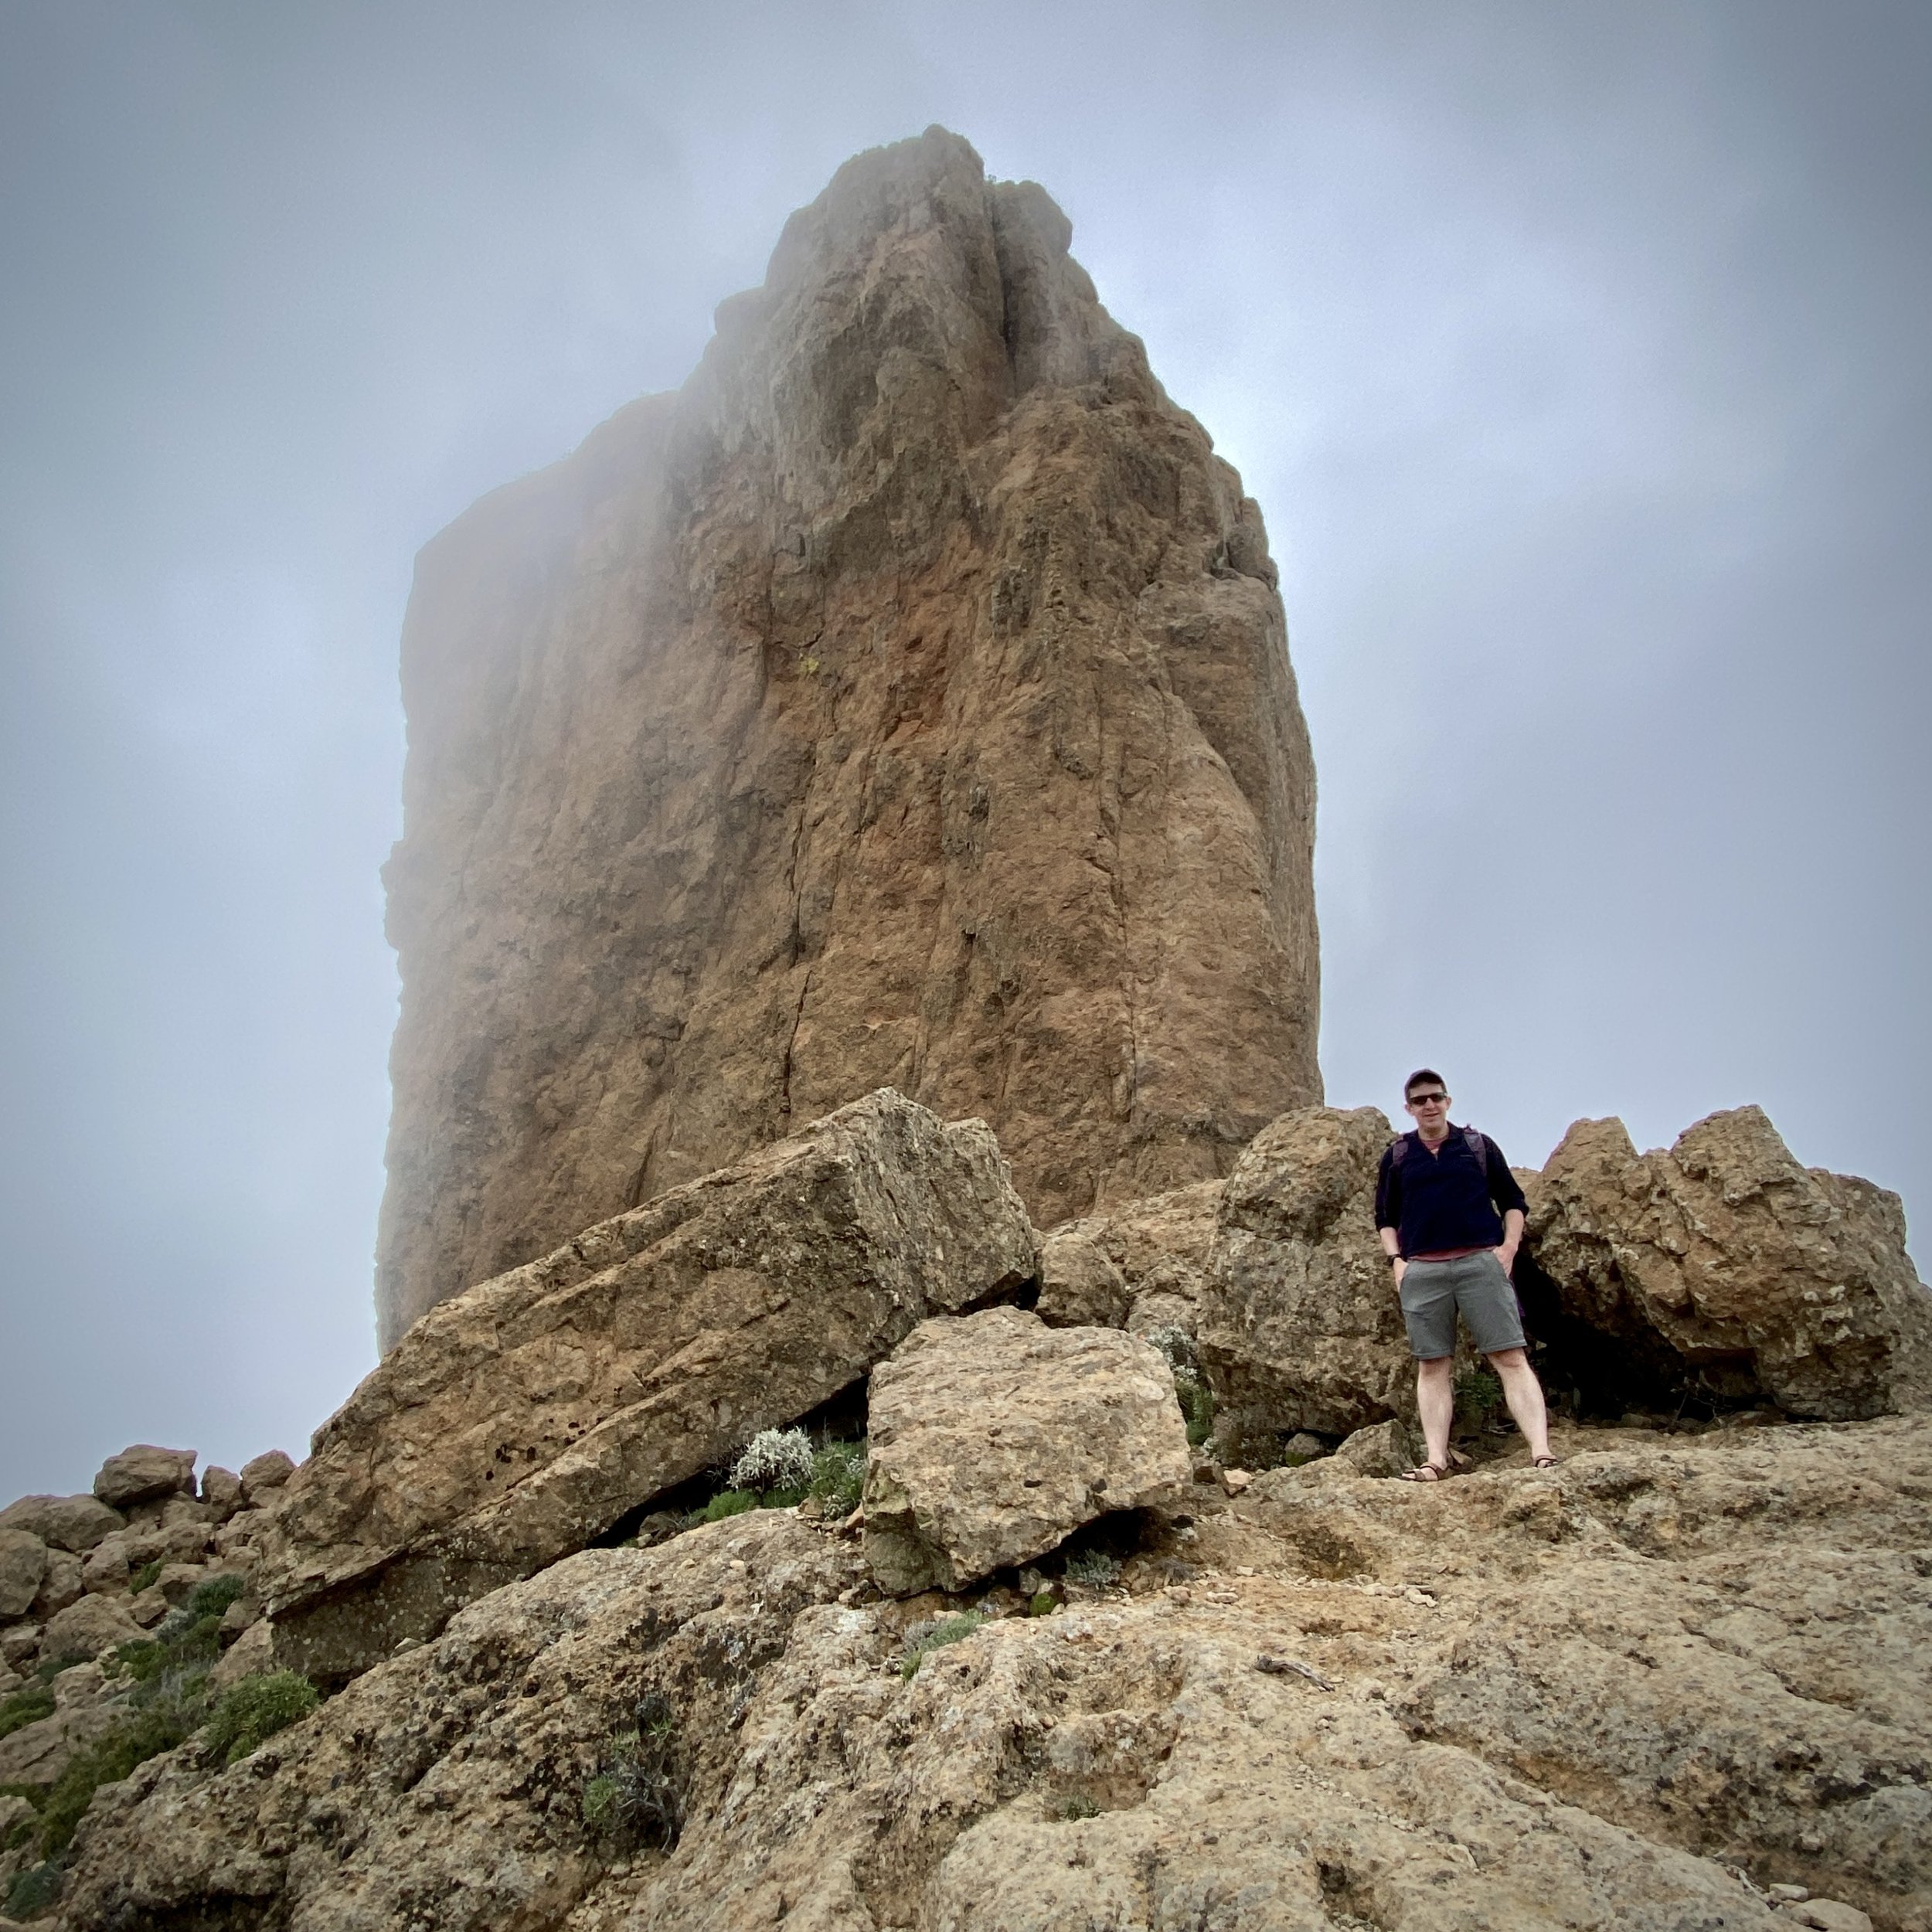
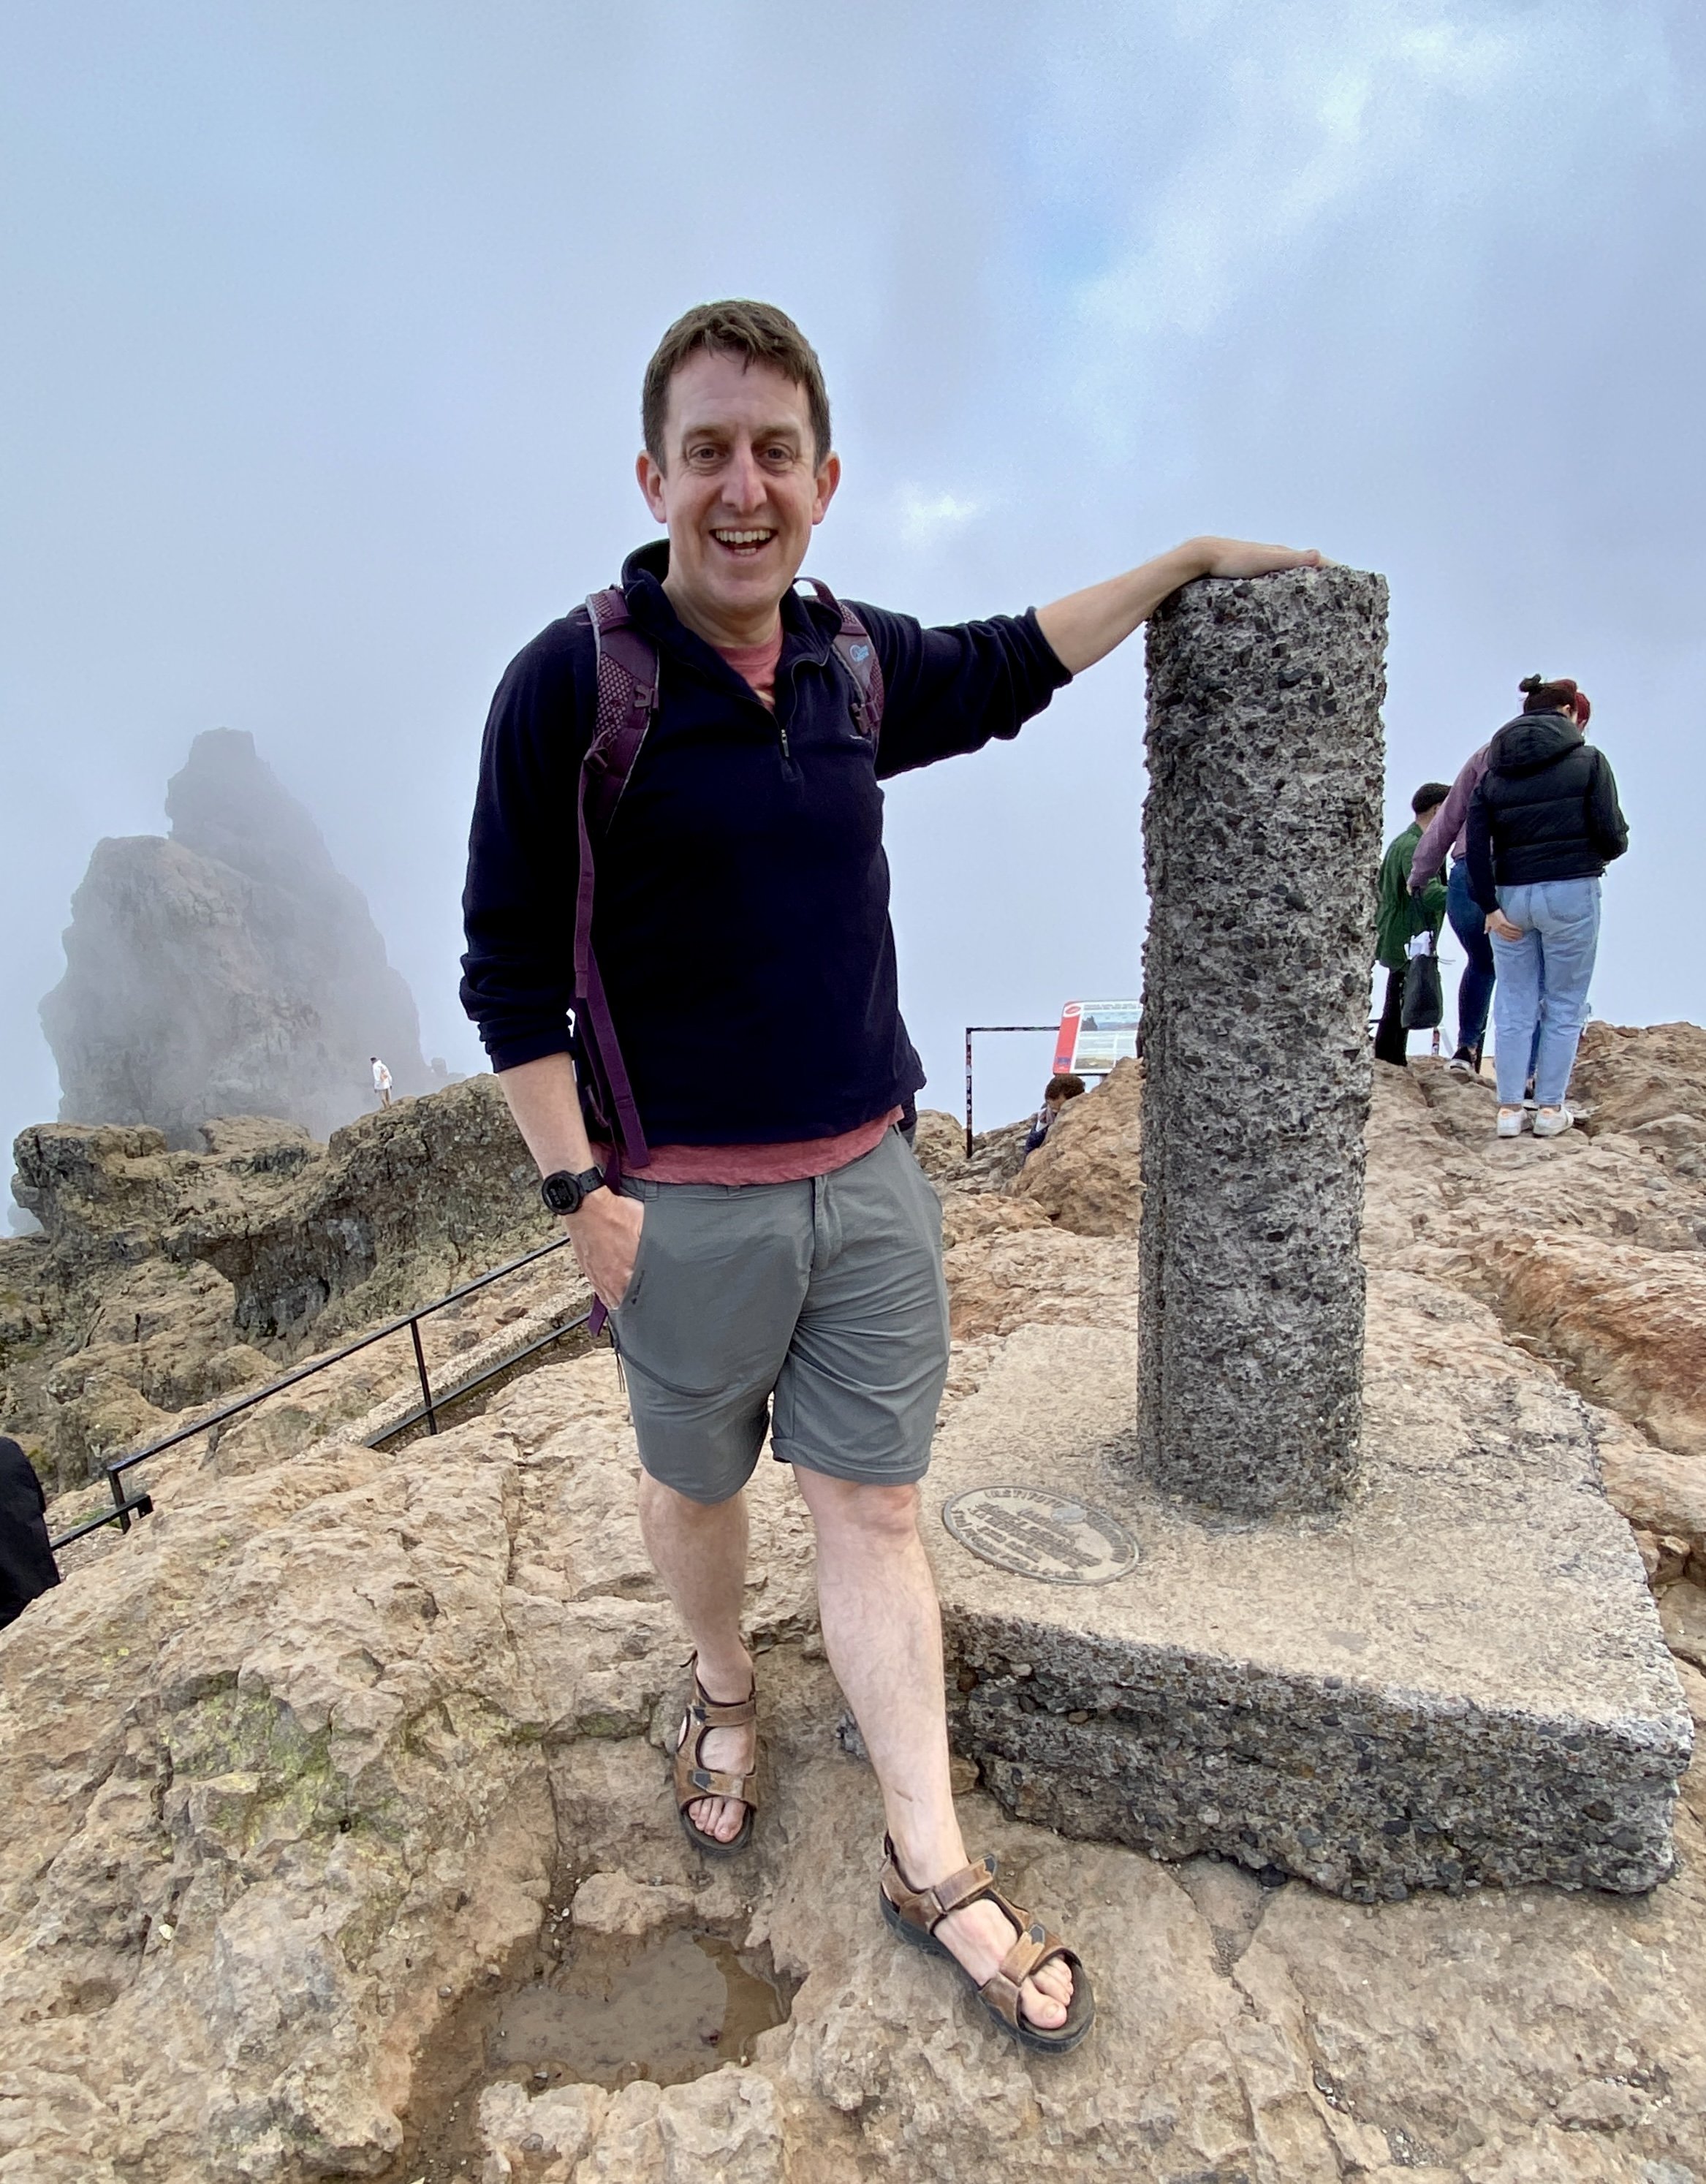
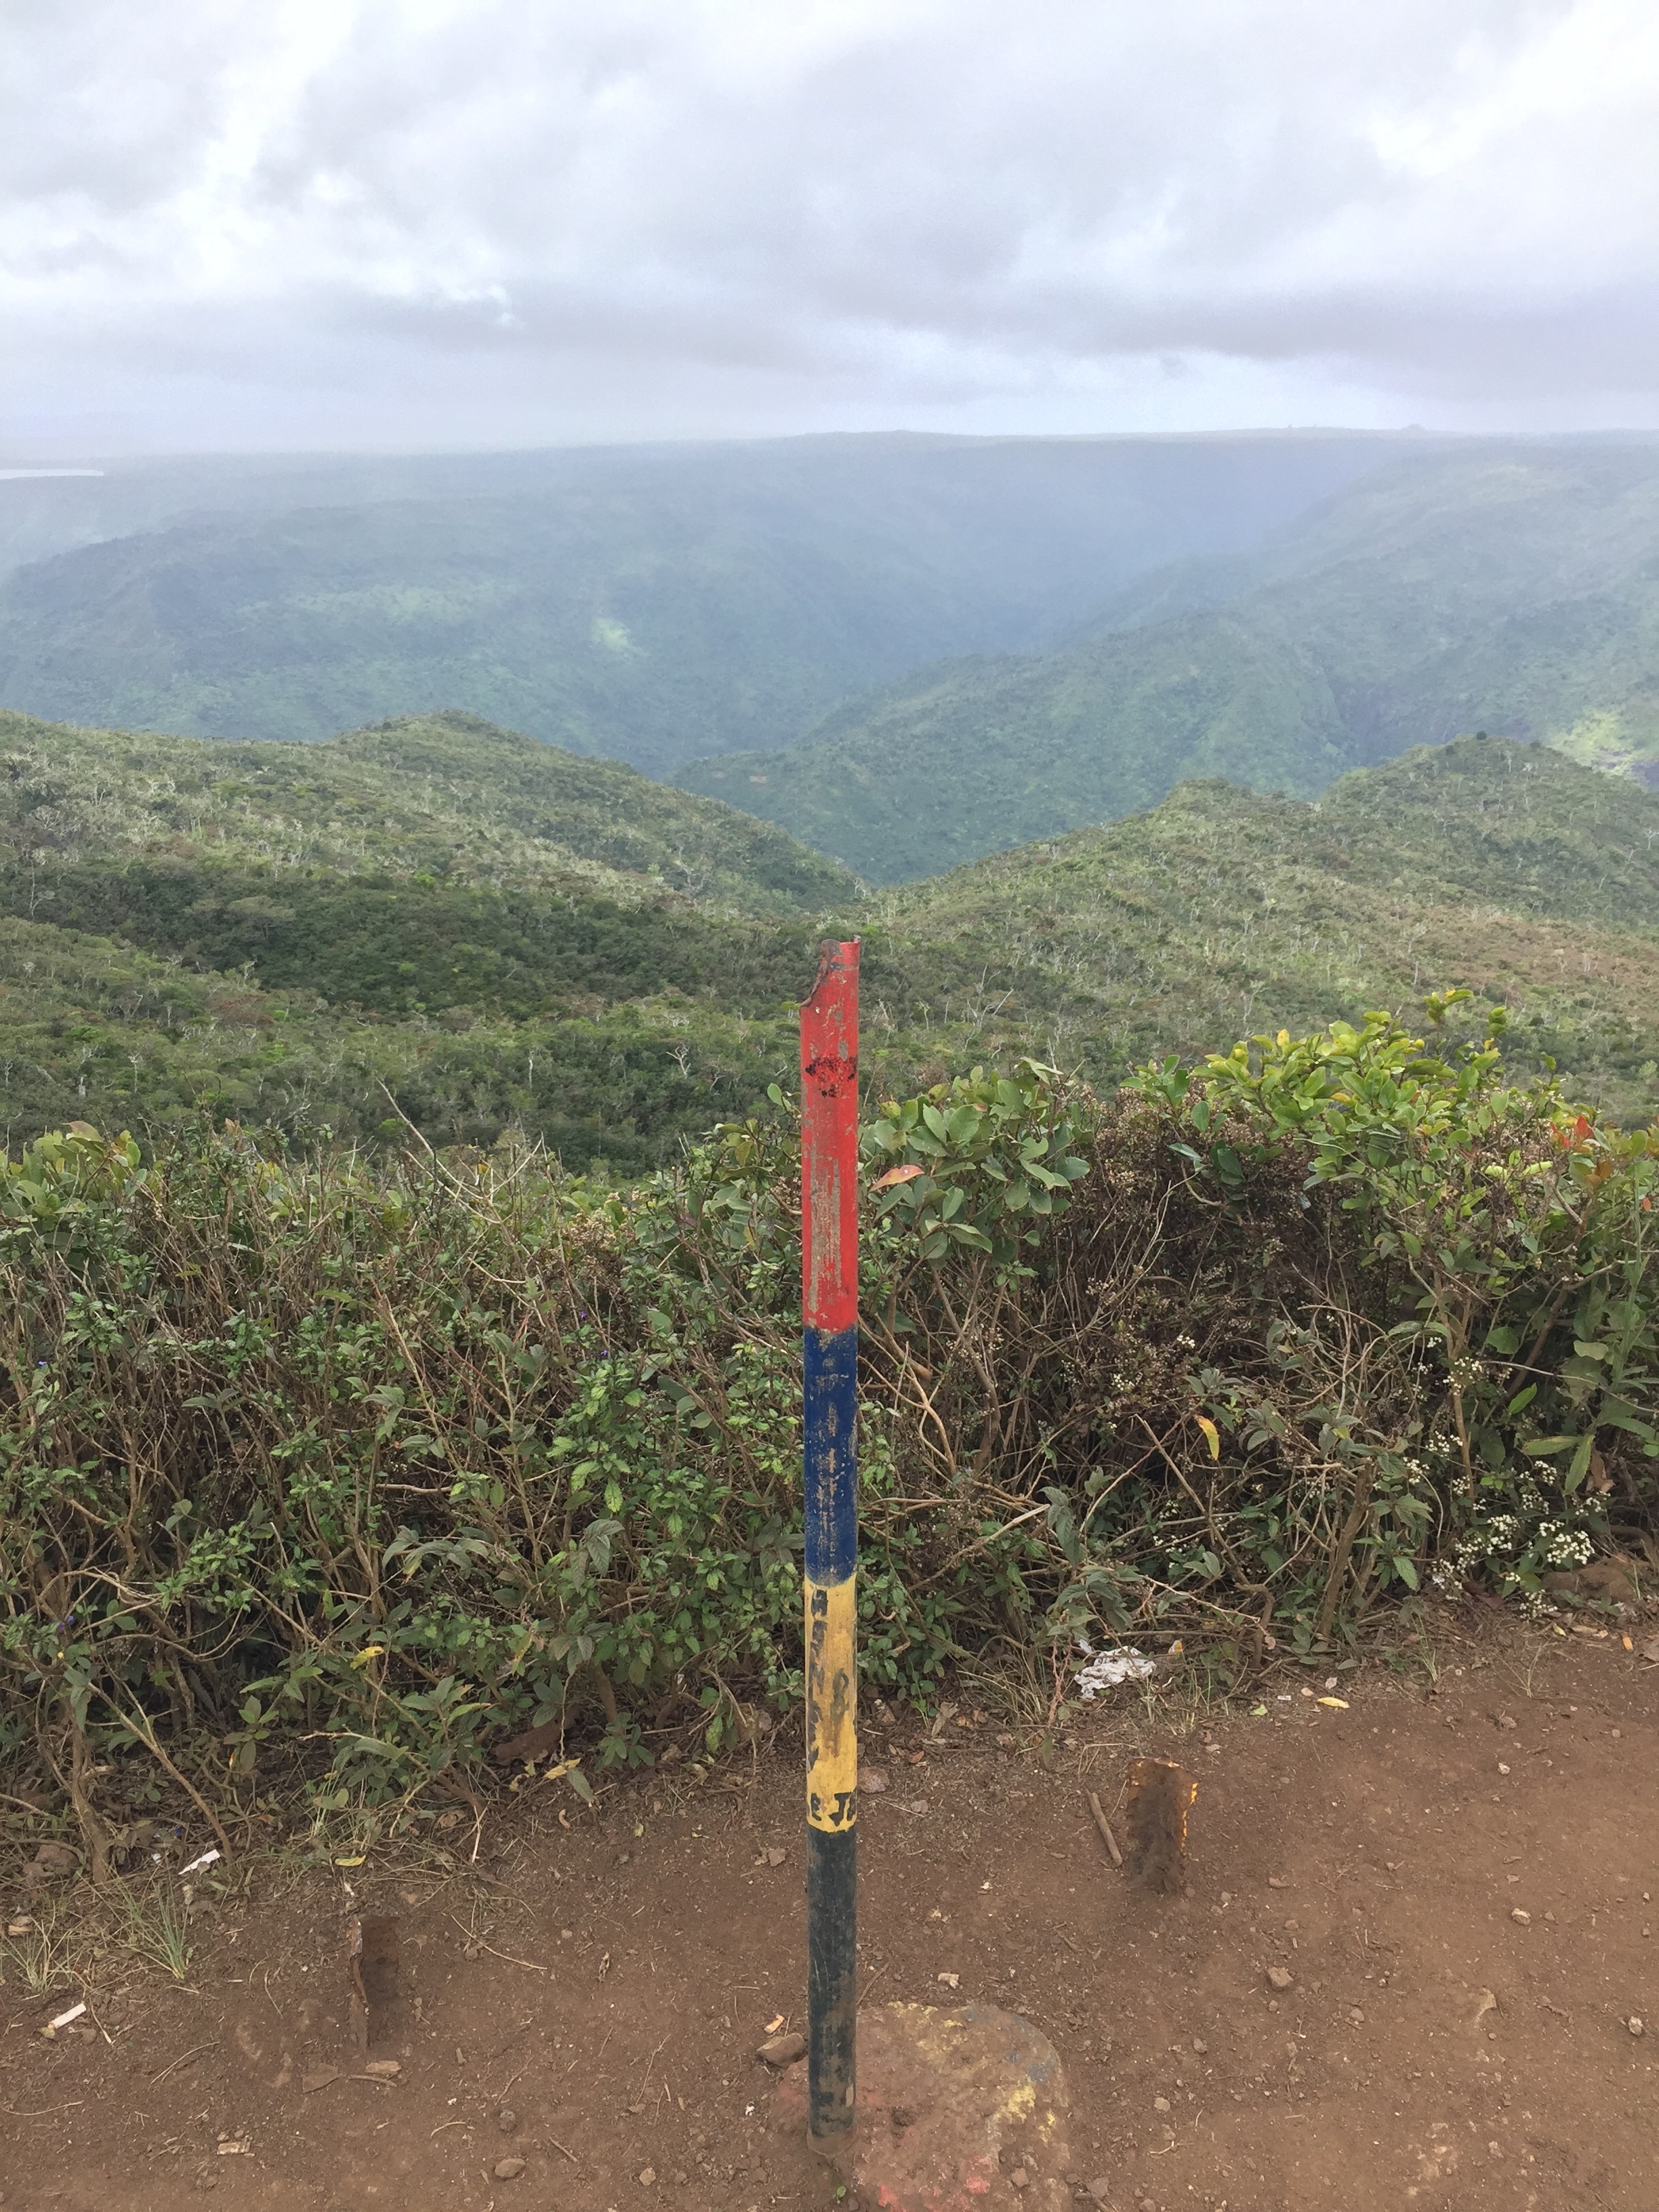
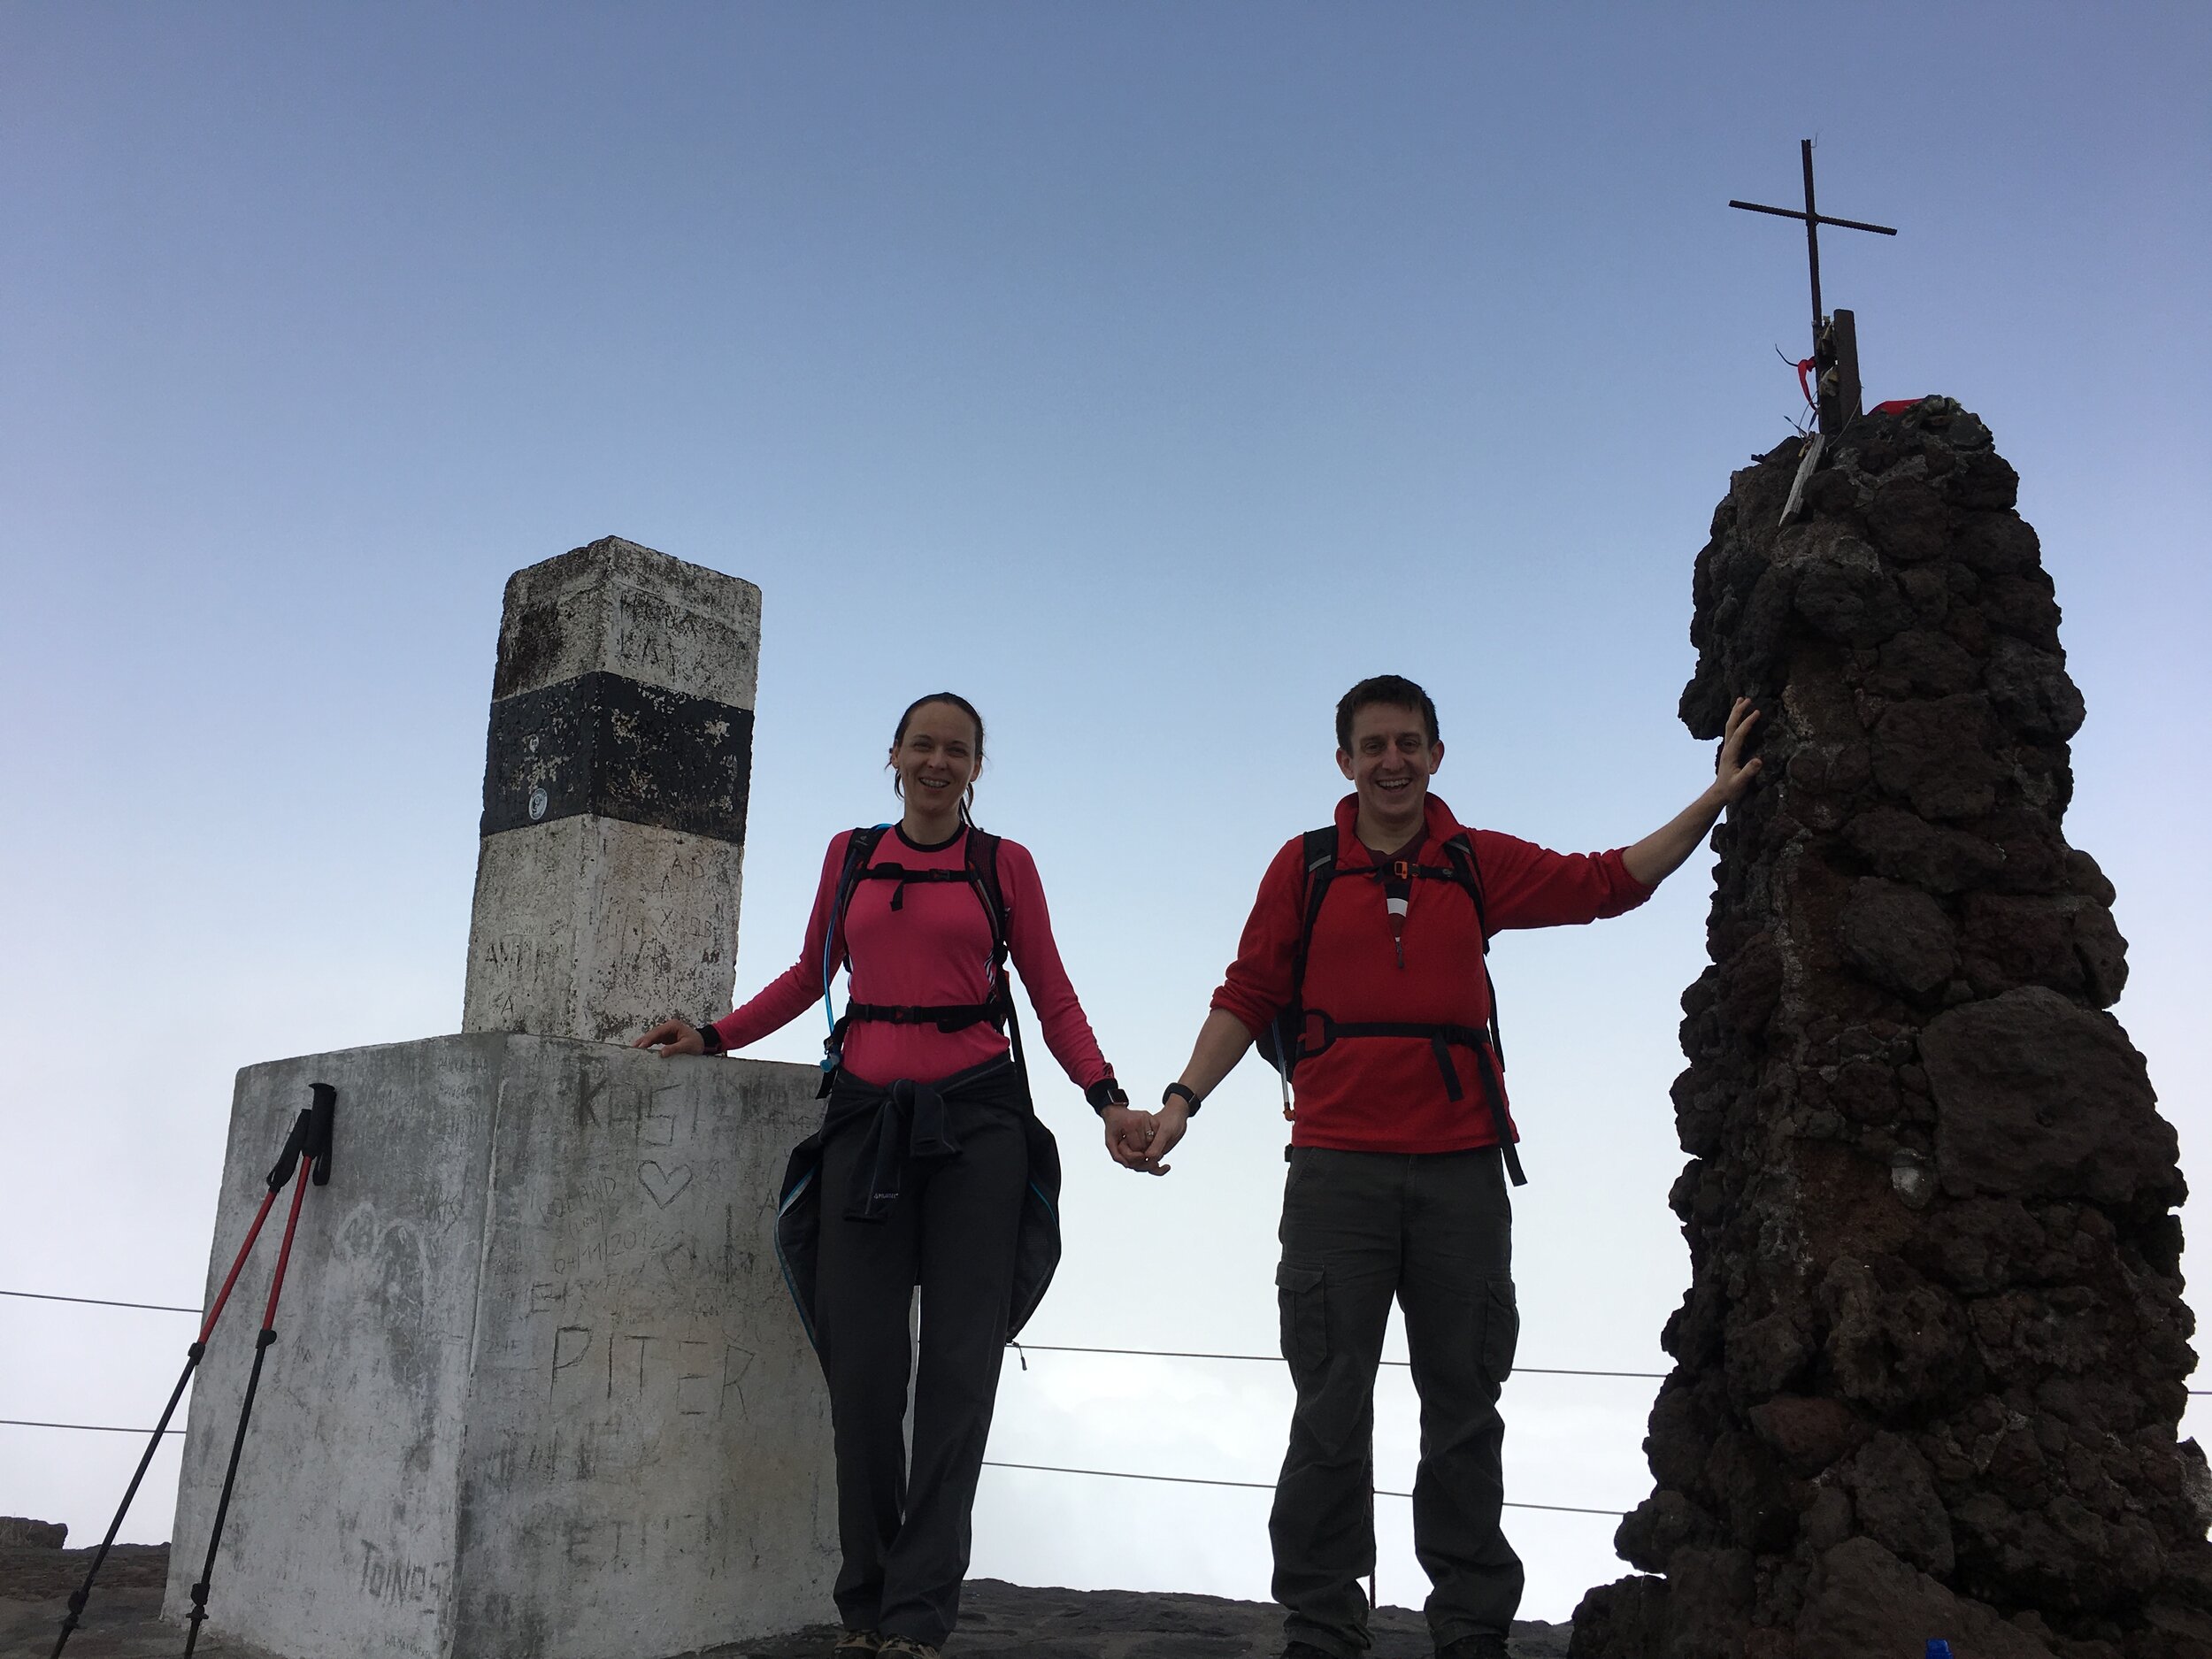
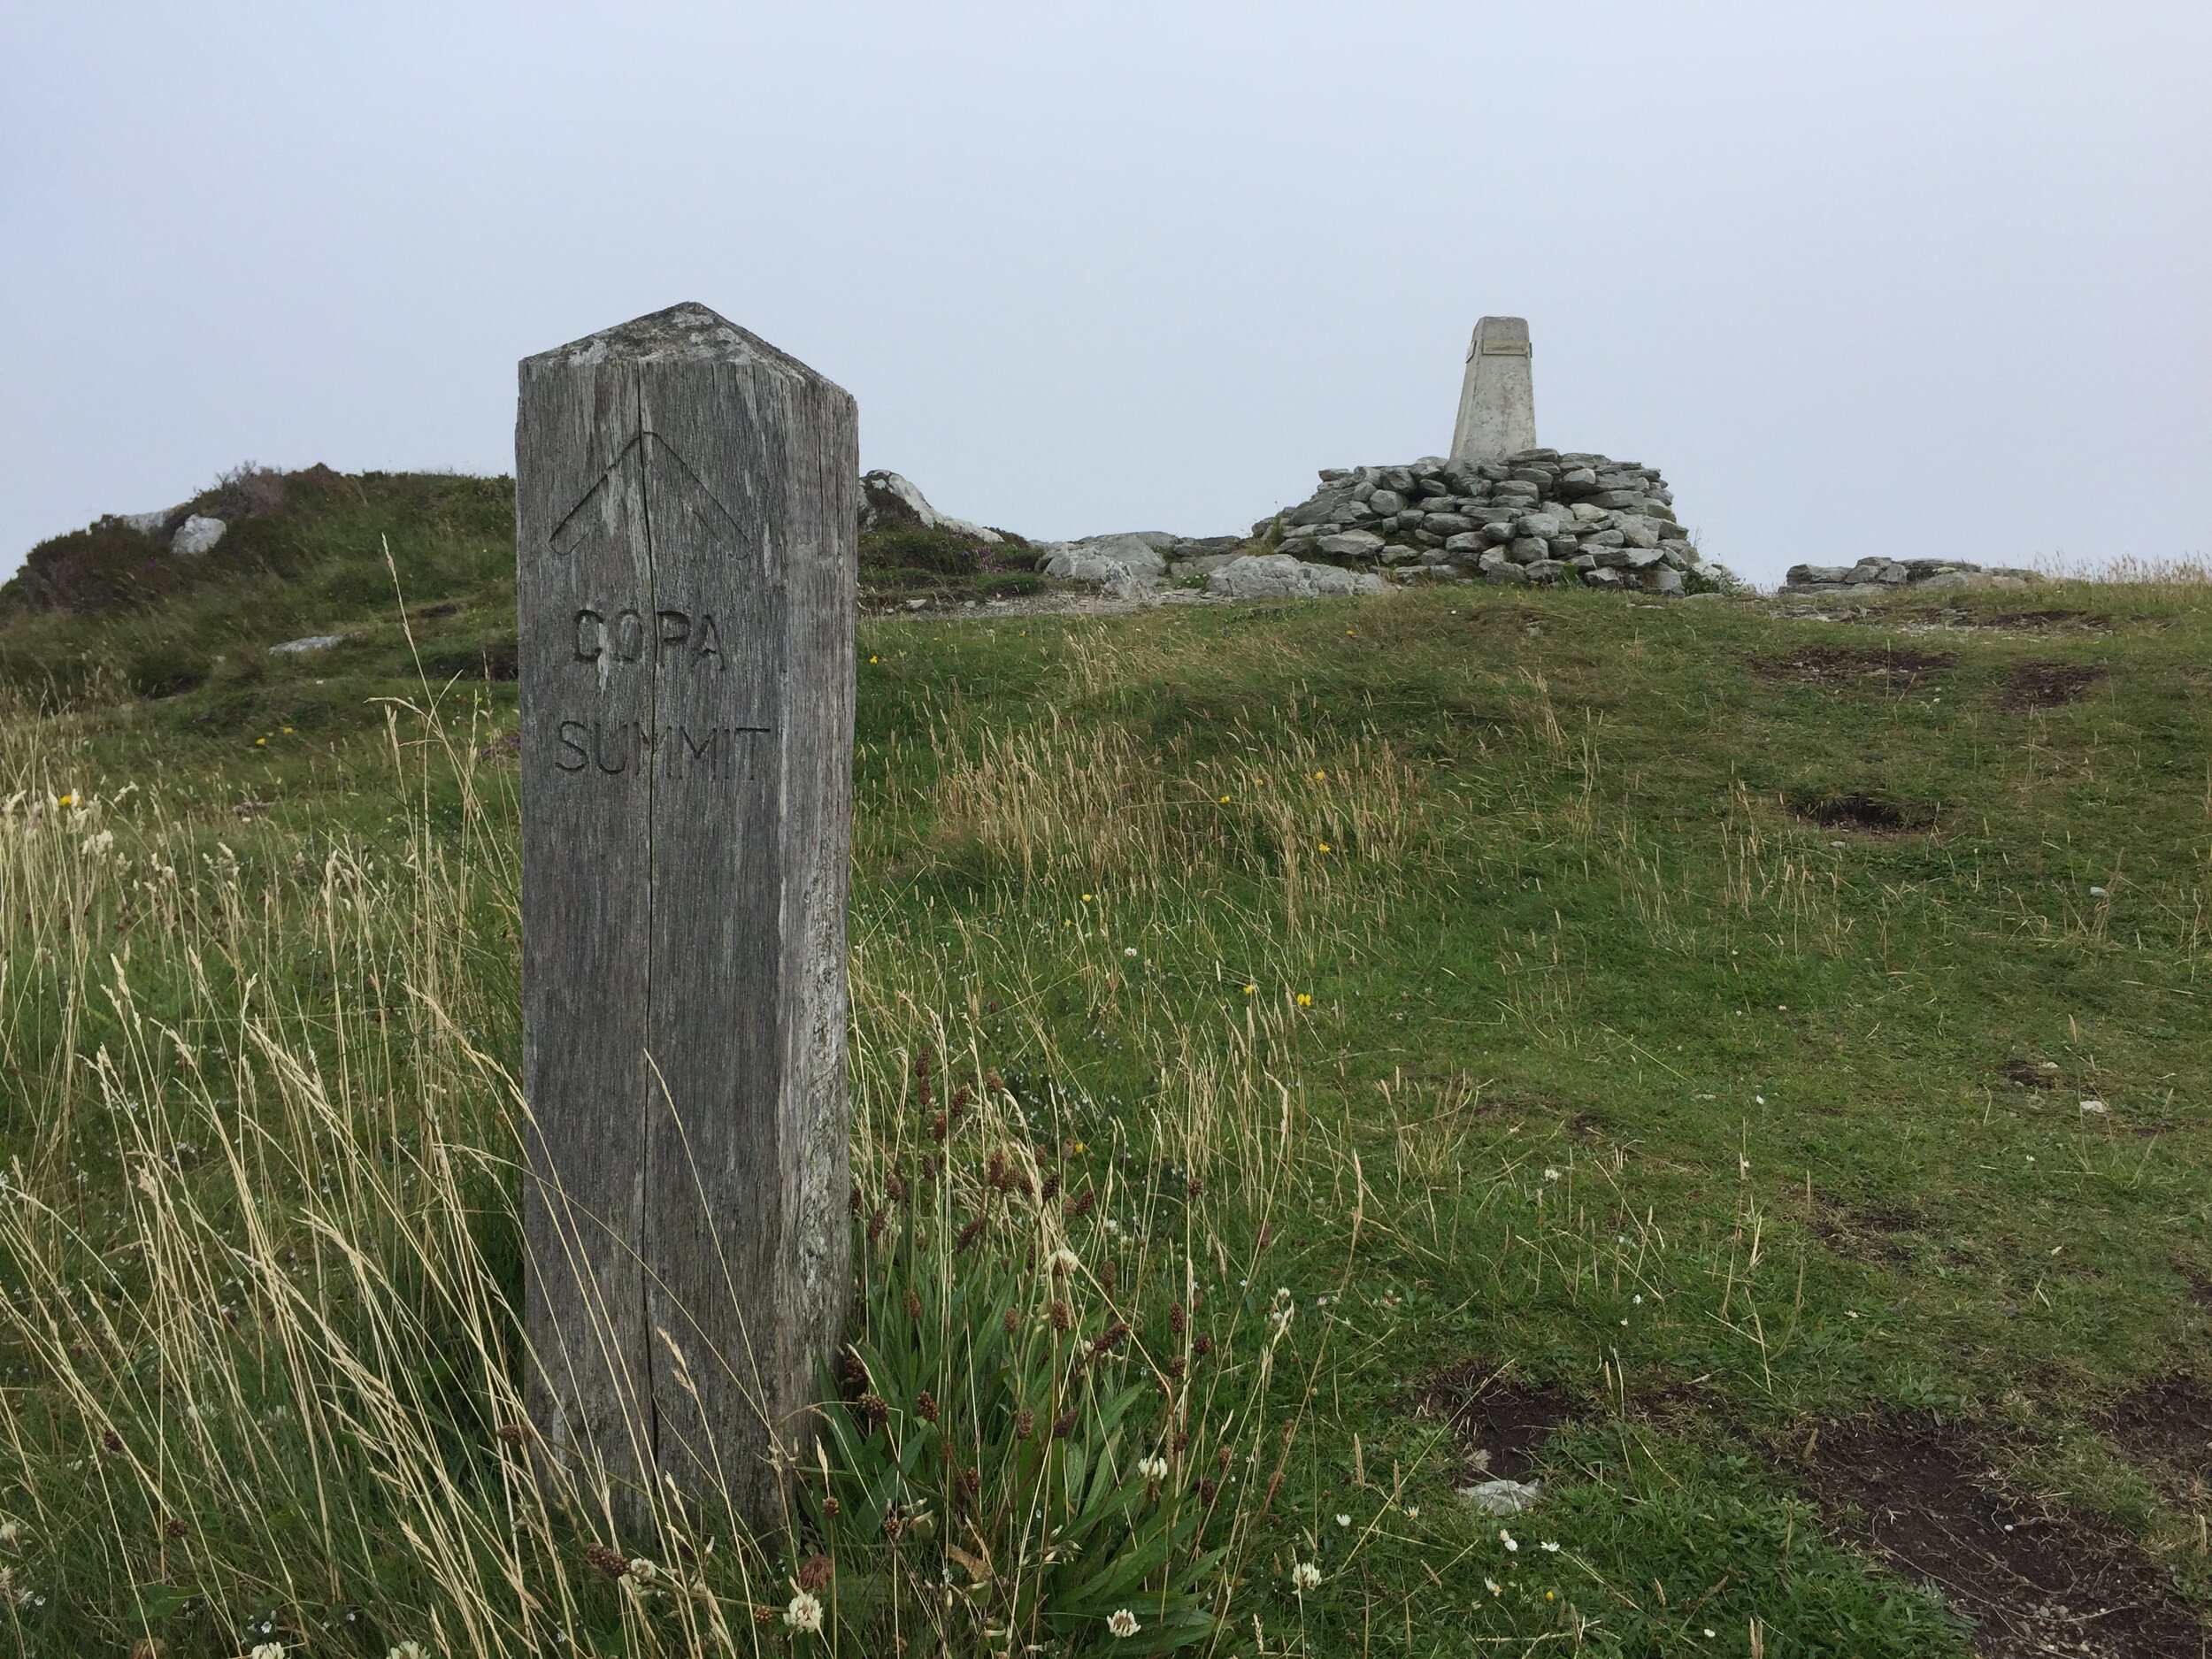
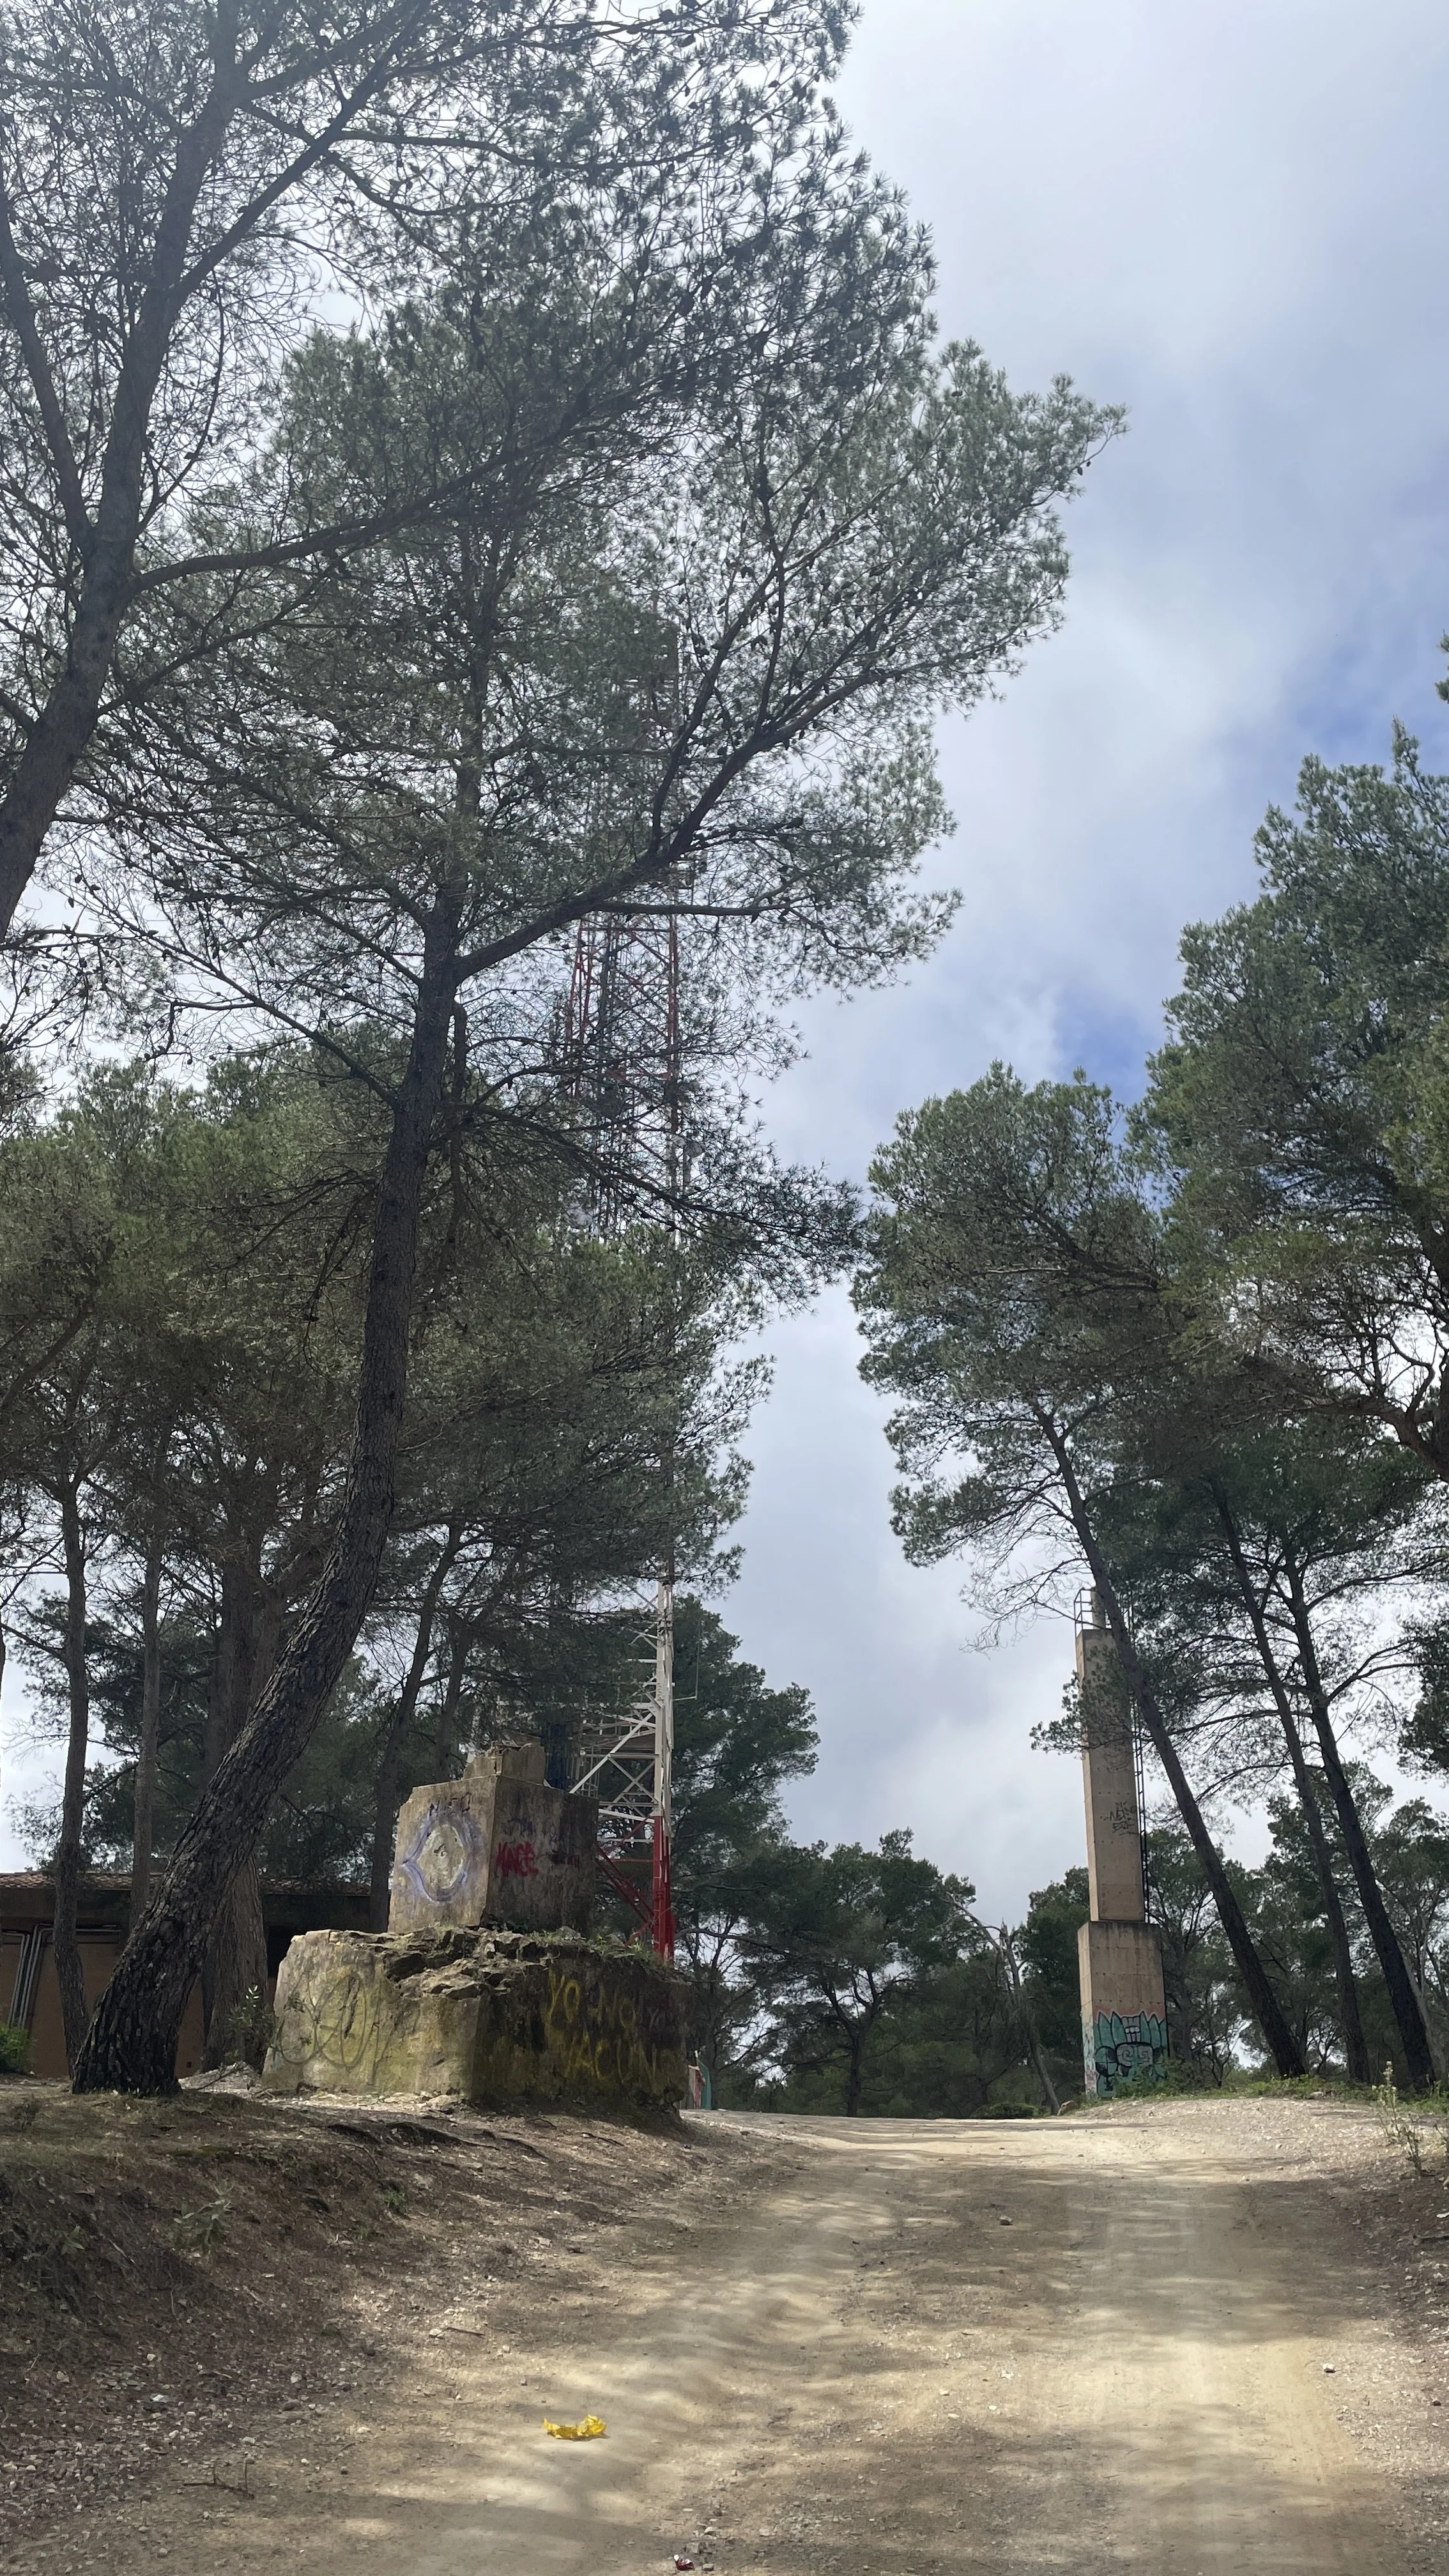
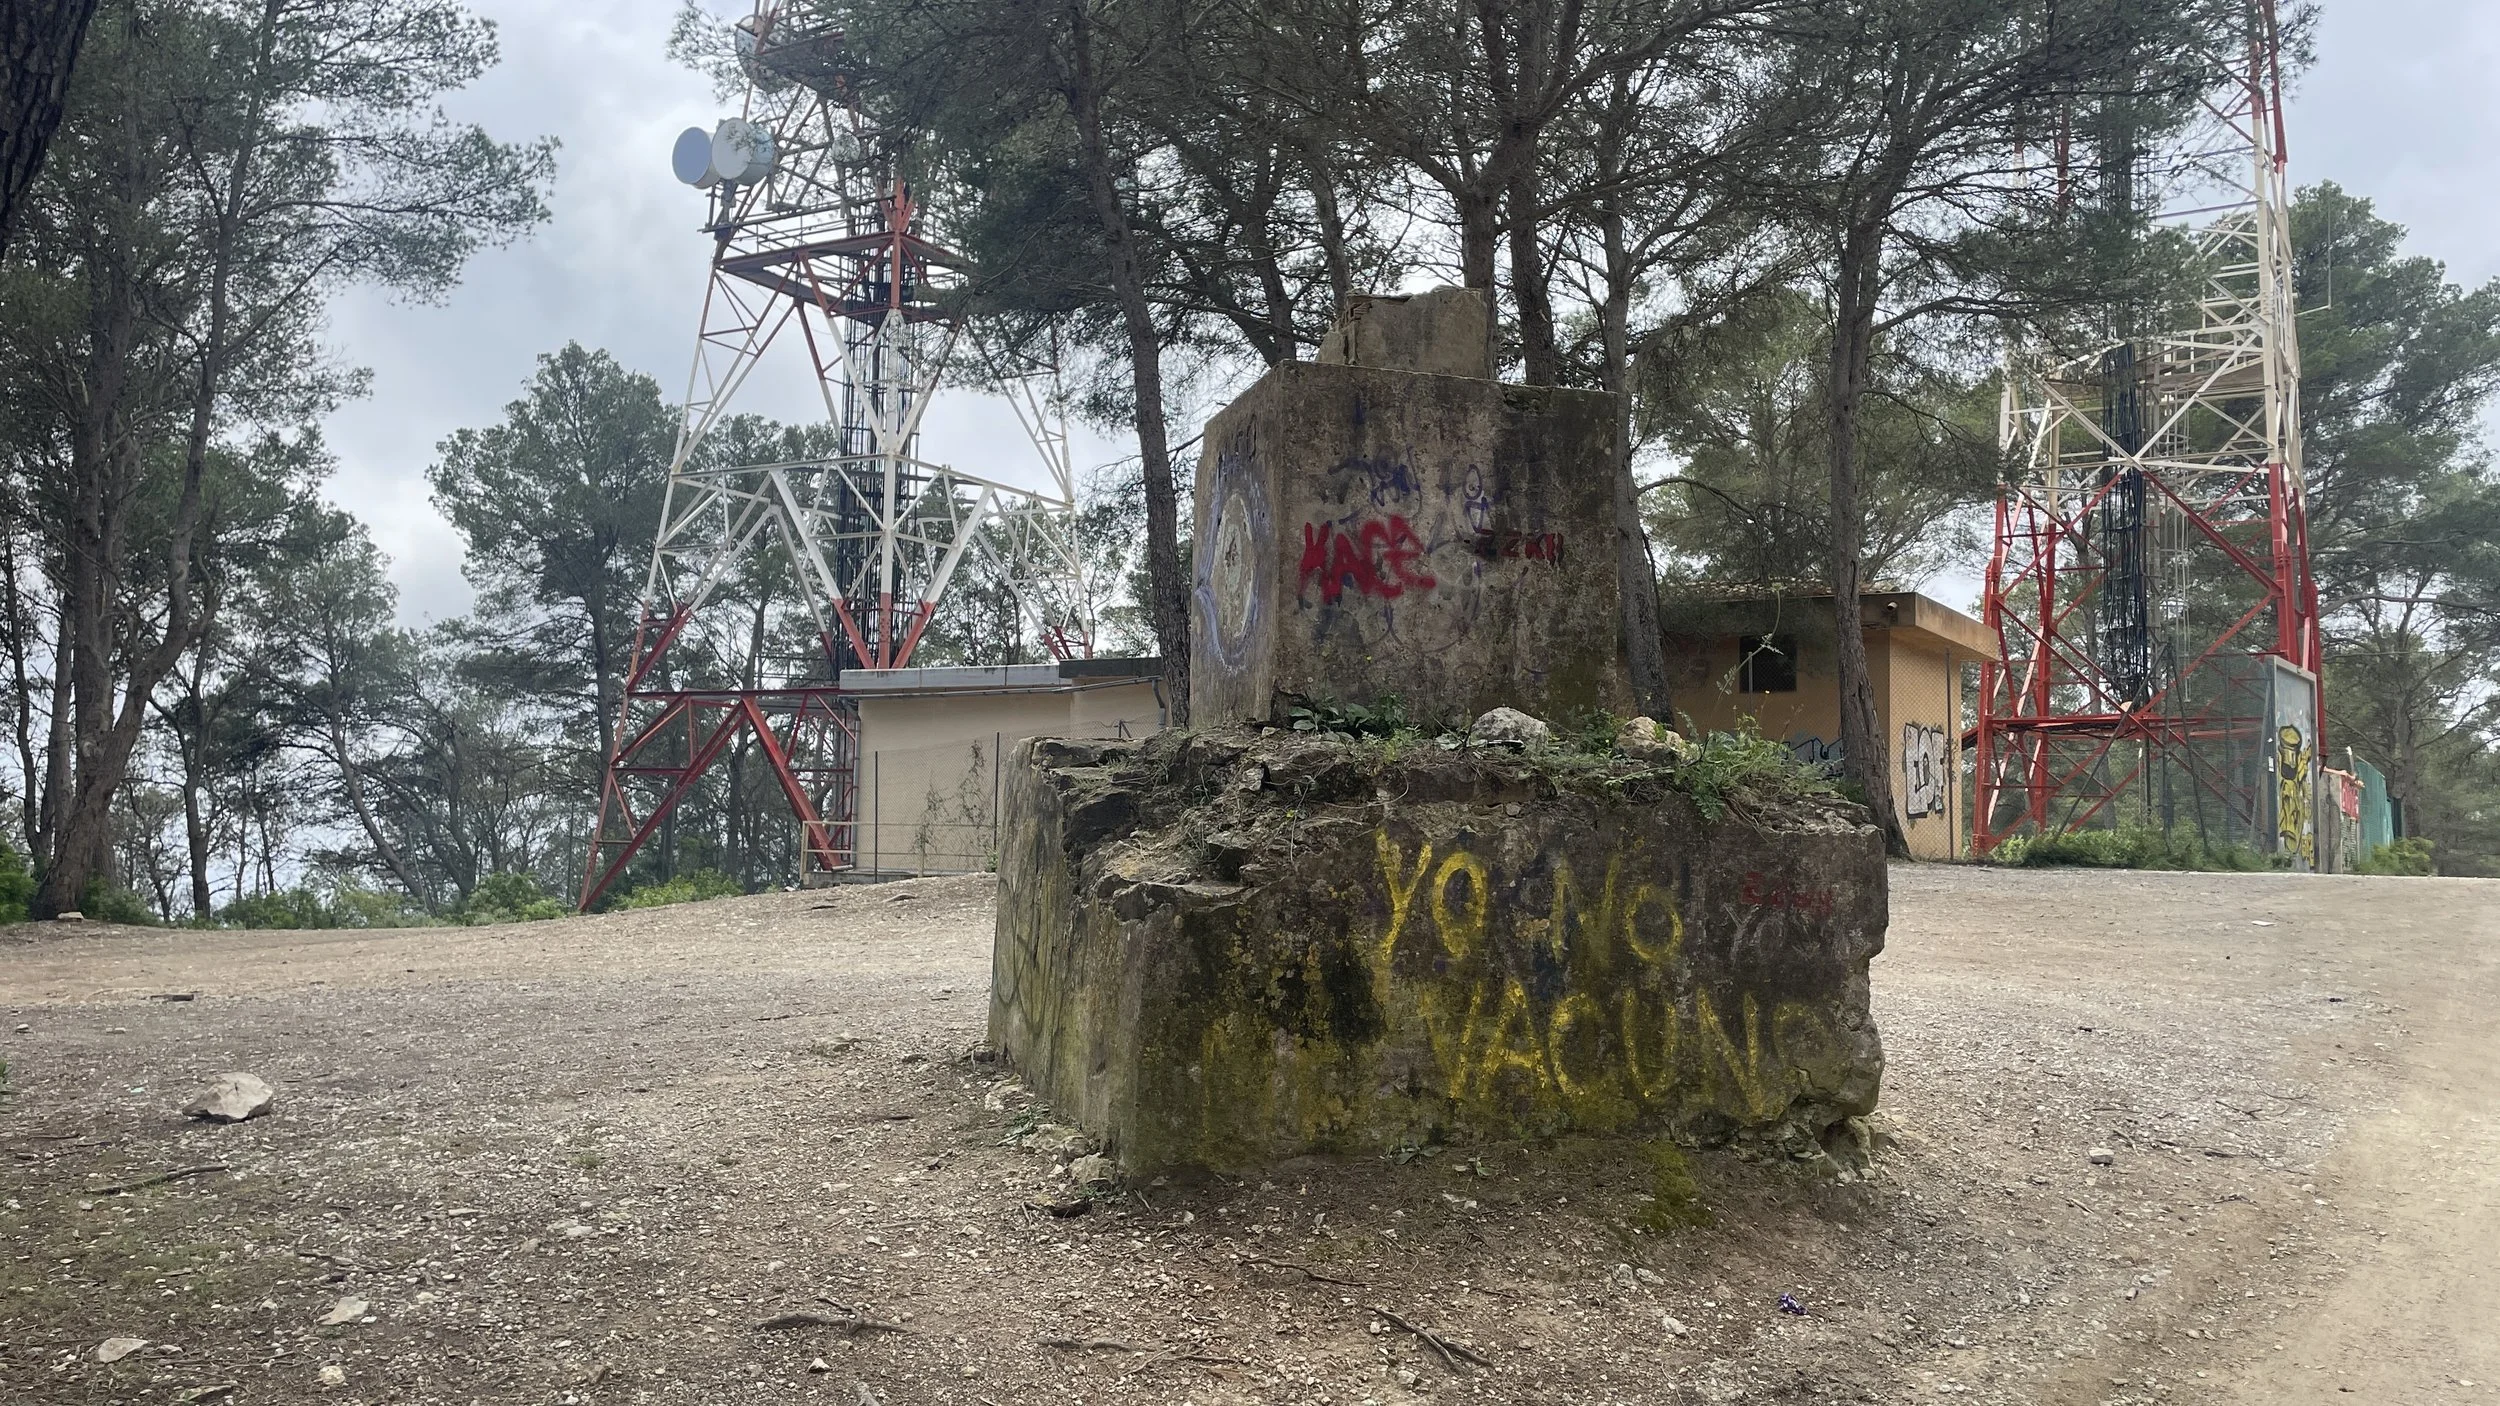
We turned around and followed the small road that runs along the ridge. You will pass another transmitter and a bump in the ridge called Talaia de Sant Josep at 463 metres, but keep going. A little further down the track is the actual high point: Roca Grossa at 487 metres, clearly marked by a Spanish trig pillar.
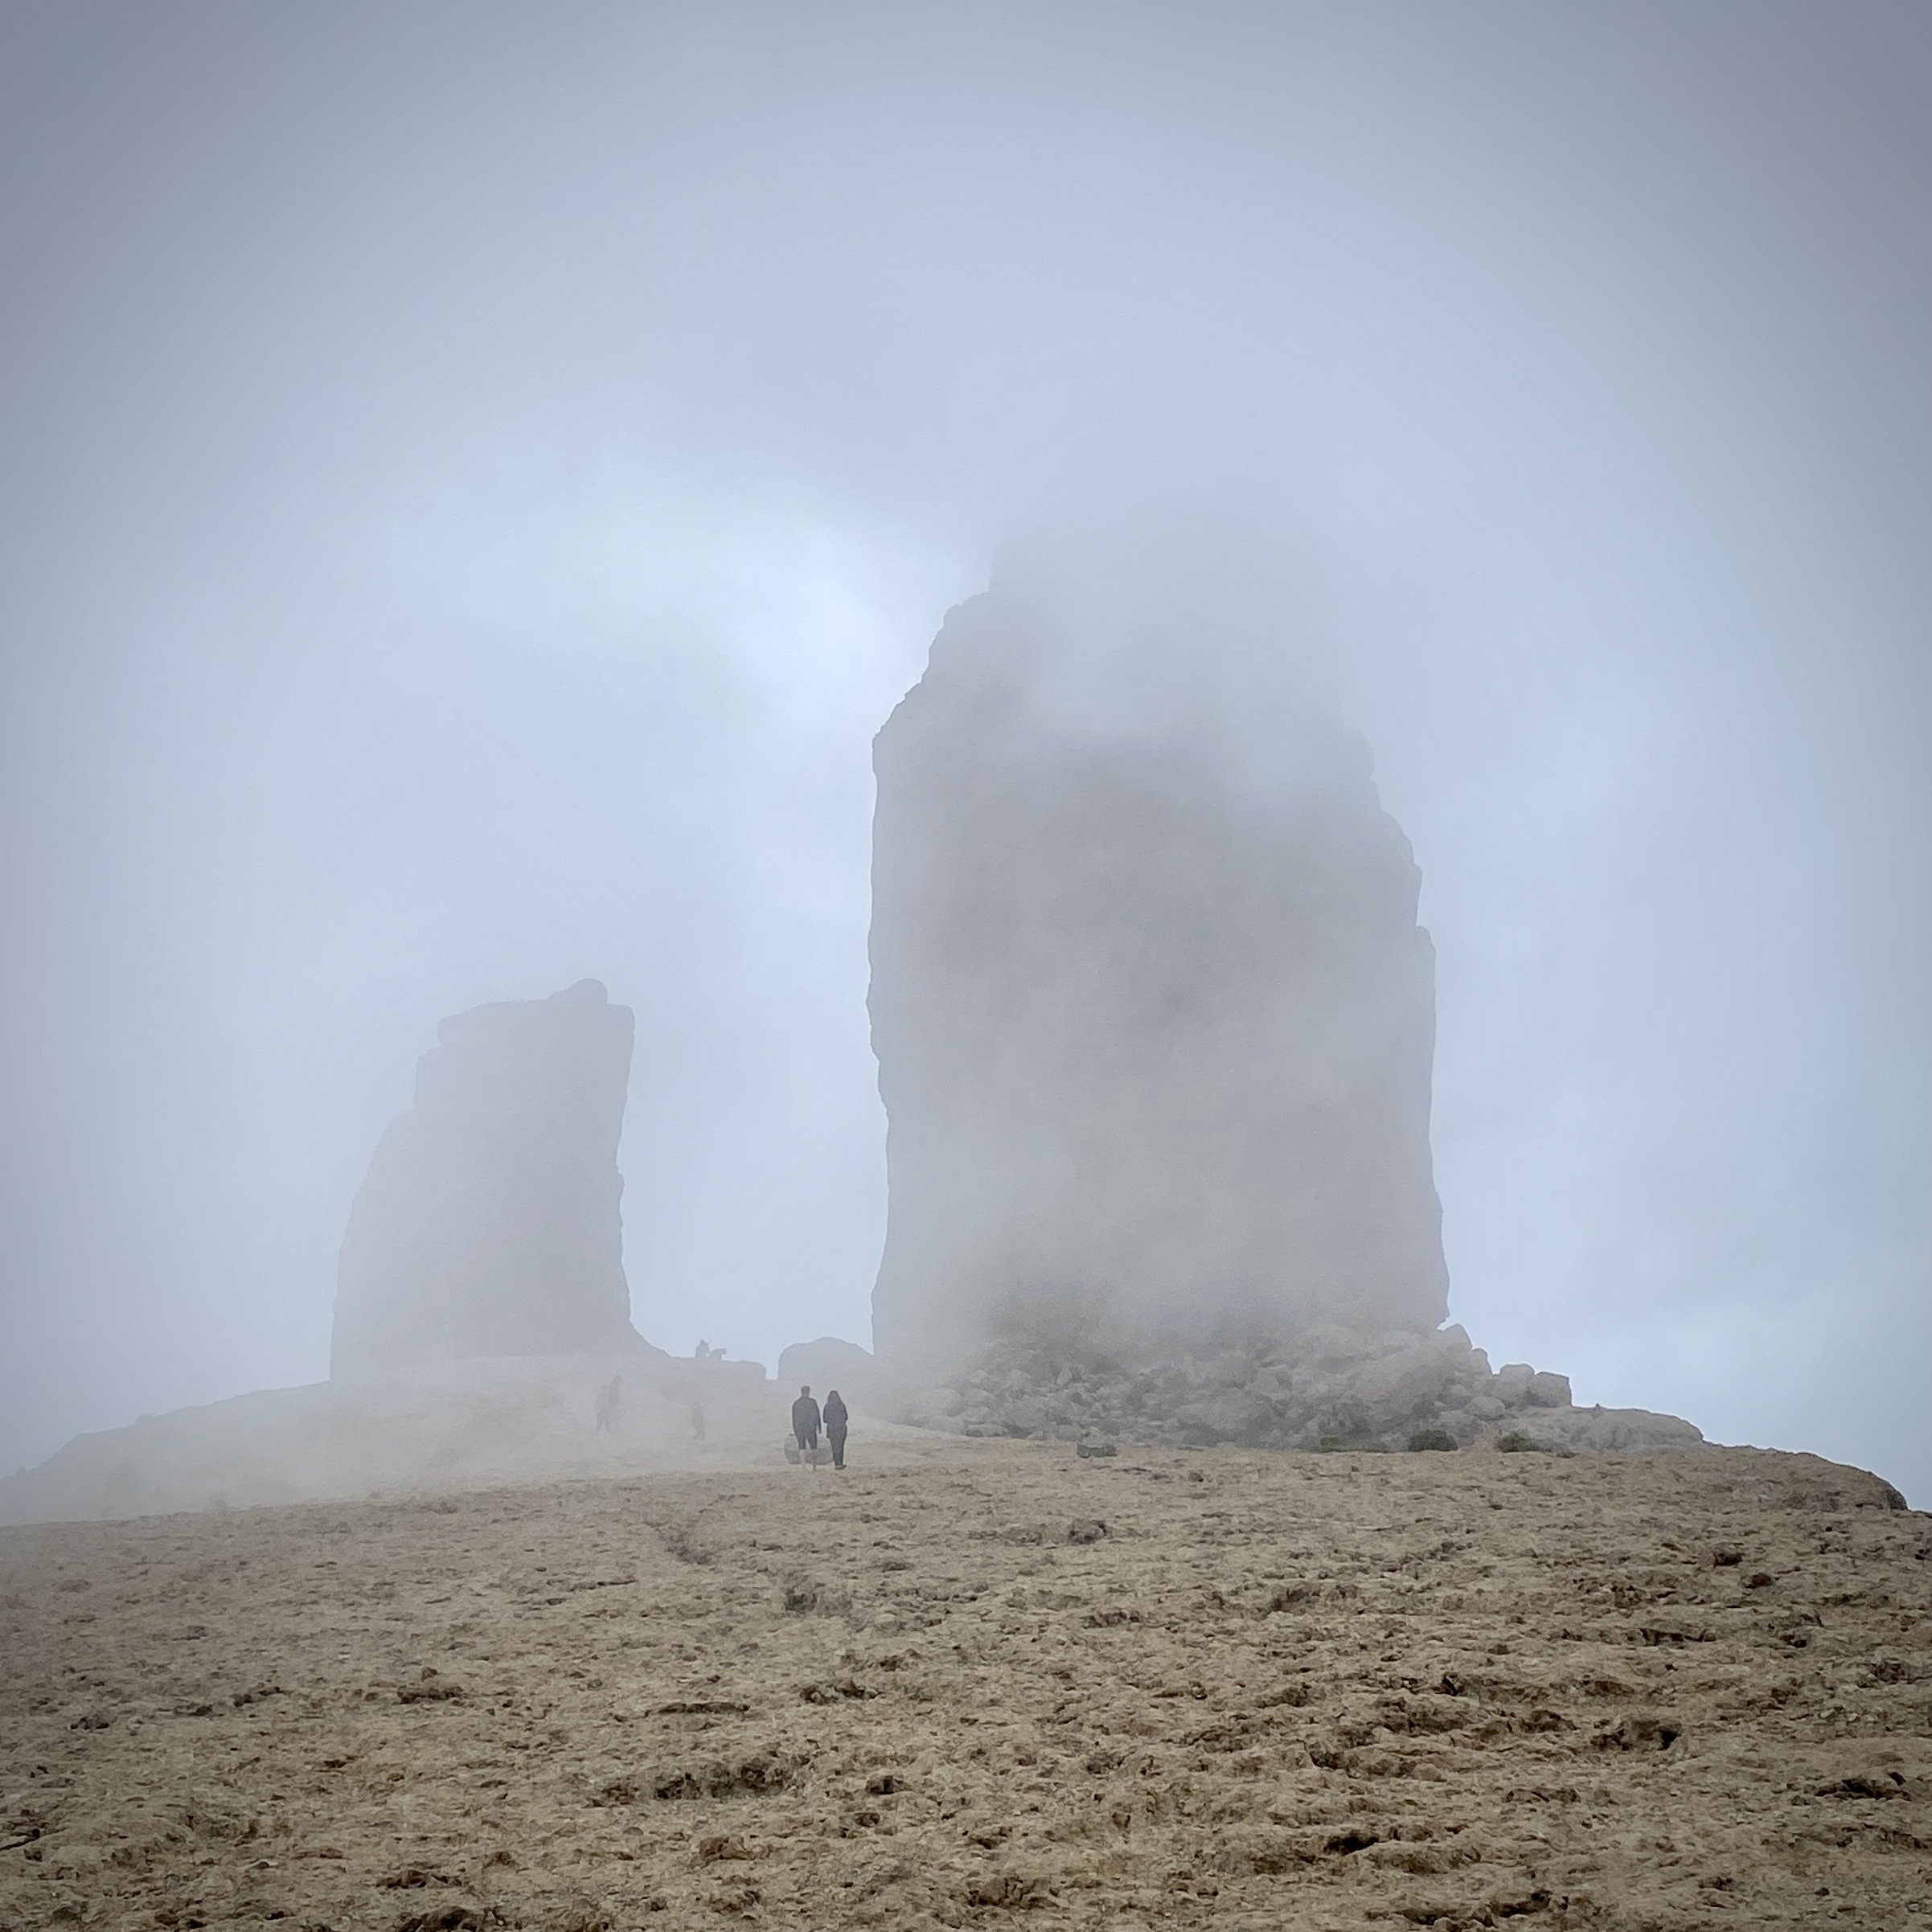
One sombre piece of history about this mountain: in January 1972, Sa Talaia was the site of a tragic aviation accident. Aviaco Flight 118 crashed into the mountain in dense fog while on approach to the airport, resulting in the loss of all 104 people on board. Coincidentally, my parents visited Ibiza that exact same year. In an even stranger twist of fate, my parents also visited Madeira in 1977 during the exact same week as a major plane crash there. That accident involved TAP Air Portugal Flight 425, which tragically overran the runway at Madeira Airport in heavy rain and high winds, claiming 131 lives.
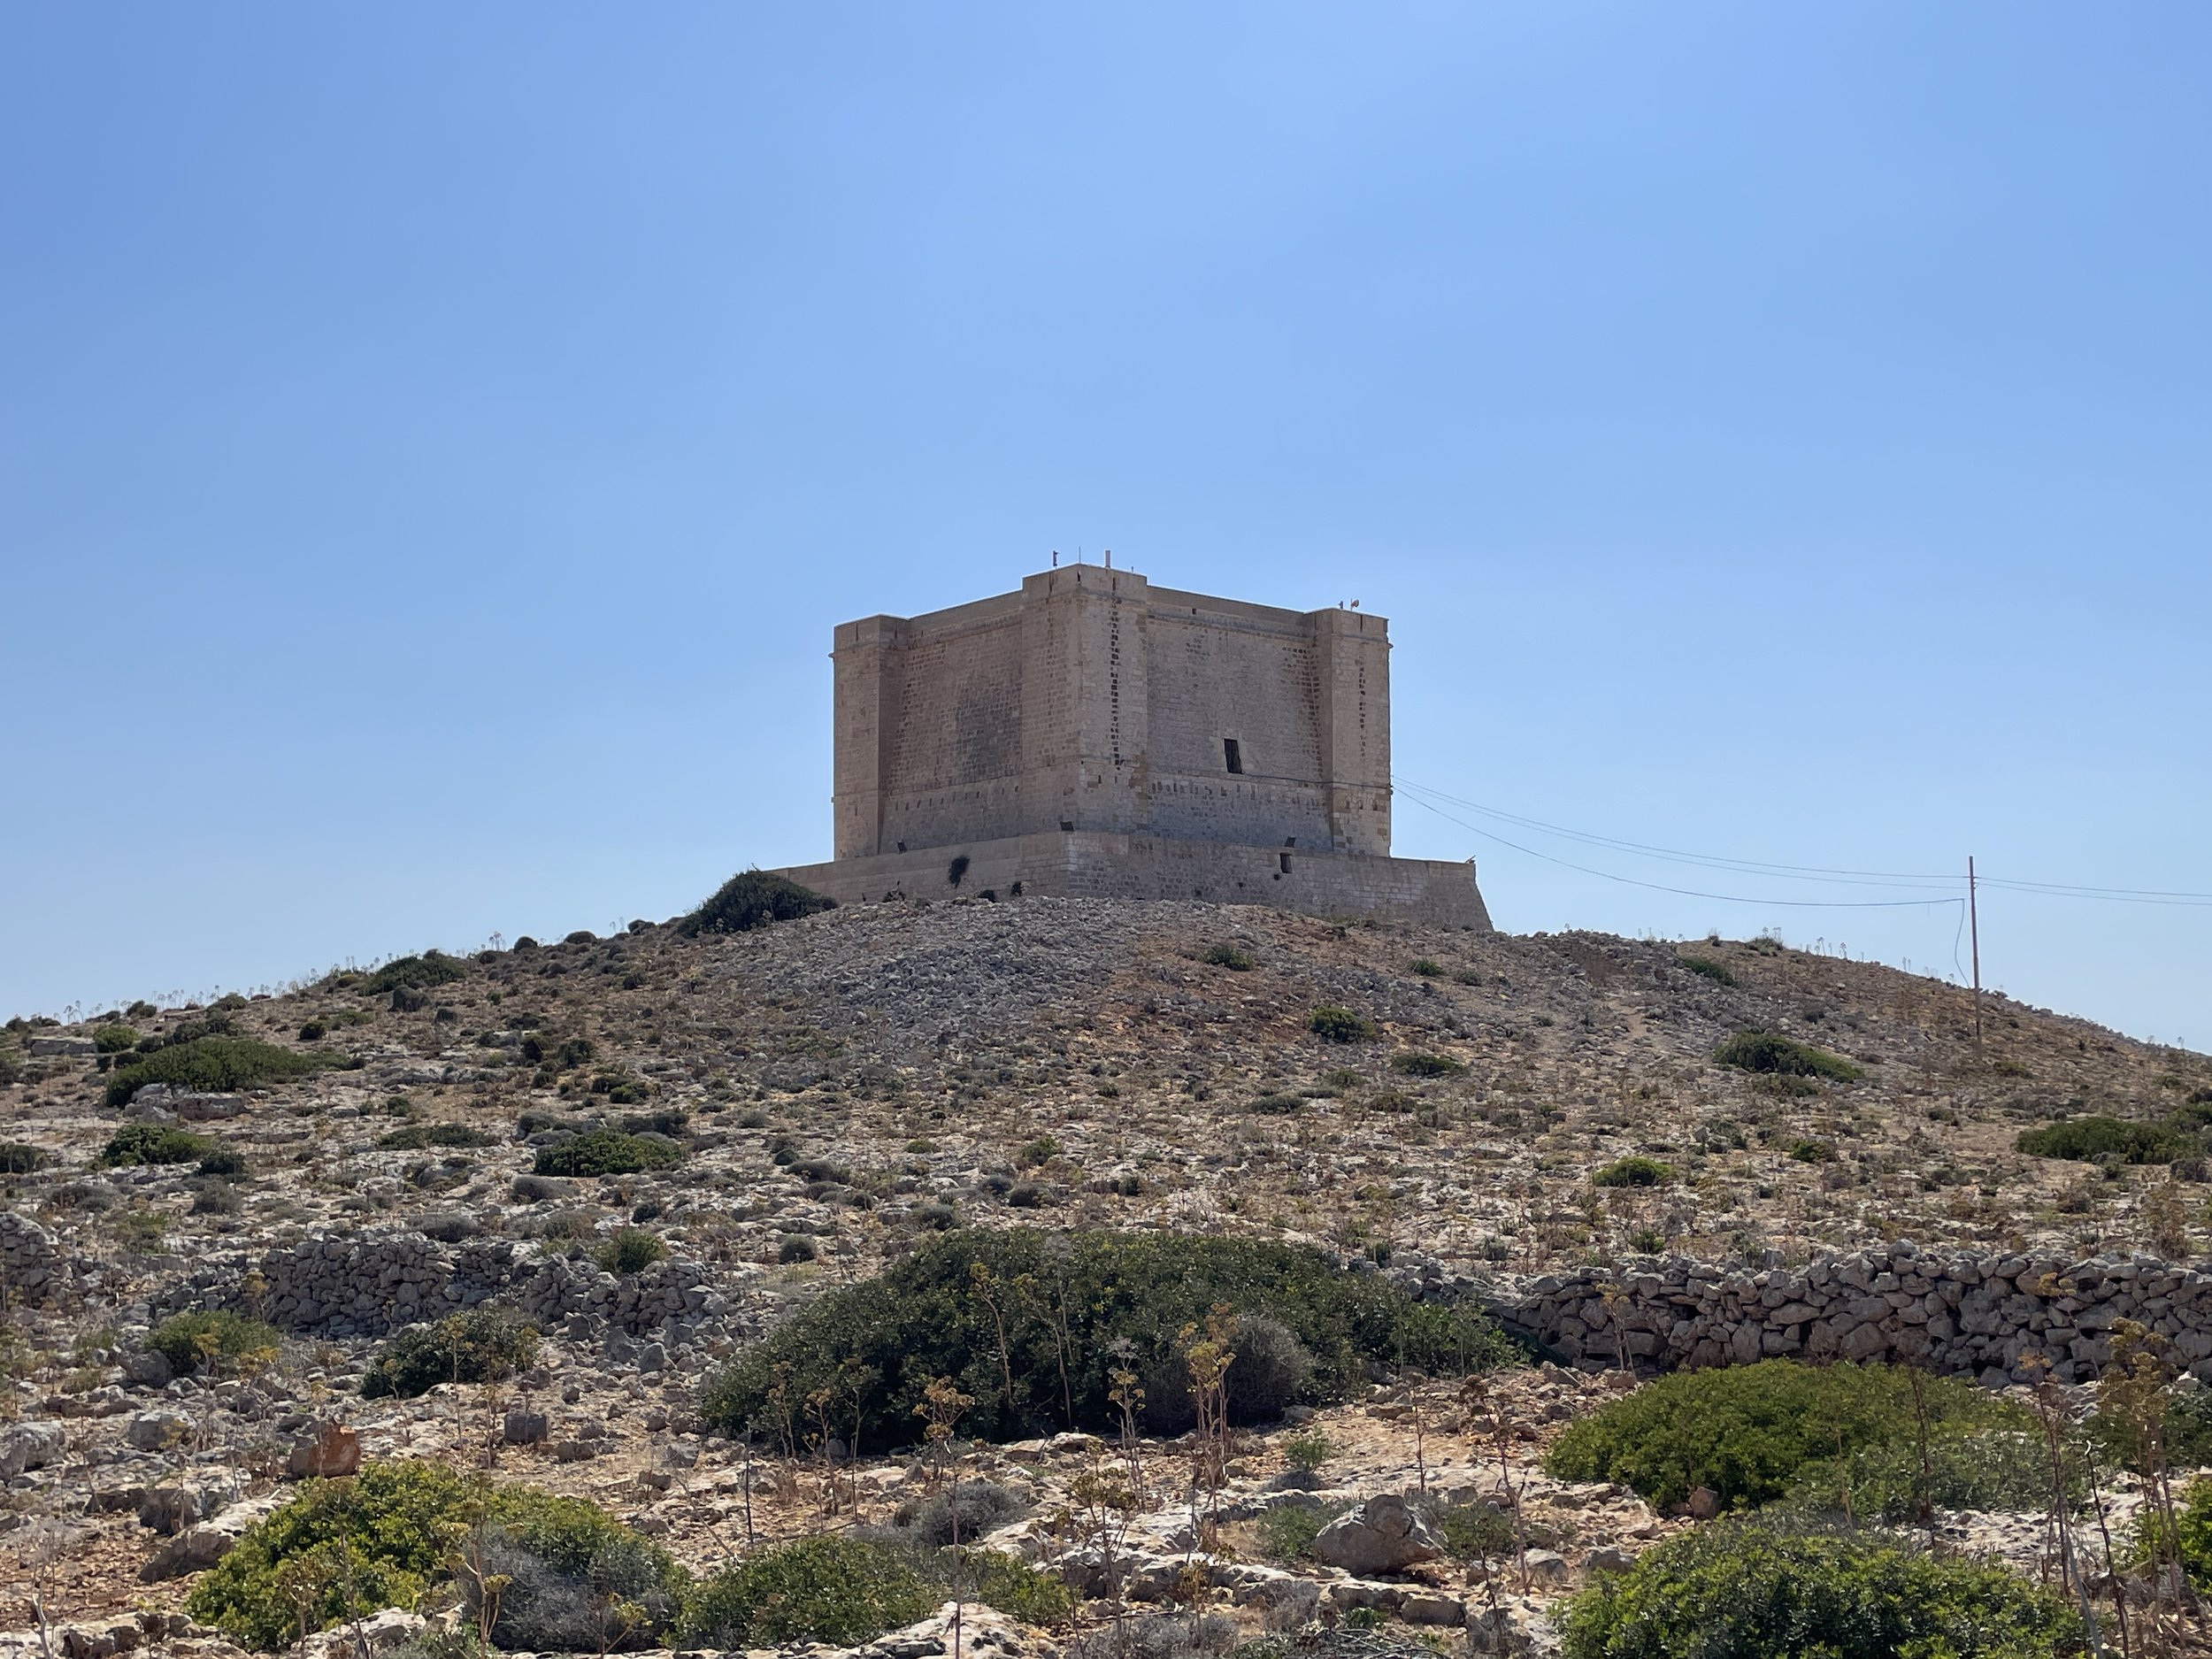
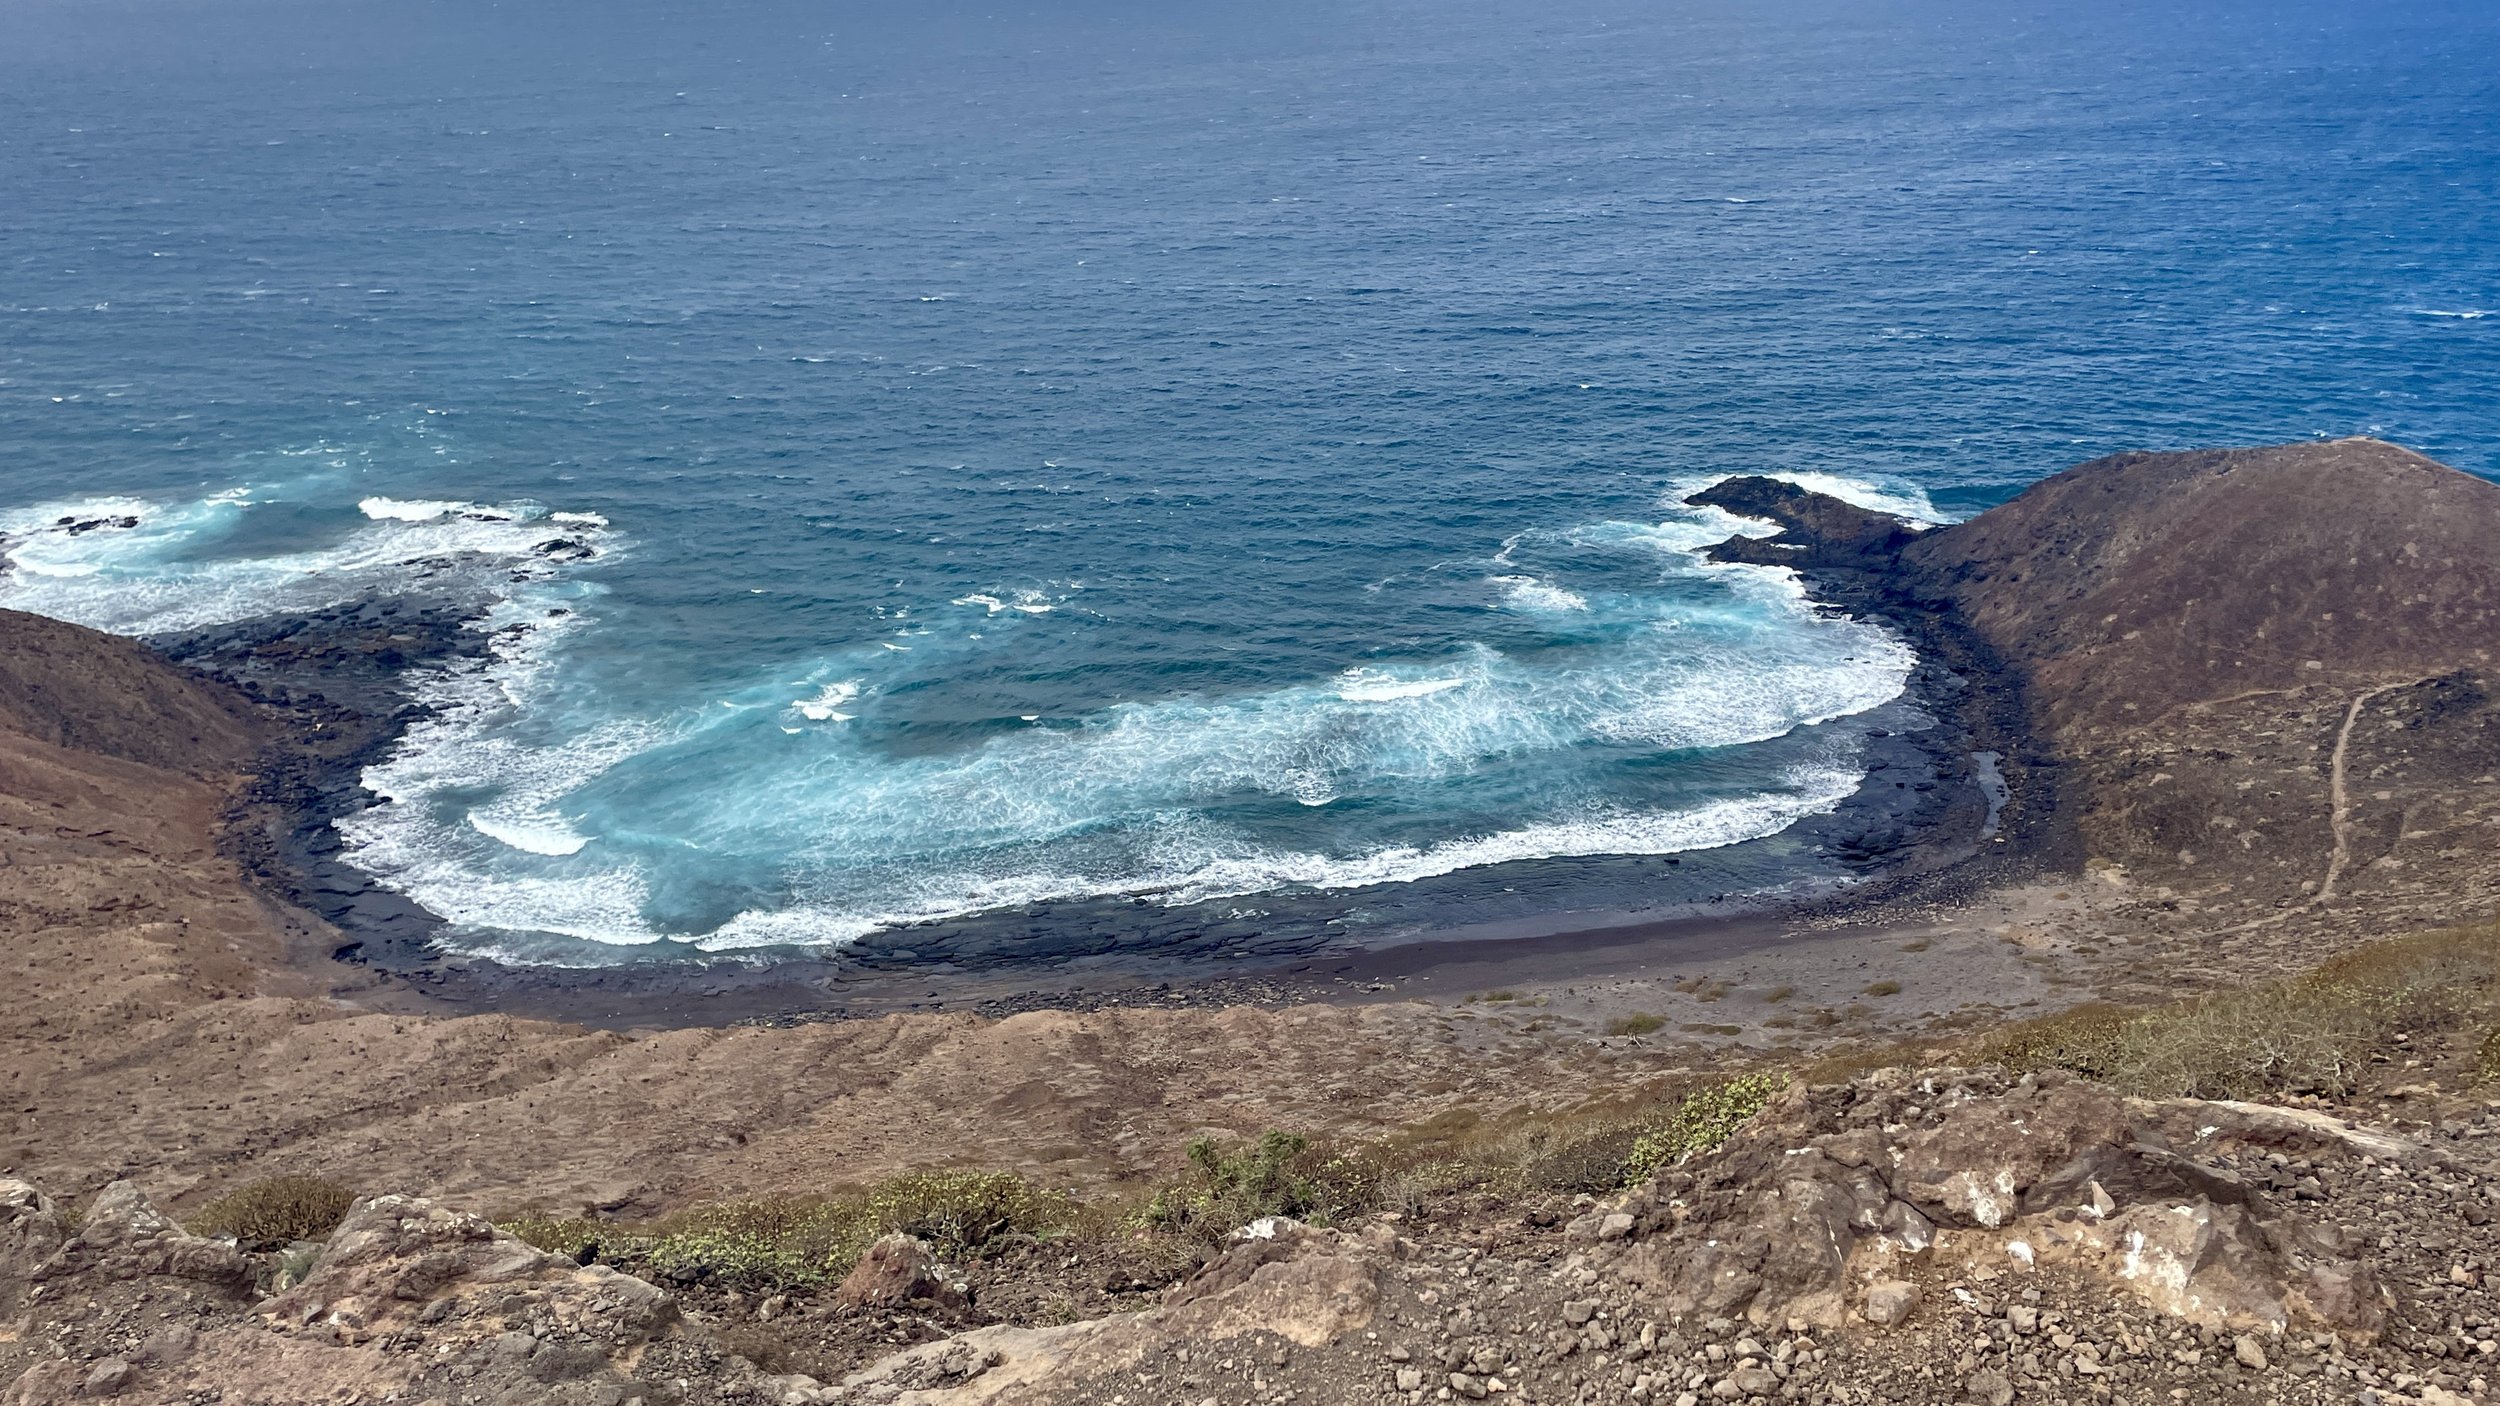
Beyond this sombre history, the area boasts a rich and varied past. The foothills of the Sa Talaia mountain range are home to the Sa Caleta settlement, dating back to the 7th century BC. The Phoenicians used the area for metallurgy, melting down minerals to extract lead and silver. Additionally, the coastline visible from these high ridges was historically heavily plagued by pirate attacks. This led to the construction of coastal defences in the 18th century, such as the nearby Torre des Savinar (often called the Pirate's Tower), which you can spot from the elevated vantage points.
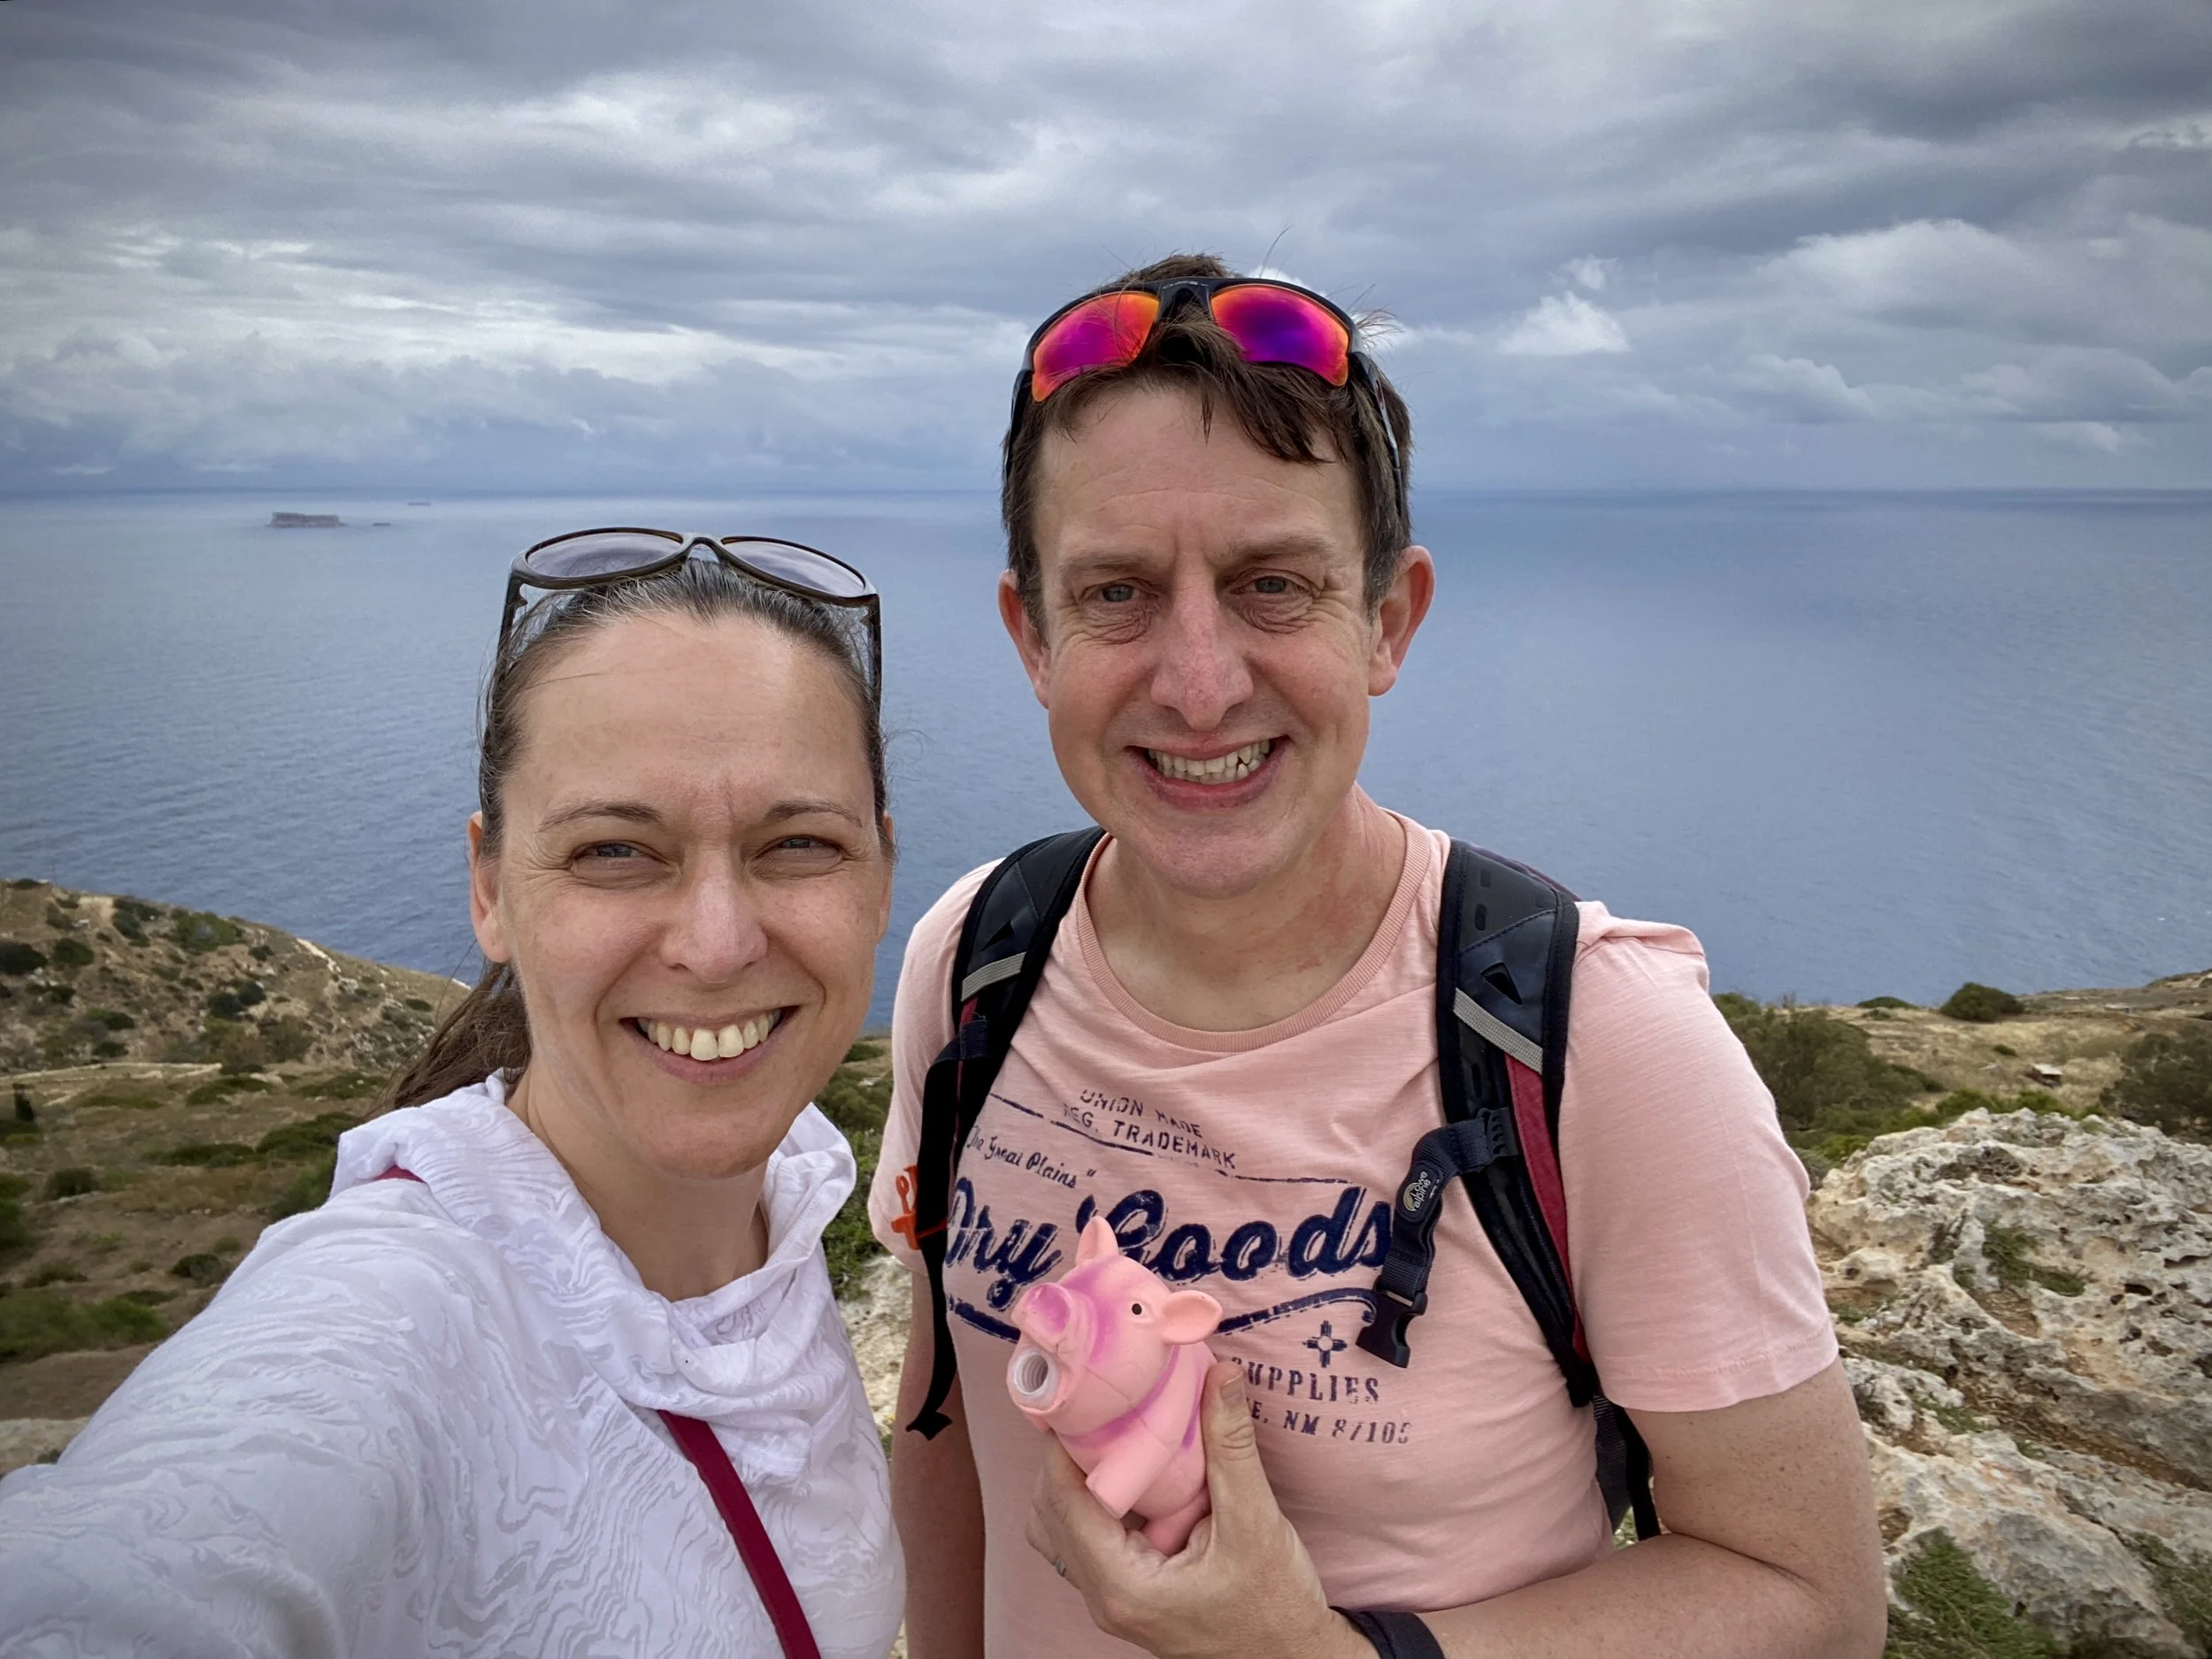
After finding the trig pillar and taking a few photos, we retraced our steps along the ridge for about 200 metres. We then took a fork on the right to head down the hill in a northwesterly direction. This brought us back to the original trail at the fork we had encountered earlier. From there, it was a simple case of retracing our steps down the steep wooded descent, back to the road, and down to the car park.

La Mola, Formentera
Also known as: Sa Talaïassa
Significance: High point of the island of Formentera
Elevation: 197m
Date climbed: 6th May 2026
Coordinates: 38° 39' 56'' N, 1° 32' 8'' E
Links: Formentera, La Mola, Peakbagger
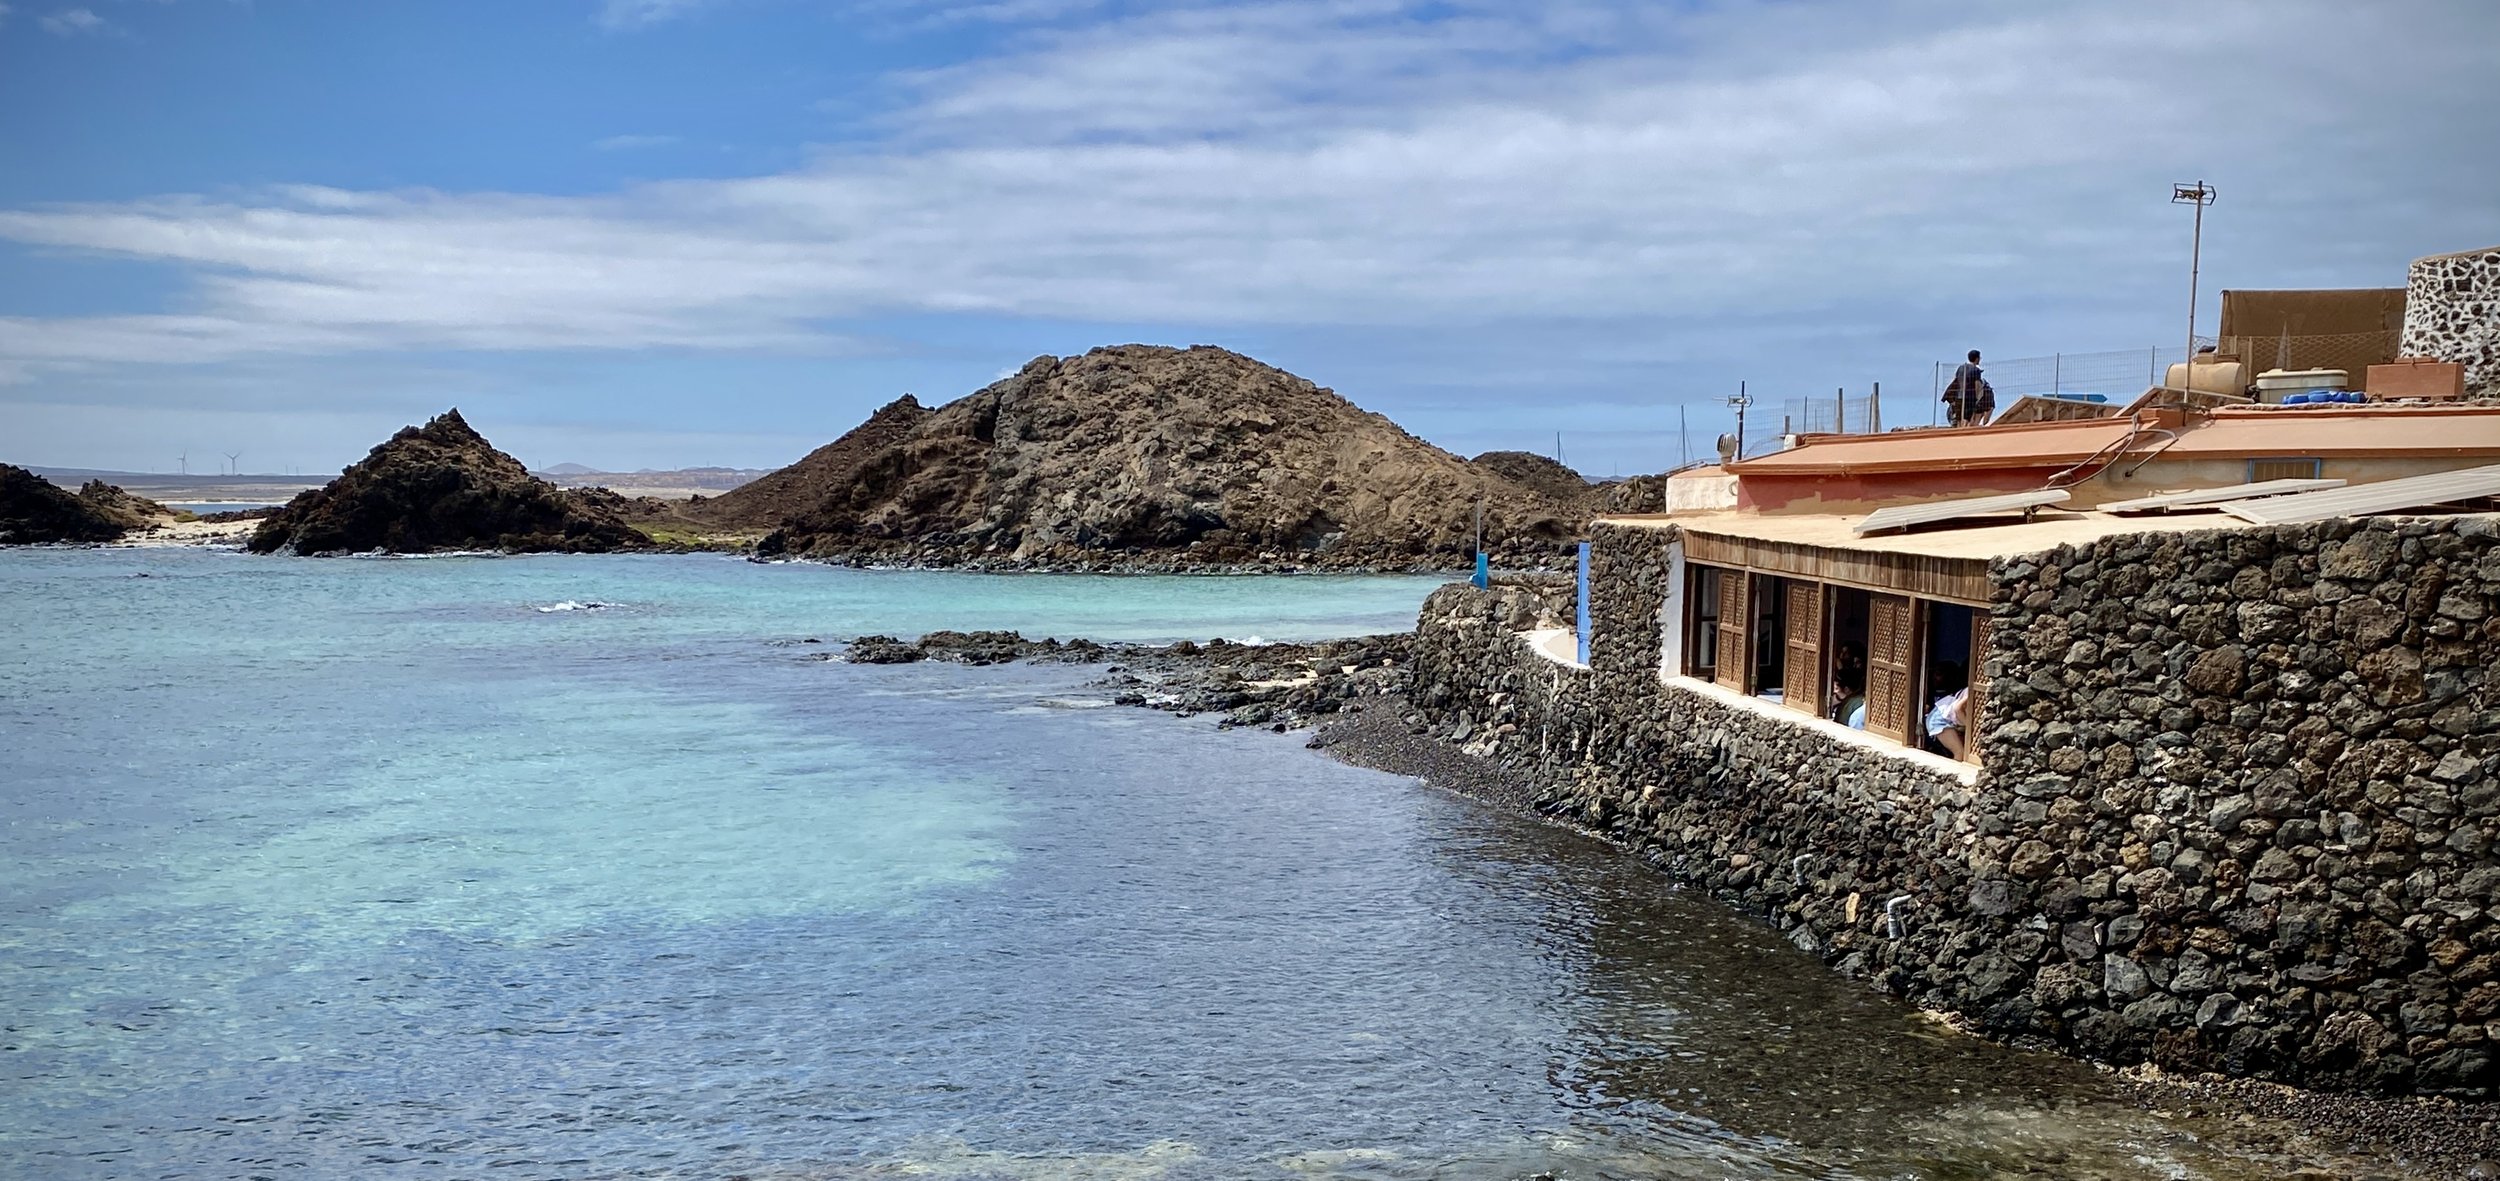
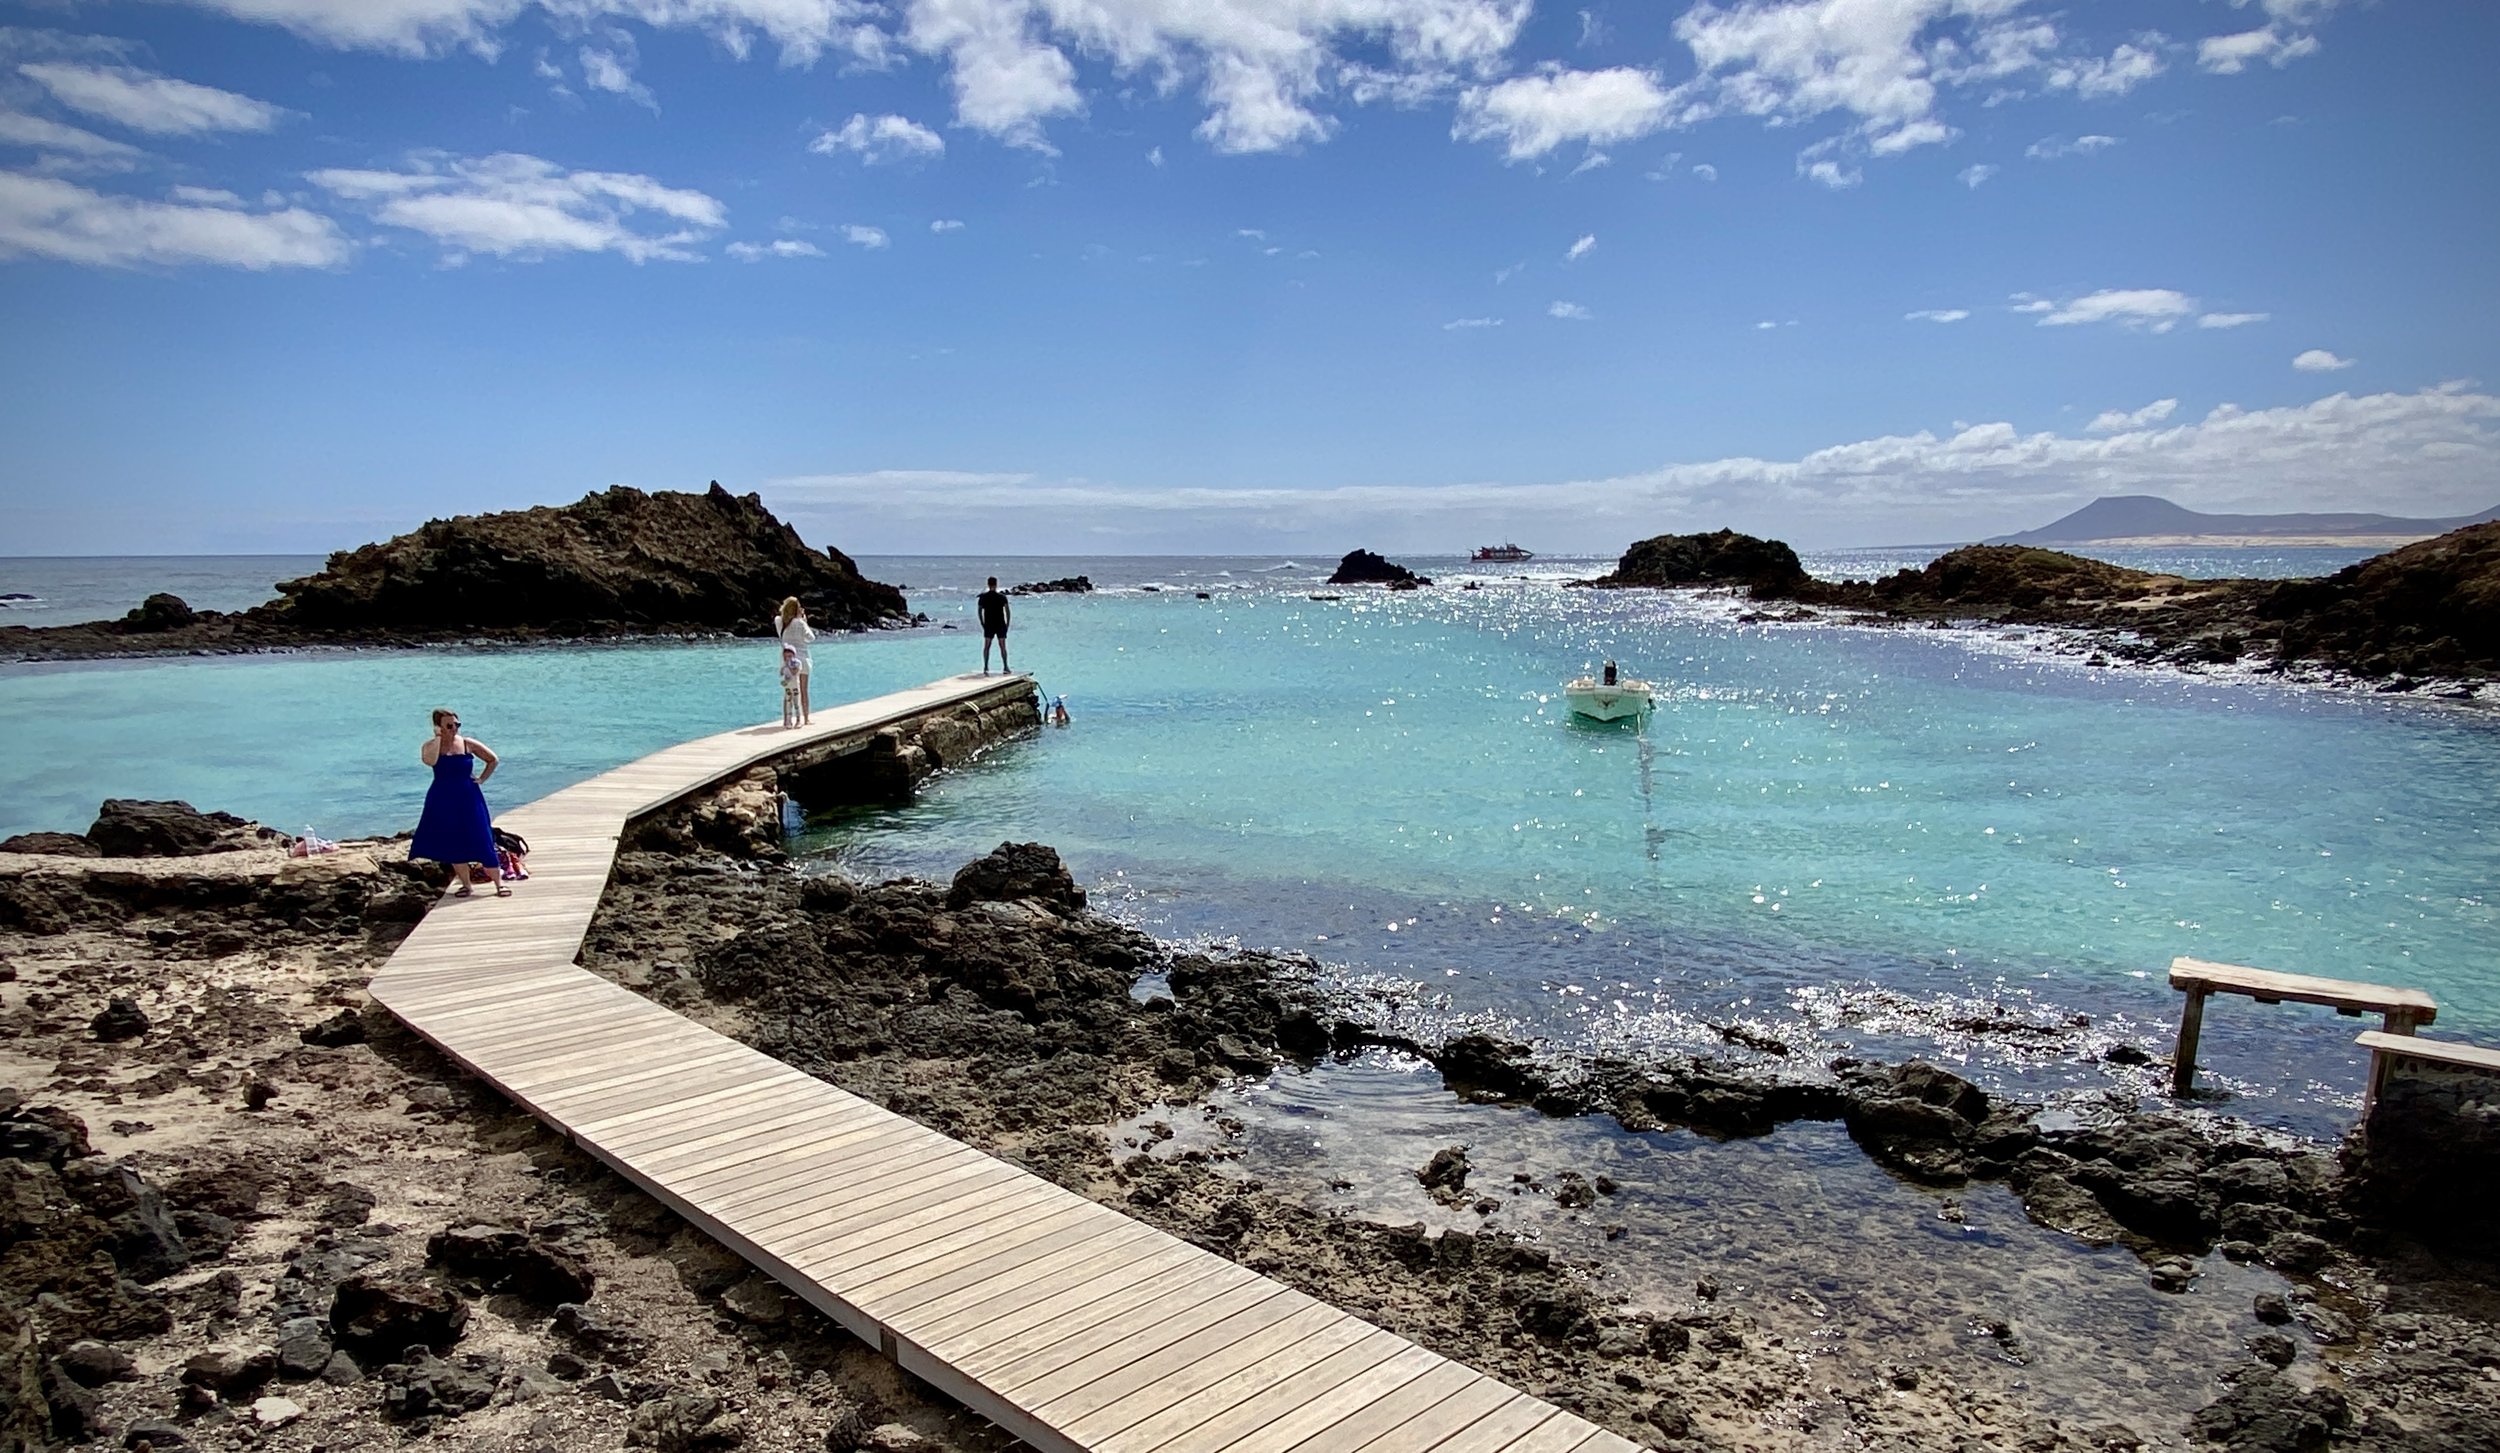
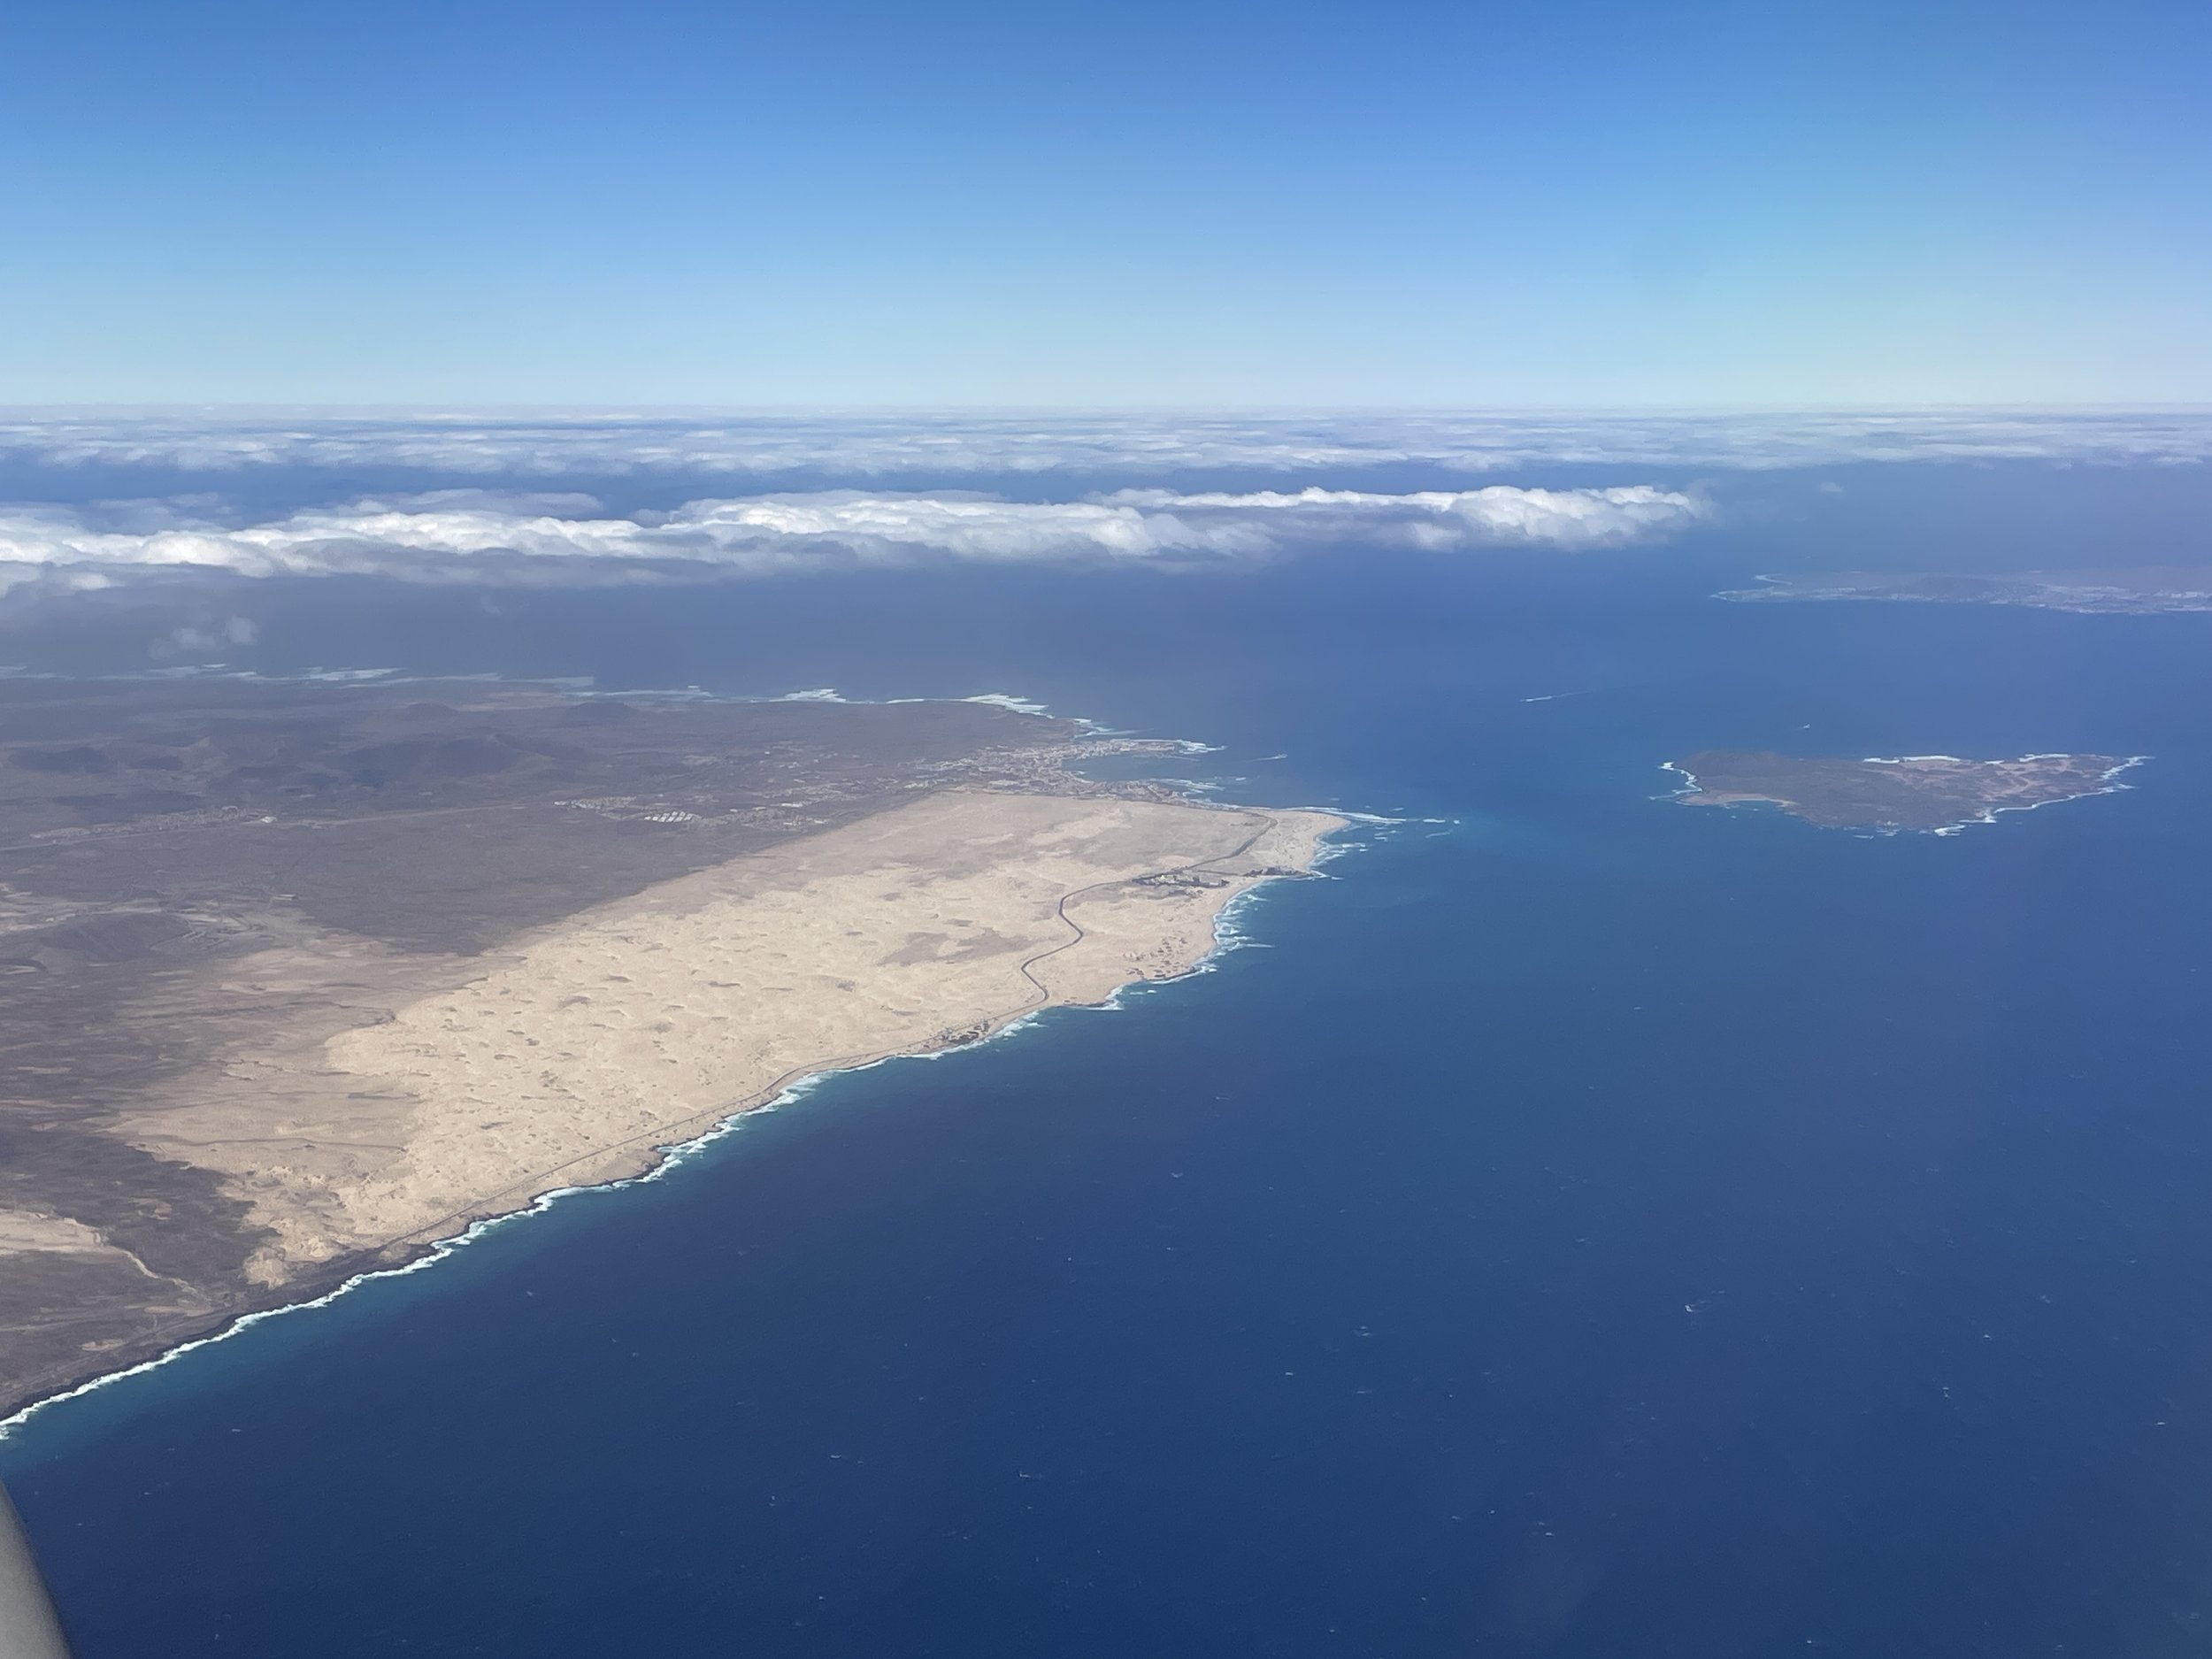
Having successfully ticked off Ibiza, we set out the very next day on a day trip to Formentera. We caught the ferry from Ibiza Old Town. Formentera is a lovely, small island, and taking a hire car over on the ferry (which takes about an hour) is incredibly convenient. Alternatively, you can take the foot ferry and rent a bike, scooter, or car once you arrive. As we had our own hire car for the week, we brought it with us.
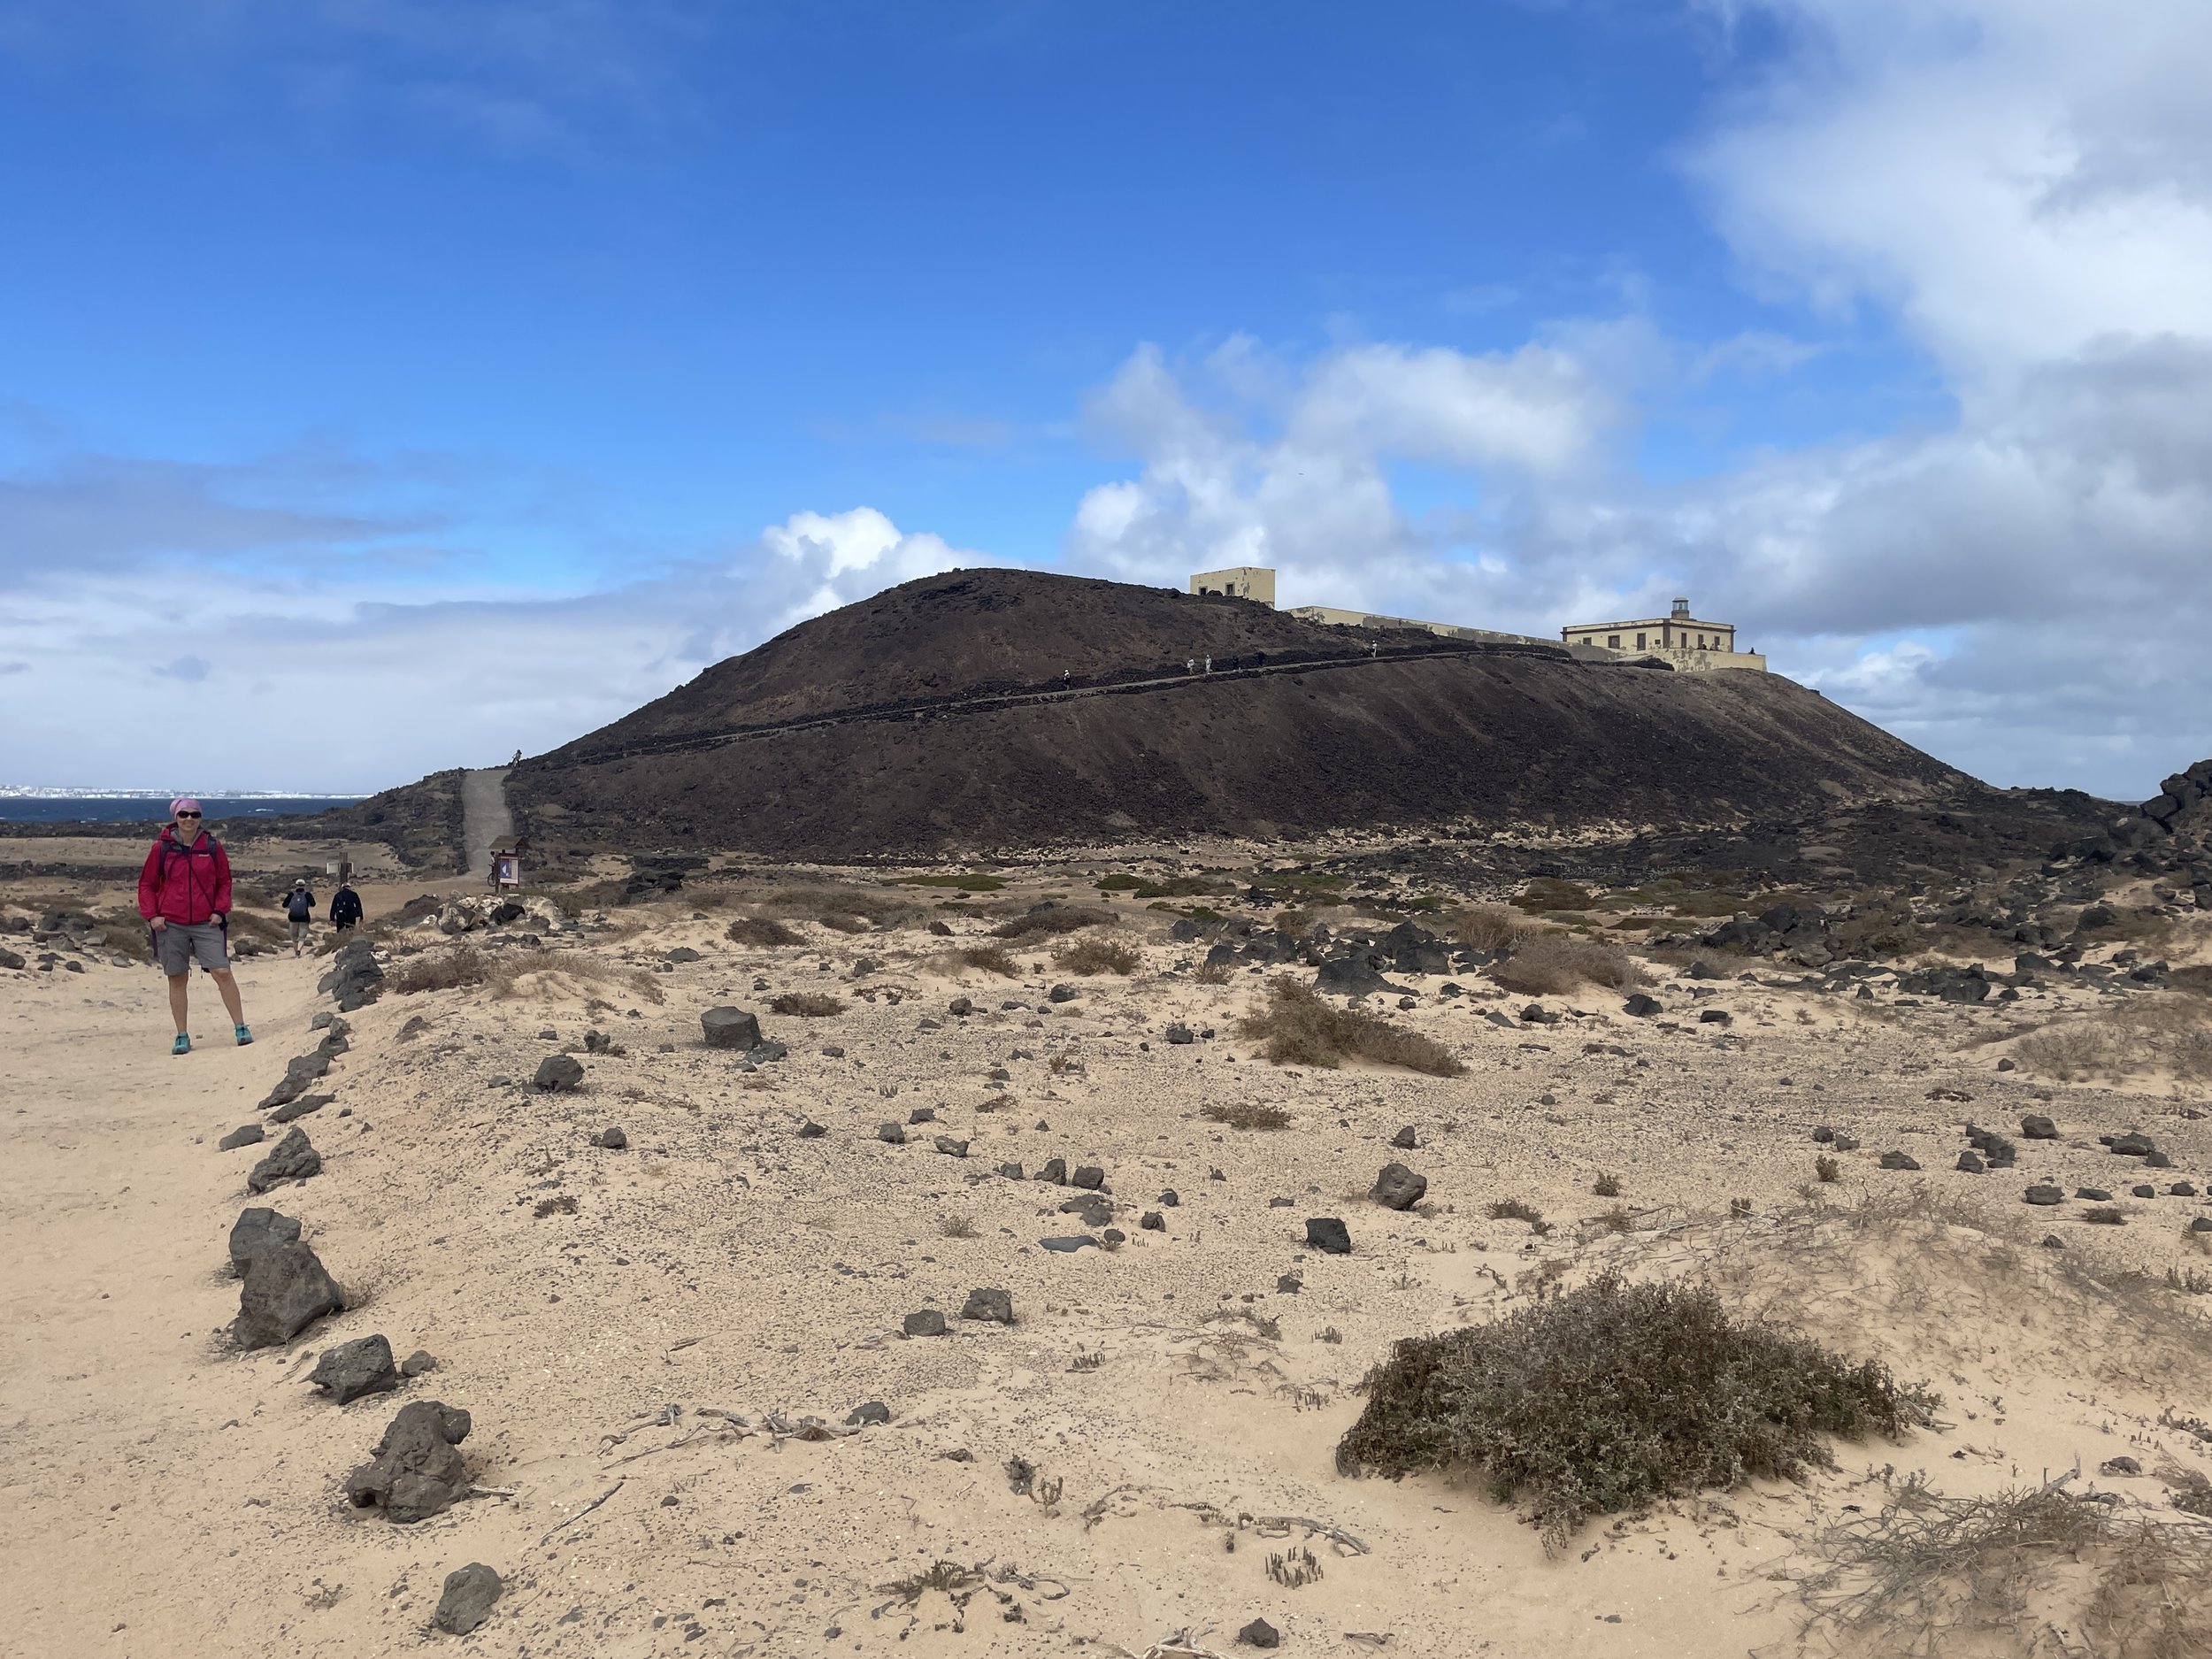
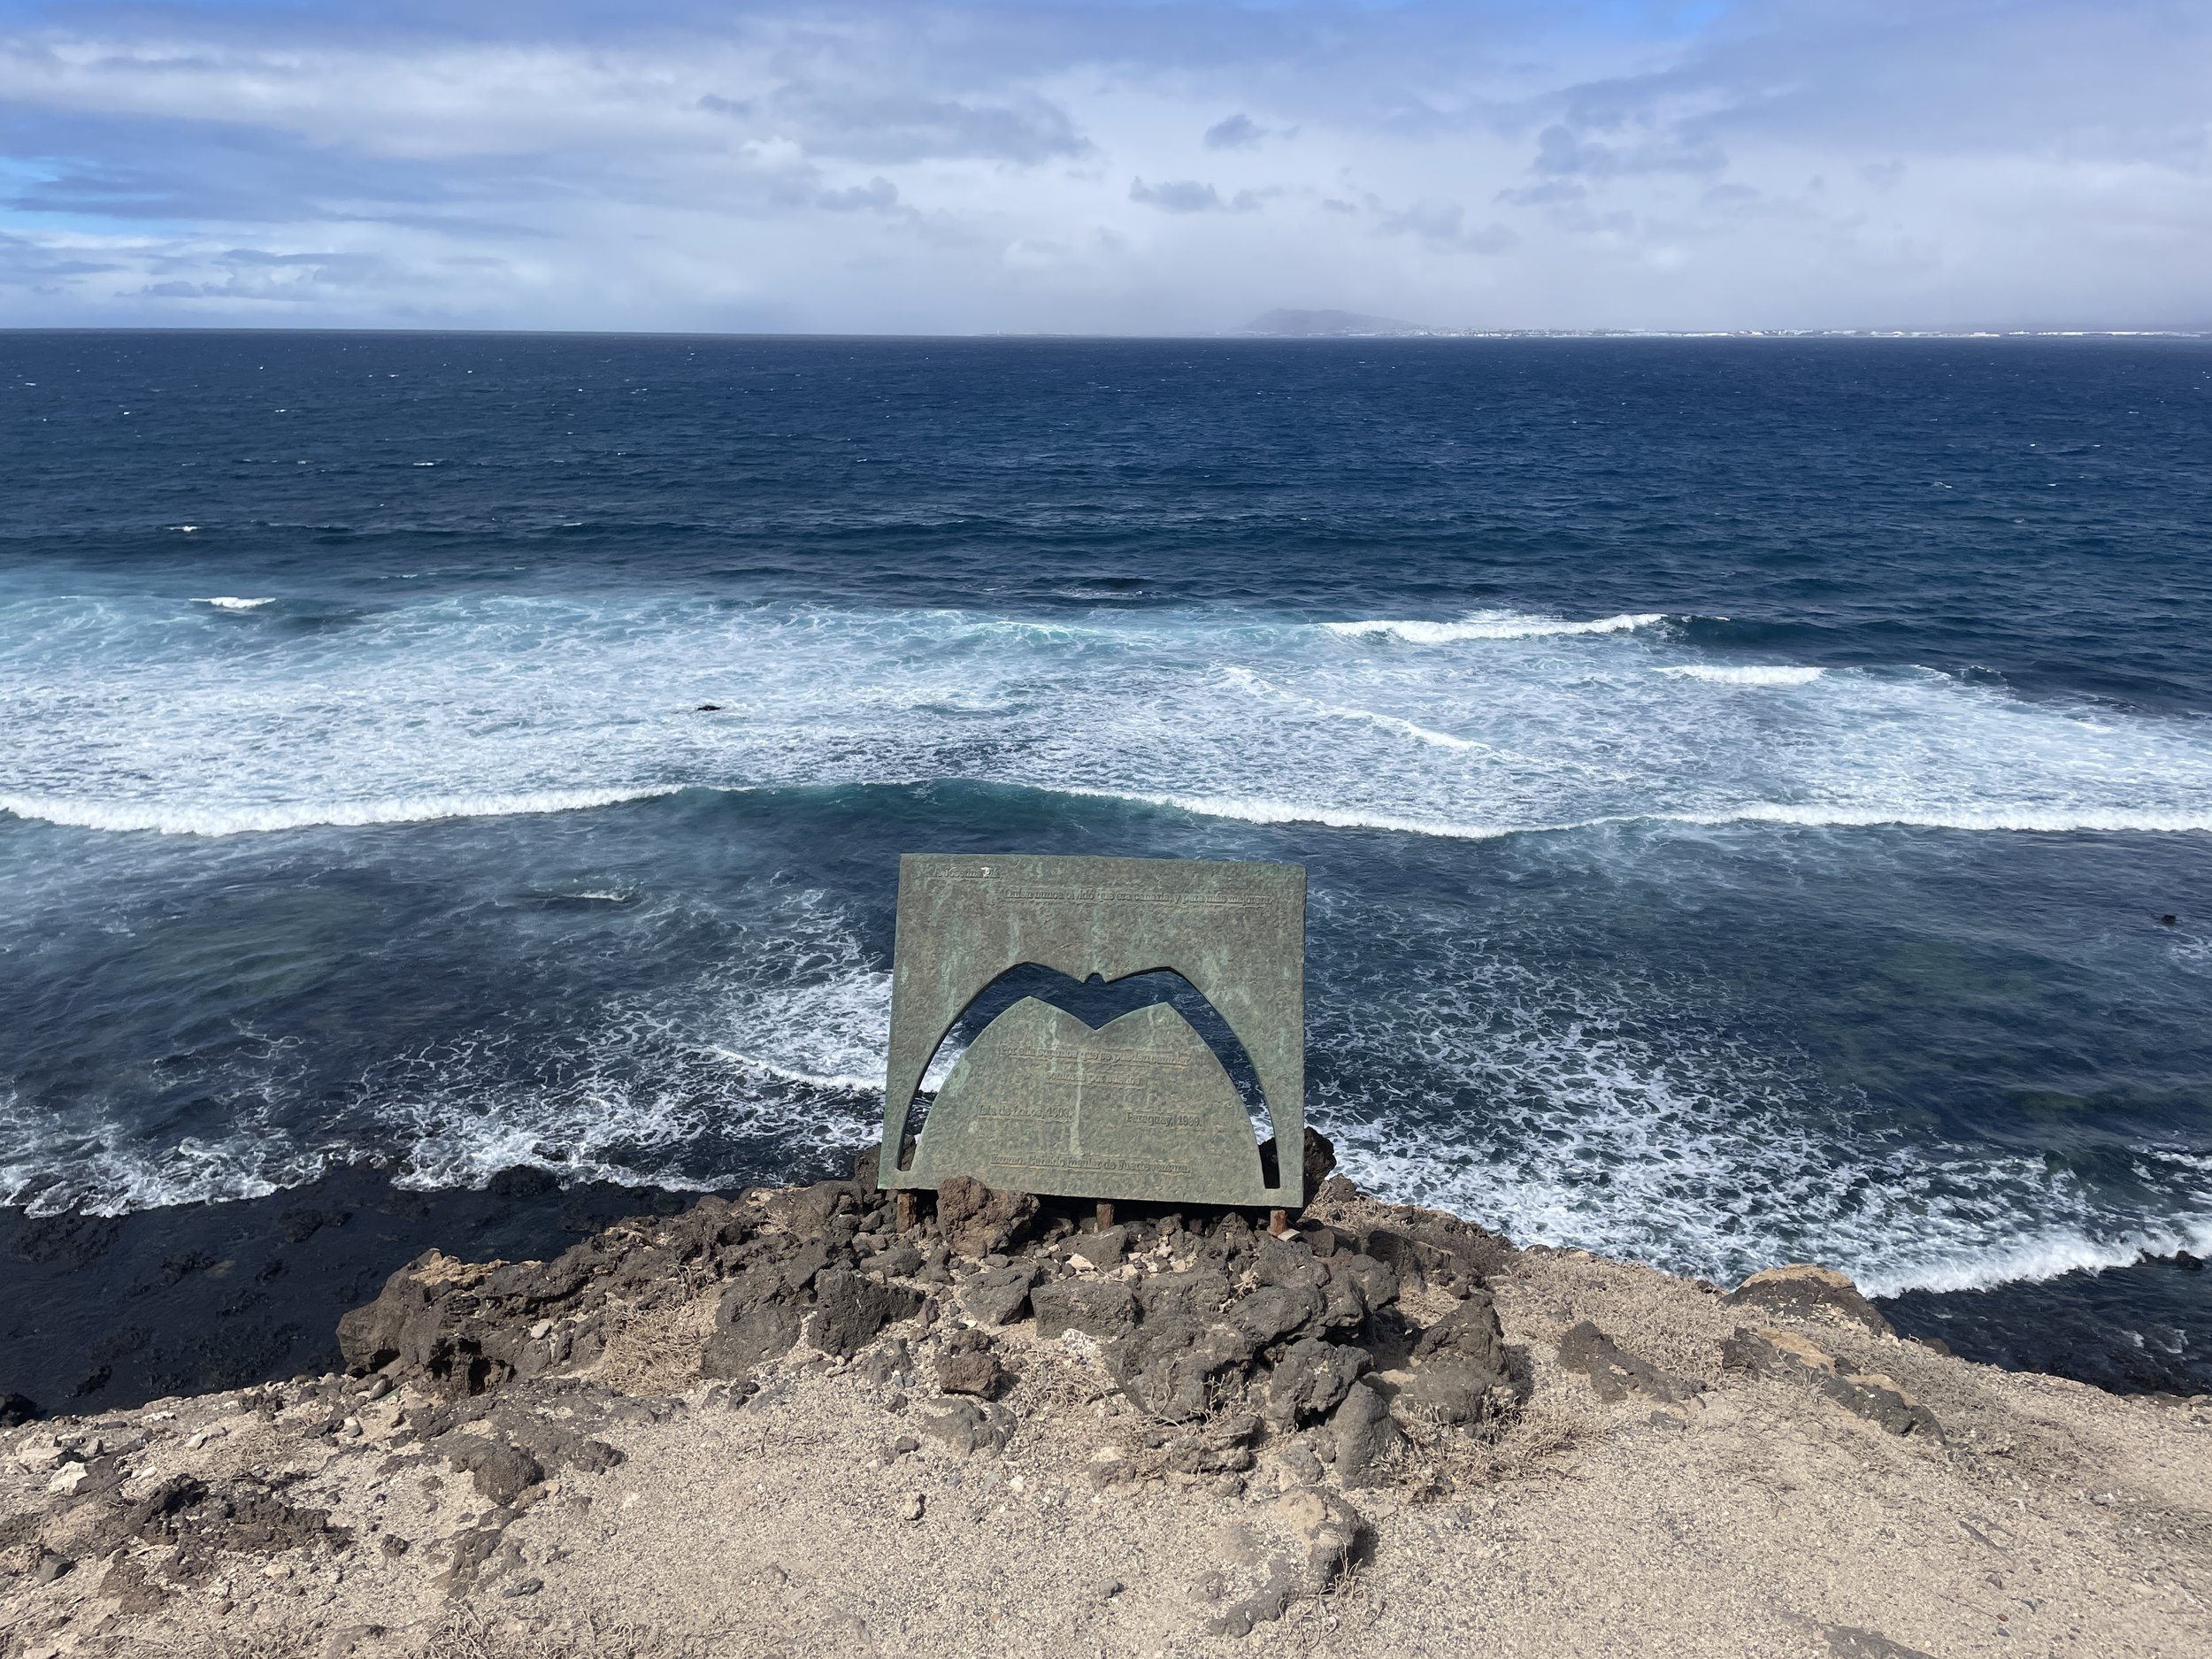
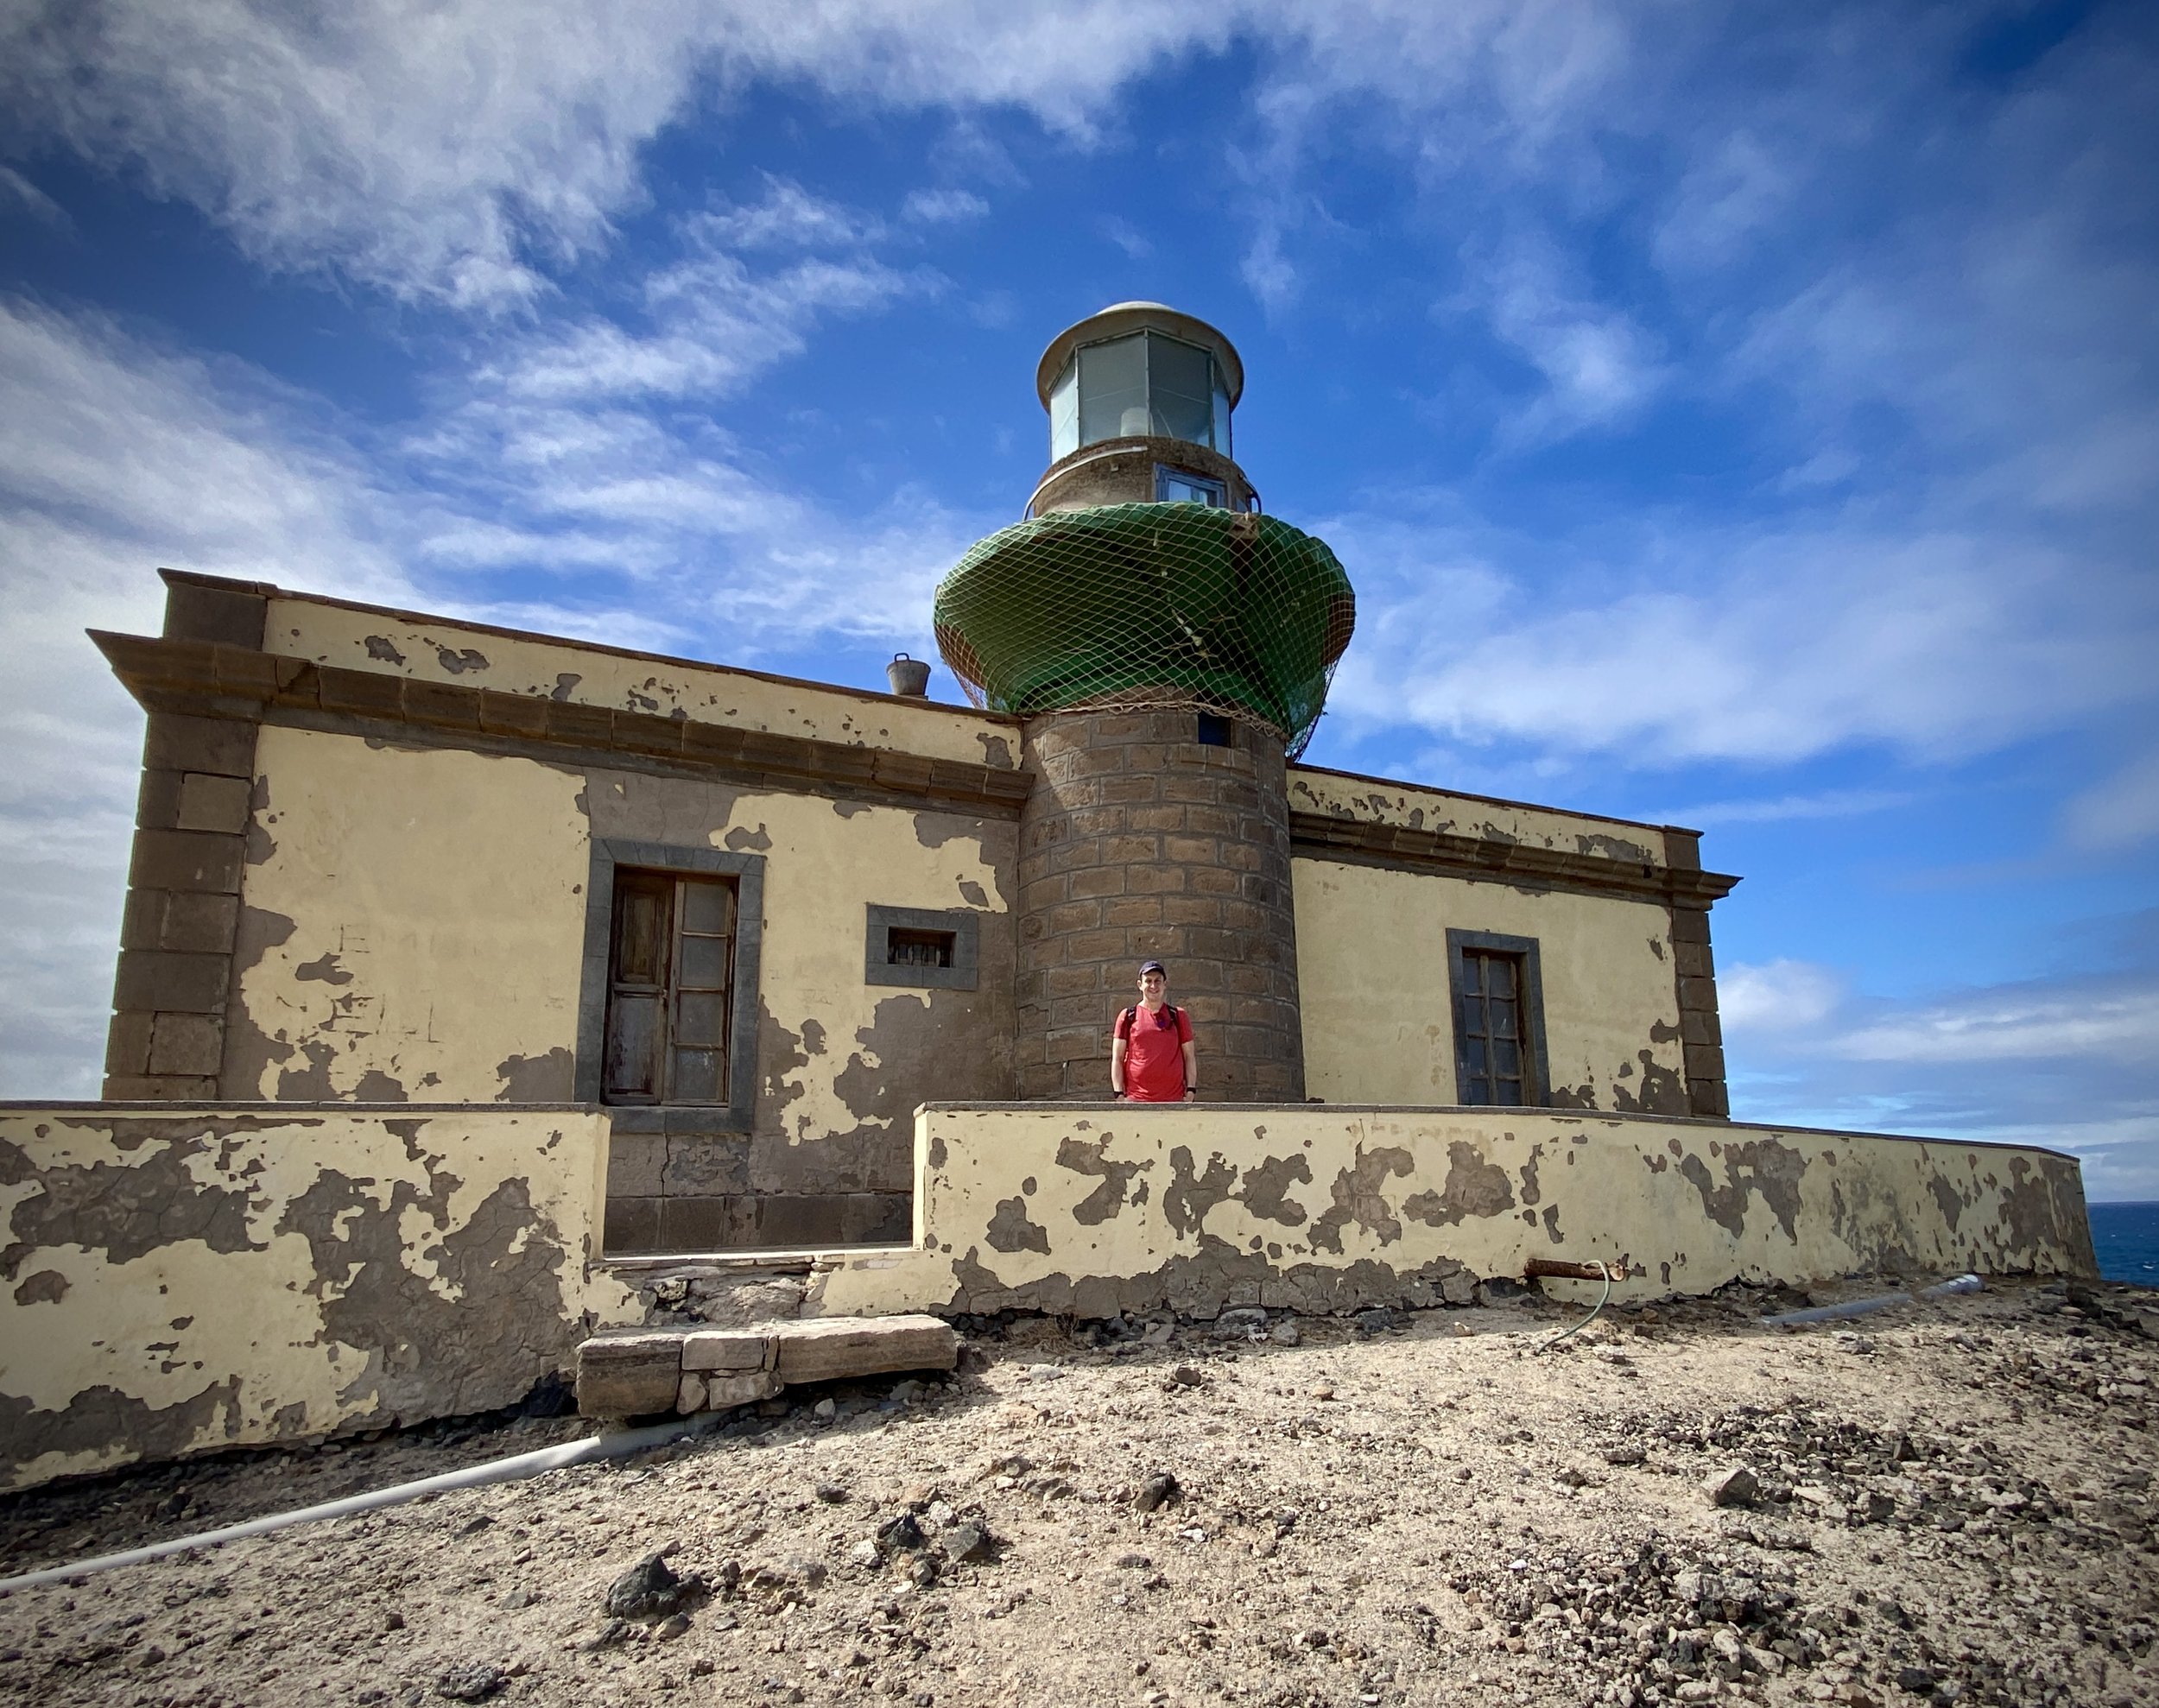
Once you arrive at the Formentera port, it is about a 20-minute drive to the far end of the island to reach the La Mola peninsula. A real highlight here is visiting the lighthouse right at the far end of the peninsula, which also boasts a really good cafe. This was our first stop to fuel up for the day.
This lighthouse actually has a famous literary history. It is widely said to have inspired Jules Verne’s sci-fi novel Hector Servadac (Off on a Comet), where it is described as the "lighthouse at the end of the world". There is even a small monument plaque dedicated to Verne right next to the lighthouse to commemorate this. The astronomer character in Verne's book was based on a real person, François Arago, who stayed at the La Mola site around 1808 while working on measuring the meridian arc, which helped to officially define the exact length of a "metre".
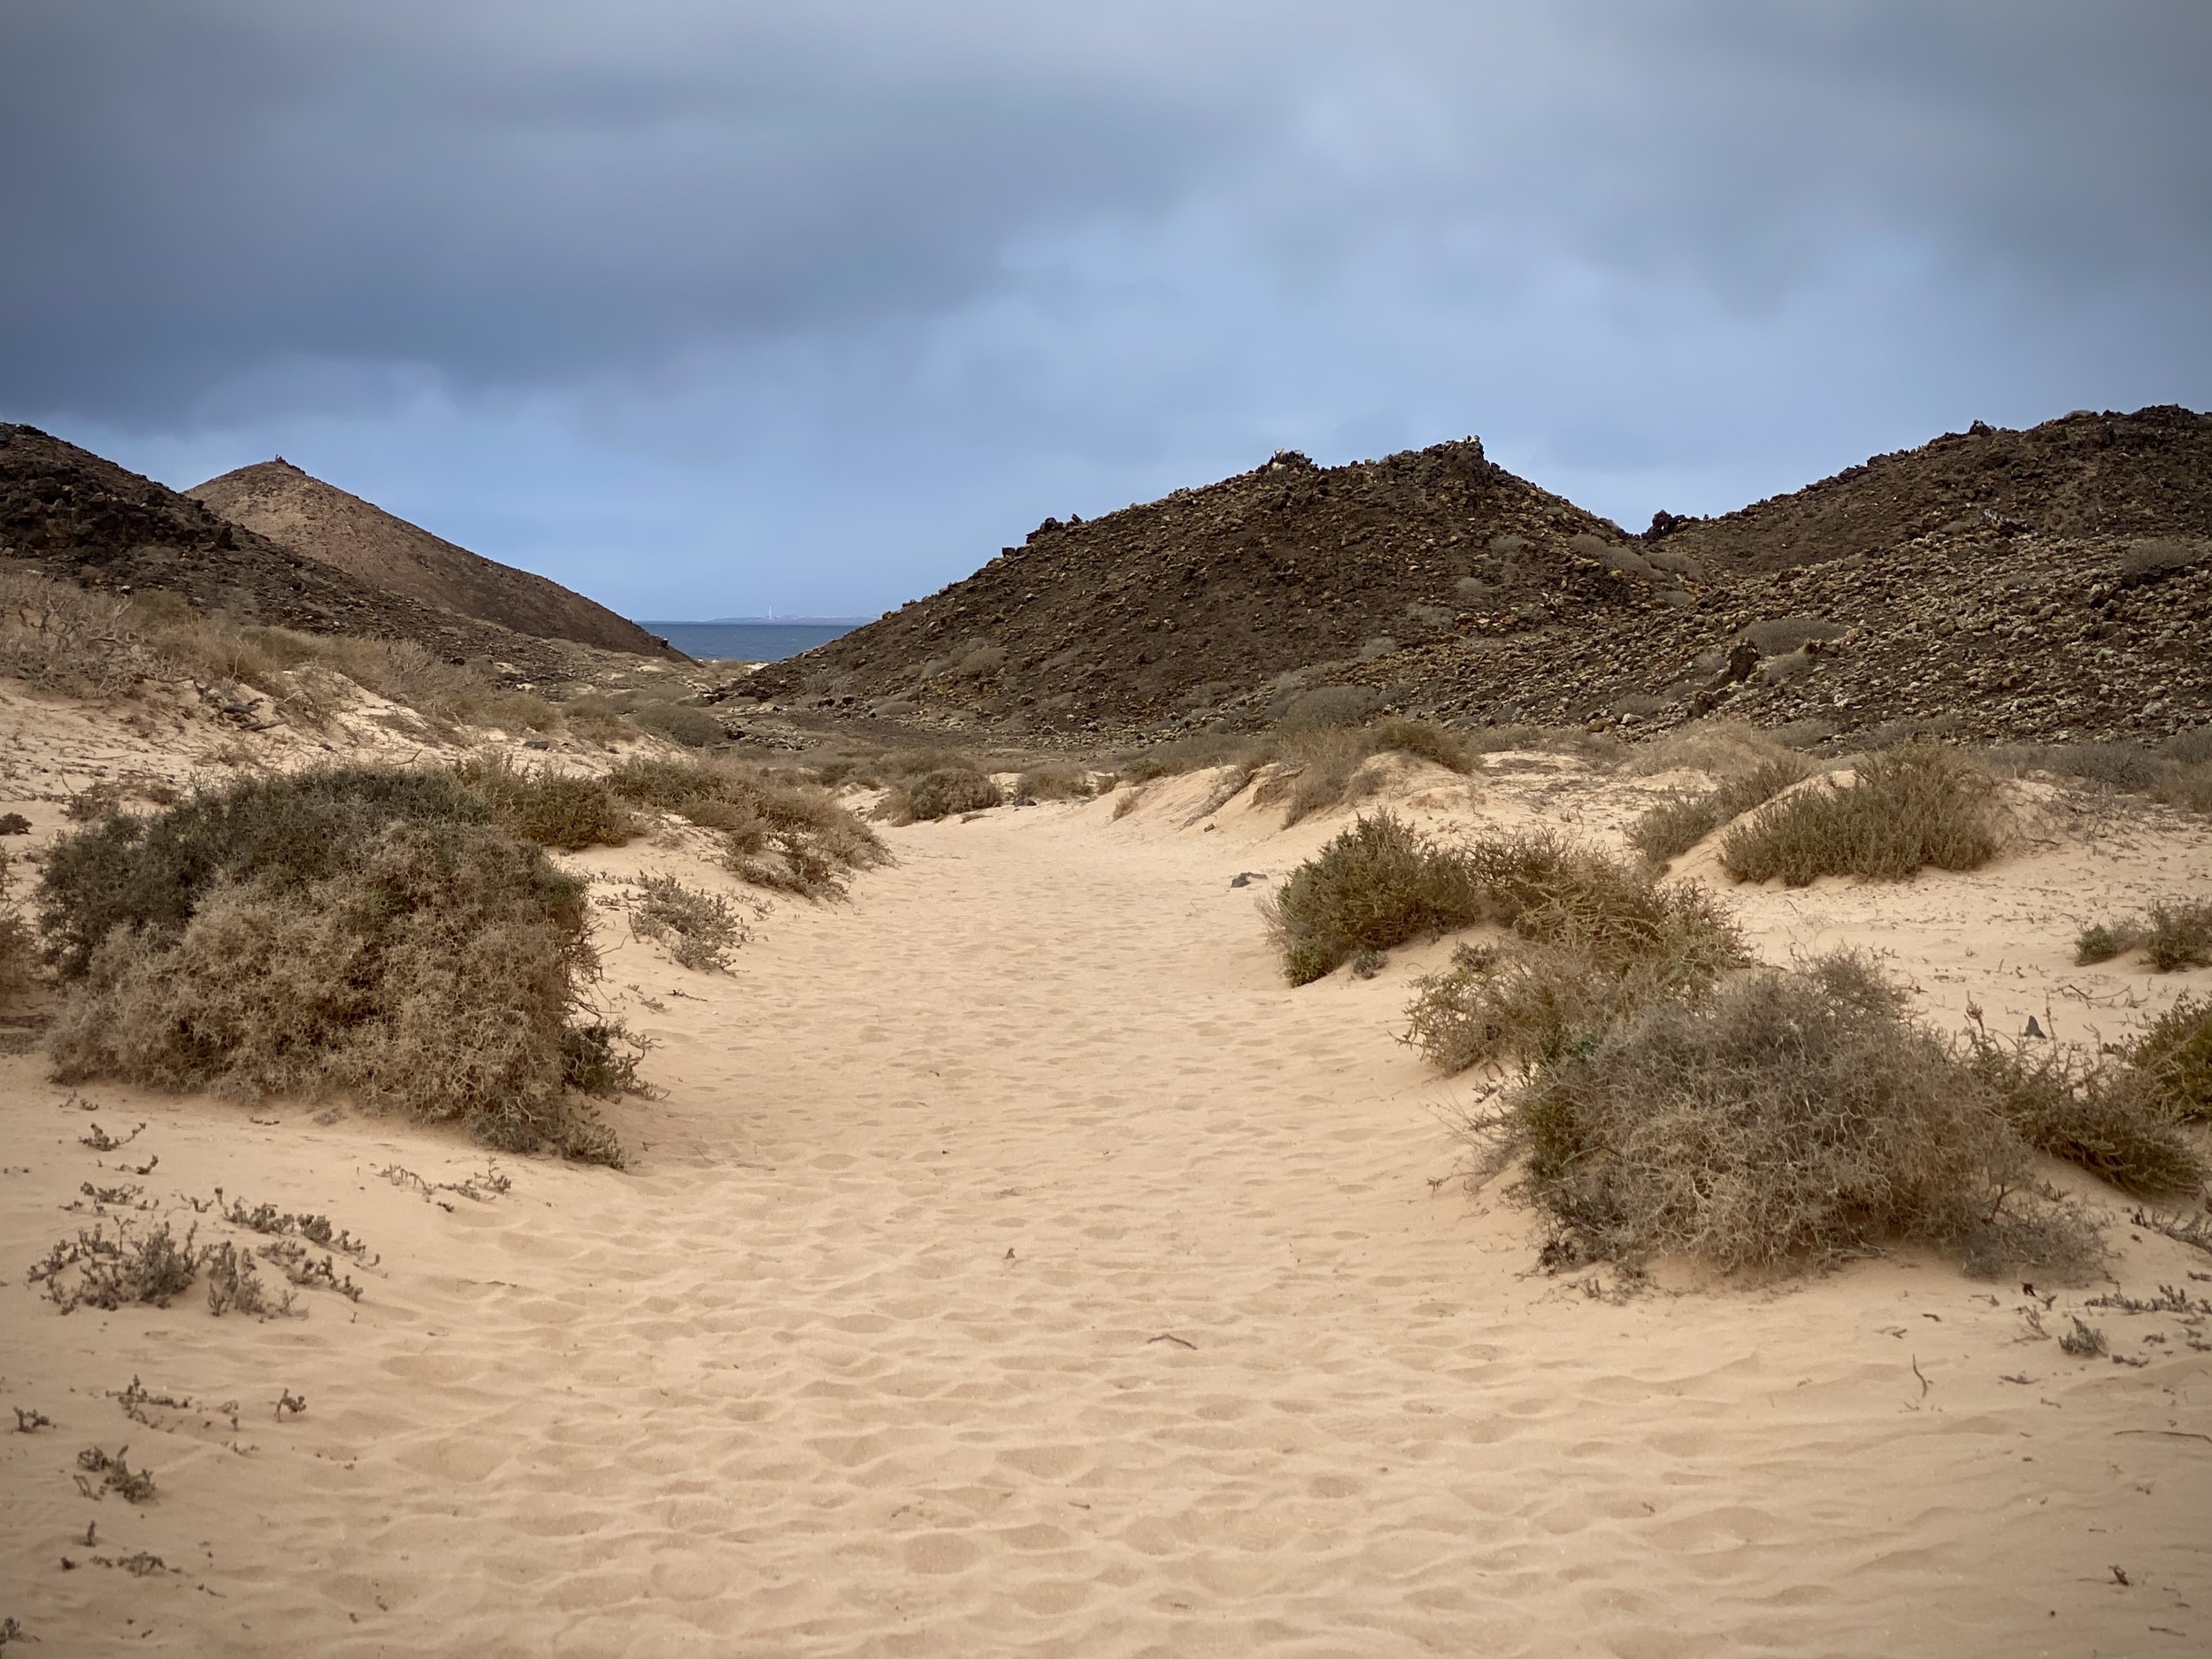
After the cafe and the lighthouse, we drove to the island's high point, which is only about 10 minutes away, just outside the main town of El Pilar de la Mola. Another quirky sight to look out for near here is the Molí Vell de La Mola. Built in 1778, it is one of the oldest and best-preserved flour windmills in the Balearics.
A quick warning: while it is definitely possible to drive to the summit, the road heading up is a very rough, single-lane track. You need a car with good ground clearance, and you have to be very careful as it is difficult to pass if you meet another car coming the other way. If you have a bit more time, walking or cycling up is a great alternative.
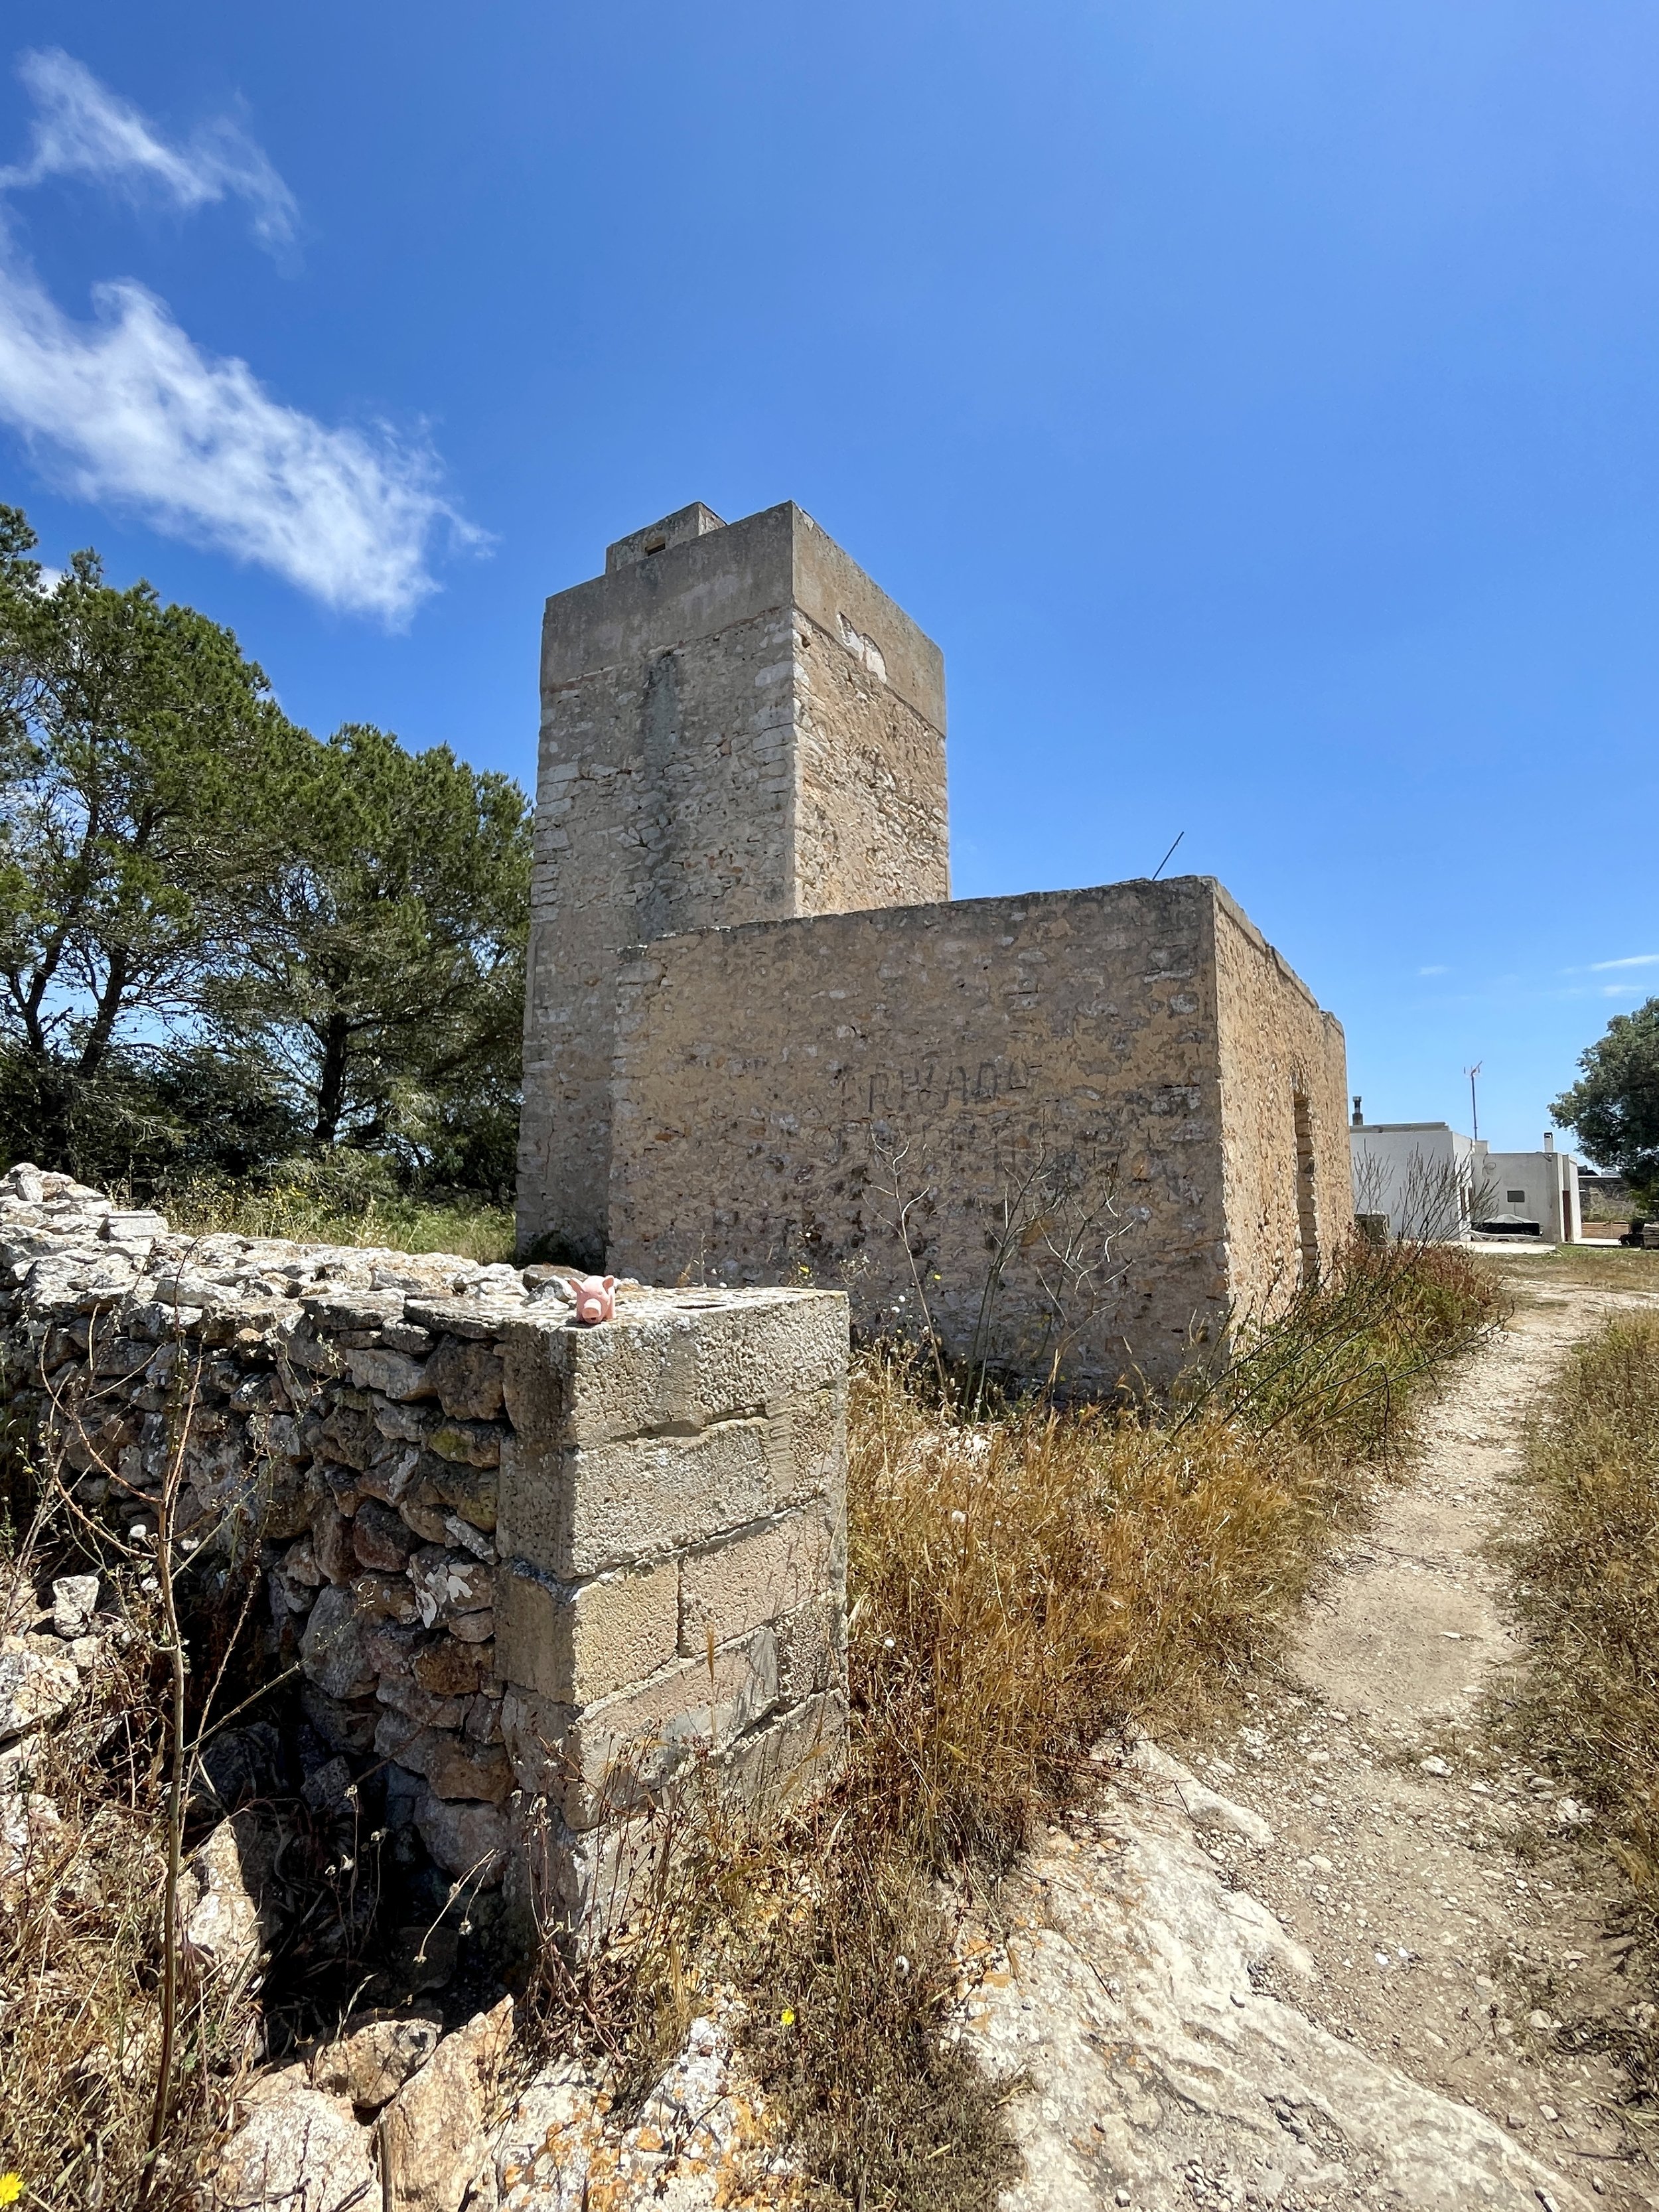
Because we had the car, we carefully drove up. You can park very close to the actual high point, which is located right at the back of a bed and breakfast called Casa Rural Formentera. It is very easy to spot because there is a large telecommunications pole right next to it. We found the exact coordinates of the high point right at the back of the B&B, next to what looks like an abandoned building.
And with that, we have completed our visits to all of the Balearic islands! However, our high-point mission isn't quite finished yet: we need to revisit Mallorca one day to officially bag the high point there.