The parkrun Regionnaire status used to be a major part of parkrun tourism. Changes in the parkrun website in 2019 removed the regions making it harder to track completion status. All is not lost though as here’s the complete parkrun guide to what’s in and what’s out of the counties of East of England.
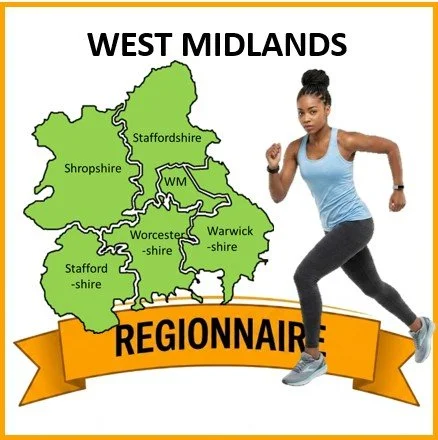
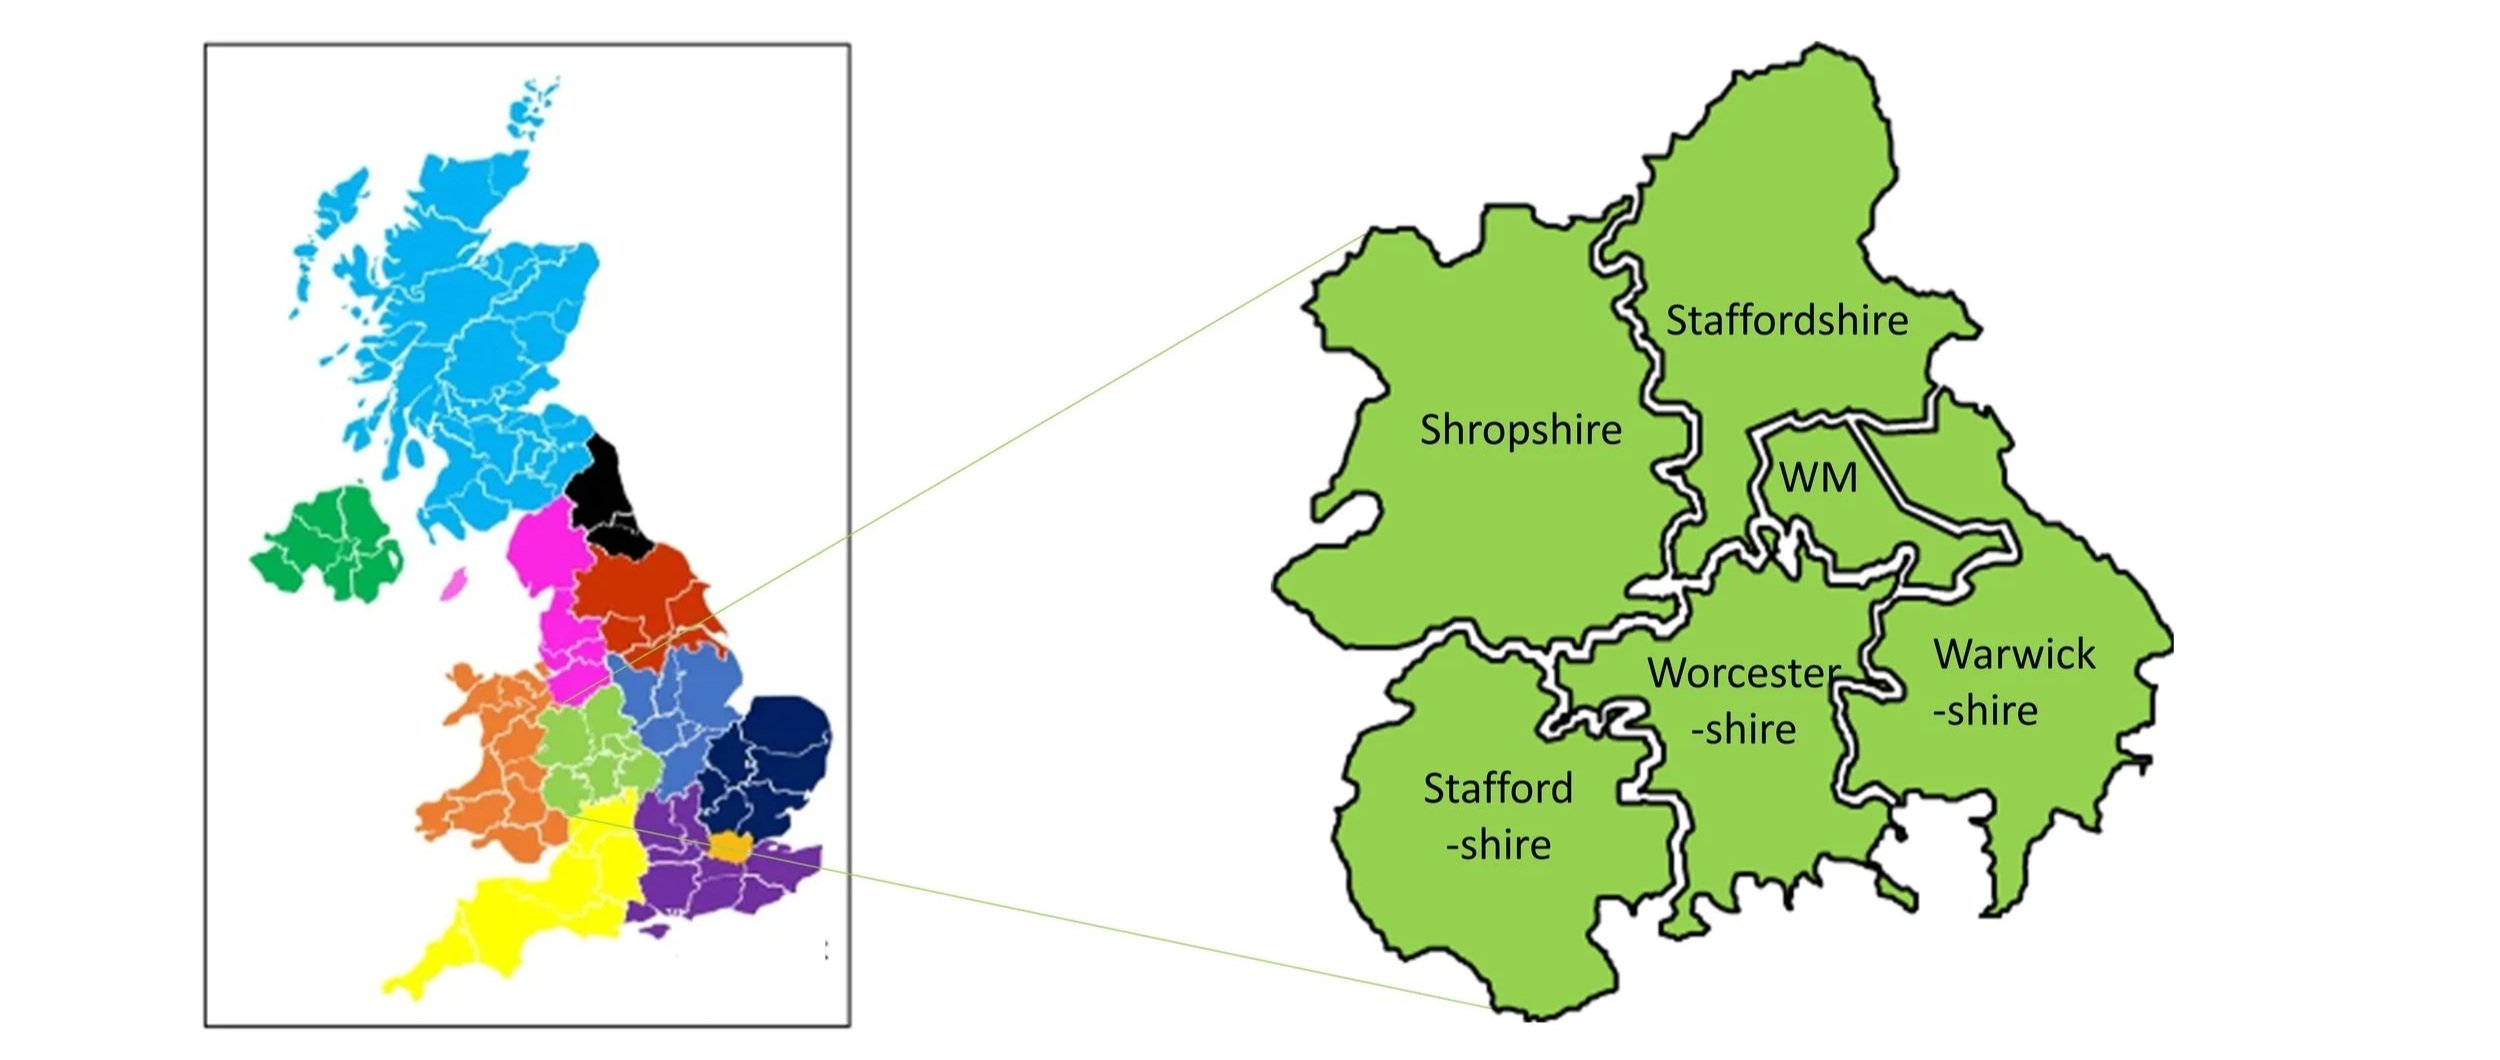
The West Midlands is a diverse and geographically contrasting region of the UK, situated in the western half of central England, acting as a vital transport hub and sharing a long, scenic border with Wales. The region is composed of six ceremonial counties: Herefordshire, Shropshire, Staffordshire, Warwickshire, Worcestershire, and the West Midlands (a heavily urbanised ceremonial county sharing the region's name, formed from land previously belonging to the three historic counties of Staffordshire, Worcestershire, and Warwickshire).
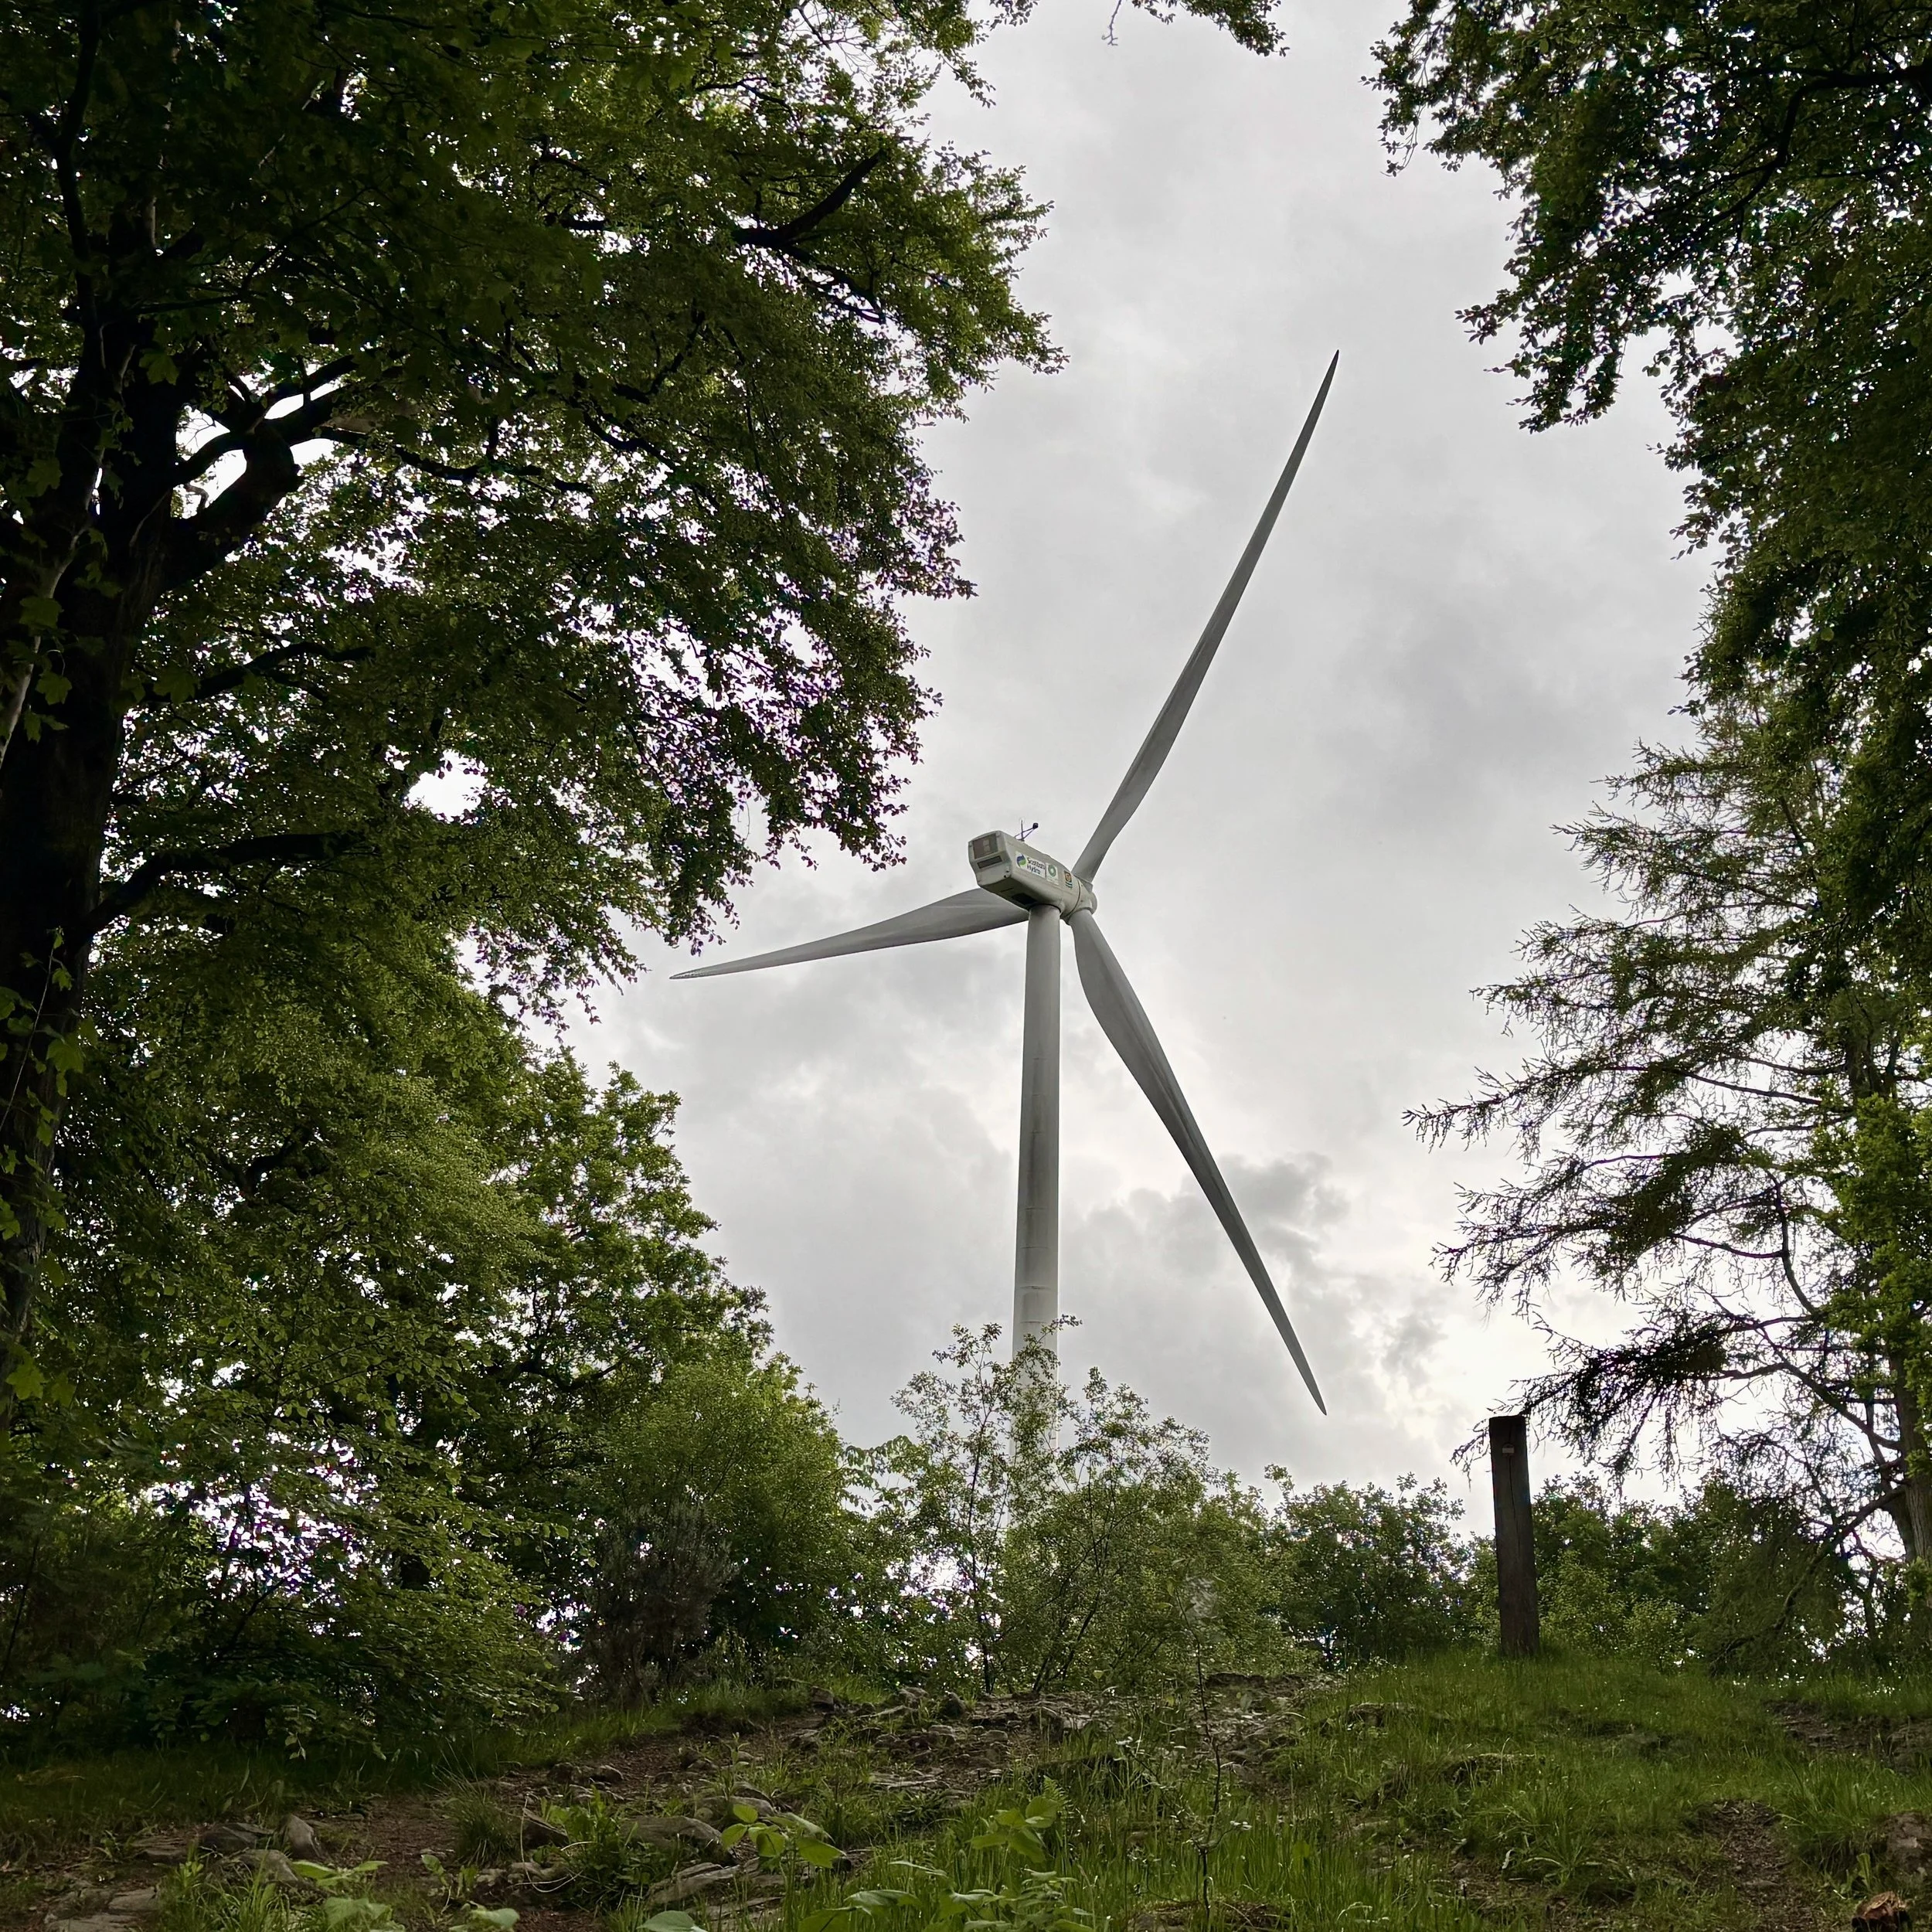
Geographically, the West Midlands is characterised by its striking transition from industrial heartlands to rolling rural topography, most notably across the Shropshire Hills: a sweeping Area of Outstanding Natural Beauty spanning the Welsh Marches. It contains the dramatic, ancient ridge of the Malvern Hills (predominantly in Worcestershire and Herefordshire) and the sprawling, historic lowland heath of Cannock Chase. Landscapes across the region are varied, ranging from the rugged gritstone edges of the Staffordshire Moorlands to the extensive industrial canal networks of the Black Country and the lush, meandering valley of the River Severn.
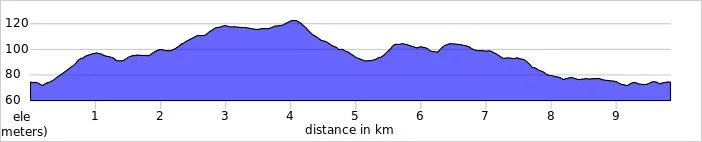
parkrun event numbers per county
There are currently 50 parkrun events in the counties of the West Midlands region.

Notes and exceptions.
The West Midlands ceremonial county contains 16 parkrun events that were formerly in 3 historic counties: 7 in Staffordshire; 6 in Warwickshire and 3 in Worcestershire’
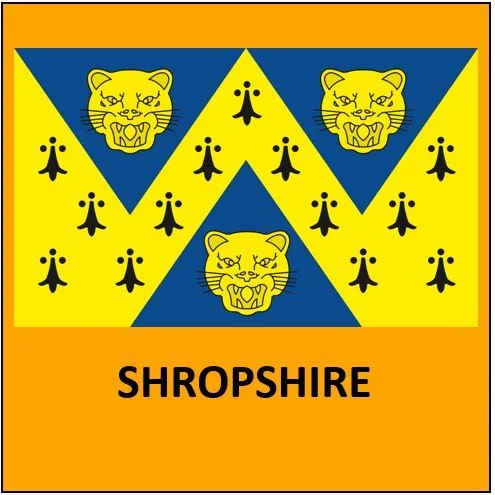
The West Midlands Counties parkrun pages
Click on each of the images below to go to the page with details of the parkrun events for the county.


More parkrun posts

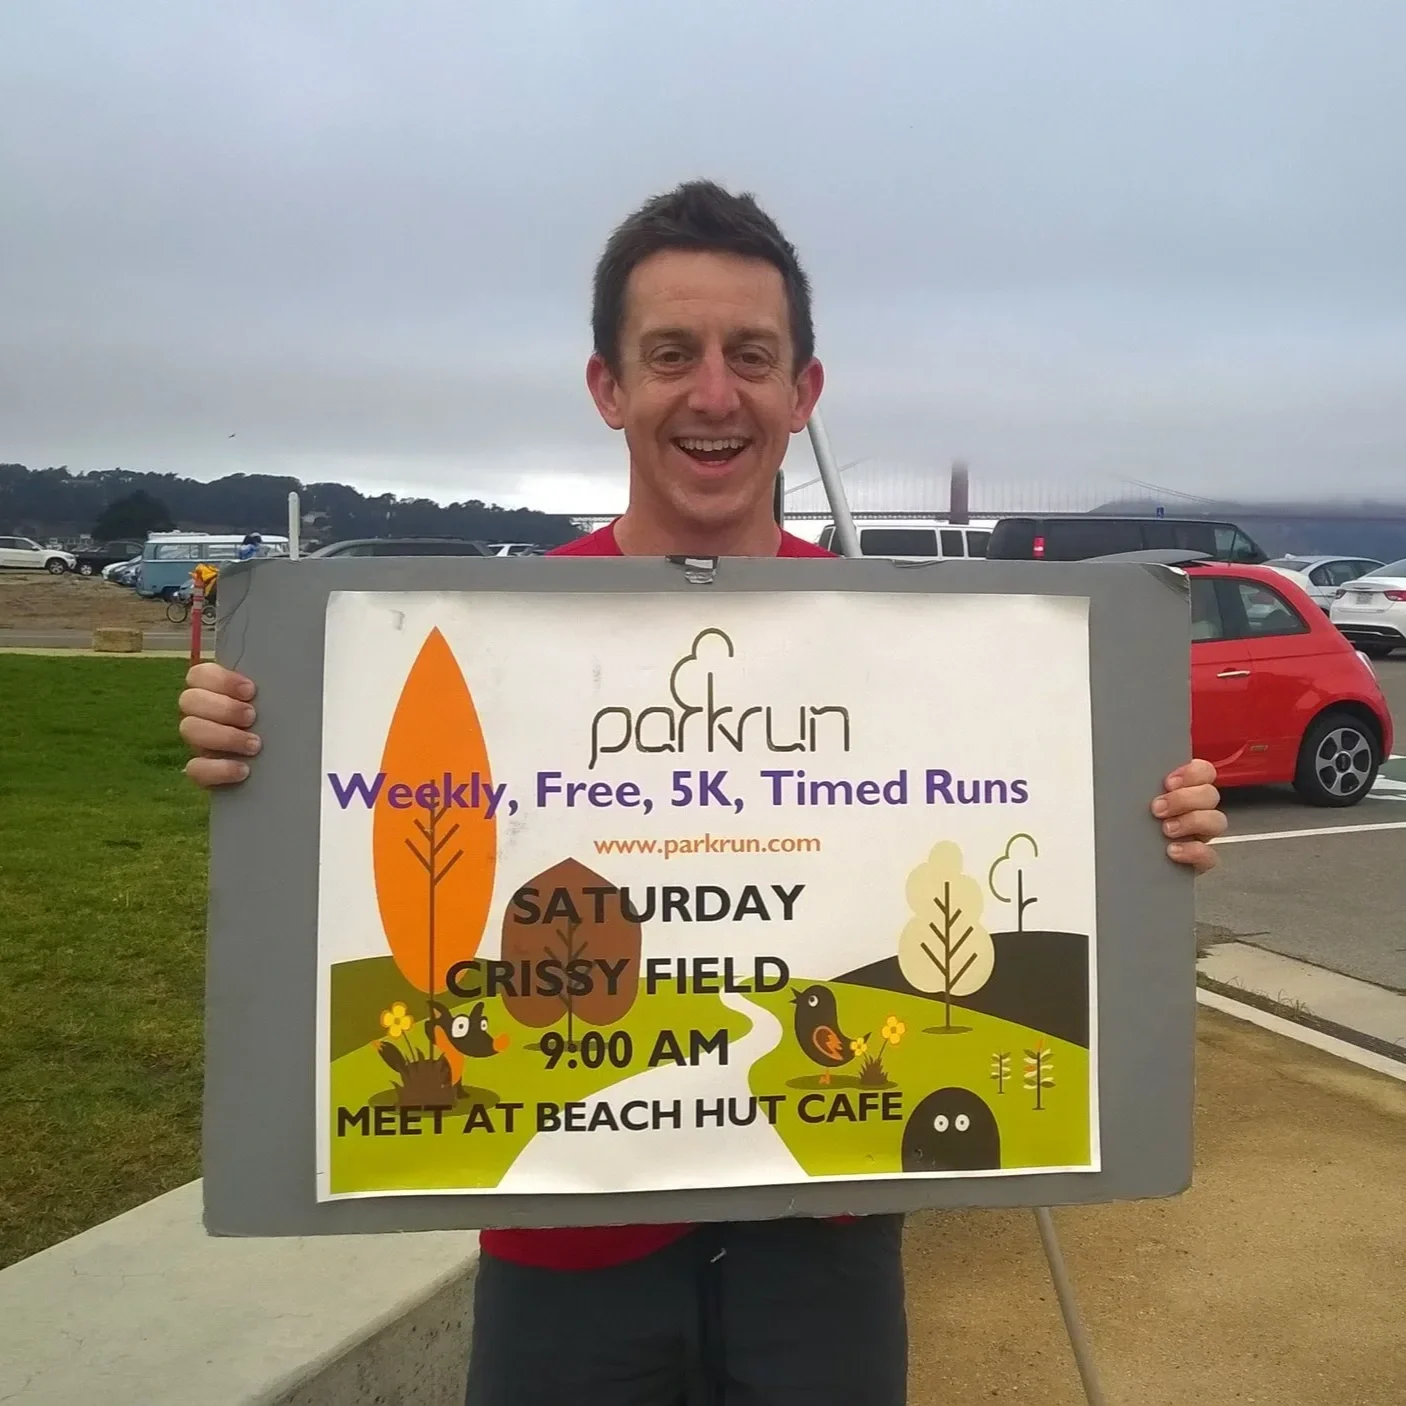
parkruns are free, weekly, community 5k events all around the world. I started in December 2012 and have been obsessive about it ever since. See my parkrun Collection page for details.
Featured and popular parkrun posts: