Posts tagged Mountain
Trig Pillar Extremes

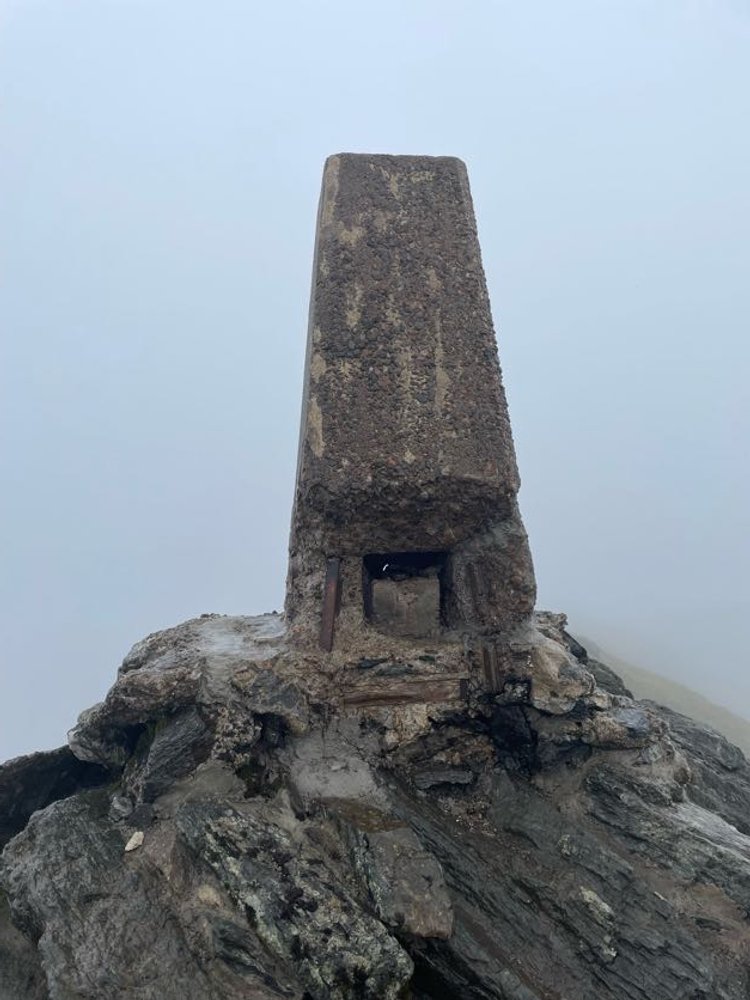
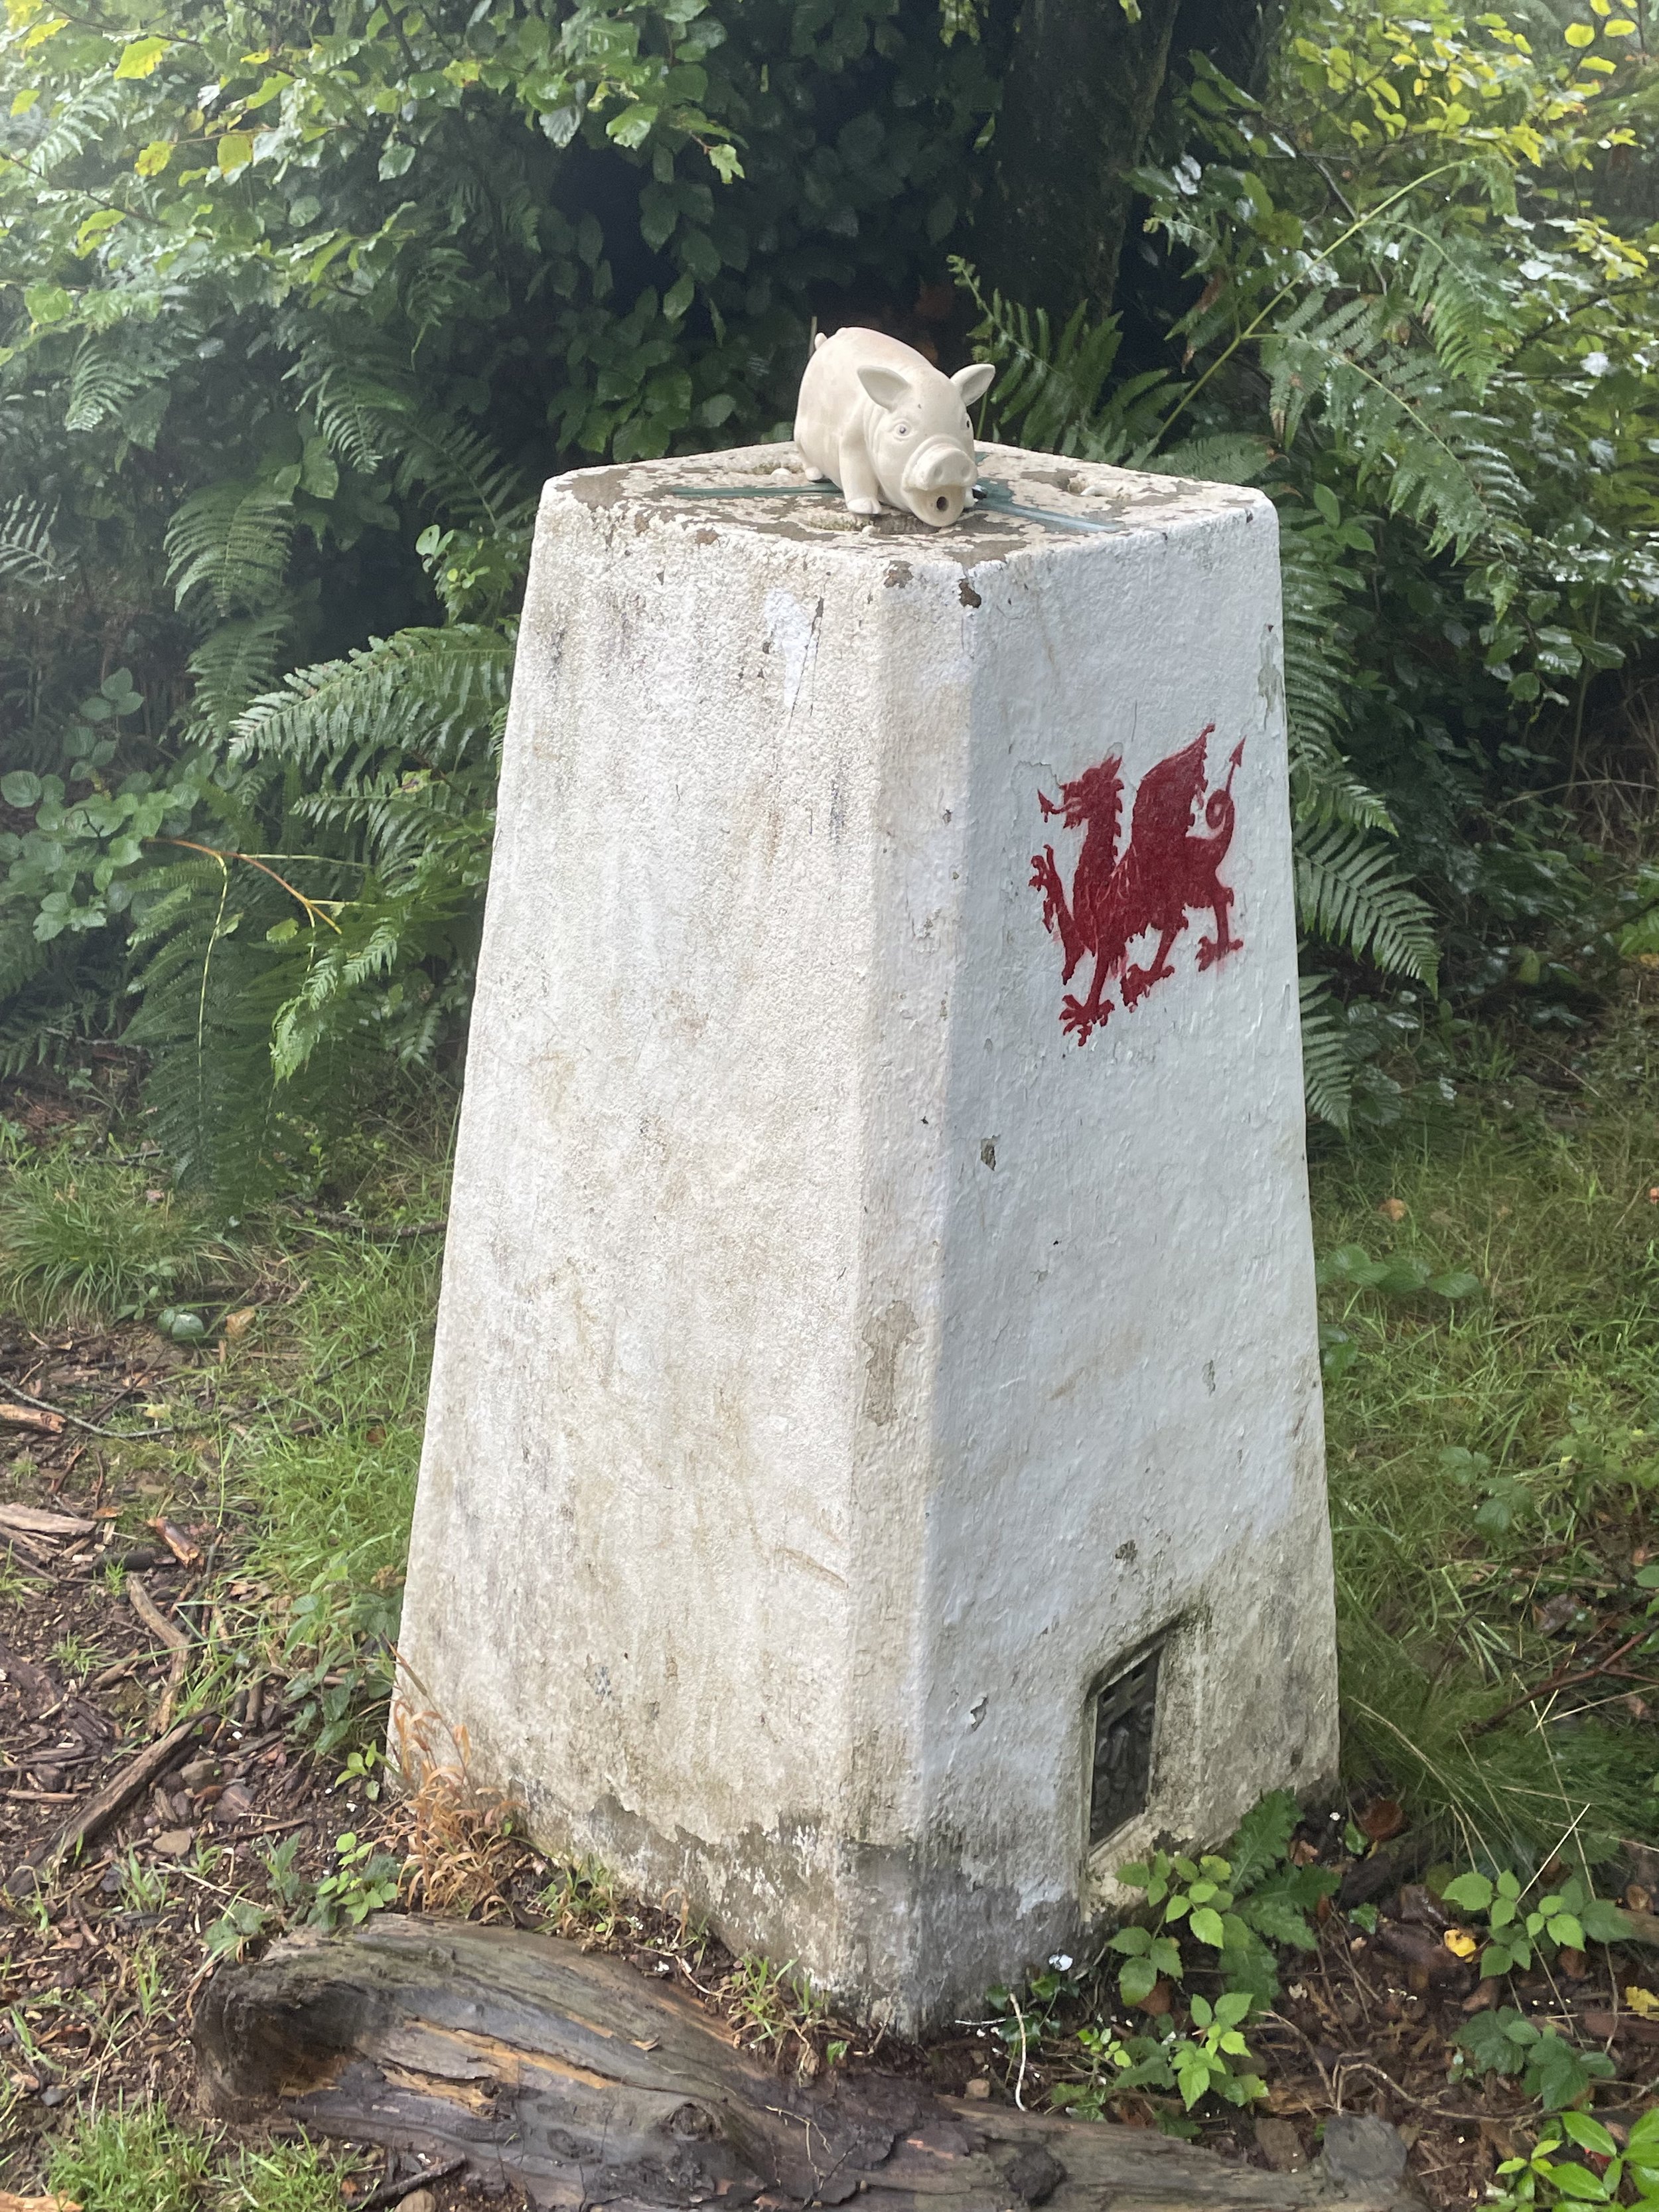
If you’ve searched for or stumbled across this page then you probably already know what an OS Trig Pillar is. If you don’t then this article from the Ordnance Survey is a good place to start.

Over 6,000 Trig Pillars were erected across the country from 1936 to 1962. The first person to have visited all of them was Rob Woodall who completed his 14-year personal quest in April 2016. At the time of writing this I’ve also been visiting Trig Pillars for over 14 years but so far I’ve bagged less than 5%. While I don’t have the need to bag them all, I’d be happy with an “interesting 10%”. These would include all of the pillars on the UK County Tops and, as it’s close to home, all of South-East England. After a geeky pub conversation somewhere in Scotland after a County Top climb, I also took an interest in the extremes: the oldest, the newest, the furthest north, east, south and west. This post shows the results of my research so far into what are those extreme Trig Pillars.

Let me know if you have any corrections to the information on this page or any suggestions for other extreme Trig Pillars. I’ll donate £1 to one of the outdoor causes that i support for any edit made.


Trig Pillar Compass Club

The spreadsheet below shows the same Trig Pillars as in the map above. Note that those highlighted in yellow are ones that I’m less confident in. Comment below if you can confirm or correct any of these.


Other Extremes


Back to Trek Index
Mount Fuji: Japan High Point

Summit of Fuji shortly after sunrise

Also known as: Fuji-san, Japanese: 富士山
Significance:
Highest Point in Japan, high point of the island of Honshu
Nearest Higher Neighbour
: Xueshan - Beilengjiao, Taiwan
Elevation:
3,776m
Date “climbed”:
September 3rd 2025
Coordinates:
35° 21' 38'' N, 138° 43' 38'' E
Links: Wikipedia (Japan, Honshu, Mount Fuji), Peakbagger, Fuji Mountain Guides


It took us a few months to decide on what our big trip should be to celebrate my 50th birthday. The ascent of Mount Toubkal for my 40th had set a high bar, so it was hard to find something to match it. As Toubkal was over 4,000m, my first thought was to do a peak higher than 5,000m. Timea quickly vetoed Mount Ararat (5,137m) as it was a bit too near a conflict zone. Several similar ideas were also rejected for other quite sensible reasons.

When we came upon the idea of two weeks in Japan with a climb of Mt. Fuji plus two parkruns, it was an immediate “Hell Yes!”. Timea hadn’t been to Japan before but wanted to go for a long time. I had been once before, but it was 18 years ago, and I didn’t do Fuji. I was very excited to bag another iconic mountain.

We booked the Fuji part of our Japan trip with Fuji Mountain Guides, who specialise in English language treks. I honestly can’t recommend them highly enough, as the experience was excellent from the booking process through to the end-of-hike wrap-up.

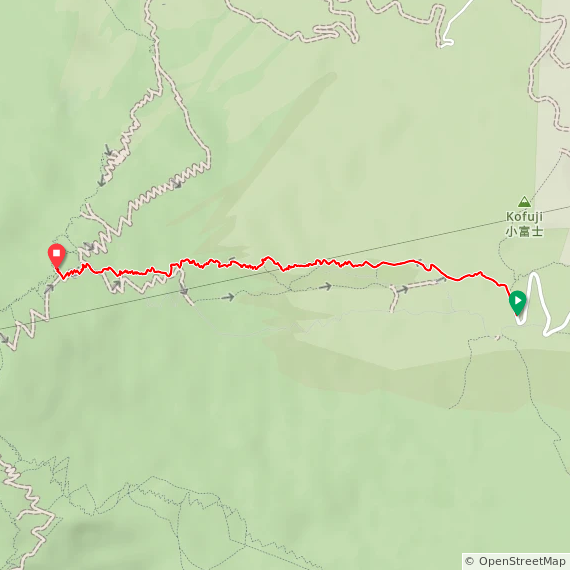
While many hikers flock to the popular Yoshida Trail, a more serene and equally rewarding alternative is on the eastern side of Japan's most iconic peak: the Subashiri Trail. Offering a unique and much less crowded experience, this route is a favourite among hikers seeking a more intimate connection with the mountain.


Day 1: Subashiri 5th Station to 8th Station

Date: September 2nd 2025
Start:
Subashiri 5th Station
Finish:
Fujisan Hotel, 8th Station
Distance: 5.3 km (3.3 miles)
Elevation change: +1,373m
GPX File: get via Buy Me a Coffee
Other Routes Touched: Yoshida Trail

Our journey began at Gotemba Train Station, one of the pick-up points for Fuji Mountain Guides. We were staying in a ryokan in Hakone, so it was a convenient place to get to. Others in the group had already been picked up in Tokyo.

The first stop was the Fuji Mountain Guides base, a 15-minute drive from the station. The guides checked the mandatory kit, and we picked up the hiking poles that we rented from them. From there, it was another 25-minute drive up through the forest road to the 5th Station.

The trail begins at the Subashiri 5th Station, at an elevation of approximately 2,000 meters. After a final toilet stop and a chance to buy some more food and a souvenir wooden walking stick, we had the hike briefing and started the ascent at 11 a.m.

One of the defining features of the Subashiri Trail is its first half, which winds through a lush forest of Veitch's fir and Erman's birch. This shaded path provides a welcome reprieve from the sun and offers a stark contrast to the barren, volcanic landscape of the higher elevations. This forested section continues until around the 7th Station, where the trail opens up, providing expansive views of the surrounding landscape and views to Lake Yamanaka and the towns of Oshino and Fujiyoshida to the north-east.

Although the group was quite large, 40 people, it never felt crowded as the different walking paces thinned us out during the first hour. The six guides spaced themselves among the group, so there was always one of them close by.

The Subashiri Trail is considered an intermediate route, slightly more challenging than the Yoshida Trail due to its lower starting elevation and a greater overall elevation gain of about 1,750 meters. The ascent typically takes five to seven hours, with a total distance of approximately 6.9 km (4.3 miles). We were at the slower end of this, but we got to the 8th Station comfortably before dark (around 6 p.m.).

As you ascend, you'll encounter a number of mountain huts where you can rest, buy food and water, and have your walking stick stamped. Be aware that the huts only take cash, and prices for food and drink are higher than in normal Japanese shops. However, with a favourable pound-to-yen exchange rate, it was still no more than UK prices.

It's important to note that the ascent and descent paths are different for a large portion of the trail, which helps manage foot traffic. However, the Subashiri Trail merges with the Yoshida Trail at the 8th Station, where the crowds can increase significantly, especially during peak season.

By the time we reached the 8th Station, the group had reduced to 36. Four of the group had turned back before the first hut. One of them was an American guy that I was chatting to on the first section. He was doing the hike as a new goal after a heart attack 18 months before. While it was a great goal, he was clearly not fit or prepared enough for such a demanding hike. The guides told us that it’s unusual for the whole group to complete the full trek.

Our early evening at the 8th Station Fujisan Hotel (not a hotel) consisted of being assigned our sleeping area, changing clothes, dining on a boil-in-the-bag beef curry, and having a briefing for the morning hike. We went to bed at 20:00 to get some sleep ahead of the next day’s hike.

There was no real sleep, though. A mix of a thin mattress, a slight lingering headache, and the constant rumble of snoring and rustling from the group kept us awake. Timea and I probably got about 10 minutes of sleep each. On the plus side, I did manage to listen to a whole audiobook while I wasn’t sleeping.

Our wake-up call from Dan, our head guide, was at 02:30. We were already up and ready, though, as the loud preparations of some of the others at 01:00 meant there was no more rest to be had.


Day 2: 8th Station to Summit and descent to 5th Station

Date: September 3rd 2025
Start:
Fujisan Hotel, 8th Station
Finish:
Subashiri 5th Station
Distance: 10.4 km (6.5 miles)
Elevation change: +357m / - 1,740m. Net -1,383m
GPX File: get via Buy Me a Coffee
Other Routes Touched: Yoshida Trail

The final push to the summit began at 03:05. As we made our final preparations outside the 8th Station, we could see the lights of Tokyo in the distance and lightning through the clouds on the horizon.

Rather than being spread out at different speeds on the first day, the group kept together with a very slow pace. In the second hour, we saw some big groups already descending. This made our guides concerned about conditions on the summit. It turned out, though, that they had started too early and summited way before sunrise. Our guides were better organised, though, and timed our ascent to get us to the Torii Gate exactly at sunrise.

In the Japanese Shinto religion, the sunrise holds profound significance, as it is seen as the daily rebirth of Amaterasu Omikami, the sun goddess and central deity. Amaterasu is believed to have been born from the left eye of the creator god Izanagi, and her light is considered the source of all life and purity. Therefore, the act of witnessing the sunrise is a form of worship and a ritual of purification known as "misogi," allowing practitioners to cleanse themselves of spiritual impurities and renew their connection with the divine. The rising sun, with its vibrant red disc, is also a powerful symbol of Japan itself, often referred to as "the land of the rising sun," representing hope, renewal, and the enduring spirit of the nation.

Fuji sunrise was also significant for us. It was the centrepiece of my 50th birthday celebrations and a challenge that Timea had been training for several months. During our planning for the trip, we agreed that if Timea wasn’t able to make the summit, then she would stay at one of the huts while I would complete the ascent. While this would have been OK, it was particularly special that we could reach the top and see the sunrise together.

Although the weather at the summit was better than the guides feared, there were still strong winds and heavy mist at the crater rim. In good conditions, they take some of the group on a circuit of the crater, but that wasn’t an option that day. Even so, we still managed to have enough time to get our stick stamped, walk to the highest point of the eastern edge, and get photos at the Shinto Shrine and Torii Gate. We would have loved to have spent more time there, but the guides knew what they were doing, so we followed their instructions and started the descent.

What we didn’t realise until after the trip was that the highest point of 3,776m was on the other side of the crater. It actually has its own name: Mount Kengamine. Although I was a bit disappointed not to get there, I was happy with reaching the high point of the eastern edge at 3,744m. We got as high as we could based on the weather. Given the unpredictability of the conditions, you’d have to be very lucky, or do multiple attempts to get to 3,776m. As it turned out, a typhoon was approaching that cancelled all ascents a day later. We were very lucky and grateful that we had the chance to do the trek at all.

The first part of the descent back to the 8th Station took just 30 minutes versus the two hours to ascend earlier. We stopped for breakfast and took some layers off to continue down towards the 5th Station.

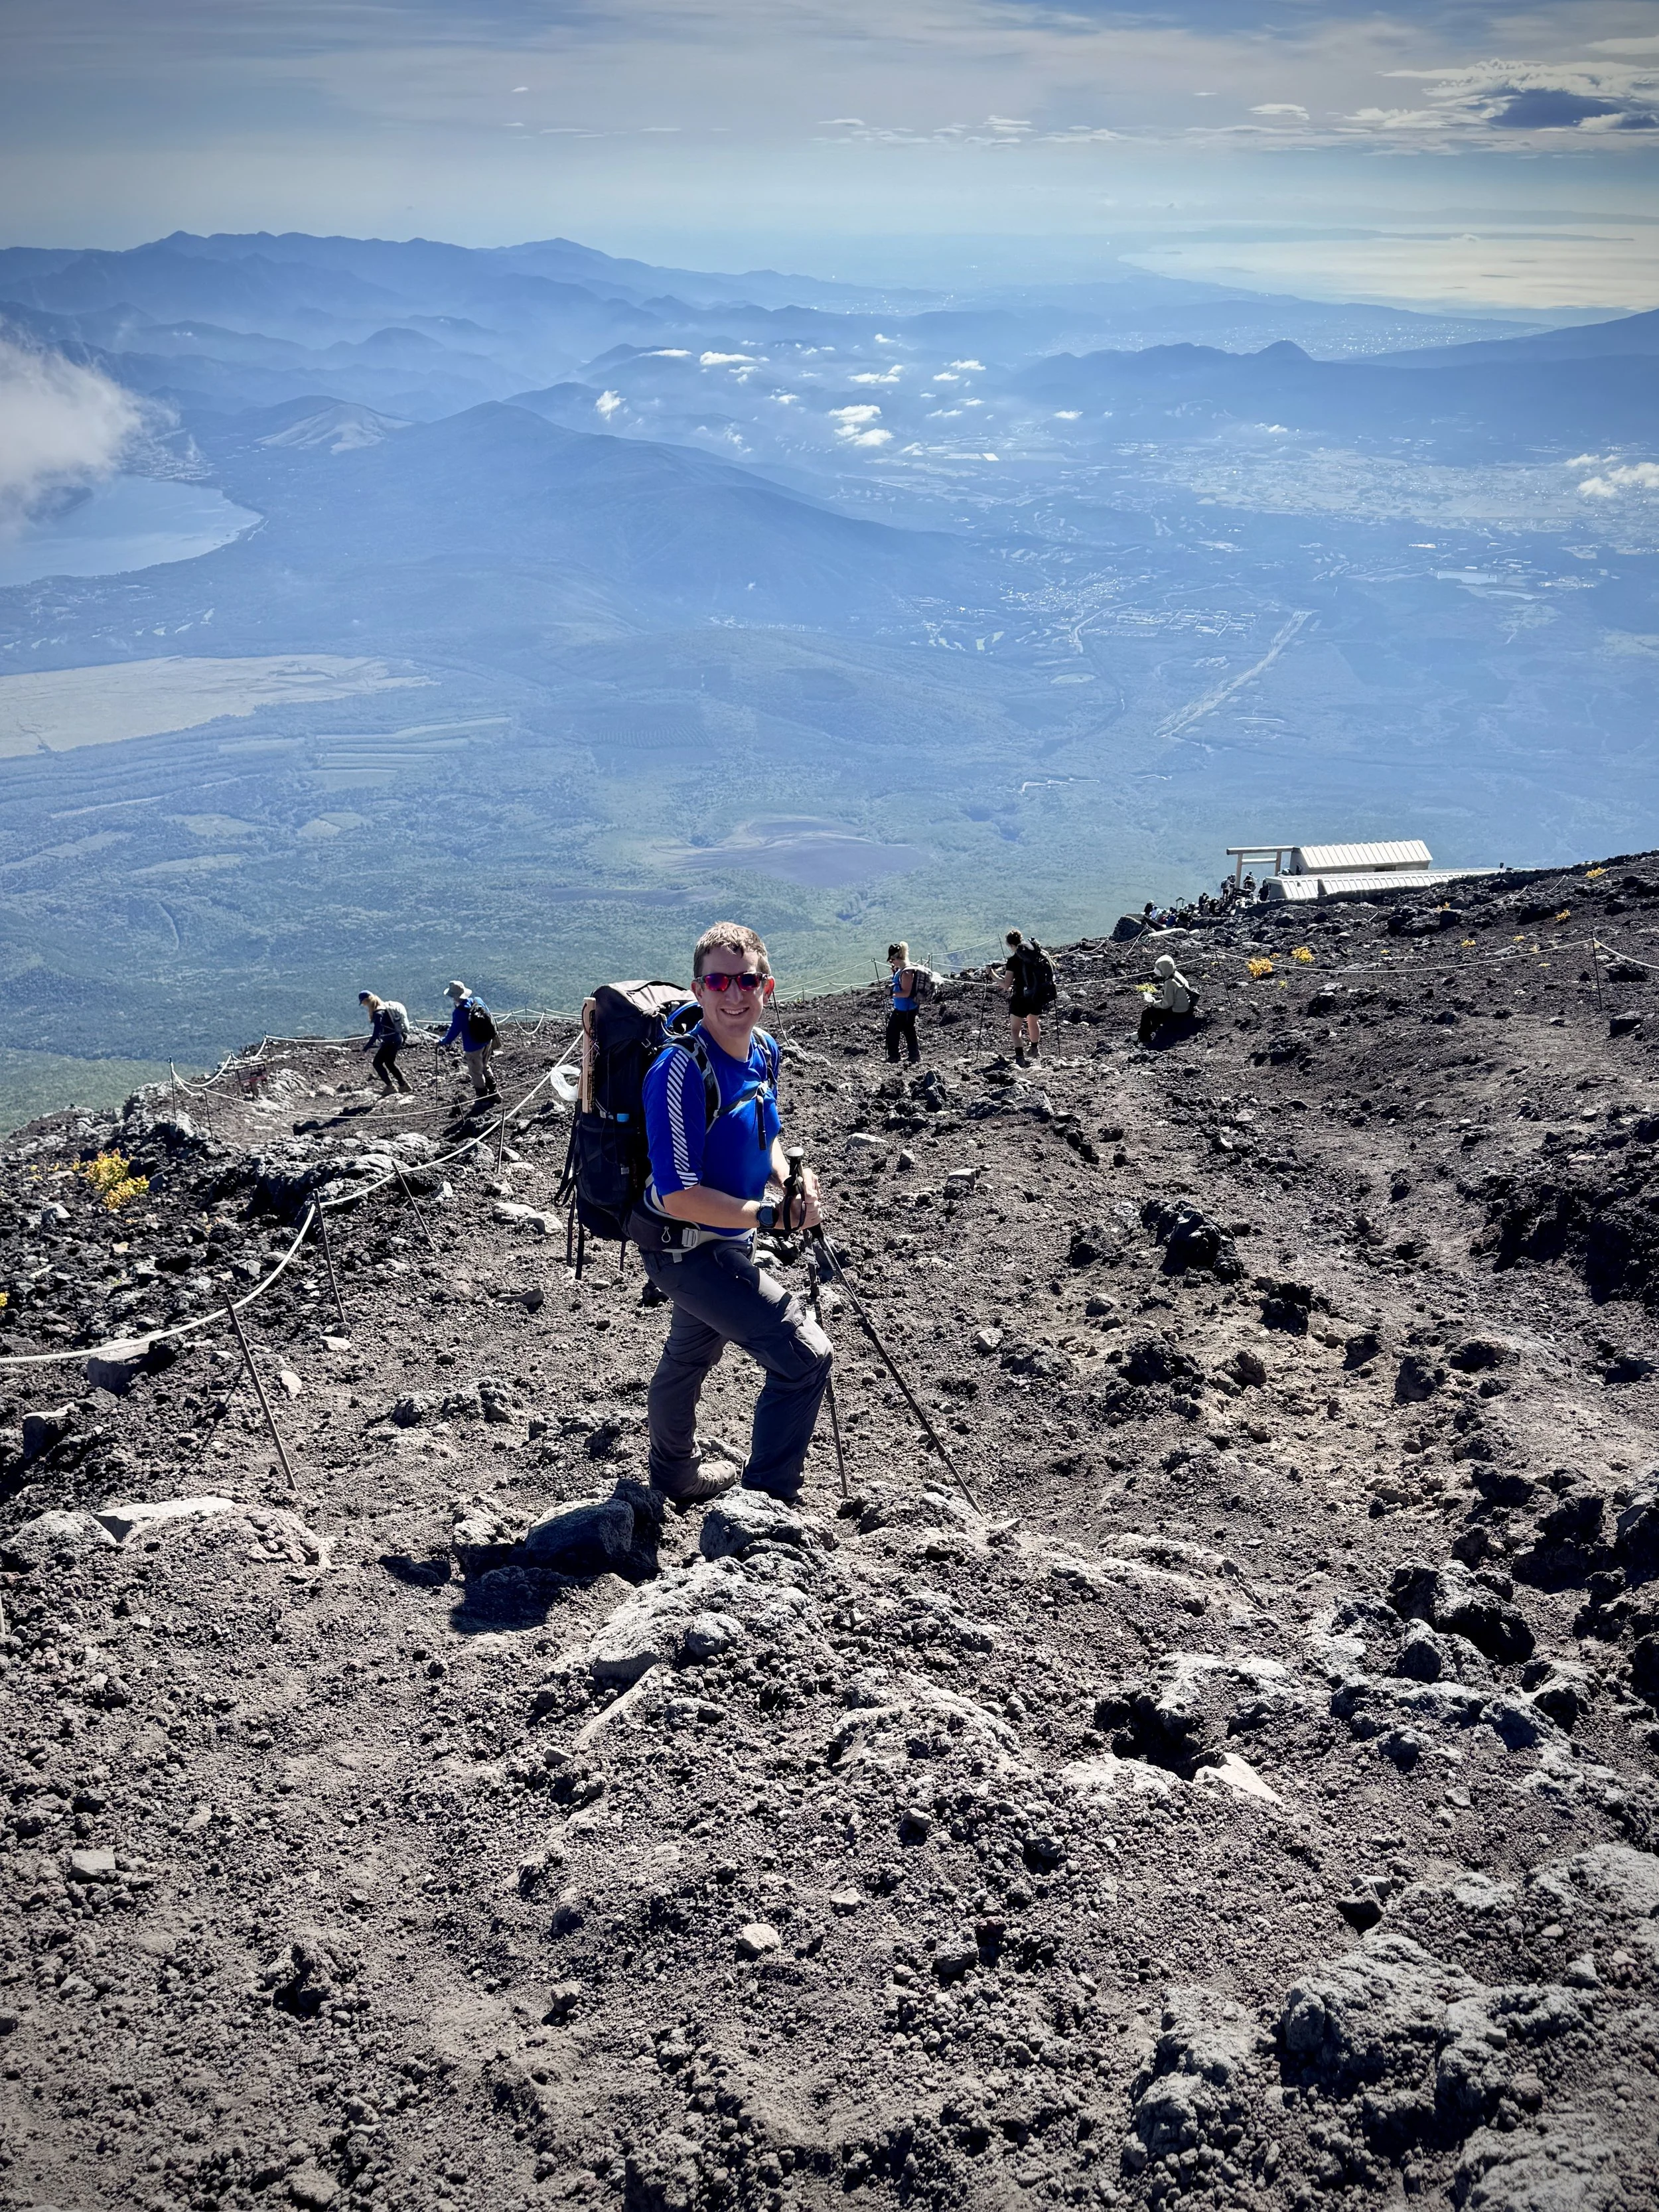
The descent is where the Subashiri Trail truly stands out. From the 7th Station onward, the path becomes a unique and exhilarating experience known as "Sunabashiri" or "sand running." This section is a steep, long slope of soft volcanic gravel, allowing hikers to descend at a quick, almost running pace. While it's a fun and fast way to get down the mountain, it requires careful footing and is a test for your leg muscles. This "run" can drastically shorten your descent time, with the entire return trip taking as little as 2.5 to 4 hours.

By the time the trail levelled out after the sand running, Timea’s left knee started hurting. It was similar to the pain she had on Toubkal 10 years before. Back then, she was able to take a donkey for the rest of the descent, but there are no donkeys on Fuji.

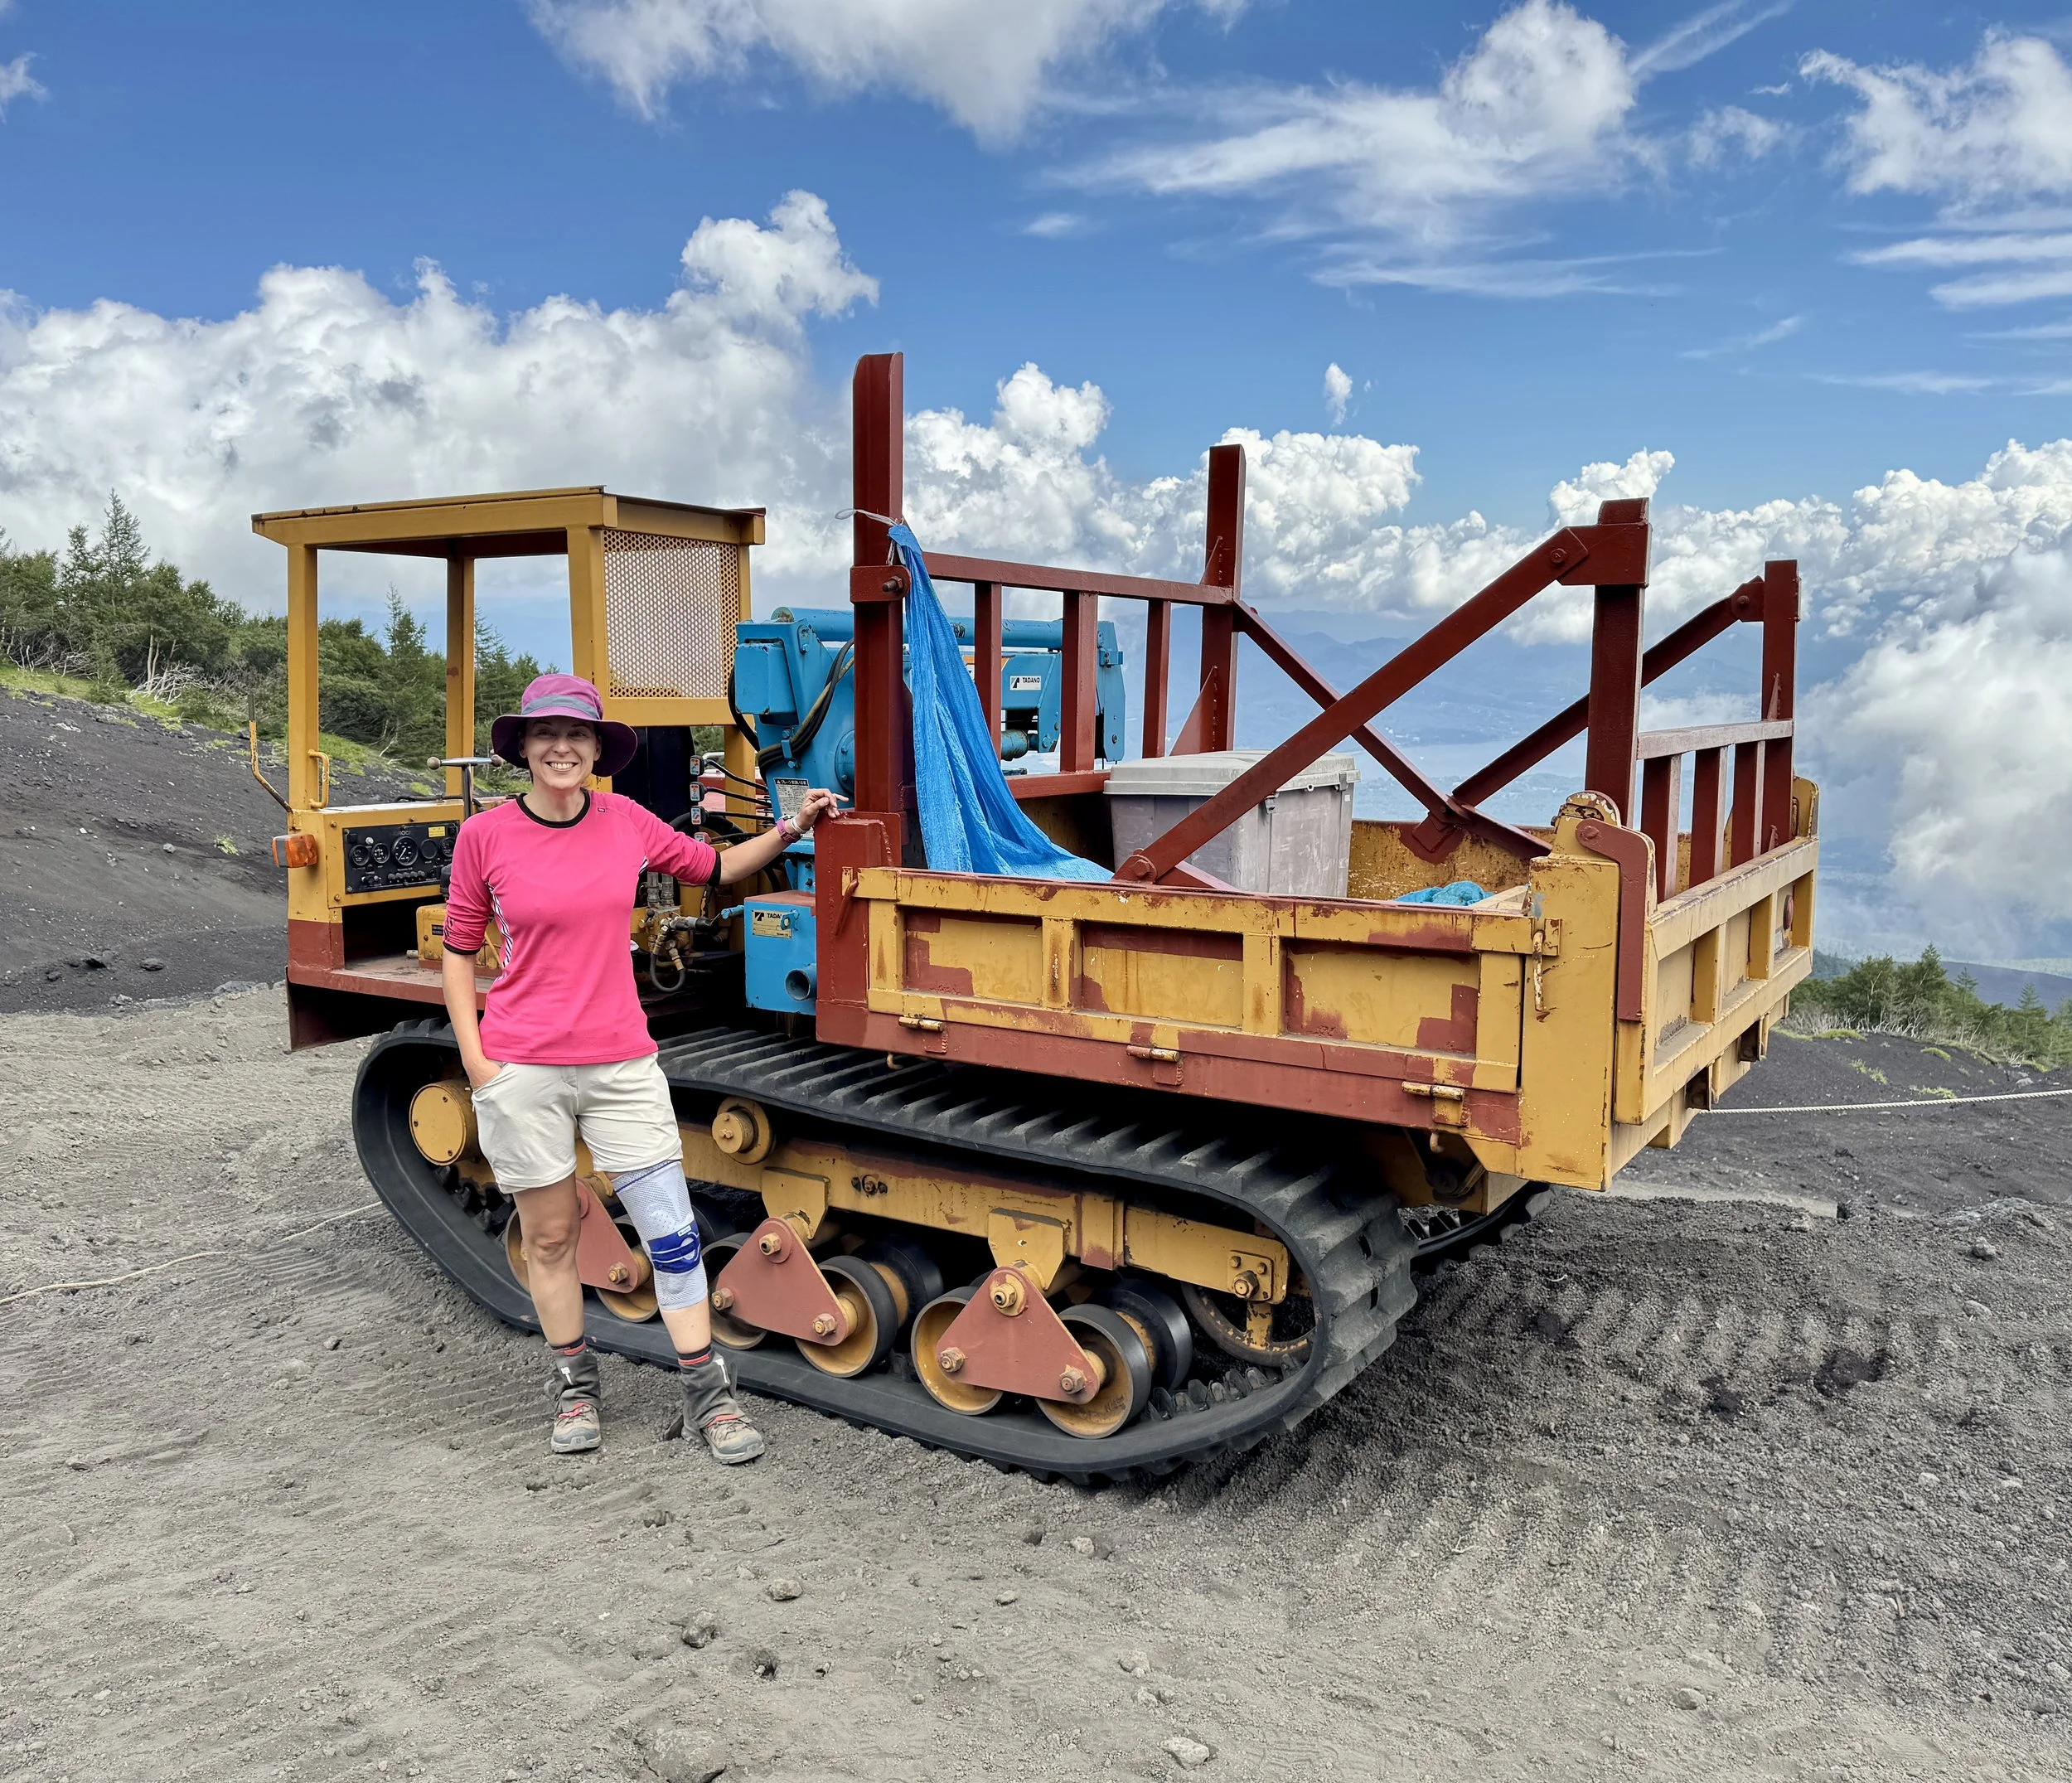
For those in real trouble, the emergency evacuation is via one of the bulldozer trucks that takes supplies up to the huts. Four of the group ended up taking the bulldozer down, but Timea’s knee wasn’t so bad. She got through it by taking it slow, some stretching, and a bunch of painkillers.

We were grateful for Scott, one of the guides, for watching out for us and two other slower couples in the final hour. After the 5th Station, he took us on a lesser-known shortcut, called the “mushroom trail,” that avoided the stone steps with a more gradual route through the woods.

We were tired, dirty, and thankful that we had booked a day and a half of rest back at the ryokan with our very own onsen in Hakone. Our thanks go to the six members of Fuji Mountain Guides who made our trek a safe, fun, and memorable adventure.

 

Top Tips: things we learnt on the hike

  • If you have any allergies, it’s best to take your own food. Timea is both dairy and gluten-free, and there were limited options for her at the stations.

  • Breakfast at the 8th station was advertised as pastries. You can buy these (packaged, not fresh), but there were a range of other hot and cold options too (for example, rice with beef, ramen noodles, etc.).

  • Take both salty and sweet snacks. Salty is great for replacing salts in your body, and sweet (e.g., Haribo) is great for the summit.

  • I’m not a big fan of either gaiters or walking poles, but both are essential for Fuji. I rented poles but only used them for the descent. I didn’t use gaiters but wish that I had, as I had both boots full of volcanic ash and stones after the scree-run.

  • If you get into real trouble and can’t walk down, the bulldozers are your emergency option. Helicopters are not allowed to land on the mountain, so your evacuation may take some time. The bulldozers are mainly used to take supplies to the huts and can be used to take you down if you are injured. It’s a slow and bumpy trip, so you really don’t want to do it, despite how much fun it may sound. Bulldozer evacuation costs around £80 to £100 per person.

  • It should be obvious, but don’t hike Fuji in new boots. We met one hiker with new boots that she had only used once before in a very short walk at home. They would have rubbed a lot later in the hike.

  • Even if you have well-worn-in shoes, take blister plasters.

  • Take electrolytes to add to your water bottle or CamelBak. We lost five litres of sweat according to our Garmin watches.

  • Take dry roll-on sun lotion, especially for the descent. Sand and ash will stick to liquid lotion.

  • The huts take cash, not cards, so take enough for the two days, remembering that prices are higher than normal Japanese shops. Most toilets take coins, but you can get change from the huts when buying food and drink.

  • Bring wet wipes to clean yourself when getting changed in the 8th Station. There are no showers.

  • Bring leaf soap, as the toilets don’t have any soap, only water.

  • Only take up to 1 litre of water to drink between huts and buy more along the way. This will reduce the weight that you need to carry.


Back to Trek Index
Worcestershire Beacon: Worcestershire County Top

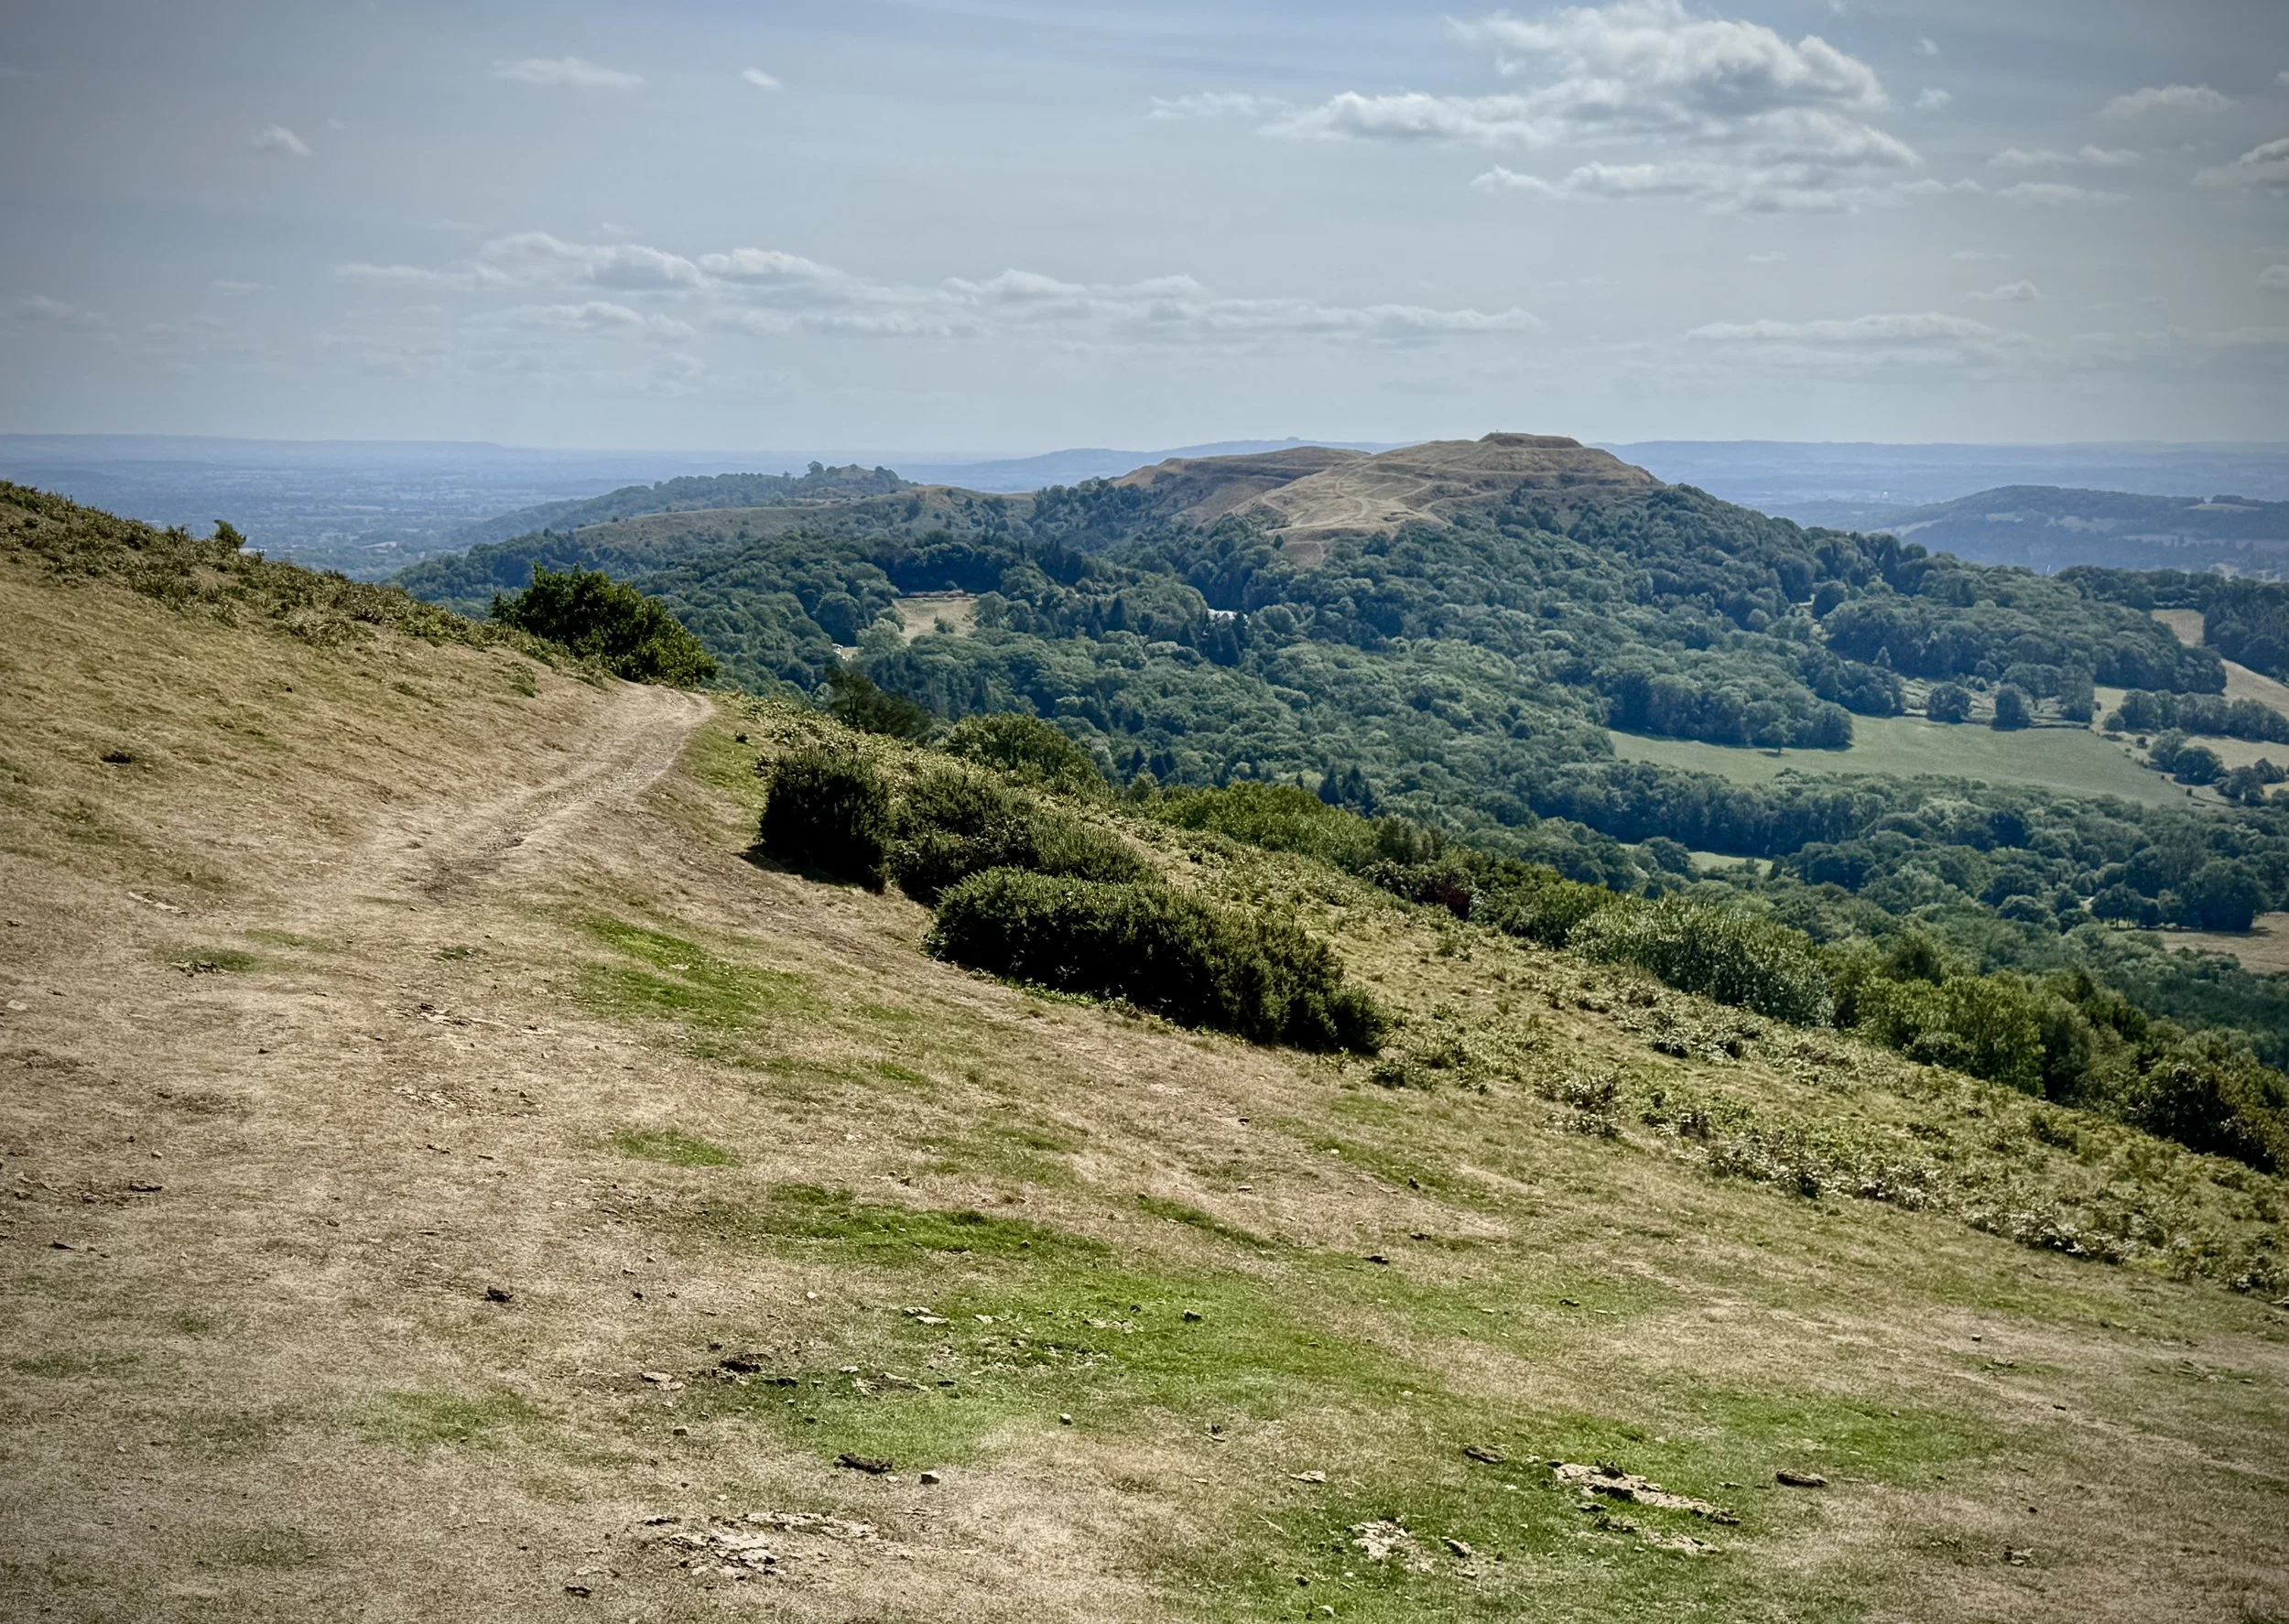
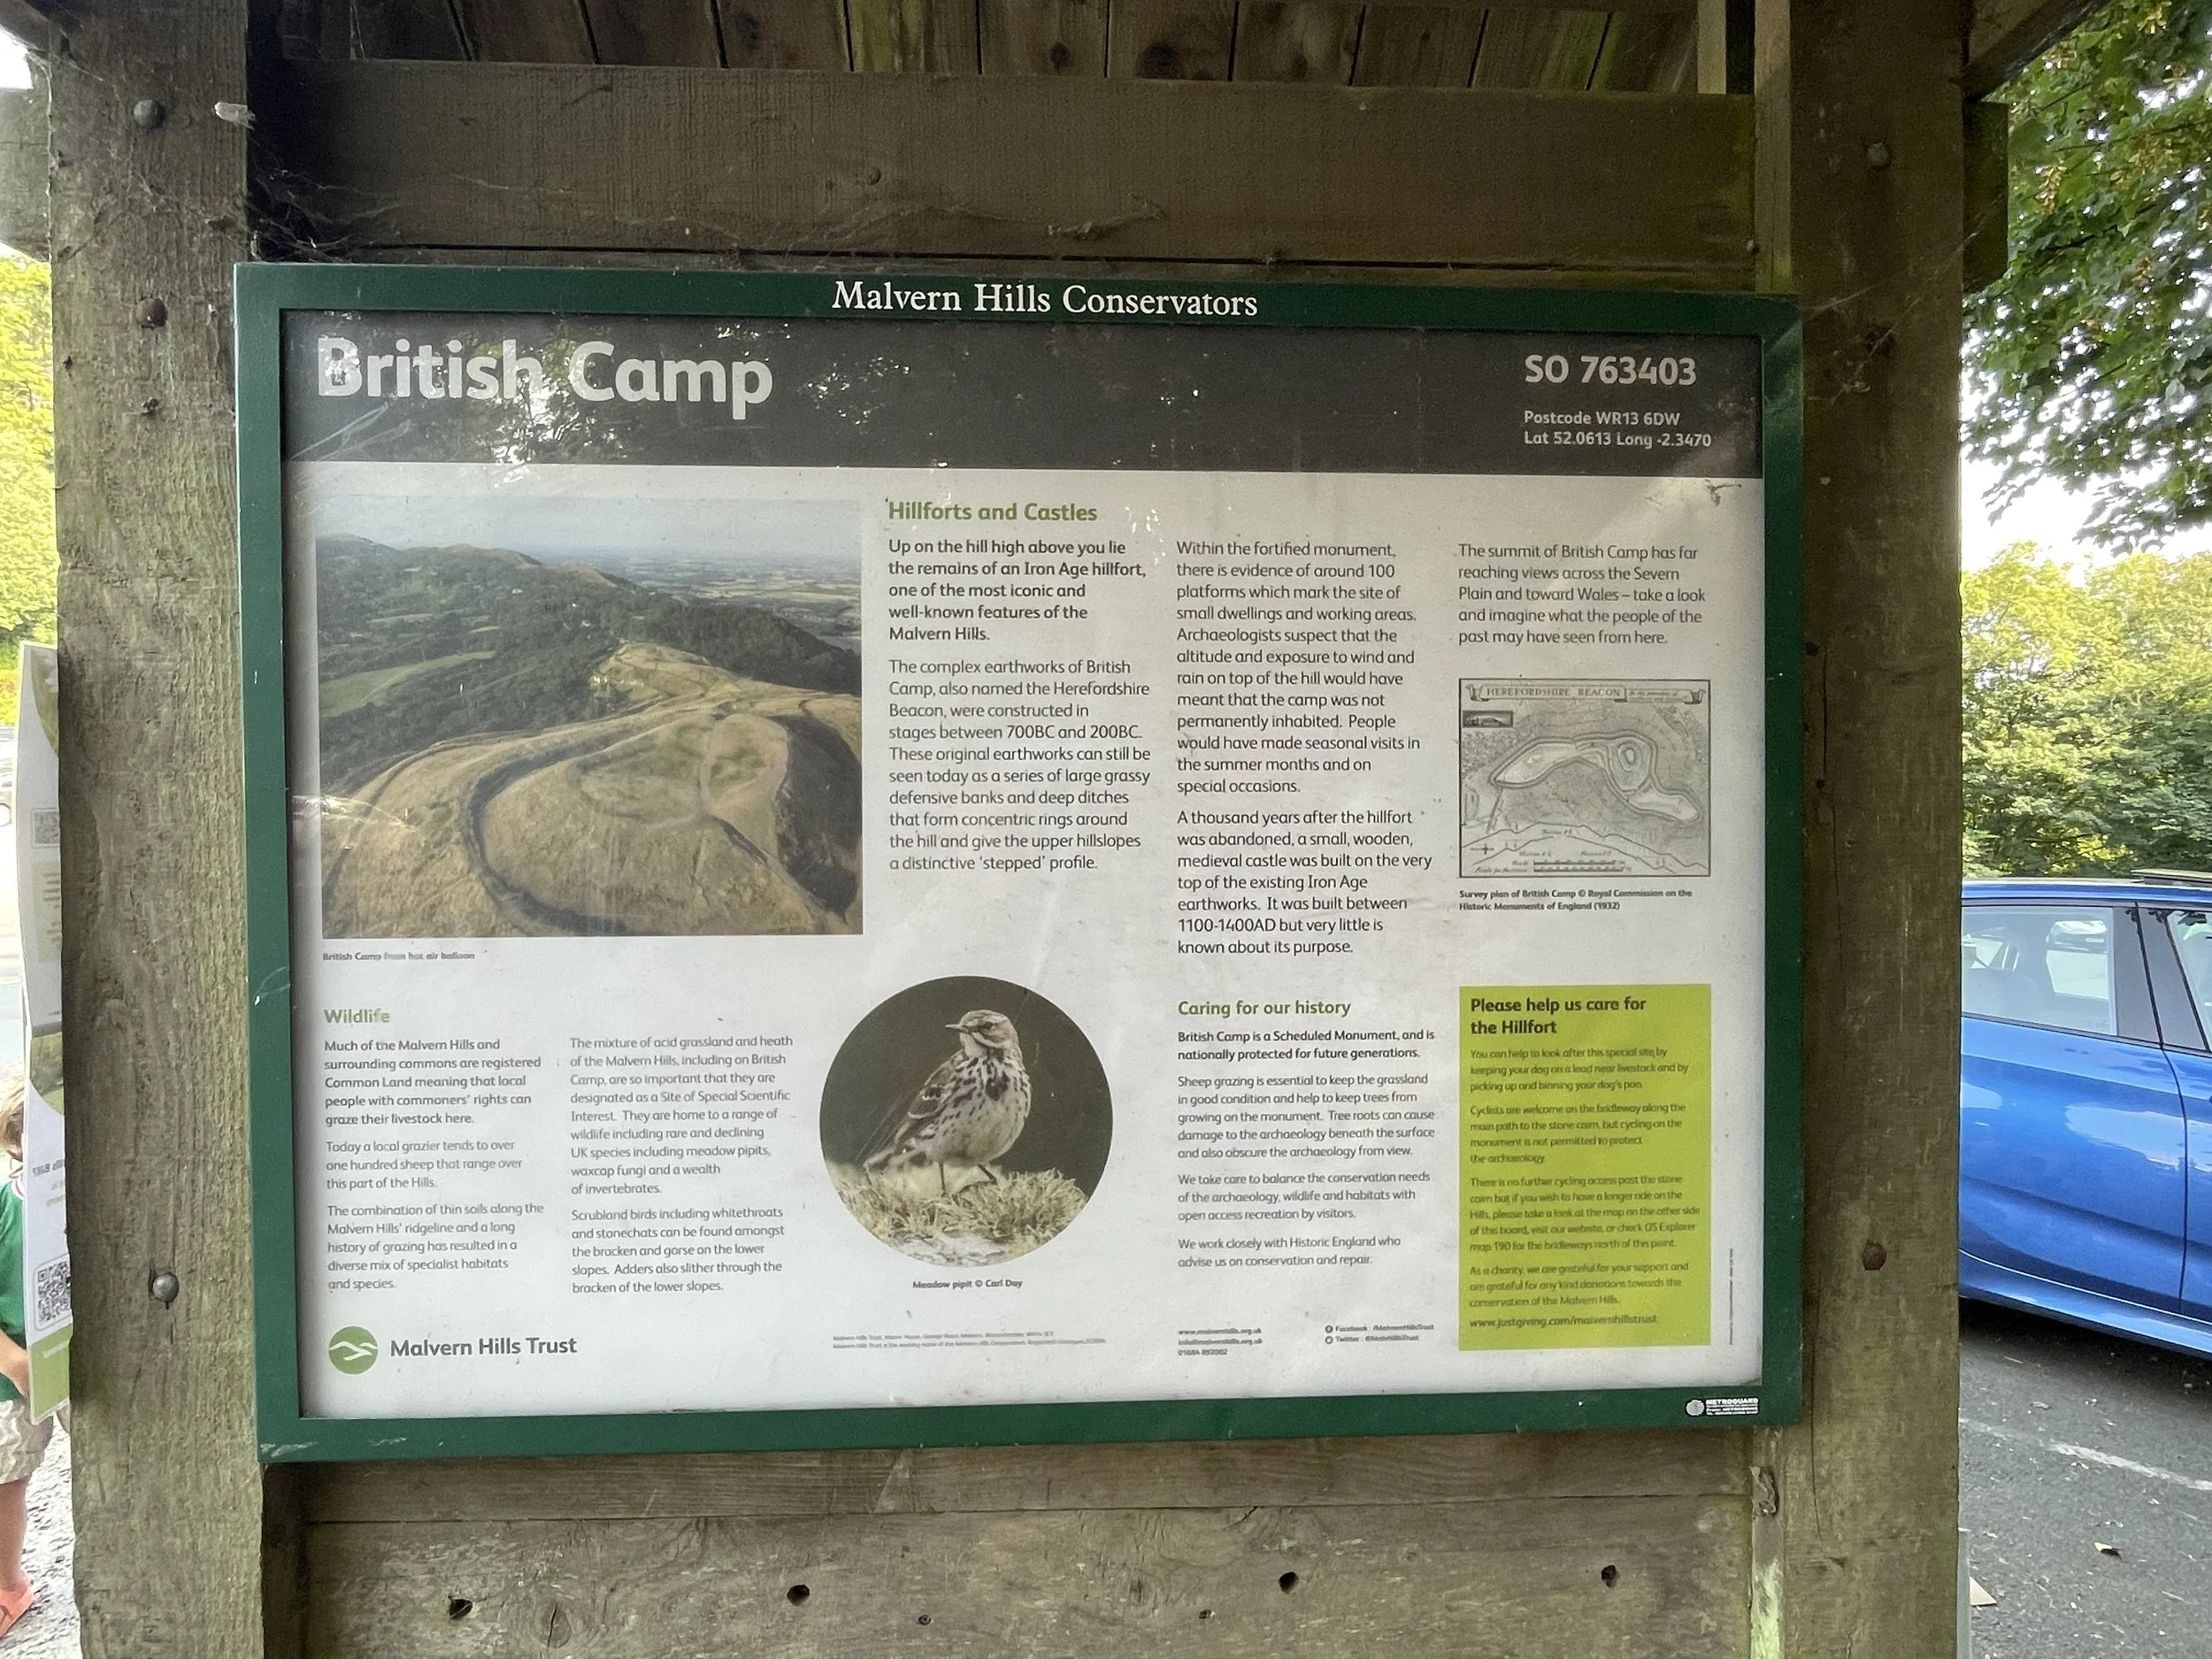
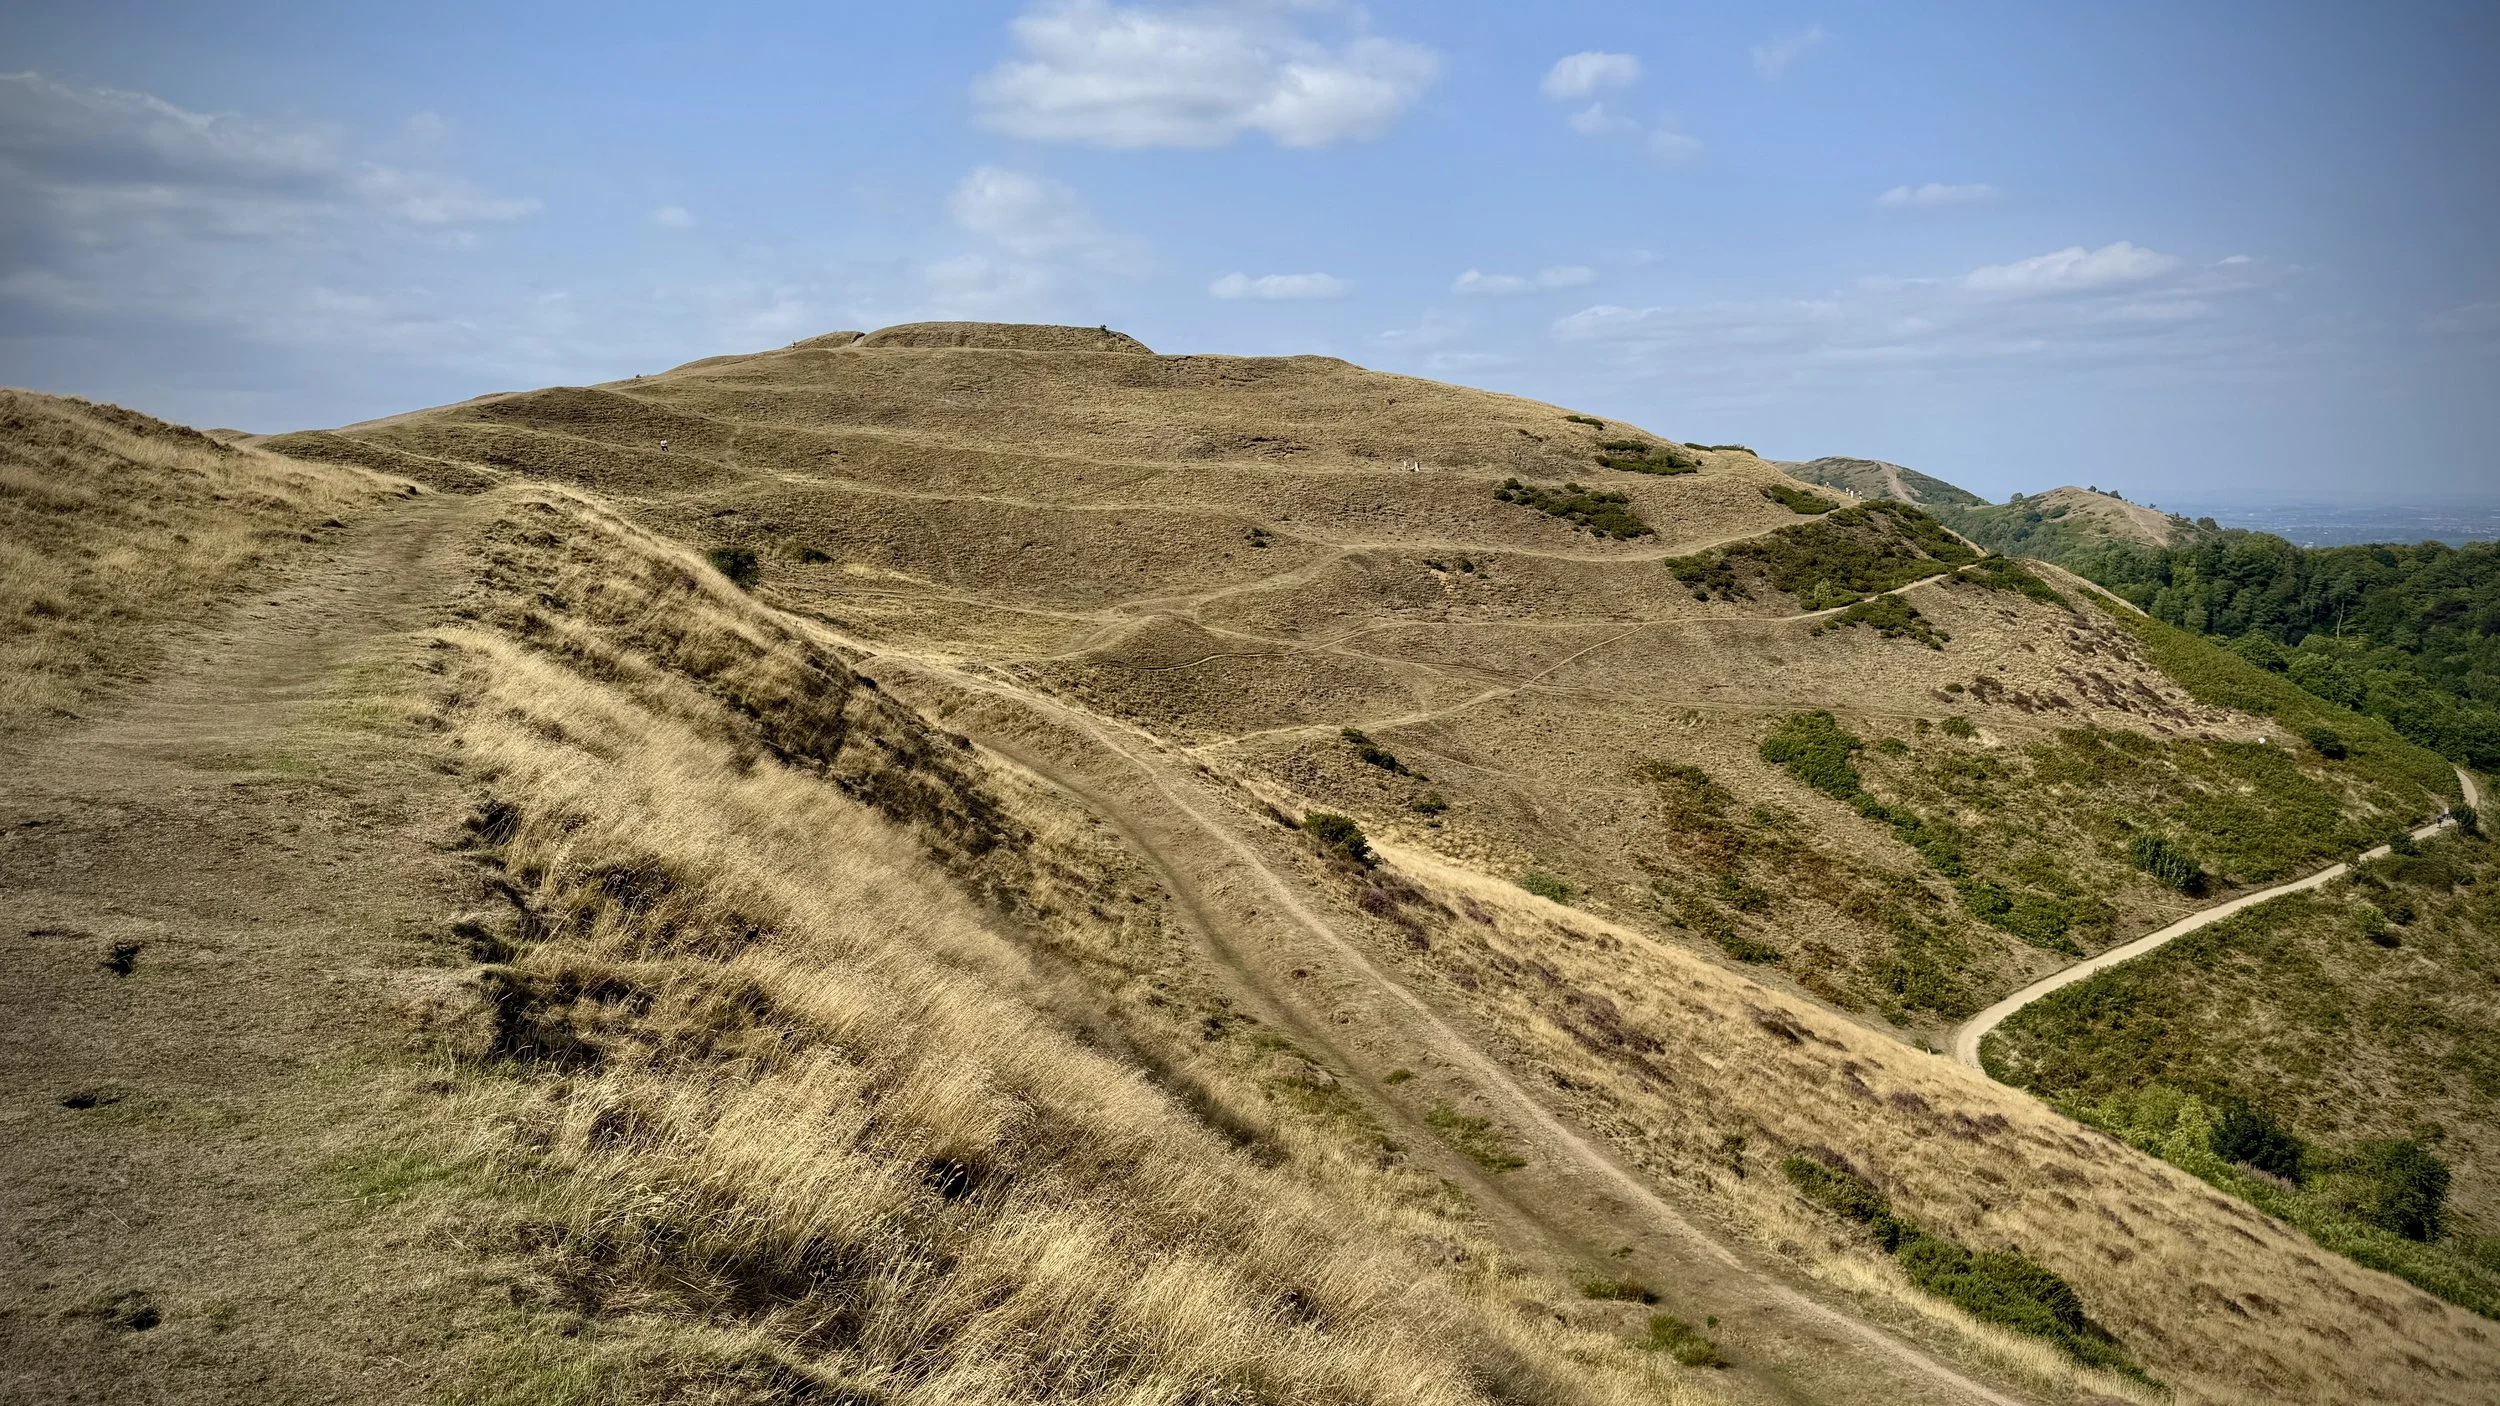
Descent from the southern side of Worcestershire Beacon with view to Herefordshire Beacon (British Camp)


Significance: Highest peak in Worcestershire (Historic County Top), Malvern Hills National Landscape
Member of: Marilyn, Hardy
Parent Peak: Hergest Ridge
Nearest higher Neighbour: Titterstone Clee Hill
Elevation: 425m
Date climbed: 19th April 2014 and 9th August 2025
Coordinates: 52°06′17″N 2°20′25″W


Route Start: Malvern Clock Tower, North Malvern Road, Malvern, WR14 4ND
Route Finish: British Camp Car Park, A449, Great Malvern, Malvern, WR13 6DW
Route Distance: 8.6 km (5.3 miles)
Route Elevation Change: +346m /- 249m. Net 97m
Subsidiary tops on route: End Hill (328m), North Hill (398m), Table Hill (375m), Sugarloaf Hill (369m), Summer Hill (383m), Perseverance Hill (324m), Jubilee hill (328m), Pinnacle Hill (358m), Black Hill (317m)
GPX File: get via Buy Me a Coffee
Other routes touched (walk): Geopark Way, Three Choirs Way, Worcestershire Way
Other routes touched (cycle): none
OS Trig Pillar: TP0724 - Malvern
Cafe / pubs on route: Cafe H20 or The Wyche Inn (just off route at 4.93km in), The Malvern Hills Hotel & Restaurant or Sally's Place at the end
Map:
OS Explorer Map (190) Malvern Hills & Bredon Hill
Guidebook: The UK's County Tops (Jonny Muir), Walking the County High Points of England (David Bathurst)
Links: Wikipedia (Worcestershire), Wikipedia (Worcestershire Beacon), Peakbagger, Hillbagging


Worcestershire Beacon was an early bag for us in our UK County Tops mission. We were in Malvern to visit some friends and did the short 2.5 km out-and-back from the Beacon Road Car Park at Upper Wyche. It was a nice walk on a windy April day but it was always at the back of my mind to return one day to do the Malvern Ridge Properly. So, 11 years later, we returned for a long weekend to celebrate our anniversary and walk the northern half of the Ridge.

We were staying at the Malvern Hills Hotel at the end of the walk. It’s conveniently positioned at the base of Black Hill, the final summit of the northern half of the ridge. We were pleasantly surprised to that there was a good Uber service in town and we only had to wait 10 minutes to get picked up for the 15 minute drive to the Clock Tower.

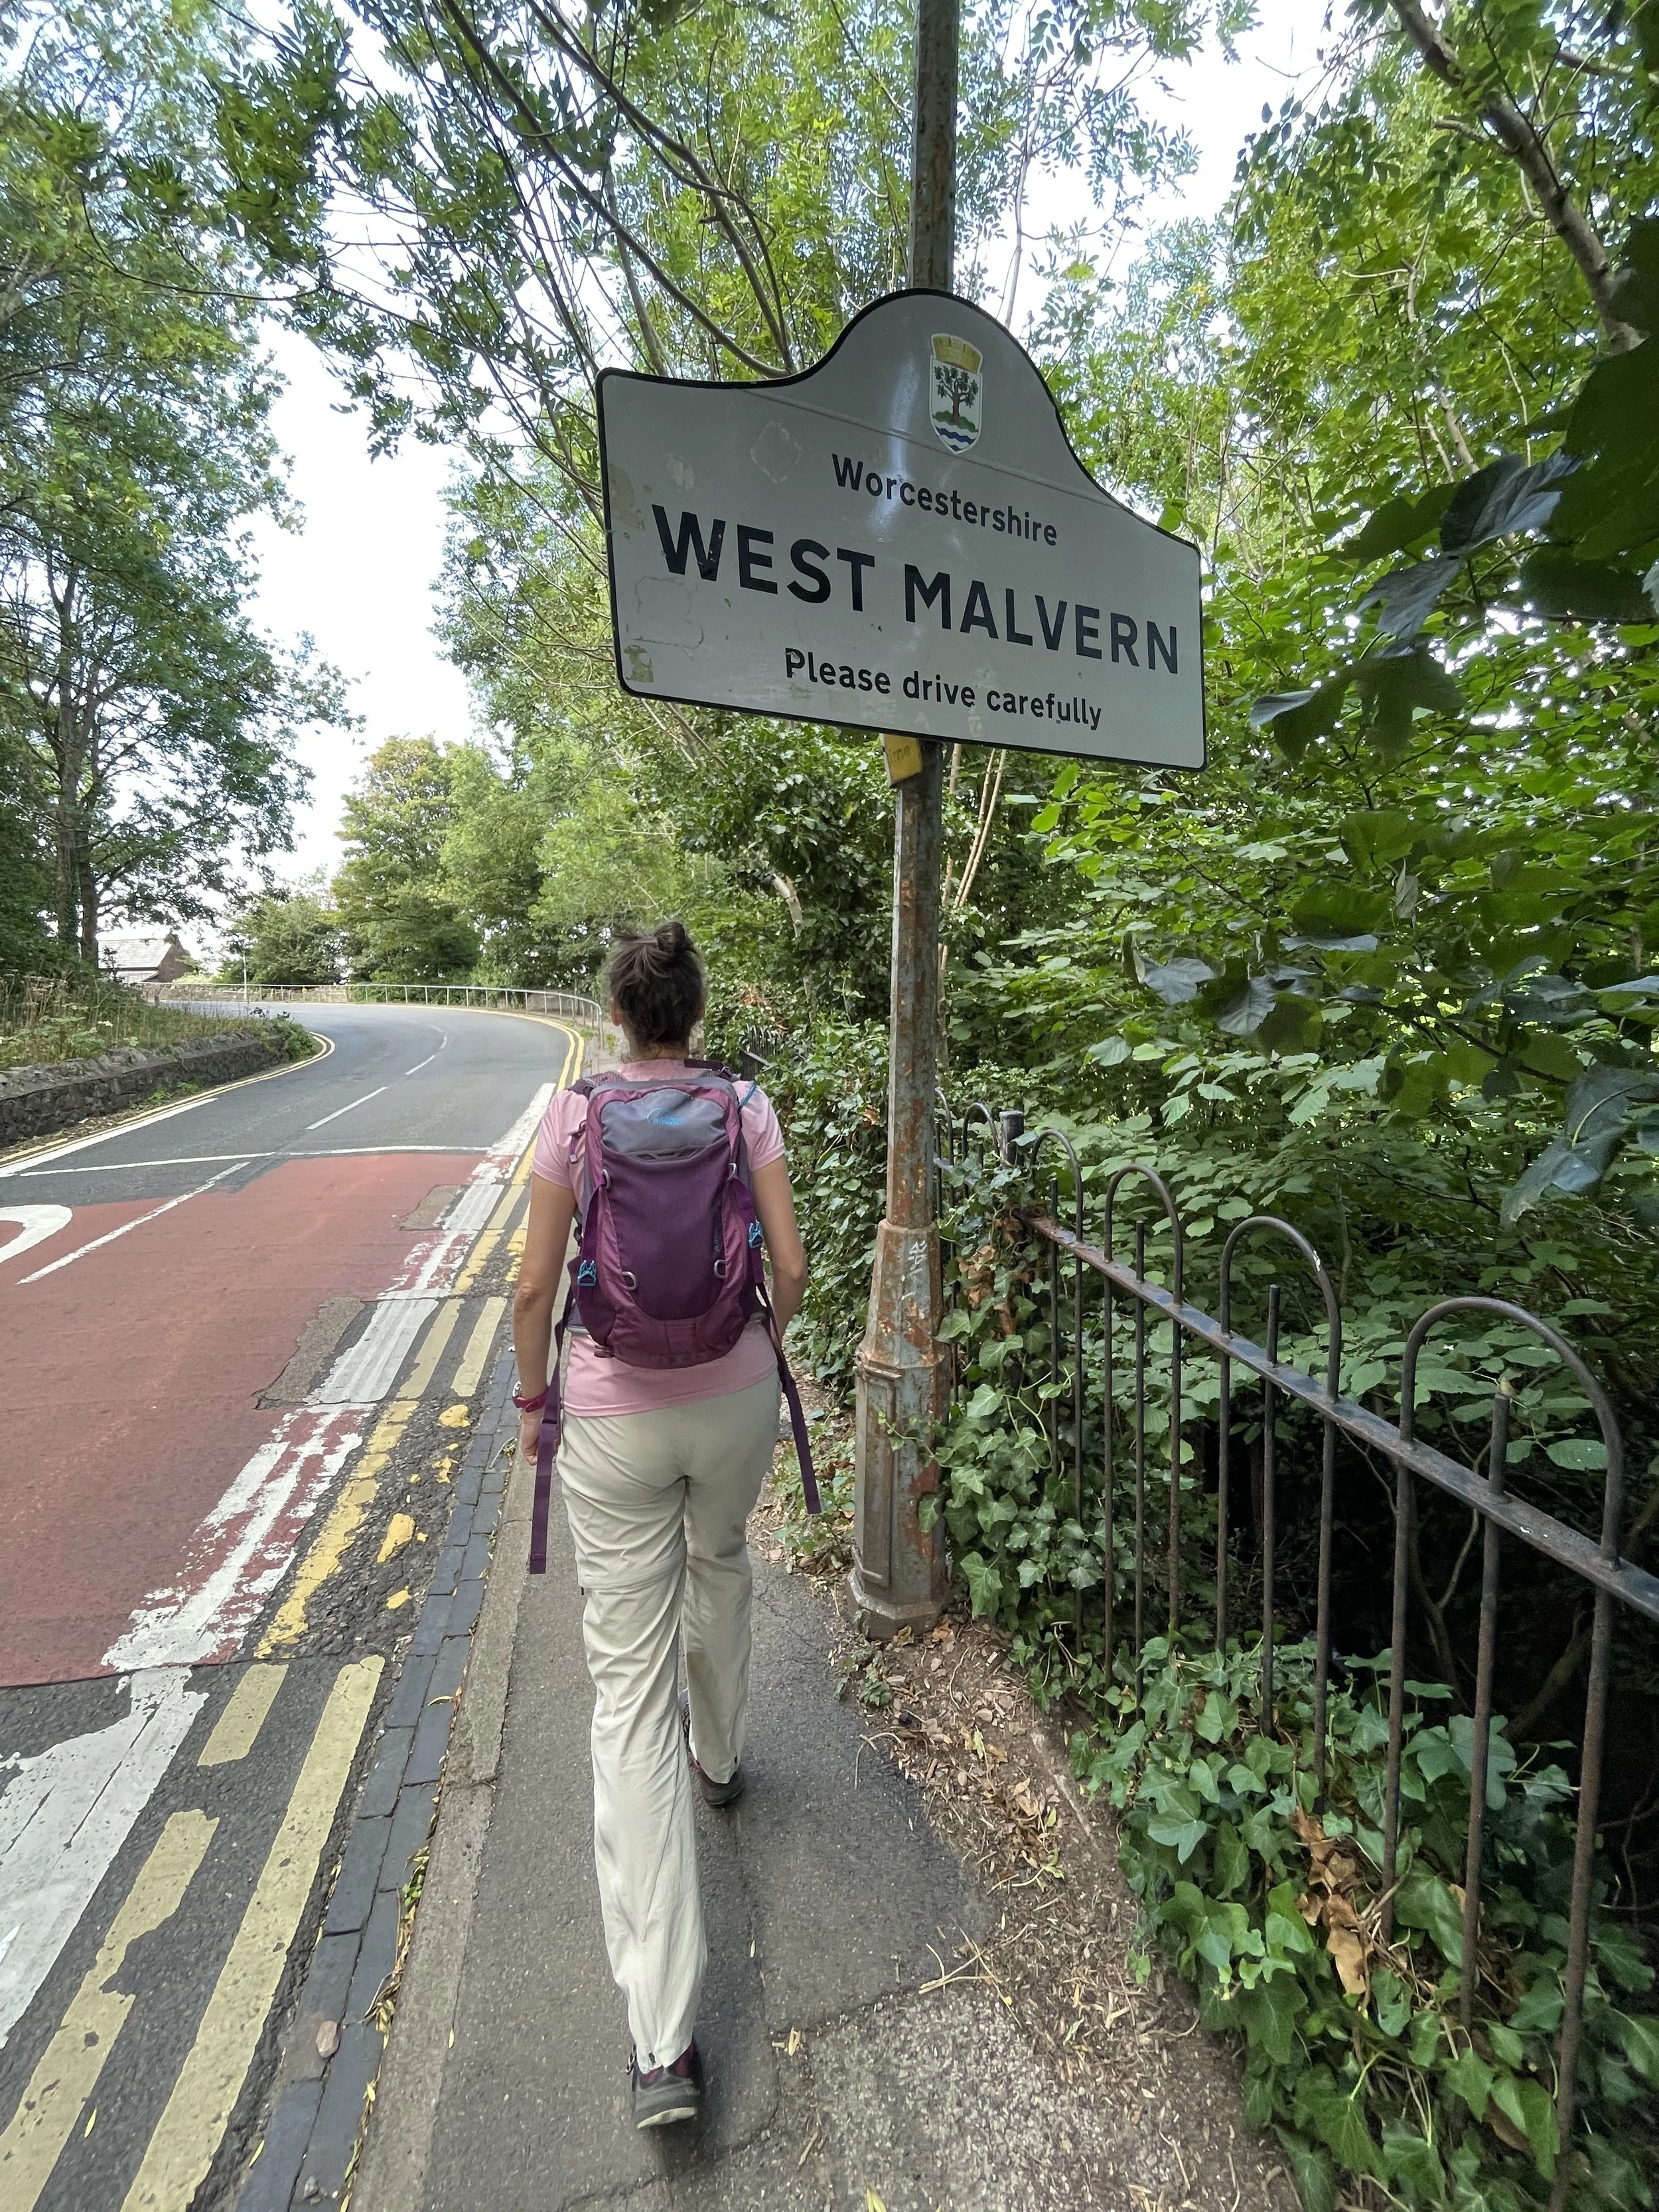
From the Clock Tower walk up North Malvern Road in a north-westerly direction until you pass the town sign for West Malvern. Just before the road bends cross over to the left hand side to take the track up into the ridge. Soon the tree line will clear and you’ll already have spectacular views. Continue south to ascend to the first summit of End Hill. Table Hill is the next obvious summit heading south, but this route takes a left shortly after end Hill to scale North Hill before a sharp westerly turn to take in Table Hill. Continue heading south to summit Sugarloaf Hill then continue to the summit of Worcestershire Beacon.

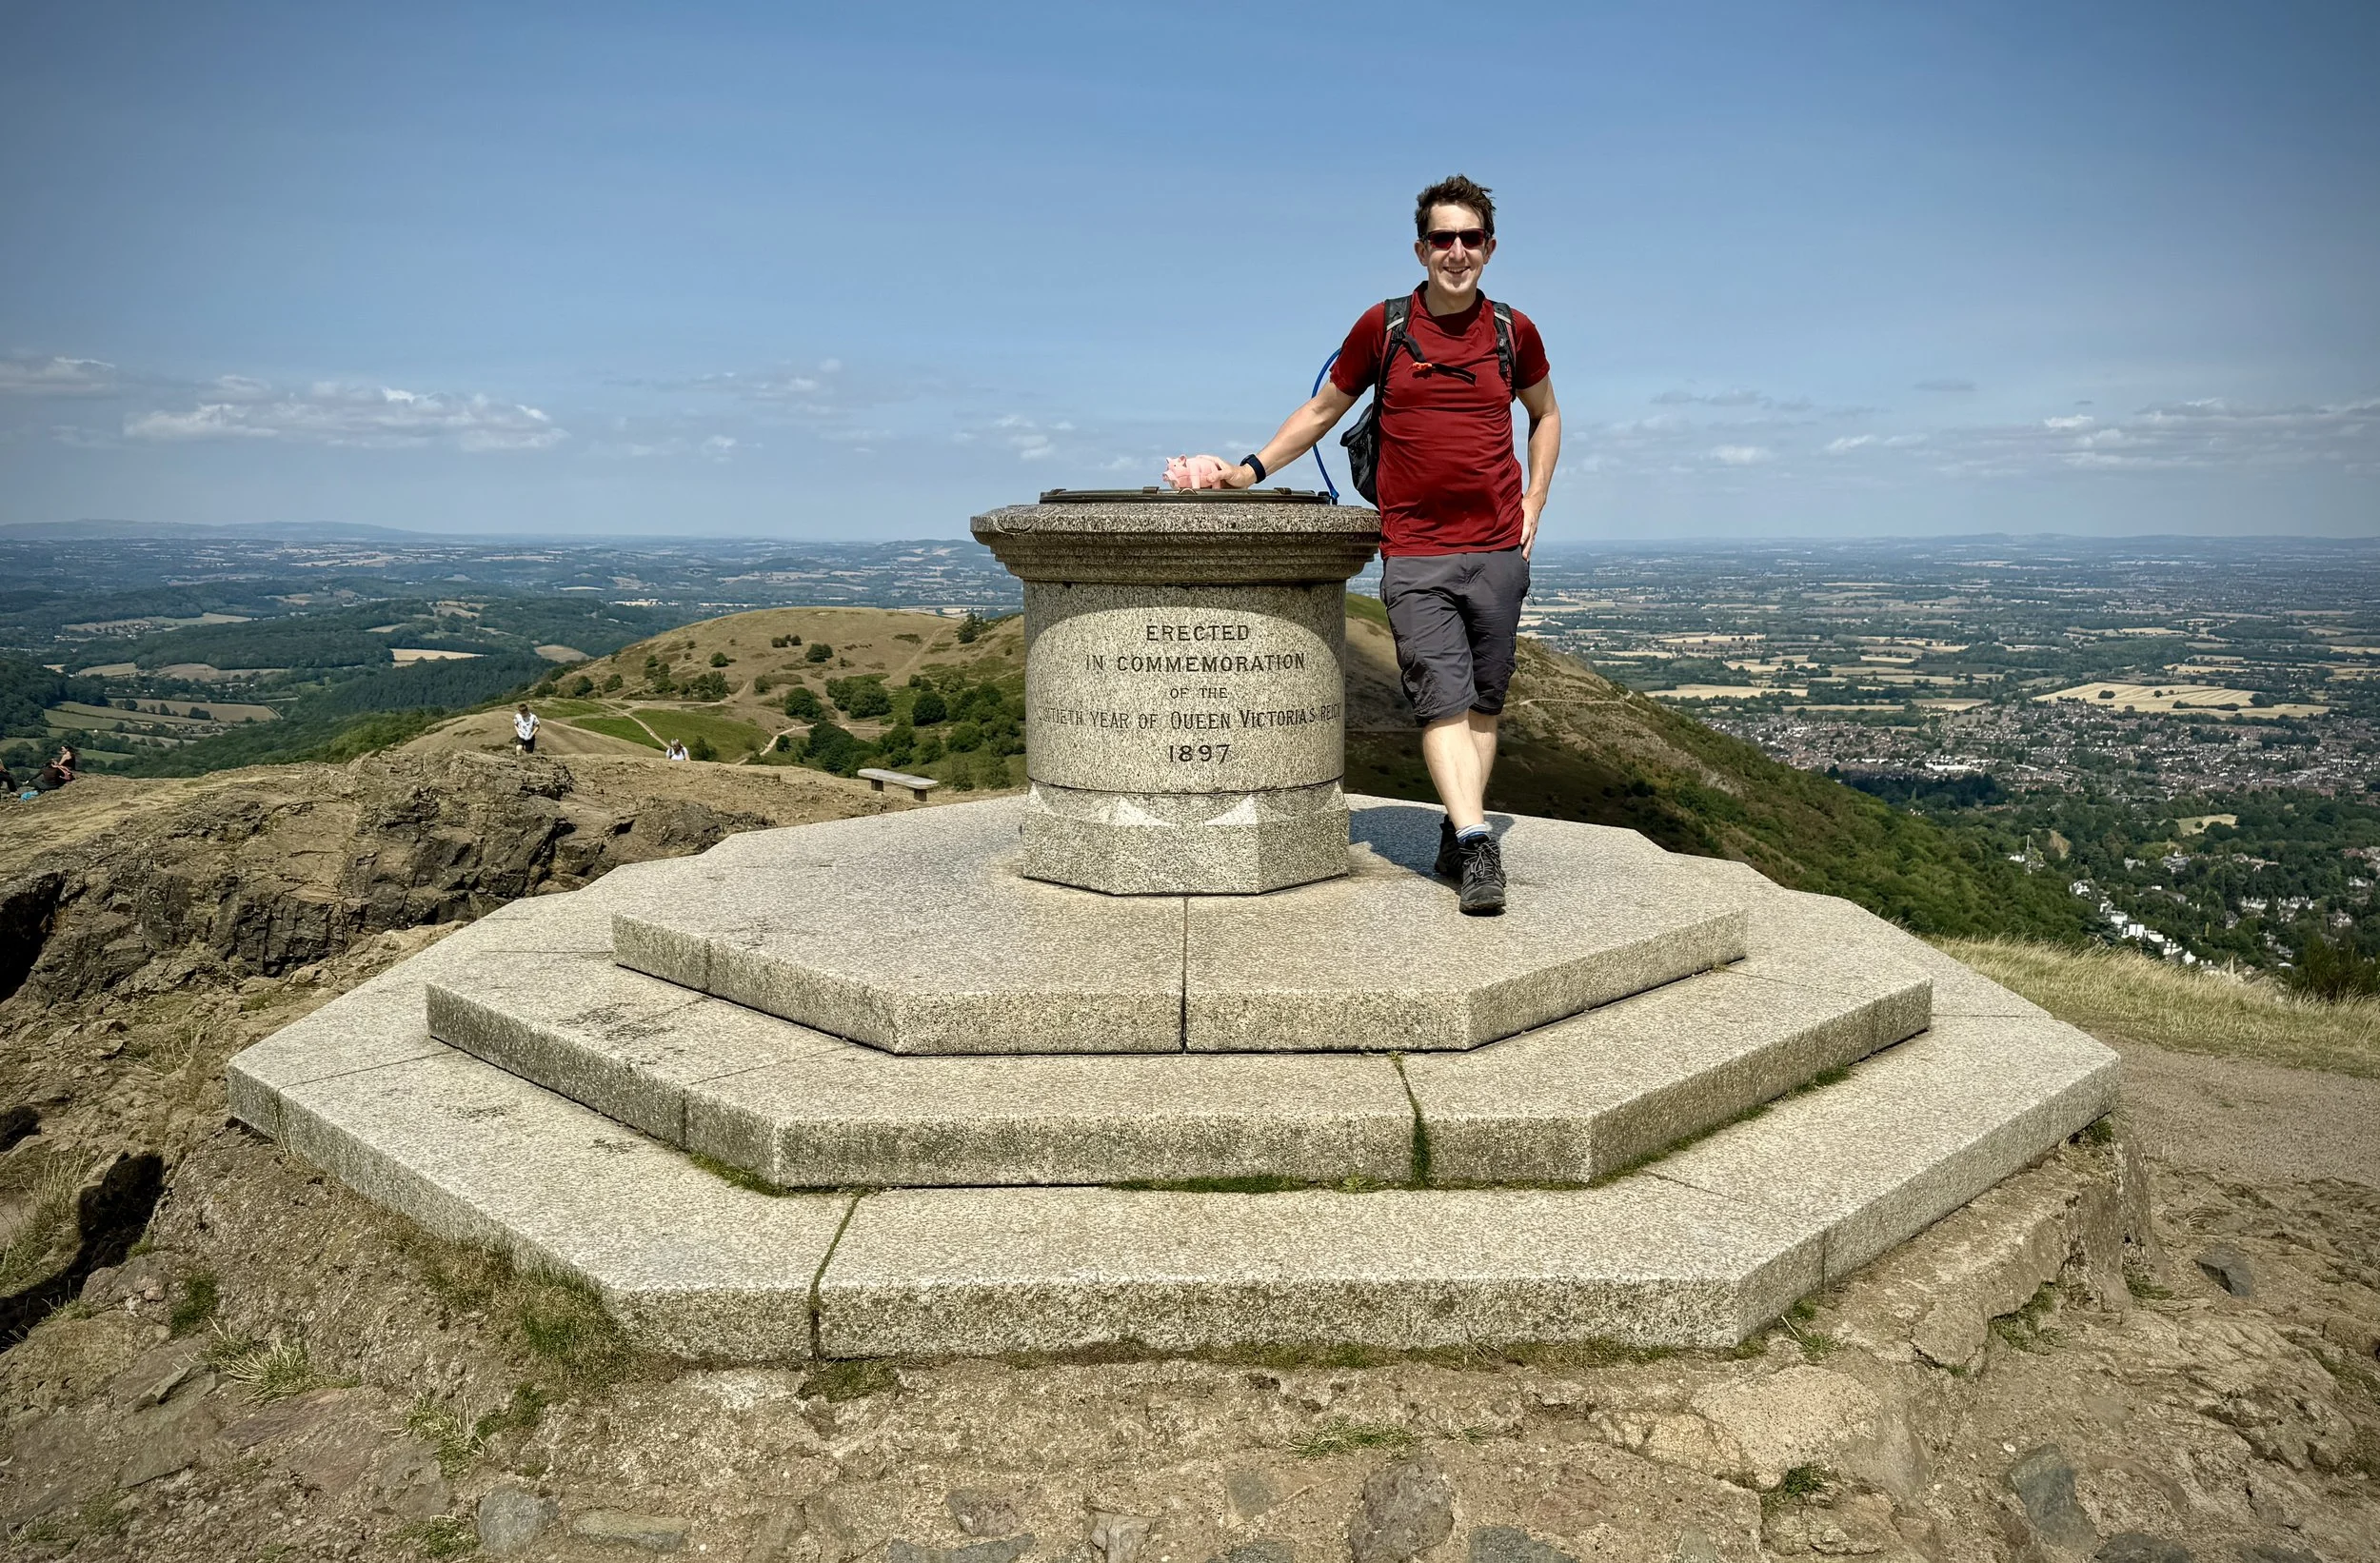
Worcestershire Beacon is the highest point in the Historic County of Worcestershire. I also heard that there’s nothing higher to the east until the Ural Mountains in Russia. I’m not completely convinced of that so post a comment below if you know of a reliable source. The "Beacon" in it’s name points to its long-standing use as a crucial signaling point. The hill was part of a chain of warning fires lit to alert the country of the approaching Spanish Armada in 1588. This tradition continued for centuries, with fires being lit for national celebrations like Queen Victoria's Diamond Jubilee and the Millennium.

The section south of the Beacon to Upper Wyche is the busiest part of the walk with many doing the short out-and-back from the car park as we did 11 years before. If you’re bagging all of the summits remember to take in Summer Hill rather than following the main path around it.

Wyche Road at Upper Wyche is the only road crossing on the route at a little over half way. We were very happy to meet an ice cream van on the very hot day that we were there. There’s also a pub and cafe near the crossing and public toilets near the start of the ascent to Perseverance Hill.

This second half of the route has fewer people and is an easier section with gentler climbs between the summits. After Perseverance Hill you’ll pass over Jubilee Hill. Pinnacle Hill and Black Hill before descending to the end point at the Malvern Hills Hotel and British Camp car park on the A449. If you’re not ready to finish walking for the day you can rest a while here then take in the short circular up to Herefordshire Beacon. Scroll down for details.


Bonus Walk: Herefordshire Beacon and Millennium Hill

Route Start and Finish: British Camp Car Park, A449, Great Malvern, Malvern, WR13 6DW
Route Distance: 2.4 km (1.5 miles)
Route Elevation Change: +/- 83m
GPX File: get via Buy Me a Coffee
Other routes touched (walk): Three Choirs Way
Other routes touched (cycle): none
Map: OS Explorer Map (190) Malvern Hills & Bredon Hill
Links: Wikipedia: (Herefordshire Beacon / British Camp), Peakbagger: (Herefordshire Beacon / Millennium Hill), Hillbagger: Herefordshire Beacon,

If you’ve been following the main route above you’ll see Herefordshire Beacon in the distance for much for the walk. It’s distinguishable by a flat grassy top and ringed by earthworks. Summiting it plus Millenium Hill at the end of the plateau is a short, steep but rewarding walk either as an add on to the main ridge walk or a short walk in it’s own right.


OTHER HIGH POINT IN Worcesterhire


Back to English County Tops Index
Ben MacDui: Aberdeenshire & Banffshire County Top

Ascent to Macdui with Loch Morlich in the background


Also Known As: Beinn Macduibh
Significance
: Historic County Top for Aberdeenshire & Banffshire
Member of: UK County Tops, Scotland County/Unitary Authority High Points, Marilyns, Munros
Nearest Higher Neighbour: Ben Nevis 
Elevation: 1,309m
Date climbed: June 13th 2025
Coordinates: 57° 4' 14'' N, 3° 40' 9'' W

Route Start & Finish: Cairngorm Mountain Upper Cas Car Park, Aviemore, PH22 1RB
Route Distance: 17.4 km (10.8 miles)
Route Elevation change: +/- 1.027m
Subsidiary tops on route: Ben Macdui - North Top (1,295m), Cairn Lochan (1,215m), Stob Coire an t-Sneachda (1,176m), Cairn Gorm - Fiacaill a' Choire Chois (1,141m), Cairn Gorm (1,244m)
GPX File: get via Buy Me a Coffee
Other routes touched (walk): Cairn Gorm Trail, Miadan Path
OS Trig Pillar: TP1286 - Ben Macdhui
Pubs / Cafes on route: Cairngorm Cafe at Cairngorm Mountain Base Station and at Ptarmigan Station
Map: Cairn Gorm & Aviemore: Sheet 403 (OS Explorer Map)
Links: Wikipedia: (Aberdeenshire / Banffshire / Ben Macdui), Peakbagger, Hillbagging


Ben Macdui is the Historic County Top for both Banffshire and Aberdeenshire and the 2nd highest of all of the UK County Tops. We bagged it in 2025 on our annual County Top weekend trip, along with the Historic County Tops of Nairnshire and Morayshire.

This was The Big One of our annual Scottish County Tops trips so far. Having worked our way through the southern Scottish summits it was now time to take on the 2nd highest summit in the UK. It was also the reason why we changed our trips from the end of September to mid-June. The Cairngorm plateau can be glorious in fine weather but dangerous in poor visibility. Moving to June would give us a highler chance of good weather and more hours of light to complete the trip. There’s several ways that you can approach Ben MacDui but we opted for a route that took in several other nearby peaks plus a trip on the Cairngorm Funicular.

Starting from the car park at the Cairngorm Mountain ski centre cross over the end of the ski runs to take the Cairn Gorm Trail in a south-westerly direction. After 4 km you’ll reach a split in the path where you’ll leave the Cairn Gorm Trail to keep on the Miadan Path heading south. You’ll reach the Trig Pillar at the summit of Ben Macdui after 8.5 km from the start.

At the summit we were grateful that we’d chosen to do the trip in June and that we had swapped from a rainy Saturday to a bright, dry Sunday. The views across the National Park were spectacular and made up for many cloudy ascents of UK high points in the past.

On a day of poor visibility the obvious route back would be to return the same way to the Base Station. As we had great weather and it was still early in the day we kept to our best-case plan and took the interesting route back, bagging more summits on the way. First up was Ben Macdui North-Top. This is just 700m from Ben Macdui summit and only 16m lower in elevation. From here you can decend carefully taking a north-westerly curve down the slope to rejoin the Miadan Path. Soon you’ll reach a split in the path where you’ll take the right-hand path heading north. At the 12 km mark leave the path to take a bearing up the slope to rejoin the Cairn Gorm Trail at the summit of Cairn Lochan.

After Cairn Lochan continue along the Cairn Gorm Trail in a north-easterly direction to the summit of Stob Coire an t-Sneachda then continue towards Cairn Gorm Mountain. Along the way you can take a minor diversion off the Trail to bag Fiacaill a' Choire Chois. After bagging Cairn Gorm, the 6th highest Munro, descend in a northerly direction to the Ptarmigan Station to visit the cafe, exhibition and the Funicular.

If you’re planning to take the Funicular check first that it’s running and don’t leave it too late in the day. We arrived an hour before the last train and were able to get onto one around 30 minutes after we arrived. If you miss the train or it’s not running you can also walk down via the Cairn Gorm Trail. Also note that you can only descend via the Funicular if you’ve been hiking as they don’t allow anyone out onto the hills if you’re using the train to ascend.


Back to Scottish County Tops Index
Carn a'Ghille Chearr: Morayshire County Top

After the rain: descent of Carn a'Ghille Chearr


Significance: Historic County Top for Morayshire (formerly Elginshire)
Member of: UK County Tops, Scotland County/Unitary Authority High Points, Marilyns
Parent Peak:
Nearest Higher Neighbour: Creagan a' Chaise
Elevation: 710m
Date climbed: June 13th 2025
Coordinates: 57° 21' 4'' N, 3° 25' 53'' W

Route Start & Finish: Car park at Ballcorach off the B9136
Route Distance: 11.6 km (7.2 miles)
Route Elevation change: +/- 497m
Subsidiary tops on route: Carn Eachie (705m)
GPX File: get via Buy Me a Coffee
Other routes touched (walk): None
OS Trig Pillar: TP2604 - Cromdale
Pubs / Cafes on route: None
Map: OS Explorer OL61 Grantown-on-Spey & Hills of Cromdale
Links: Wikipedia: (Morayshire), Peakbagger, Hillbagging


Carn a'Ghille Chearr is the Historic County Top for Morayshire and the 33rd highest of all of the UK County Tops. We bagged it in 2025 on our annual County Top weekend trip, along with the Historic County Tops of Nairnshire, Aberdeenshire and Banffshire.

In our original plan we were going to do Ben Macdui on the Saturday of our weekend away but, on checking the weather, we moved it to the dryer Sunday and went for the shorter, easier walk of Carn a'Ghille Chearr instead. It turned out to be a good choice, but did mean that we hardly got any views. In Jonny Muir’s UK County Tops book he describes it as “a miserable trudge through sopping bog over grassy tussocks” on a miserable day. We had a miserable day and Jonny was 100% correct.

The start of the route is a small free car park at Ballcorach off the B9136. Before you start take a few minutes to walk down to the banks of the River Avon for a nice view of the river and the bridge that you will have just driven across. To start the walk, first head north keeping to the western side of the river. After ~200m take the footpath on the left heading towards the mountain.

The route is straightforward with just one path leading up to the Trig Pillar at the summit. The path is well defined for most of the way but loses itself in the bog near the point where is curves towards Carn Eachie. We were in drizzly cloud by then so we relied on the GPS to keep us on track. We had read that there’s remains of a crashed plane between Carn Eachie and the summit but we couldn’t find anything despite a bit of hunting. Maybe it would have been obvious on a clear day.

On the return to strayed off route a bit, taking a more direct route to the start, cutting off the big curve that we came up on.


Back to Scottish County Tops Index
Càrn Glas-choire: Nairnshire County Top

Summit of Càrn Glas-choire


Significance: Historic County Top for Nairnshire
Member of: UK County Tops, Scotland County/Unitary Authority High Points, Marilyns,  Grahams
Nearest Higher Neighbour: Geal-charn Mor
Elevation: 659m
Date climbed: June 13th 2025
Coordinates: 57° 20' 22'' N, 3° 50' 36'' W

Route Start & Finish: Parking spot 200m south of farm track to Aucherteang Cottage on the B9007.
Route Distance: 13.1 km (8.1 miles)
Route Elevation change: +/- 385m
Subsidiary tops on route: None
GPX File: get via Buy Me a Coffee
Other routes touched (walk): None
OS Trig Pillar: TP1956 - Carn Glas Choire
Pubs / Cafes on route: None
Map: Lochindorb, Grantown-on-Spey & Carrbridge Map | Caingorms National Park | Ordnance Survey | OS Explorer Map OL60
Links: Wikipedia: (Nairnshire), Peakbagger, Hillbagging


Càrn Glas-choire is the Historic County Top for Nairnshire and the 40th highest of all of the UK County Tops. We bagged it in 2025 on our annual County Top weekend trip, along with the Historic County Tops of Morayshire, Banffshire and Aberdeenshire.

We picked Càrn Glas-choire as the first of our weekend walks as it’s roughly 45 minutes from Inverness airport and on the way to Aviemore where we were staying. There’s not many options for parking but fortunately it’s not a popular mountain so it wasn’t a problem. We found a parking spot next to a gate a few minutes walk to the south of the route.

First find the track off the B9007 with the sign to Auchterteang Cottage and follow it in a north-easterly direction through the farm. The path soon crosses over Duthill Burn and continues to meander up the mountain to the trig point at the summit. It’s a well maintained path and navigation is simple. The only time that we needed to rely on our GPS was to check the return route down from the cloudy top.

We returned by the same route, completing the whole trek in just over 3 hours. After returning to the car we headed for a whisky at Glenlivet Distillery, a 10 minute drive away. It was a nice warm-up for the weekend but I don’t think this one will stand out in our memories of the full set of County Tops.


Back to Scottish County Tops Index
Snaefell: Isle of Man High Point

Snaefell Station and Cafe with the summit marked by the transmitter on the right


Also known as: Sniaull (Manx). Snaefell comes from old Norse, meaning Snow Mountain or snaufjell - “area above the tree line”.
Significance
: Country and Island High Point for the Isle of Man
Member of: Marilyn, Hardy, Island High Points, European Country High Points
Nearest Higher Neighbour: Iron Cragg (Cumbria, England)
Elevation: 621m
Date climbed: May 3rd 2024
Coordinates: 54° 15' 47'' N, 4° 27' 42'' W

Route Start: Snaefell Mountain Railway - Summit Station
Route Finish
: Manx Electric Railway - Laxey Station.
Route Distance: 8.2 km (5.1 miles)
Route Elevation change: +29m / - 593m. Net - 564m
Subsidiary tops on route: None
GPX File: get via Buy Me a Coffee
Other routes touched (walk): None
Other routes touched (walk): Isle of Man Cycle Route 6
OS Trig Pillar: TP6035 - Snaefell
Pubs / Cafes on route: Snaefell Summit Restaurant & Café
Map: Isle of Man Map | Port St Mary, Castletown & Ramsey | Ordnance Survey | OS Landranger Map 95
Guidebook: Walking on the Isle of Man: 40 walks exploring the entire island (Cicerone)
Links: Wikipedia: (Isle of Man / Snaefell, Laxey, Snaefell Mountain Railway, Snaefell Mine), Peakbagger, Hillbagging


The Snaefell walk was the highlight of an especially enjoyable 4 days on the Isle of Man. Having completed Nobles parkrun on the morning we set off for Laxey to bag the island’s High Point. In our first plan for the walk we looked at doing a circular route starting at Mountain Box on the A18 that crosses the side of Snaefell. We got excited by taking the old electric train up so we decided on a train-up, walk down combination. It was an amazing day and I’m very happy that we chose that option.

The Snaefell Mountain railway starts at Laxey Station near the island’s west coast. There’s good options for free parking or you can also get there via the Manx Electric Railway from Douglas or Ramsey. We weren’t able to book online so we got tickets from Laxey Station and waited for about an hour for the first train with availability. From Laxey the train takes around 30 minutes to climb up the valley to the summit station. Sit on the right hand side of the train going up for the best views of the Laxey Wheel and the valley. The left hand side has better views as you approach the summit.

Although we were there on a dry sunny week, the summit was extremely windy so take warm clothes to the top whatever the weather is like in Laxey. We stopped in the cafe for a while before completing the short walk up to the Trig Pillar at the summit.

From the summit take the path due south to The Bungalow Station (Mountain Box) at the A18 crossing. The safest way to cross over the road is to take the footbridge then follow the path that returns to cross the railway to the east of The Bungalow. Once on the northern side of the railway follow the path down the valley in a north-westerly direction to the Great Snaefell Mine. Watch the video below to learn about the history of the mine and the disaster that closed it.

After passing the mine take a right onto the old mine road and follow it for 3 km to the small village of Agneash. Take a right at the T-junction and continue following Mines Road to the Laxey Wheel. We stopped here for an hour to explore the Wheel and the old mine entrance. After the Wheel it’s less than 1 km walk back to Laxey Station


Back to European High Points Index
Walking to the Tajogiante Crater, La Palma

Tajogiante Crater


Tajogiante

Also known as: Jedey or Cabeza de Vaca
Significance:
New crater formed by the 2021 La Palma eruption.
Elevation: 1,120m. At the time it was not possible to access the highest point.
Date “climbed”: February 25th 2025
Coordinates: 28°36′46″N 17°51′58″W

Start / Finish: Parking spot on the LP-301
Distance:
7.5 km (4.7 miles)
Elevation Change: +/- 305m
GPX File: get via Buy Me a Coffee
Other Routes Touched (walk): Camino Cabeza de Voca, PR LP 14 El Paso - Refugio del Pilar. SL LP Coladas de San Juan - Llano de Jable
Cafe / pub on route: None
Links: Wikipedia (La Palma, Tajogiante), Centro de interpretación Caños de Fuego


A highlight of our 2025 winter-sun trip to La Palma was learning about Tajogiante, the new volcano created after the island’s 2021 eruption. We had booked our hotel in Puerto Naos in the south-west the island not knowing how impacted the town was by the eruption. We soon found out on our drive from the airport along a newly built highway across the lava fields.

The best place to learn about the eruption and its after-effects is the Visitors’ Centre (Centro de interpretación Caños de Fuego) near Las Manchas. The knowledgeable staff, videos and displays describe the events of both the 2021 and 1971 eruptions. You can also visit one of the lava tubes with a guide and walk along the raised platform over the lava fields. You can visit the larger lava tube (Cueva de Las Palomas) but you’ll need to use a separate tour company. You can find details of these companies at the Visitor Centre reception. Several of them also do the guided tours to the Tajogiante Crater.

We chose La Palma Natural for our 3-hour guided walk to the crater. Note that you can’t do the walk without an authorised guide and you’ll be stopped by a ranger at the hut near the start of the walk. We met our guide plus the 4 other guest at the Tourist Office in El Paso and were driven to trail-head on the LP-301 road. From there it’s a beautiful 4 km walk descending down to the nearest point you can get to the crater. As with the Roque de los Muchachos trip earlier in the week, we were blessed with warm, dry weather and a clear sky so the views were amazing. The return to the start followed a different route, gradually ascending to the road.


Back to Trek Index
Roque de los Muchachos, La Palma High Point

View to Tenerife from Roque de Los Muchachos


Roque de los Muchachos

English Translation: “Rock of the Boys”
Significance:
Highest point on the Island of La Palma, Canaries, Spain
Elevation: 2,428m
Date “climbed”: February 23rd 2025
Coordinates: 28° 45' 15'' N, 17° 53' 5'' W

Start / Finish: Small parking area at Mirador de Roque de los Muchachos, Ctra. al Roque de los Muchachos, 38788, Santa Cruz de Tenerife
Distance:
1.3 km (0.8 miles)
Elevation Change: +/- 84m
GPX File: get via Buy Me a Coffee
Other Routes Touched (walk): GR 131 El Baston
Cafe / pub on route: None, nearest refreshments are vending machines at the Observatory Visitors Centre
Map: La Palma Tour & Trail Super-Durable Map (David Brown)
Guidebook: La Palma and El Hierro Walking Guide (Sunflower Guides)
Links: Wikipedia (La Palma, Roque de los Muchachos), Peakbagger,


At the end of February we always escape the UK winter to go somewhere warm for Timea’s birthday. The Canary Islands have been a good choice for us for winter sun and we’ve been working our way through them one per year. As well as a bit of relaxation we always attempt to tick off each island’s highest point. Unfortunately, often due to weather, we’ve missed out on a few of the summits. That’s why I was excited to see that you can drive to La Palma’s highest point. I wasn’t completely sure that we would reach it though. My friend Joel had visited the island 6 weeks before and the the access road was closed. The weather was on our side with no issues getting to the top.

While you’re there, it’s well worth visiting the space observatories located near the high point. We booked a 90 minute tour with Ad Astra which included a tour of the Gran Telescopio Canarias, the largest optical-infrared telescope in the world. The high point is a 10 minute drive from the Observatory visitor centre.

The main thing to know about the car at the high point is that it’s very small and gets very busy, especially right after the Observatory tours. We made a point of leaving the Observatory Visitor Centre straight after the tour had finished to get ahead of everyone else. The car park was full when we got there but we only had to wait a few minutes to get a space. Those that came after us had to wait on the tricky hair-pin bends for spaces to become available. We found the guy at the top in the hut to be especially unhelpful at managing the traffic so Timea had to get out to be an unofficial car park supervisor. Without that nobody would have got in or out for ages.

Once parked you’ll find the Trig Pillar at the northern edge of the lot with great views across to the observatories. From here you can take a 1.3 km out-and-back walk down to the Mirador del Espigón del Roque. We were especially lucky as it was a clear day and we had views across to Tenerife, La Gomera and El Hierro.


Back to Trek Index
Fansipan: Vietnam High Point

Also known as: Phan Xi Păng (Vietnamese), Fan Si Pan
Significance:
Highest Point in Vietnam, Lào Cai province and the Indochina peninsula
Nearest Higher Neighbour
: Maotou Shan, China
Elevation:
3,147m
Date “climbed”:
November 1st 2024
Coordinates:
24° 29' 6'' N, 100° 40' 17'' E
Links: Wikipedia (Vietnam, Lào Cai province, Fansipan), Peakbagger


Our trip to Fansipan was a part of a 2-week escorted tour of Vietnam. We had a very long list of things that we wanted to see in the country but only 2 weeks to do it in. Fortunately we have an ex-colleague who is also a travel organiser so asked him to plan the ultimate Grand Tour of Vietnam. The first version of the itinerary had a few days of rest in Phú Quốc island but missed out the country high point. As my main travel principle is that you can rest when you’re dead, we swapped out the island for the high point. I’m so happy that we made the swap as our 2 days around Fansipan were a highlight of the whole Vietnam trip. We had a guide and a driver so all of the arrangements were taken care of. If you’re travelling solo, check out other blogs for better info on how to get to Fansipan from Hanoi.

The main way to access Fansipan is from the centre of Sapa. This is a large town in the far north of the country, approximately 6 hours drive from Hanoi. From the town centre you can take a funicular railway, then a cable car from Hoang Lien Station. The station was opened in 2018, built in French-colonial style, and is an impressive building in its own right. When you enter the station you leave the noisy, busy streets and enter into a clean, modern Disney-style complex to start the ascent.

The first part is a 6 minute funicular railway ride to Muong Hoa Station where you change to the cable car. It’s a big complex with some gardens but we arrived mid-afternoon and didn’t have a lot of time to look around so we continued straight onto the cable car.

The Sapa Cable Car isn't just a scenic ride; it's a record-breaker! It holds two Guinness World Records:

  • Longest Non-Stop Three-Rope Cable Car: Stretching an impressive 6,292 meters (nearly 4 miles), it's the longest continuous three-rope cable car system in the world.  

  • Highest Elevation Difference: With a staggering 1,410-metre (4,626 feet) vertical ascent, it has the greatest elevation difference for any non-stop three-rope cable car worldwide

The summit complex is impressively huge and well organised for something built on top of a mountain at 3000m. From the cable-car top station at you have the choice of taking another funicular or 600 steps to the high point. Wanting to do both options we took the funicular up and the steps down.

The summit is very well organised with several “false summits” with triangular makers for photo opportunities. This removes the normal queues of people waiting to have their photos taken at the same spot. We were there late in the afternoon on a weekday and it was quieter than normal.

On the way back down to the cable car station the 600 steps take you past gardens and pagodas and the largest Buddha statue in the country. It’s a better option to take the funicular up and the steps down as you get great views as you descend. Our only wish is that we had started the trip earlier so that we were not so rushed on the way down.


The Funicular and Cable Car

The Summit

Back to Trek Index
Hiking in The Sapa Valley, Vietnam

Start: Junction of TL152 road and path down to the valley at Y Linh Ho village
Finish: Lá Dao Spa - Home - Restaurant, Tả Van, Sa Pa, Lào Cai
Distance:
12.2 km (7.6 miles)
Elevation Change: +283m / - 614m. Net -331m
GPX File: get via Buy Me a Coffee
Cafes on route: Several on route. We stopped at A Sinh Restaurant, Lao Chai (4.3 km in). Several places to eat at the end in Ta Van
Links: Sa Pa, Y Linh Ho village, Lao Chai village


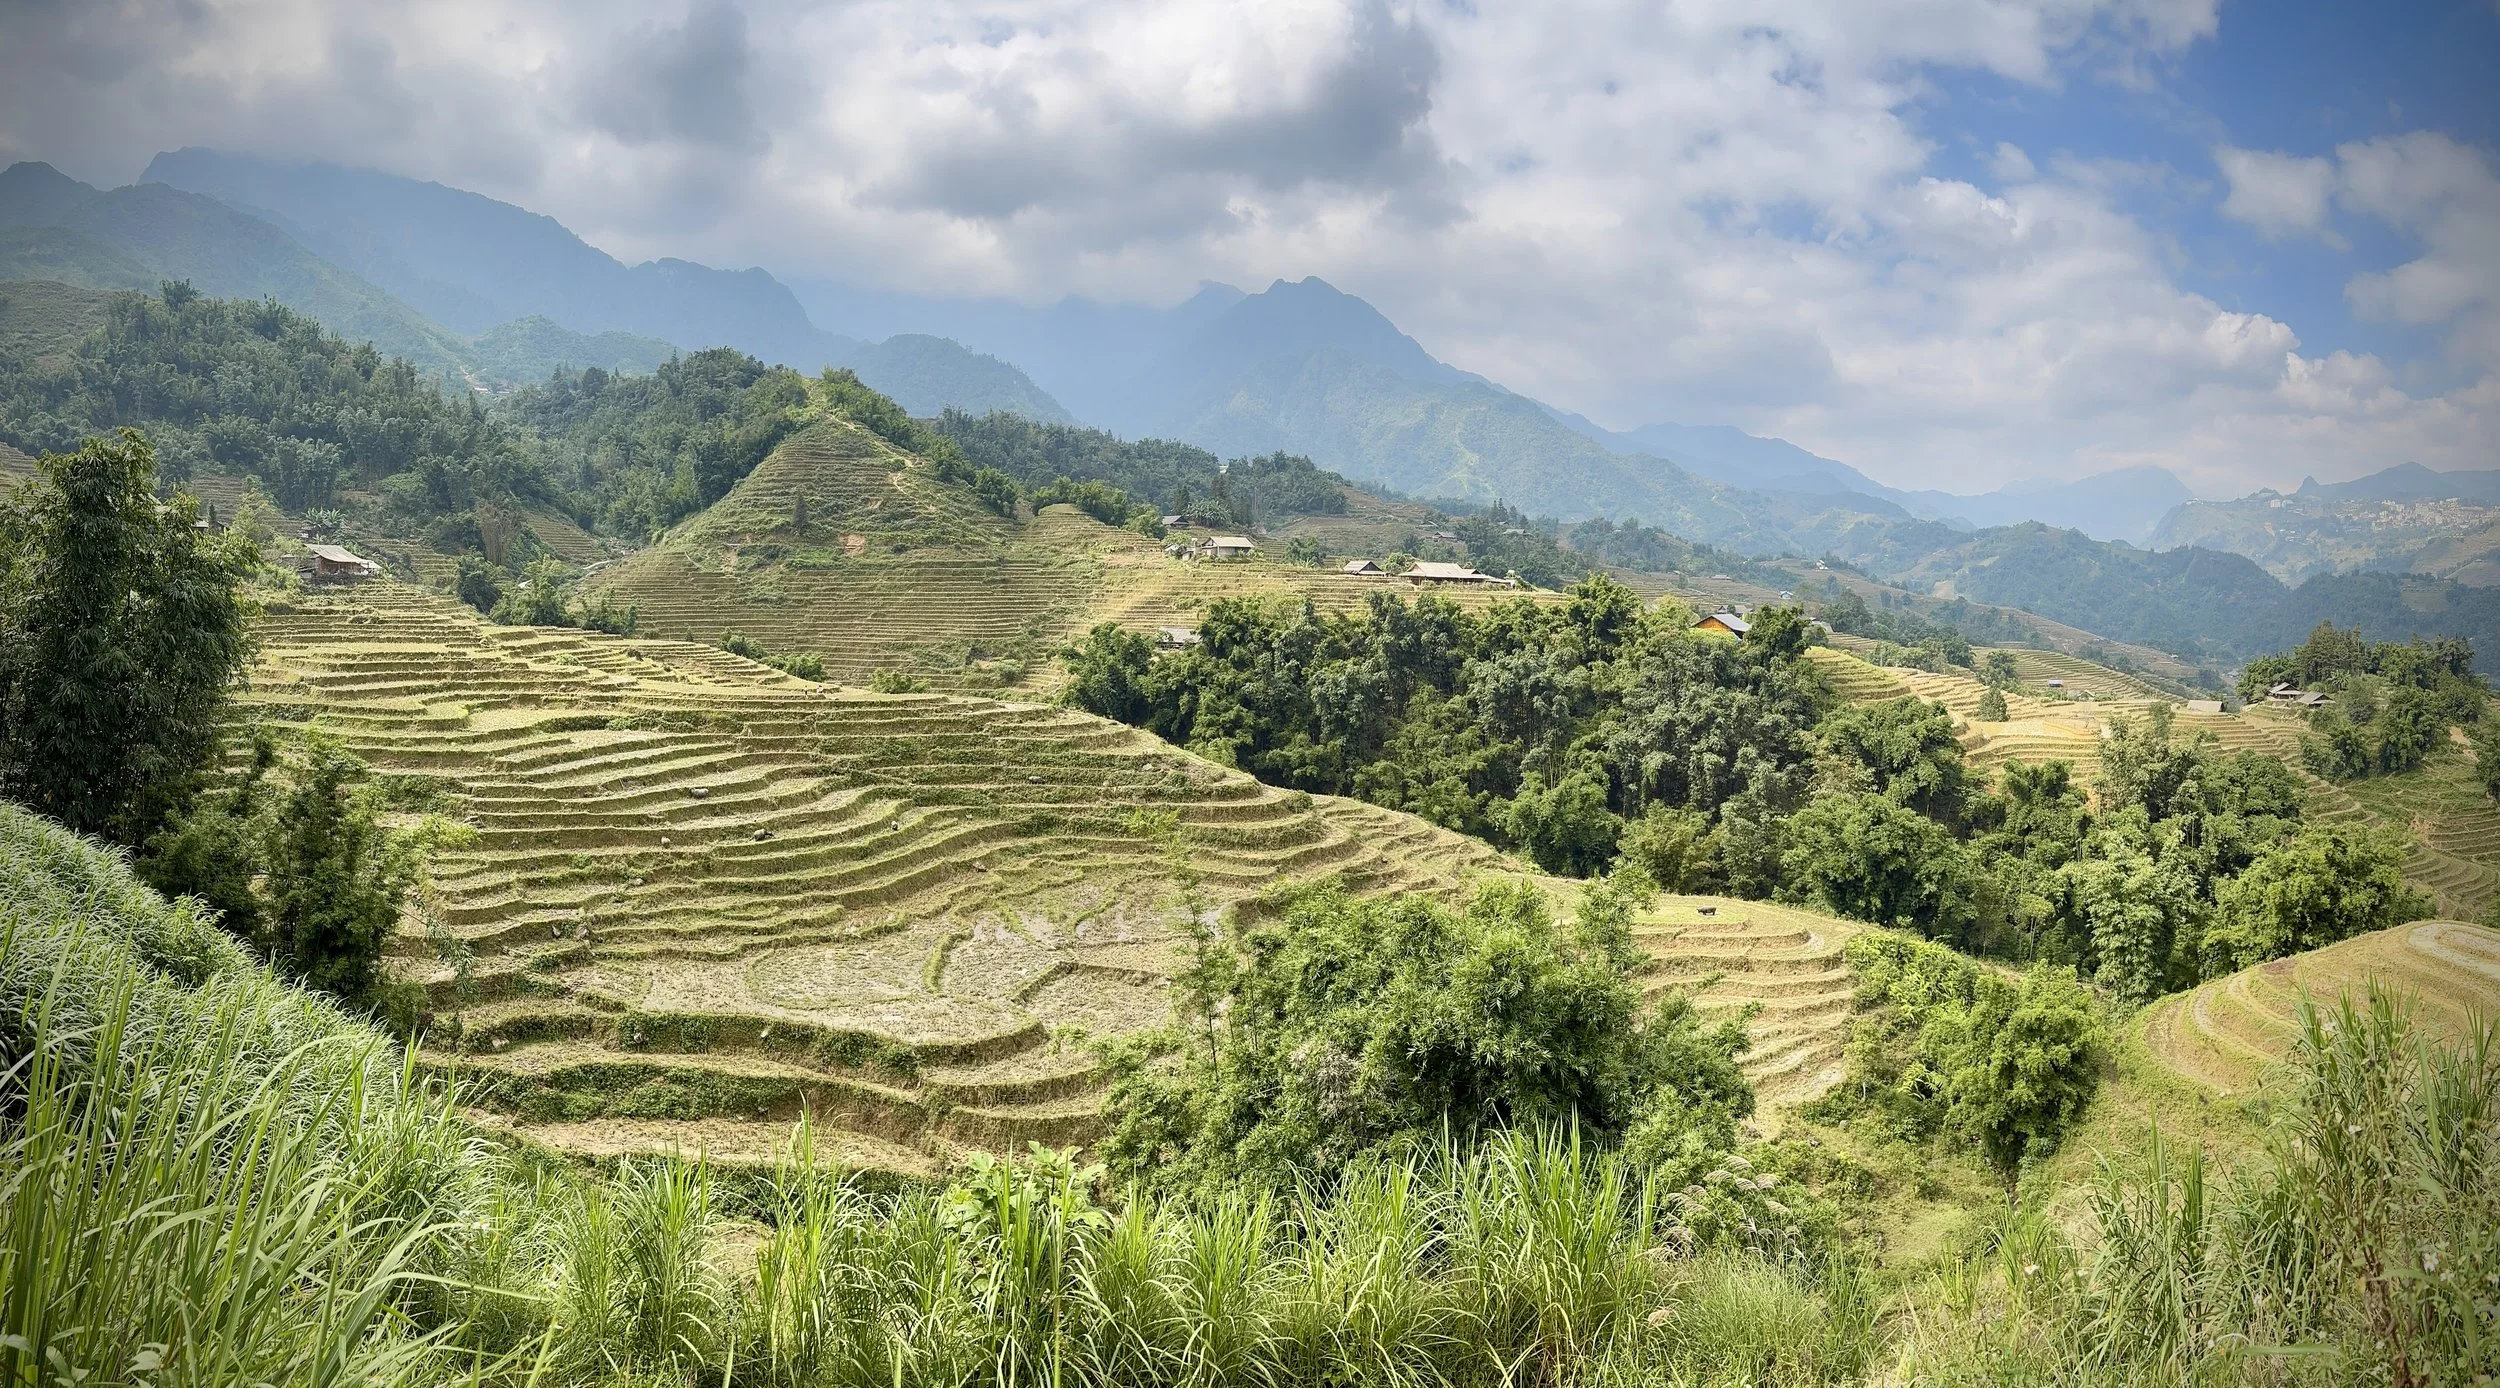
Sapa Valley, nestled in the Hoàng Liên Son Mountain Range of northern Vietnam, is a breathtaking region renowned for its dramatic landscapes. The most iconic feature of the valley is its cascading terraced rice fields, which descend the mountainsides in vibrant hues of green and gold, depending on the season. This stunning agricultural artwork is not only visually captivating but also a testament to the ingenuity of the local ethnic minority communities who have meticulously carved and cultivated these fields for centuries. Beyond the terraces, Sapa boasts towering peaks, including Fansipan – the "Roof of Indochina" – misty valleys, and numerous impressive waterfalls like Silver Waterfall (Thác Bạc) and Love Waterfall (Thác Tình Yêu), all contributing to its allure as a nature lover's paradise.

The cultural richness of Sapa is as compelling as its natural beauty. The valley is home to a diverse array of ethnic minority groups, including the Hmong, Dao, Giáy, Xa Pho, and Tay, each with their own unique traditions, languages, and vibrant traditional costumes. Visitors have the opportunity to immerse themselves in these cultures by visiting local villages like Cat Cat and Ta Van, participating in homestays, or exploring the bustling markets where villagers gather to trade goods and socialize. These interactions offer a genuine glimpse into a way of life that has largely remained unchanged for generations, making Sapa a truly authentic cultural experience.

Sapa has become a premier destination for tourism, offering a wide range of activities for adventurers and cultural explorers alike. Trekking and hiking through the terraced fields and lush forests are popular, providing unparalleled views and opportunities to connect with local communities. For those seeking a less strenuous ascent, a cable car now provides access to the summit of Fansipan, offering panoramic vistas without the challenging trek. Other attractions include exploring Sapa town's colonial architecture, visiting the Sapa Museum to learn about regional history, and experiencing the lively atmosphere of the local markets, where handicrafts and fresh produce are abundant.

We explored the valley on a 12 km point-to-point trek the day after visiting the summit of nearby Fansipan mountain. We had a guide with us as a part of a week in northern Vietnam so transport to the start and end was catered for. If you’re self-organising the trip then there’s lots of options for drivers in Sapa town.

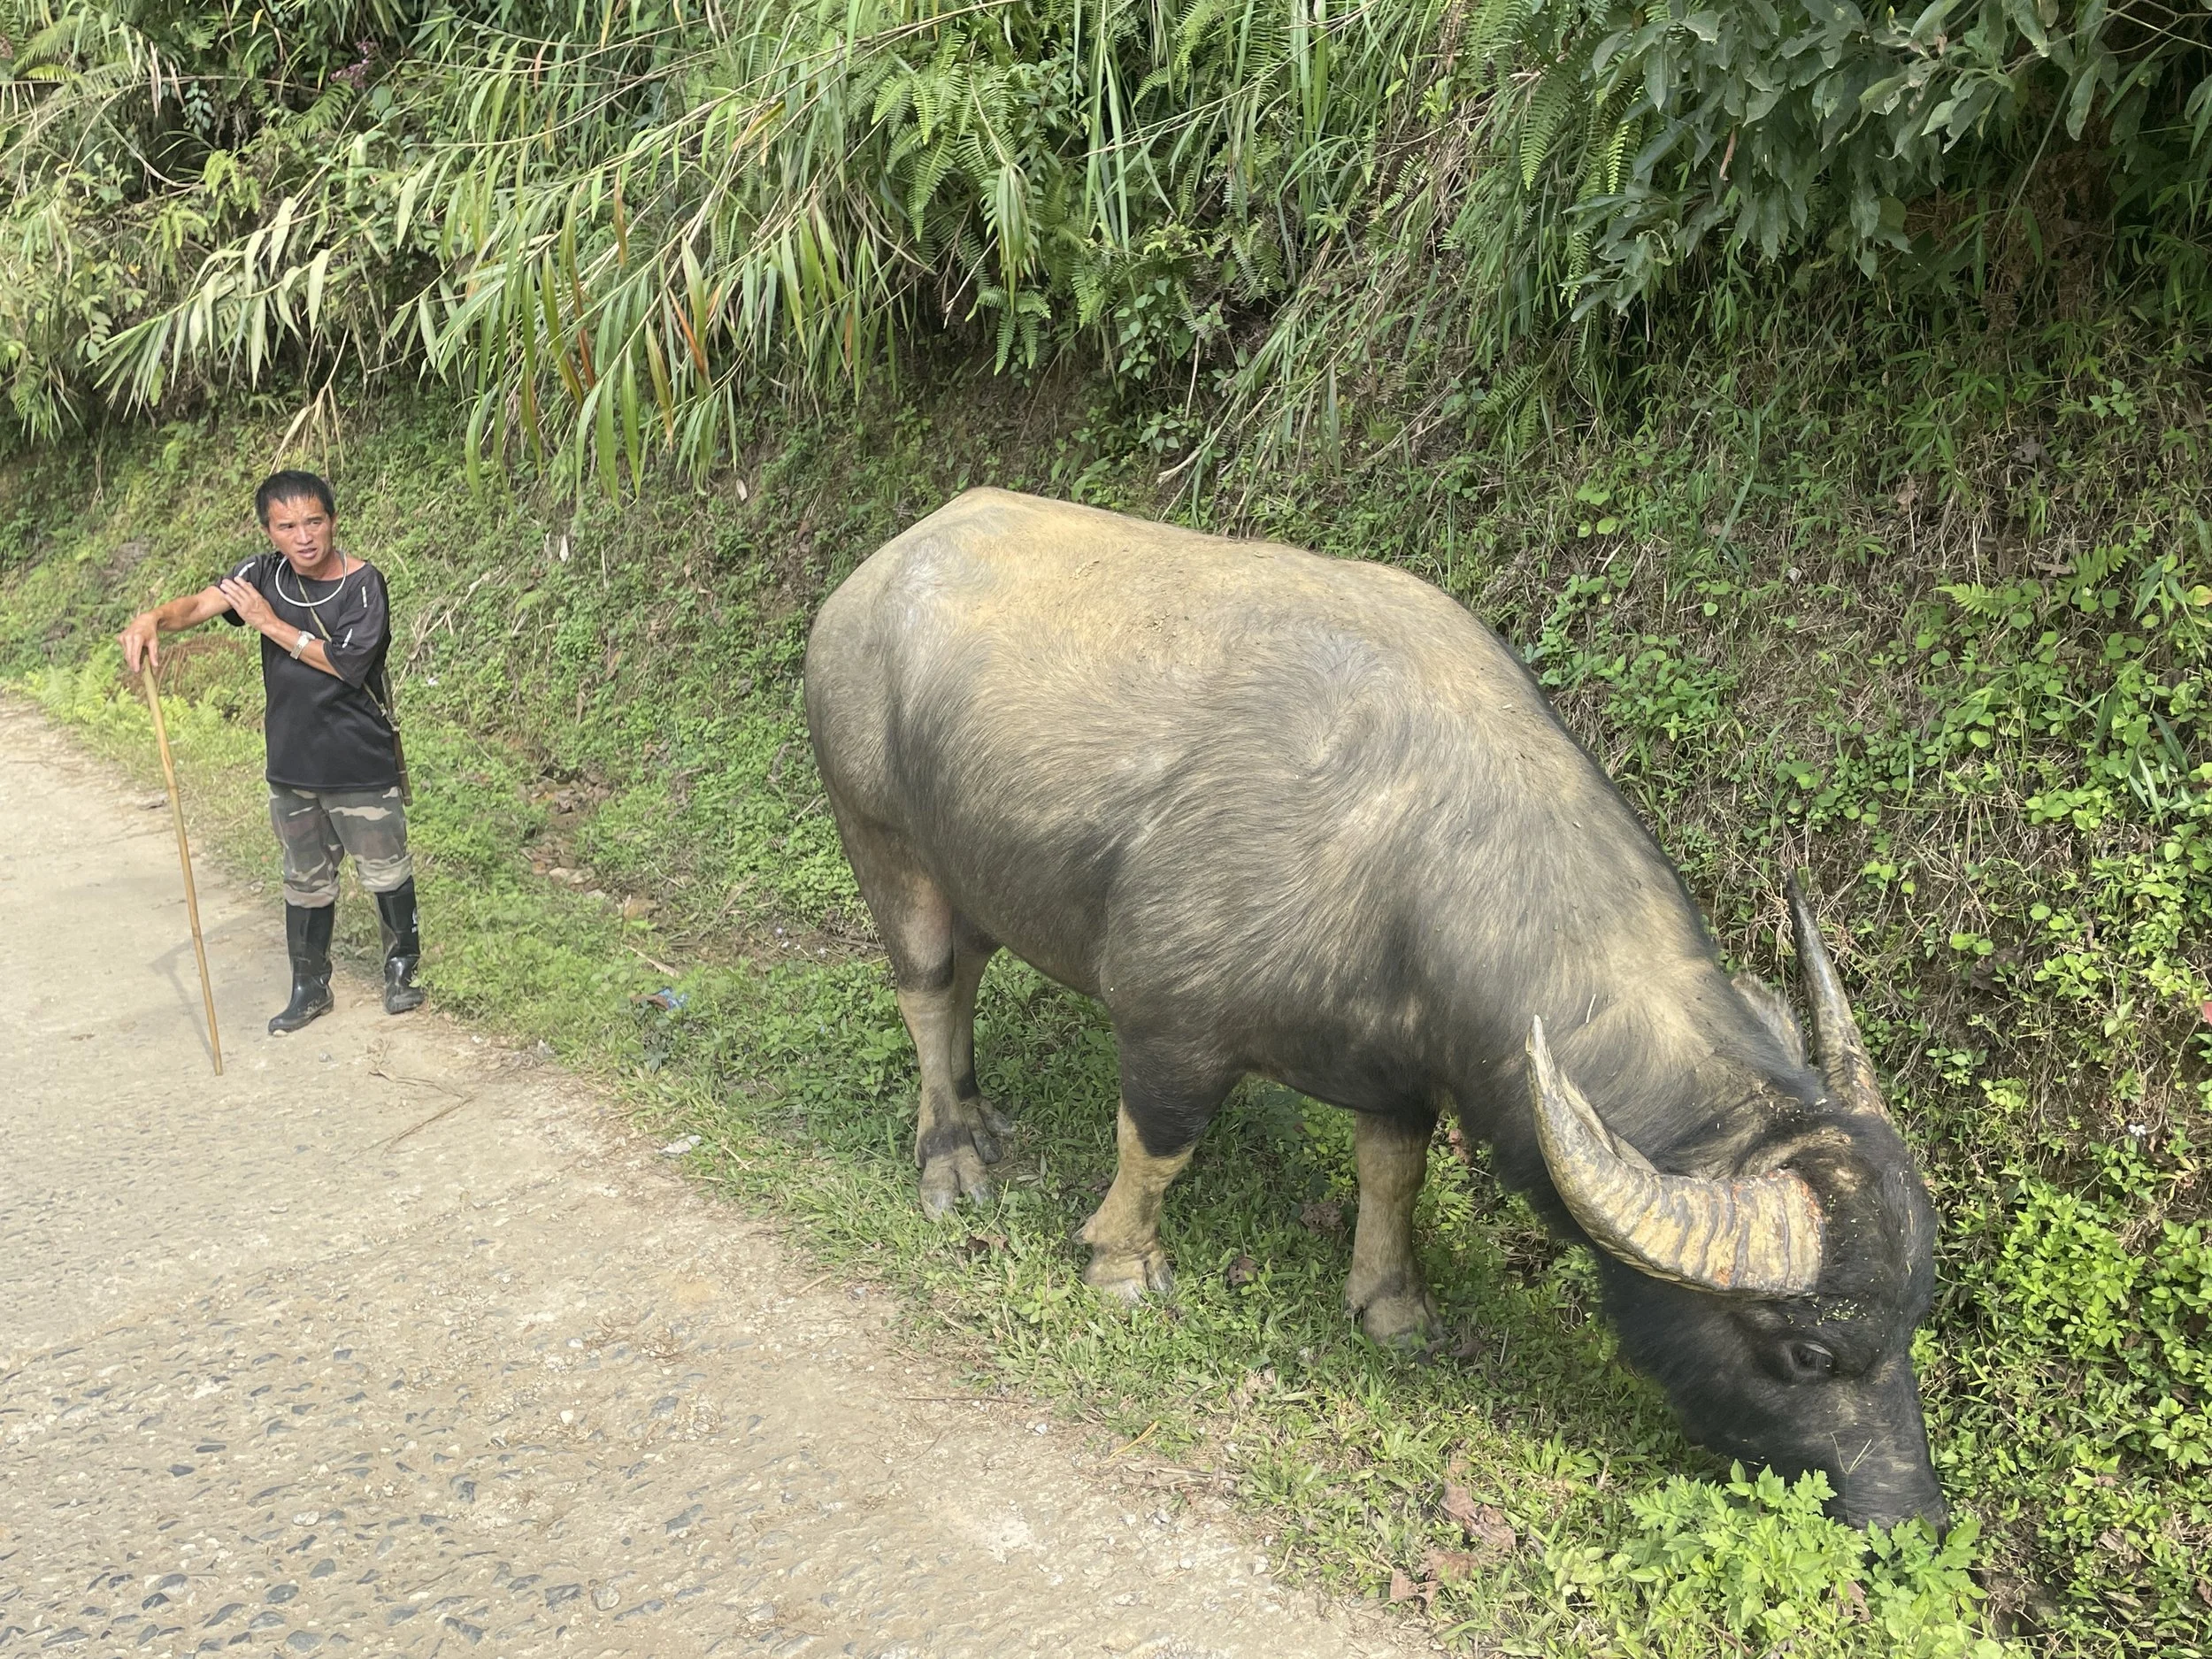
The route starts at Y Linh Ho village where there’s a track down to the valley from the main road. Be aware that there will be a lot of villagers that will “escort” you down from the road and make conversation with you along the way. They’ll stick with you until you buy something from them so it’s best to buy something and politely say goodbye to them early in the trip if you want a quiet hike. You’ll meet a lot more locals on the route that you can make a more genuine connection with.

The valley is stunning so go early both to avoid the heat and also to take enough time to enjoy the scenery. There’s a lot of diverging paths so use a GPX route if you’re not with a local guide.

The route ends at Ta Van where there’s several restaurants and a lot of shops to visit while you’re waiting to be picked up.


Back to Trek Index
Mount Battock: Kincardineshire County Top

Path split on the circular route. Mount Battock in the distance


Significance: Historic County Top for Kincardineshire
Member of: UK County Tops, Scotland County/Unitary Authority High Points, Marilyns
Nearest Higher Neighbour: Mount Keen 
Elevation: 778m
Date climbed: September 29th 2024
Coordinates: 56° 56' 57'' N, 2° 44' 31'' W

Route Start & Finish: Small parking space near Millden Lodge, Glen Esk
Route Distance: 15 km (9.3 miles)
Route Elevation change: +/- 637m
Subsidiary tops on route: Wester Cairn
GPX File: get via Buy Me a Coffee
Other routes touched (walk): None
OS Trig Pillar: TP0677 - Mount Battock
Pubs / Cafes on route: None
Map: Glen Esk and Glen Tanar (OS Explorer Map Series): No. 395
Links: Wikipedia: (Kincardineshire / Mount Battock), Peakbagger, Hillbagging


Mount Battock is the Historic County Top for Kincardineshire and the 27th highest of all of the UK County Tops. We bagged it in 2024 on our annual County Top weekend trip, along with the Historic County Top of Angus and the Council Area High Points of Dundee and Aberdeen.

The start of the route is from a small parking area in Millden just off the minor road that tracks the northern edge of the River North Esk. From here take the lane that heads north from the parking spot, past the old water mill to a path junction at Muir Cottage. Take the right hand path to follow the track that follows the left-hand side of the Burn of Turrett. At the 2km mark you’ll reach another path junction which marks the start of the main circular section of this walk. Take the left hand path to the Trig Pillar and stone shelter at the summit of Mount Battock.

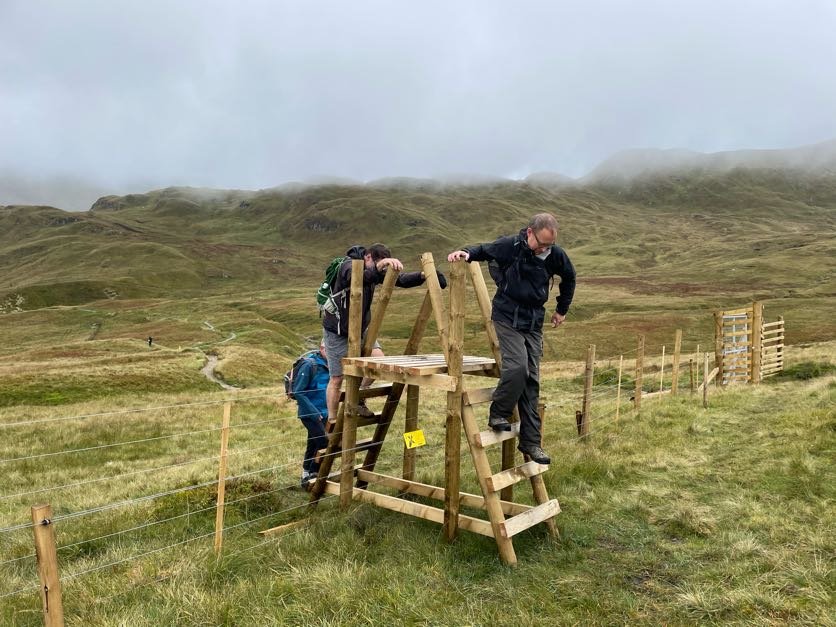
To descend cross over the fence to the south of the summit, using the ladder stile. There’s a path here in places but it’s often hard to track as it passes through very boggy ground. Just keep close to the fence on your left for around 800m until you reach a well-defined track. Follow the track in a south / south westerly direction until it meets the Burn of Turrett. Cross over the burn and you’ll reach the path junction where you previously took a left to start the circular section. From here take a left to retrace the first 2 km of the route back to the start.


Kincardine Kirkyard

One of the highlights of this year's County Top bagging trip was finding the remains of the lost County Town of Kincardine. This was originally a Scottish Burgh that developed around Kincardine Castle. By 1600, the burgh was in decline, and the county town moved to Stonehaven where it is now.

Our hunt for the lost town of Kincardine began on the way to Aberdeen after our Mount Battock walk. We stopped for a drink in Fettercairn and discovered a plaque in the main square detailing the town's history. The last sentence on the plaque reads: "All that remains of the old County Burgh today is the tiny Kirkyard of St Catherine's Chapel with a solitary tombstone dated 1786"

The site of Kincardine Castle is easy to find with a 5 minute drive to the east of Fettercairn along the B966. Take a left off the B966 to find Castleton Kincardine Farm (AB30 1EX). Turning left into the farm drive you can see the foundations of the old castle on your right. Slightly further down the farm track you'll see a clump of trees in the middle of a field. This is the remains of the old kirkyard.

We parked at the side of the lane and crossed the field to the kirkyard. In late September the field had been ploughed but be careful not to damage crops at other times of the year and, if possible, ask permission from the landowner. The tombstone and remains of the old wall are easy to find in the centre of the trees with not too much foliage to get through.

Links: Fettercairn, Kincardine


Back to Scottish County Tops Index
Glas Maol: Angus County Top

Walking from Glas Maol towards Creag Leacach


Significance: Historic County Top for Angus
Member of: UK County Tops, Scotland County/Unitary Authority High Points, Munros, Marilyns
Parent Peak: Lochnagar
Nearest Higher Neighbour: Carn a' Coire Boidheach
Elevation: 1,068m
Date climbed: September 28th 2024
Coordinates: 56° 52' 23'' N, 3° 22' 6'' W

Route Start & Finish: Small parking area on A93 Old Military Road, ~3km north of Glenshee Ski Centre
Route Distance: 19.3 km (12 miles)
Route Elevation change: +/- 808m
Subsidiary tops on route: Carn an Tuirc, Cairn of Claise, Creag Leacach
GPX File: get via Buy Me a Coffee
Other routes touched (walk): The Monega Pass
OS Trig Pillar: TP3372 - Glas Maol
Pubs / Cafes on route: Cafe at Glenshee Ski Centre
Map: Glen Shee & Braemar Map | The Cairnwell & Glas Maol | Ordnance Survey | OS Explorer Map OL52
Links: Wikipedia: (Angus / Glas Maol), Peakbagger, Hillbagging, Glenshee Ski Centre


Glas Maol is the Historic County Top for Angus and the 7th highest of all of the UK County Tops. We bagged it in 2024 on our annual County Top weekend trip, along with the Historic County Top of Kincardineshire and the Council Area High Points of Dundee and Aberdeen.

The quickest way to conquer Glas Maol is an out-and-back from the large car park at Glenshee Ski Centre. I always prefer an interesting circular over an out-and-back so we opted for the 4-Munro circuit that I found on the Walk Highlands site. For this we started at a small parking spot around 3 km north of the Ski Centre. If that parking spot is full then park at the Ski Centre and walk to the northern parking at the start of the walk rather than at the end.

From the northern parking spot take the footpath that ascends to Carn an Tuirc in an east/north-easterly direction on the northern side of a small stream. After 1.2km you’ll cross over the stream, continuing to ascend. You’ll reach the summit of the first of the day’s Munros after 2.9km.

Continue along the path, now curving to the south-east, for another 2.6 km to reach the summit of Cairn of Claise. This is the second Munro of the day and, at 1.064m, just 4 metres lower than Glas Maol. Continue along the path, now heading south-west. The route descends slightly then ascends, crossing over the Monega Pass, to the summit of Glas Maol. The high point is marked by a Trig Pillar and a stone shelter large enough for 4 people.

After the Glas Maol summit, continue heading south-west, descending for 1km to the 10 km point in the walk. Here you’ll reach a path junction marked by a large cairn. This is a good point to make a decision to either take a short out-and-back to the 4th Munro, or return straight down to the road. We expected bad weather but, as it turned out, we had a bright, albeit cold, day with good visibility so we decided to bag the 4th Munro.

To reach Creag Leacach continue south for 1.5 km following the ridge line towards the steep ascent to the summit. The path gets very close to a steep drop on the left hand side just ahead of the climb so be extra careful in low visibility. After the summit, retrace your steps back to the large cairn, then continue descending in a north-westerly direction towards the ski-slopes. As you get closer to the slopes, continue along the path as it curves to the west and descend back to A93 Old Military Road at the large Glenshee Ski Centre car park. Take a right onto the road and follow the grass verge back to the starting point.

There’s a cafe at the Ski Centre that’s a great place to stop at the end to celebrate completing the route. Don’t rely on it if you’re out late in the day though. Our excitement to stop there quickly vanished when we arrived there 5 minutes after closing time.

While some of the County Top walks are starting to blur together in our memories, Glas Maol will likely be one that will stand out as a real classic route. The great visibility that we had that day certainly helped but the chance to bag 4 Munros in 1 walk was a big factor too.


Back to Scottish County Tops Index
European High Points
 

While ticking off the UK County Tops I have also picked up a few European Country Tops along the way. I don’t think that I’ll bag them all unless I put a serious amount of more time into it. Some are a bit too technical or remote for my preference too. In the meantime, here’s the list of all European Country High Points, some alternatives and disputed ones and notable Island High points. Let me know in the comments if you spot any errors and I’ll donate £1 to one of my Causes for any correction made.


European Country High Points


*Notes

  • Gunnbjørn Fjeld, Greenland is the highest point in the Kingdom of Denmark. However, it is an autonomous territory on the North American continent and is not part of the European Union.

    • Slættaratindur, Faroe Islands is the highest point in the Kingdom of Denmark that is also on the European Continent.

    • Møllehøj is the highesh point on mainland Denmark. Yding Skovhøj is a close second highest with only 0.09m between them.

  • Mahya Dağı is the highest point in the European part of Turkey, while Mount Ararat (not shown above) is the highest point in all of Turkey and is in the Asian part.

    • Selvili Tepe is the highest point in the Turkish Republic of Northern Cyprus. The territory is only recognised by Turkey and is considered by all other states to be part of the Republic of Cyprus.

  • Mont Blanc straddles the border of both Italy and France and is the highest mountain of both countries as well as the highest point in the EU.

    • Monte Bianco di Courmayeur is a subsidiary peak to Mont Blanc and is marked as lying entirely within Italy on the Italian Istituto Geografico Militare while on the French Institut Géographique National (IGN) map the summit lies on the border between France and Italy (source).

    • Barre des Écrins is the highest mountain that is completely within France and was the French high point until the annexation of Savoy in 1860

    • Gran Paradiso is the highest mountain that is completely within Italy.

  • Mount Pico in the Azores is the highest point in the Portuguese Territory, while Serra da Estrela is the highest point on the Portuguese mainland

  • Mount Teide on Tenerife in the Canary Islands is the highest point in the Spanish Territory, while Mulhacén is the highest point on the Spanish mainland.

  • High Points of the British Crown Dependencies: Jersey, Guernsey and the Isle of Man are listed above separately from the UK. UK nations: England, Scotland, Wales, Northern Ireland are not show. See the UK County Tops page for details.


European Island High Points

  • The highest mountain on an island of a European Territory is Mount Teide on the Spanish Canary Islands at 3,718m

  • The highest mountain on an island on the European Continent is Mount Etna on the Italian island of Sicily at 3,342m

  • The largest island in continental Europe is Great Britain which has Ben Nevis as its highest point at 1,345m

Other notable island high points are listed below, grouped by country. I’ve mainly included high points of >1,000m. However, I’ve also included other islands high points that I’ve been to or plan to visit.

France

Greece

Italy

Norway

Norway - Svalbard

  • Monacofjellet, 1,084 metres, Prins Karls Forland Island. (Wikipedia / Peakbagger)

  • Soltindan, 1,051 metres, Ringvassøy. (Wikipedia, Peakbagger)

  • Store Blåmann, 1,044 metres, Kvaløya Island. (Wikipedia / Peakbagger)

Portugal

Russia

Spain - Balearic Islands

Spain - Canary Islands

…the traditional seven:

…and the minor islands:

United Kingdom

  • See UK Islands High Points (coming soon)


More High Points


Back to Trek Index
Ben Lomond: Stirlingshire County Top

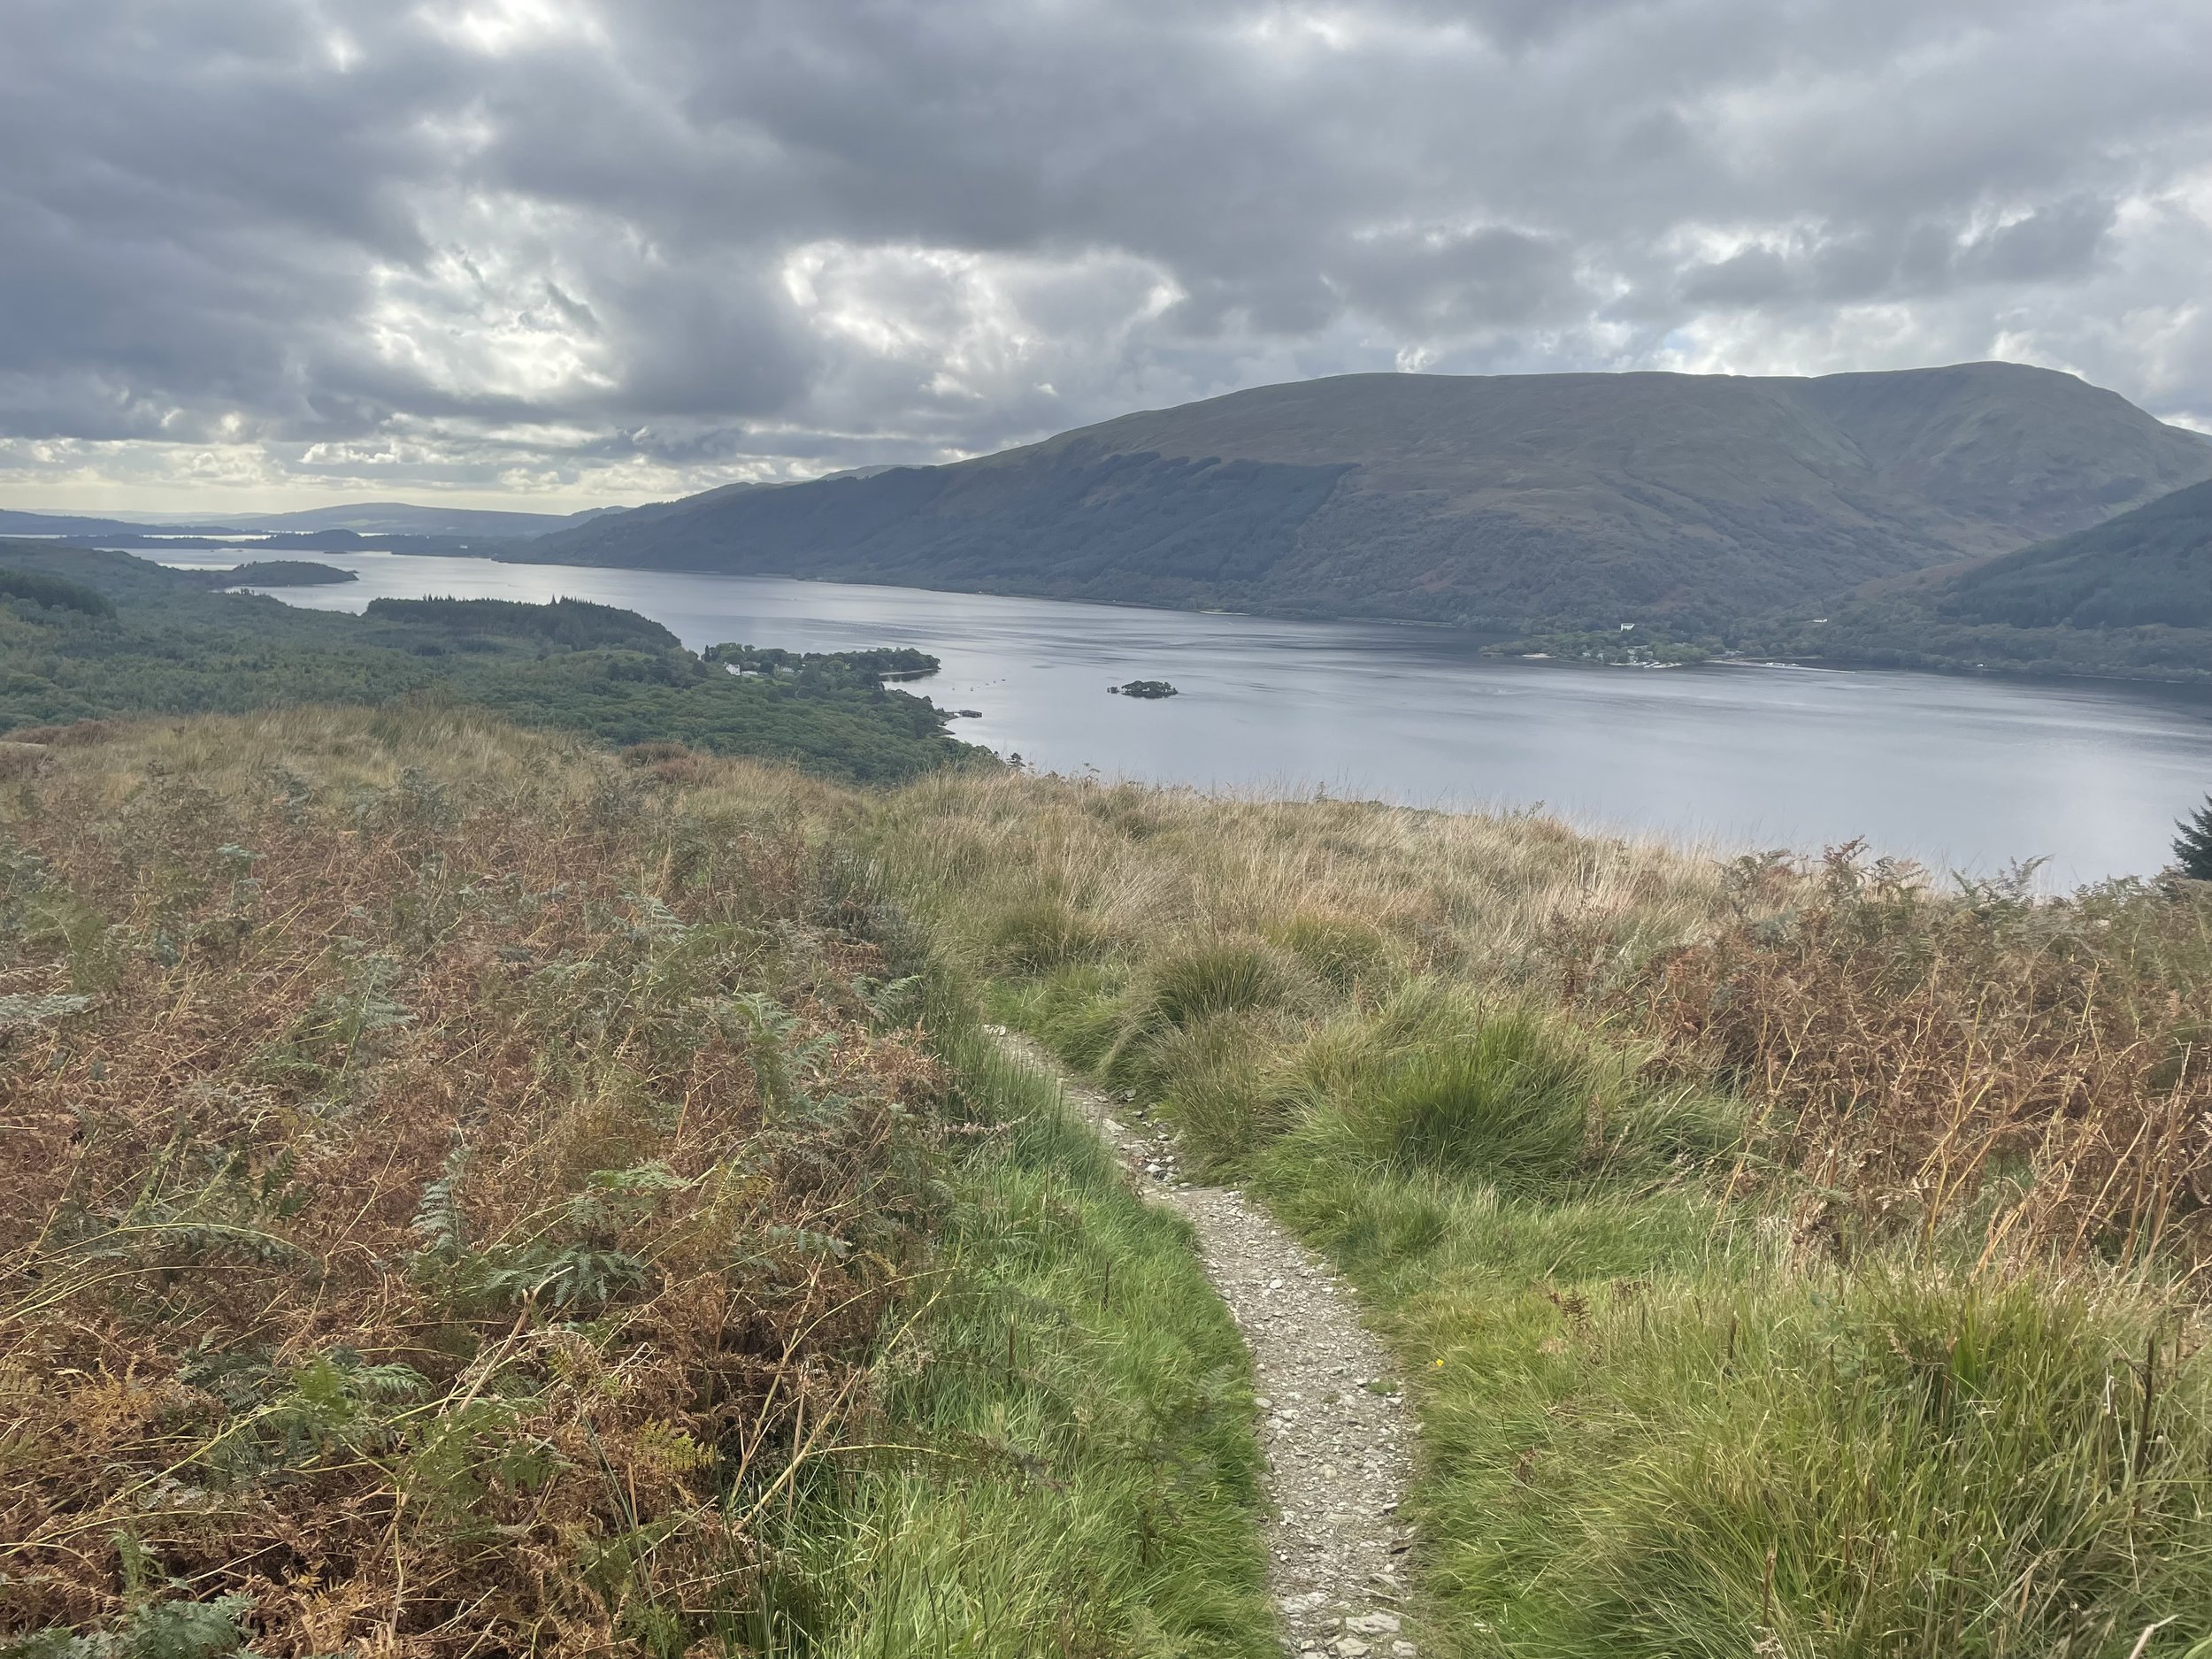
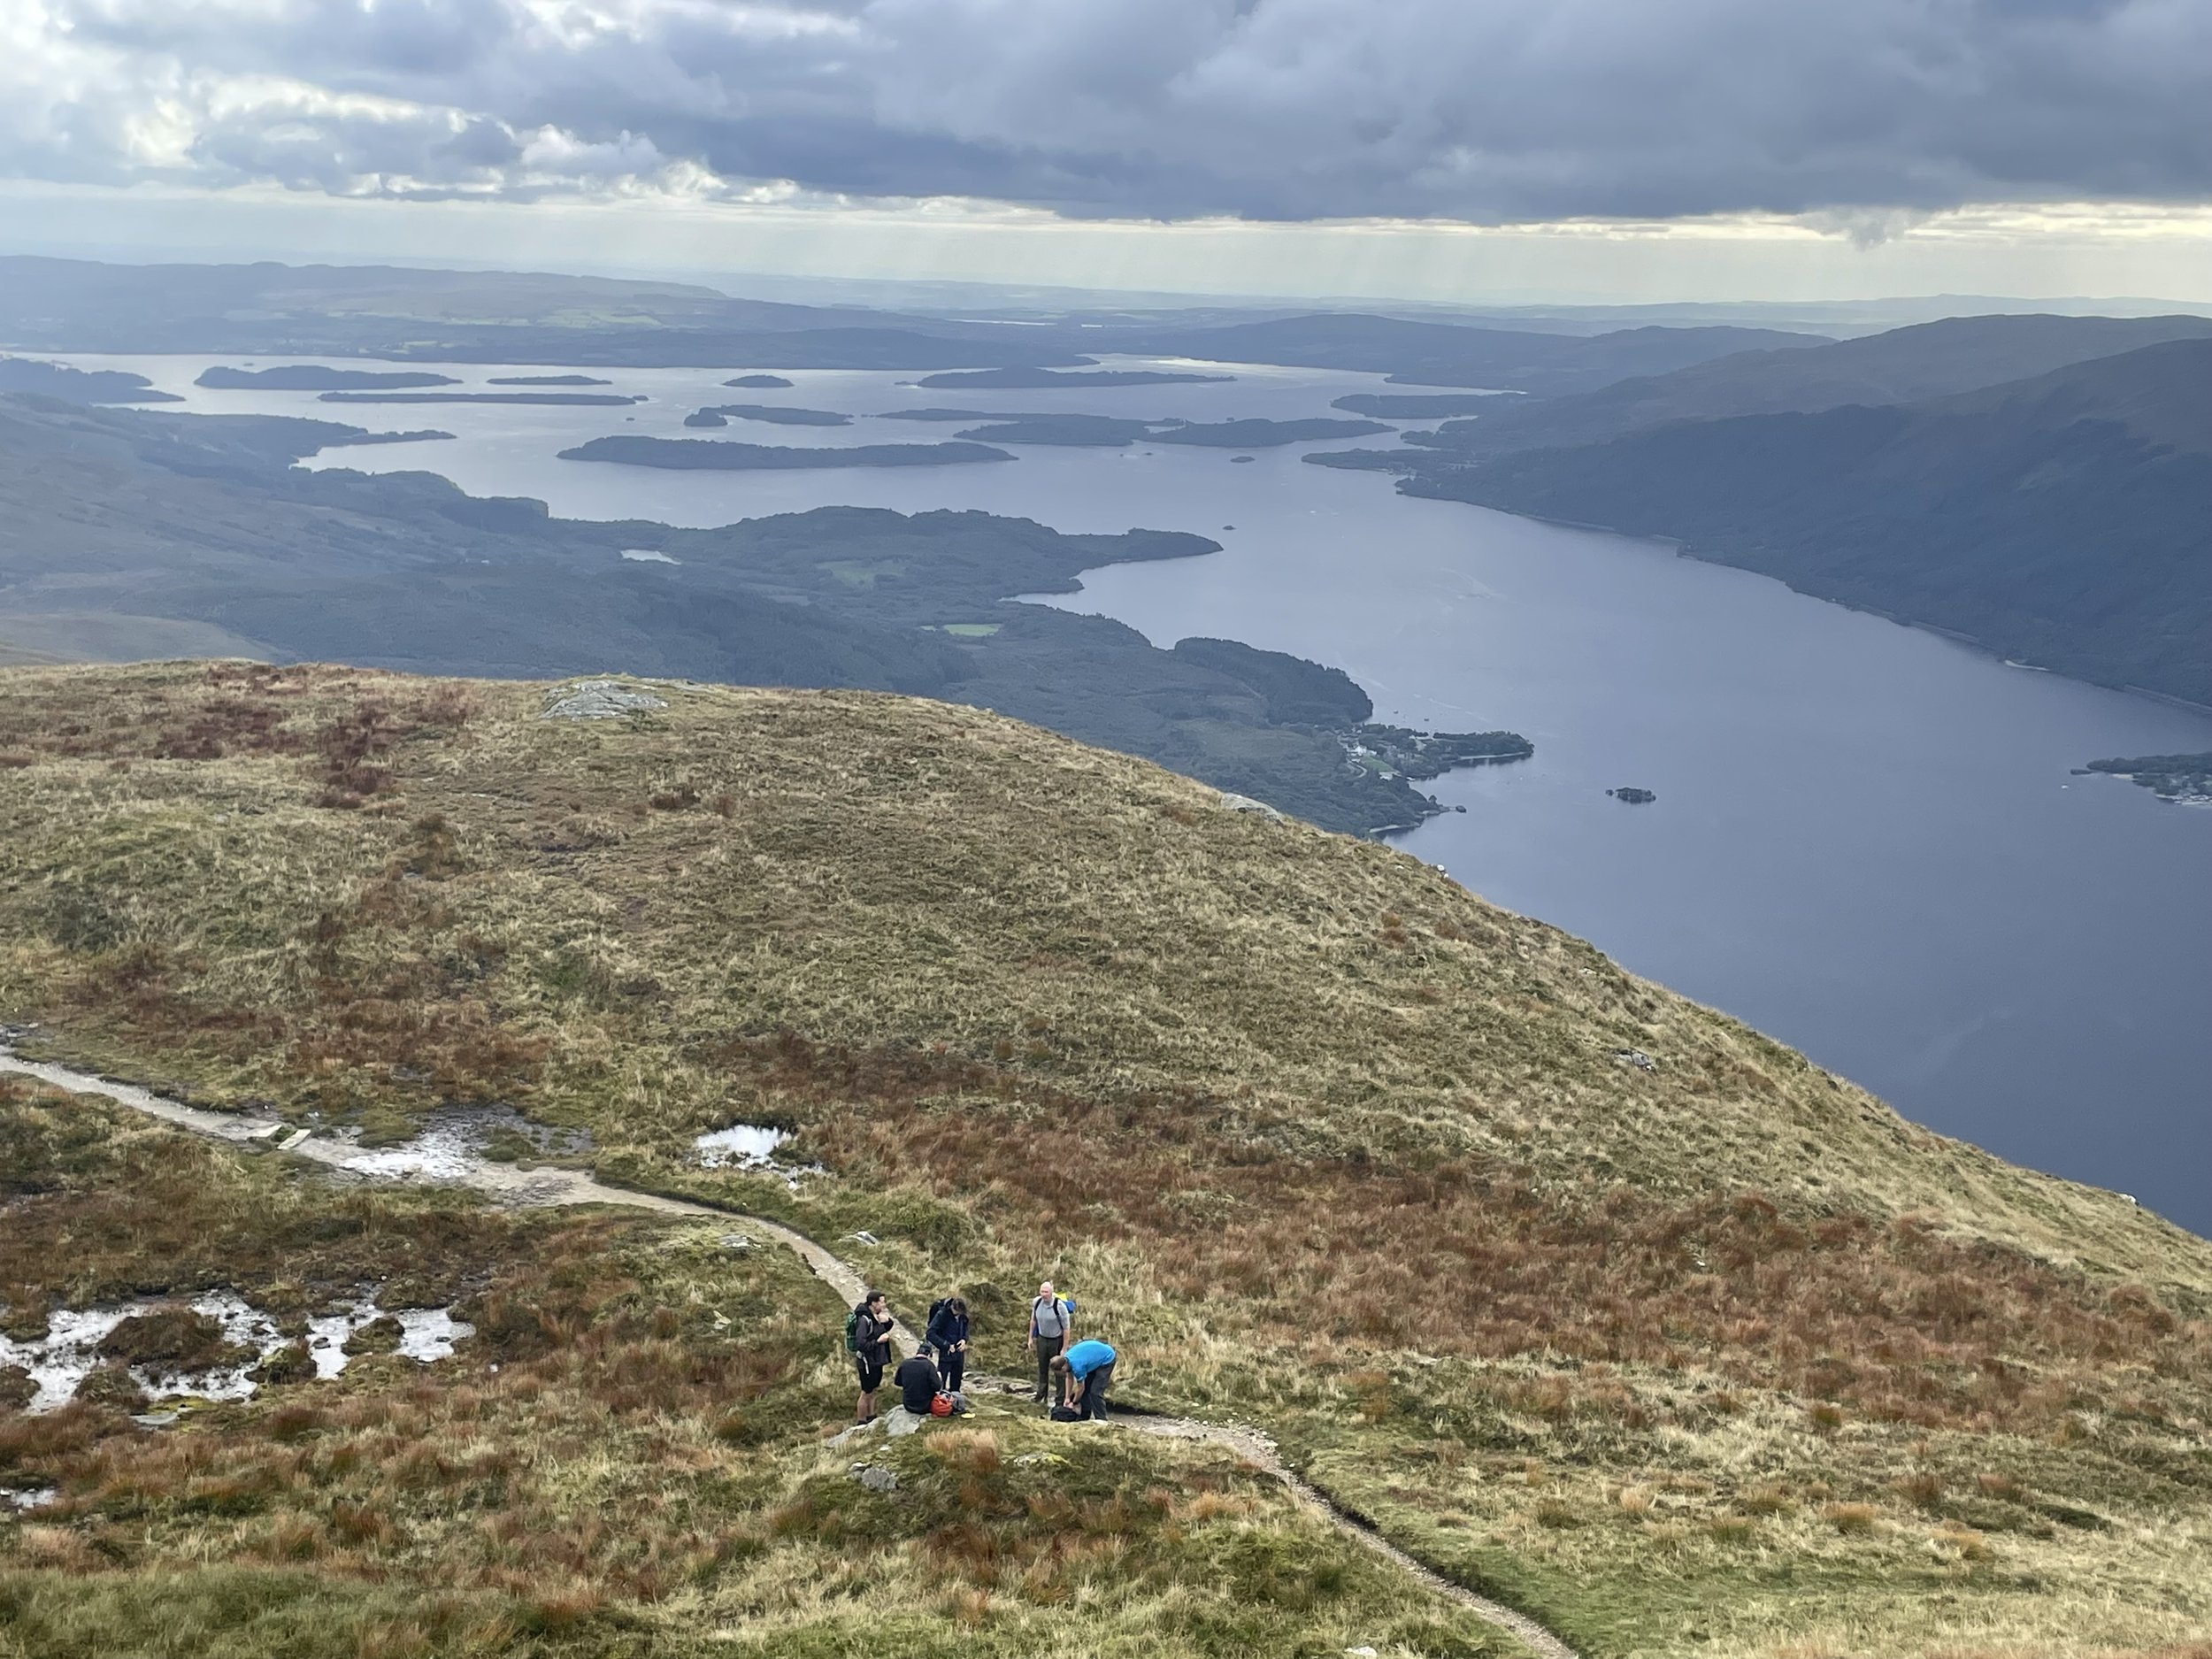
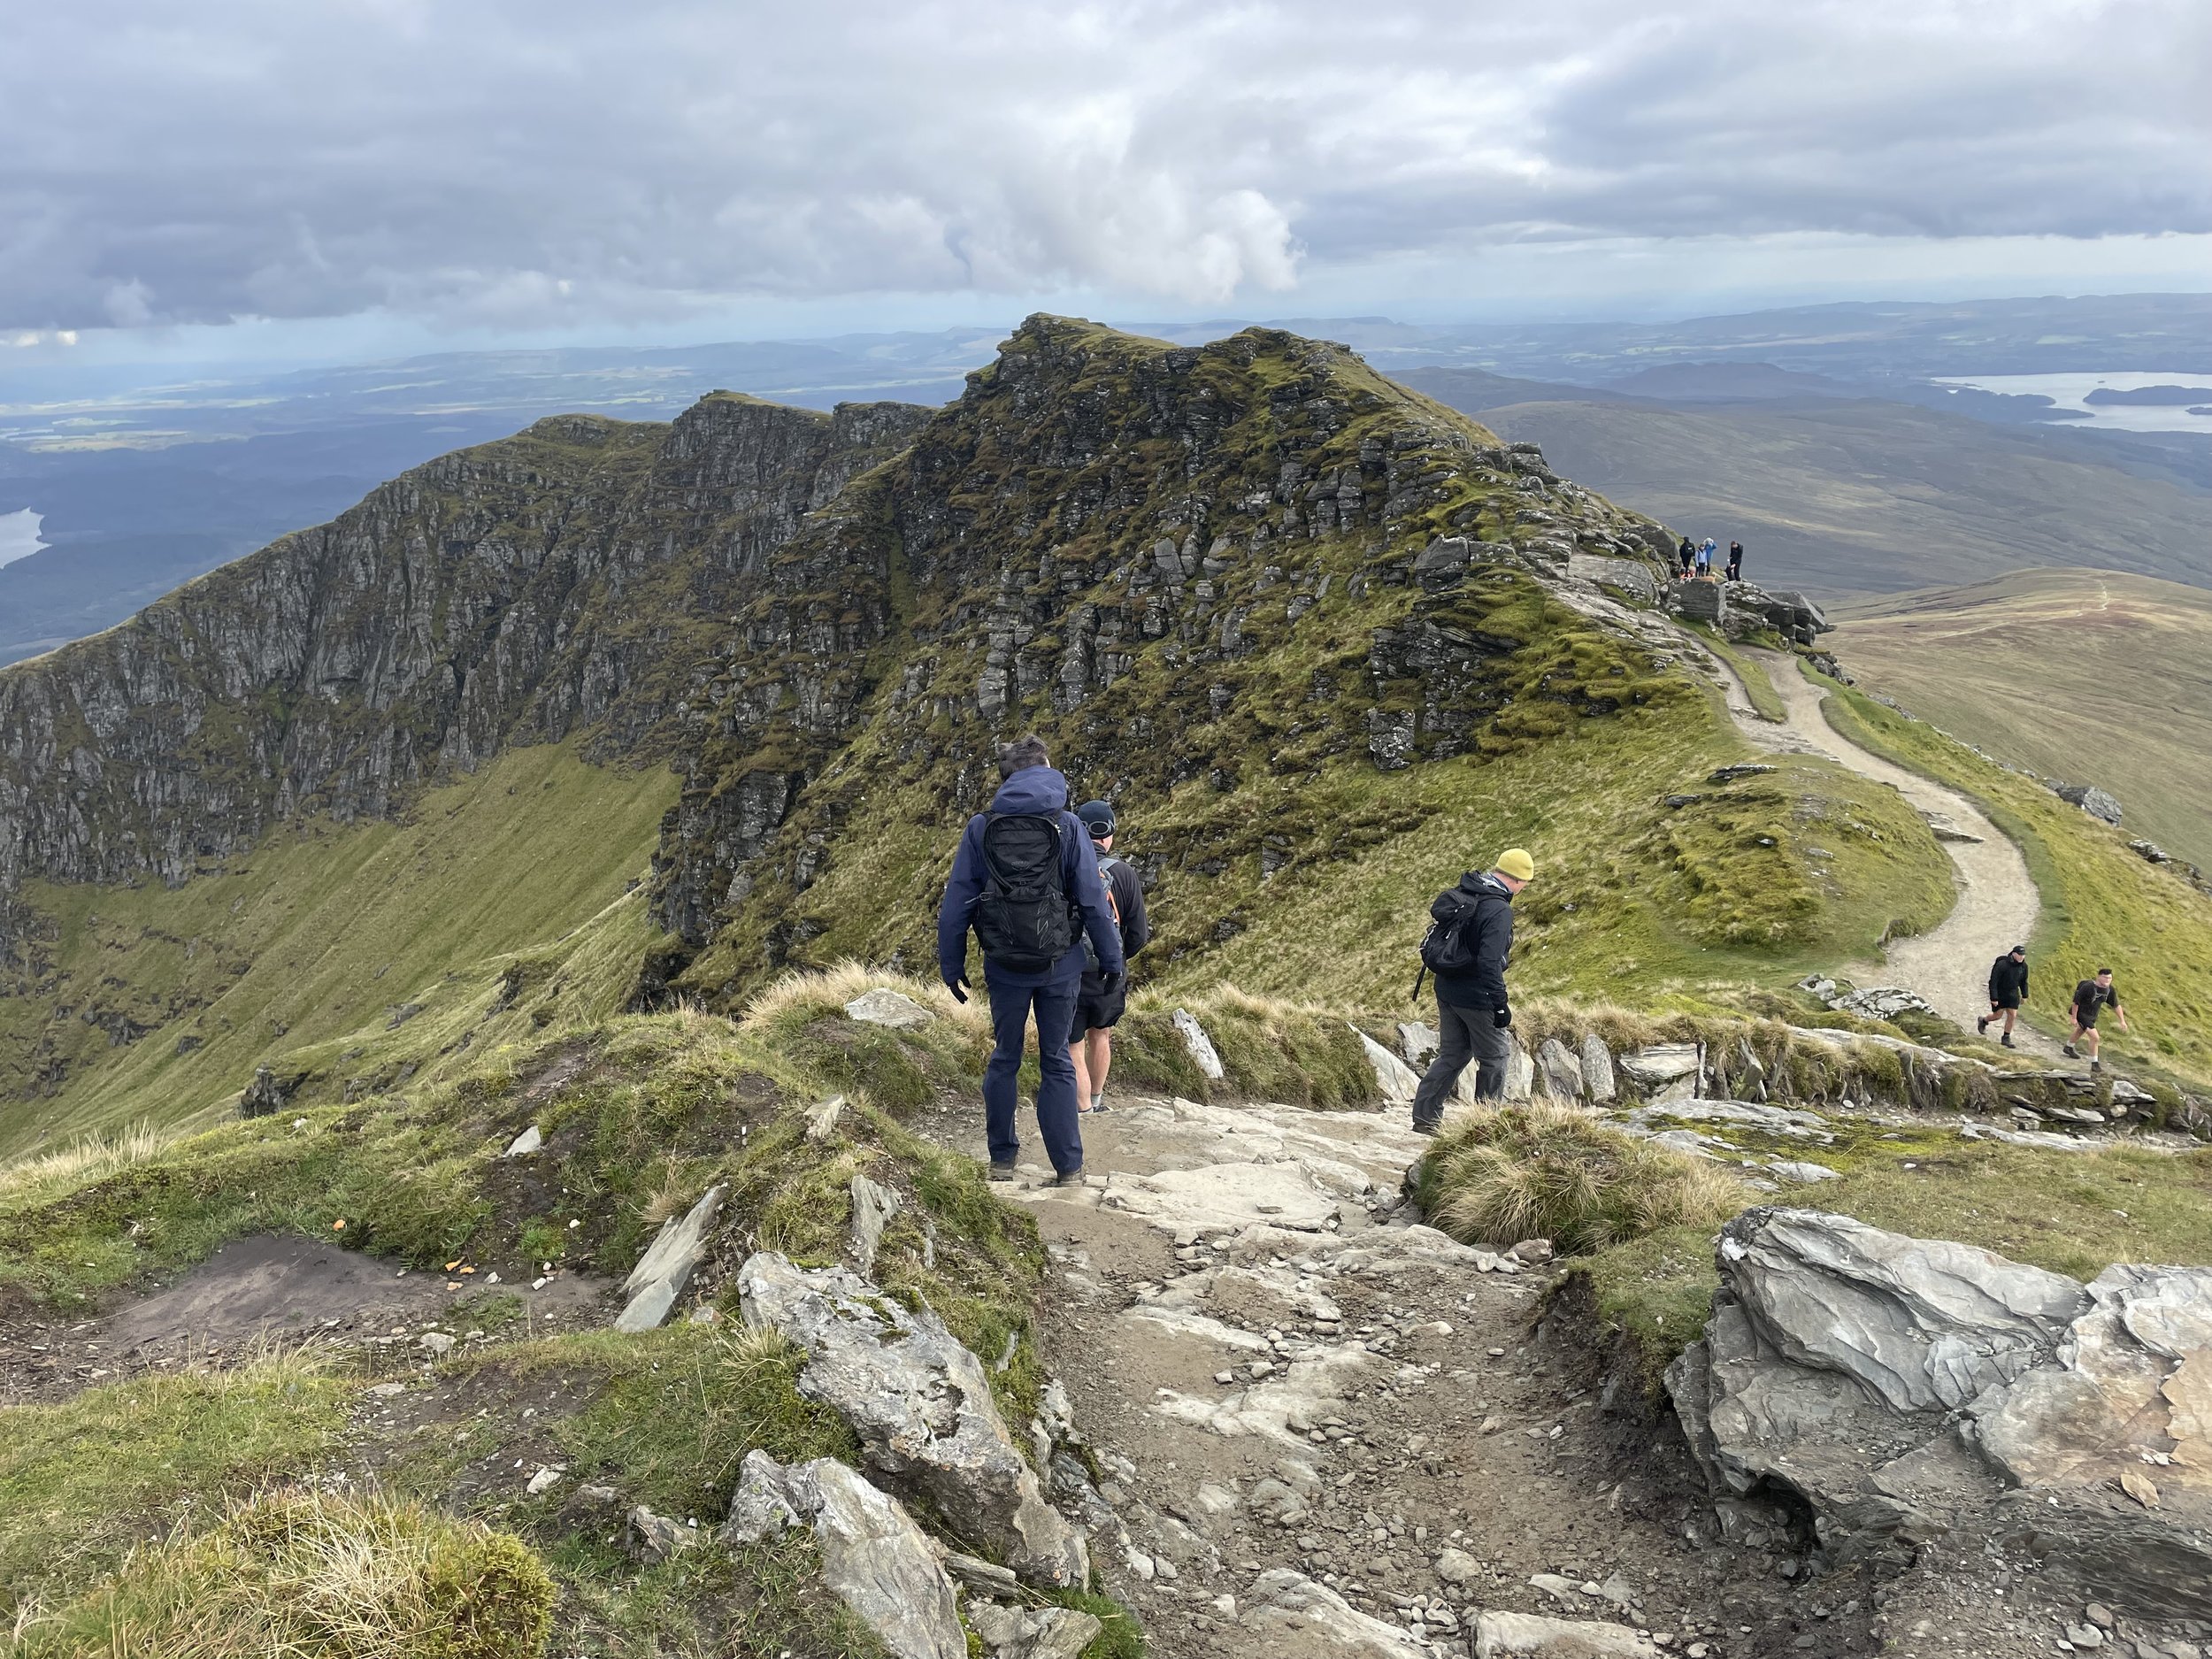
View over Loch Lomond on the descent from Ben Lomond


Also known as: Beinn Laomainn (“beacon mountain")
Significance
: High Point for the Historic County of Stirlingshire, Loch Lomond NSA High Point
Member of: Munros, Marilyns
Parent Peak: Beinn Ime.
Nearest Higher Neighbour: Beinn Ime
Elevation: 974m
Date climbed: September 23rd 2023
Coordinates: 56° 11' 25'' N, 4° 37' 59'' W

Route Start & Finish: Ben Lomond (Rowardennan) Car Park, Stirling, G63 0AR
Route Distance: 12 km (7.5 mile)
Route Elevation change: +/- 913m
Subsidiary tops on route: Ptarmigan (778m)
GPX File: get via Buy Me a Coffee
Other routes touched (walk): Ben Lomond Trail, Ptarmigan Ridge Path, West Highland Way
OS Trig Pillar: TP1283 - Ben Lomond
Pubs / Cafes on route: None on route but the Clansman Bar at the Rowardennan Hotel is near the car park
Map: Loch Lomond North Map | Tyndrum, Crianlarich & Arrochar | Ordnance Survey | OS Explorer Map OL39
Guidebook: The UK's County Tops (Jonny Muir)
Links: Wikipedia: (Stirlingshire / Ben Lomond), Peakbagger, Hillbagging


This was a day hike as a part of a 4-day Scottish County Top trip to bag Ben Lawers, Ben Vorlich, Ben Lomond and the Hill of Stake. We were on our 3rd day of the trip and had already ticked off Ben Lawers and Ben Vorlich. Now for Ben Lomond, not the highest of the trip, but definitely the most iconic. Ben Lomond is the most southerly Munro, sits on the edge of Loch Lomond and is very close to Glasgow. As such it’s very popular and it can be hard to find parking spots.

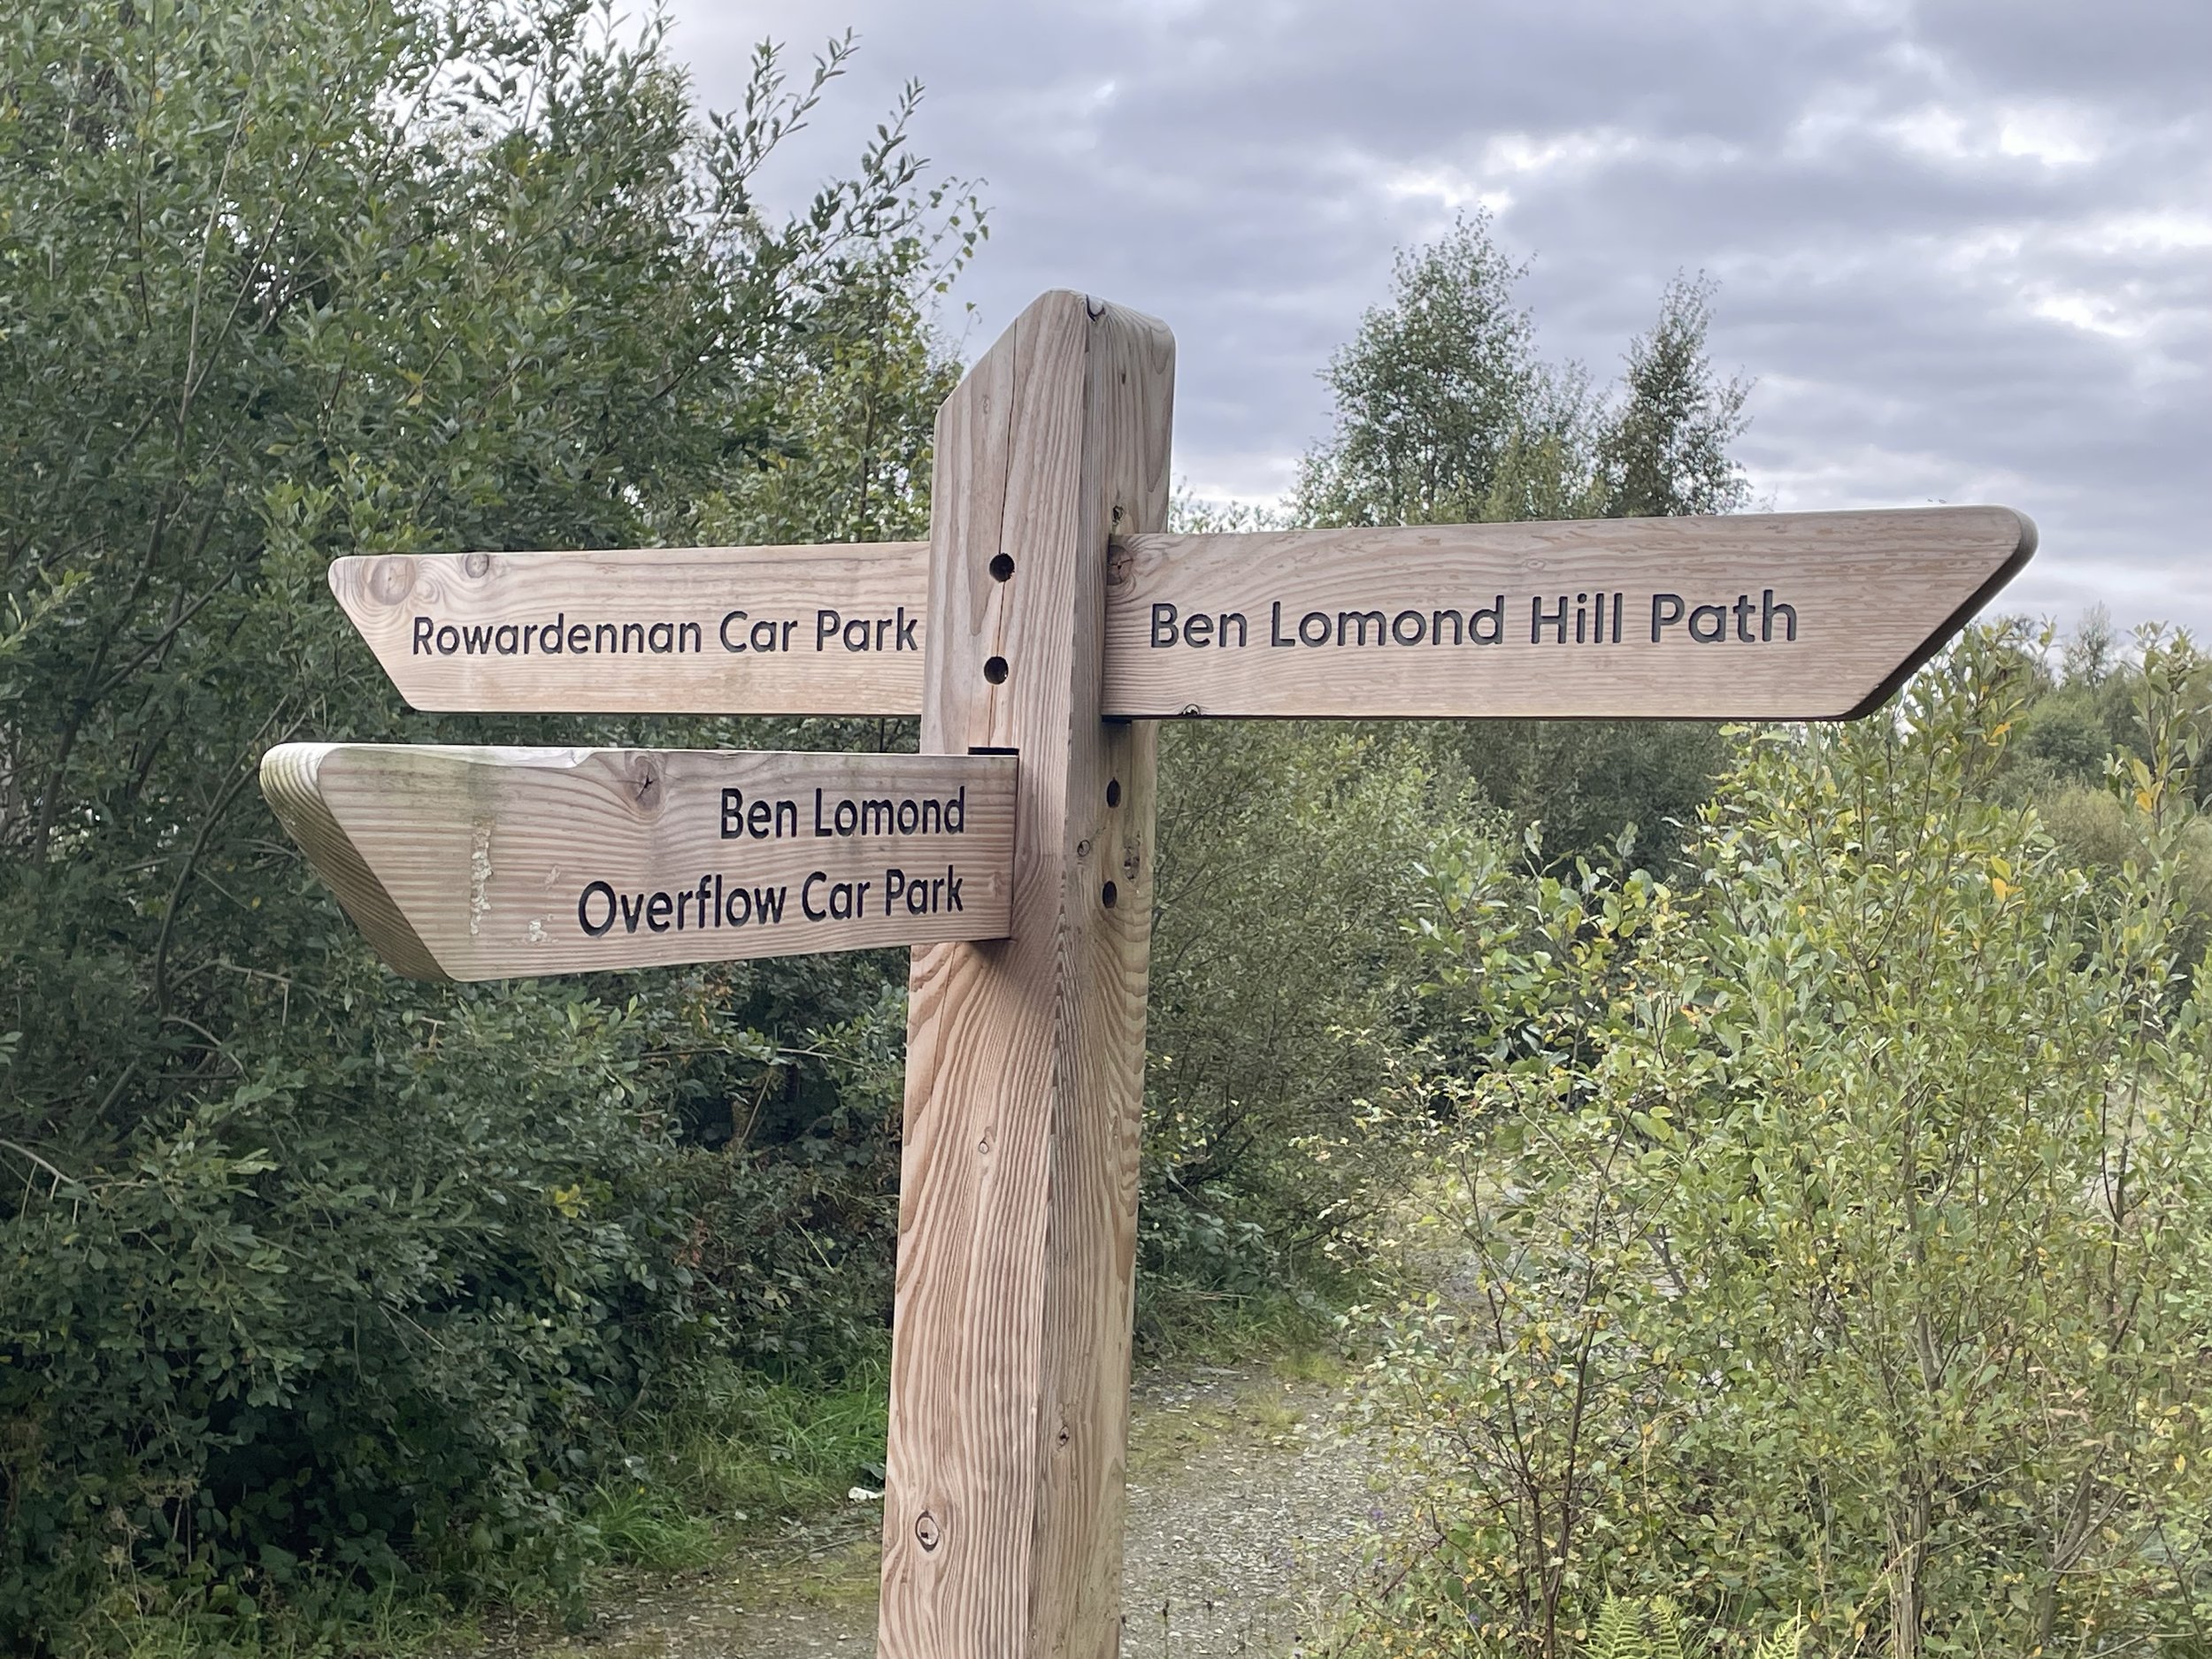
We read that in the summer the police close off the road to the main car-park. We were there in late September after the summer peak but we also had to get in a parkrun as it was a Saturday. By the time we arrived it was 11:00 and the main car-park was full so we parked in the overflow instead. This has its advantage though as it’s free and has a direct connection to the Ben Lomond Trail.

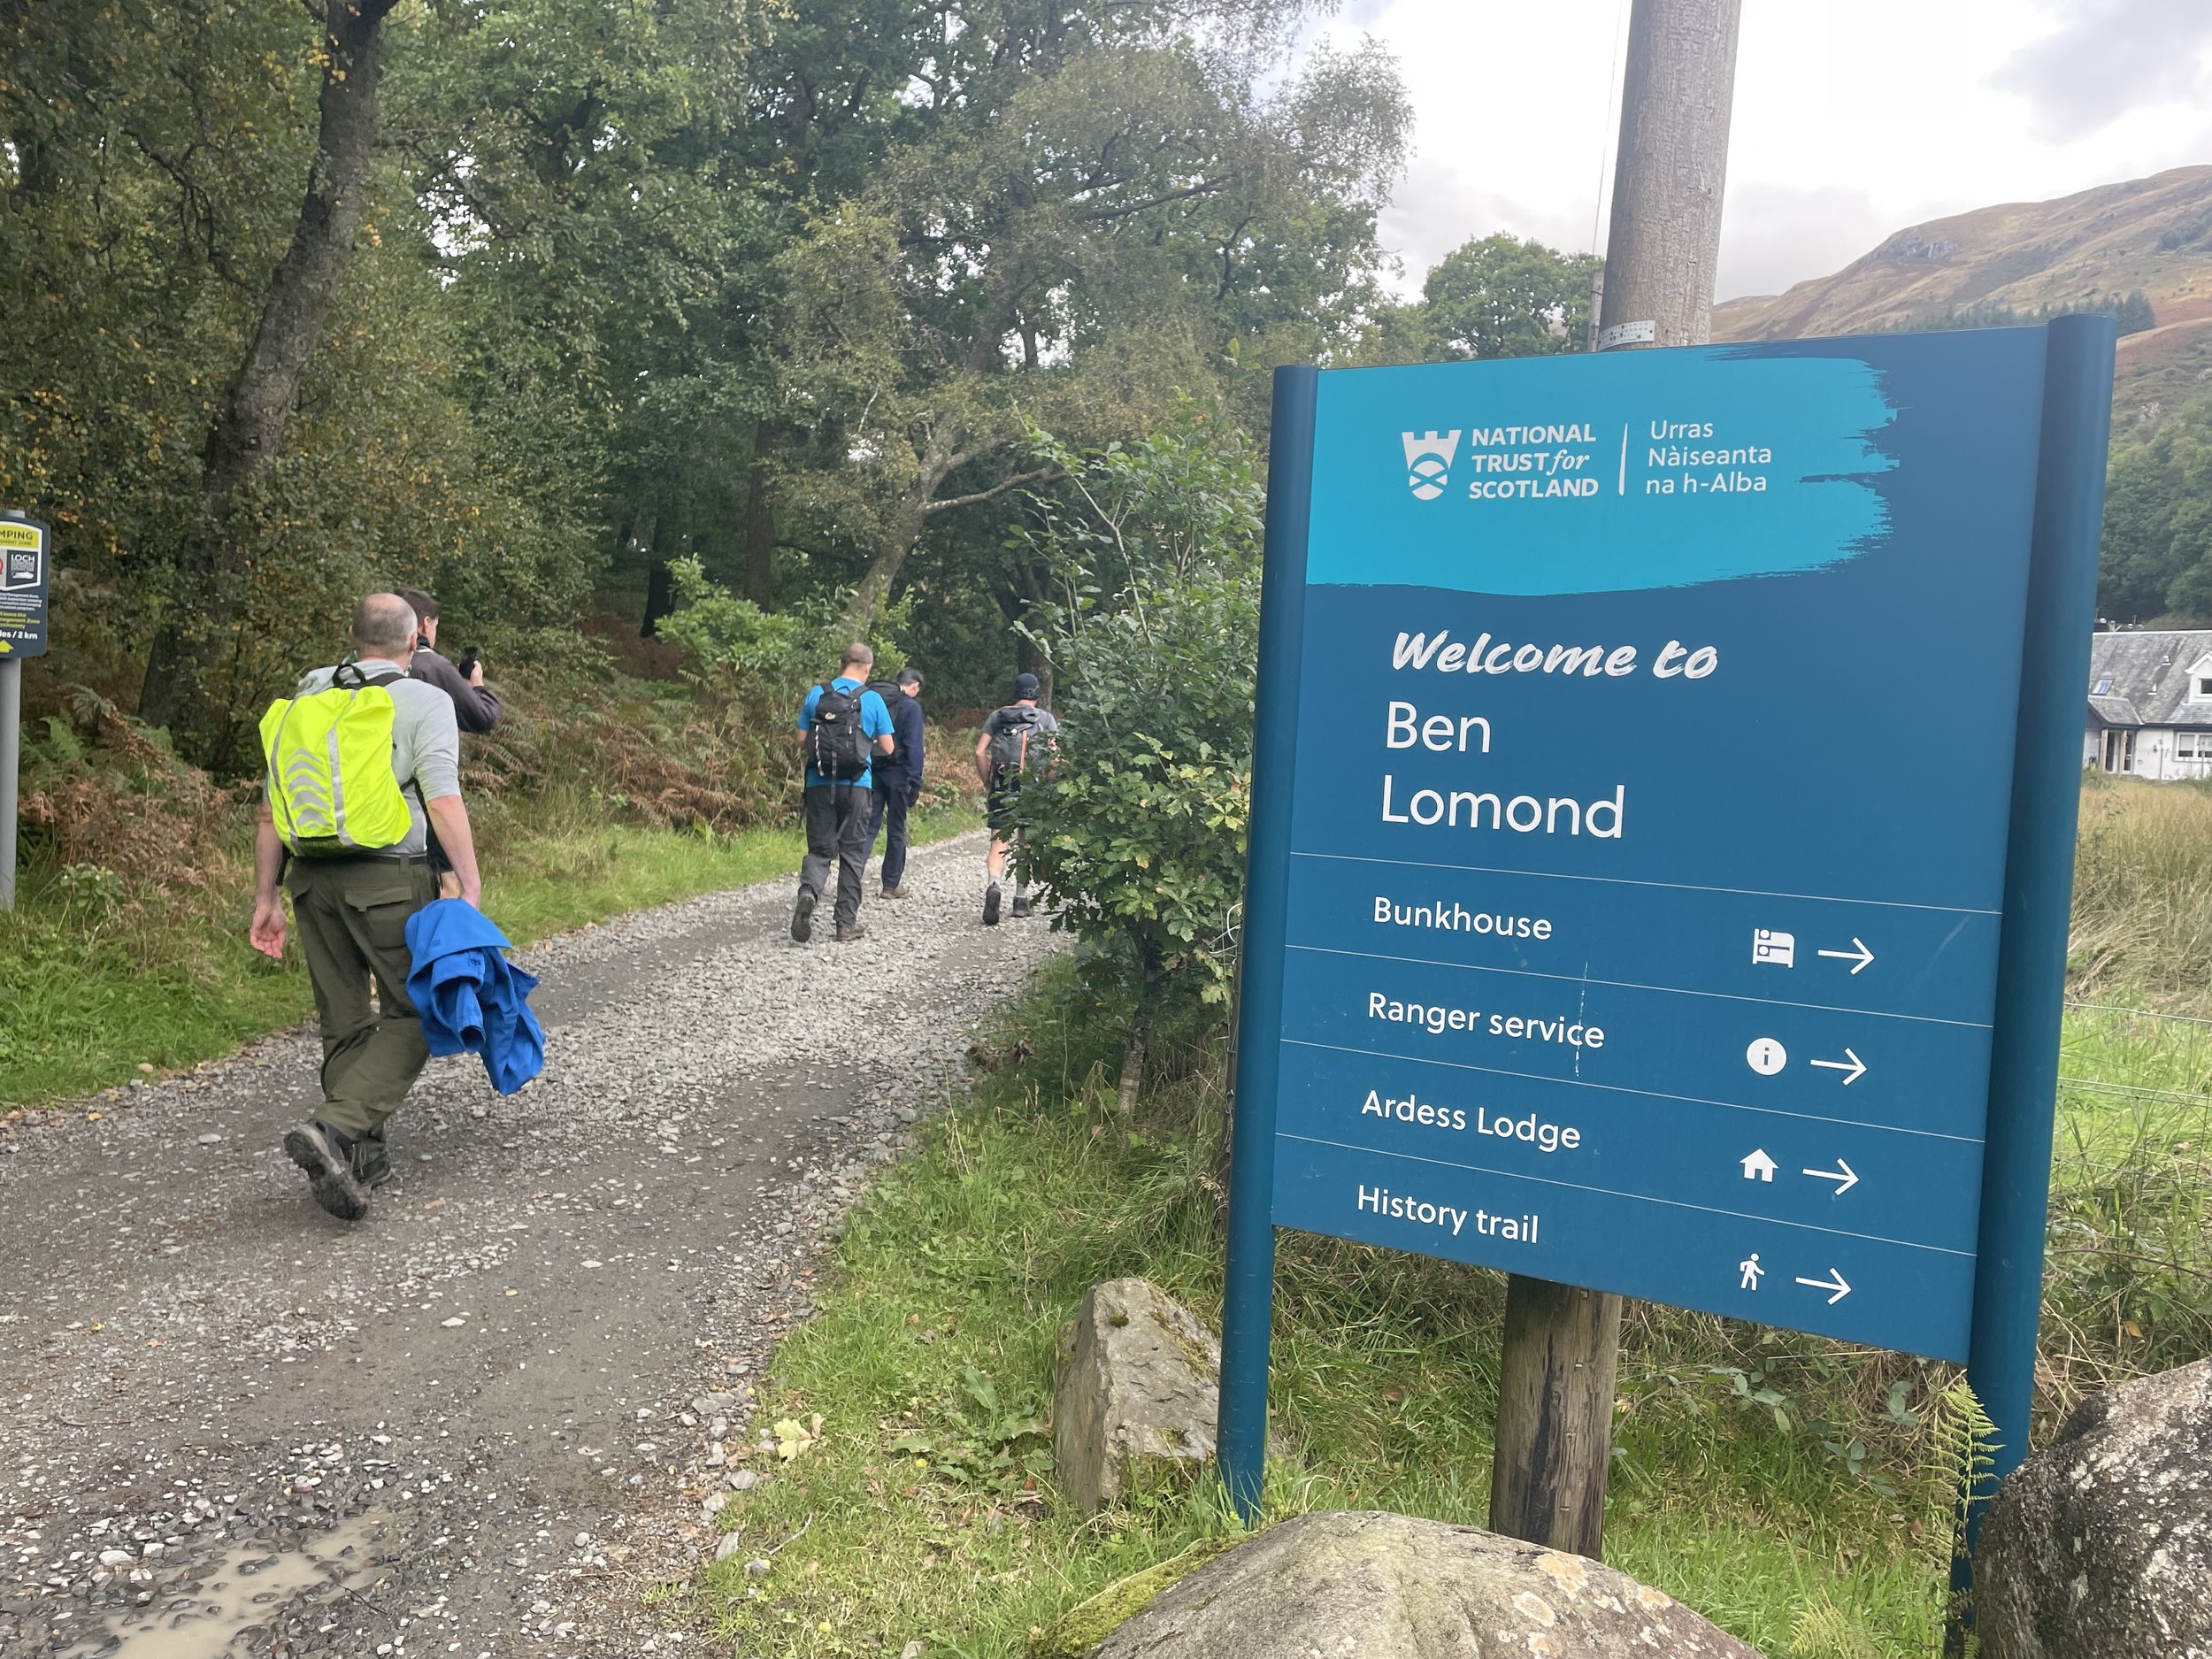
We opted for the clockwise circular route, initially following the West Highland Way from the overflow to the main car-park then picking up the Ptarmigan Ridge Path that ascends on the western side of the mountain closest to the Loch. The weather was a bit grey but we still had great views down to the Loch as we climbed.

The different map apps that we had in the group gave different positions for the summit of Ptarmigan so we visited both just to be sure. After Ptarmigan there’s a steep final ascent to the Ben Lomond summit and the Trig Pillar. The summit is flat and, when we were there, fairly crowded with walkers stopping for lunch. After a quick break we continued the circuit, descending down via the Ben Lomond Way.

Near the Loch there’s a path junction with one route to the main car-park and another to the overflow. We took the route to the main car-park to have a celebratory drink at the Clansman Bar at the Rowardennan Hotel.


Back to Scottish County Tops Index
Ben Vorlich: Dunbartonshire County Top

View to the south-west on the descent of Ben Vorlich


Also Known as: Beinn Mhùrlaig
Significance: High Point for the Historic County of Dunbartonshire
Member of: Munros, Marilyns
Parent Peak: xx. NHN = Beinn Ime
Elevation: 943m
Date climbed: September 22nd 2023
Coordinates: 56° 16' 27'' N, 4° 45' 18'' W

Route Start & Finish: Inveruglas Visitor Centre, Inveruglas Farm, A82, Arrochar, G83 7DP
Route Distance: 13.3 km (8.3 mile)
Route Elevation change: +/- 904m
Subsidiary tops on route: None
GPX File: get via Buy Me a Coffee
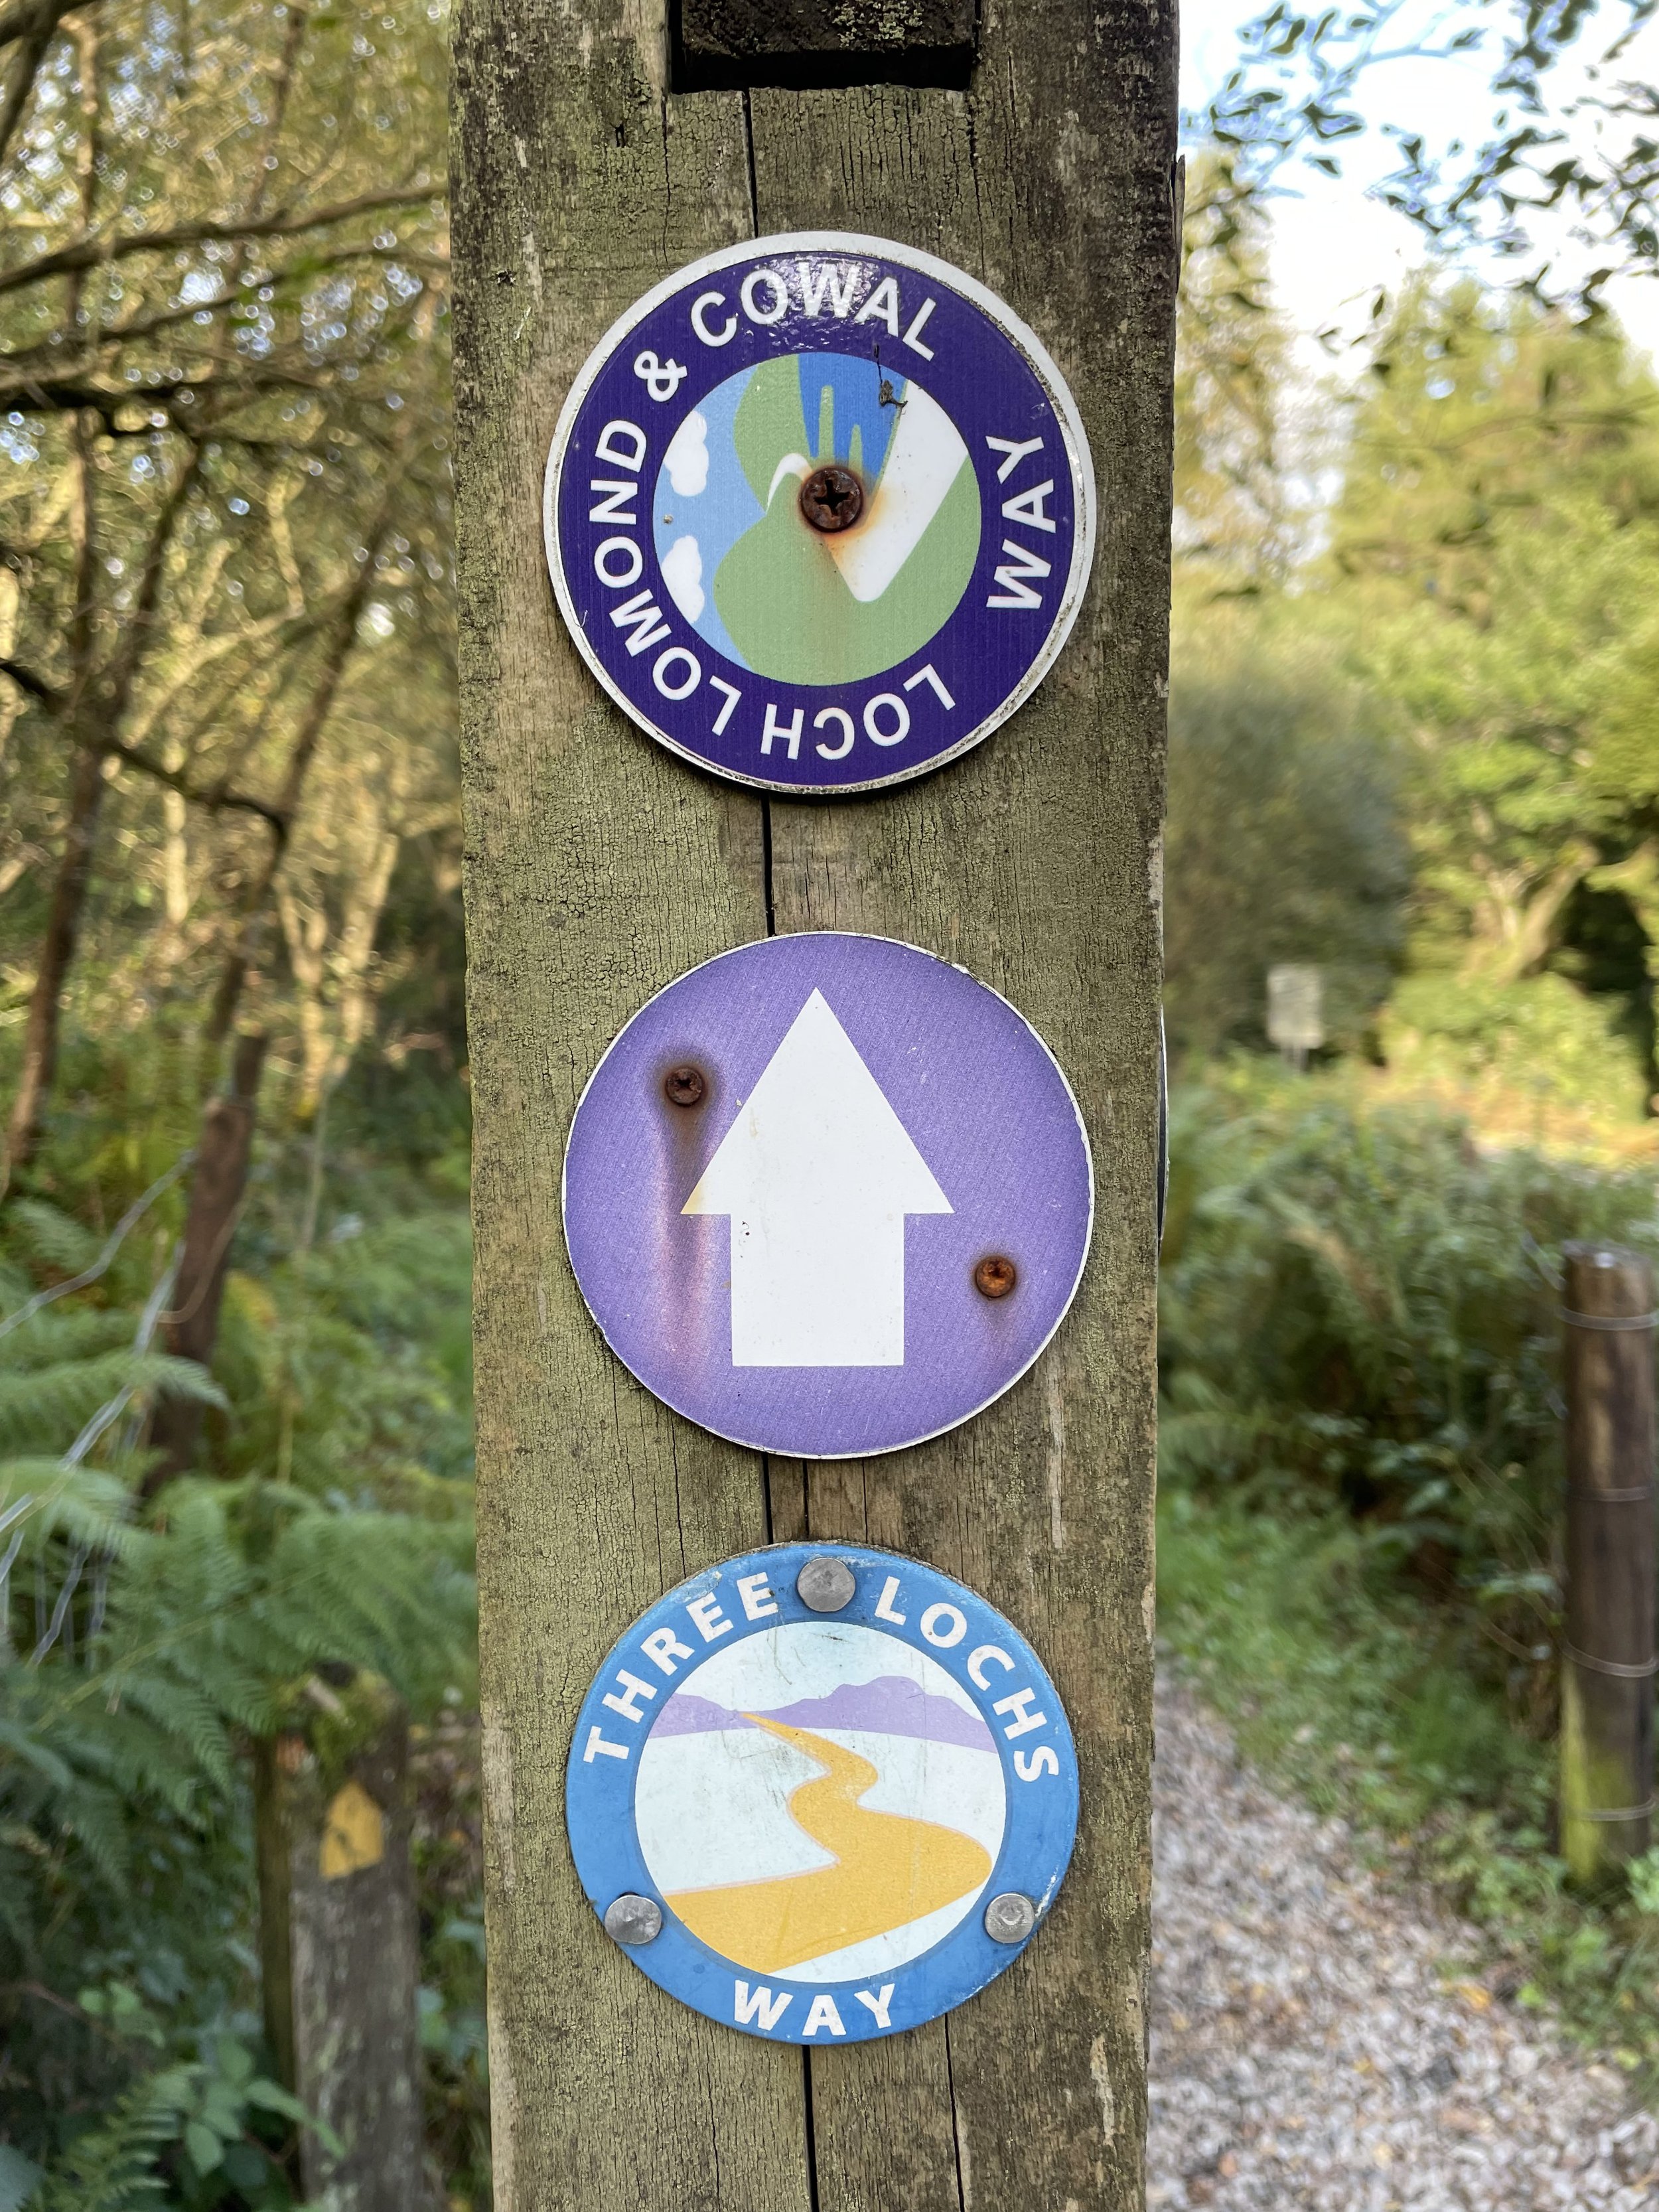
Other routes touched (walk): Loch Lomond and Cowal Way, Three Lochs Way
OS Trig Pillar: TP1309 - Ben Vorlich
Pubs / Cafes on route: Cafe at Inveruglas Visitor Centre at start/finish.
Map: Loch Lomond North Map | Tyndrum, Crianlarich & Arrochar | Ordnance Survey | OS Explorer Map OL39
Guidebook: The UK's County Tops (Jonny Muir)
Links: Wikipedia: (Dunbartonshire / Ben Vorlich), Peakbagger, Hillbagging


This was a day hike as a part of a 4-day Scottish County Top trip to bag Ben Lawers, Ben Vorlich, Ben Lomond and the Hill of Stake. After ticking off Ben Lawers we drove south to Balquhidder to stay at the Mhor 84 hotel ahead of tackling Ben Vorlich the next day.

It was during dinner at Mhor 84 that I realised that there was more than one Ben Vorlich and I had planned for the wrong one. Fortunately the correct one was only a 40 minute drive in the direction of our 3rd peak of the trip so we didn’t lose any time overall. Definitely a lesson learned for future trips as I soon found out that there’s also more than one Morven.

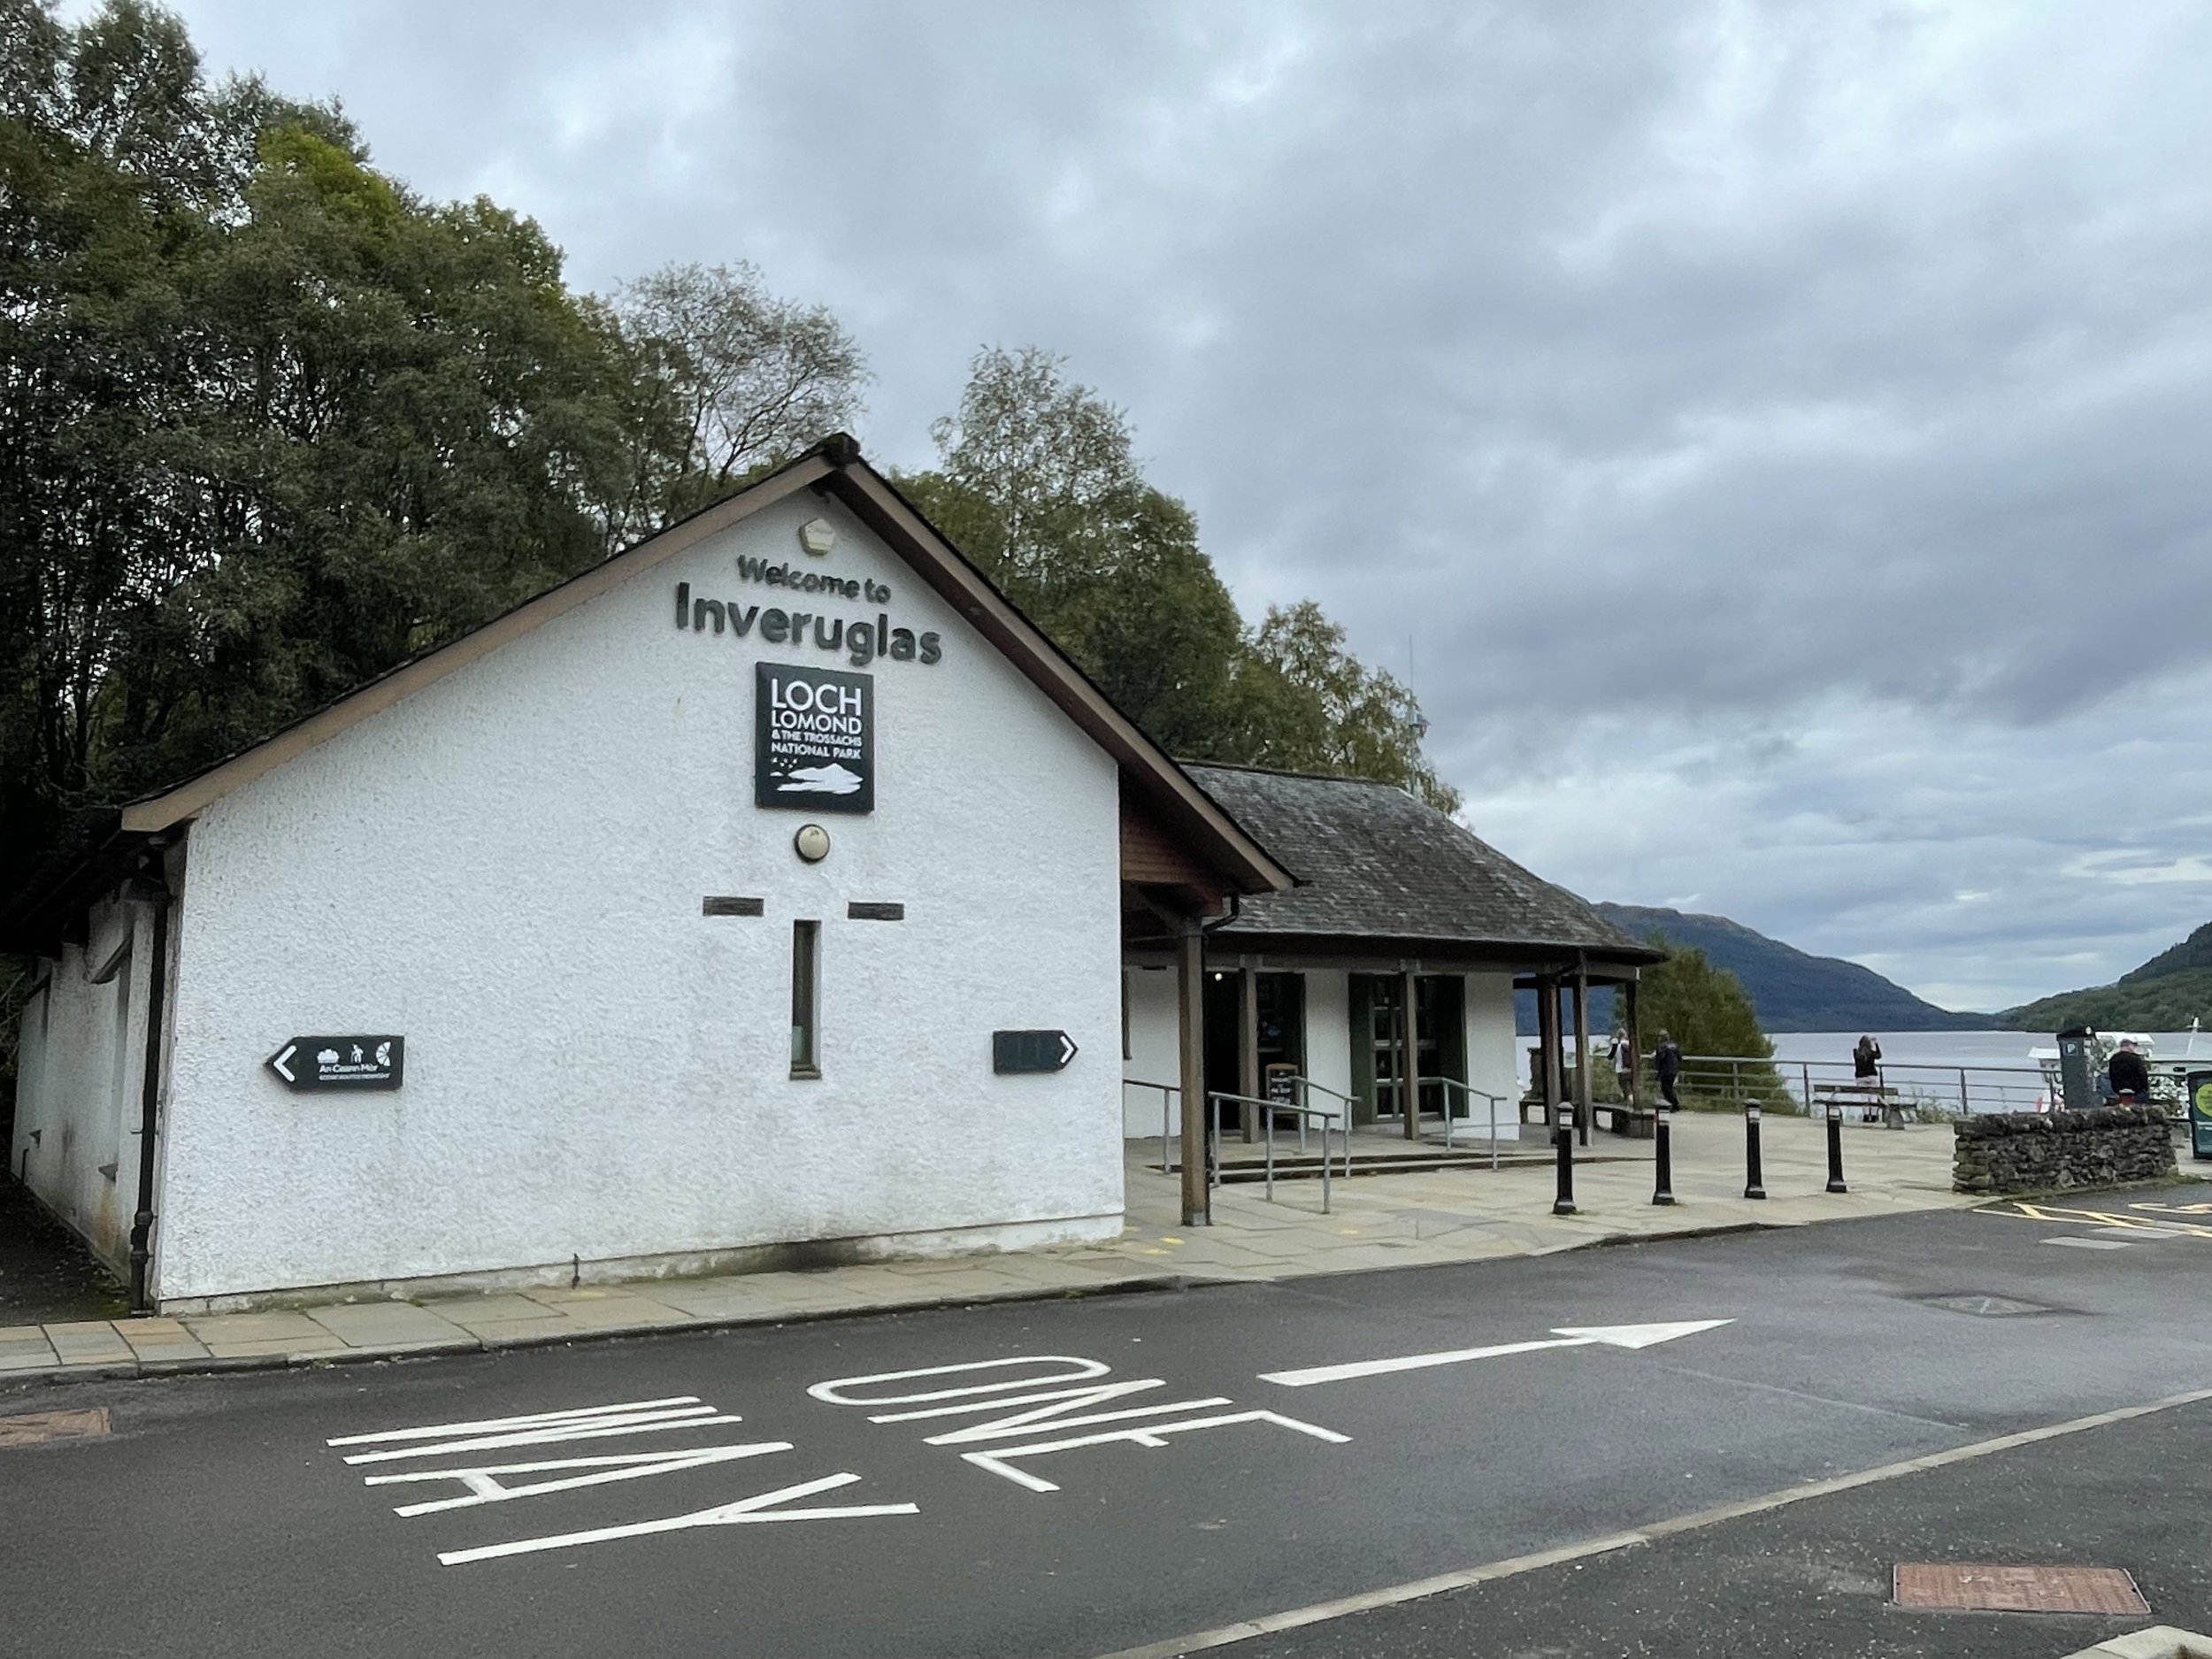
With a brand new route plan we arrived at the Inveruglas Visitor Centre for the start of the walk. We often follow Jonny Muir’s guide for the routes but this time decided to take a southern approach to Ben Vorlich instead of the northern route from Ardlui Station that he took.

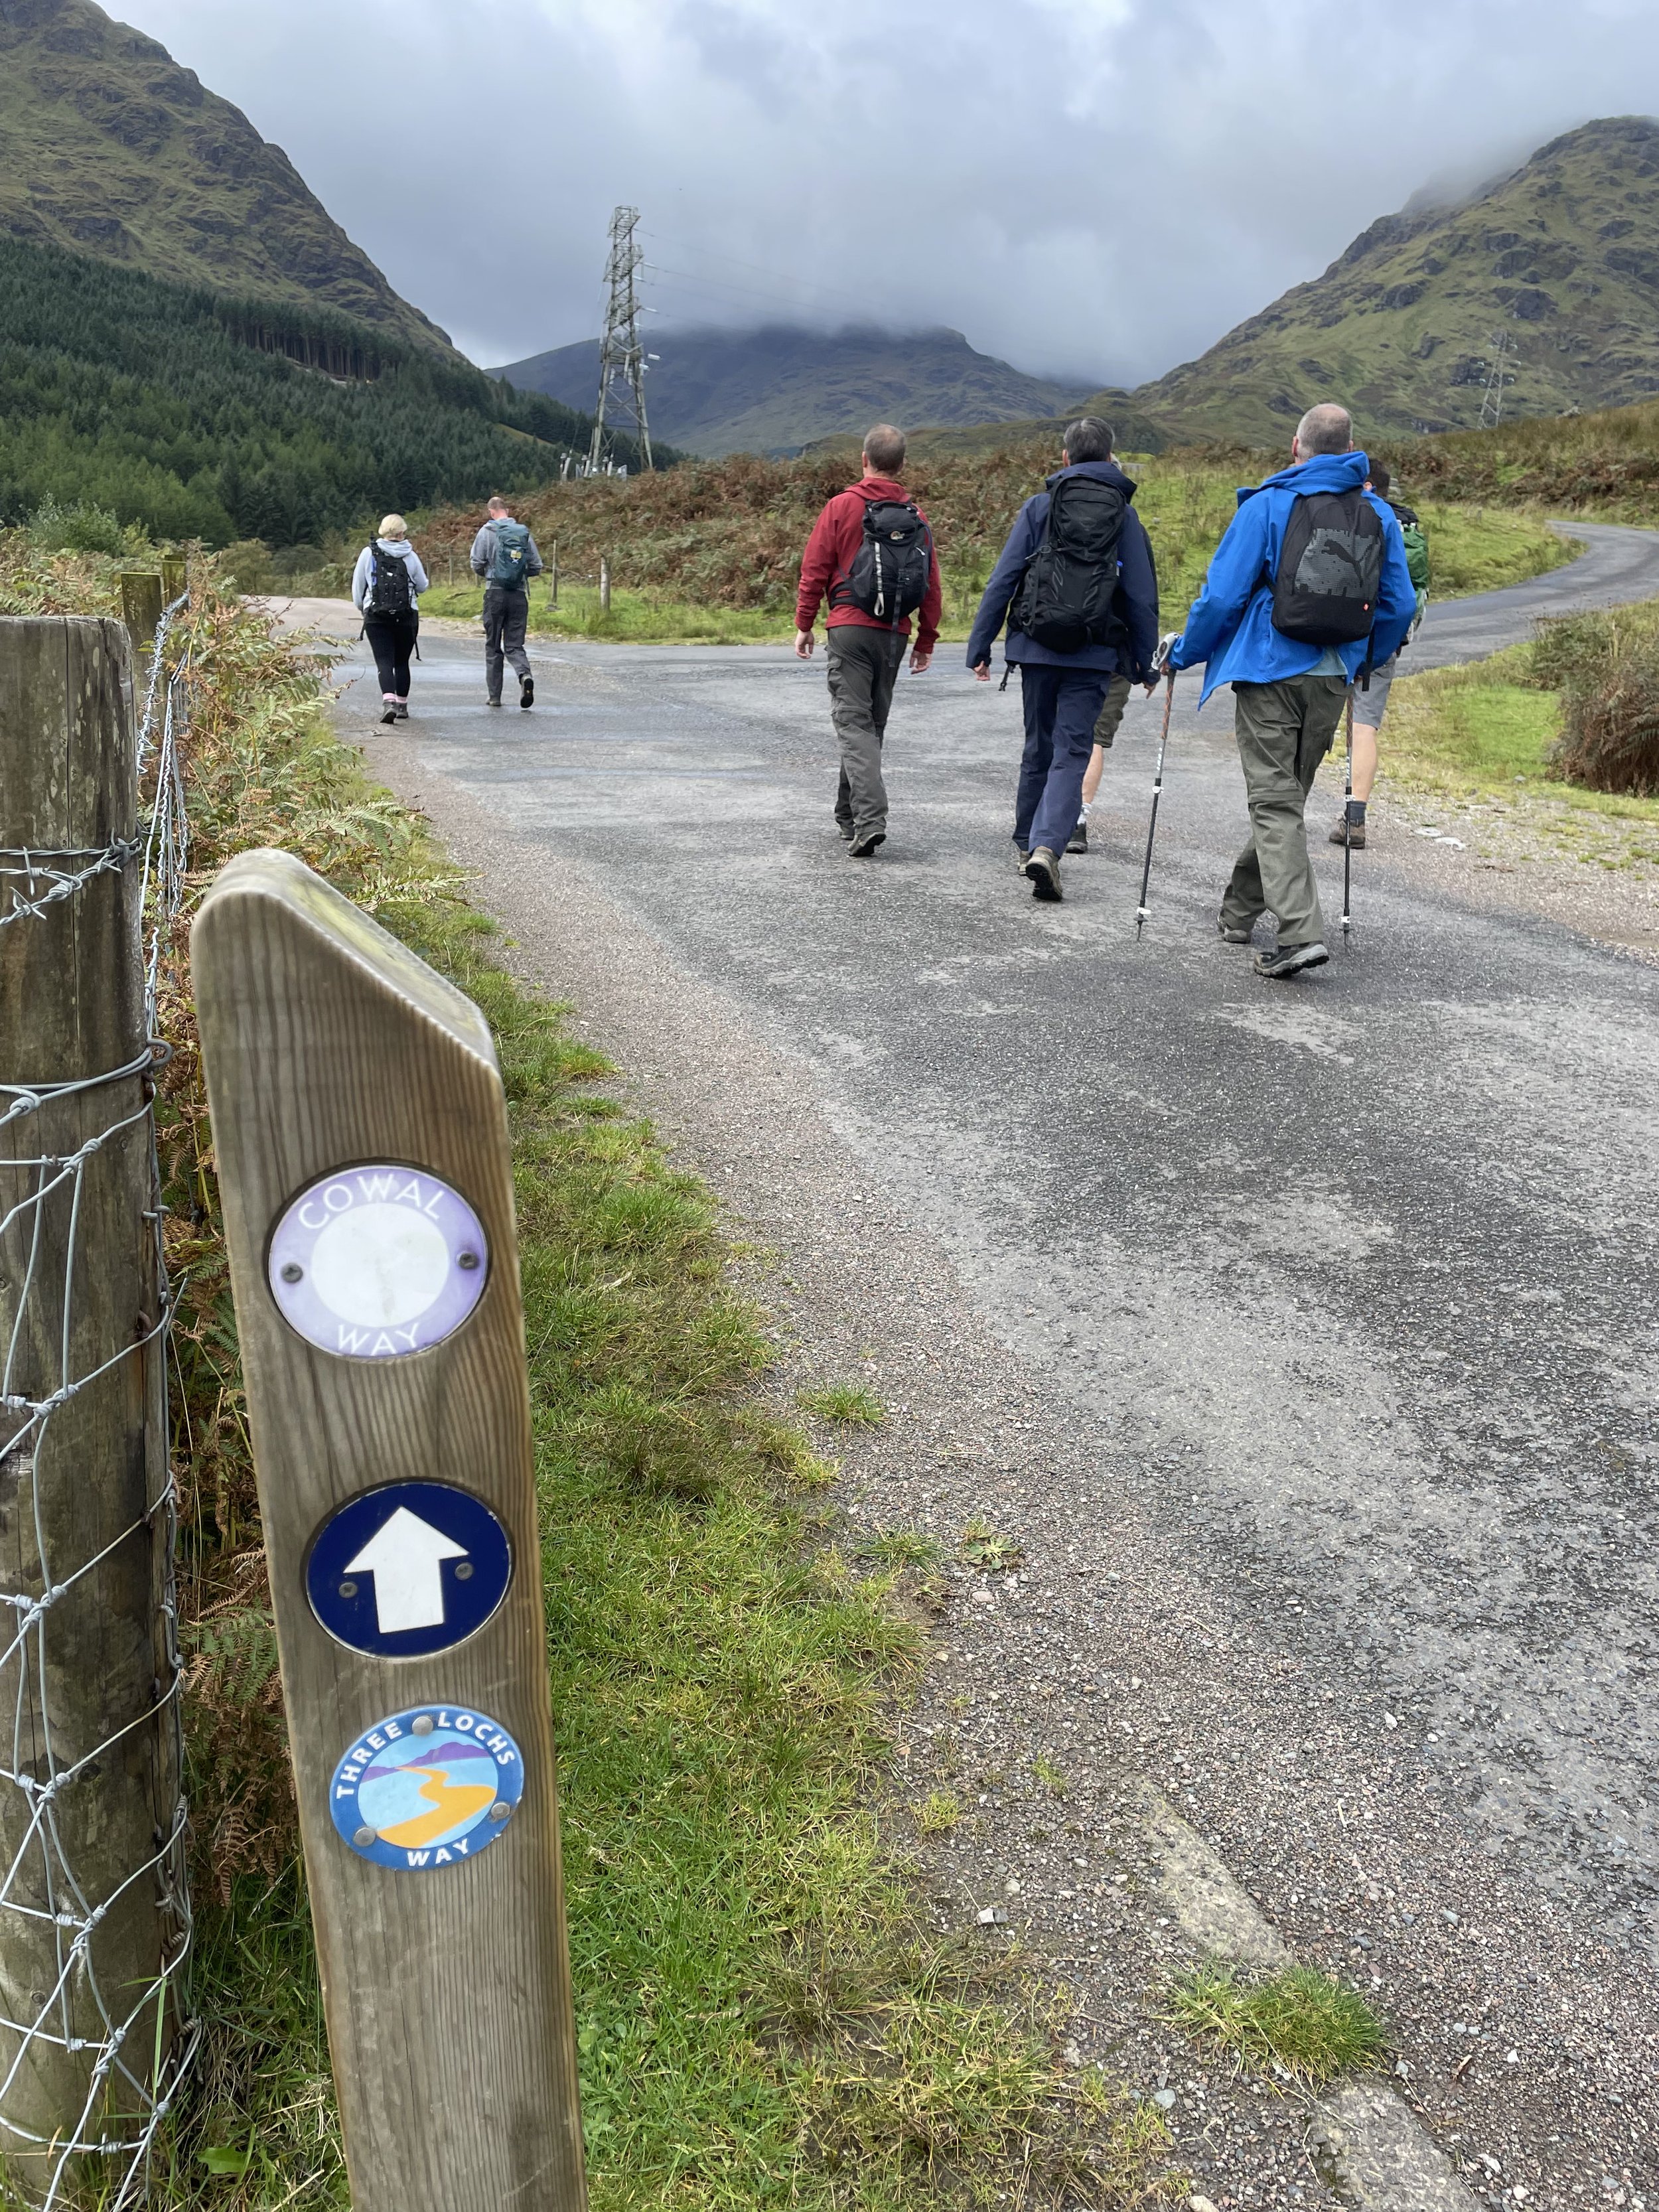
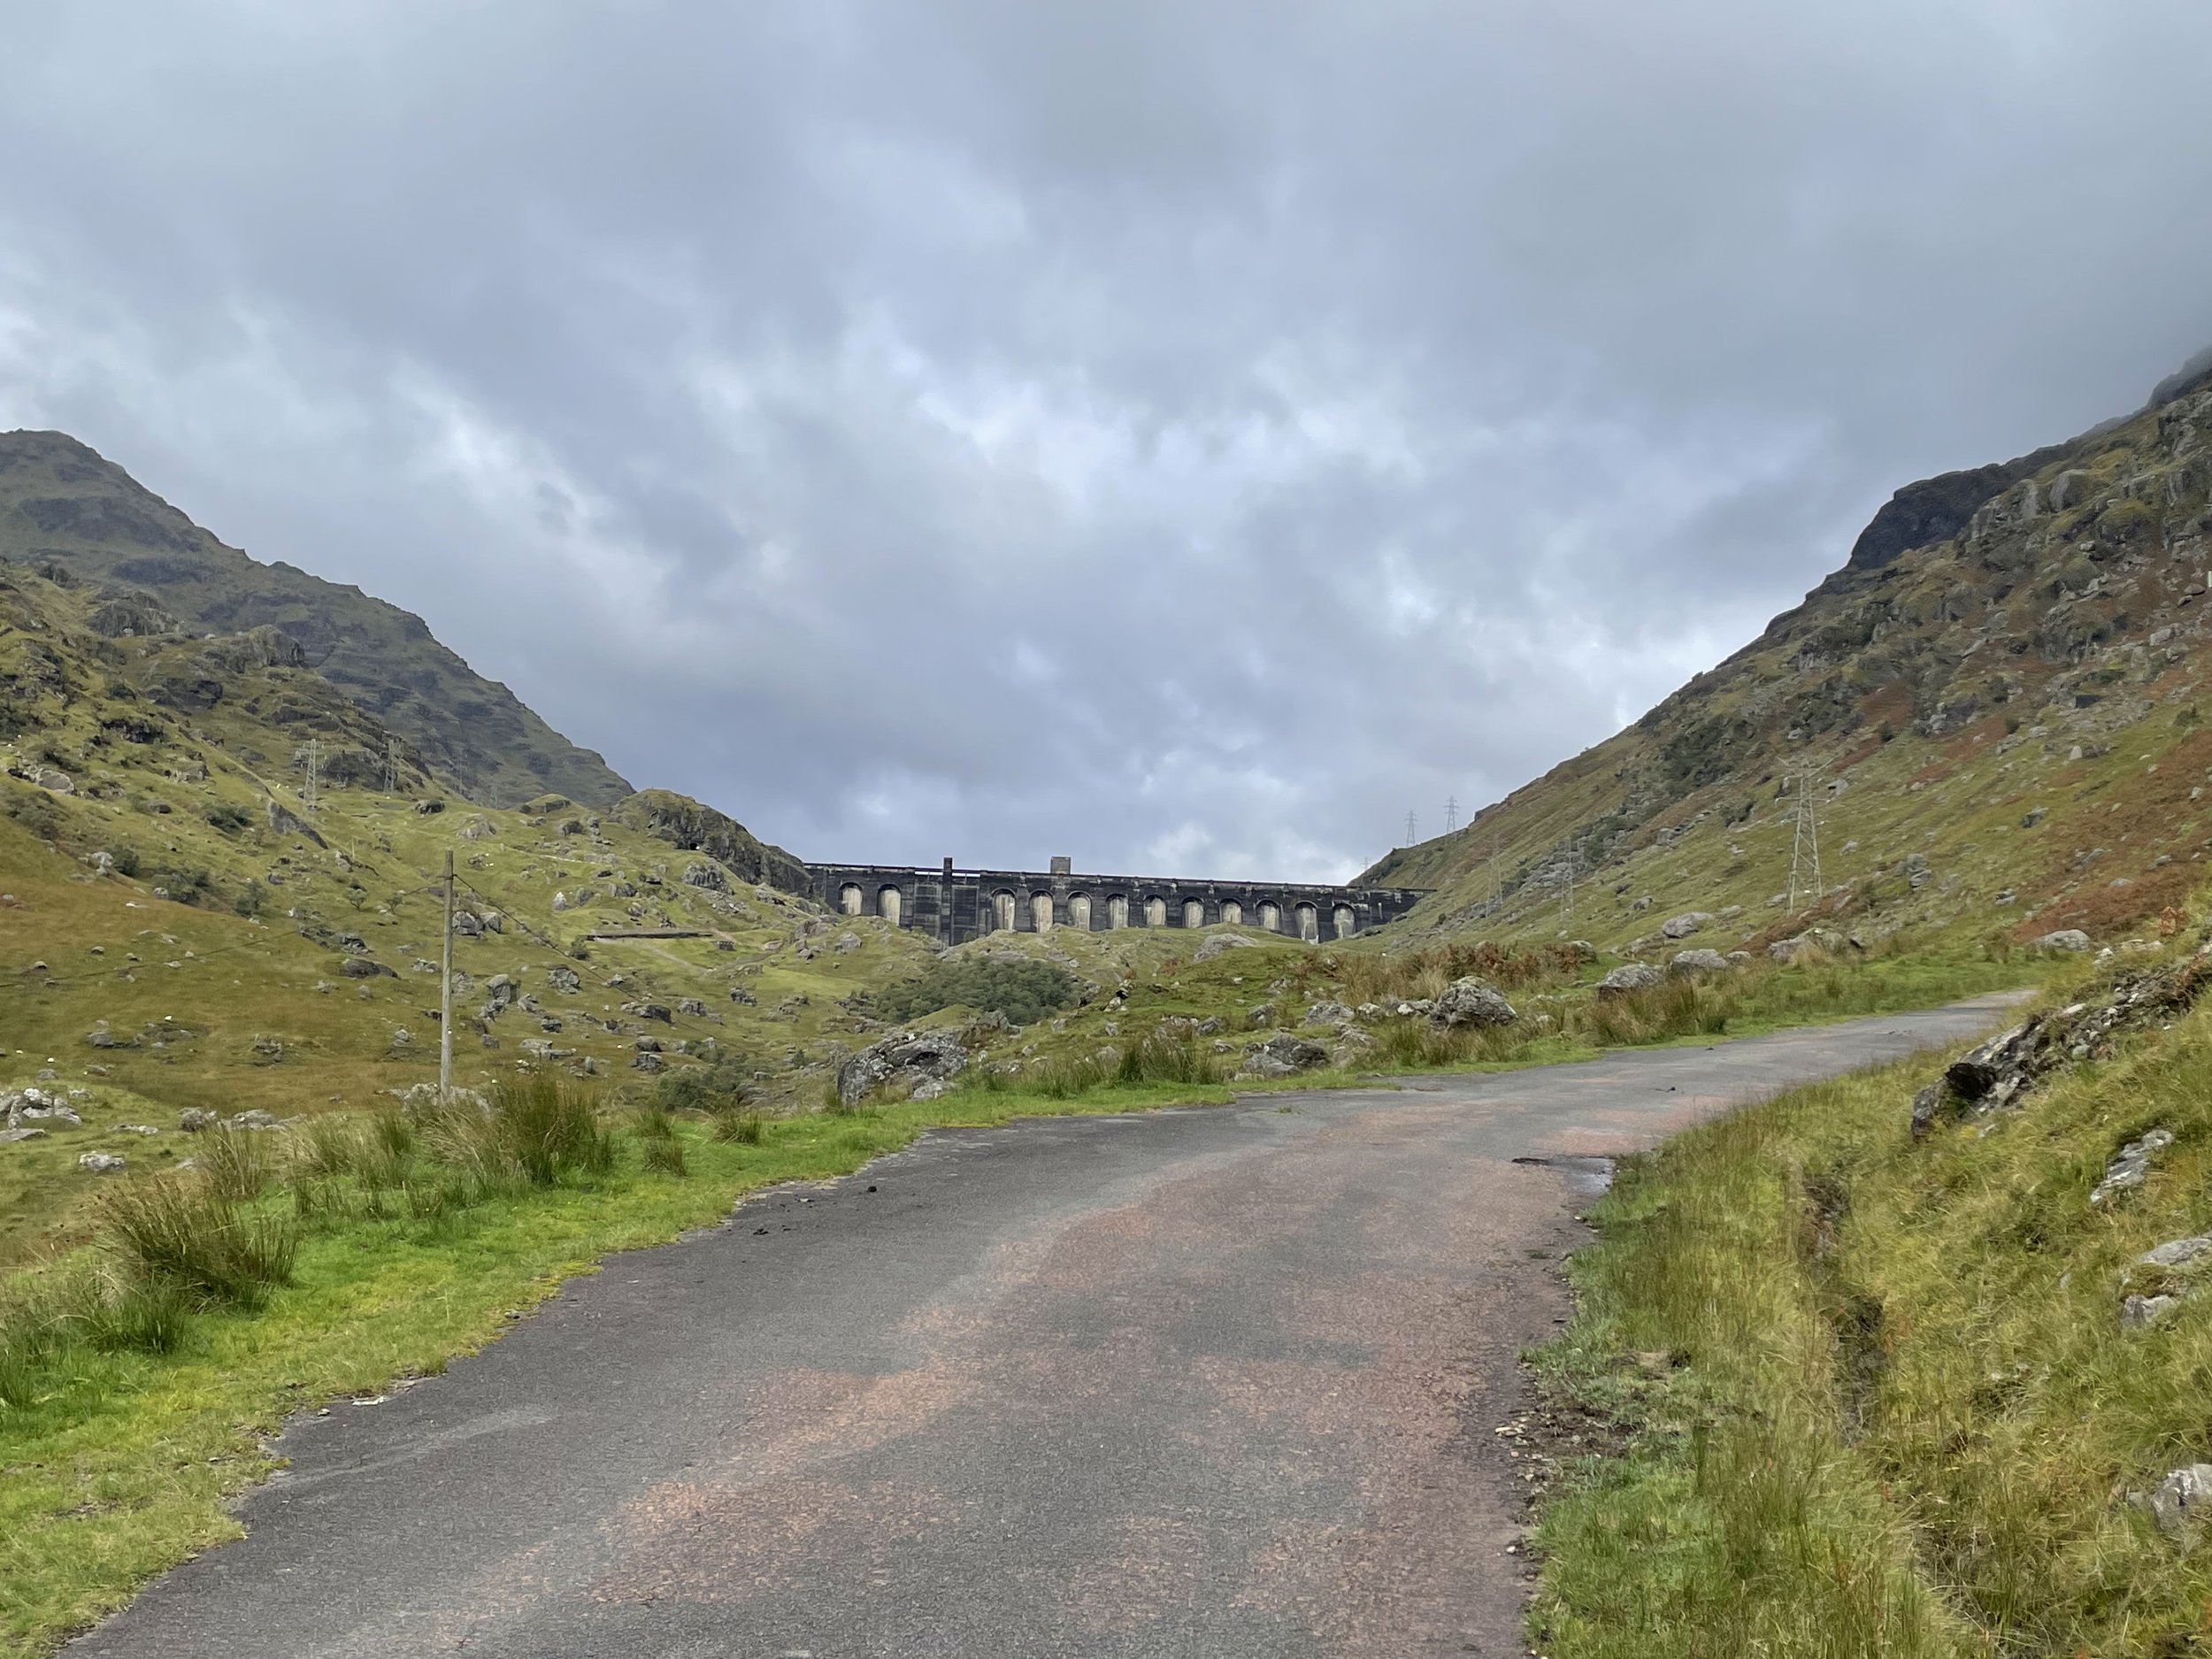
From the Visitor Centre, head south along the Three Lochs Way following the A82. You’ll pass the Hydroelectric Power Station on your right. After ~900m leave the A82, still following the Three Loch Way along a track now heading west. This track runs parallel to the Inveruglas Water (stream), curving to the north to reach the dam at the southern edge of Loch Stoy.

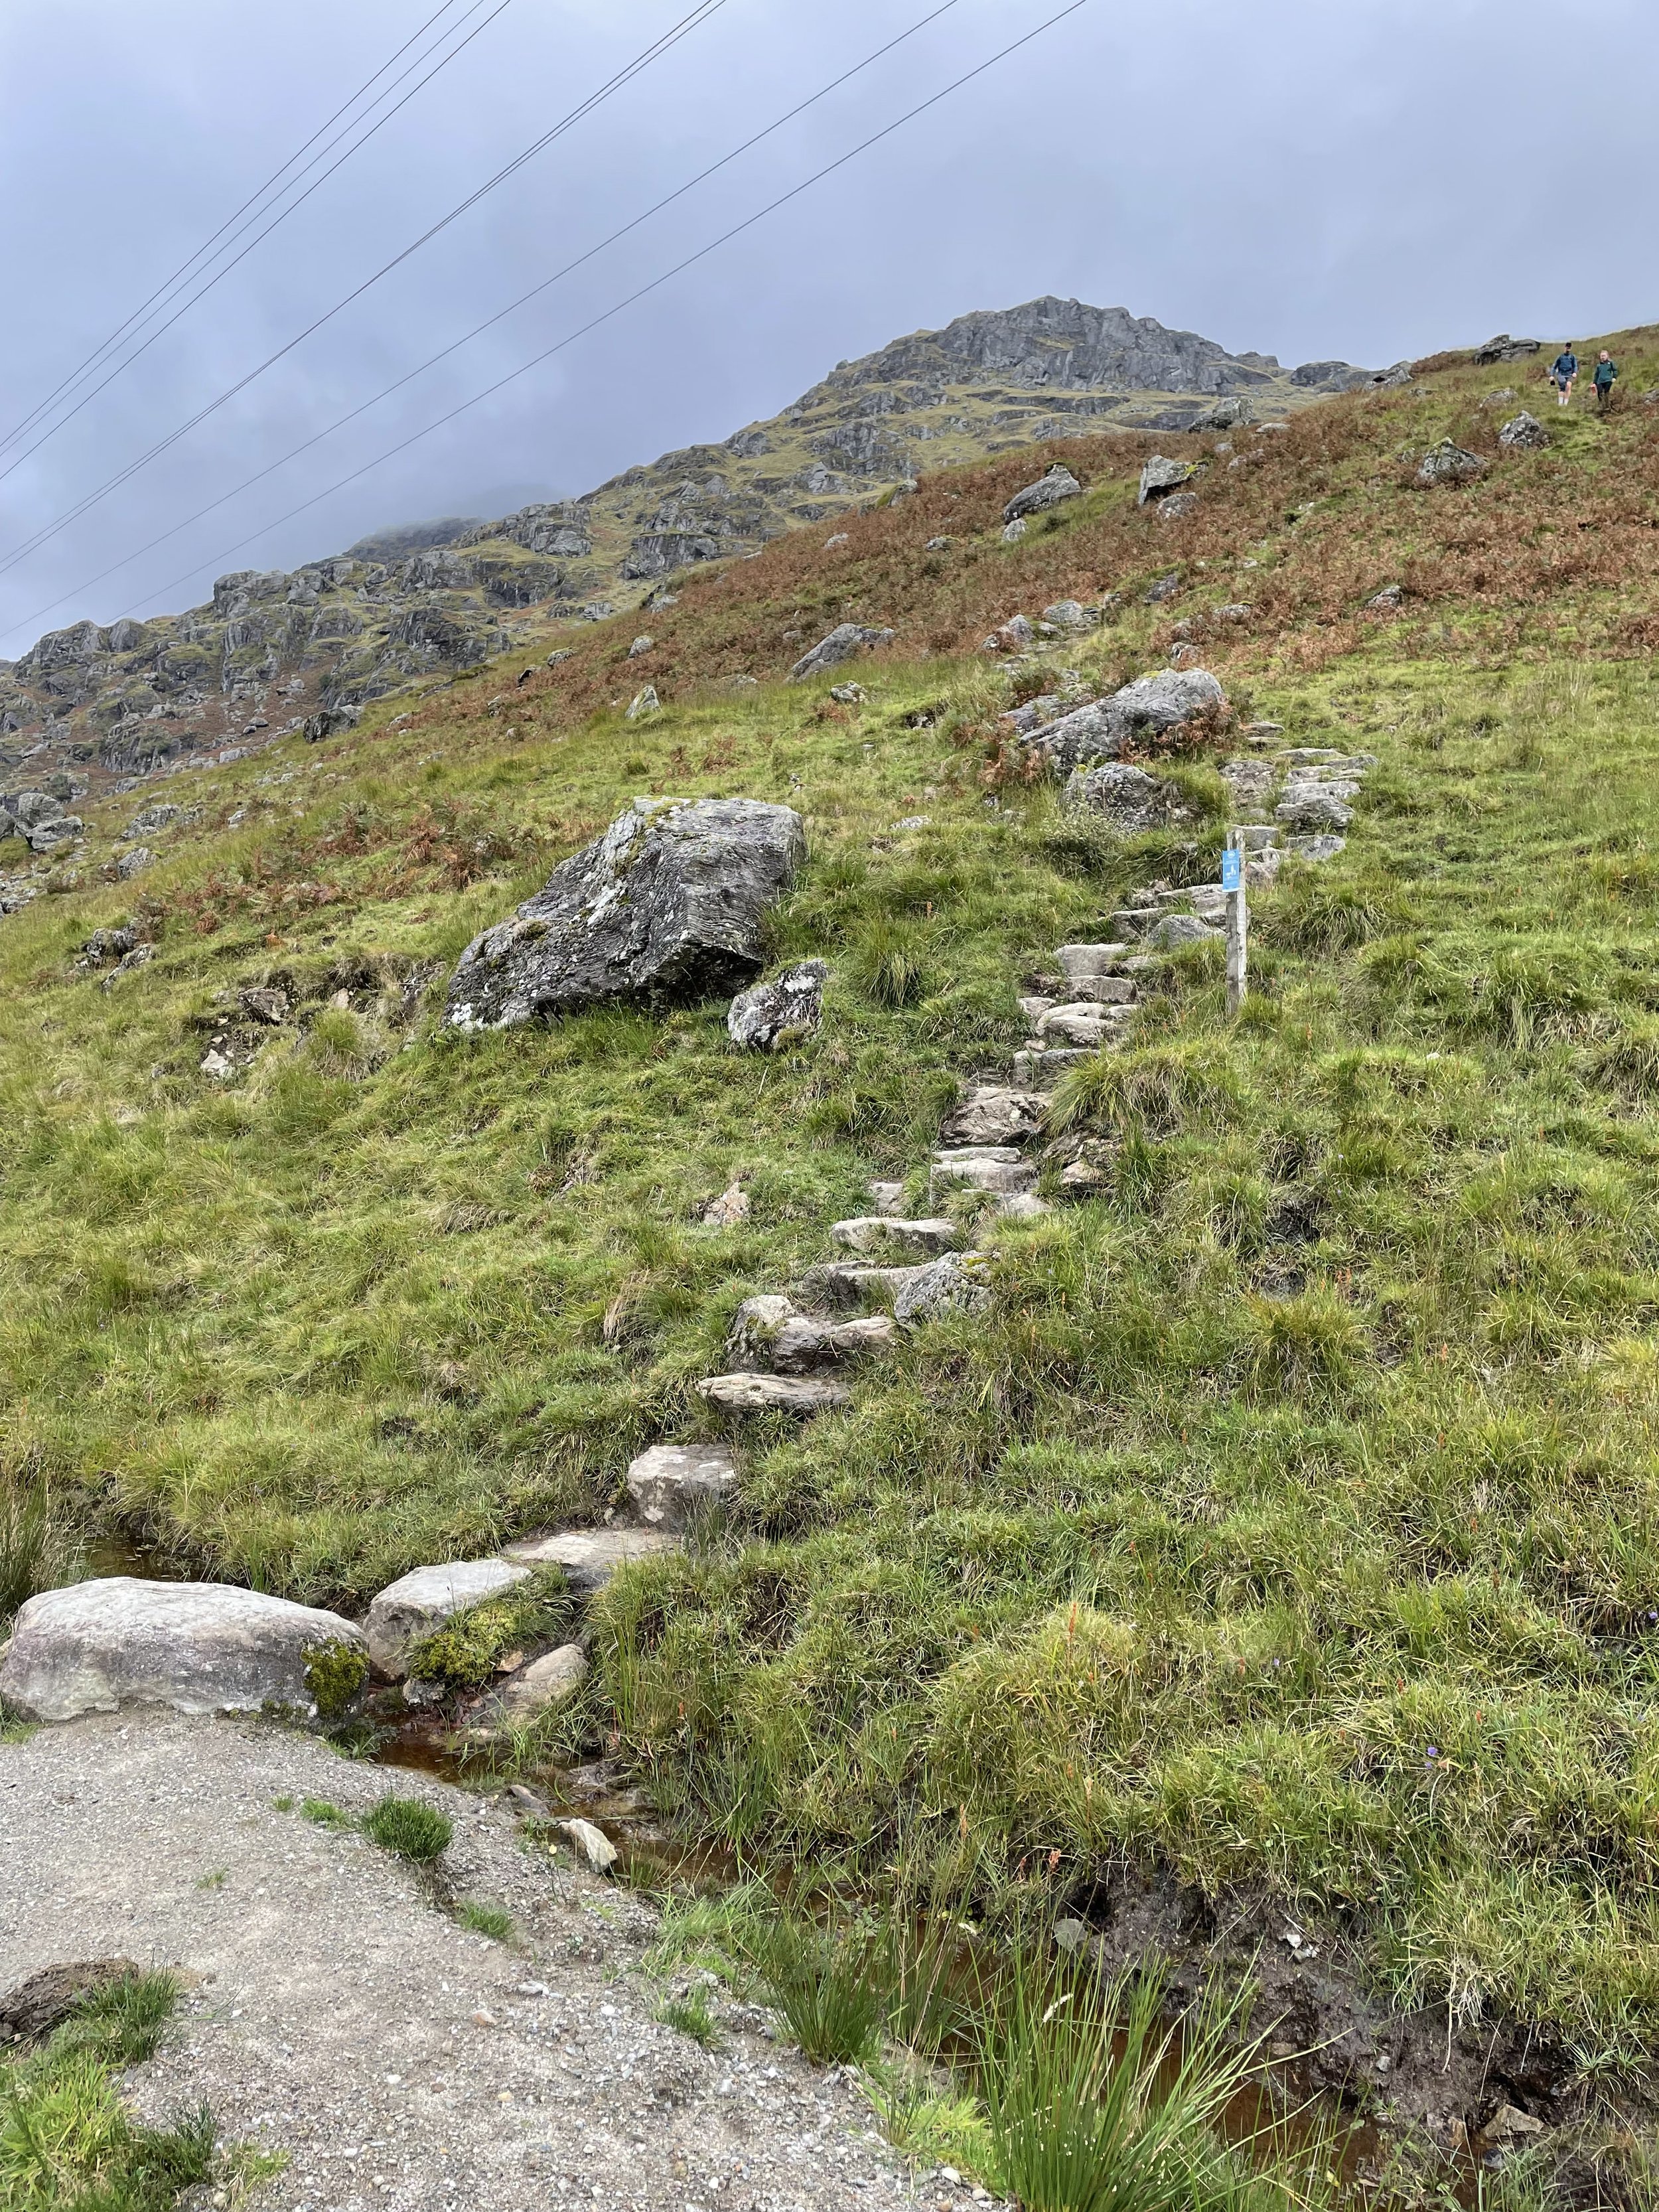
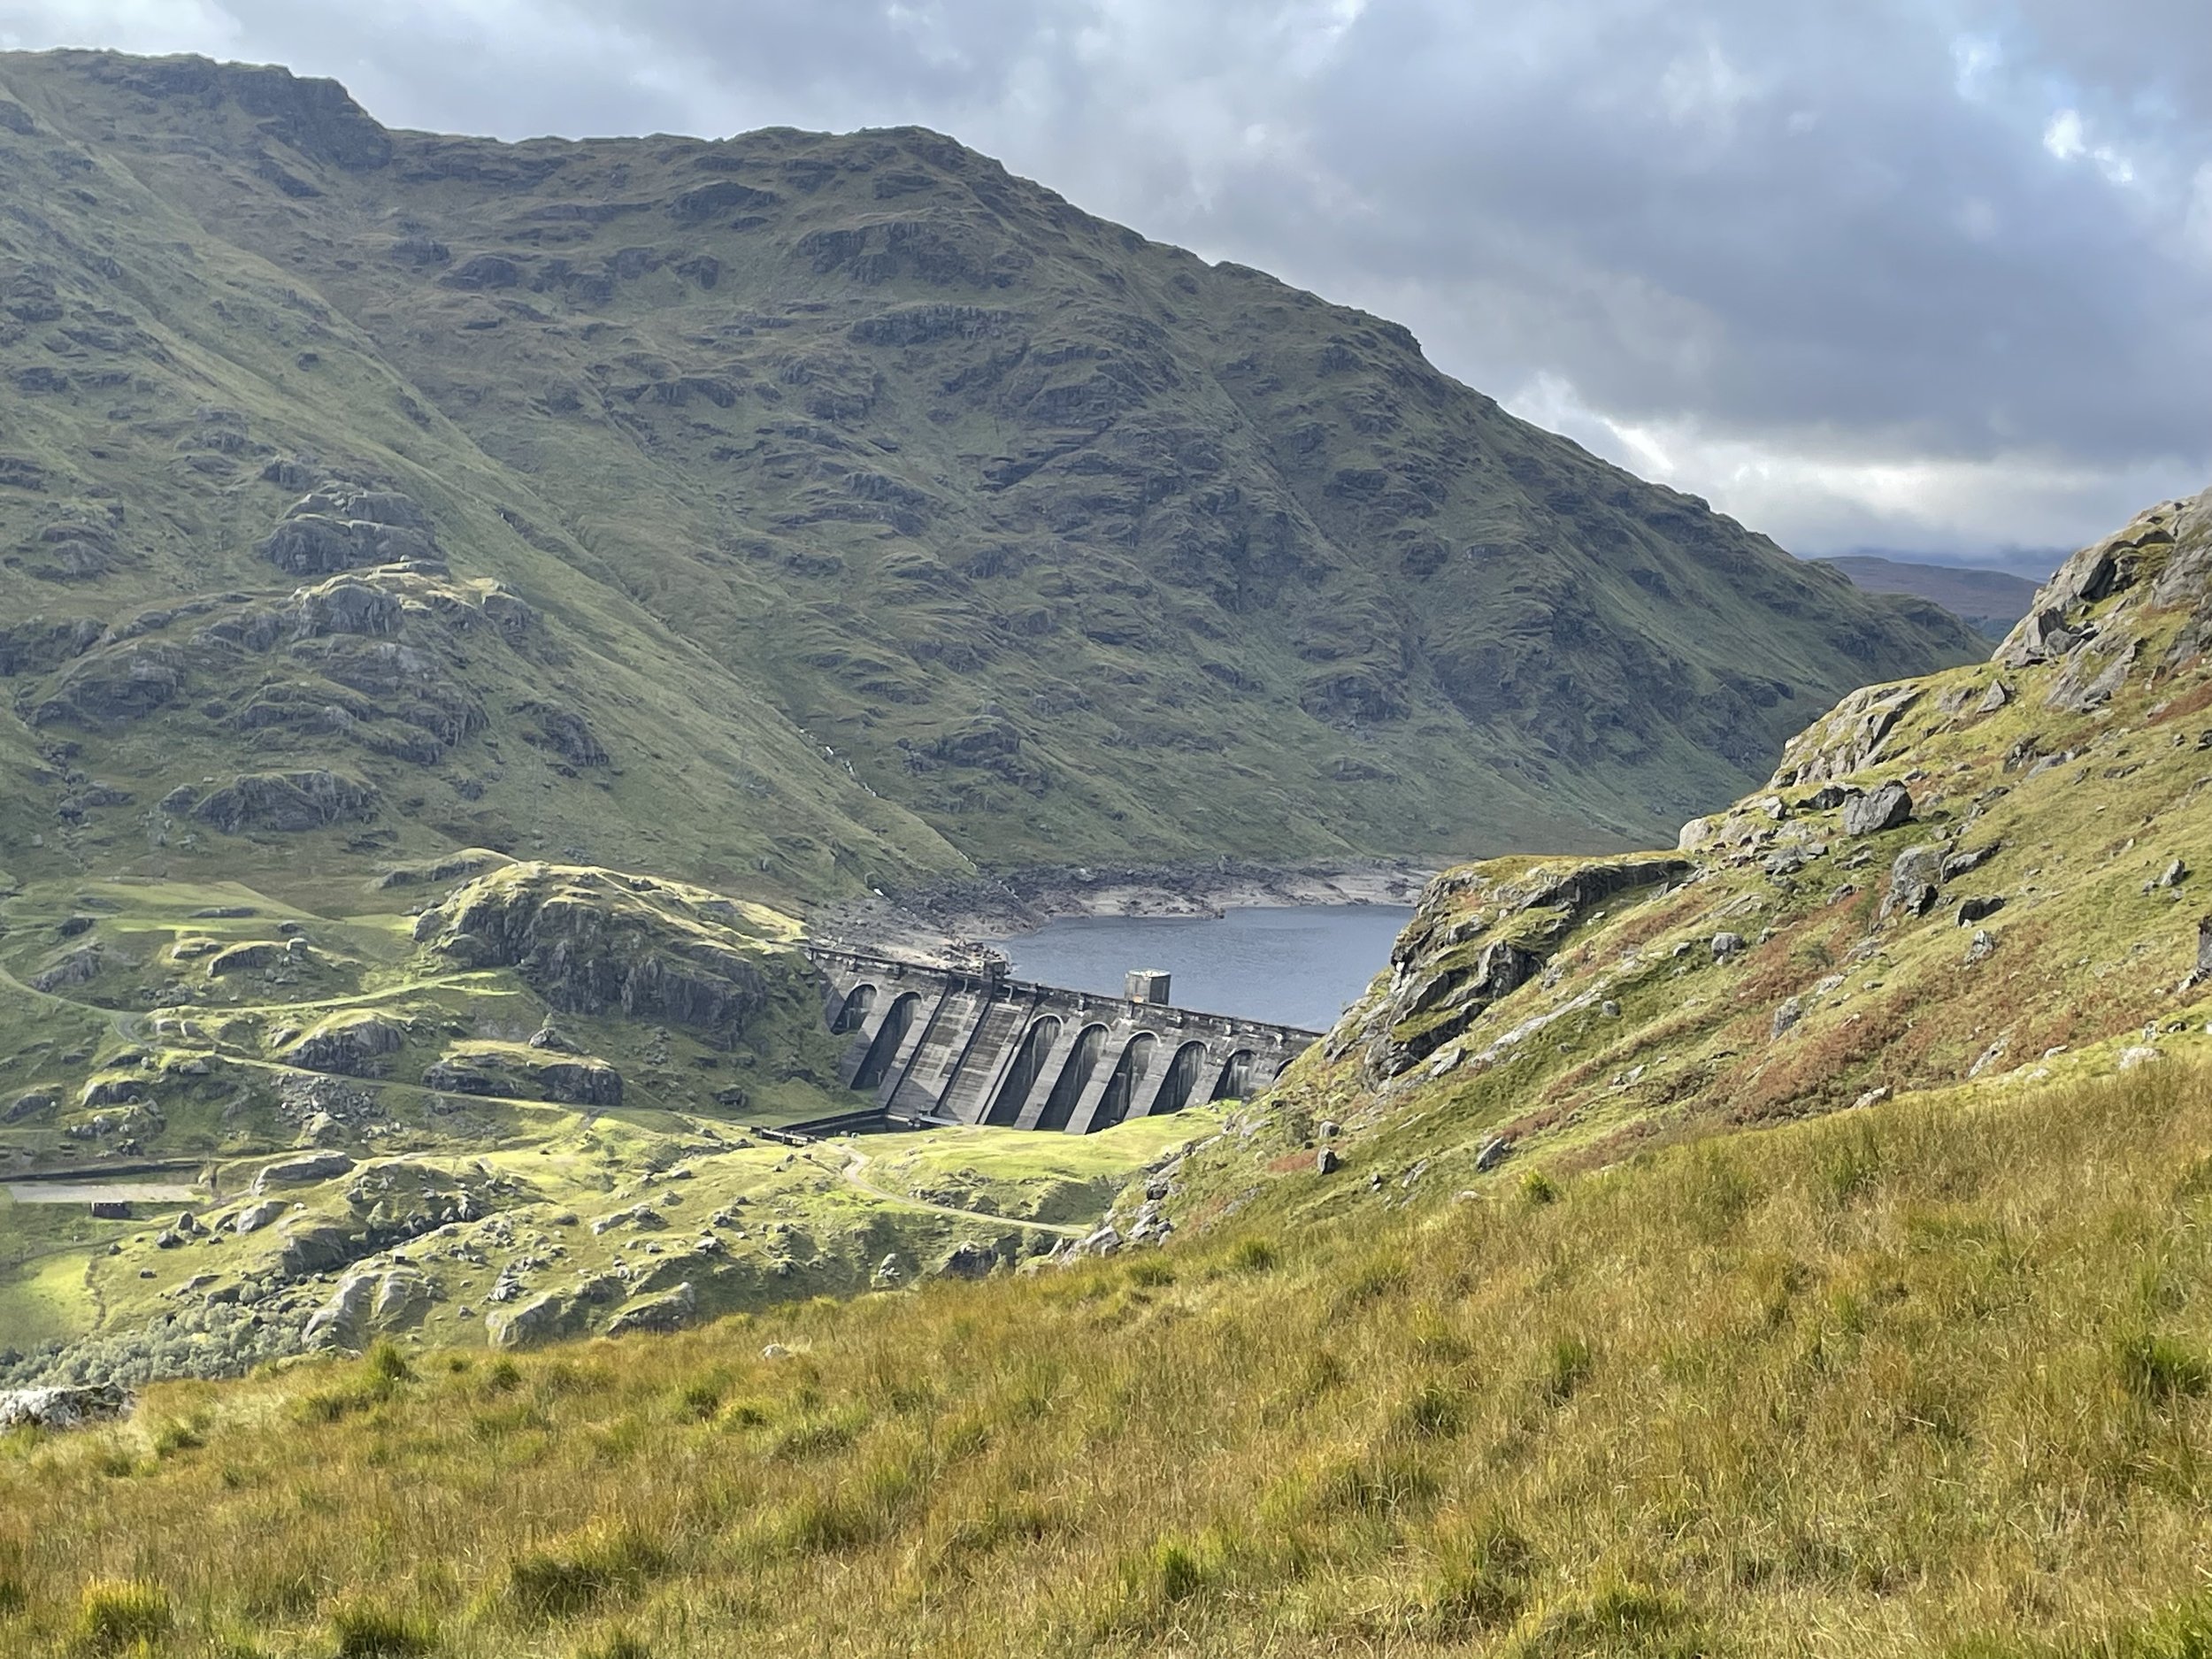
At ~3km from leaving the A82 and 1 km before the dam you’ll meet a footpath heading steeply up to the right. This is a good place to take a break before the main ascent. Once on the path it’s a further 2.6 km climb to the cairn that marks the summit. You’ll pass the Ben Vorlich Trig Pillar shortly before the high point. For the descent retrace your steps back to the Visitor Centre. As with our Ben Lawers trip the day before, we had a lot of mist, drizzle and wind at the top but much better weather as we descended. Our slog to the top was rewarded by amazing views over both Loch Lomond and Loch Stoy.


Other High Points in the Historic County of Dunbartonshire


Back to Scottish County Tops Index
Ben Lawers: Perthshire County Top

Descending Ben Lawyers towards Beinn Ghlas


Also known as: Beinn Labhair
Significance
: High Point for the Historic County of Perthshire, Council Top for Perth and Kinross, Loch Rannoch and Glen Lyon NSA High Point
Member of: Munros, Marilyns
Parent Peak: Ben Nevis
Nearest Higher Neighbour: Aonach Beag
Elevation: 1,124m
Date climbed: September 21st 2023
Coordinates: 56° 32' 42'' N, 4° 13' 15'' W

Route Start & Finish: National Trust of Scotland Ben Lawers Car Park, Killin, FK21 8TY
Route Distance: 11.4 km (7.1 mile)
Route Elevation change: +/- 838m
Subsidiary tops on route: Beinn Ghlas
GPX File: get via Buy Me a Coffee
Other routes touched (walk): Ben Lawers Trail
OS Trig Pillar: TP1281 - Ben Lawers
Pubs / Cafes on route: N/A
Map: Ben Lawers & Glen Lyon Map | Loch Tay, Killin & Kenmore | Ordnance Survey | OS Explorer Map OL48
Guidebook: The UK's County Tops (Jonny Muir)
Links: Wikipedia: (Perthshire / Ben Lawers), Peakbagger, Hillbagging


This was a day hike as a part of a 4-day Scottish County Top trip to bag Ben Lawers, Ben Vorlich, Ben Lomond and the Hill of Stake. First up was Ben Lawers, the 3rd highest UK Historic County Top and the highest of this particular trip.
After a flight from London and a 2 hour drive from Glasgow we arrived at the National Trust car park at the start of the trail. The Ben Lawers Trail is well marked and maintained making navigation very easy. We also had good visibility on the day, although the summit was wet and very windy. The trek to the summit passes over Beinn Ghlas, a 1103 m Munro, followed by a small descent before a steep climb to the Ben Lawers Trig Pillar.

For the return to the car park you can either retrace your steps over Beinn Ghlas or take an alternative path to the west from the col between the two peaks. This alternative route rejoins the main Ben Lawers Trail by a fence at 2.2 km from the car park.


Back to Scottish County Tops Index
Walking Mount Etna

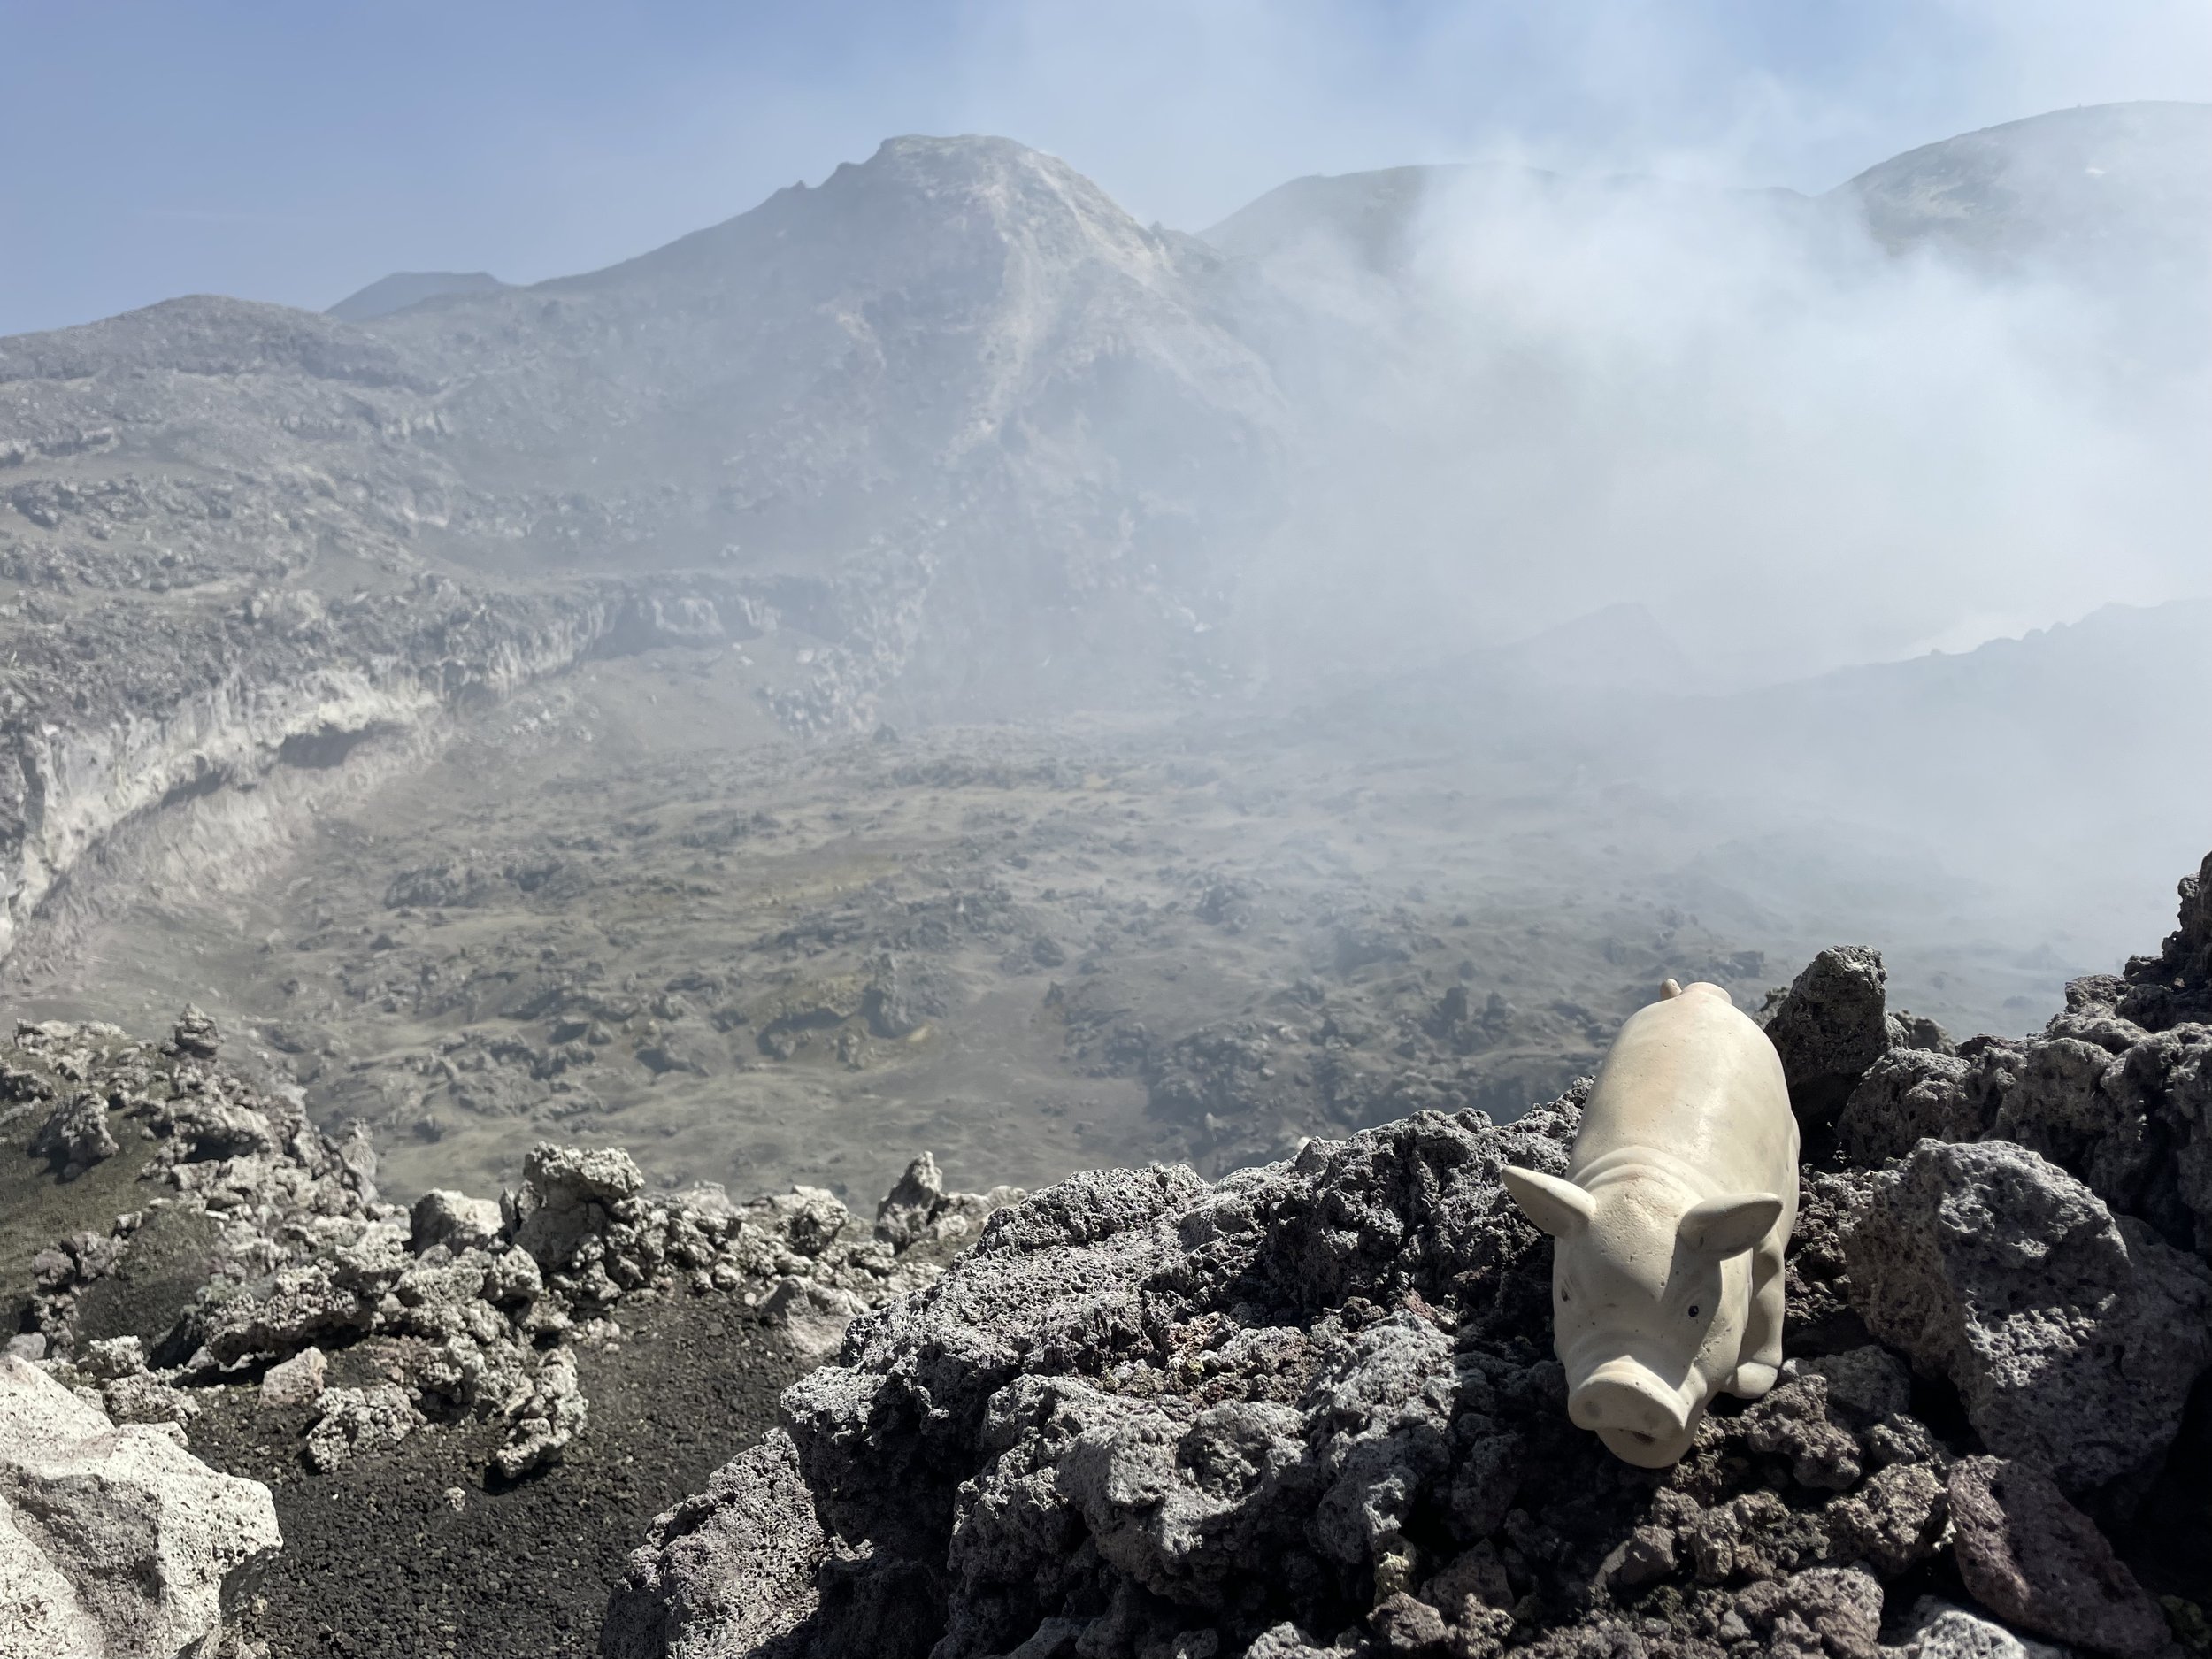
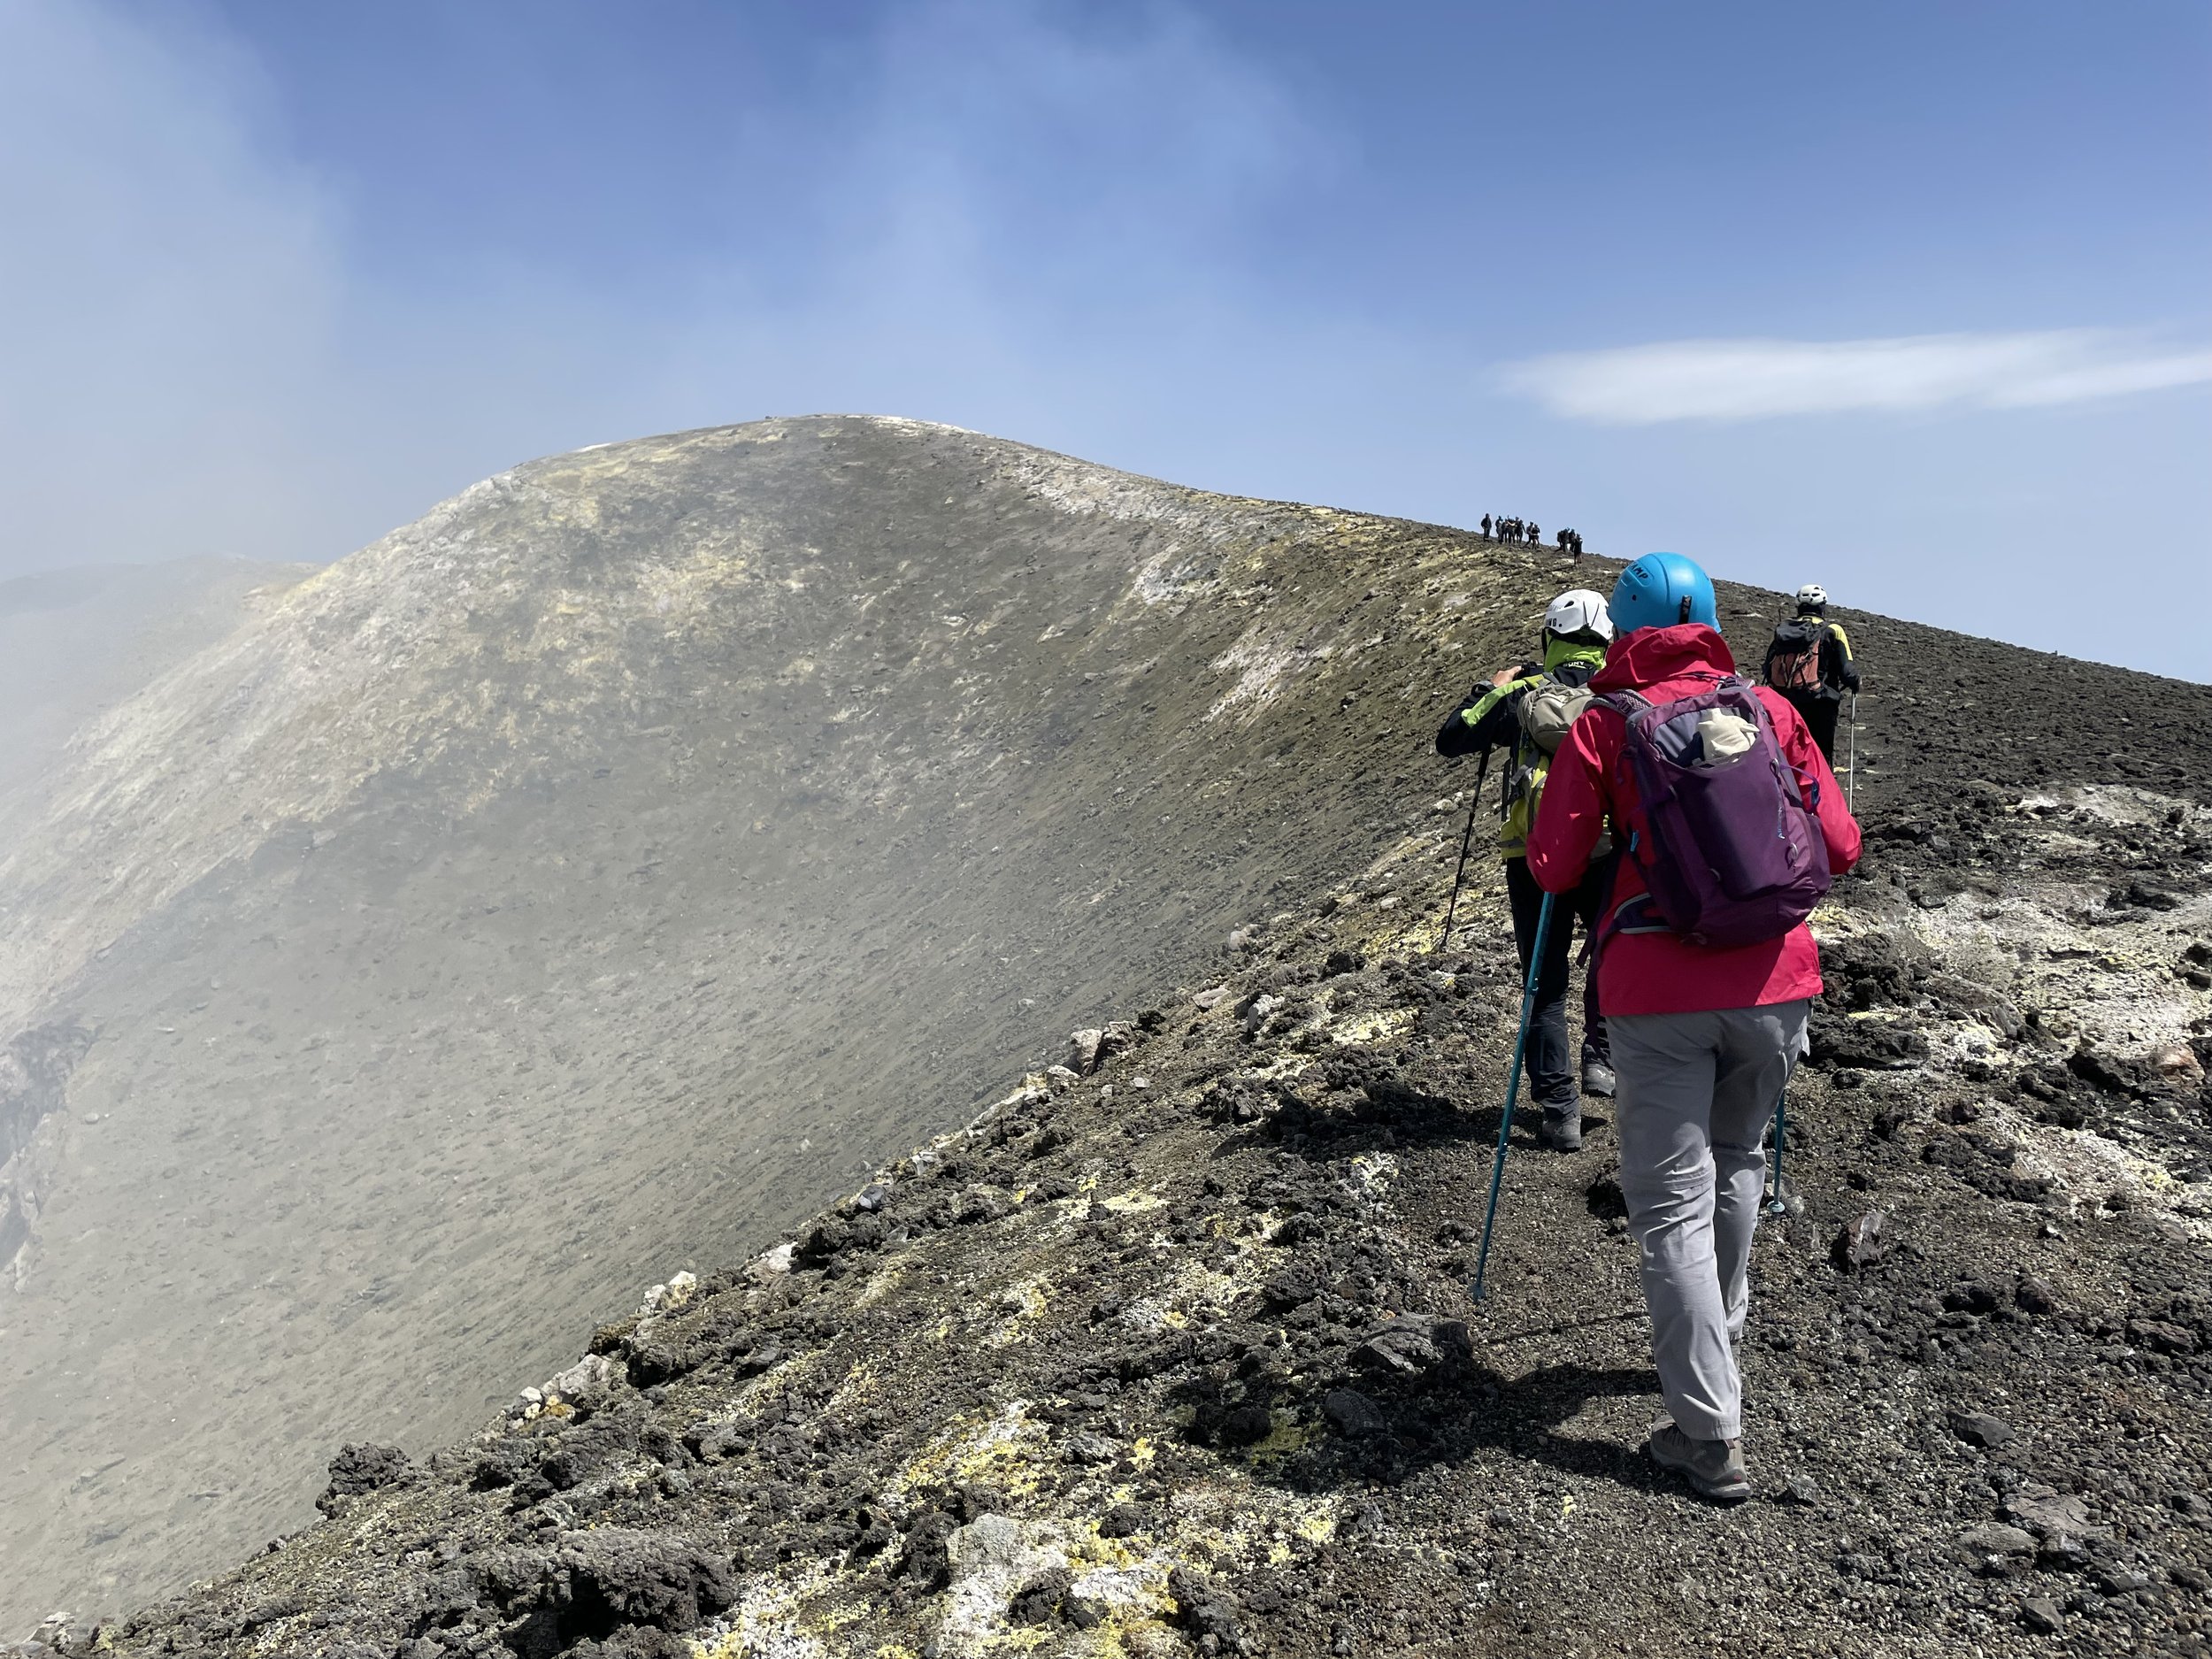
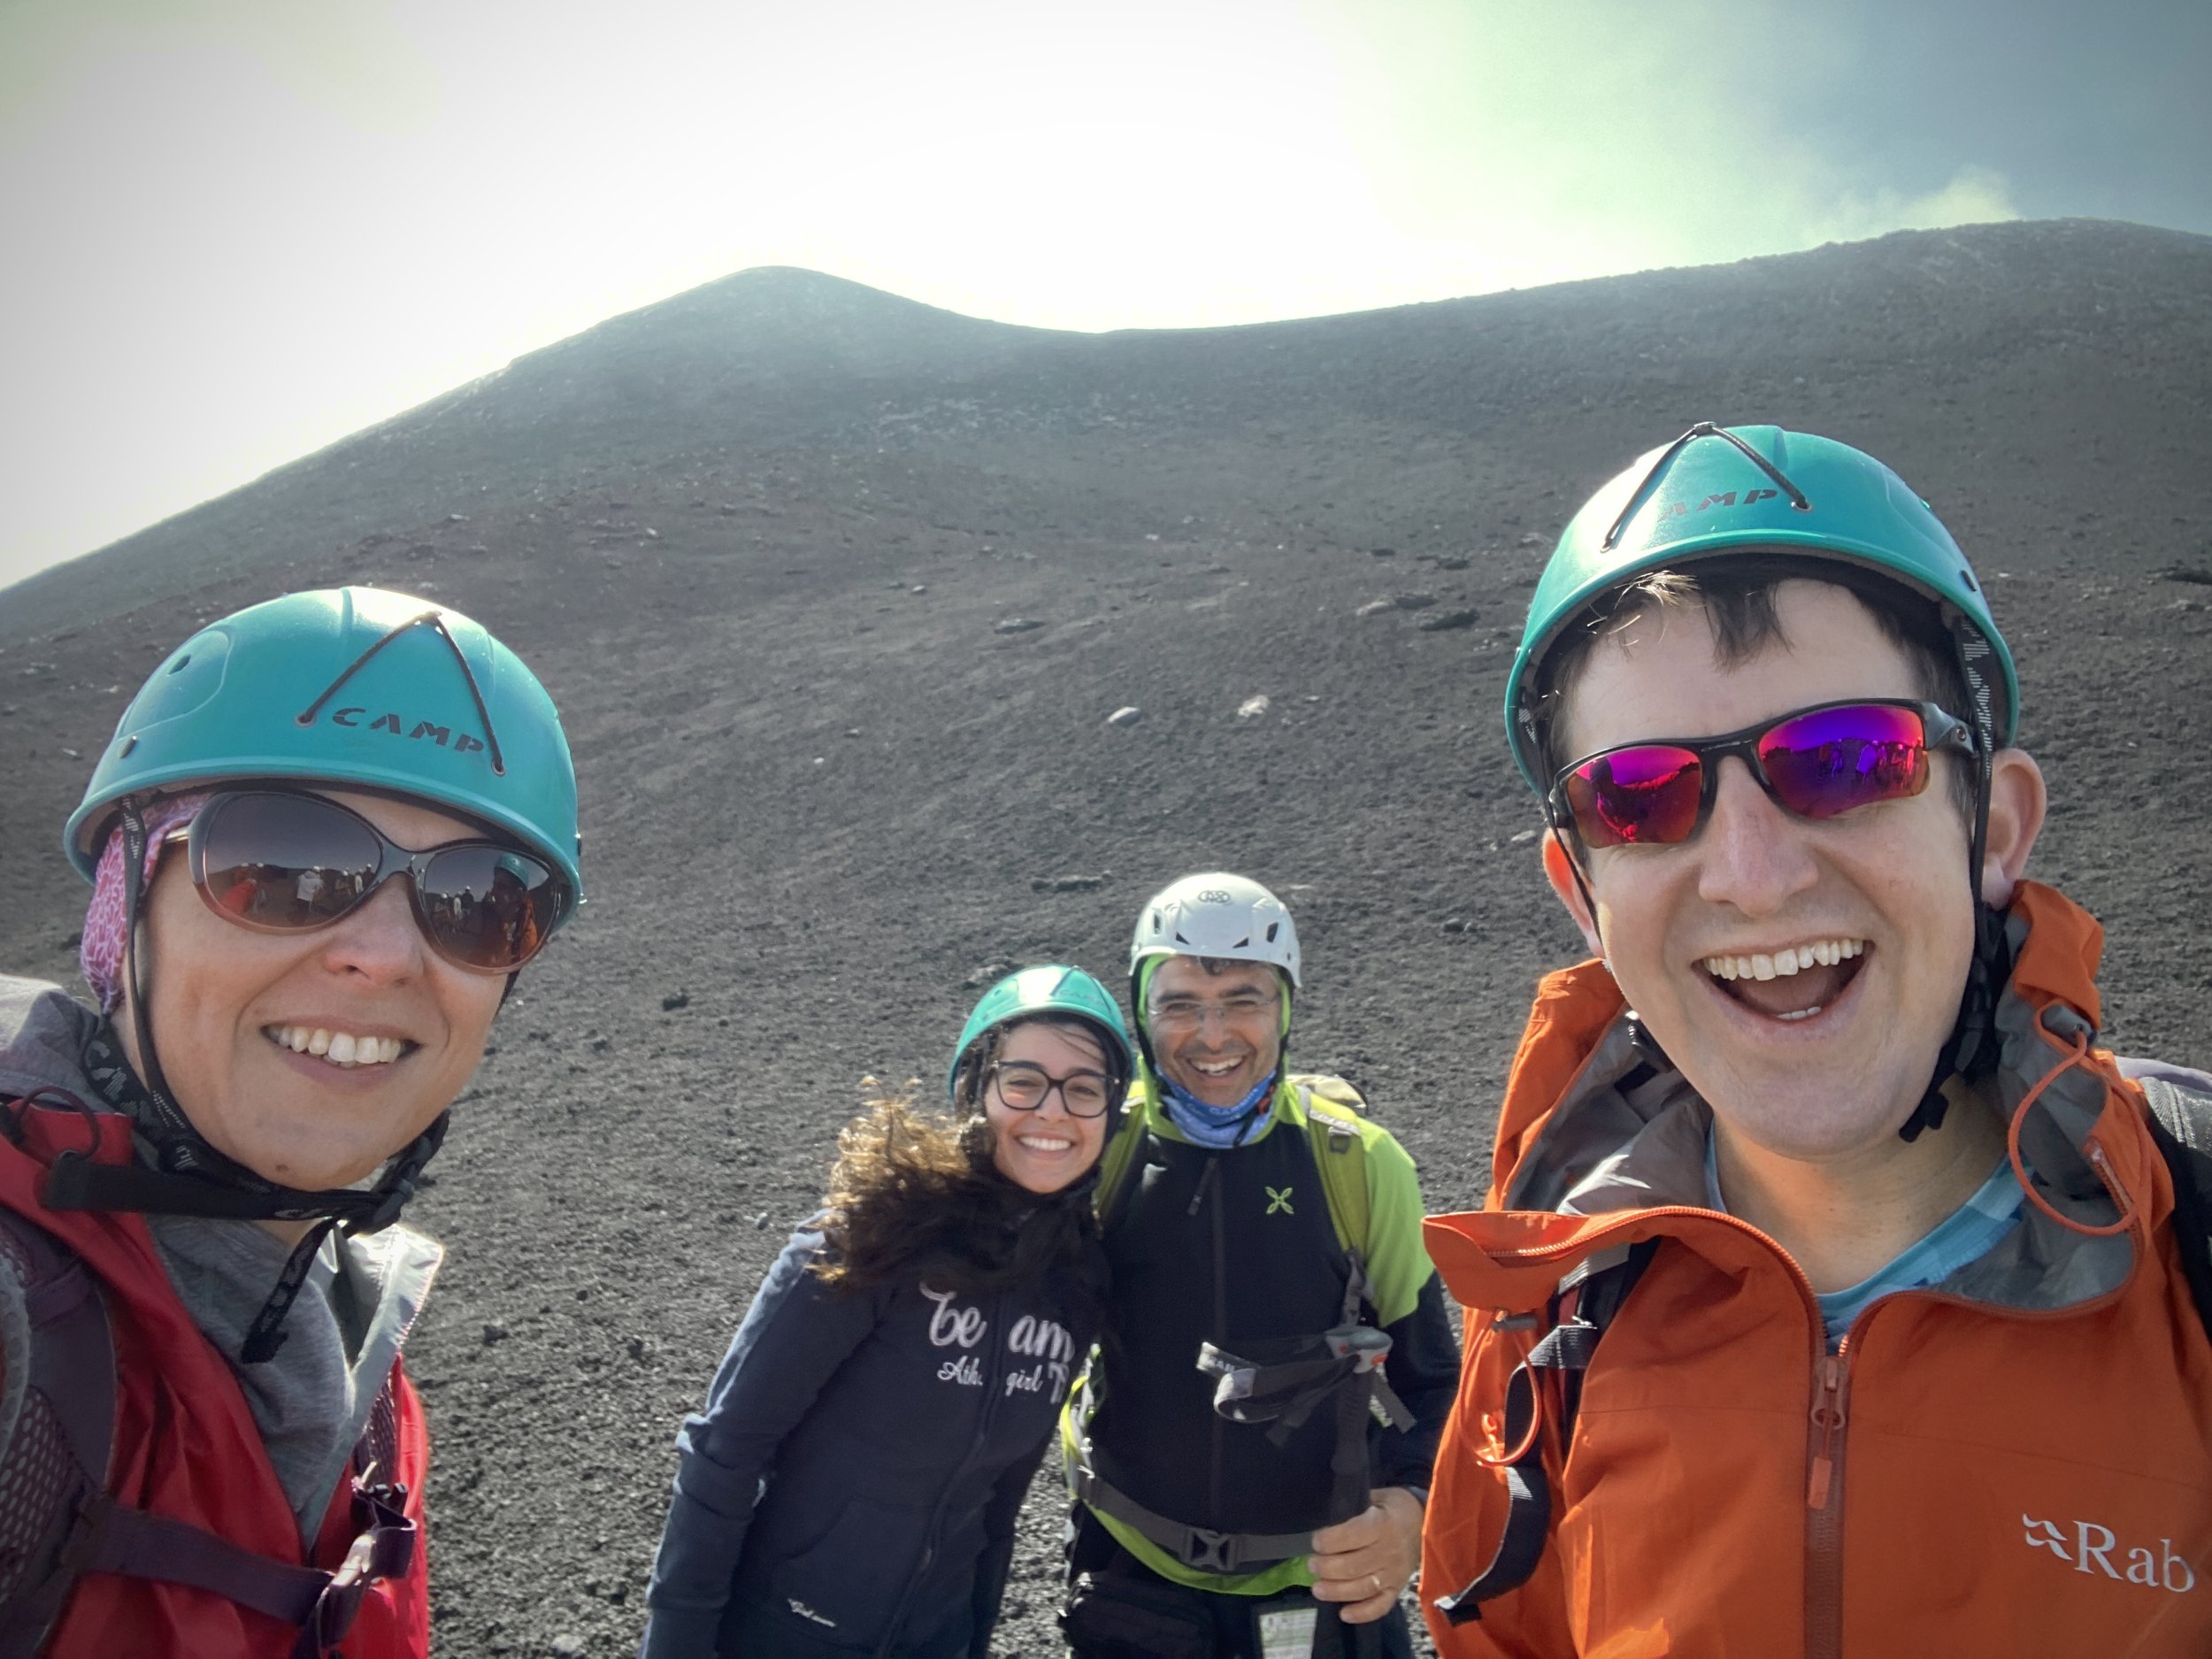
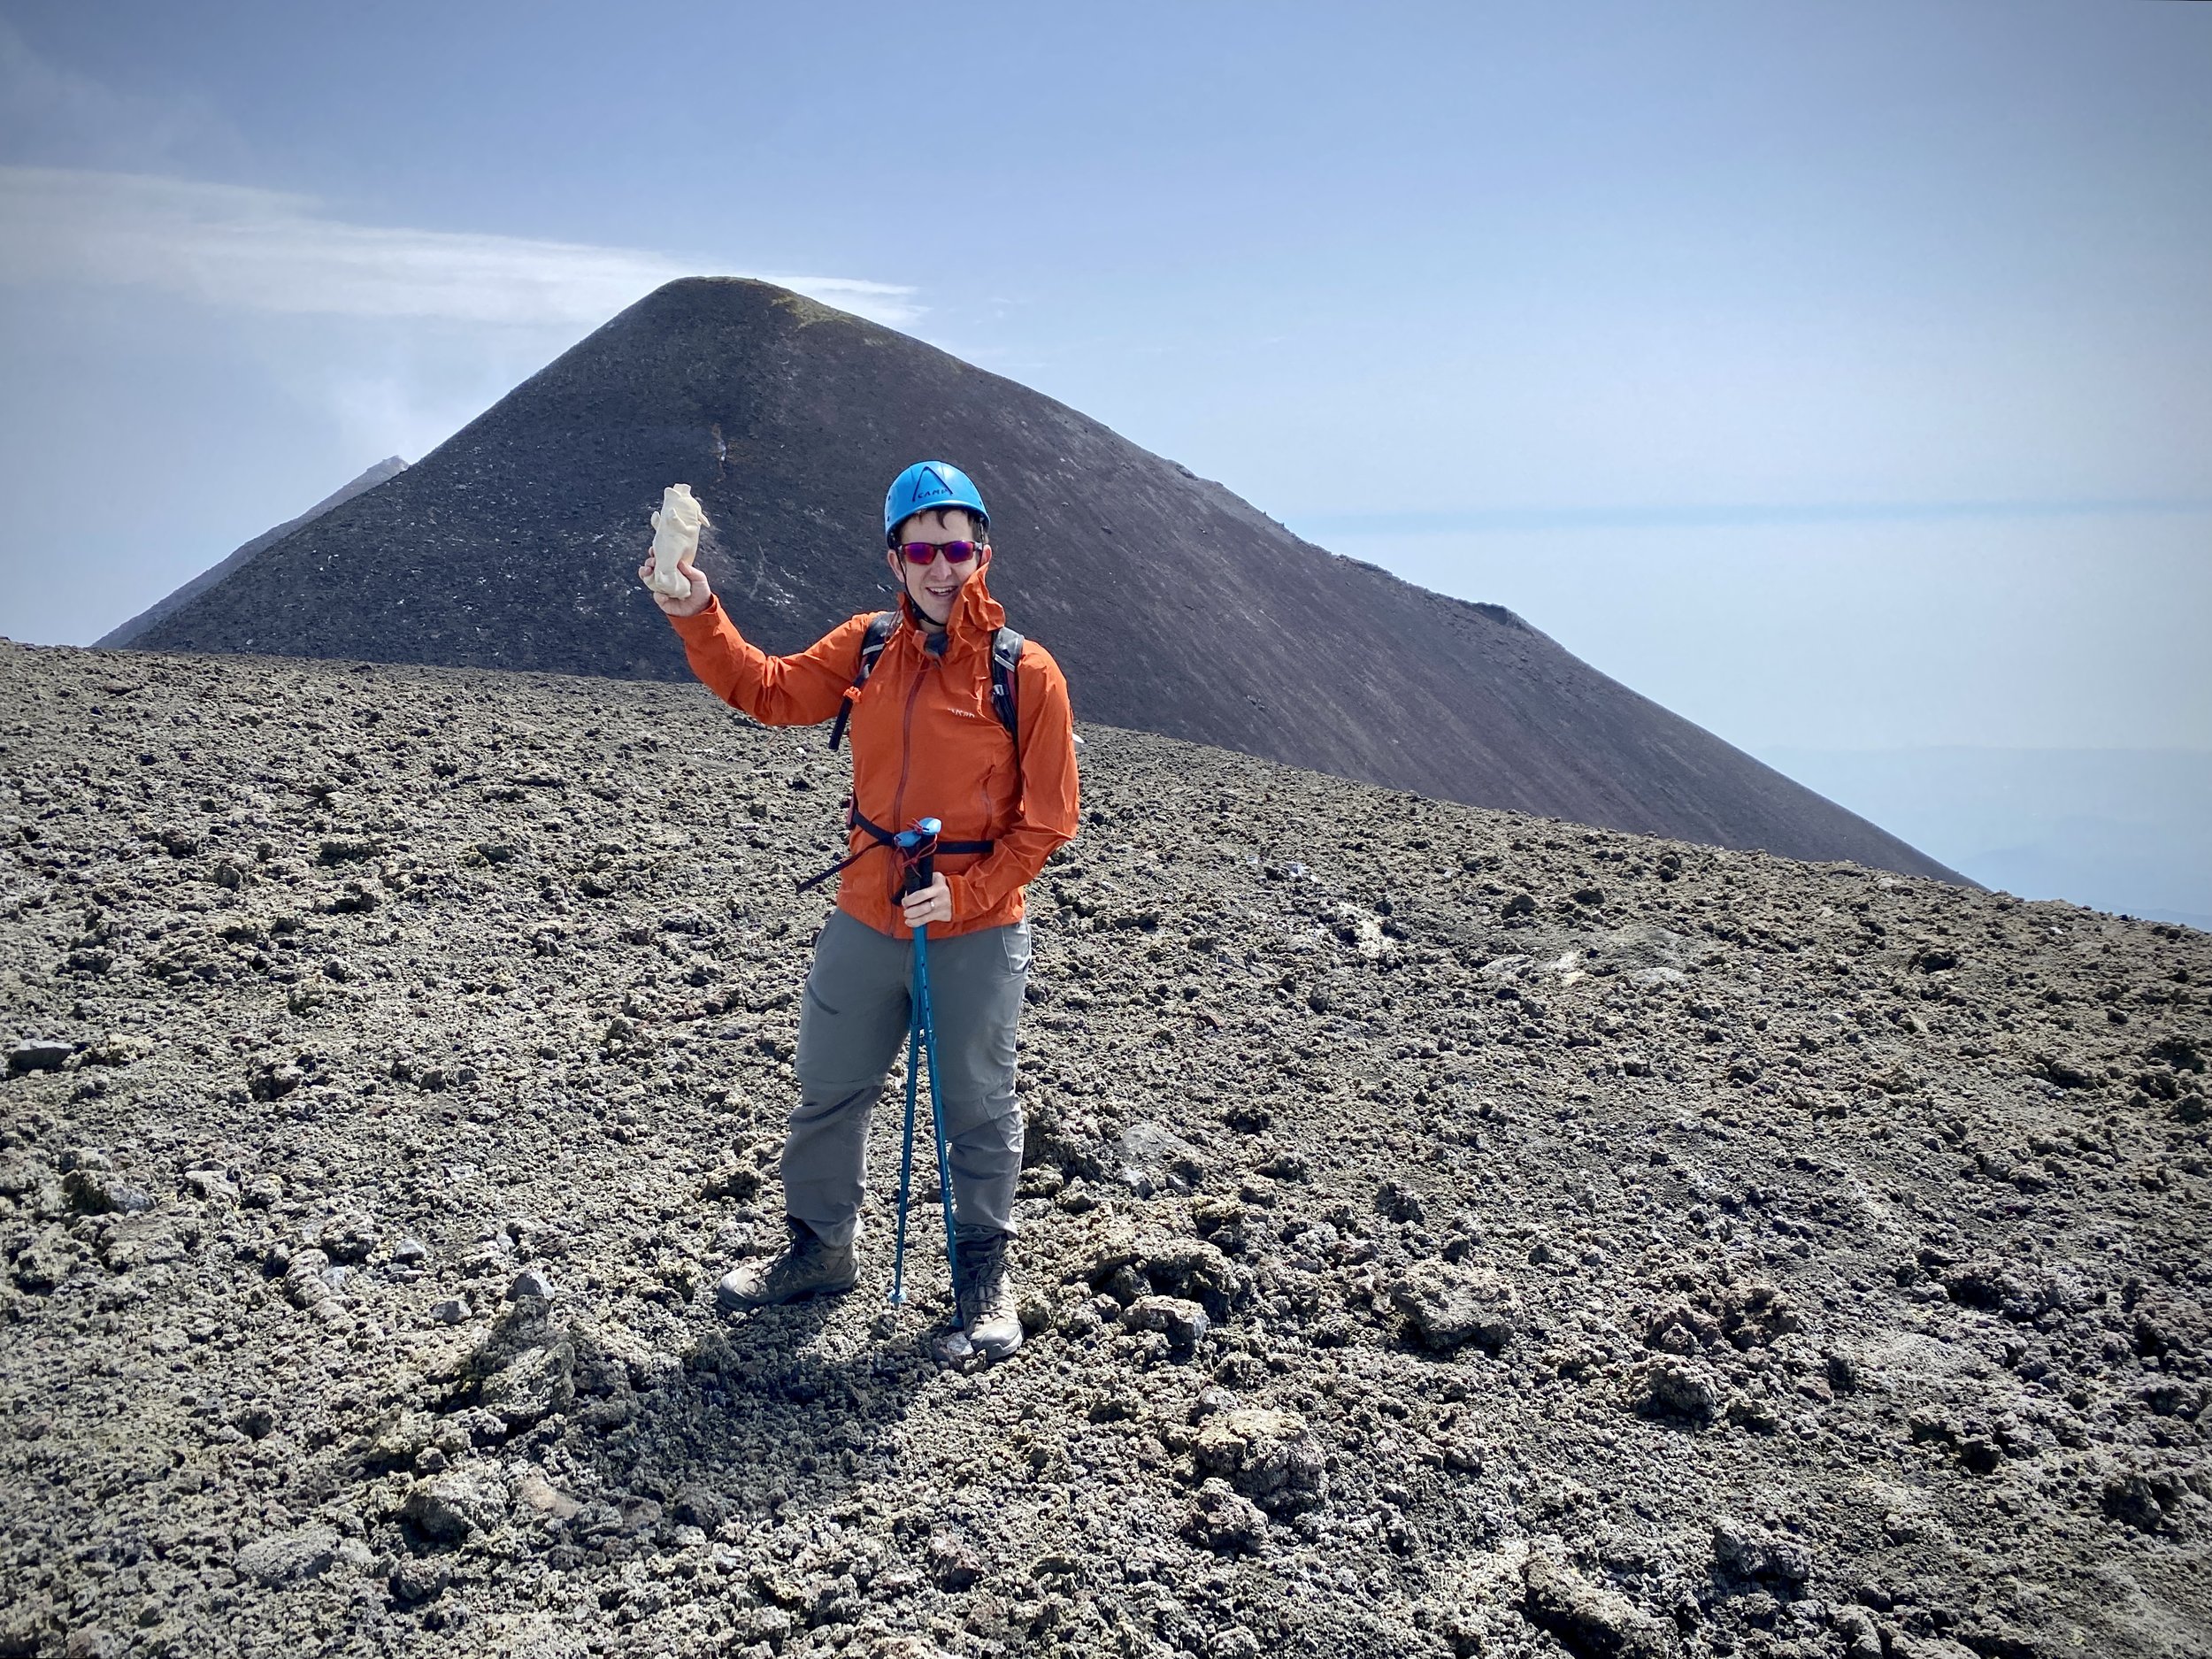
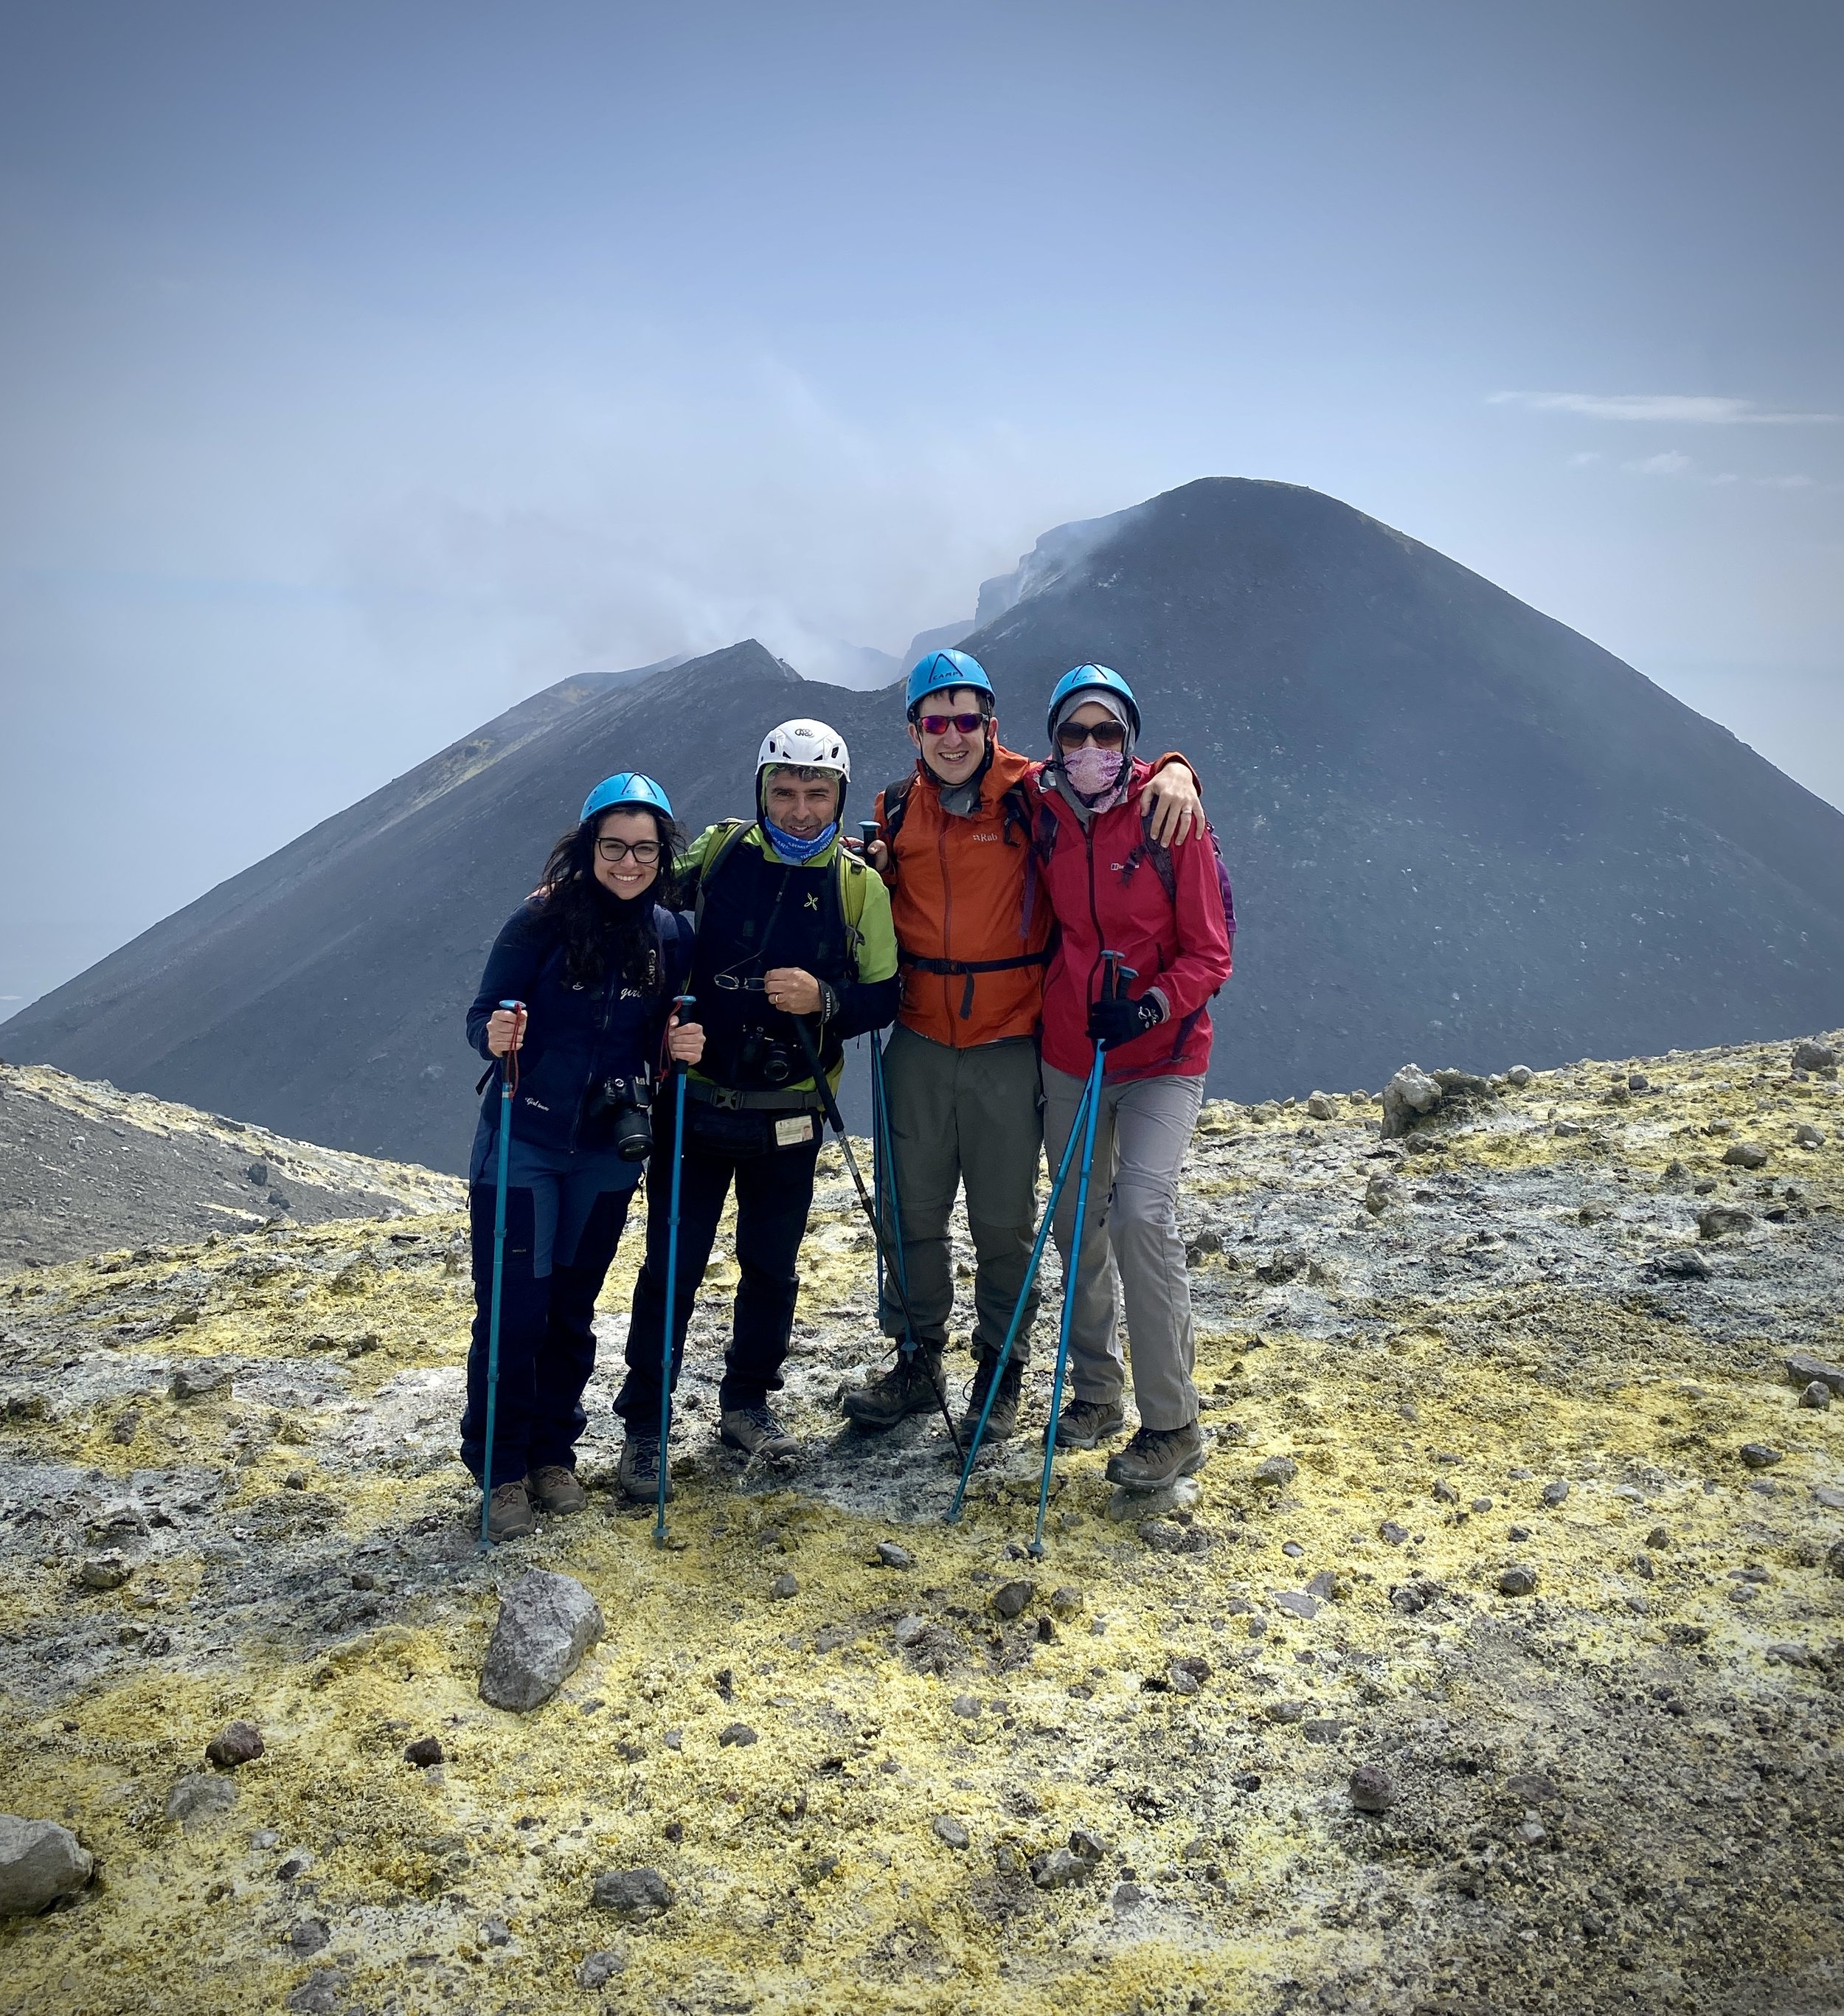
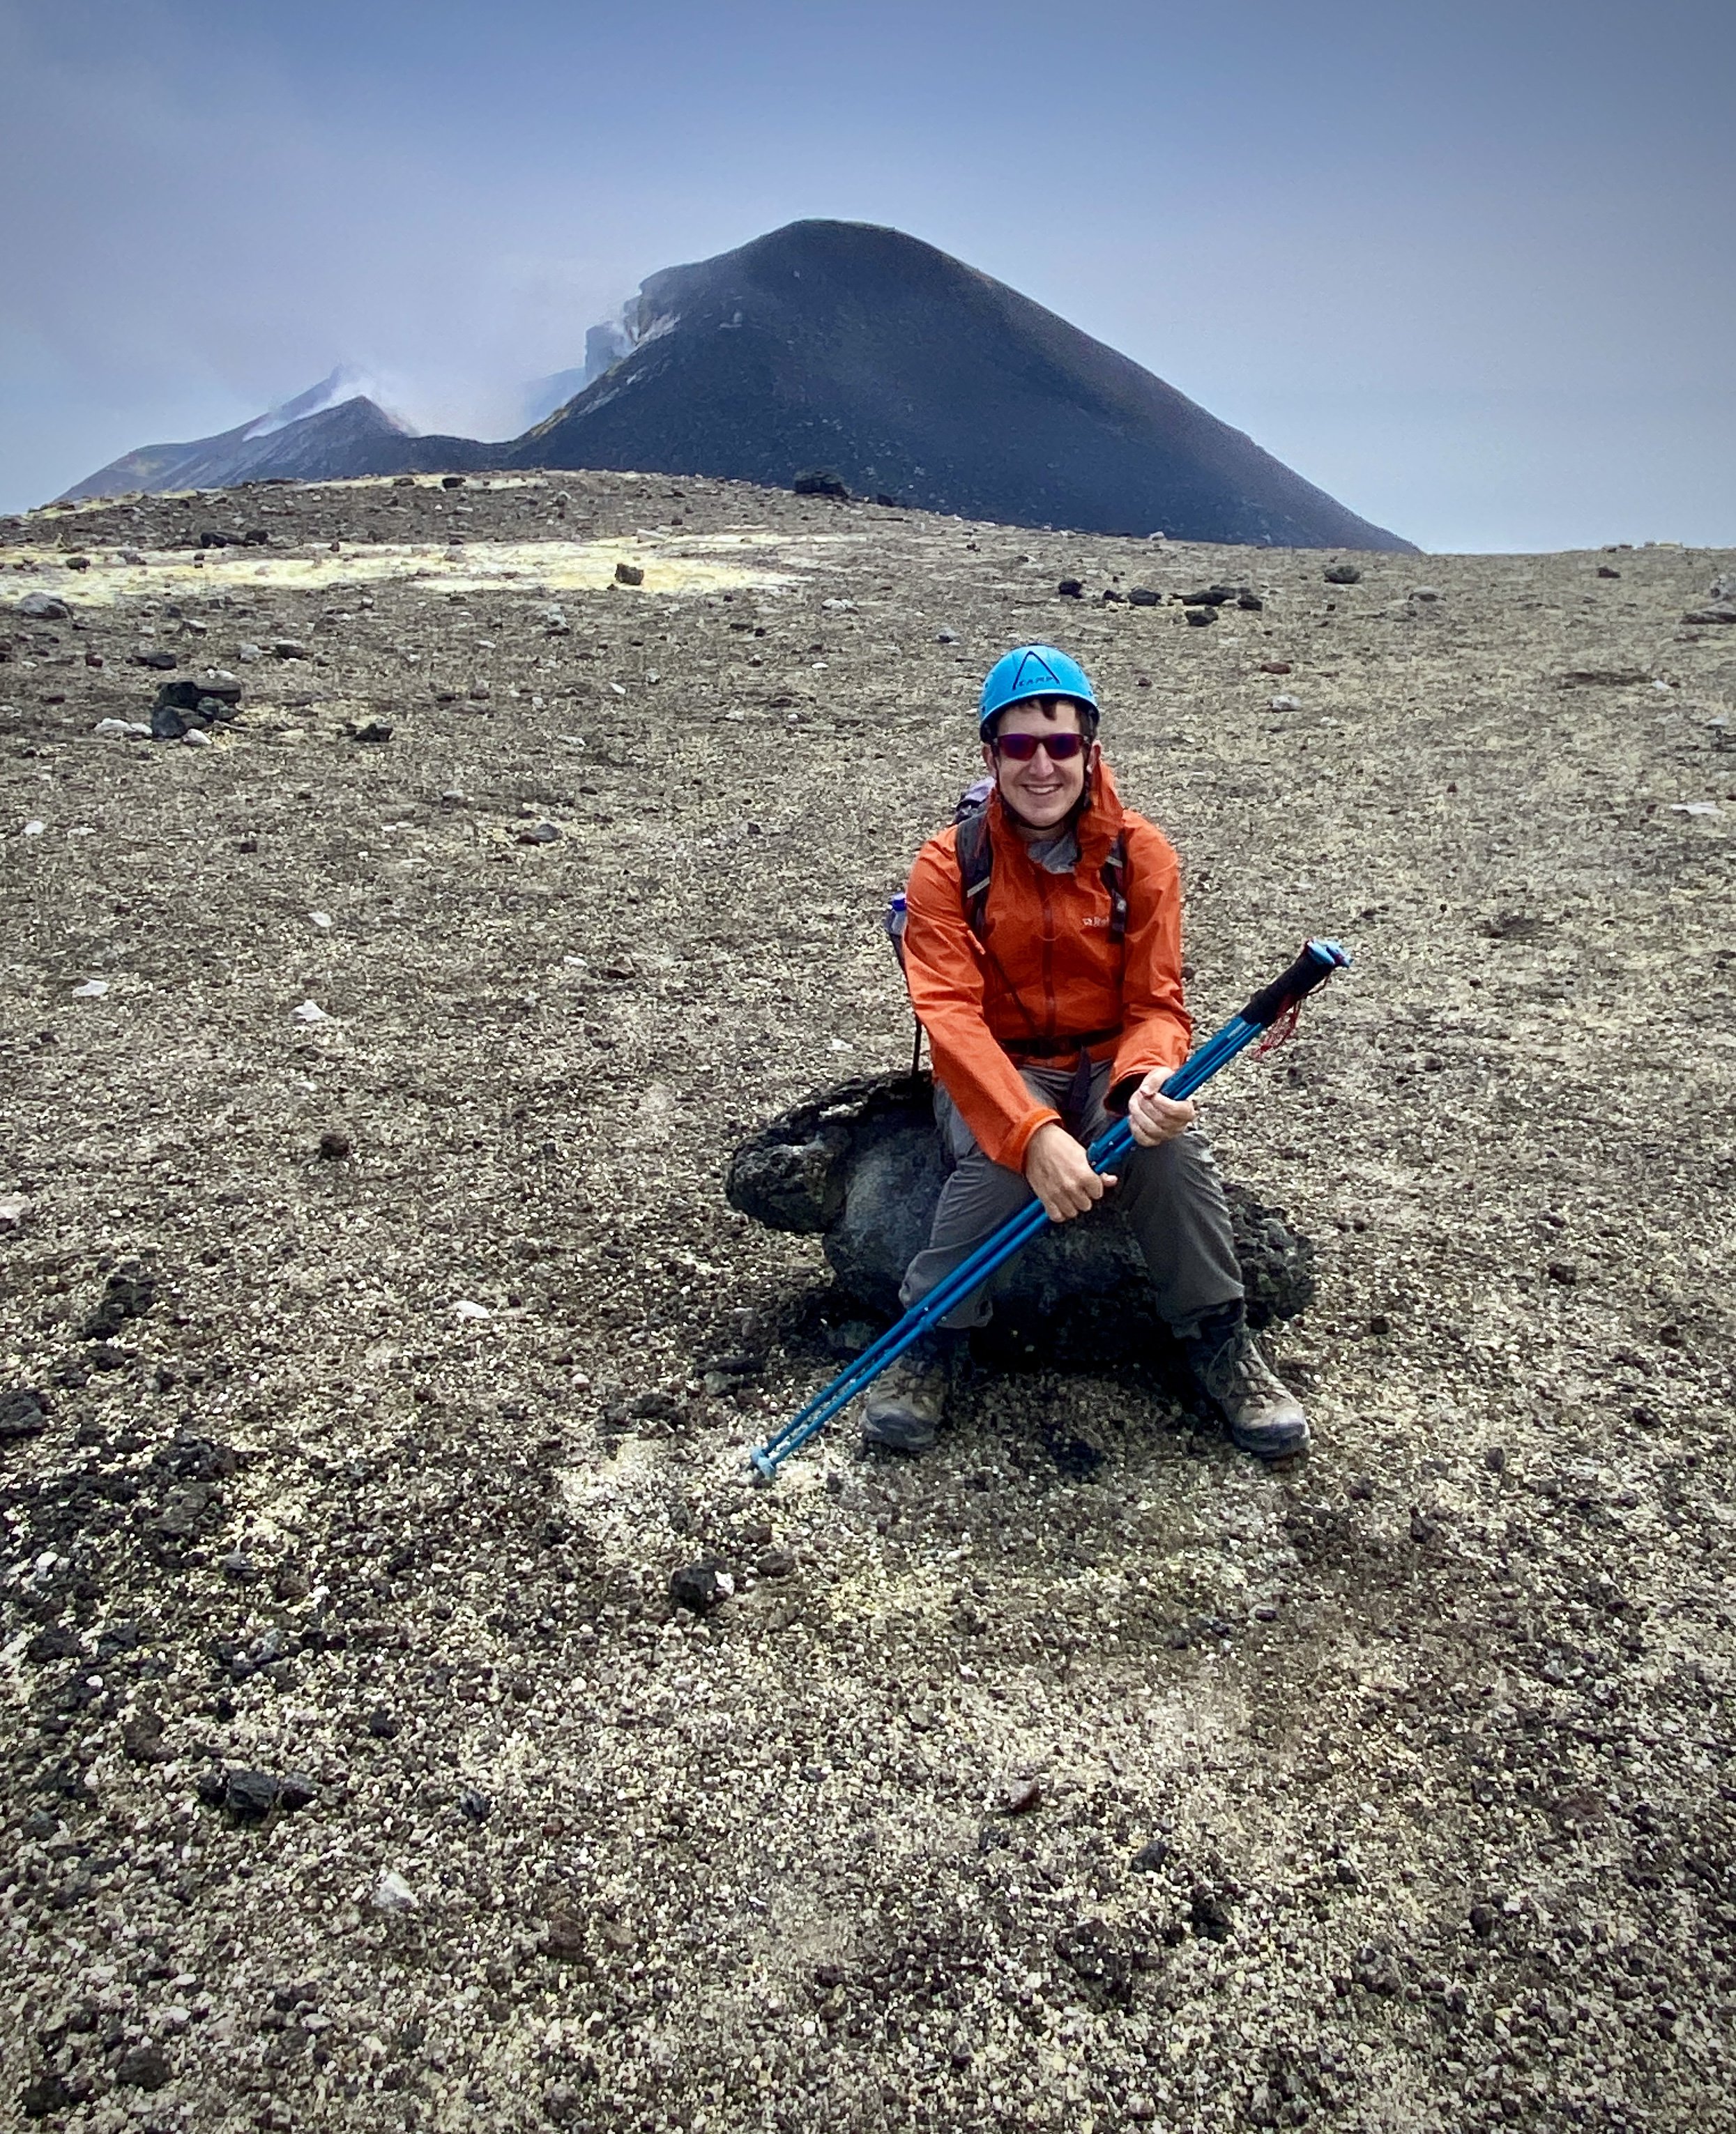
View to the South-East Crater from the Boca Nuova crater rim


Significance:  Highest Point on the Island of Sicily and Metropolitan City of Catania
Parent Peak: N/A. NHN = Marmolada, Italy
Elevation: 3,342m
Date climbed: August 28th 2023
Coordinates: 37° 45' 1'' N, 14° 59' 41'' E

Route Start: 37°45'49.7"N 14°59'43.4"E
Route Finish: 37°45'55.4"N 15°00'49.7"E
Route Distance: 6.4 km (4 miles)
Route Elevation change: +336m / -540m. Net -204m
GPX File: get via Buy Me a Coffee
Guidebook: Walking in Sicily (Cicerone Guides): 46 walking routes including Mt Etna and the Egadi and Aeolian islands
Links: Wikipedia: (Sicily, Catania, Mount Etna), Peakbagger


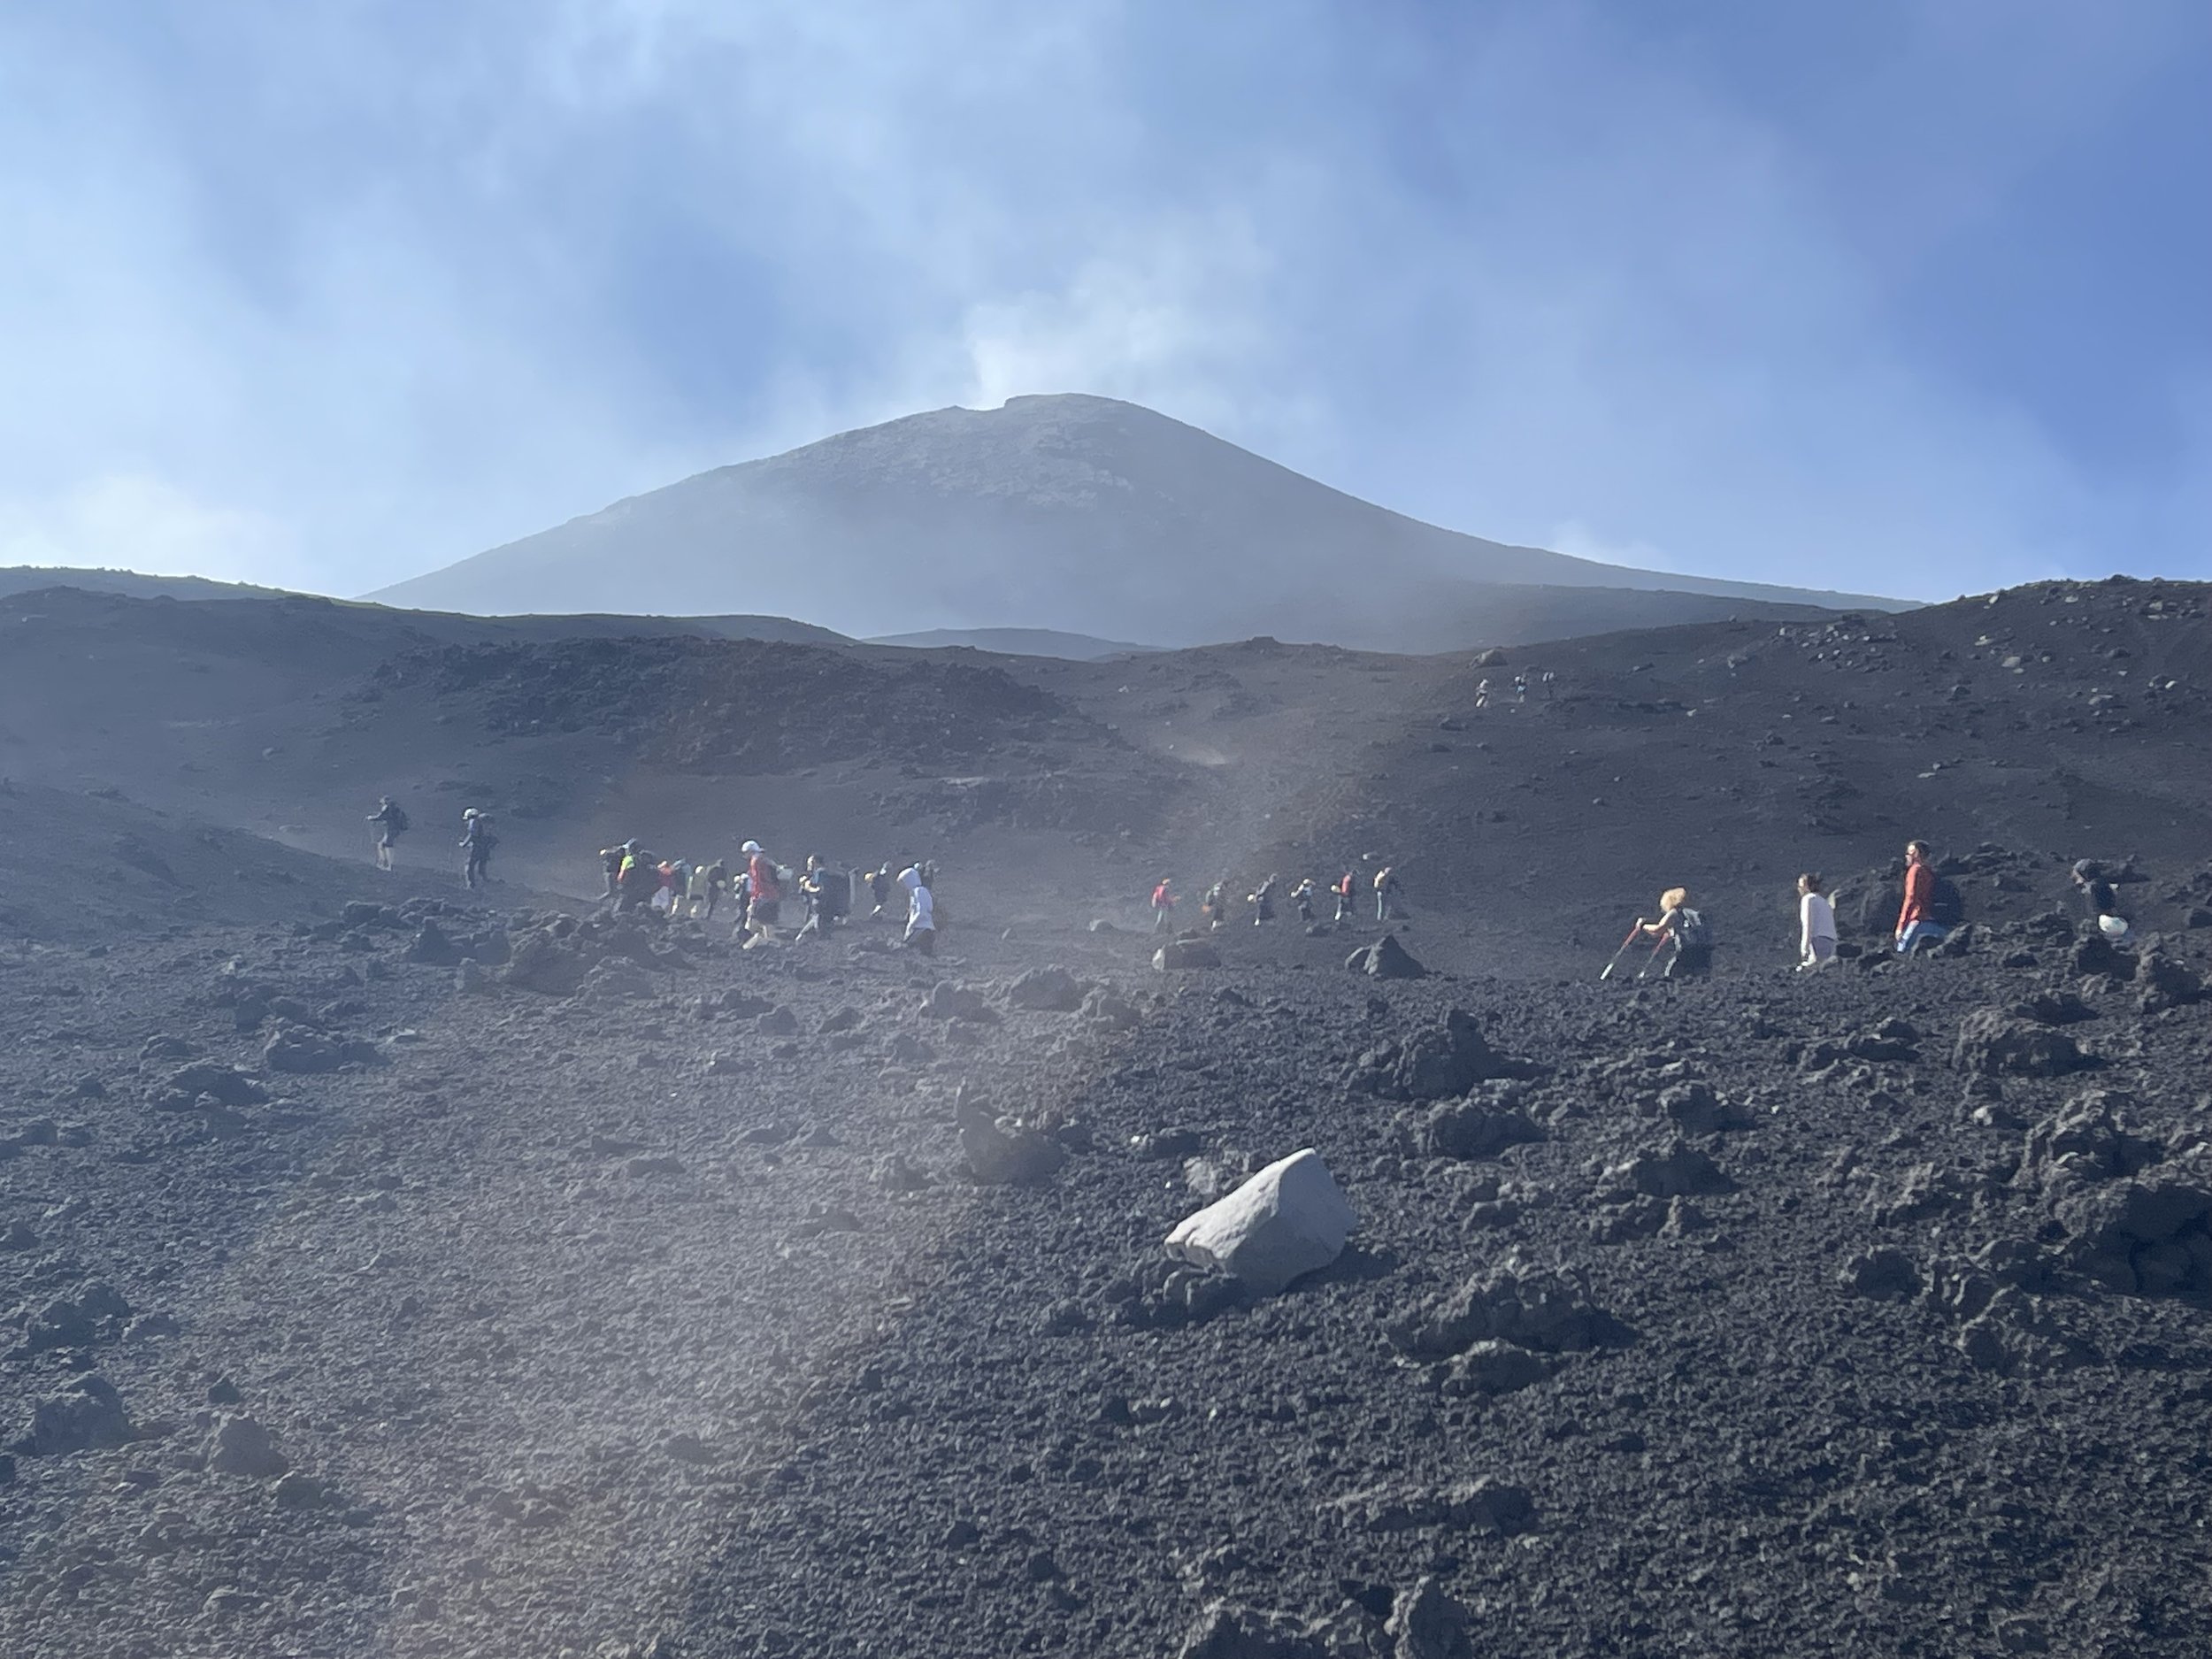
When we were talking about where to go for our summer holiday this year I wasn’t as keen as Timea was on Sicily. I always prefer to go somewhere new and we’d done Sicily. I got convinced about going when we researched about the Mount Etna and Stromboli trips. Our last trip had also been nearly 20 years ago and we’d only scratched the surface of exploring the island.

First up was the Mount Etna trip. Having come off a busy time at work, and wanting to minimise the planning, we went with a private tour organised by our hotel. Our guide Angelo and his daughter Fabiana picked us up at 07:30 from our hotel in Risposto and we headed towards the mountain.

We made a quick stop on the drive up to Cappalla Nel Maggio, an old church that had nearly been destroyed by a lava flow. A sign on the chapel tells the story (please excuse the translation): “During the eruption of November 1950 a lava flow, dividing into two arms, threatened simultaneously Milo and Fornazzo. In so much danger a solemn devout procession was promoted from the parish priest of Fornazzo Don Salvatore Fichera. It changed it, deviating to the left, it was channeled into the Cava Grande torrent, sparing the town. Then the commitment to build a chapel was born. In May 1971 another lava flow retraced the same route. The procession ended in a house owned by Mr. Sebastiano Cantarella. This house was overwhelmed by August 3, 1979. Of these there are currently some ruins still visible. The same flow of August 3, 1979 threatened to overwhelm this chapel but it stopped close to its walls penetrating inside the Chapel. The prodigious event is remembered every year on the first Sunday of August with a procession and the celebration of the Holy Mass”

The drive to the Visitor Centre at Piano Provenzana took just over an hour. Here we had a quick stop then transferred to a Unimog, a large off-road bus to take us further up. Piano Provenzana is also has a large car park and several tour agencies if you’re making your own way there. Our guide told us that there’s no limit on numbers of visitors to the mountain but you may be limited by the number of spaces on the Unimogs. An alternative is walking all the way up from Piano Provenzana but you’ve got to be a strong hiker, and prepared for the heat. Also, given the obvious dangers of climbing up an active volcano, I certainly wouldn’t go without an experienced guide.

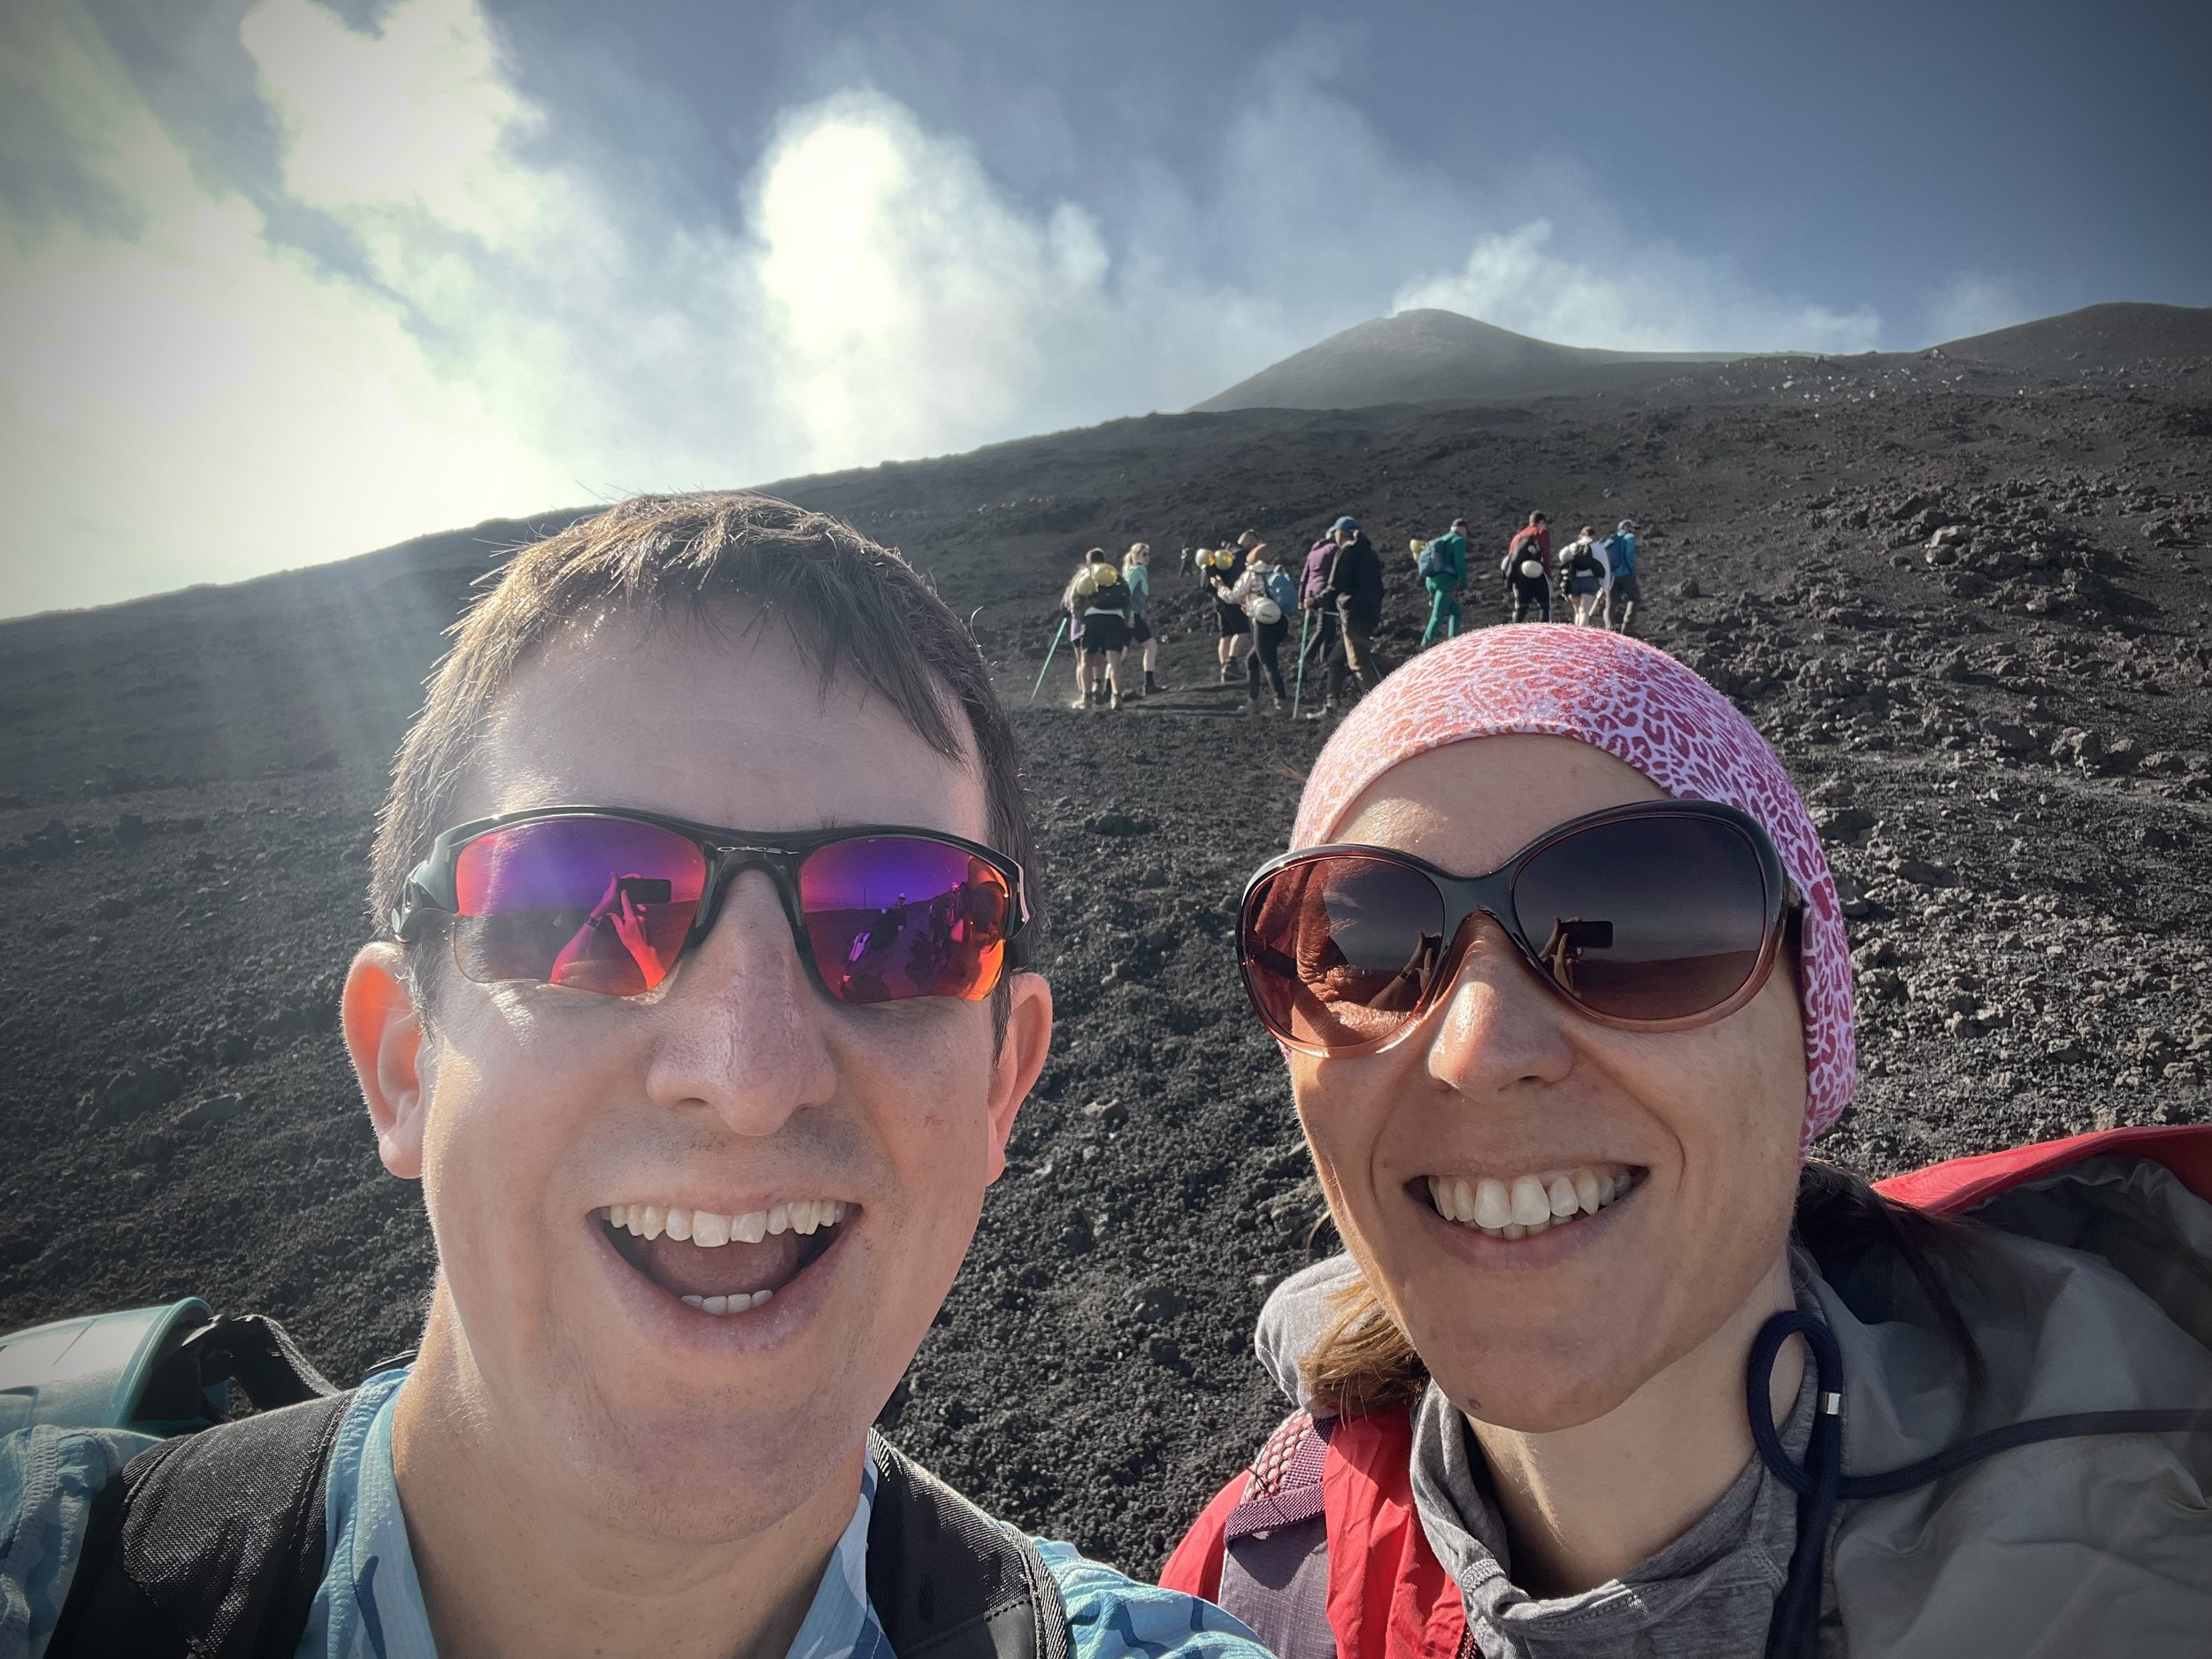
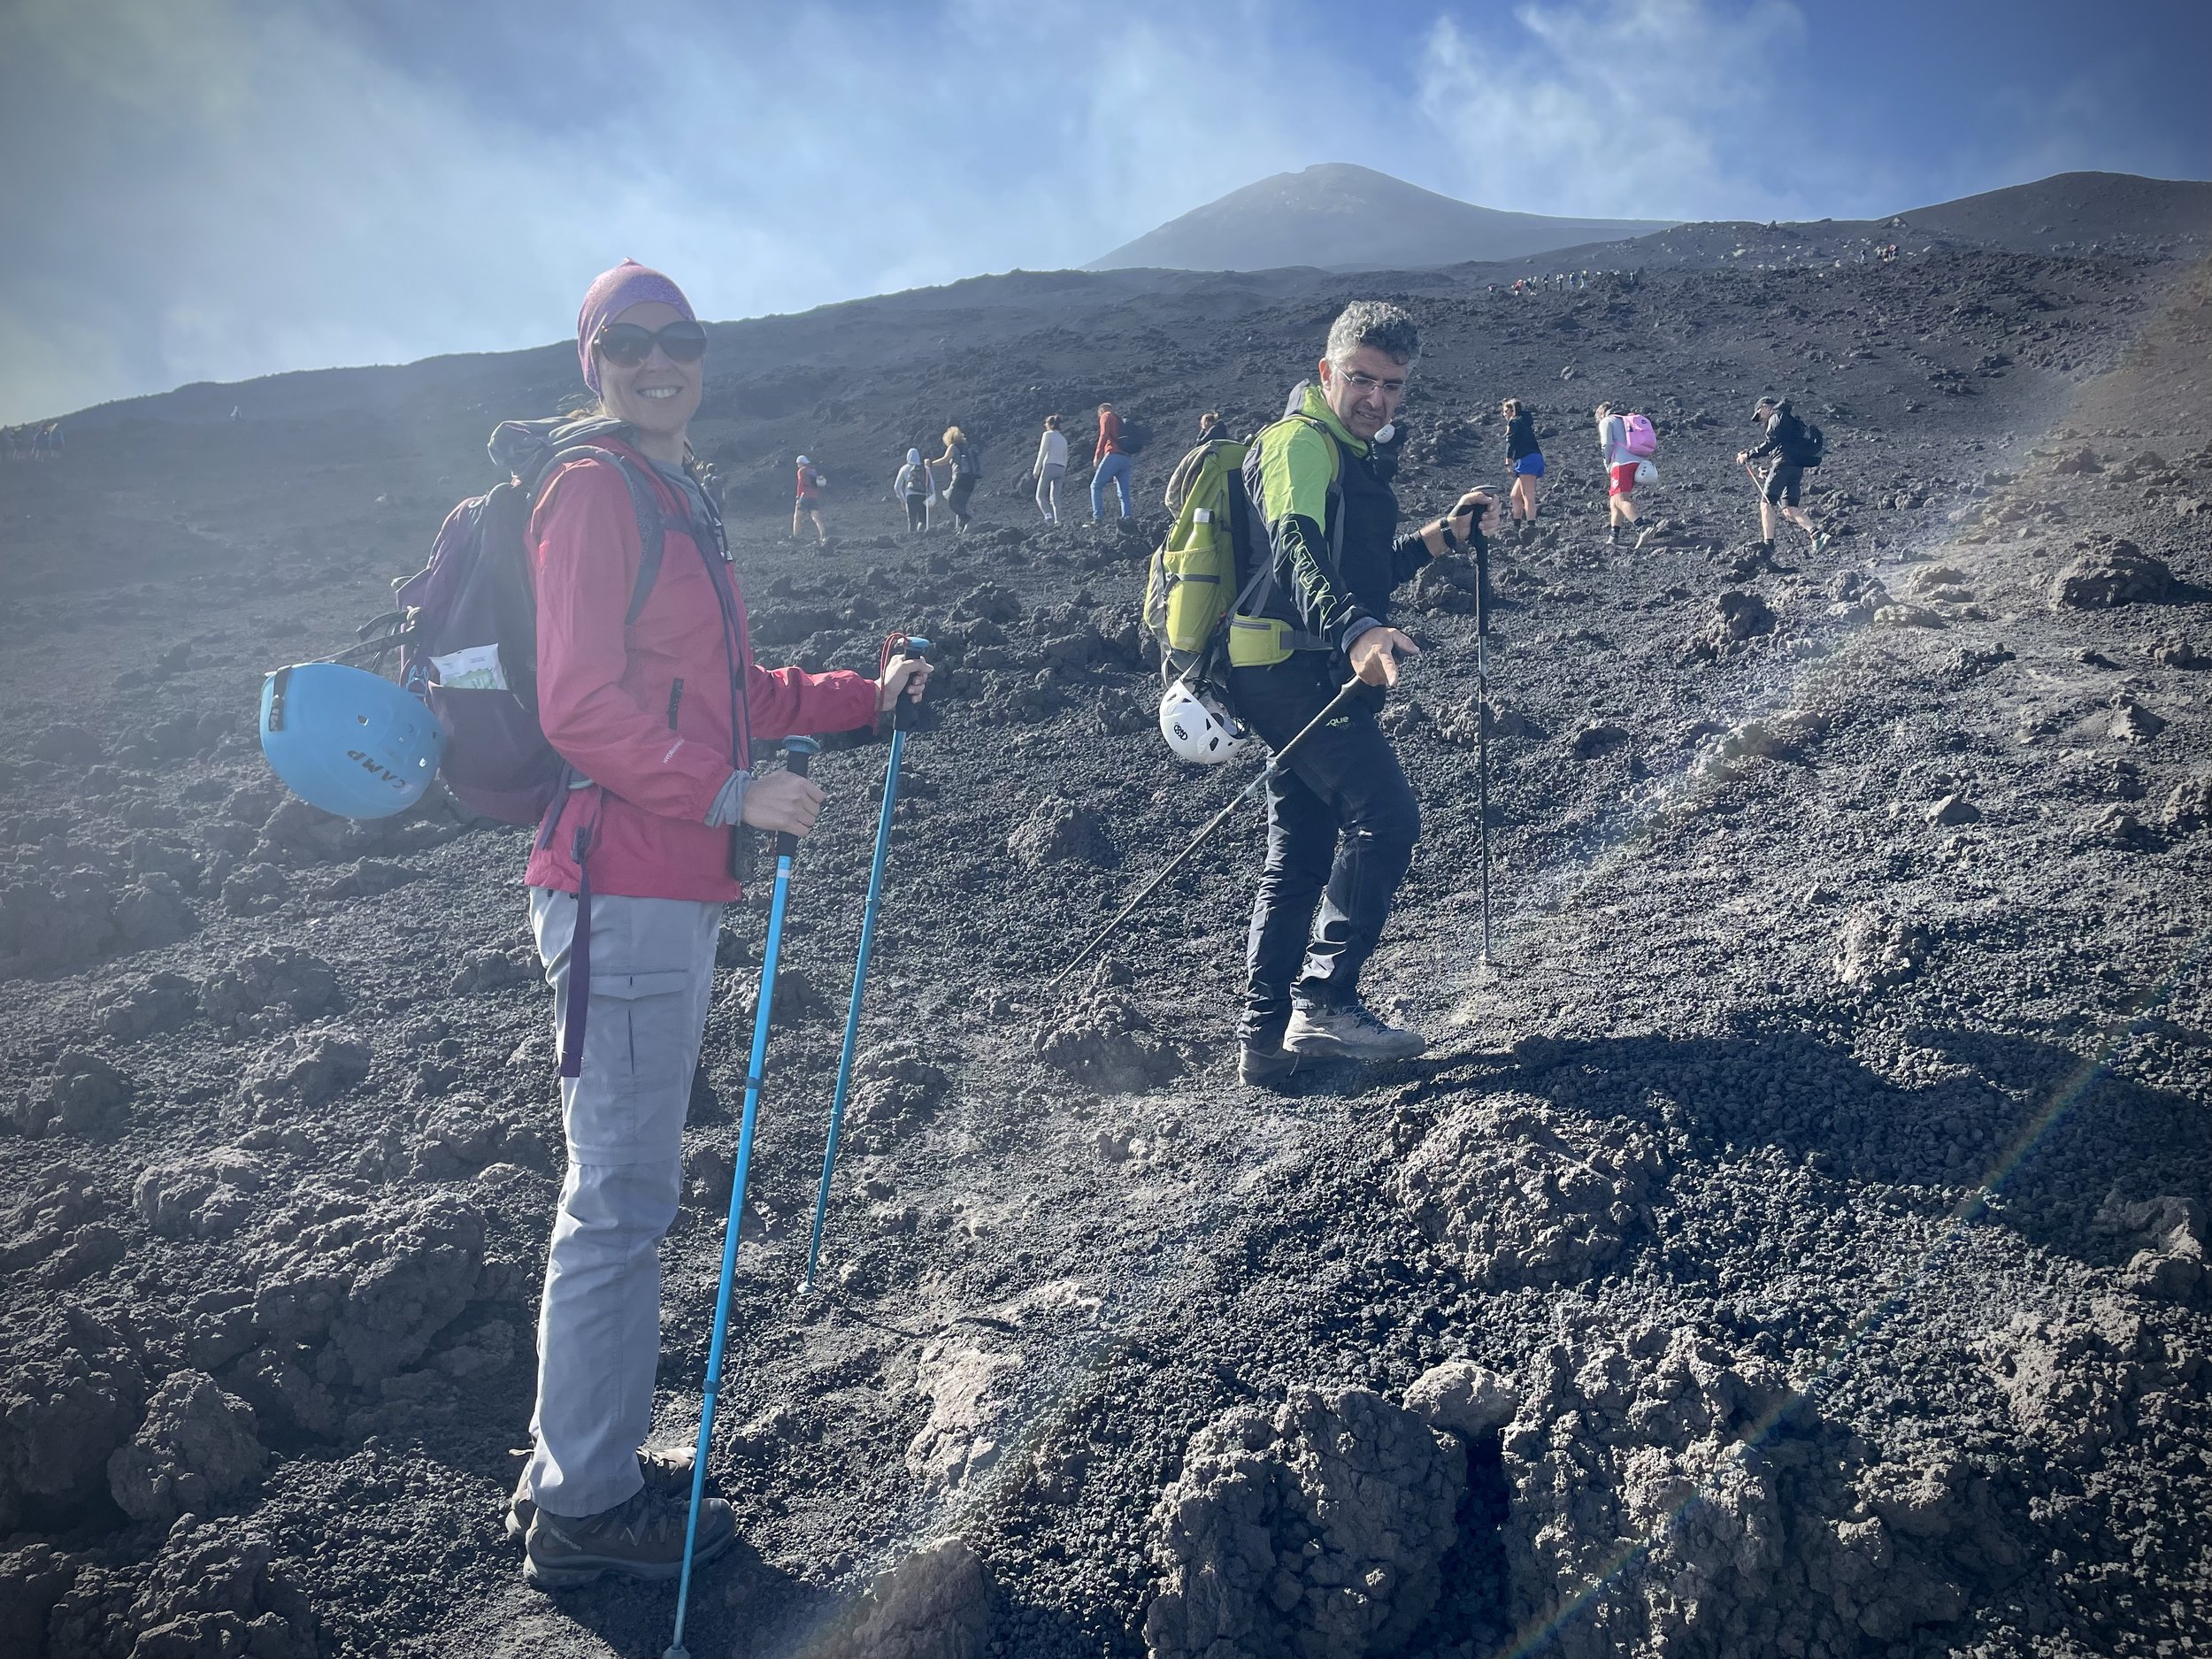
The Unimog trip took about half an hour to cover 9.7 km and 1,183m of elevation to reach the start of the hiking section at 2,967m. There were a few other groups on the same bus and we let them go heading, preferring a more relaxing ascent. We slowly ascended in a southerly direction to reach the Boca Nuova Crater after 2.2 km.

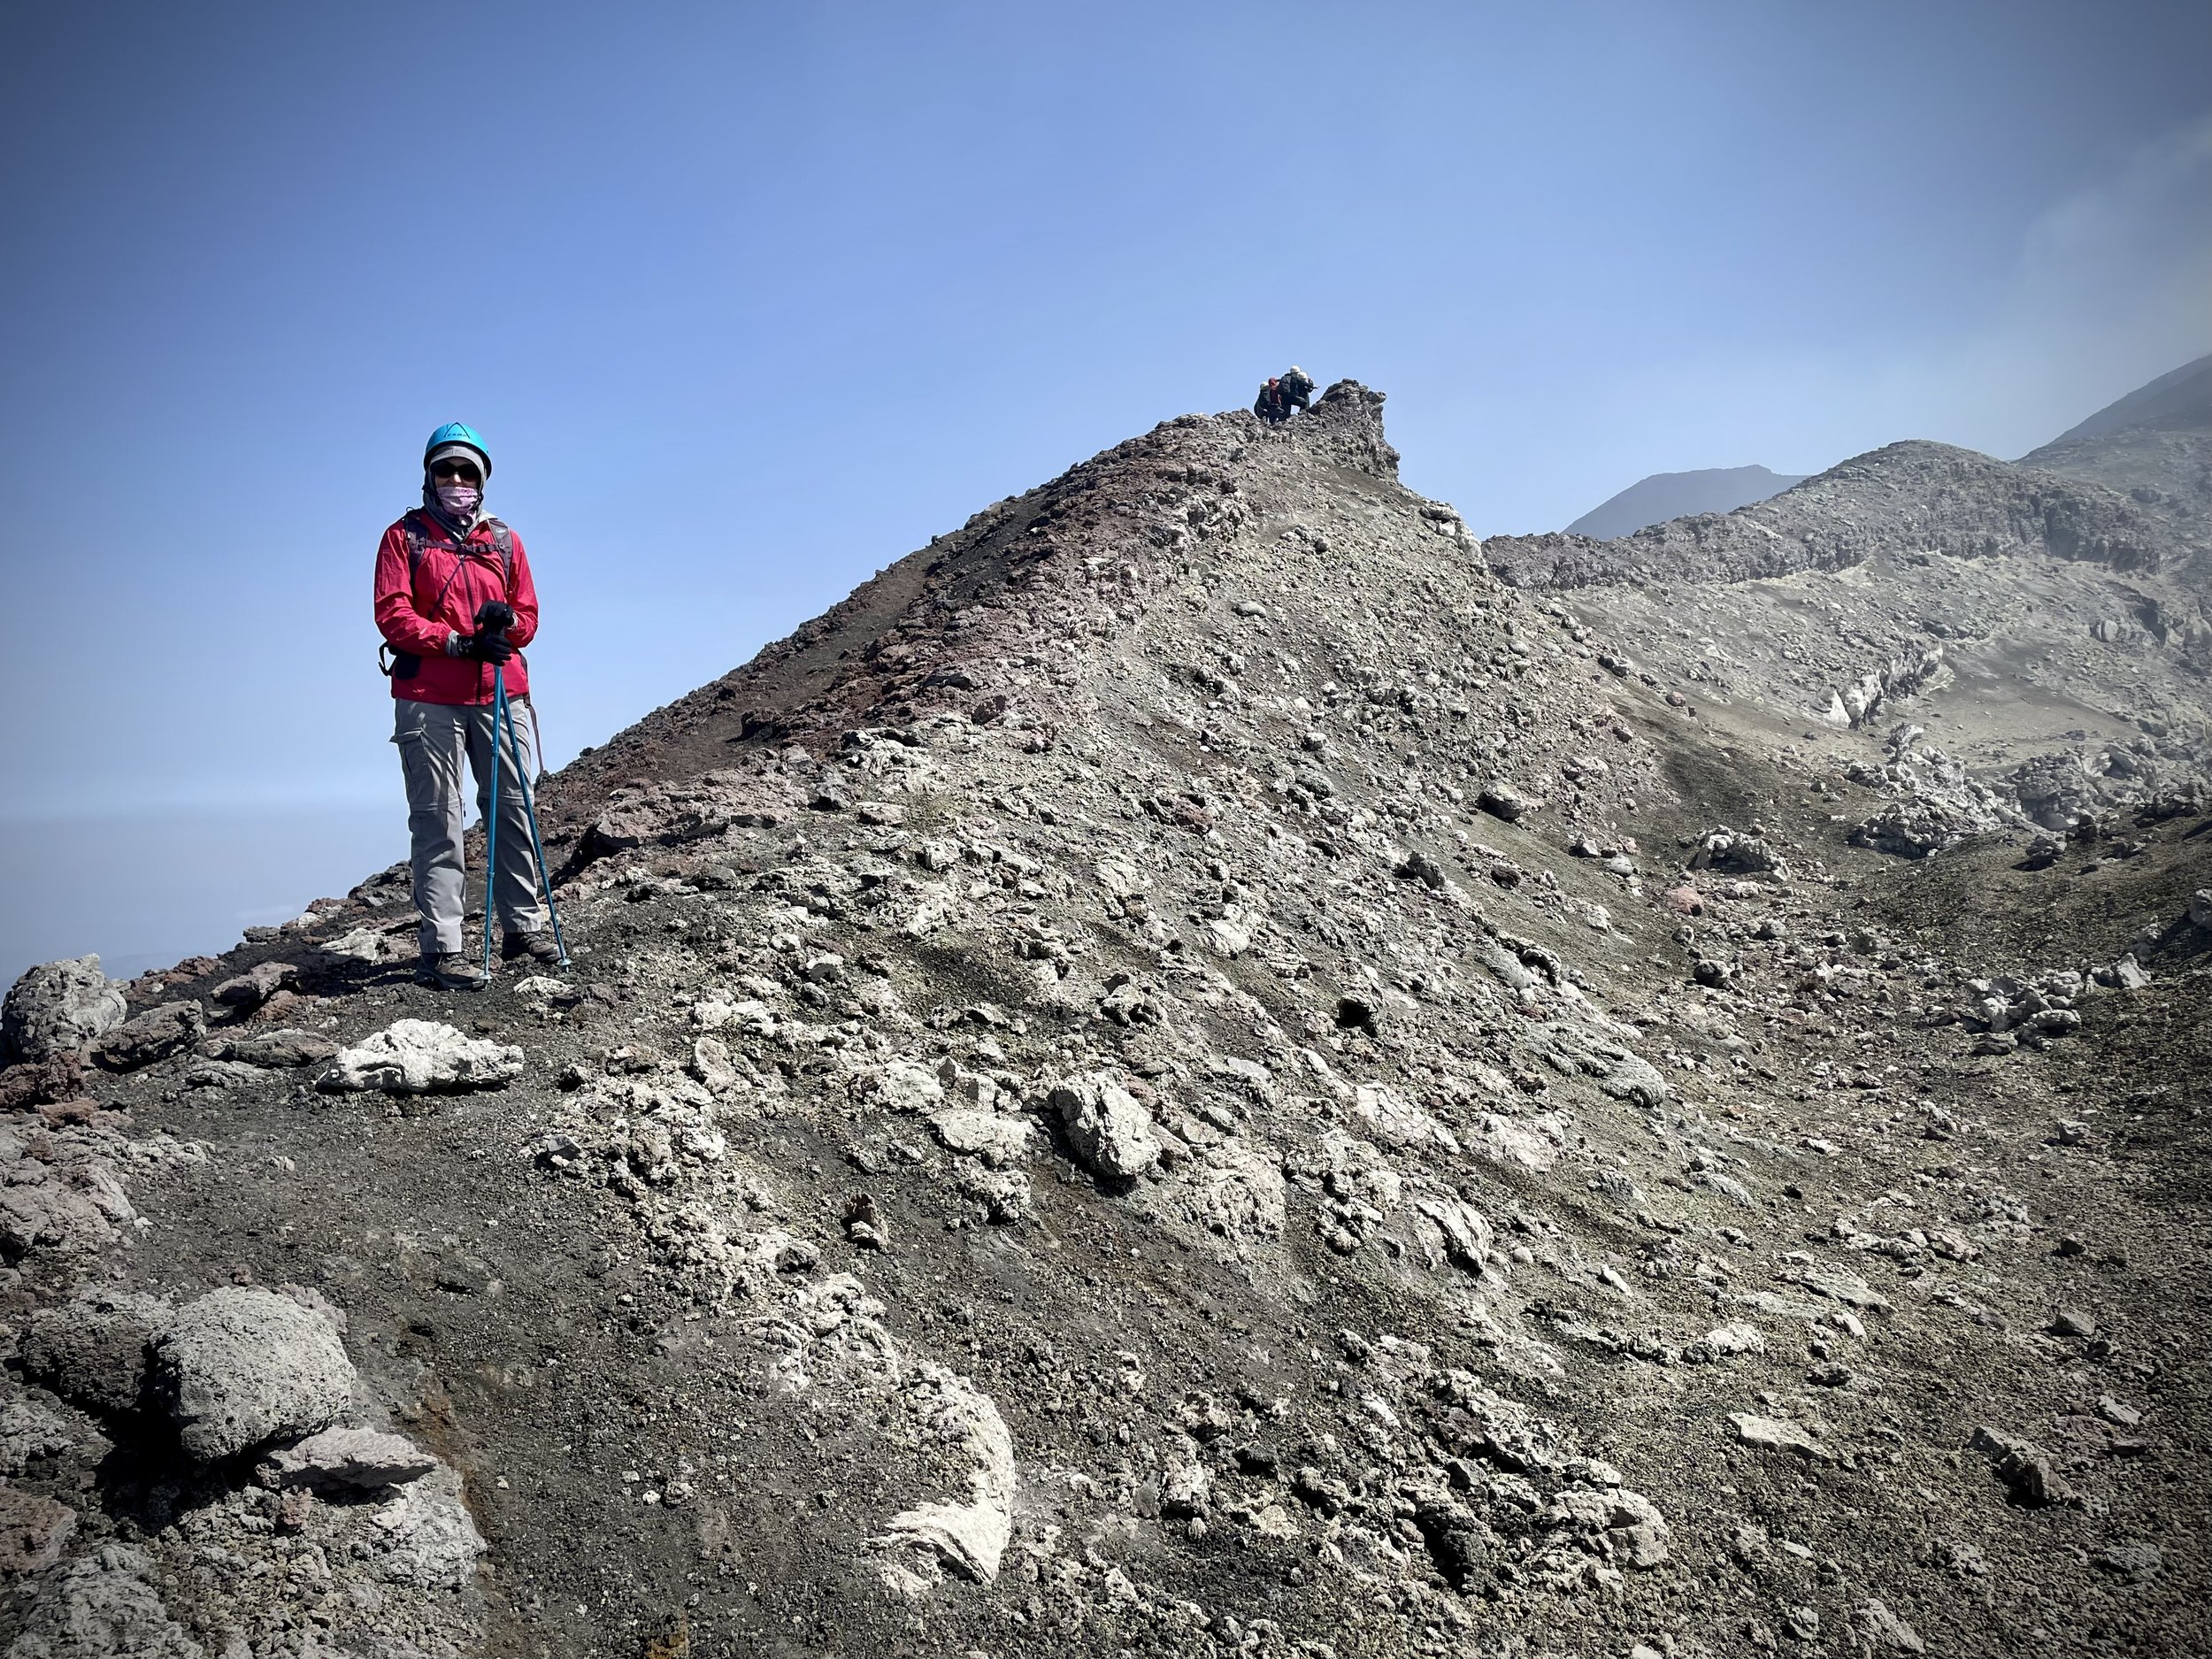
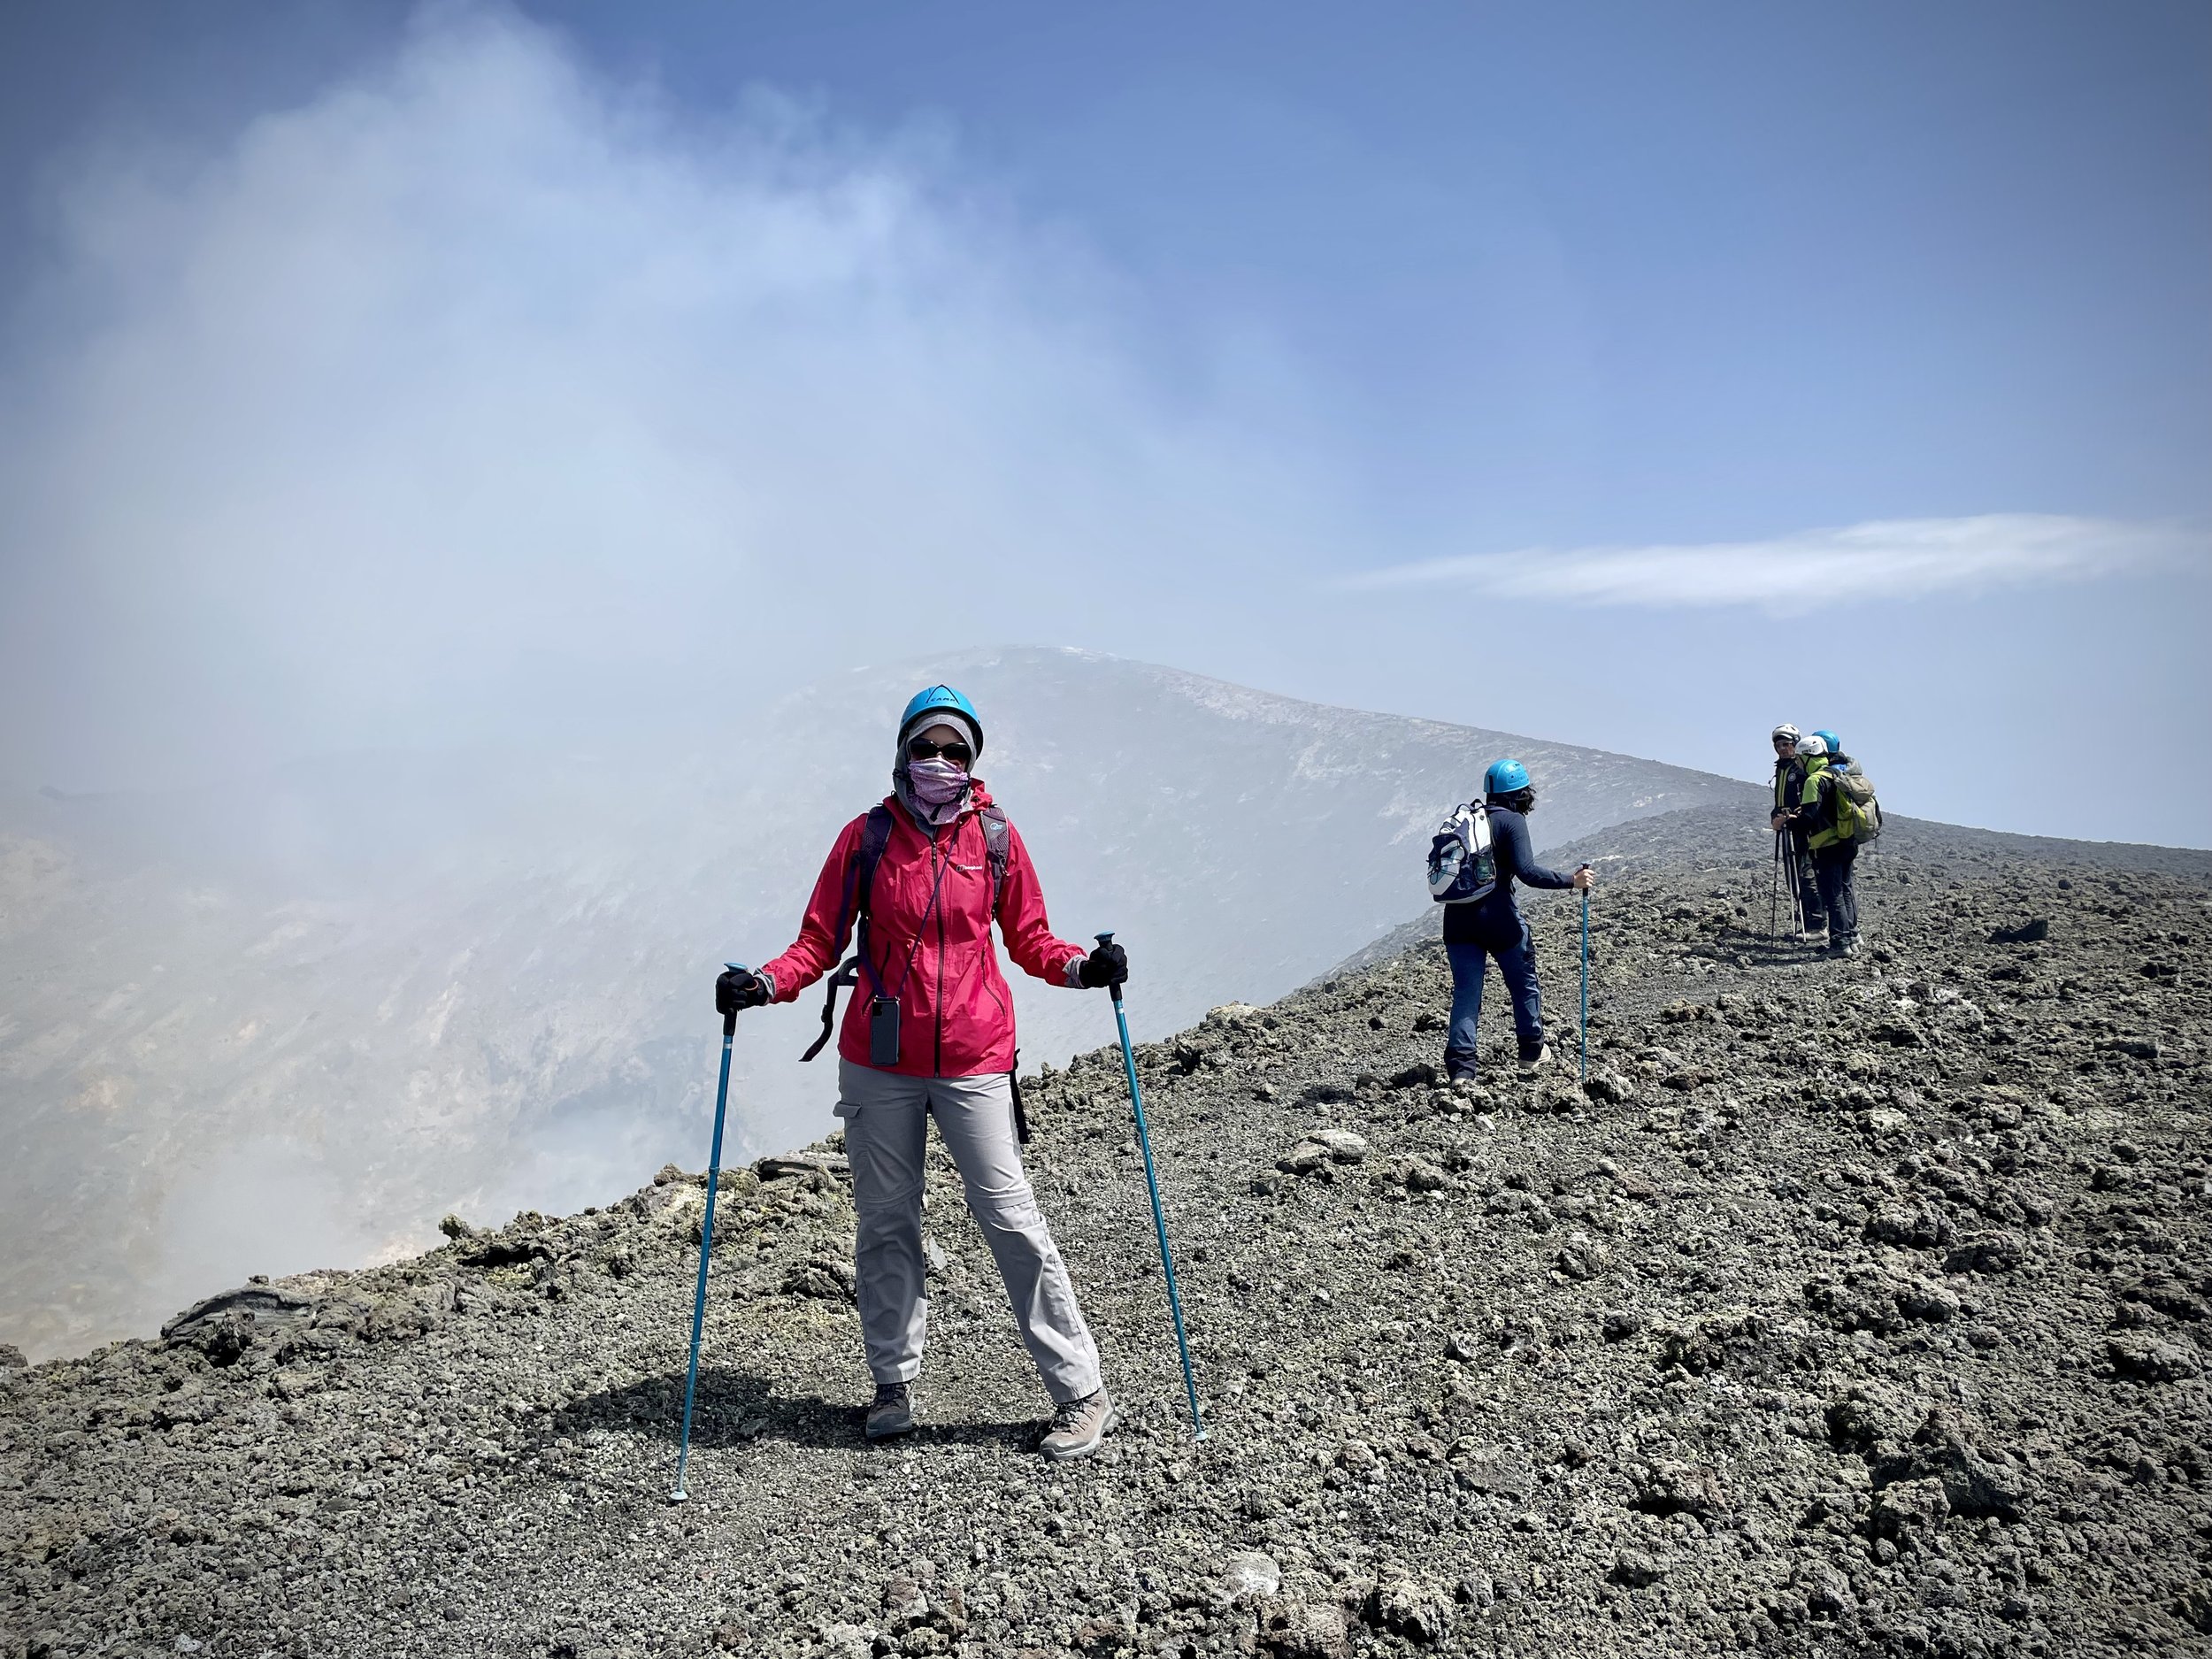
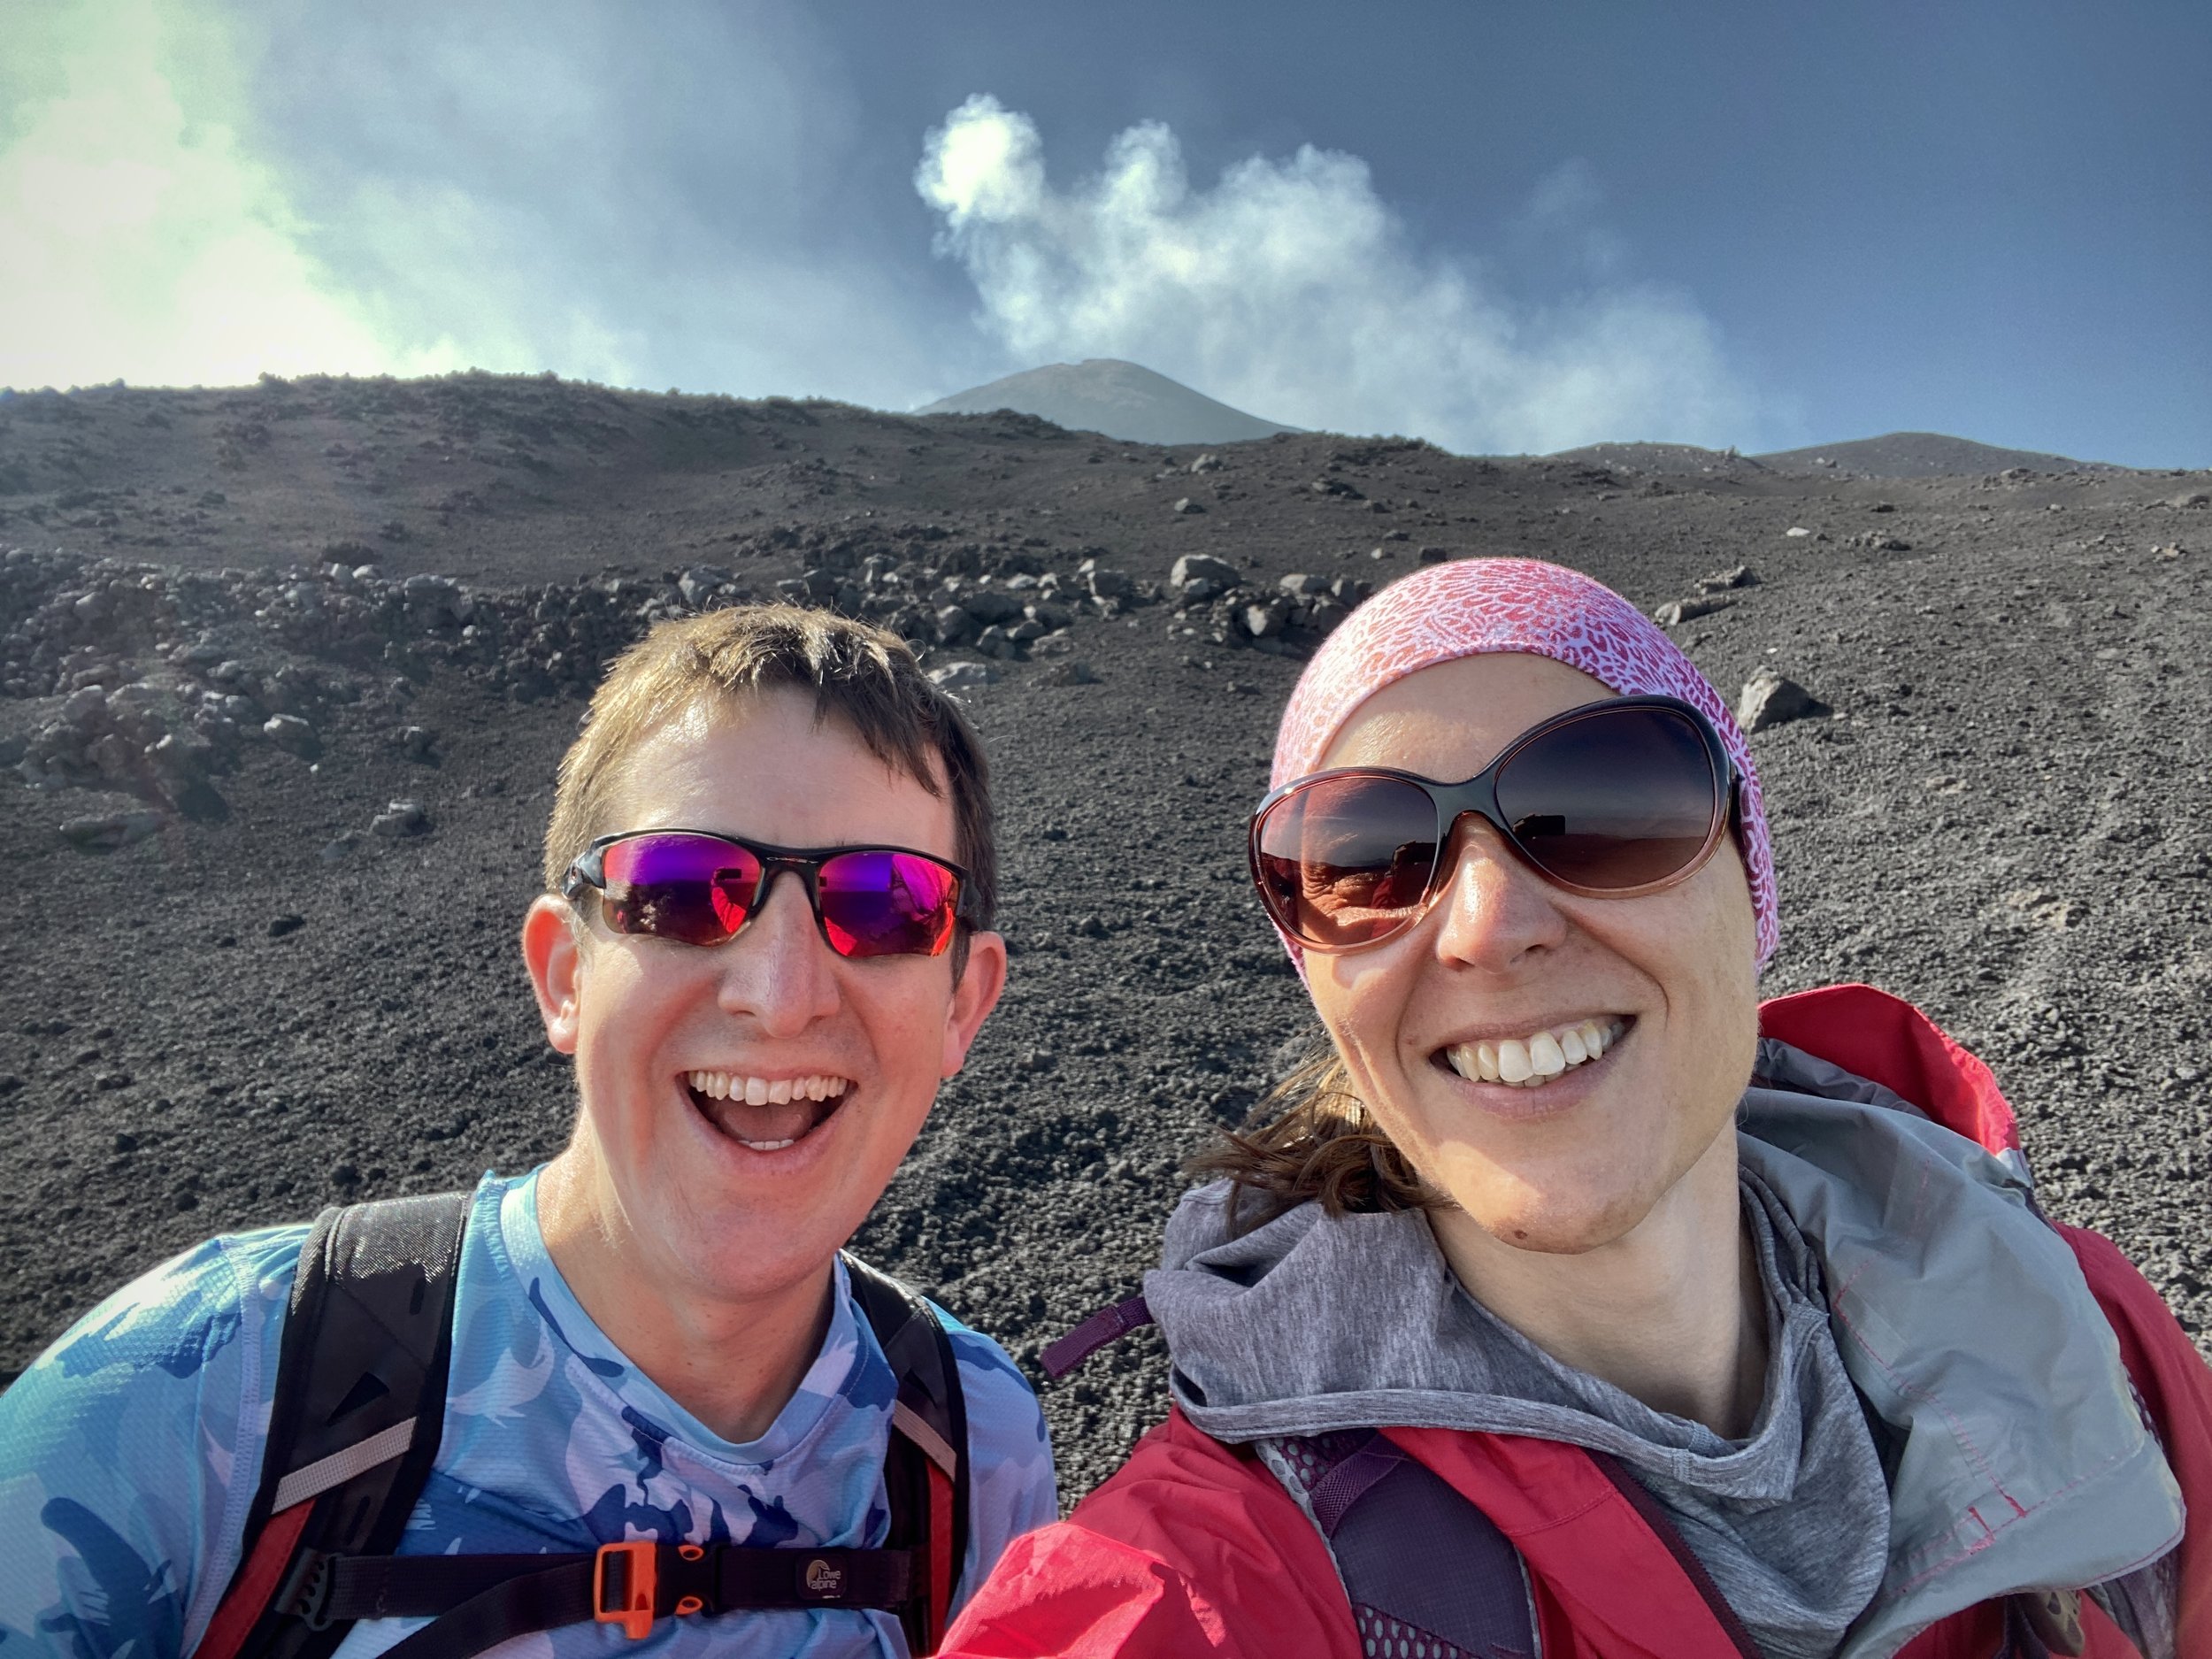
We were there on a clear but windy day. Not too much wind to blow us off course but enough to blow clouds of sulphur into our faces. My regret here was no packing my Buff to cover my face with. Timea was better prepared as she brought hers so I had to settle with holding a tissue over my mouth and face. You definitely don’t want the sulphur inside you.

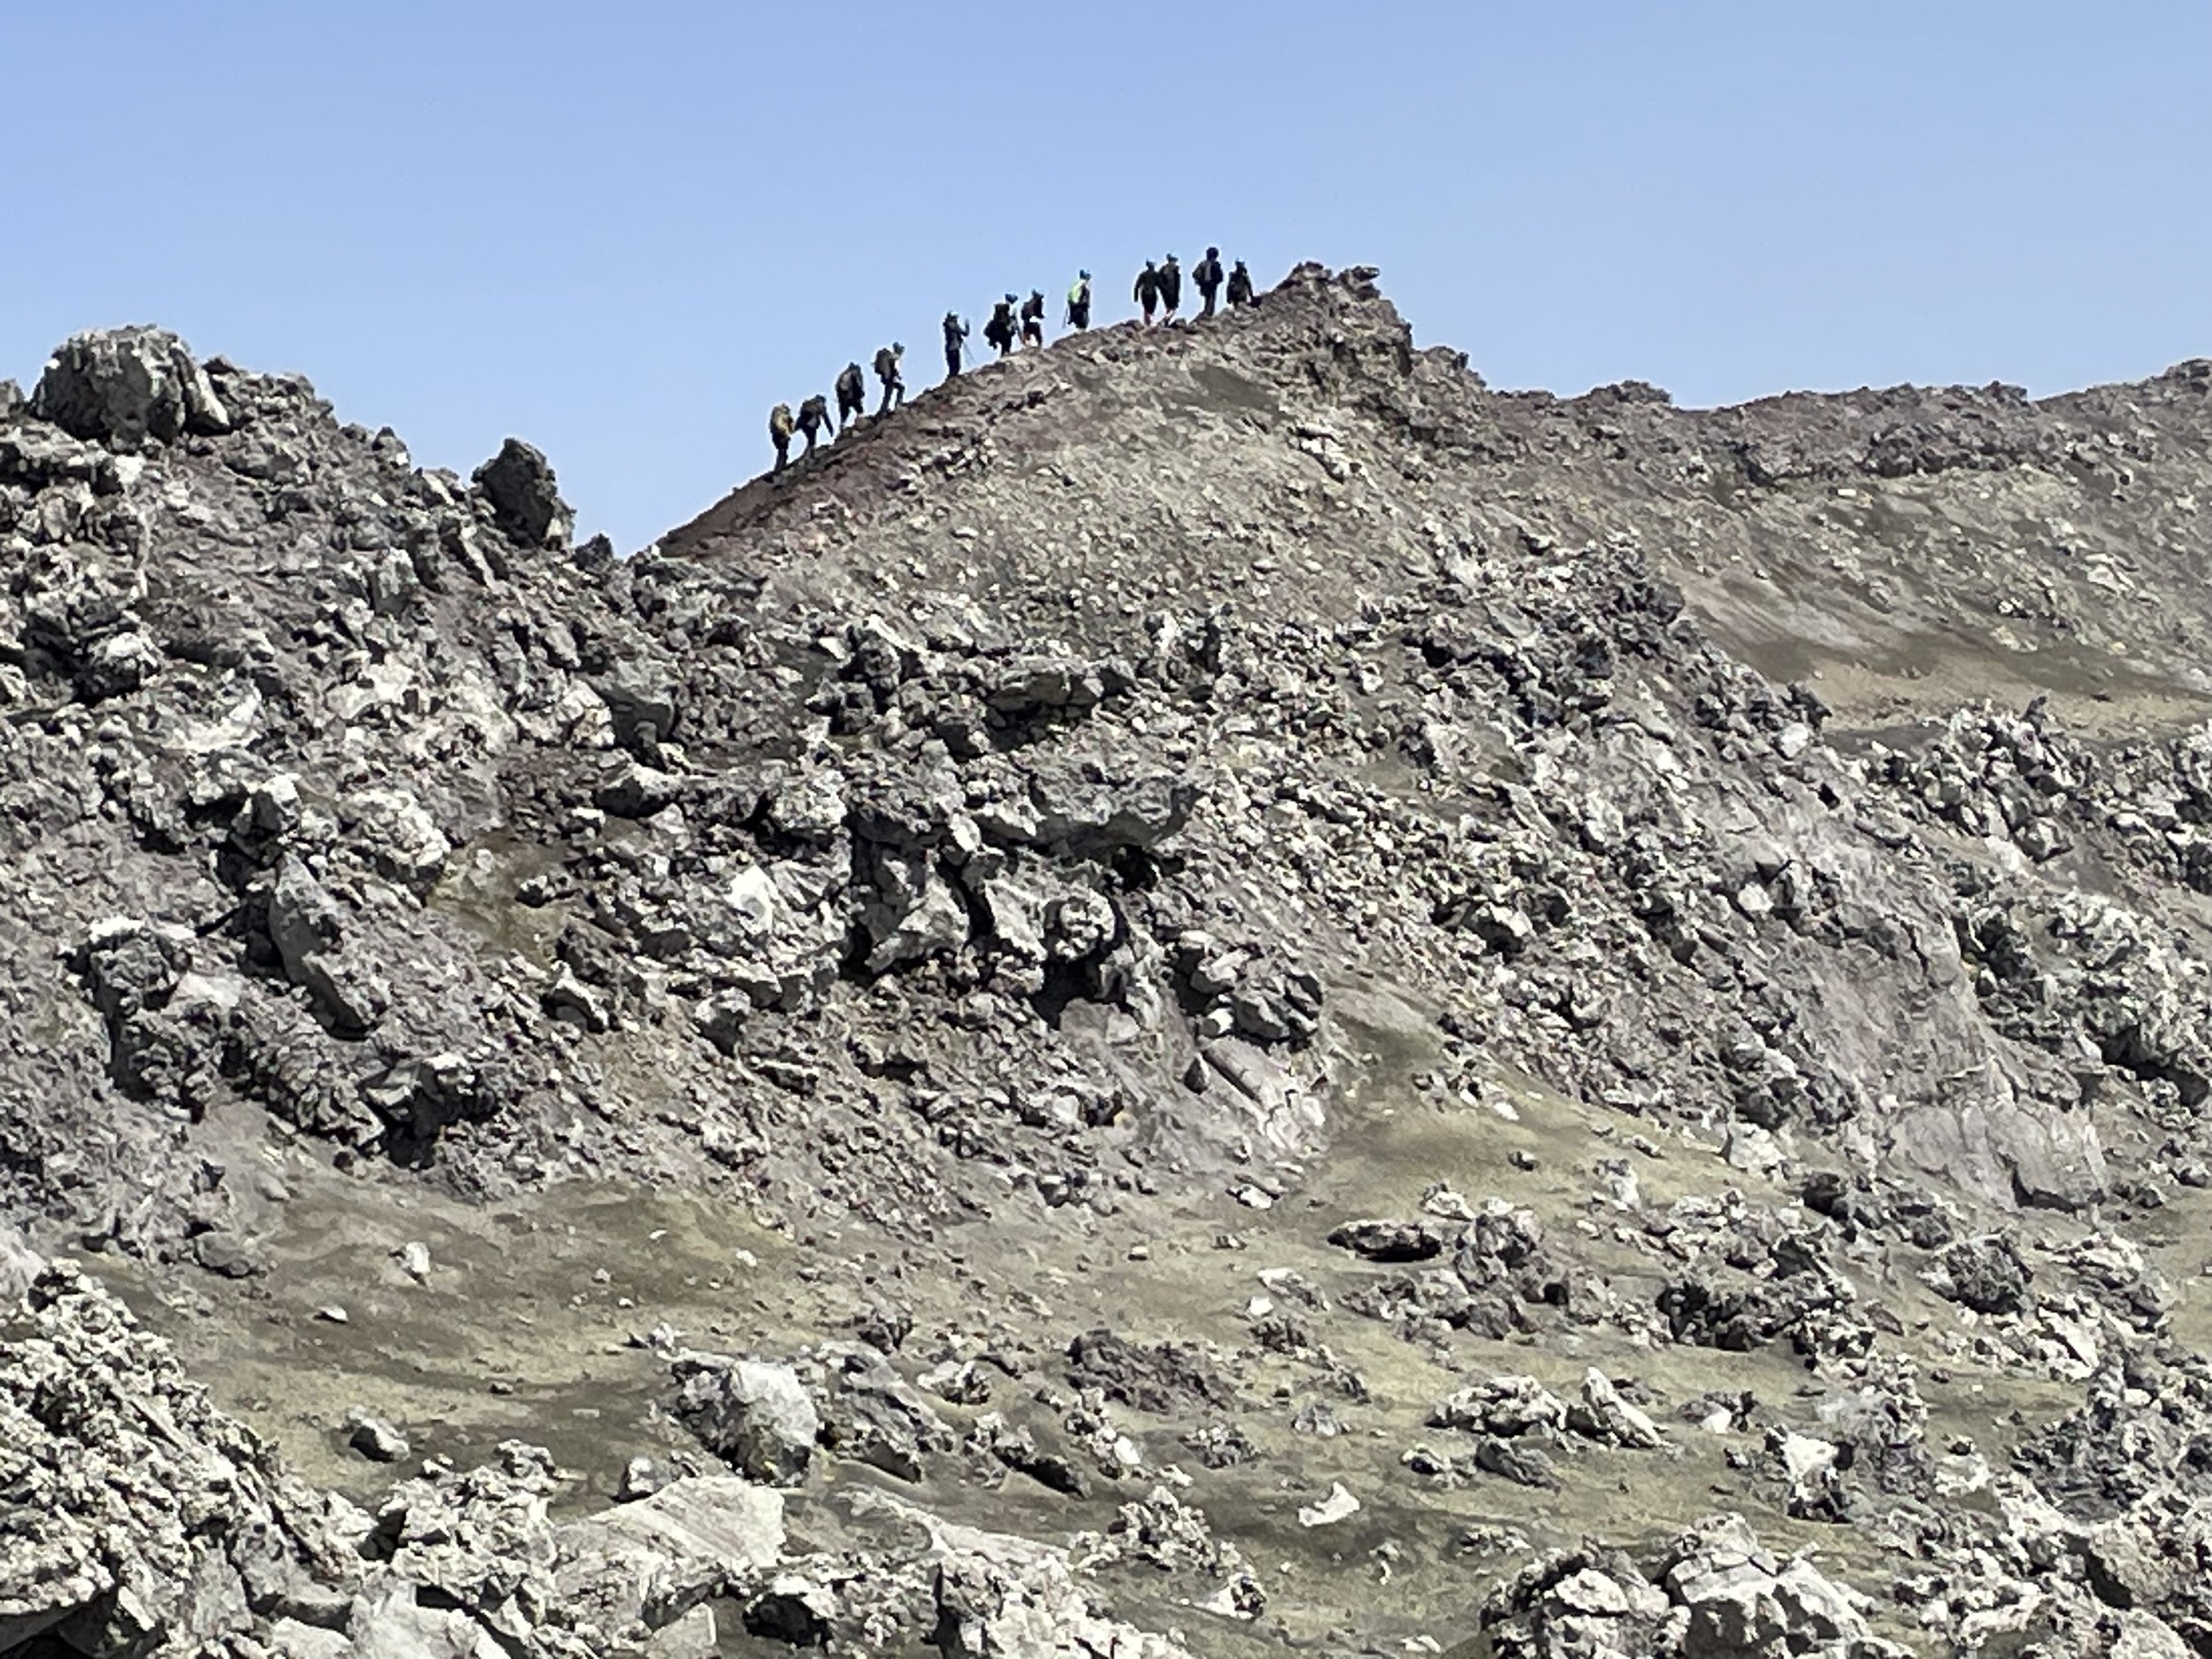
The sulphur was a small price to pay for the awesome view of the Boca Nuova Crater, still spewing clouds of steam and gas. Our route took us on a full anticlockwise circuit of the crater and close to the South-East Crater, the current high point of the mountain at 3,357m. We couldn’t get to the top of that one as it’s still dangerous but I was very happy getting to the most accessible high point of 3,317m.

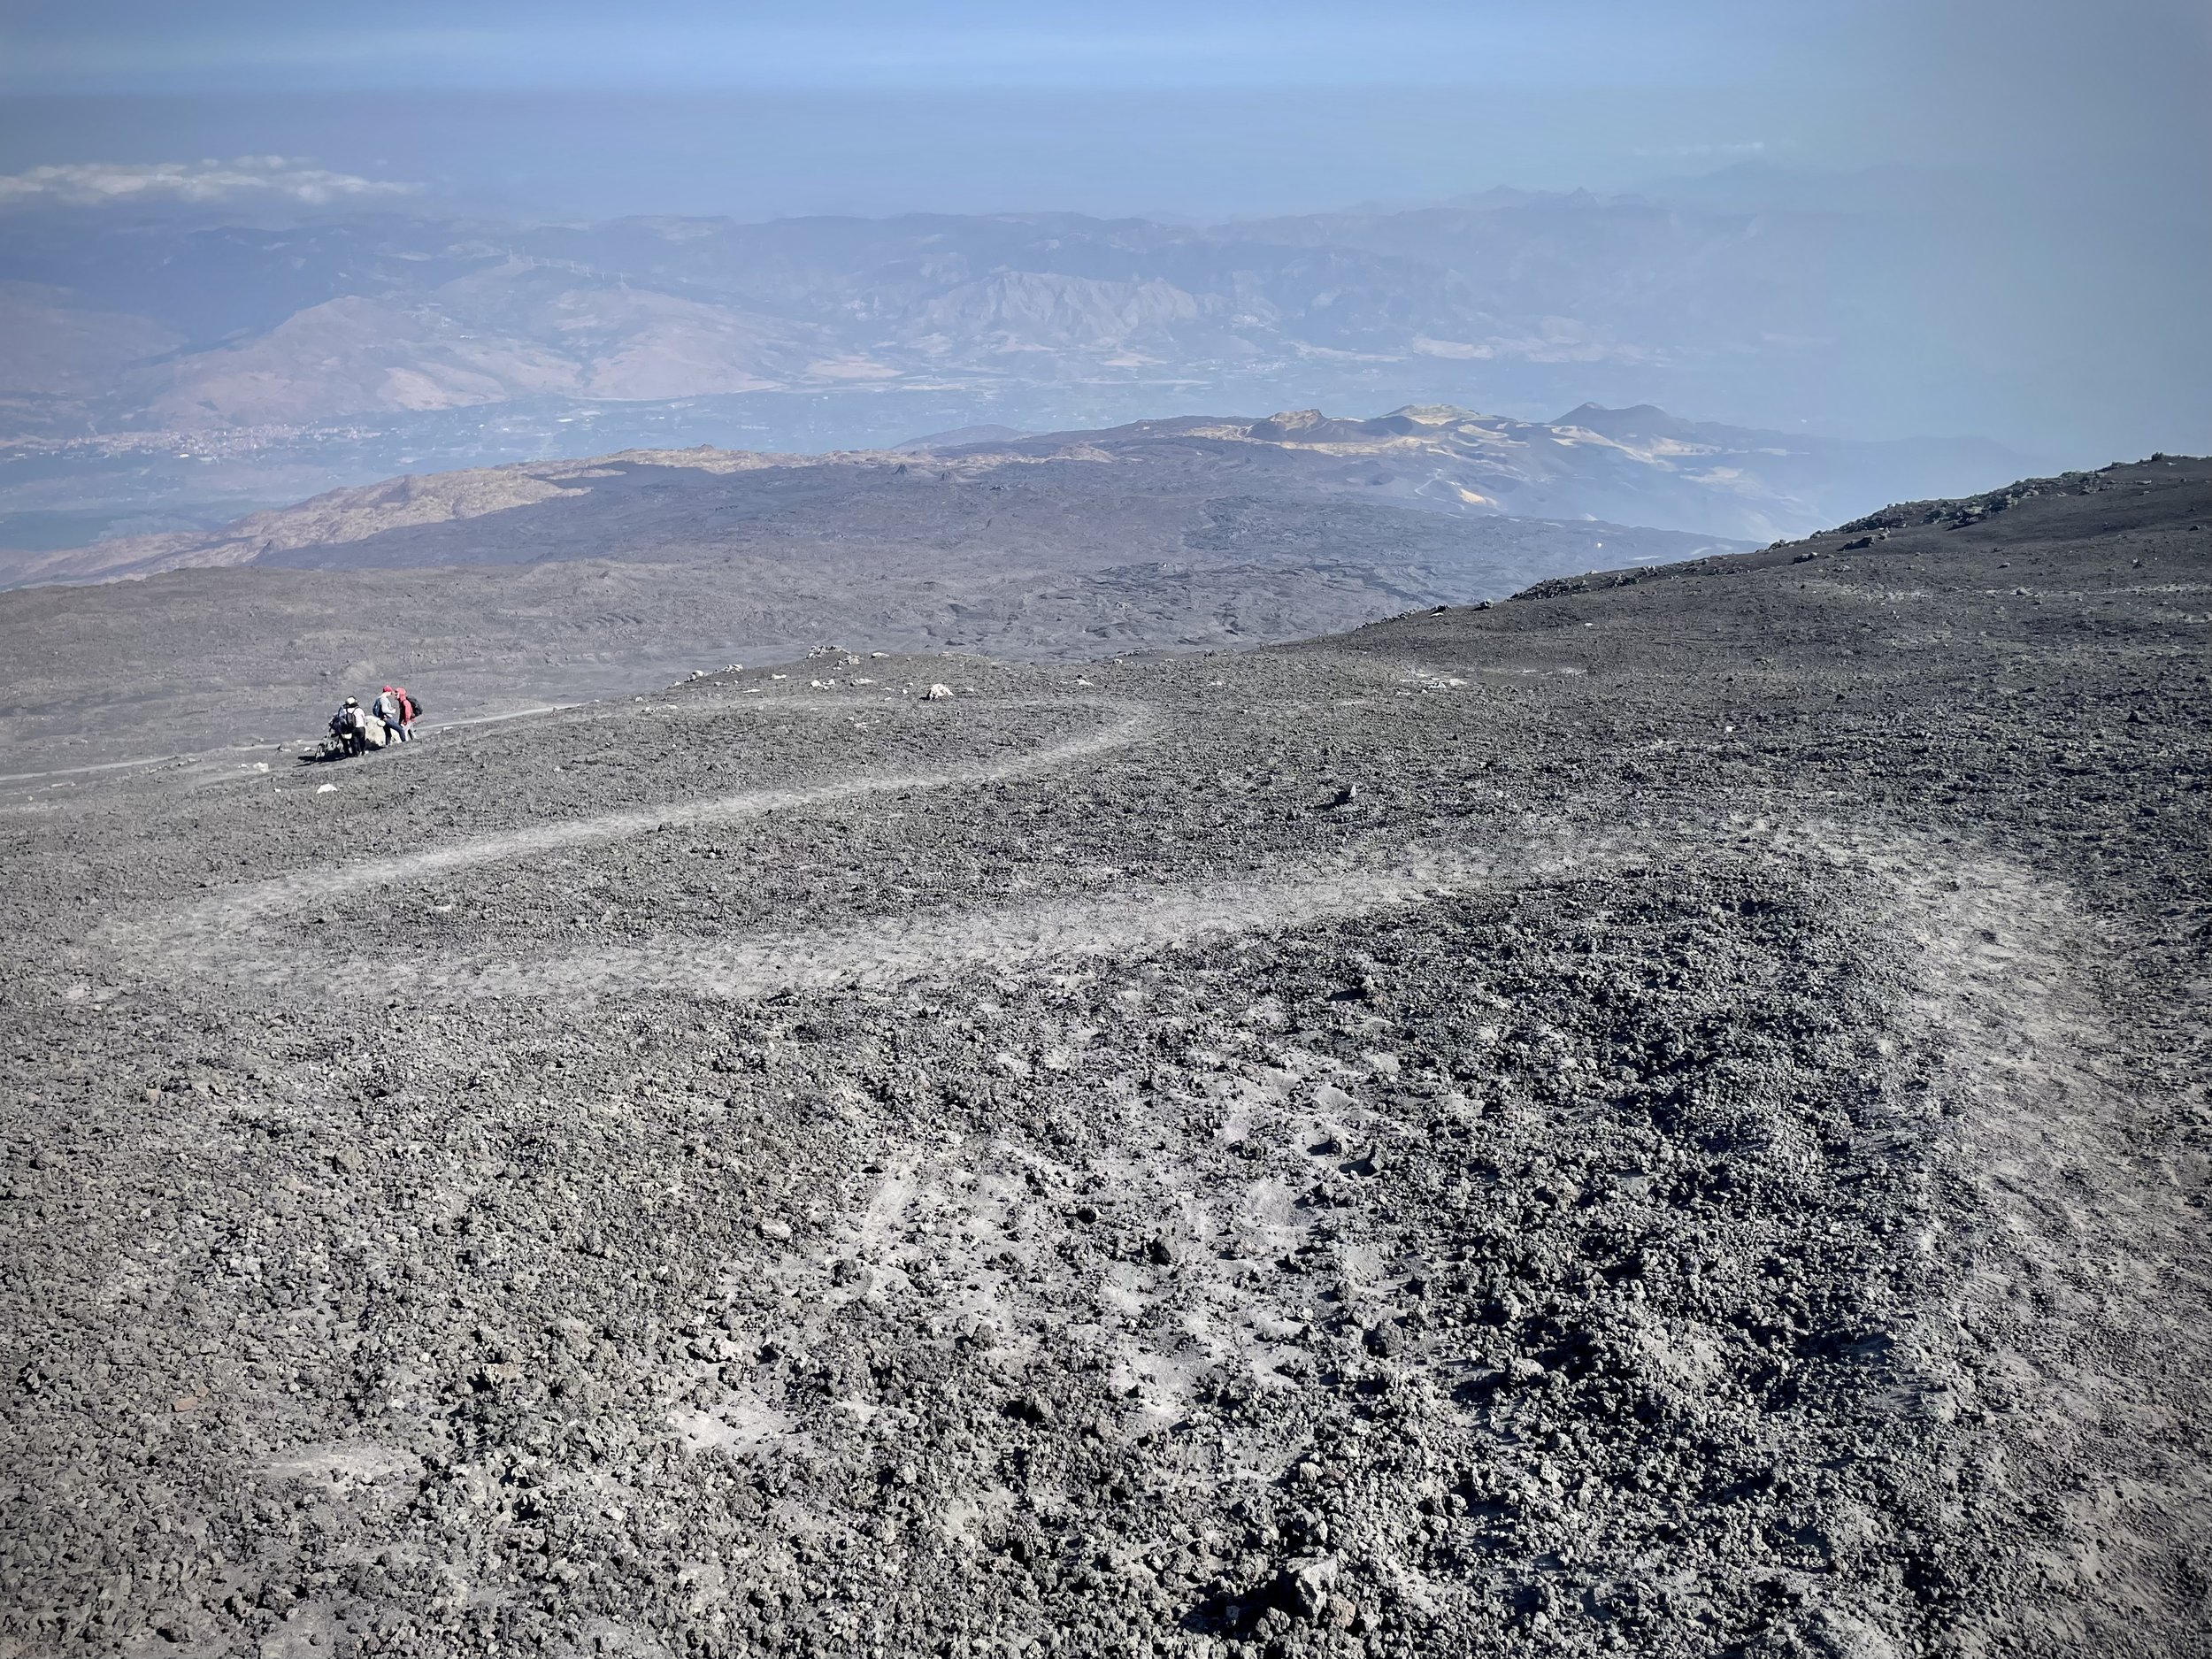
After the Boca Nuova crater we skirted round the south-western edge of the North-East Crater. A circuit of this crater looked tempting but it was also too dangerous so we settled for peering over the top on the southern edge. from here we descended in a north-easterly direction towards the Observatory Etneo where we met the bus to take us back to the Visitor Centre. The fast ski-like descent down the ash fields to the bus was another highlight of the trip.

The adventure wasn’t over yet as there were 2 more interesting stops on the way back down to Riposto. First stop was an “island” of forest created when a lava flow cut off one of the main roads up to the mountain in 2002. A new road has been laid over the lava and you can take a small track down to see the remains of the old road.

Stop 2 was a small cave created by a lava flow. There’s steps at either end making it easy to walk through, although a helmet and torch is essential. The cave was once used as an ice house and is depicted in the painting “La Grotta a La Neige” by Jean-Pierre Houël. According to the information board, the painting is now displayed in The Hermitage in St. Petersburg, Russia.

We were back in our hotel in Rispoto by 16:30 totaling an 8 hour trip. If you’re up for a similar day trip I can highly recommend our guide Angelo at siciliaadventure.it


Back to Trek Index
Coety Mountain: Blaenau Gwent & Torfen High Points

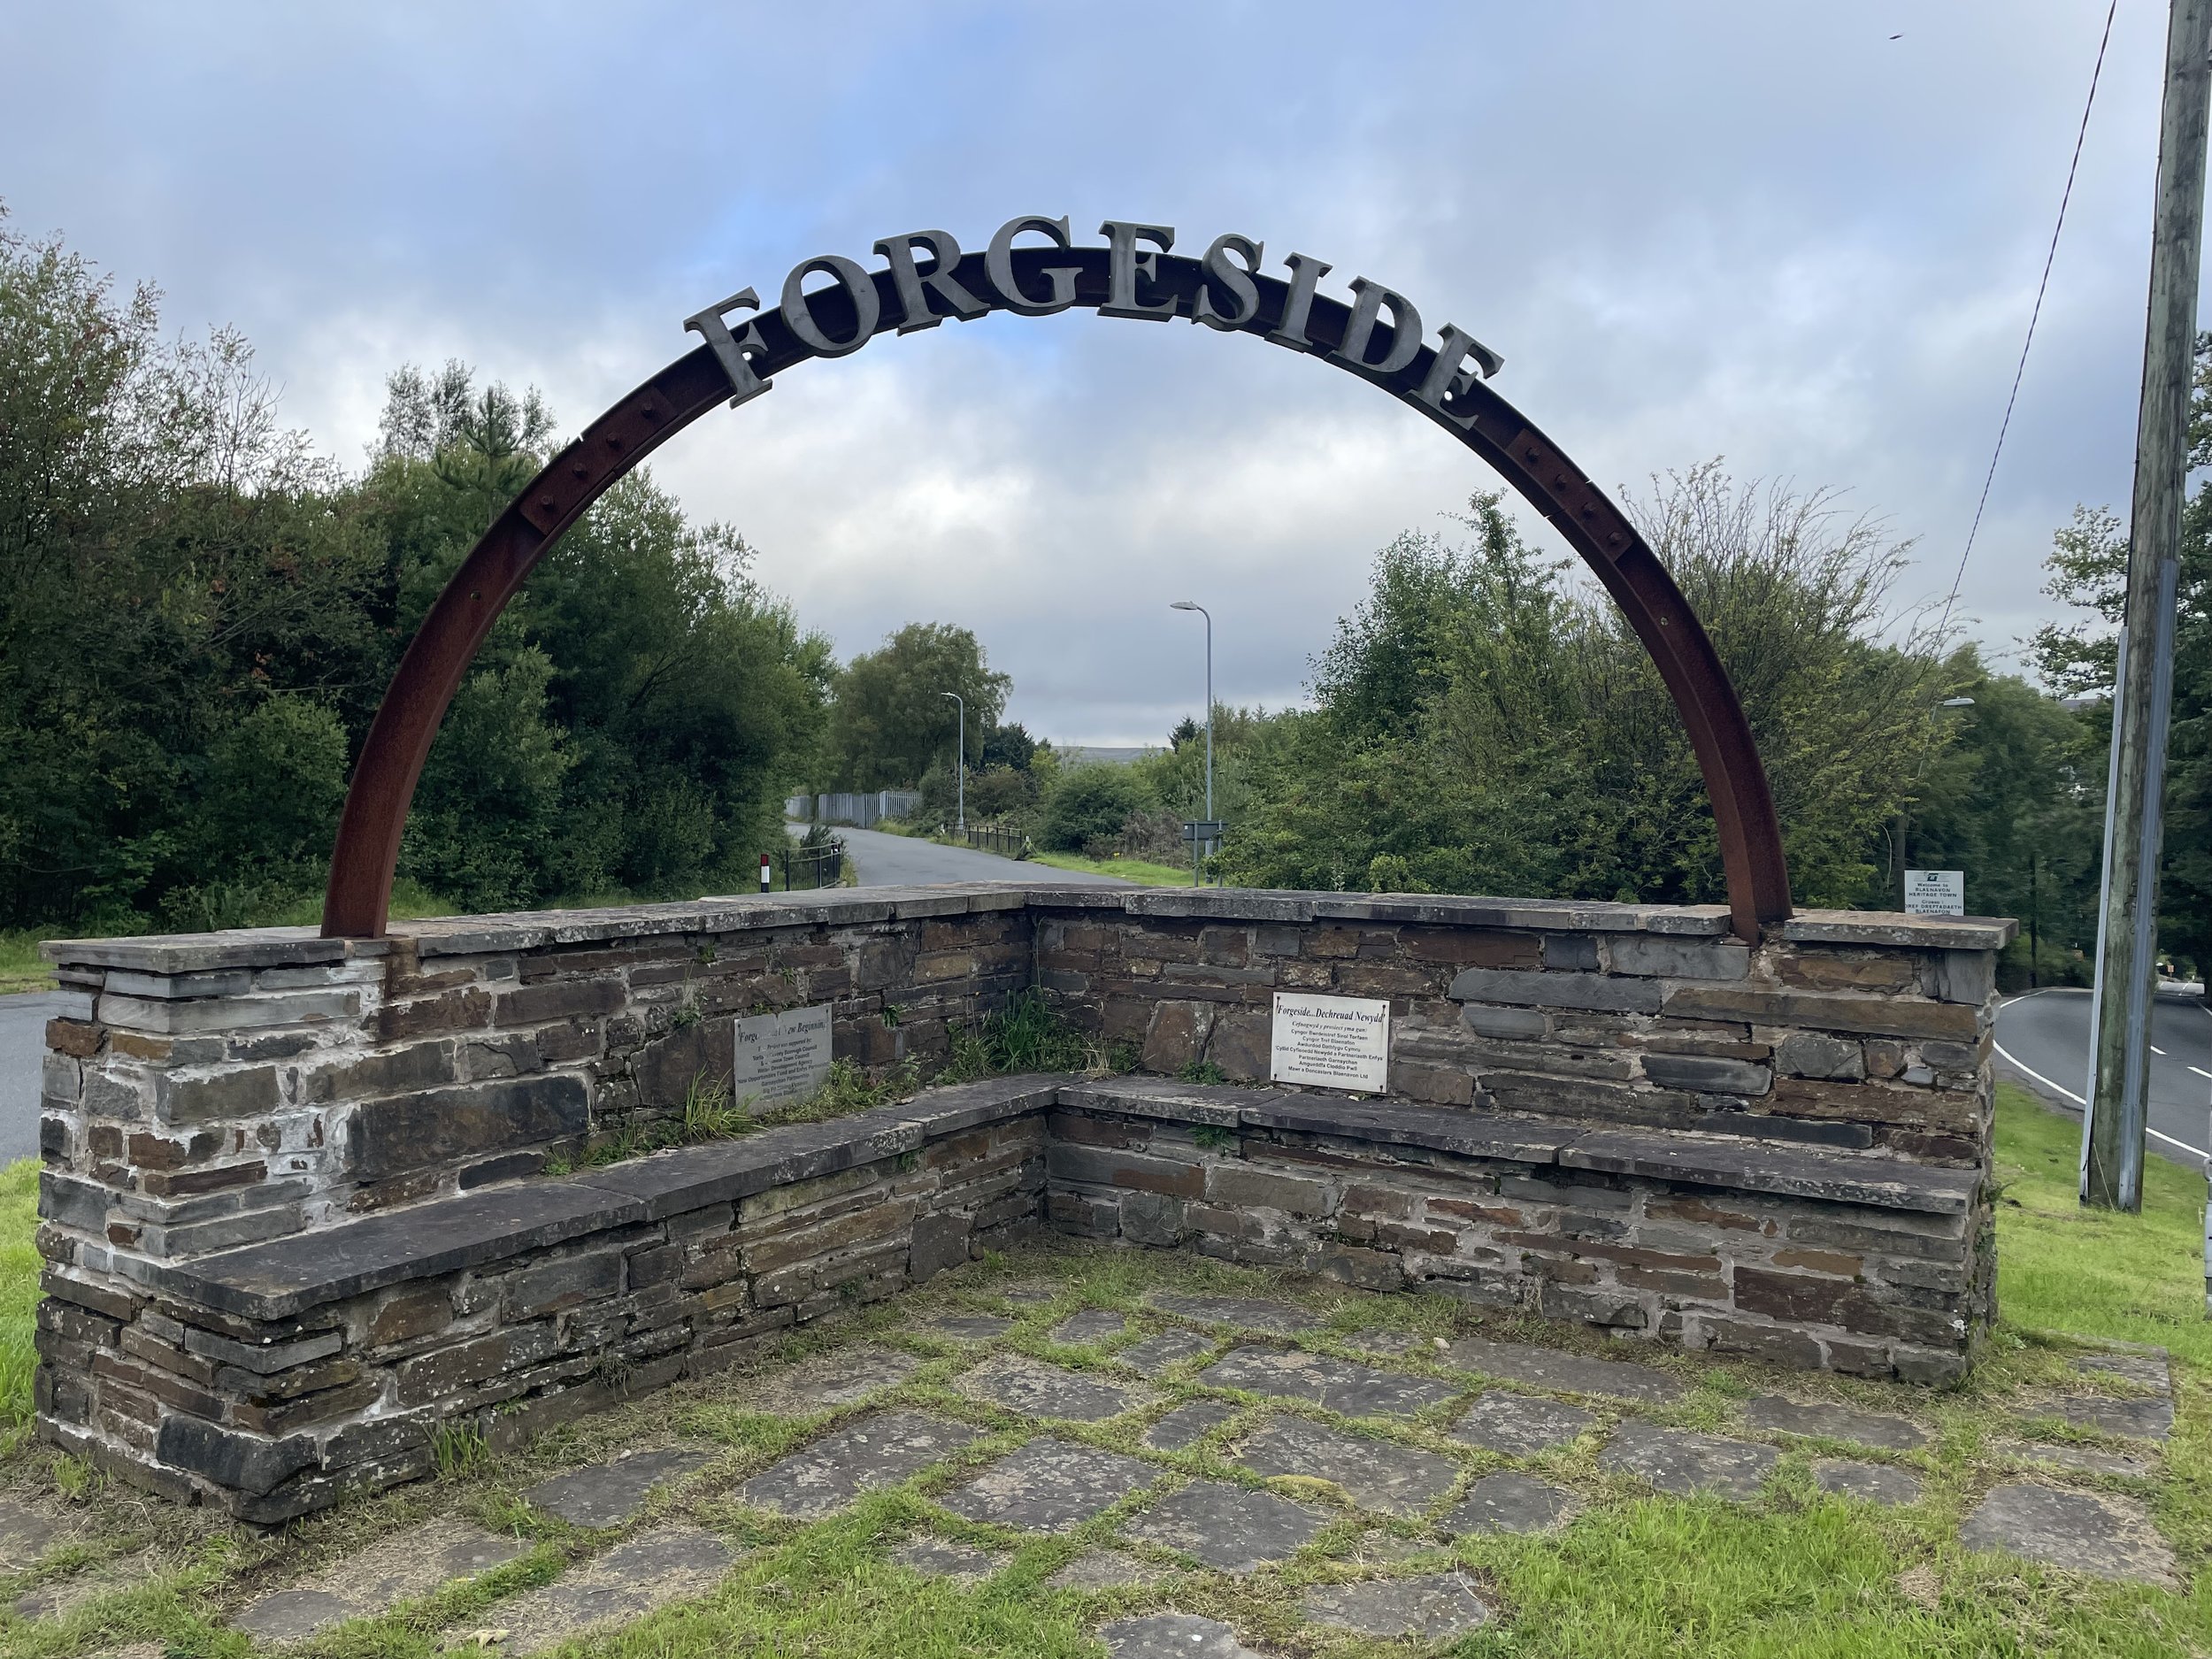
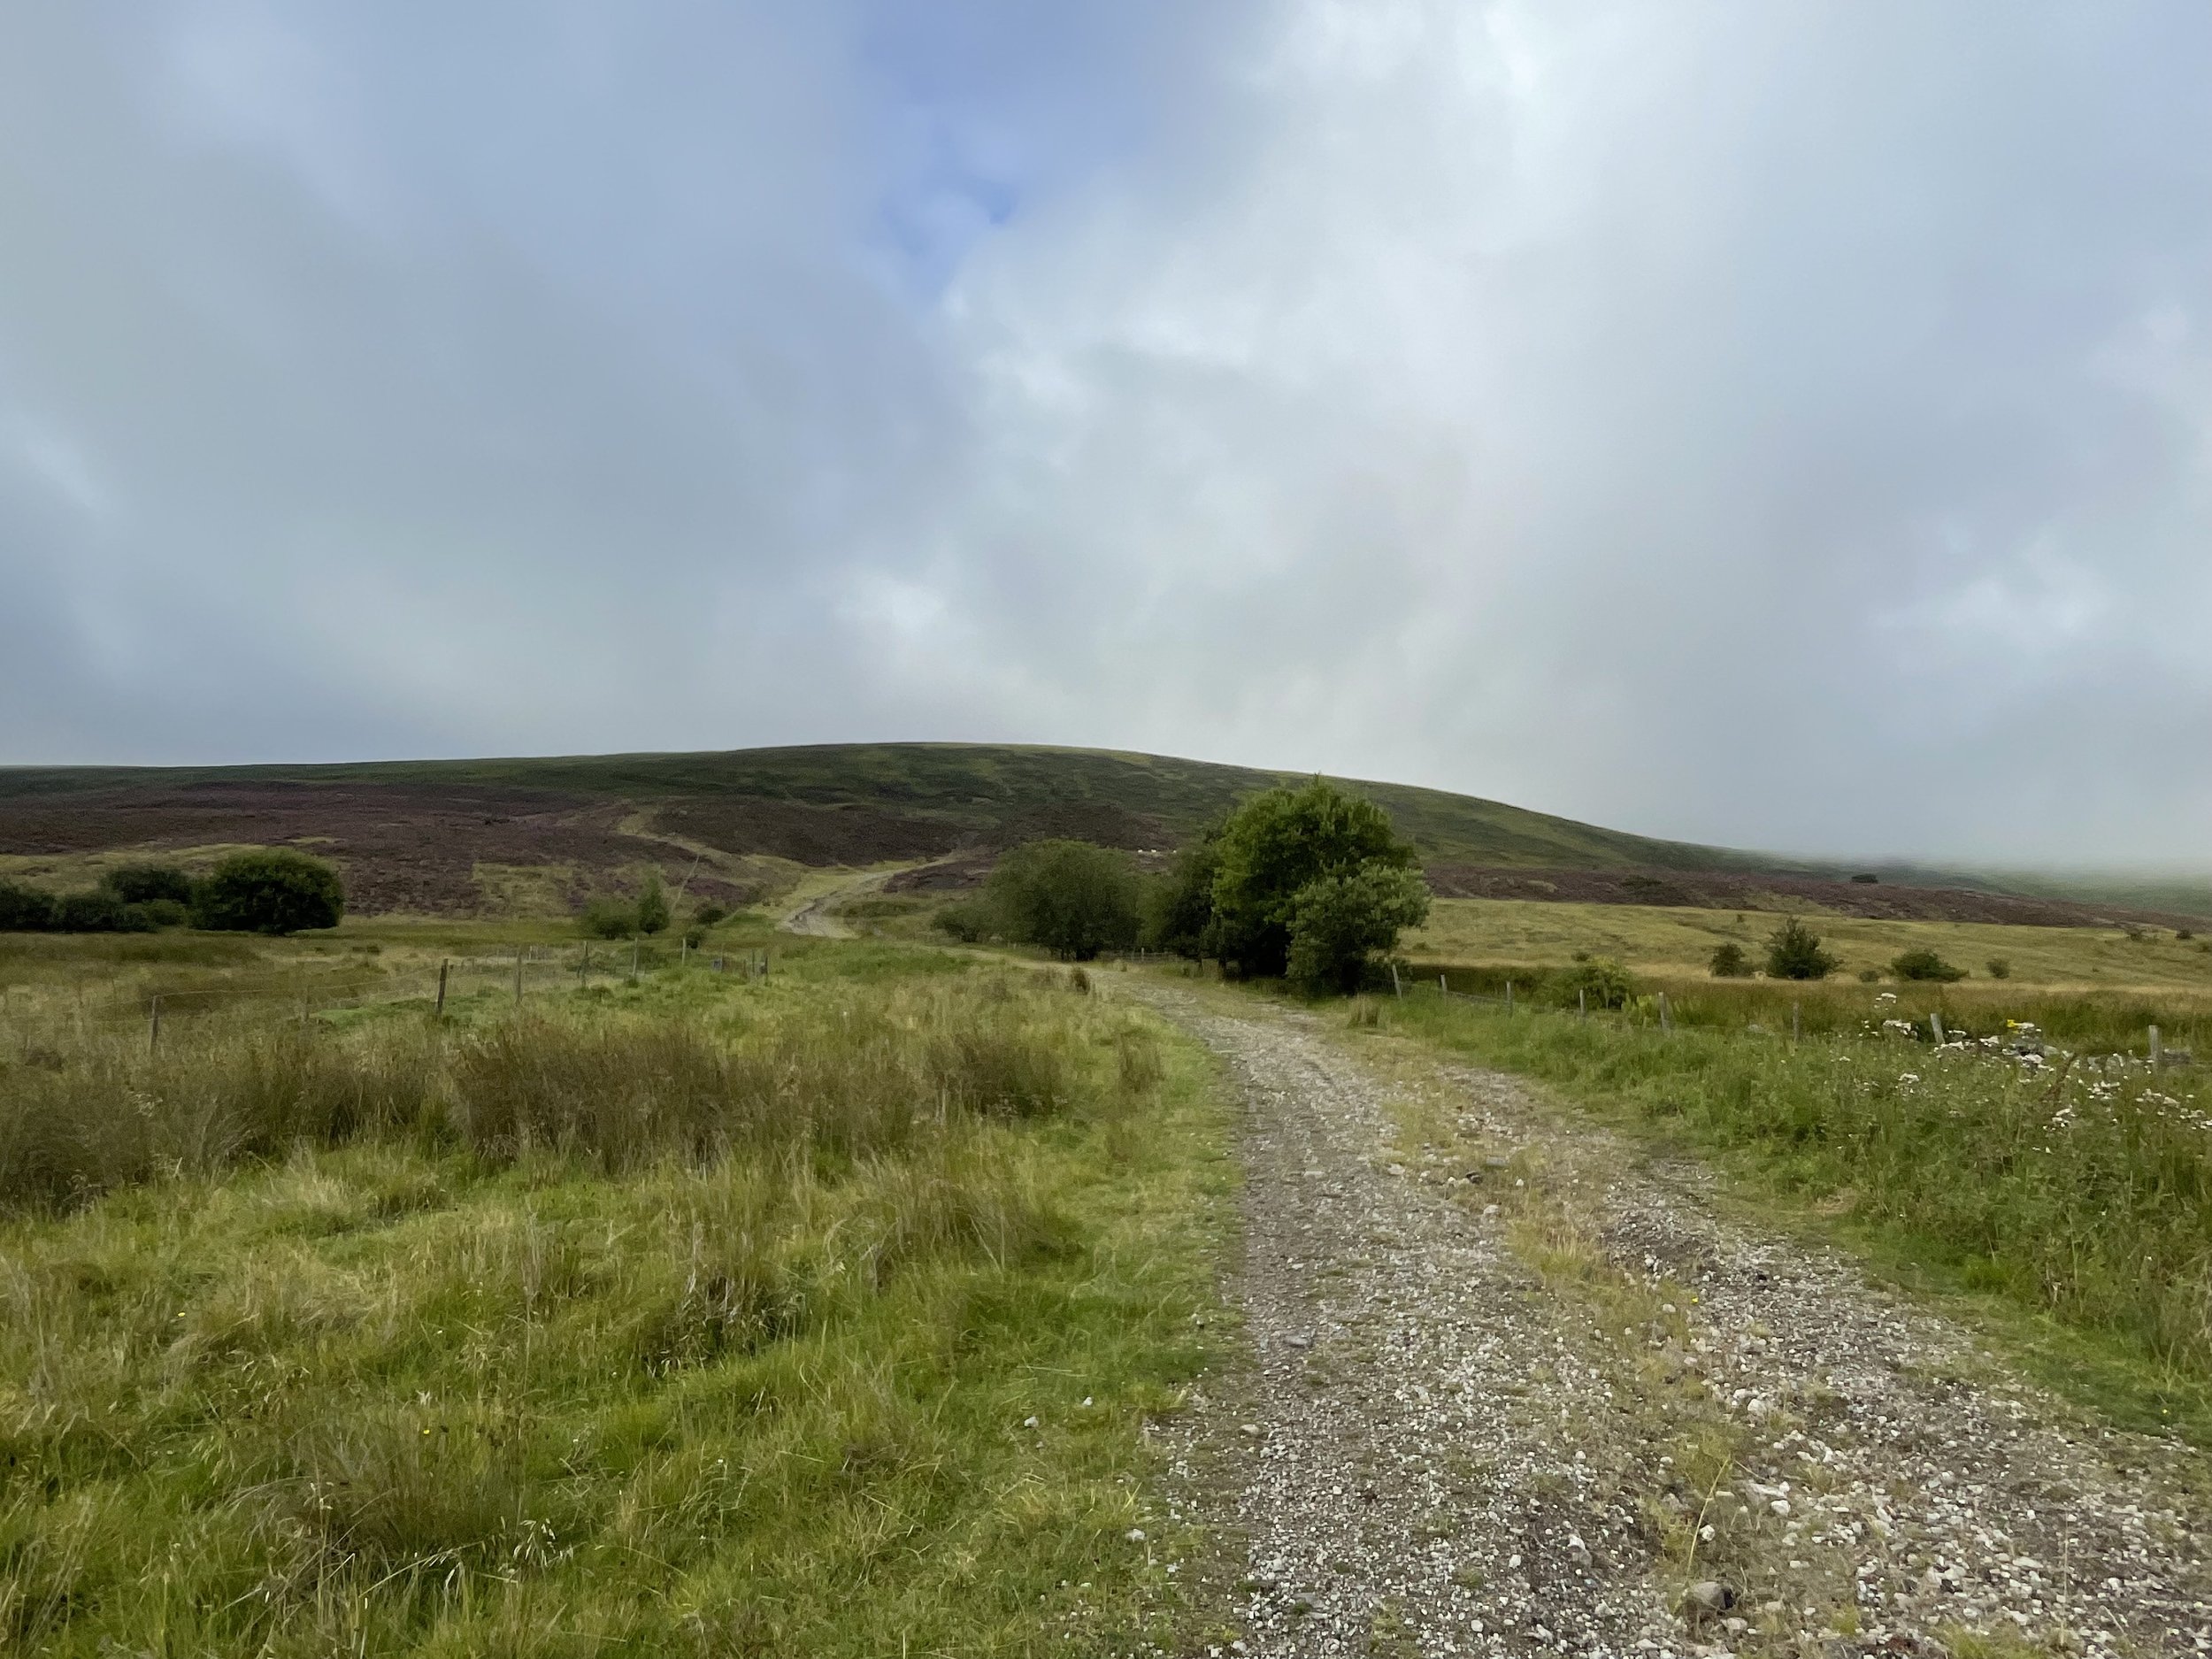
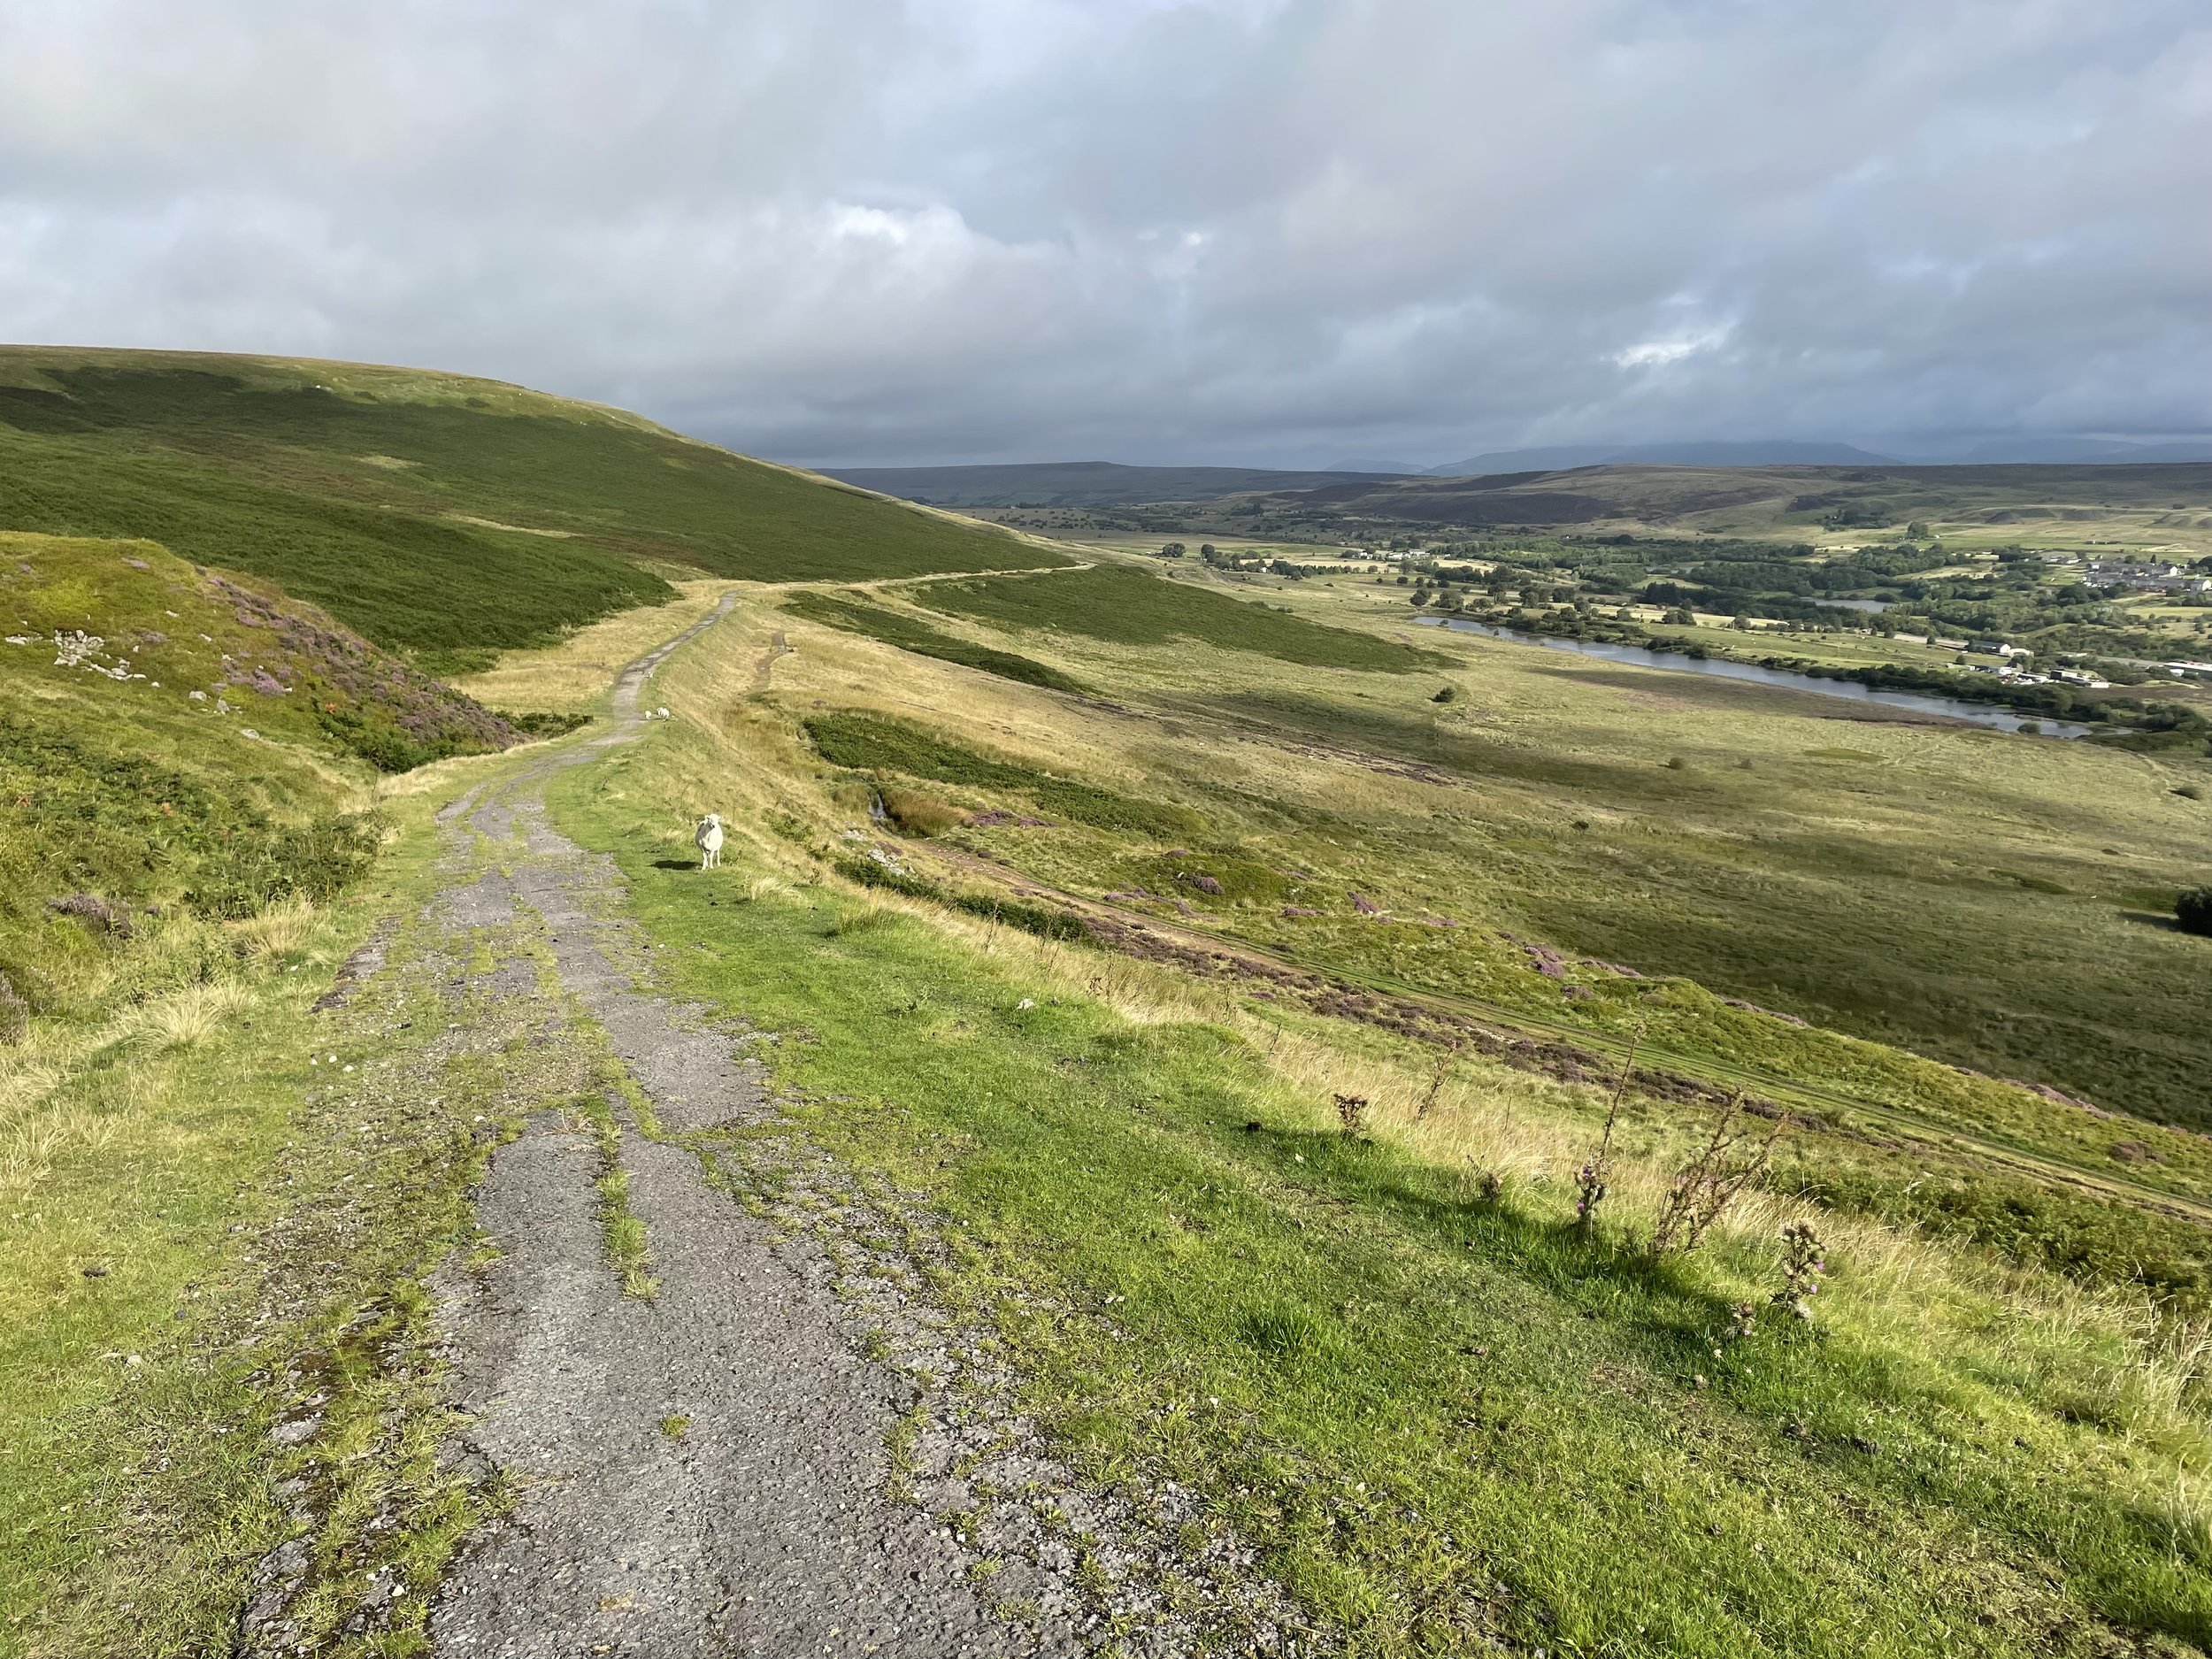
Approach to Coety Mountain from Forge Side Road


Coety Mountain

Also known as: Coity Mountain / Mynydd Coety (Welsh)
Significance
: High Point for the Welsh Principal Area of Blaenau Gwent
Member of: Marilyns
Parent Peak: Pen y Fan. NHN = Sugar Loaf
Elevation: 578m
Date climbed: August 19th 2023
Coordinates: 51° 45' 55'' N, 3° 6' 53'' W
Links: Wikipedia: Blaenau Gwent, Coety Mountain, Peakbagger, Hillbagging

Coety Mountain East Slope

Significance:  Unitary Authority High Point for Torfaen
Member of: N/A
Parent Peak: Coety Mountain. NHN = Coety Mountain
Elevation: 574m
Date climbed: August 19th 2023
Coordinates: 51° 45' 56'' N, 3° 6' 50'' W
Links: Wikipedia (Torfaen), Peakbagger, Hillbagging


For both peaks:

Route Start & Finish: Parking space before the cattle grid near Varteg Road Cemetery, Varteg Road, Pontypool, NP4, UK
Route Distance: 10.1 km (6.2 miles)
Route Elevation change: +/- 276m
GPX File: get via Buy Me a Coffee
Other routes touched (walk): N/A
Other routes touched (cycle): N/A but NCN 492 passes very close to the start of the walk.
OS Trig Pillar: TP5042 - Mynydd Varteg Fawr
Pubs / Cafes on route: N/A
Map: Ordnance Survey OS Explorer OL13 Brecon Beacons National Park - Eastern Area Map
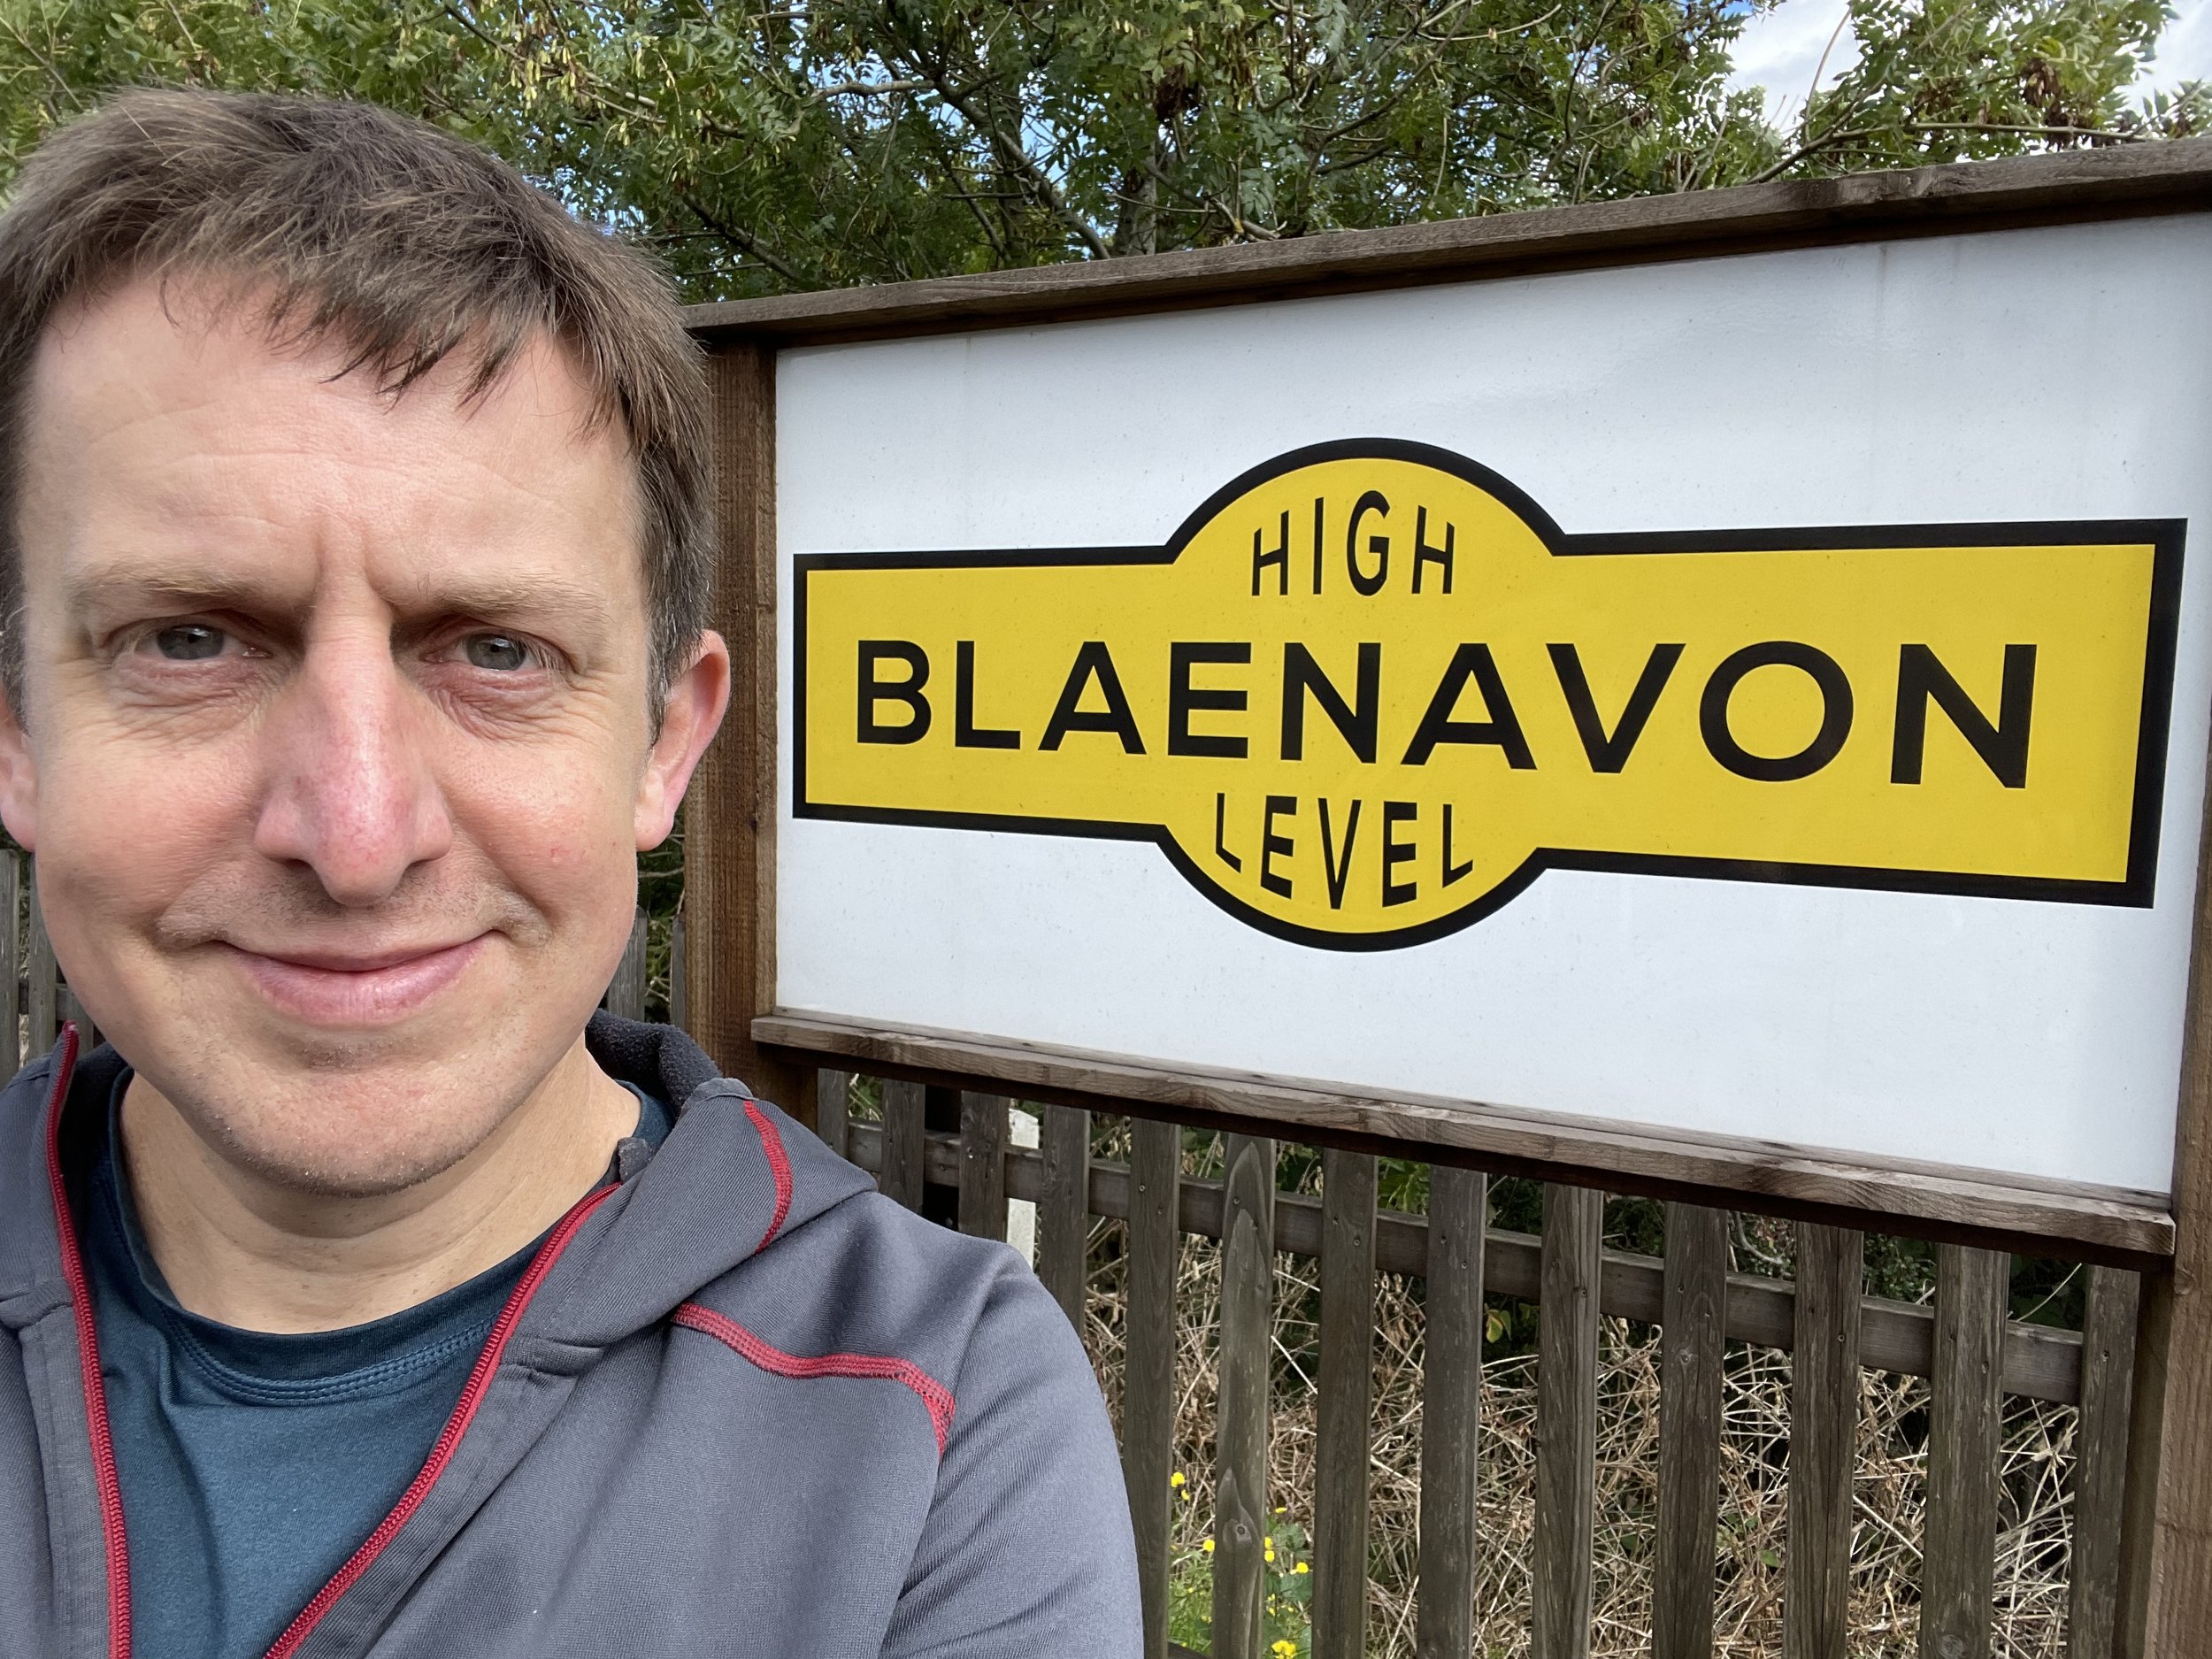
Links: Blaenavon, Blaenavon World Heritage Site


Coety Mountain is the high point of the Welsh Principal Areas of Blaenau Gwent and Torfaen within the Historic County of Monmouthshire. The Blaenau Gwent / Torfaen border runs along the ridge of the mountain with the 2 high points very close together.

The quickest way to bag the high points is an out-and-back from the Whistle Inn Halt at the north-western end of Blaenavon. Instead I chose a longer circular route from the south-eastern end of town to include the Mynydd Farteg Fawr Trig Pillar. There’s a parking space for a couple of cars near the cattle grid by the cemetary on Varteg Road, or, if not available you can also park along Forge Side Road.

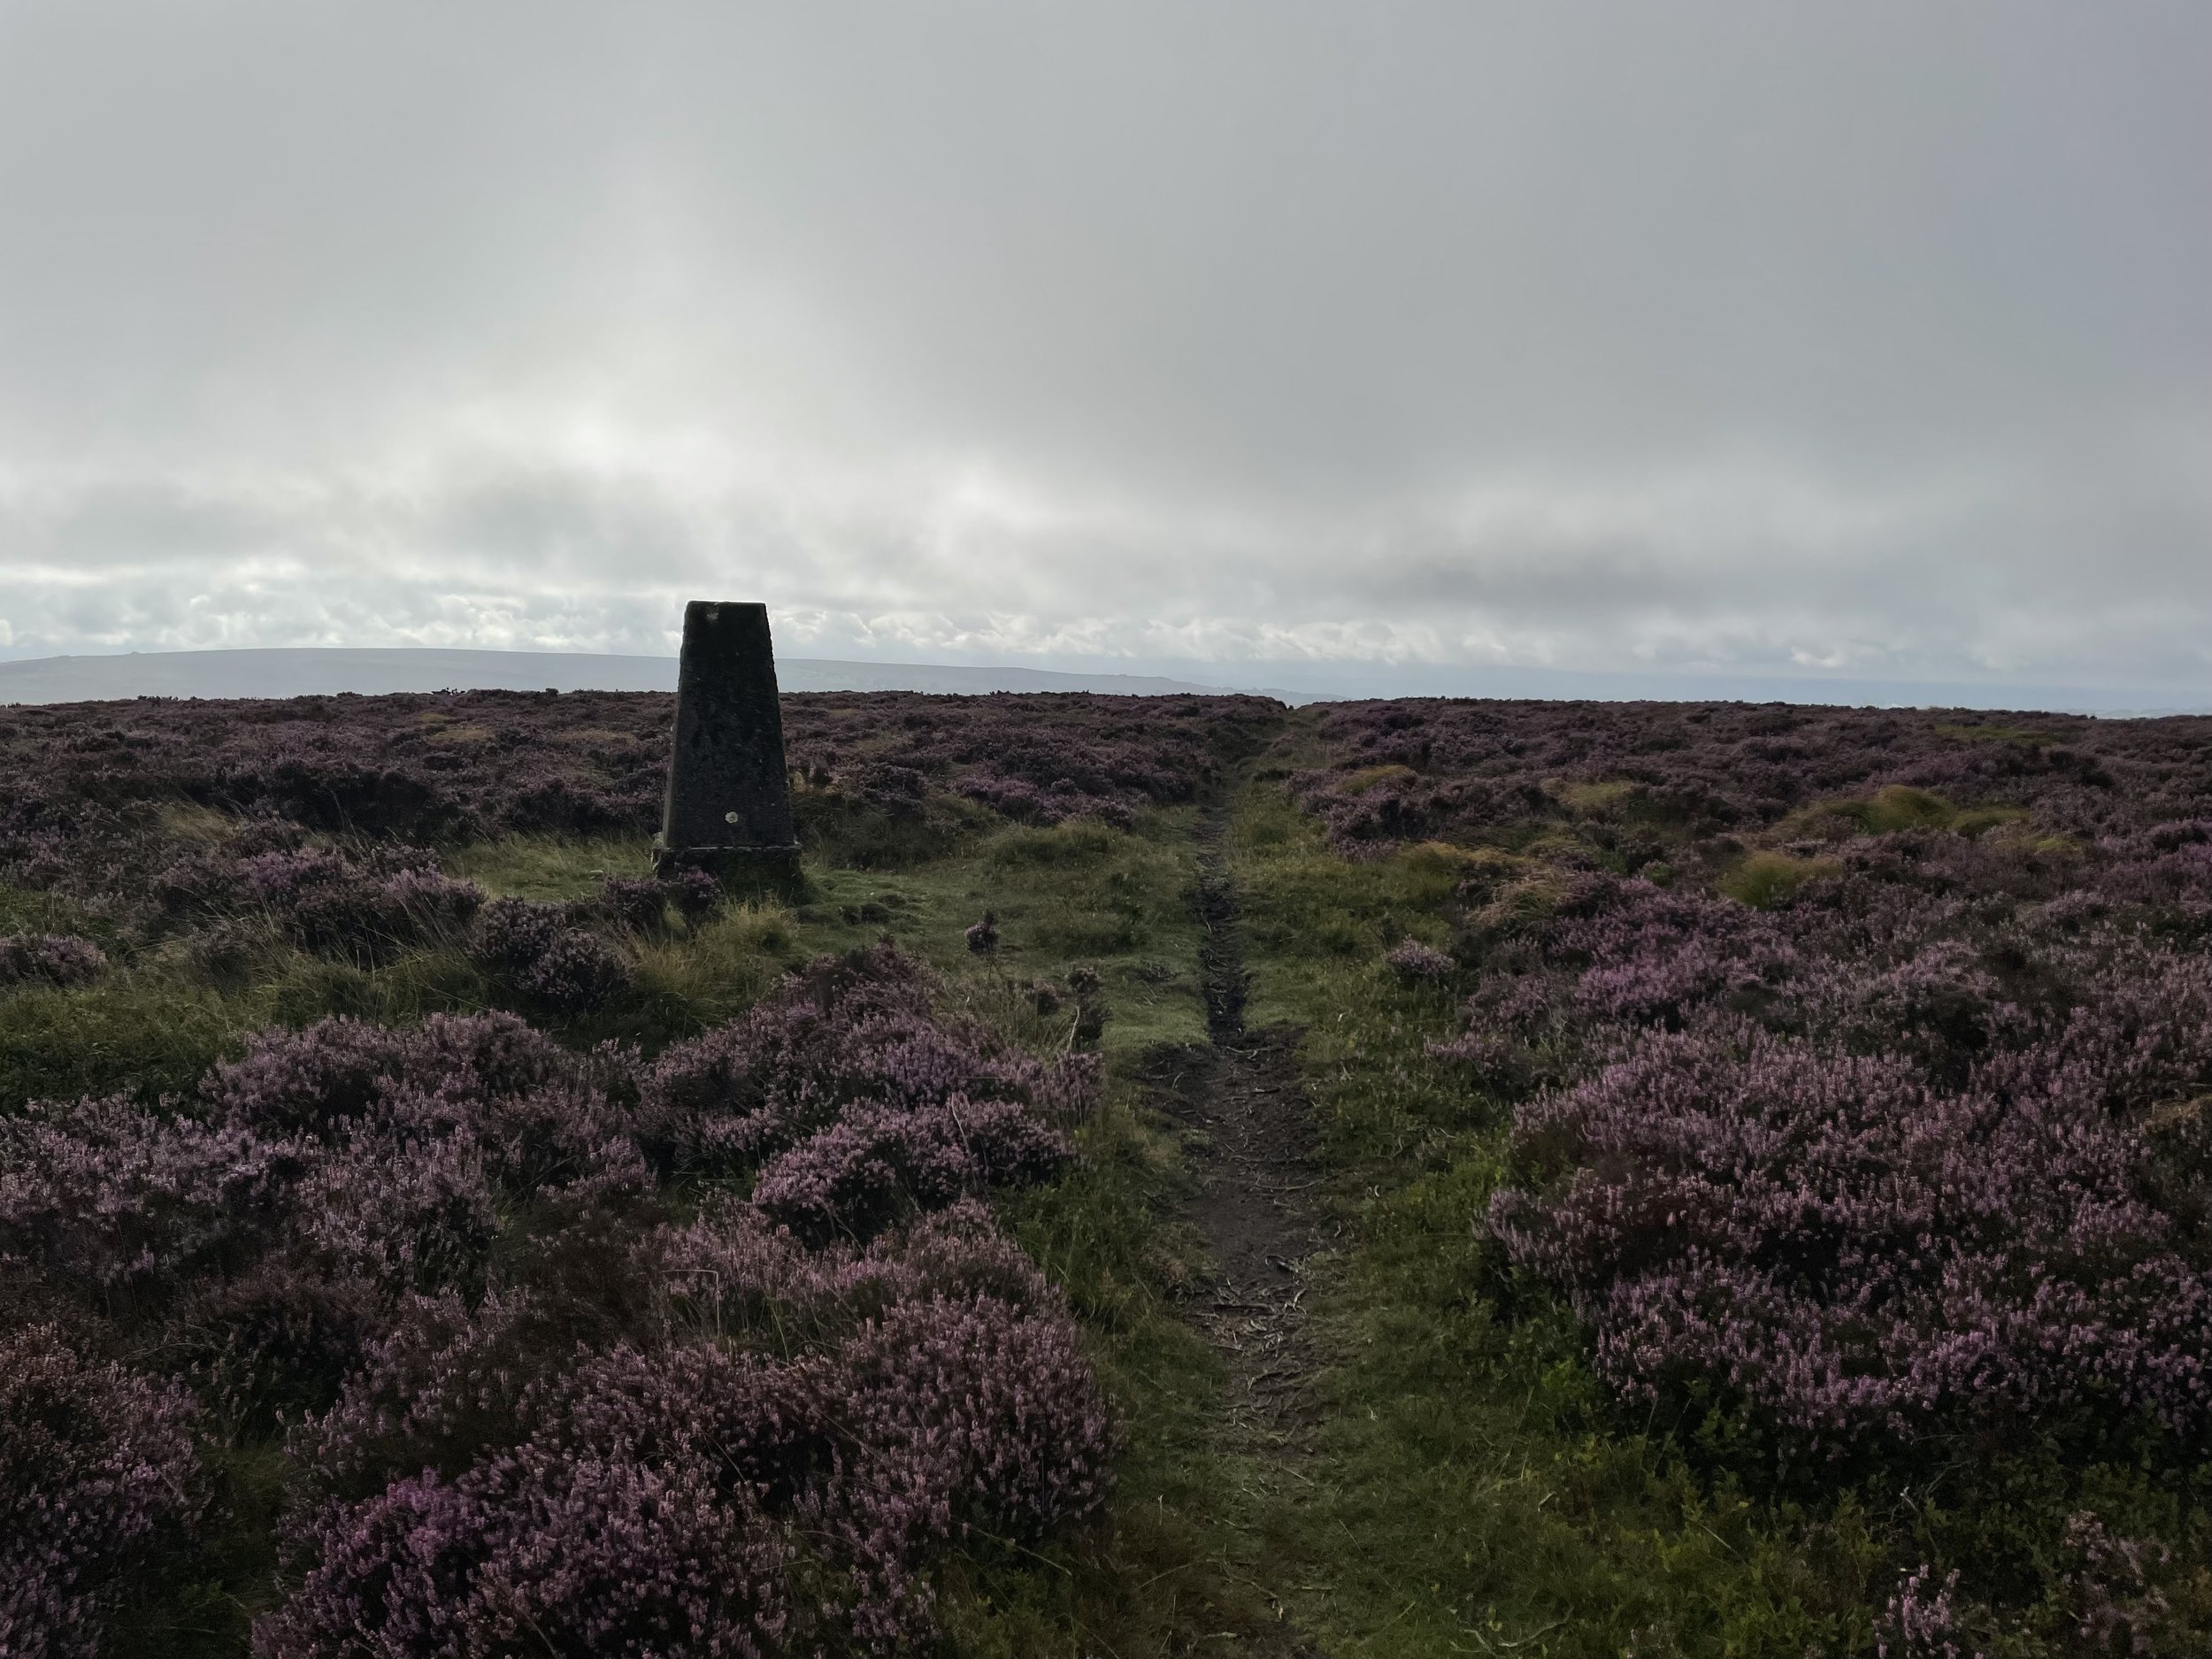
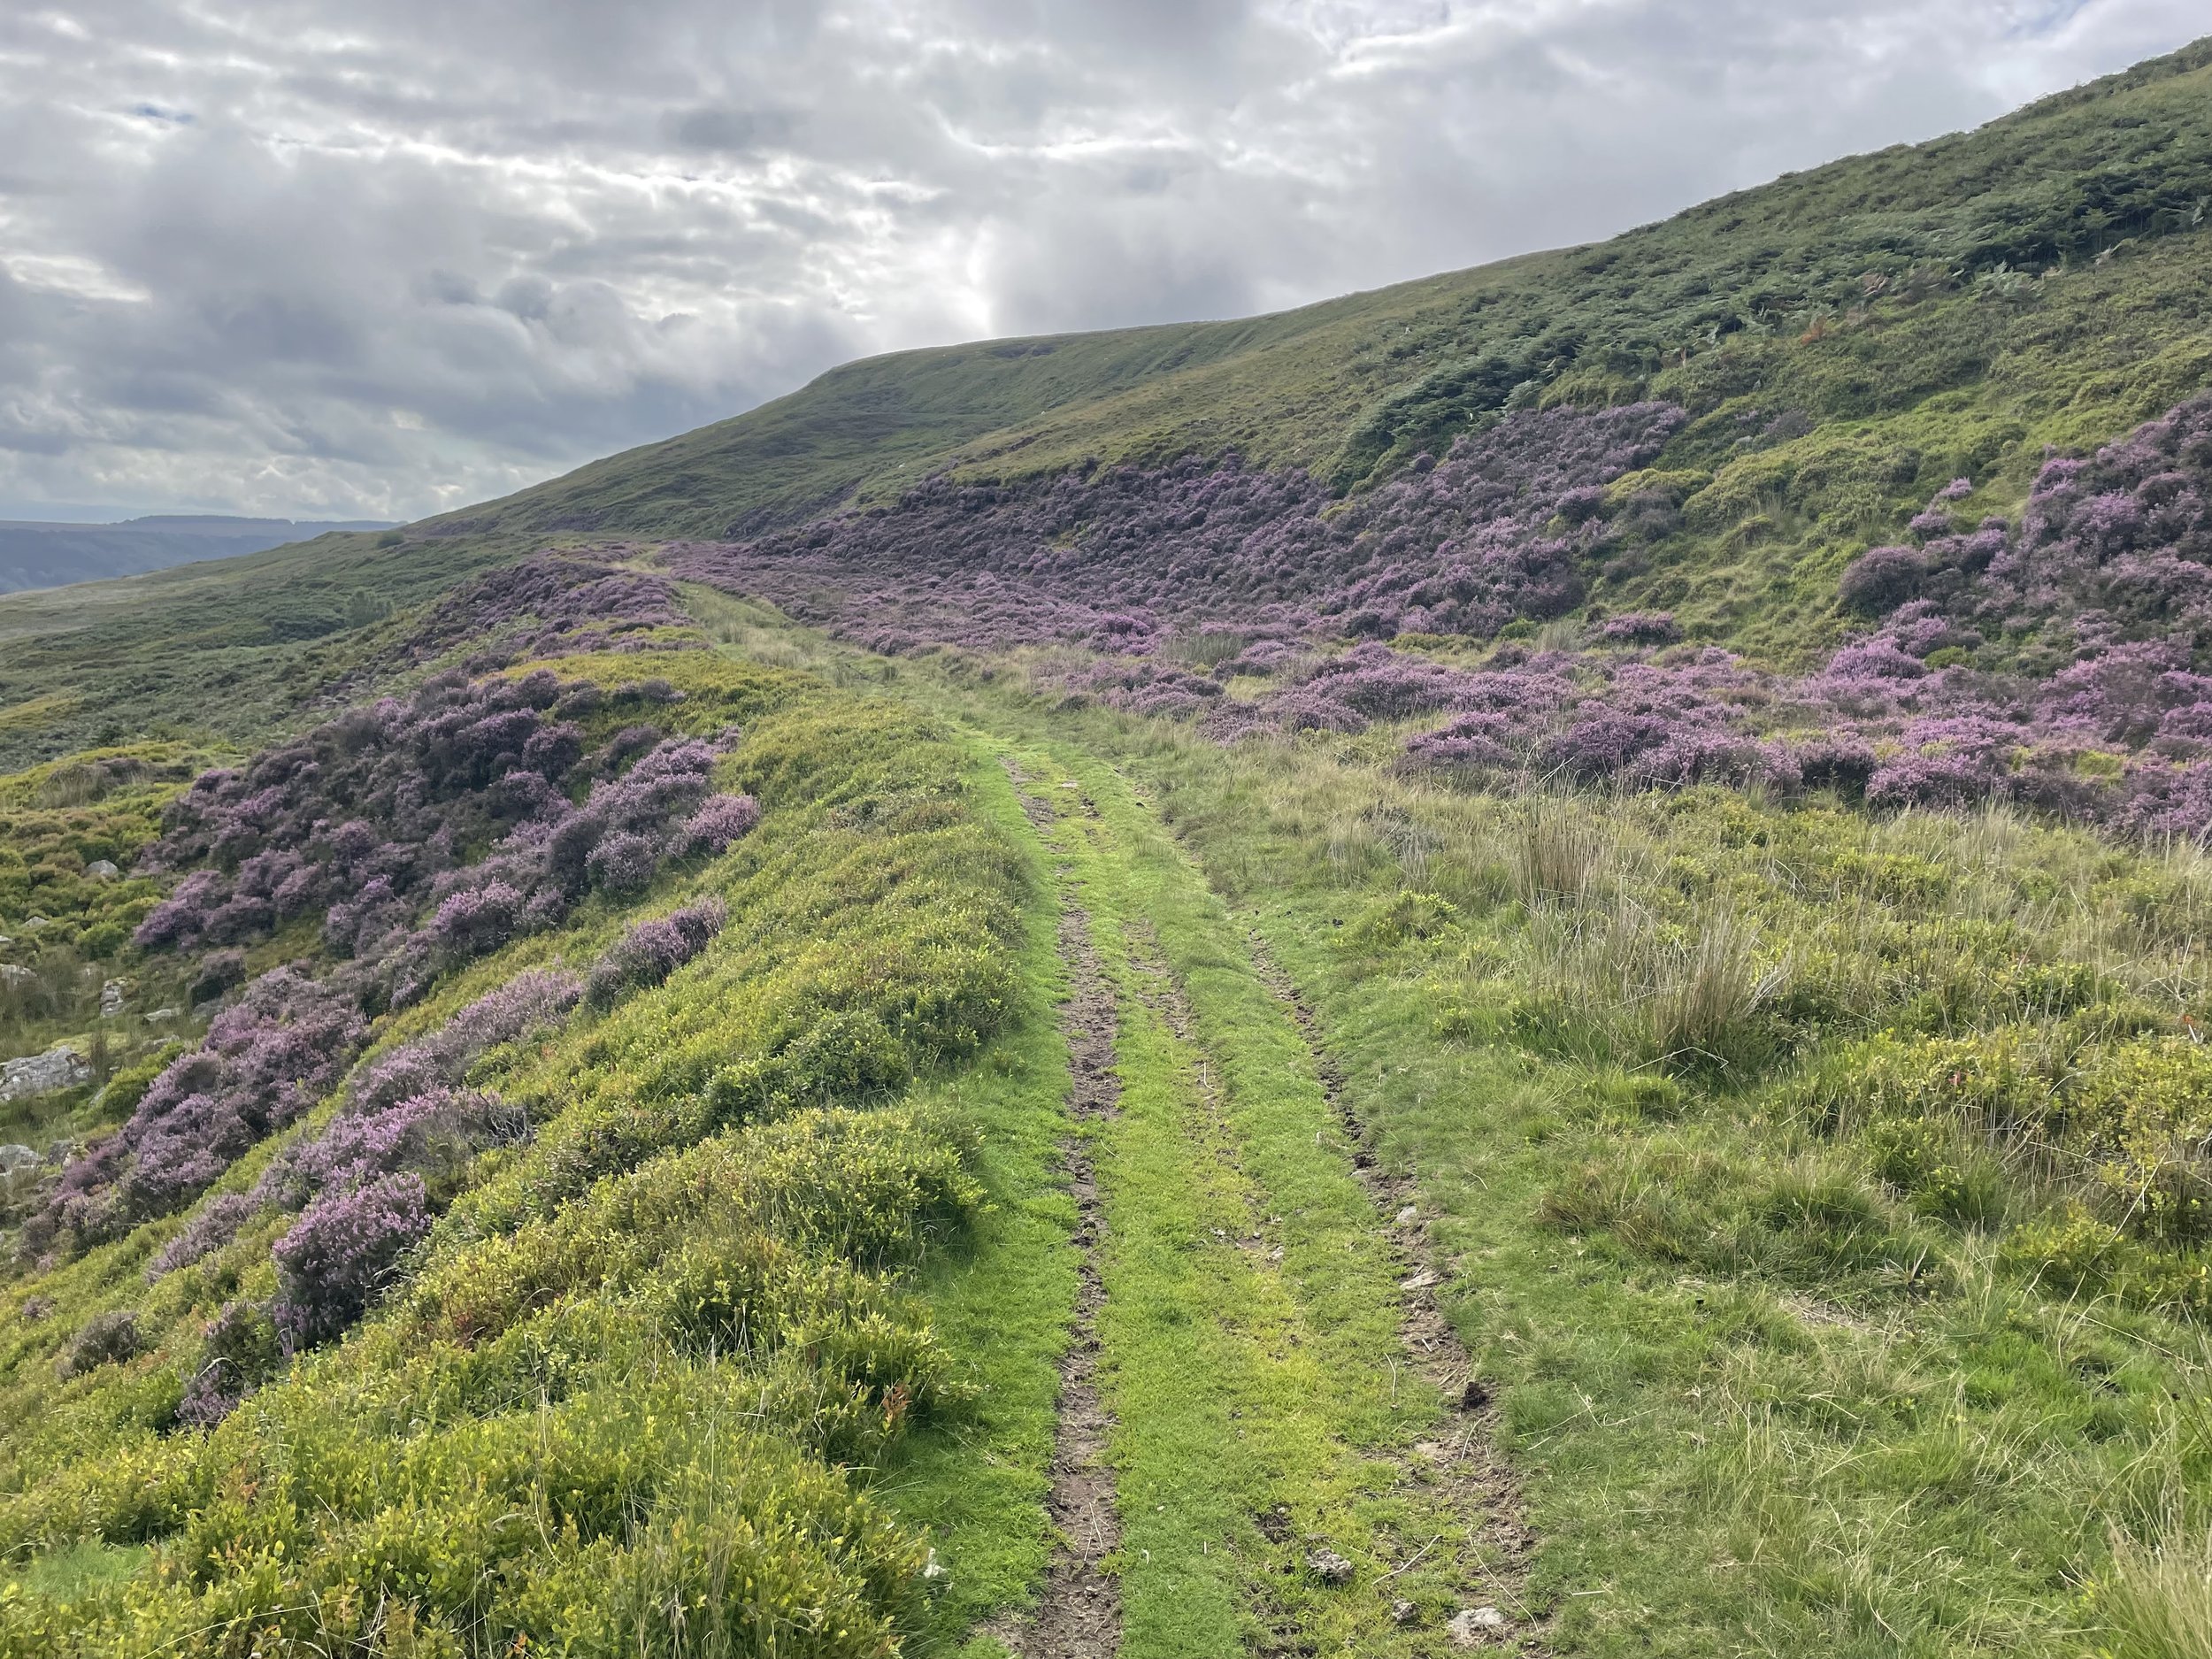
From Varteg Road follow Forge Side Road in a north-westerly direction until you reach a footpath on the left by an old access road to a mine. Follow the path to the left of the mine as it curves up the hill towards the south-east. At a path junction take the path that leads to the north-west and follow that for about 250m. There’s no direct path from here to access the top of the ridge so I found a safe spot and headed up through the bracken. When you reach the top of the ridge take a left to follow the path to the Trig Pillar.

After the Trig Pillar retrace your steps to where you reached the top and continue following the path for ~2.4 km to the top of Coety Mountain. Keep an eye on the GPS though as the path disappears before the summit. The top of Coety Mountain is obvious but you’ll need to follow the GPS to reach the East Slope which is the high point of Torfaen.

After the high points make your way down to a track that leads to an old mine. Around 100m to the north-west of the mine you can pick up a path that leads to the south-east. Follow this for ~3.6km until you reach the point where you left the path earlier to reach the Trig Pillar. From here retrace your steps to the start of the walk at Varteg Road.

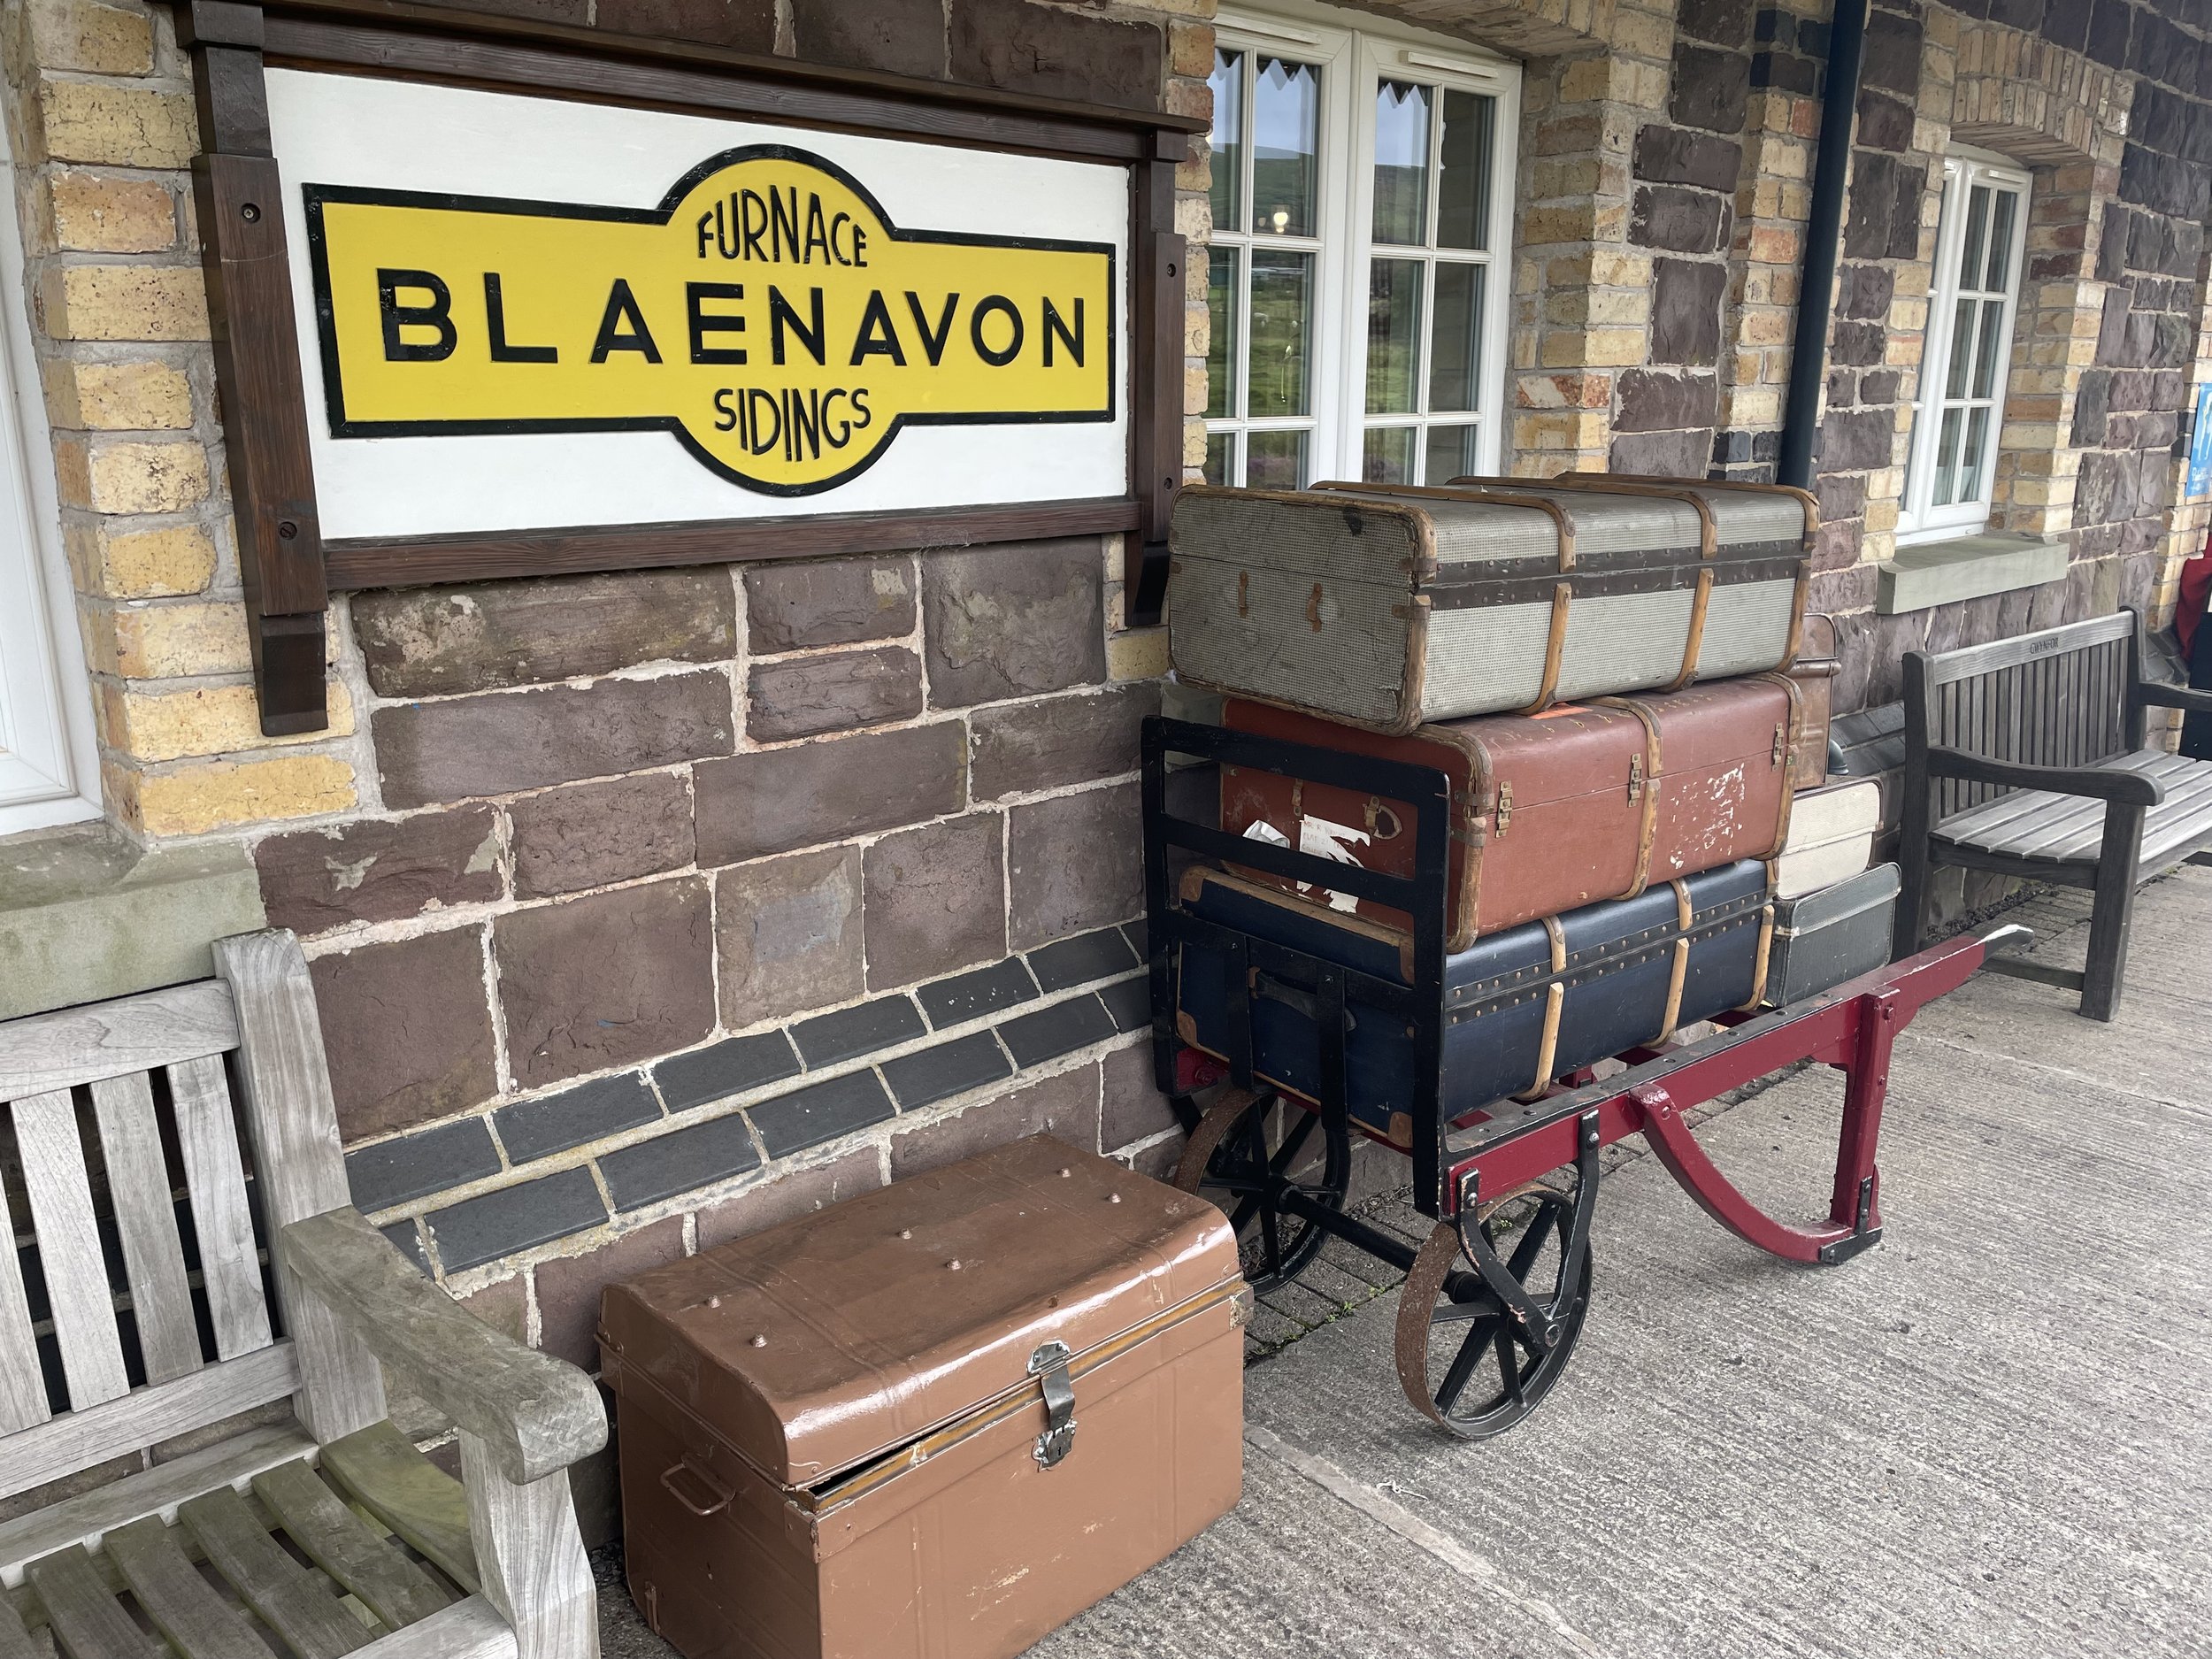
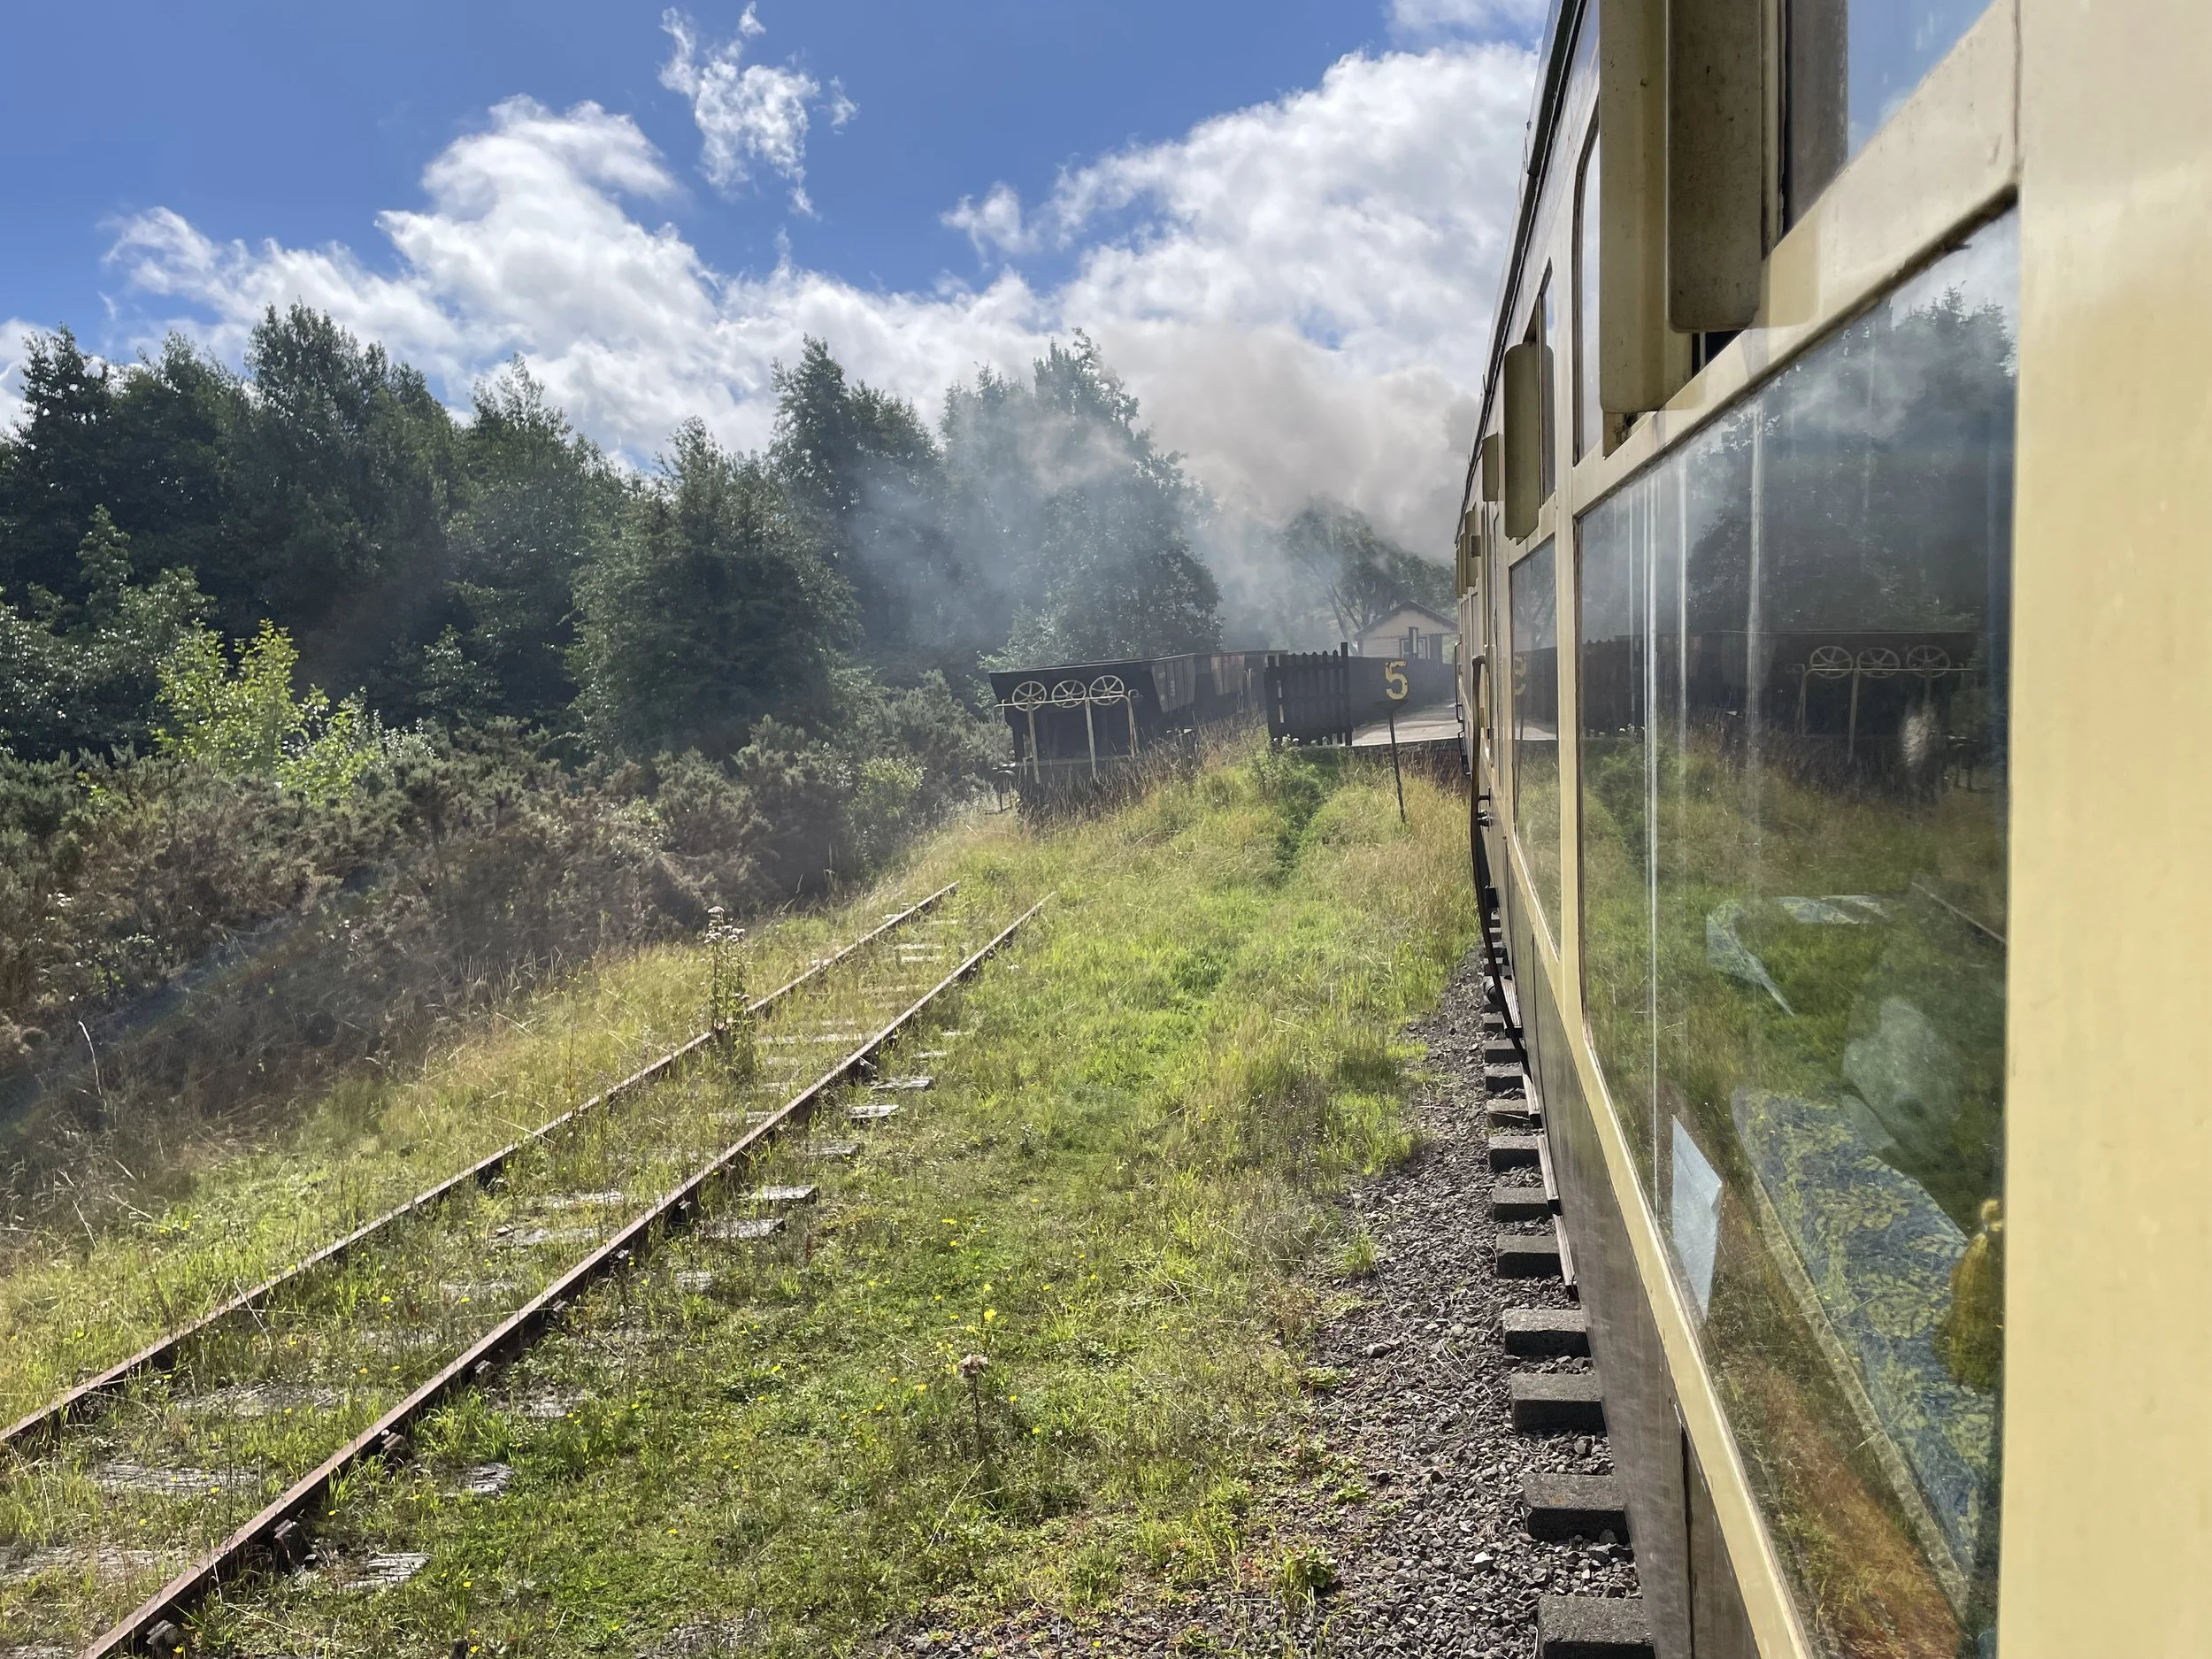
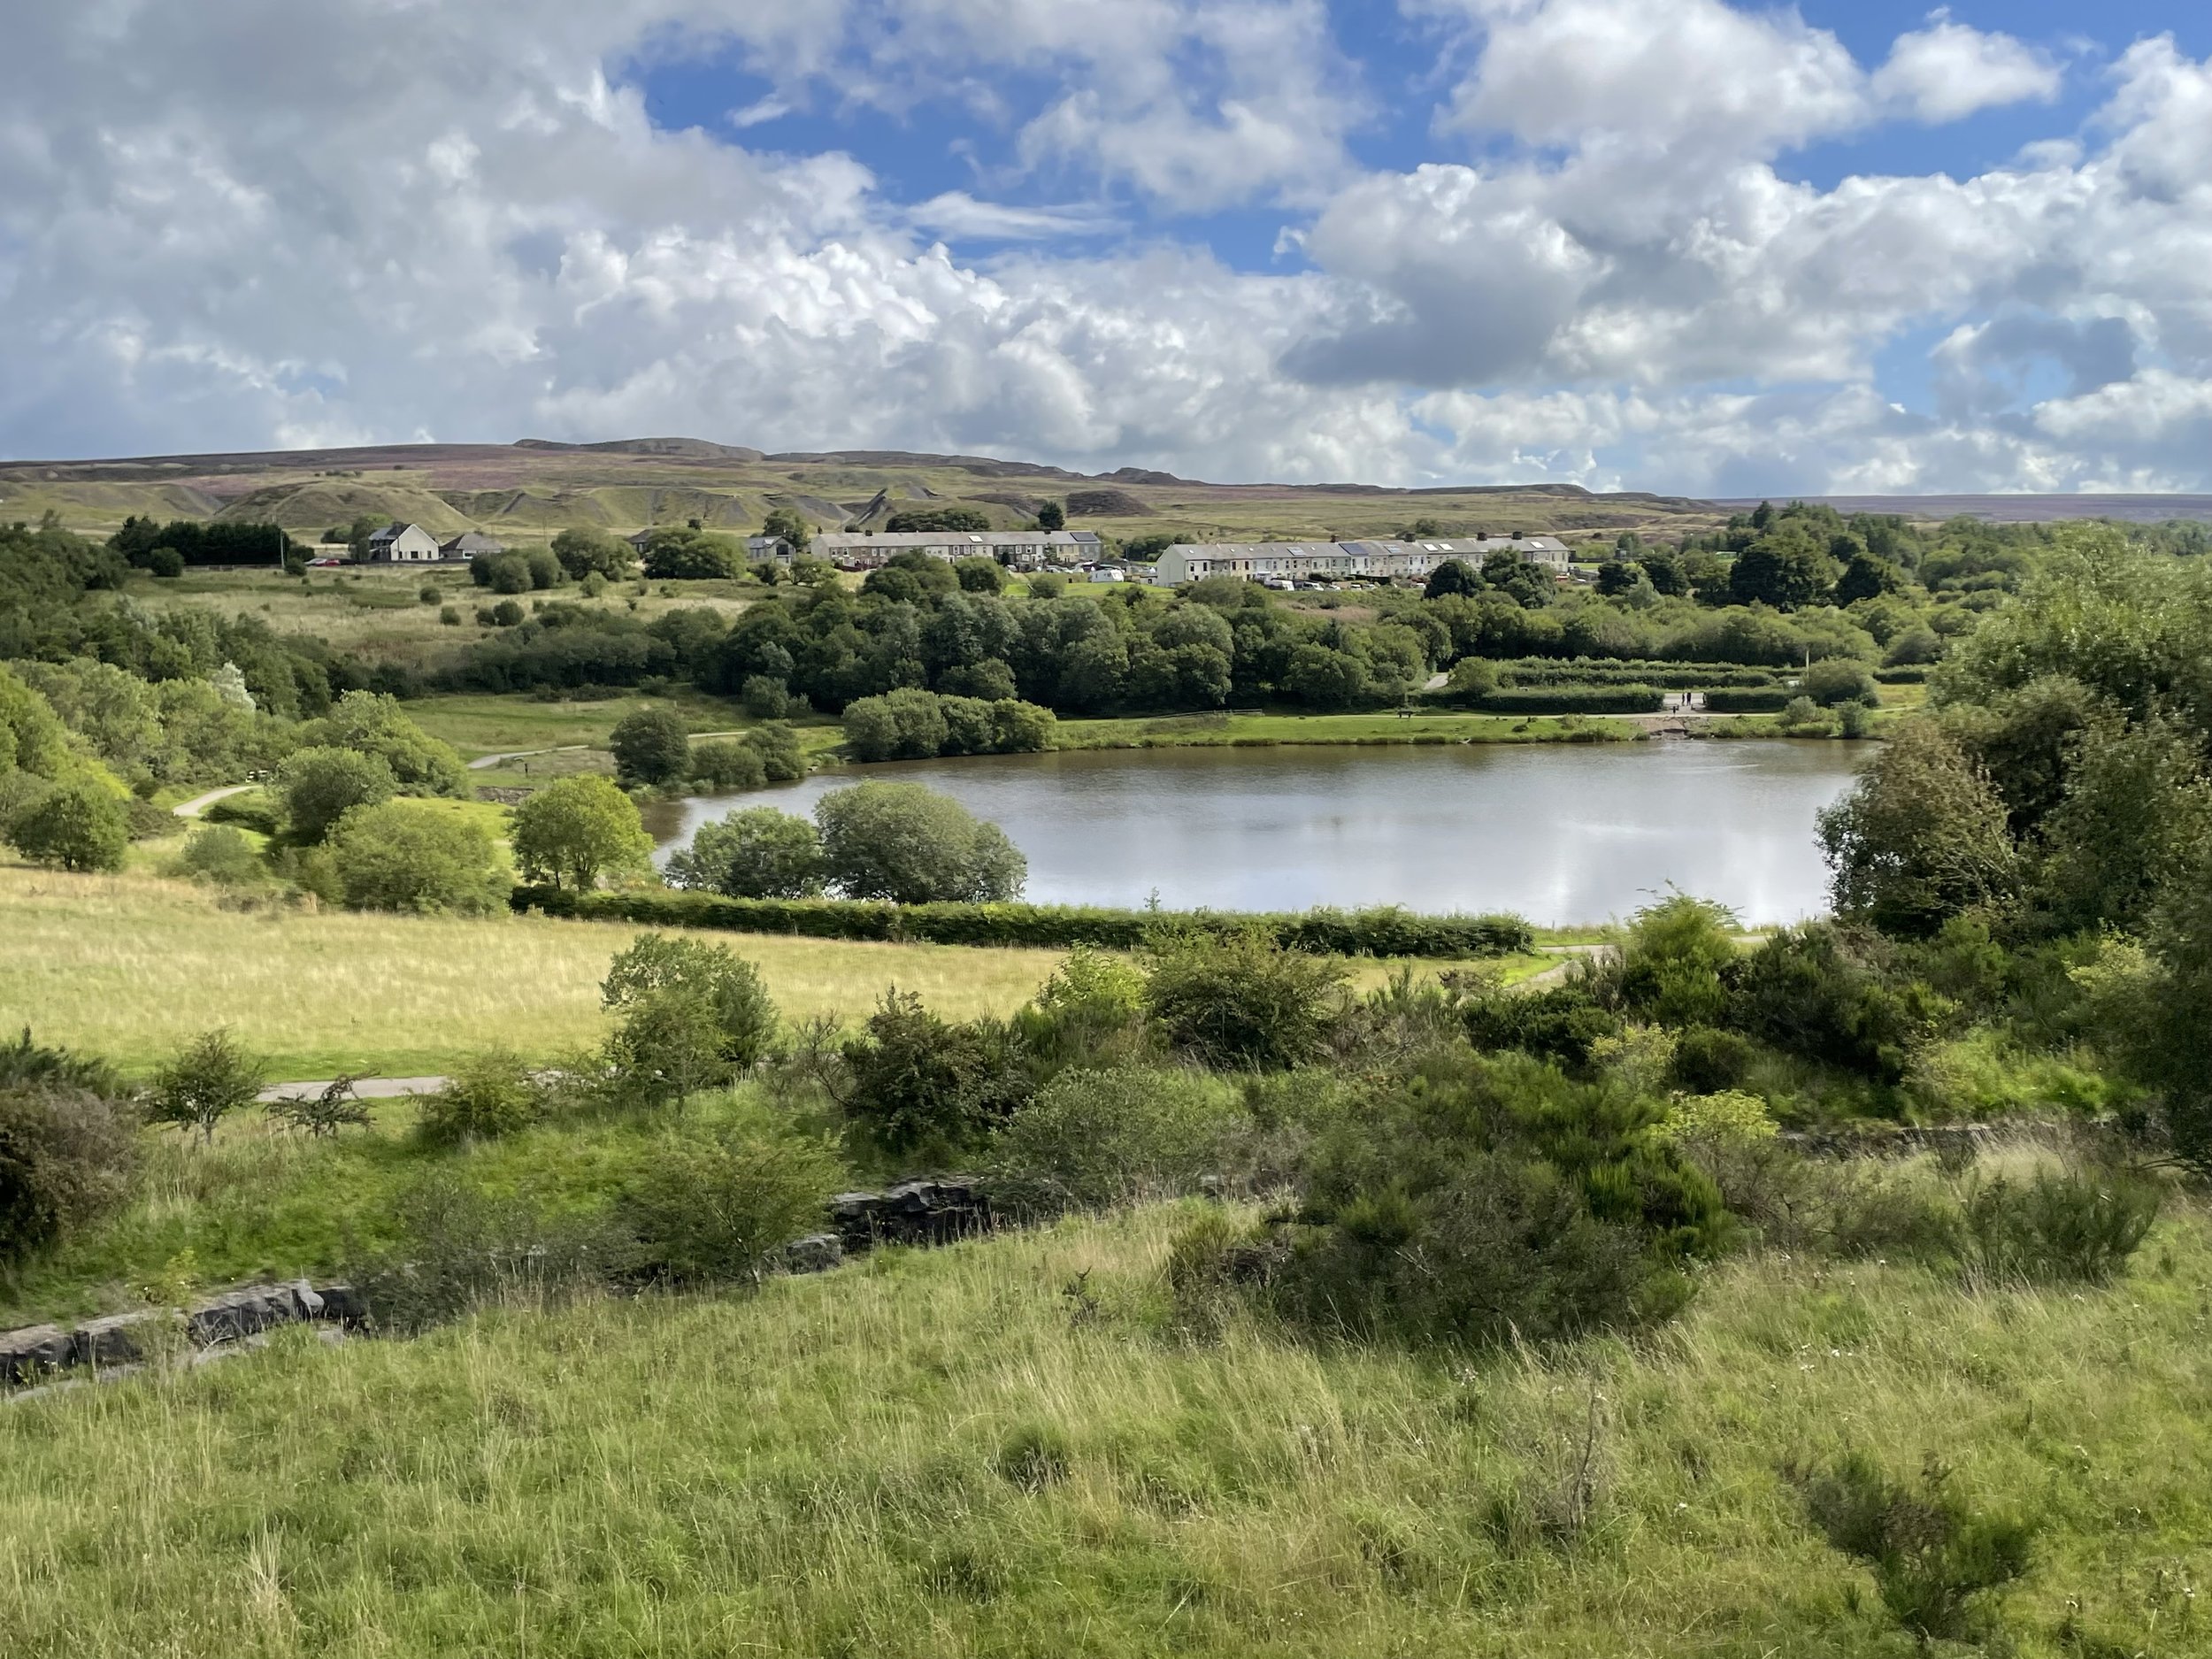
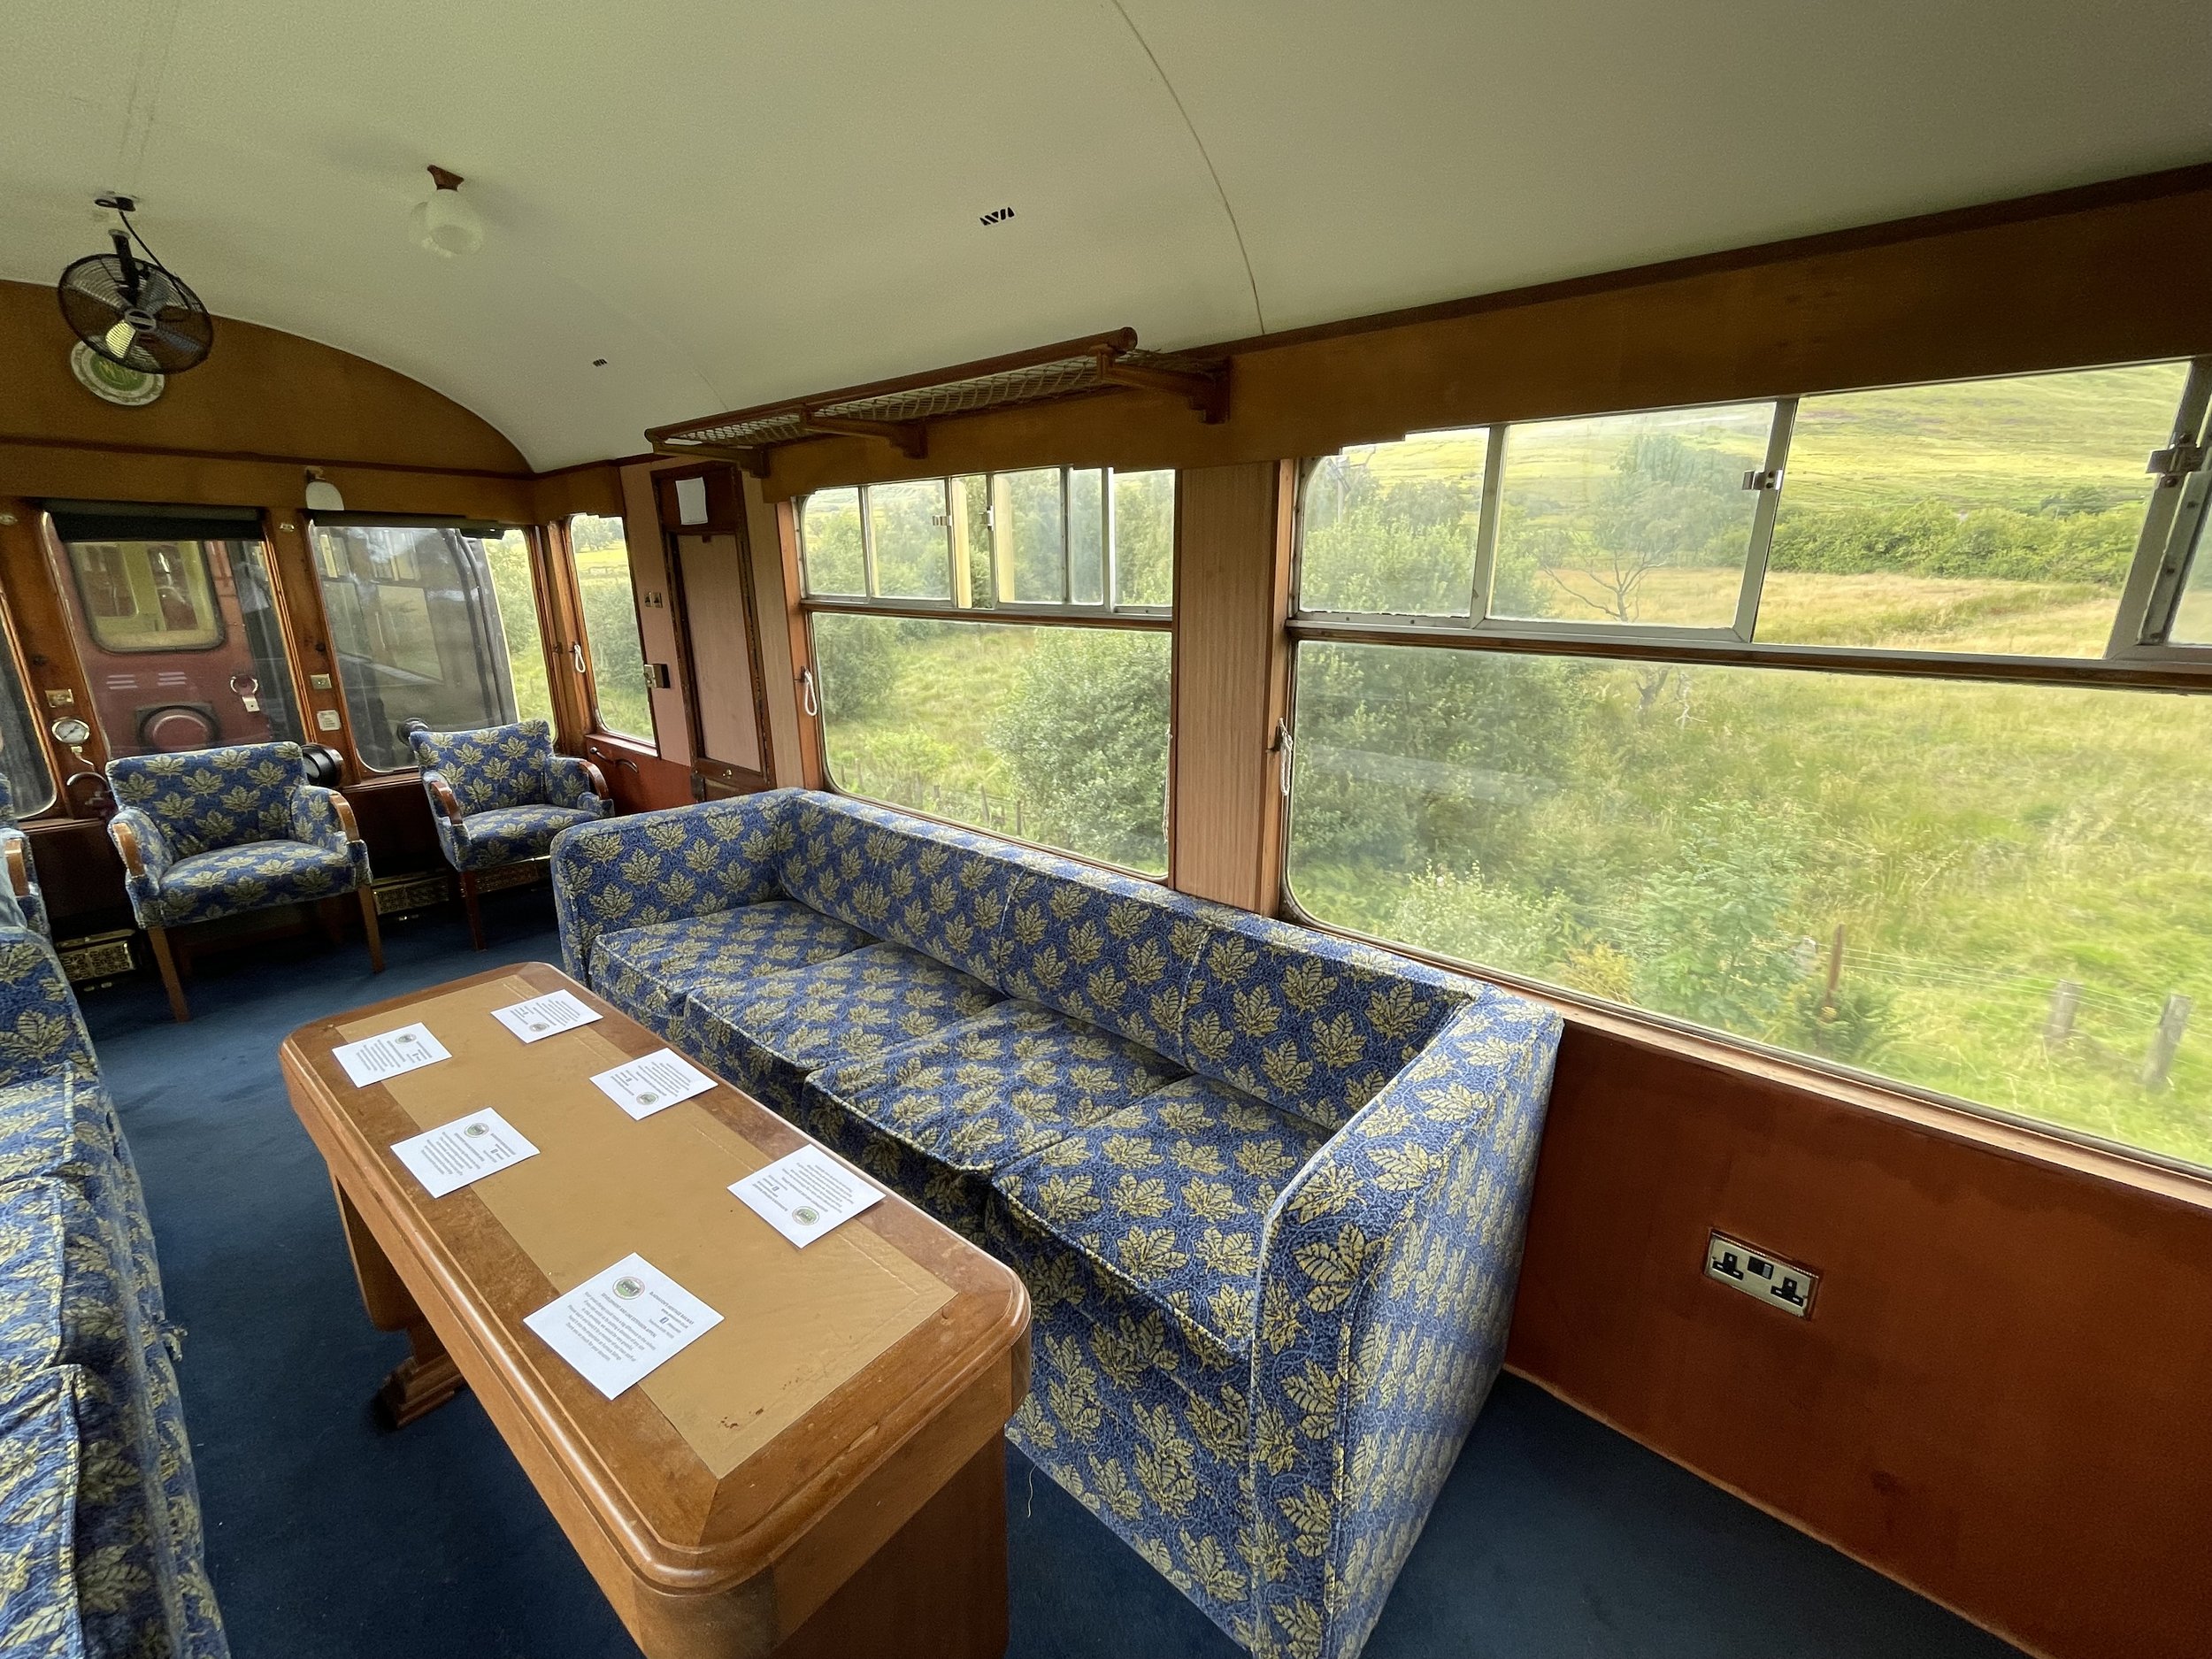
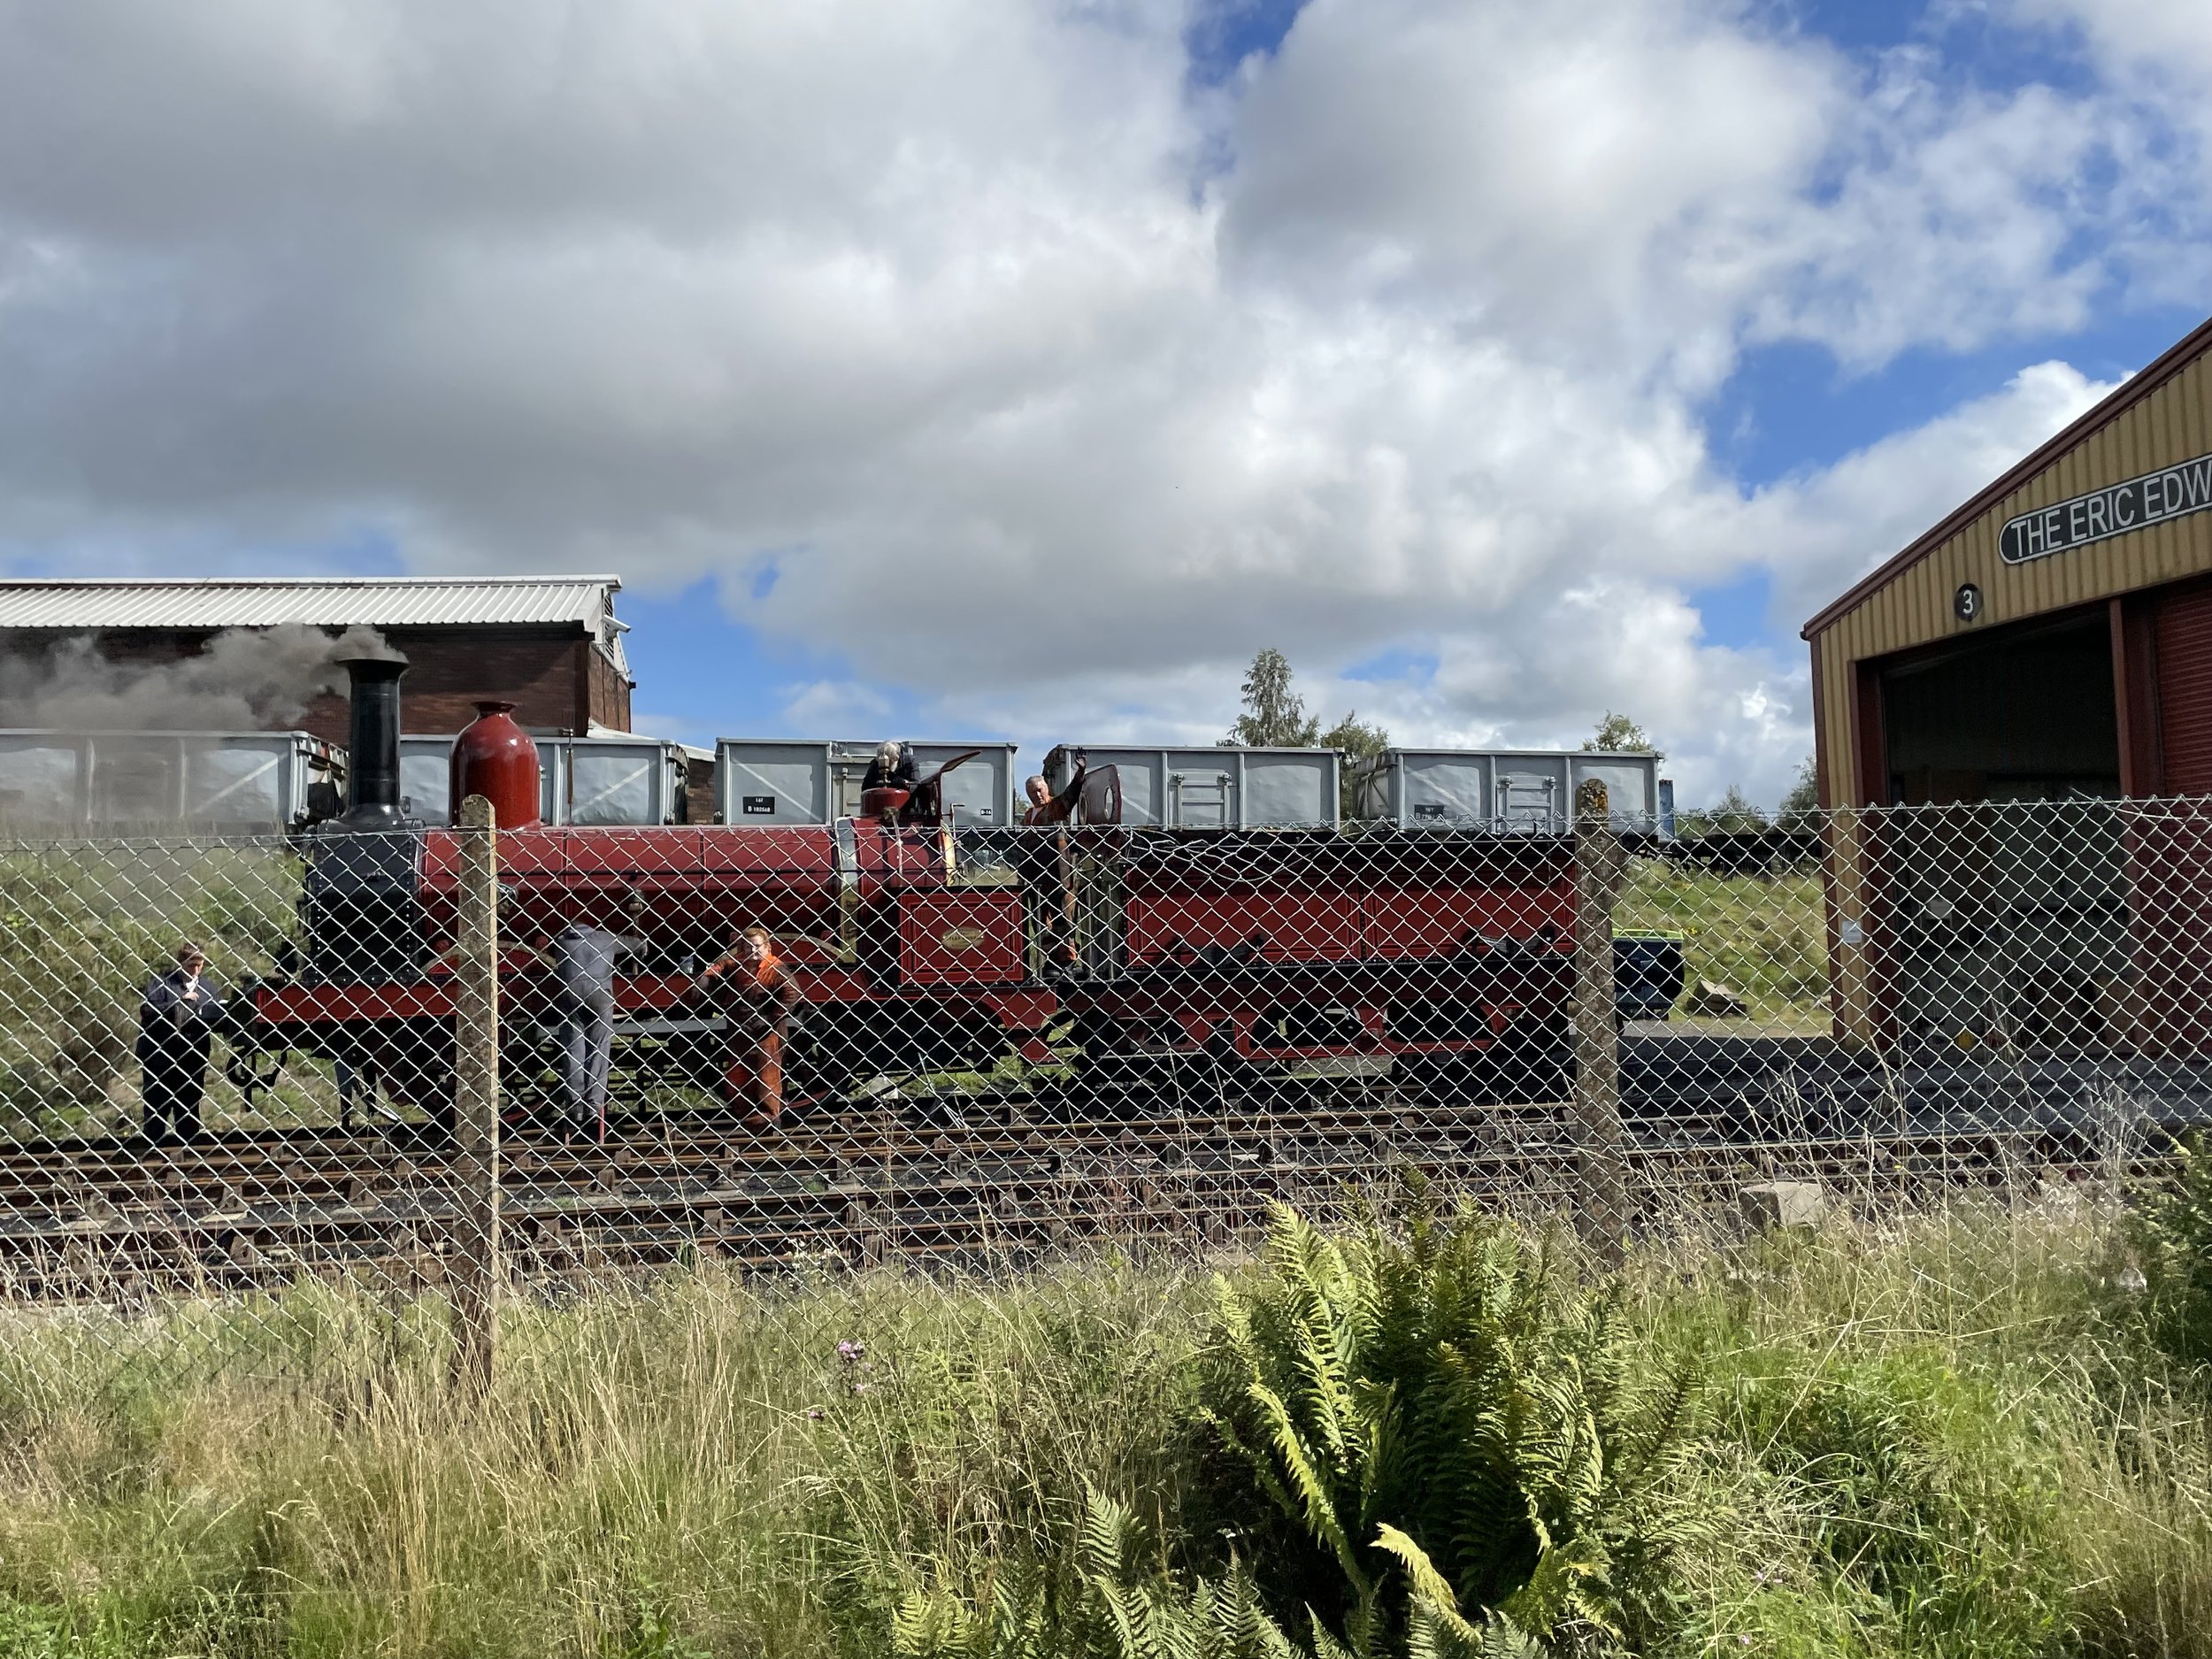
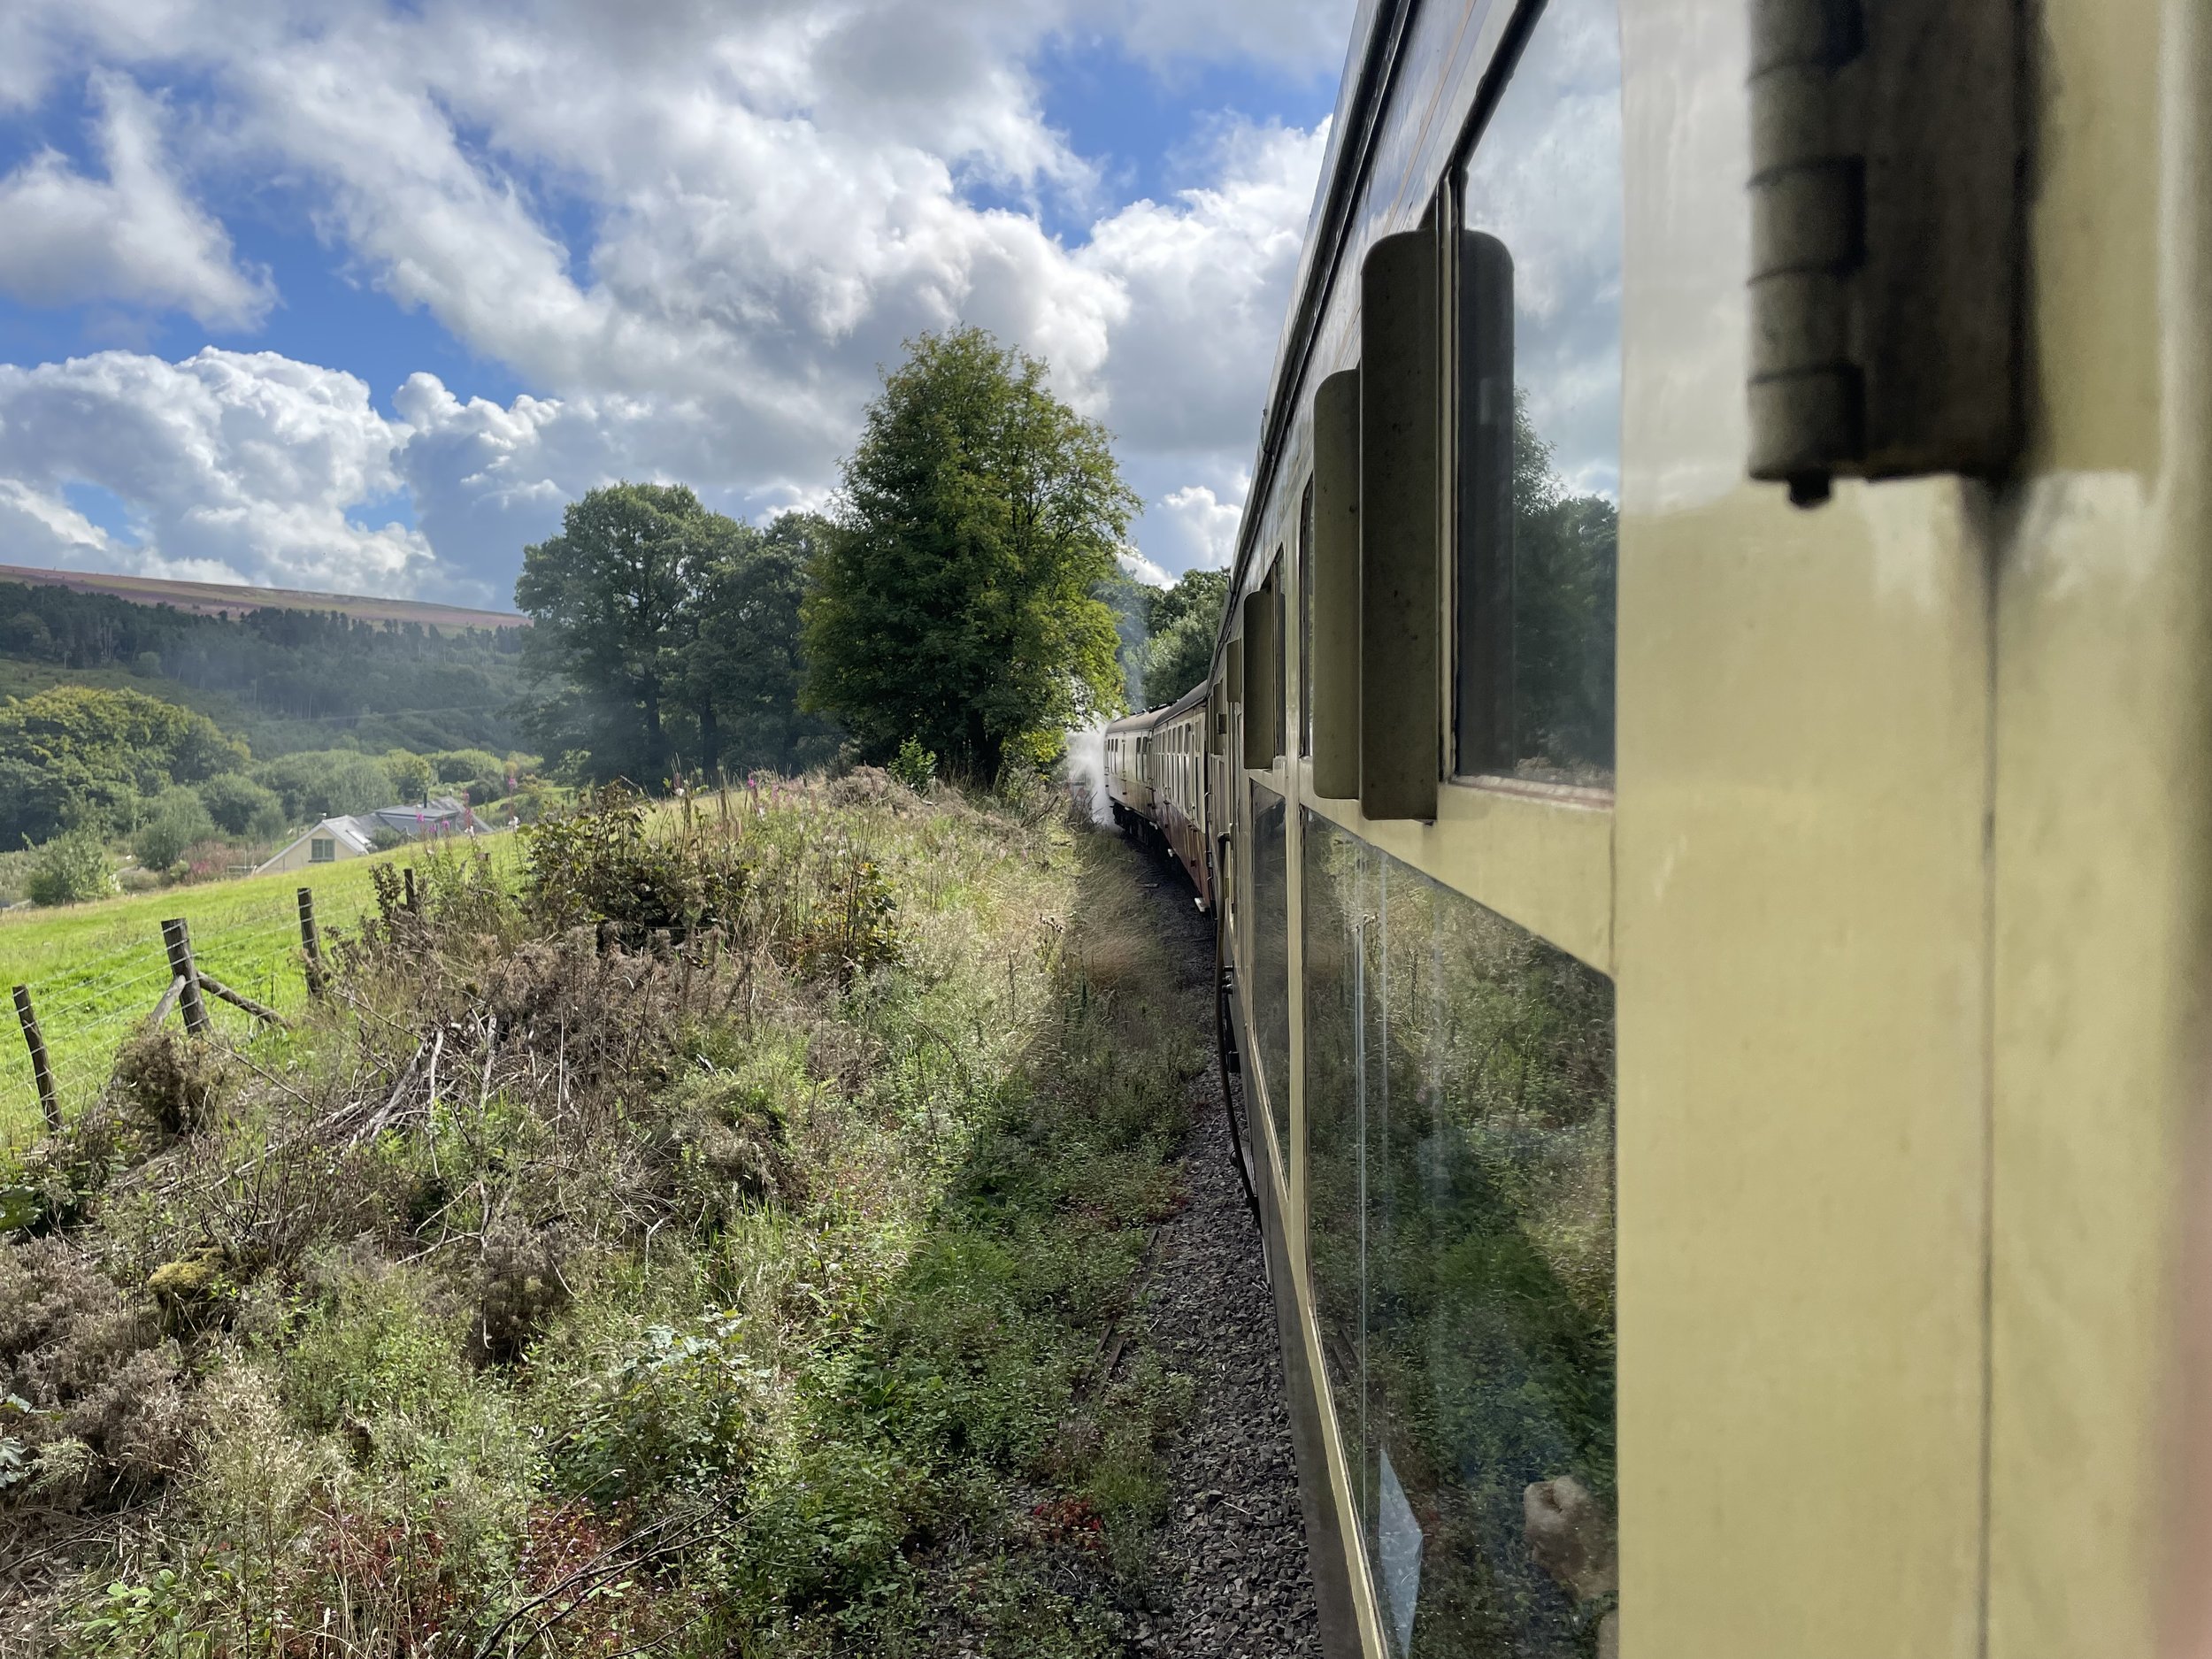
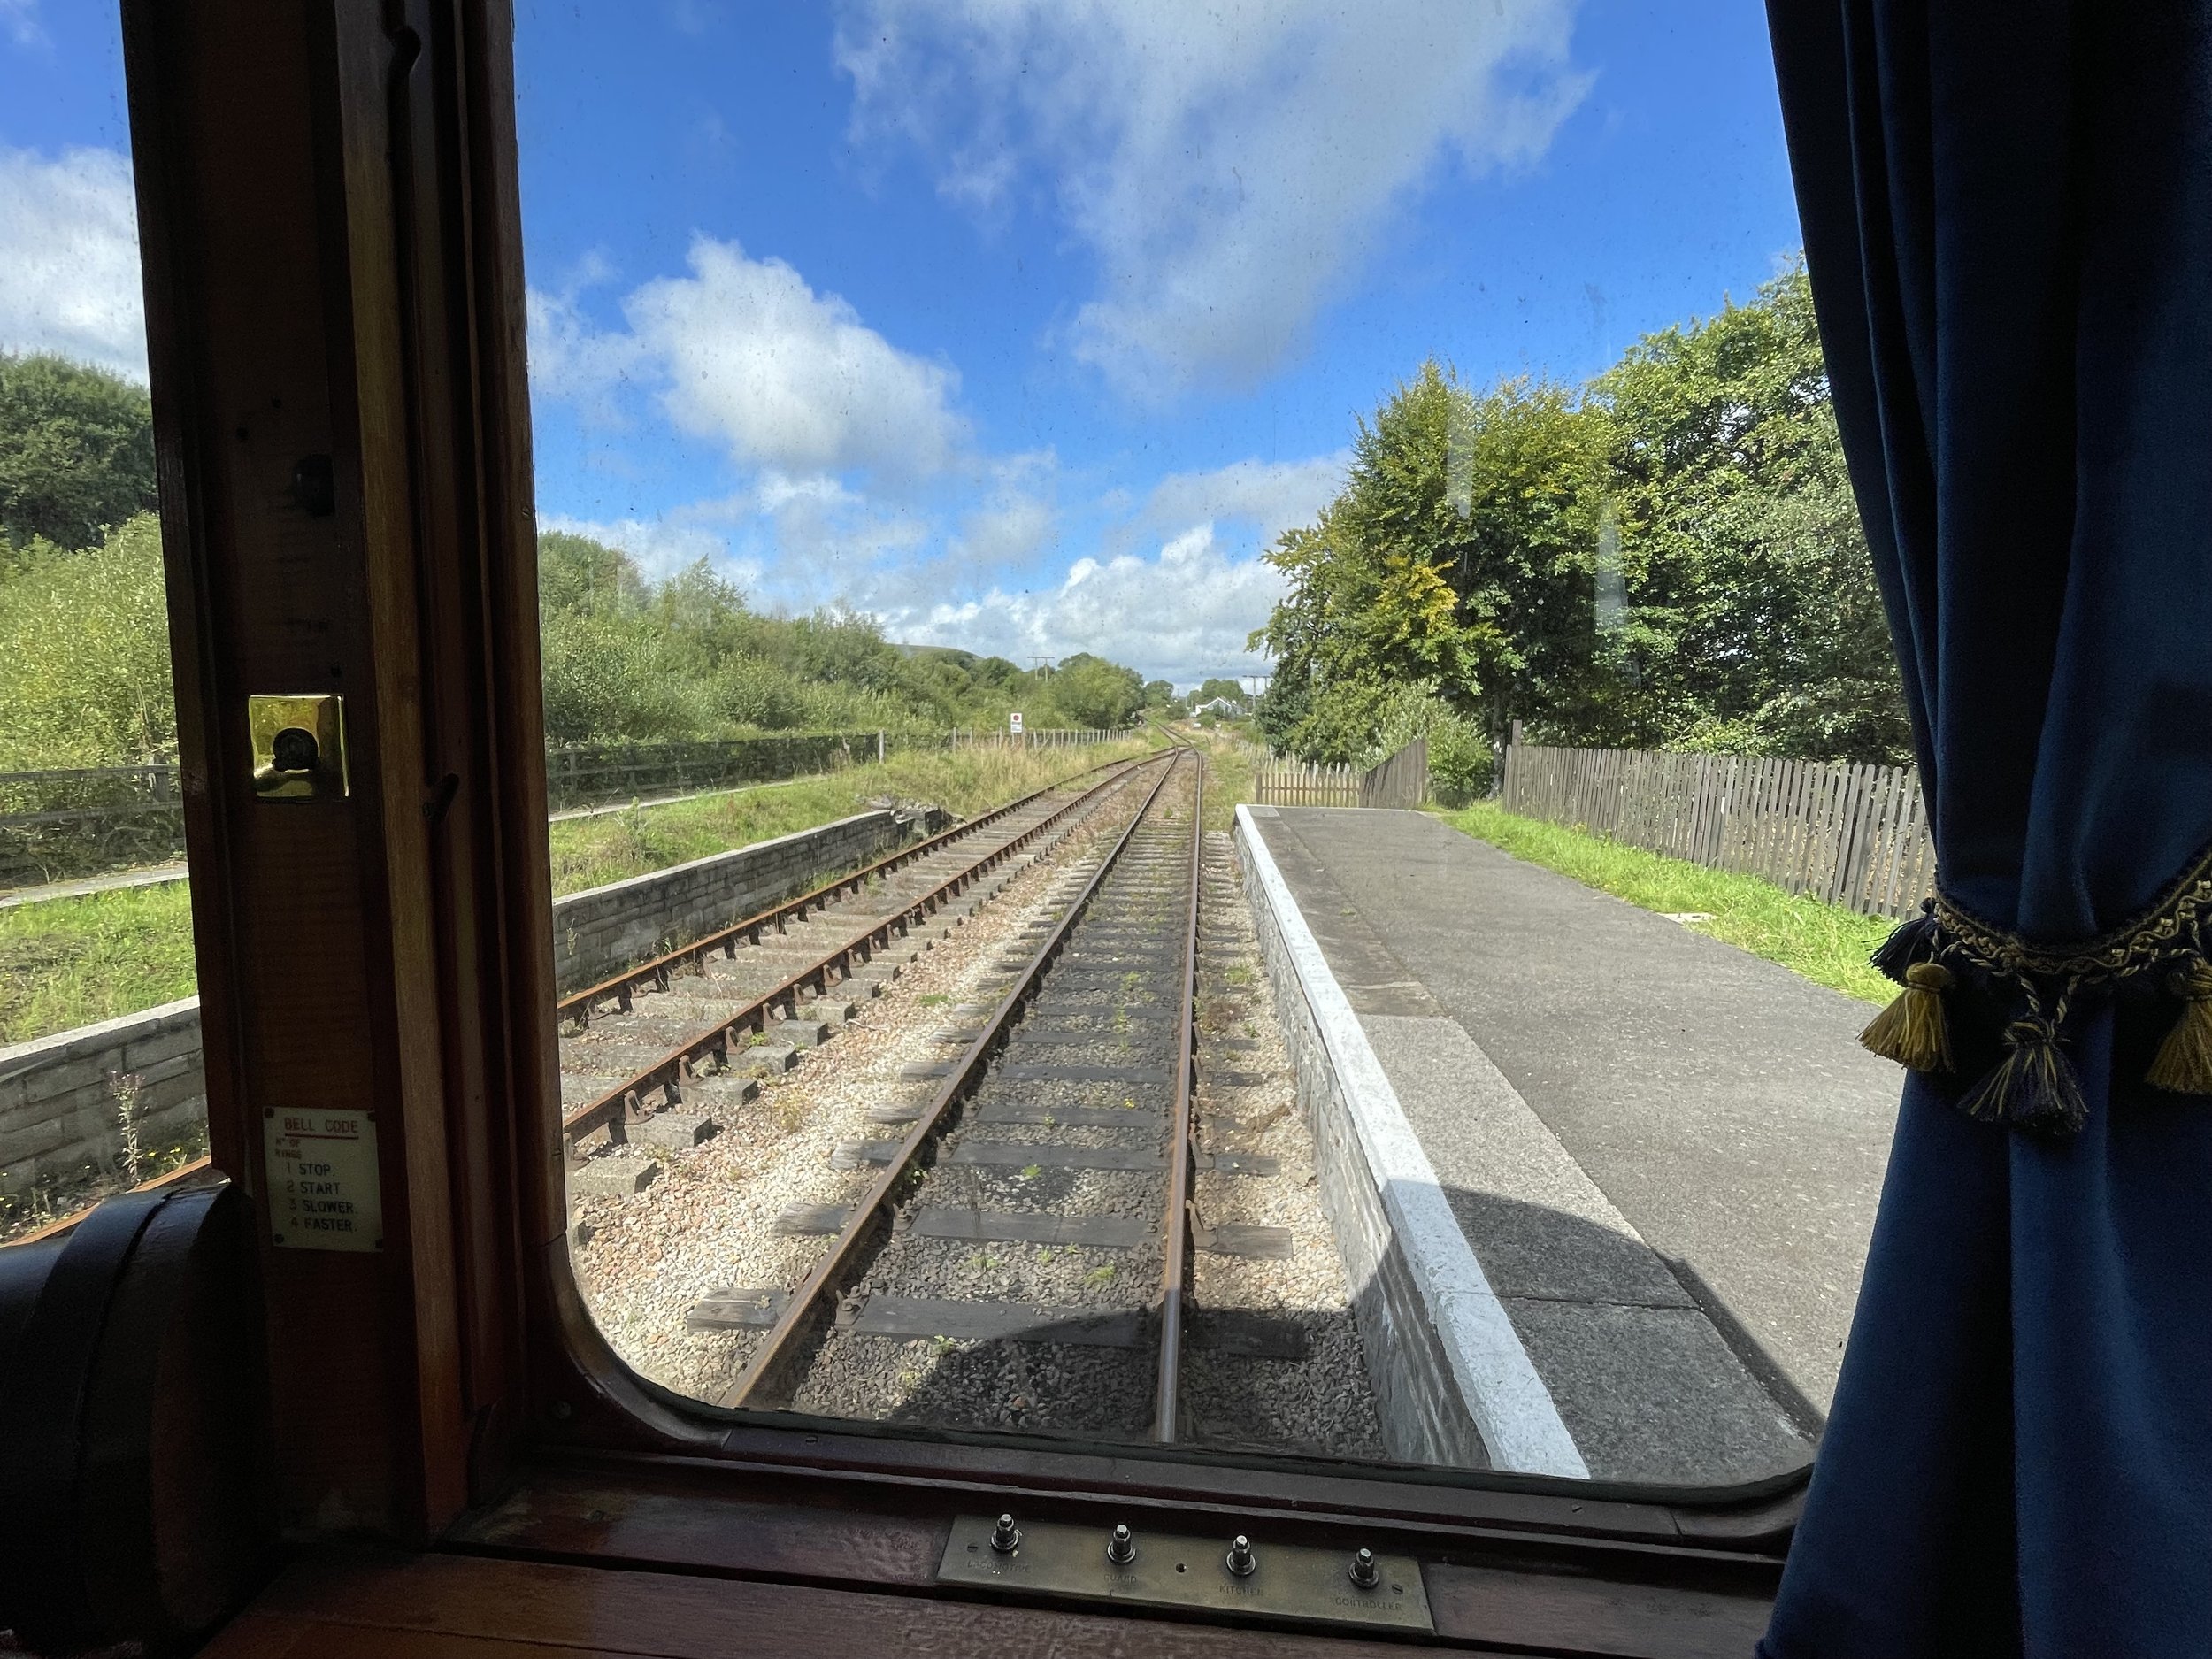
While in Blaenavon it’s worth spending a bit more time there to visit the UNESCO World Heritage Site attractions and the Historic Railway. I completed the walk just in time to take a ride on the old steam train that follows the track connecting the Whistle Inn Halt and Varteg Road. You’ll get a great view of Coety Mountain and Mynydd Farteg Fawr on the trip.


Blaenavon's Heritage Railway


Back to Welsh County Tops Index
Wentwood: Newport High Point

Significance: High Point for the Welsh Principal Area of Newport
Member of: Marilyns
Parent Peak: TBC. NHN = Mynydd Twyn-glas
Elevation: 309m
Date climbed: August 20th 2023
Coordinates: 51° 38' 40'' N, 2° 51' 8'' W

Route Start & Finish: Cadeira Beeches car park, Usk Road, Llanvaches, Newport, NP26 3AZ
Route Distance: 2.6 km (1.6 miles)
Route Elevation change: +/- 37m
GPX File: get via Buy Me a Coffee
Other routes touched: N/A
OS Trig Pillar: TP6796 - Wentwood
Pubs / Cafes on route: N/A
Map: Newport & Pontypool/Casnewydd a Pont-y-Pŵl Map | Caerleon & Usk | Ordnance Survey | OS Explorer Map 152
Links: Wikipedia: Newport / Wentwood, Peakbagger, Hillbagging


Wentwood is the high point of the Welsh Principal Area of Newport within the Historic County of Monmouthshire. The Trig Pillar that marks the summit can be reached on a 2.6km out-and-back walk from the Cadeira Beeches car park. There’s an even closer parking spot just to the east of the Trig Pillar accessible from the north/south road that connects the A48 with Usk Road. I was there early on a Sunday morning and there was plenty of room to park so I made this one a very quick drive-by on the way to the more interesting Coety Mountain.


Back to Welsh County Tops Index