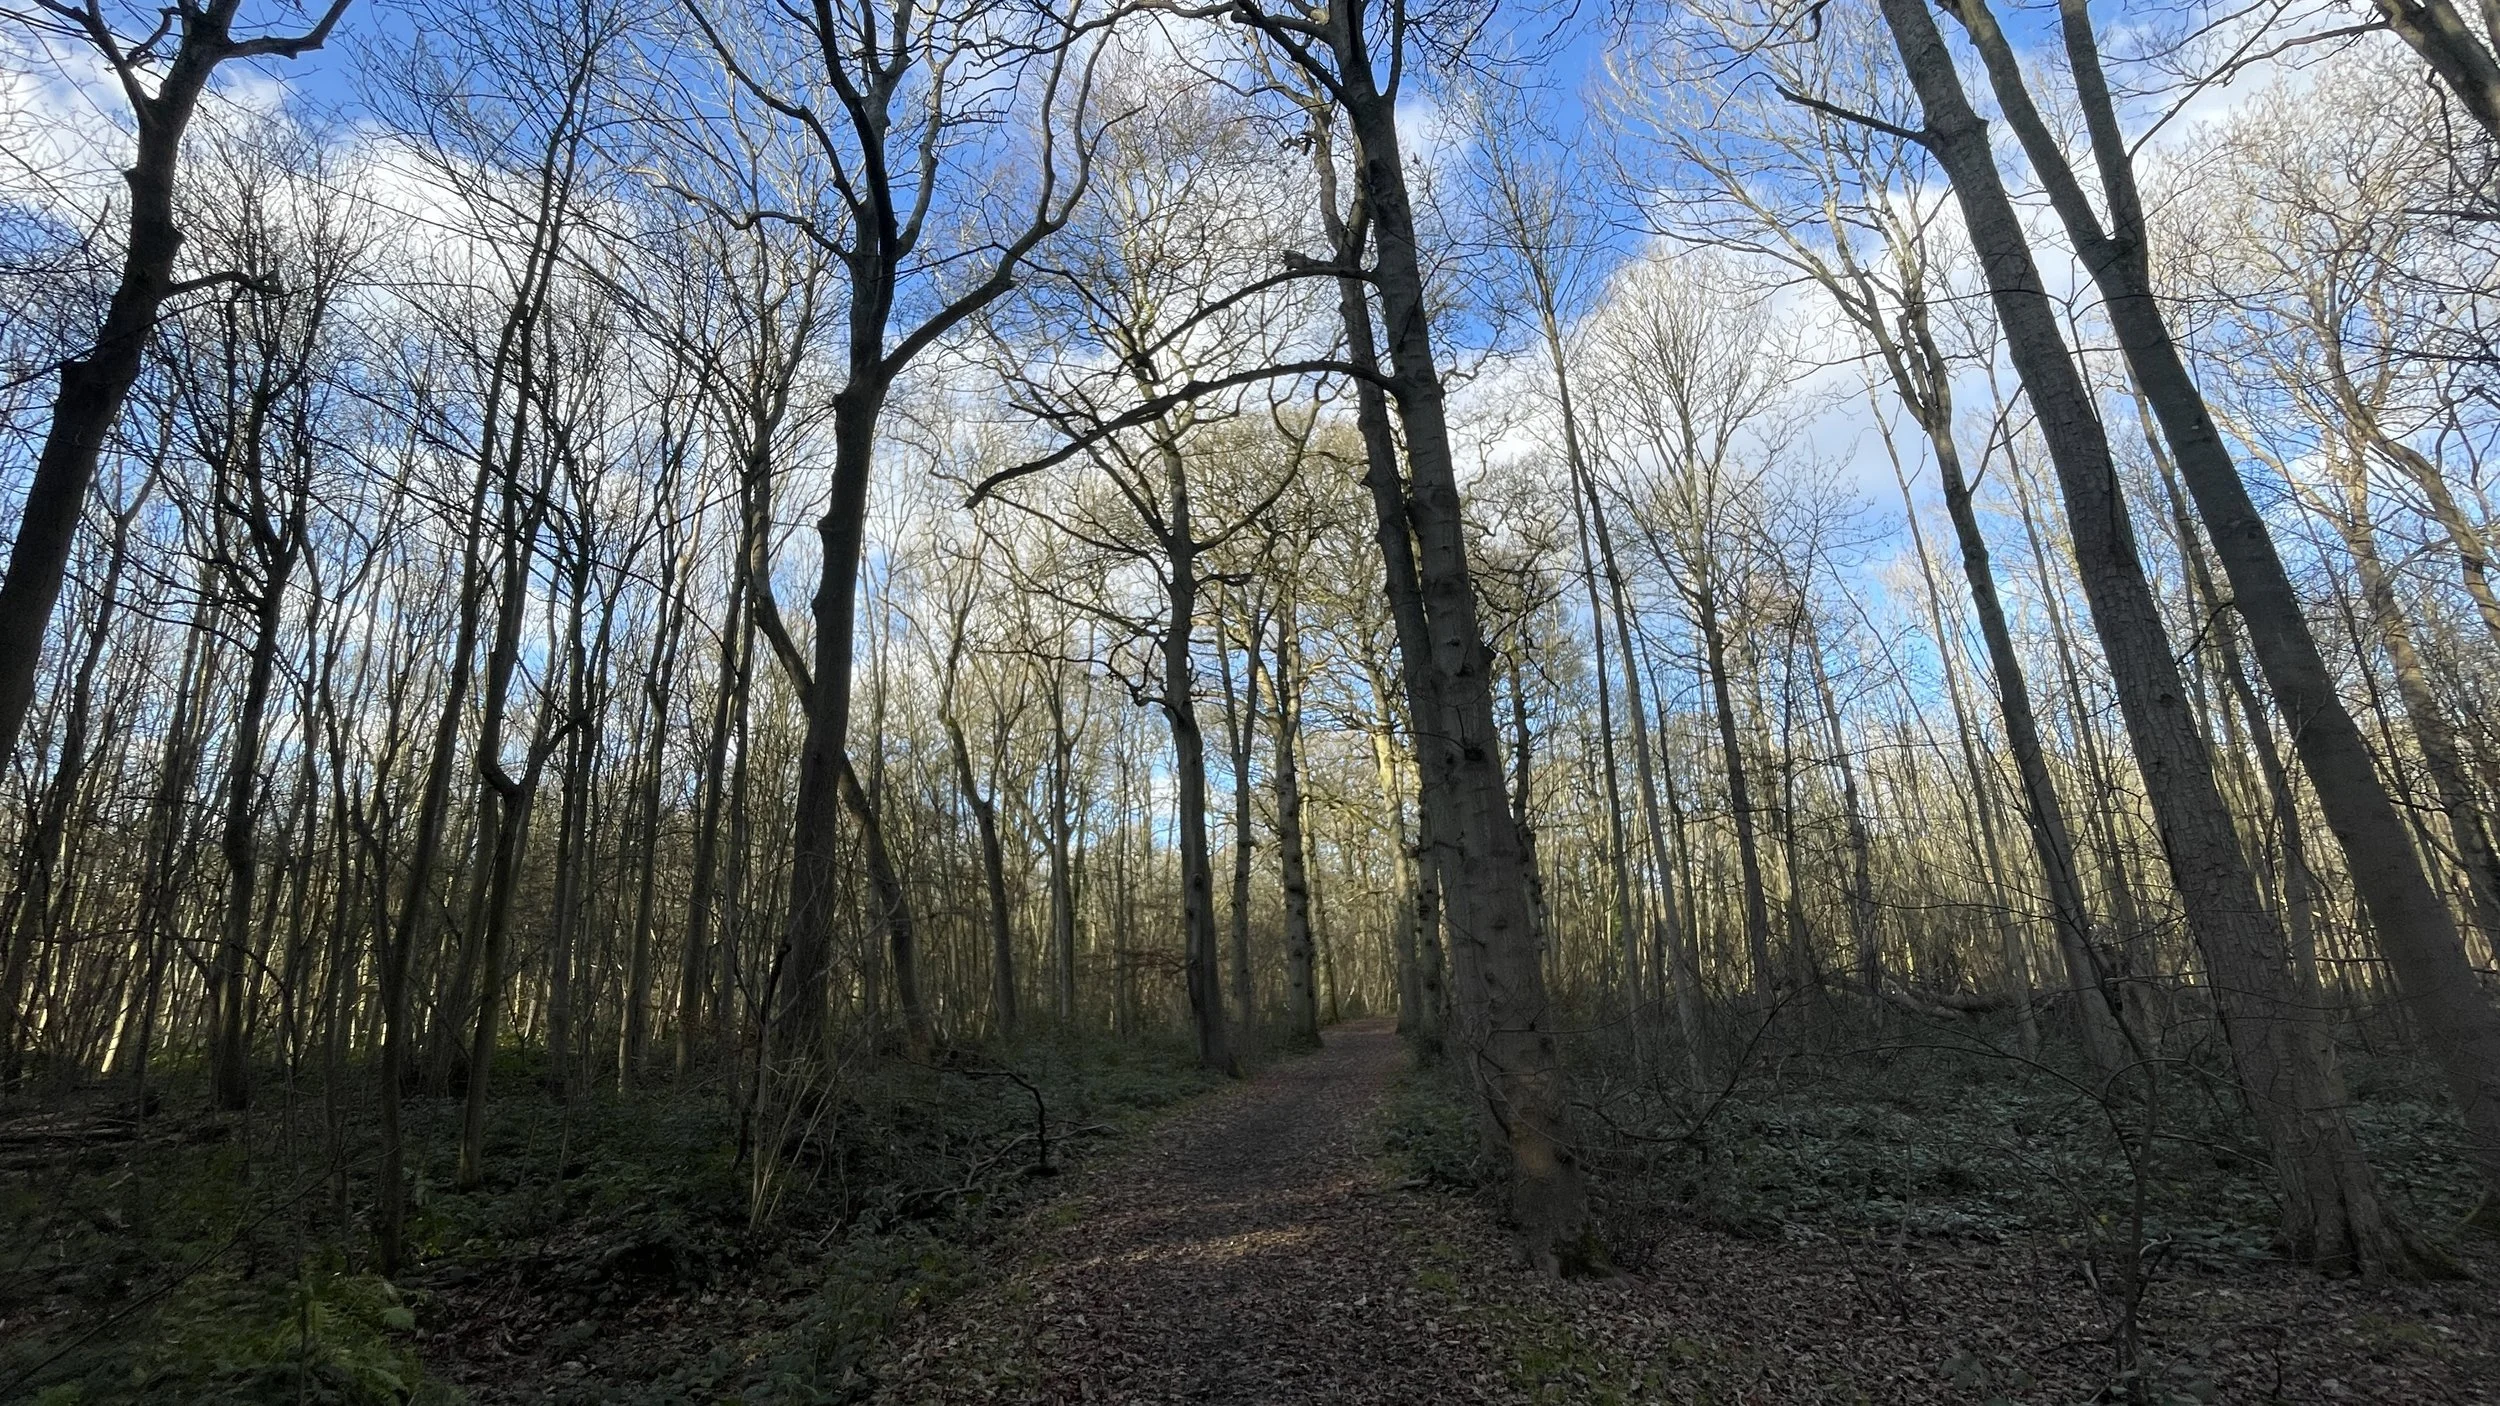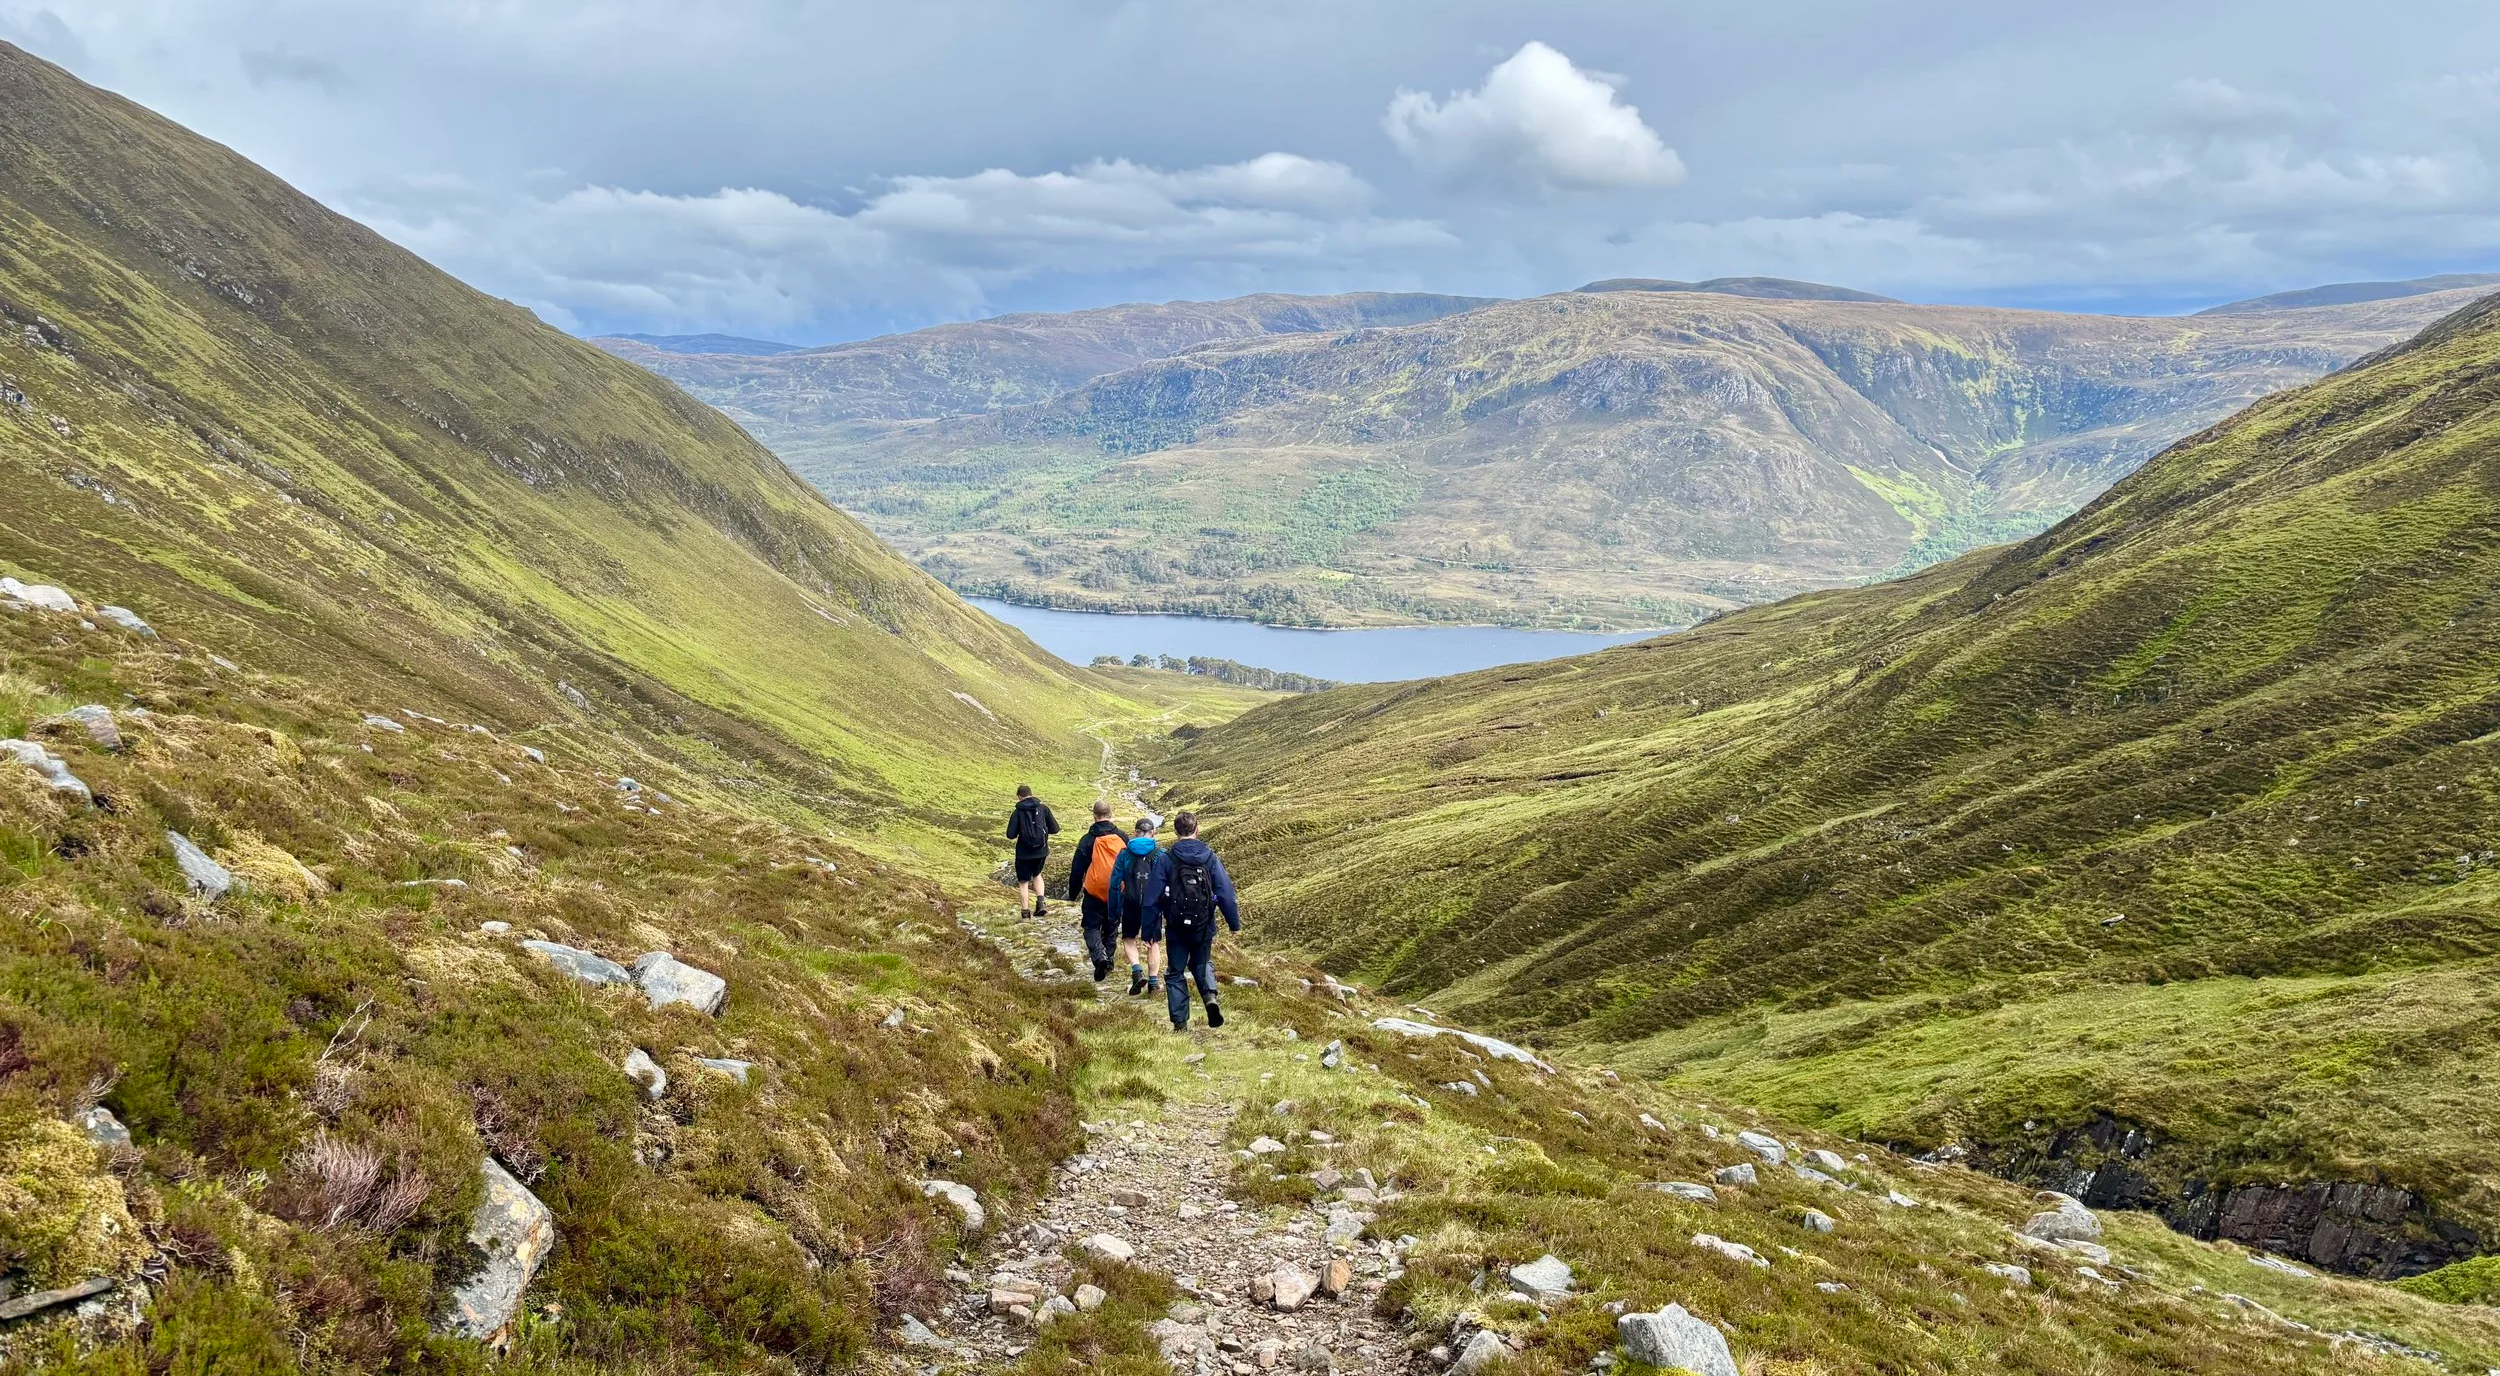
The descent towards Loch Affric
Also Known As: Càrn Èite (Scottish Gaelic)
Significance: Historic County Top for Ross and Cromarty, Pre-Historic County Top for Ross-shire
Member of: Munros, Marilyns
Parent Peak: Ben Nevis
Nearest Higher Neighbour: Aonach Mor (1,220 m)
Elevation: 1,183m
Date climbed: June 7th 2026
Coordinates: 57° 17' 16'' N, 5° 6' 55'' W
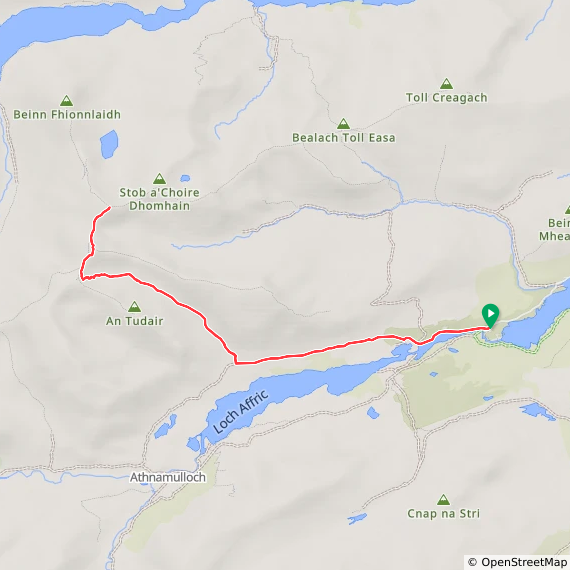
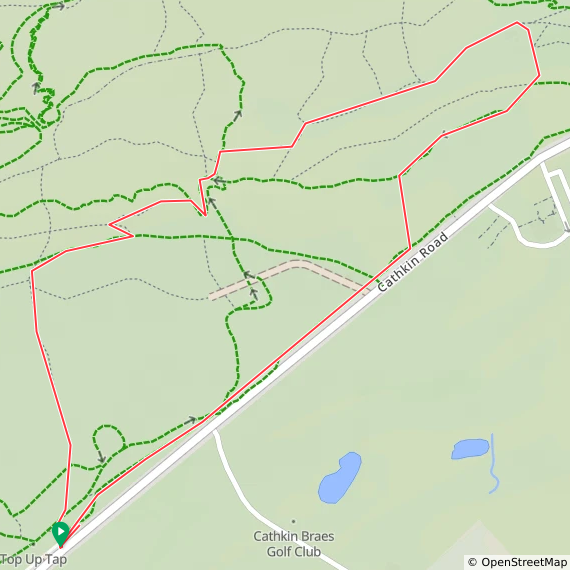
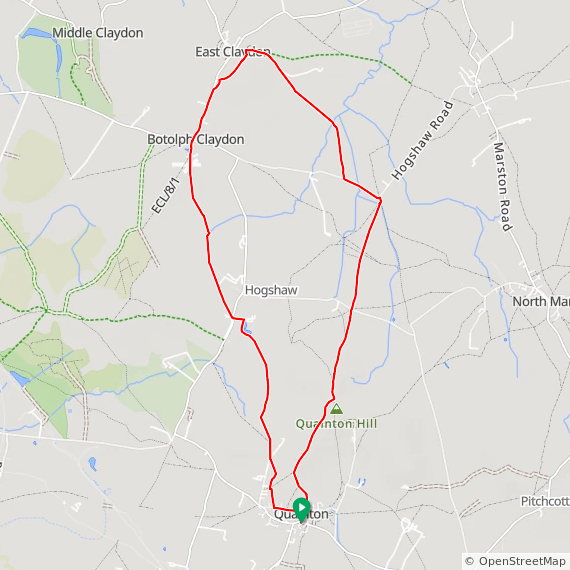
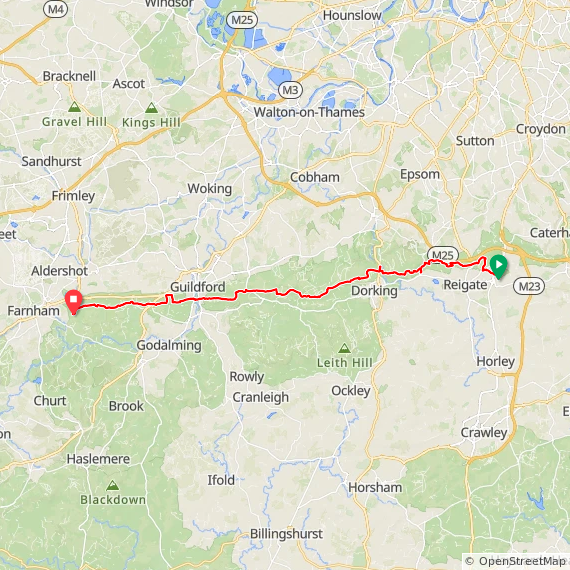
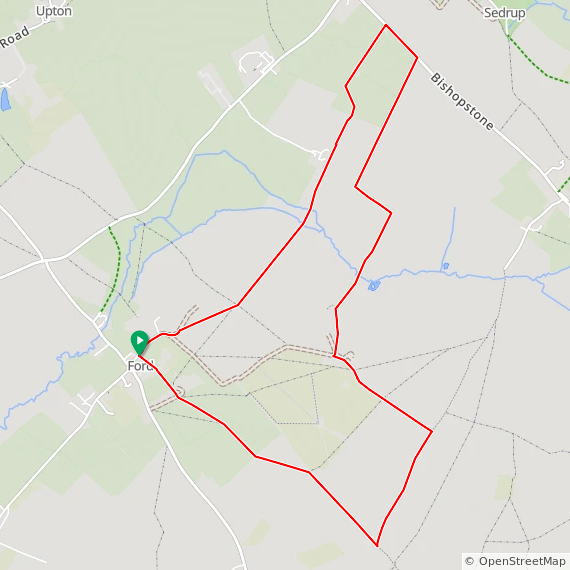
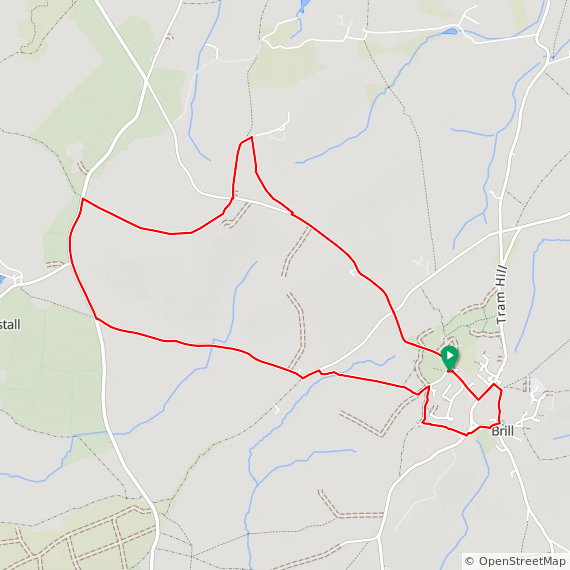
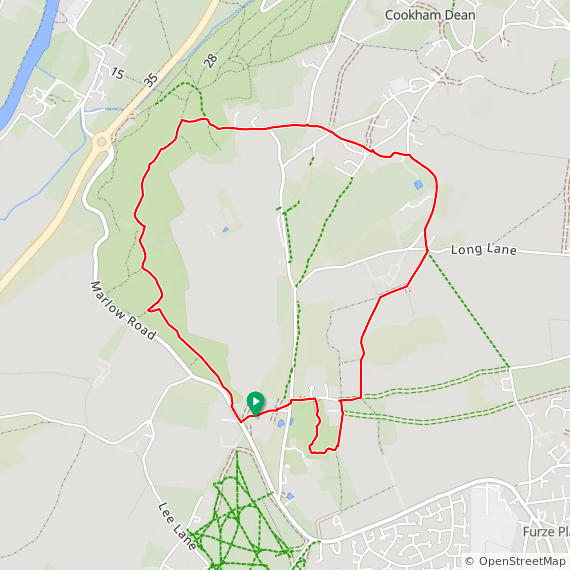
Route Start & Finish: River Affric Car Park, Beauly, IV4 7LY
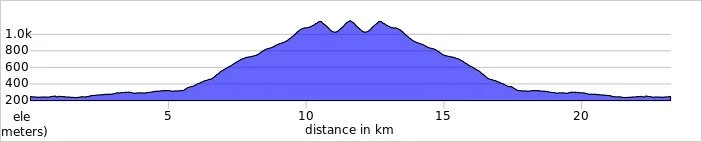
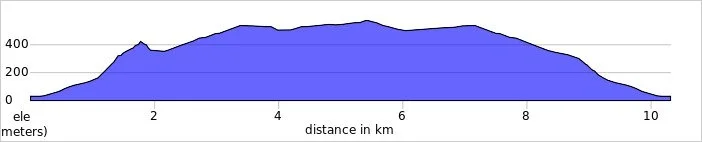
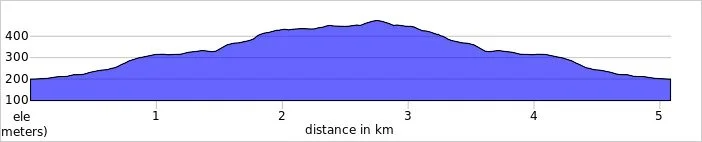
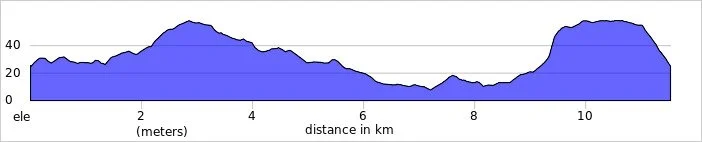
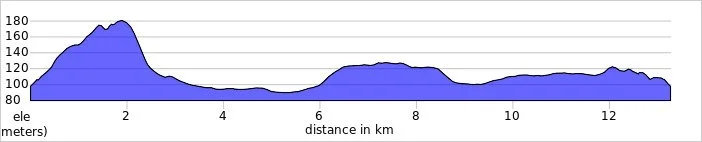
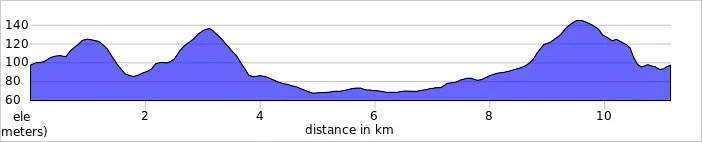
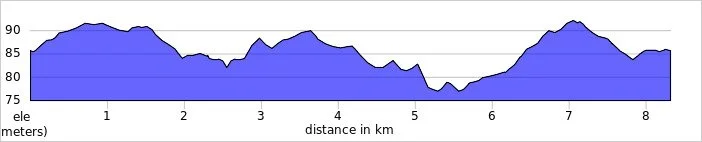
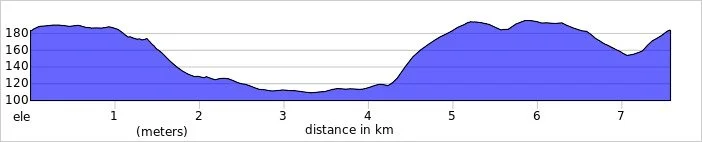
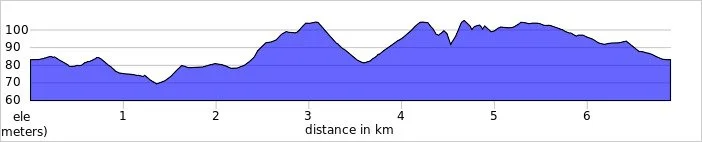
Route Distance: 23.2 km (14.4 miles)
Route Elevation change: +/- 1,180m
Subsidiary tops on route: Mam Sodhail (1,179 m)
GPX File: get via Buy Me a Coffee
Other routes touched (walk): None
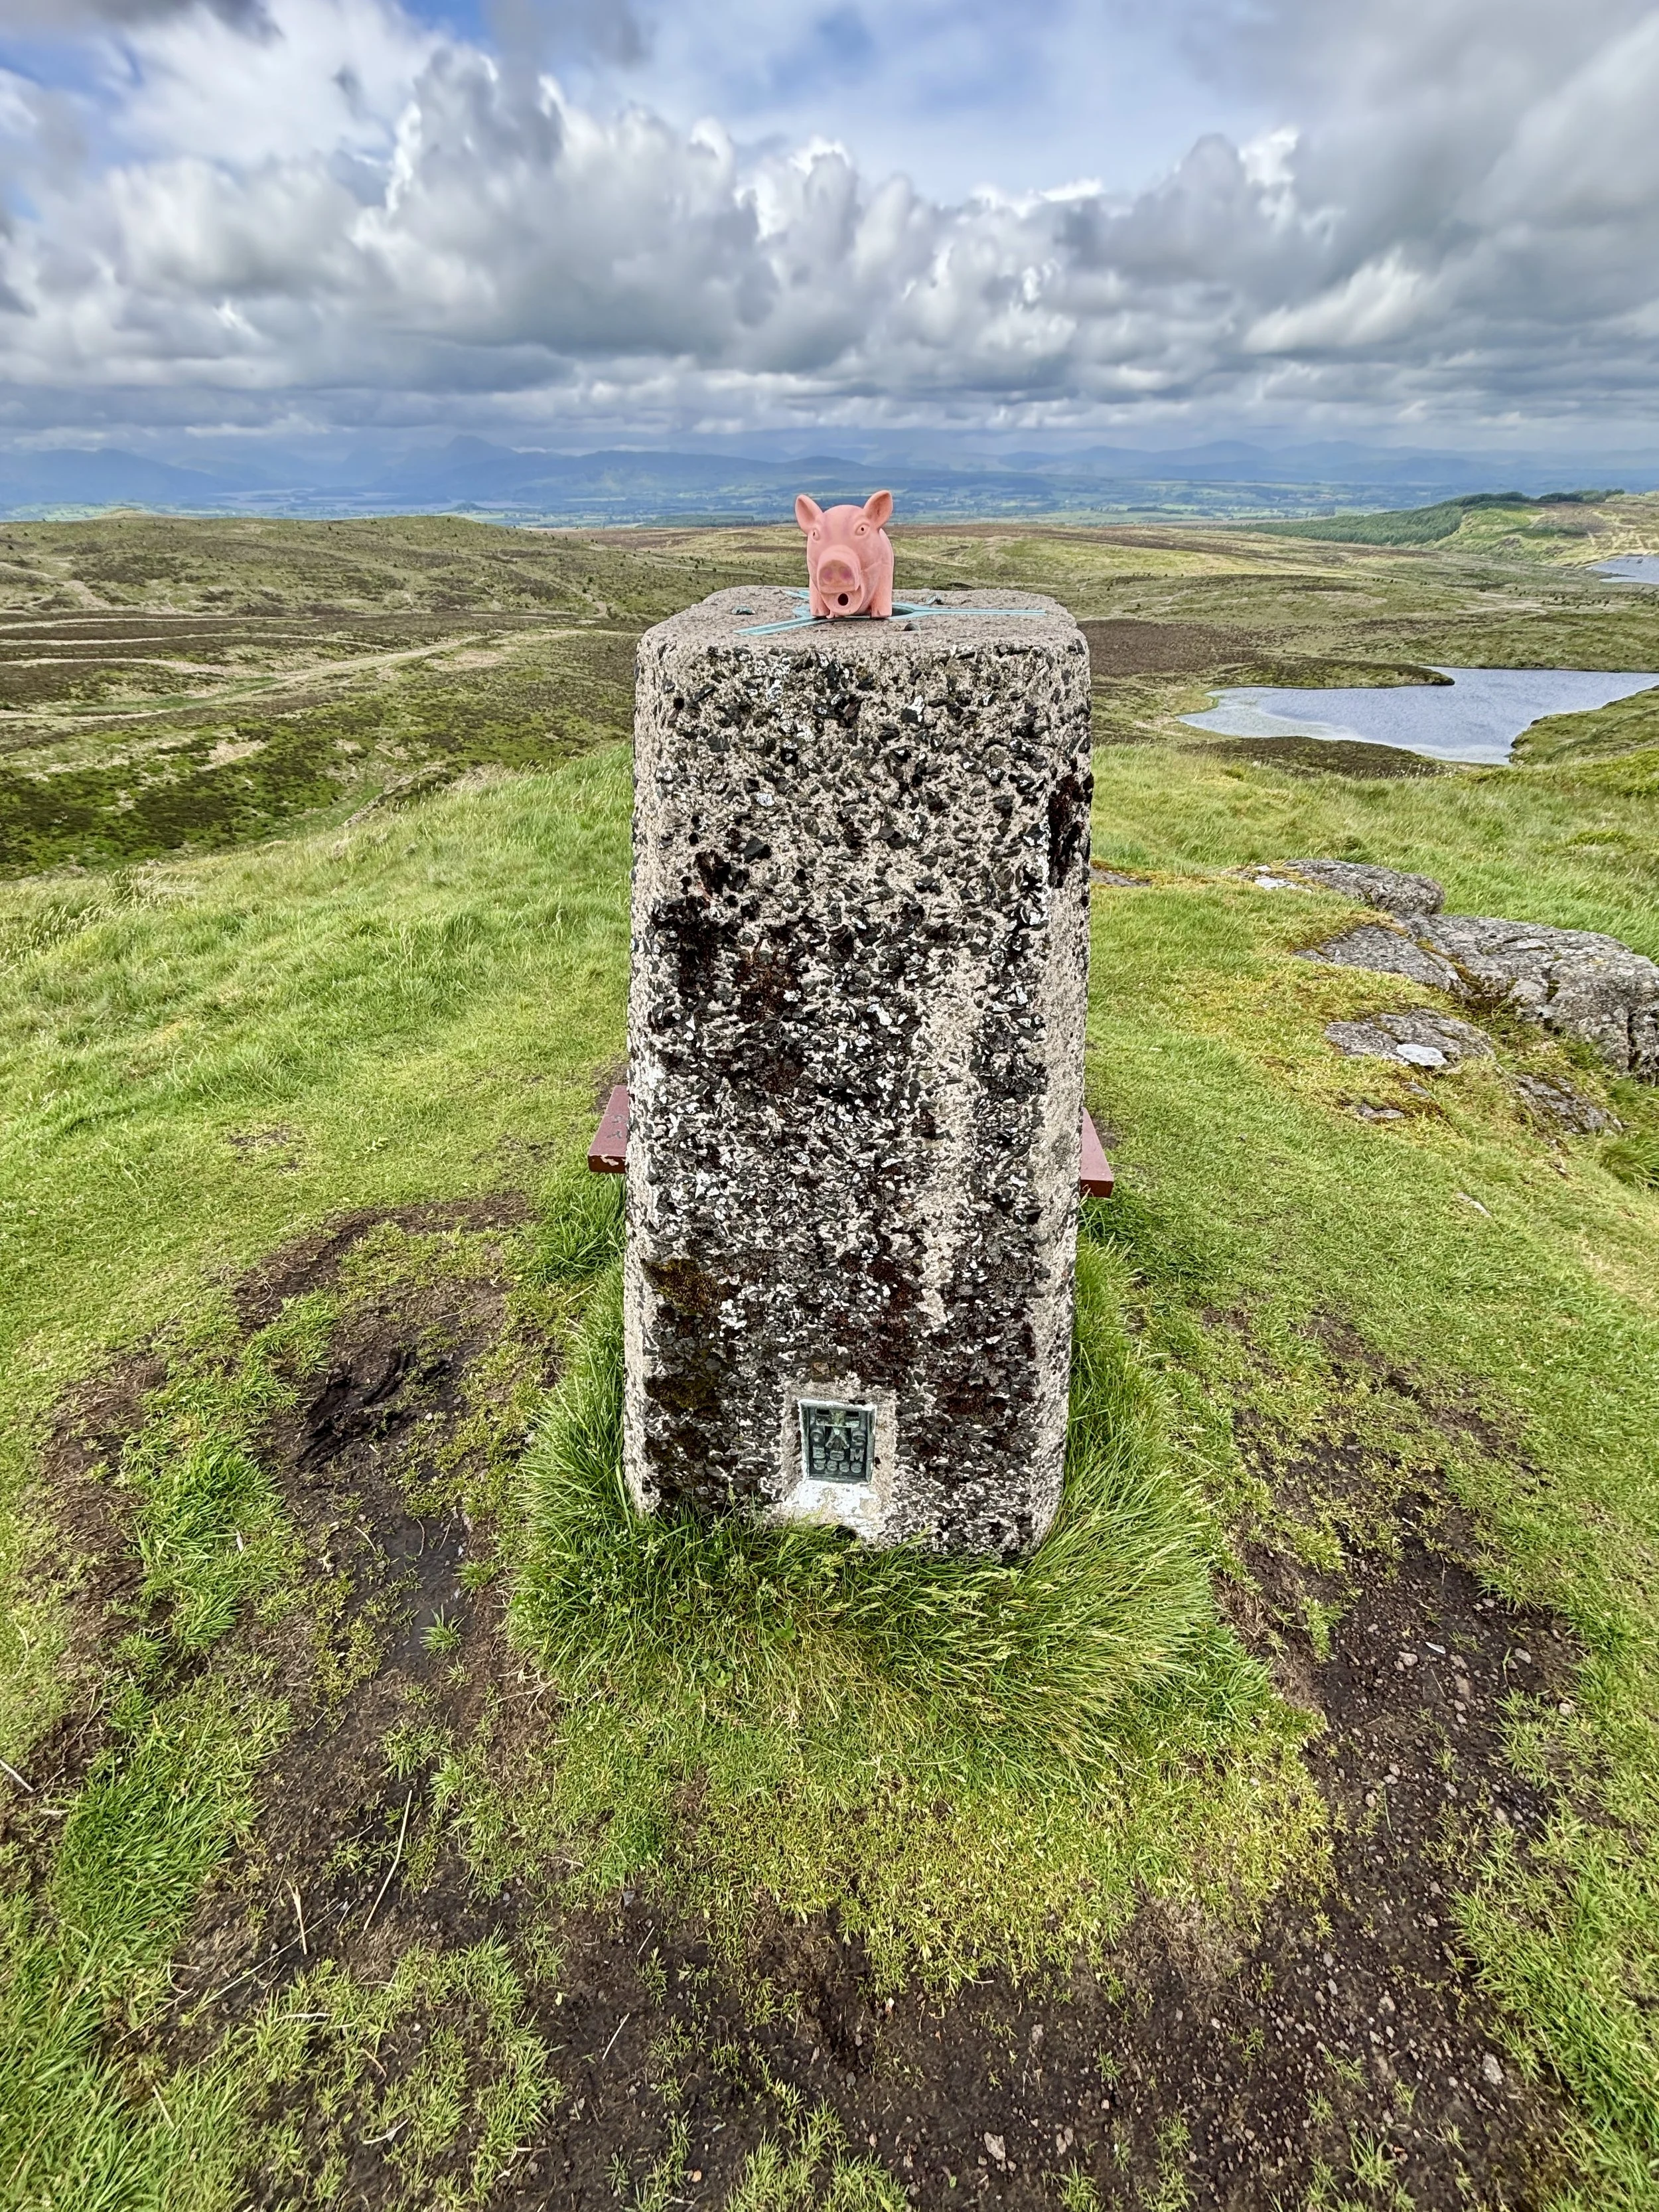
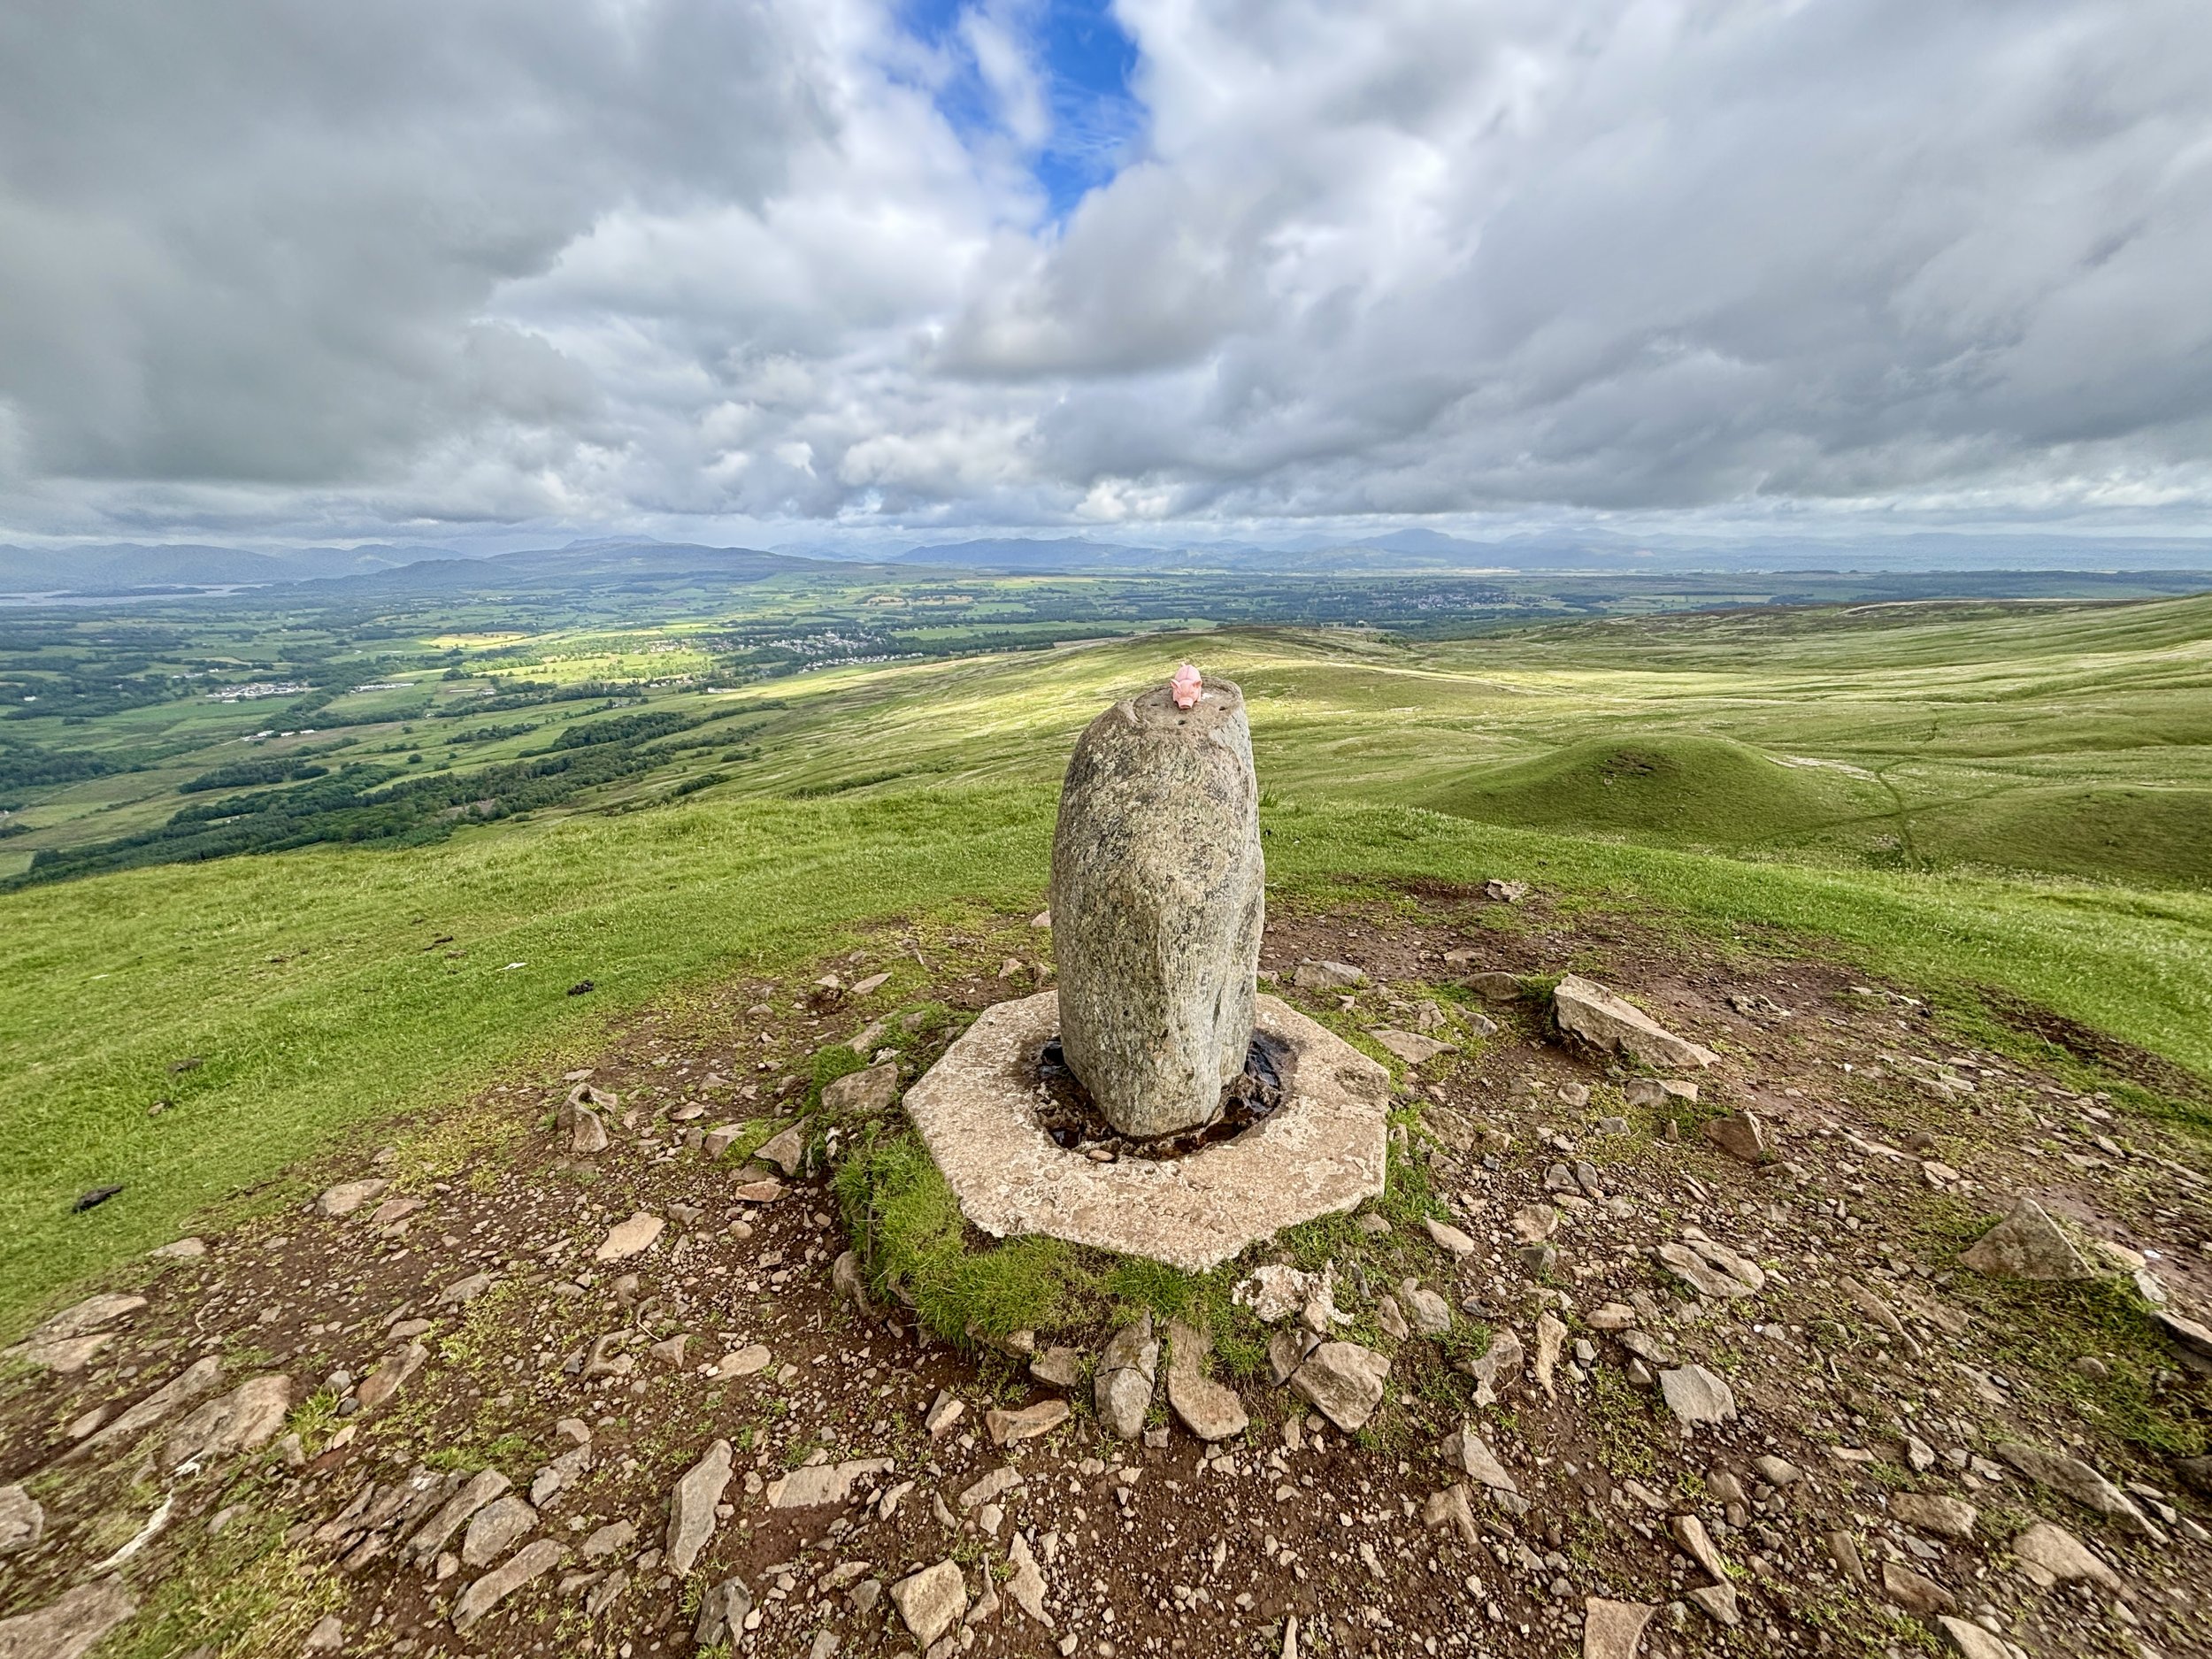
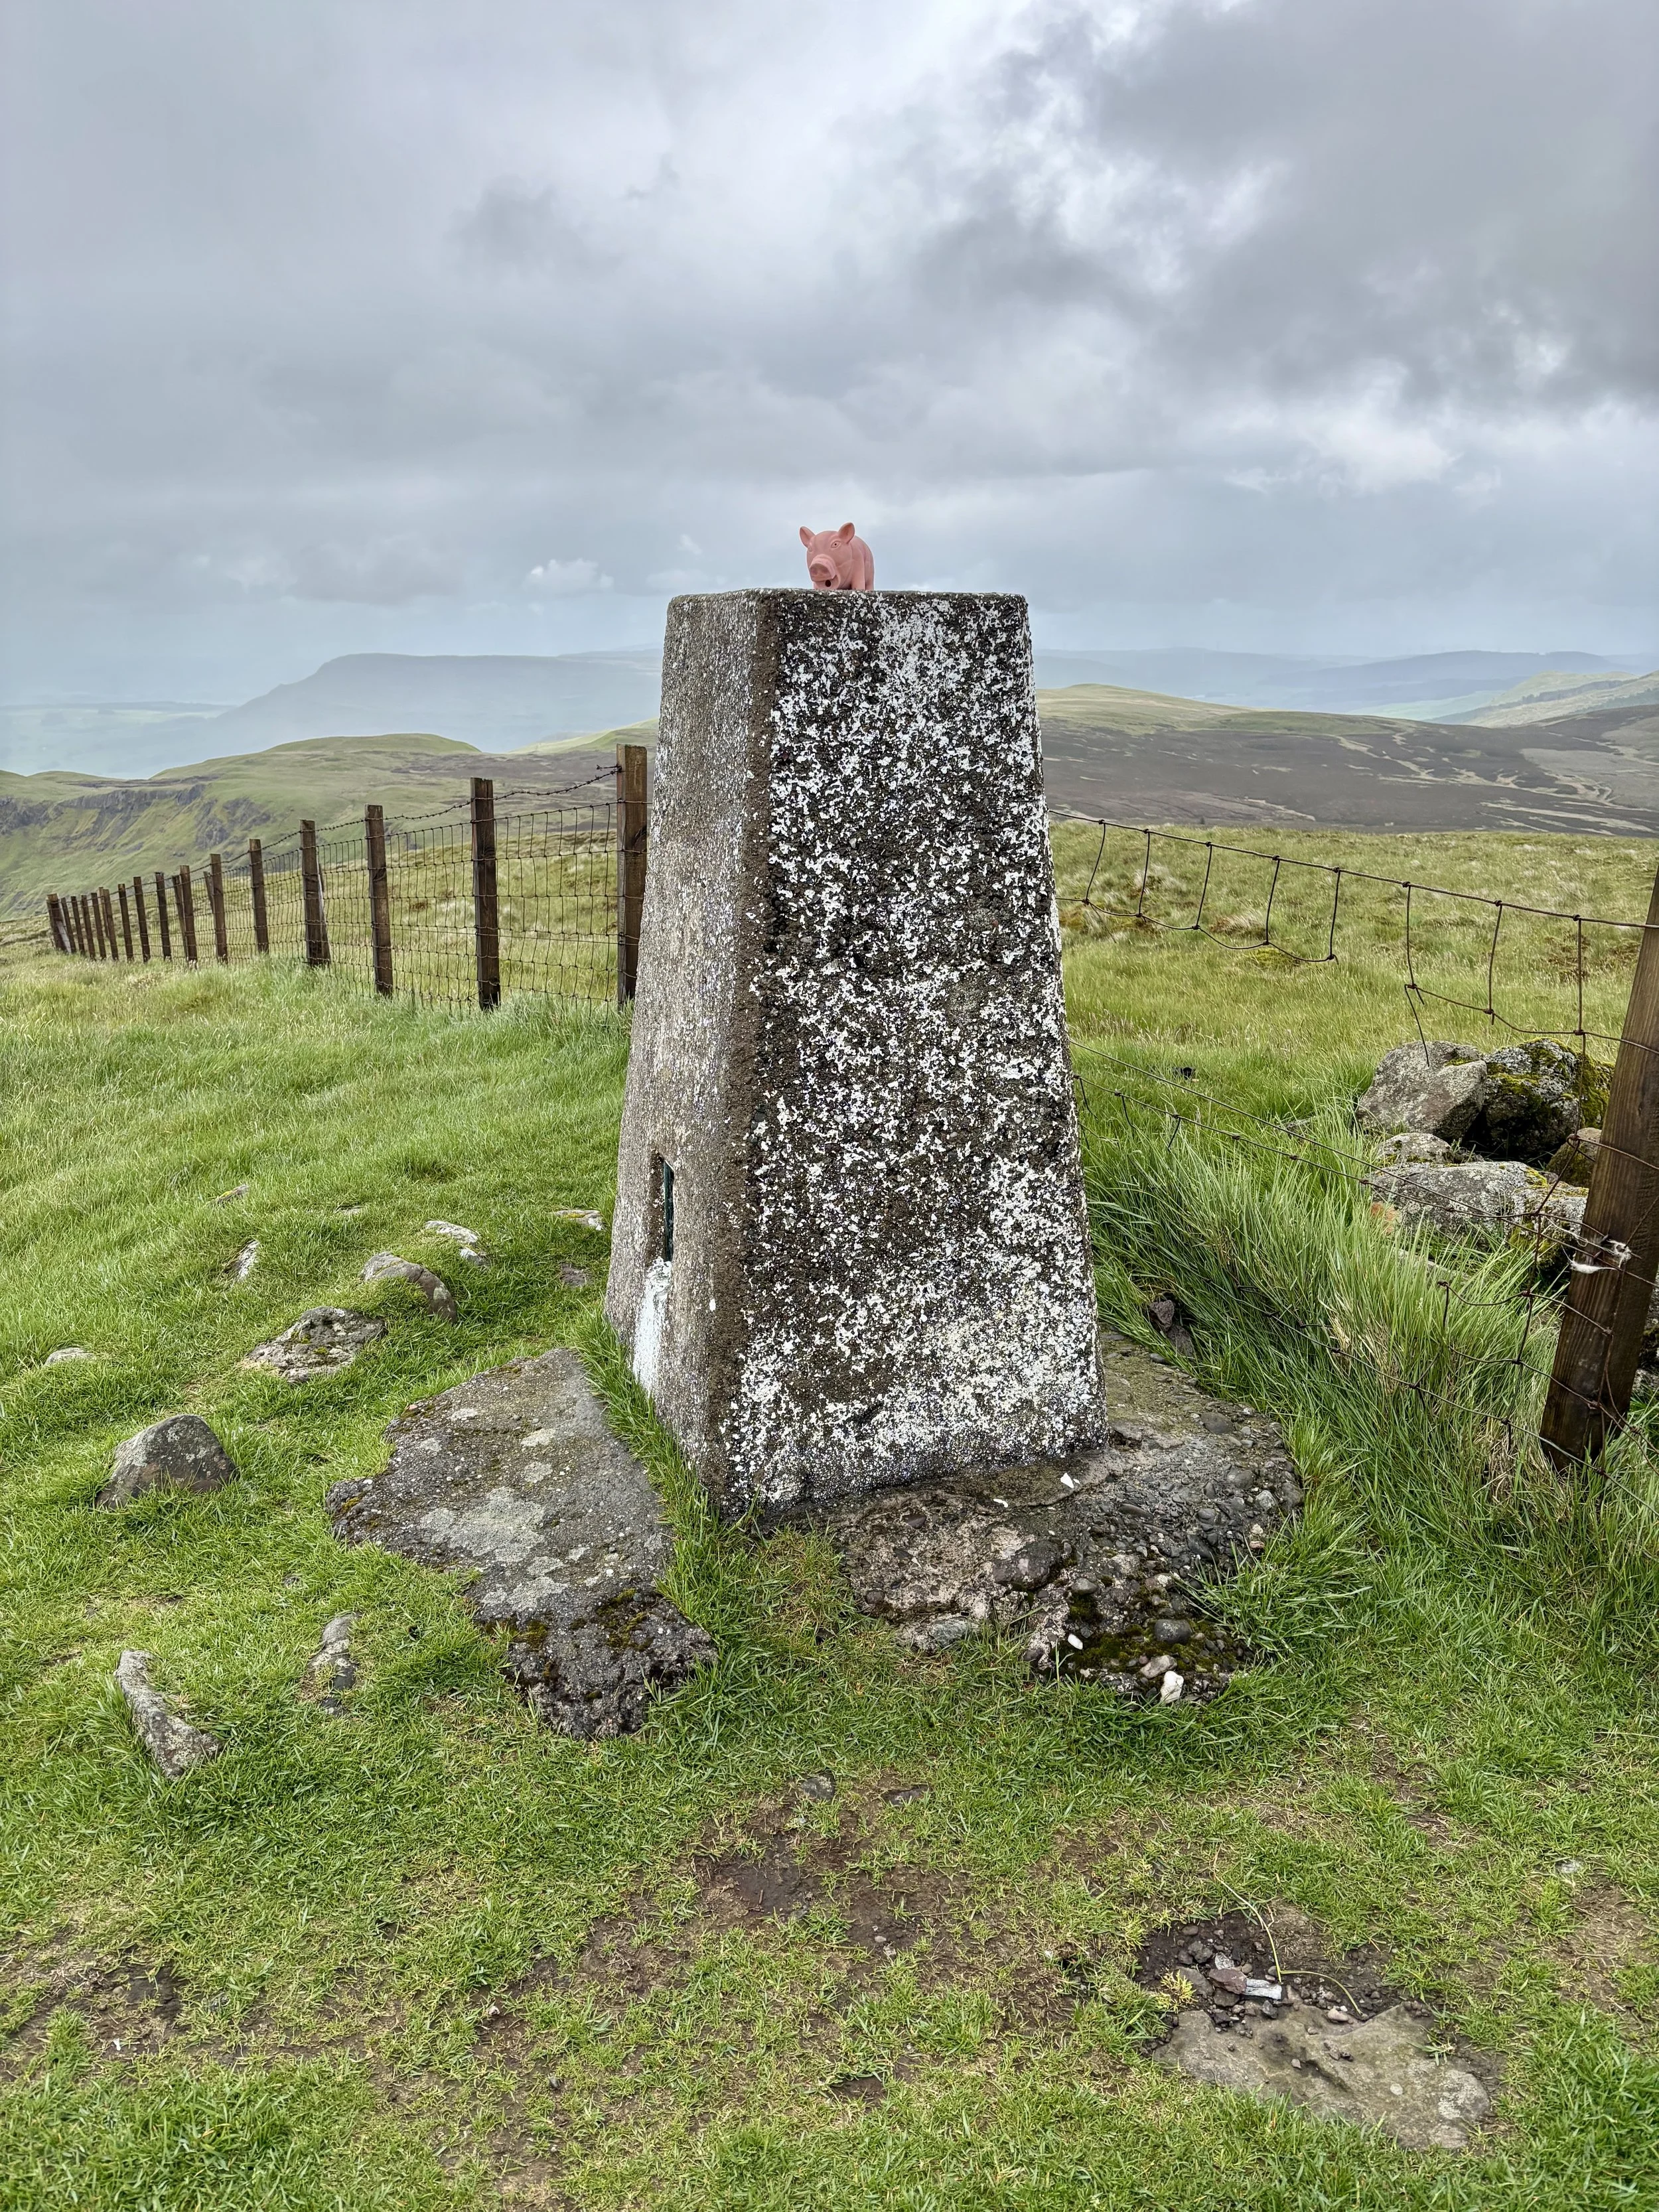
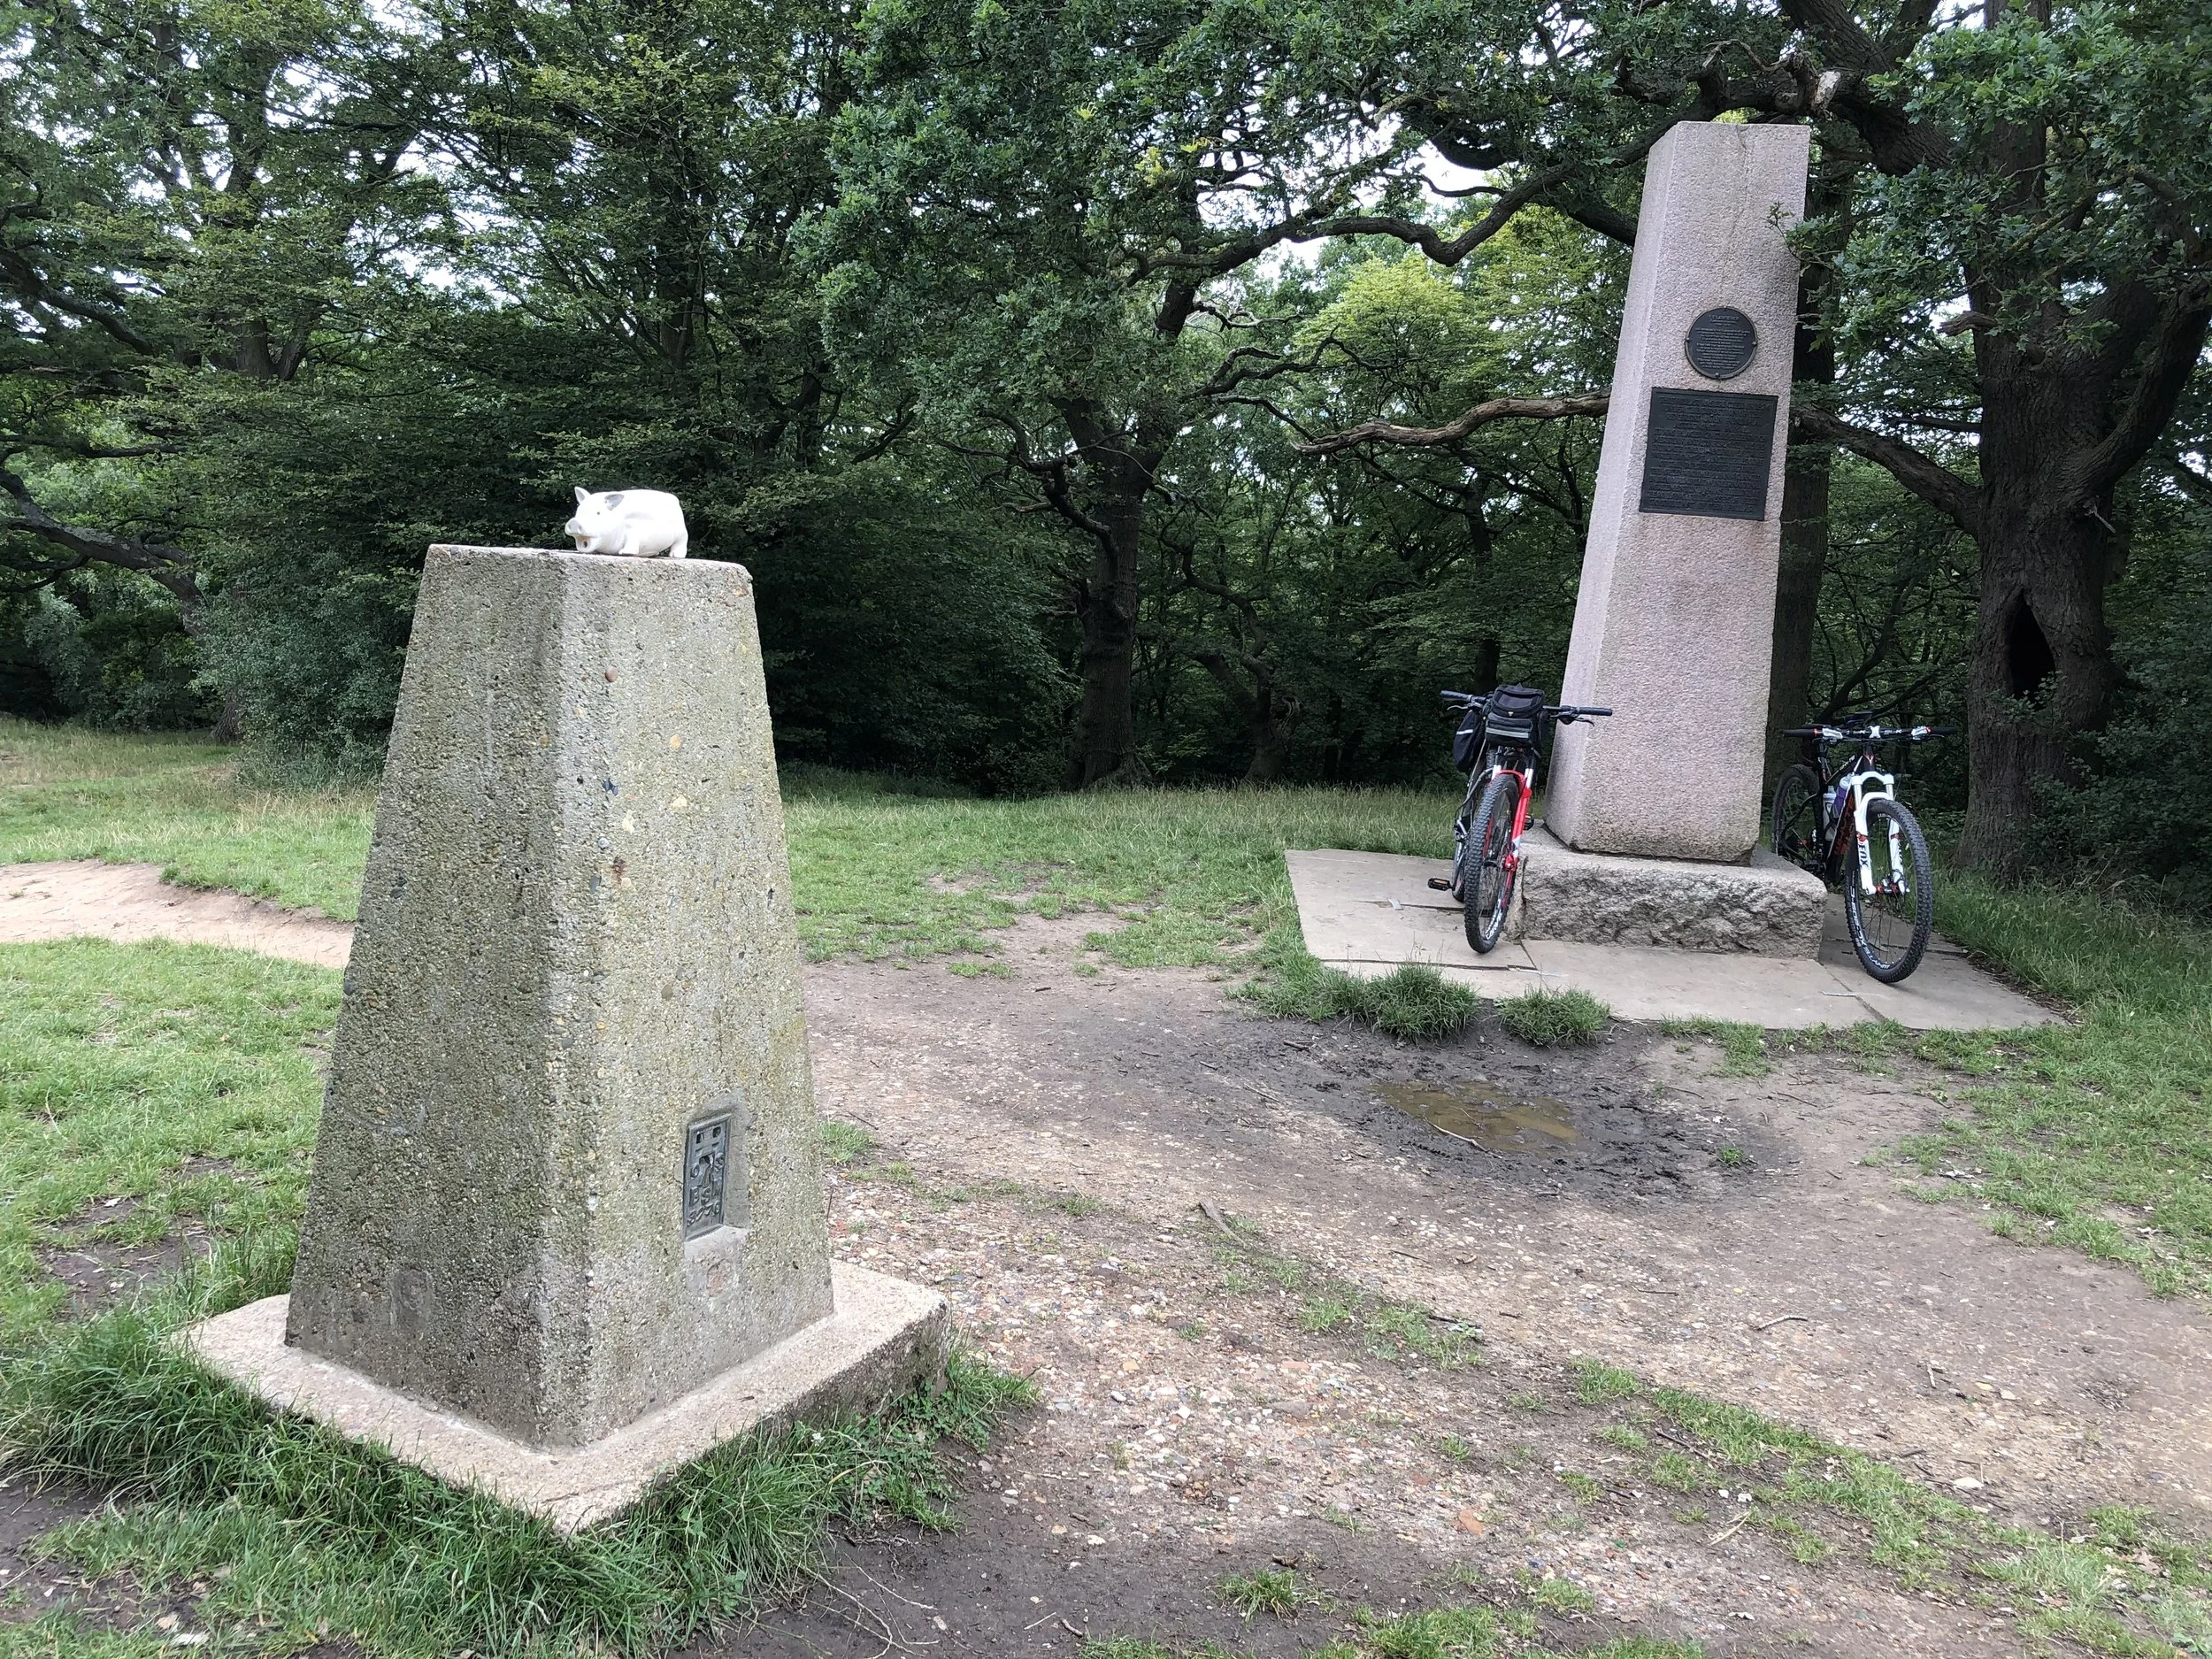
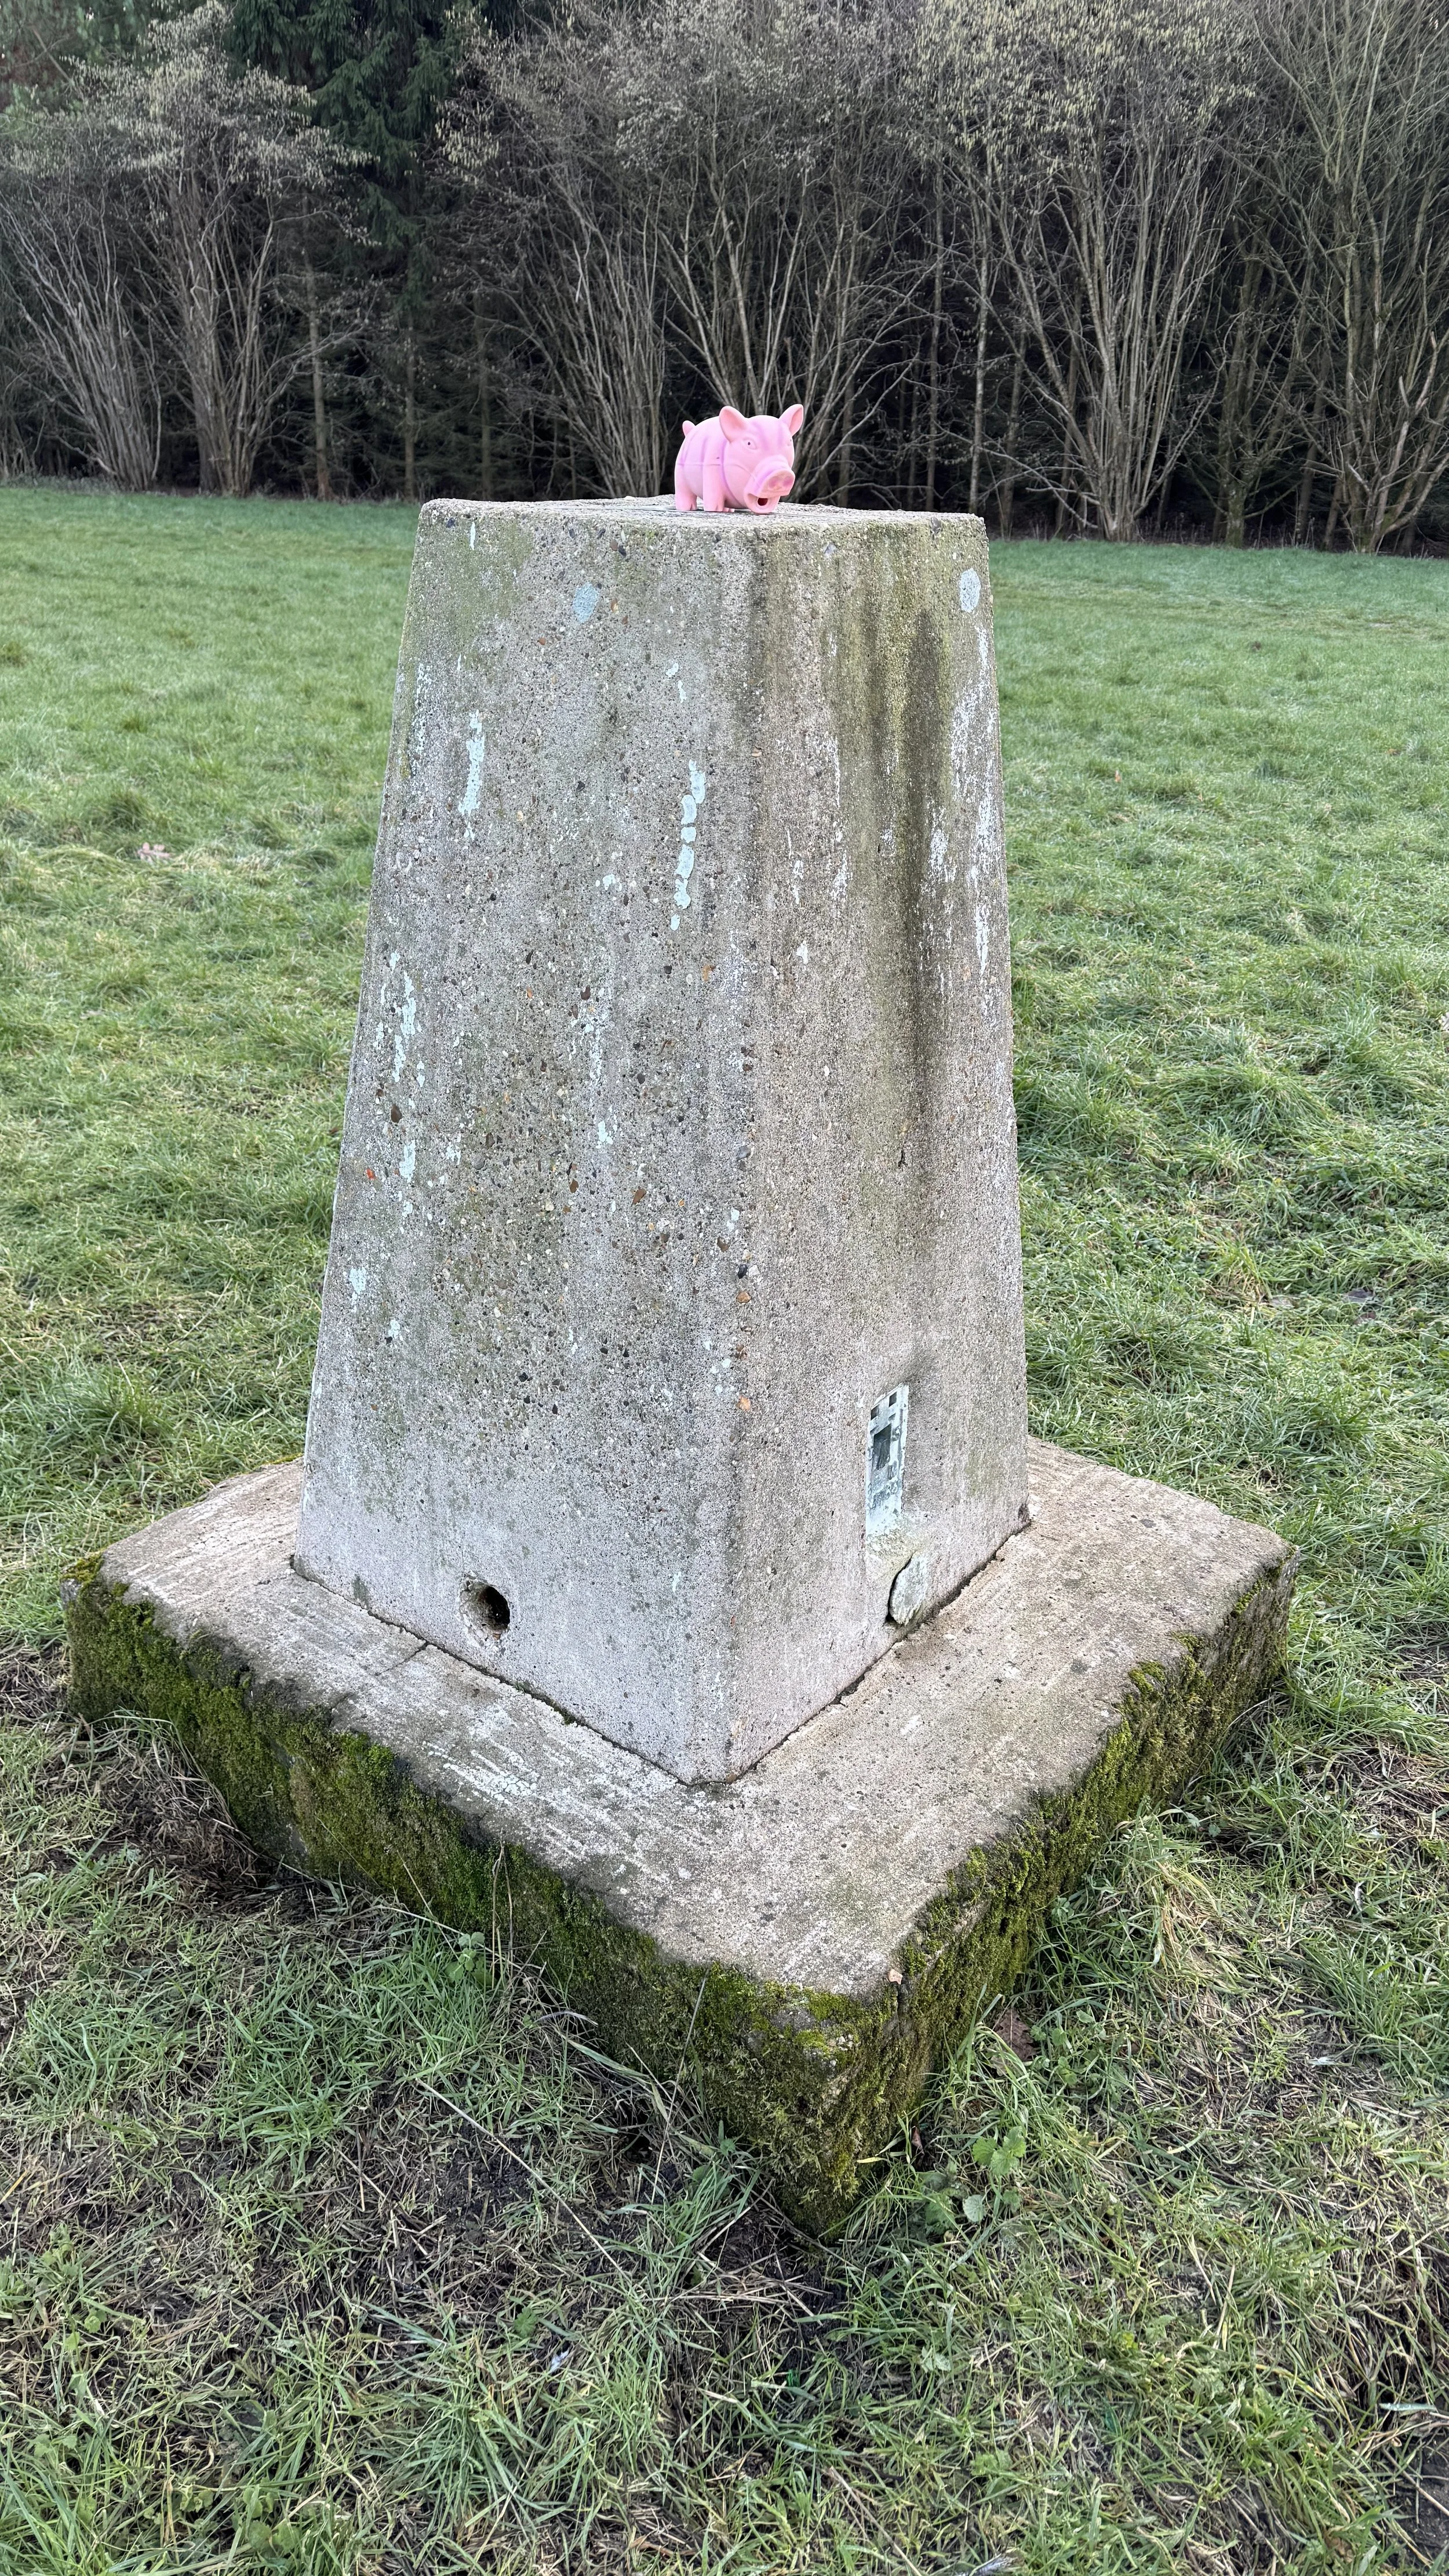
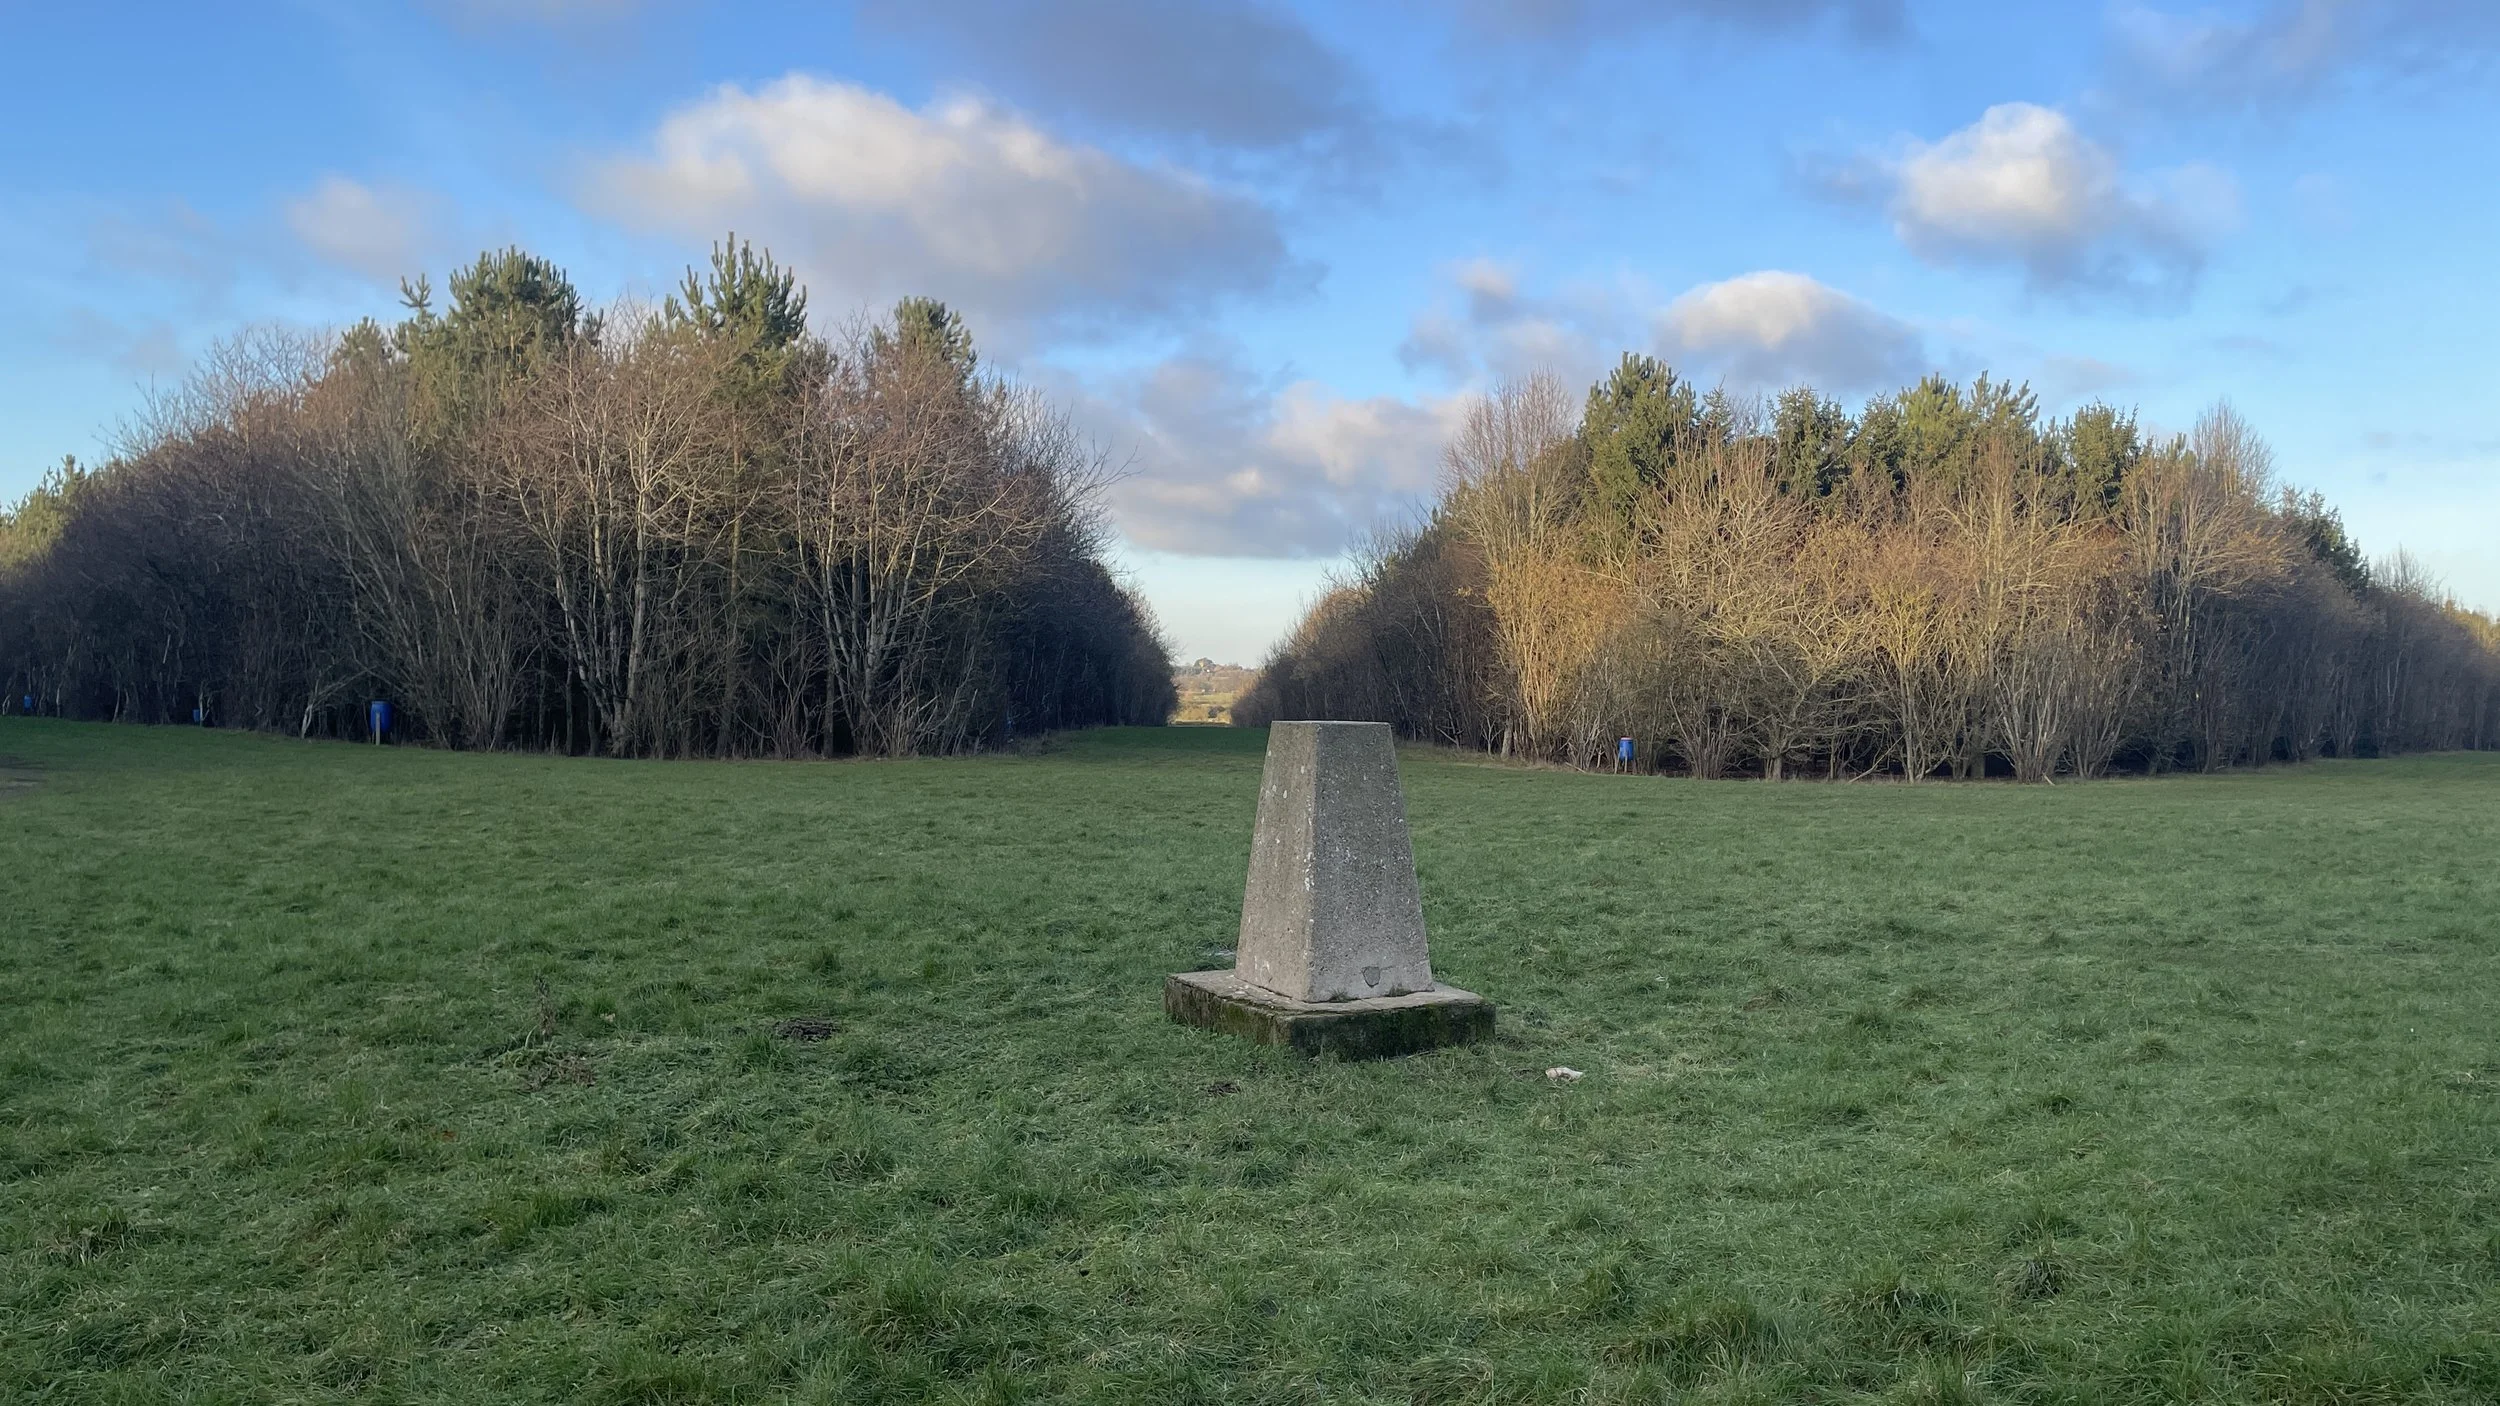
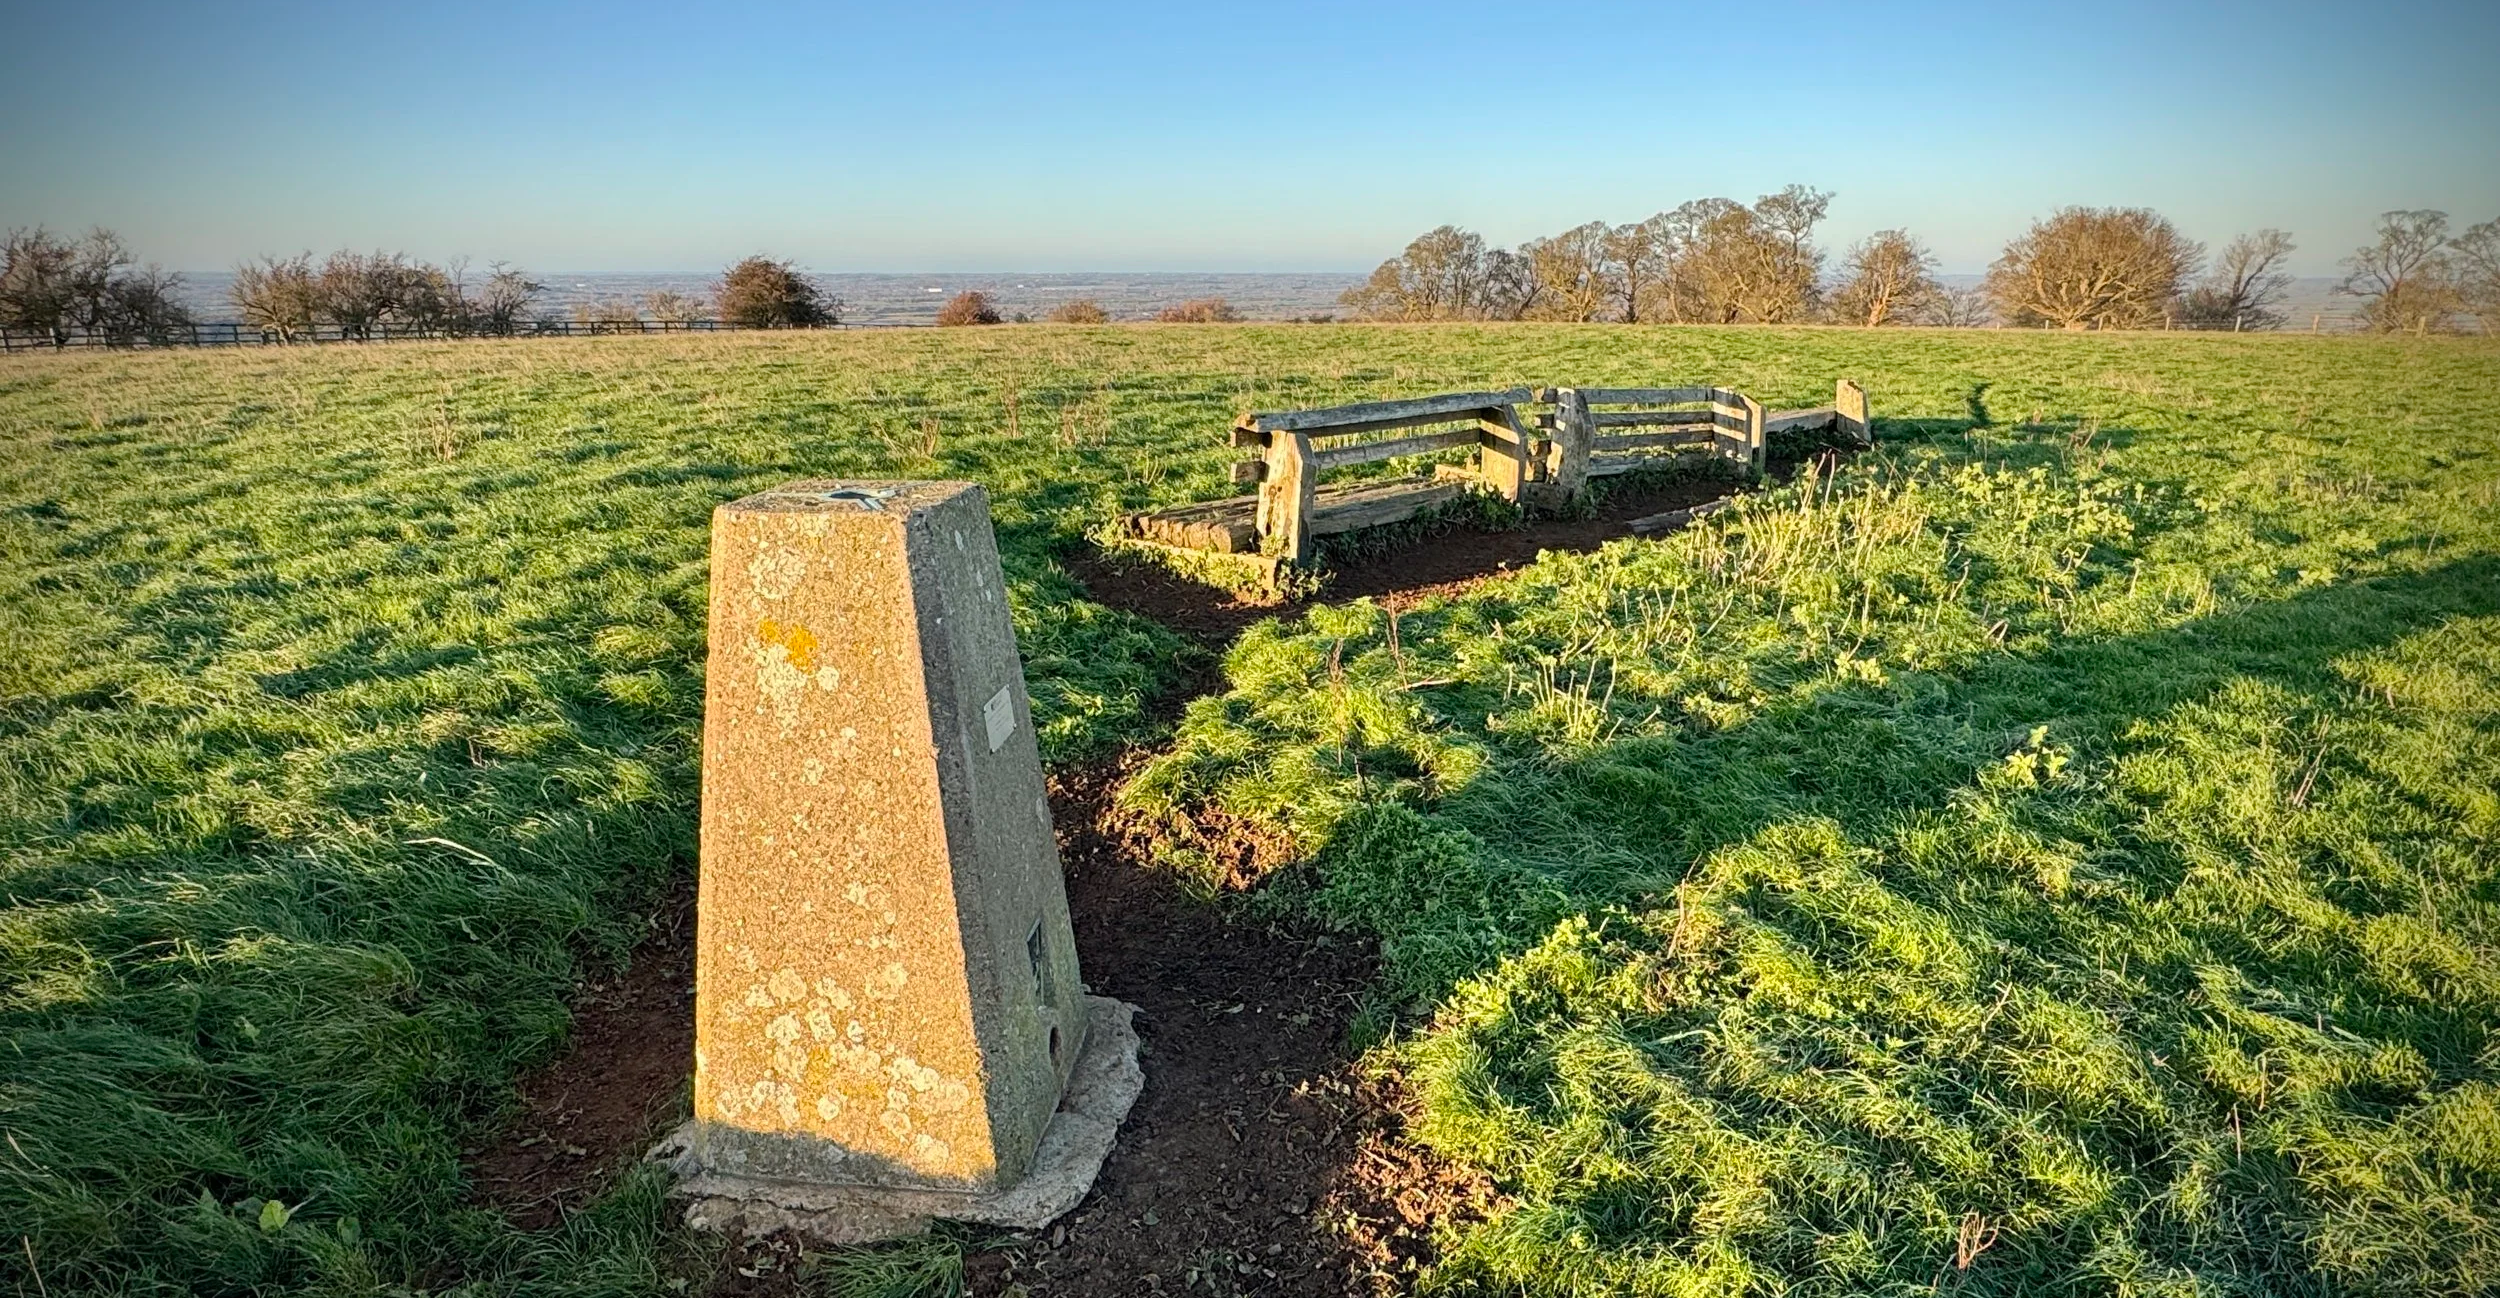
OS Trig Pillar: TP1949 - Carn Eige
Pubs / Cafes on route: None
Map: Glen Shiel & Kintail Forest Map | Shiel Bridge, Morvich, Killilan & Kinloch Hourn | Ordnance Survey | OS Explorer Map 414
Links: Wikipedia: (Ross and Cromarty / Càrn Eighe), Peakbagger, Hillbagging
Càrn Eige is the Historic County Top for Ross and Cromarty and the 4th highest of all of the UK County Tops. I bagged it in 2026 on our annual County Top weekend trip, along with the present-day County Tops of East Dunbartonshire, West Dunbartonshire, Glasgow City and the Historic County Top of Argyll.
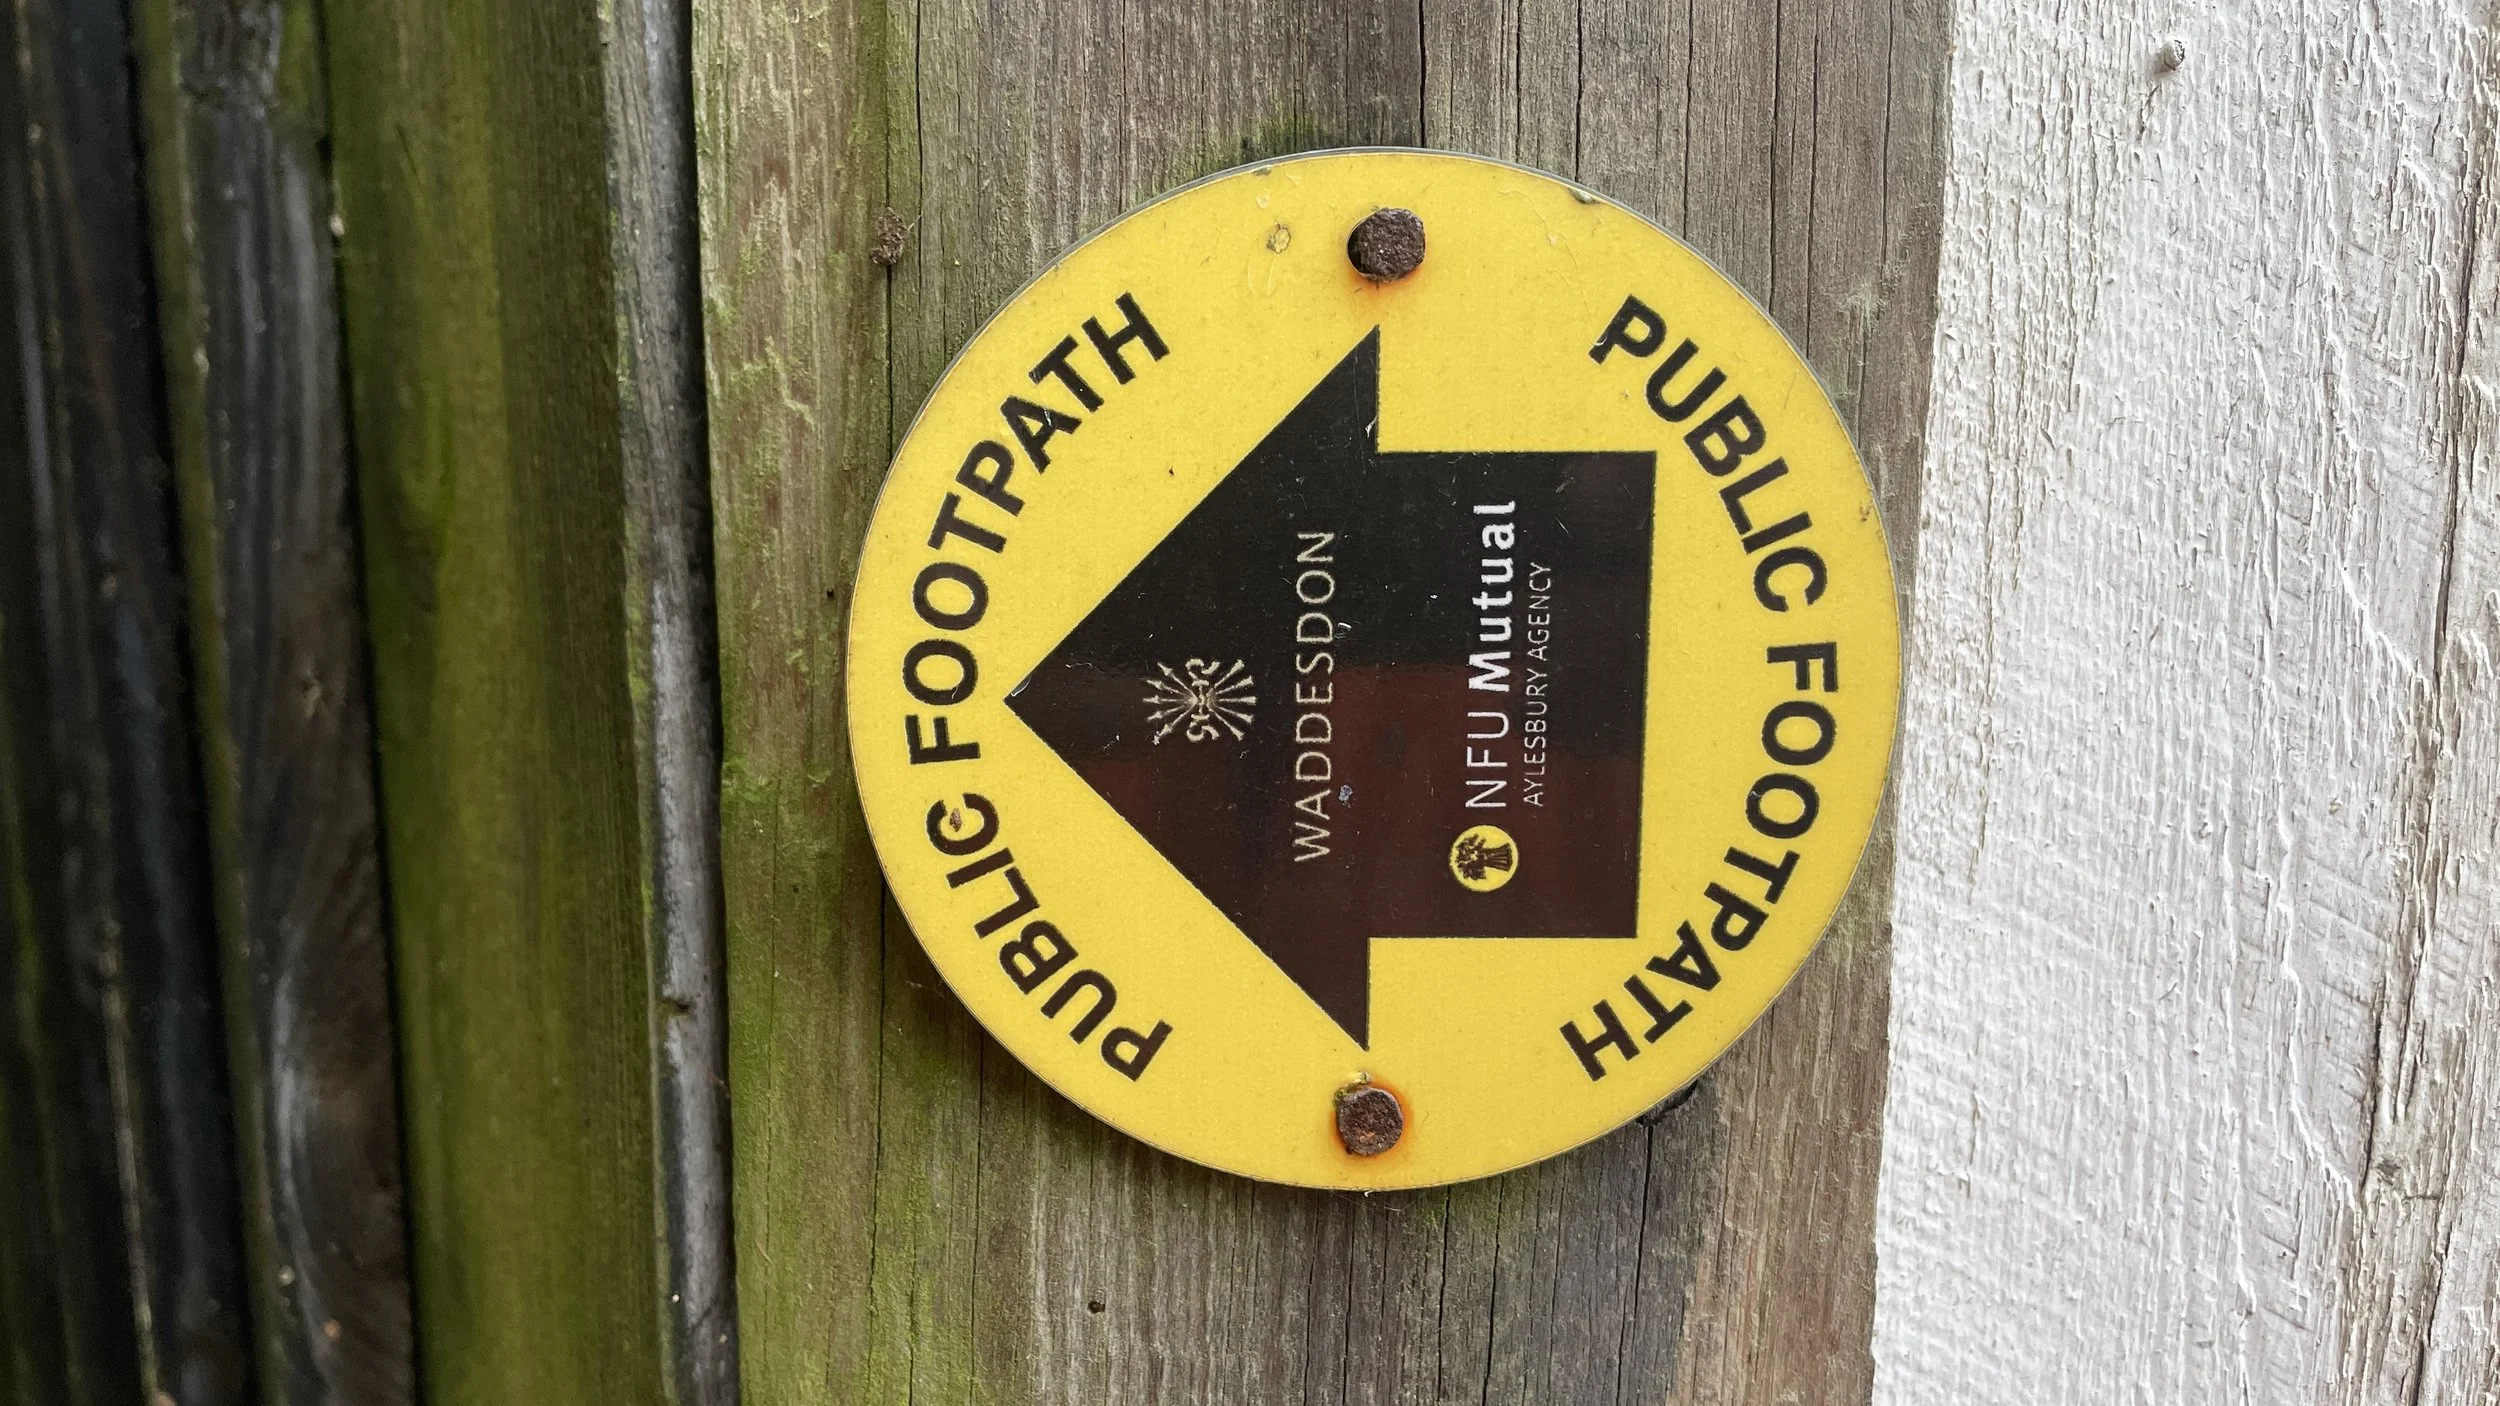
Walking Directions
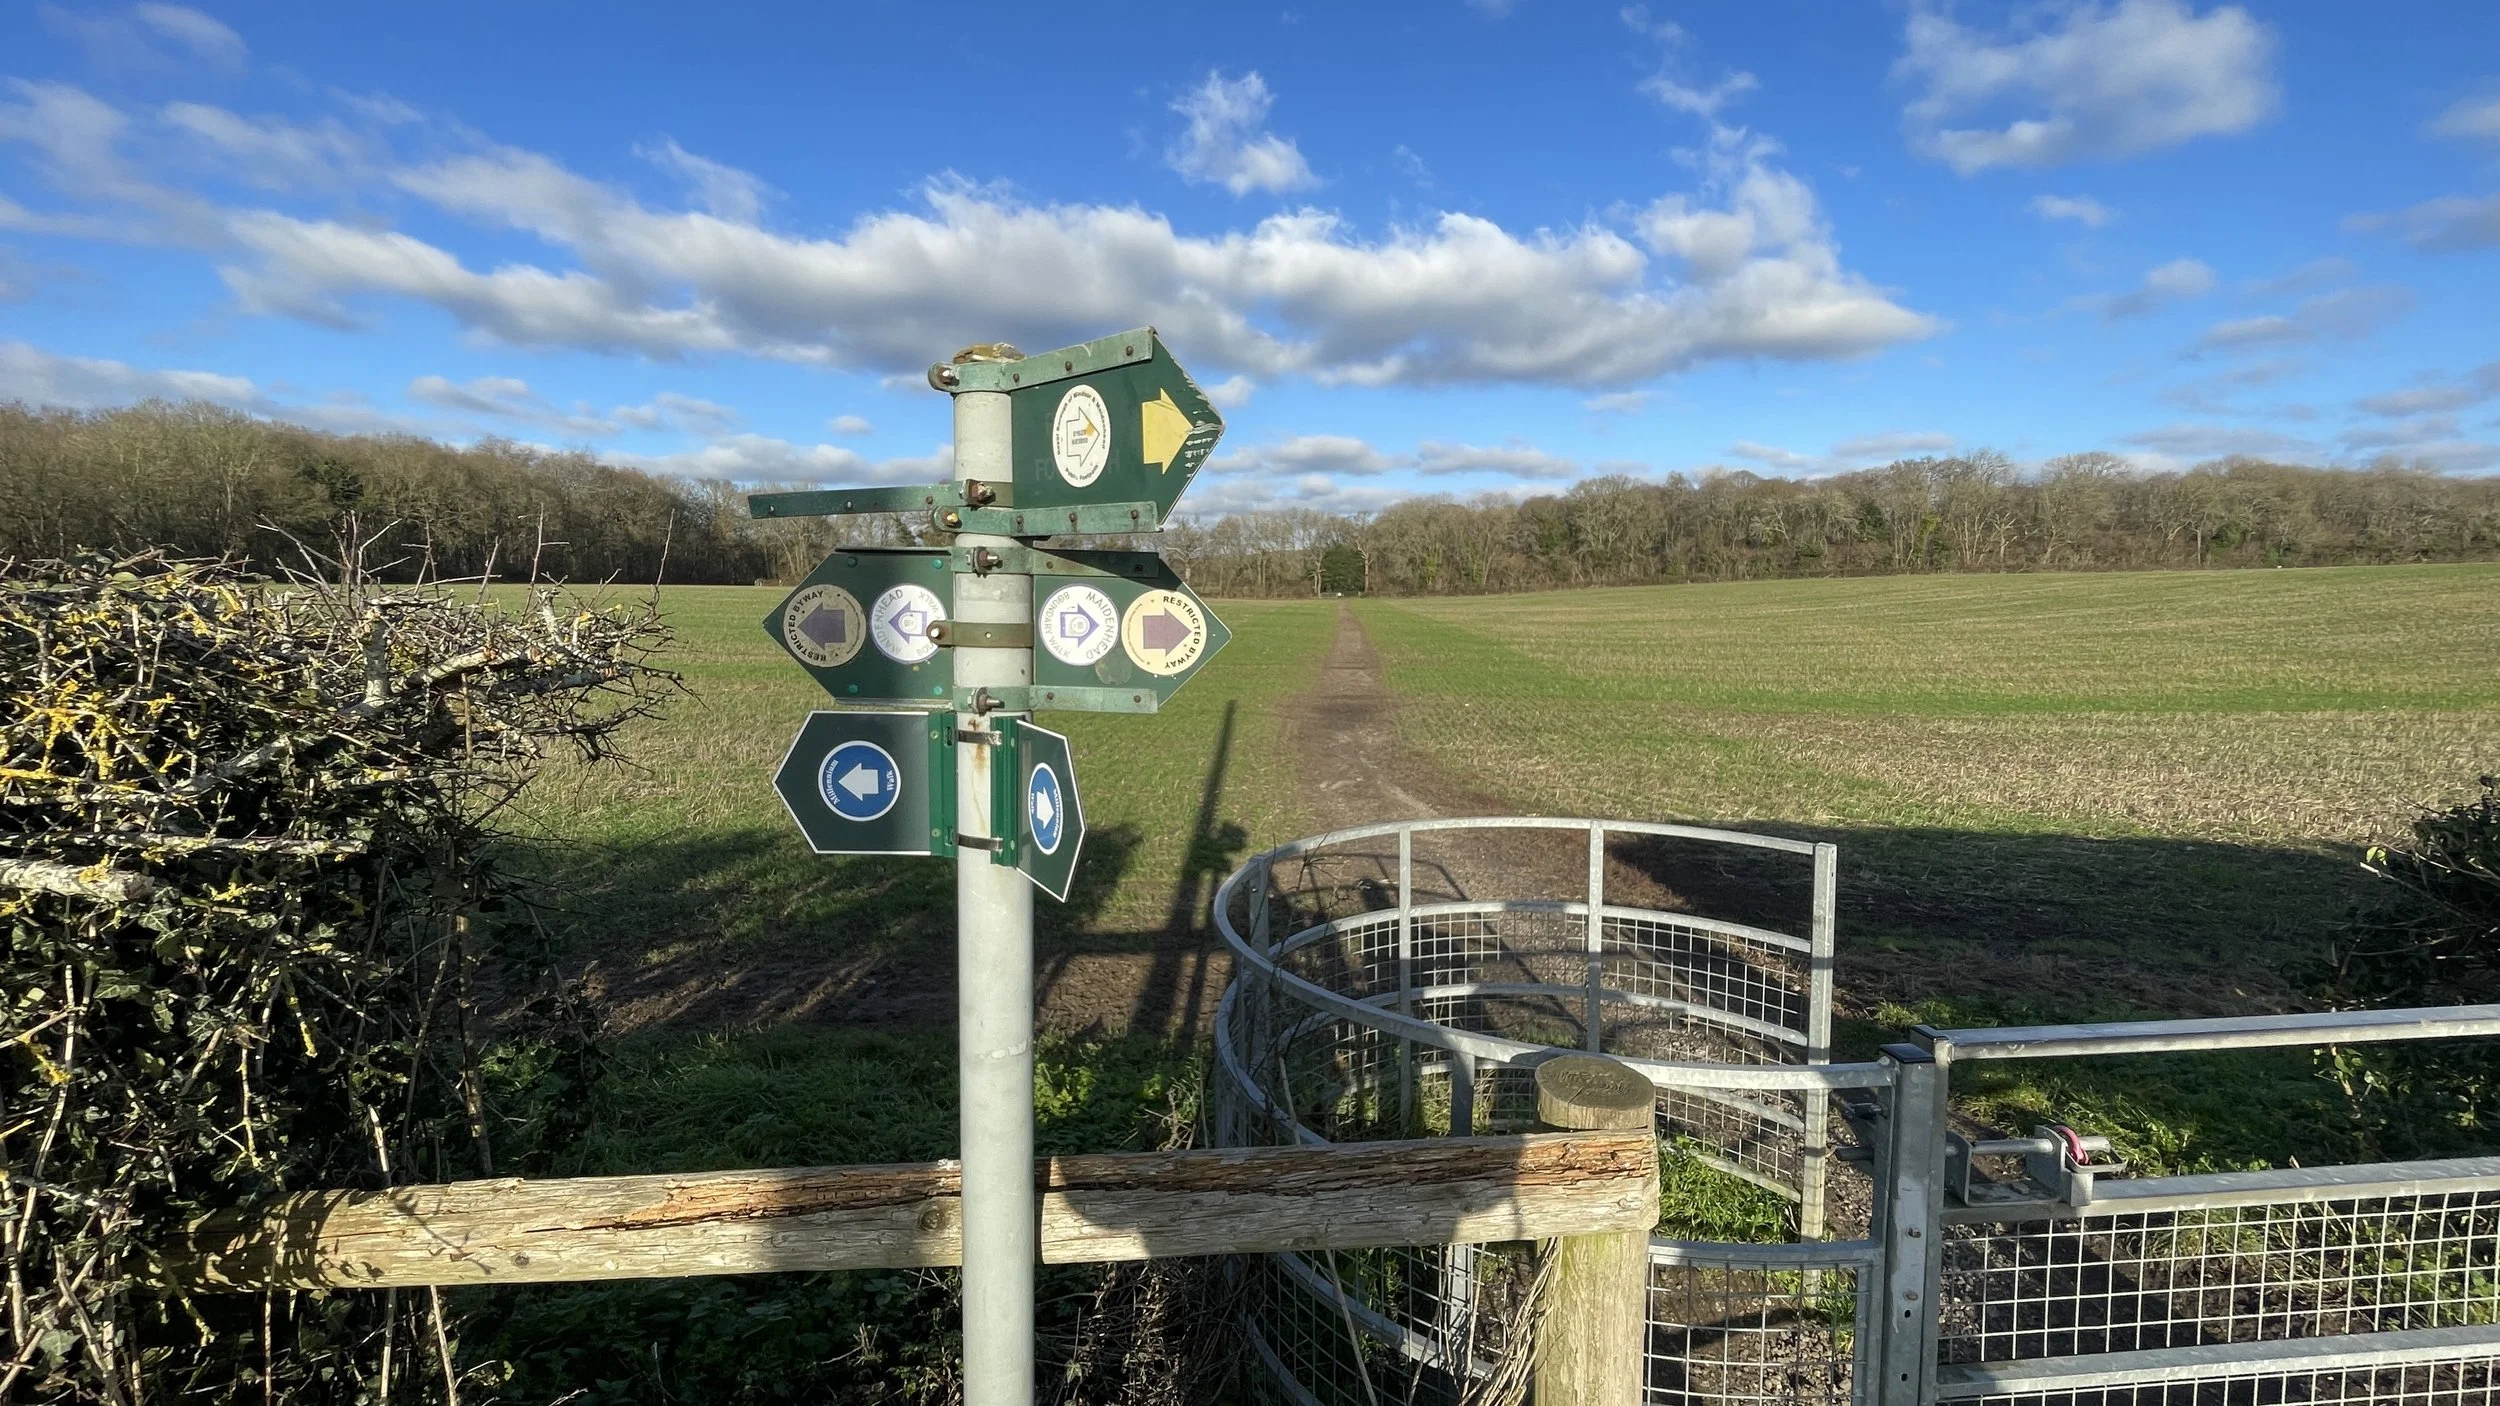
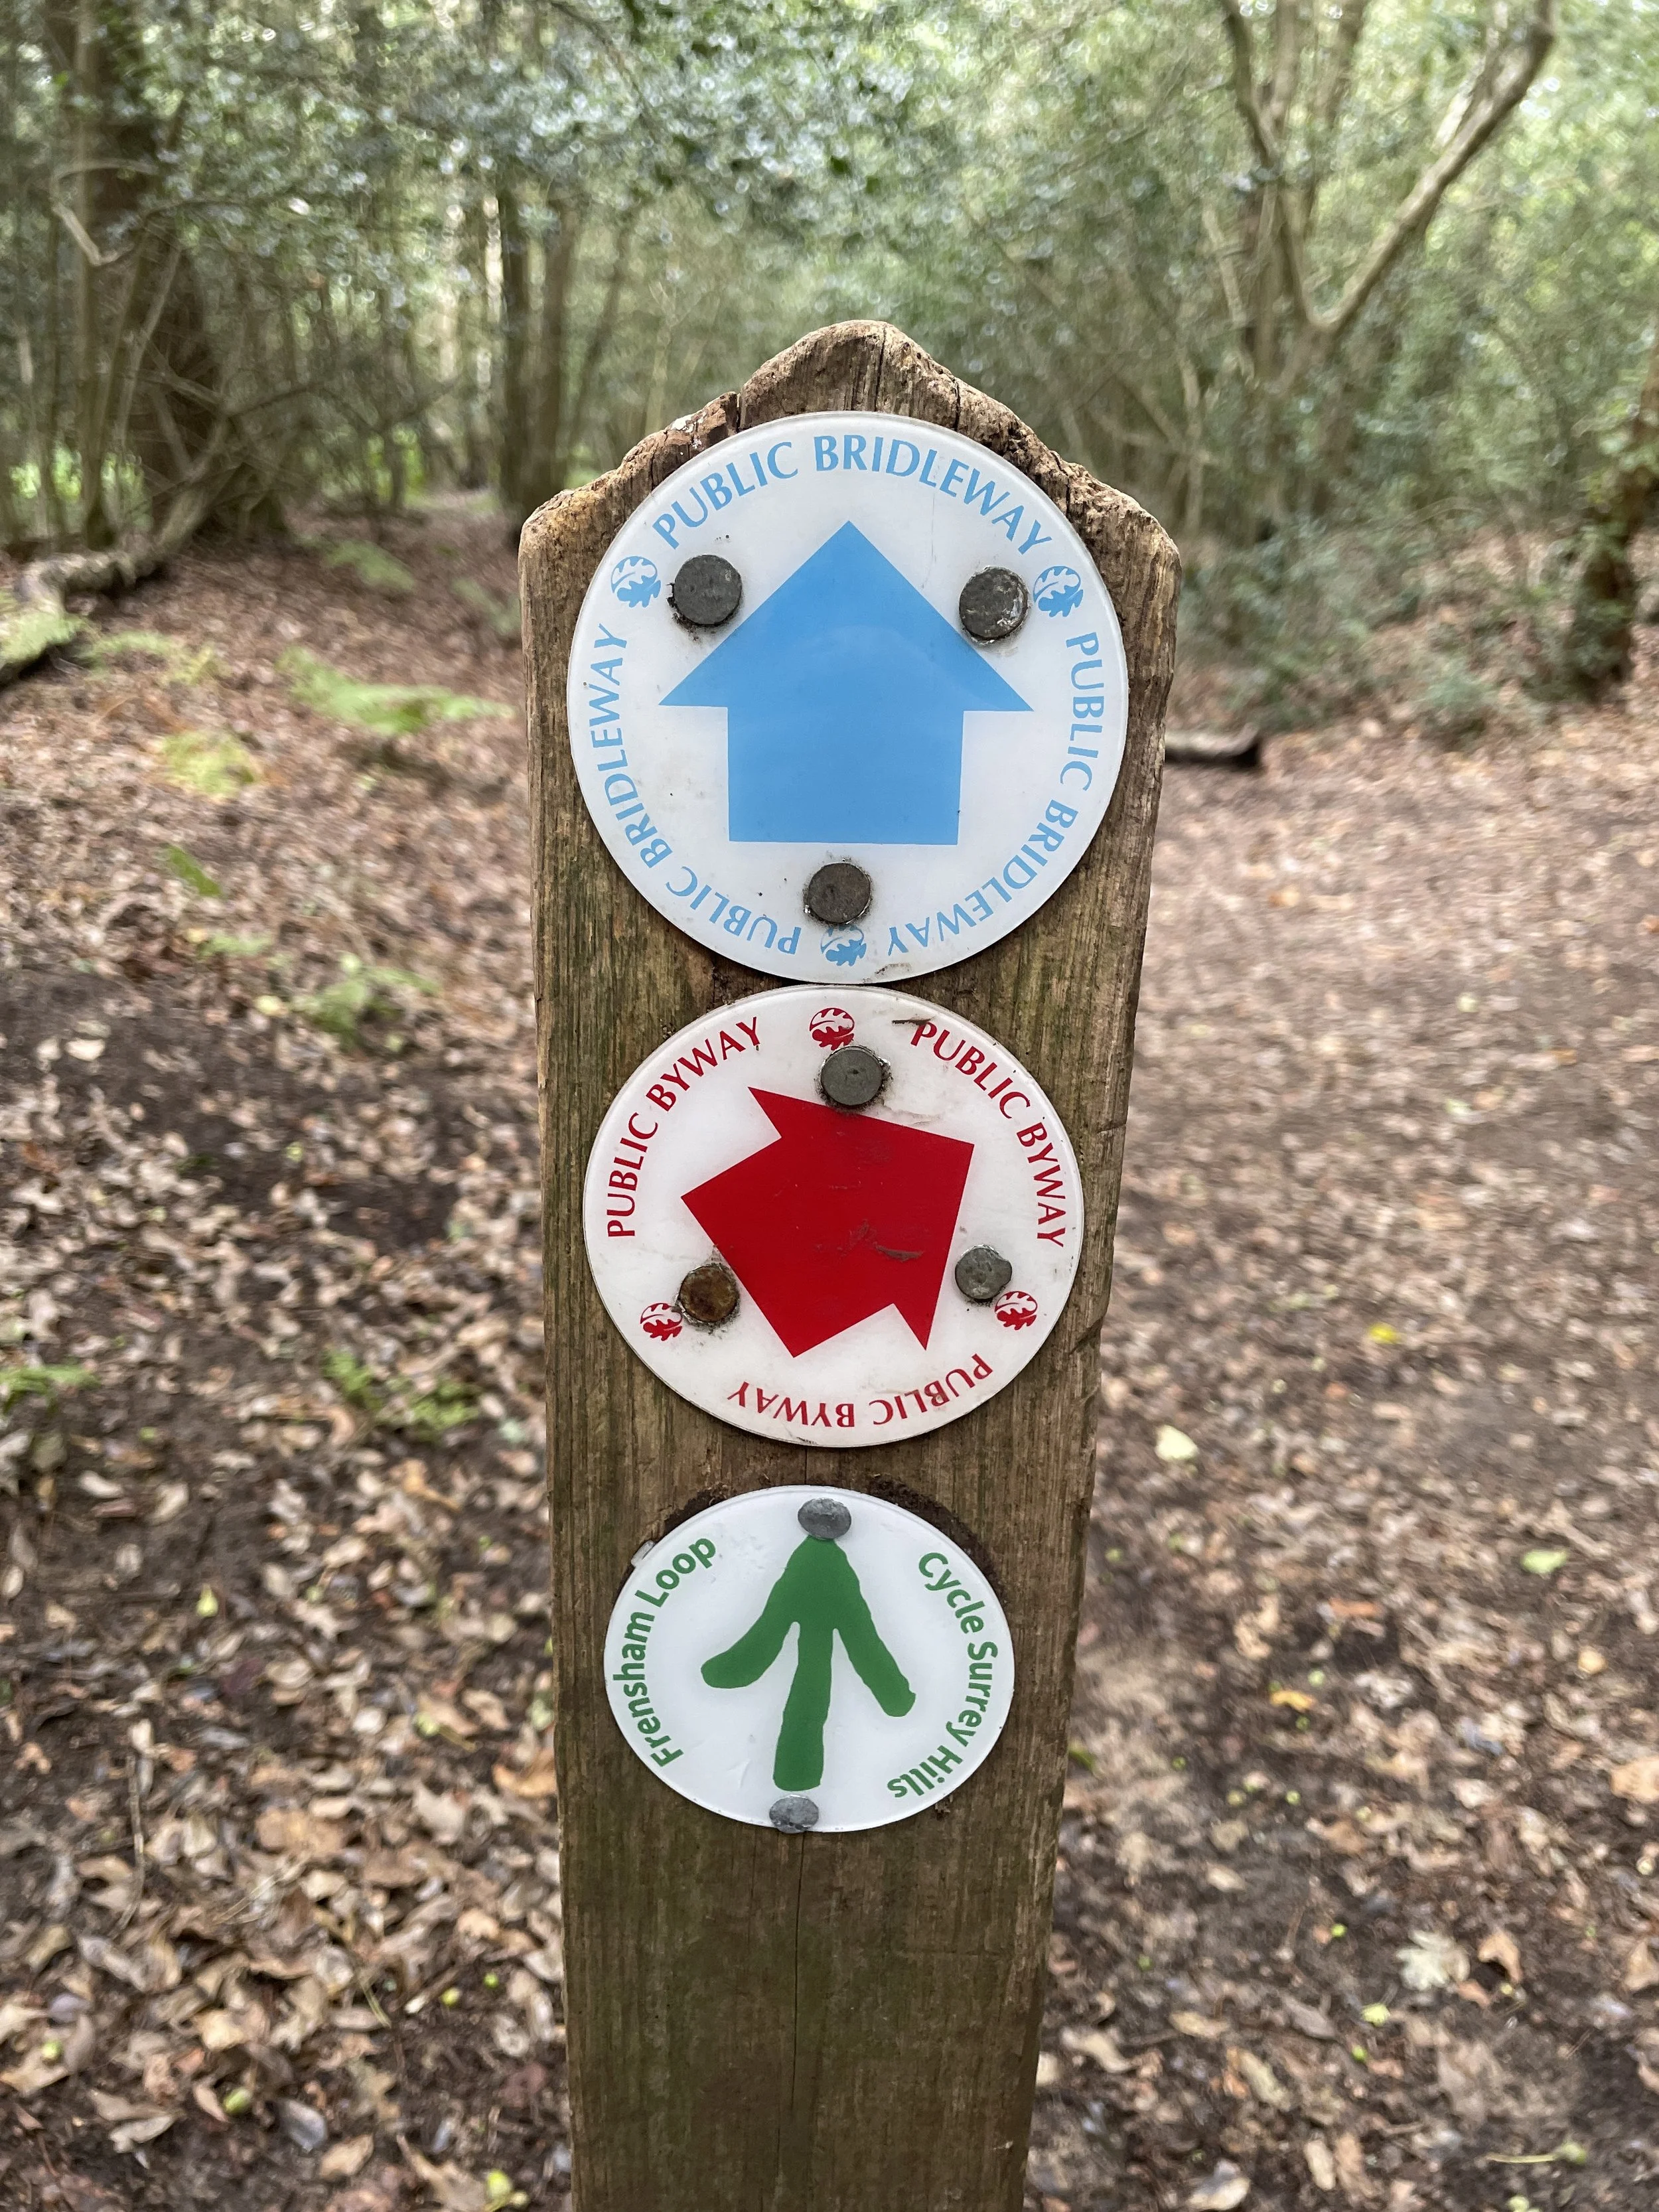
The guidance below will help you navigate but don’t use it as a fully accurate turn-by-turn guide. Always take a map and/or a GPX route and prepare well for the weather and terrain.
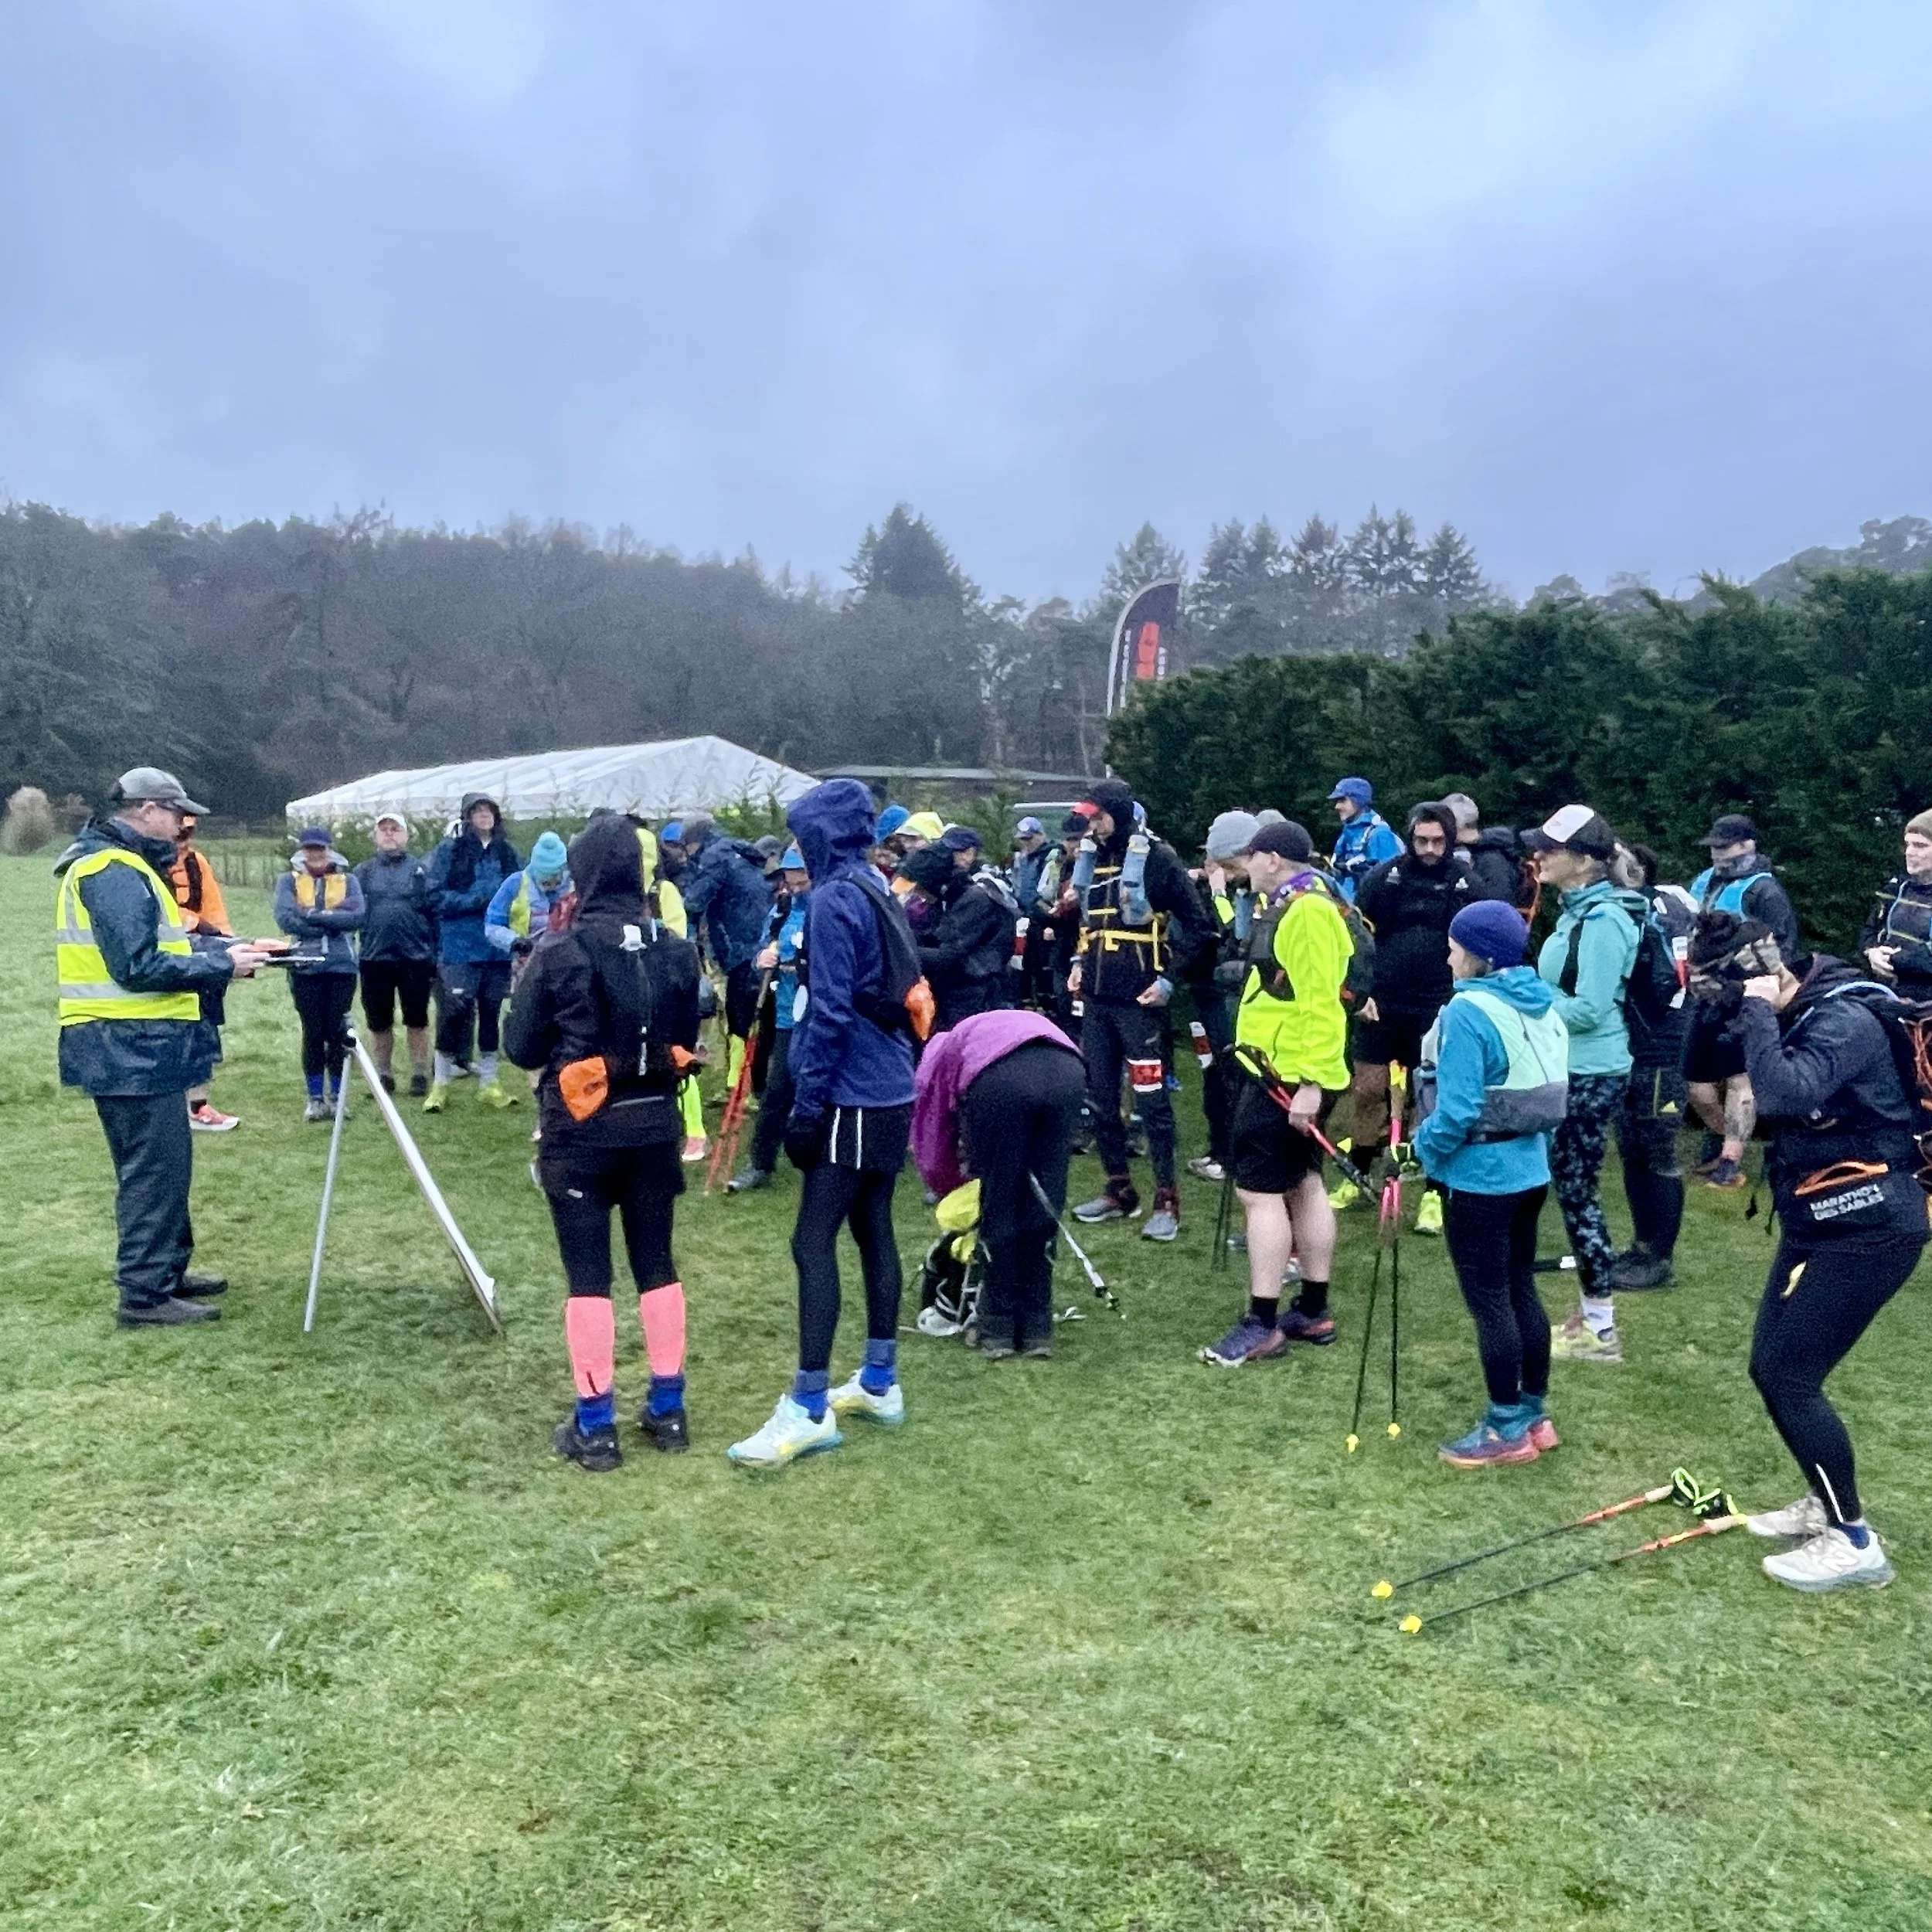
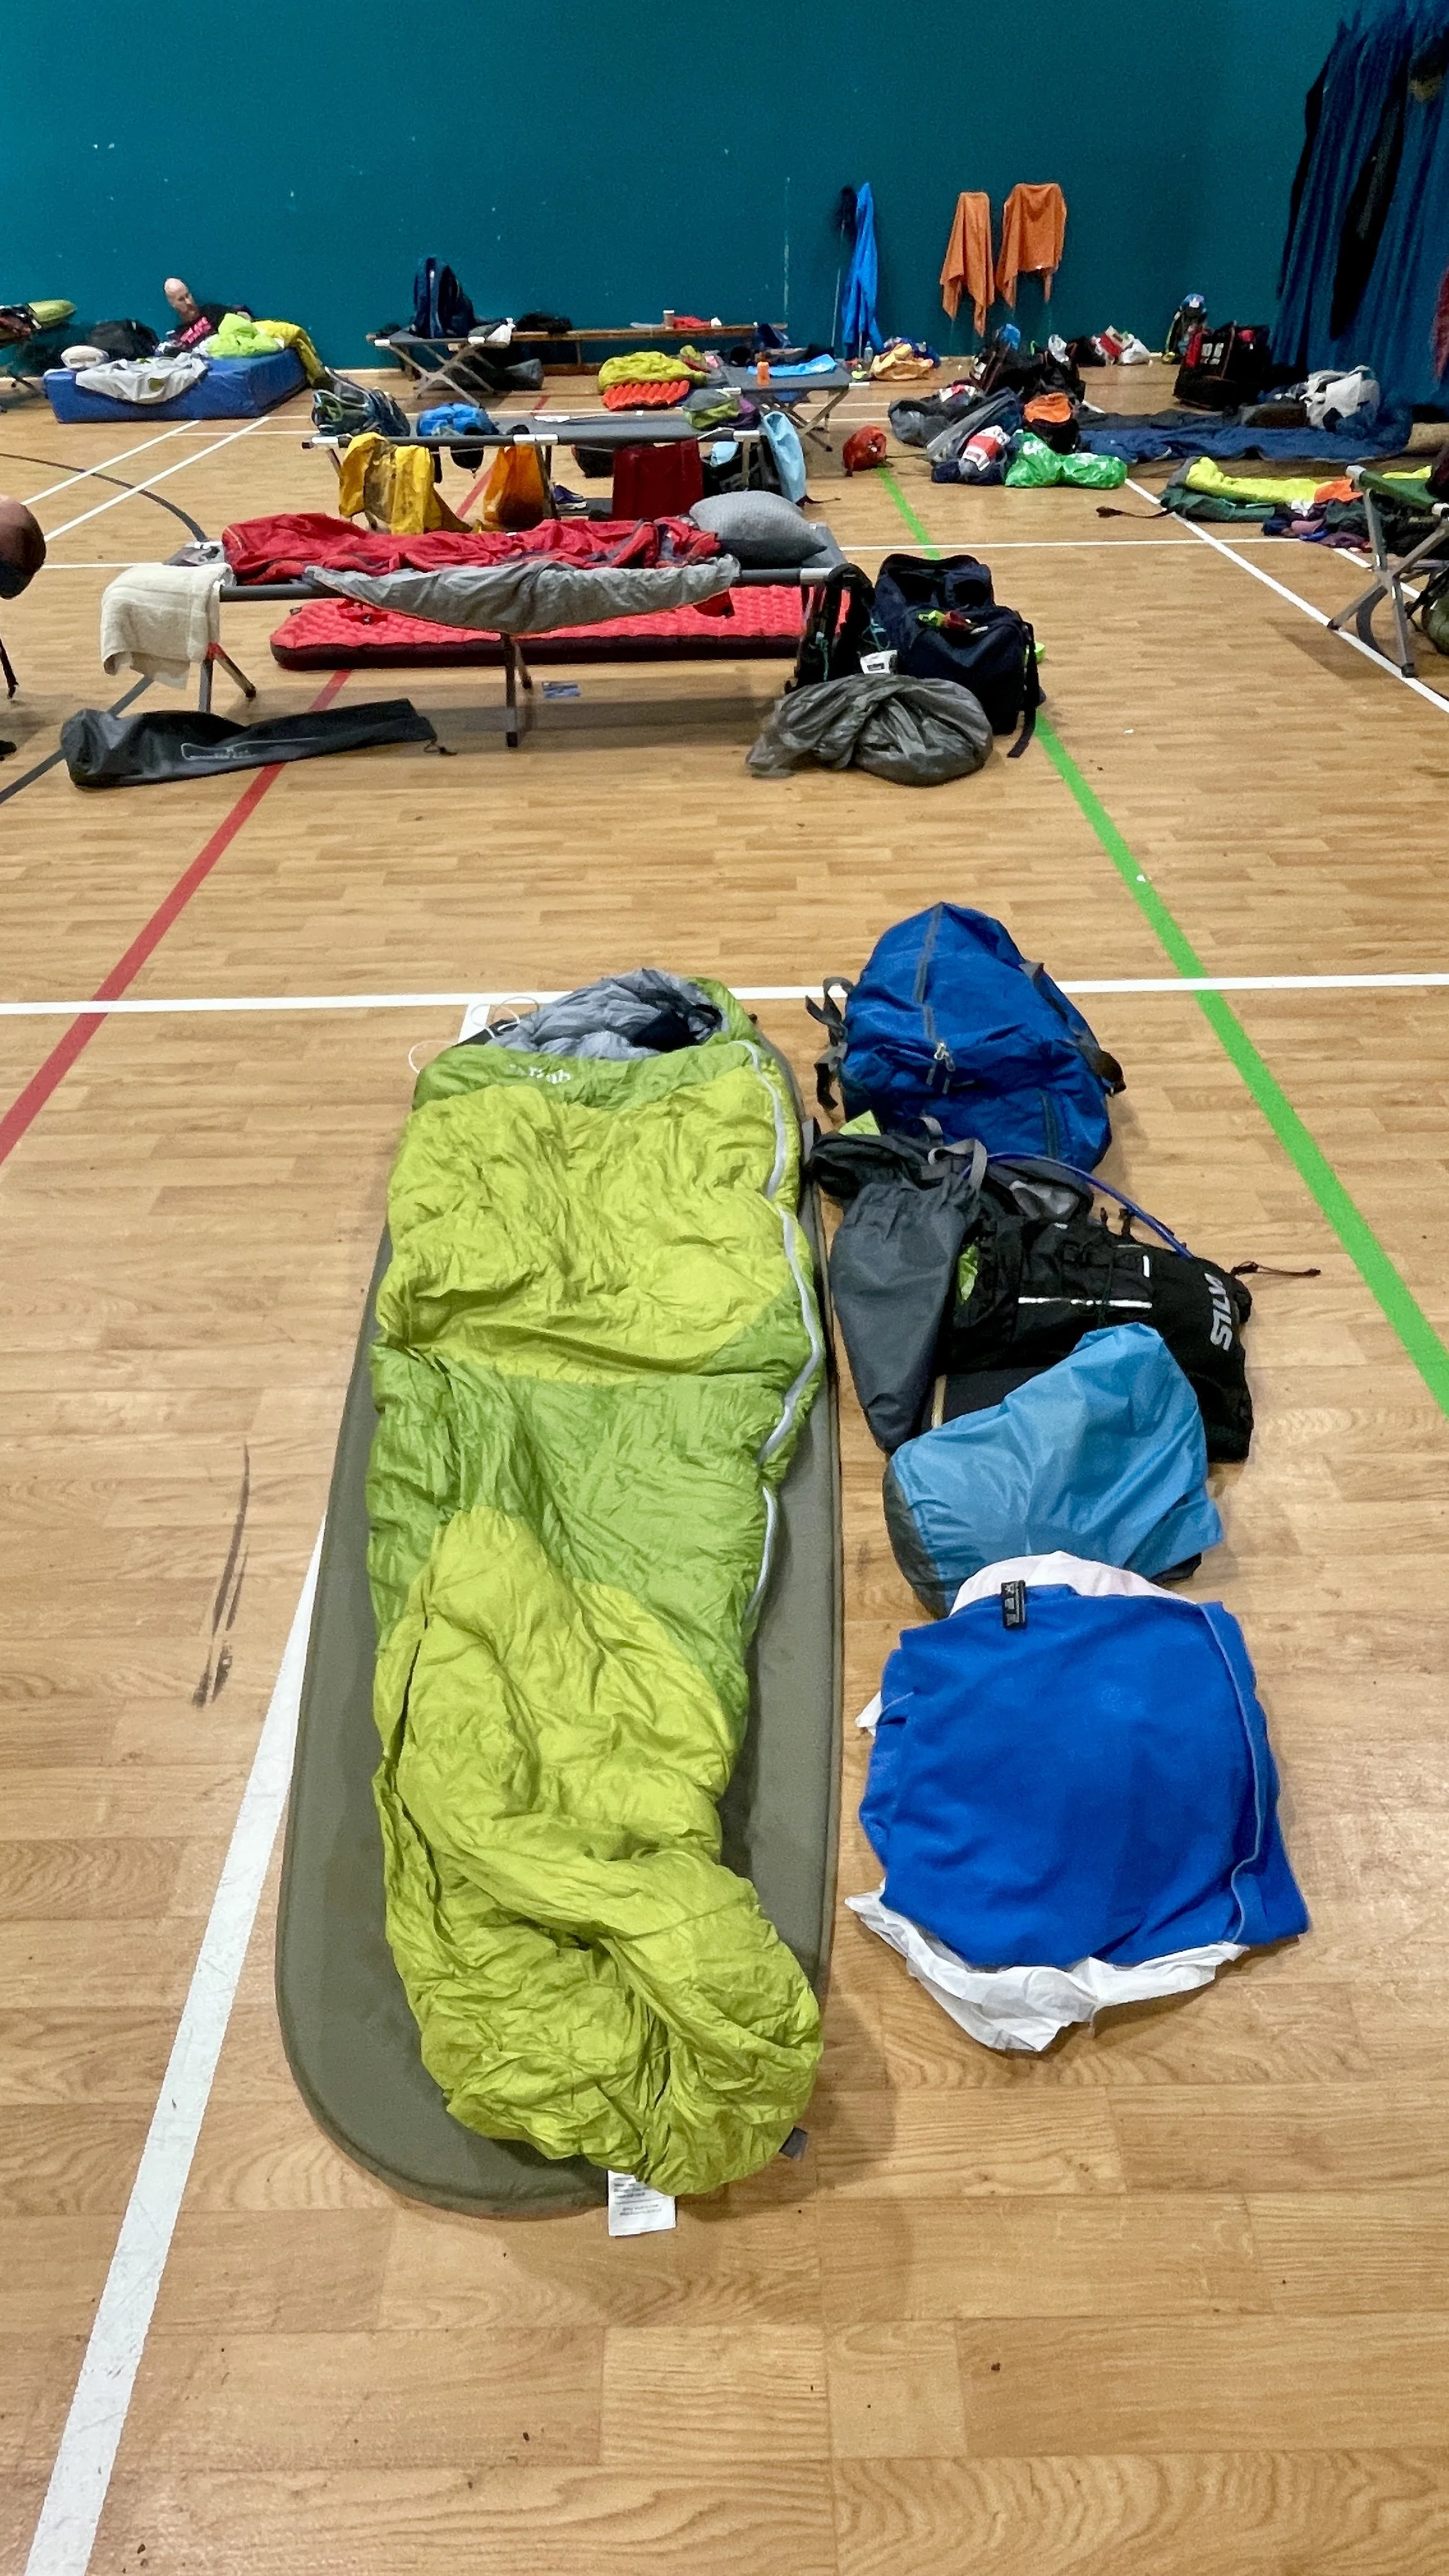
This was the big walk of the weekend. Clocking in at around 25 km, it was scheduled for the Sunday, right after our epic climb up Bidean nam Bian. Unsurprisingly, we were all feeling quite tired. It had already been a long couple of days: I was dealing with some fresh blisters on my feet, and according to my Garmin watch, my Body Battery was running seriously low. To top it off, we woke up at the Glen Nevis Youth Hostel in Fort William to a lot of rain.
We set off on the two-hour drive towards Glen Affric. Along the way, a serious debate sparked up in the car. Given our state of fatigue, the miserable weather, and the fact that we were approaching another genuinely big, intimidating mountain, we were questioning if this was actually a good idea. I kept remembering a mountain rescue call-out from early in my trekking days, so I was understandably a bit nervous.
However, as we drove away from Fort William and closer to the start of the walk, the weather began to visibly improve. We decided we would at least give it a try. To keep things safe, we agreed to assess the conditions at the start line and committed to three clear options.
Plan A was to complete the full circular route as described in Jonny Muir's UK County Tops book, provided the weather held and we felt strong. Plan B was our fallback if the weather was merely okay and the final sections looked unappealing: we would bag the main summits and retrace our steps for an out-and-back route, avoiding the boggy sections described in the book. Finally, Plan C was our baseline: if the conditions turned dangerous, became too slippery, or the weather closed in, we would turn back immediately. It is always better to not attempt a climb and try again another year.
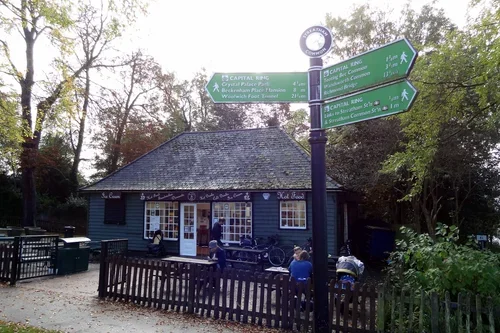
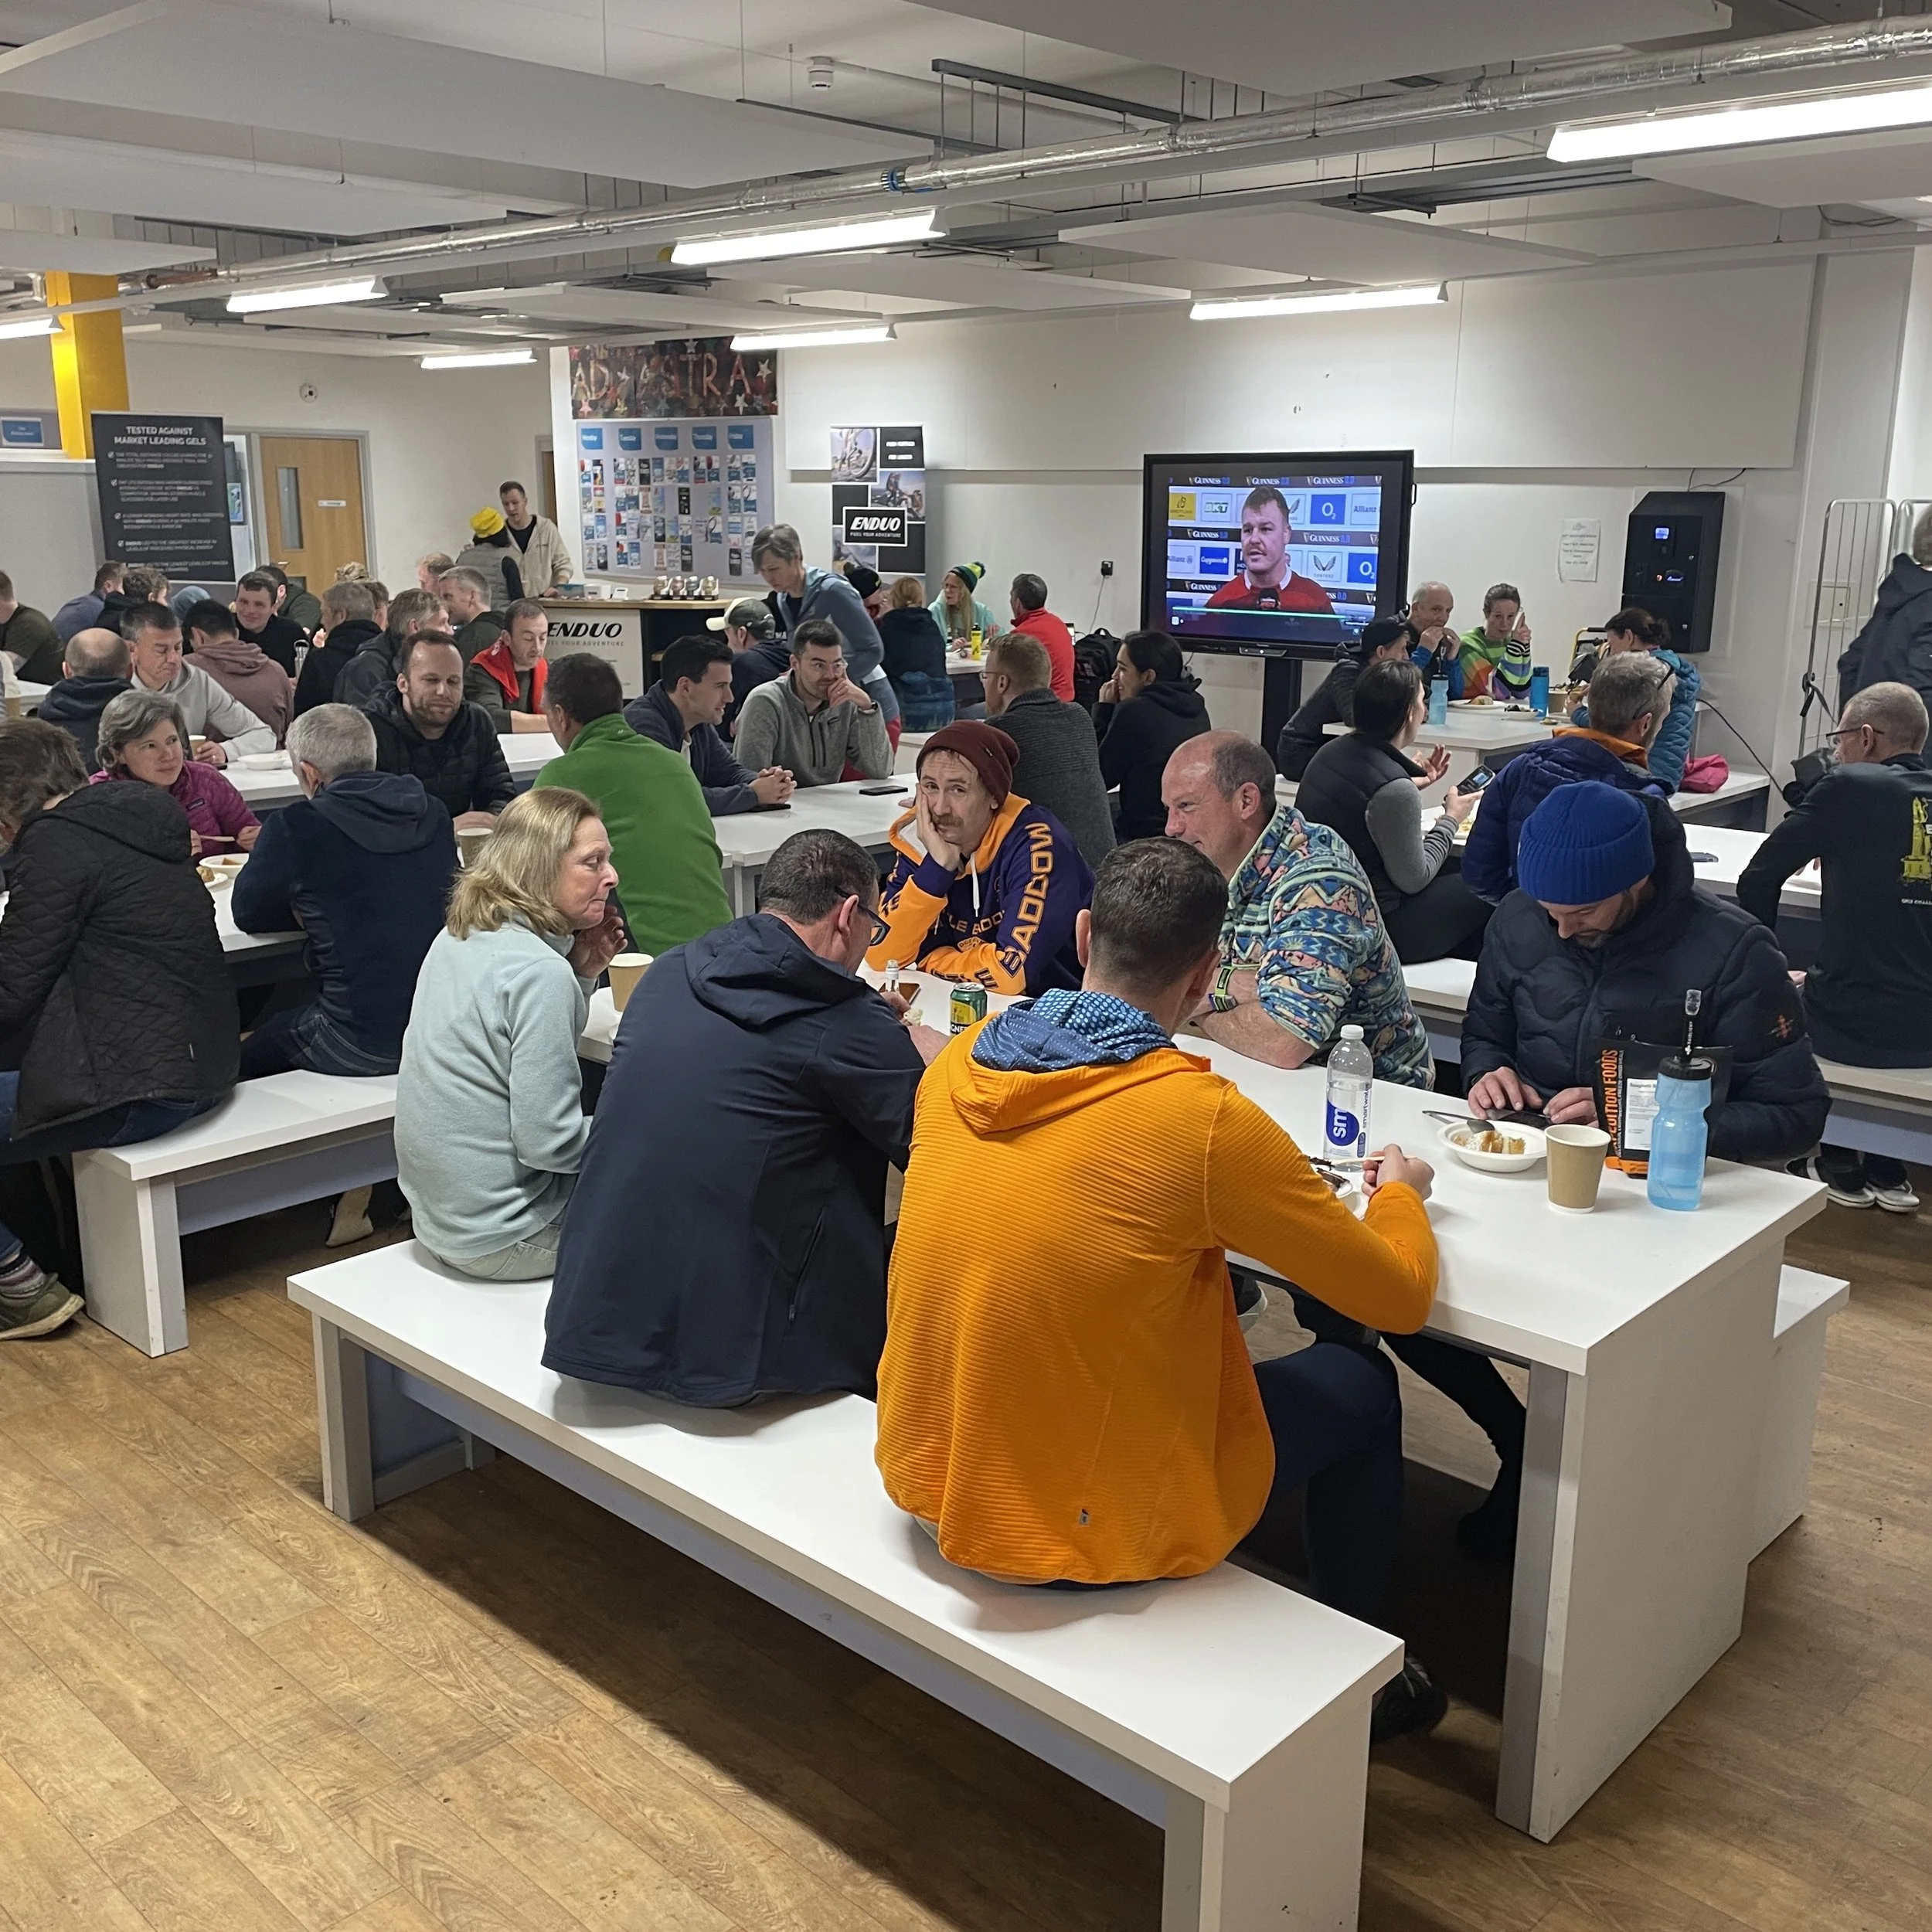
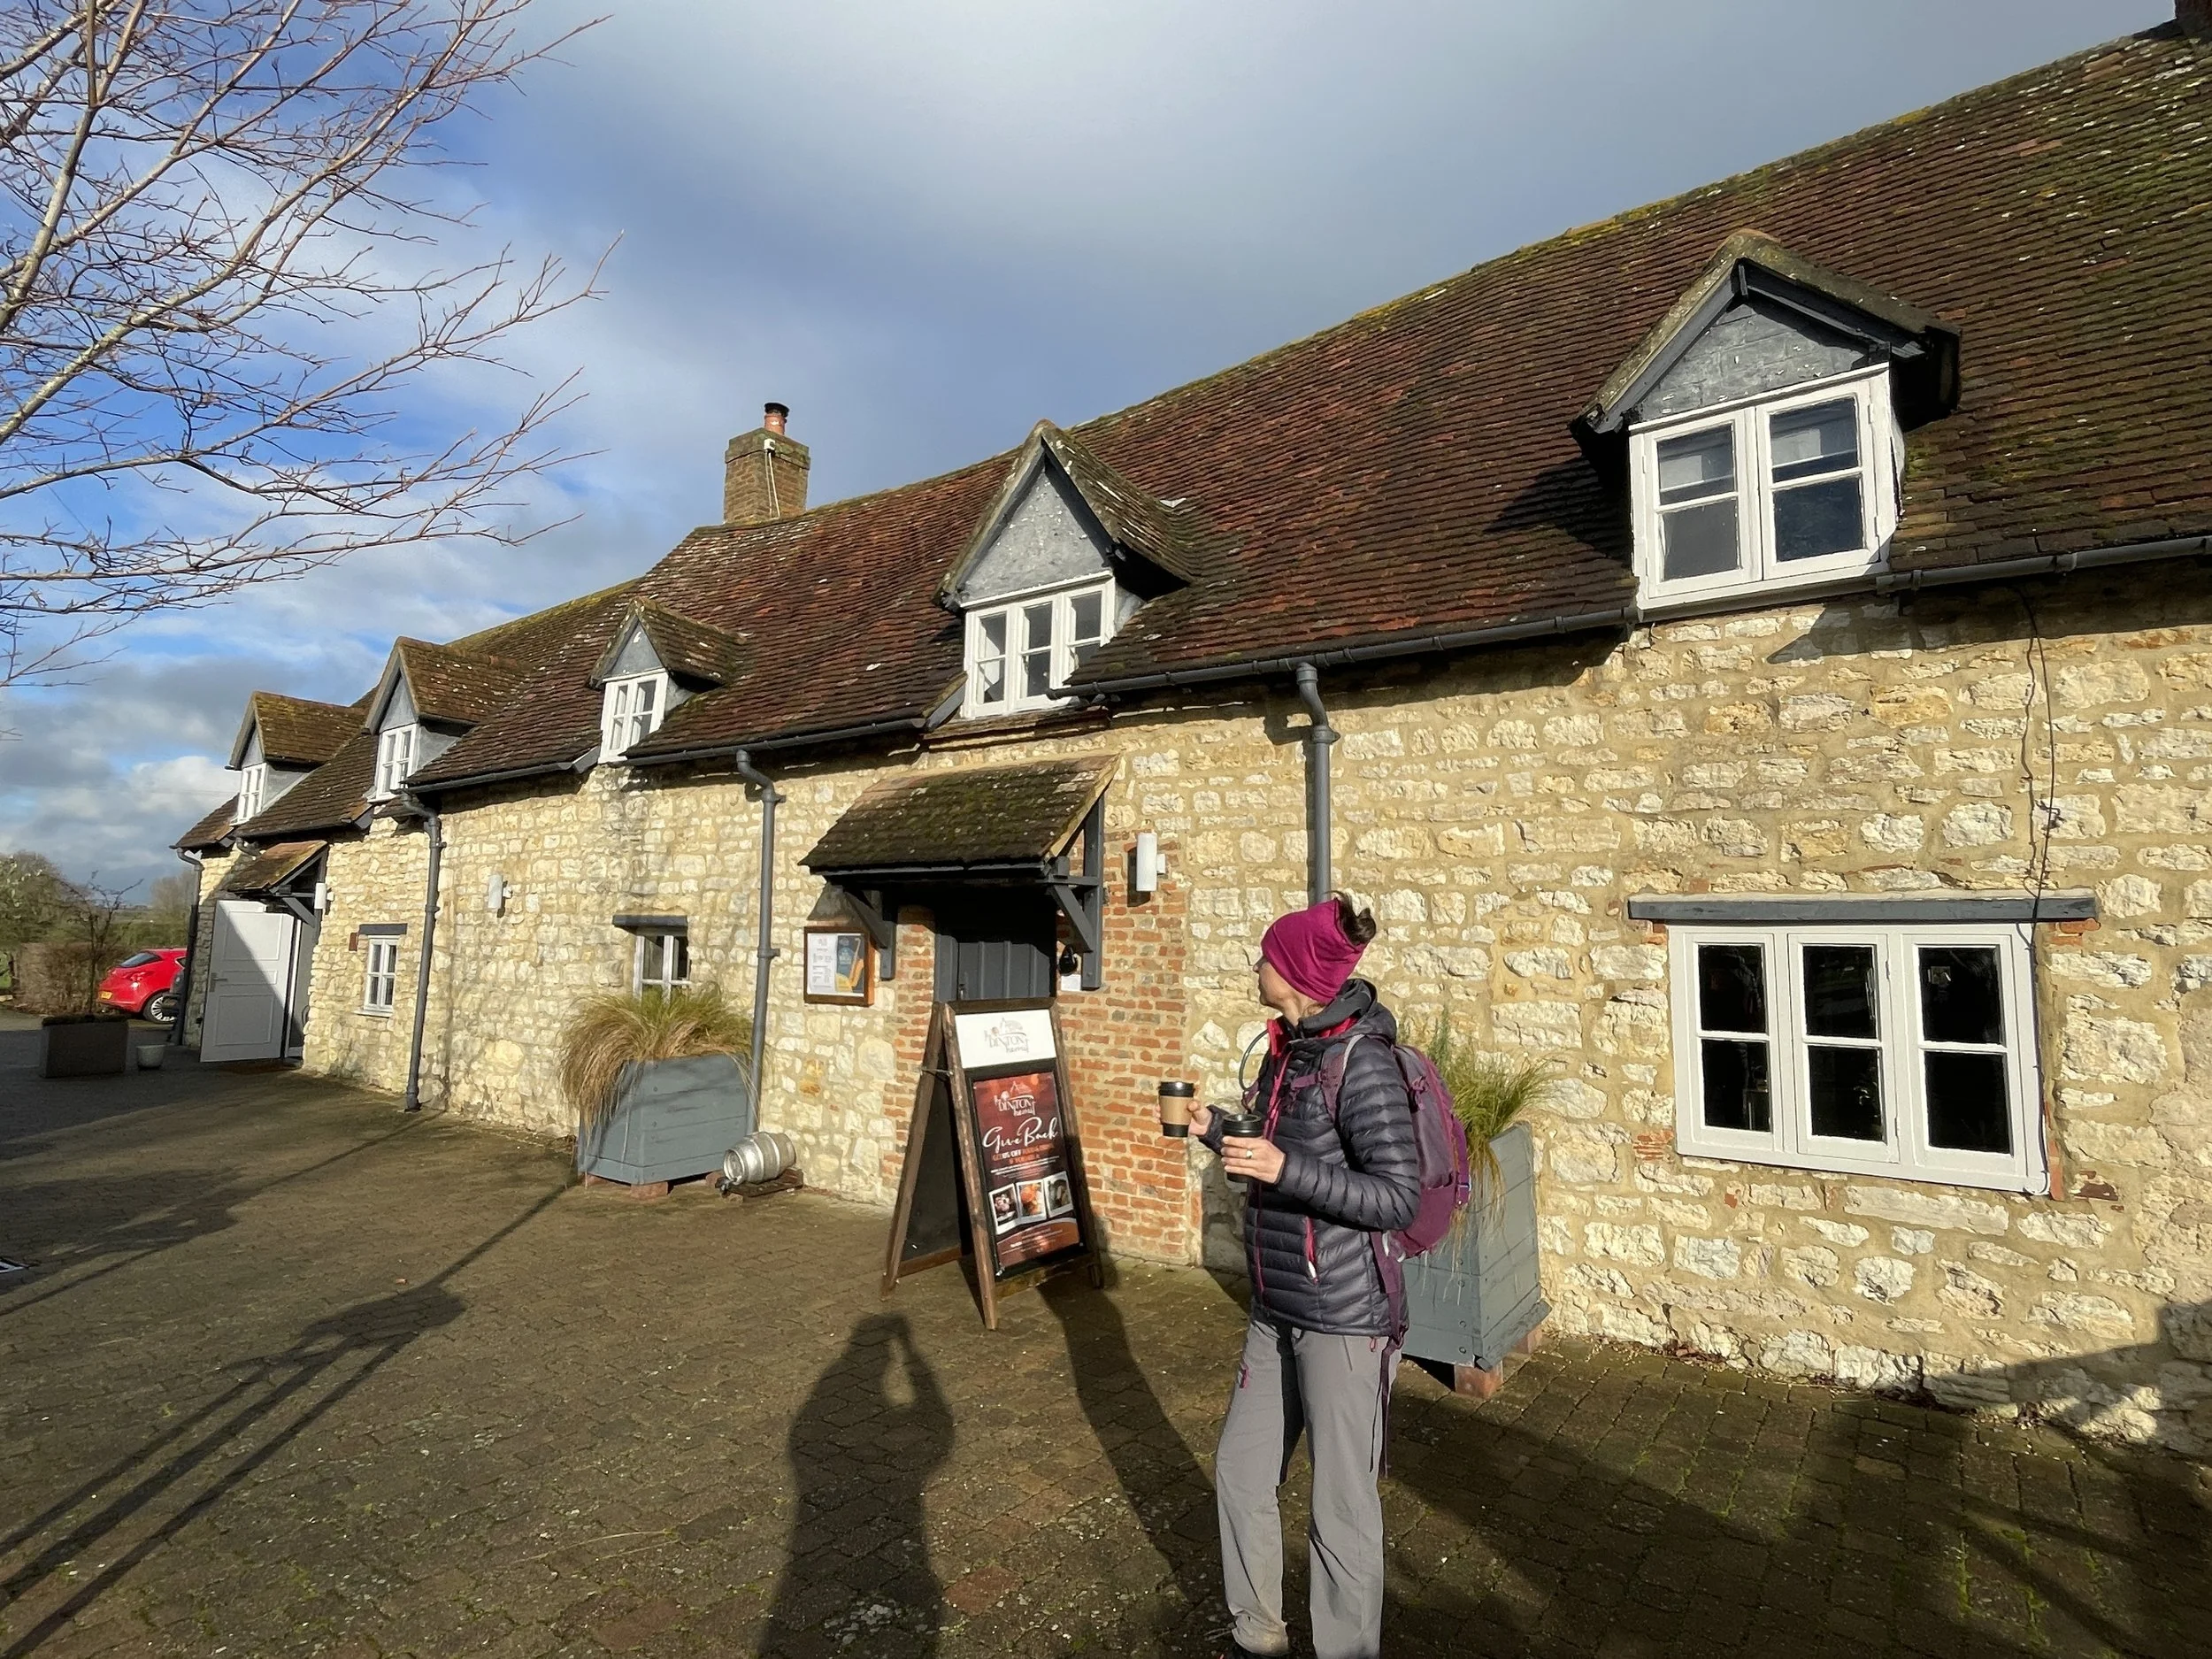
By the time we got close, we were quite hungry. We stopped off on the way at the Bog Cotton Café at a nearby caravan park in Cannich. It was exactly what we needed: a fantastic Scottish breakfast to build up some energy. Conveniently, there was a local store just around the corner that specialised in Australian pies, so I couldn't resist buying a kangaroo and ale pie to take up the mountain.
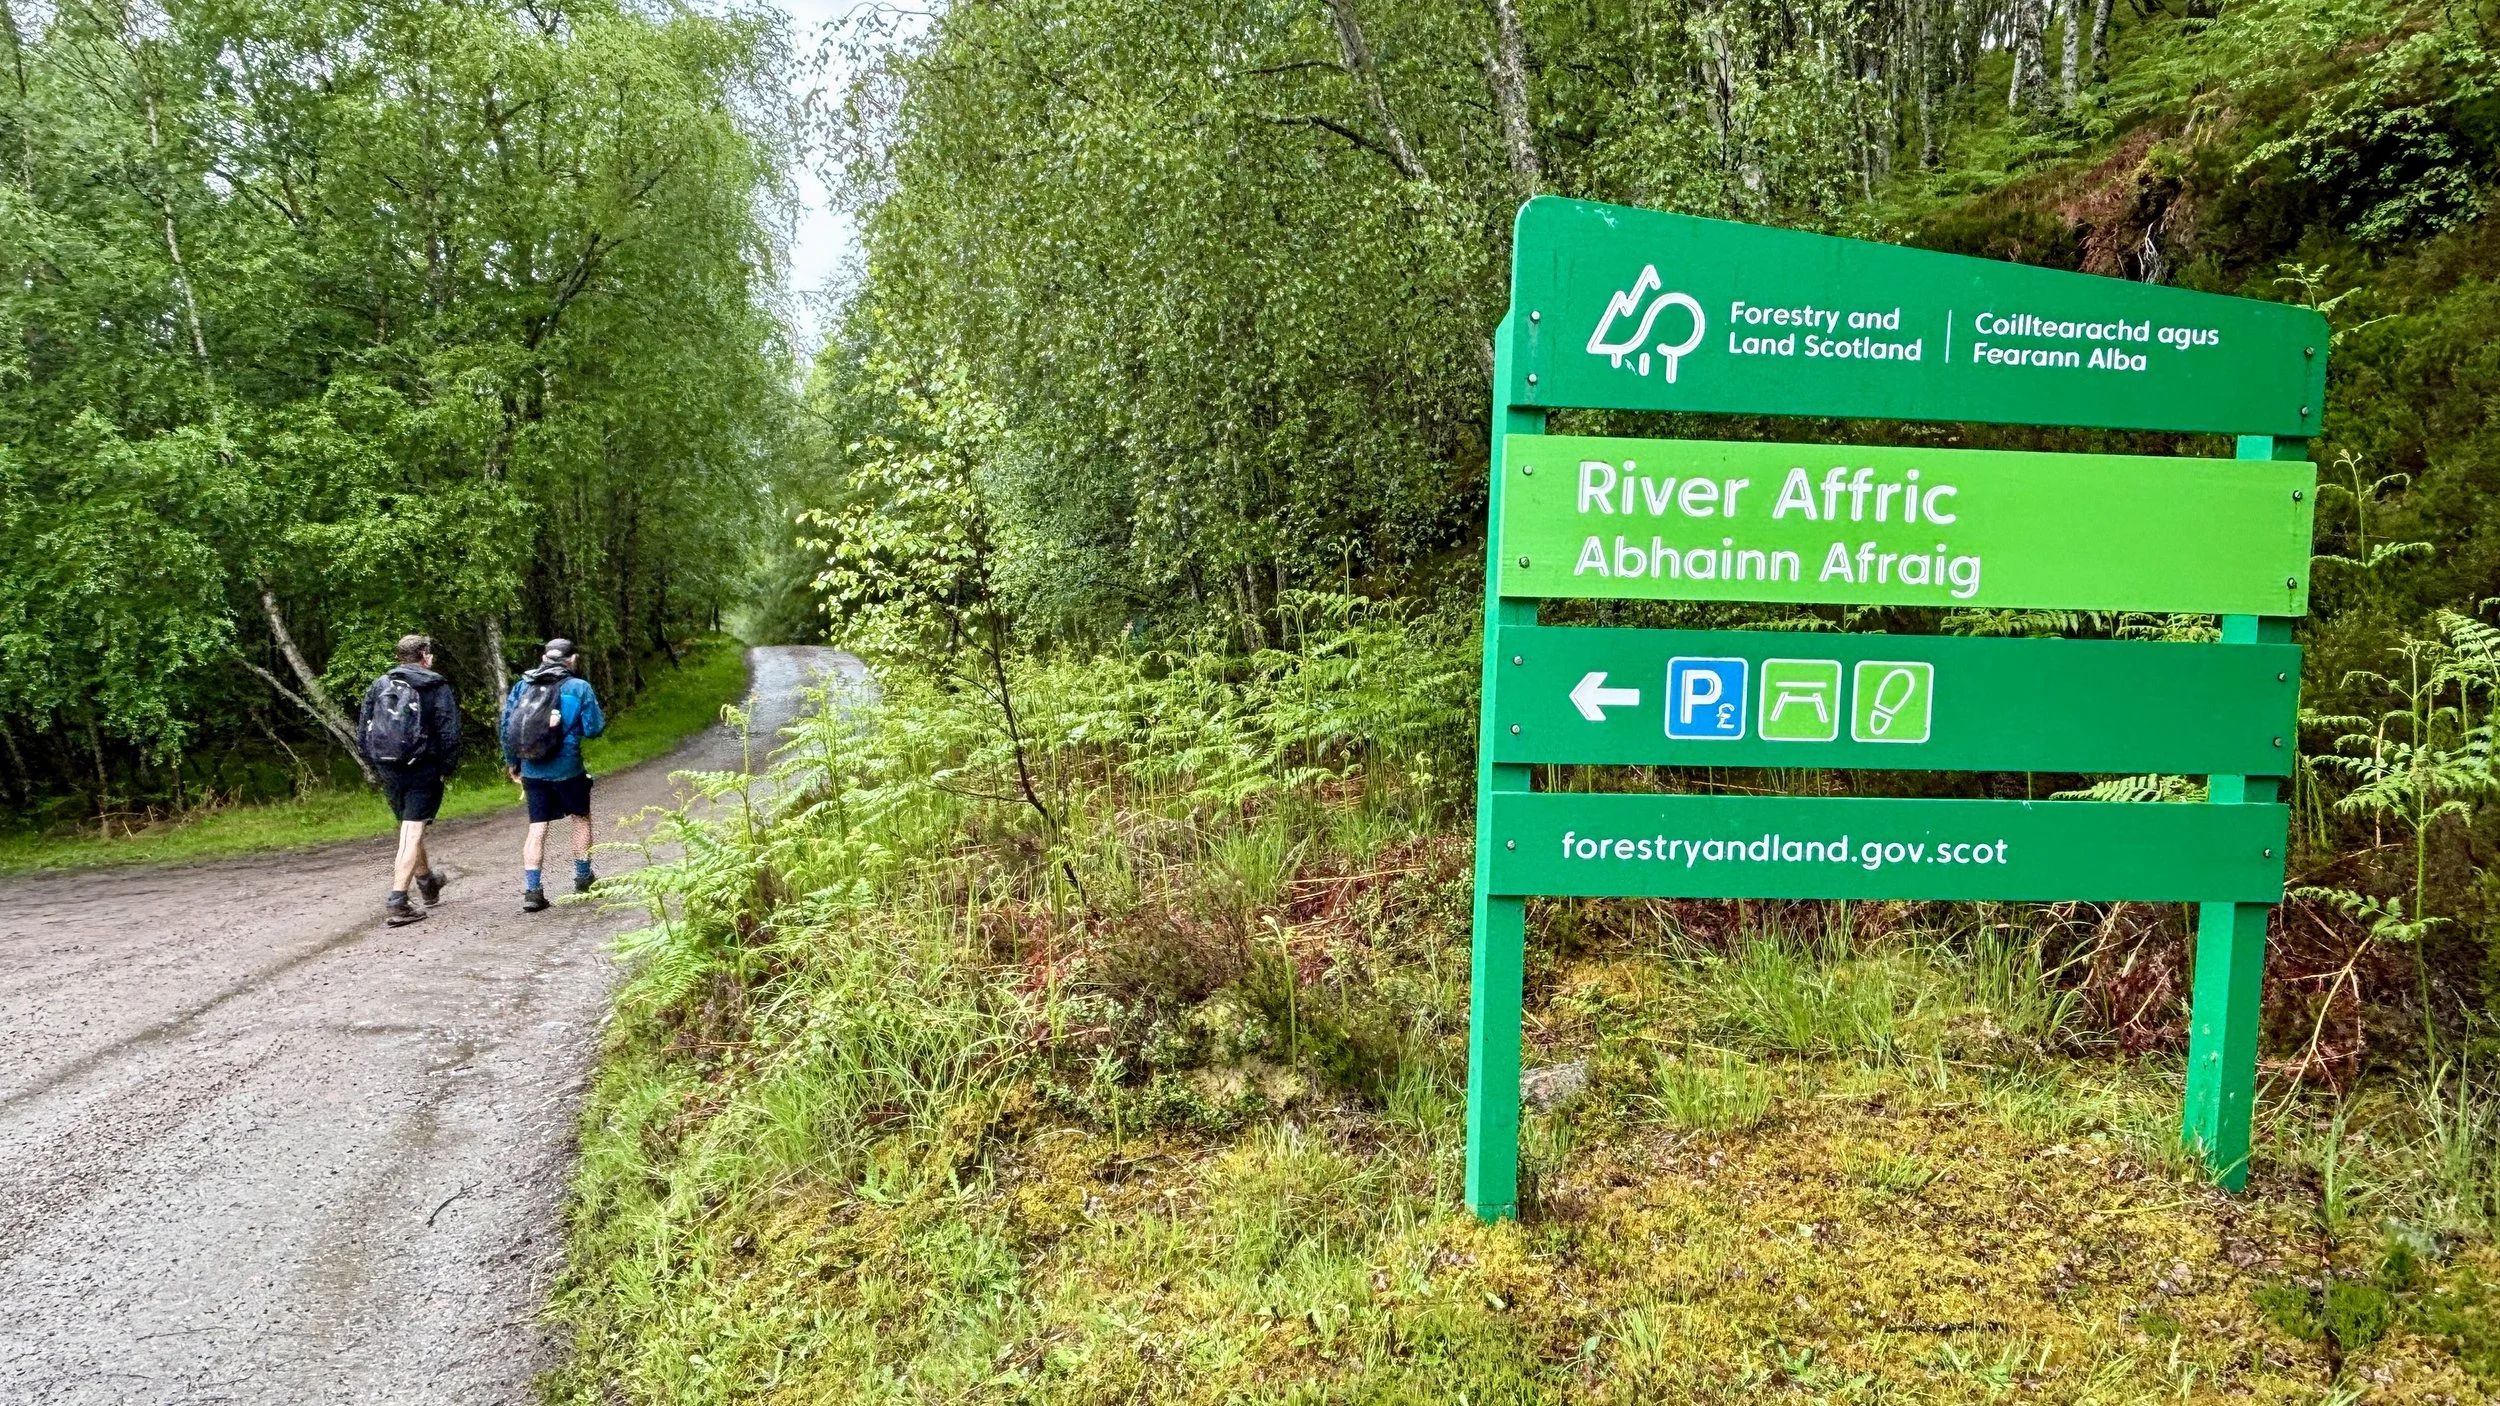
Taking an hour for breakfast was well worth it, and by the time we arrived at the River Affric car park, it was midday. Given the generous amount of daylight in June, this timing was perfectly fine. We quickly got our gear ready and started the hike.
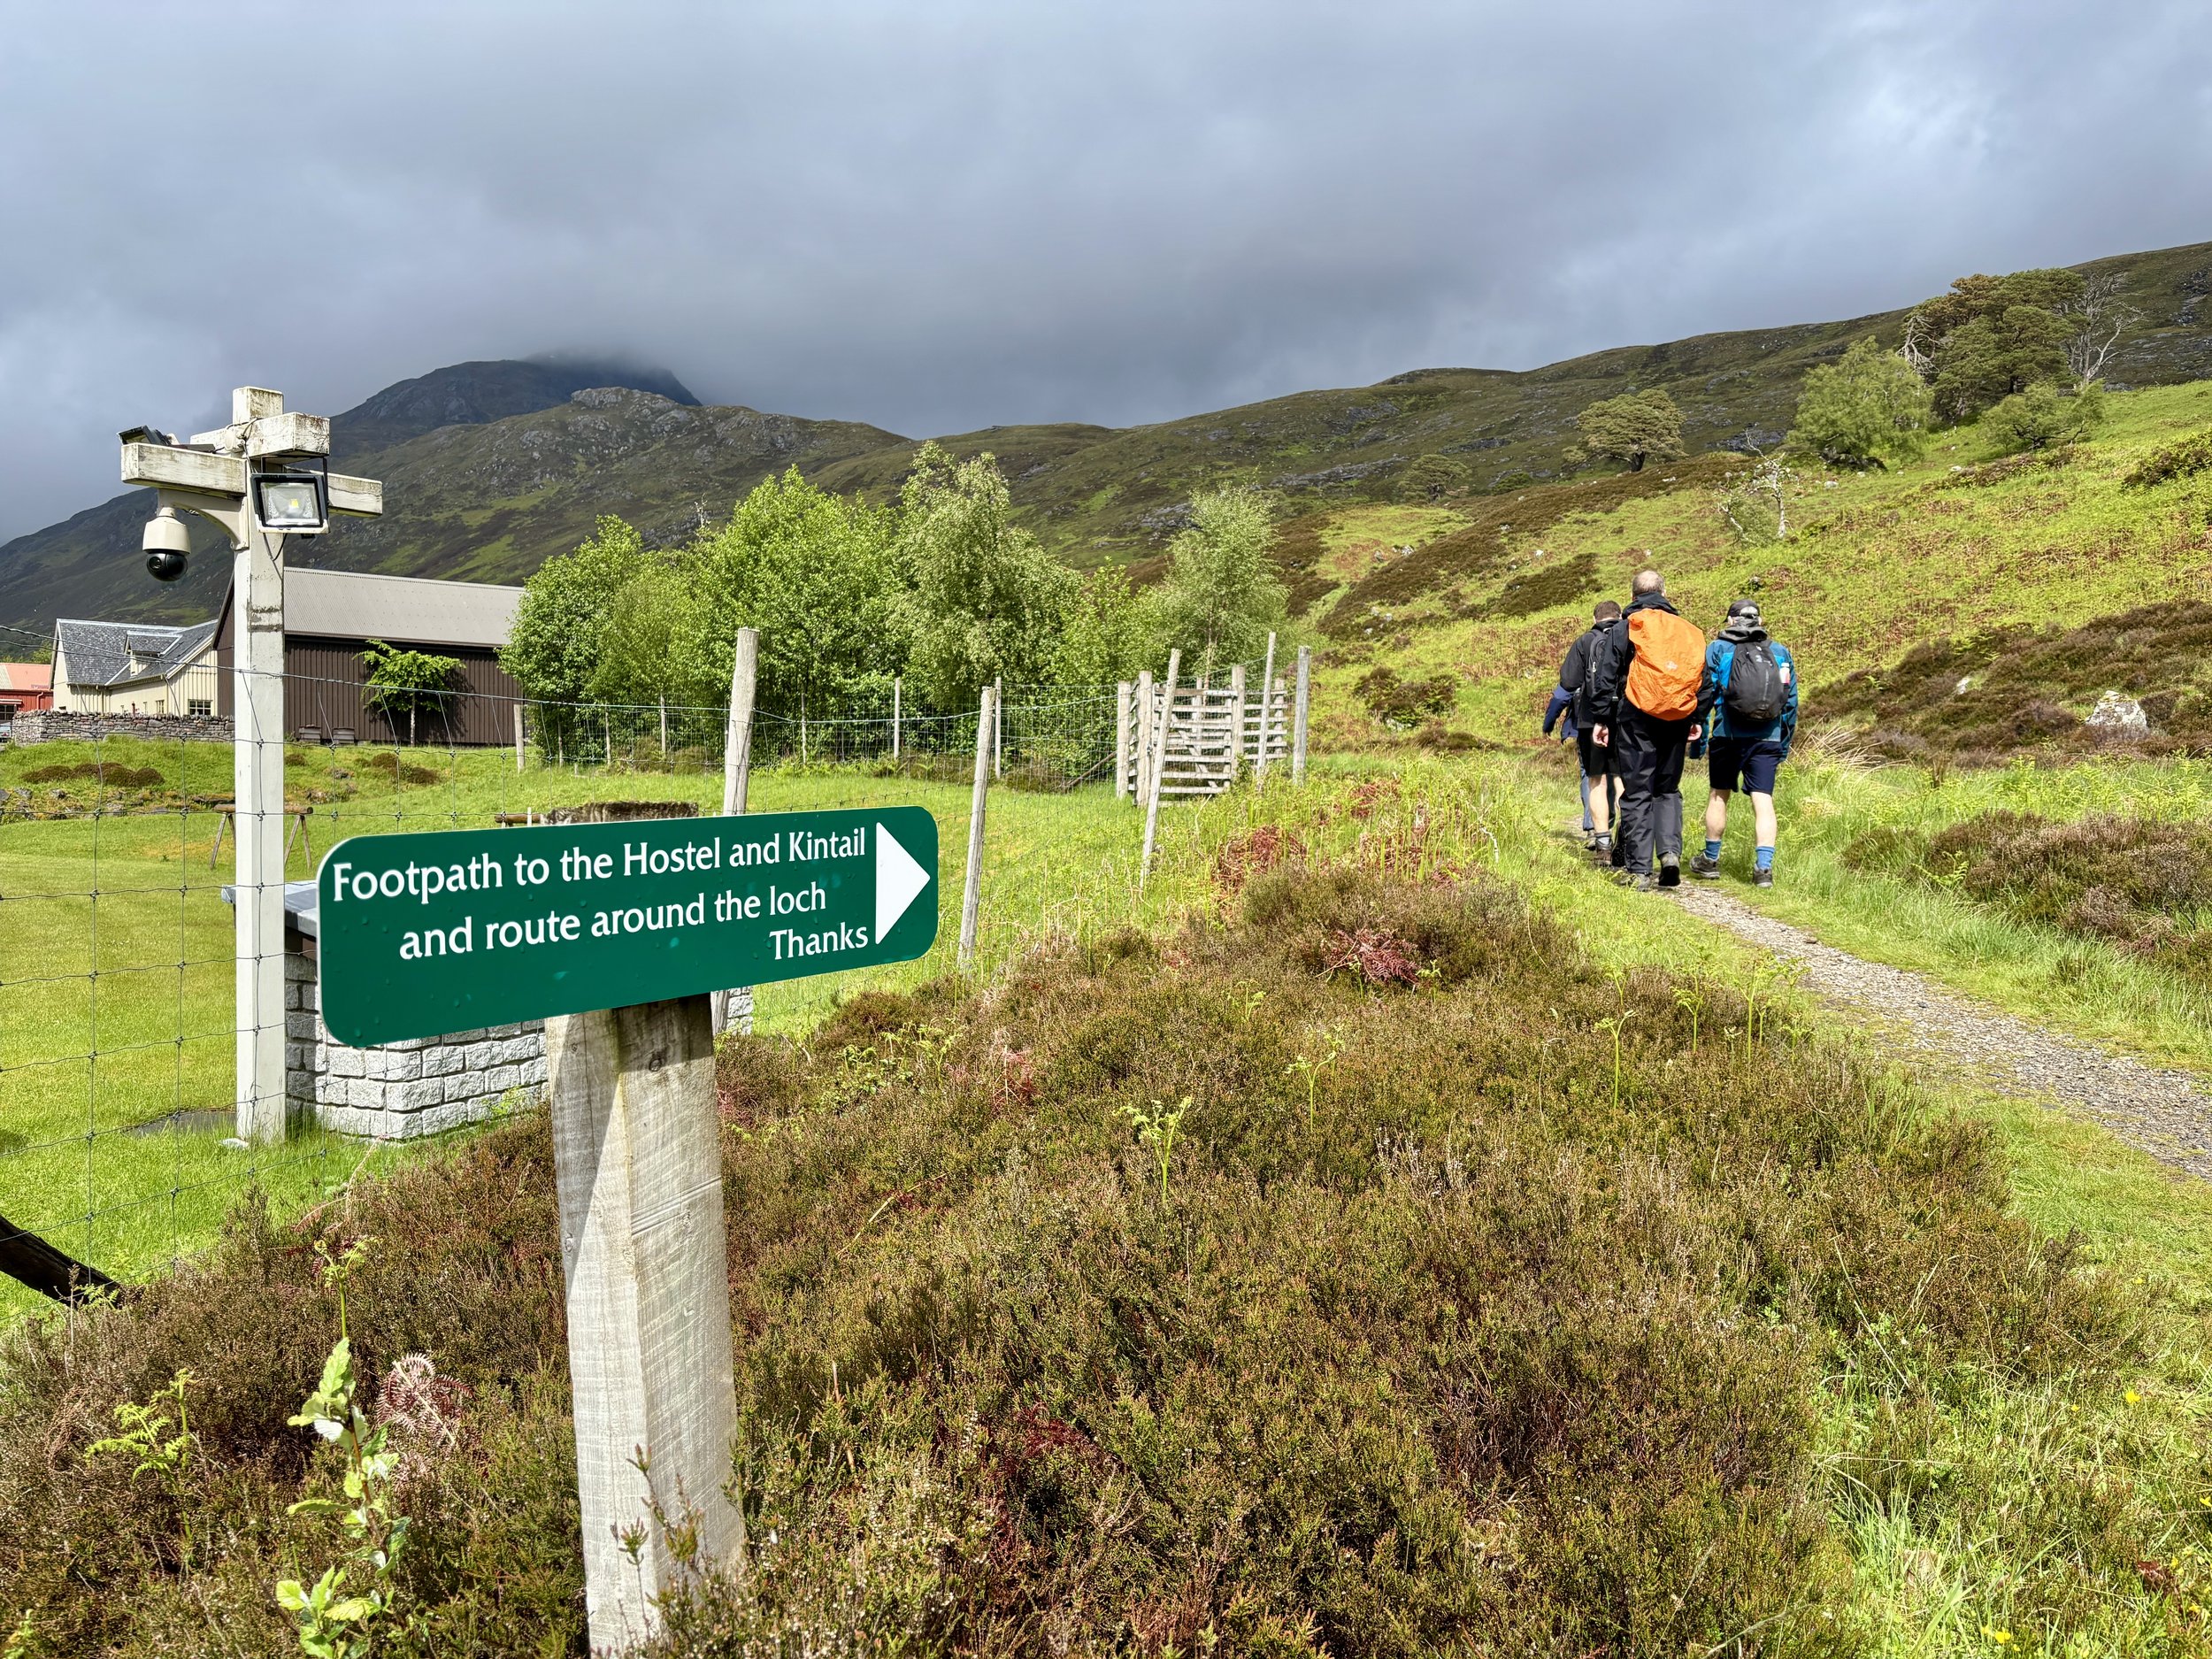
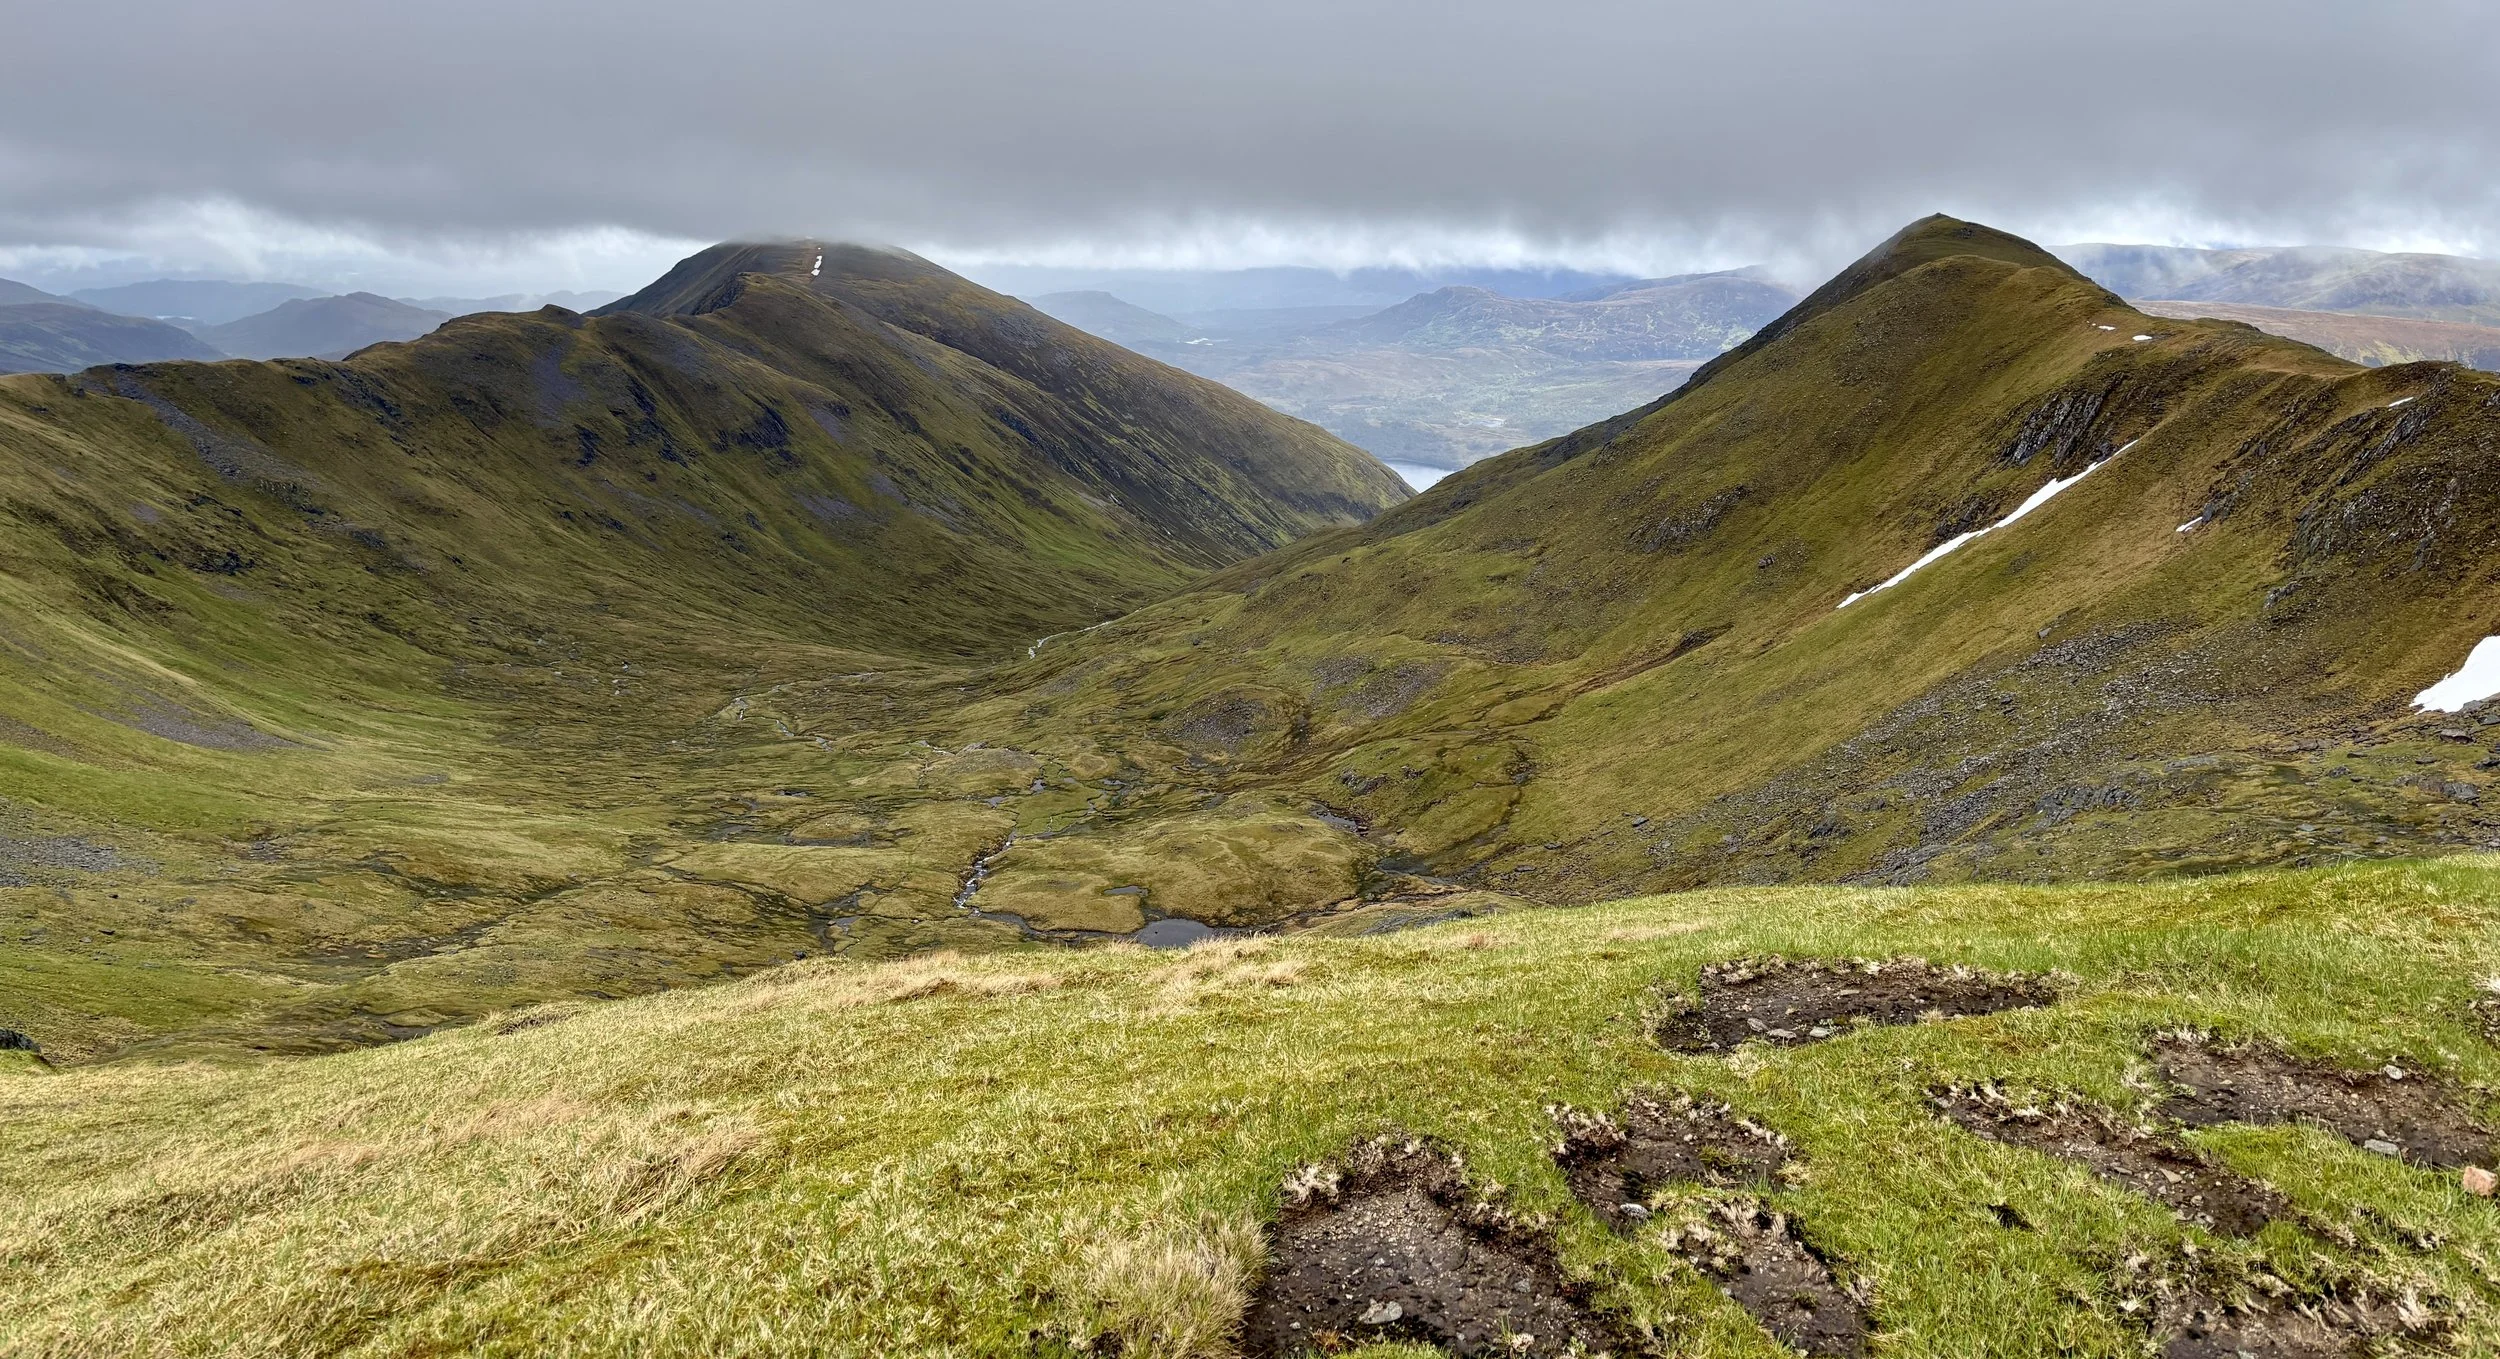
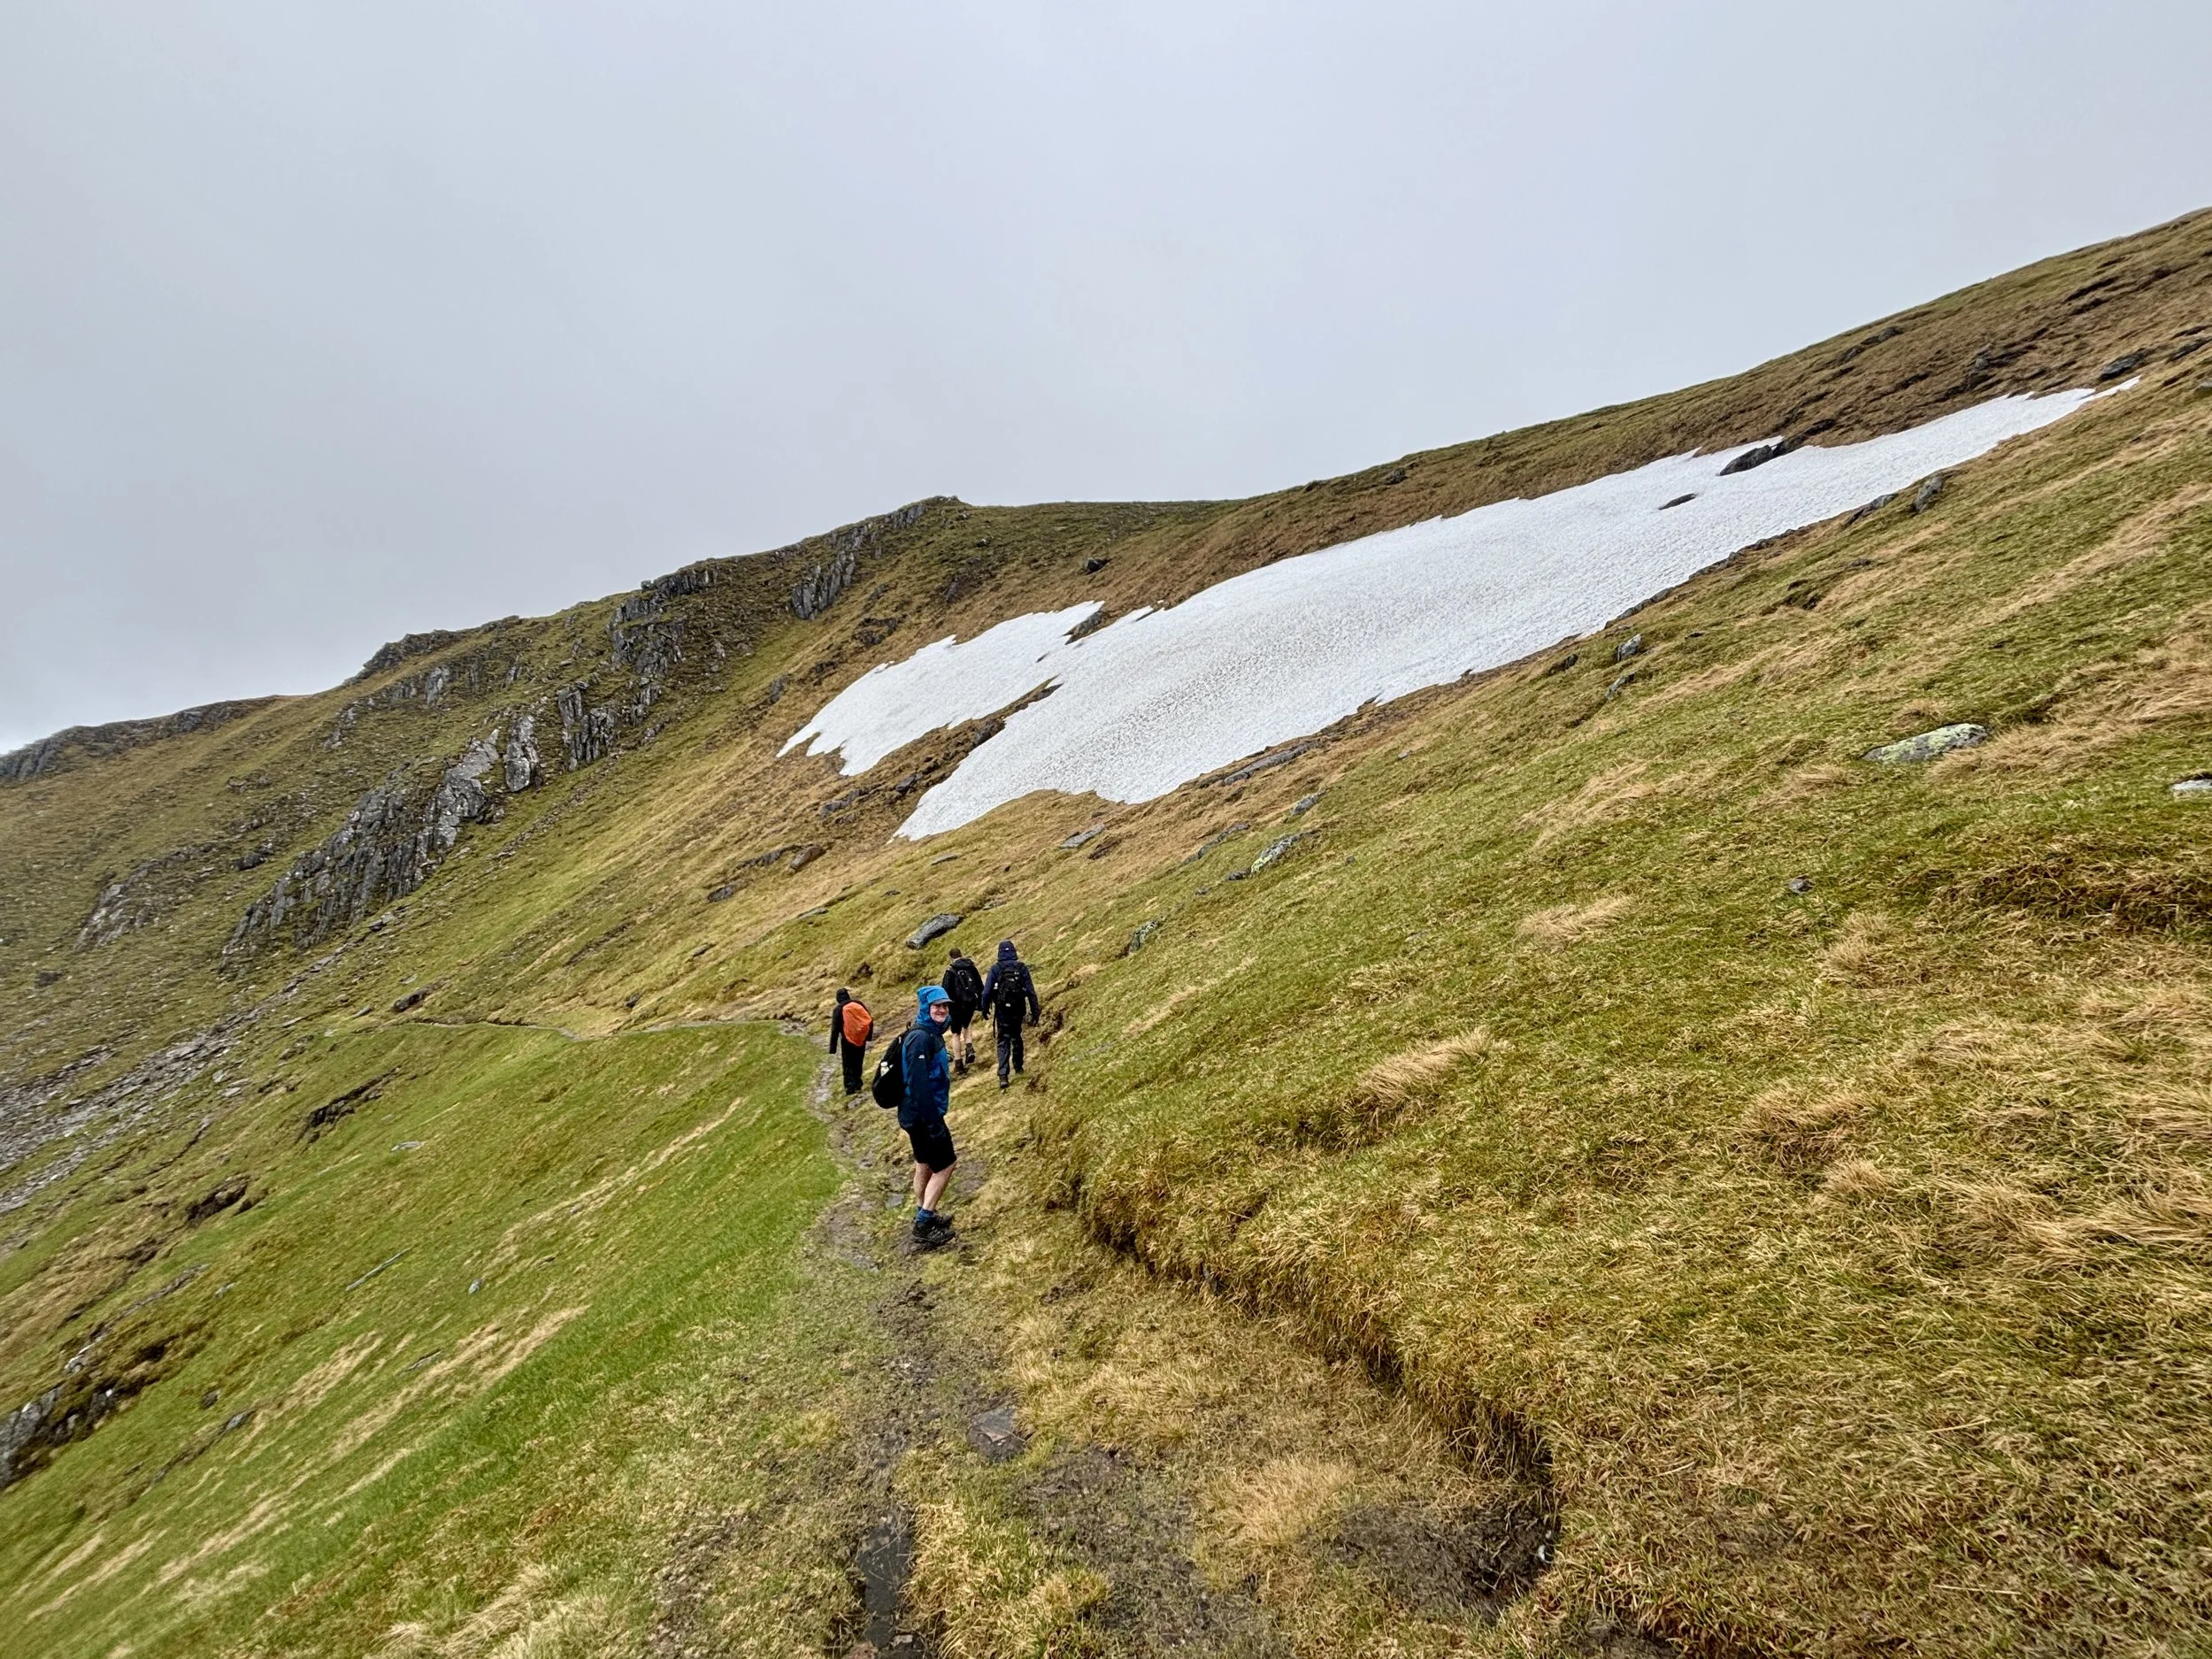
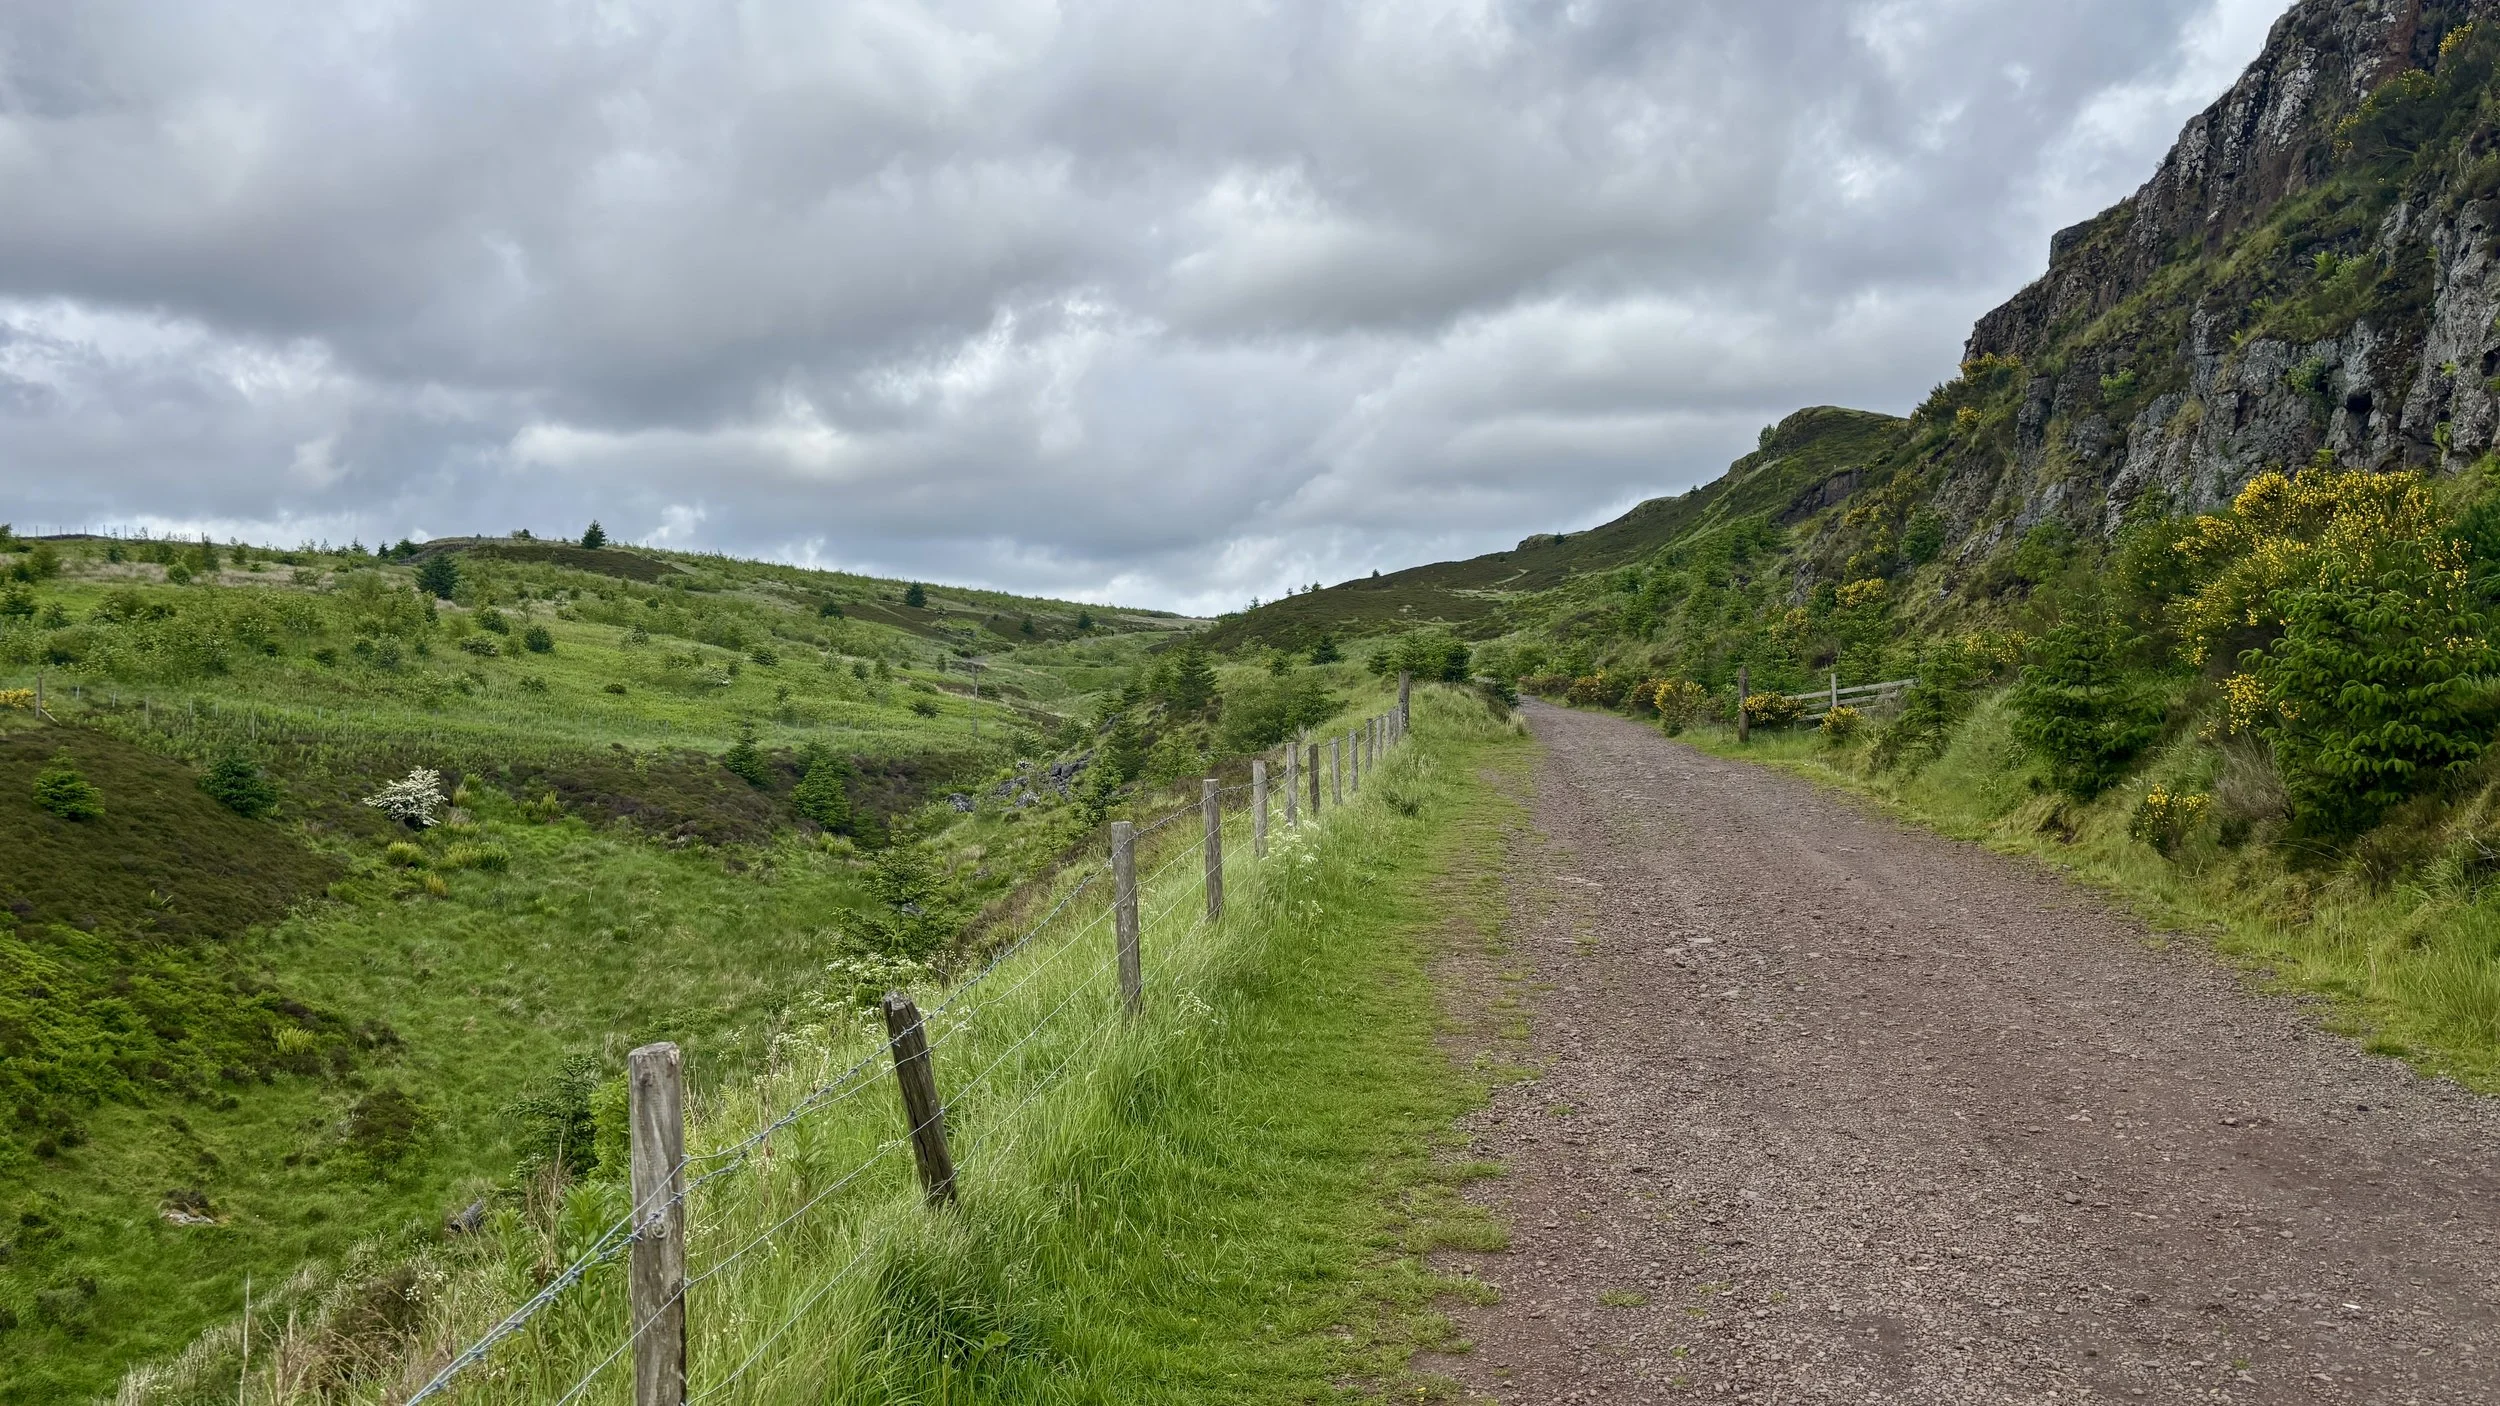
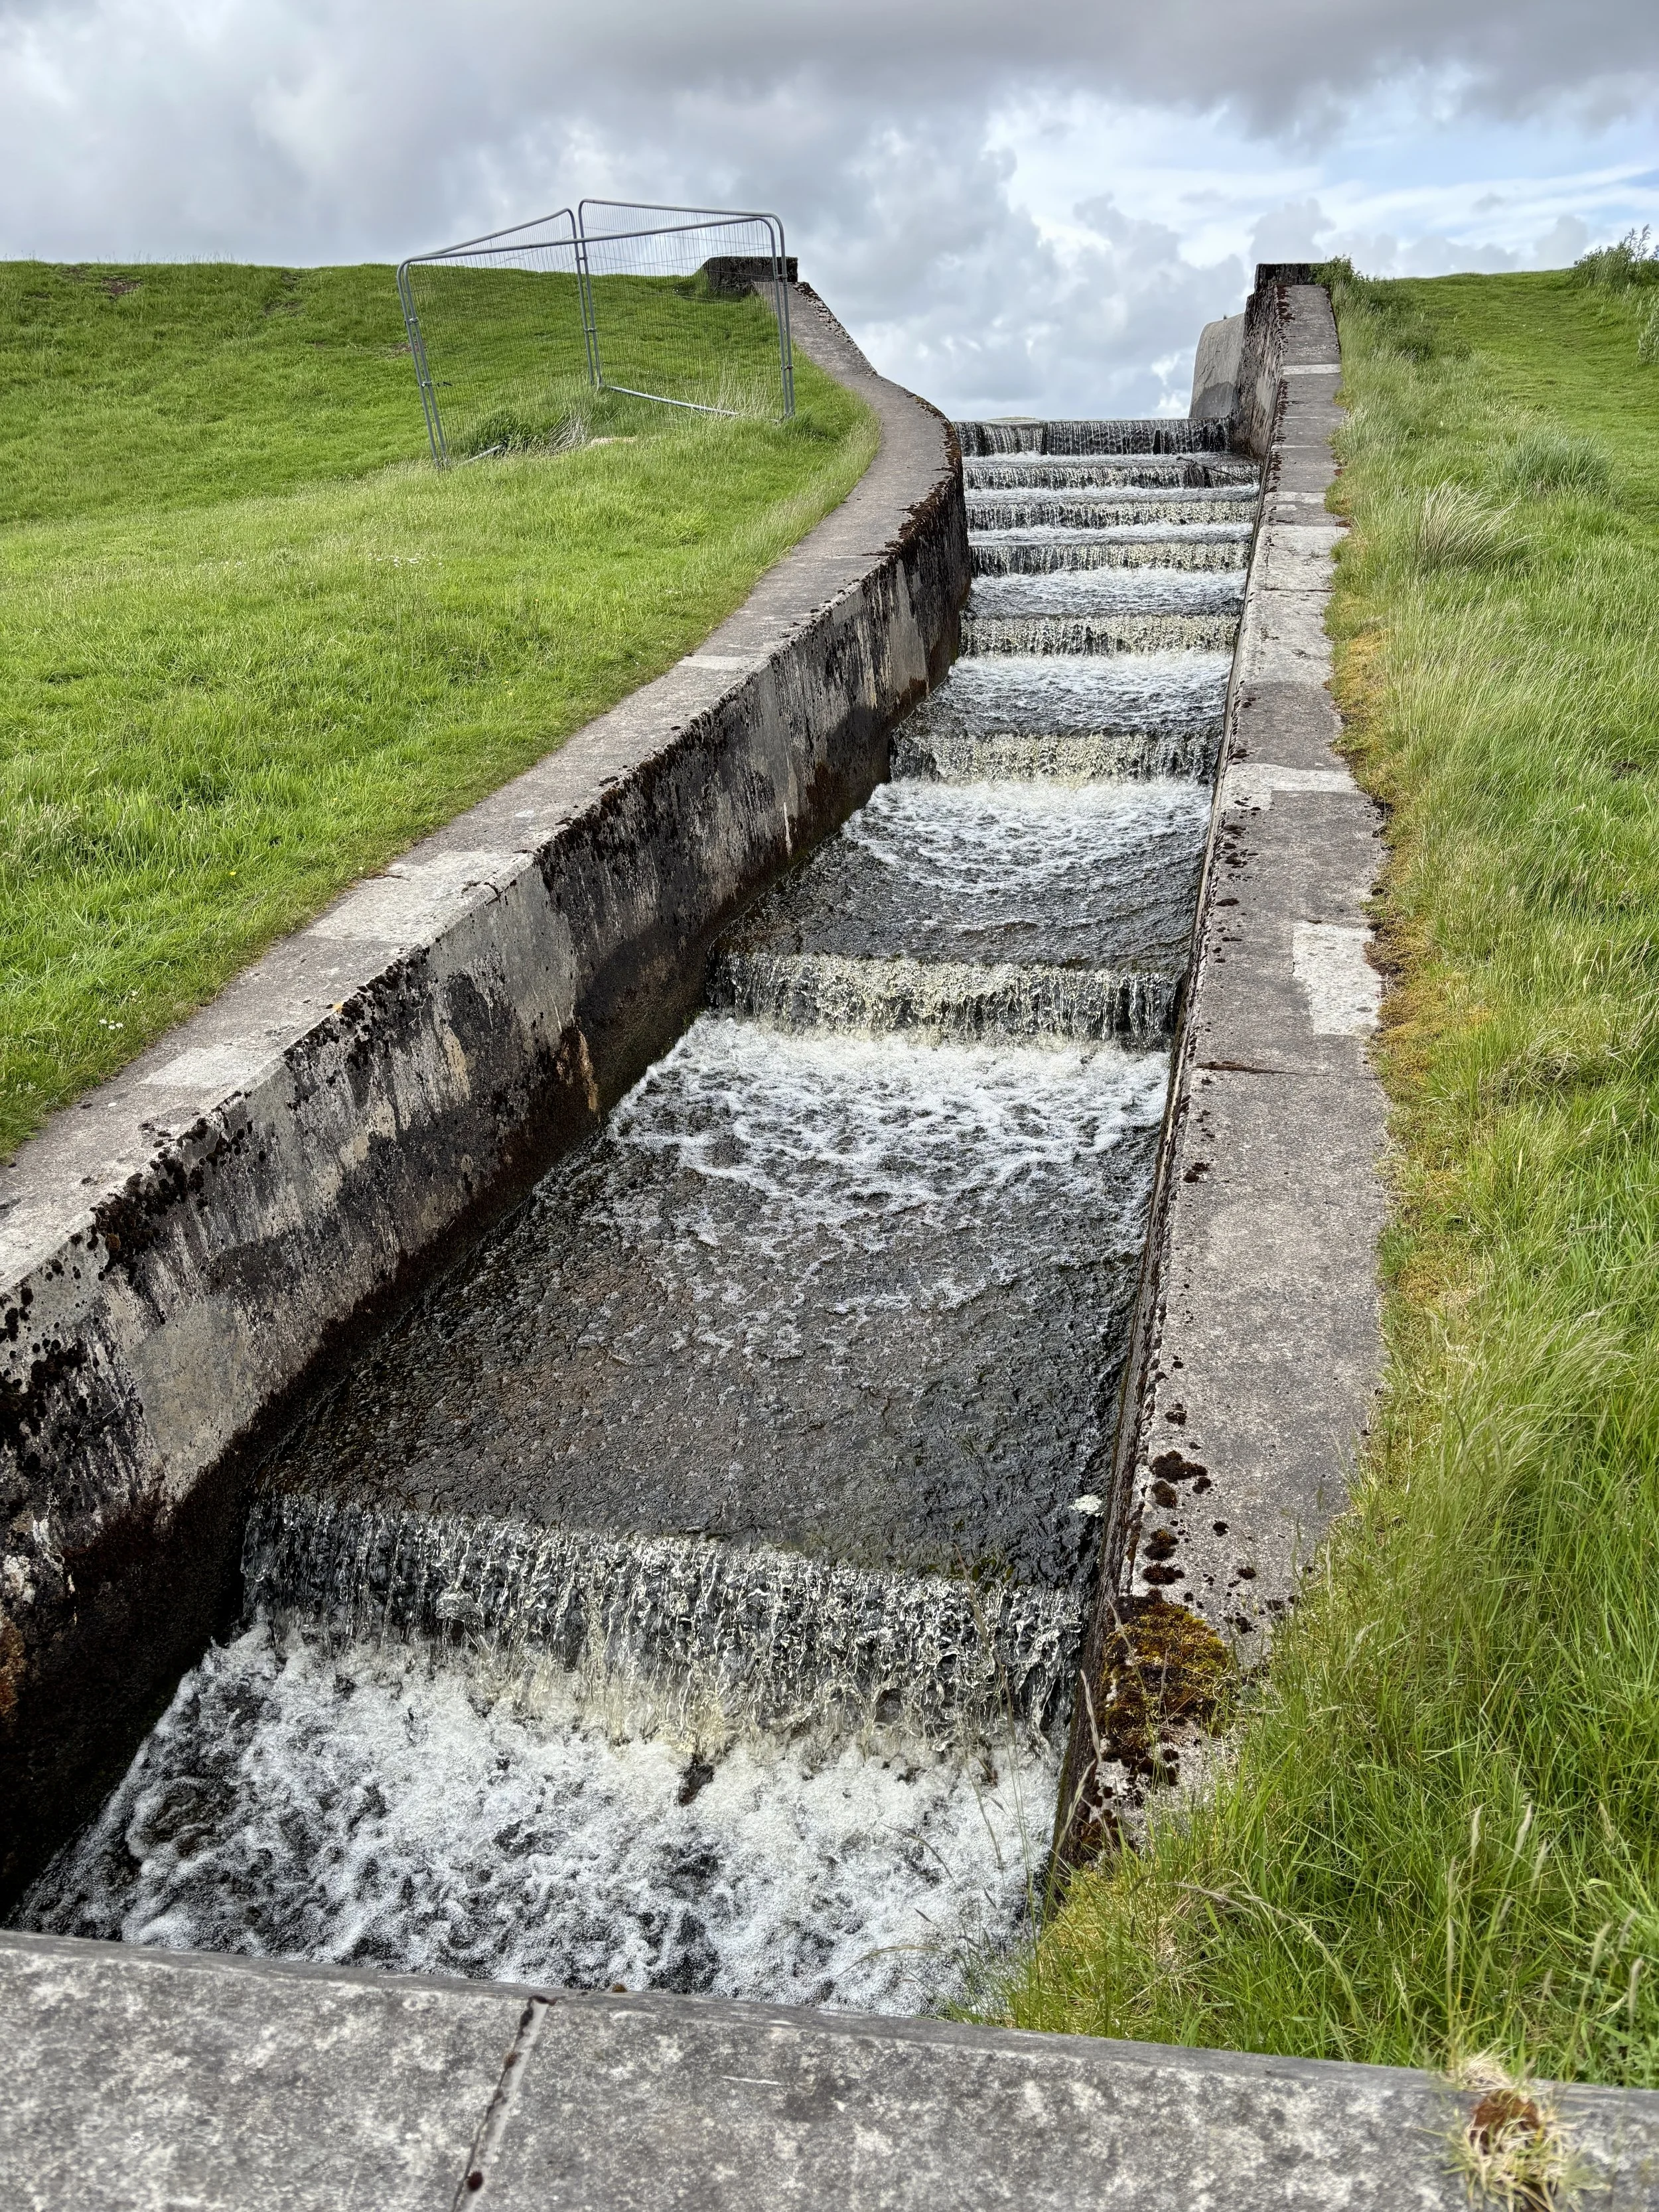
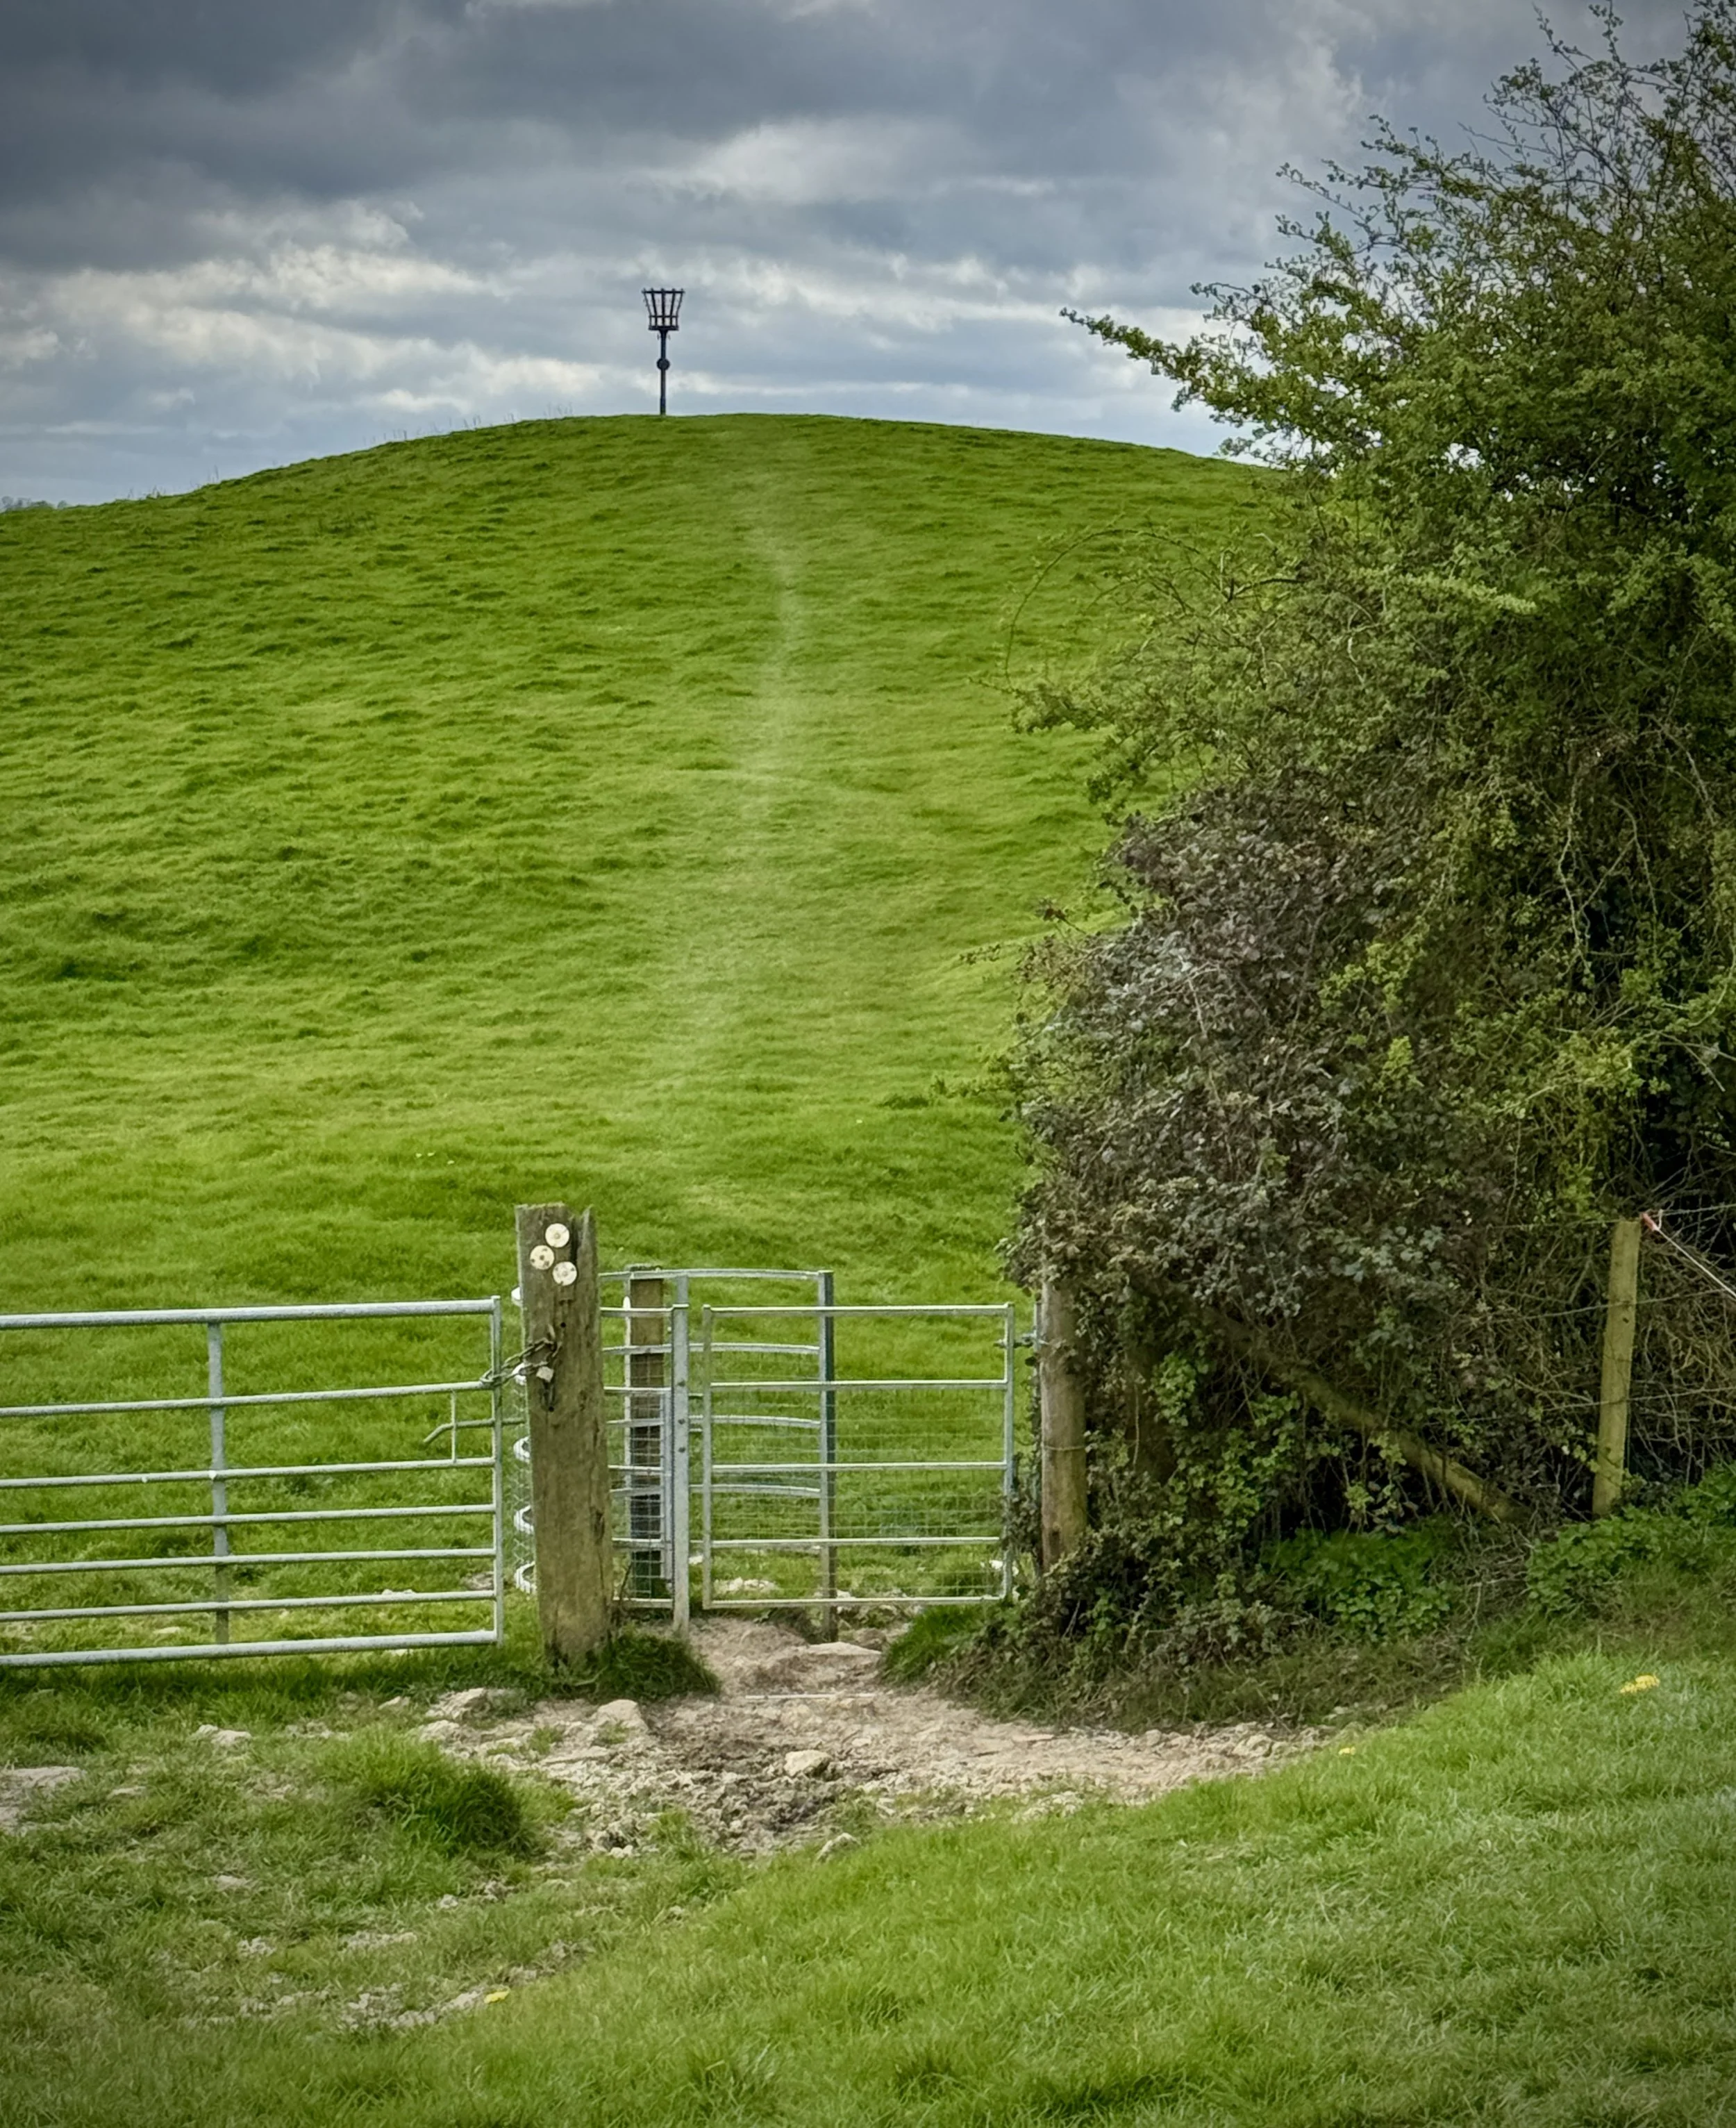
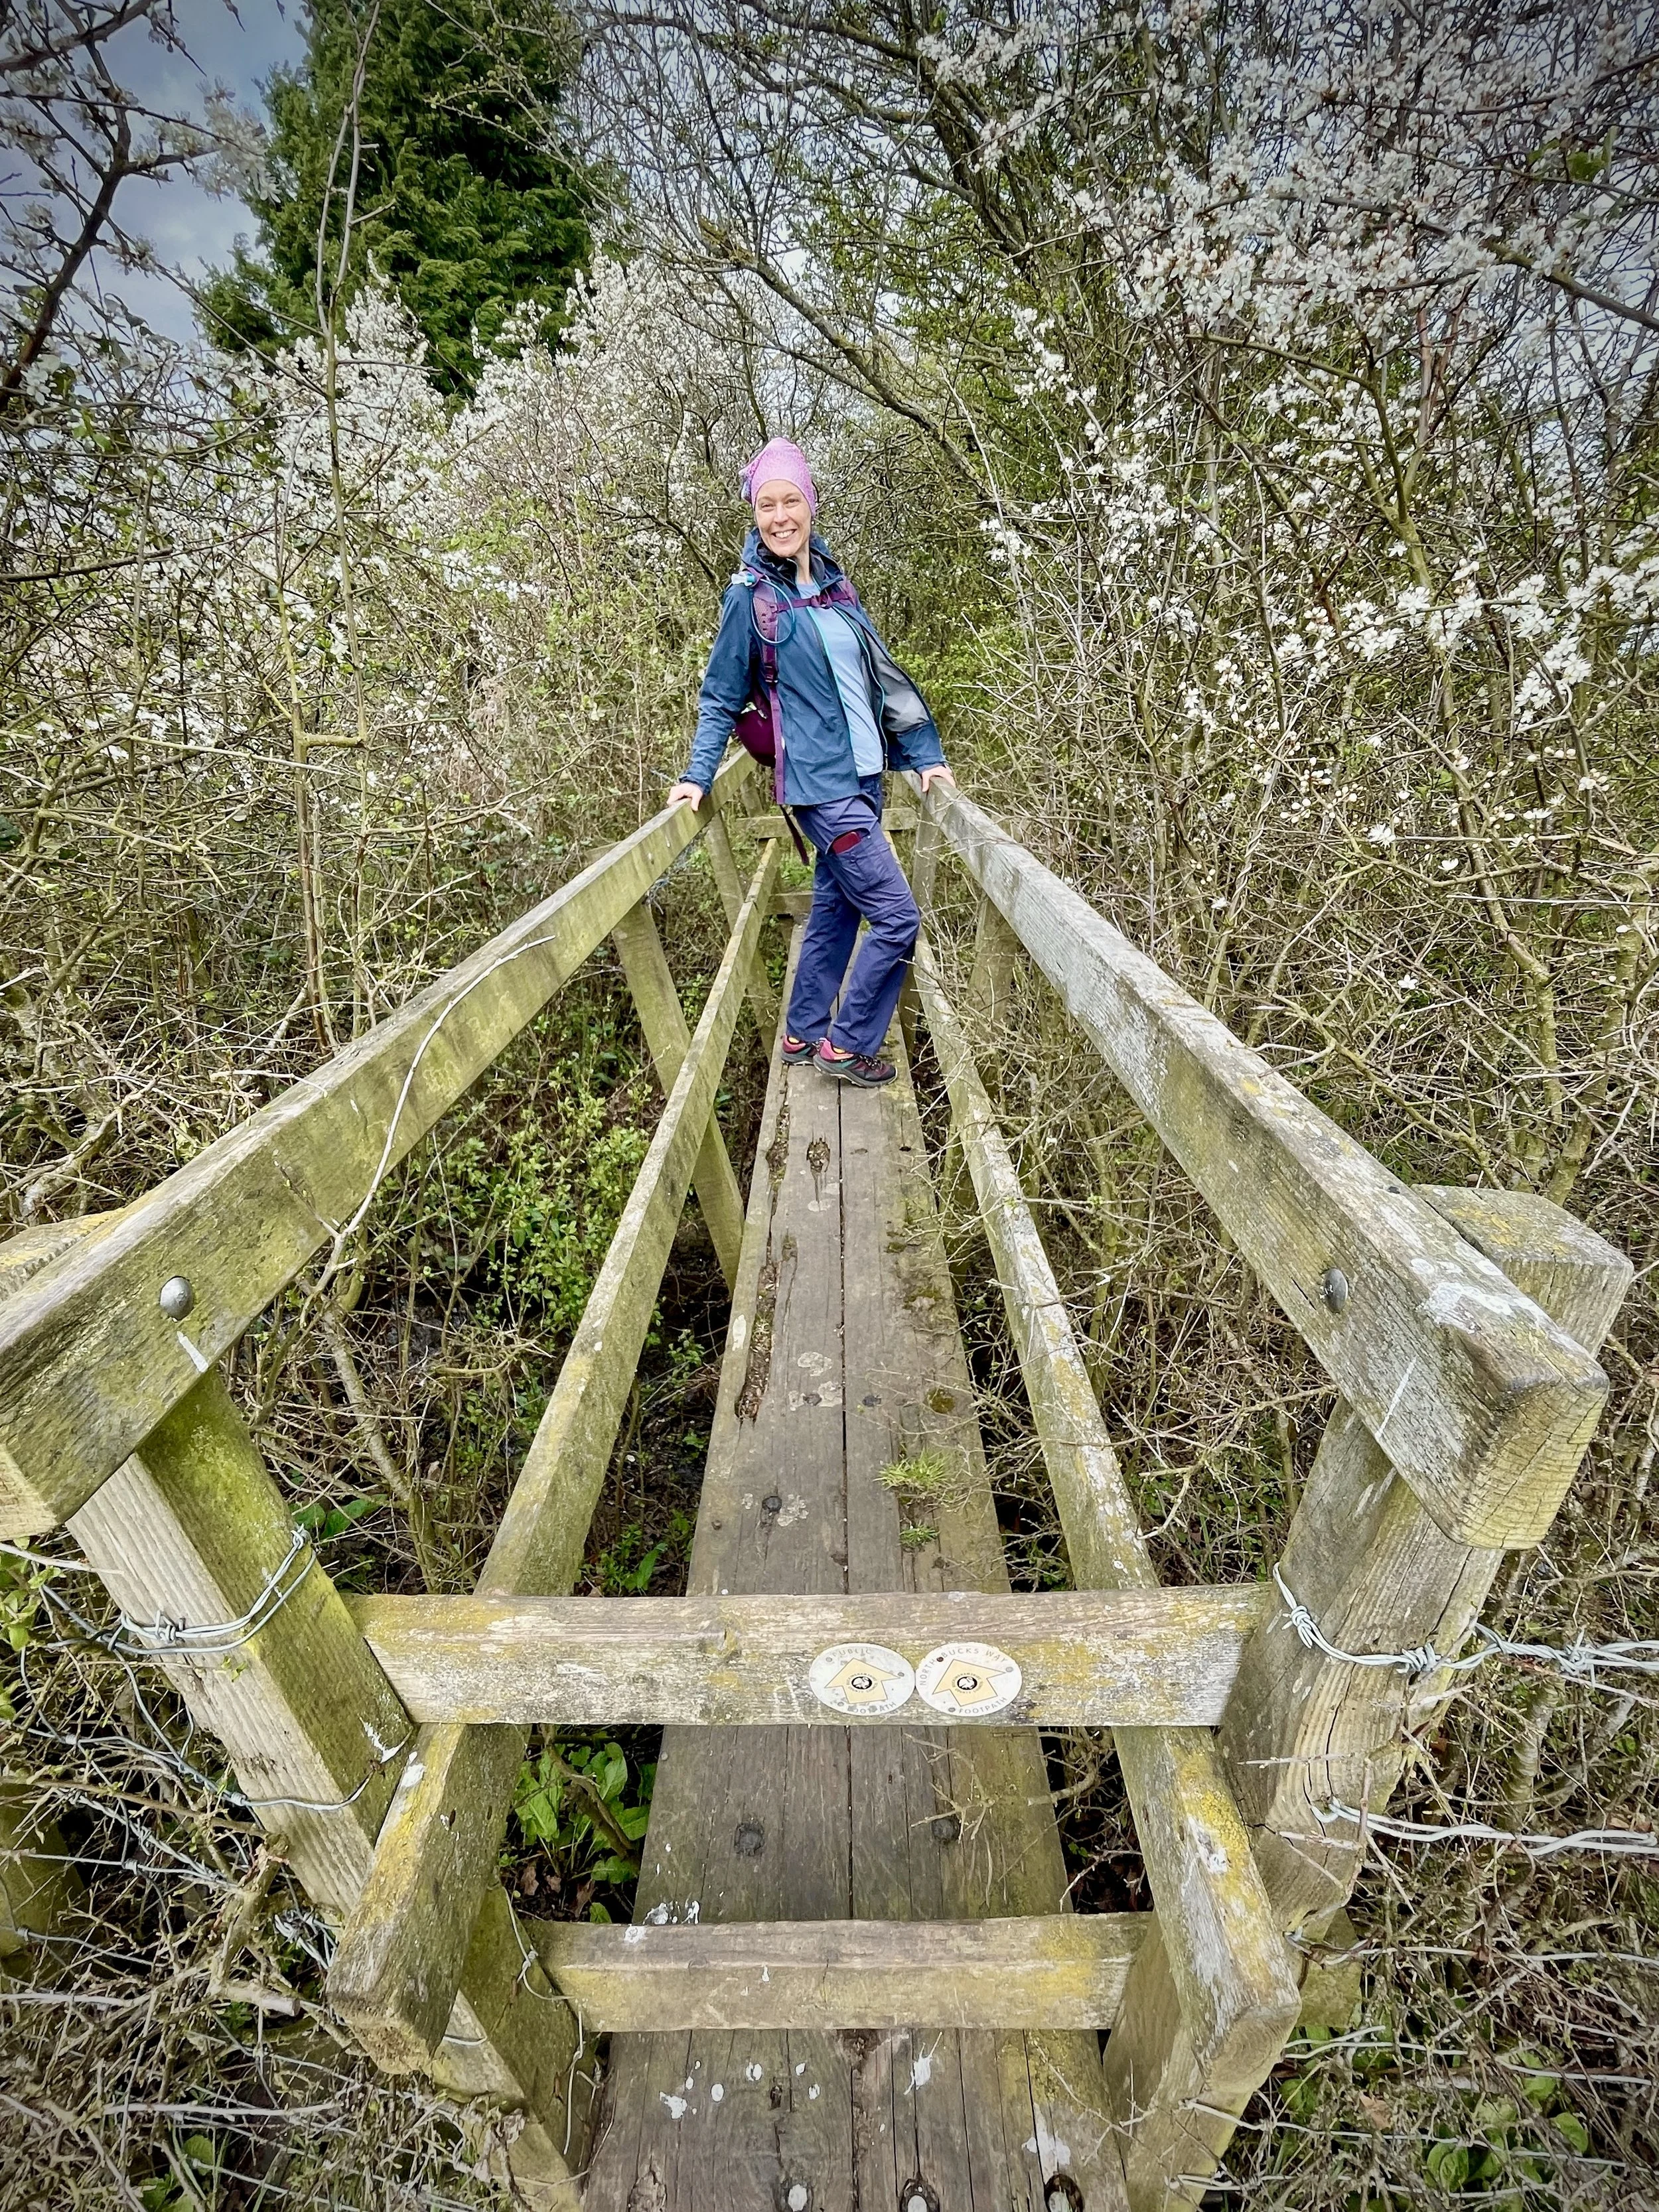
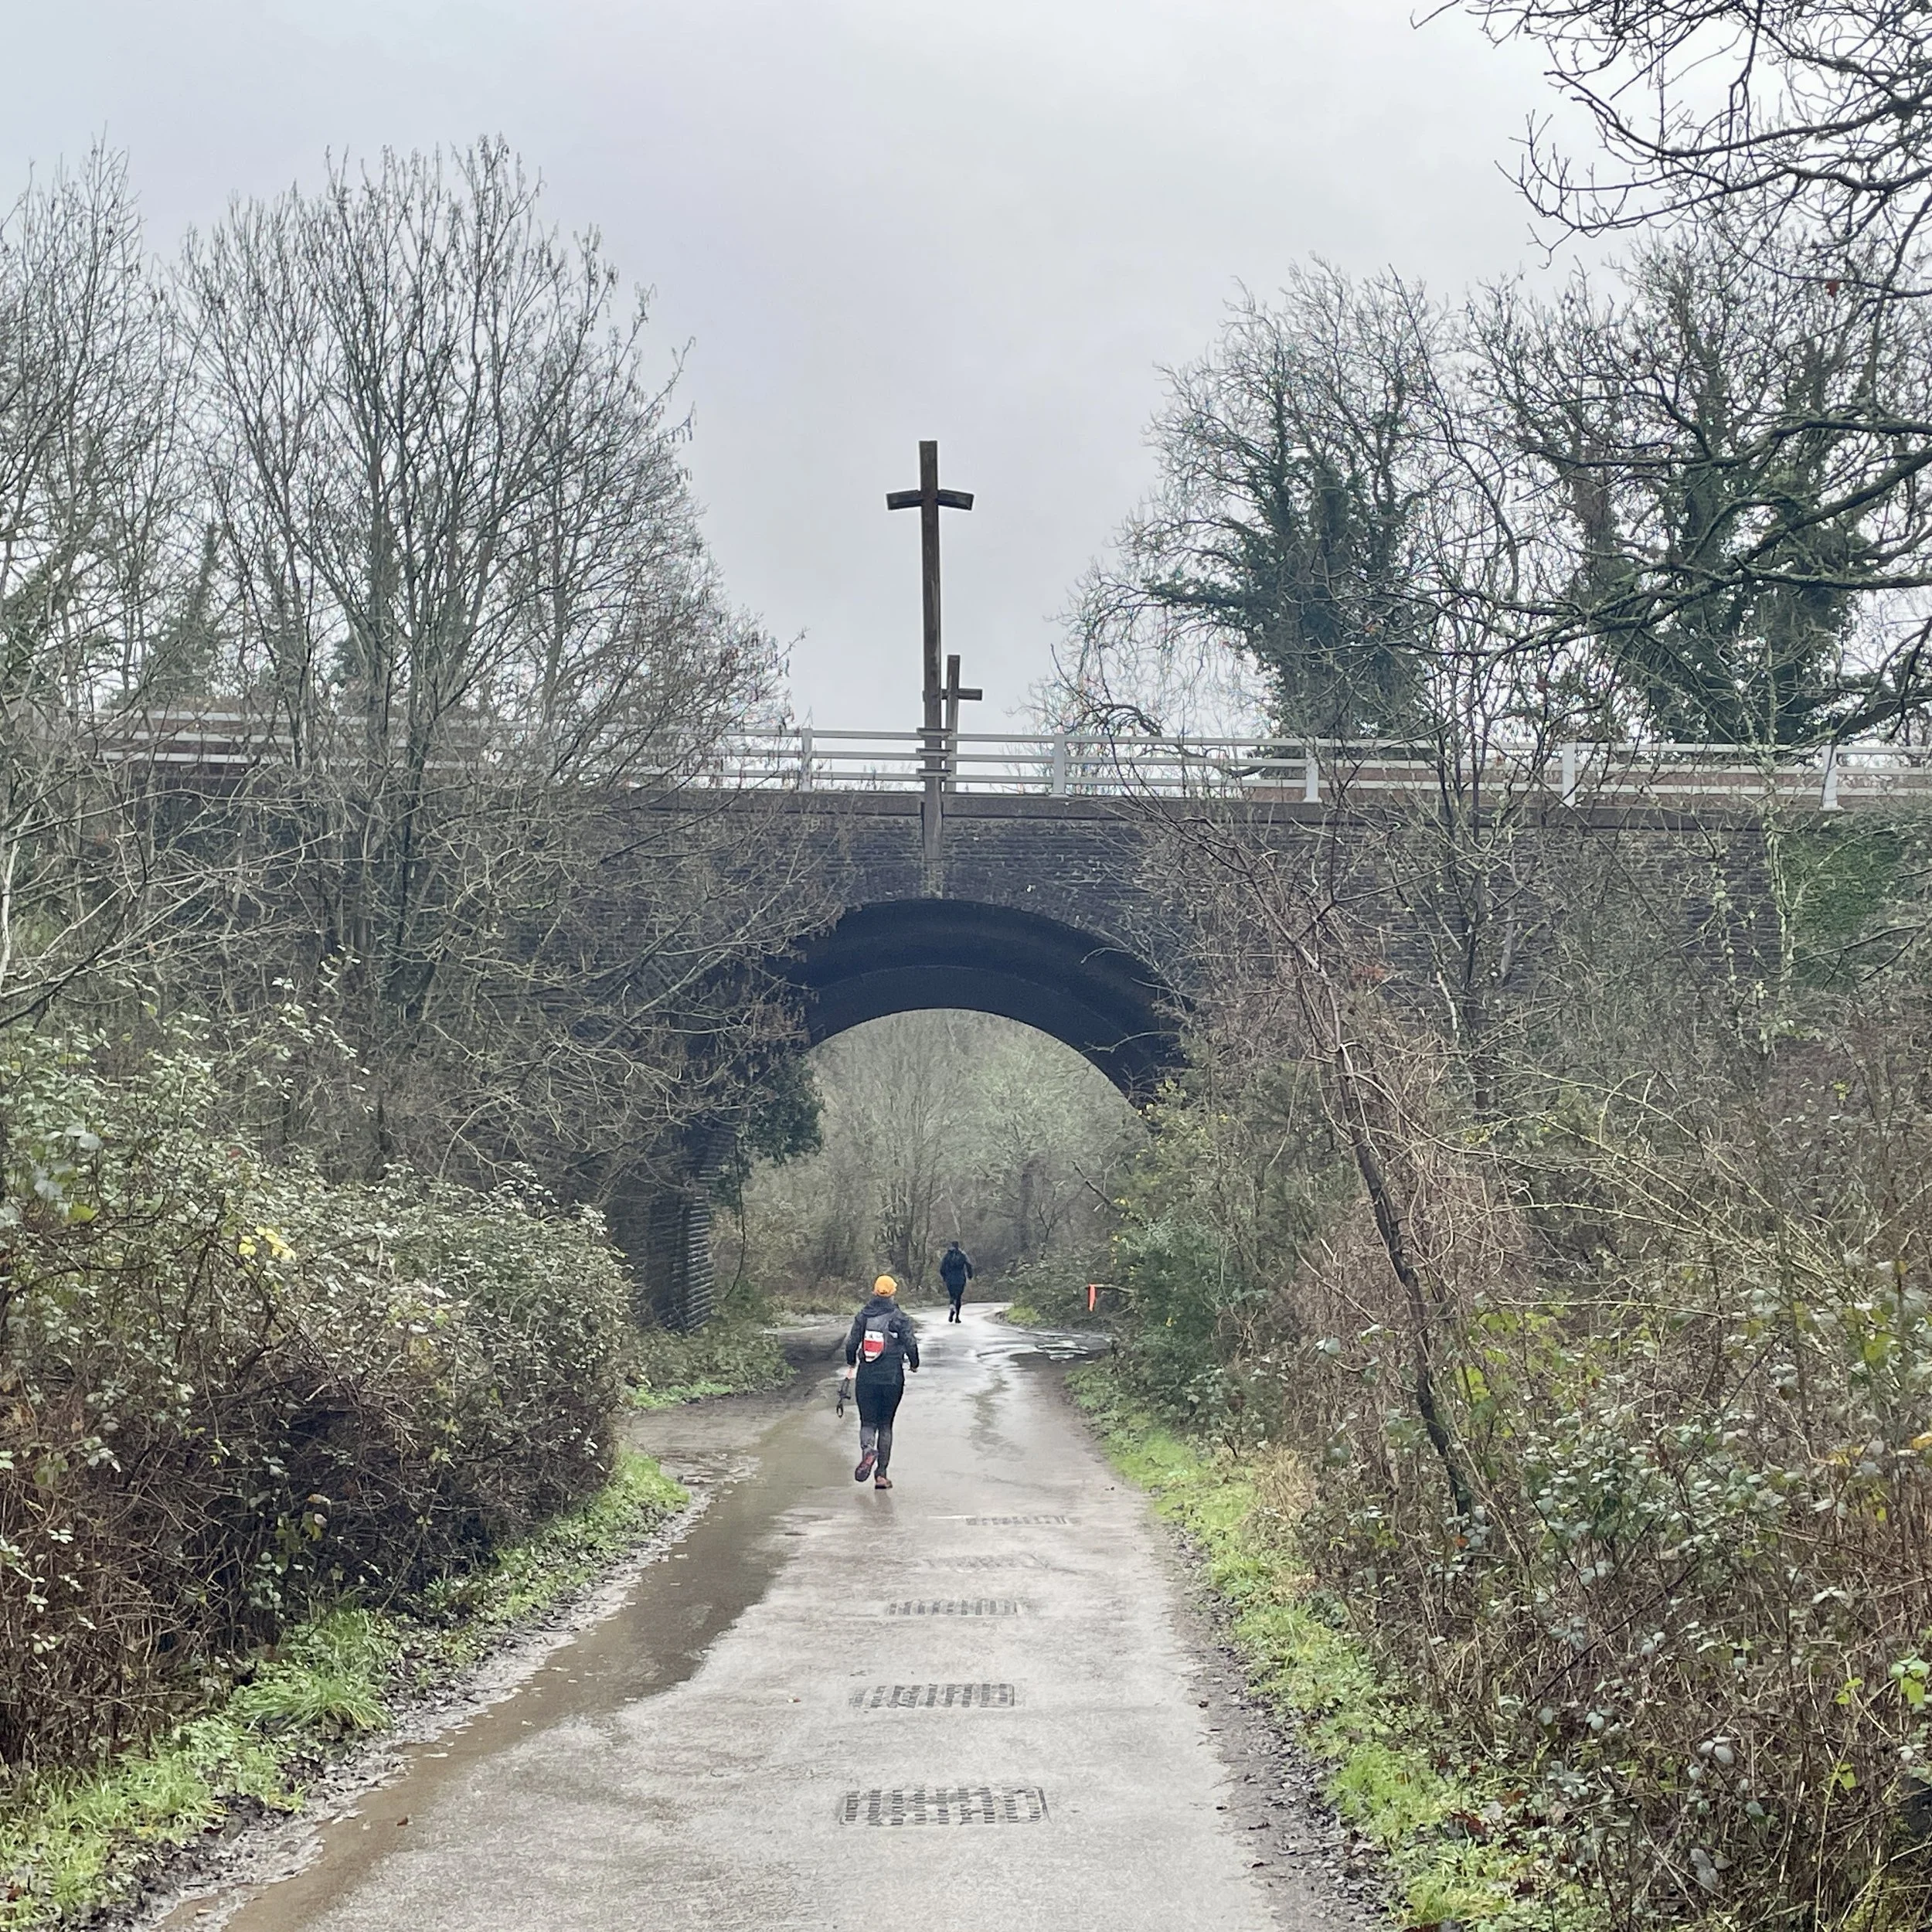
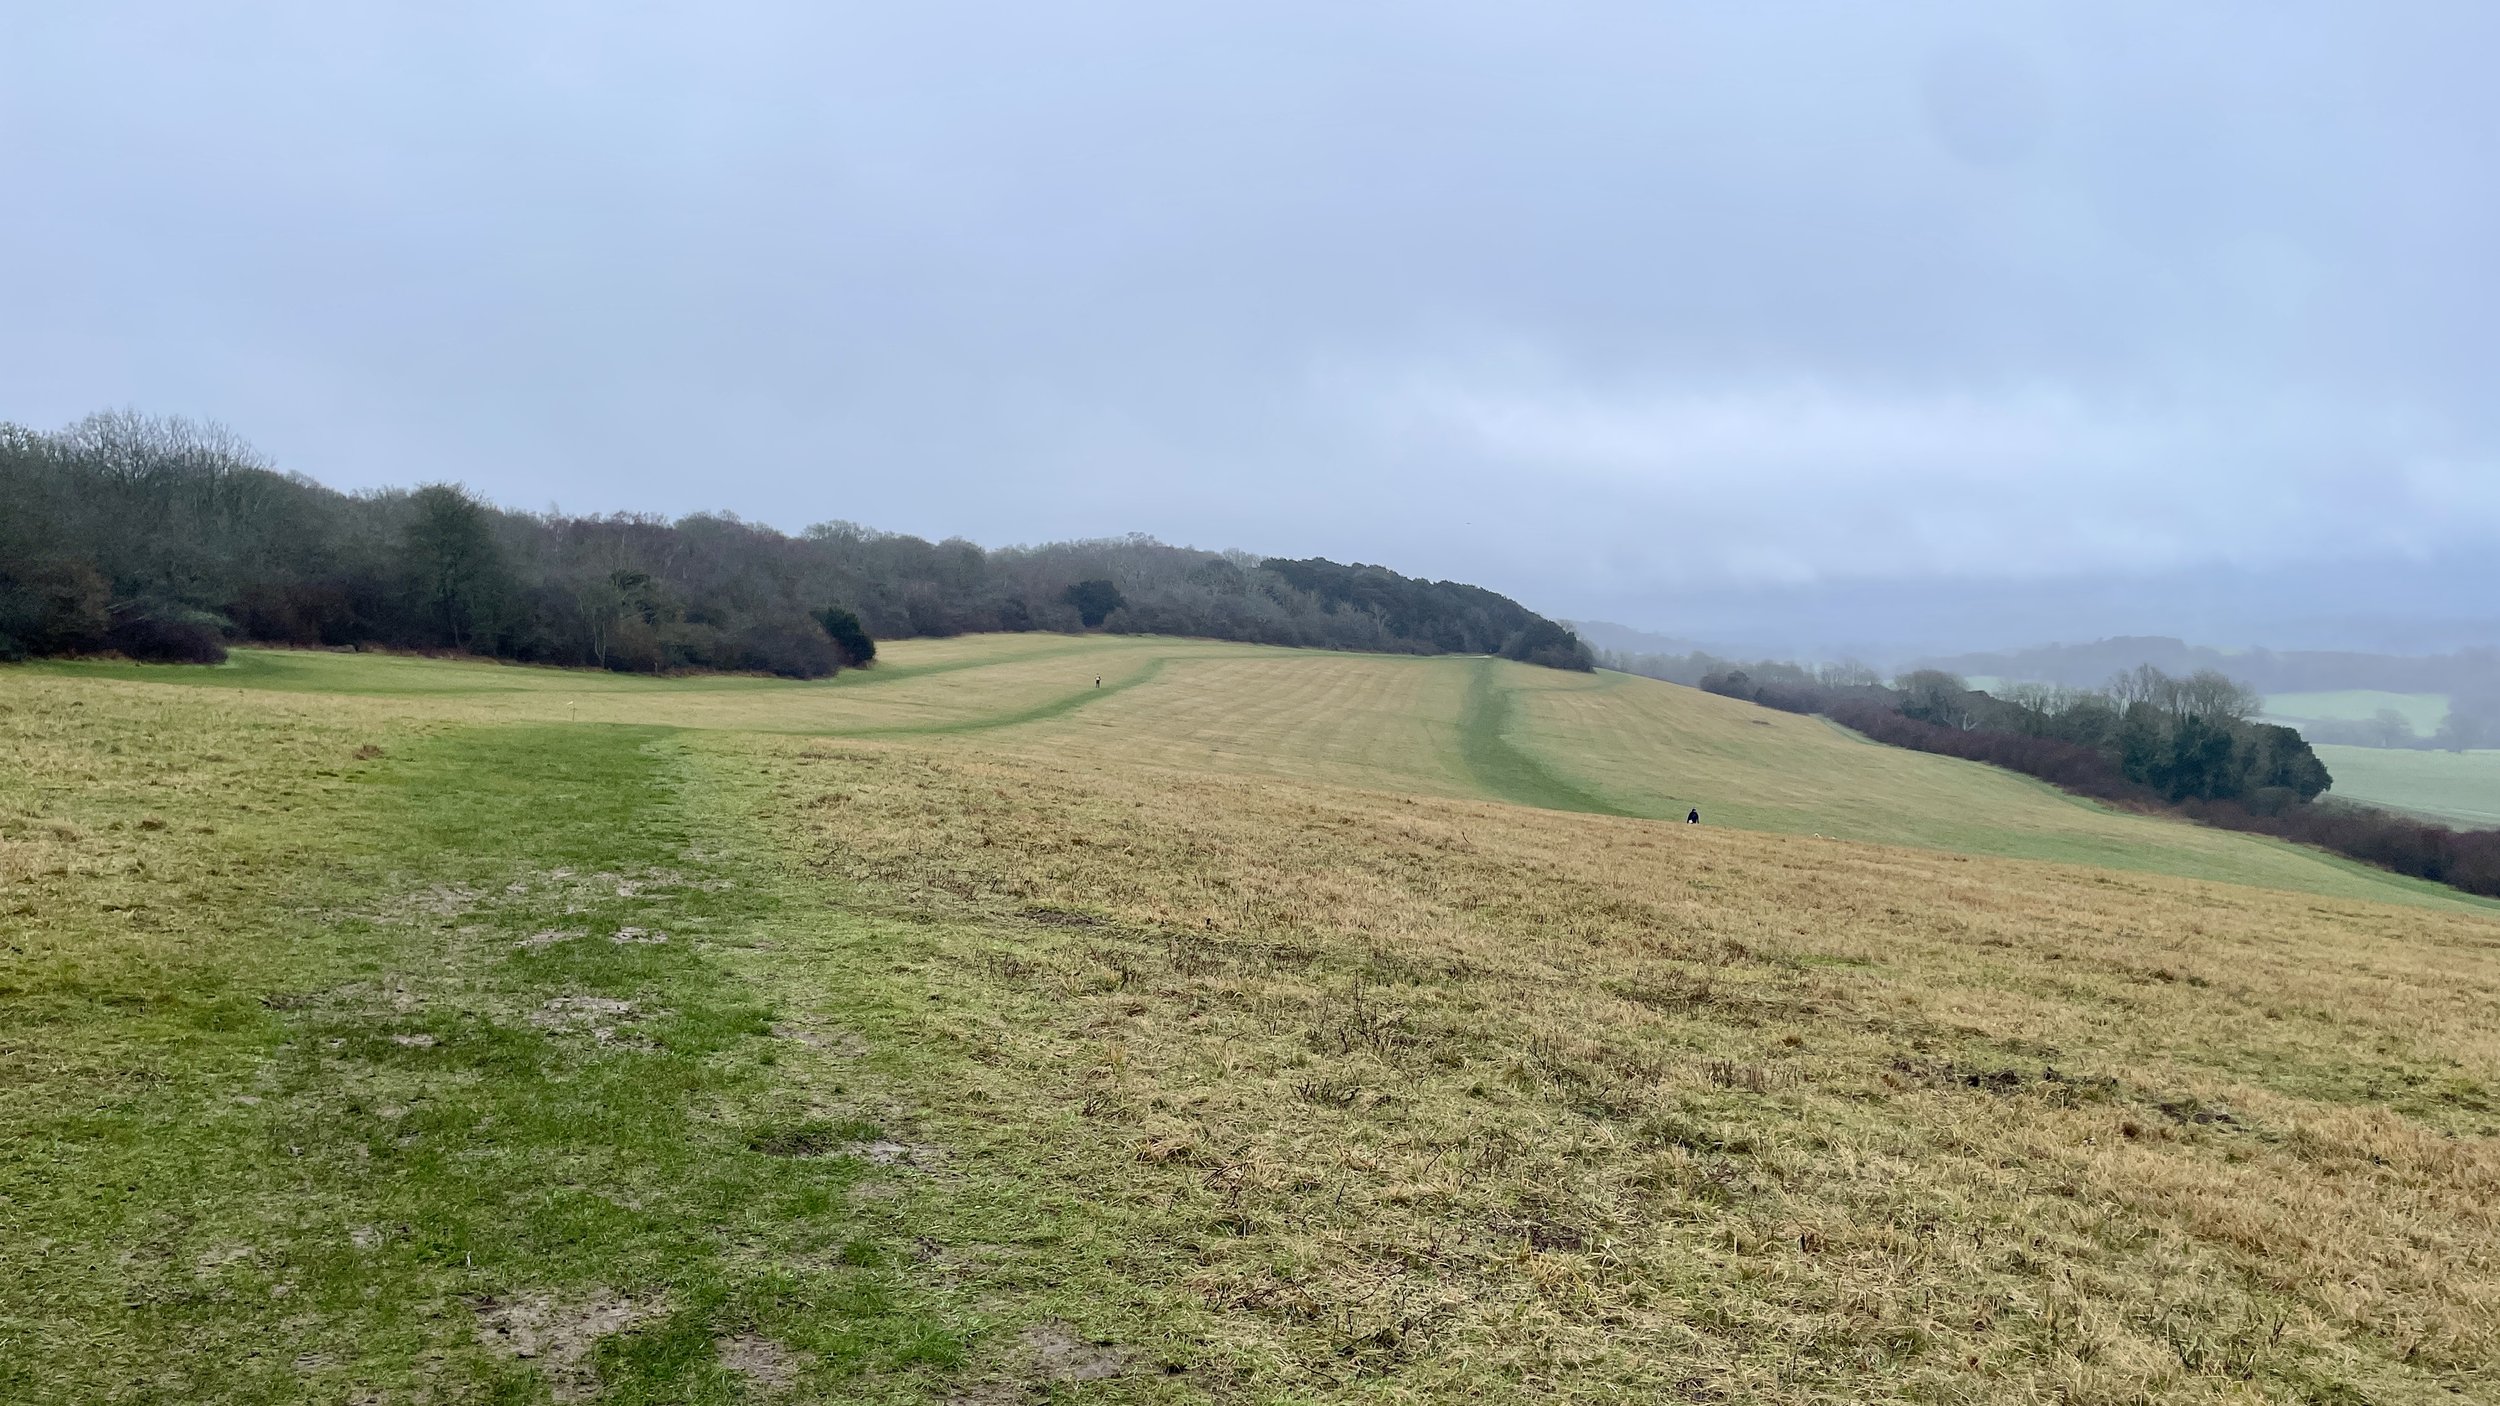
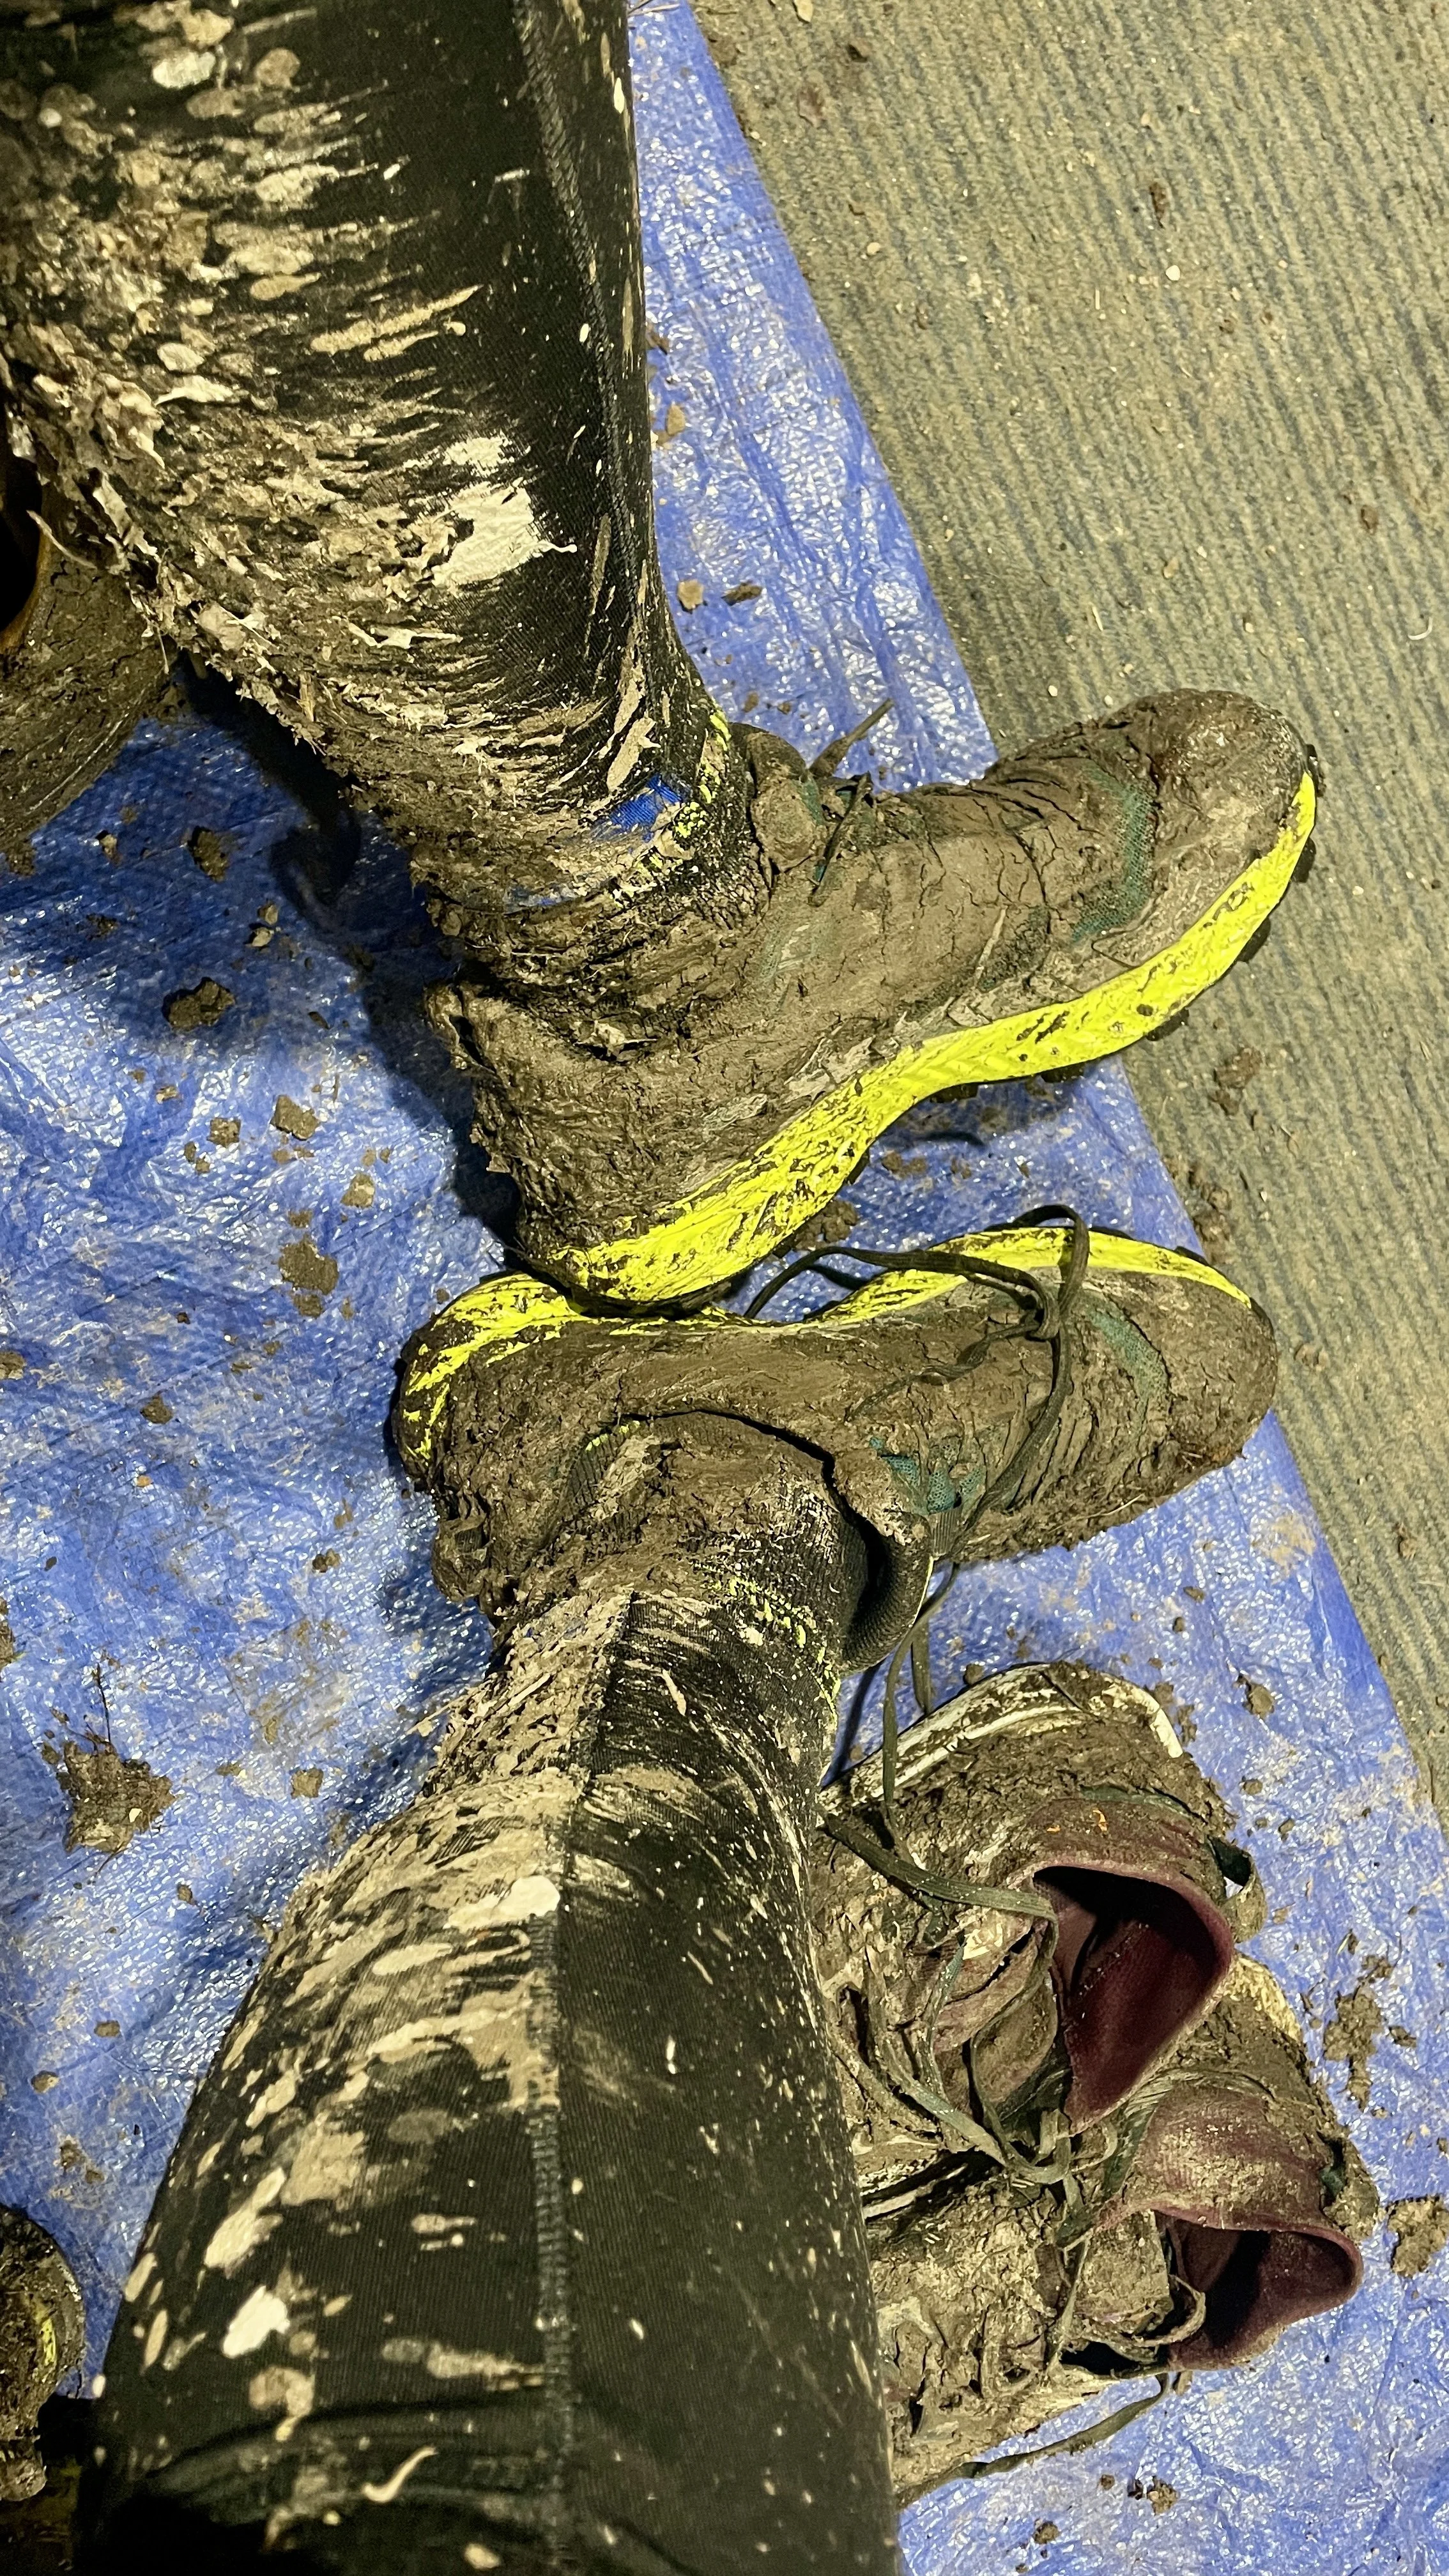
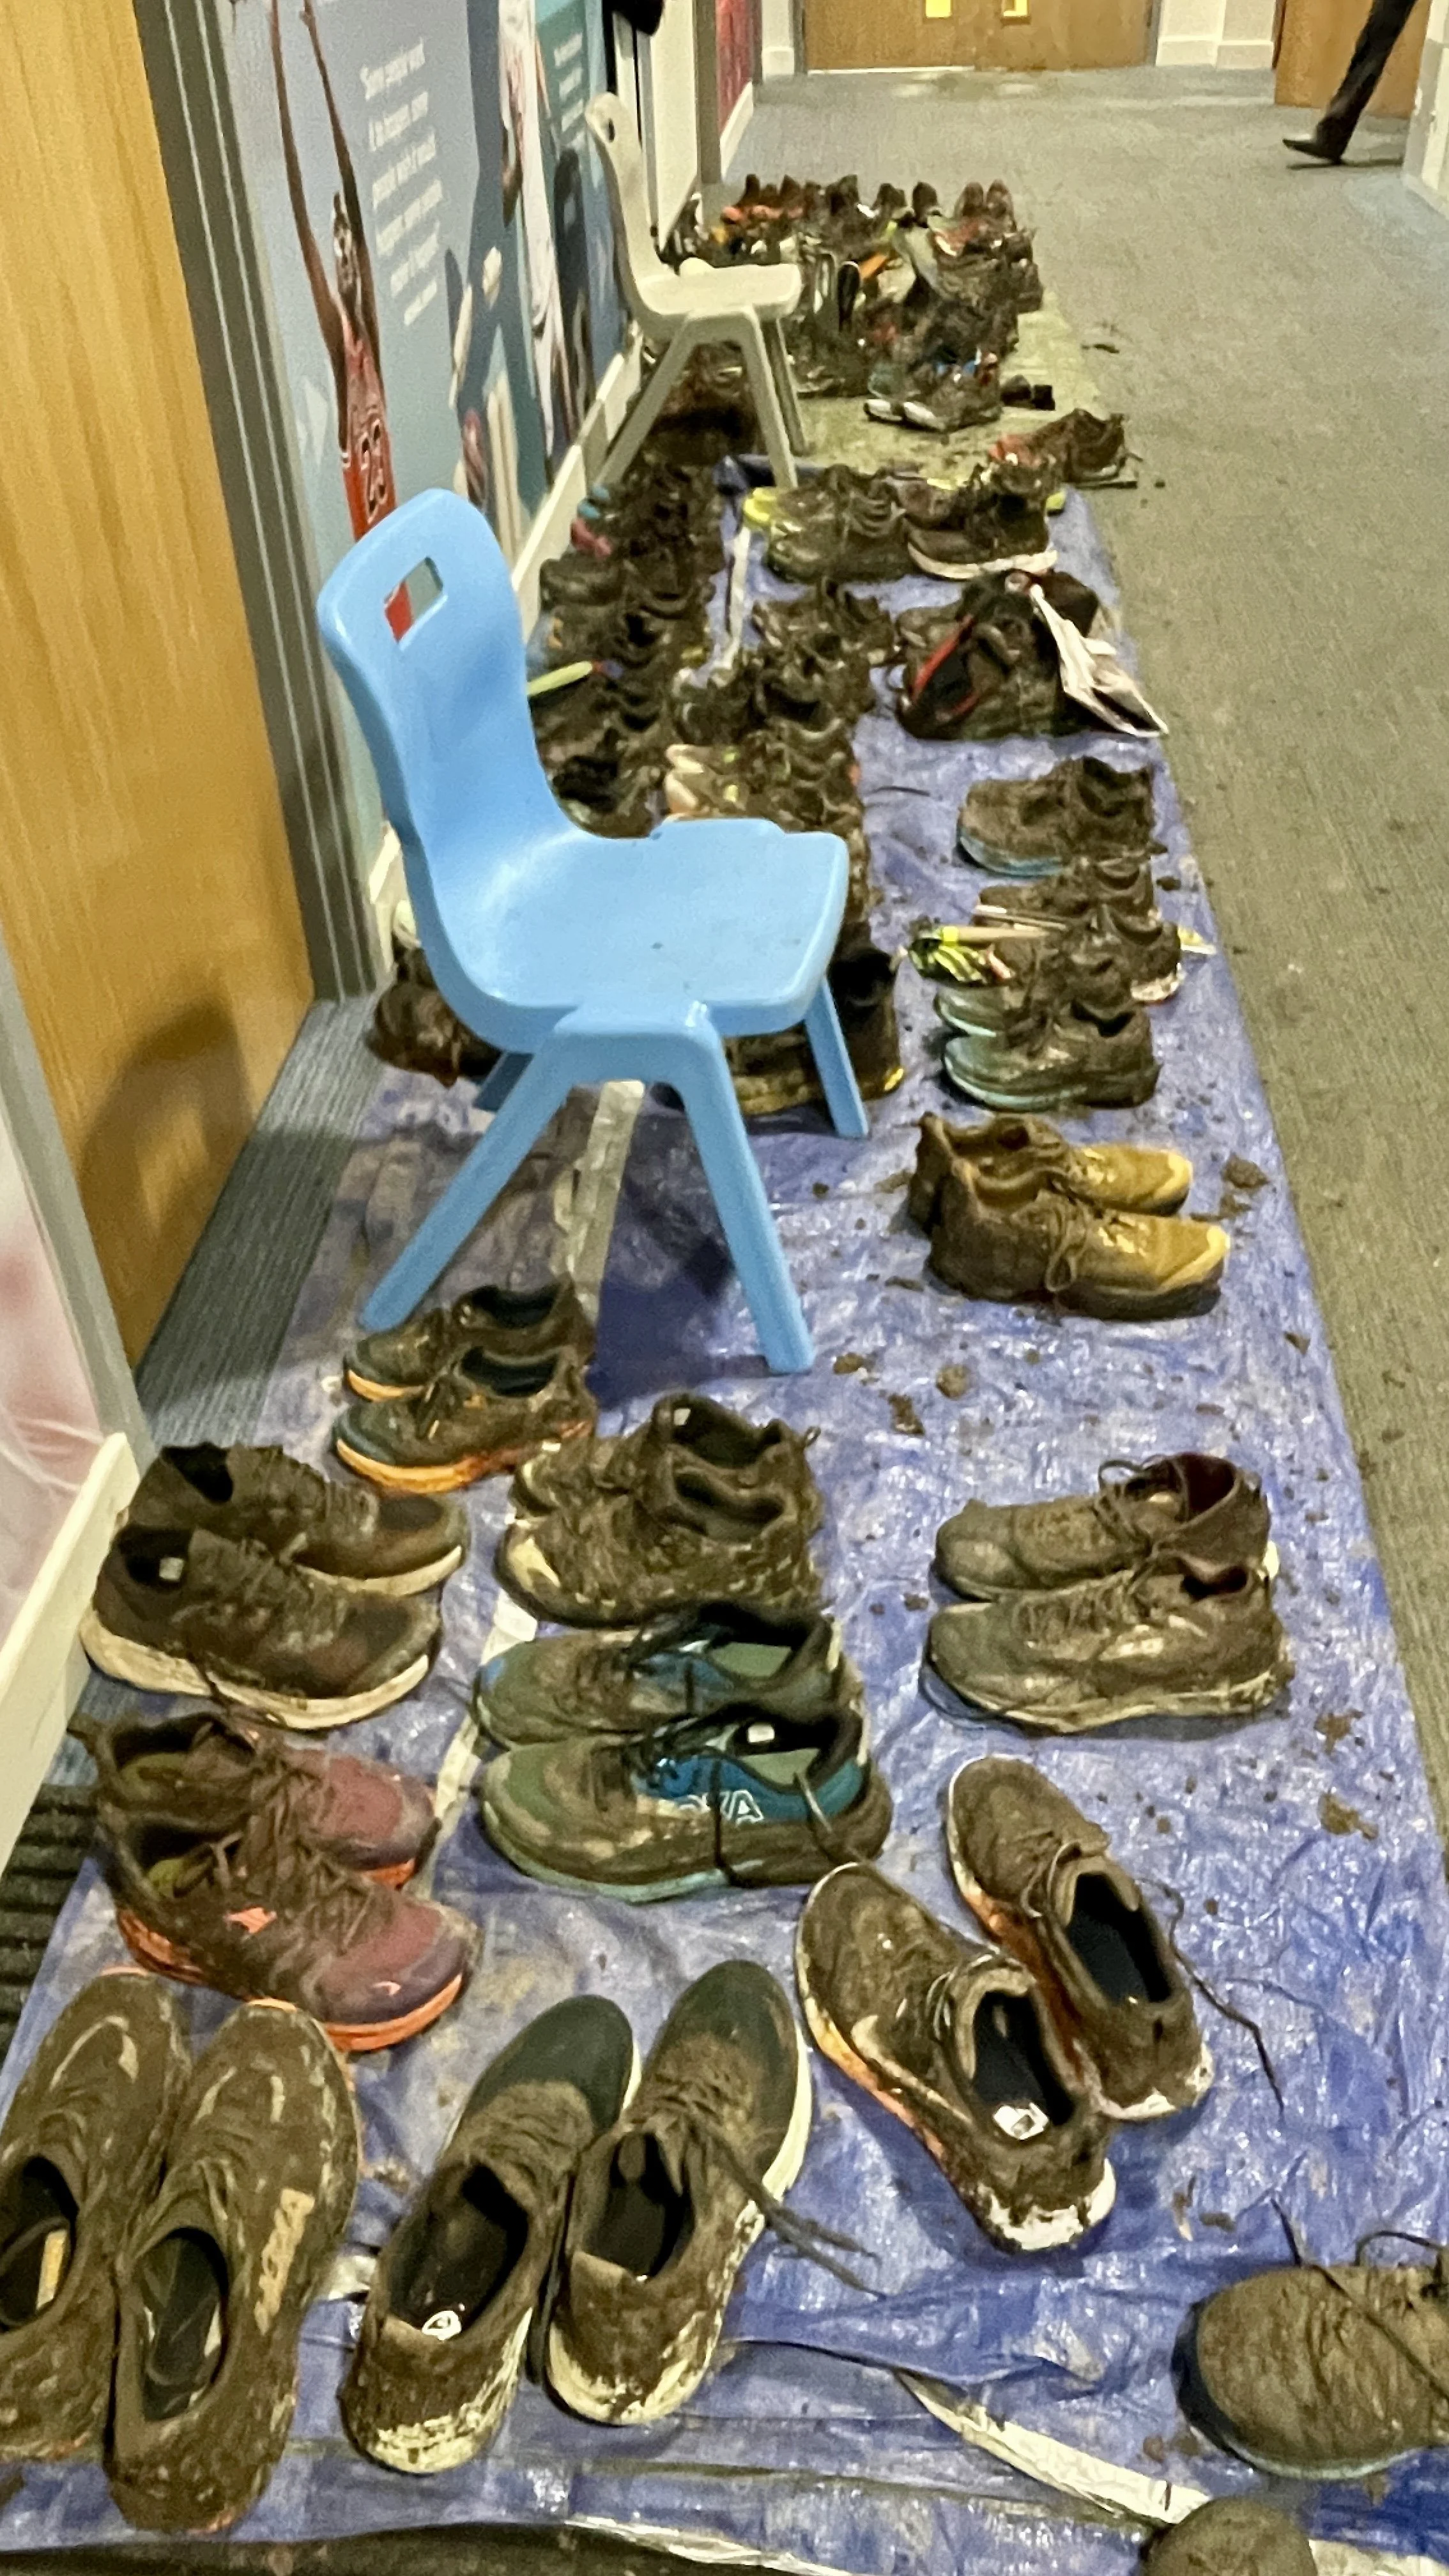
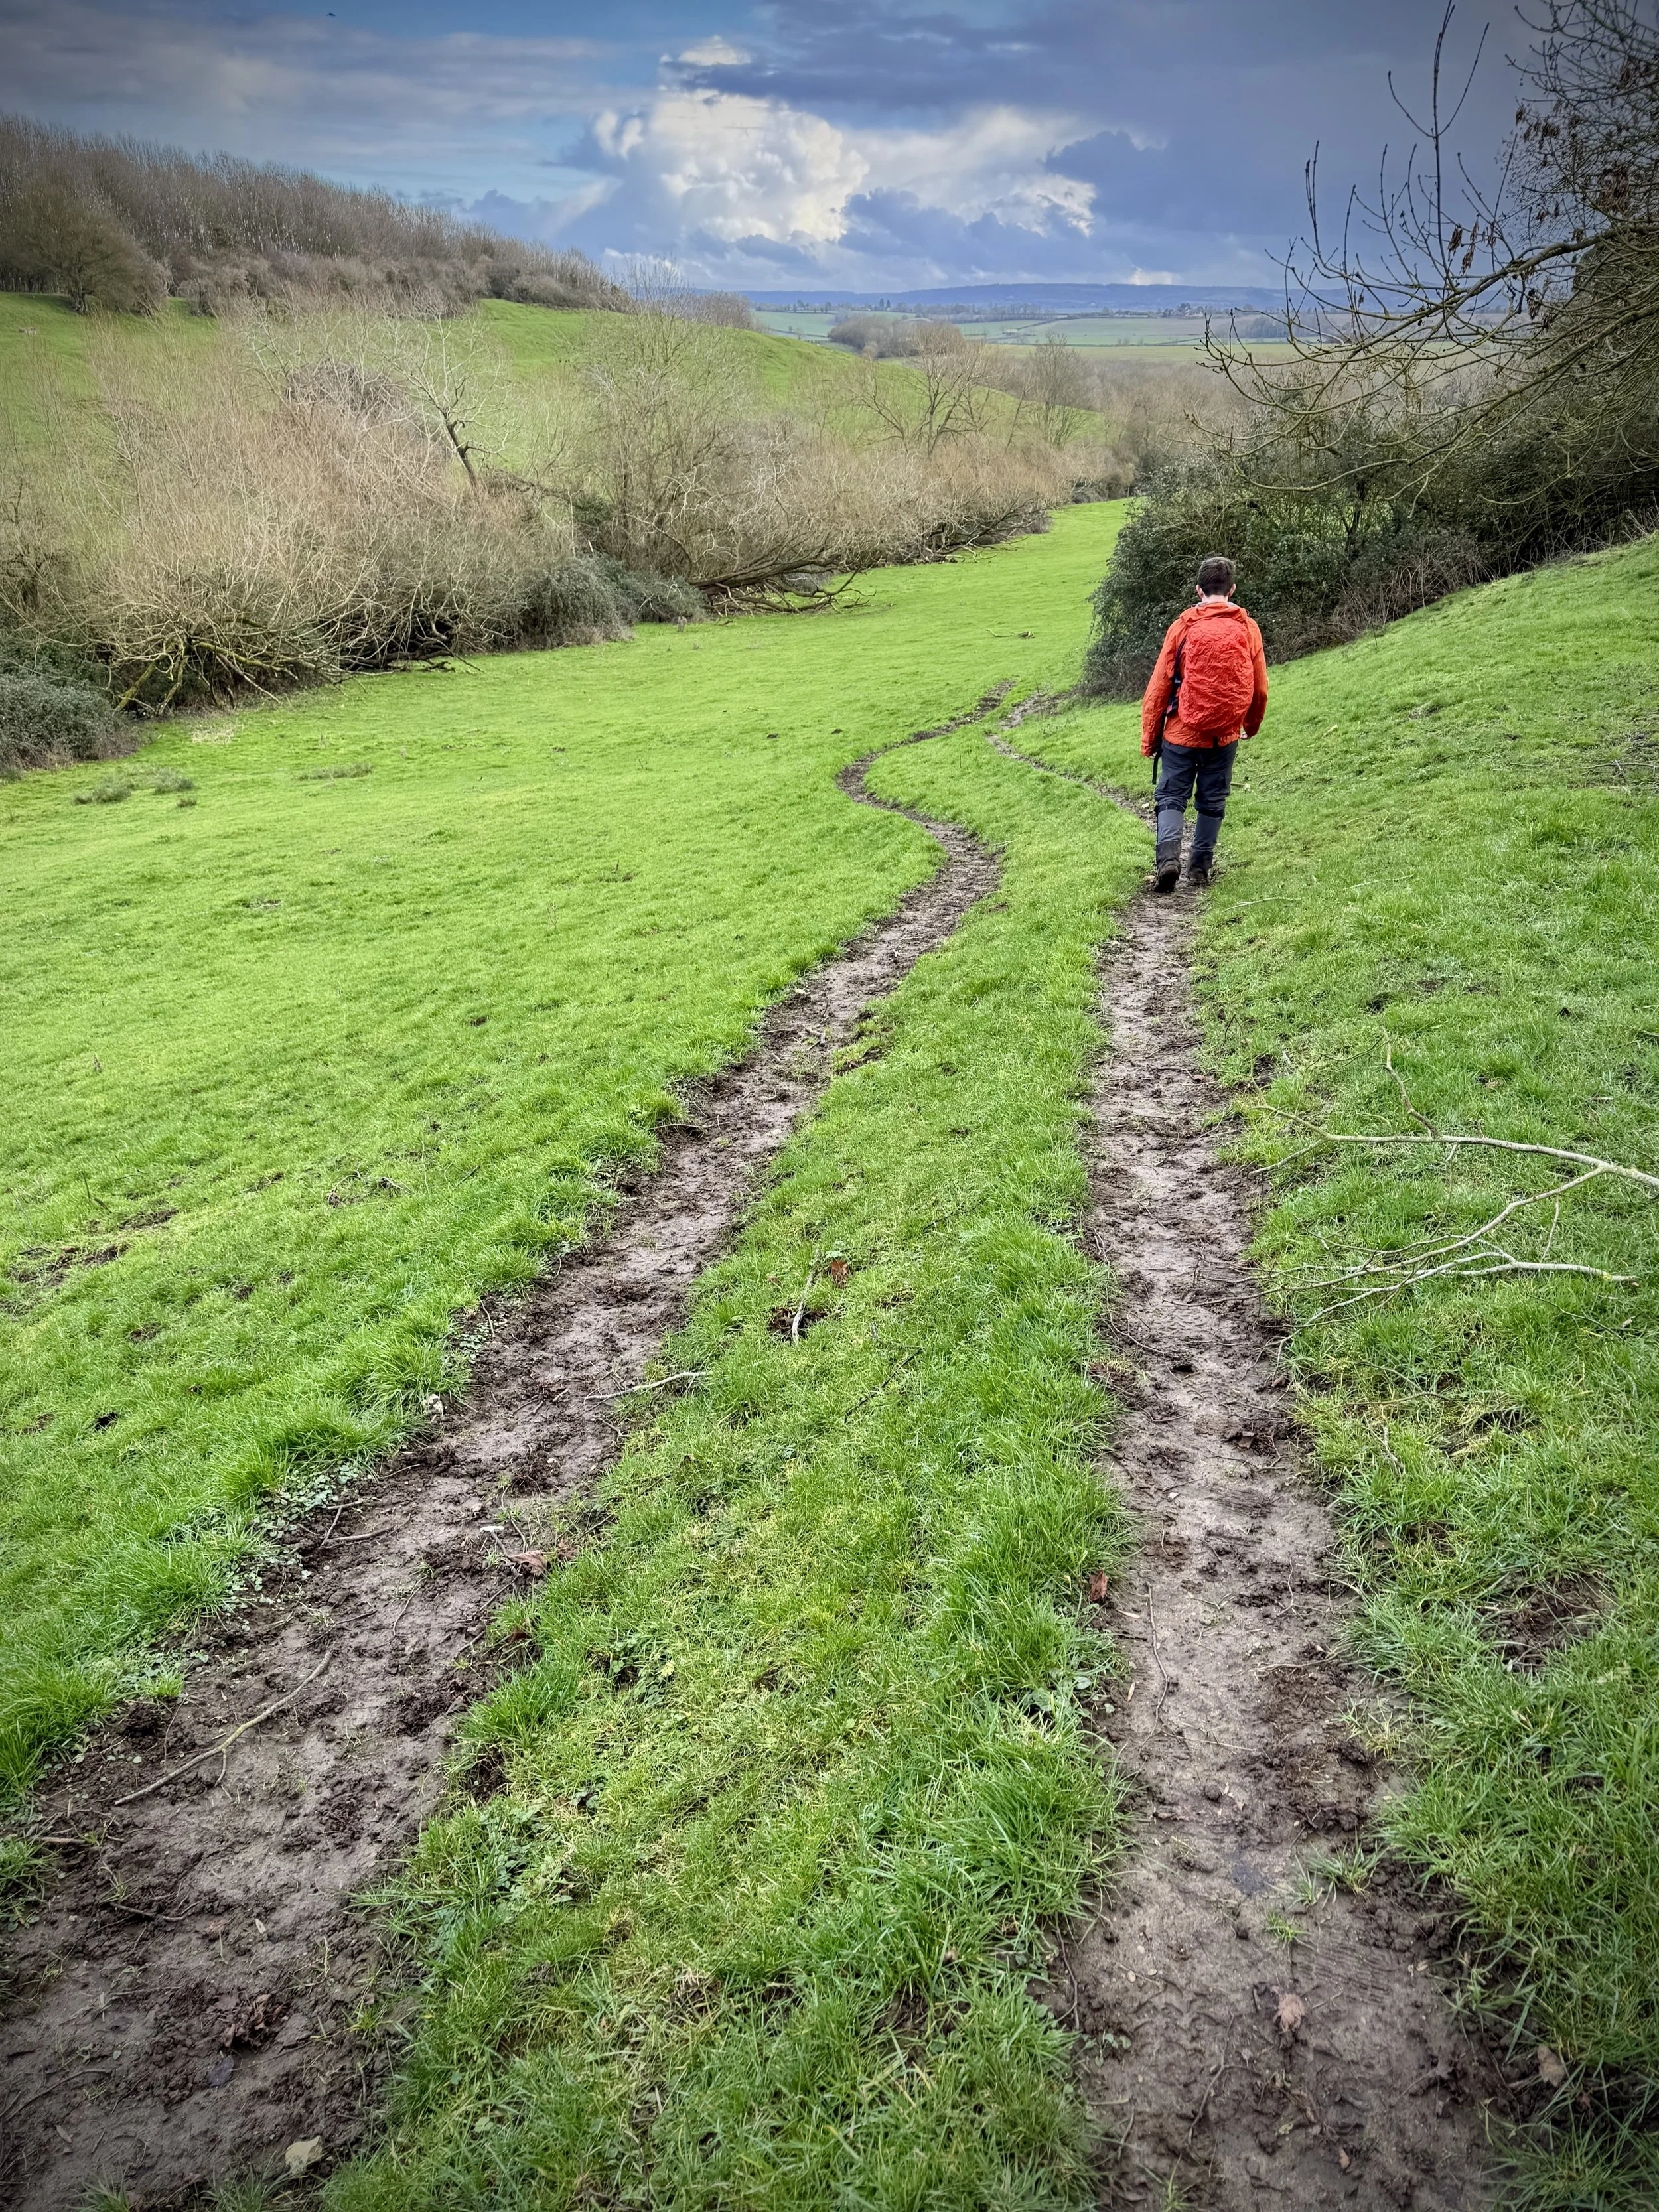
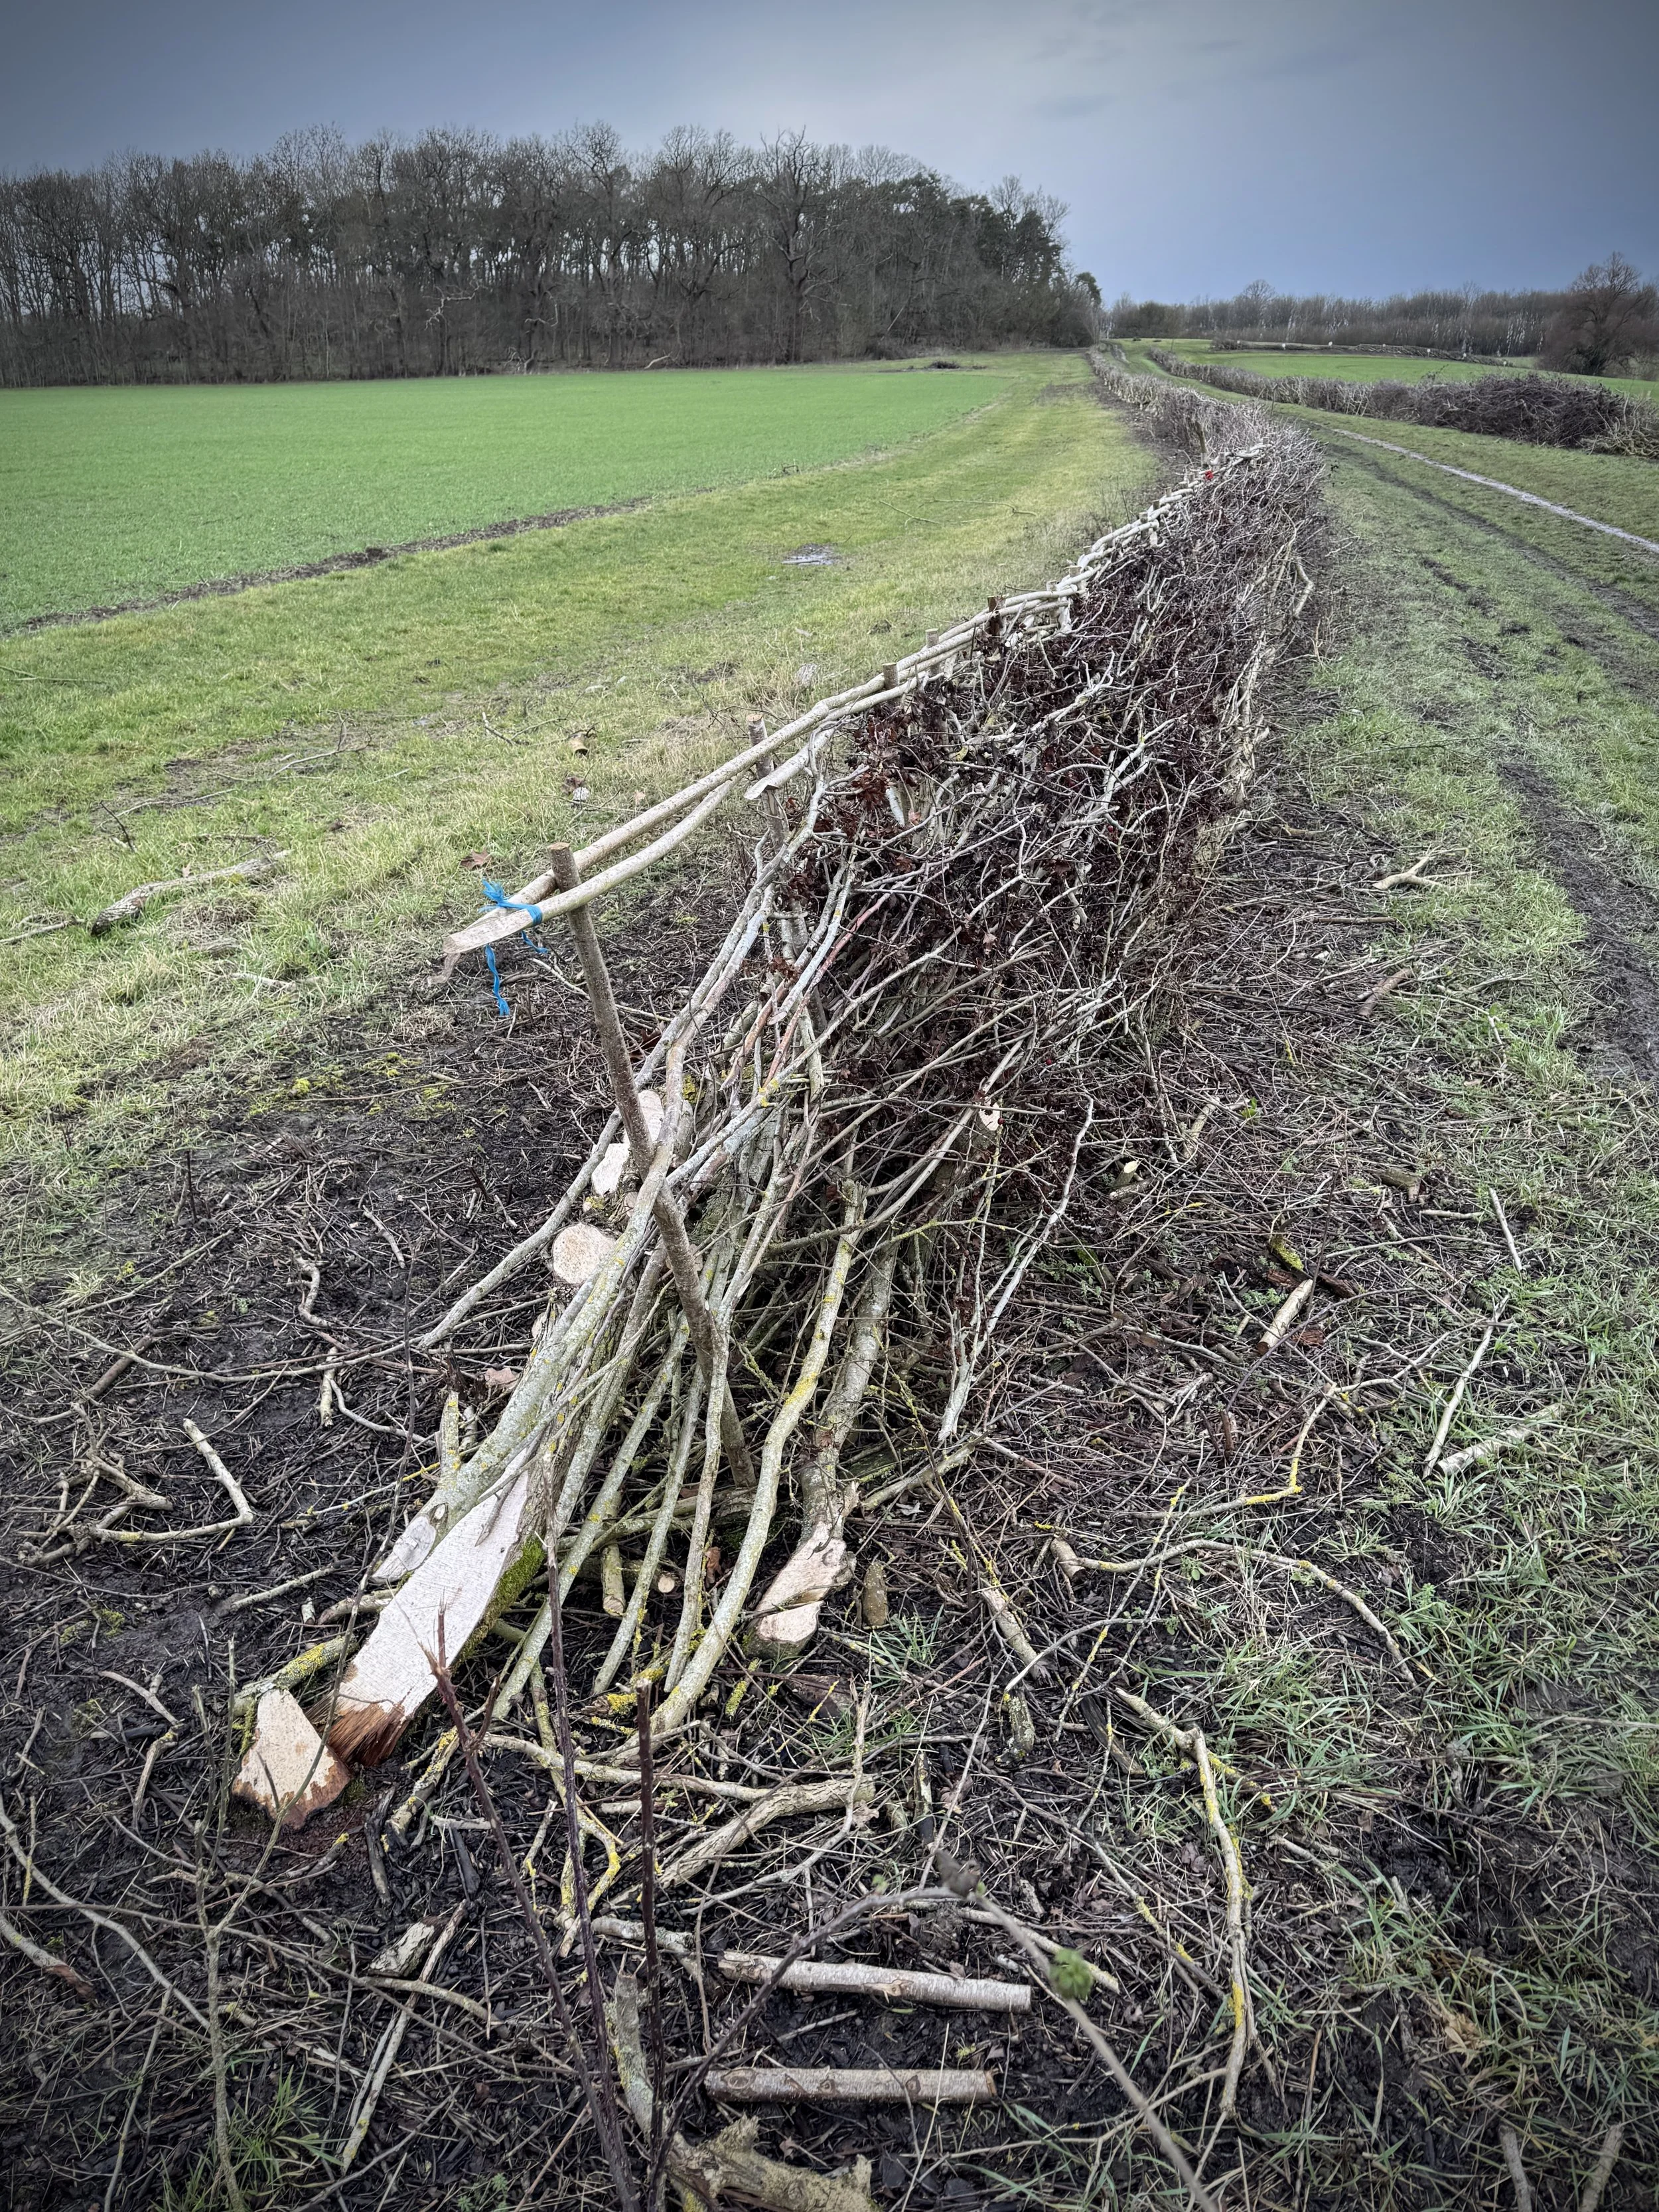
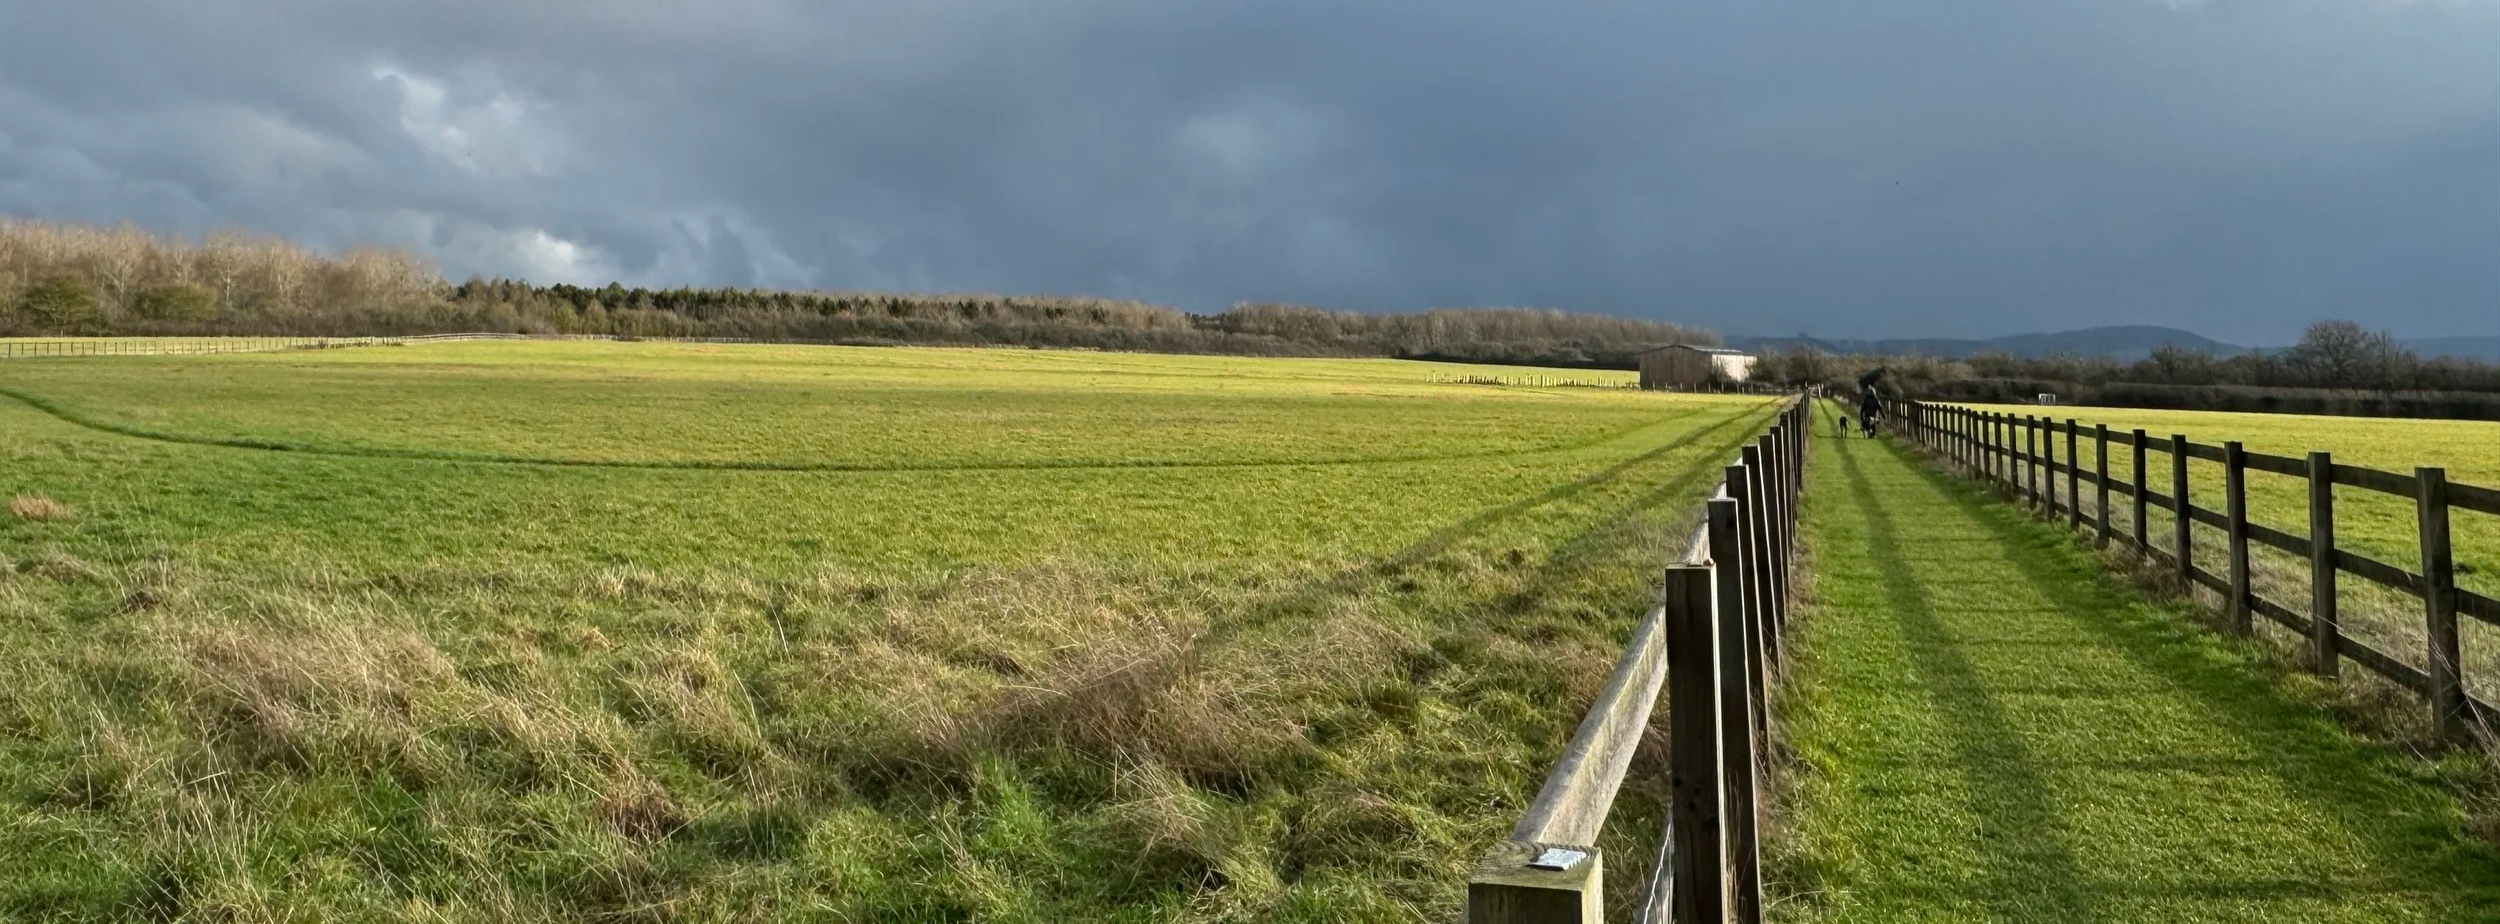
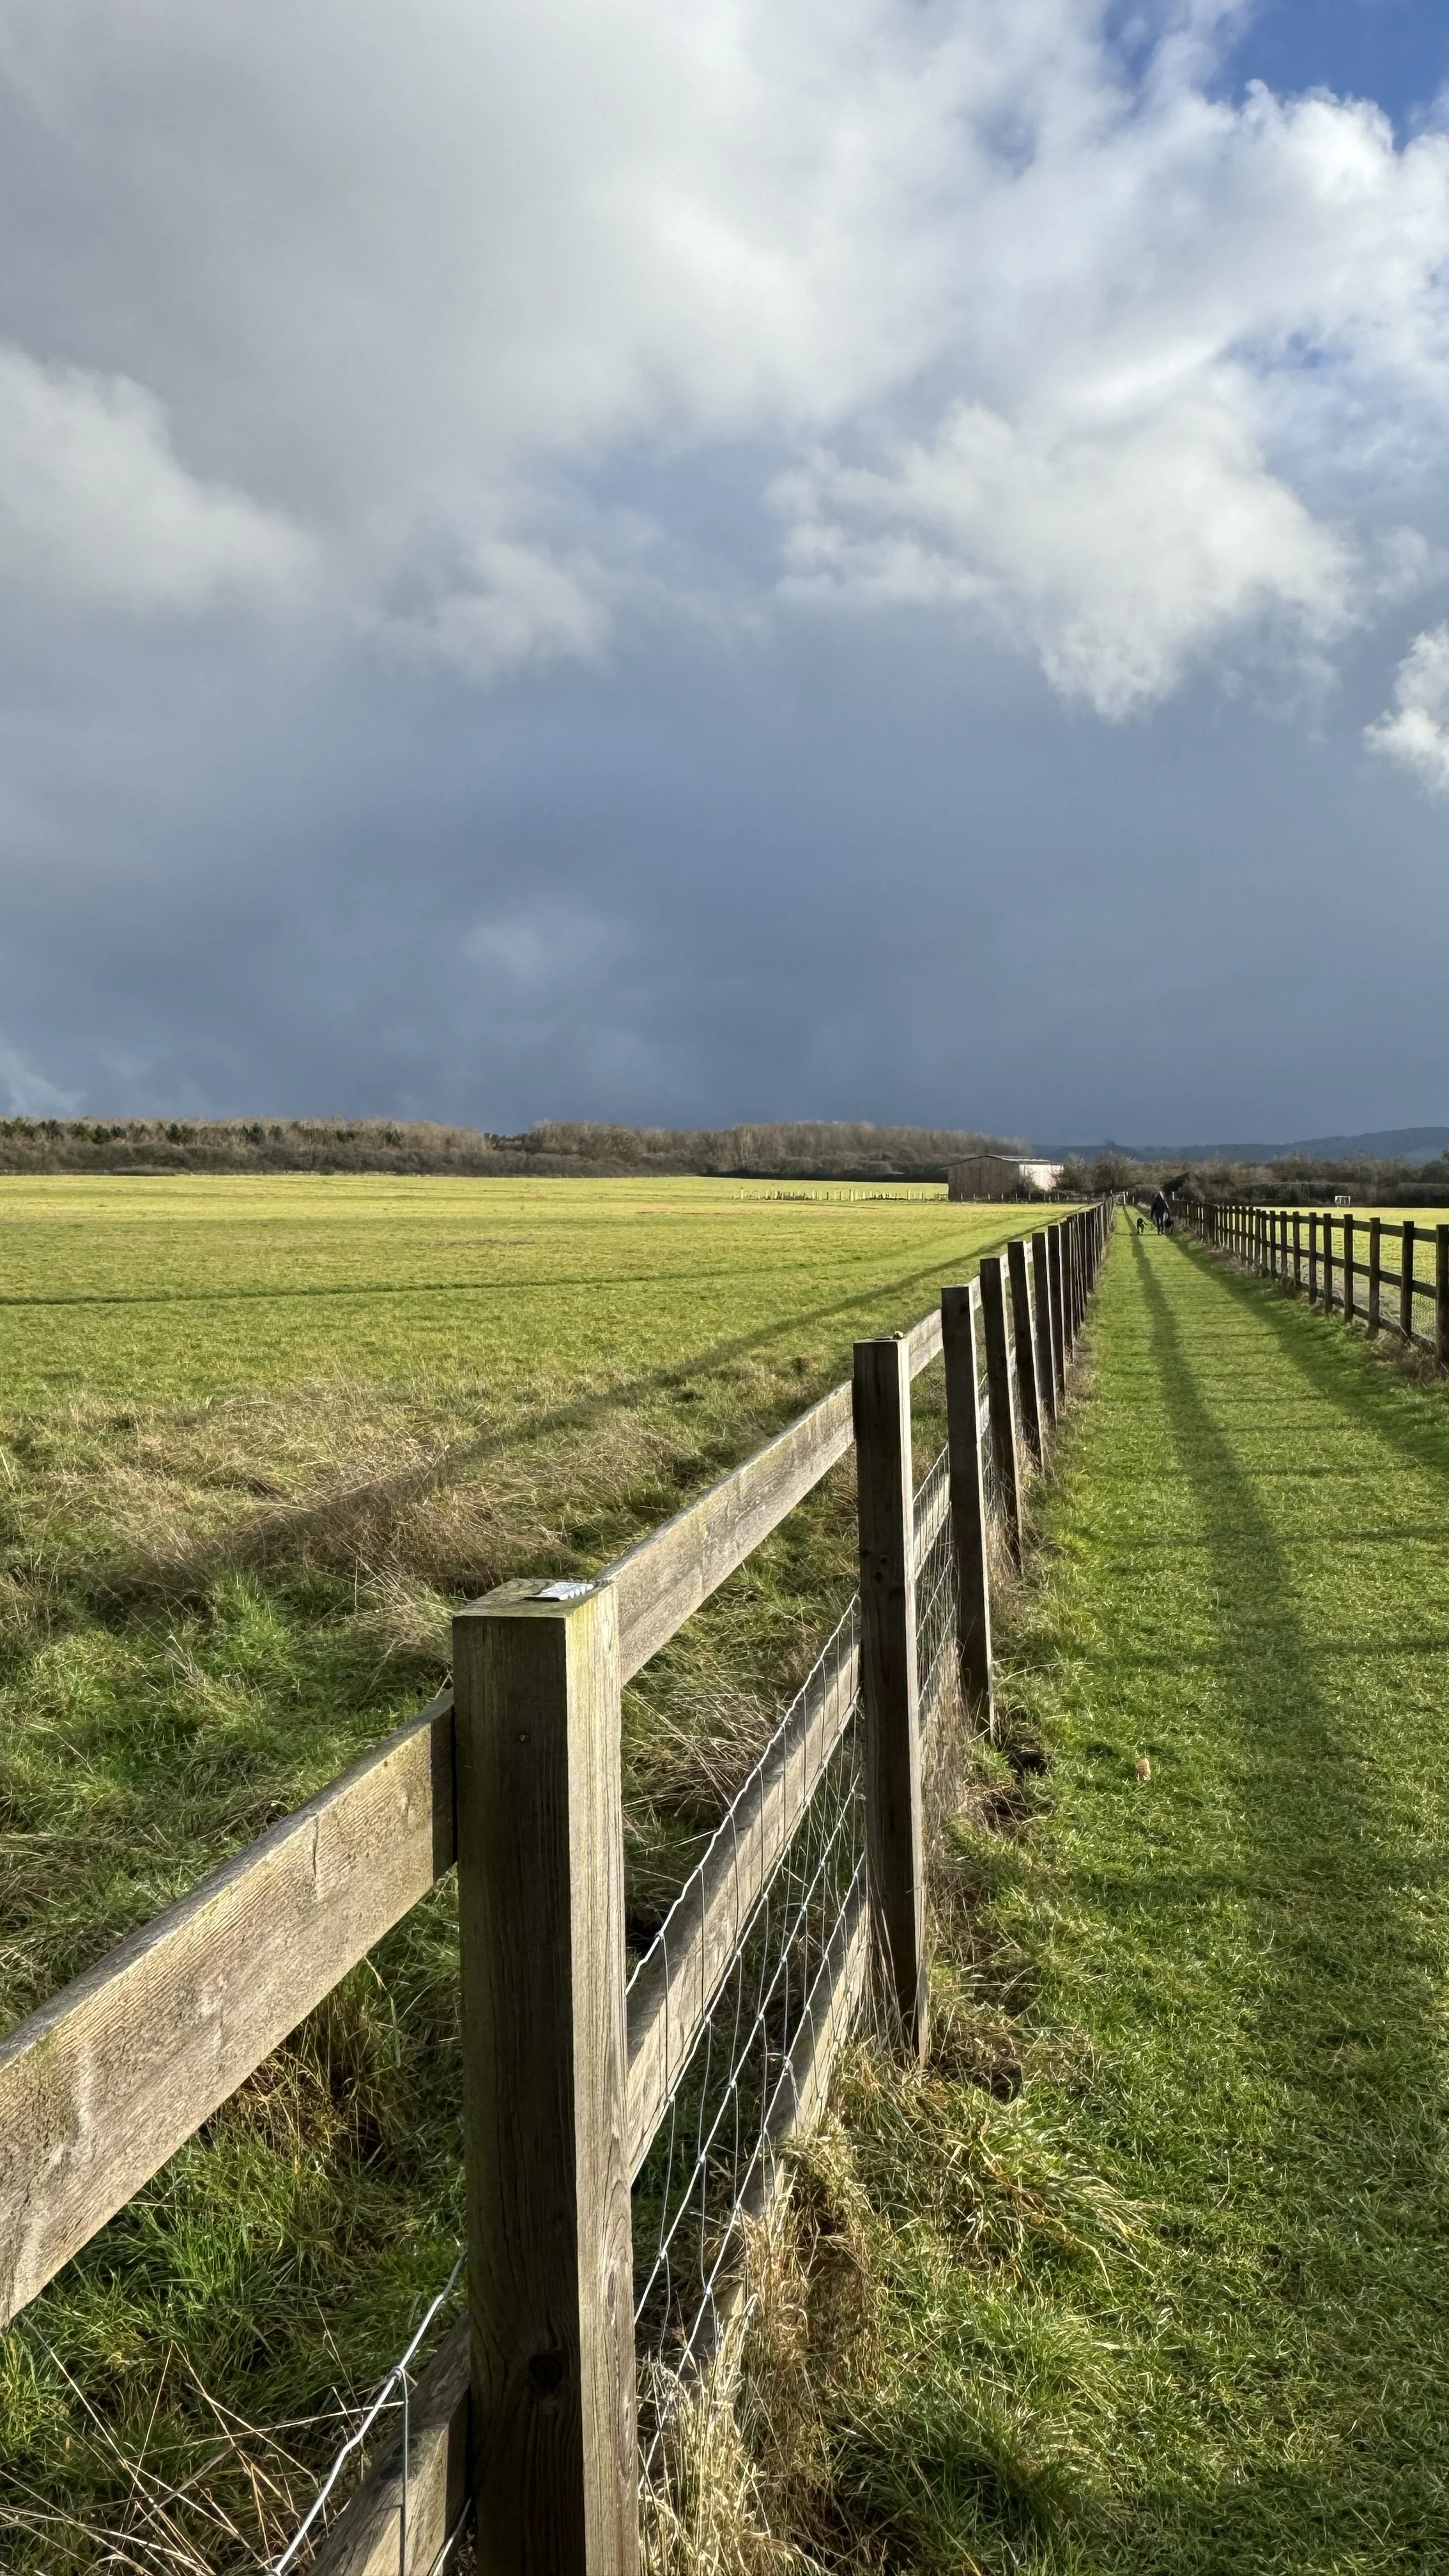
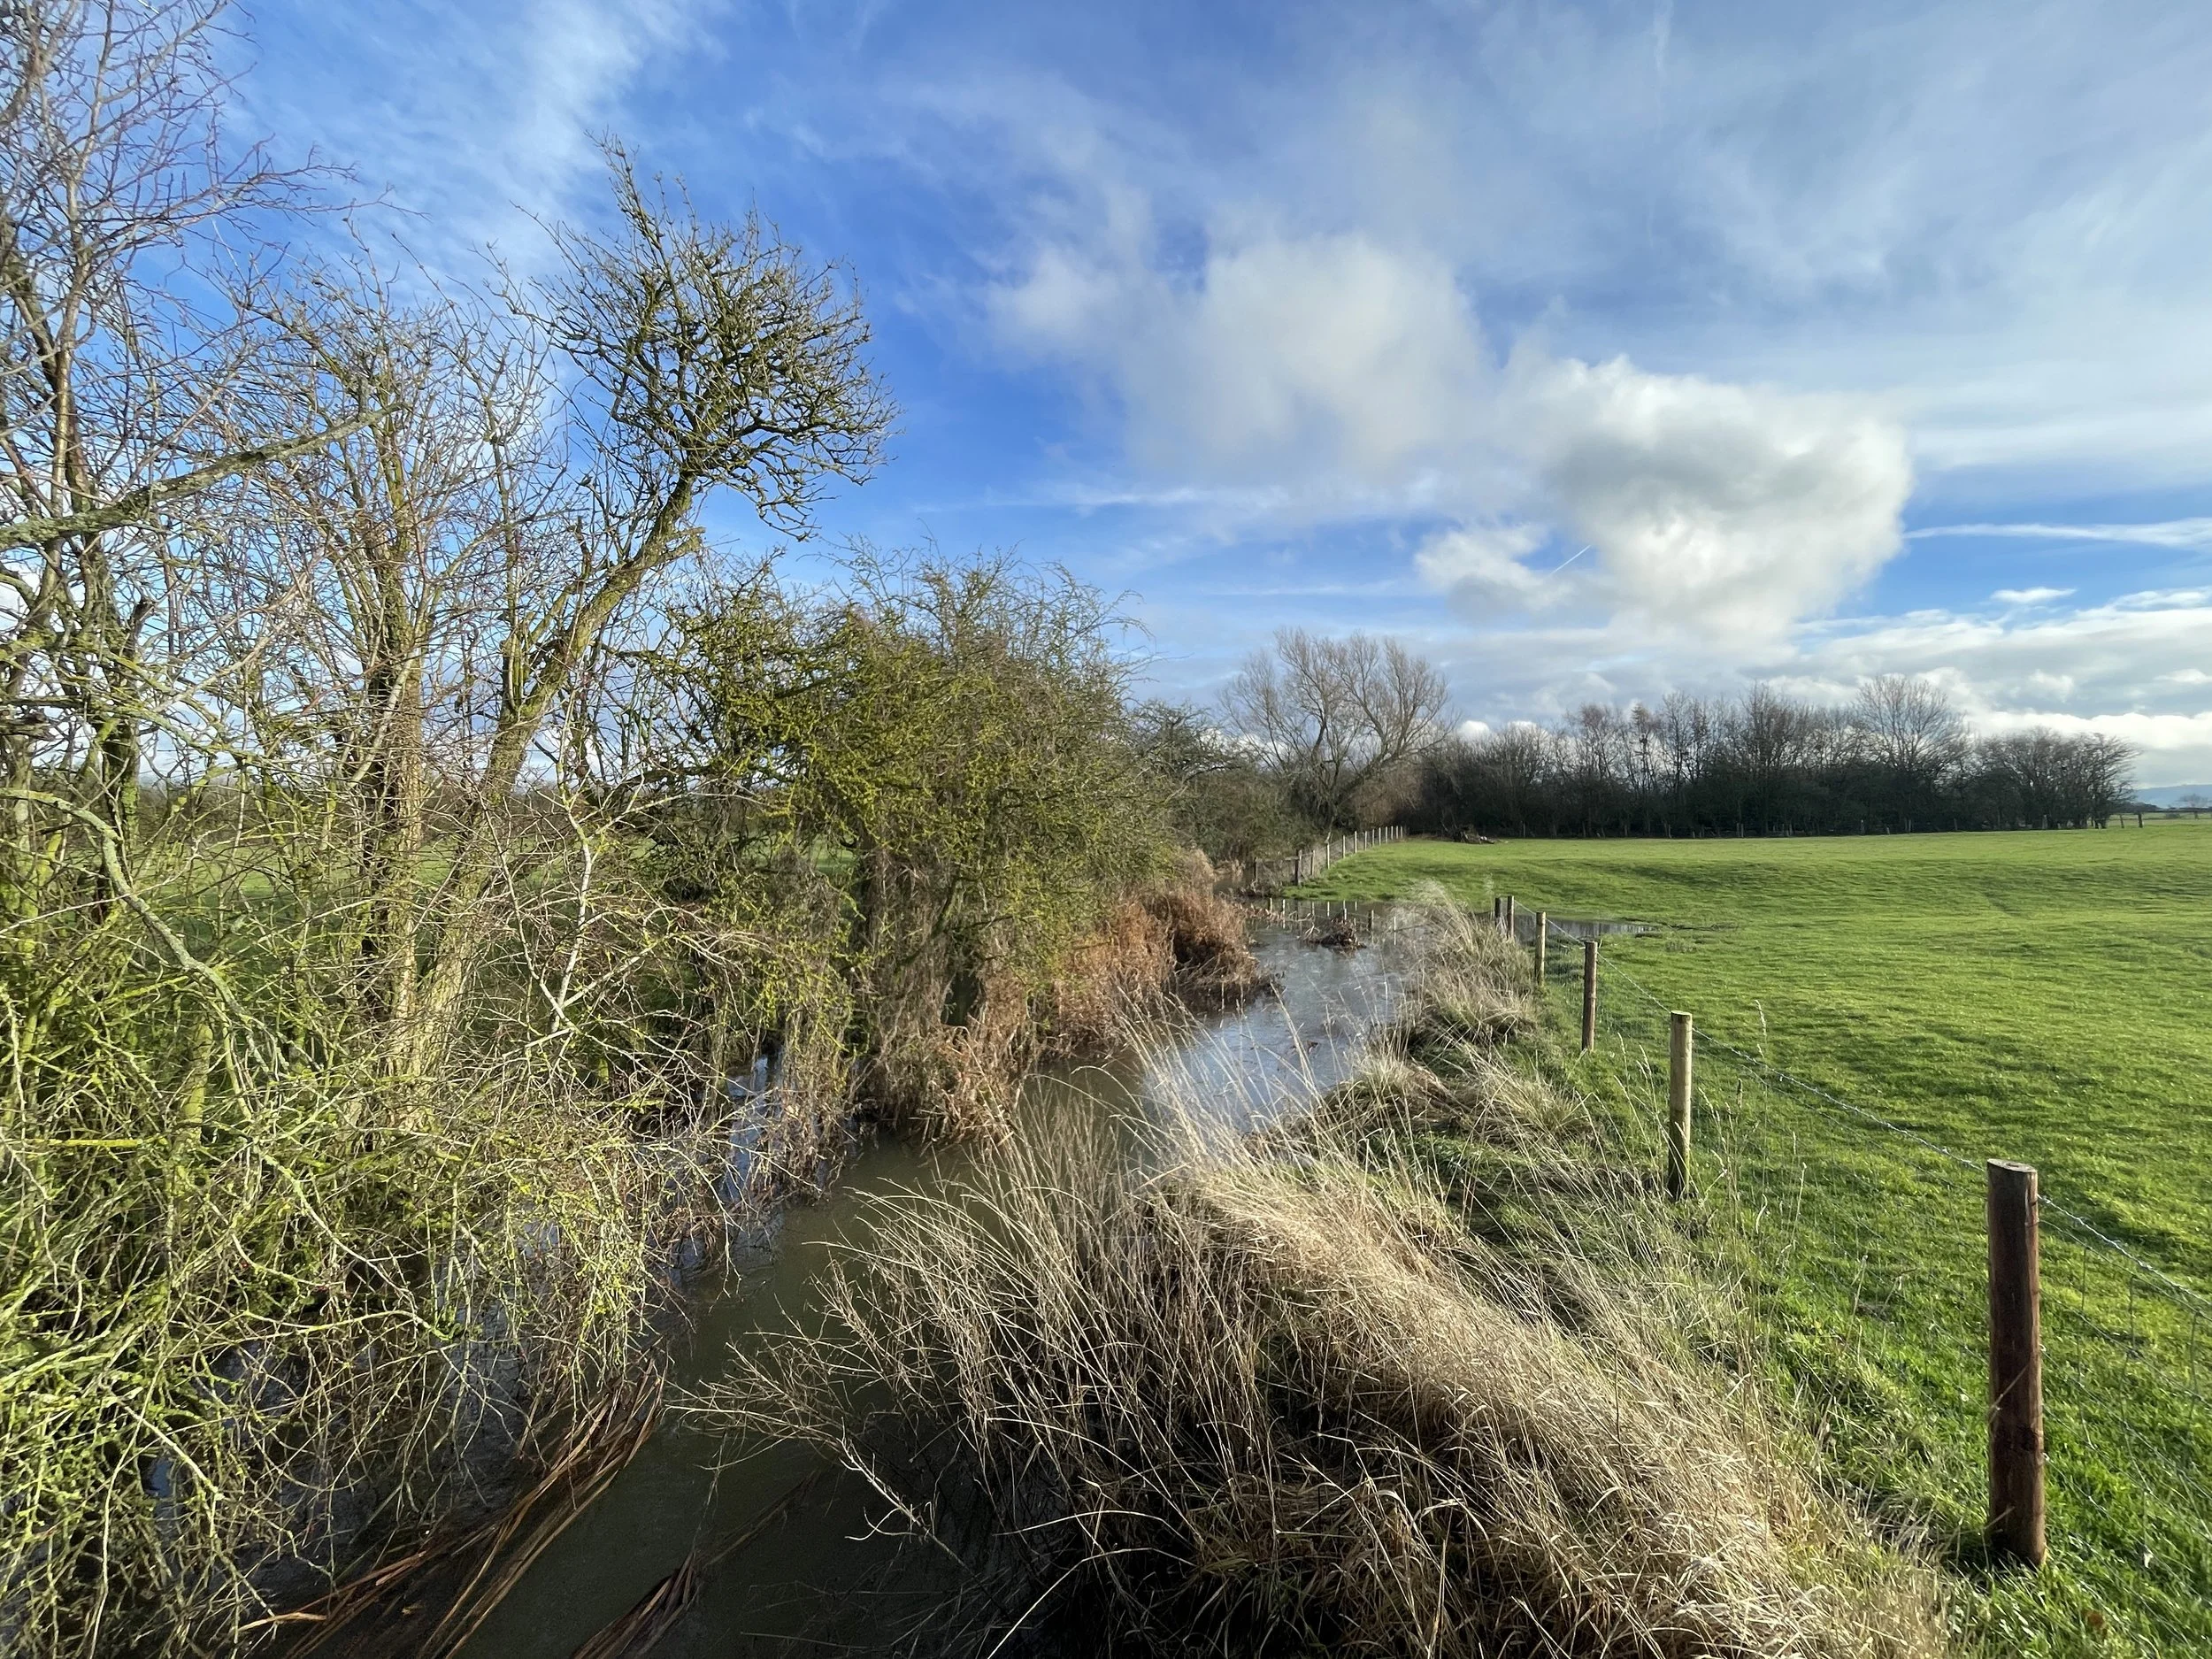
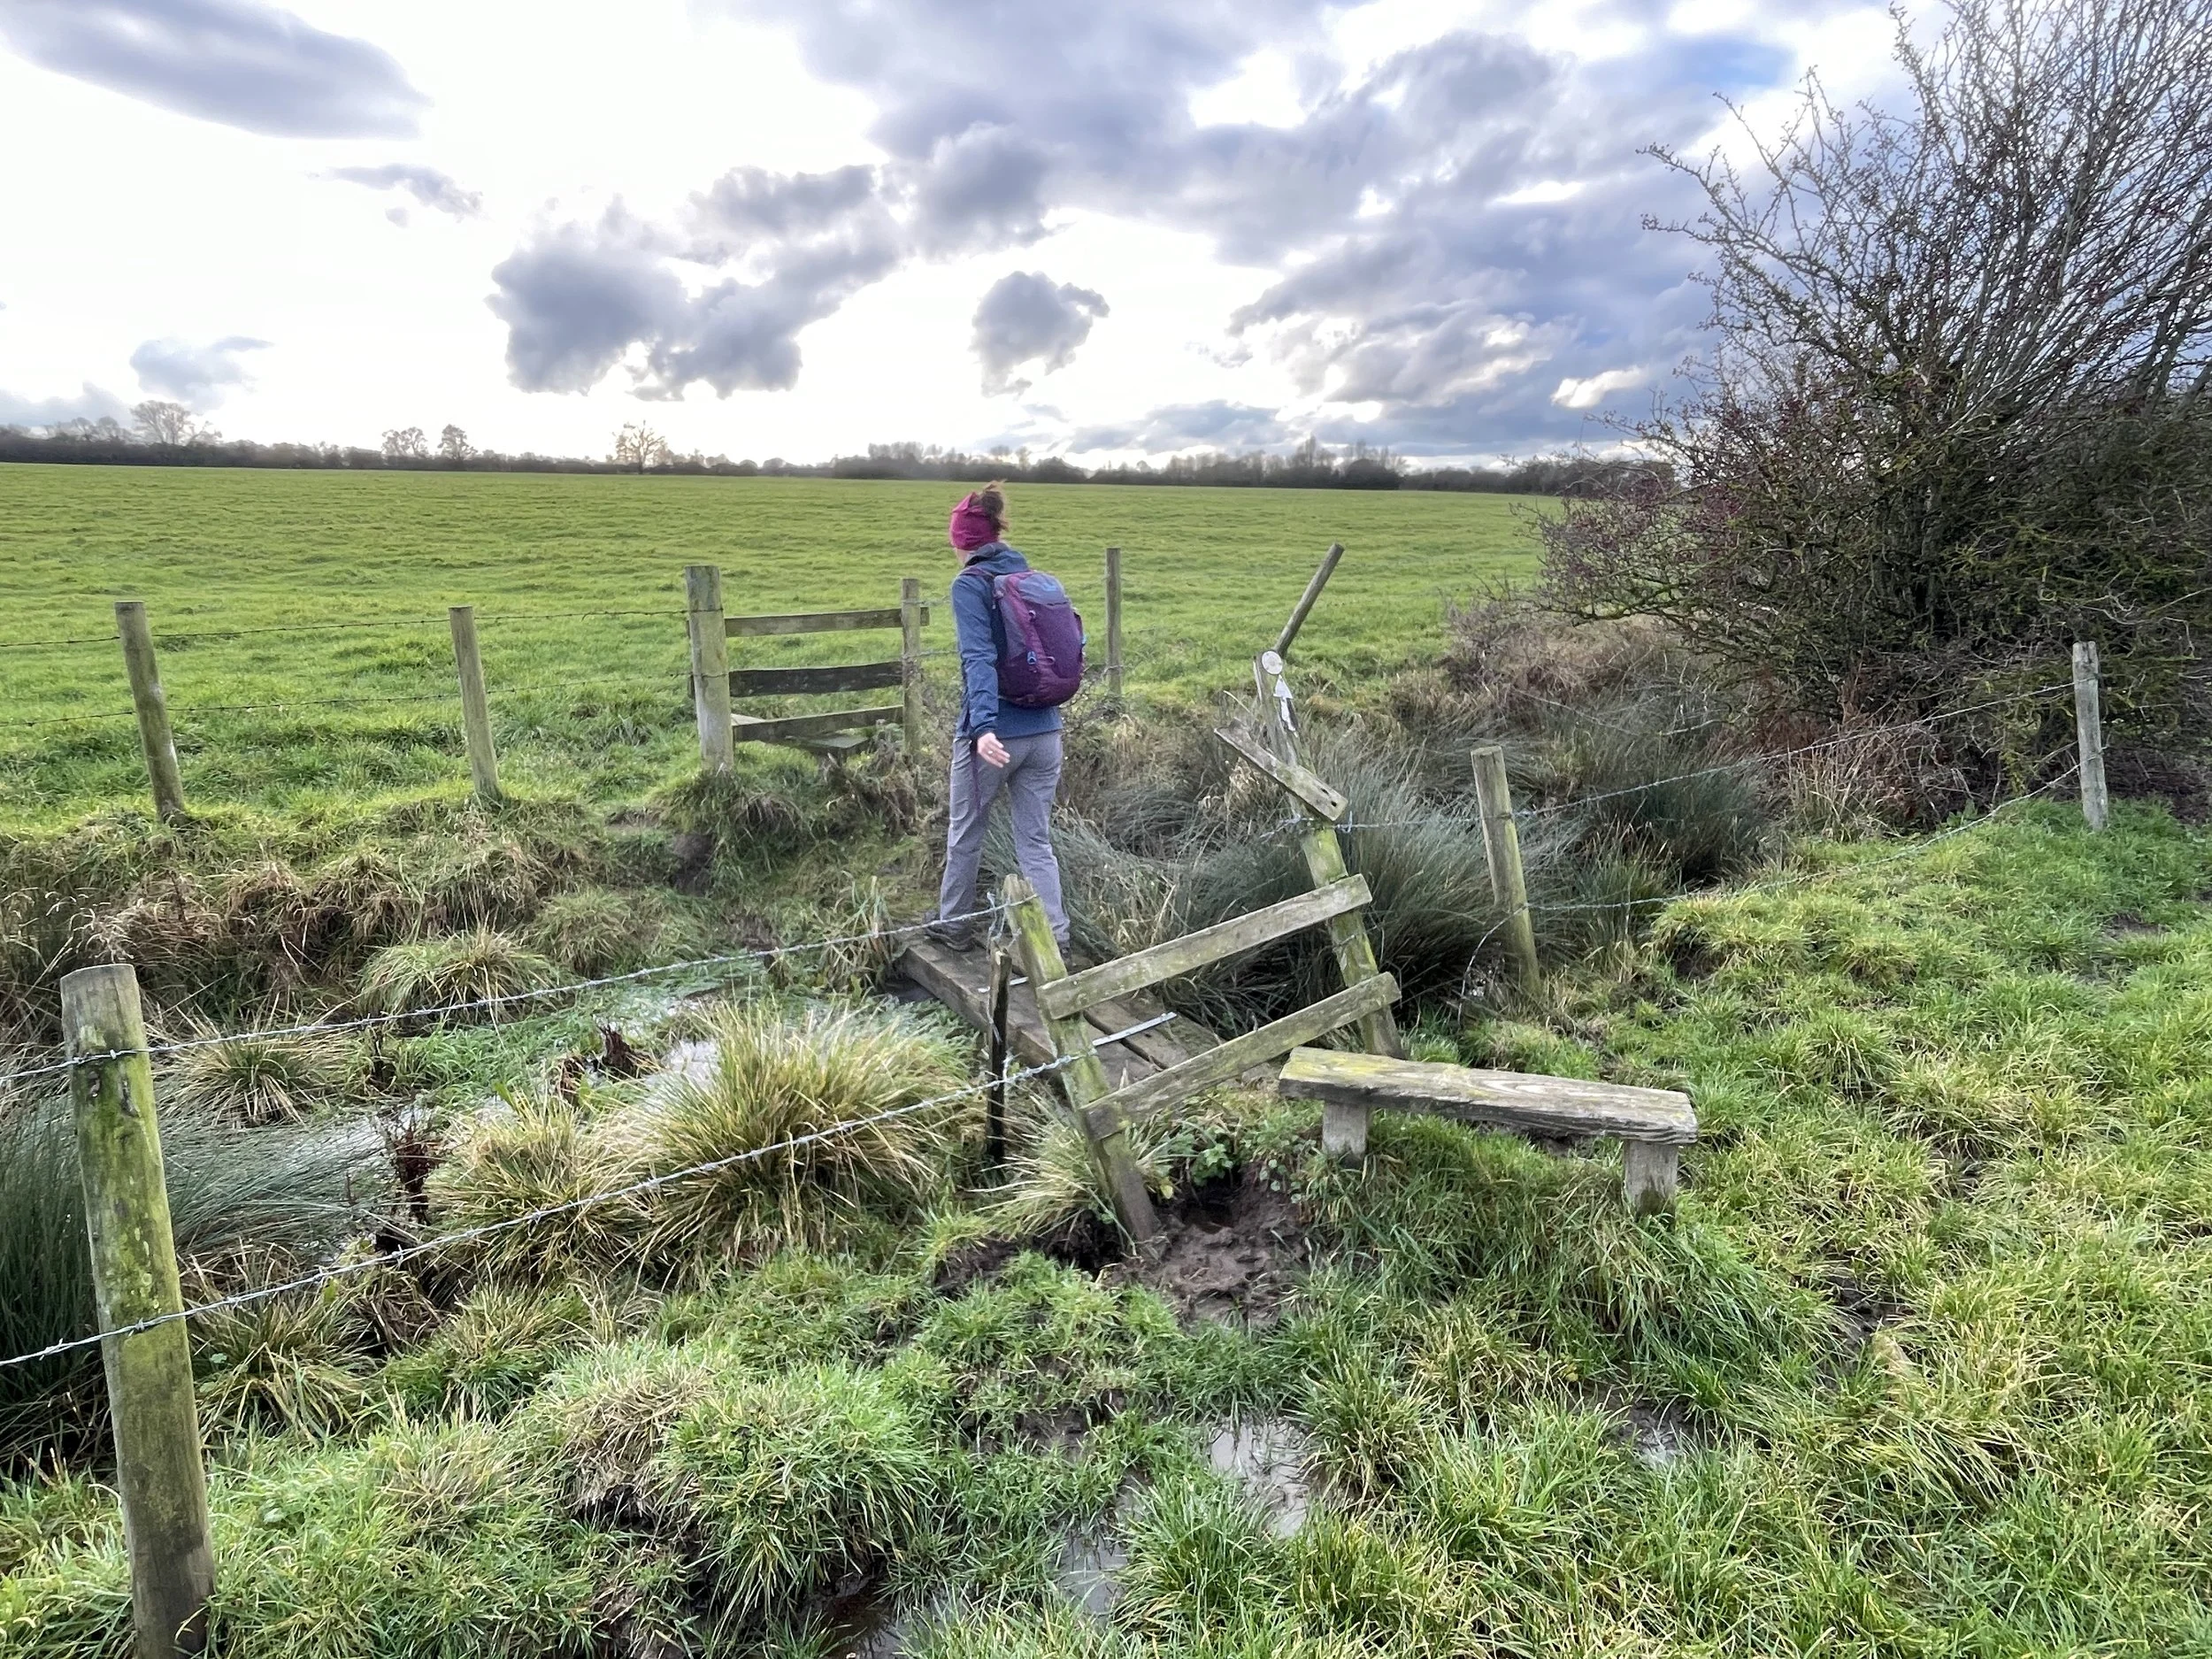
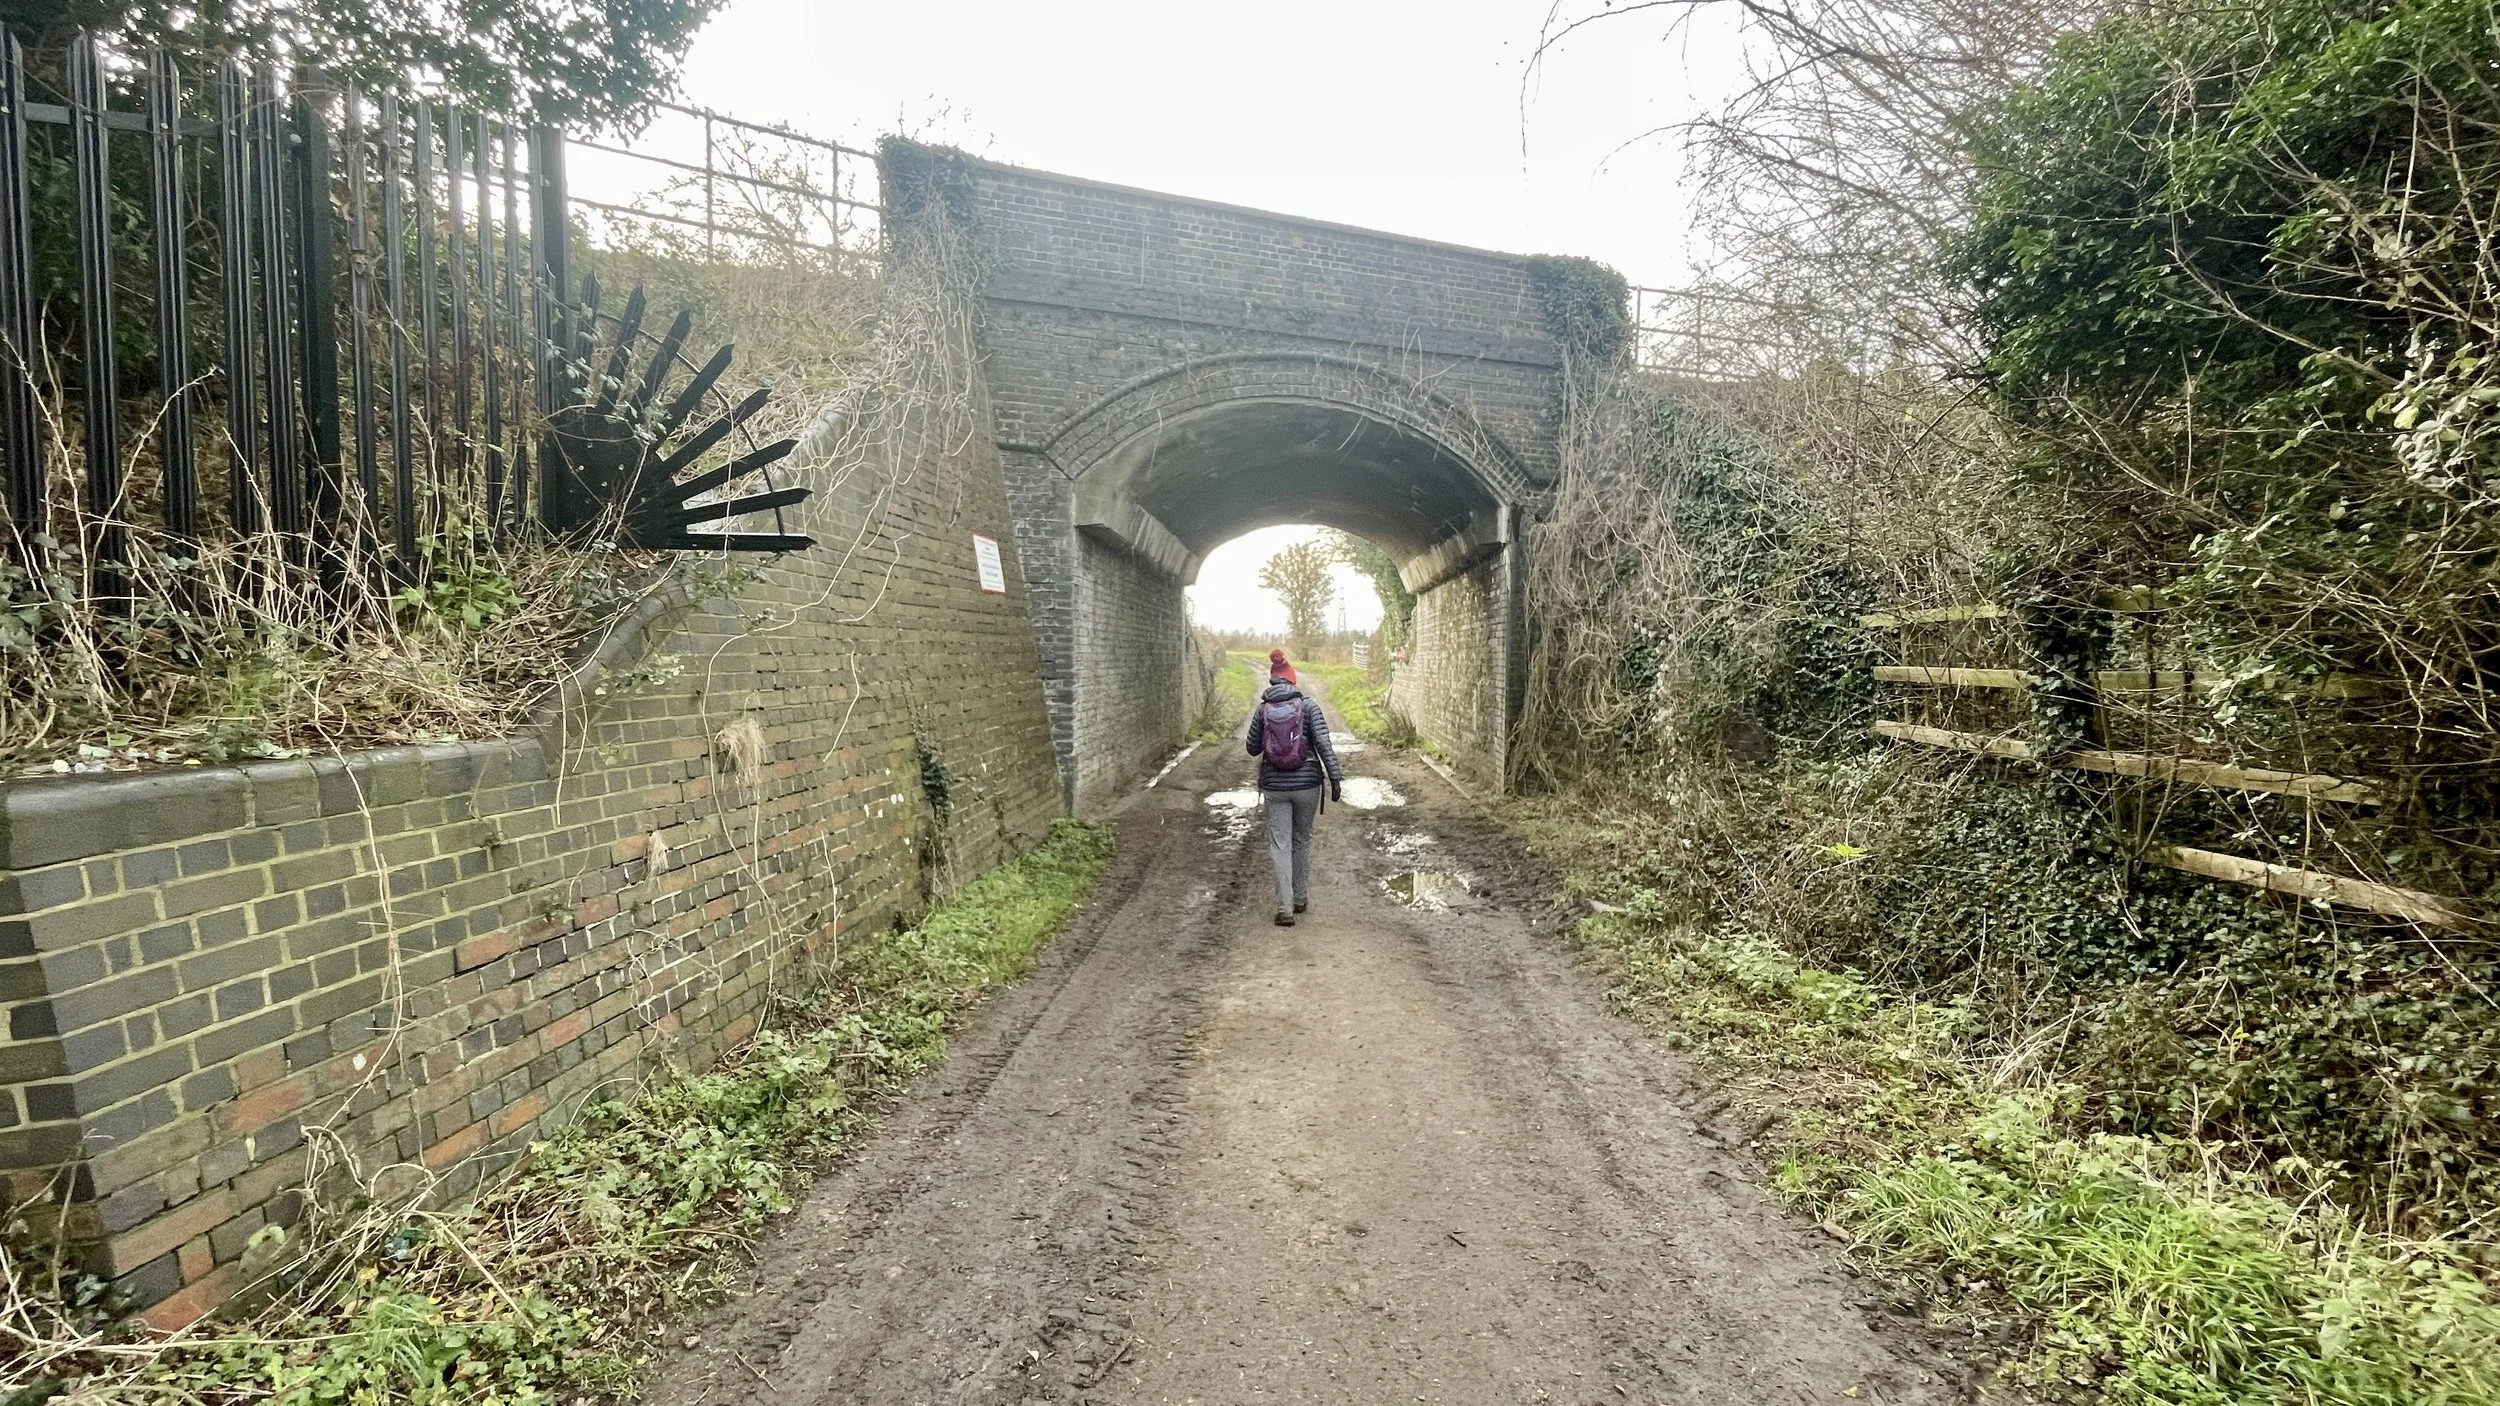
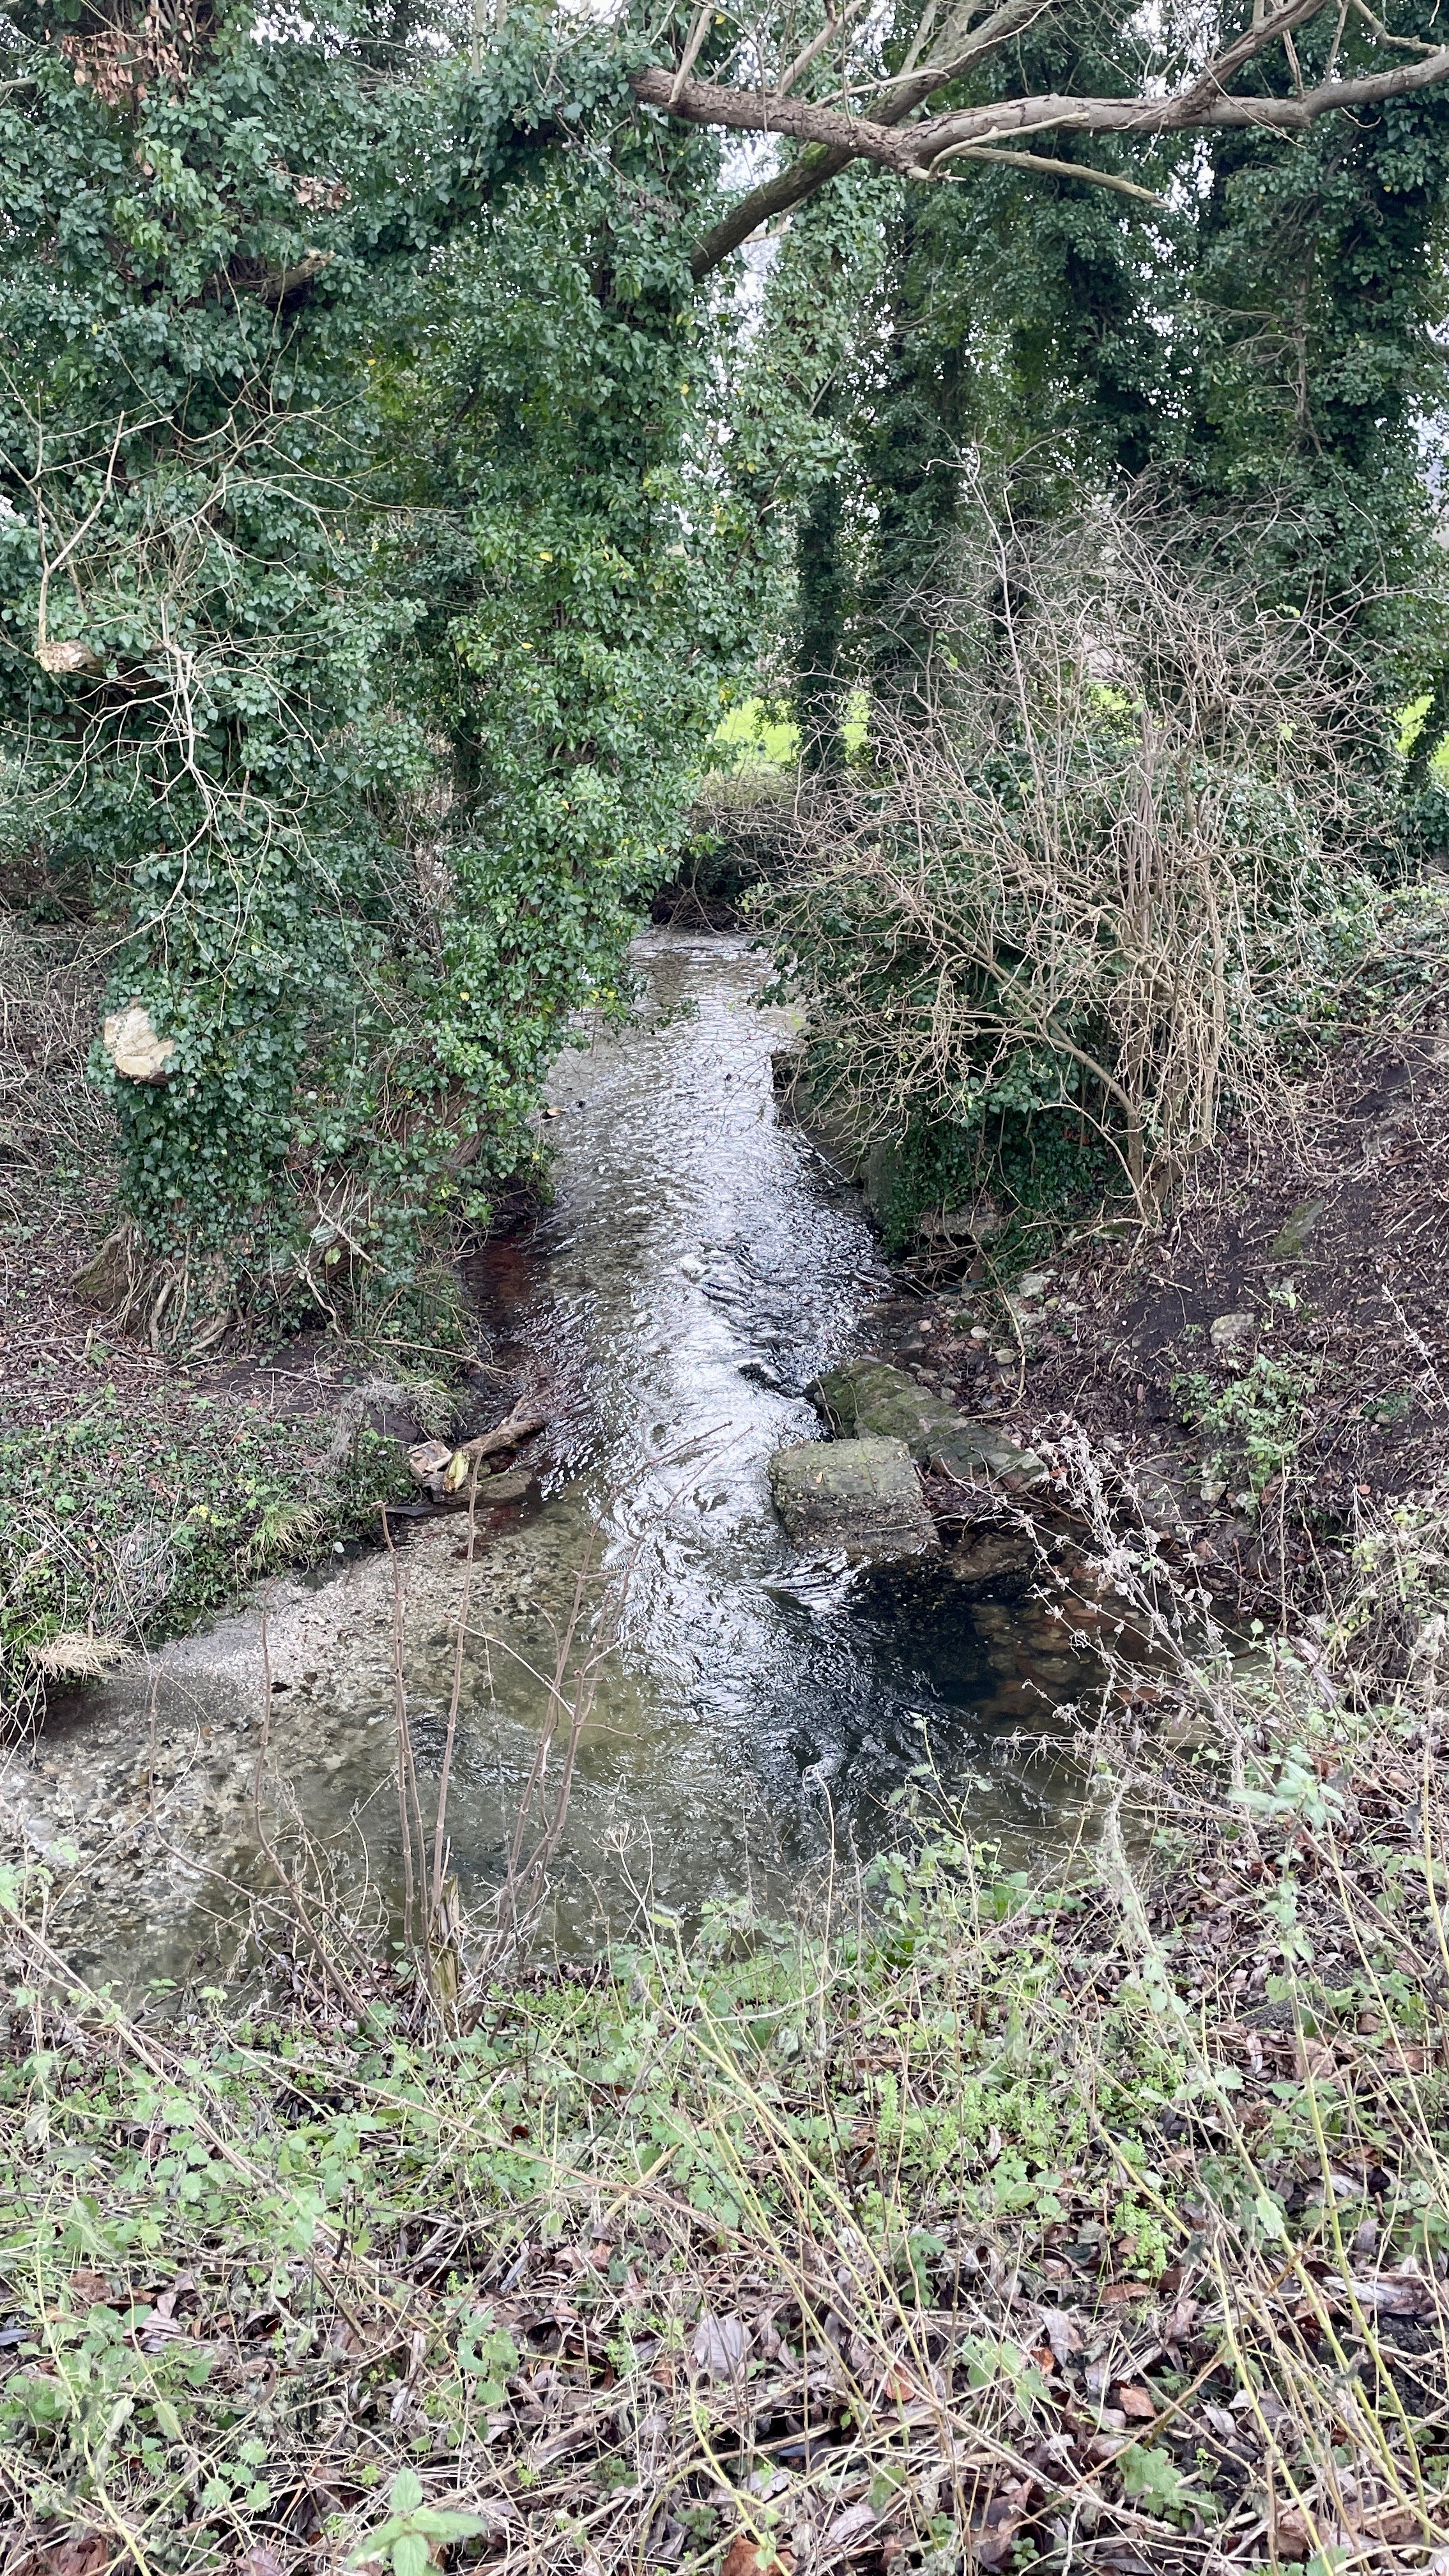
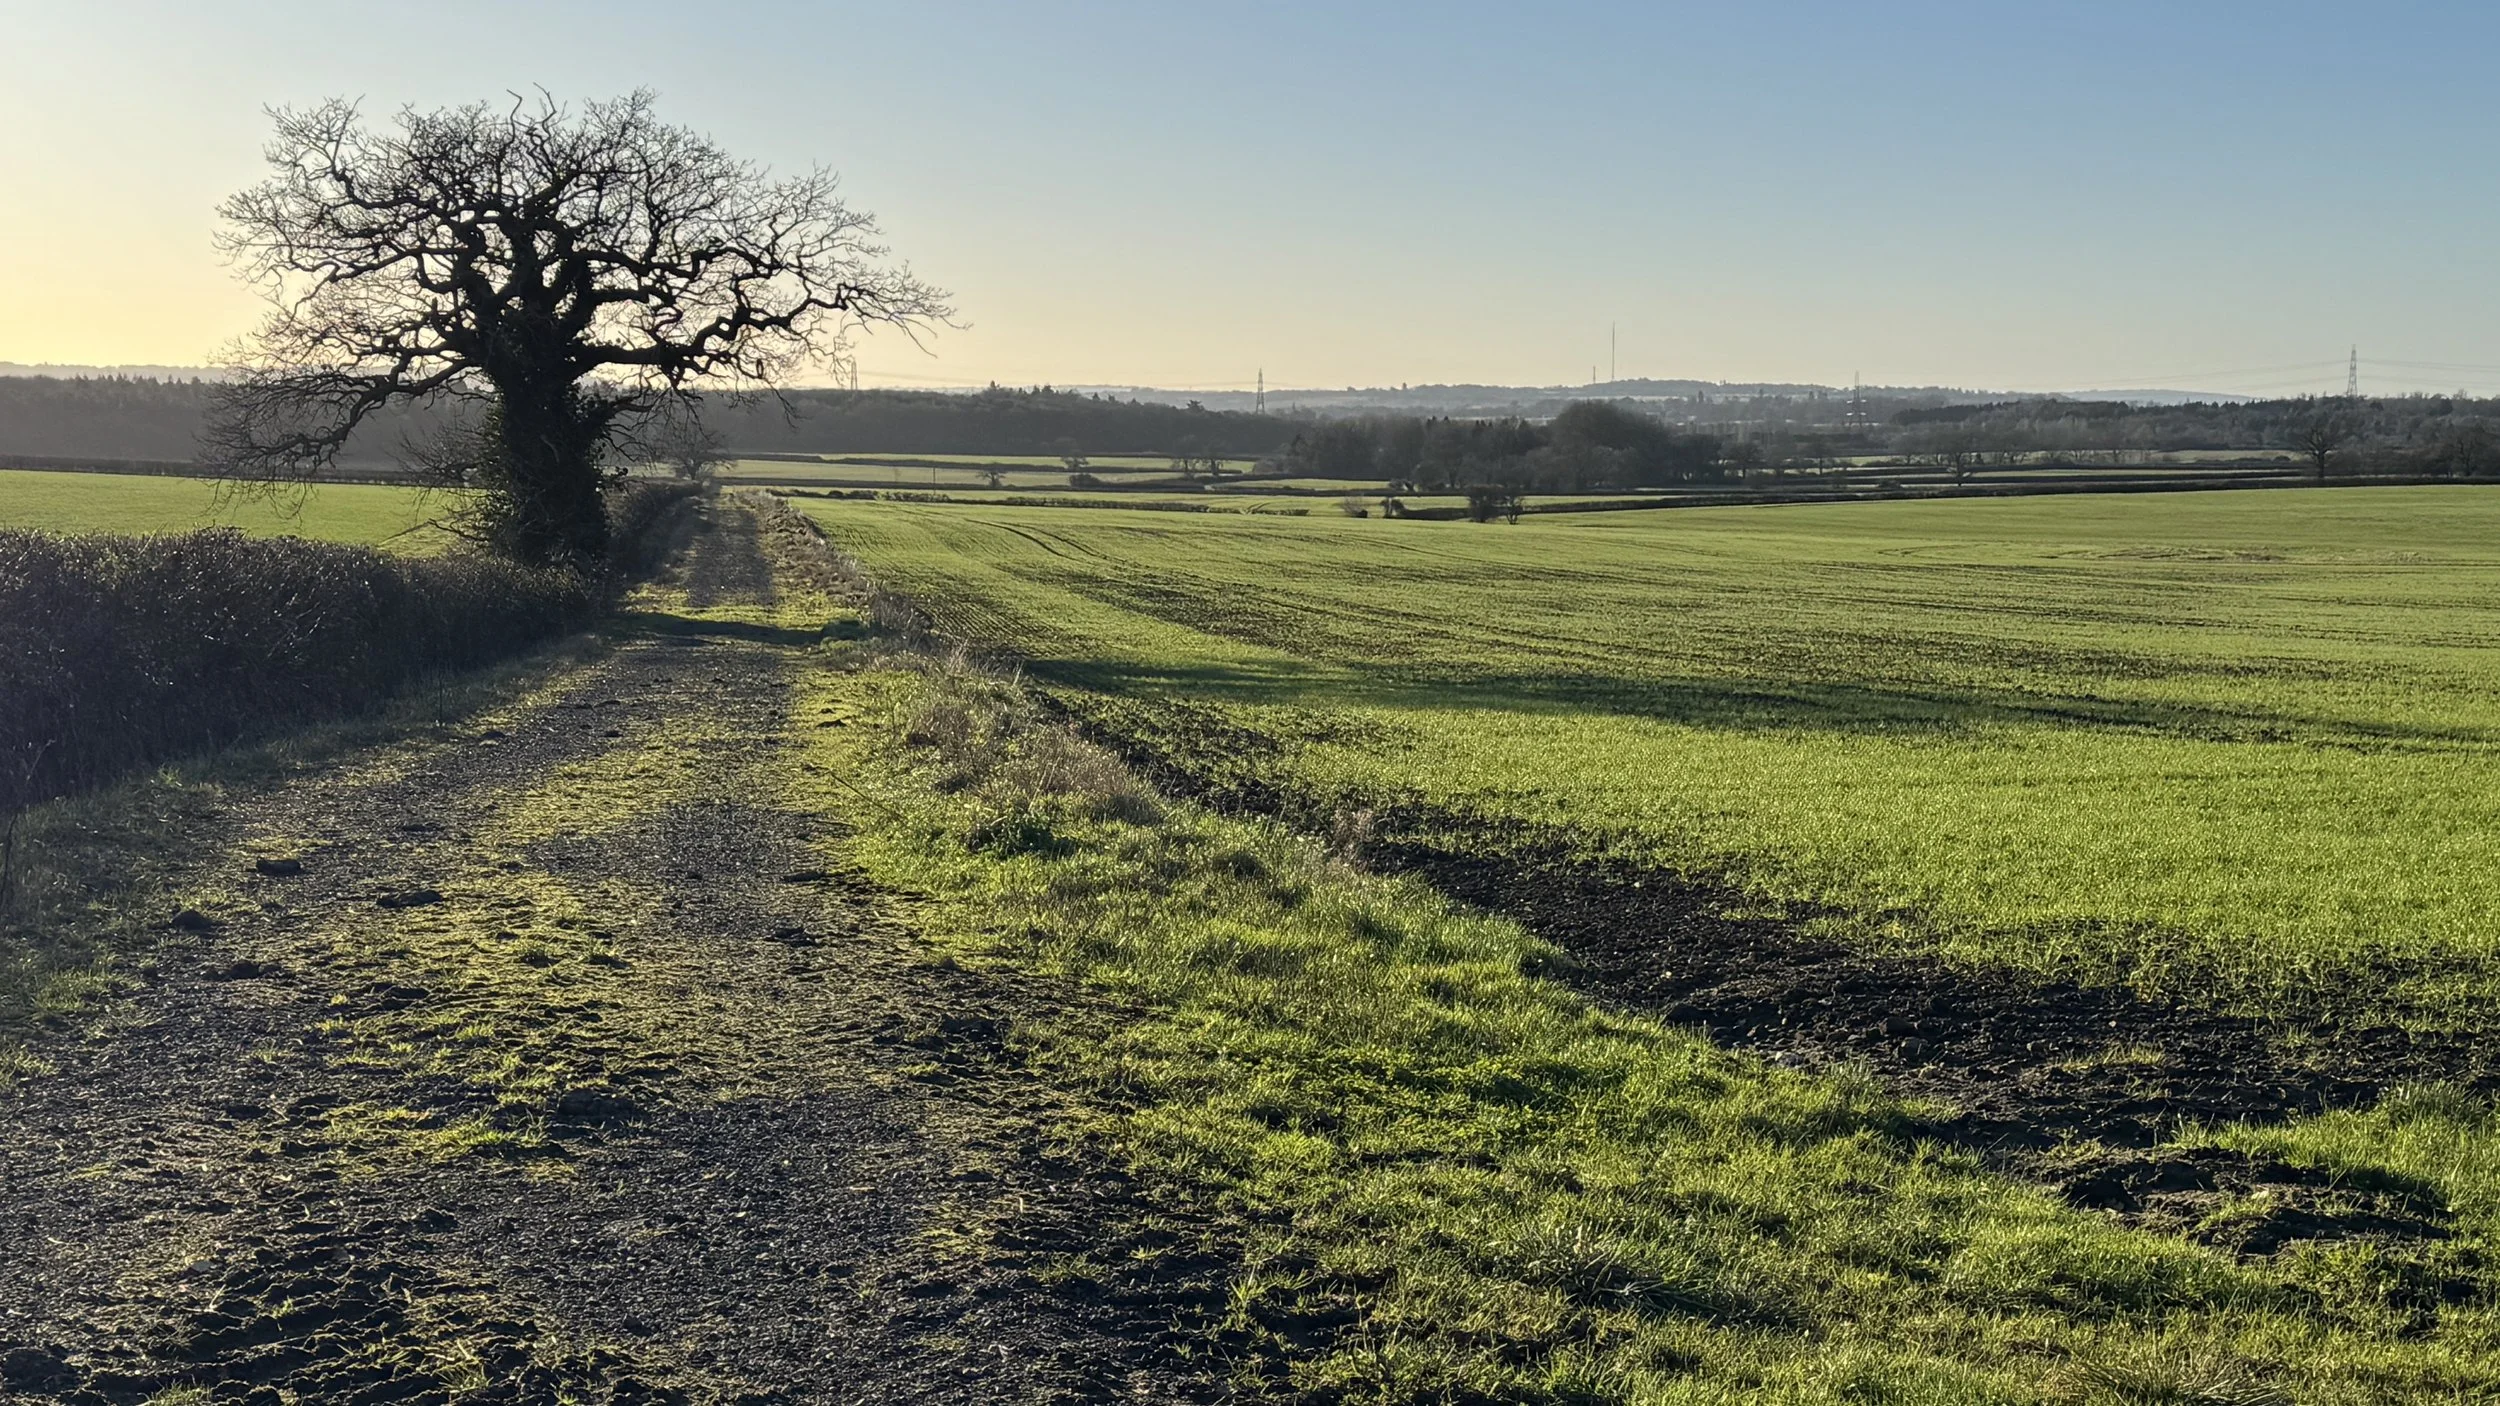
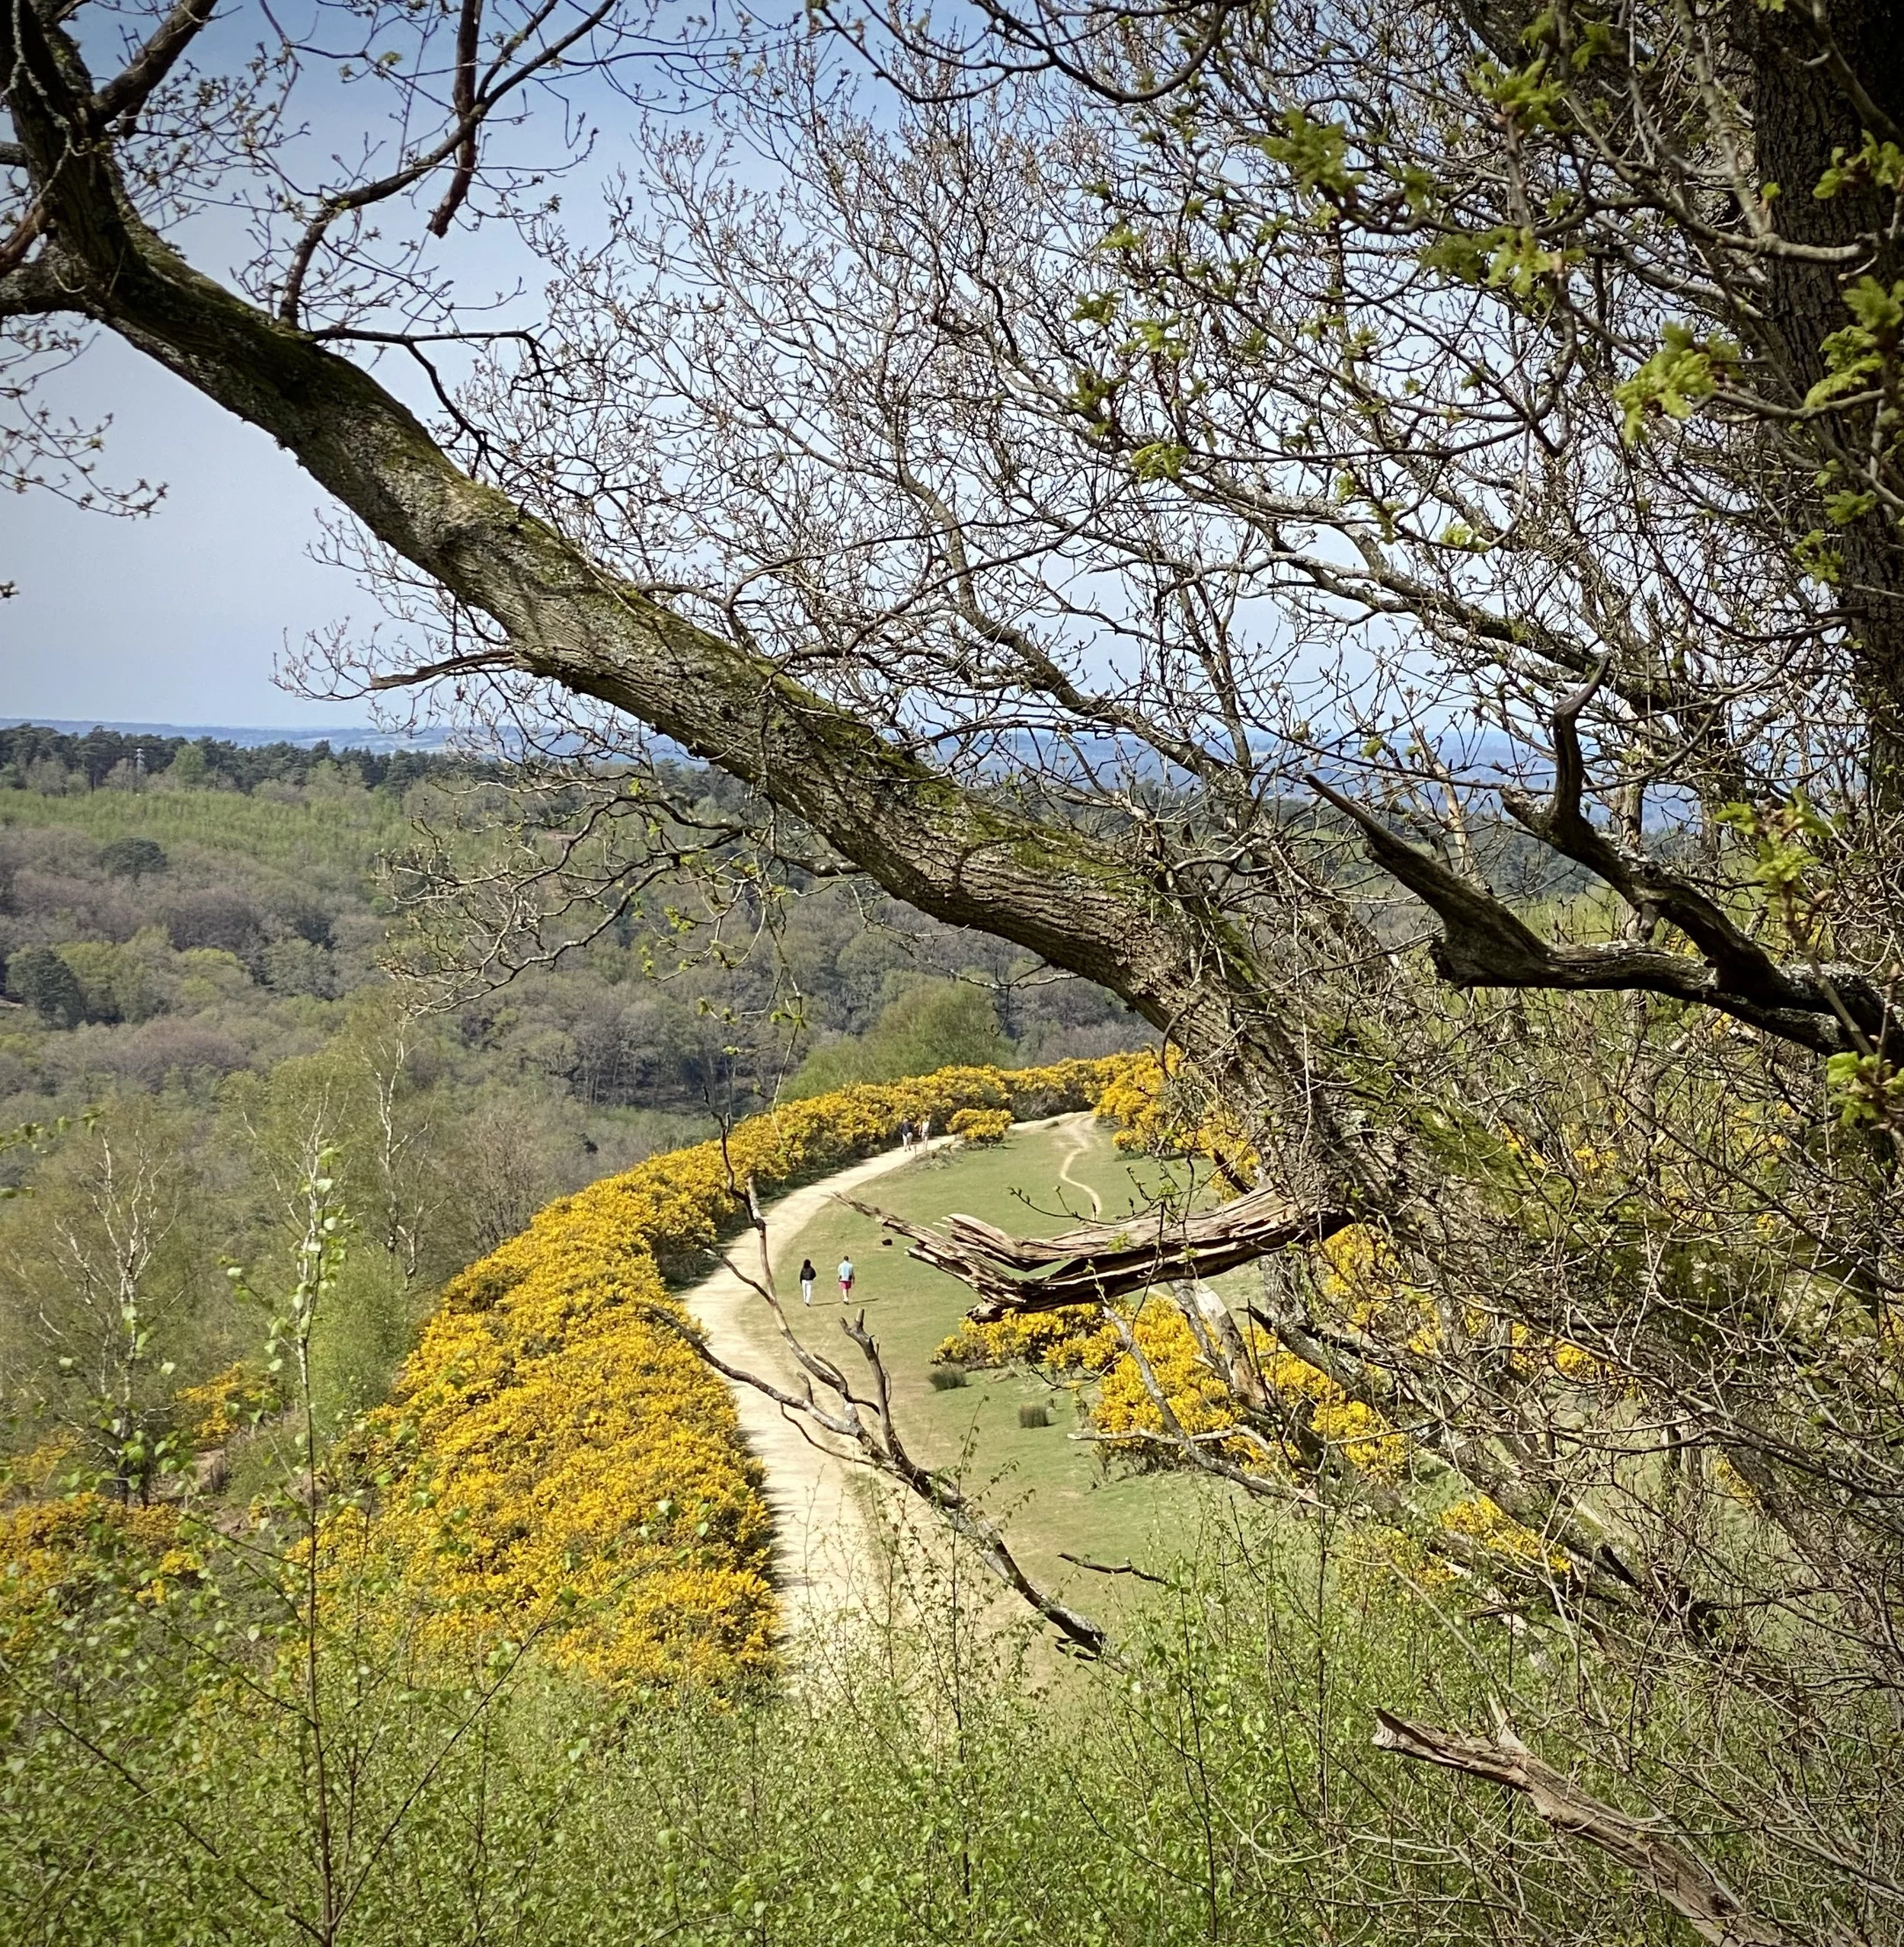
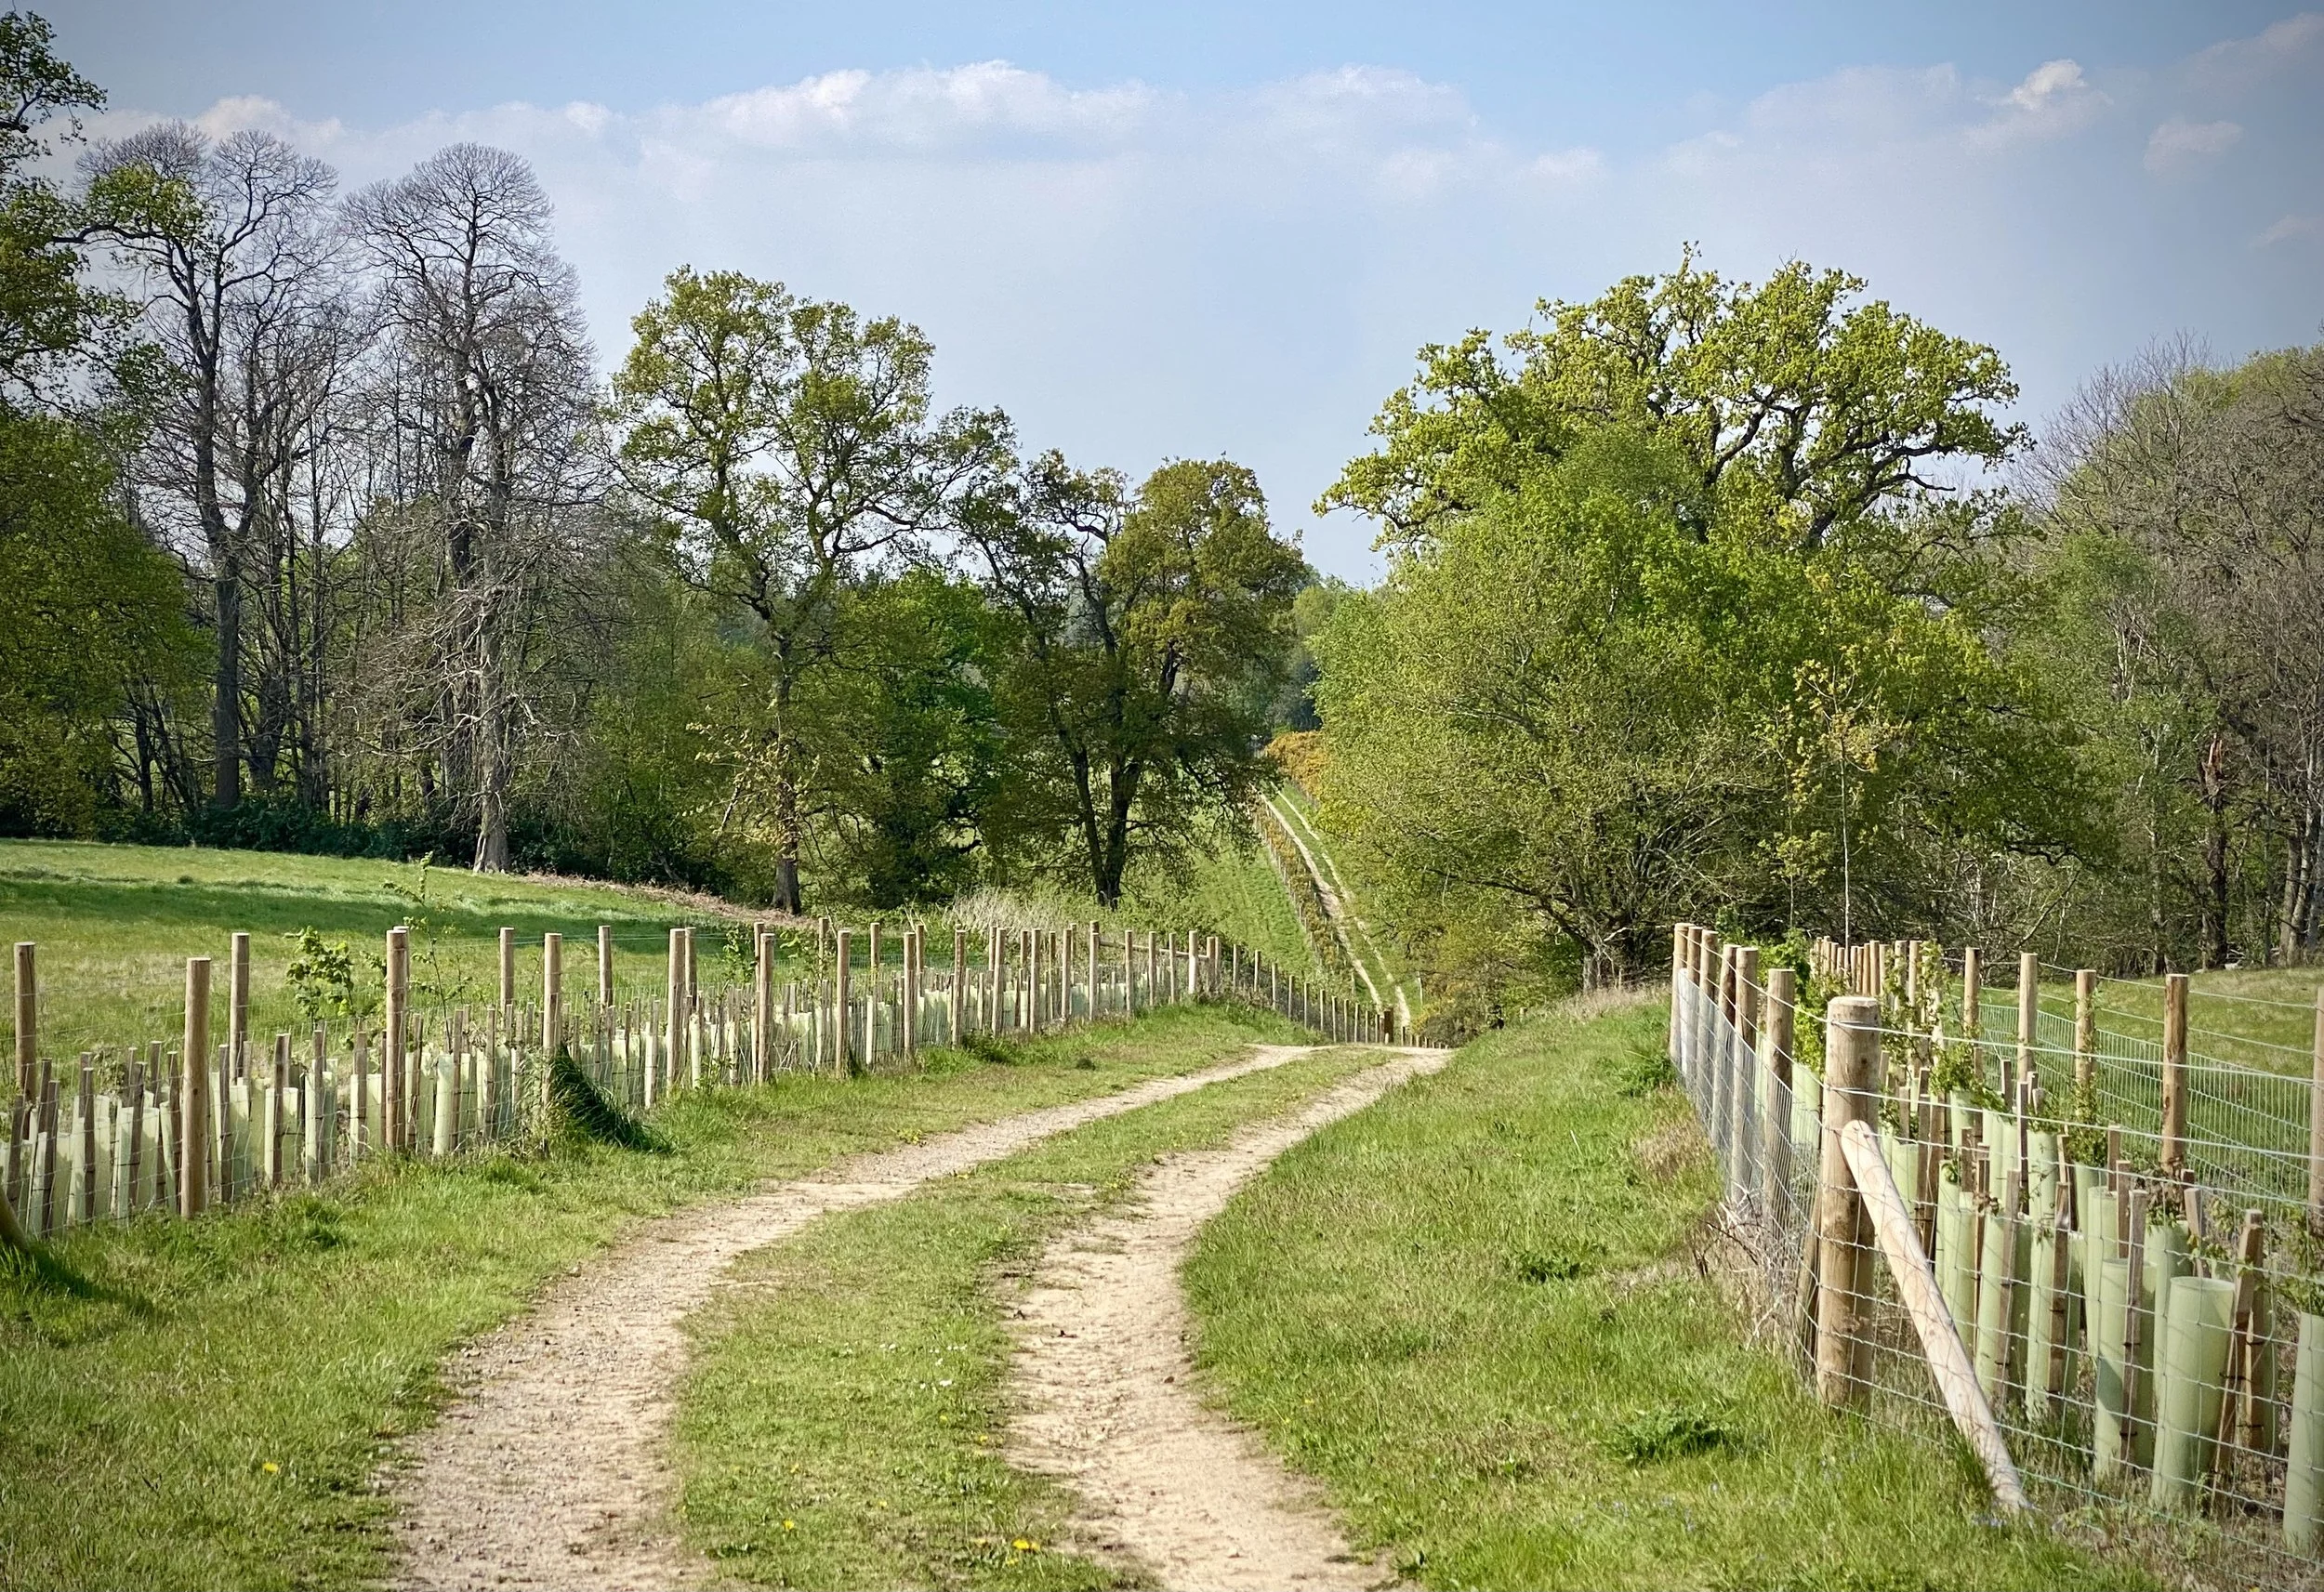
The first six kilometres are straightforward. The track runs parallel to the north side of Loch Affric, offering a steady warm-up. At around the 5.5 km mark, you leave the main trail and start a slow, steady climb following a stream with a waterfall. The ground here was a little bit boggy, but the path remained well-defined in most places.
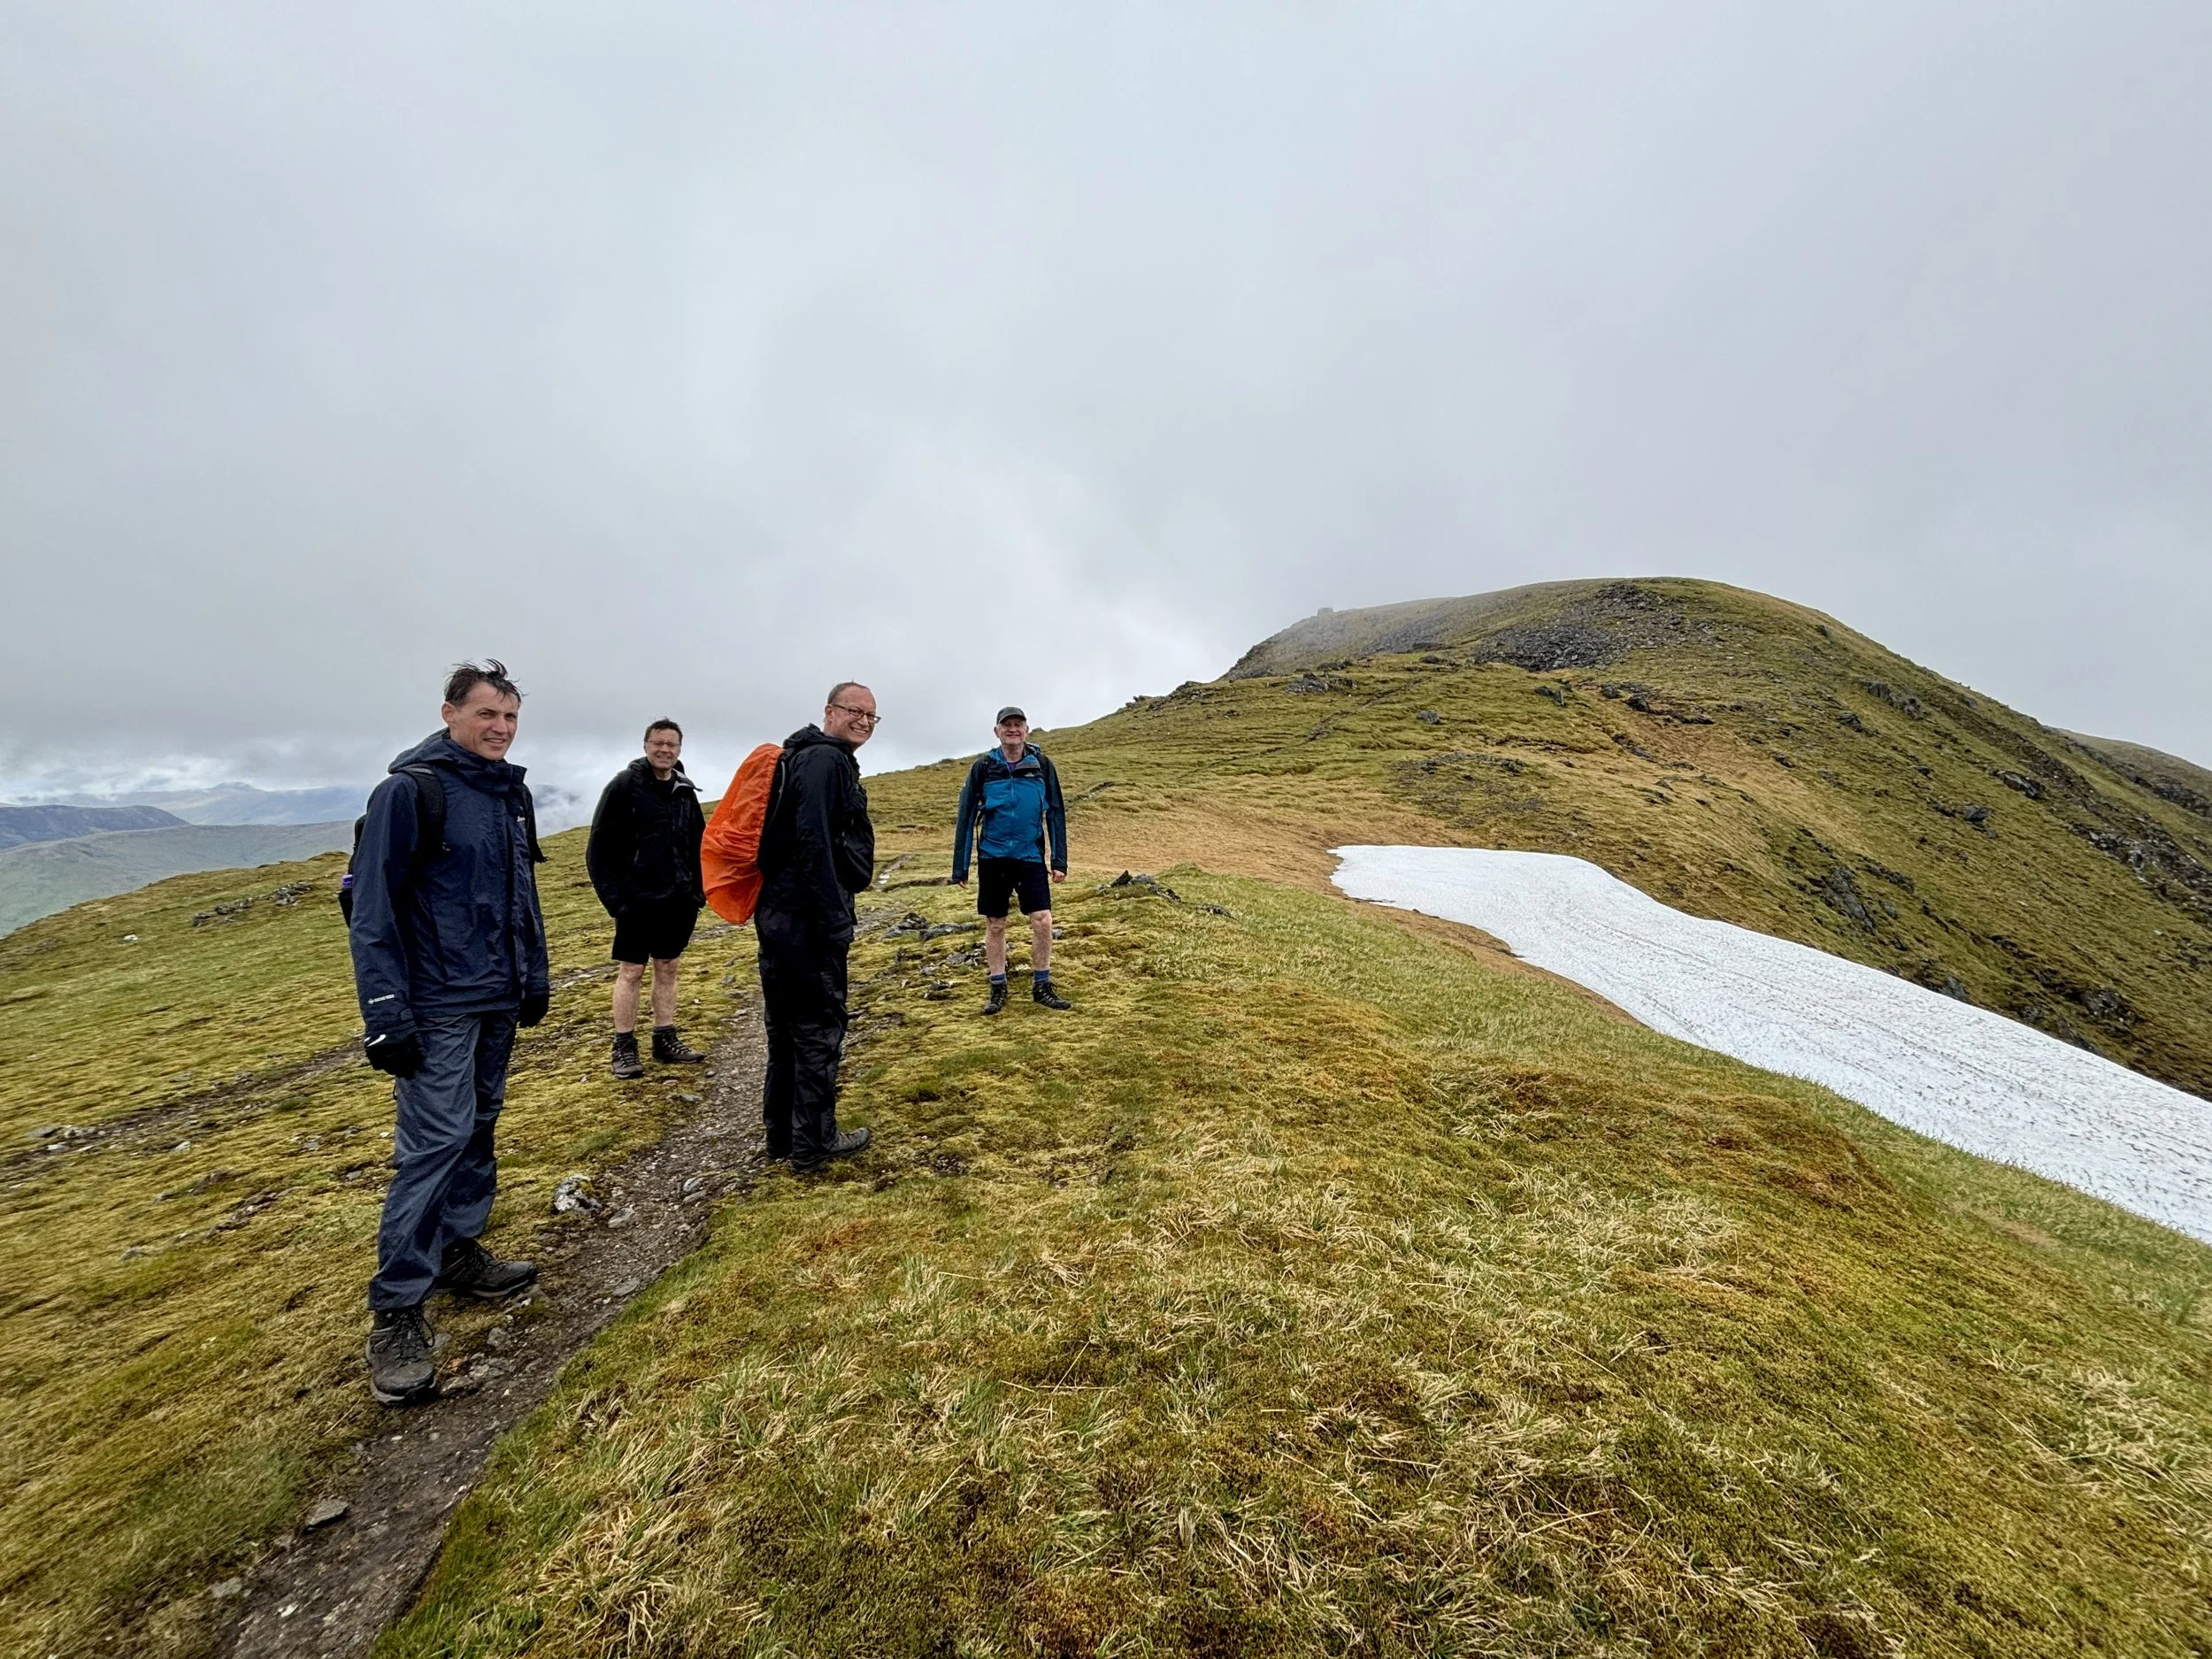
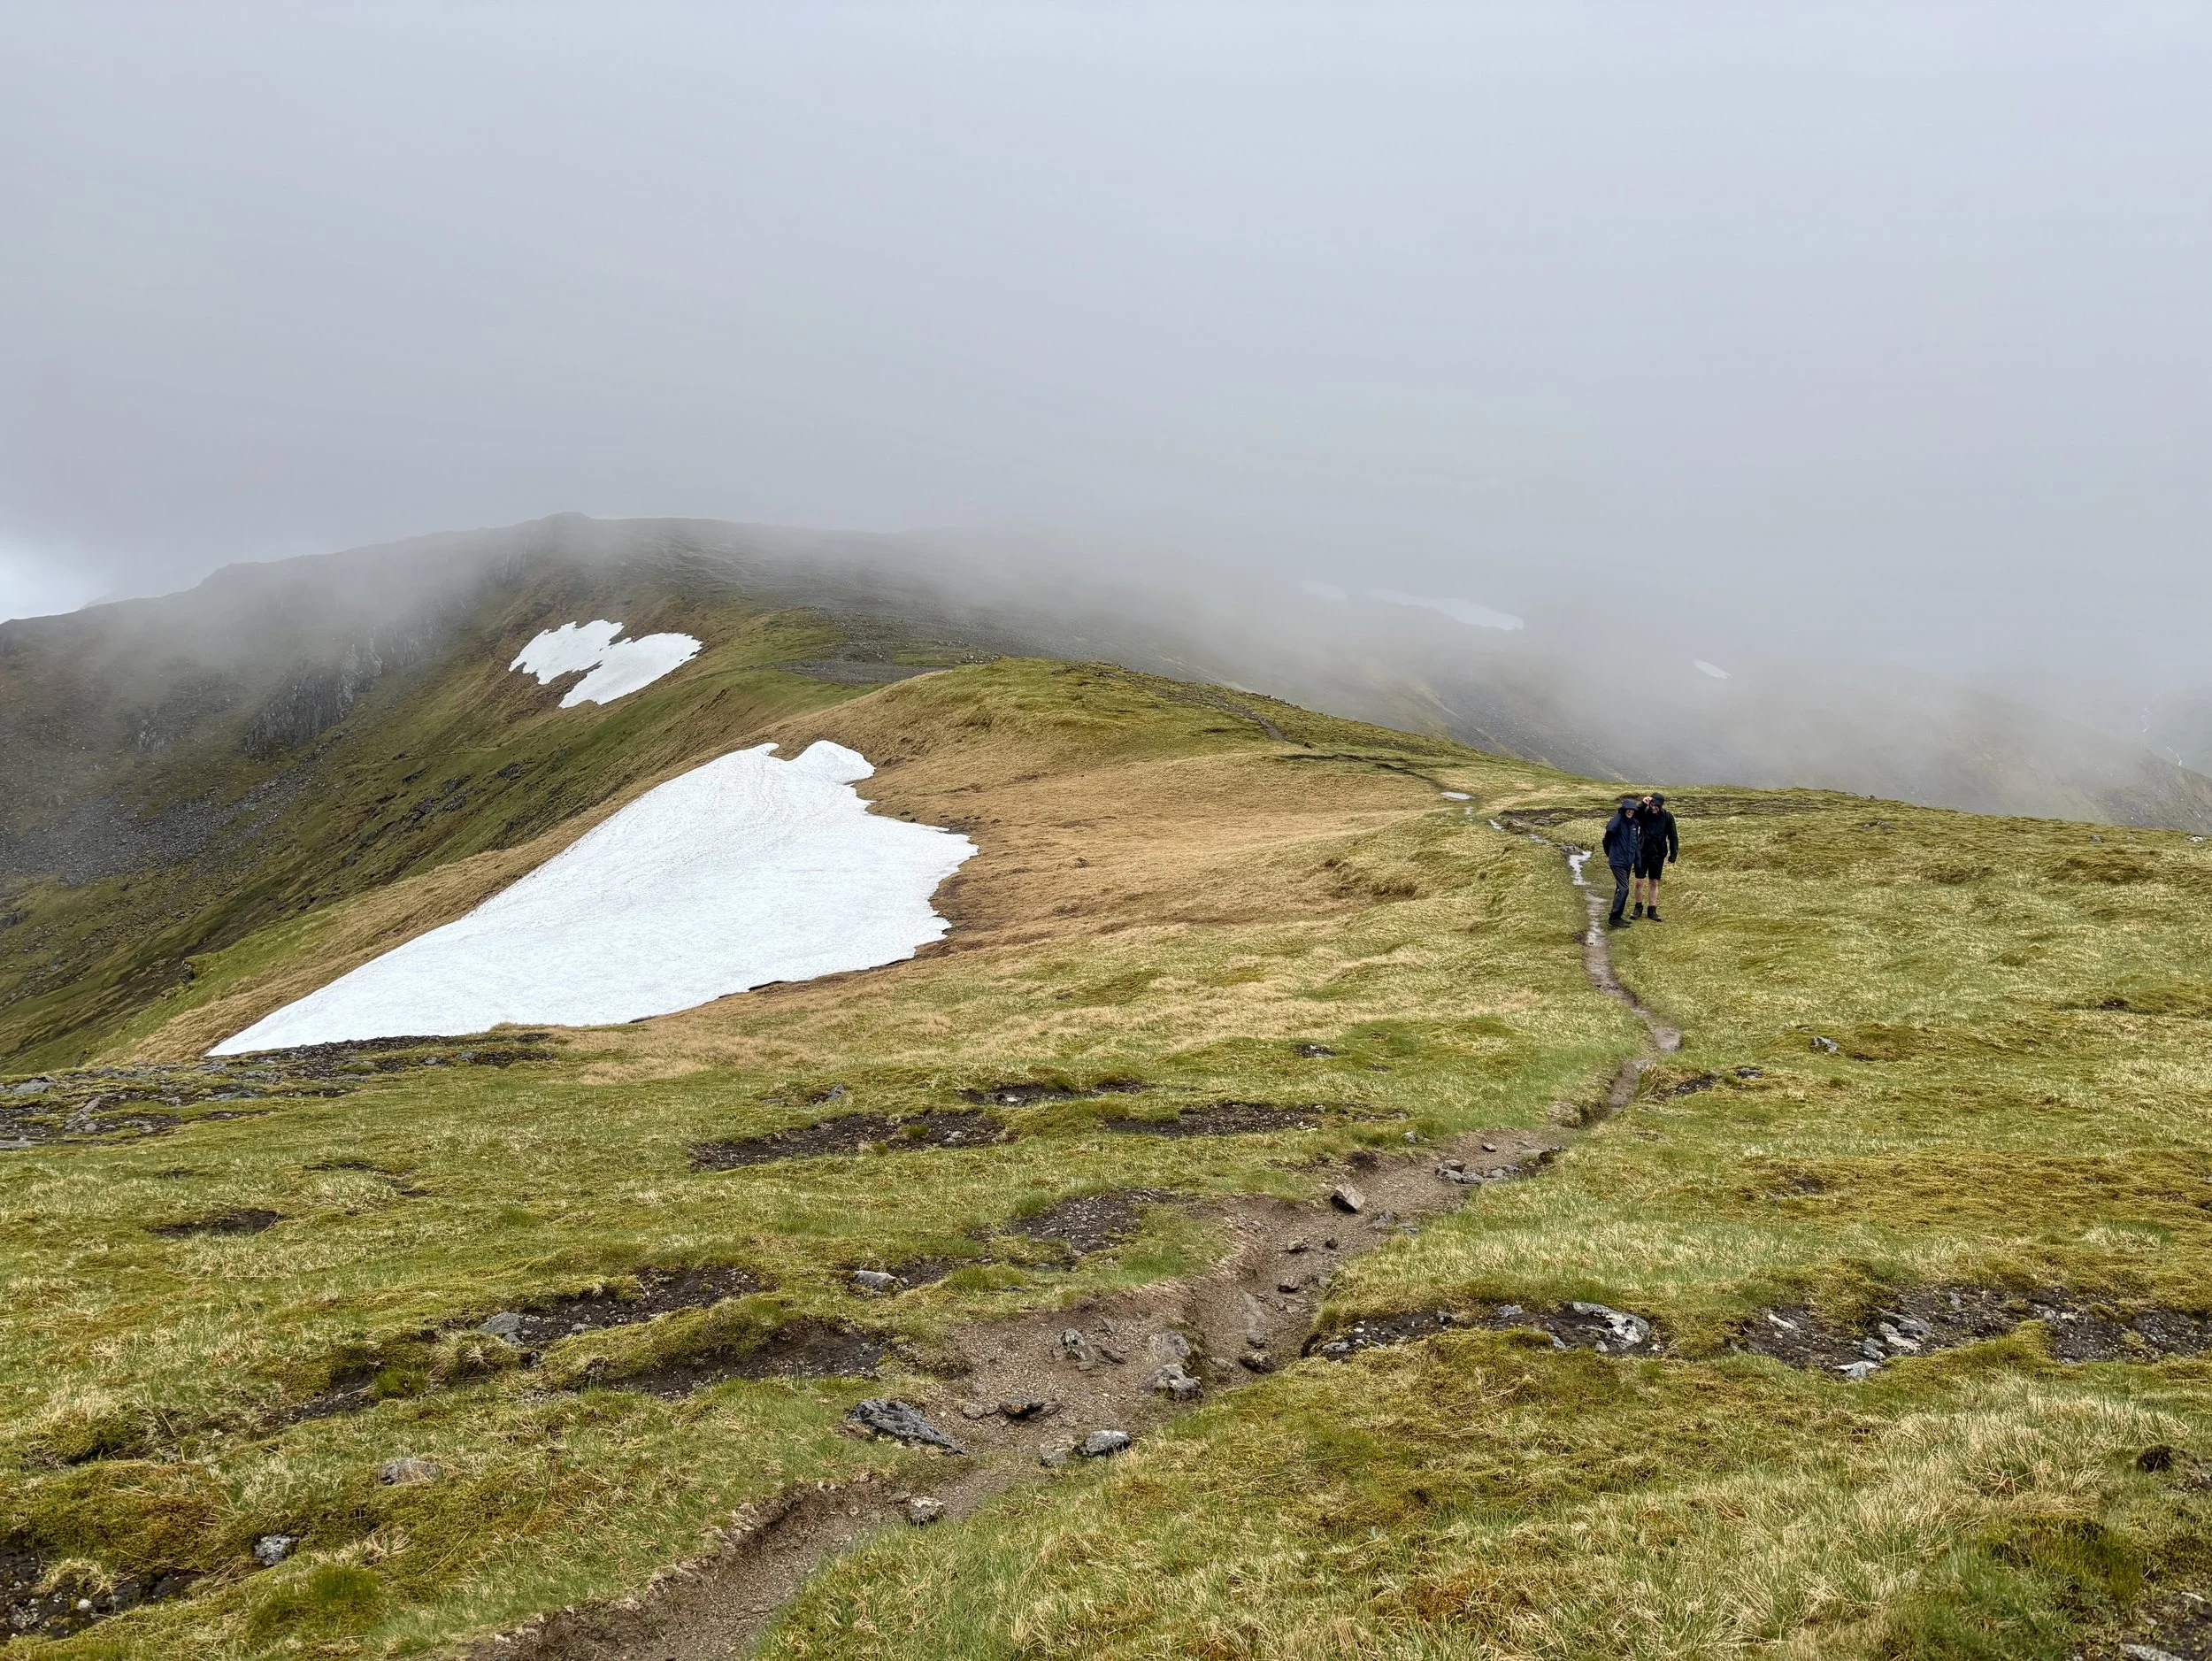
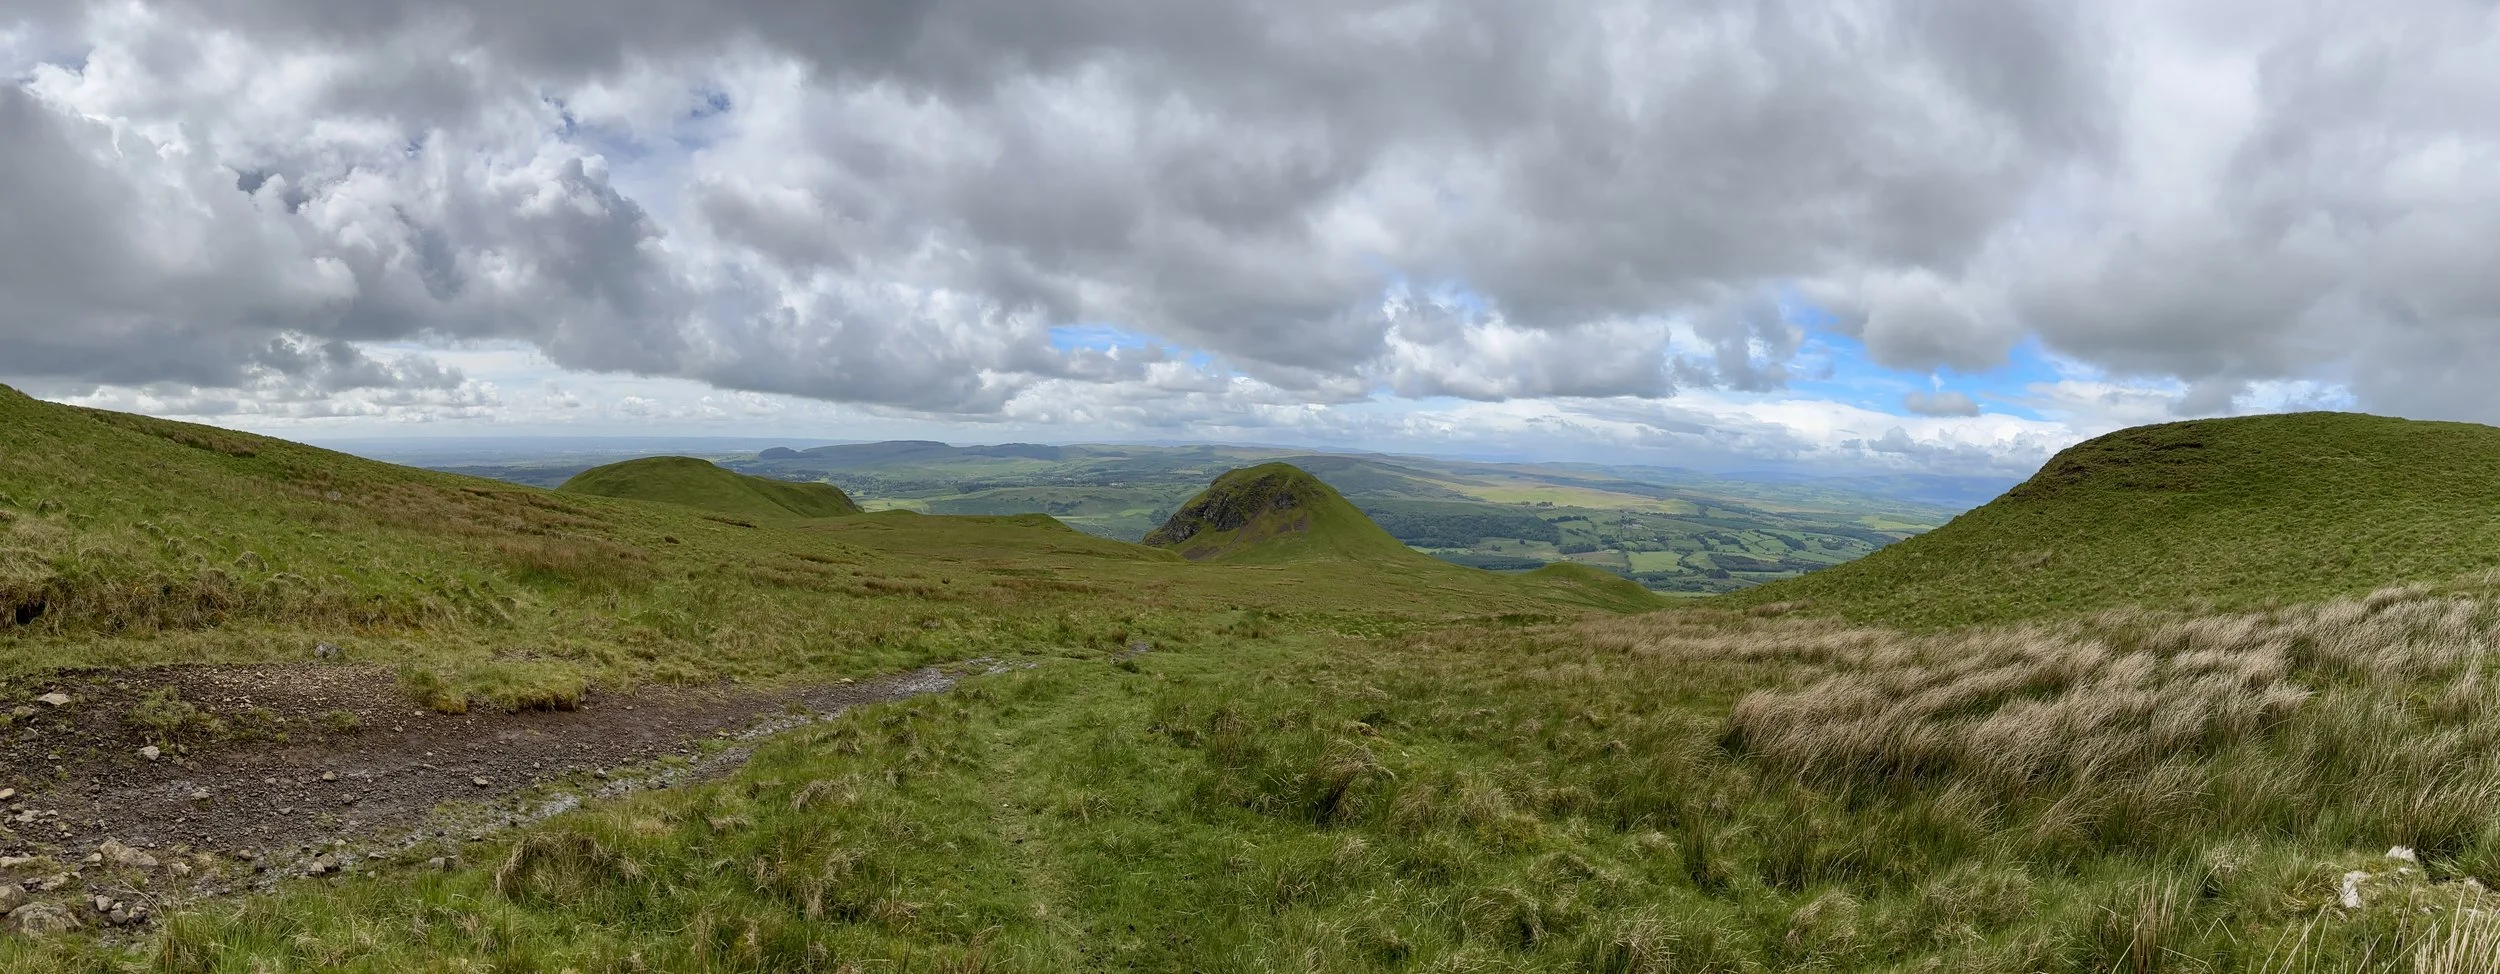
The final section of the ascent is the steepest, pushing you up onto the ridge line. Surprisingly for the time of year, there was still quite a lot of snow up there, but it wasn't dangerous to navigate. So far, so good: the weather was holding out, and we had decent visibility.
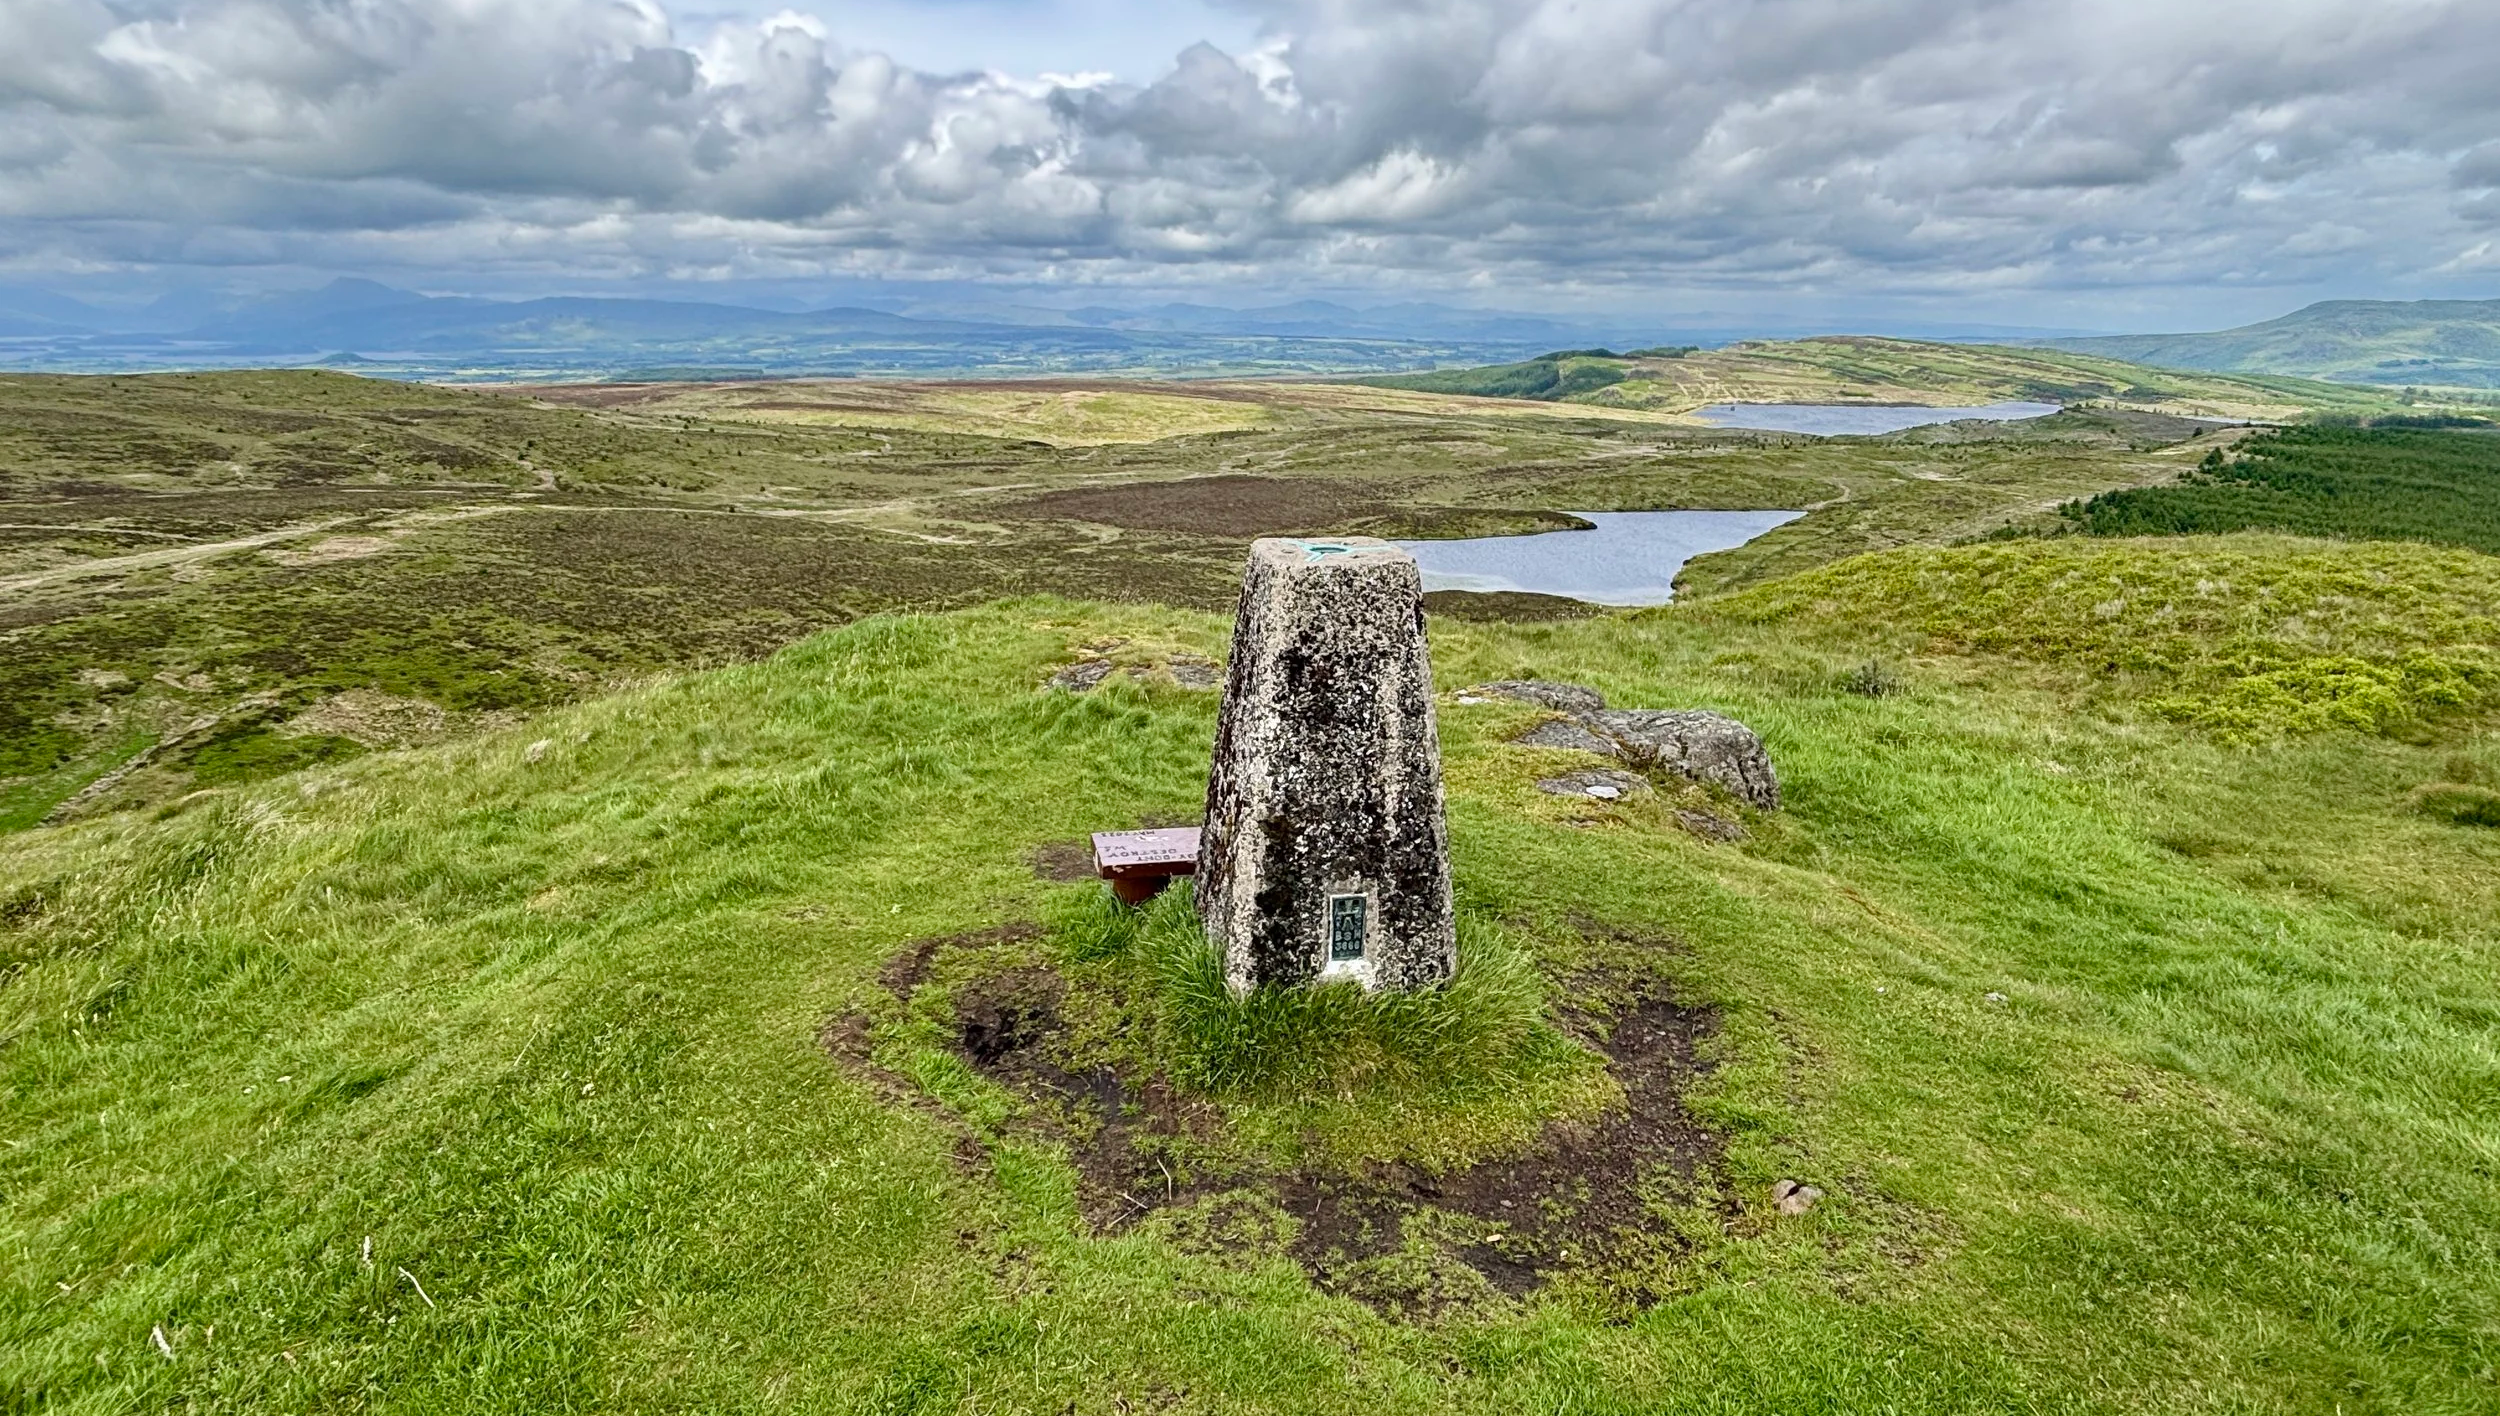
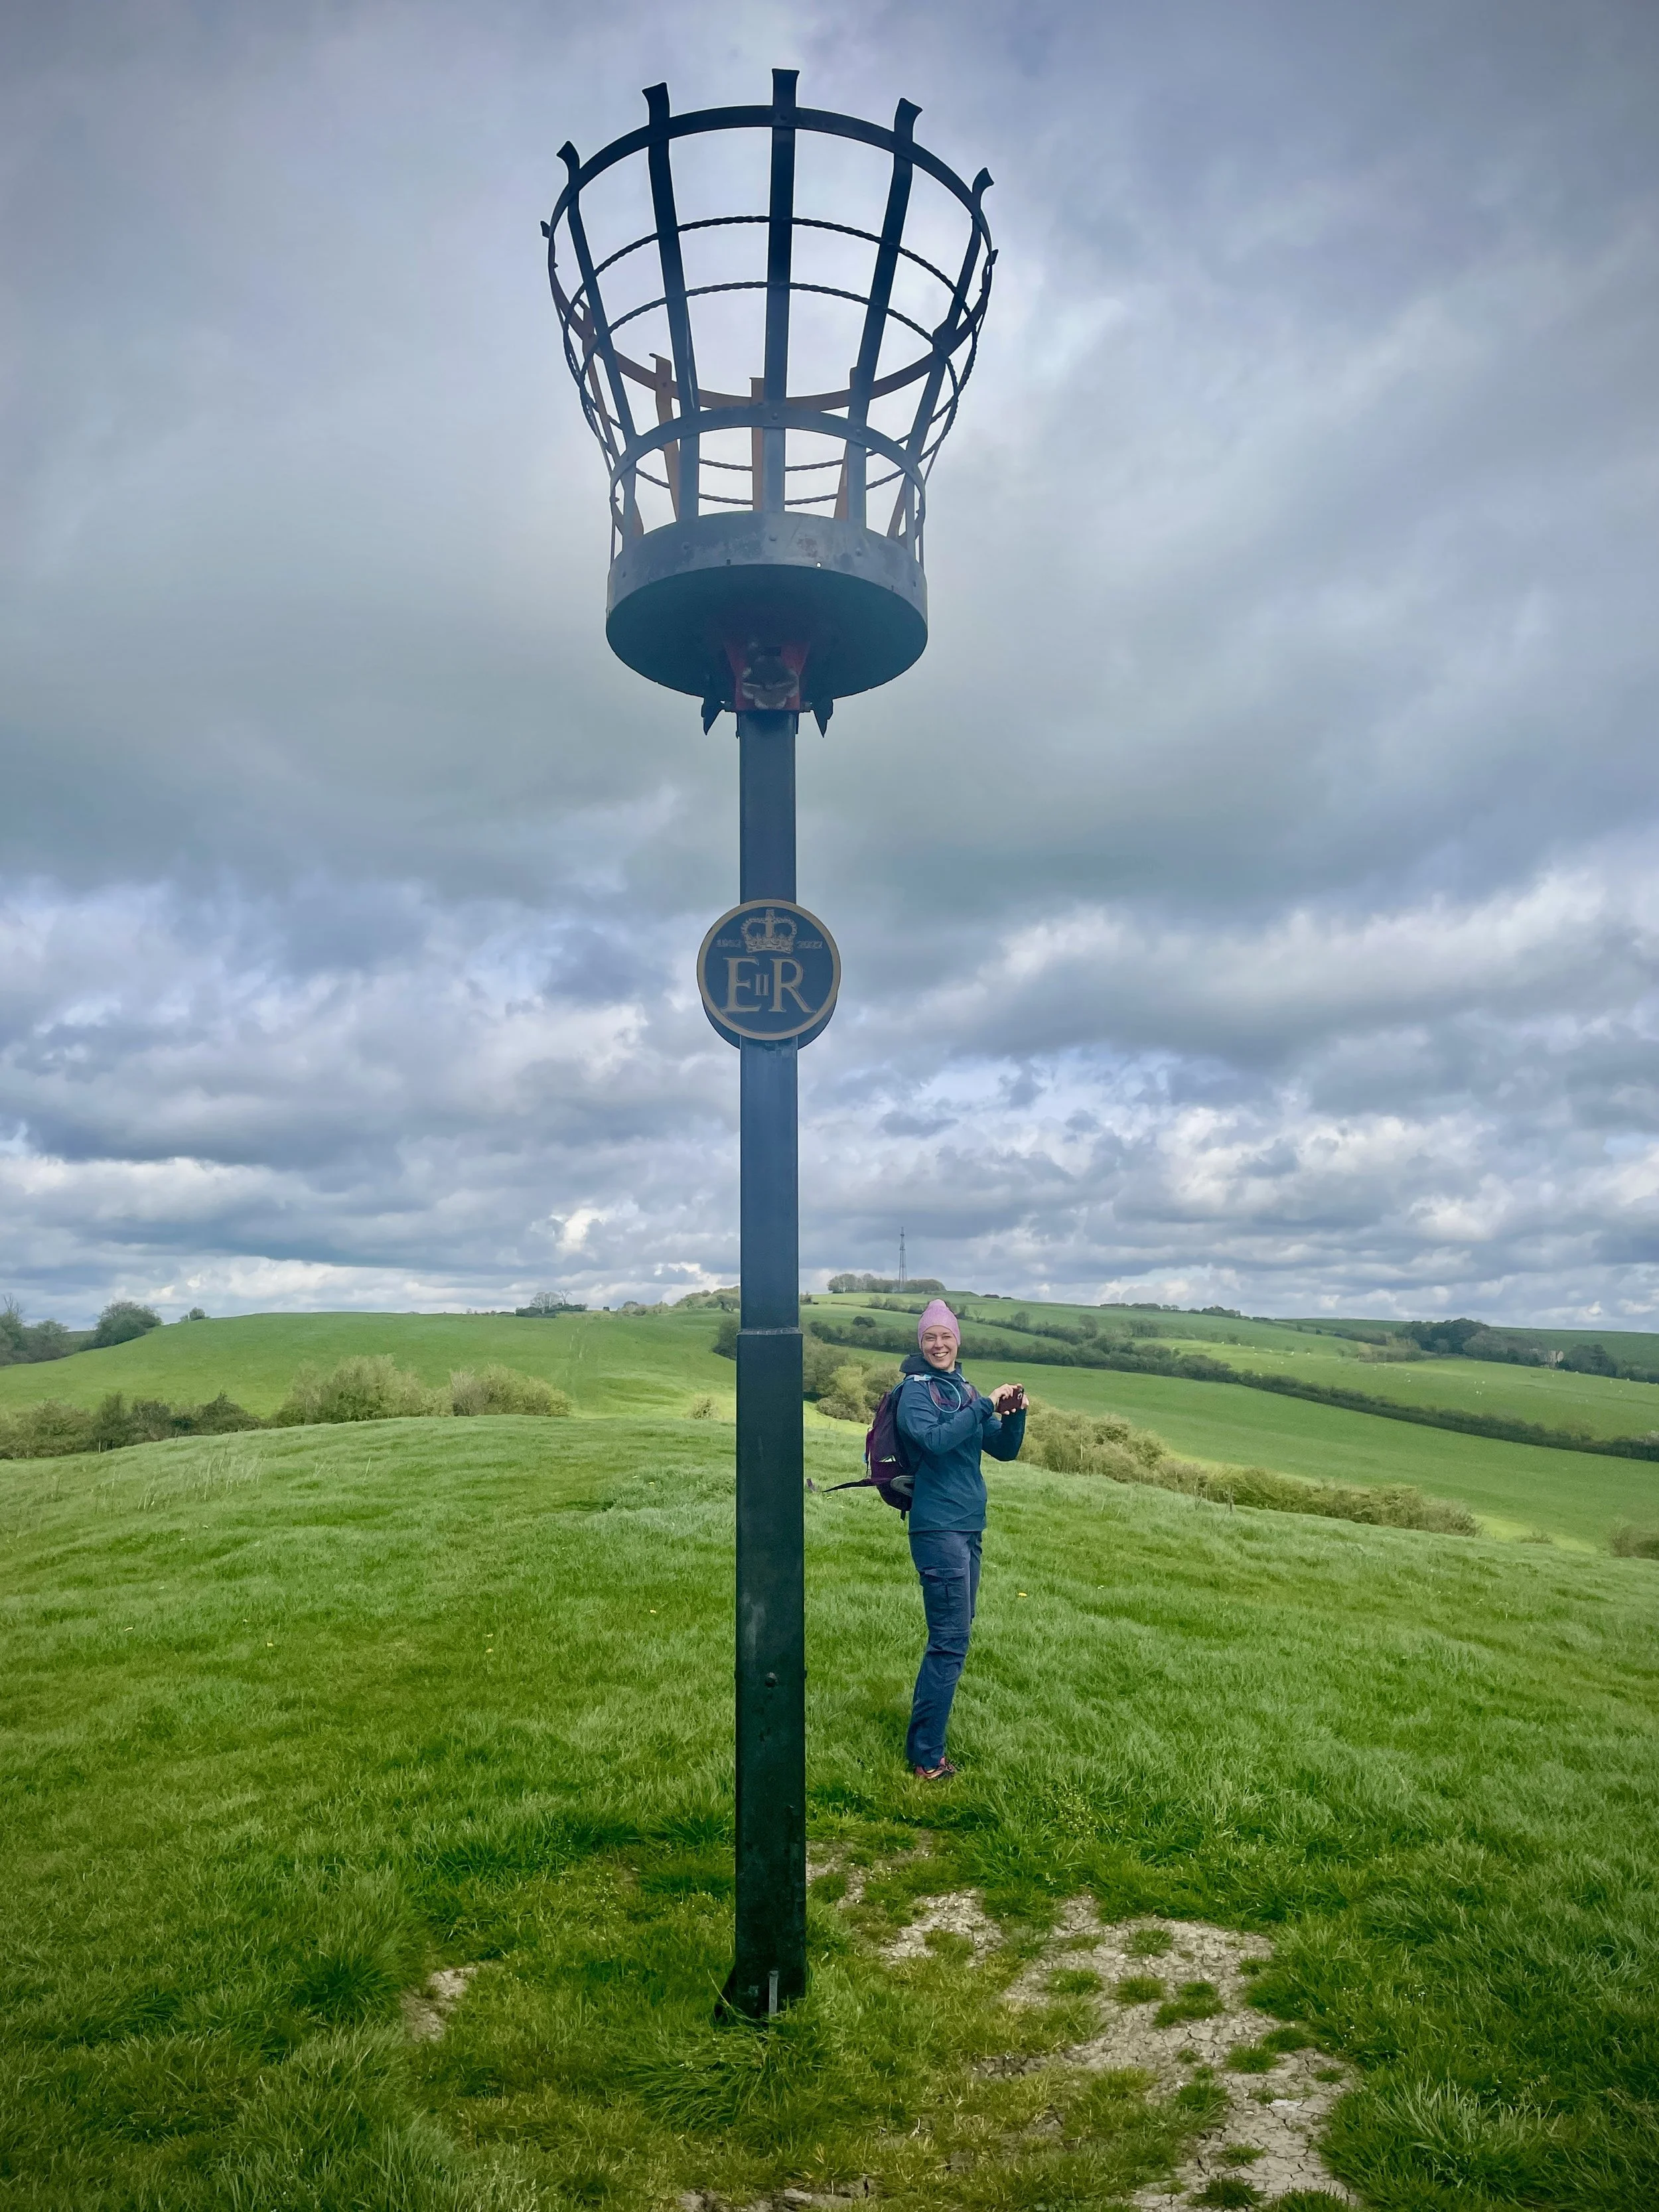
Once on the ridge, we turned right to tackle the first summit of the day: Mam Sodhail. Standing at 1,179 metres, it is only marginally lower than our main target, sitting just four metres shorter than Càrn Eige.
At the top of Mam Sodhail, it was a little bit windy and misty. However, the wind kept blowing the mist clear, rewarding us with brilliant views right down the valley.
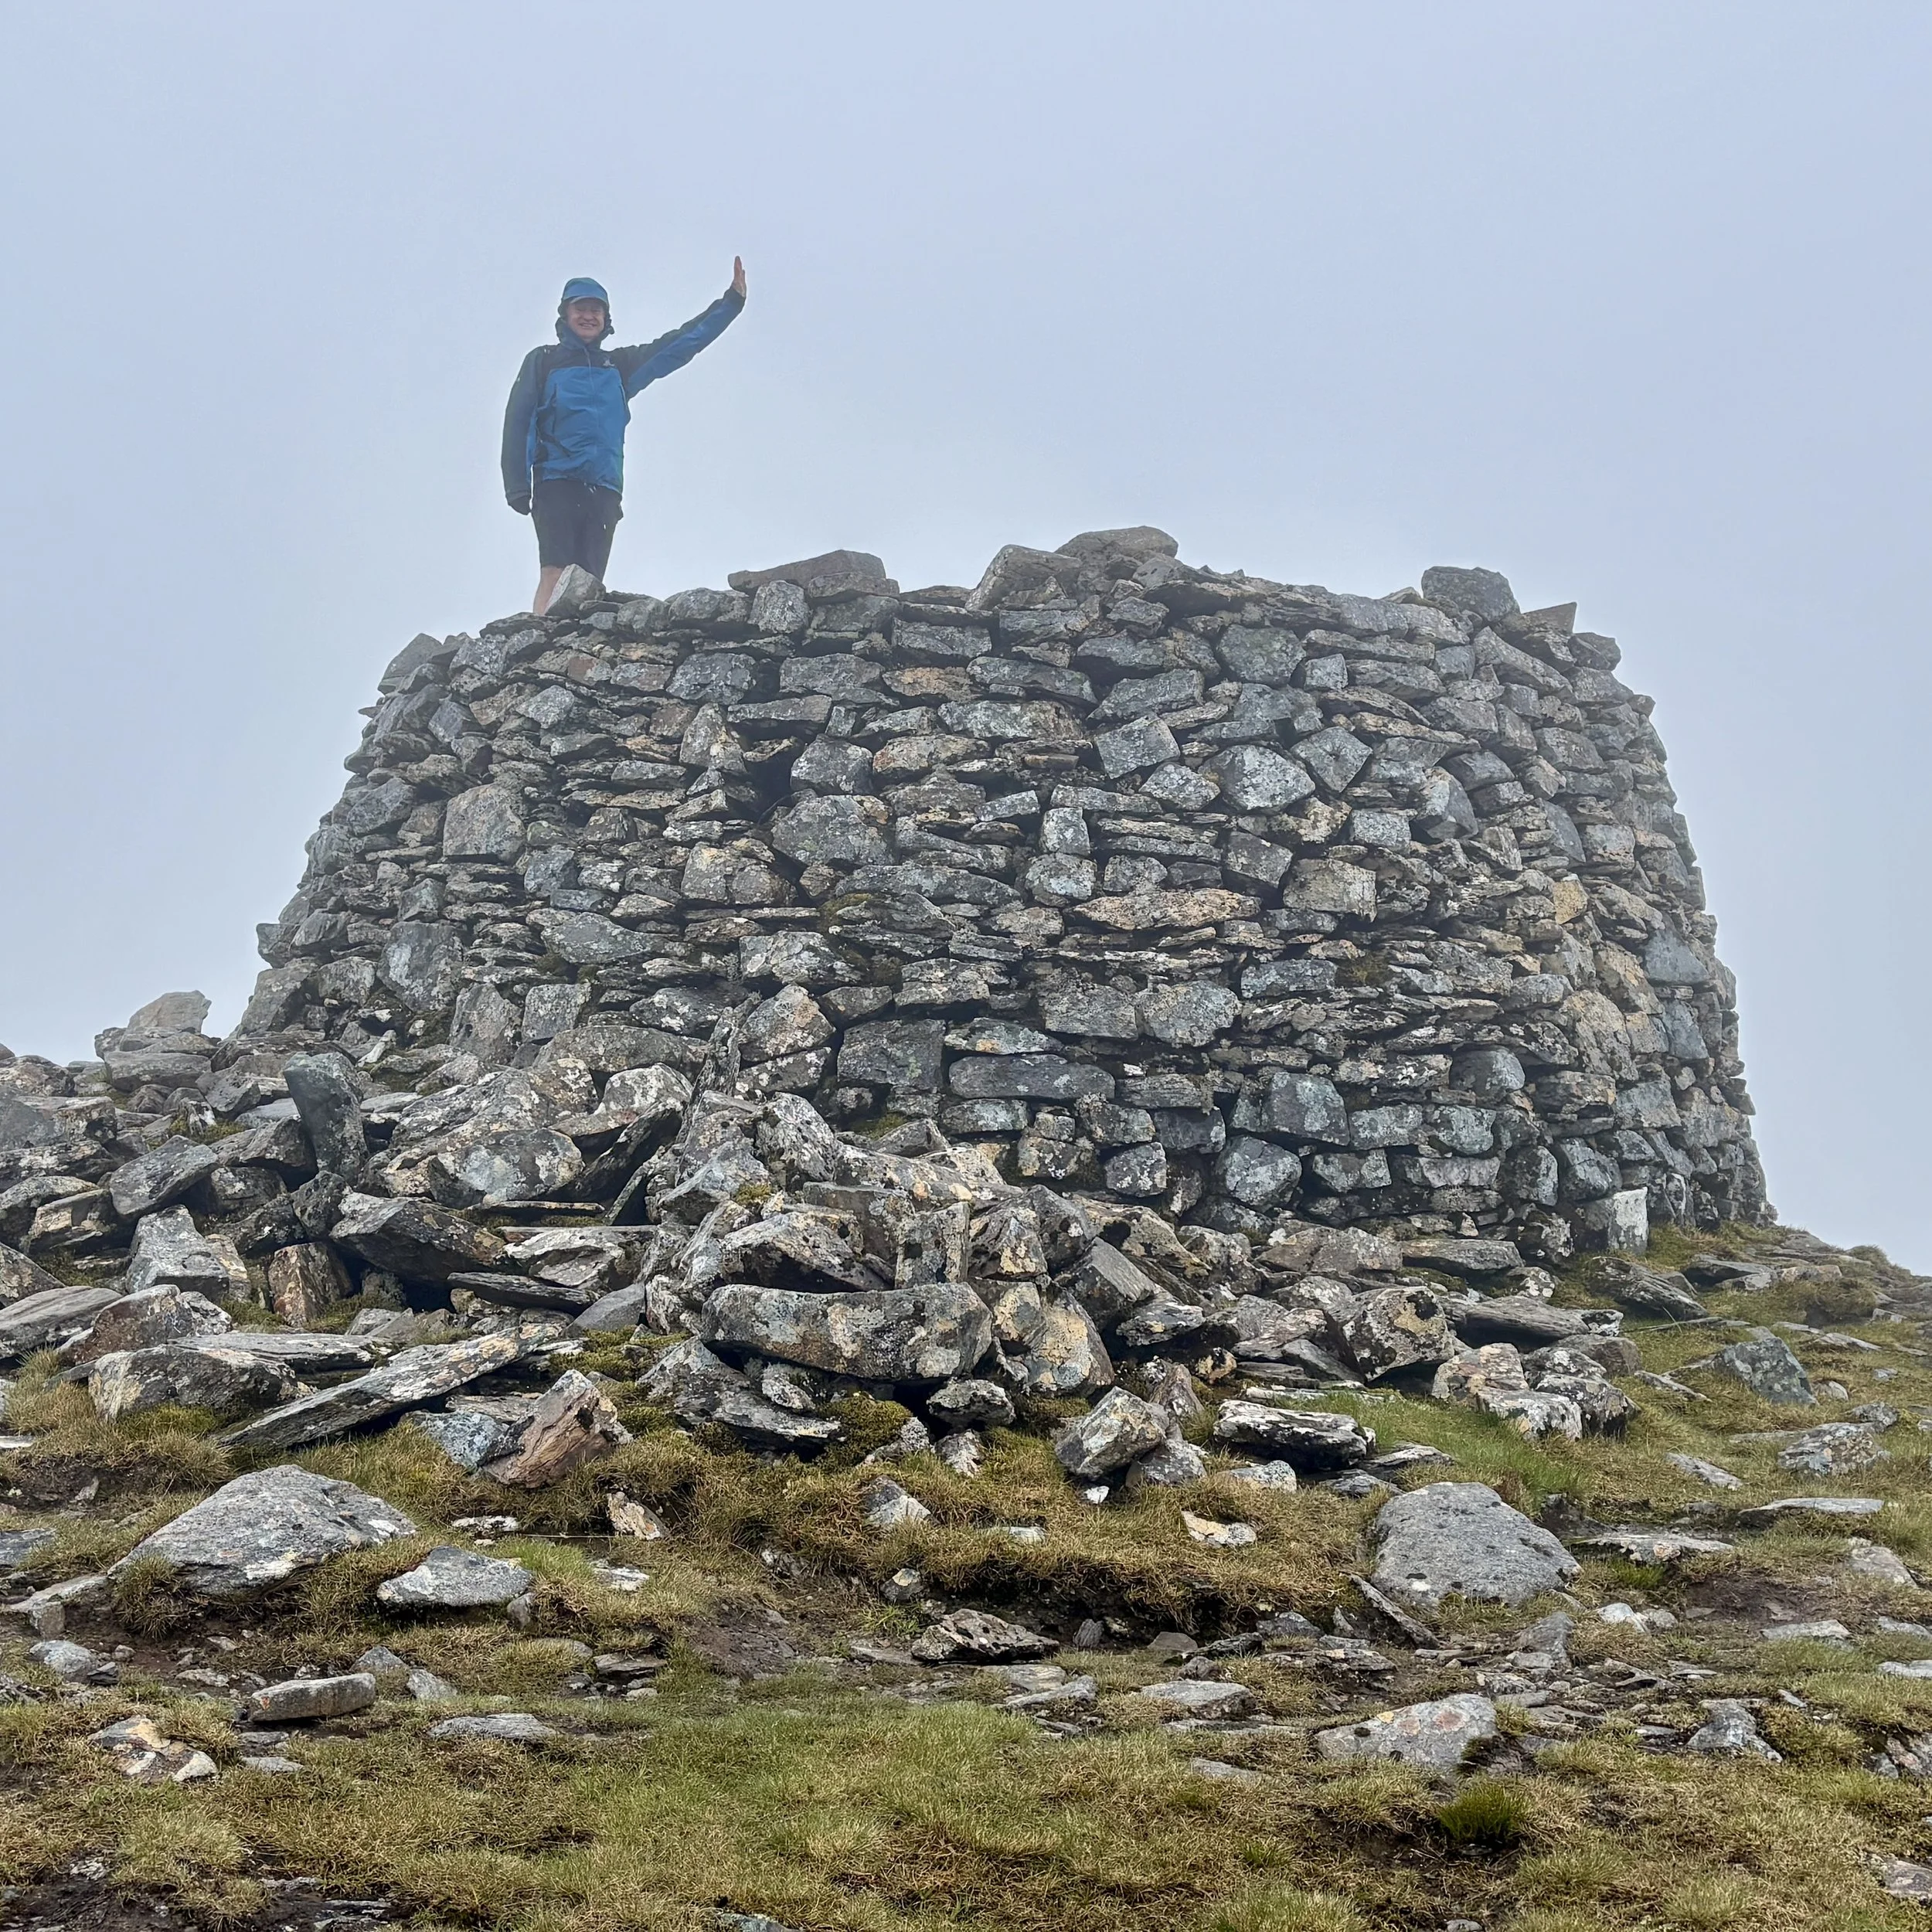
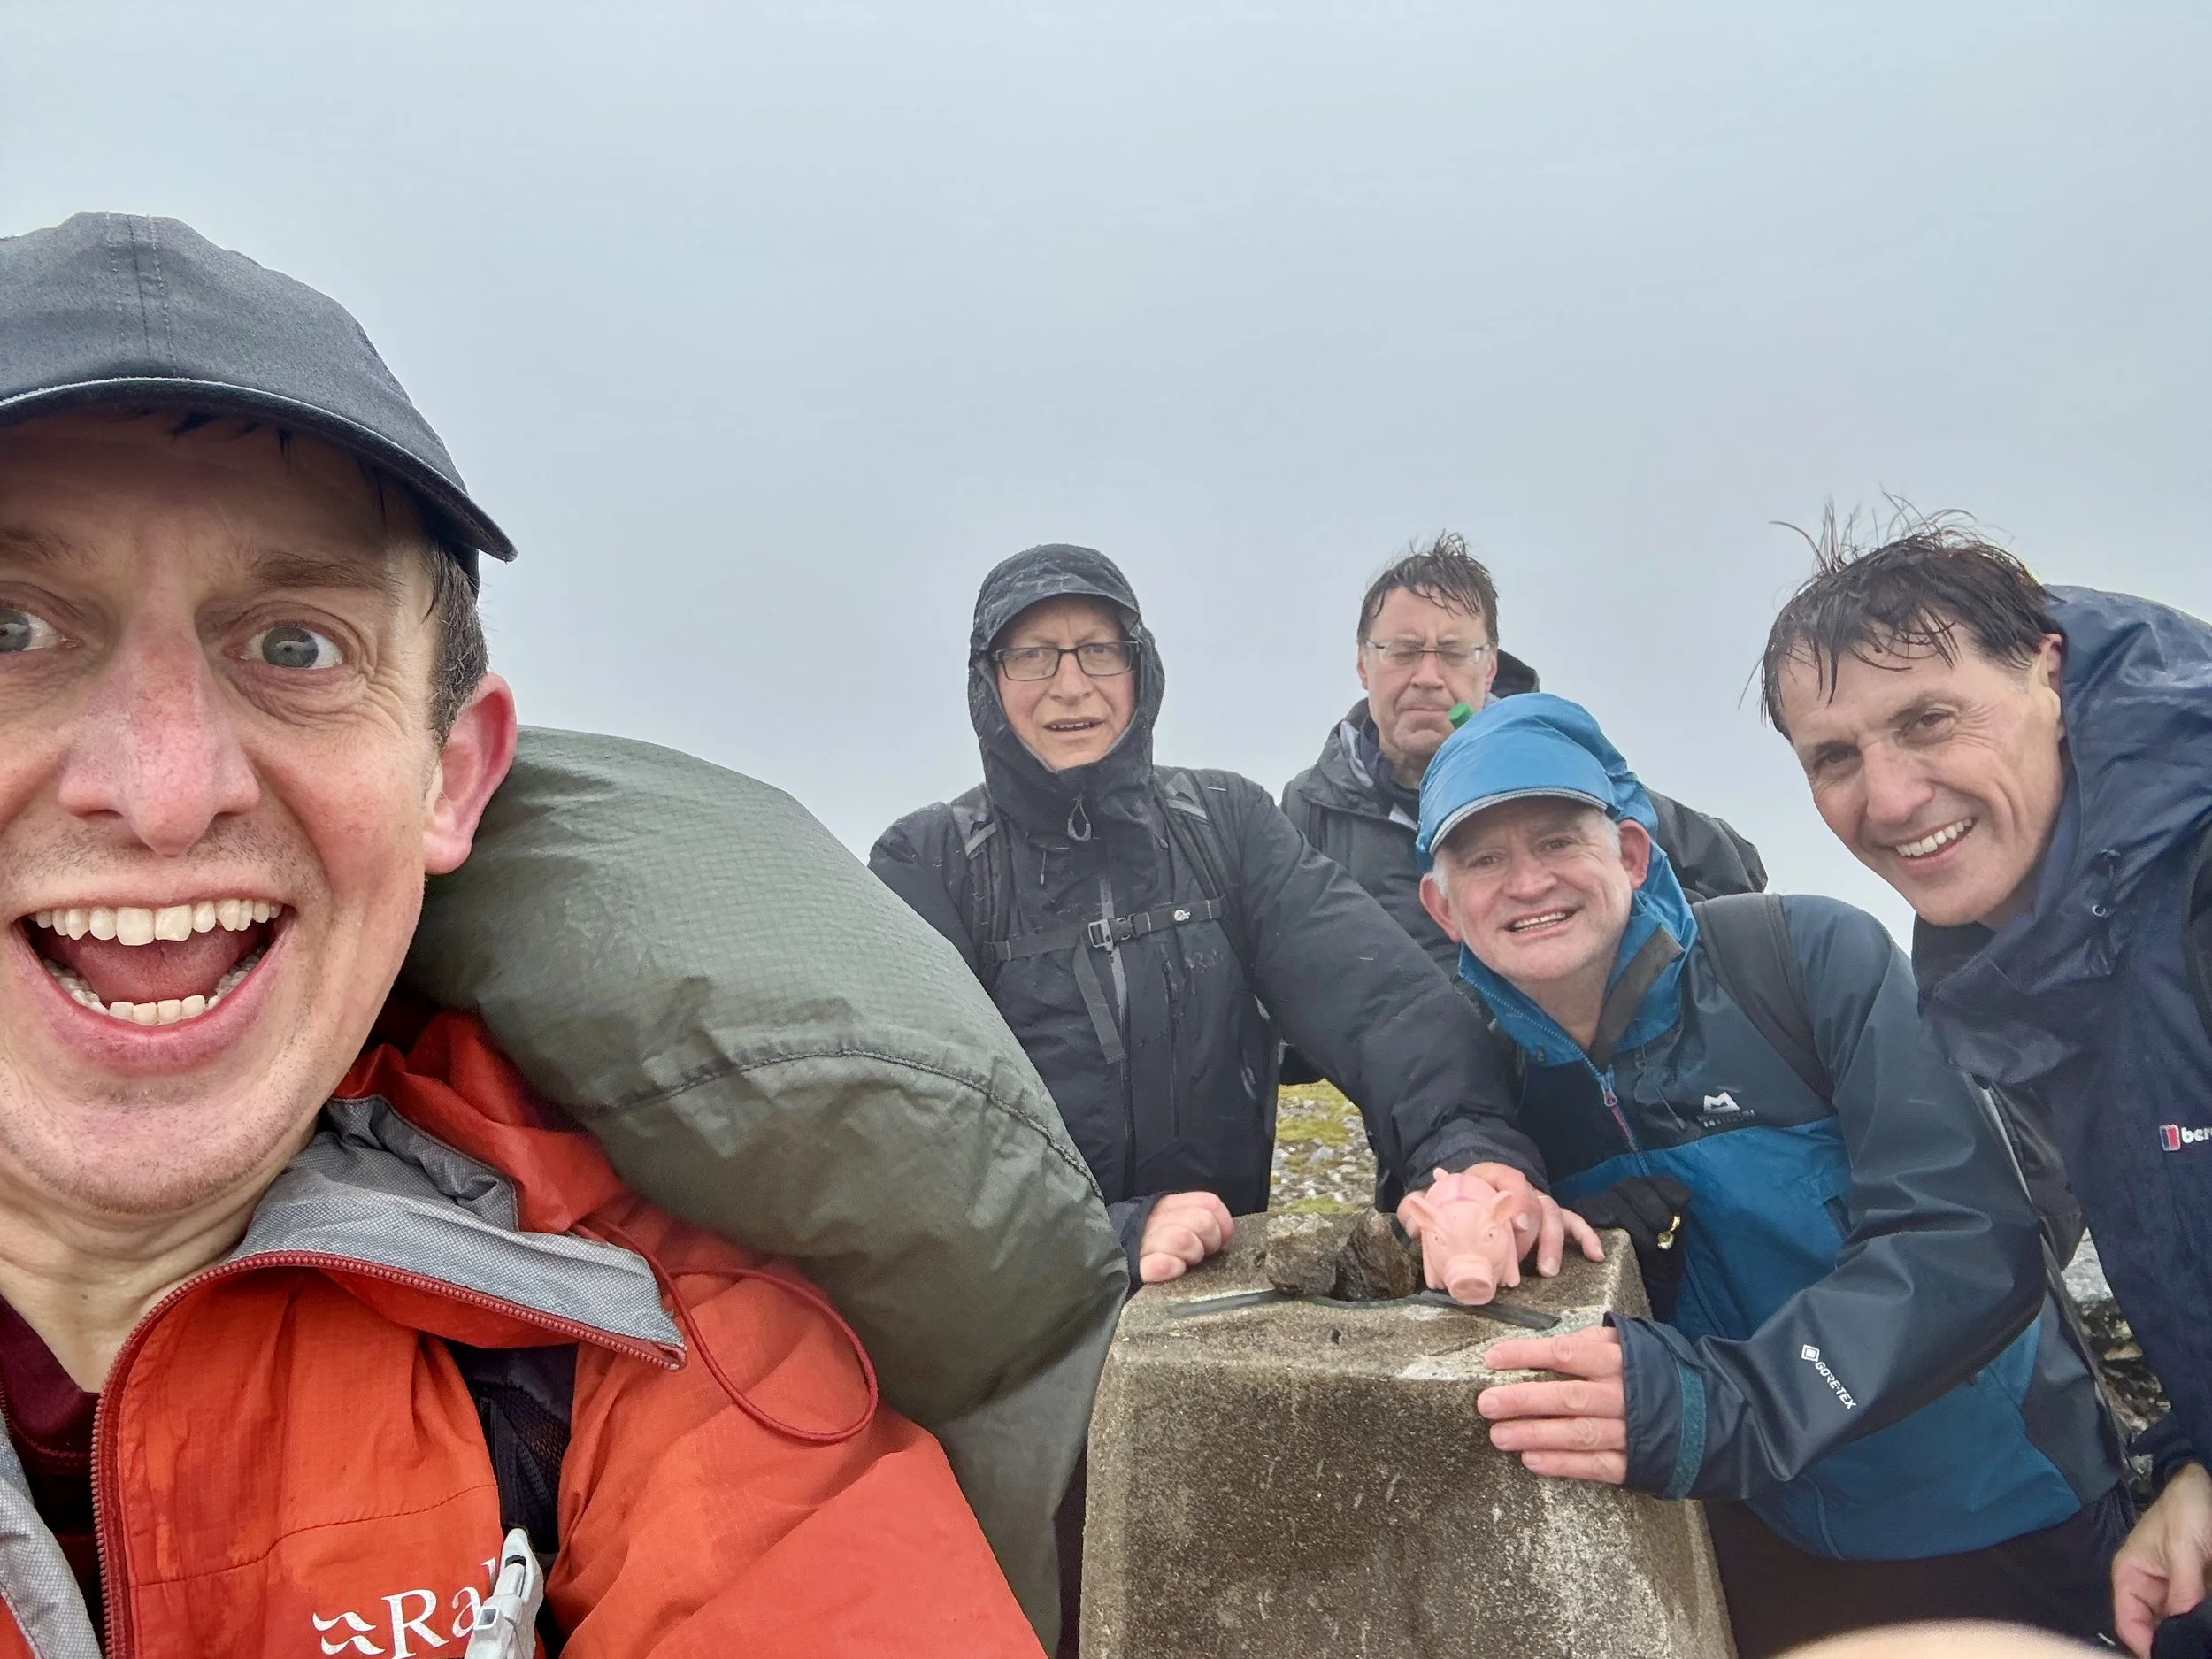
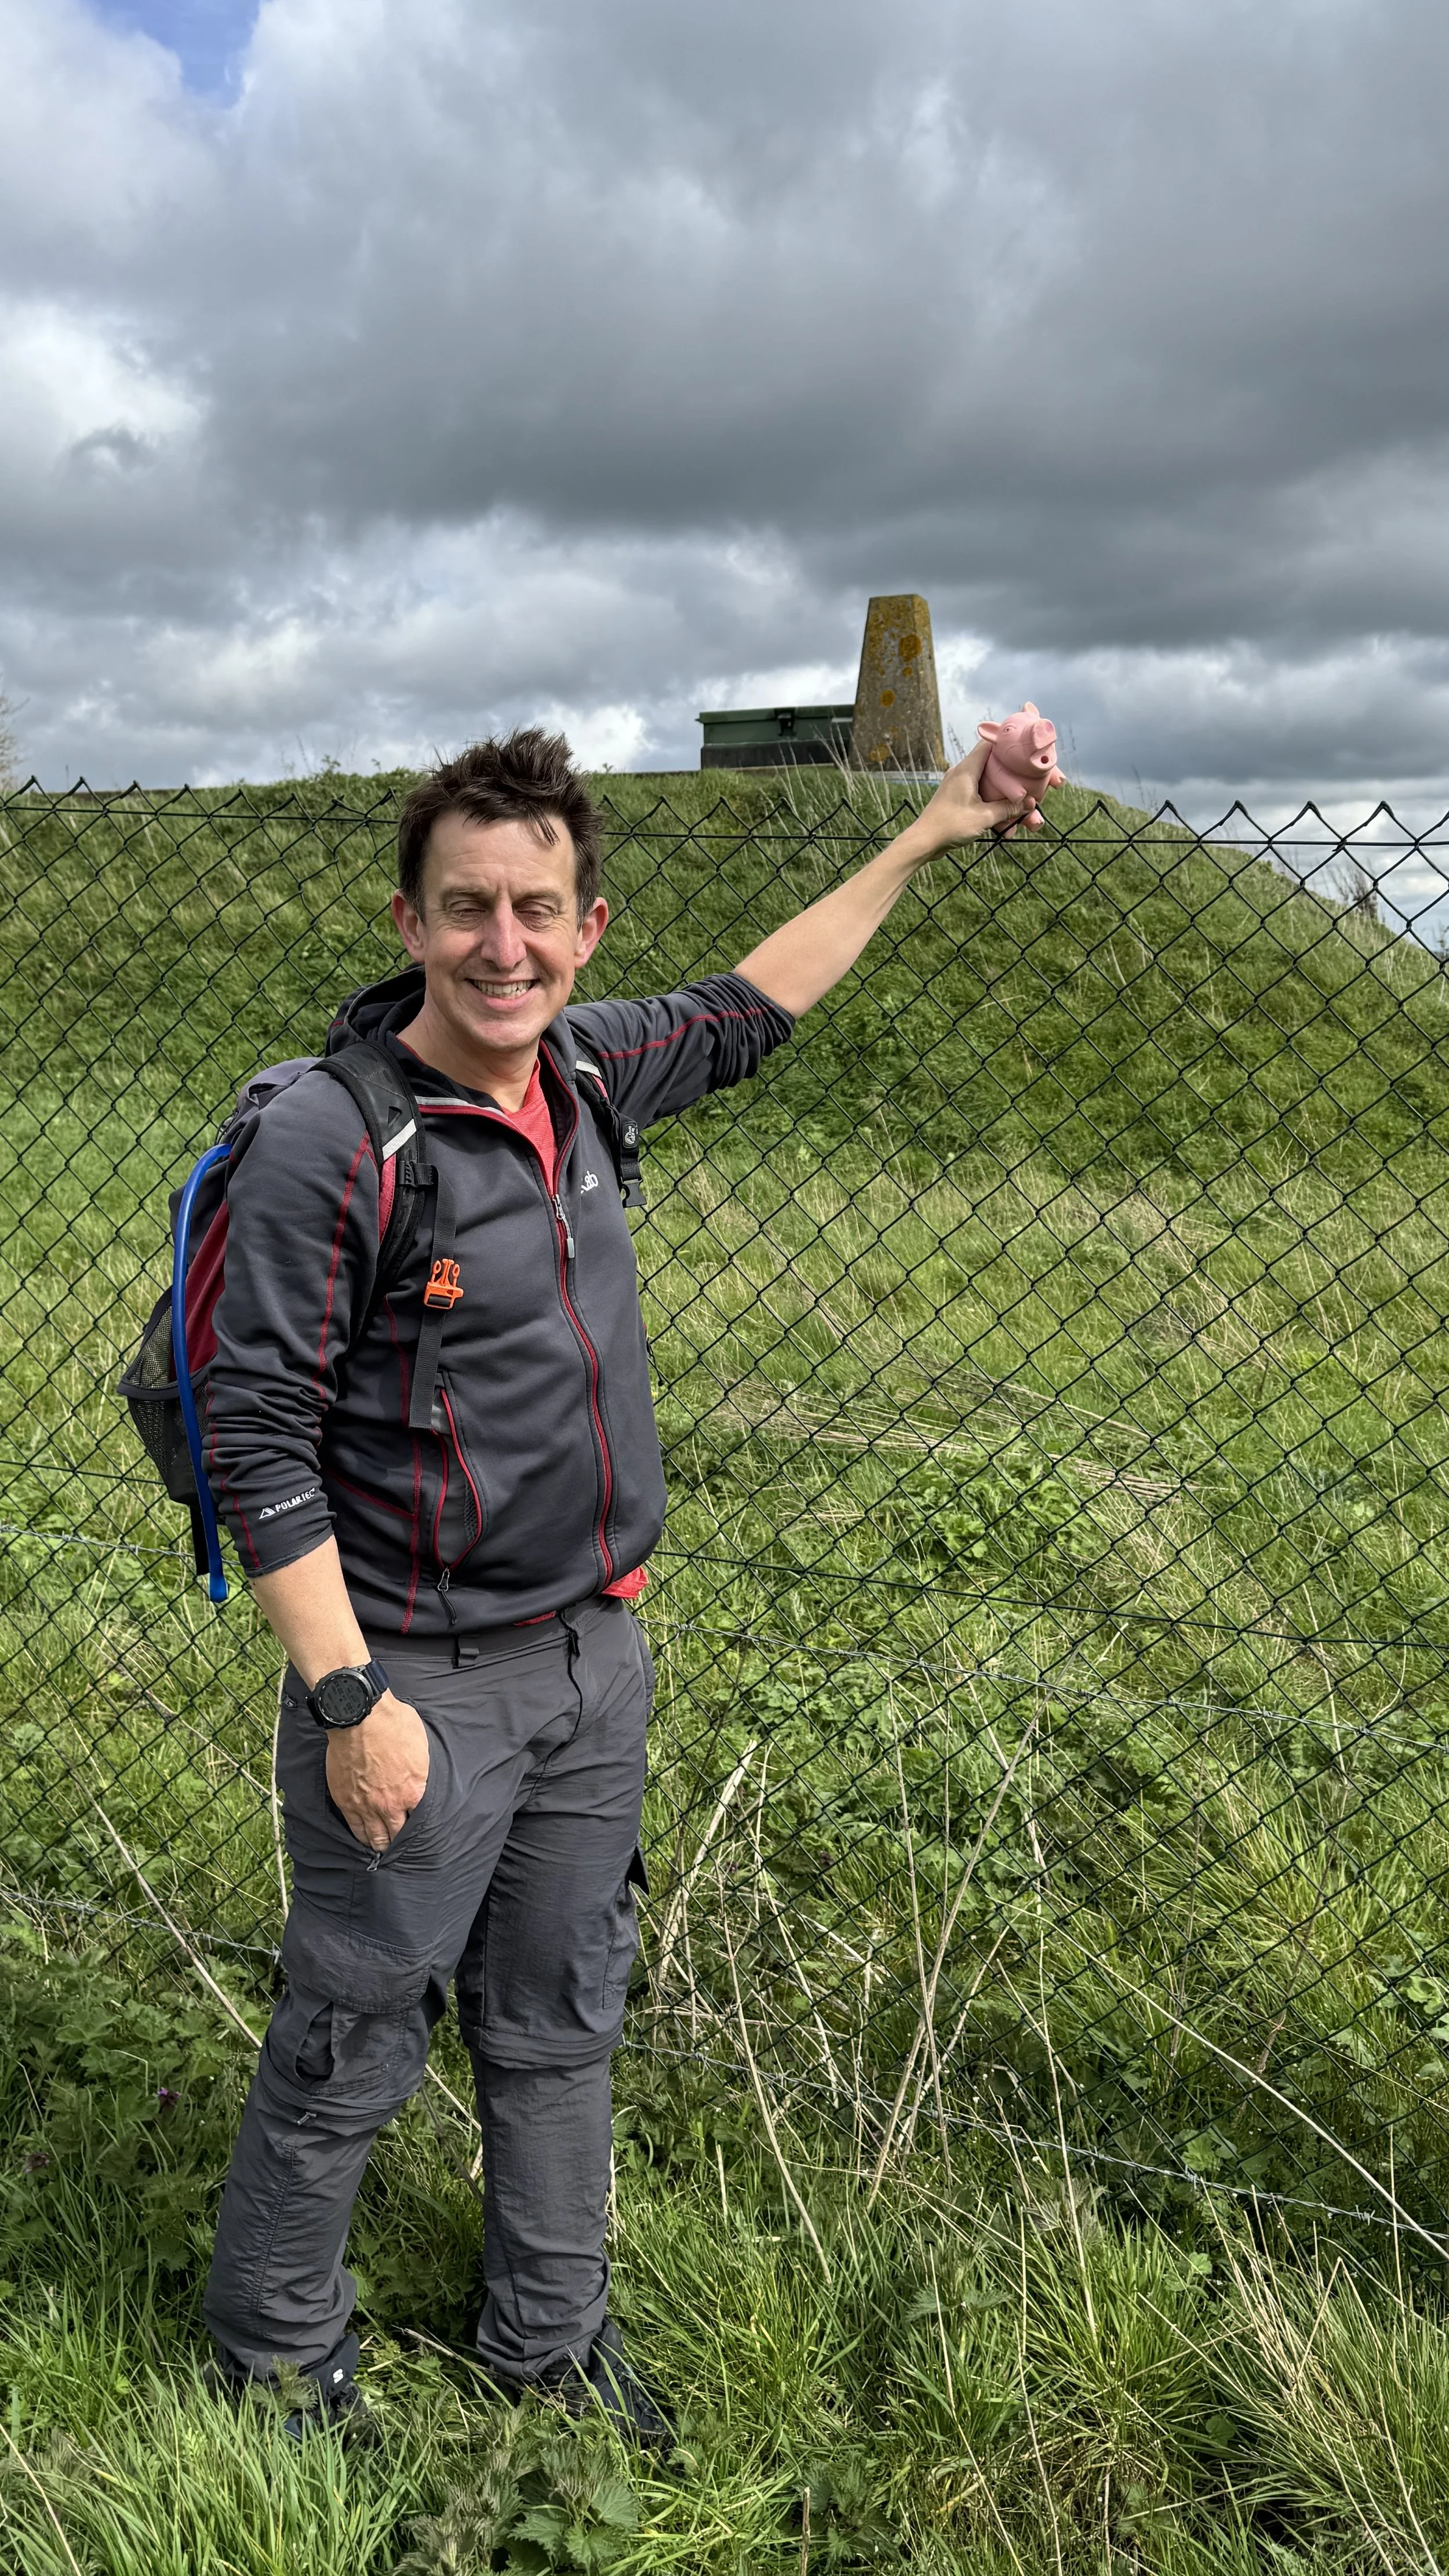
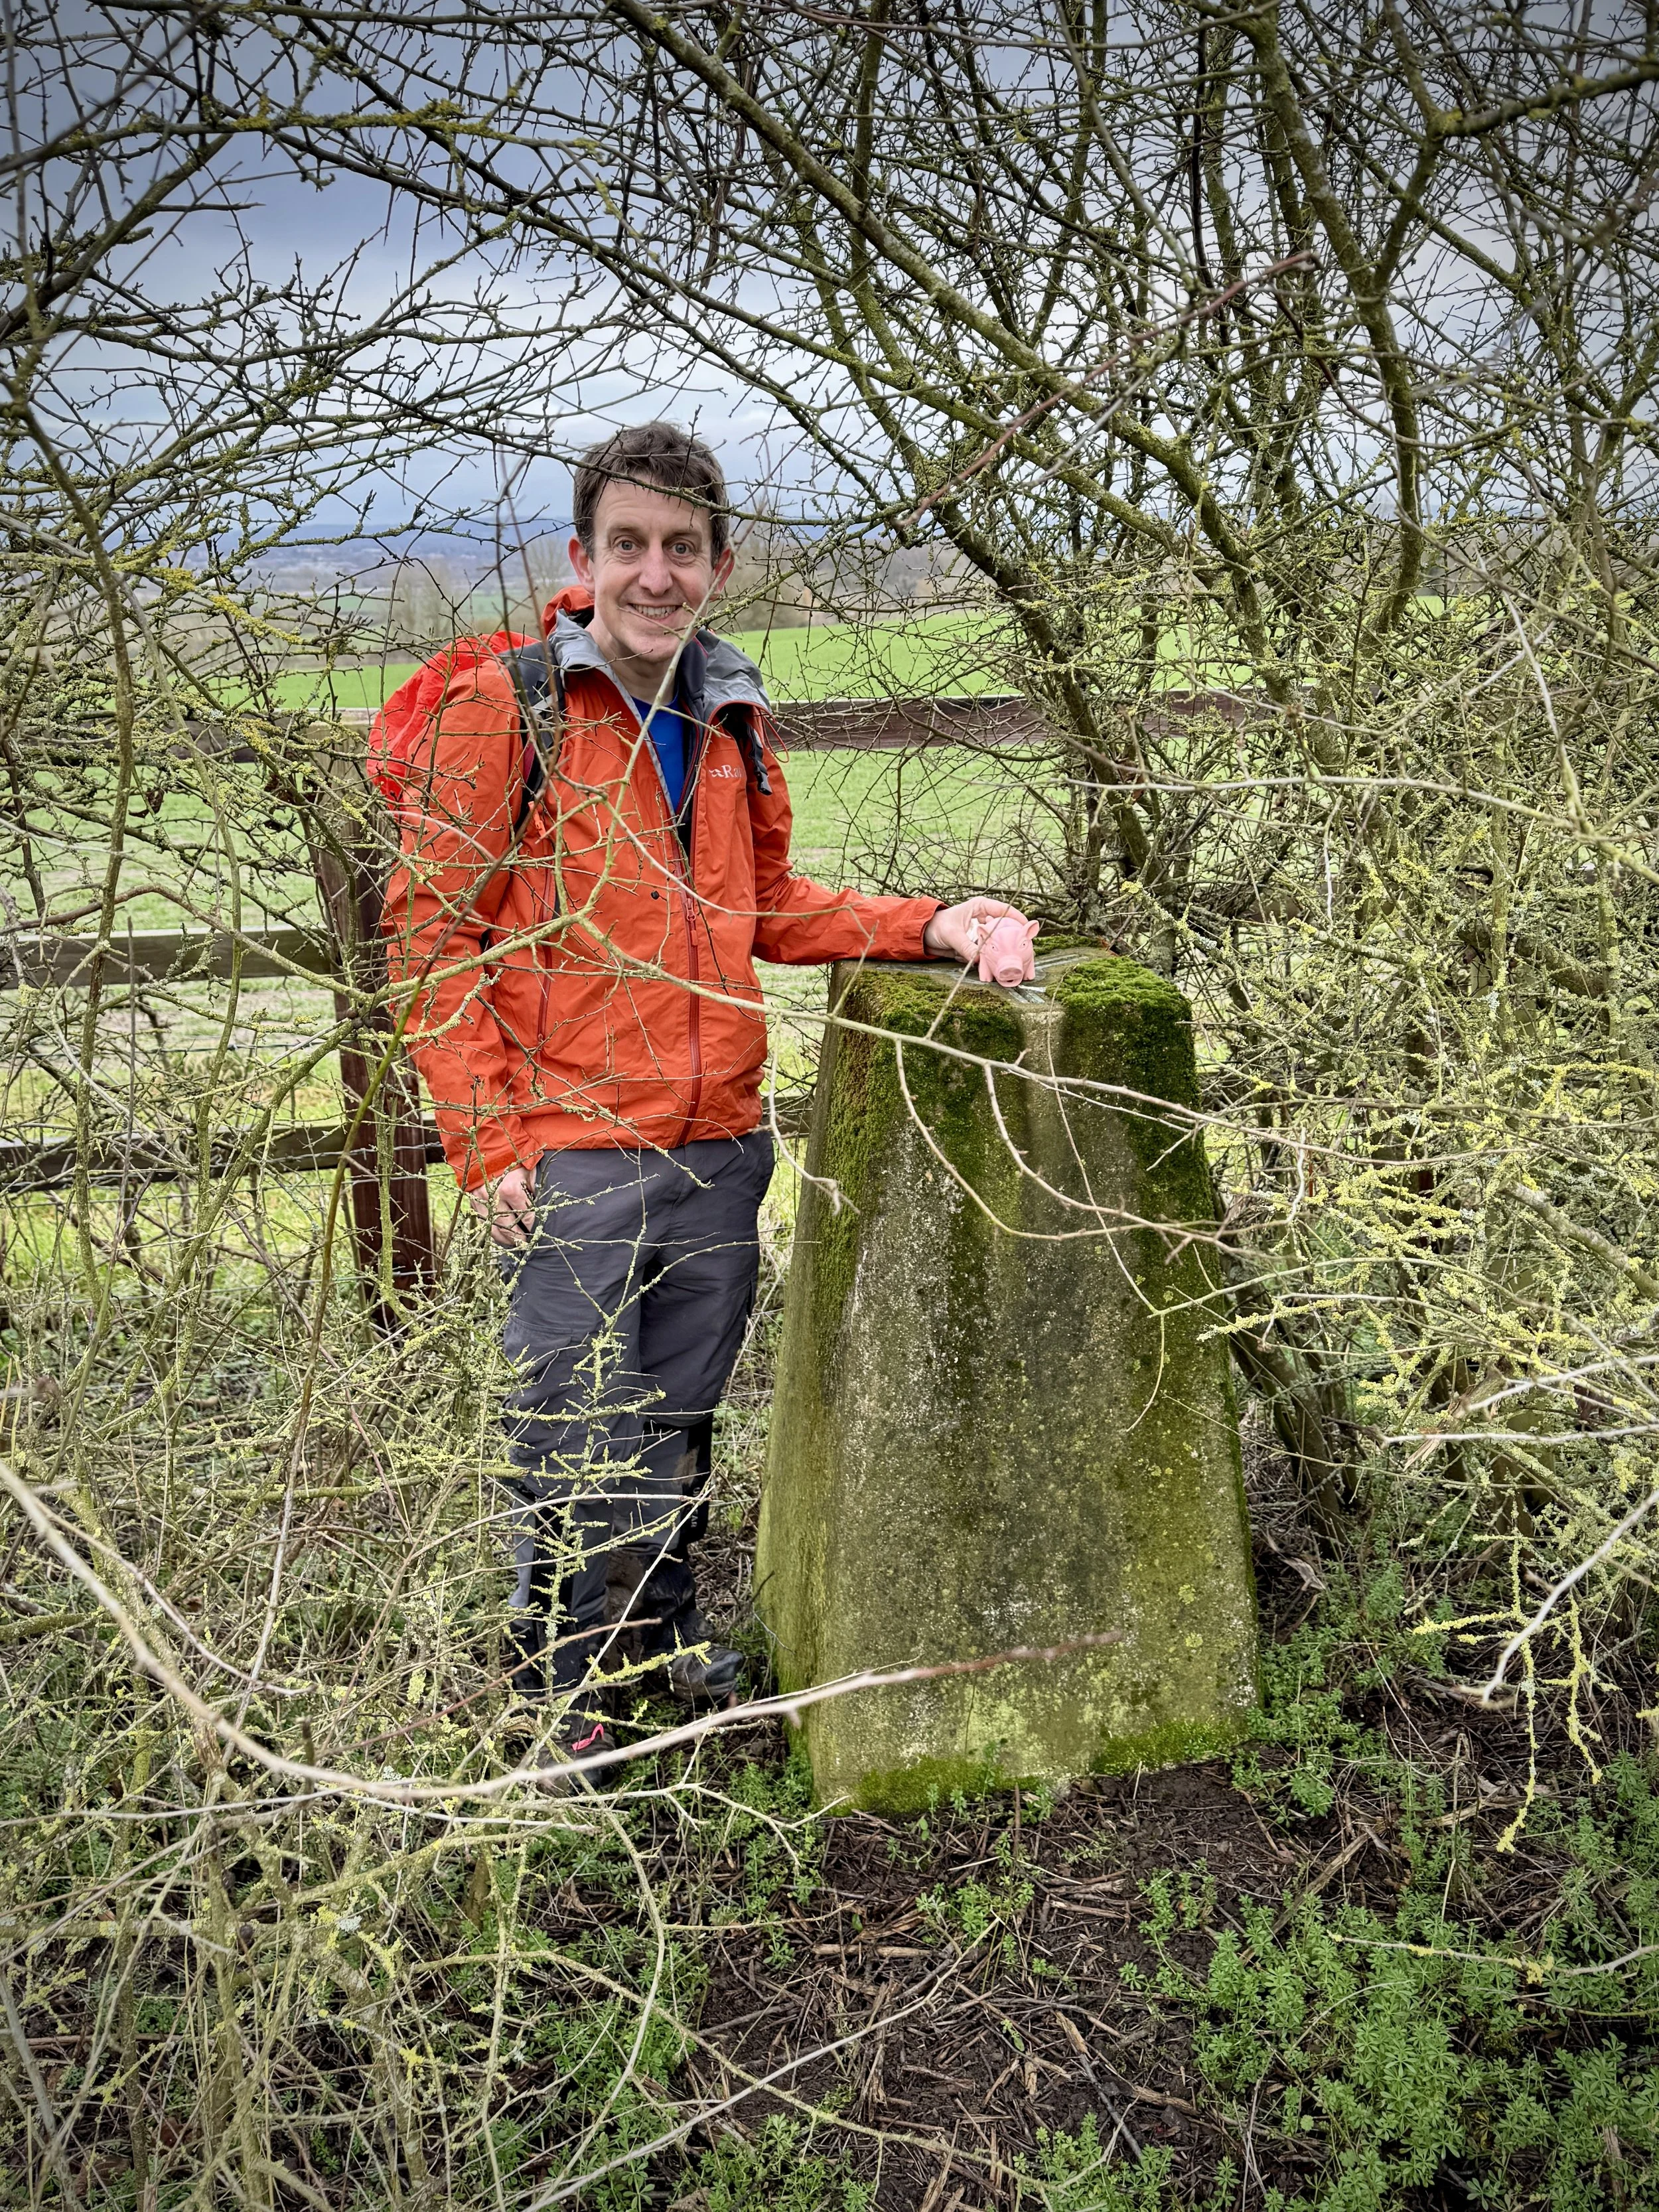
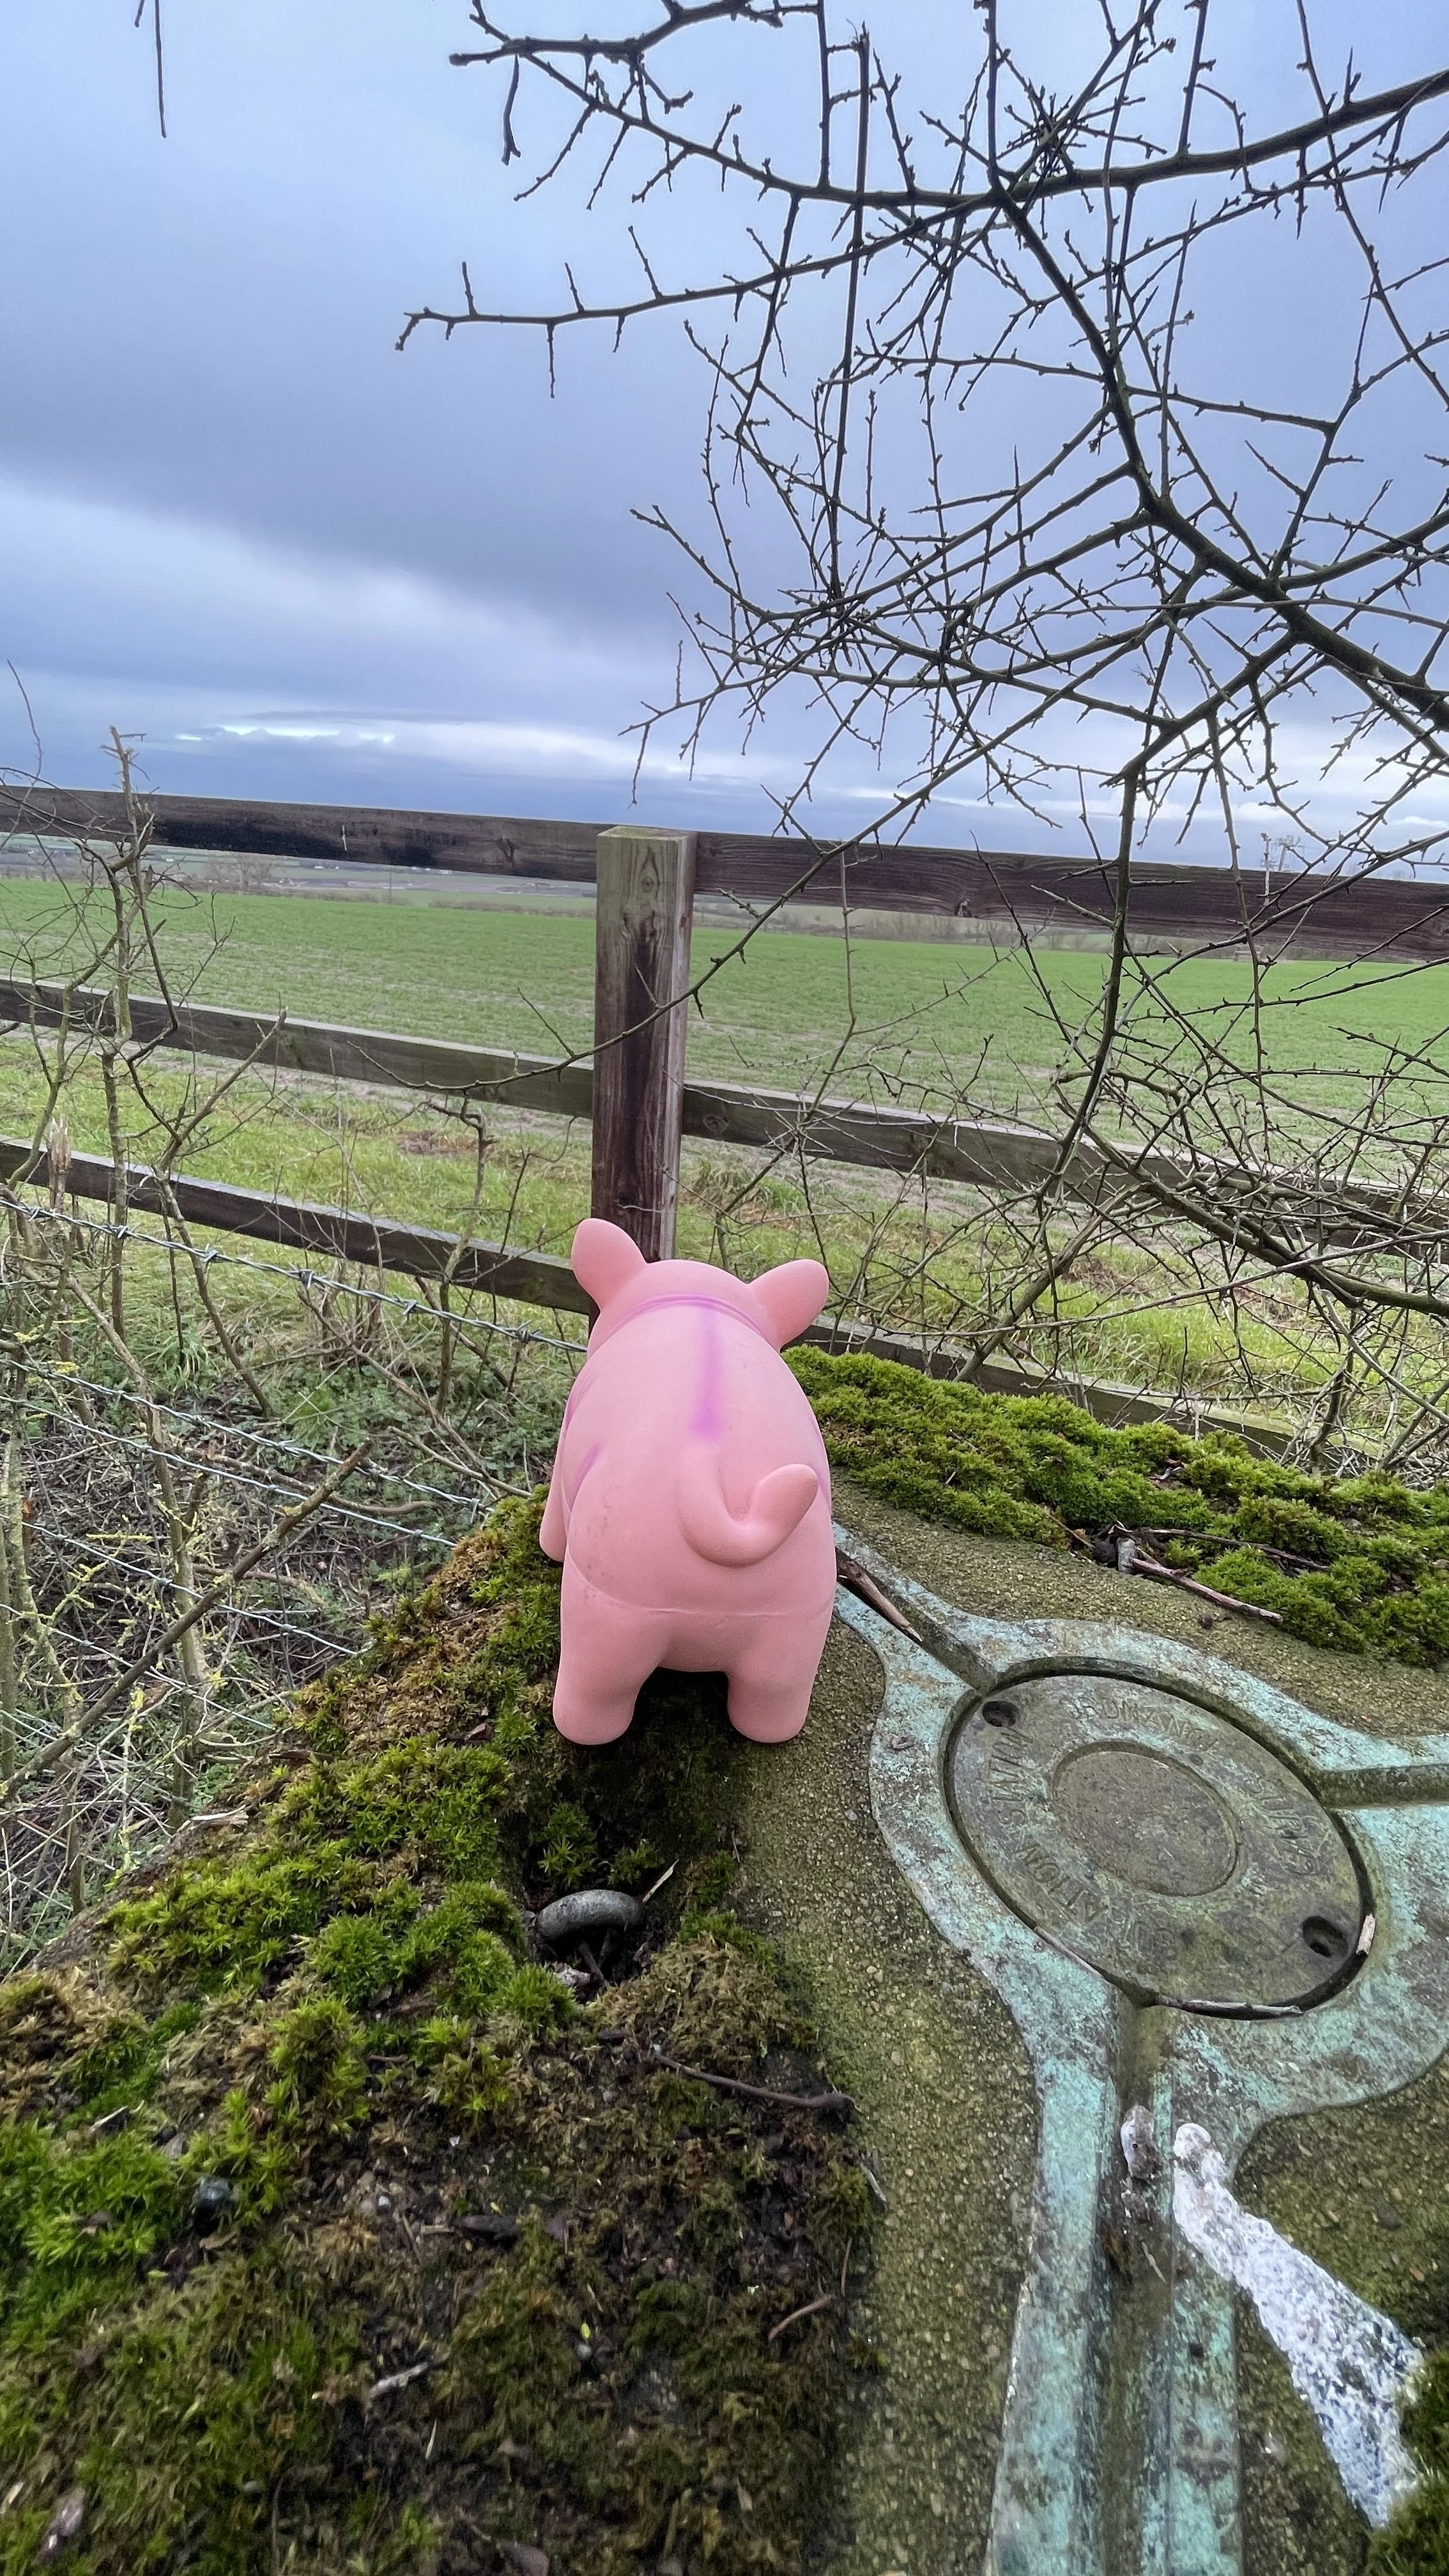
Feeling good, we descended the other side and began the final ascent up to the summit of Càrn Eige. Reaching the top felt like a massive victory, and we were rewarded with the trig pillar marking the high point of historic Ross and Cromarty. We were thrilled: we had successfully avoided Plan C and safely made it to the top!
Despite the success, the weather was still a factor, and we made the sensible decision to execute Plan B rather than attempting the full circular route. The only real disadvantage of the out-and-back route is missing out on a couple of other Munros, but they weren't on our main bagging list anyway. Claiming Càrn Eige was our primary goal for the day, and we had well and truly ticked that box.
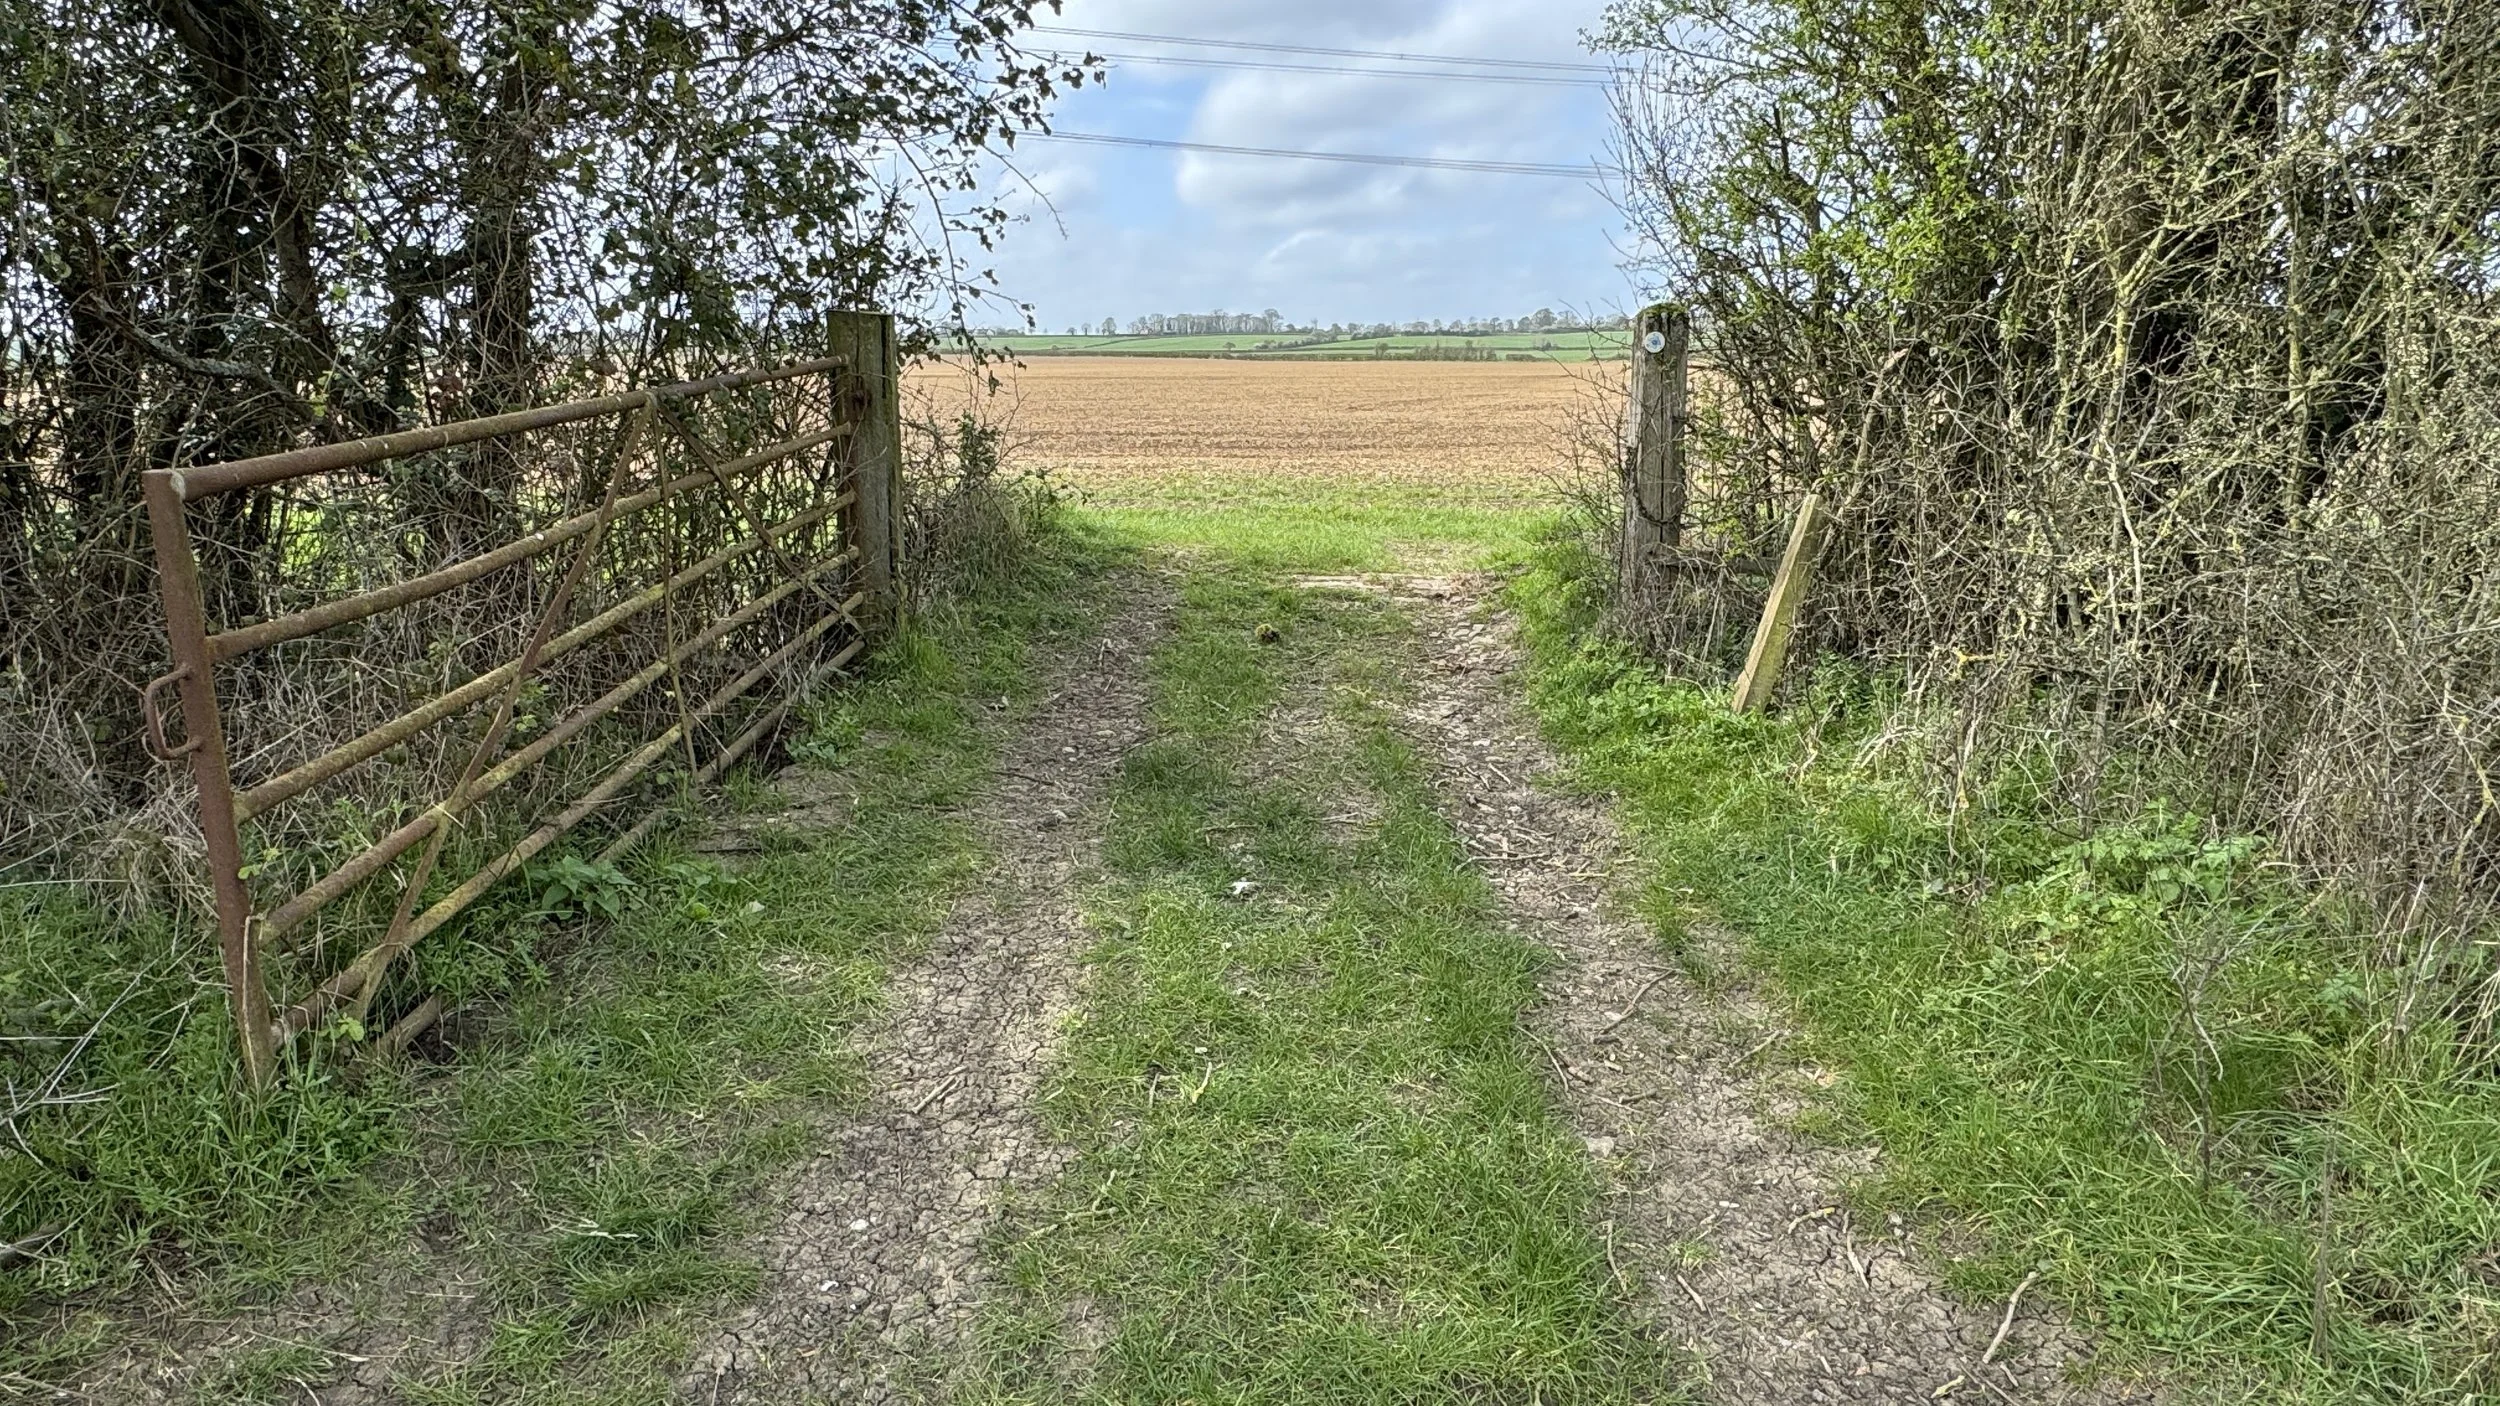
We retraced our steps back down over Mam Sodhail. As we descended, the weather improved significantly. We enjoyed a very pleasant, warm walk back down the valley with high visibility, following the trail back to Loch Affric and along the farm track to the car park.
That successfully concluded the trek. We returned to the car at around 4:00 PM in very high spirits, already looking forward to our next county tops adventure.
Points of Interest along or near to the Route
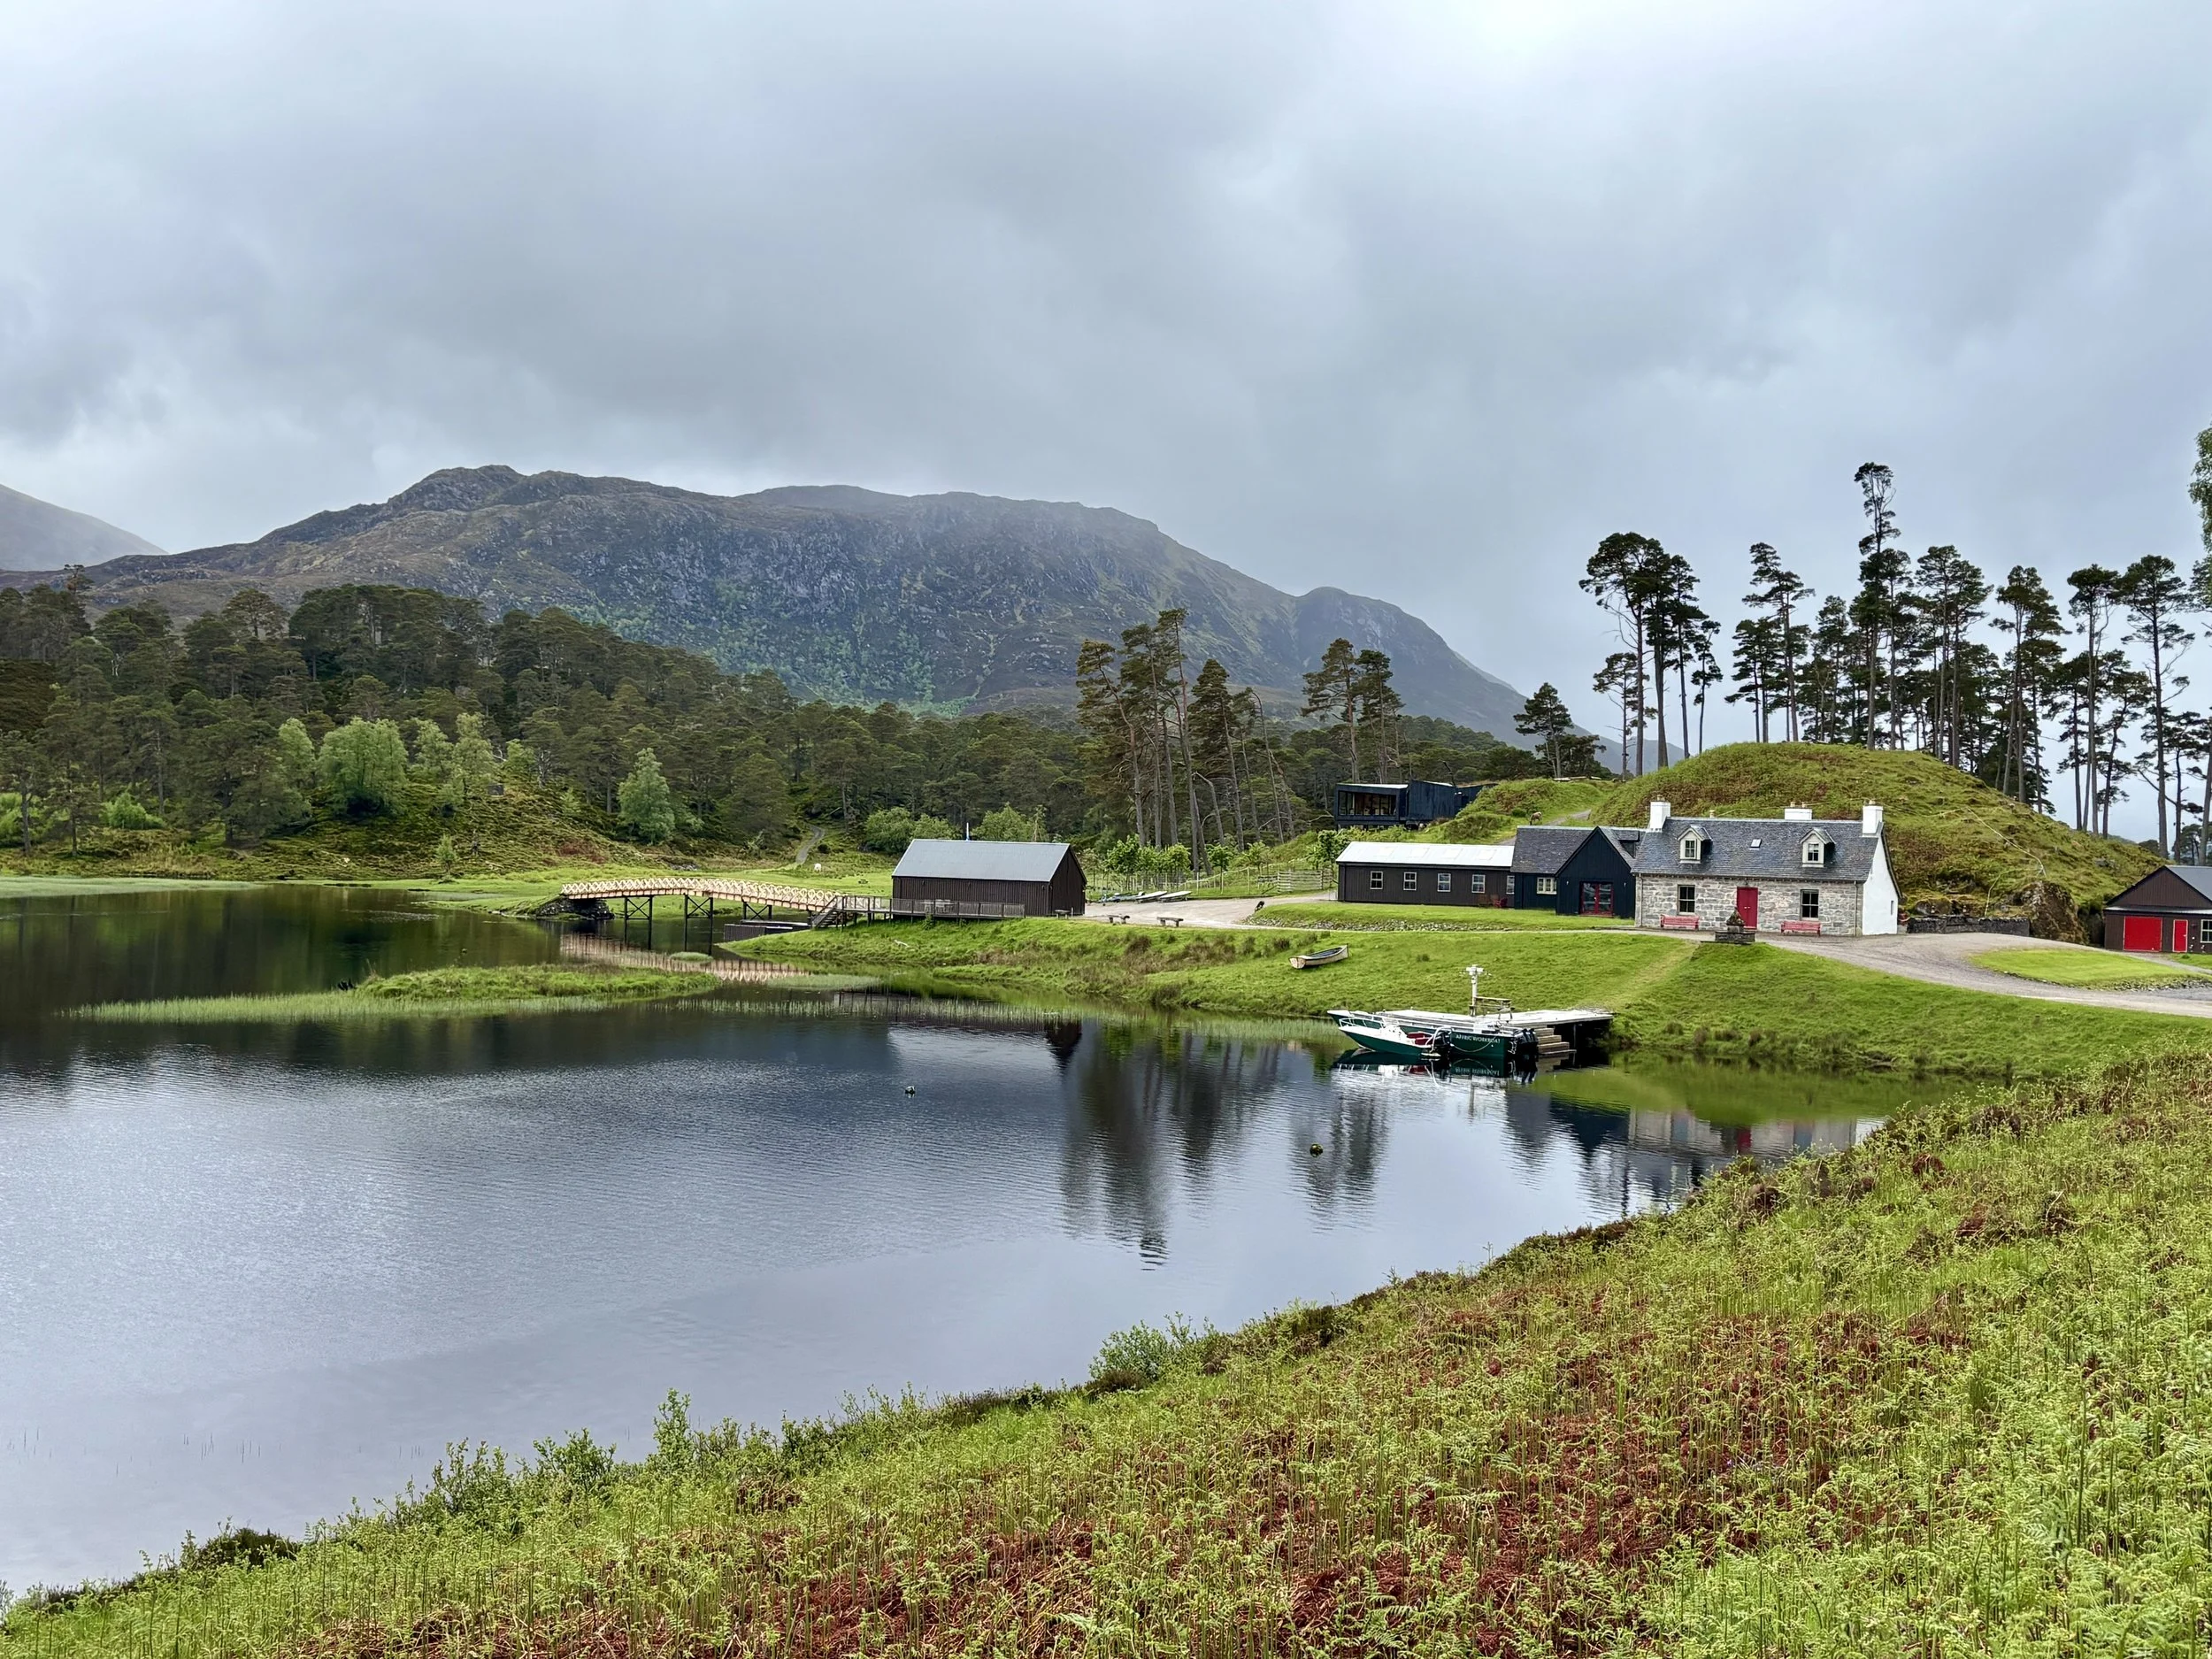
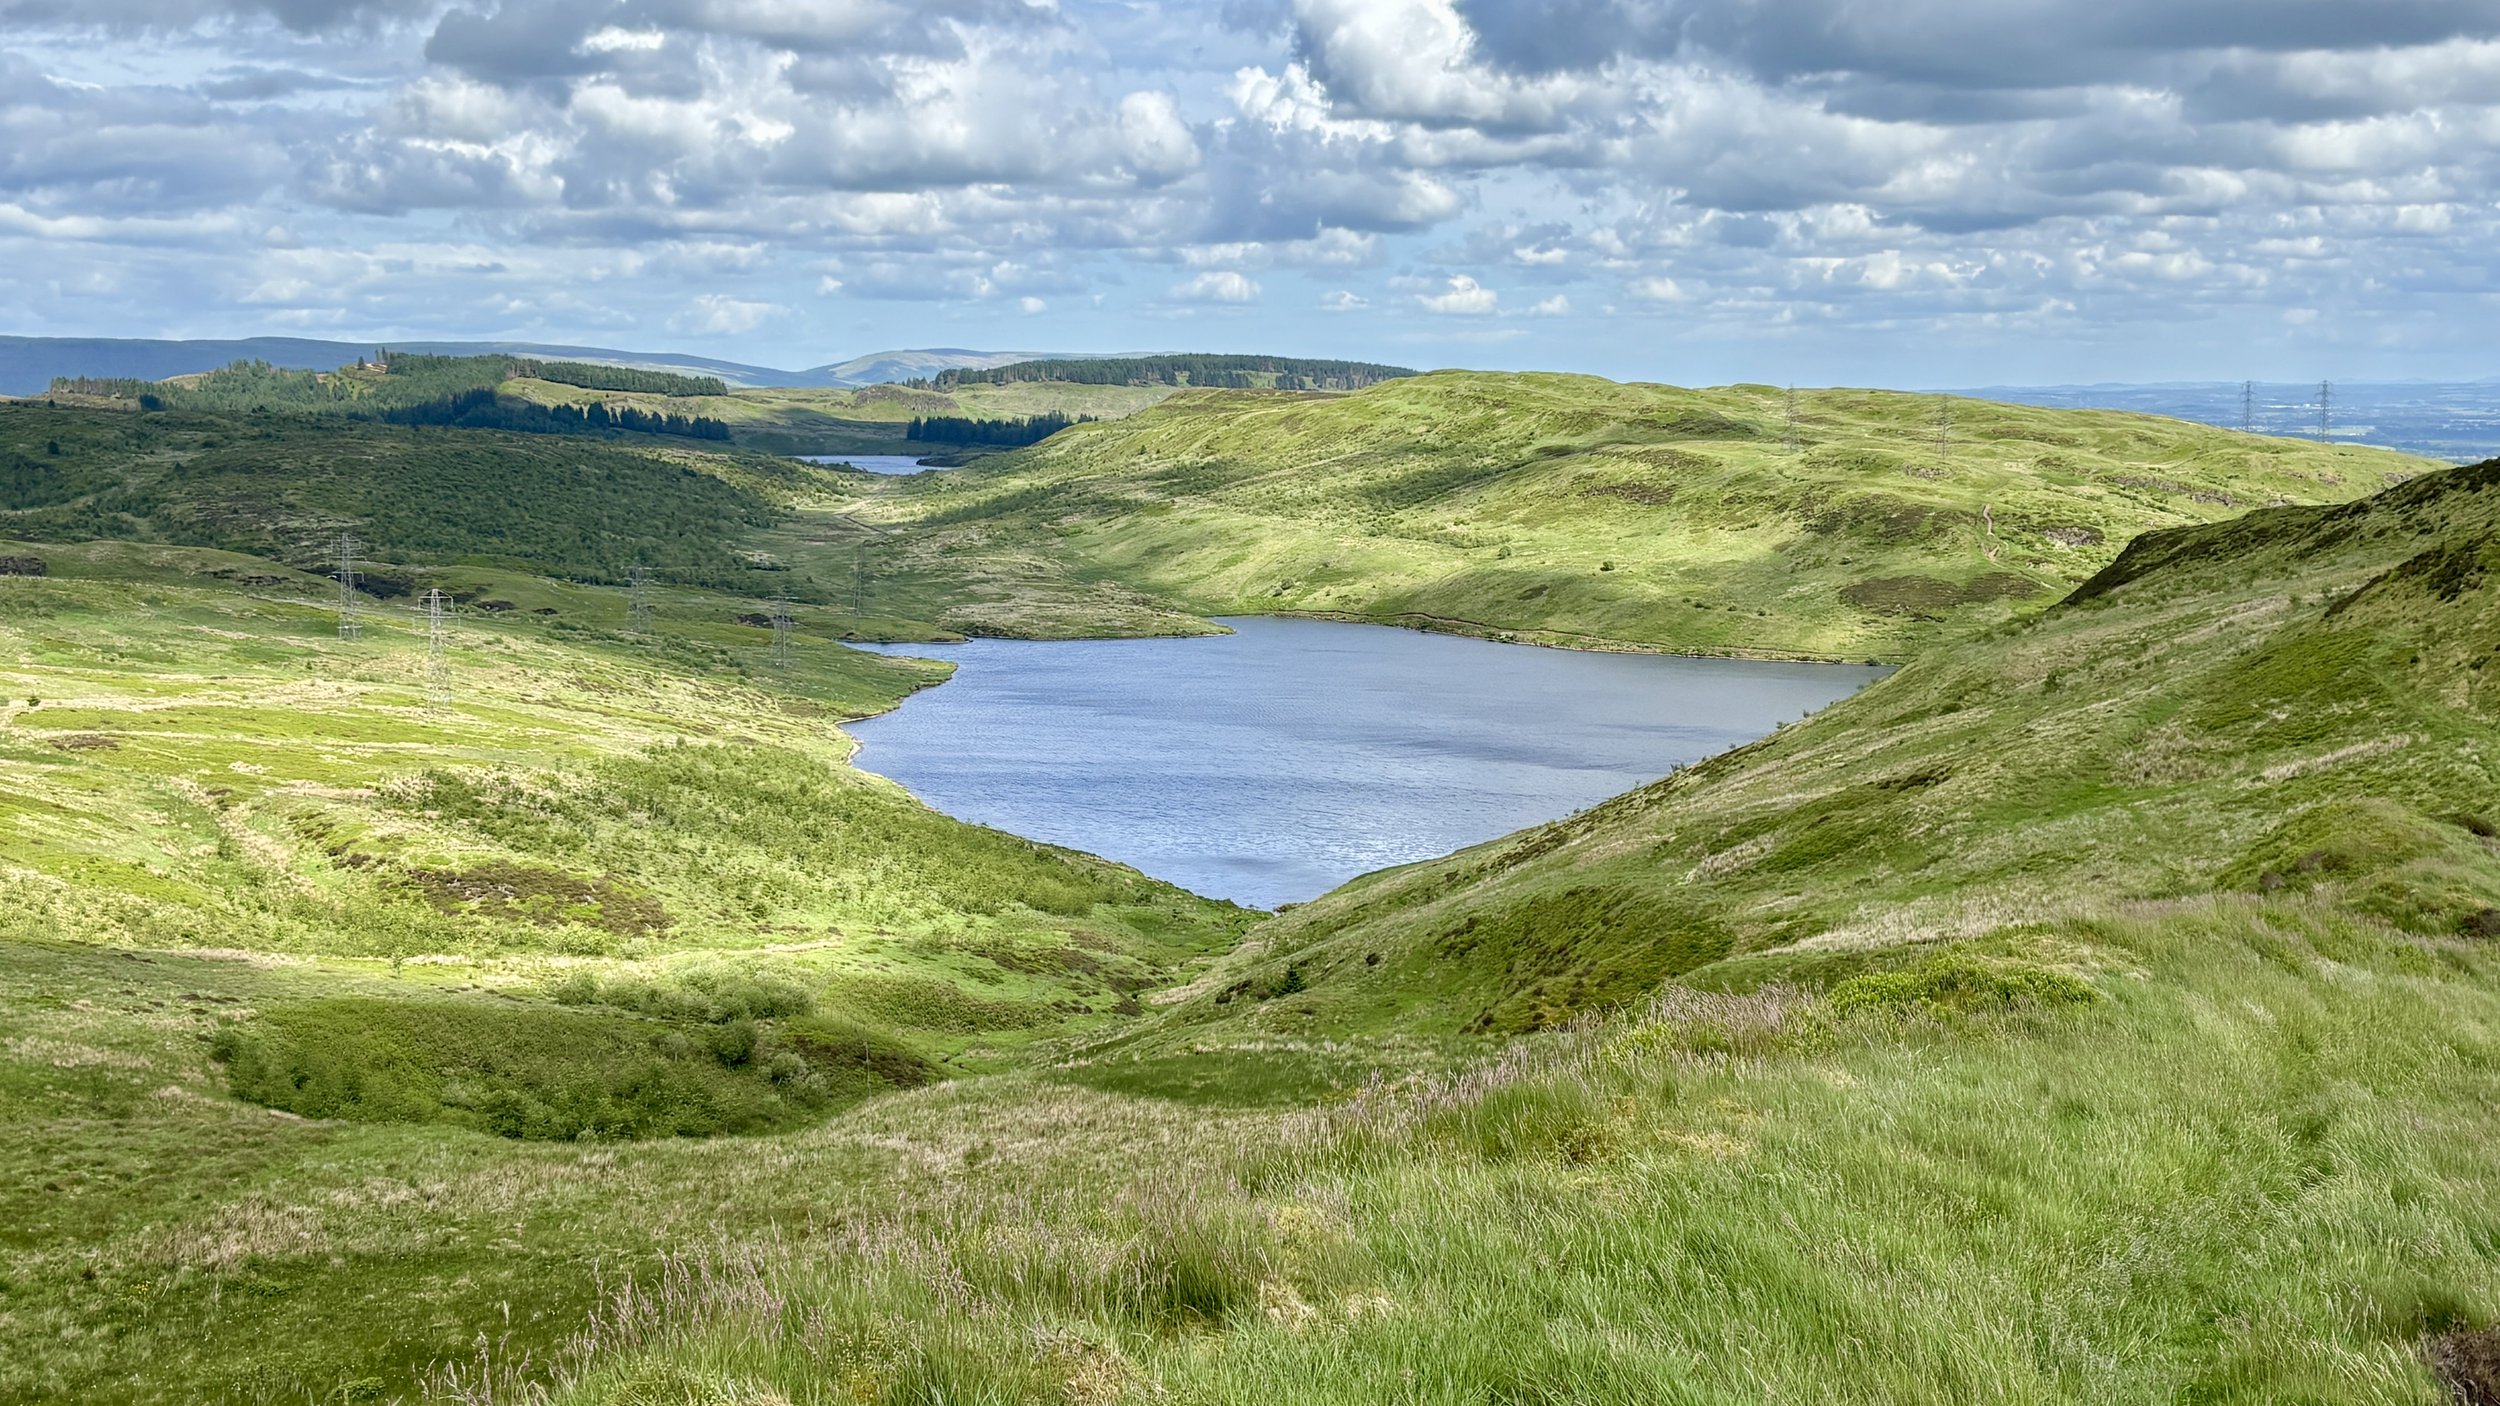
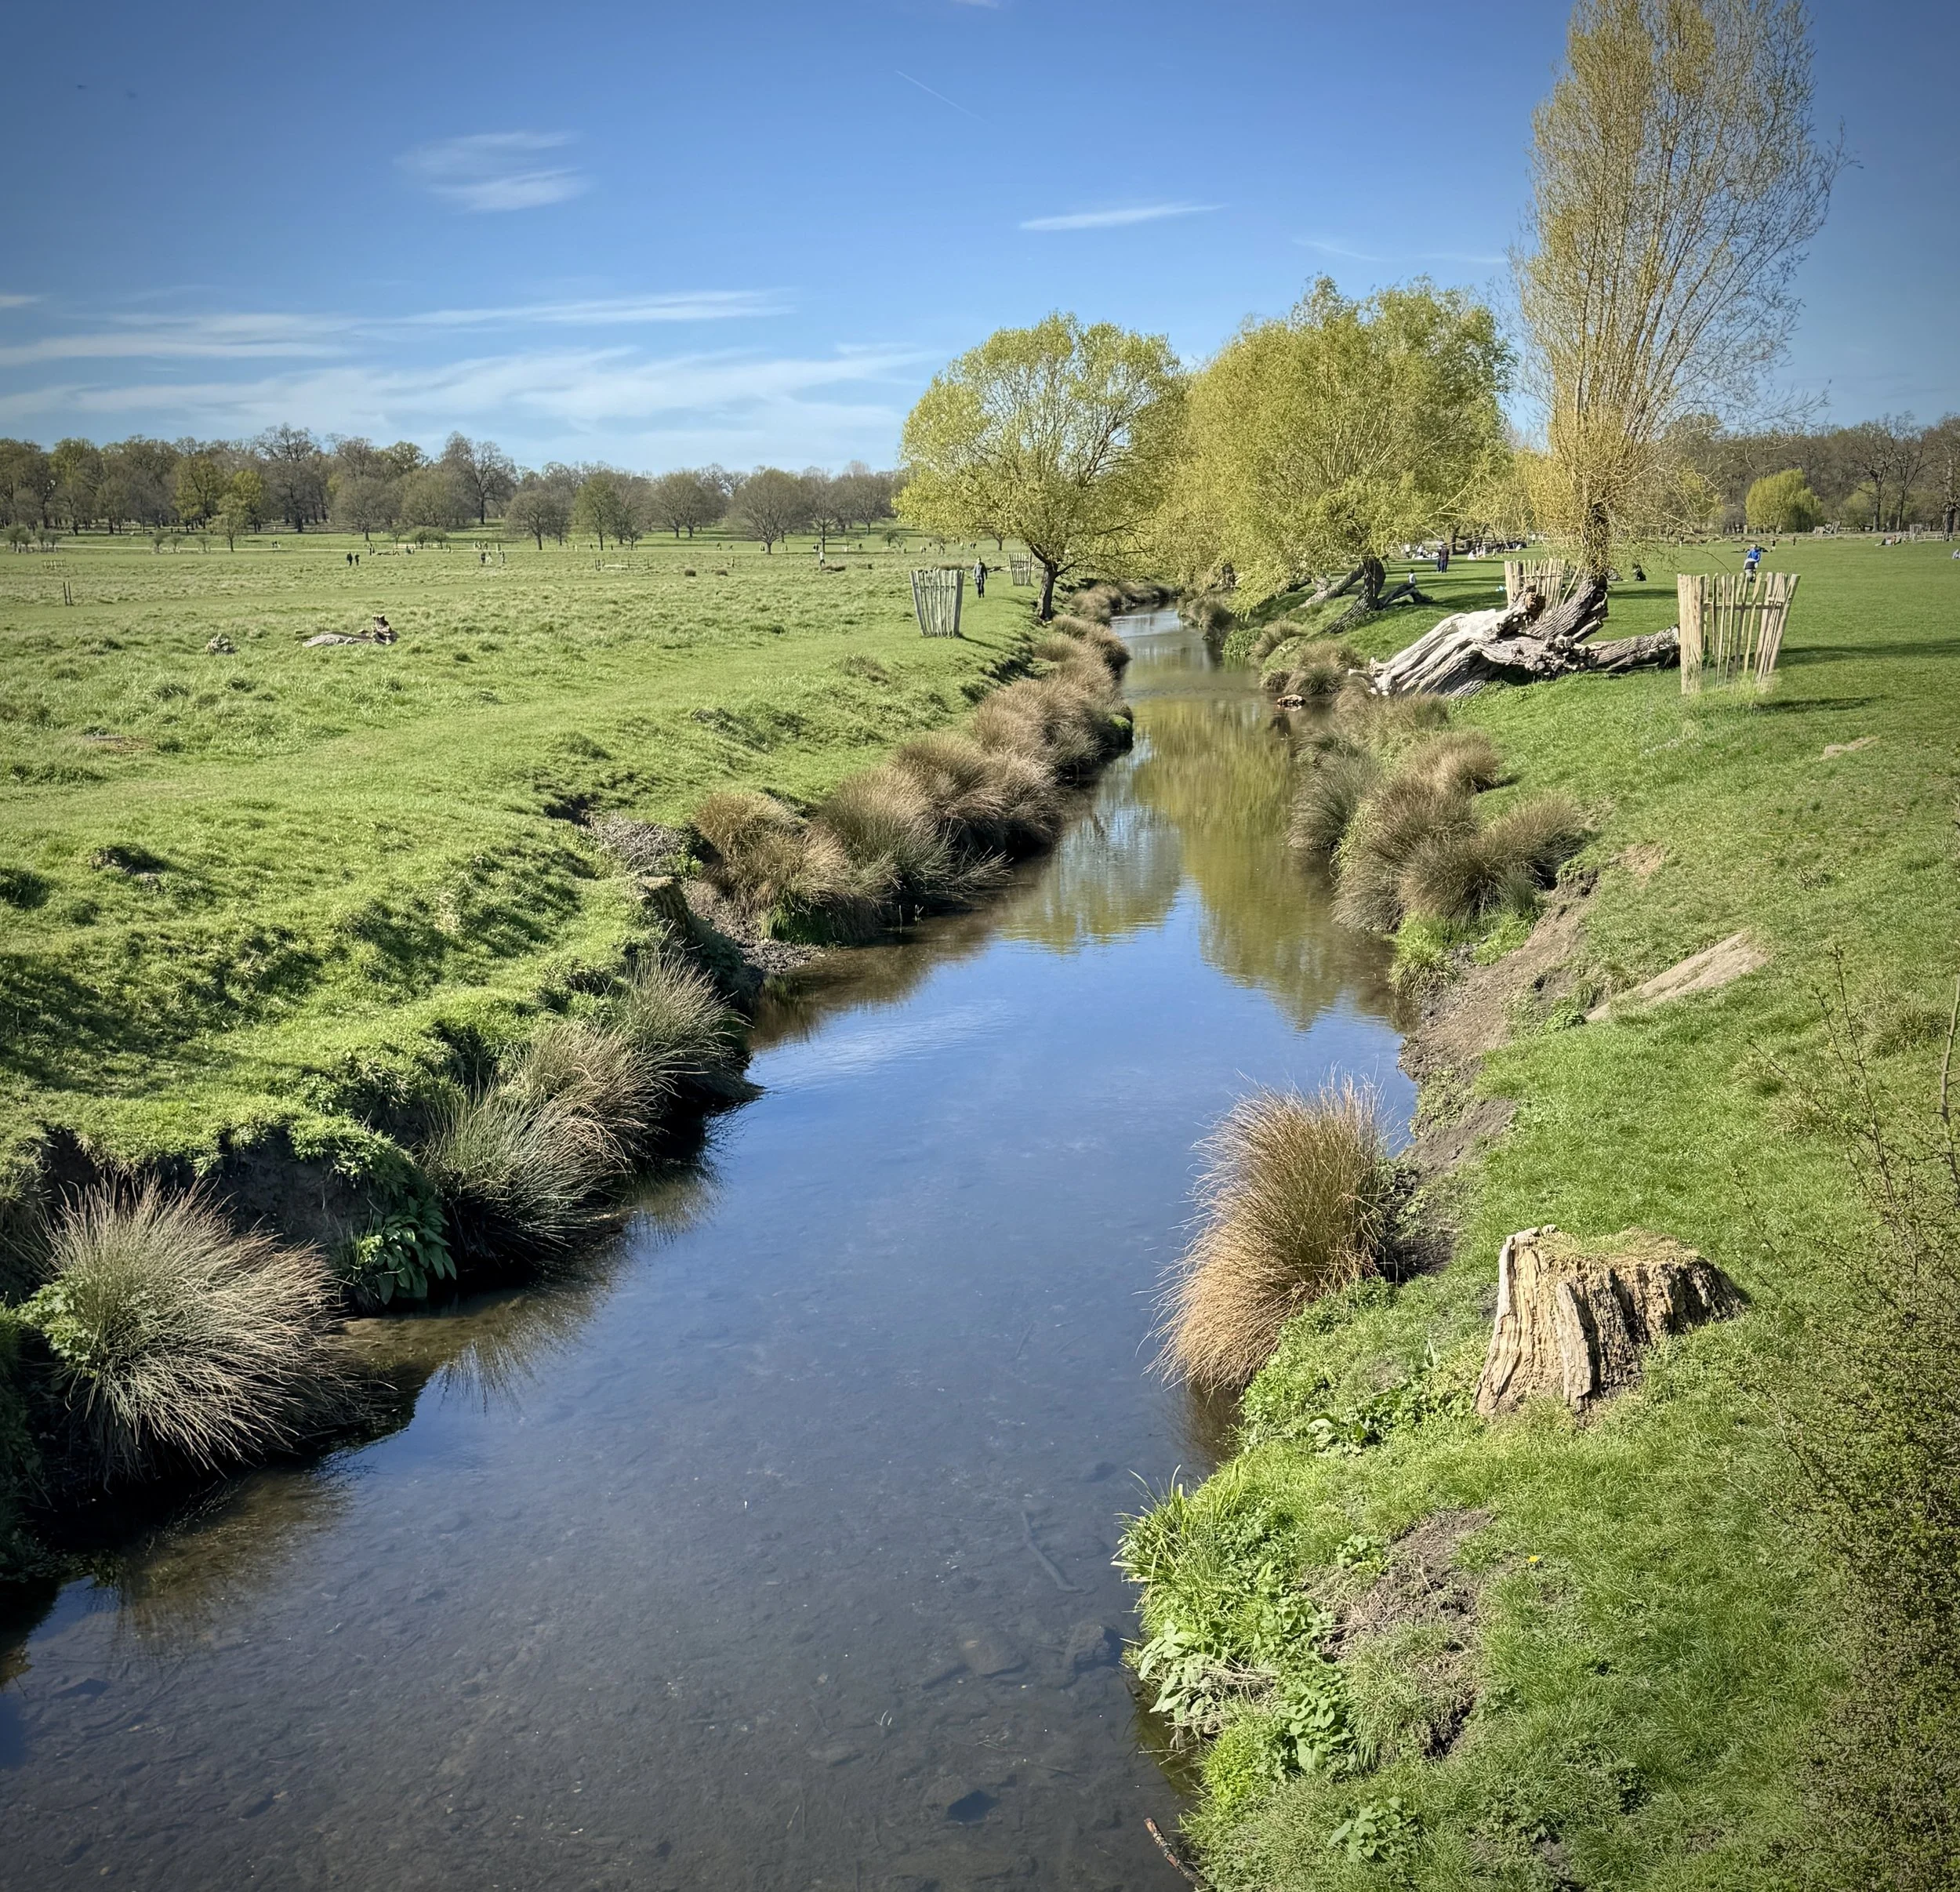
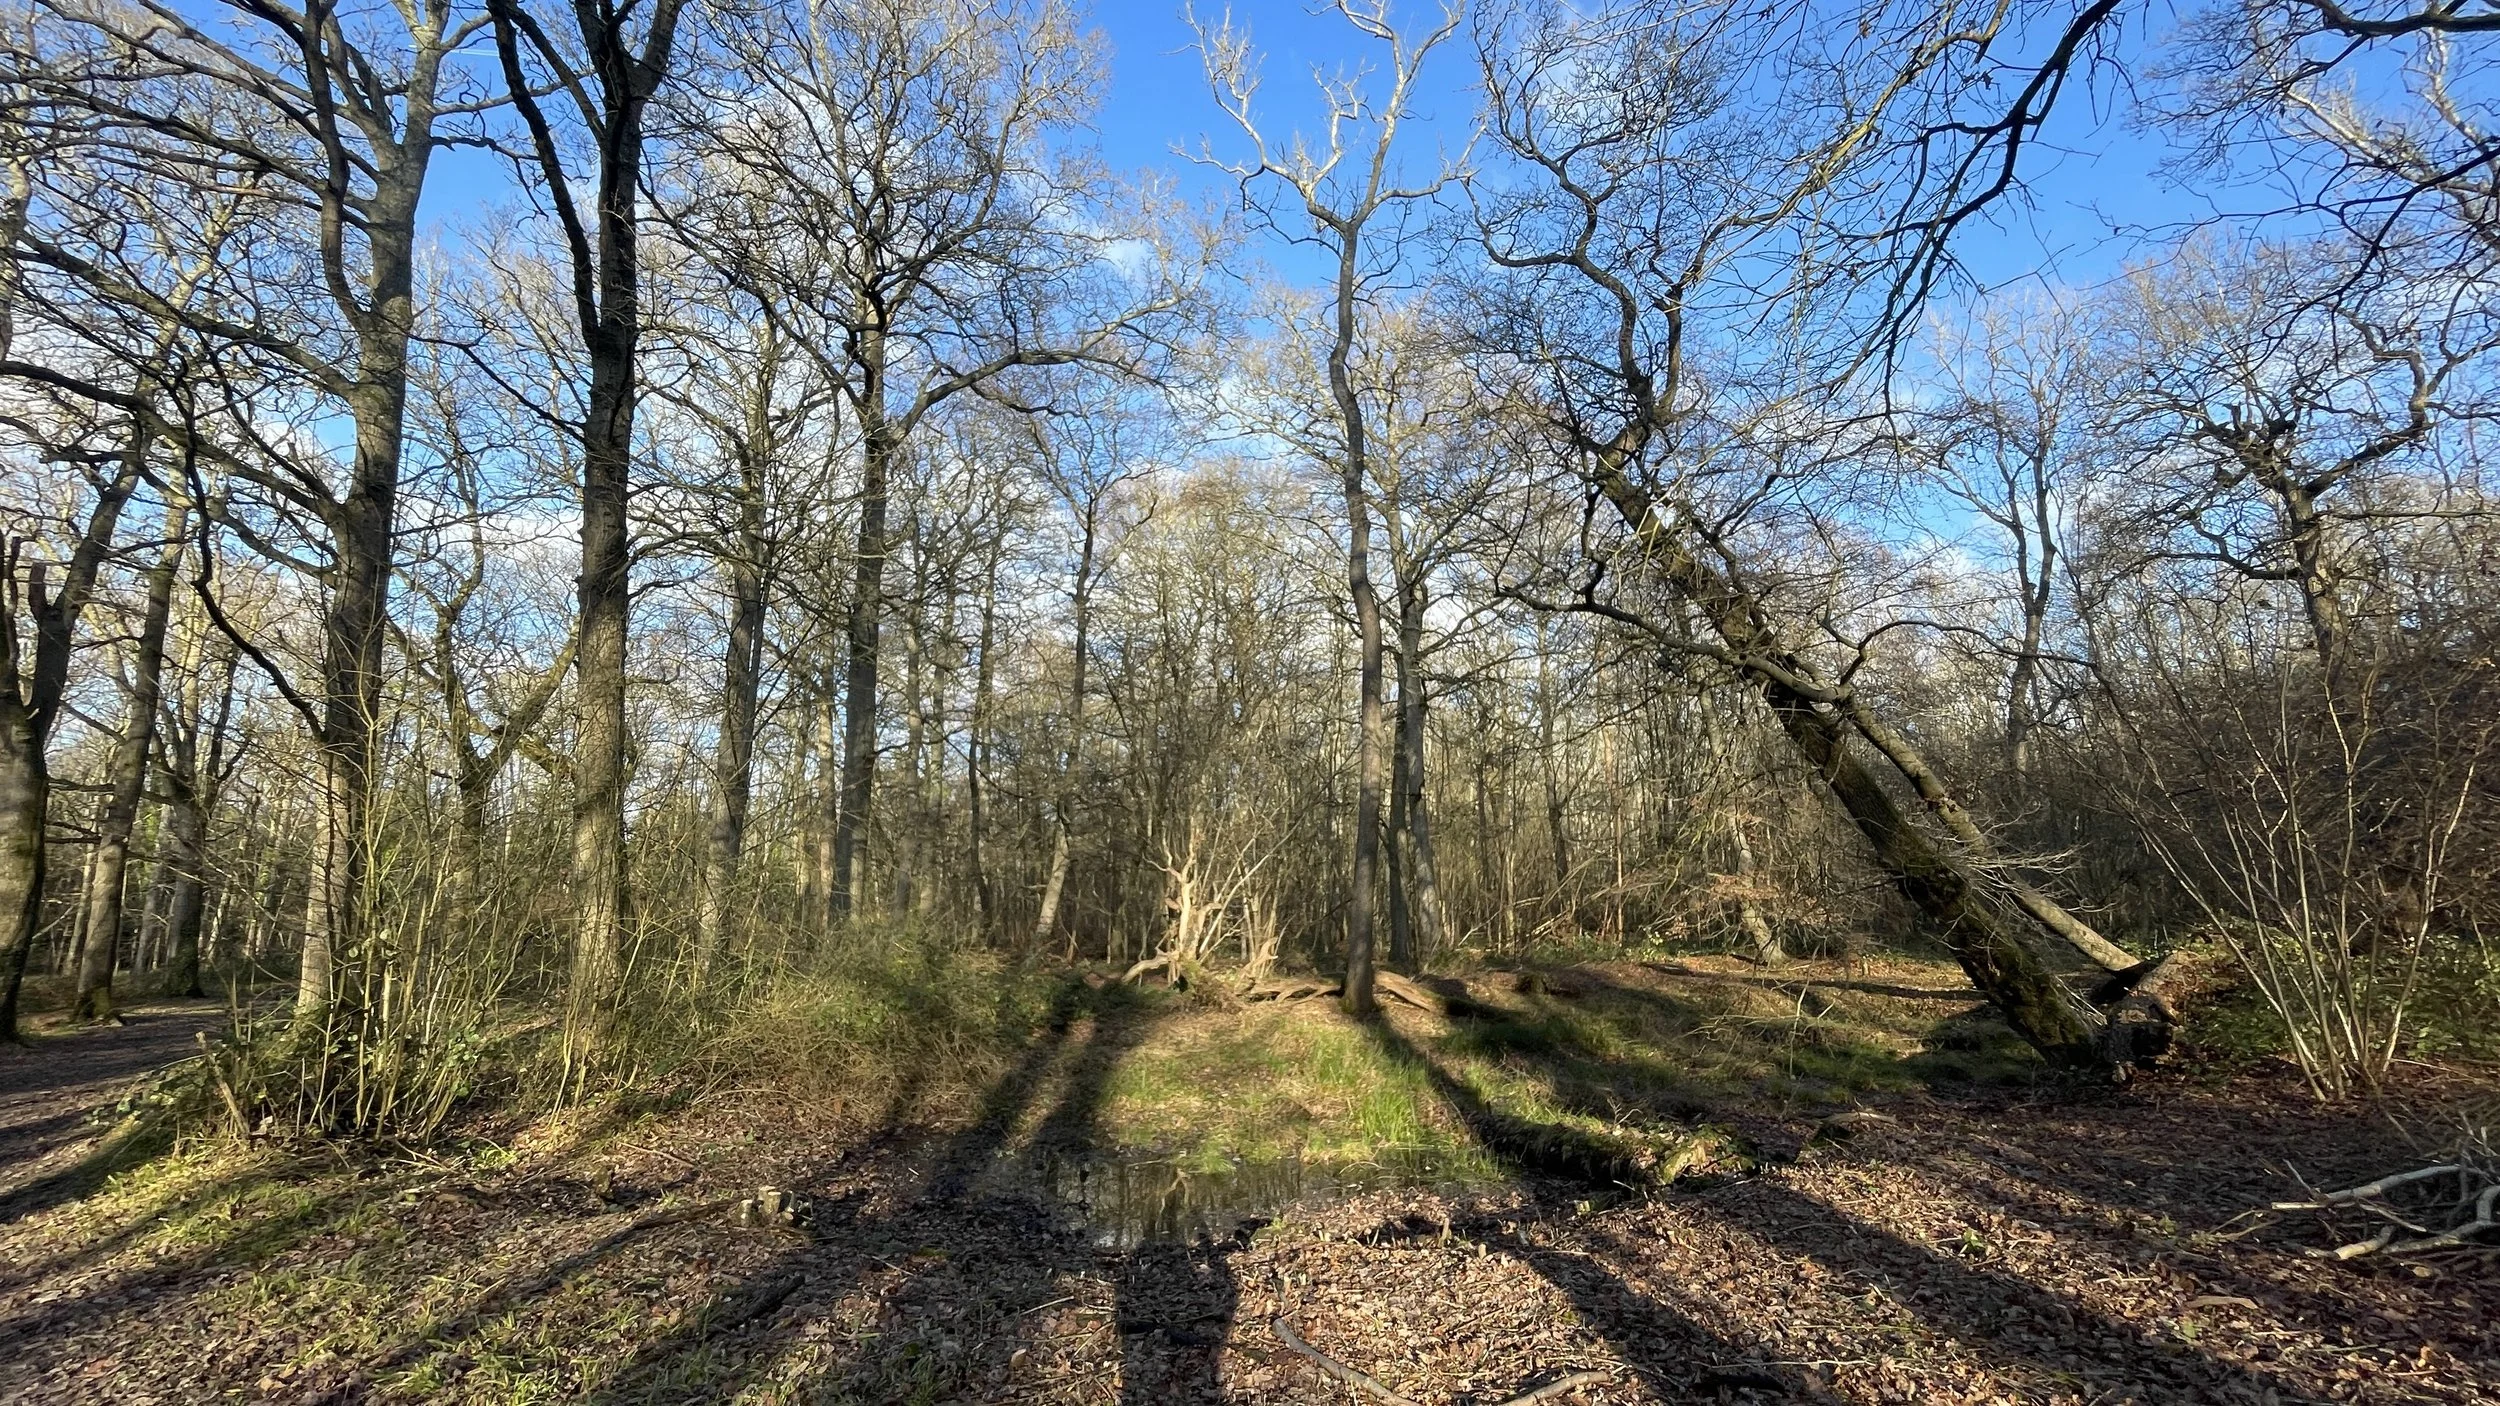
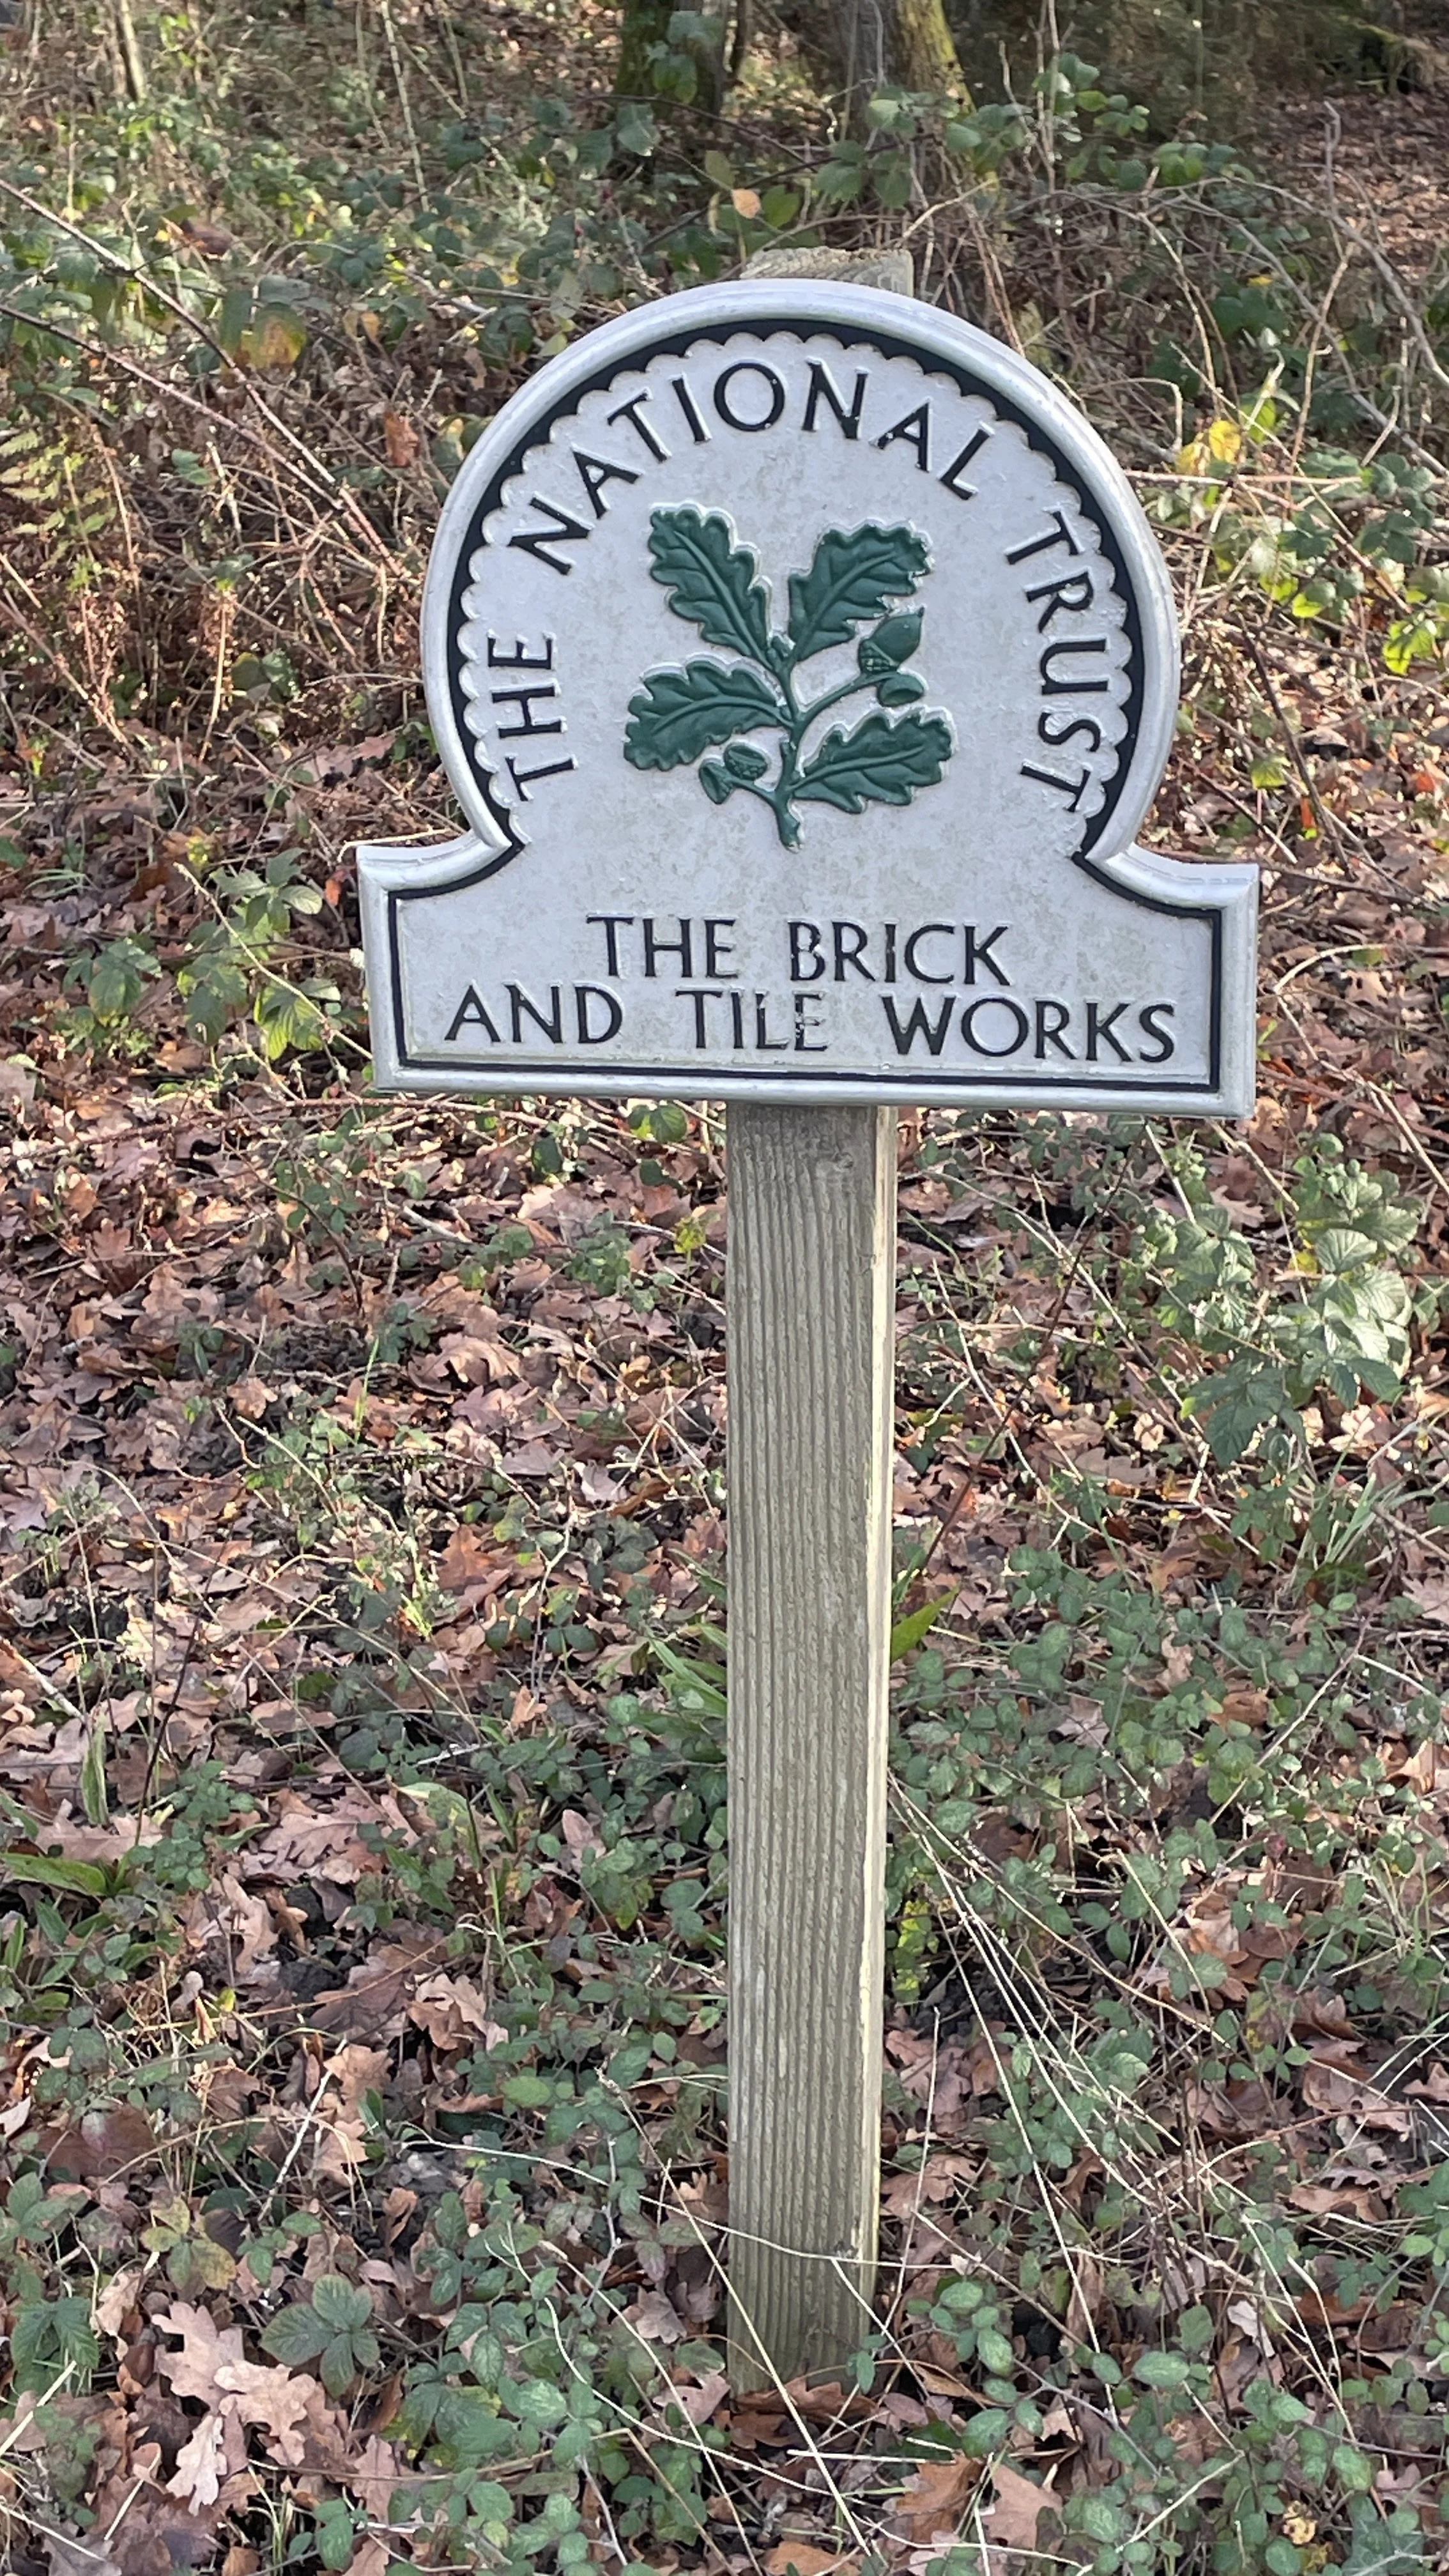
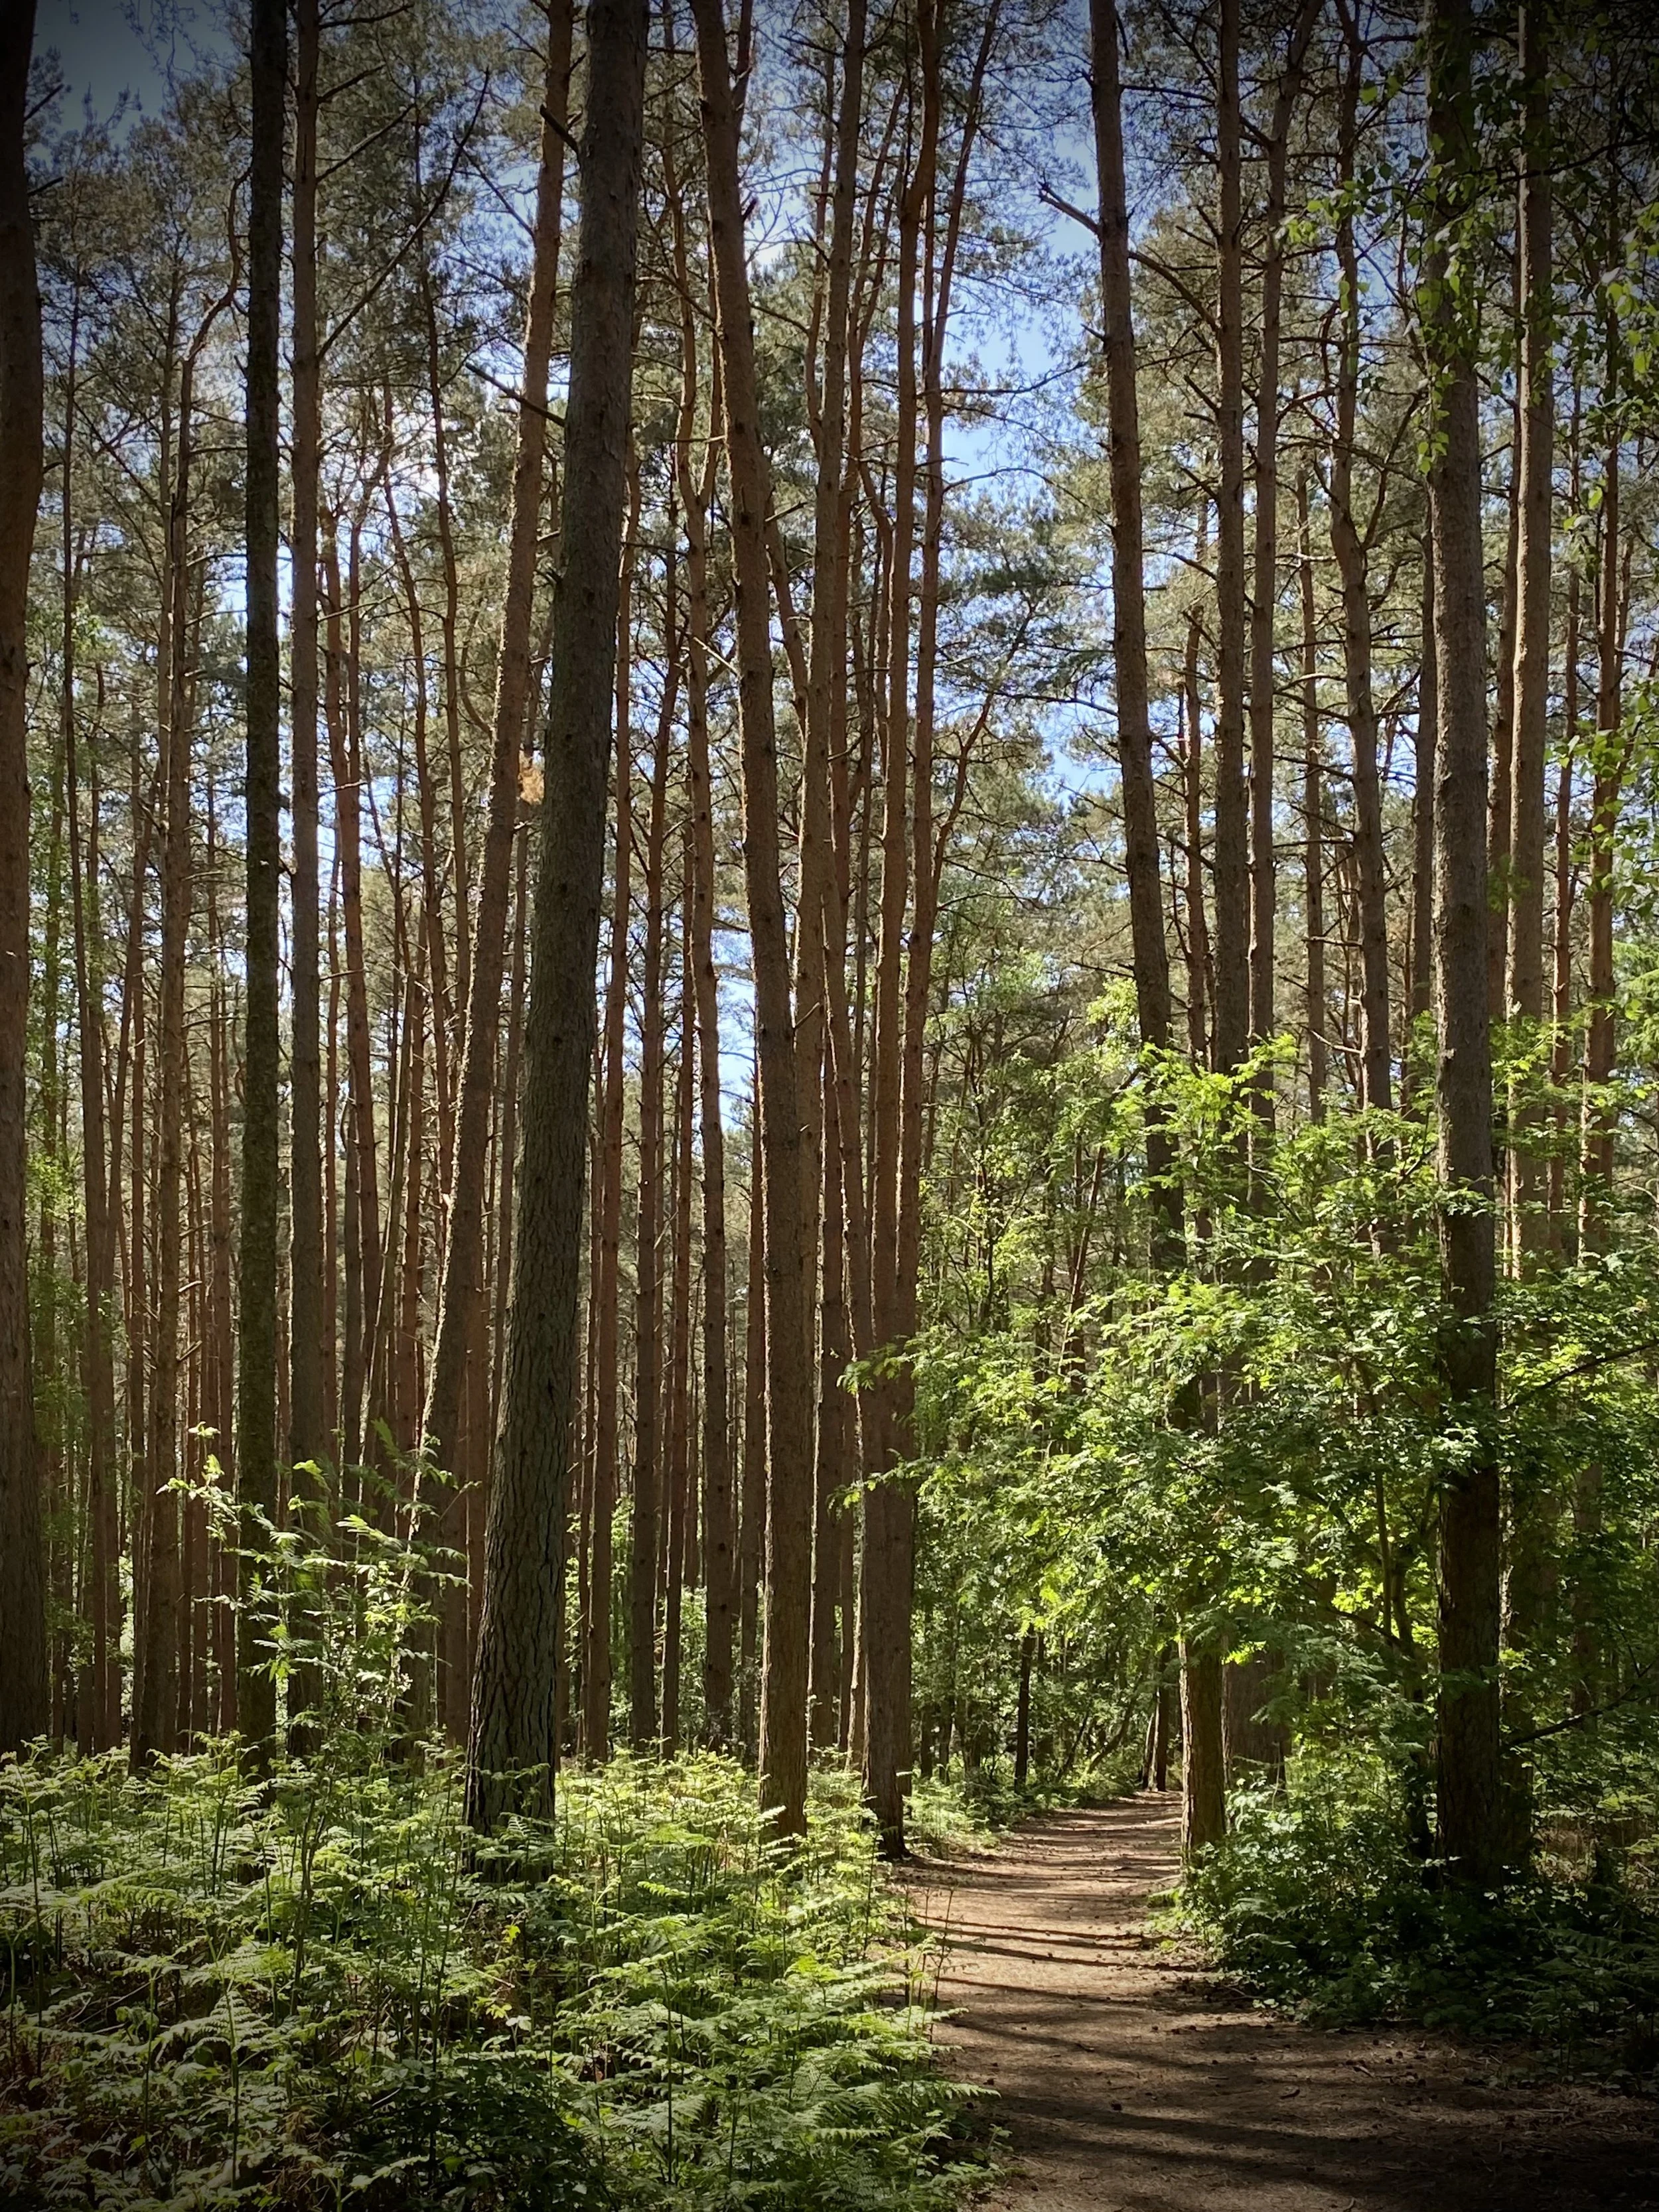
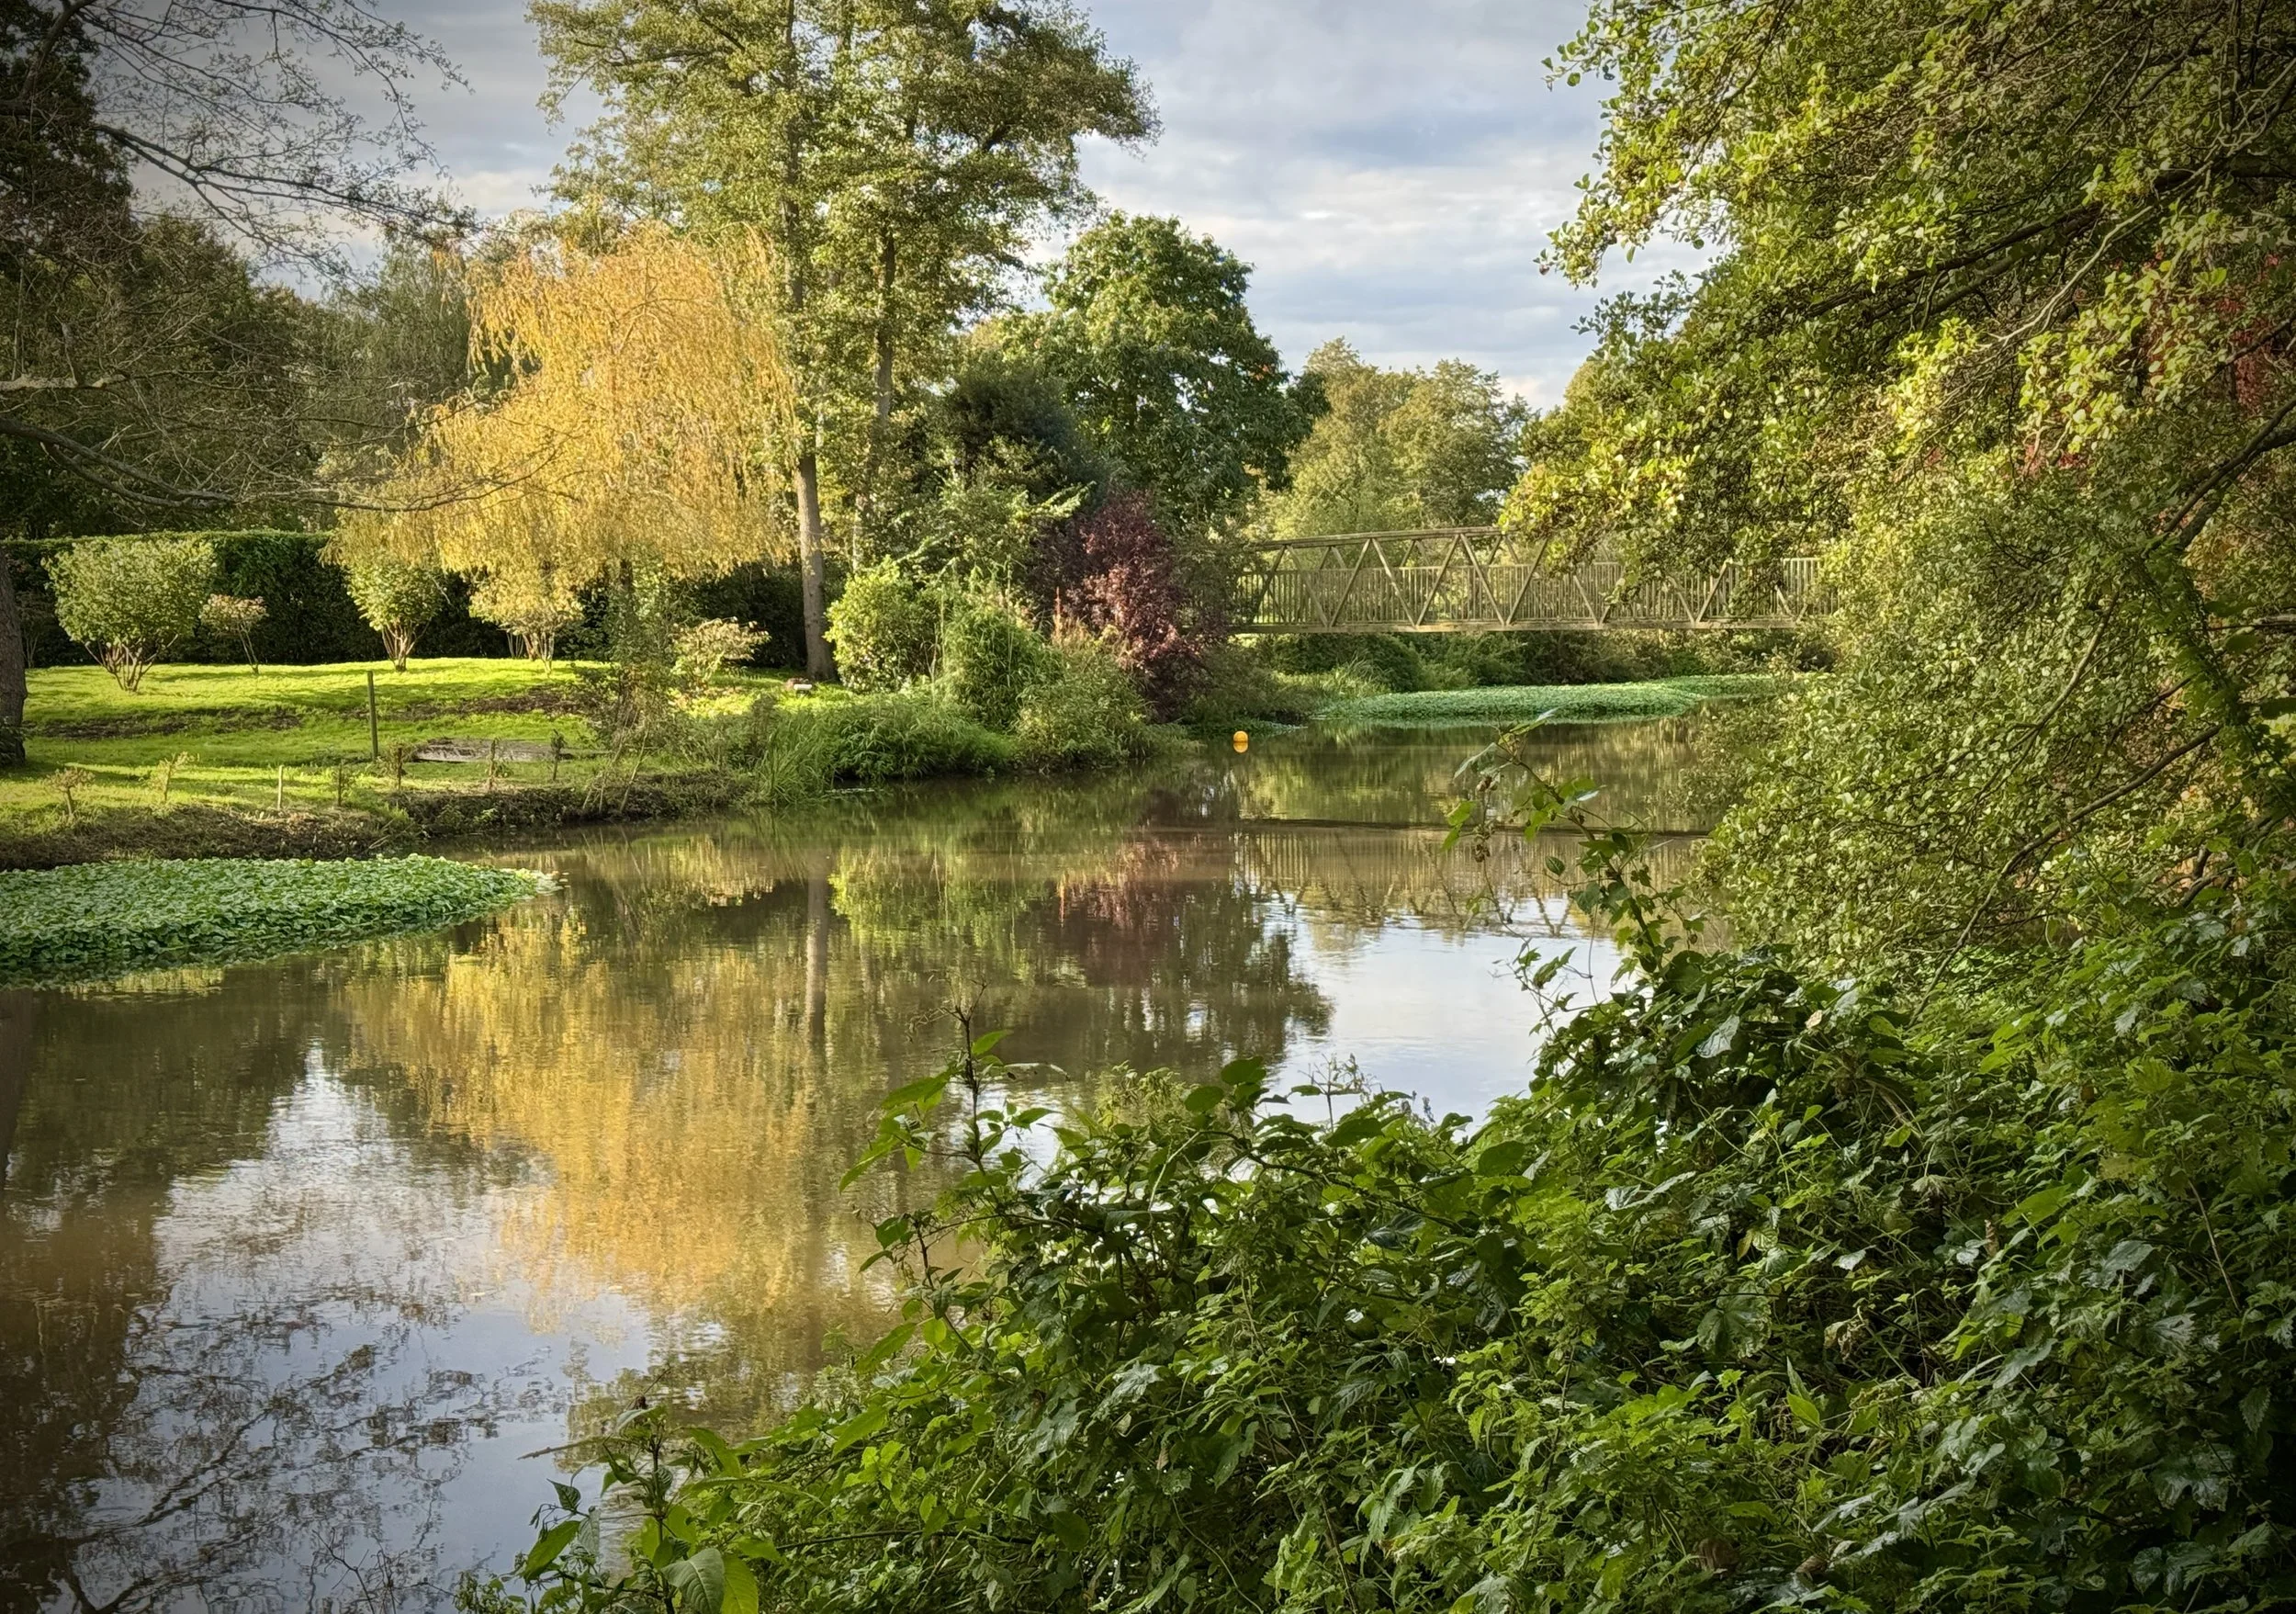
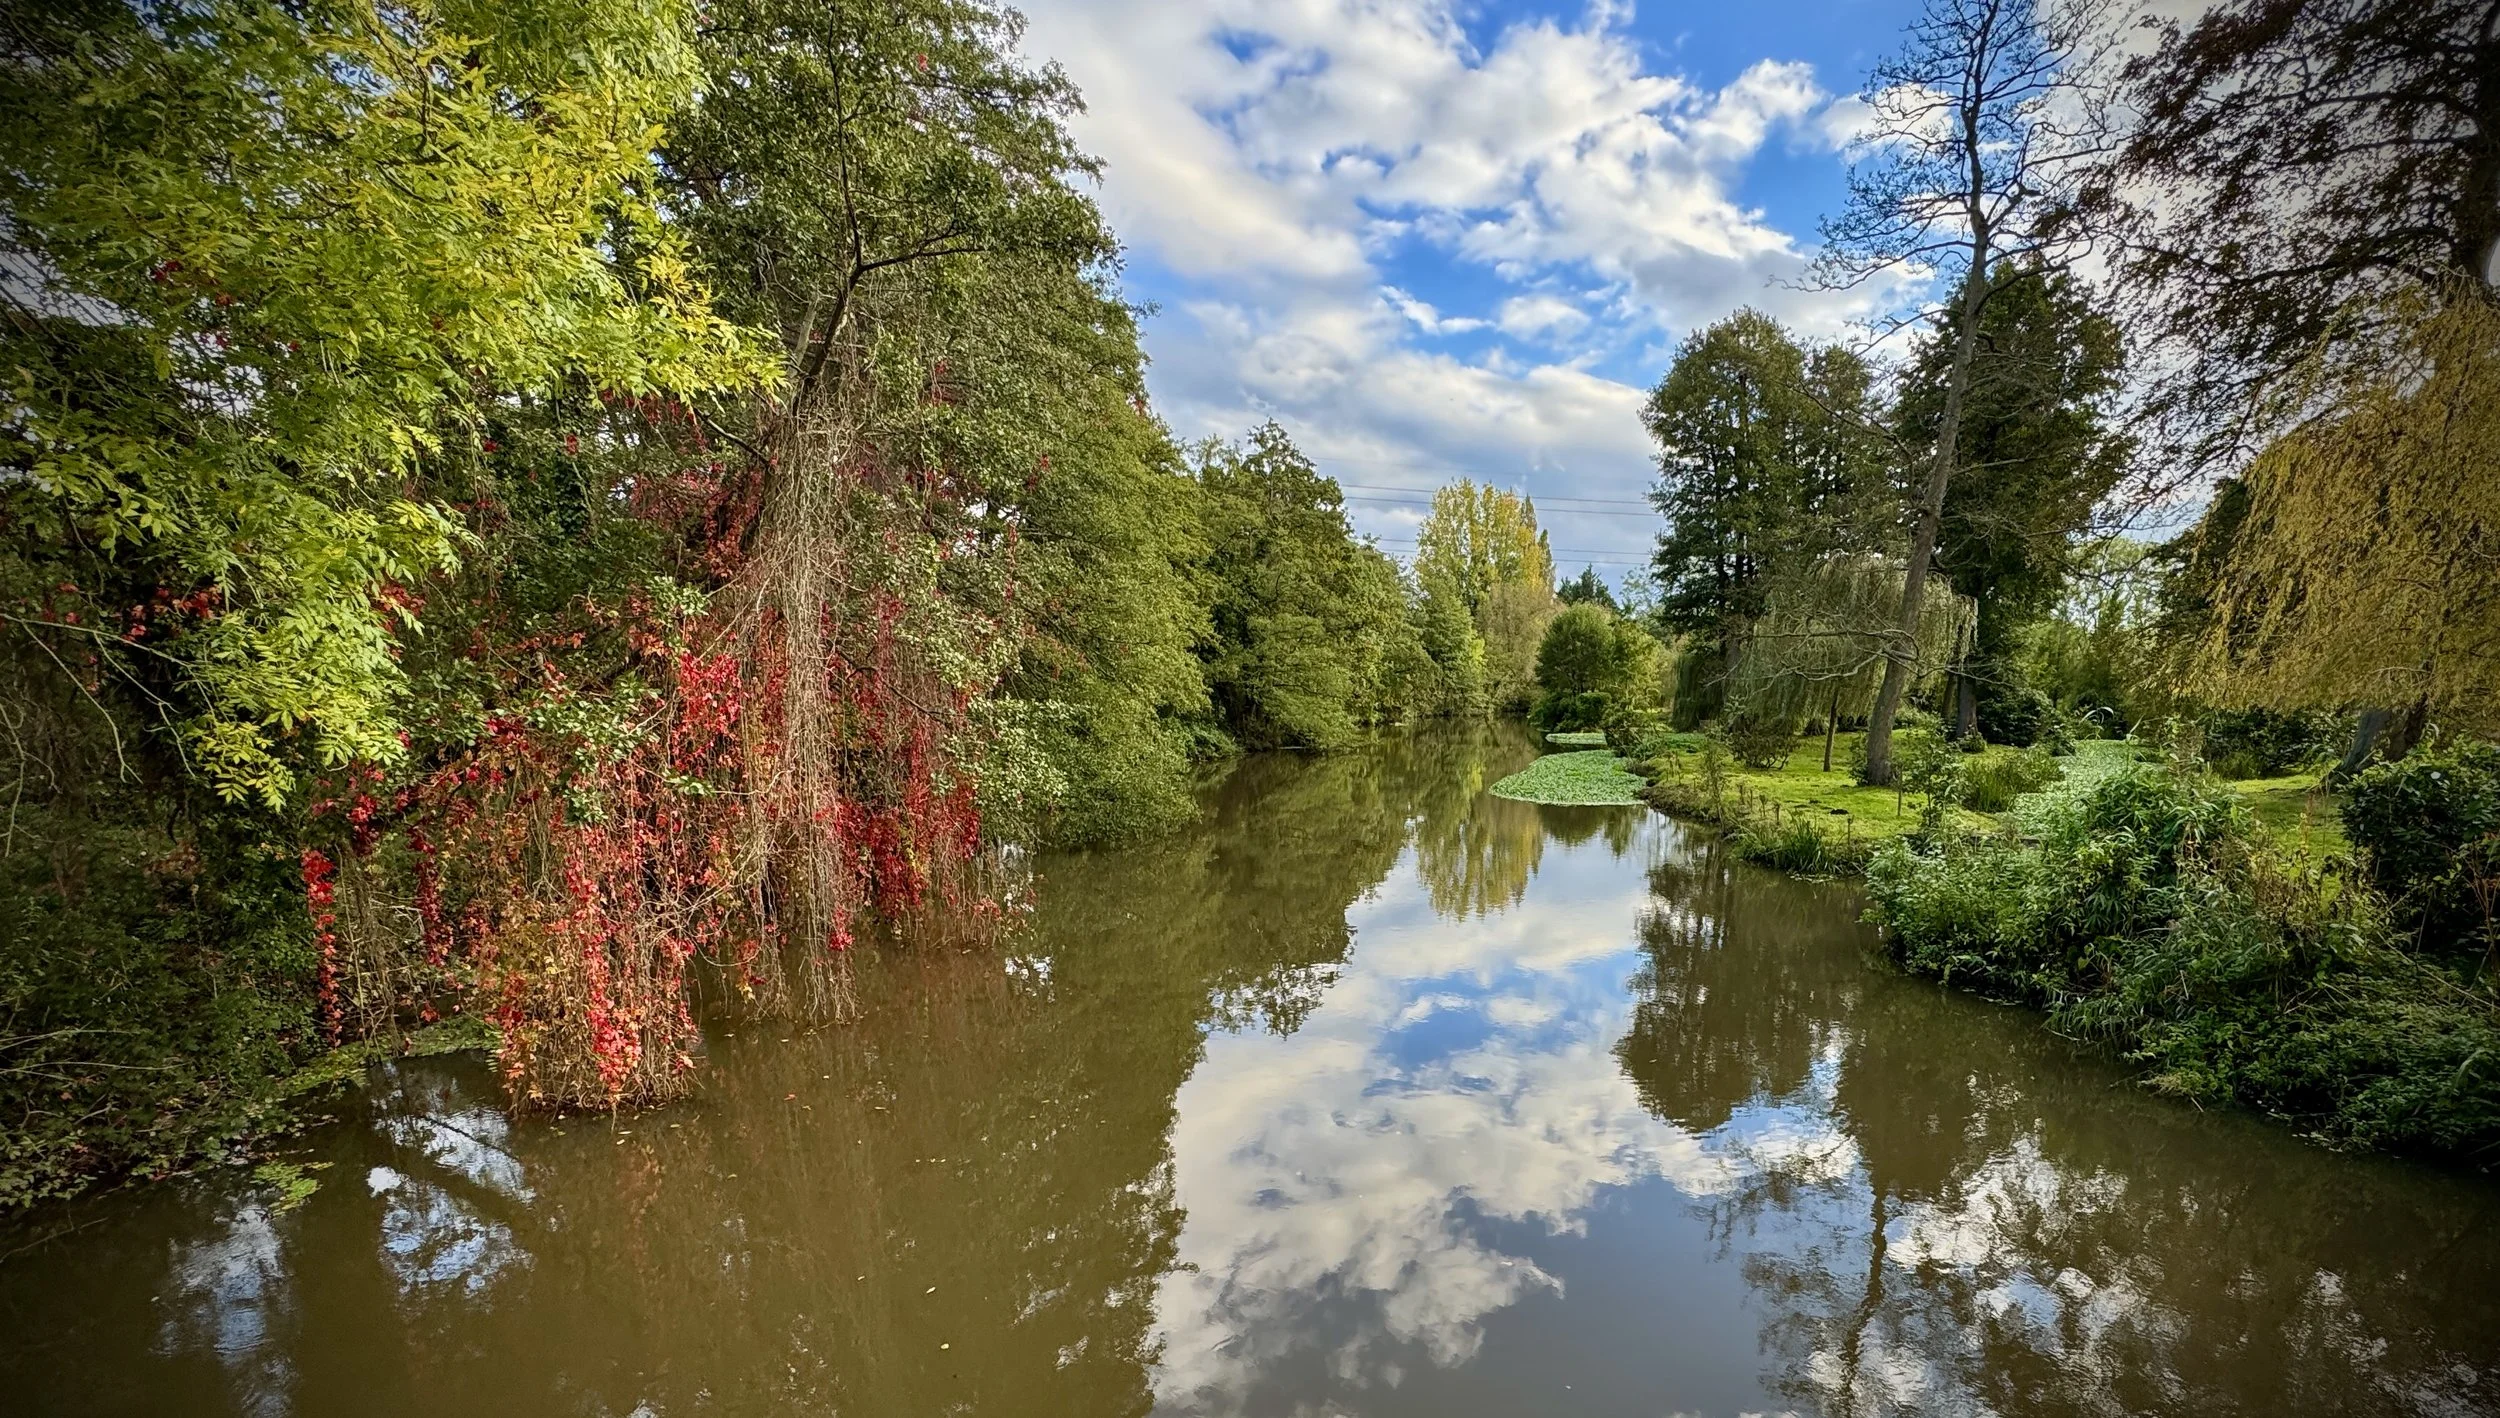
Glen Affric: A celebrated Highland landscape often regarded as one of Scotland’s most beautiful glens. Its ancient Scots pinewoods form one of the largest surviving fragments of the Caledonian Forest, protected today within the Glen Affric National Nature Reserve.
Mam Sodhail: A broad, imposing Munro commonly climbed alongside Càrn Eighe. Despite appearances, its Gaelic name means “hill of the barns,” reflecting traditional shieling associations rather than a saddle‑like shape.
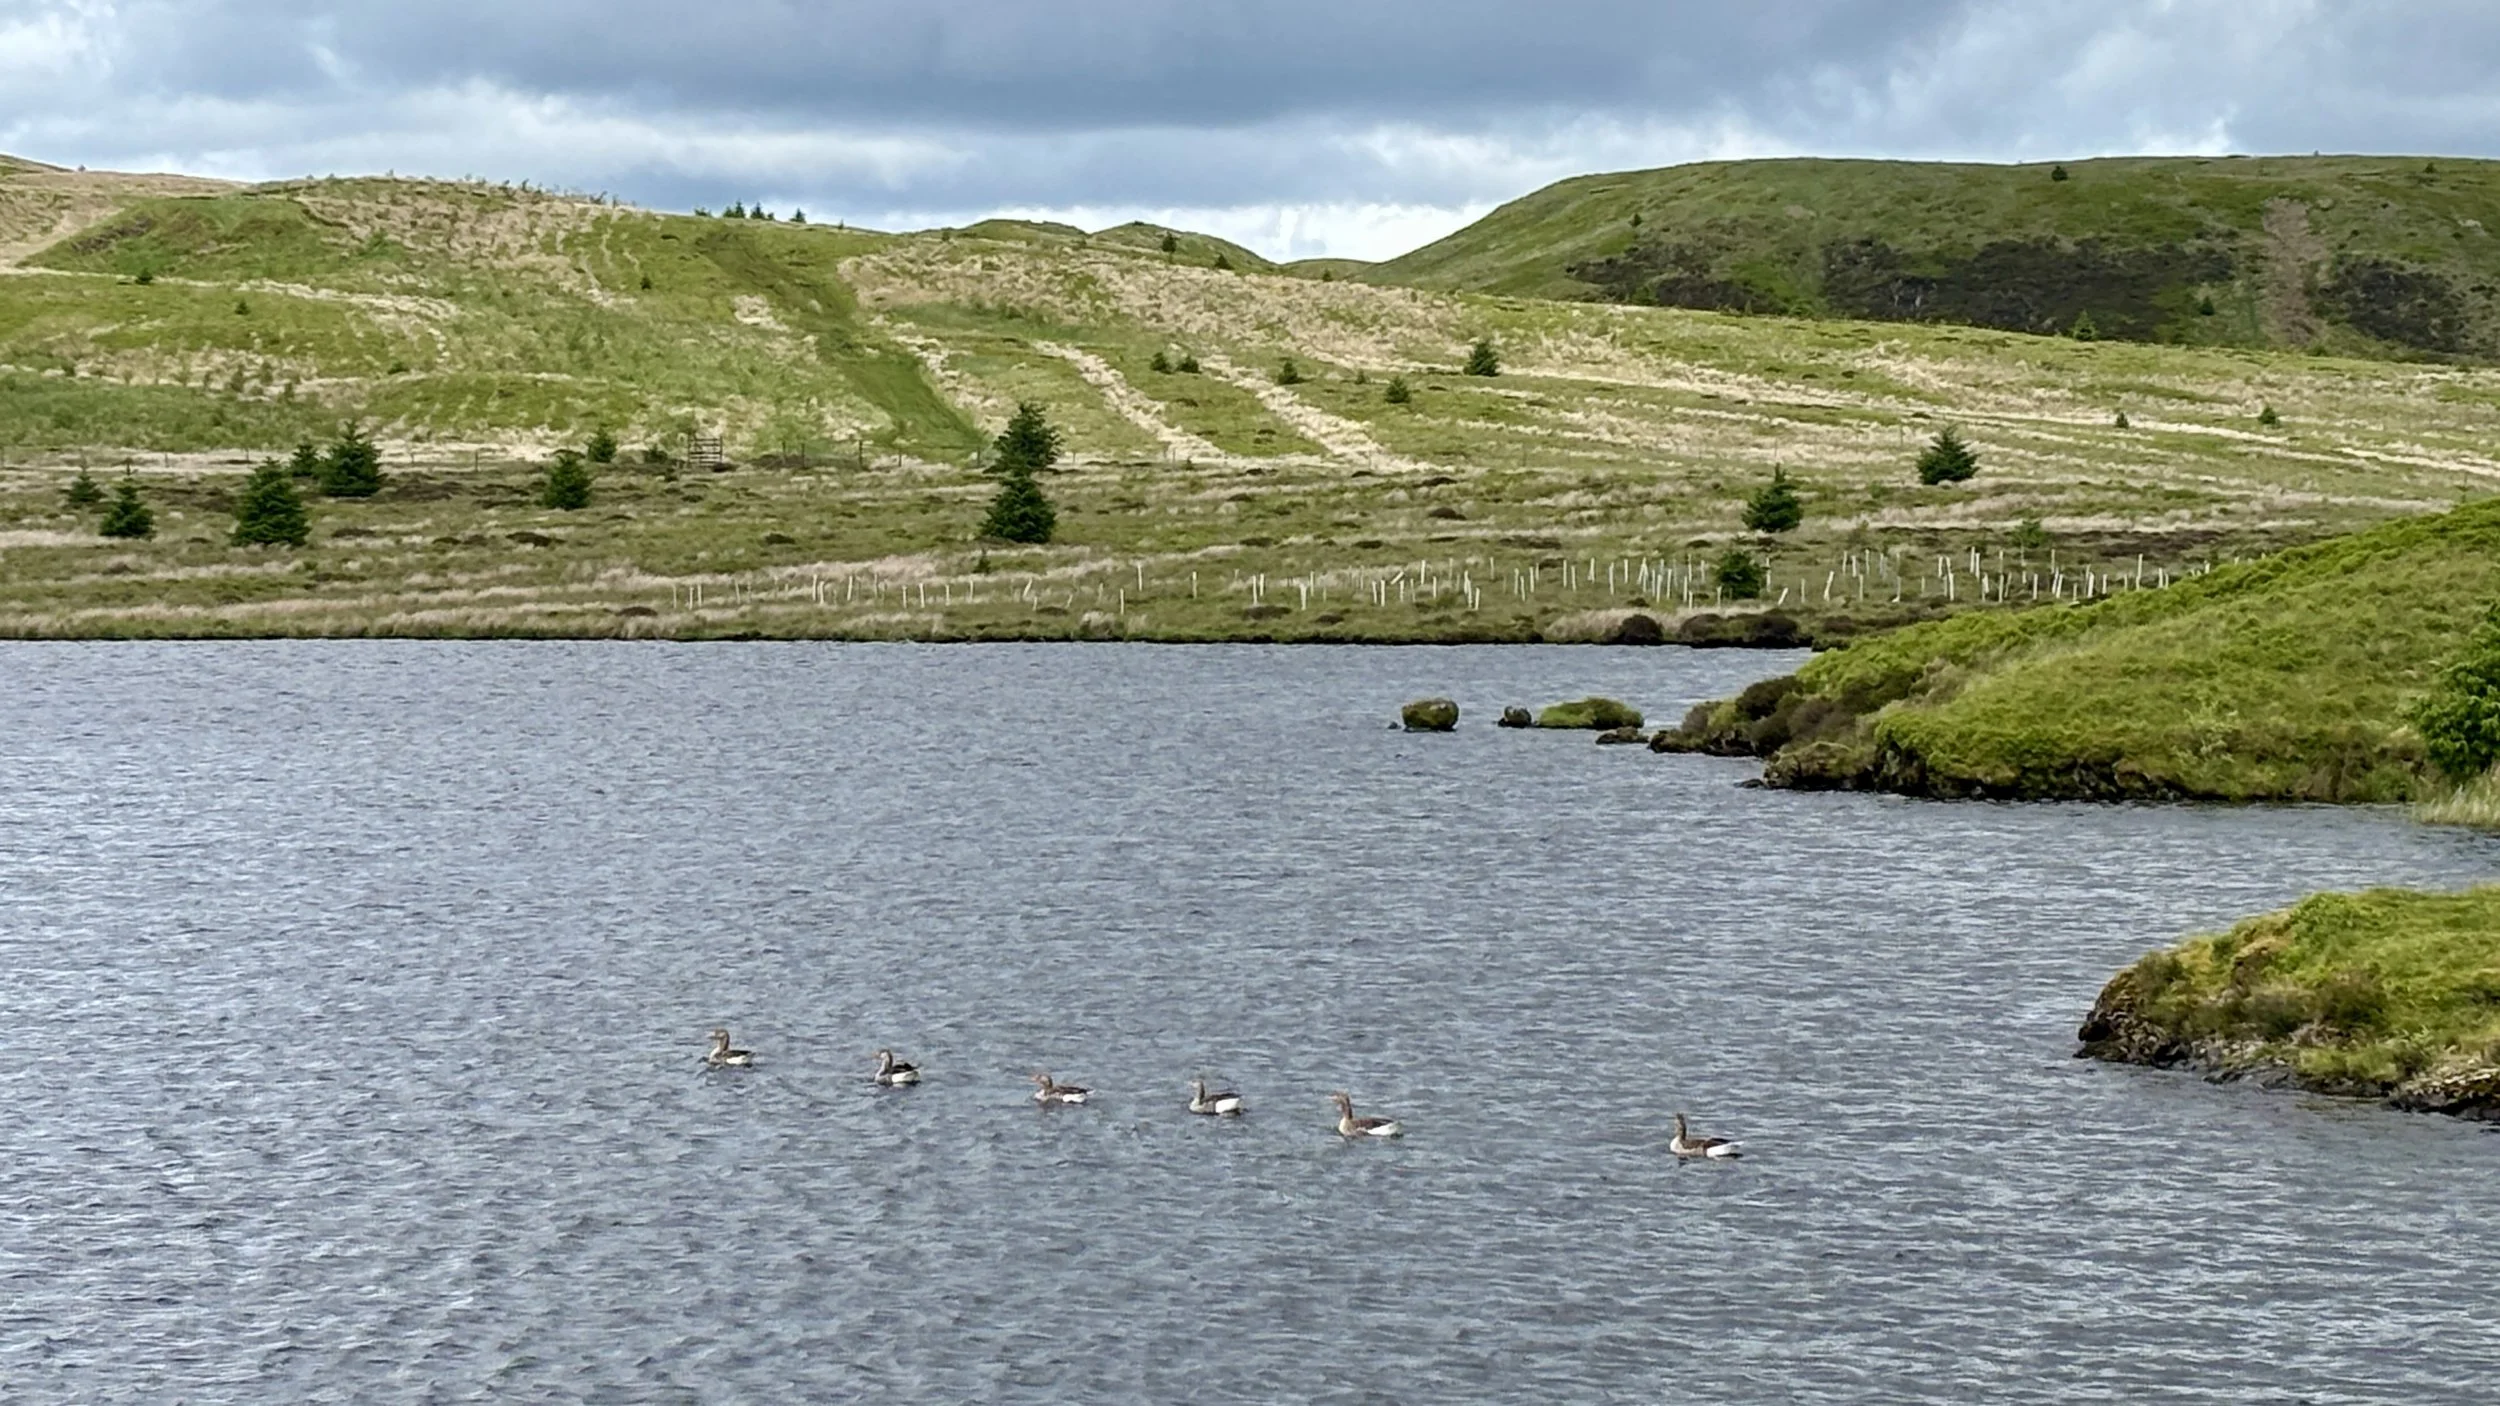
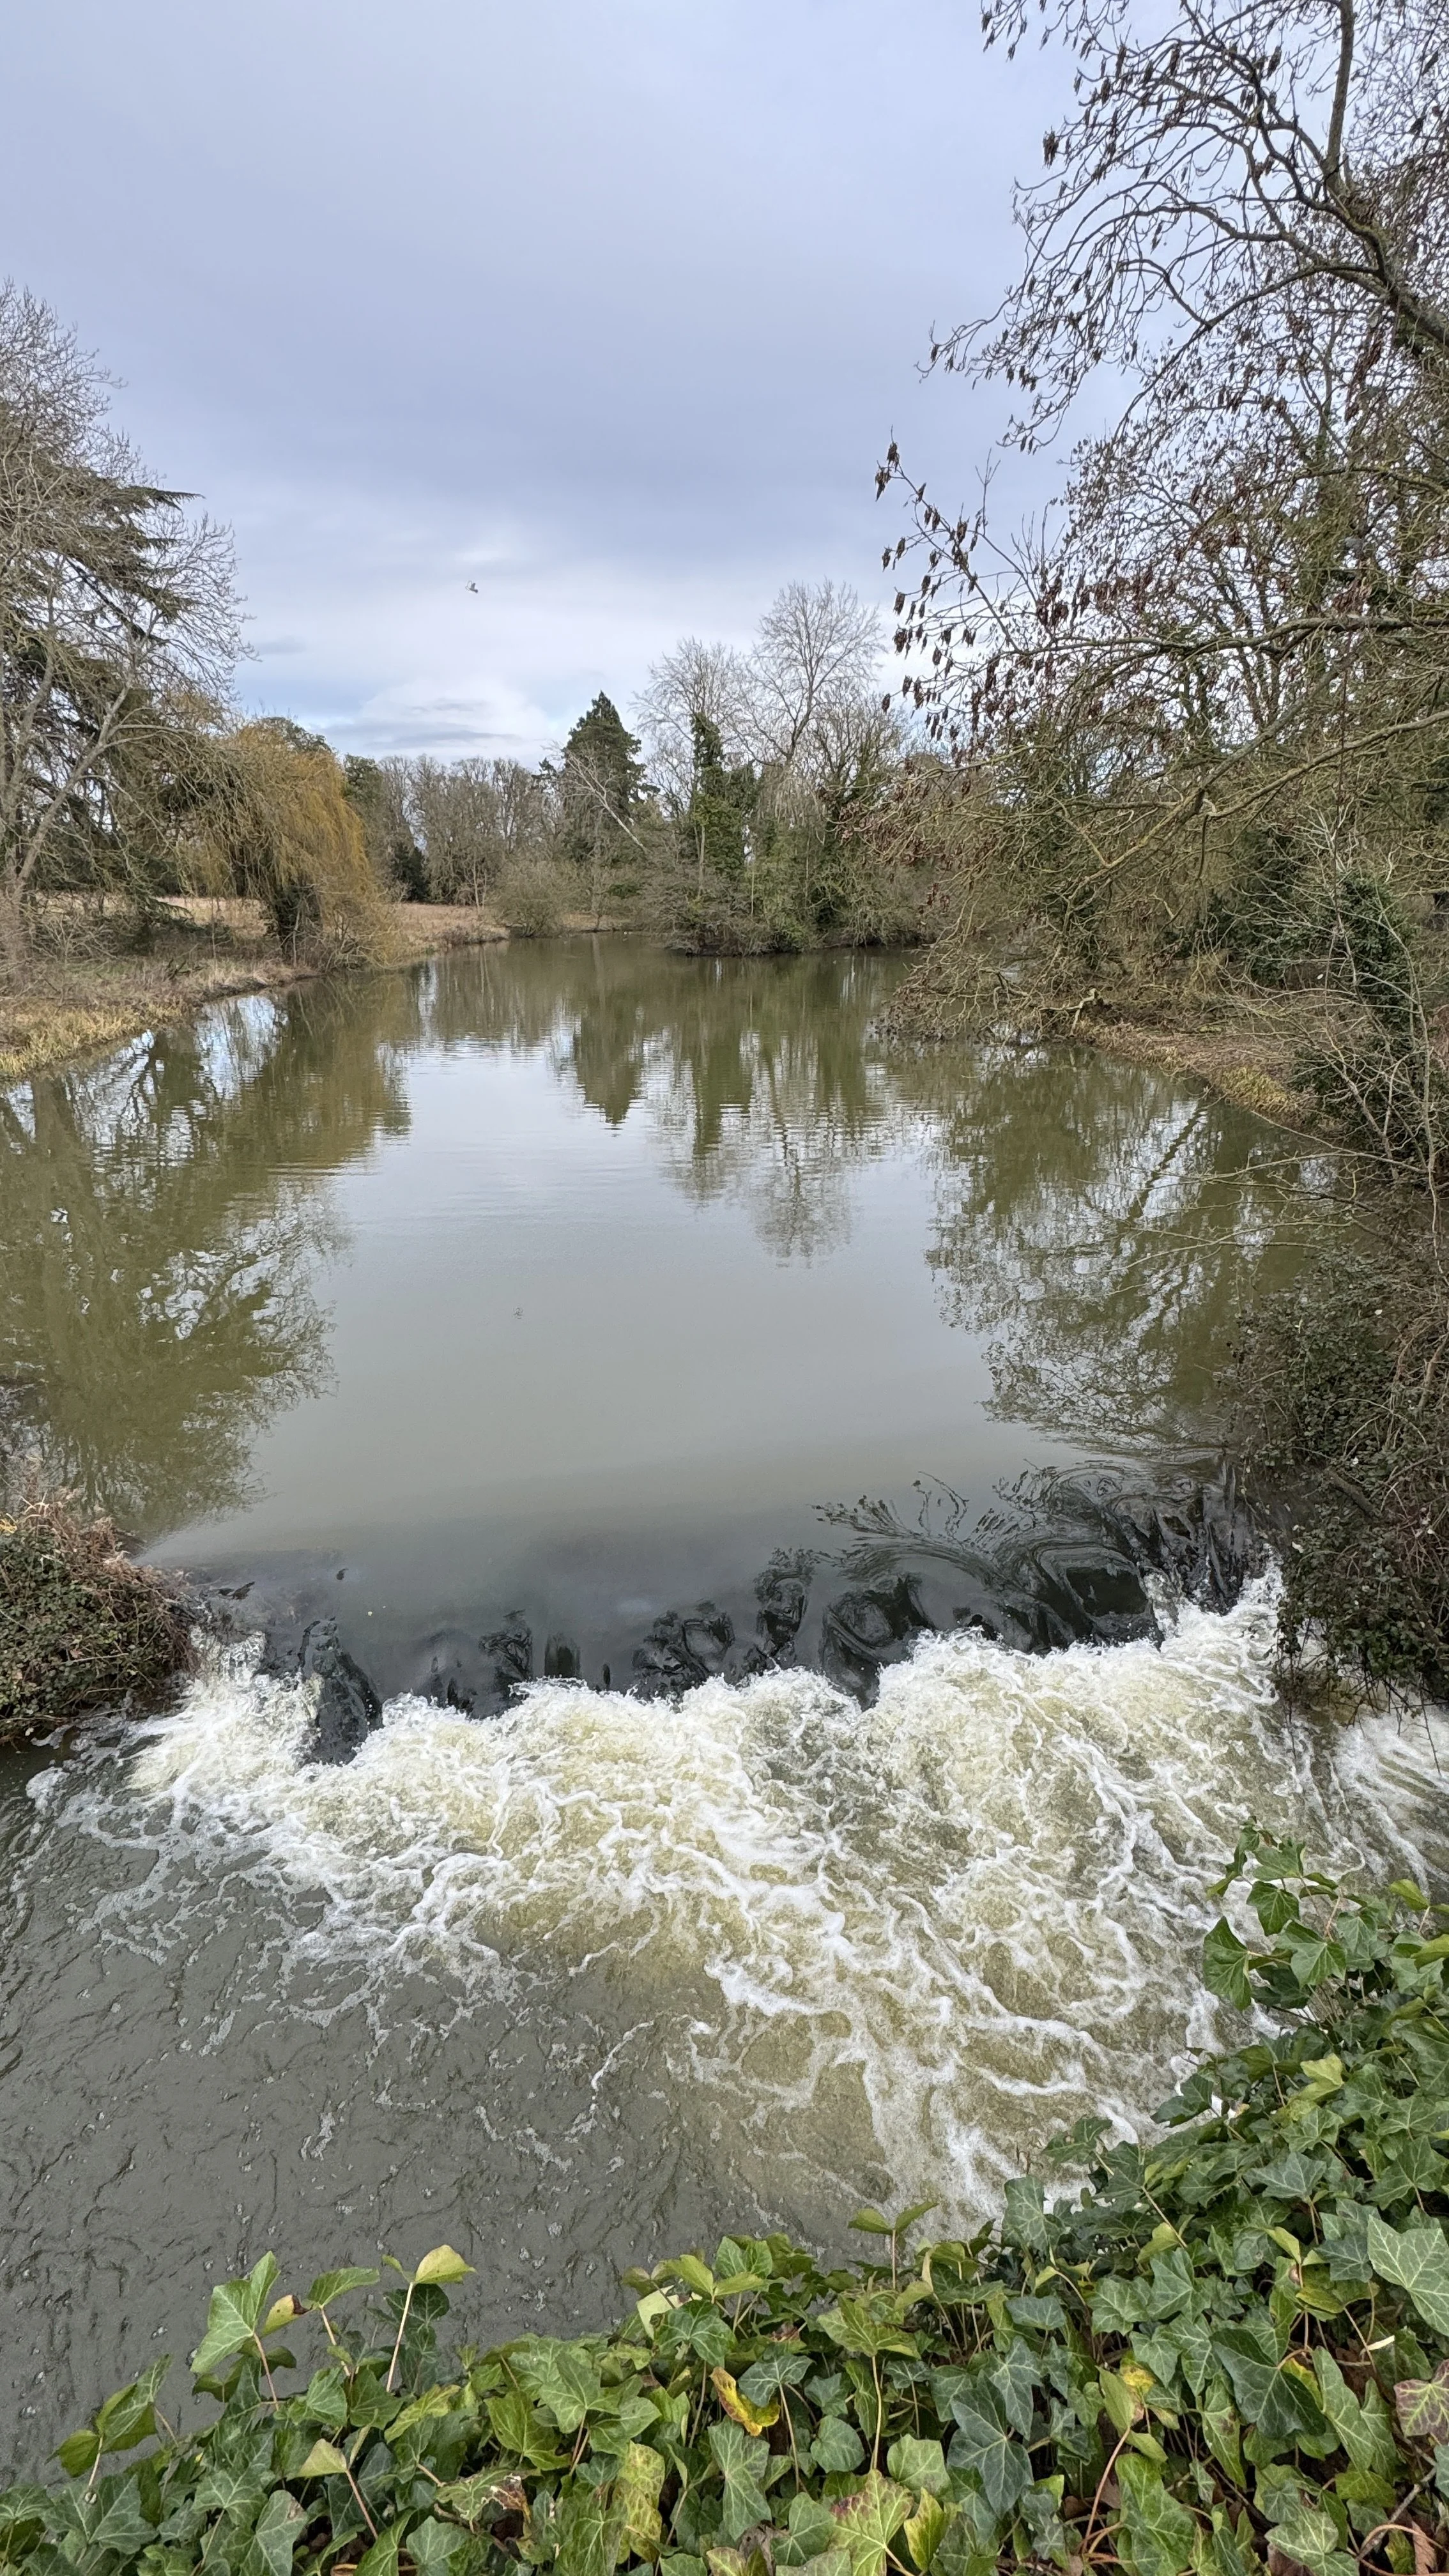
Loch Affric: A striking freshwater loch set beneath the surrounding peaks. Its shores support rich Caledonian woodland and diverse wildlife, including golden eagles, otters, pine martens, and other species that embody the wild character of Glen Affric.