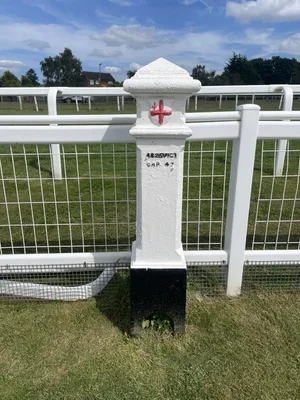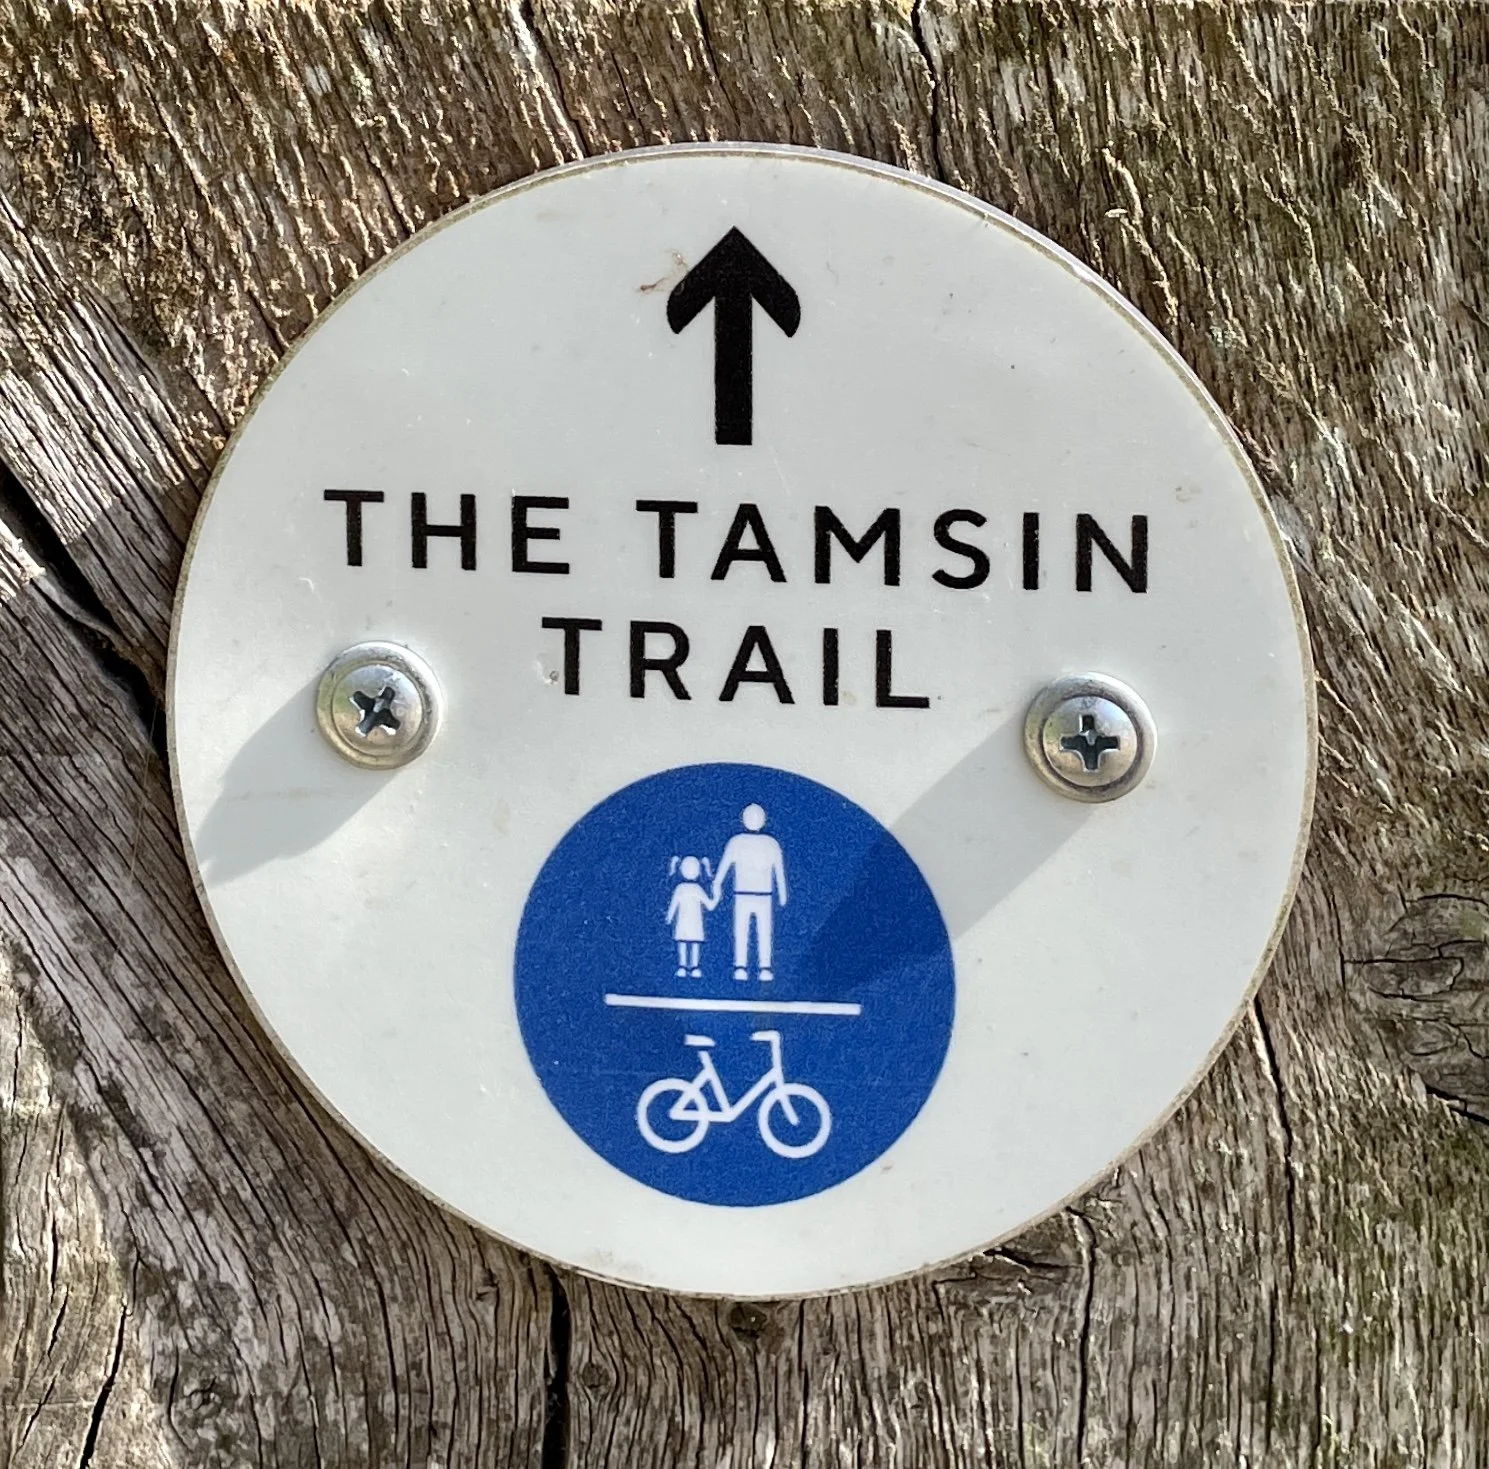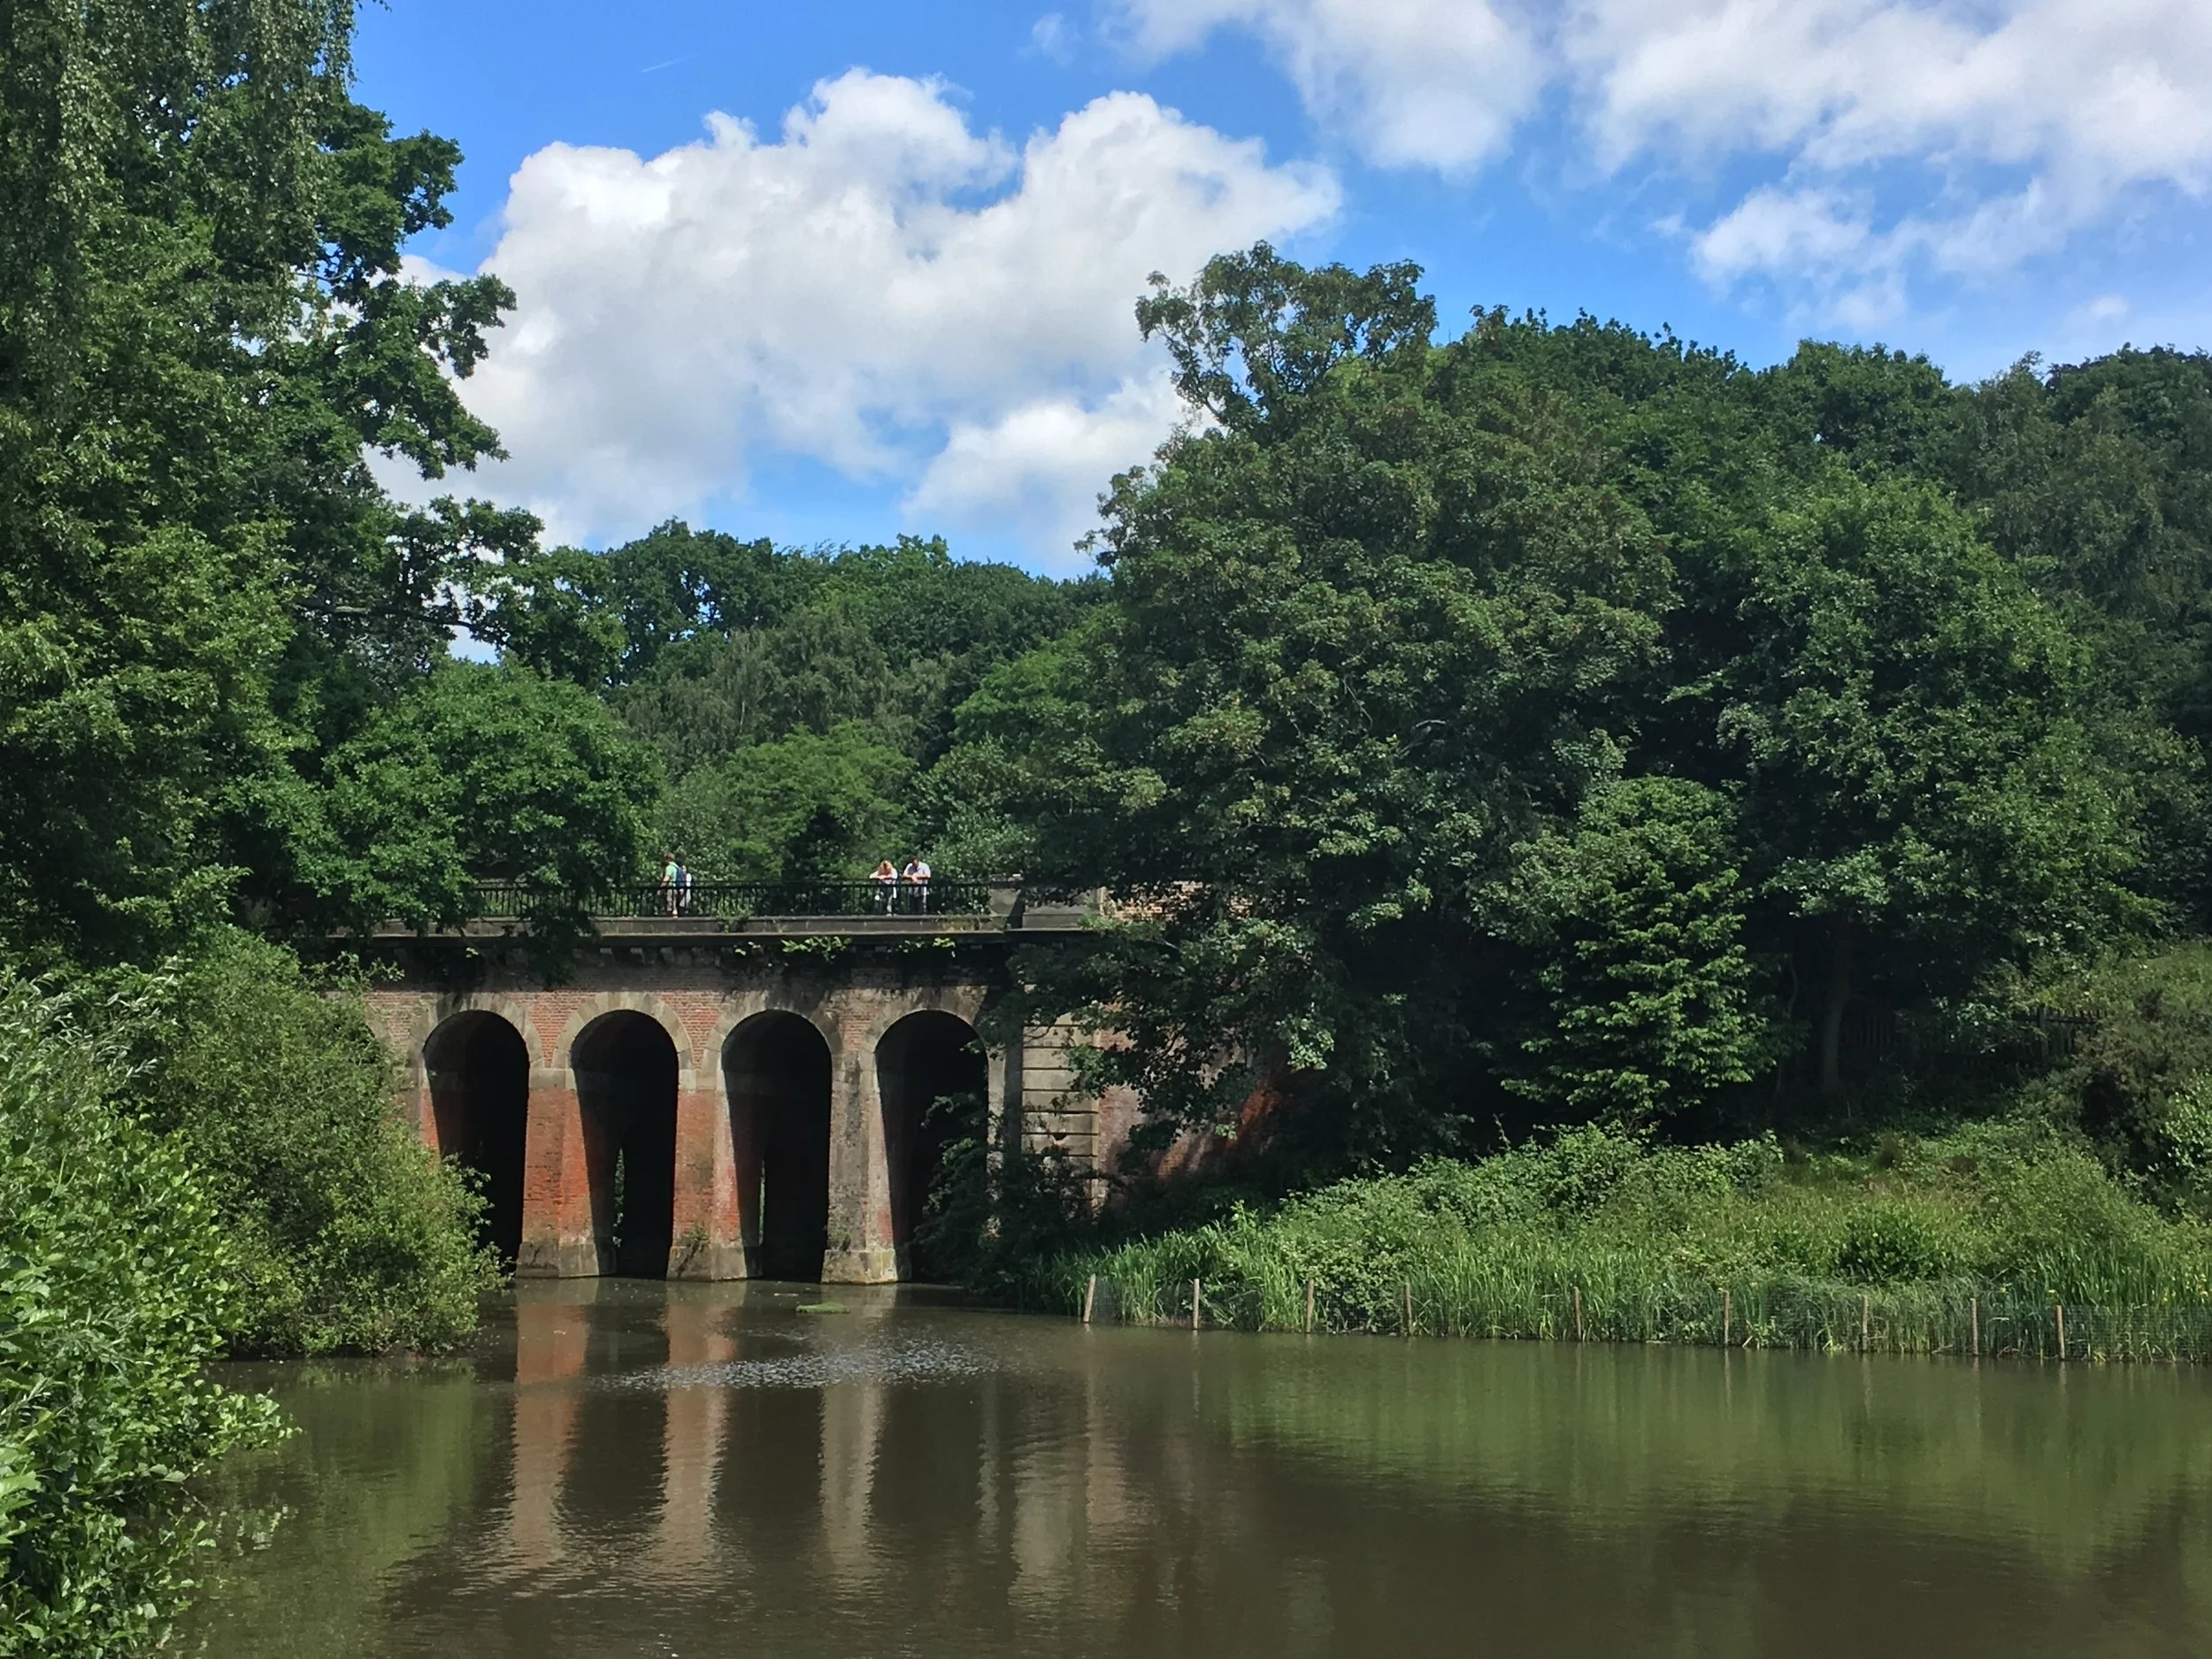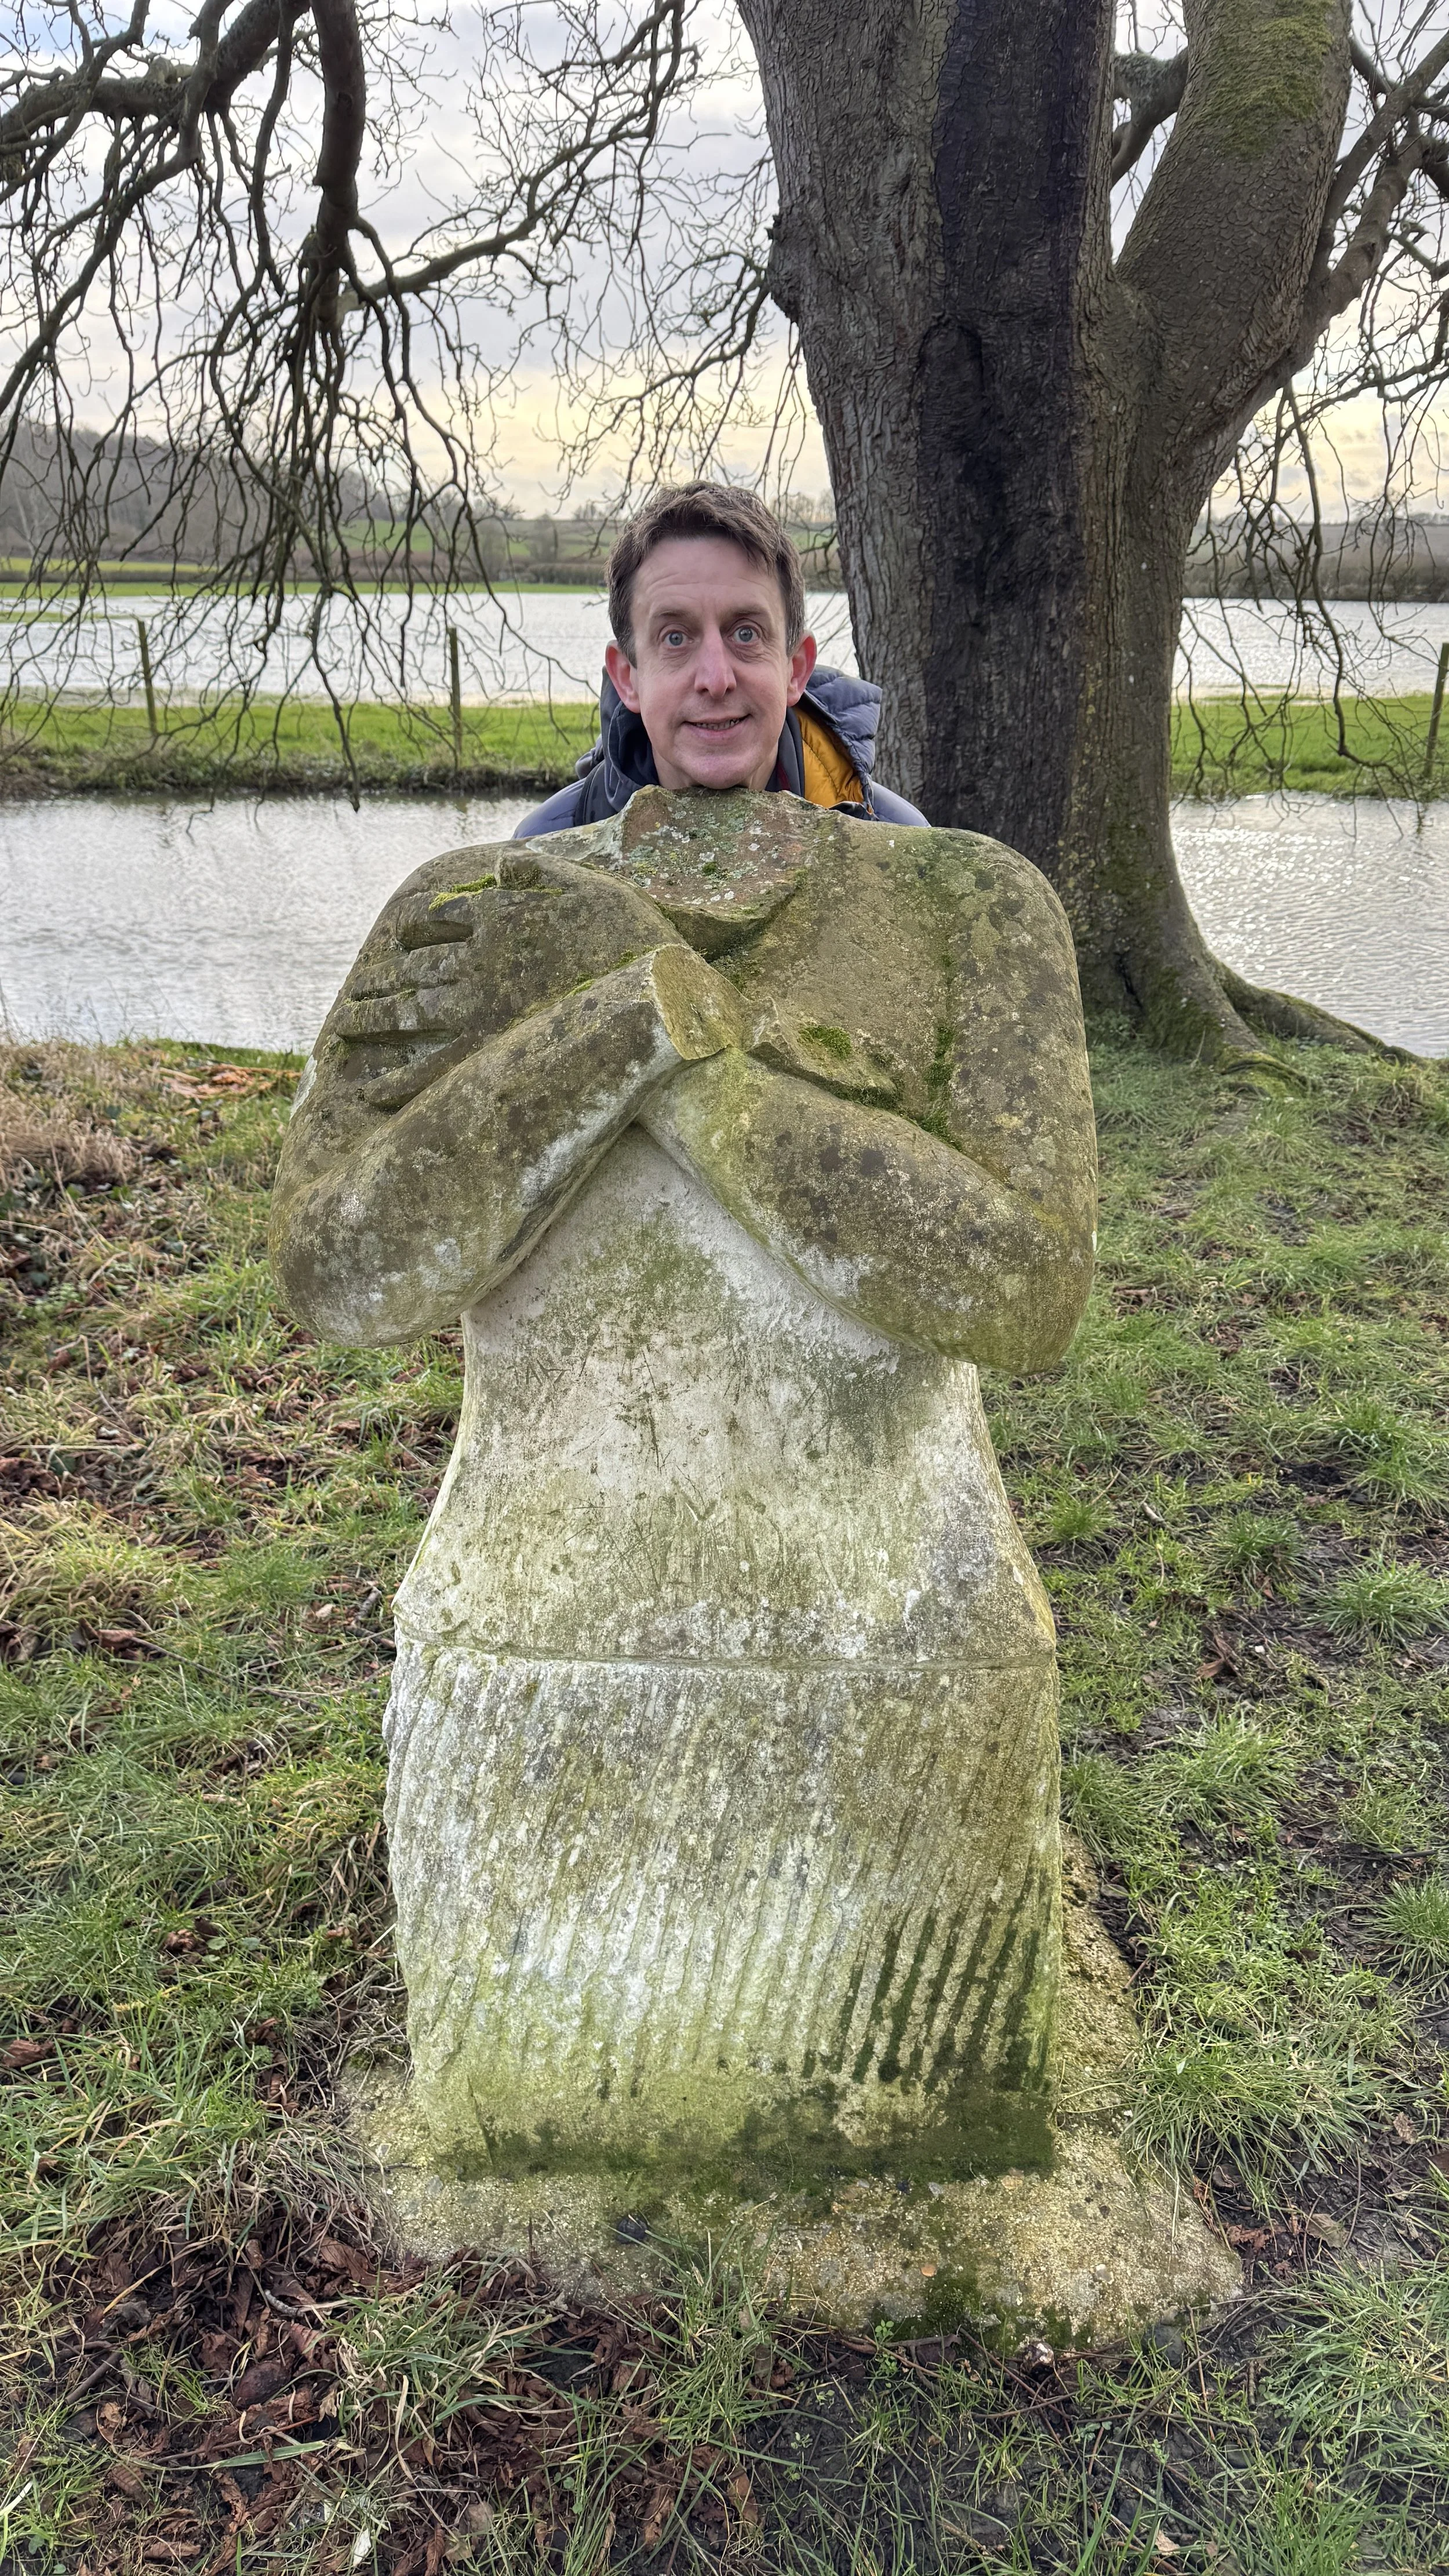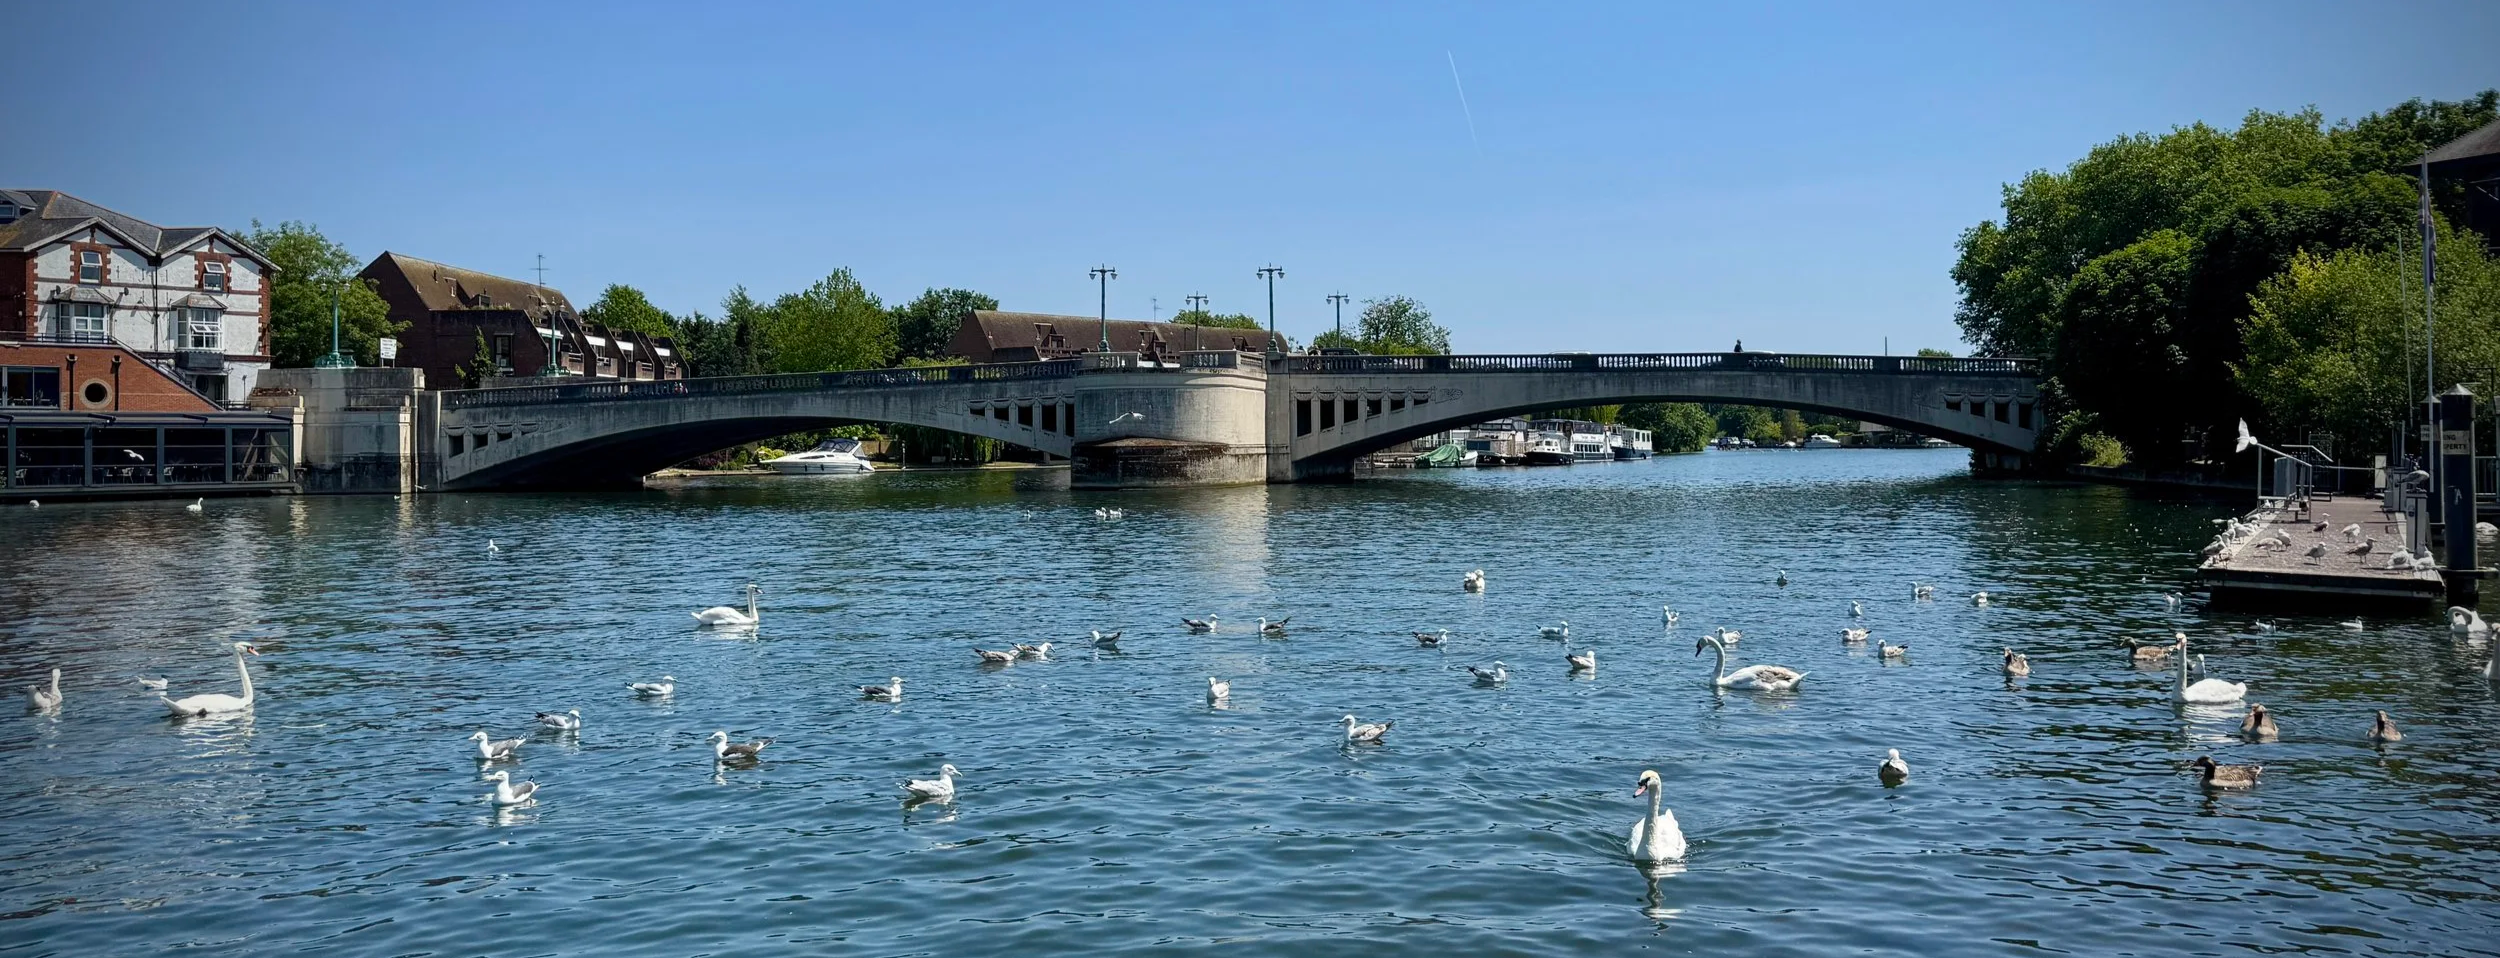
Approaching Caversham Bridge from the west
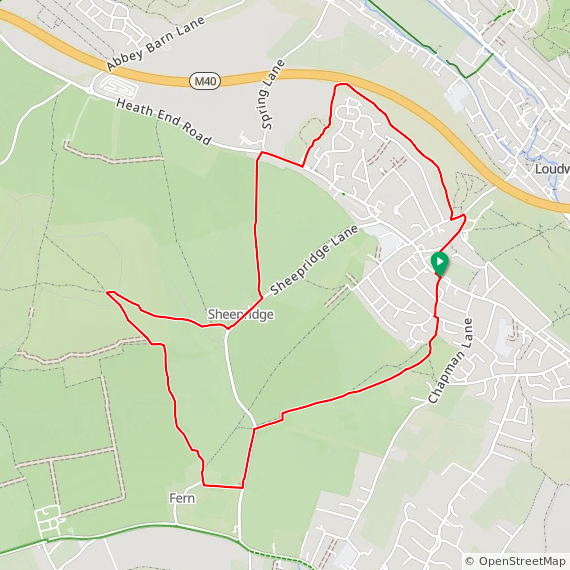
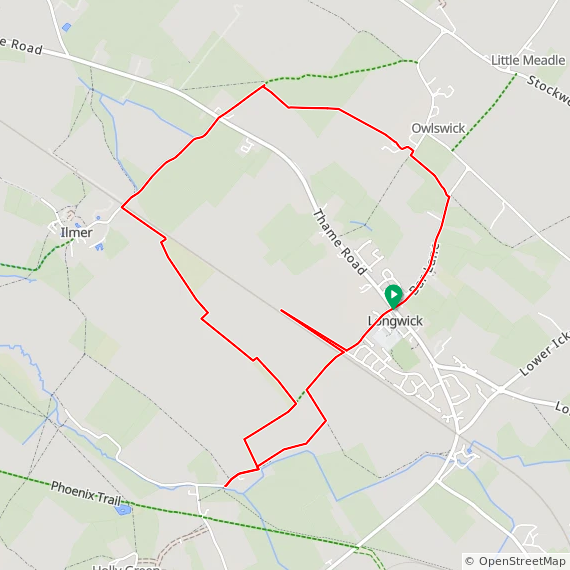
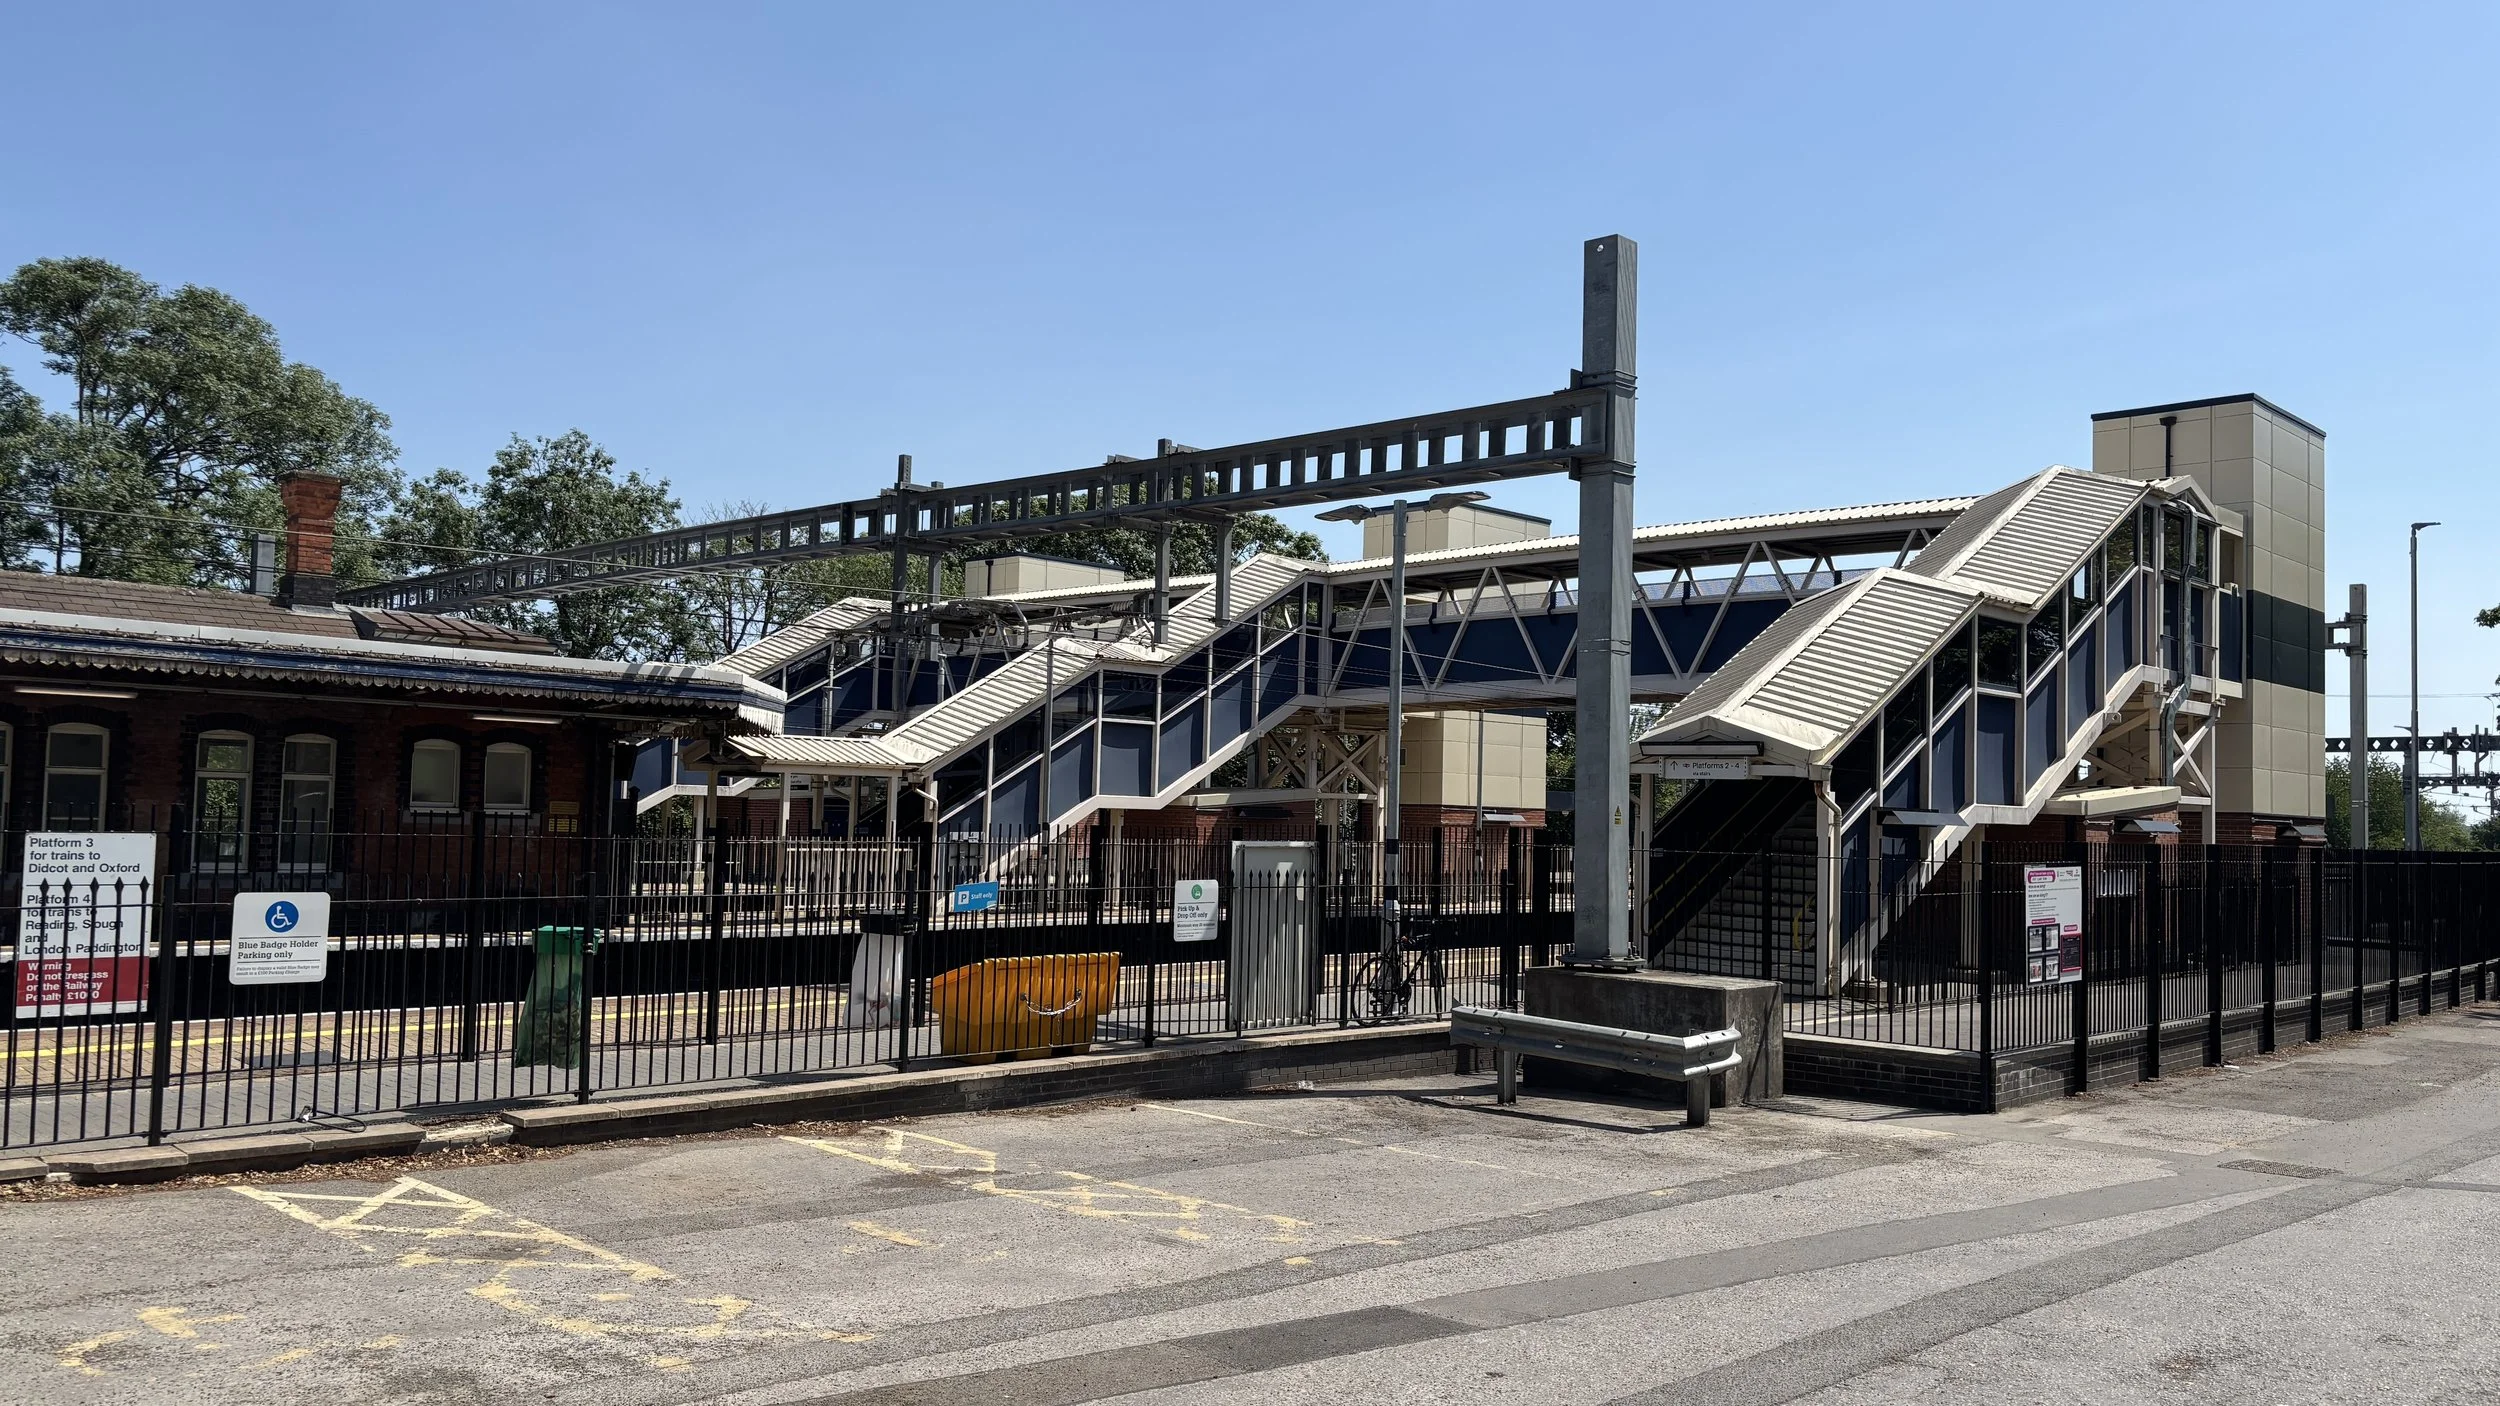
Start & Finish: Tilehurst Station, Reading, RG31 6TH
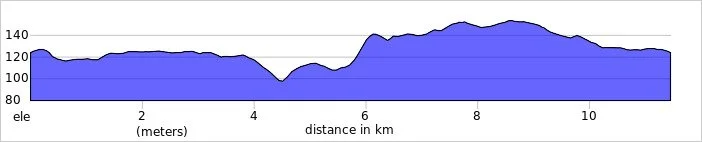
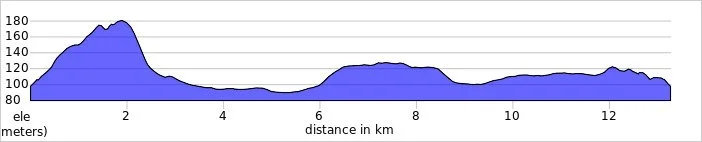
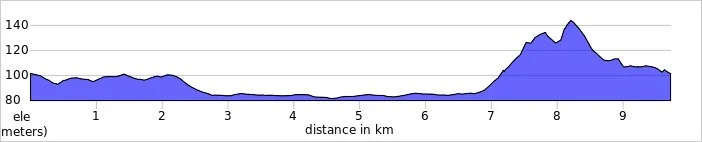
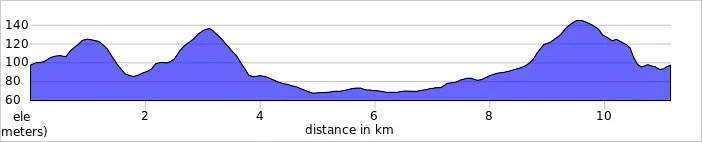
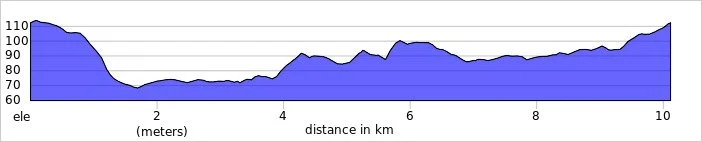
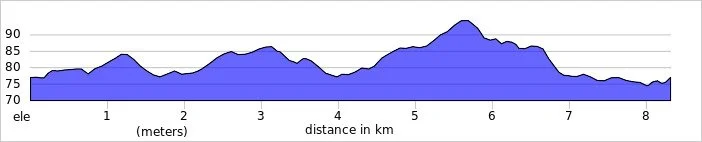
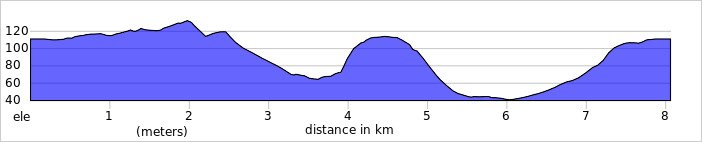
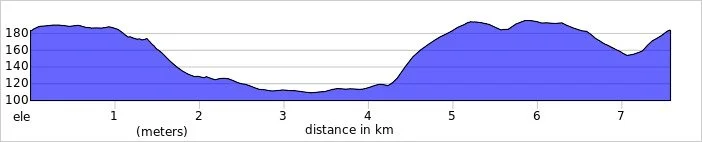
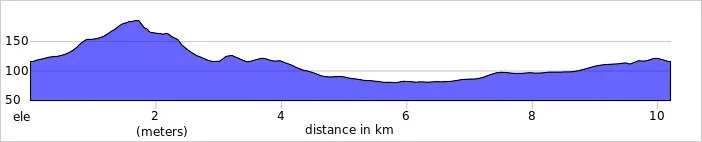
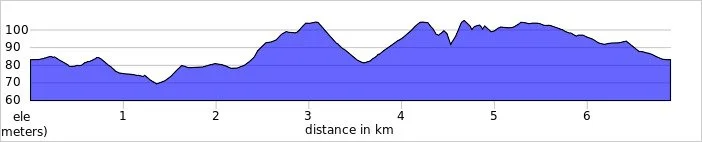
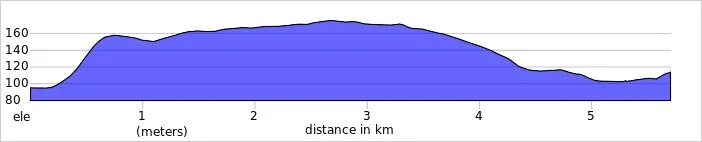
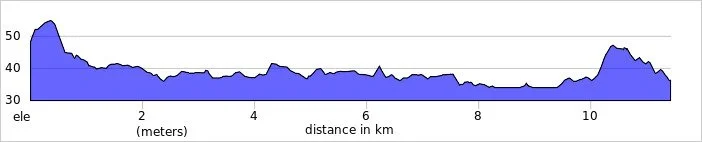
Distance: 10.9 km (6.8 miles)
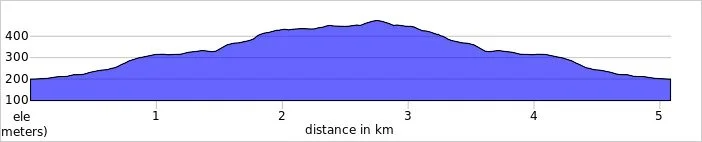
Elevation change: +41 / -54m. Net -13m
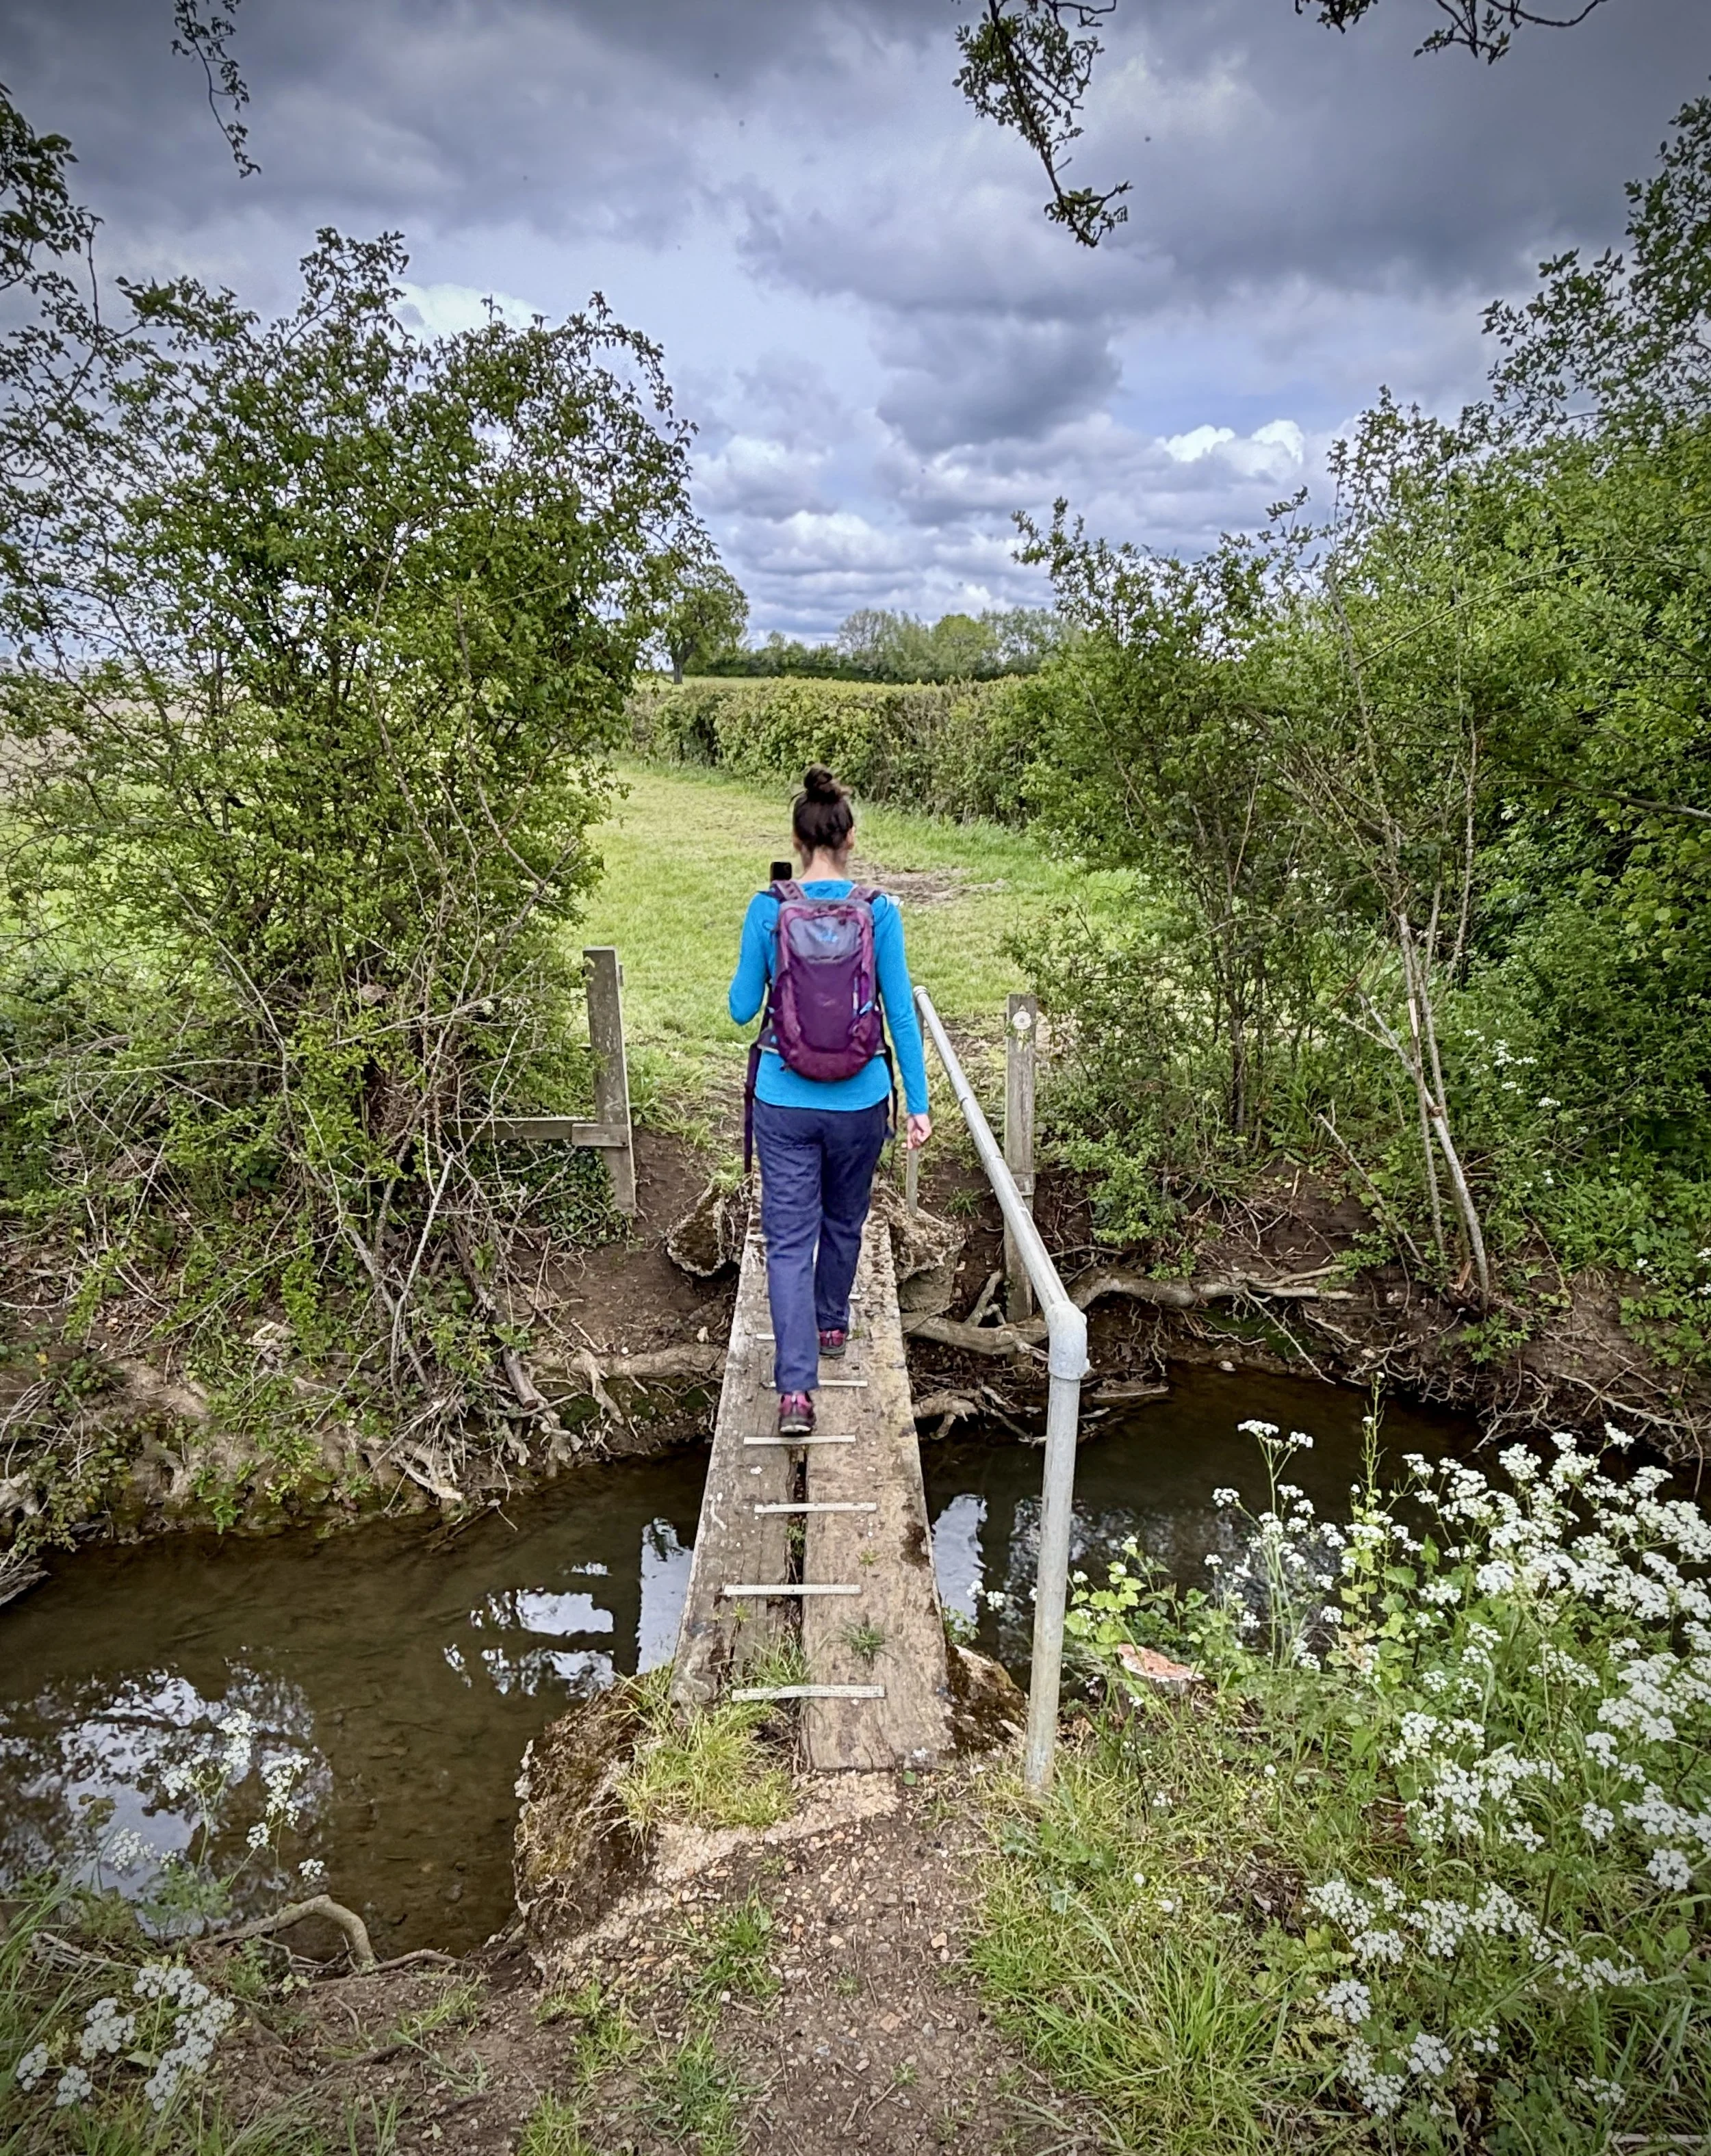
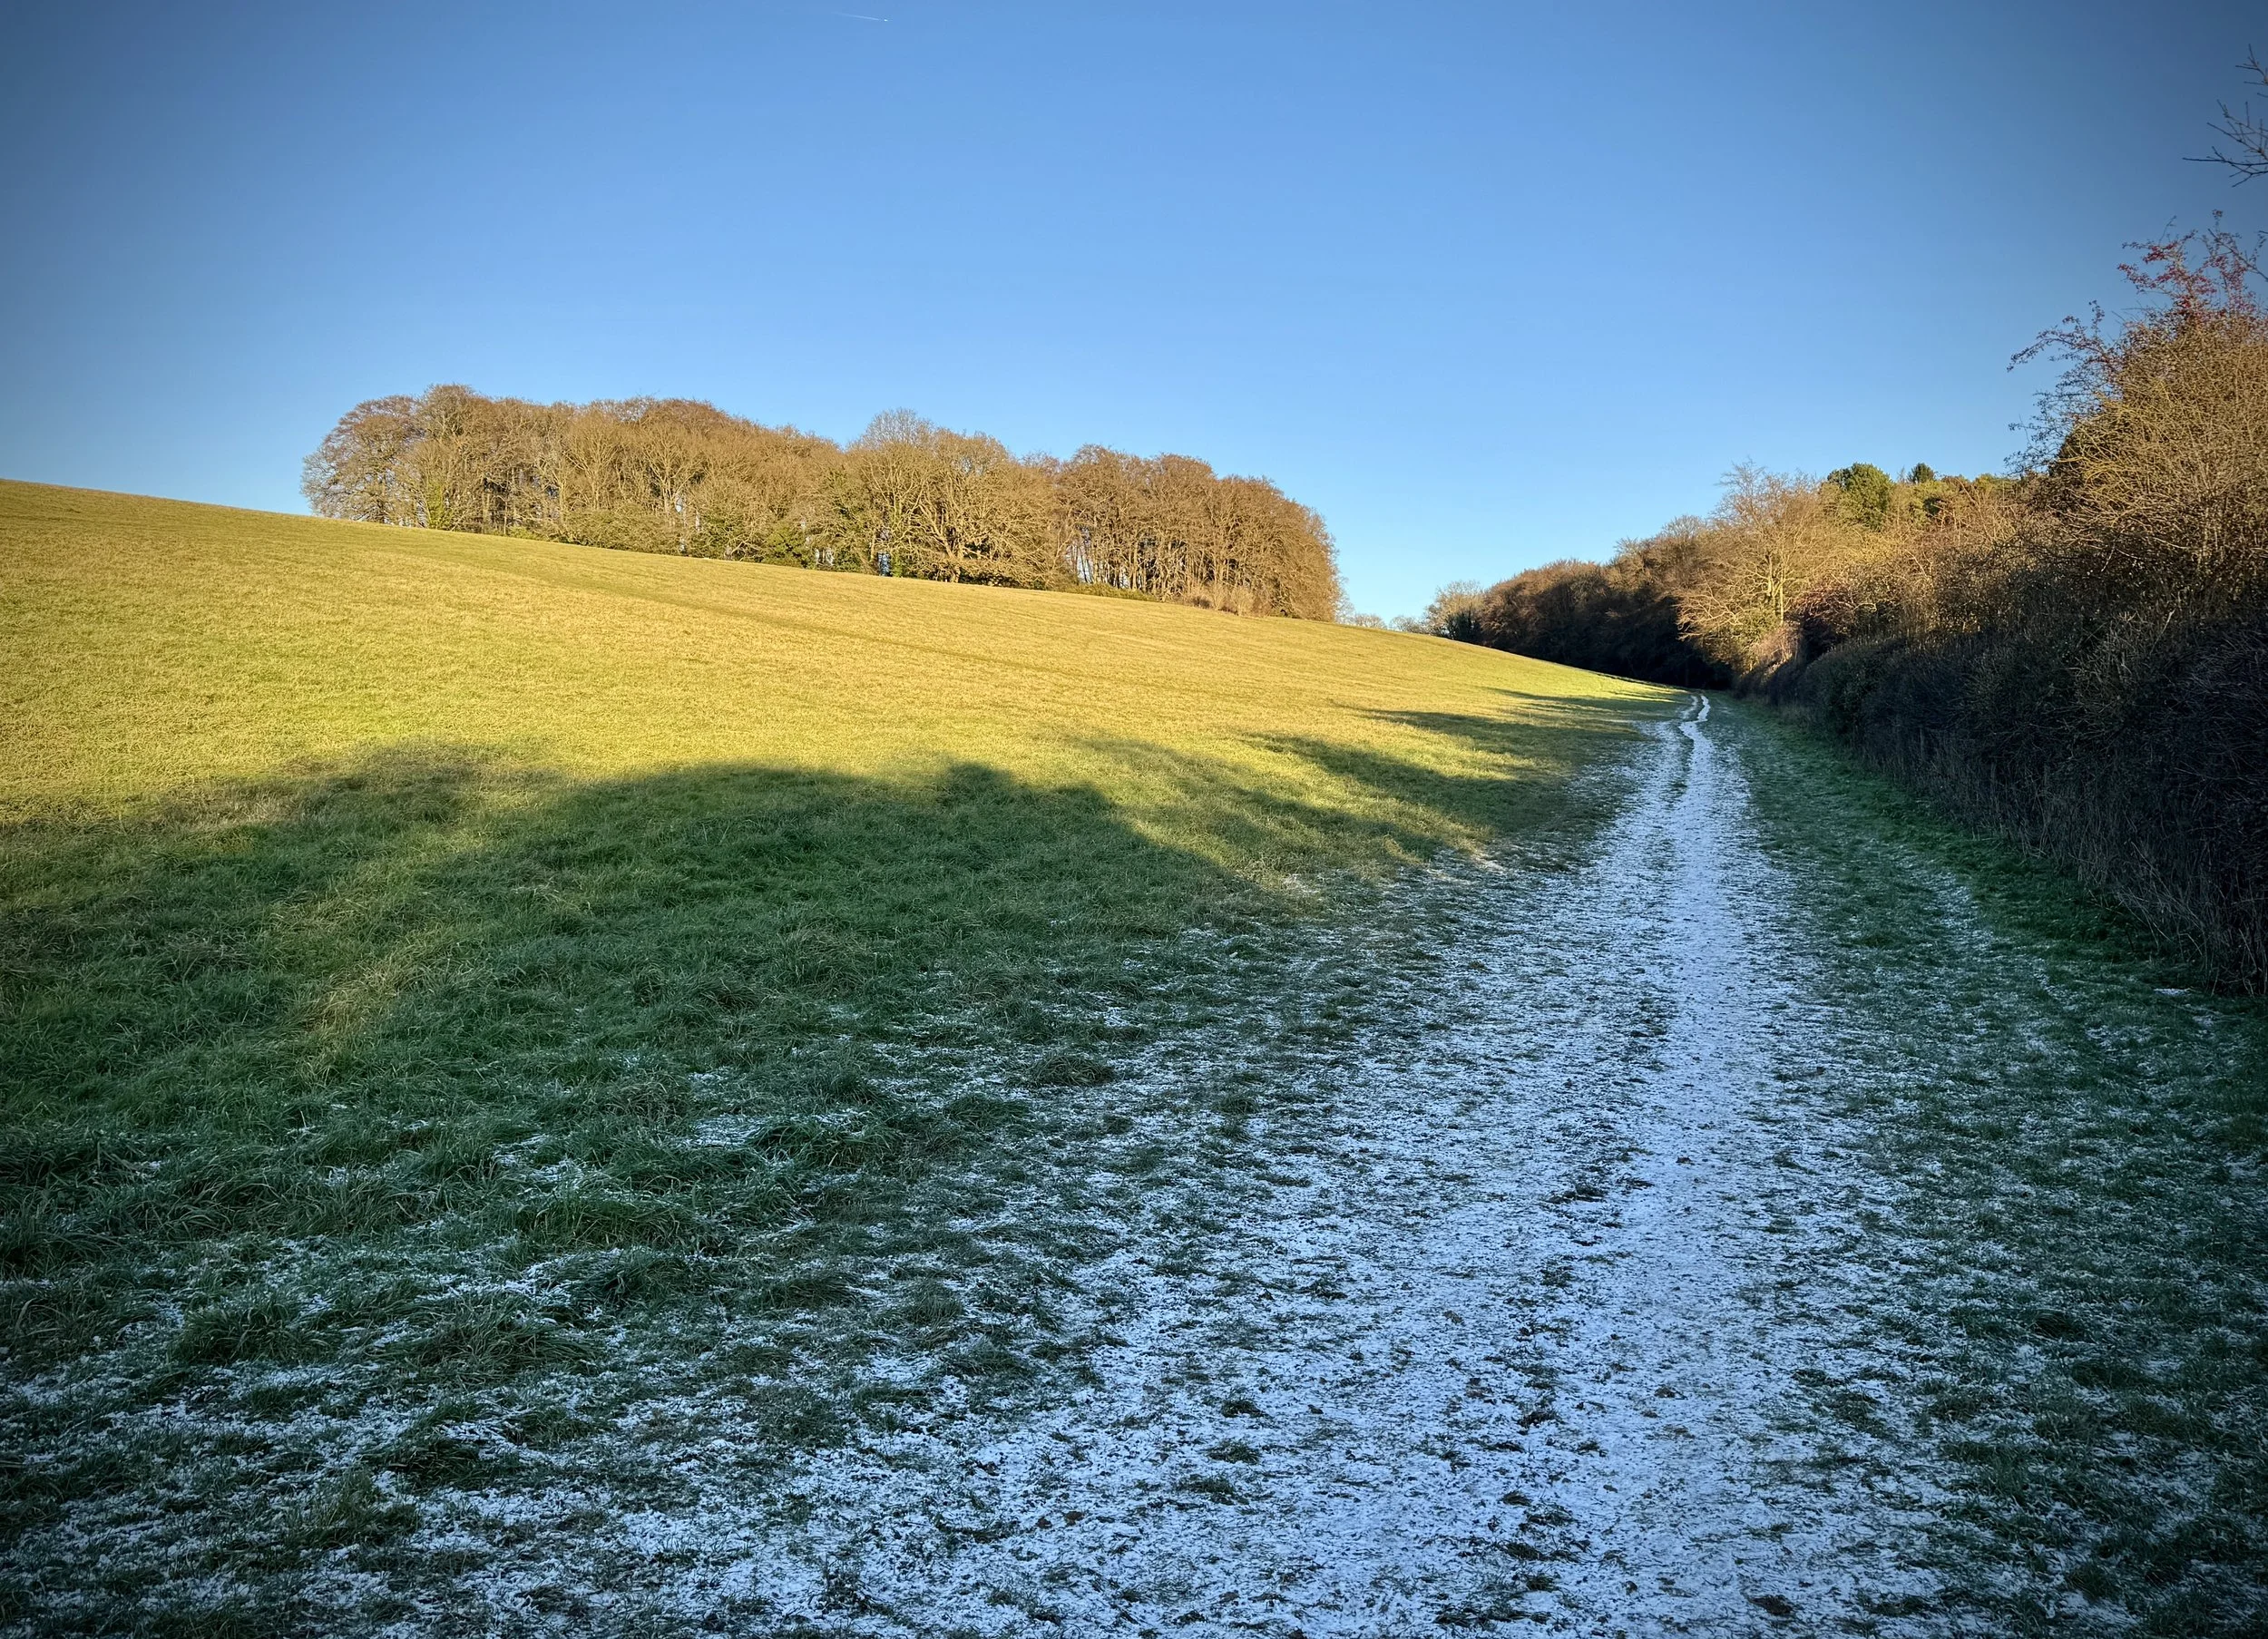
Terrain: Flat, well-paved or hard-packed riverside paths with some grassy sections.
Thames Path section covered: Tilehurst to Sonning: 10.9 km
GPX File: get via Buy Me a Coffee
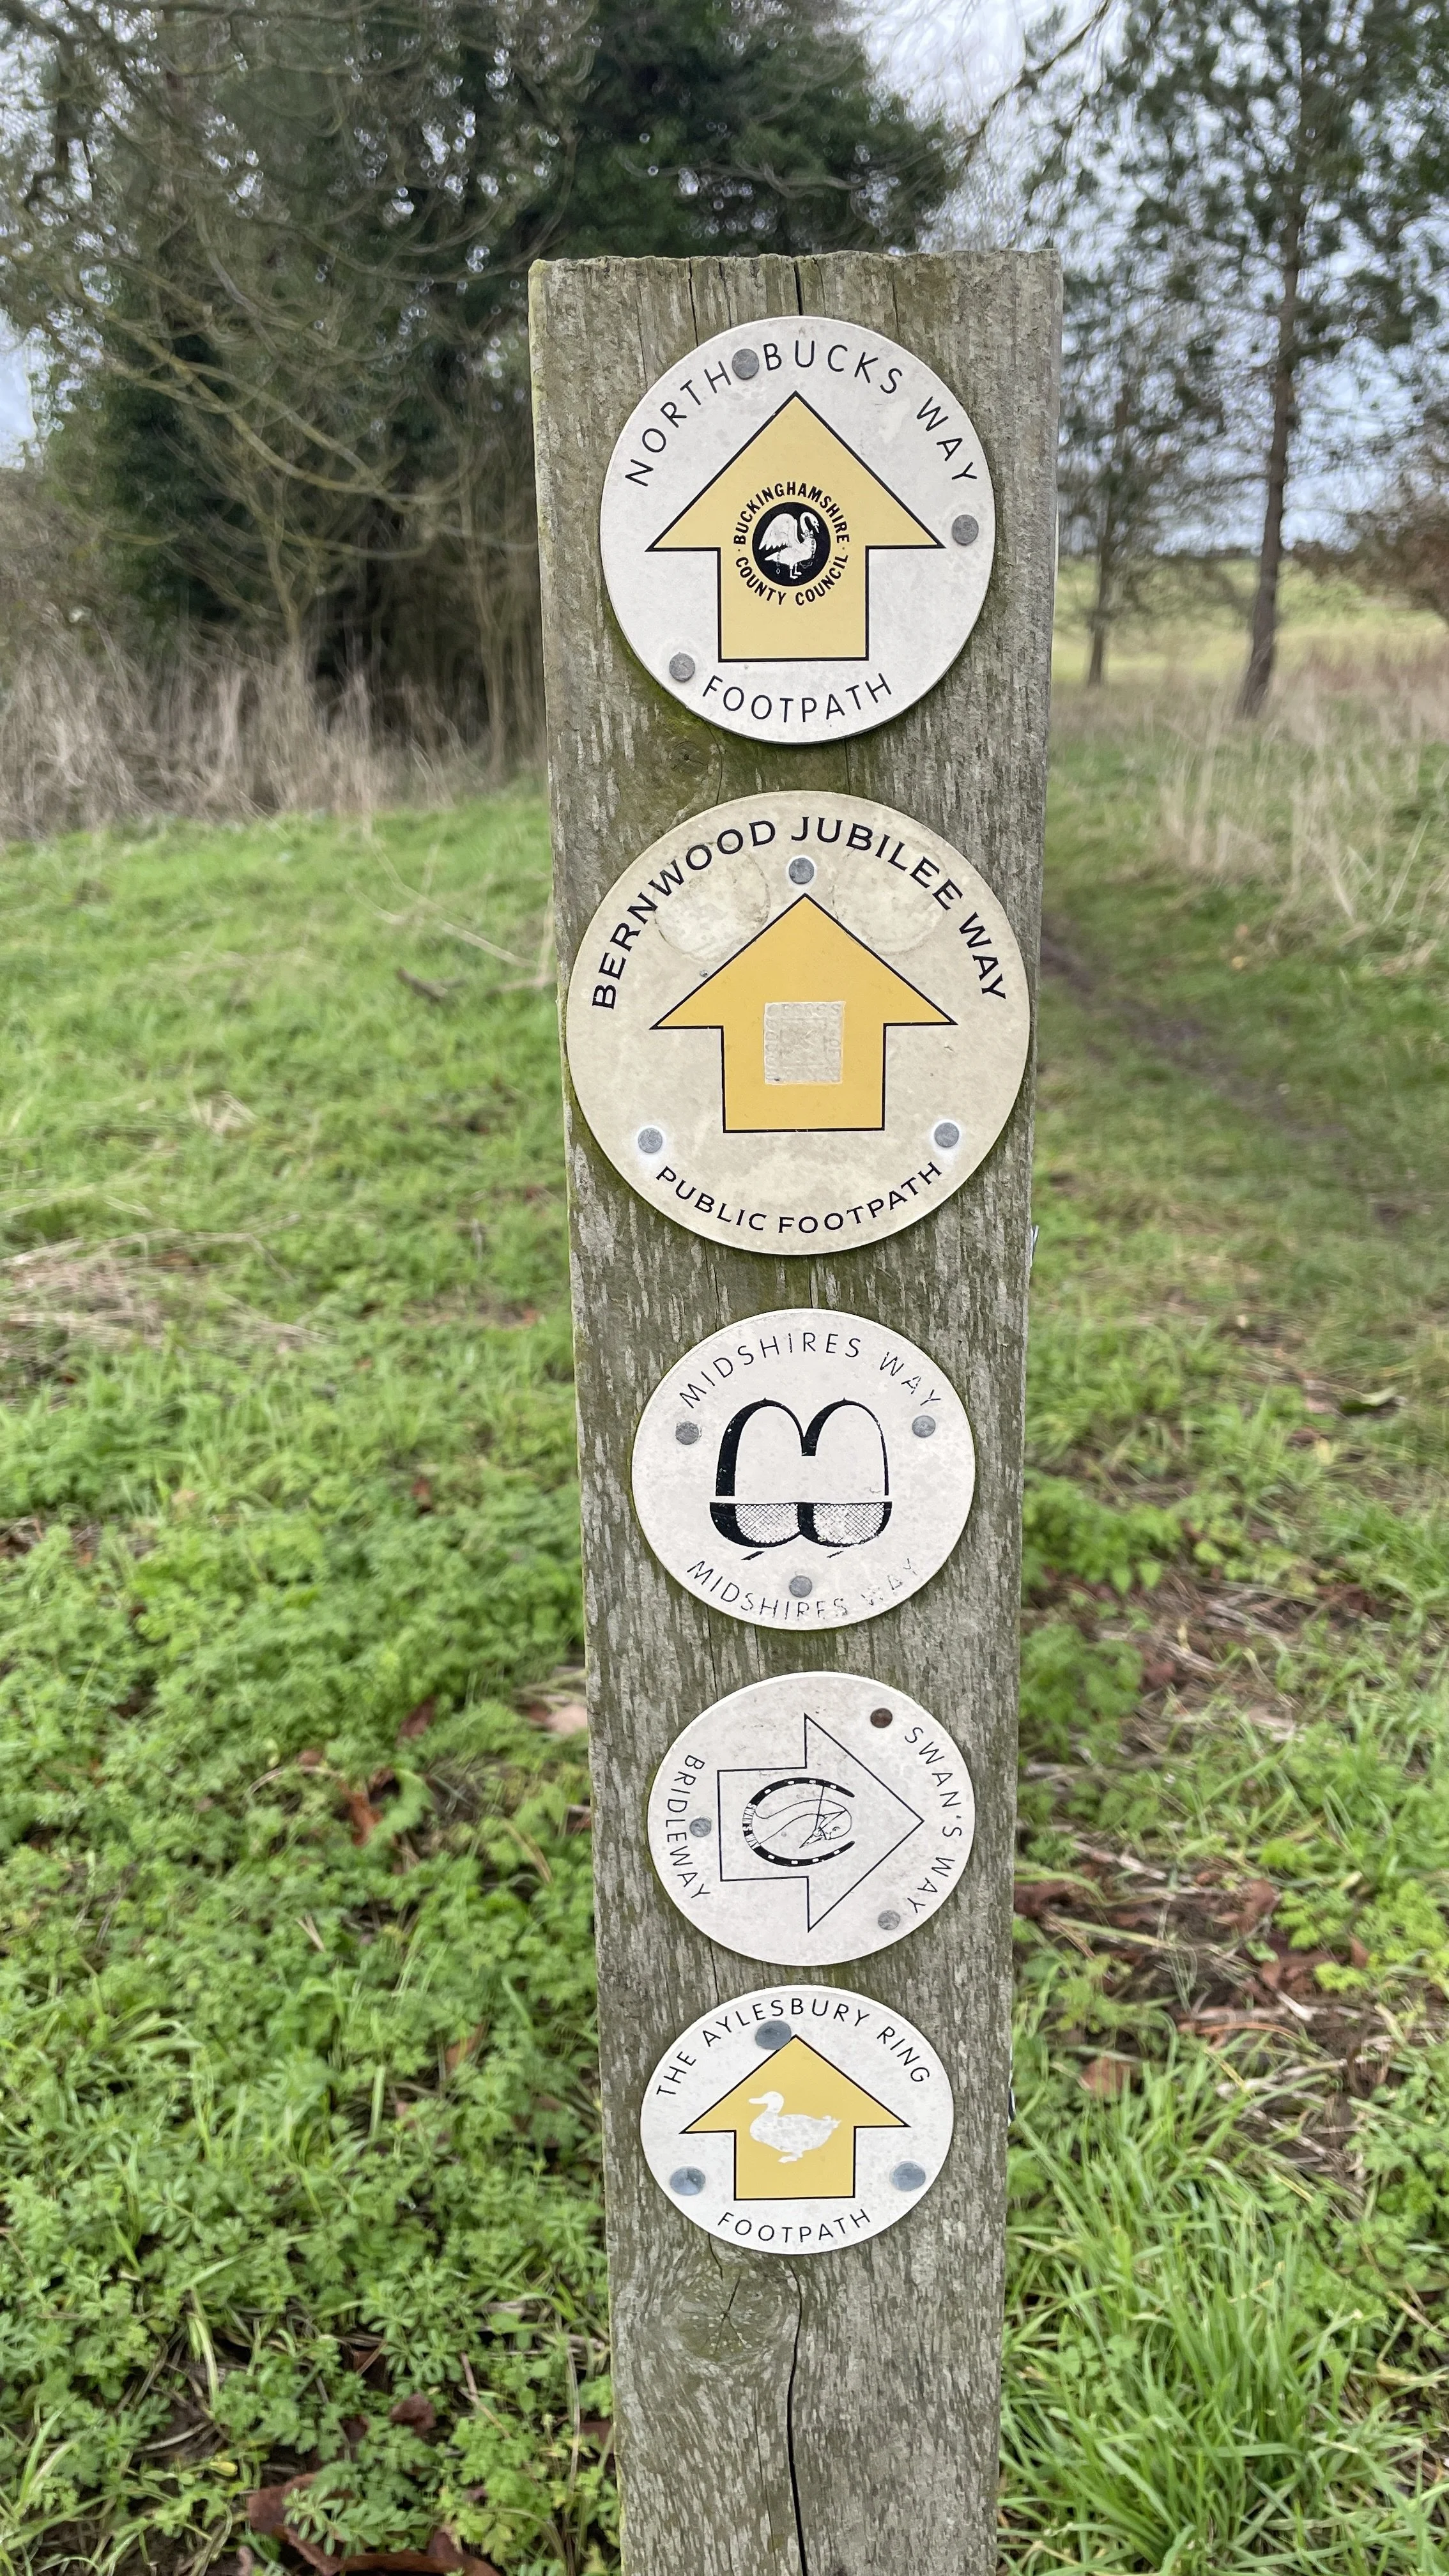
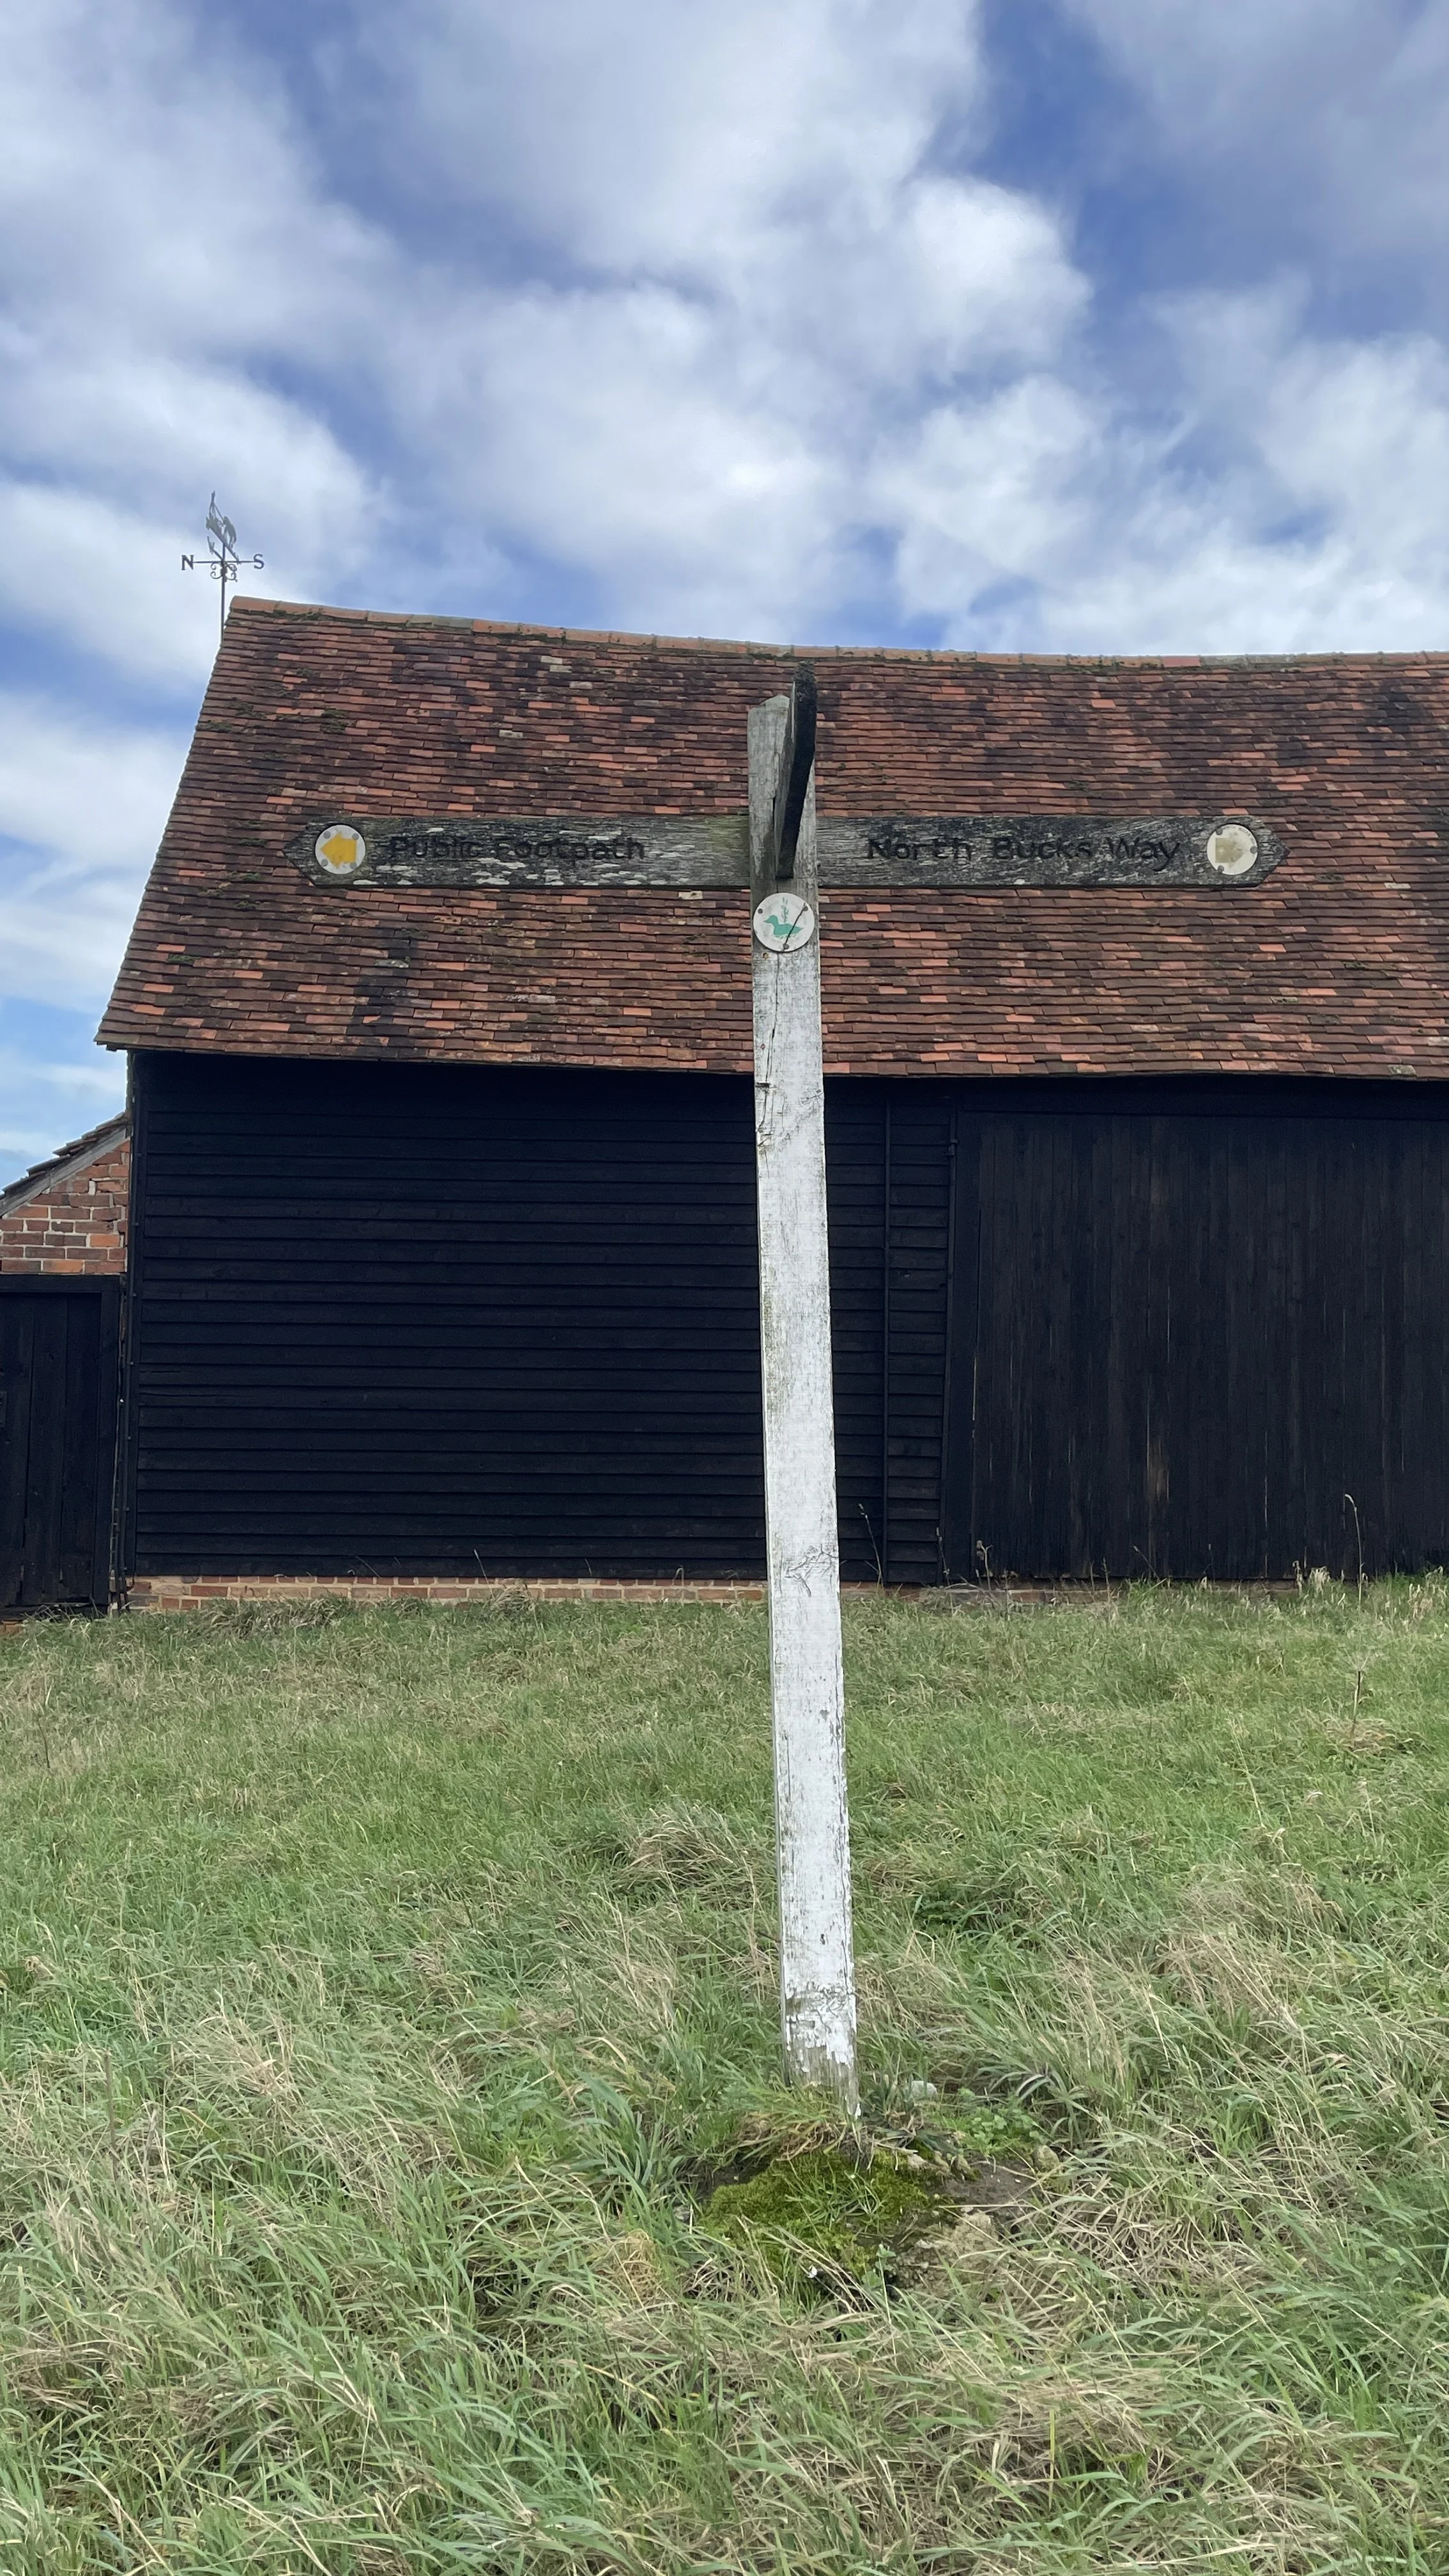
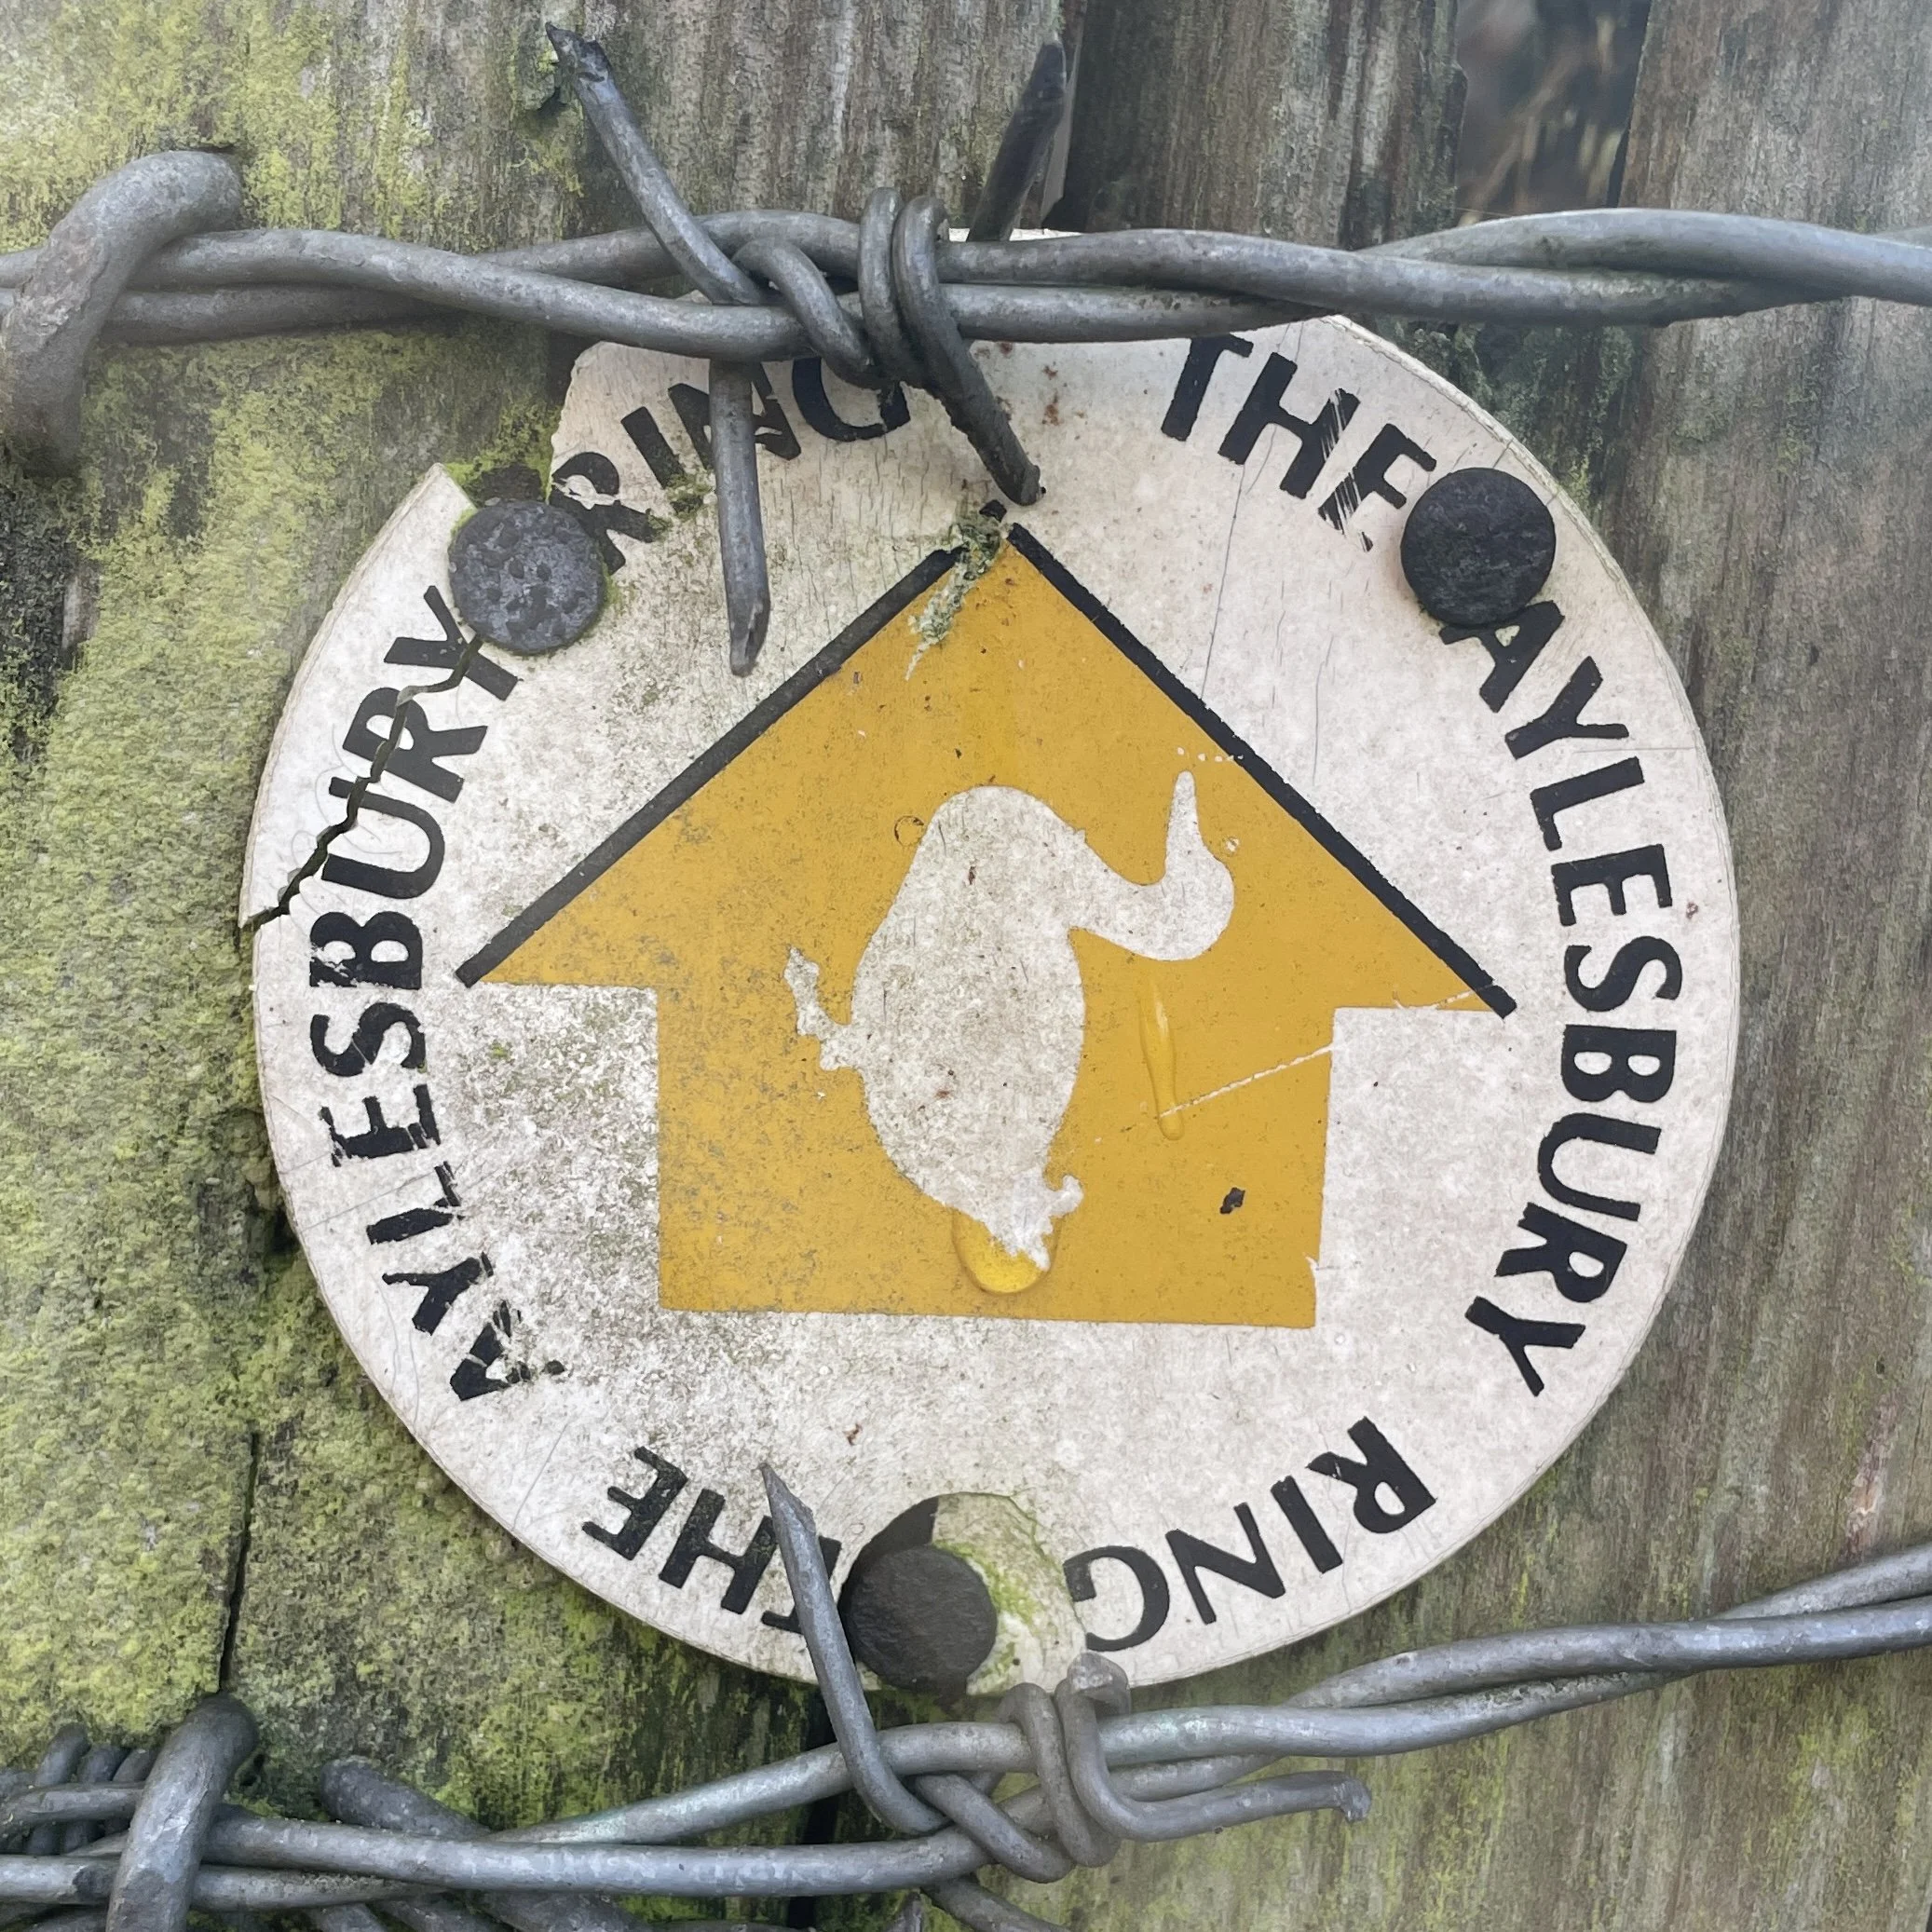
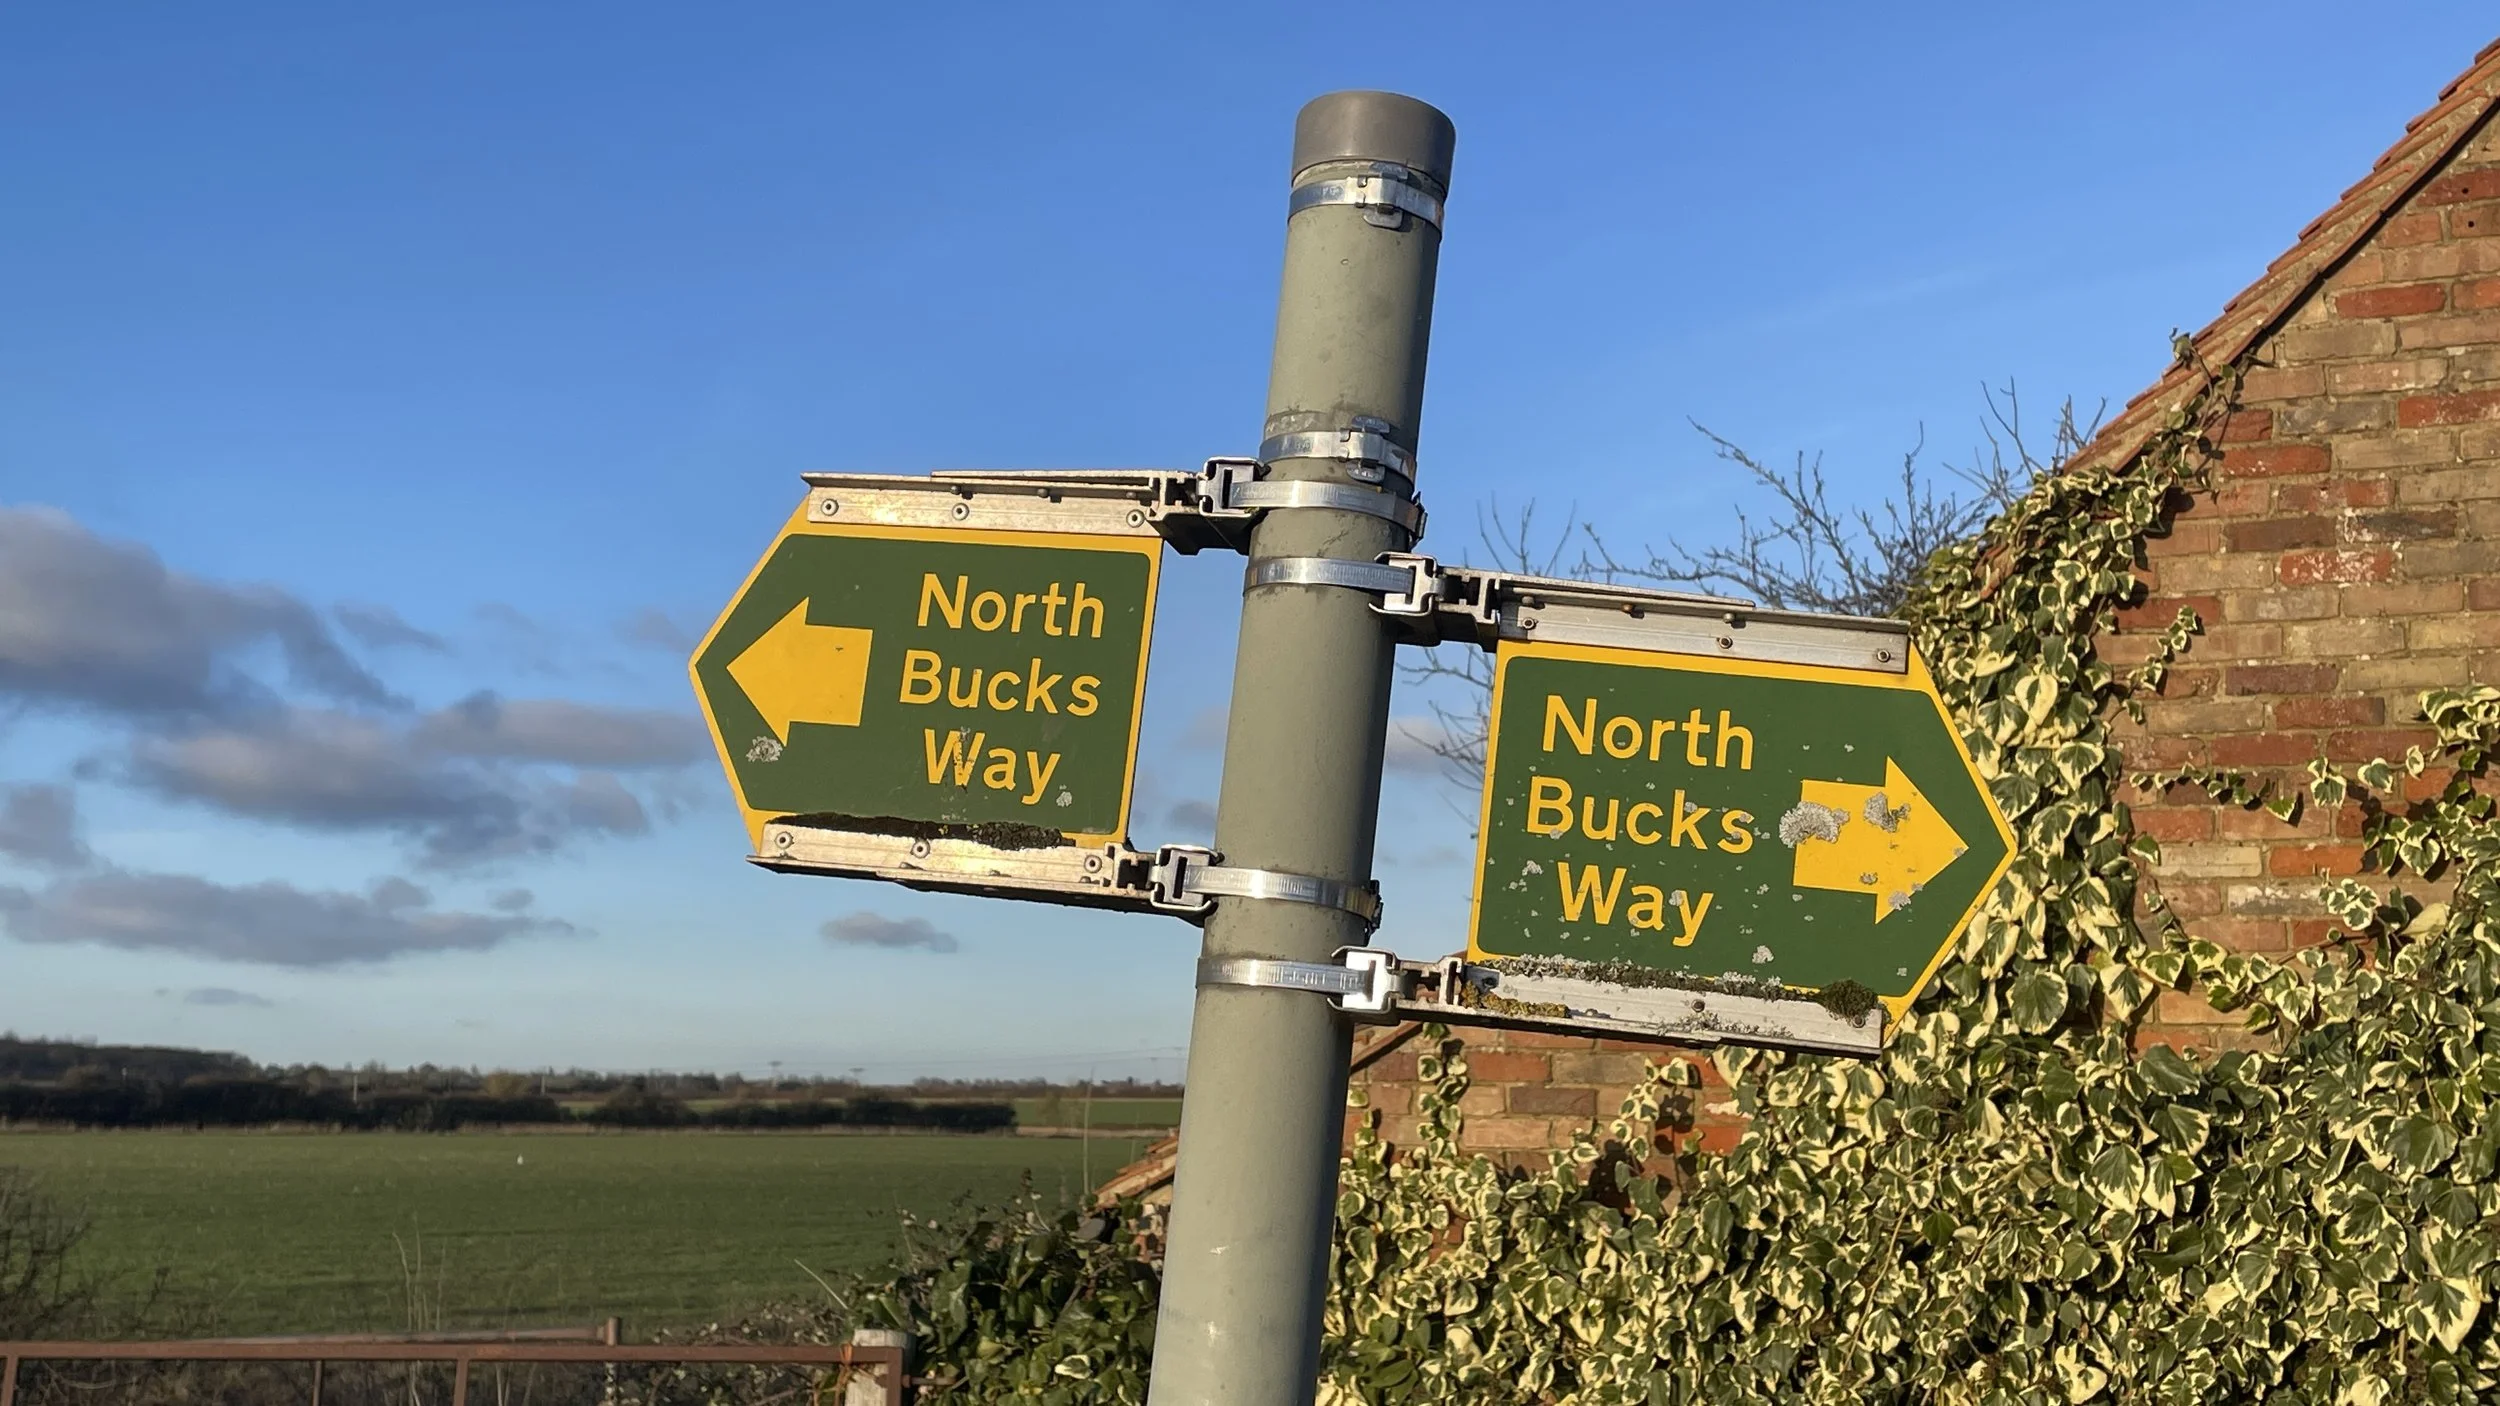
Other routes touched (walk): Thames Path, St Frideswide’s Way, Wokingham Way
Other routes touched (cycle): NCN 4, 5
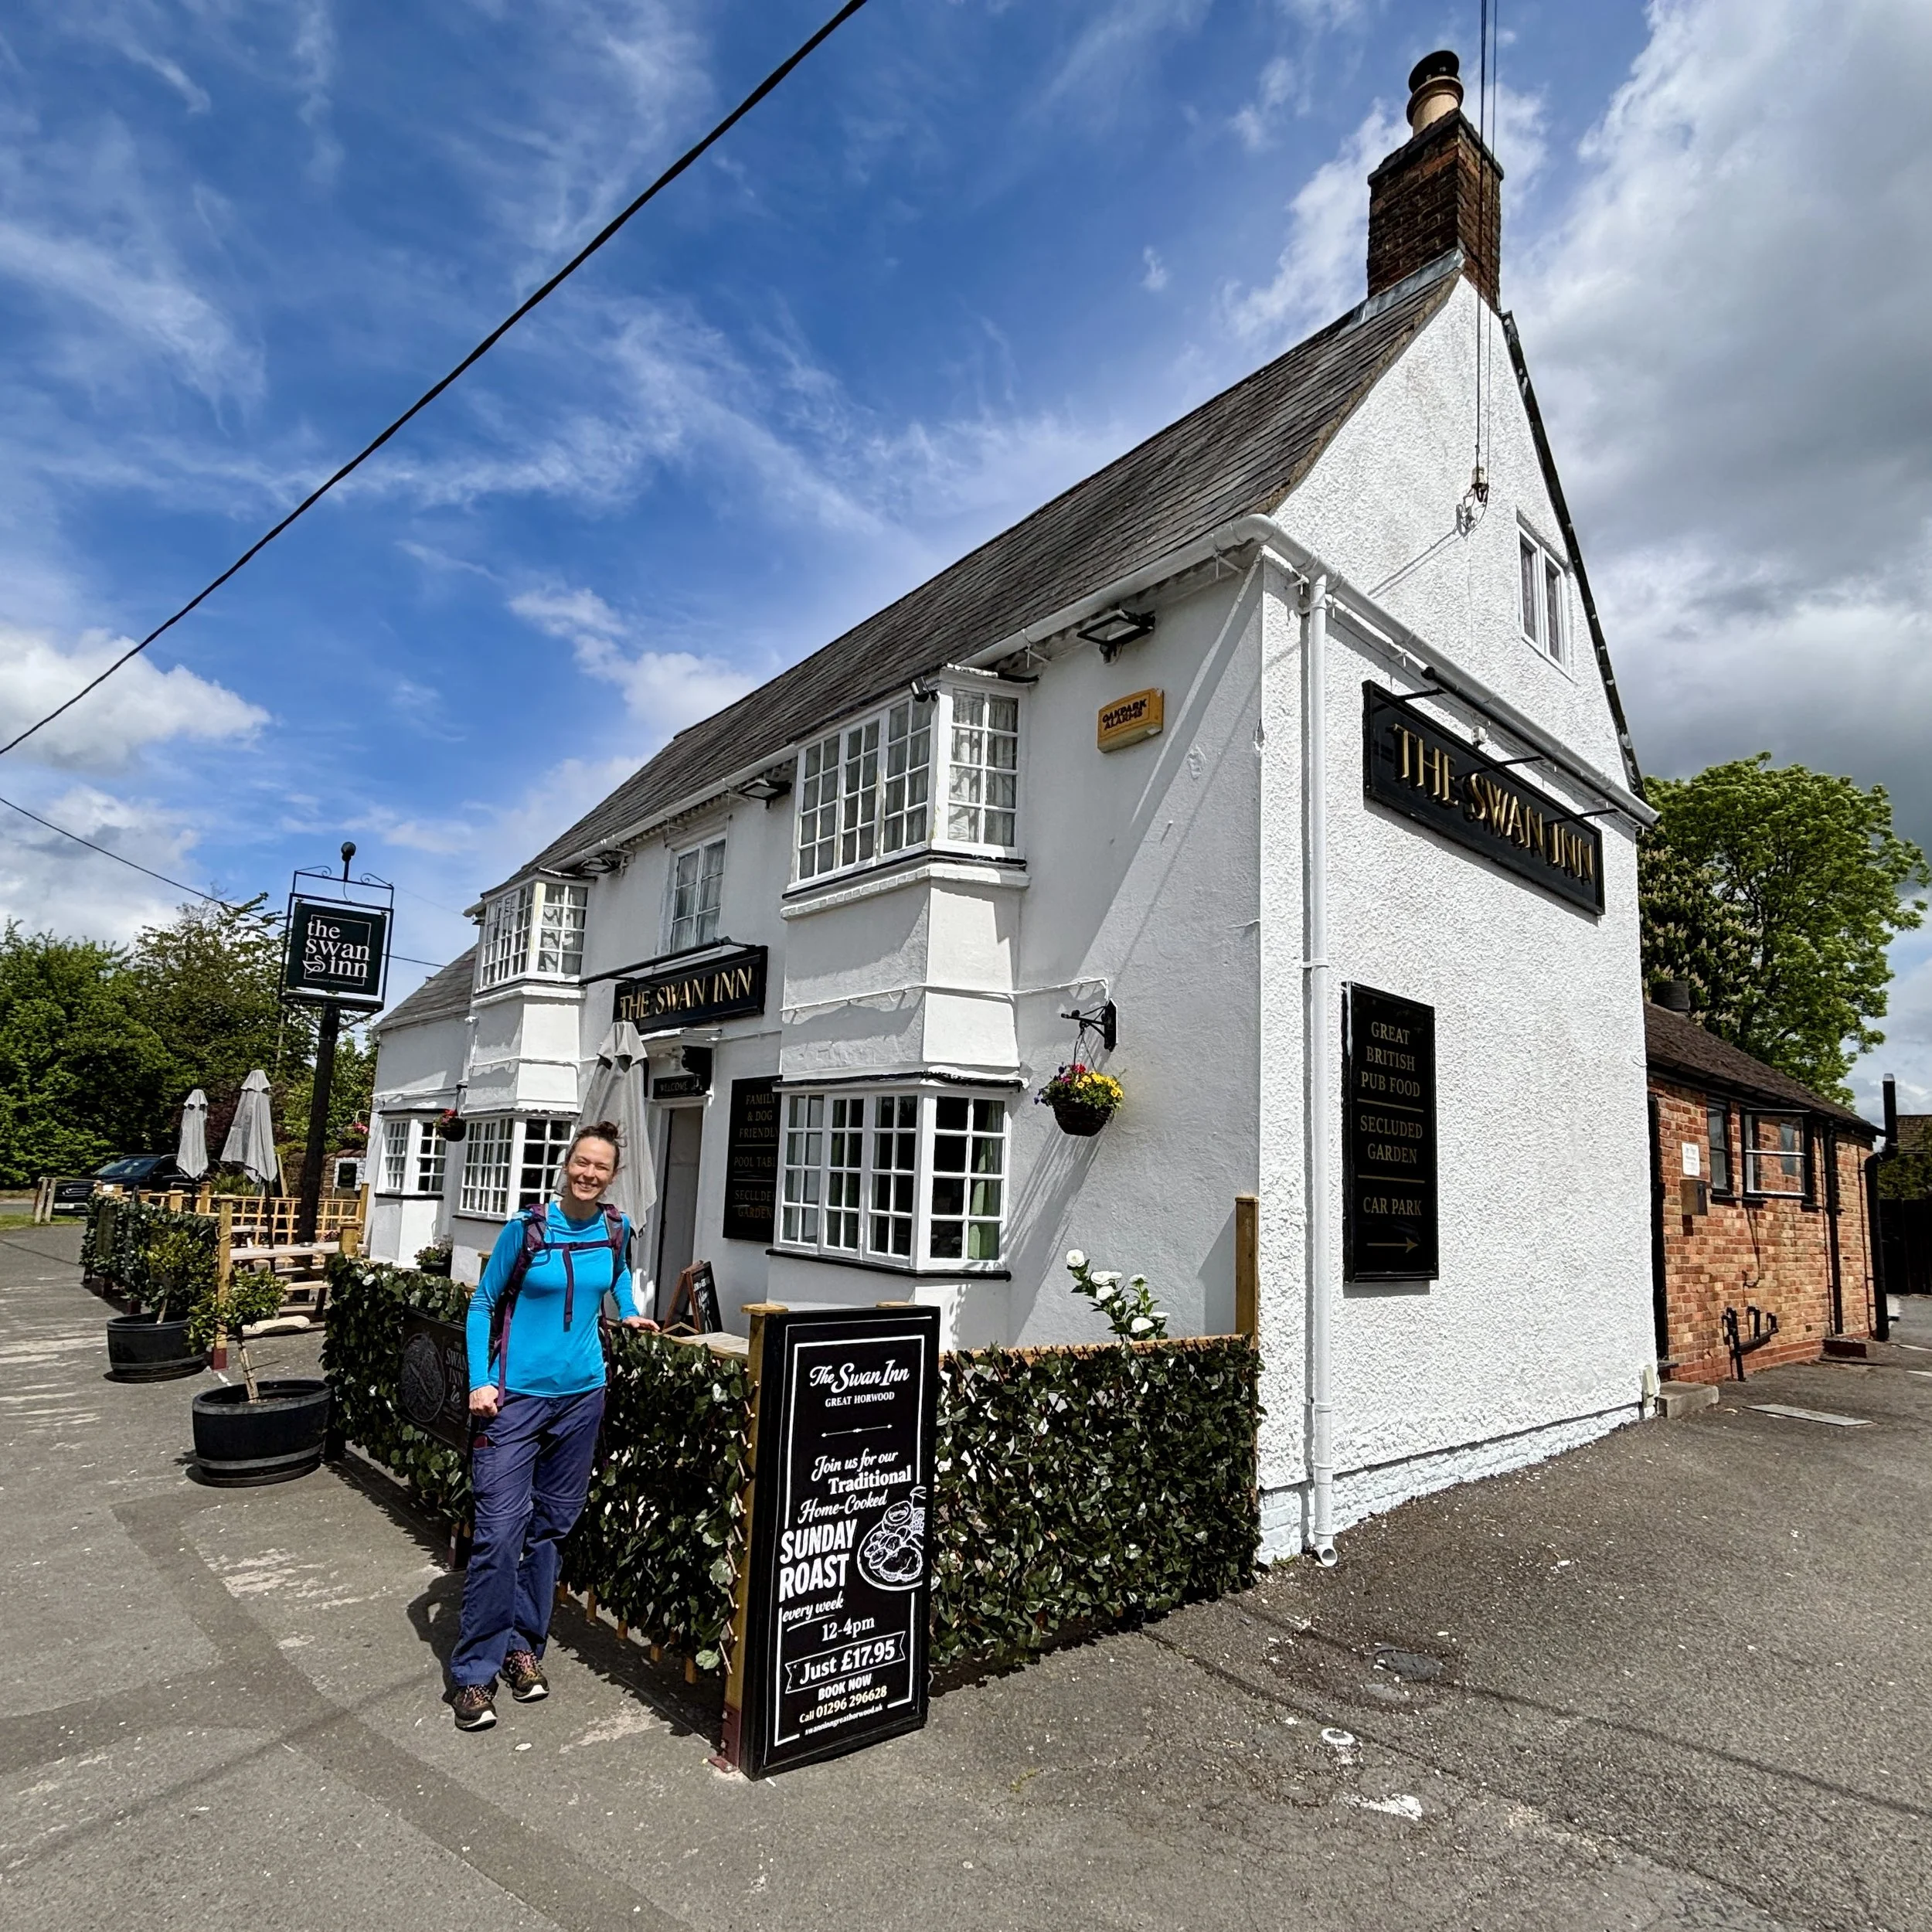
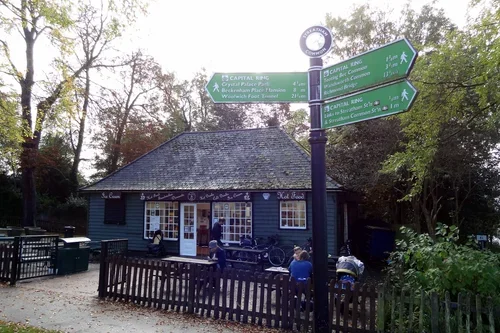
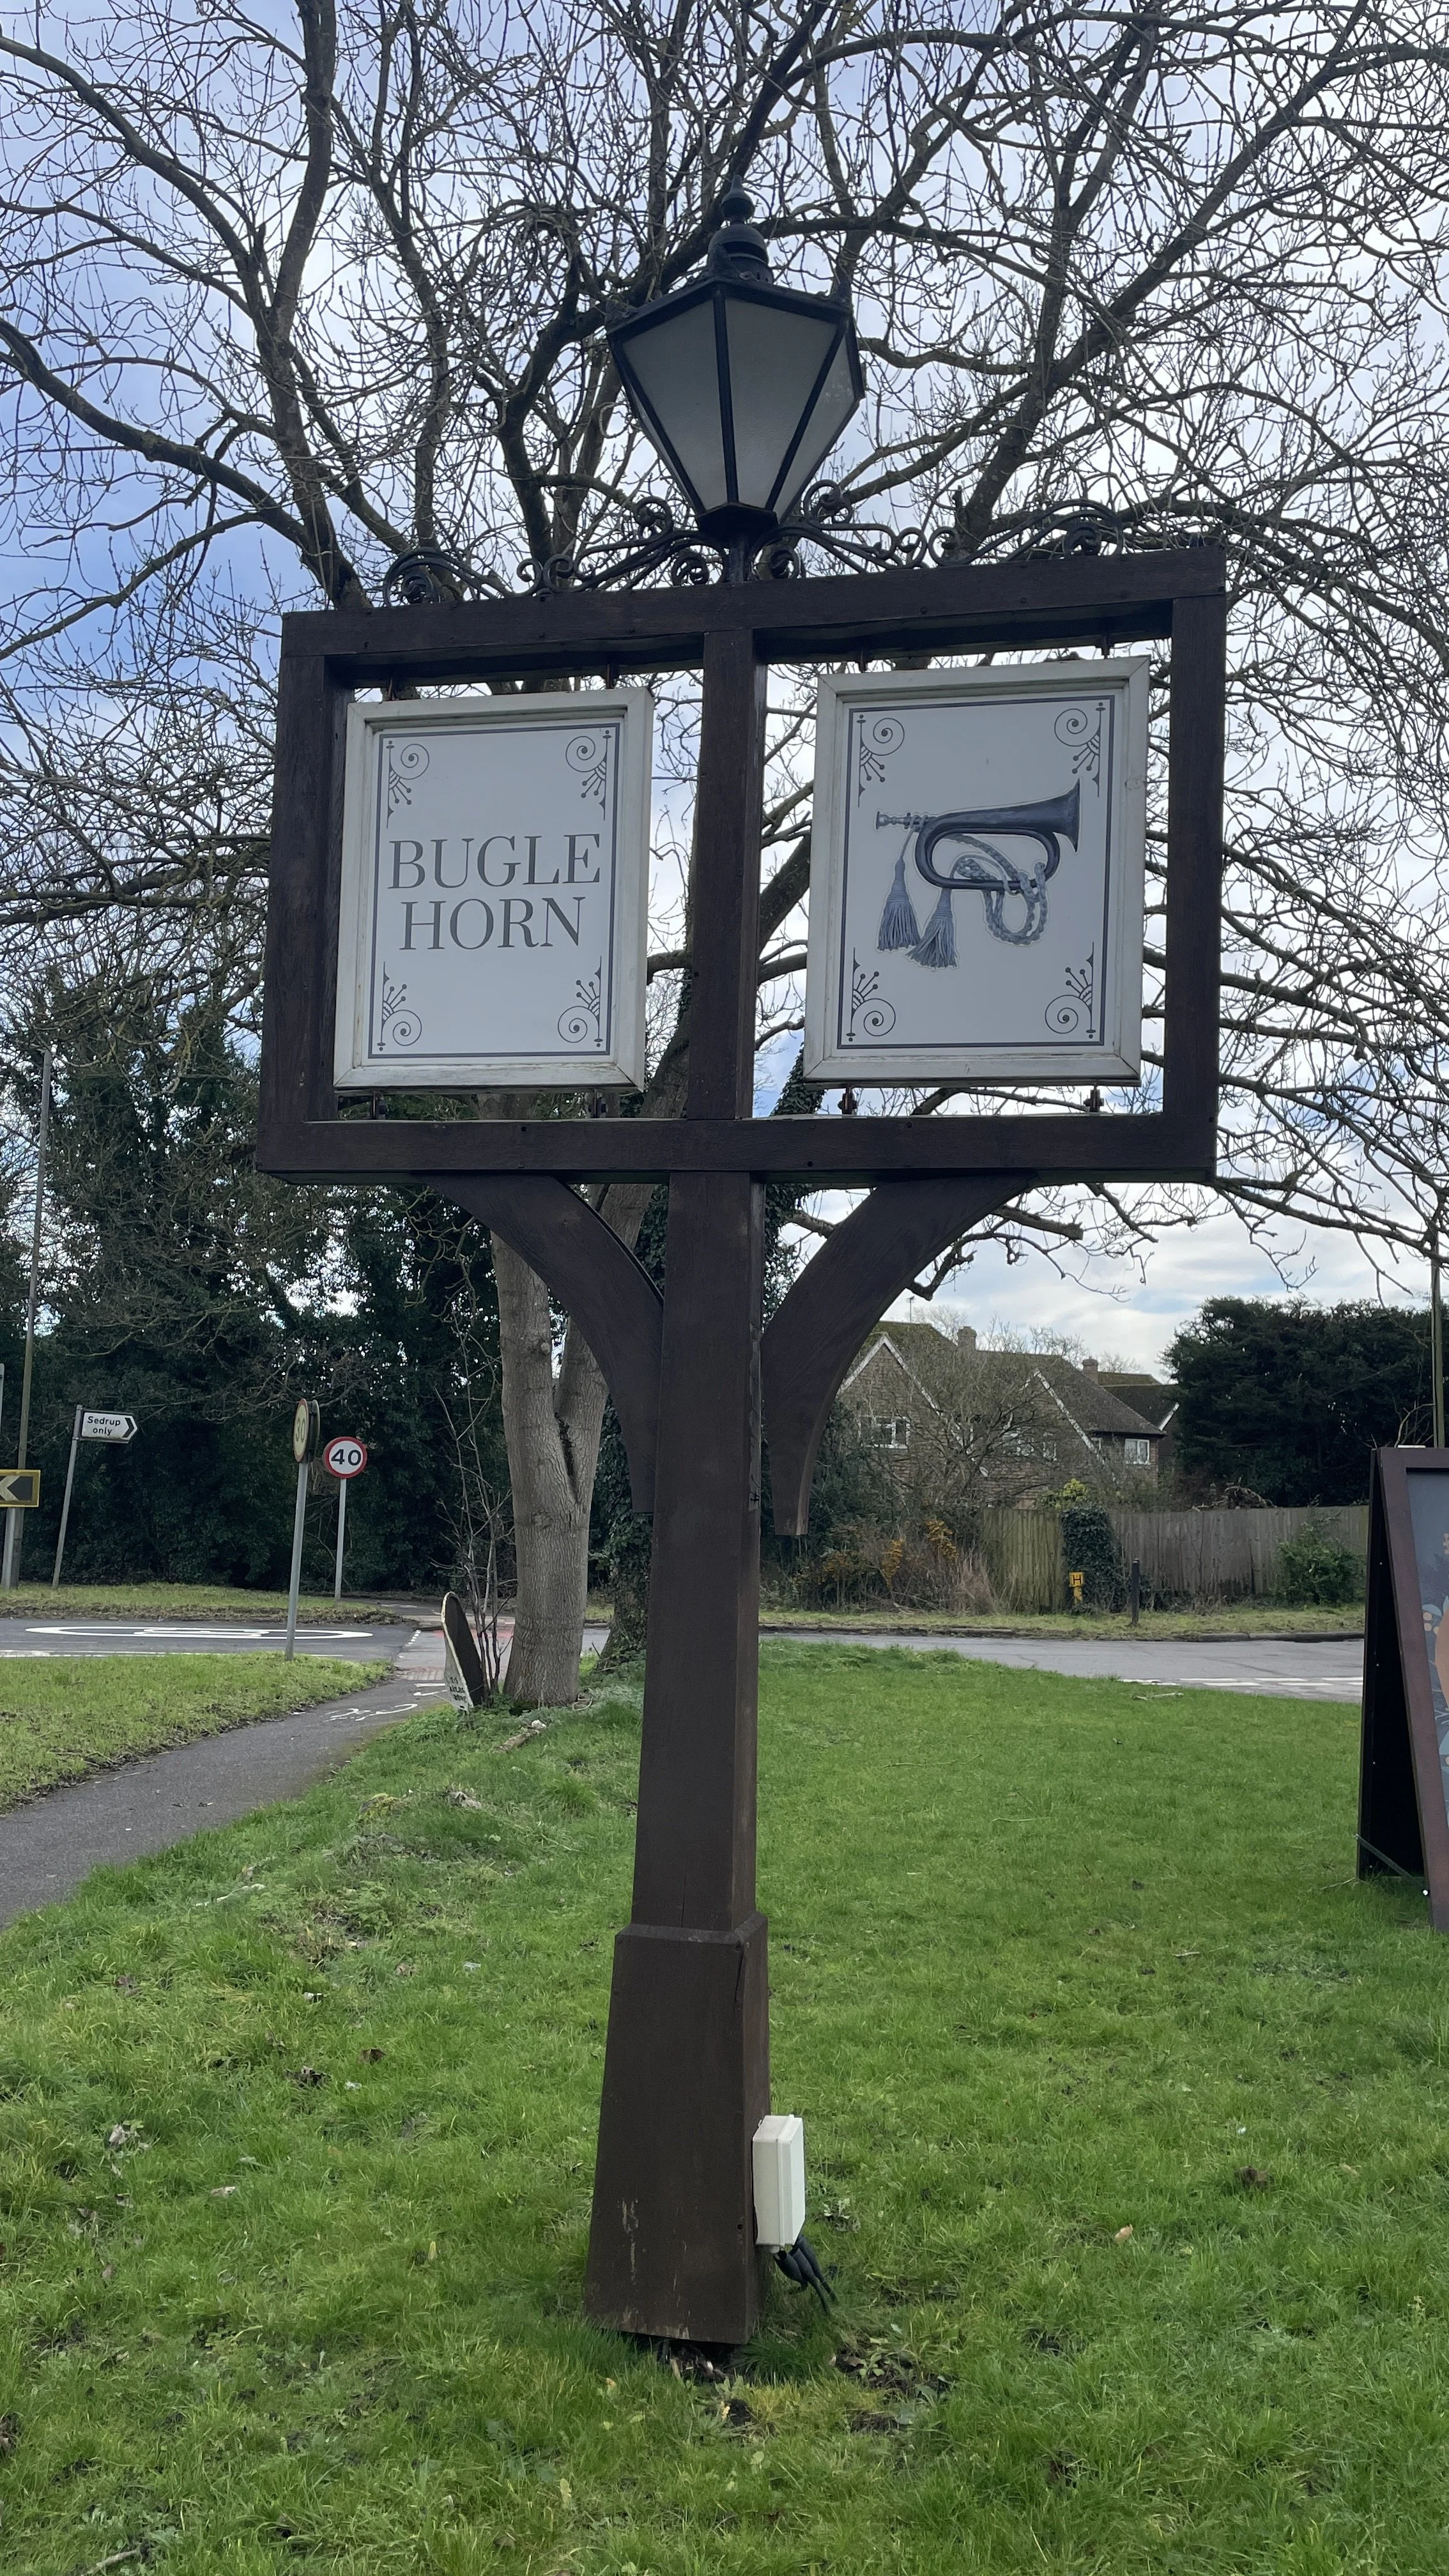
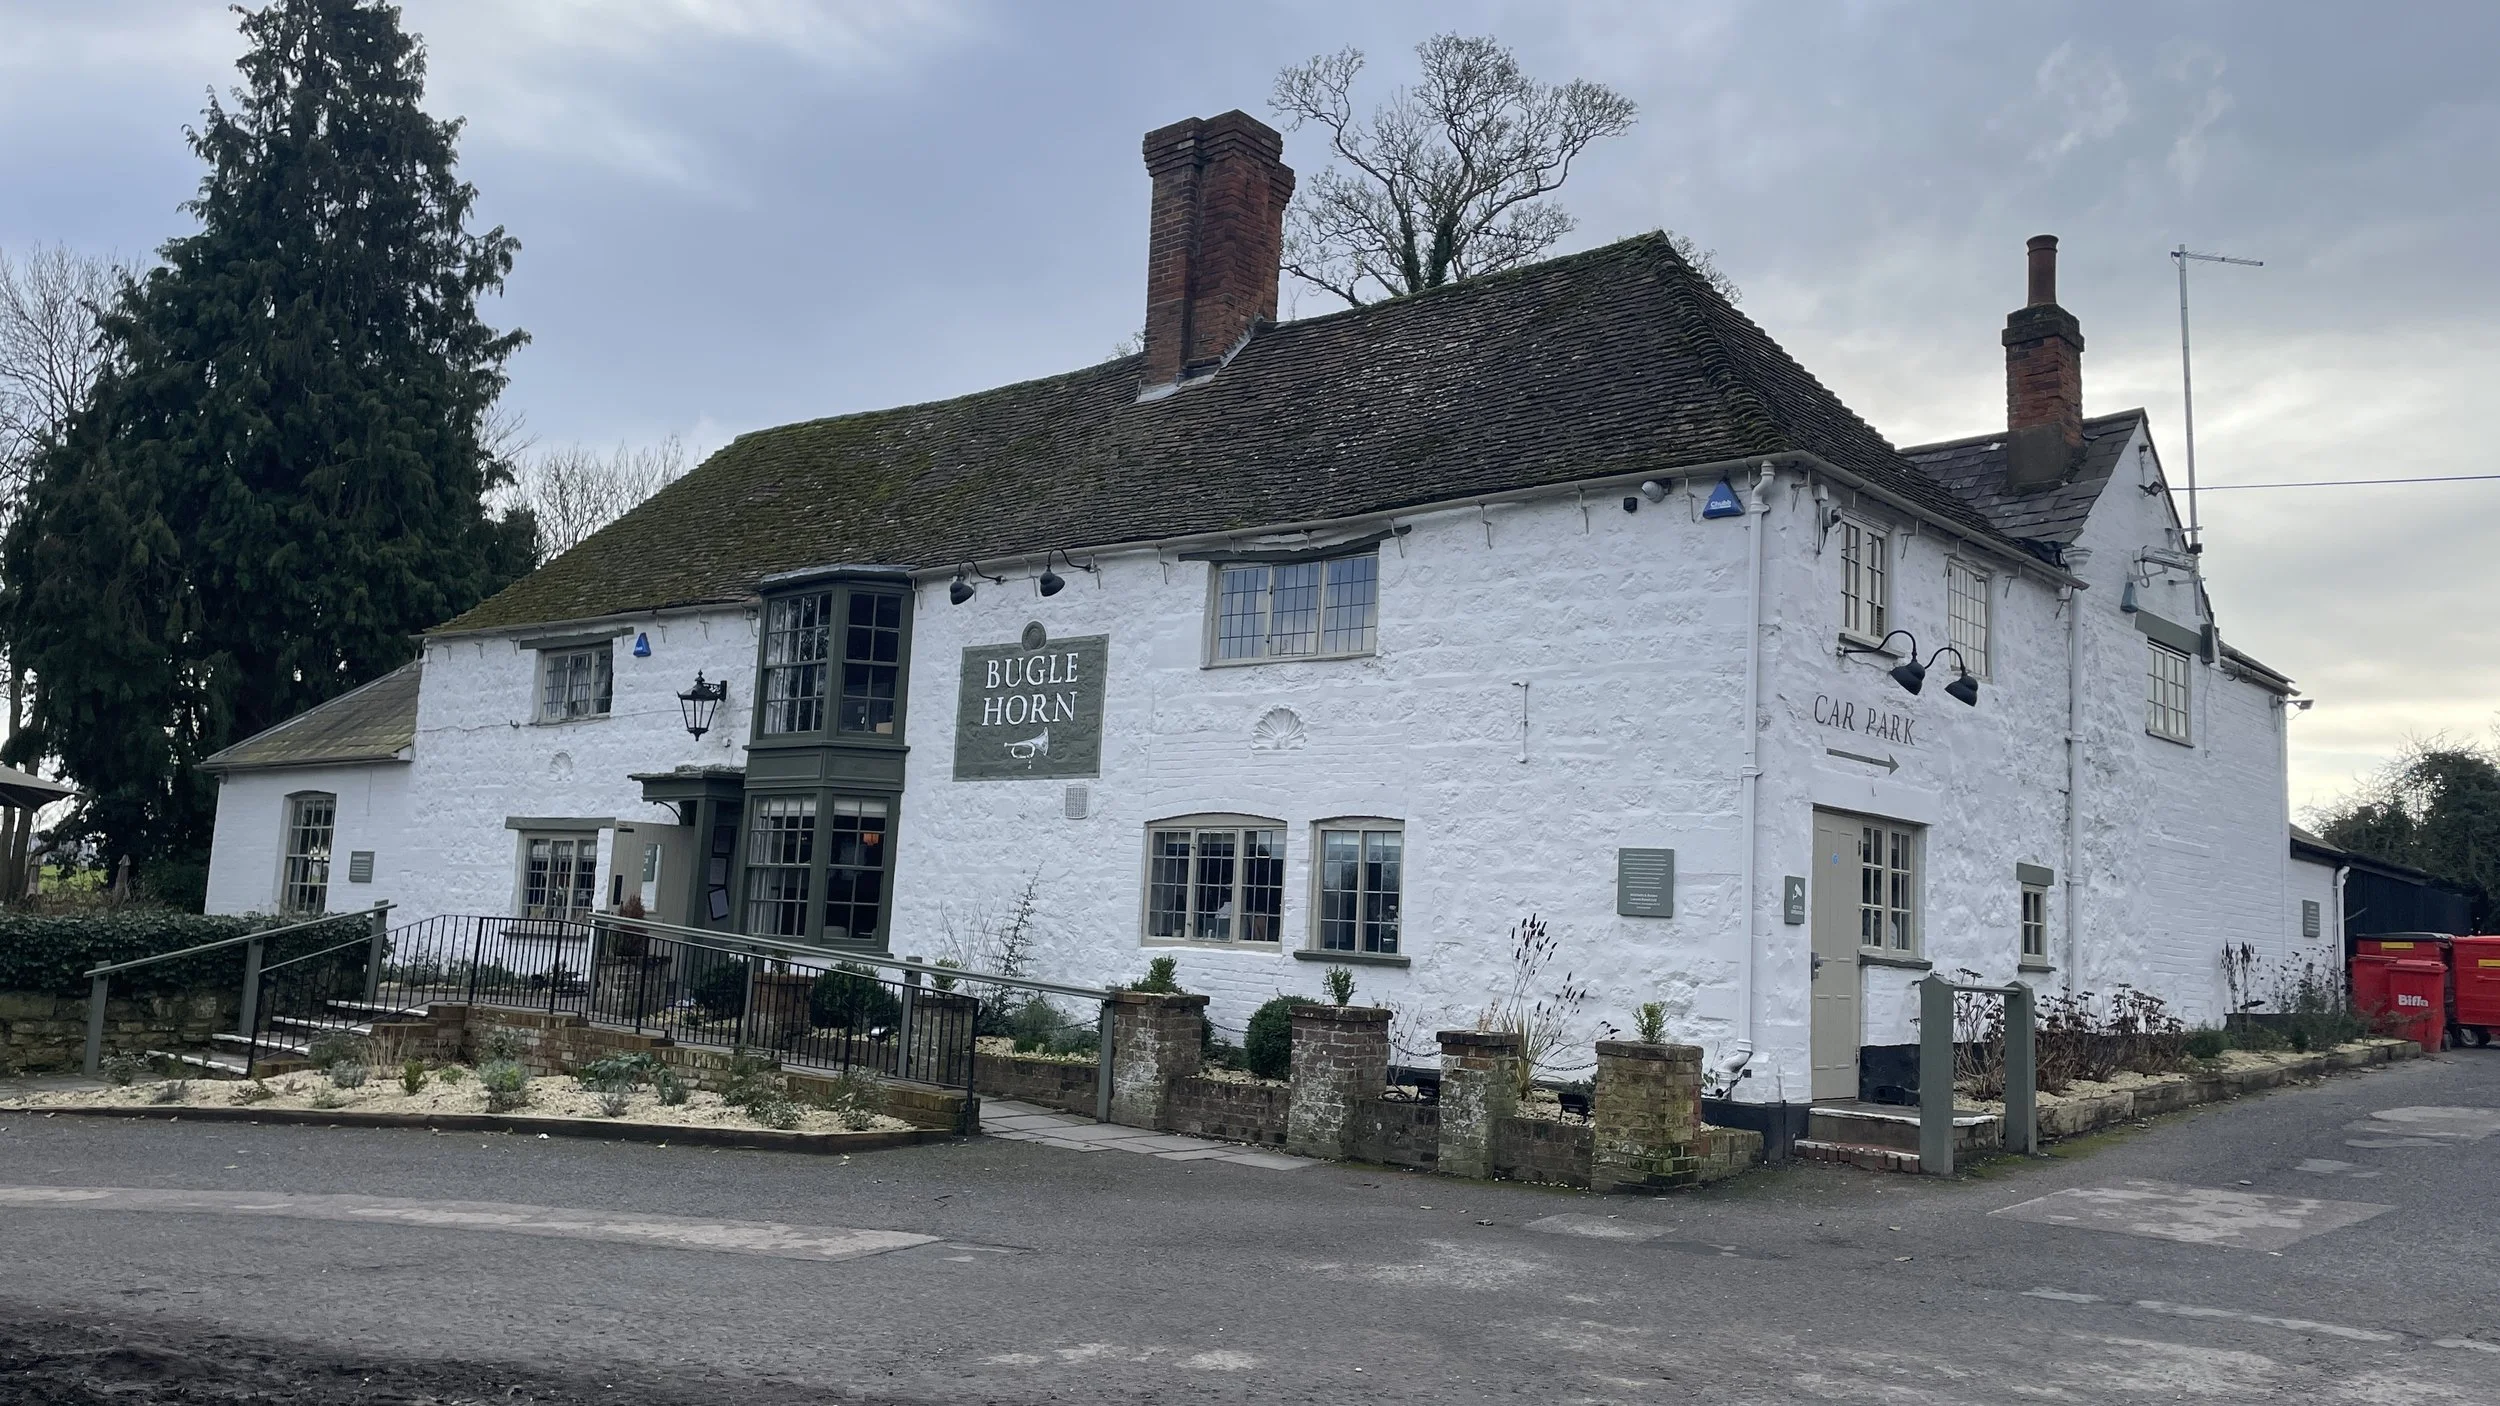
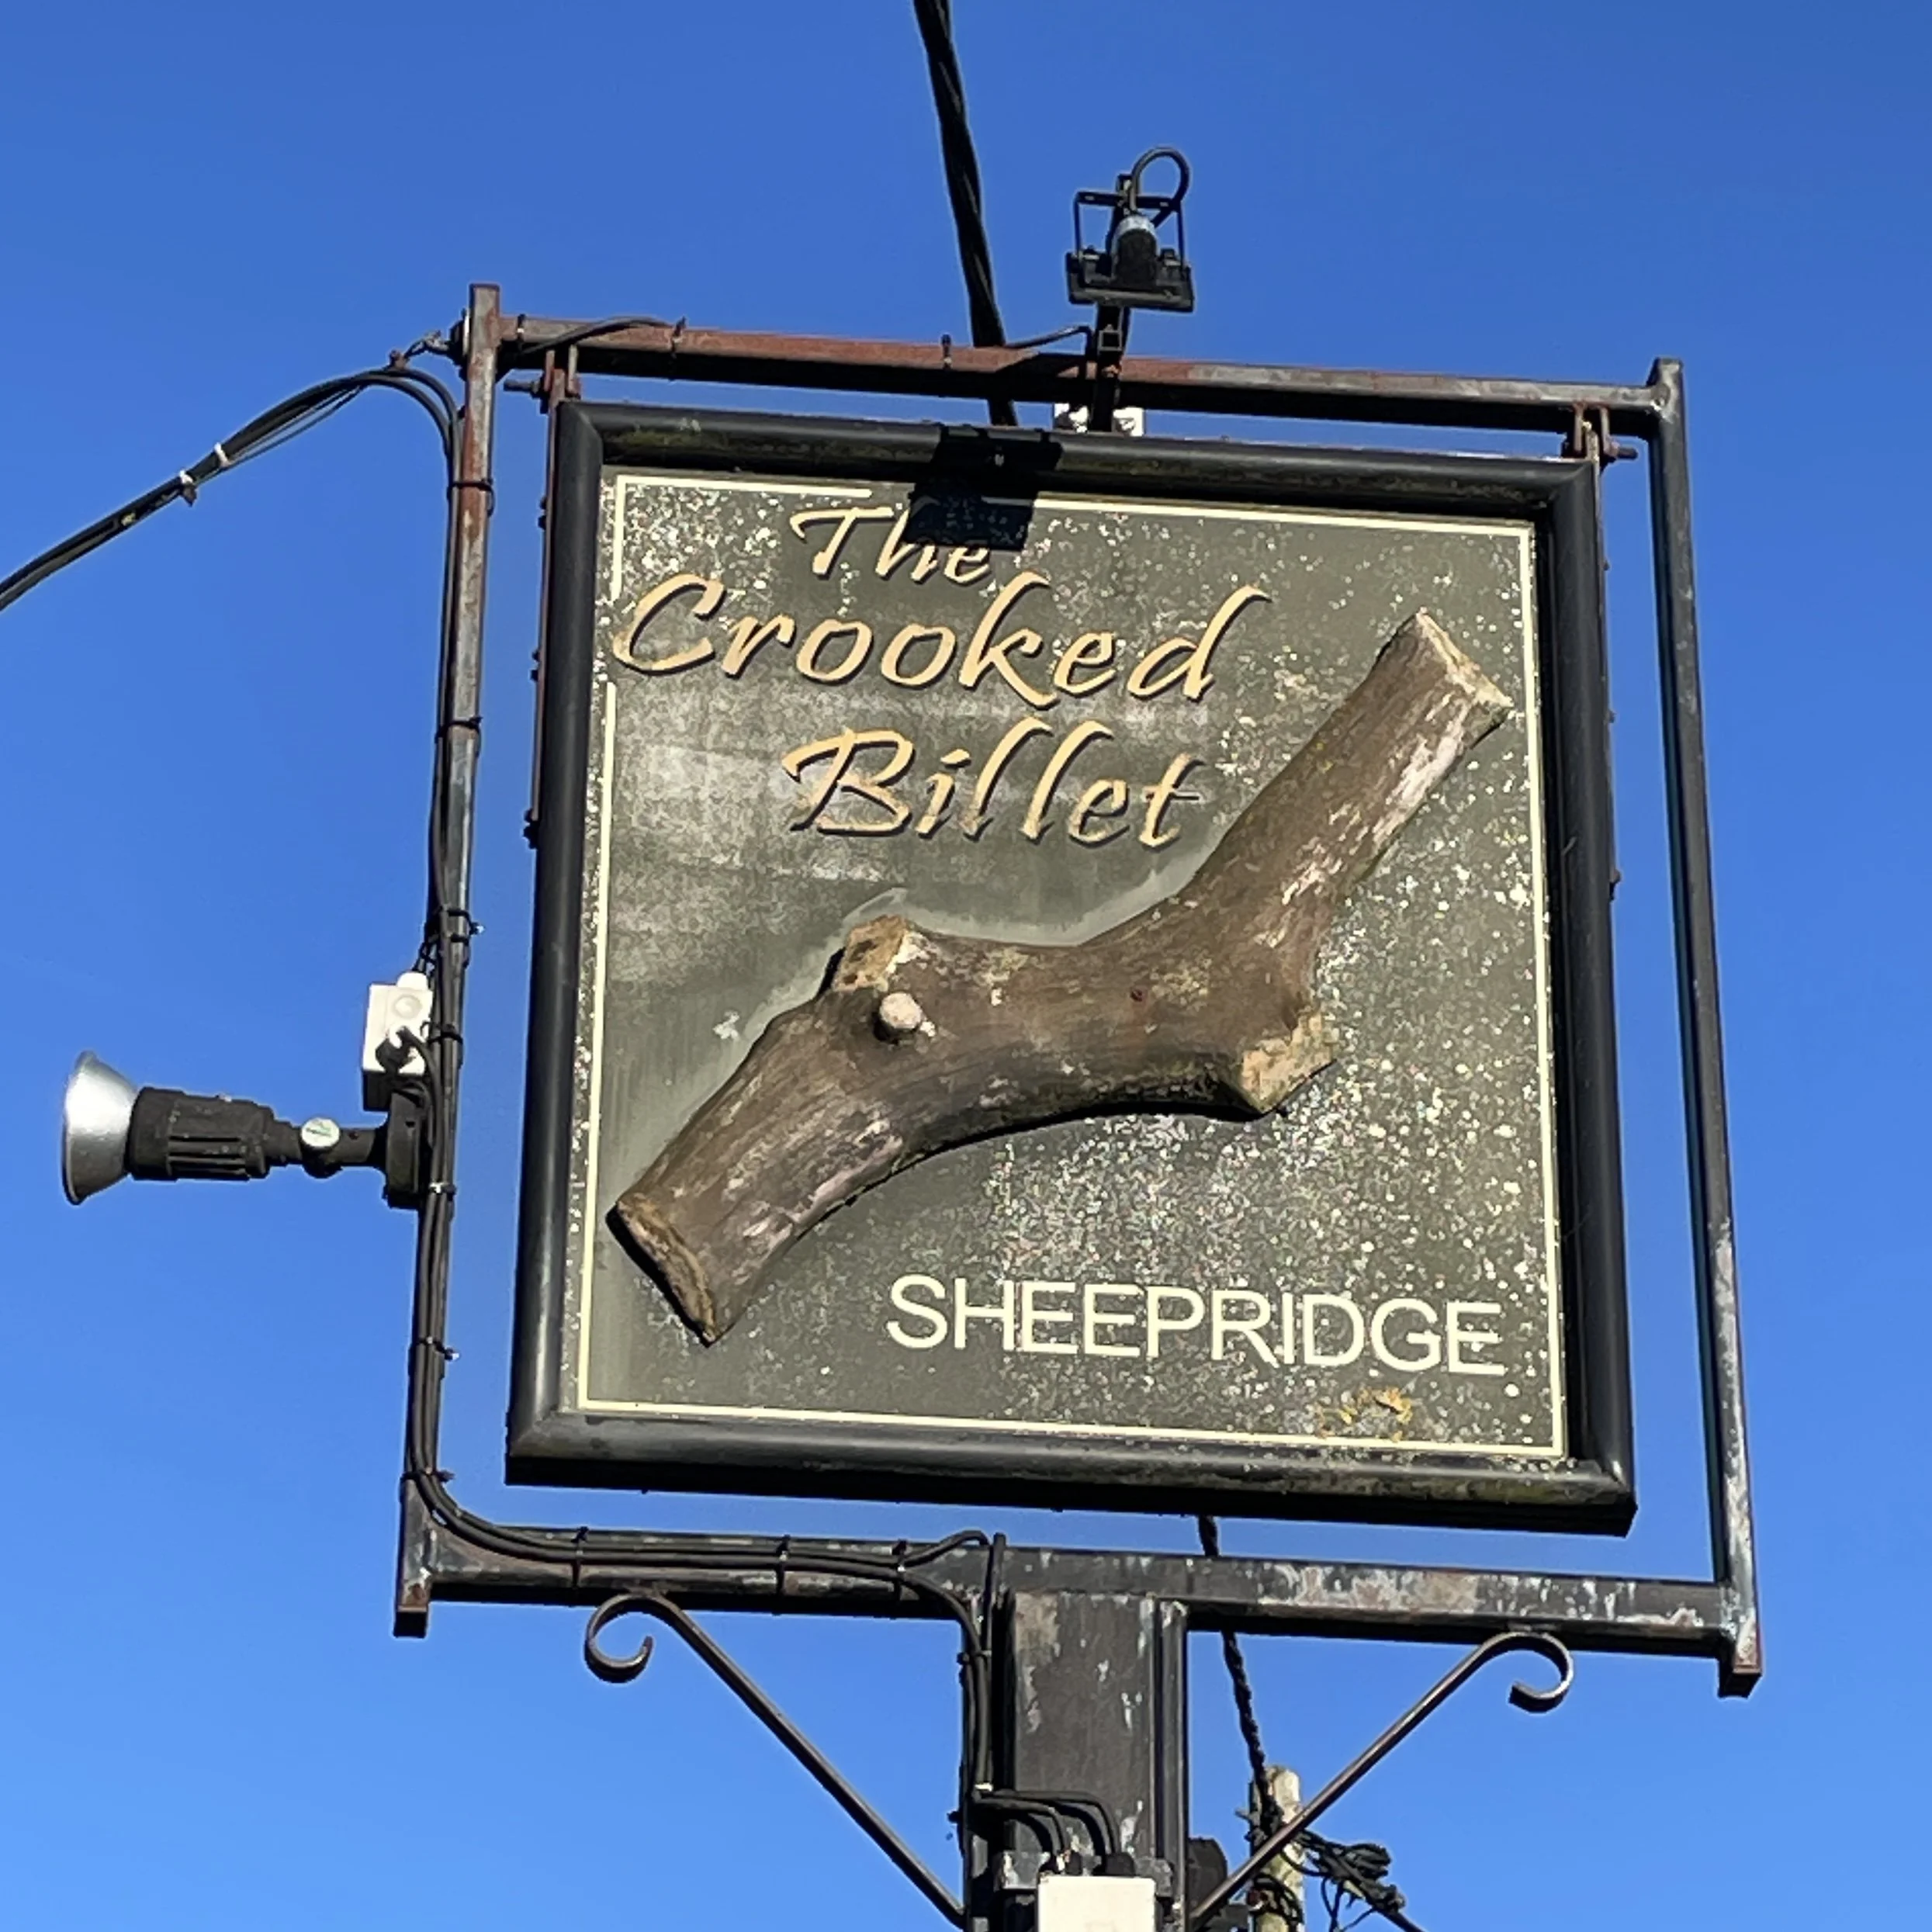
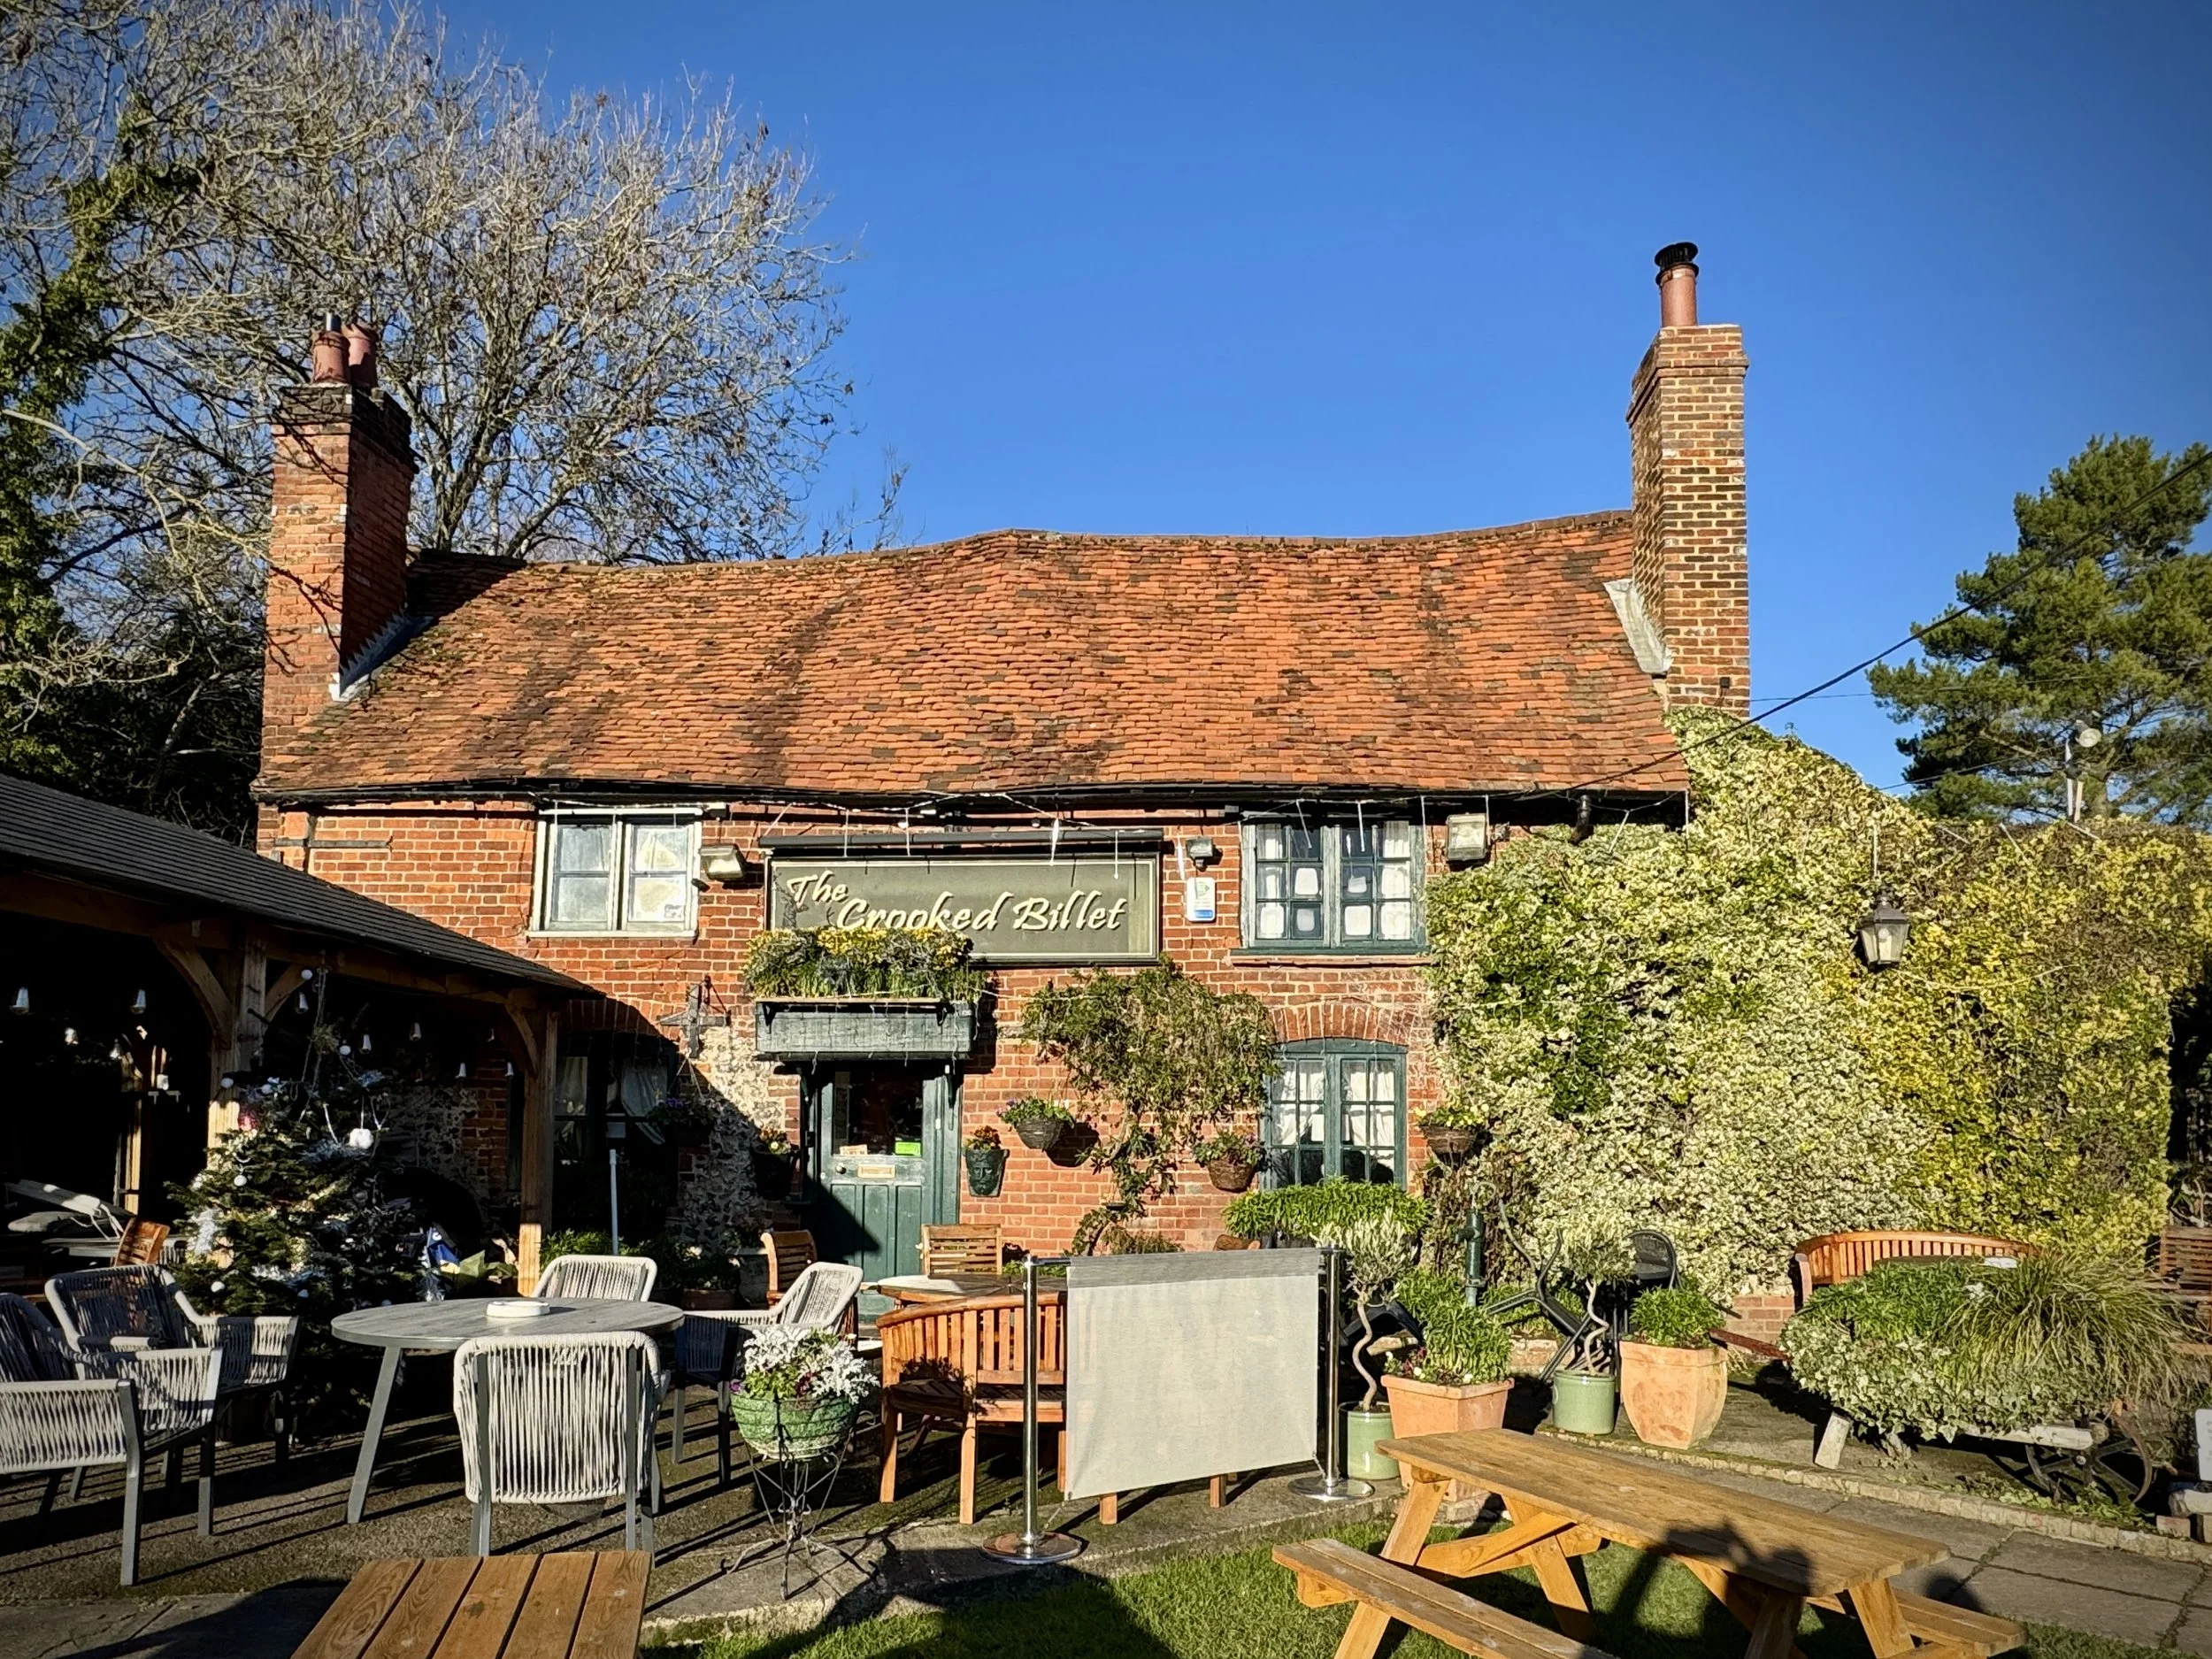
Pubs / Cafes on route: Several options in Reading but we stopped at the Thames Lido restaurant at 6.1 km in. Also The Great House Sonning at the end.
Map: Reading, Wokingham & Pangbourne Map | Thames Path | Ordnance Survey | OS Explorer Map 159
Links: Tilehurst, Reading, River Thames, Caversham, Sonning
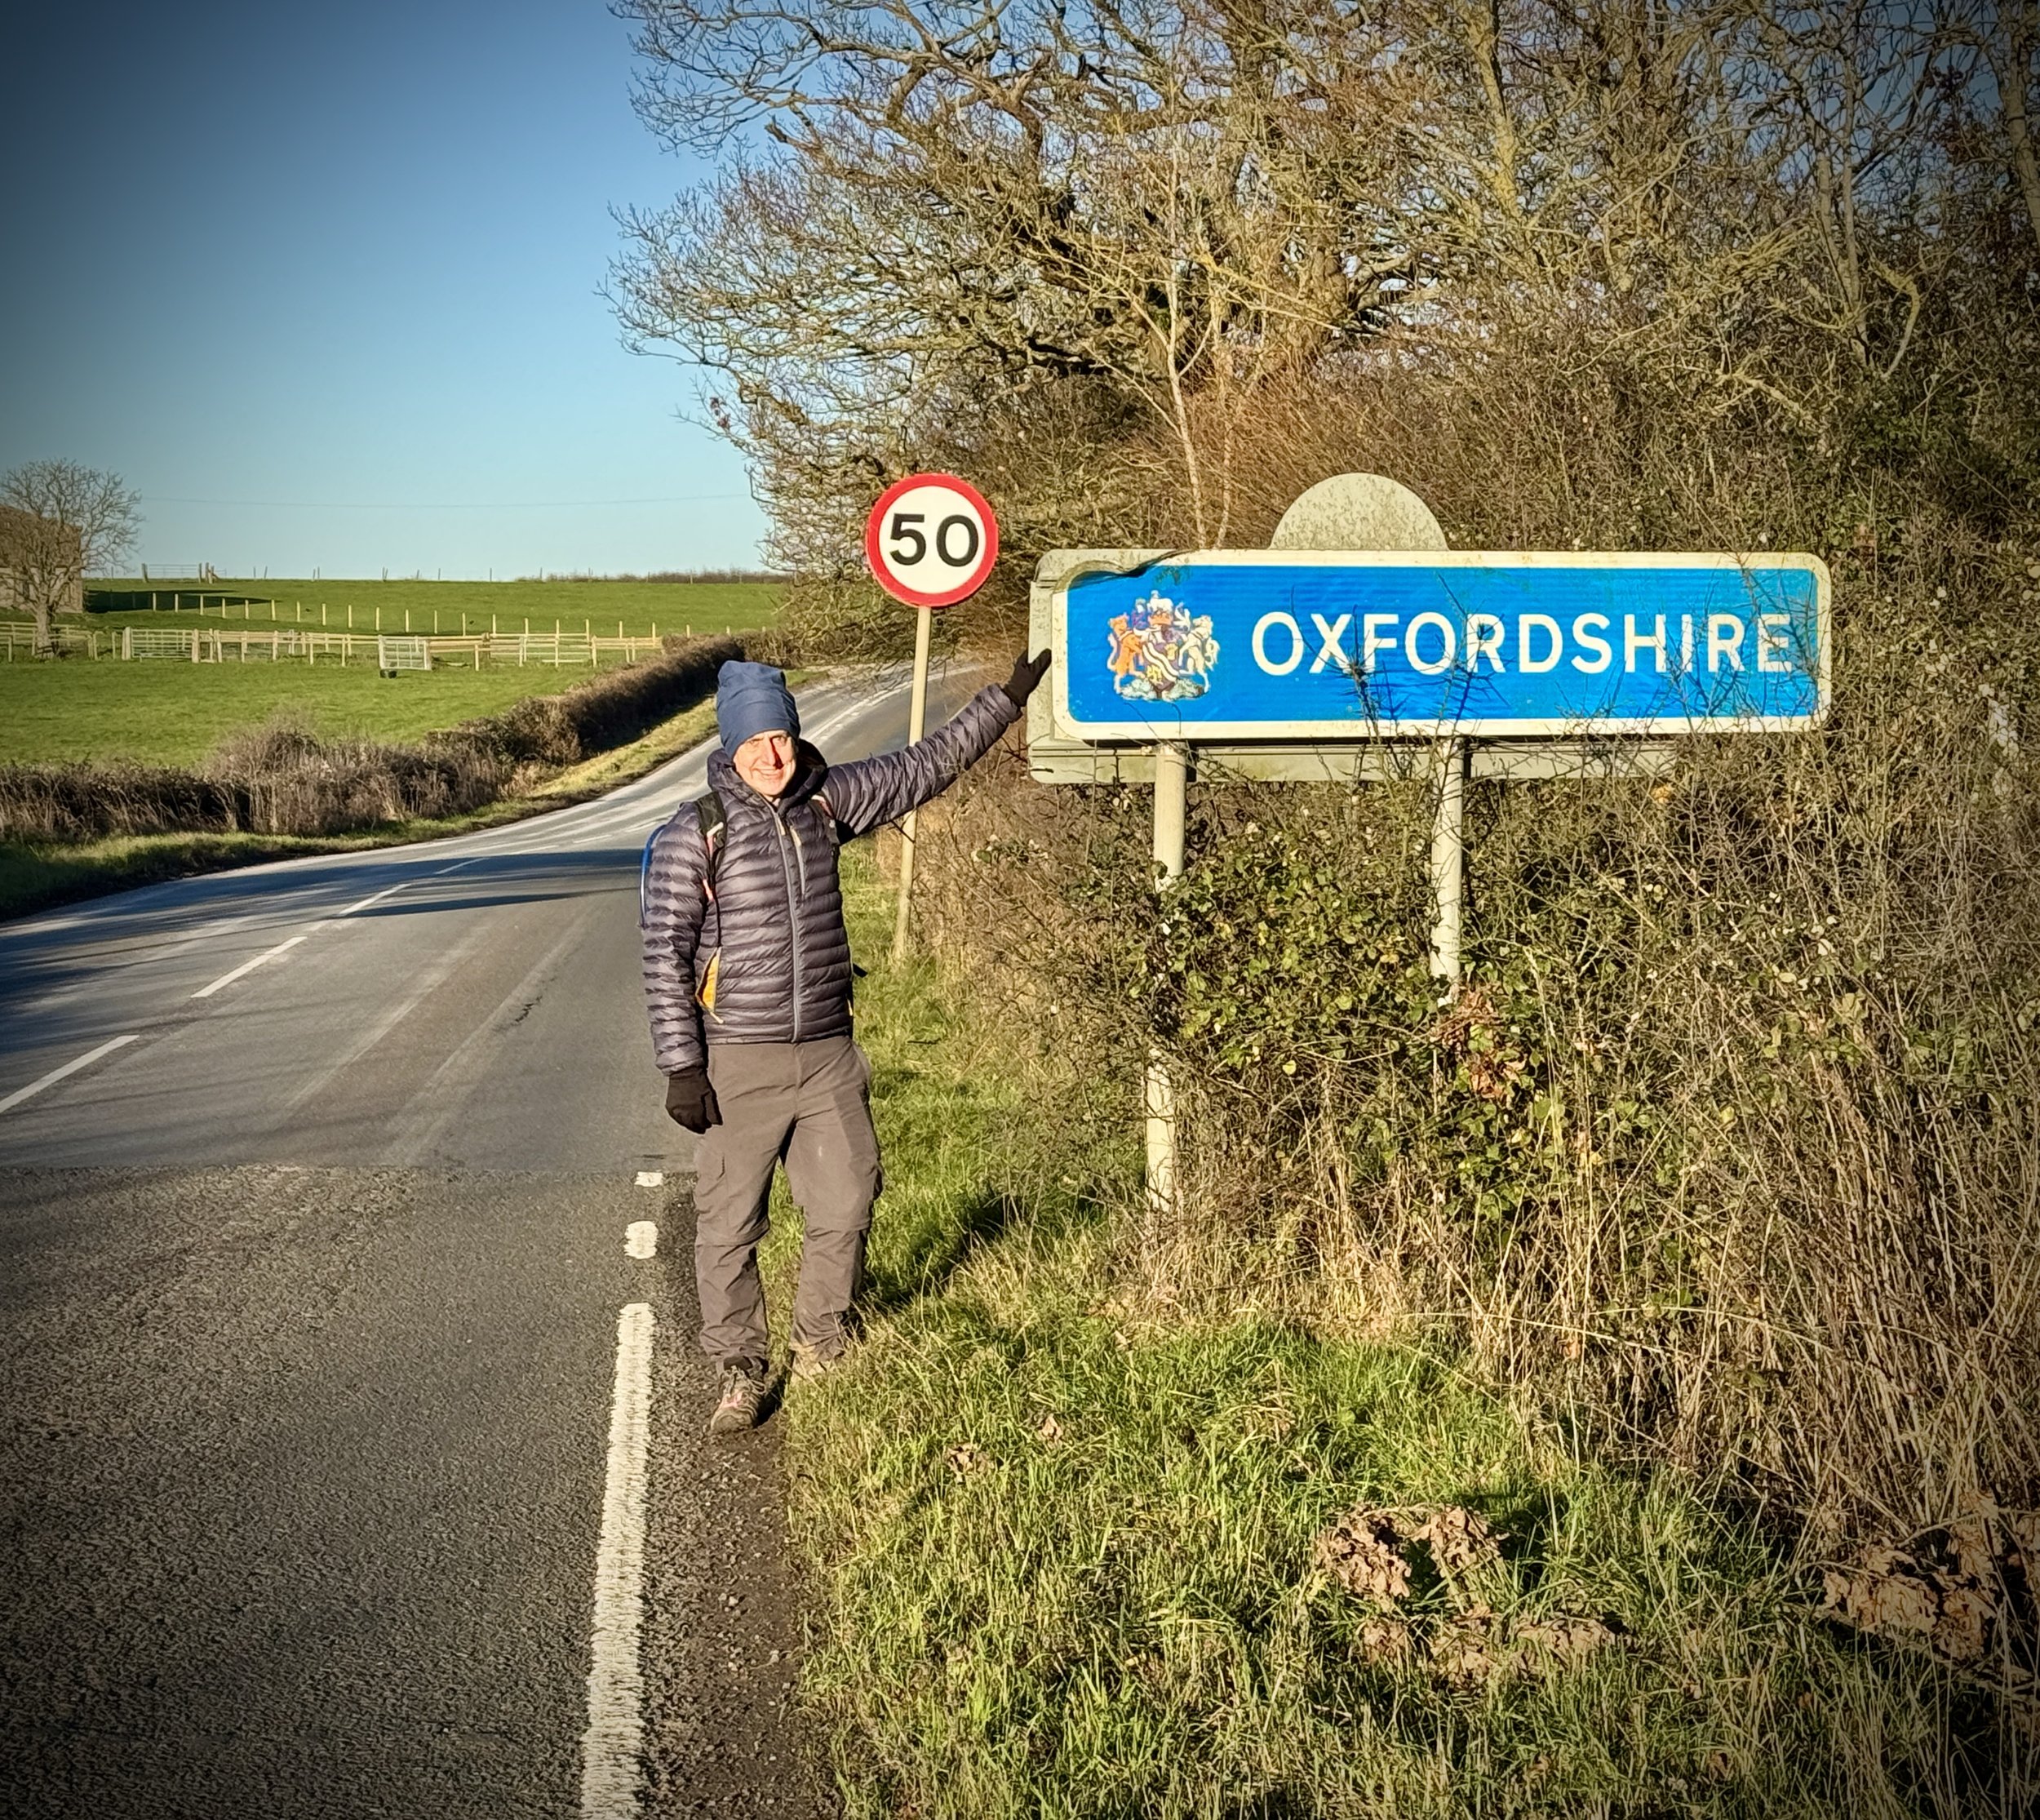
This is part of a series of short walks following the length of the Thames Path National Trail. The Thames Path is a 185-mile (298 km) National Trail that journeys alongside England's best-known river, linking its source in the rural Cotswolds in the west to the Thames Barrier and Woolwich in the east. Opened in 1996, this route traverses several counties, including Gloucestershire, Wiltshire, Oxfordshire, Berkshire, Buckinghamshire, Surrey, and Greater London, following a scenic tapestry of peaceful water meadows, bustling towns, and historic towpaths.
Walking Directions
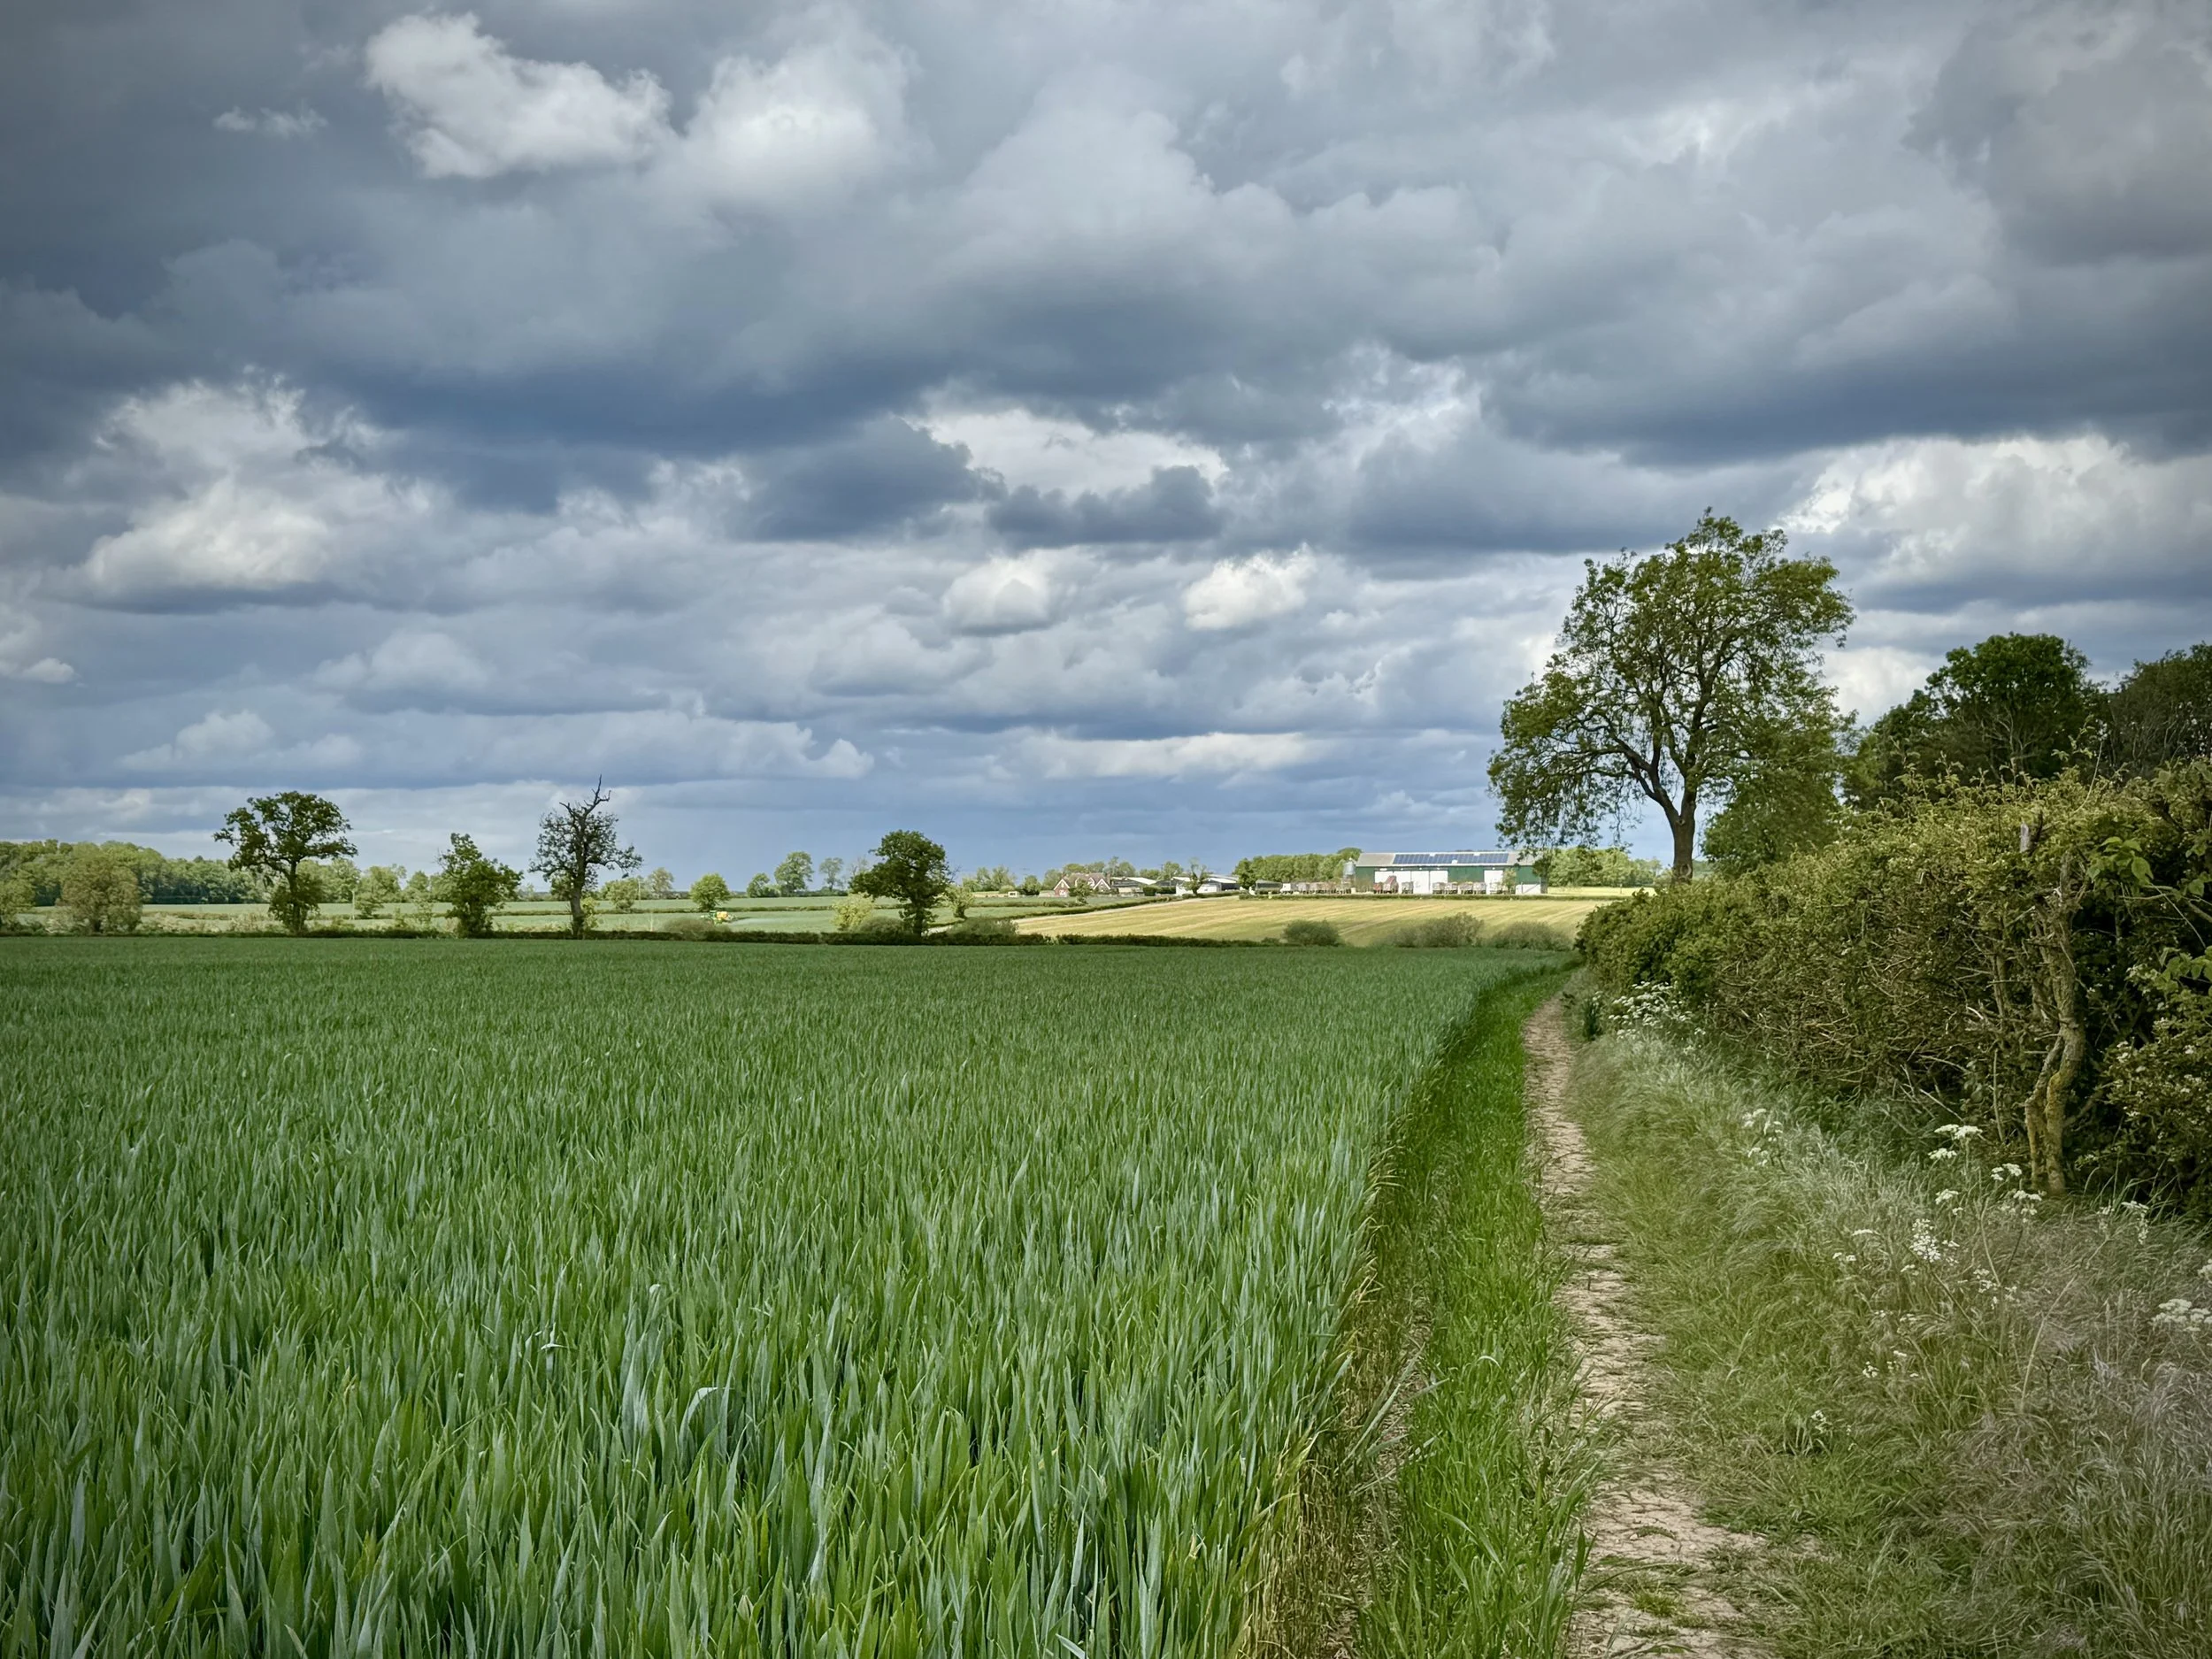
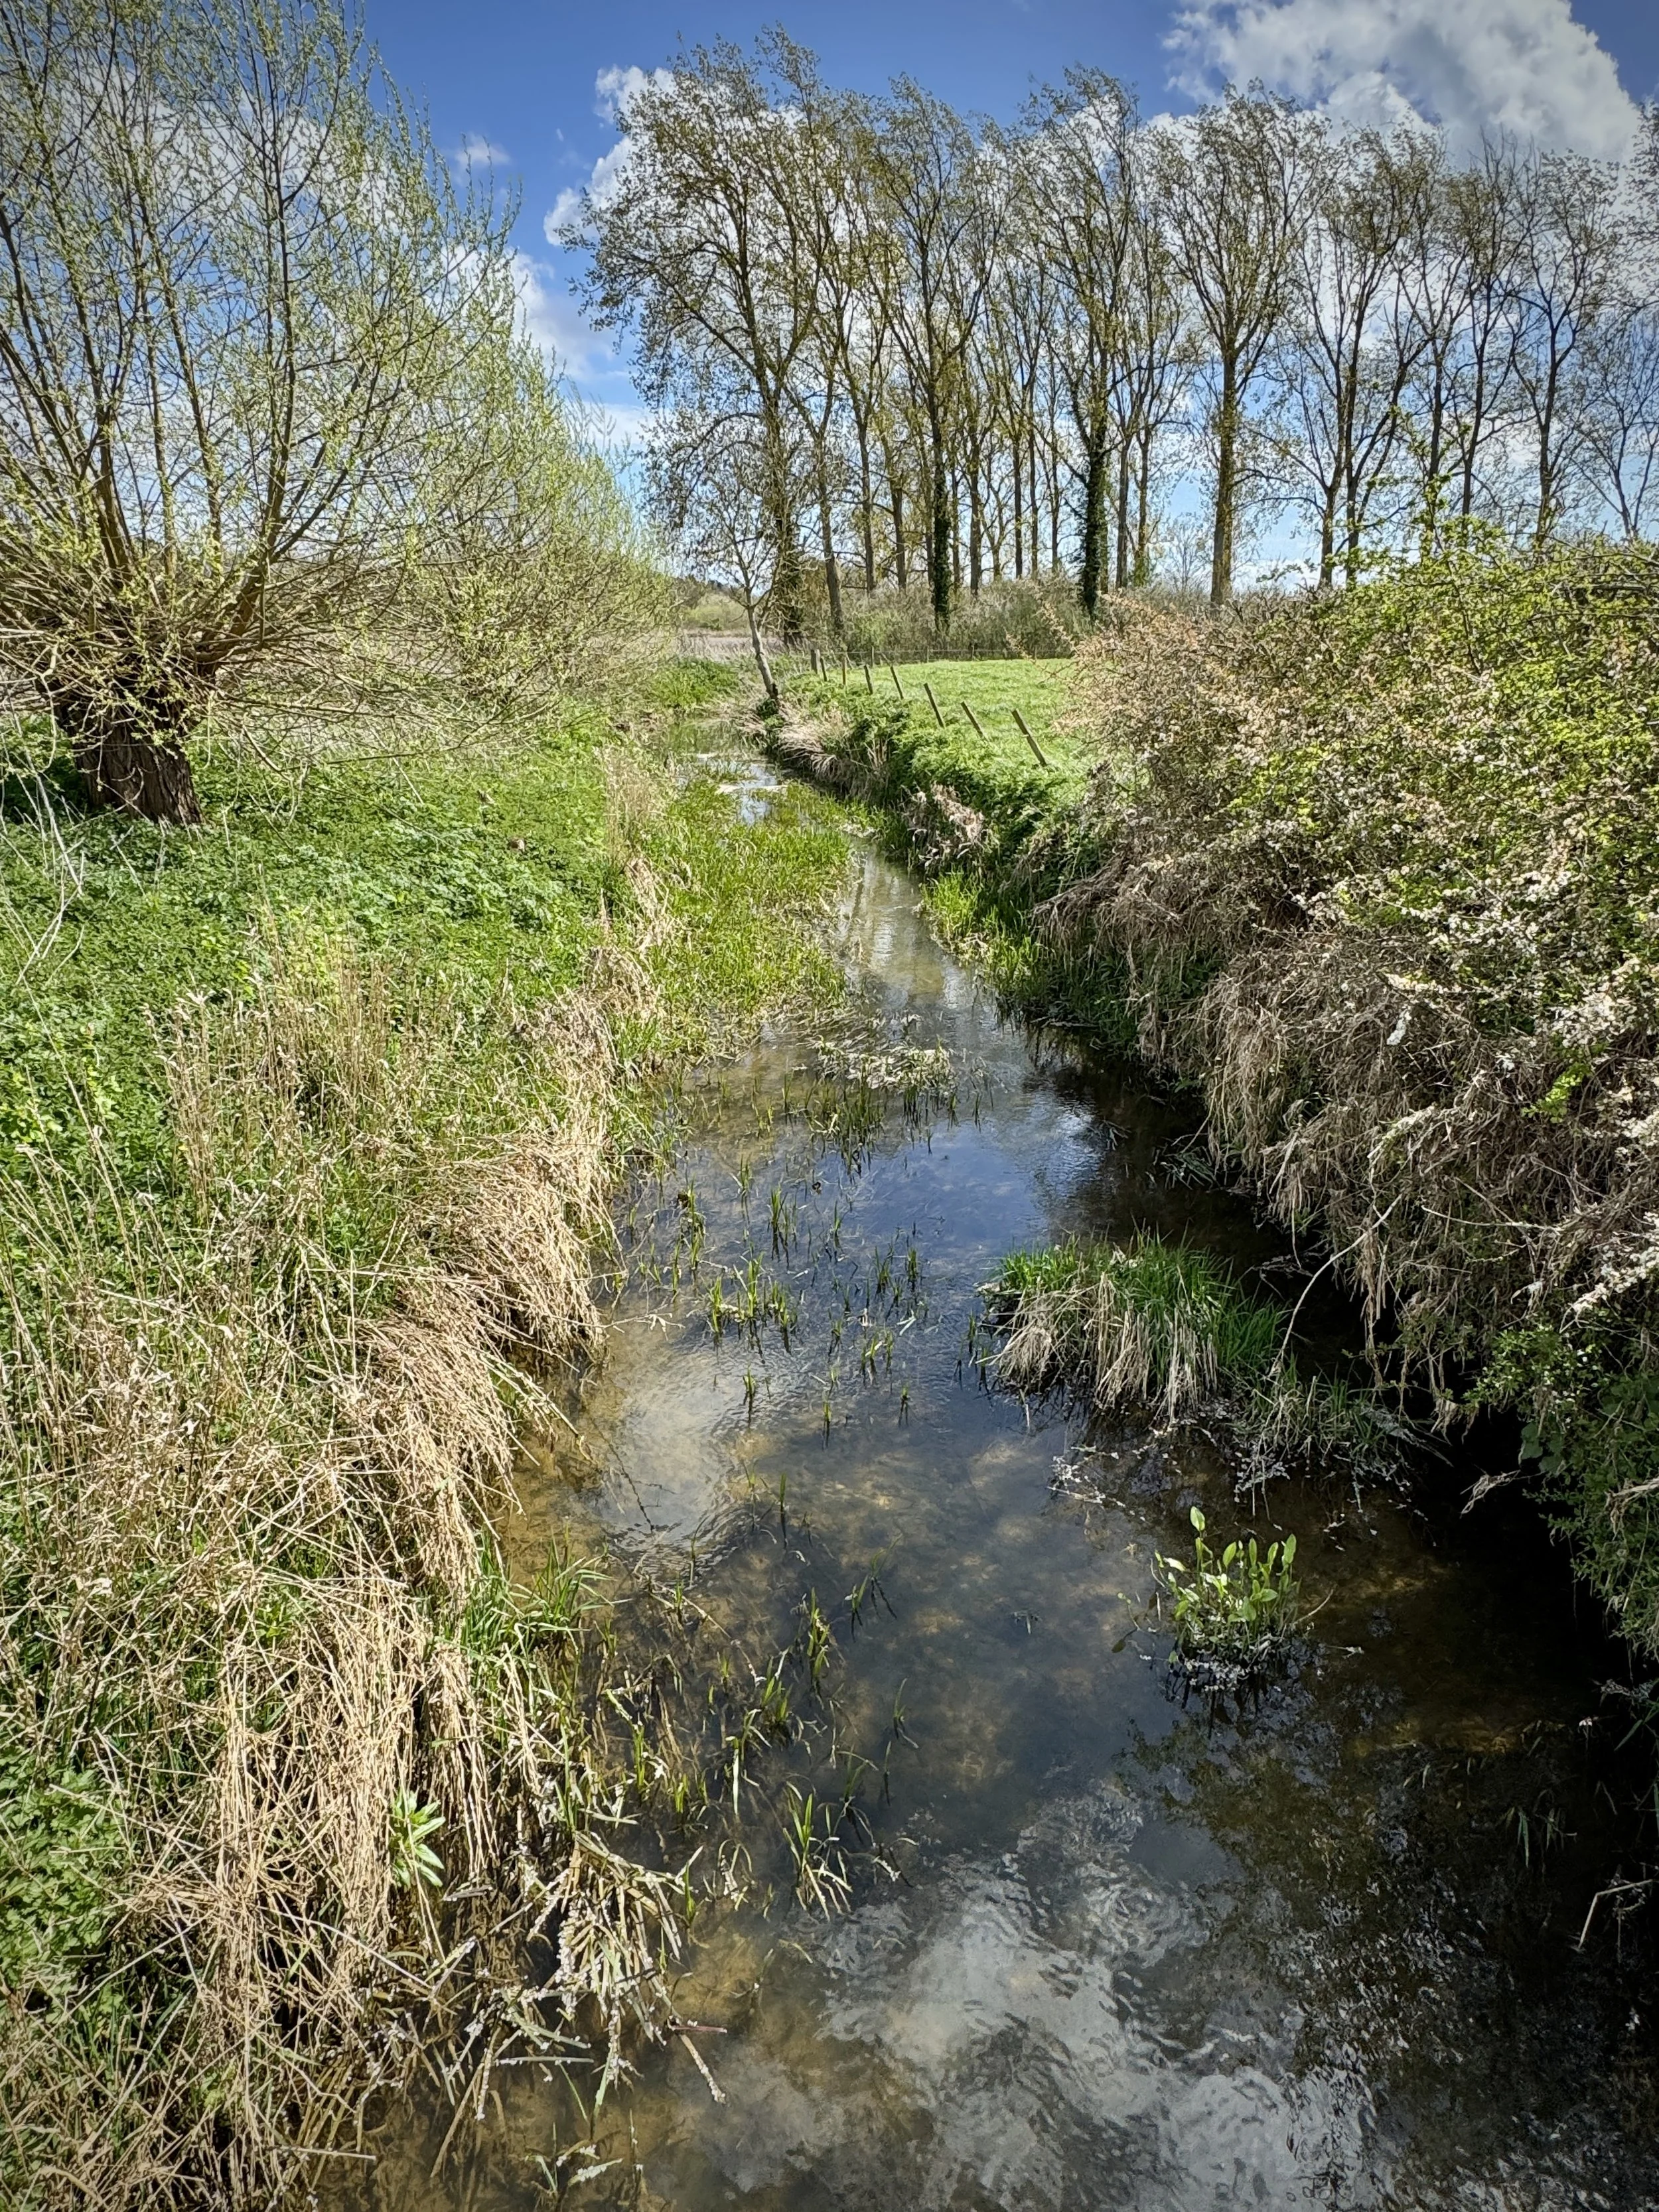
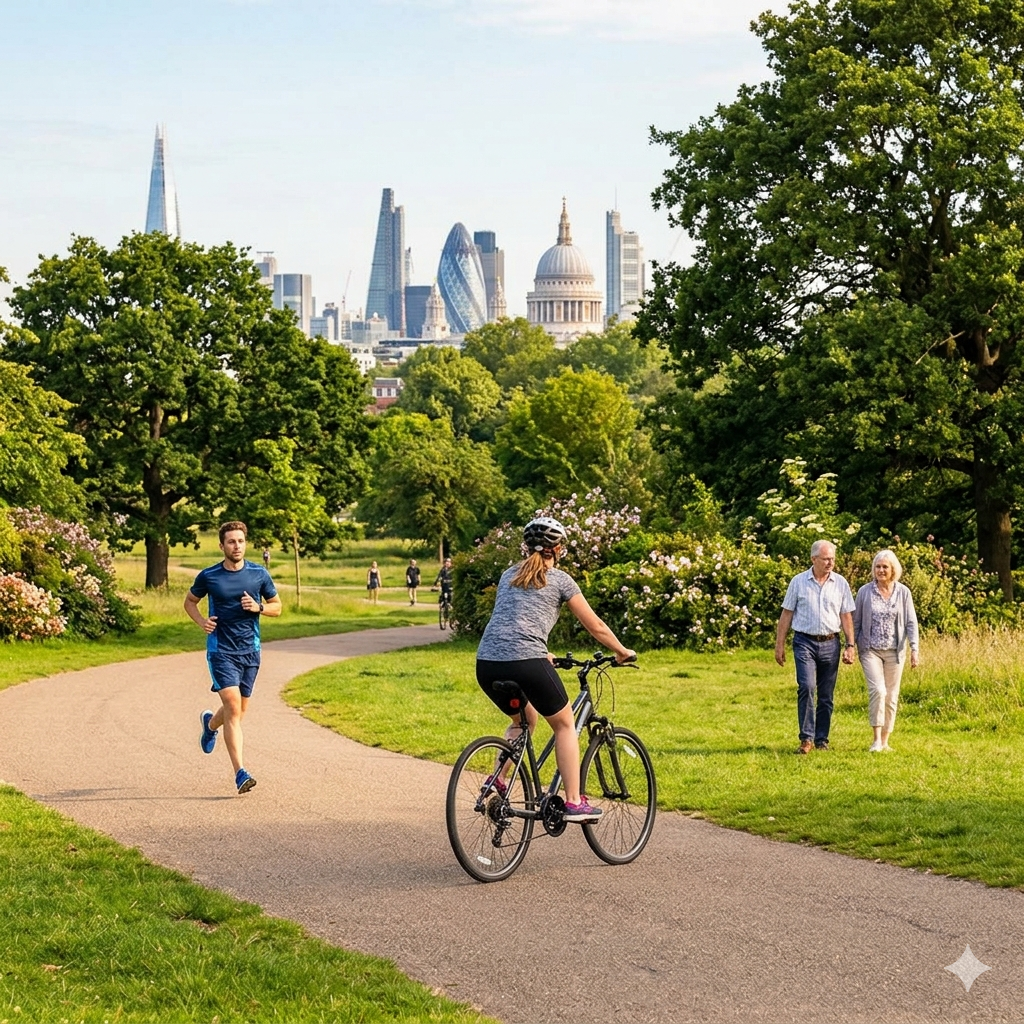
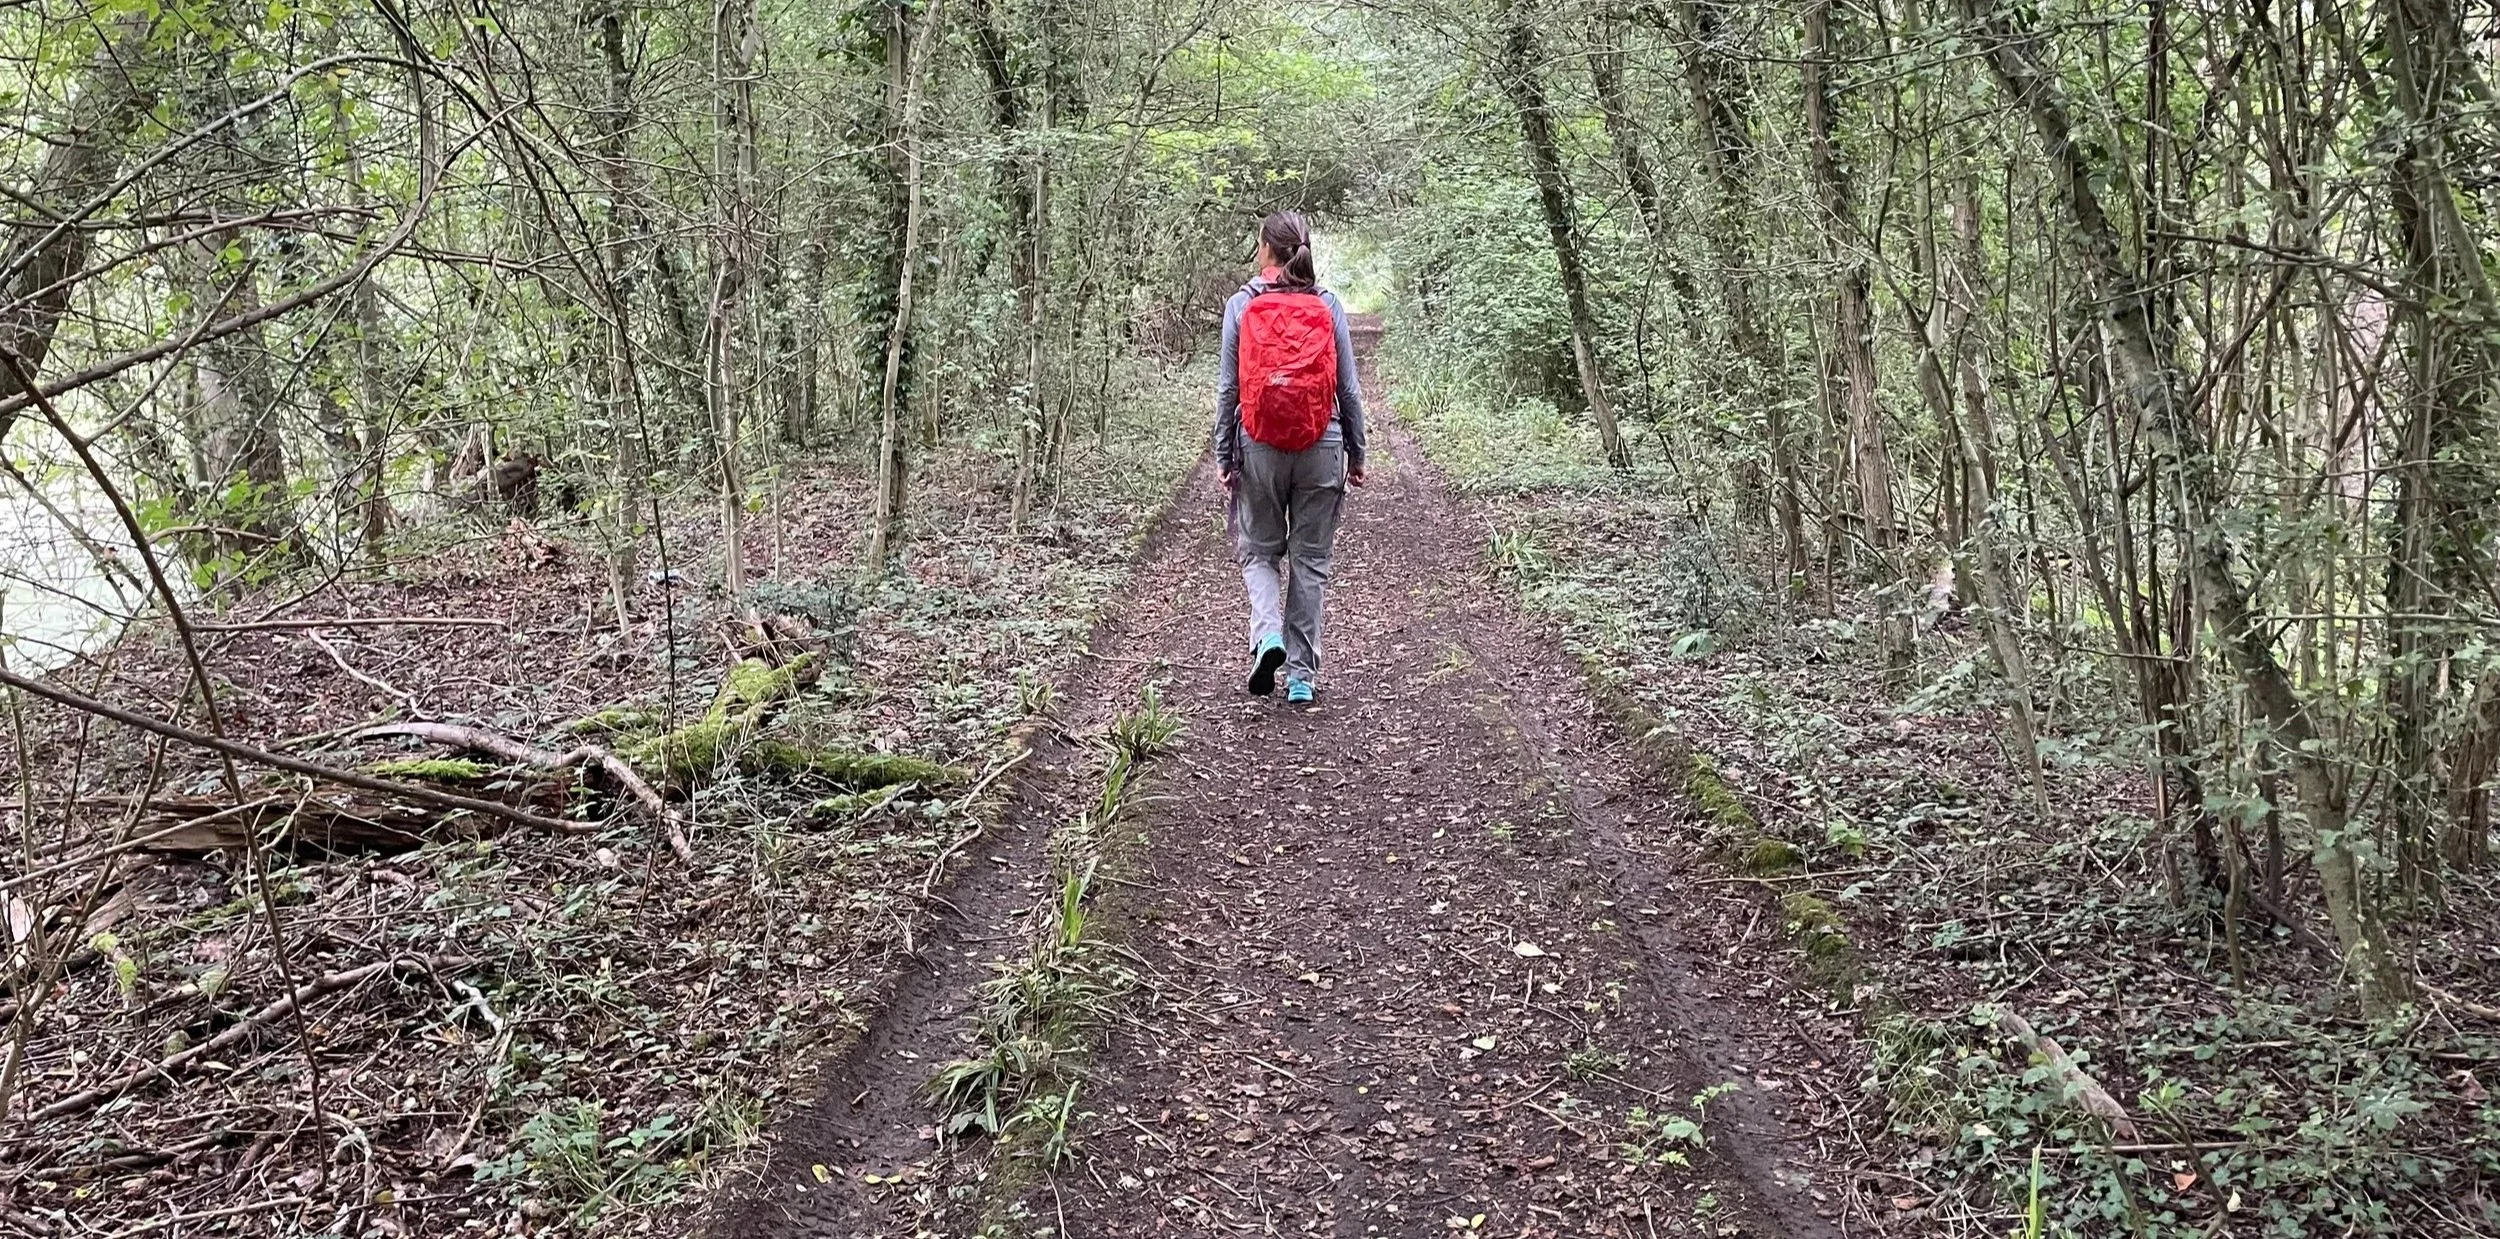
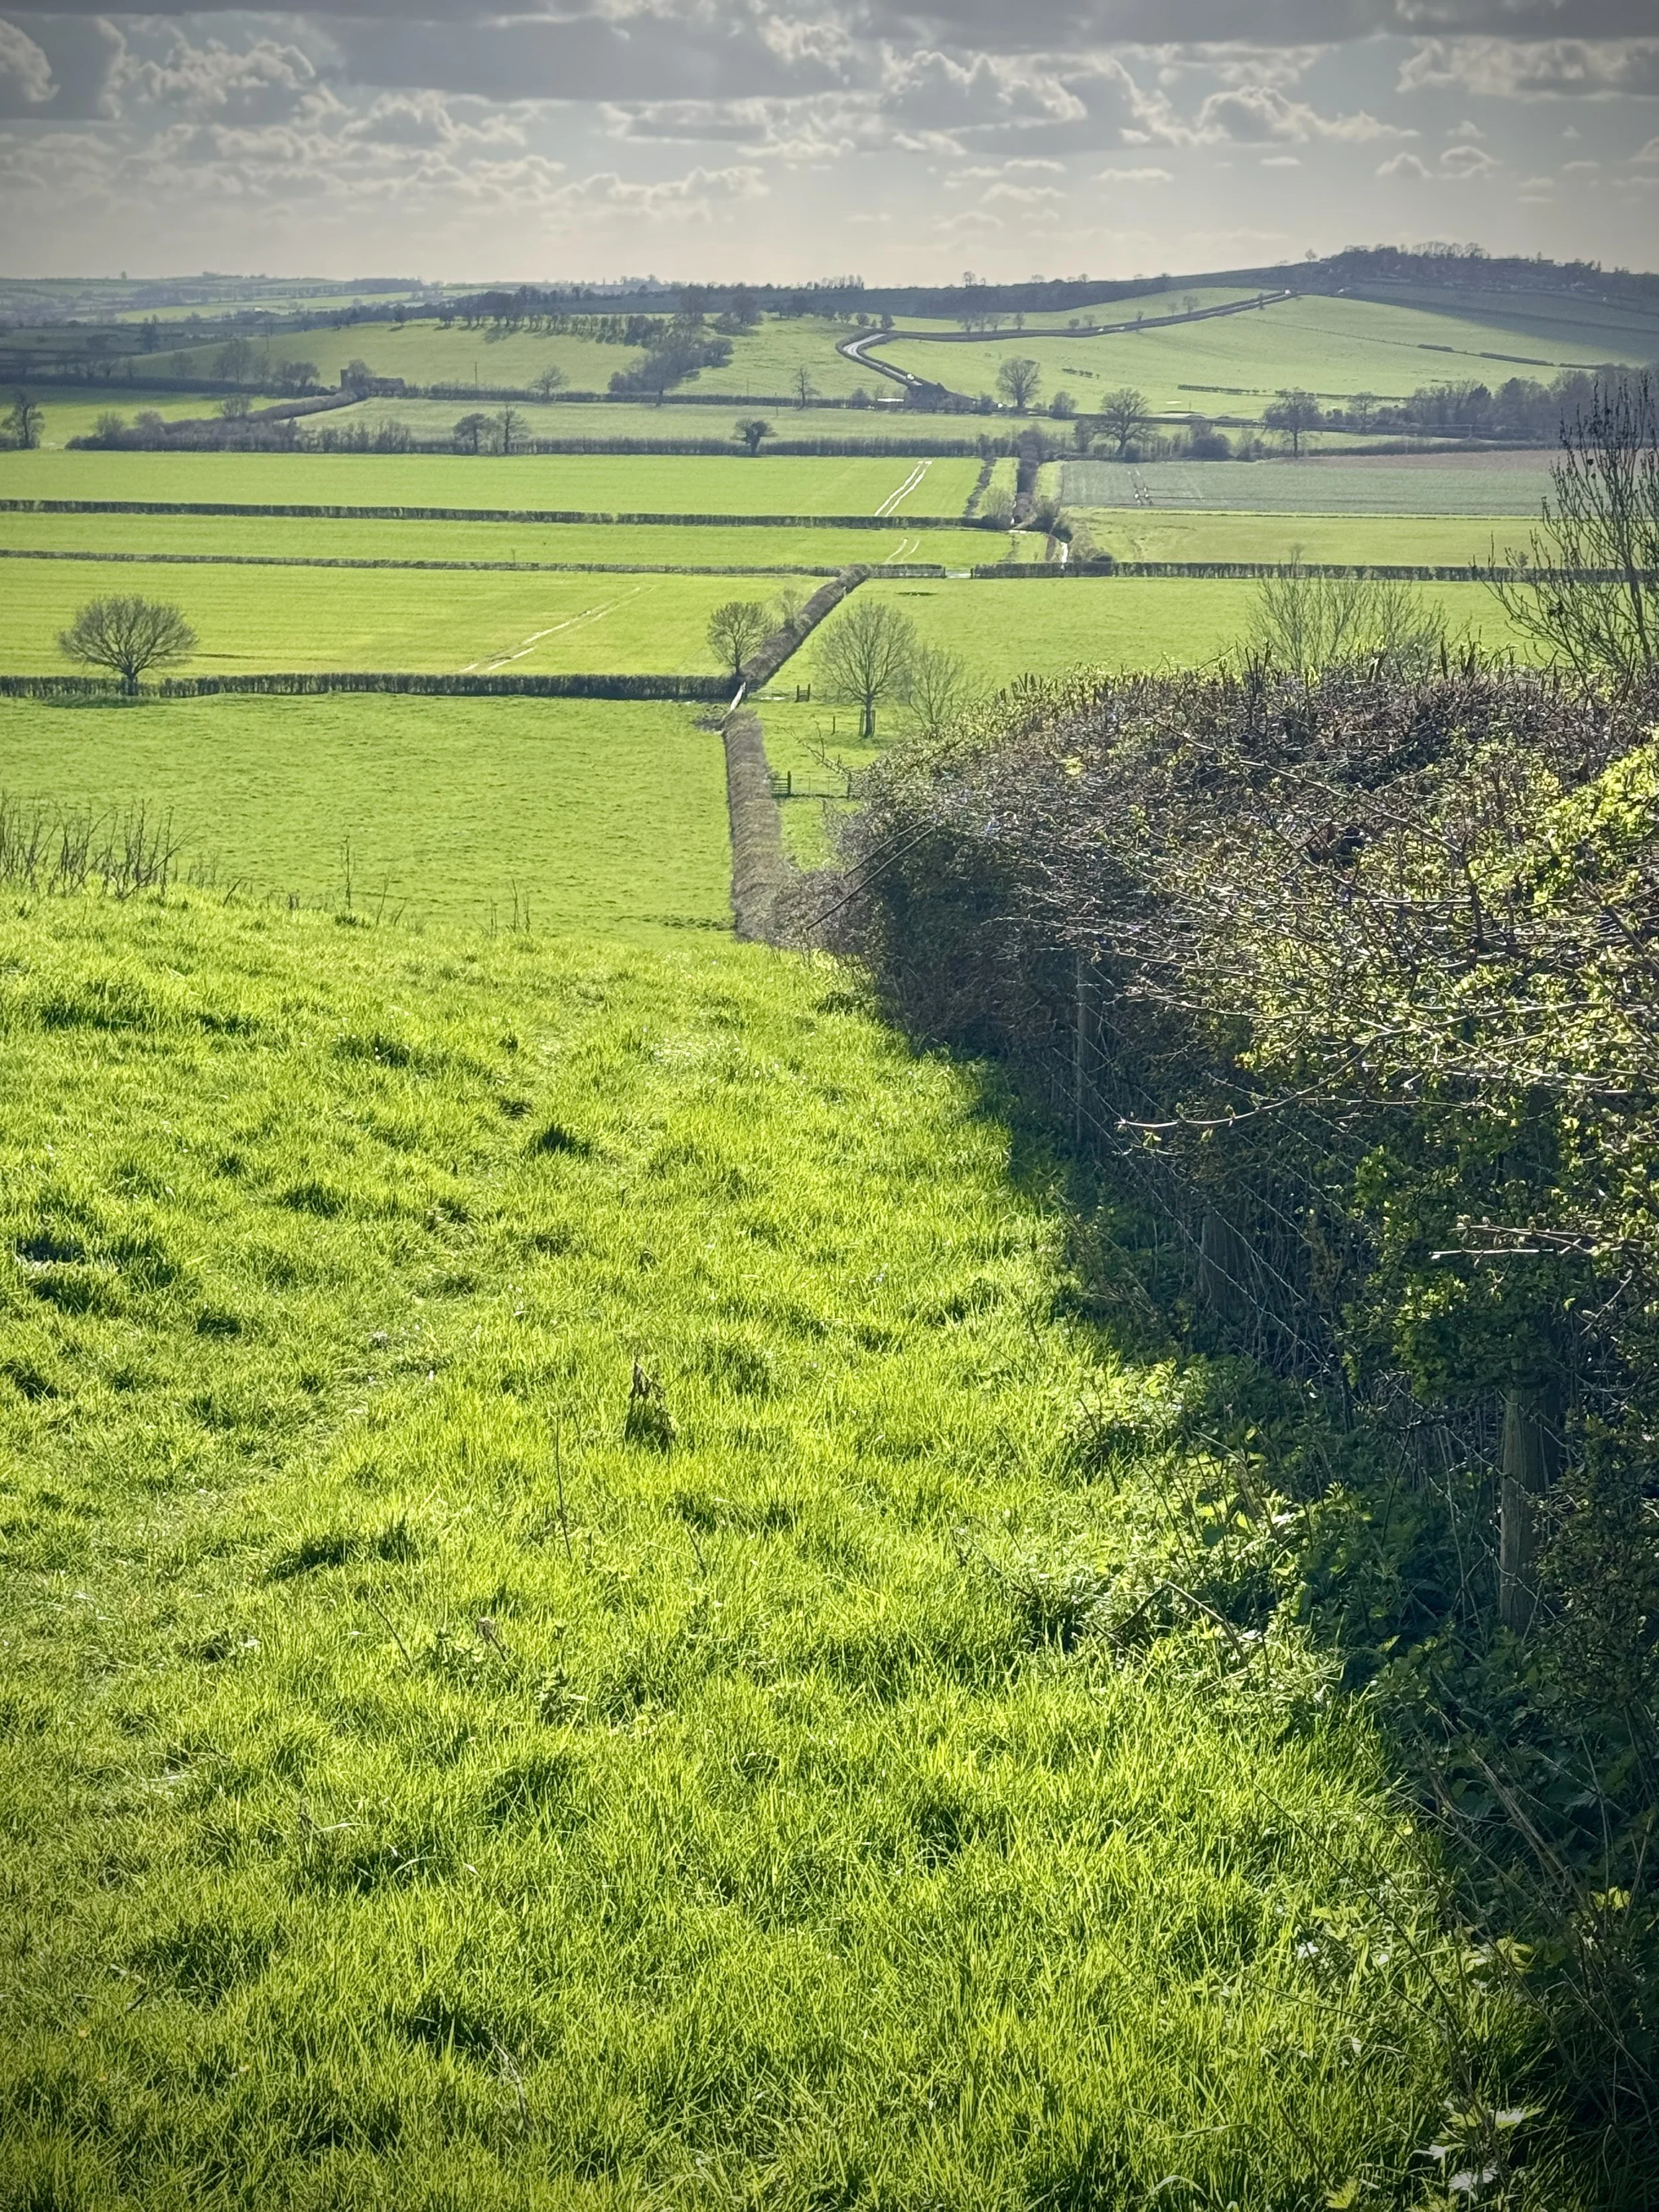
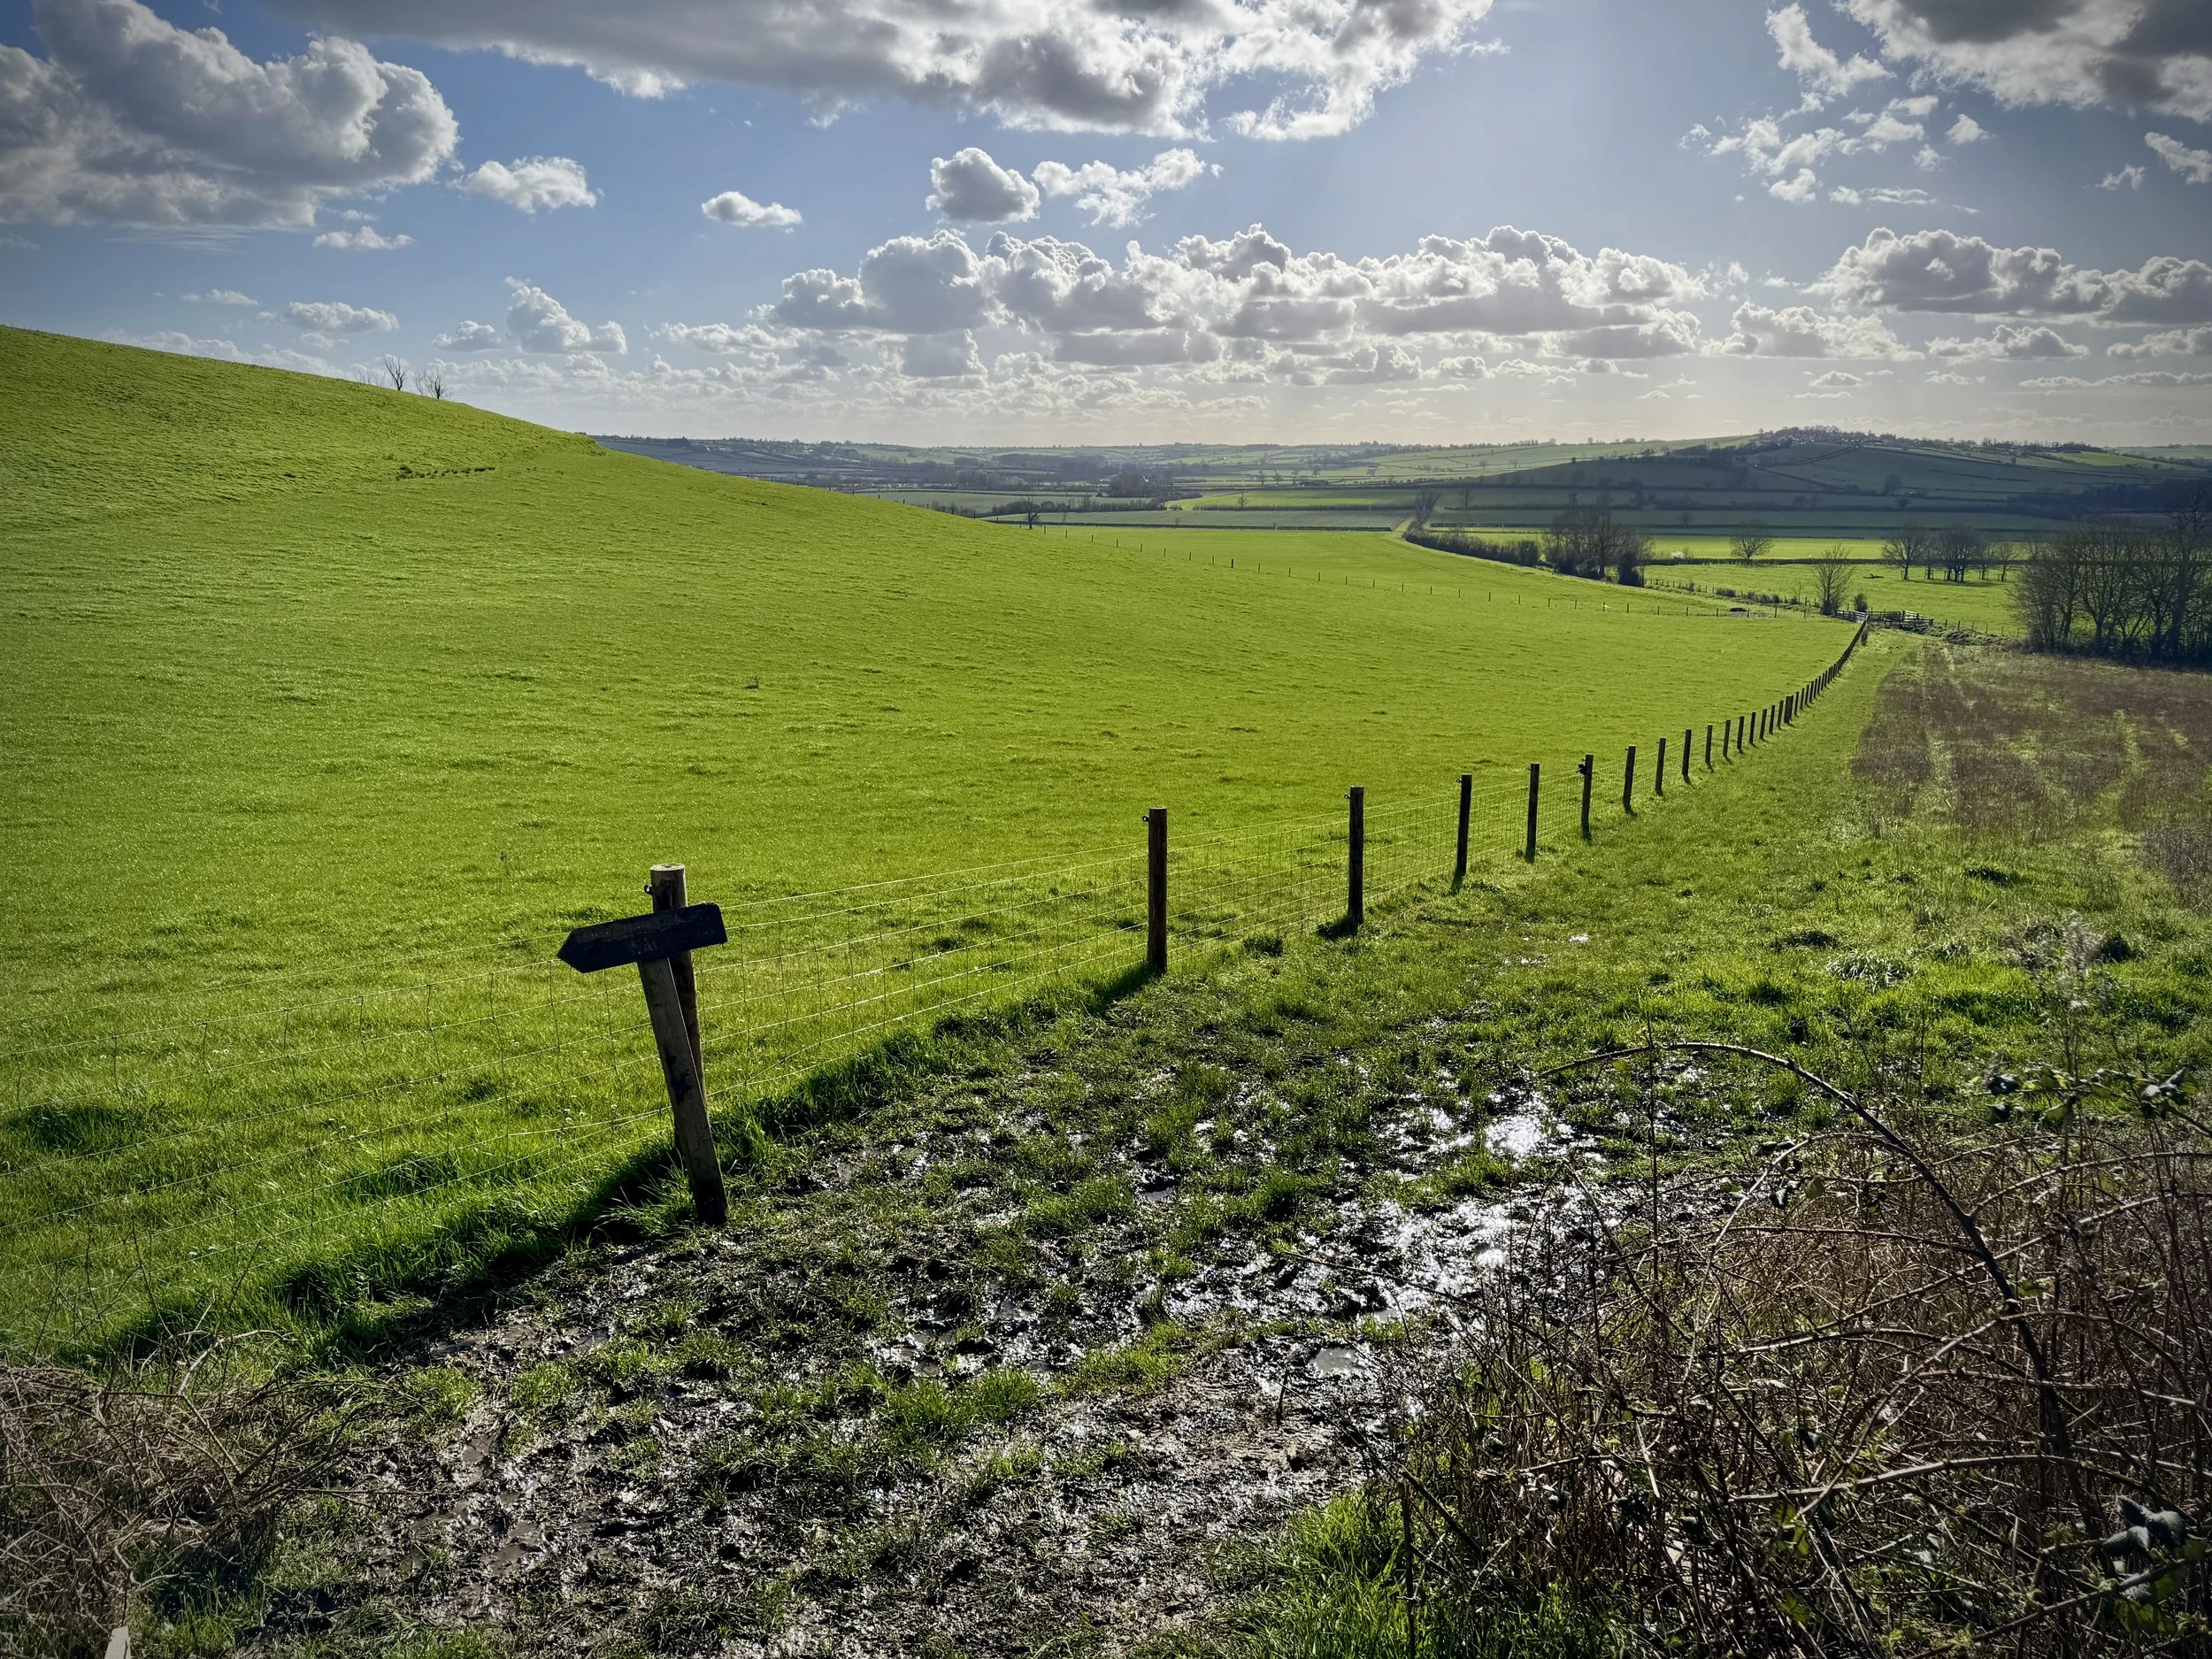
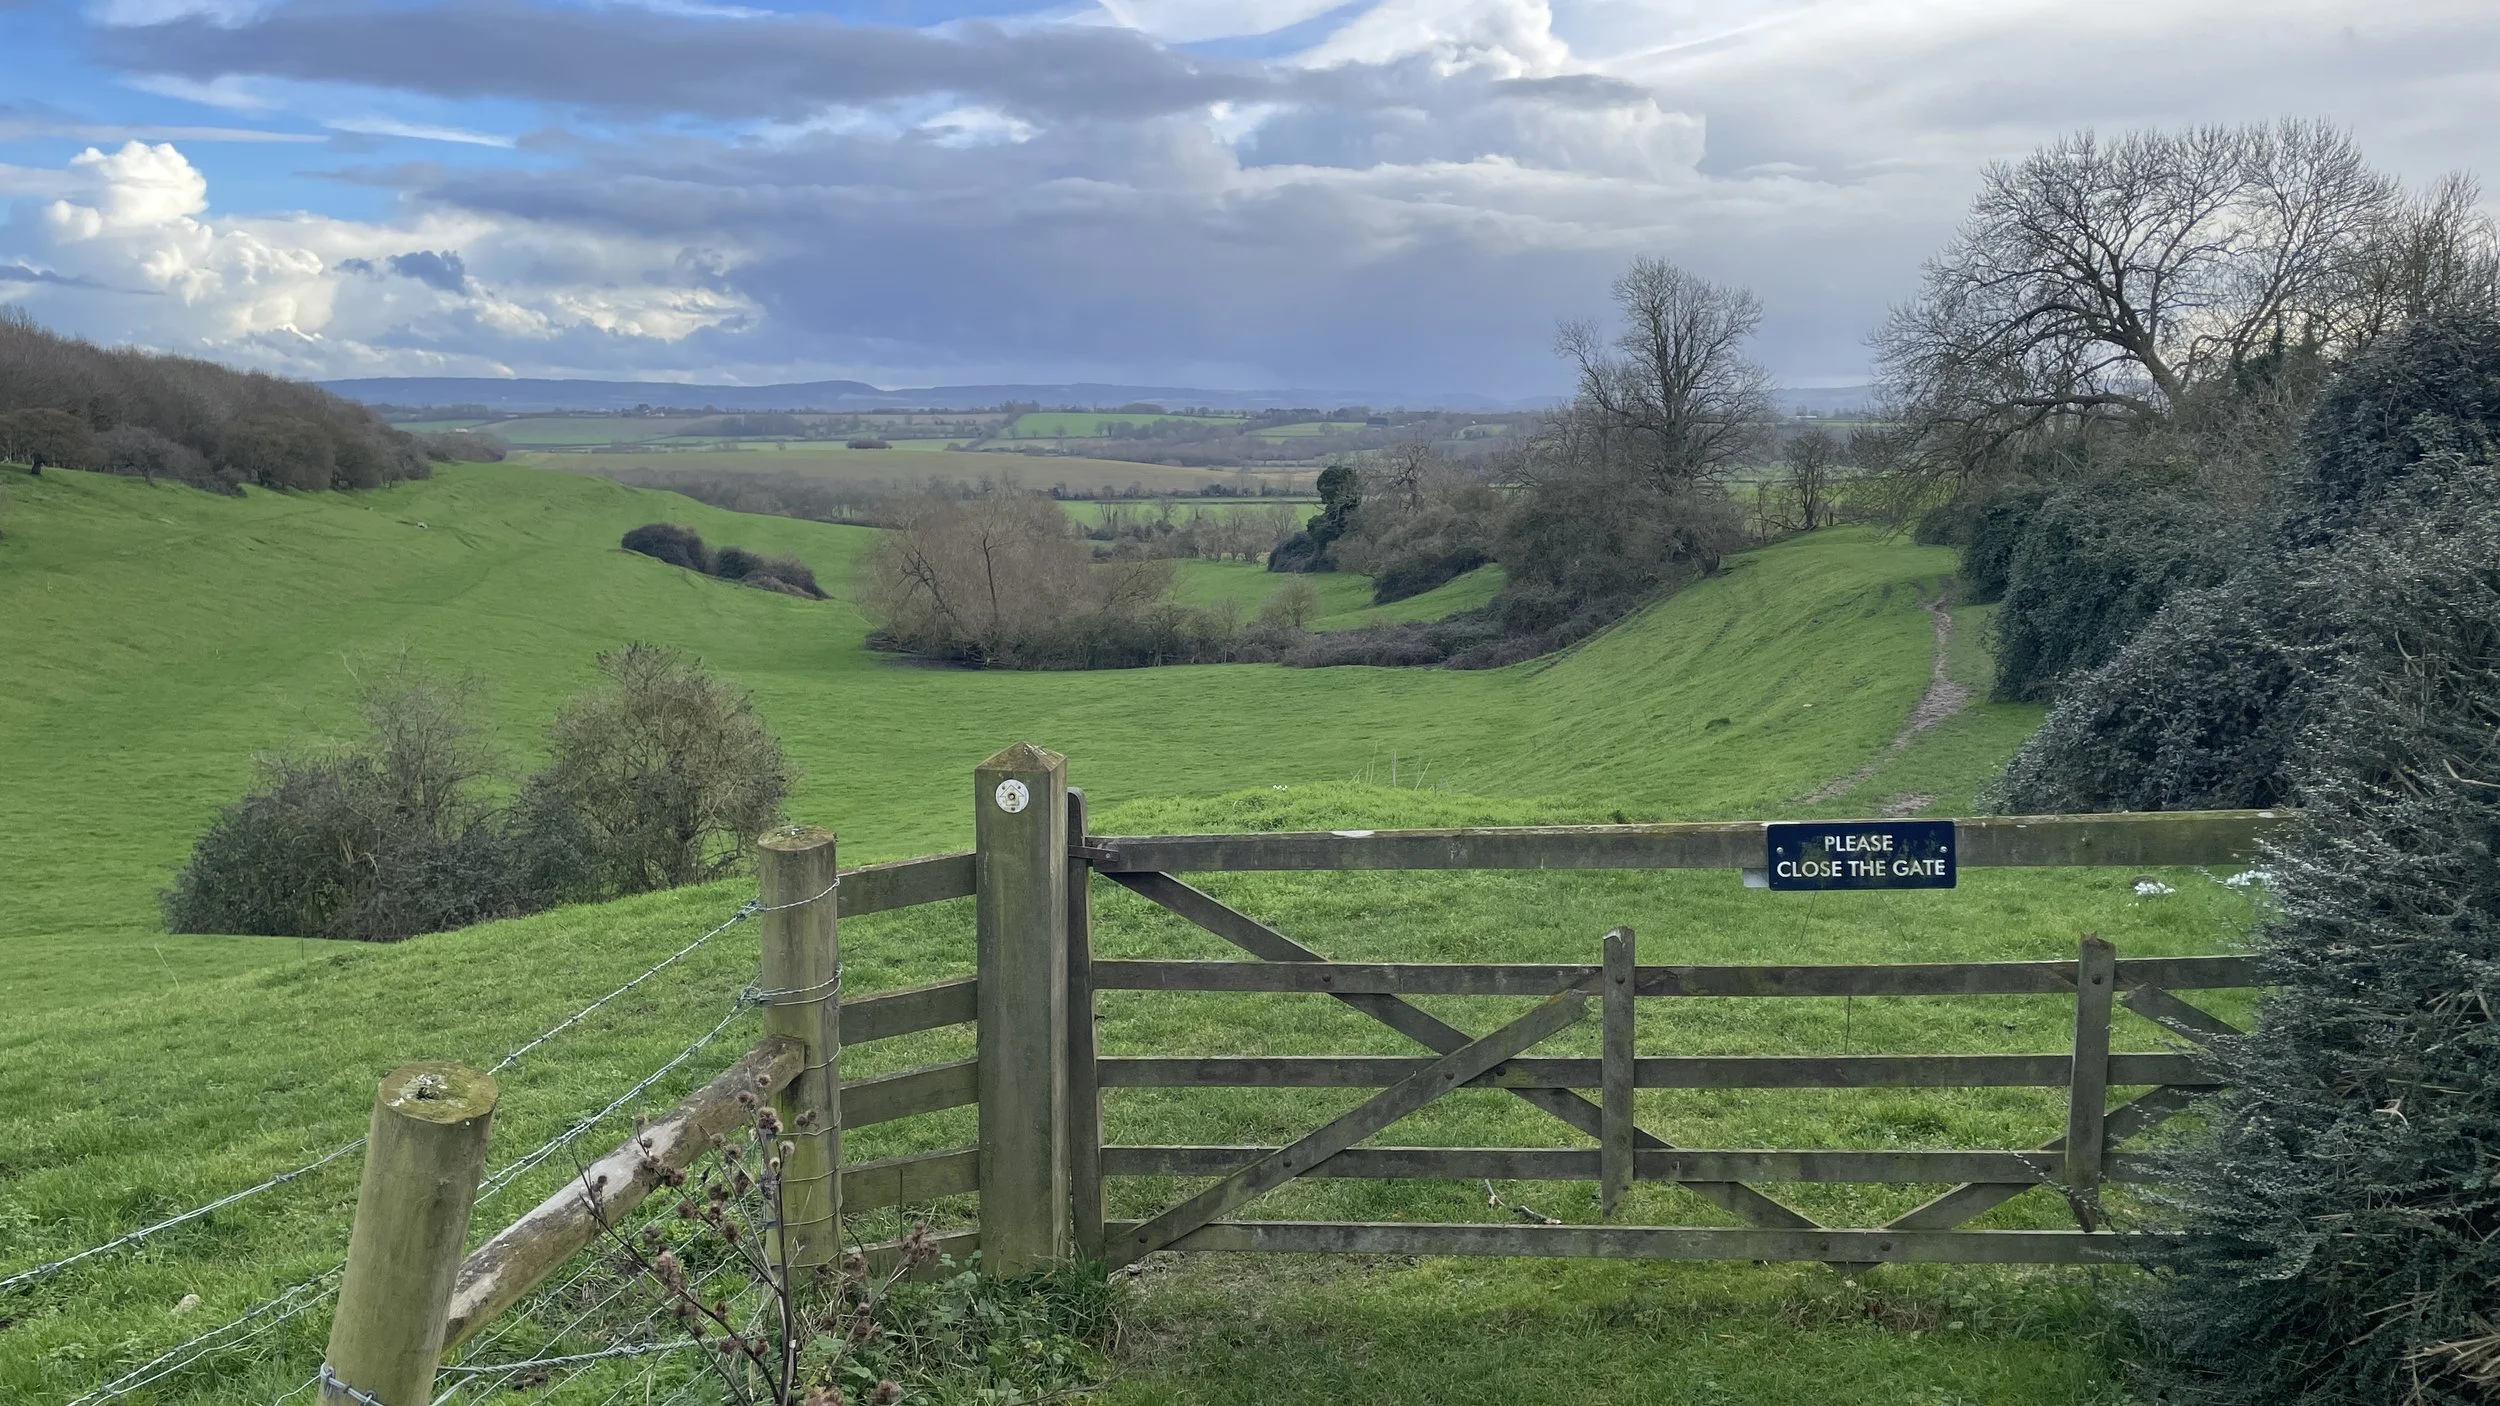
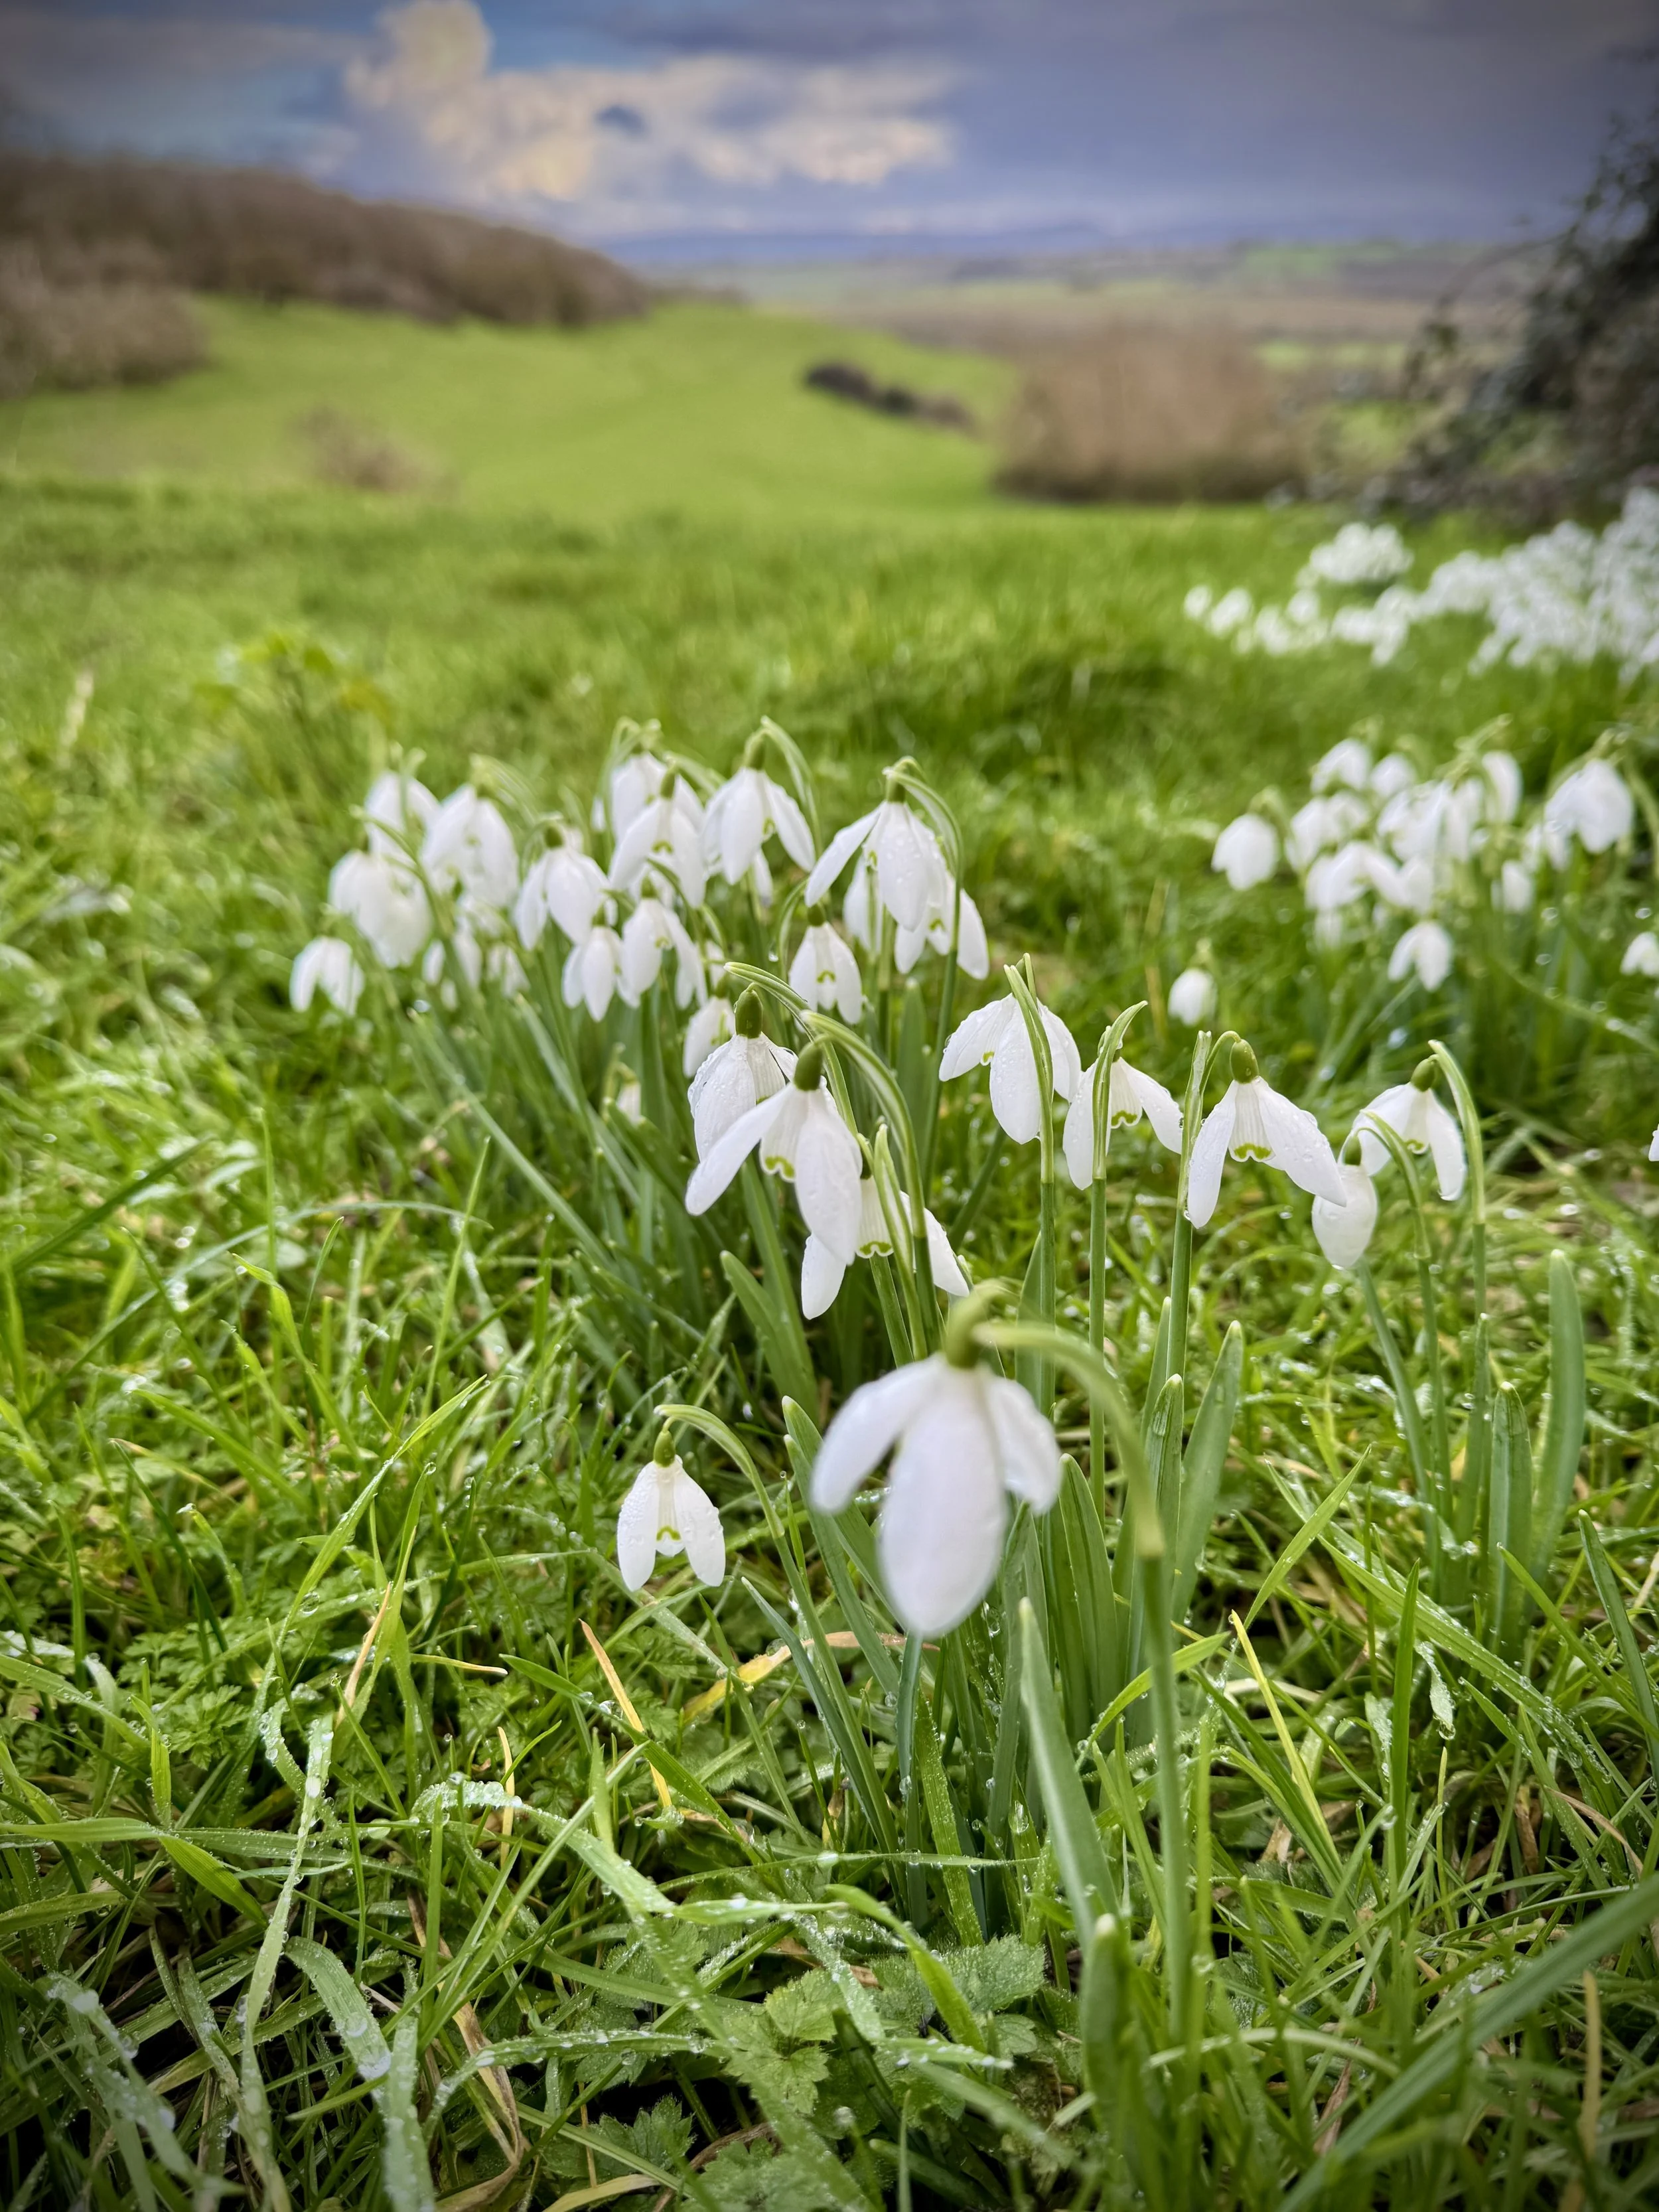
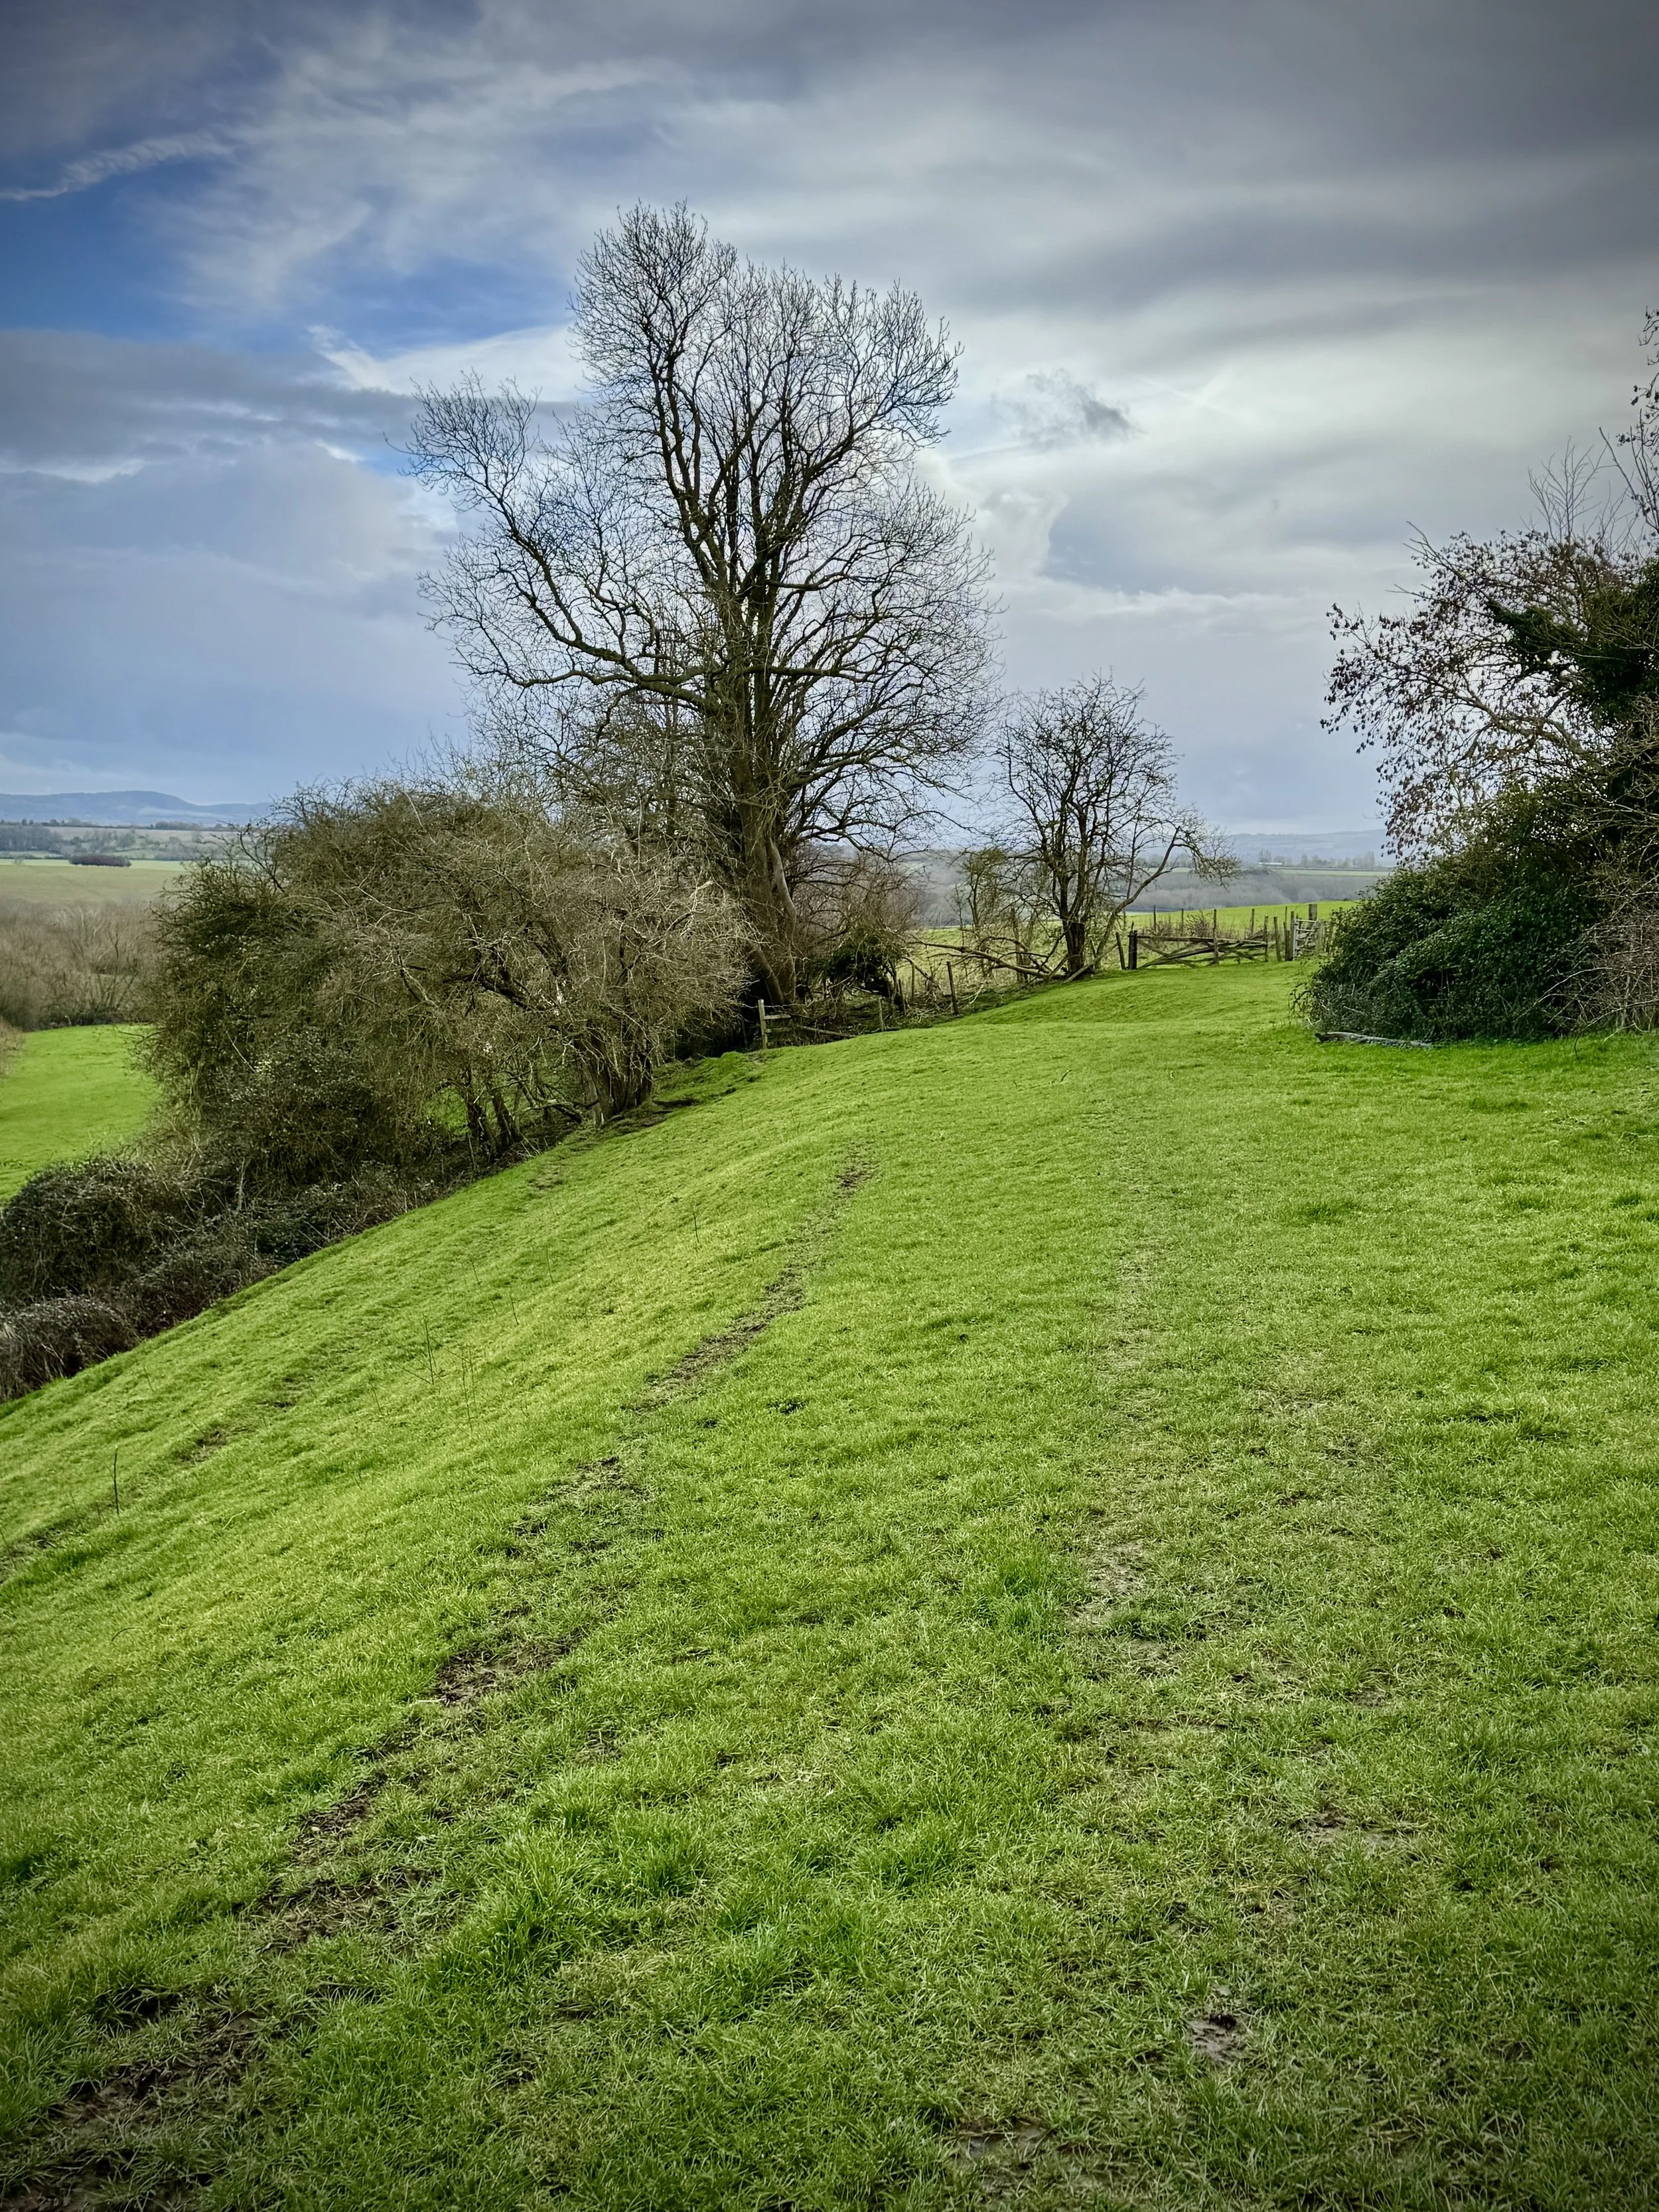
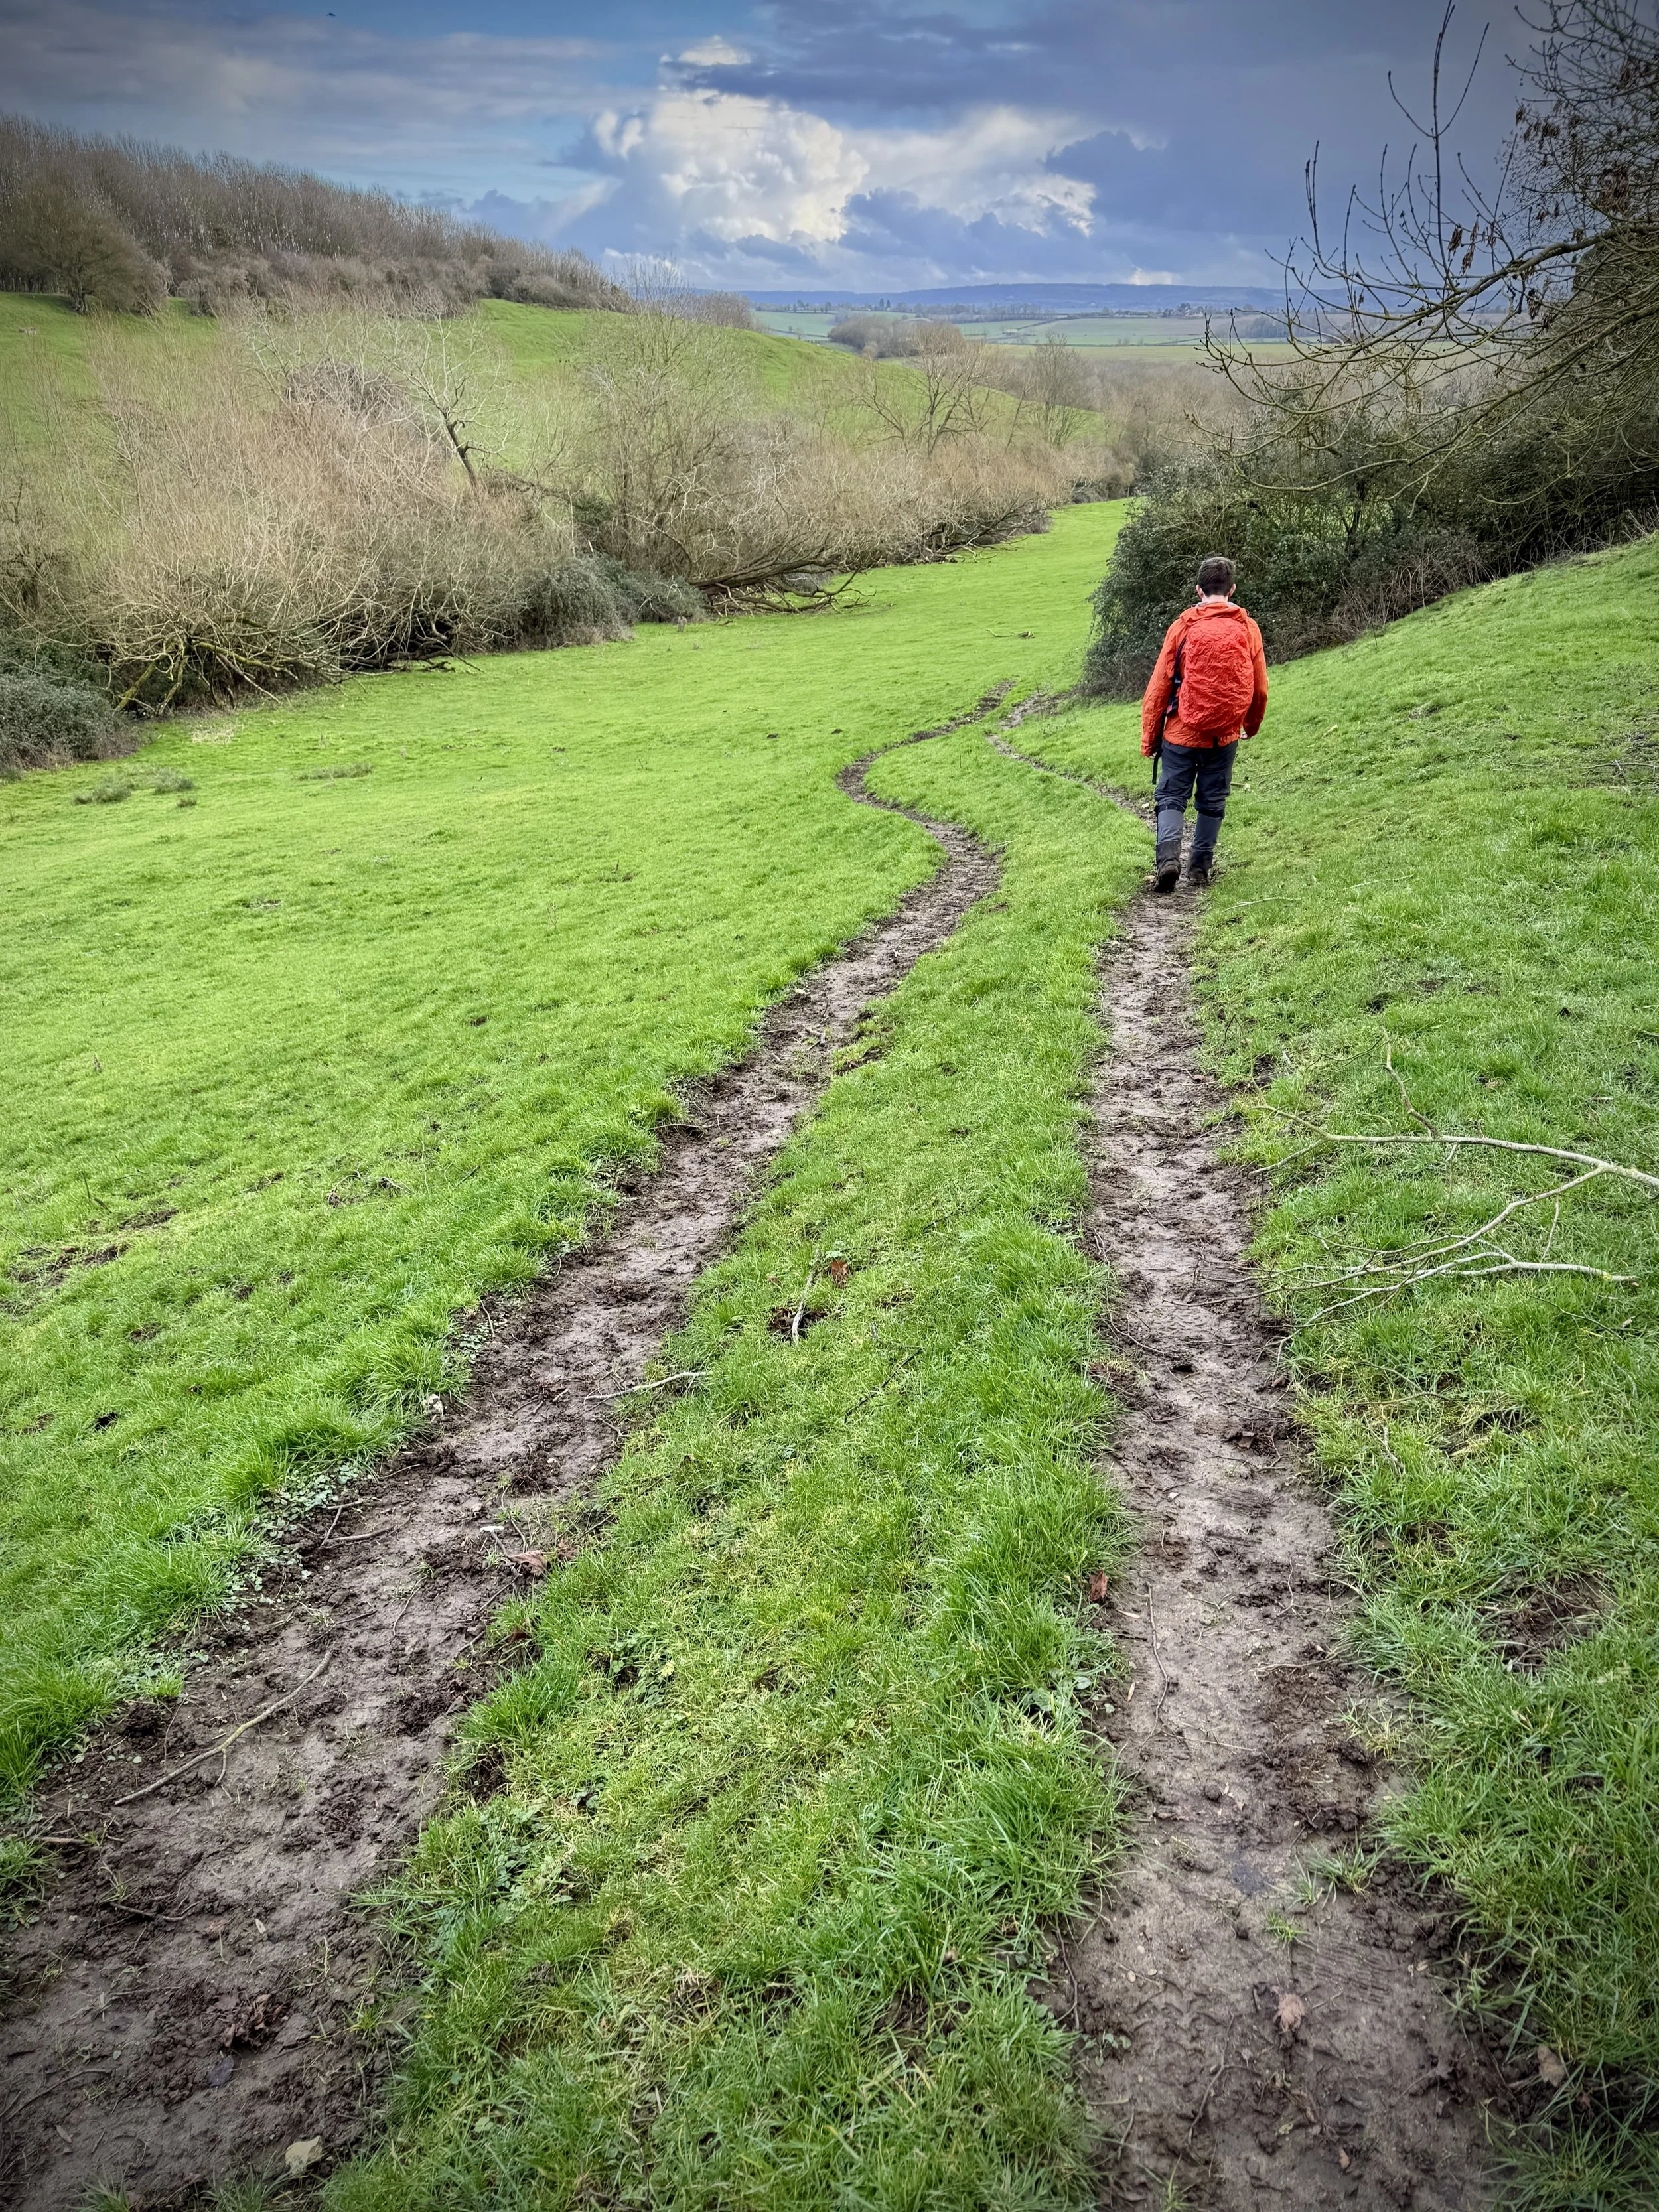
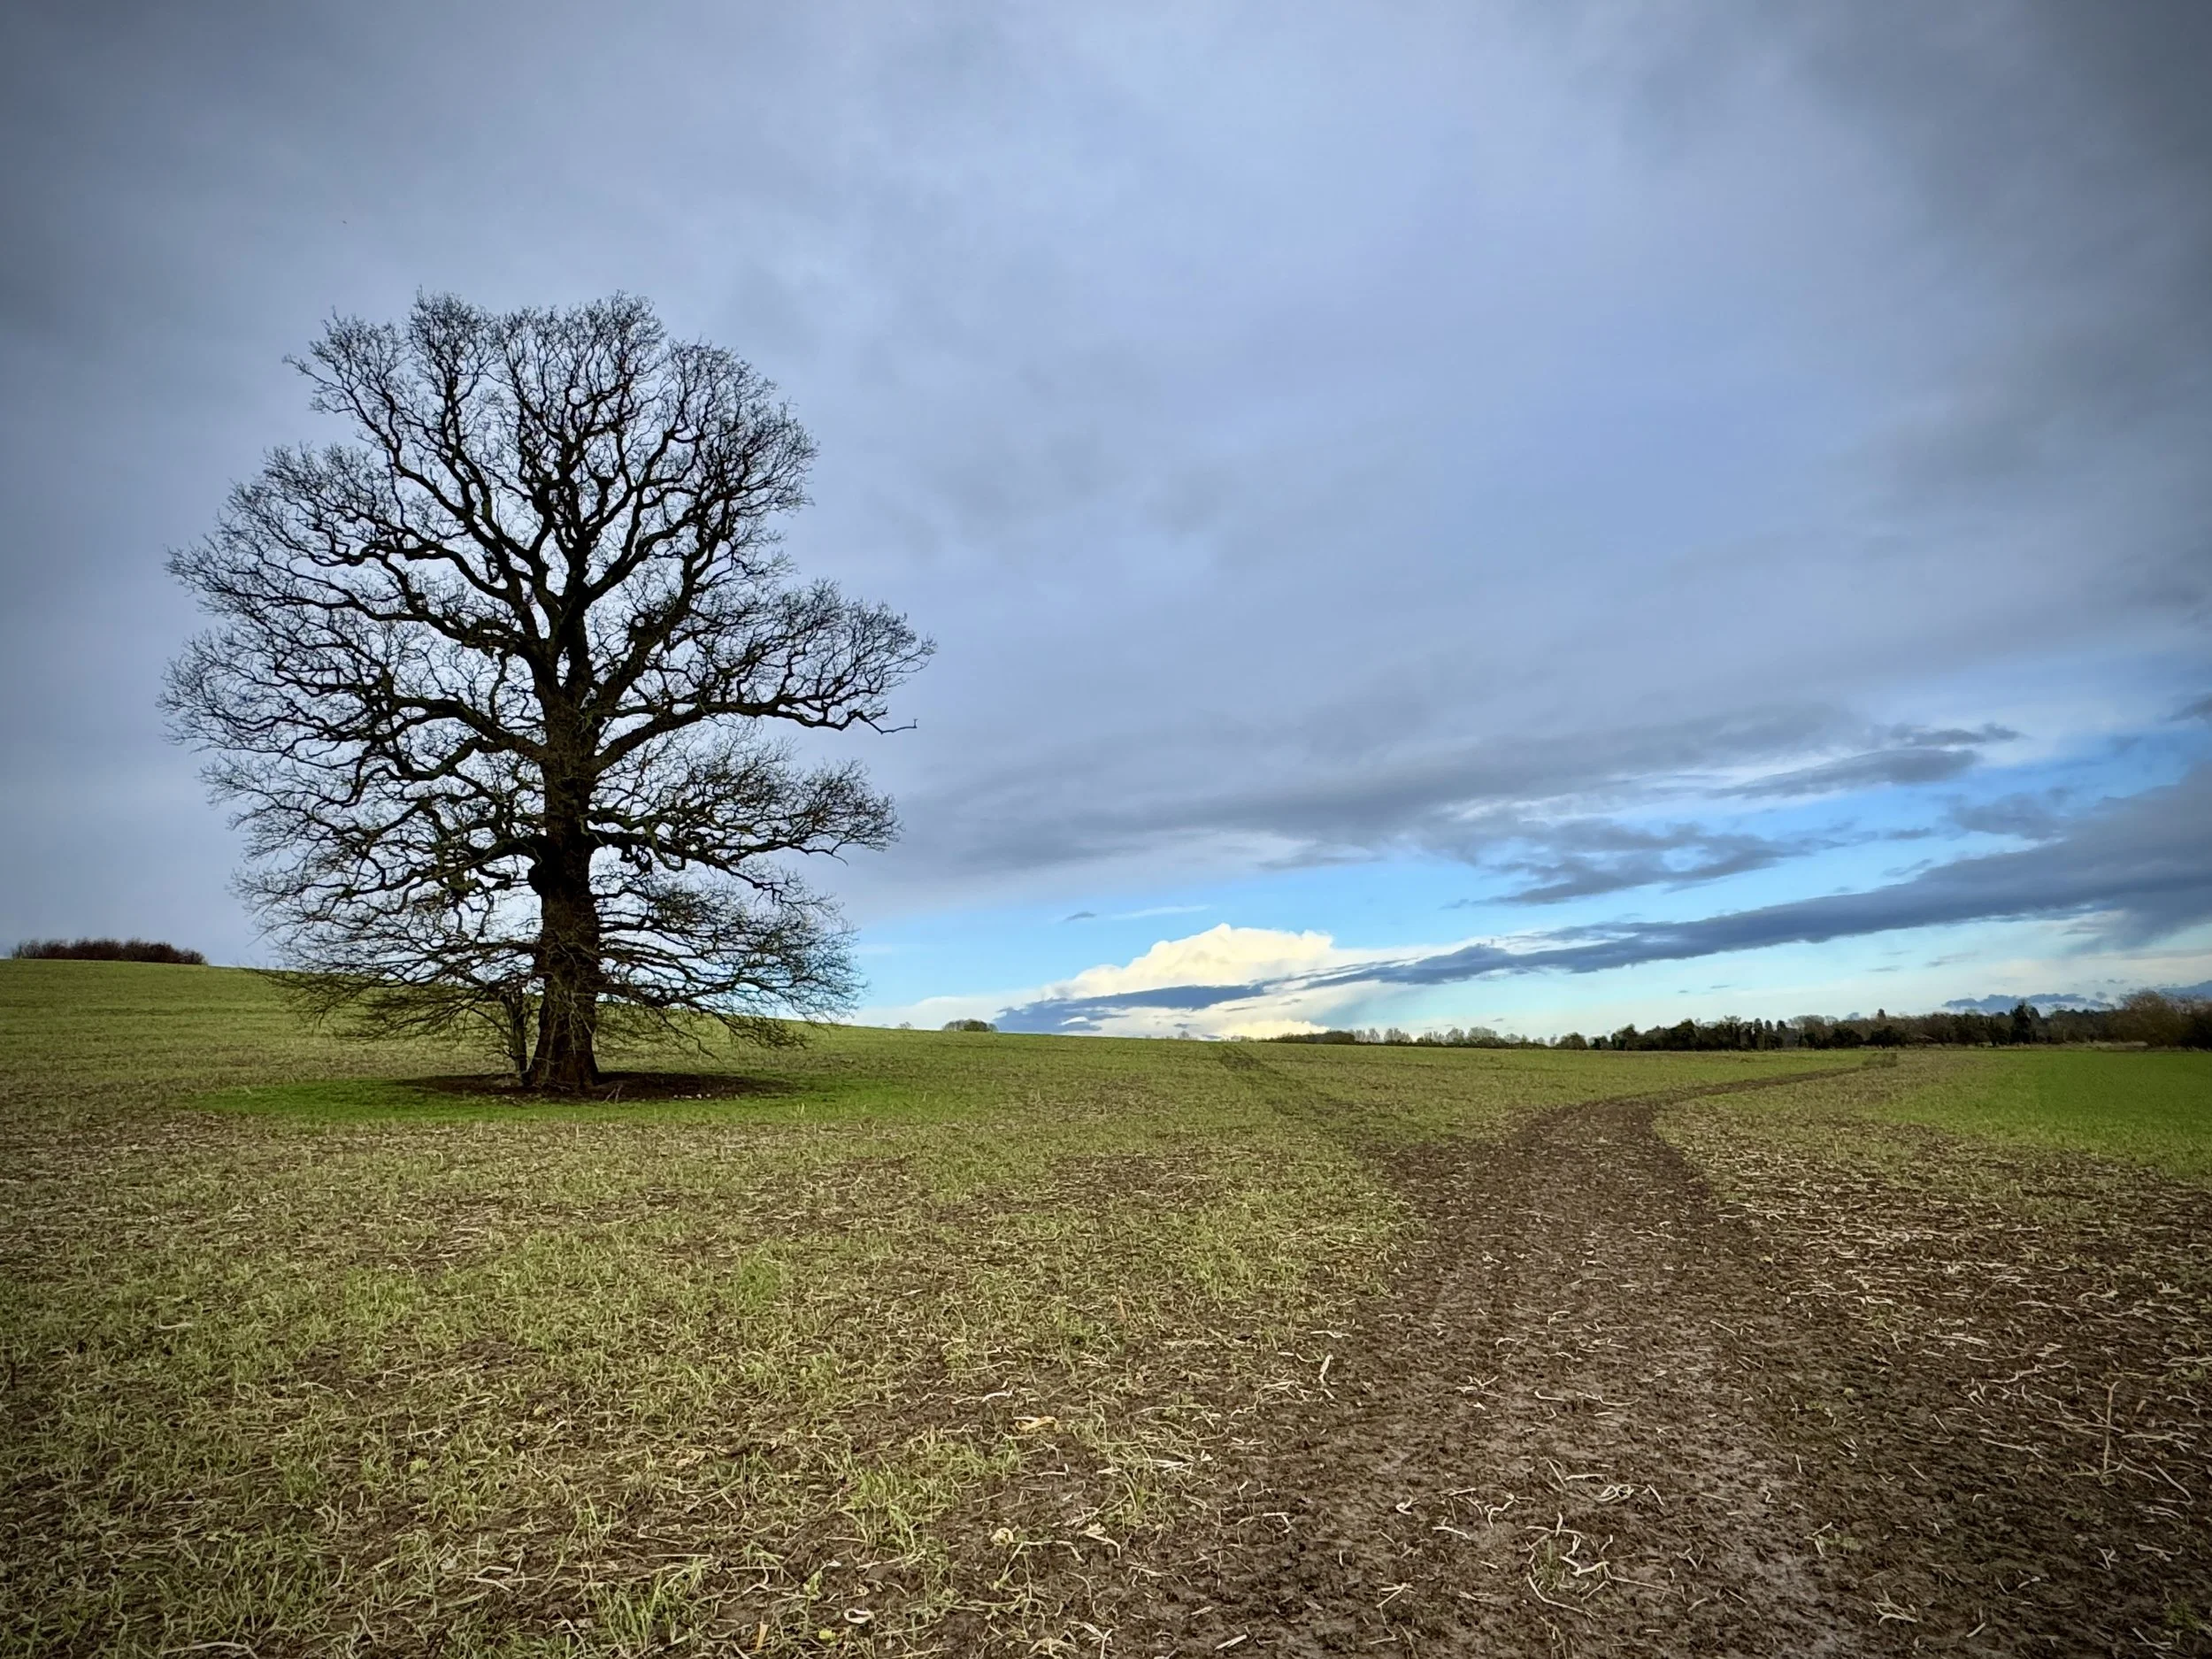
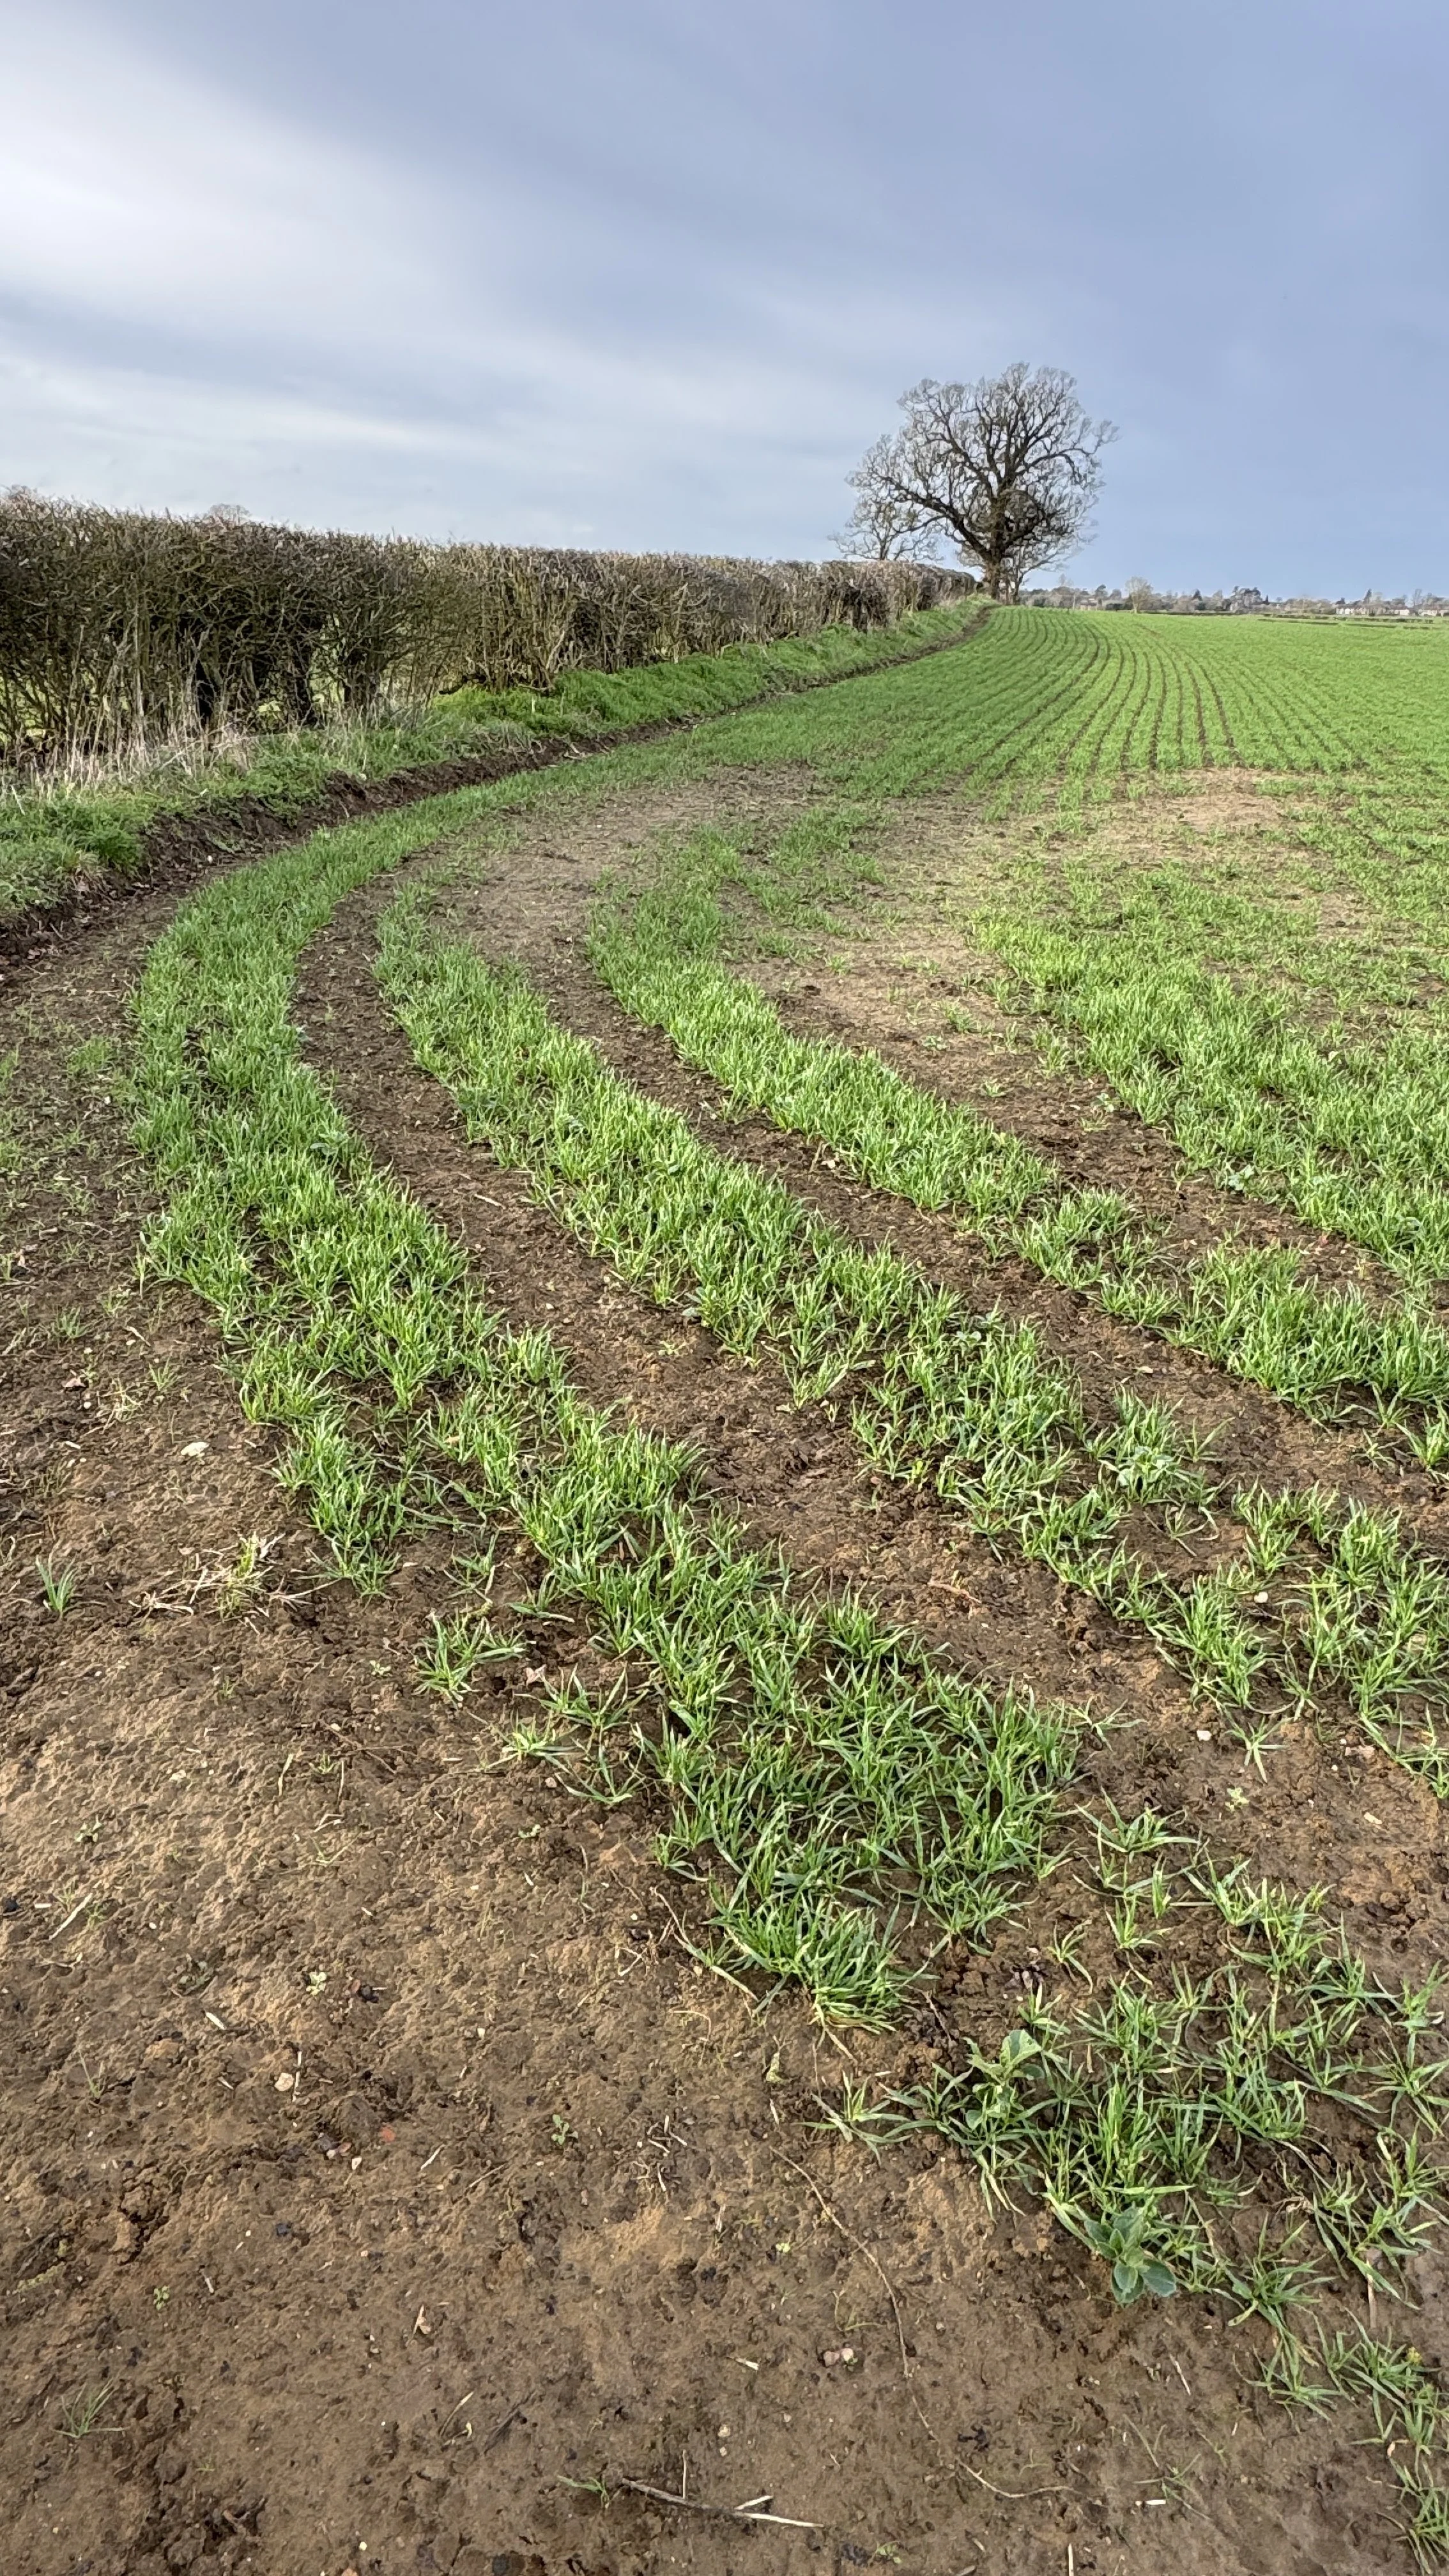
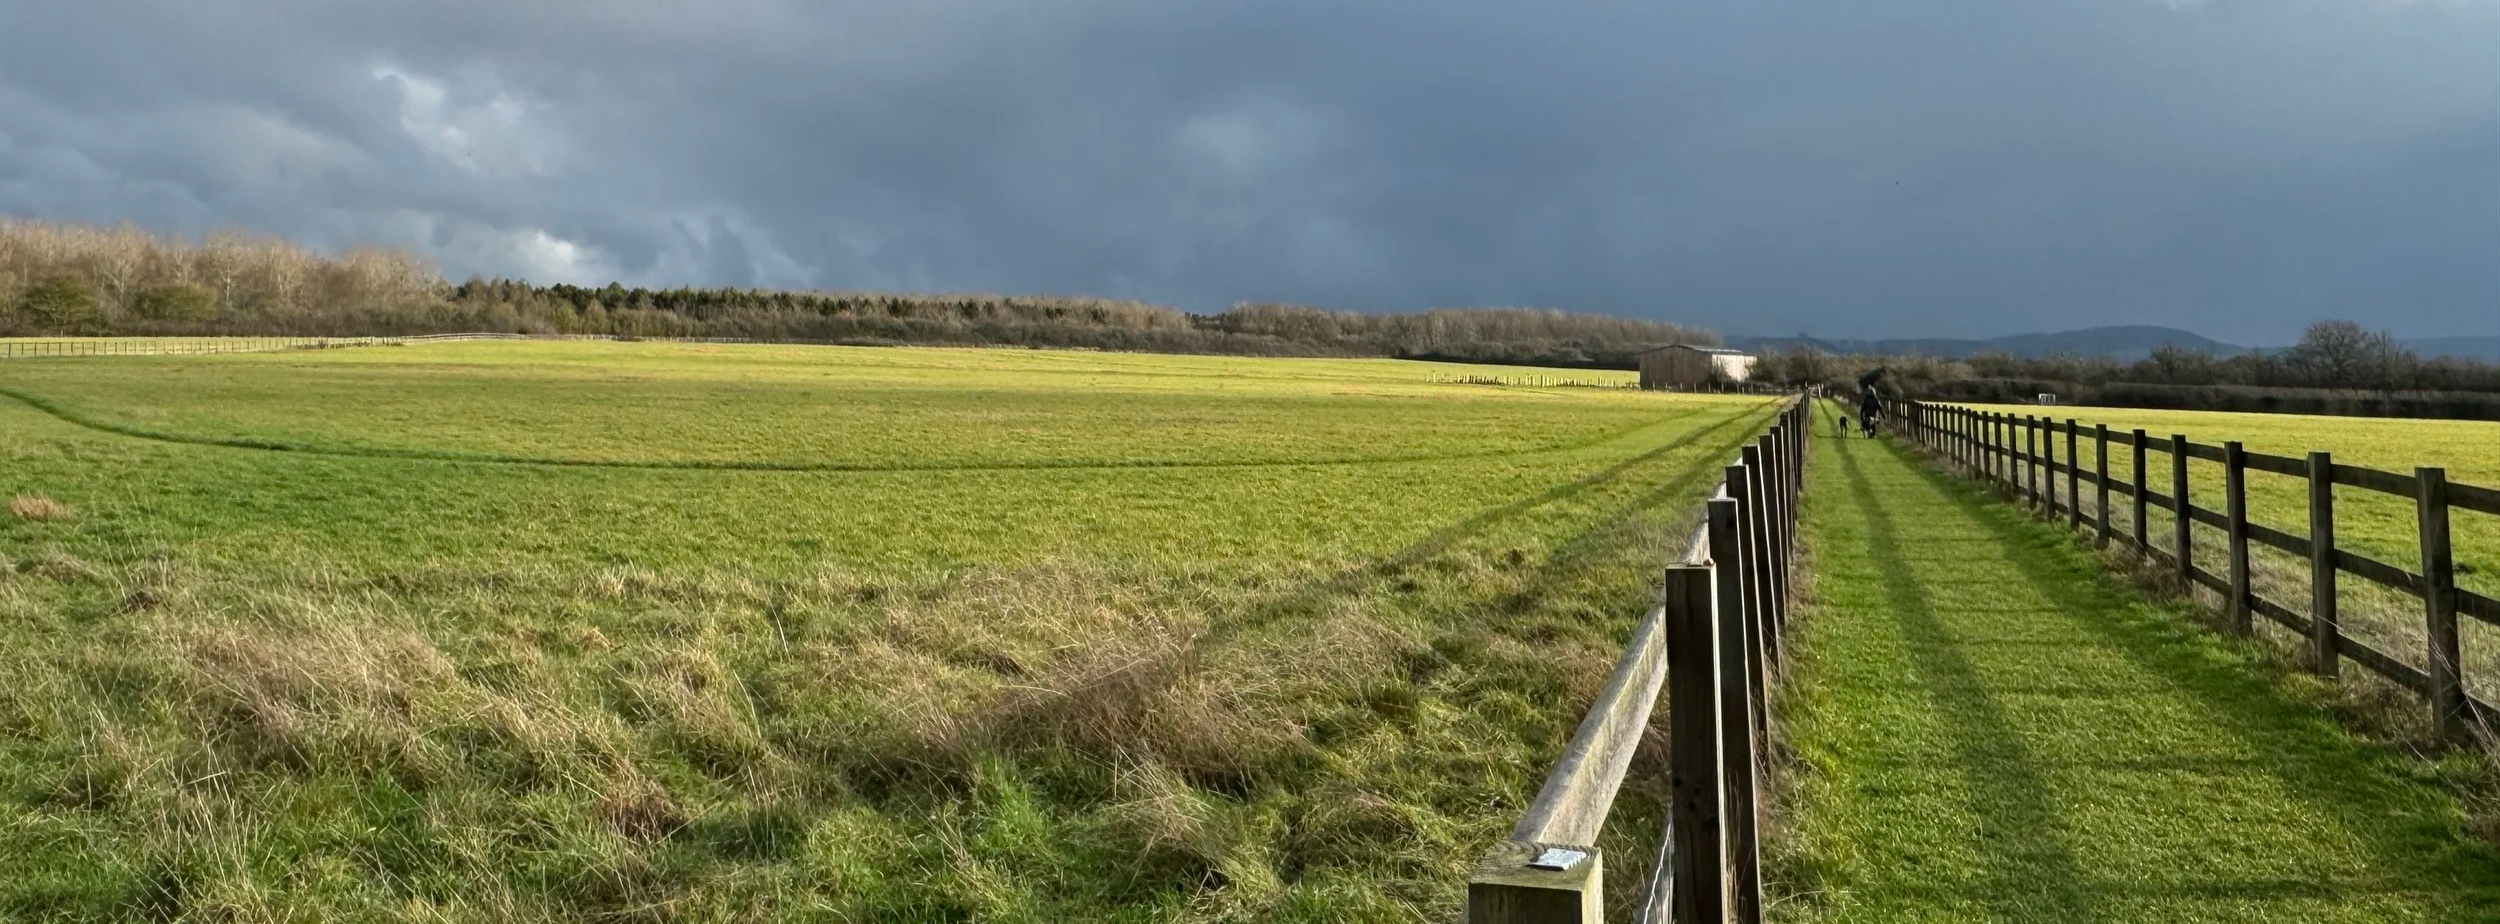
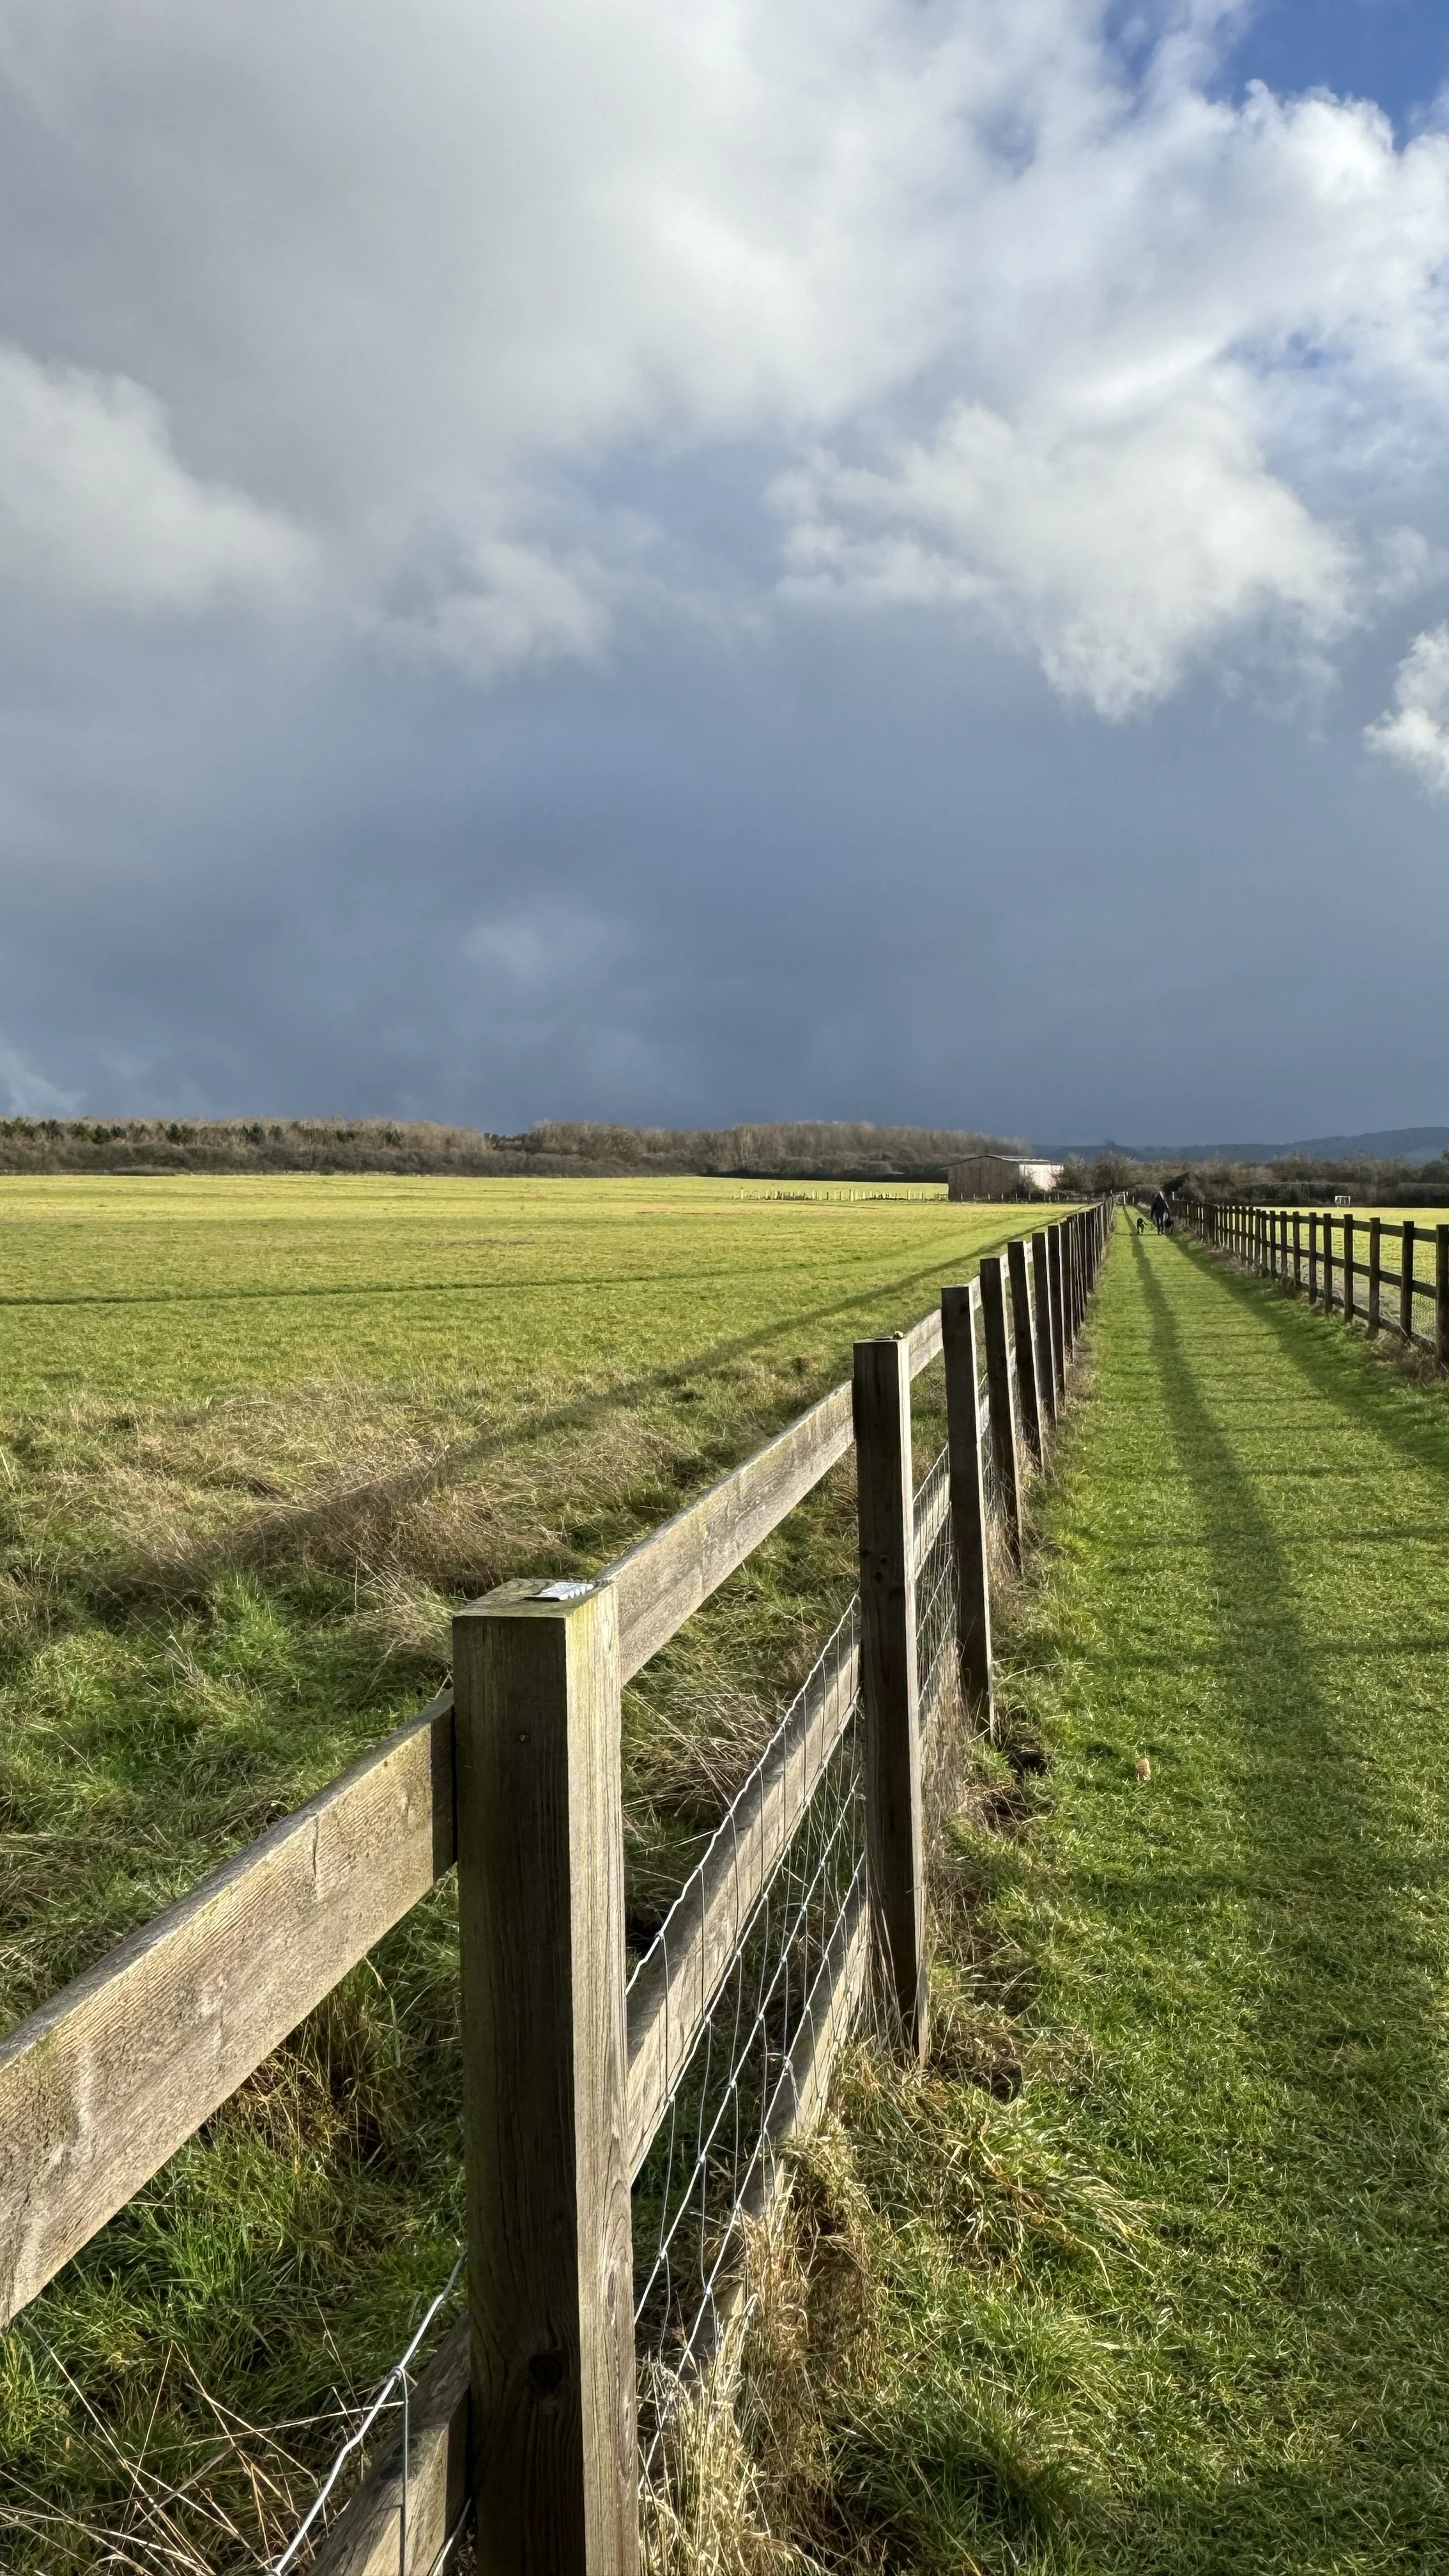
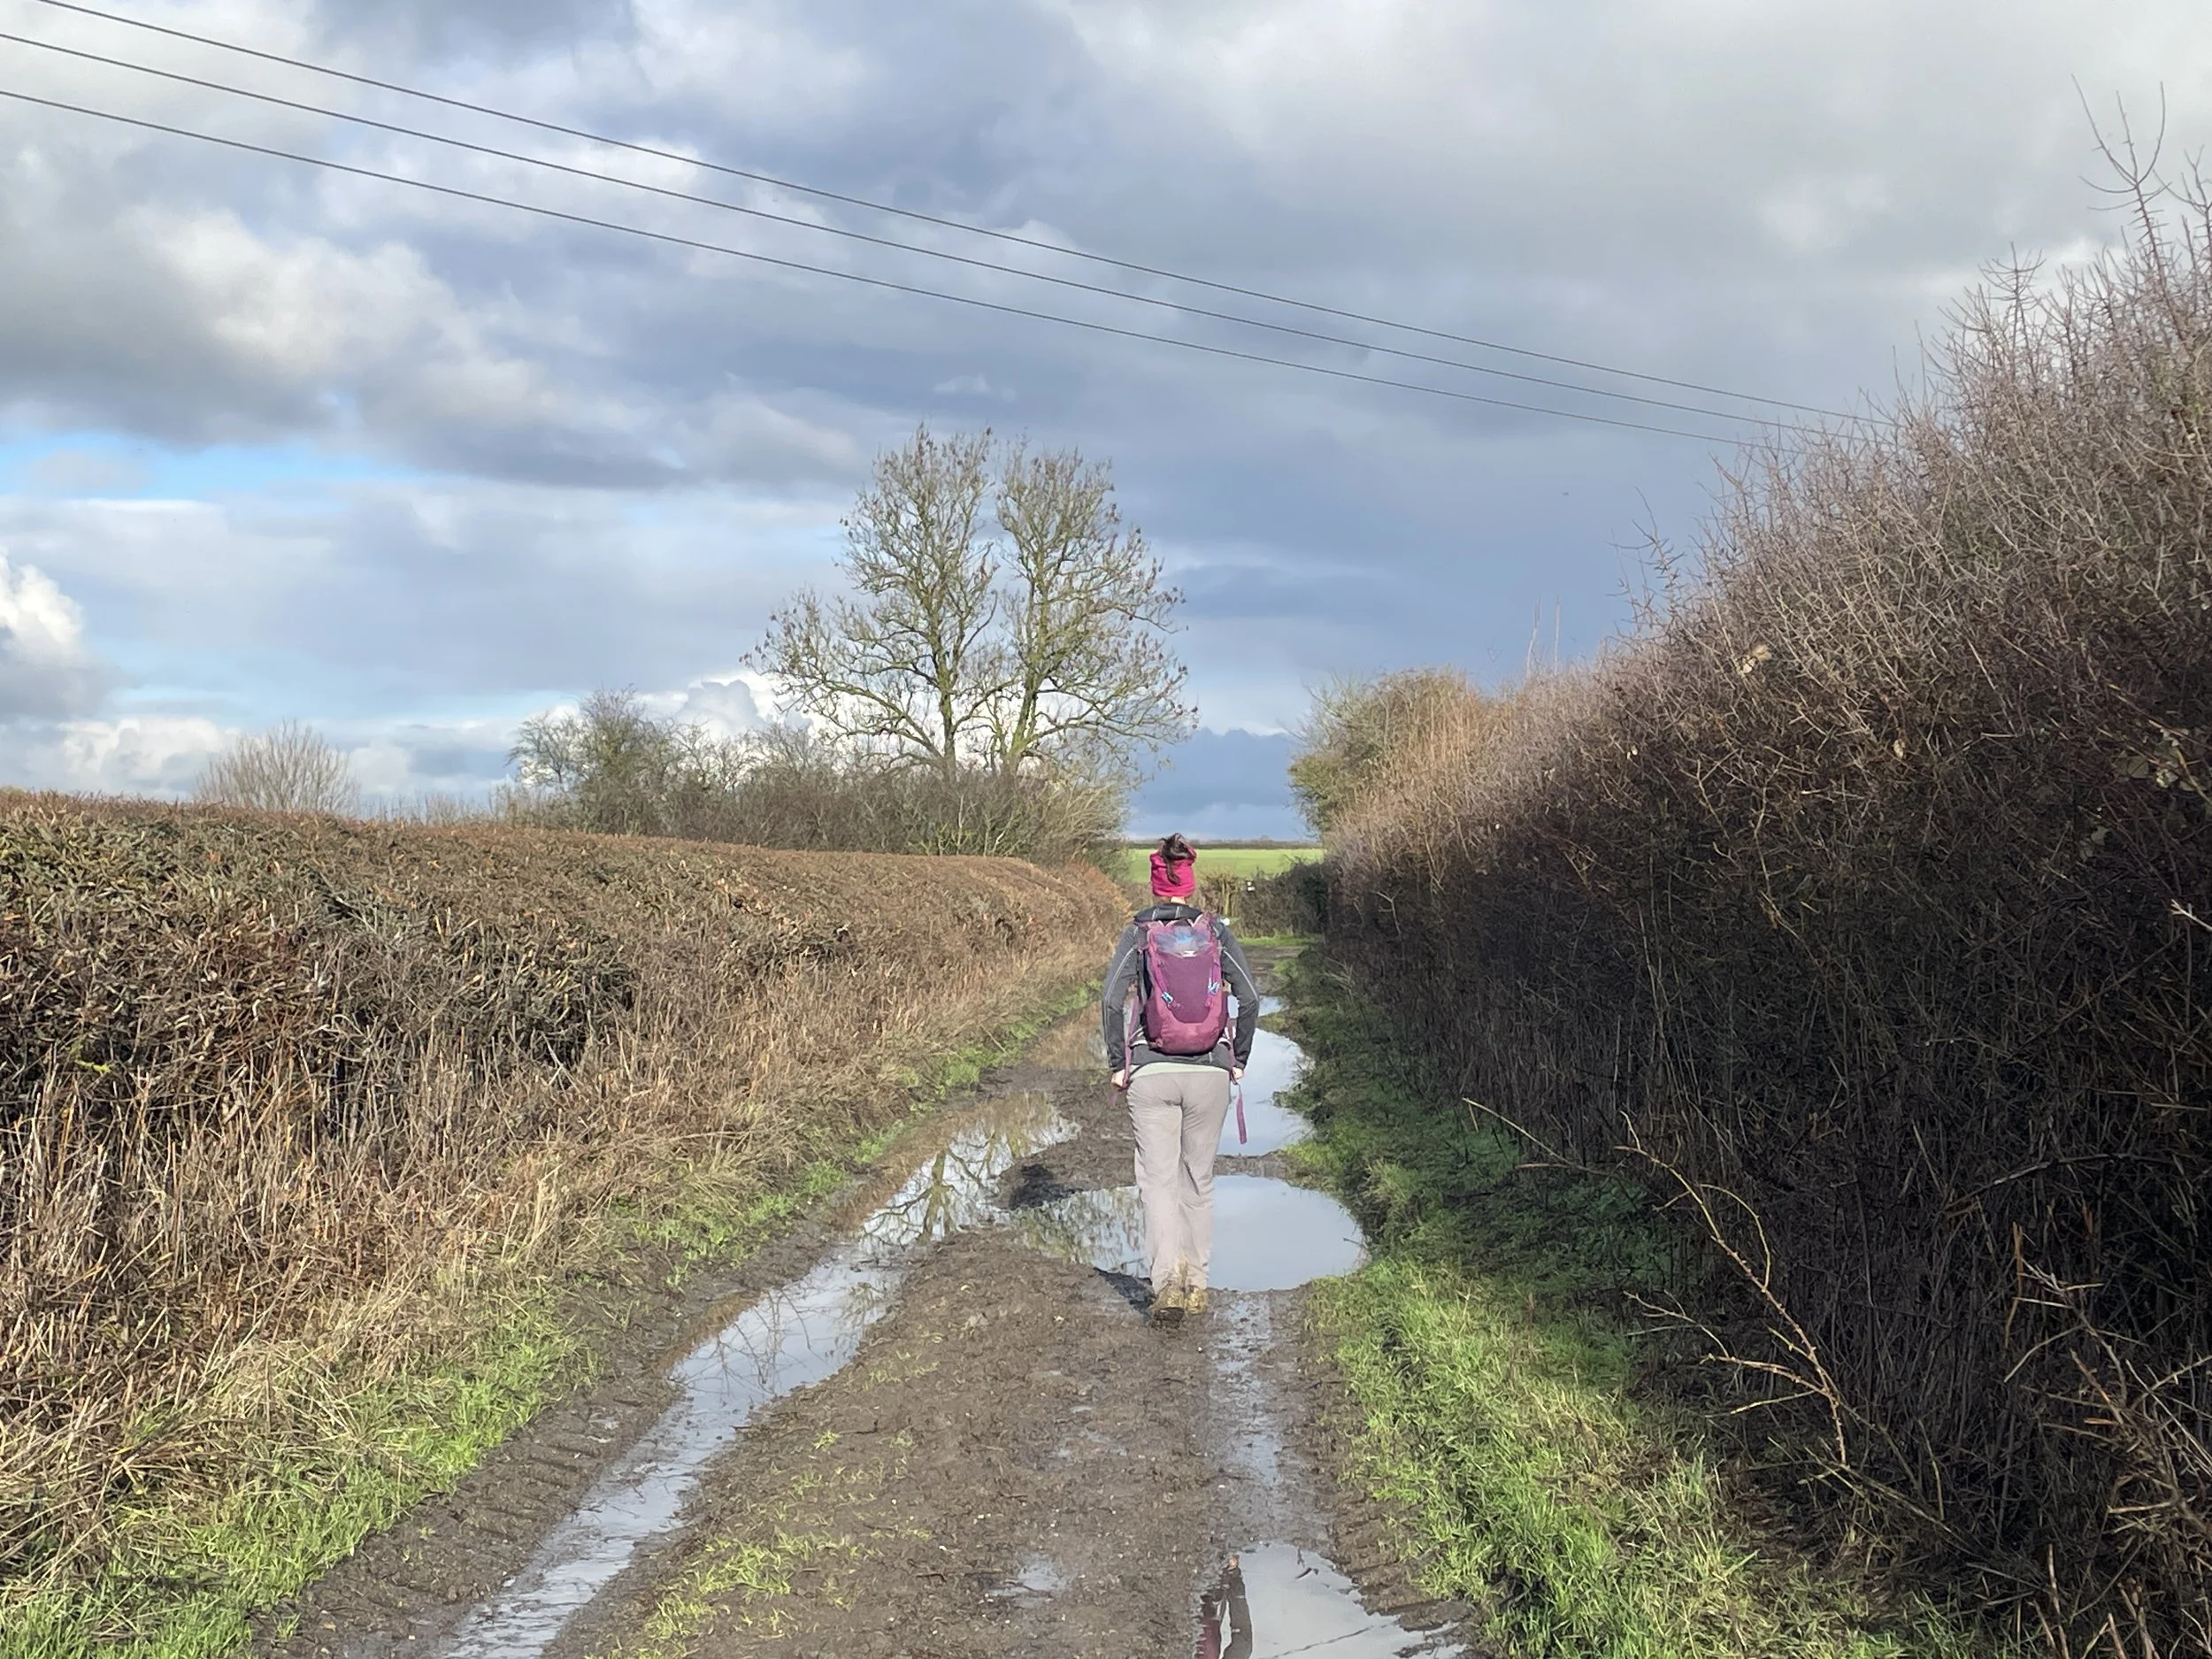
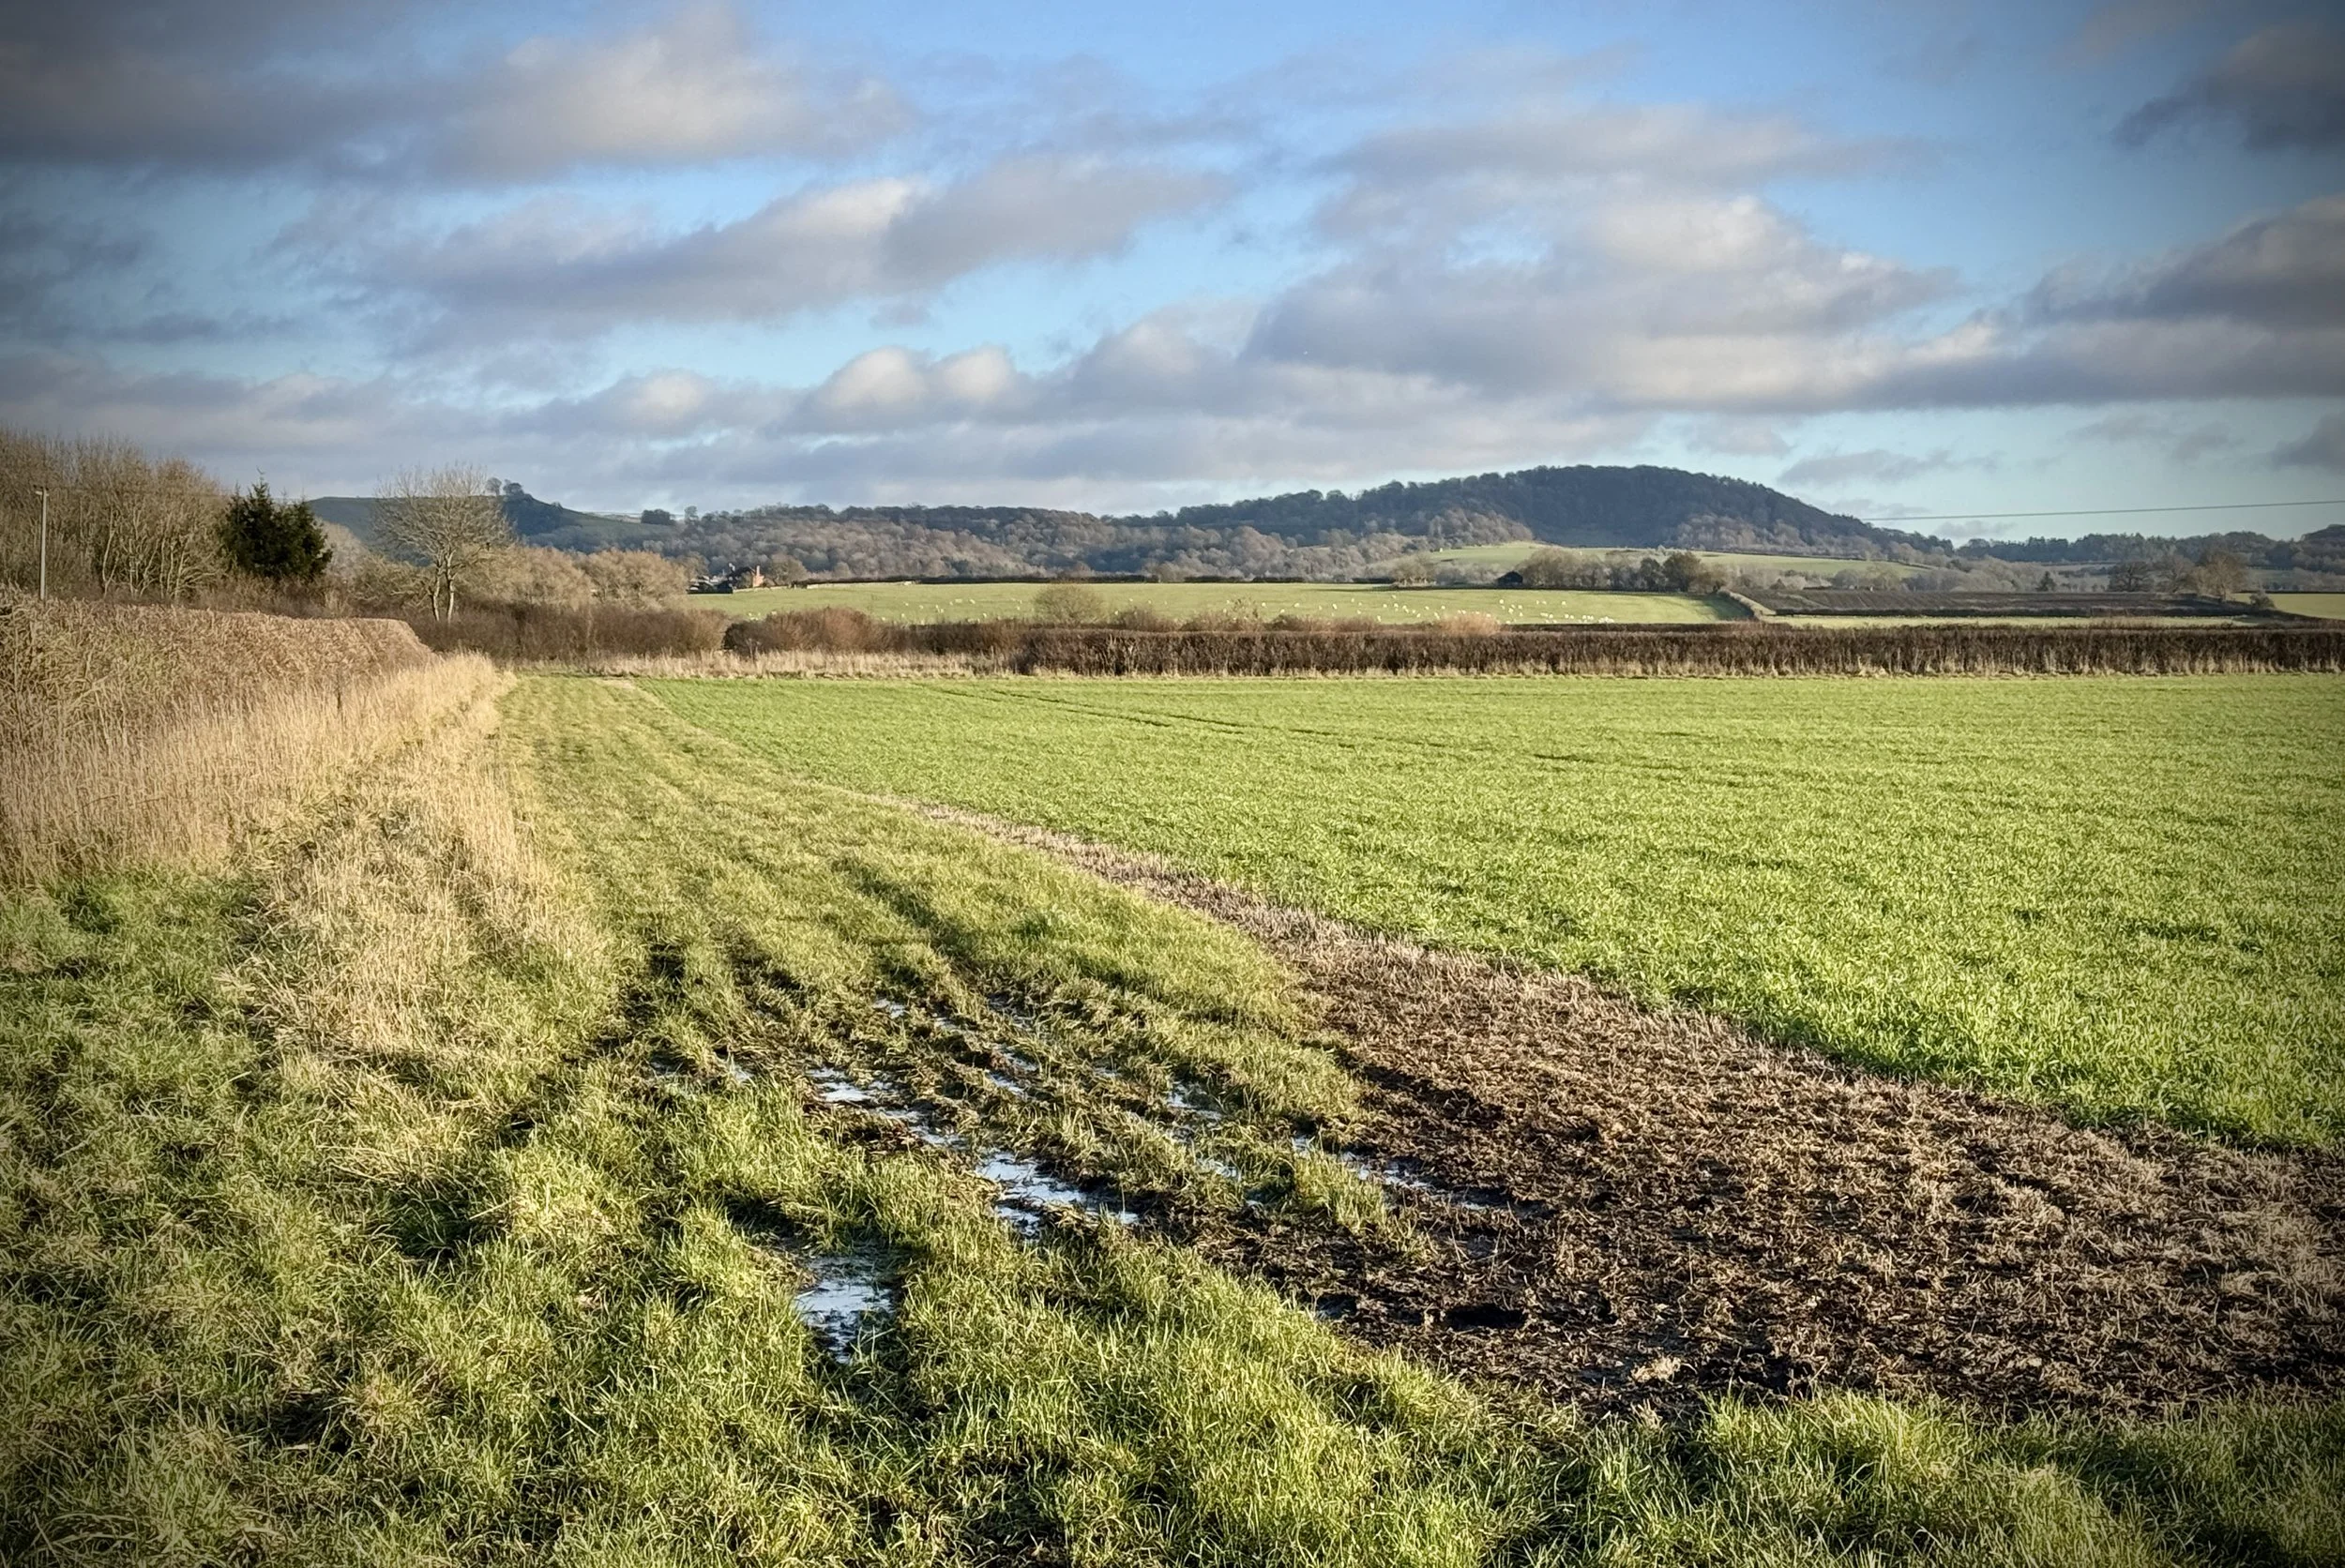
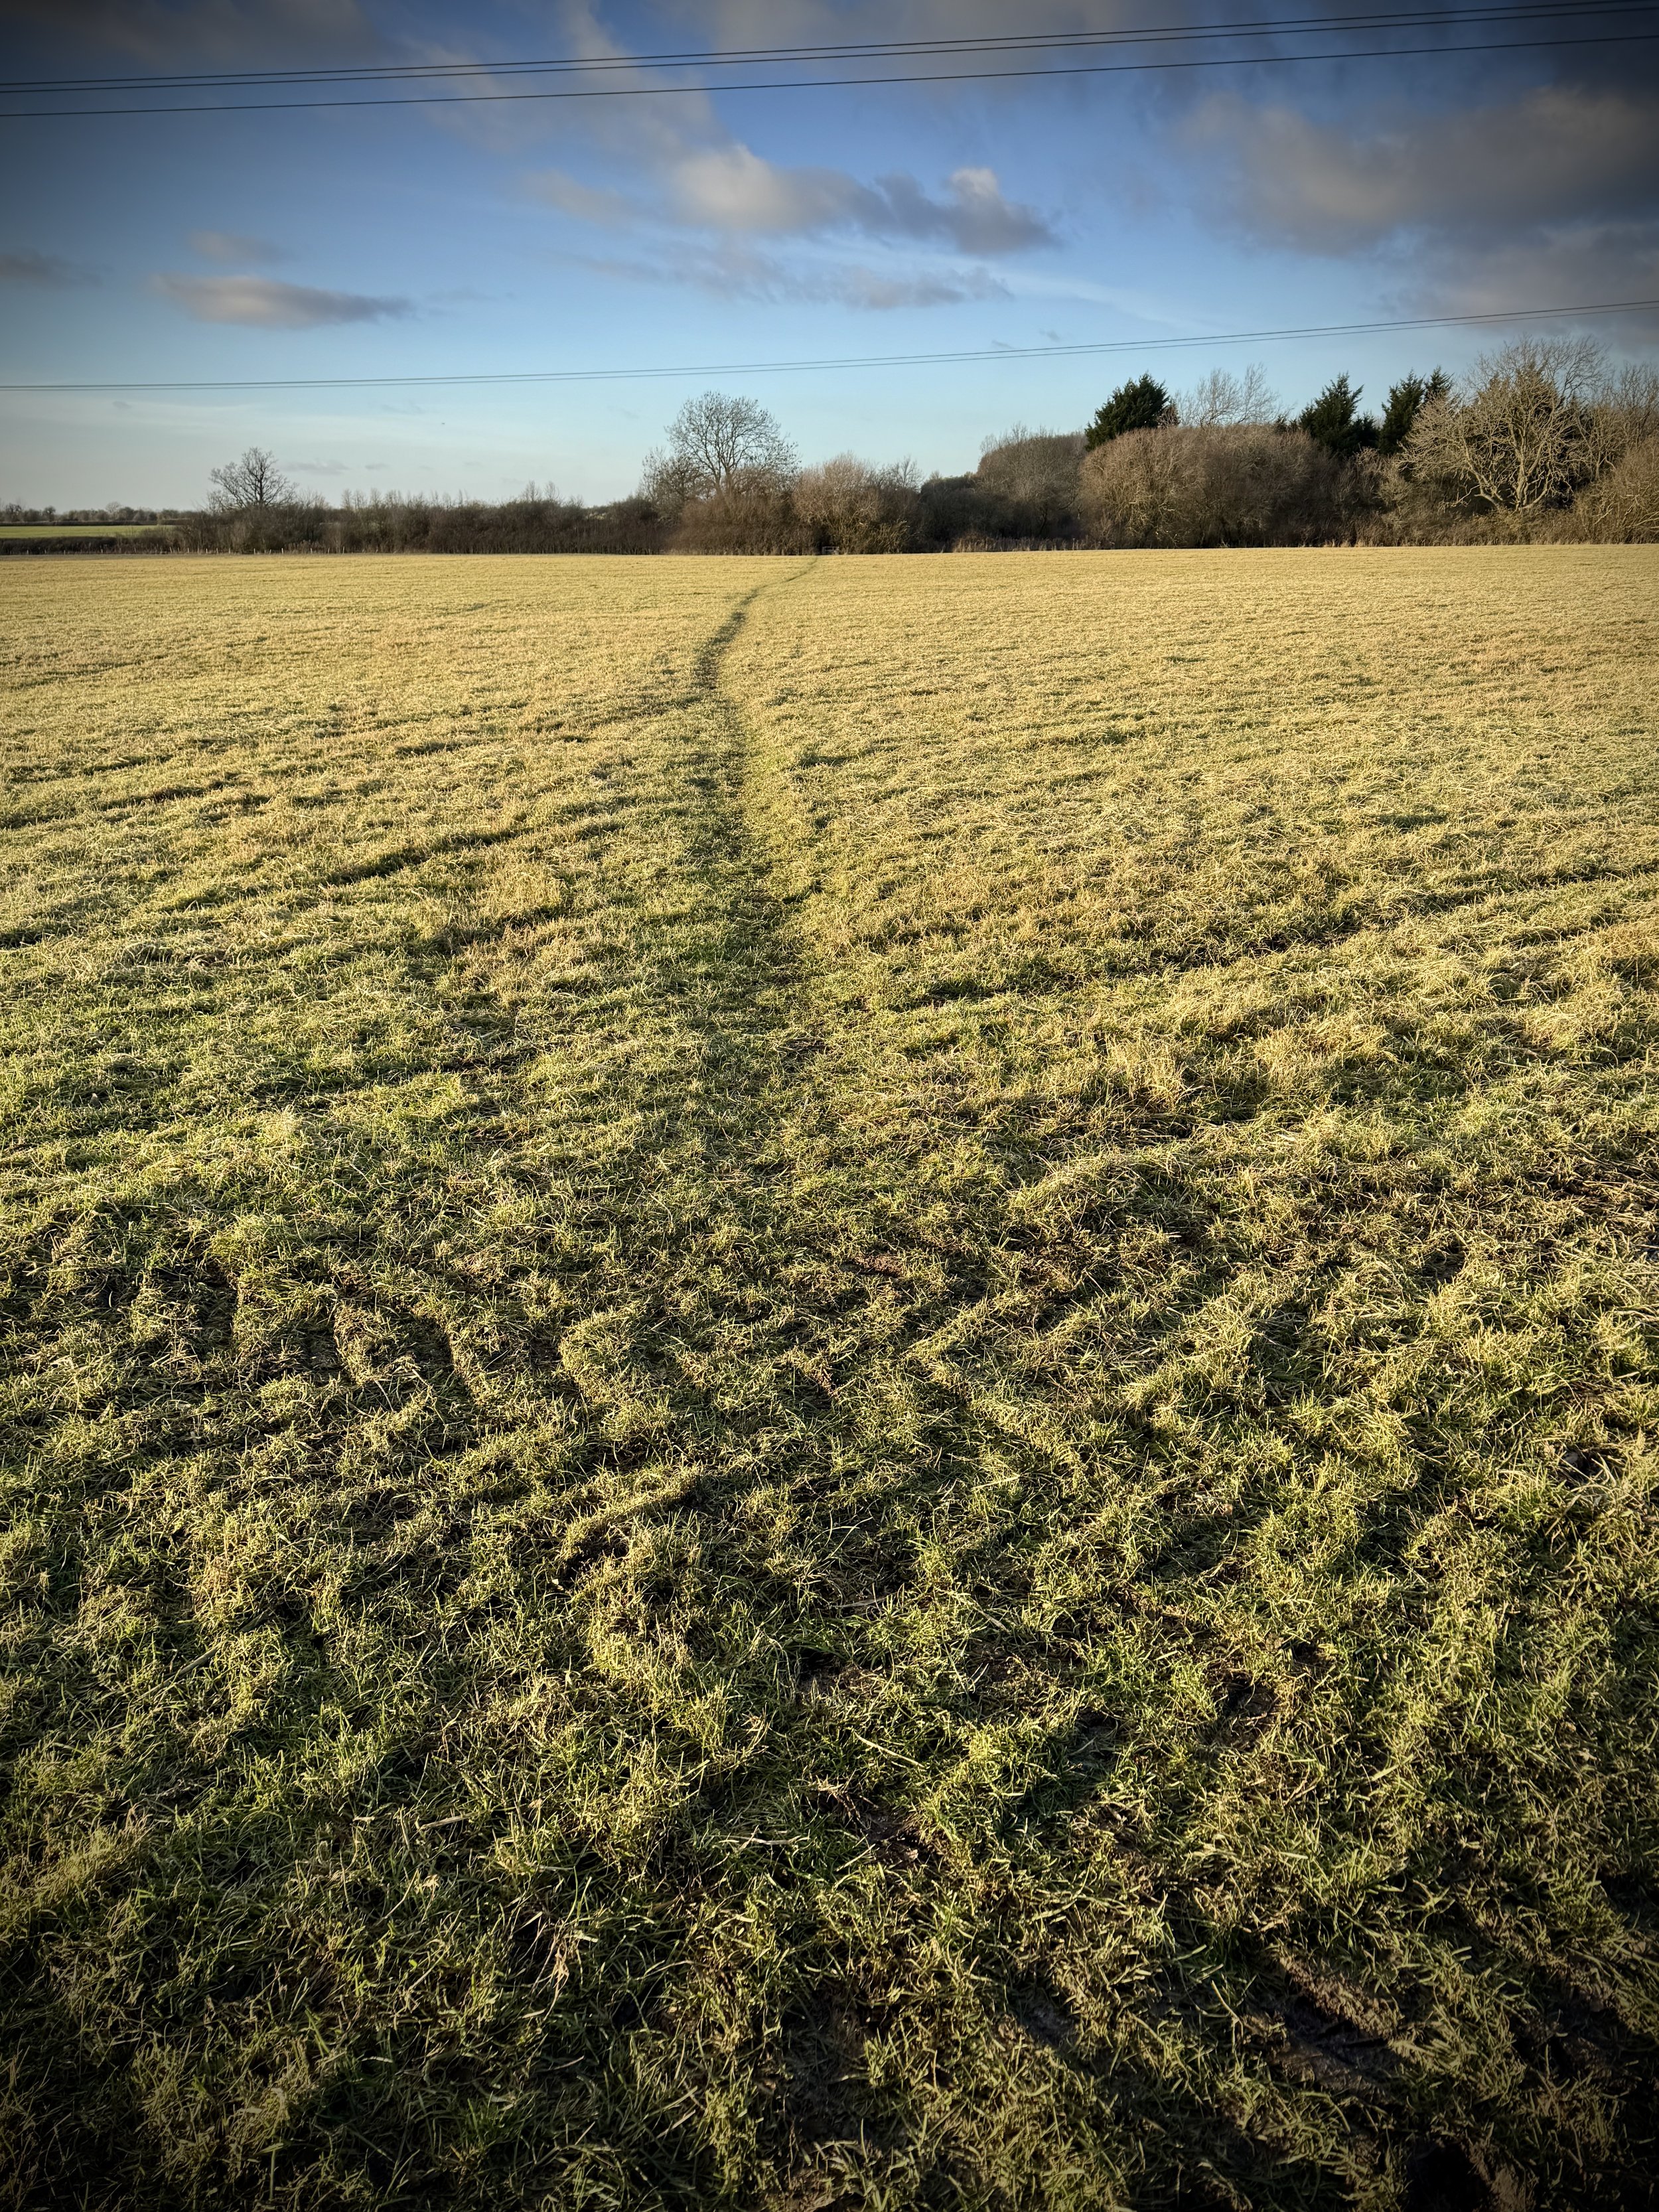
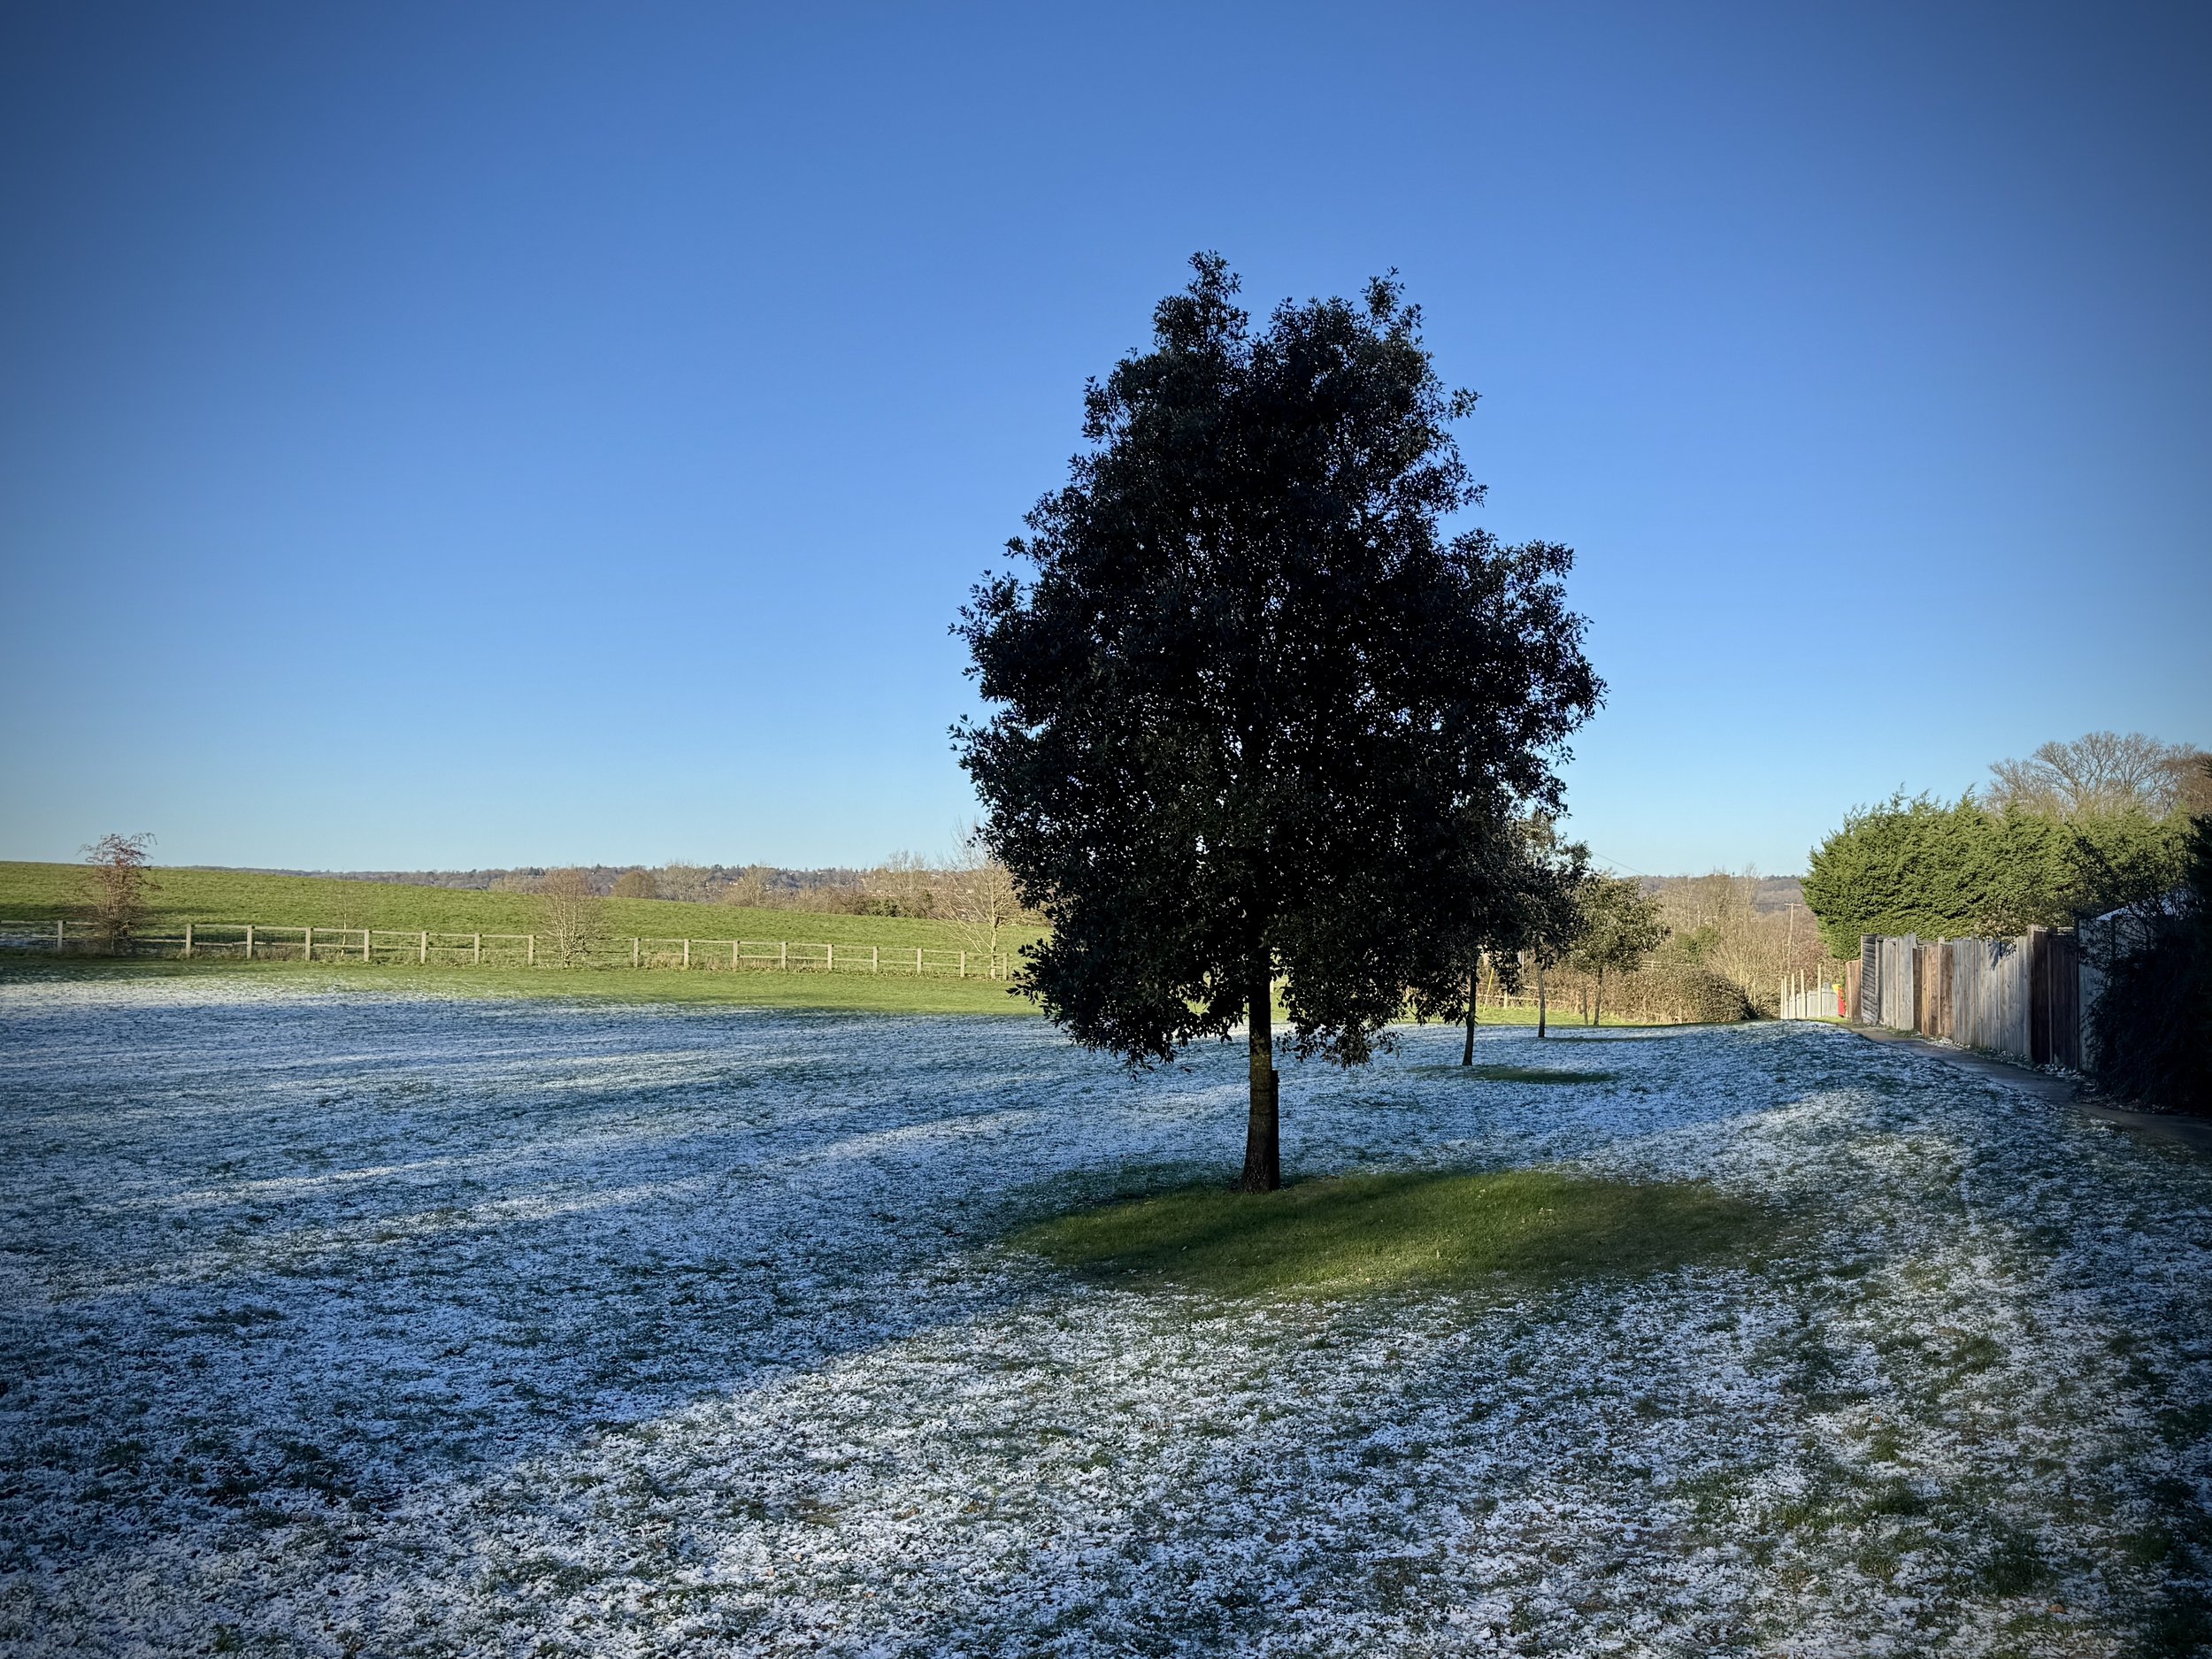
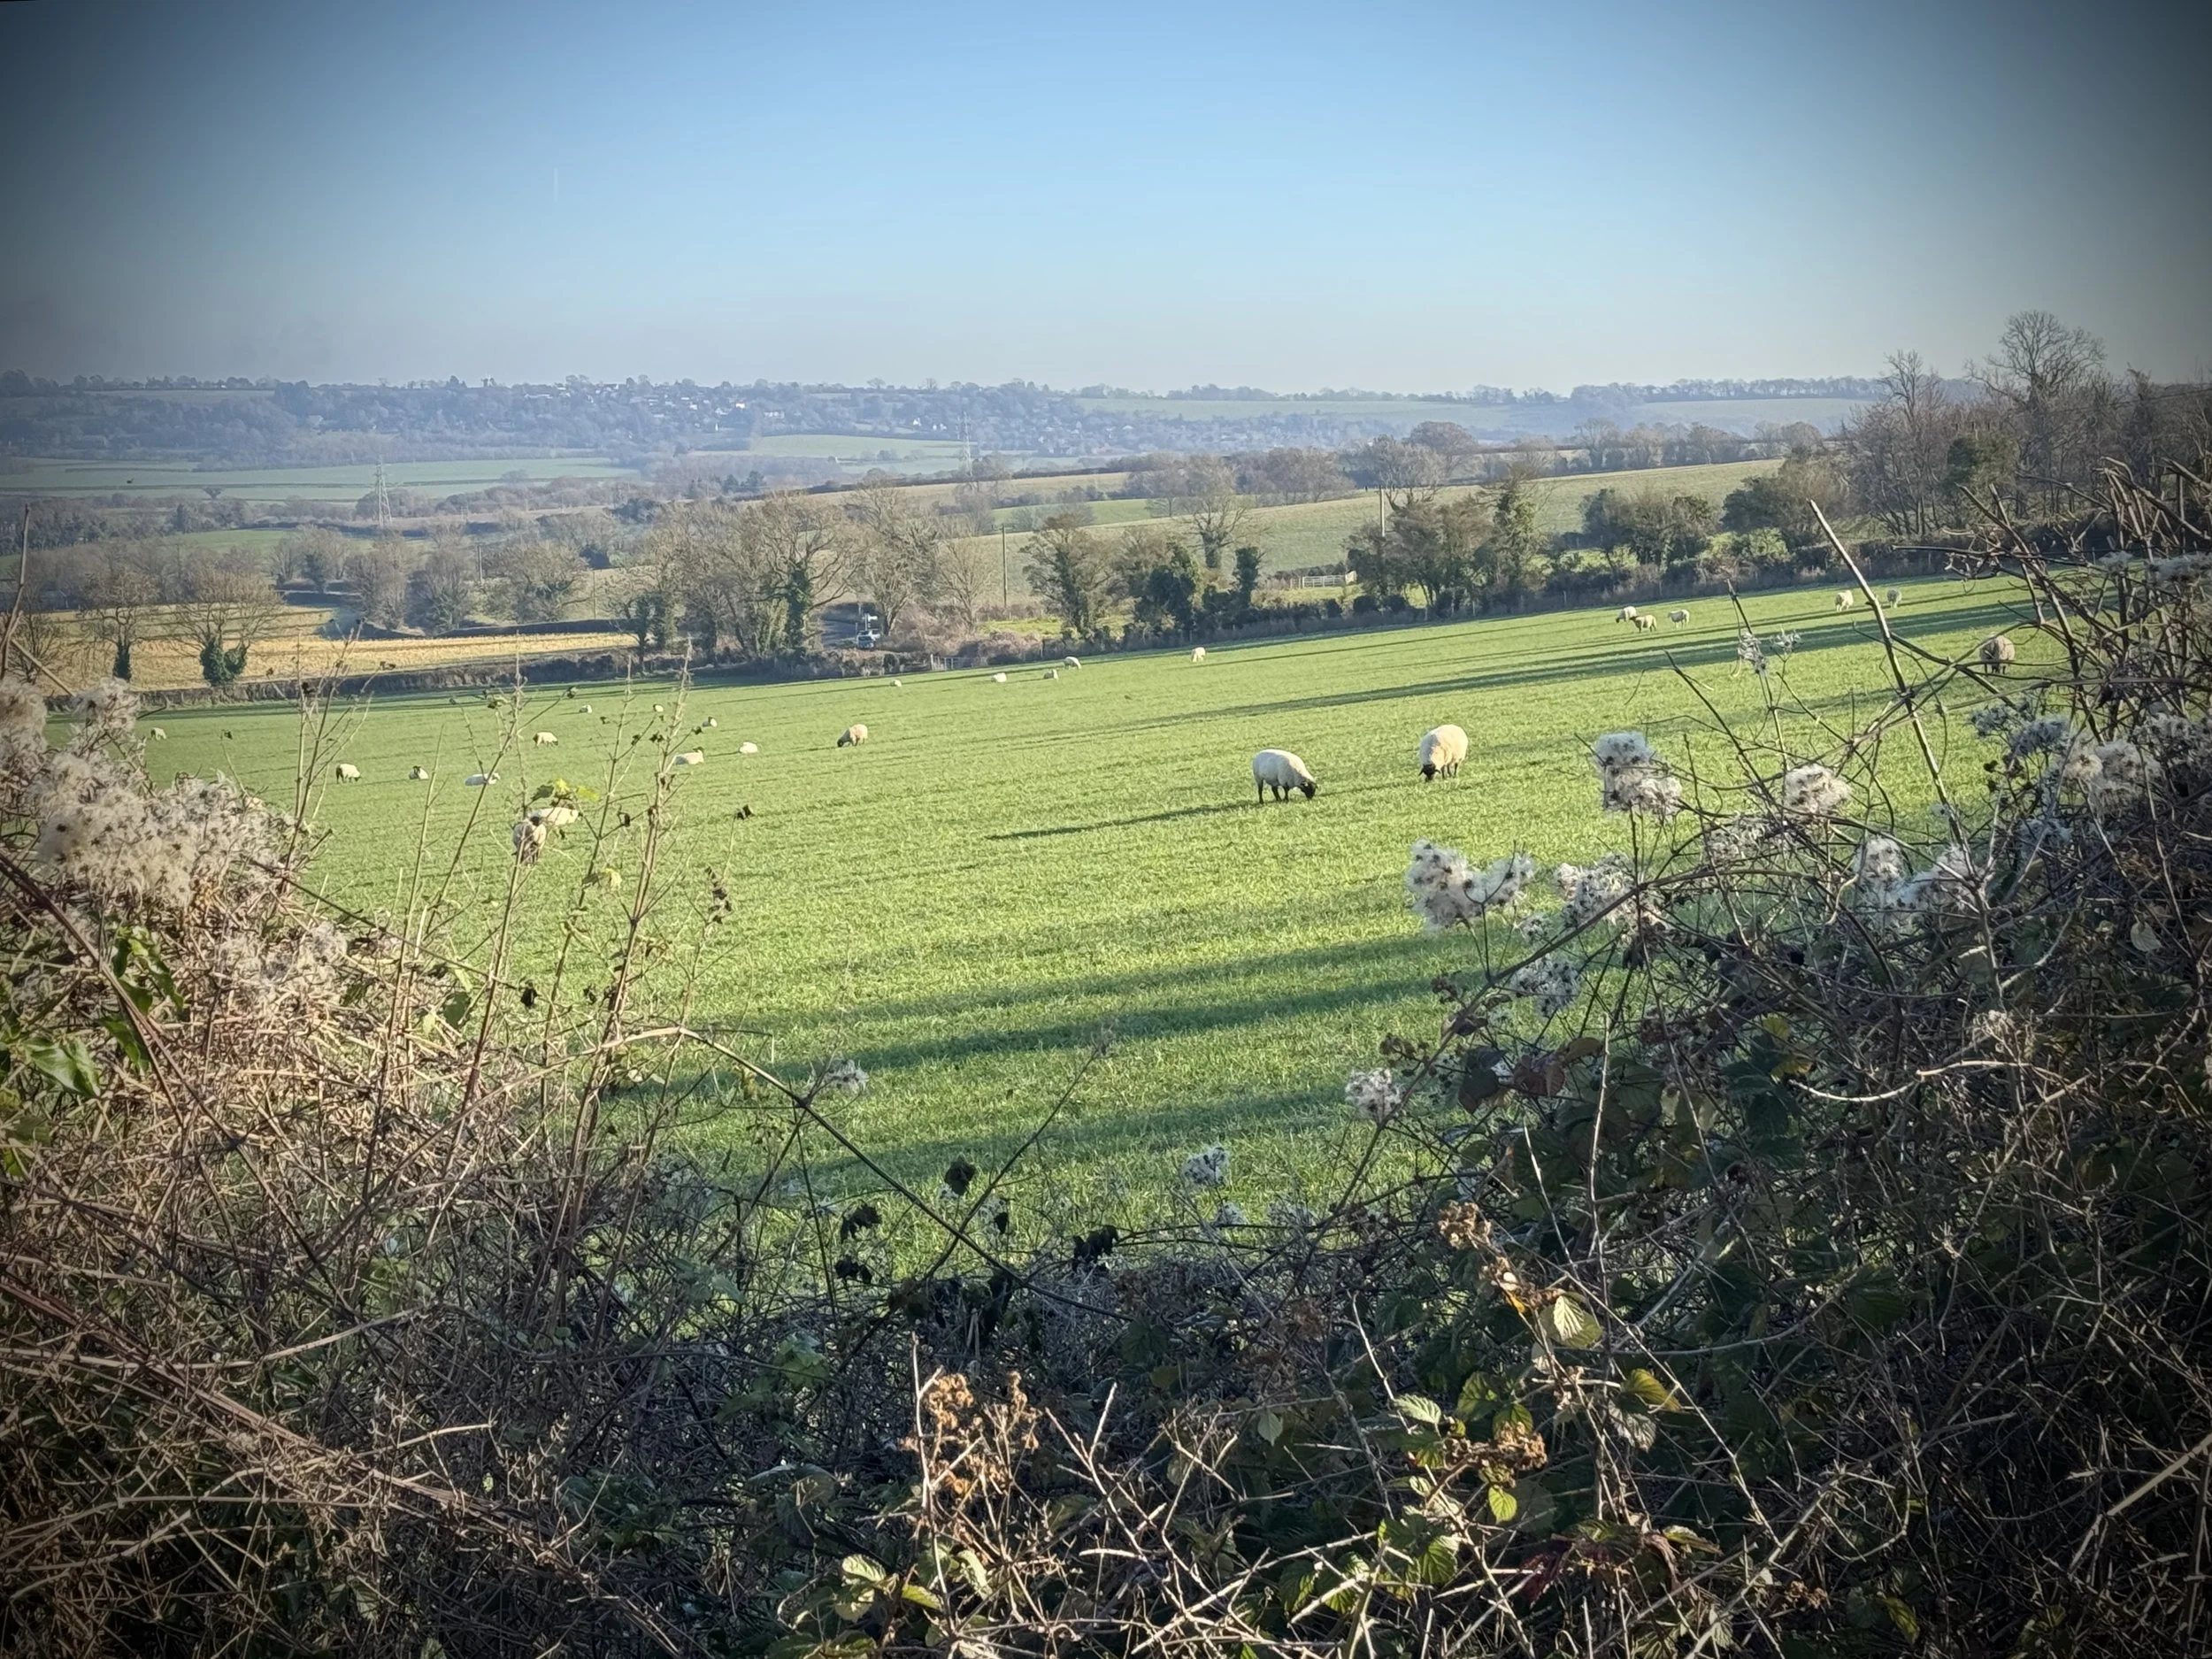
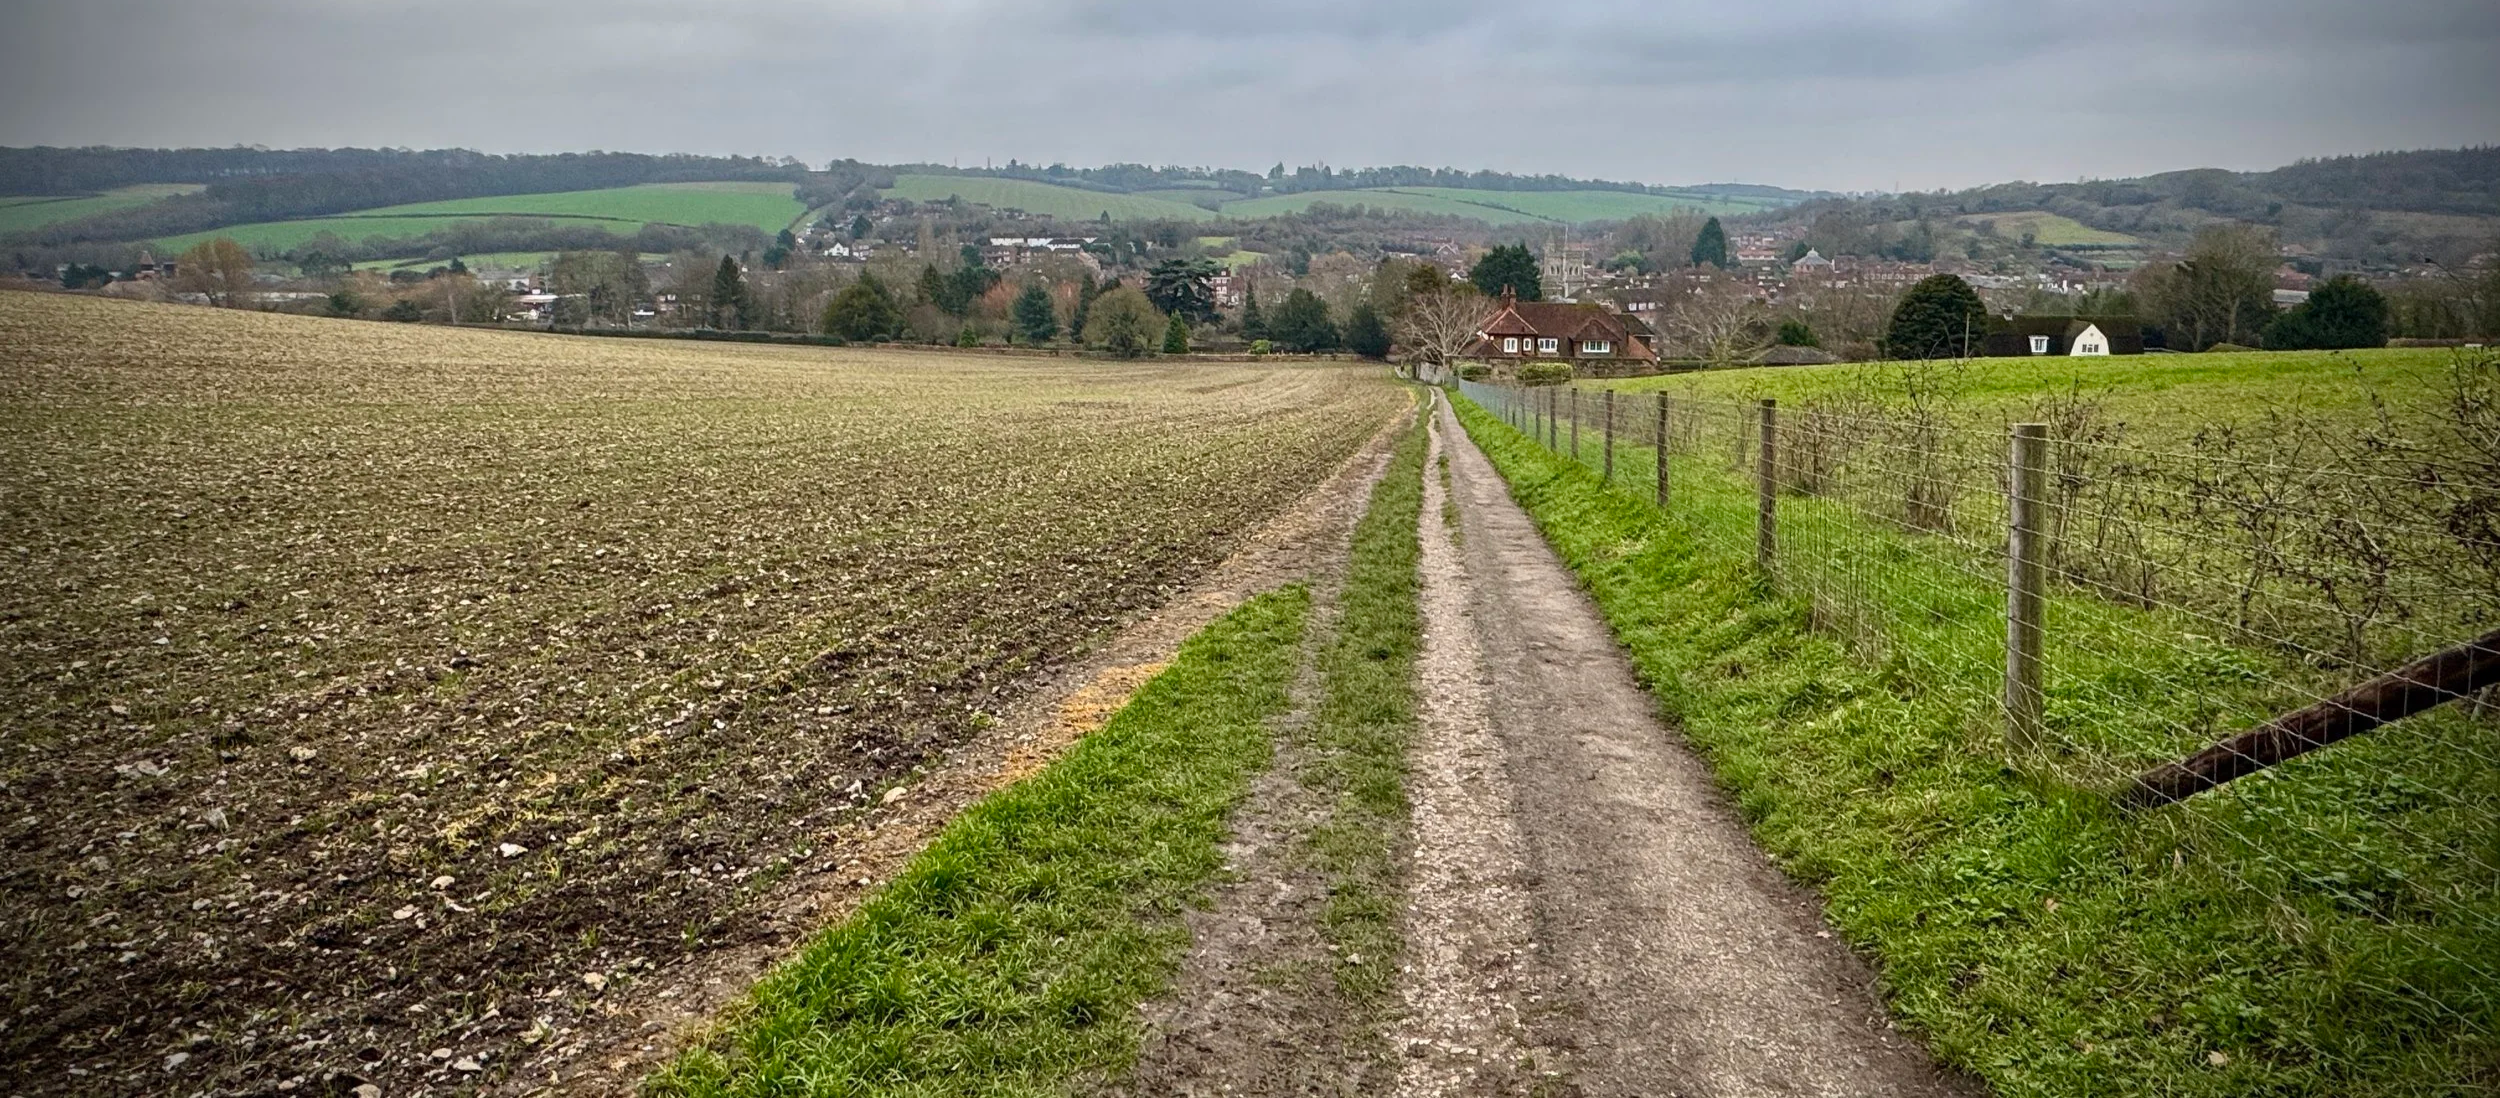
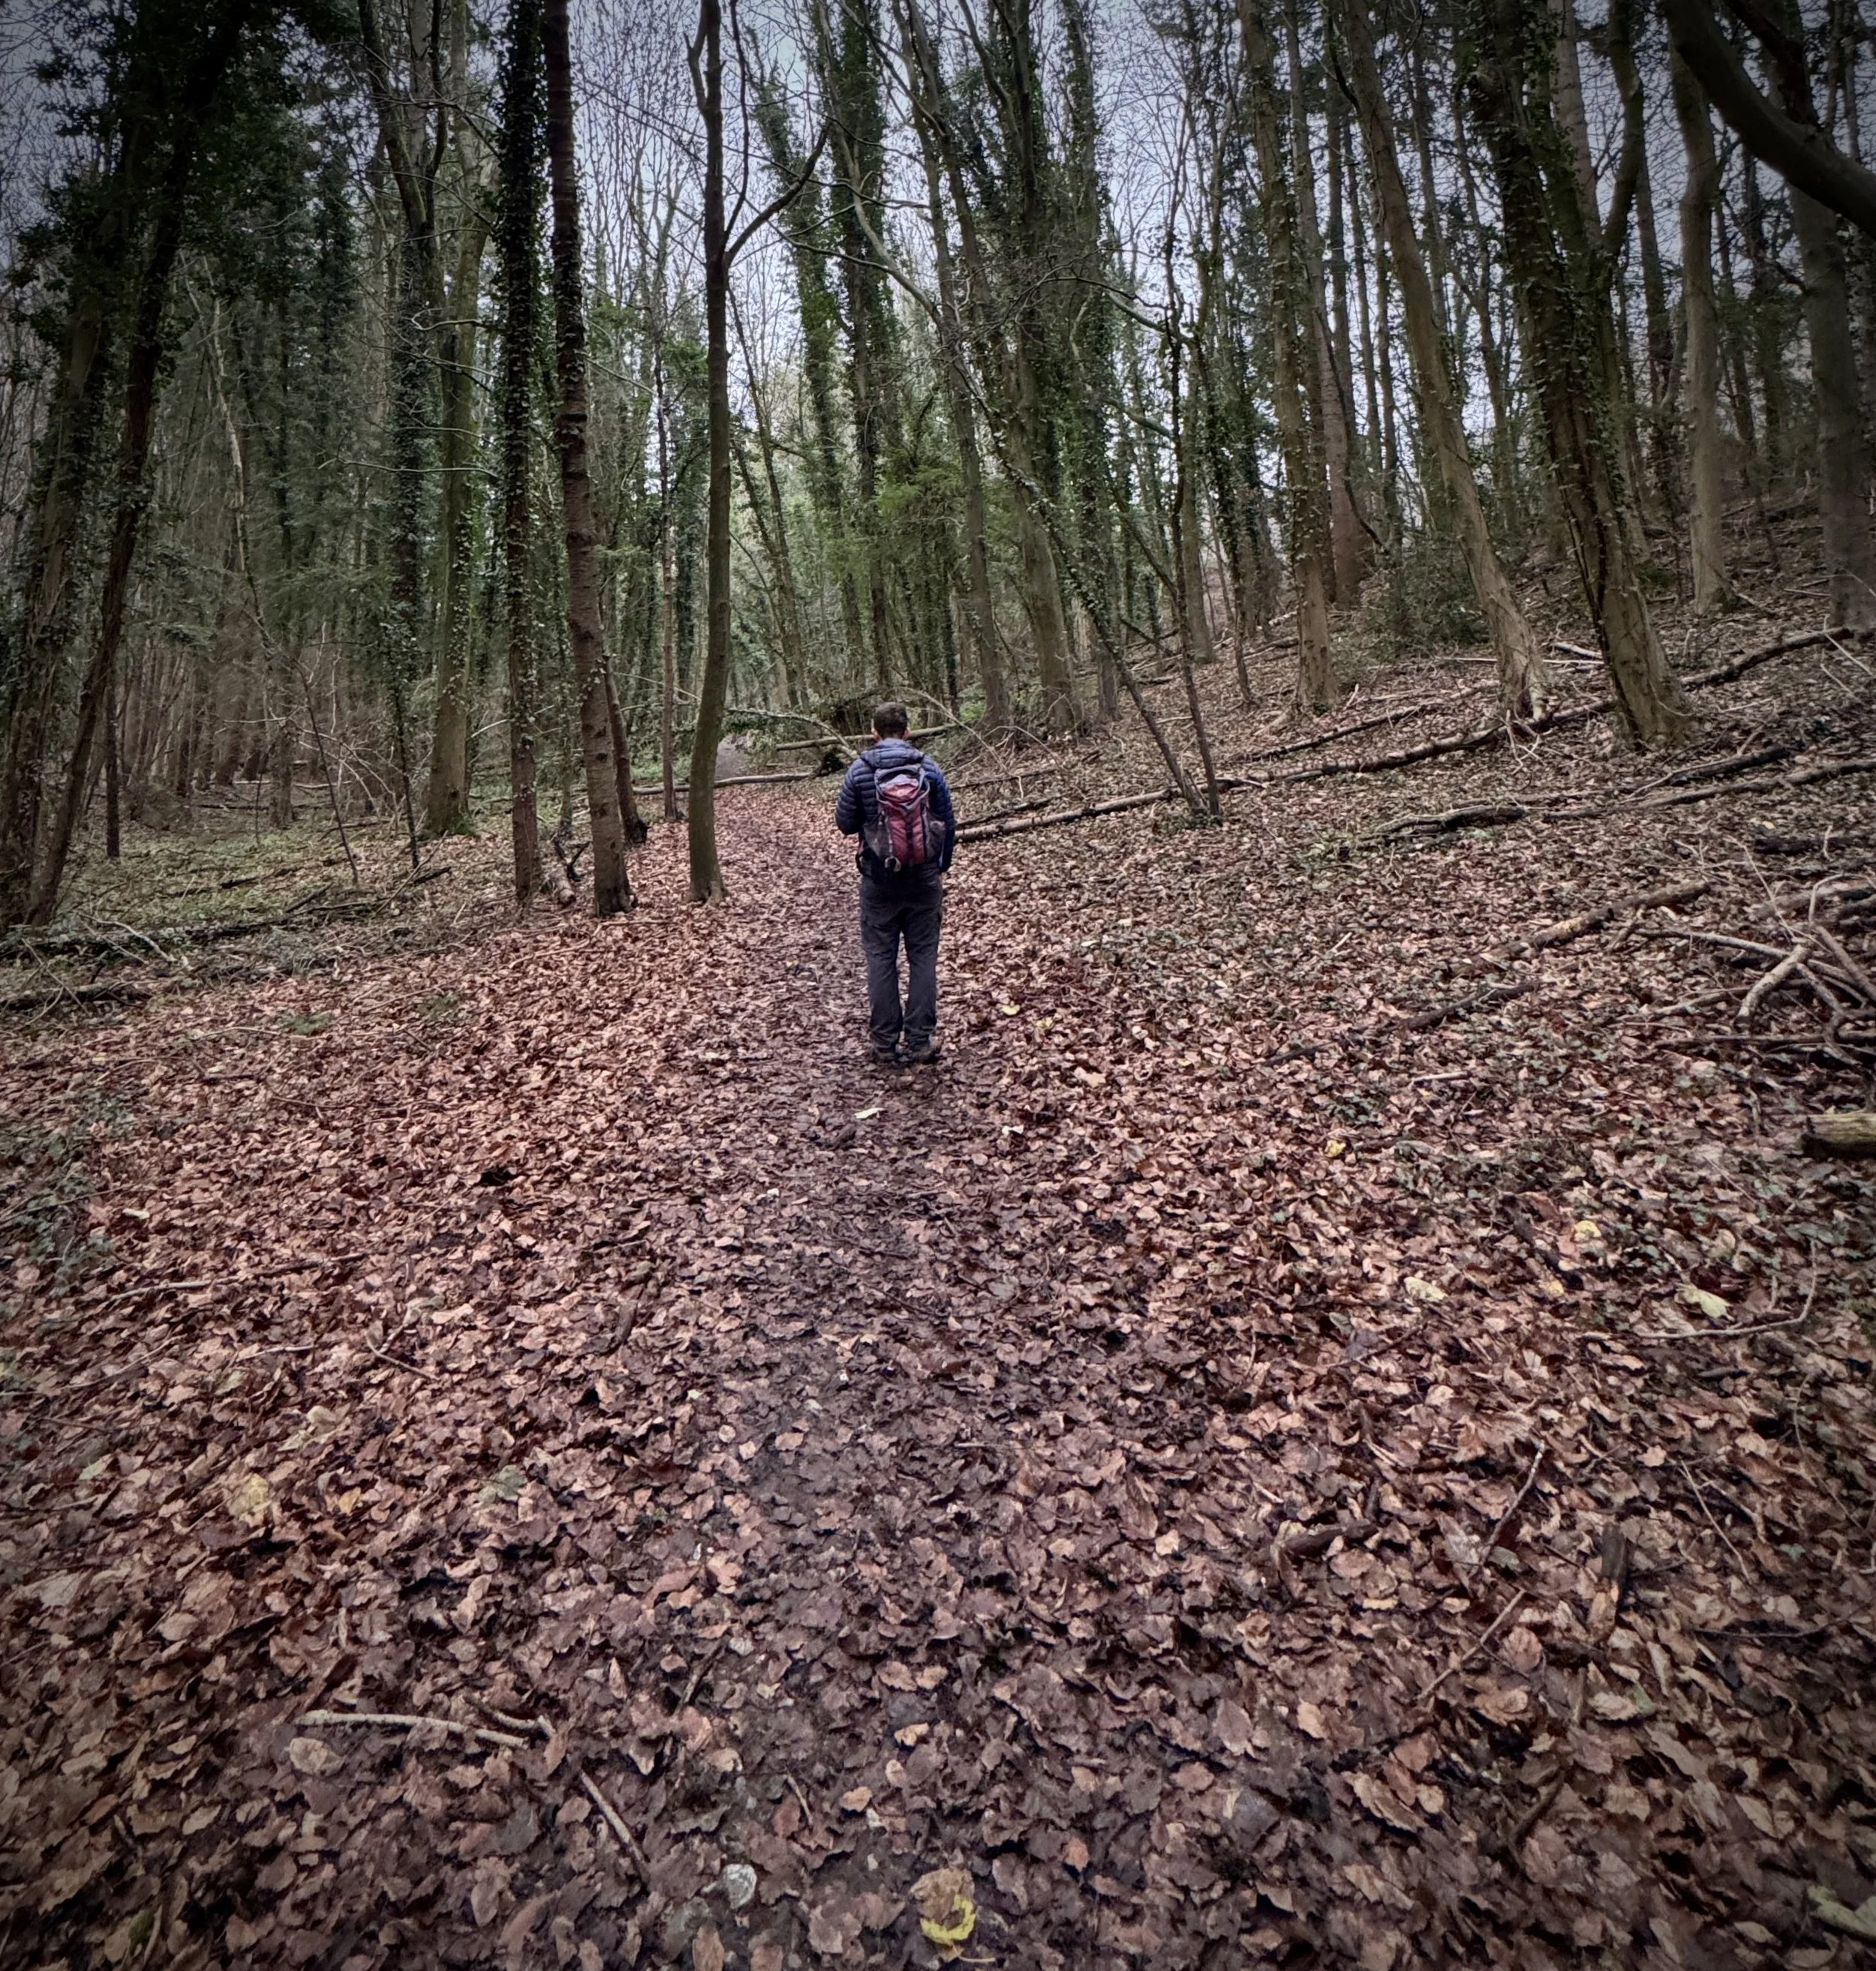
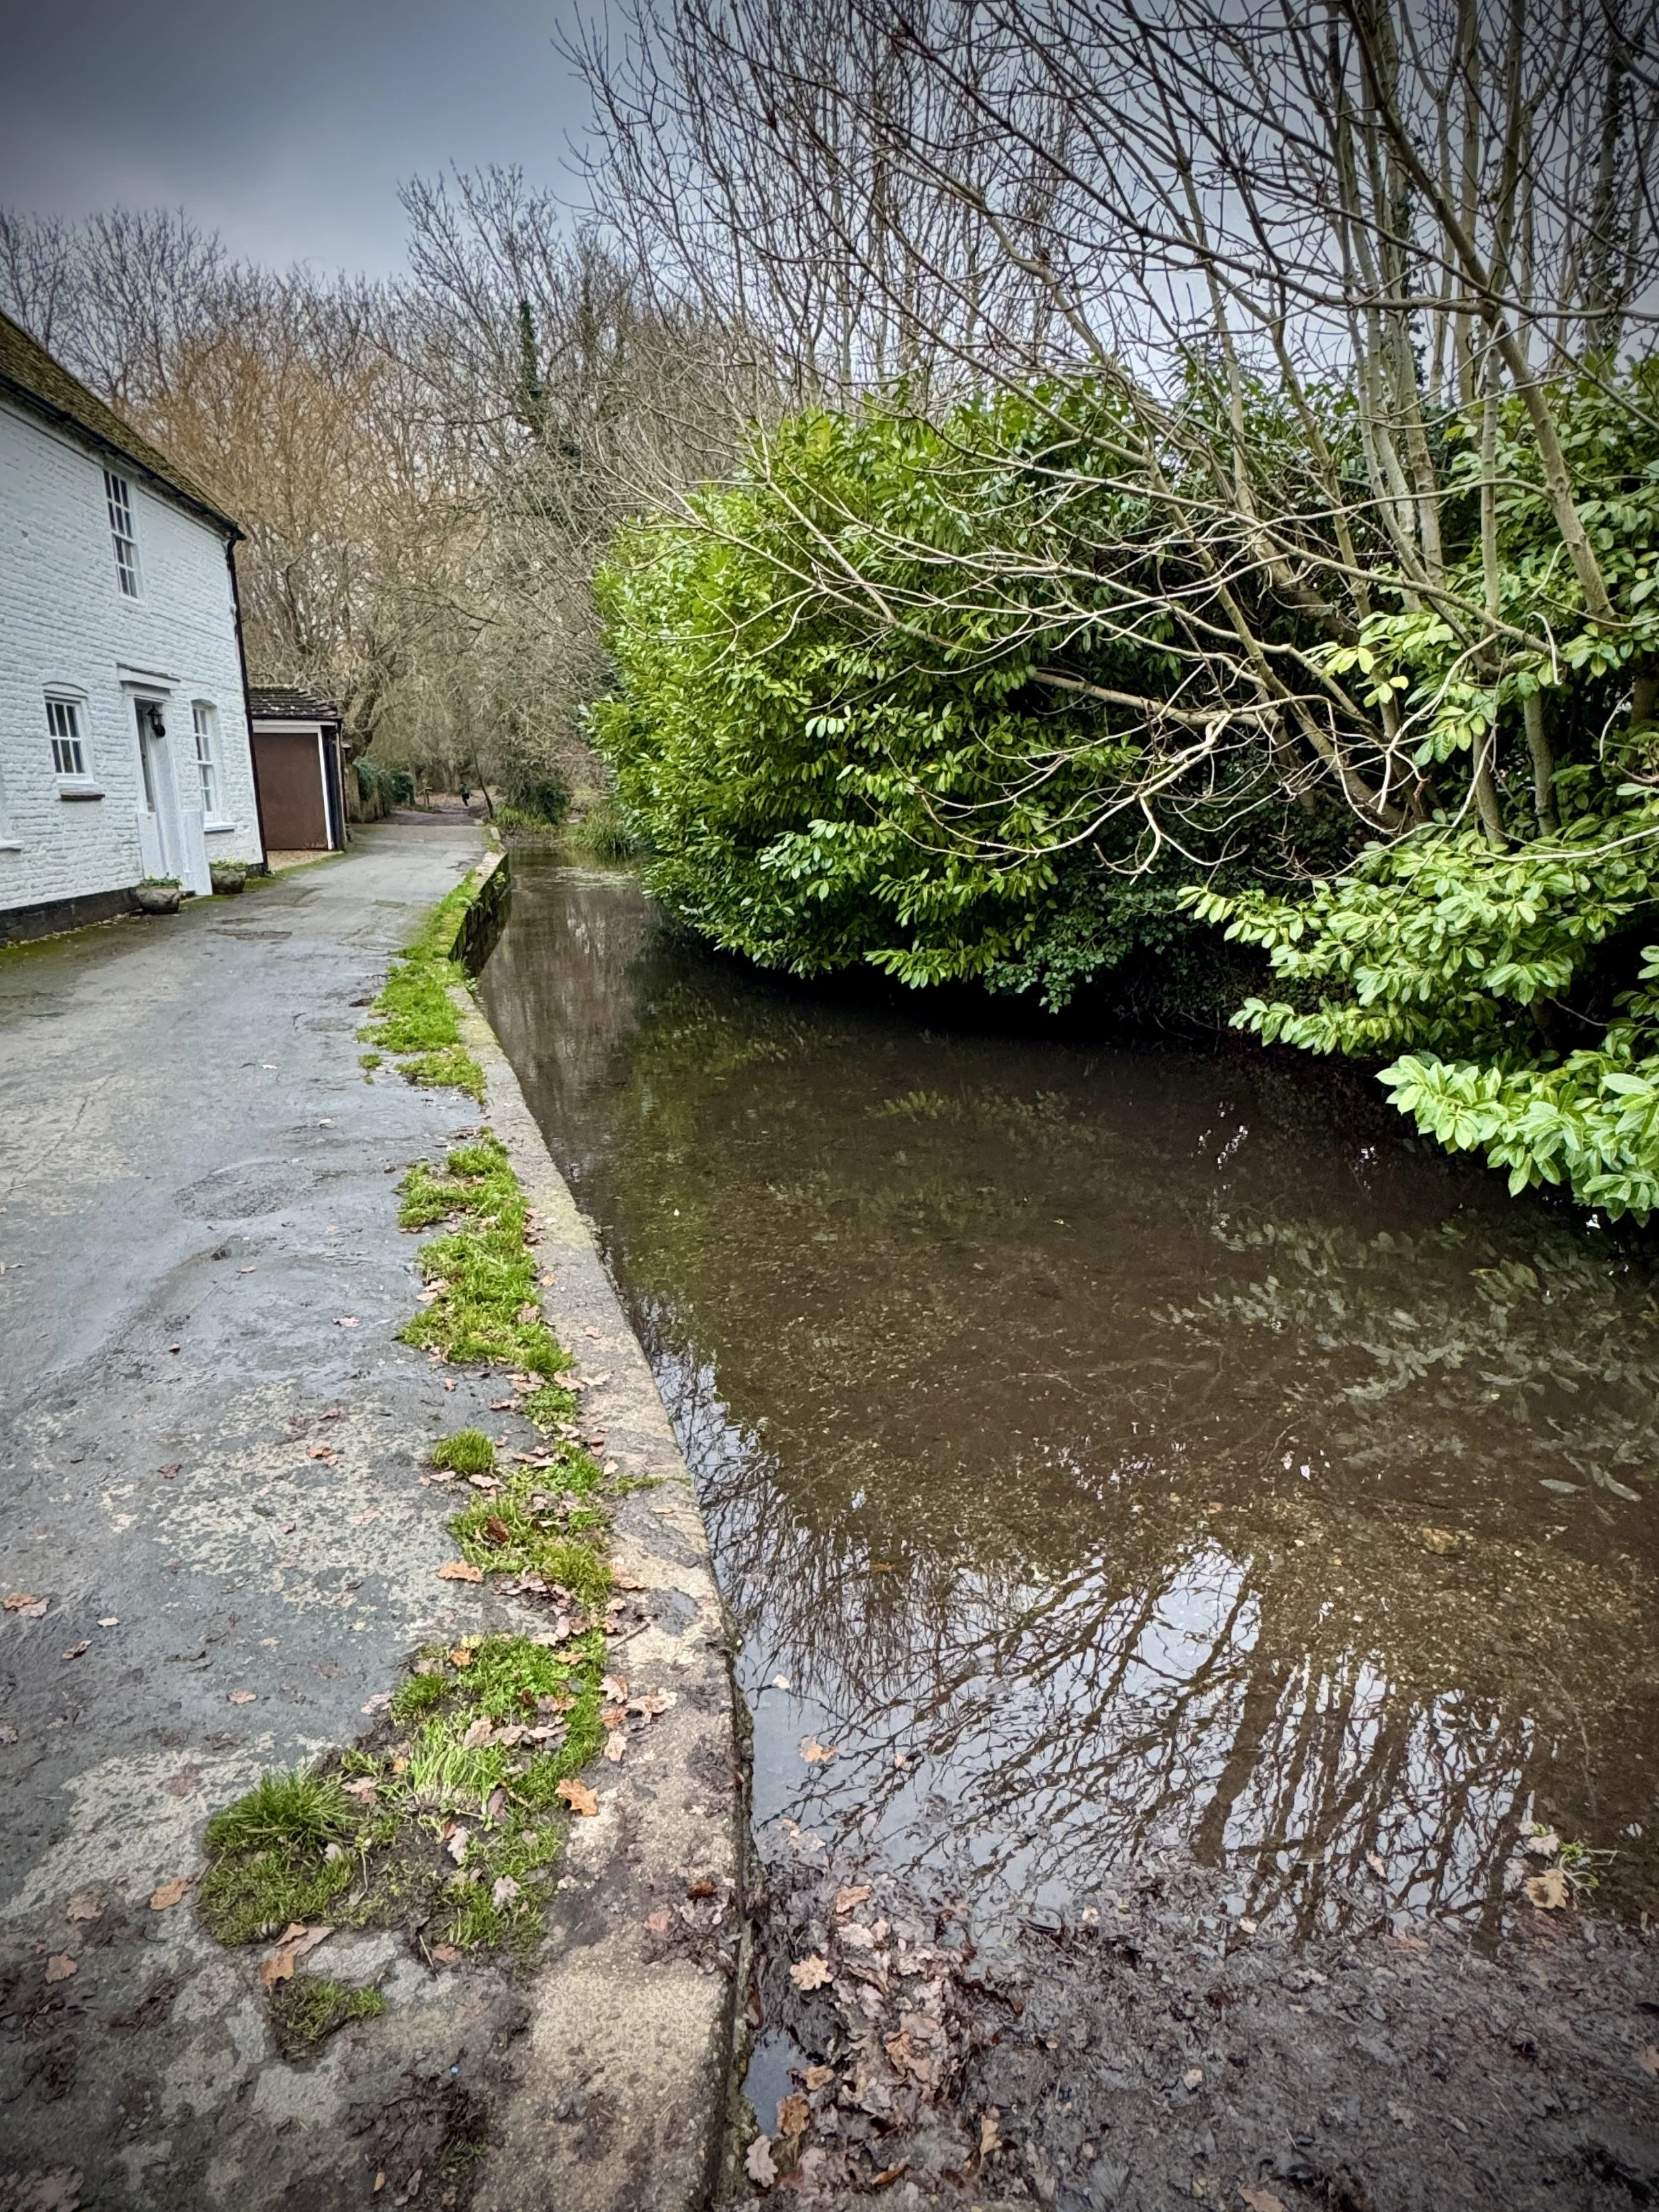
This section of the Thames Path offers a fascinating mix of environments, taking you seamlessly from suburban fringes right through the heart of a major town and out into peaceful countryside. Starting at Tilehurst railway station, the path joins the river and stays remarkably close to the water for the entire route. It is a fantastic walk for those who enjoy flat, easy terrain with plenty of opportunities to stop for refreshments along the way.
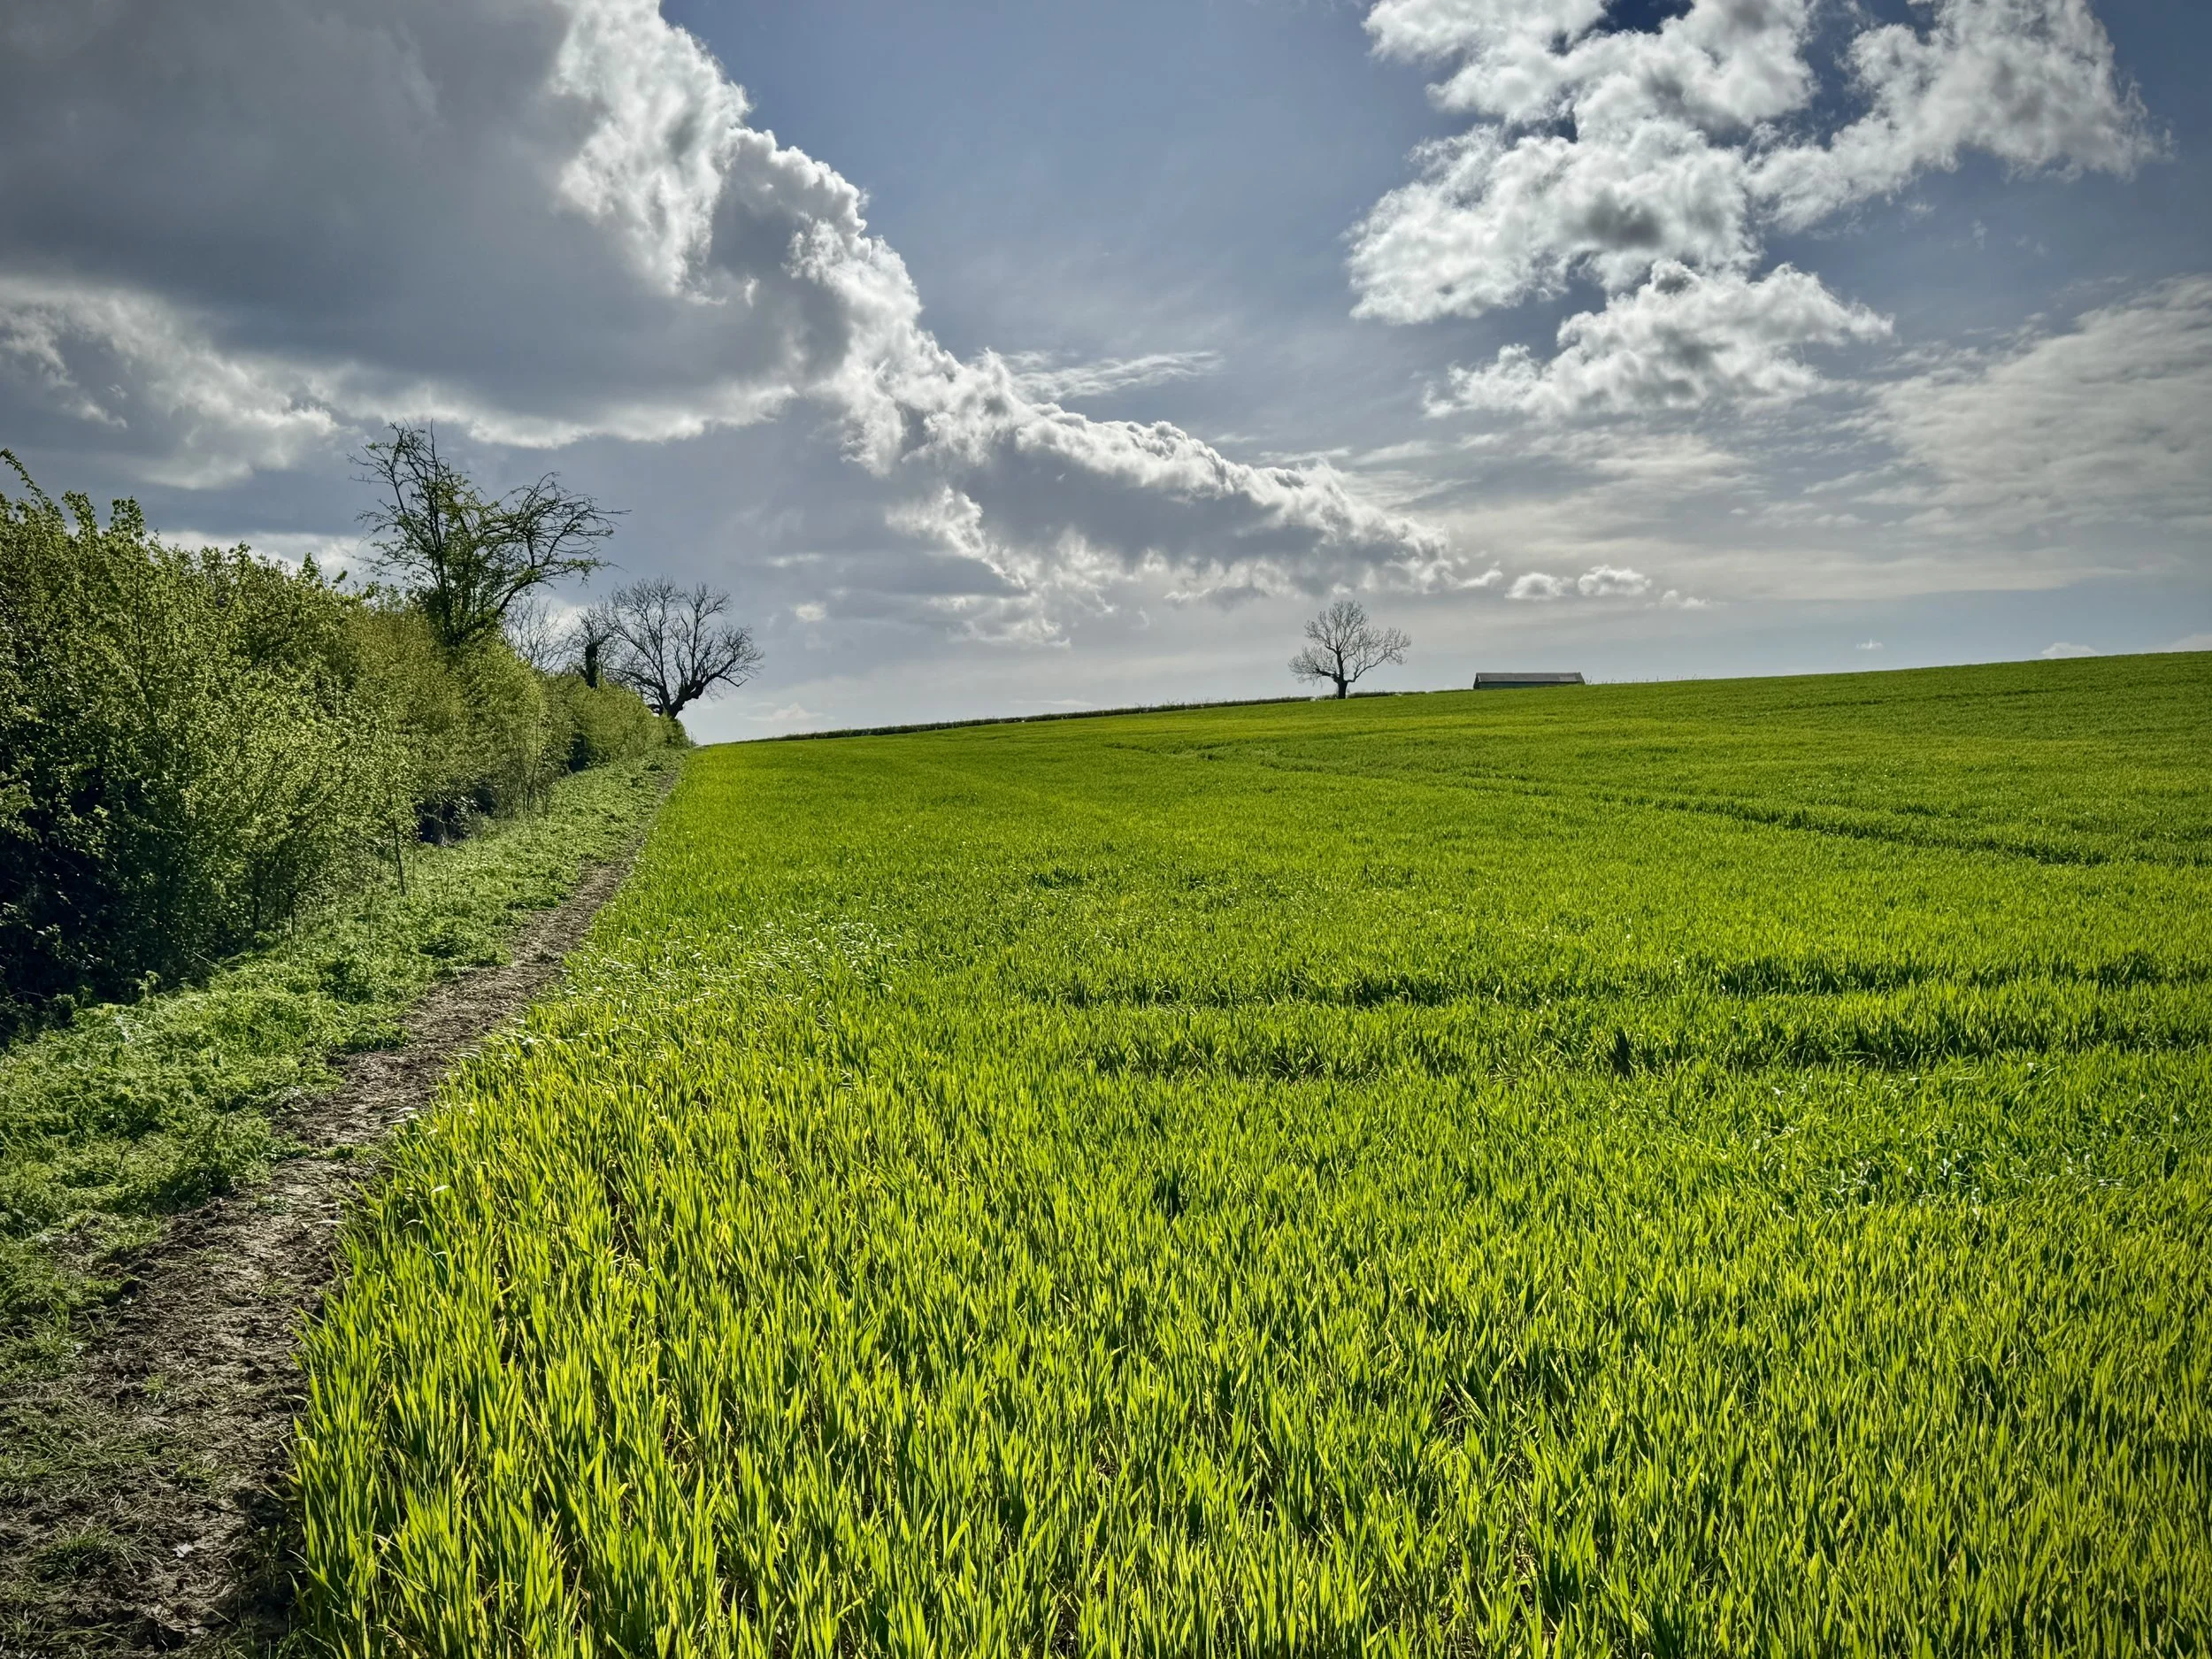
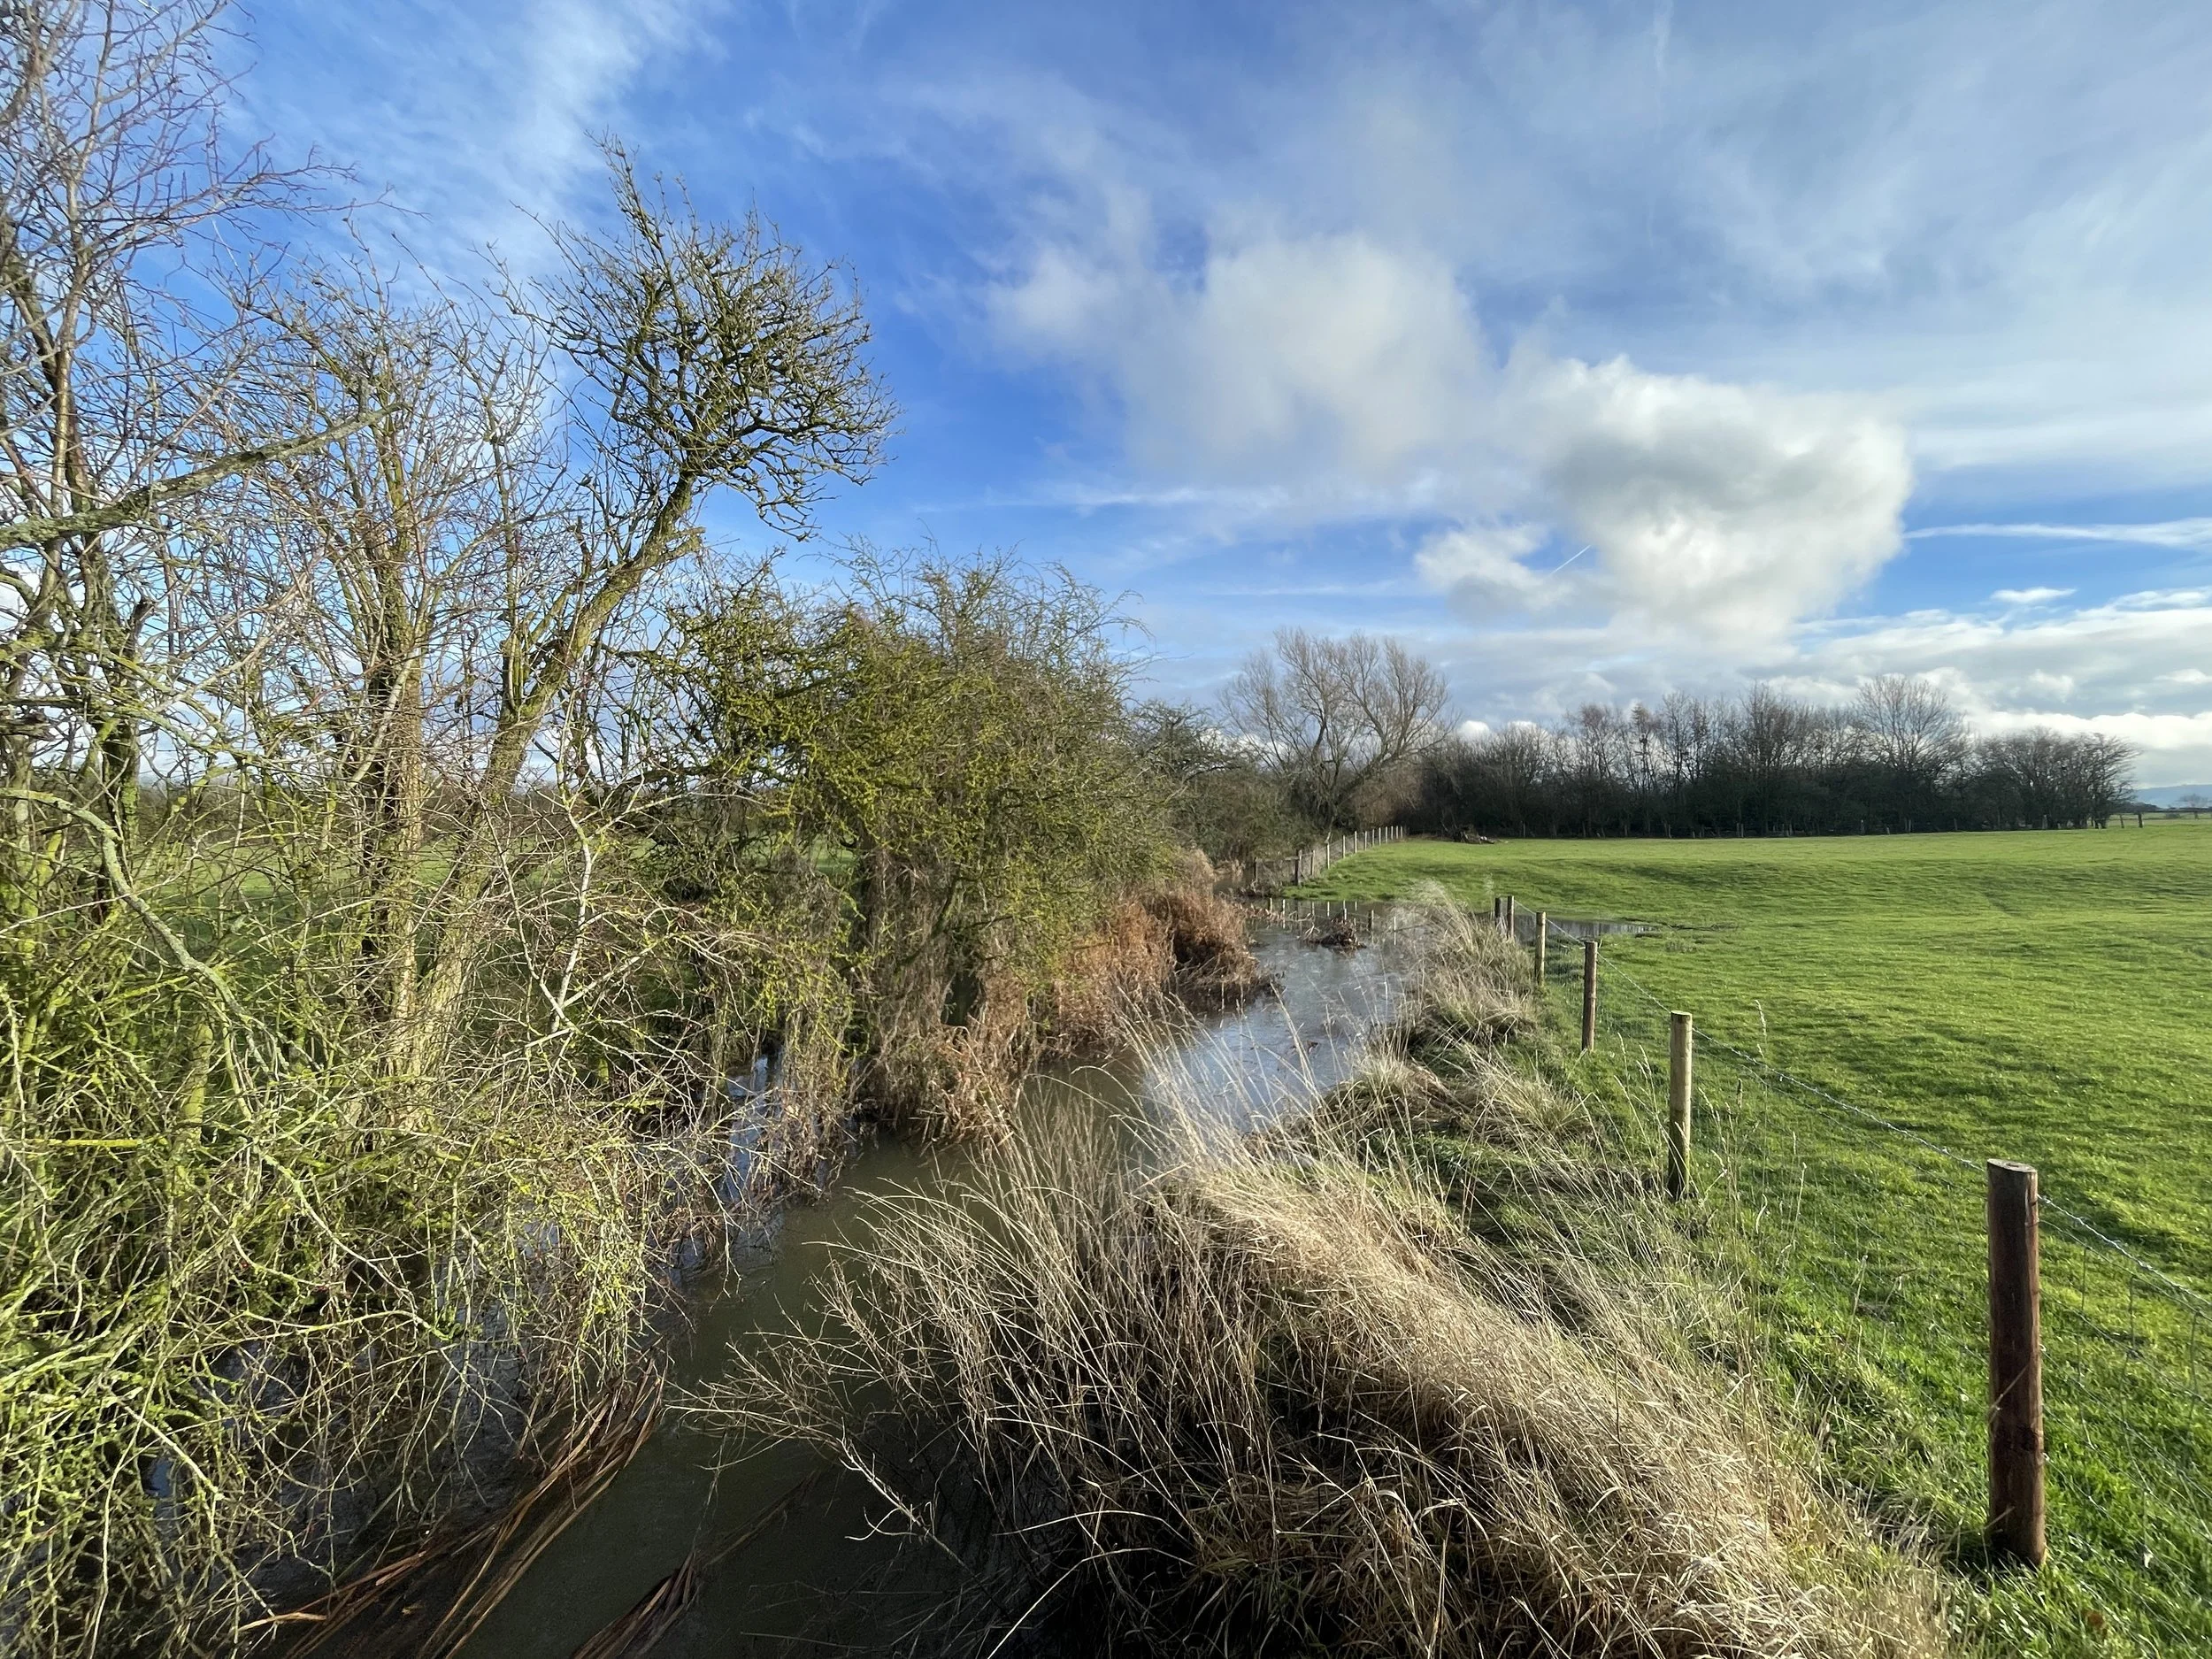
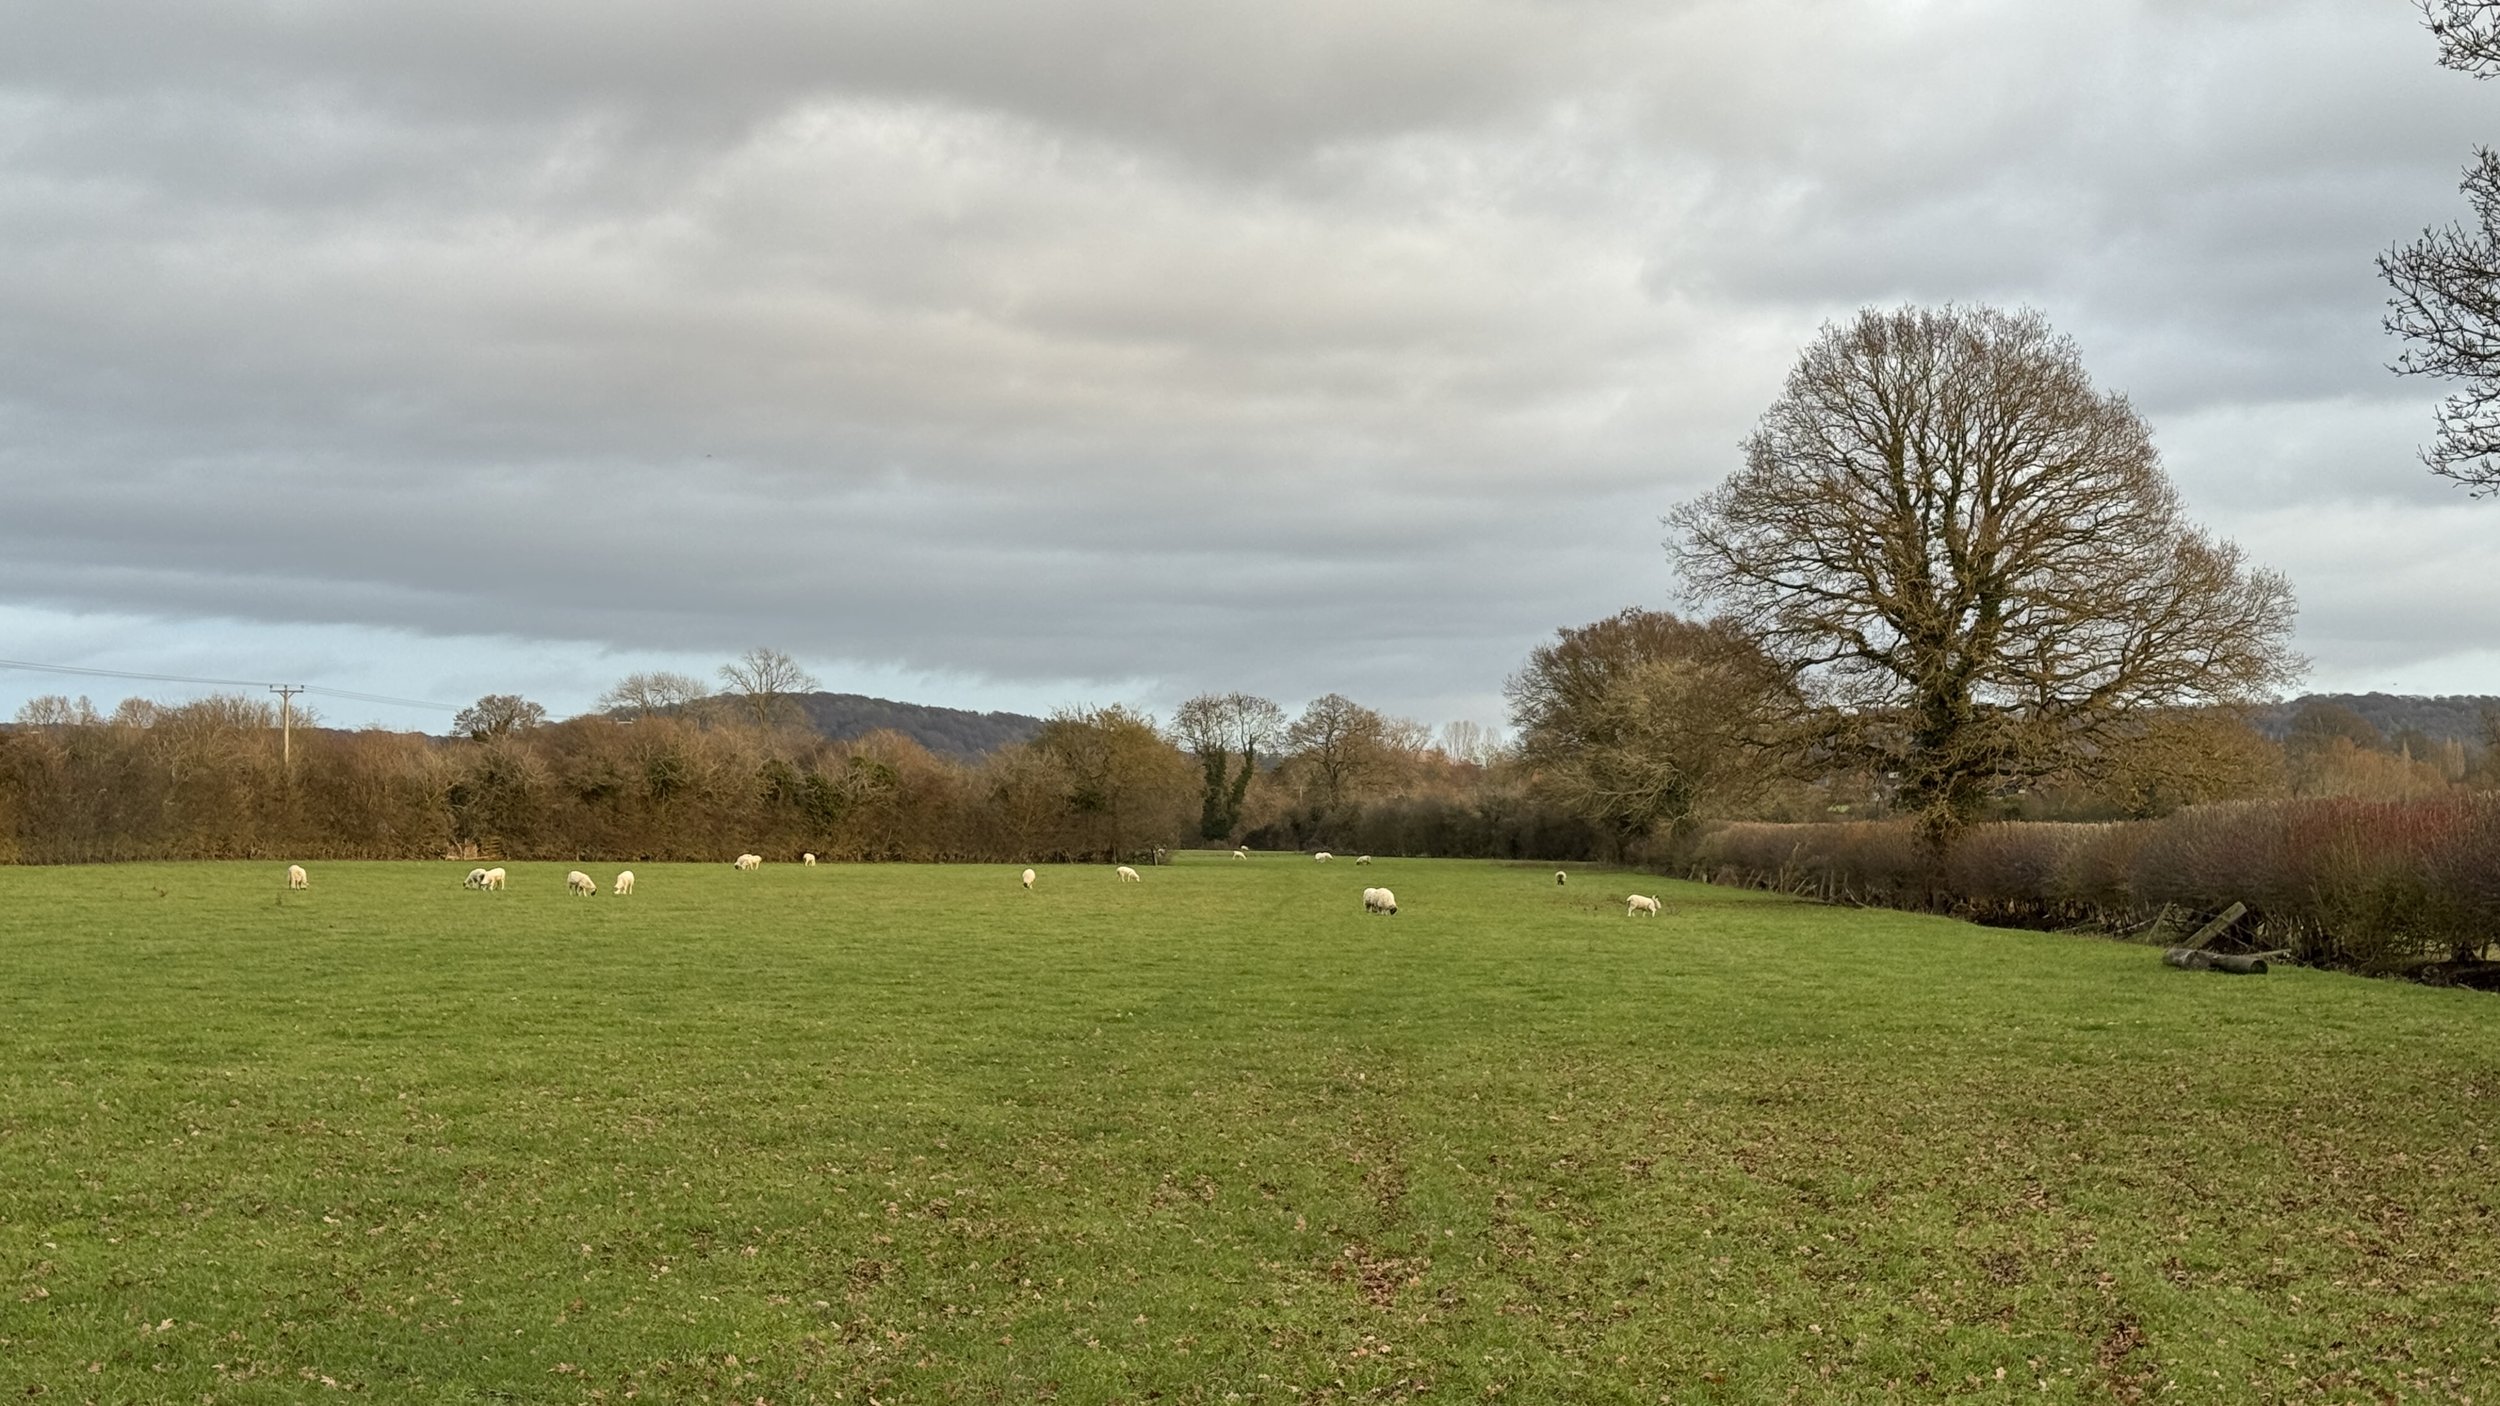
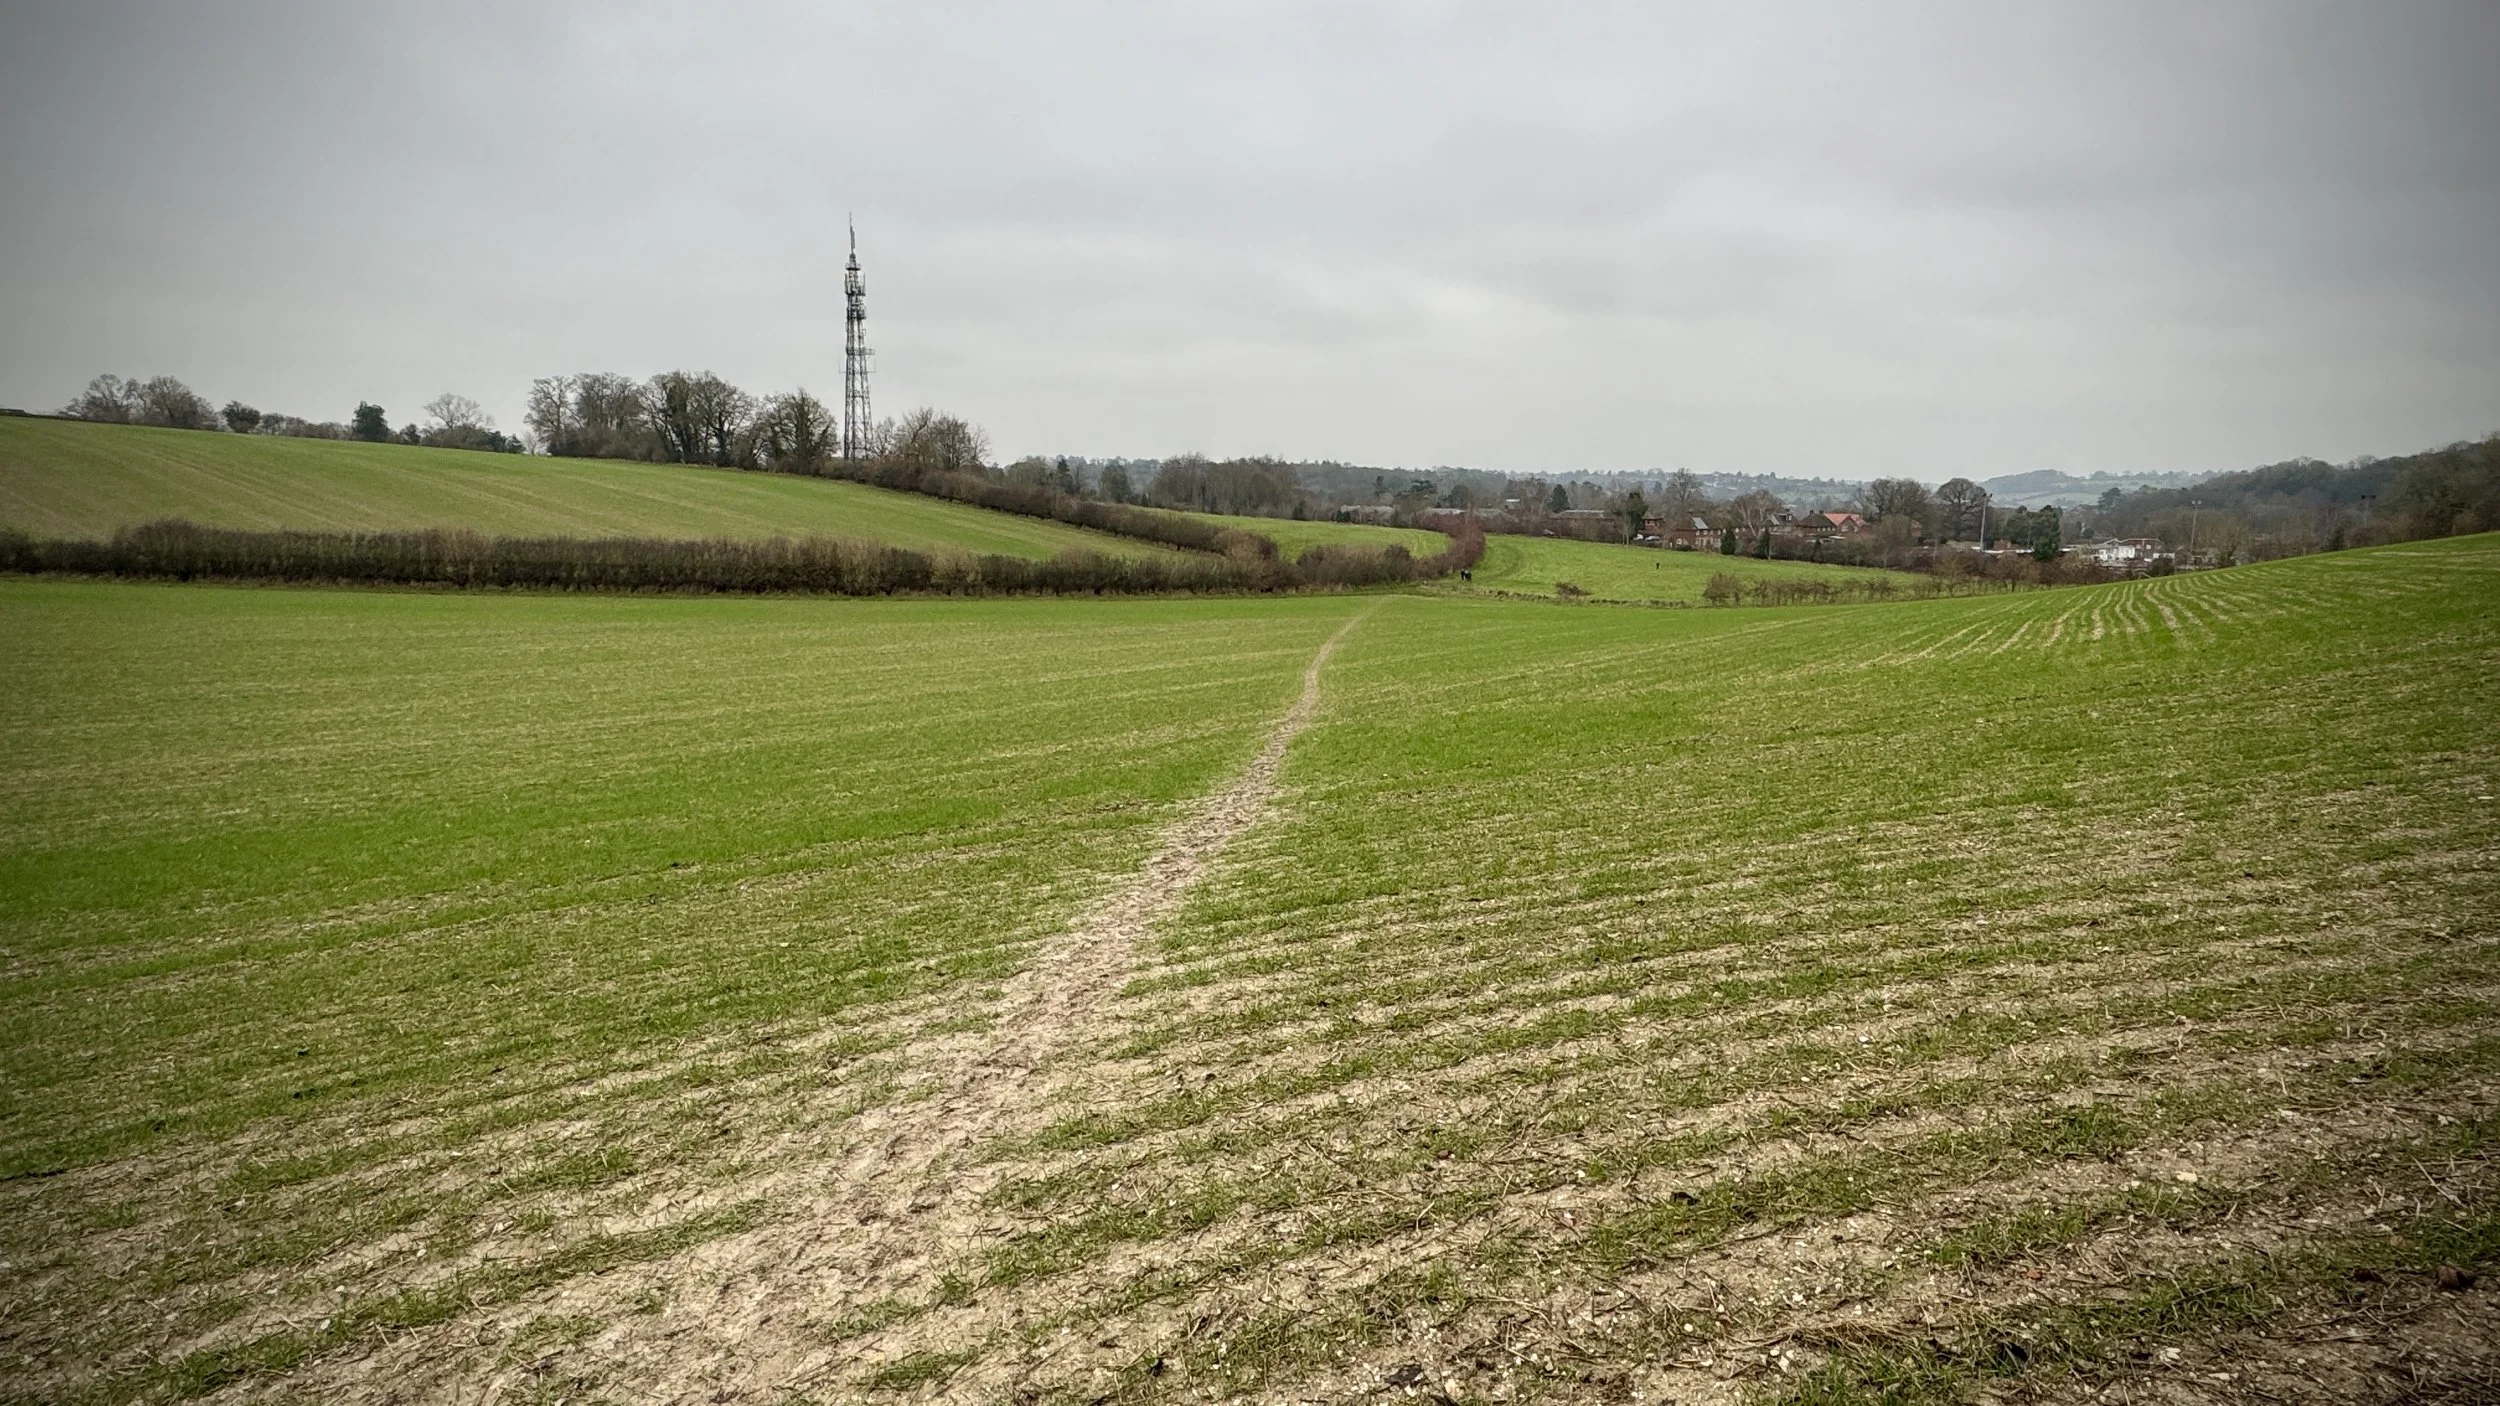
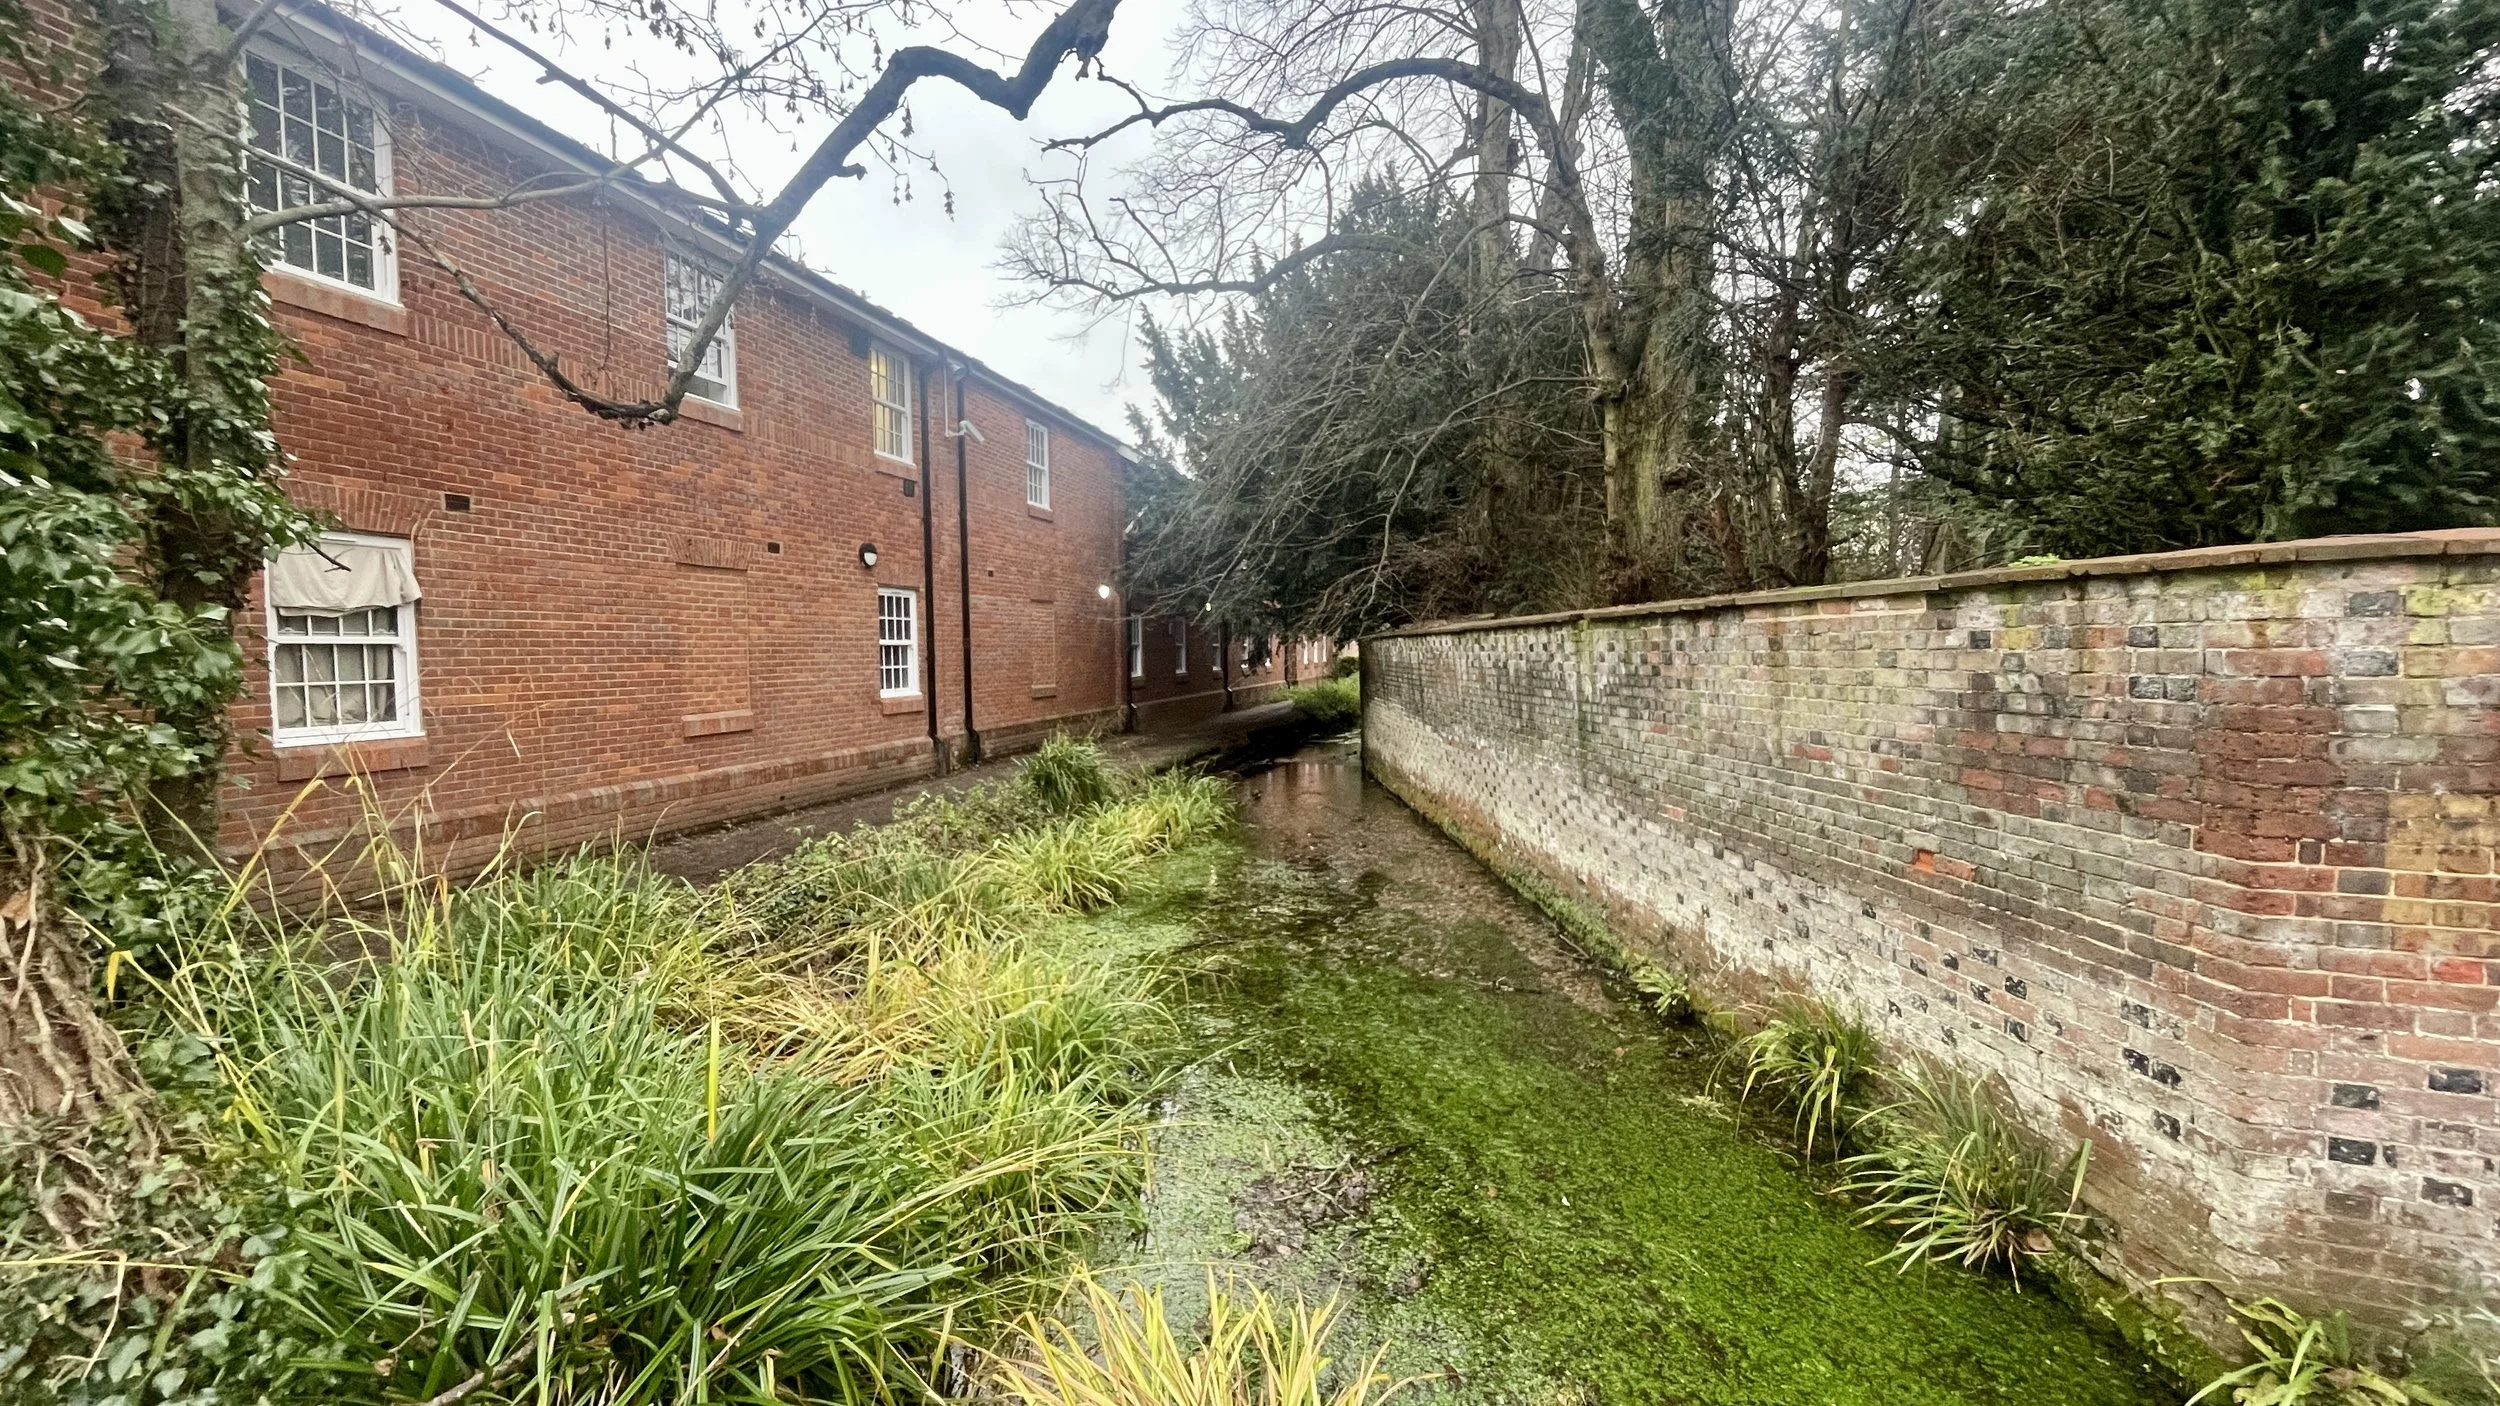
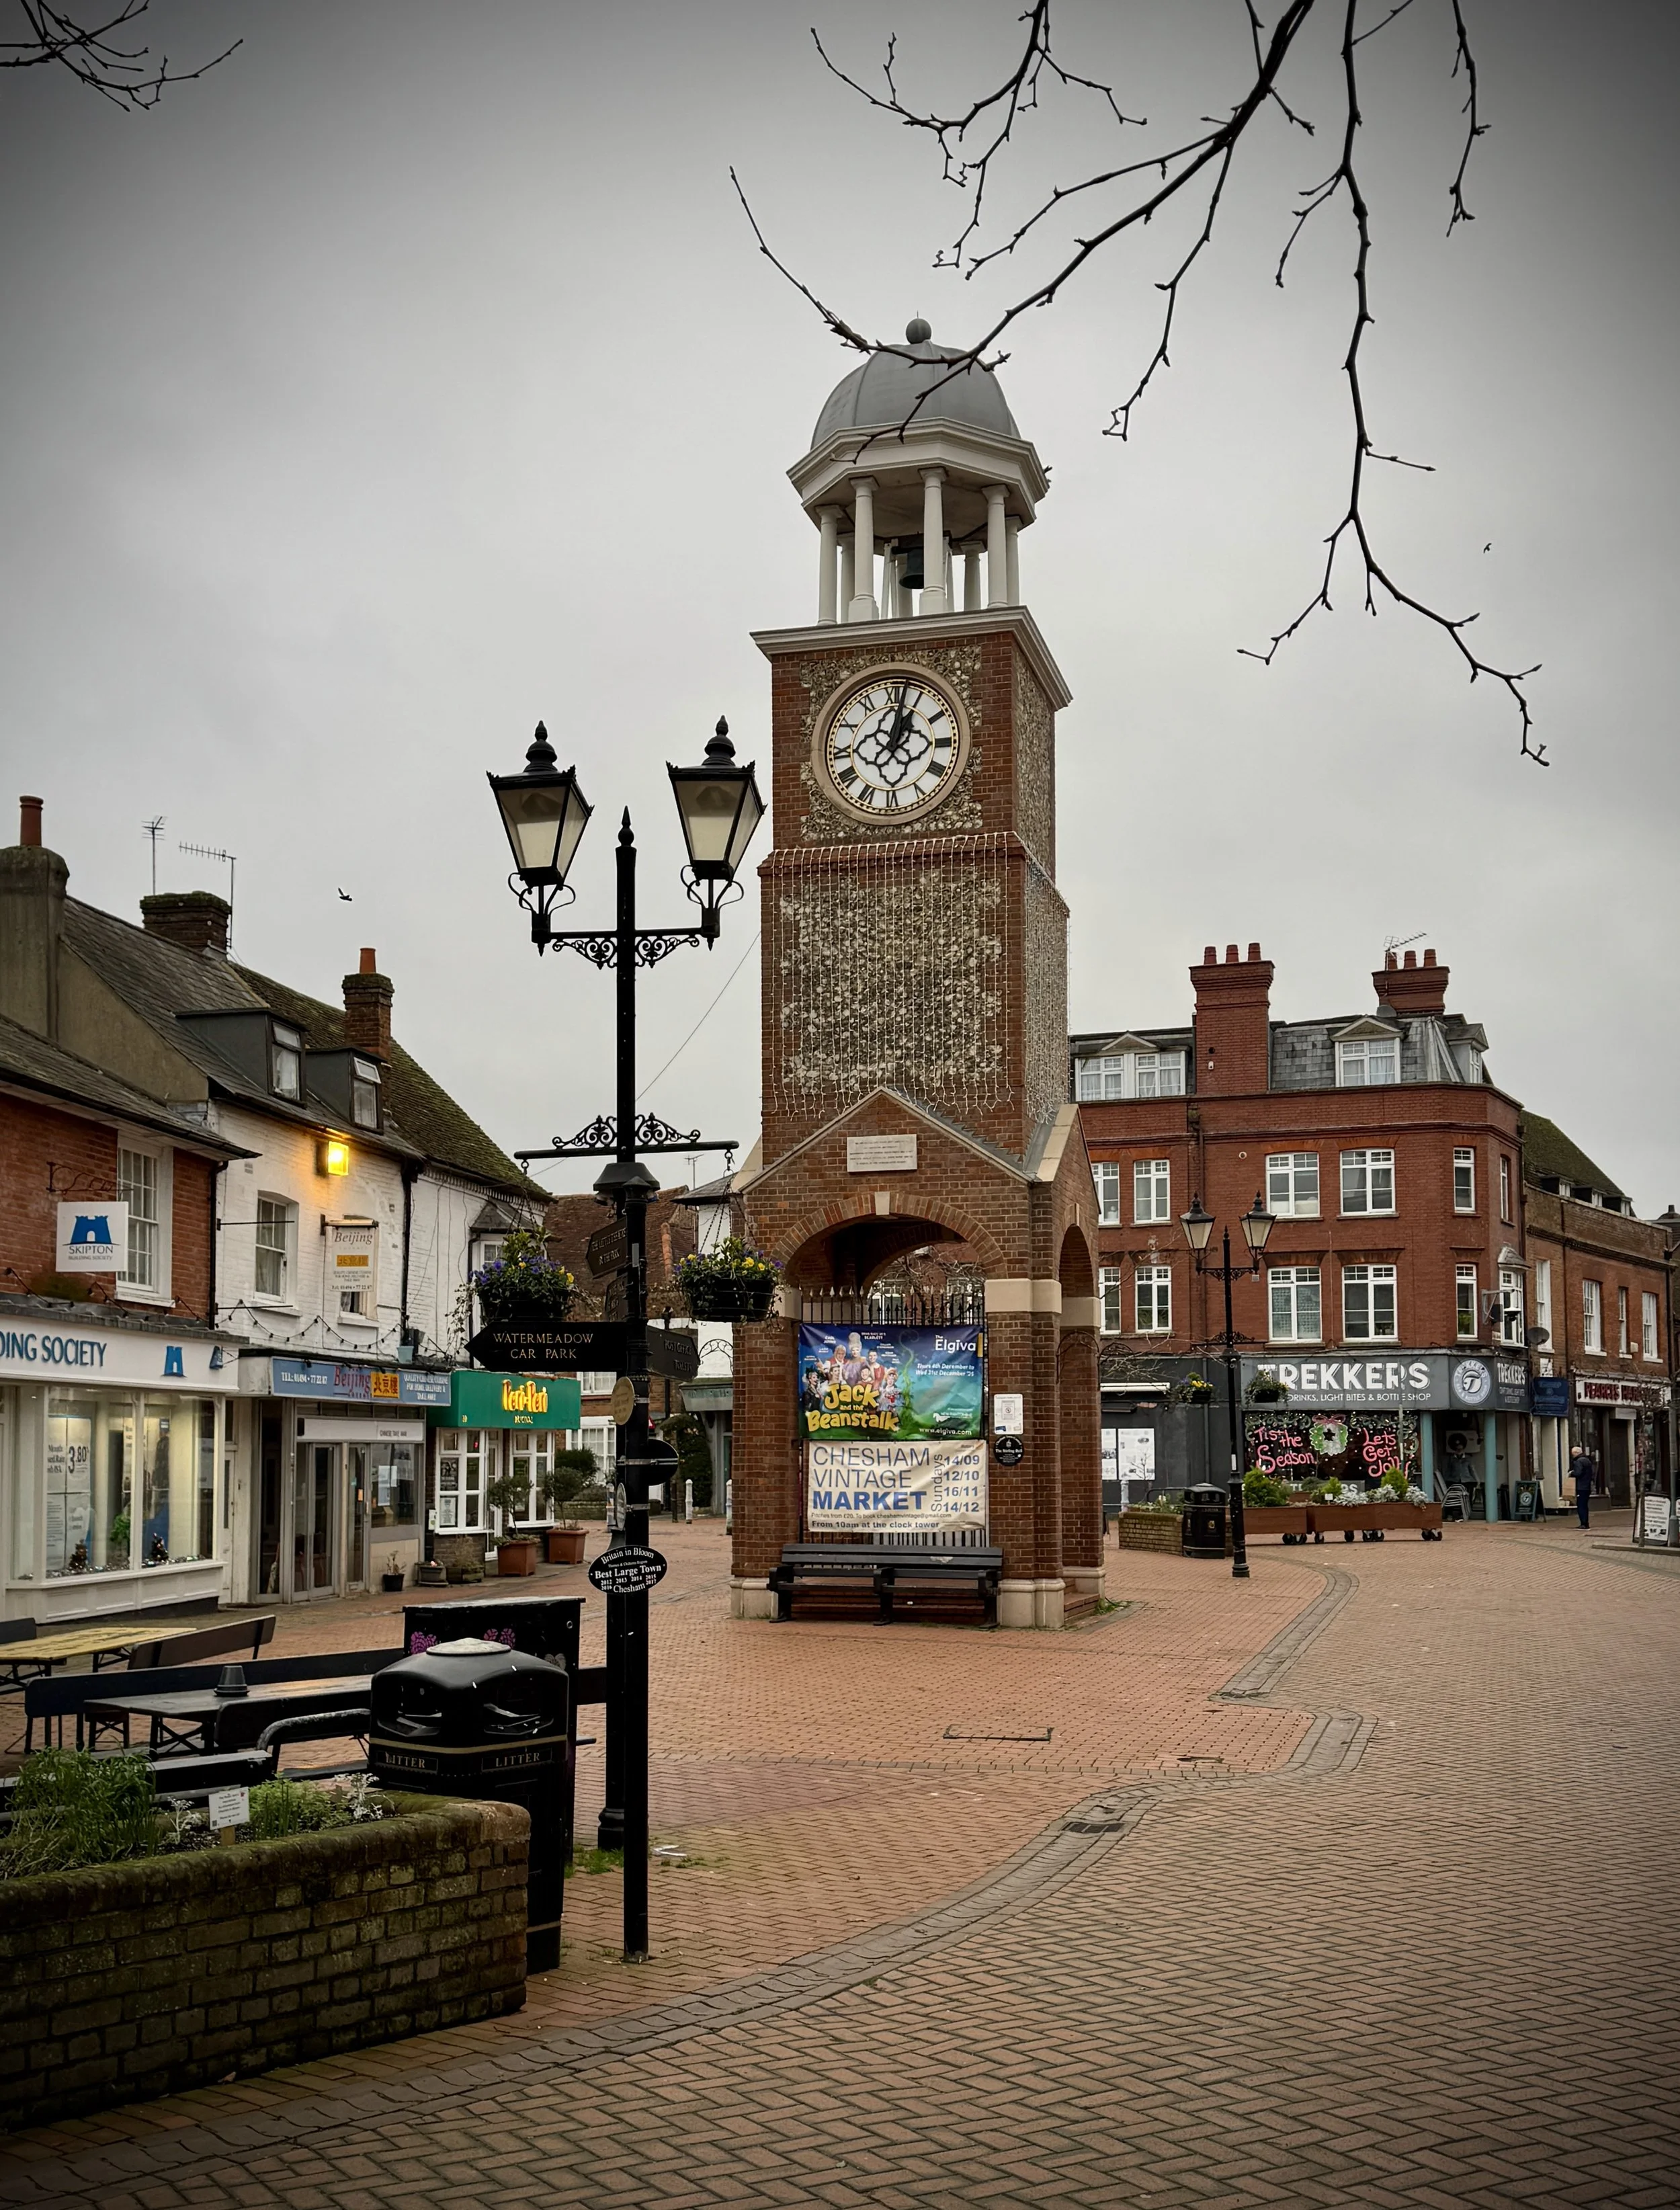
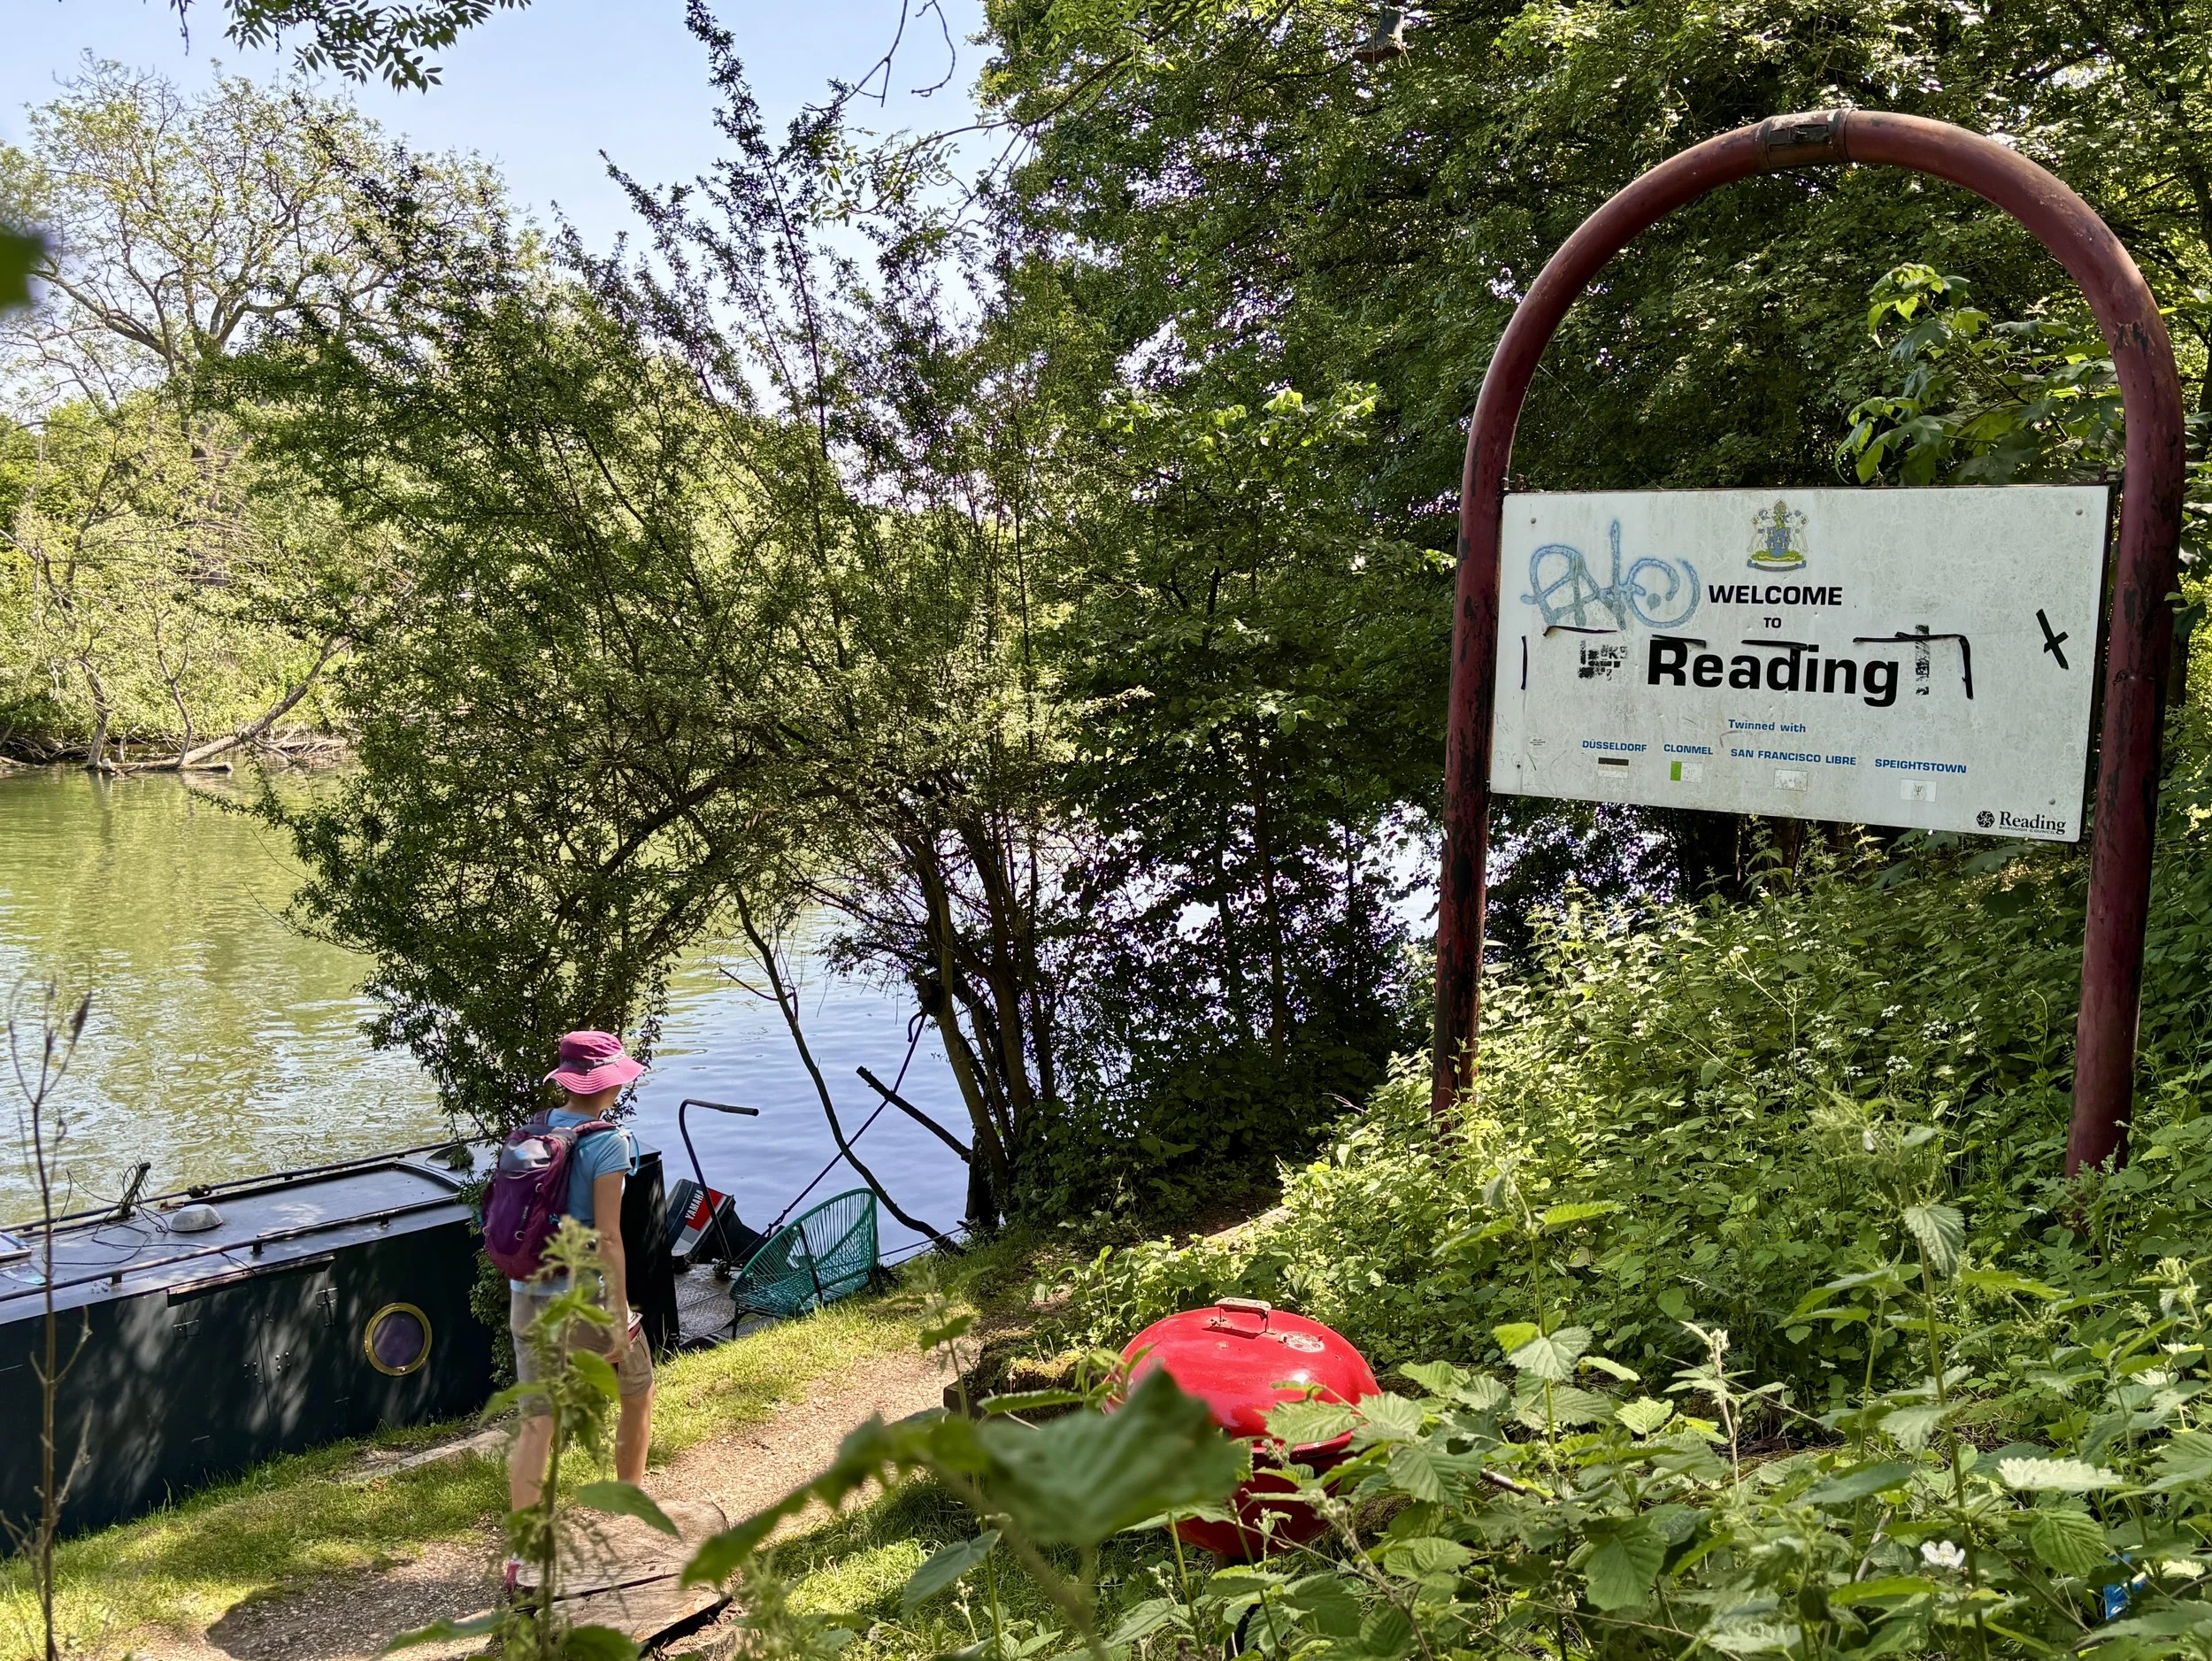
As you progress towards Reading, the landscape transitions from tree-lined riverbanks to the bustling centre of the town, passing rowing clubs and historic bridges. Once you navigate past the mouth of the River Kennet, the urban environment quickly fades away. The final stretch alongside Thames Valley Park is tranquil and green, guiding you gently into the picturesque, historic village of Sonning.
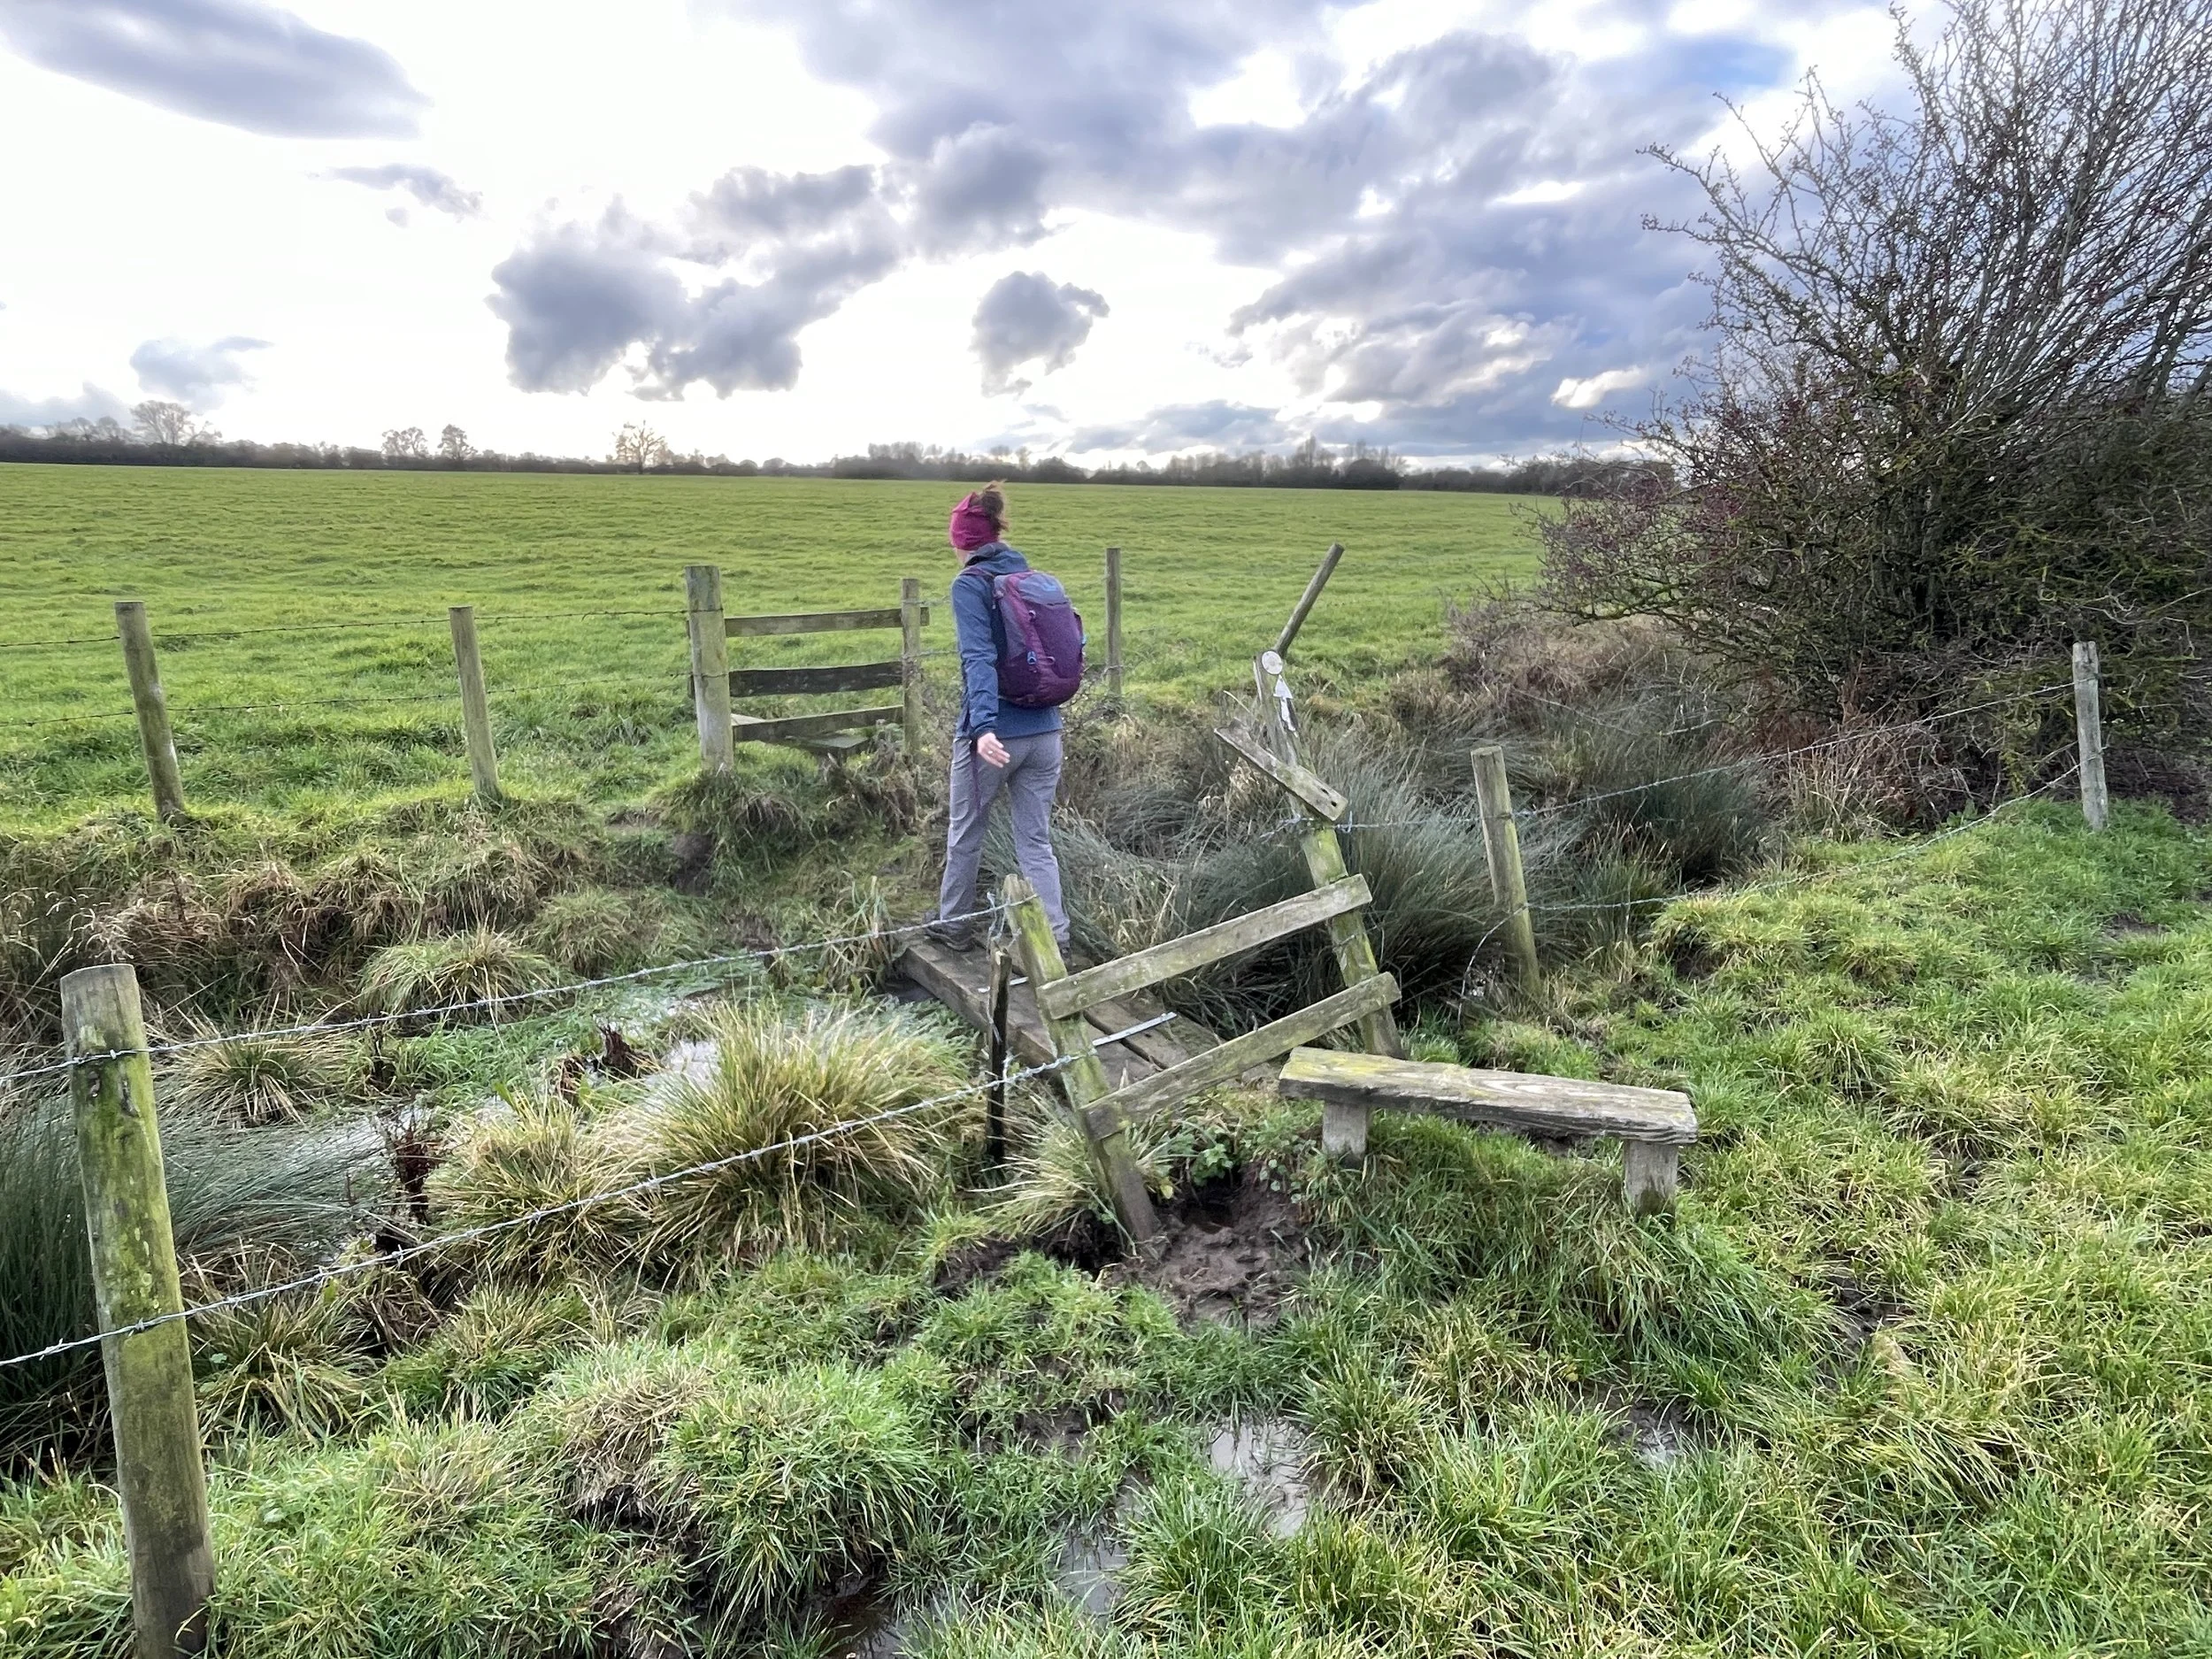
The guidance below will help you navigate but don’t use it as a fully accurate turn-by-turn guide. Always take a map and/or a GPX route and prepare well for the weather and terrain.
Start at Tilehurst railway station and head north to join the Thames Path on the south bank of the river.
Follow the paved riverside path eastwards, keeping the River Thames on your left.
Continue straight along the path as it passes the Rivermead Leisure Complex and Reading Rowing Club.
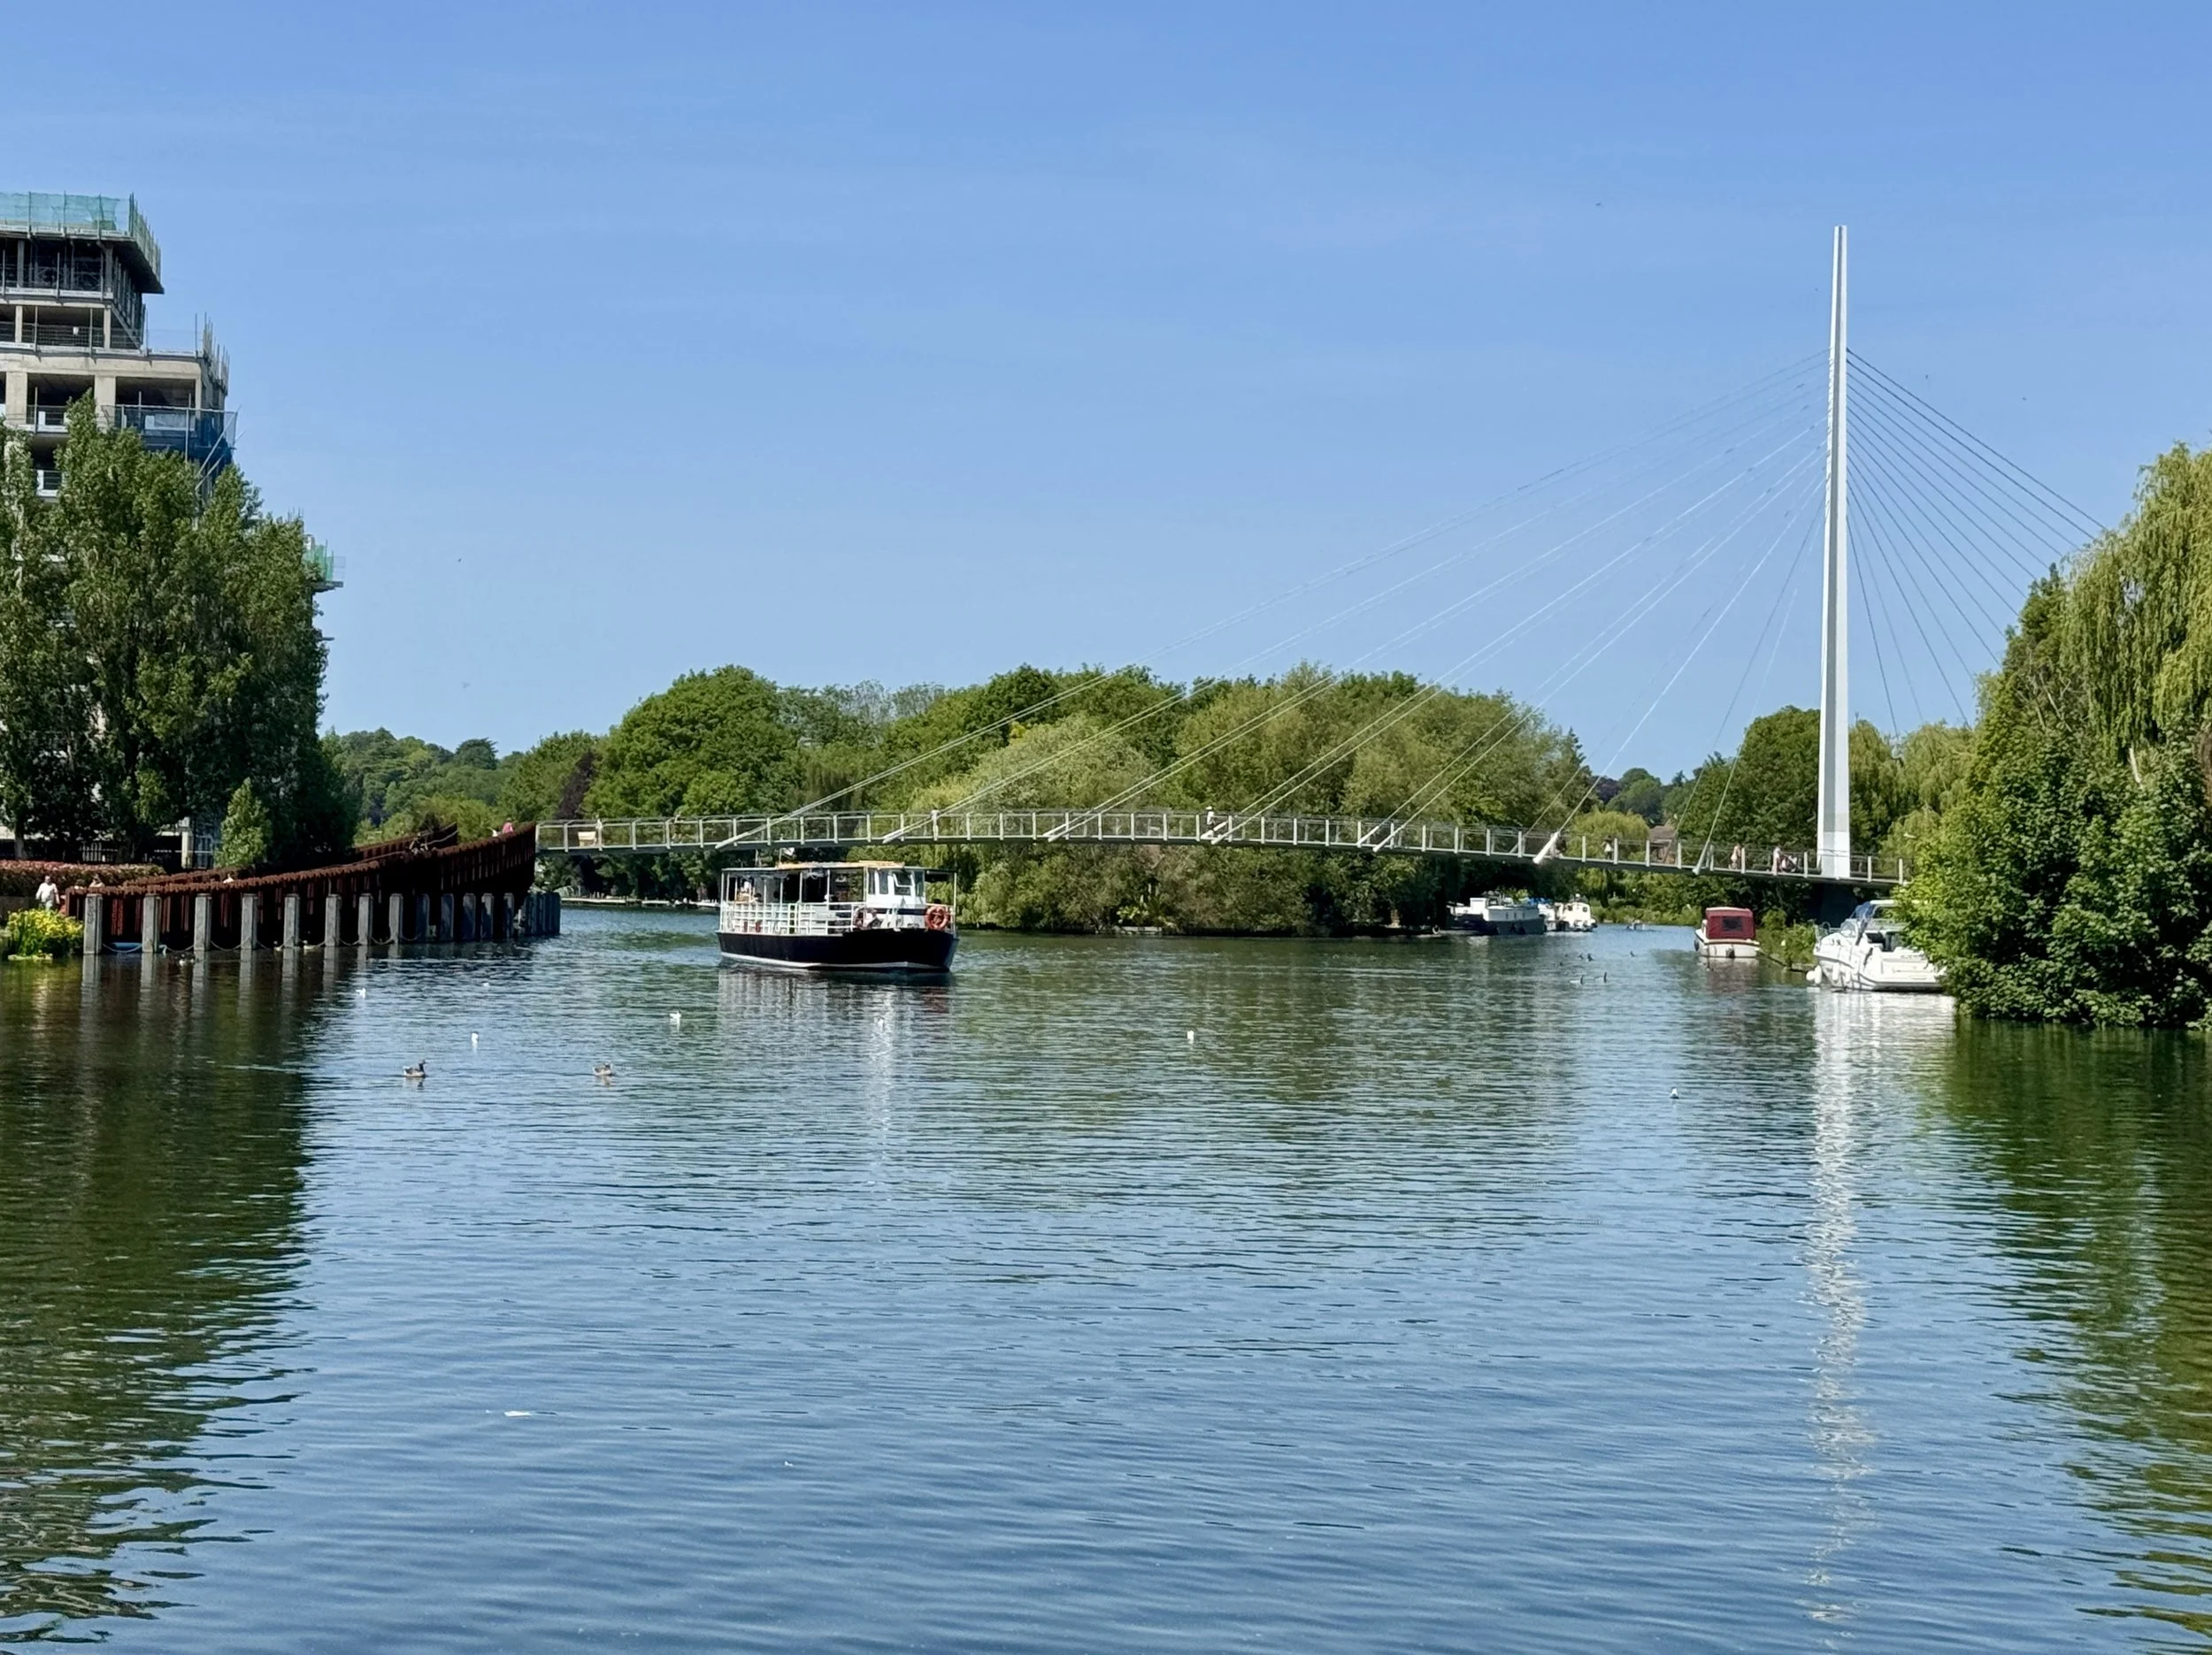
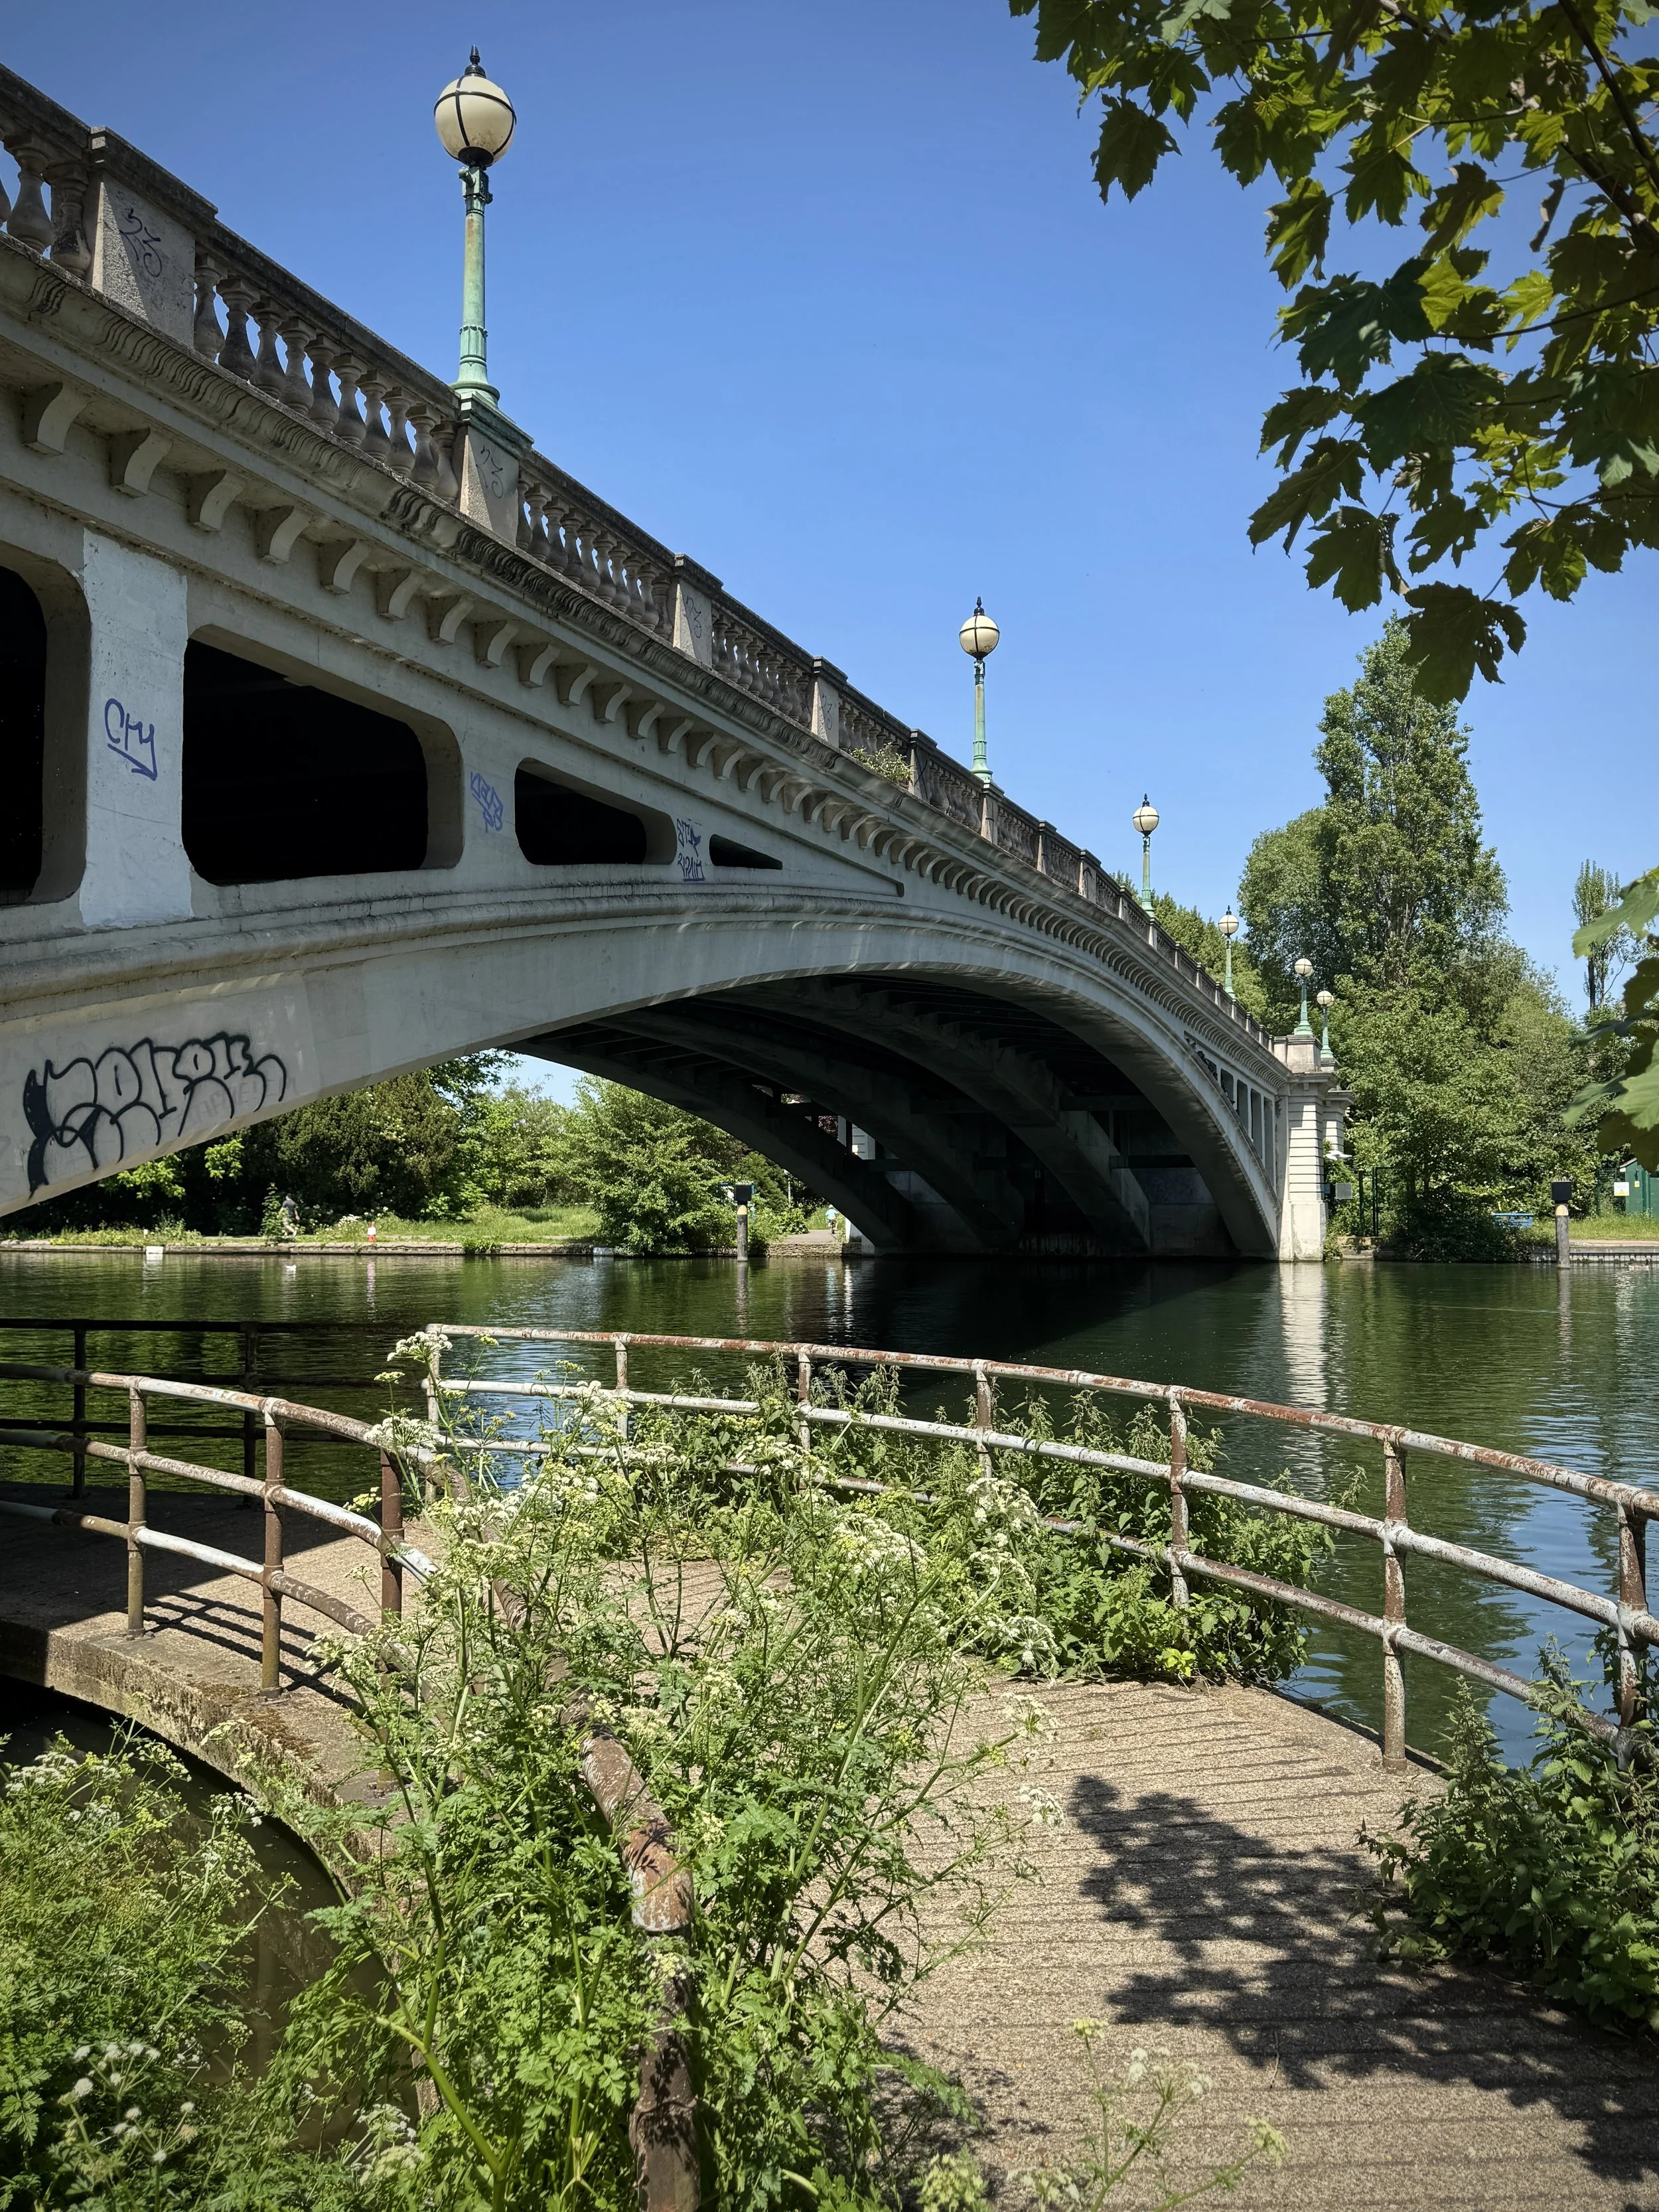
Walk directly under Caversham Bridge and continue along the promenade towards Reading Bridge.
Pass under Reading Bridge and enter King's Meadow, following the designated path along the river edge.
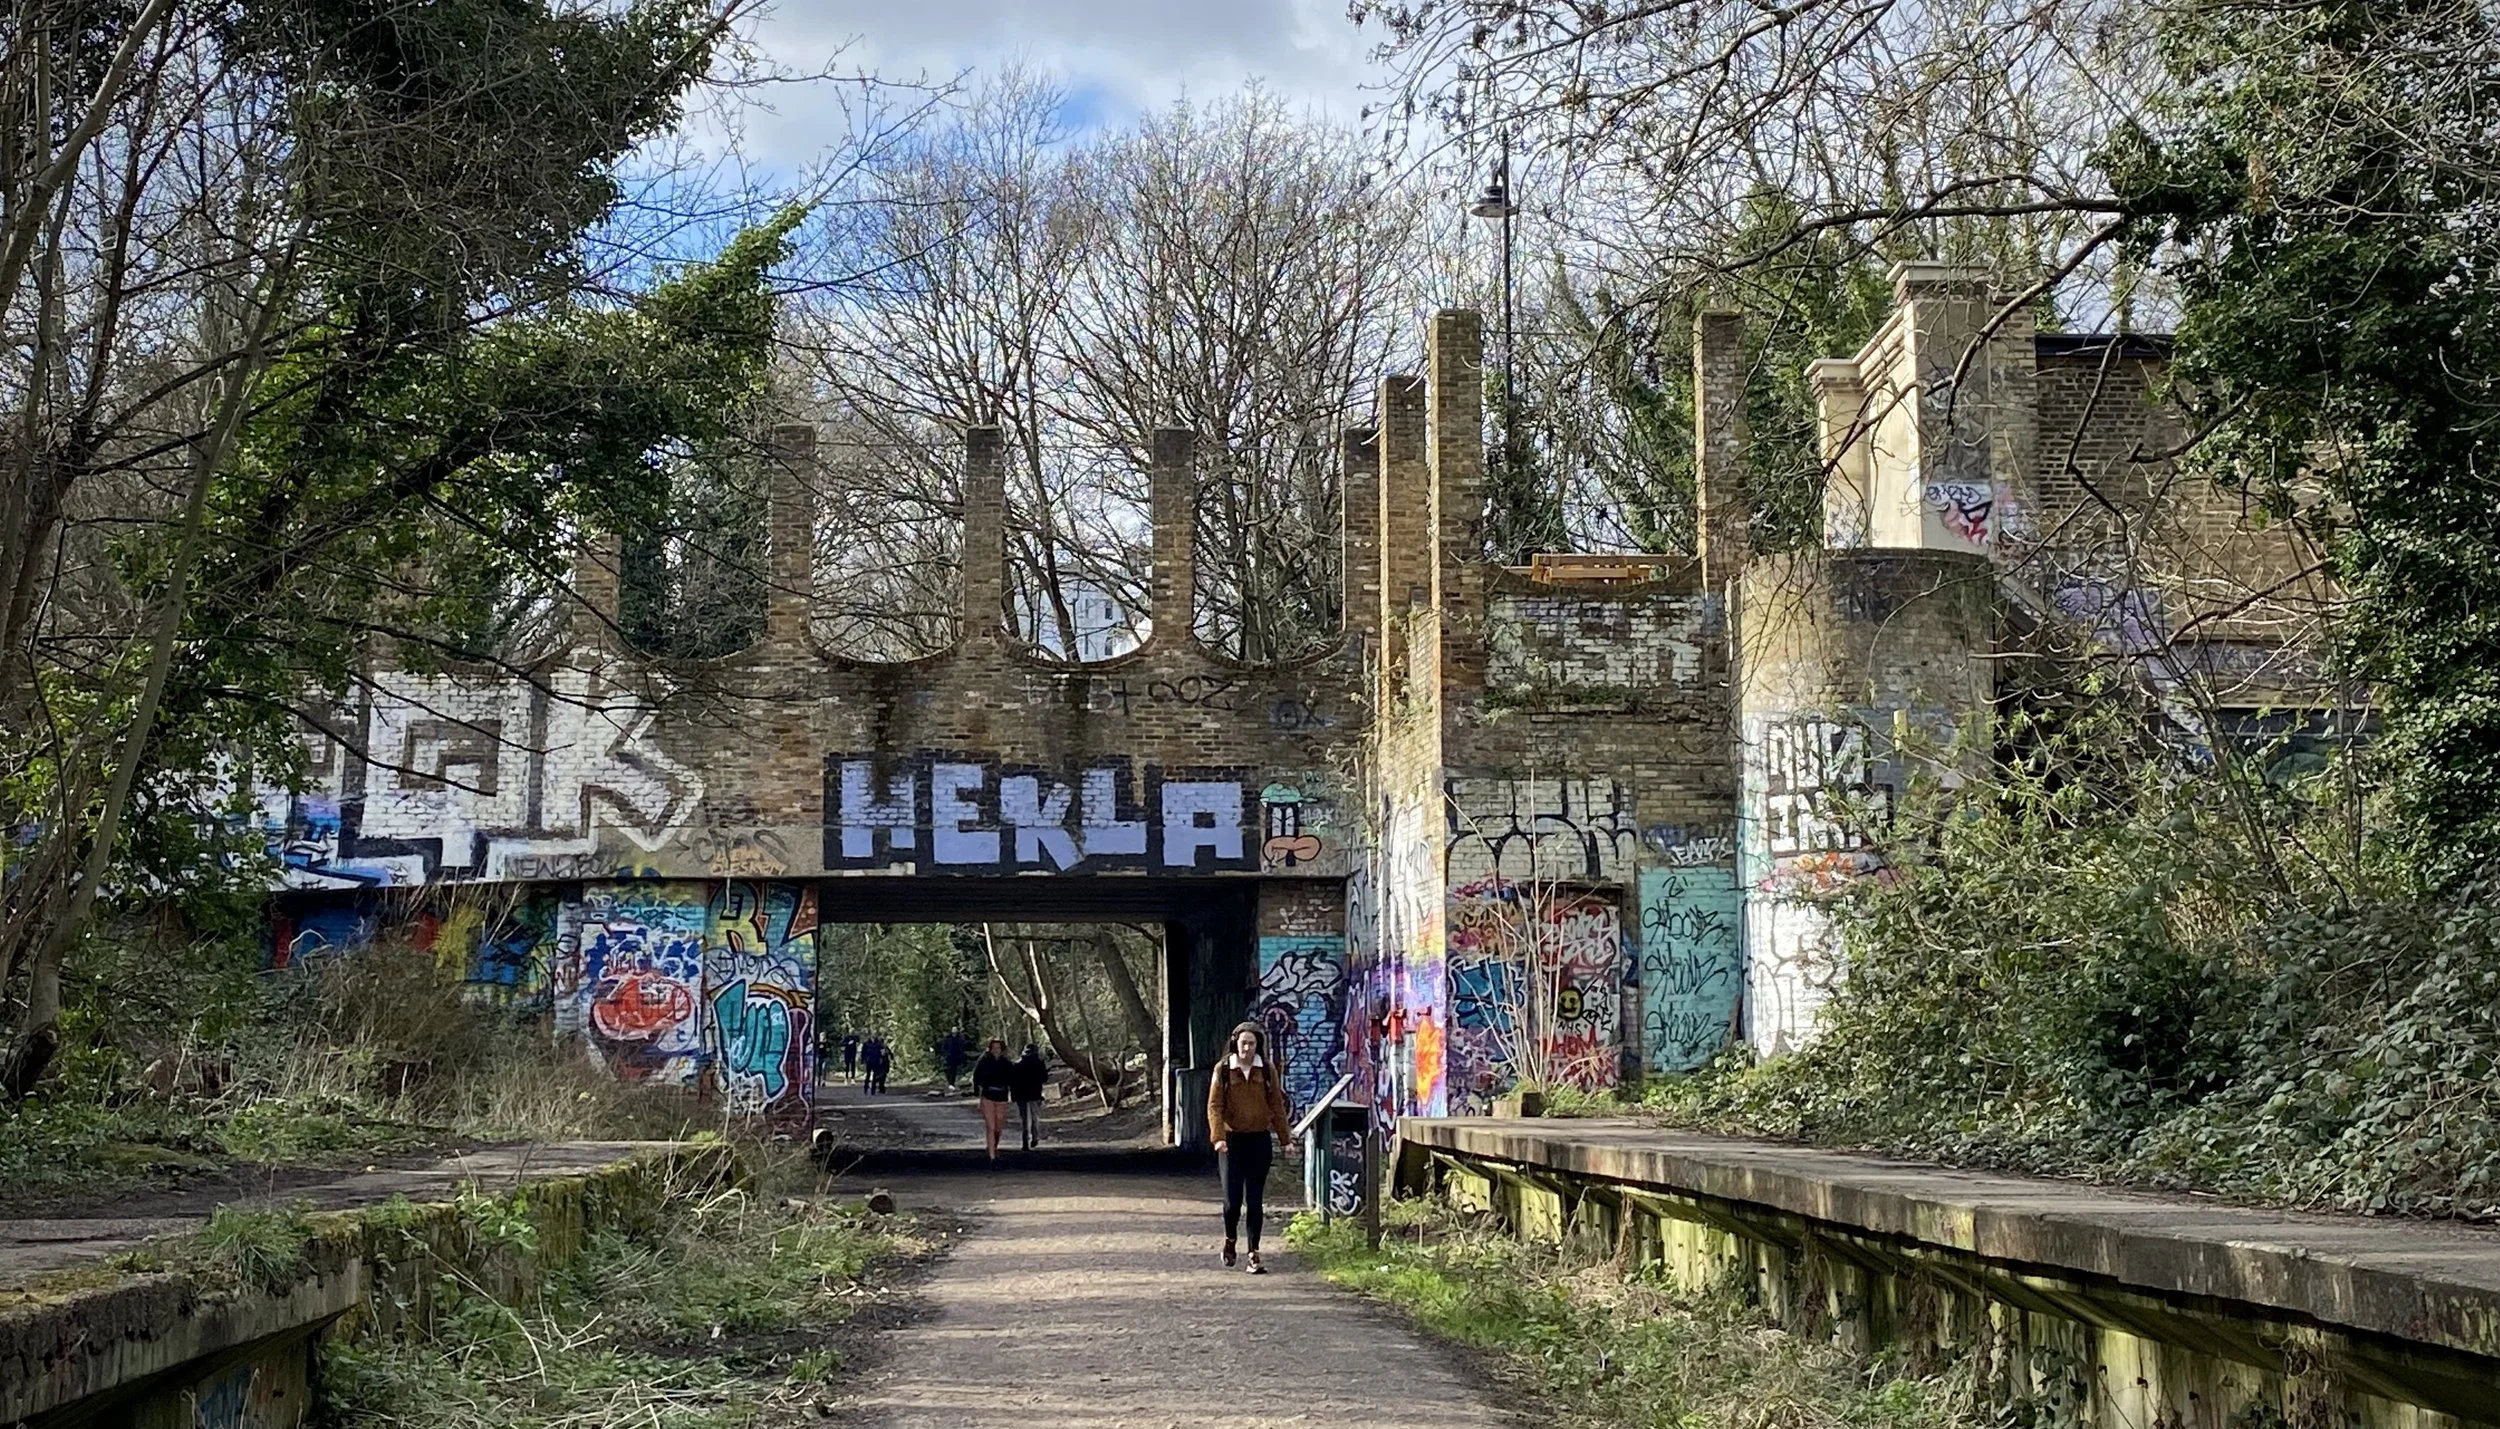
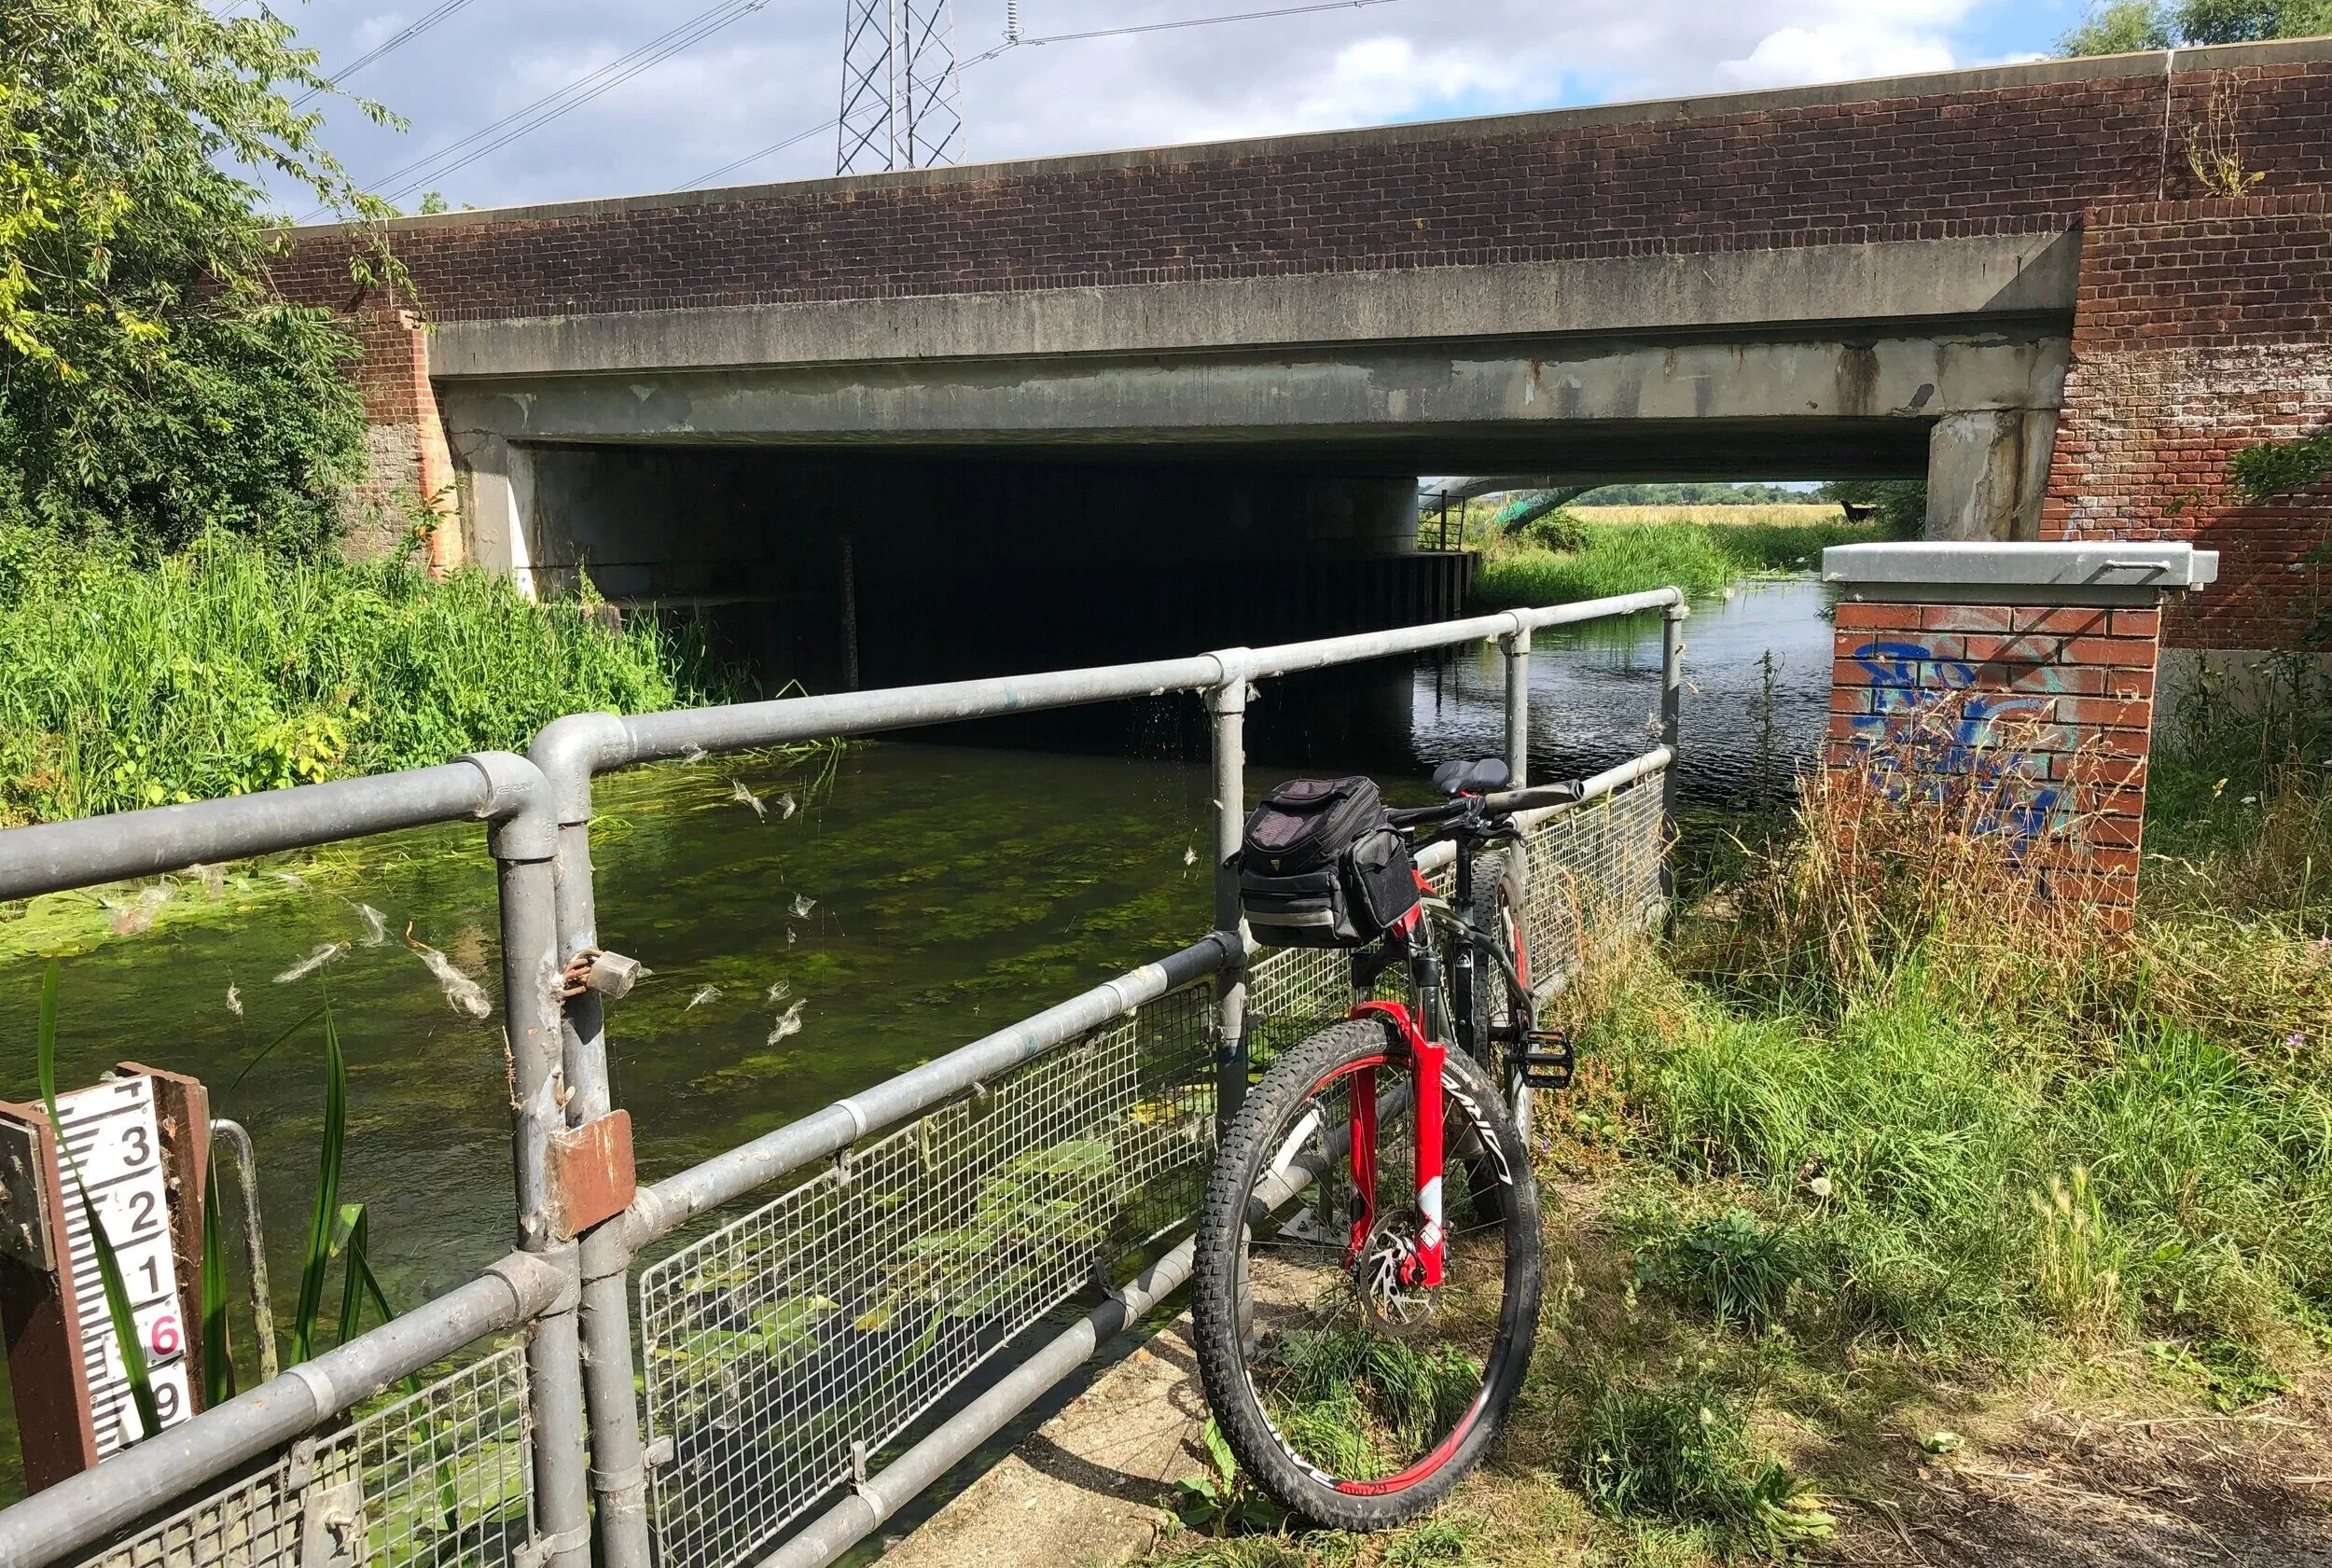
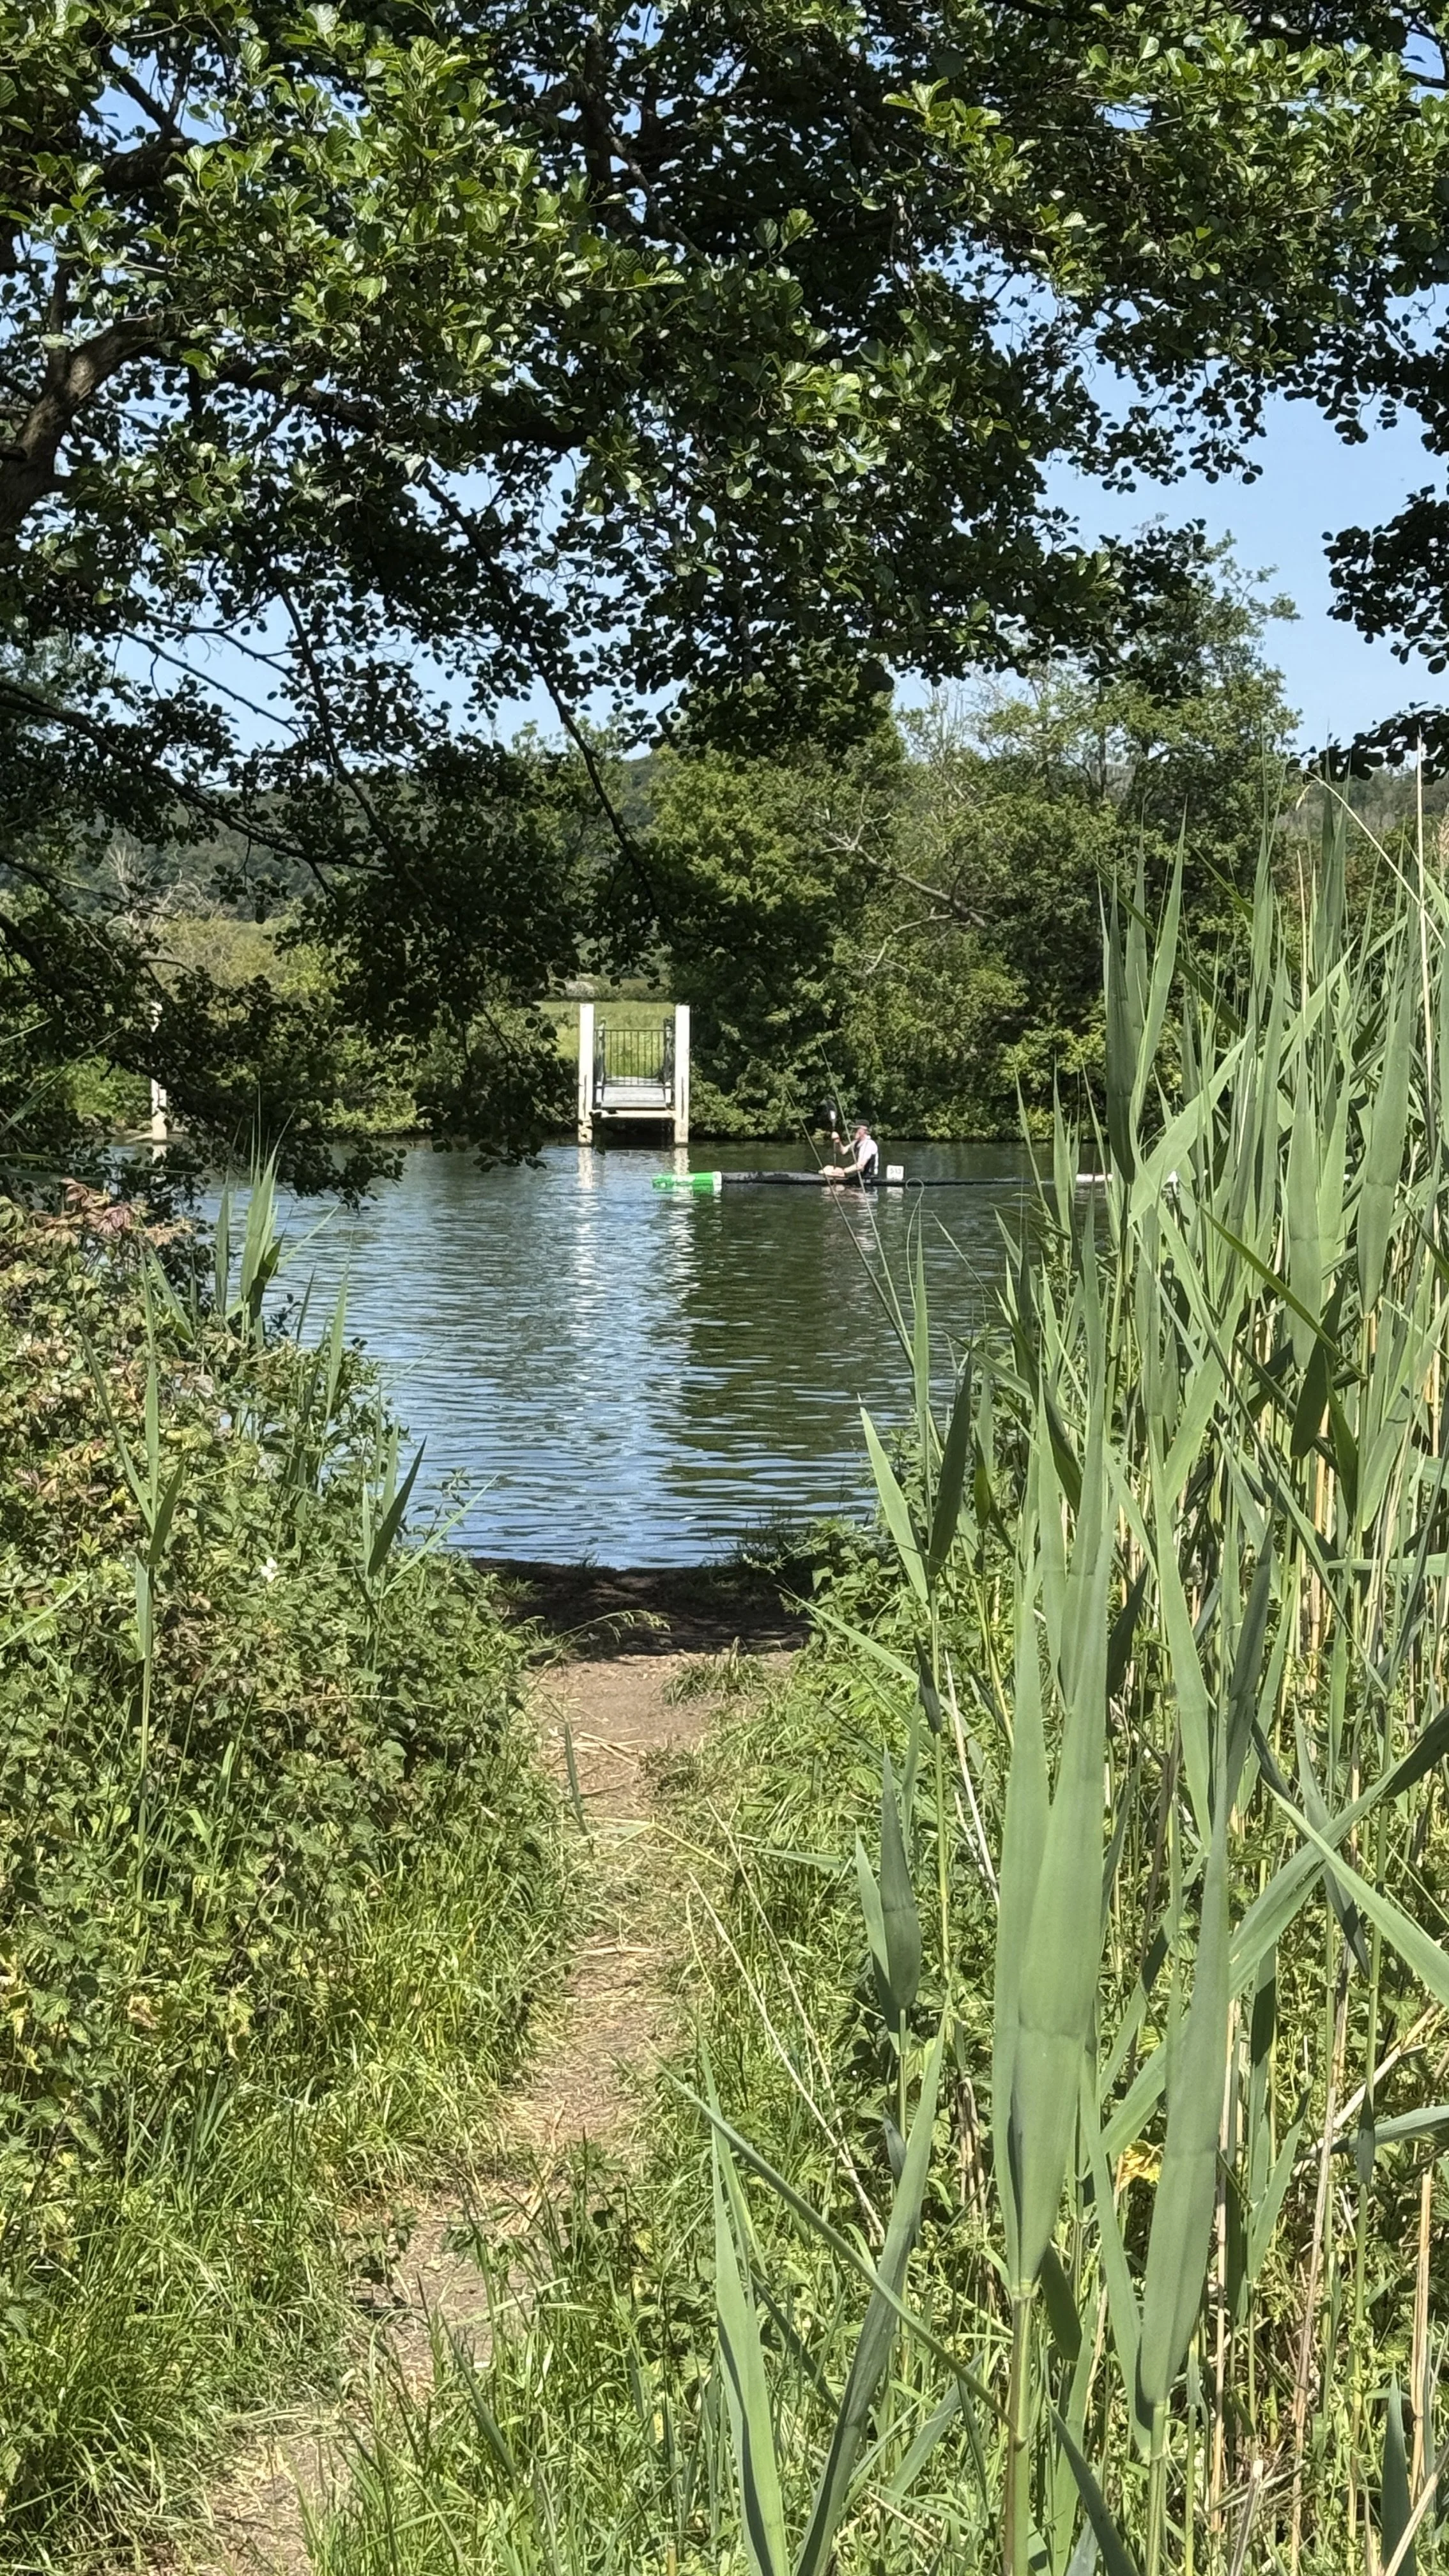
Cross the pedestrian walkway at Horseshoe Bridge, which takes you over the point where the River Kennet meets the Thames.
Follow the path as it curves around the edge of Thames Valley Park, continuing to keep the river on your left.
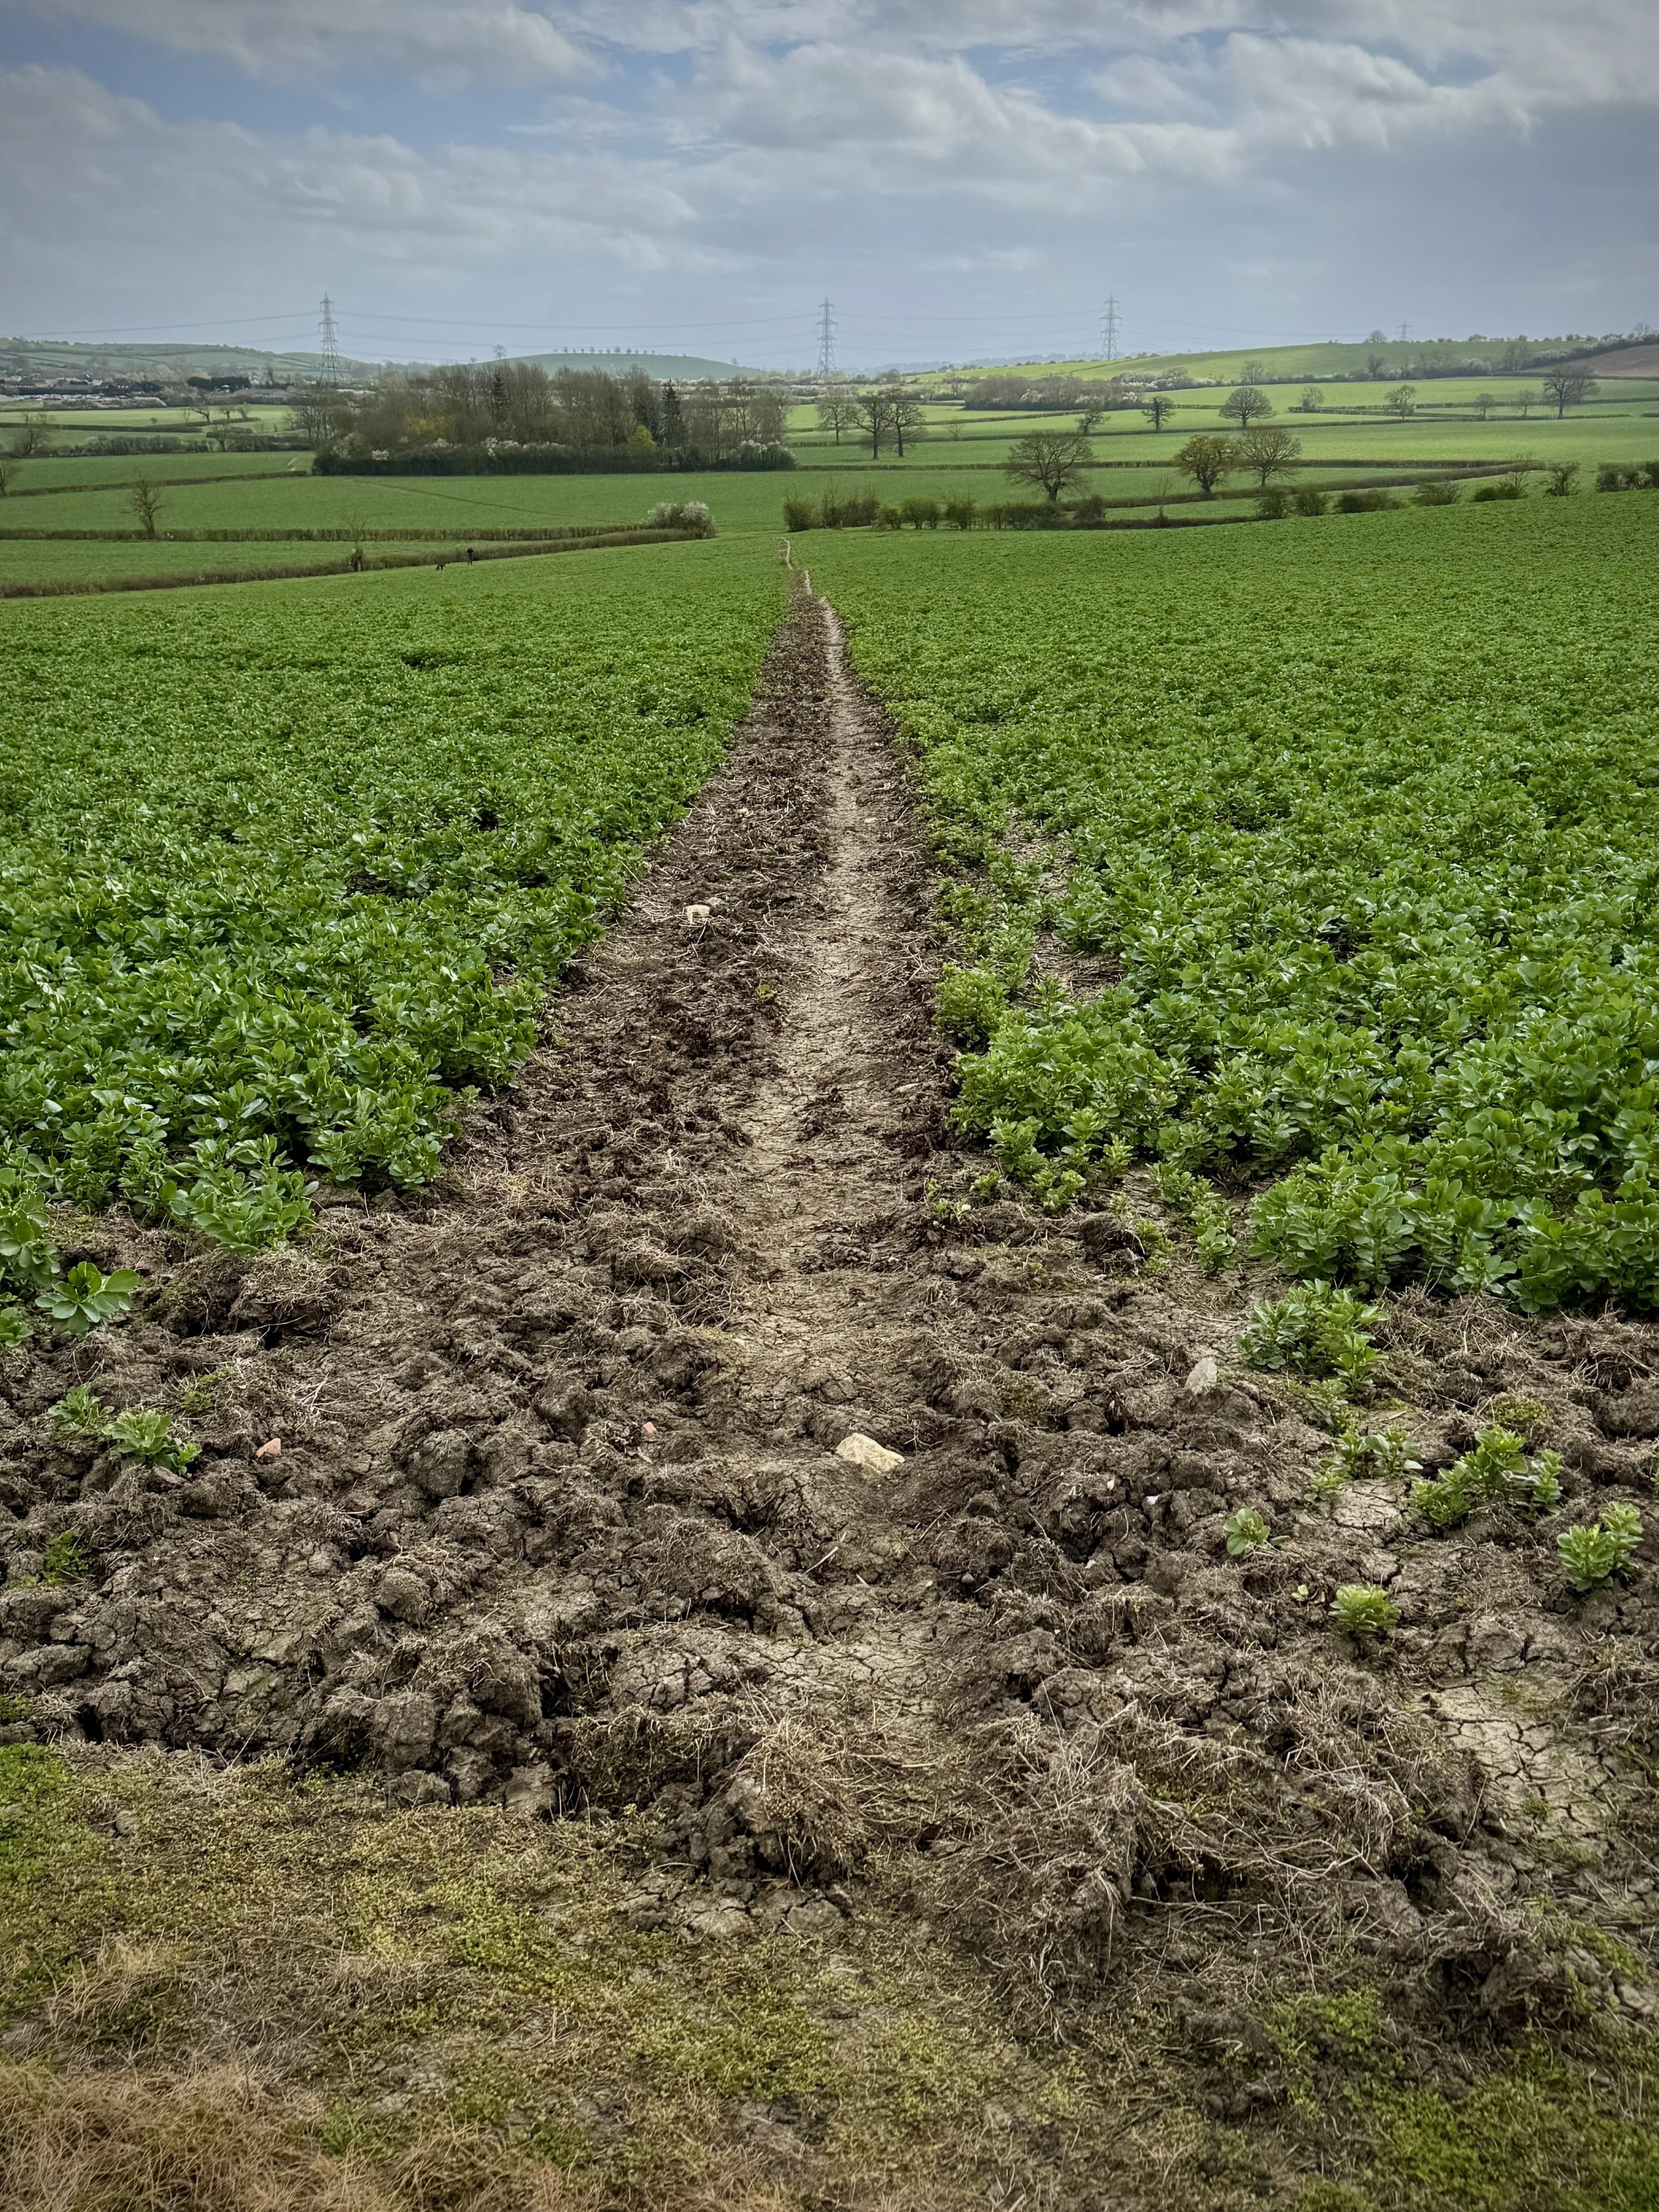
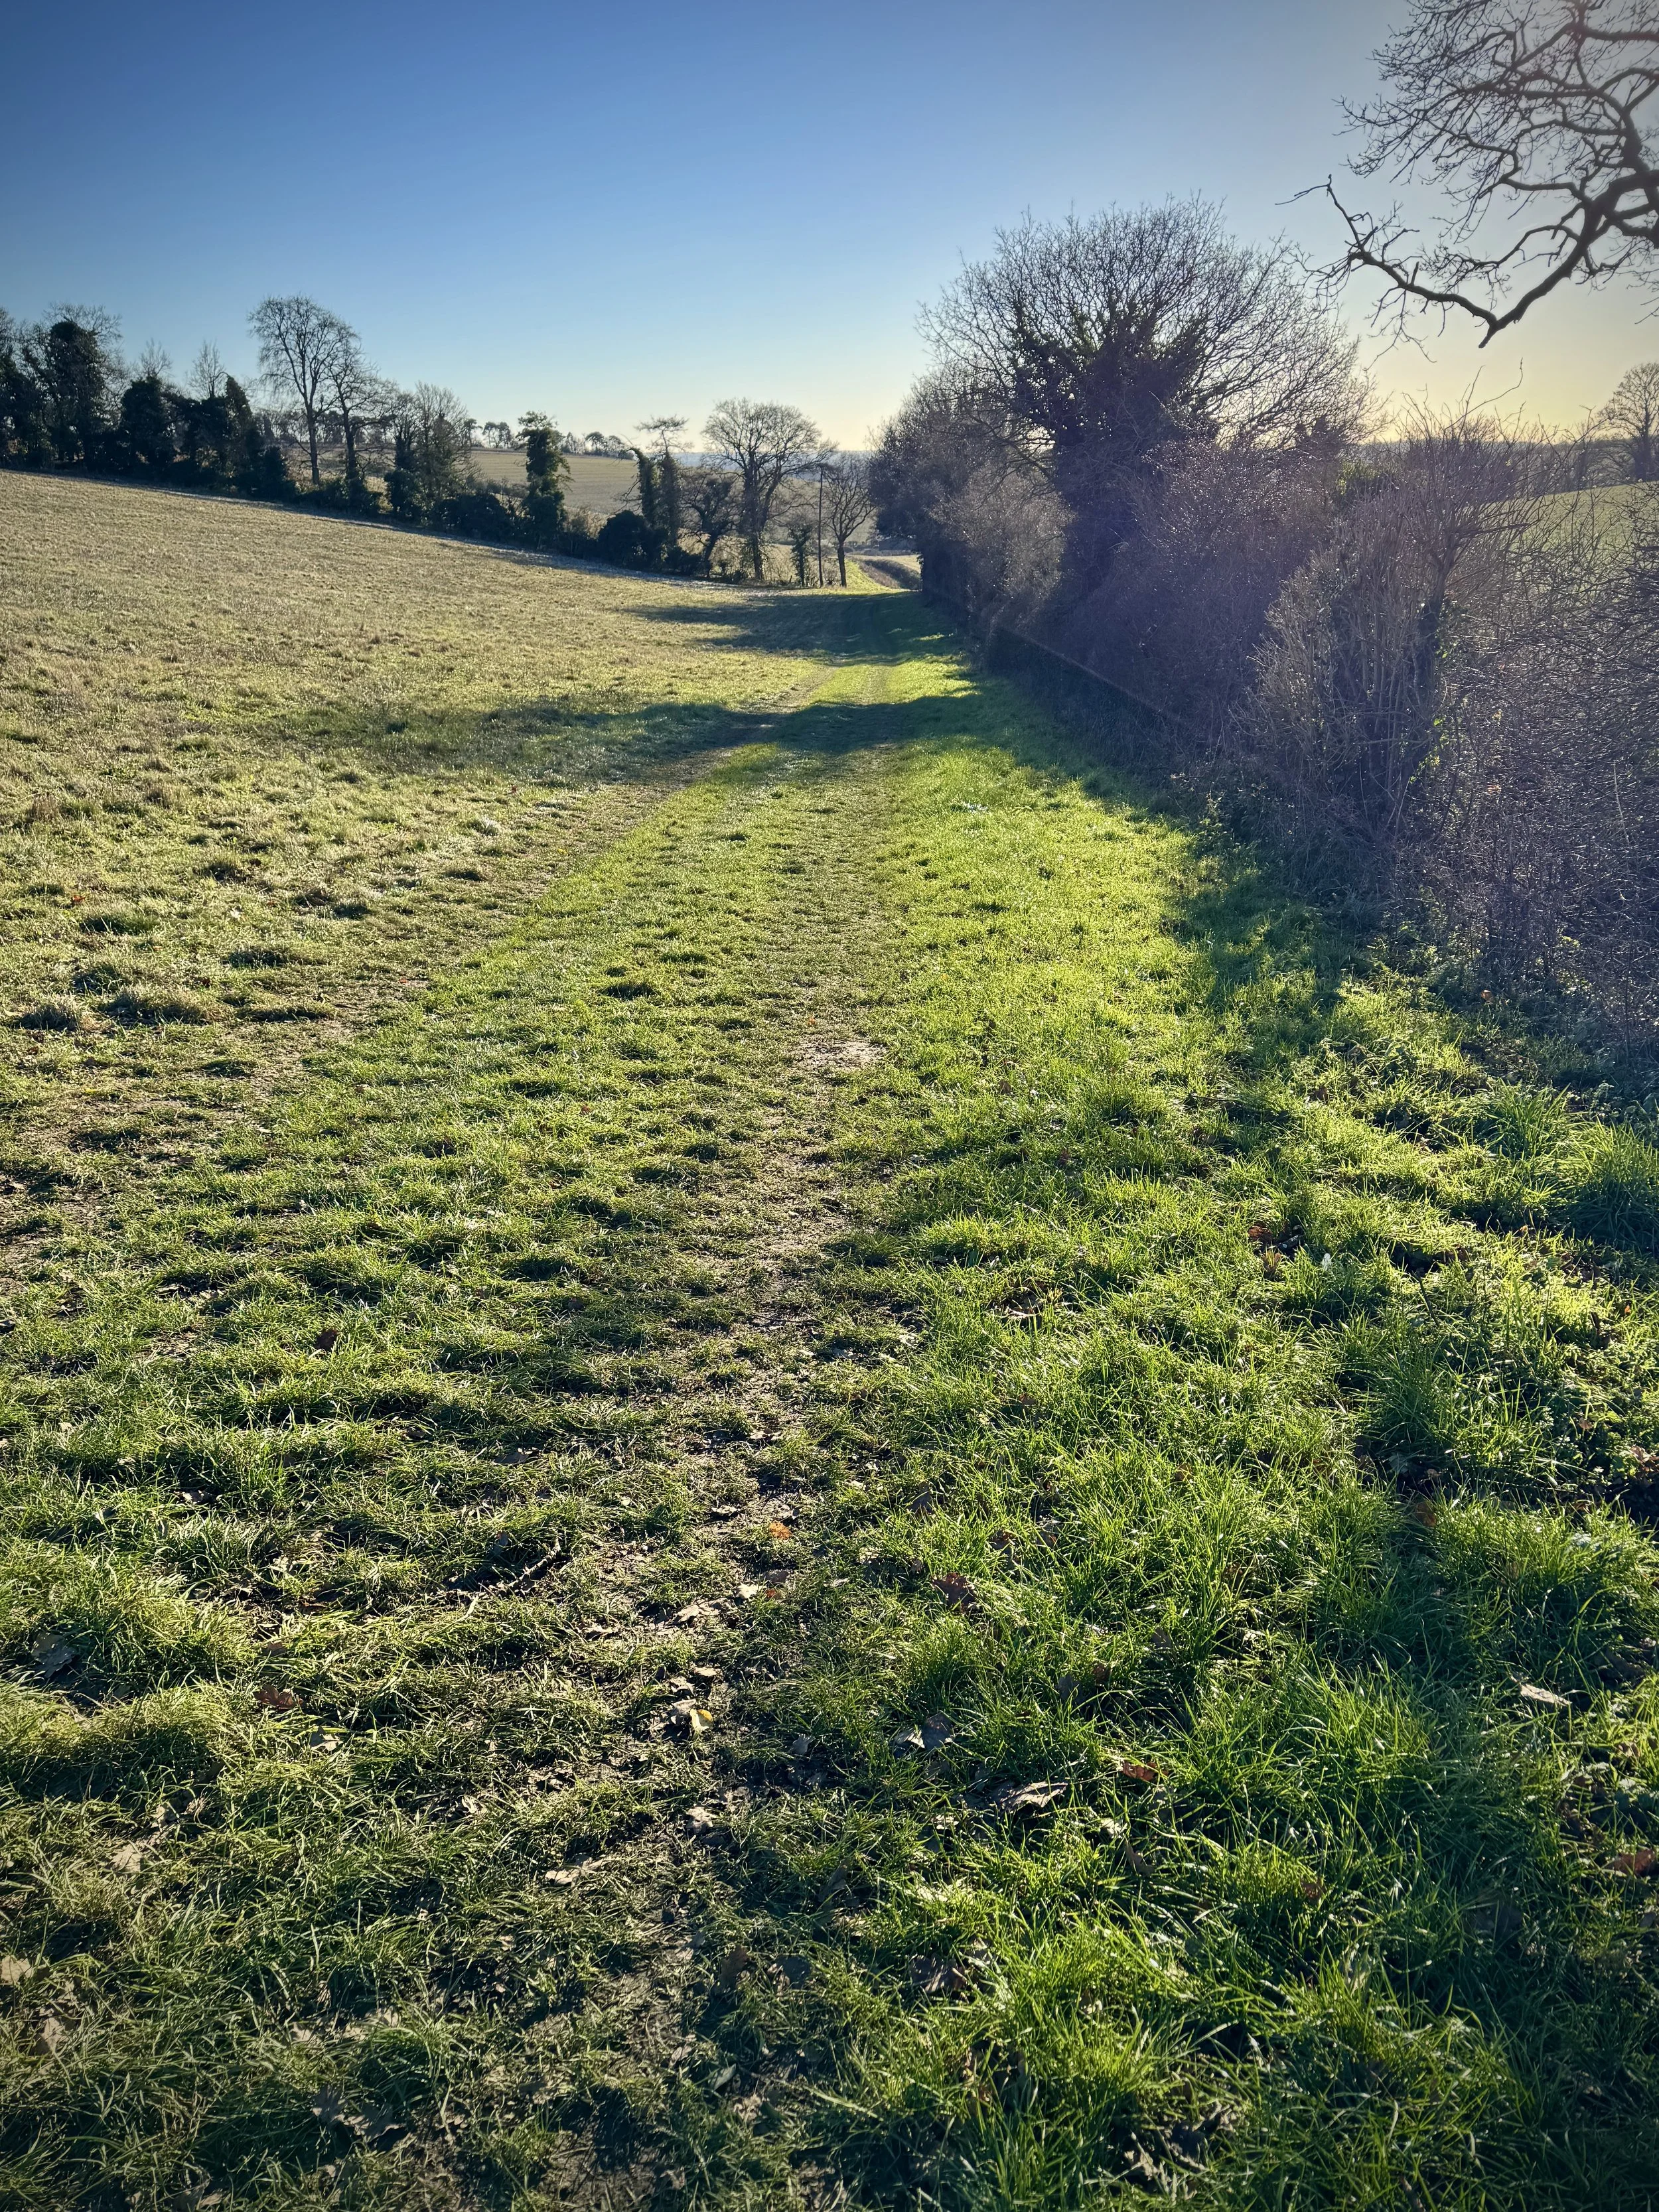
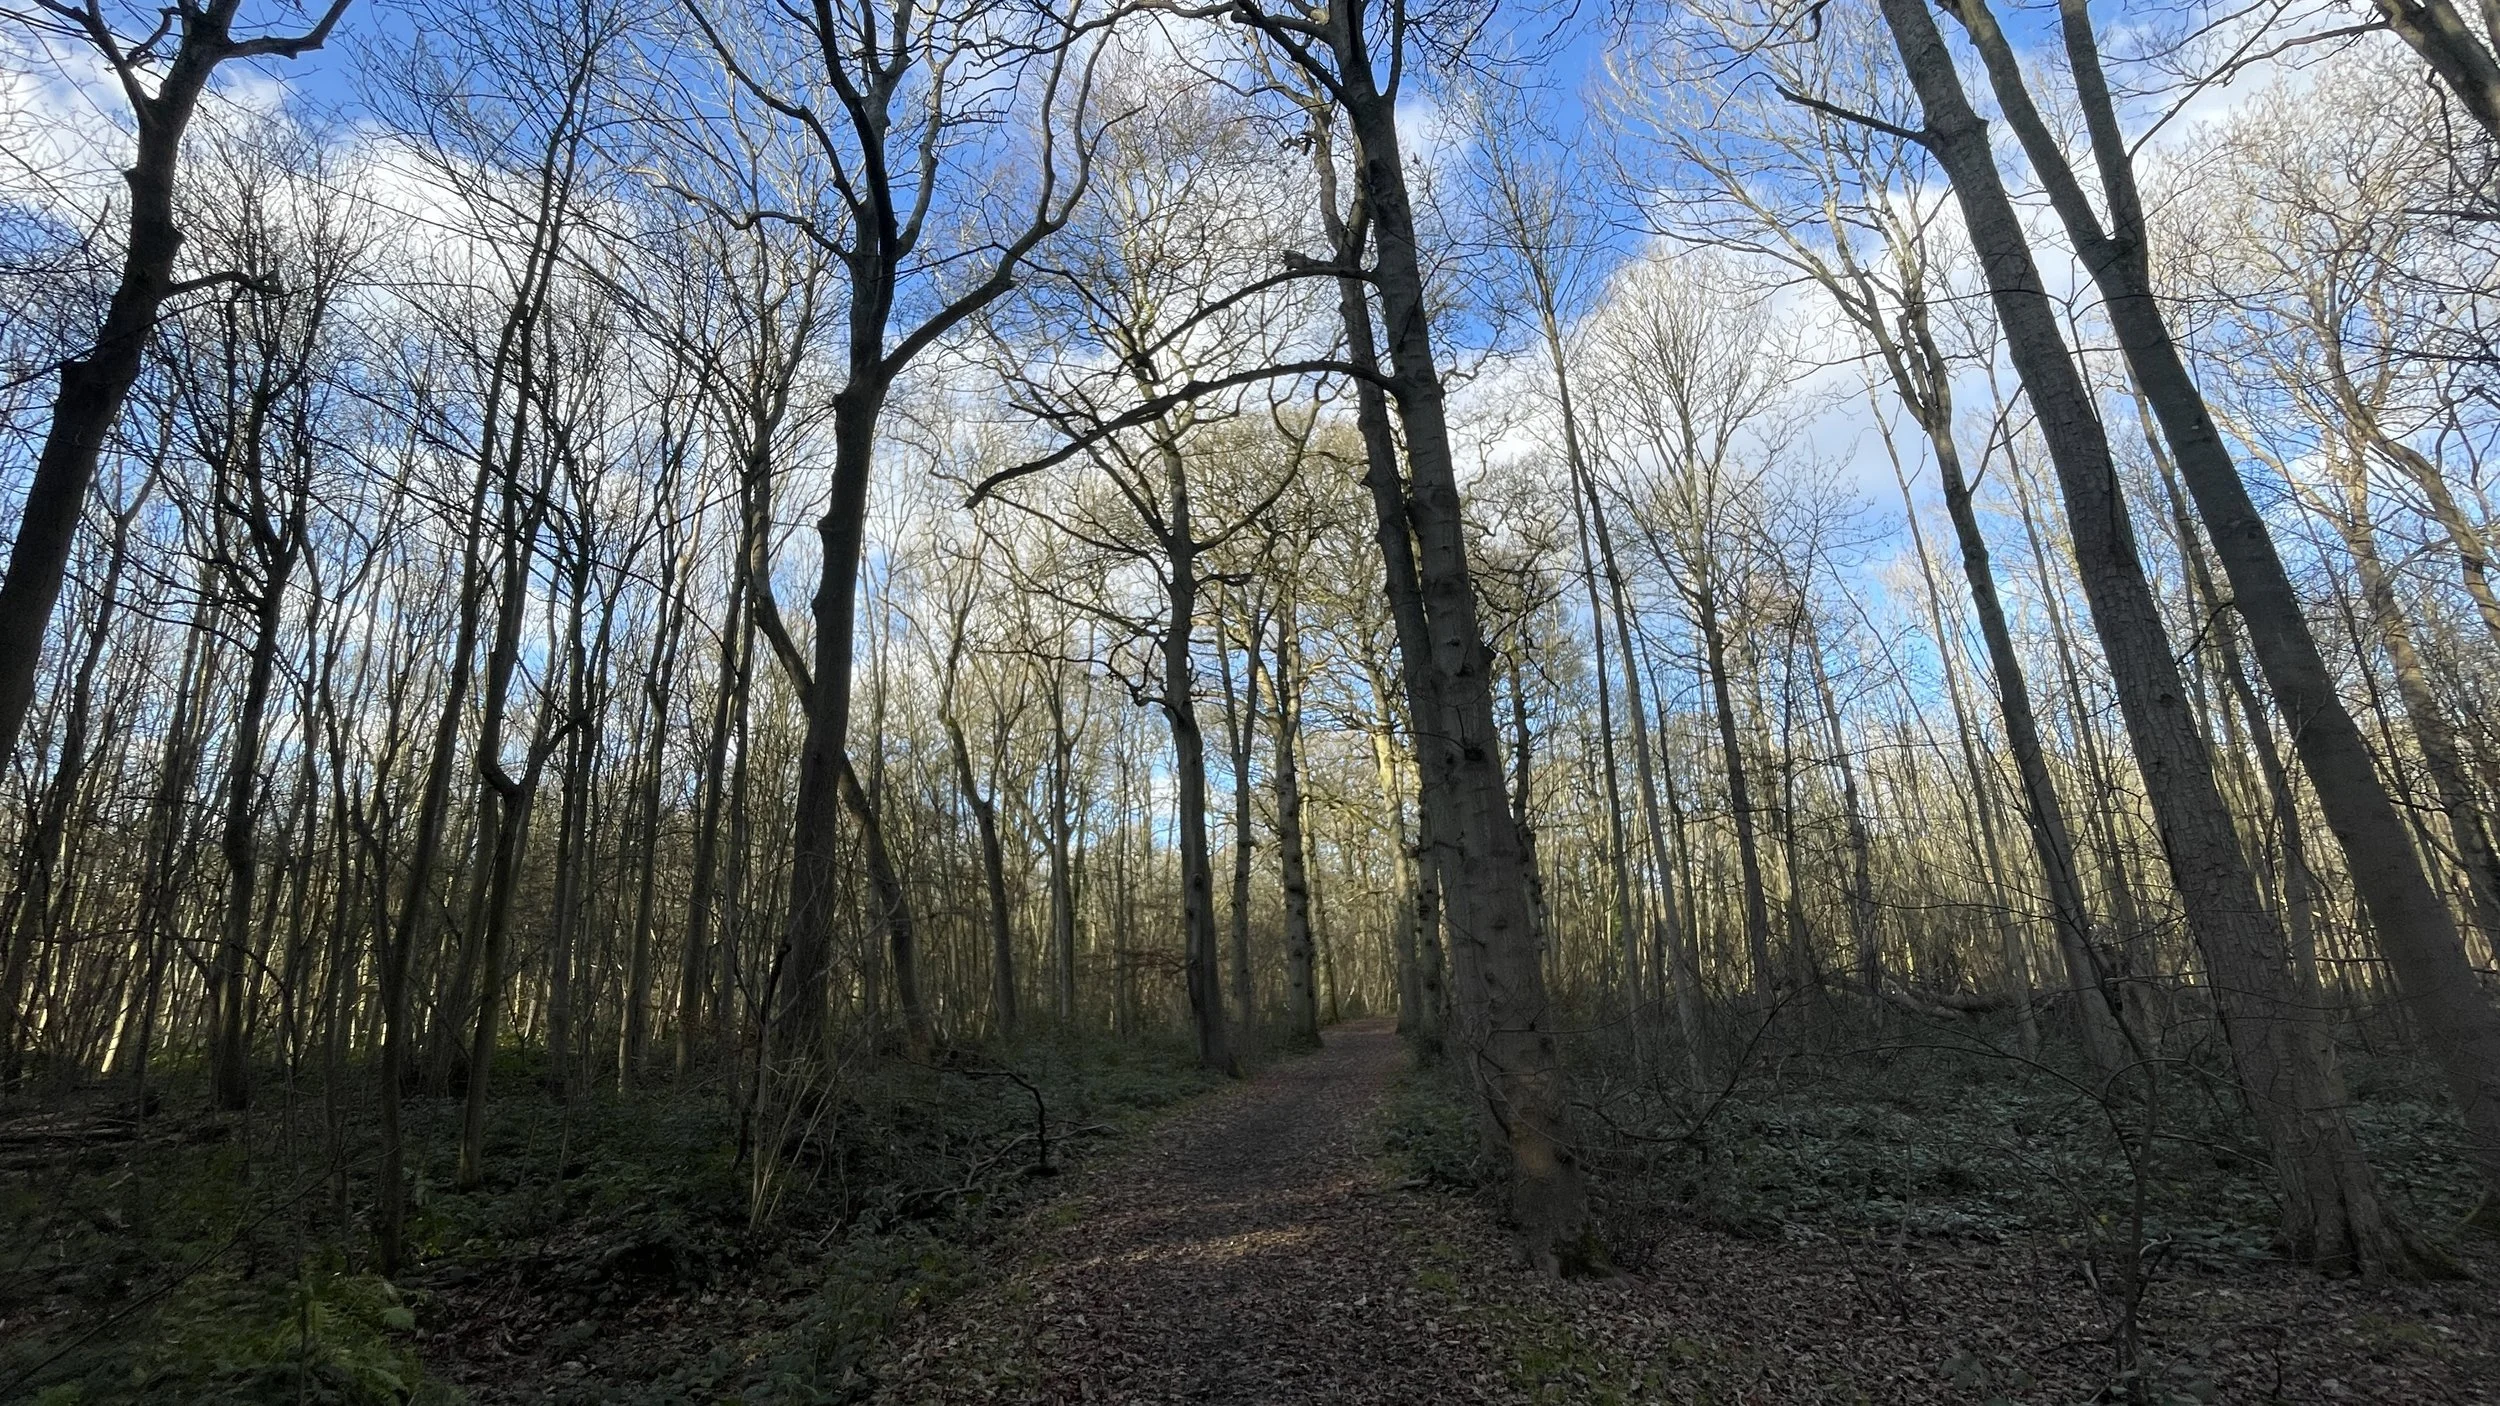
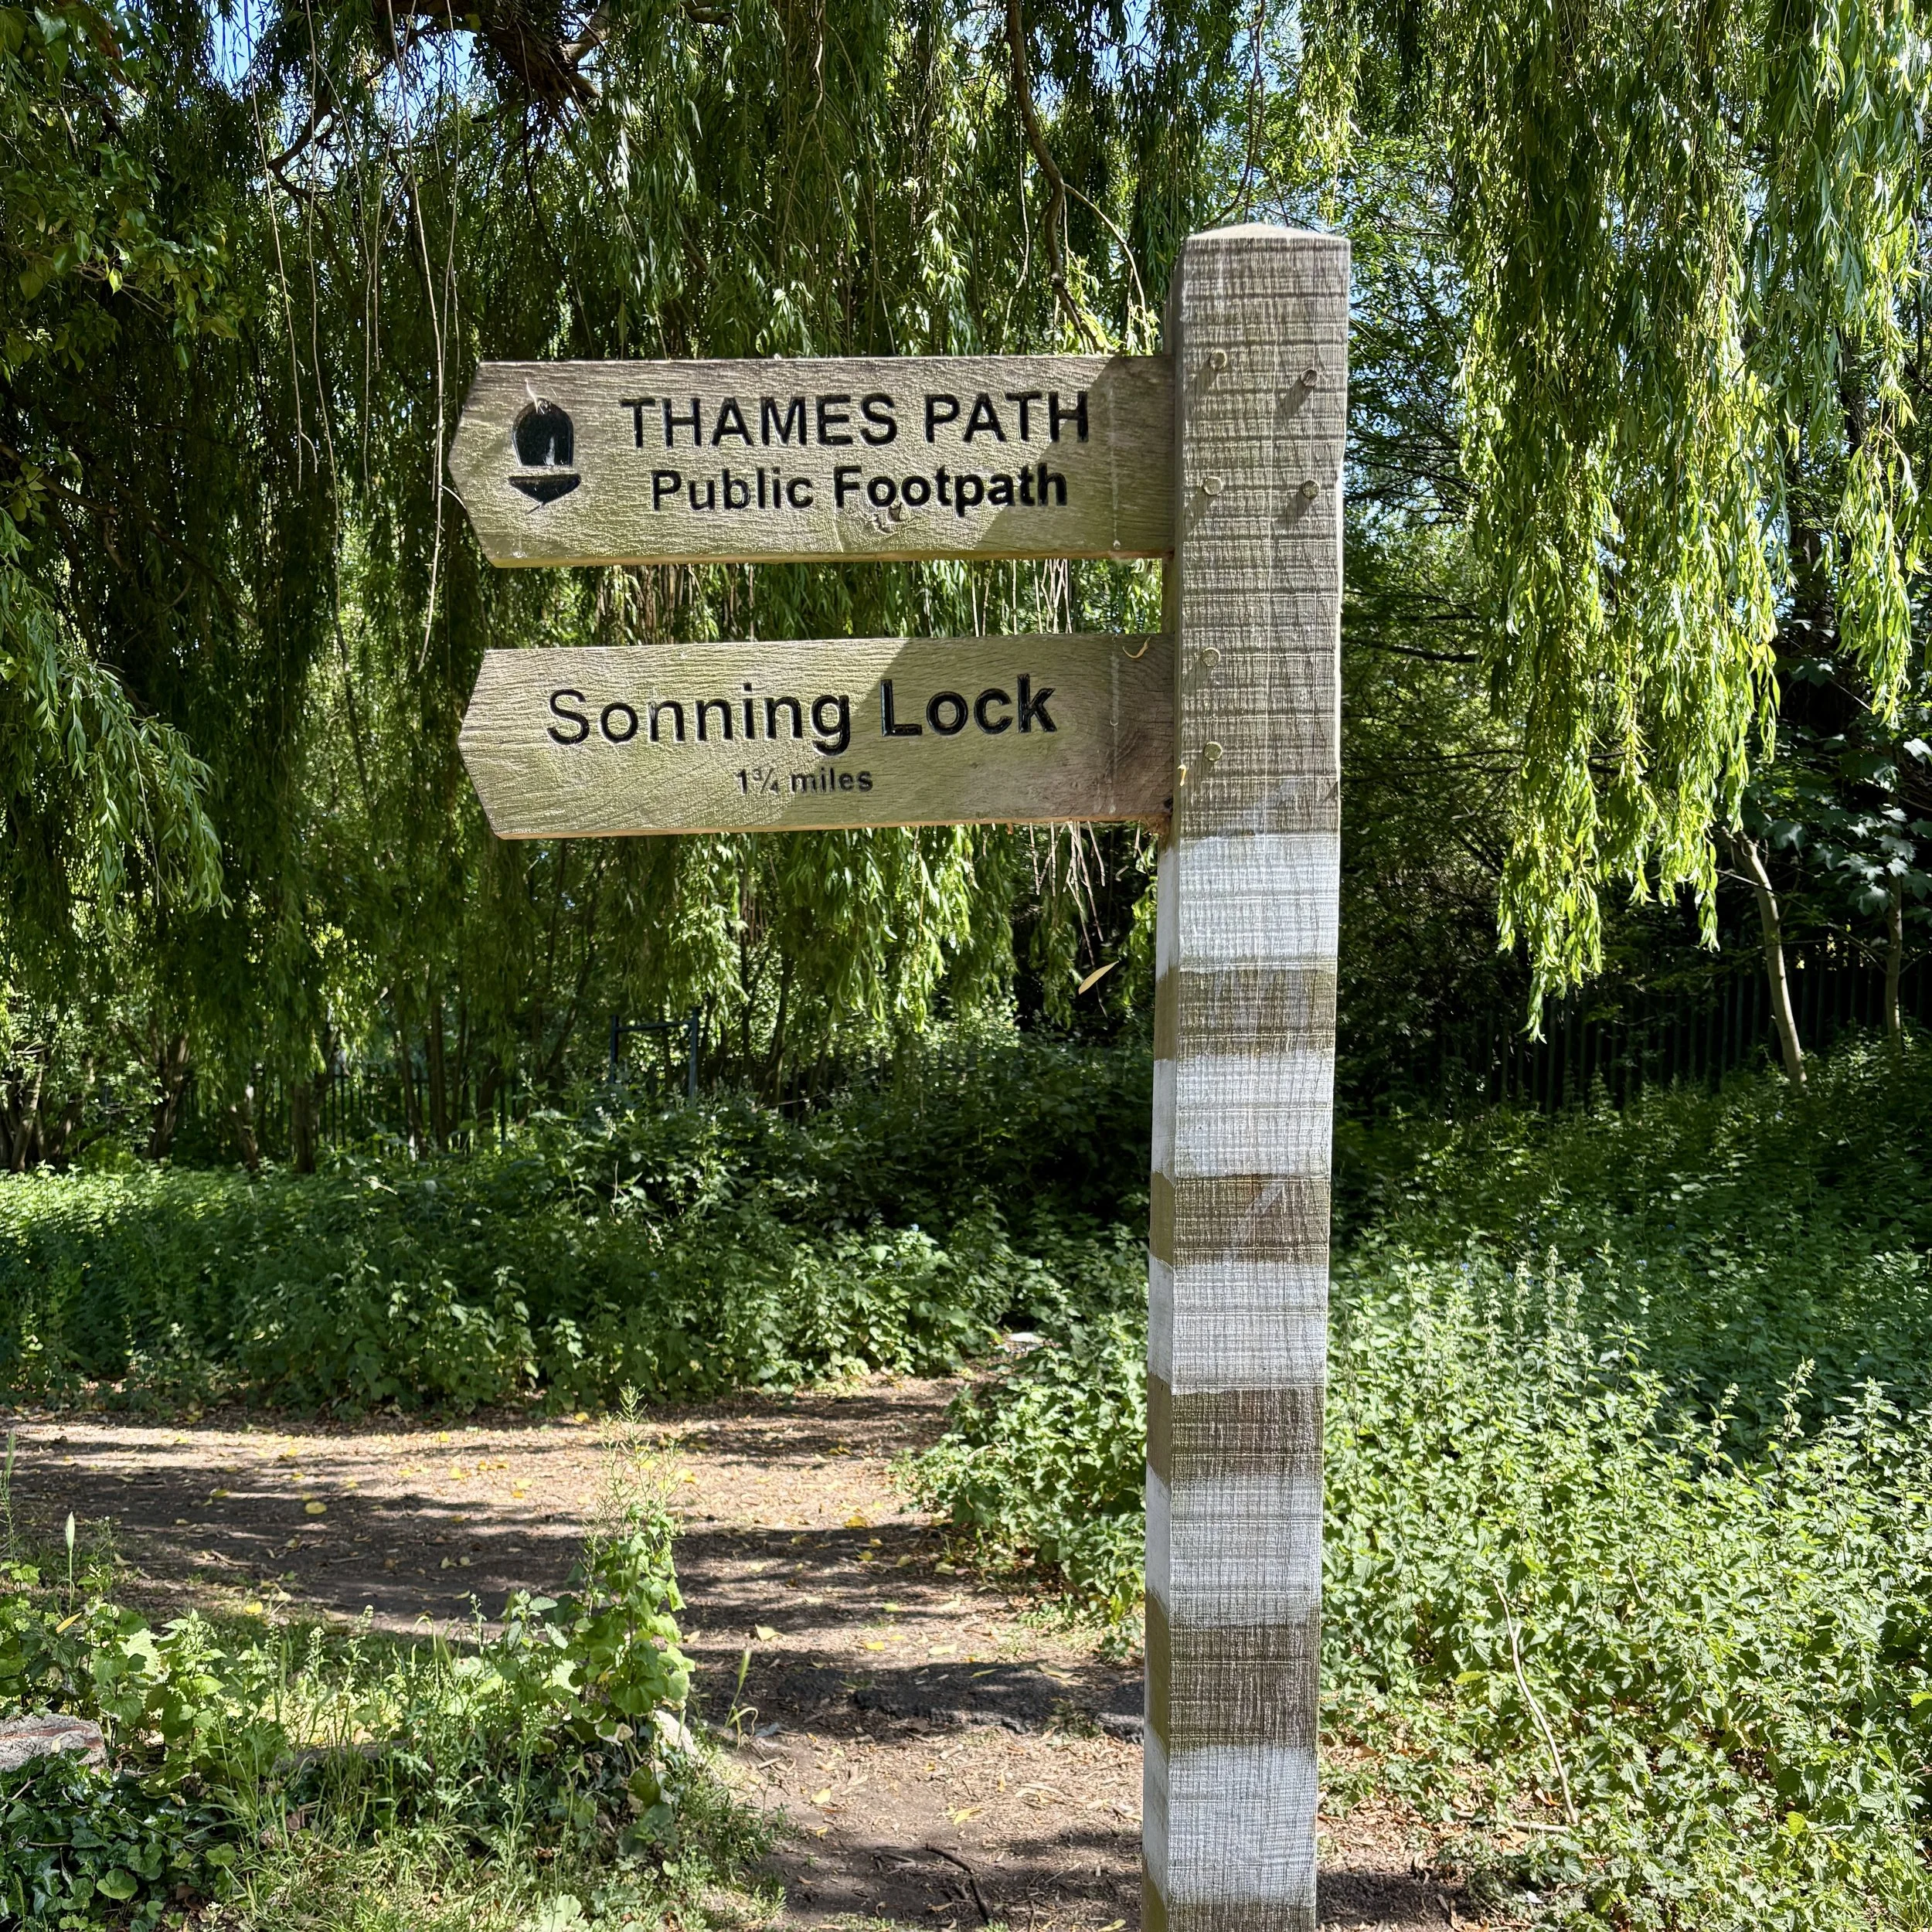
Stay on the main riverside trail through the wooded and grassy sections leading towards Sonning.
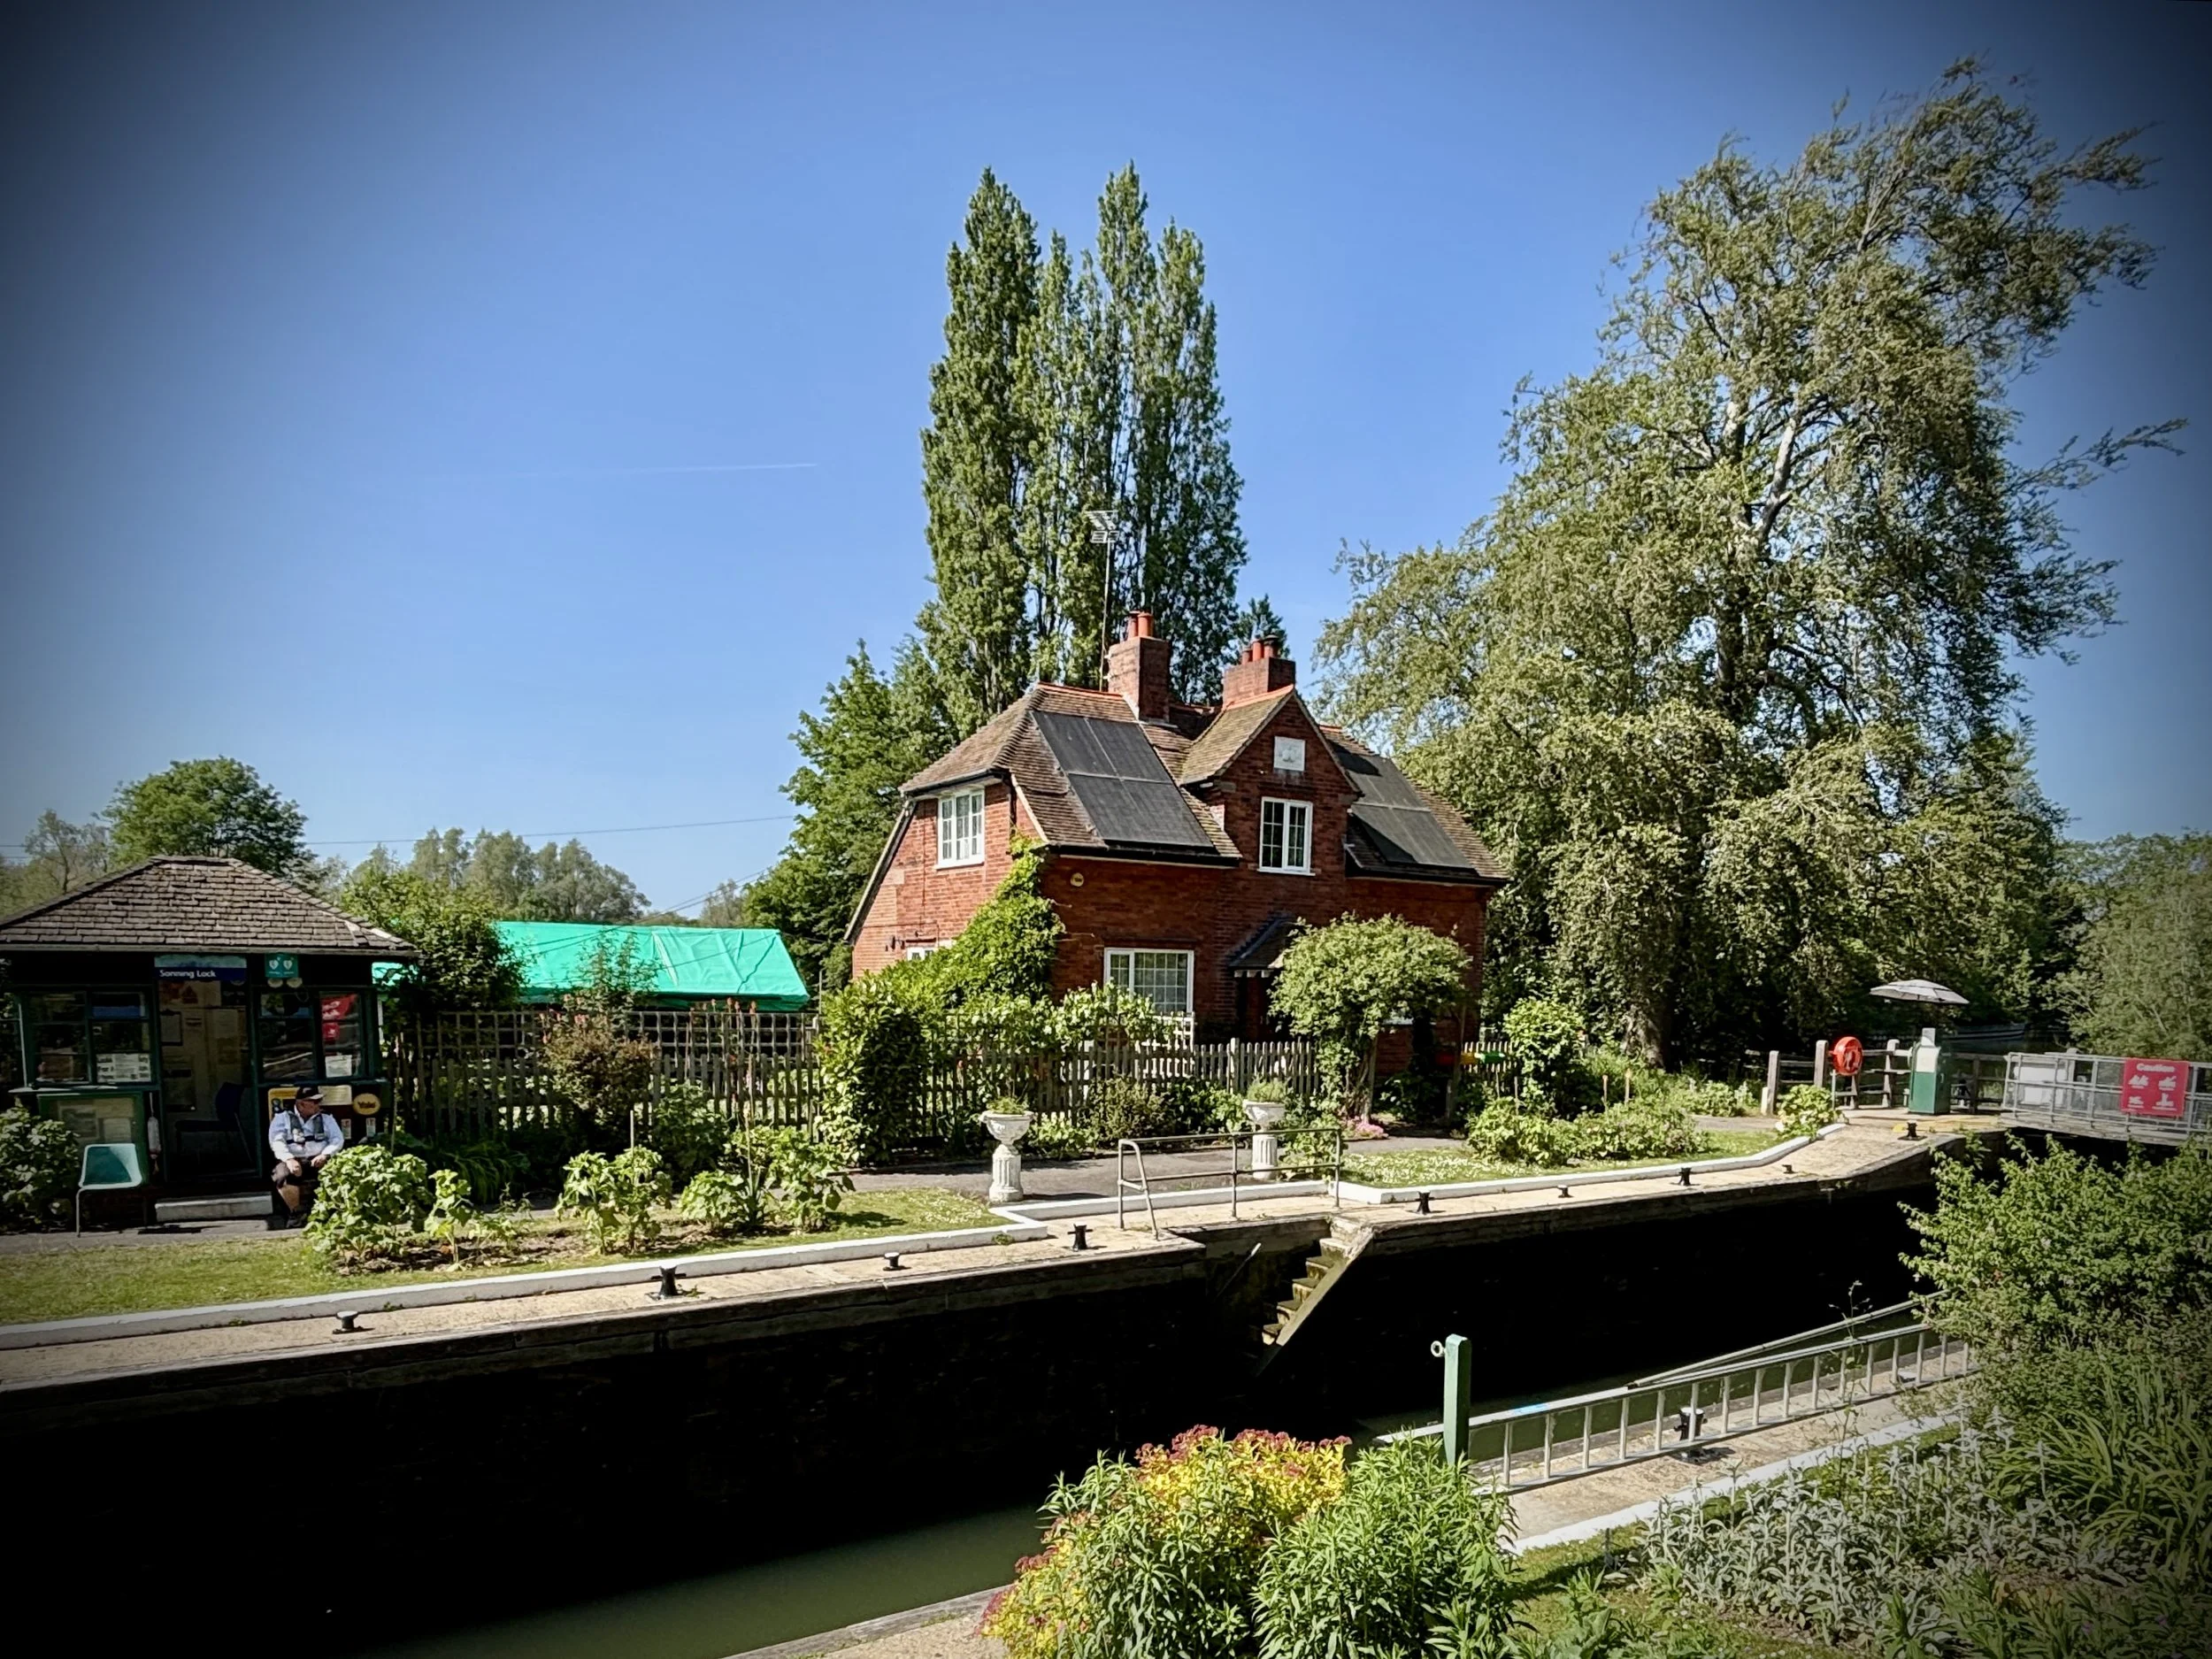
Arrive at Sonning Lock and continue the final short distance to finish the walk at Sonning Bridge.
Note that we did this as a point-to-point walk, leaving our car near Sonning Bridge and taking an Uber to Tilehurst. An alternative option is to add an extra 5 km to the walk to reach Twyford Station and take a train from there back to the start at Tilehurst. The 129 bus route also connects Twyford Station and Sonning High Street.
Points of Interest along or near to the Route
Caversham Bridge: Spanning the River Thames between Reading and Caversham, this long‑established crossing point has served travellers since at least the 12th century, when the first recorded bridge stood here. The current structure — an elegant combination of concrete and granite — was opened in 1926 by Edward, Prince of Wales (later King Edward VIII). Today it marks one of the busiest urban stretches of the Thames Path, offering walkers broad views of the river’s lively boat traffic and the activity of Reading’s rowing clubs.
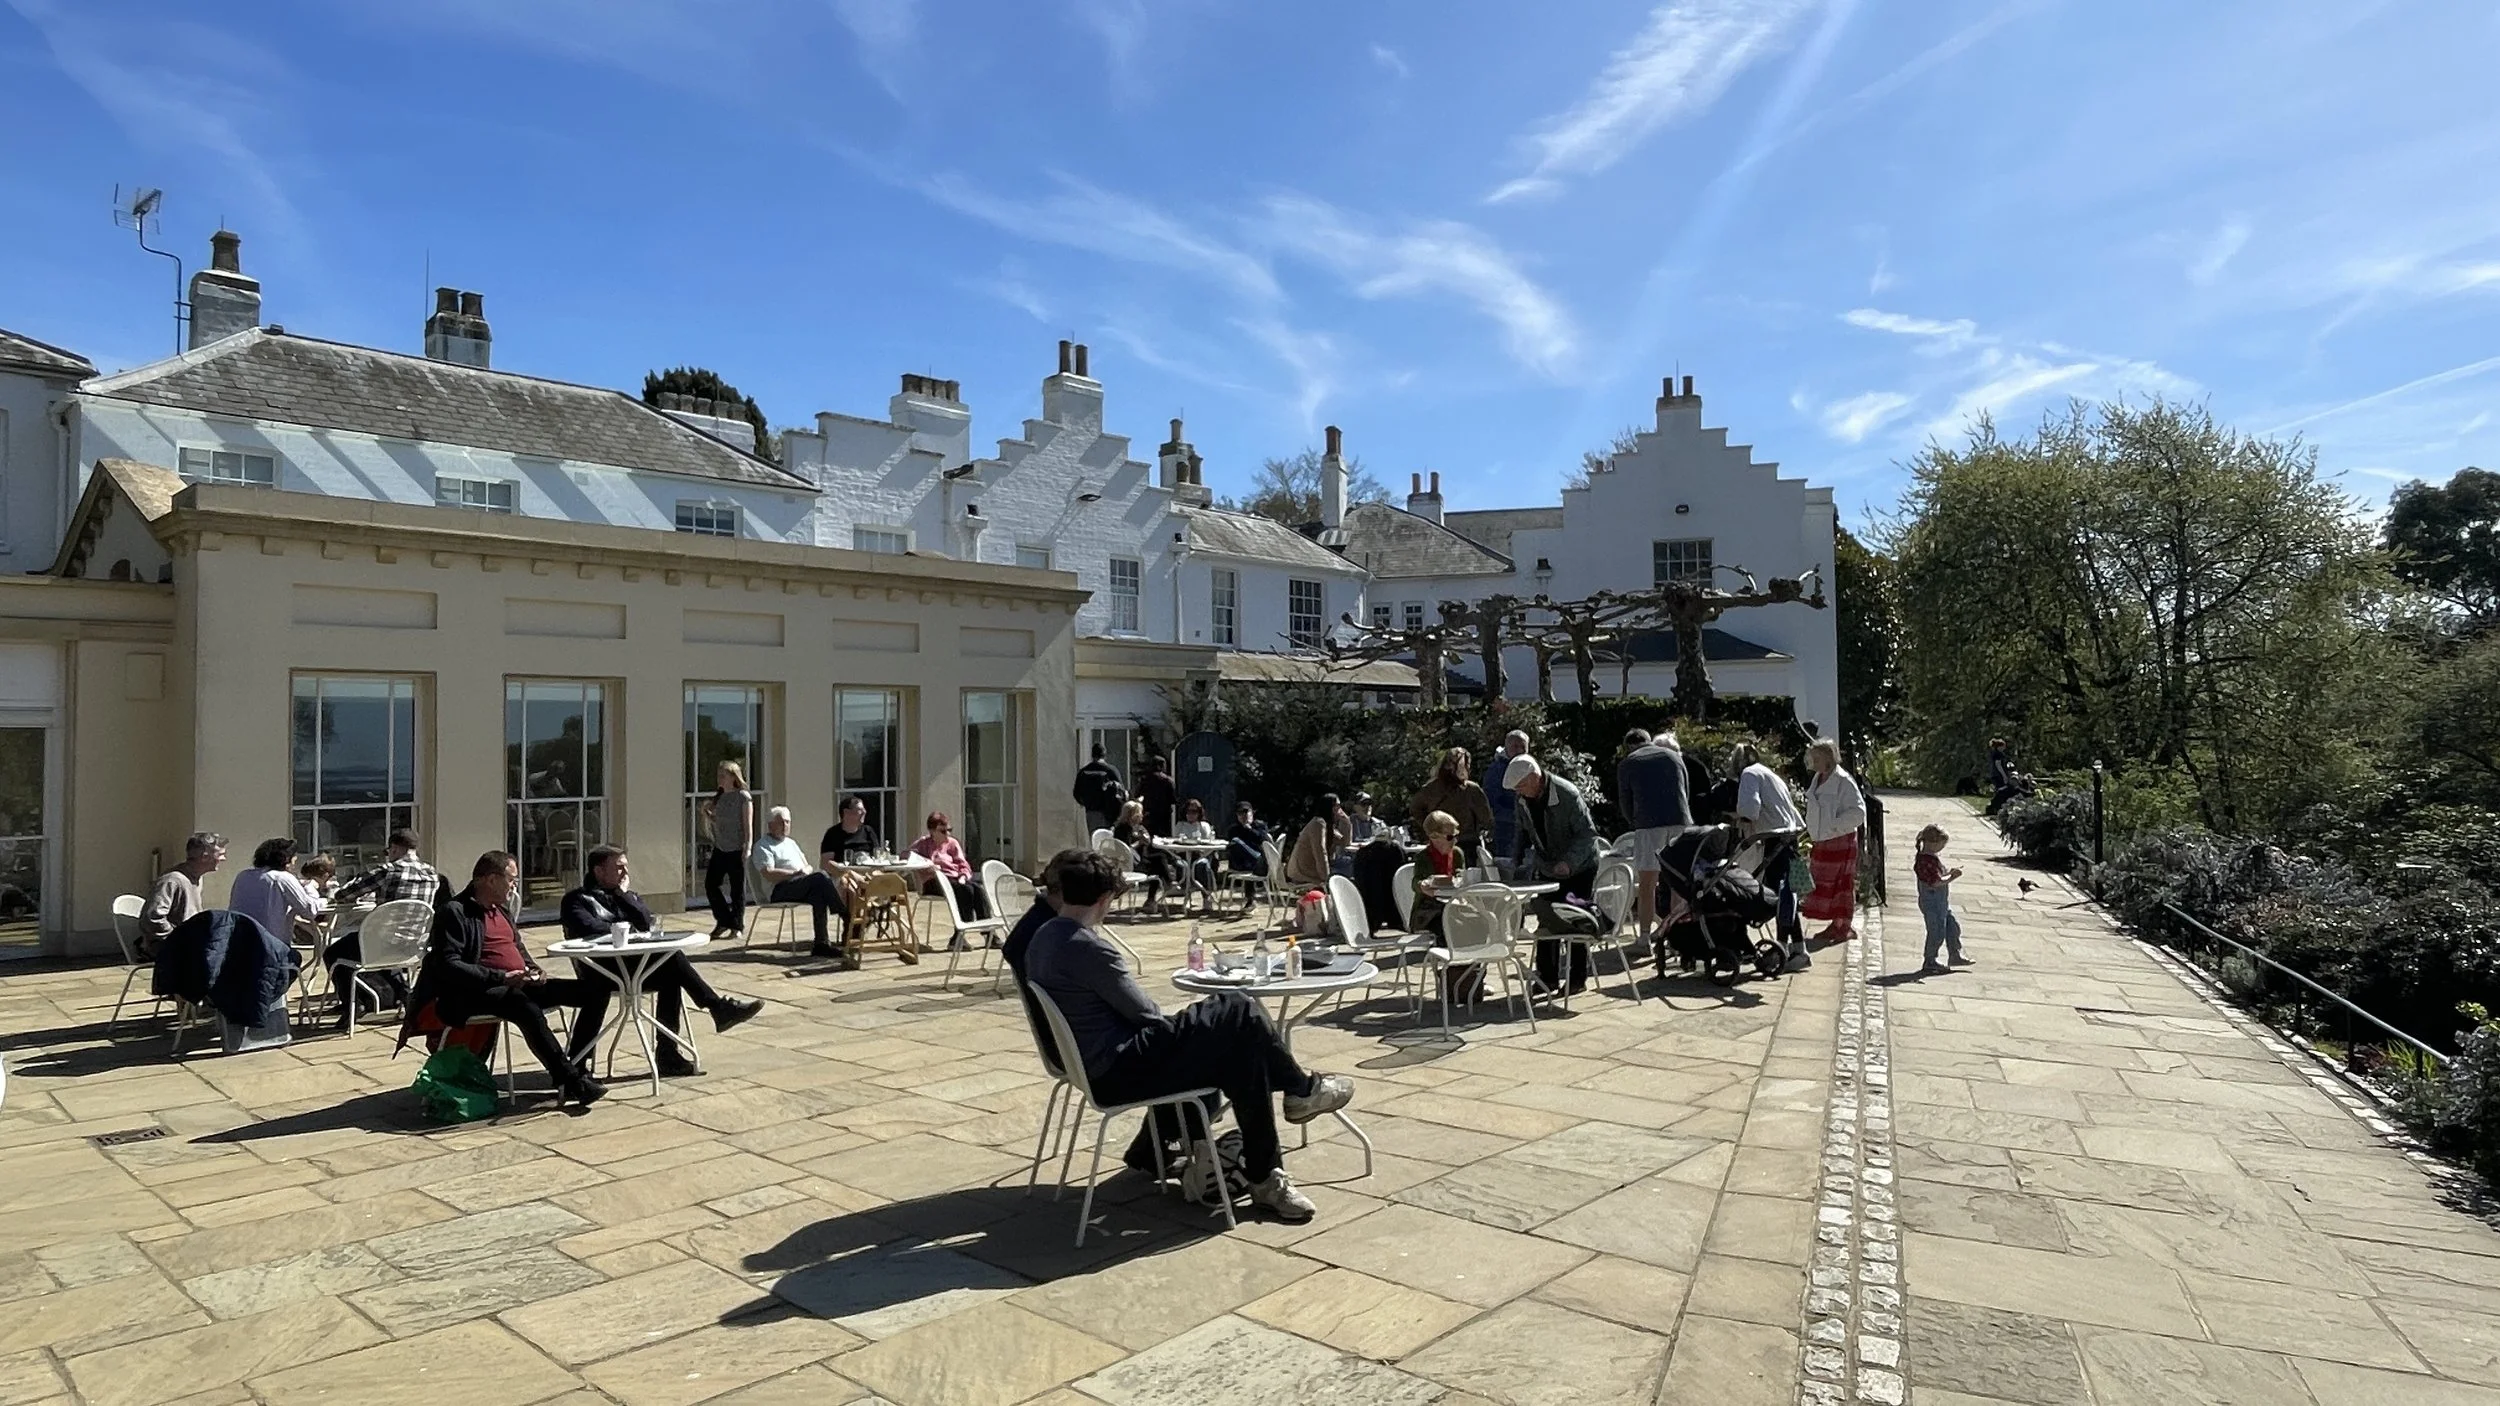
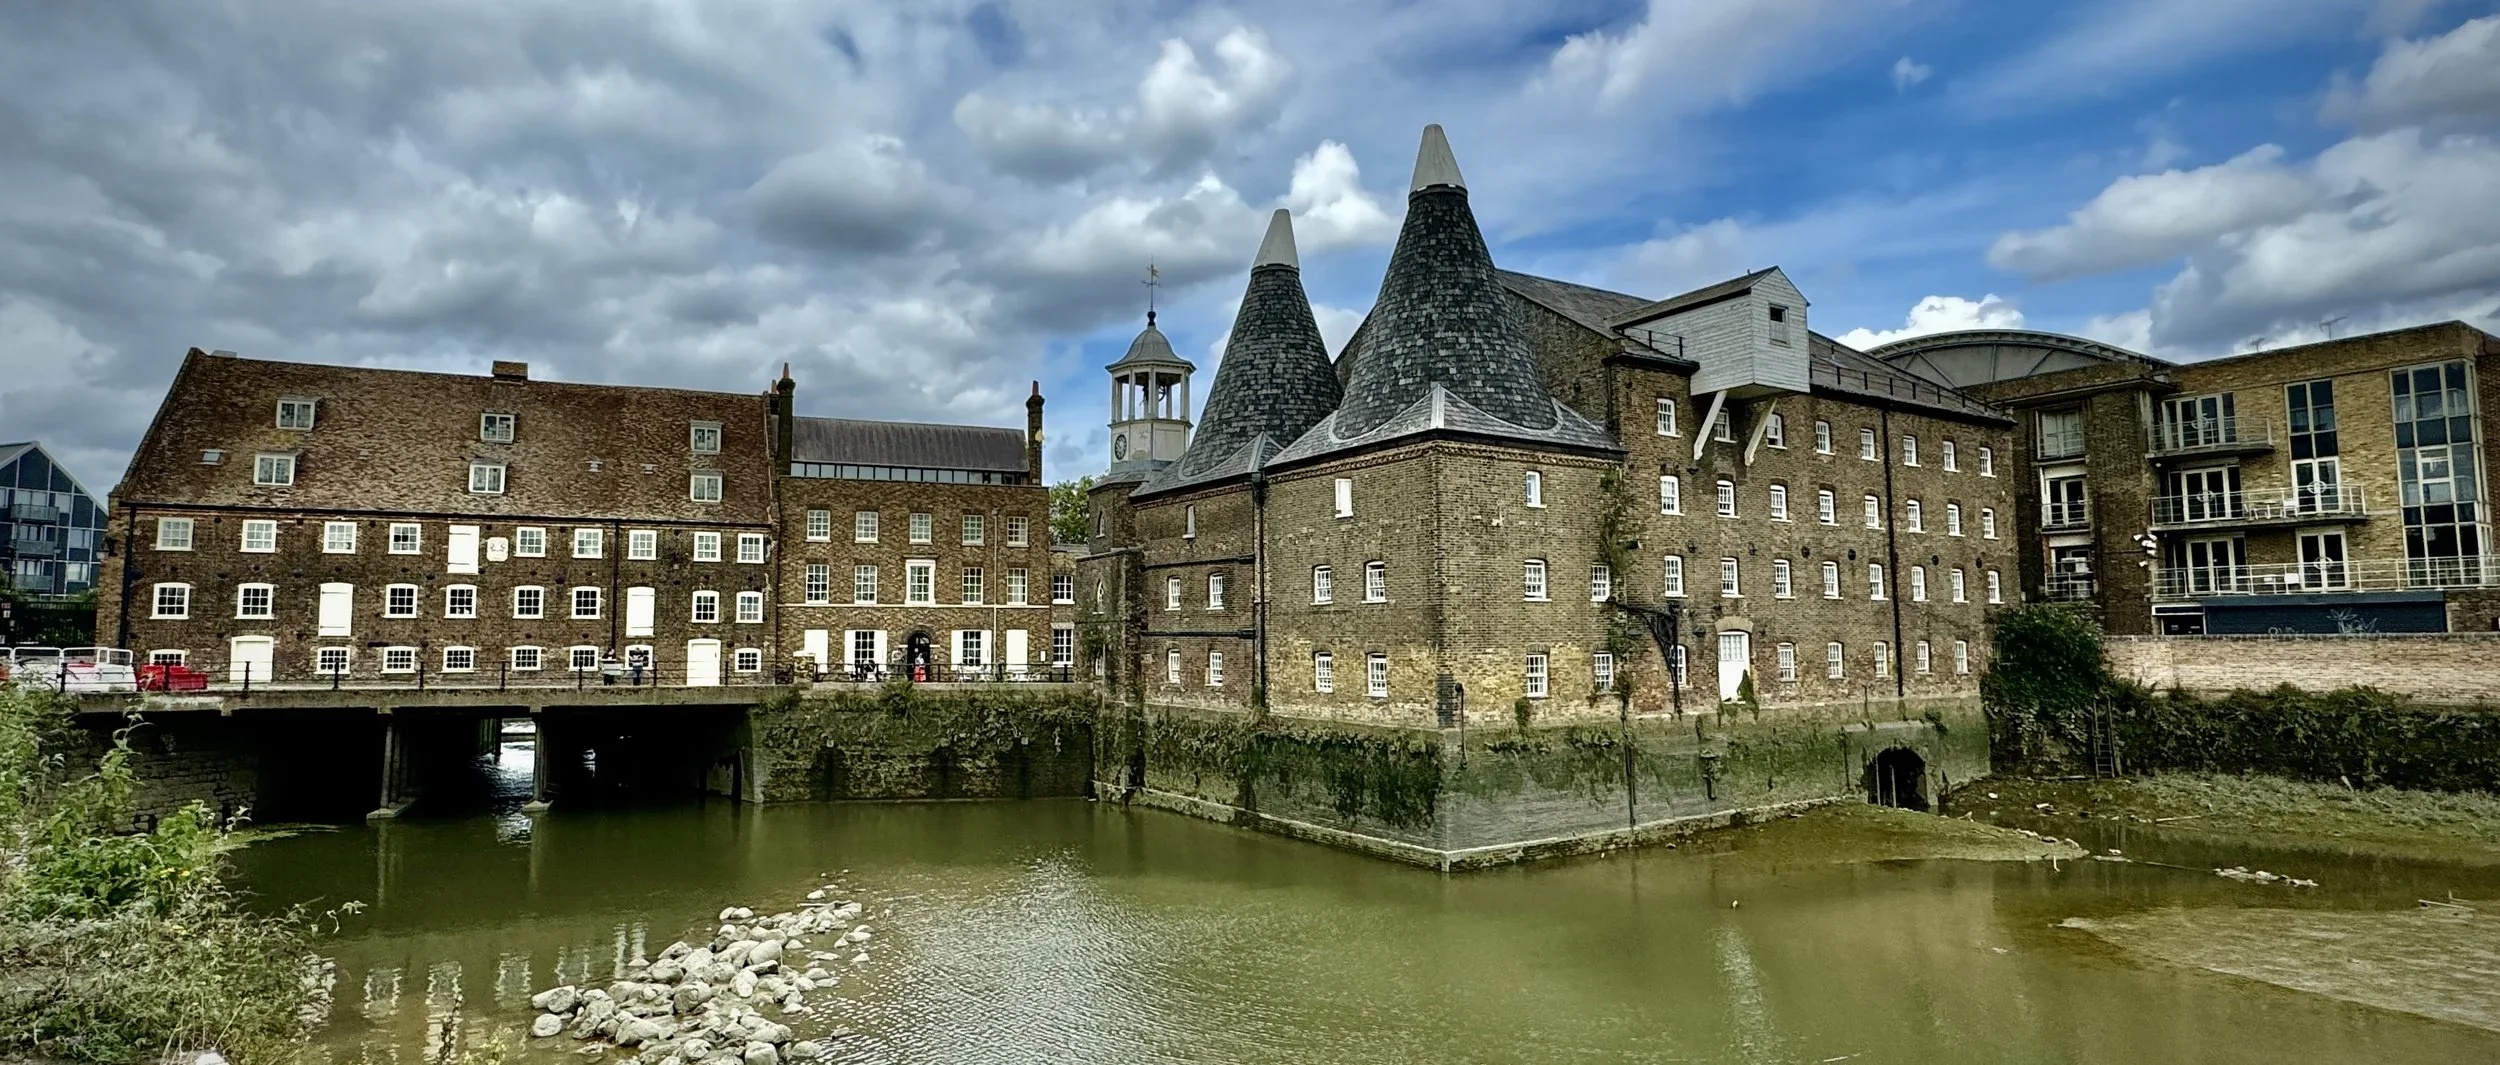
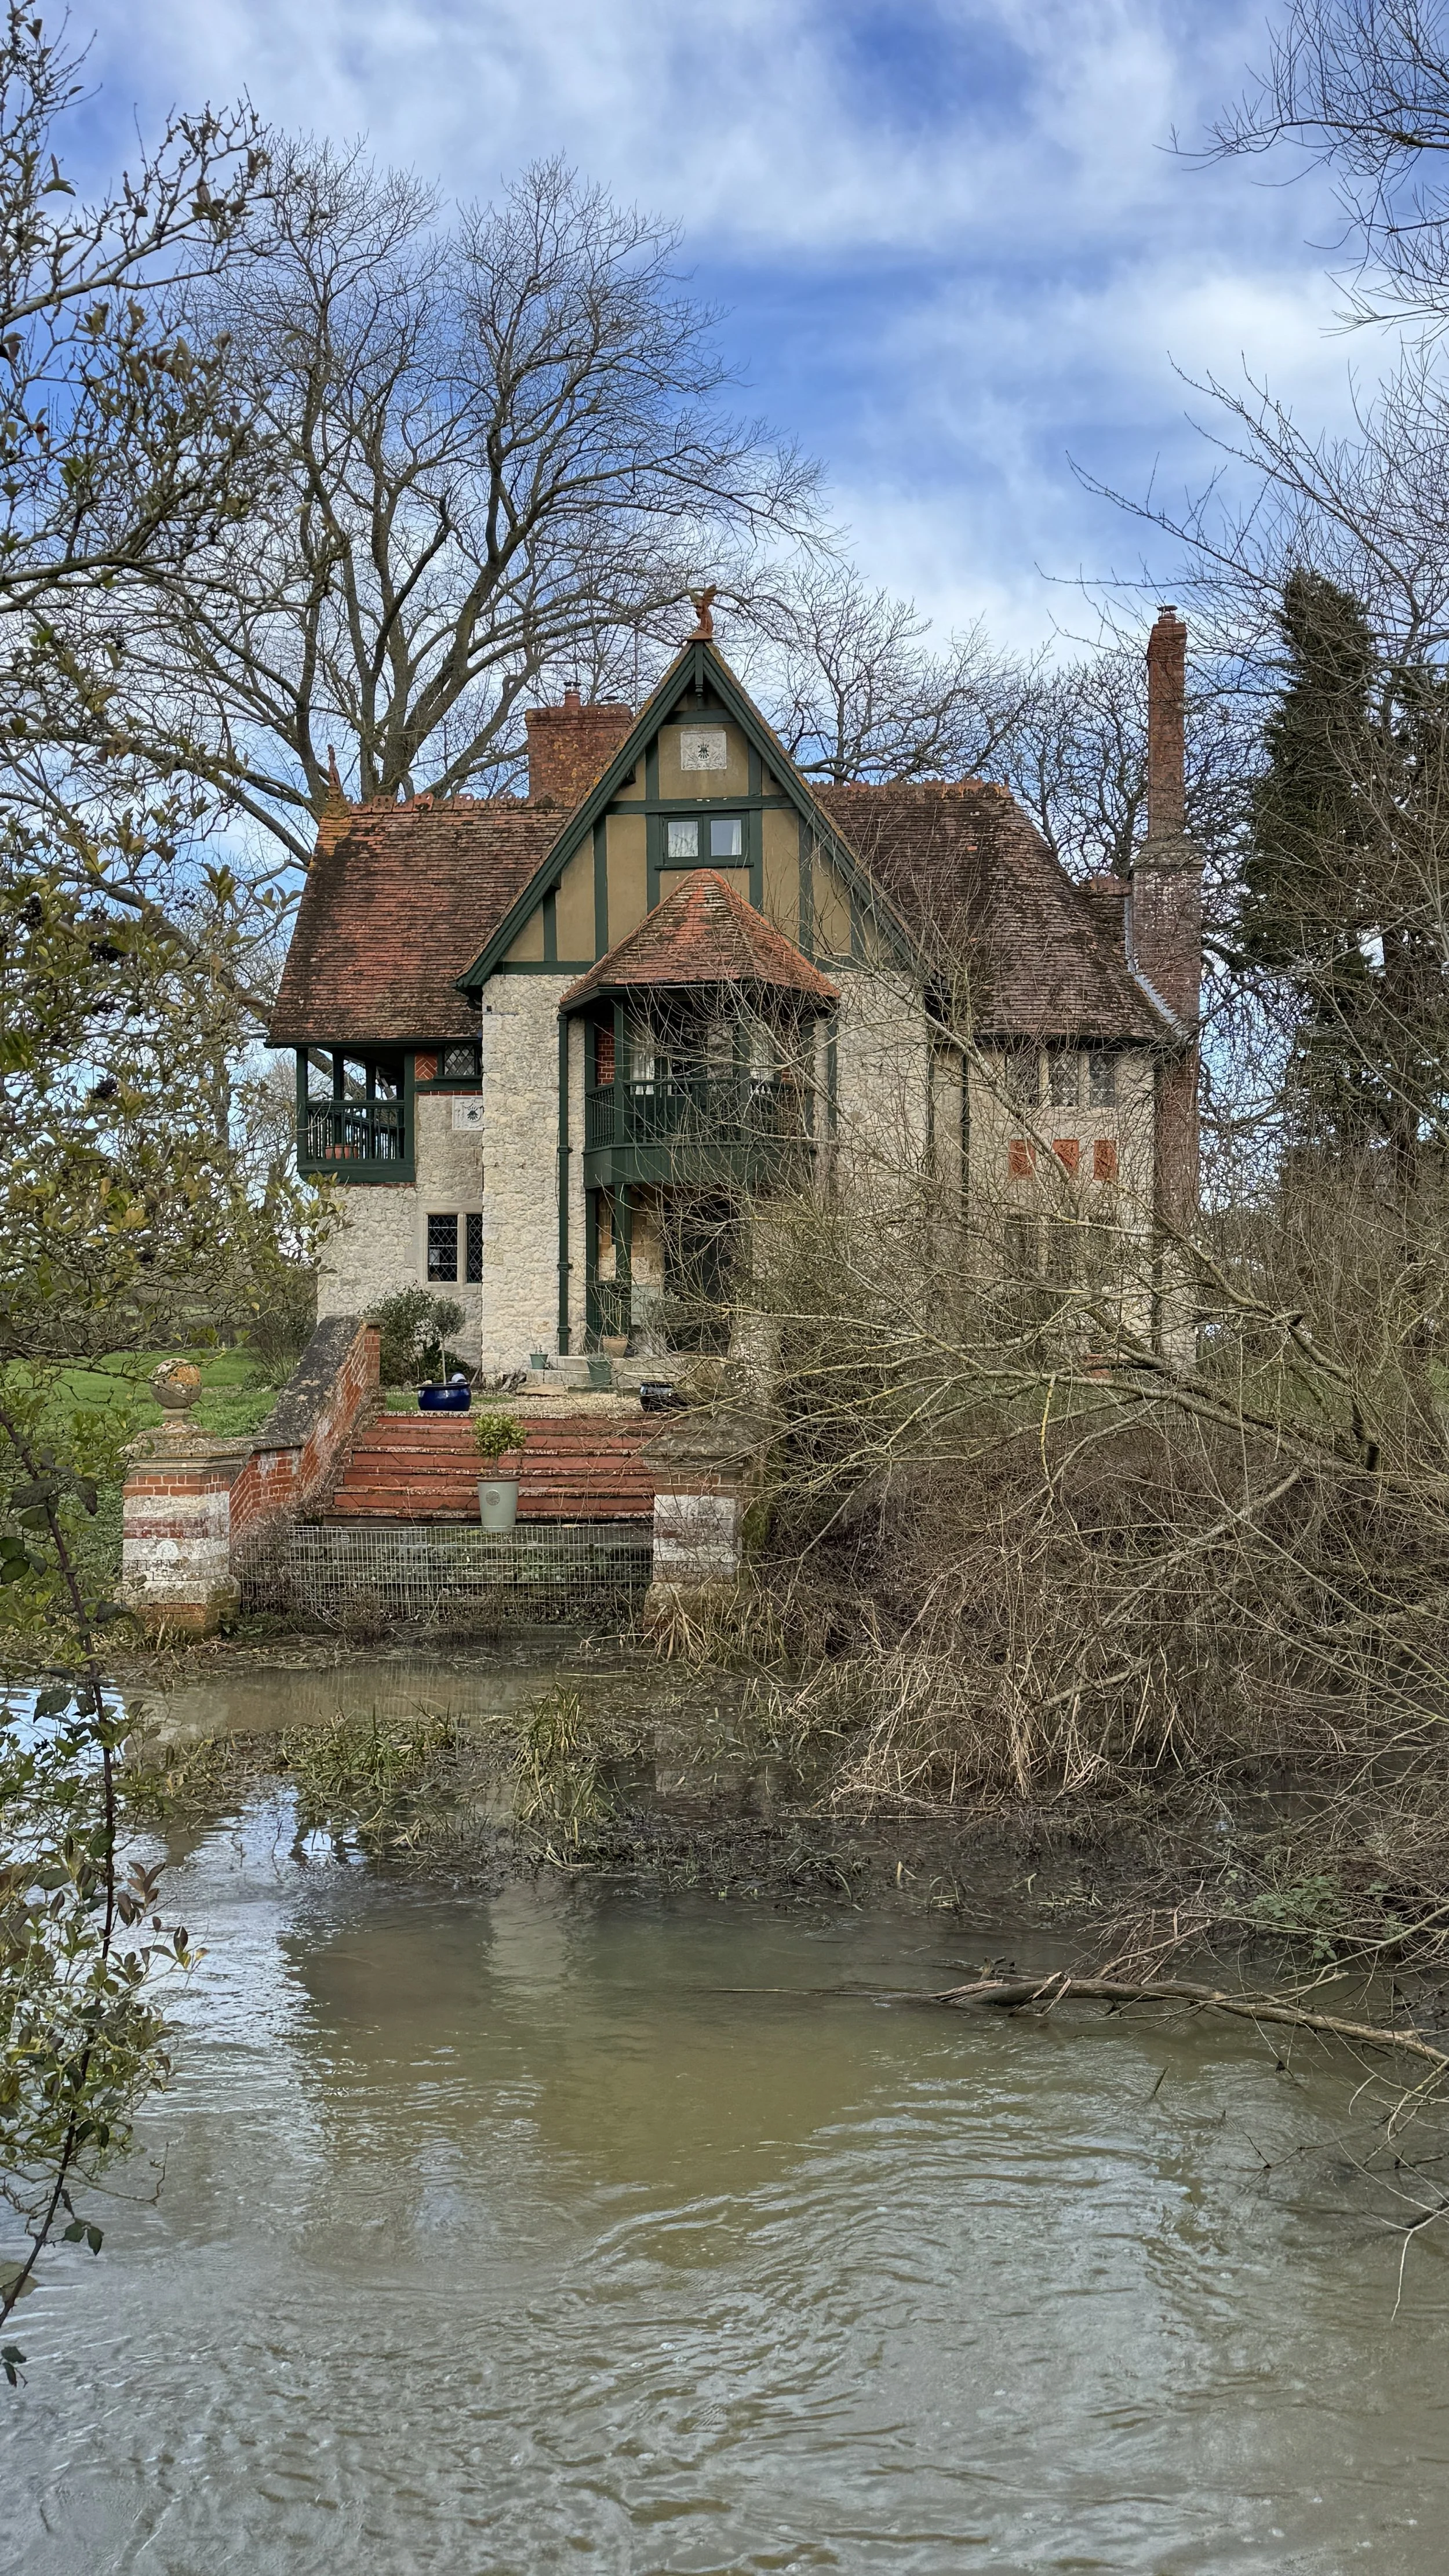
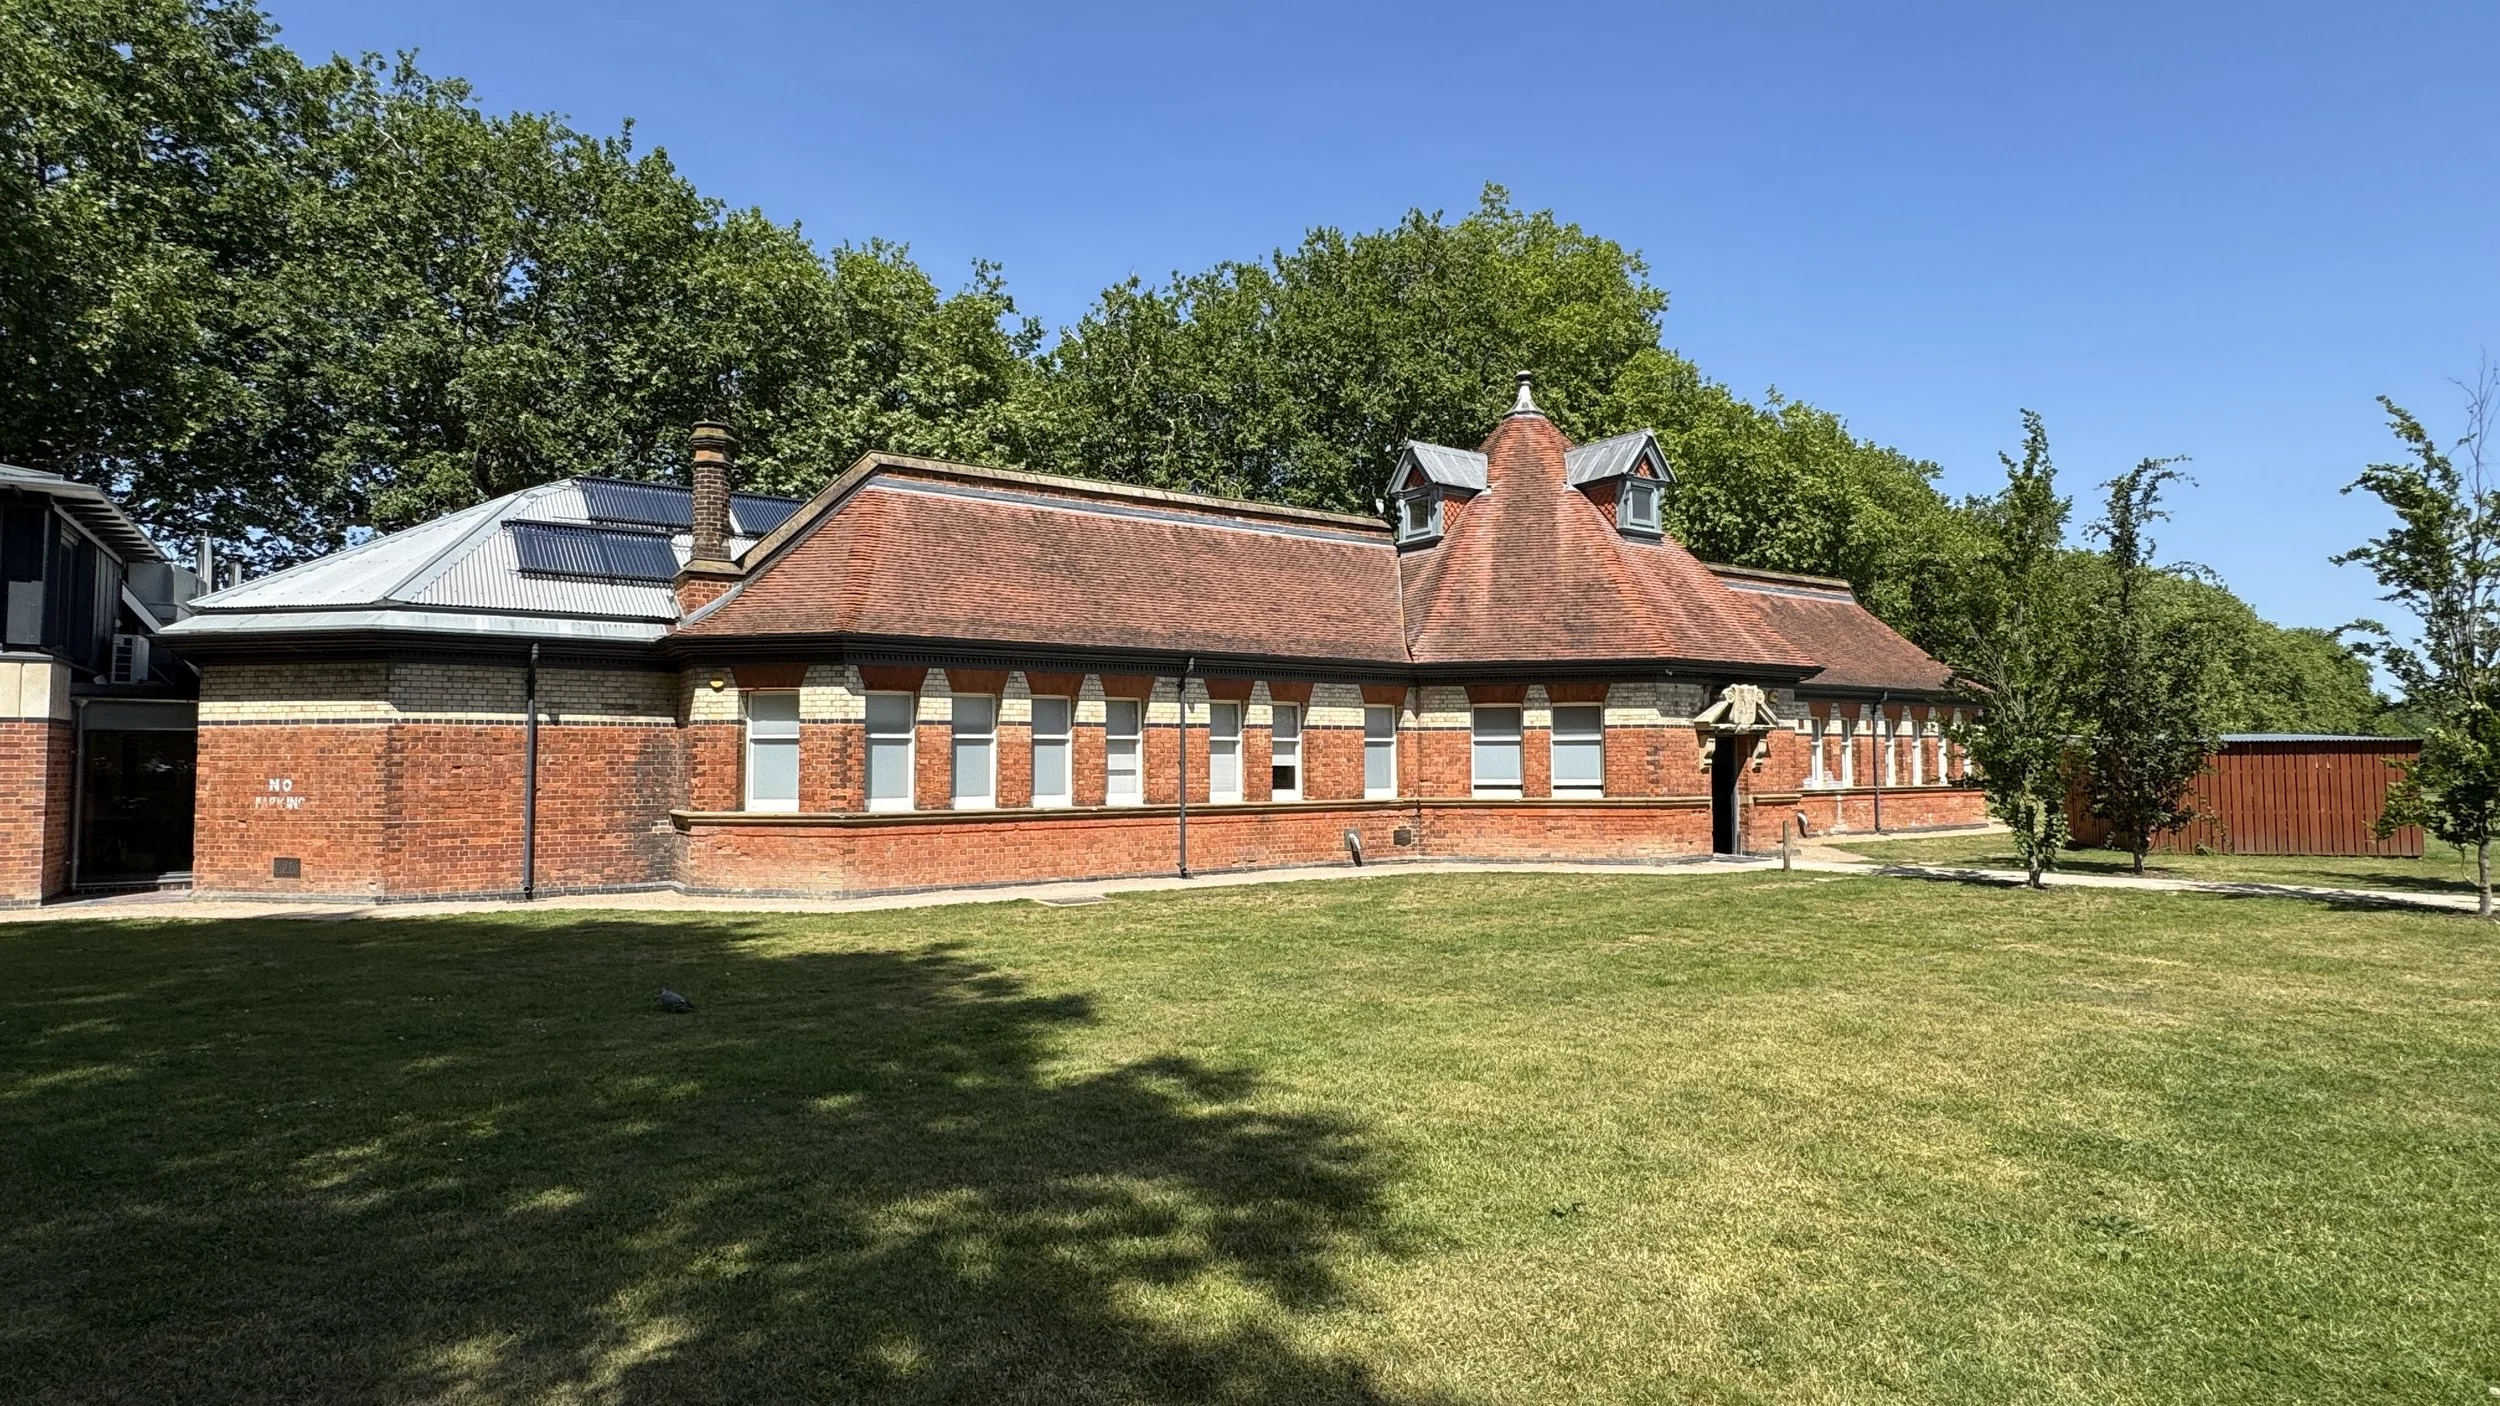
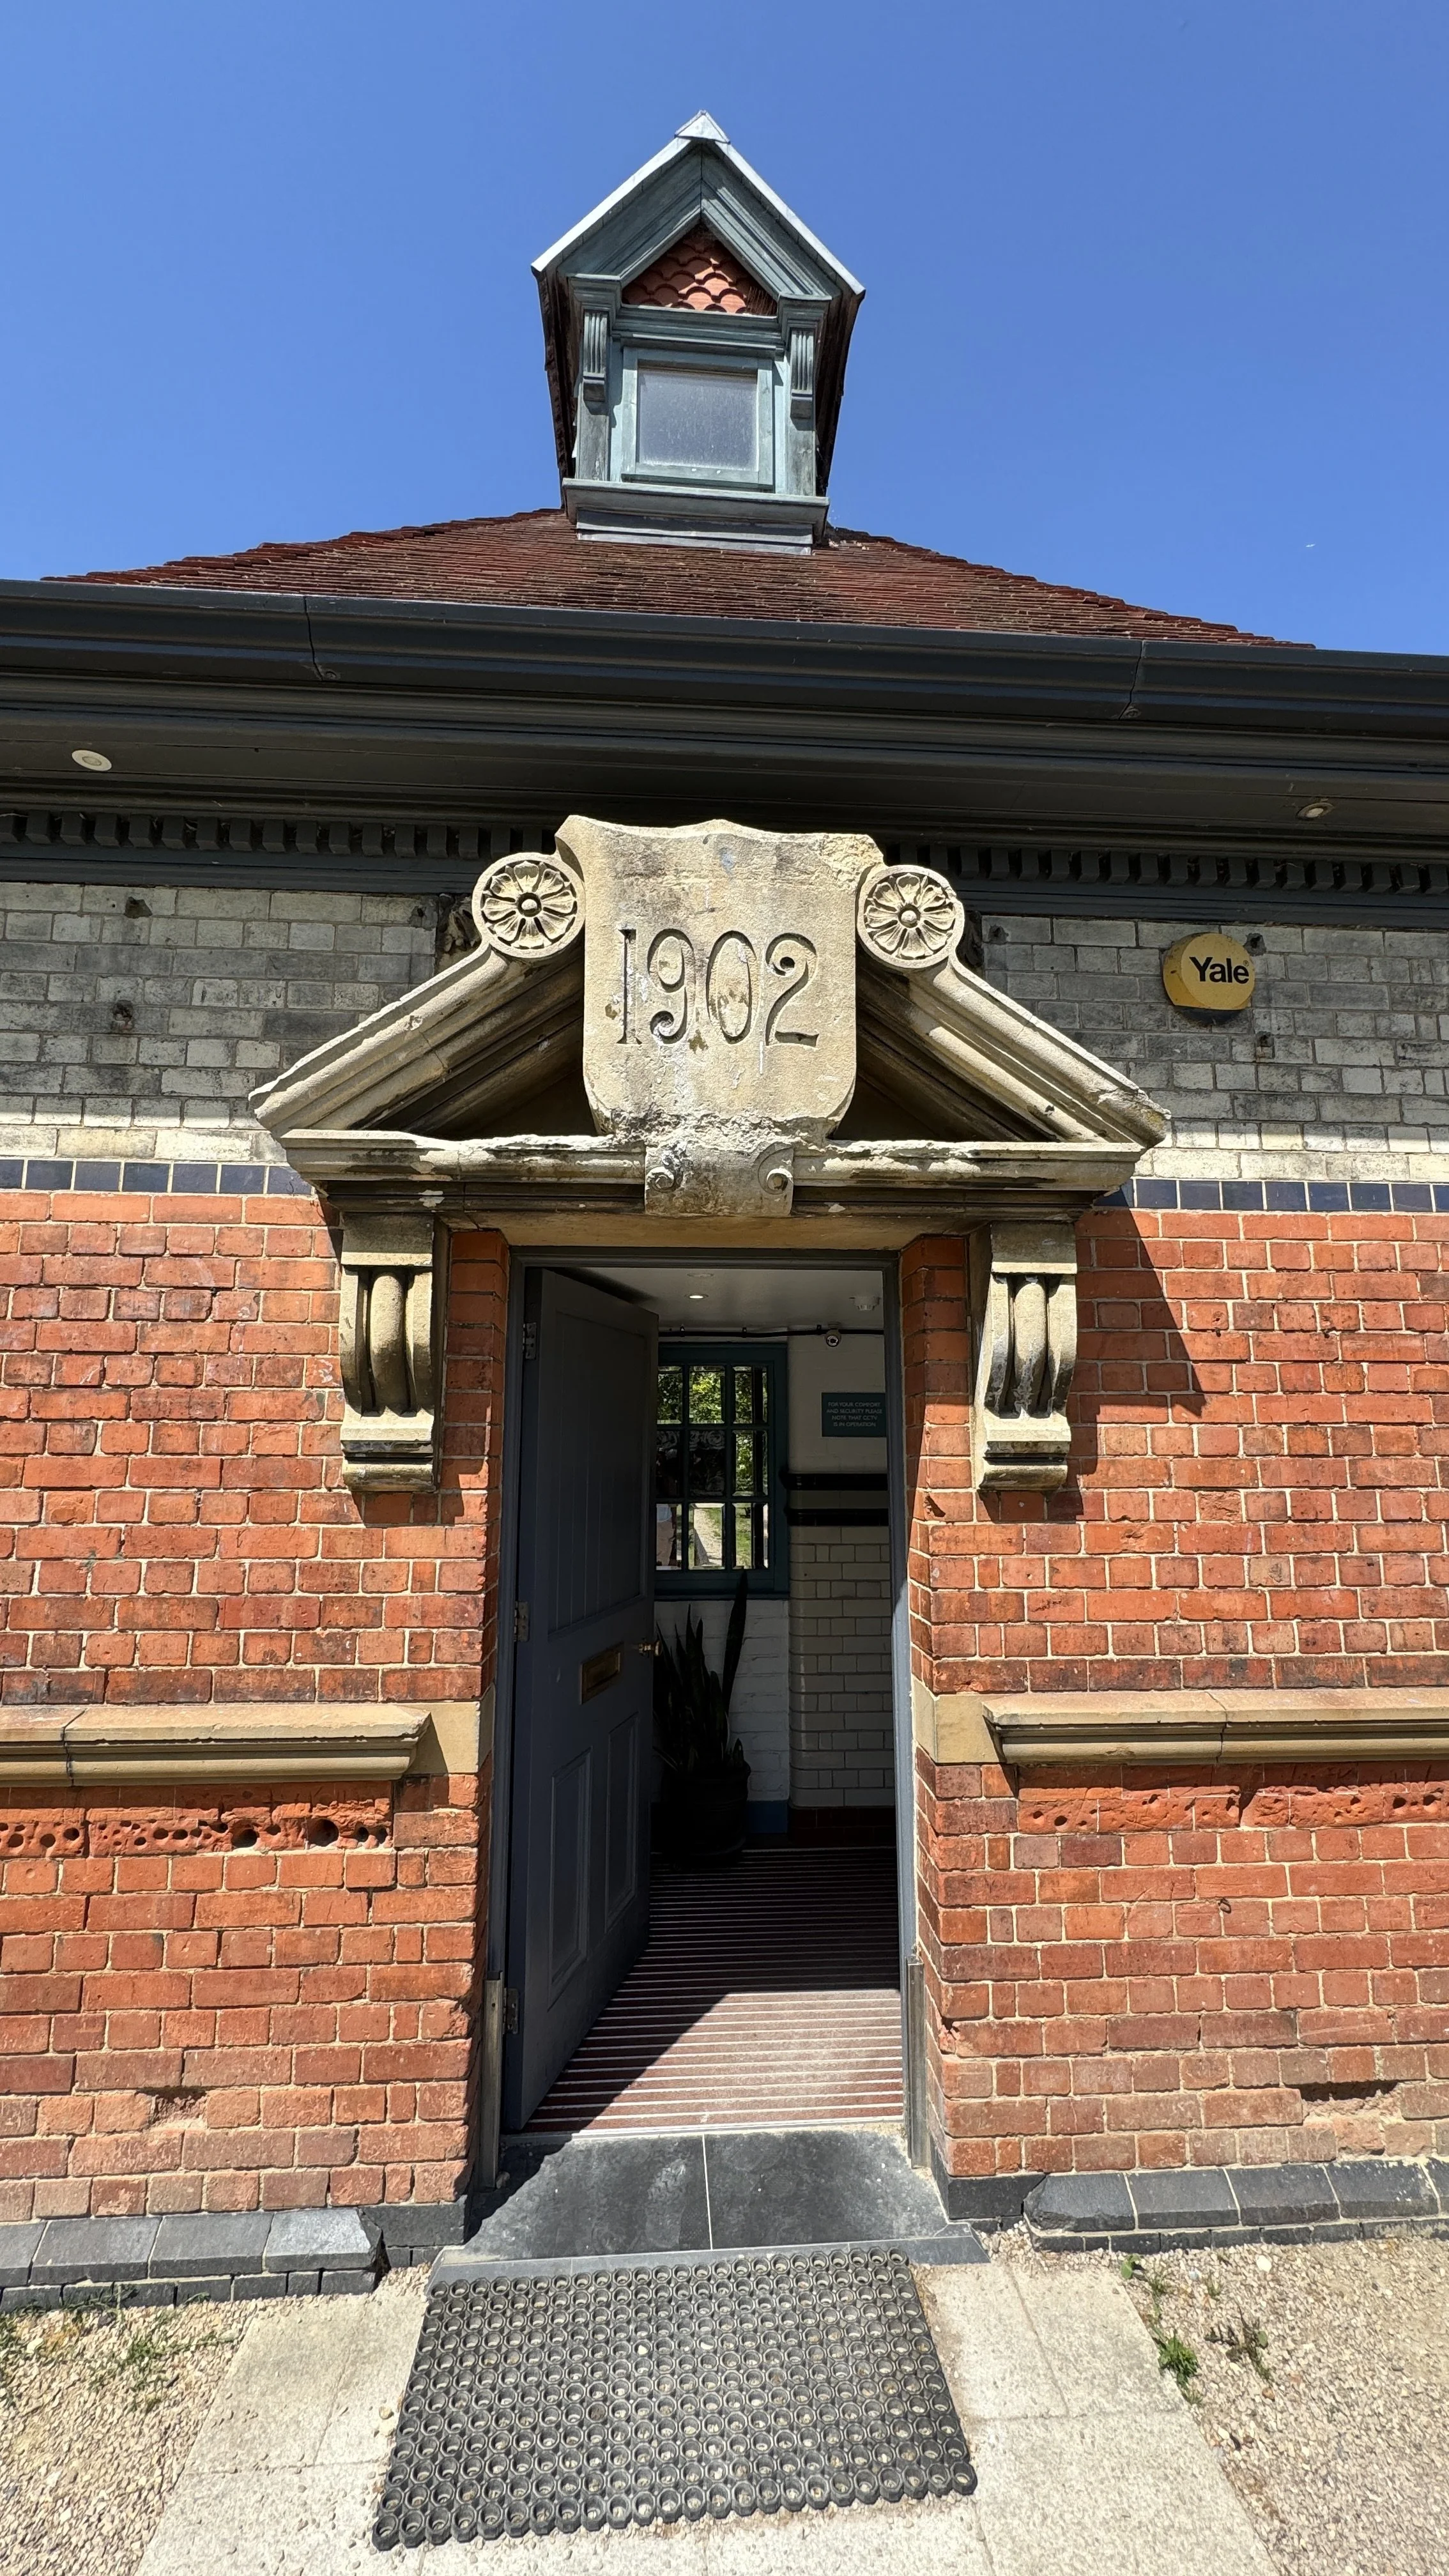
King's Meadow and Thames Lido: Just east of Reading’s centre lies King’s Meadow, a historic riverside park once owned by Reading Abbey and purchased for public use in 1869. Set within its 12 acres is the Thames Lido, housed in the beautifully restored King’s Meadow swimming pool. First opened in 1902 as the Ladies’ Swimming Bath and originally fed directly from the Thames, it now operates as a heated outdoor pool, spa and restaurant following an extensive restoration completed in 2017. It makes an excellent mid‑walk stop for a swim, coffee or meal.
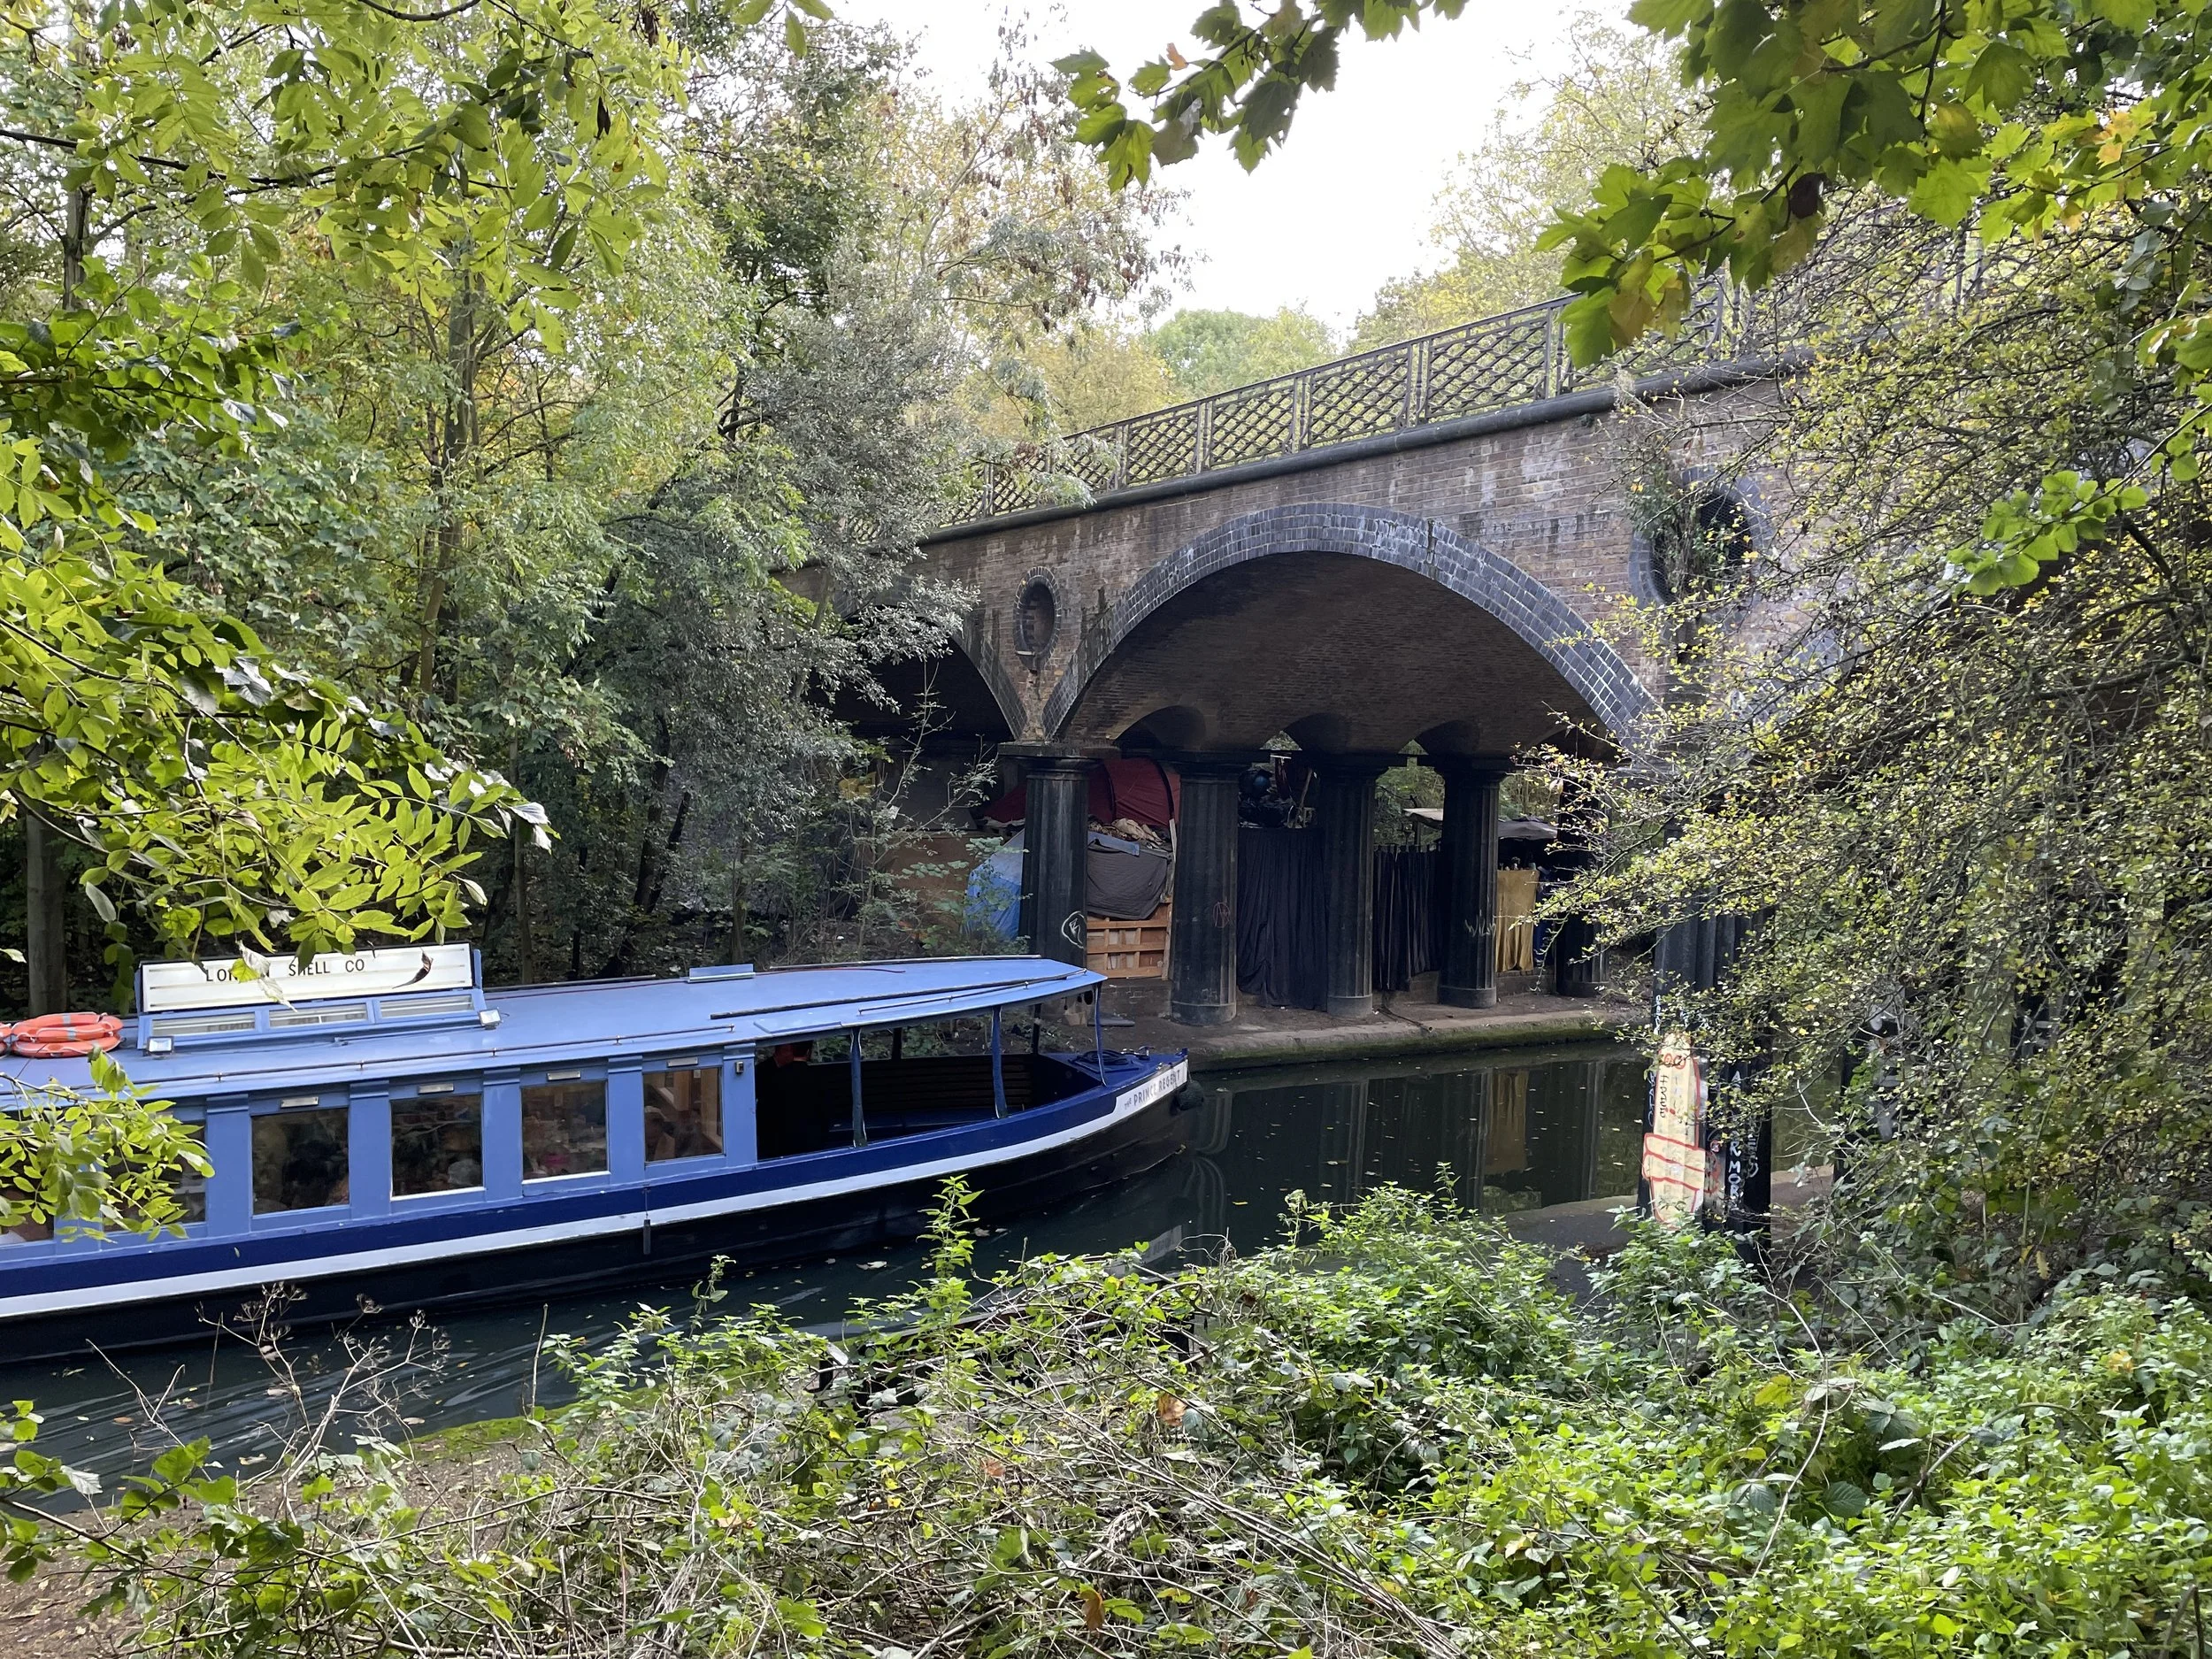
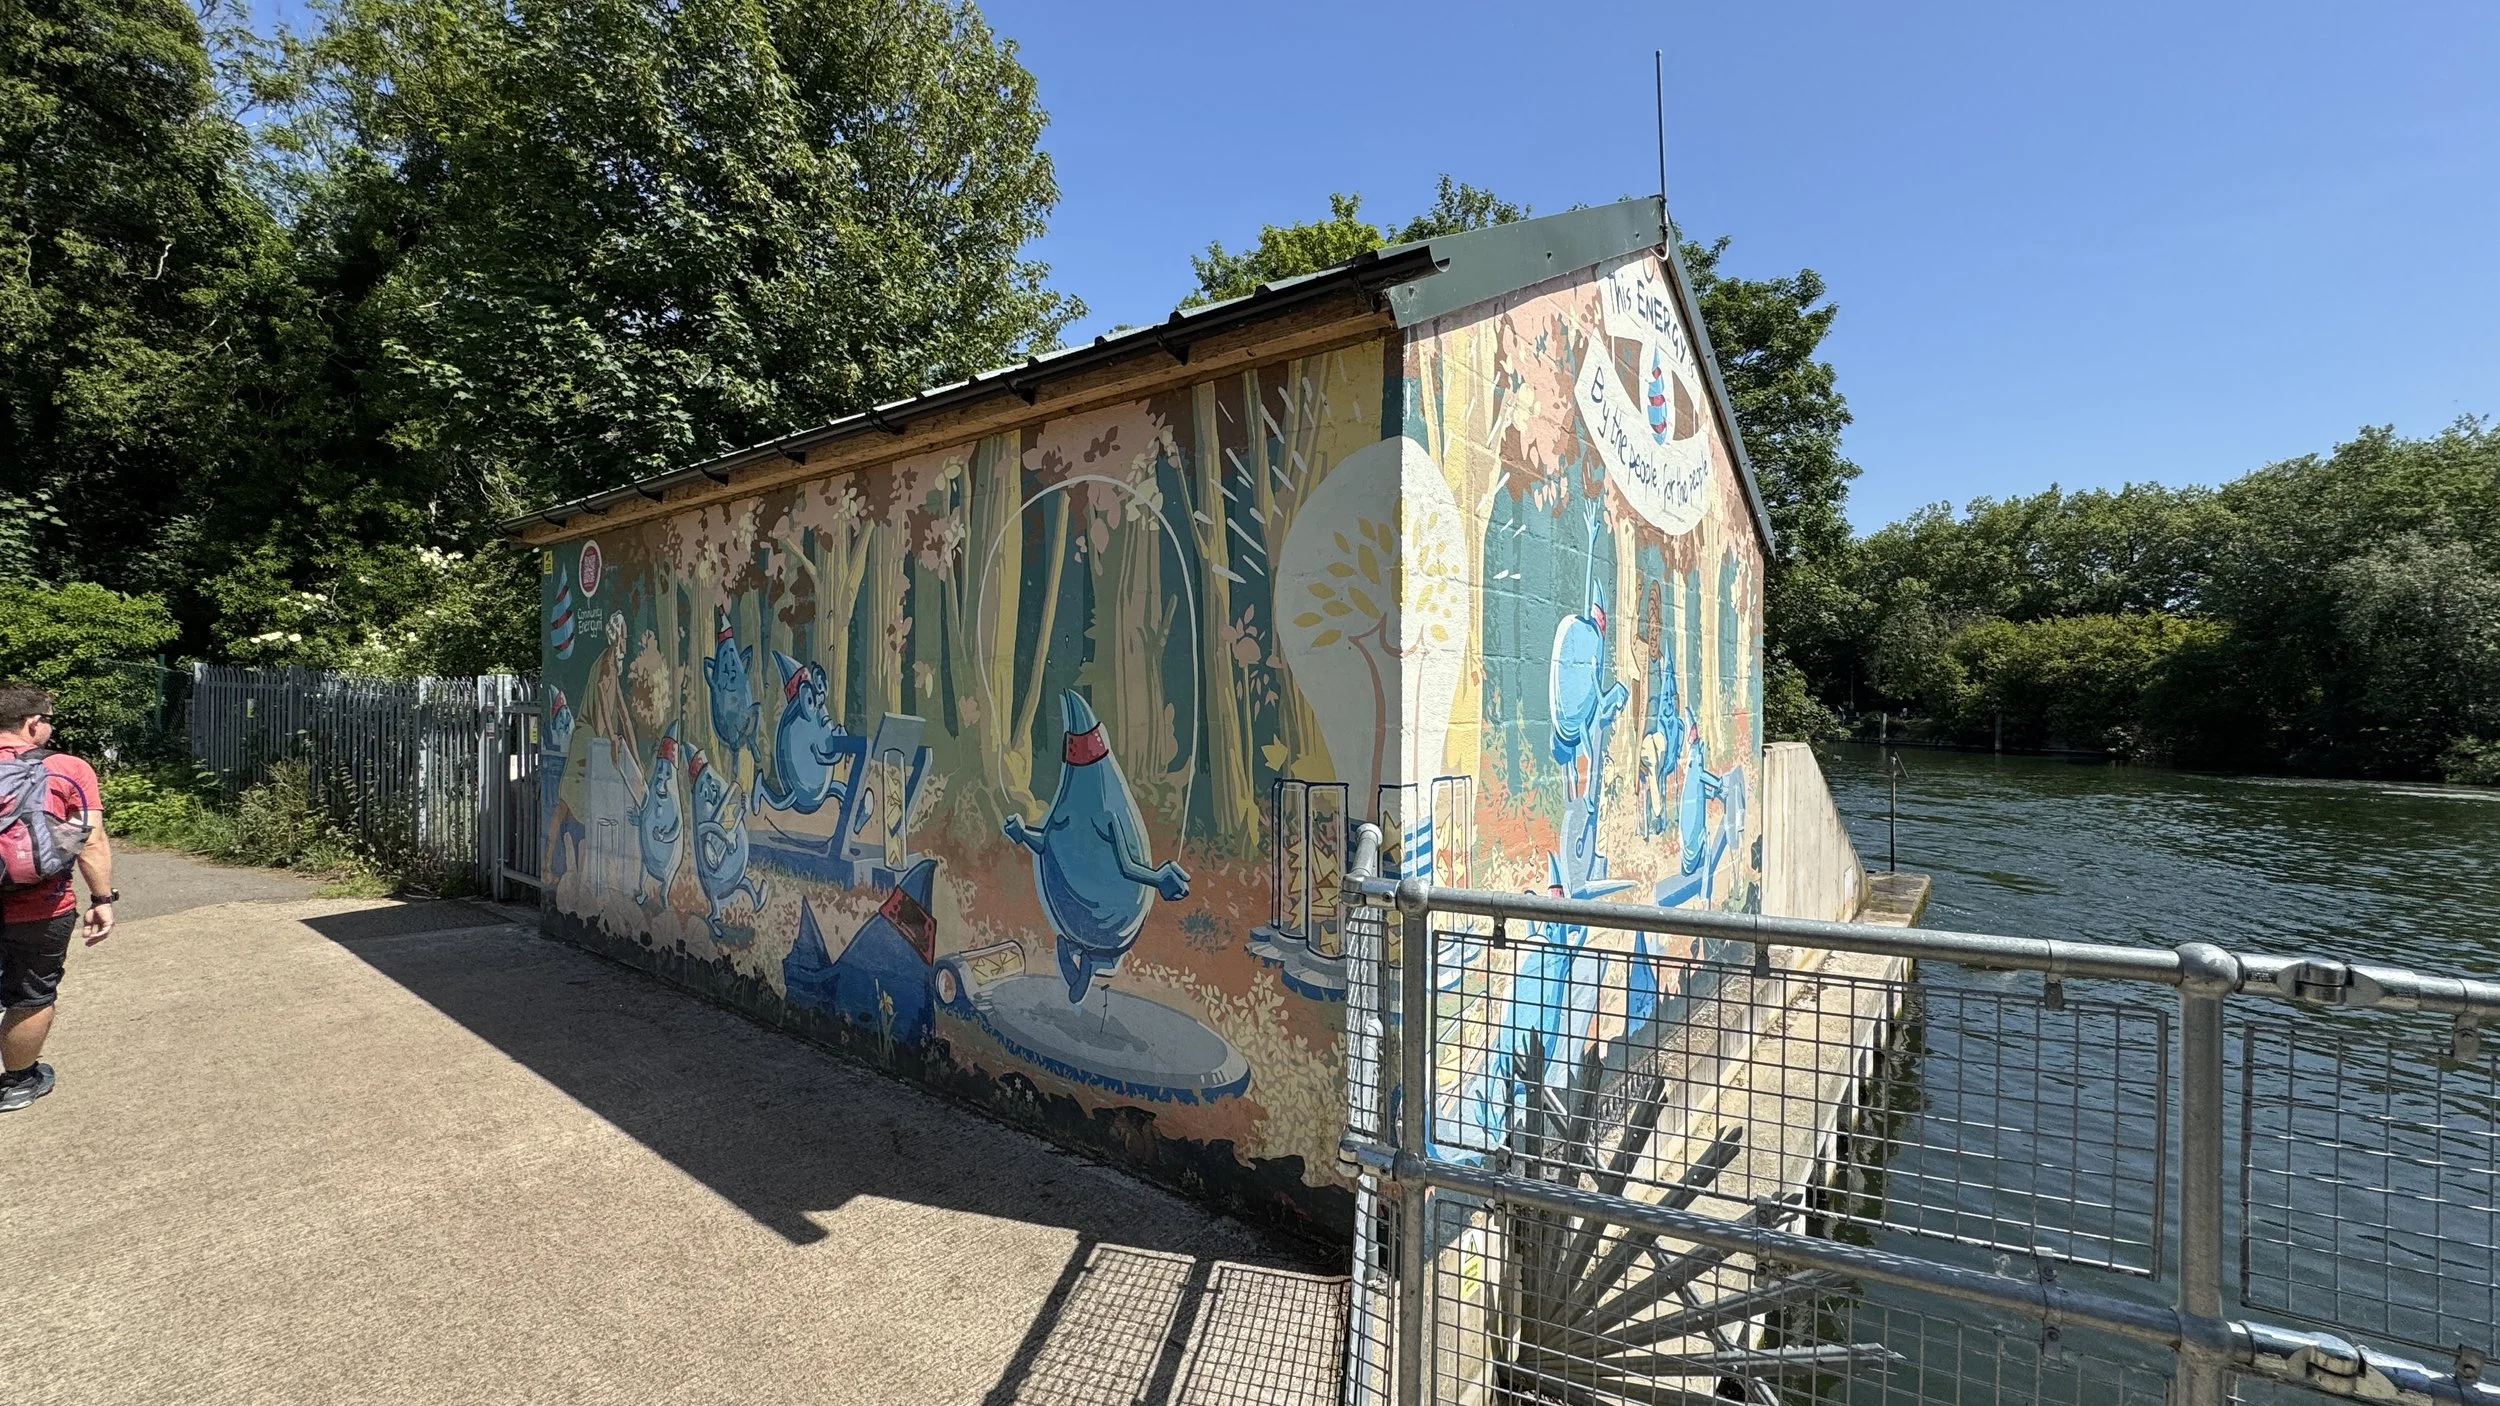
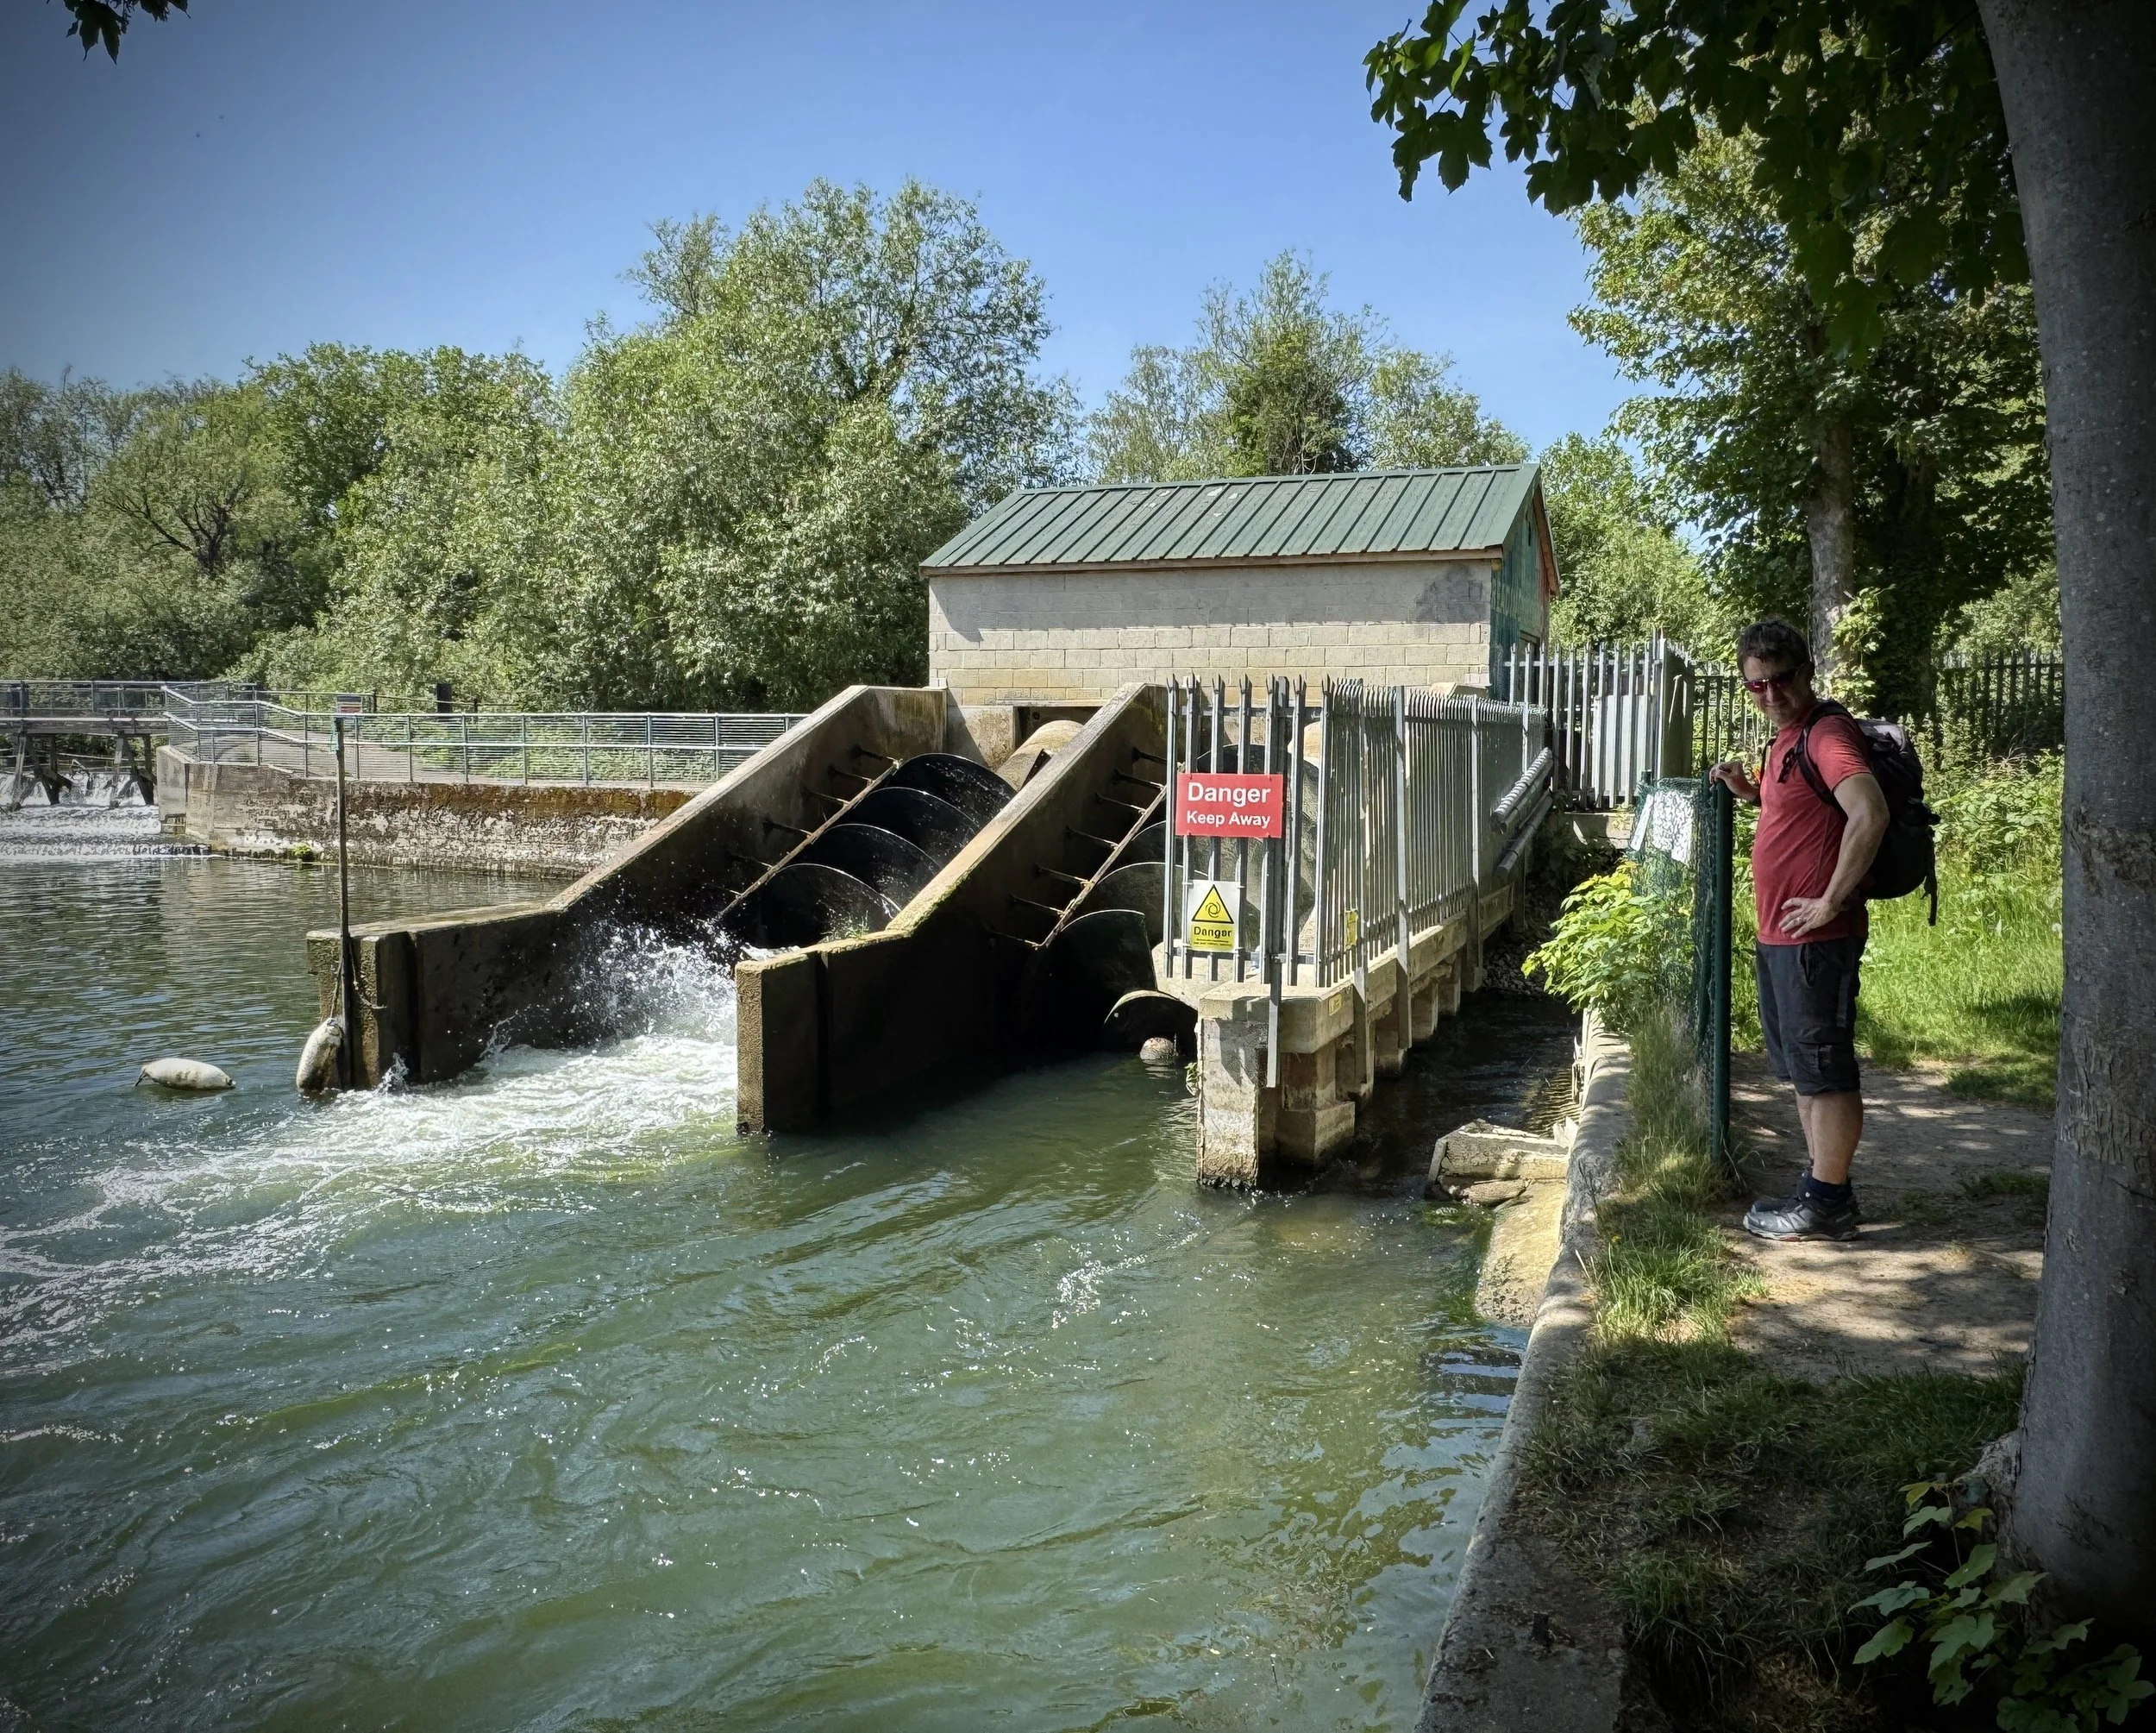
Horseshoe Bridge: At the point where the River Kennet meets the Thames, walkers cross the distinctive Horseshoe Bridge. Added in 1892 as an accommodation and footbridge alongside Isambard Kingdom Brunel’s 1839 Great Western Railway bridge, it provides a convenient pedestrian route across the Kennet’s mouth. This junction is historically significant: just upstream lies Blake’s Lock, the eastern terminus of the Kennet & Avon Canal, marking the end of the waterway’s long route from Bath.
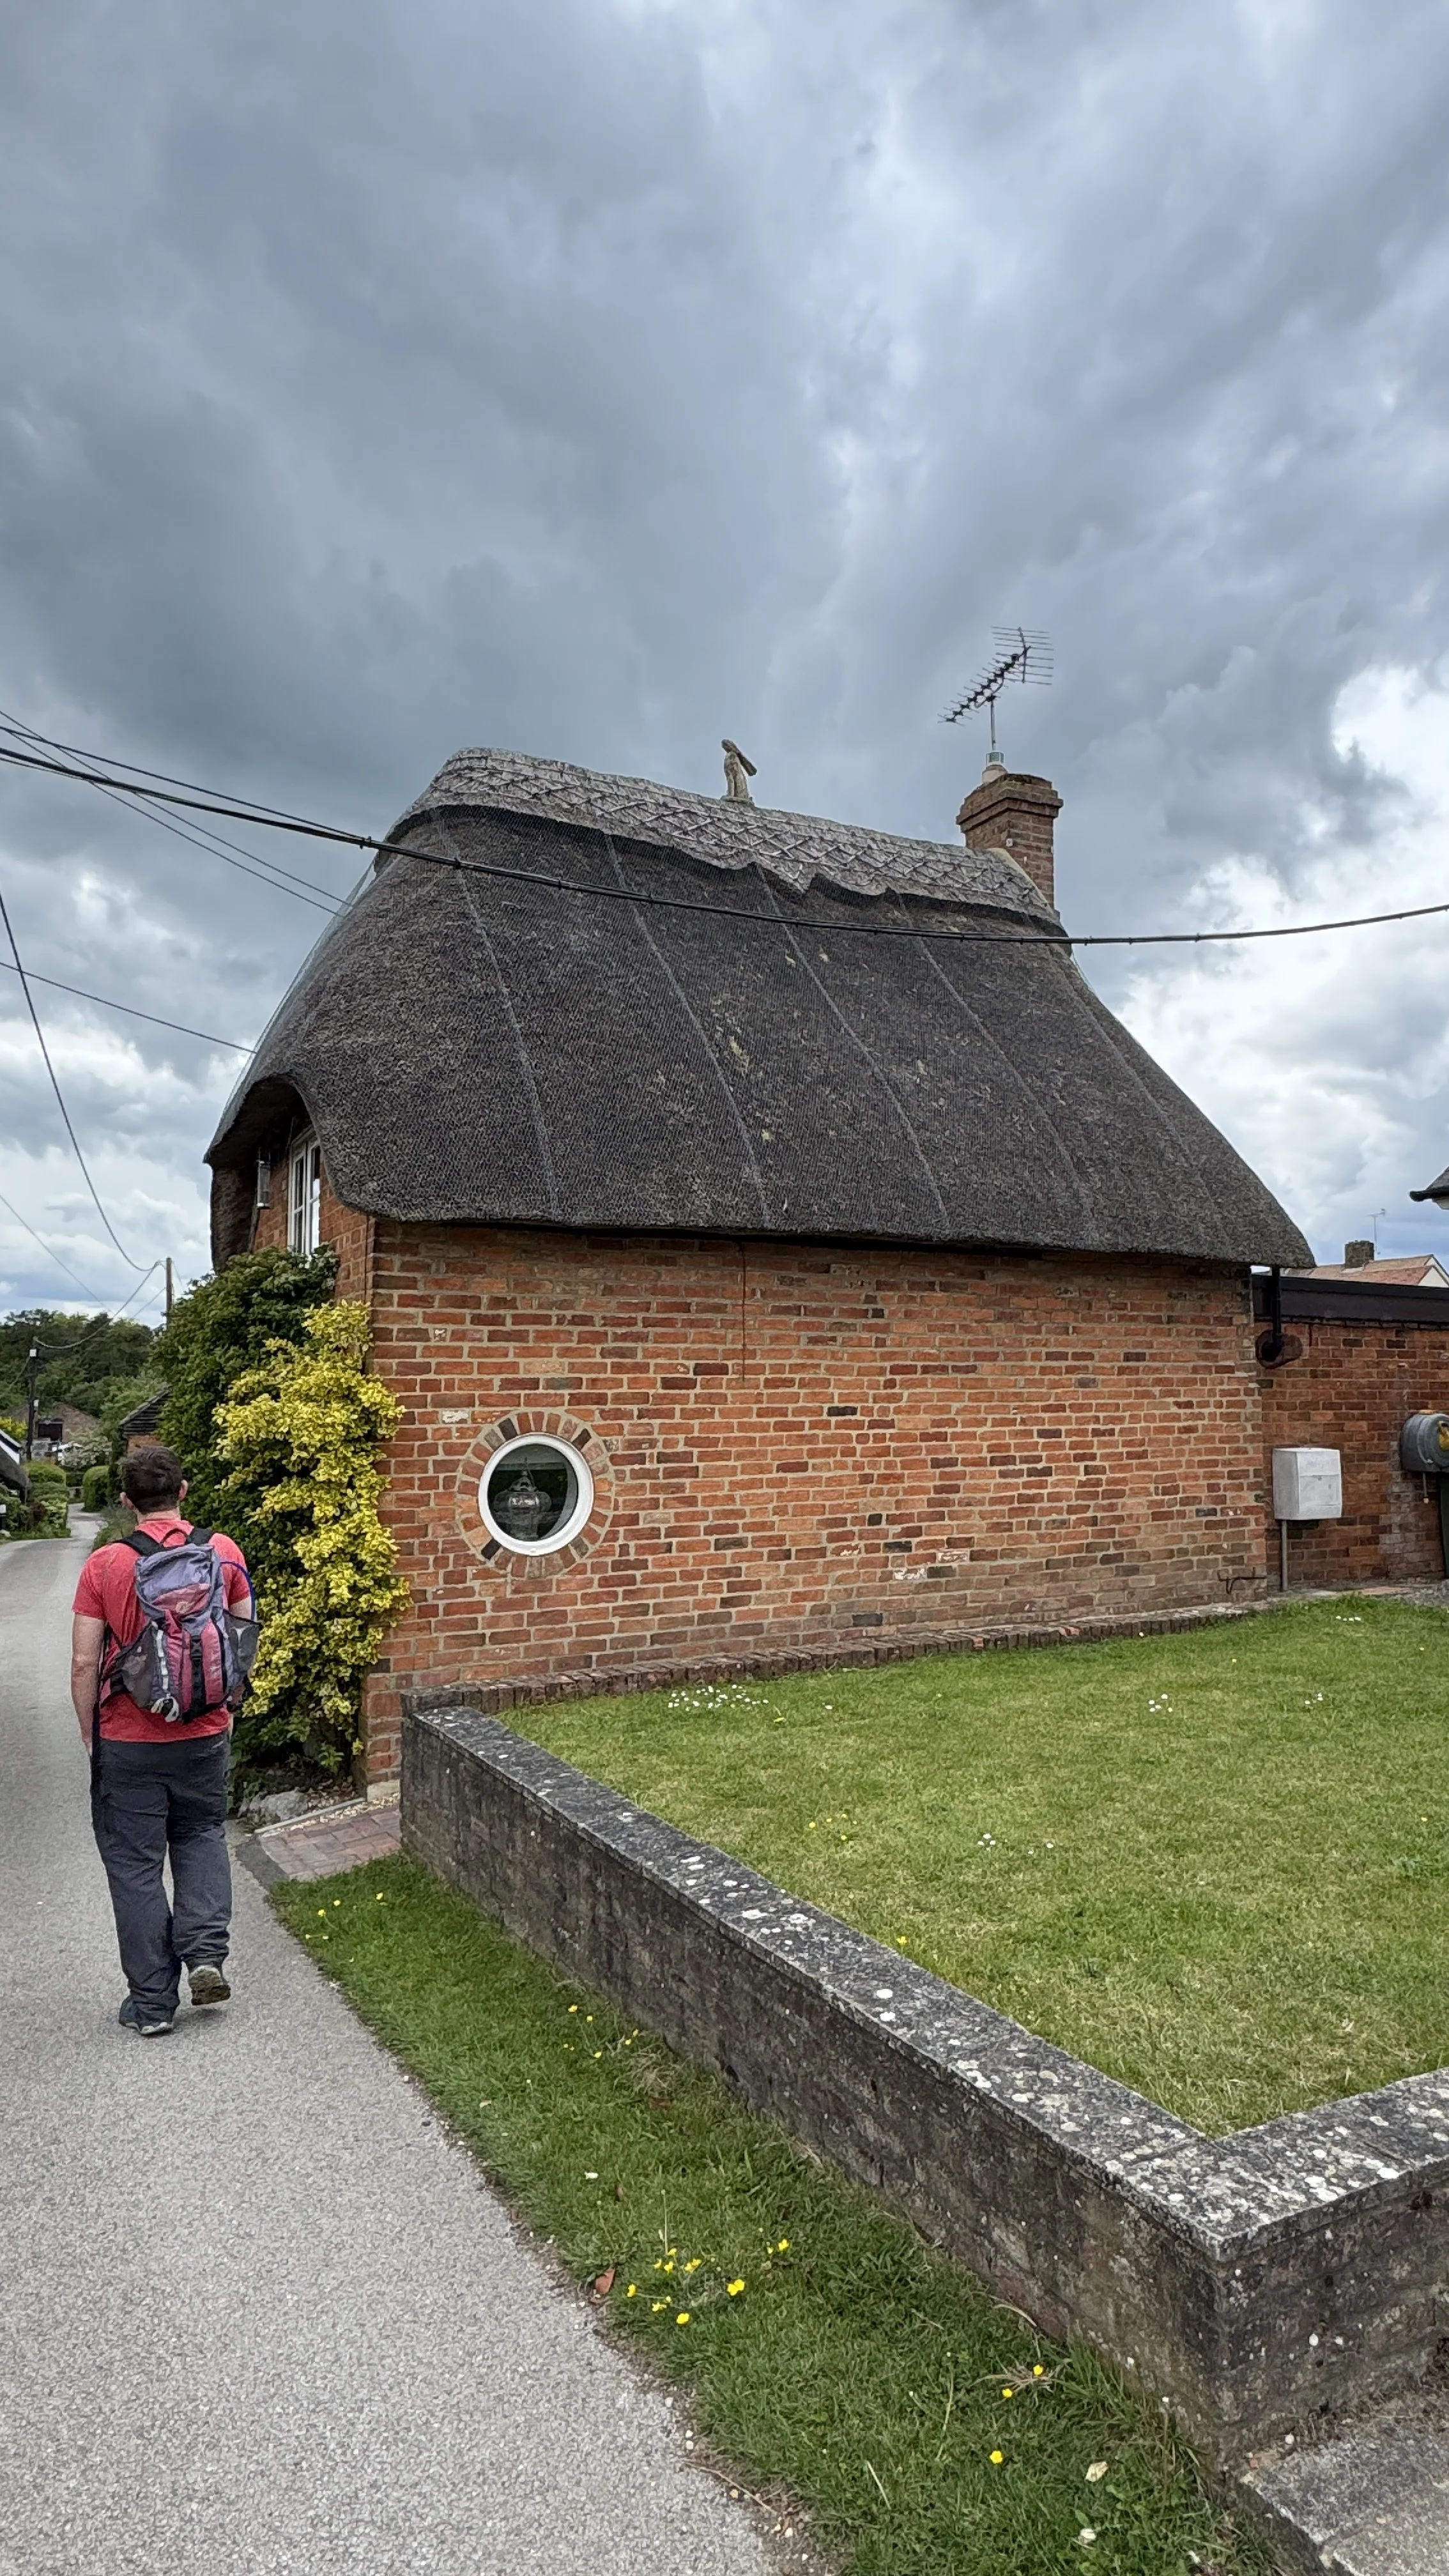
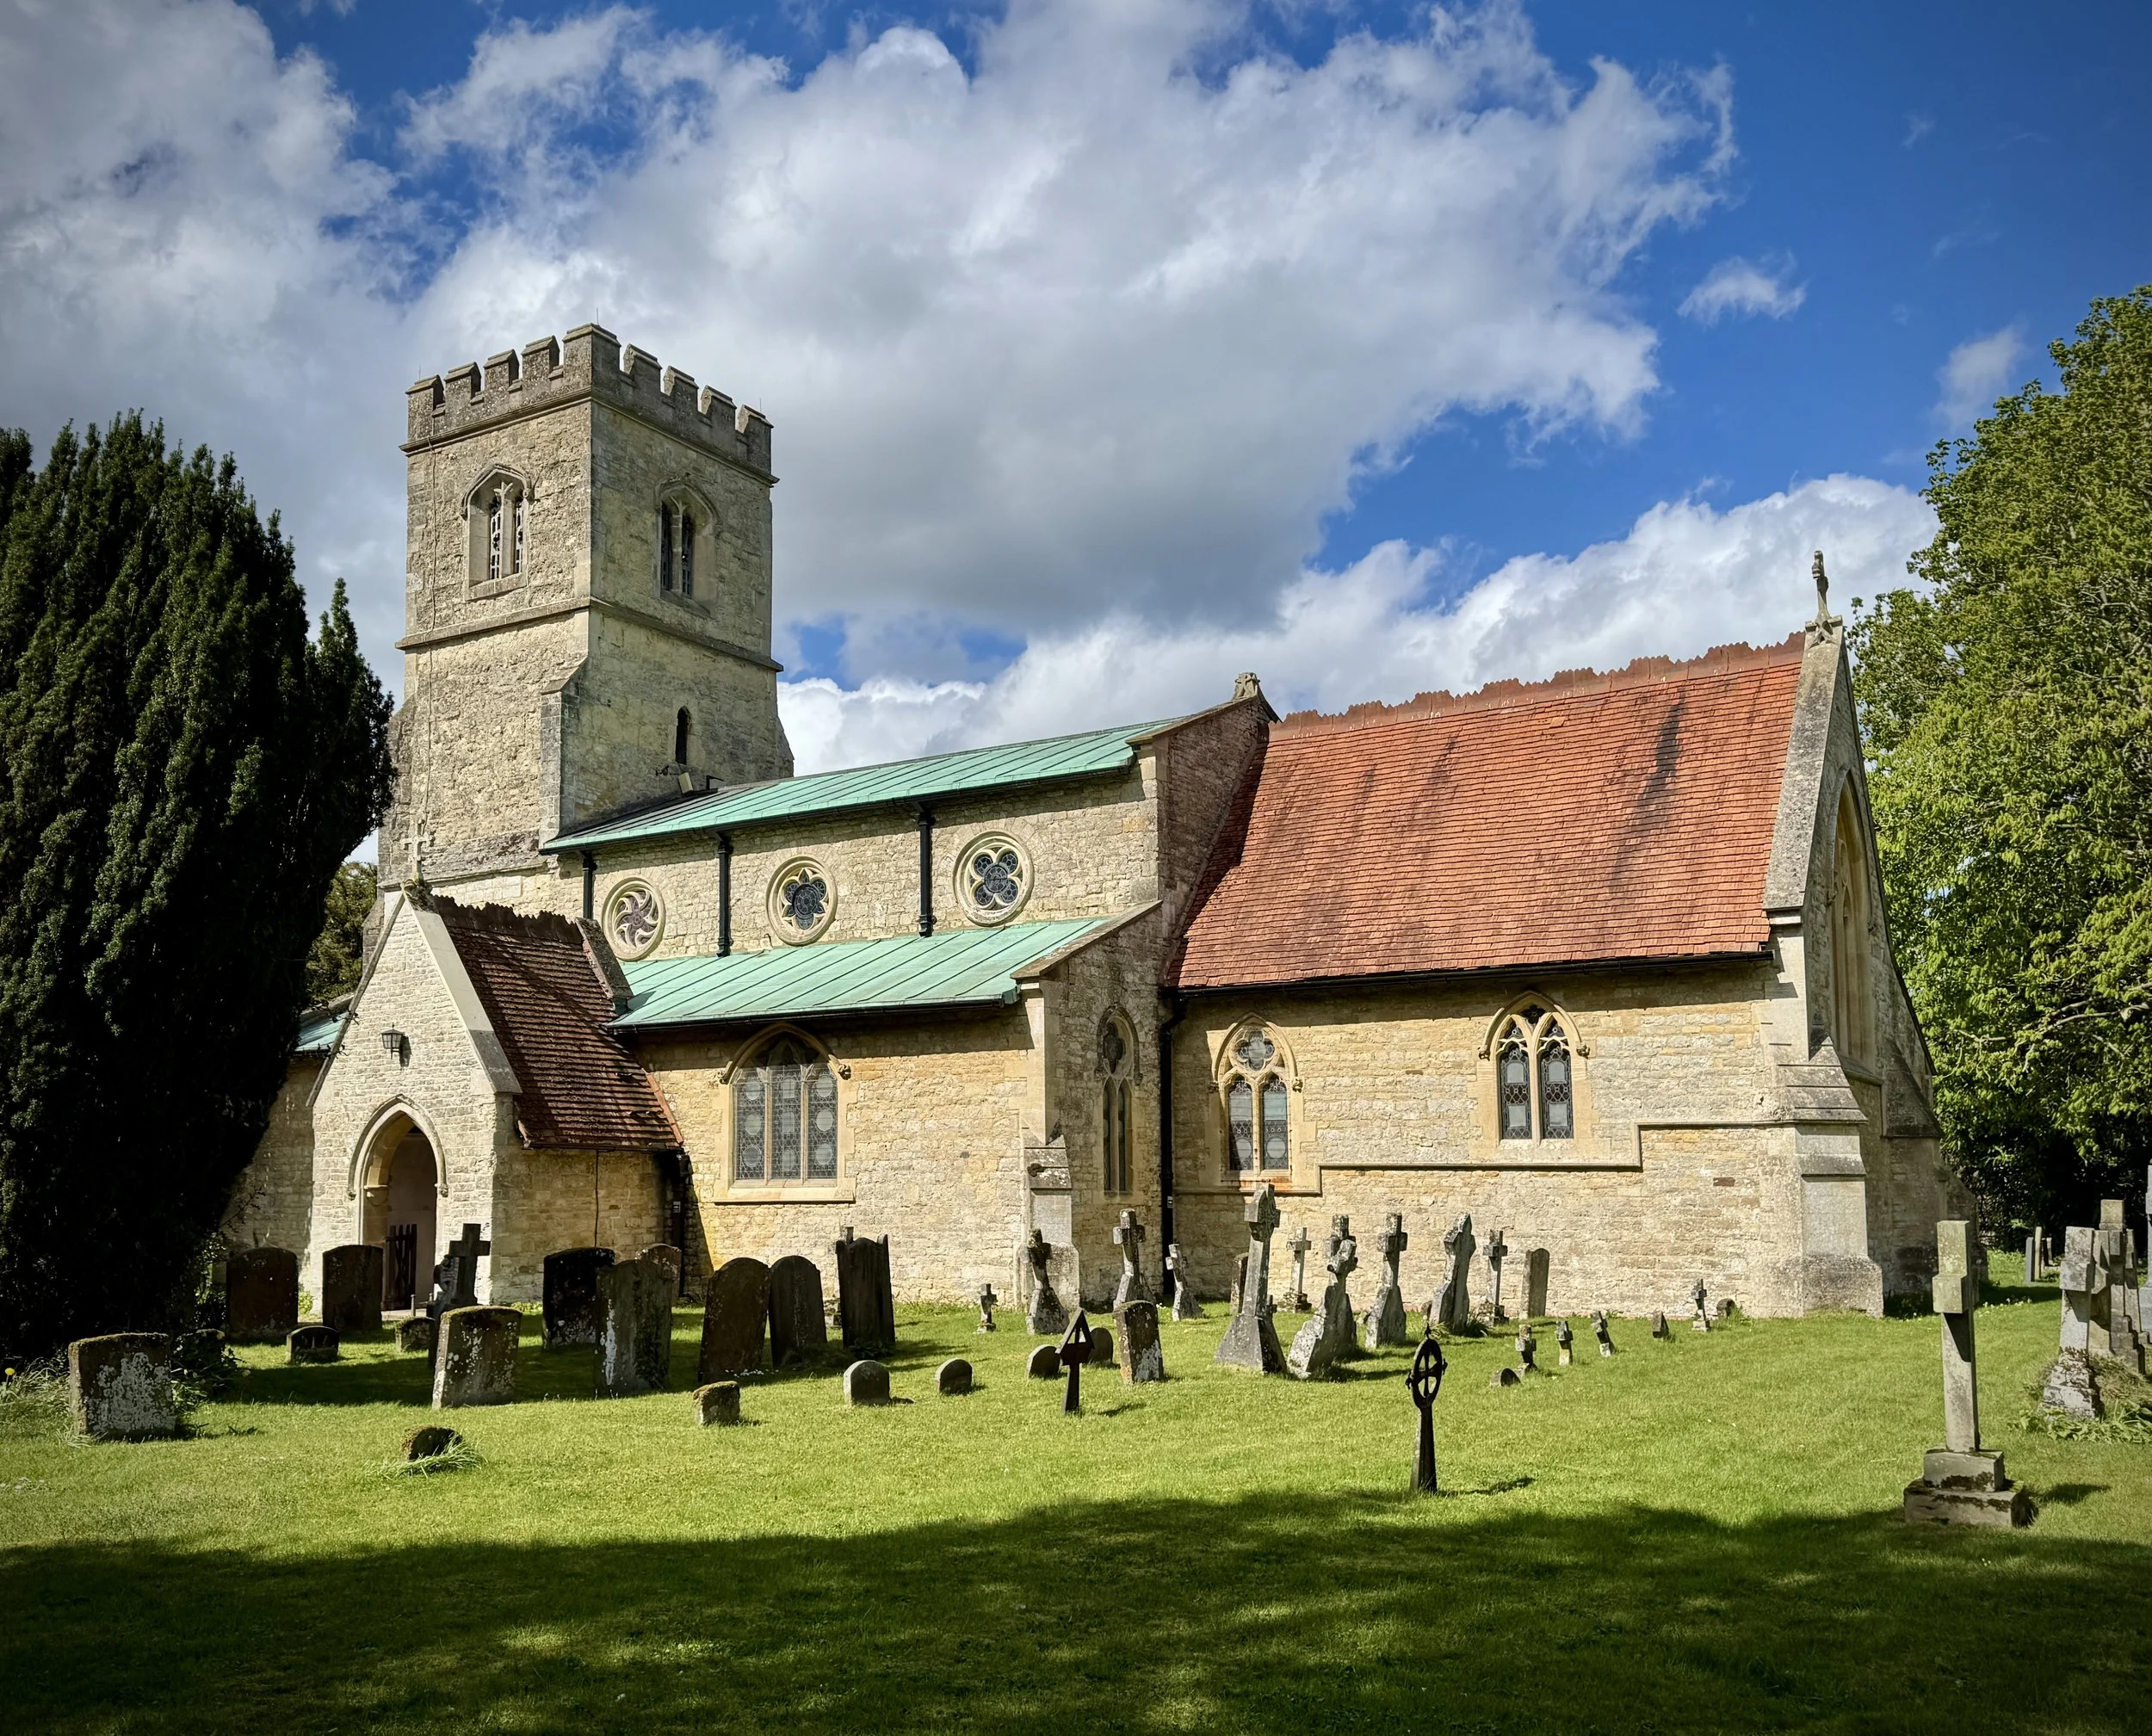
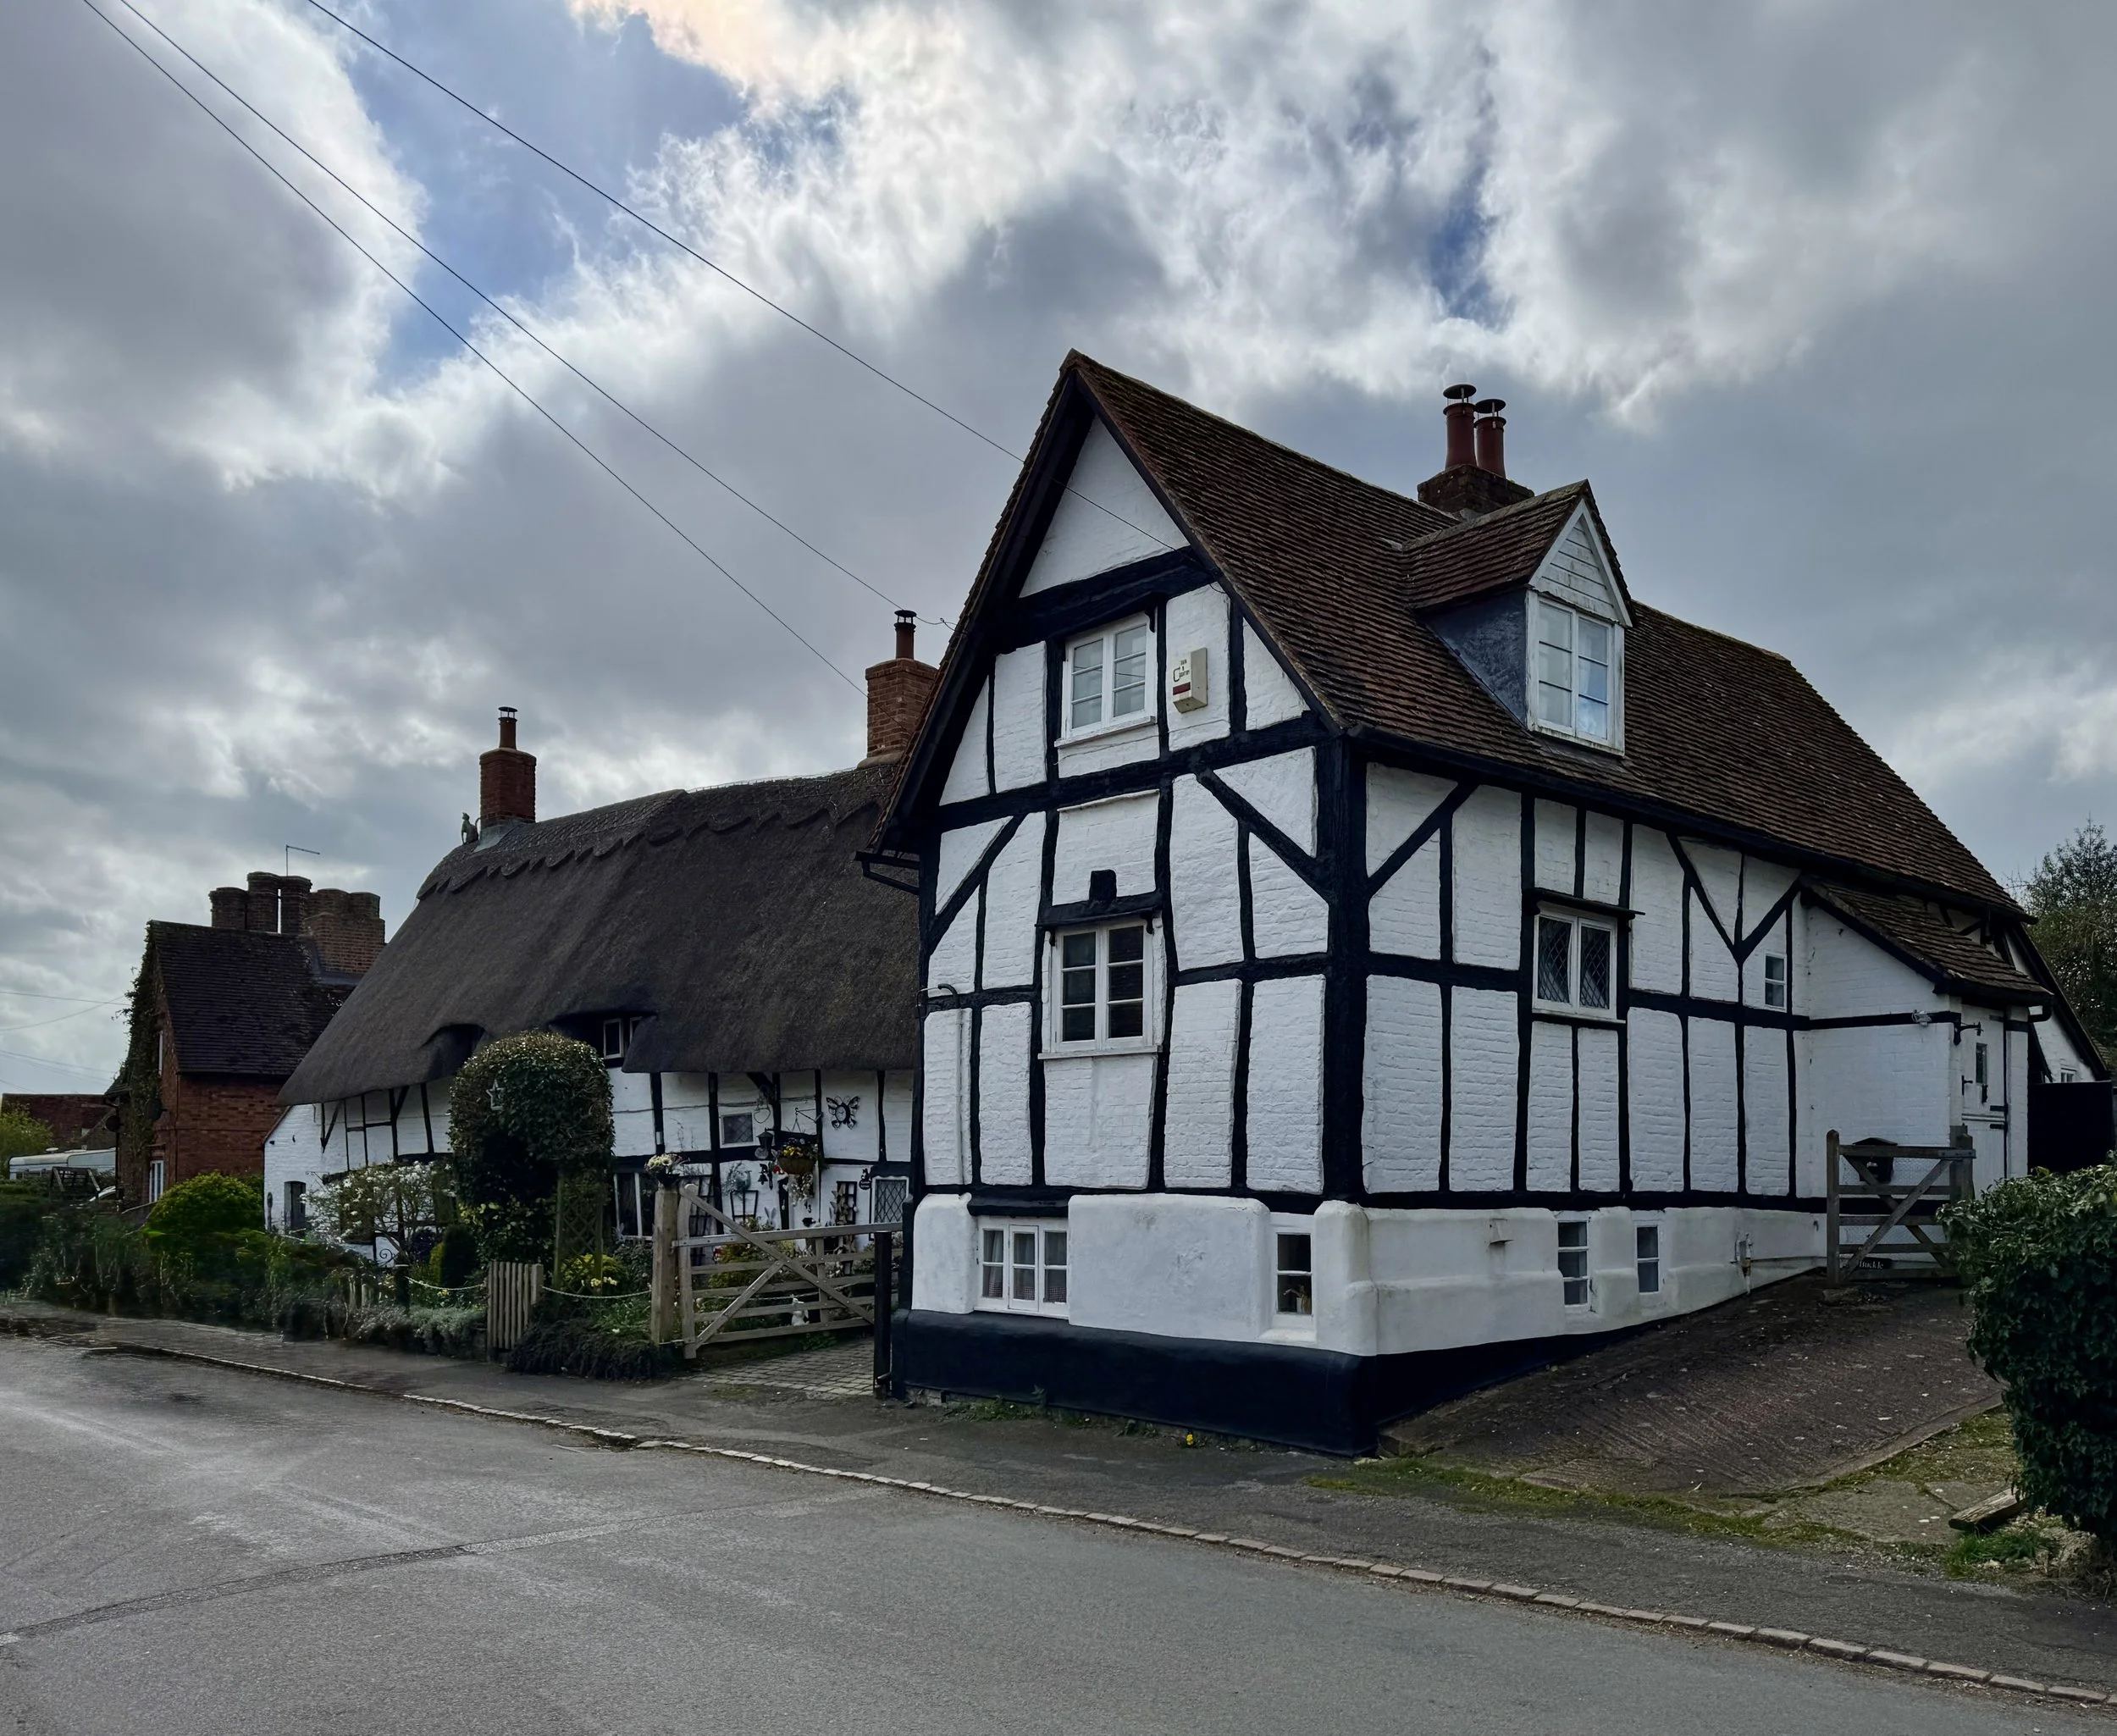
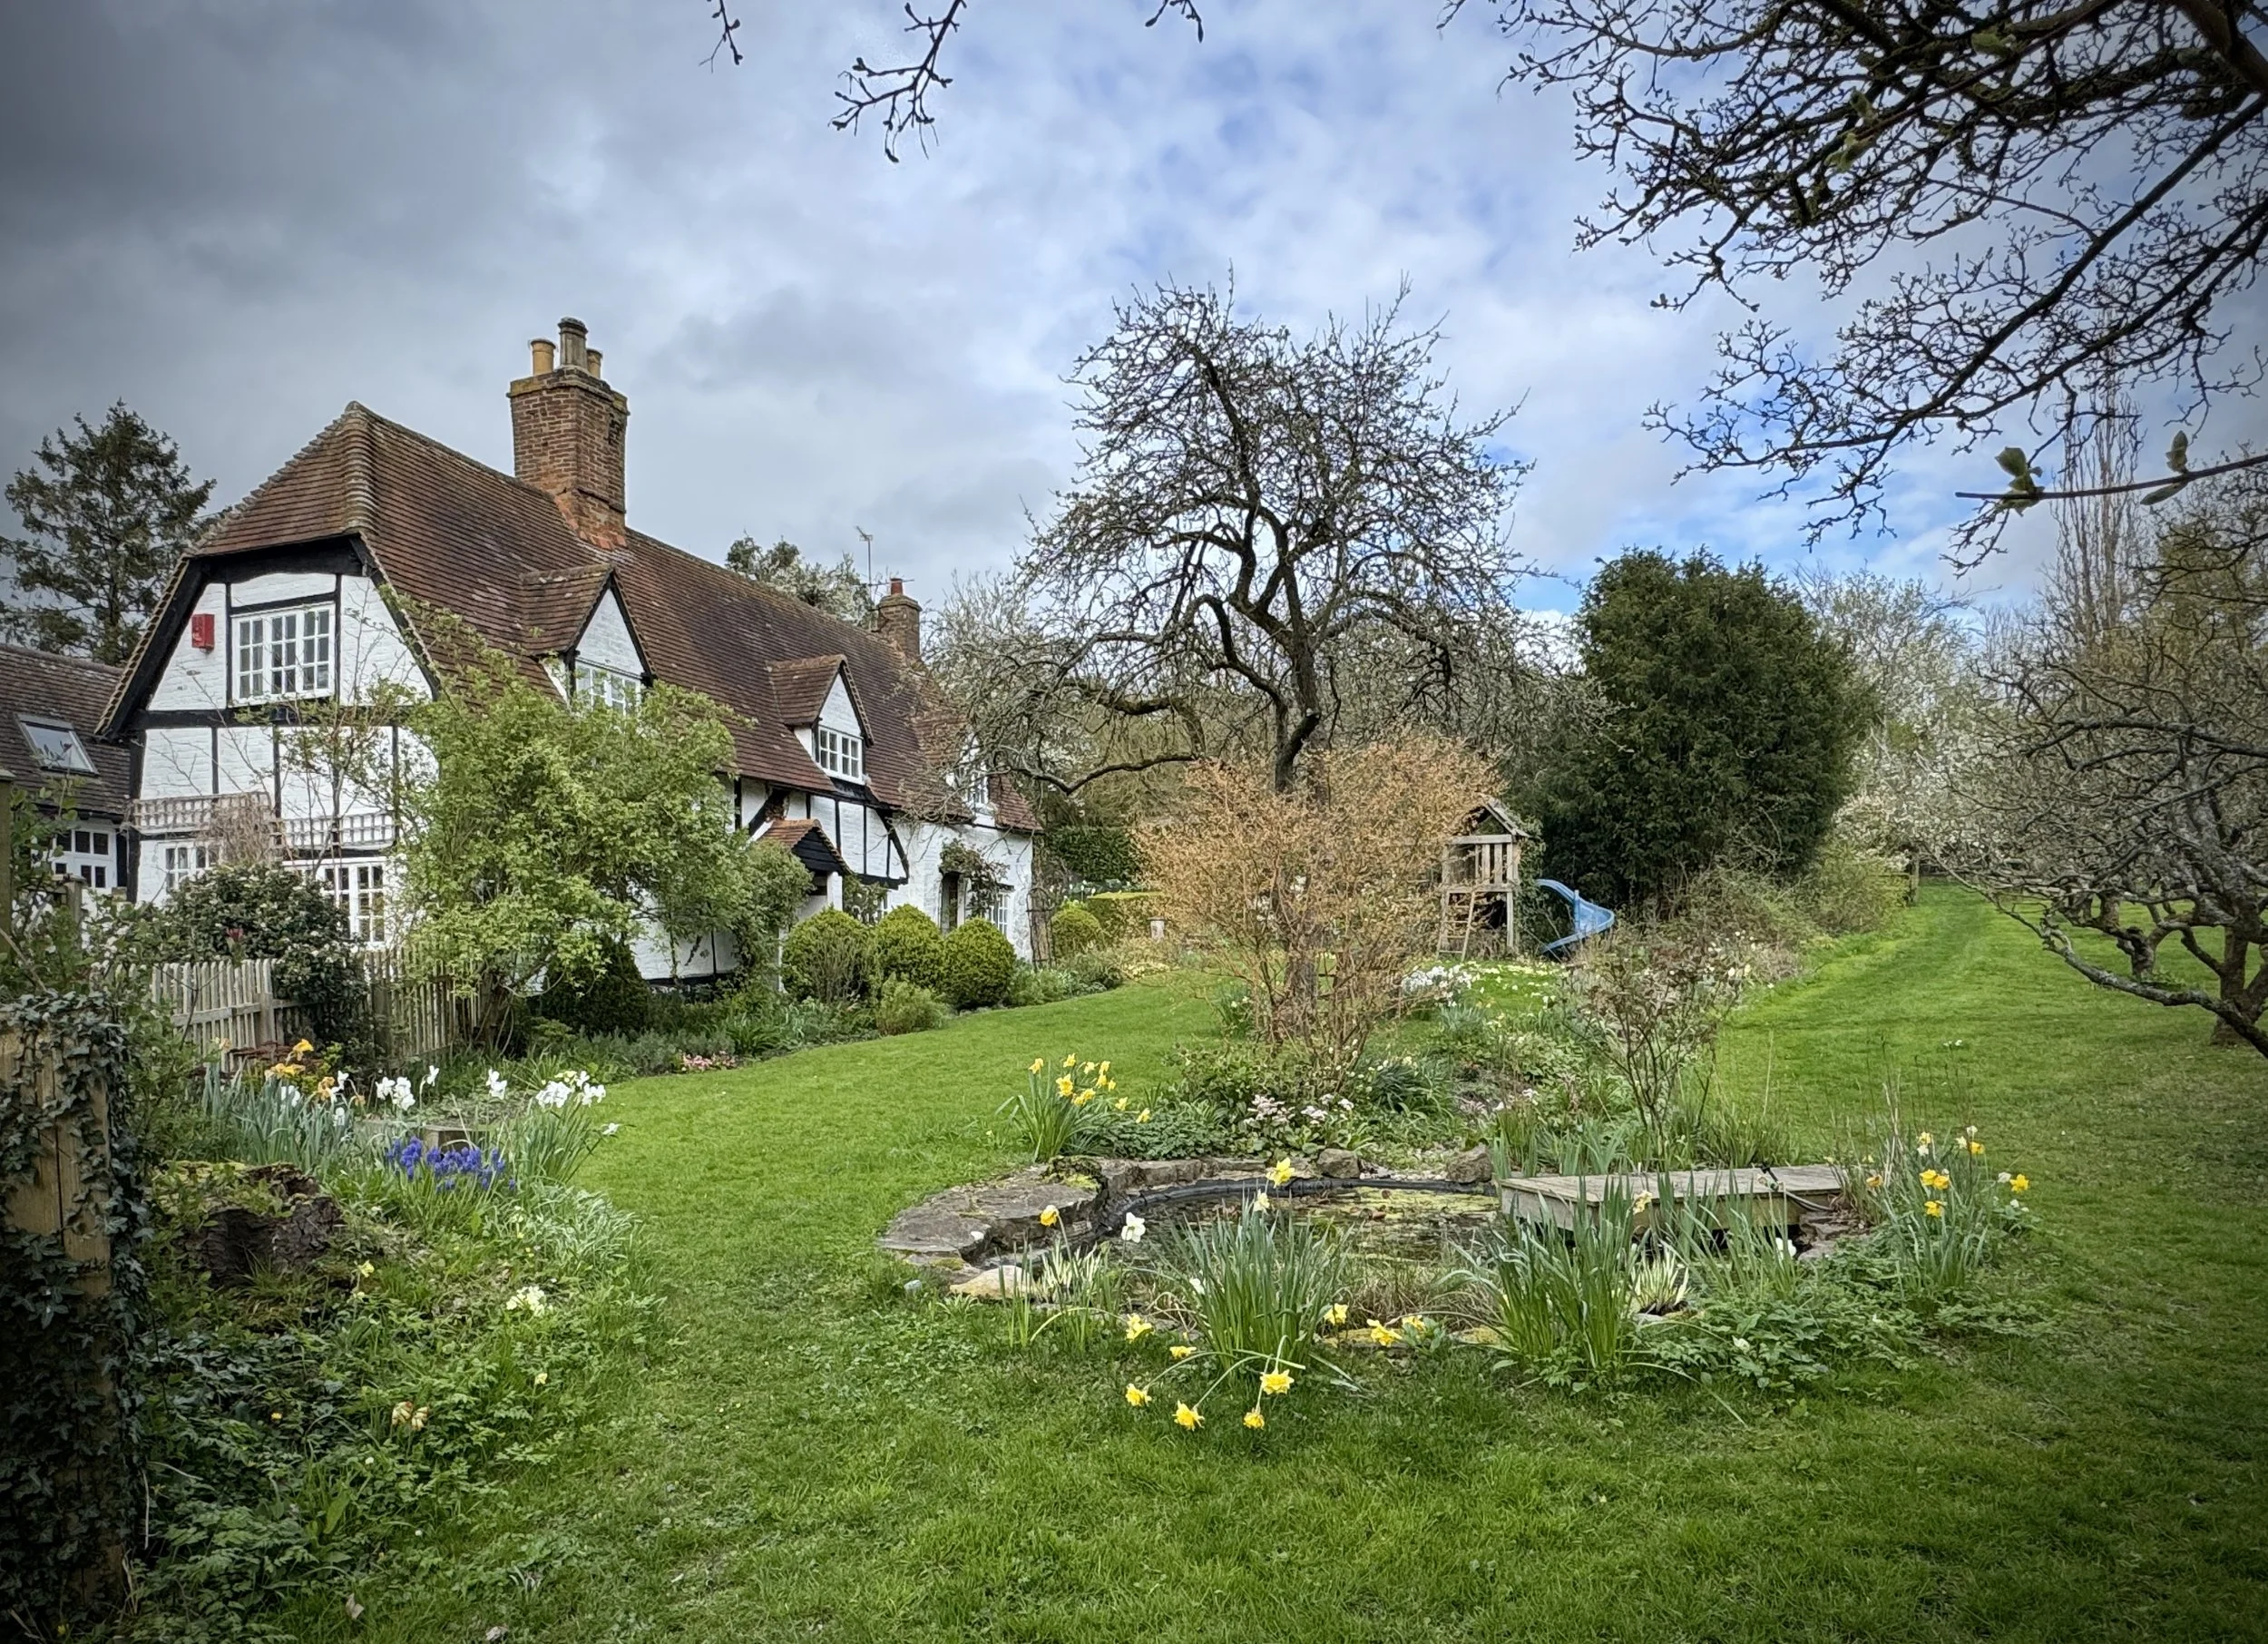
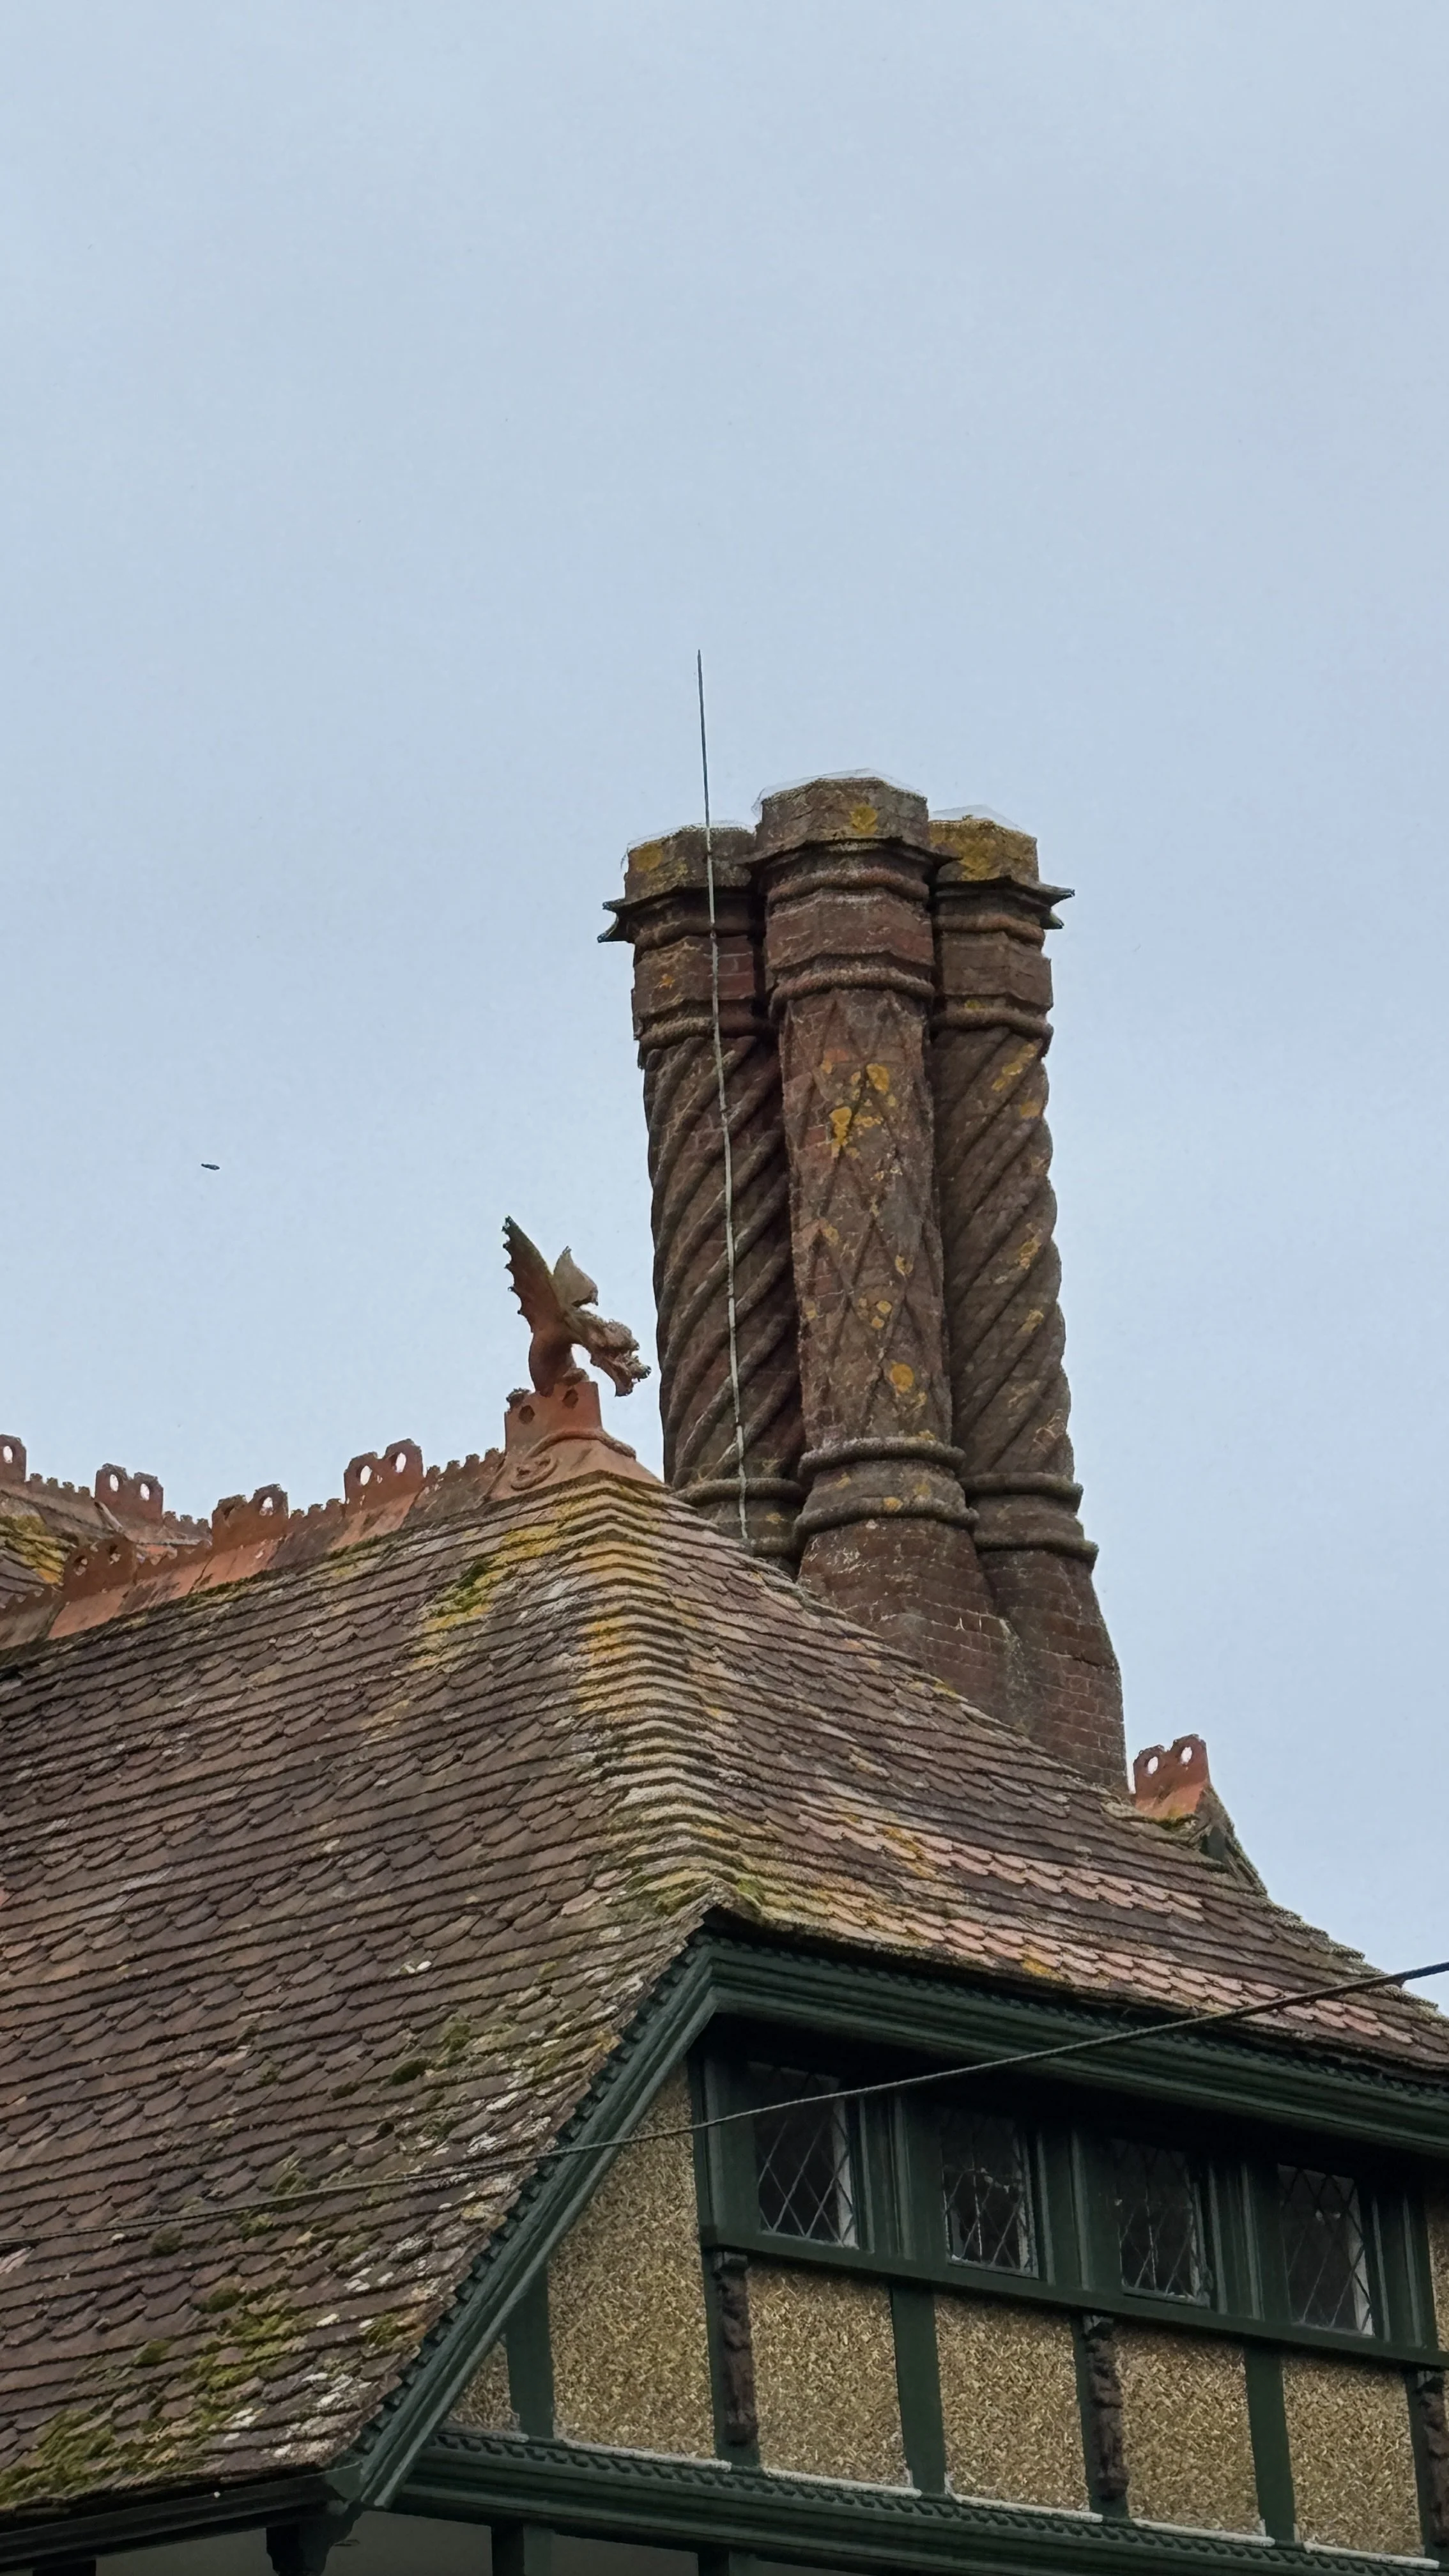
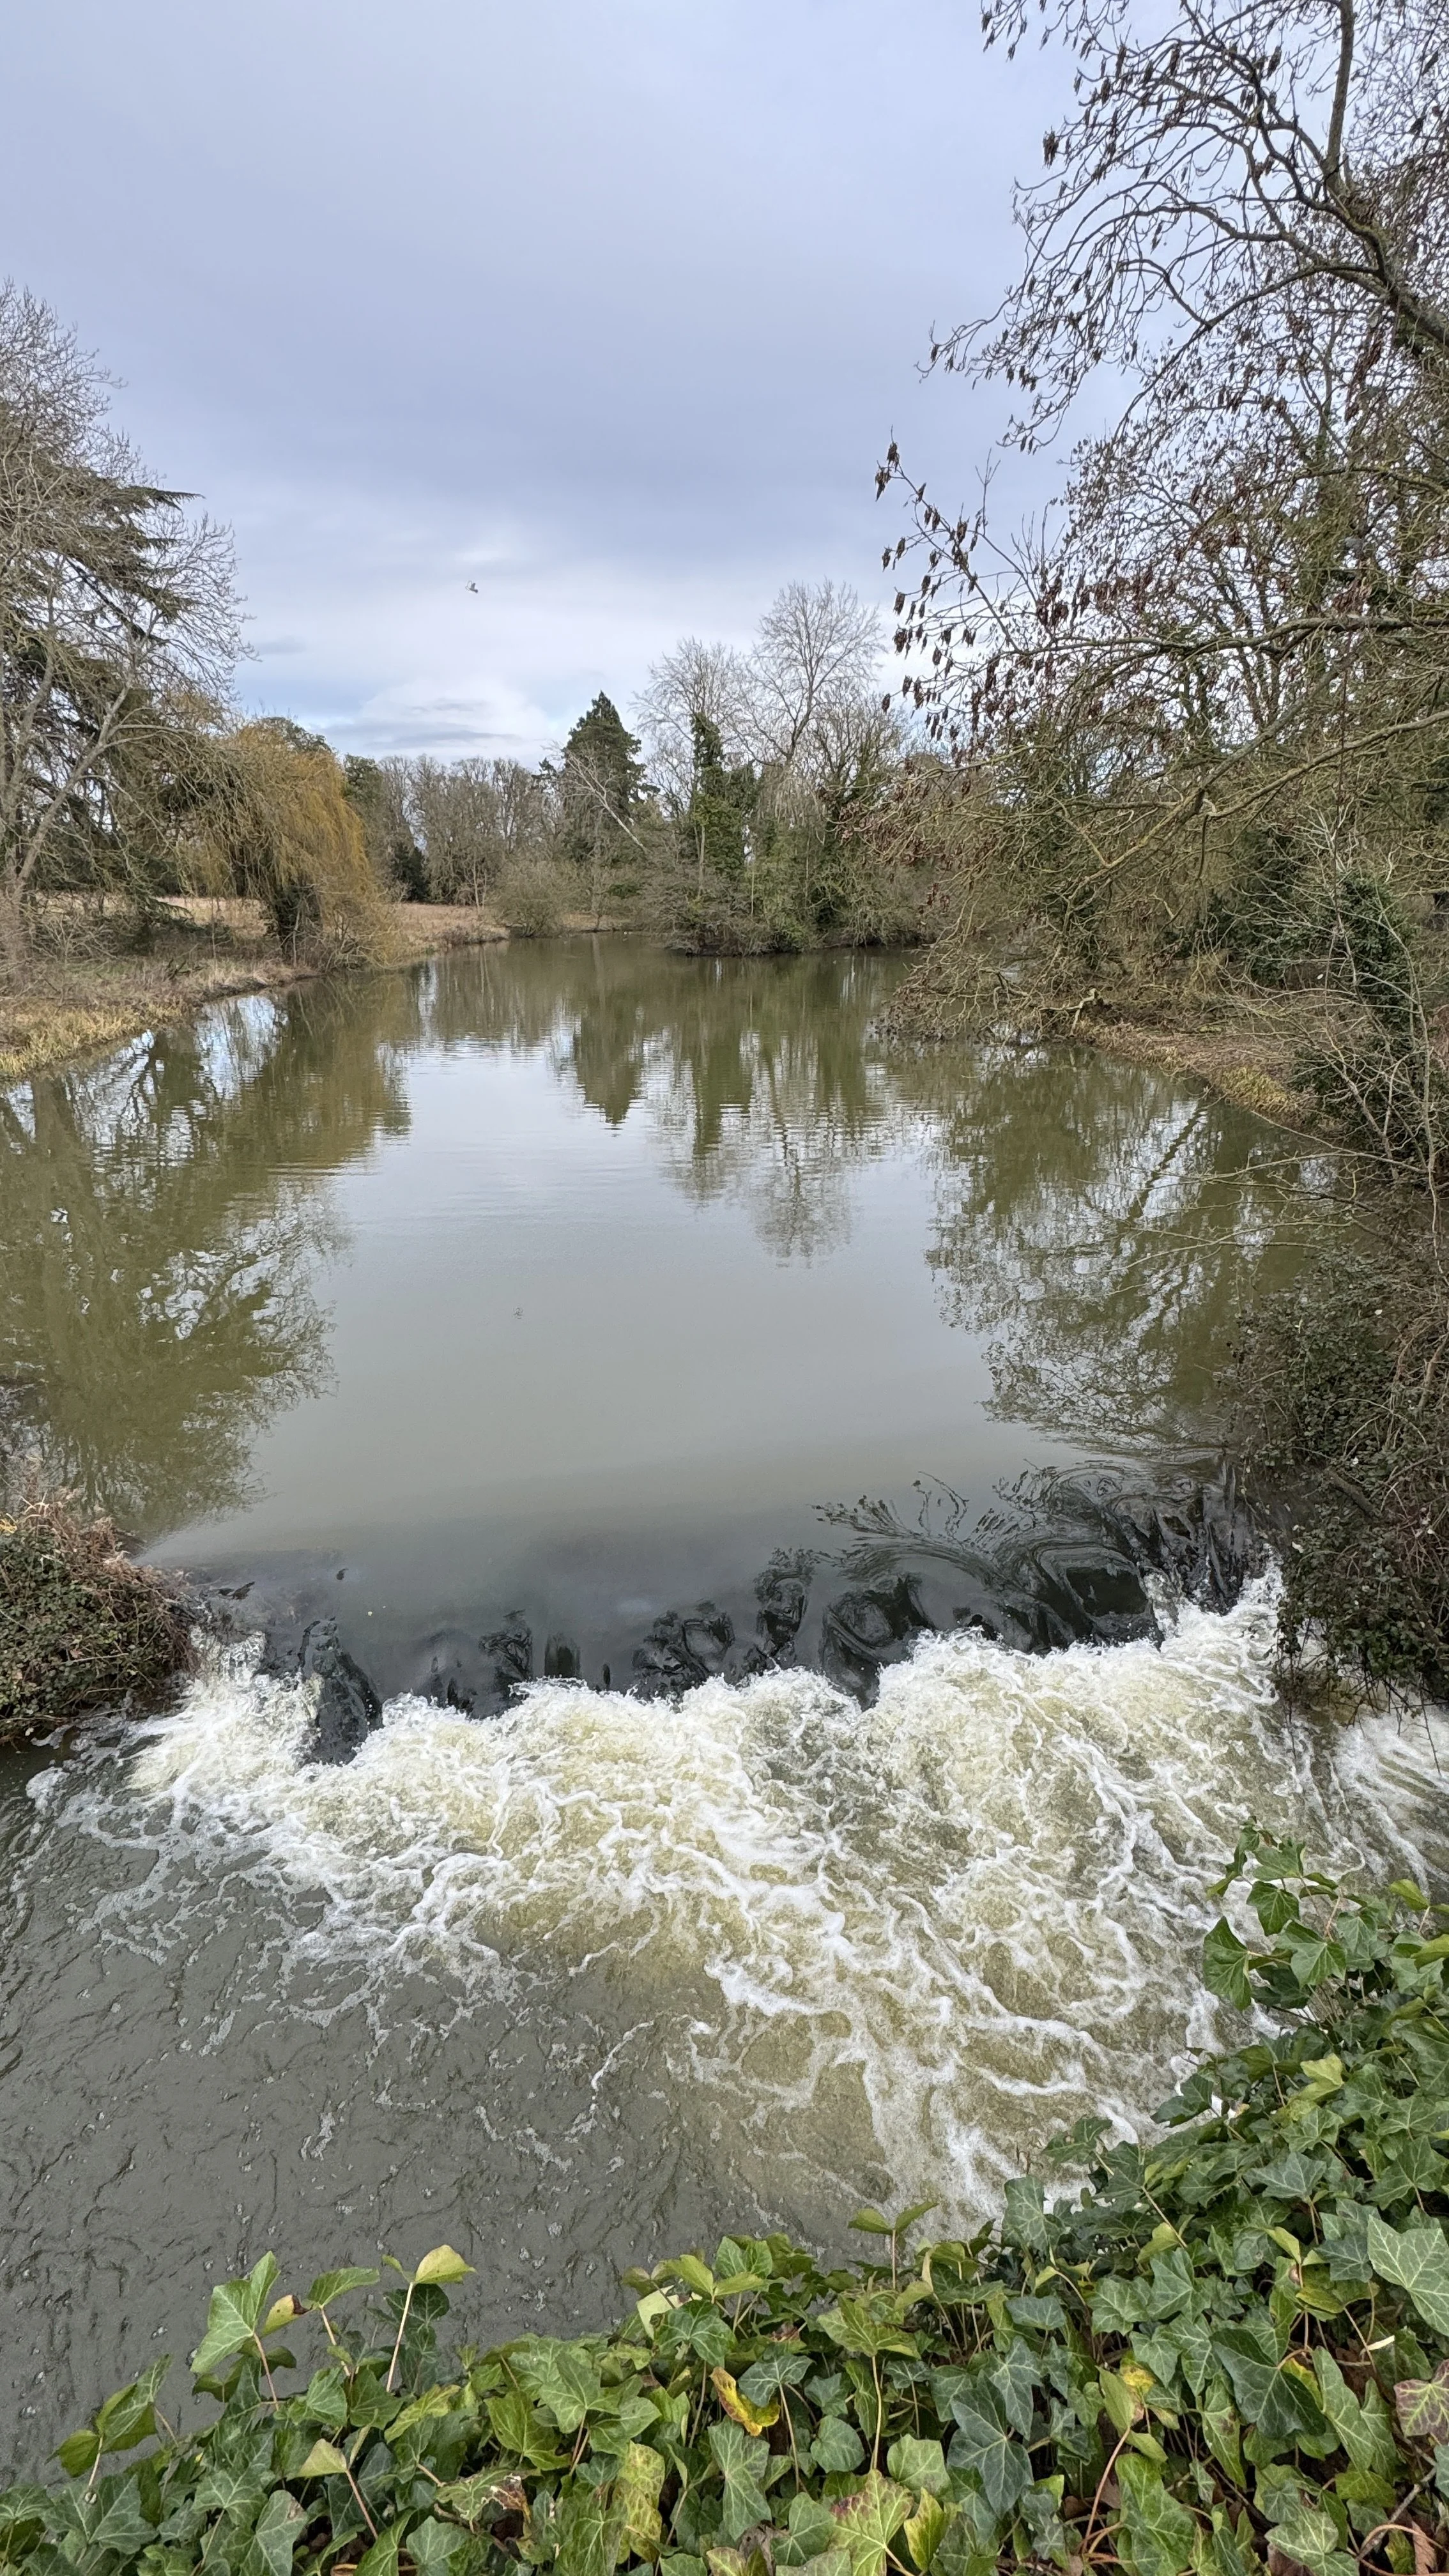
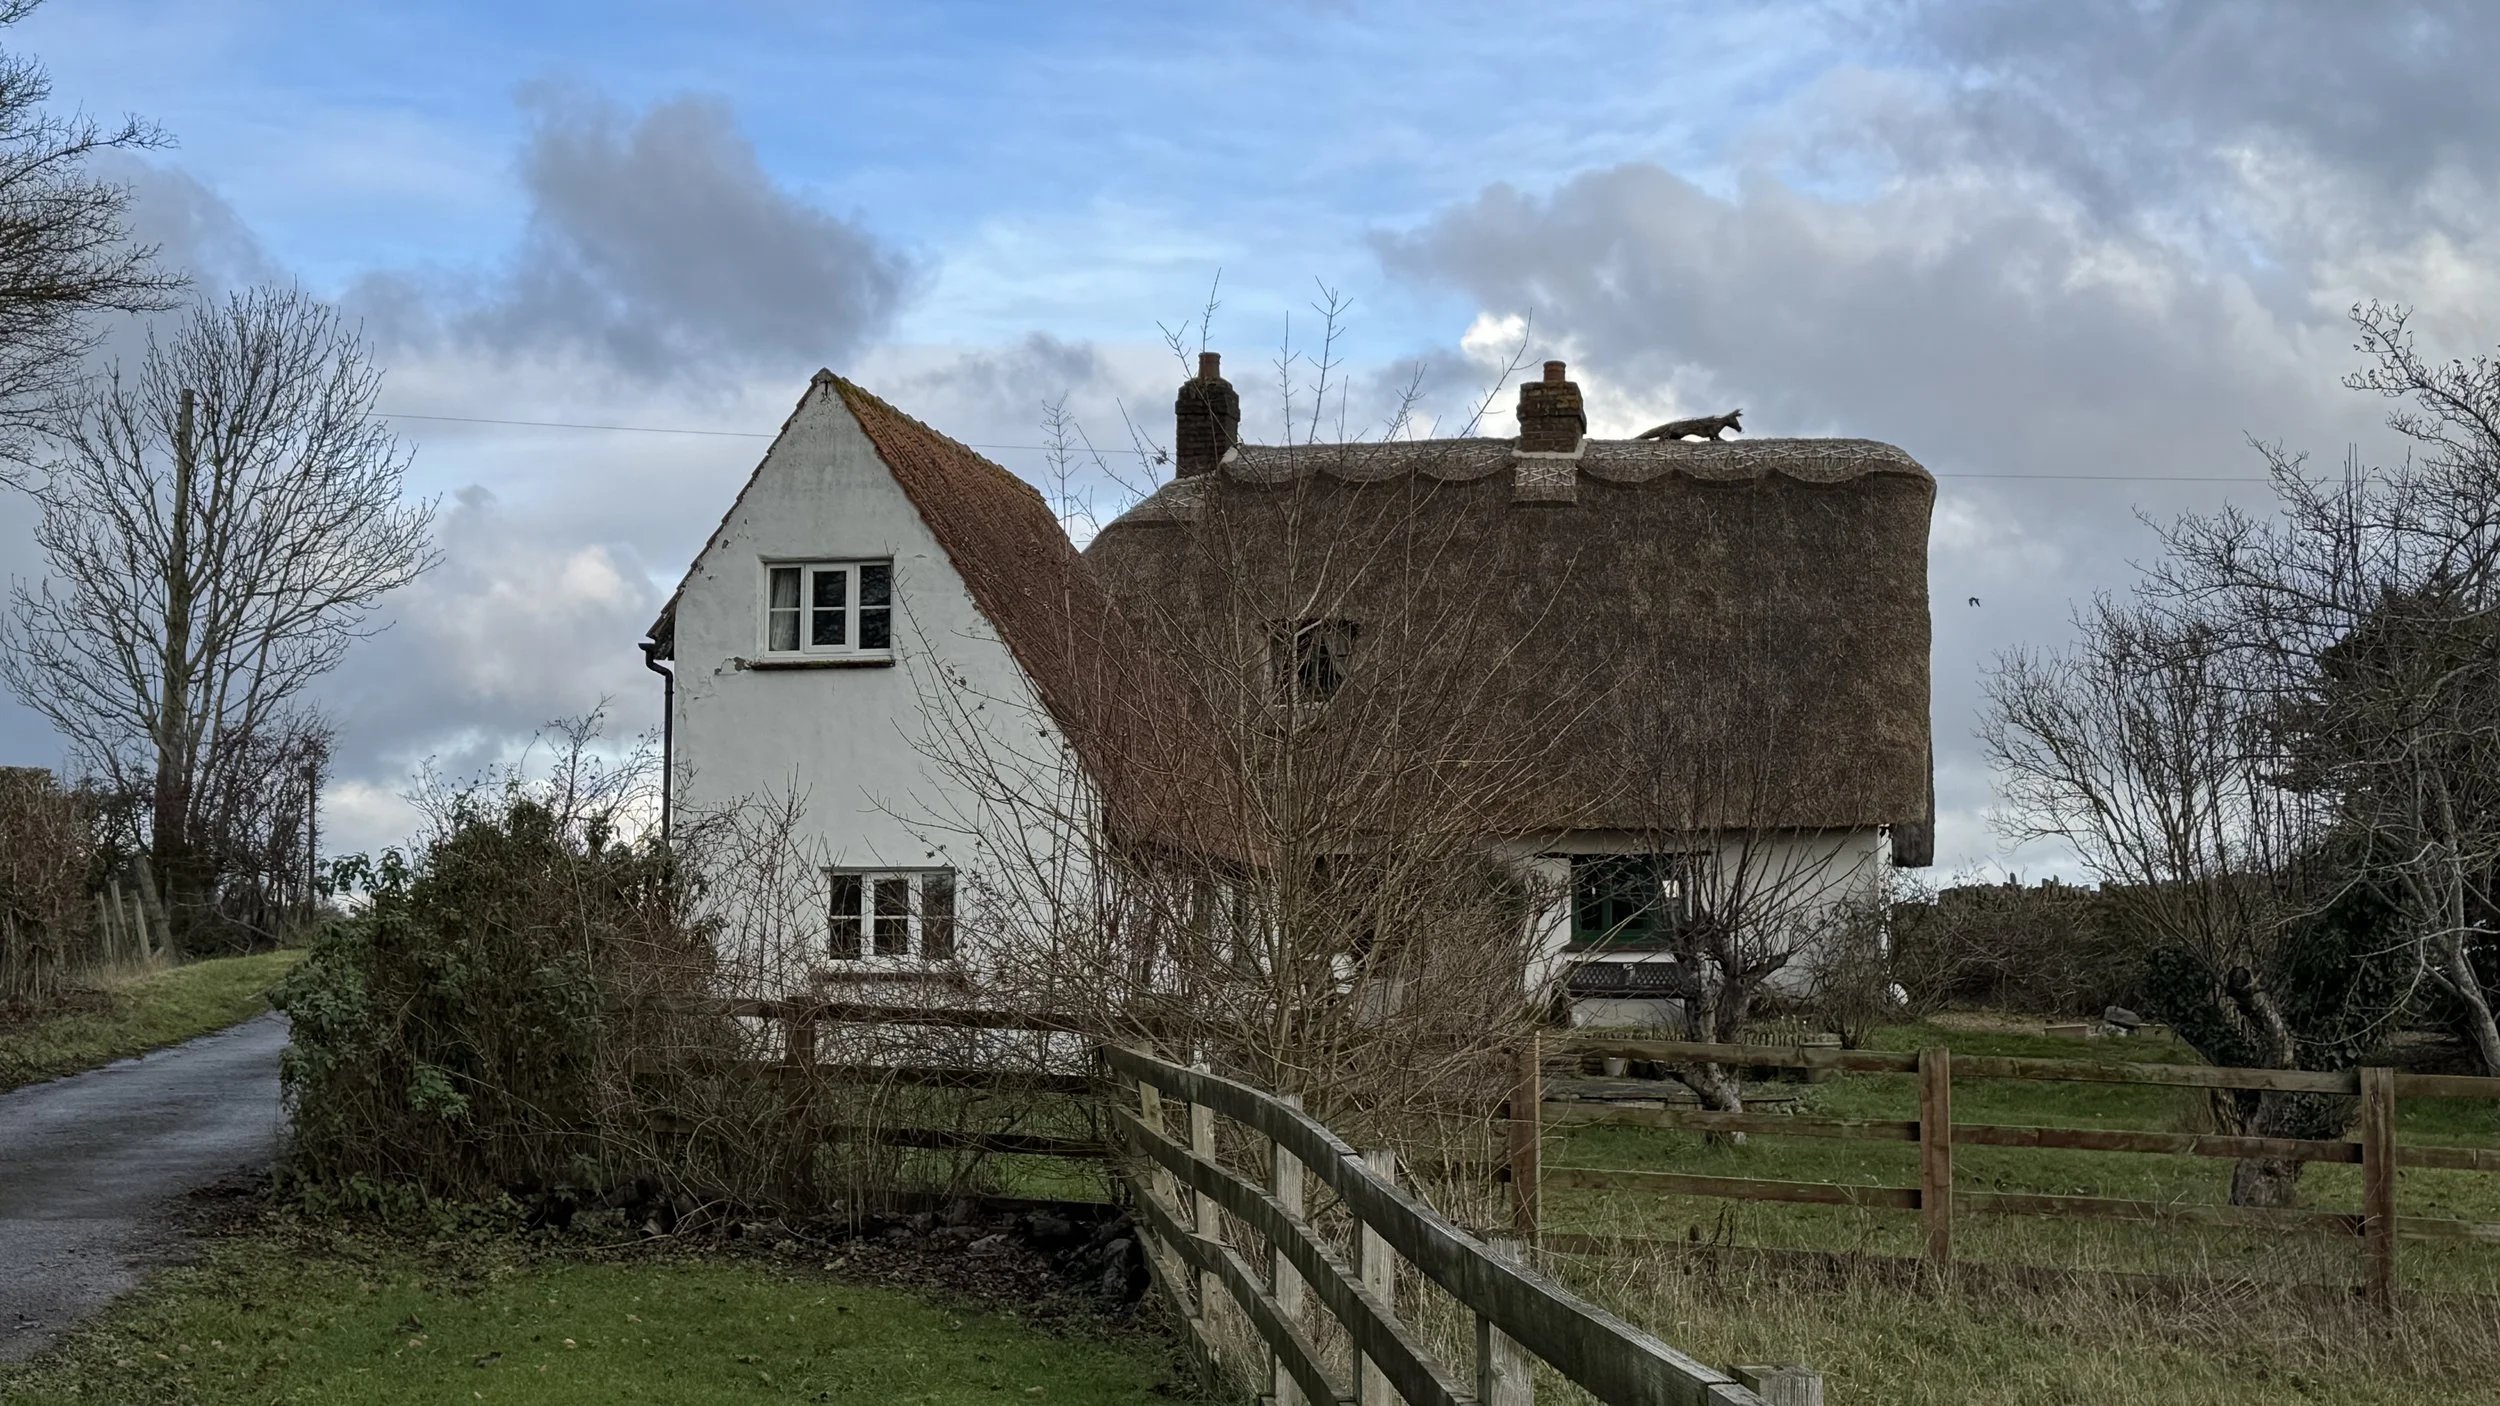
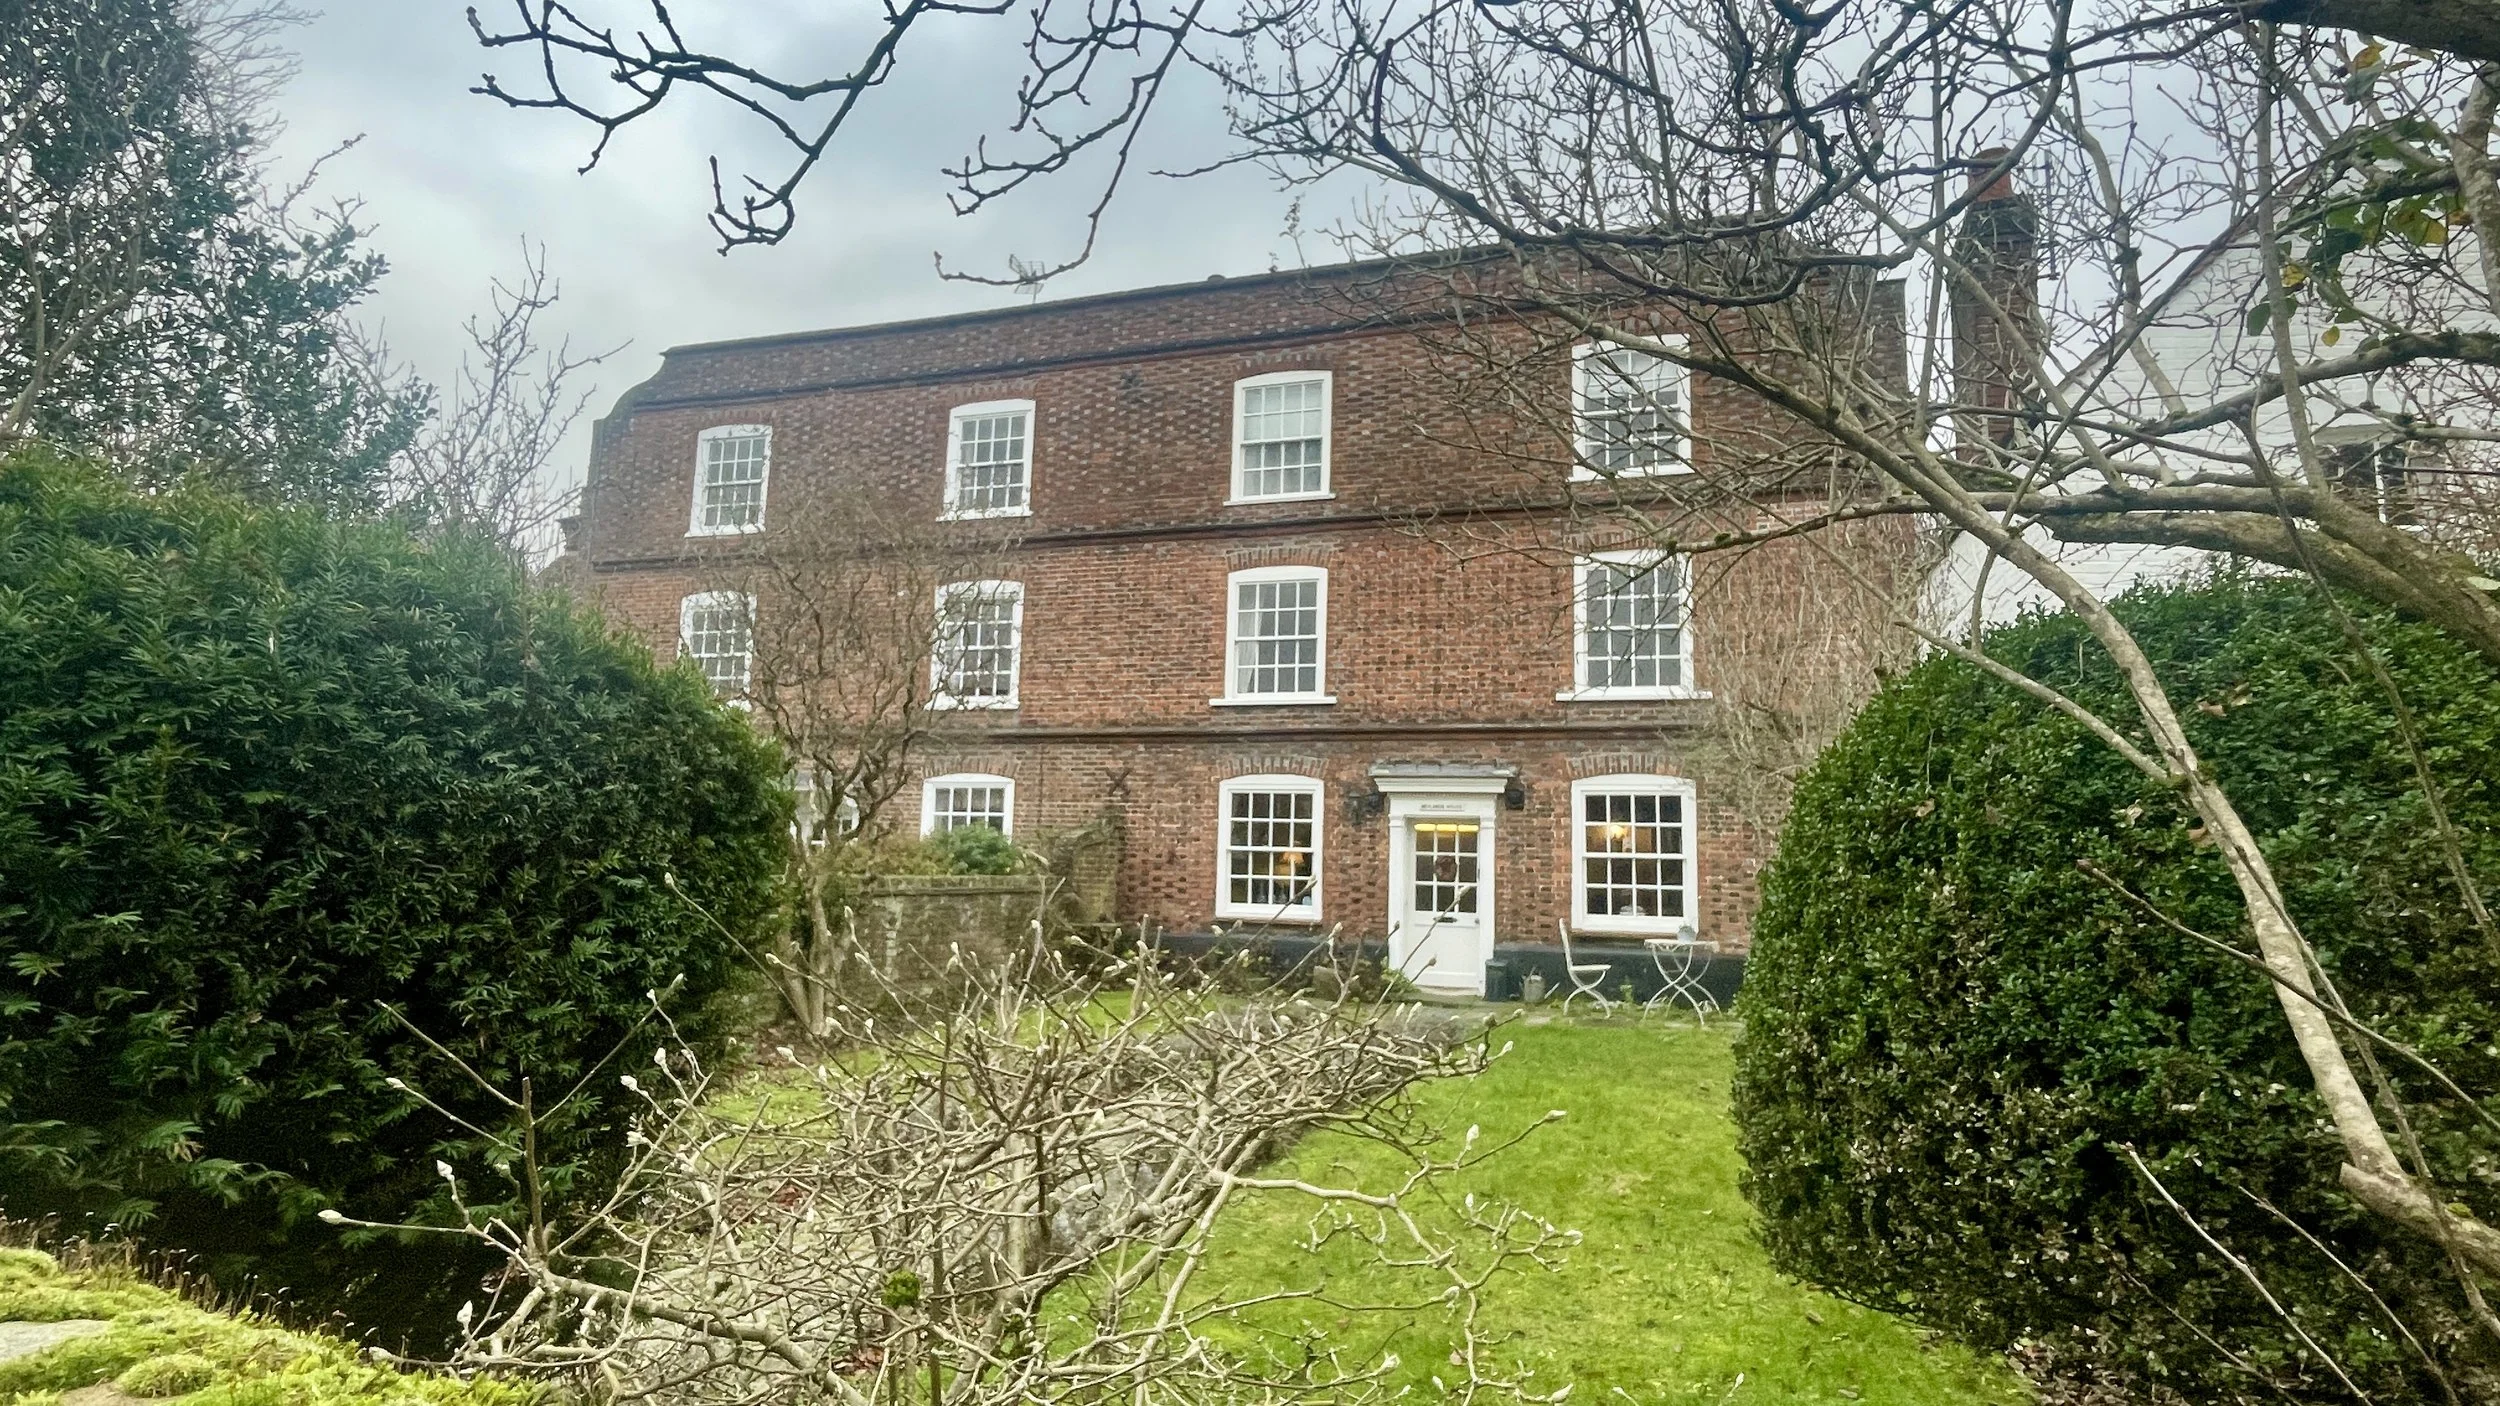
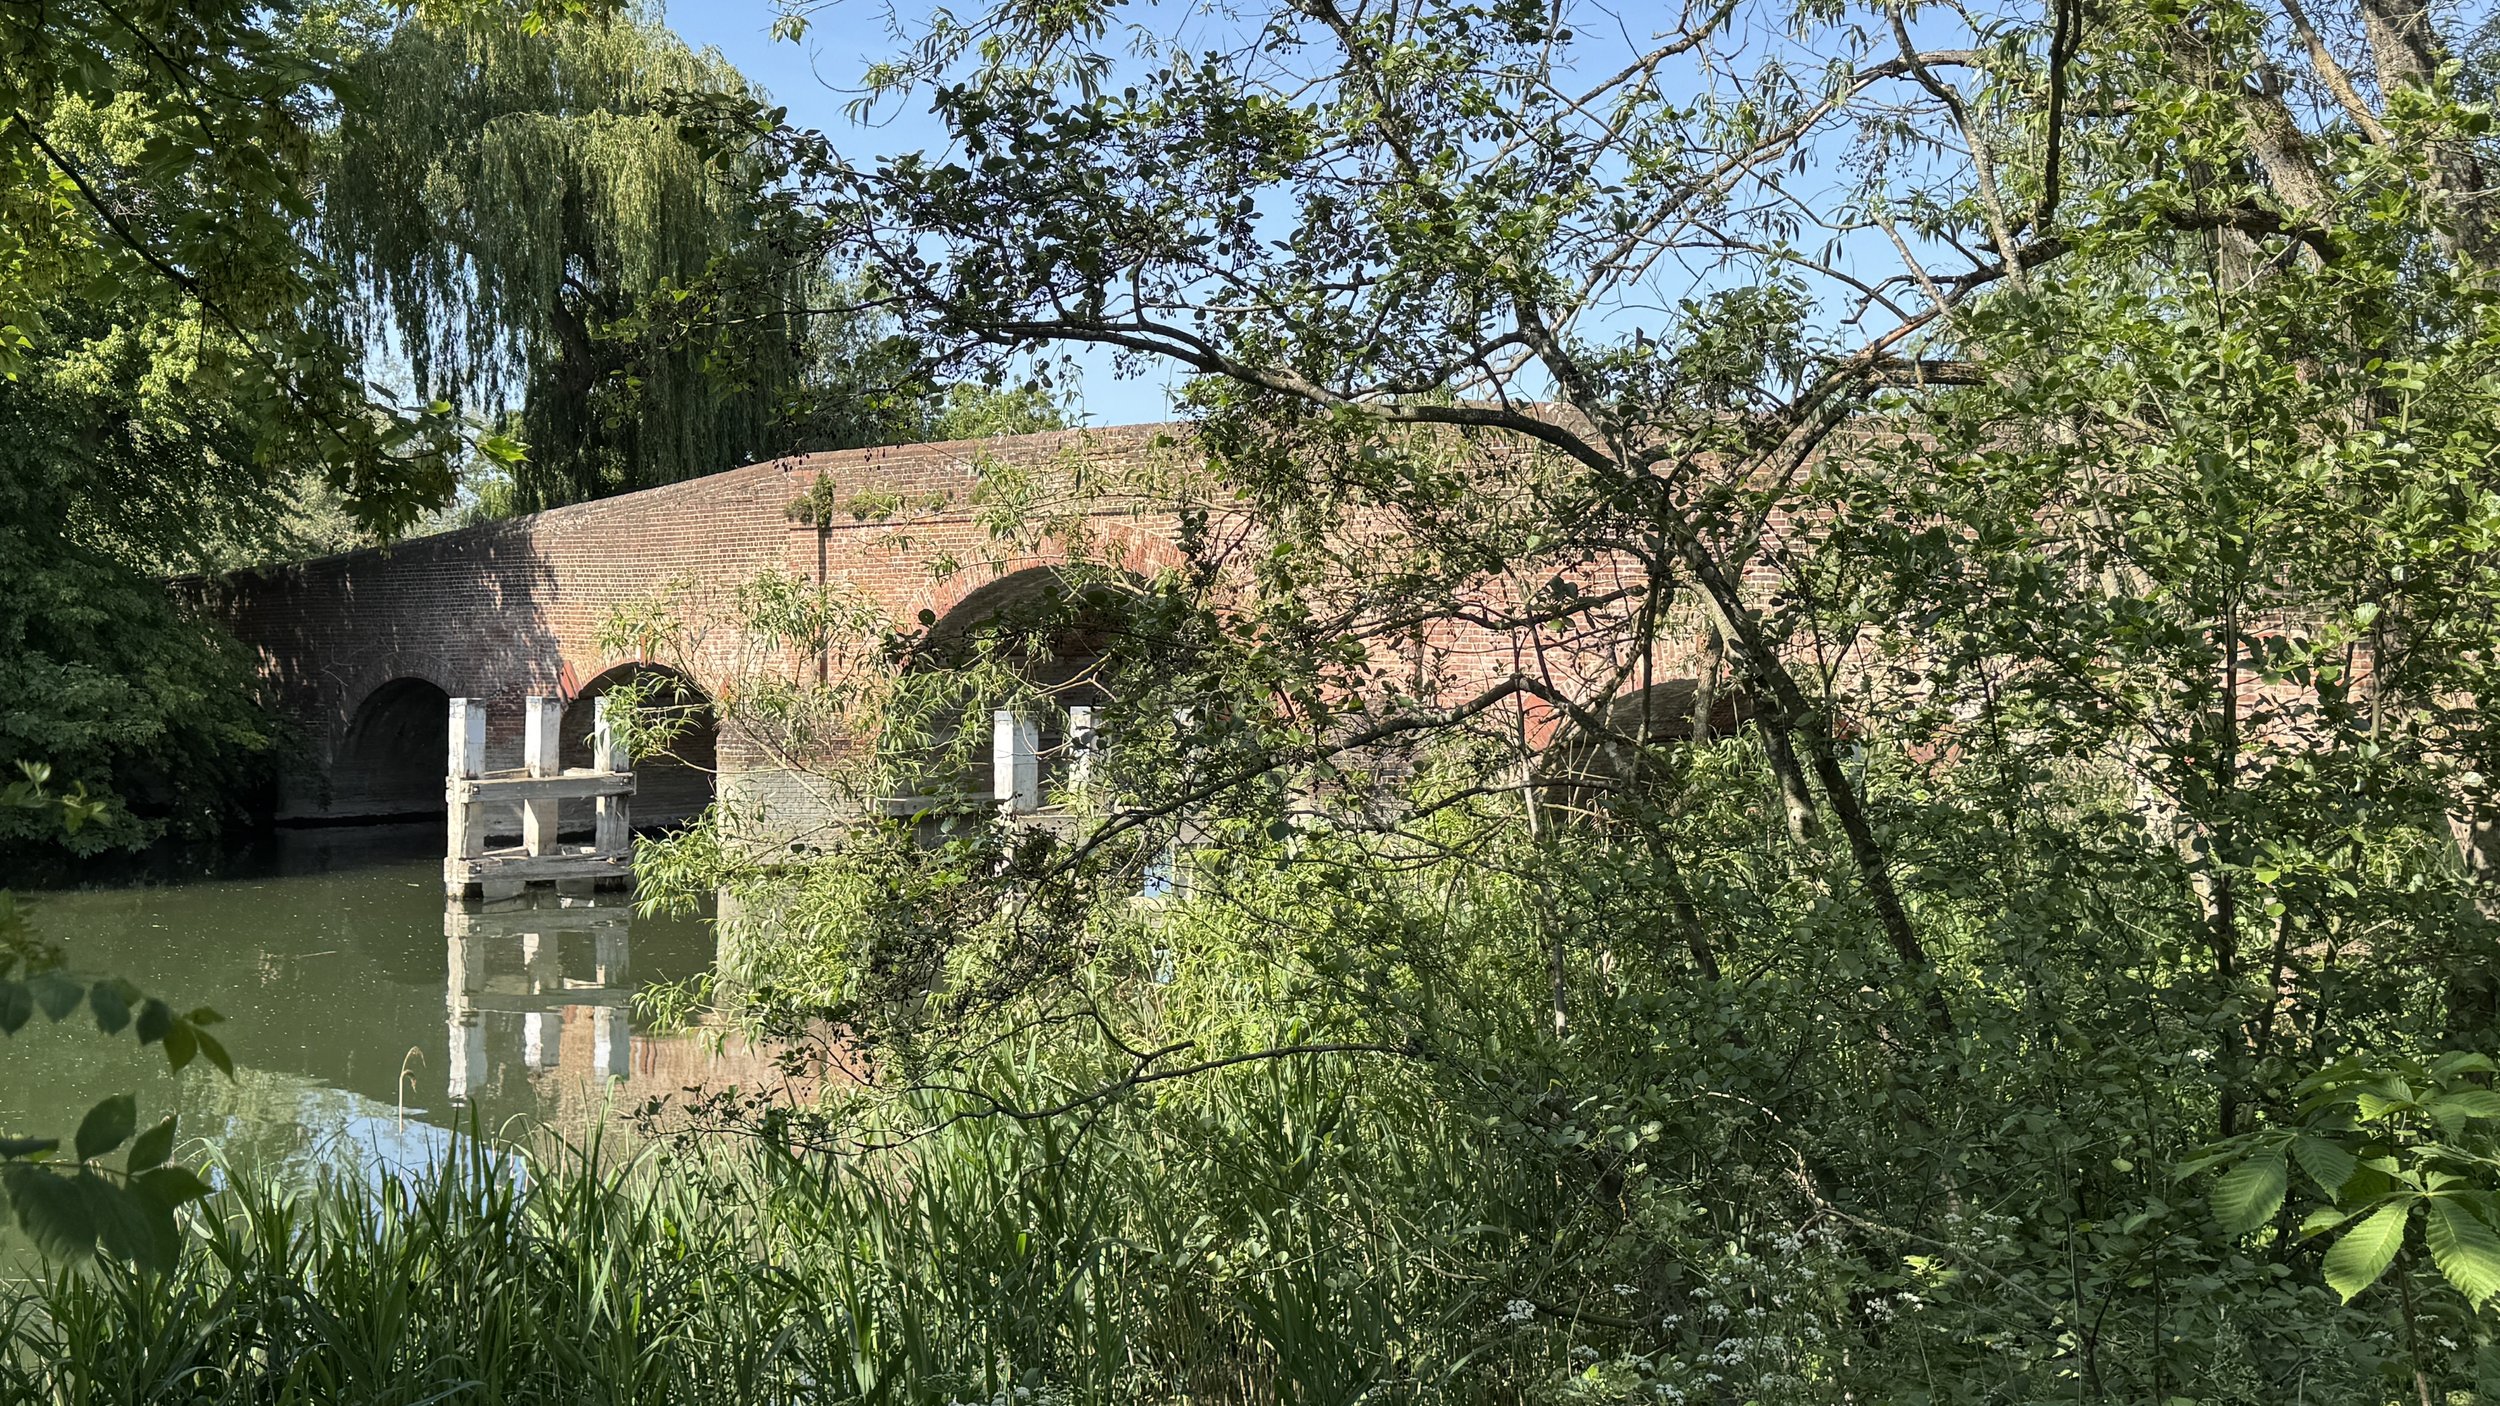
Sonning Lock and Village: A fitting finale to the walk, Sonning Lock — first built in 1773 and rebuilt in 1905 — is widely regarded as one of the most picturesque locks on the Thames, celebrated for its colourful, carefully tended gardens. Beyond the lock lies the historic village of Sonning, described by Jerome K. Jerome as “the most fairy‑like little nook on the whole river.” Its 18th‑century brick bridge, riverside pubs and handsome period buildings create a quintessential Berkshire village scene.


Thames Path previous section (west): Goring to Tilehurst (blog post coming soon)
Thames Path next section (east): Shiplake, Binfield Heath and Sonning Eye