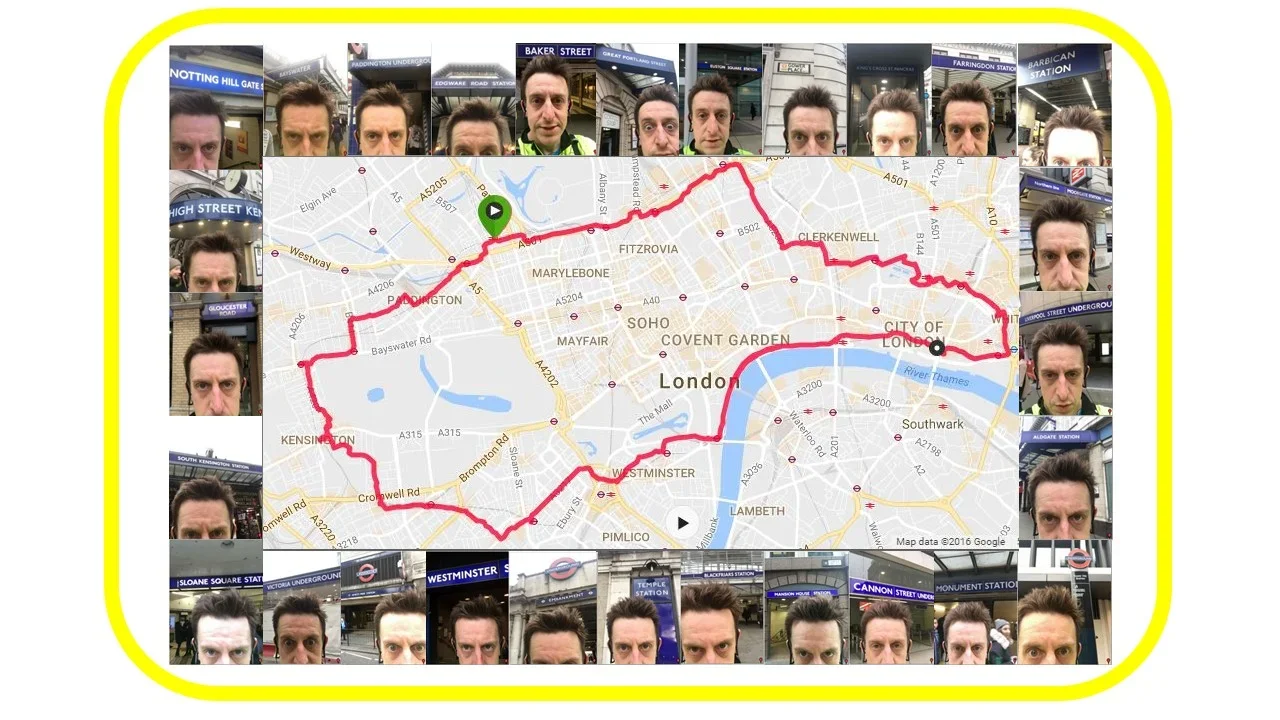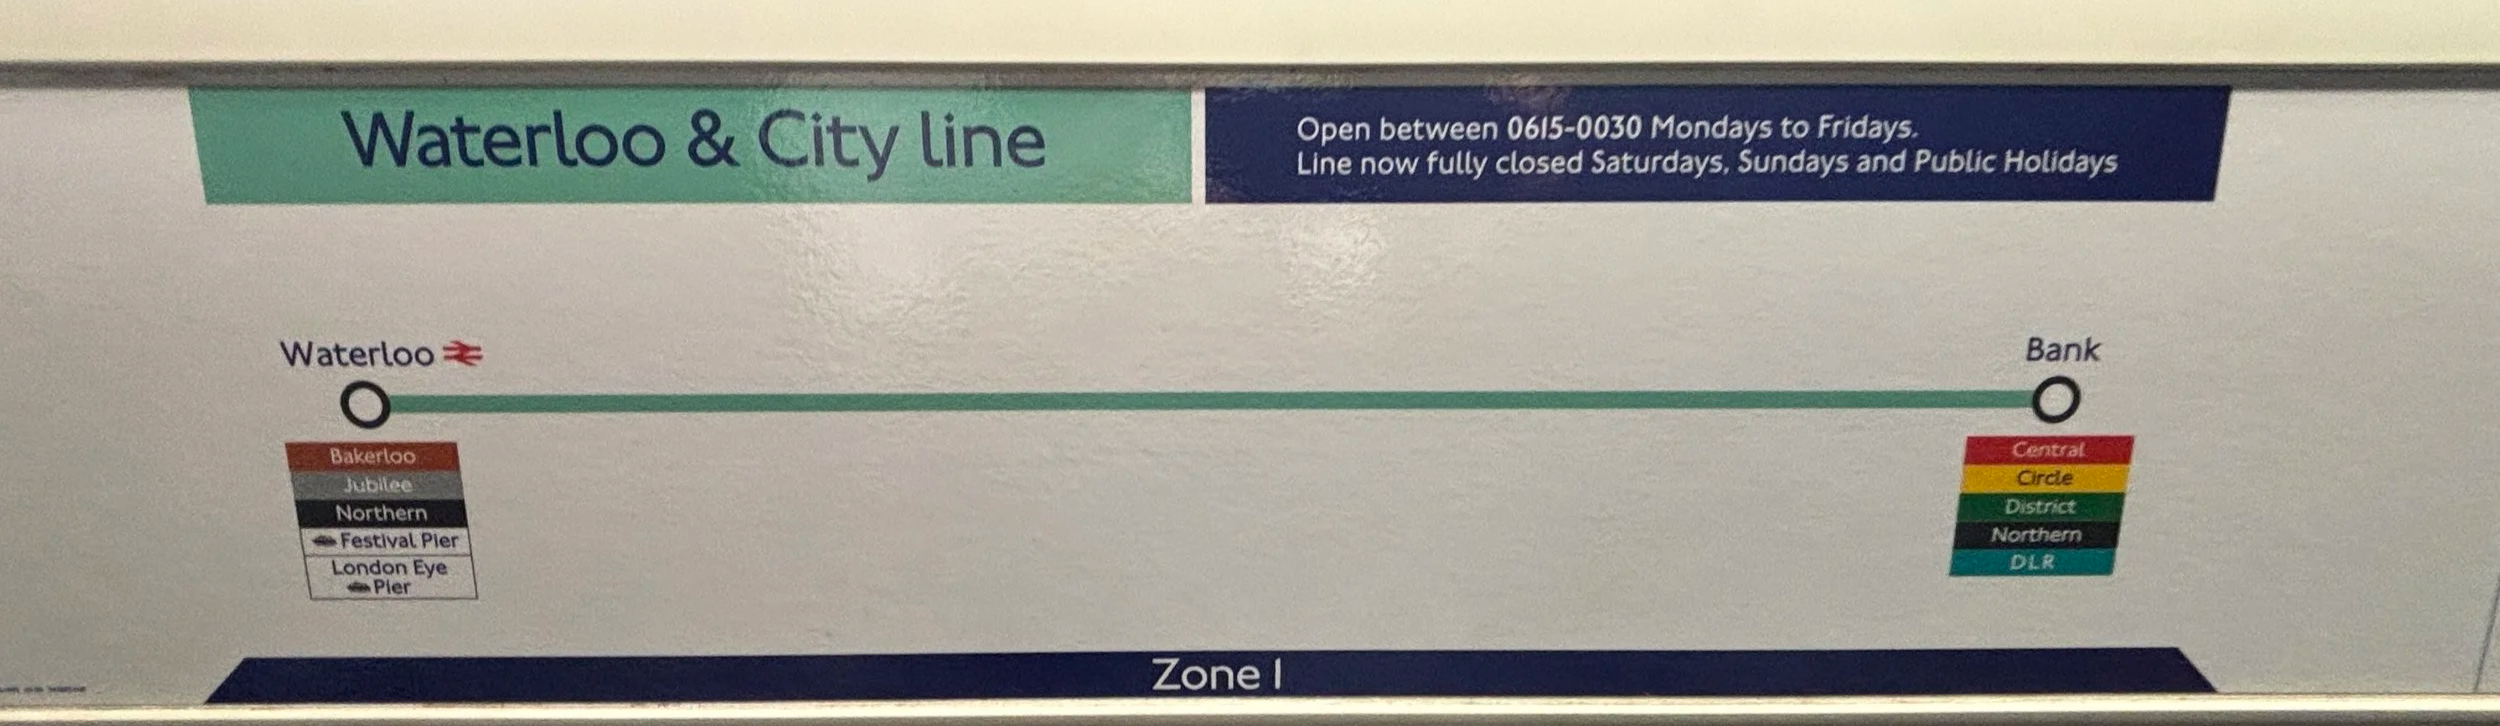
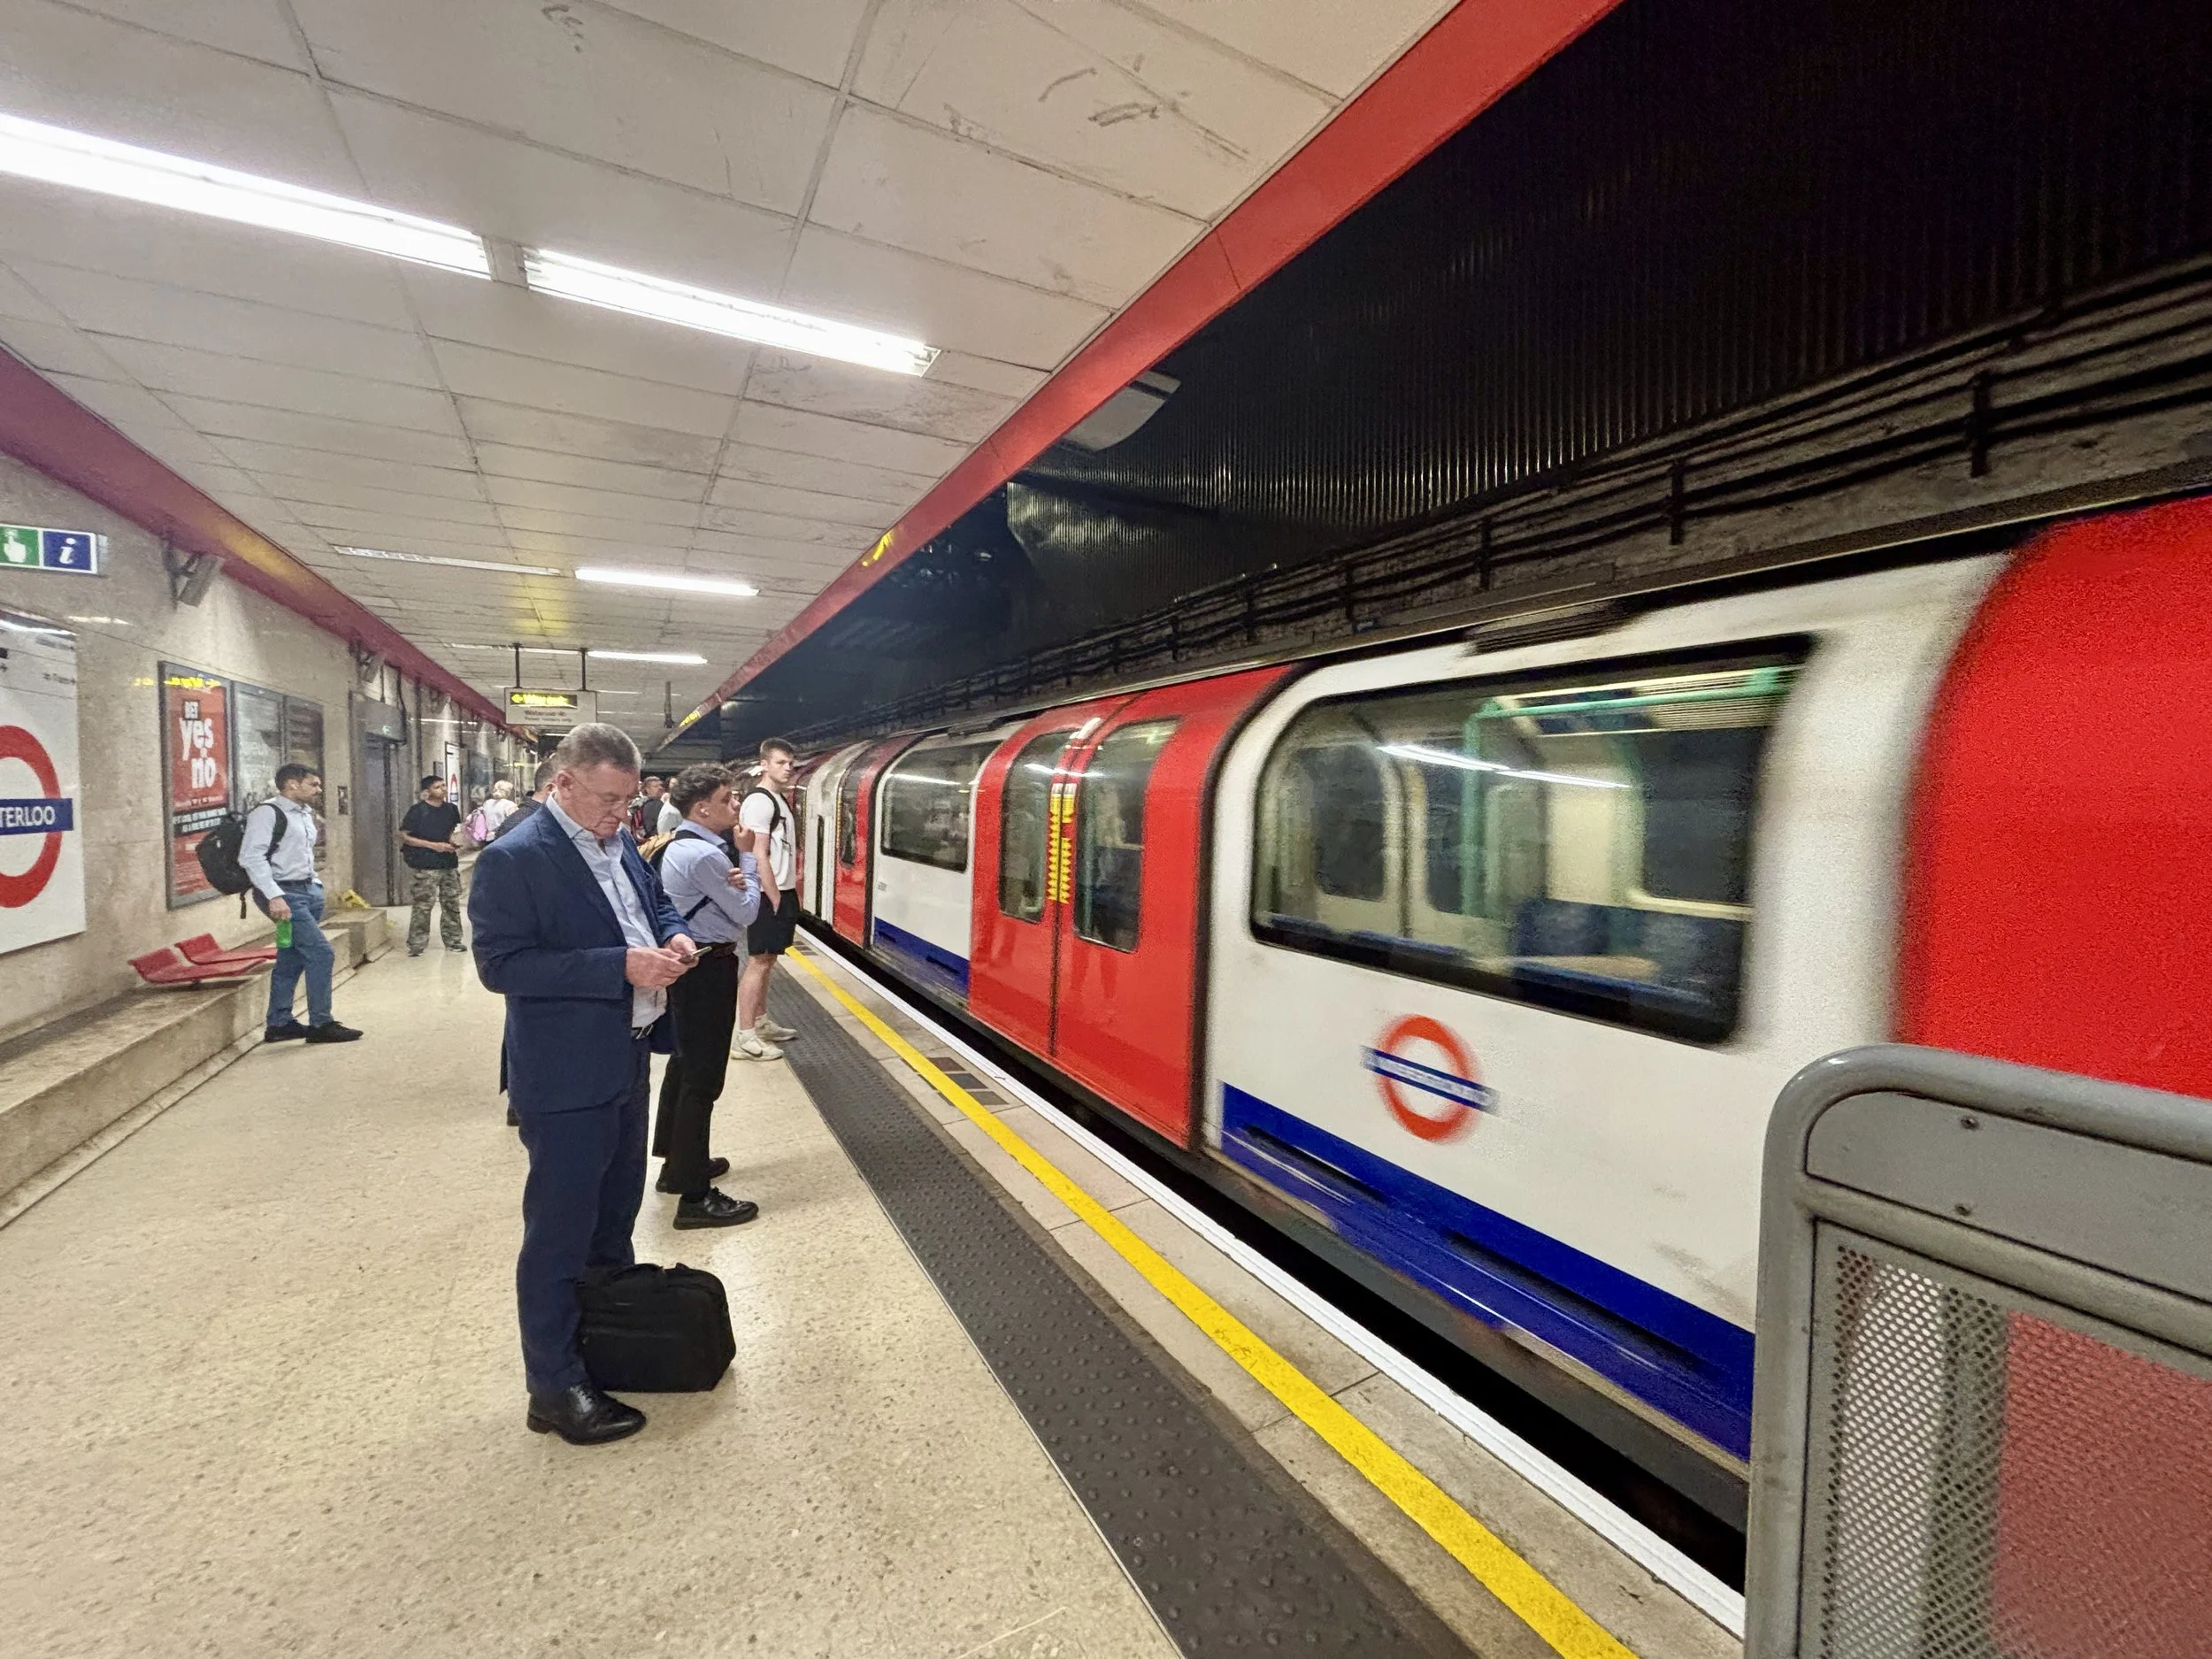
As a part of my ongoing series of visiting "all the stations", I rode the Waterloo and City line bagging all 2 of its stations :-). The last time I completed a line, it was the 41 stations of the Elizabeth Line so this trip was a very quick one by comparison.
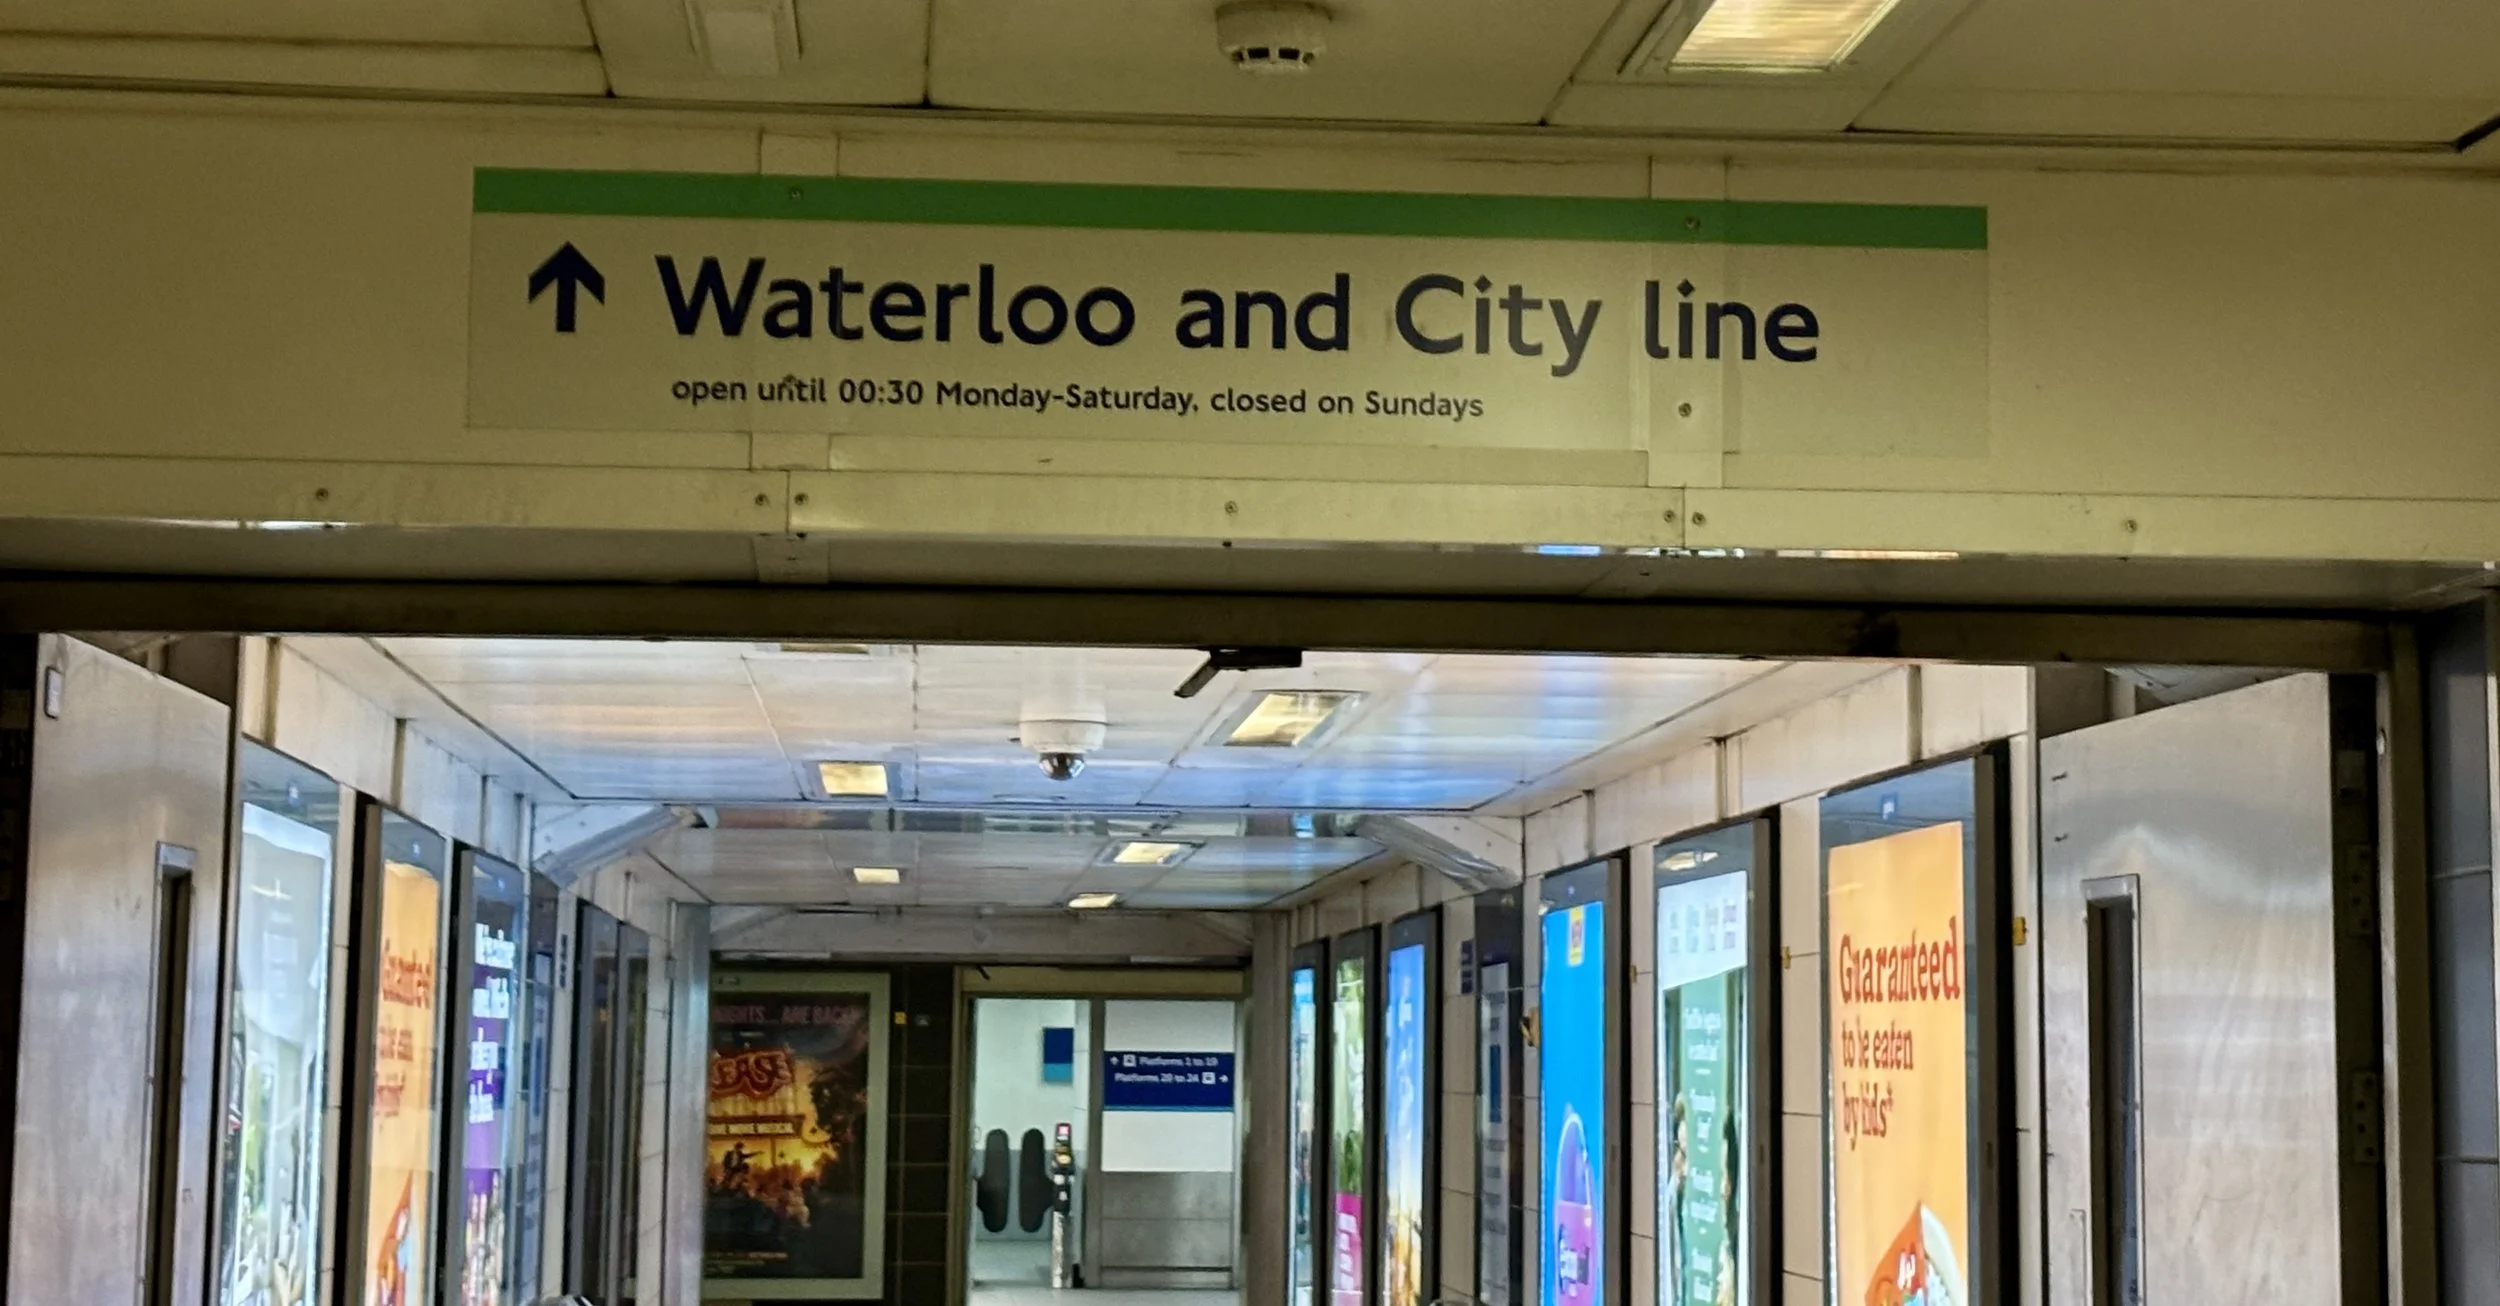
I had this on my list for some time, having noticed little bits of trivia about the Waterloo and City line on different geeky YouTube videos I follow. Because one of the unique things about the line is that it is not open on weekends, I needed to do it on a weekday when I was already in London. So, I picked a glorious summer day to catch a very early train into the city, do the Waterloo and City tube line, walk back to Waterloo, and then get back to my office in Paddington at a normal work time.
There’s a few other ways that the Waterloo and City line is unique:
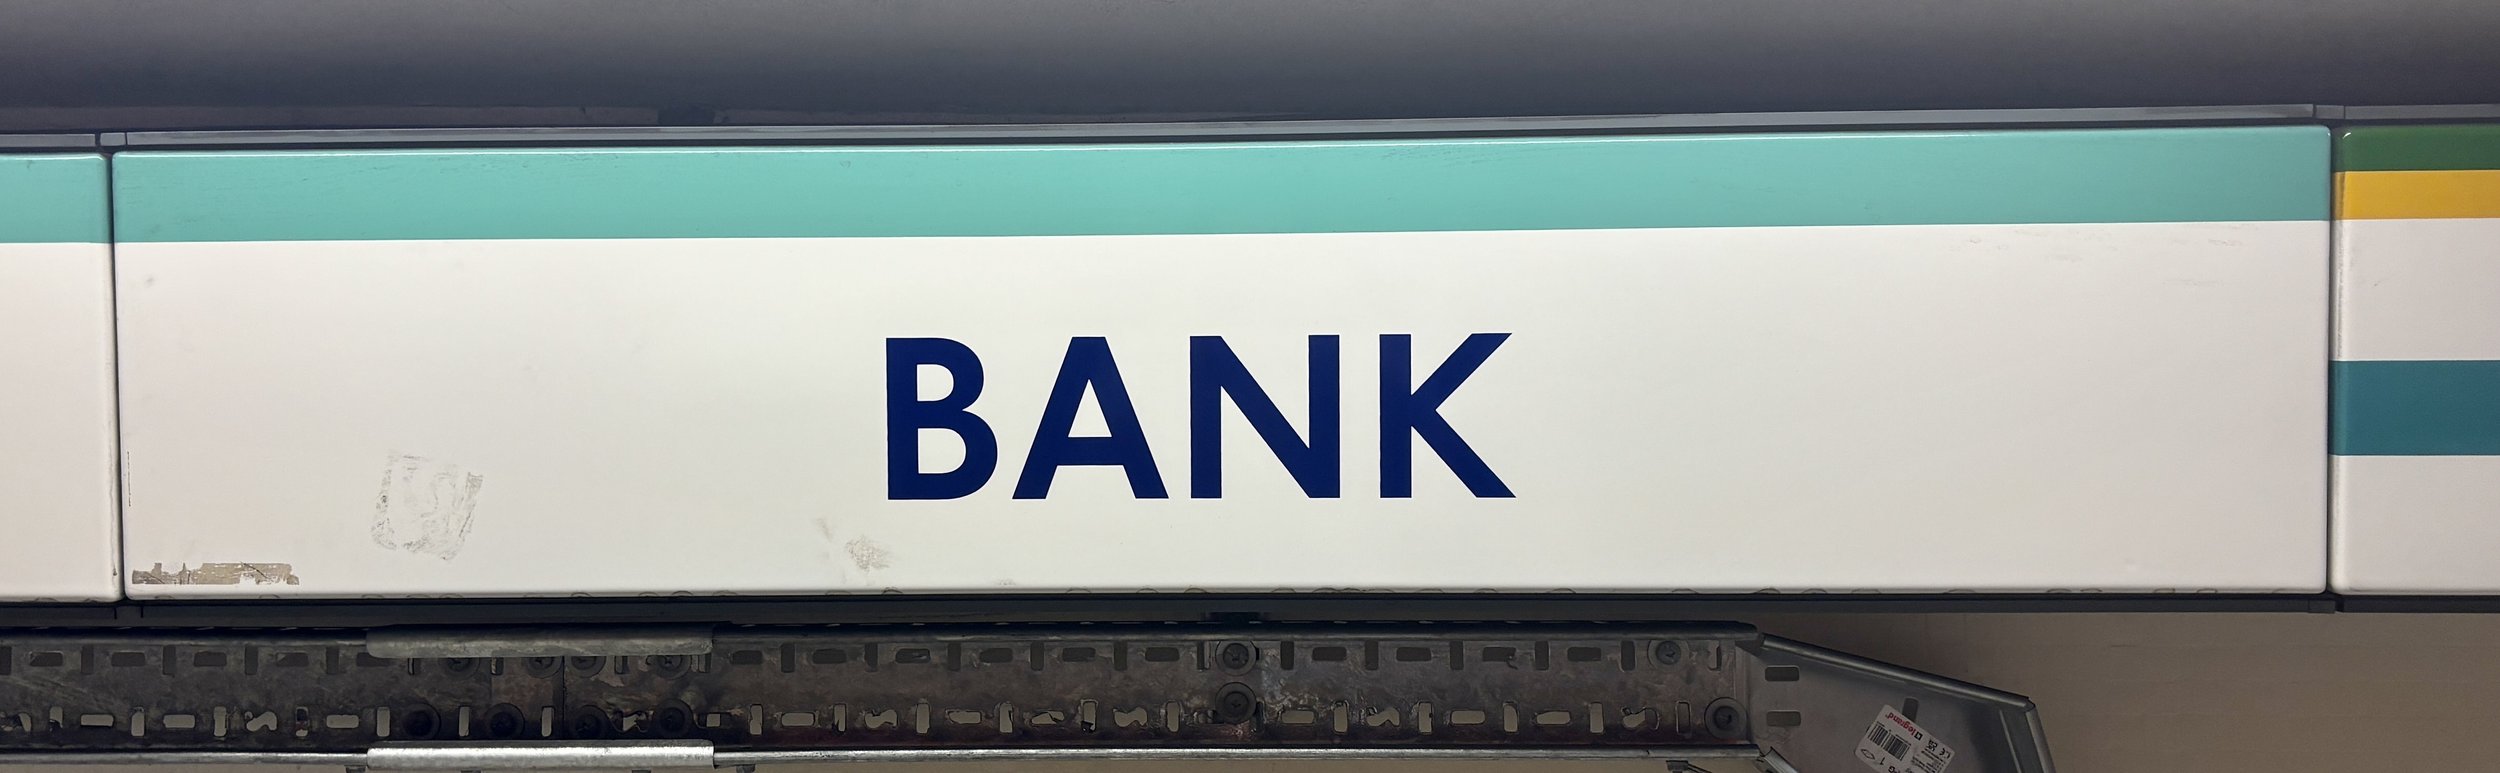
It is the shortest of all the London Underground lines at just 1.47 miles long, with a journey time of only four minutes between its two stations, Waterloo and Bank.
It is the only tube line that was administered as part of the national rail network until it transferred to the London Underground in 1994.
It is completely isolated and has no physical link with the rest of the tube network. Because of this, when carriages need replacing or heavy servicing, they cannot just be driven out: they must be lifted out of the depot by a crane.
The line is affectionately known as 'The Drain'. This nickname seemingly comes from the appearance of the lengthy sloping subway access at Bank station.
The platforms at Waterloo are still numbered 25 and 26, matching the numbering of the mainline station above.
It is one of only two lines on the network (the other being the Victoria line) that is fully underground.
The walk back: Bank to Waterloo
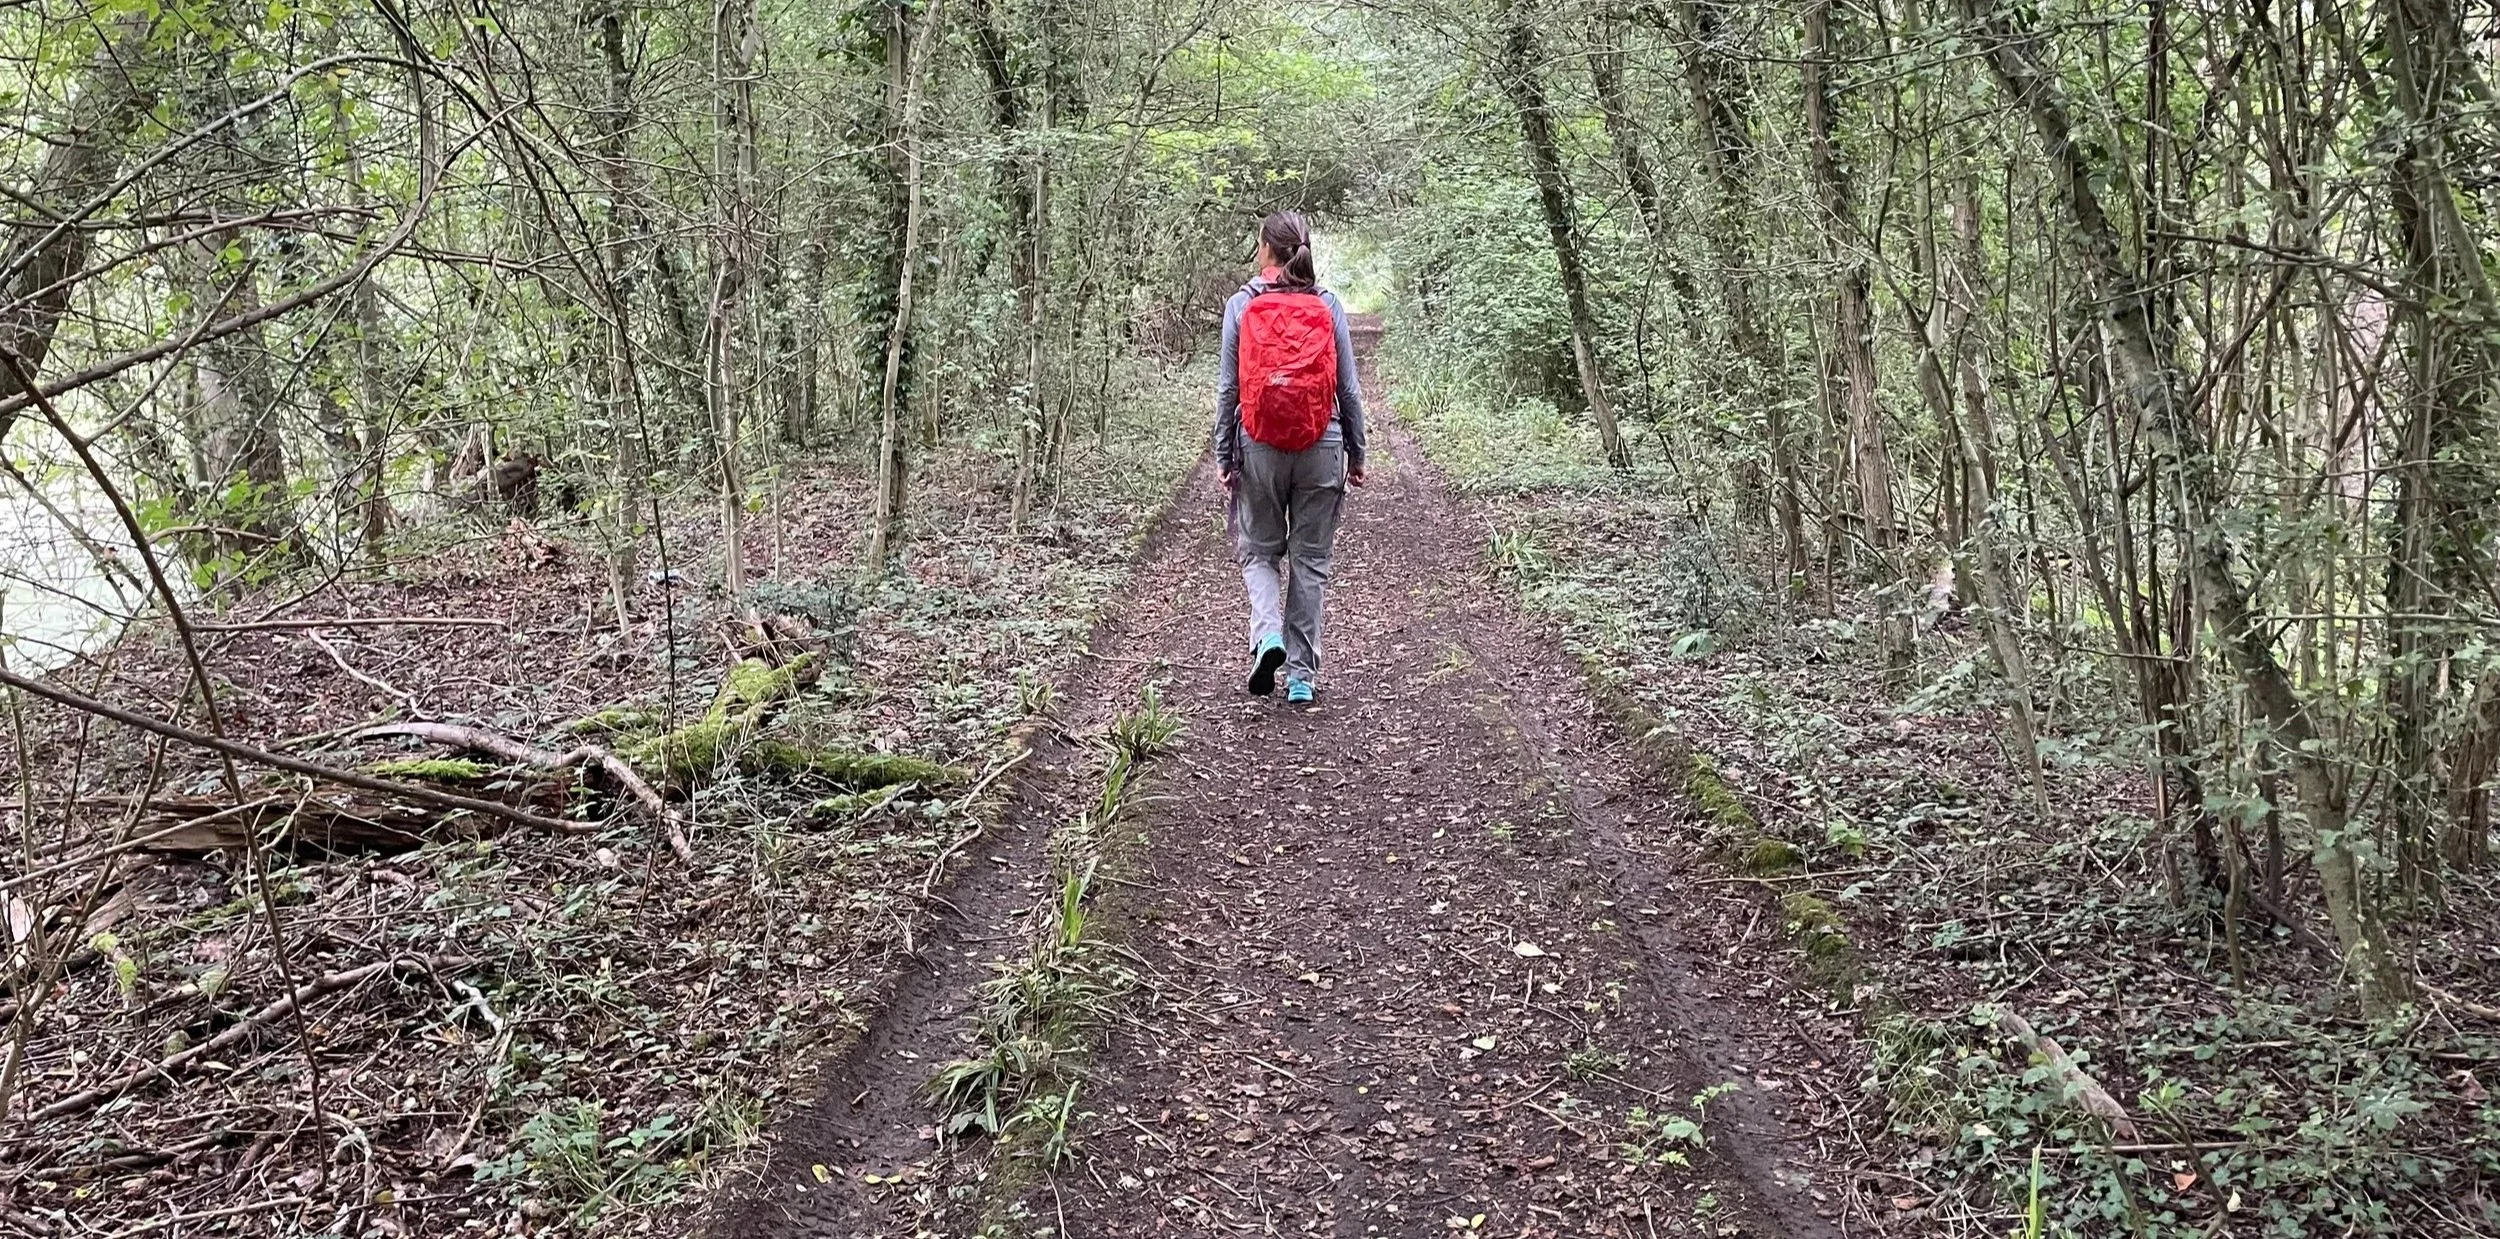
What is most interesting about the line: and the real reason I wanted to do this: is the return leg. After arriving, when you walk back from Bank to Waterloo, you can actually do this entire walk without crossing or stepping on a single road. For a detailed guide on that specific path, you can check out the excellent article on the Londonist website (article linked here).
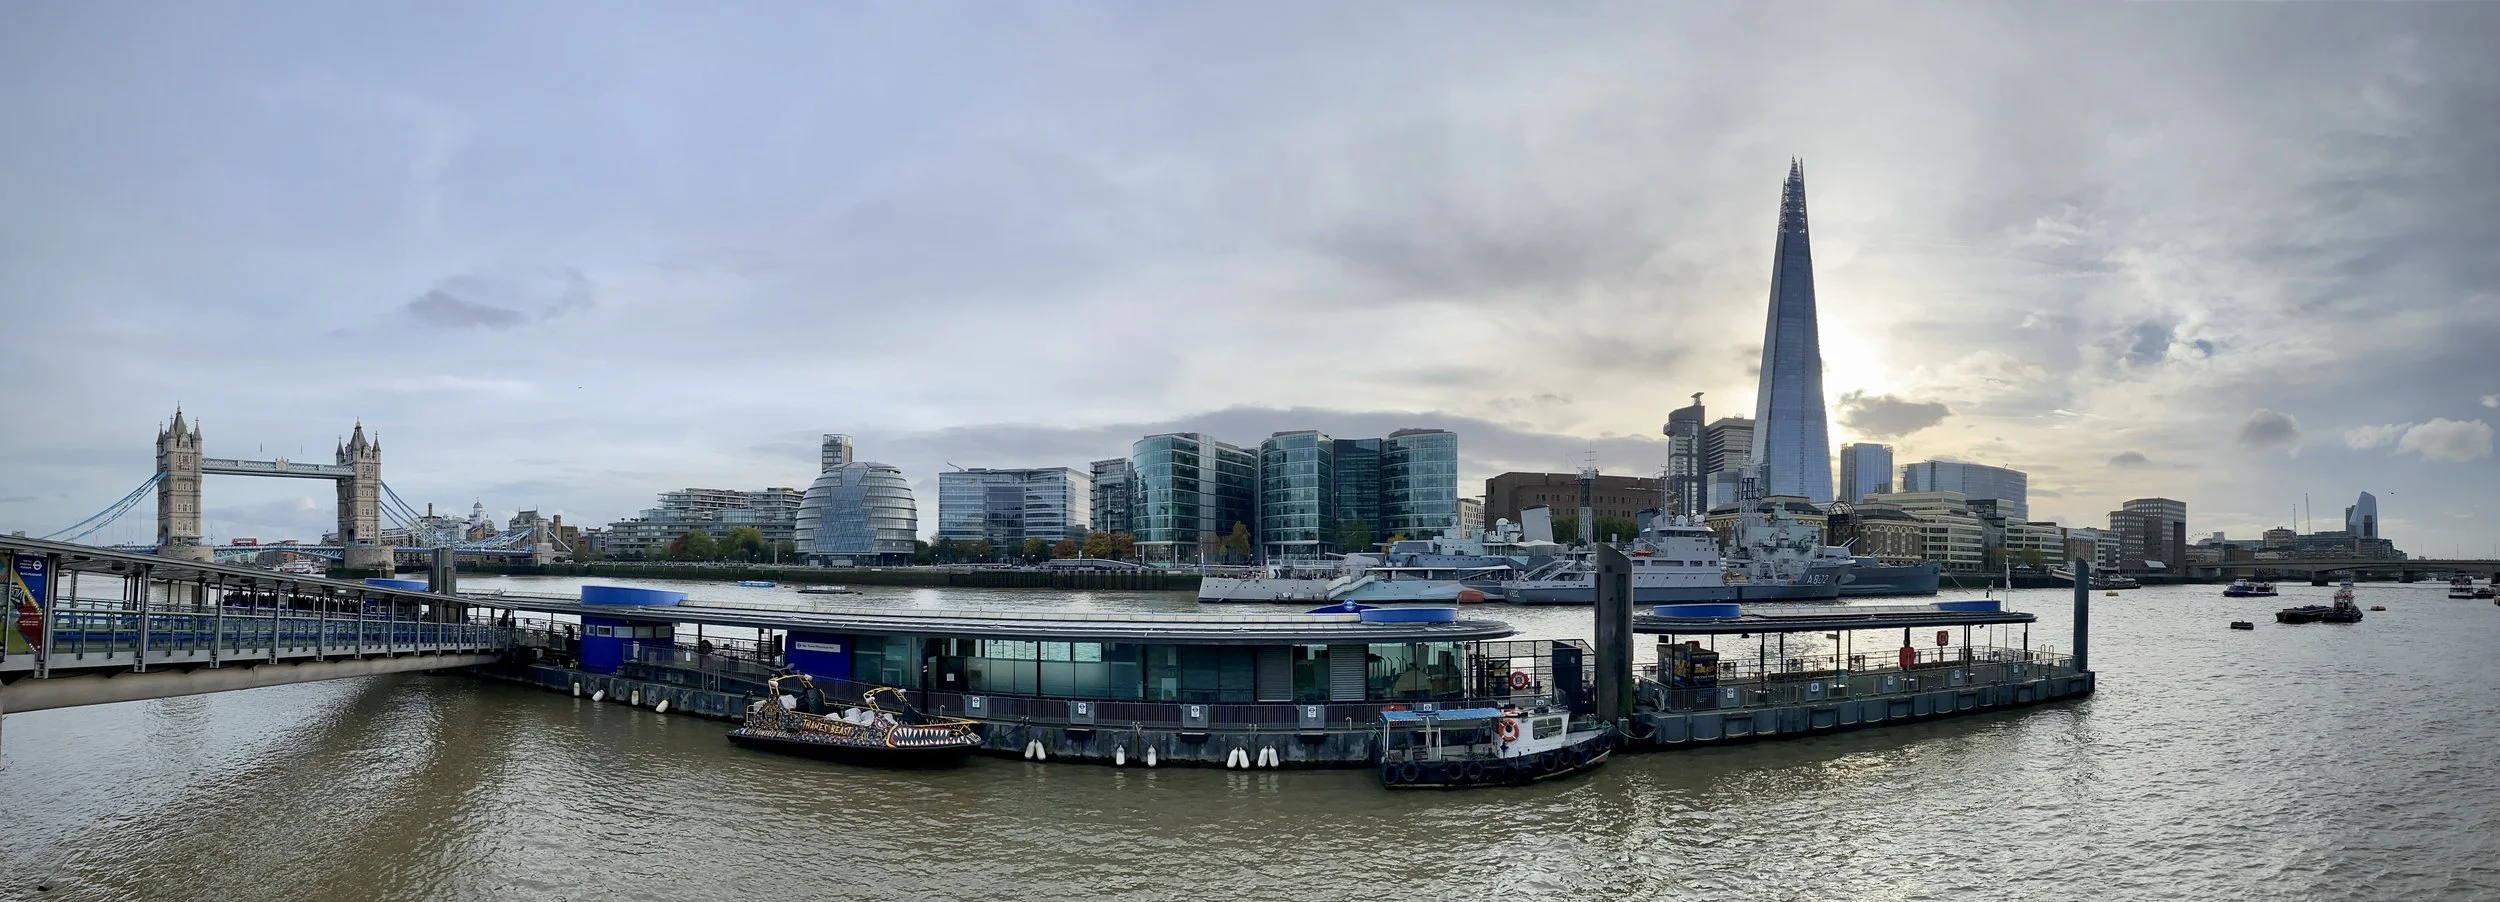
It was a very hot day with not a cloud in the sky, making for a beautiful walk, particularly along the Thames Path section. However, there were a few navigational discoveries and points of interest I found along the way that are worth noting:
Navigating Bank Station: When I got to Bank station, I found it tricky to locate the correct passage between Bank and Monument station due to the sheer number of exits. You definitely need to keep your eyes peeled and be careful here.
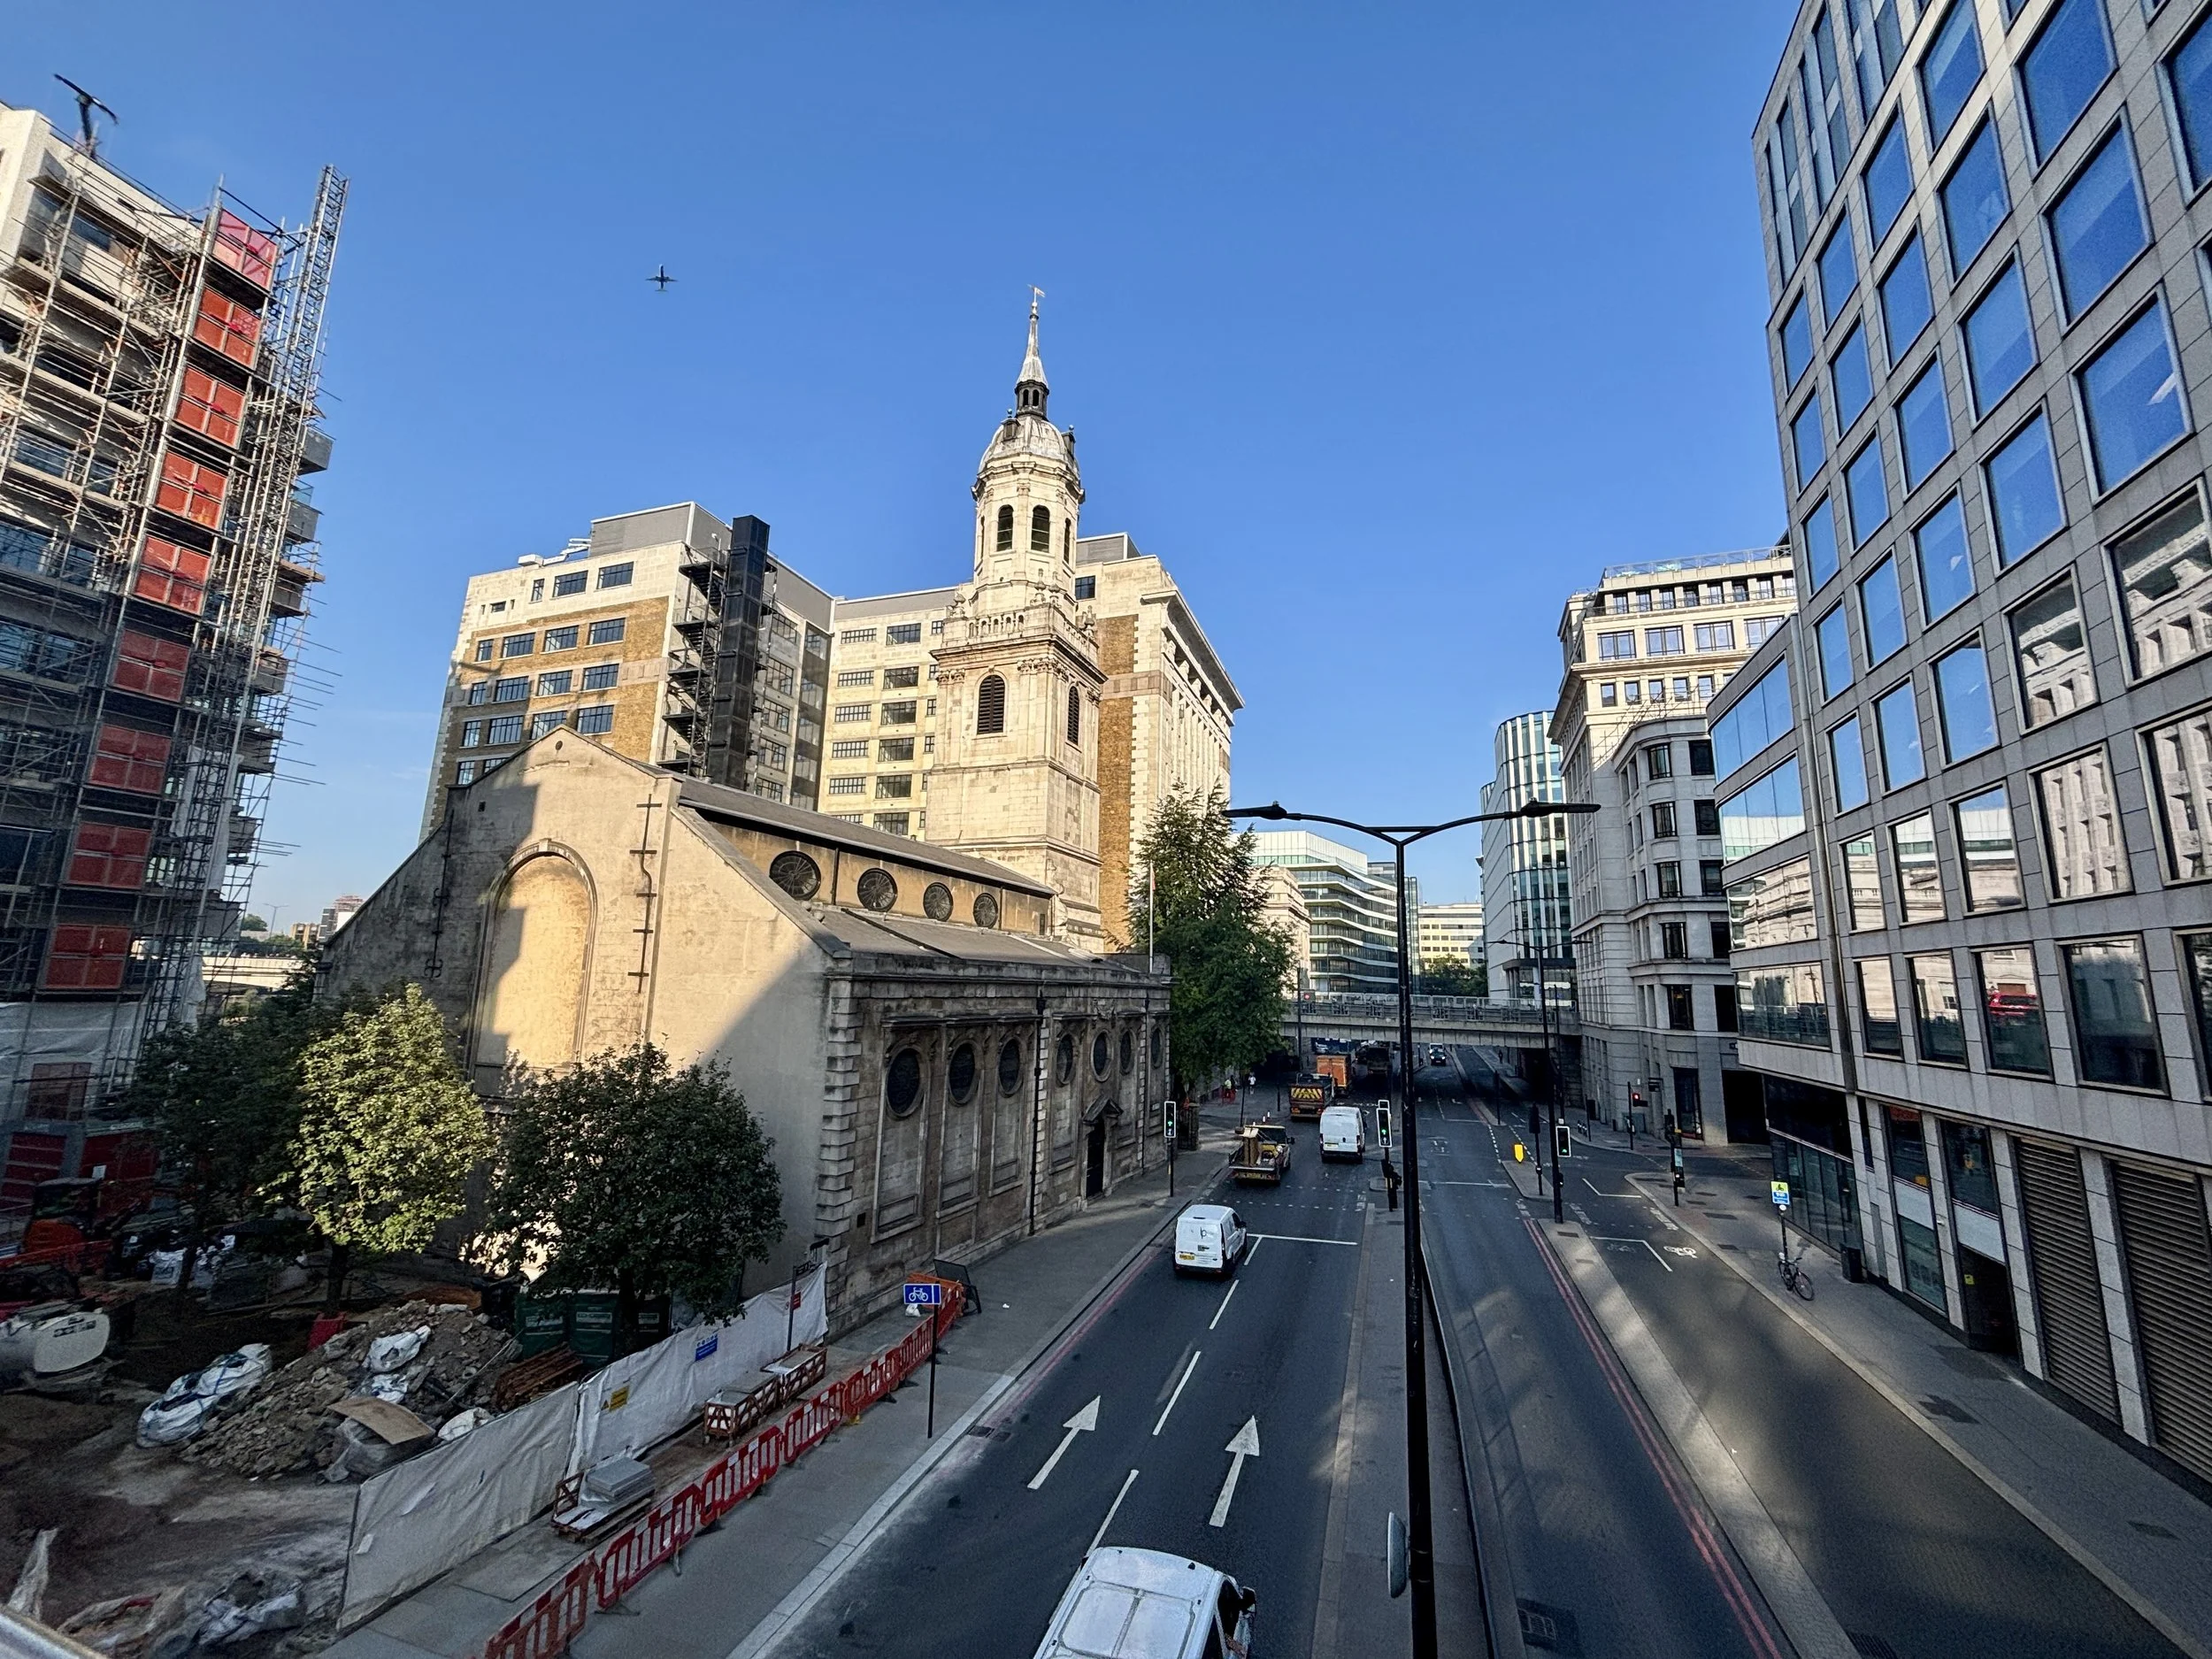
The Pedway Bridge: There is a pedestrian bridge crossing from Pudding Lane to St Magnus the Martyr church. Unfortunately, this was shut during my visit due to reconstruction of a building on the south side of the road. I was a bit disappointed as I actually had to cross the road to avoid the closure, temporarily breaking the "no roads" rule.
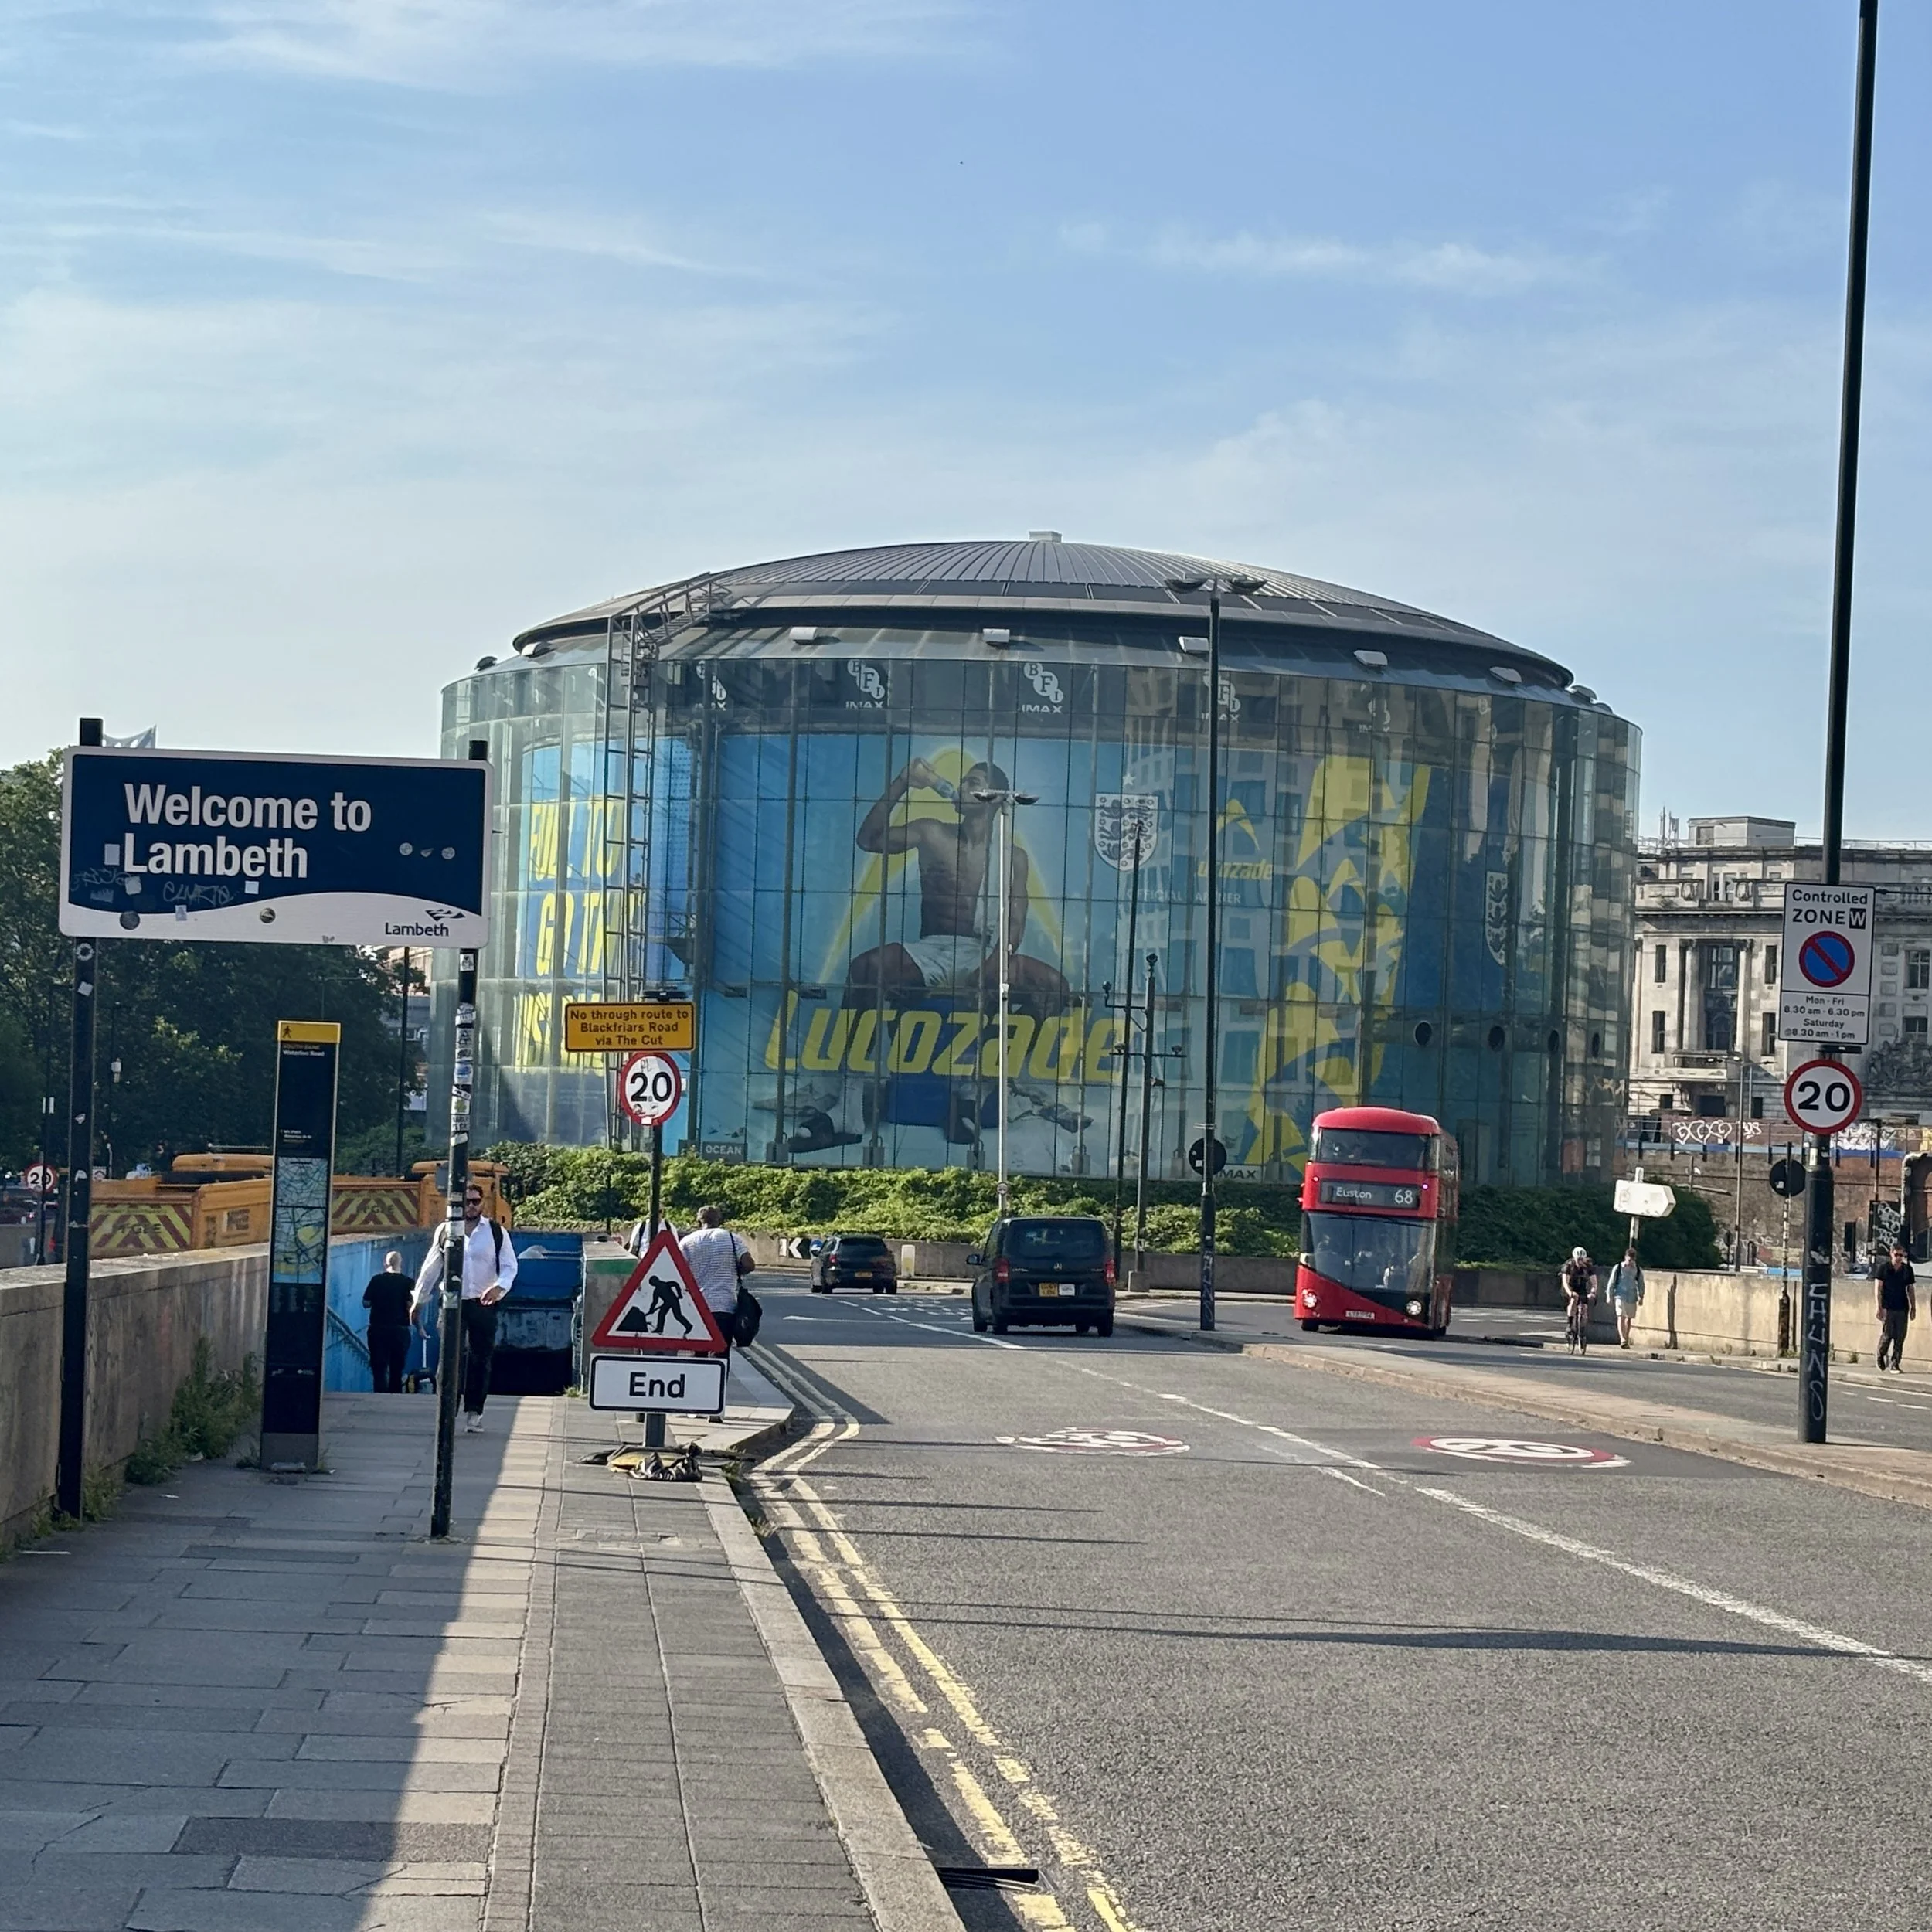
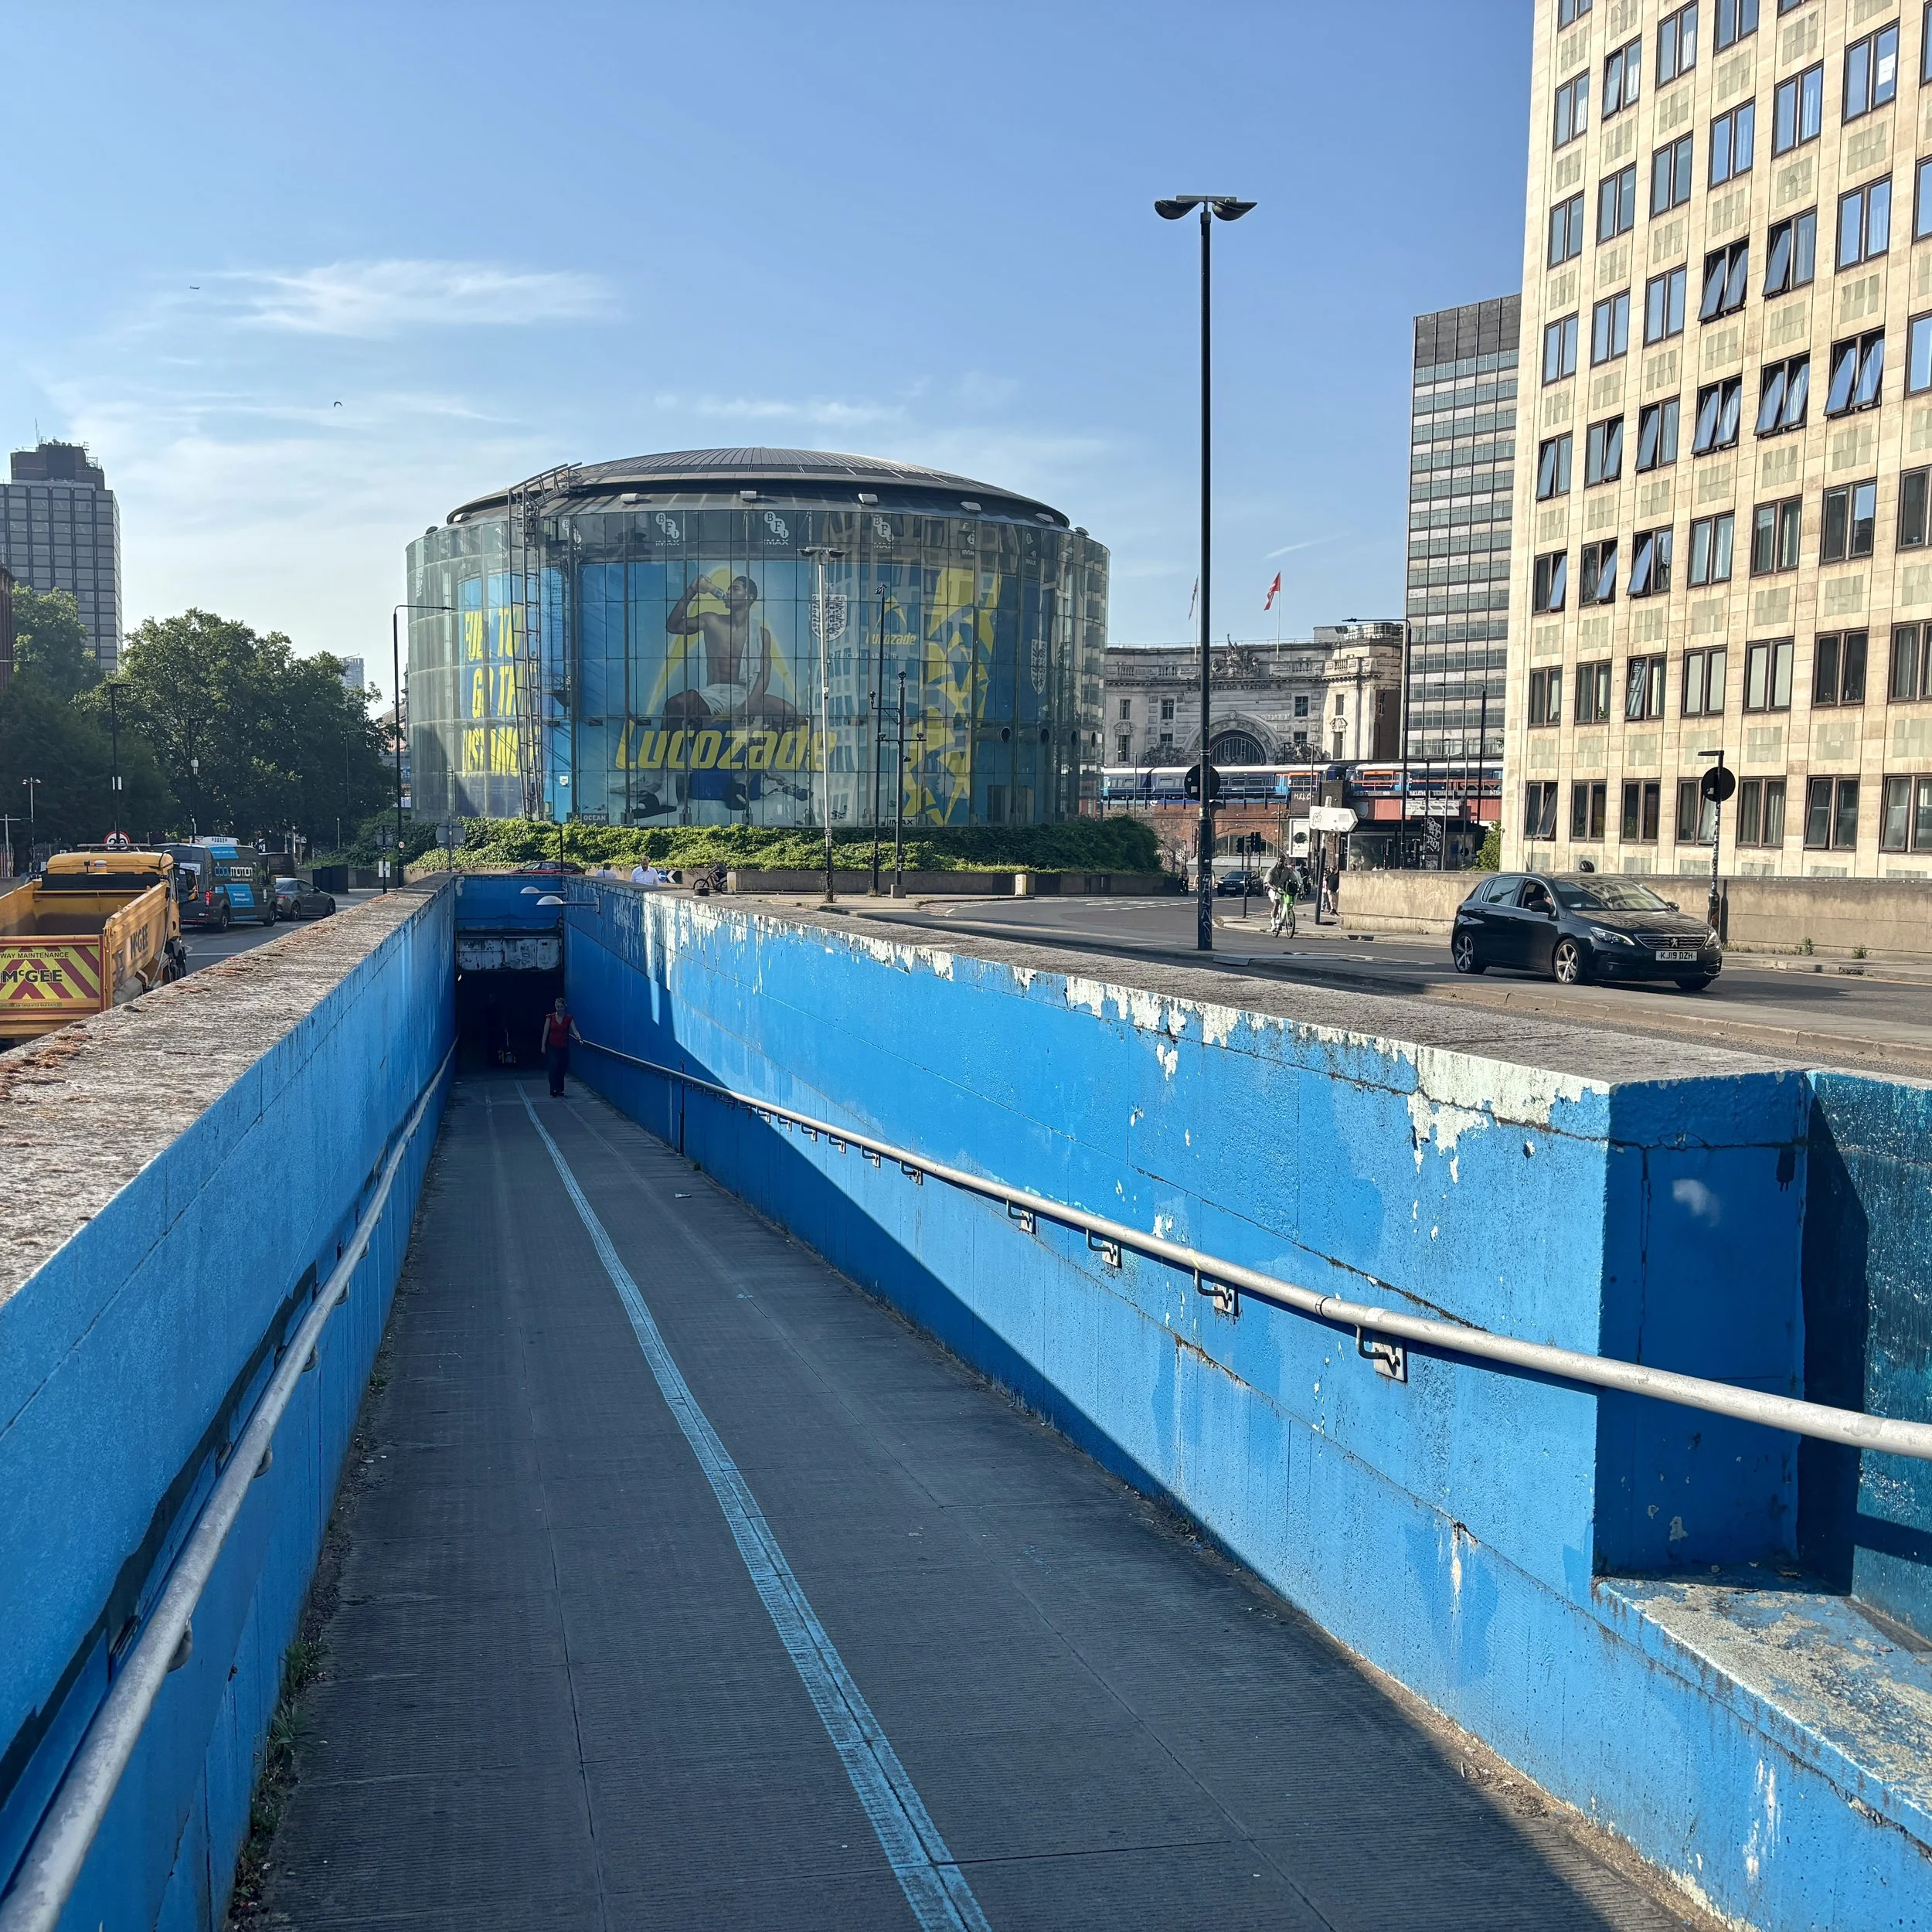
Approaching Waterloo: As you get to the IMAX near the end of the walk, you need to make sure you find the right route to get from the IMAX to Waterloo station without crossing a road.
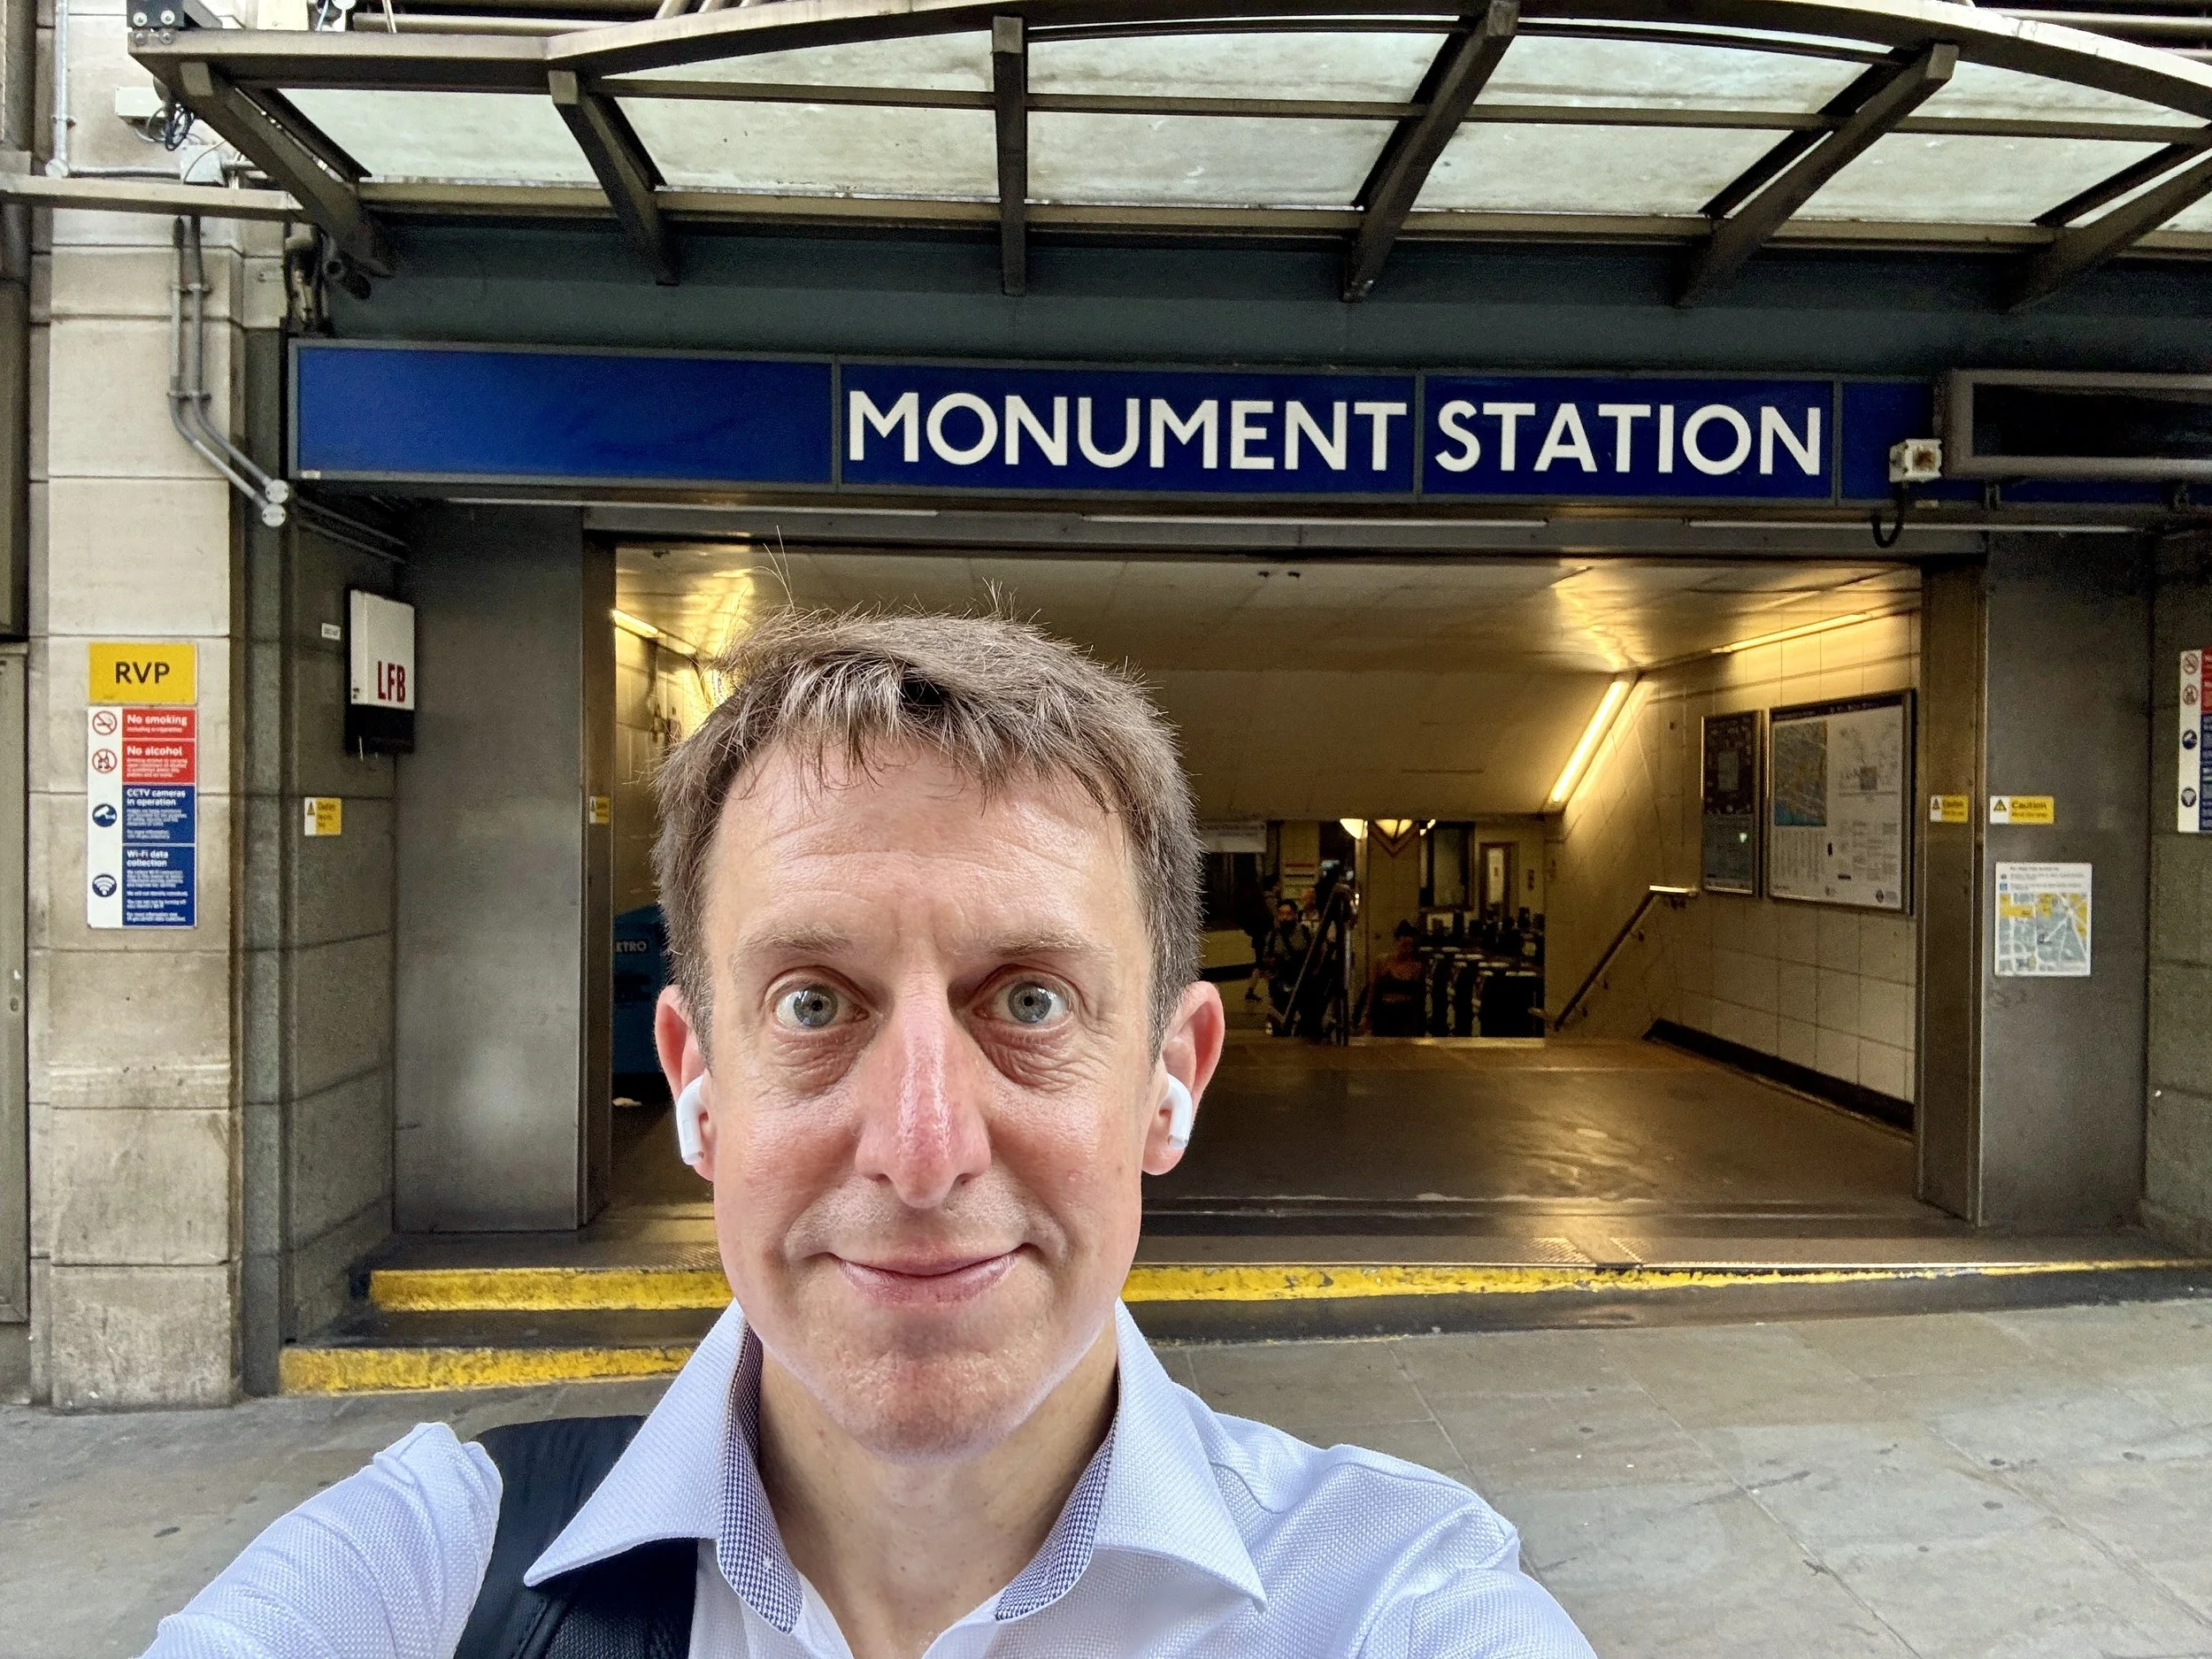
Start: Monument Station, Fish Street Hill Exit, London, EC3R 6BR
Finish: Waterloo Station, Waterloo Road, London SE1 8SW
Distance: 4.0 km (2.5 miles)
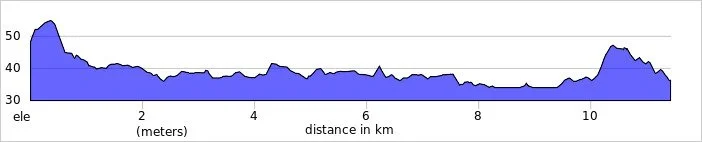
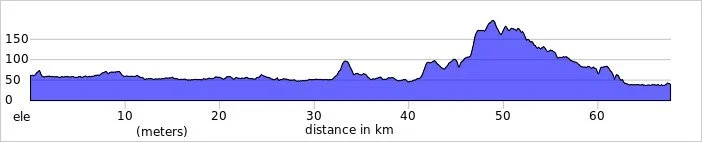
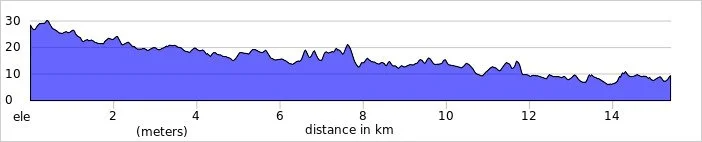
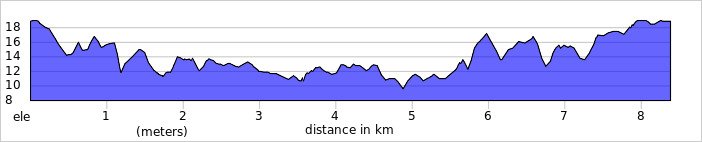
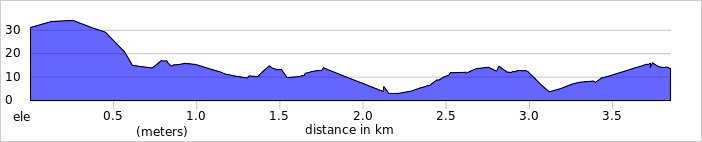
Elevation change: +32m / -49m. Net - 17m
GPX File: get via Buy Me a Coffee
Other routes touched (walk): Pudding Lane Pedway, Thames Path, Green Link Walk
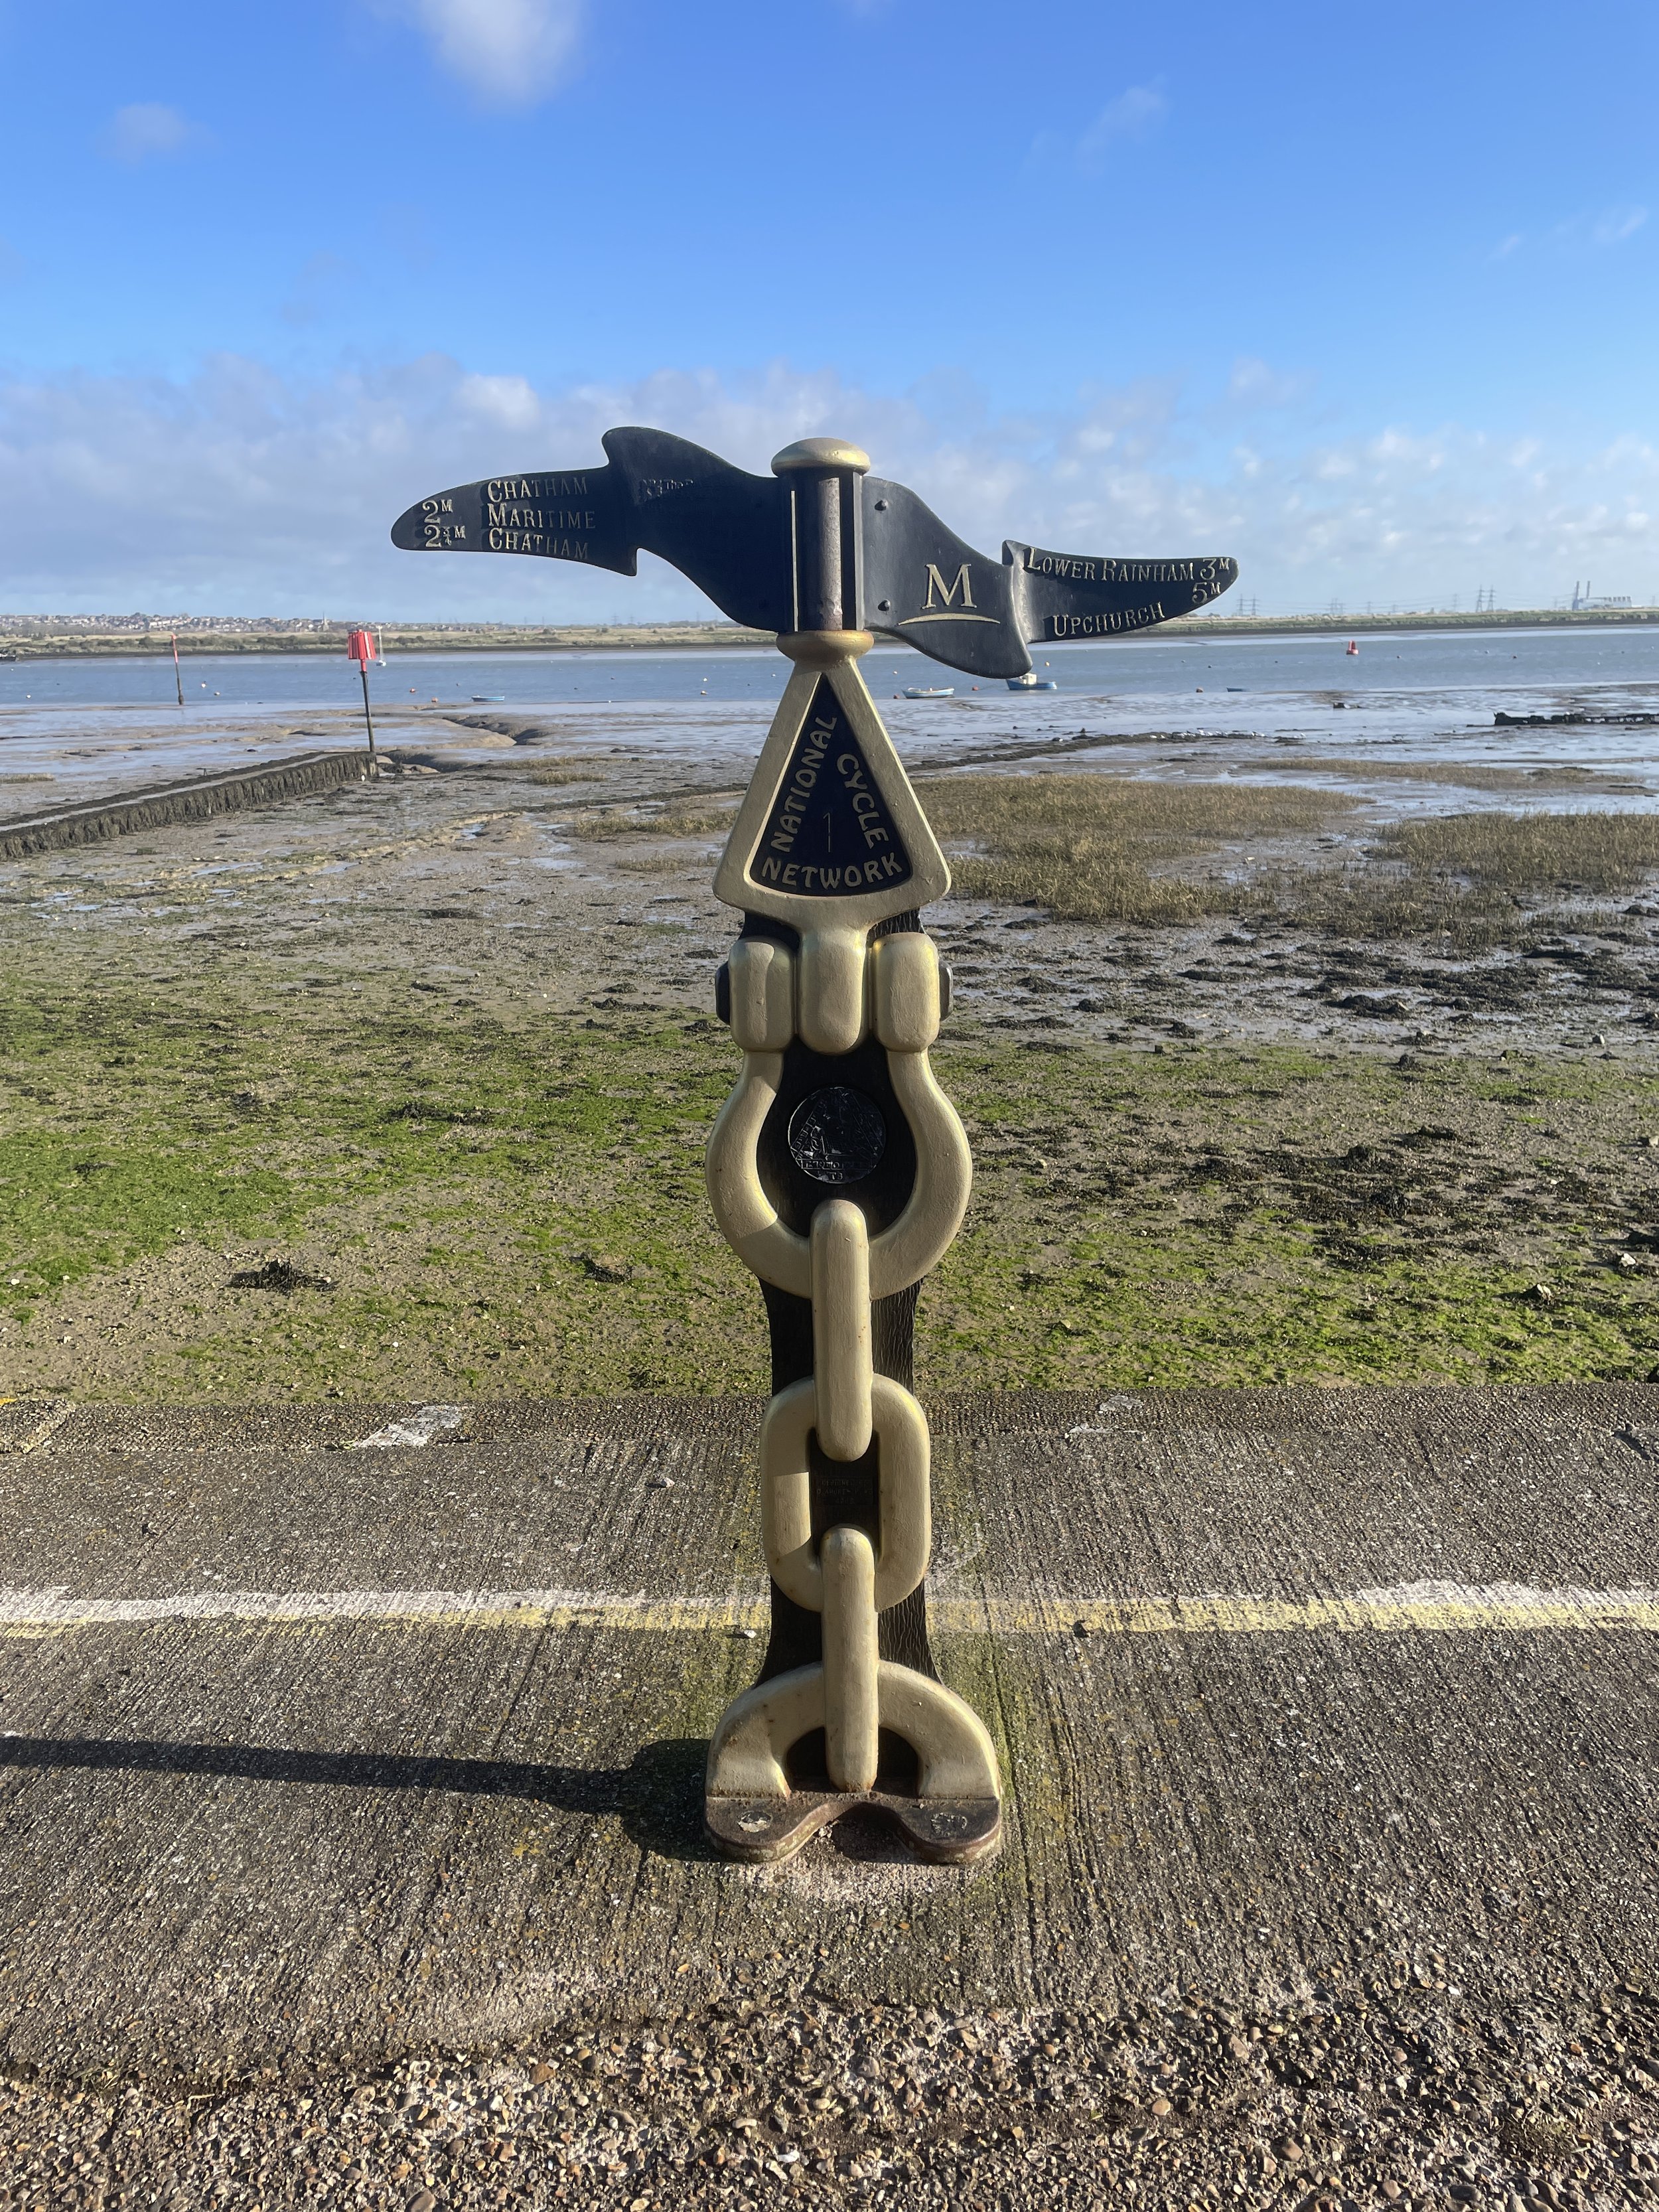
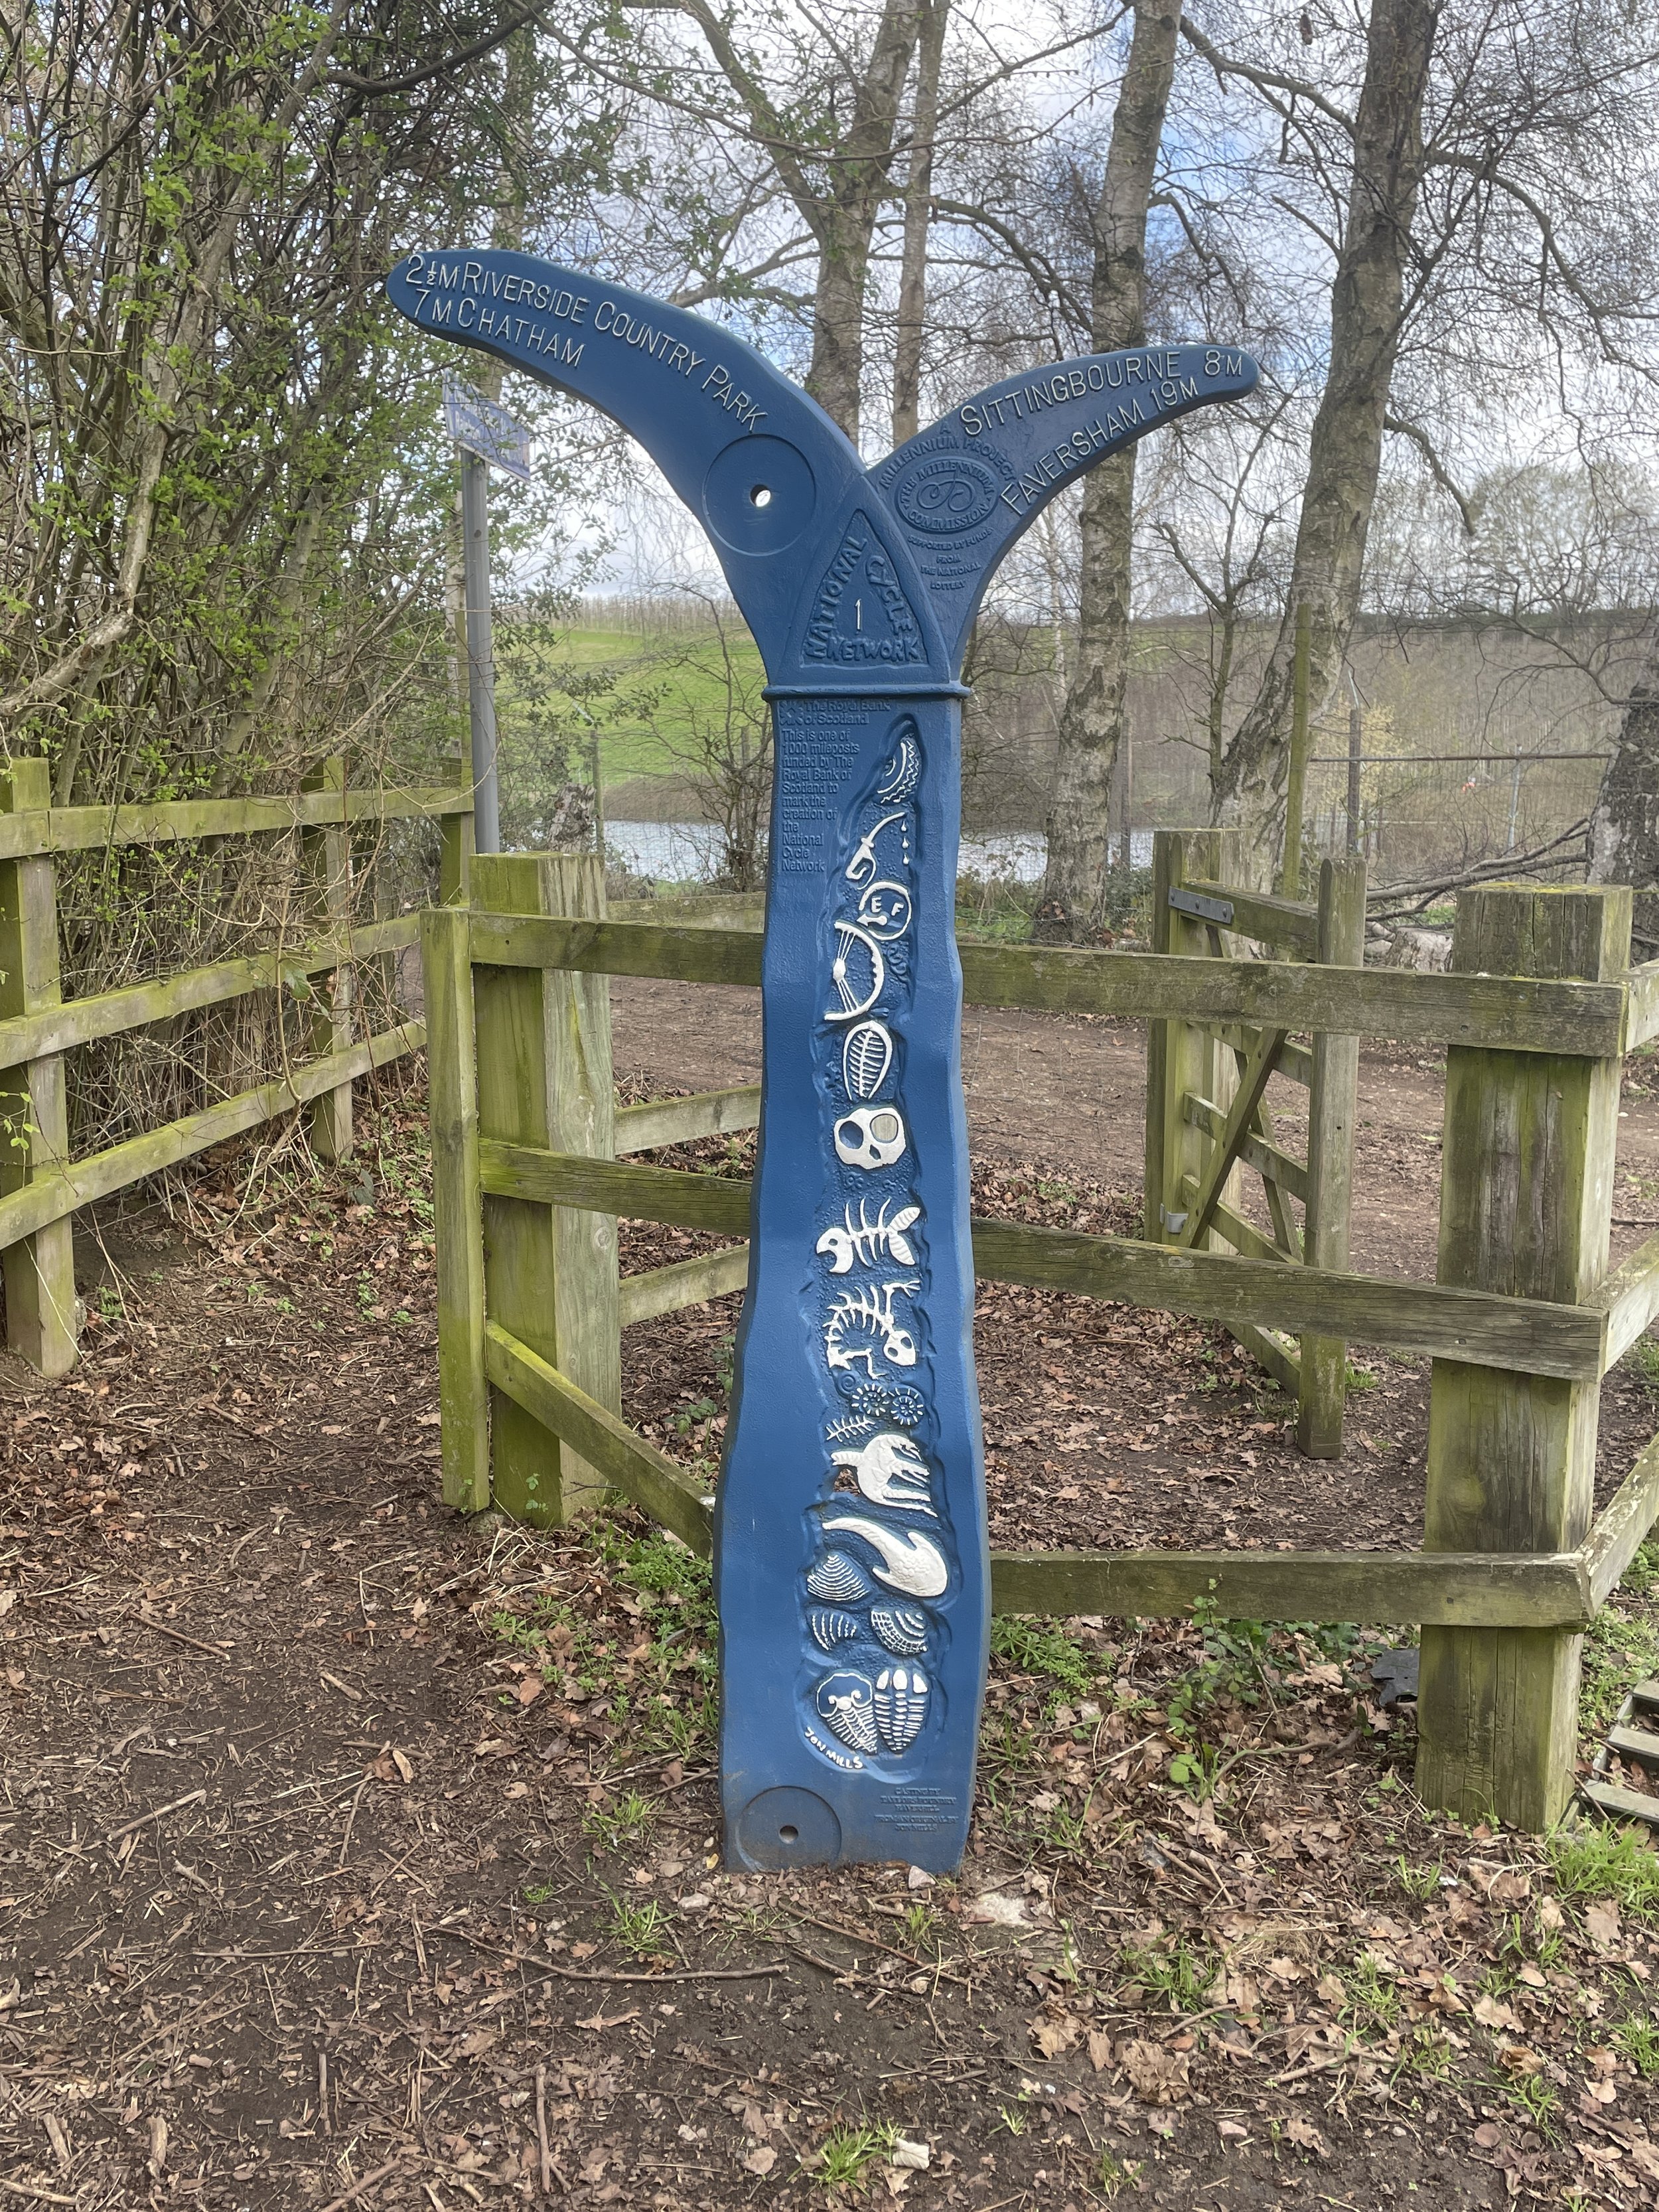
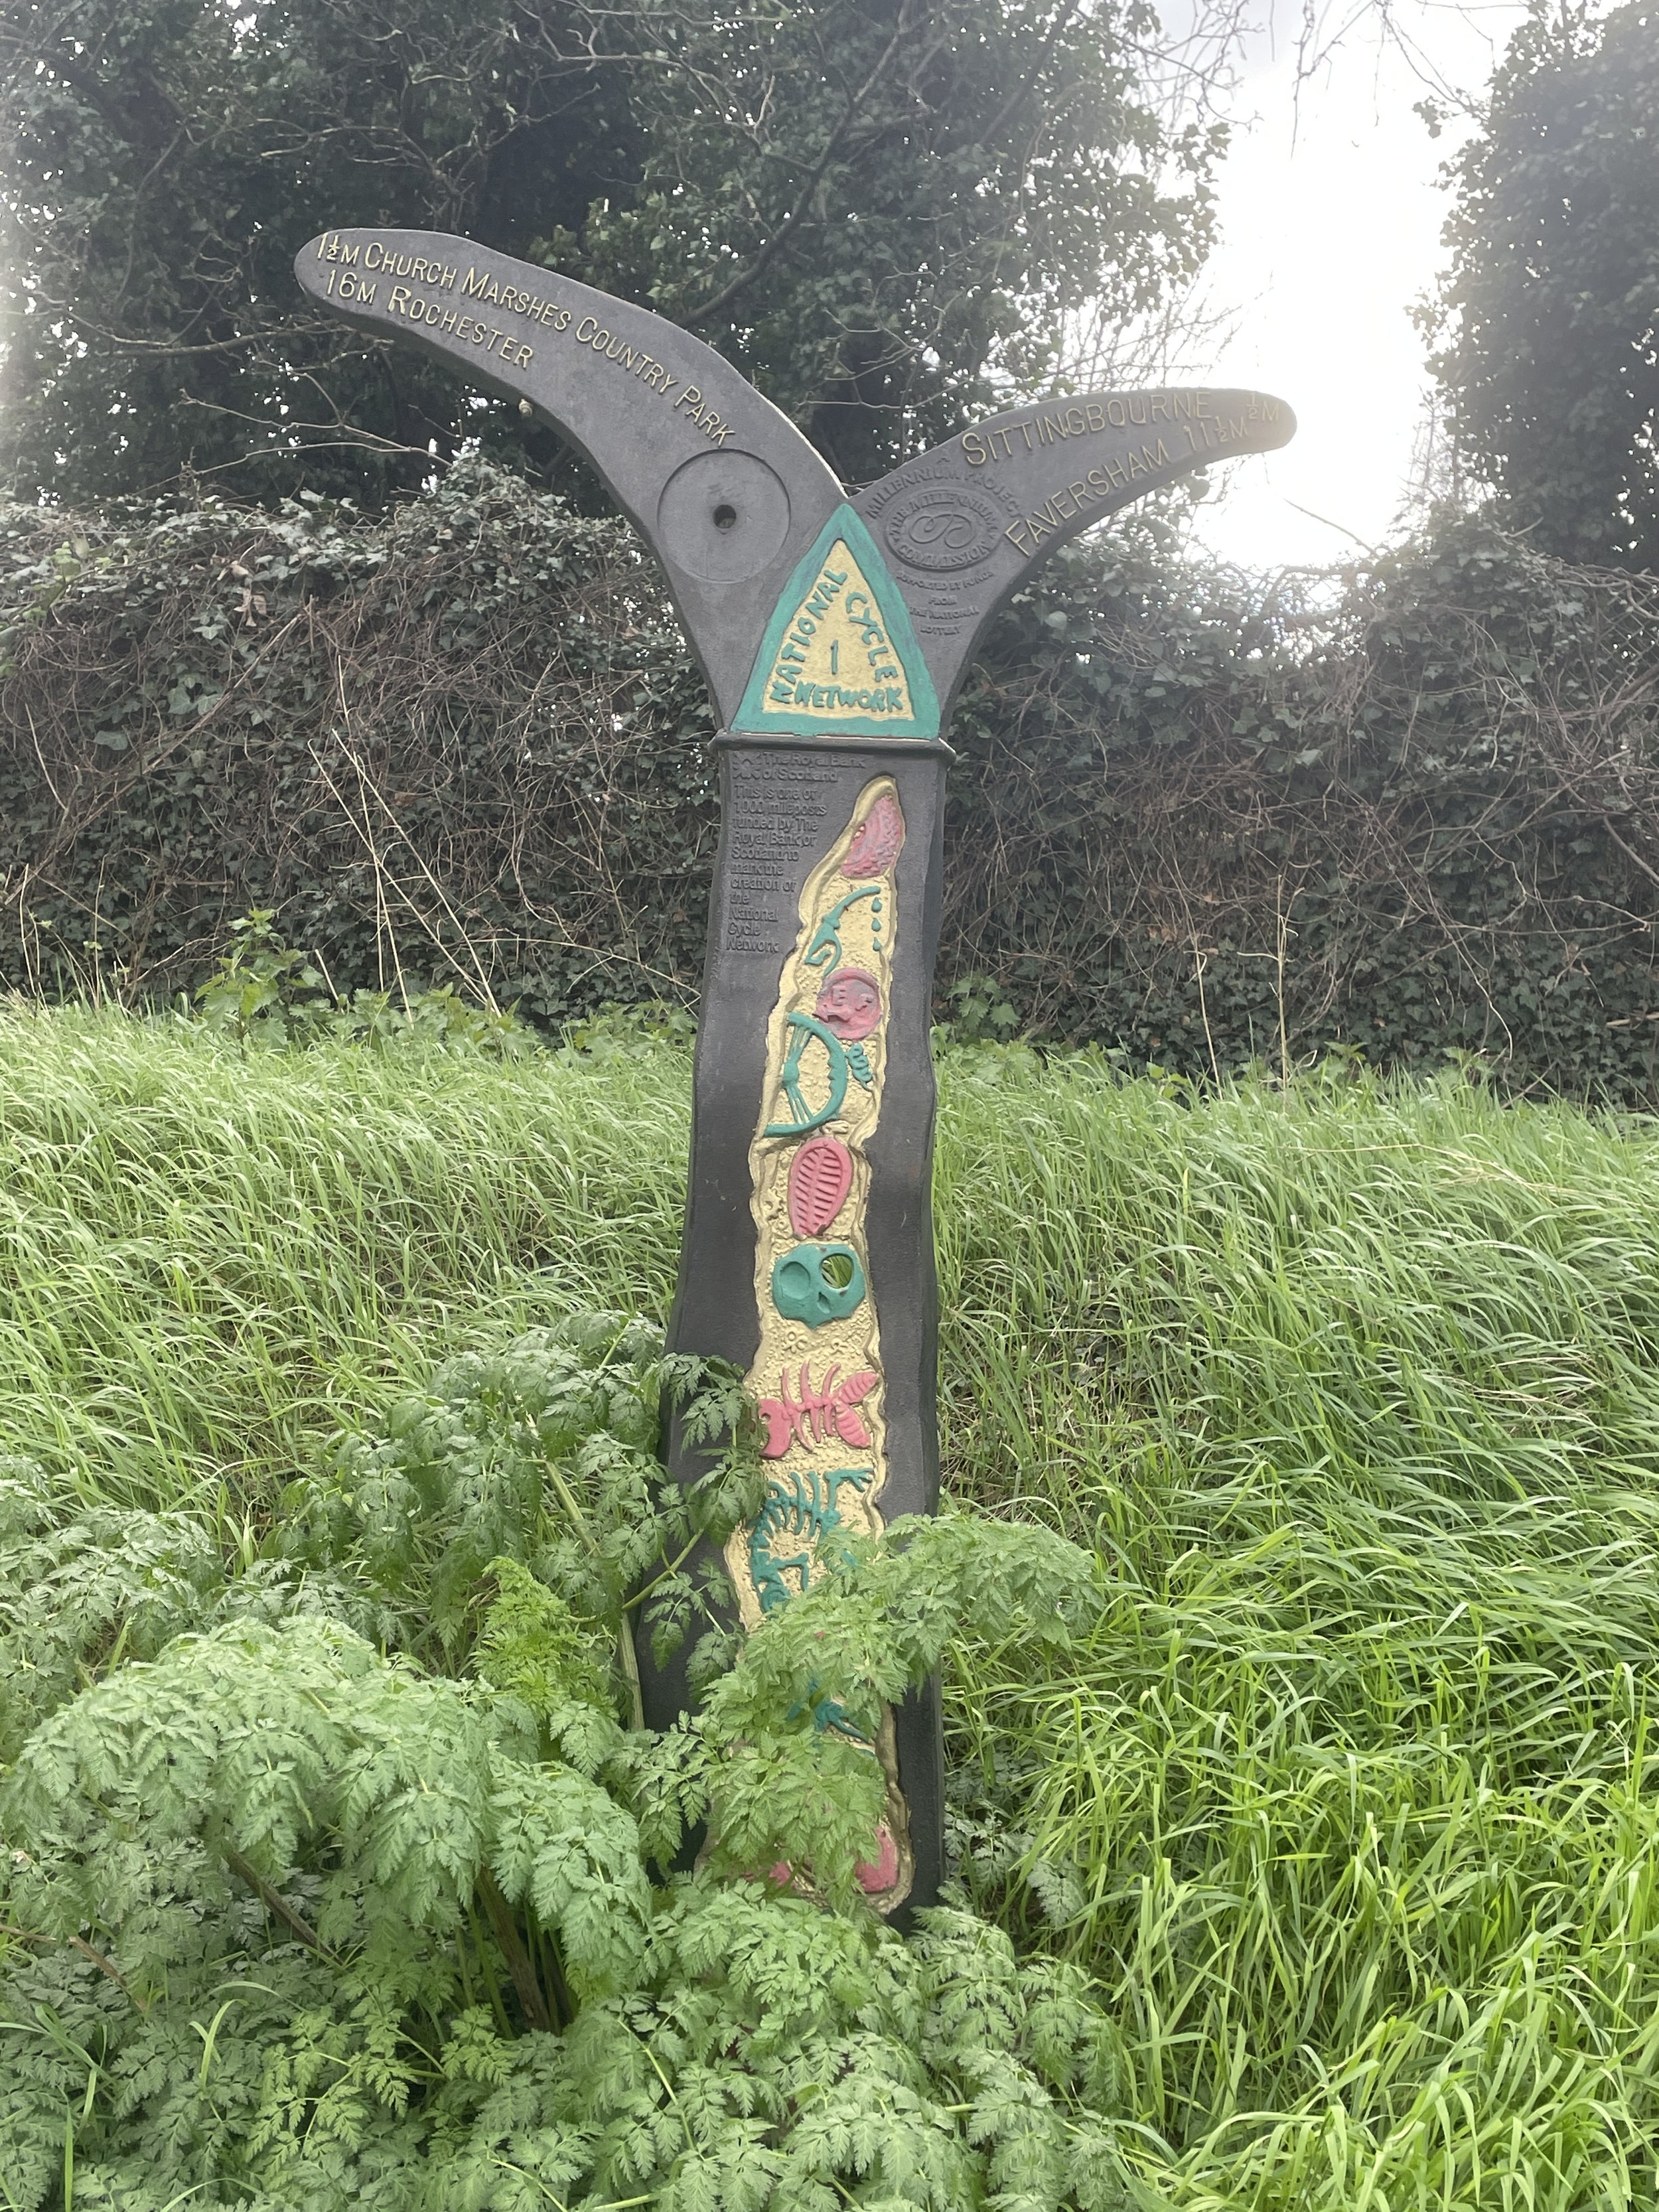
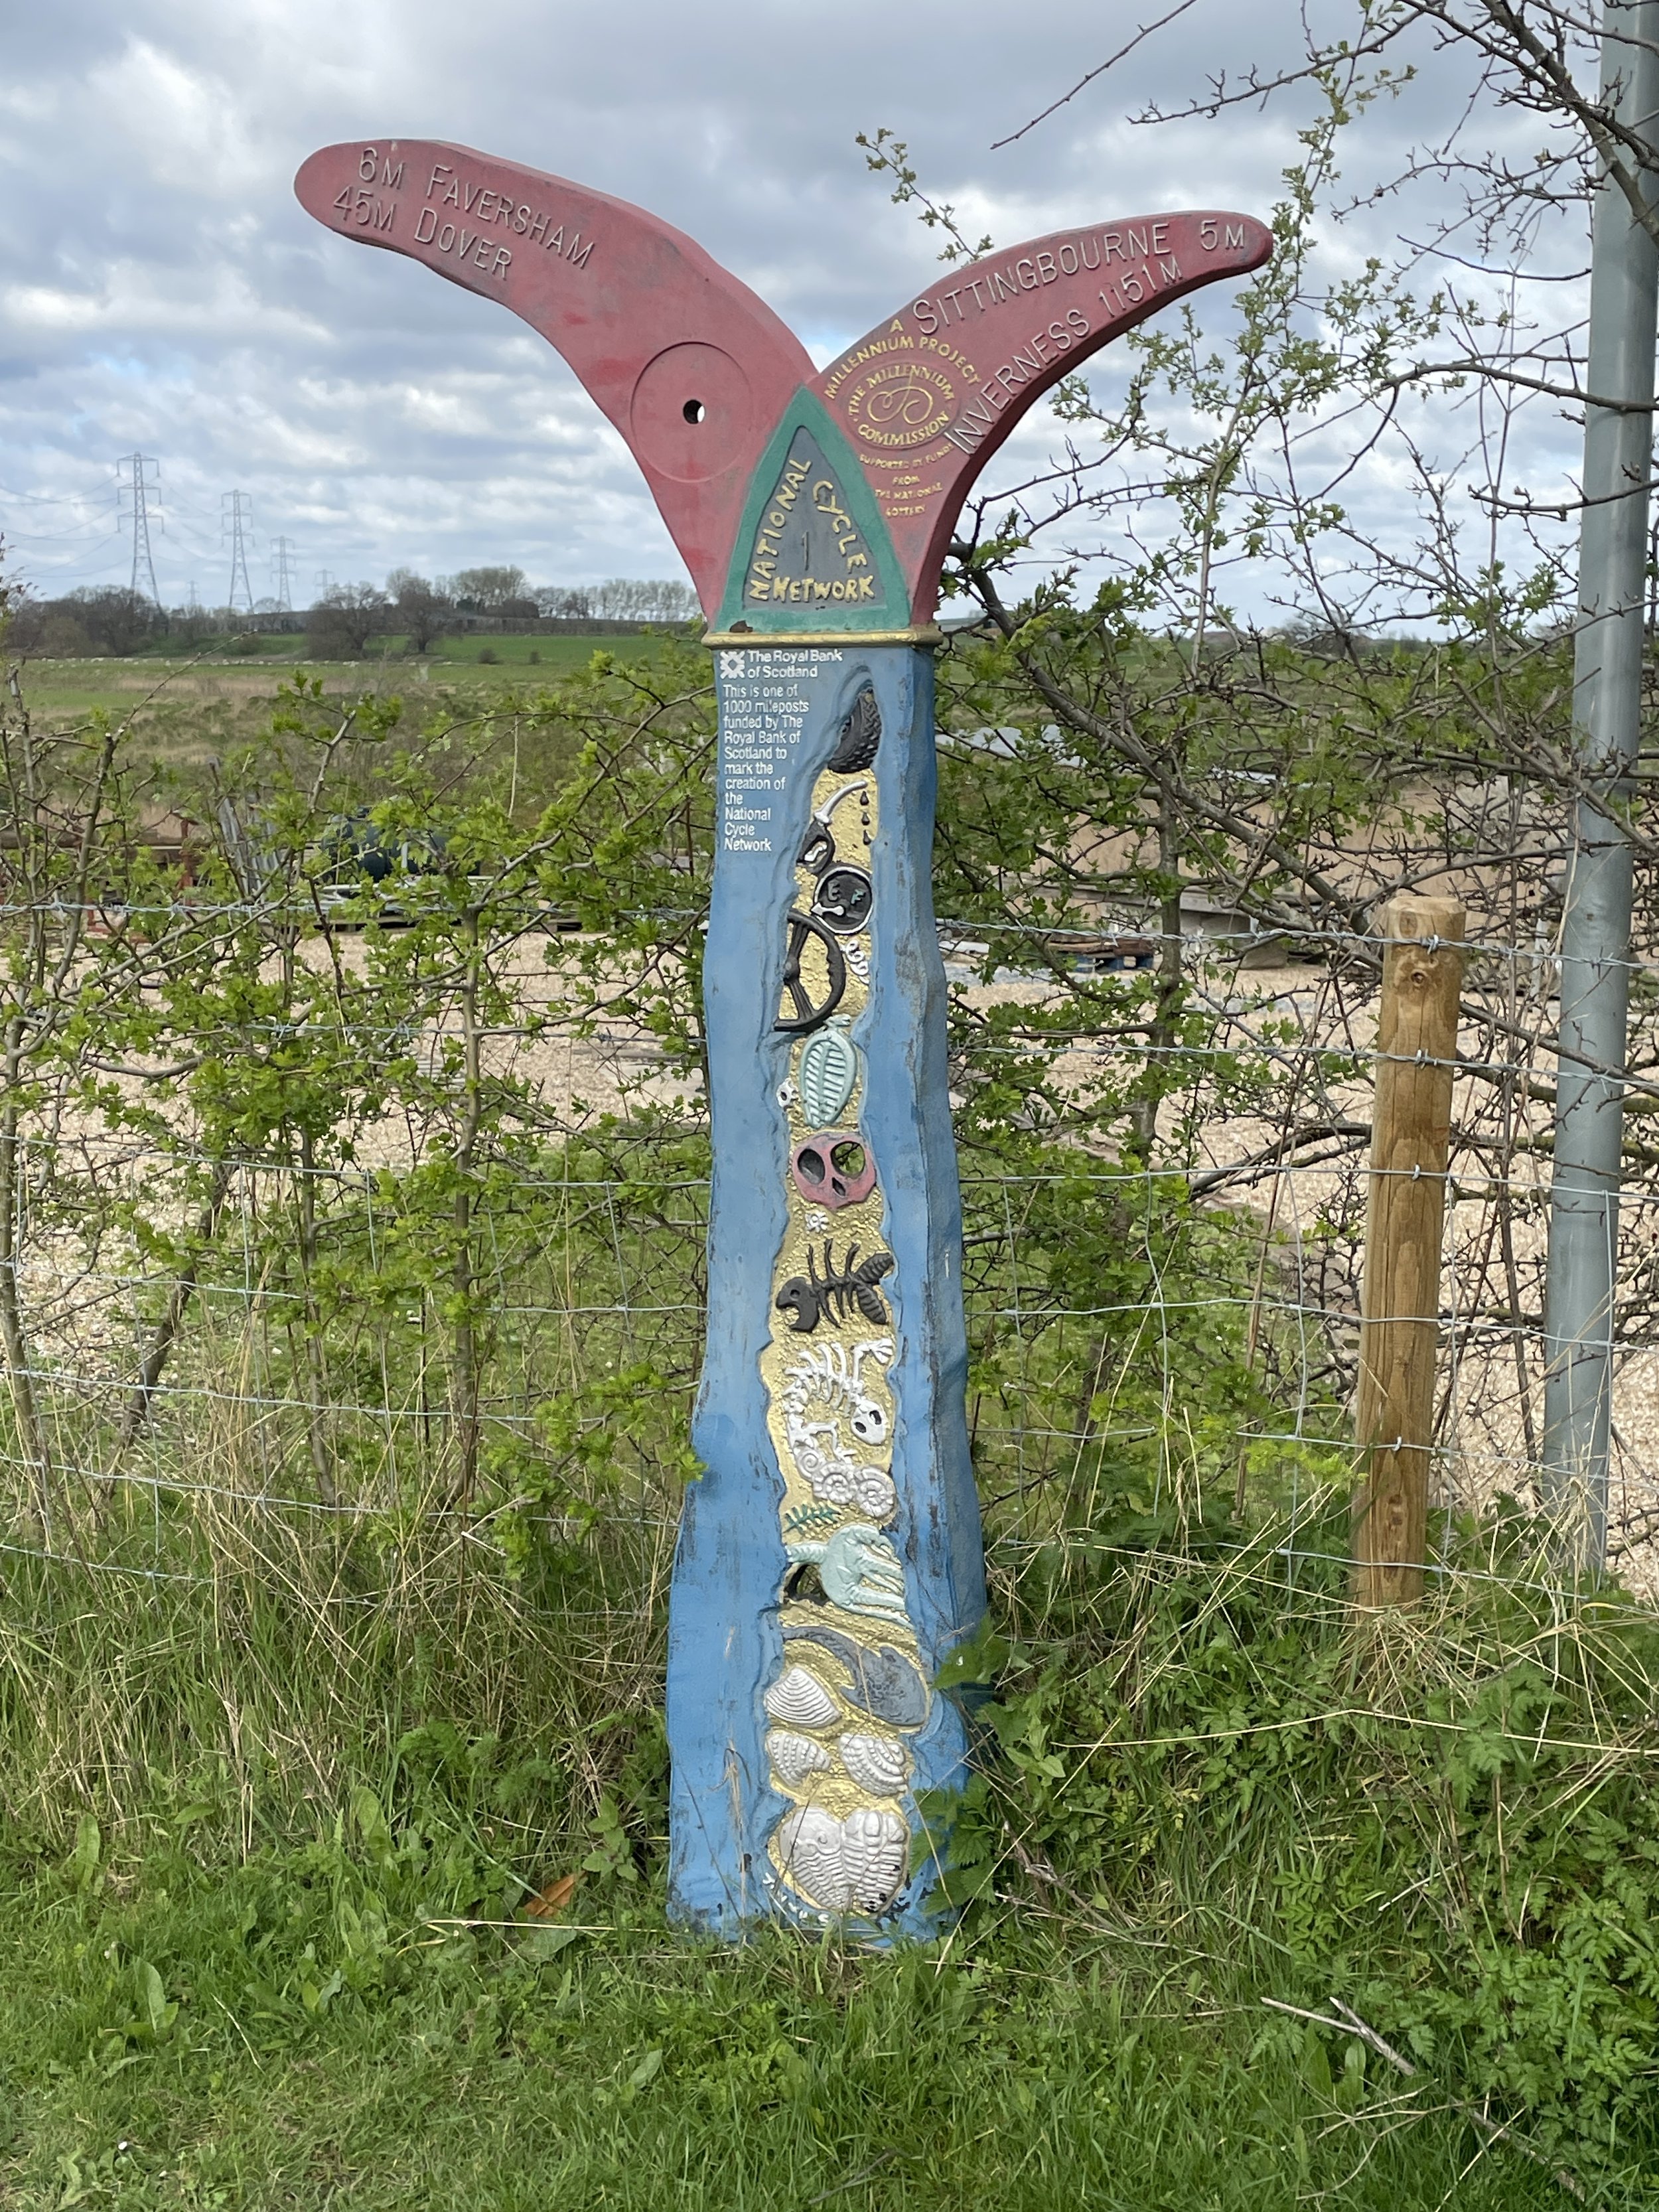
Other routes touched (cycle): NCN 4
Pubs / Cafes on route: Loads, it’s London. See the points of interest section below for 2 significant pubs.
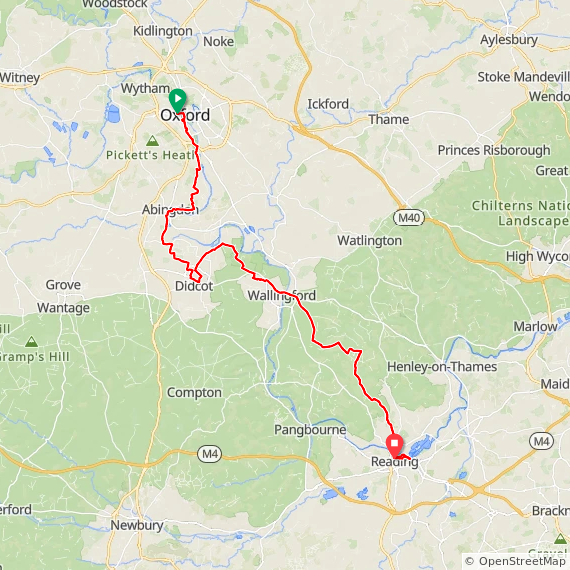
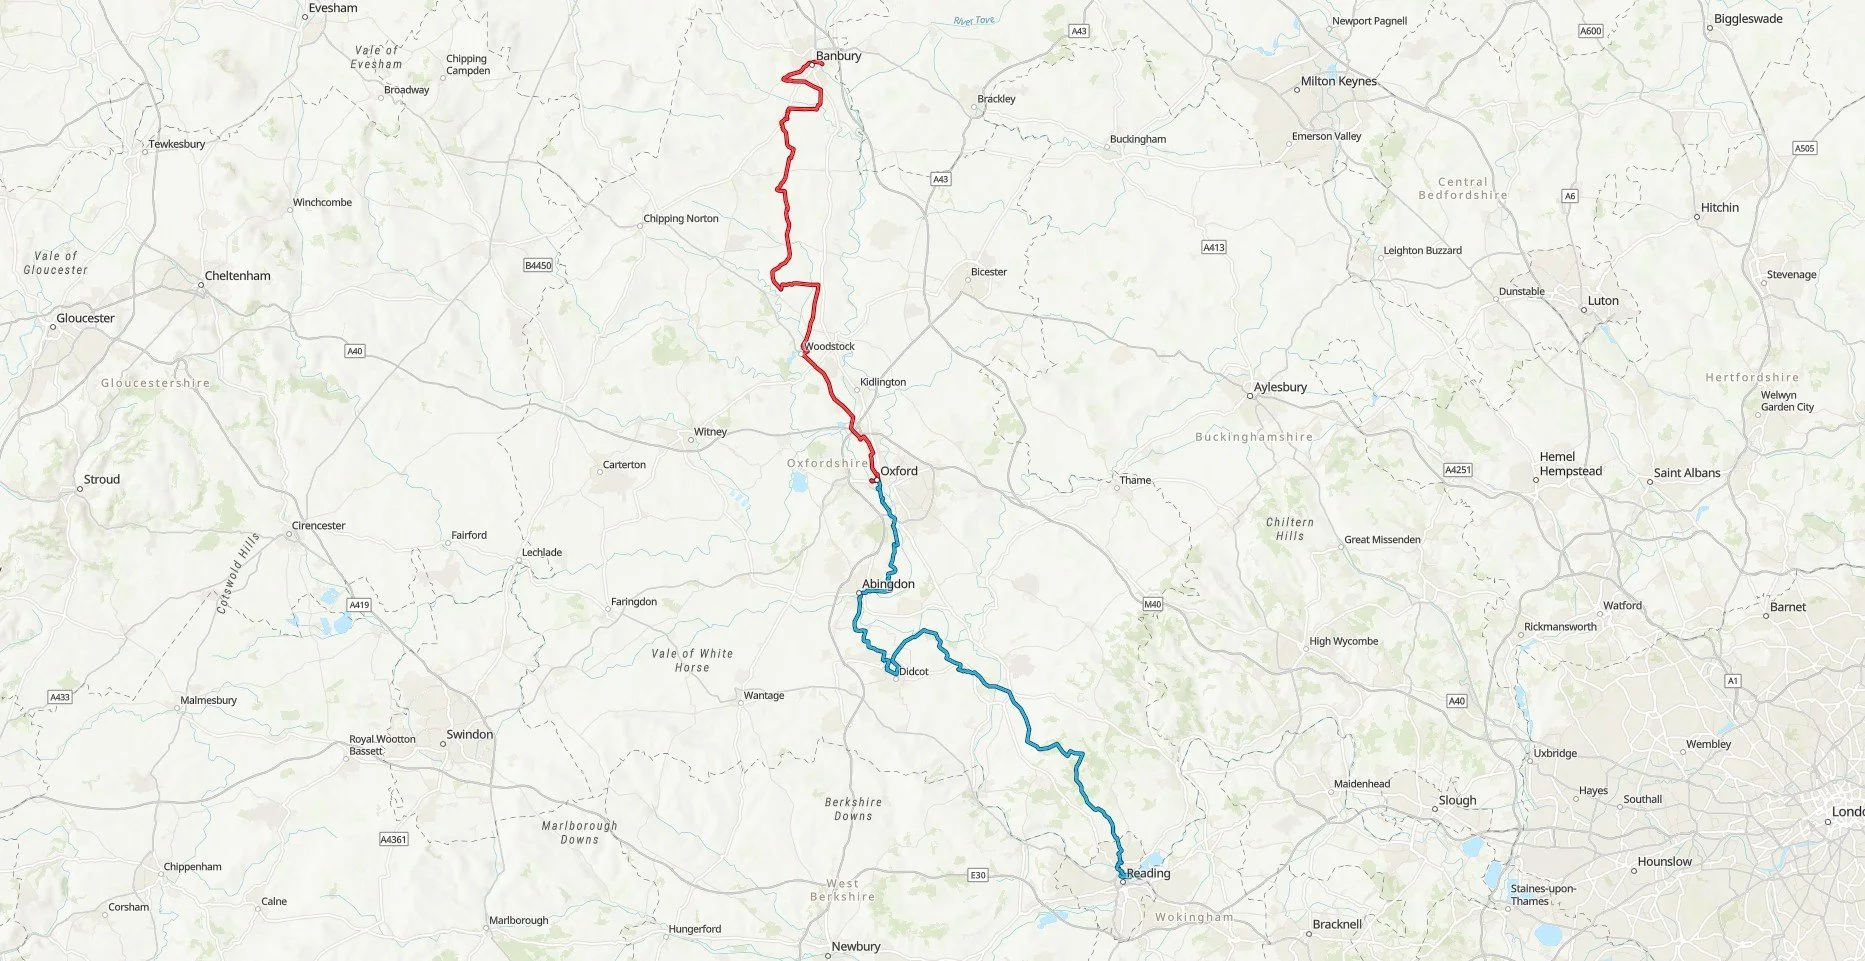
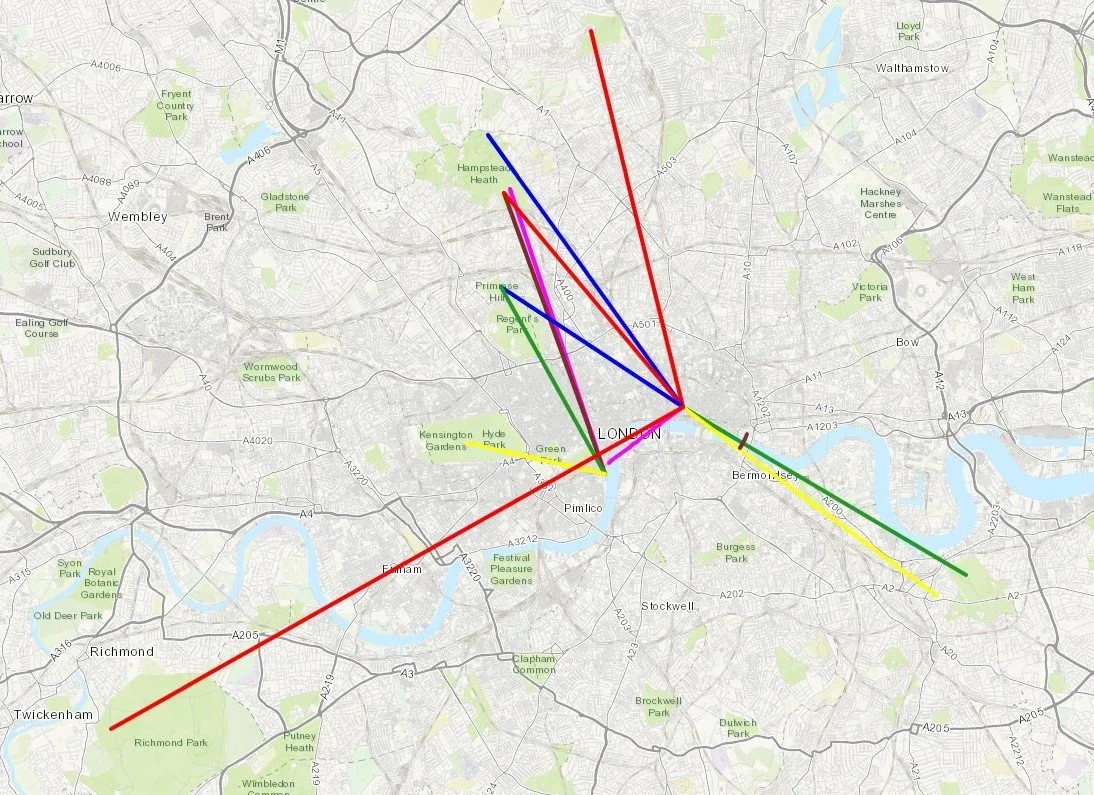
Map: London North Map | The City, West End, Enfield, Ealing, Harrow & Watford | Ordnance Survey | OS Explorer Map 173
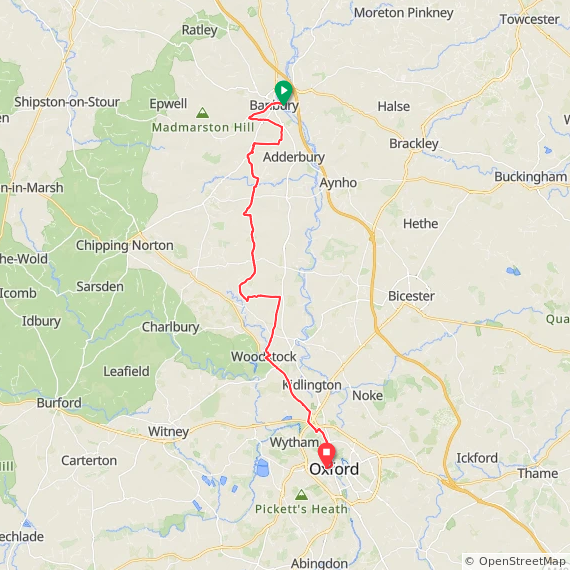
Red = Waterloo & City Underground Line. Blue = The walk back


Points of Interest along the walking route
In order of the route from Bank to Waterloo, showing how many kilometres into the route it is from the Fish Street Hill exit of Monument Station.
Bank Station. A major interchange station on the London Underground, named after the nearby Bank of England. It is famous for its complex maze of tunnels, steep escalator shafts, and pedestrian subways, which were built over decades, making it one of the most notoriously confusing (and crowded) stations to navigate on the entire network.
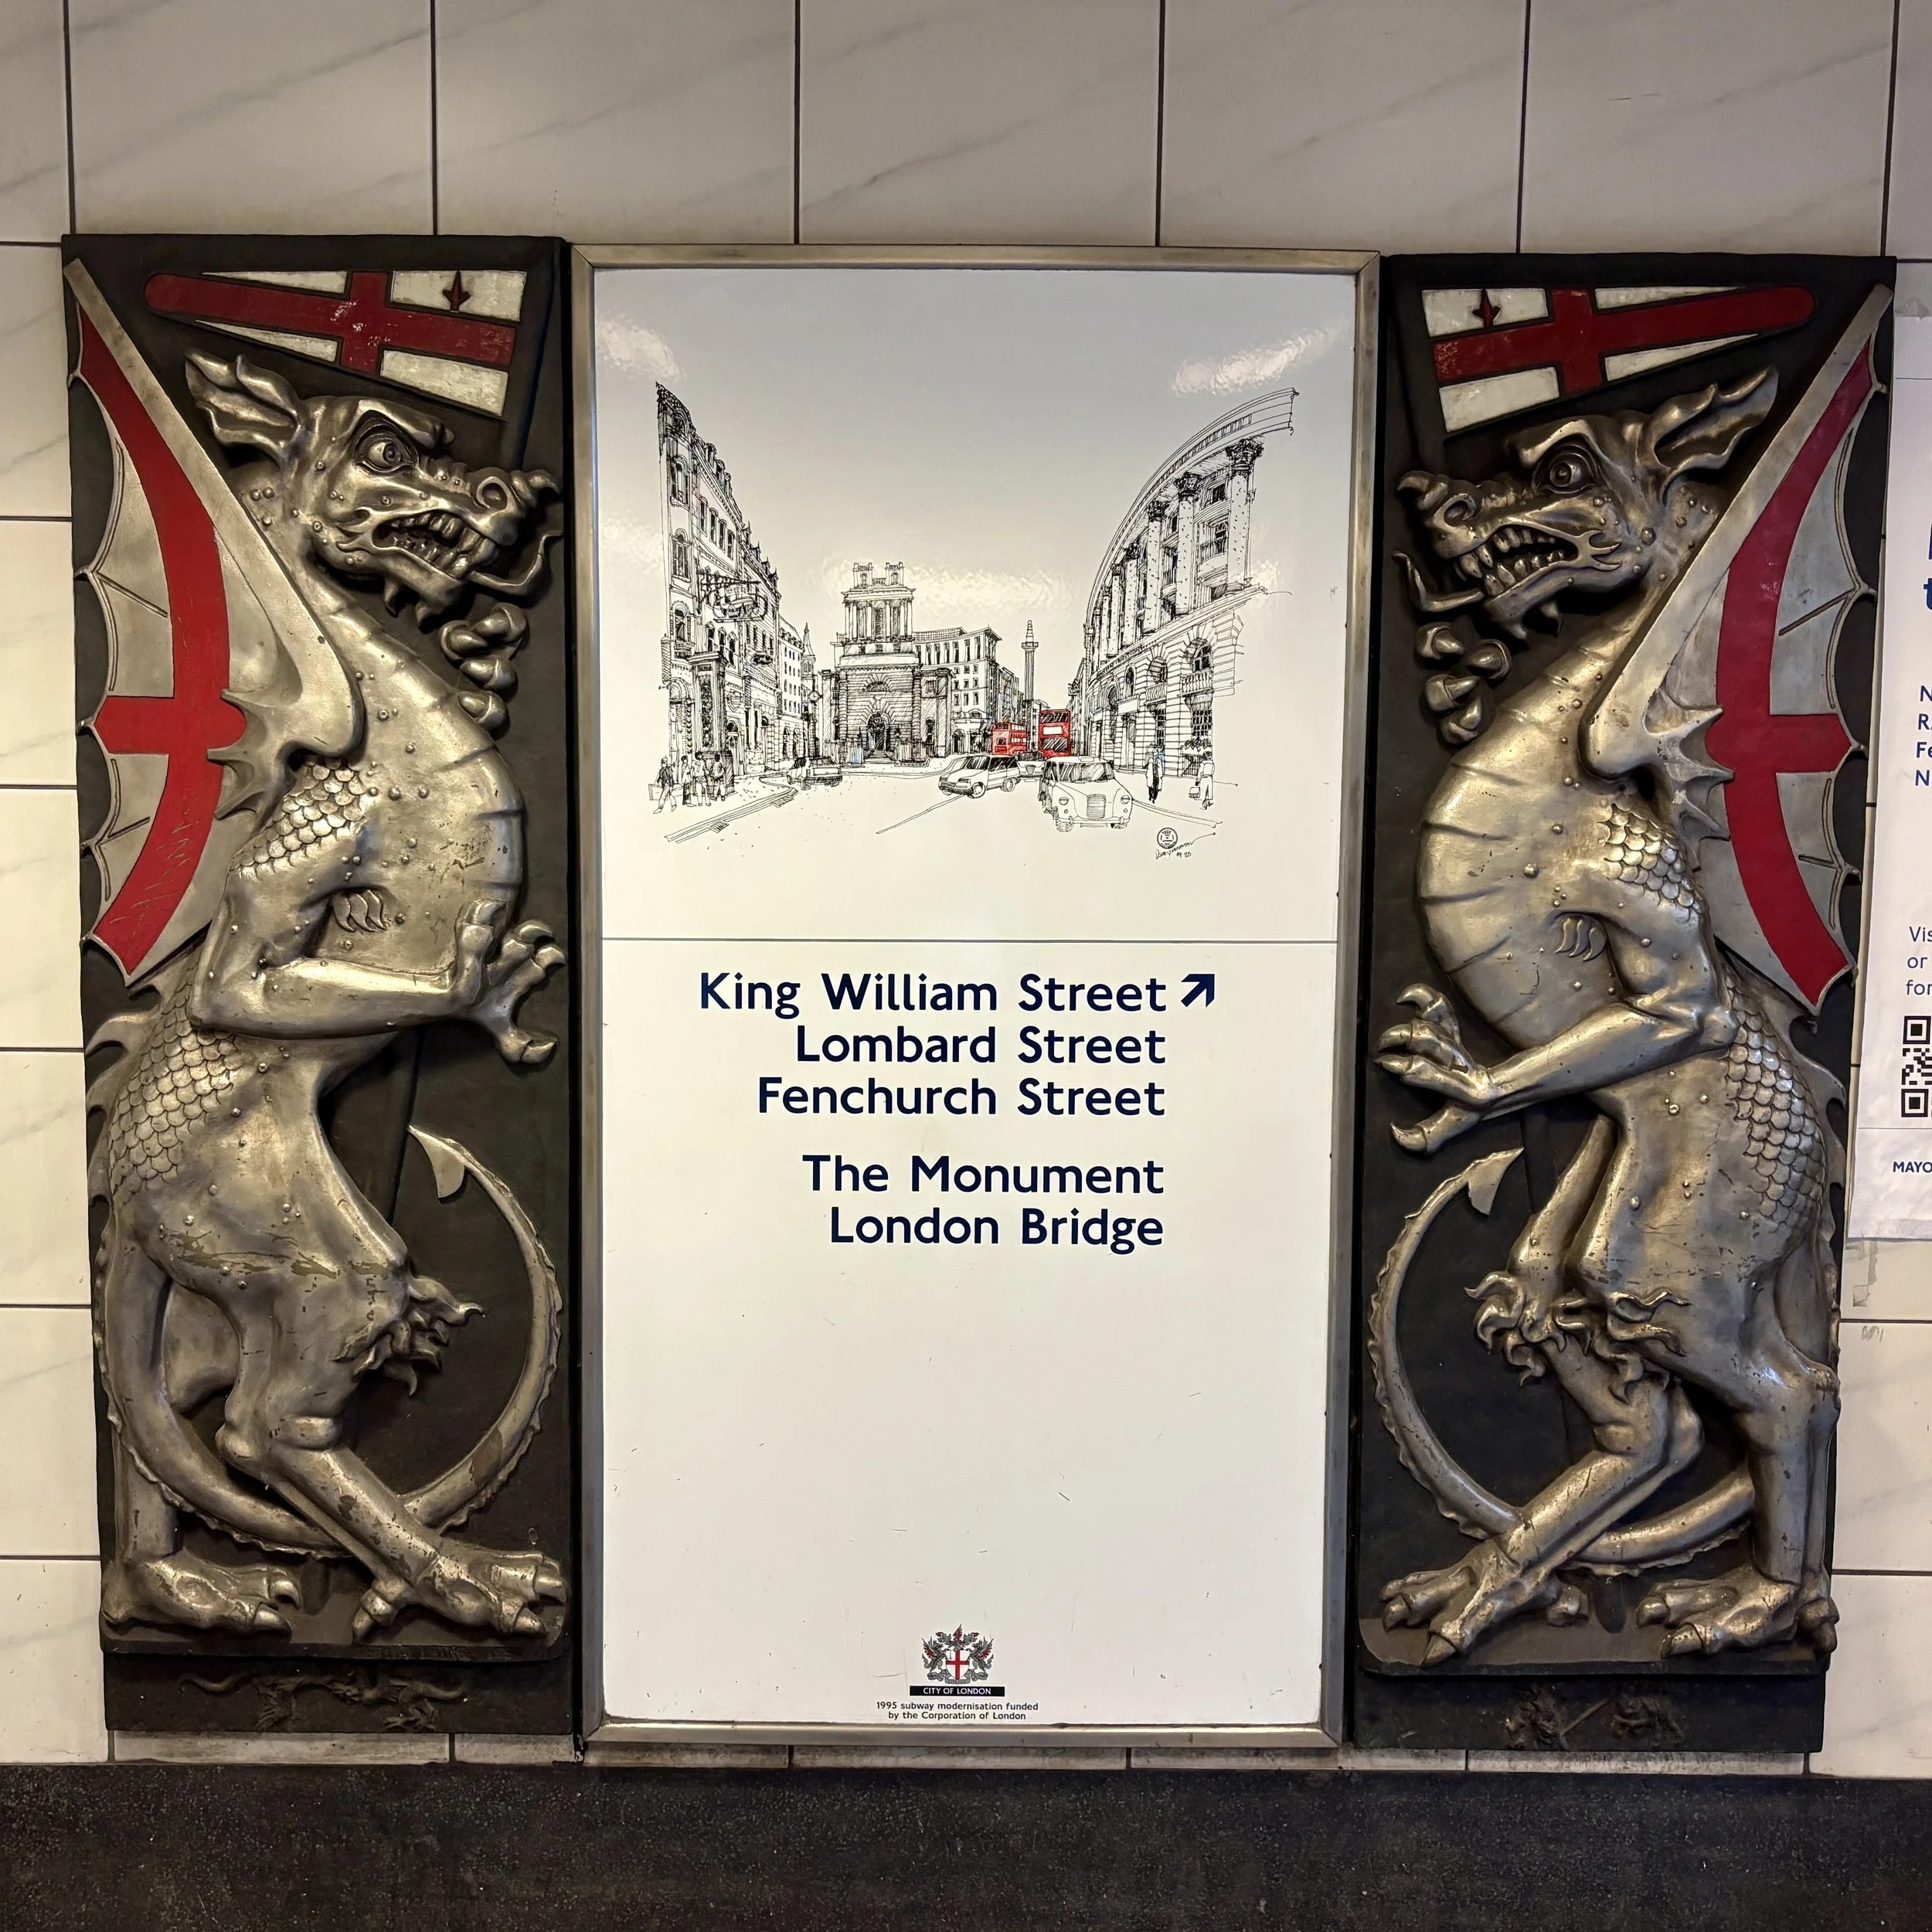
Monument Station. Linked directly to Bank station via deep-level pedestrian tunnels, it takes its name from the nearby Monument to the Great Fire of London. It originally opened in 1884 as part of the Metropolitan Inner Circle completion and provides a crucial gateway to the historic heart of the City of London.
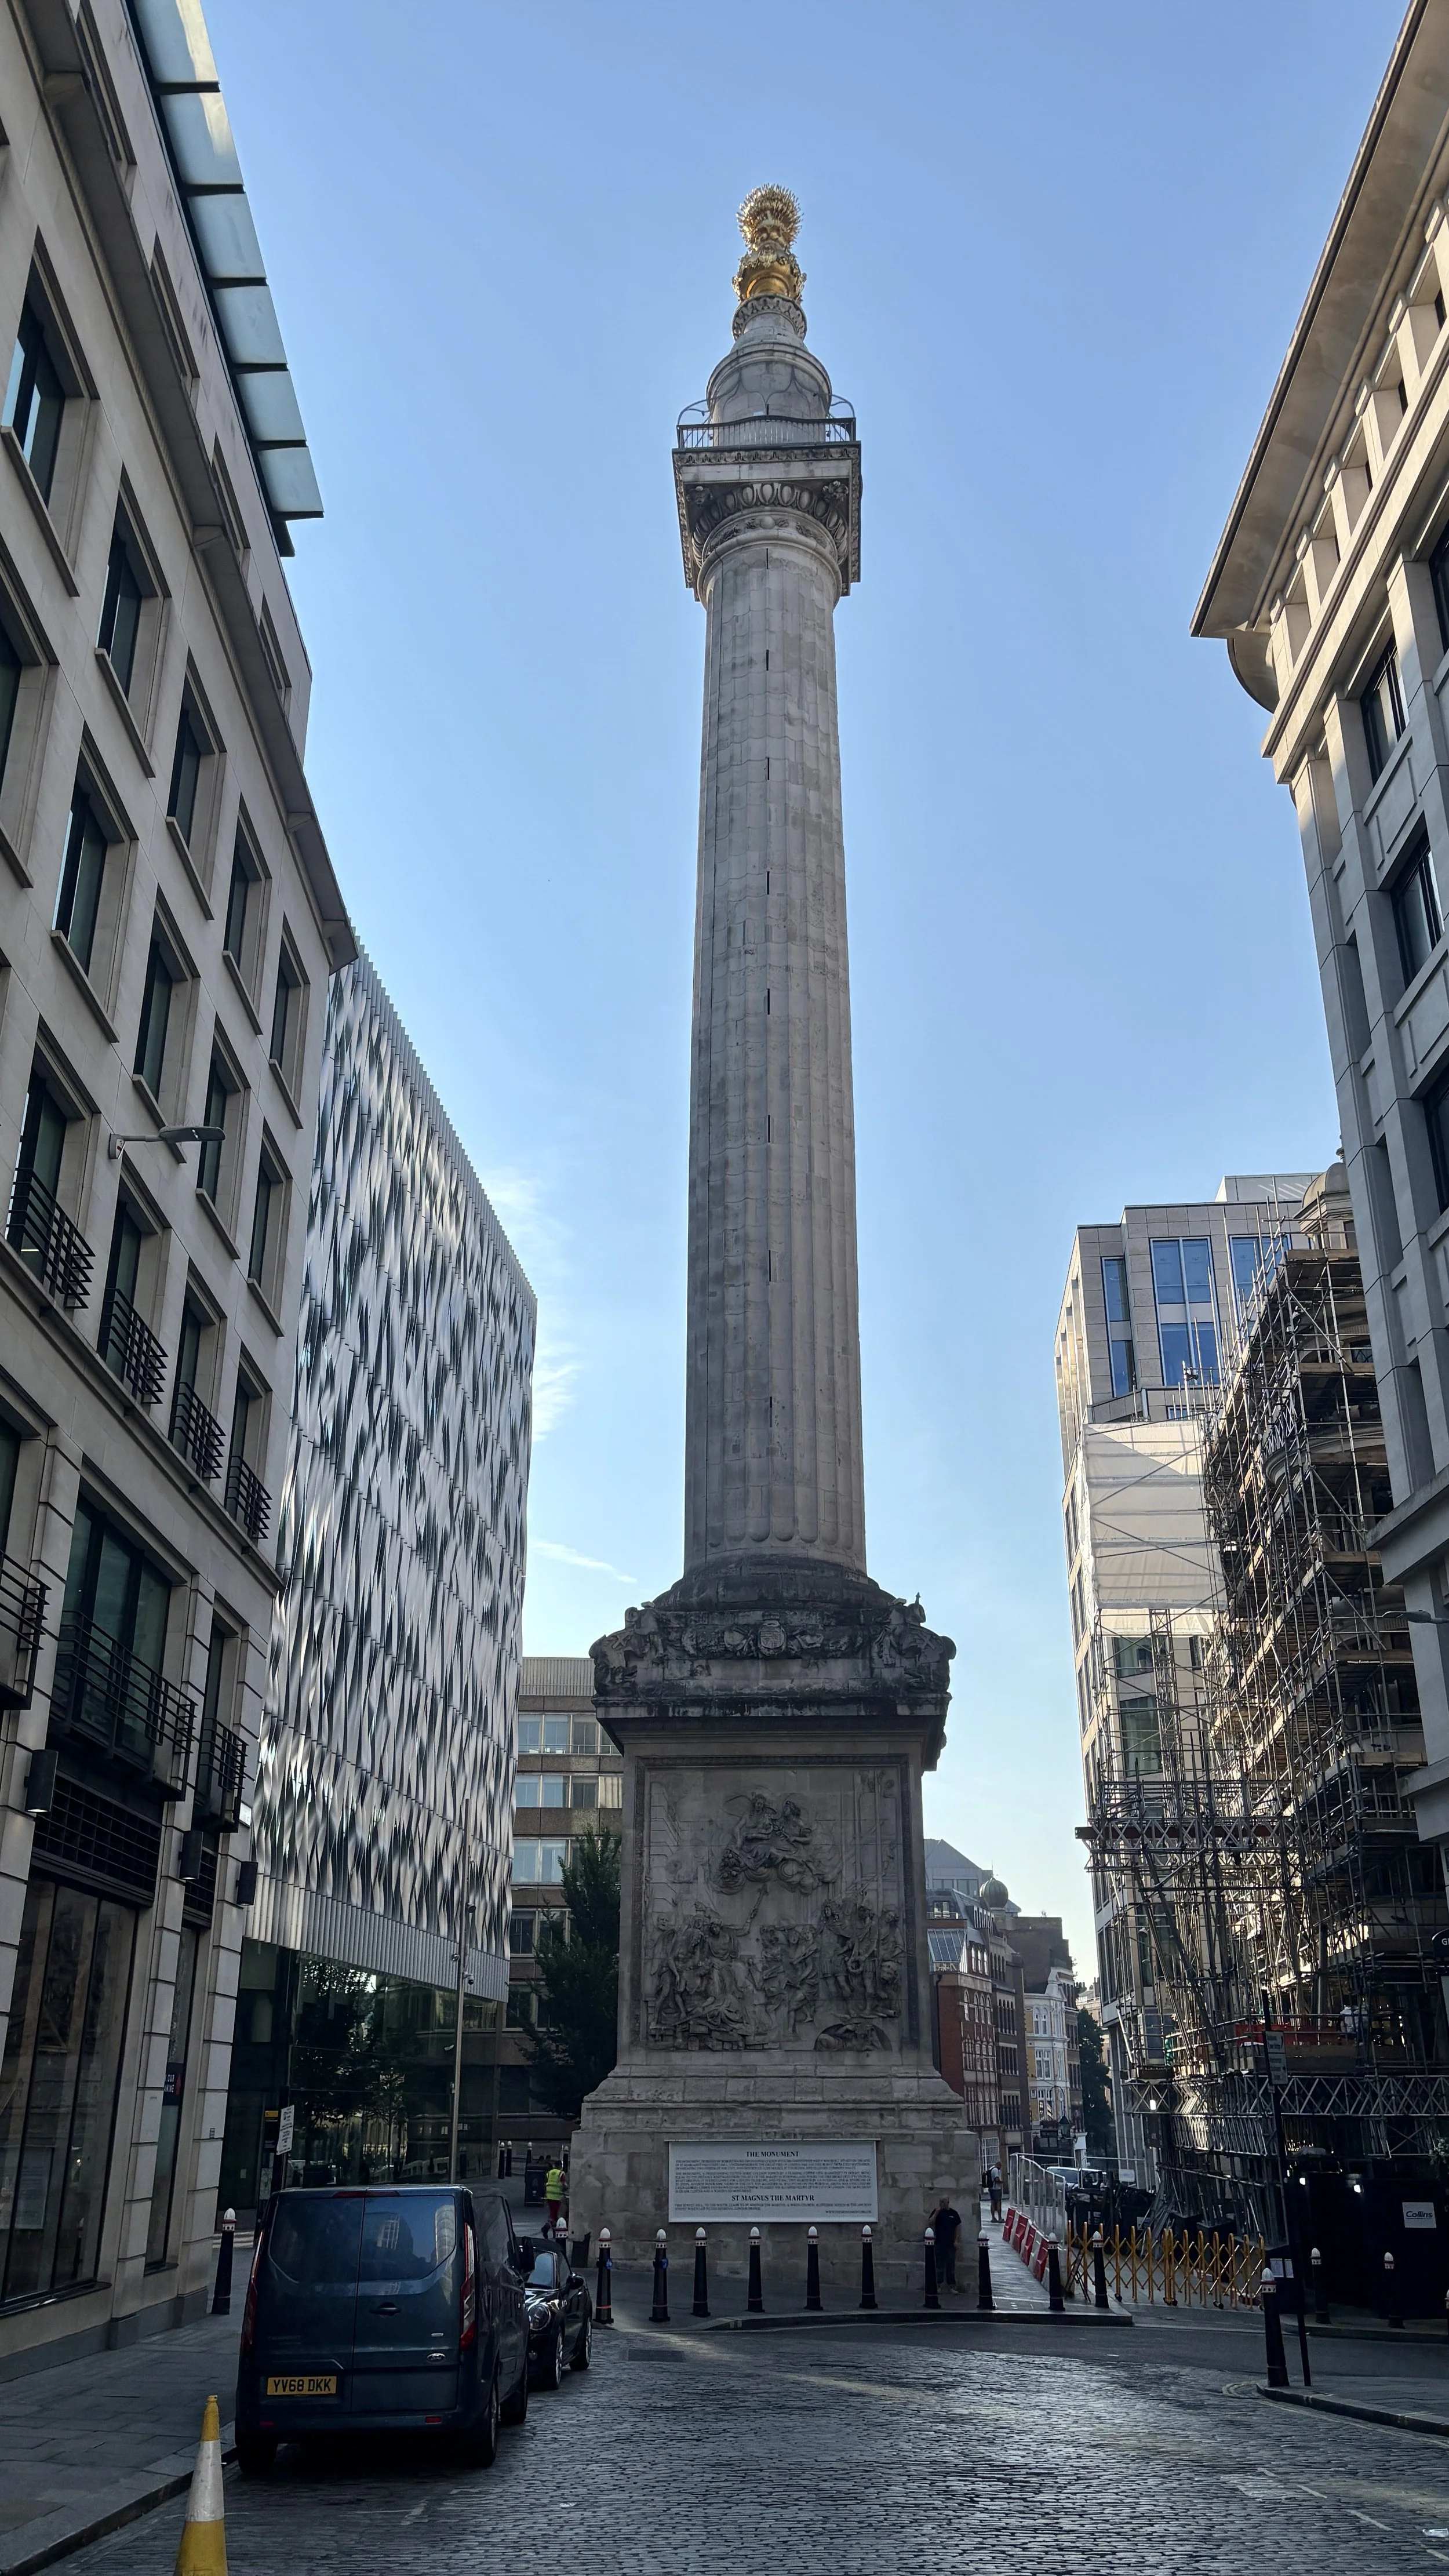
(0.1 km) Monument to the Great Fire of London. Designed by Sir Christopher Wren and Dr Robert Hooke, this 202-foot-tall Doric column commemorates the catastrophic Great Fire of London in 1666. Its height is no coincidence. If the column were laid flat on the ground, the tip would reach the exact spot of Thomas Farriner's bakery in Pudding Lane where the fire started.
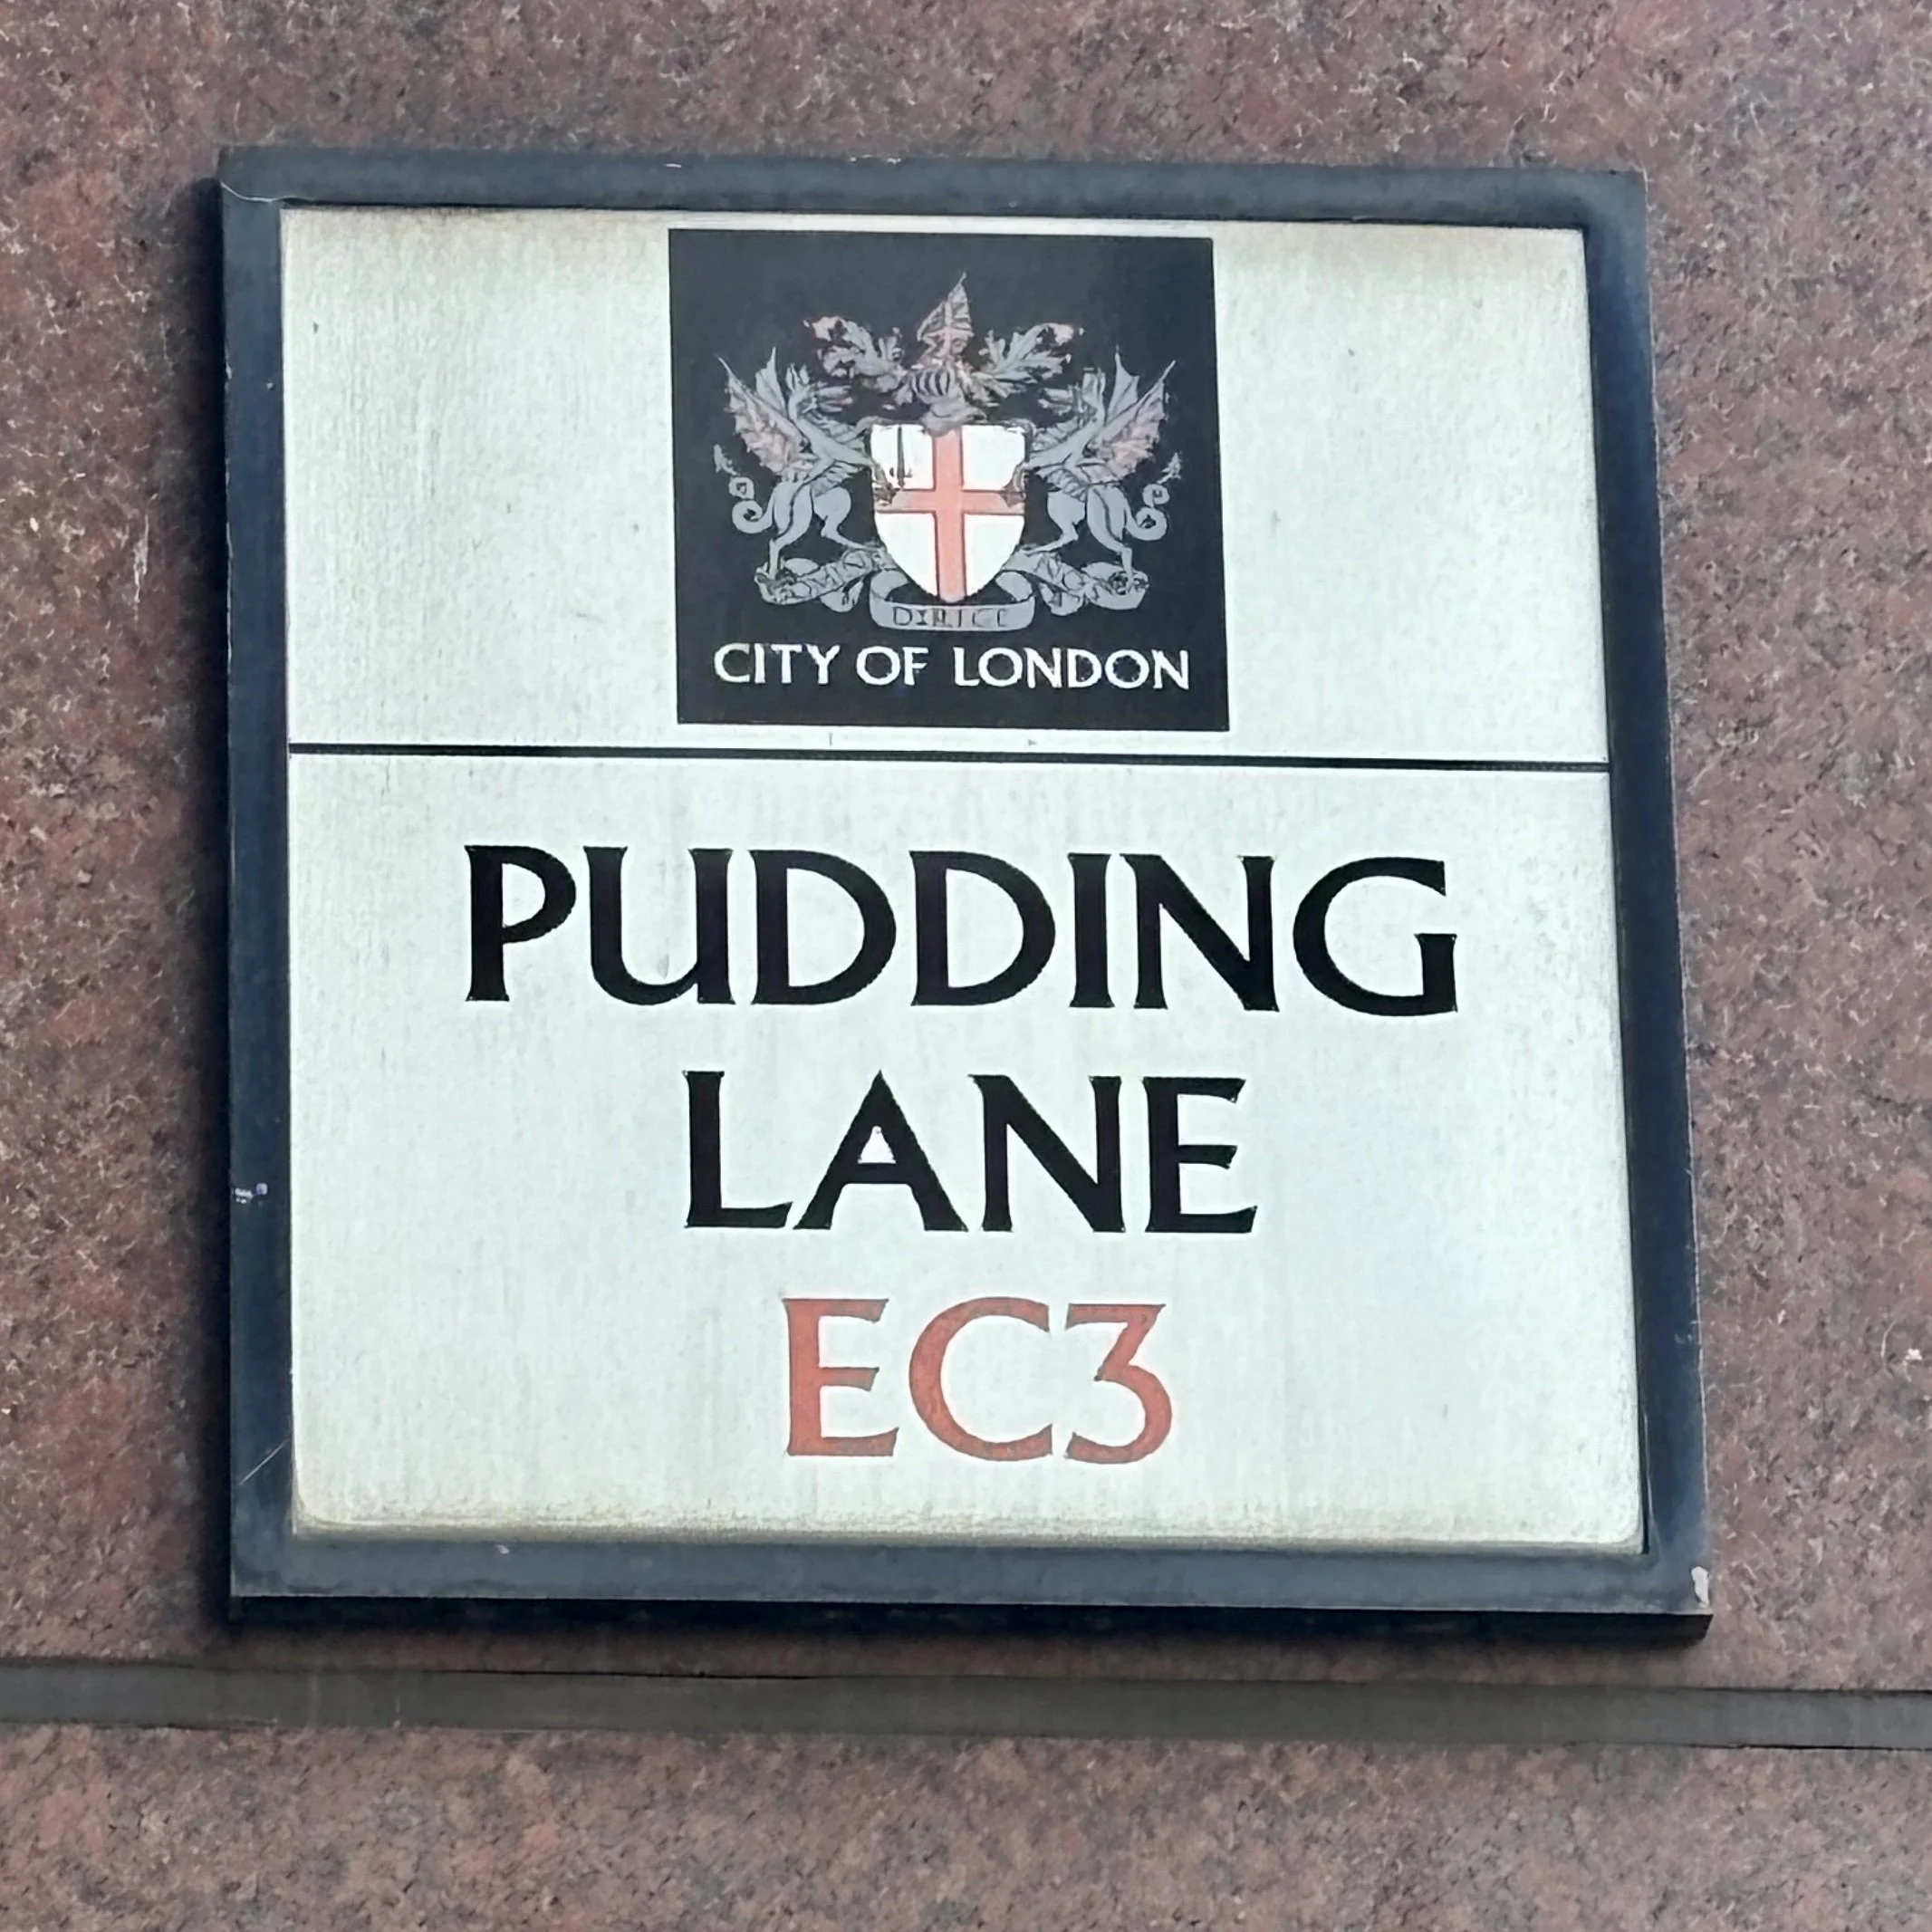
(0.1 km) Pudding Lane. A small cobbled street in the City of London that is infamous worldwide as the starting point of the Great Fire. Despite its sweet-sounding name, "pudding" was actually a medieval term for animal innards, which butchers carted down this lane from Eastcheap market to the river to be discarded.
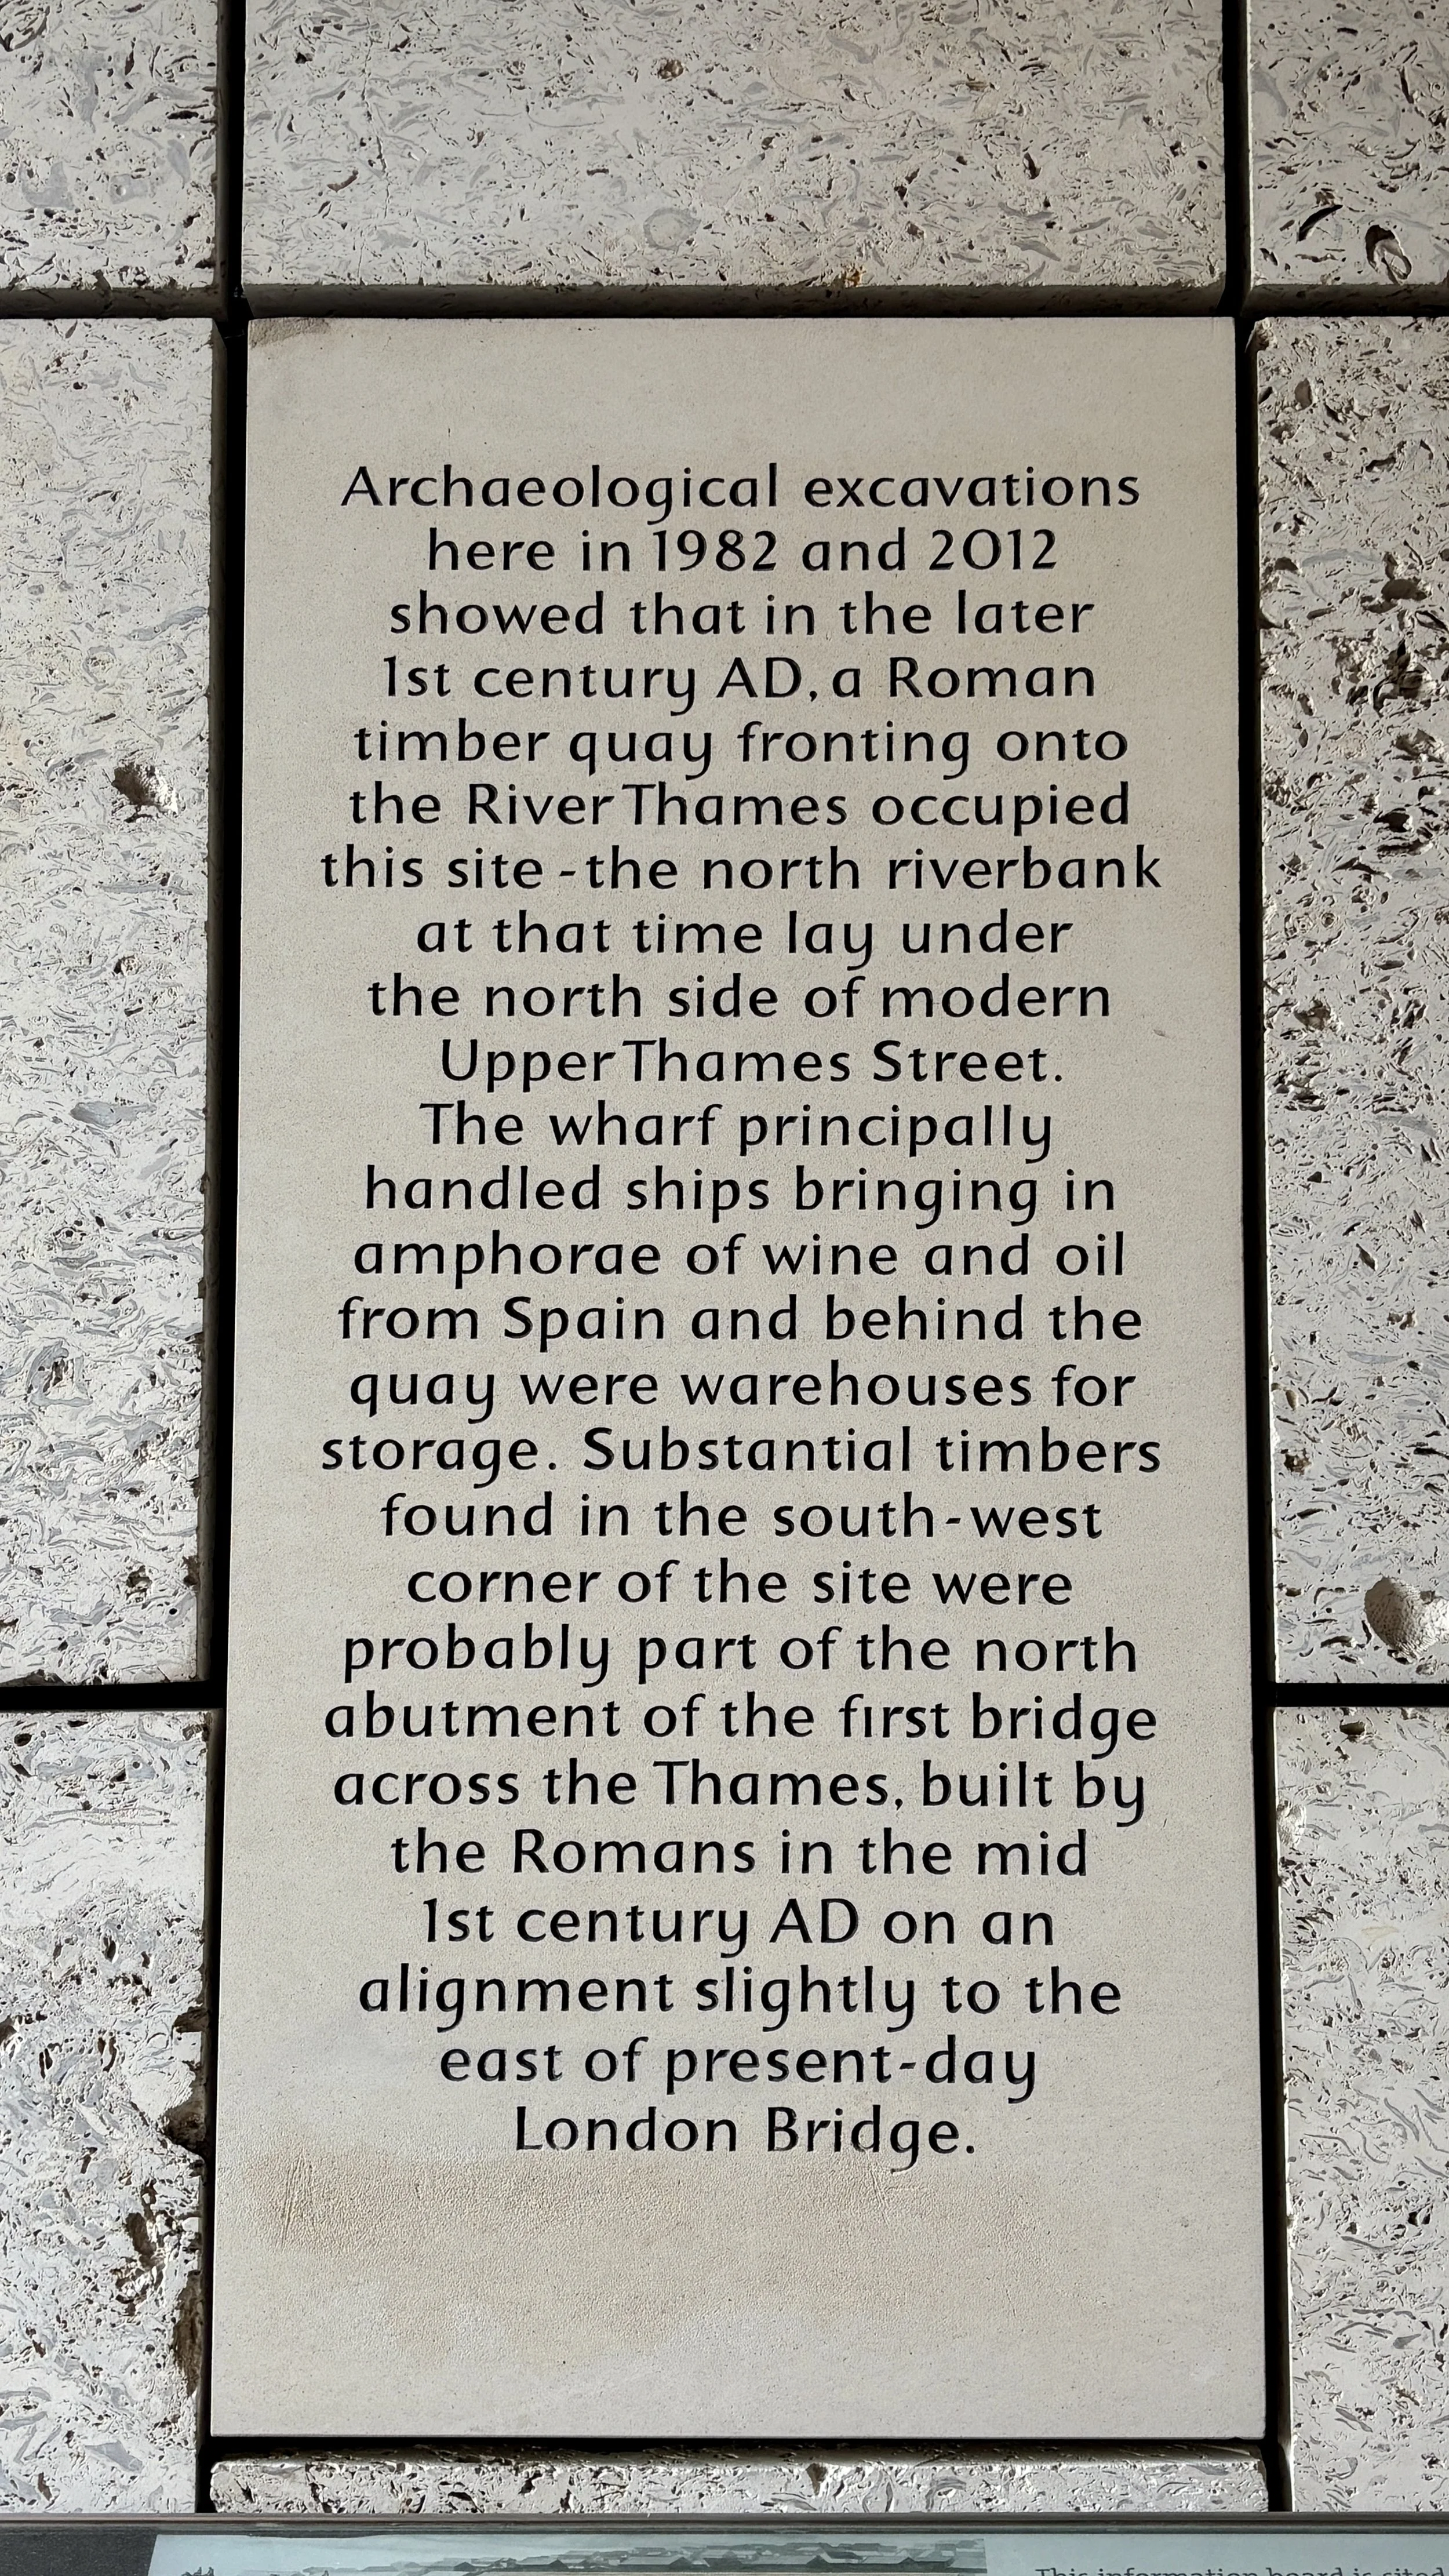
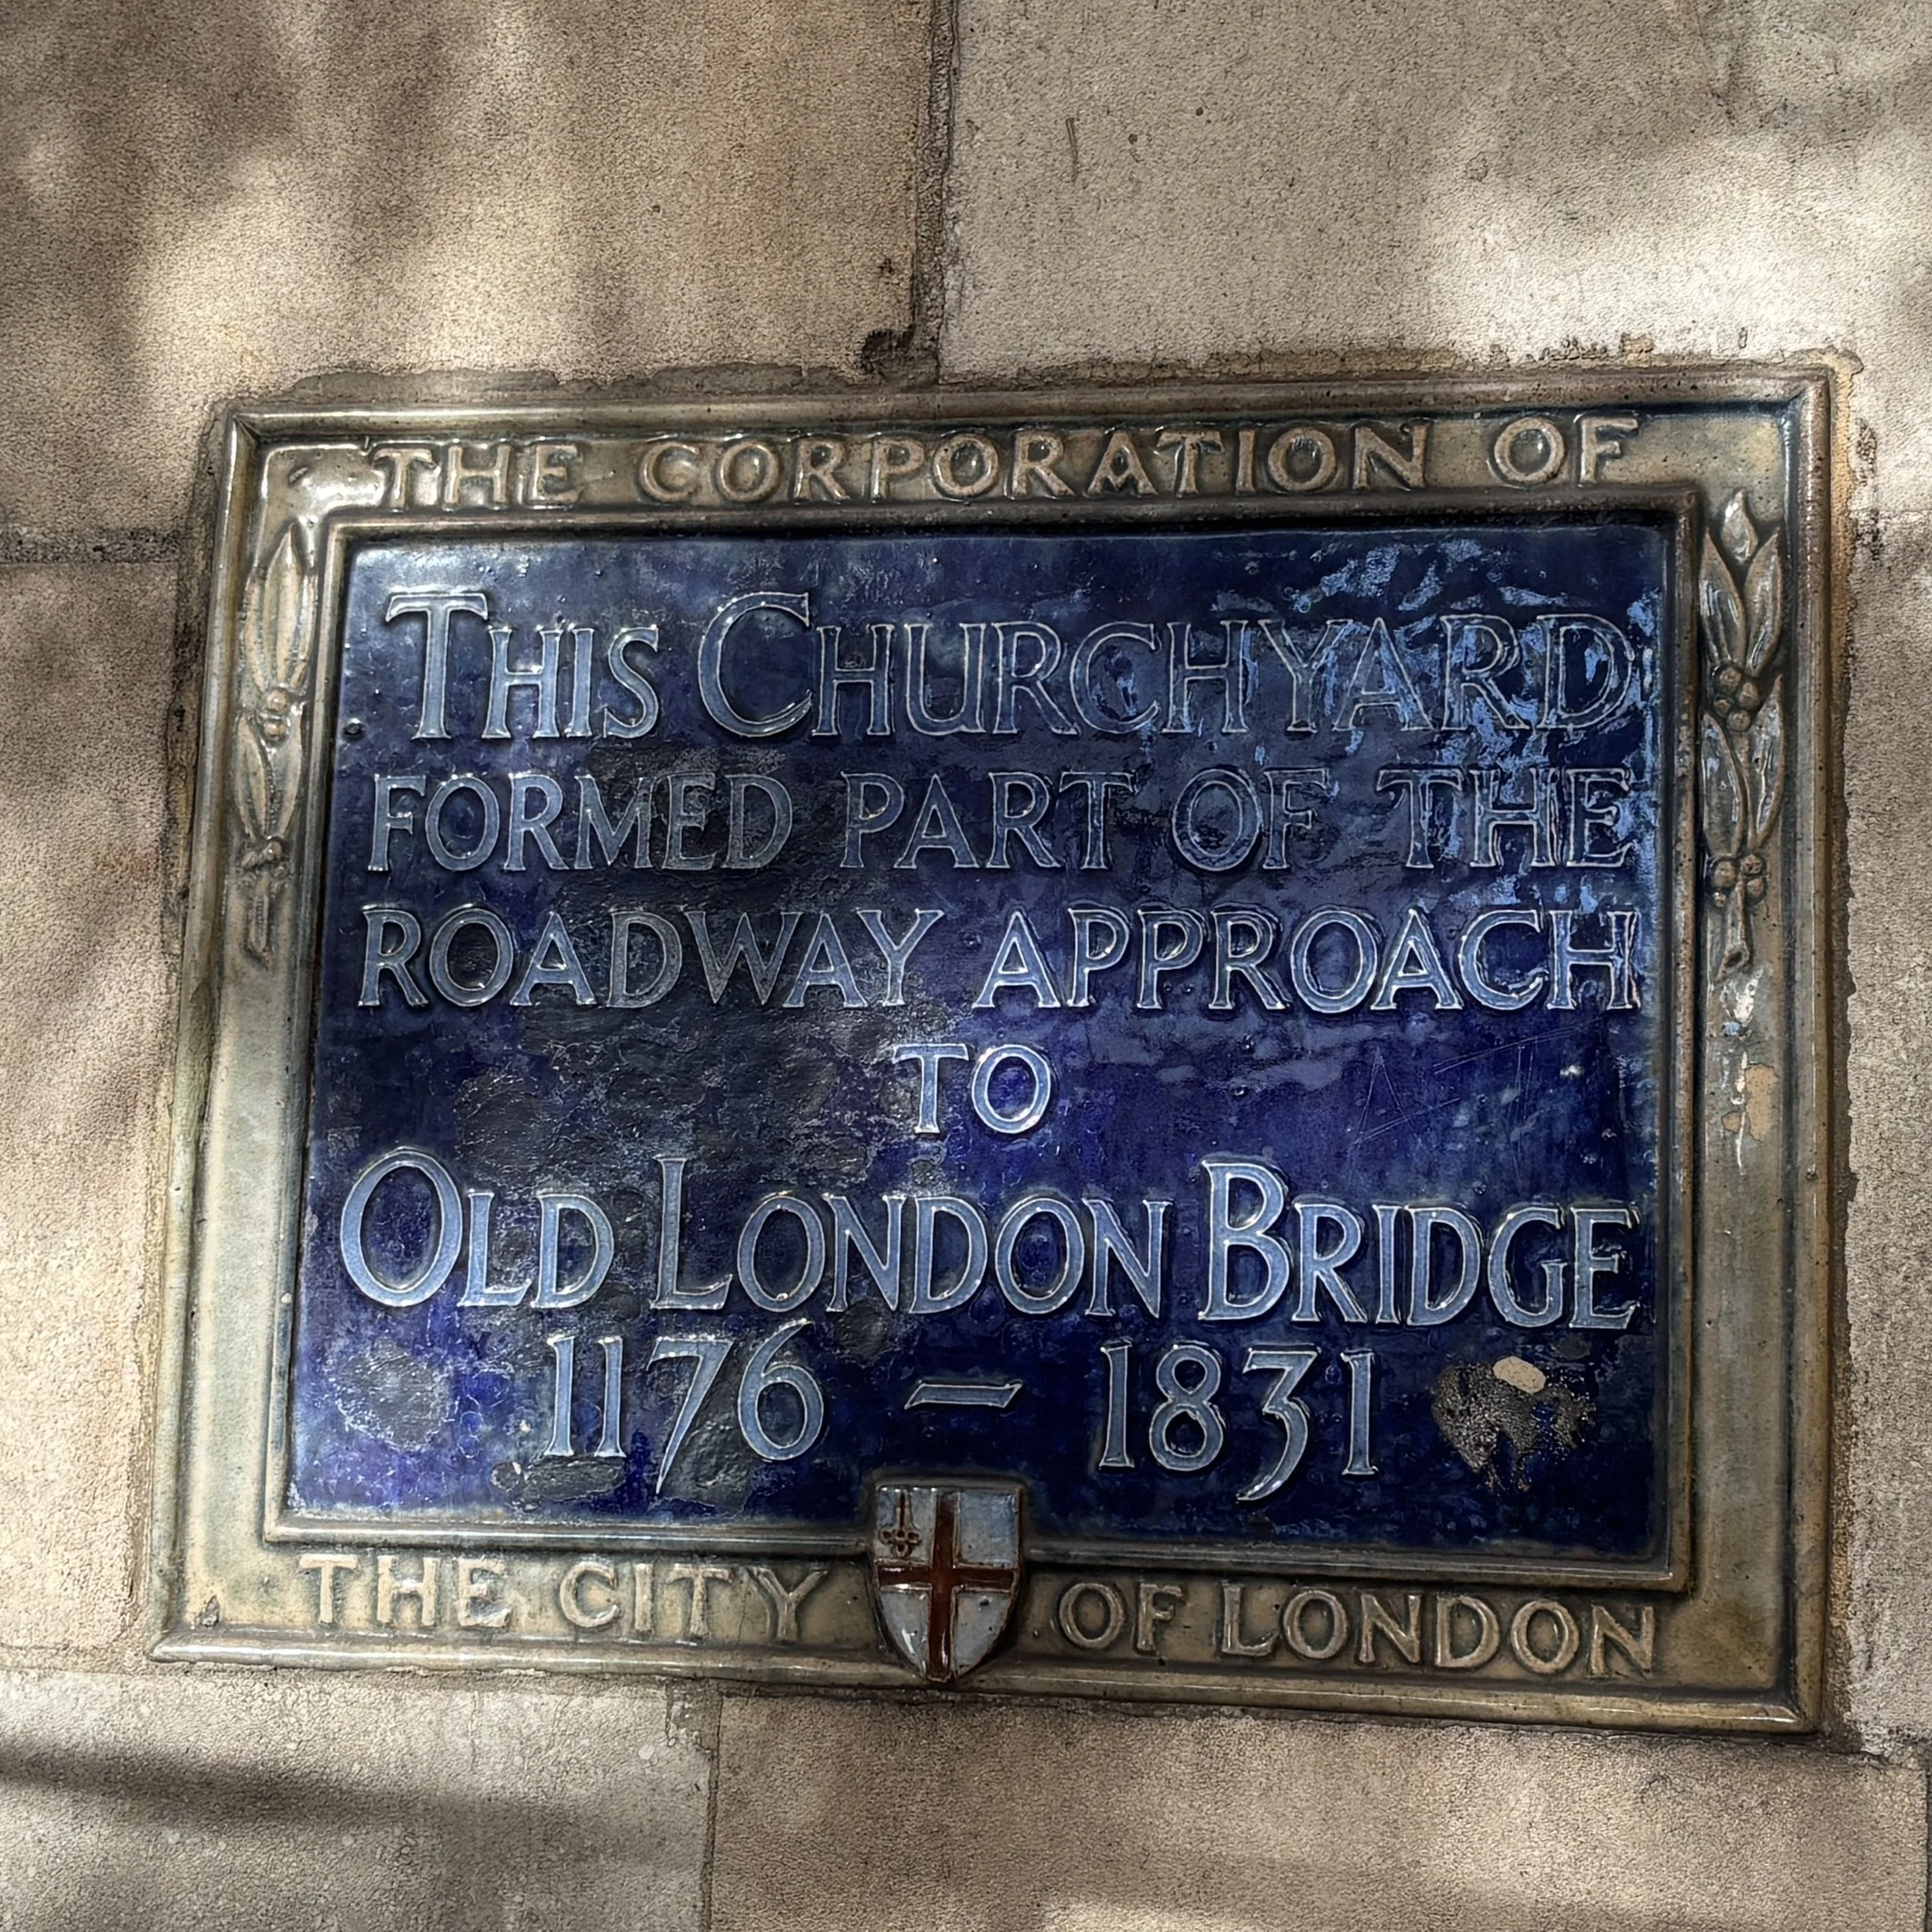
(0.2 km) Church of Saint Magnus-the-Martyr. Another stunning architectural masterpiece rebuilt by Sir Christopher Wren after the Great Fire, this church once stood right at the foot of the old medieval London Bridge. A surviving piece of Roman timber wharf from the 1st century AD is remarkably displayed in its porch, blending centuries of London history in a single spot.
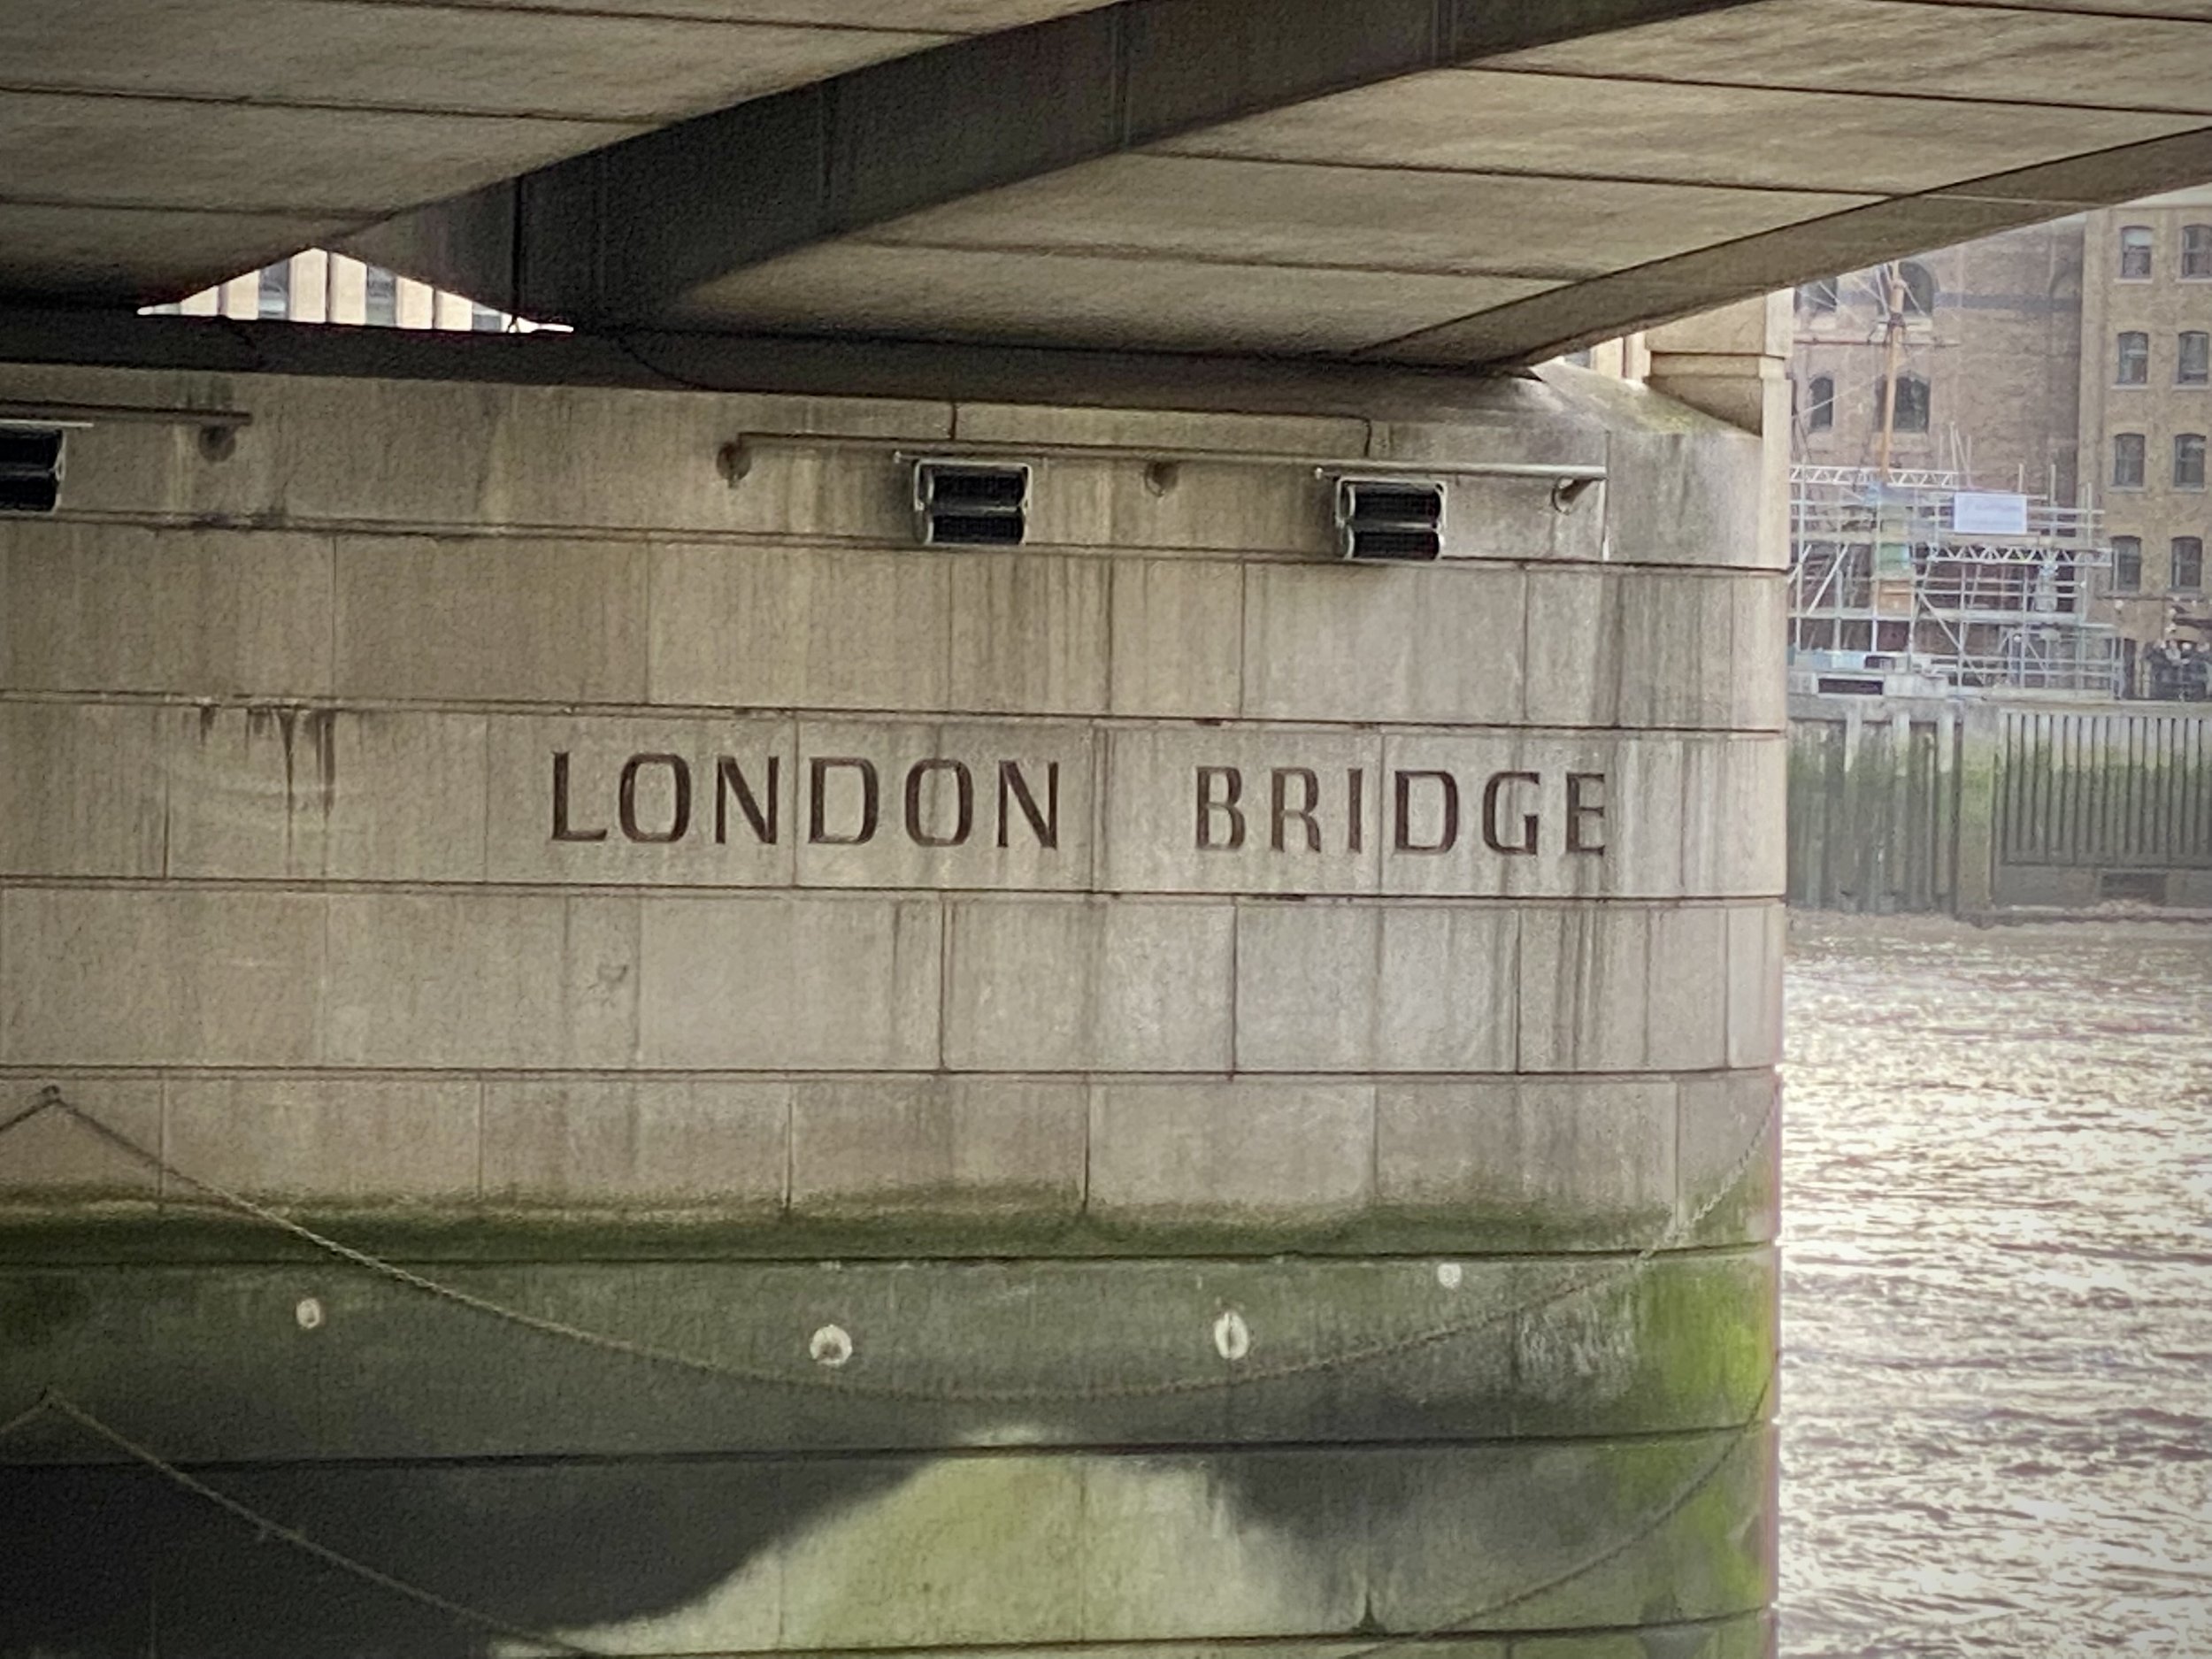
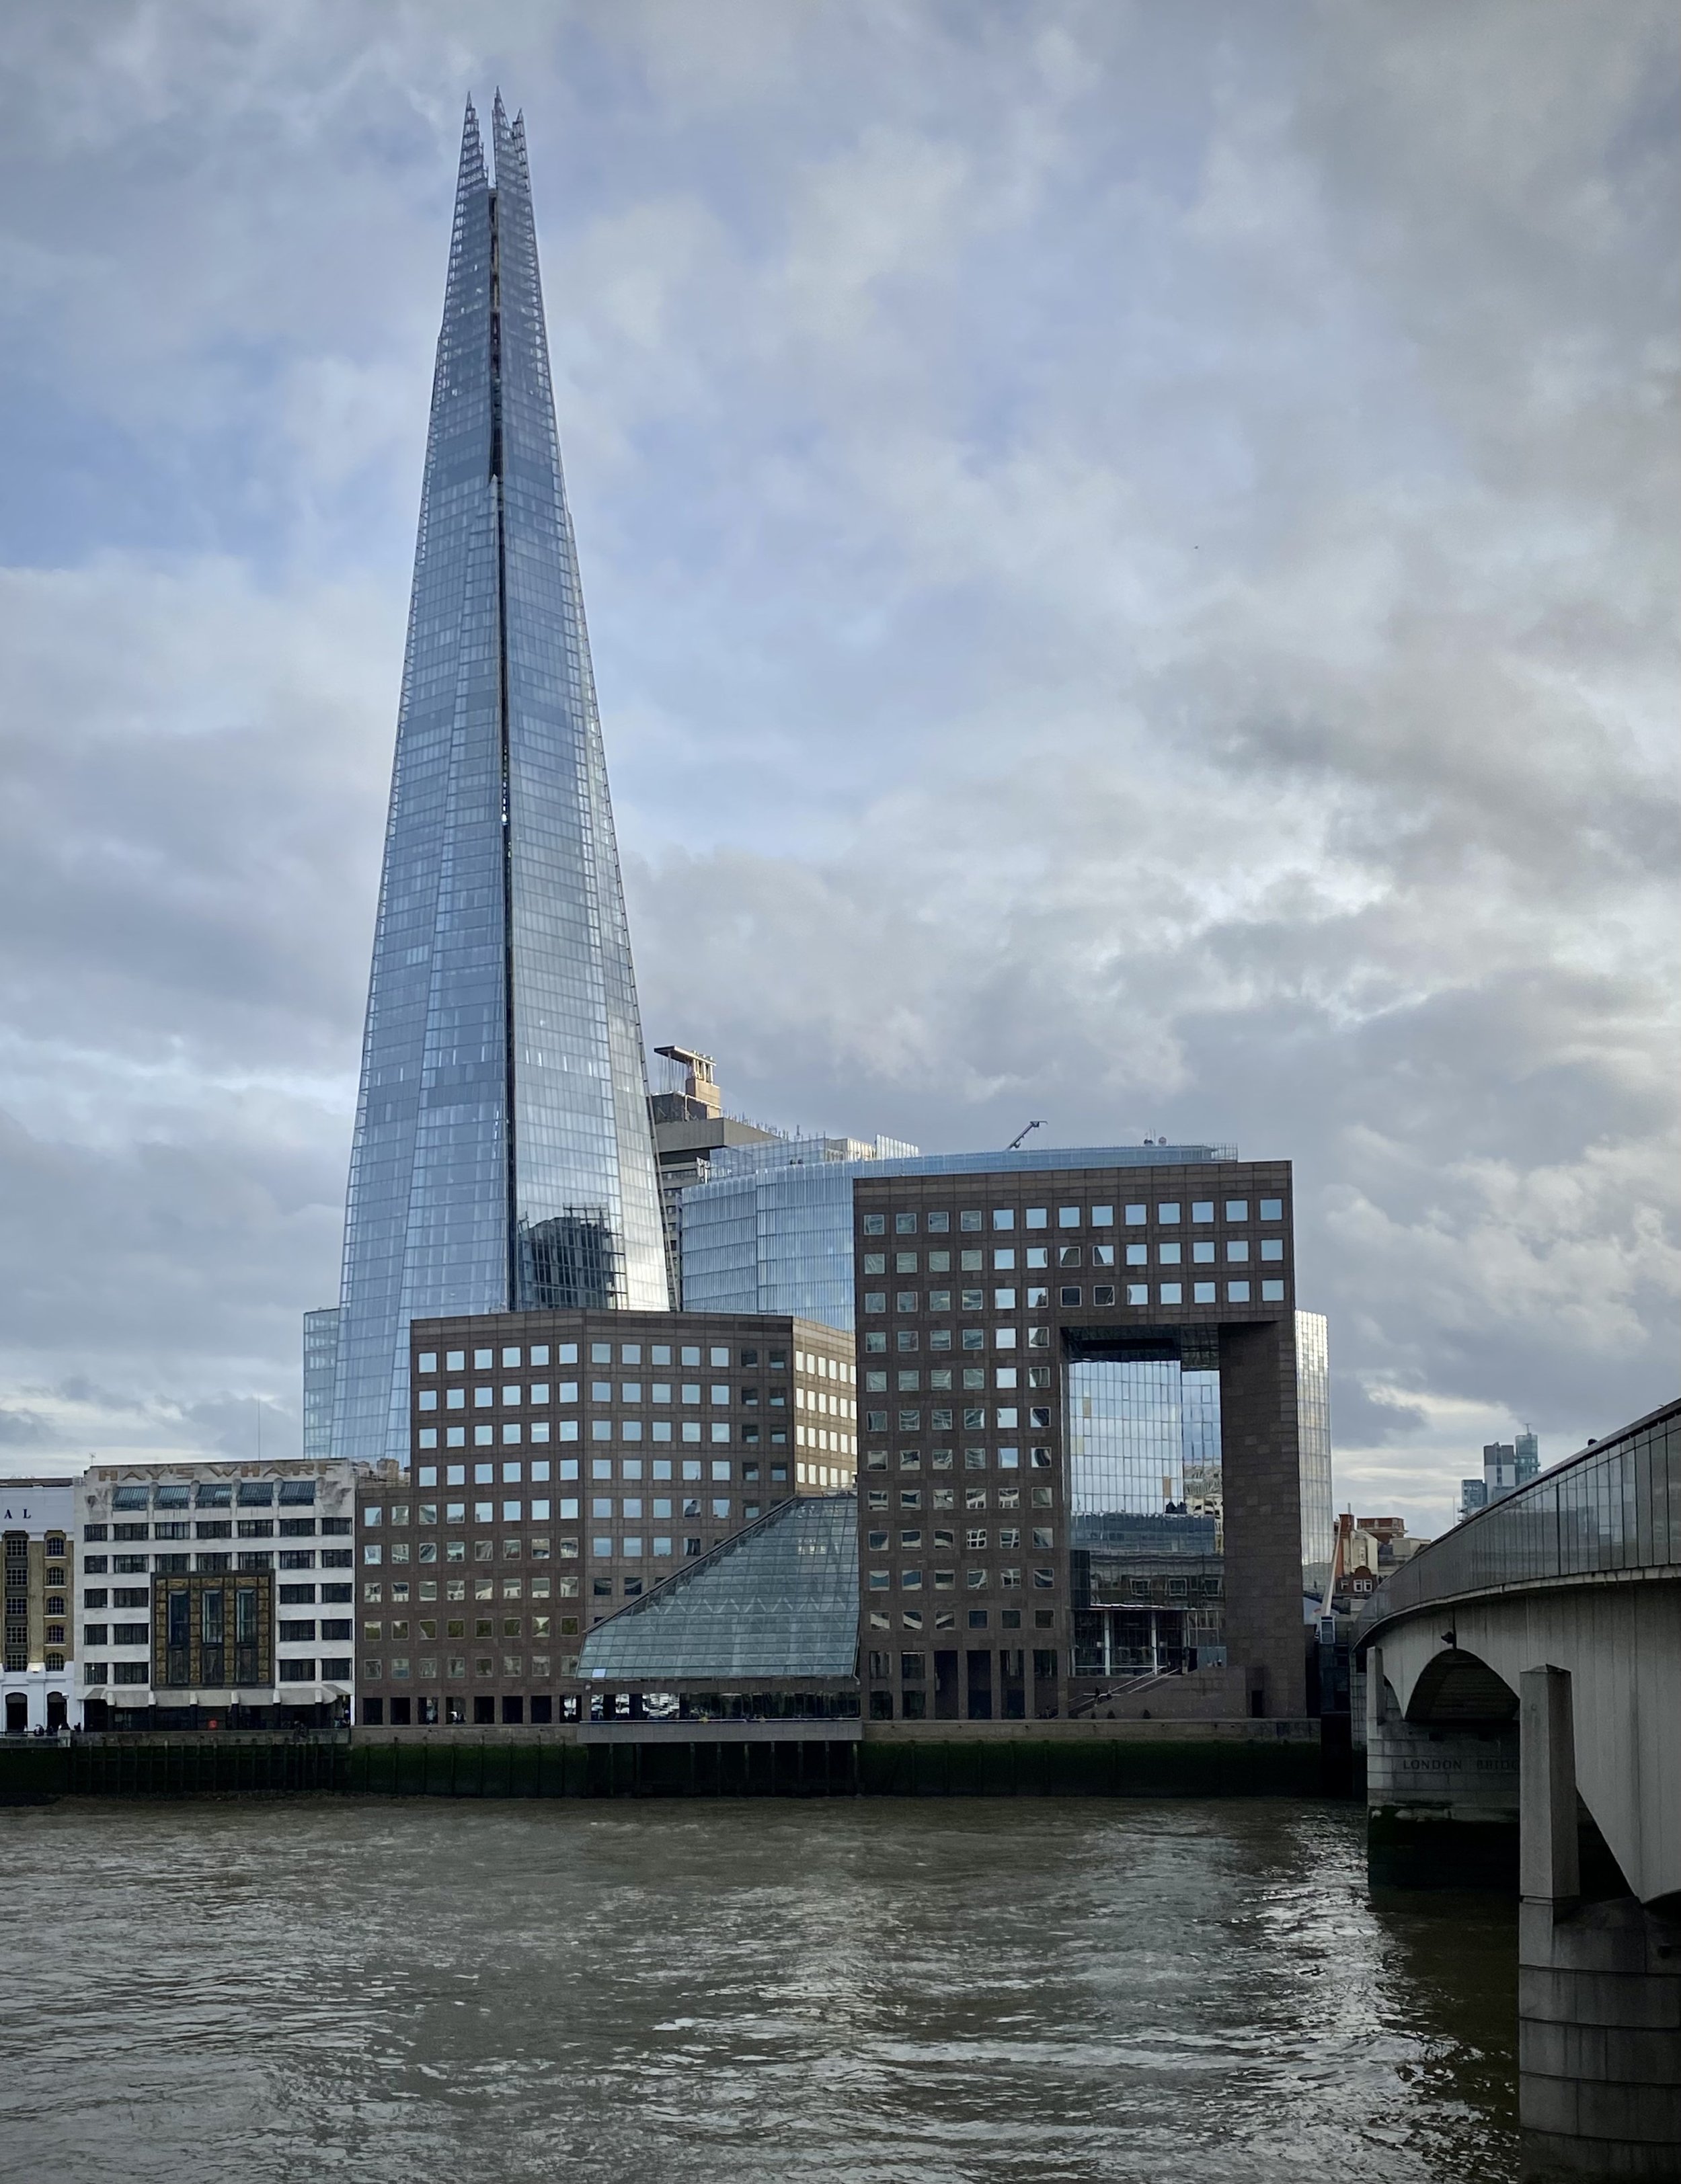
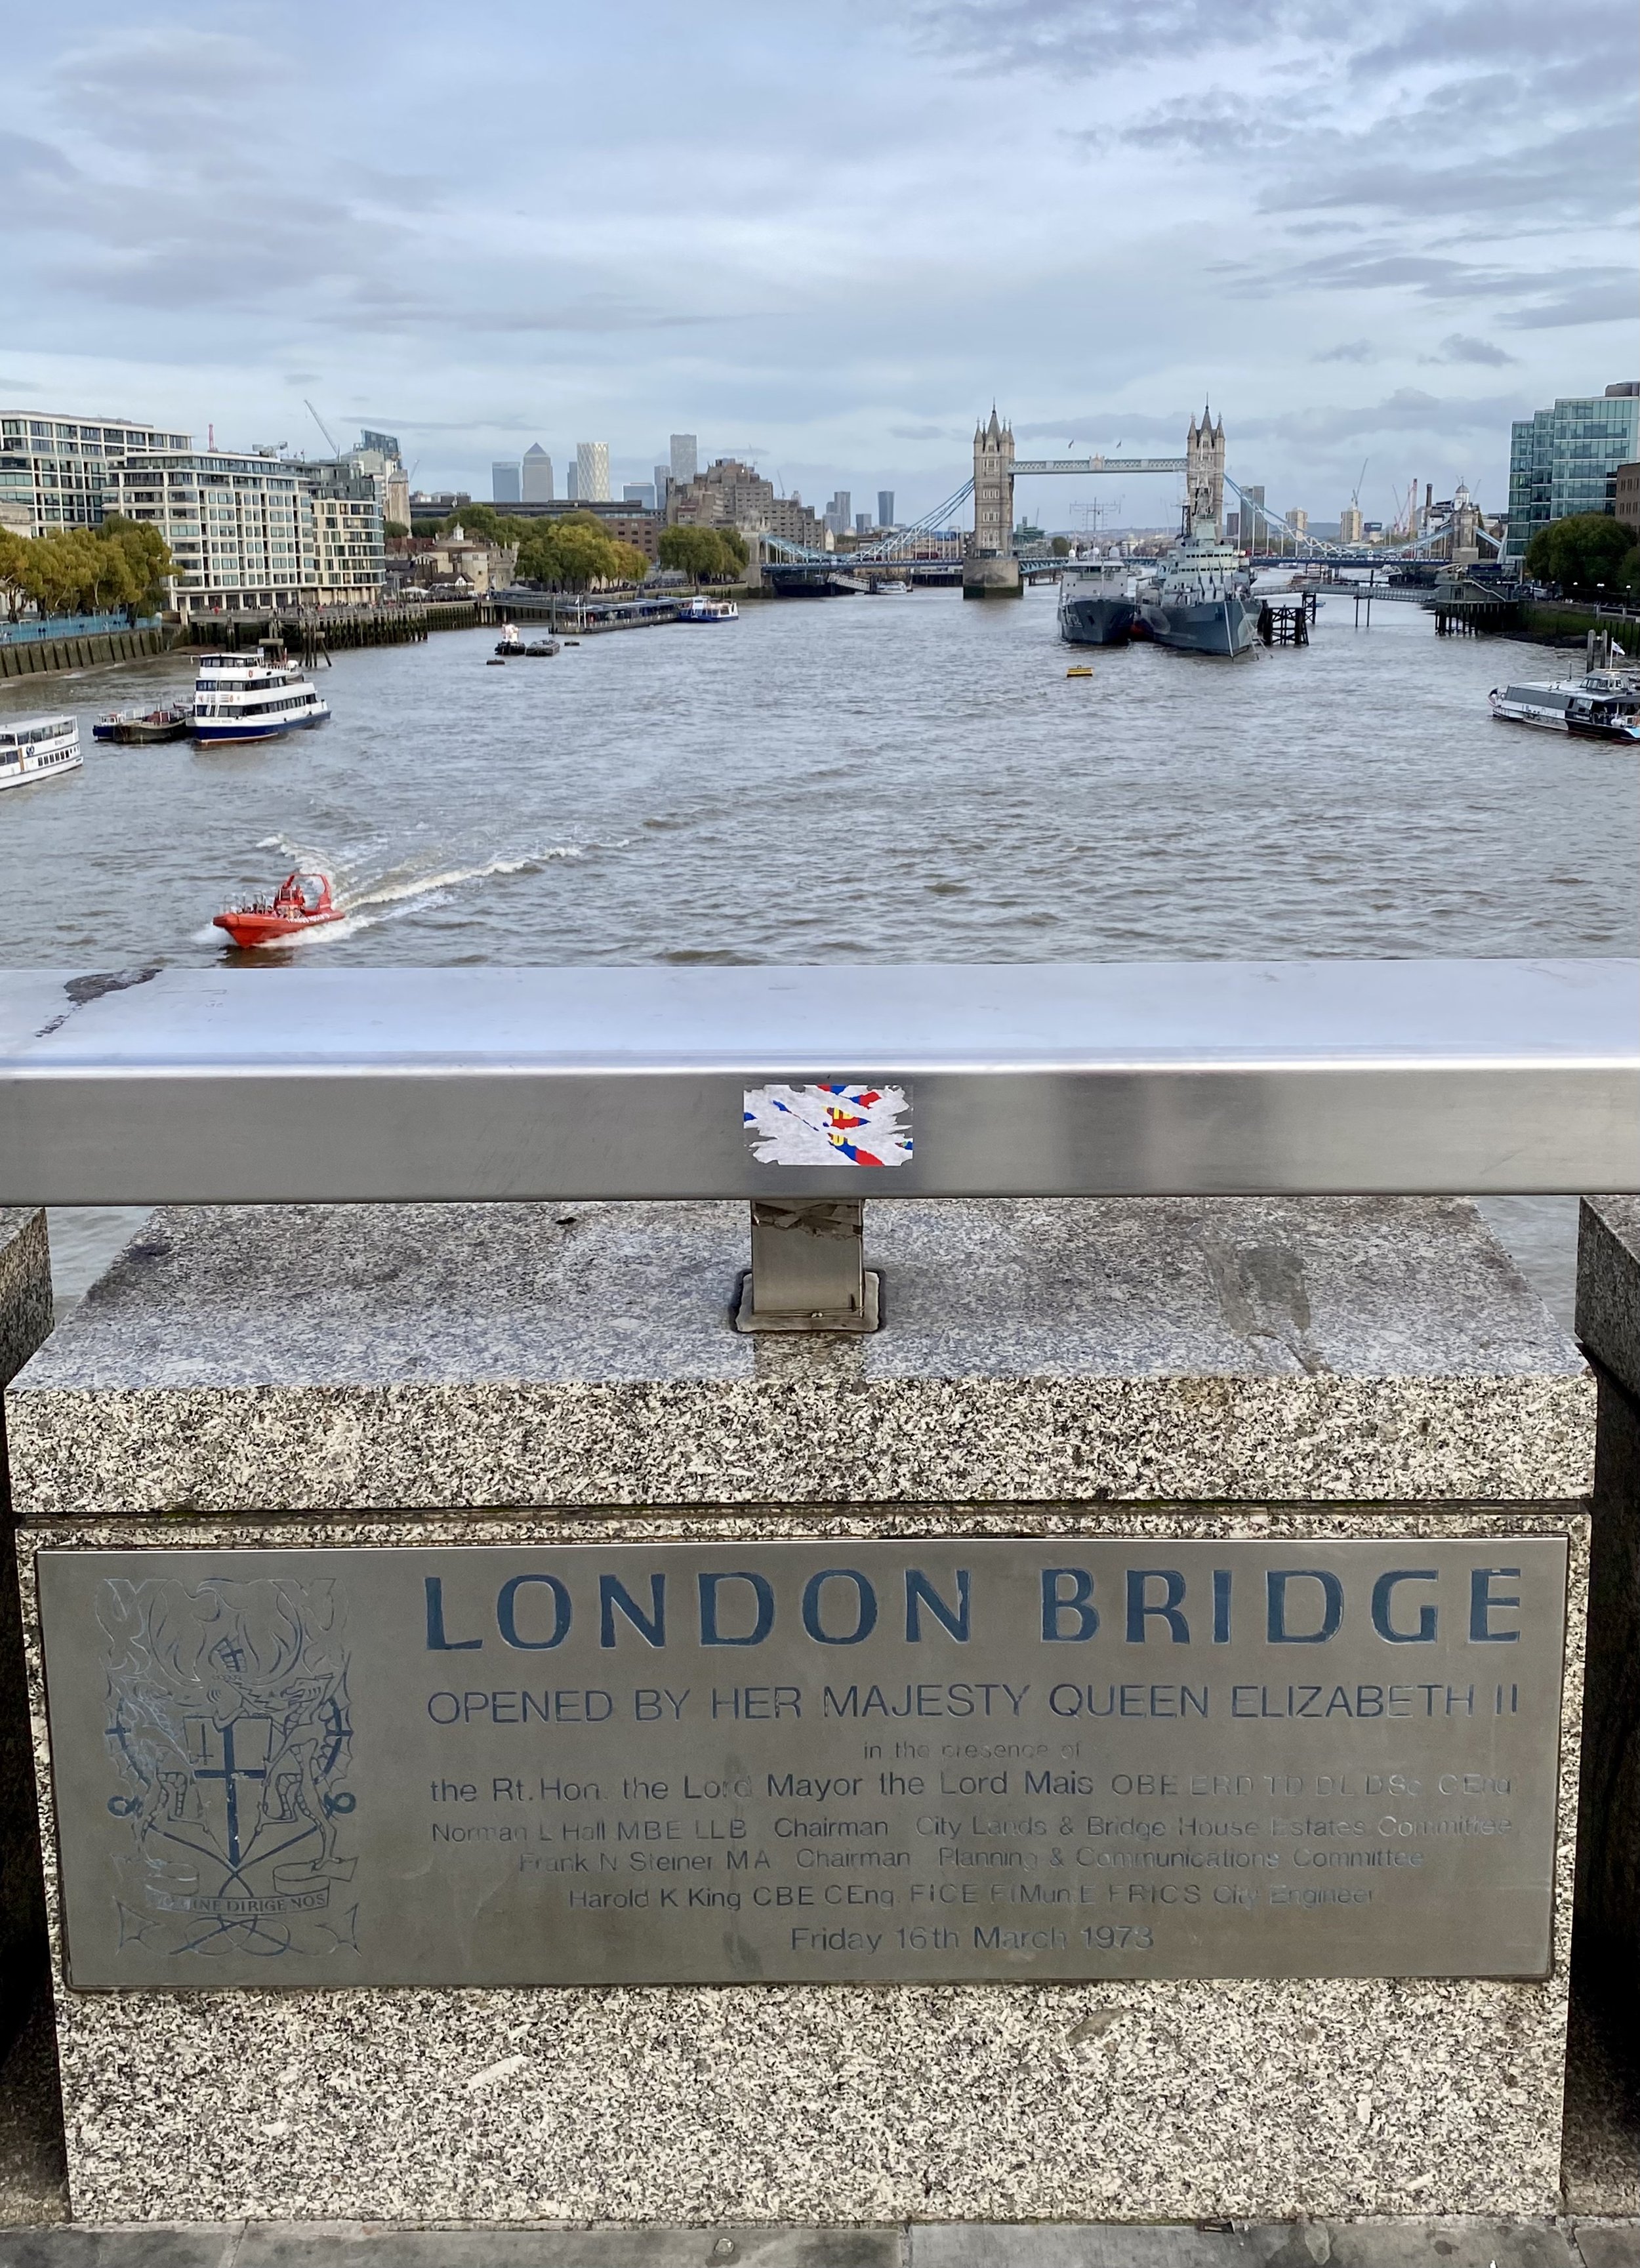
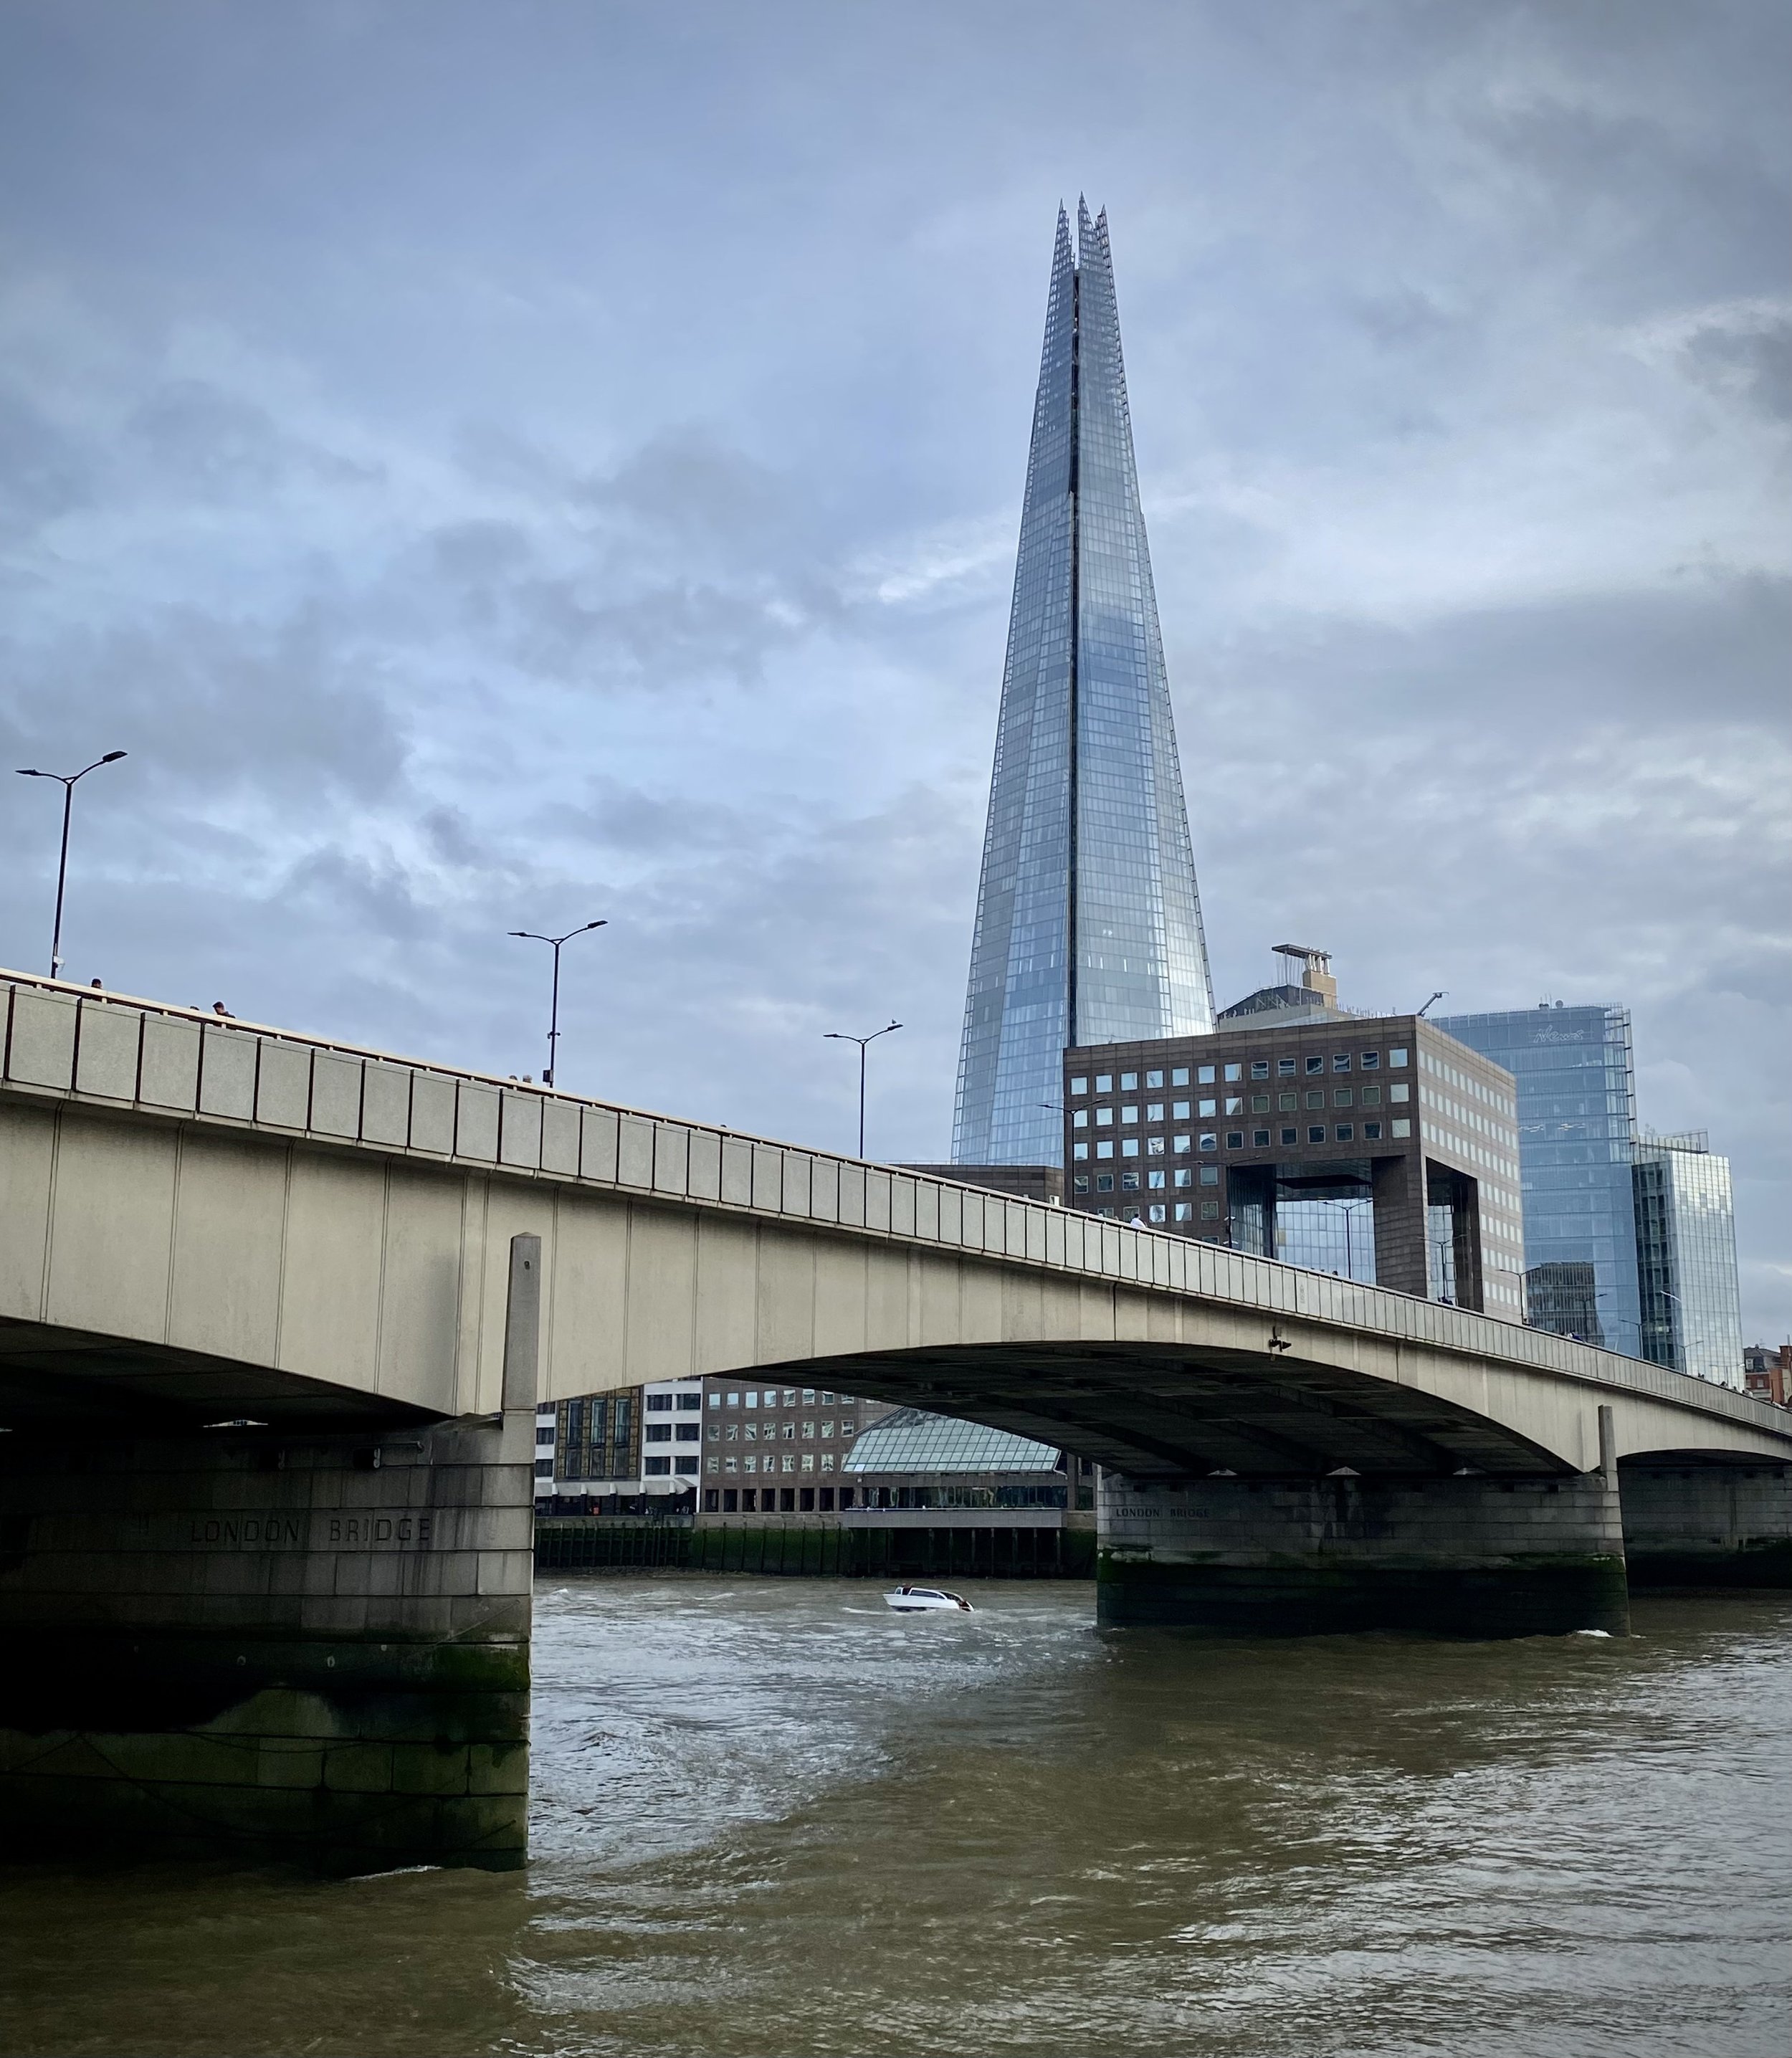
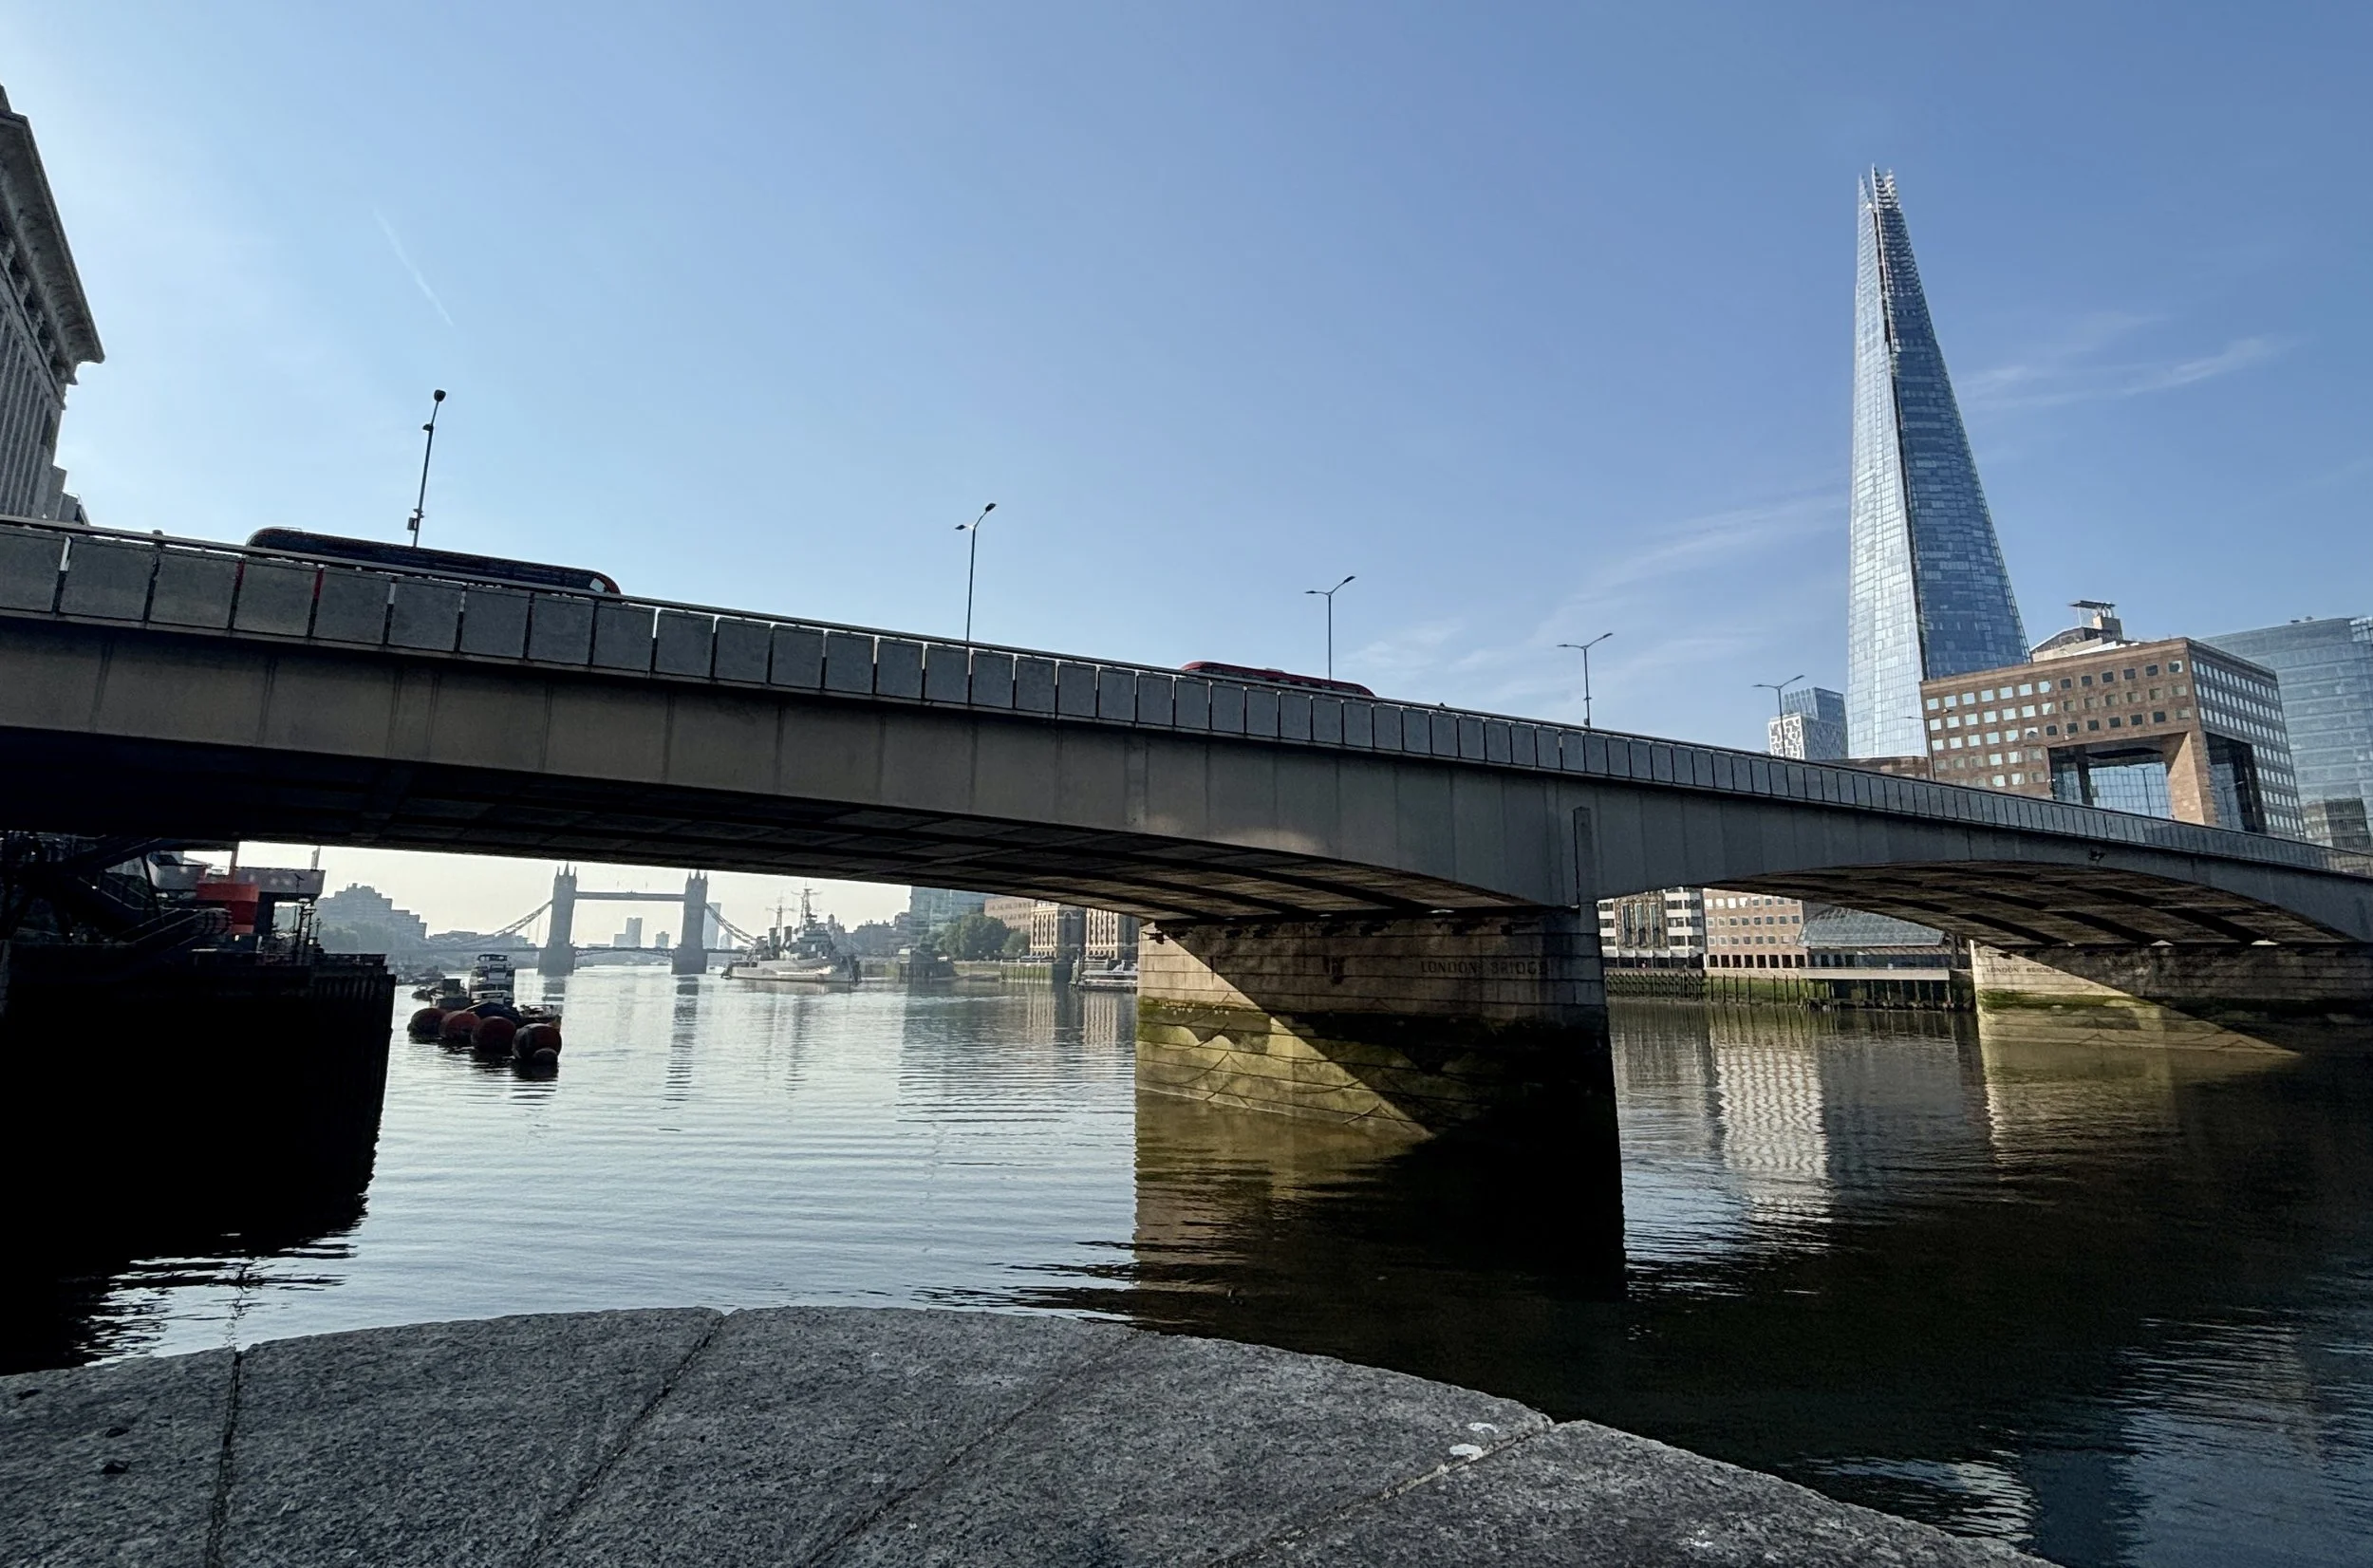
(0.4 km) London Bridge is the oldest crossing over the River Thames, with a rich history originating from a Roman pontoon structure built around 43 AD. The 19th-century version of the bridge was famously sold to an American entrepreneur in 1968 and rebuilt stone by stone in Arizona.
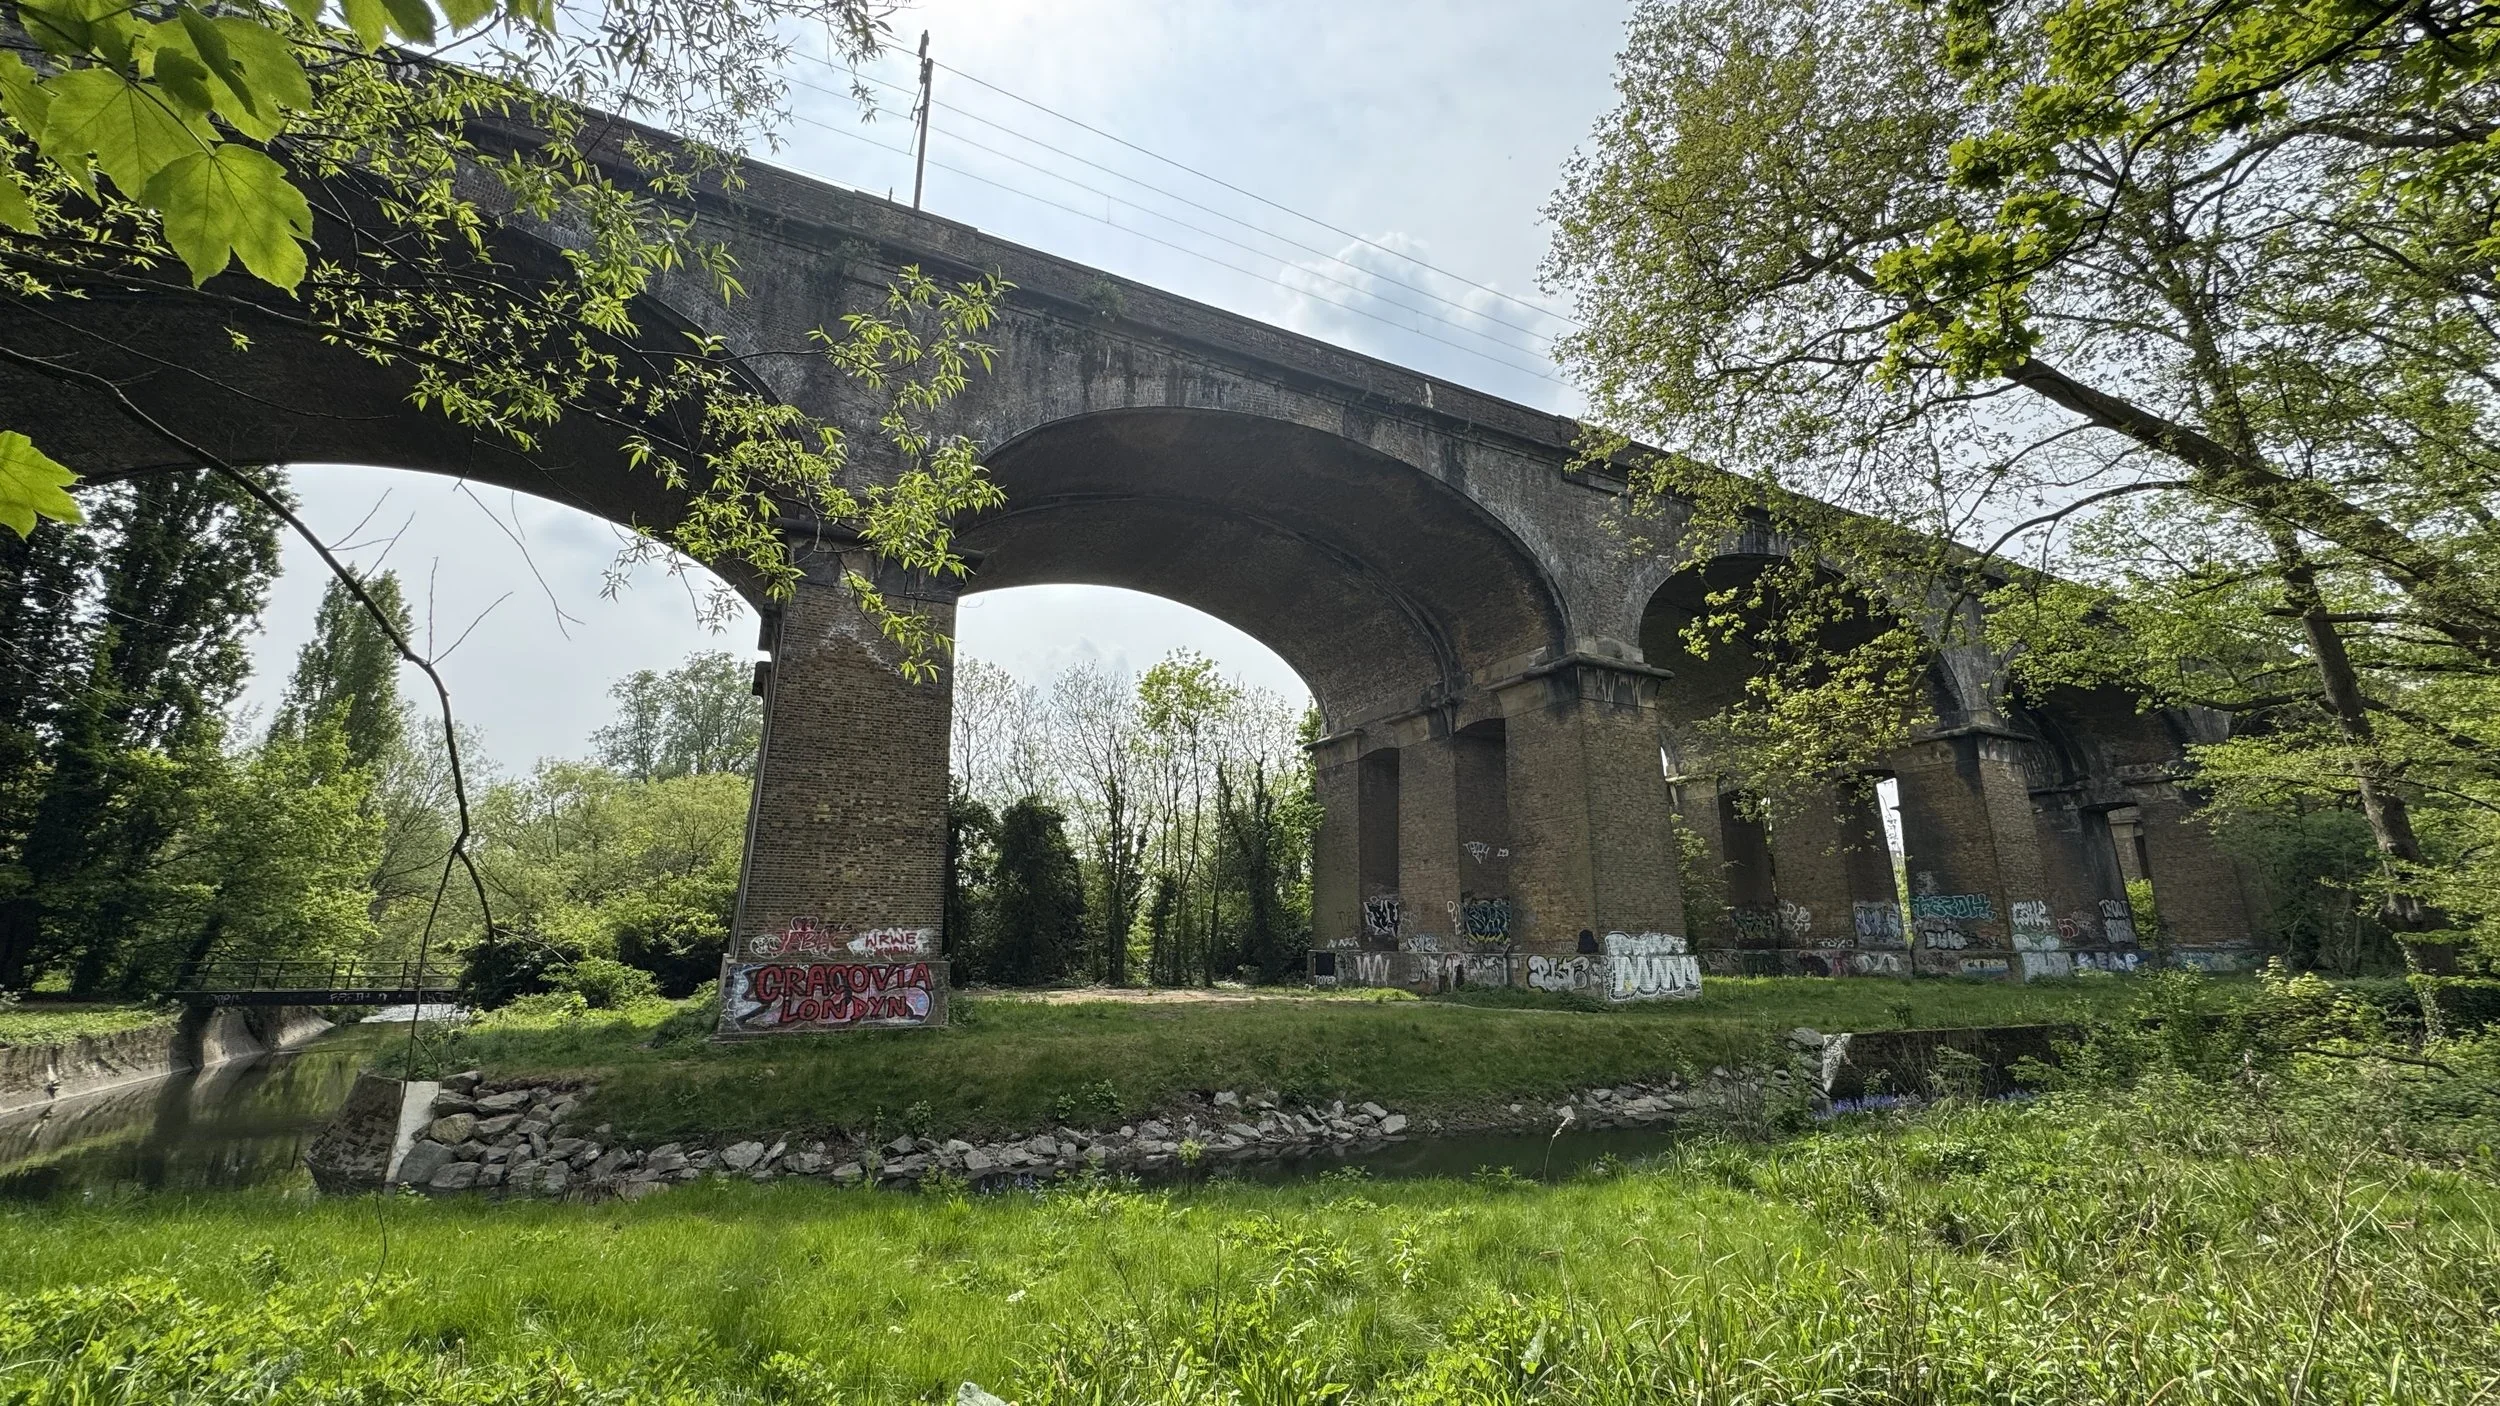
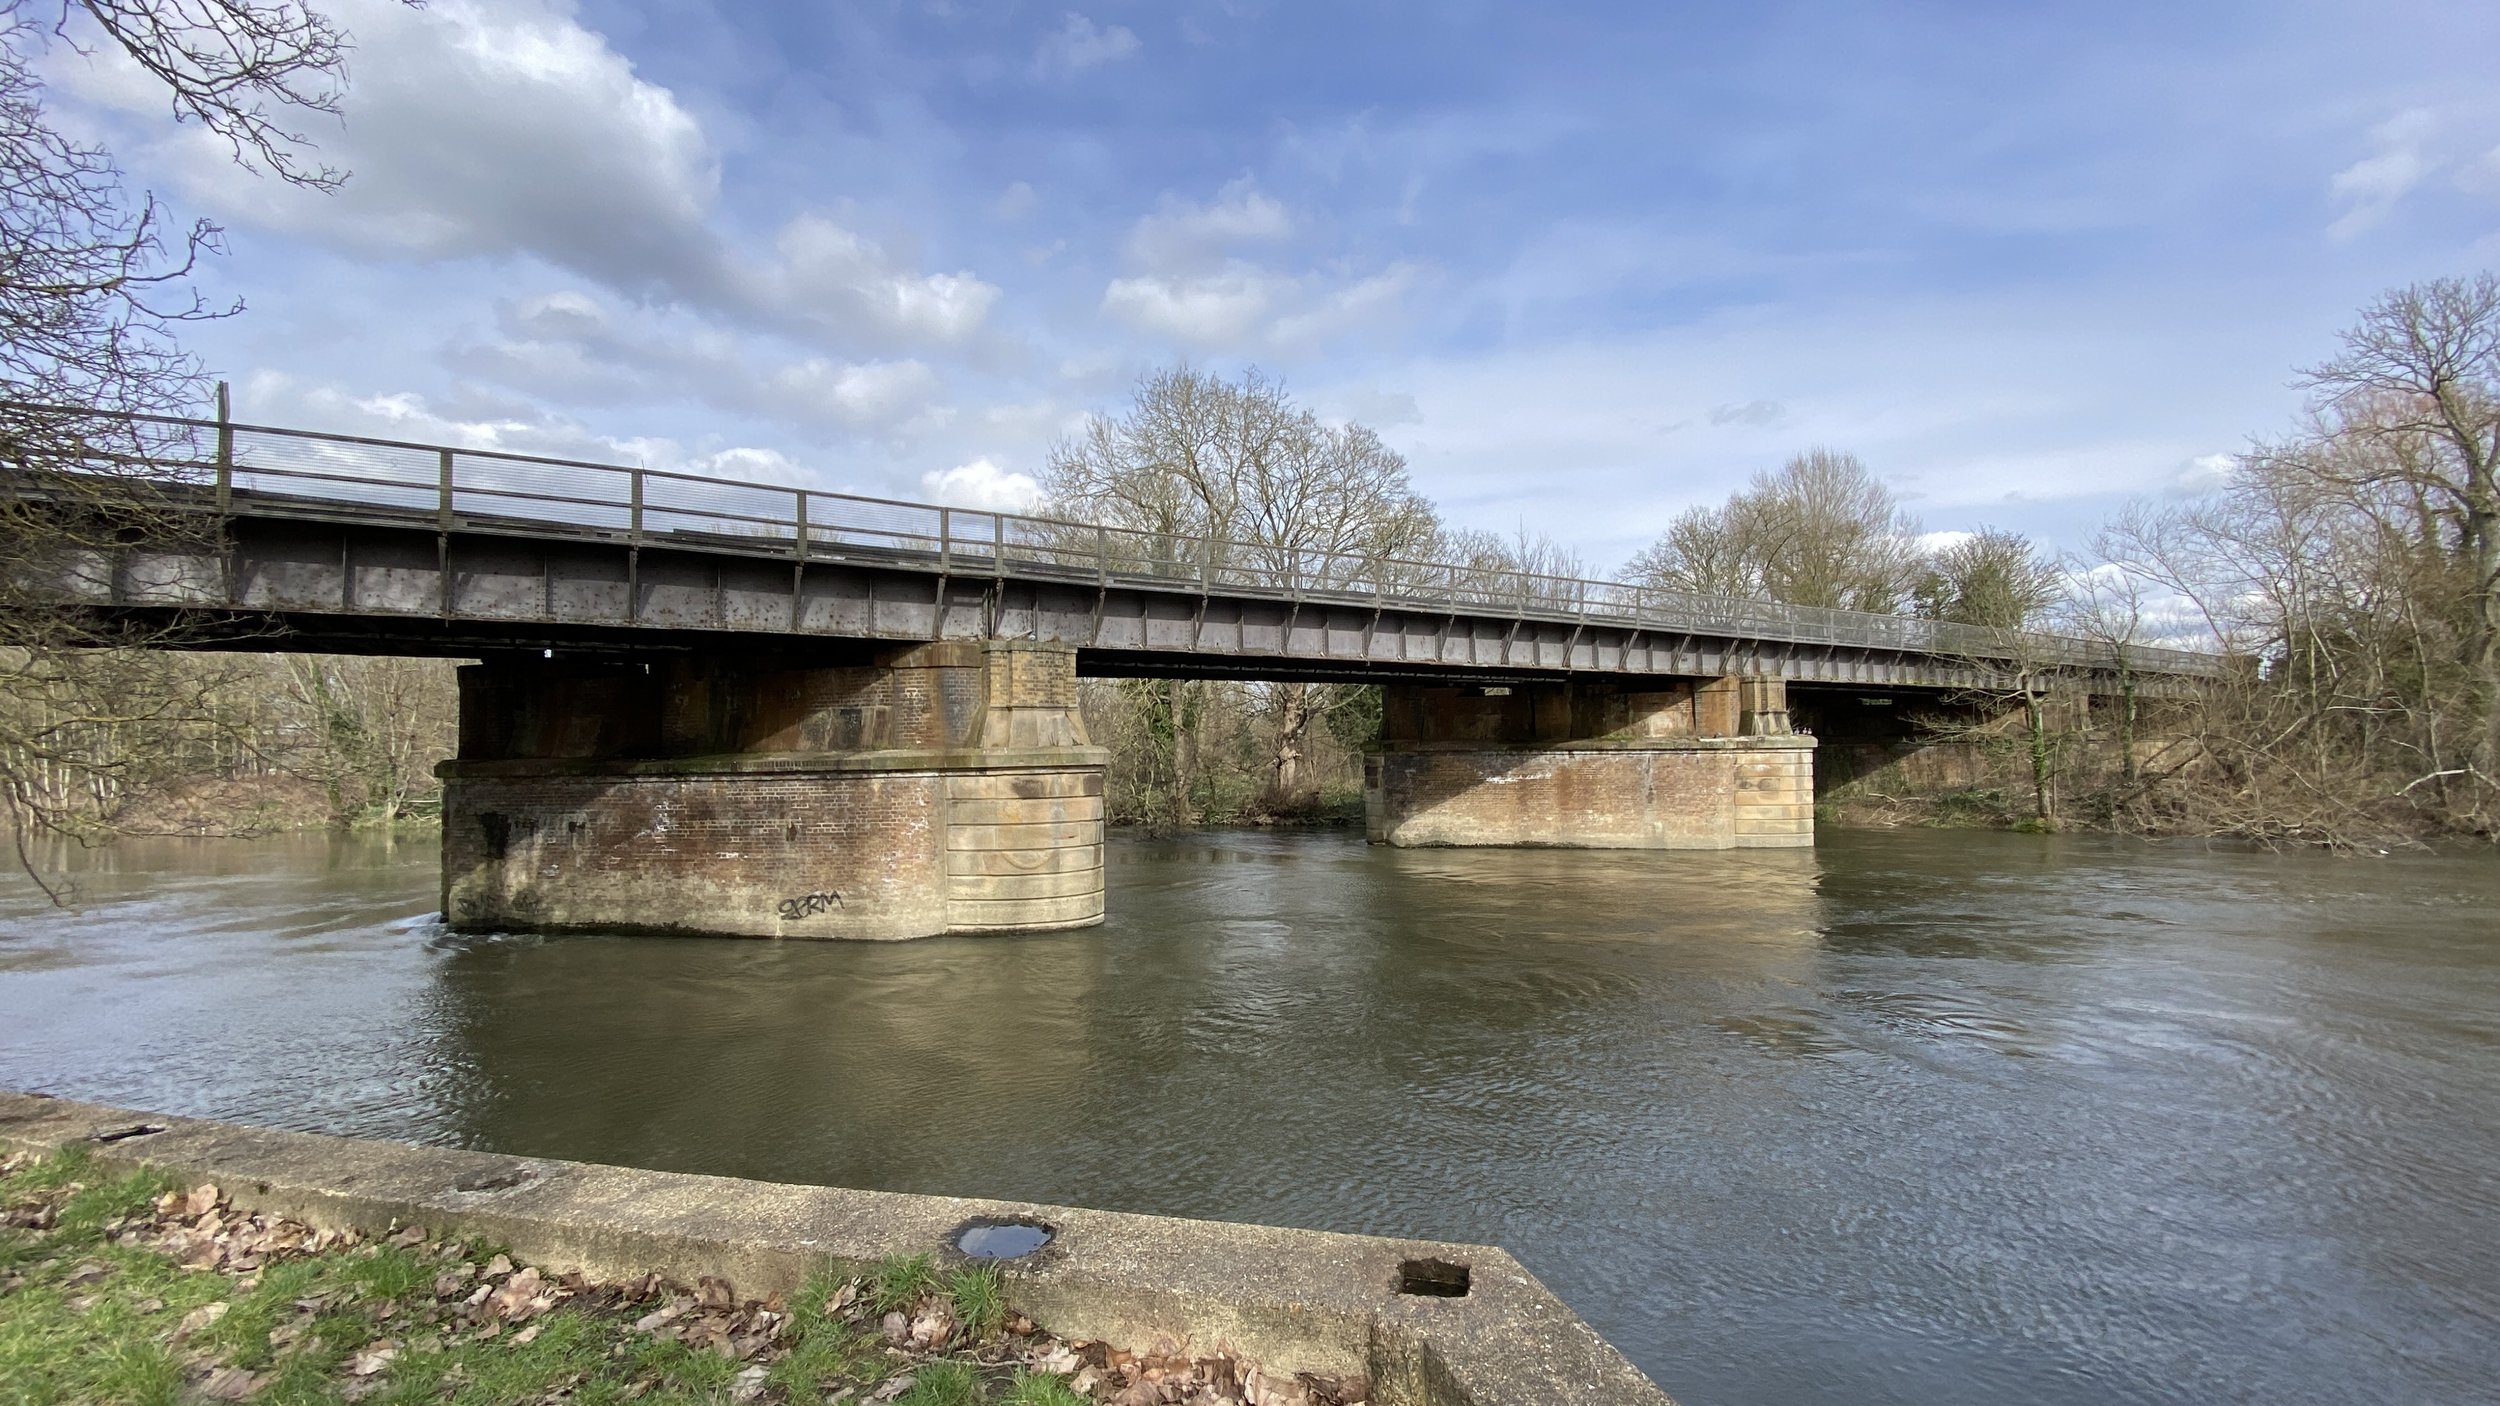
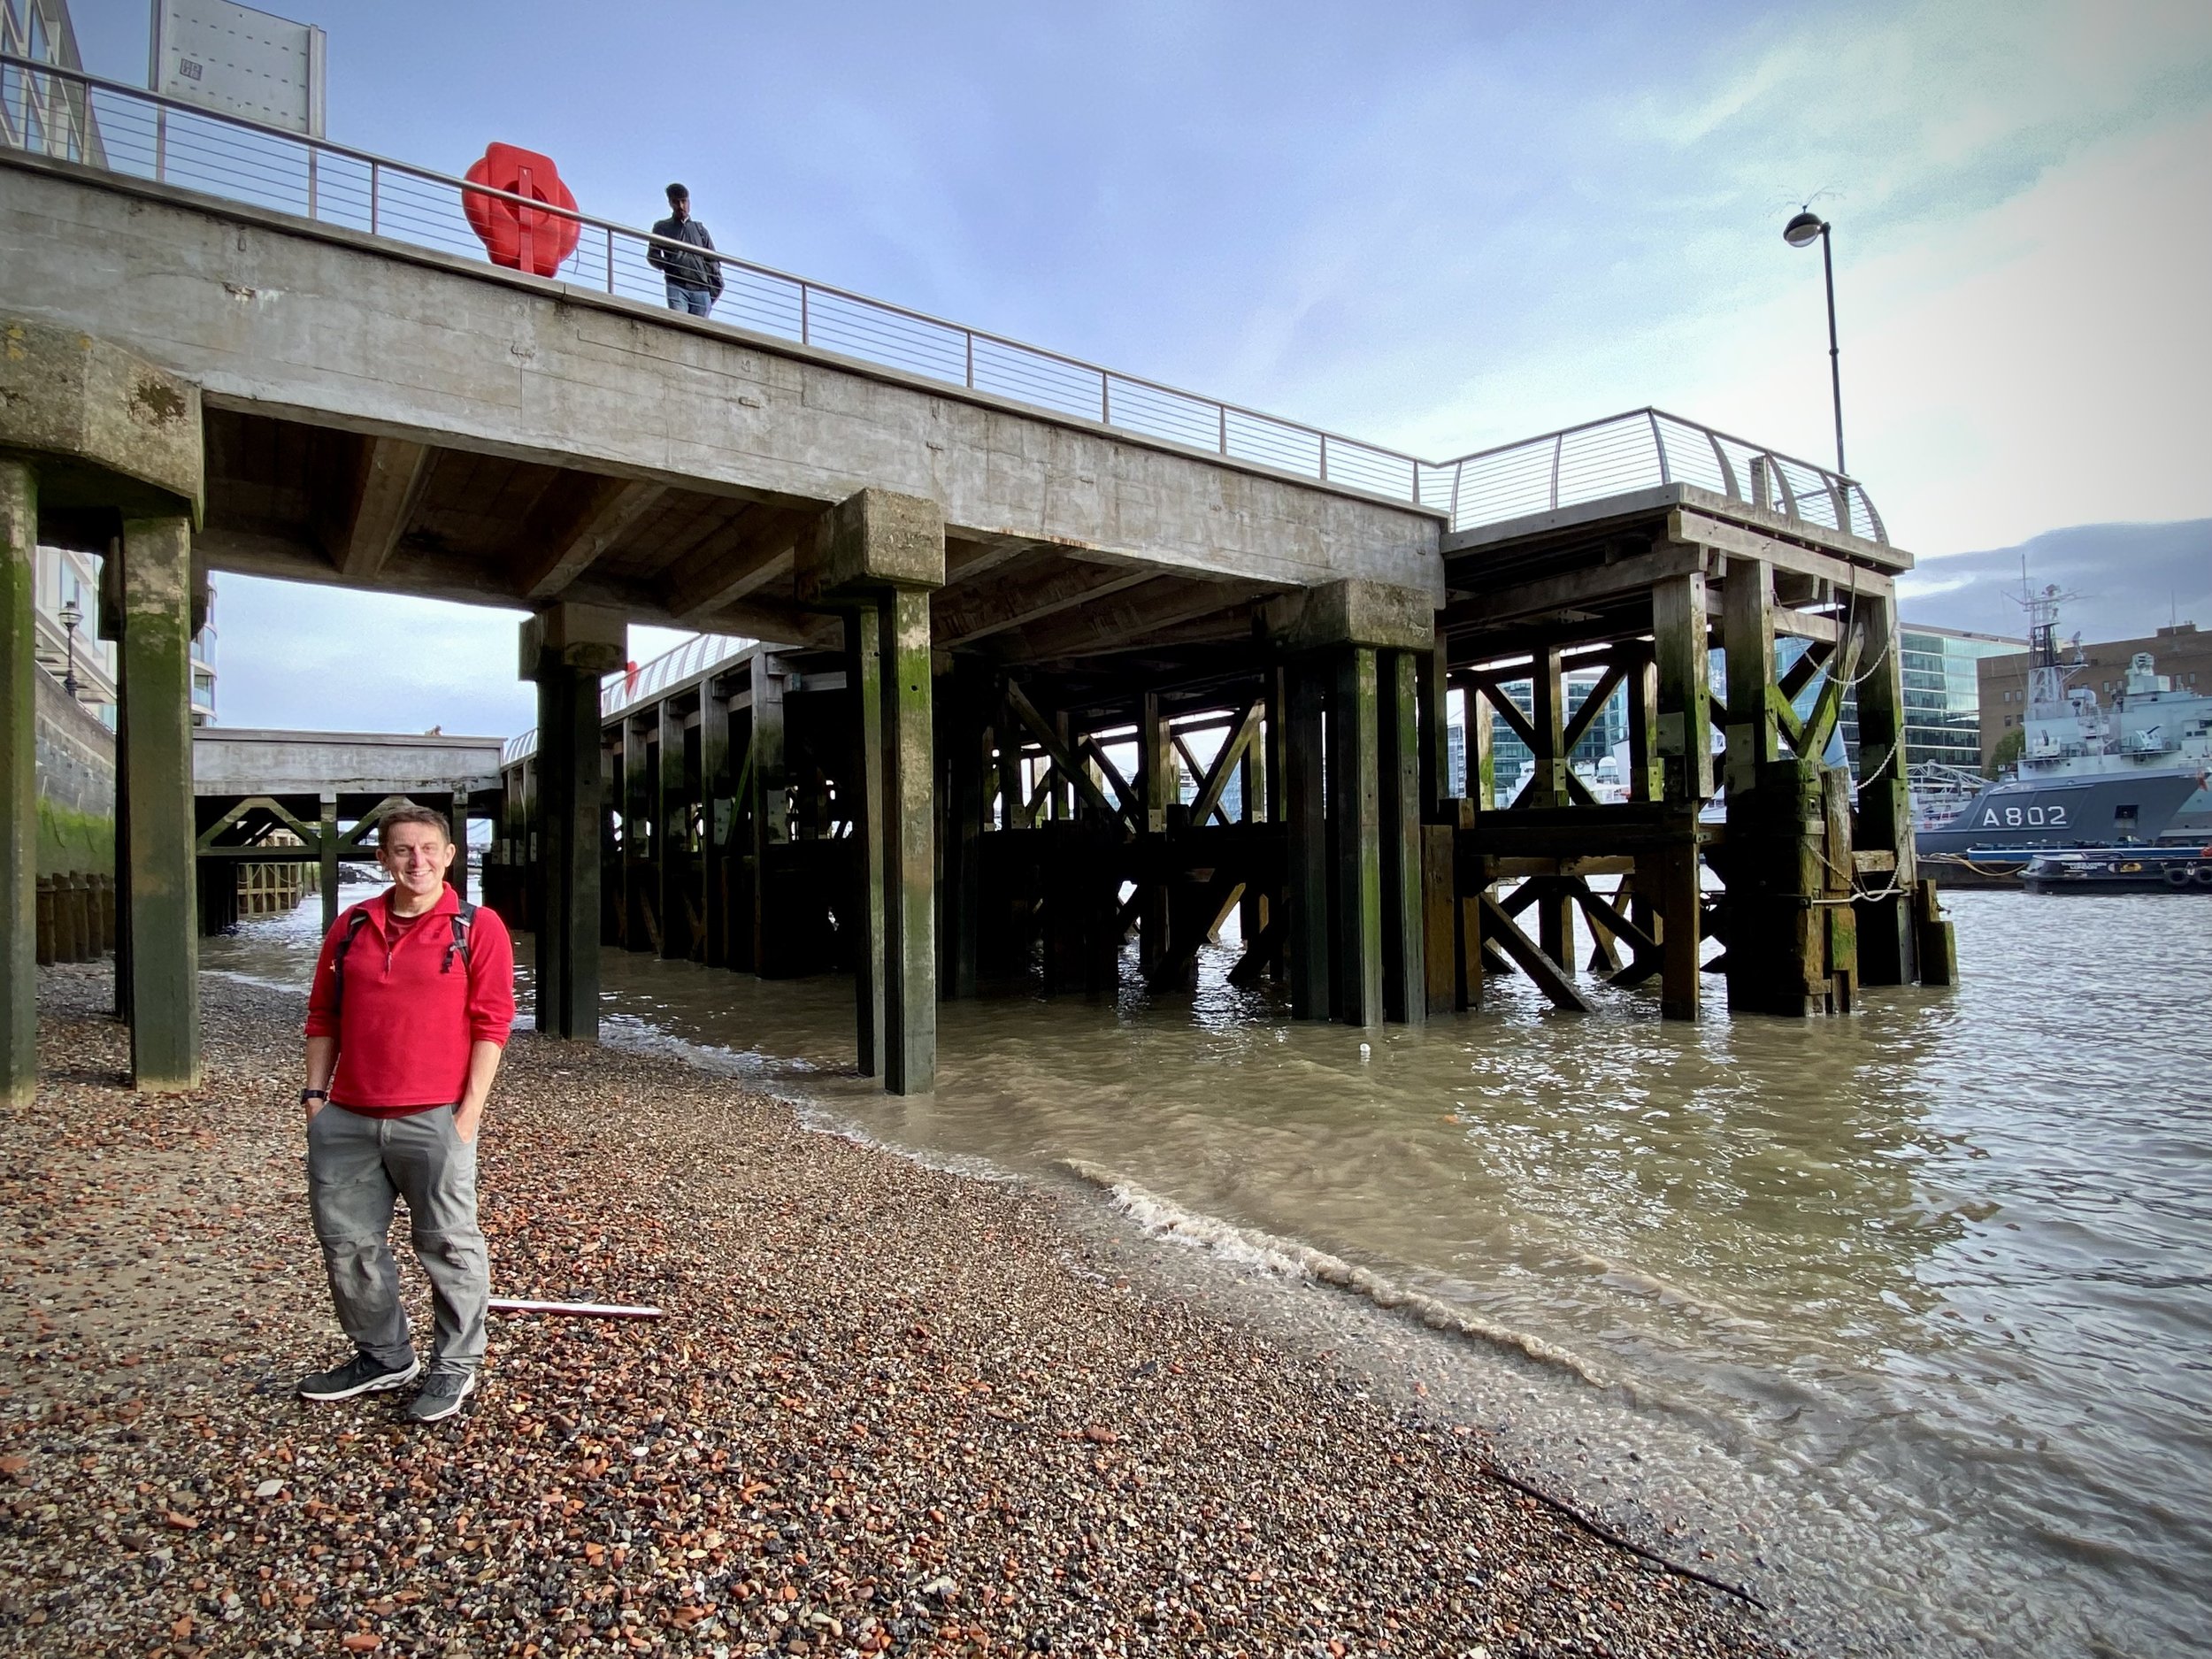
(0.6 km) Cannon Street Bridge. Constructed between 1863 and 1866, Cannon Street Railway Bridge features two monumental Victorian brick towers originally built to conceal water tanks for the station's hydraulic lifts. At low tide the riverbank beneath the bridge is frequently scattered with centuries-old animal bones from historical butchers and abattoirs.
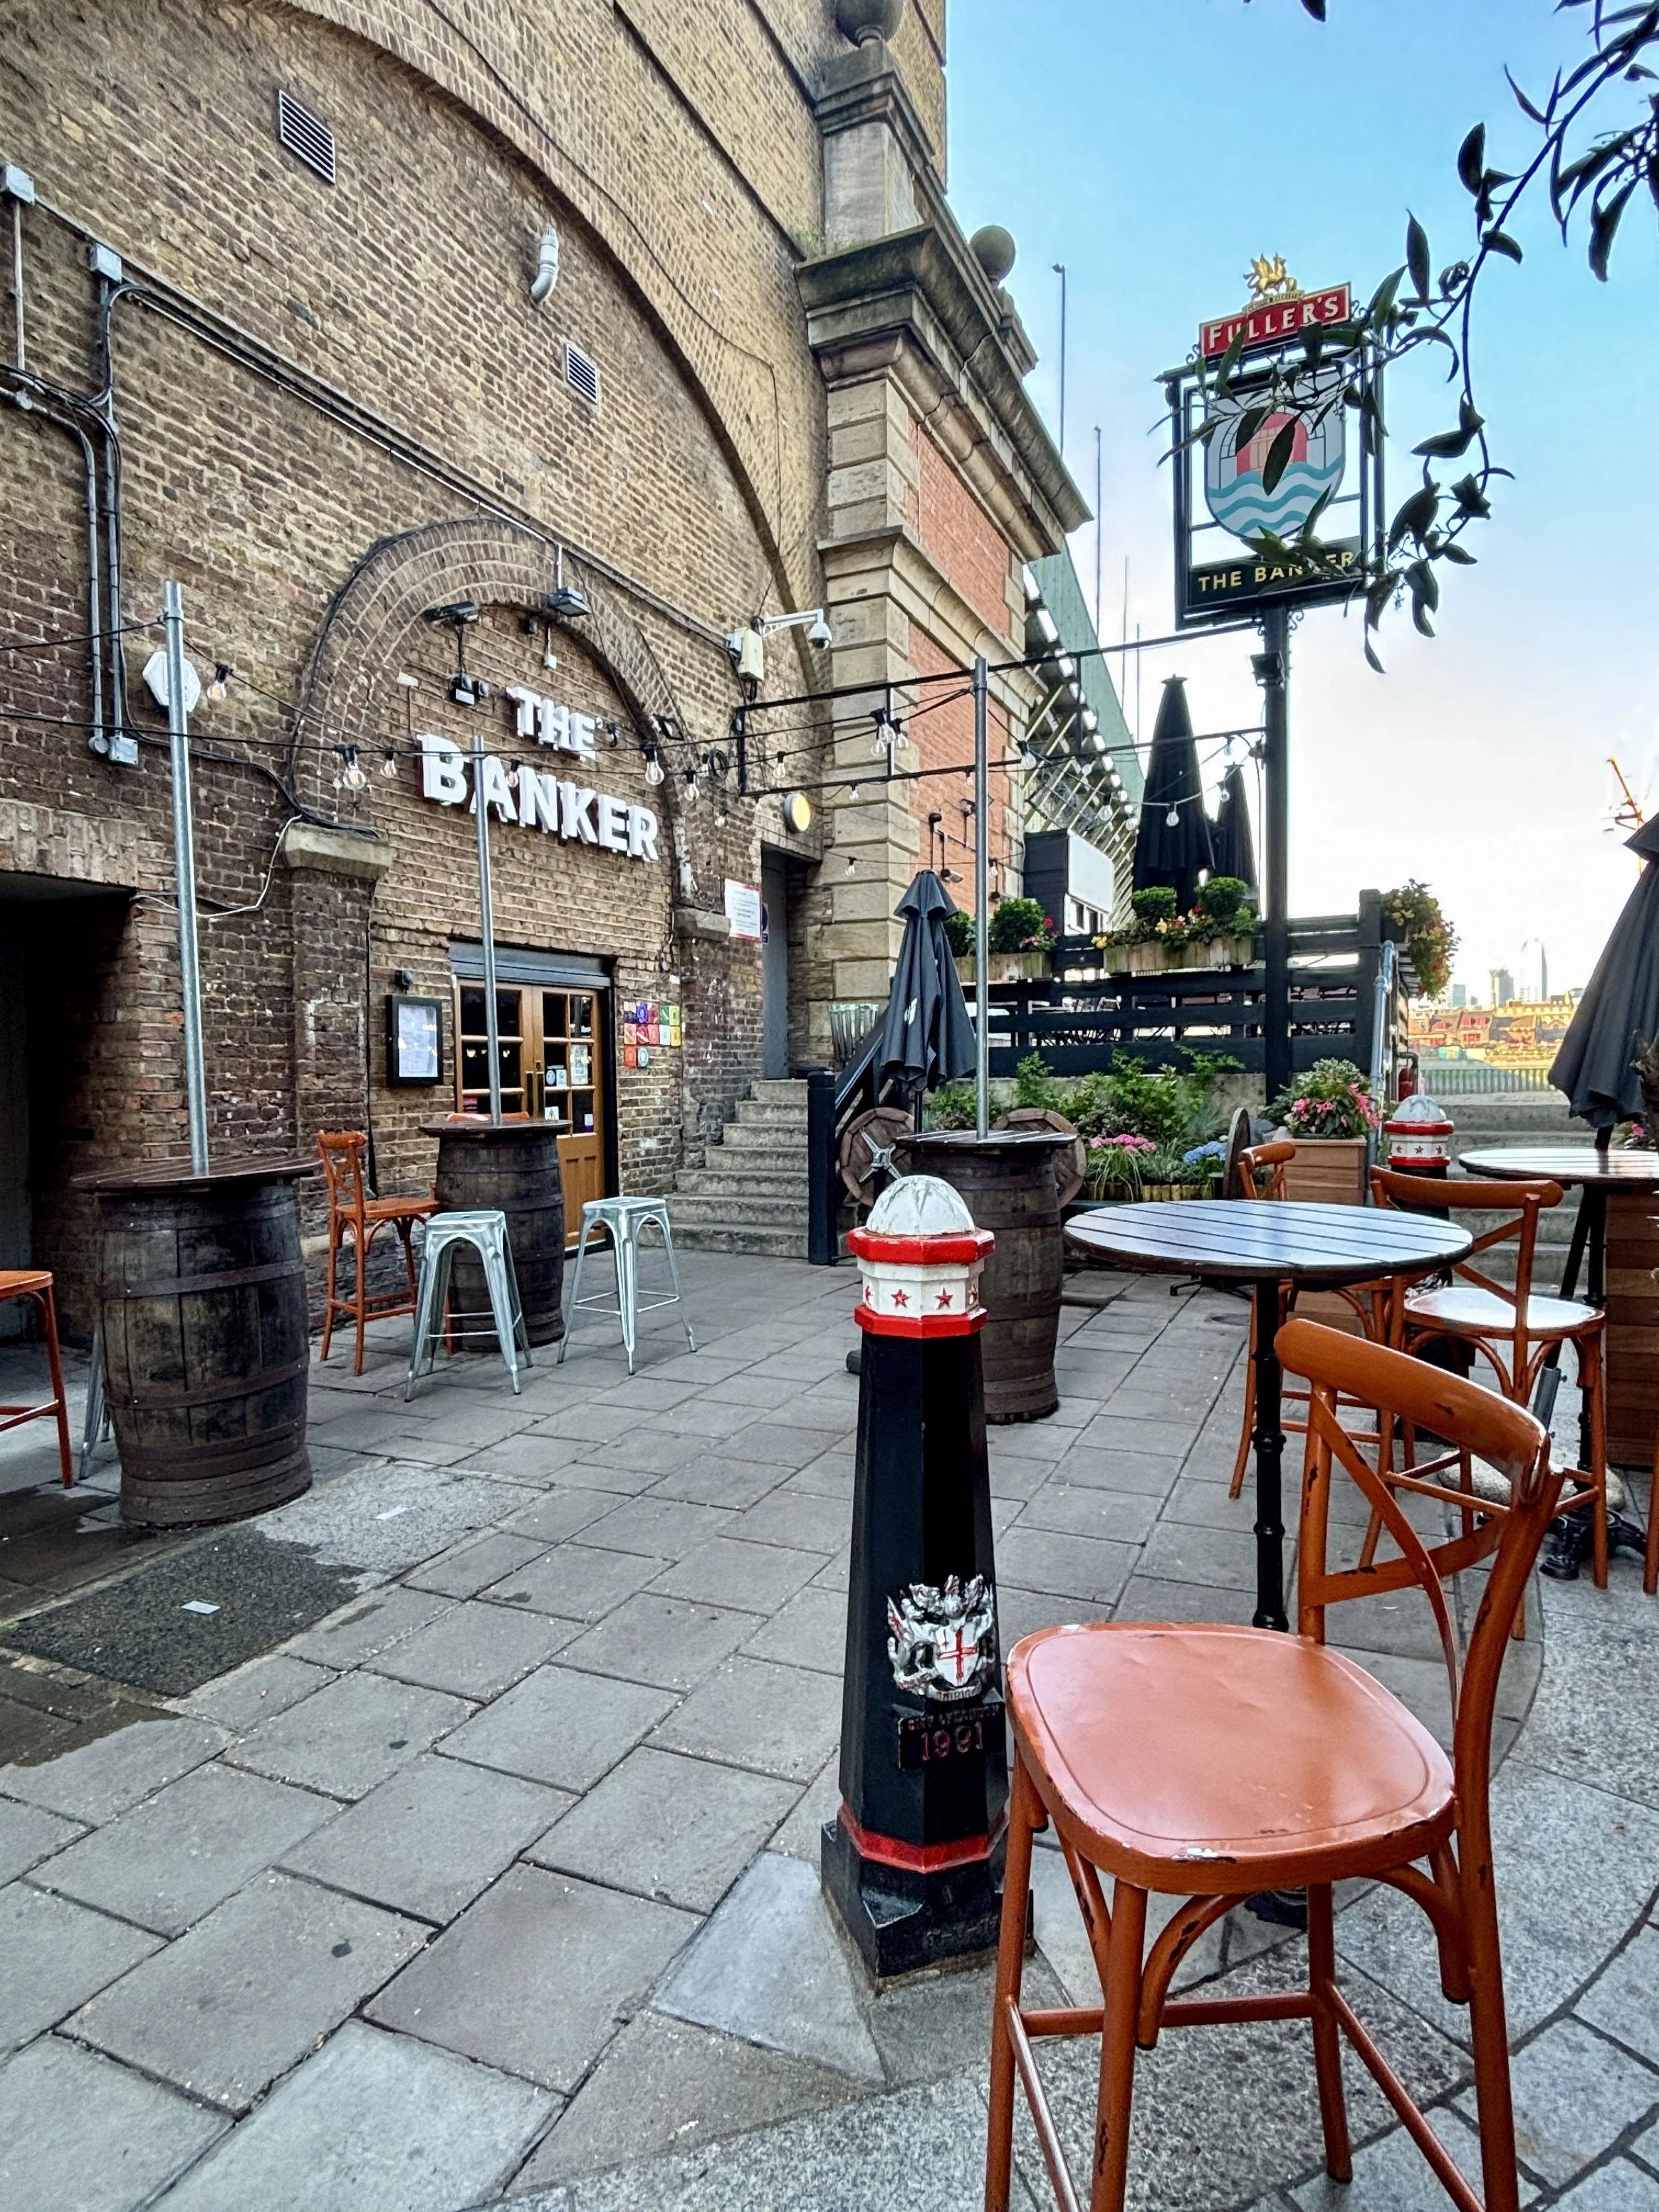
(0.7 km) The Banker Pub, EC4 Nestled snugly within the towering brick arches of the Cannon Street Railway Bridge, this riverside pub offers spectacular views of the Thames. The cavernous vaults it occupies are a testament to robust Victorian railway engineering.
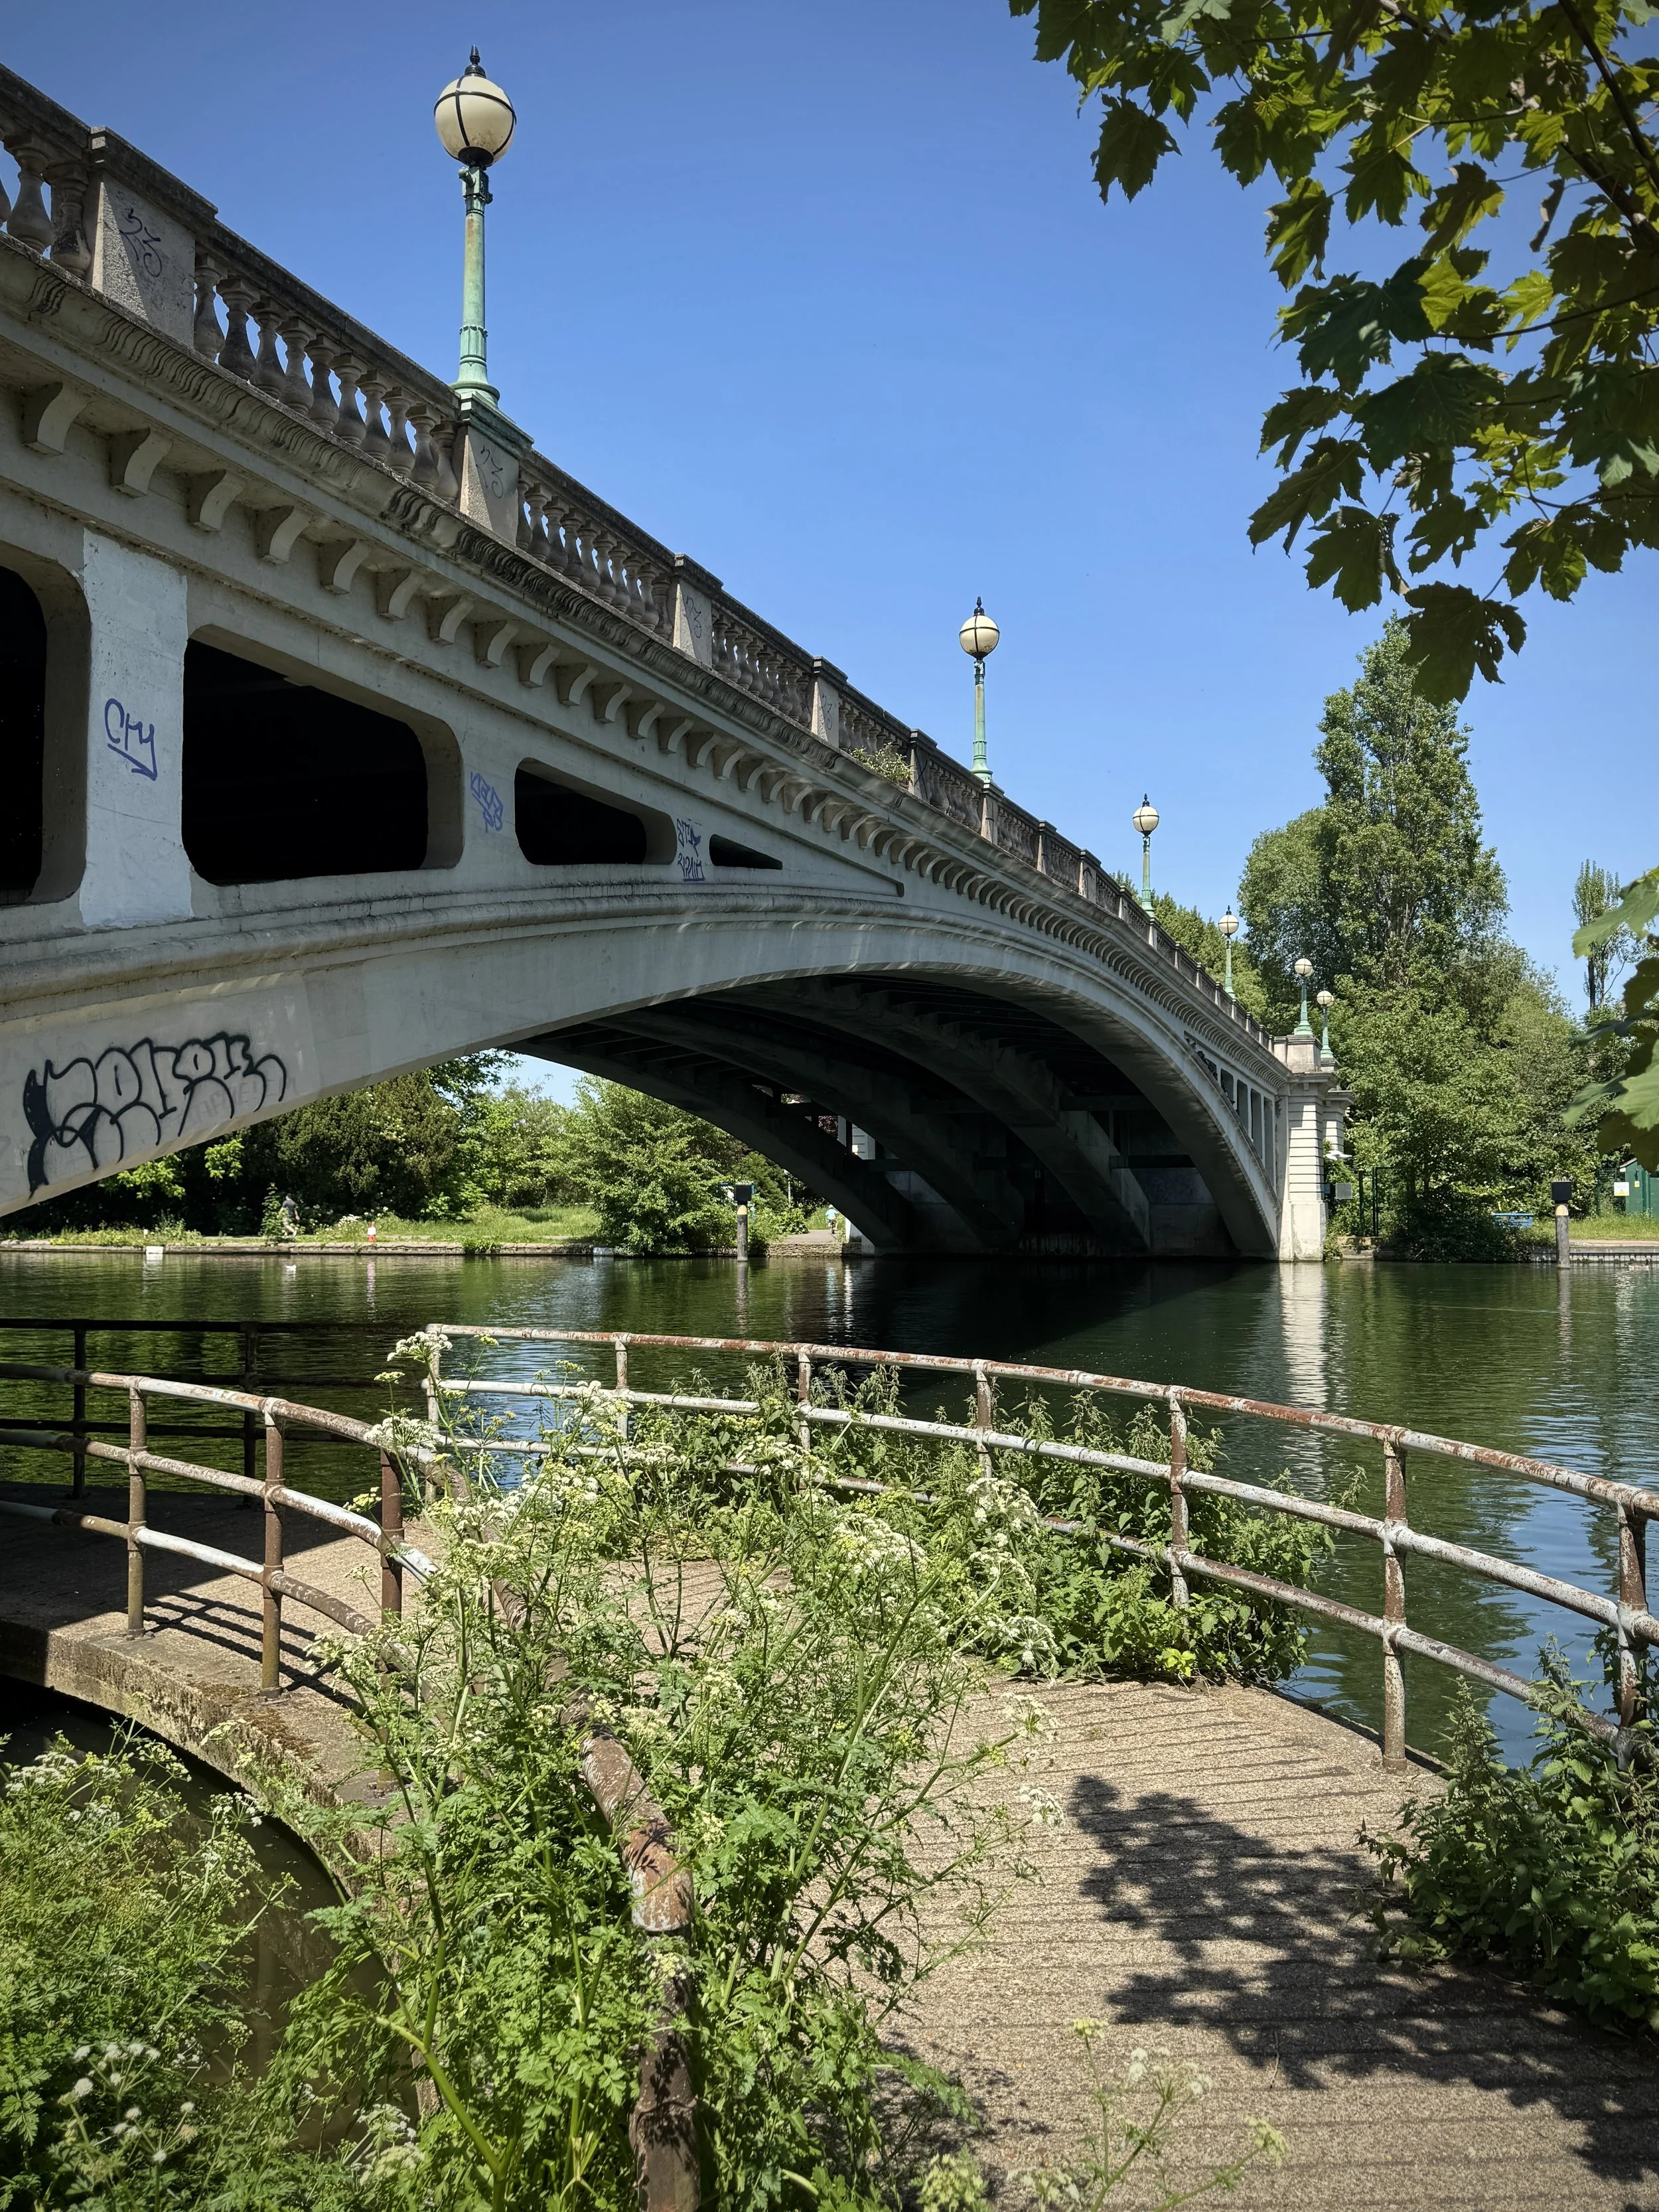
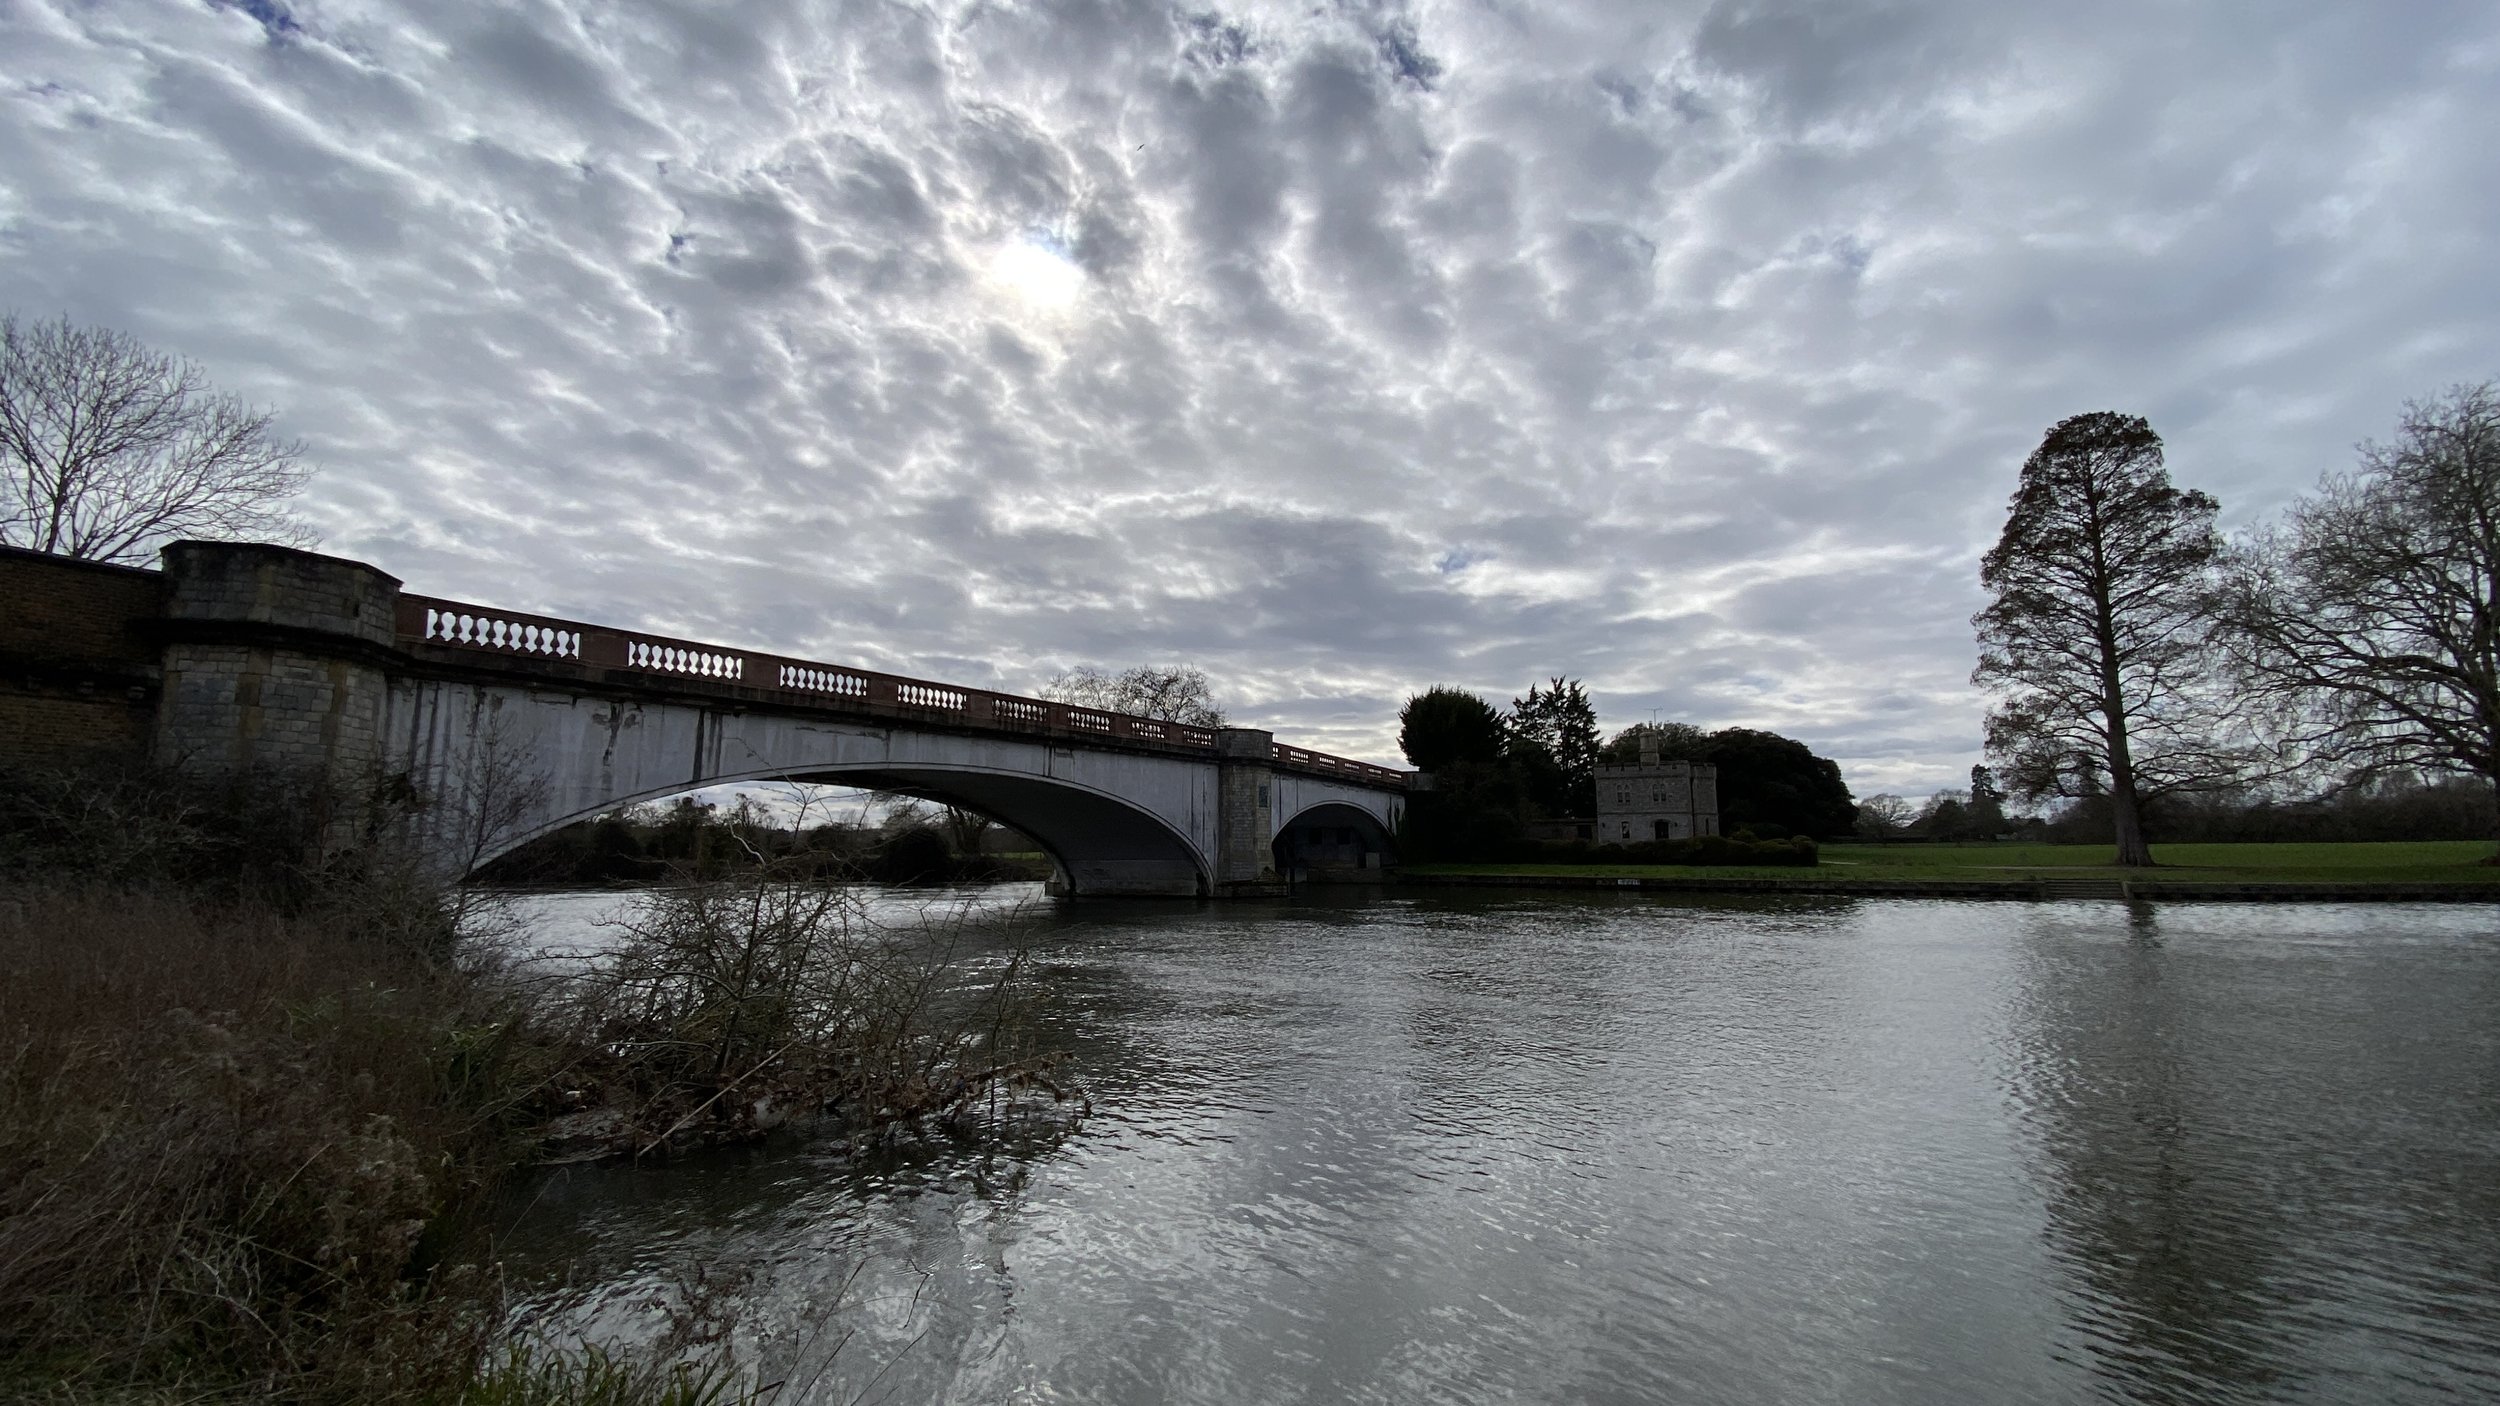
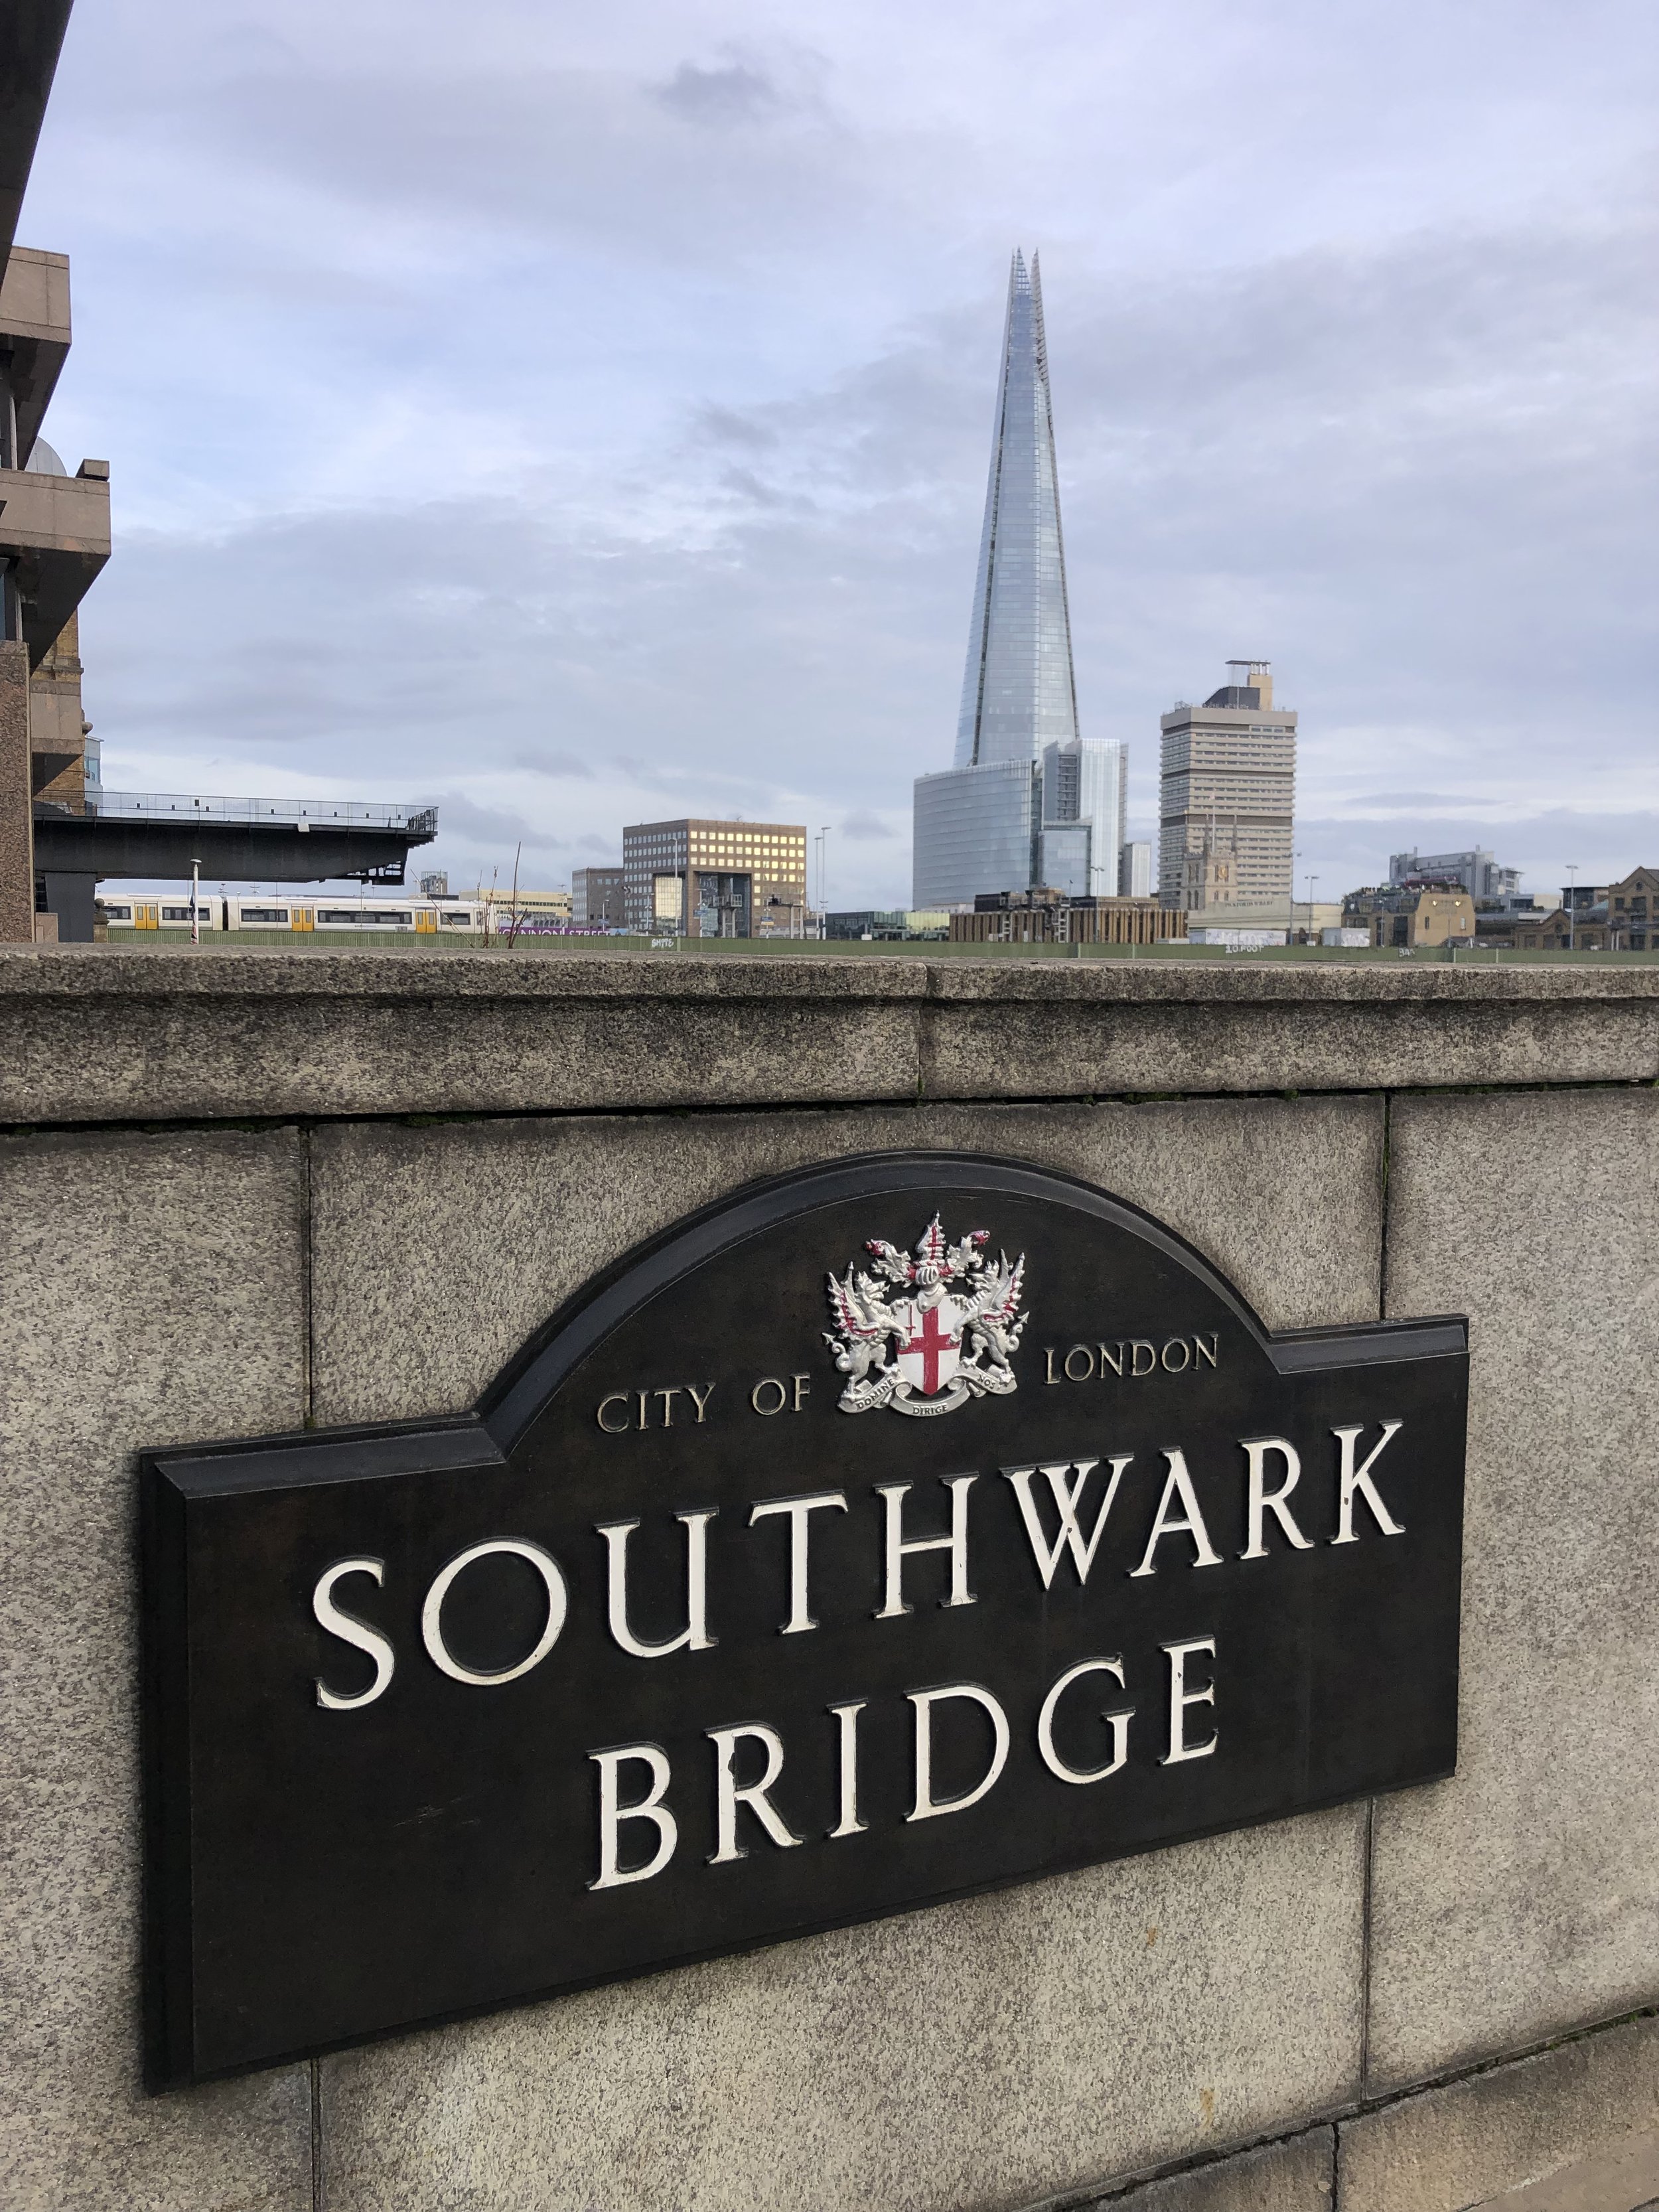
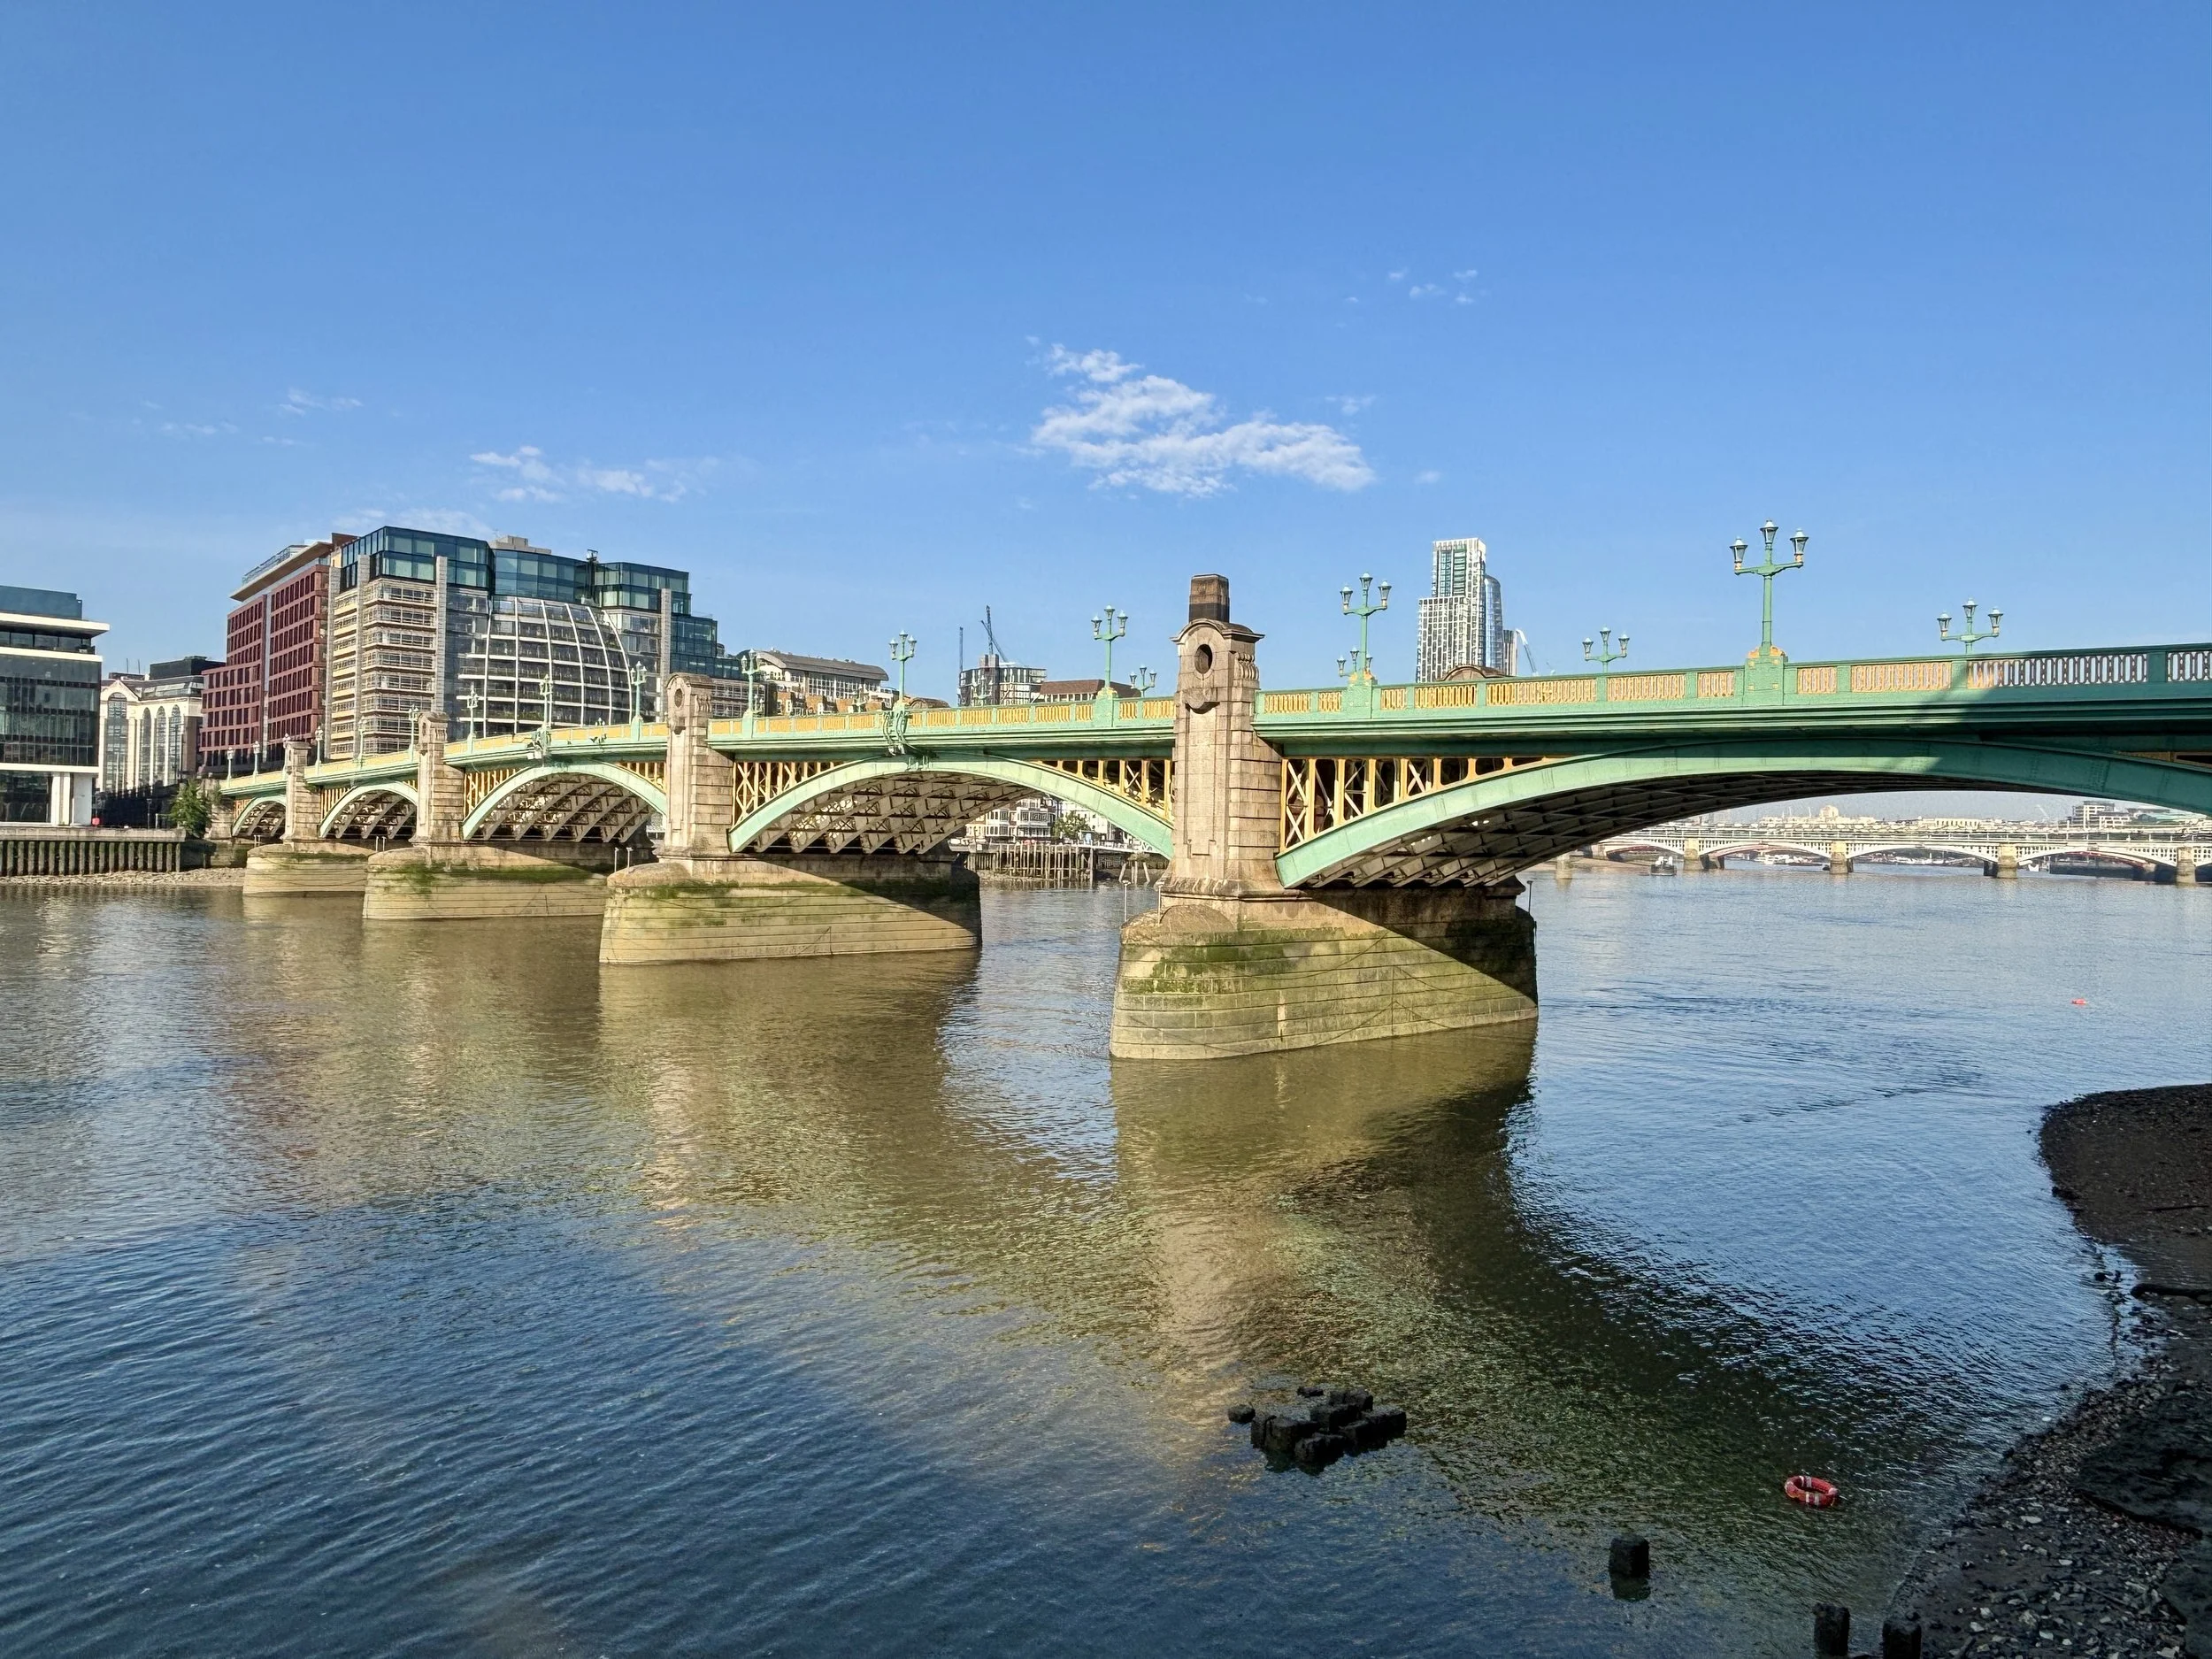
(0.8 km) Southwark Bridge. Rebuilt in 1921, the vibrant green and yellow Southwark Bridge was cleverly designed so its arches align perfectly with neighbouring bridges to ensure a smooth flow of river traffic. For a glimpse into the past, pedestrians can still spot old stone steps on the south bank once used by Thames watermen to moor their boats.
(0.8 km) Fruiterers Passage This narrow, easily missed walkway is a ghost of London's trading past, named after the Worshipful Company of Fruiterers, one of the City's ancient livery companies. It serves as a quiet reminder of the medieval days when different trades clustered in specific riverside alleys to load and unload their goods.
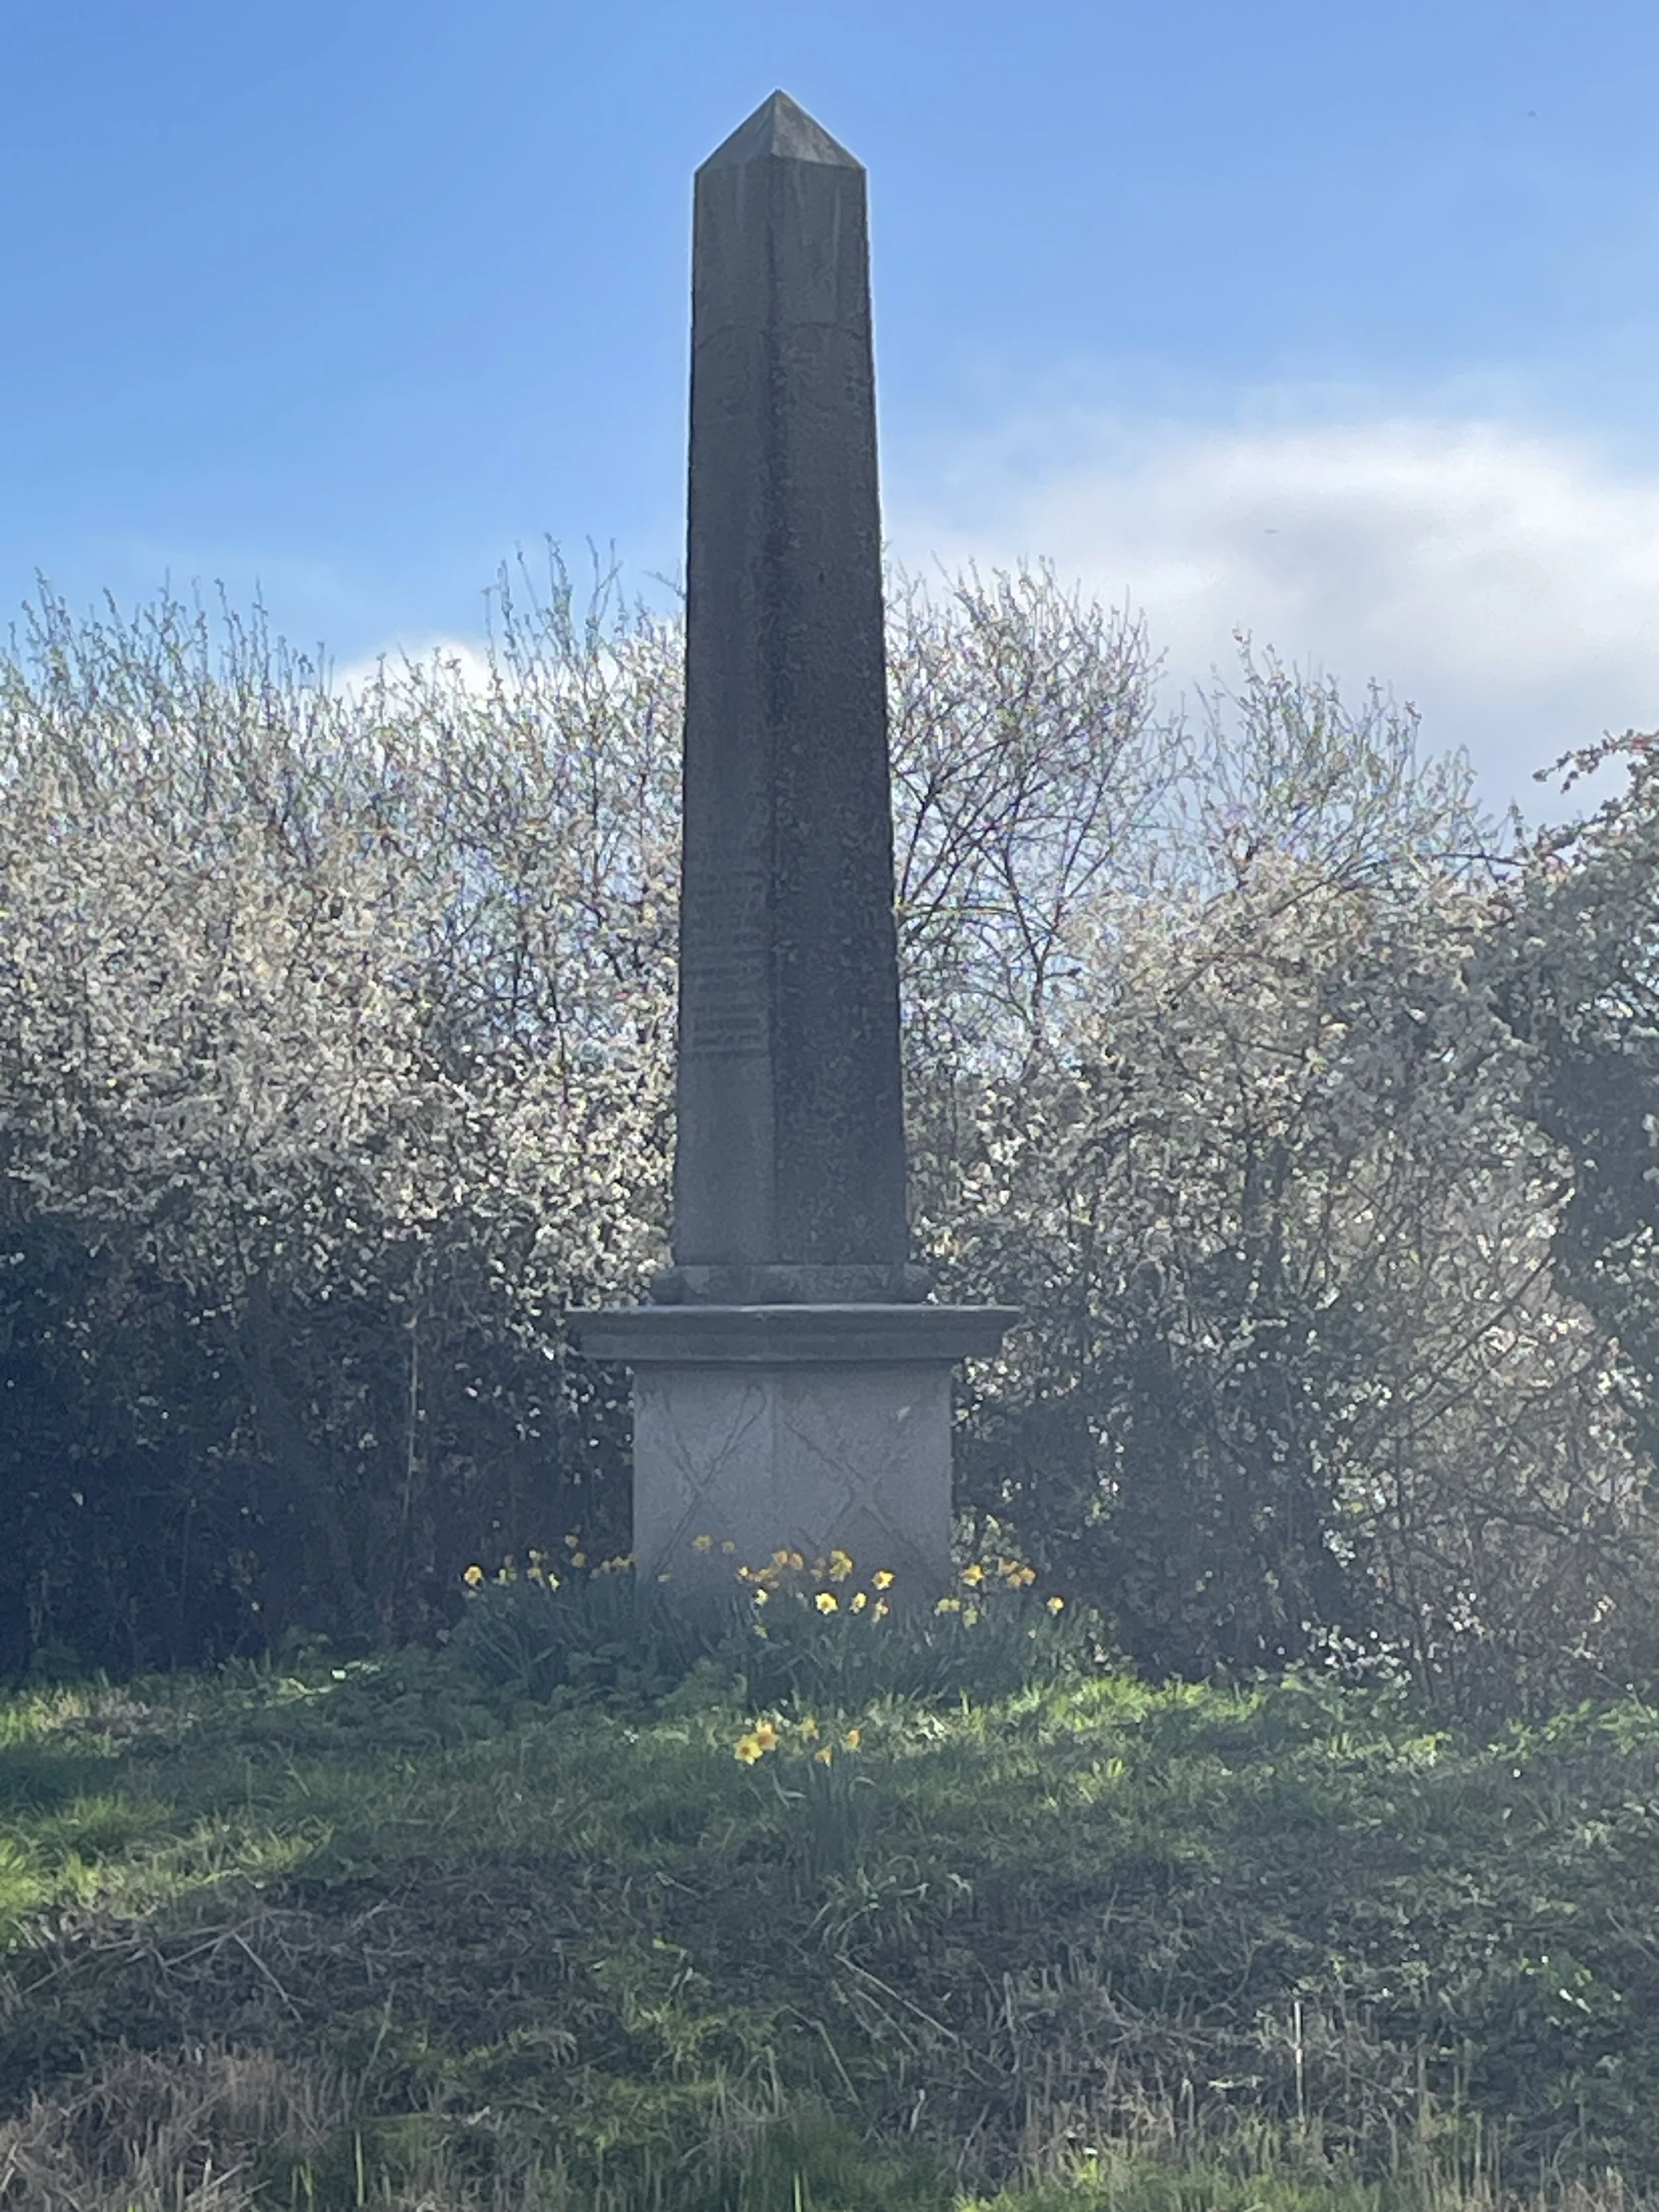
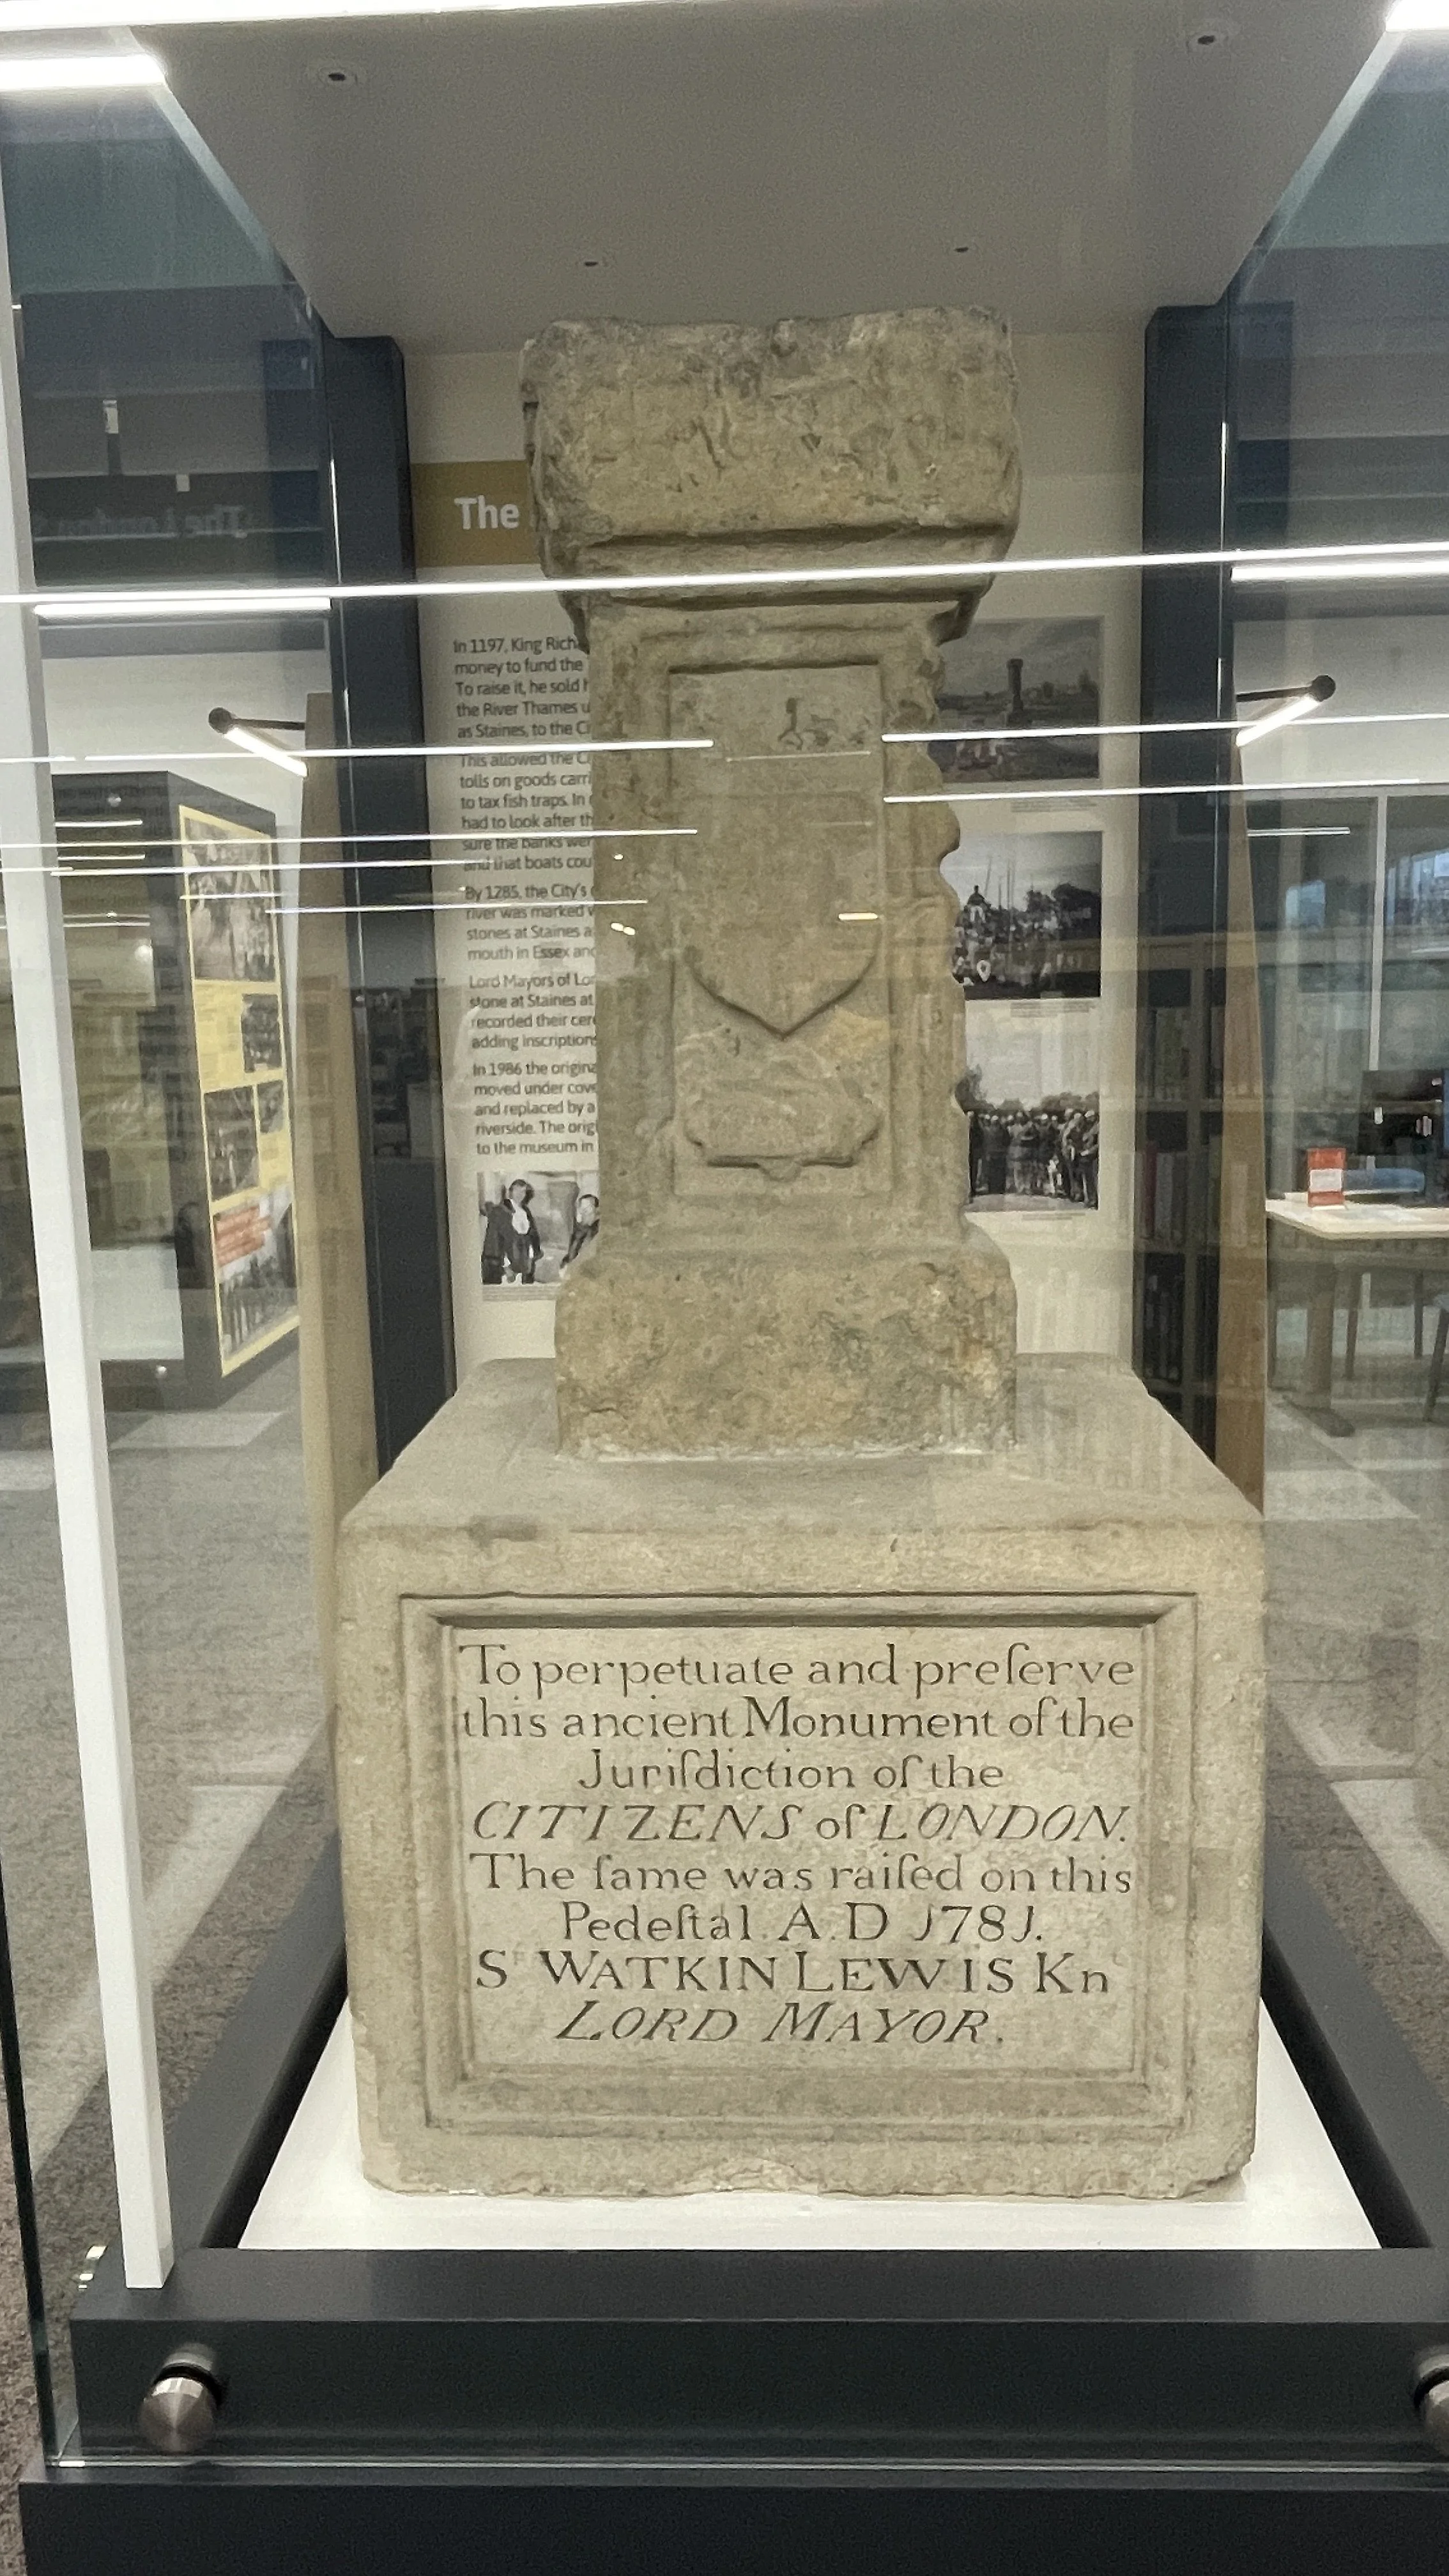
(1.0 km) The Alfred Plaque This modest stone memorial marks King Alfred the Great's restoration of London in 886 AD after a period of Viking occupation. It highlights how he rebuilt the Roman walls and re-established the nearby Queenhithe dock to revive the city's trade and ensure its survival.
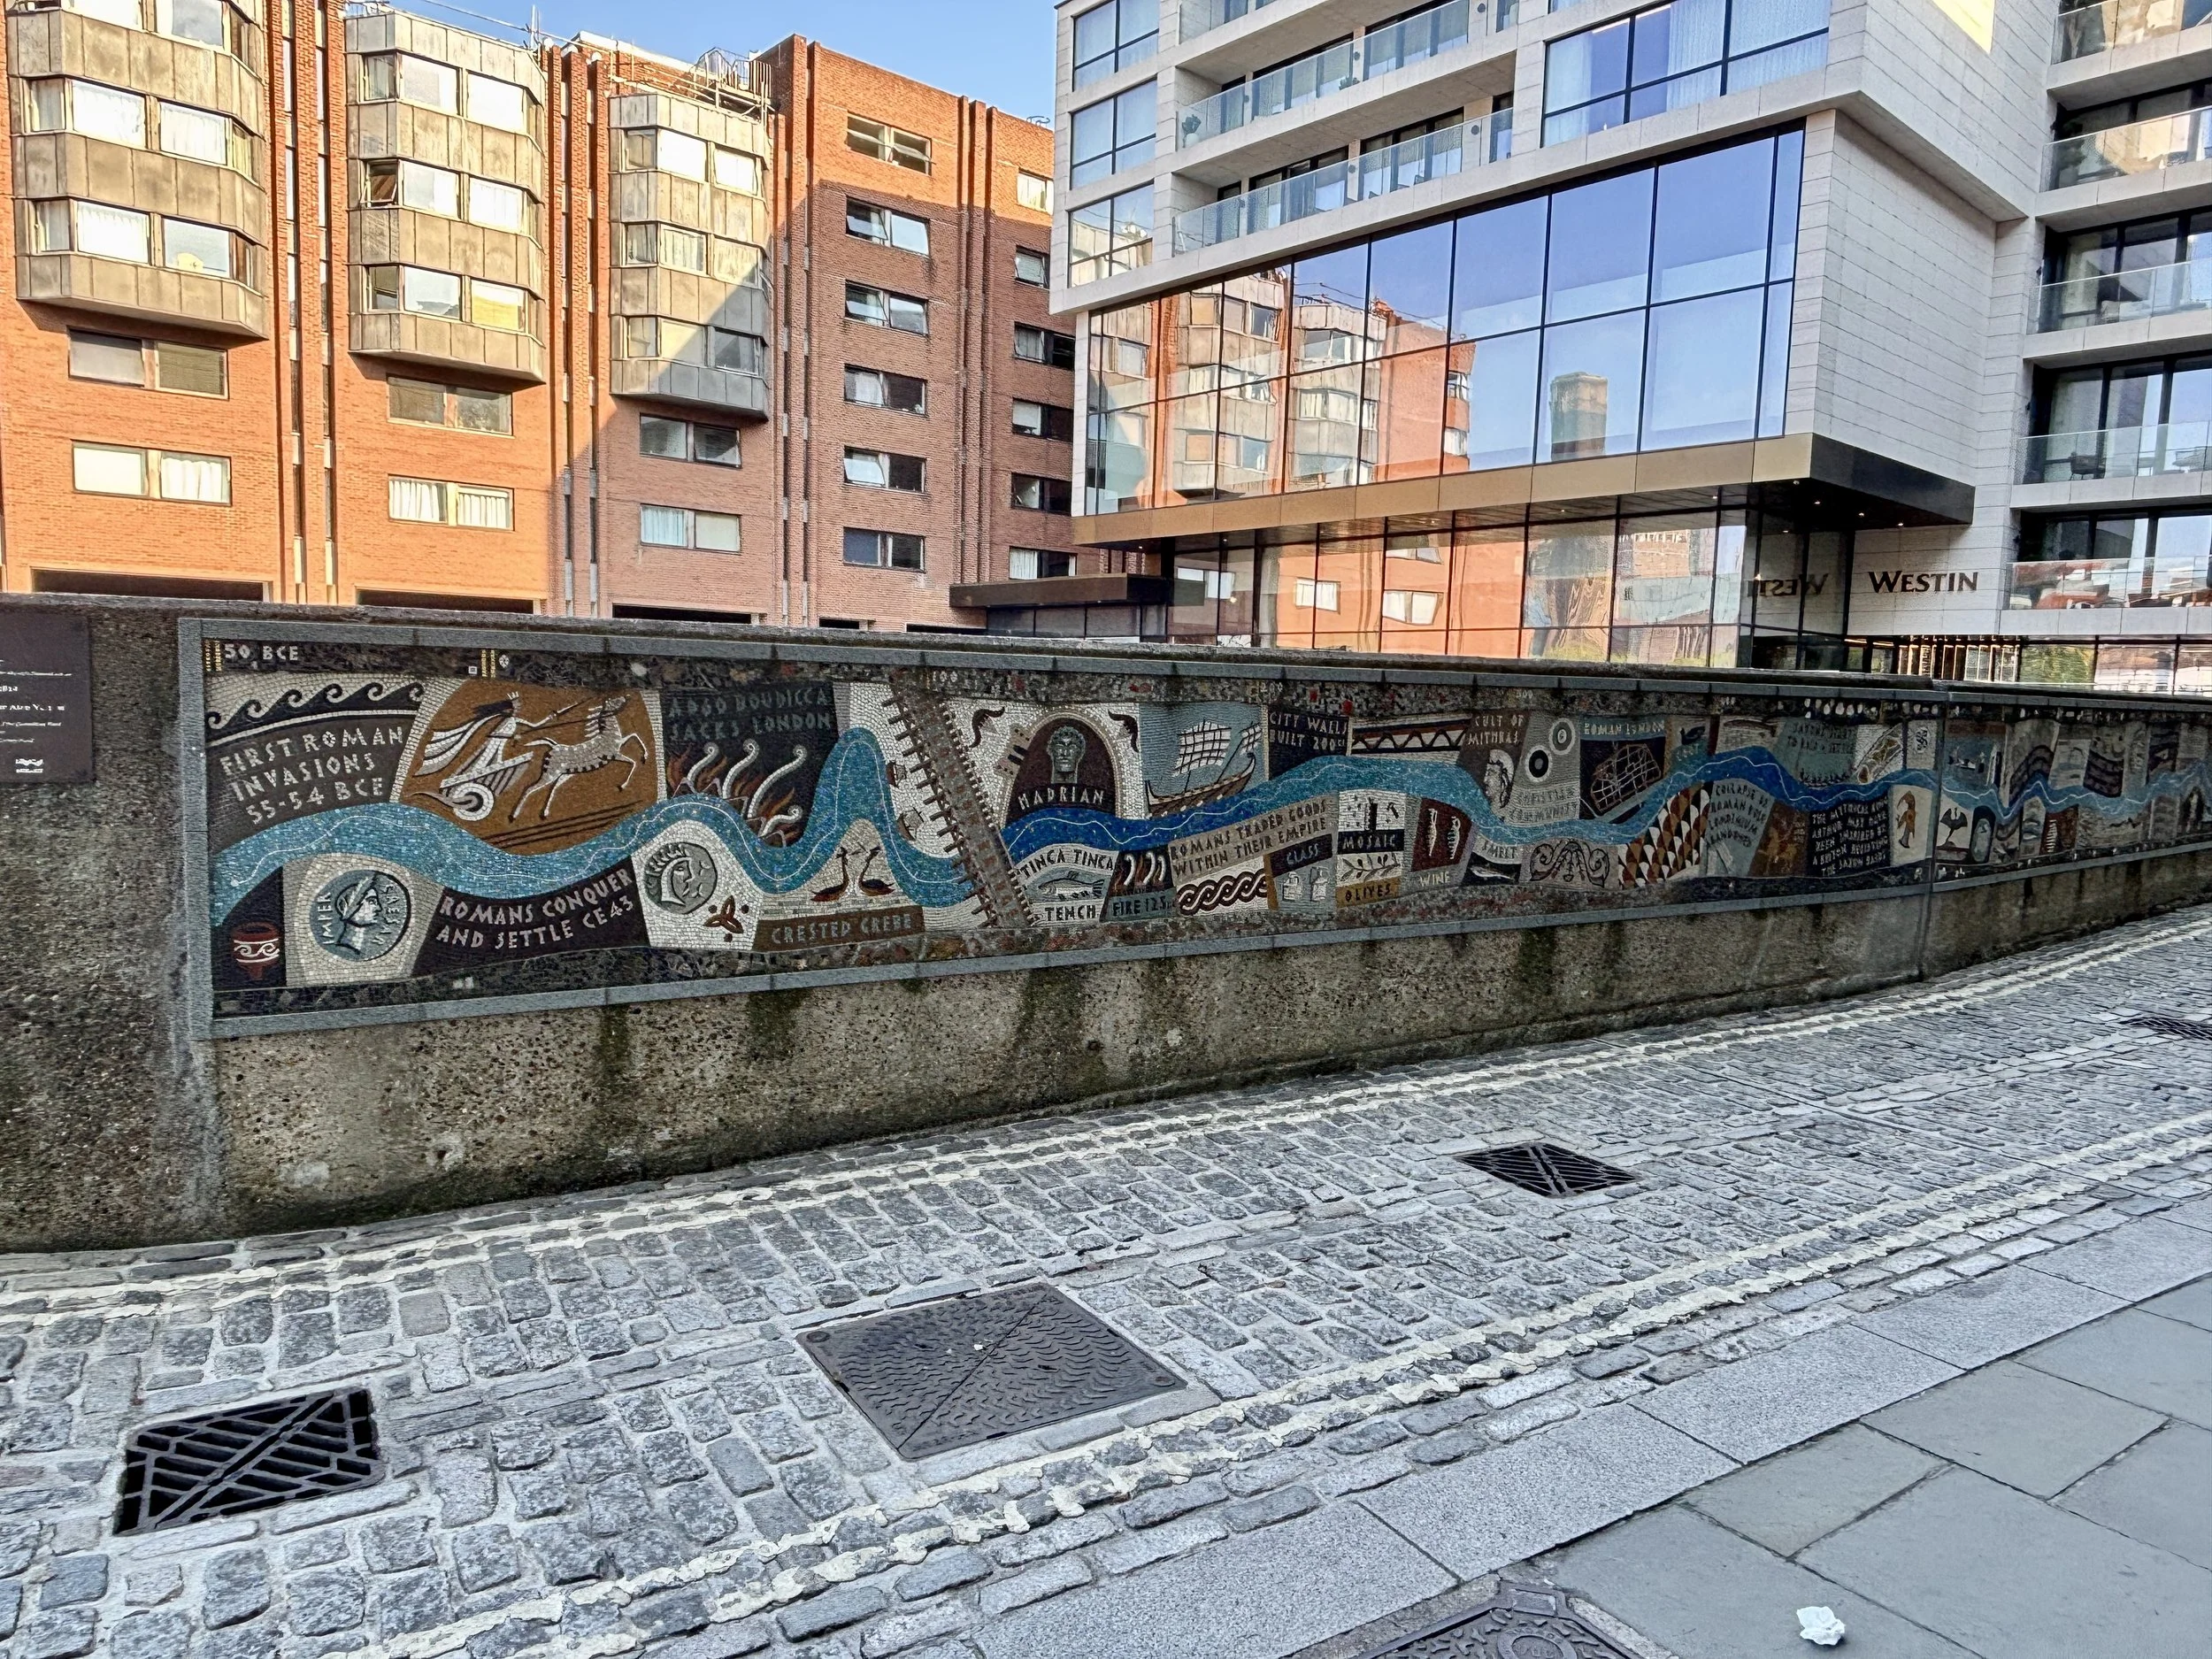
(1.0 km) Queenhithe Mosaic Unveiled in 2014, this beautiful 30-meter-long mosaic timeline vividly illustrates the history of London and the Queenhithe dock from Roman times right up to the present day. It is an unexpected, colorful piece of public art that encapsulates the historical significance of the shoreline you are walking along.
(1.1 km) Queenhithe Dock and Wharf Once the most important dock in Saxon and medieval London, goods like corn, fish, and fur were traded here for centuries. Today, it is a scheduled ancient monument and the only surviving inlet on the modern City waterfront, offering a rare, untouched glimpse into the ancient port of London.
(1.2 km) Samuel Pepys Pub Named after the famous 17th-century diarist who documented both the Great Fire and the Great Plague, this pub sits in a historic wooden warehouse on the north bank.
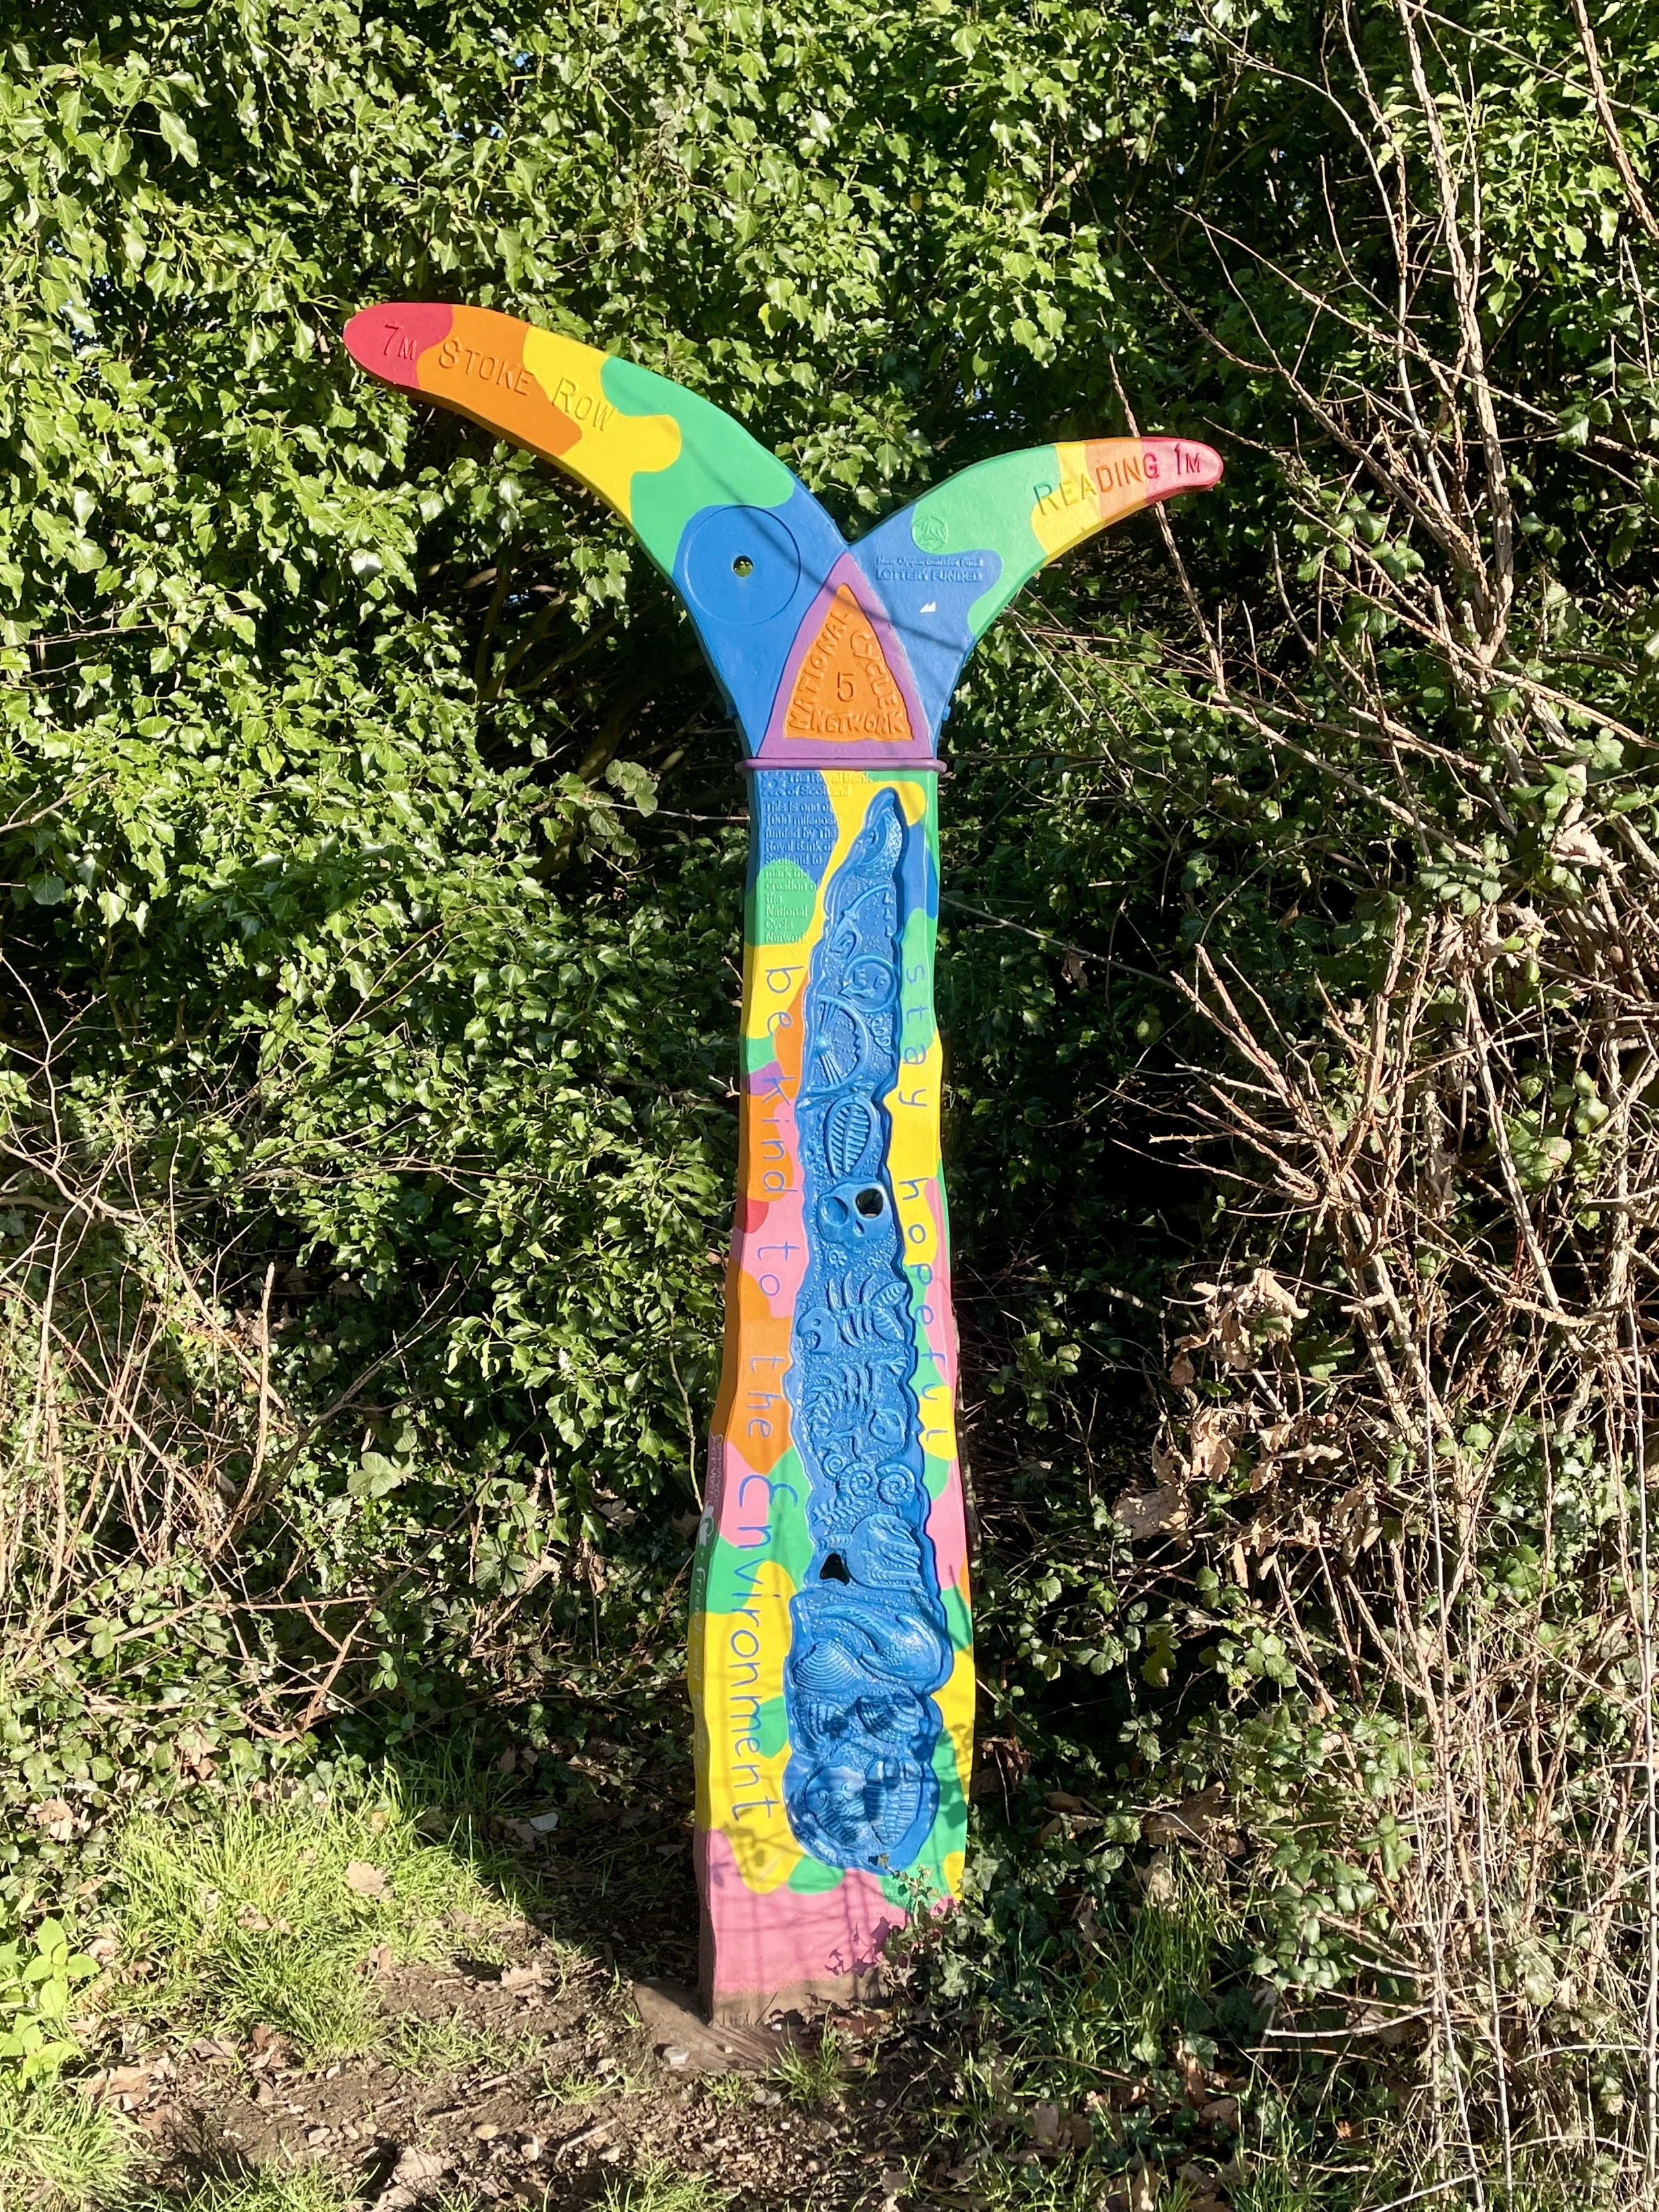
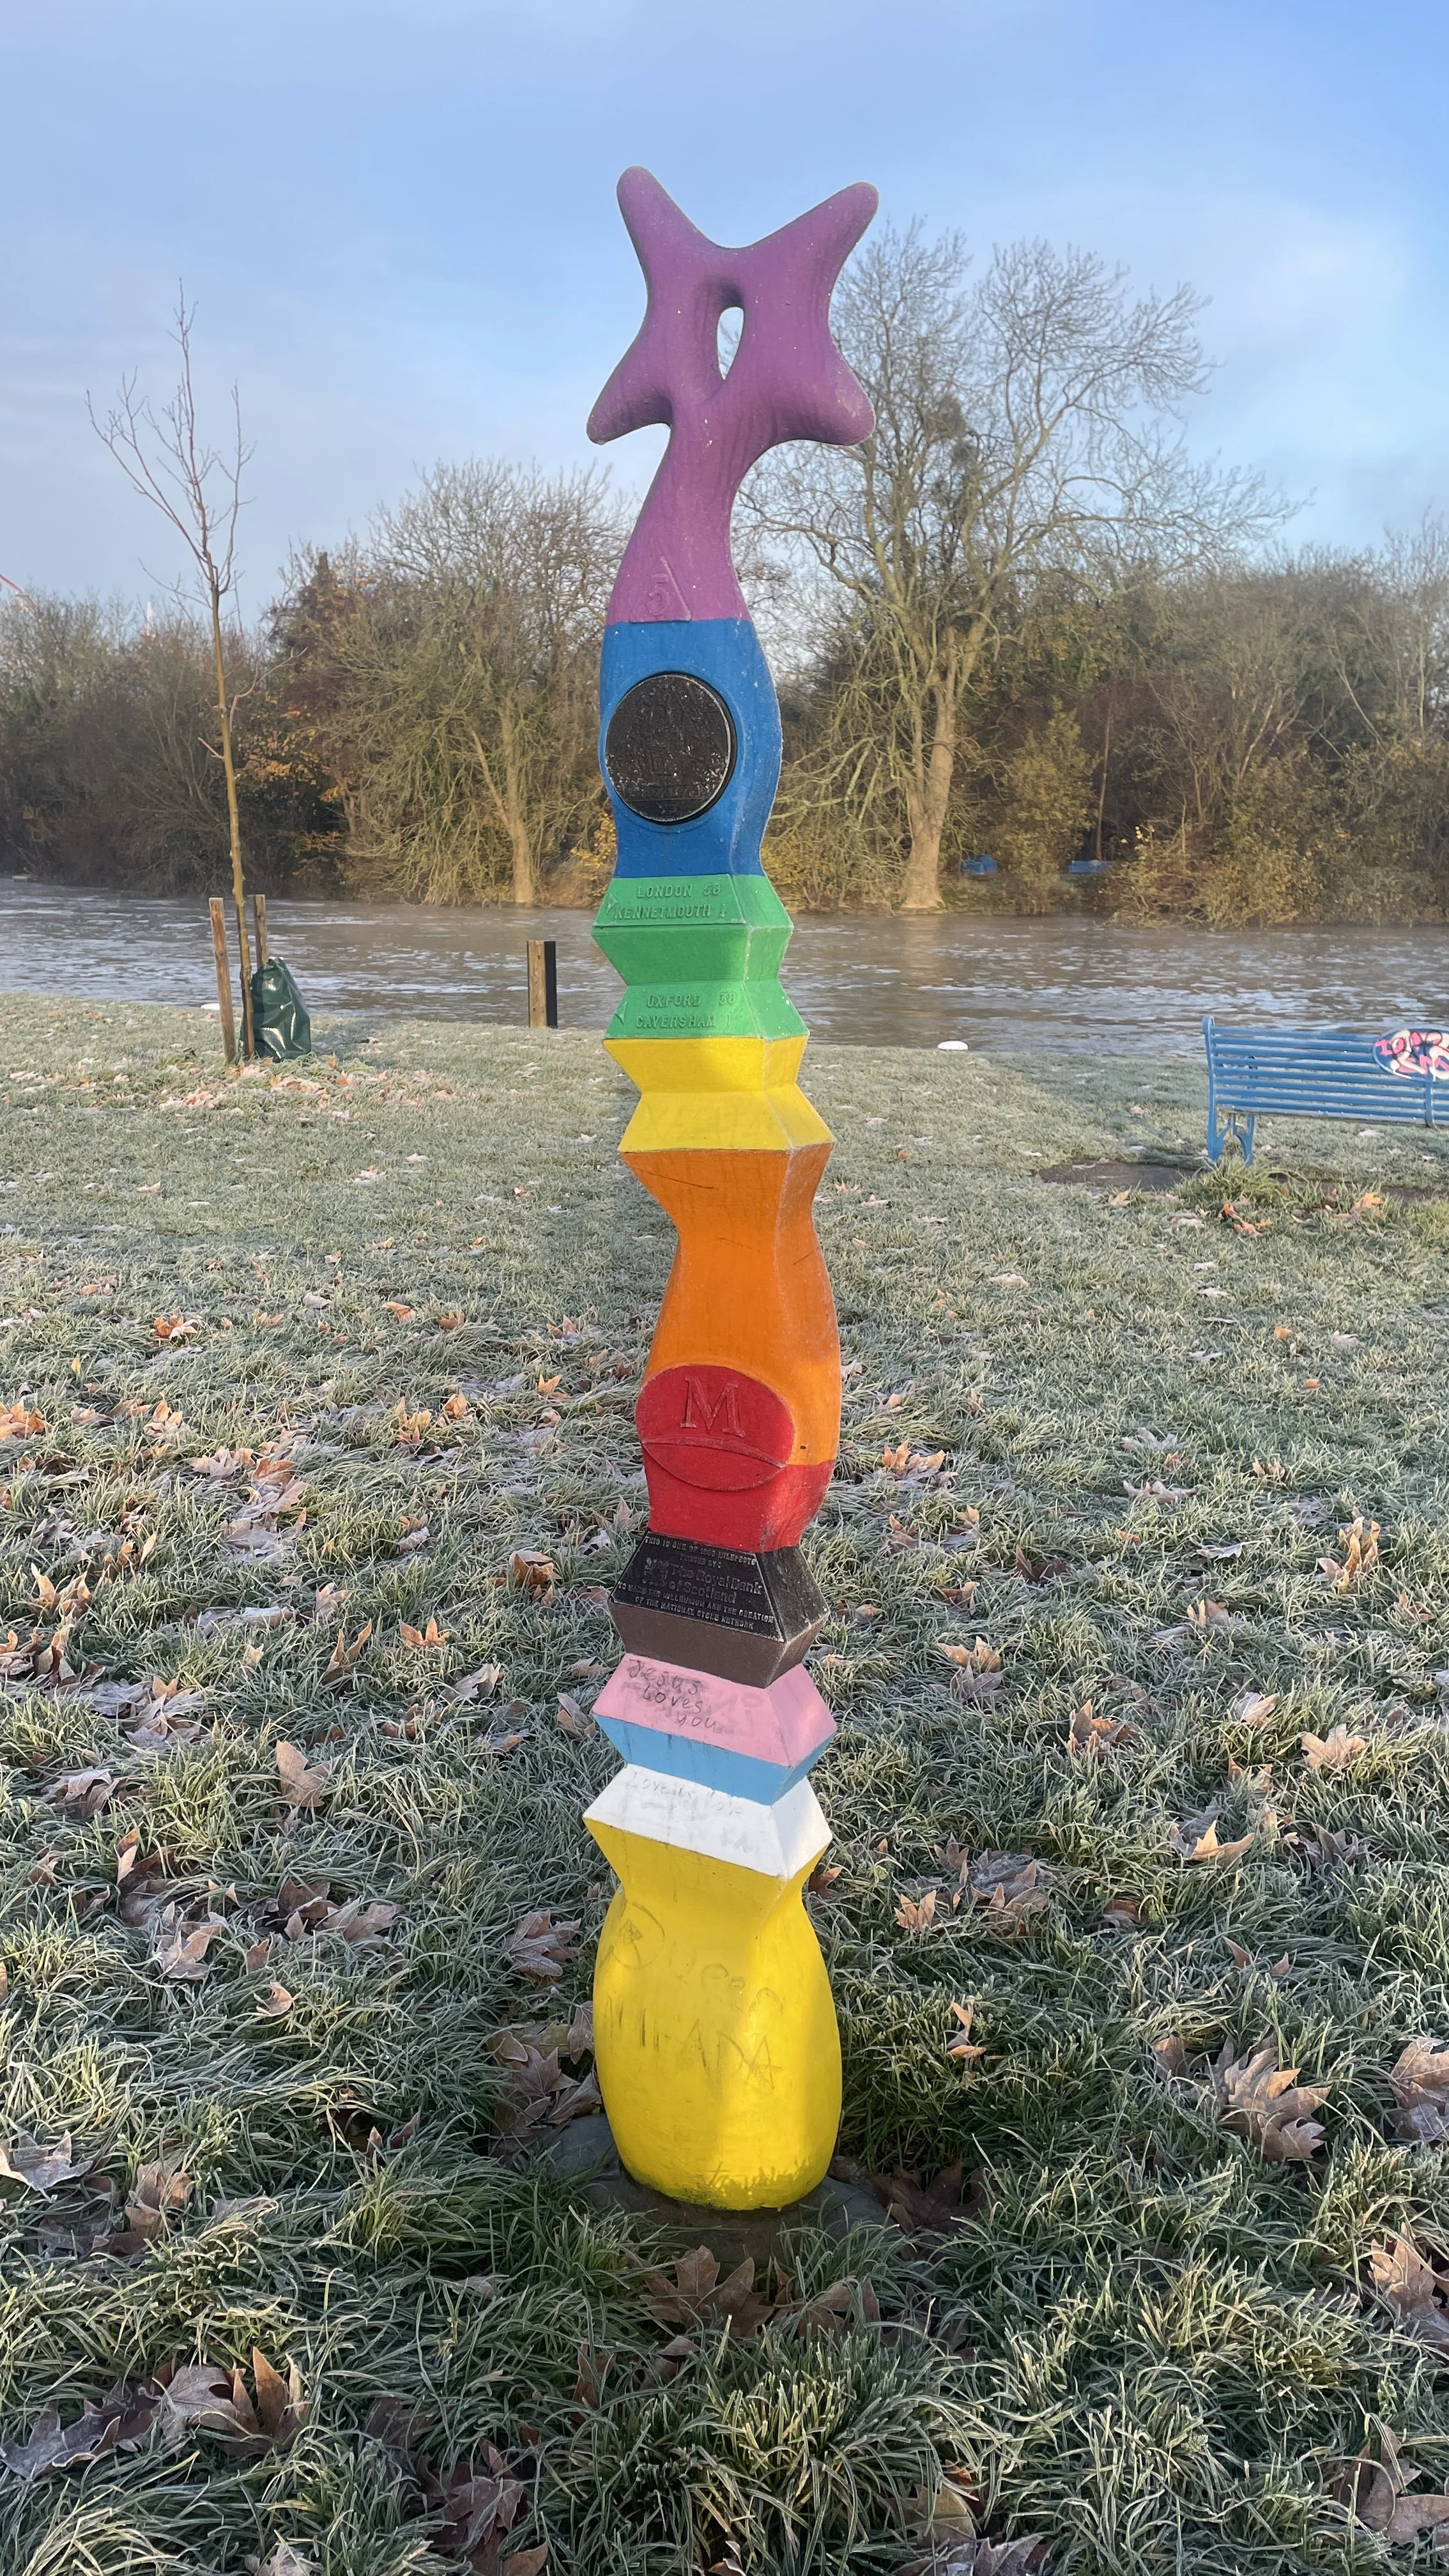
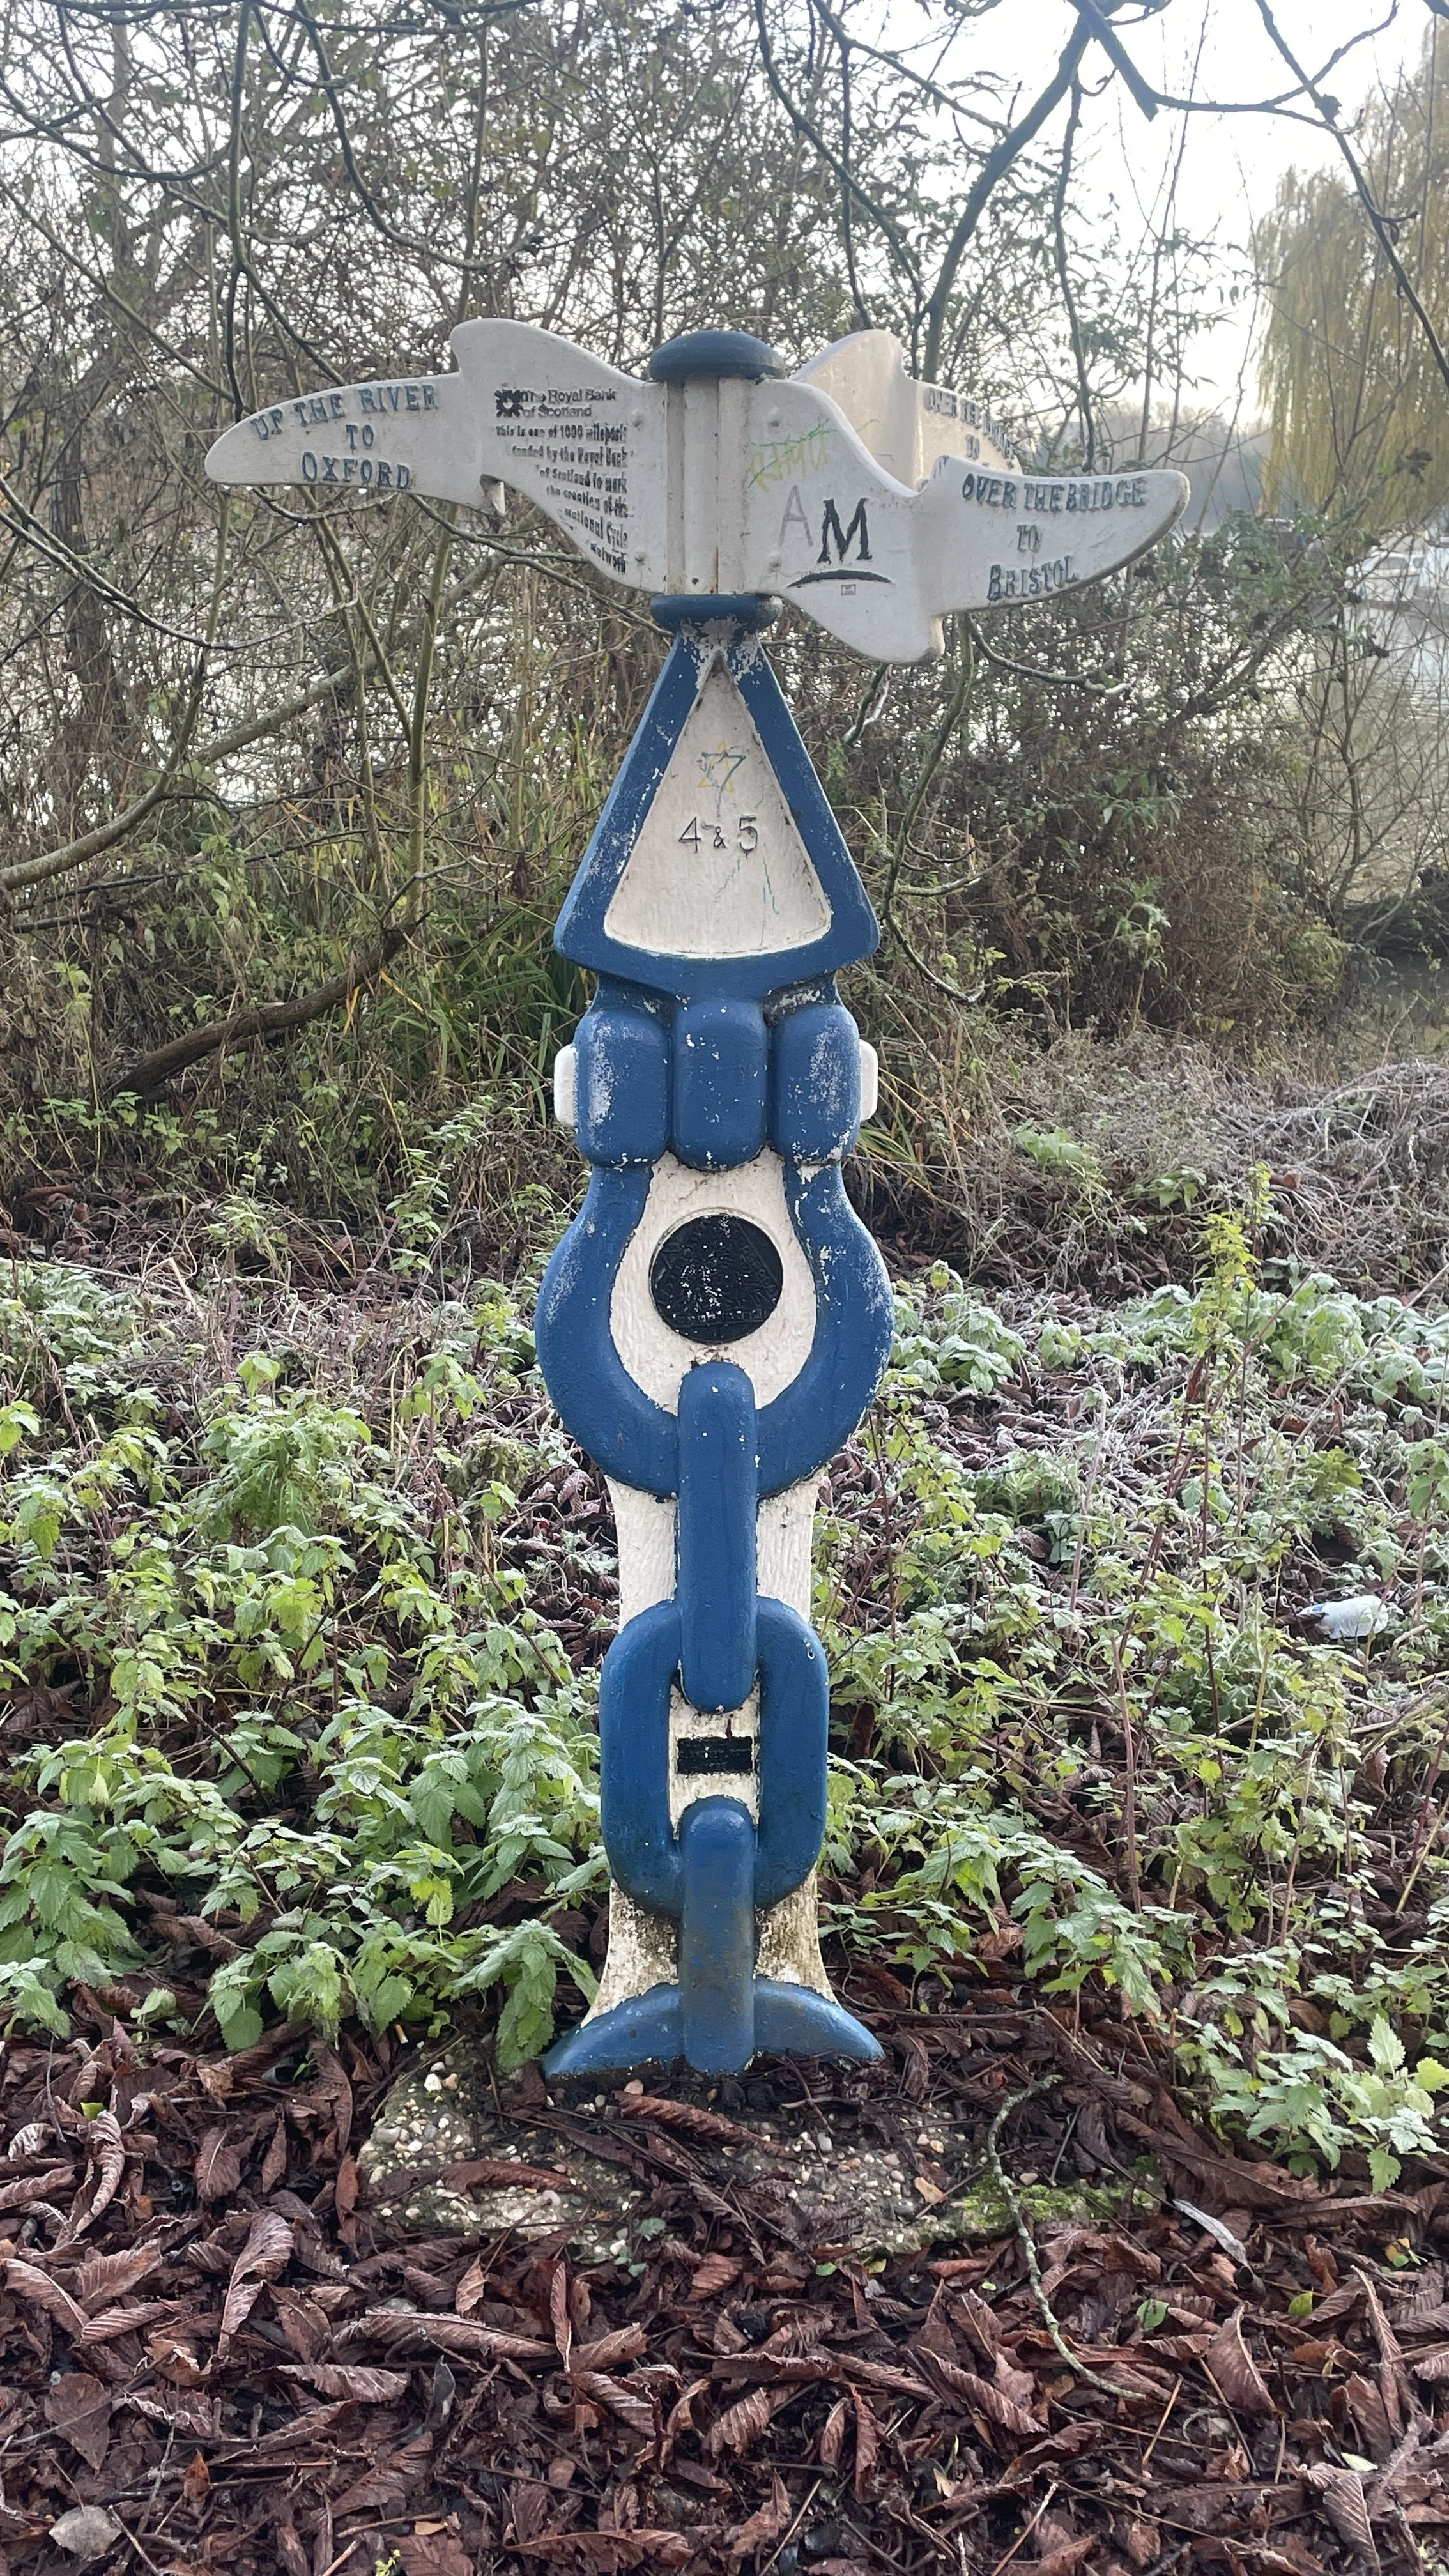
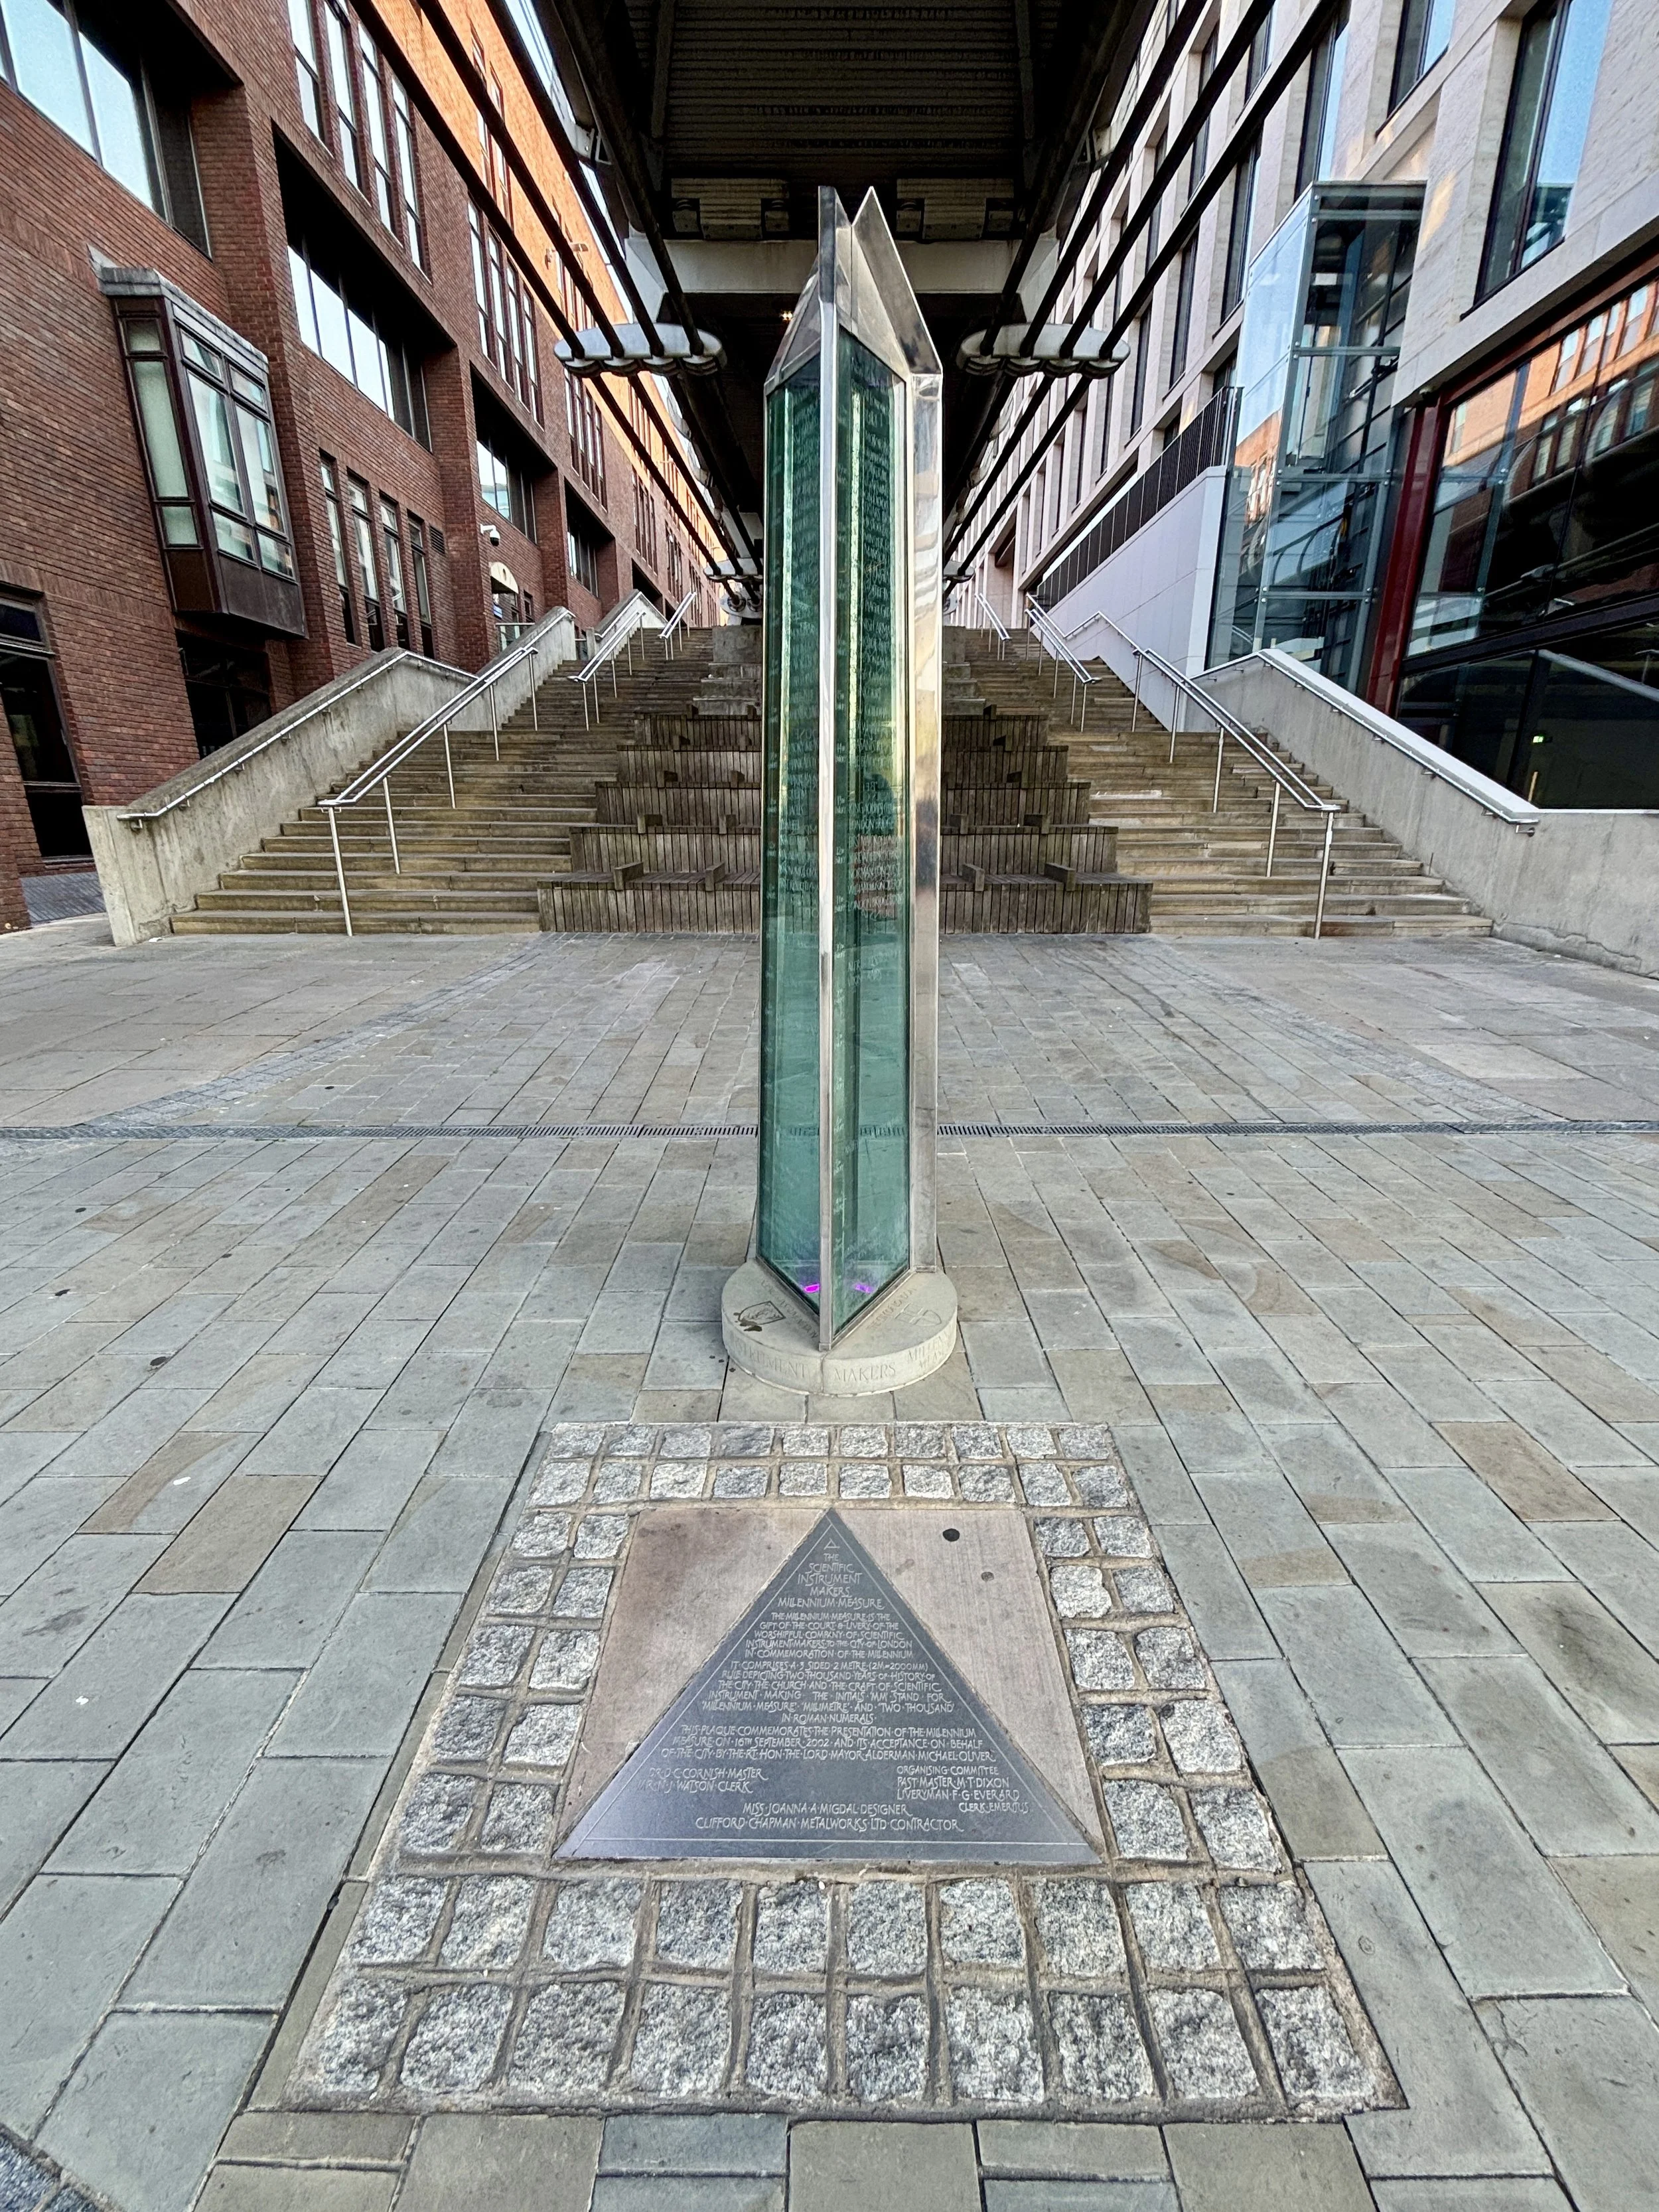
(1.4 km) Millennium Measure. Gifted by the Worshipful Company of Scientific Instrument Makers for the year 2000, the Millennium Measure is a stainless steel and glass sculpture serving as a three-sided, two-metre rule that depicts two thousand years of history. Its initials "MM" cleverly stand for three things simultaneously: "Millennium Measure", "millimetre", and the number two thousand in Roman numerals.
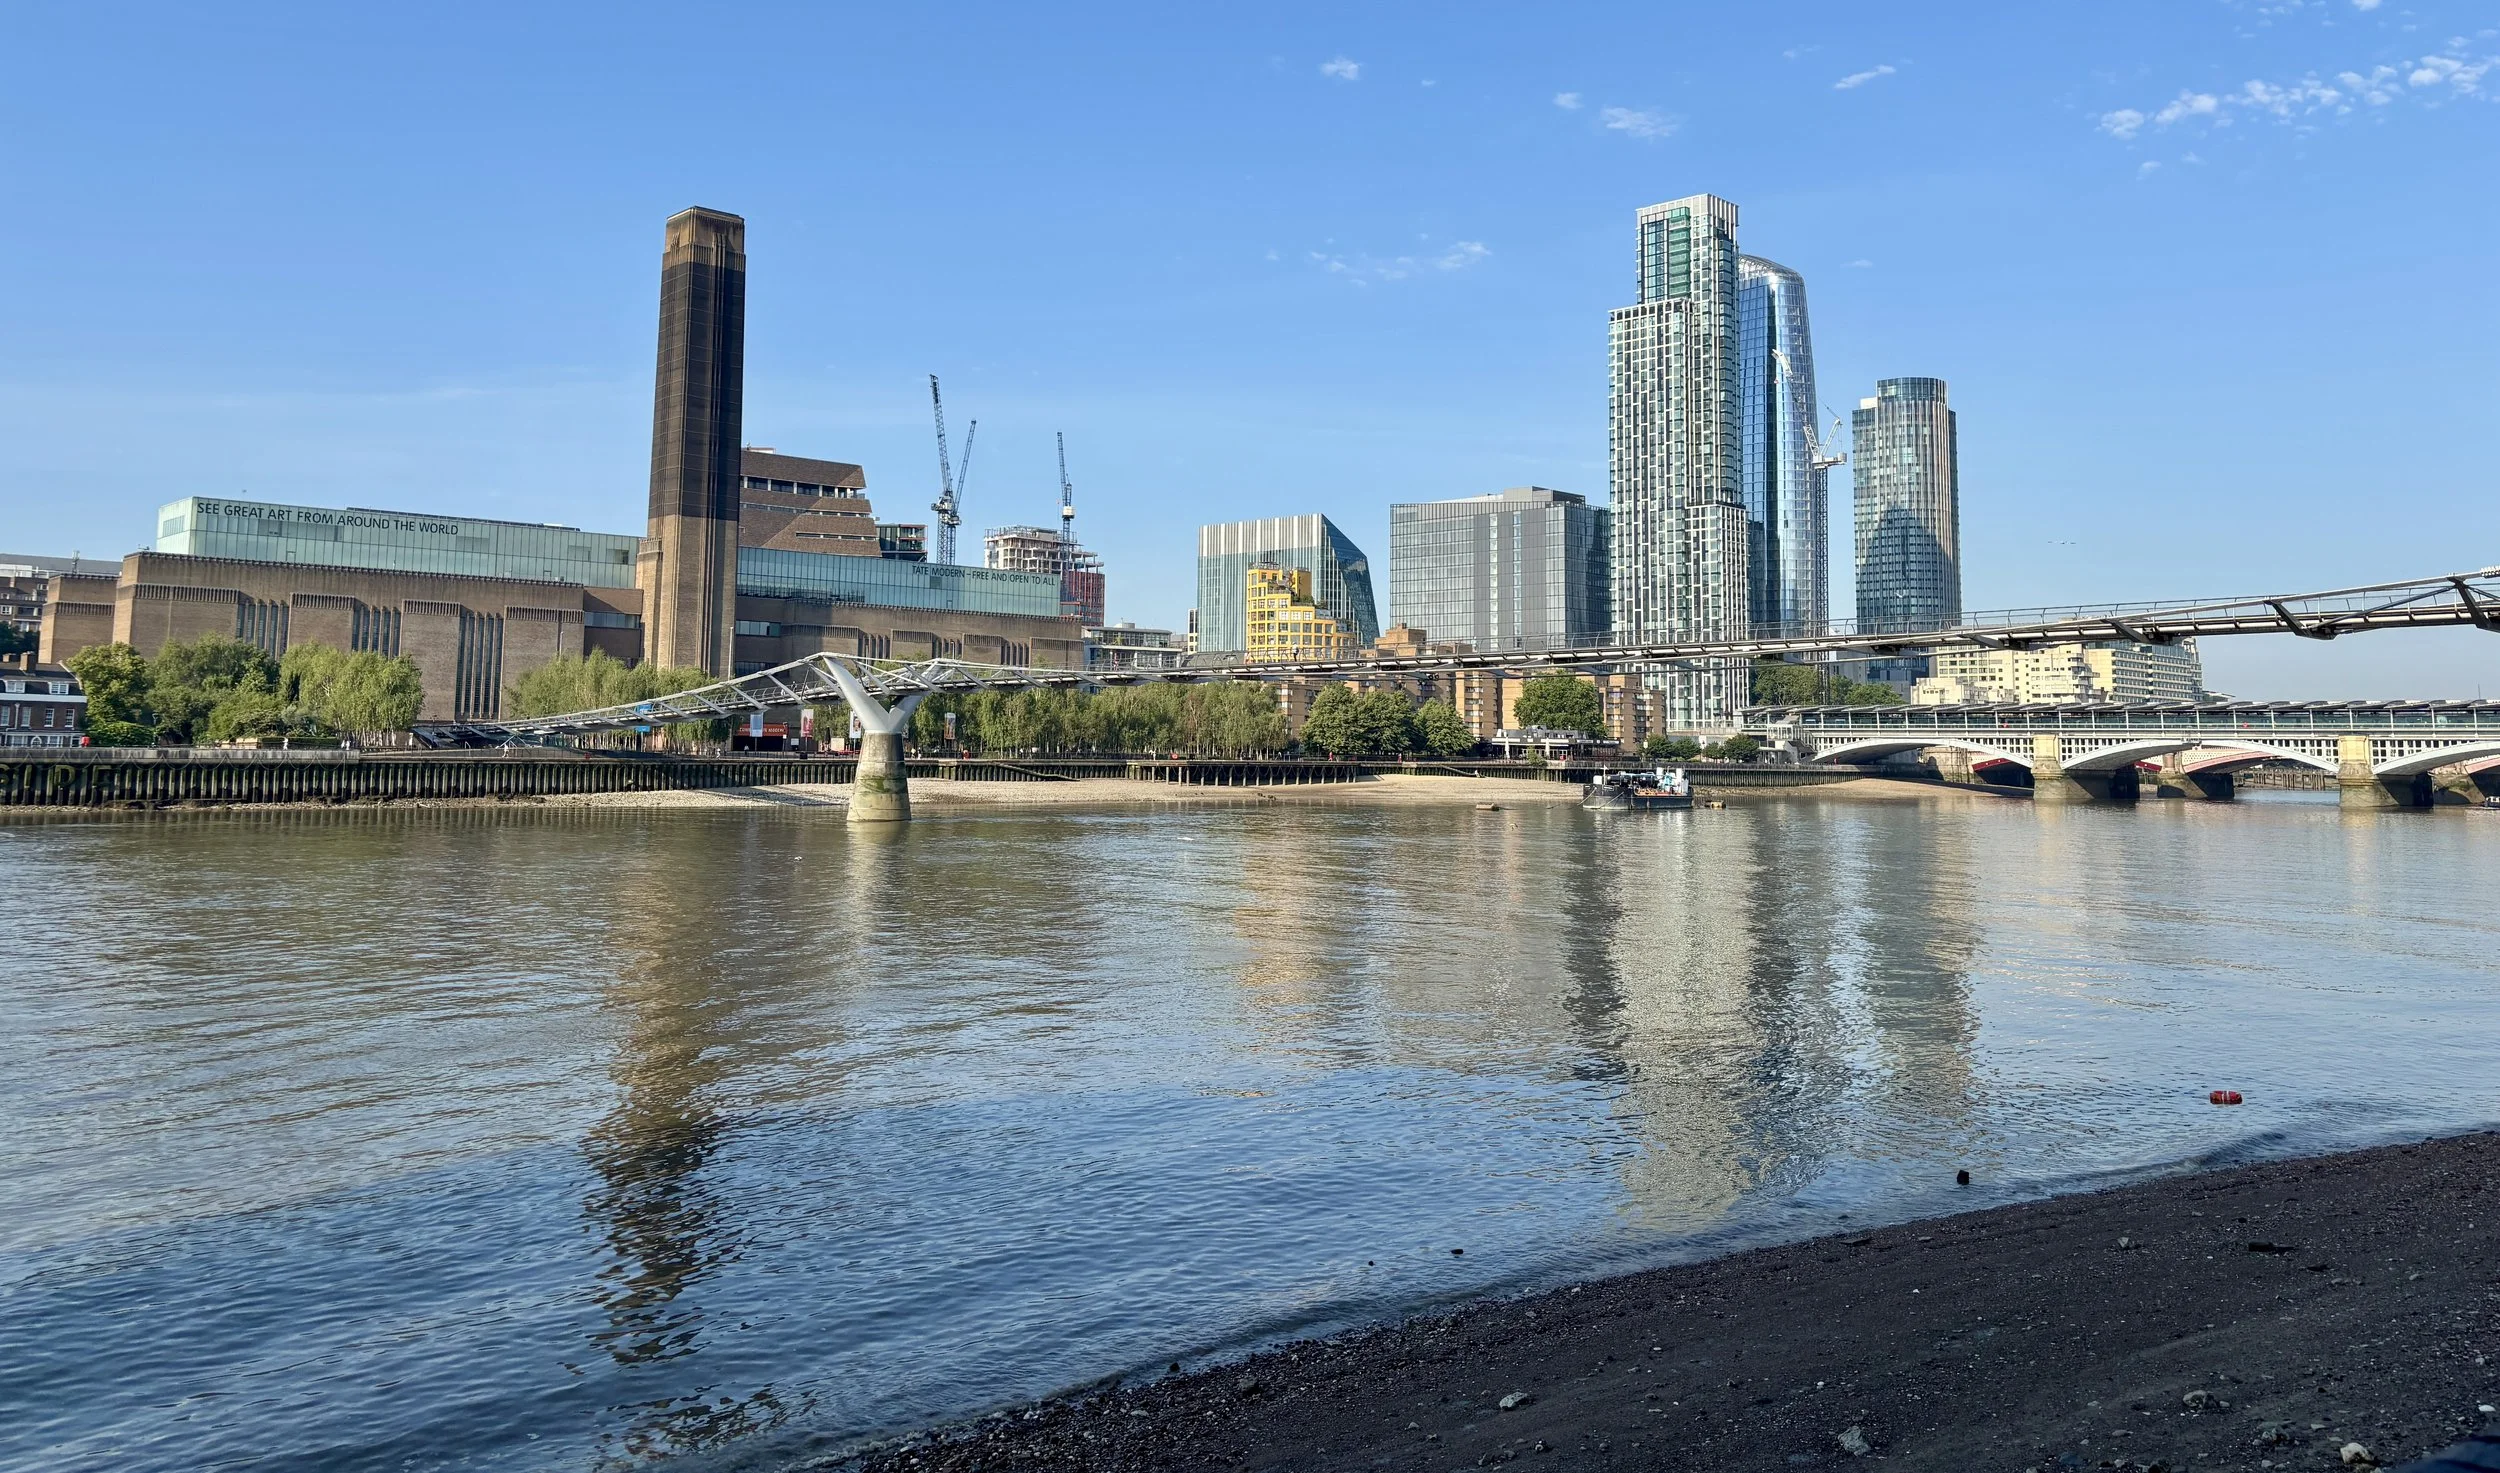
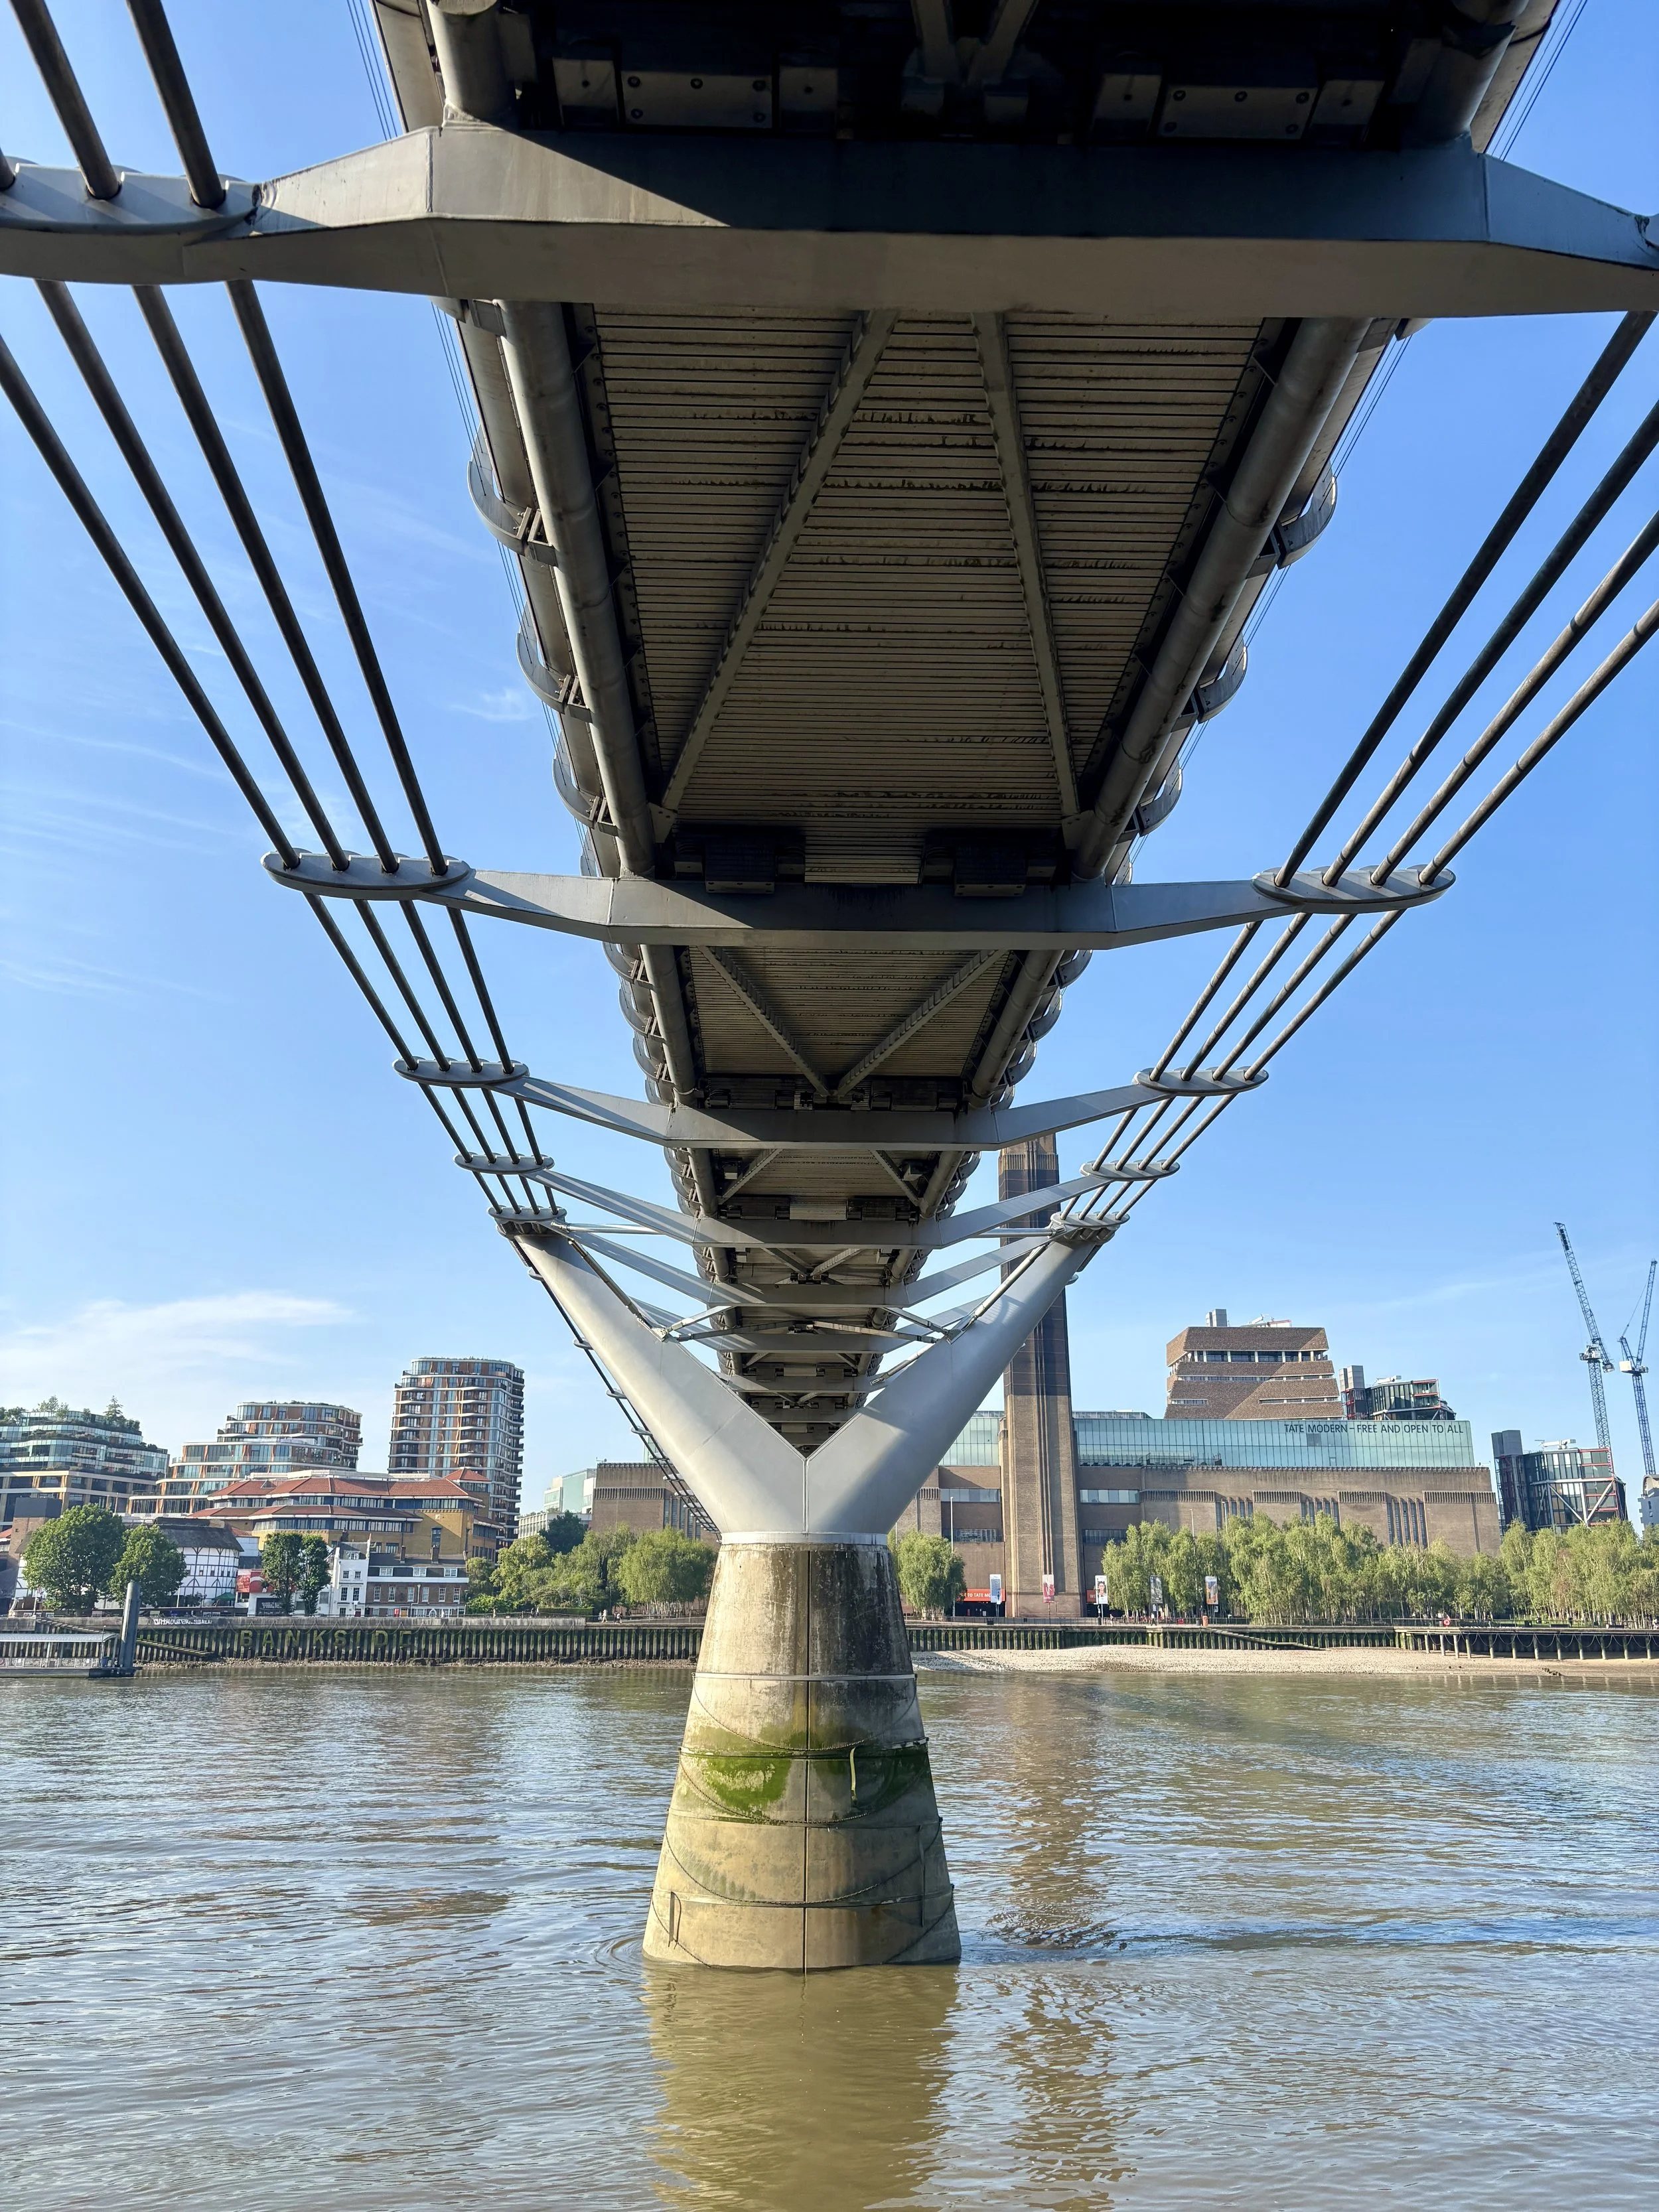
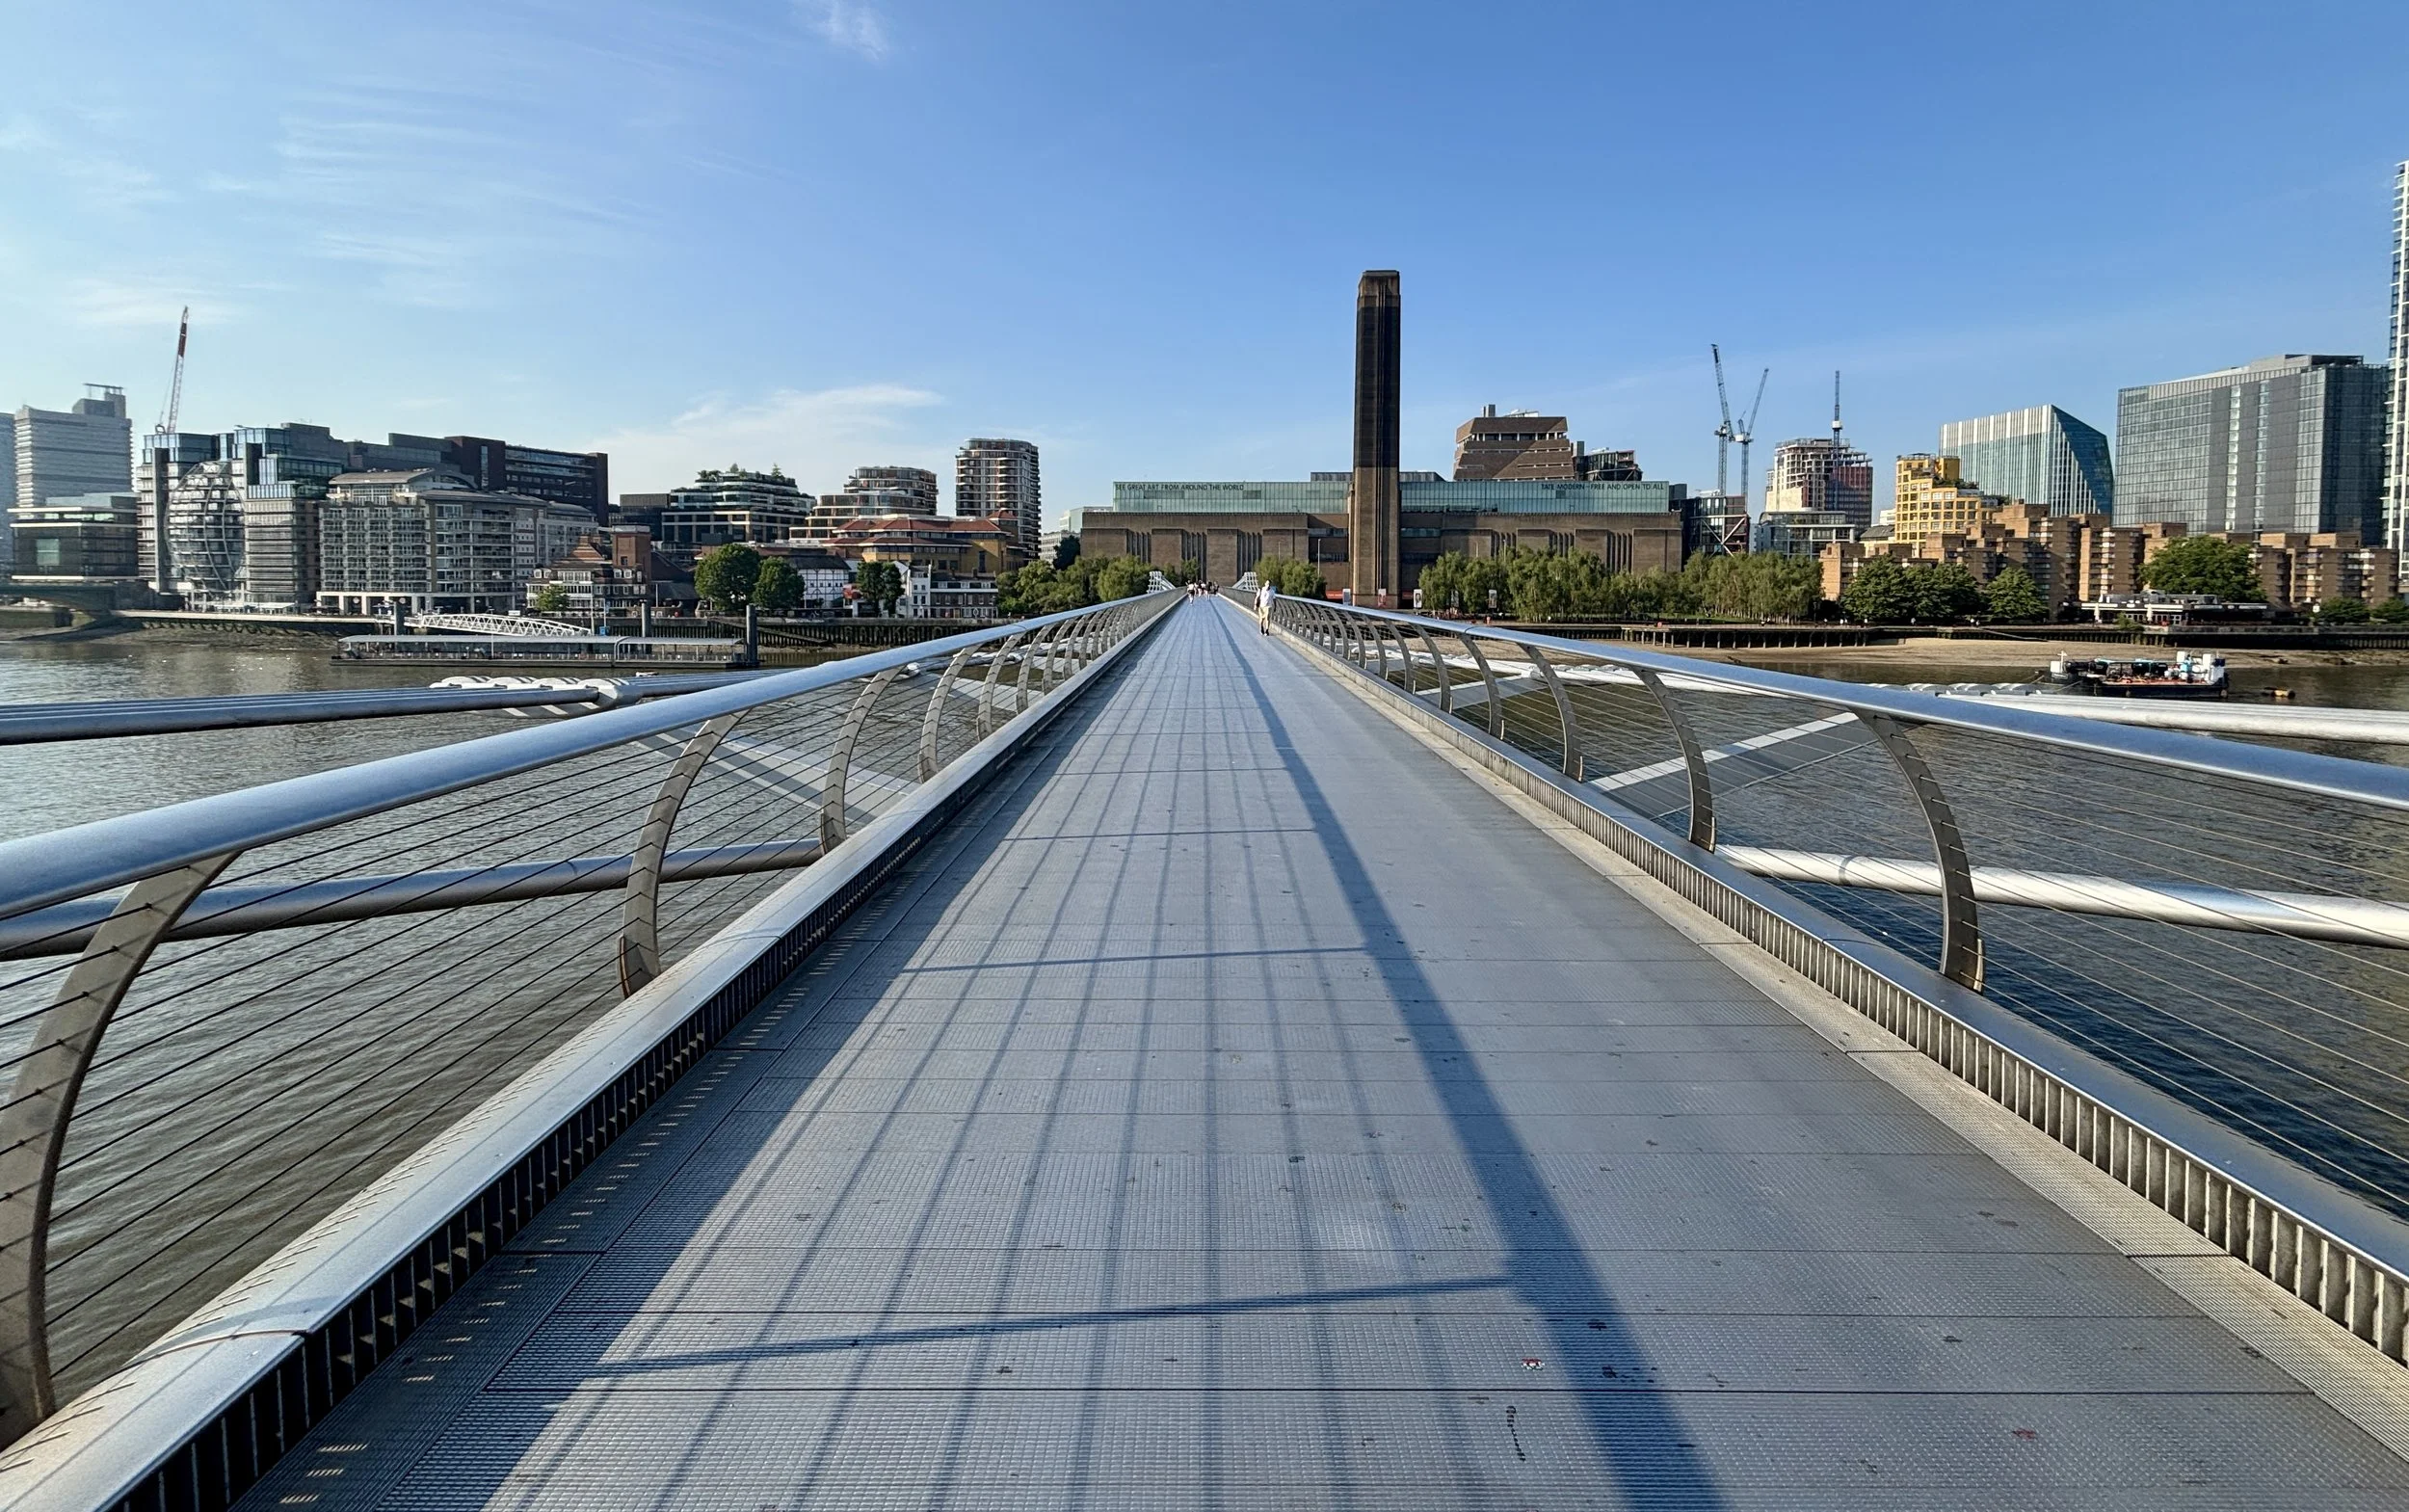
(1.4 km) Millennium Bridge Opened in 2000, this steel suspension footbridge elegantly links St Paul's Cathedral with the Tate Modern. It famously earned the nickname "The Wobbly Bridge" due to a swaying motion experienced on its opening day, an engineering quirk which took two years and specialized dampeners to finally fix.
(1.5 km) St Paul's Cathedral Though you don't walk right up to it on this specific path, the view of its iconic dome from the Millennium Bridge is a deliberately engineered sightline. Sir Christopher Wren's architectural masterpiece is framed perfectly by the bridge's suspension cables, offering one of the most celebrated and deliberate vistas in all of London.
(1.8 km) Shakespeare's Globe Located just off the path after crossing the river, this is a meticulous reconstruction of the original Elizabethan playhouse where Shakespeare debuted his greatest works. A wonderfully quirky detail: it features the first and only thatched roof permitted in London since the Great Fire of 1666, protected today by specially designed fire-retardant sprinklers.
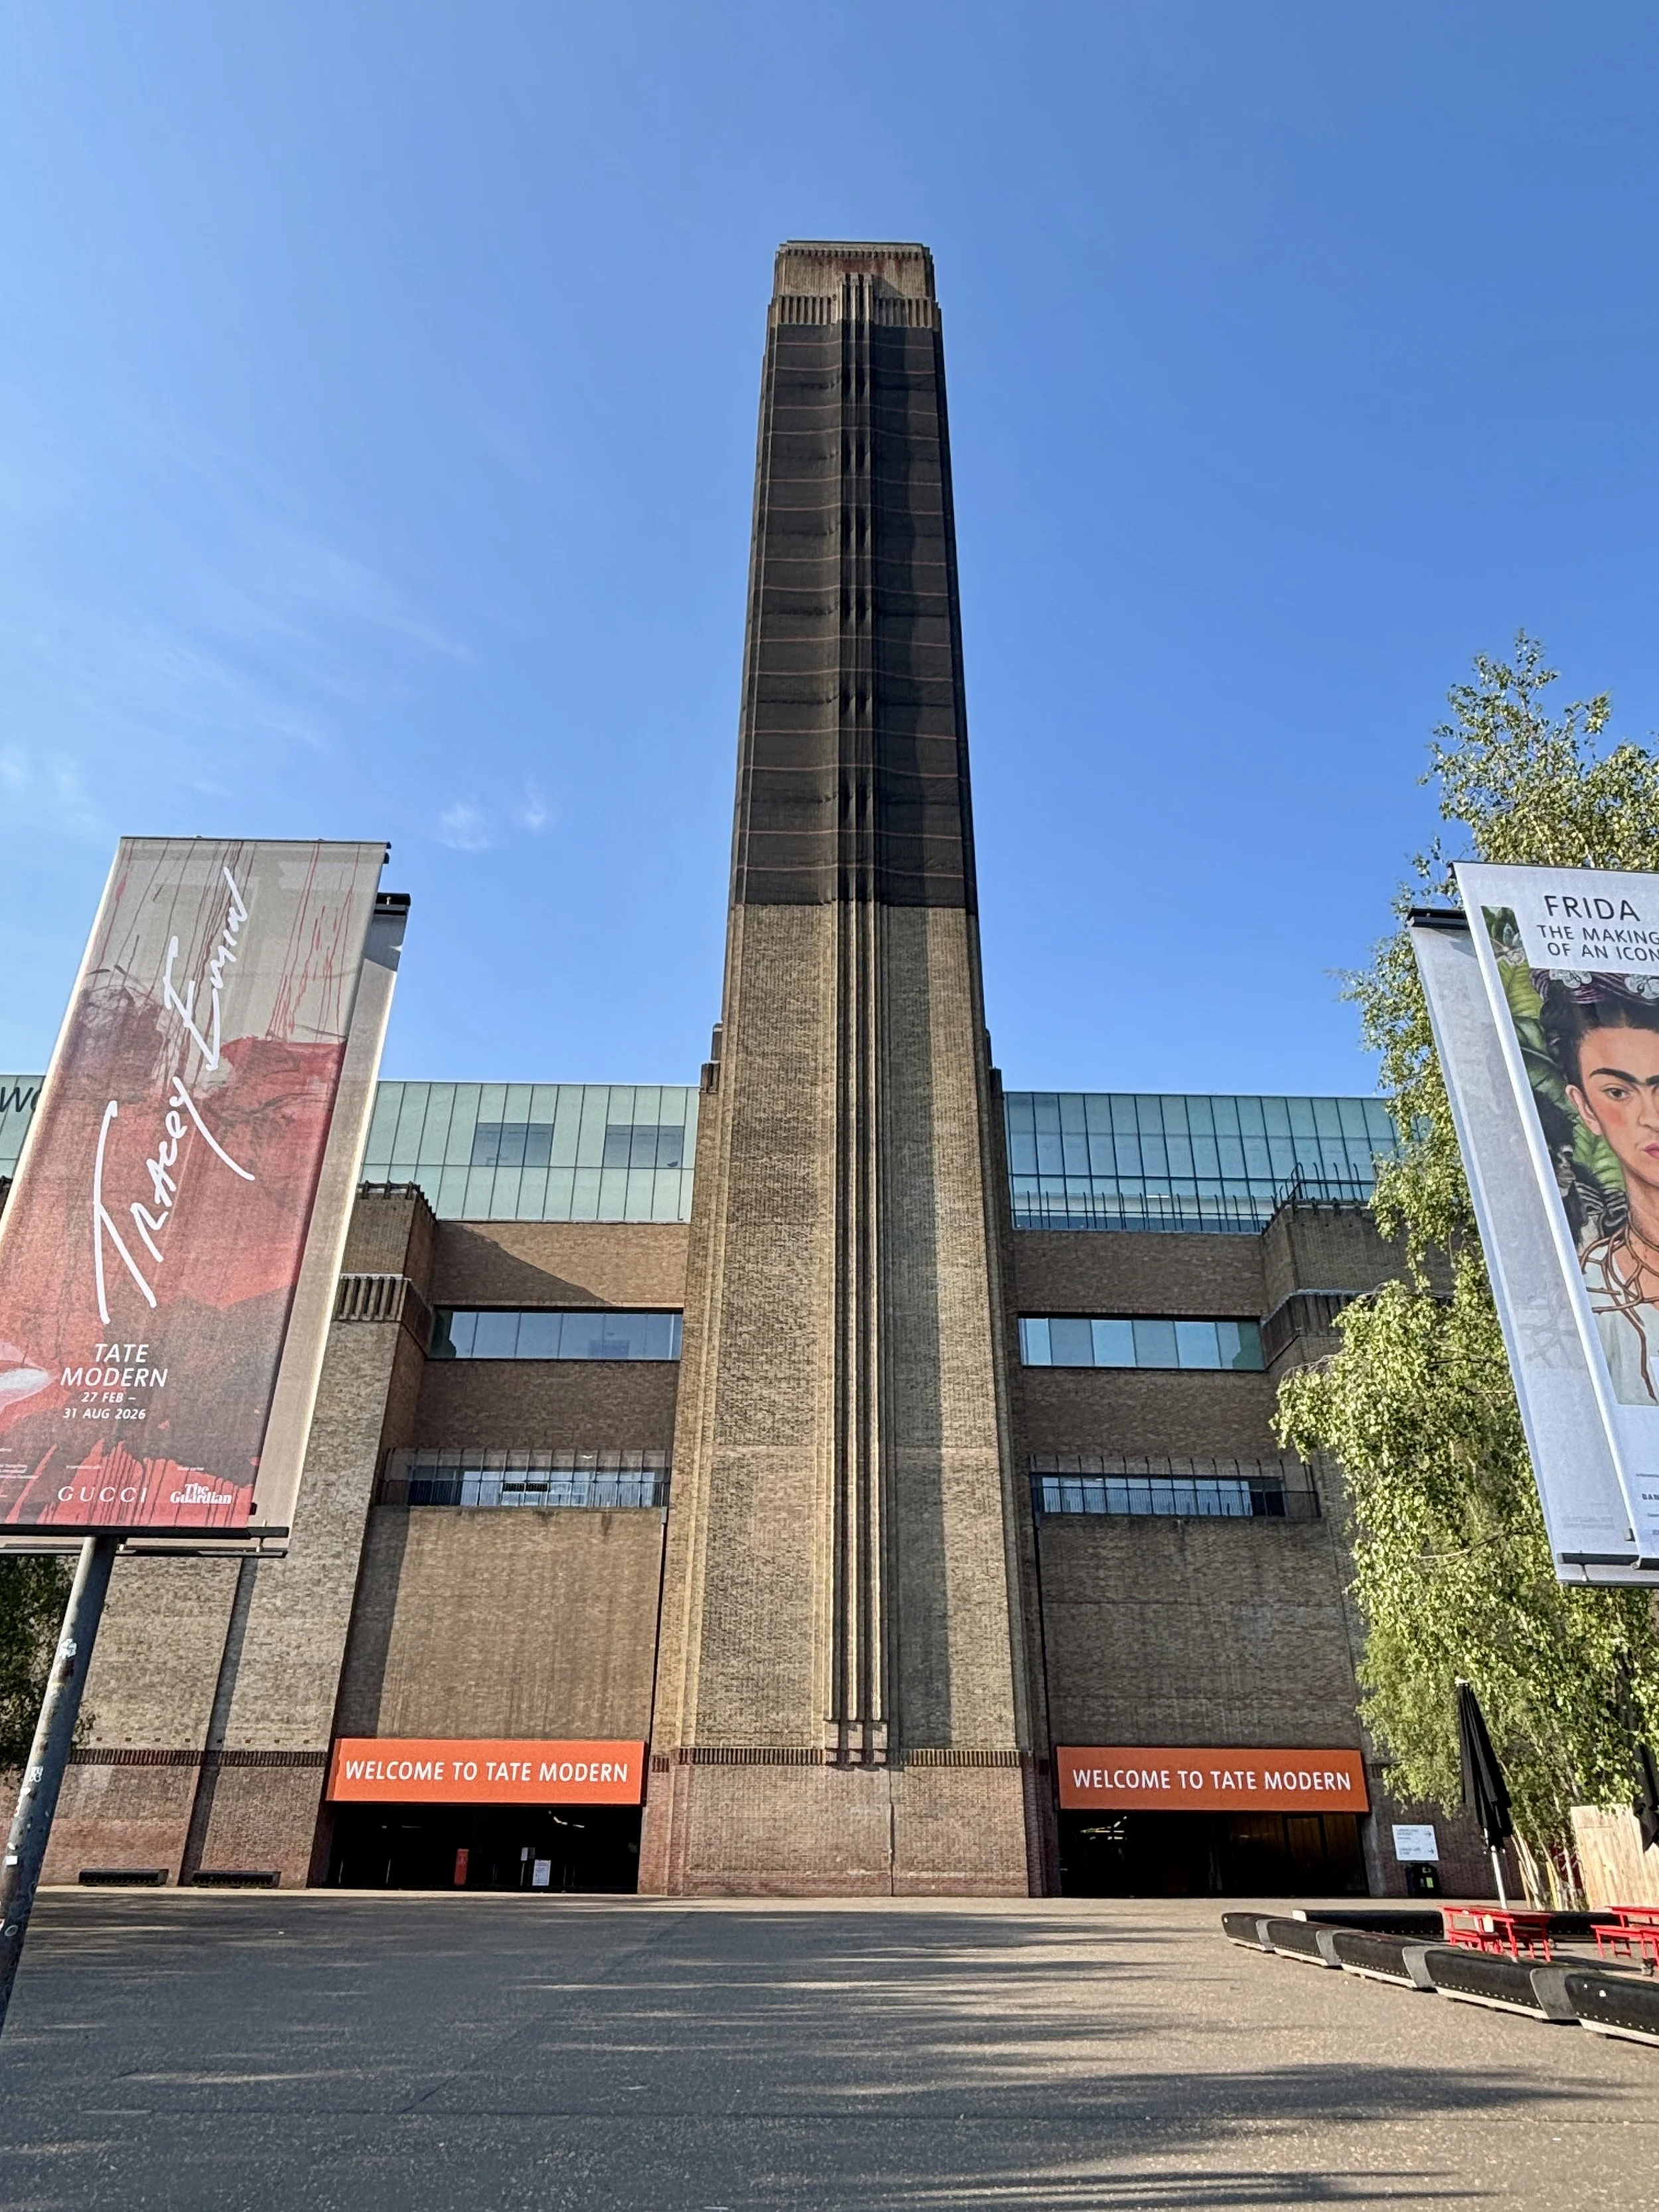
(1.9 km) Tate Modern Housed in the colossal former Bankside Power Station, this world-renowned gallery is Britain's national museum of international modern and contemporary art. The iconic towering chimney and cavernous Turbine Hall are stunning remnants of its industrial past repurposed into spectacular exhibition spaces.
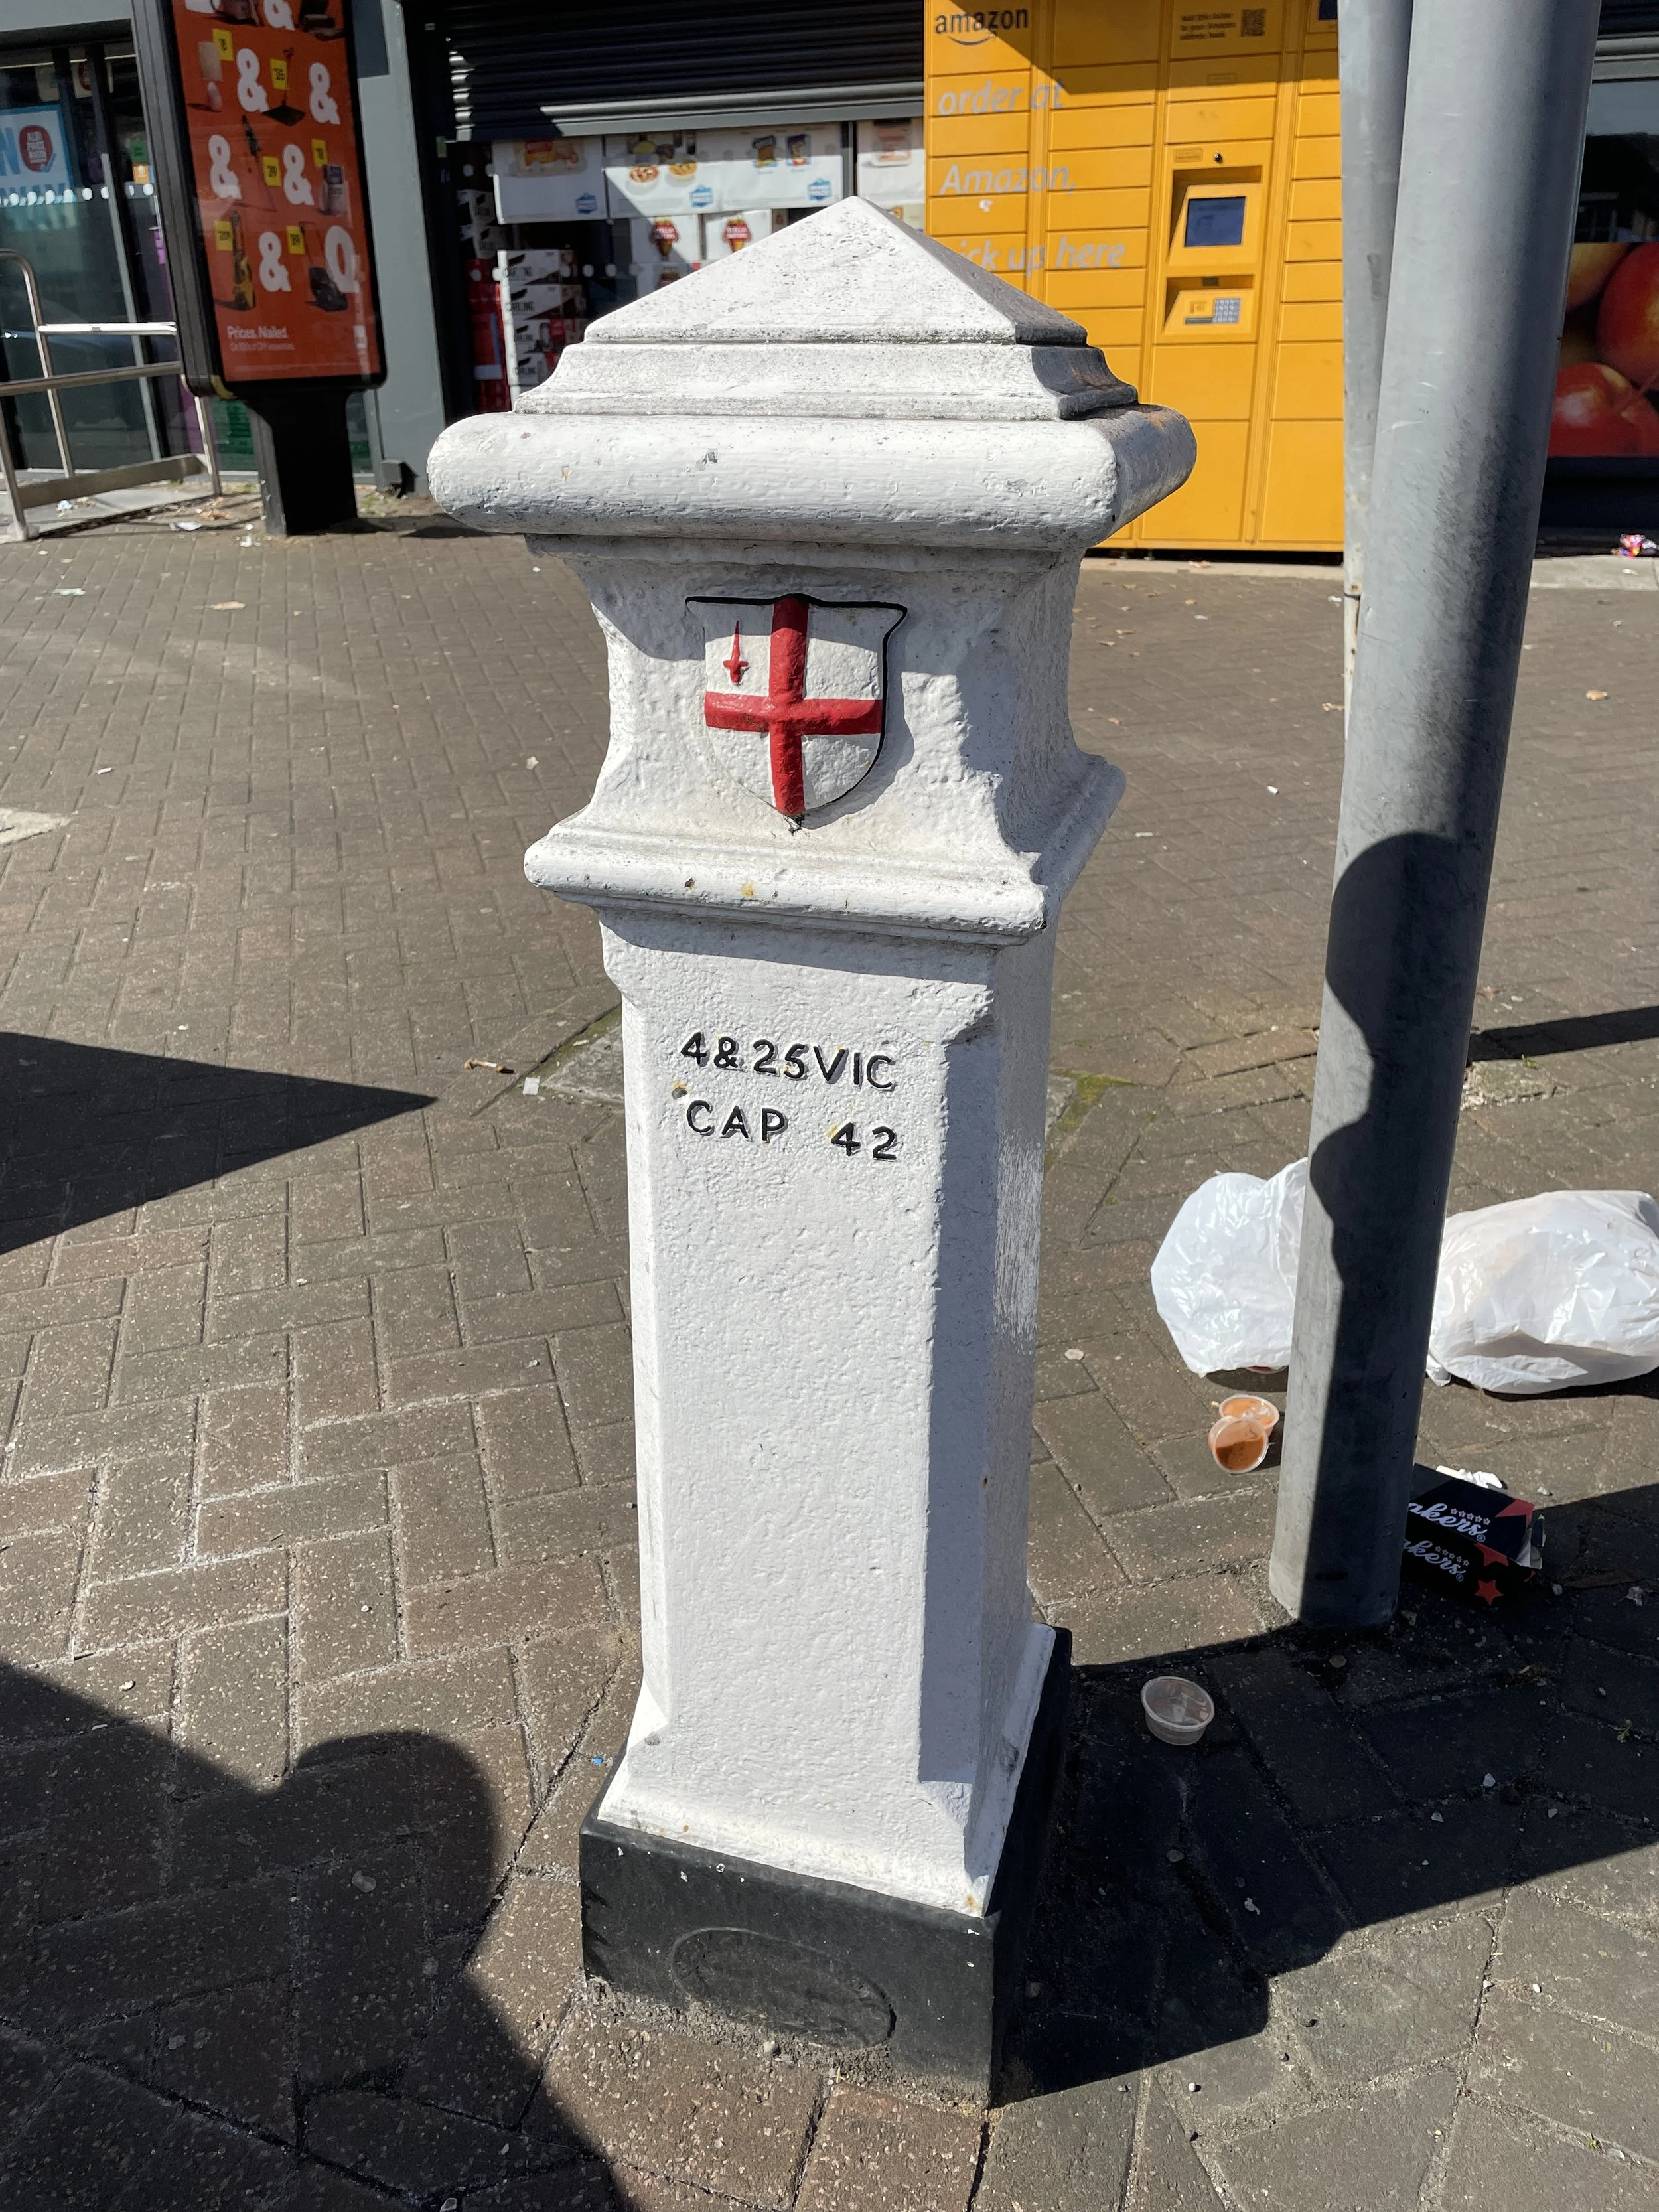
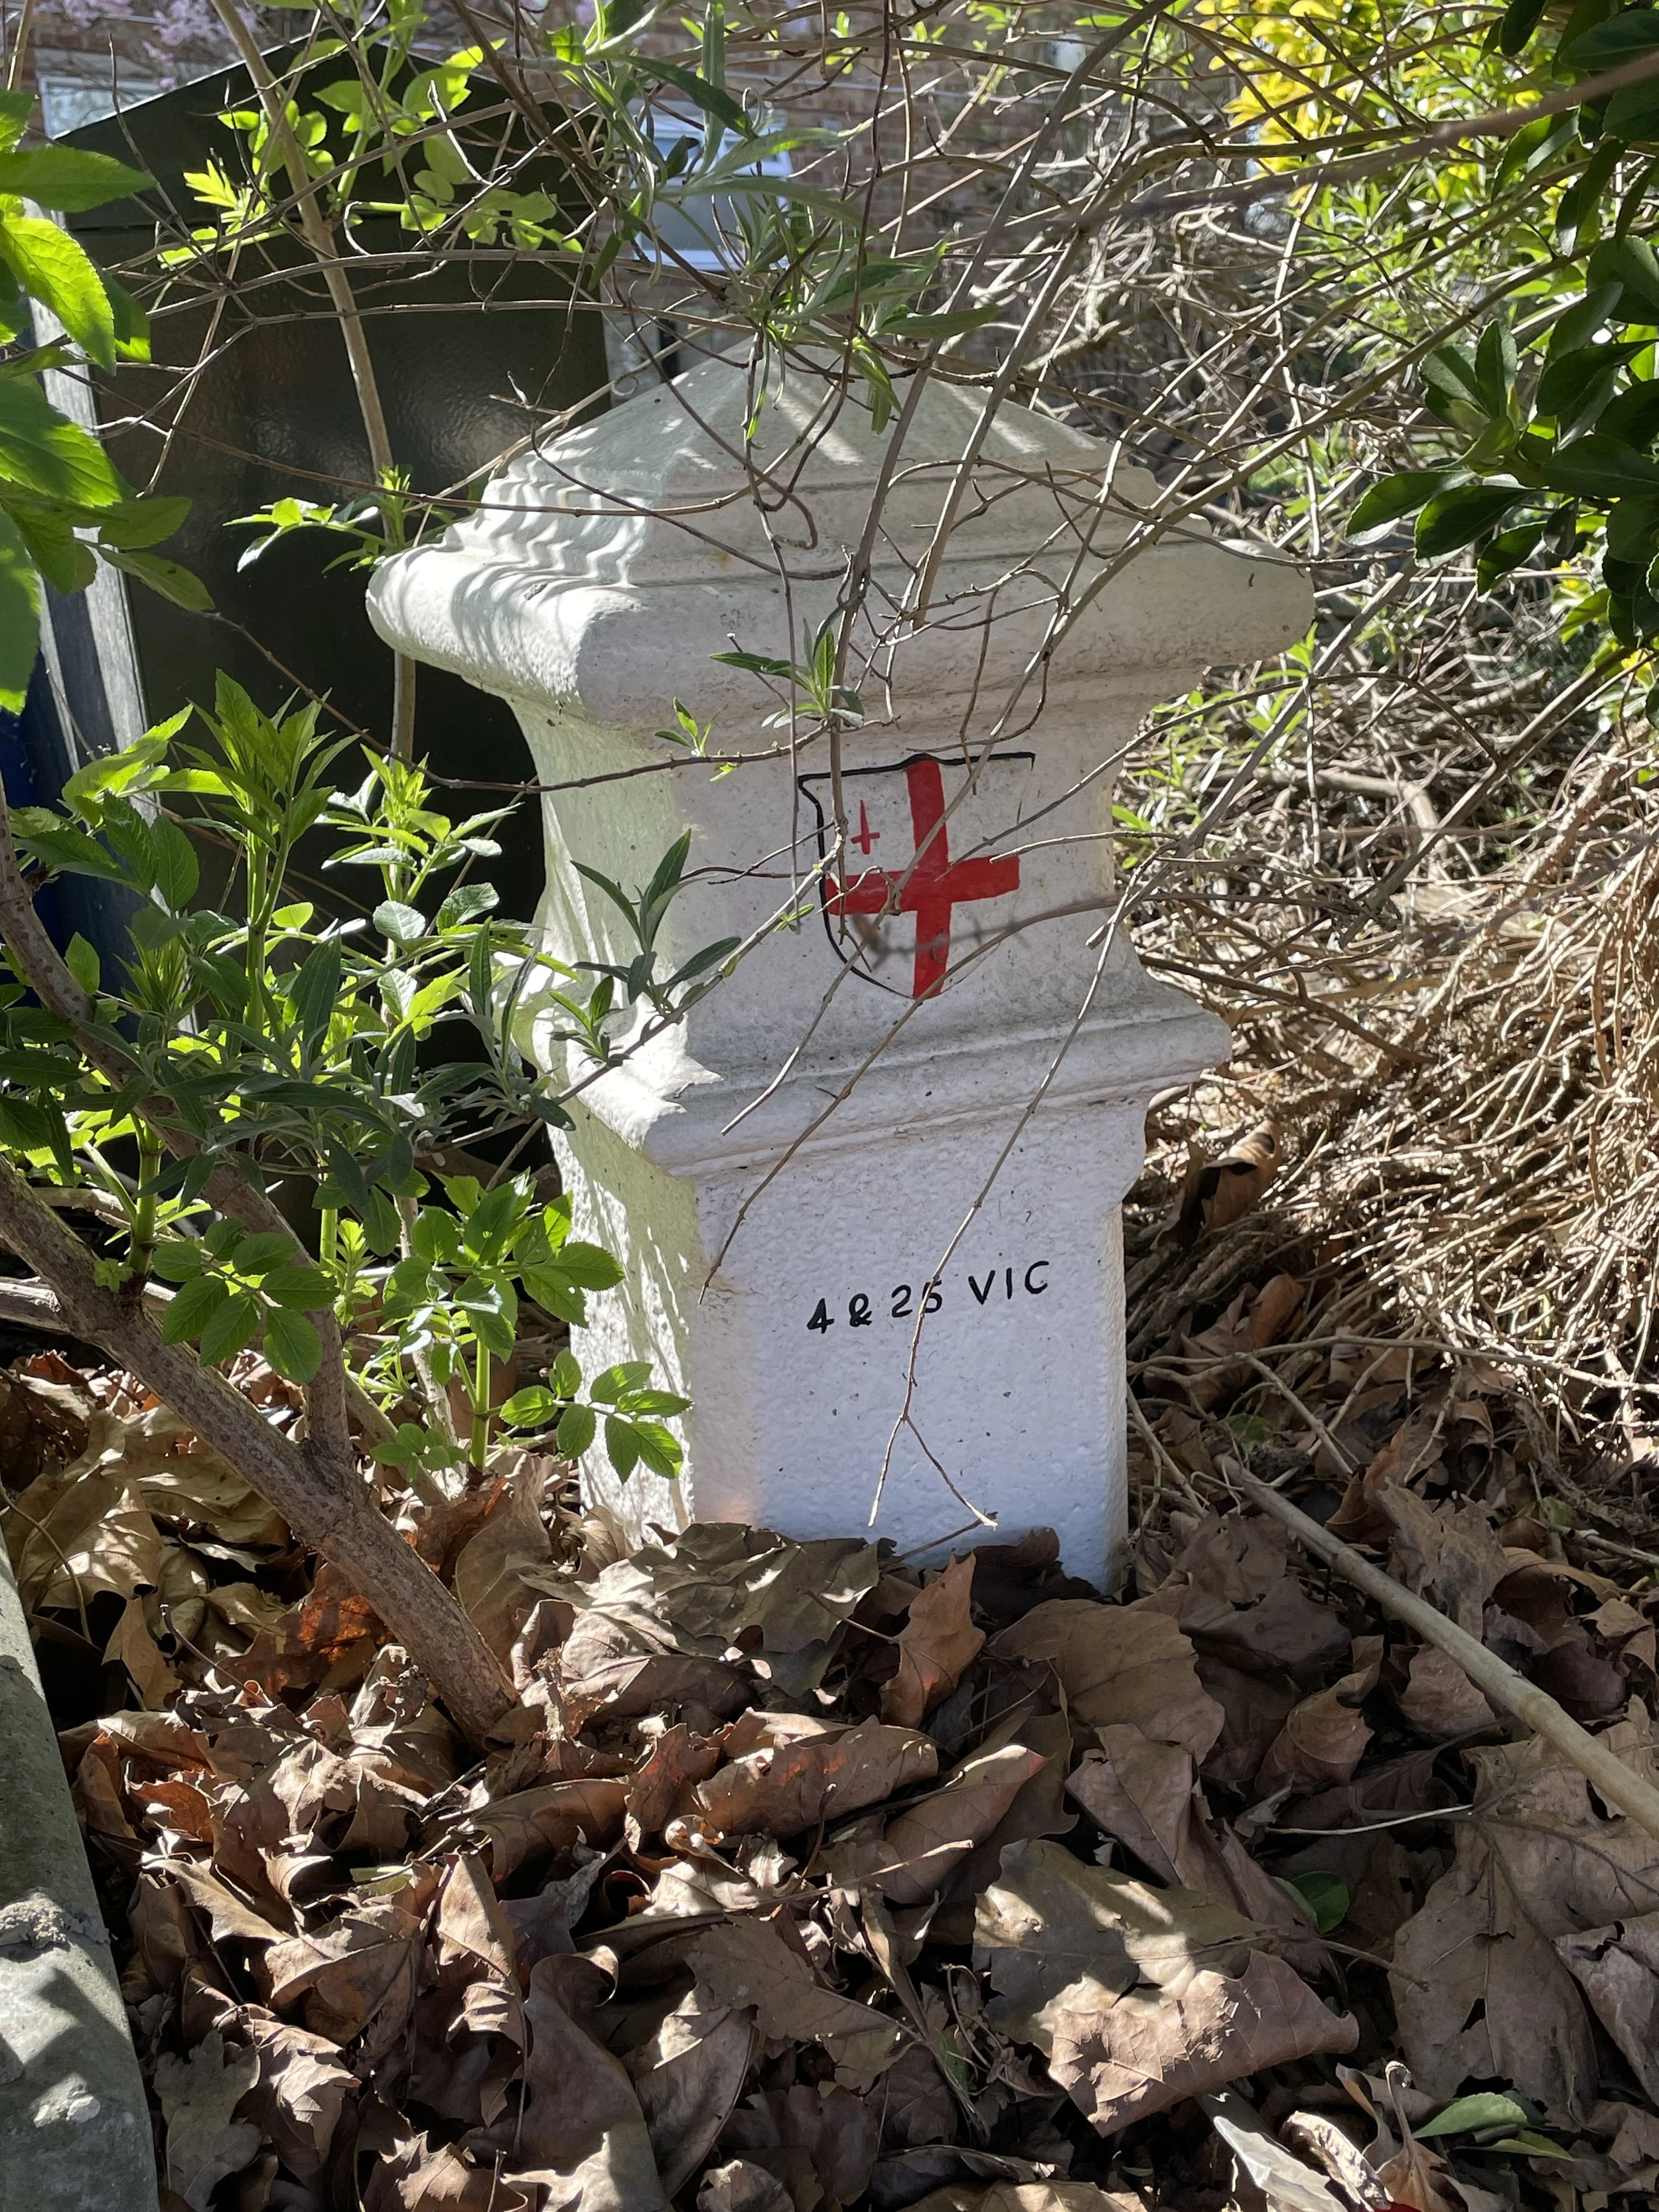
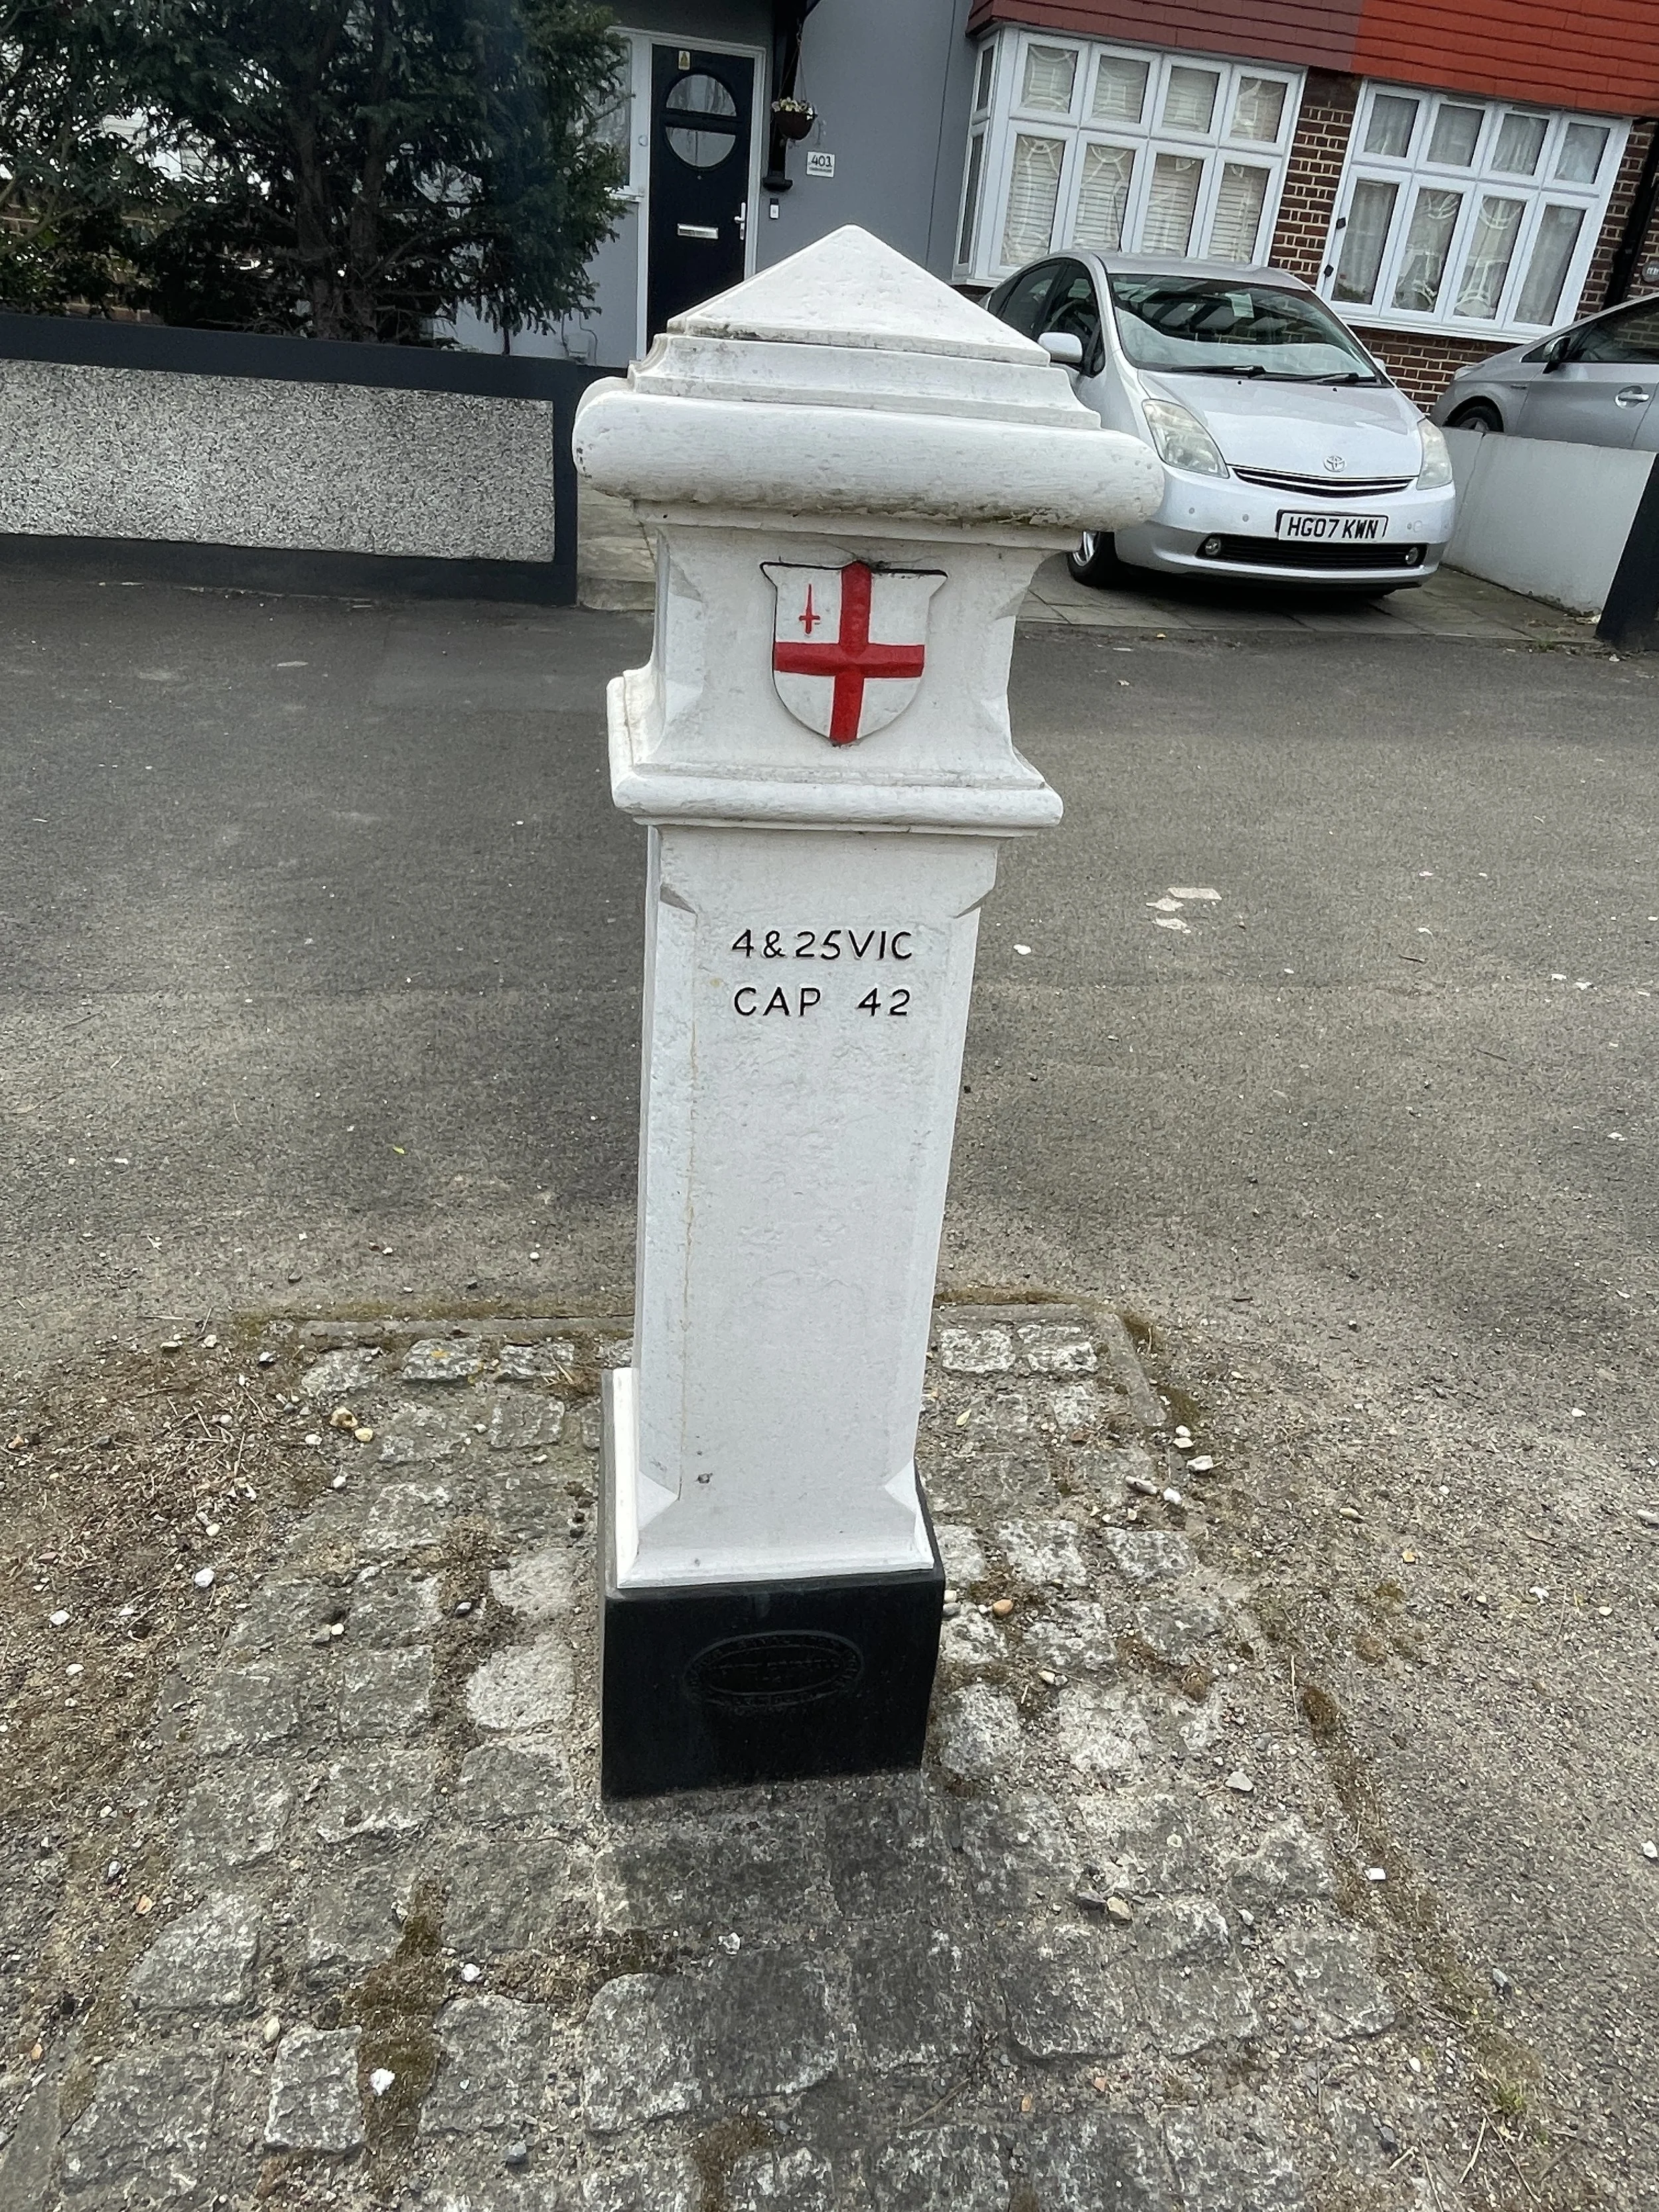
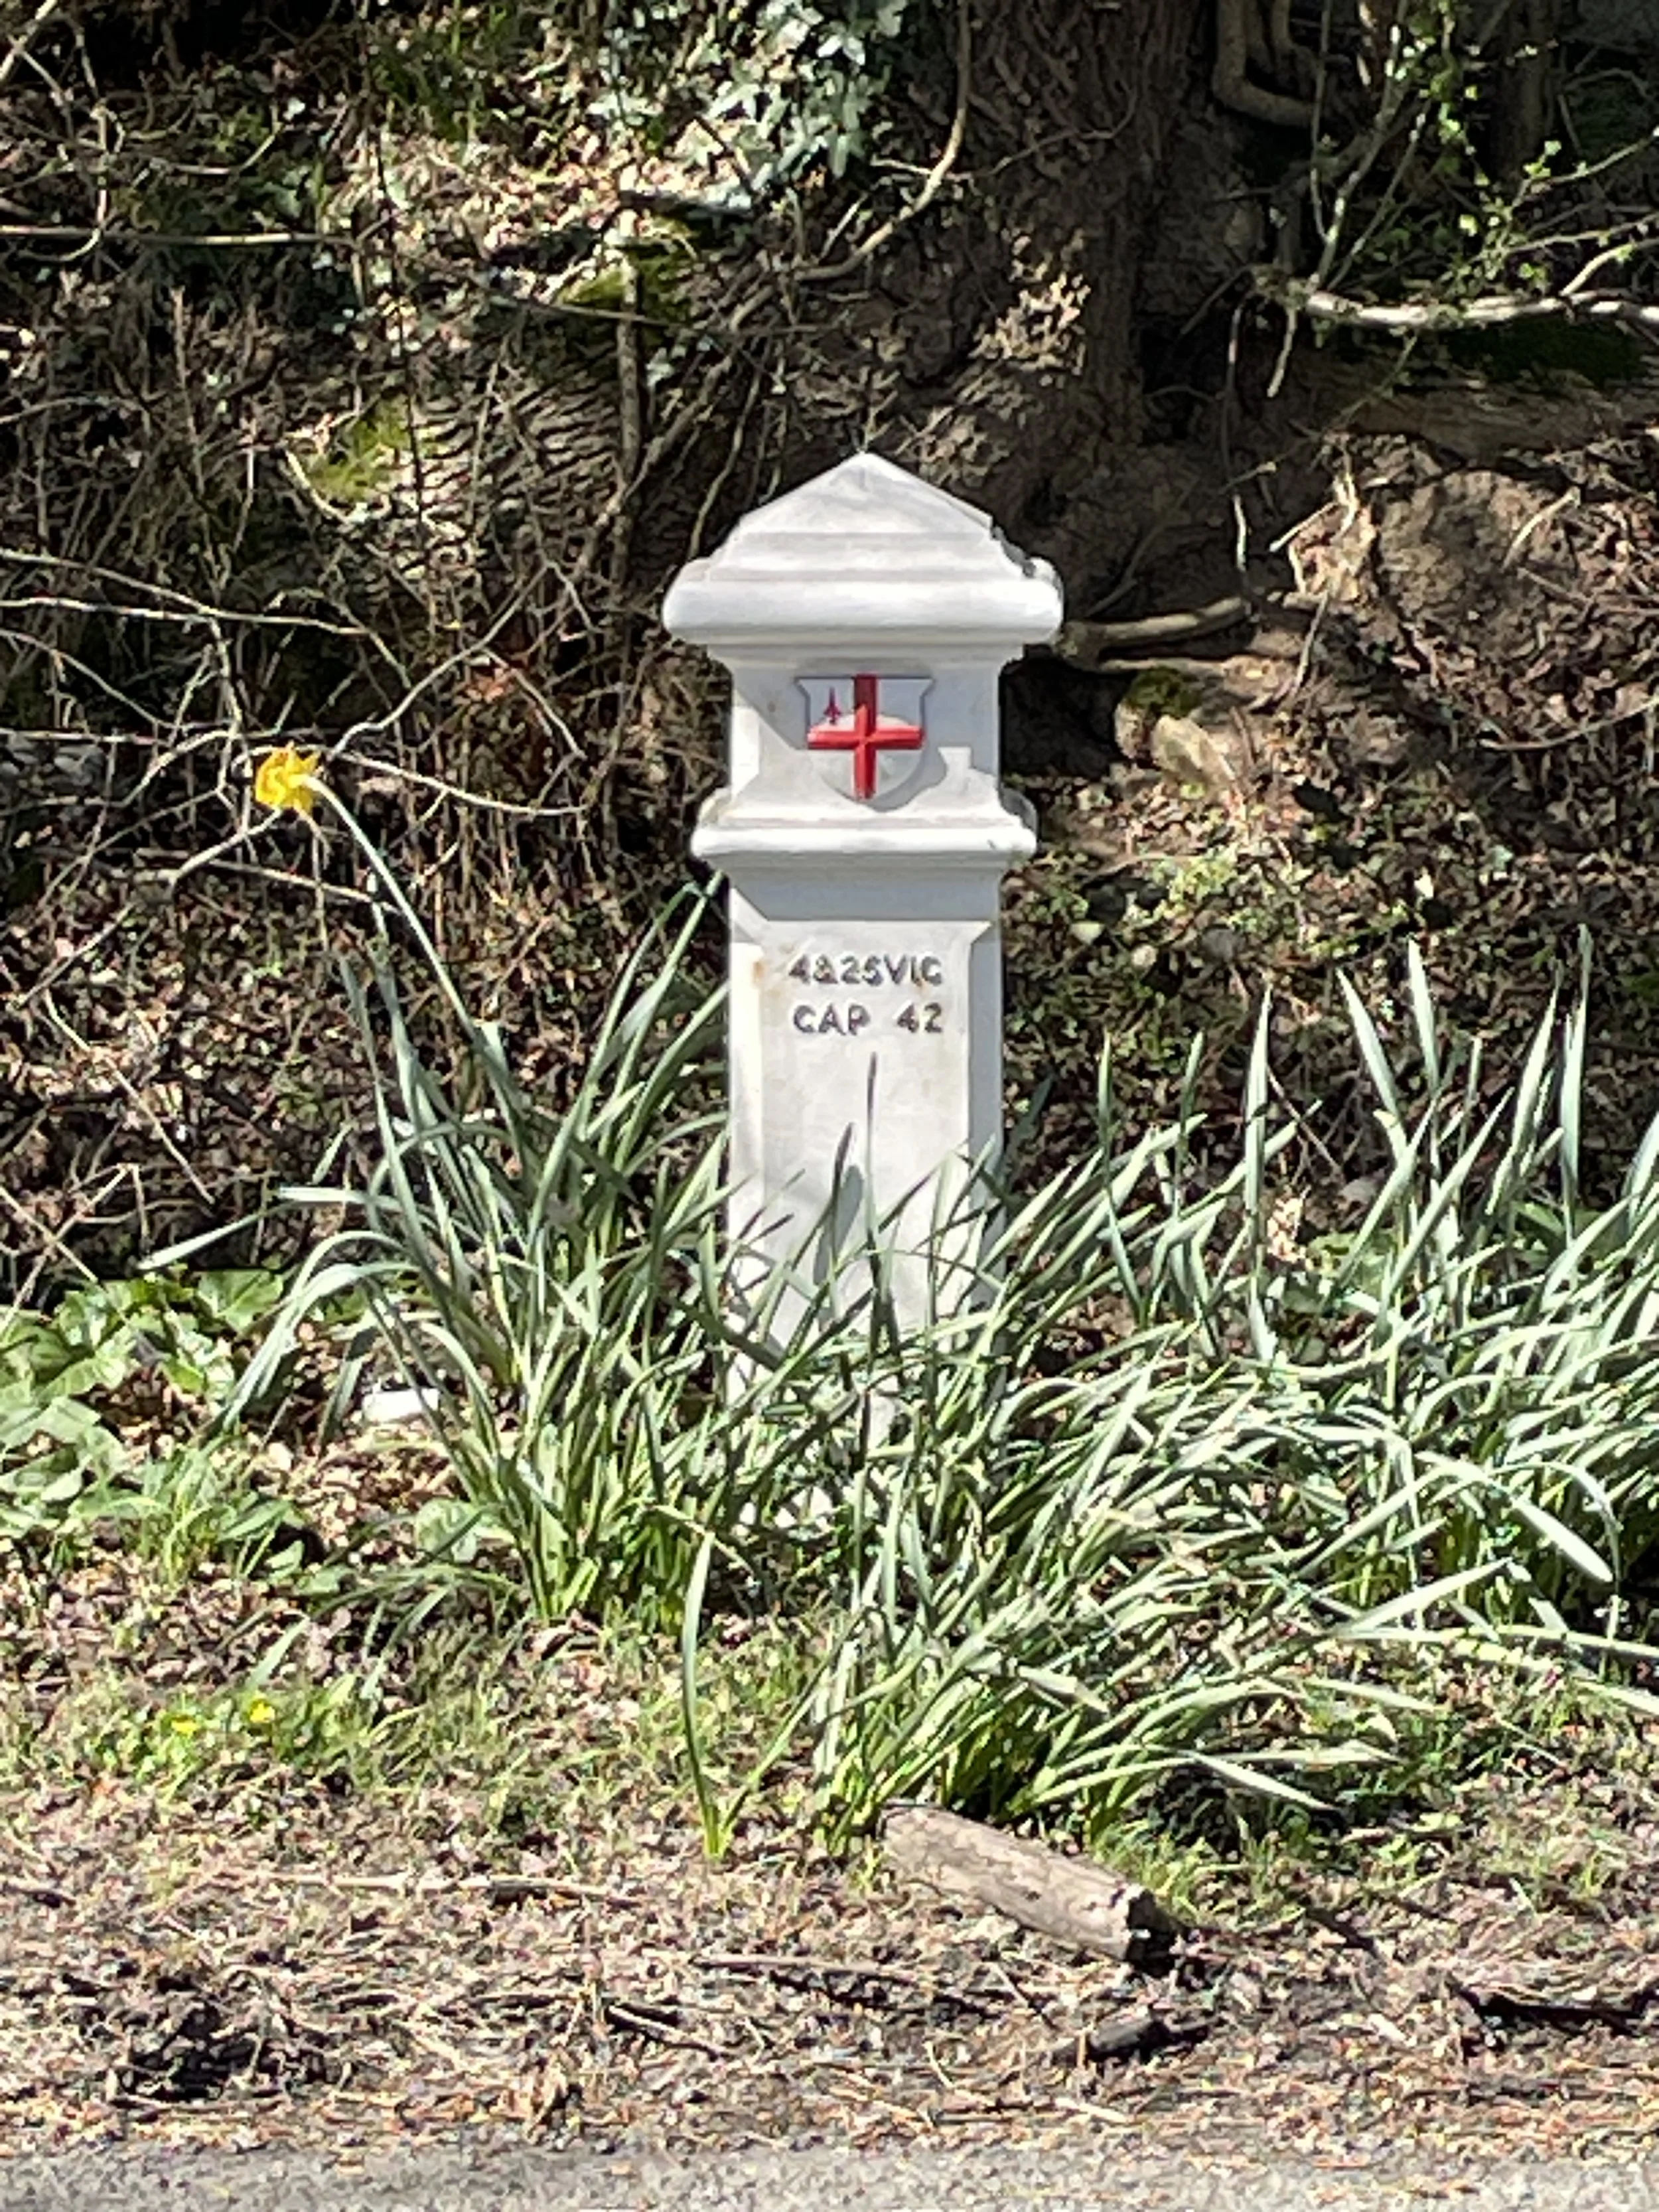
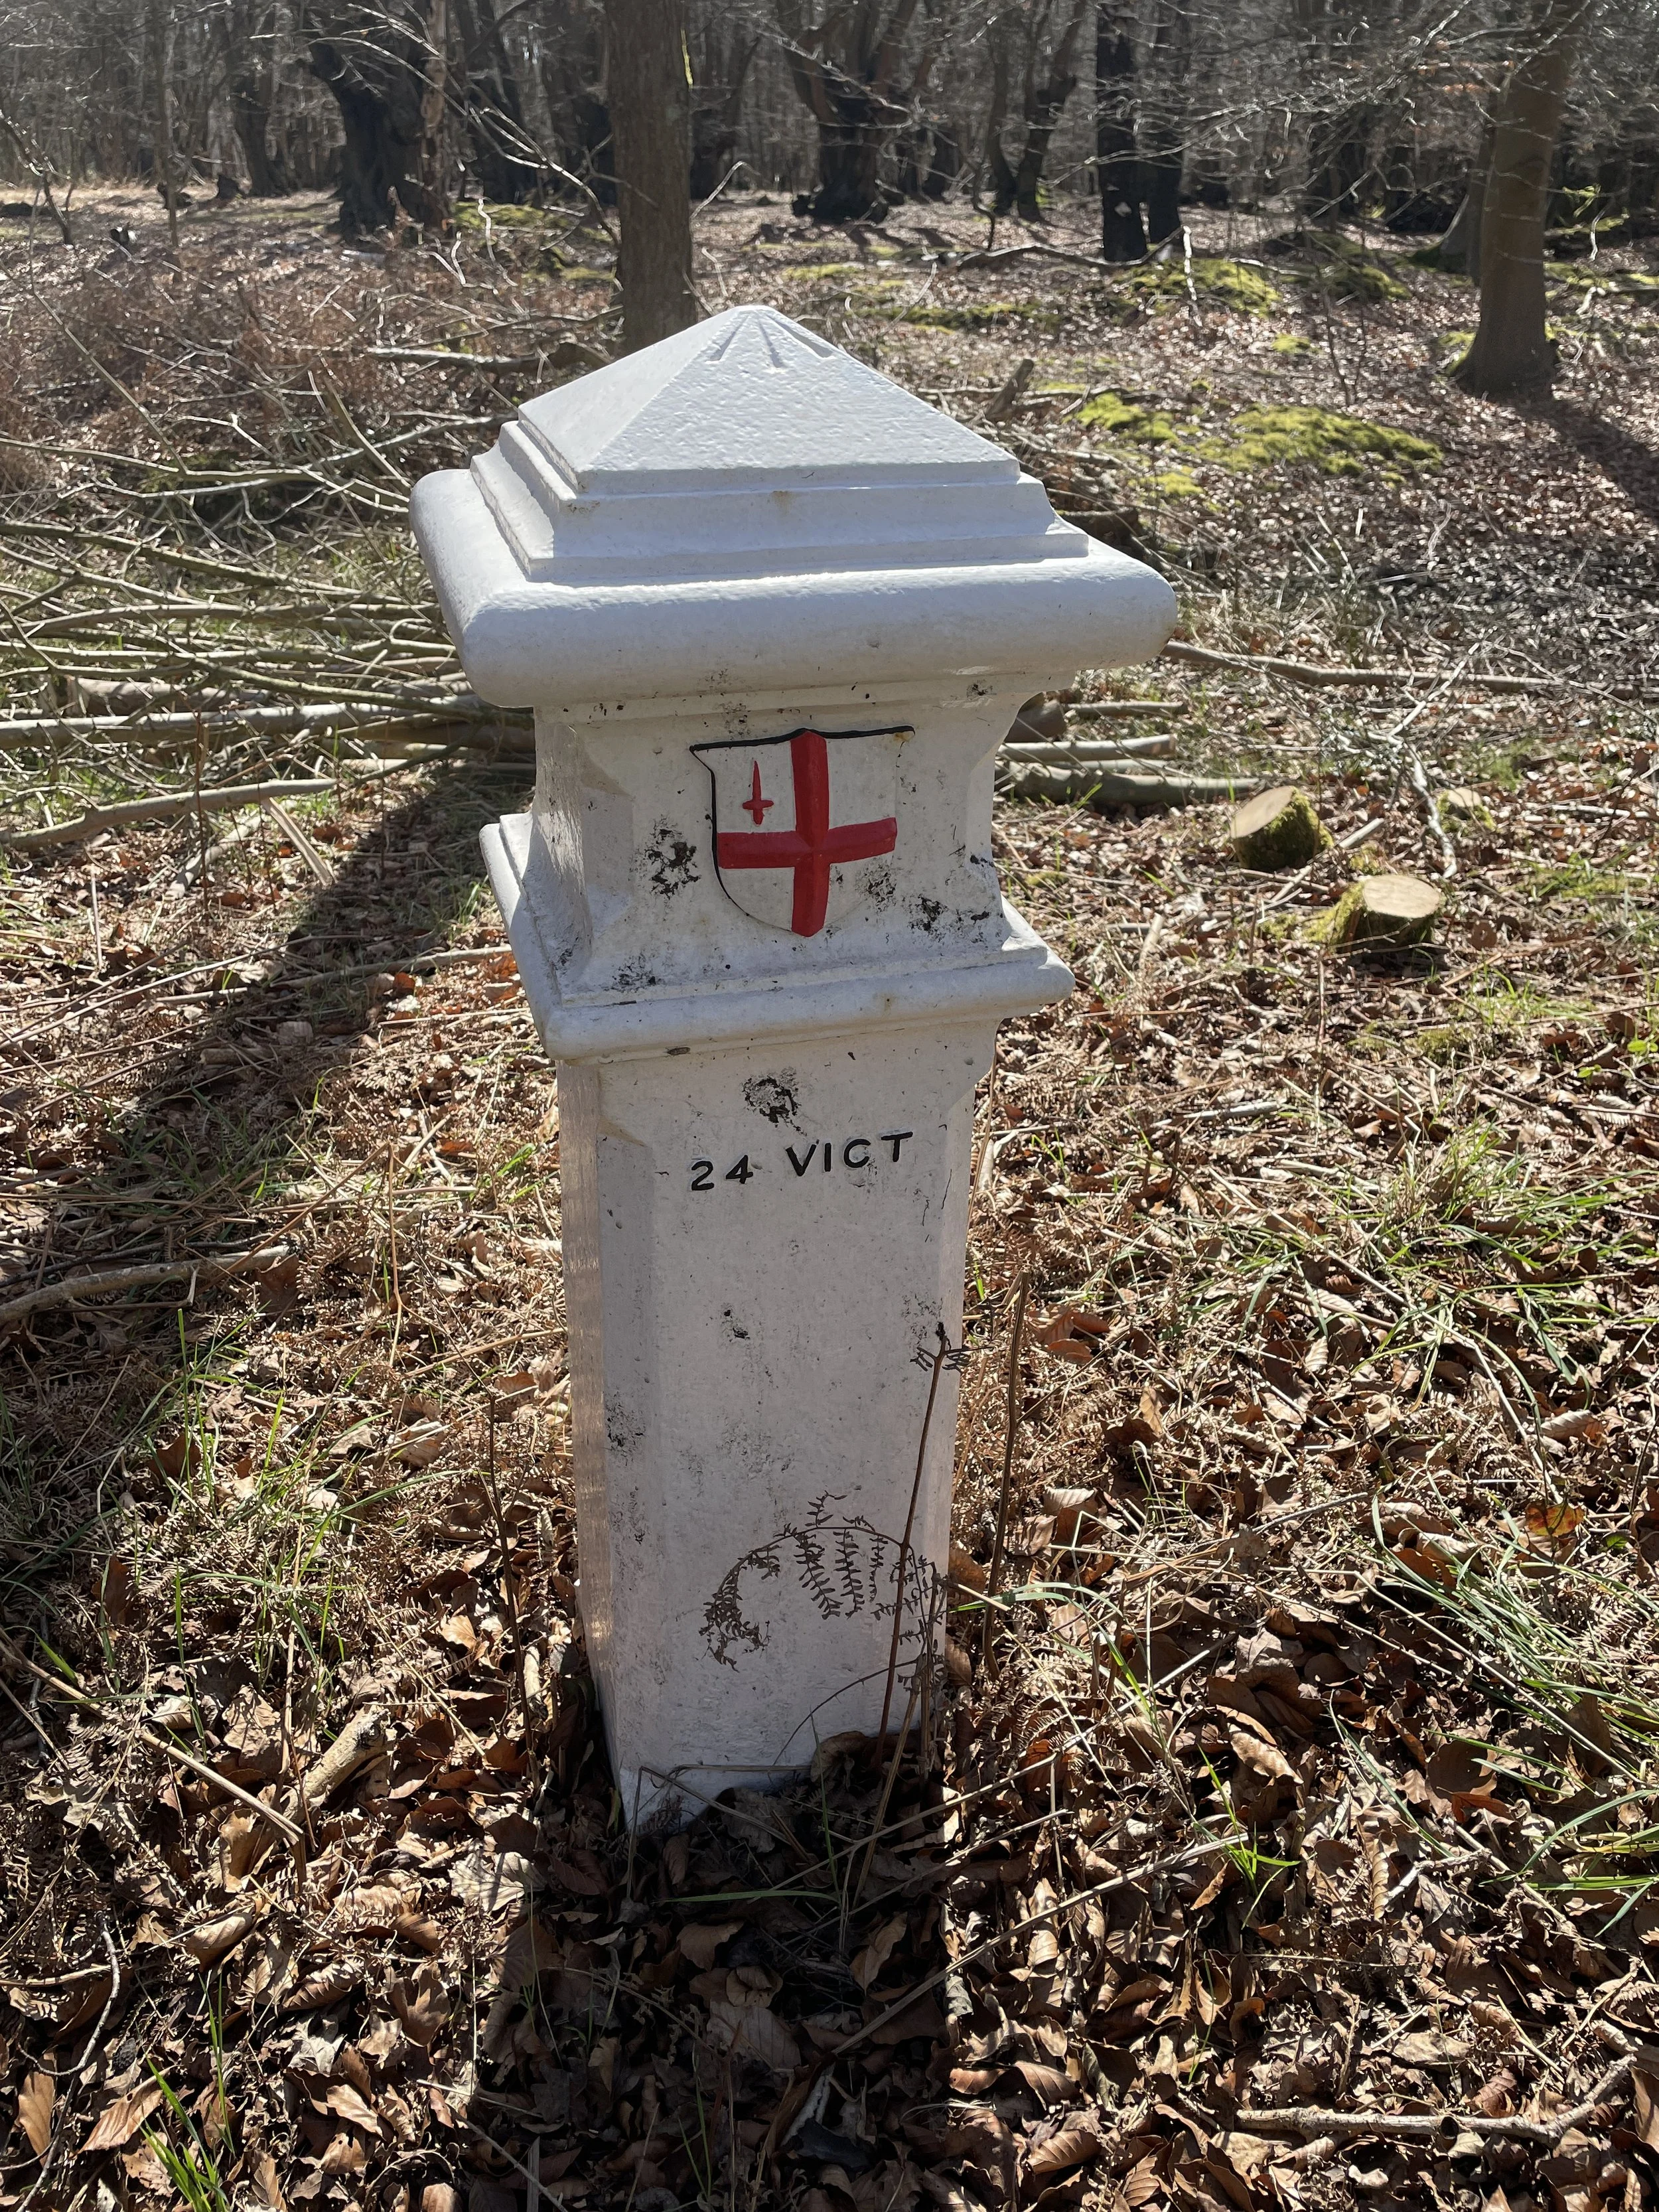
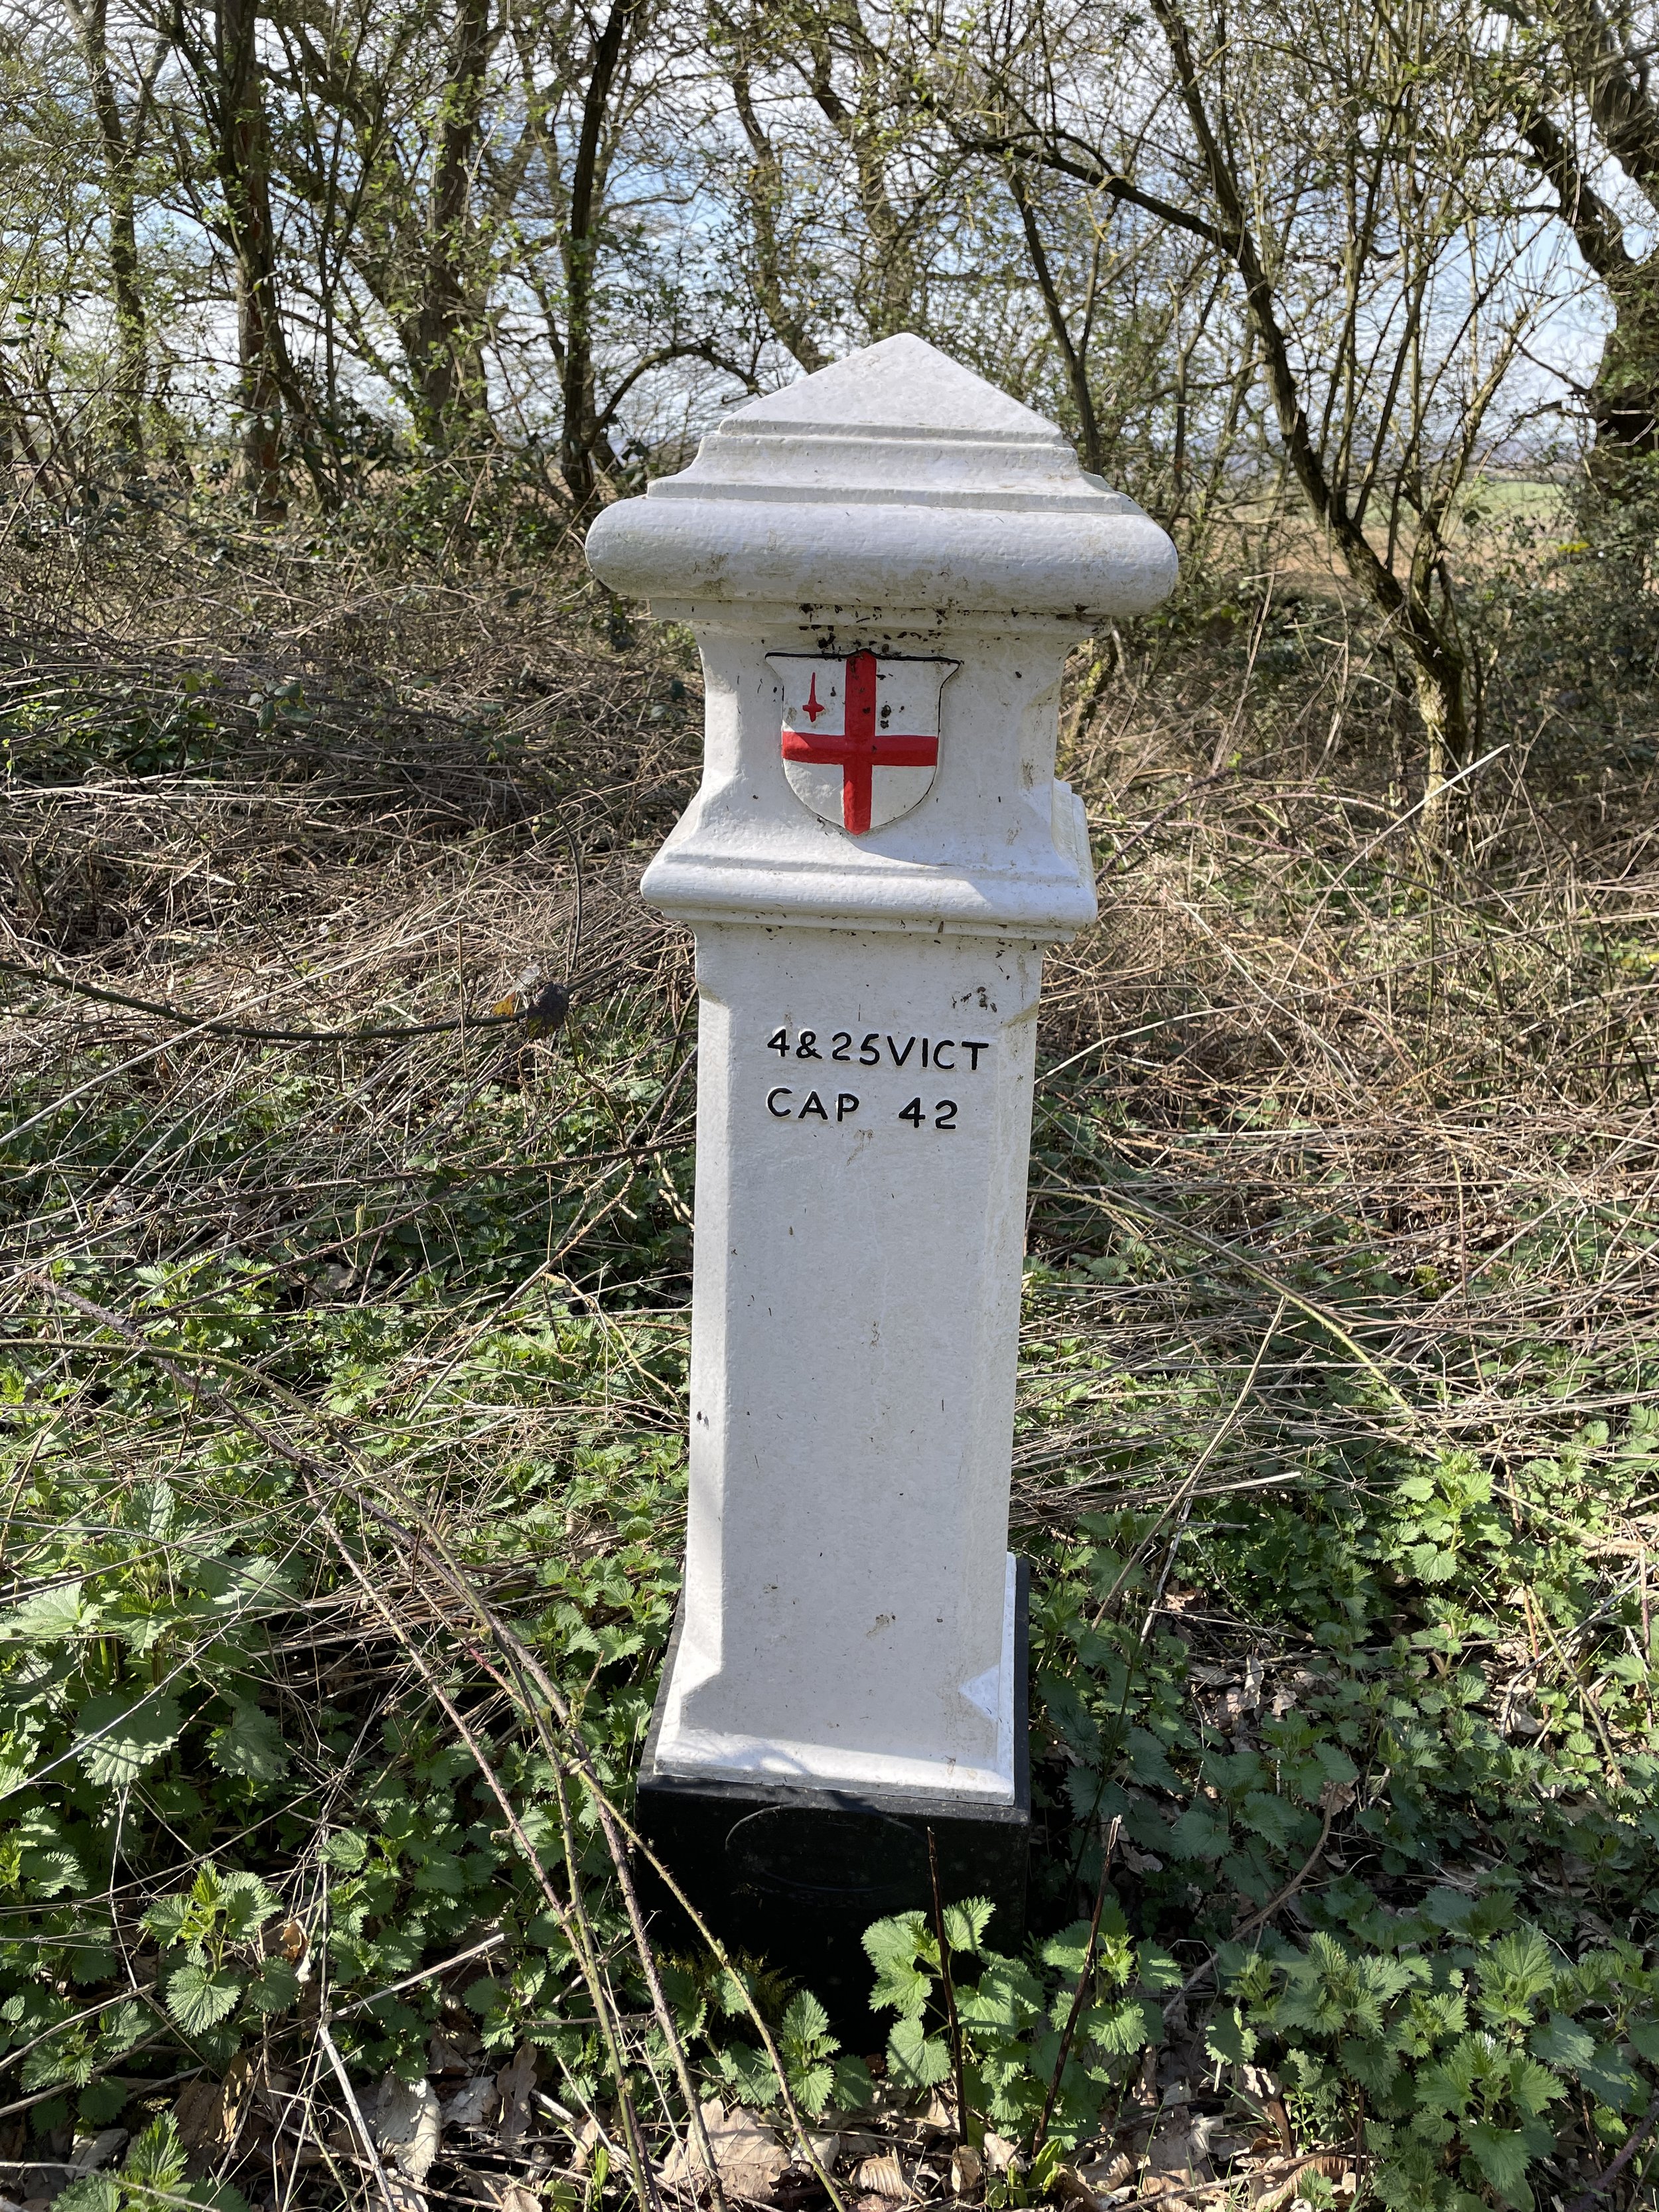
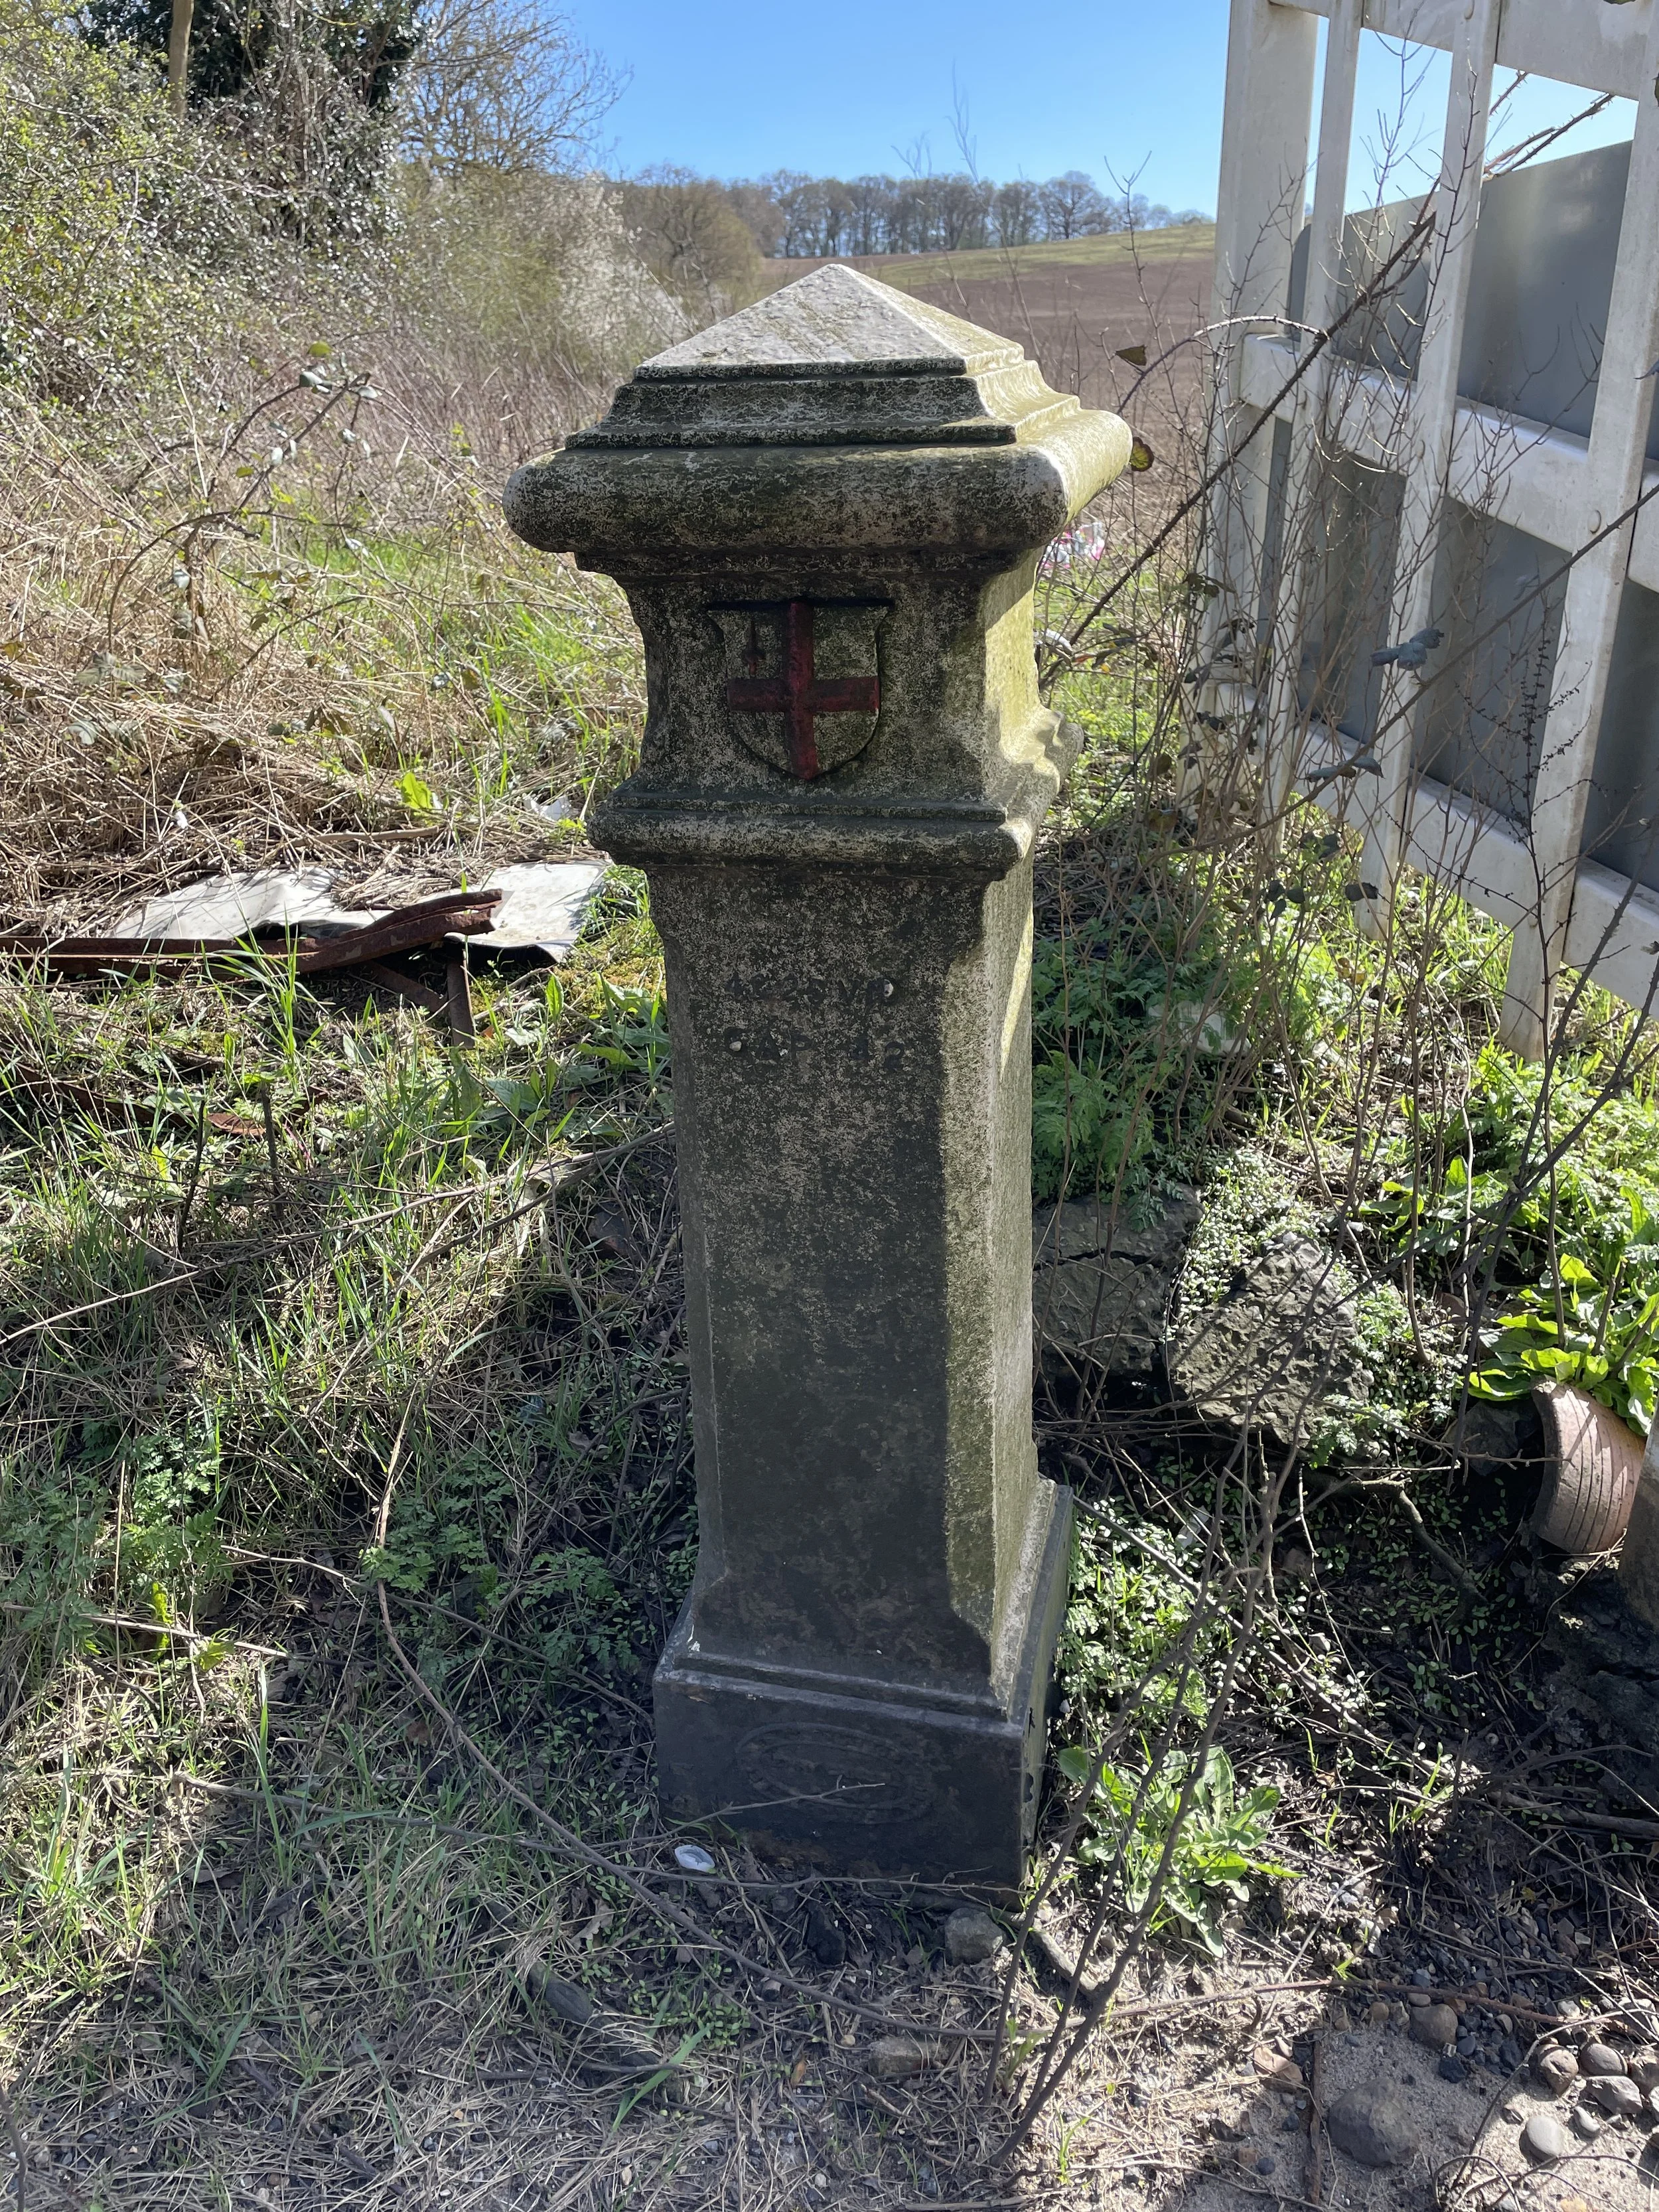
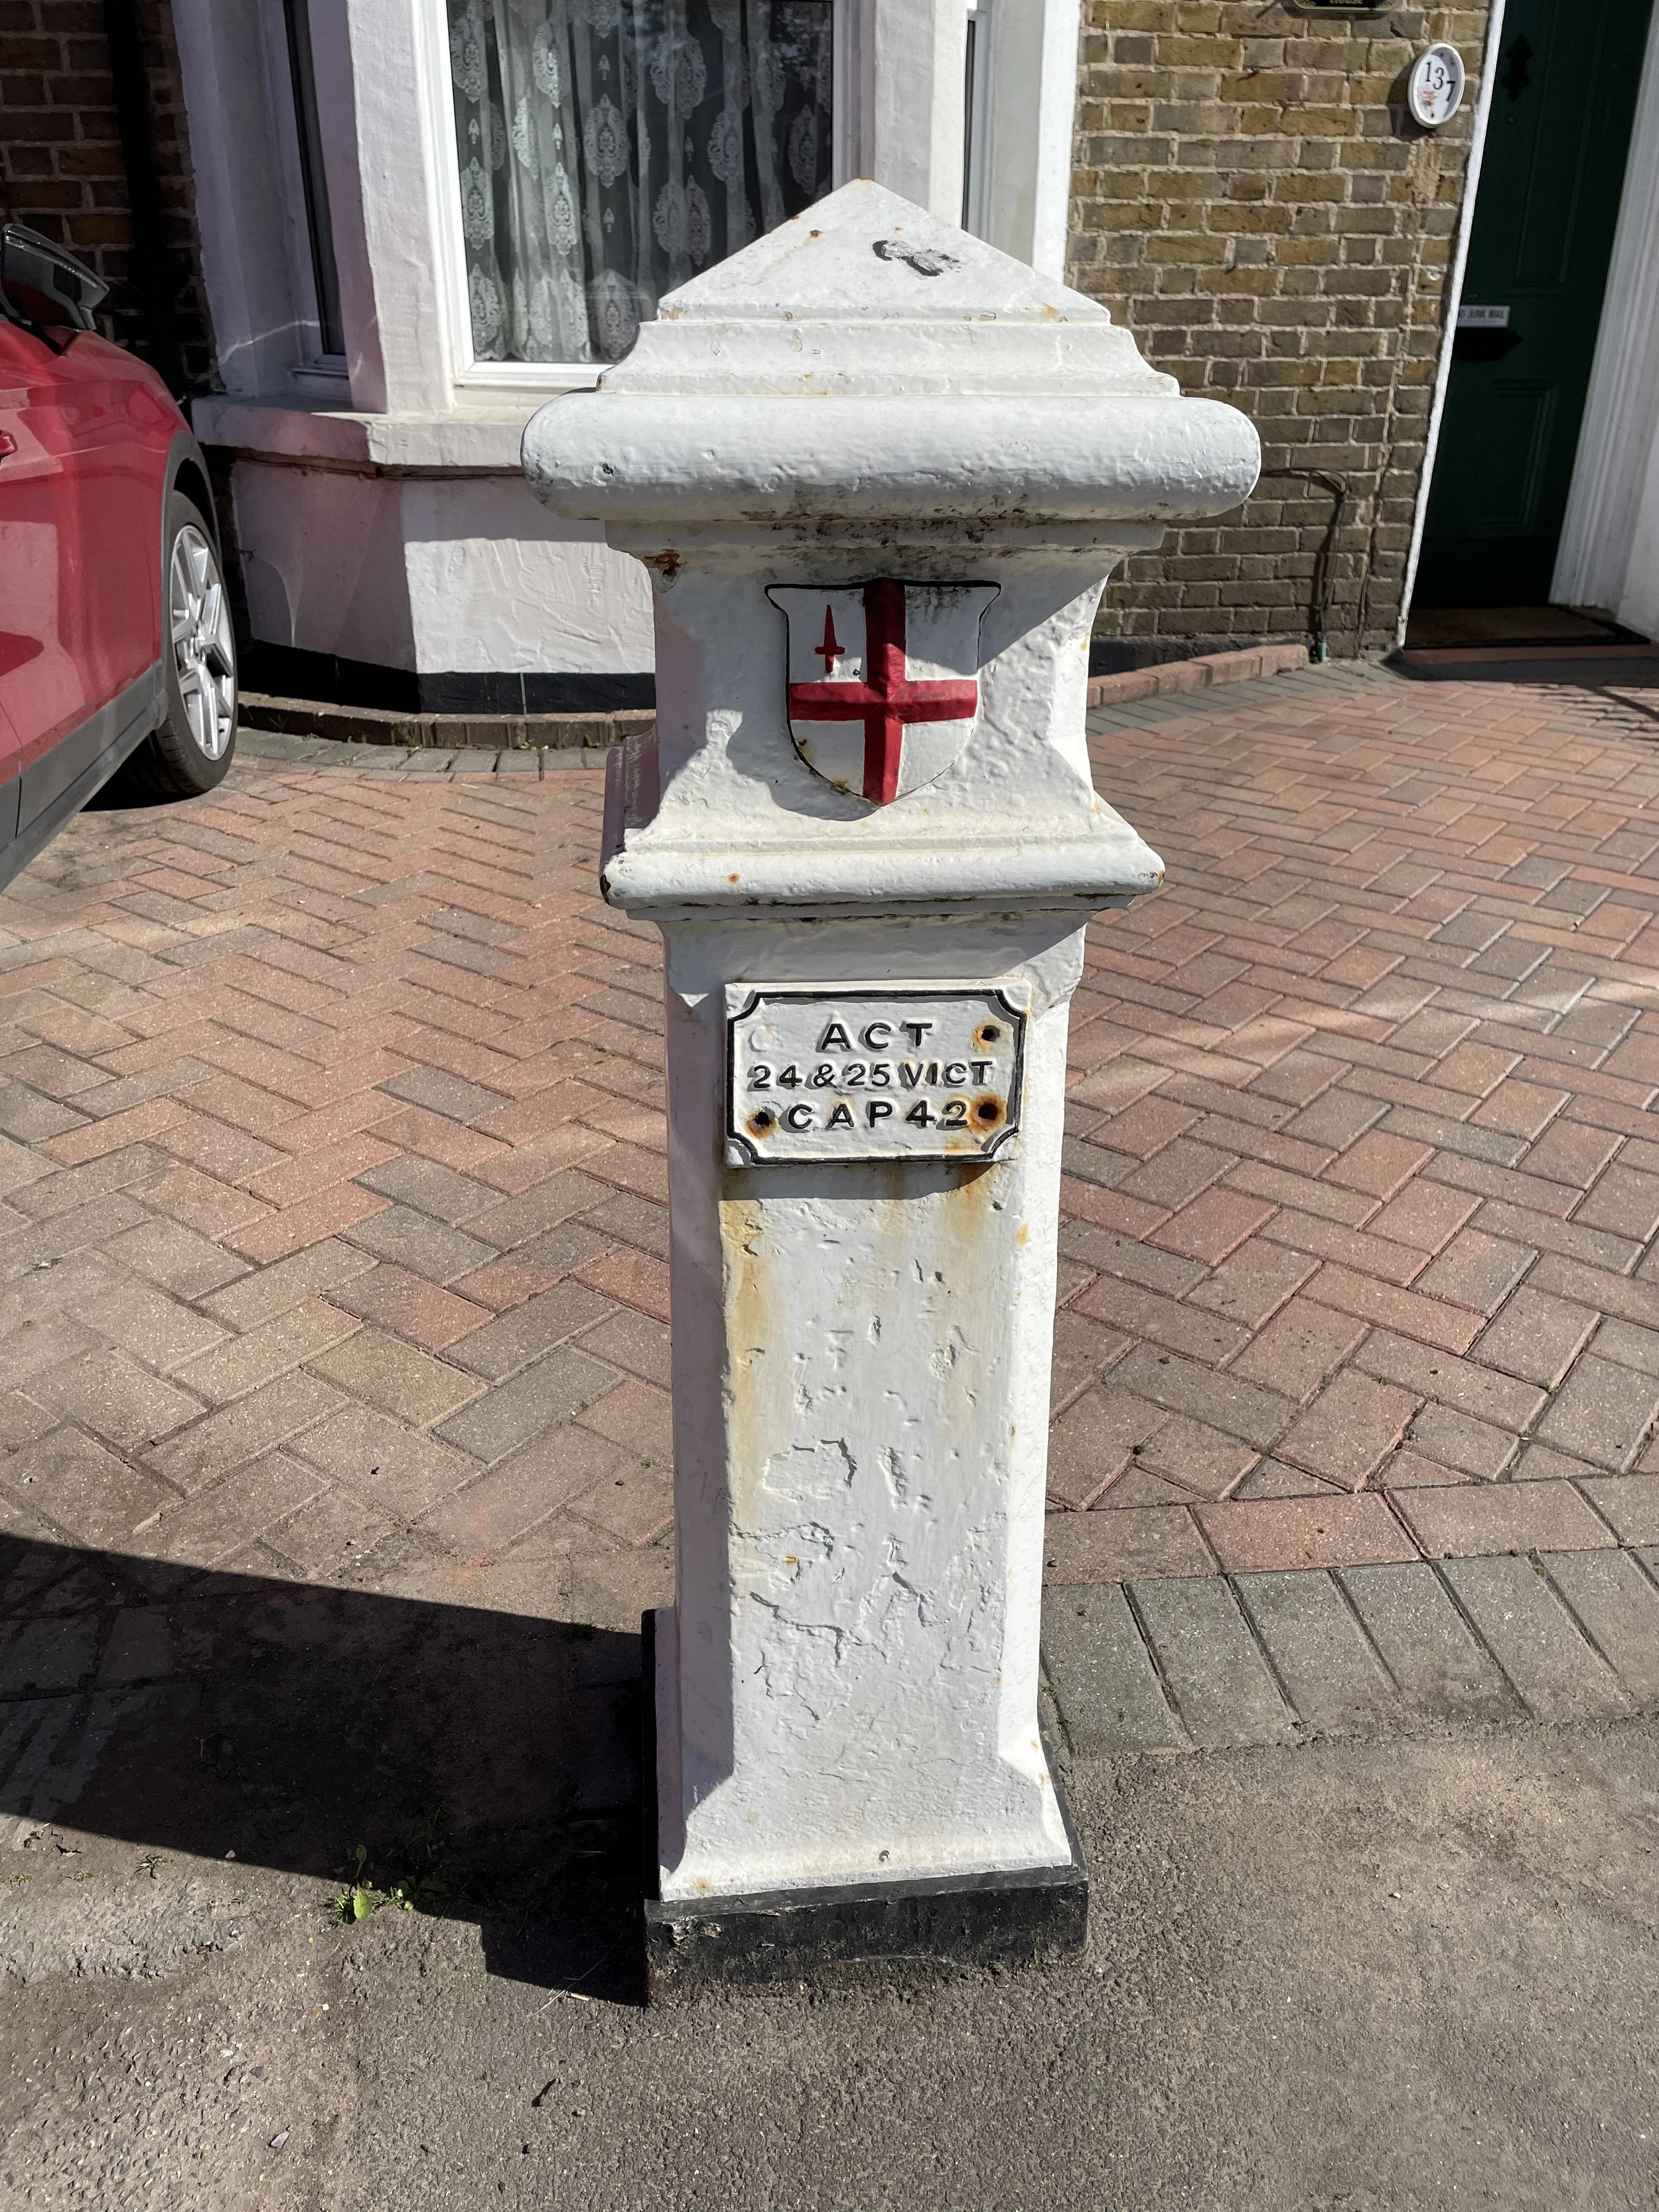
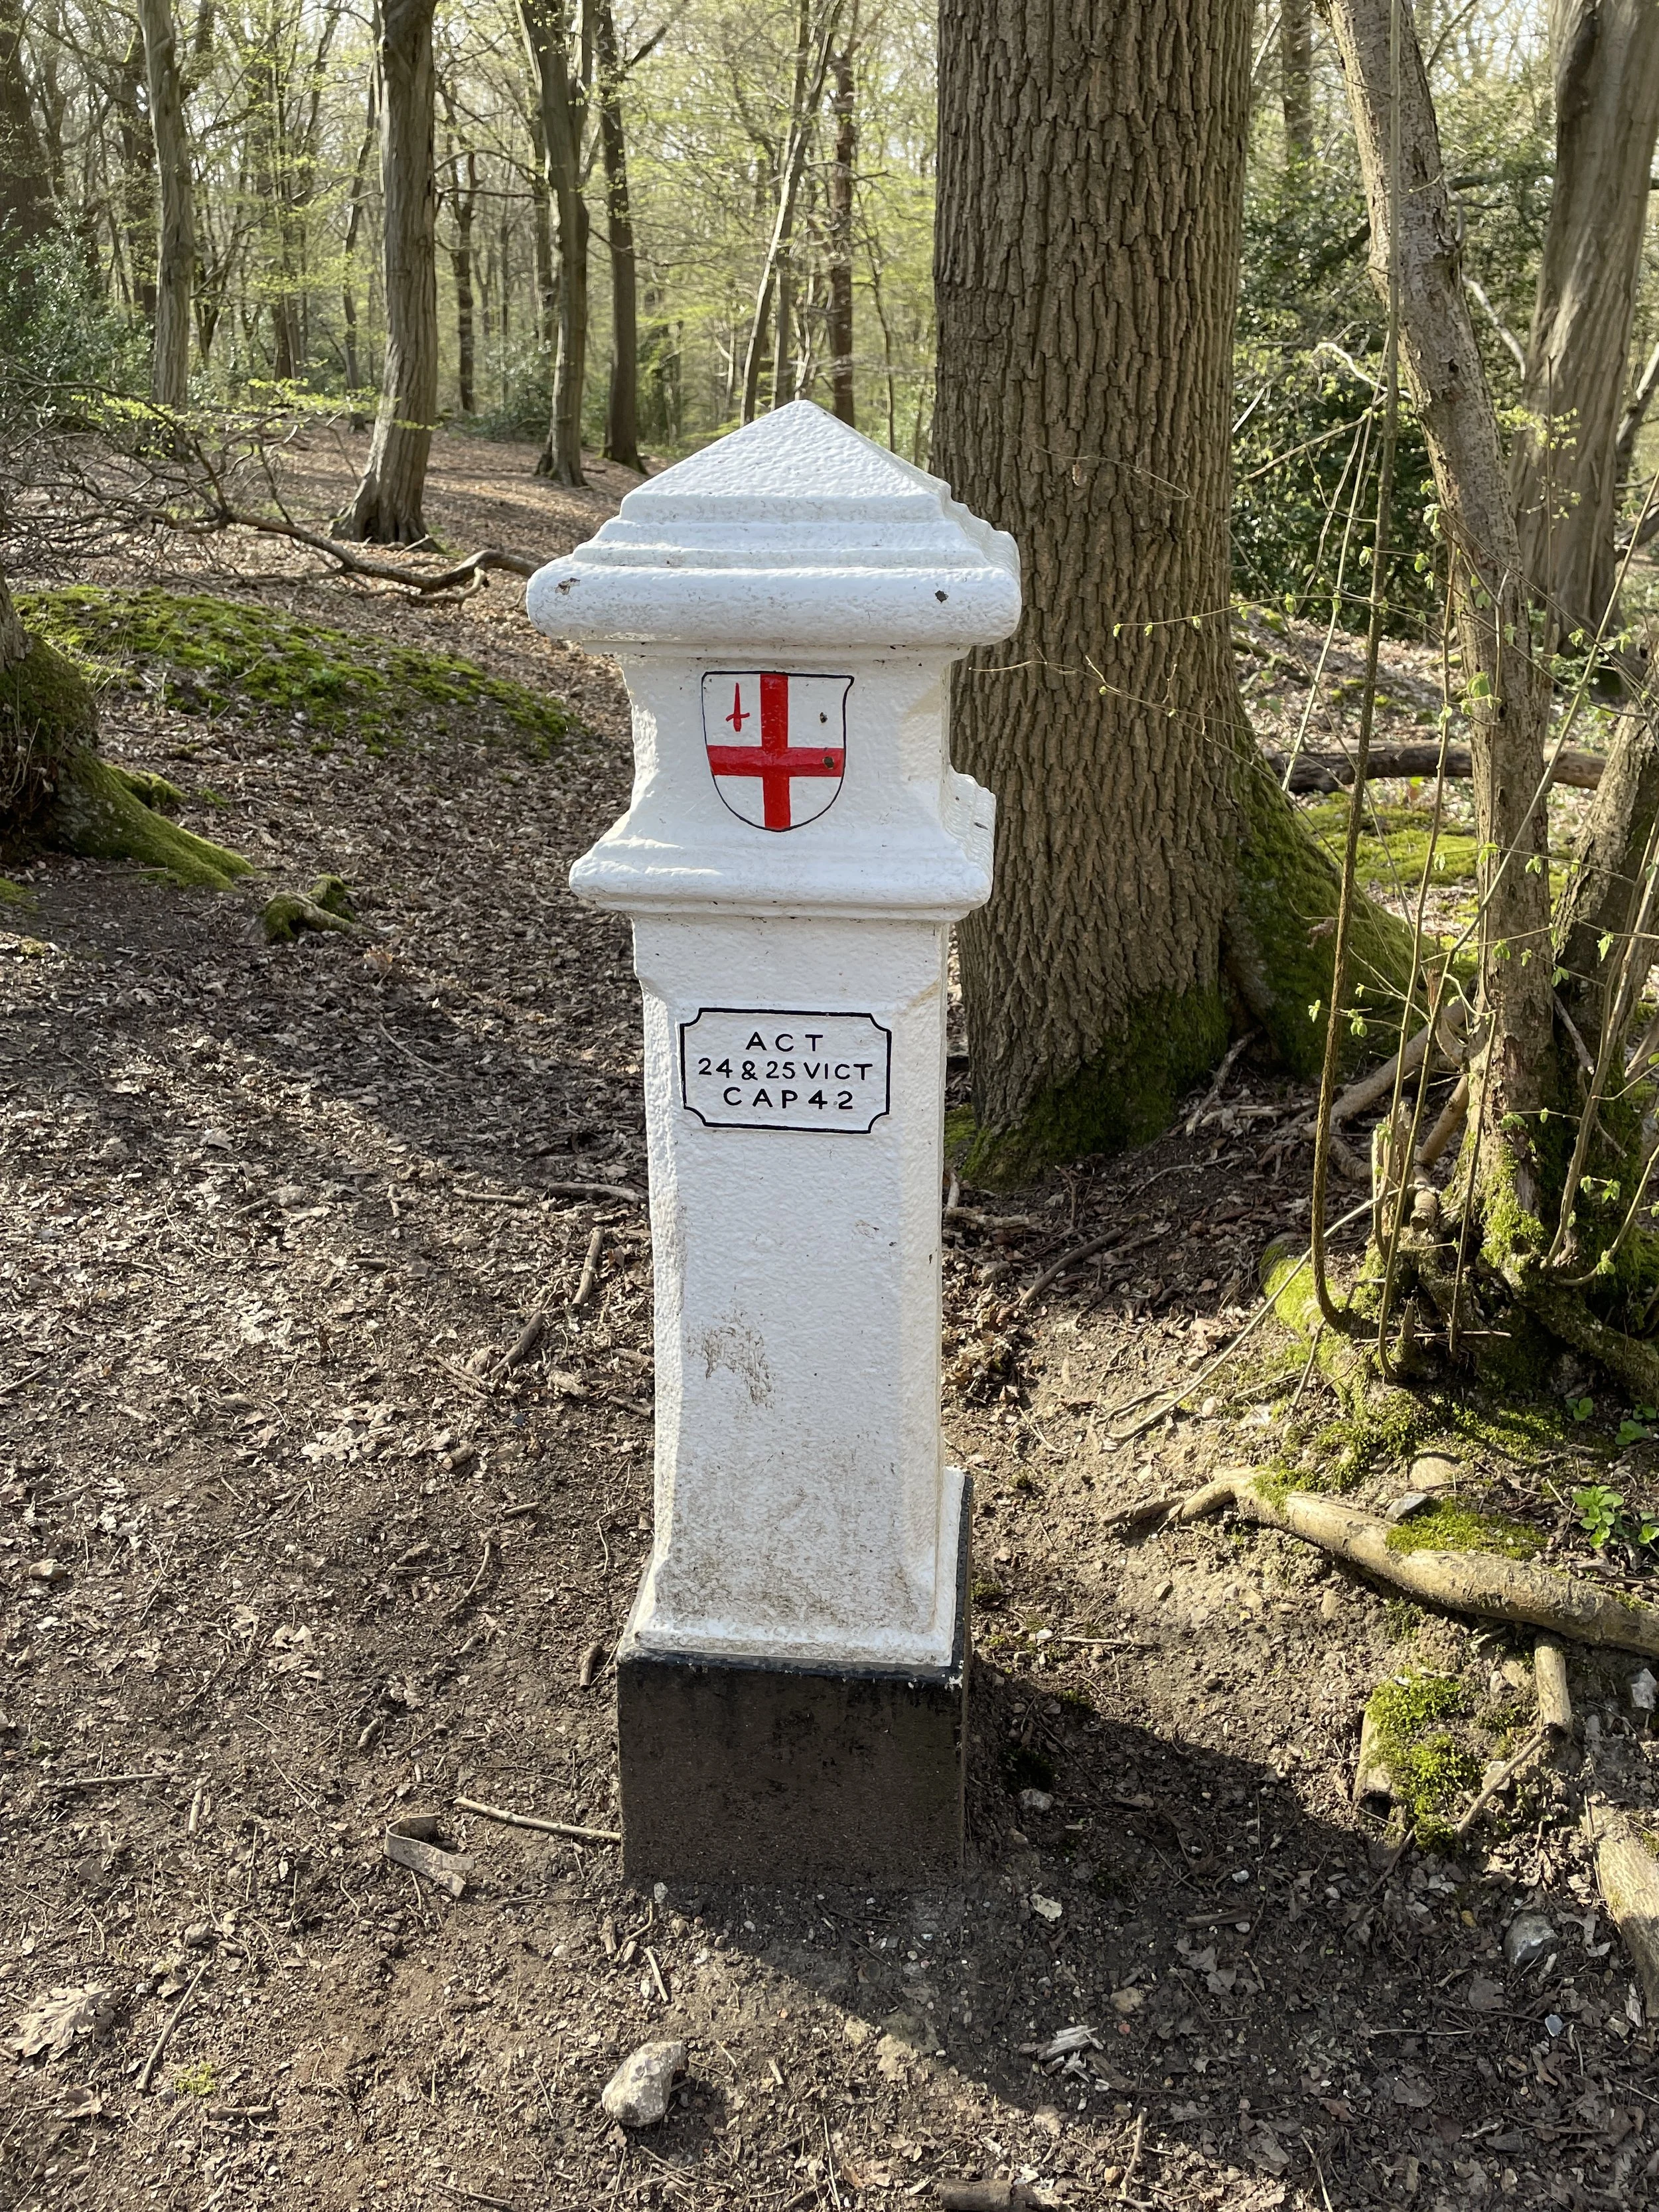
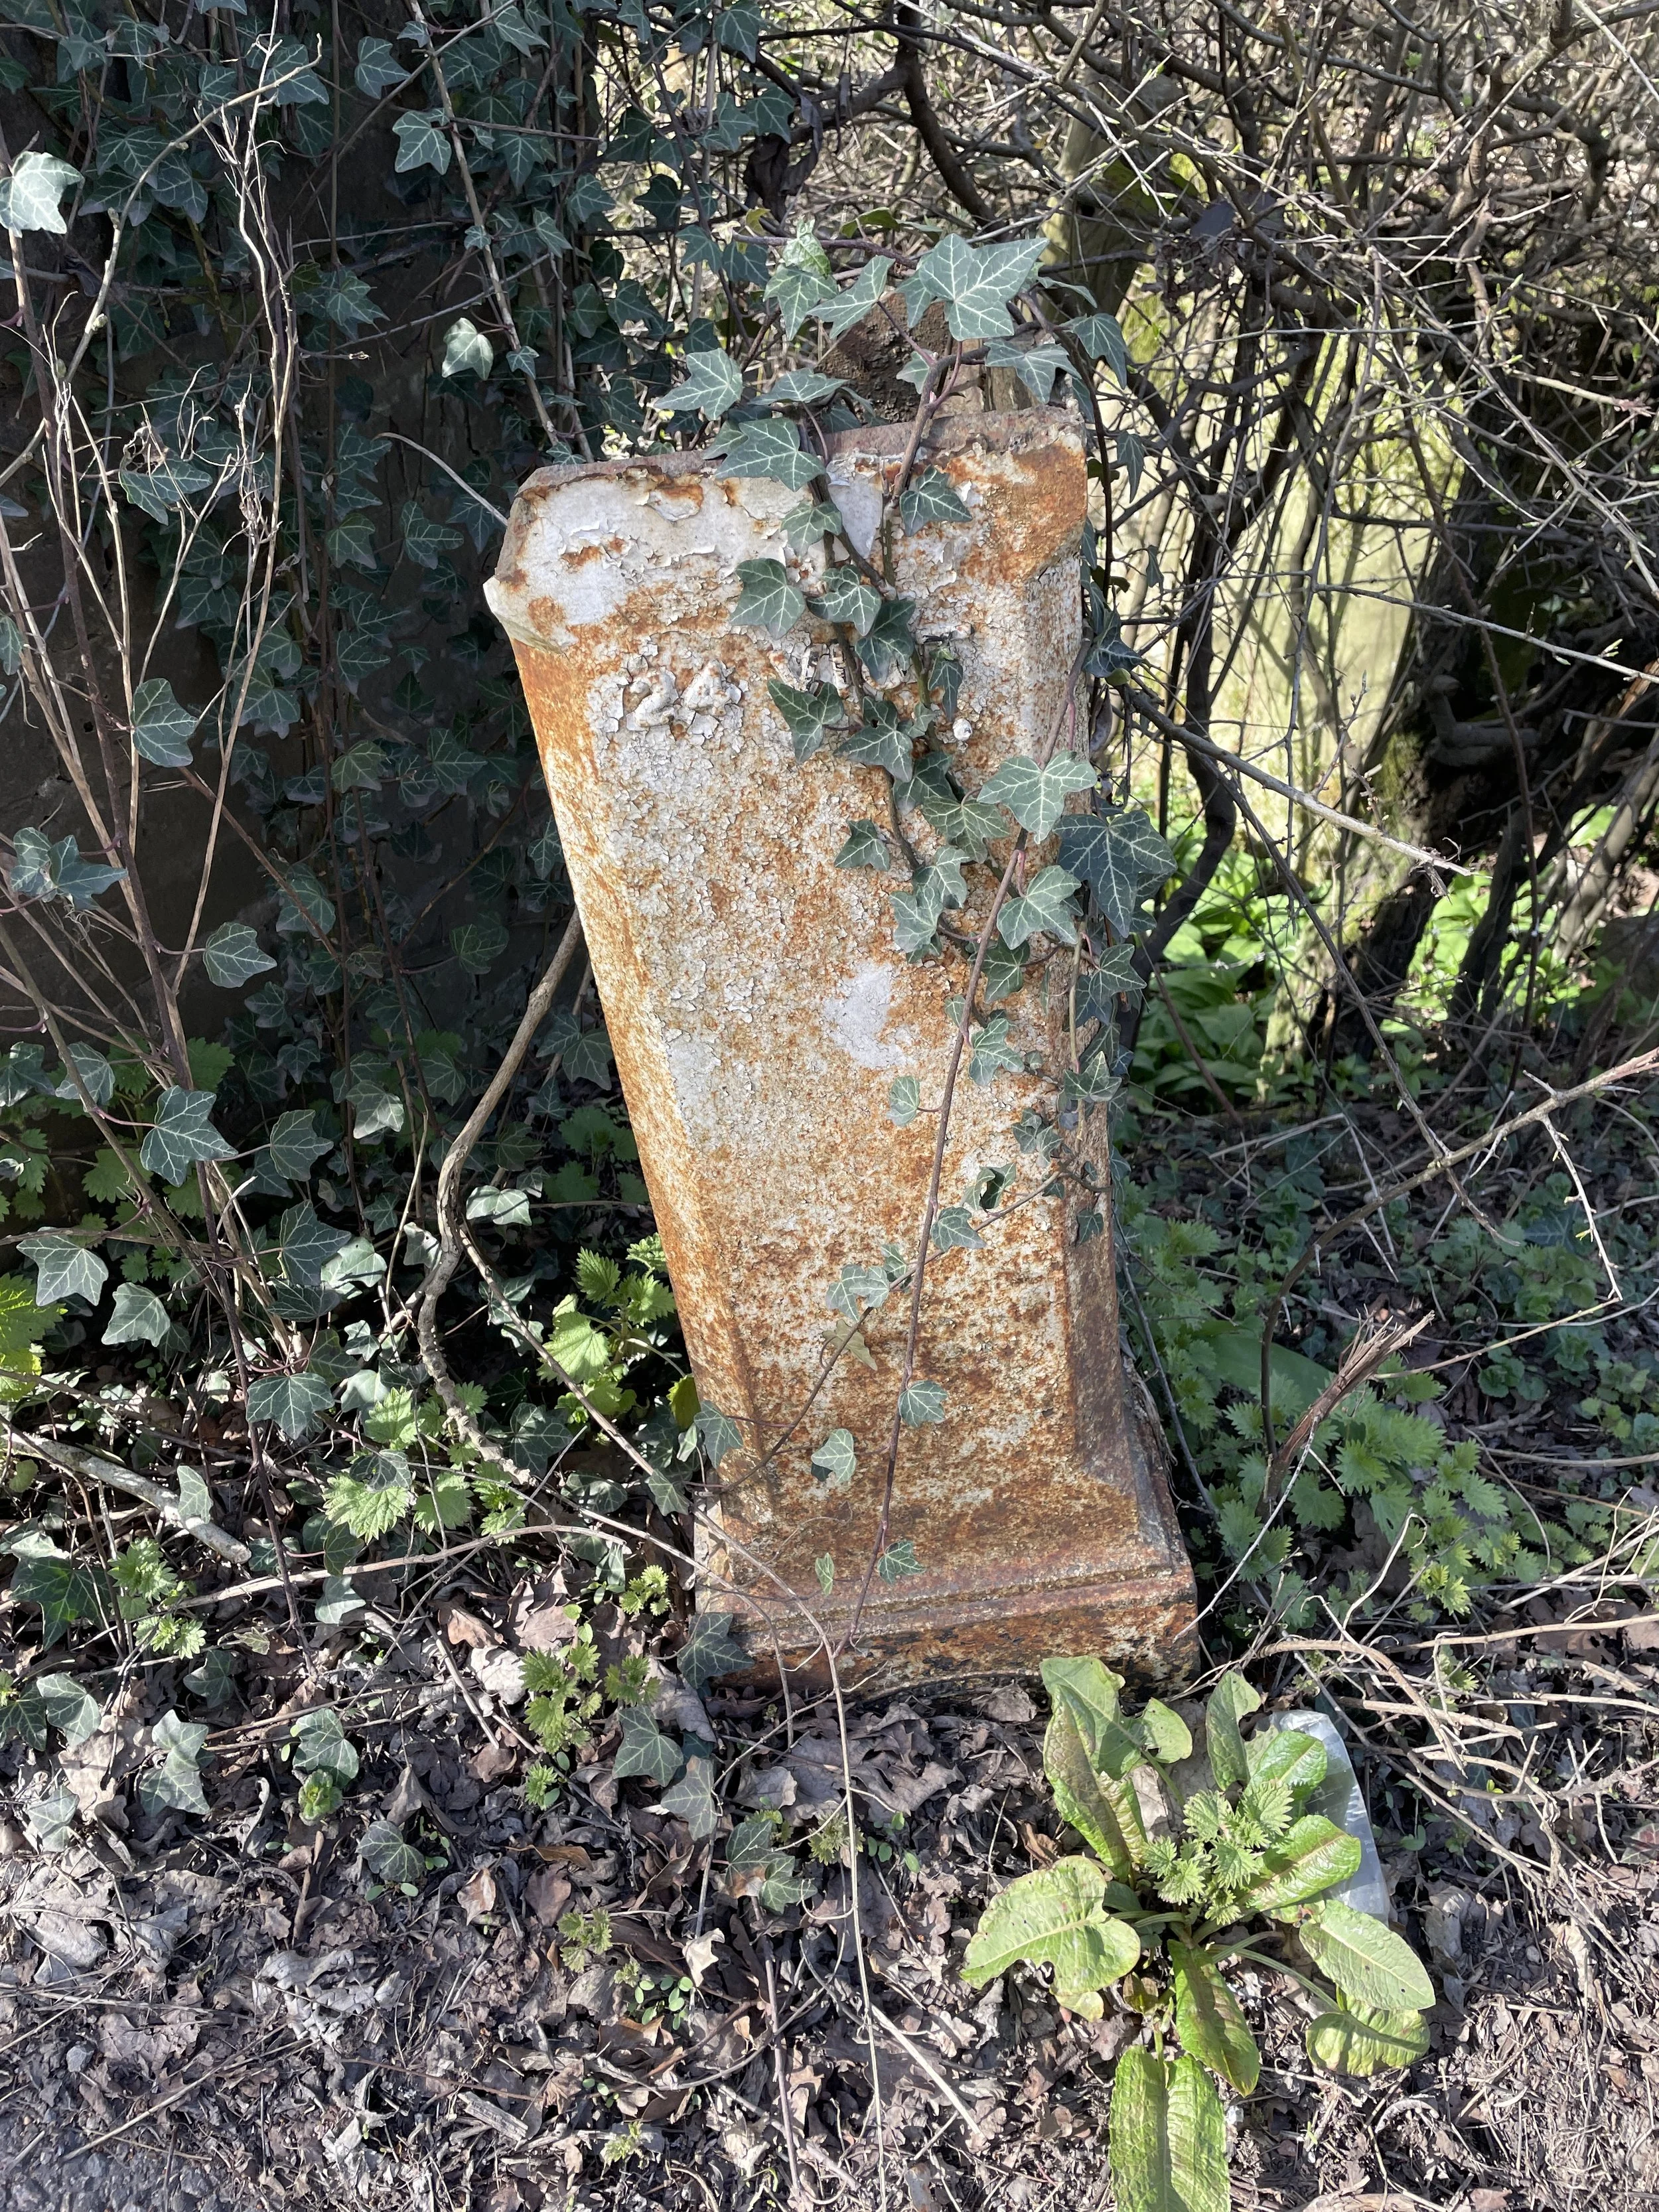
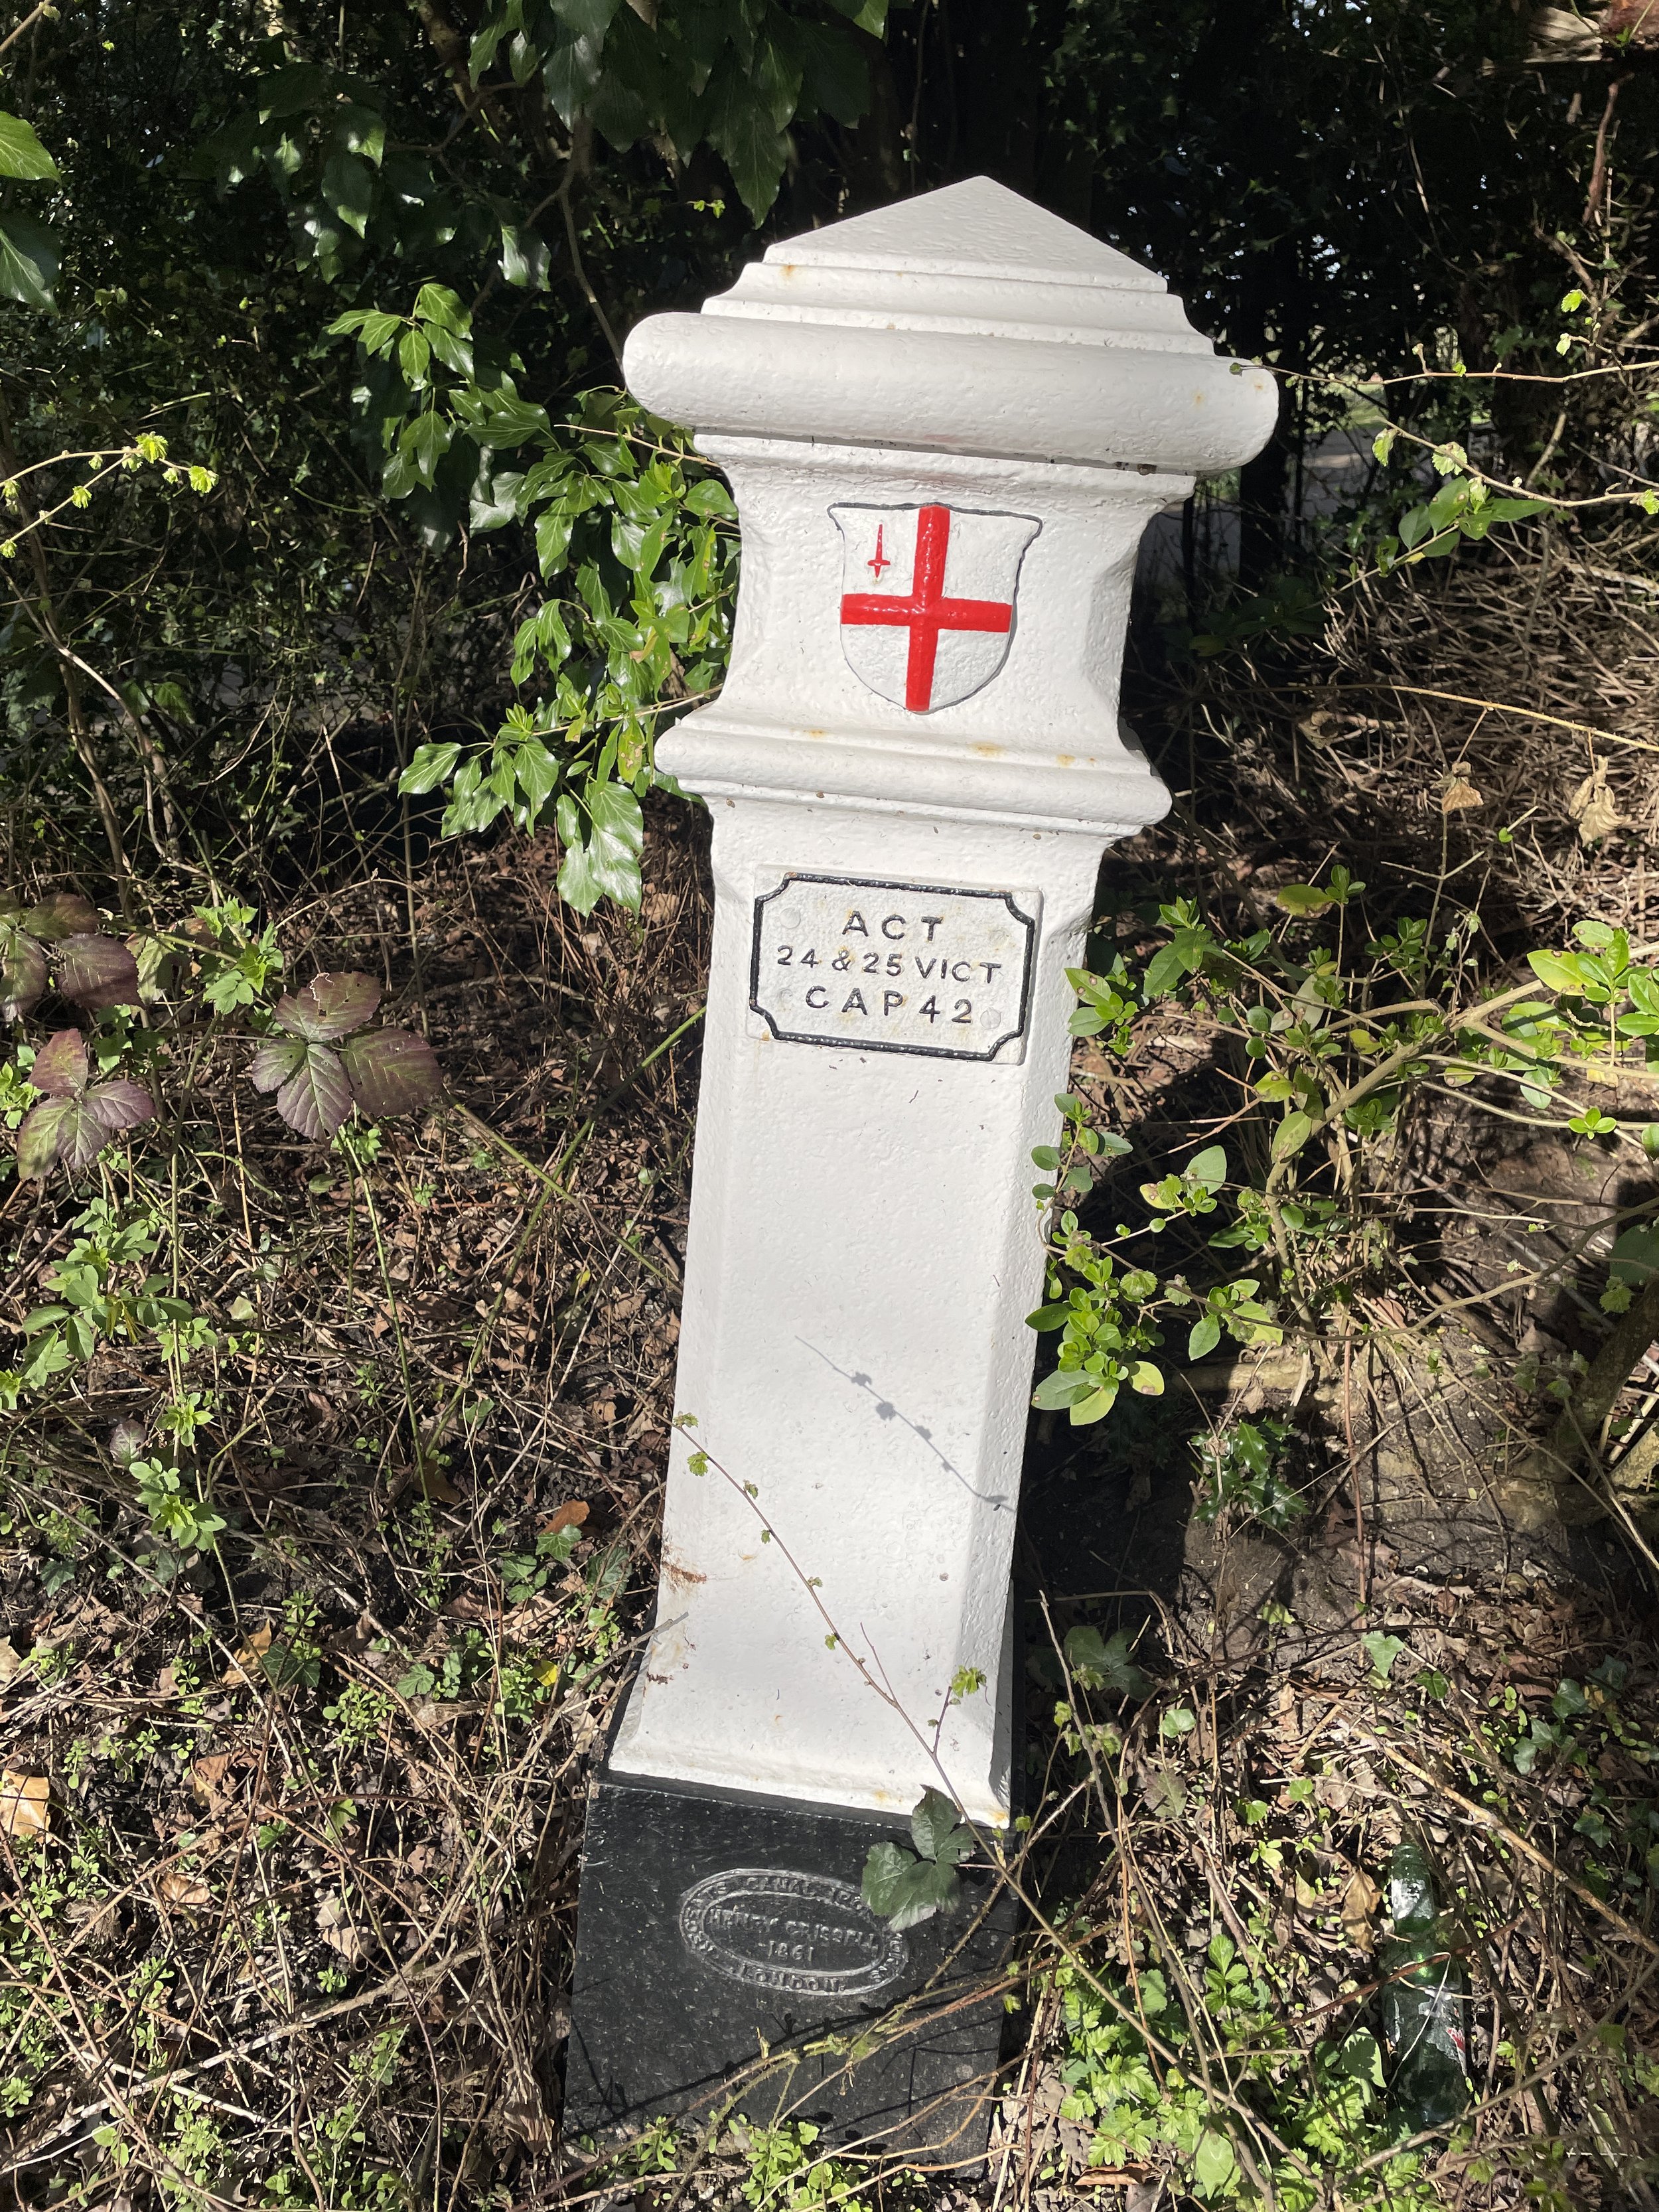
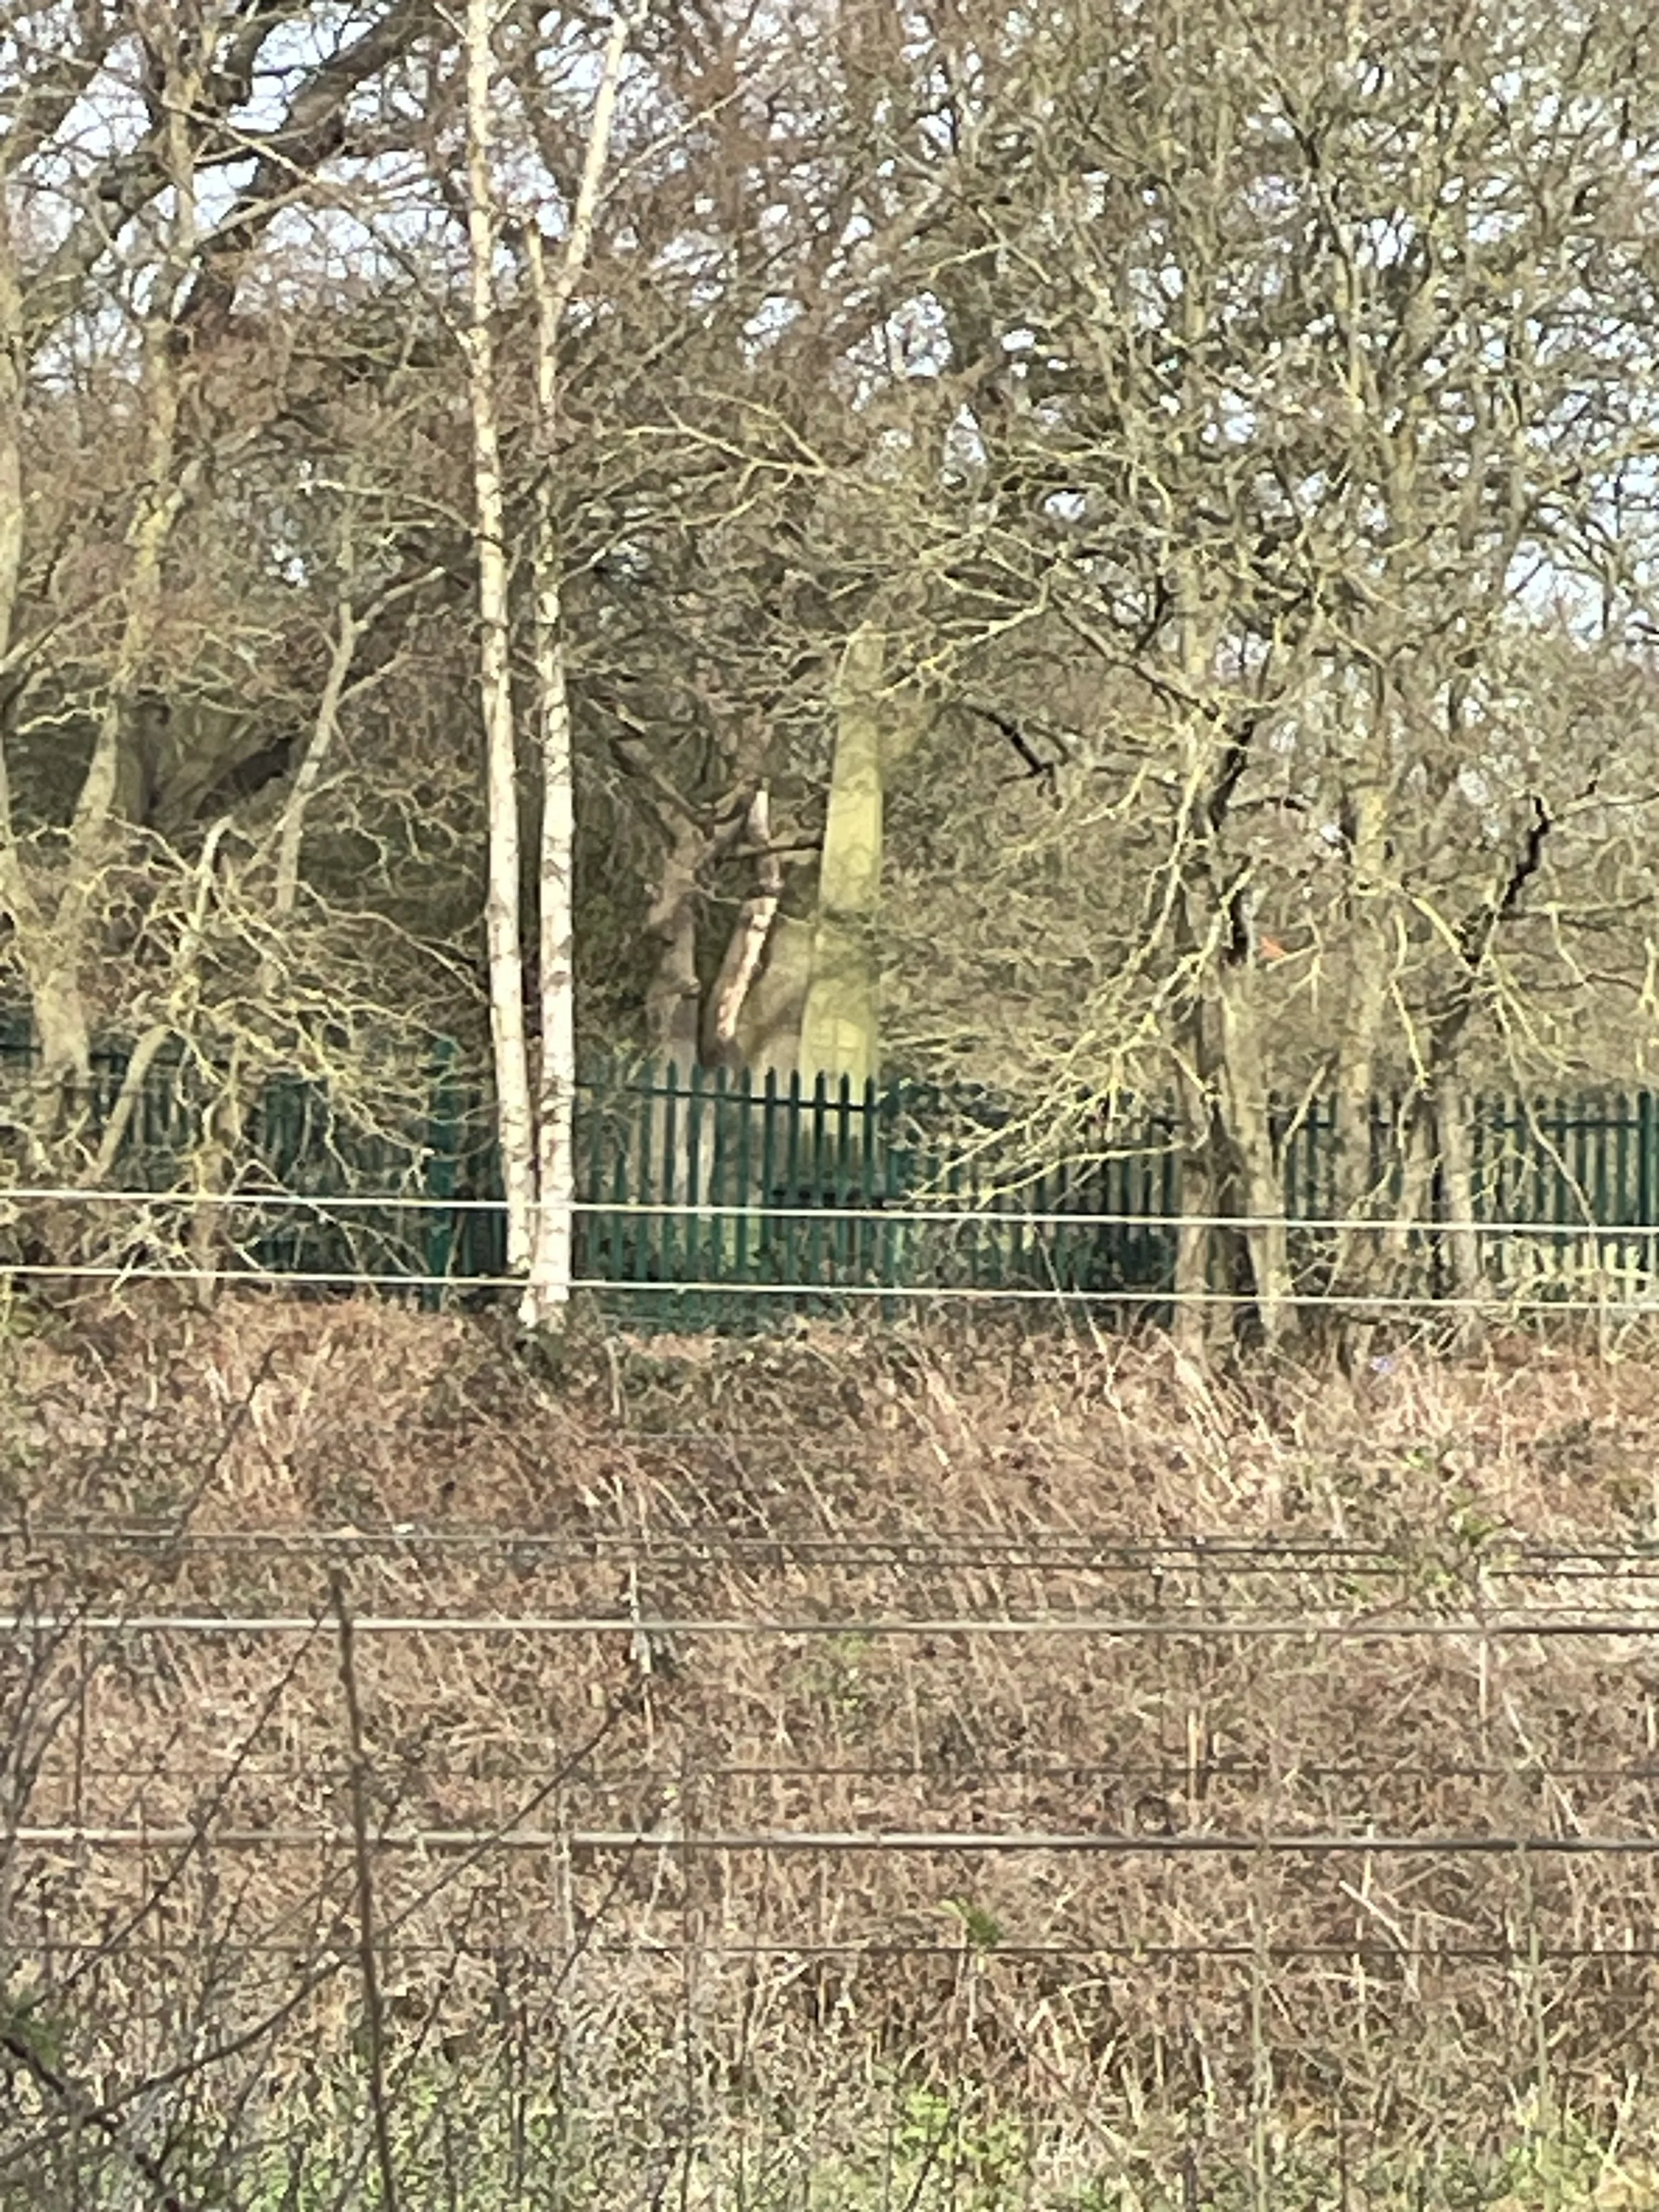
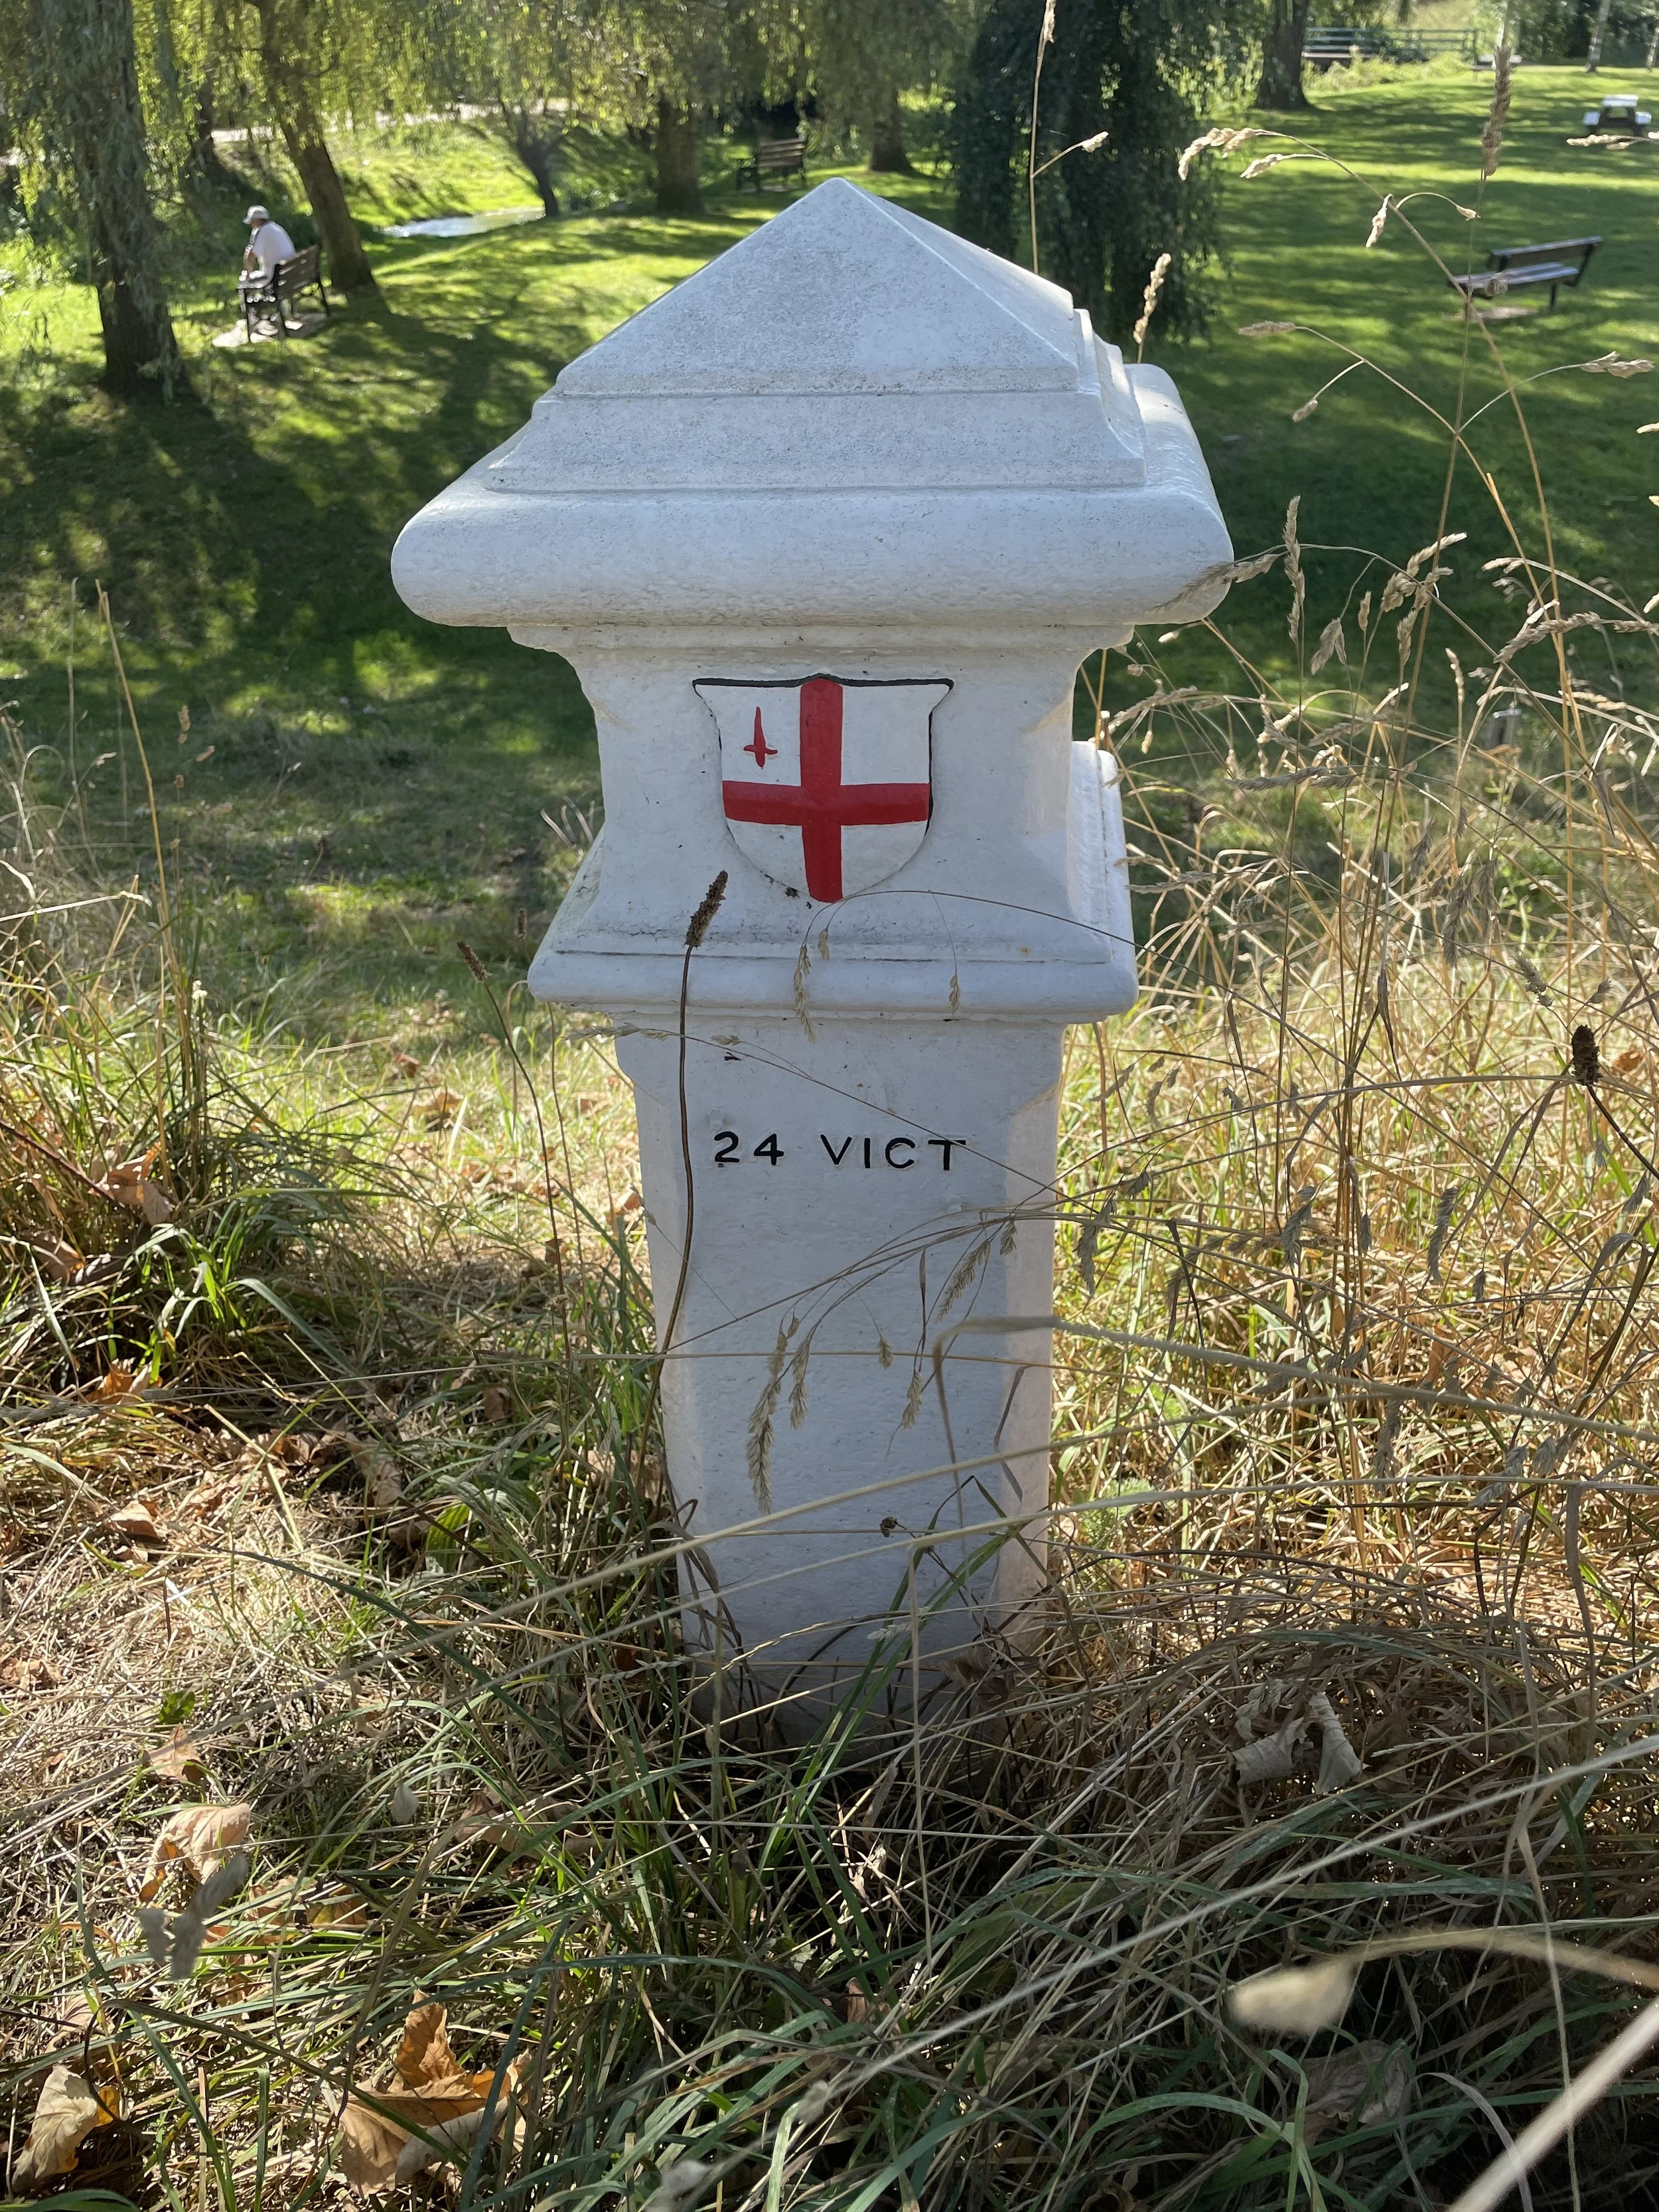
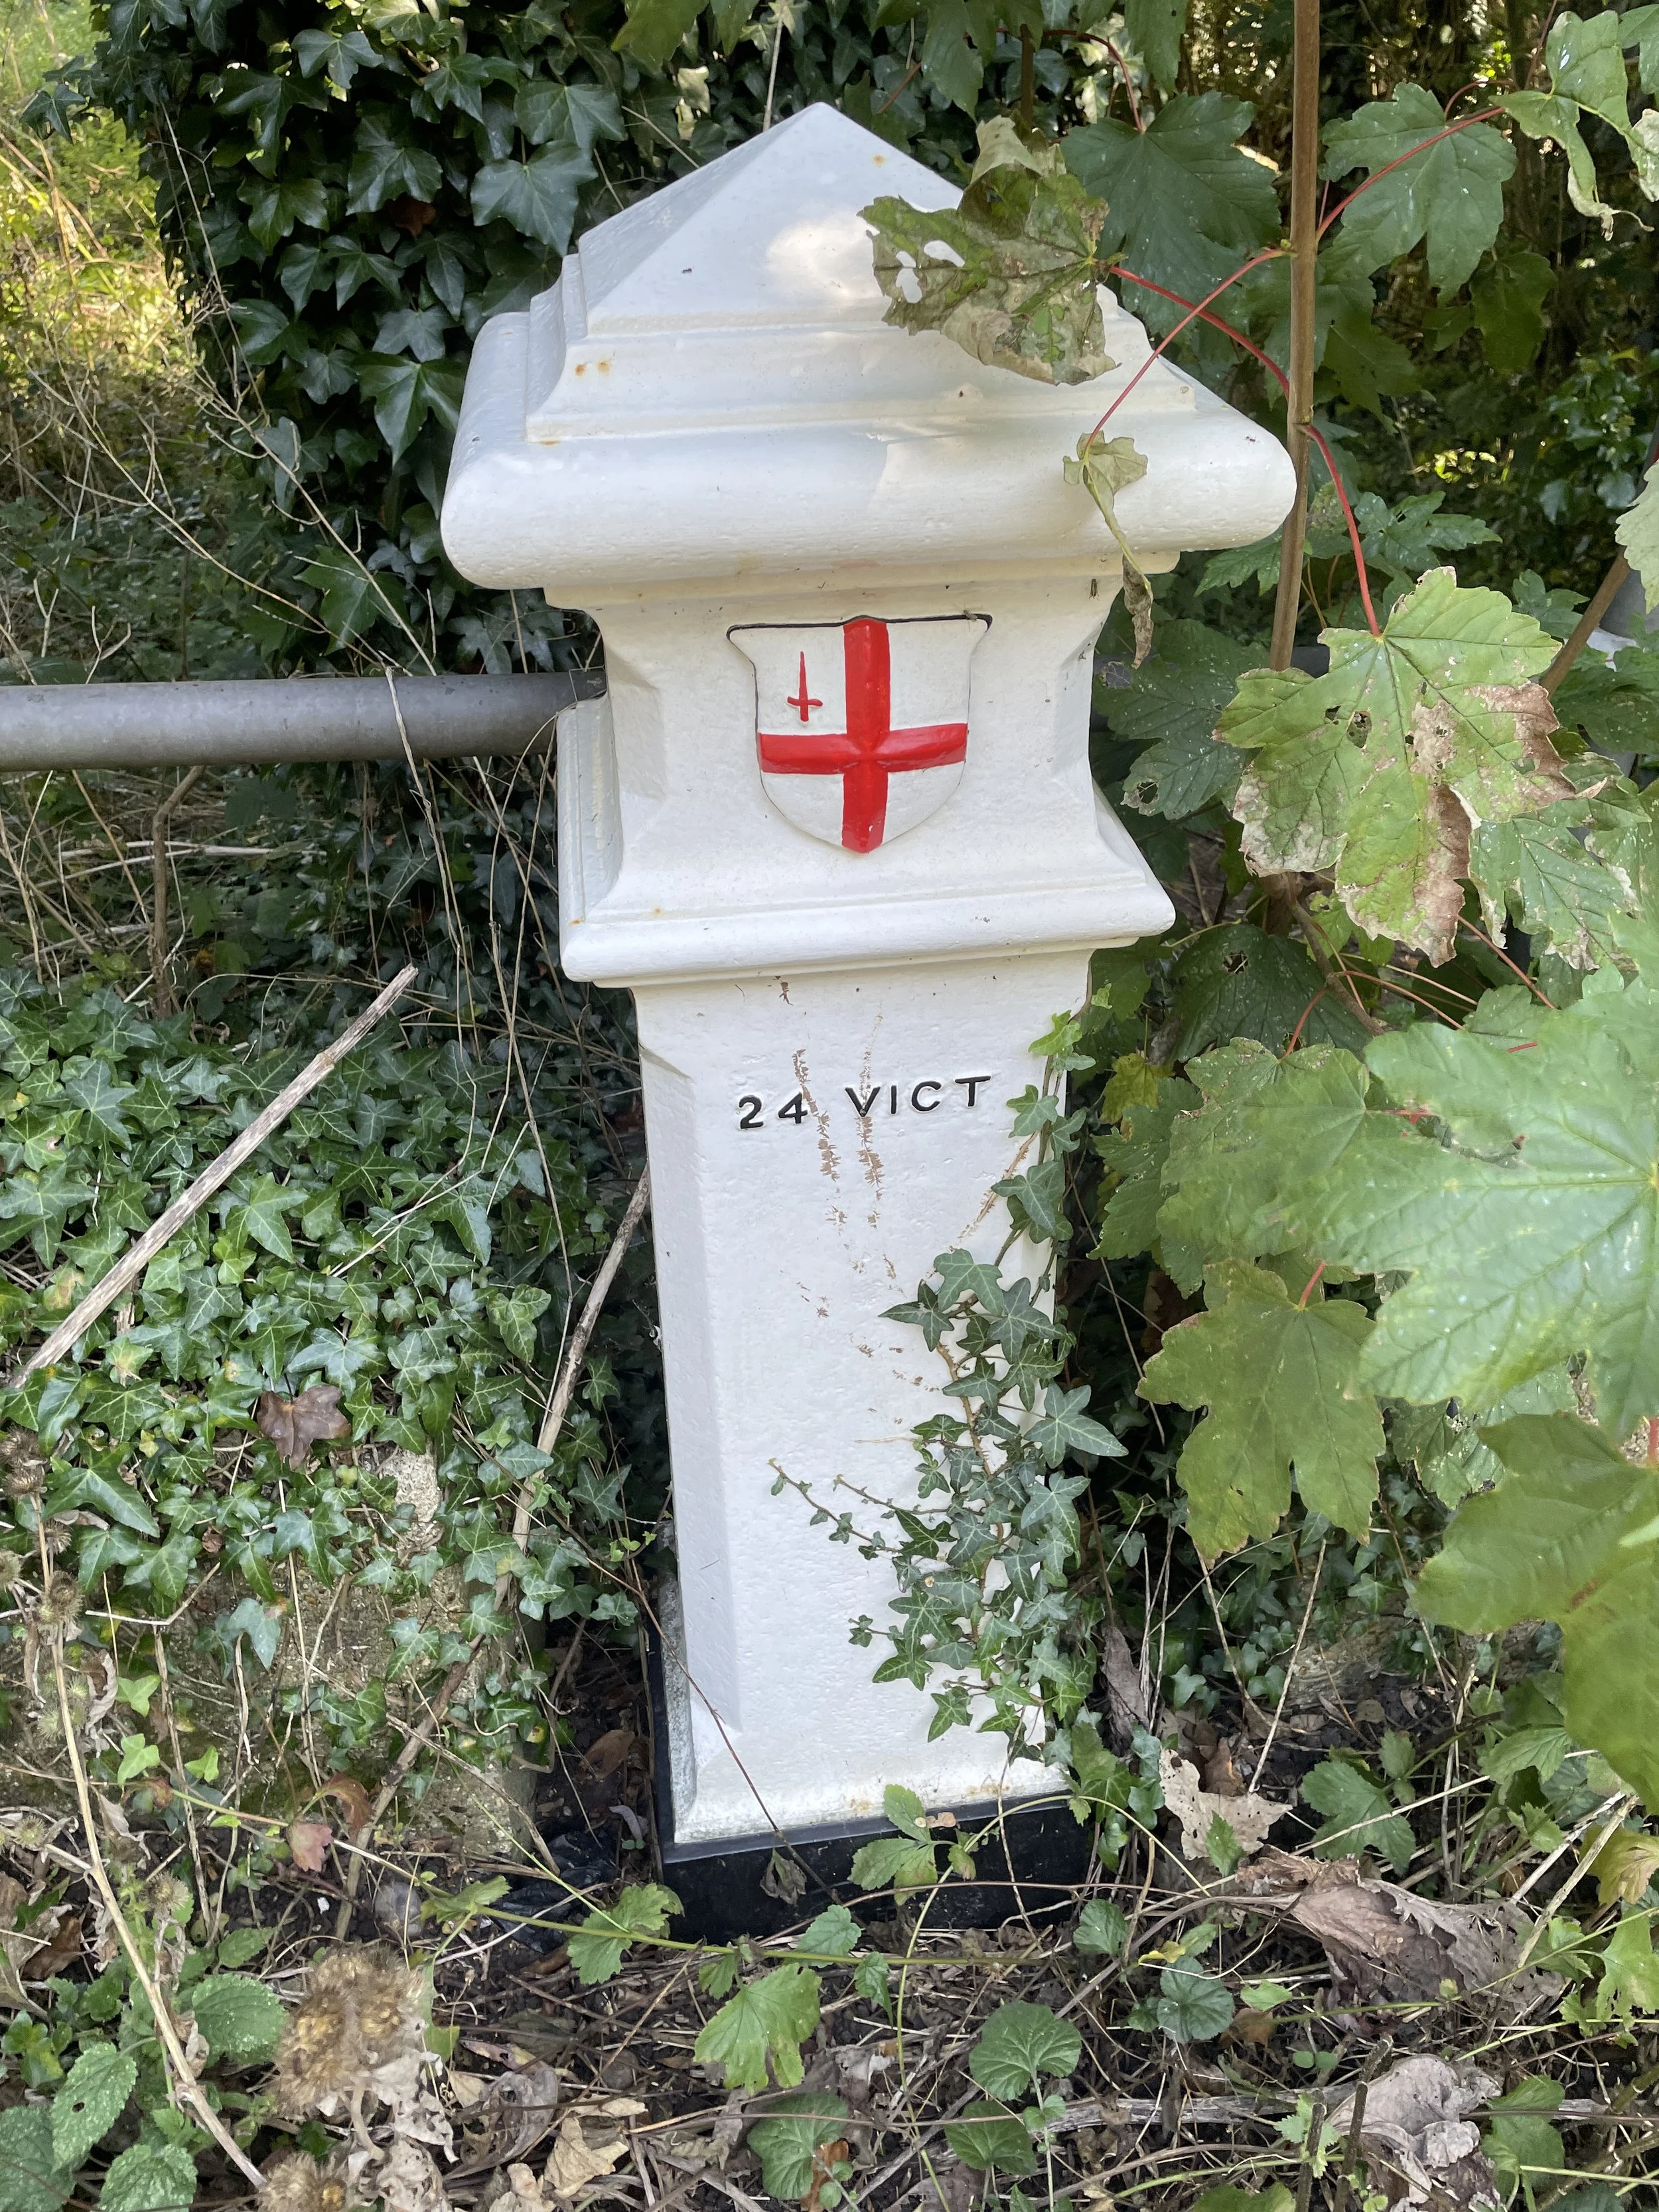
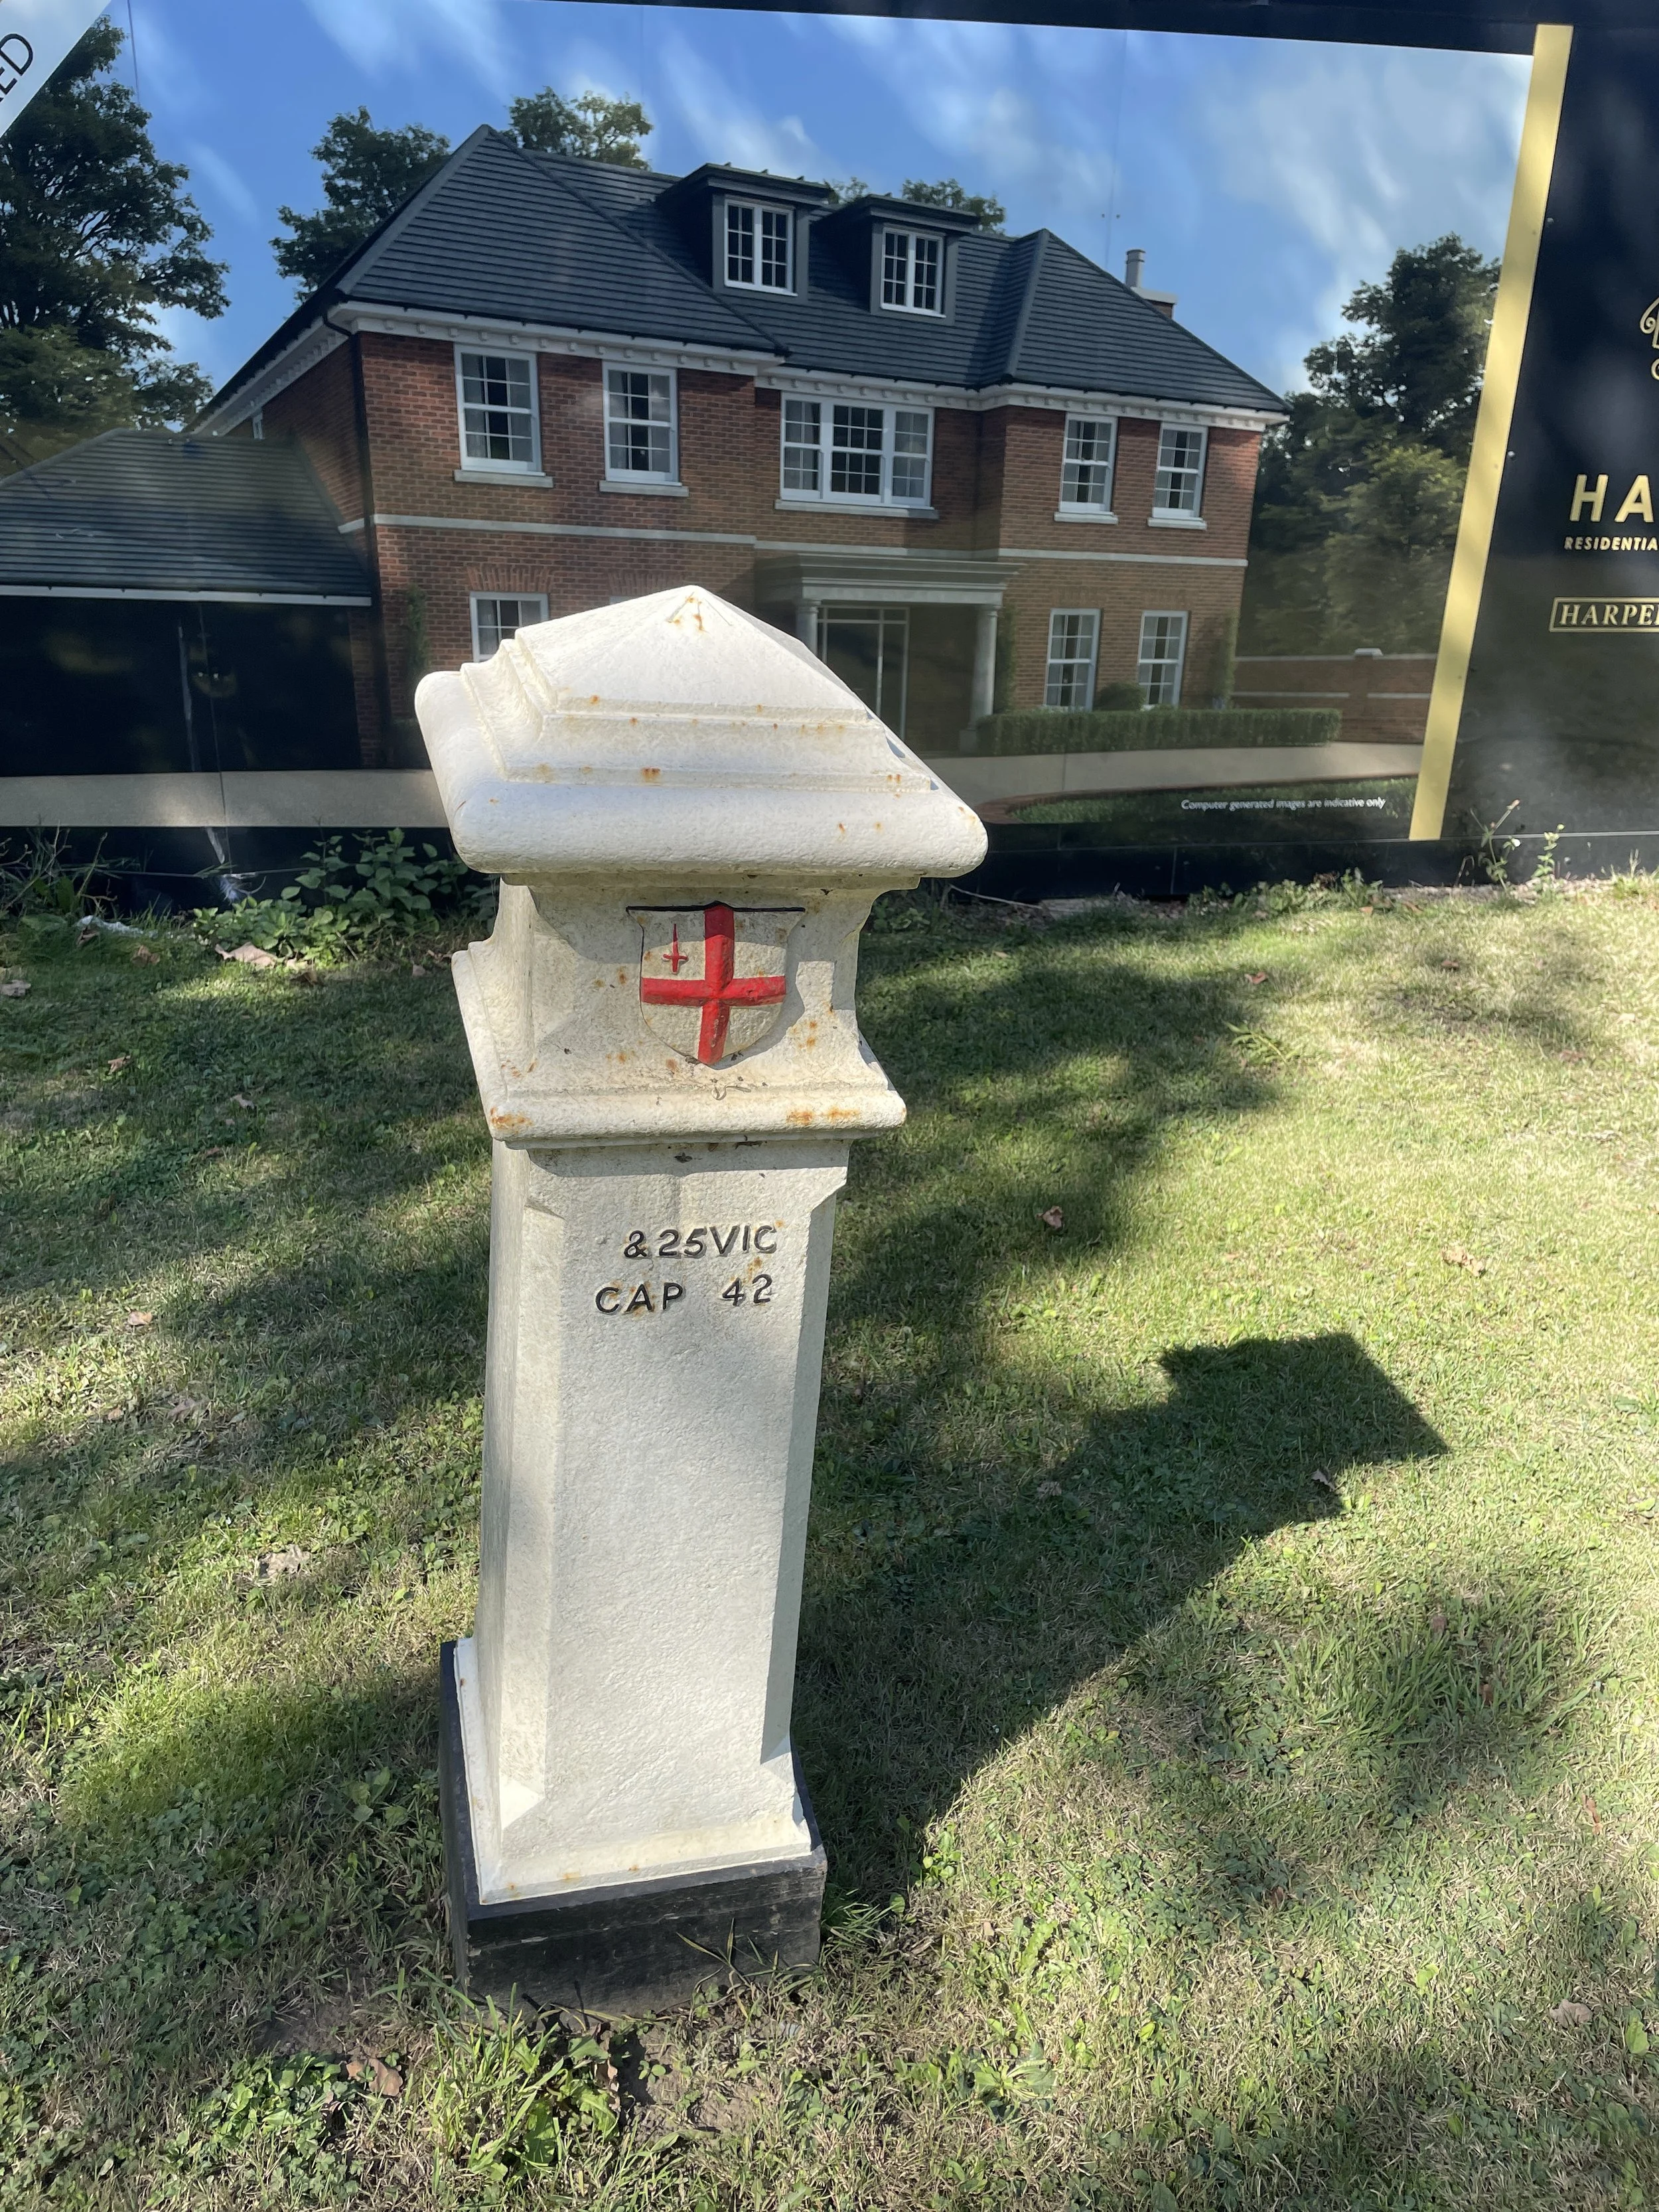
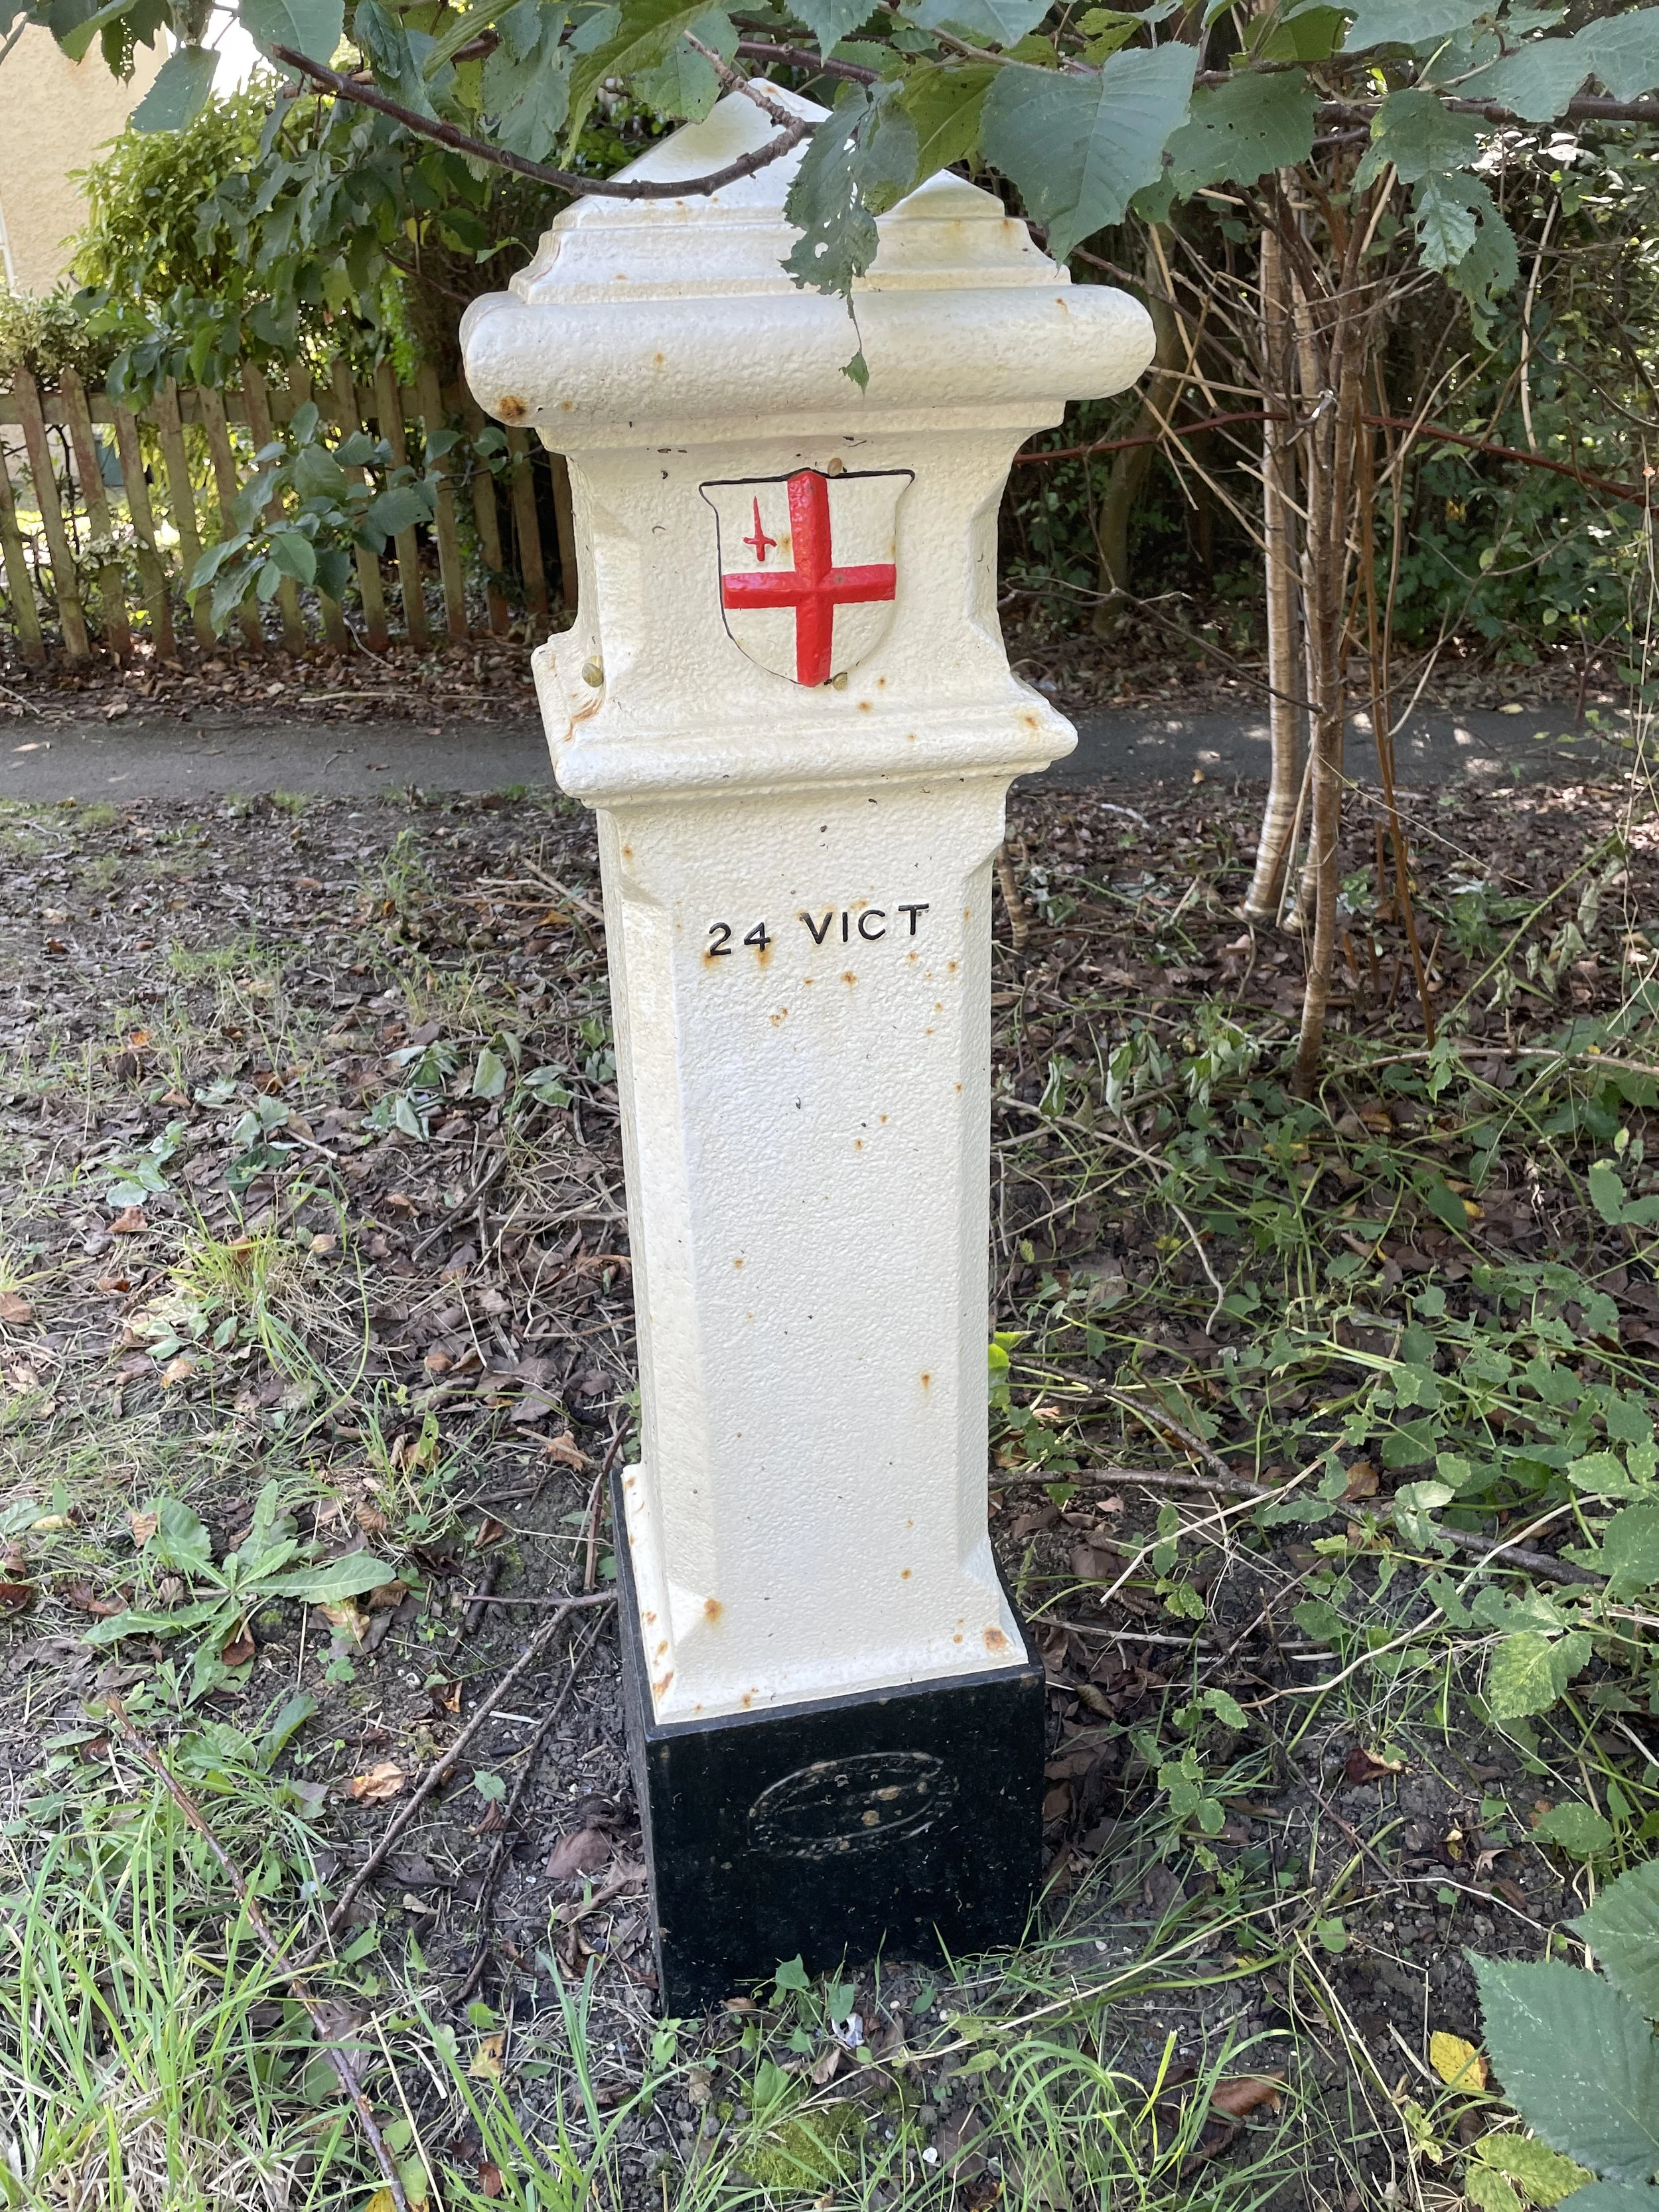
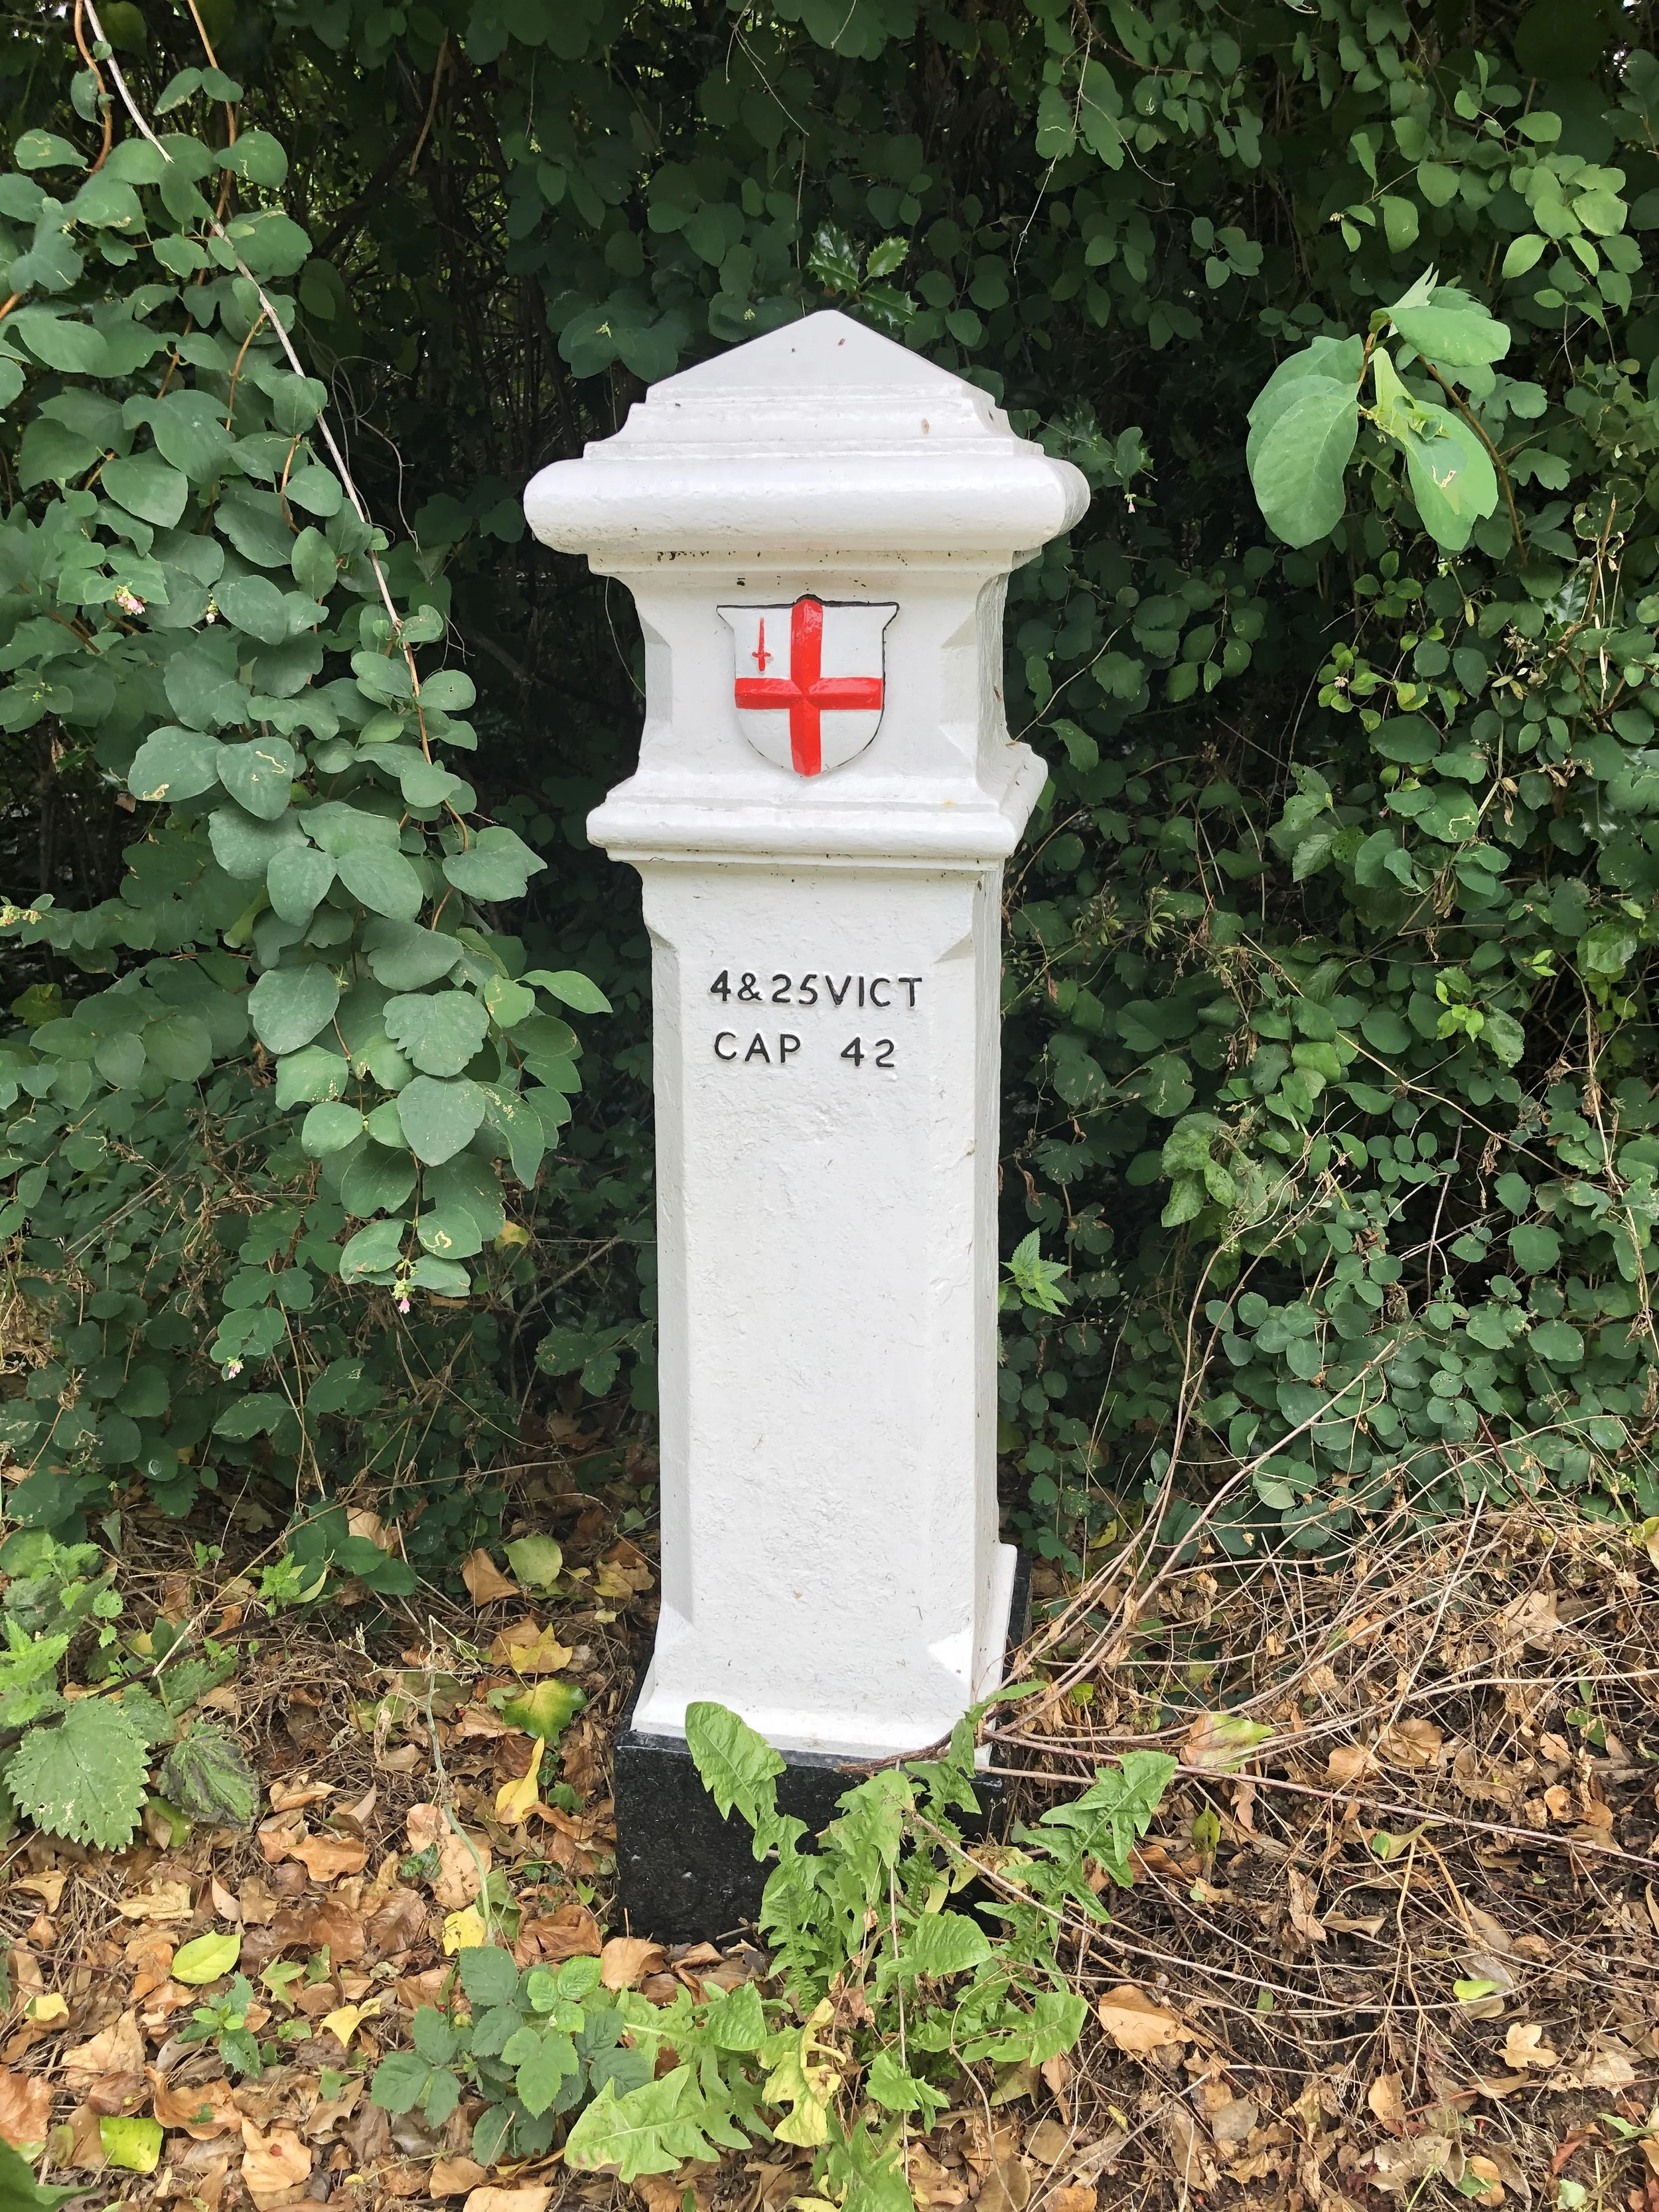
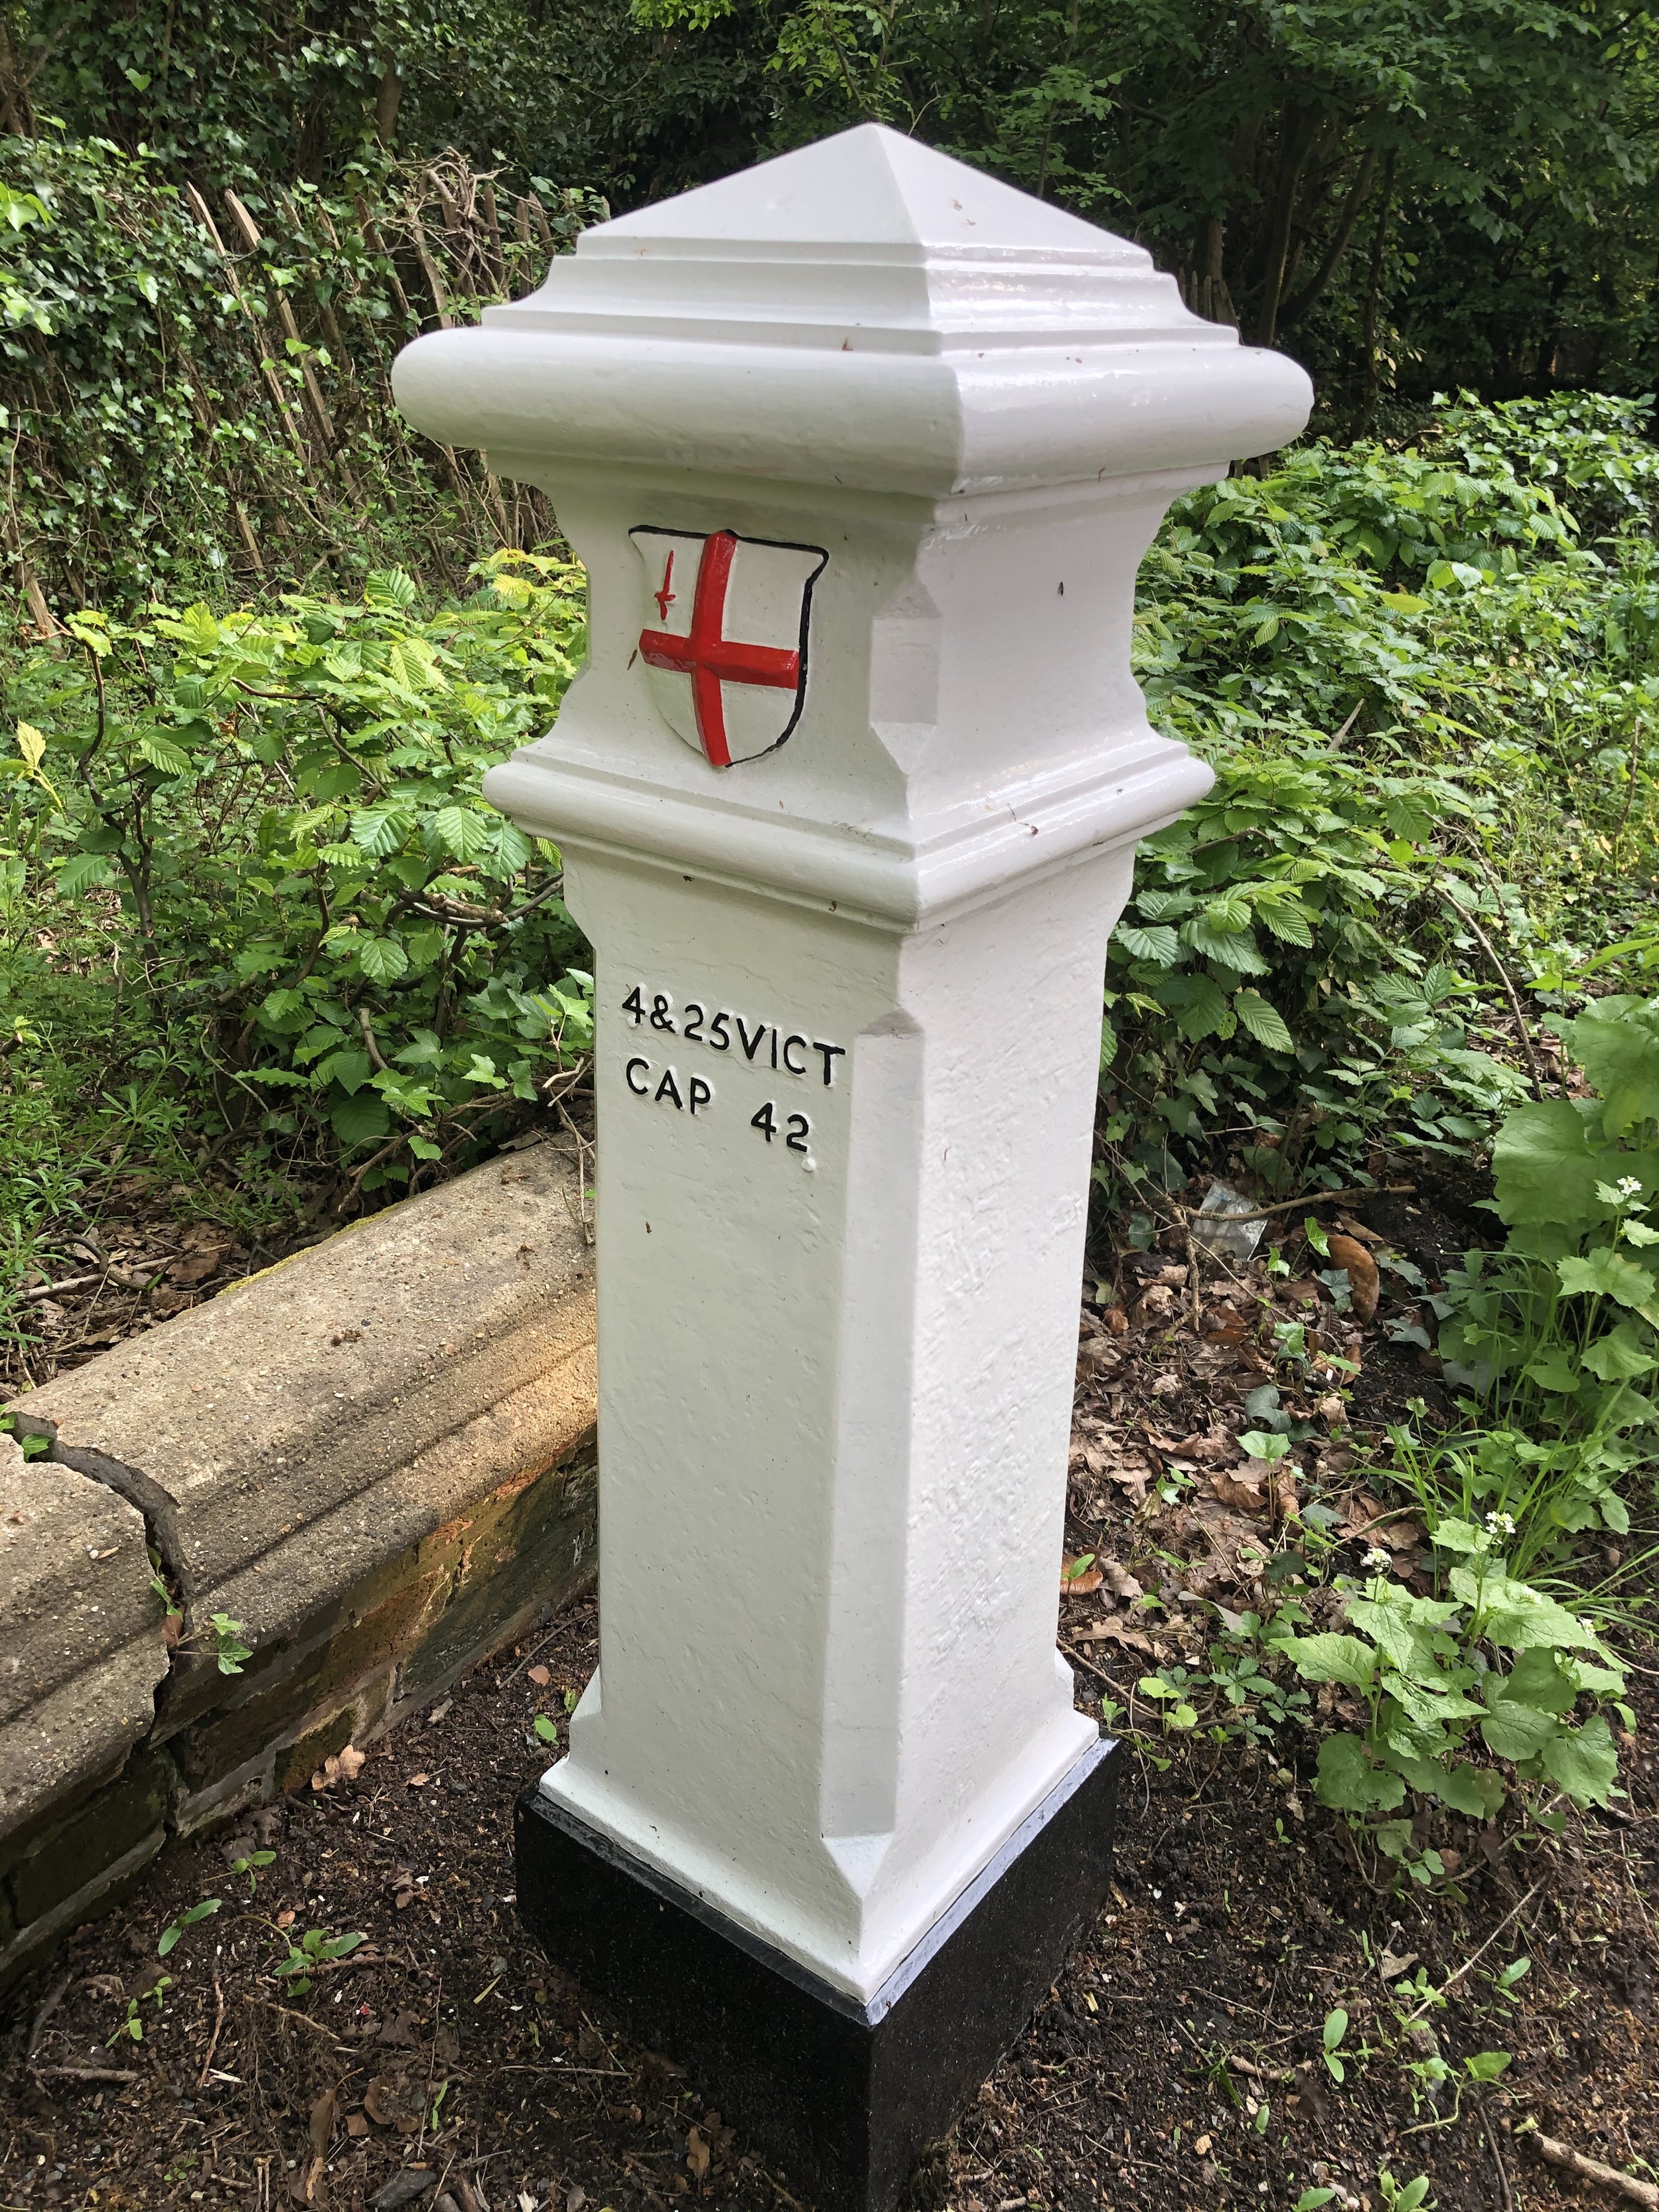
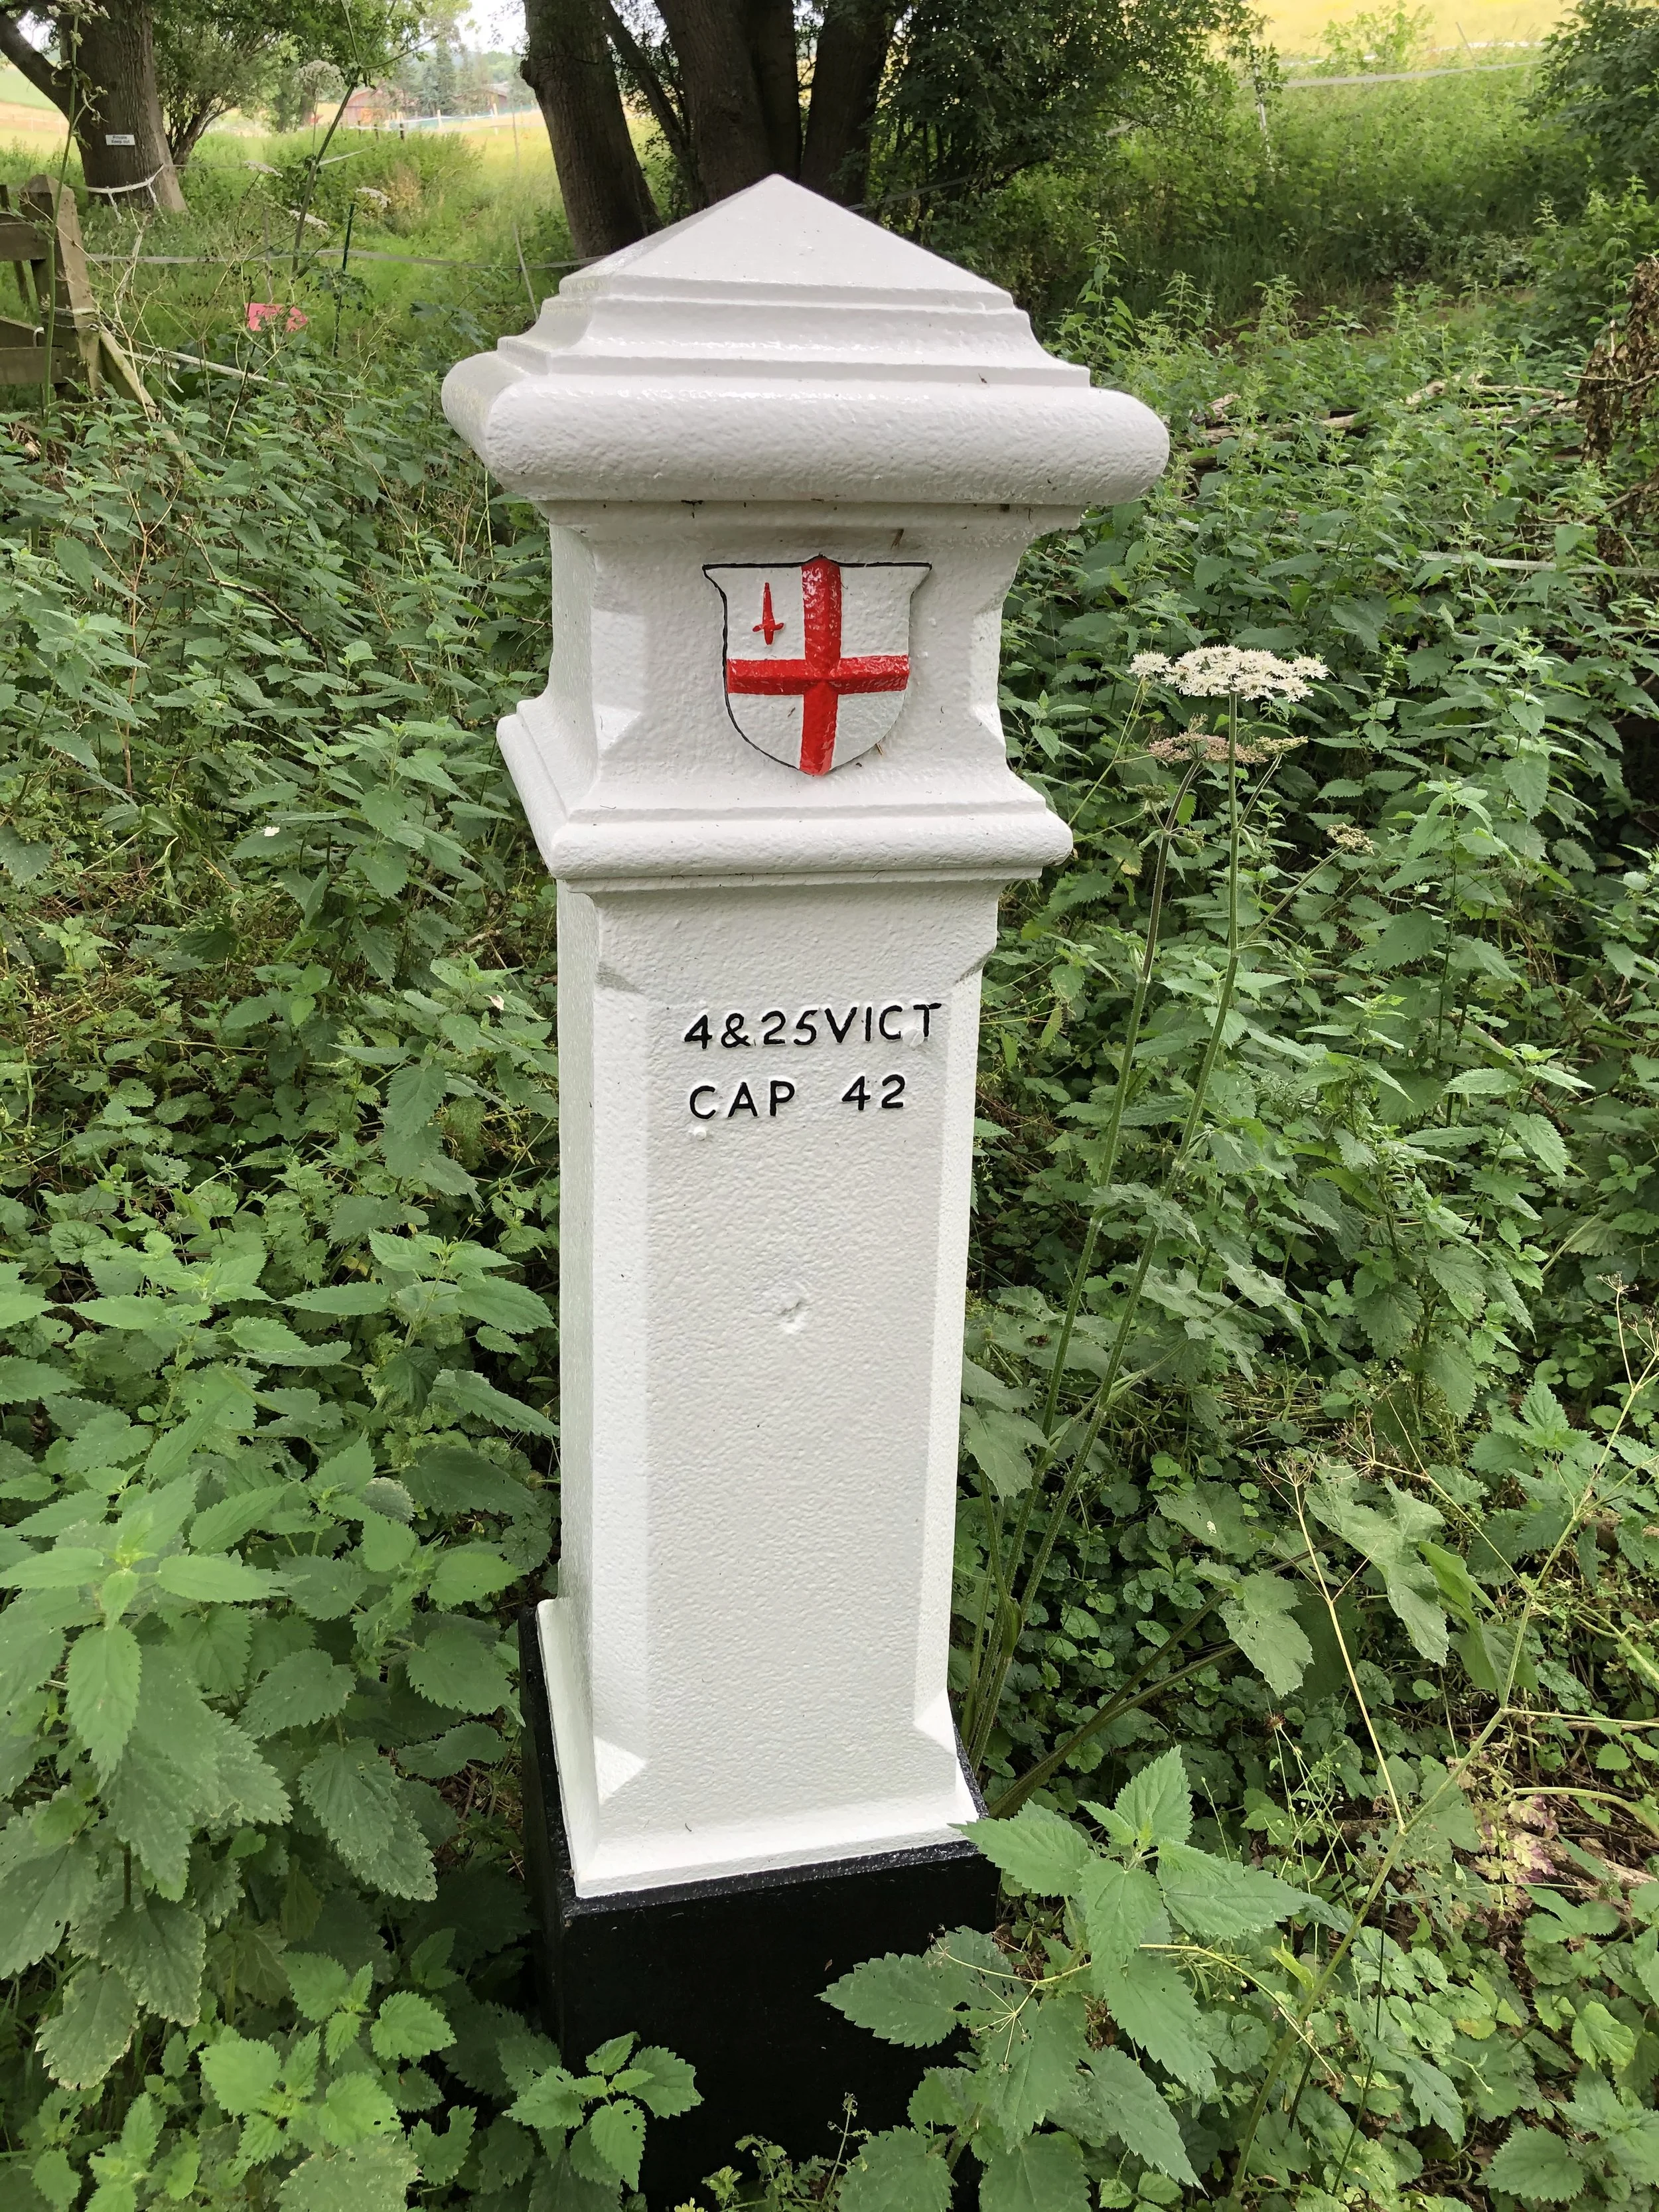
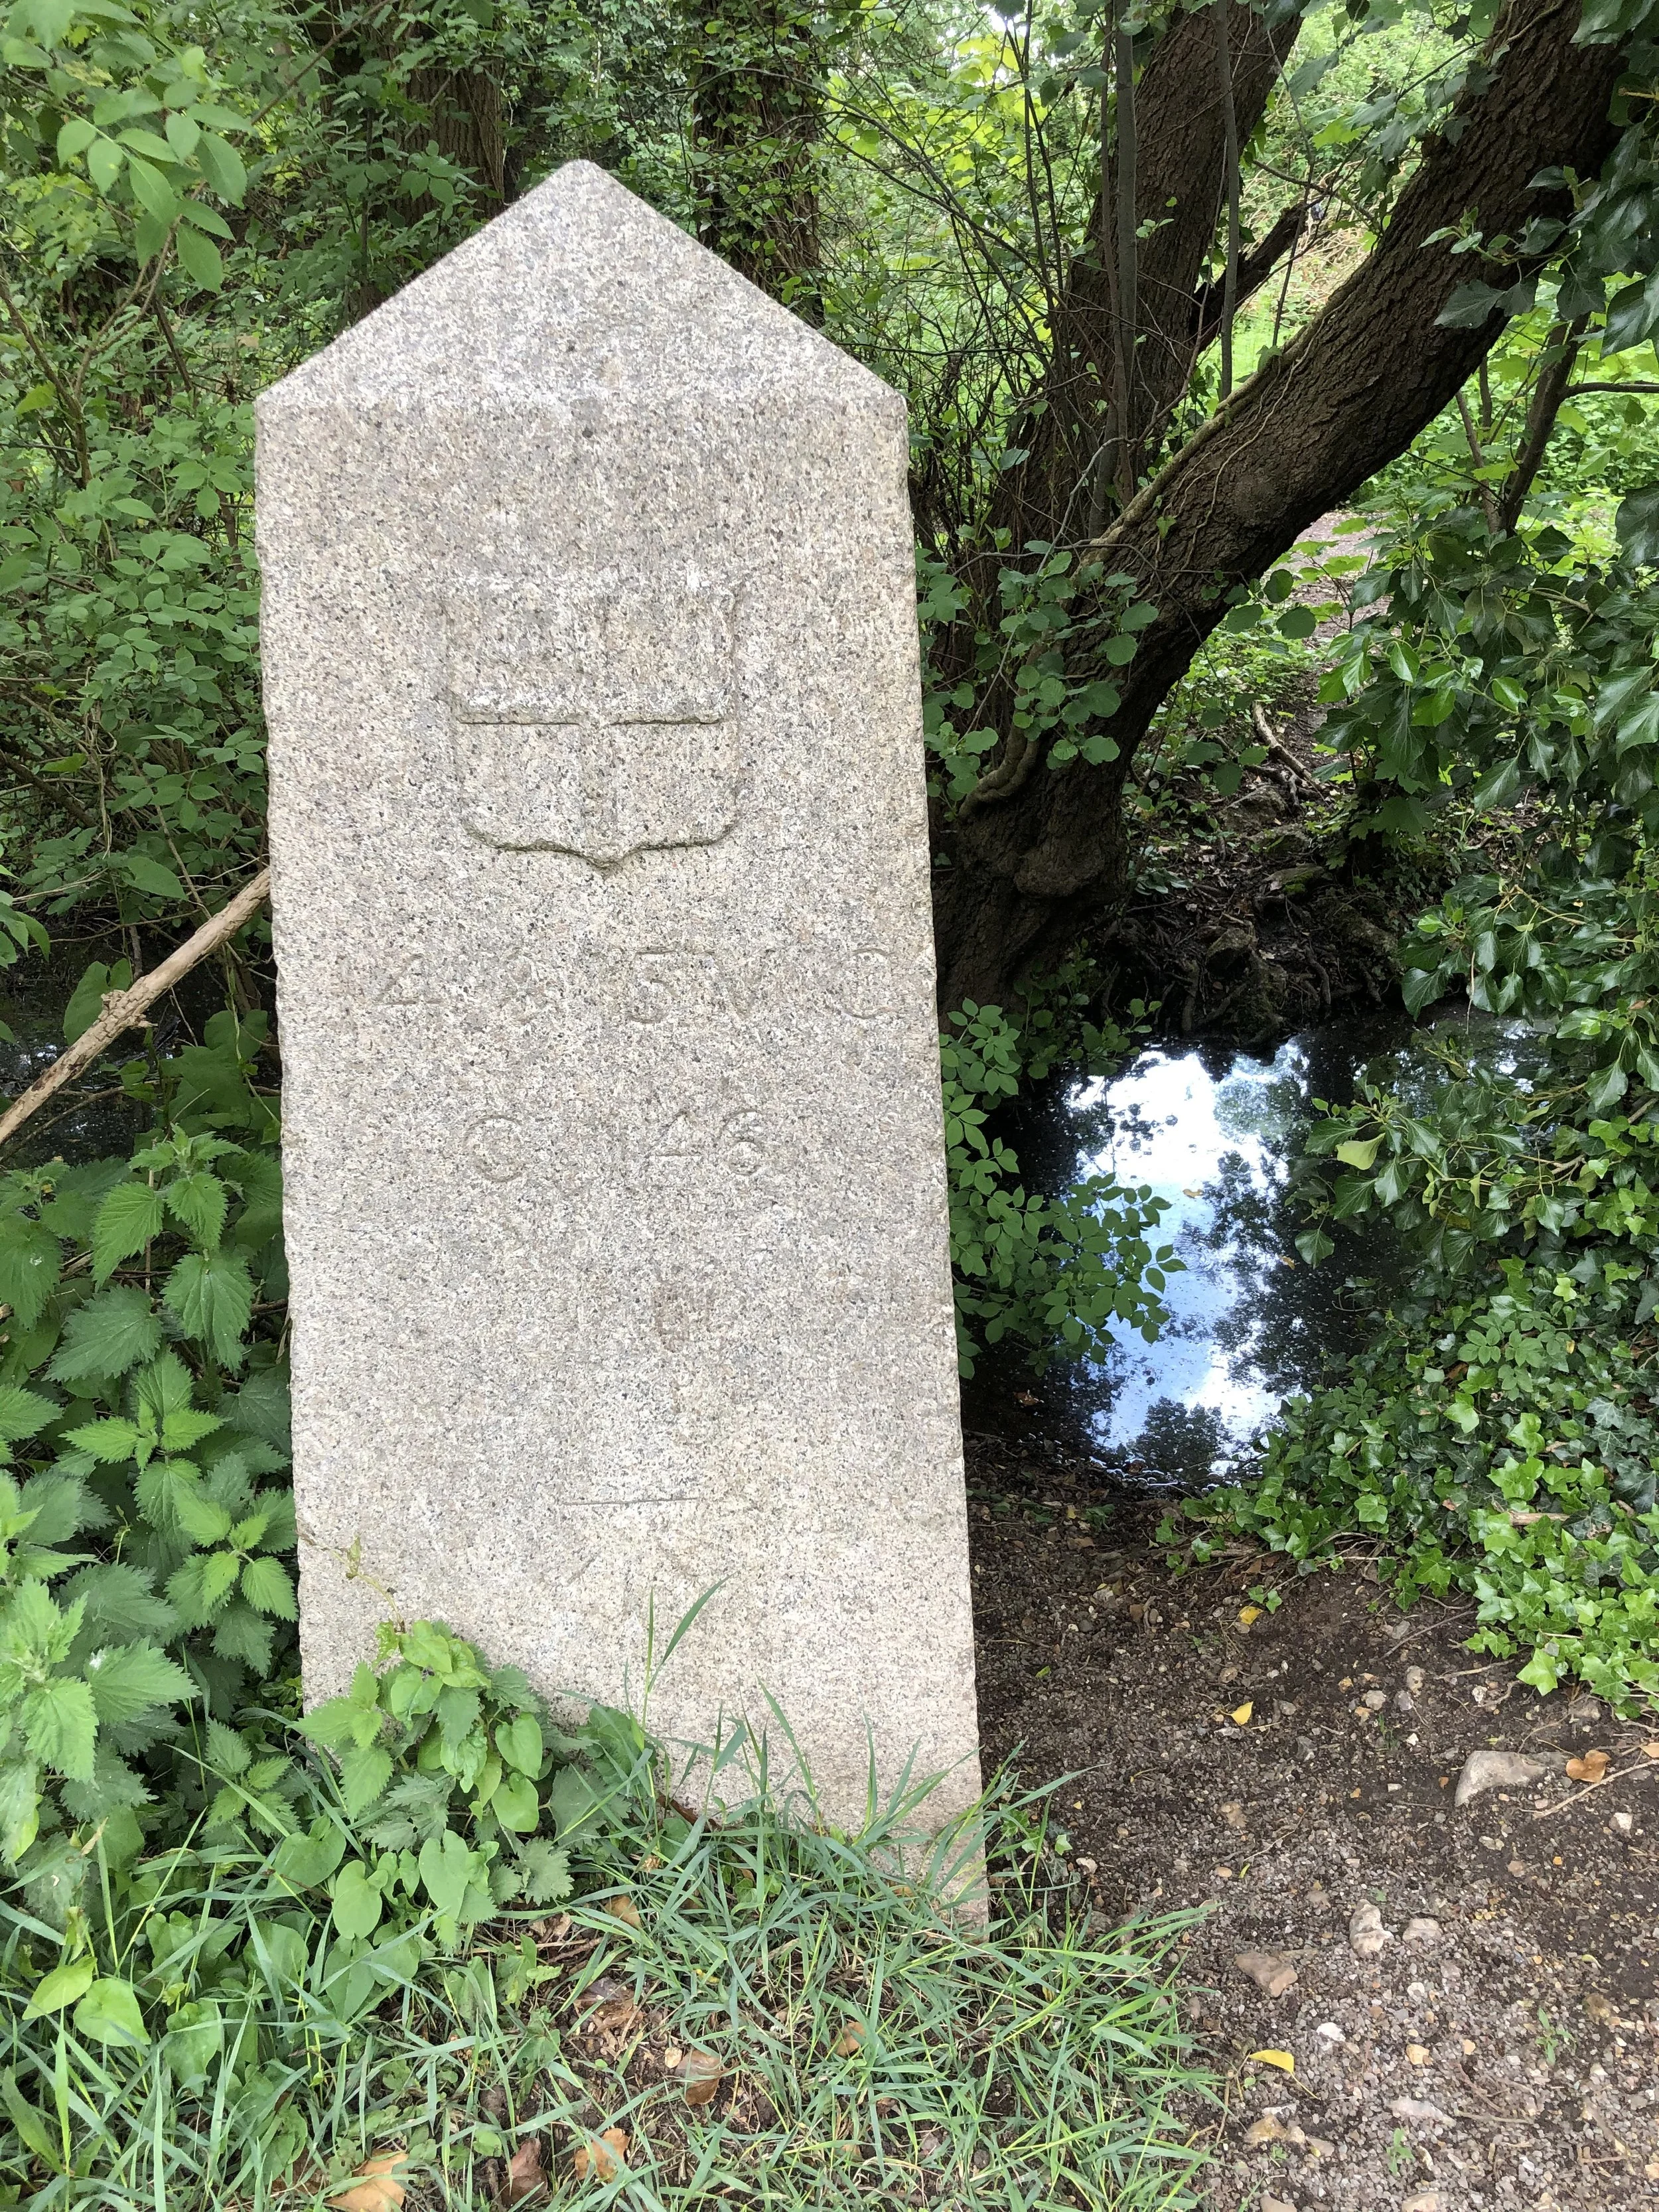
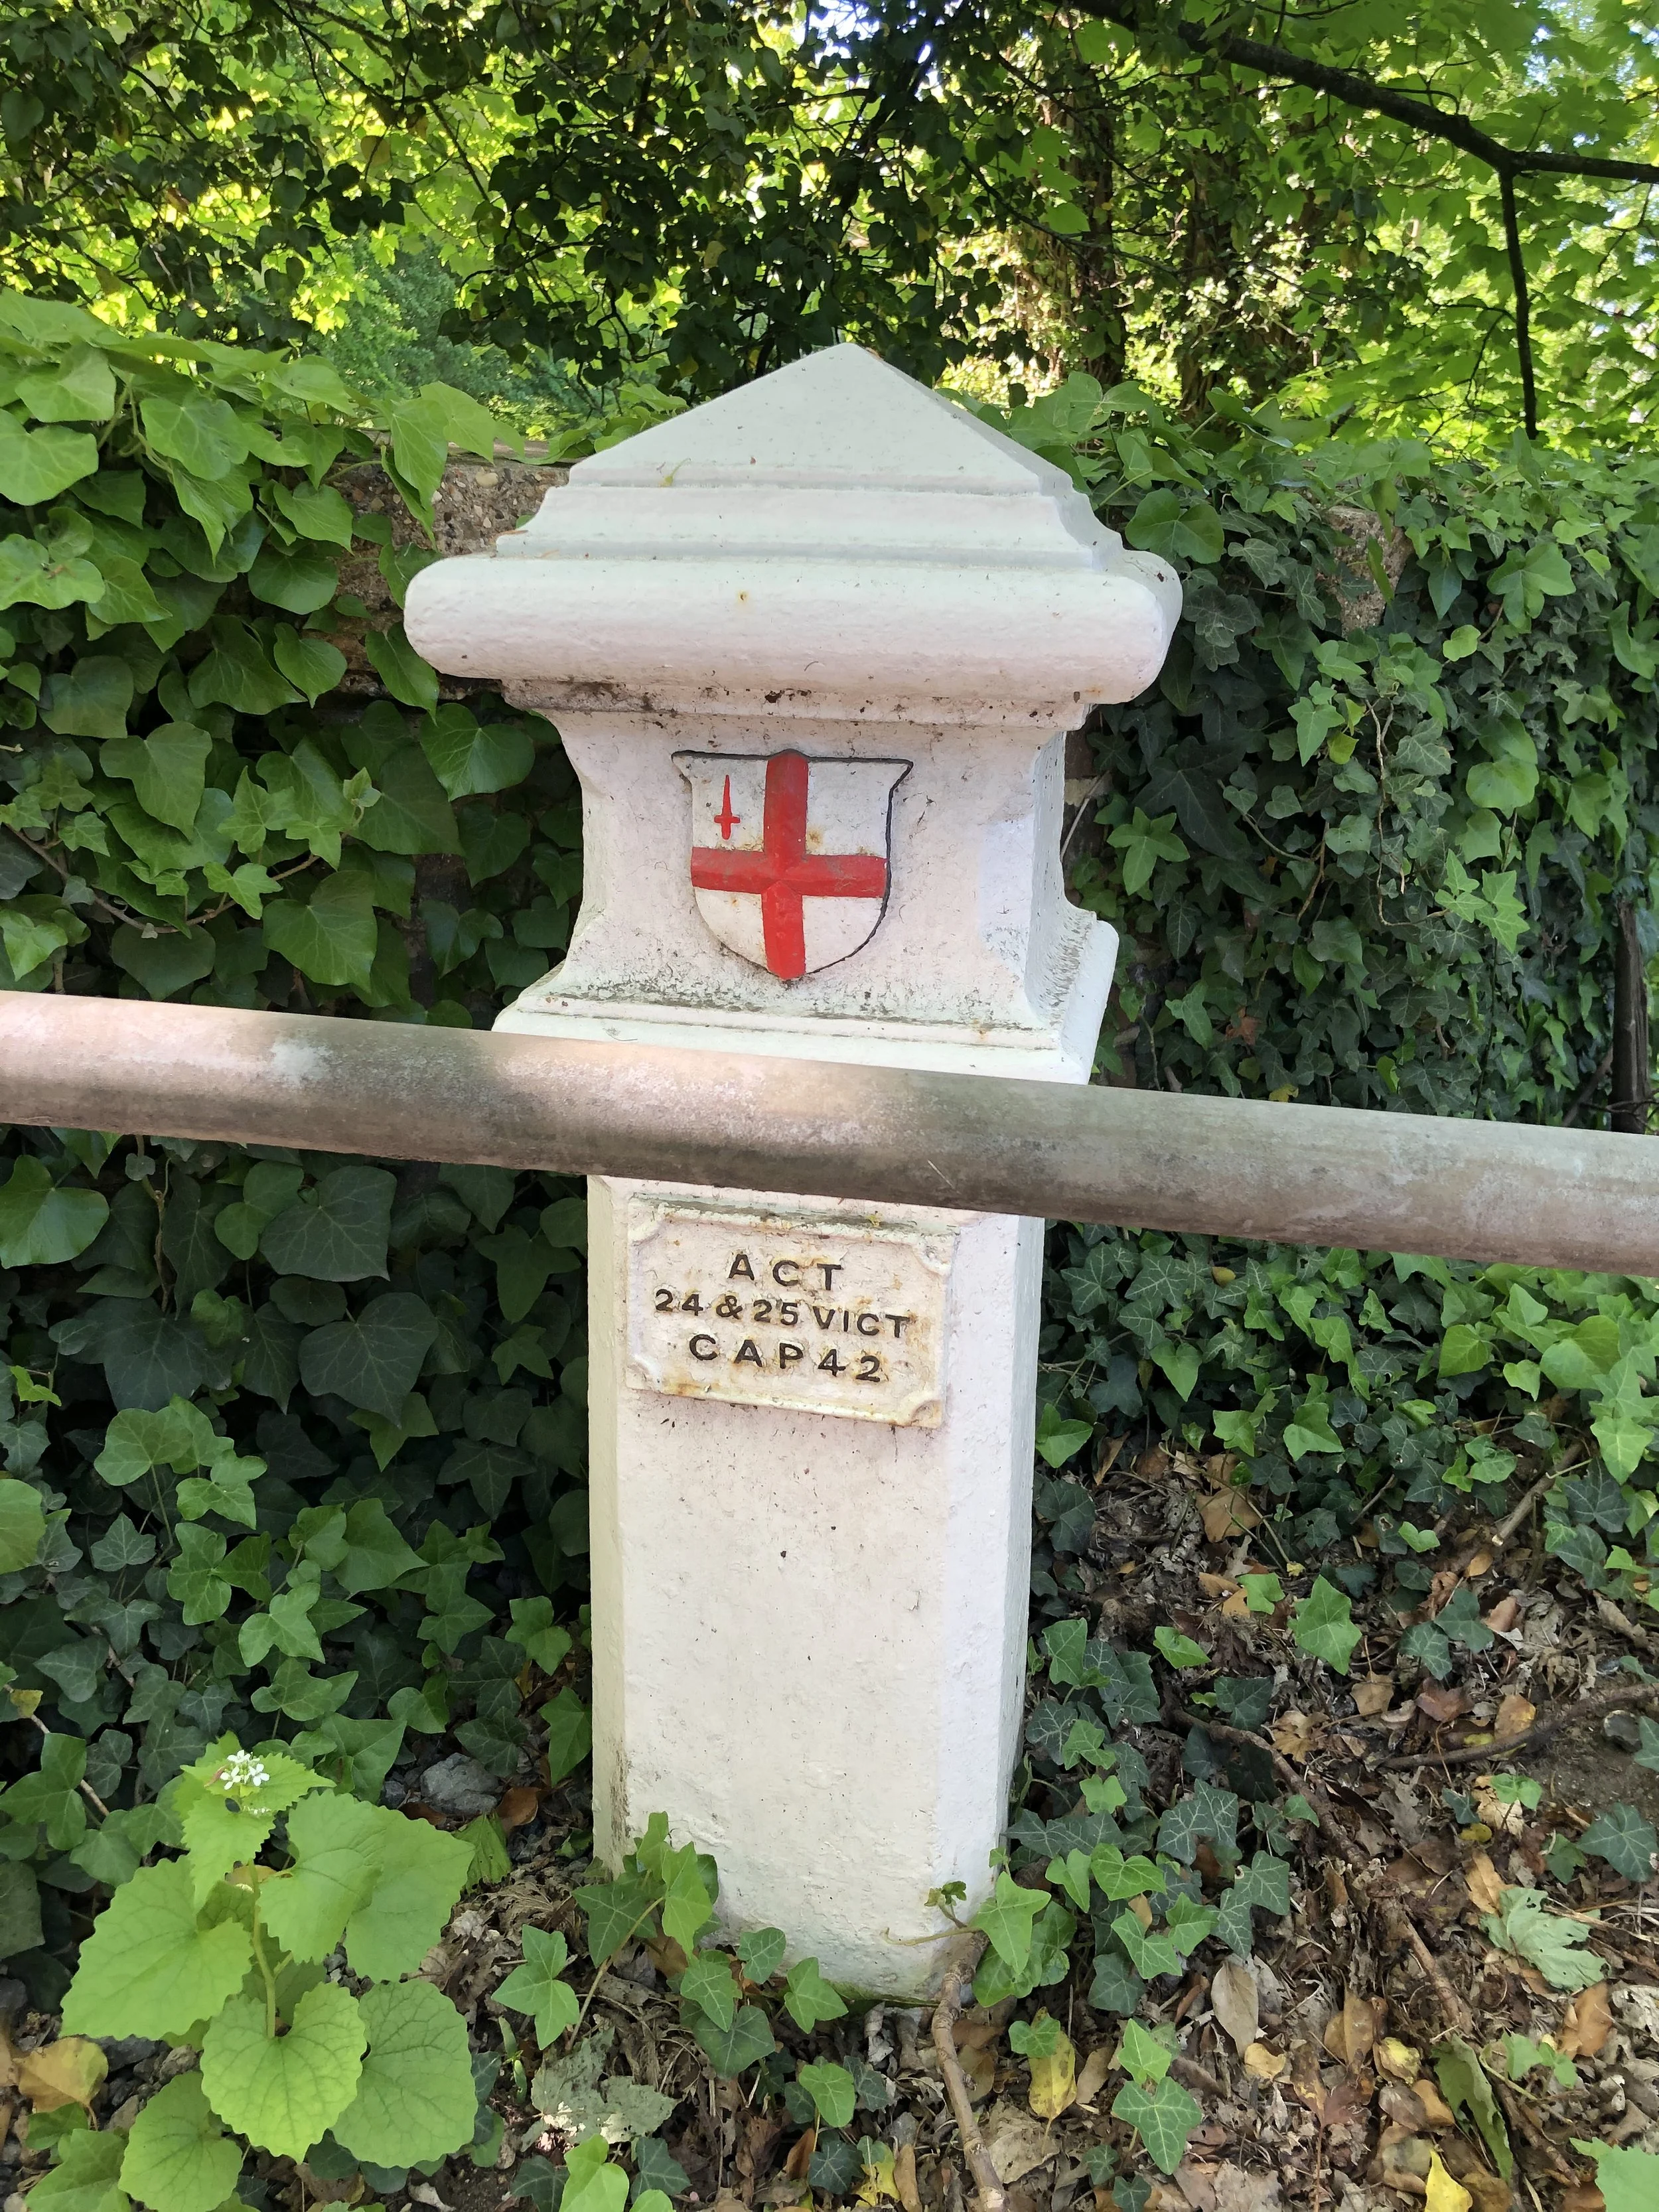
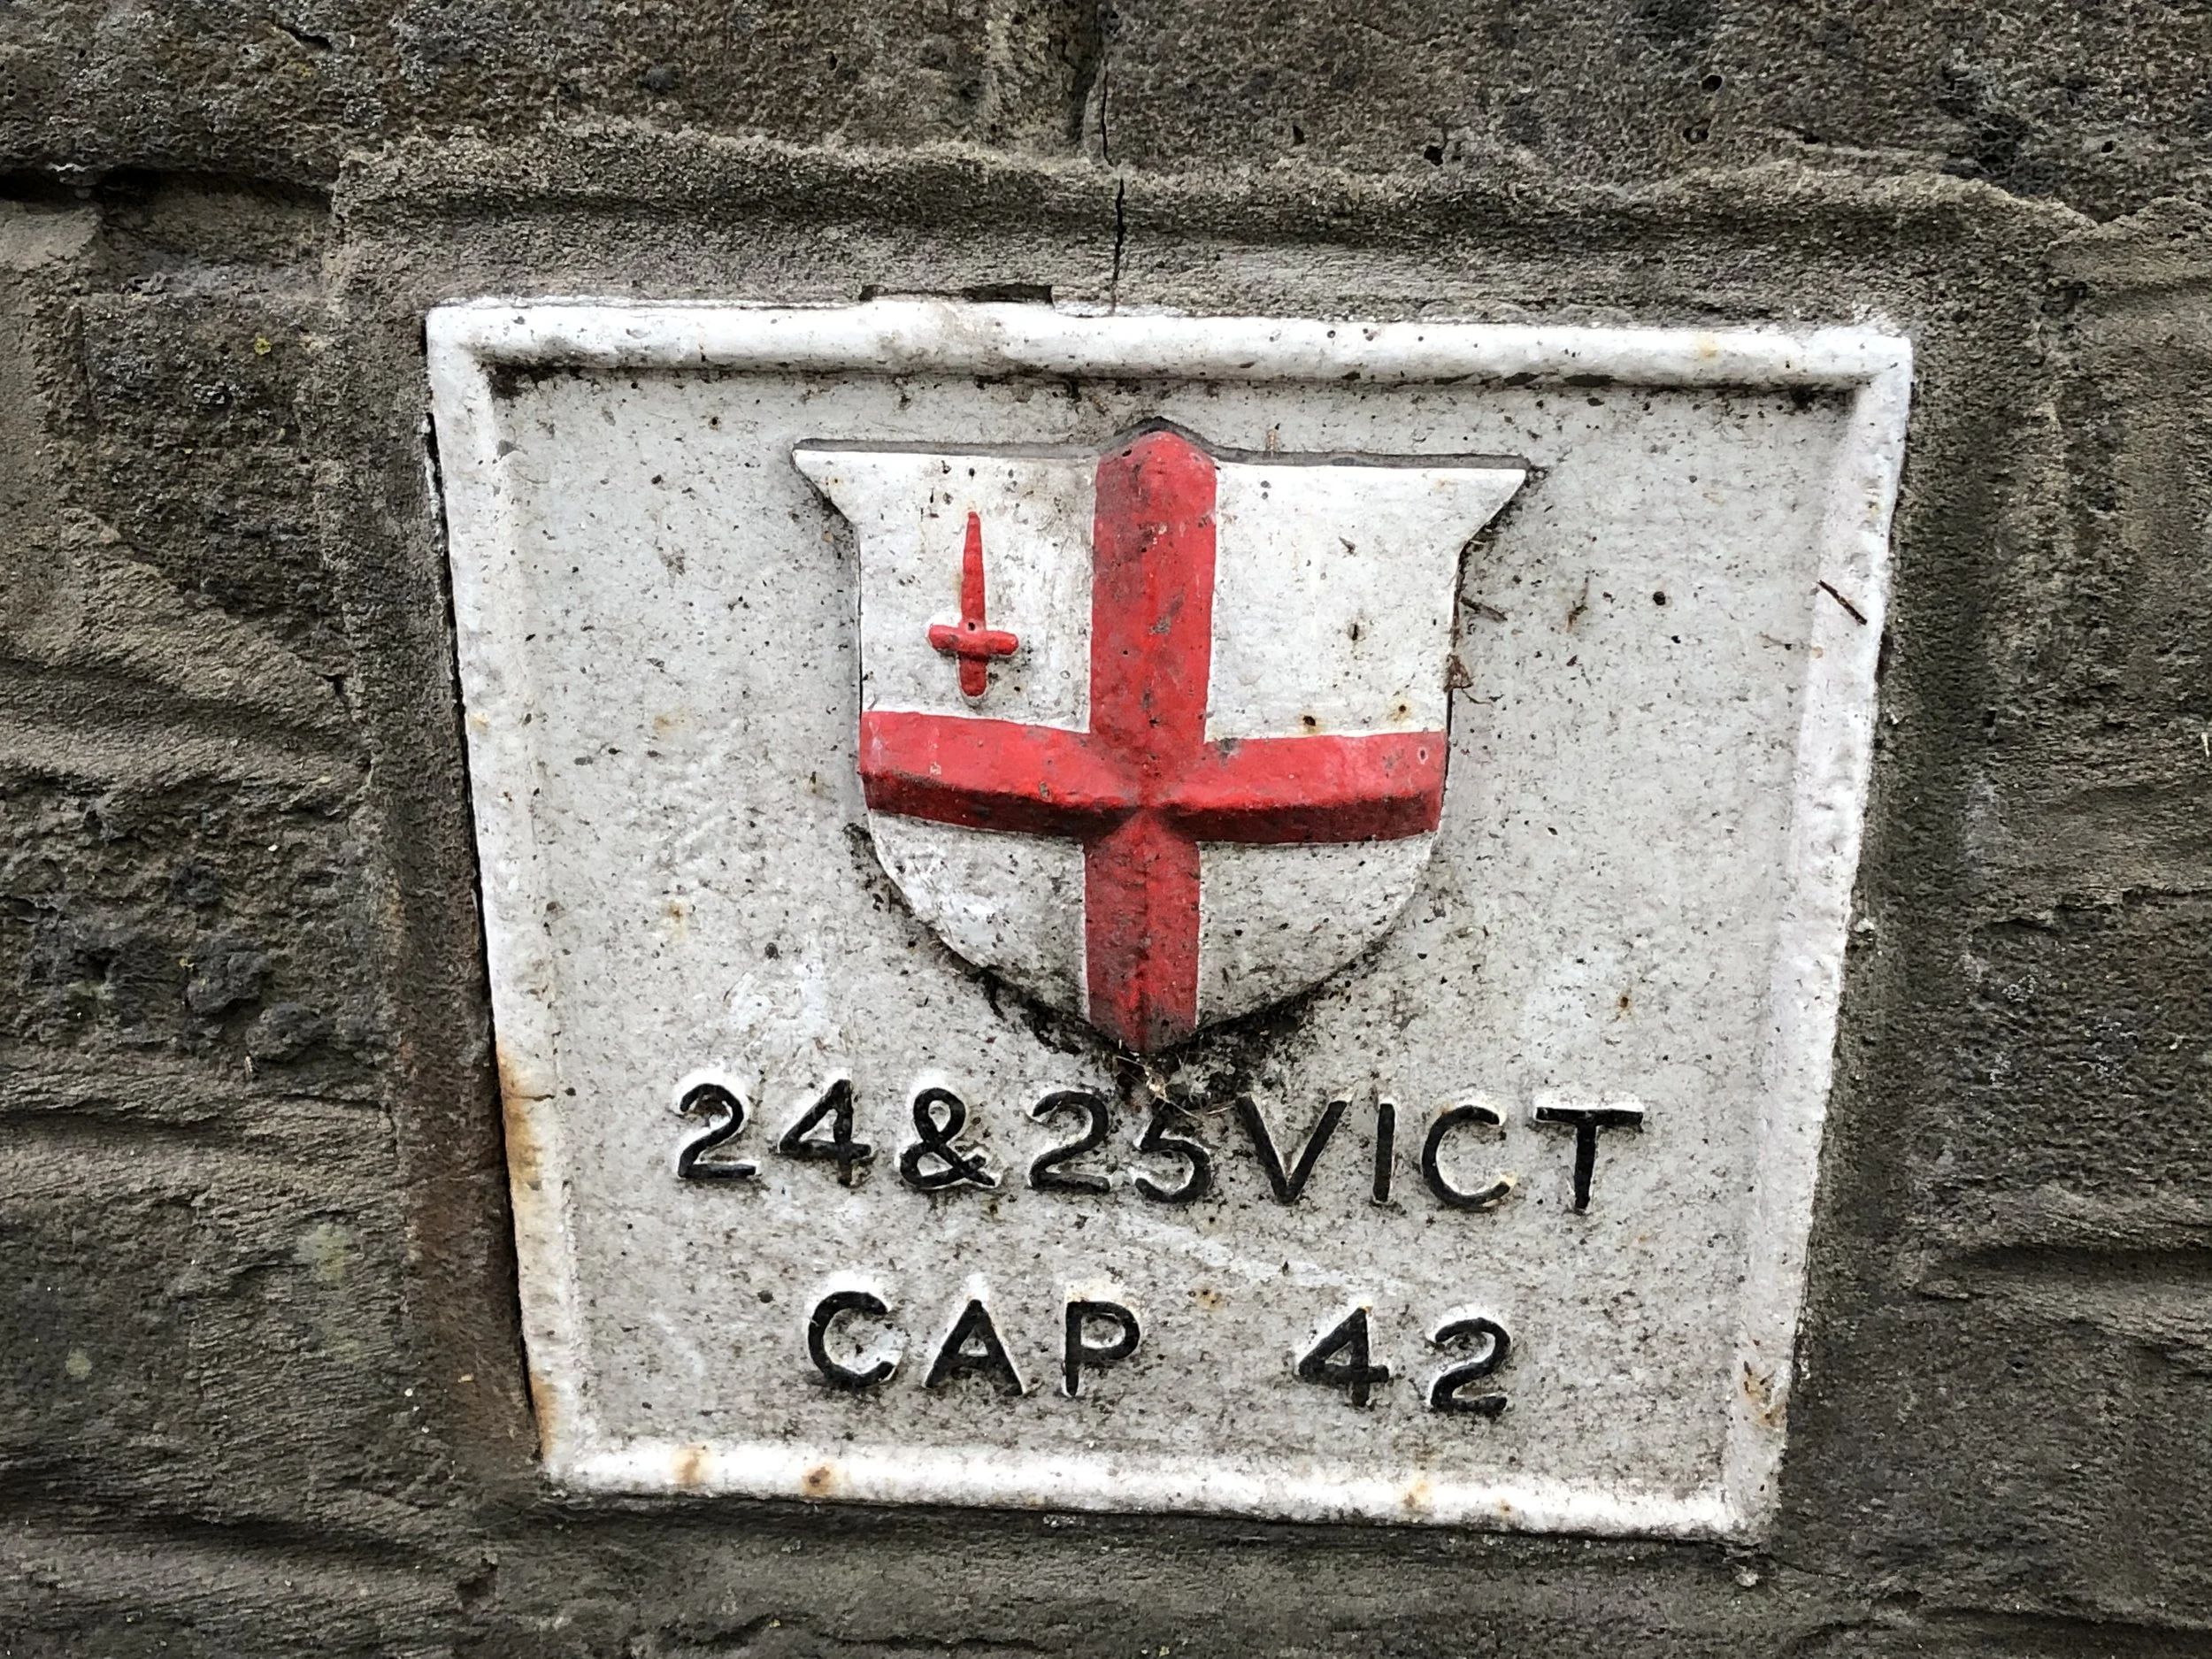
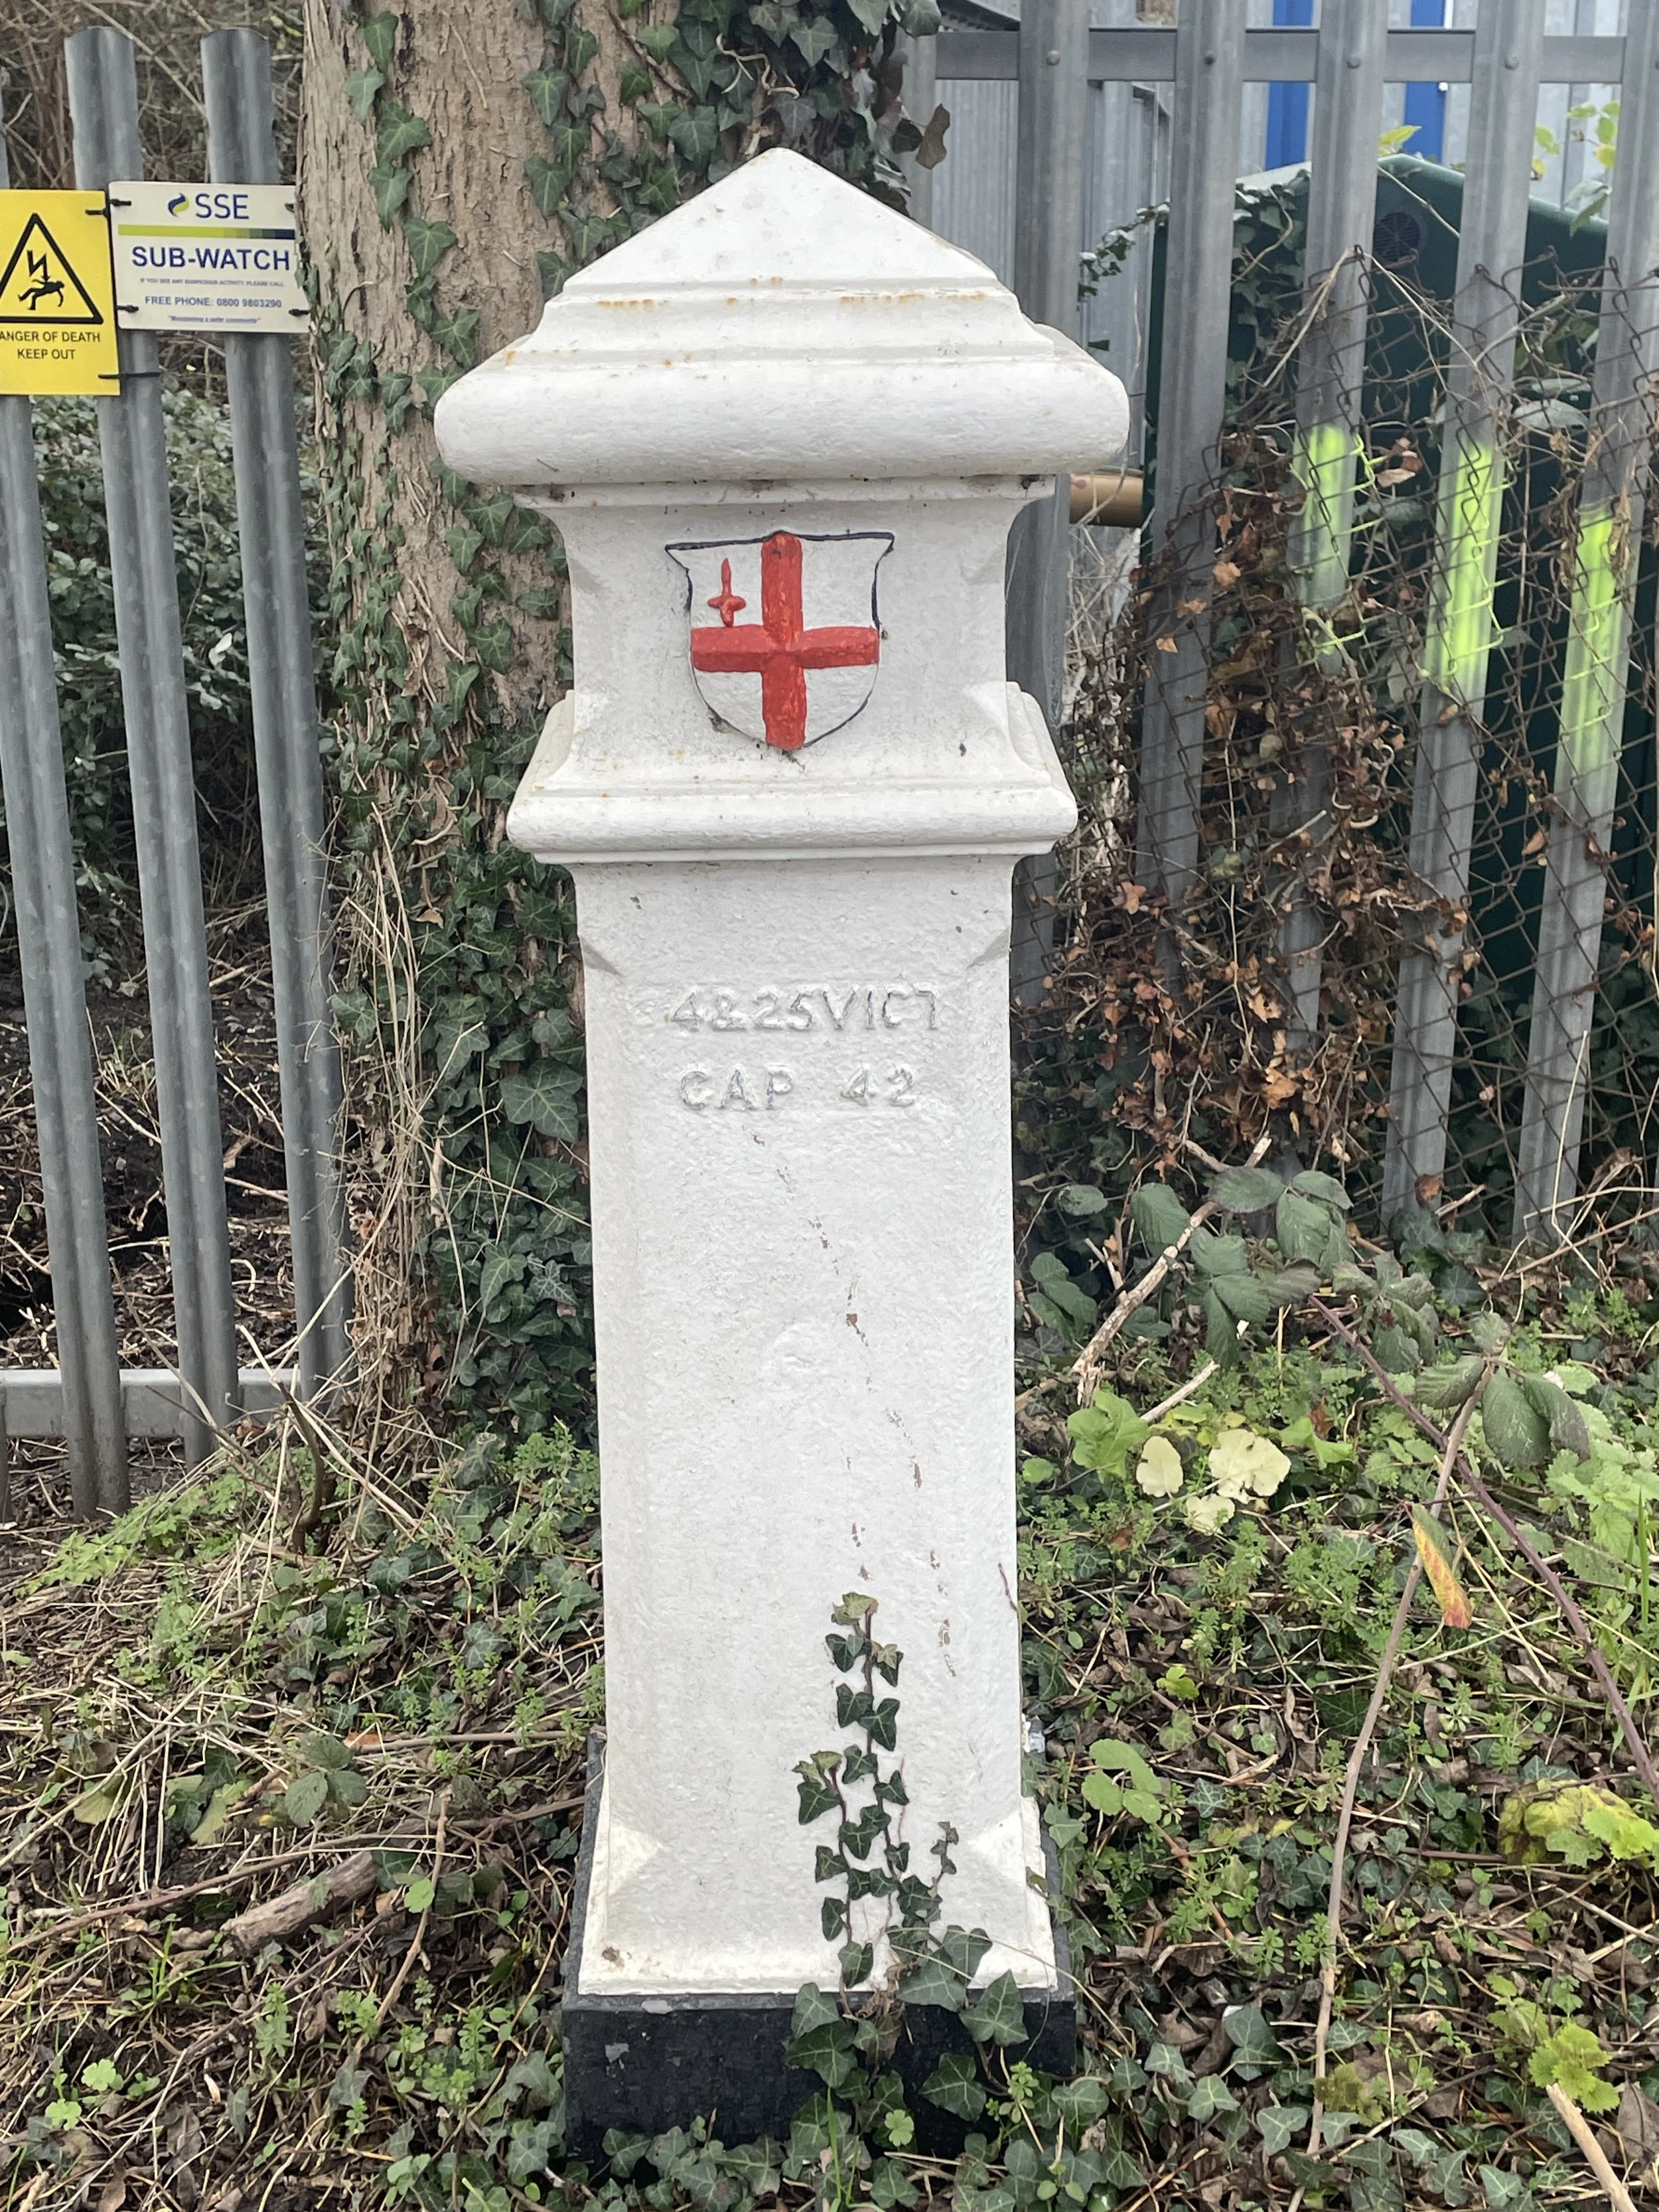
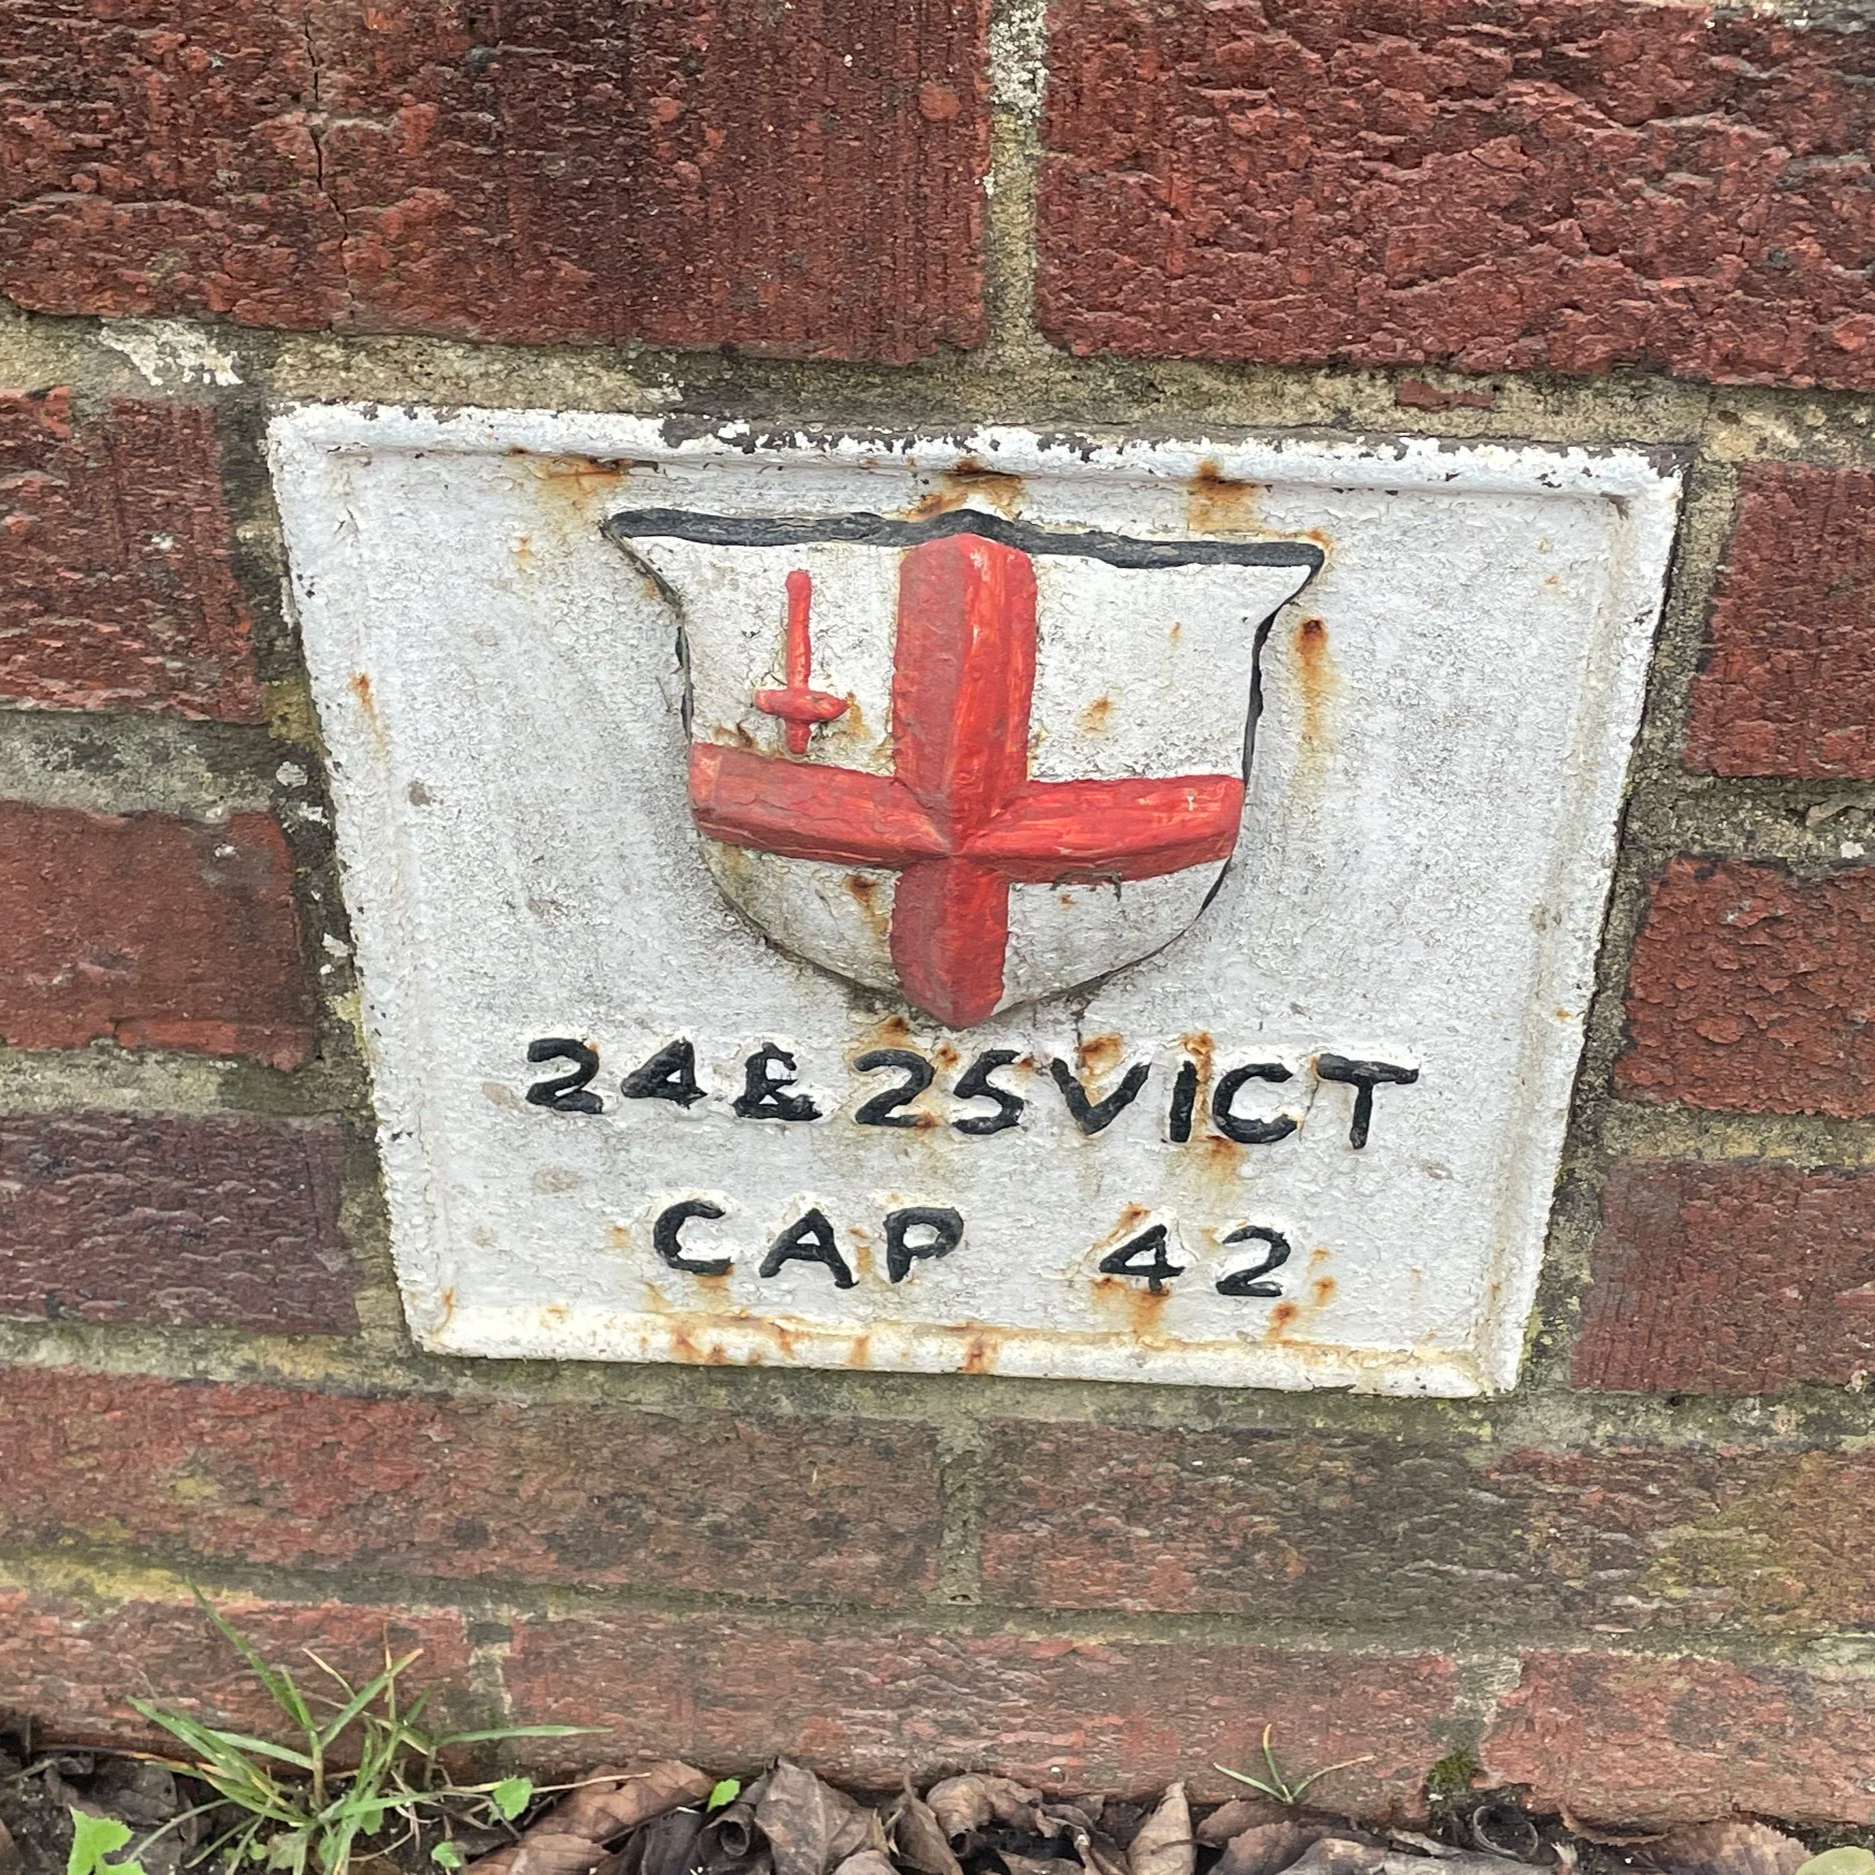
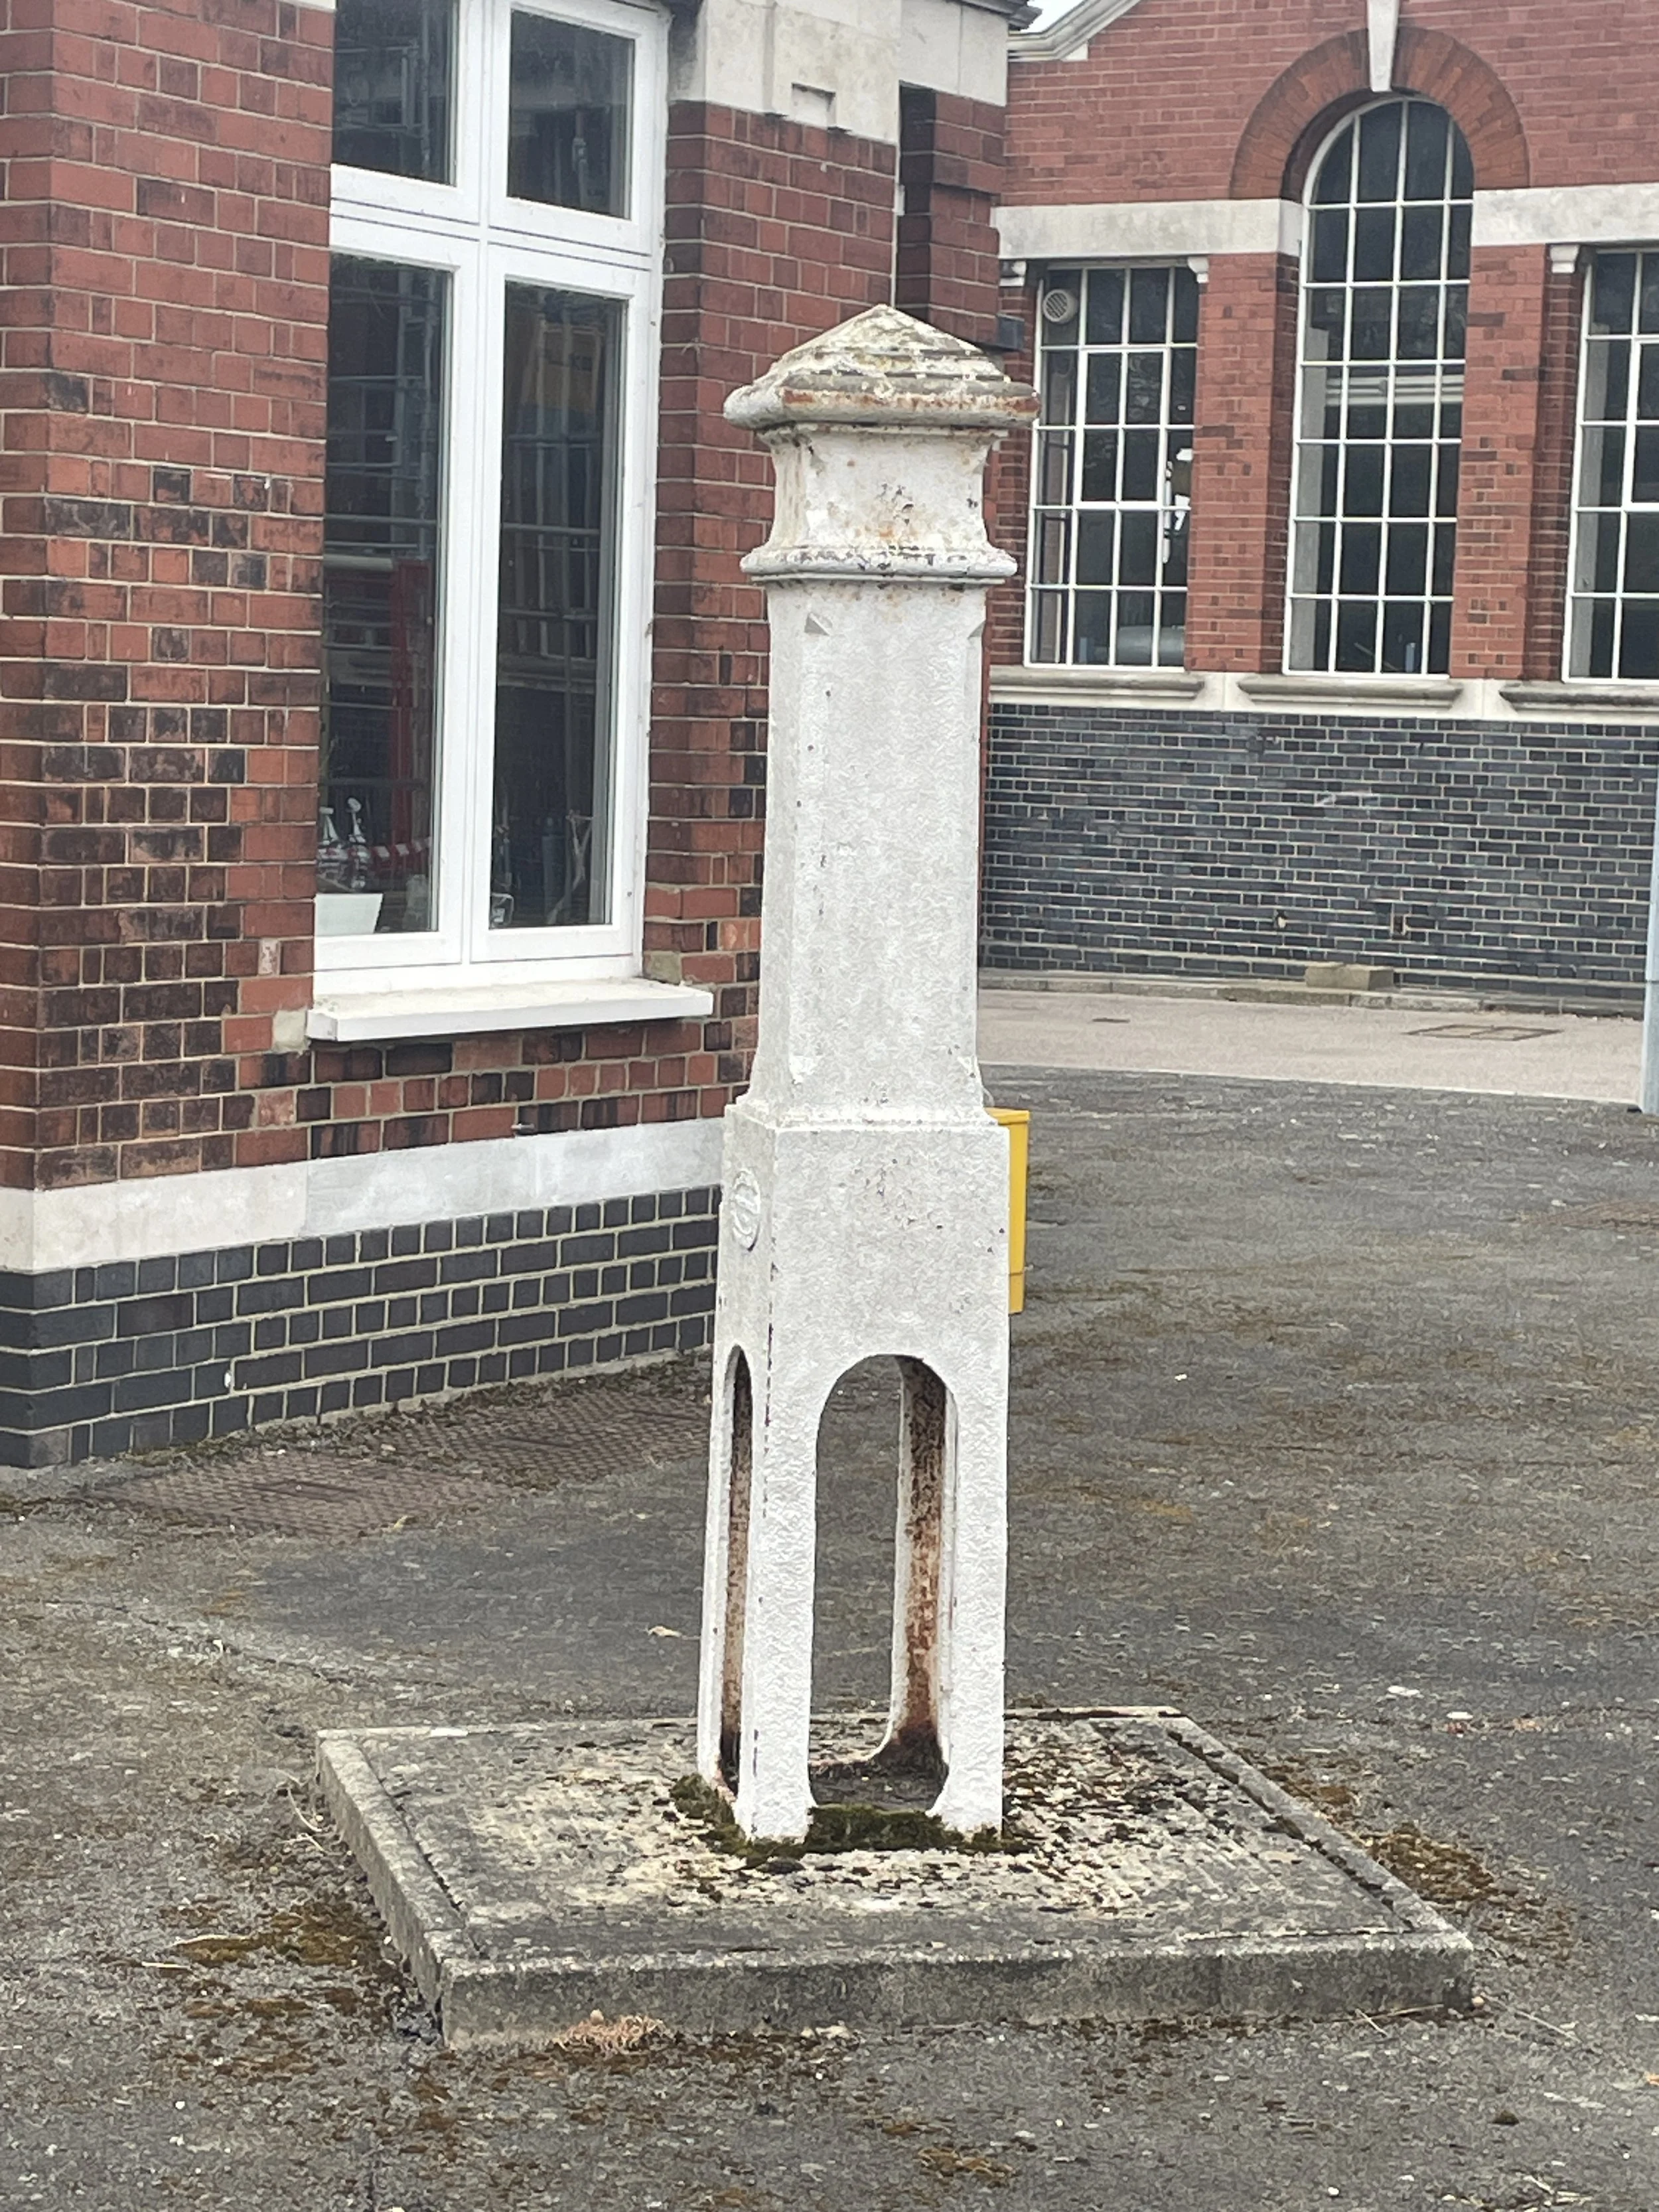
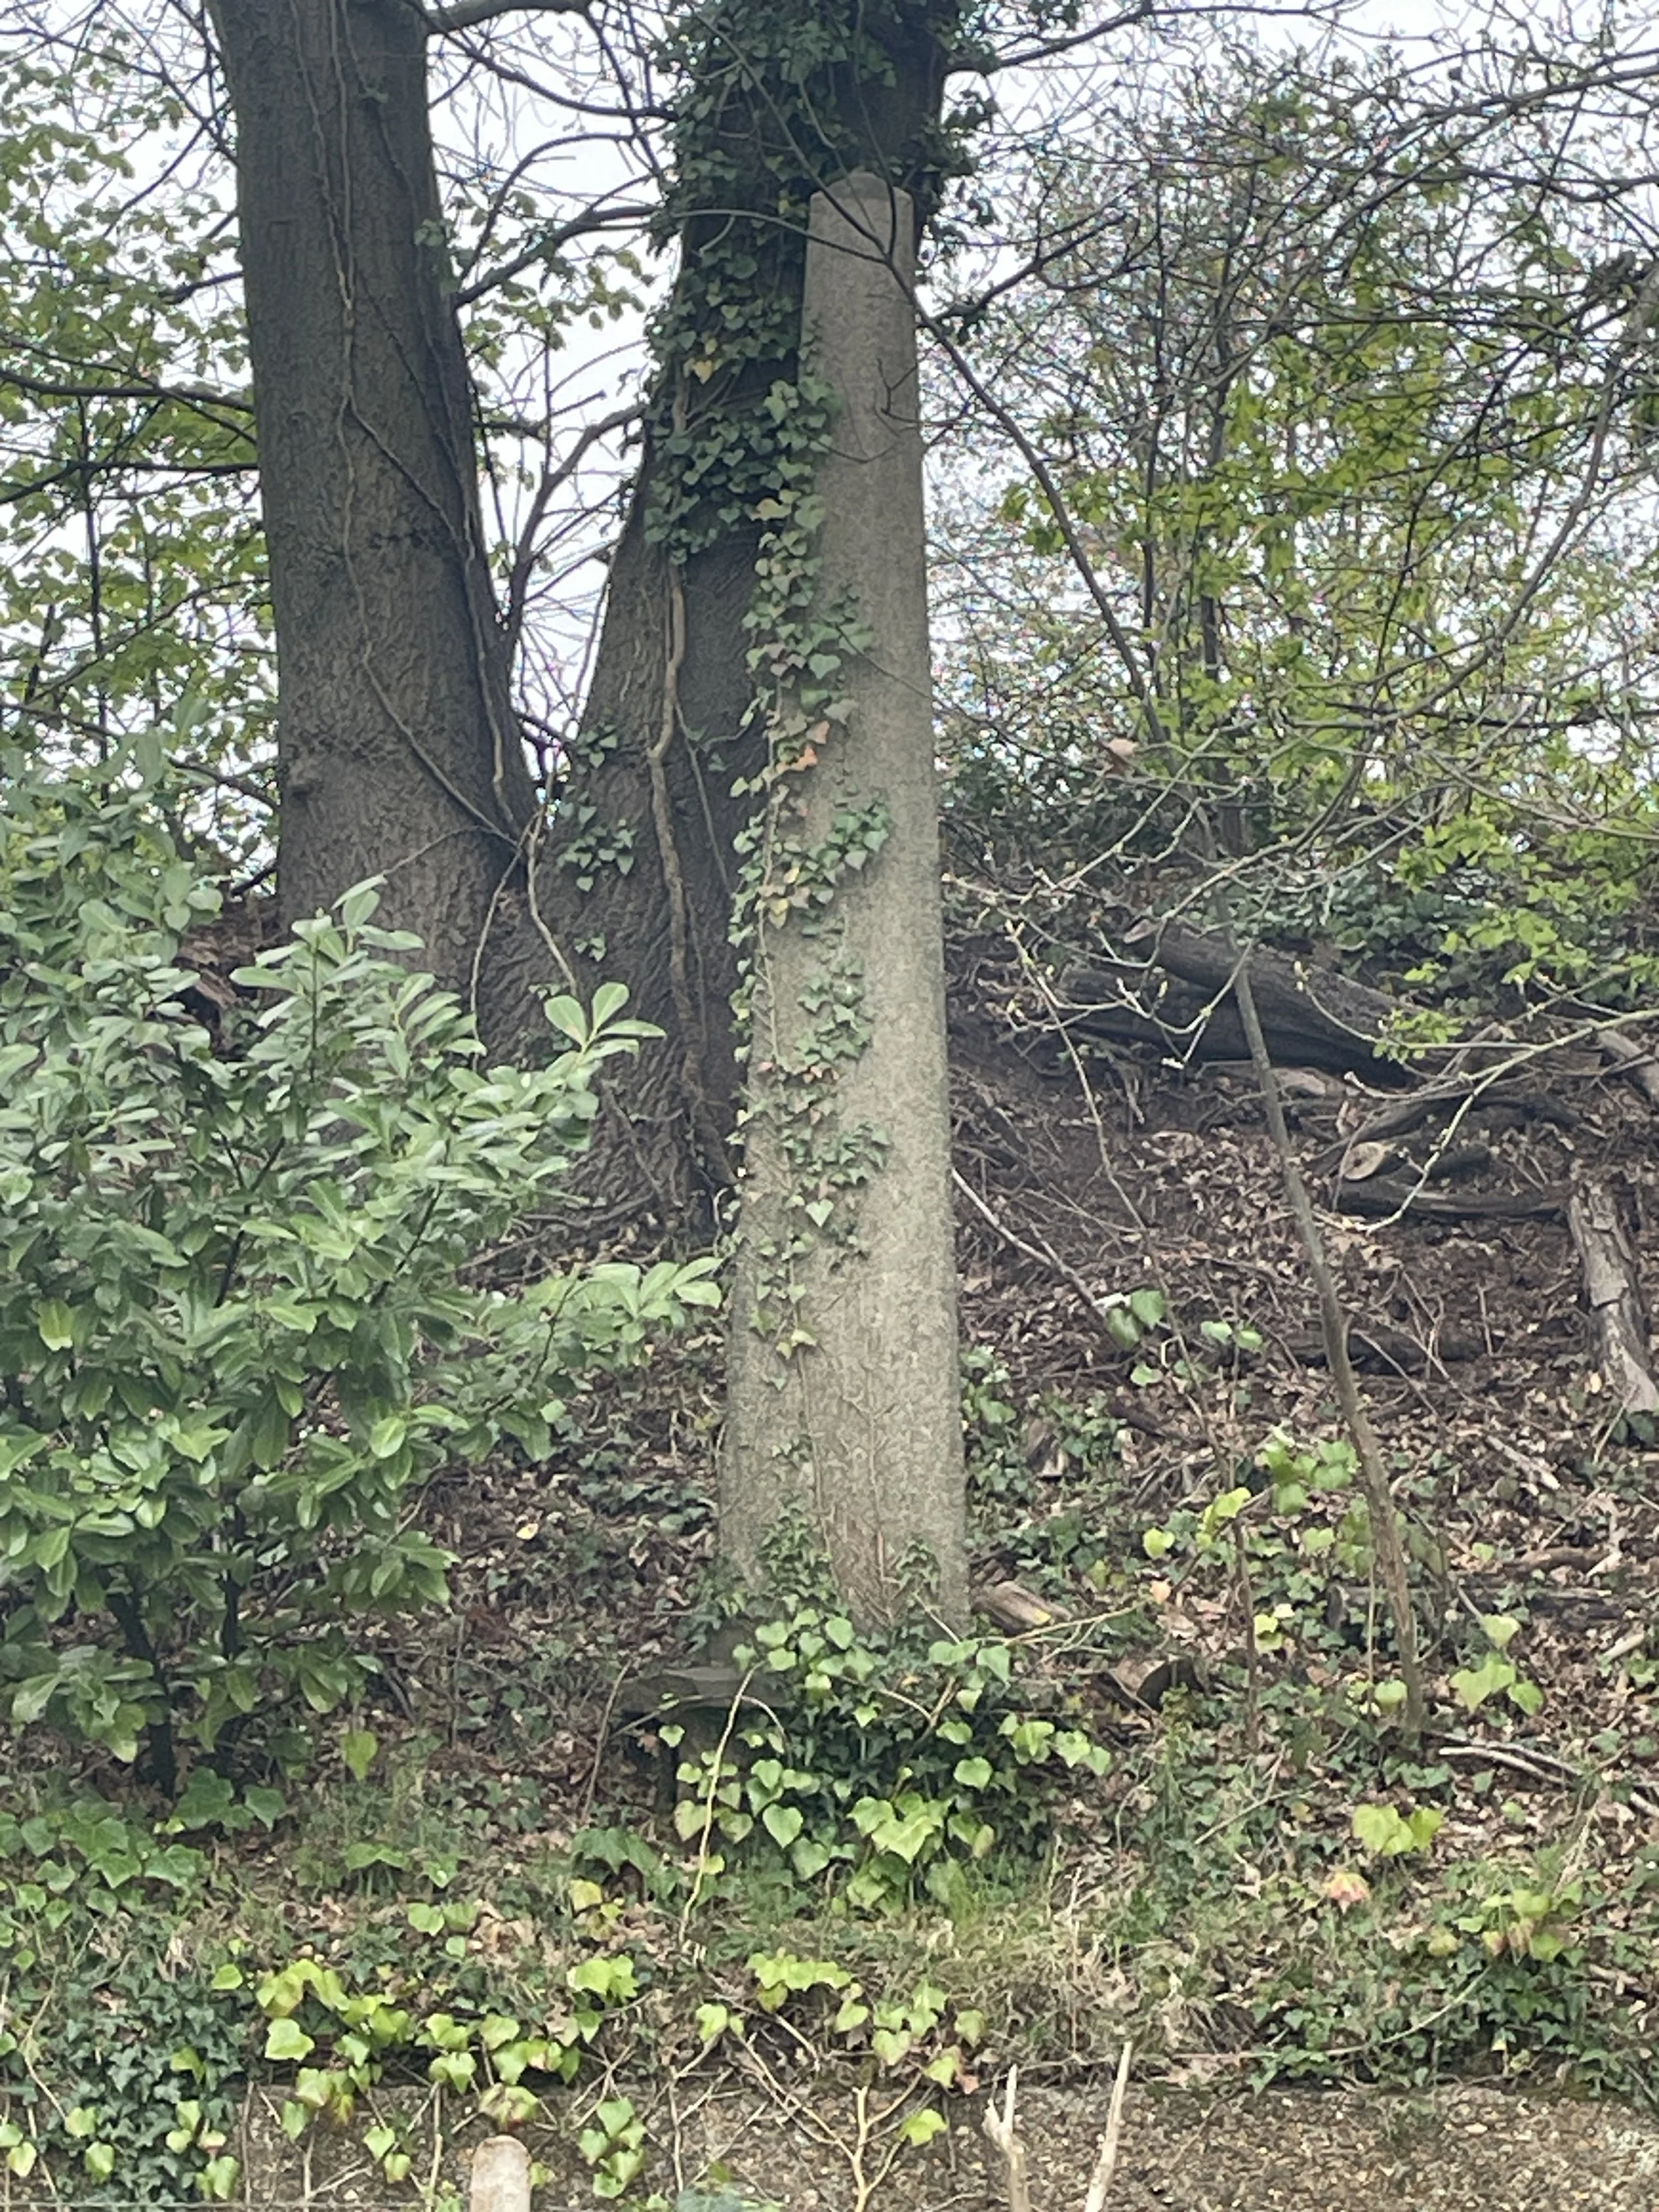
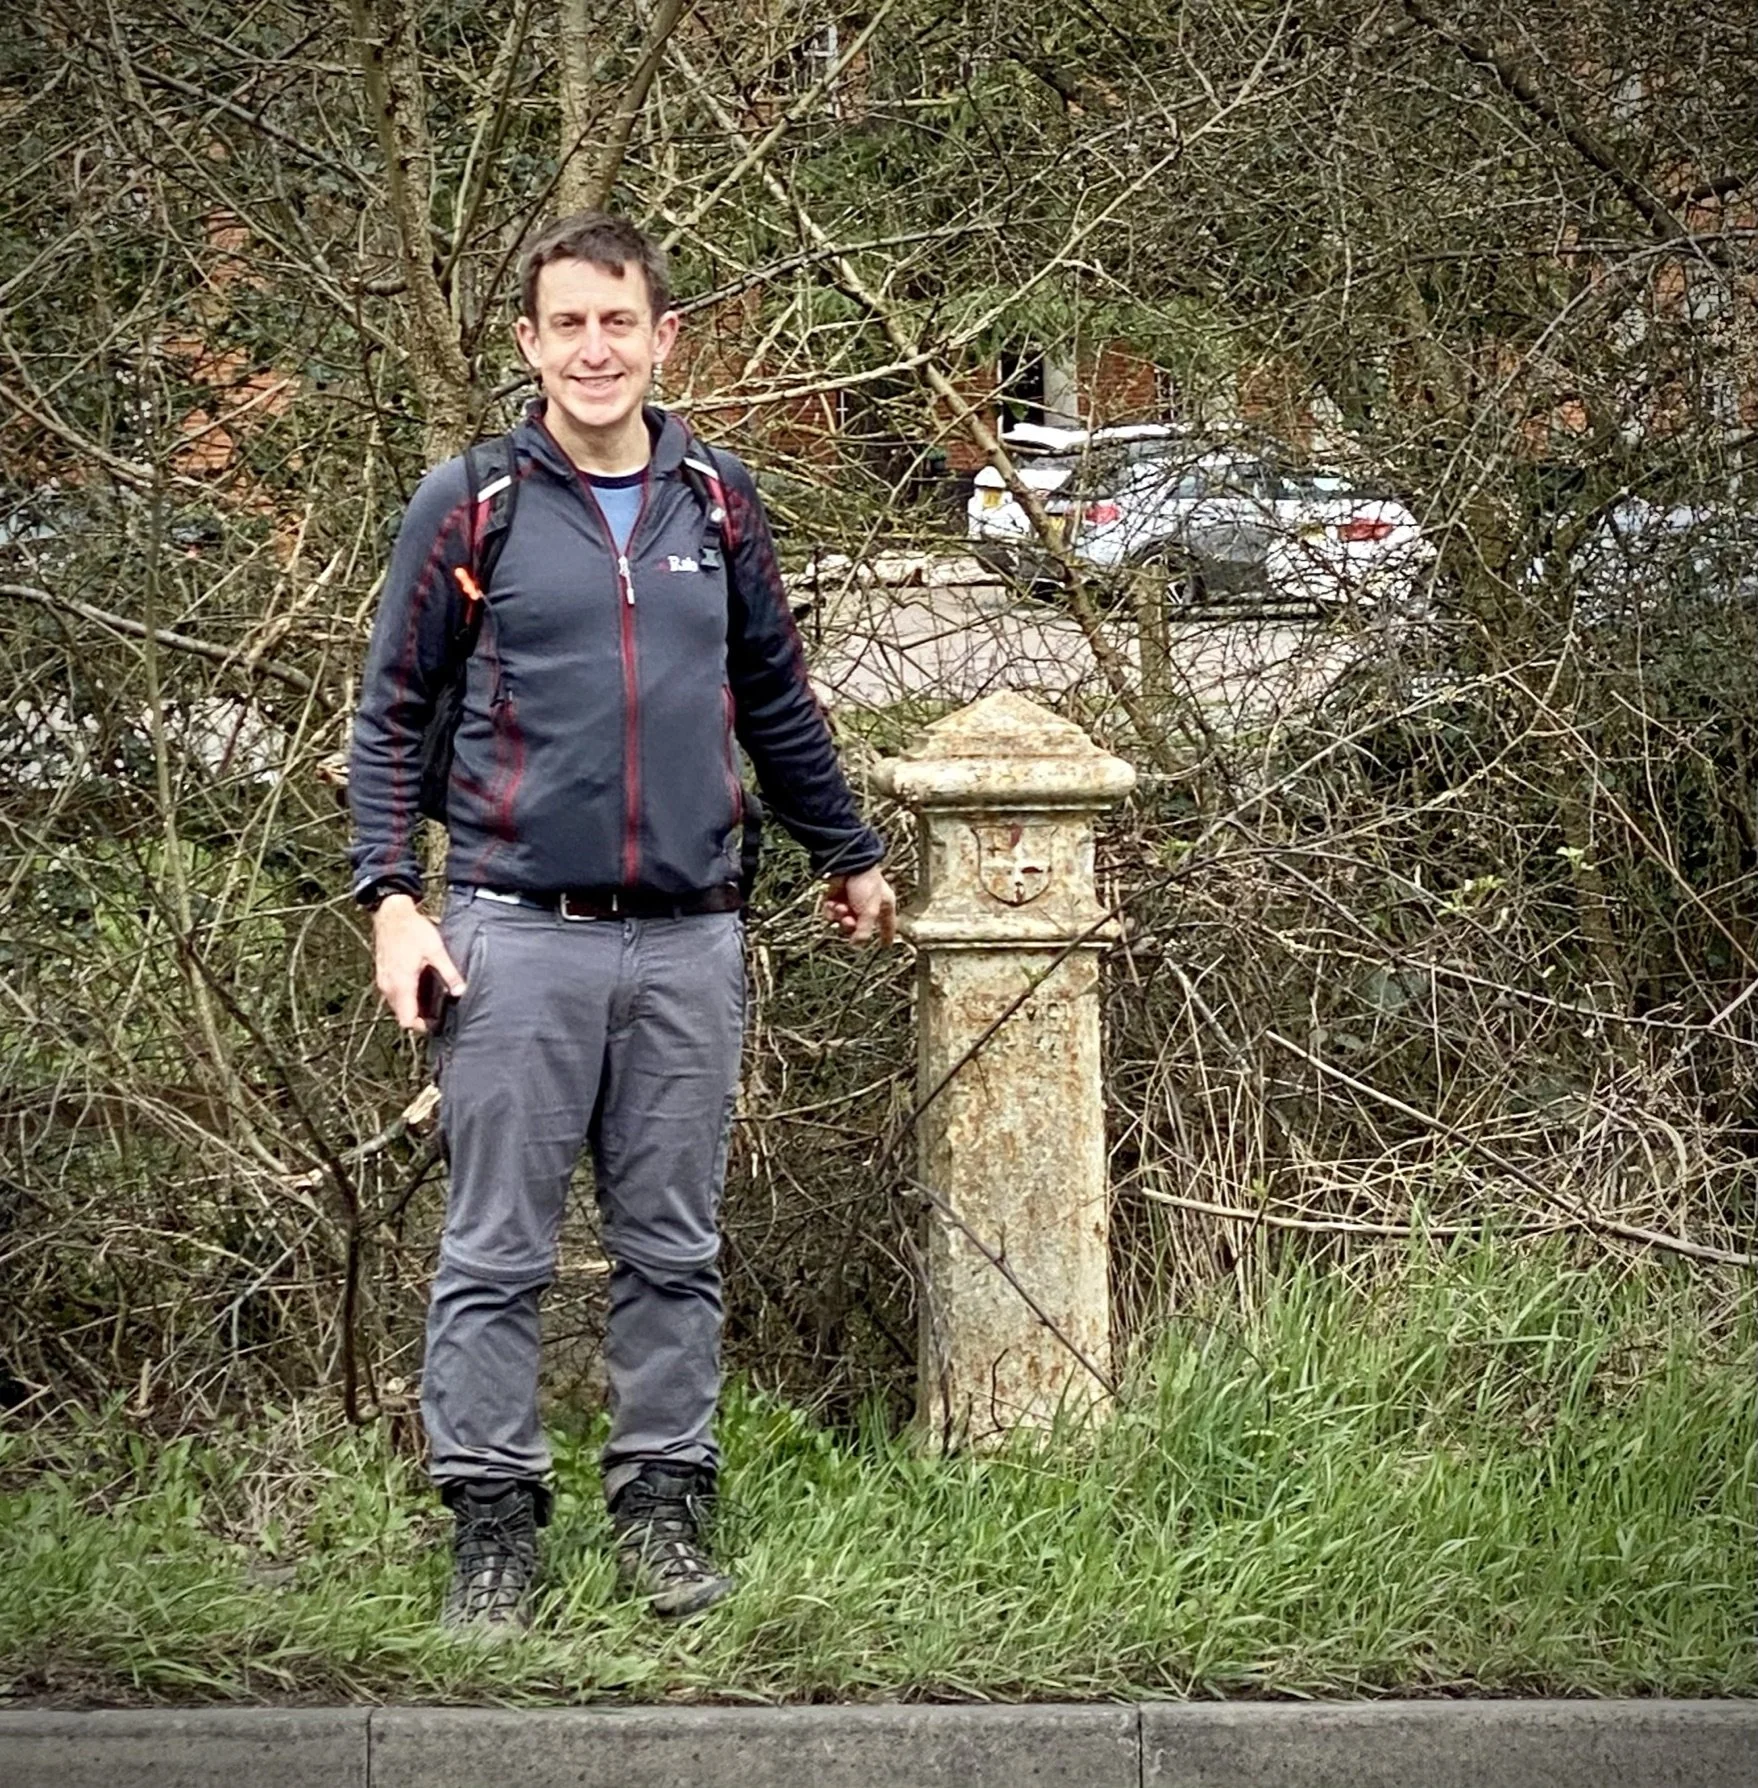
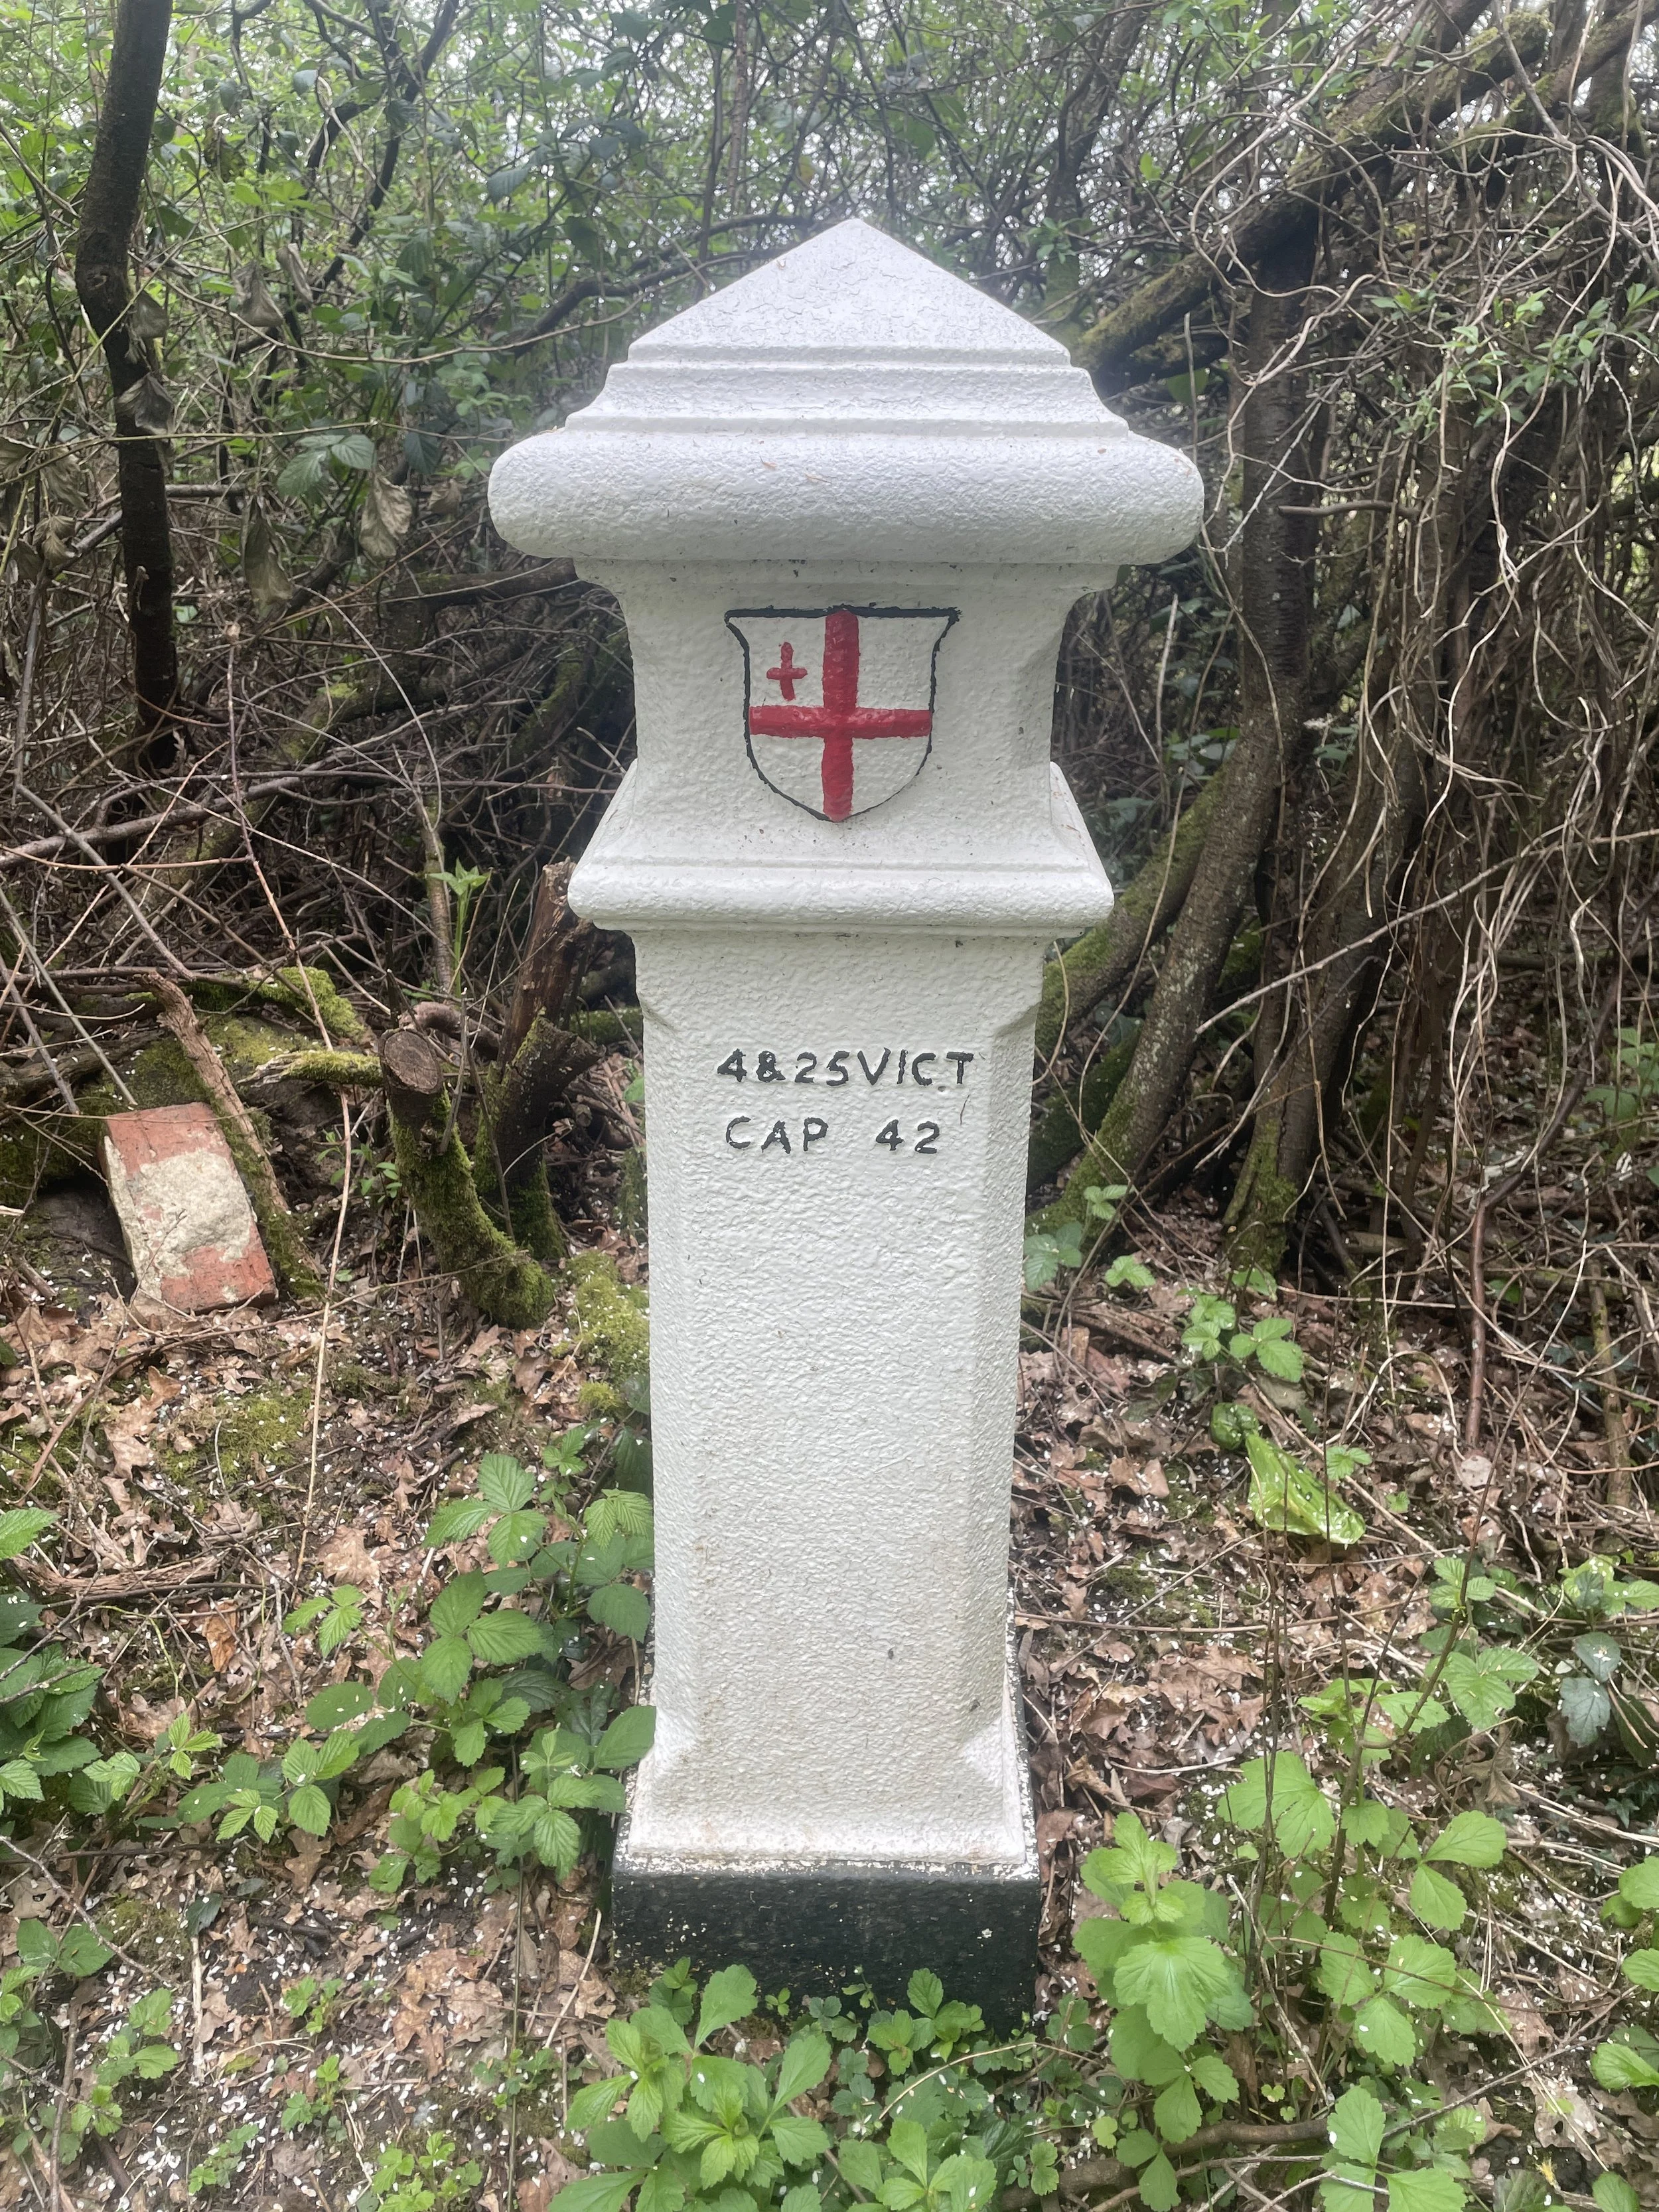
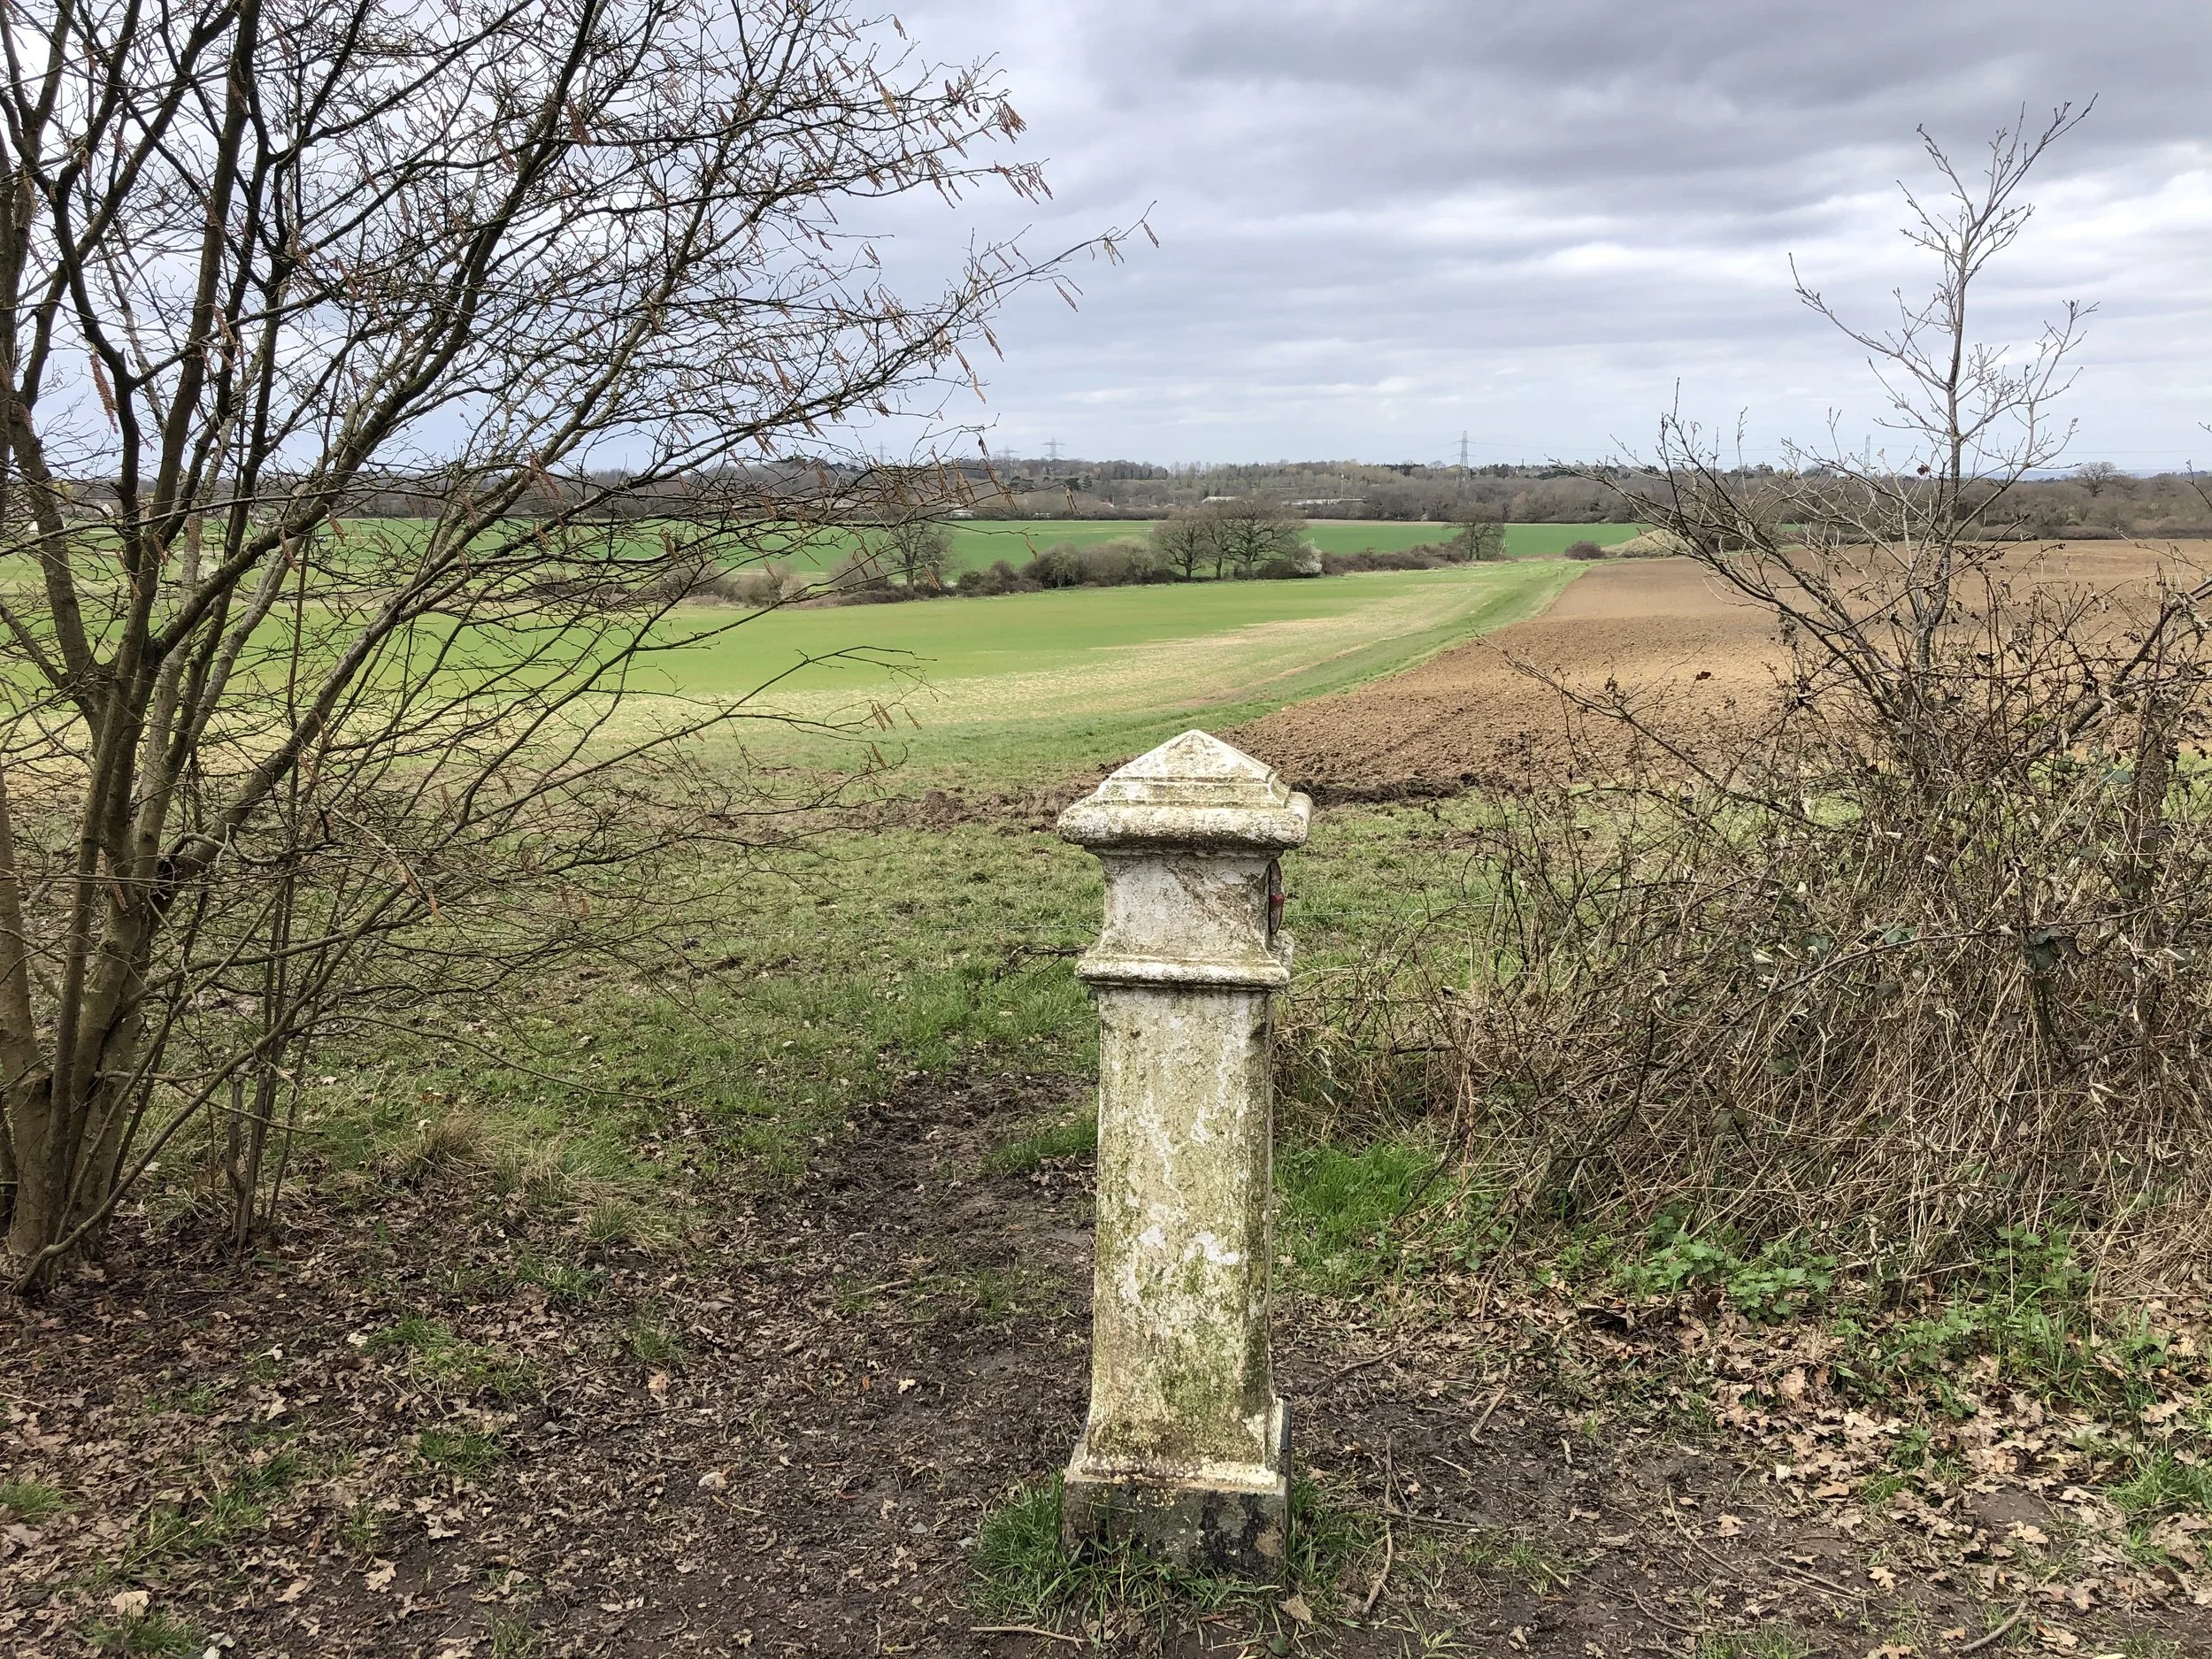
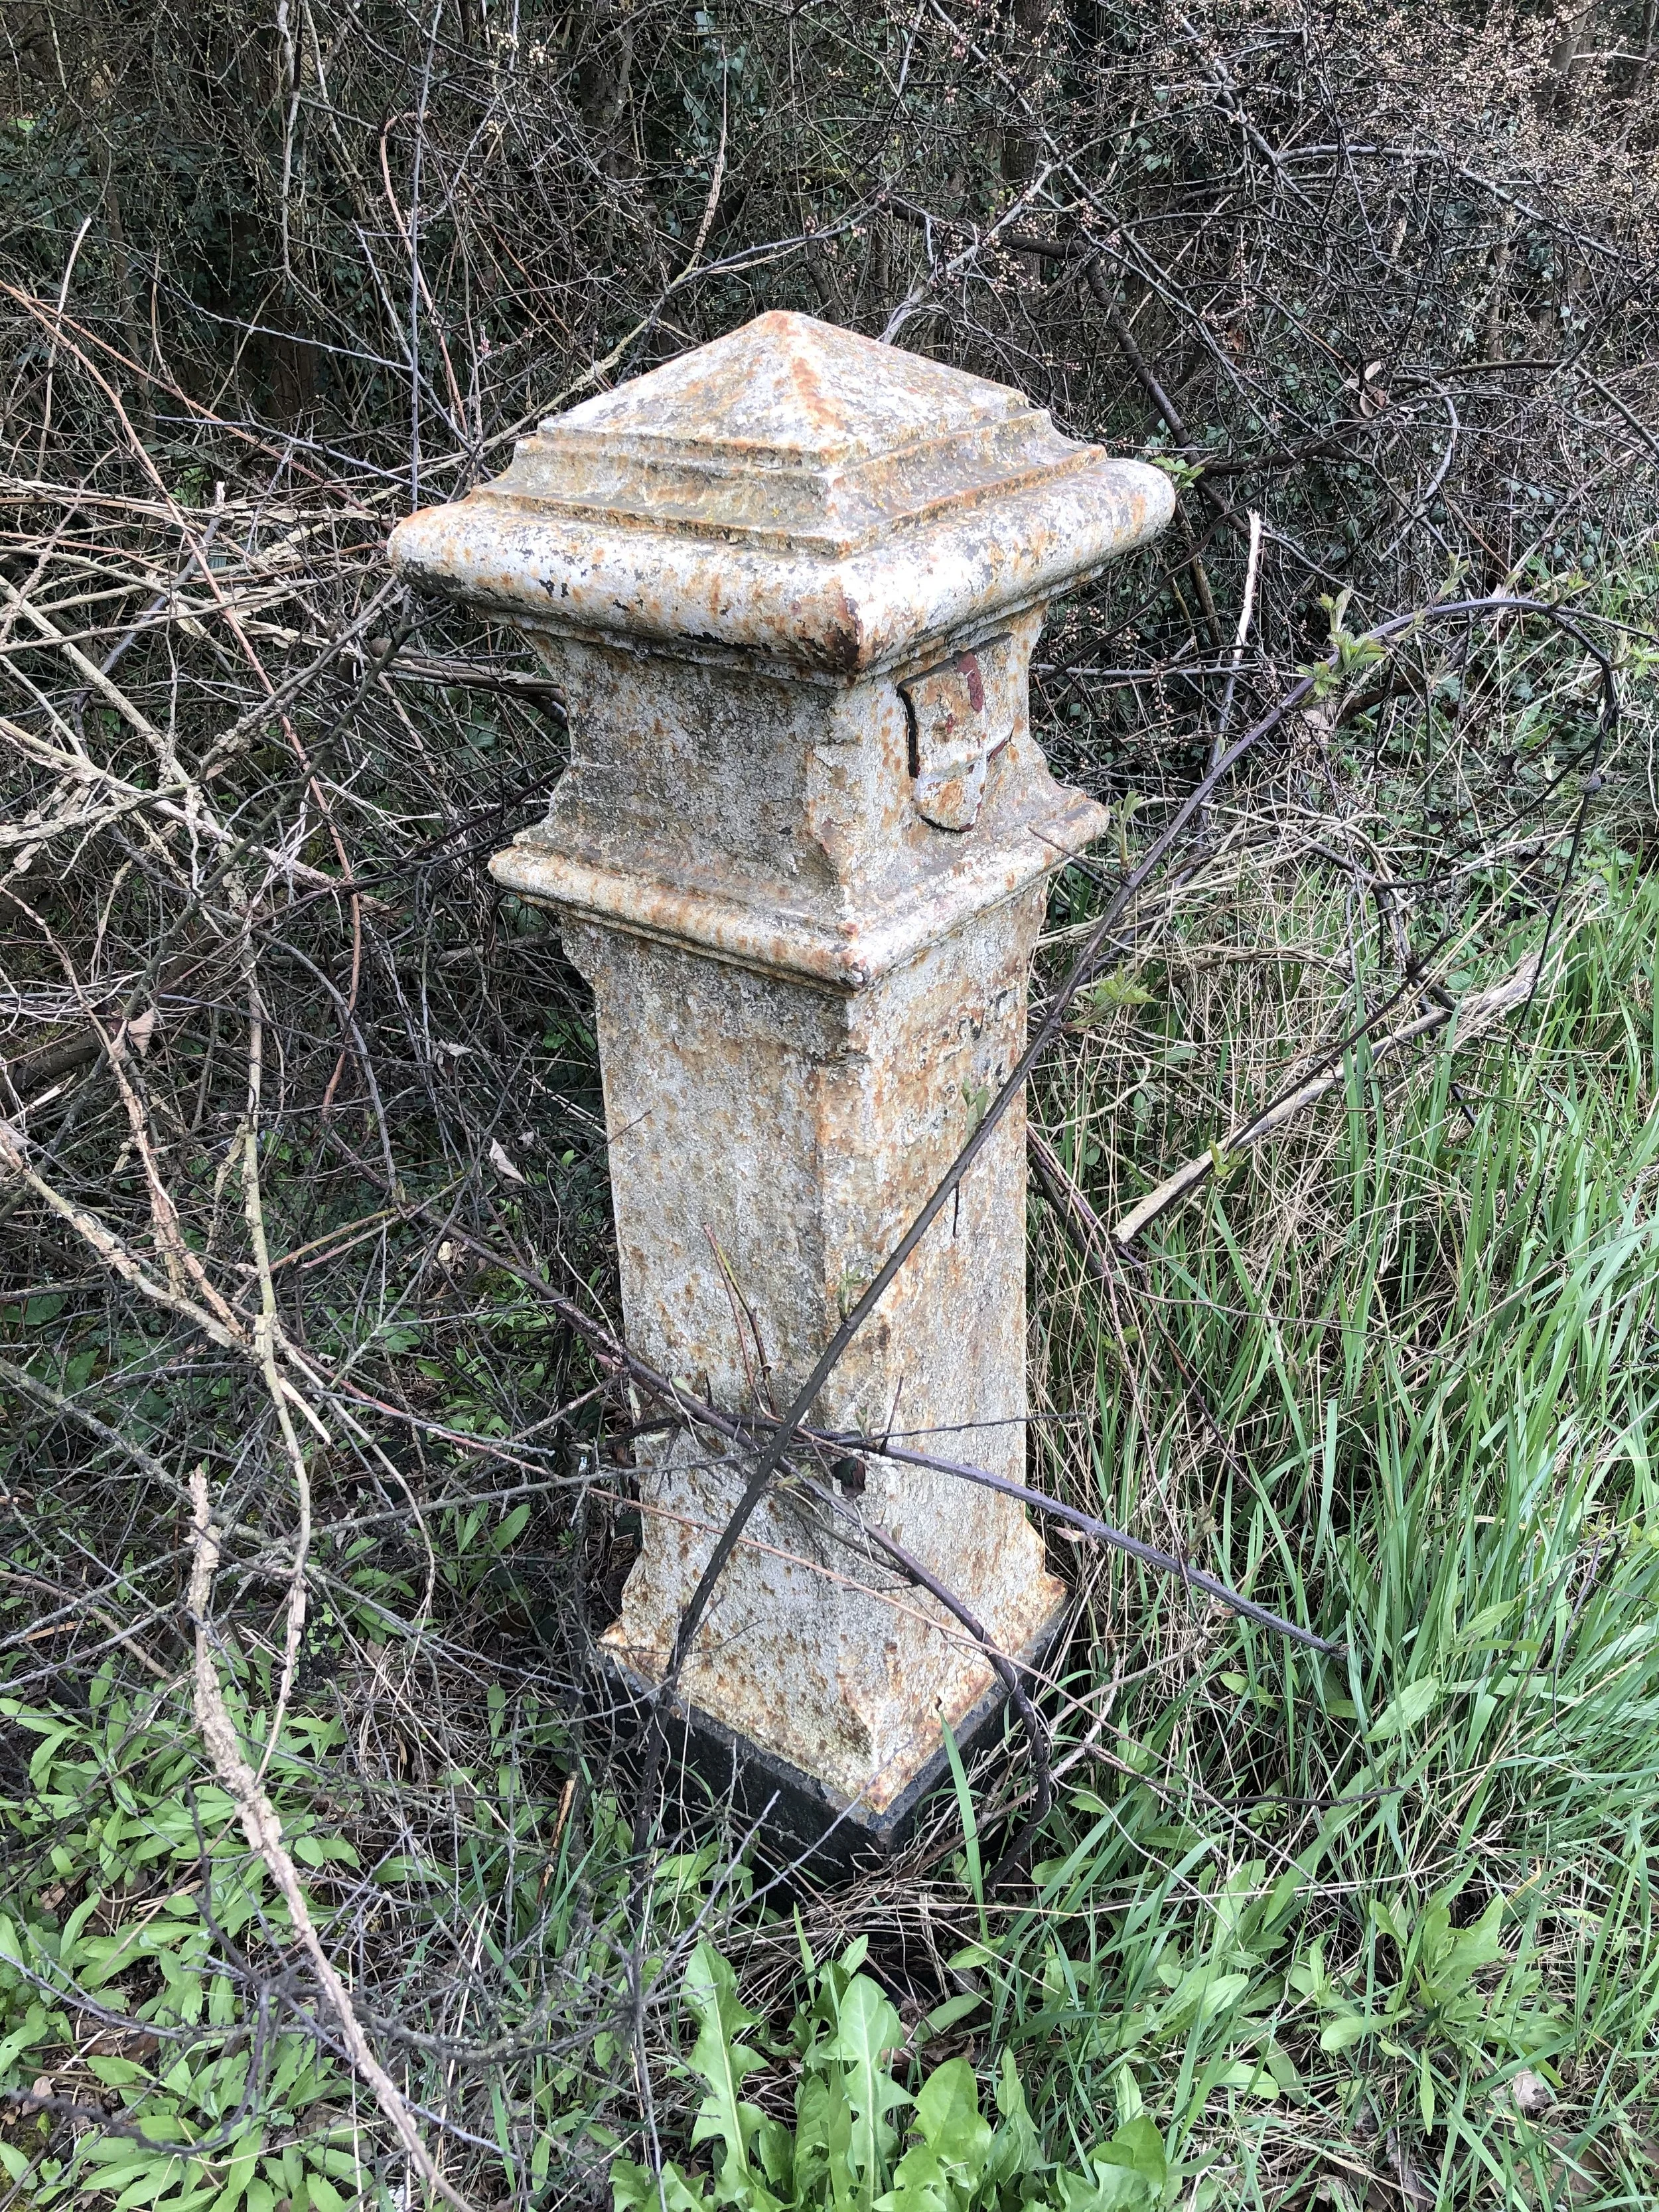
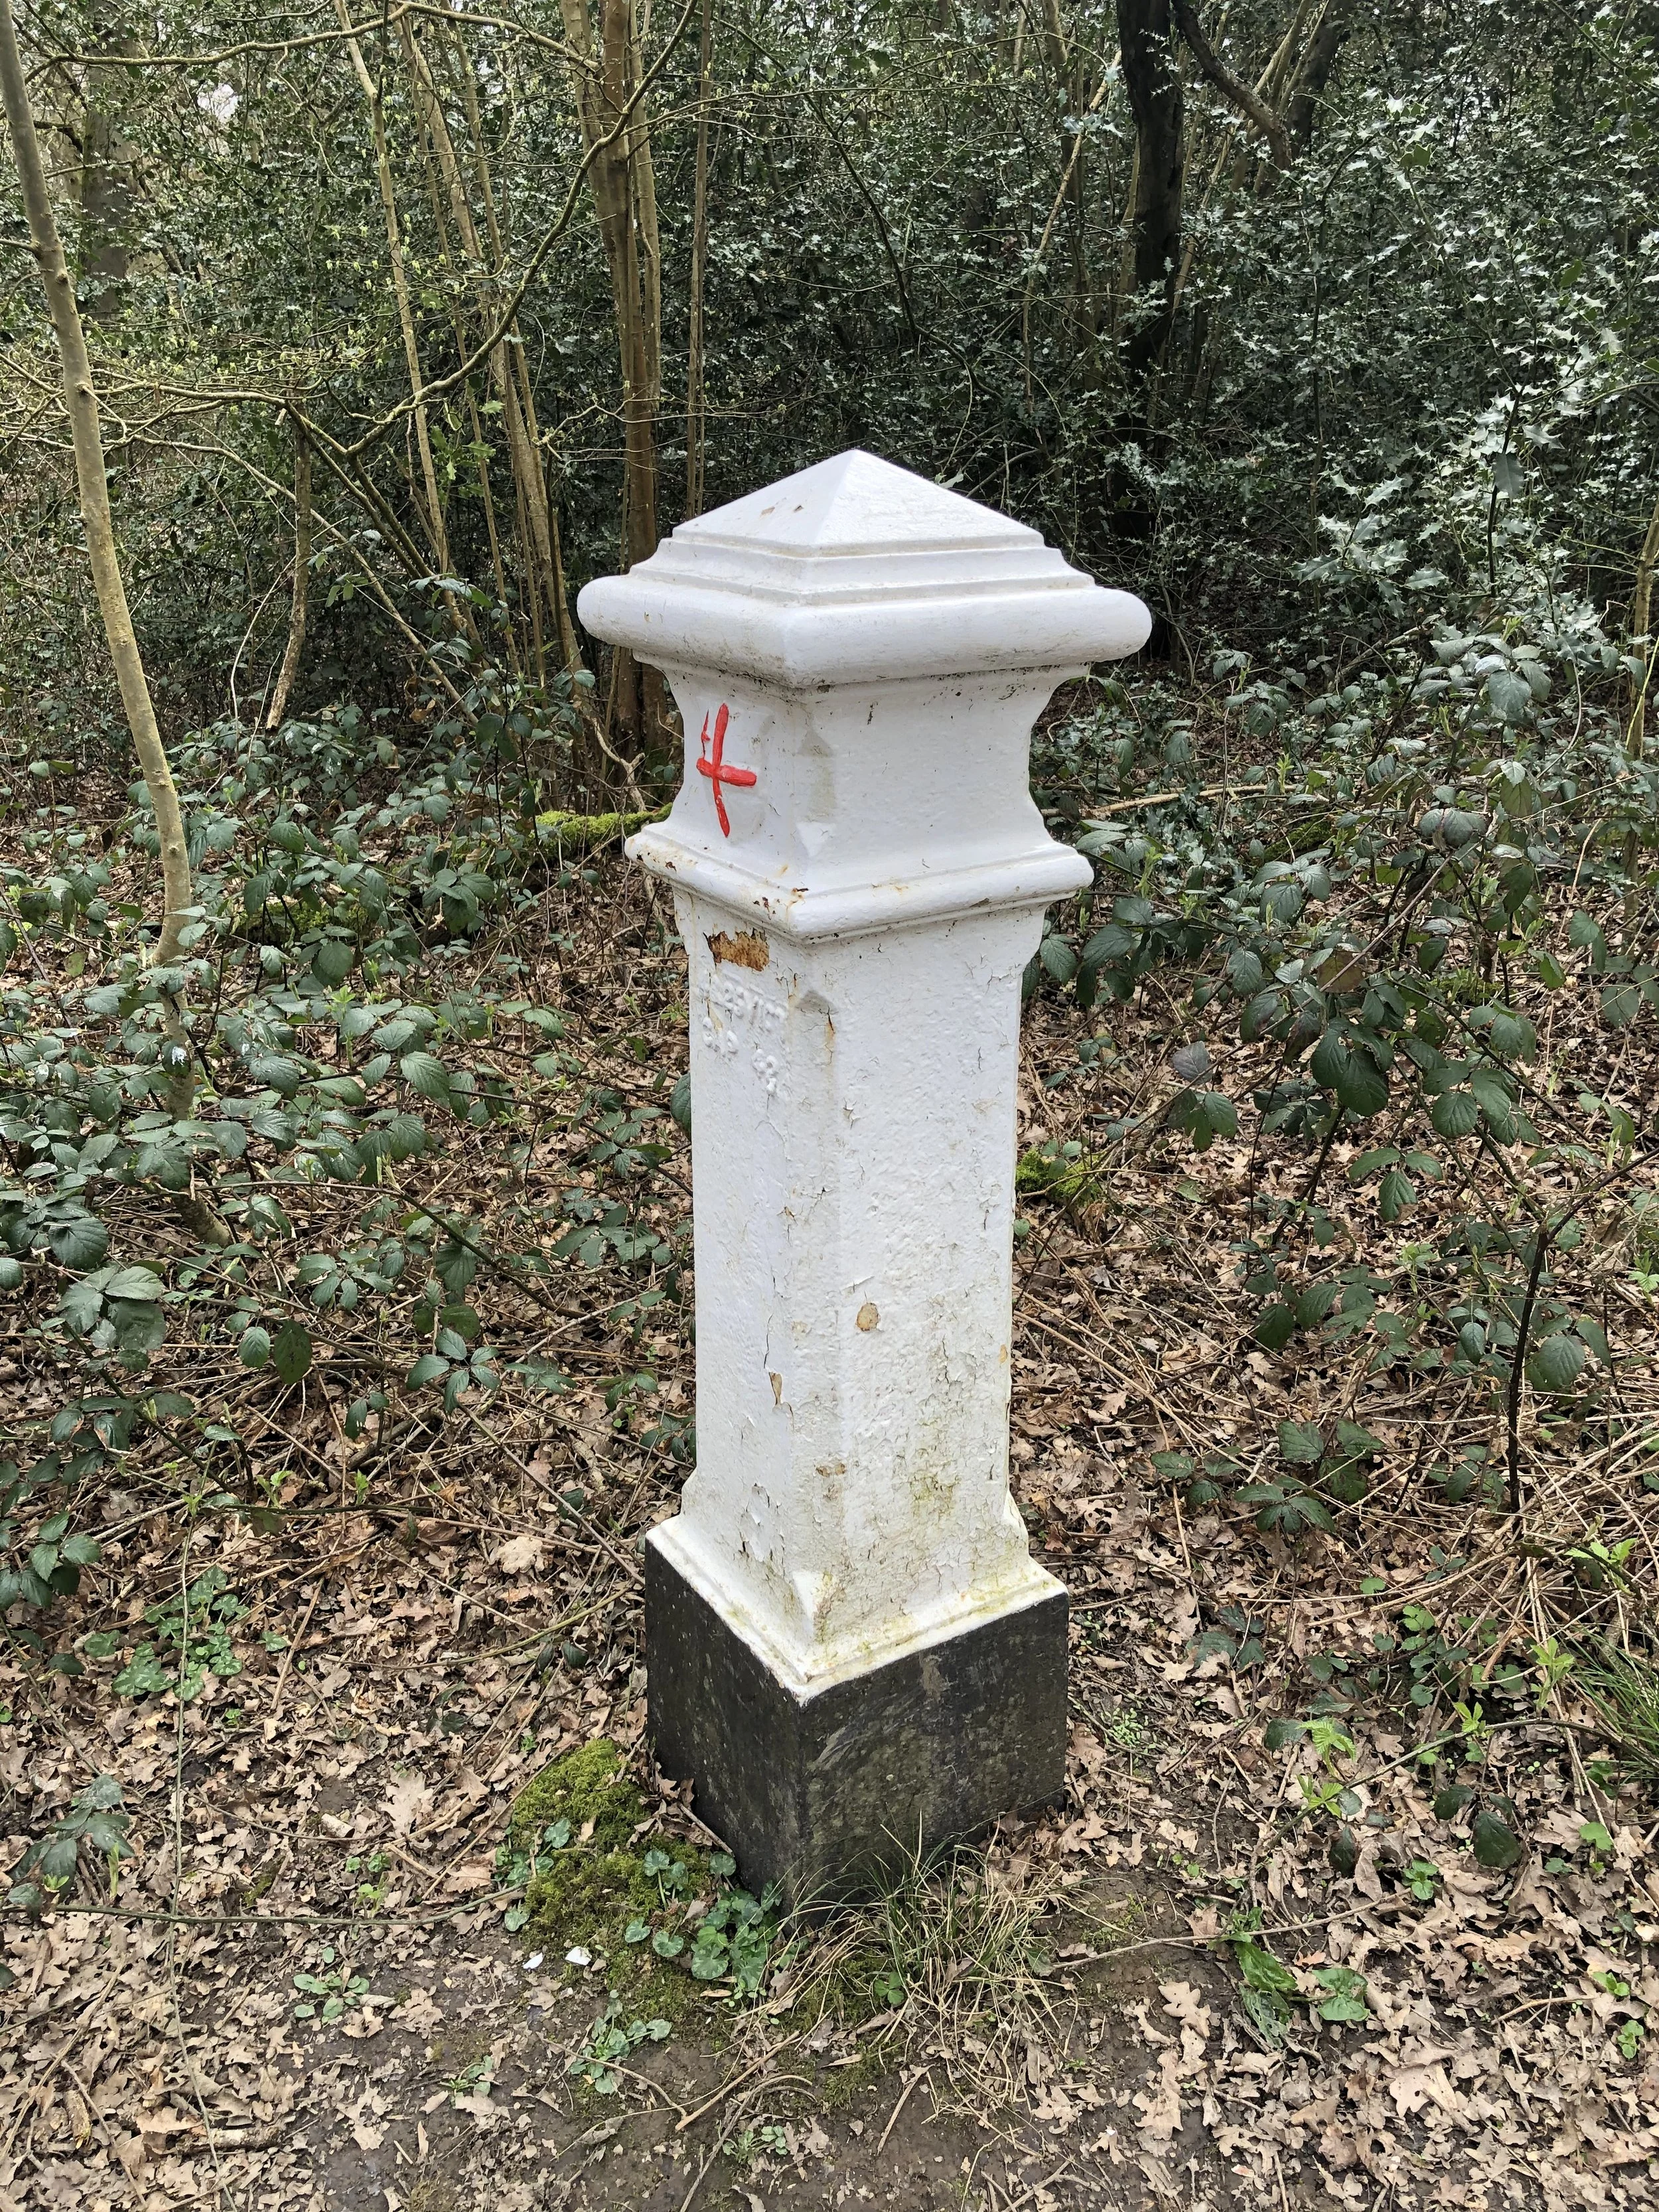
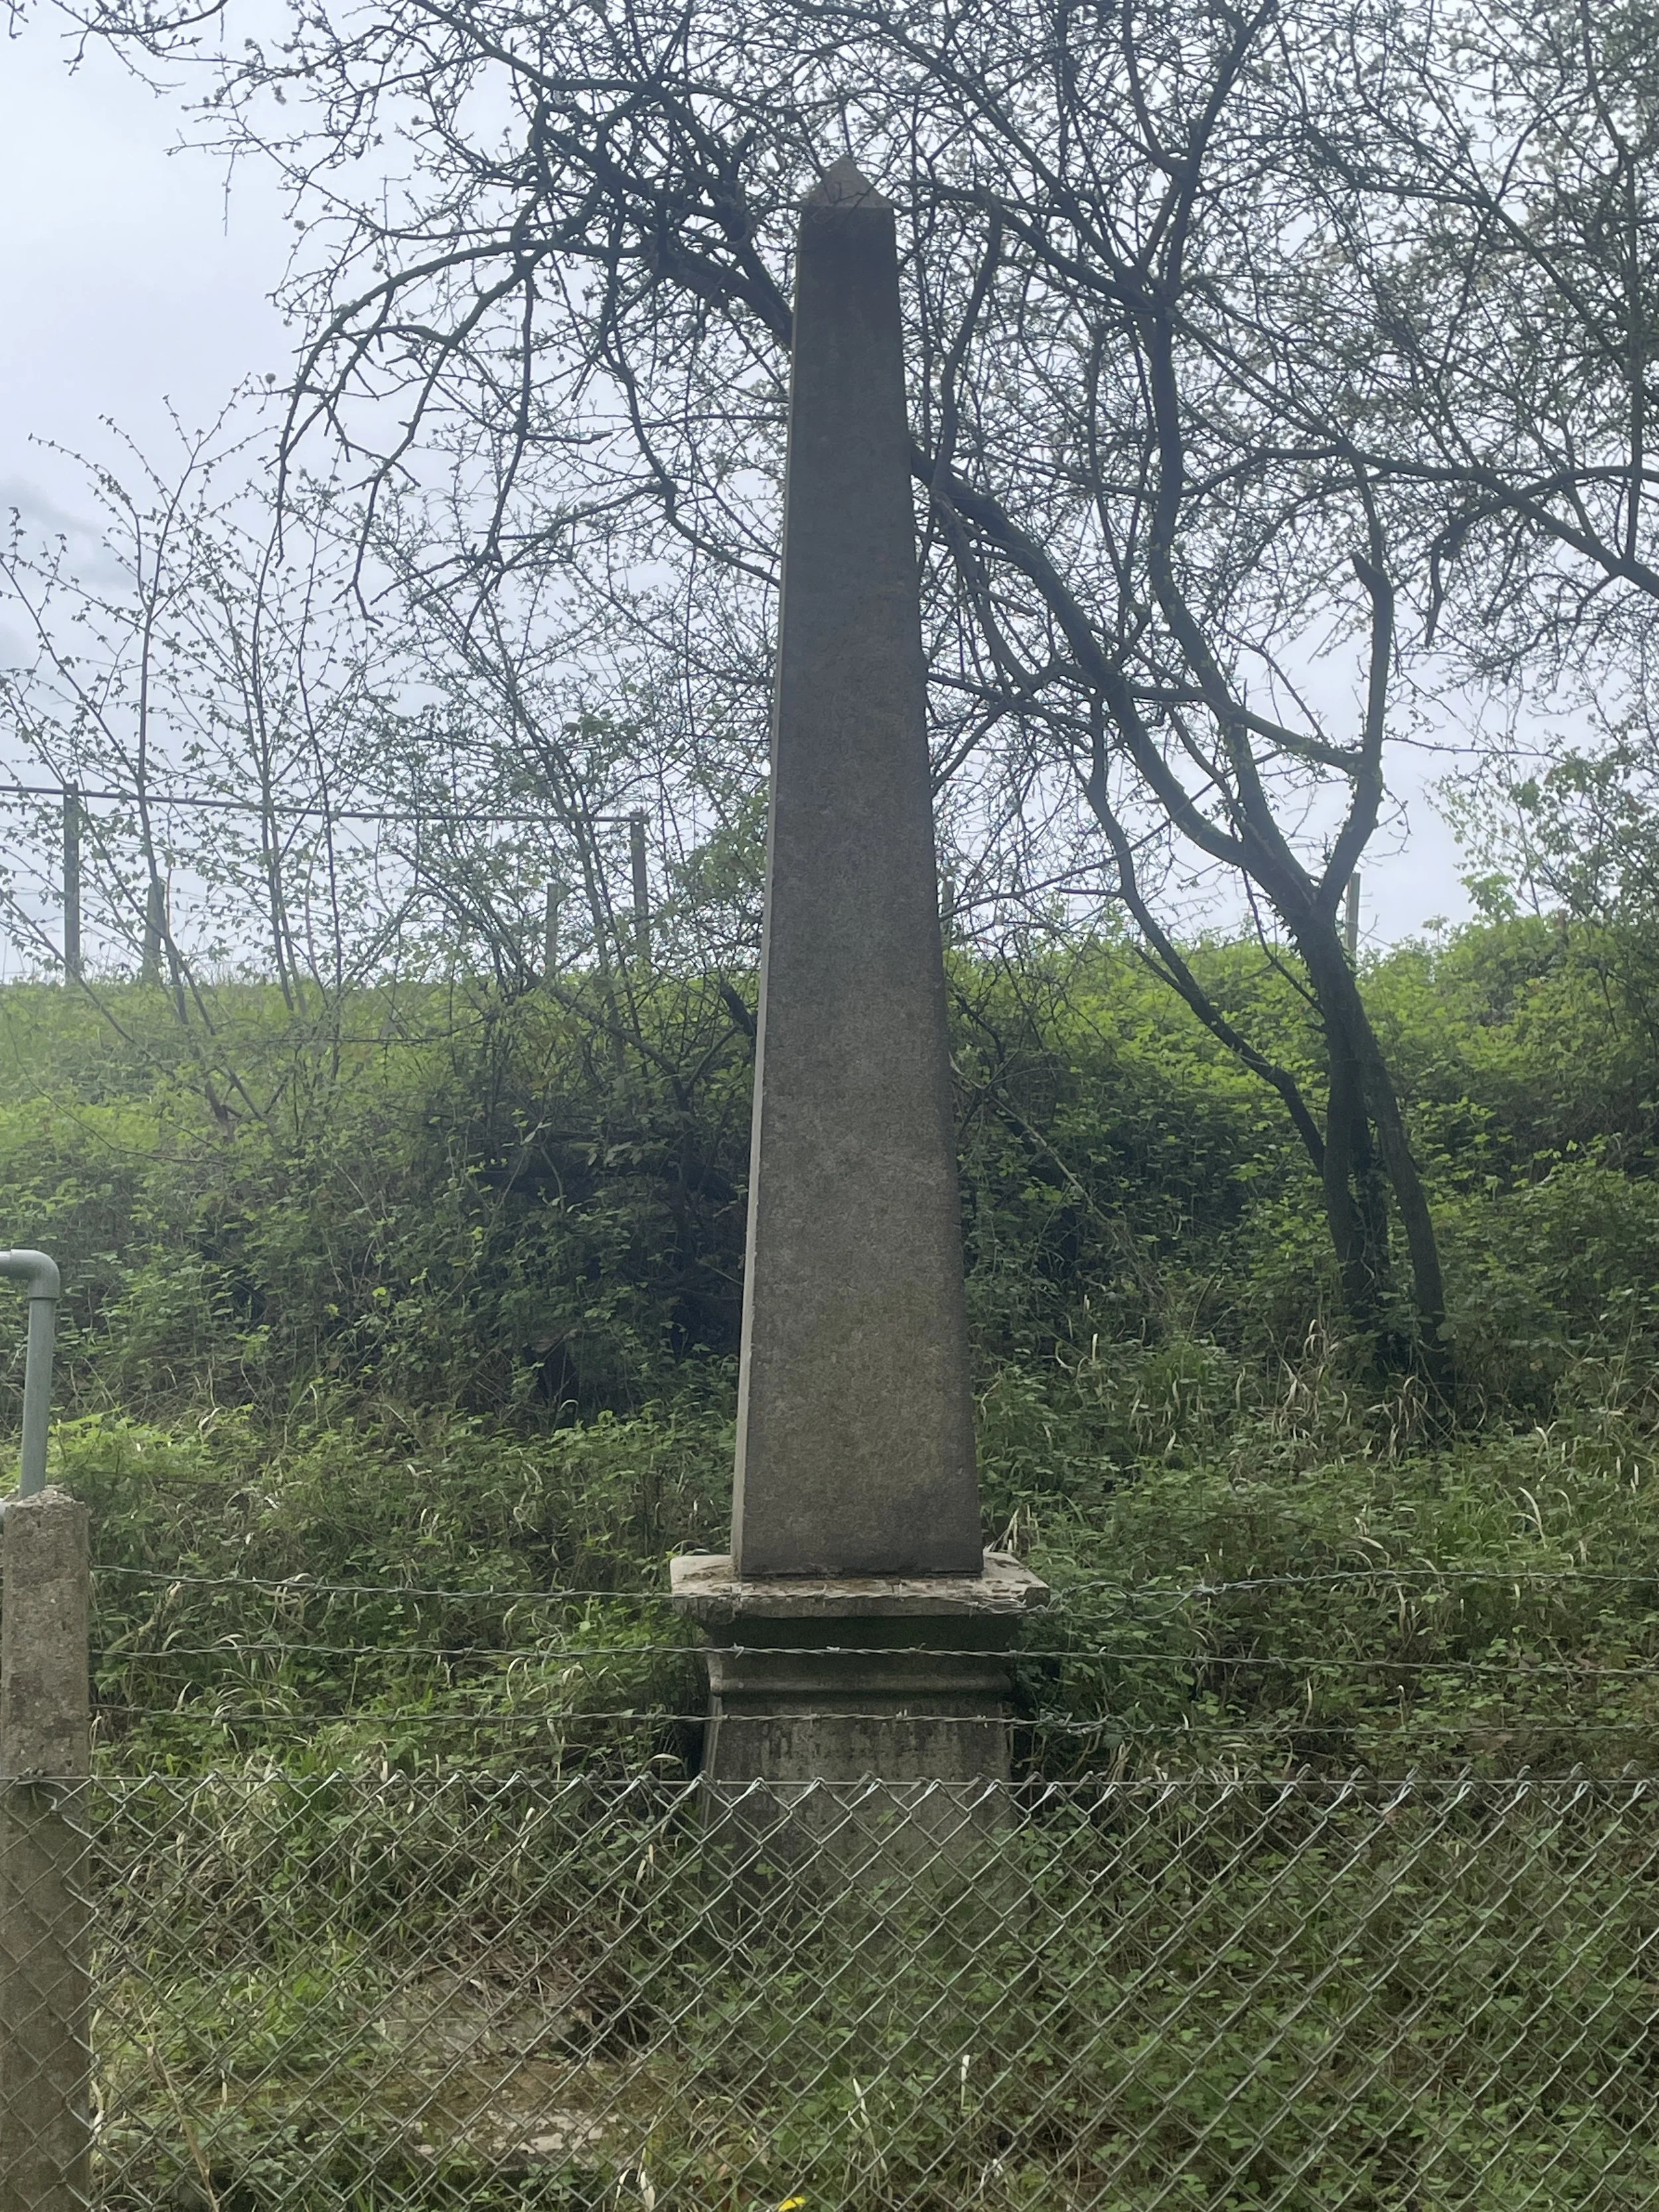
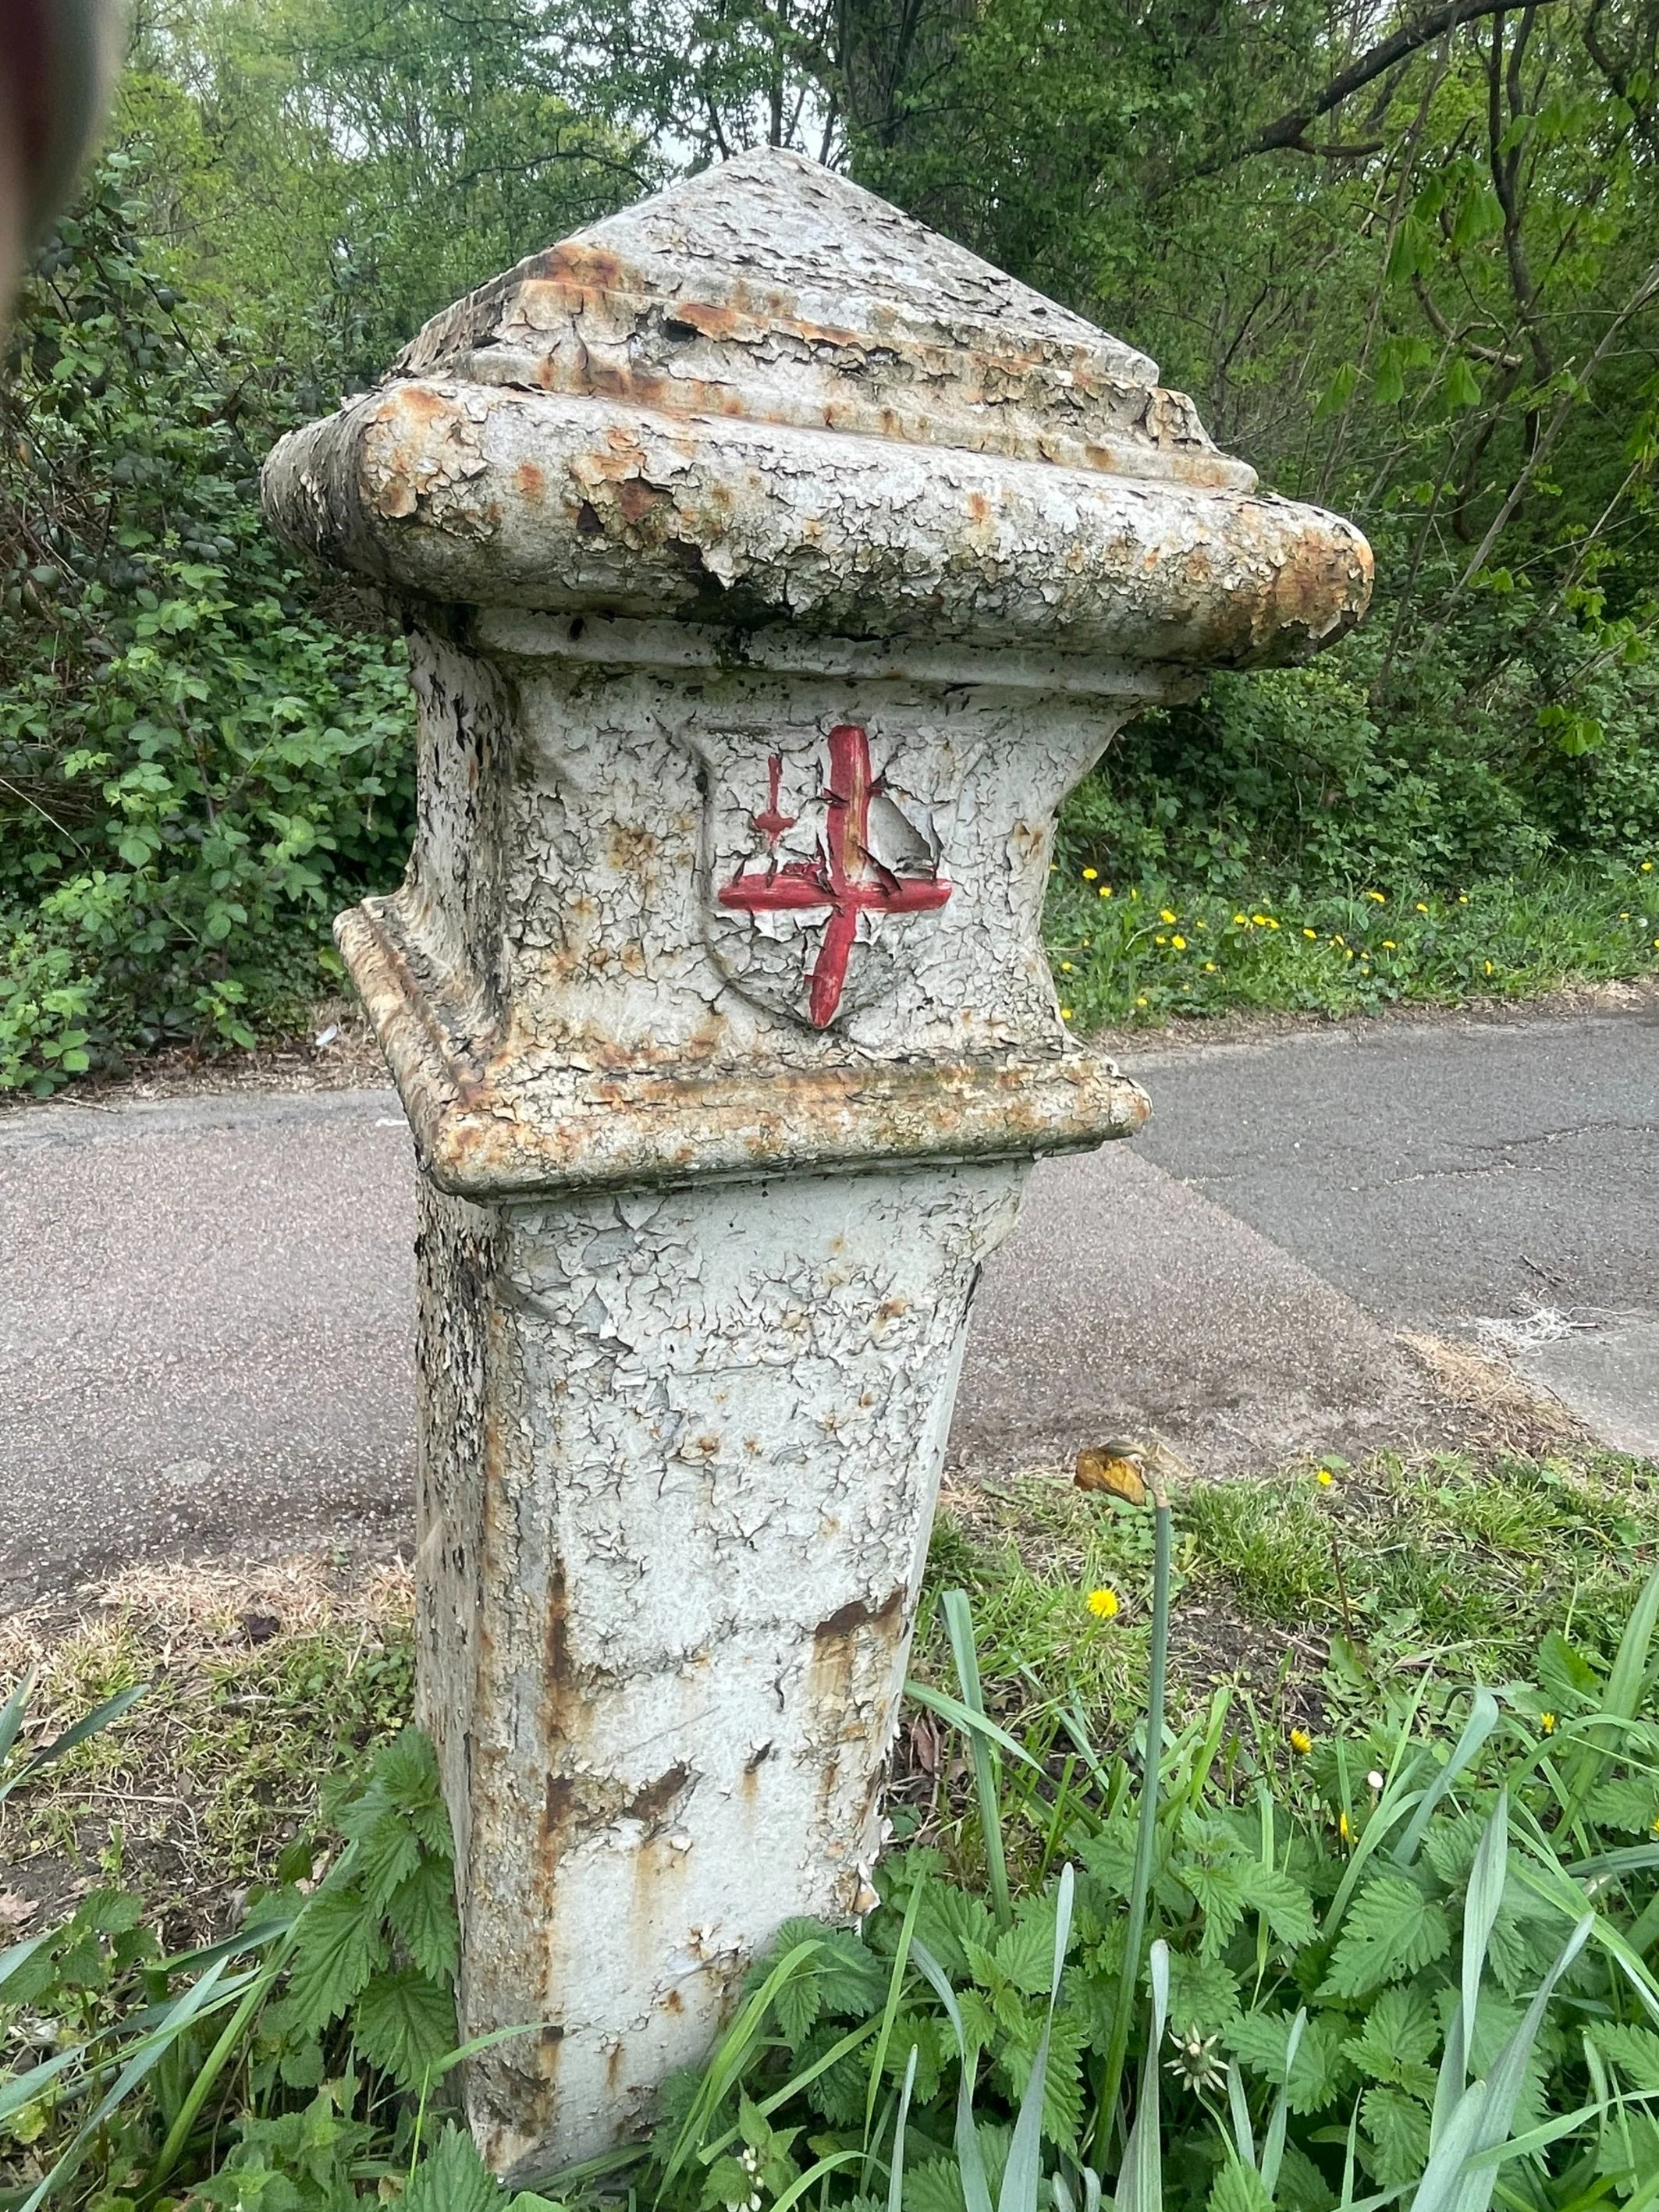
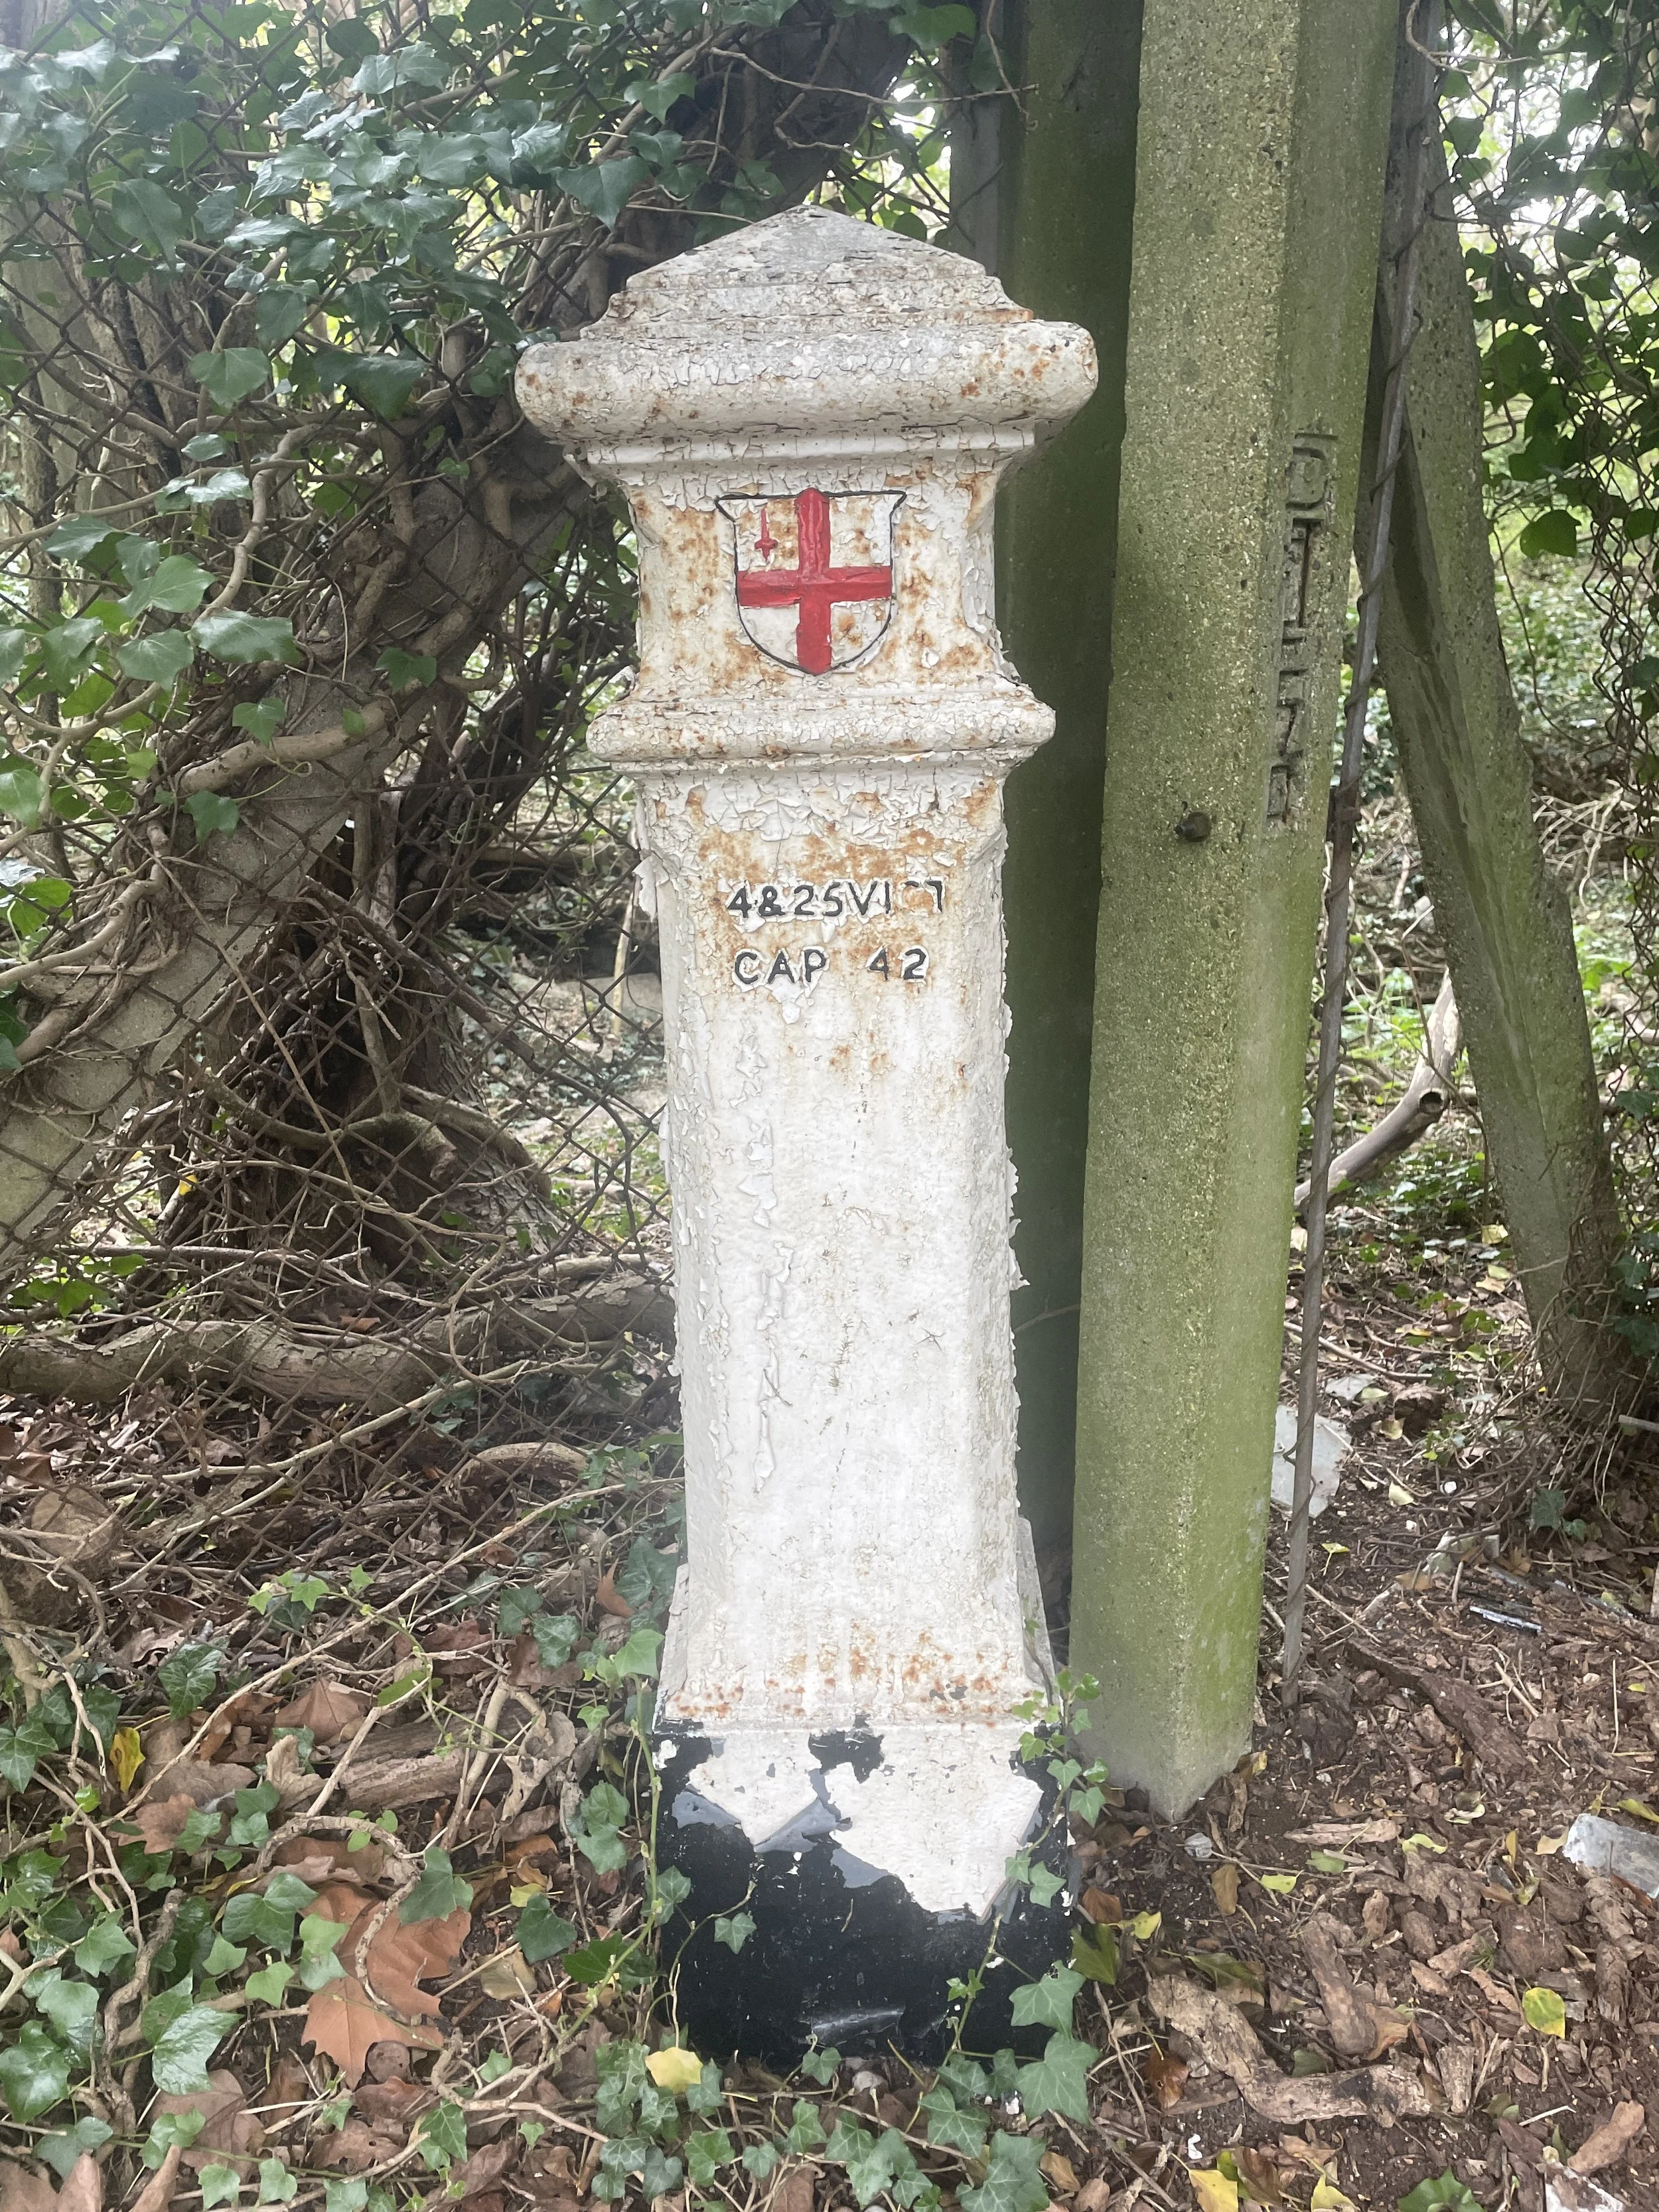
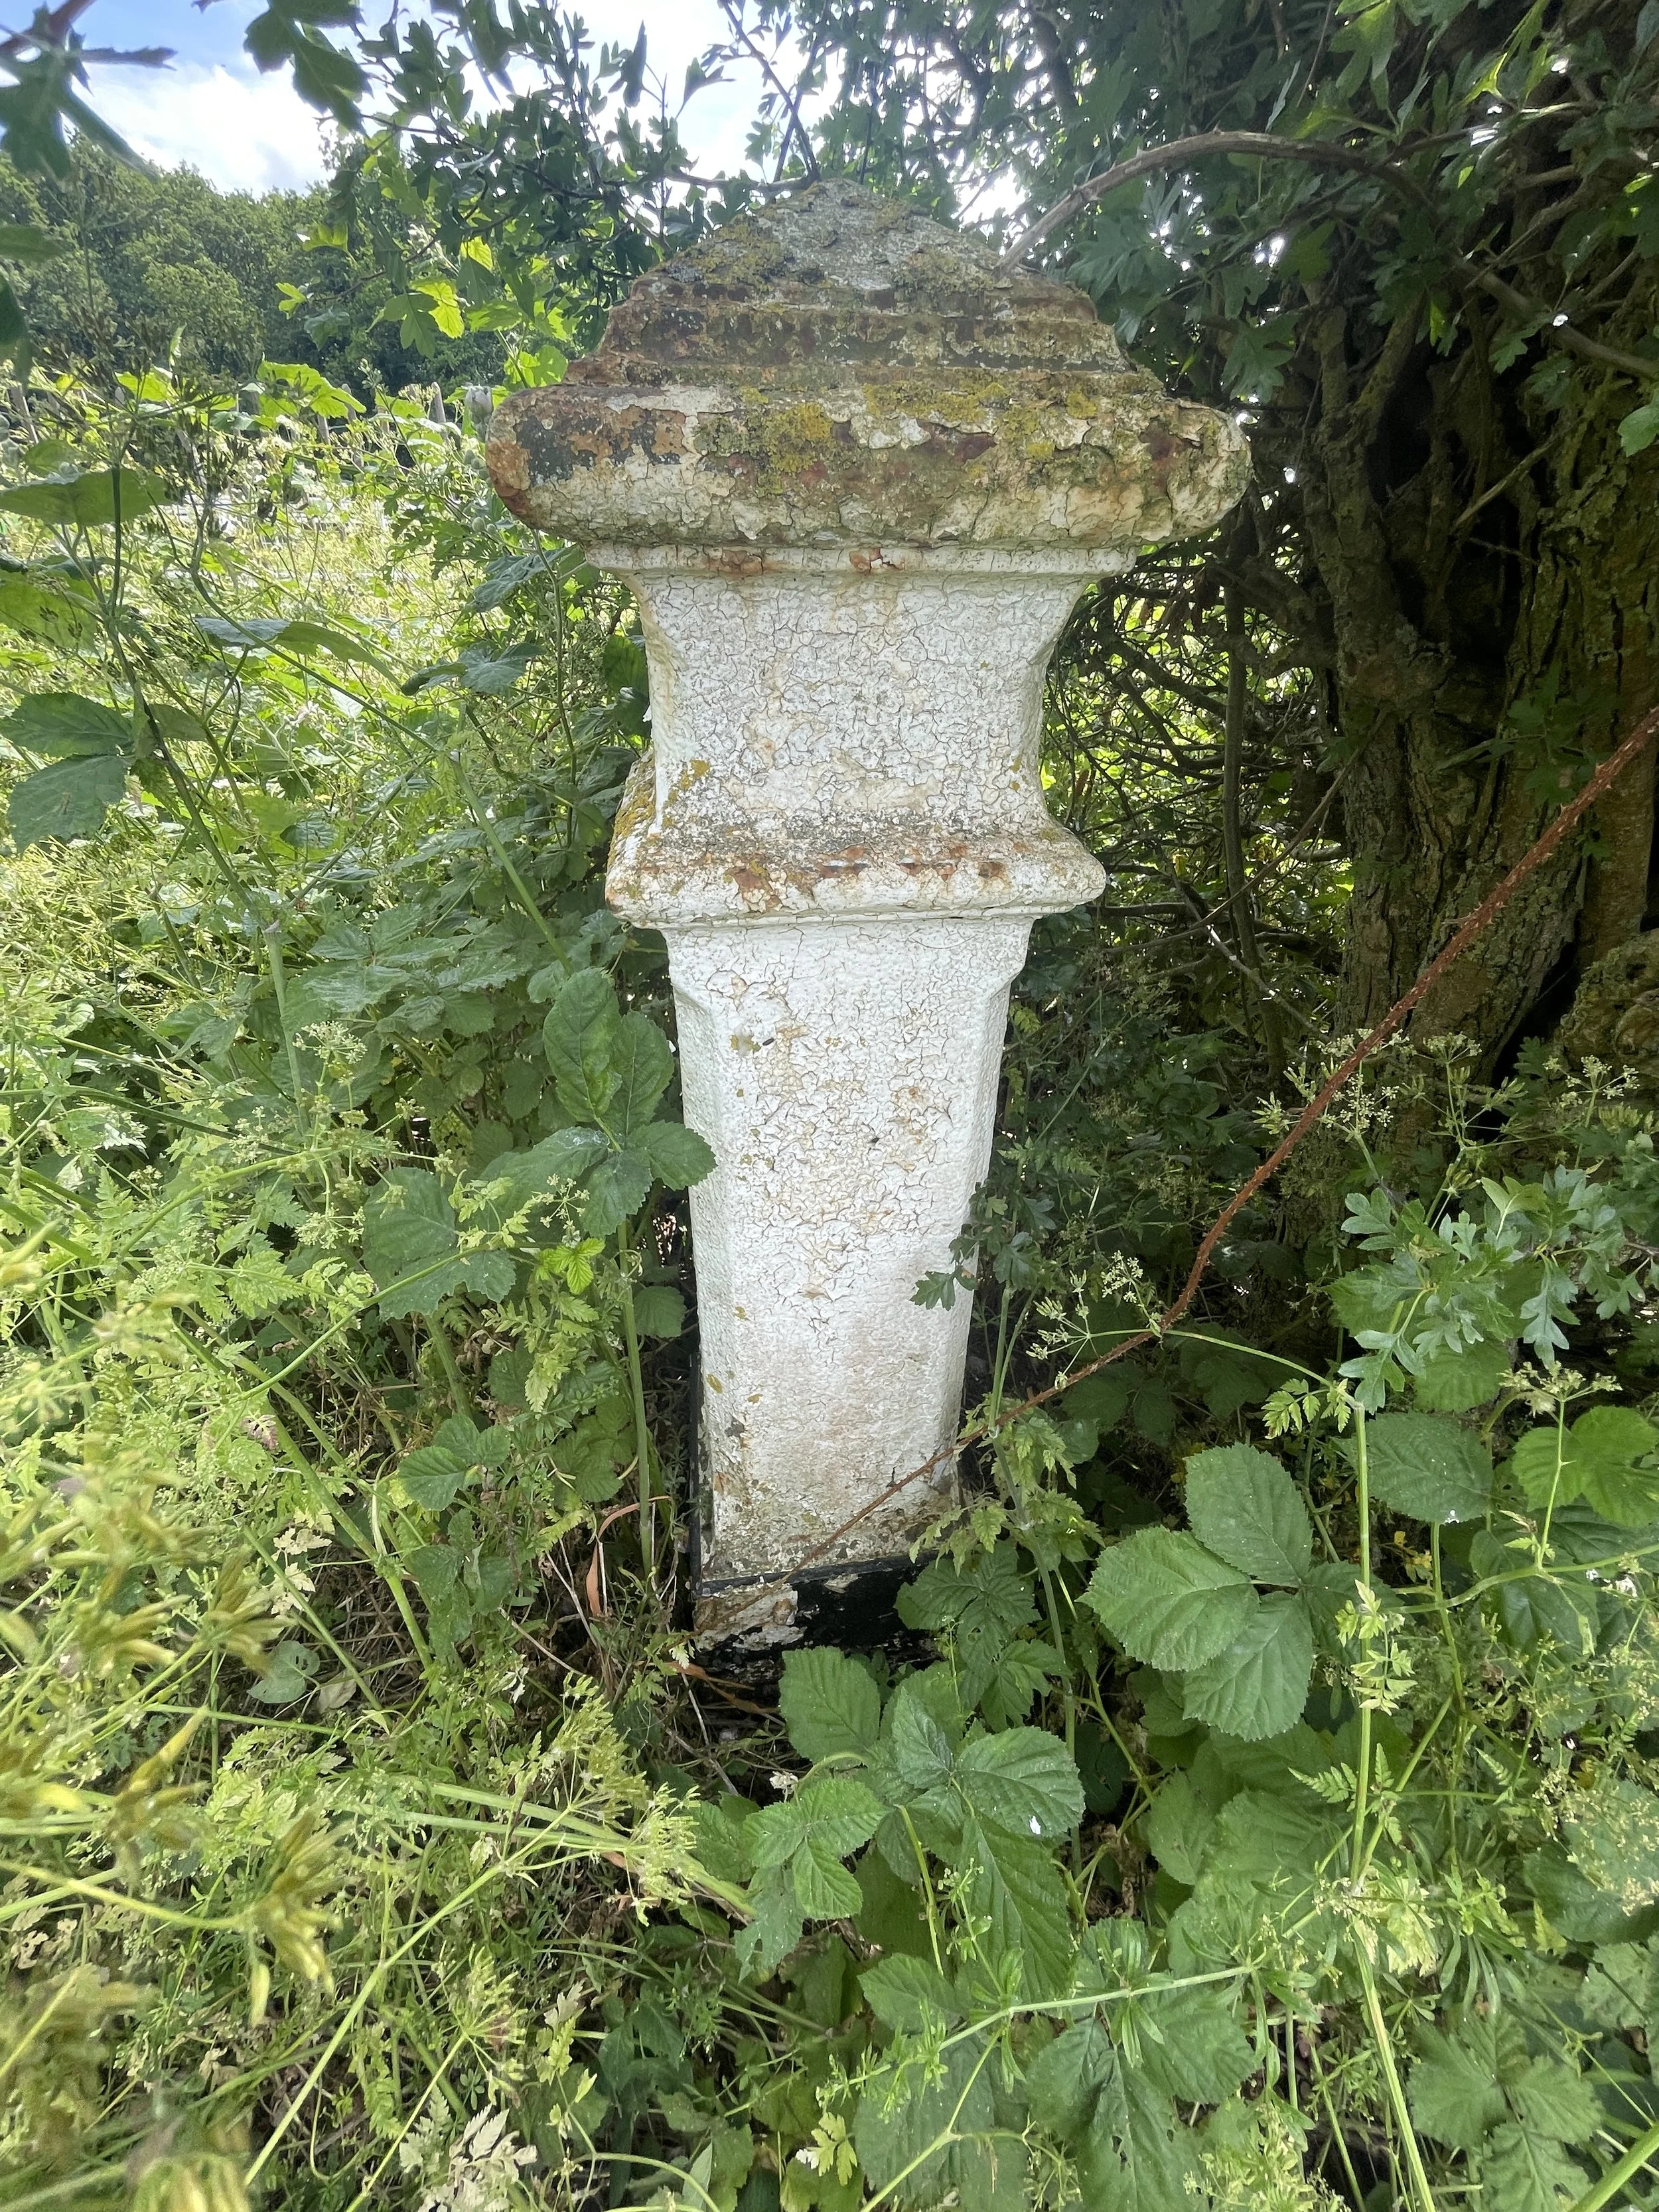
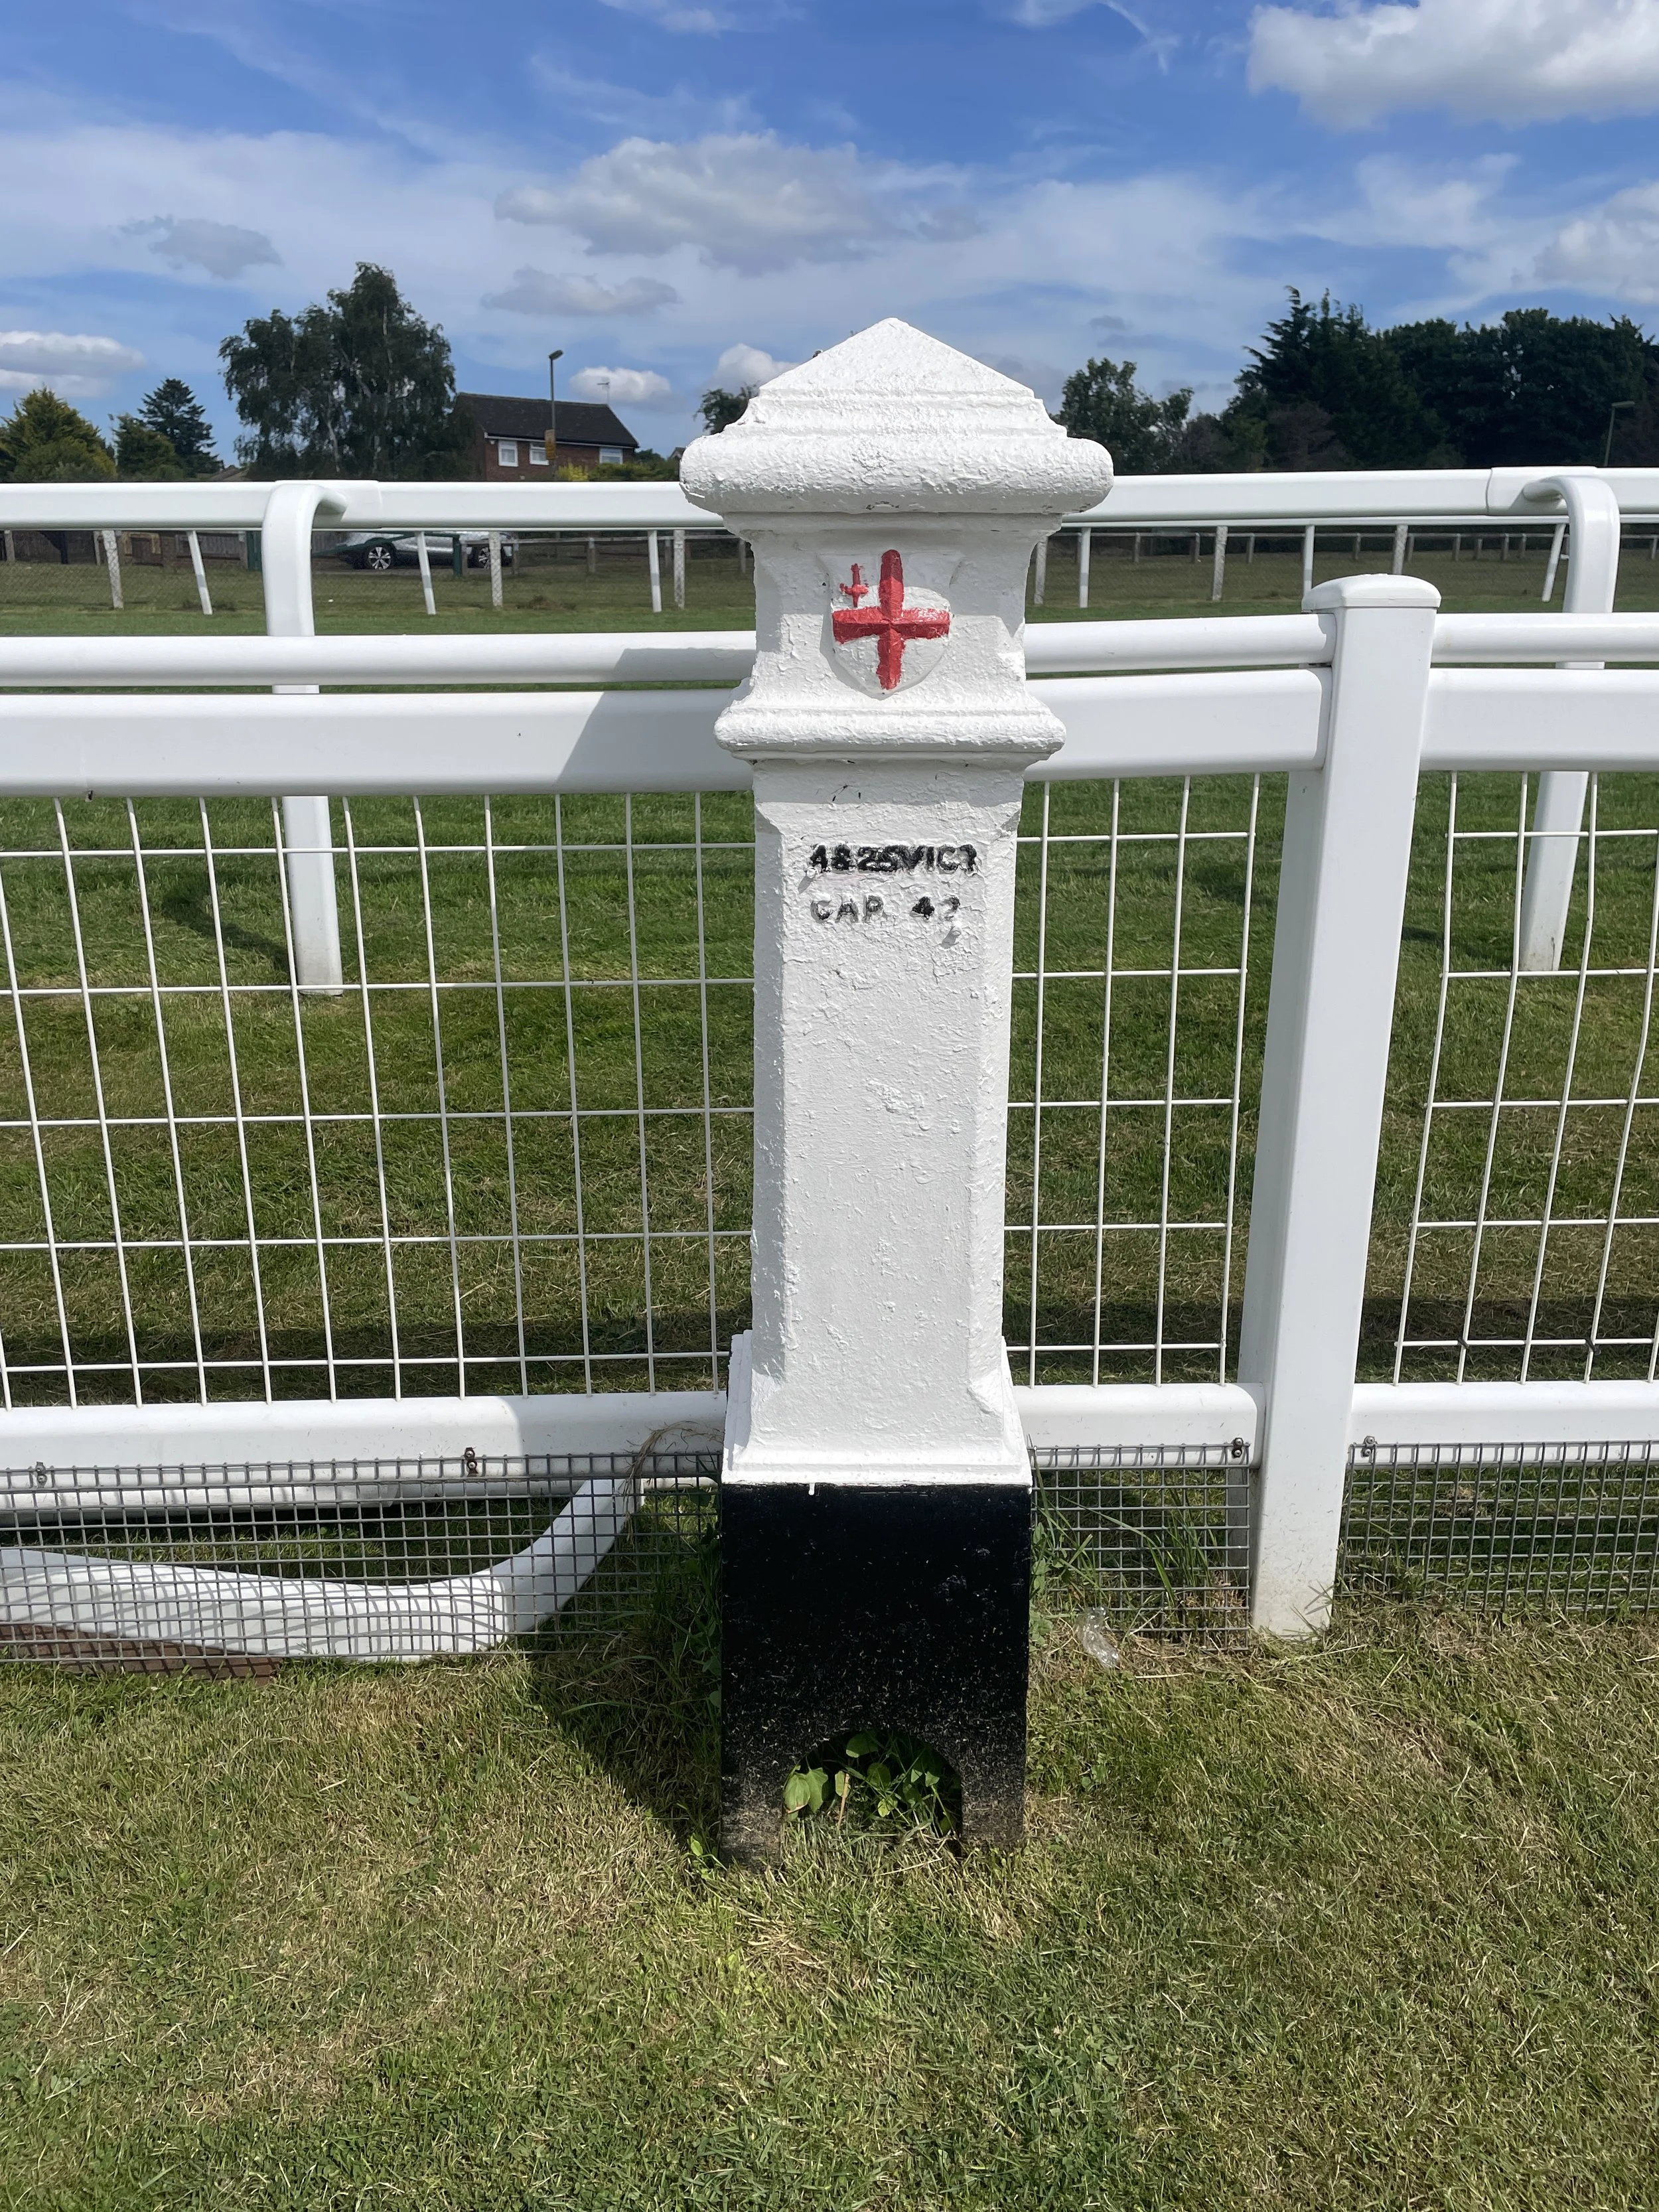
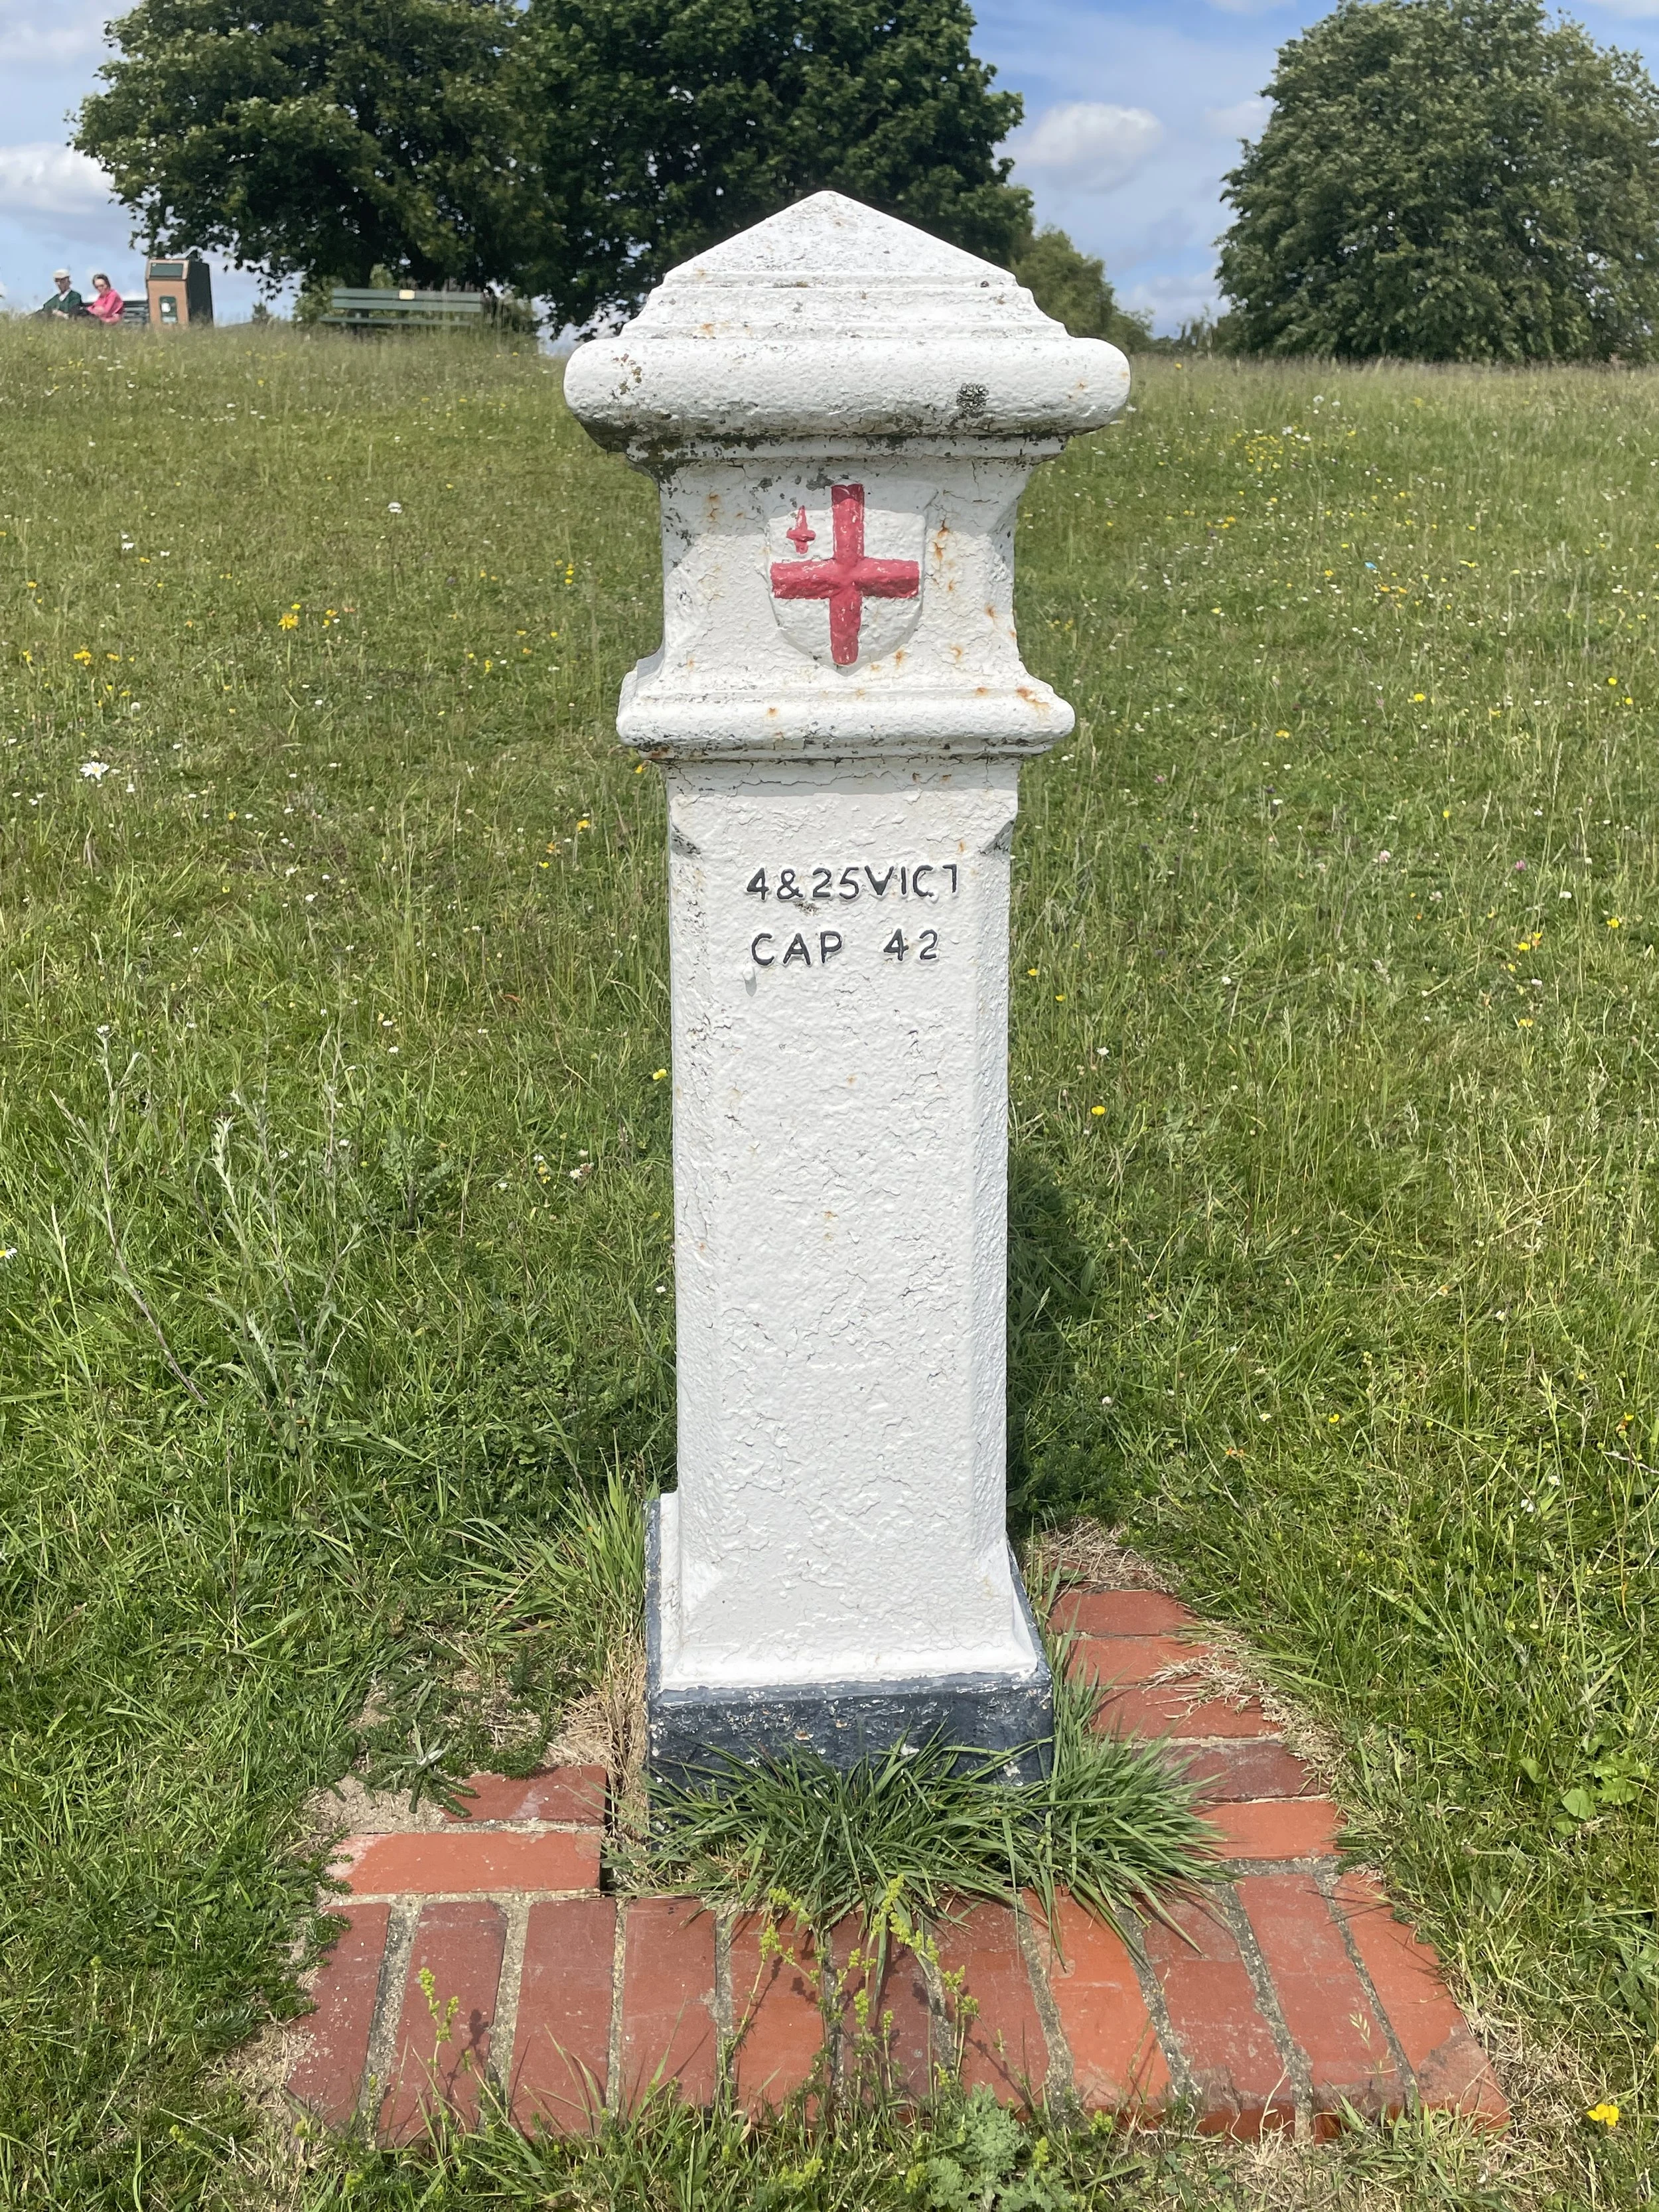
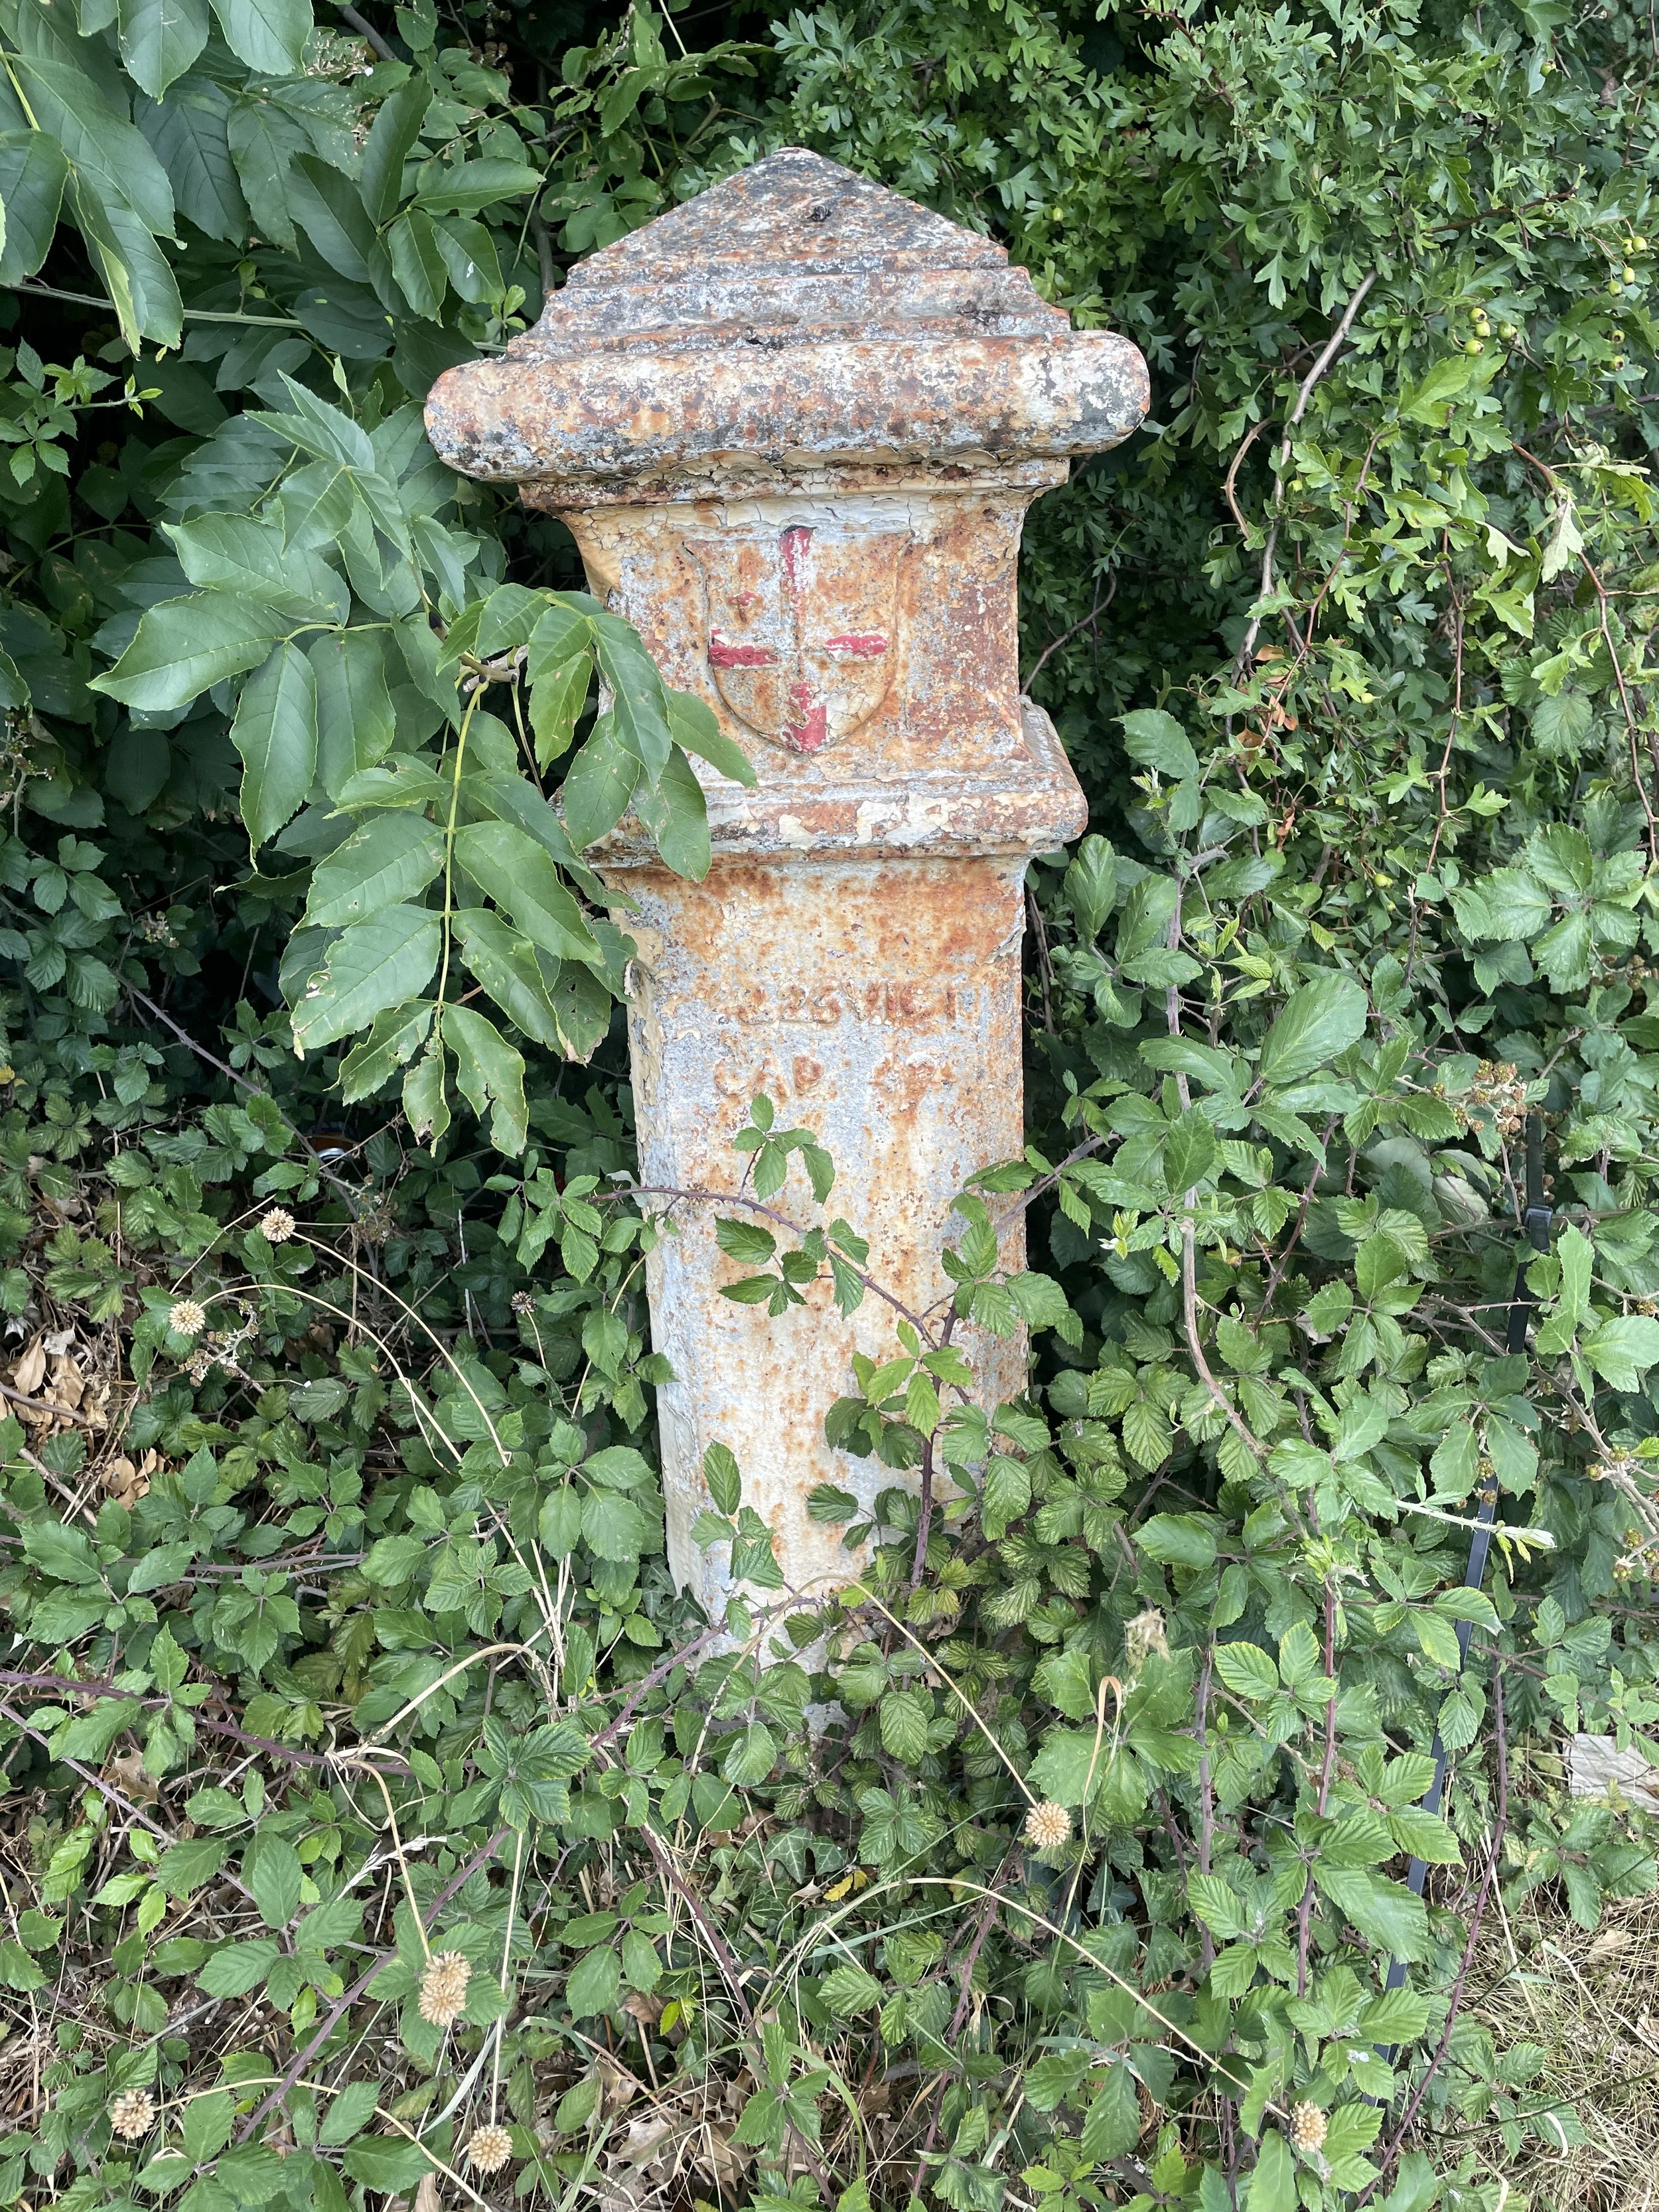
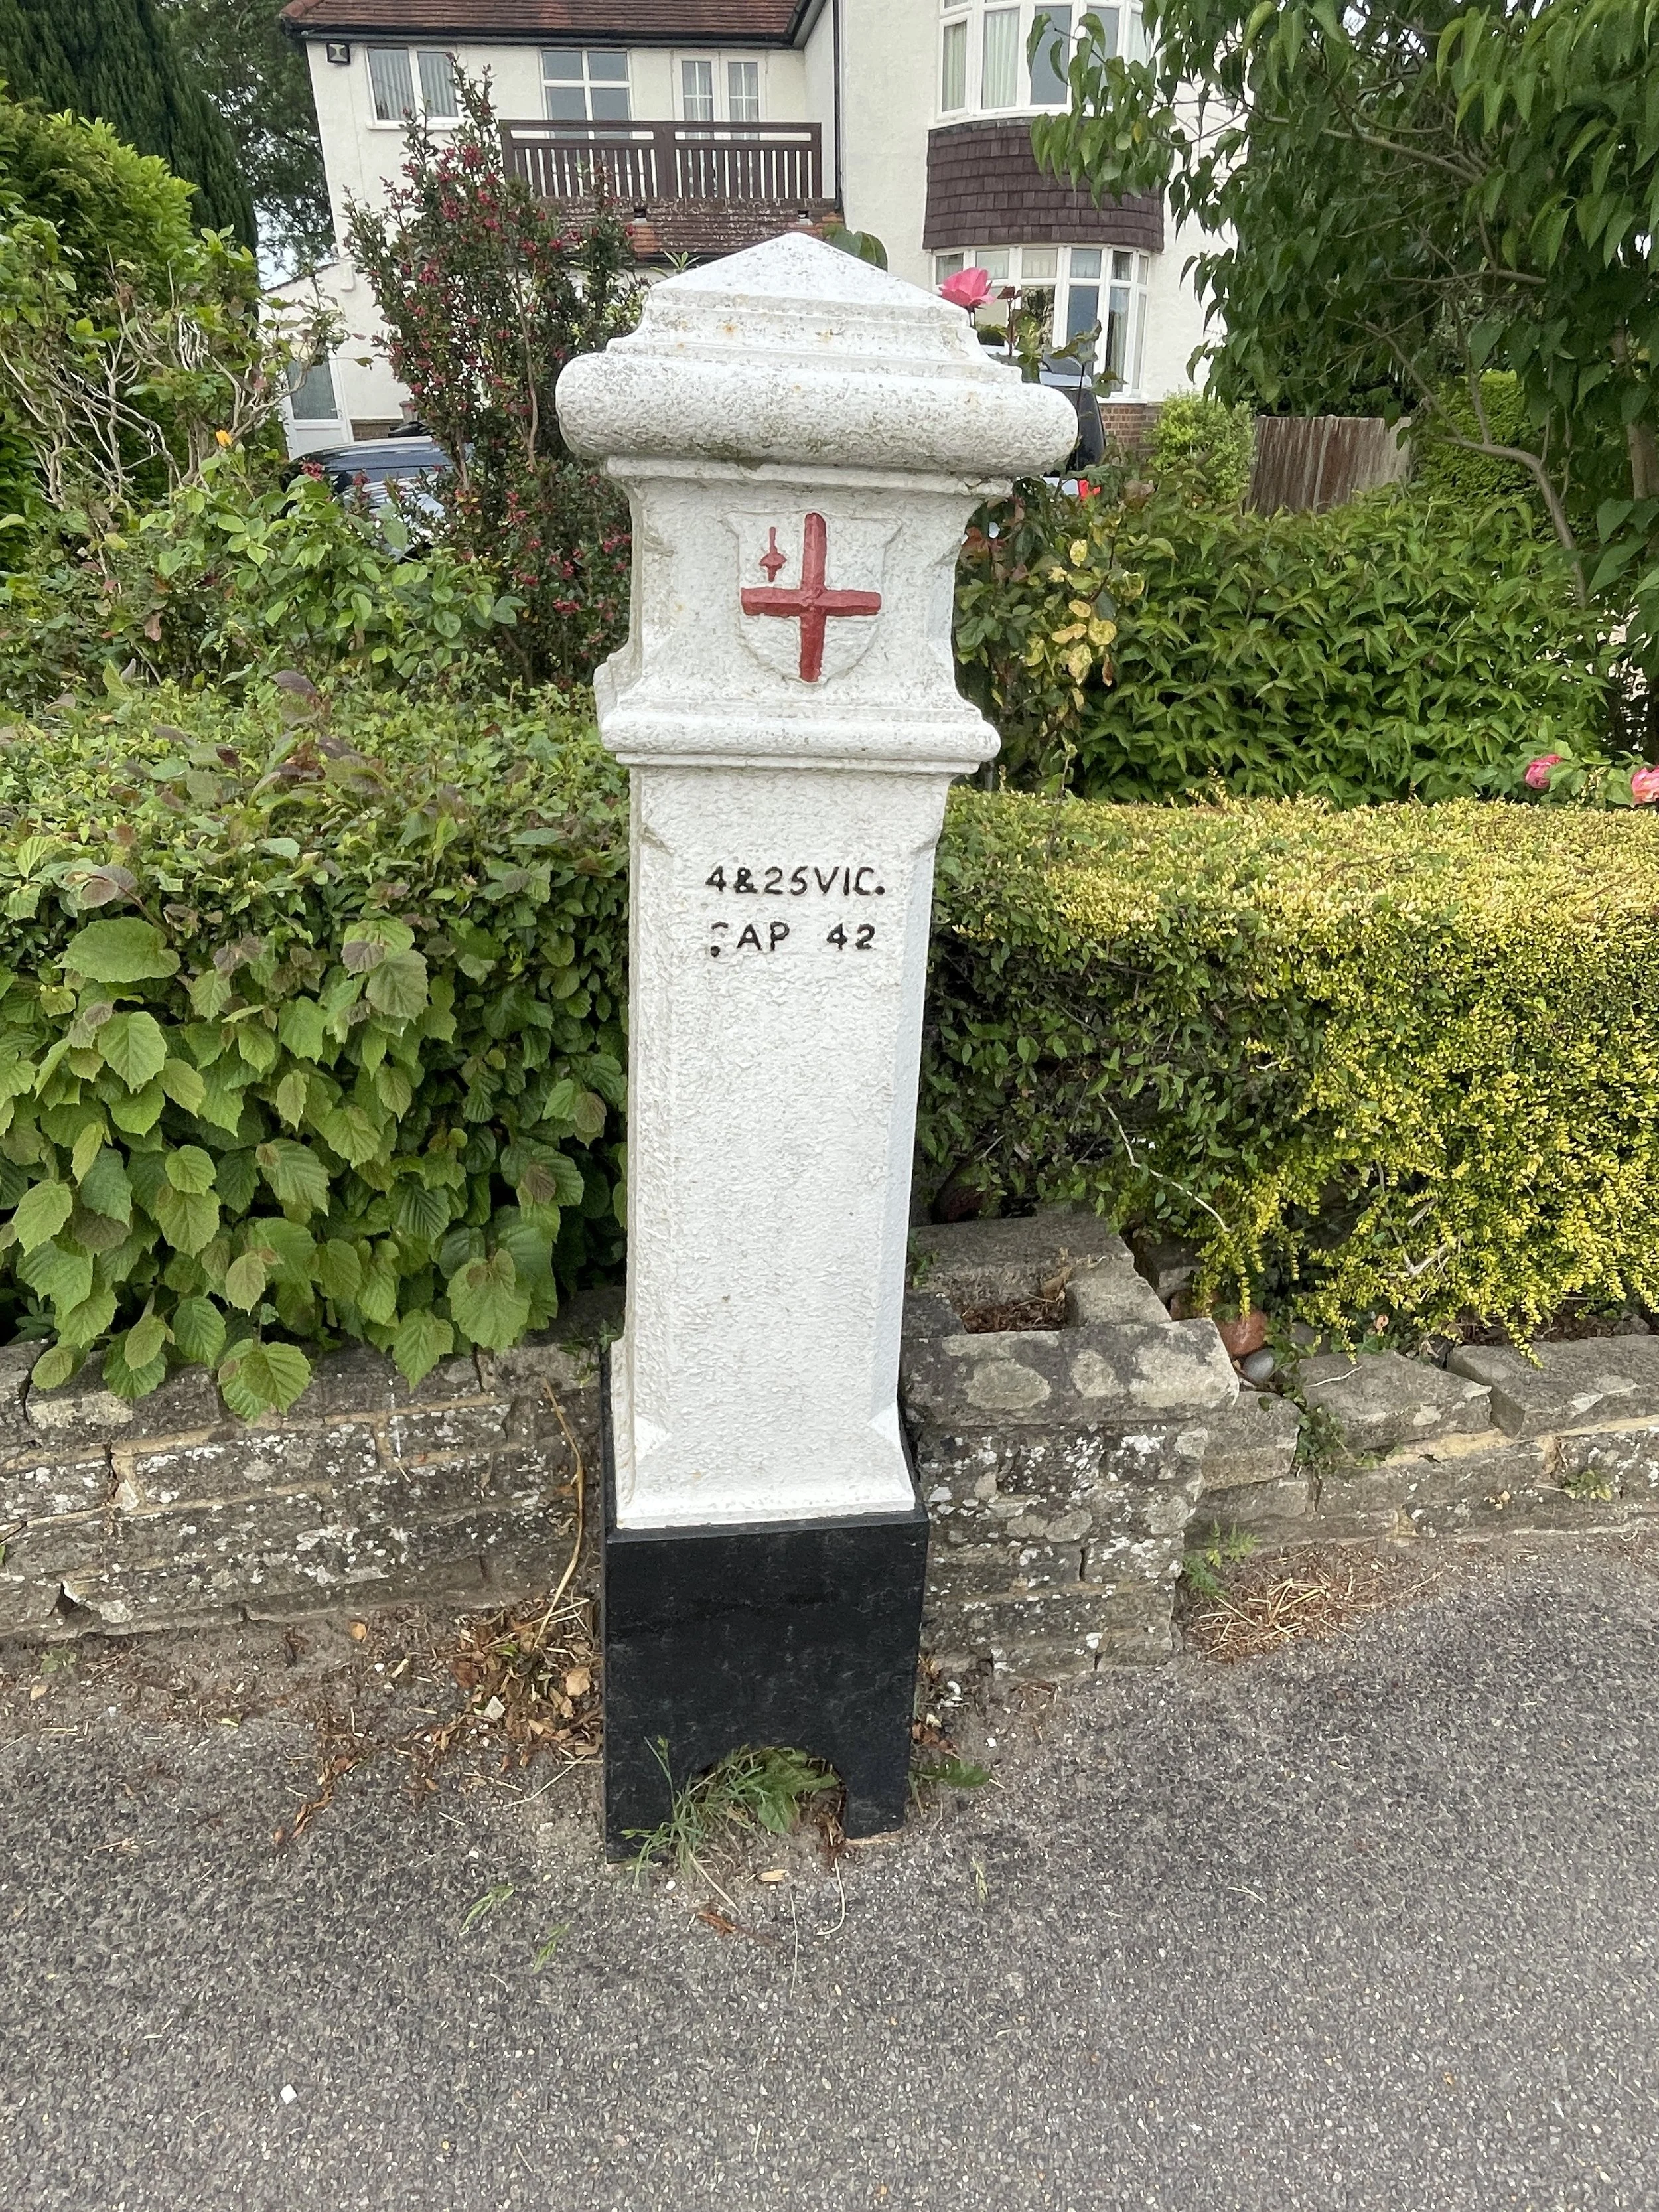
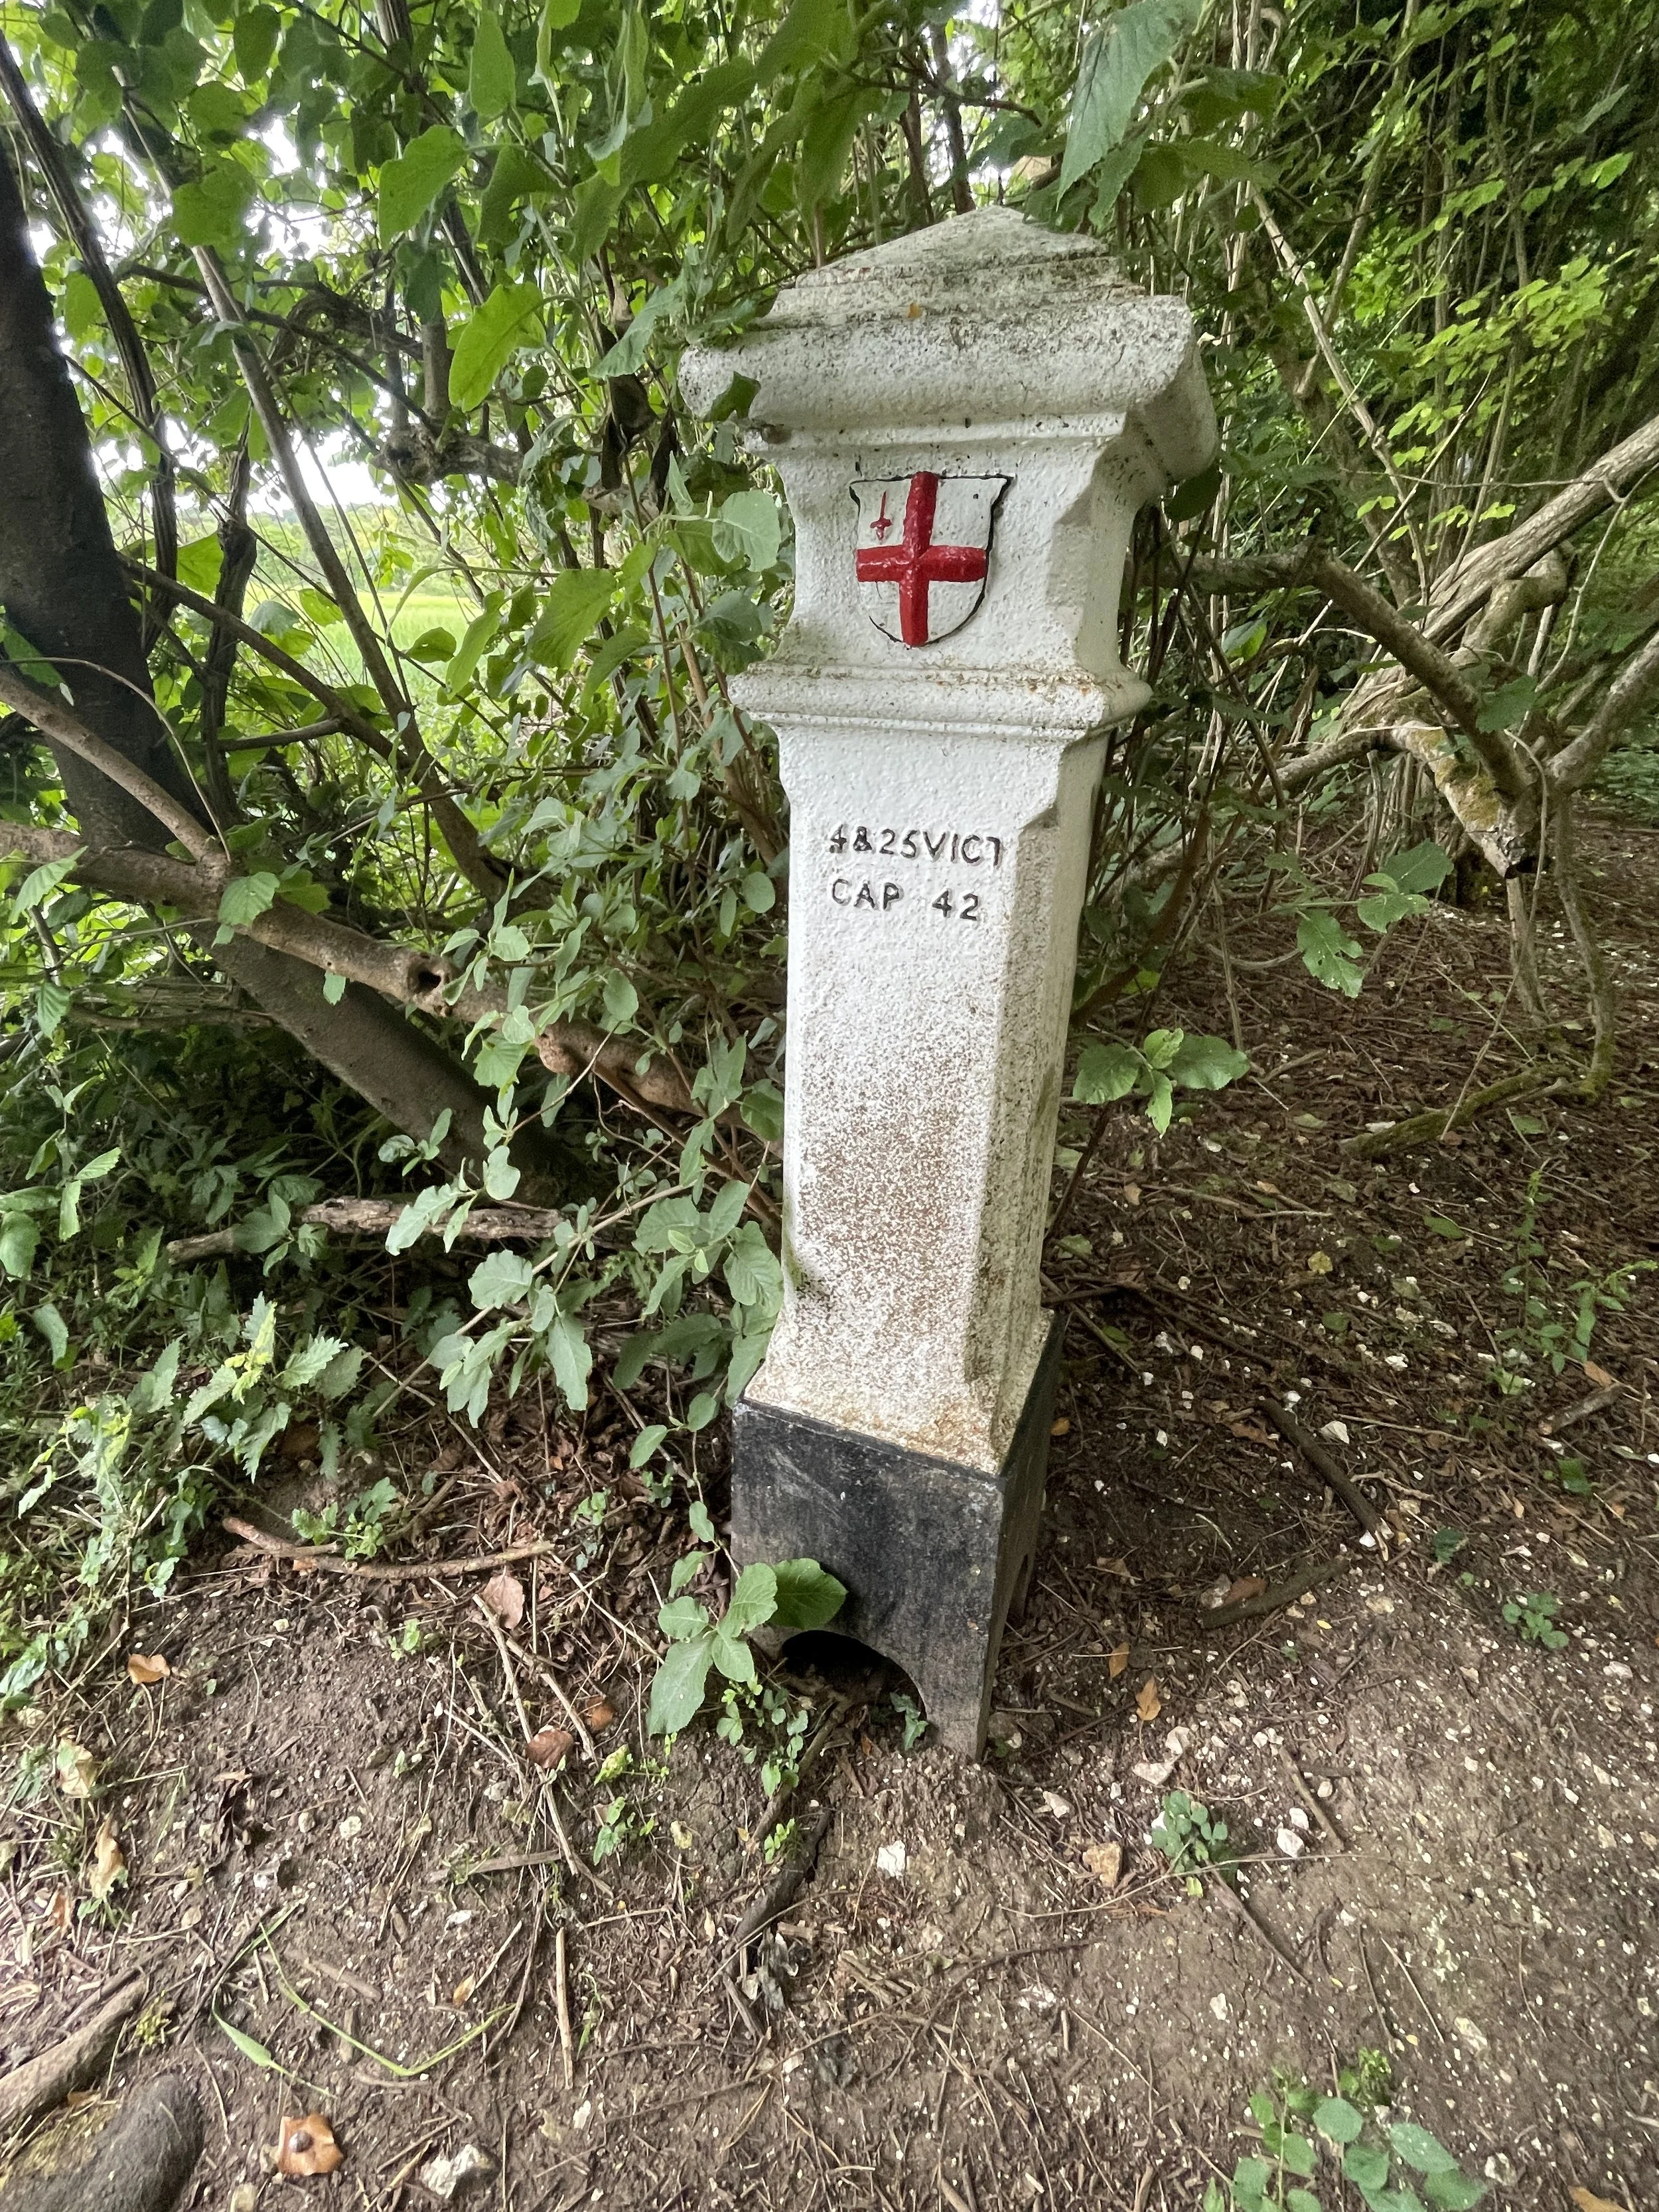
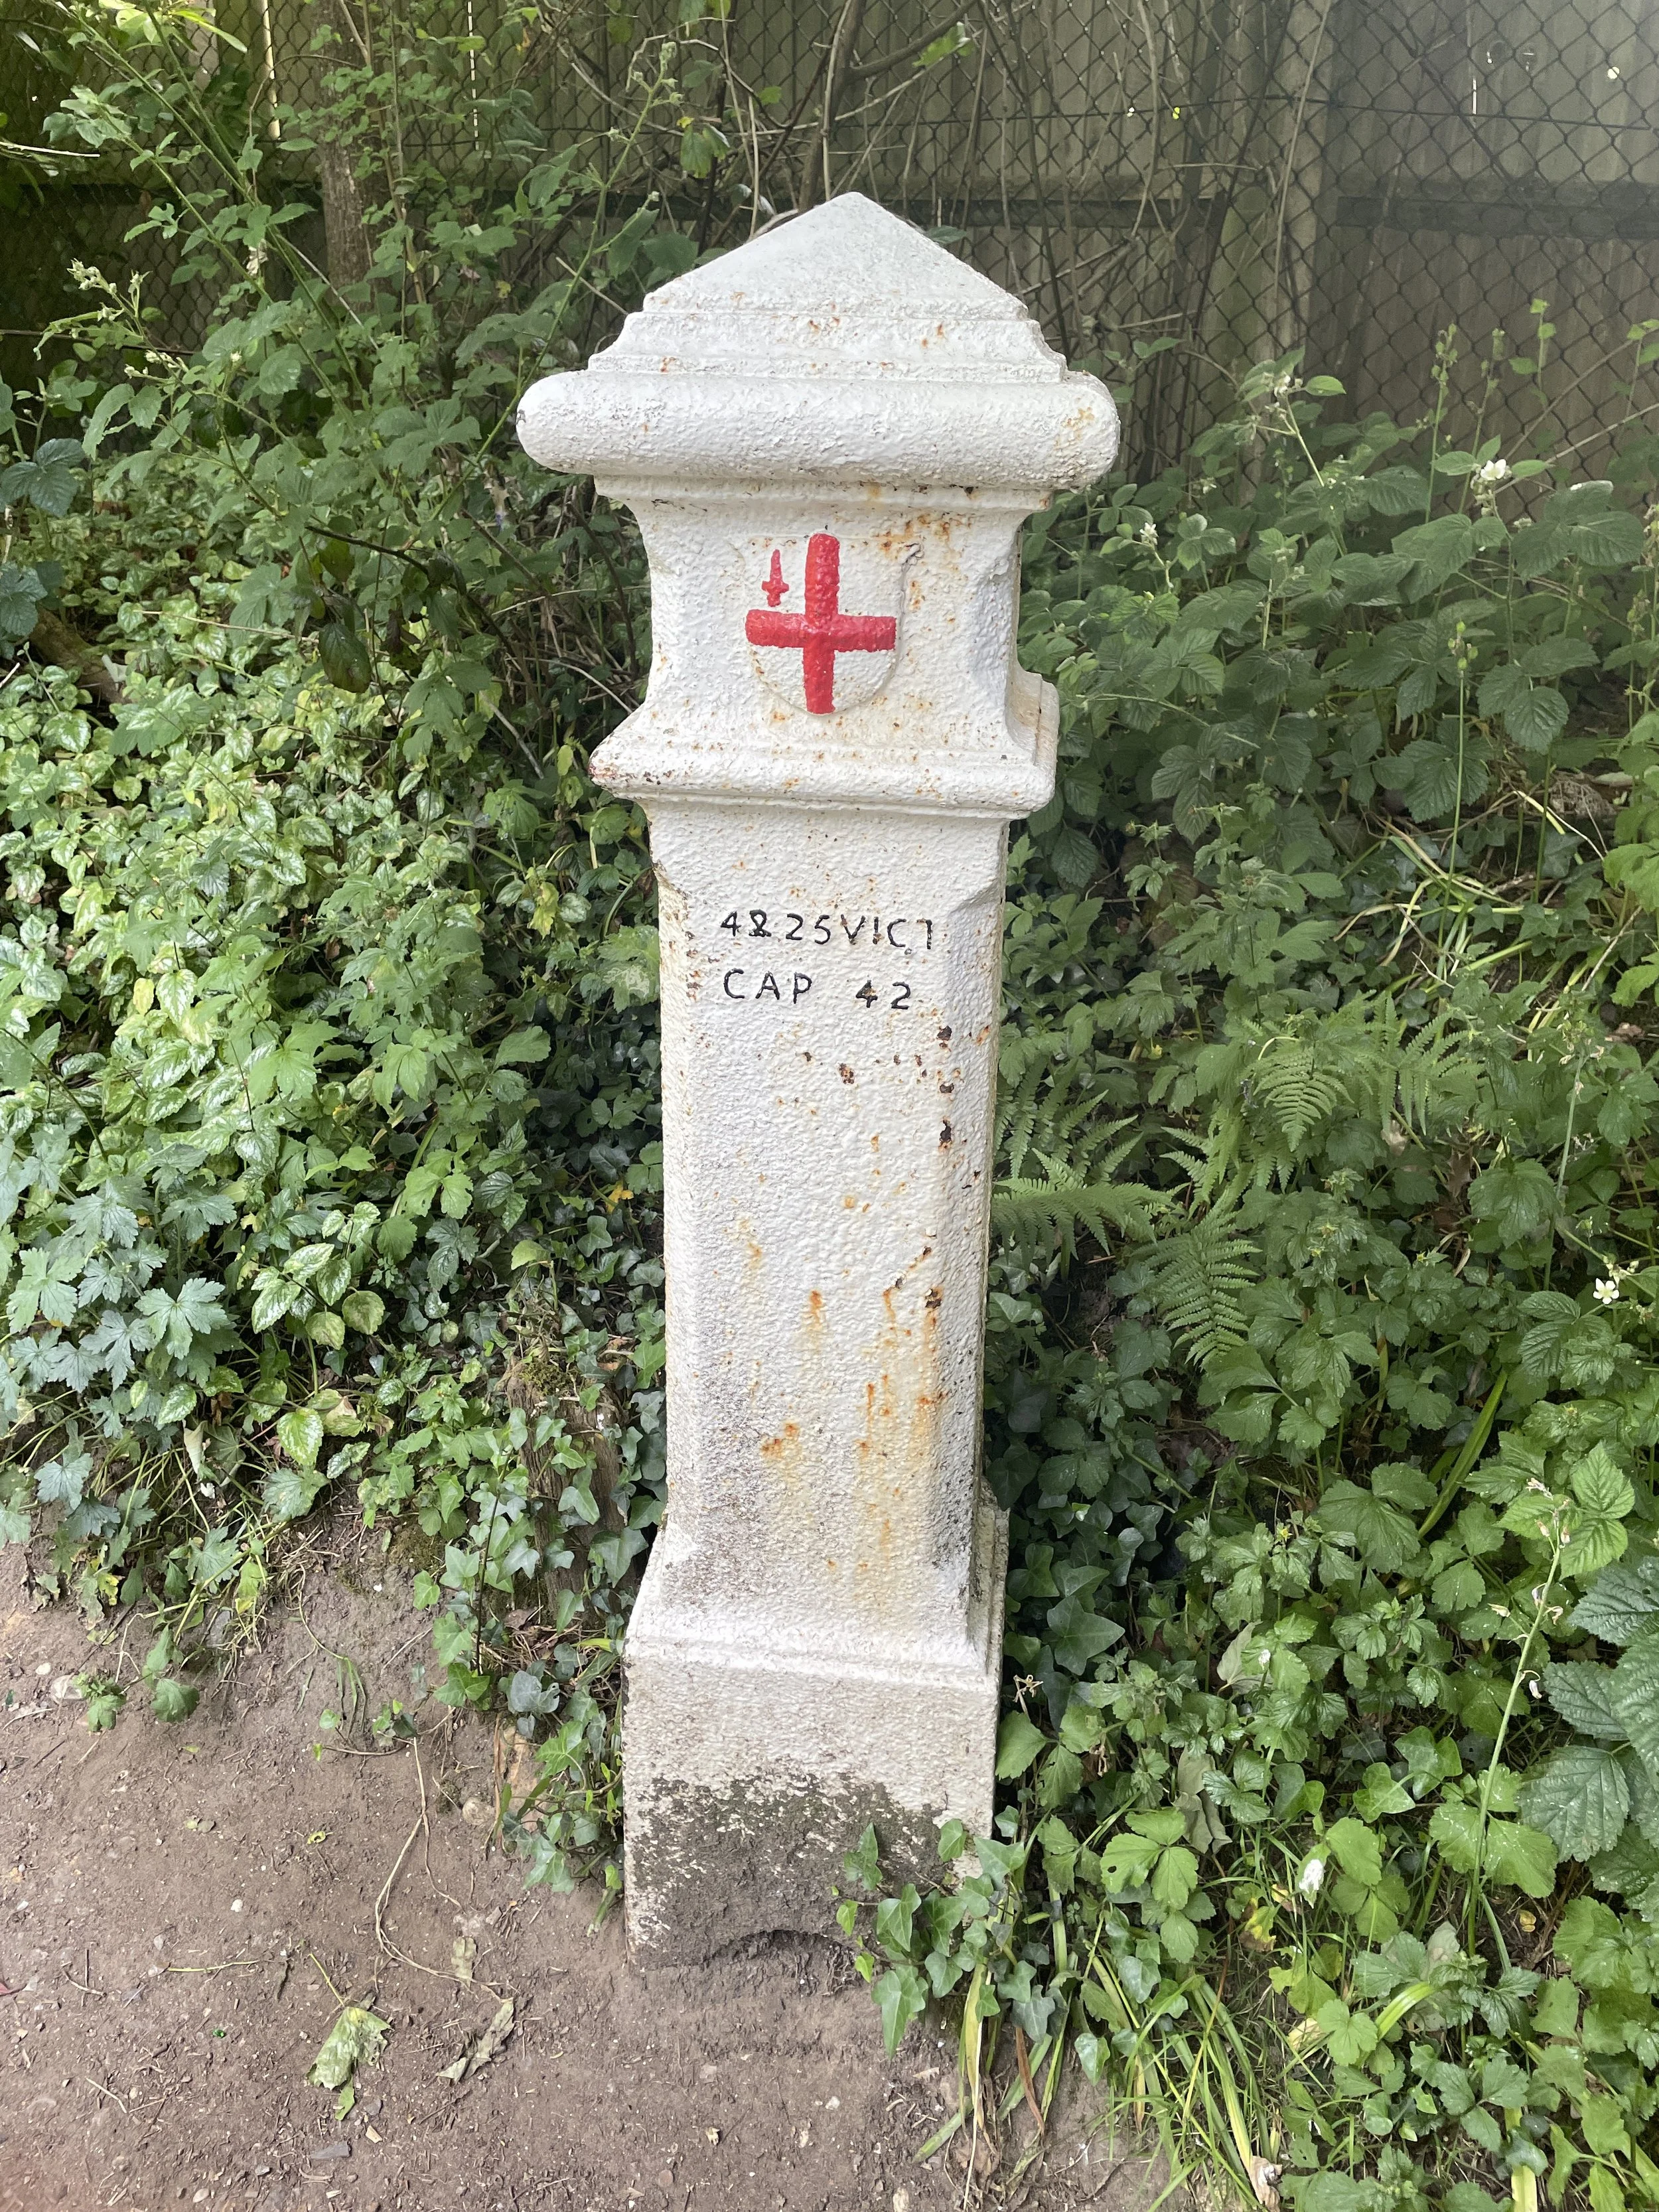
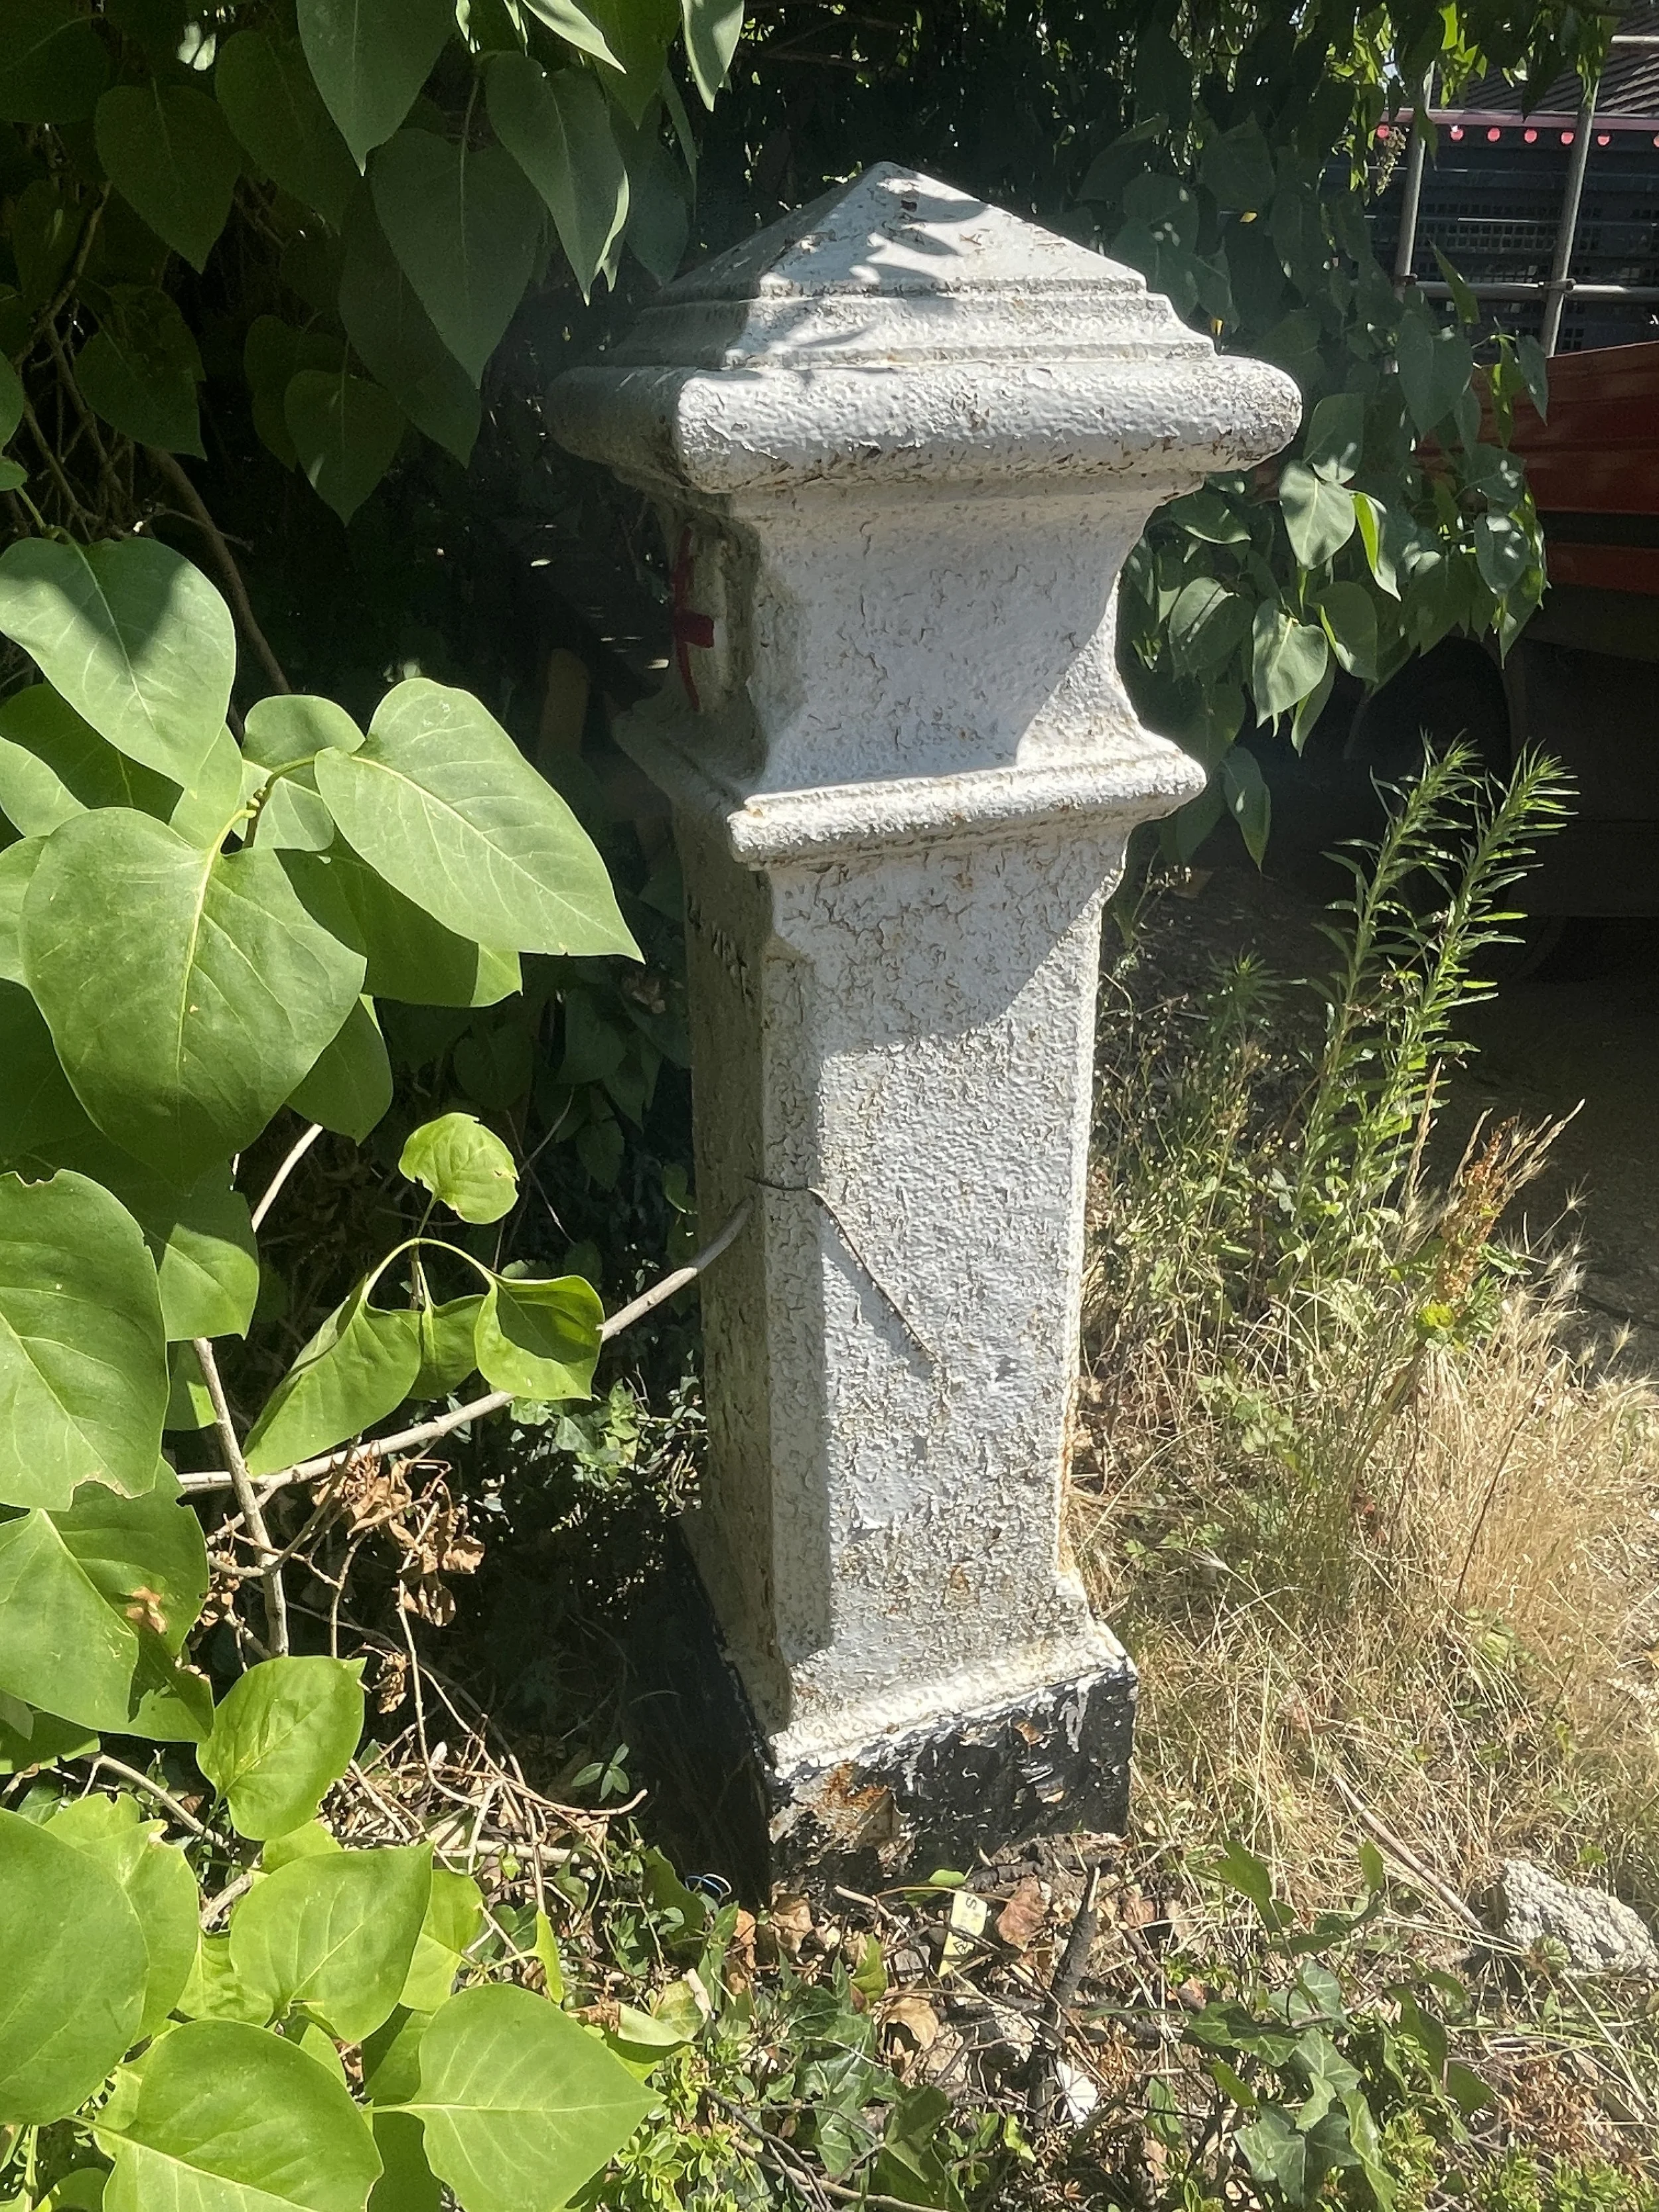
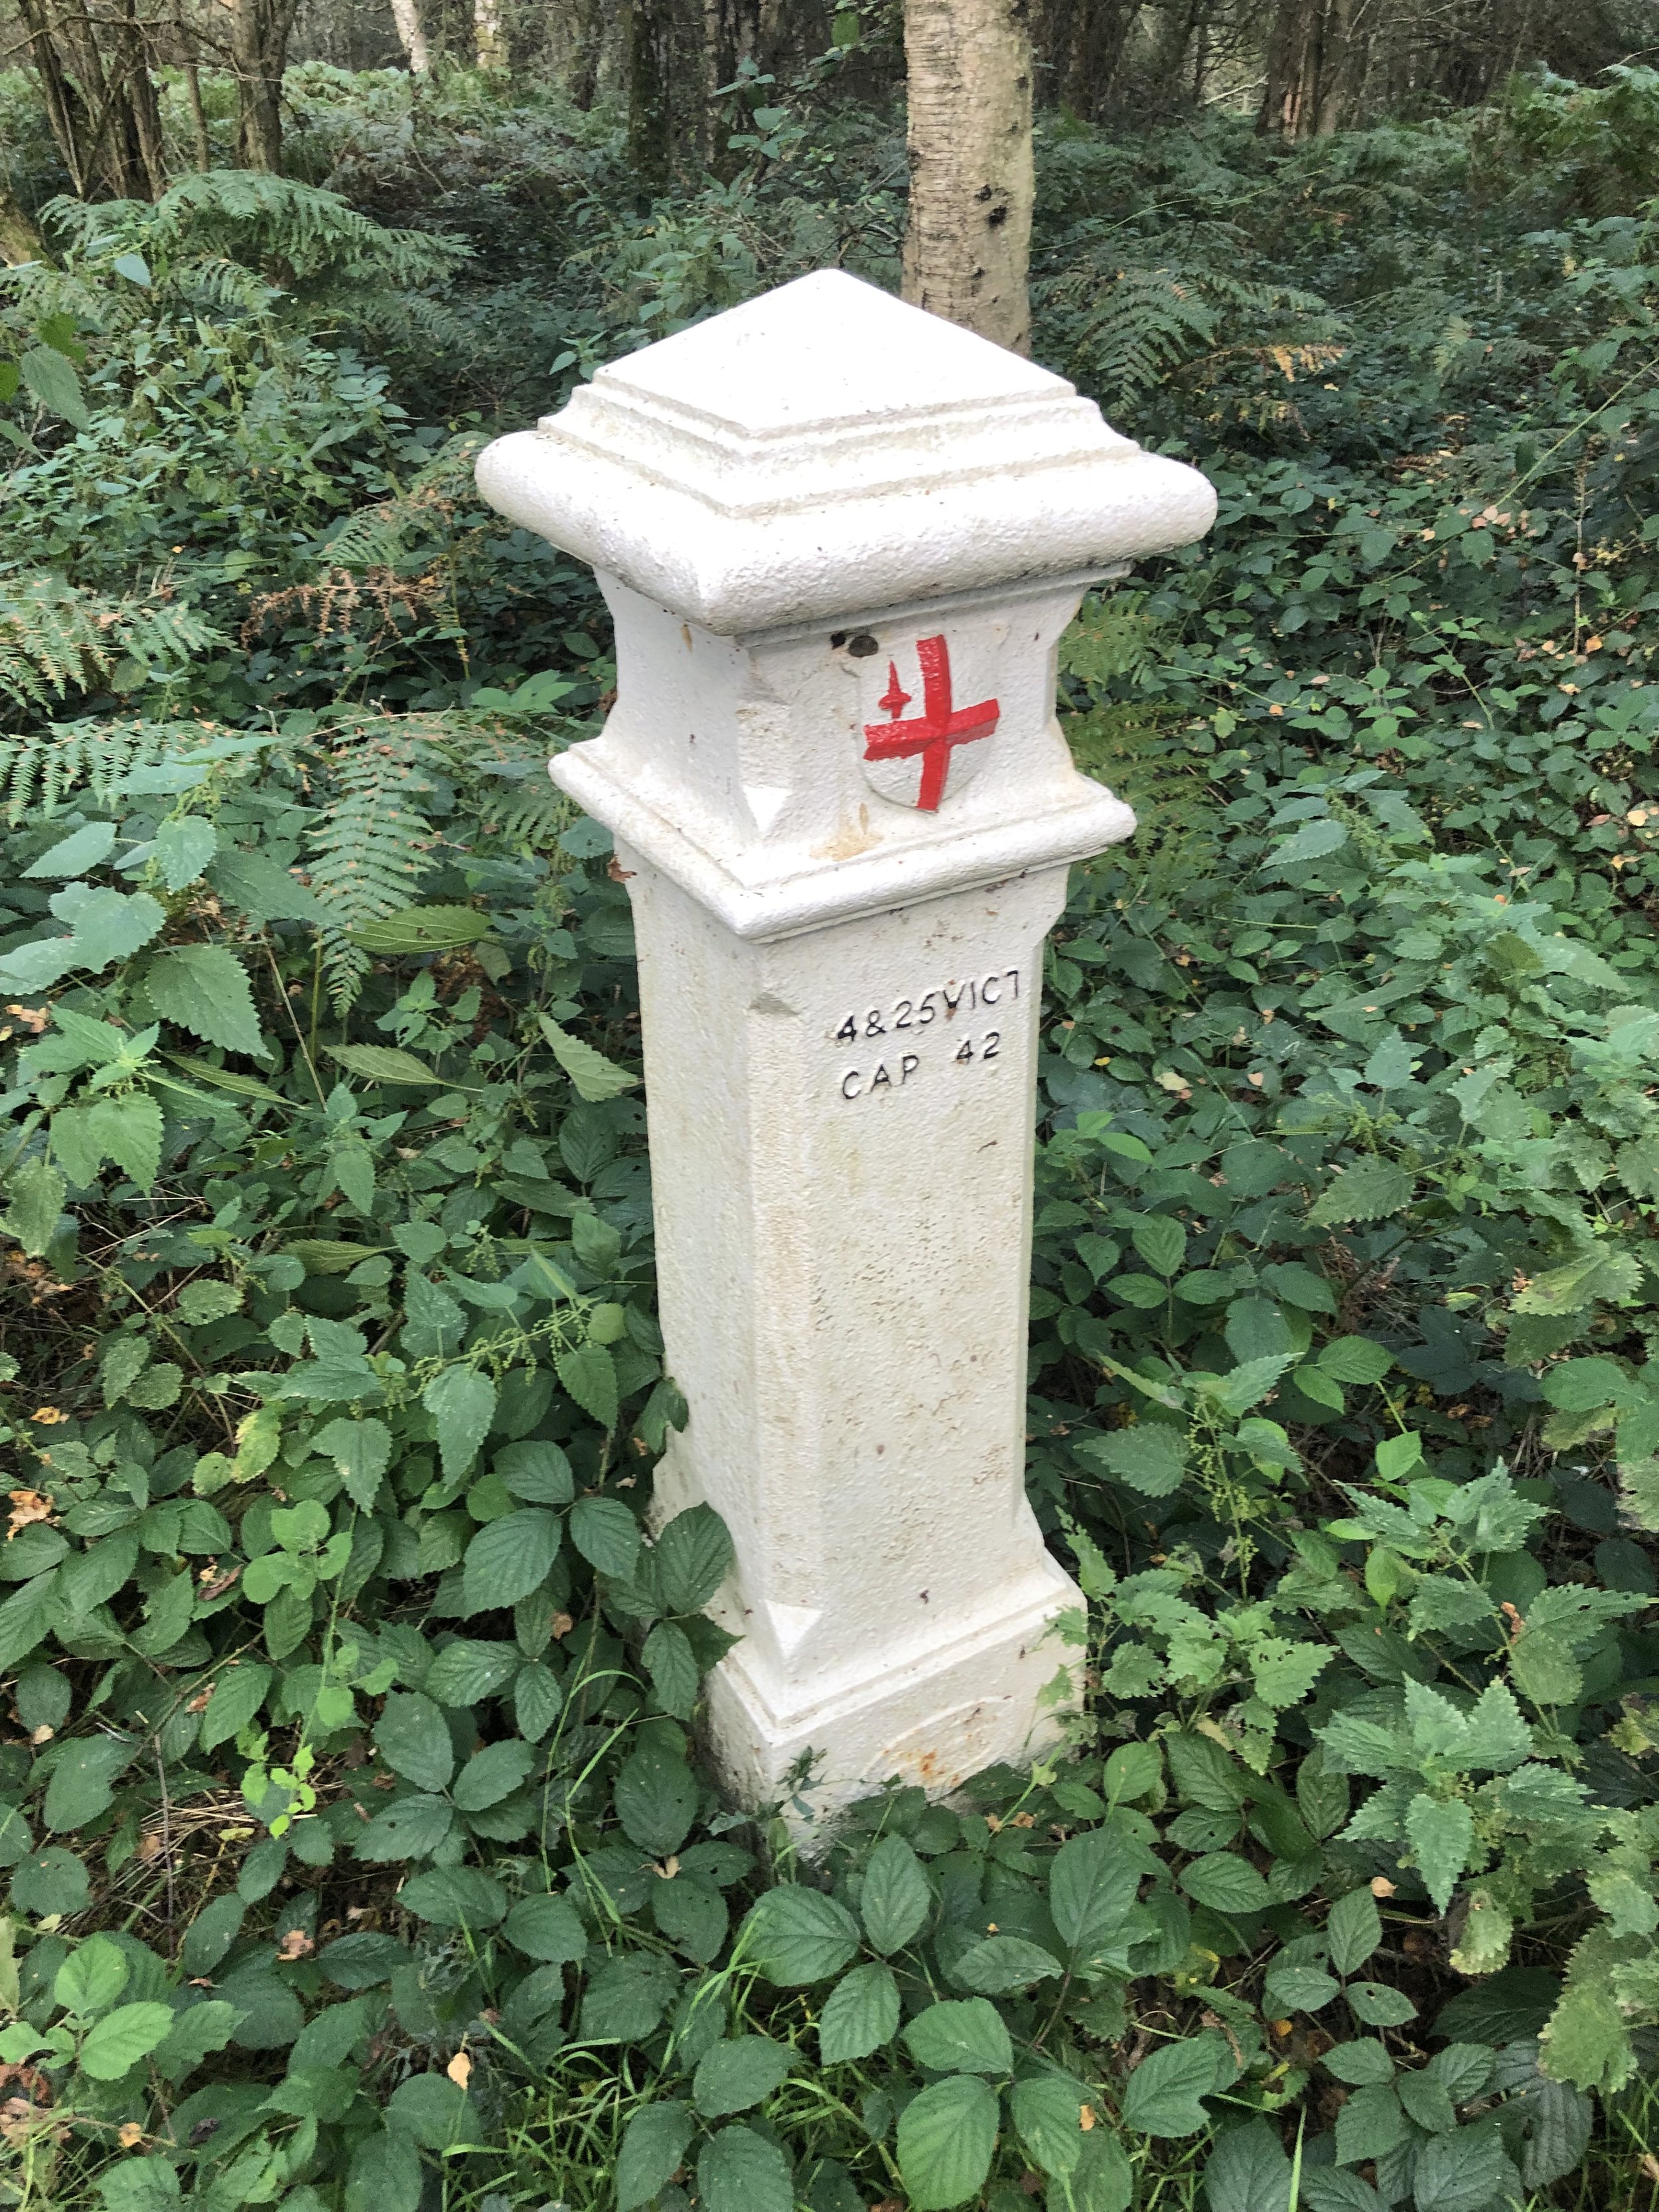
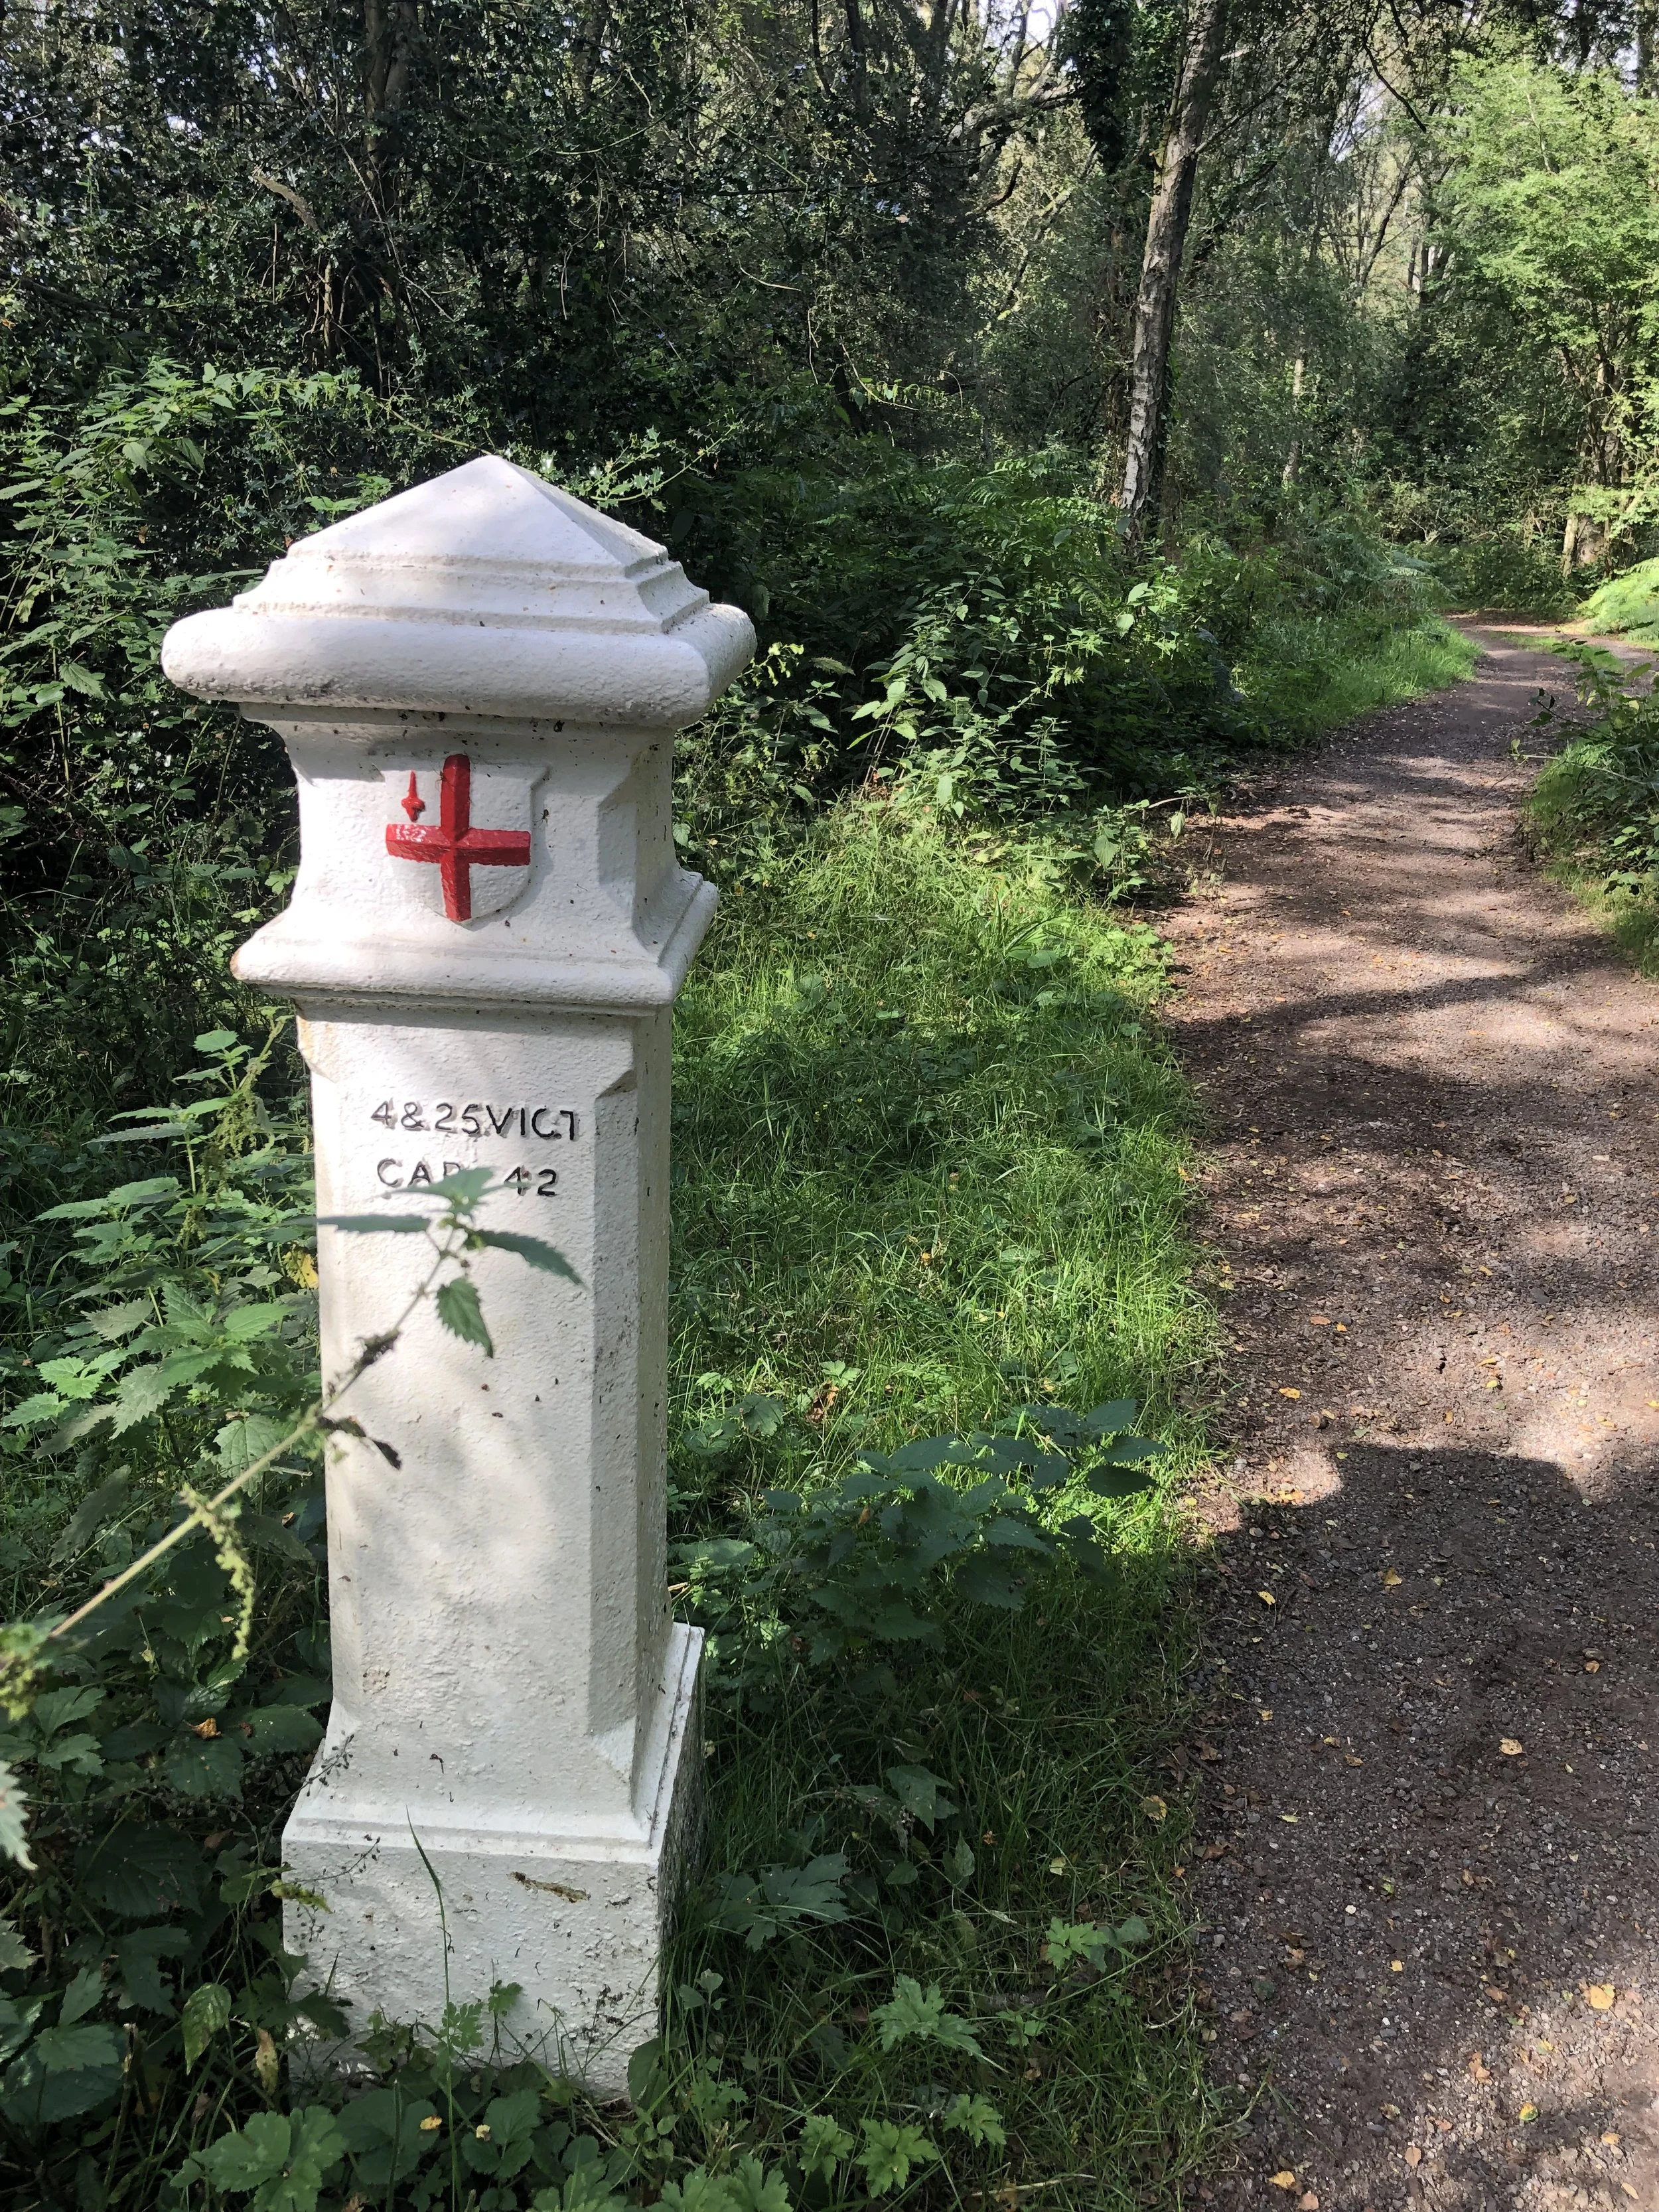
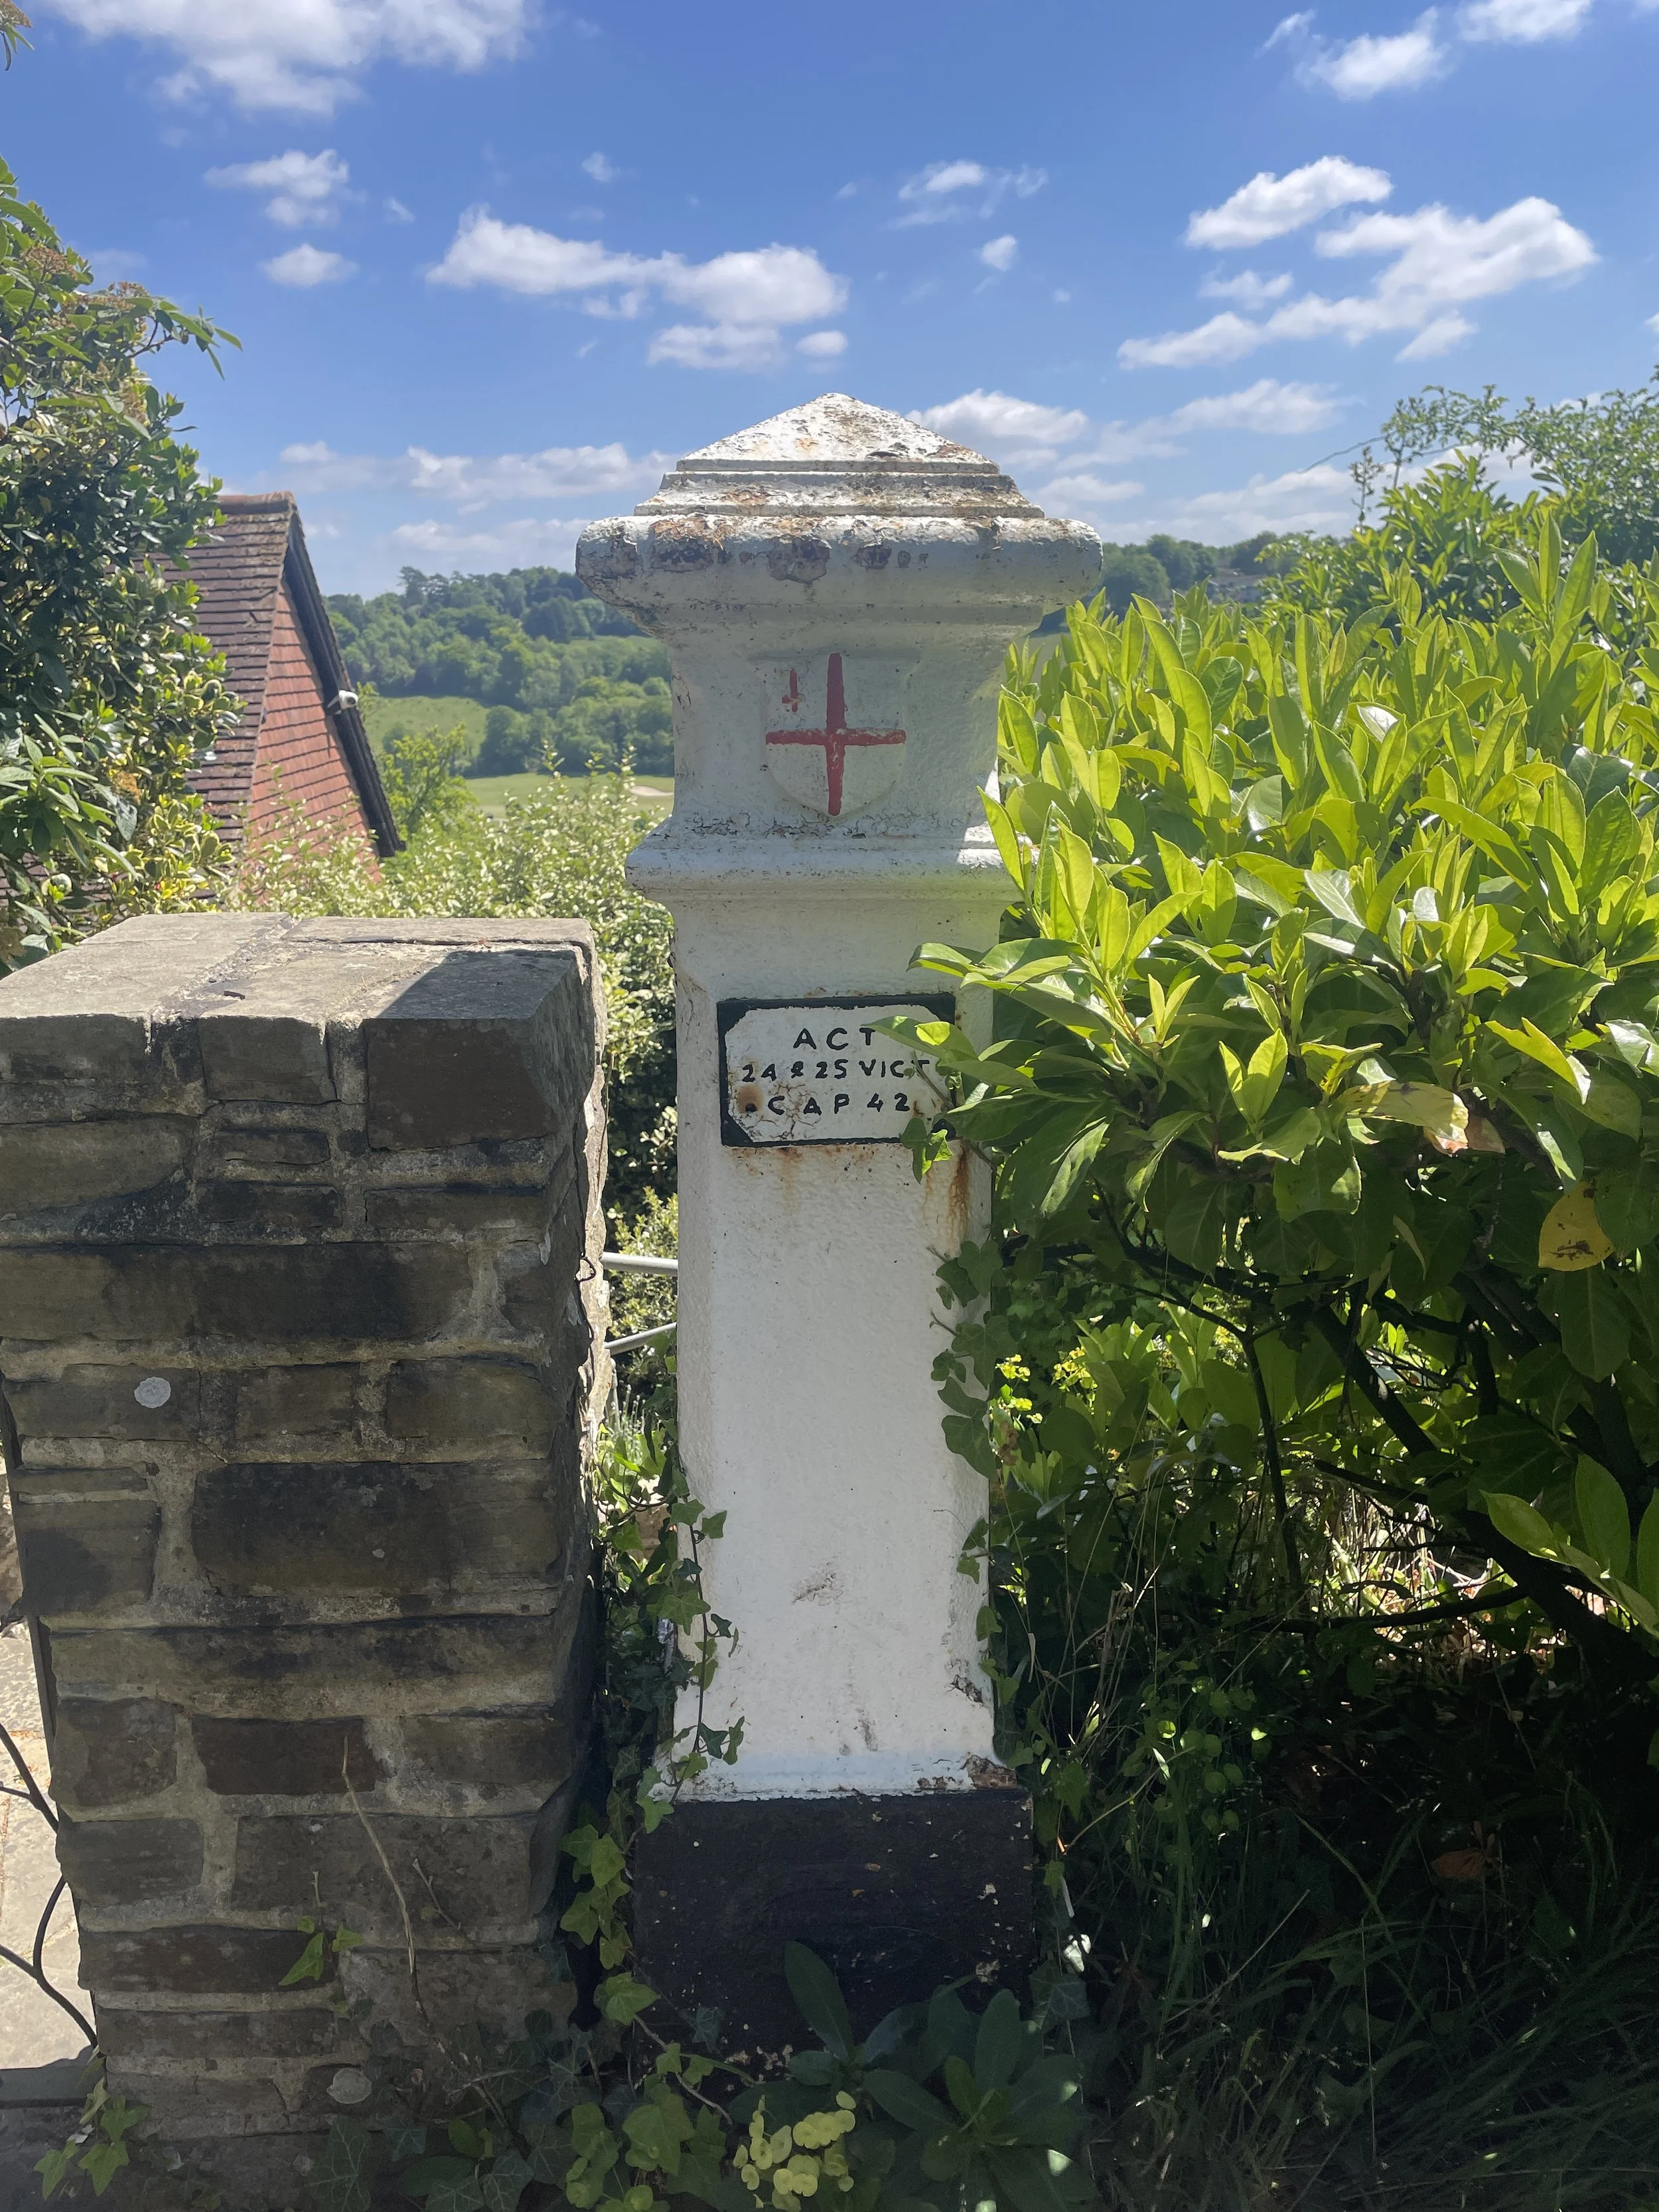
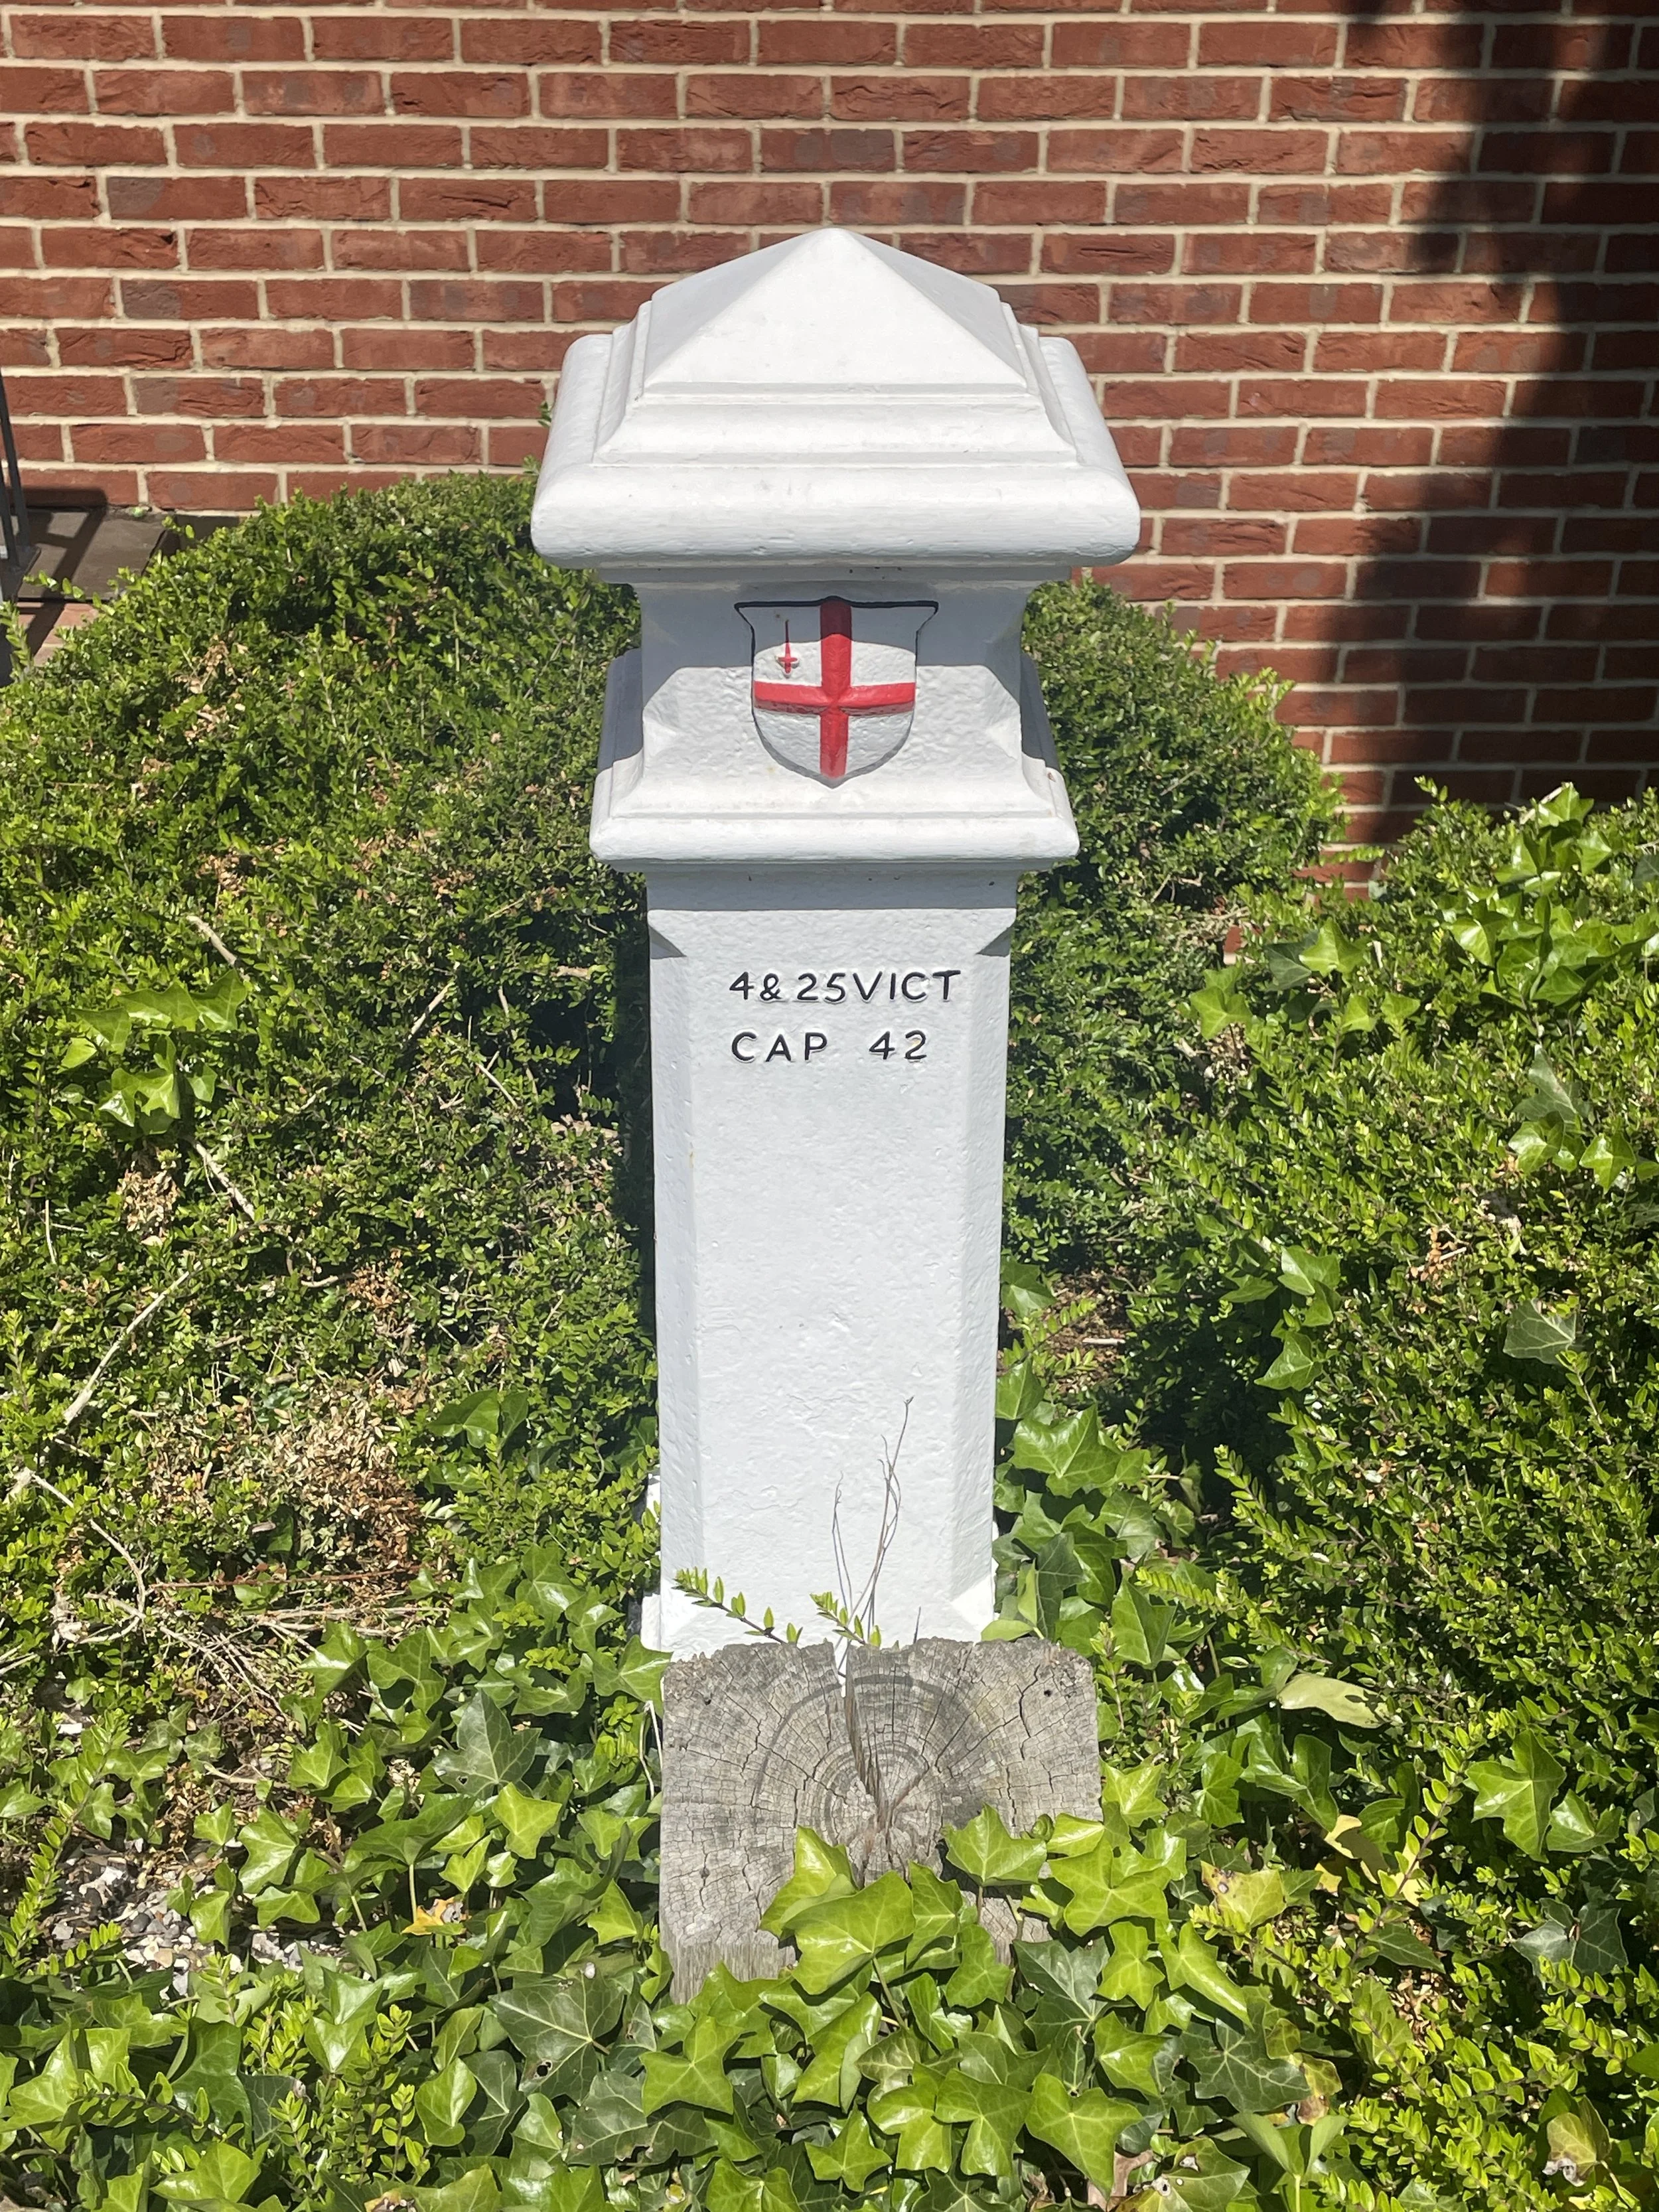
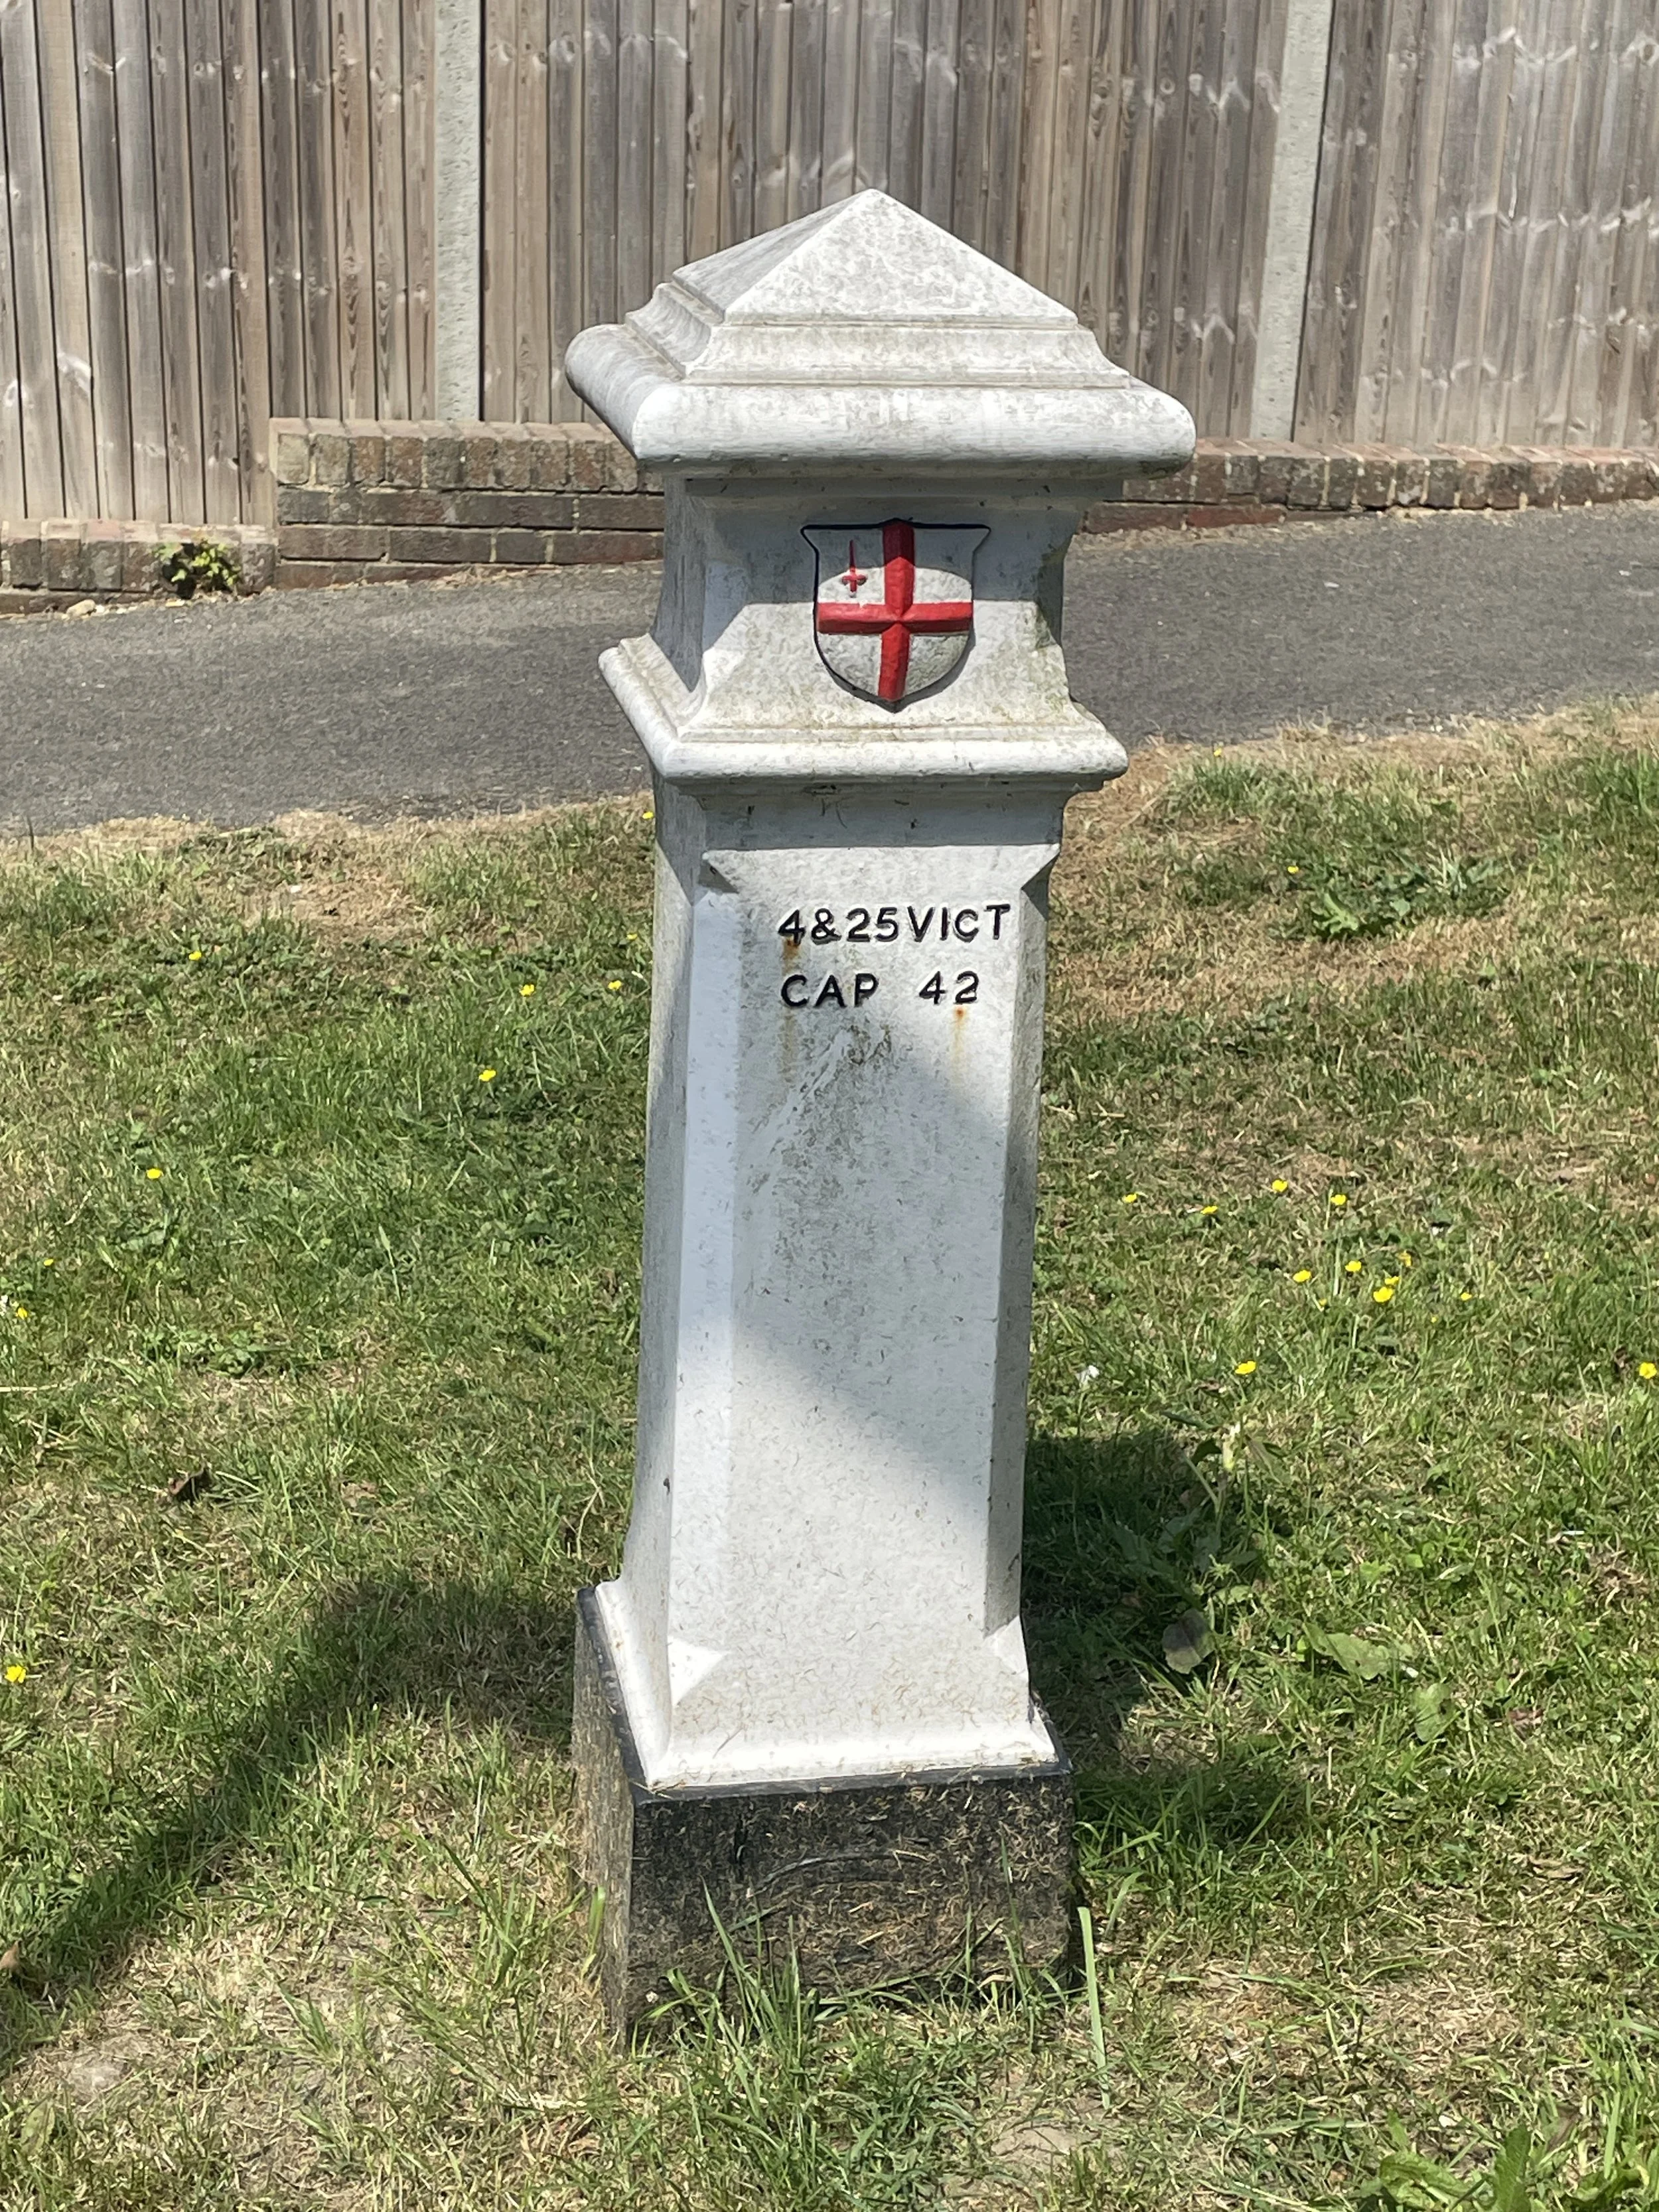
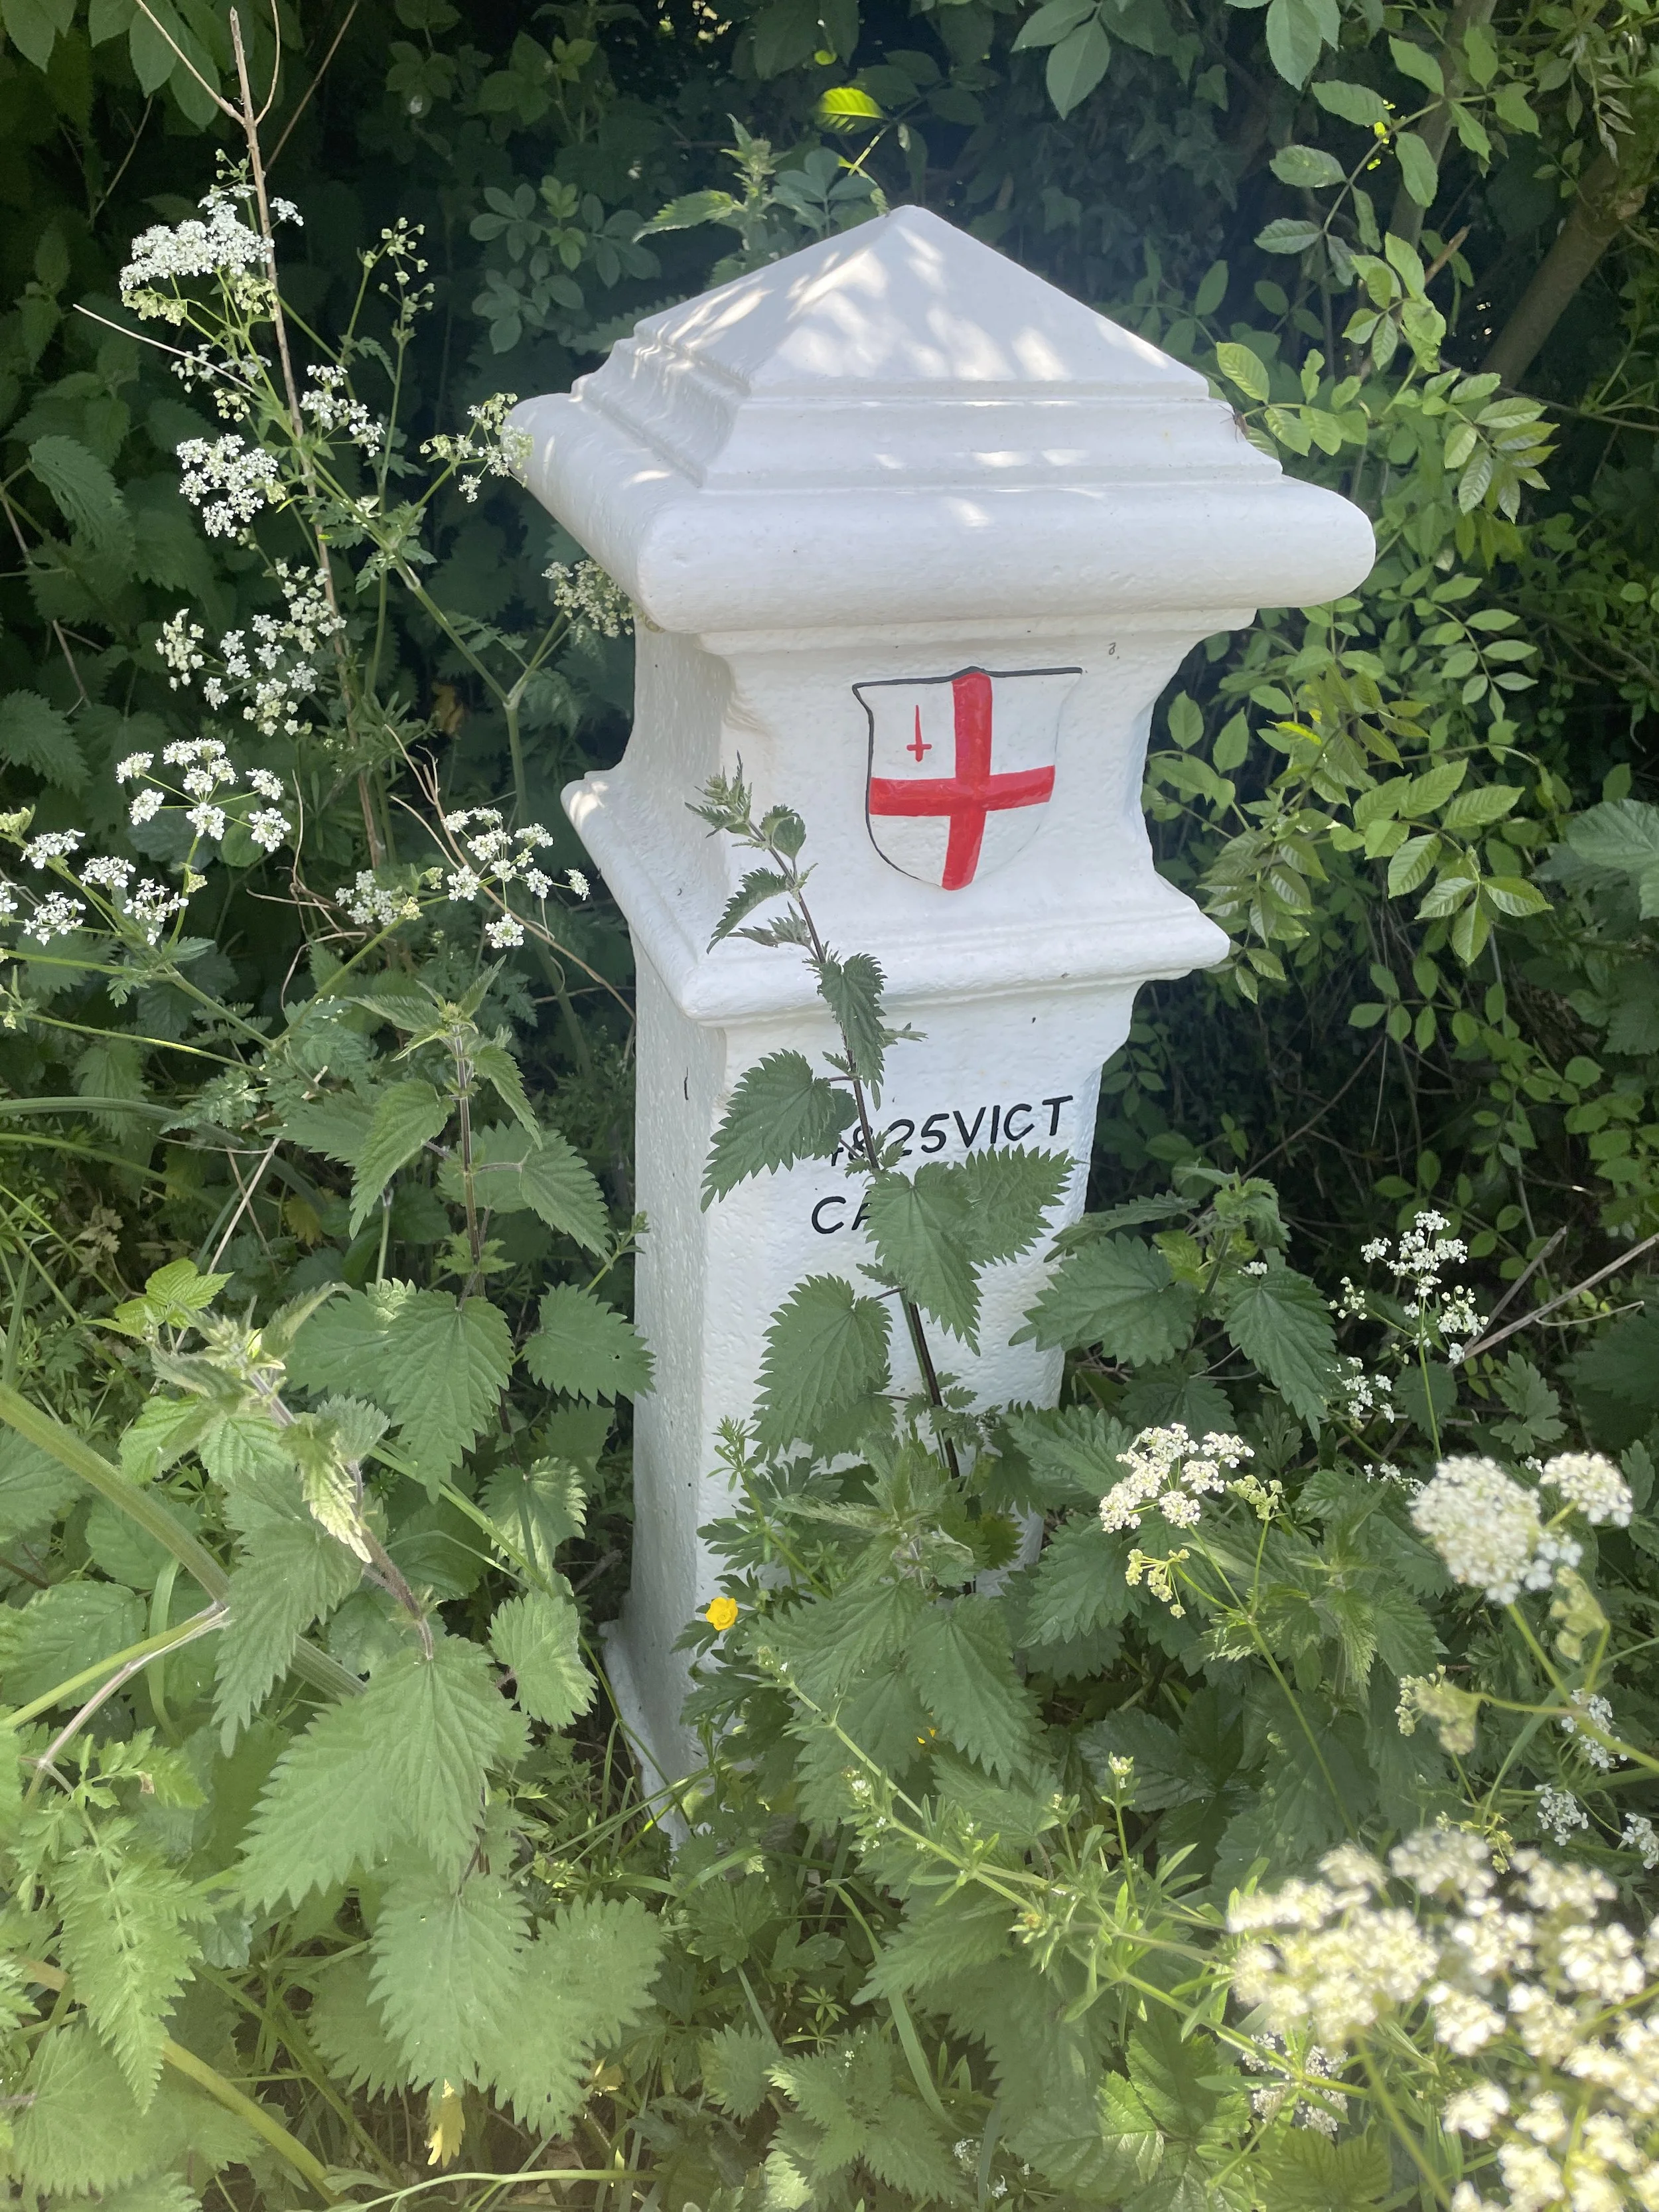
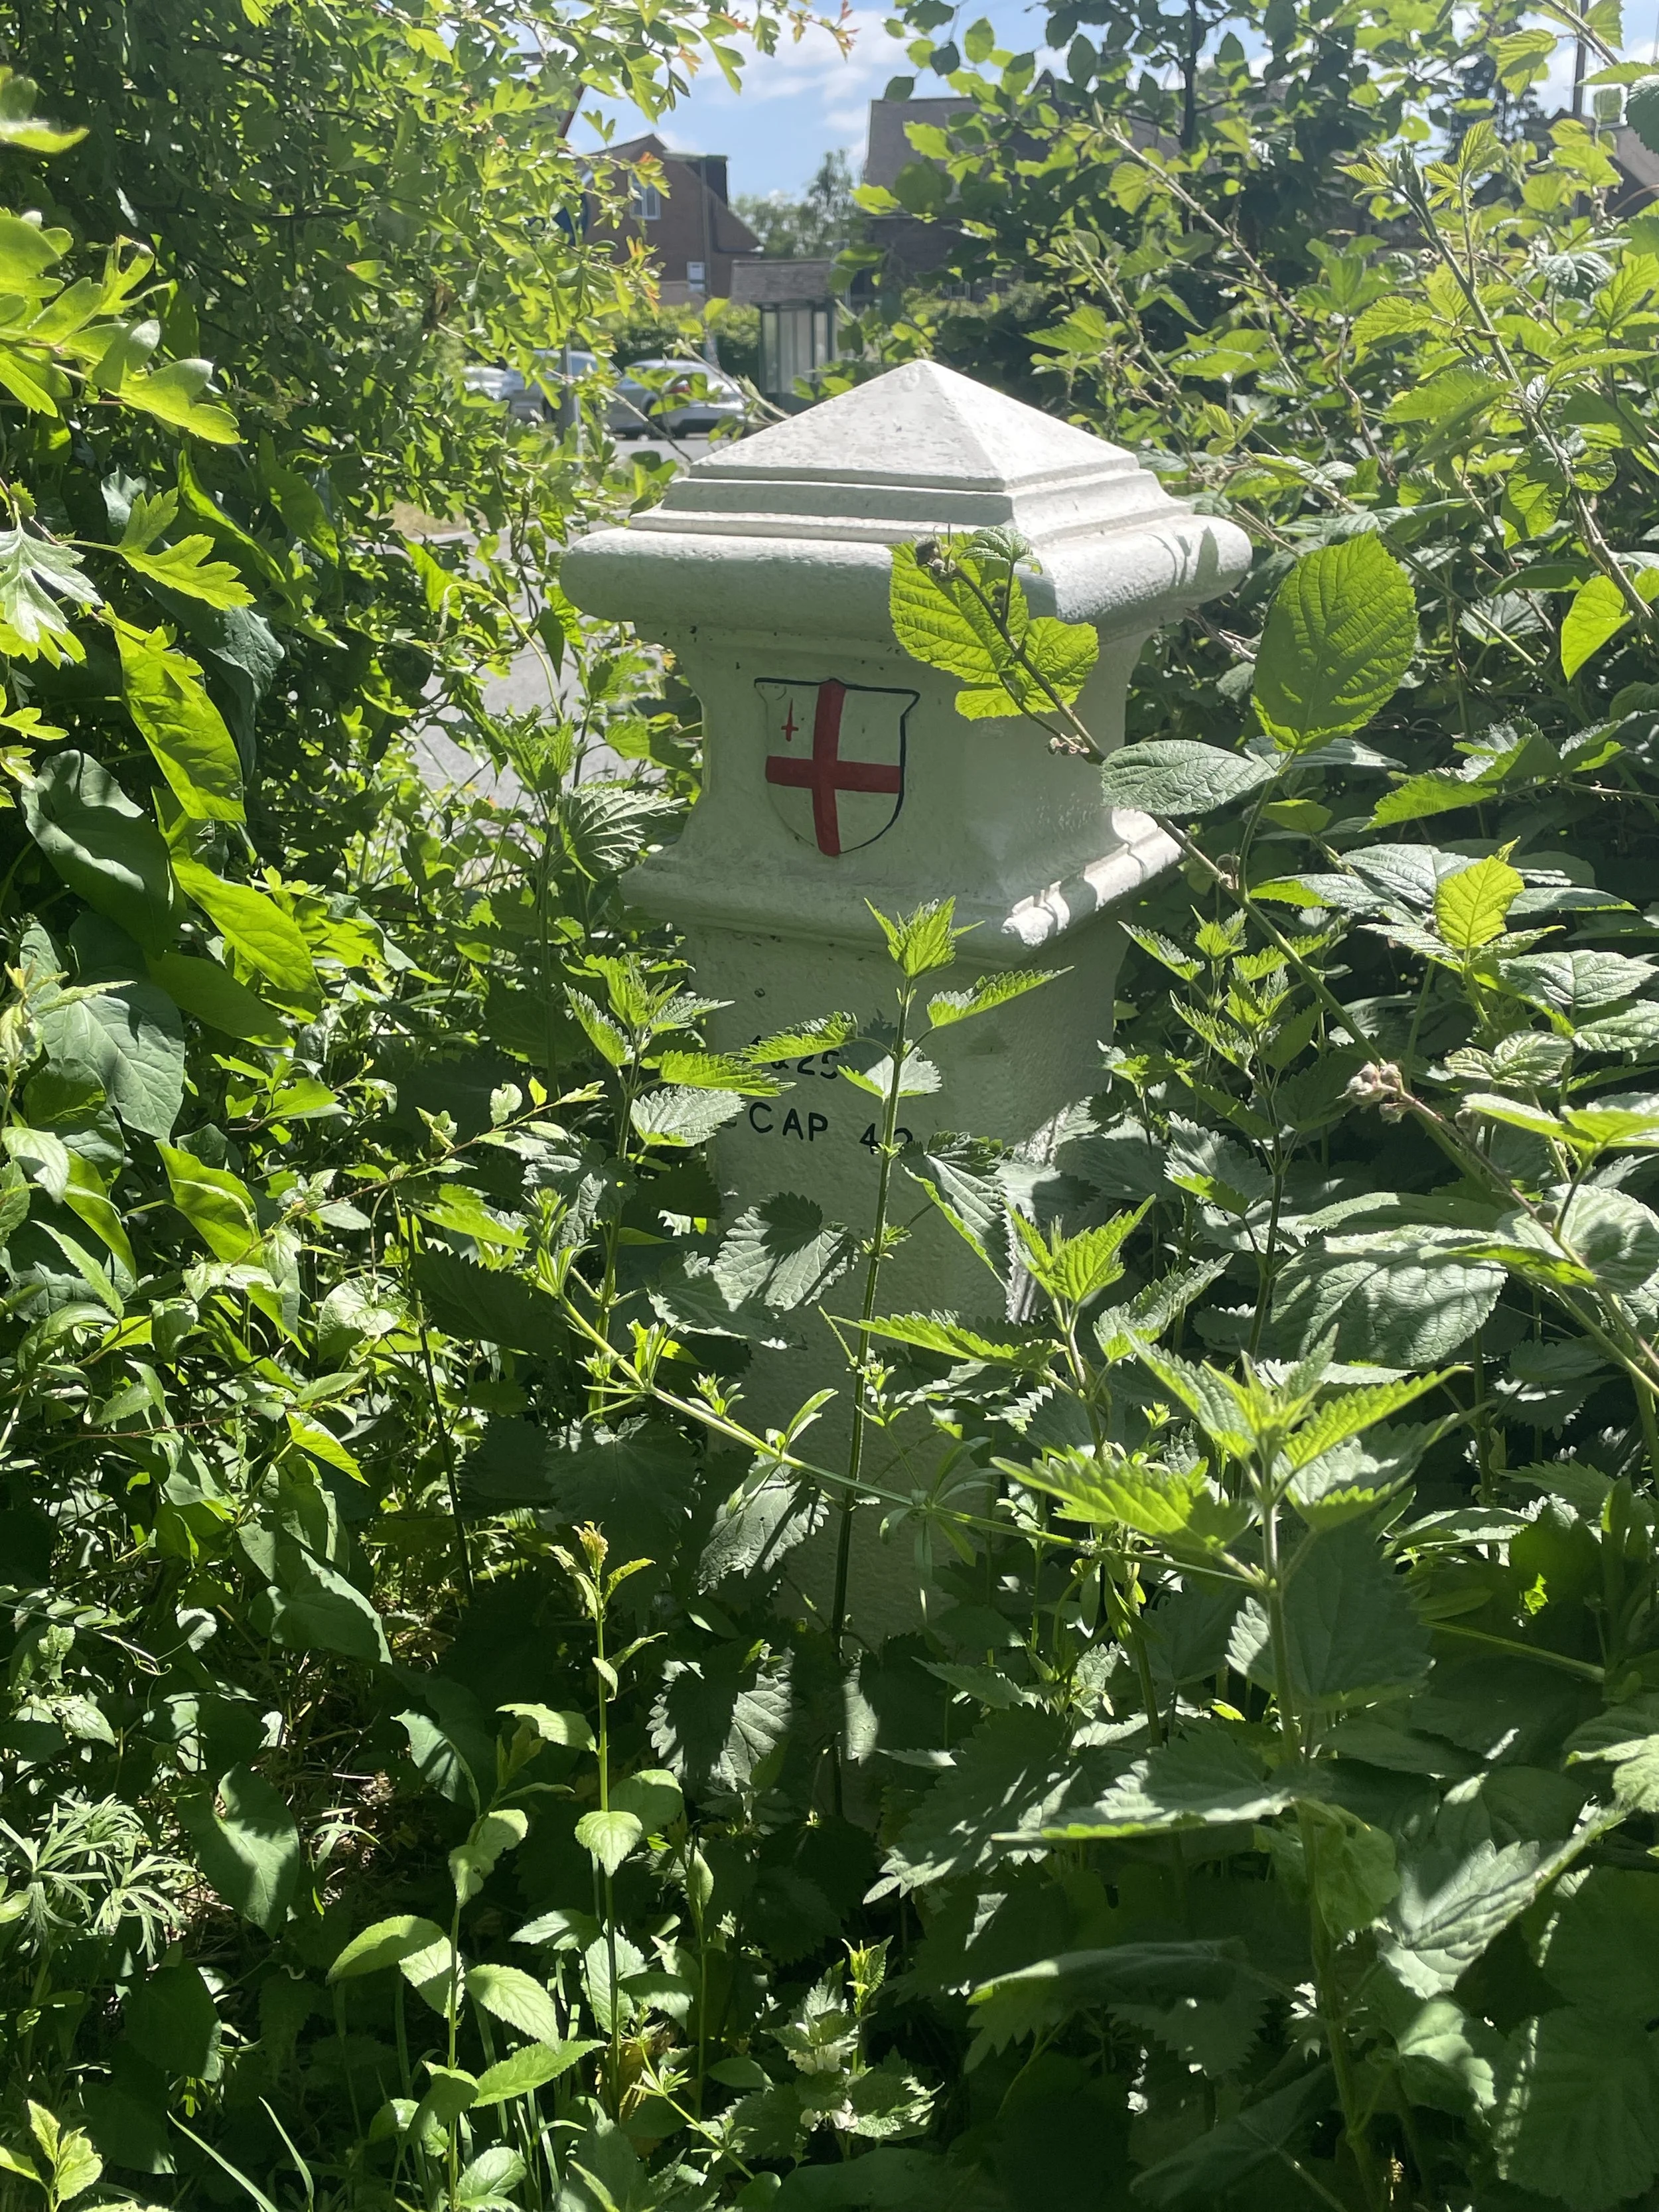
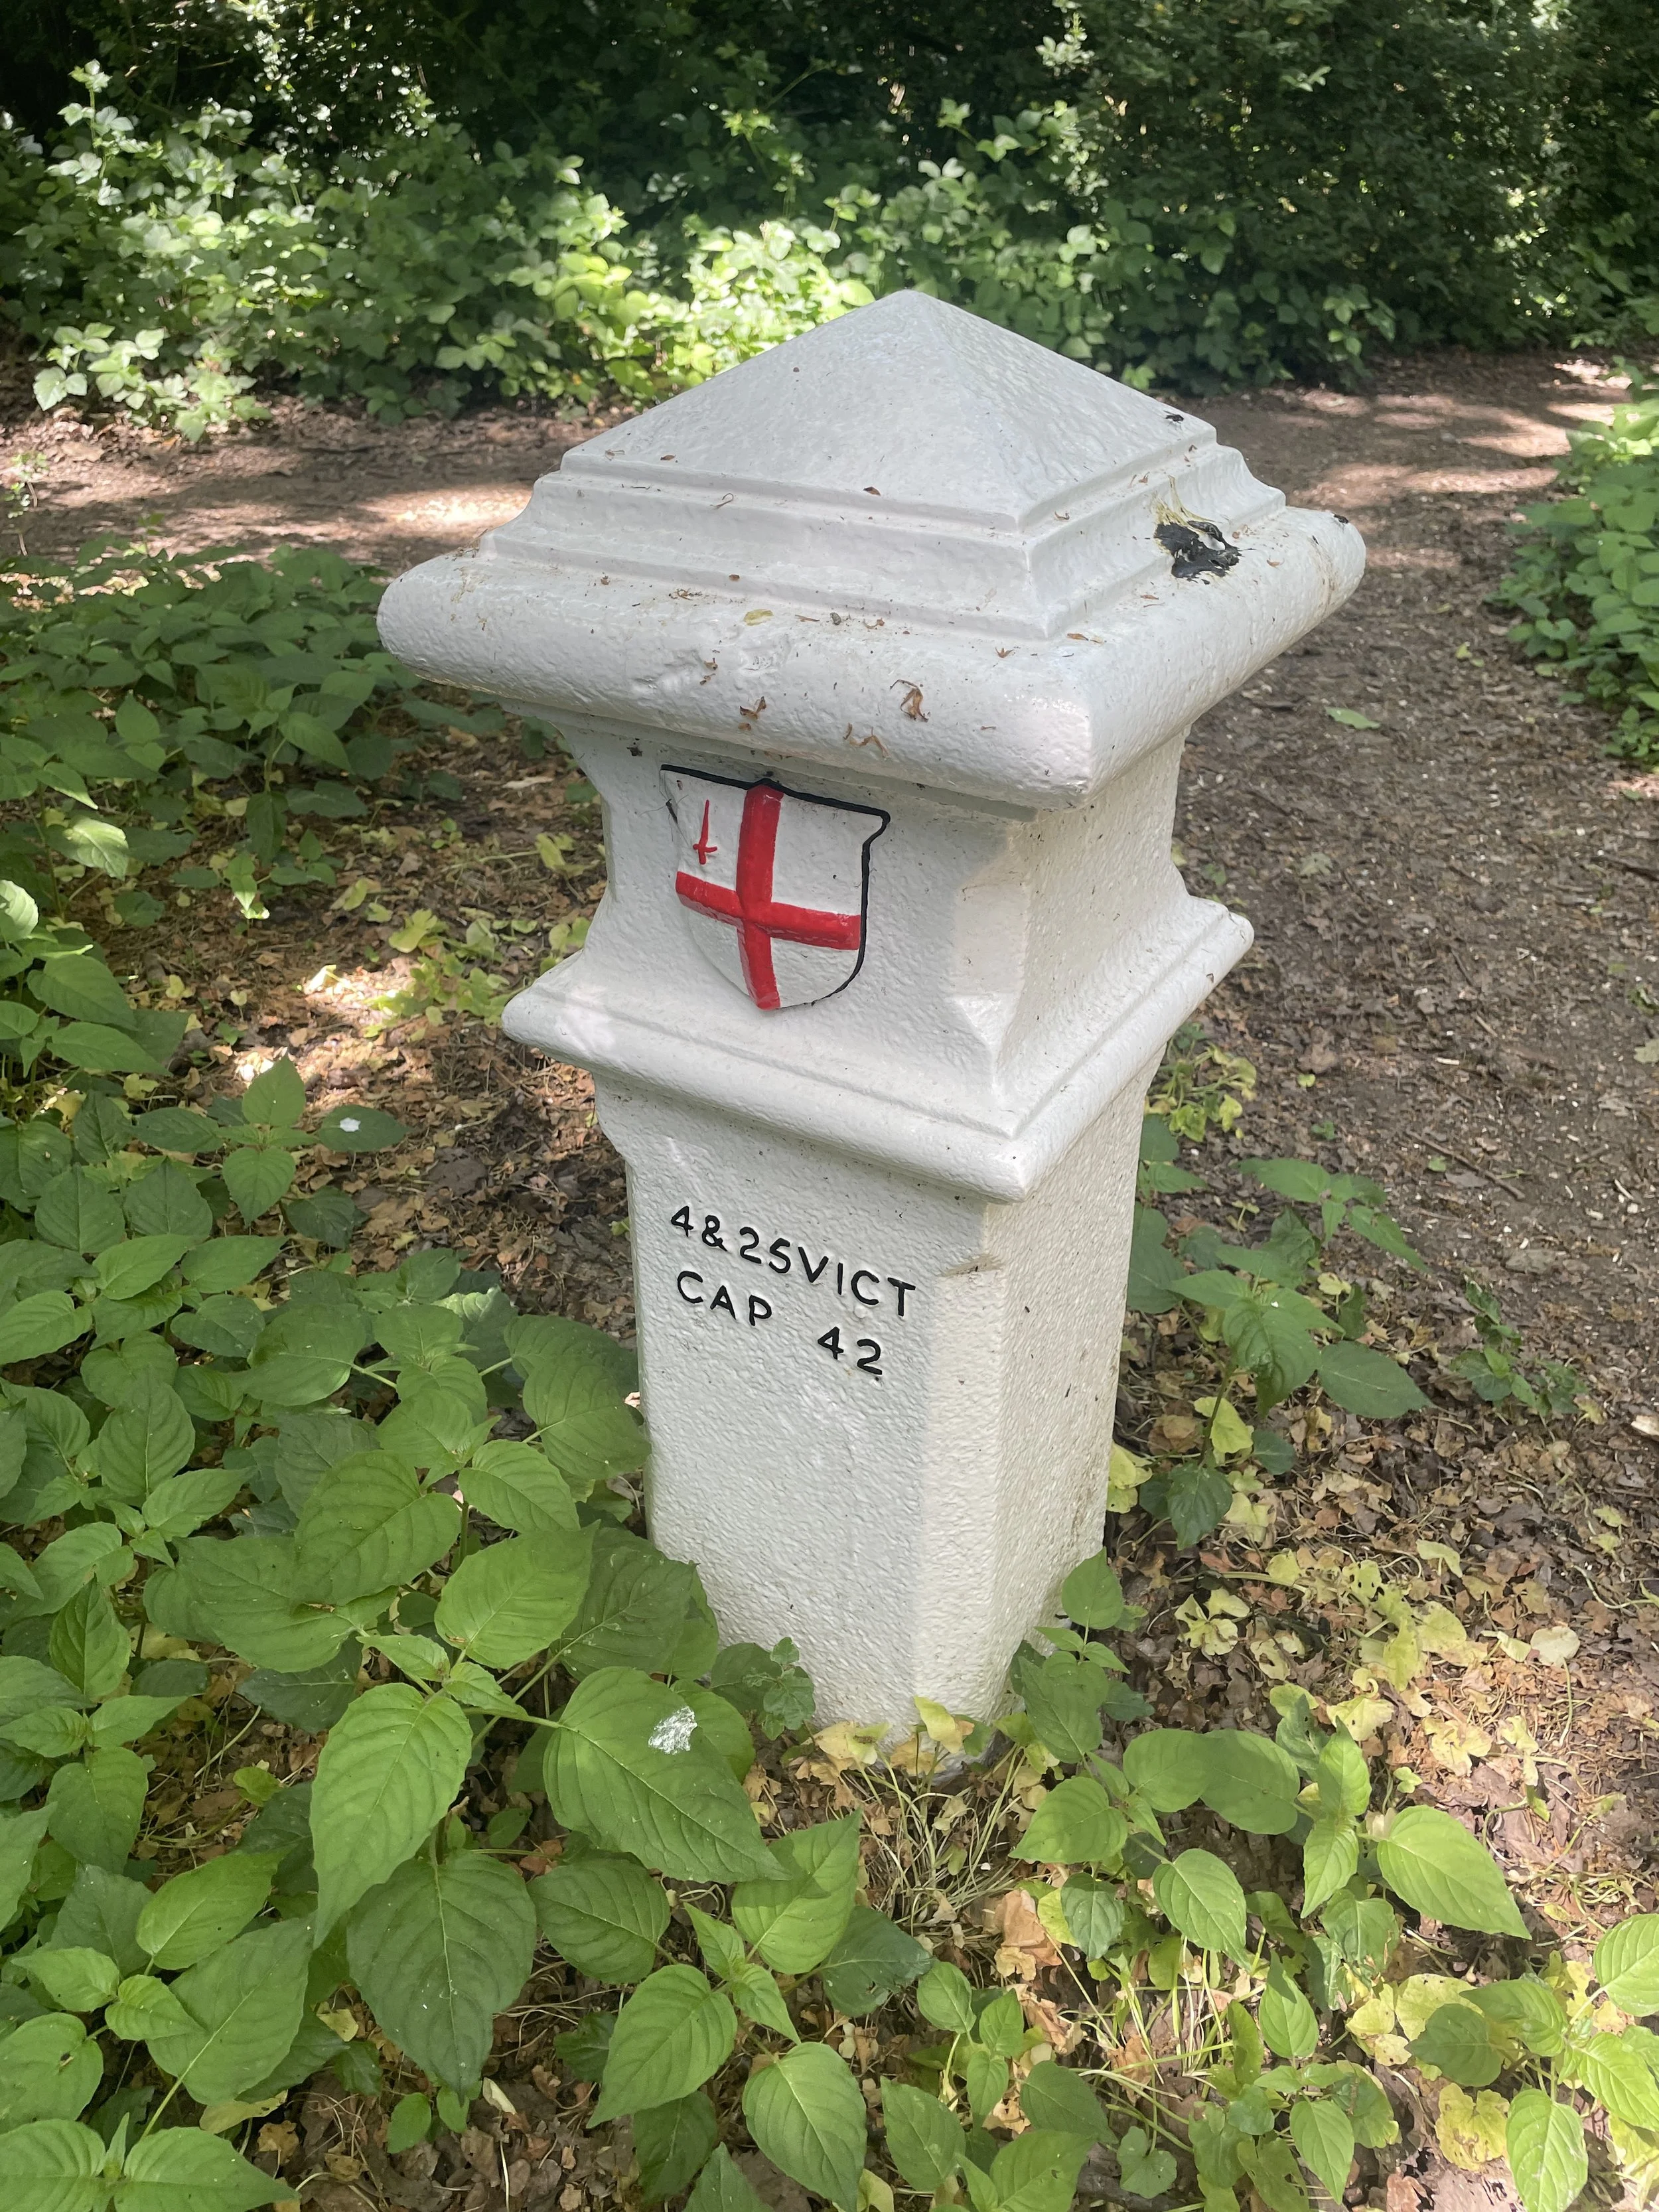
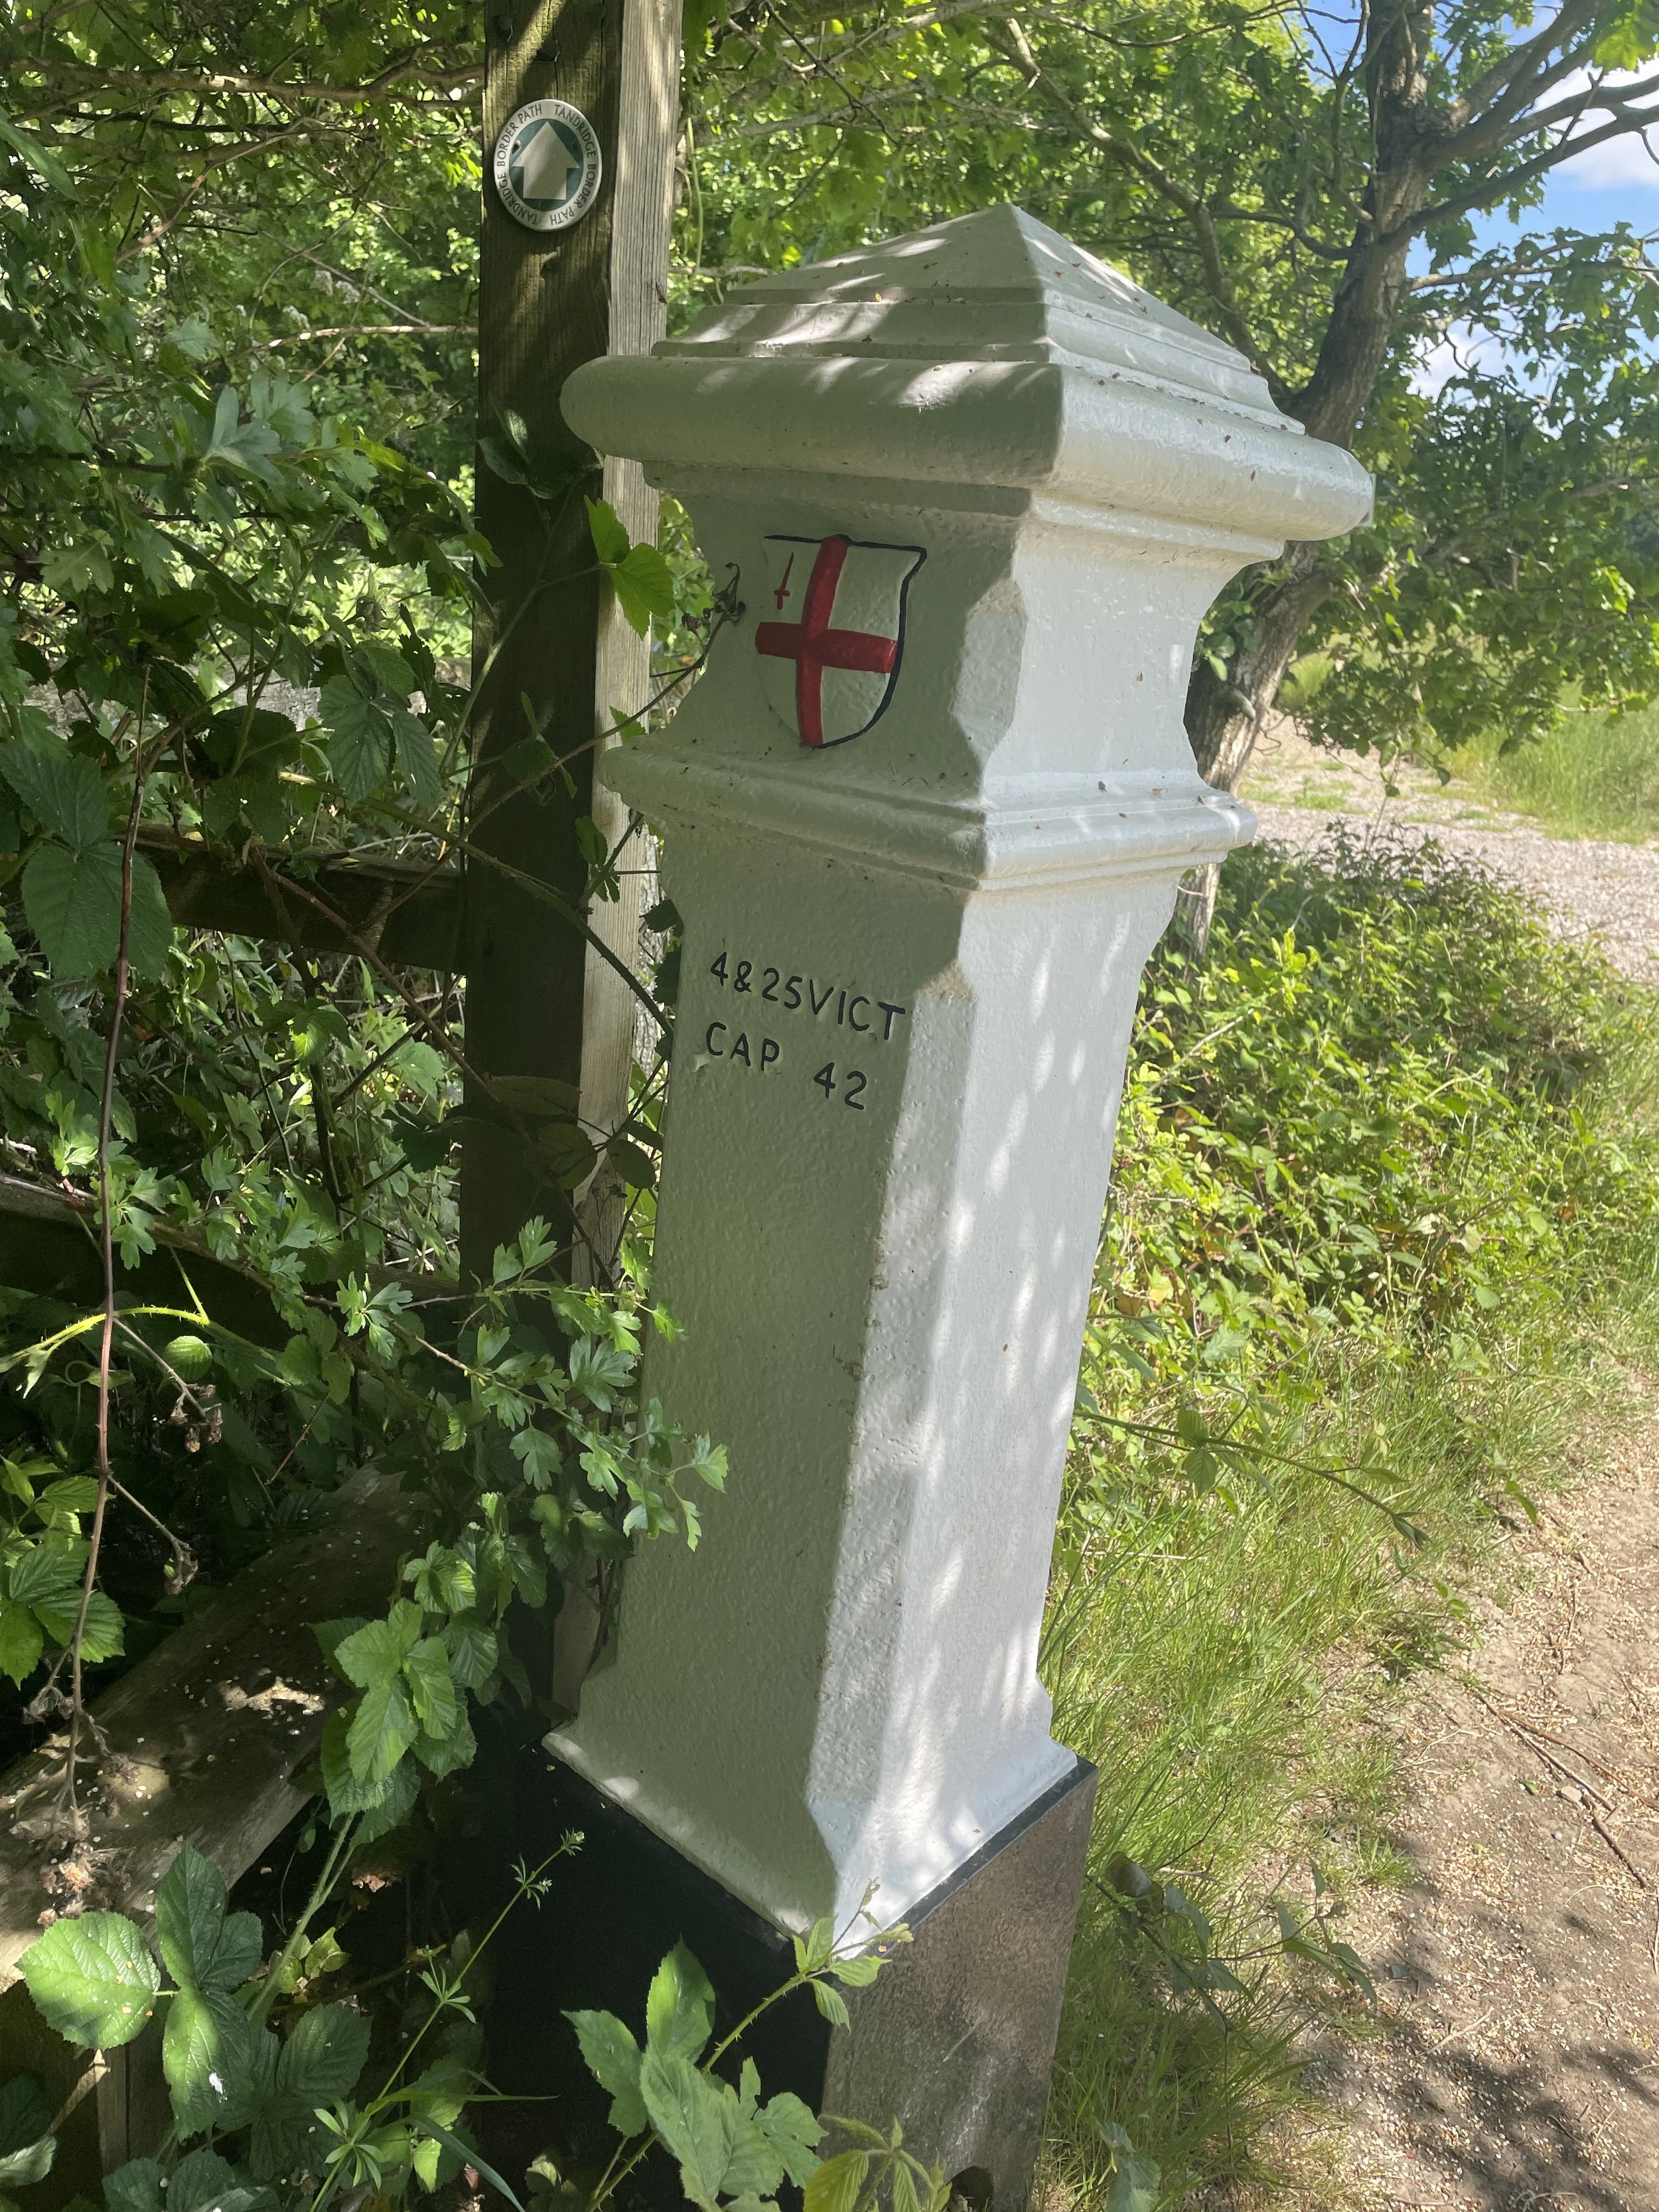
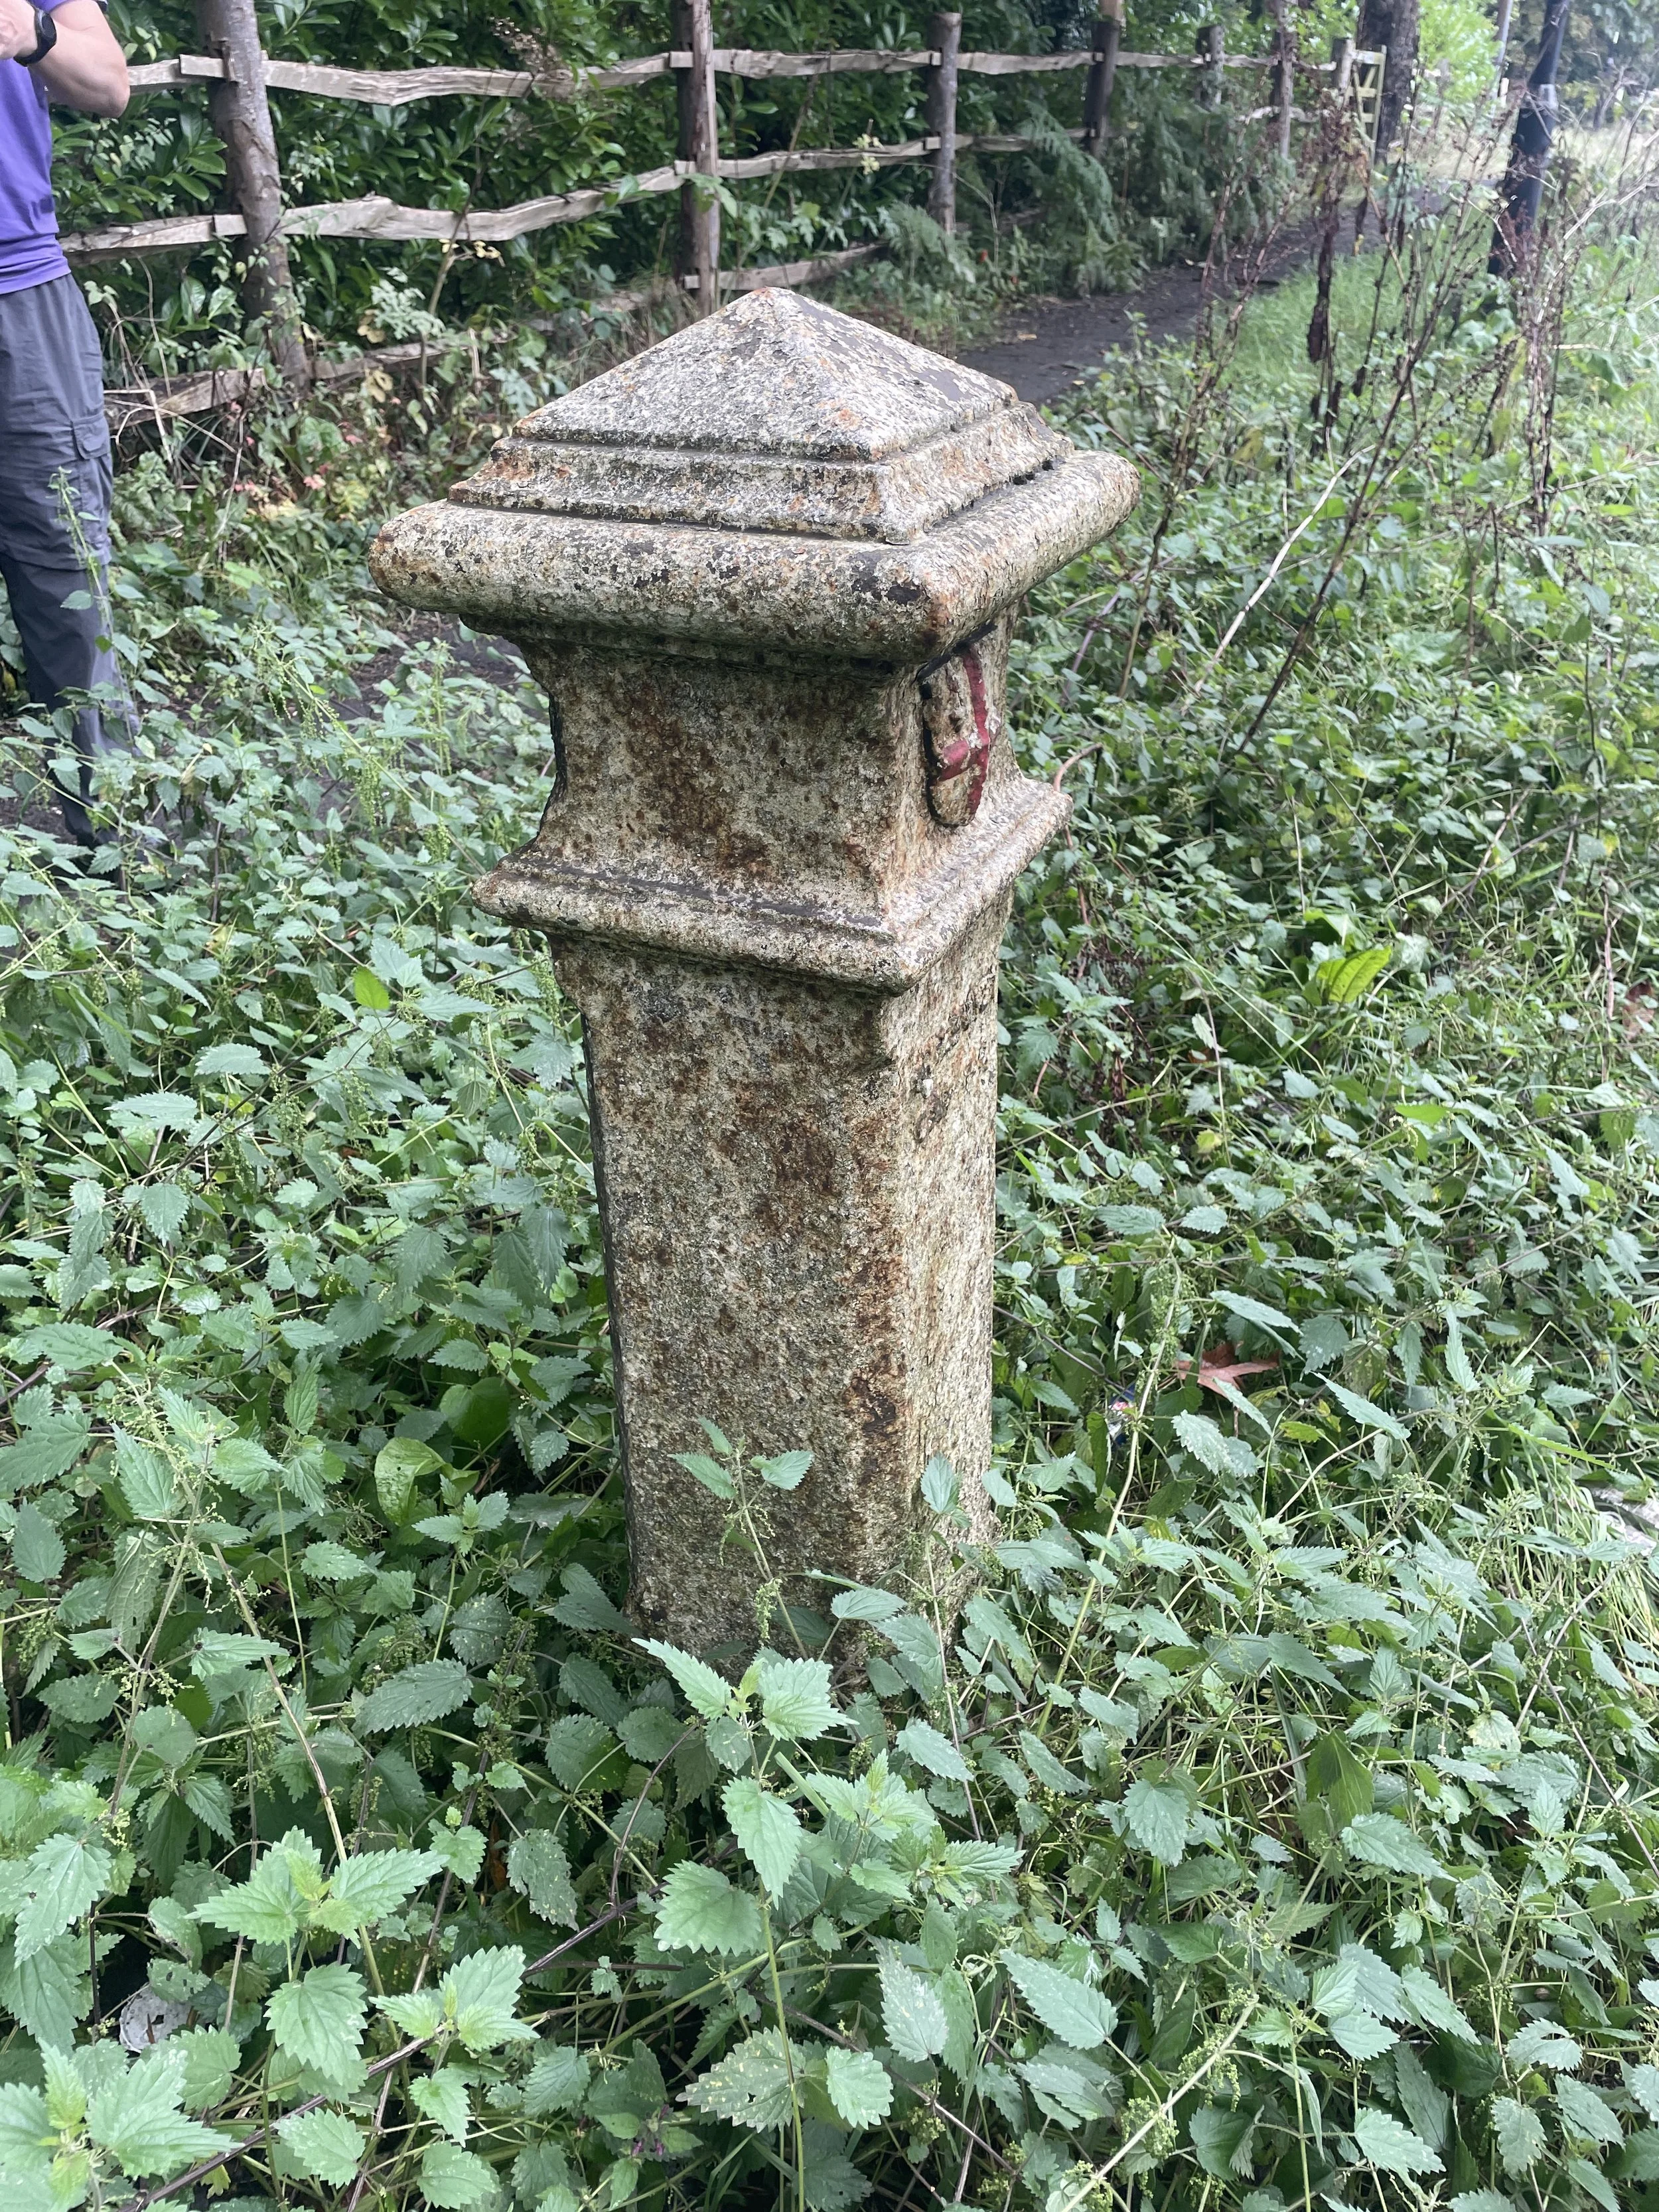
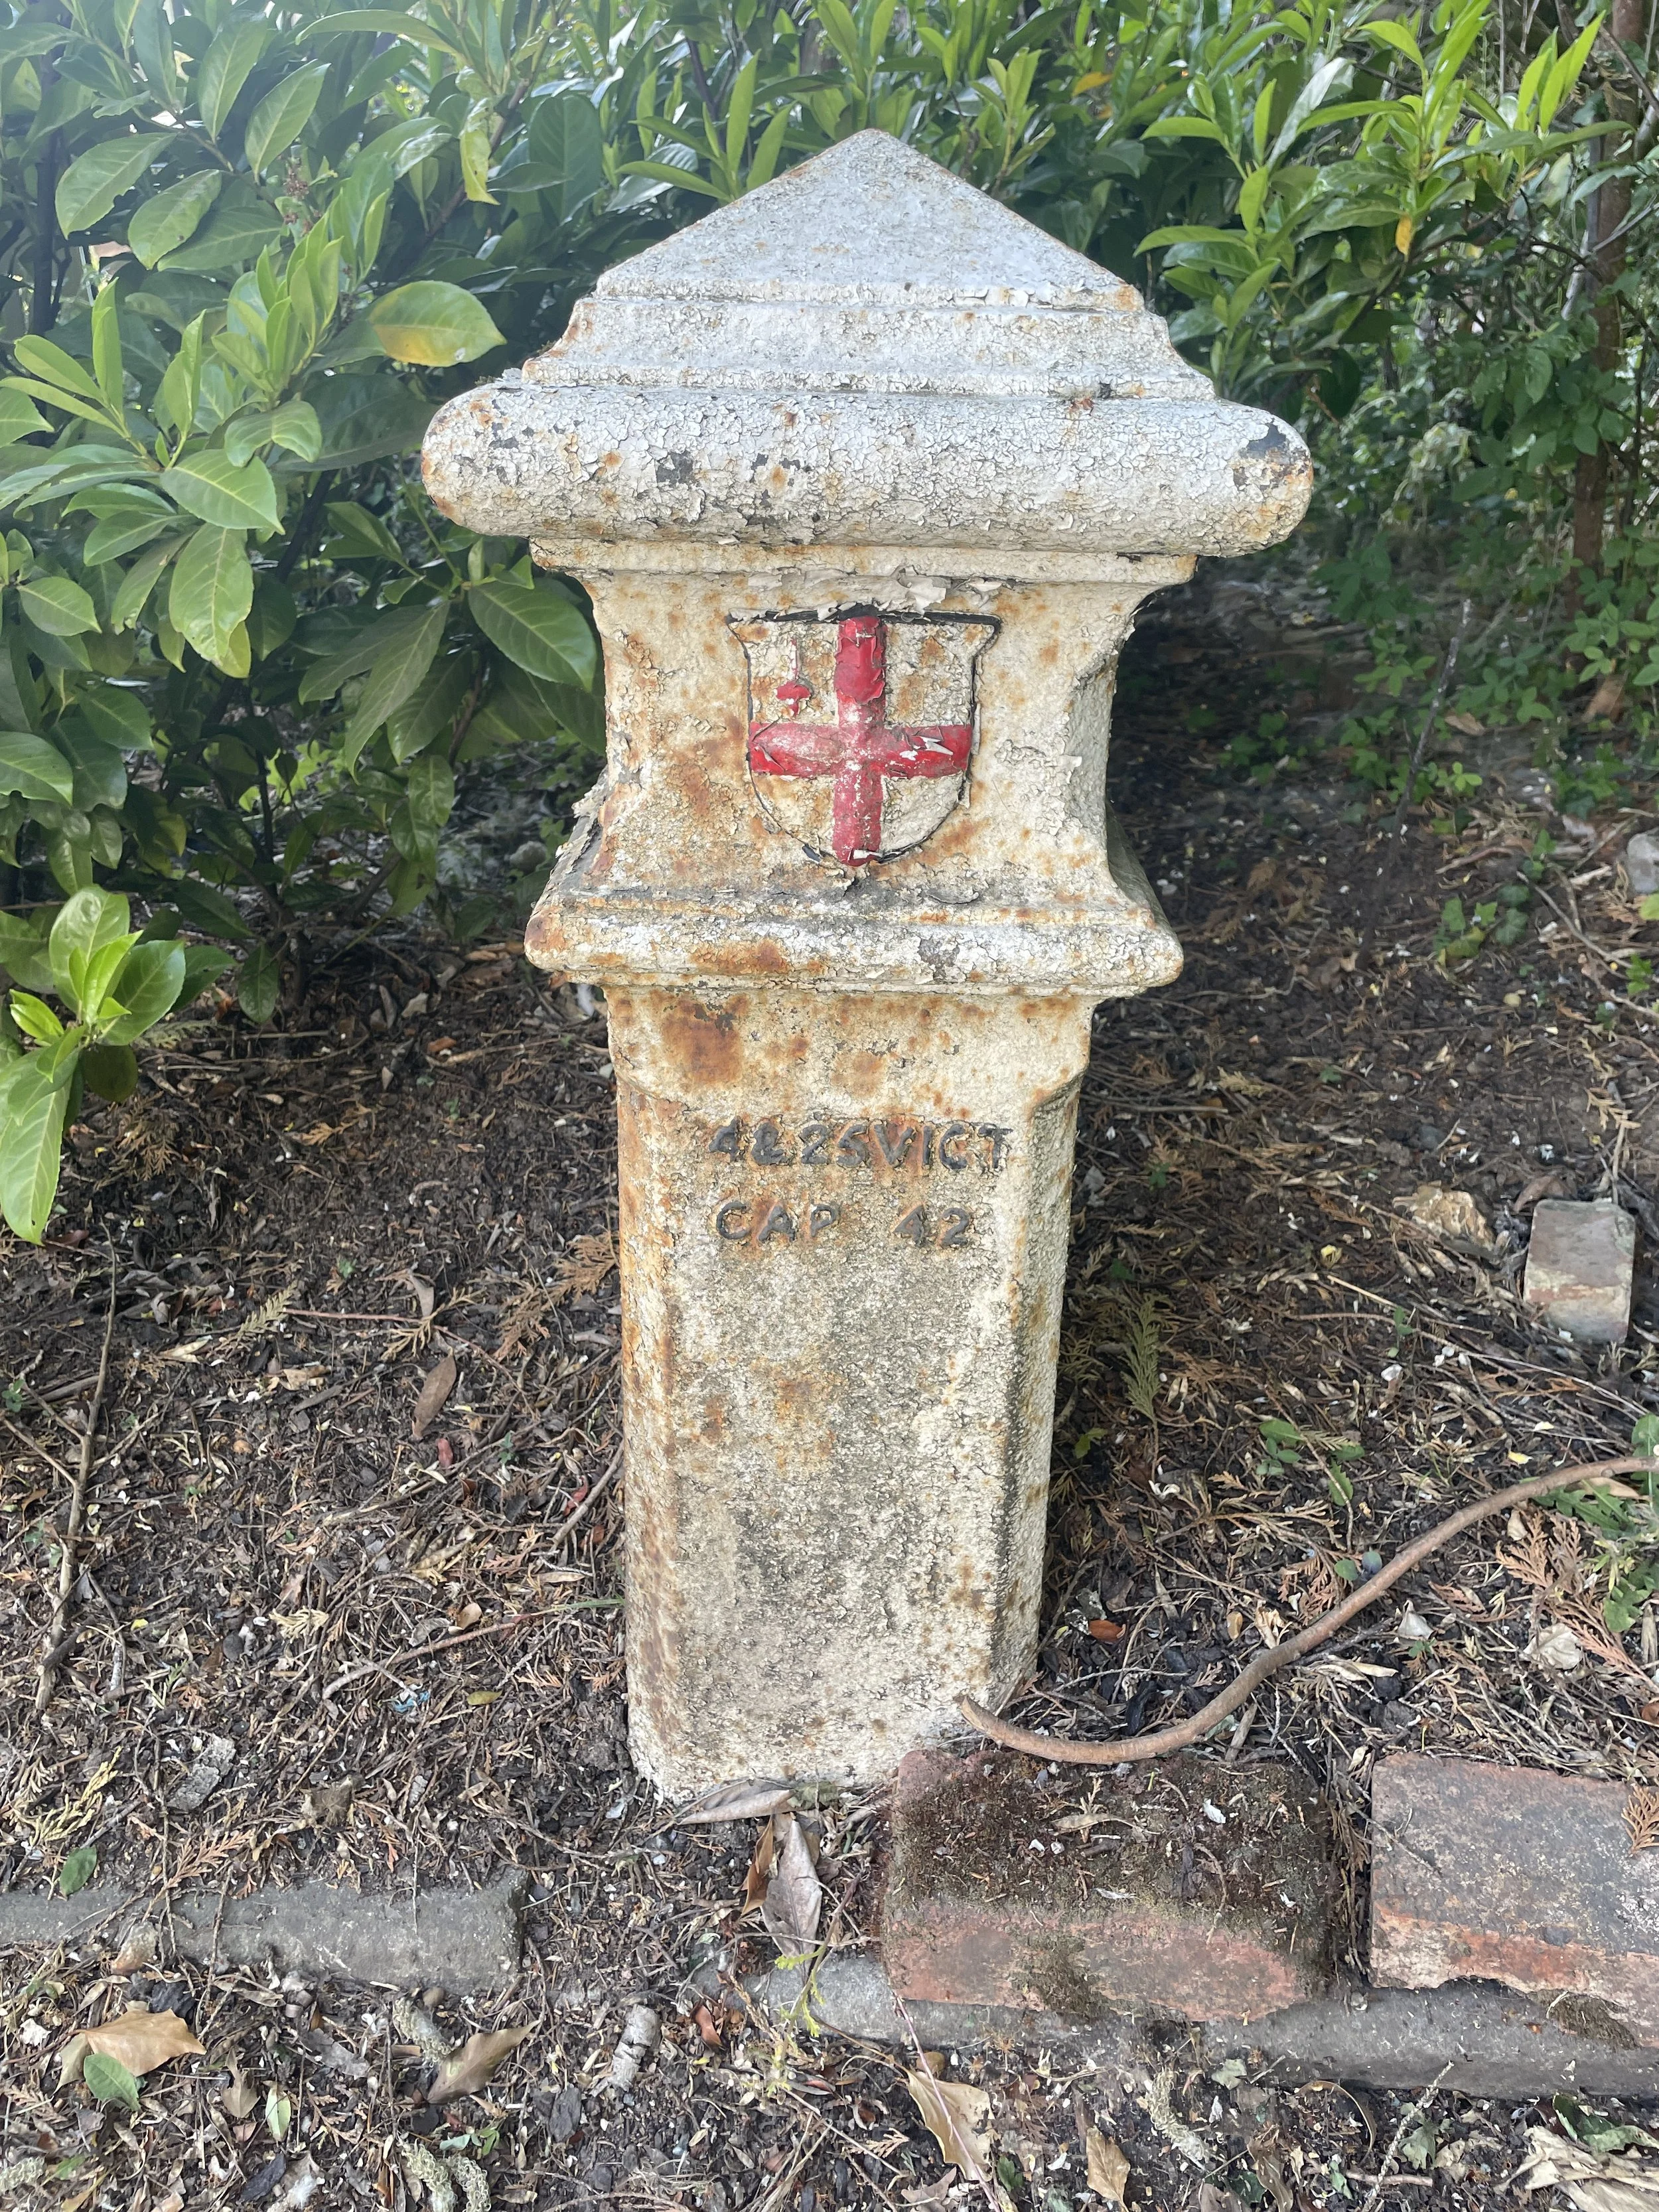
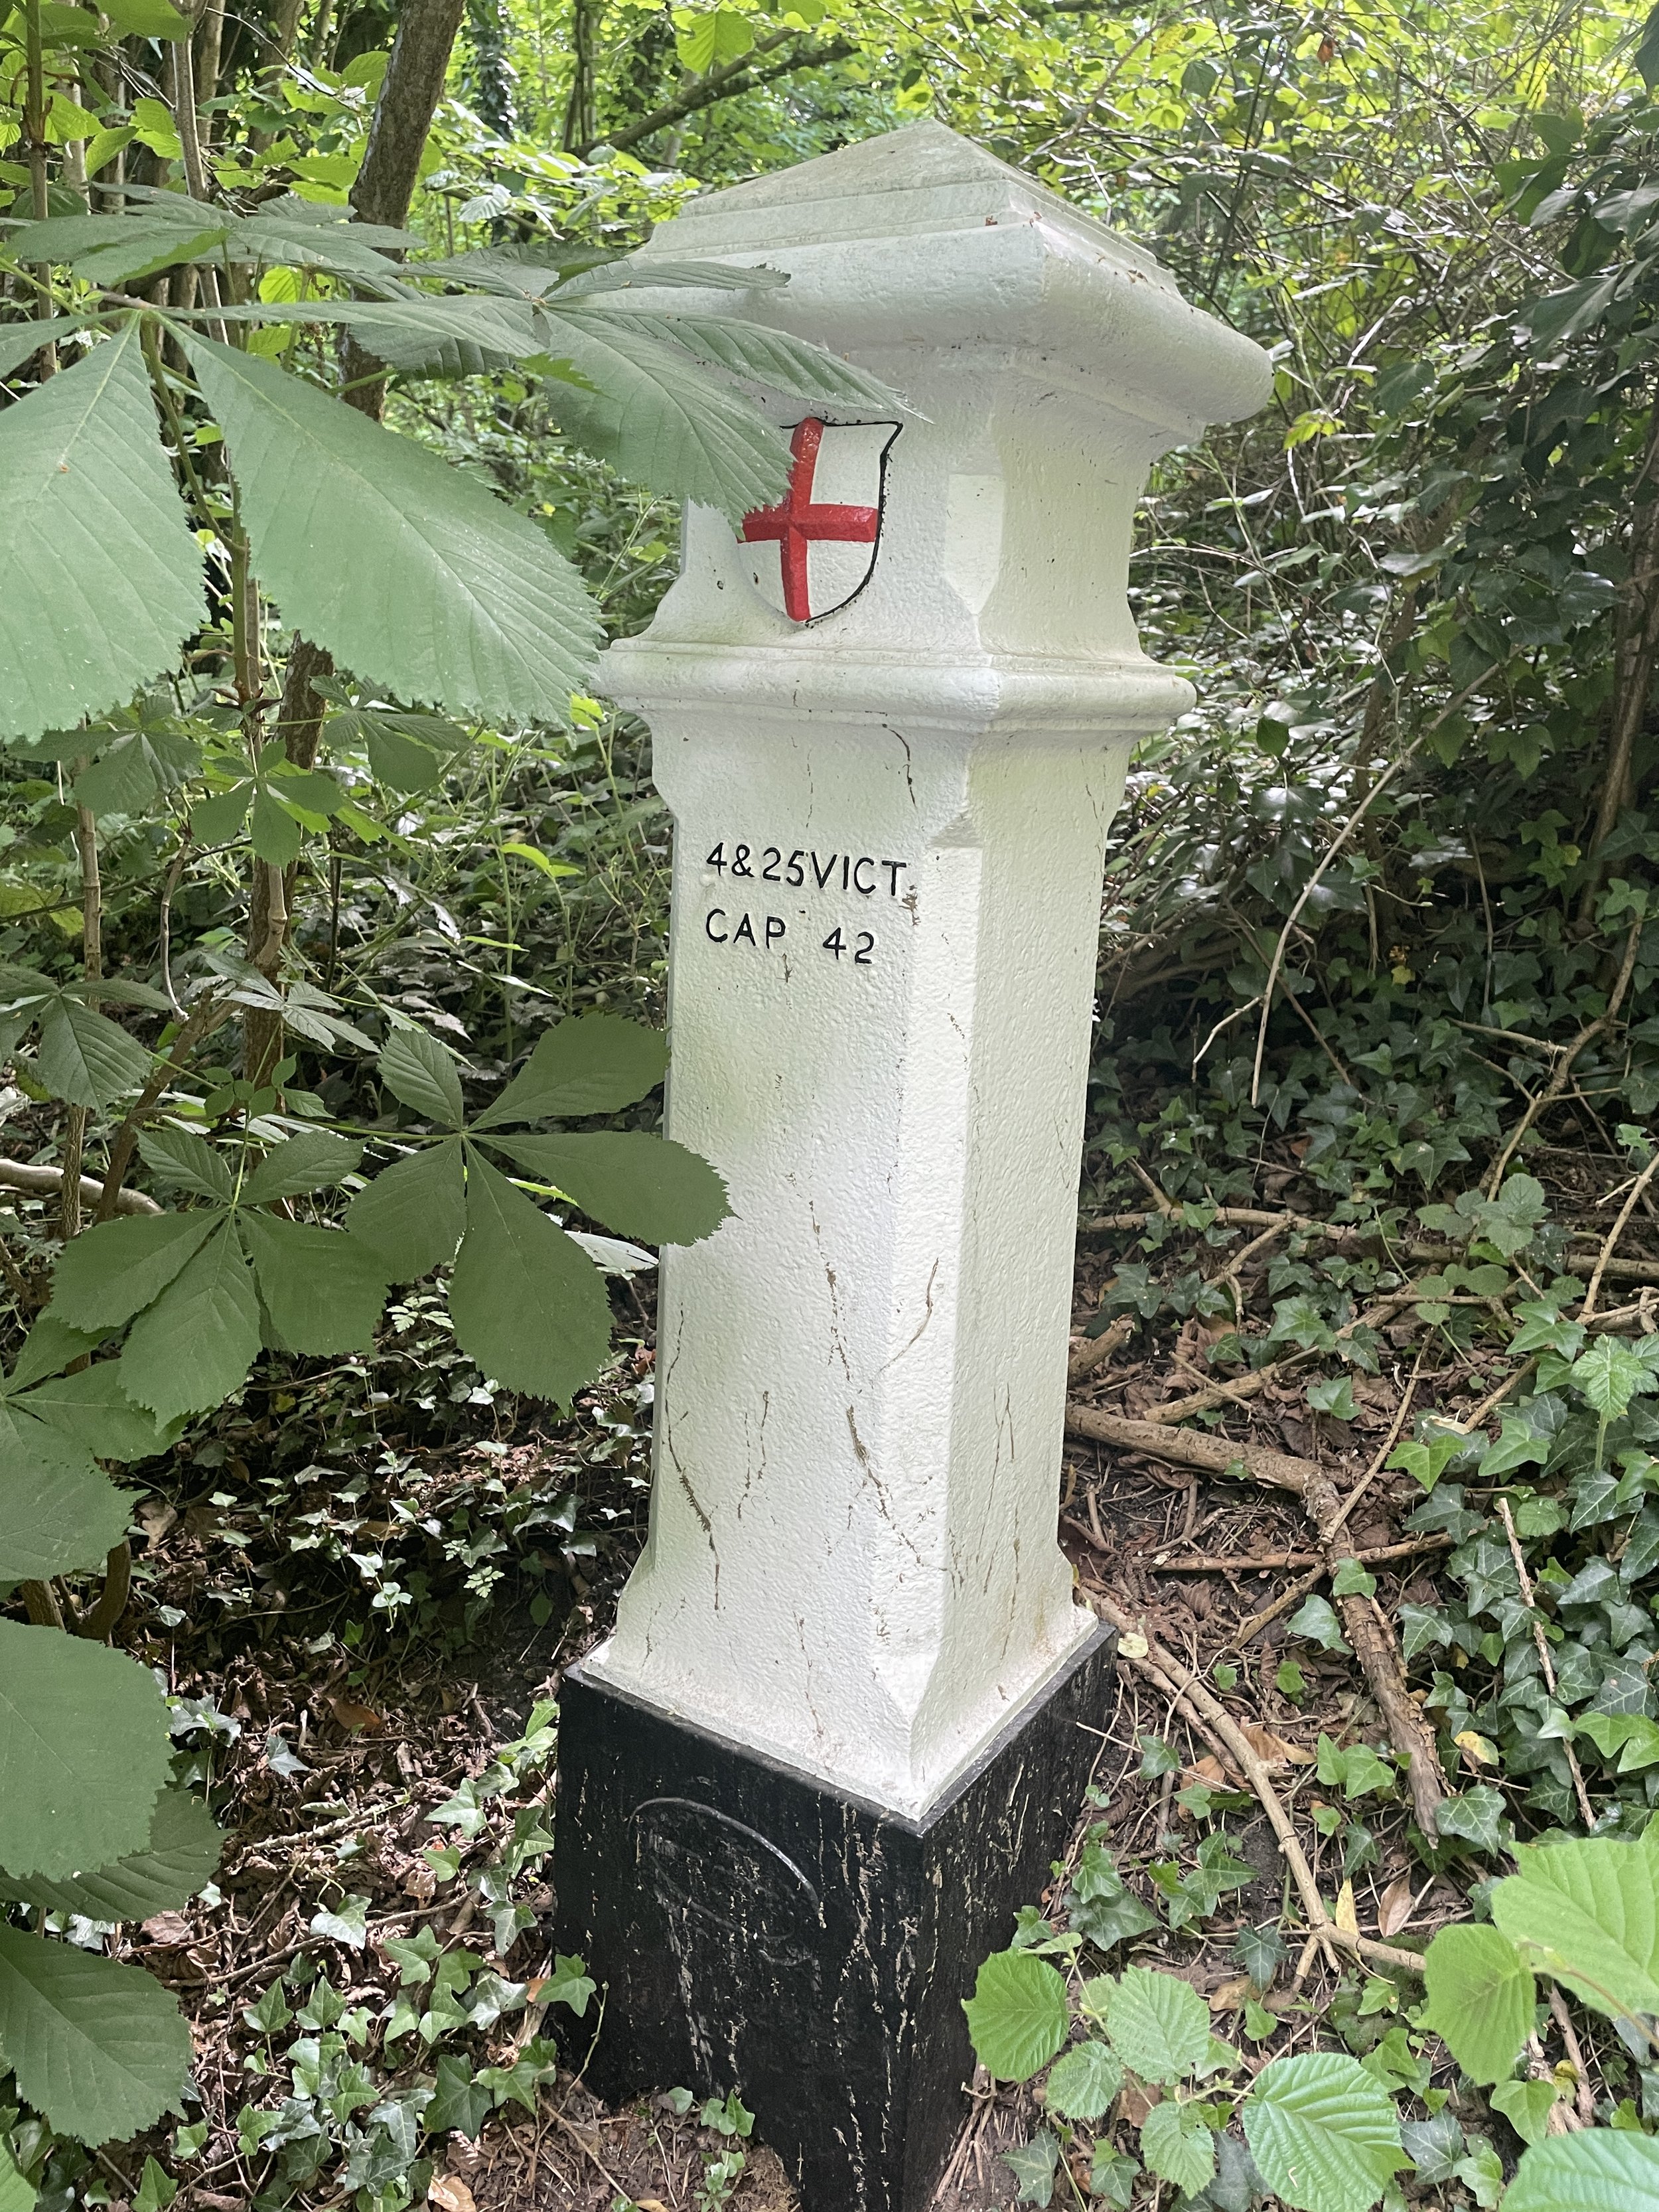
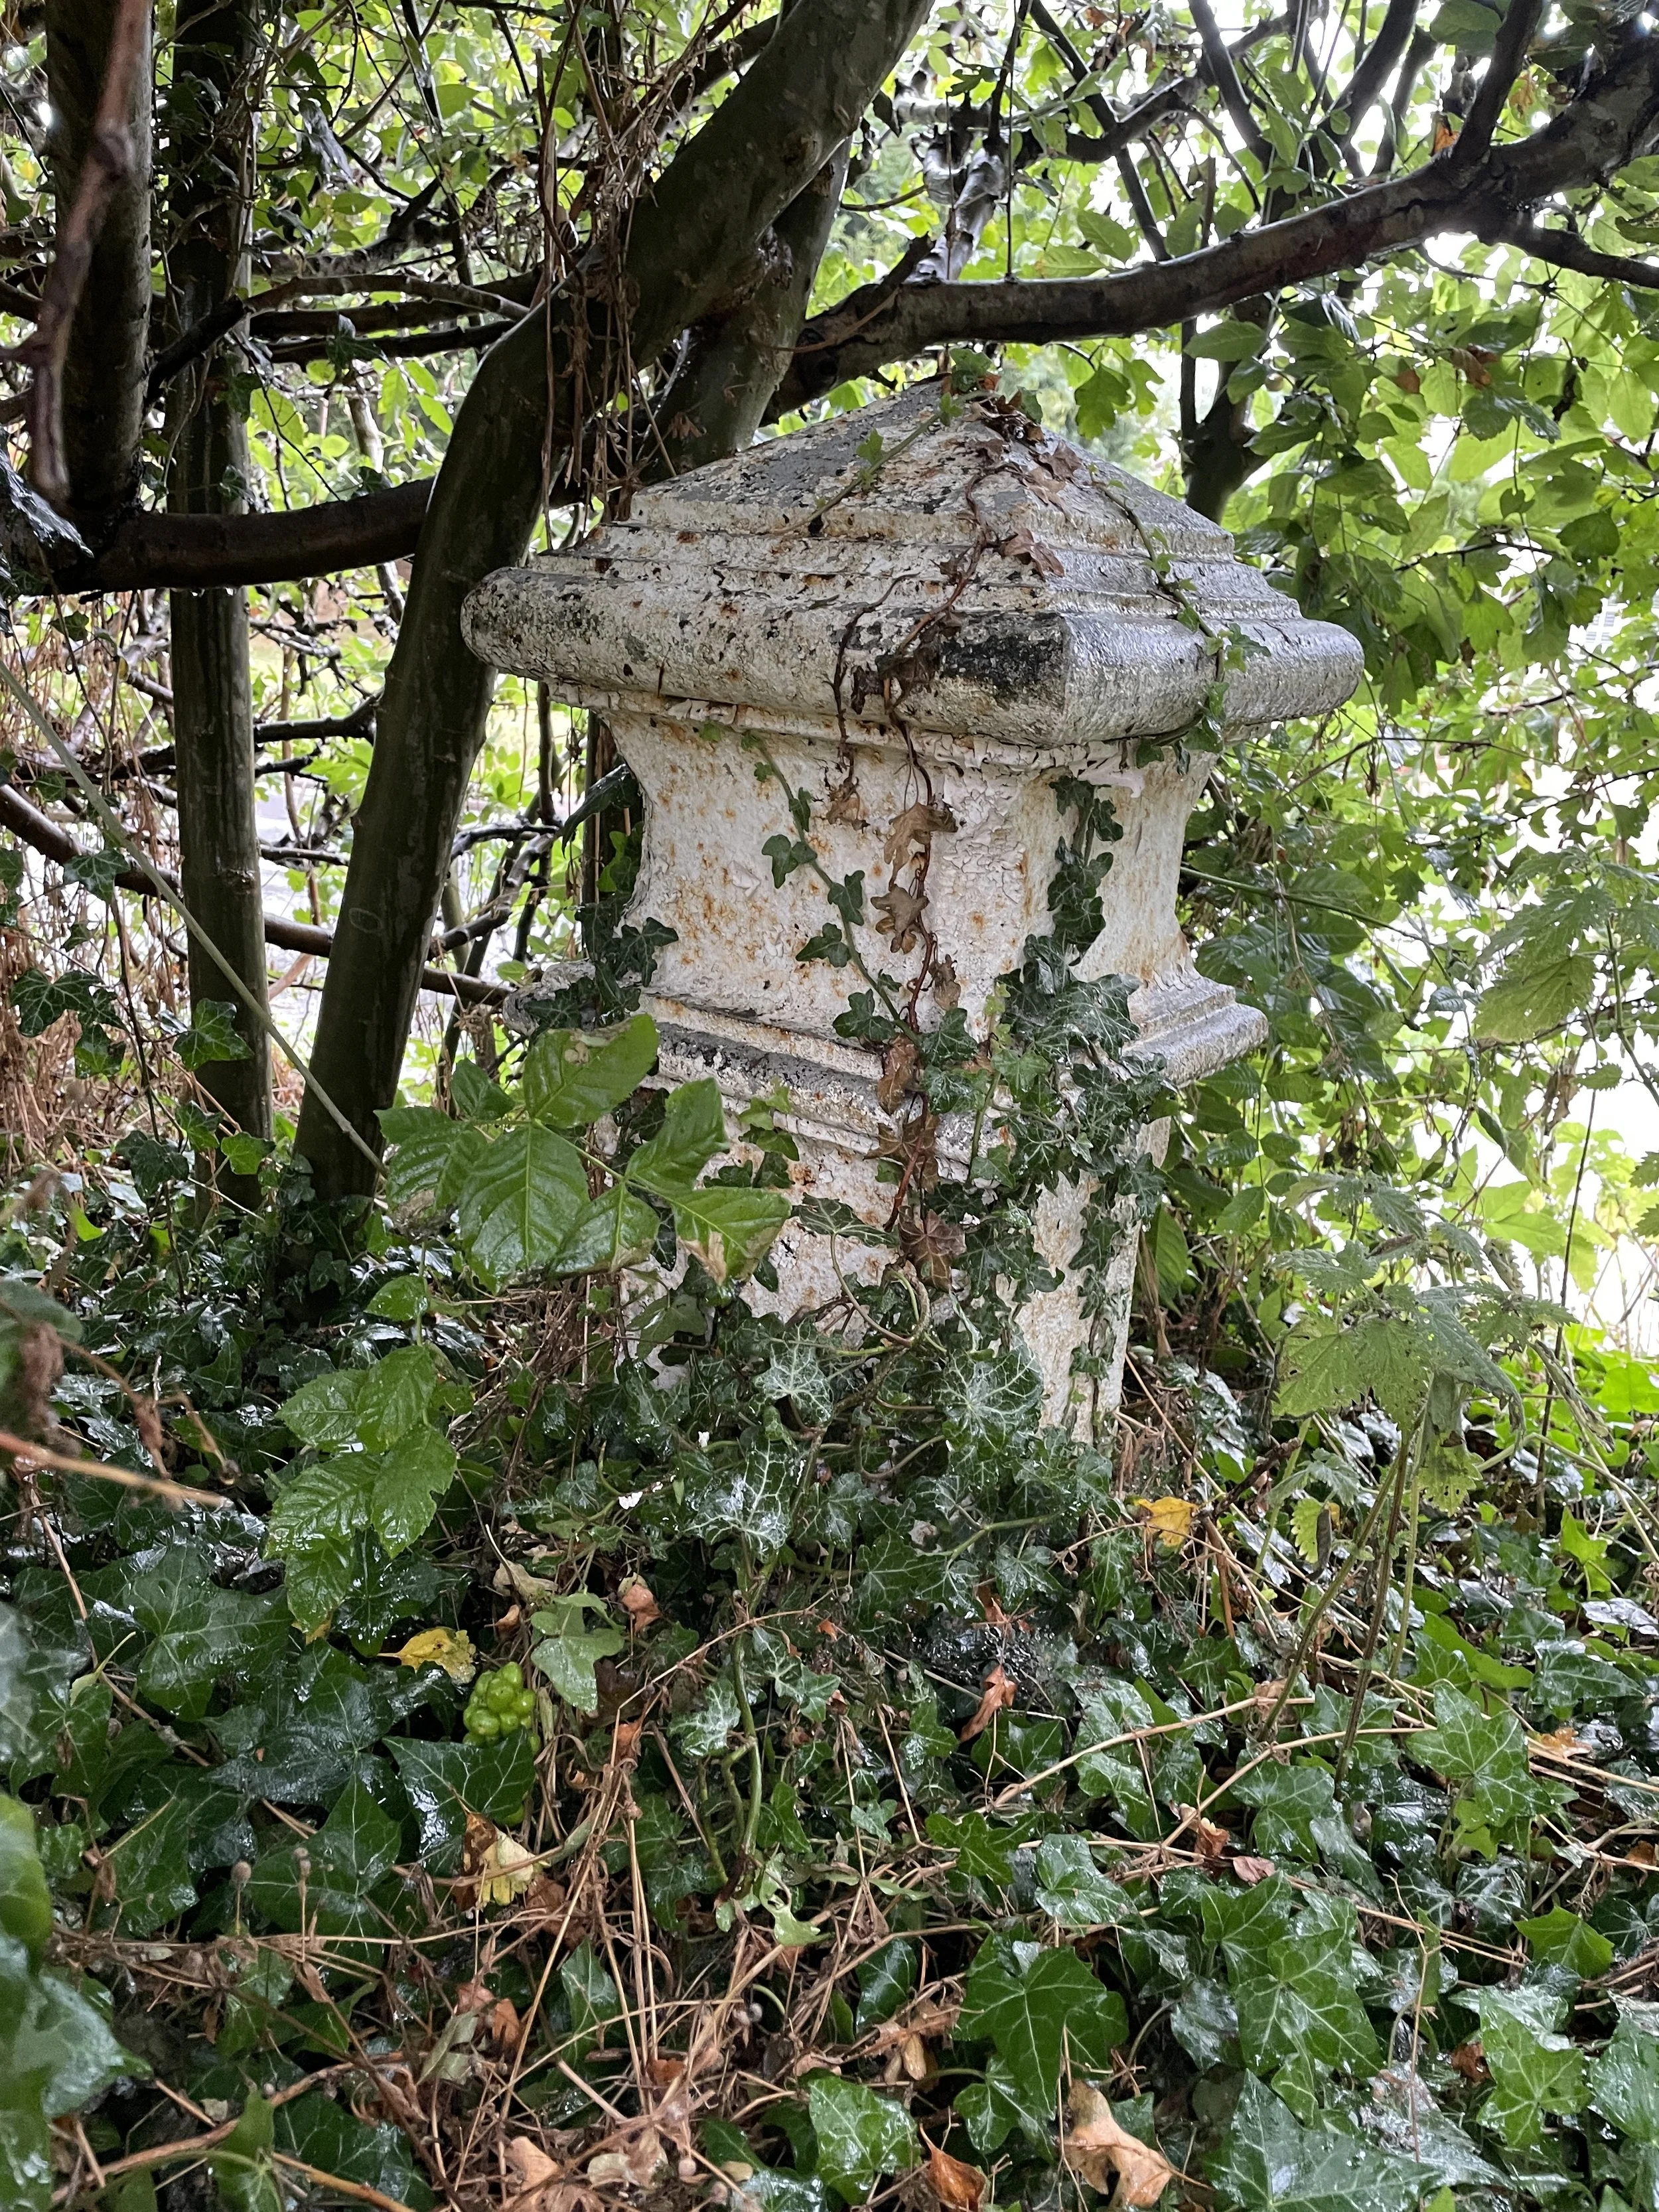
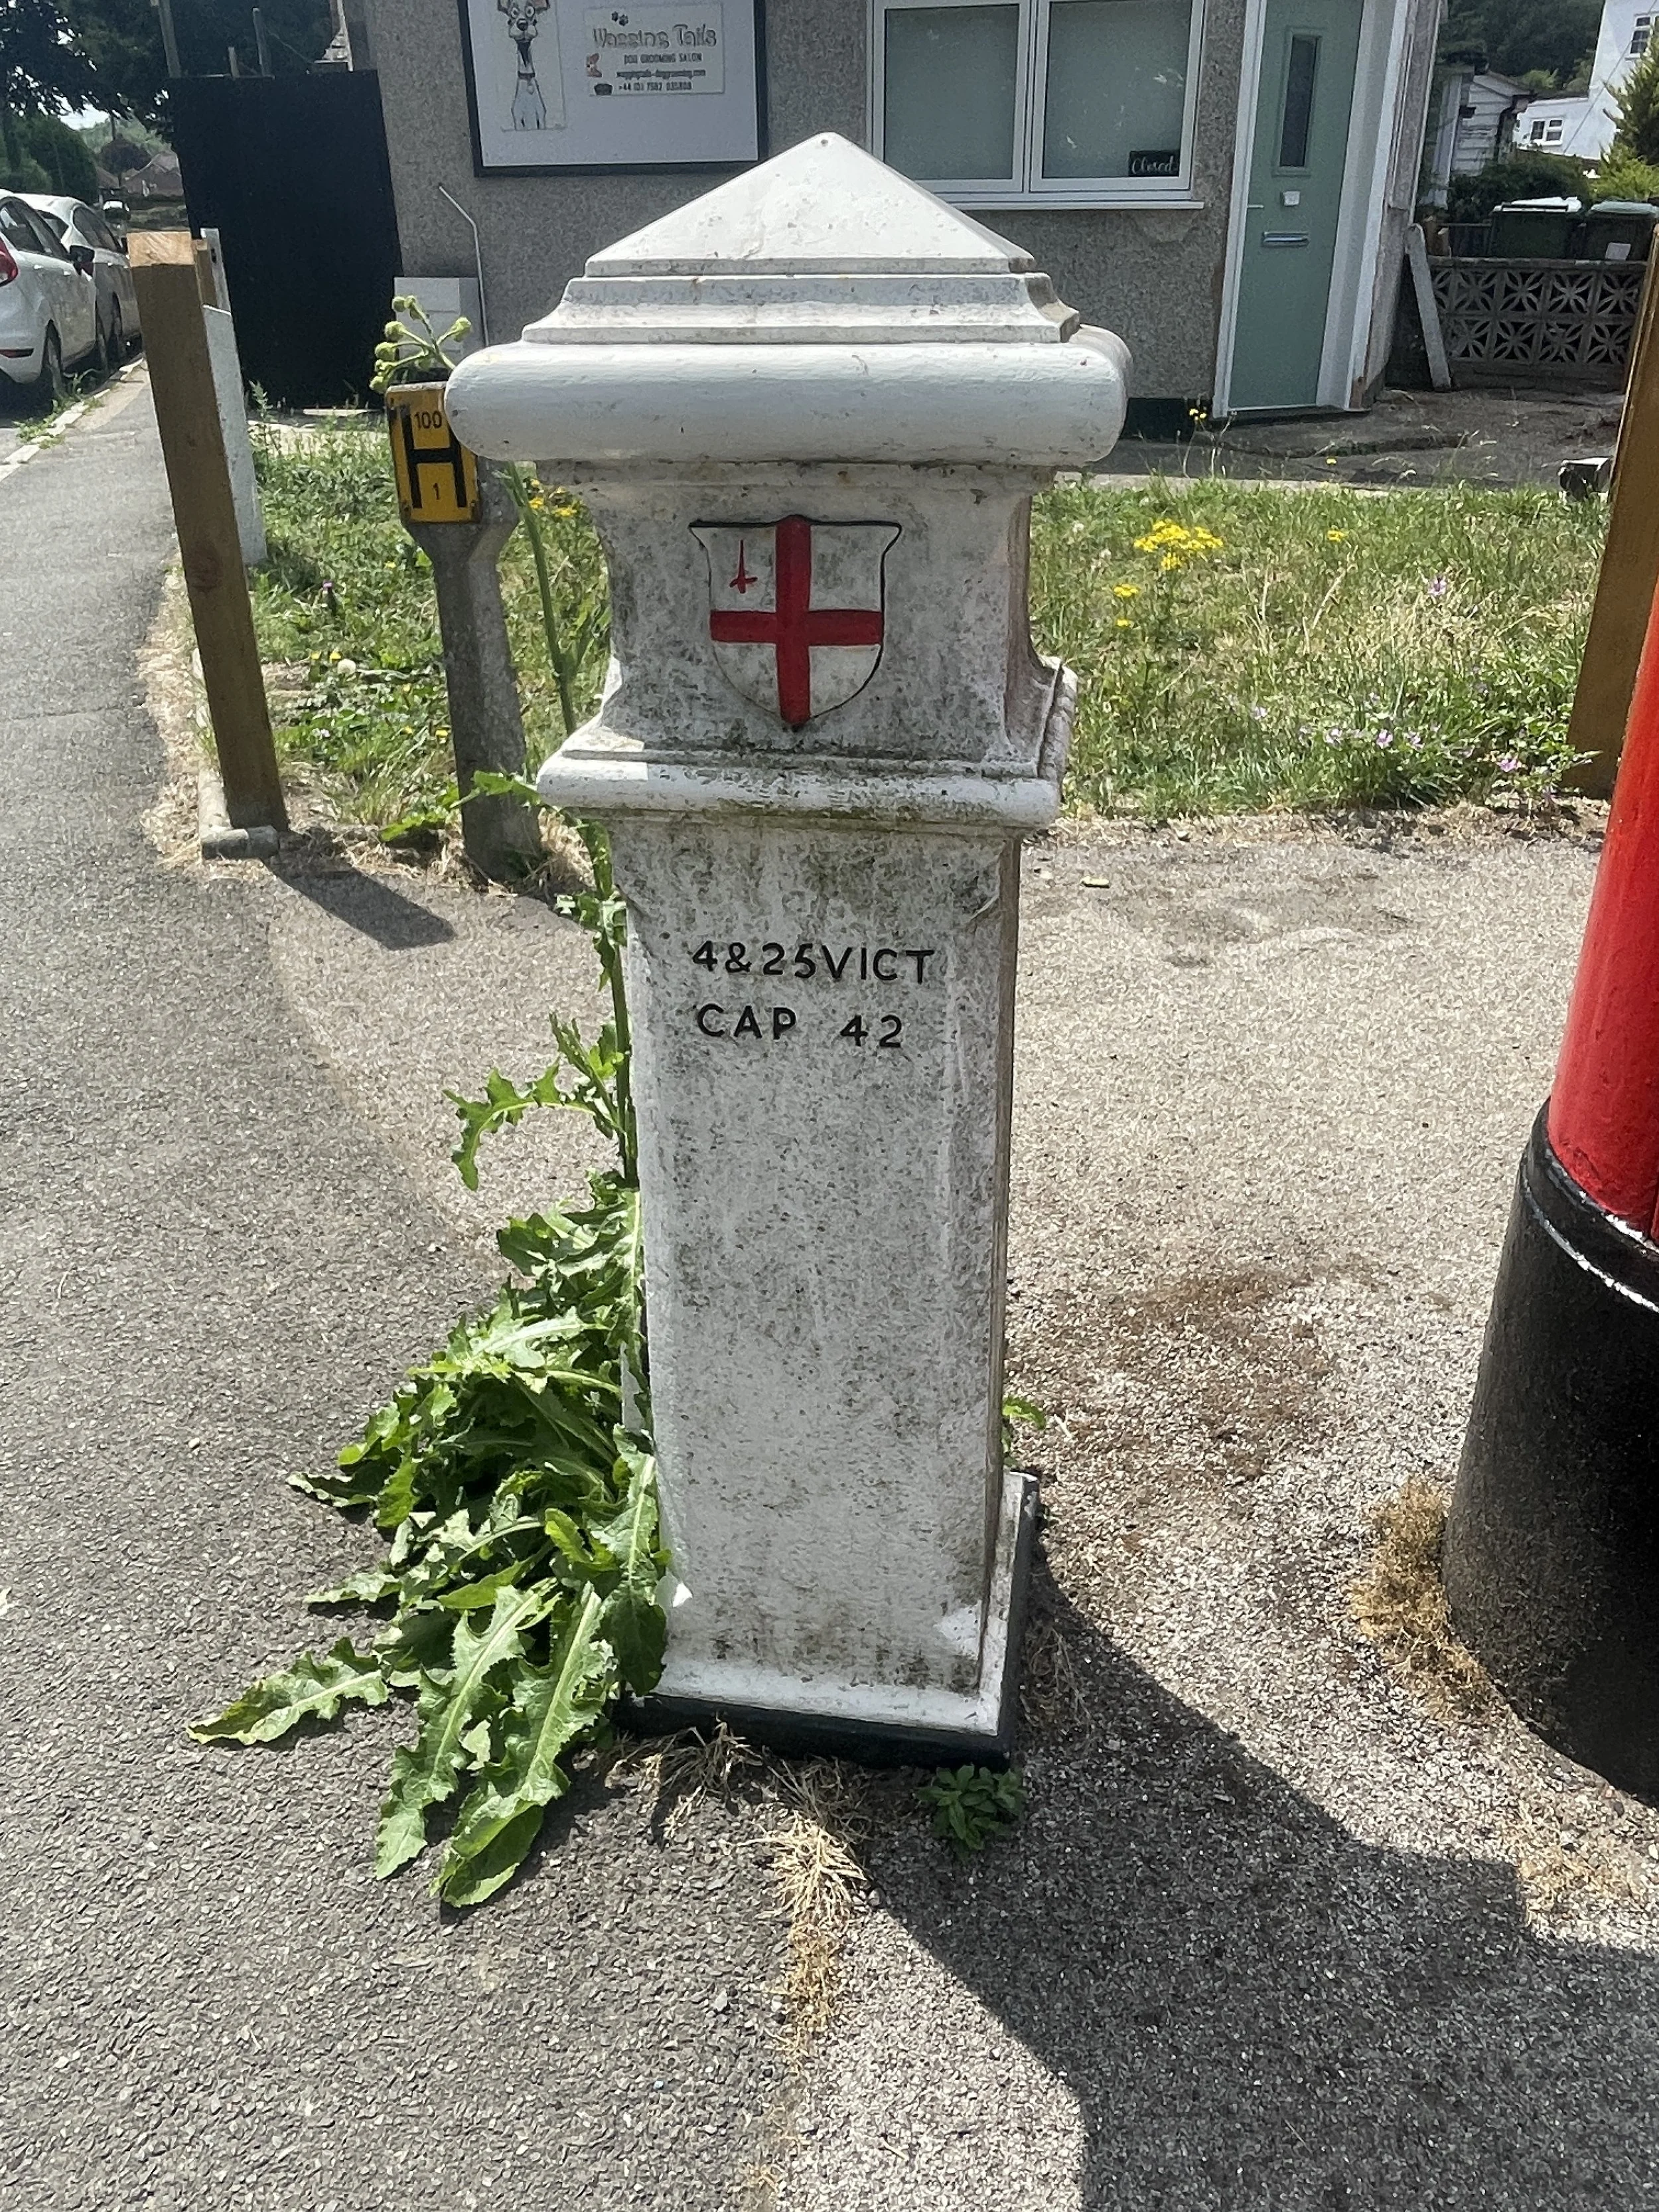
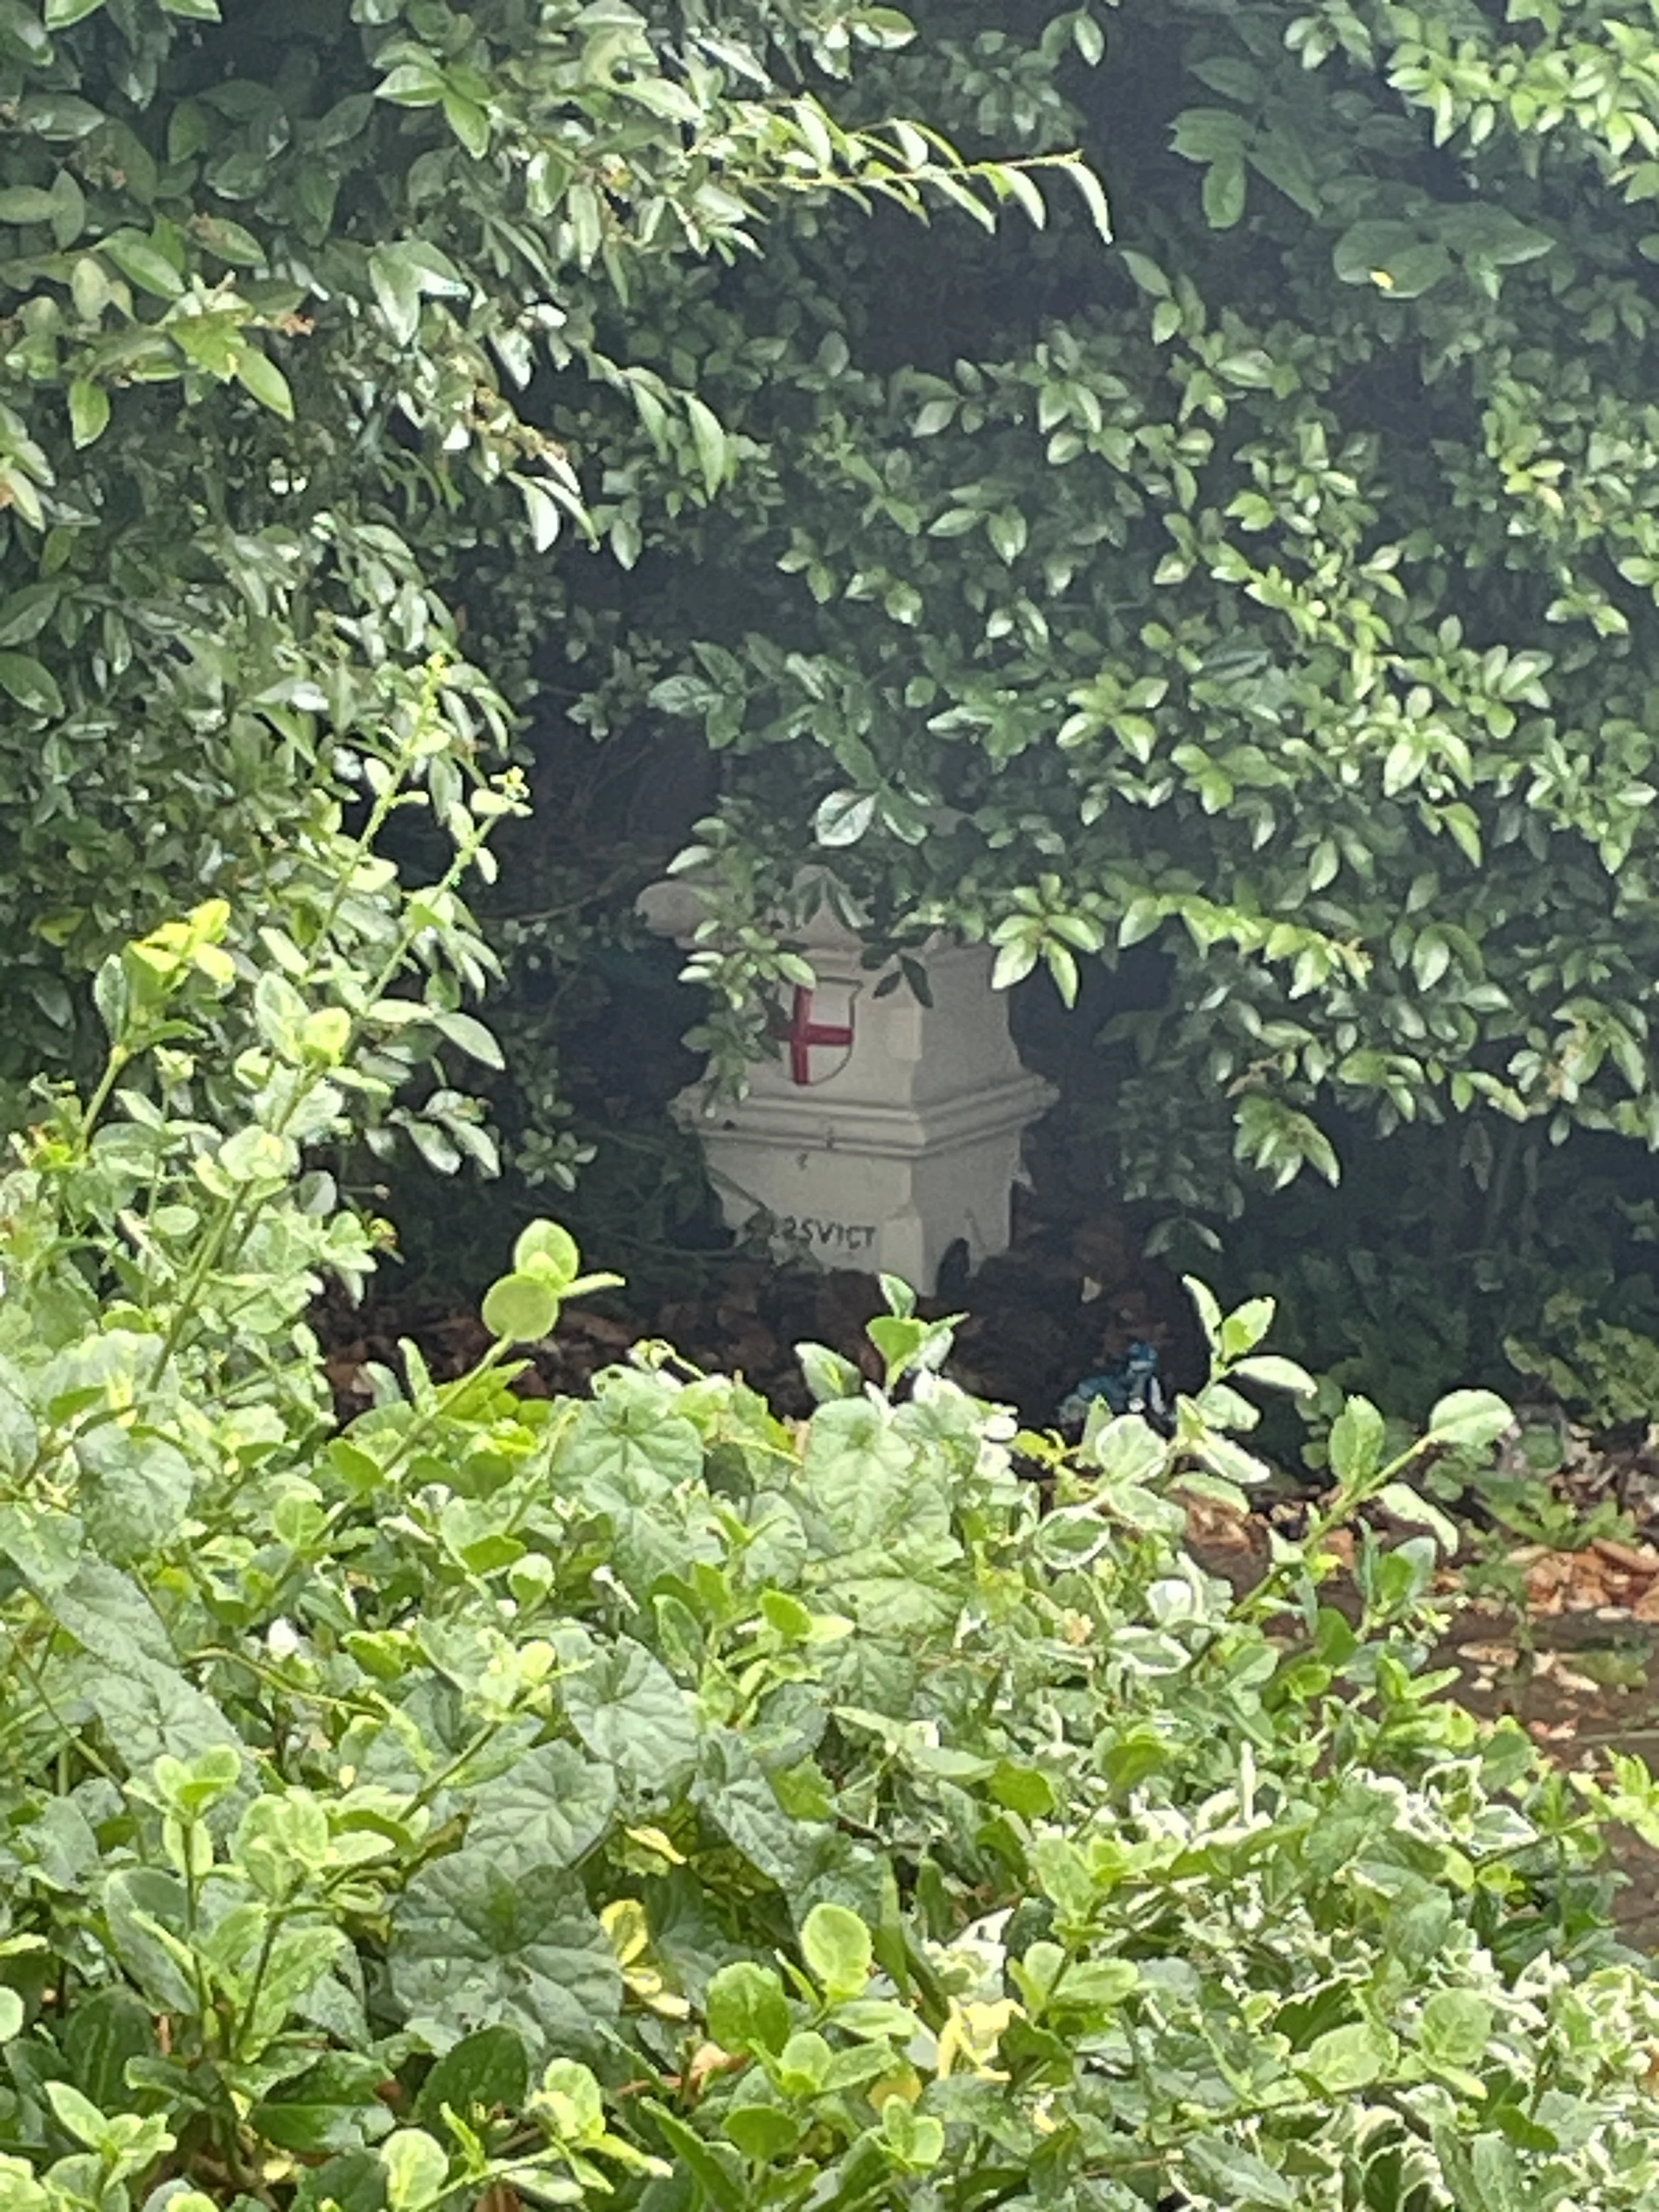
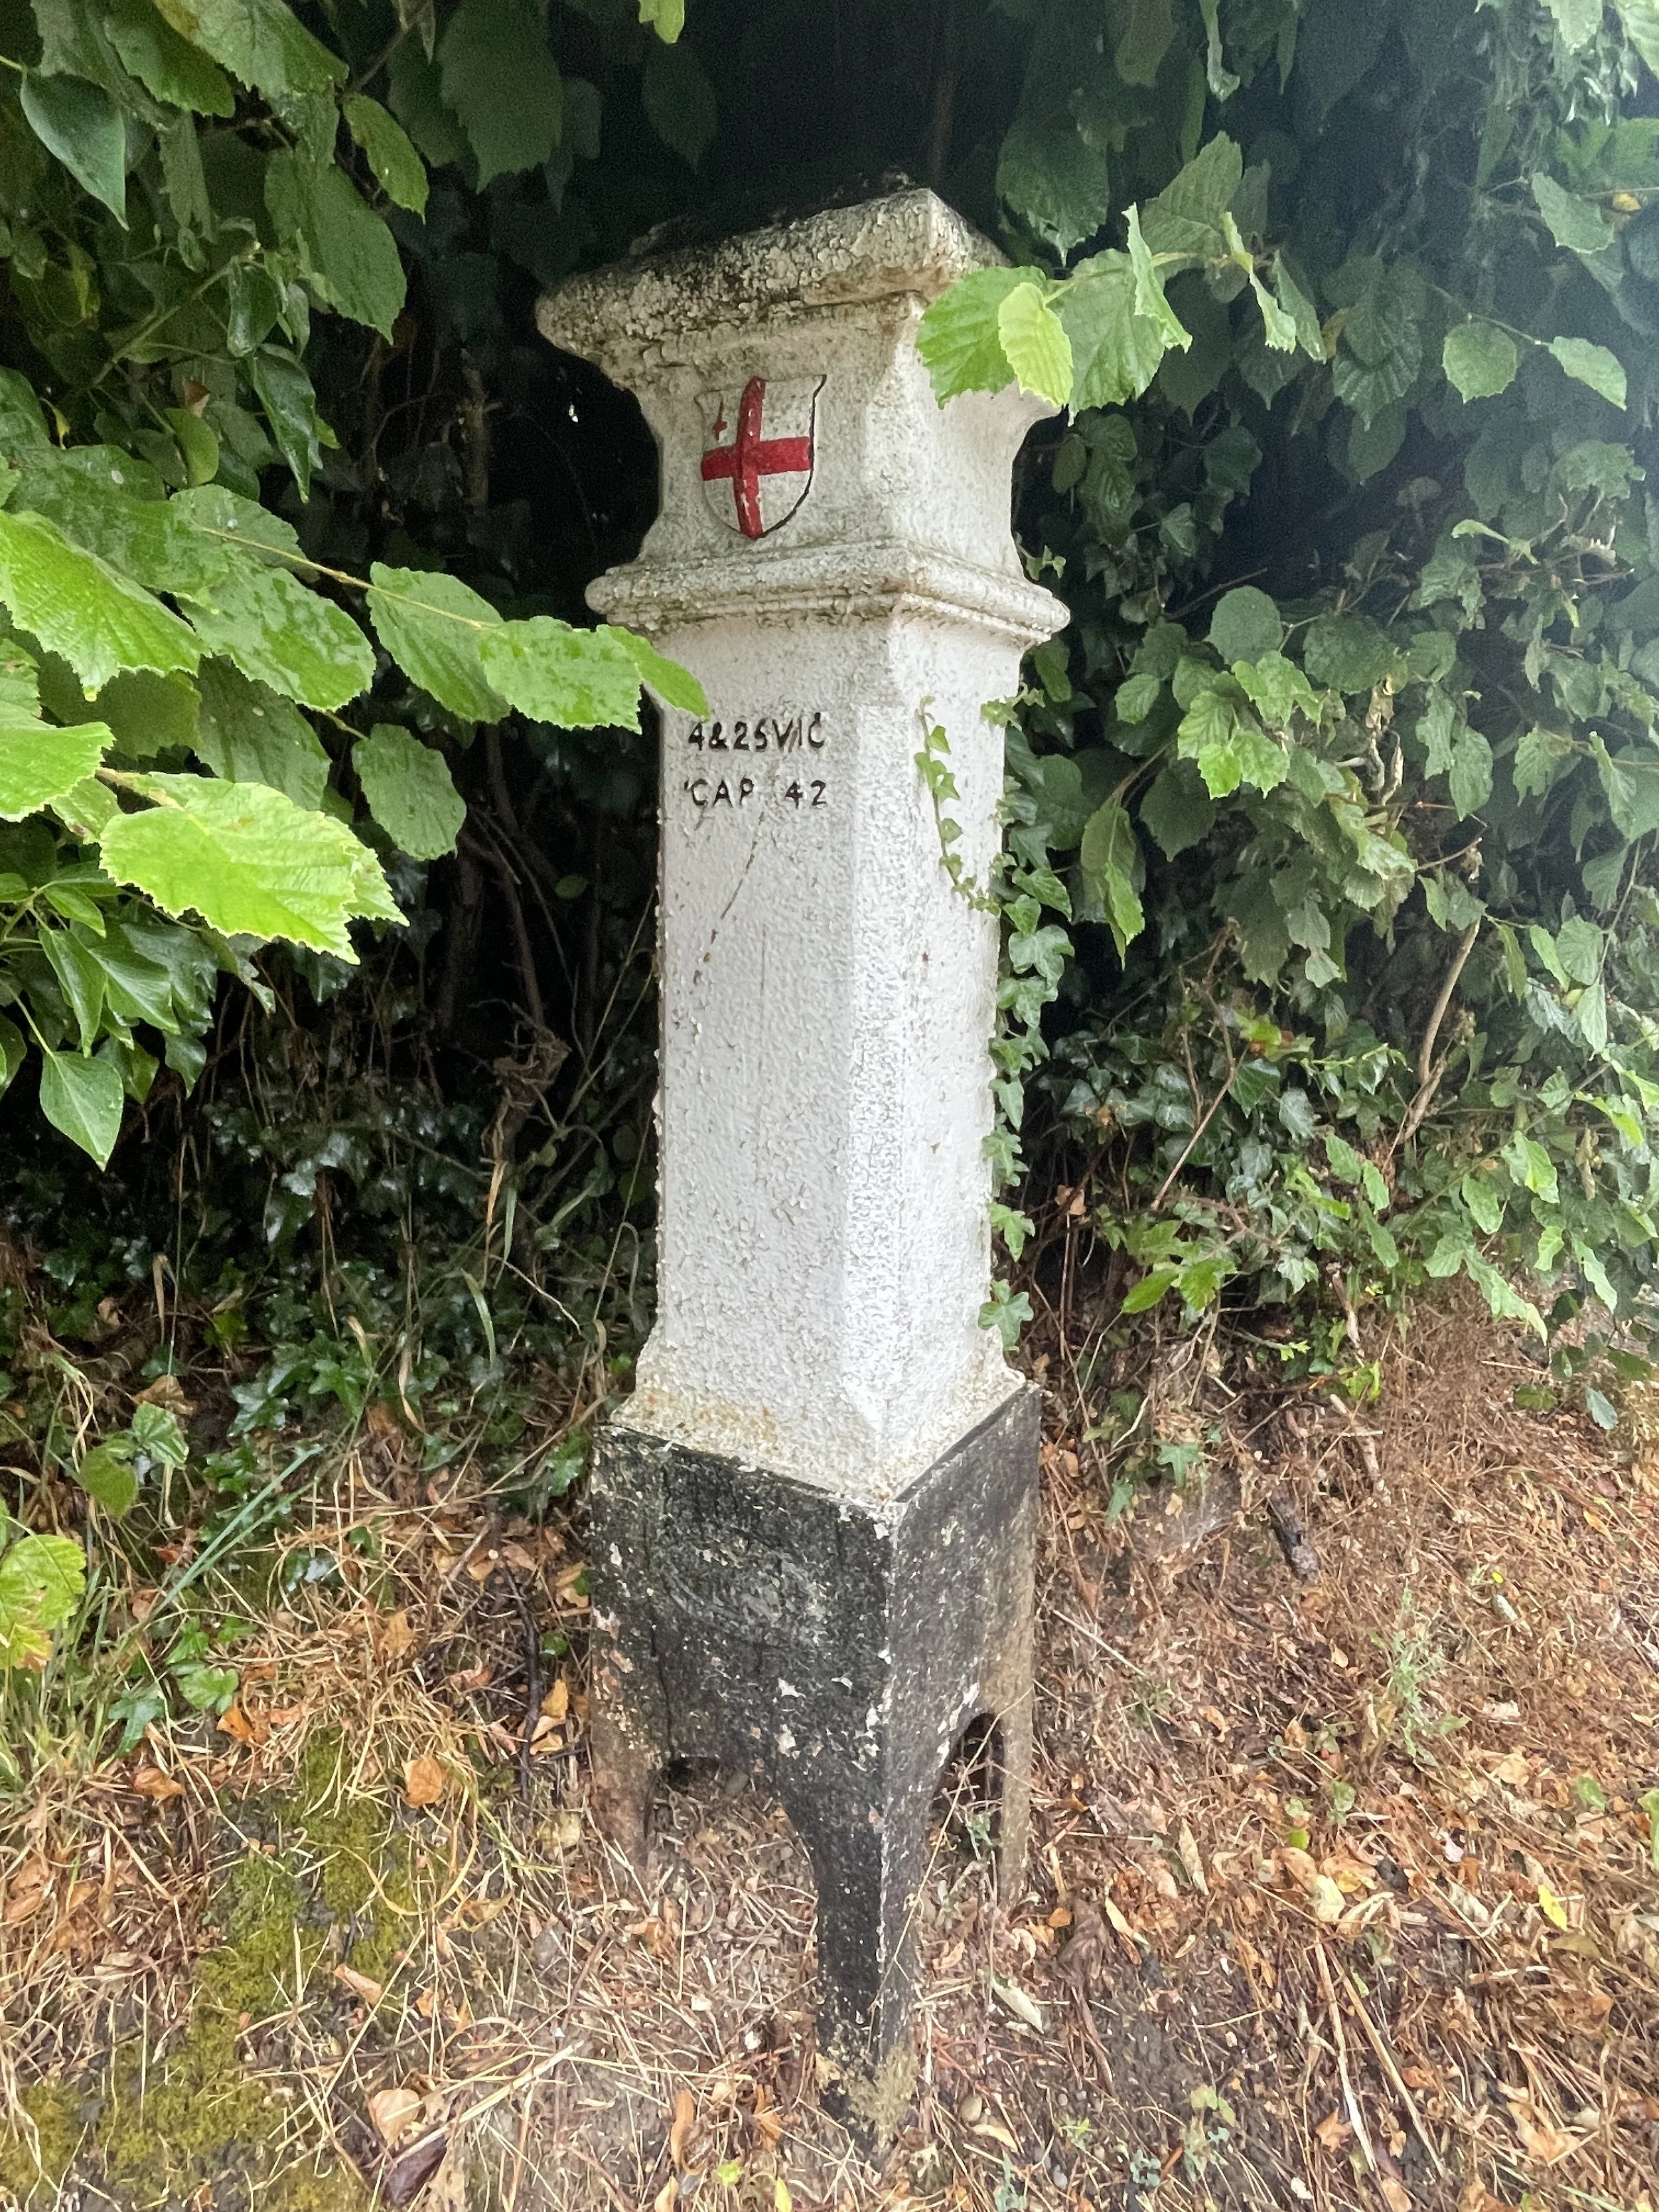
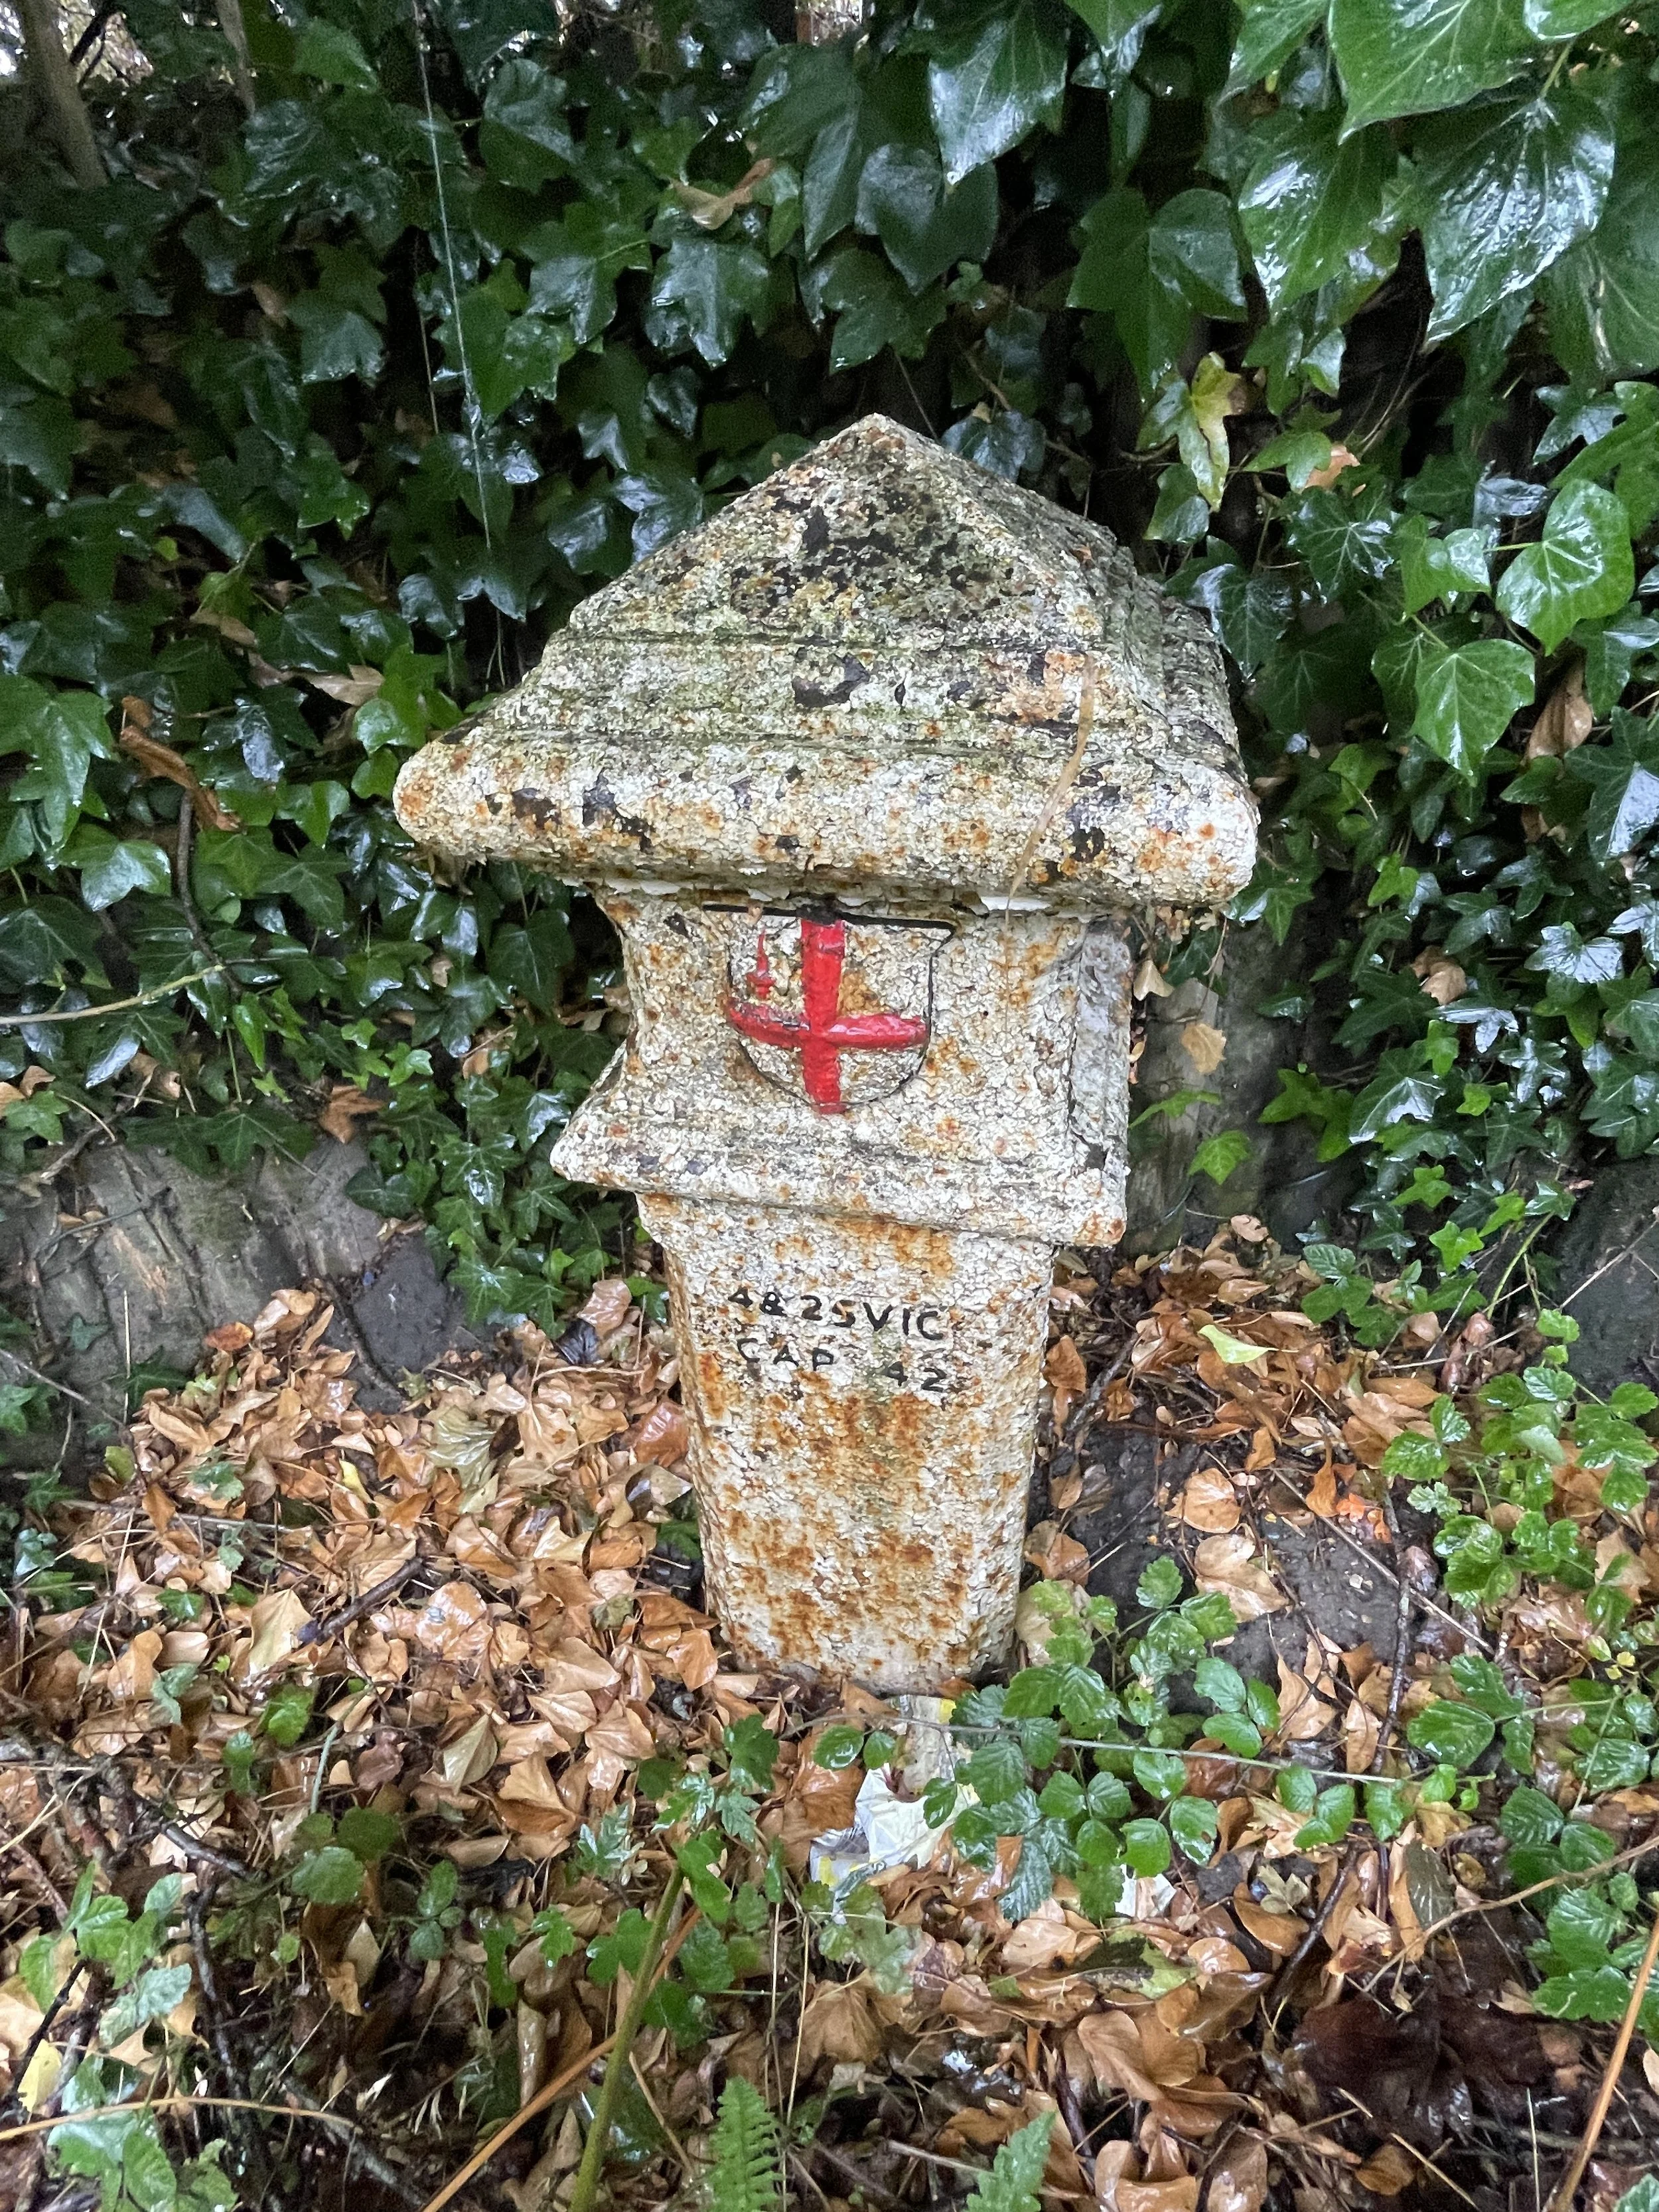
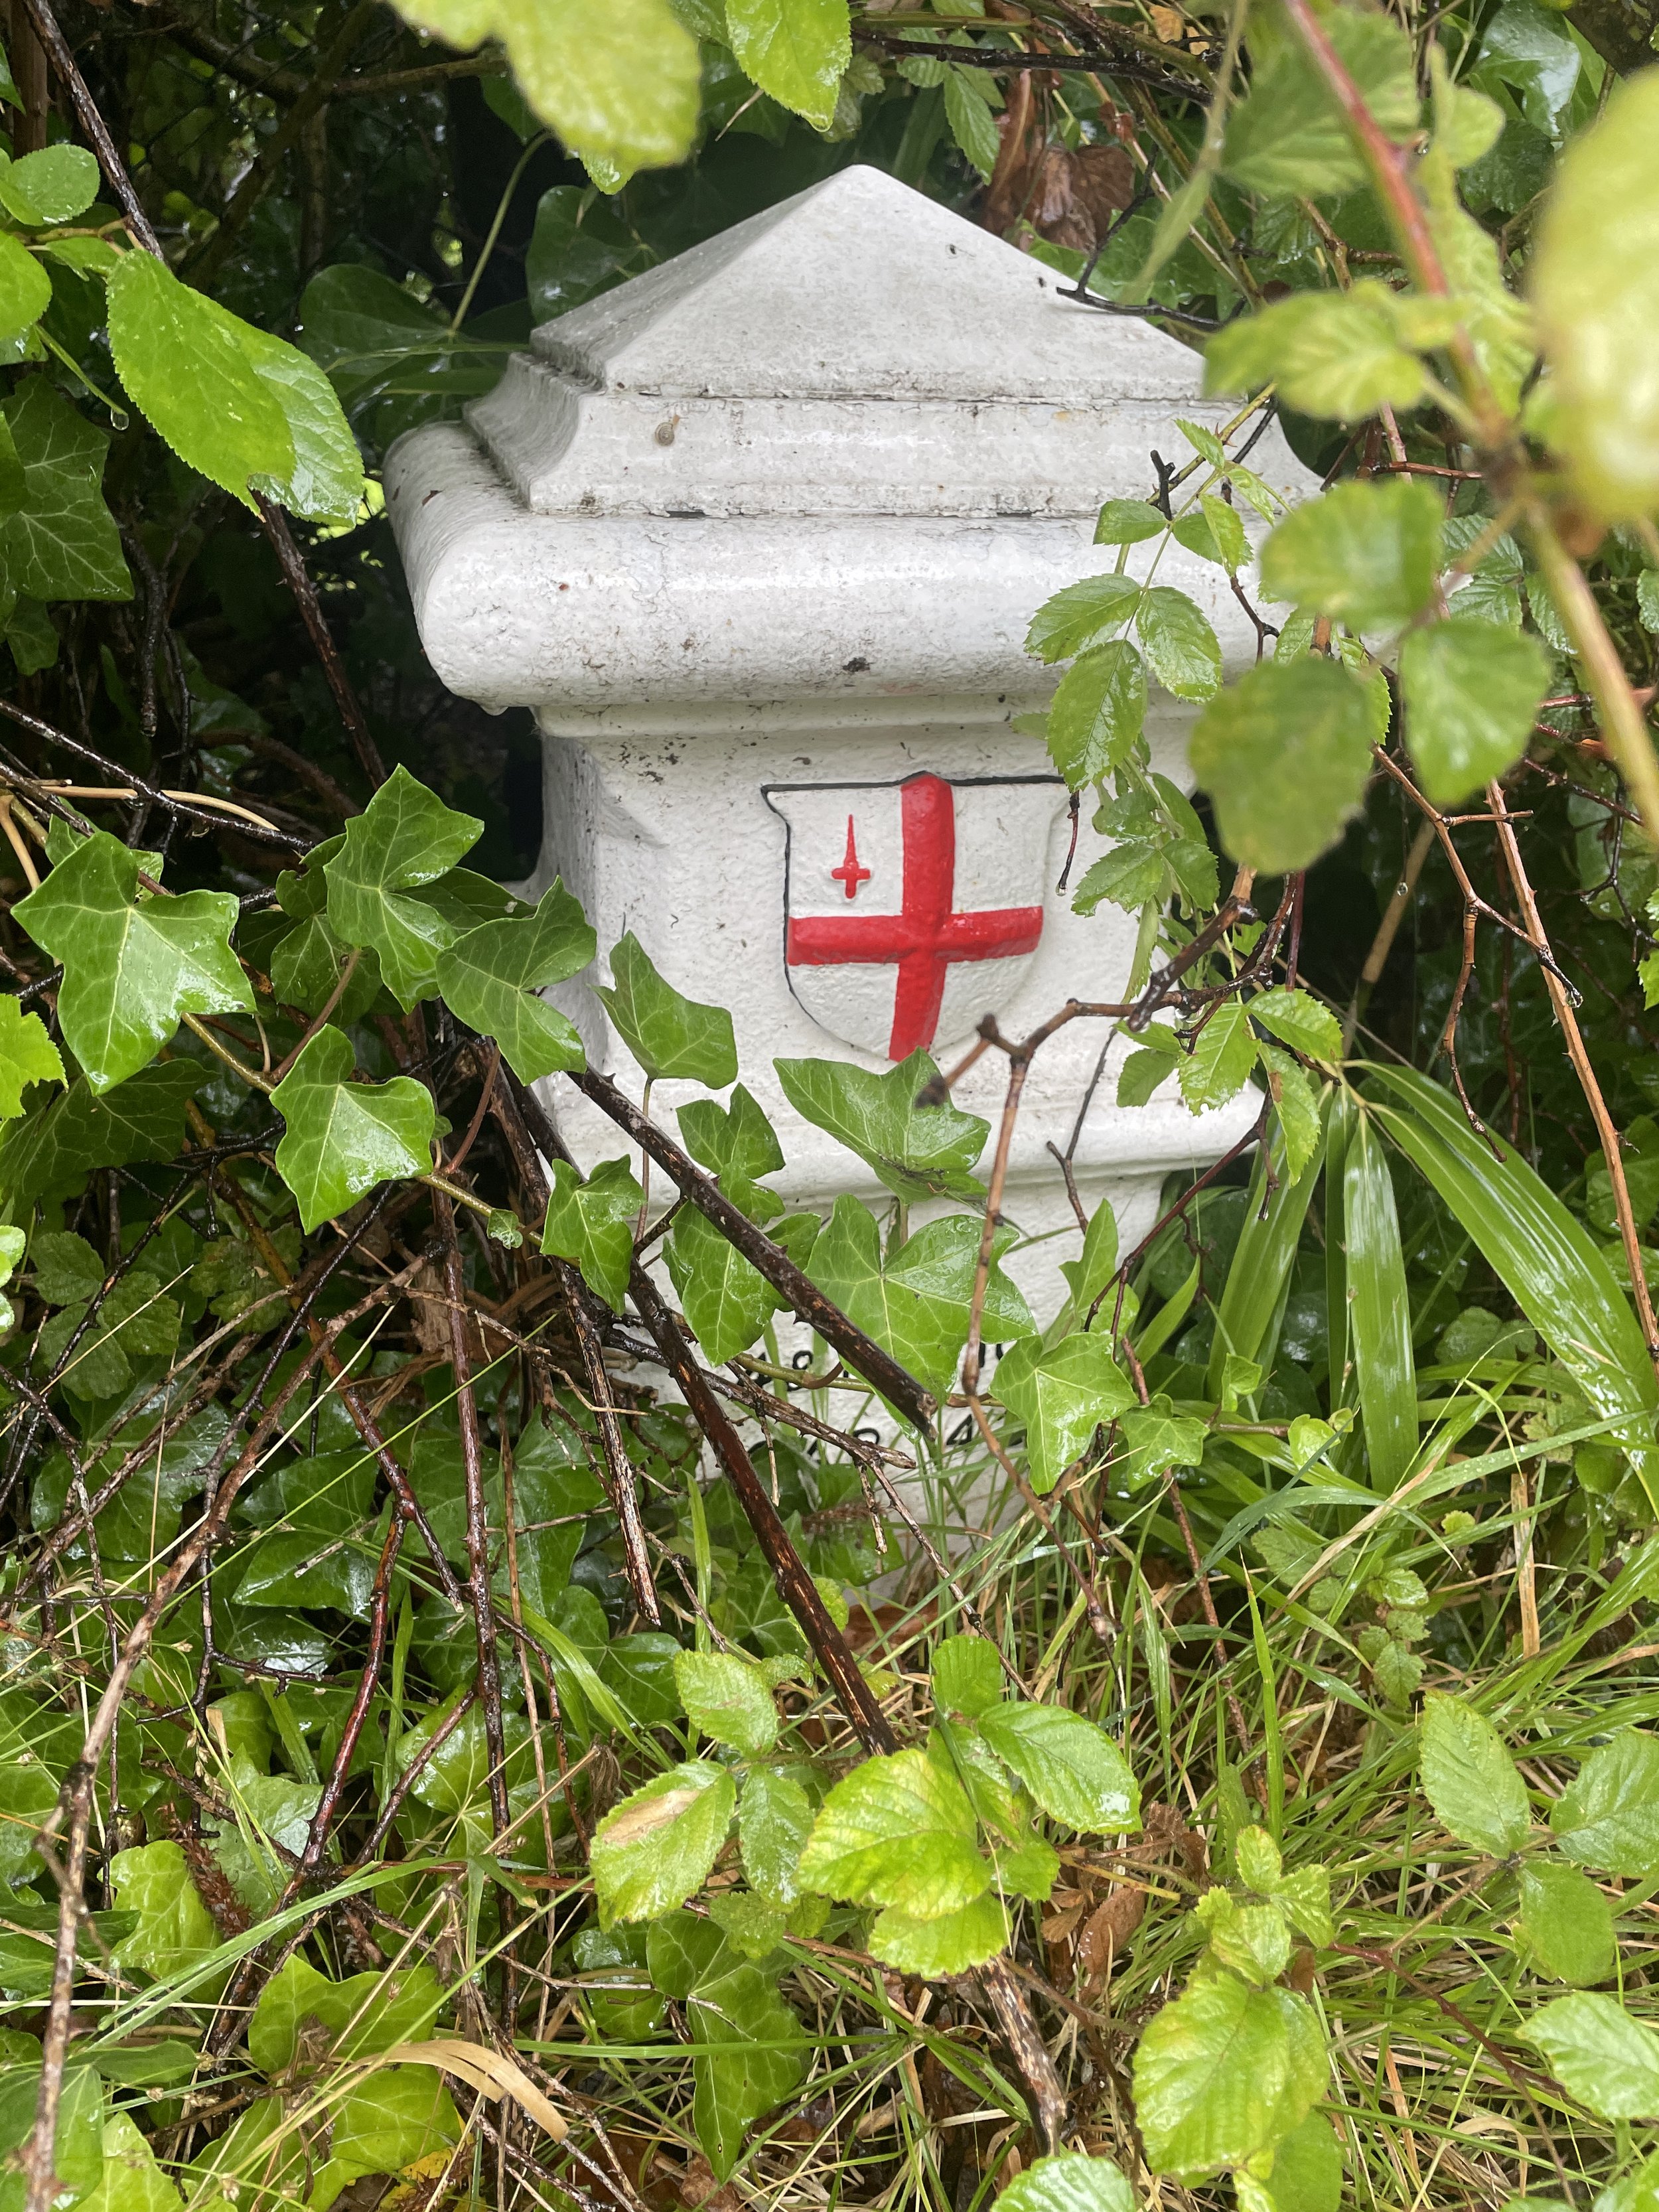
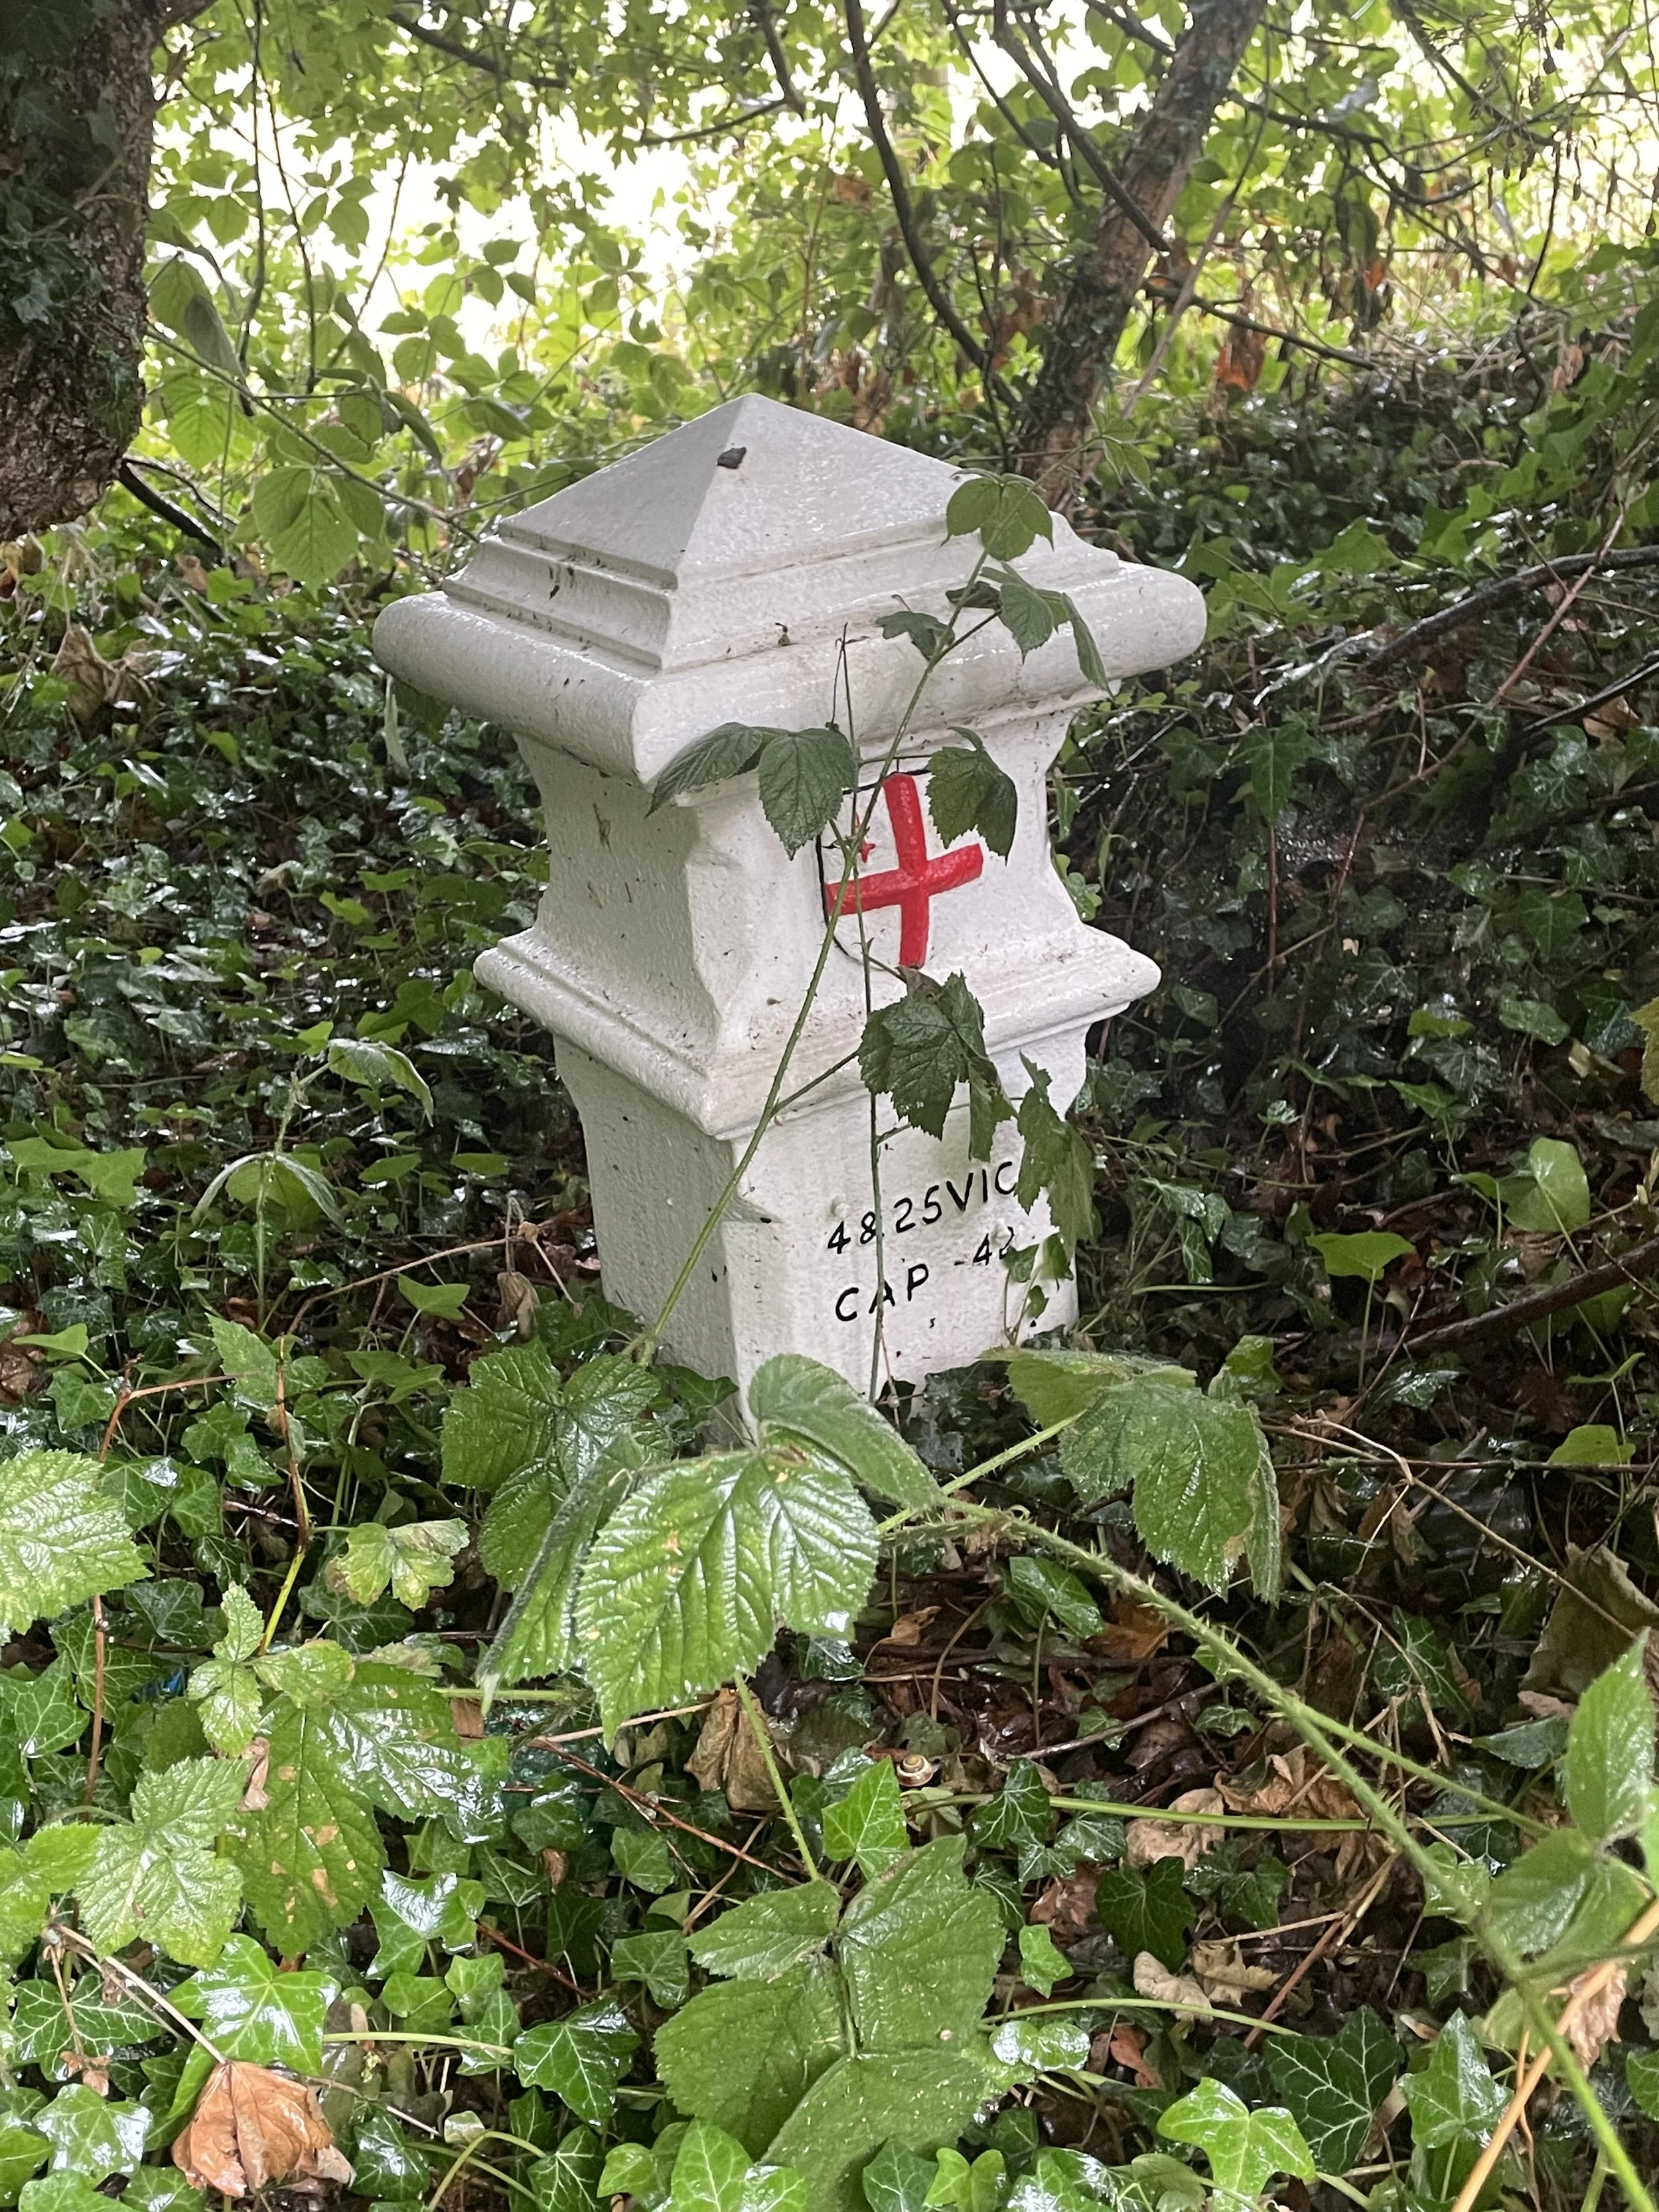
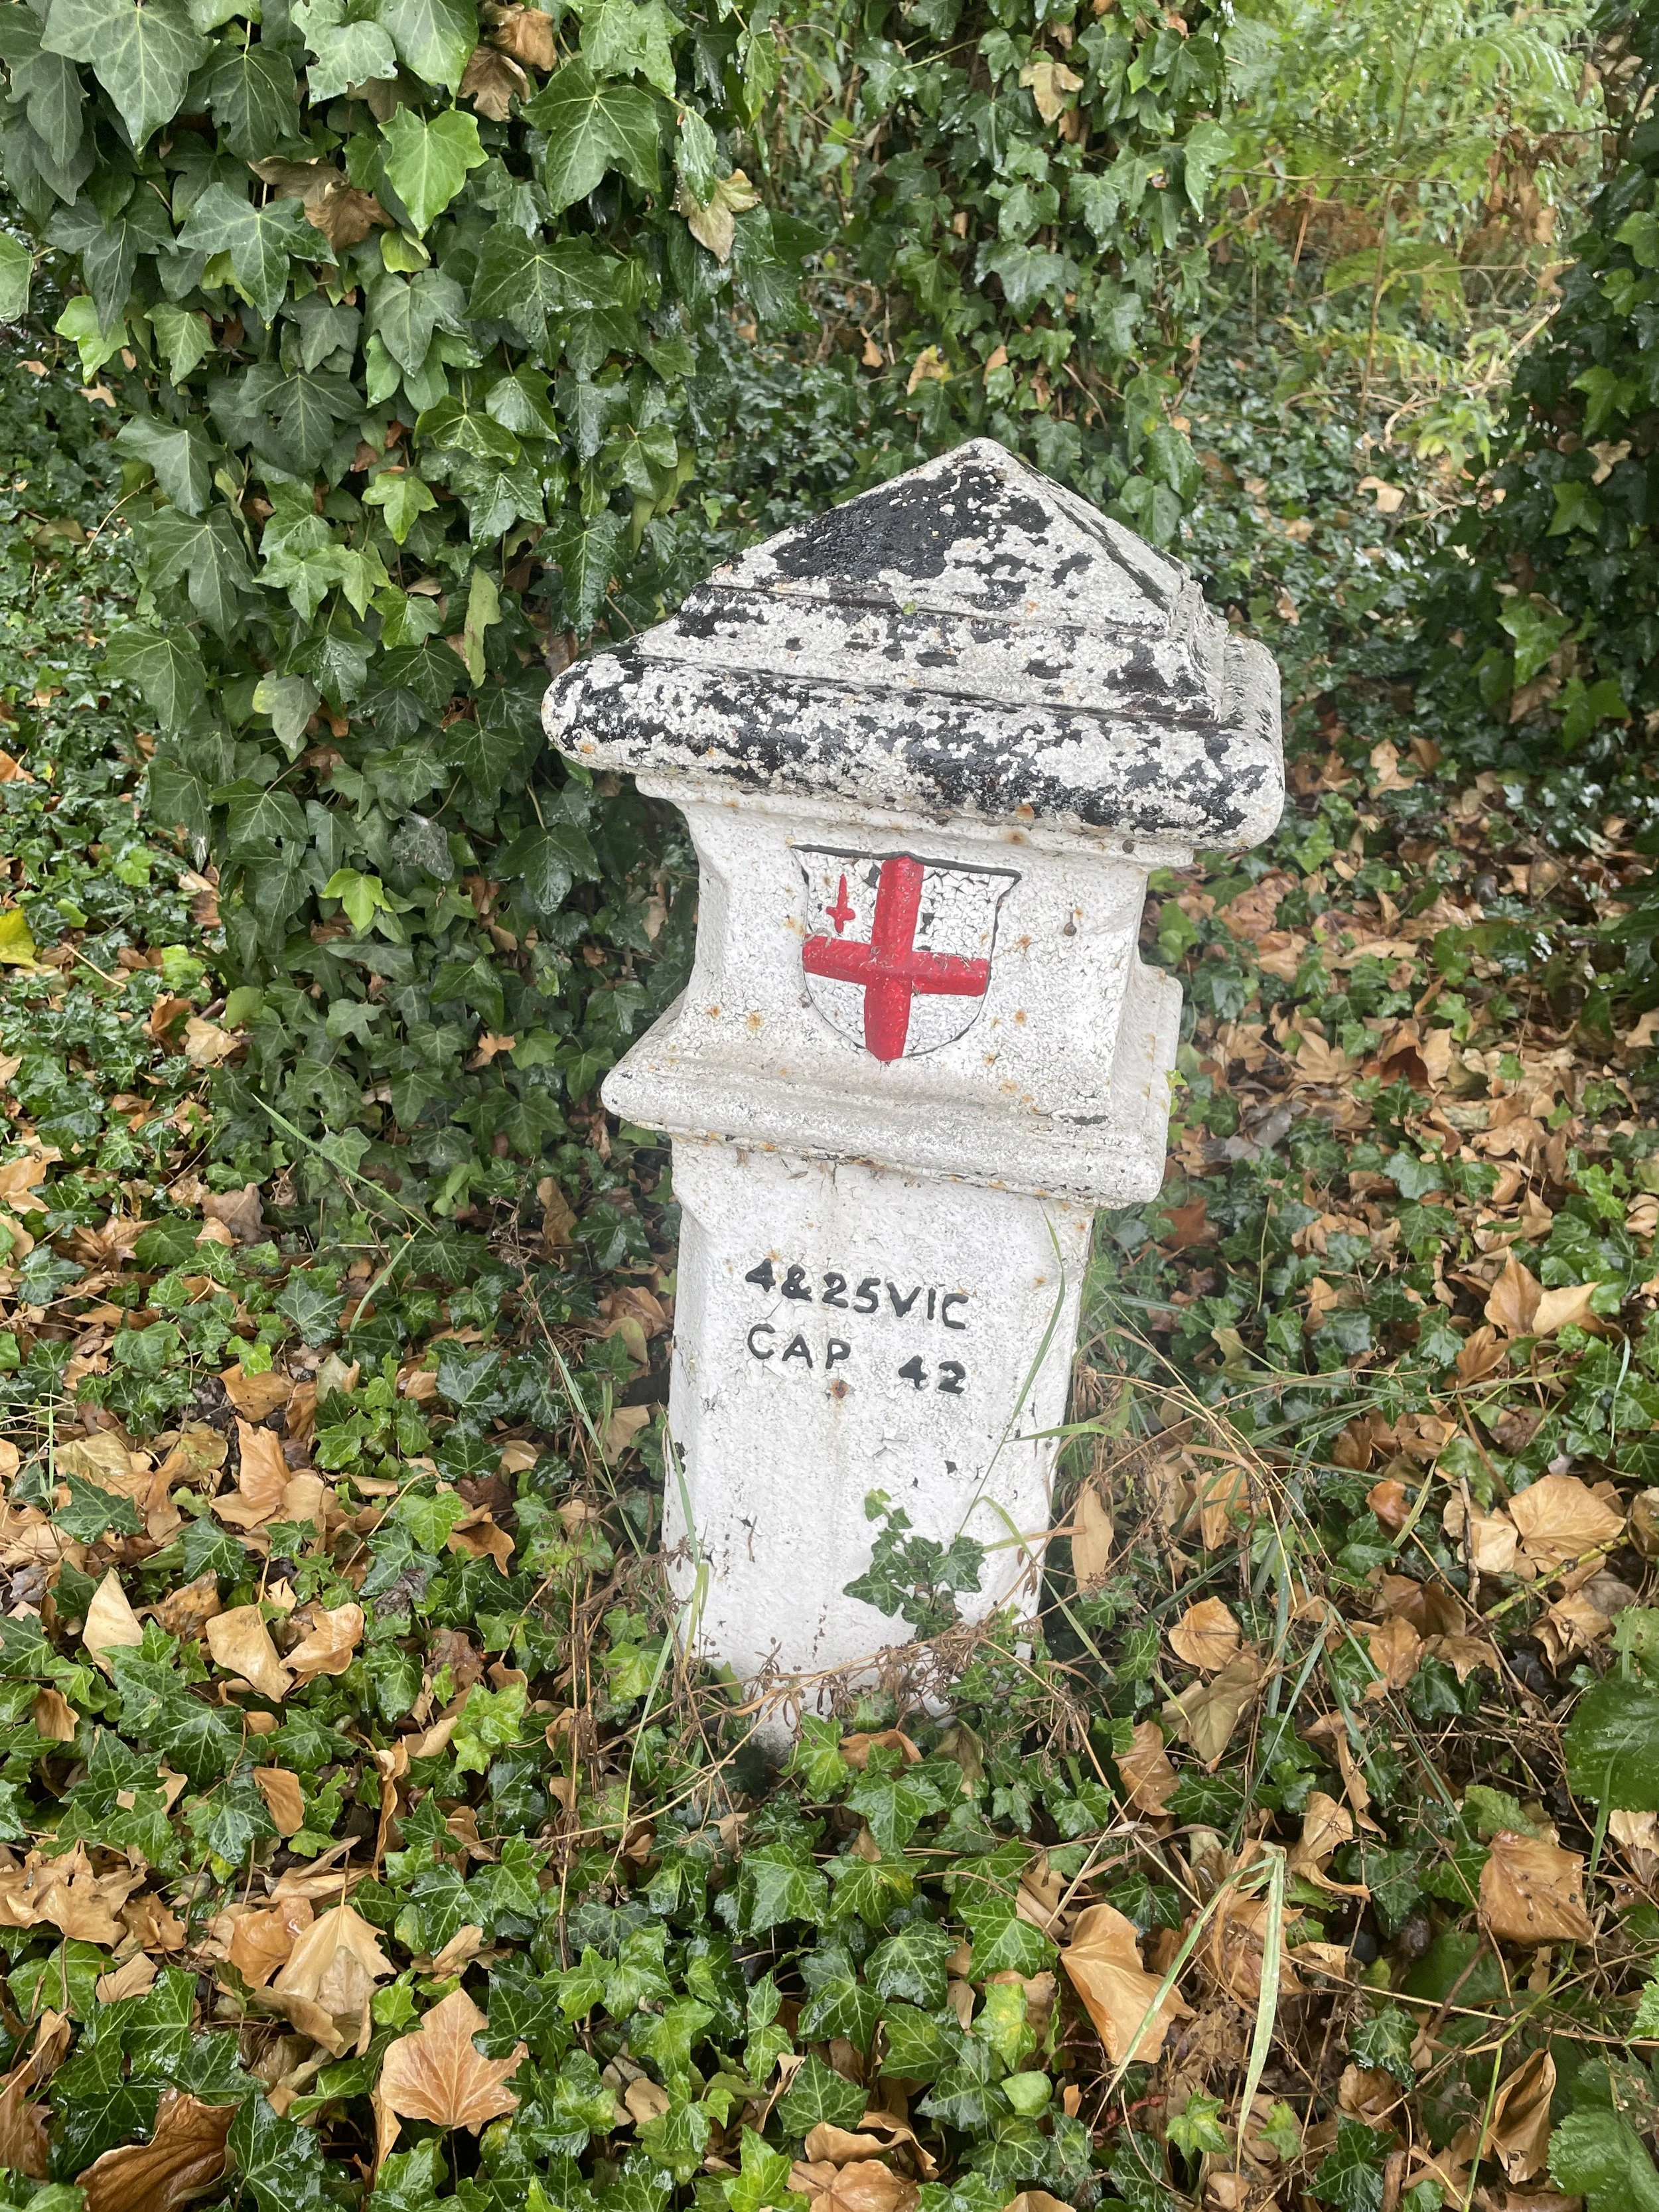
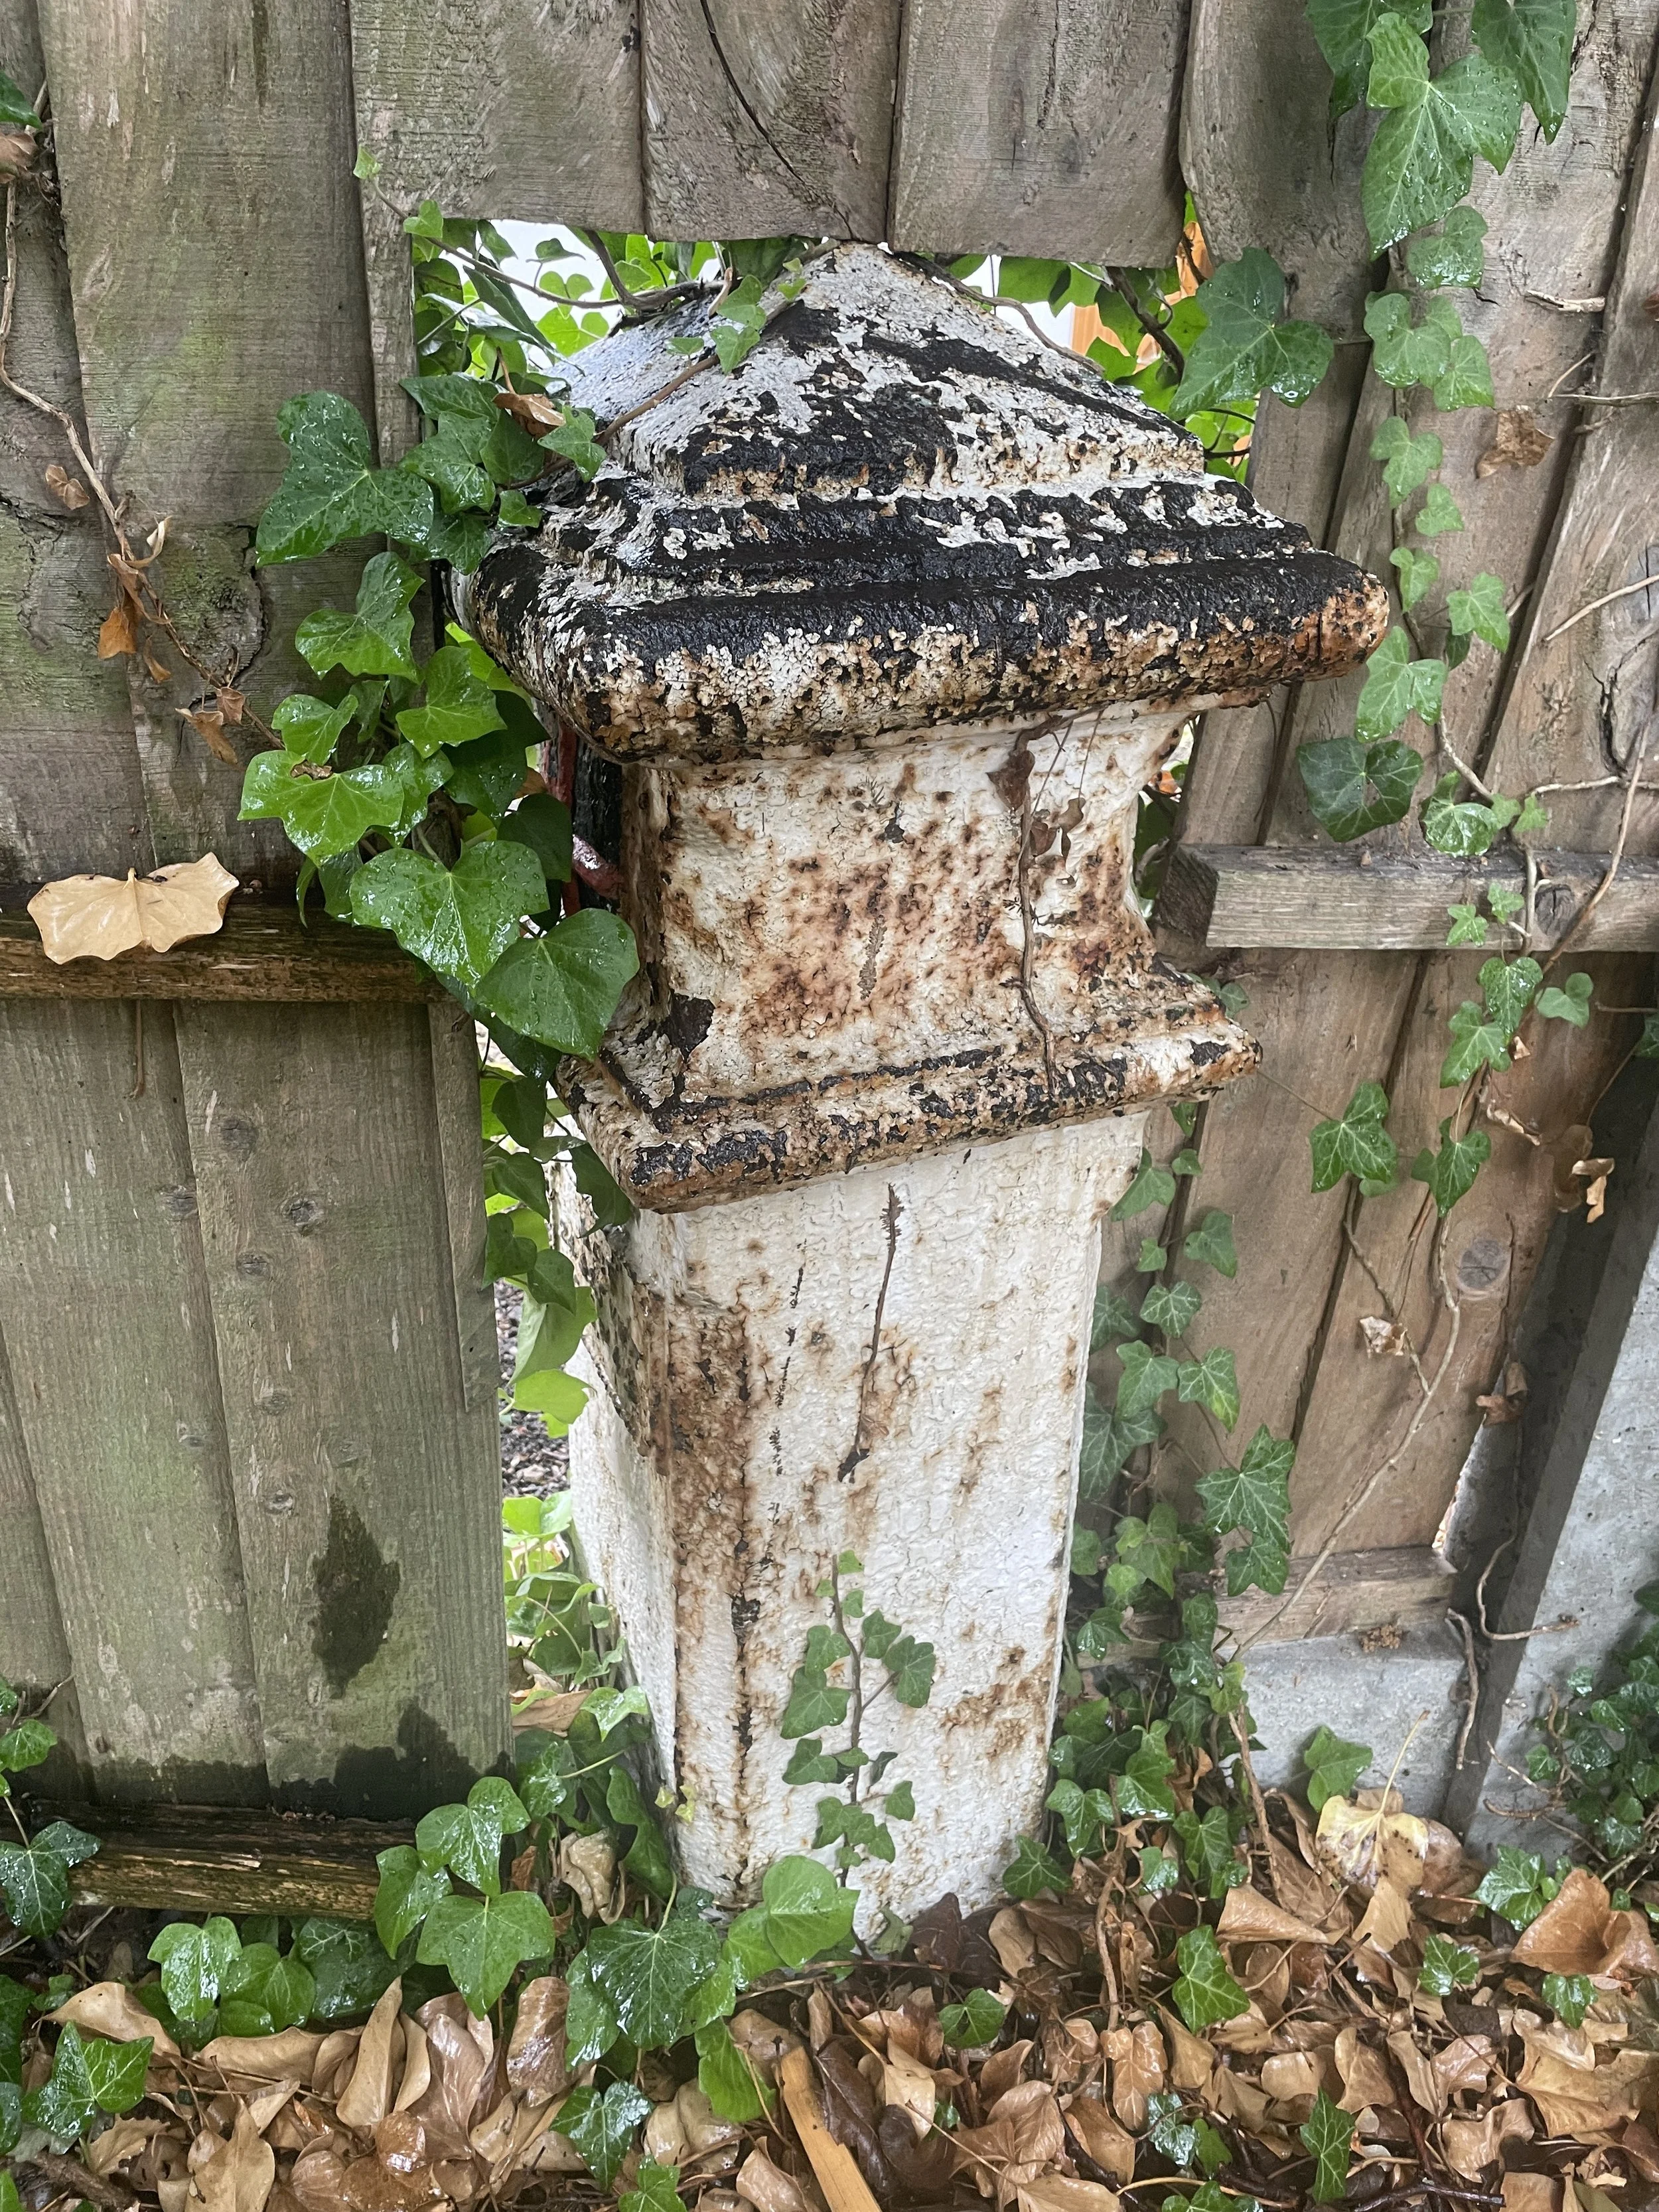
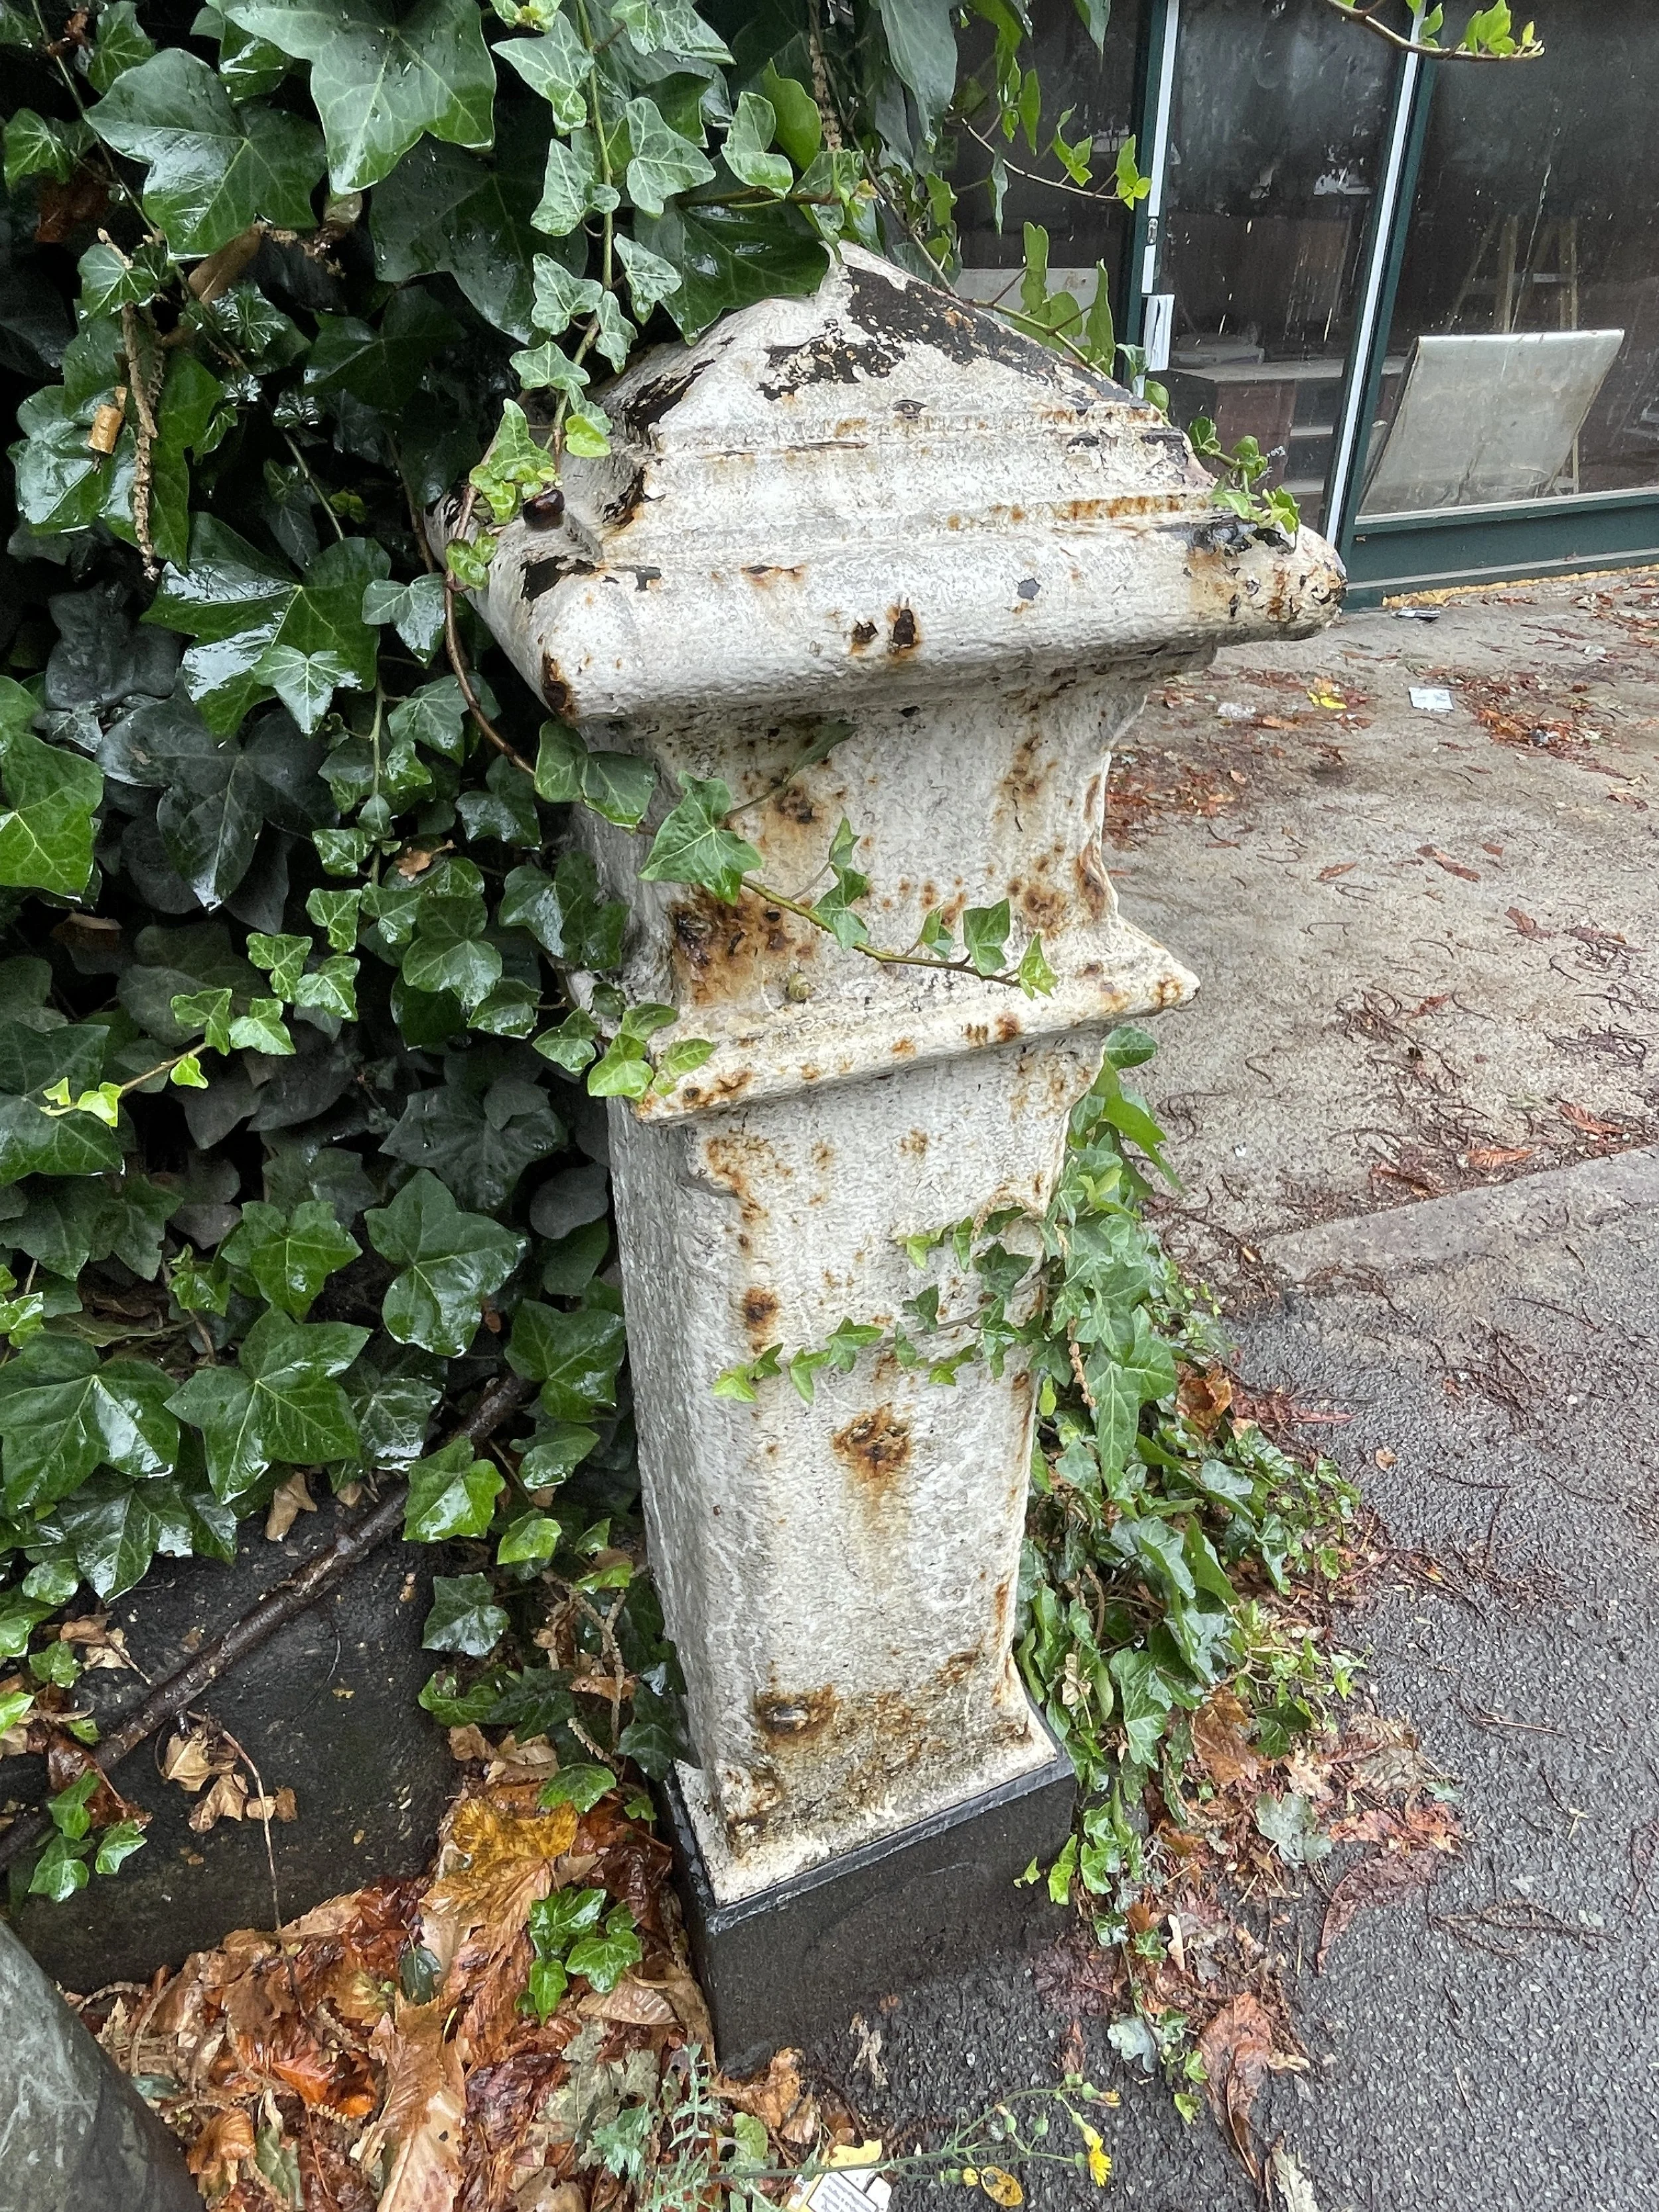
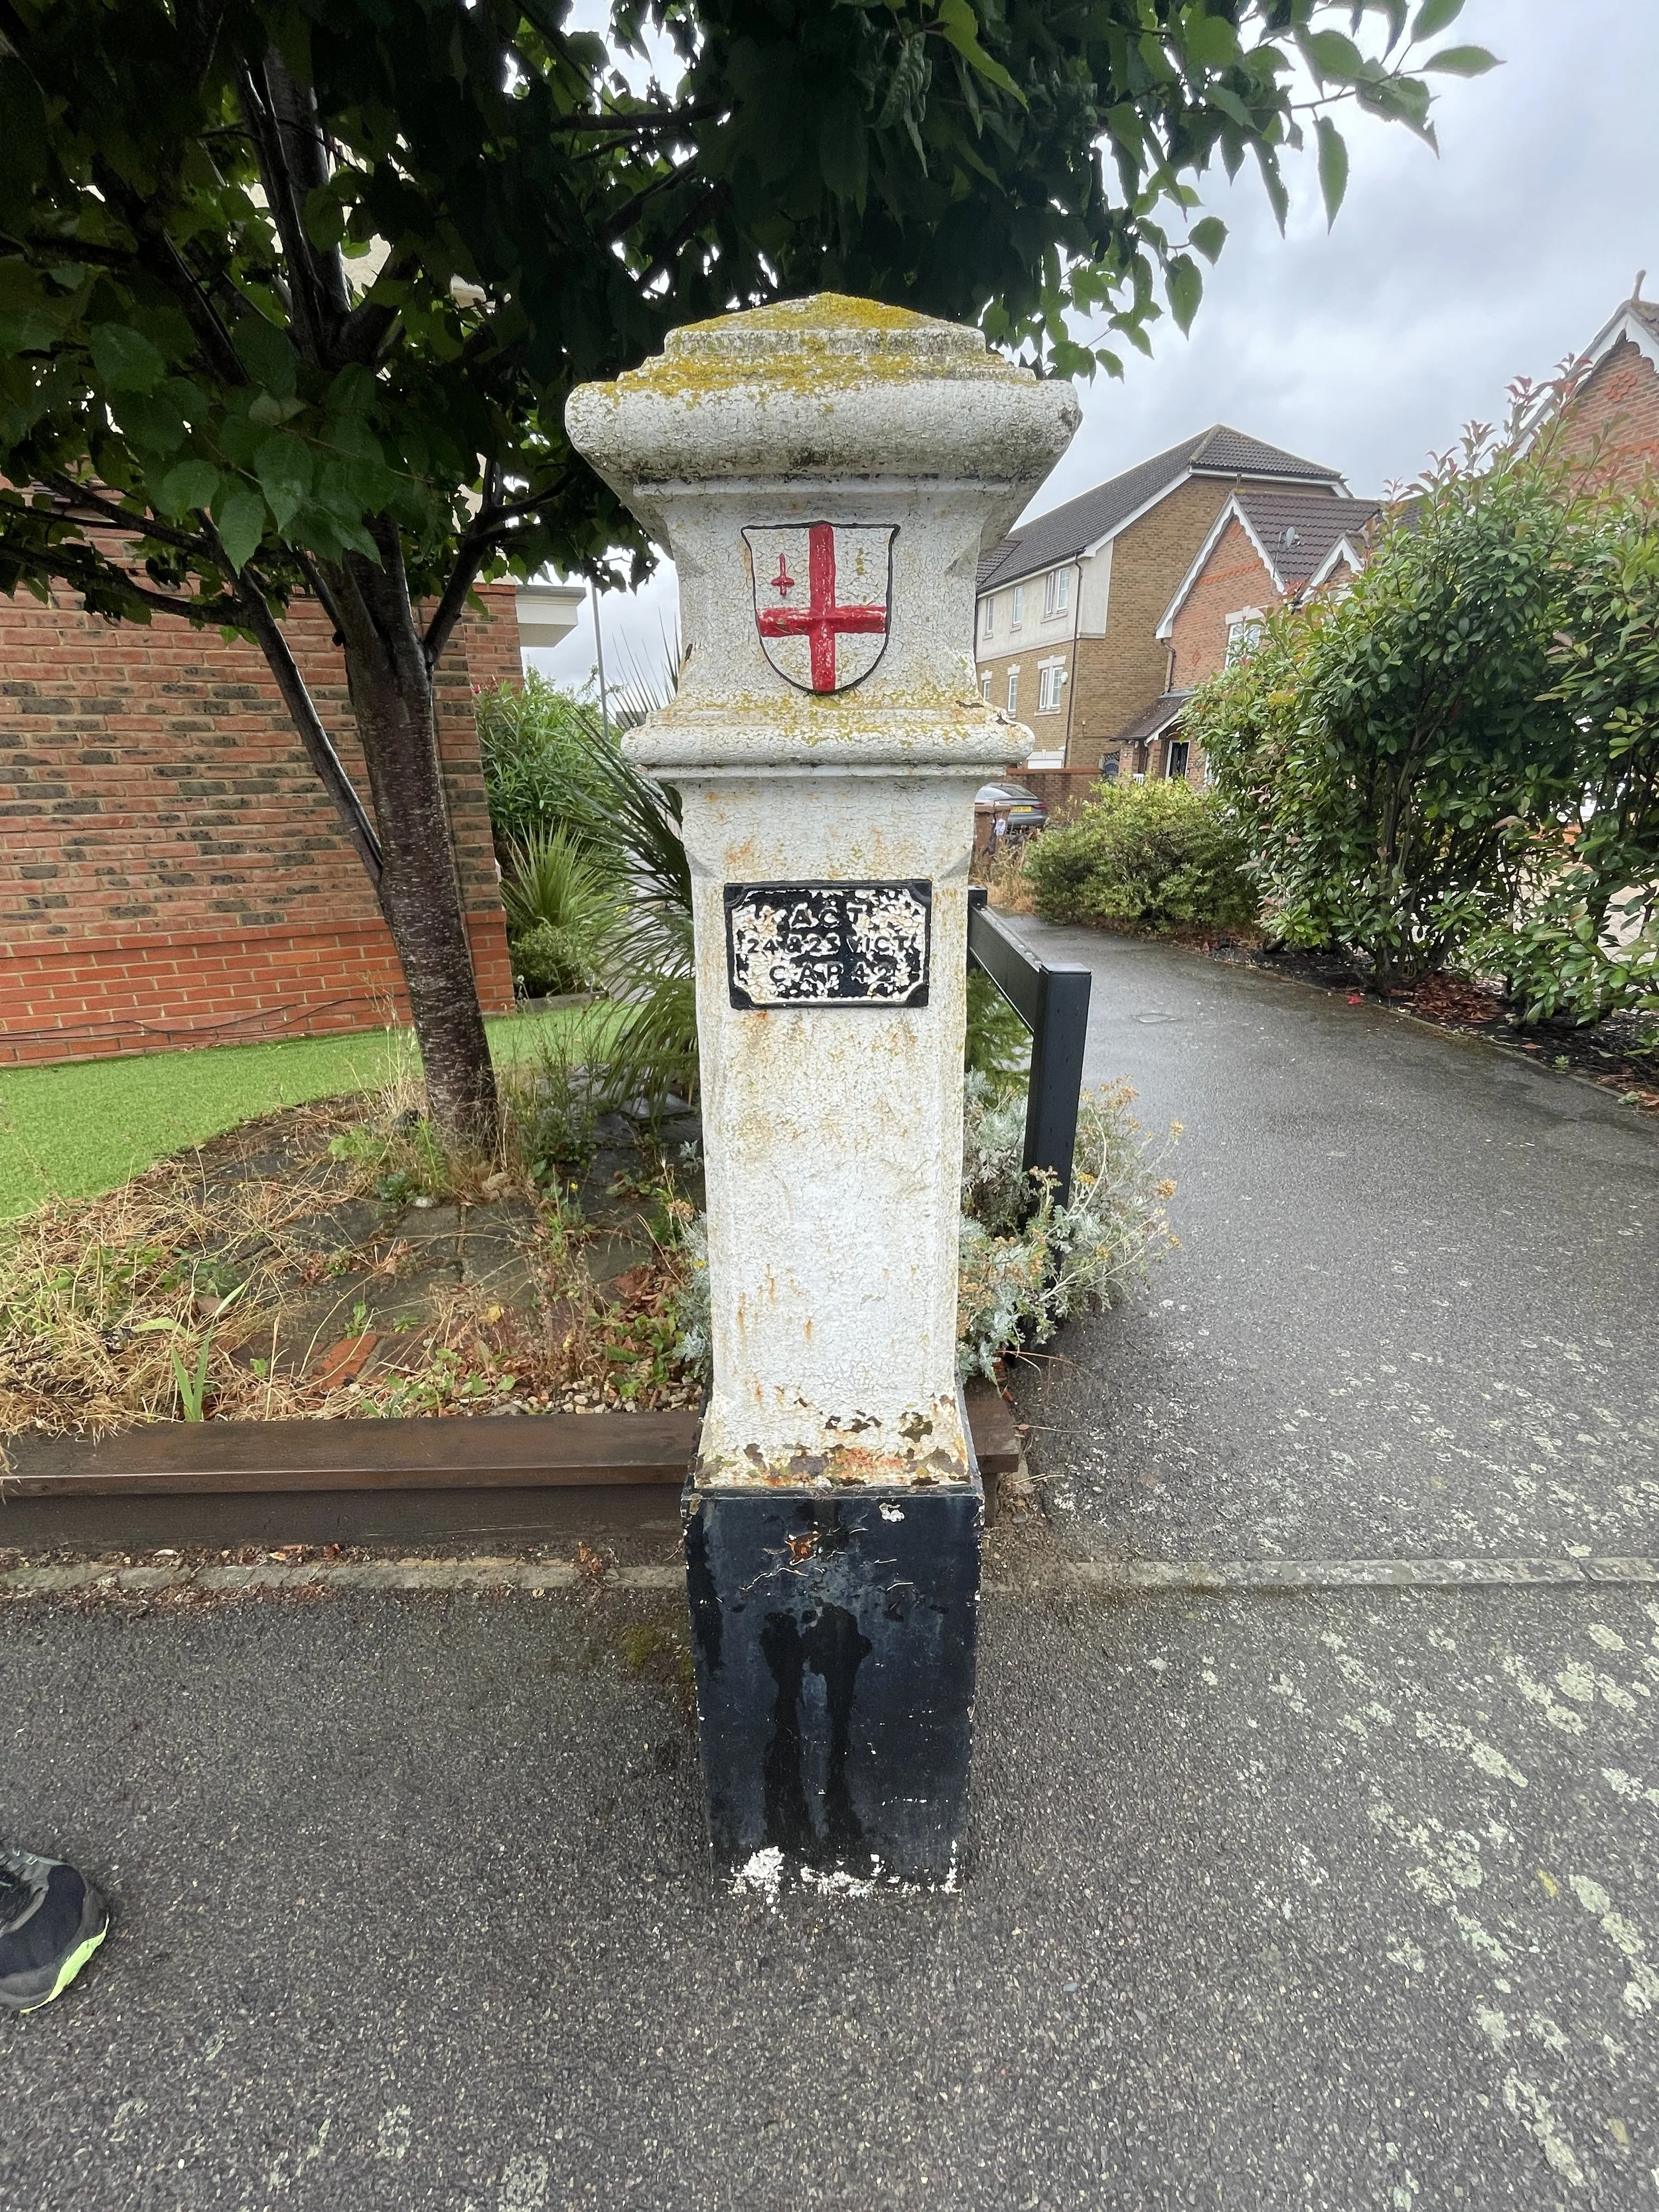
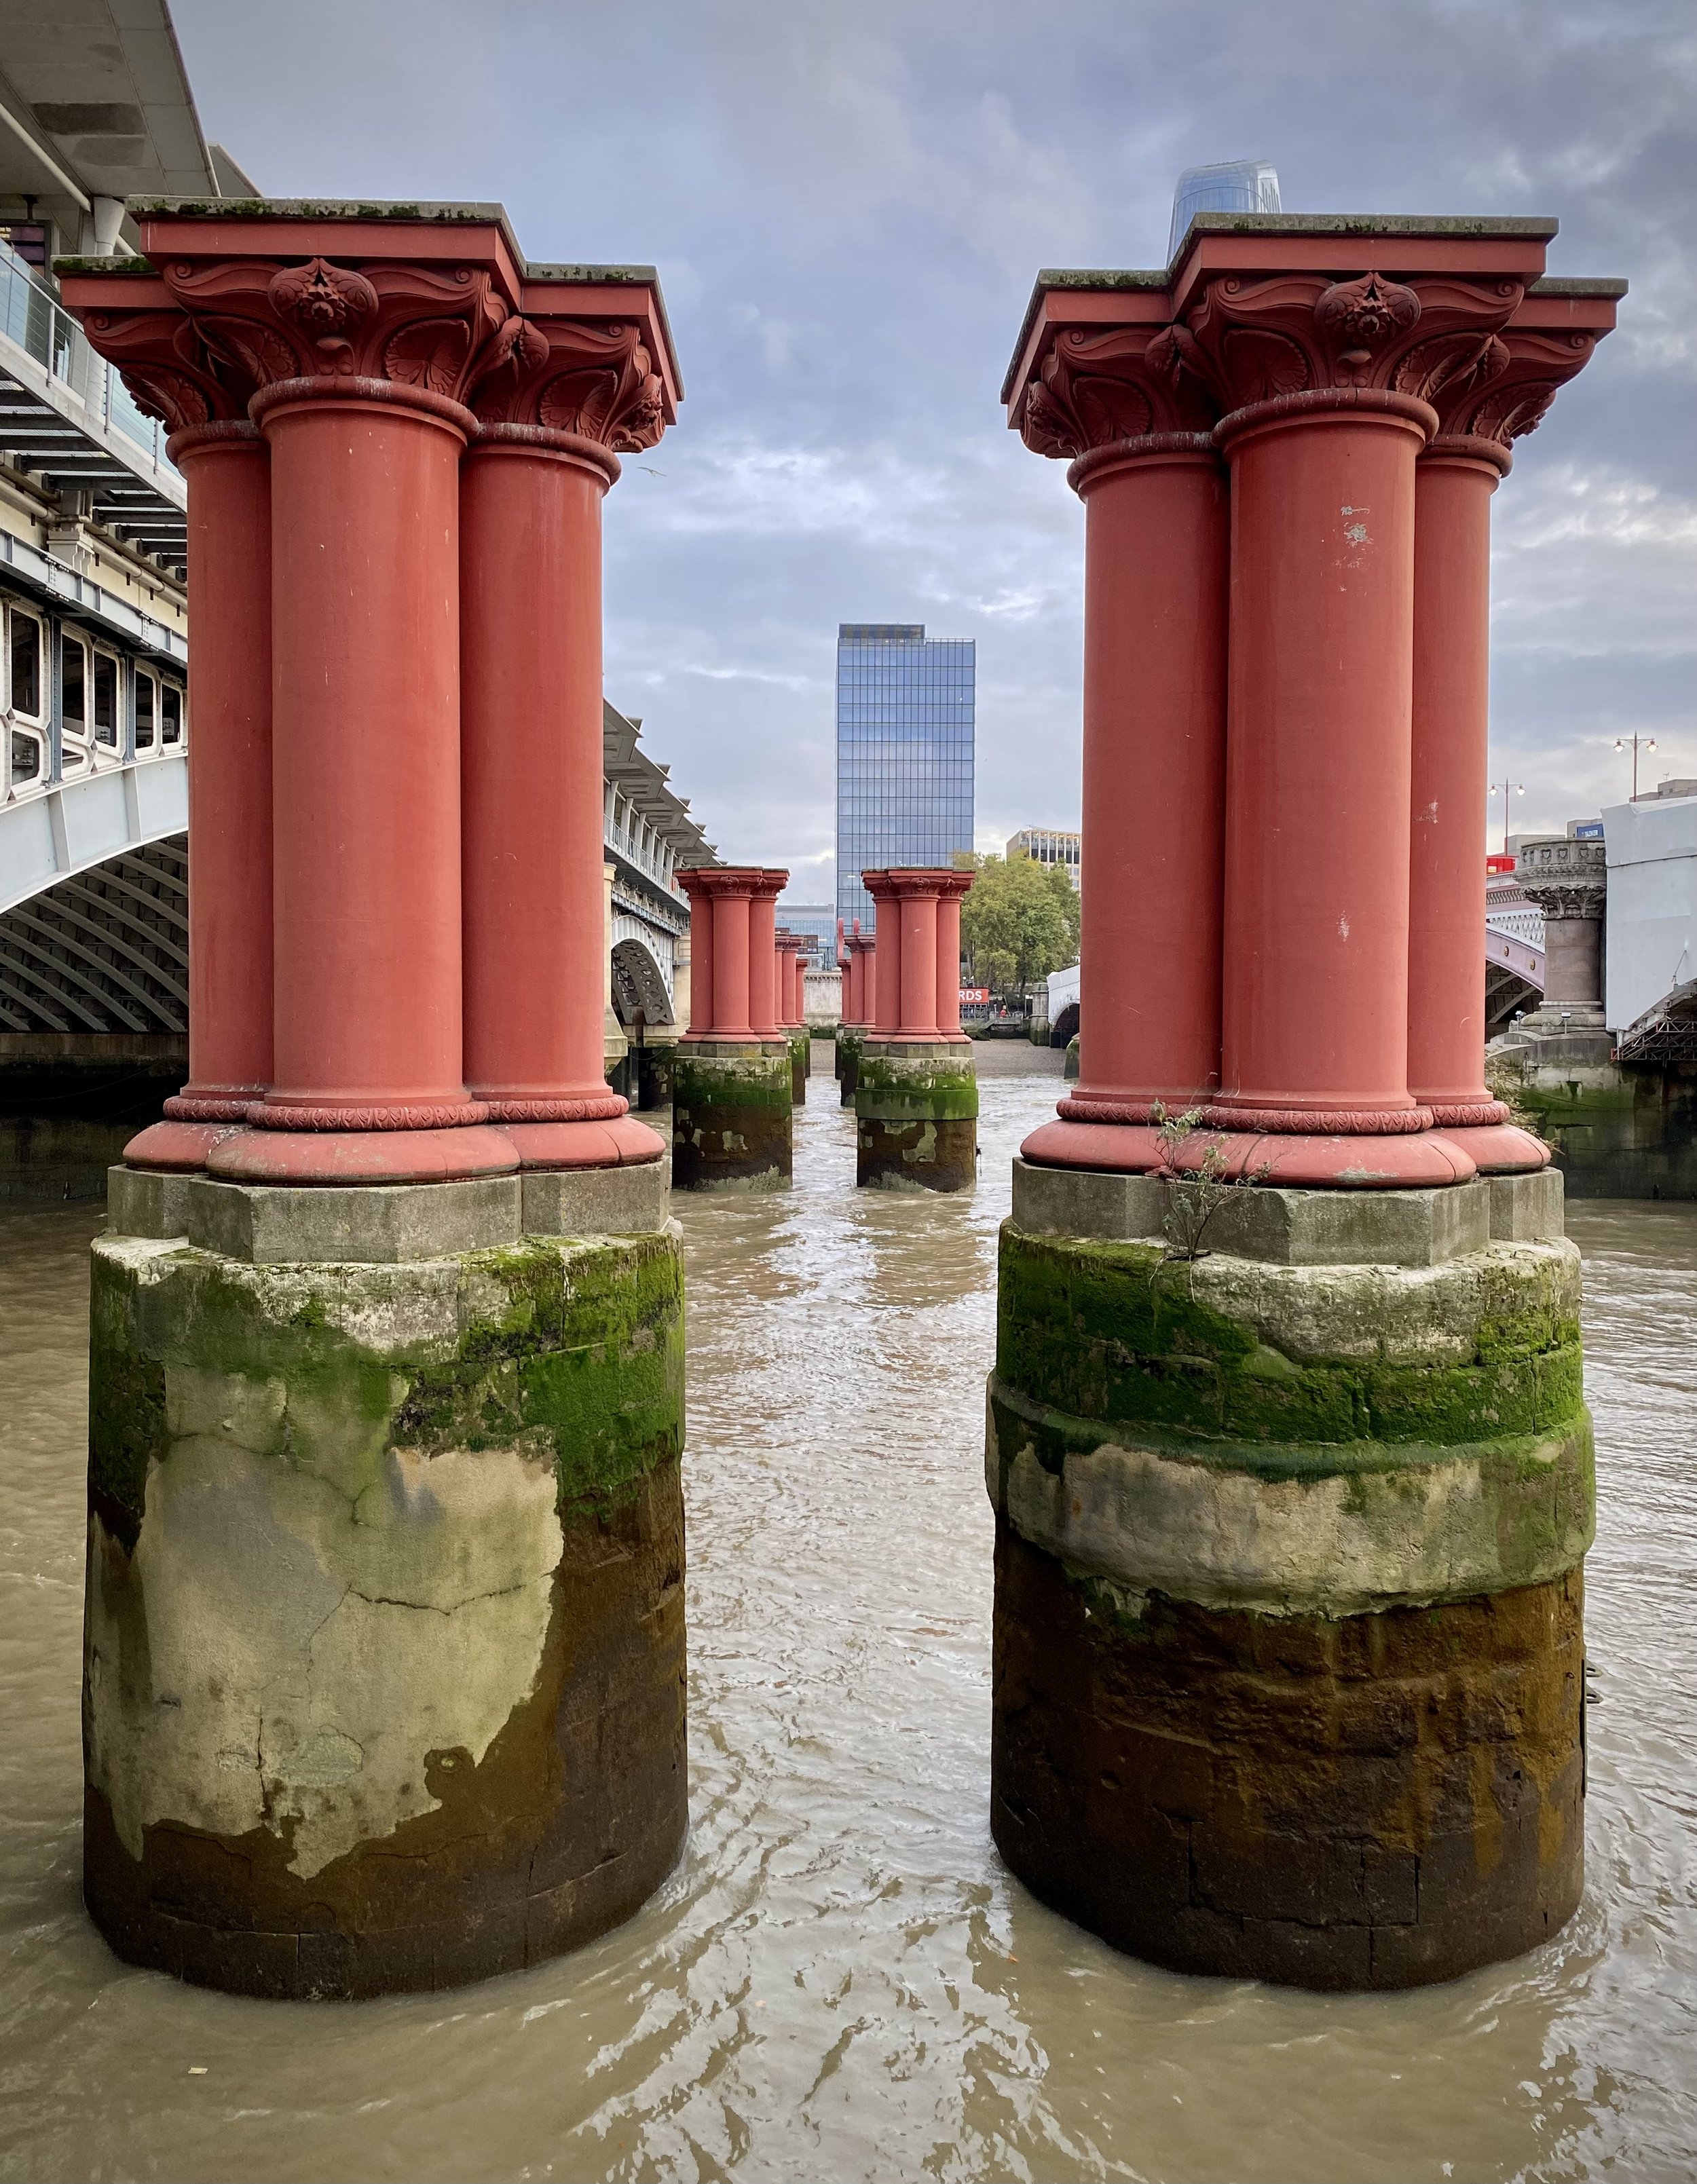
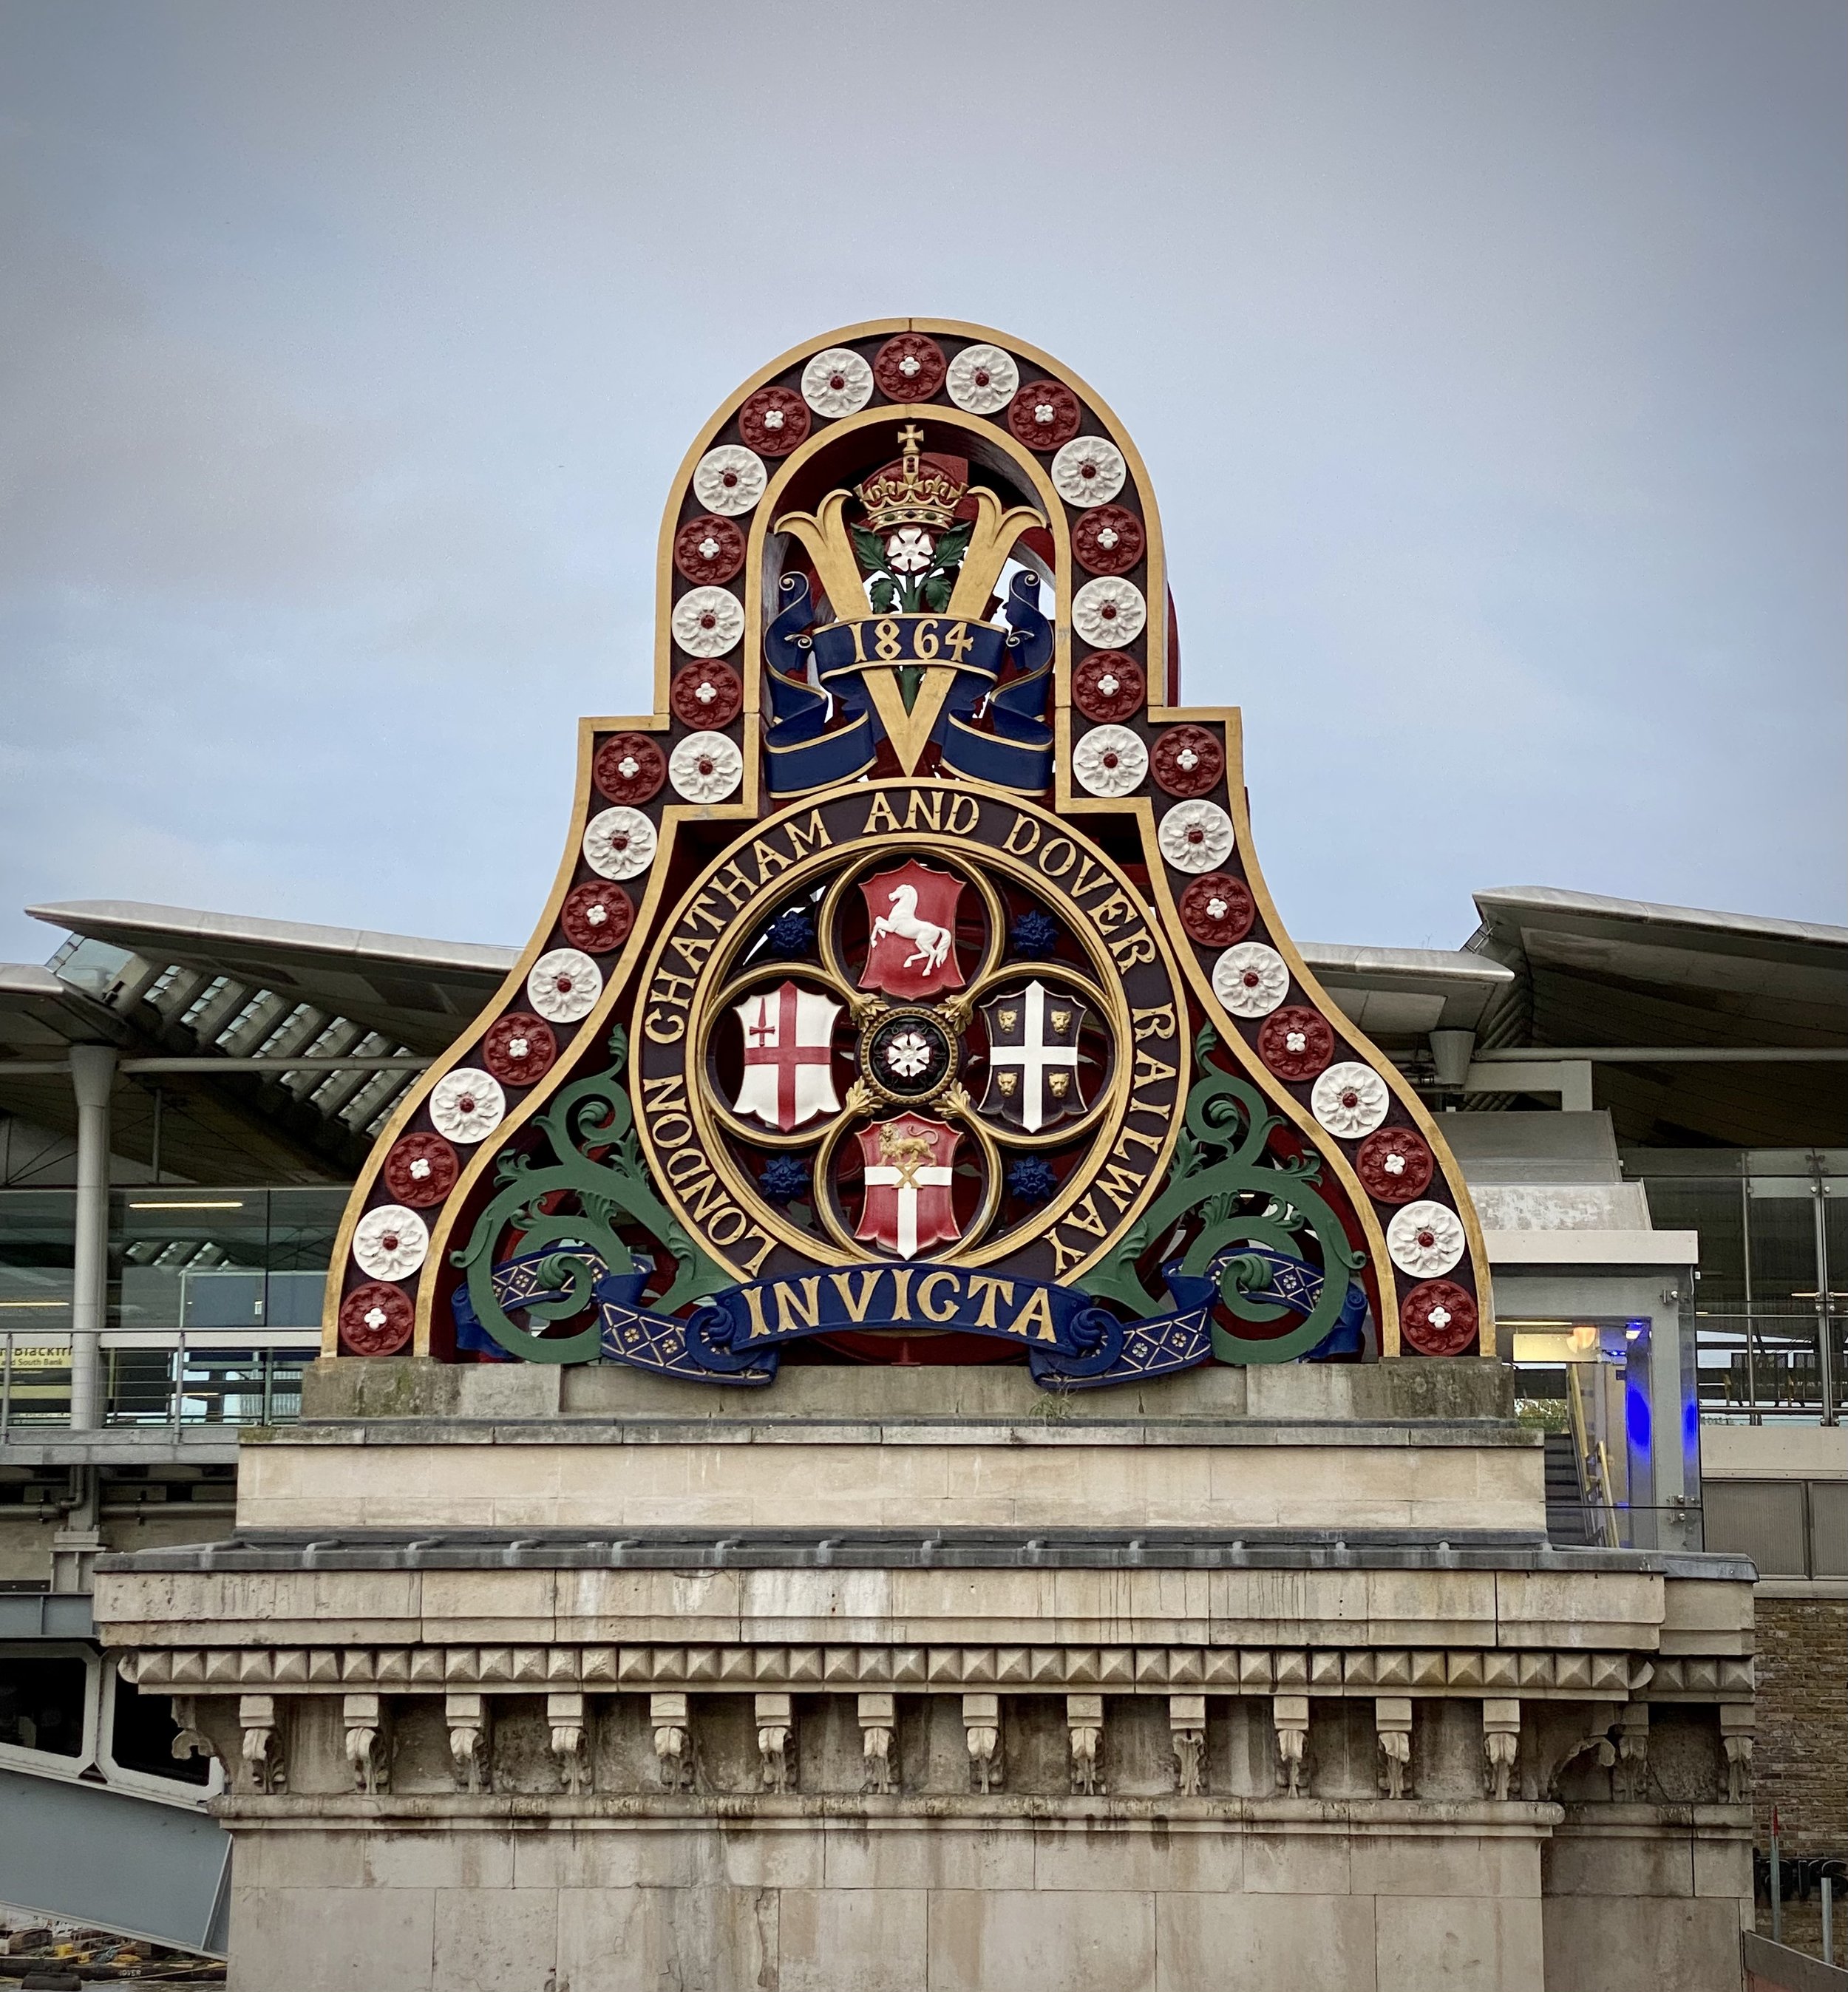
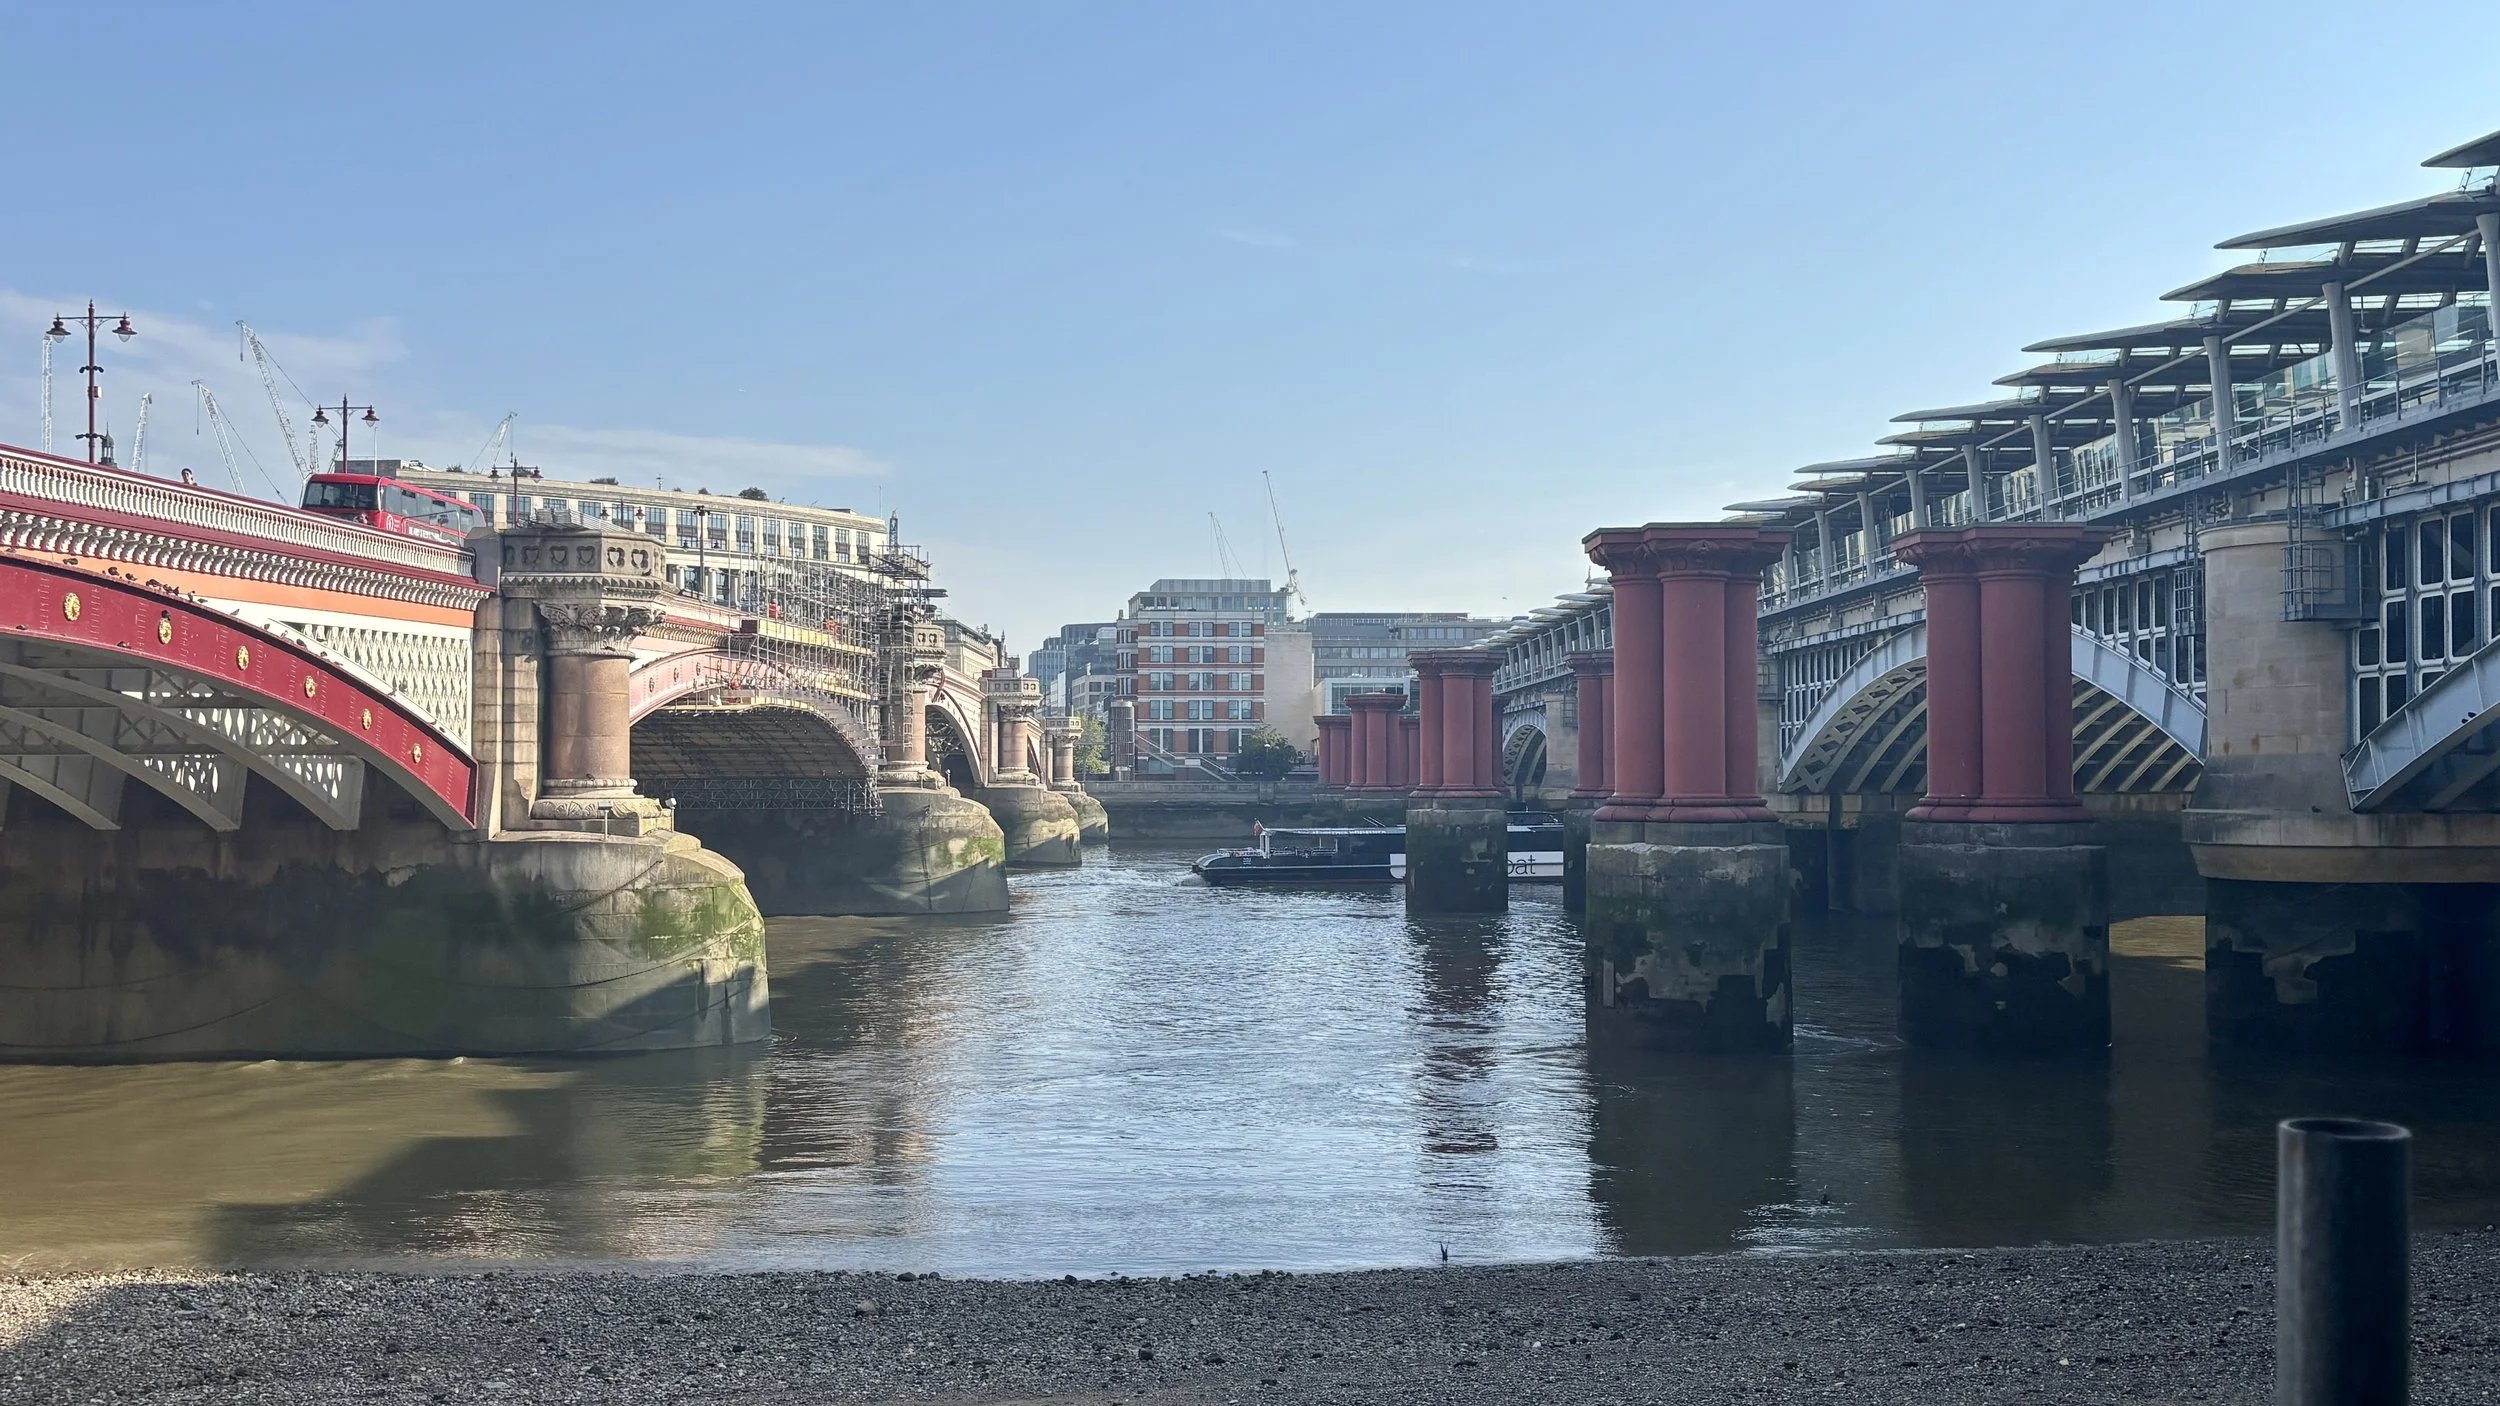
(2.1 km) Blackfriars Railway Bridge Pillars As you continue along the South Bank, look out into the river to see a row of red, cast-iron pillars standing completely alone in the water. These are the beautifully preserved remains of the original 1864 London, Chatham and Dover Railway bridge, dismantled in the 1980s. The railway insignia is still brilliantly visible on the columns.
(2.5 km) Oxo Tower Originally a power station, the building was largely rebuilt in the 1920s by the Liebig Extract of Meat Company (makers of Oxo cubes). Refused permission for illuminated rooftop advertising, they cleverly circumvented the ban by designing the tower's windows in the shapes of a circle, a cross, and a circle subtly spelling out "OXO" across the skyline.
(2.6 km) The Queen's Walk This vibrant pedestrian promenade stretches along the South Bank of the Thames, formalized in 1977 to mark the Silver Jubilee of Queen Elizabeth II. It connects several major cultural landmarks and is renowned for its bustling atmosphere, street performers, and unmatched views across the river.
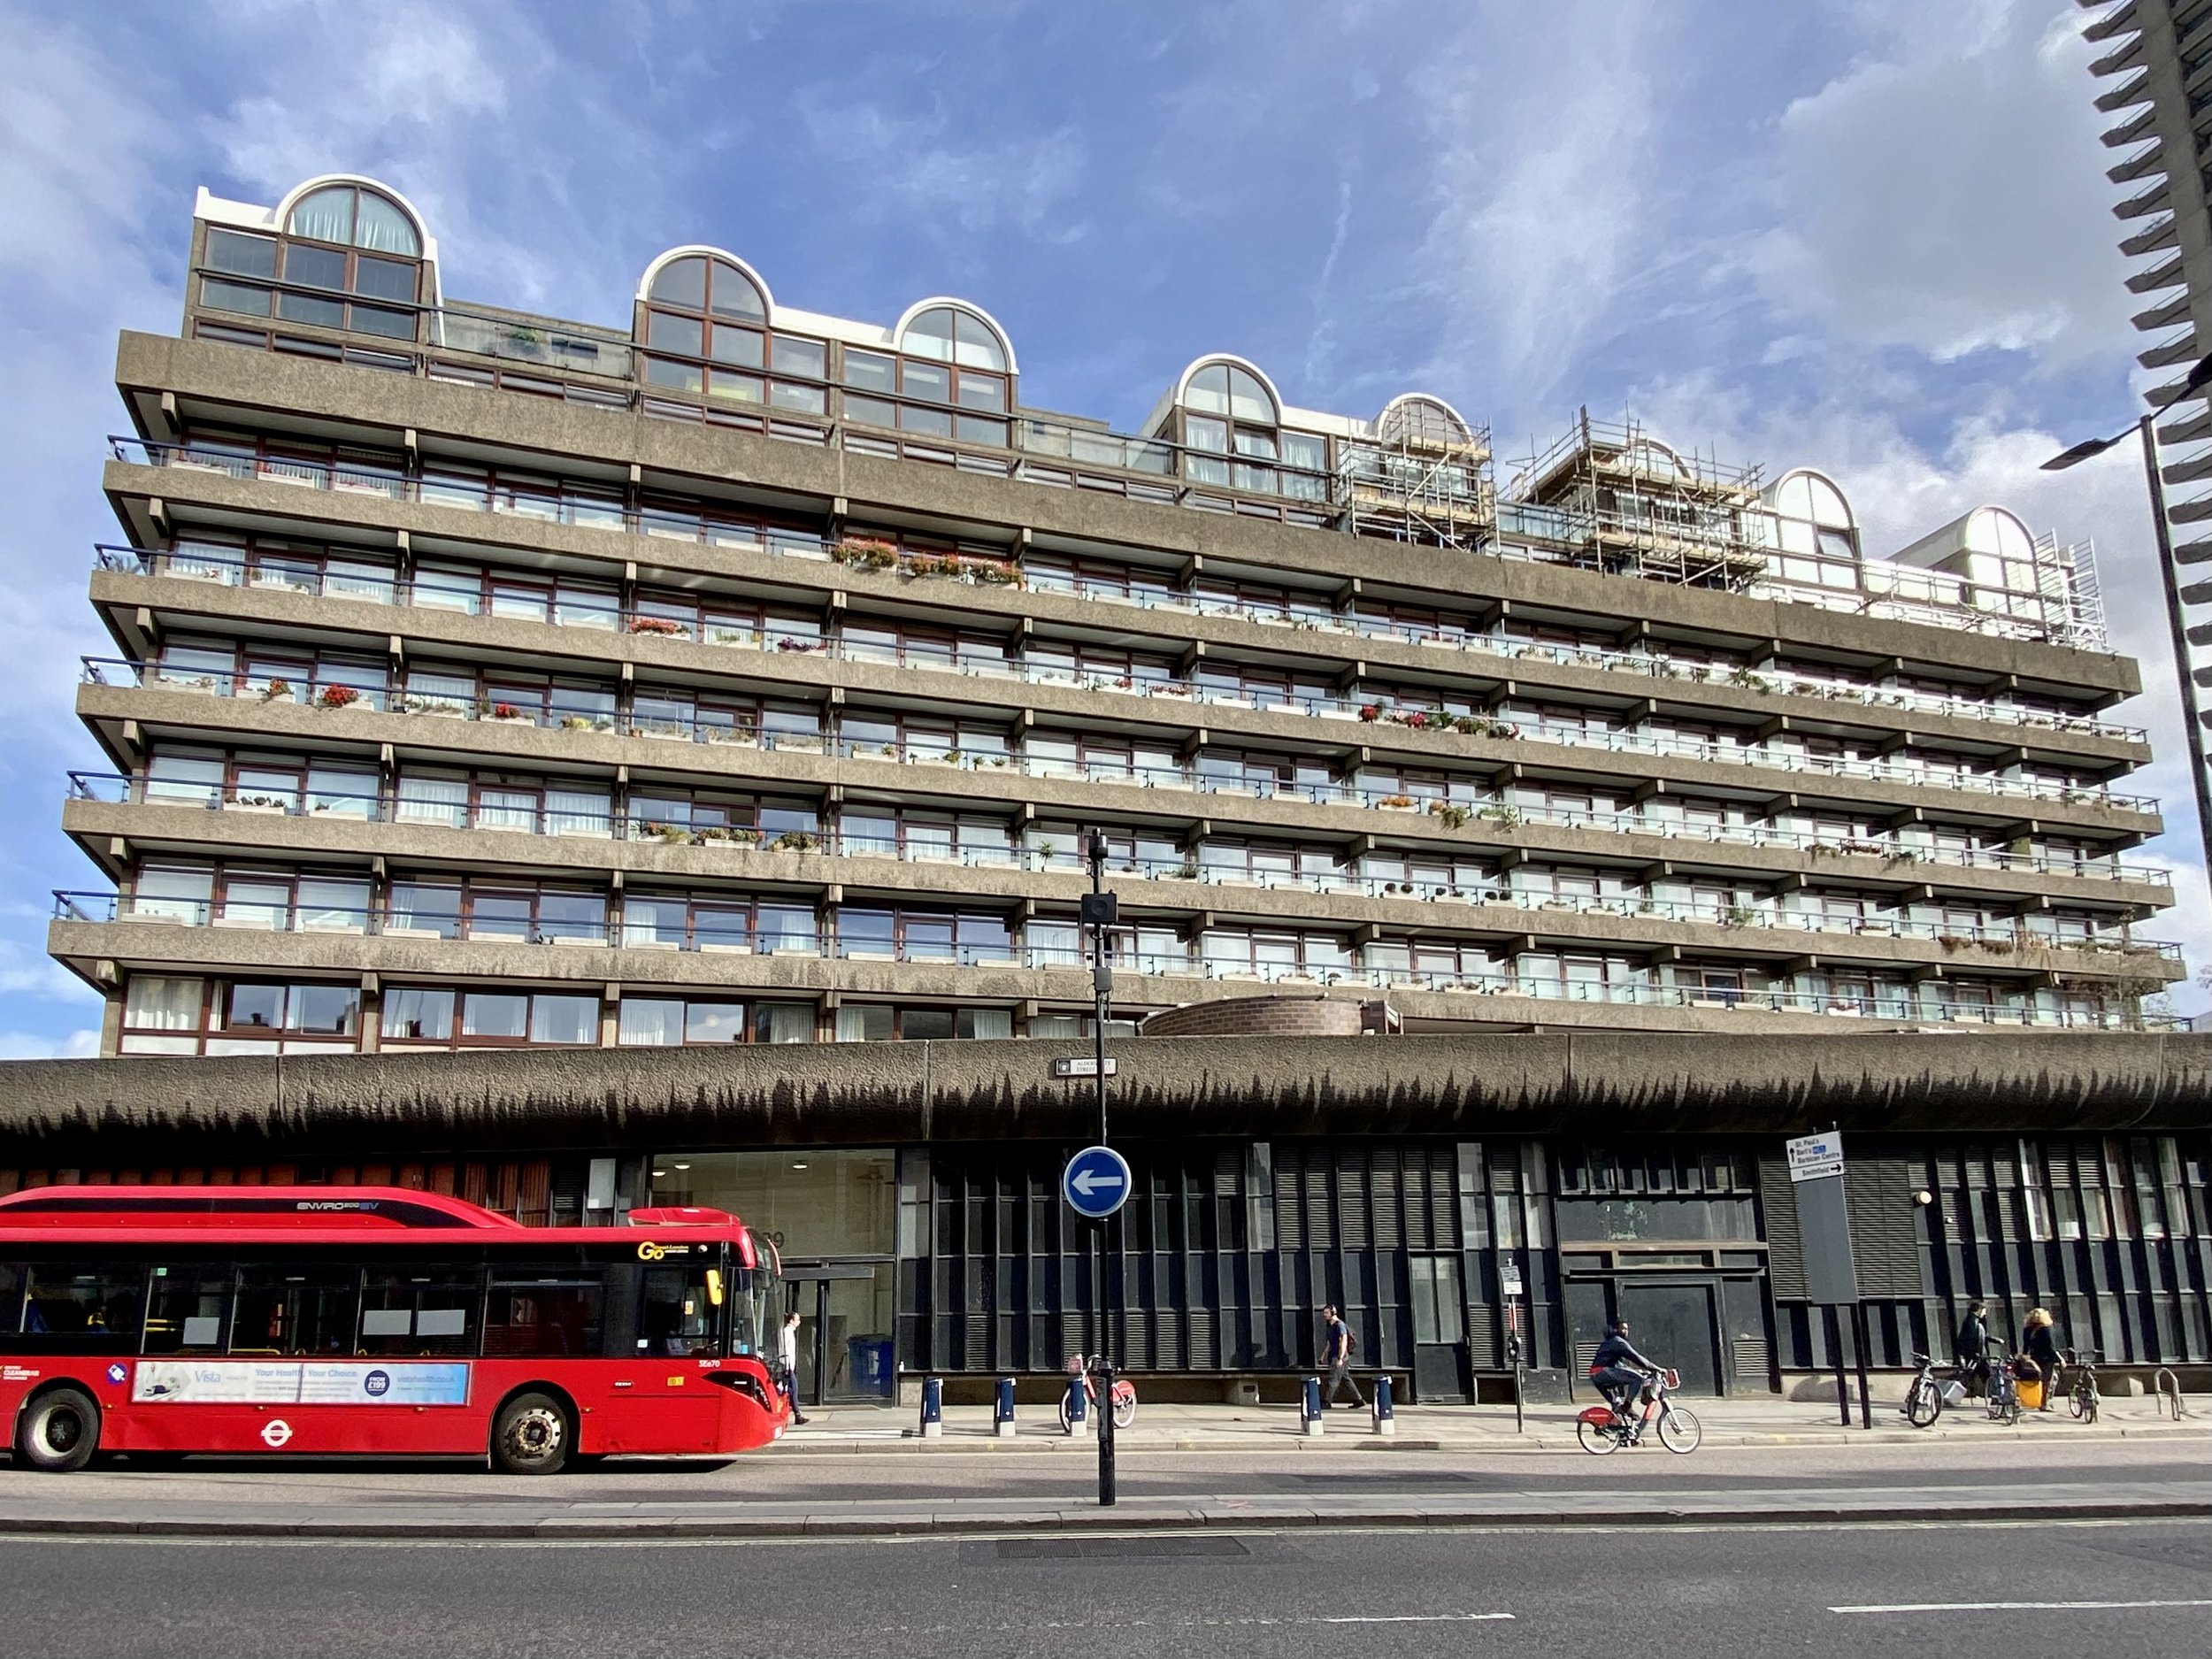
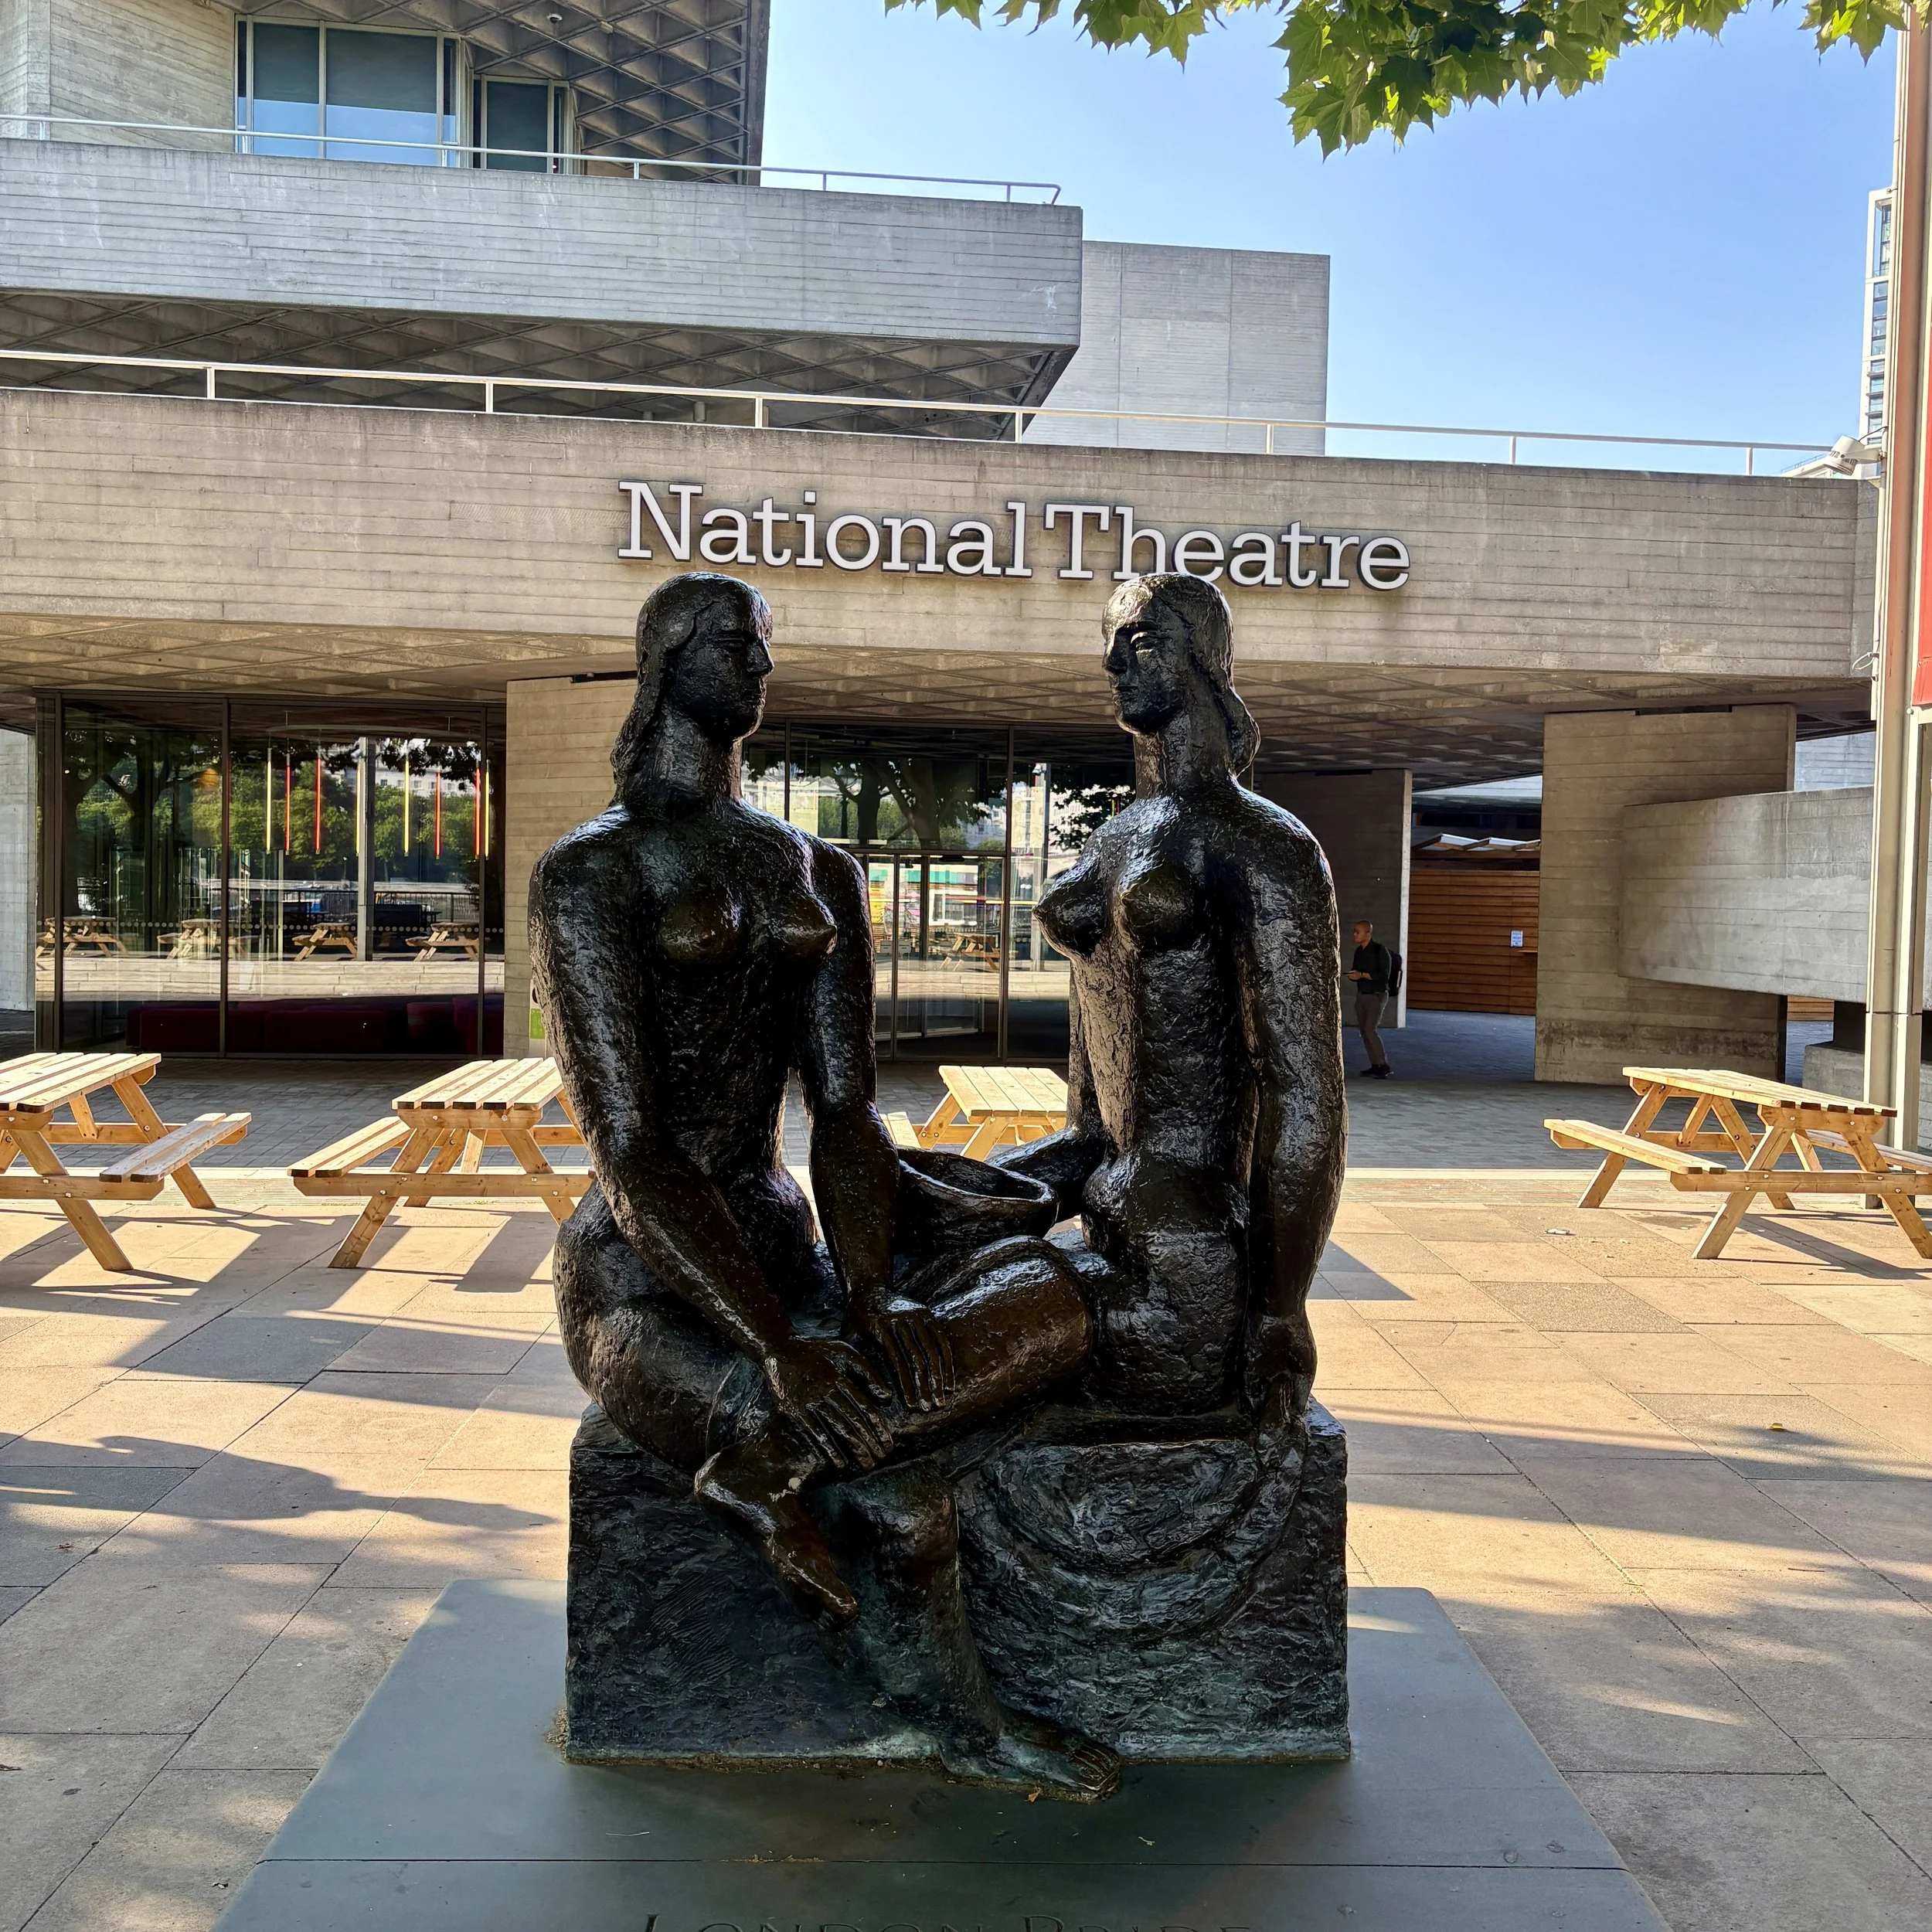
(2.9 km) National Theatre A highly polarizing piece of architecture, this massive concrete complex is one of London's most prominent examples of the Brutalist style. King Charles once famously compared it to a "clever way of building a nuclear power station," but regardless of its divisive exterior, it houses three world-class auditoriums producing unparalleled theatre.
(3.1 km) Southbank Centre Book Market Nestled directly beneath Waterloo Bridge, this is one of the only outdoor second-hand and antique book markets in southern England. Operating daily since 1982, it's a wonderfully atmospheric spot on the walking route to browse weather-beaten classics while the traffic rumbles overhead.
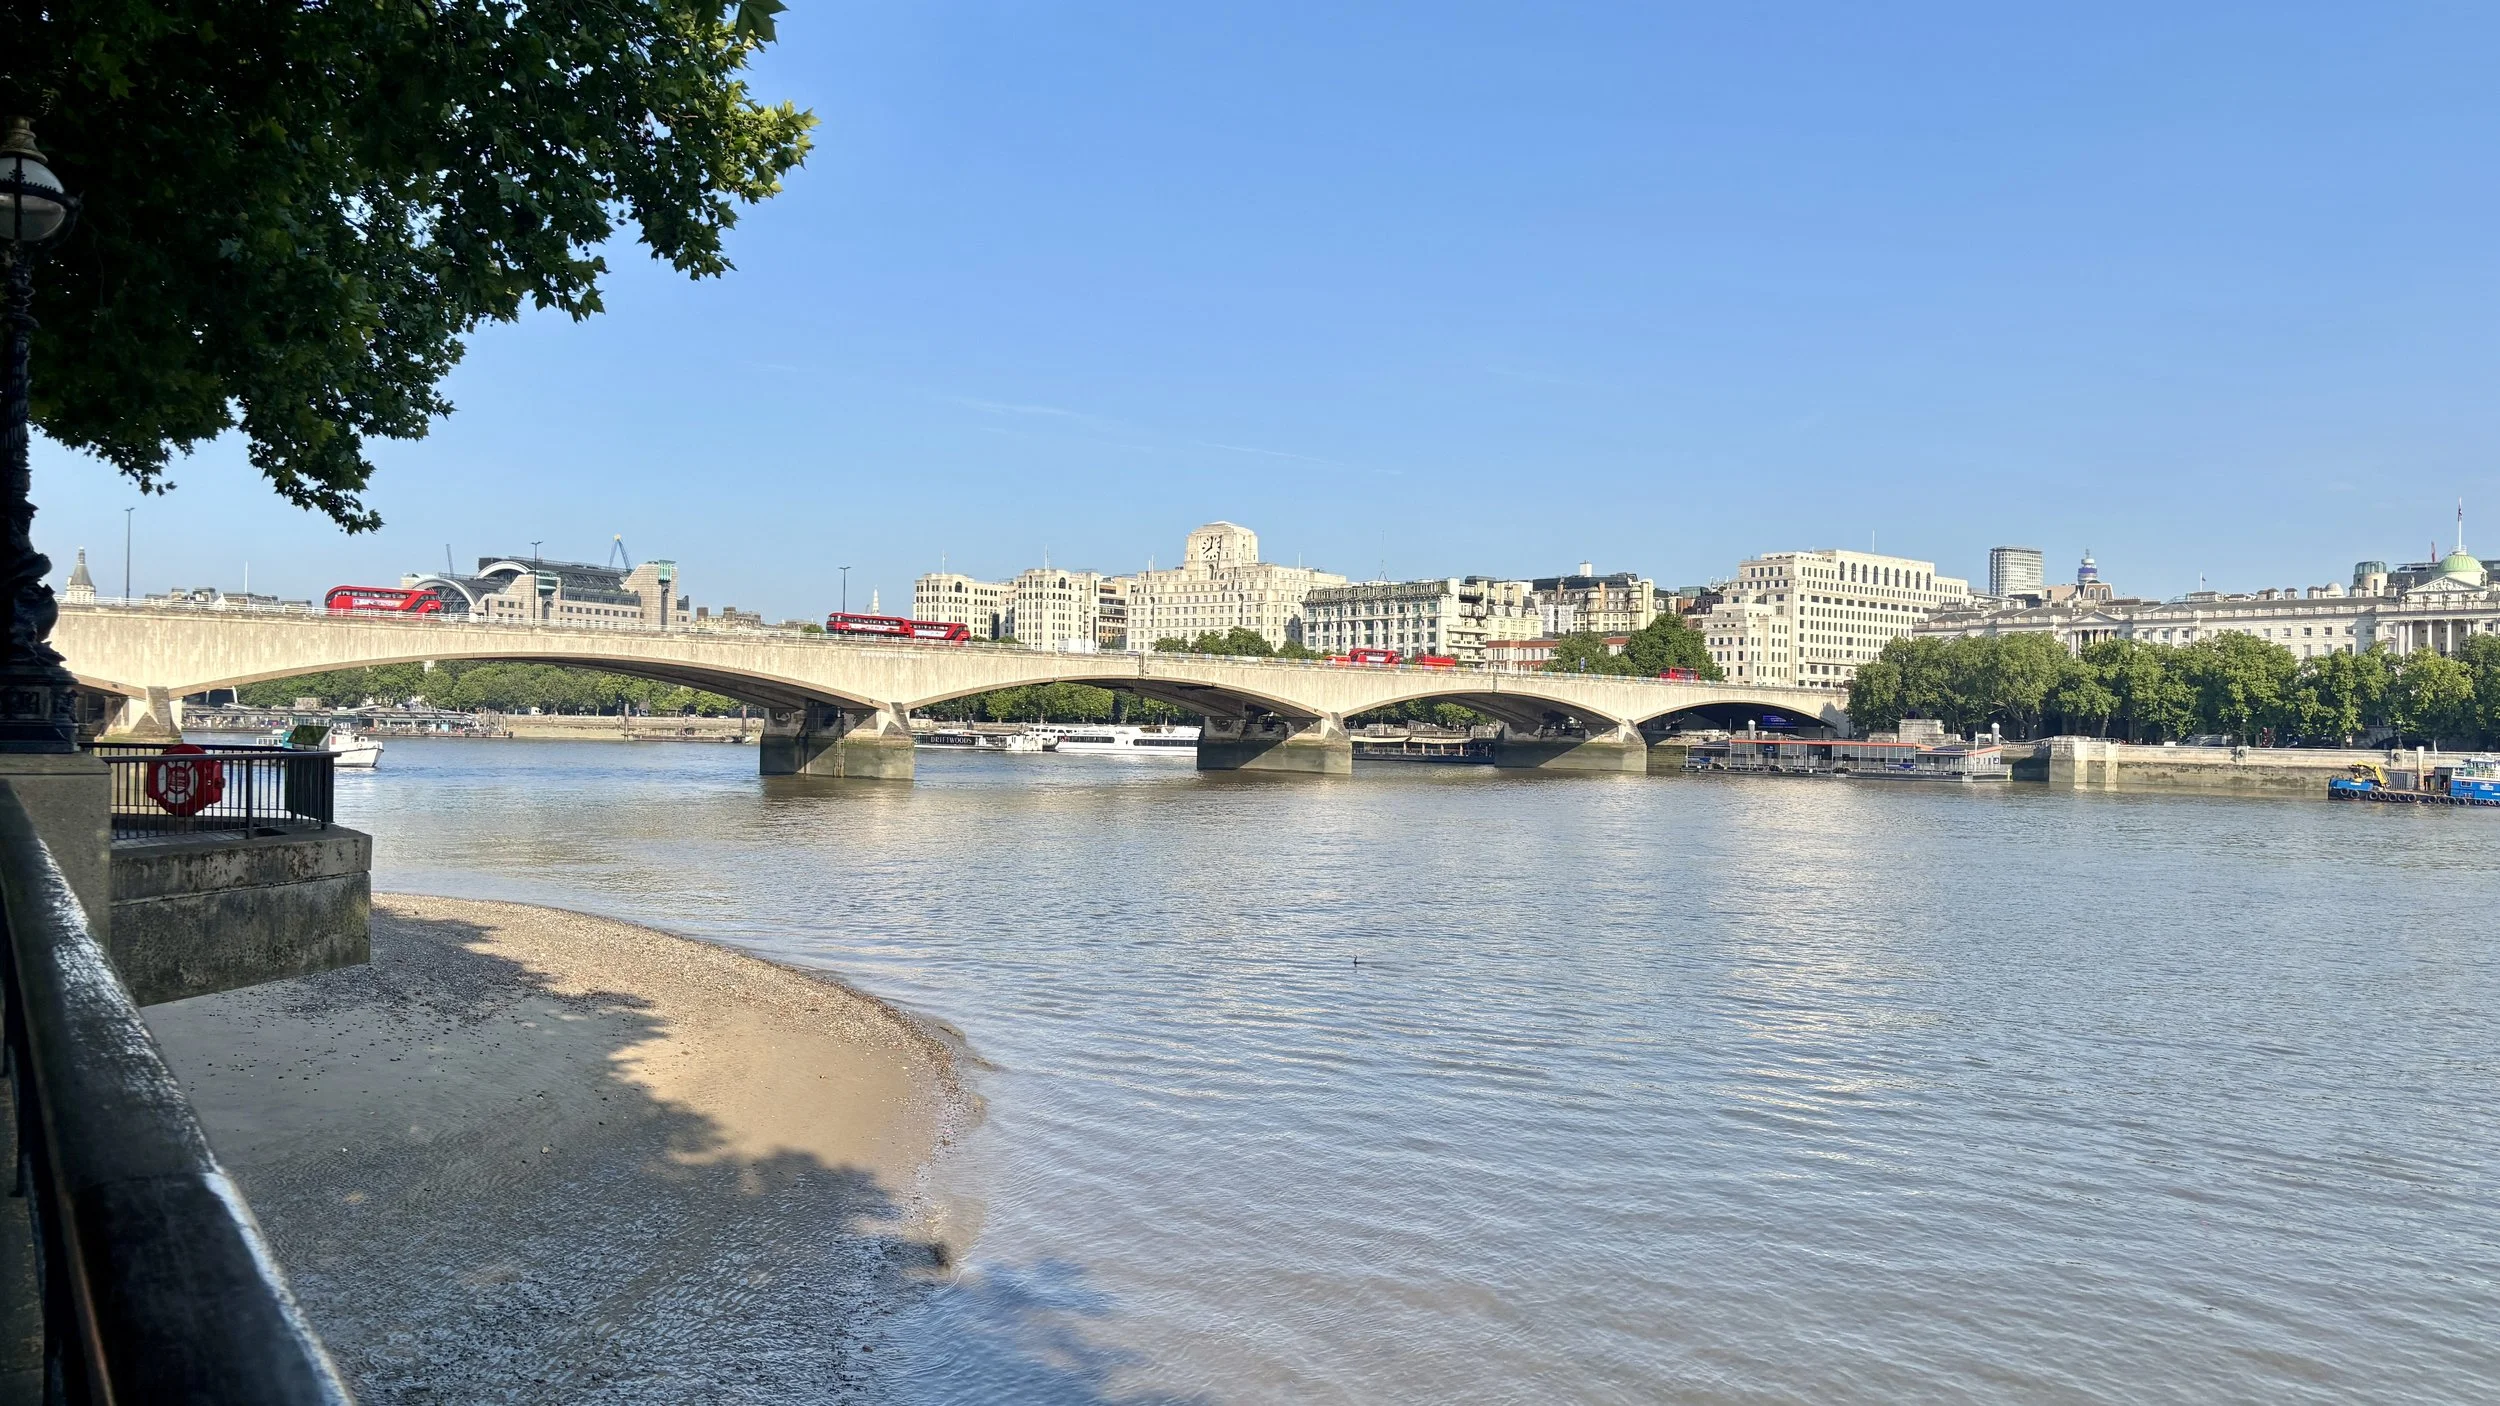
(3.2 km) Waterloo Bridge Often affectionately called the "Ladies' Bridge" because it was largely built by a female workforce during World War II, this bridge offers arguably the best panoramic views in London. Look east for the City skyline and St Paul's Cathedral, or west for the London Eye and the Houses of Parliament.
(3.4 km) BFI Imax Sitting right in the center of a busy traffic roundabout, this striking glass cylinder is home to the largest cinema screen in the UK. The sheer scale of the auditorium is mind-boggling, and the entire structure is built on sophisticated anti-vibration pads to drown out the rumble of the tube lines running directly beneath it.
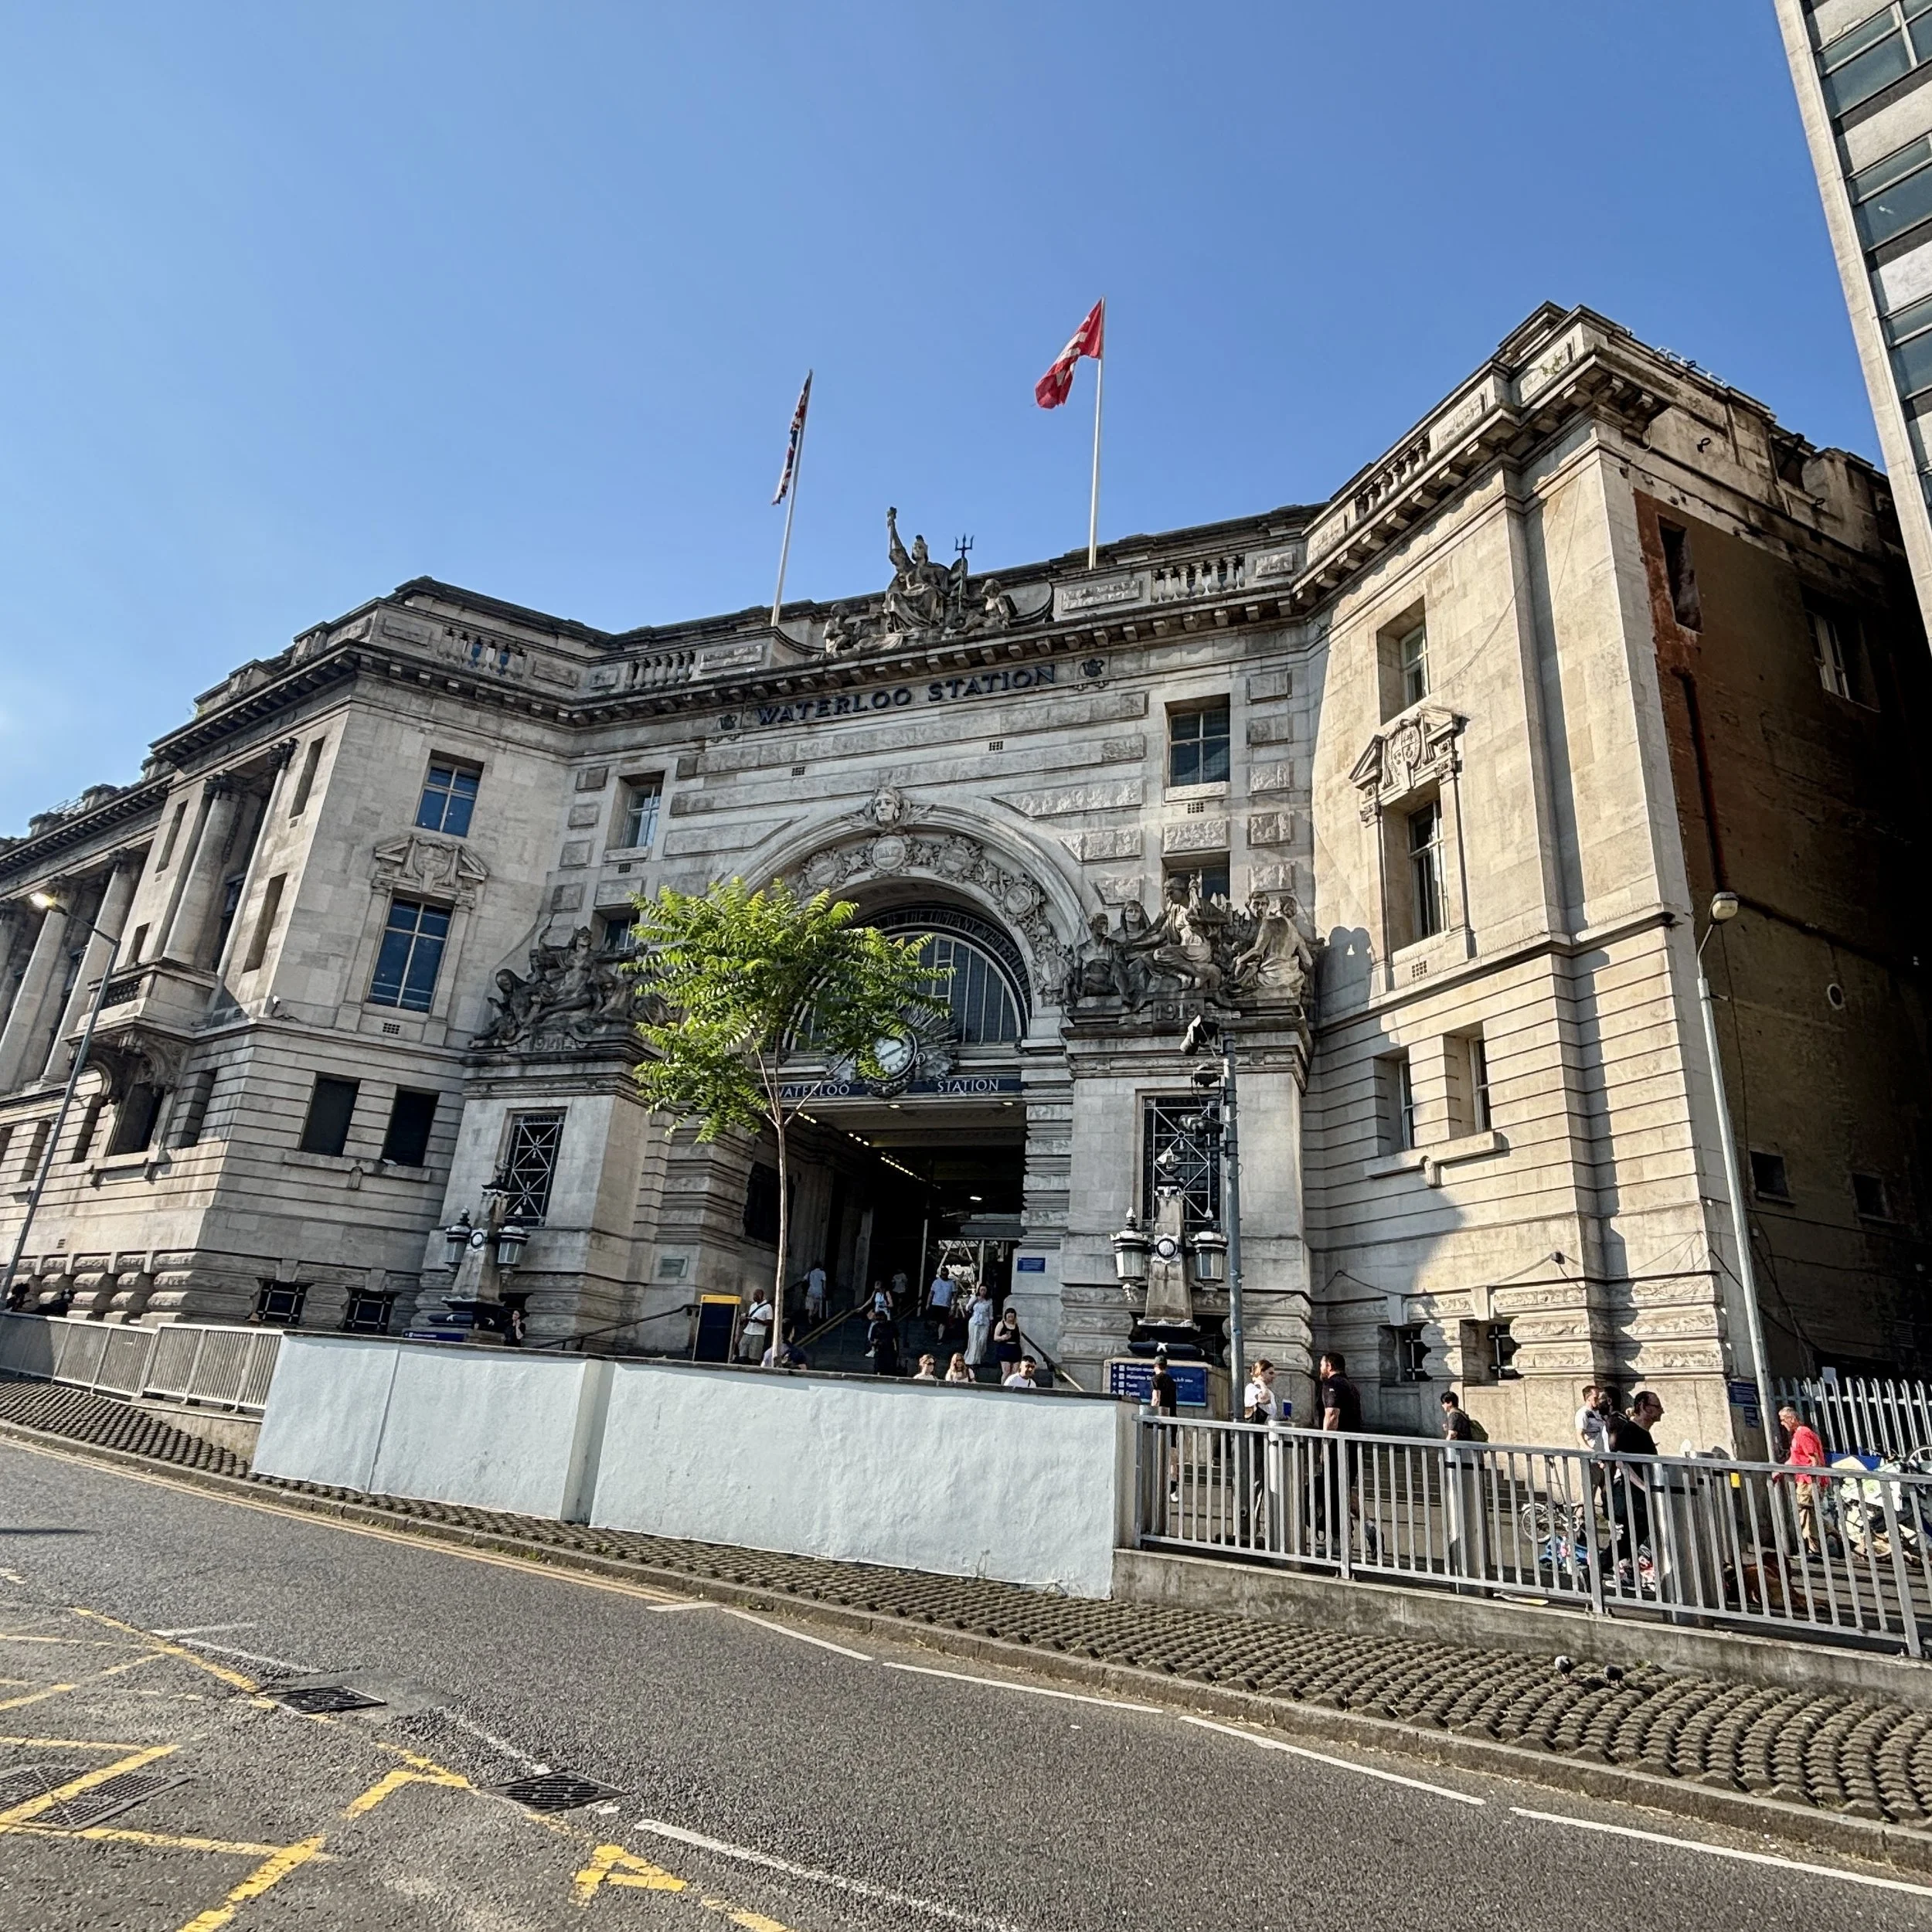
(3.5 km) Waterloo Station Britain’s busiest railway station by passenger volume, it is a bustling hub that first opened in 1848. A famous quirky detail is the great four-faced clock hanging in the middle of the main concourse, which has served as an iconic rendezvous point for countless romantic dates and classic movie scenes since the 1920s.

More London Posts
If you enjoyed reading this post, there is plenty more to explore across the capital. I have put together a dedicated London Outdoors page where I keep track of all my other adventures around the city. It is a handy index where I group my posts by the different types of places I have visited: including historic boundary lines, canal towpaths, and some surprising urban high points.
The collection covers a bit of everything: from long-distance cycling routes to tracing the underground network on foot, and ticking off another Saturday morning parkrun. If you are looking for some inspiration for your own weekend outings, head back over to the London Outdoors page to see what else I have been up to.