Trig Pillar Walks: Wittenham Clumps and Brightwell Barrow
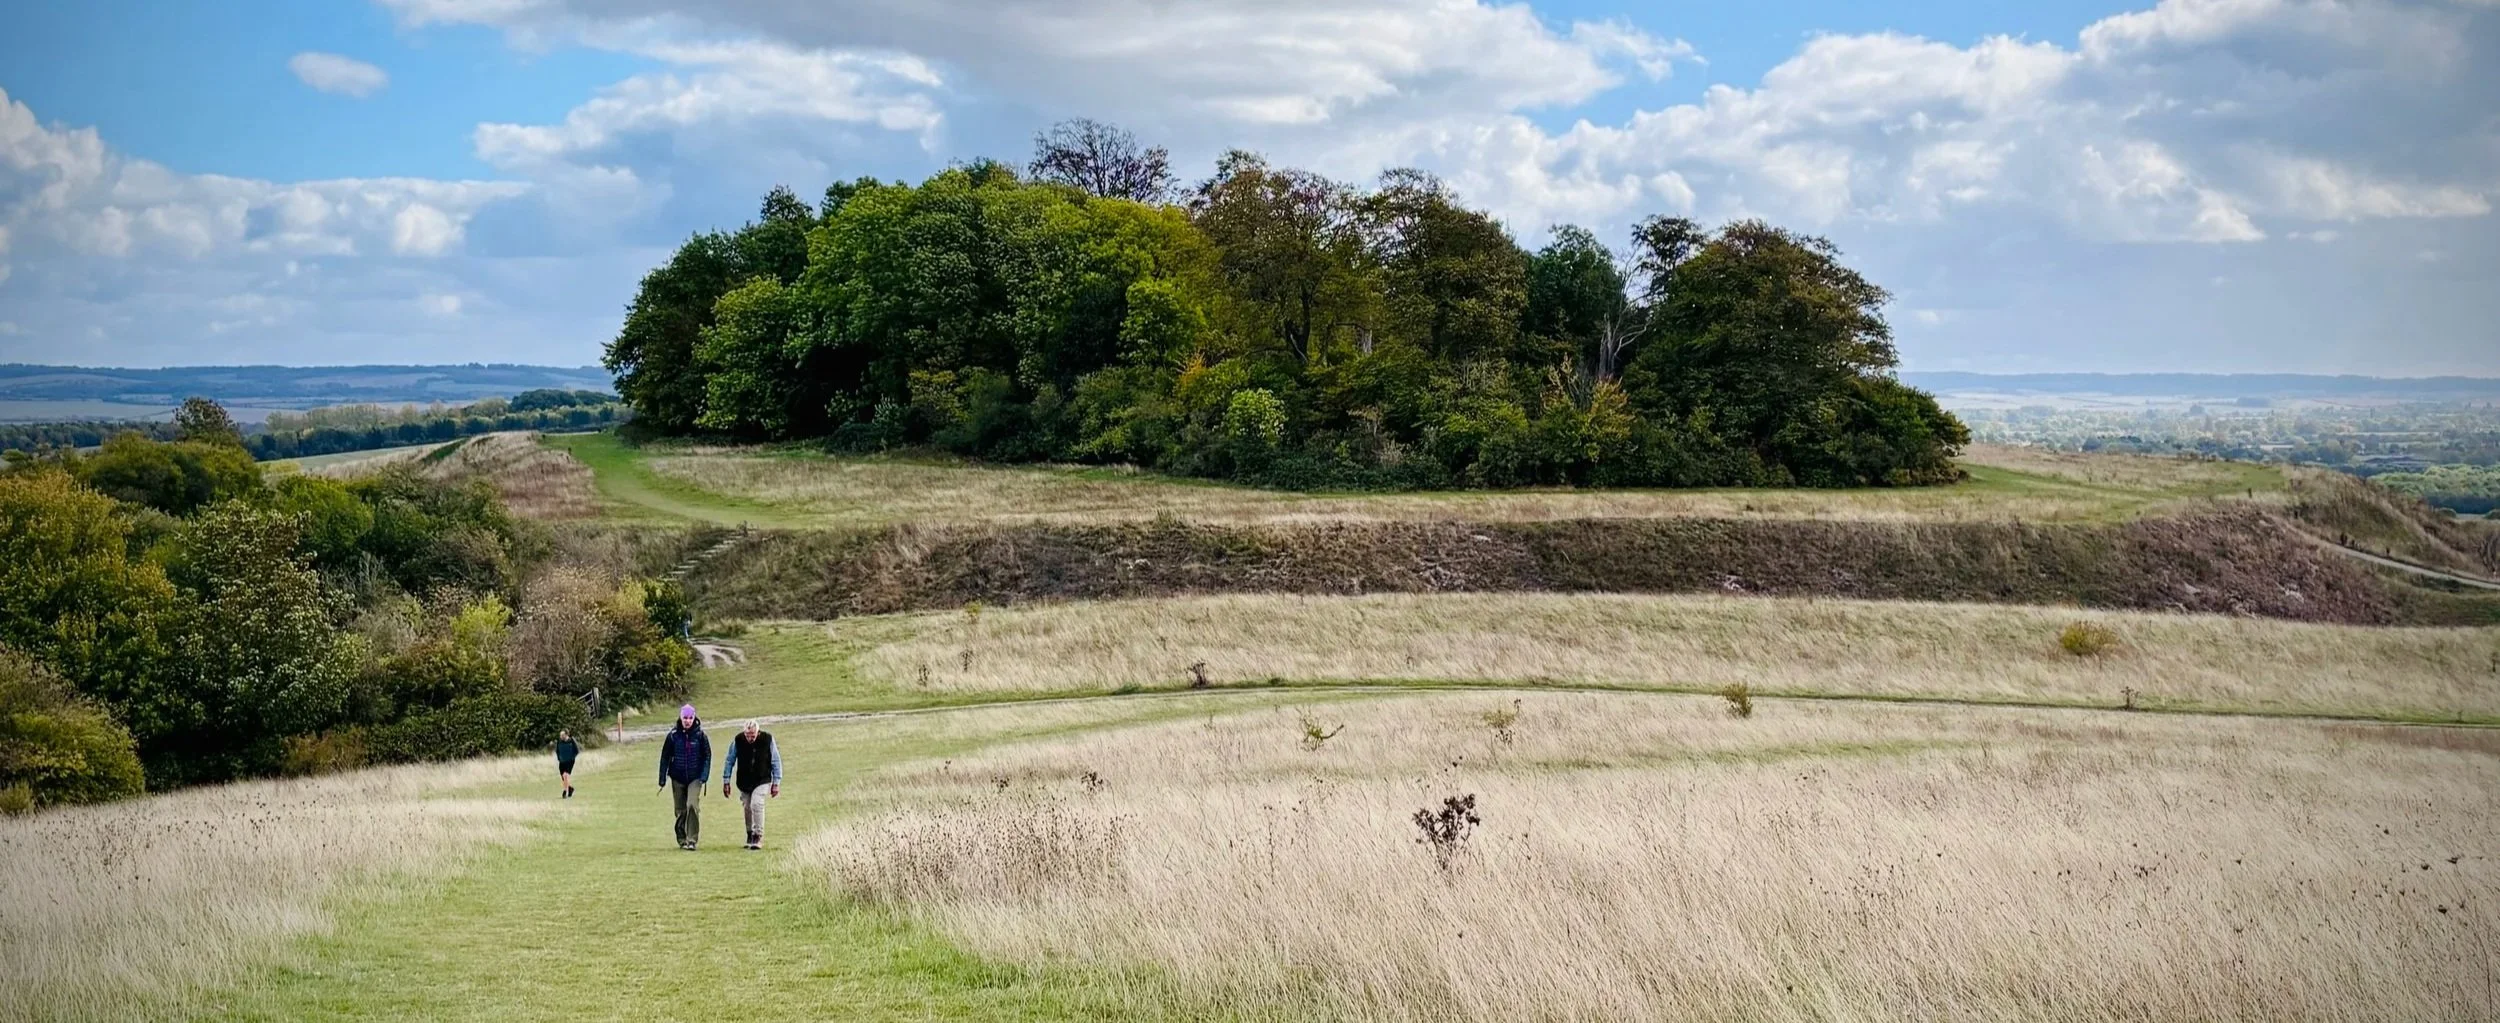
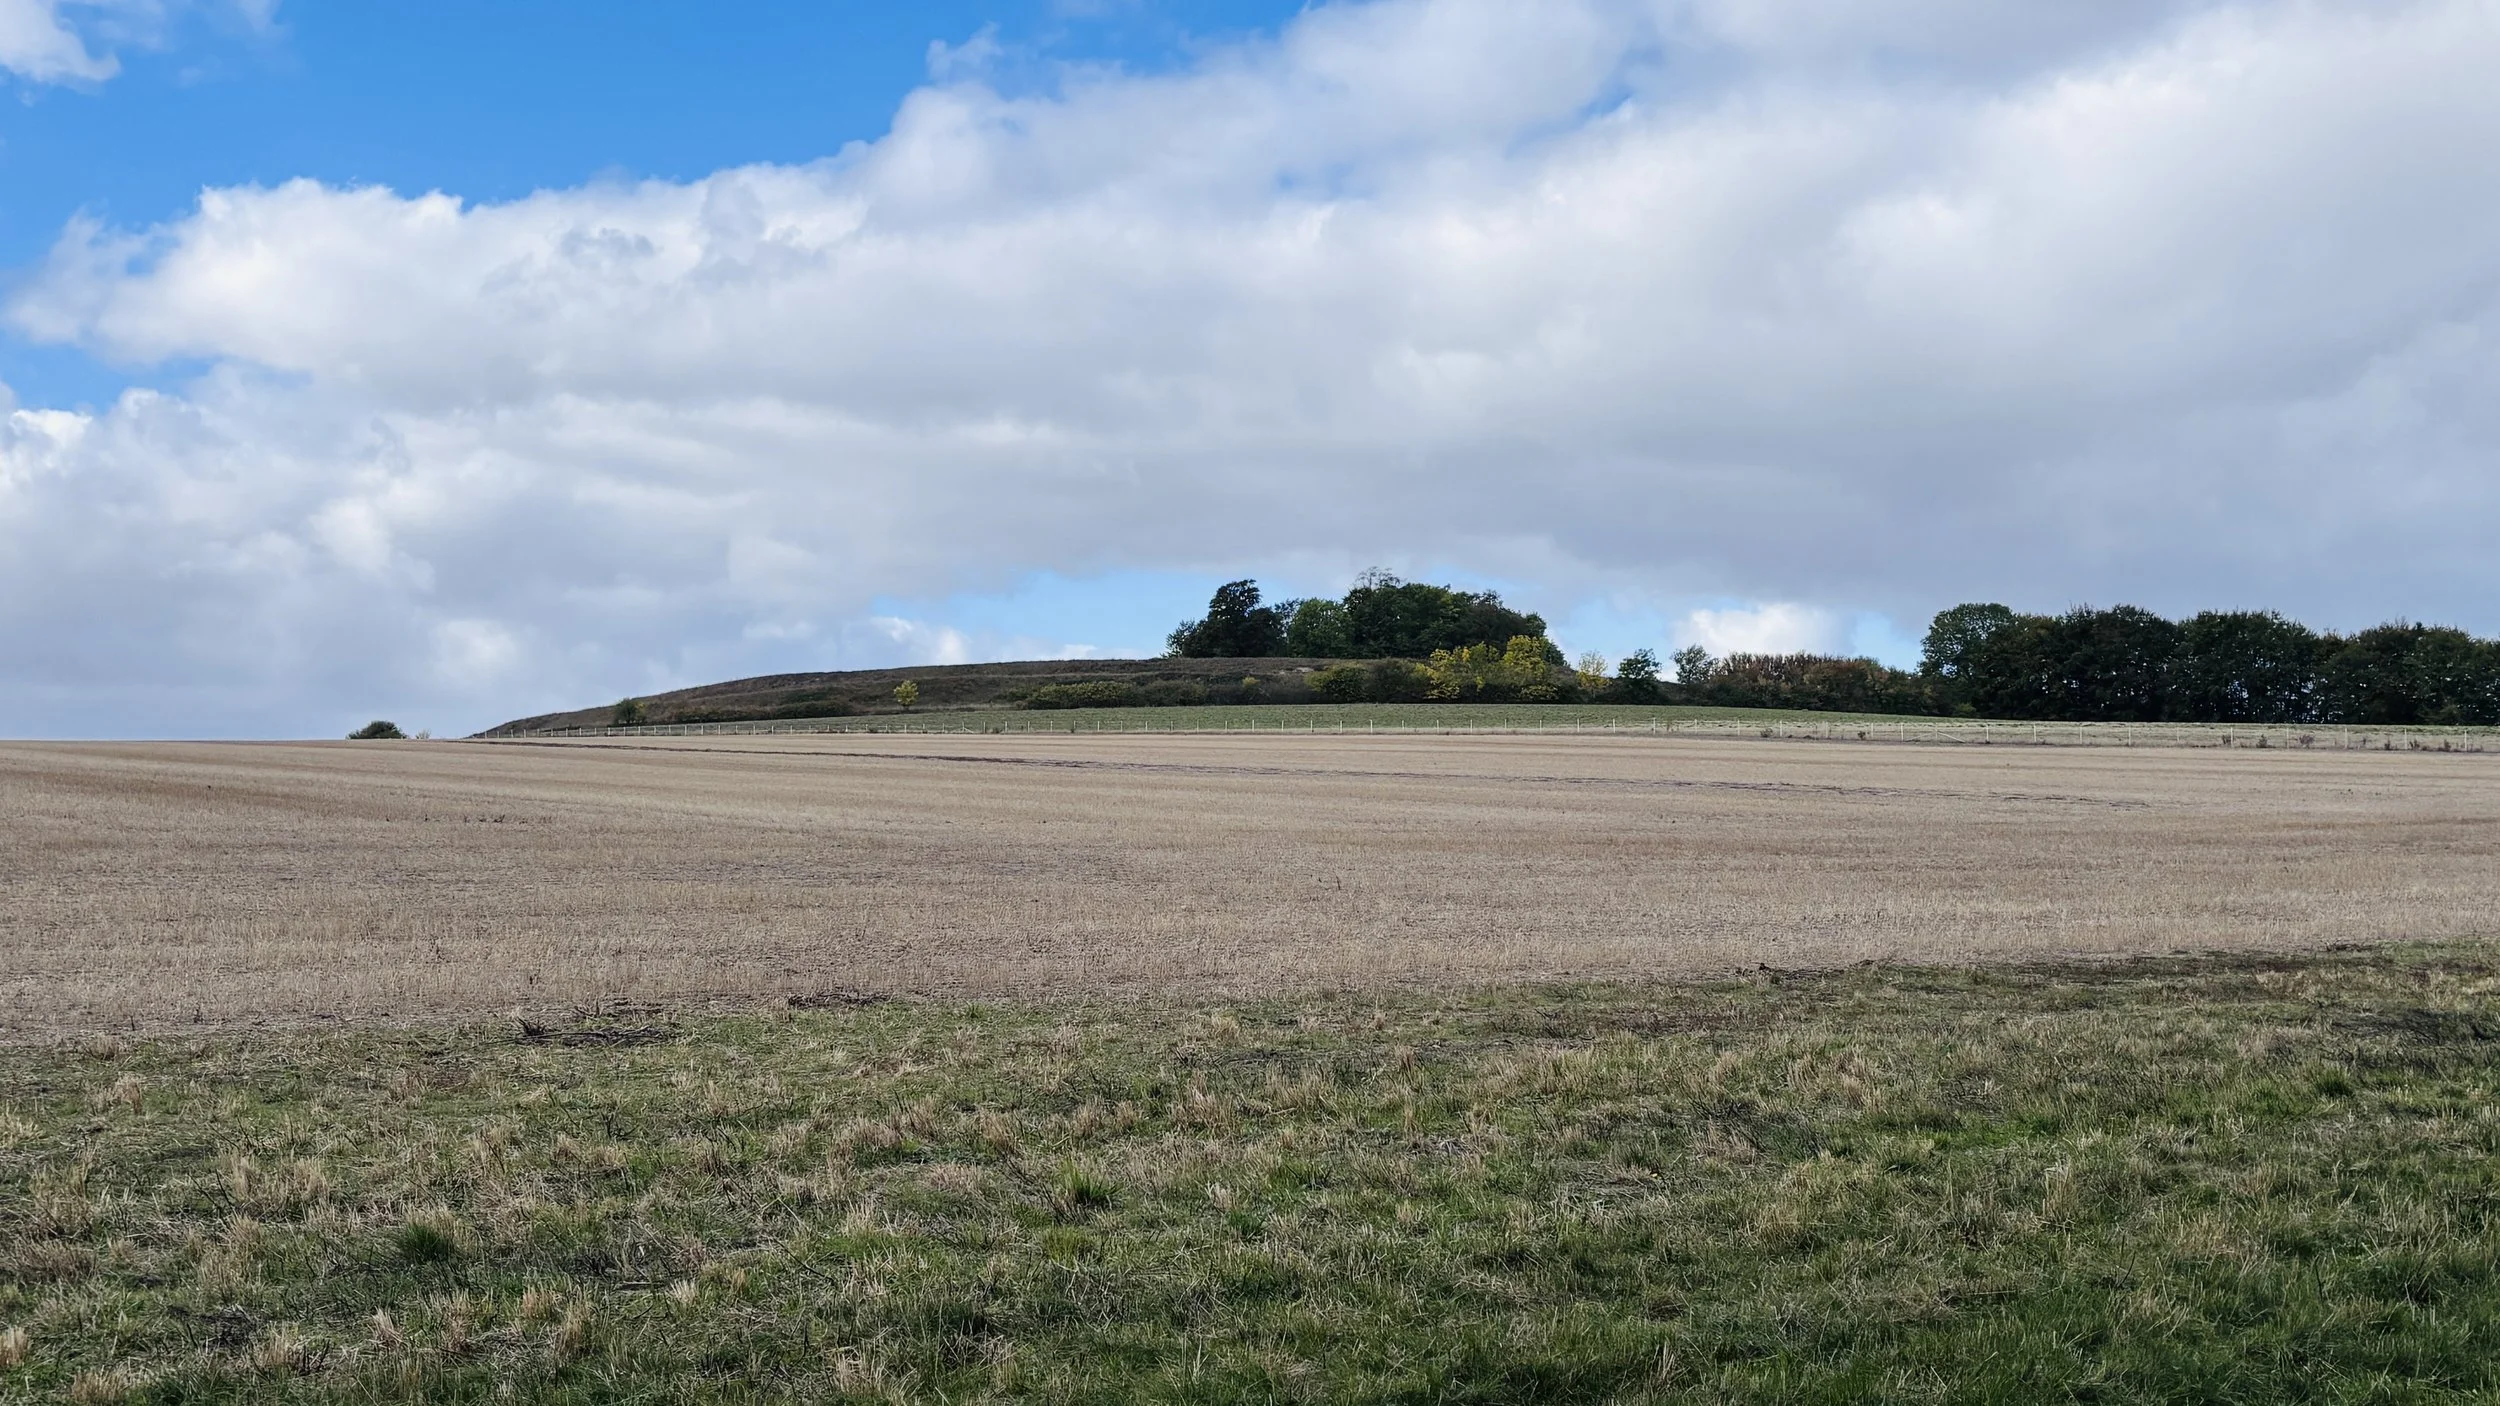
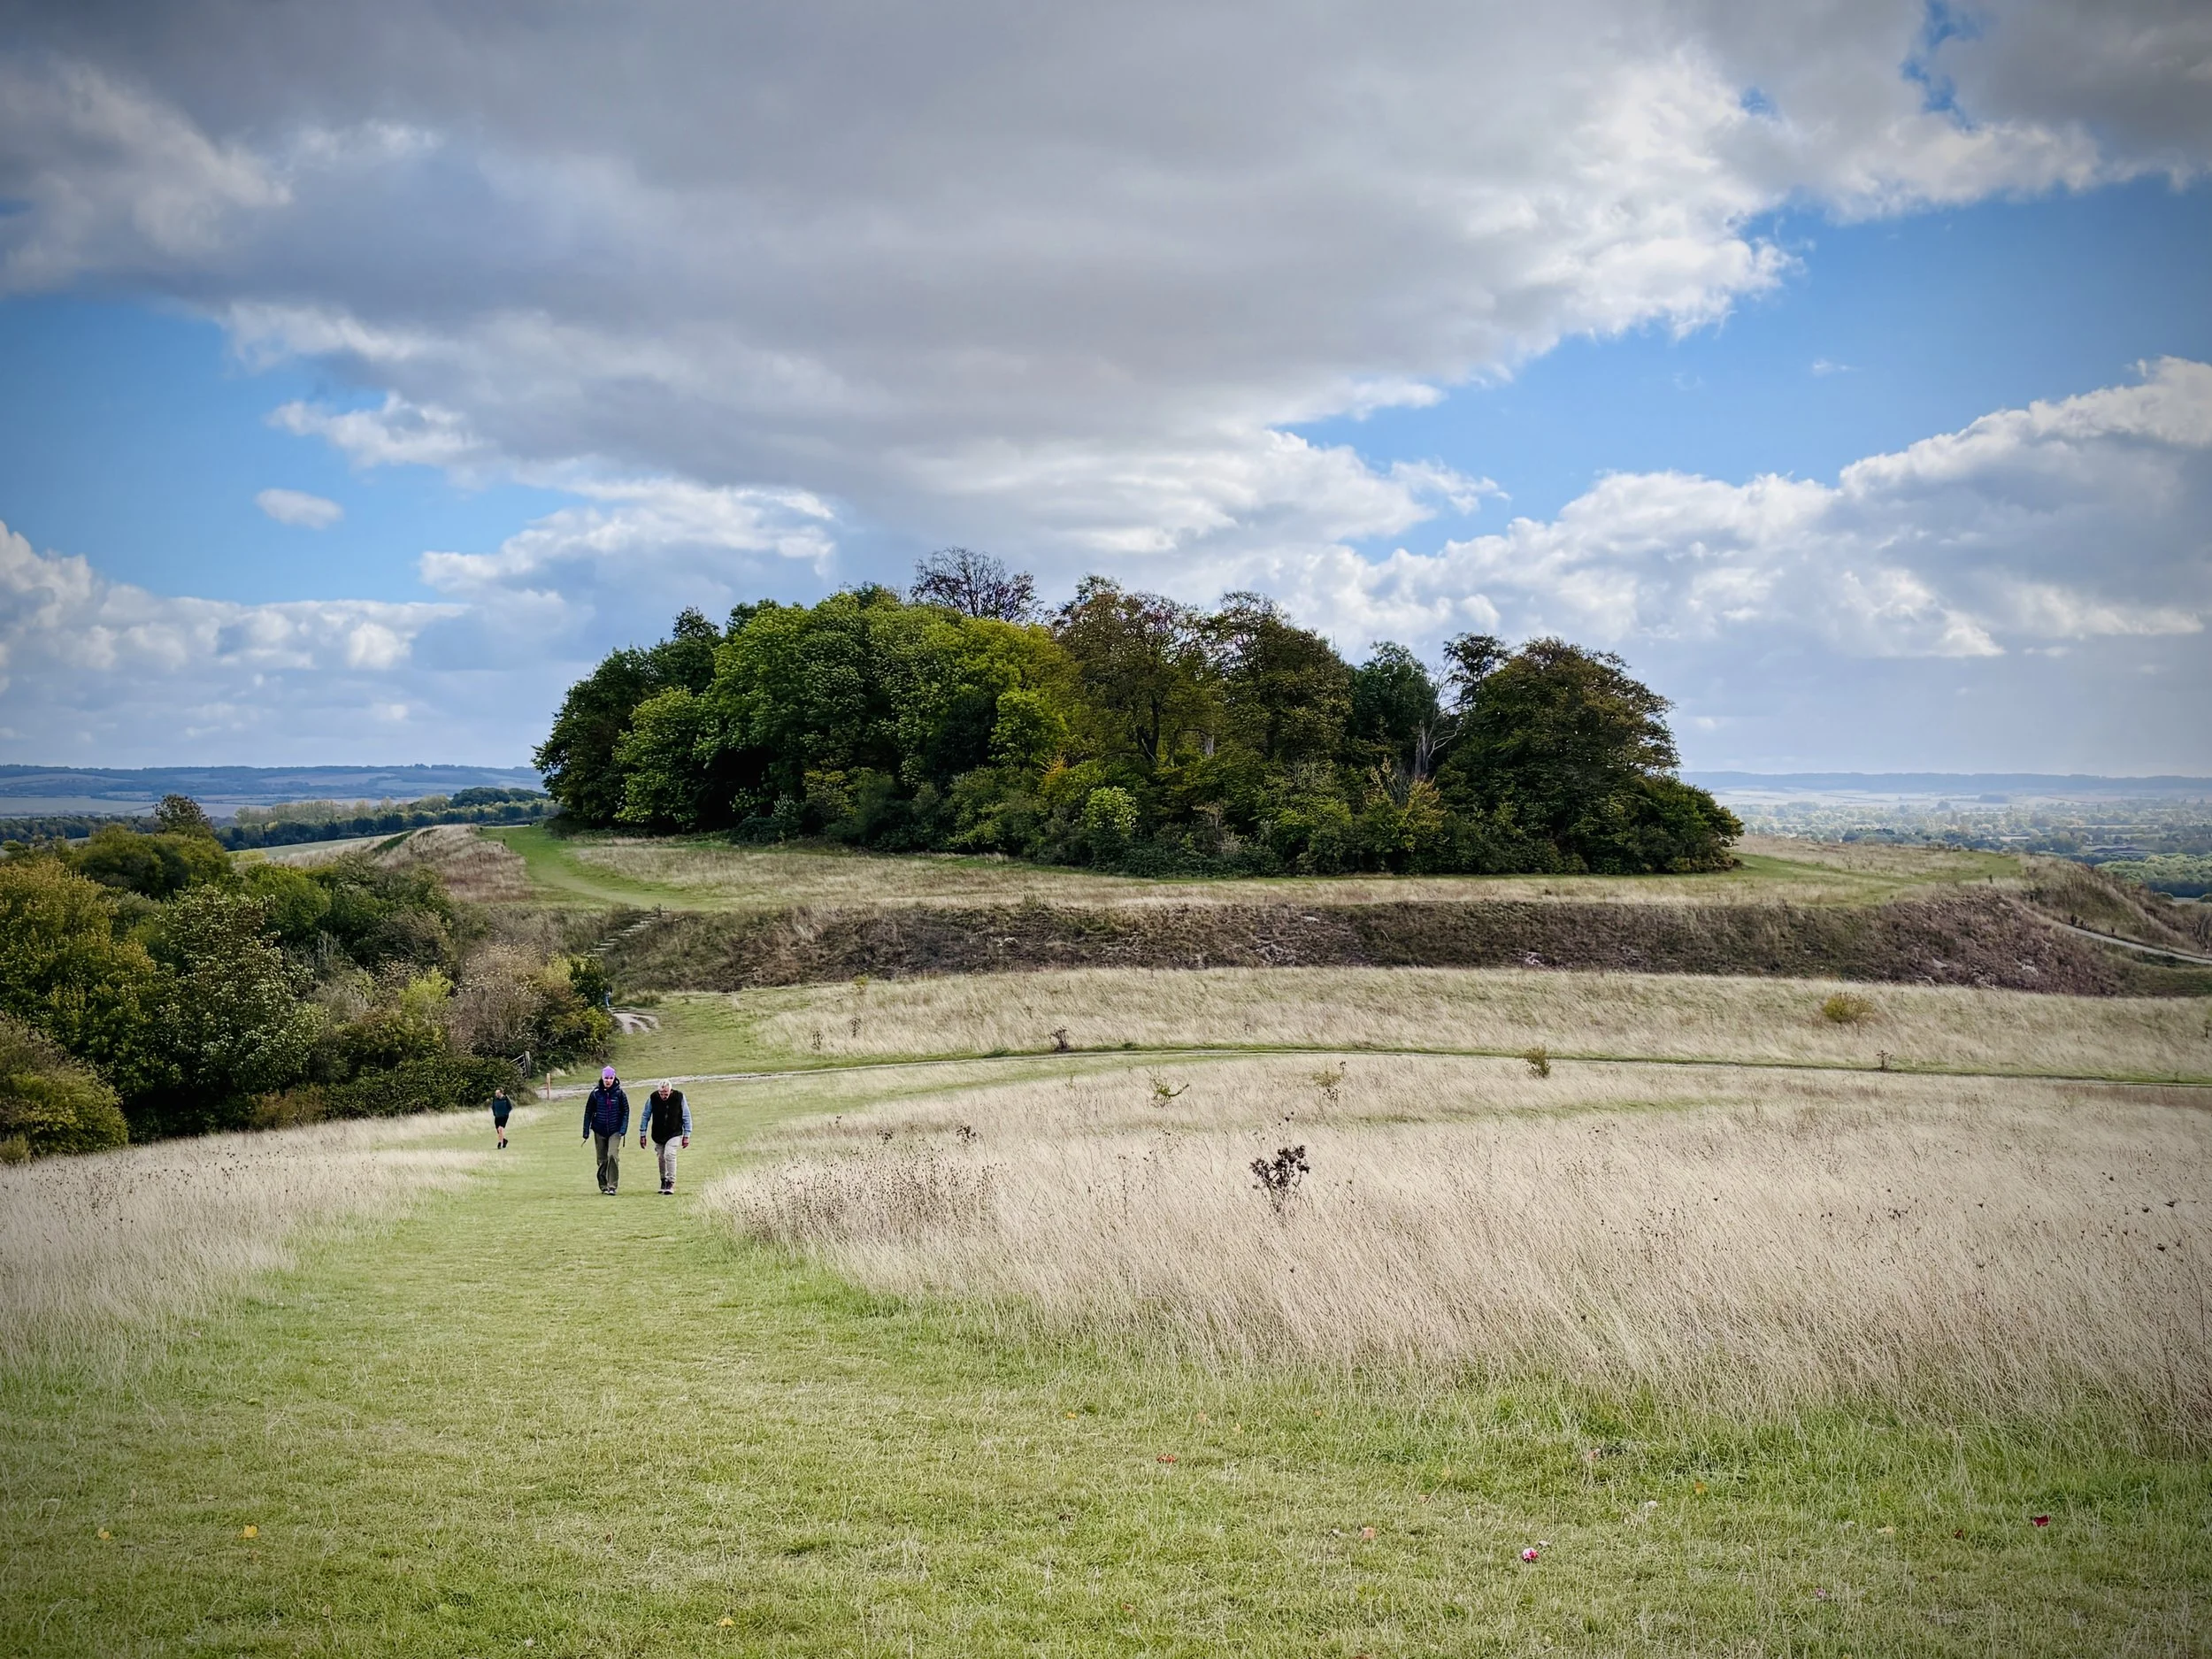
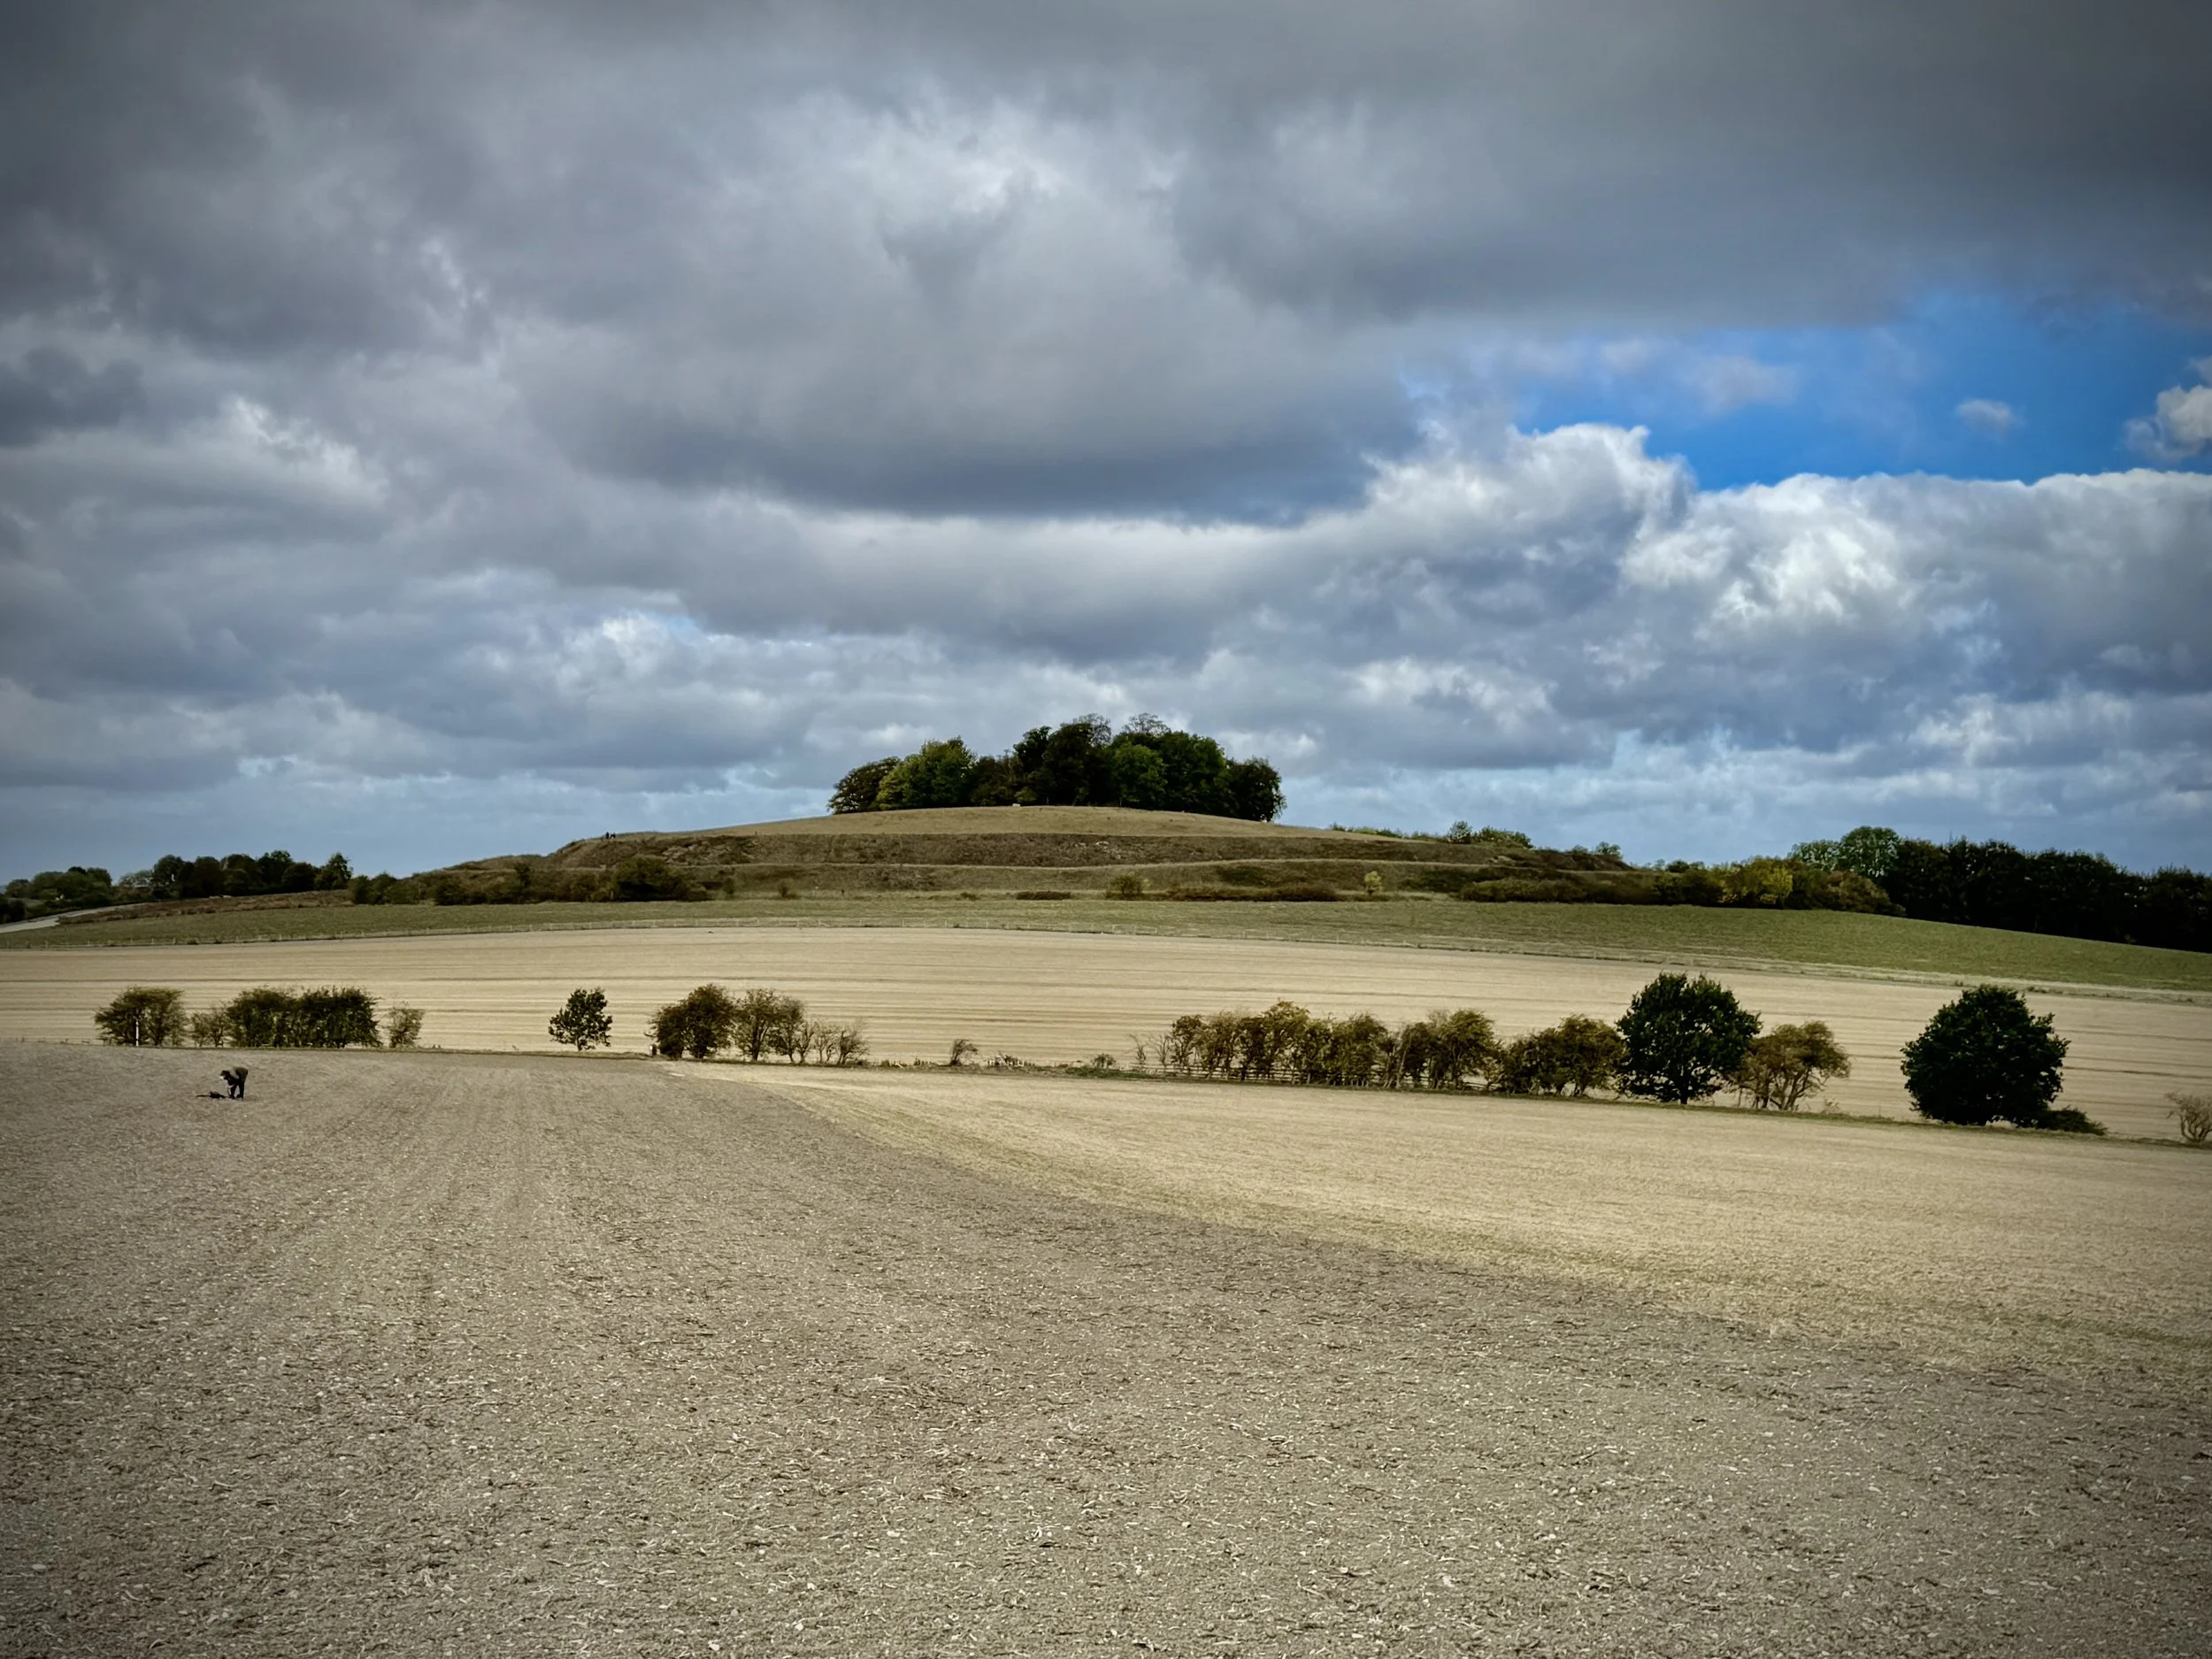
View to Castle Hill from Round Hill
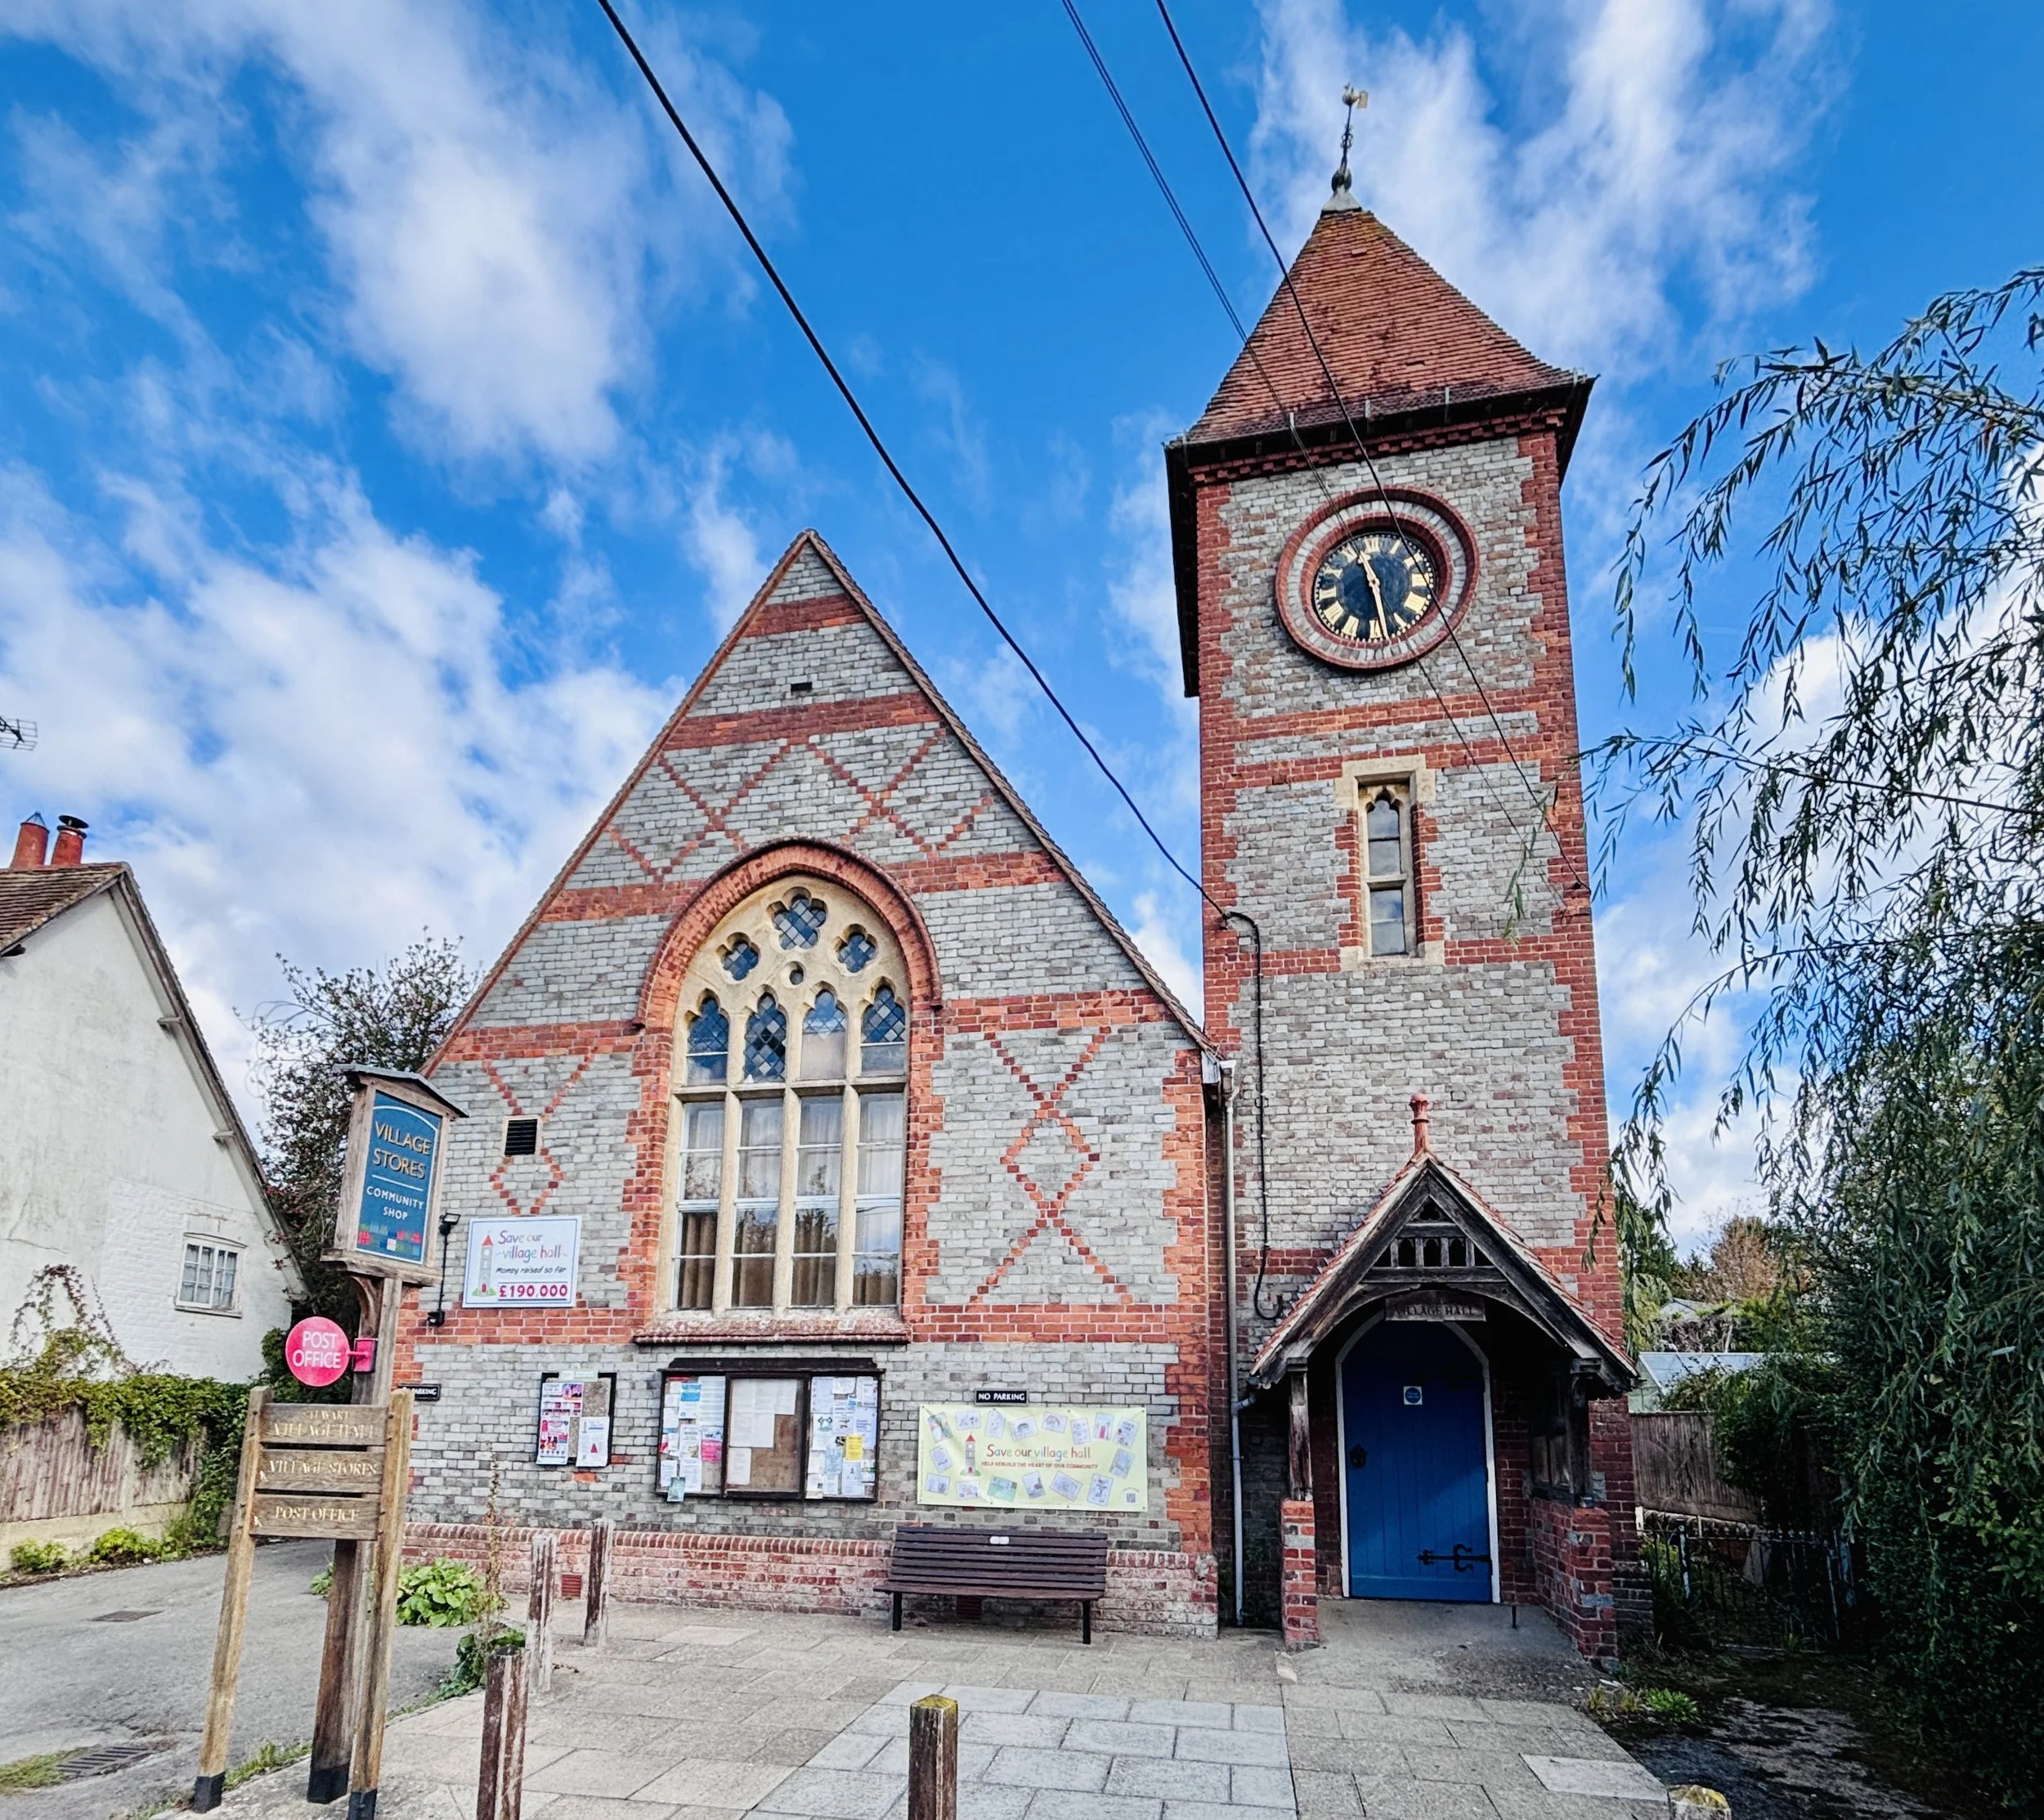
Start & Finish: On-street parking opposite the Red Lion pub, Brightwell Street, Brightwell-cum-Sotwell, Wallingford, OX10 0RT
Distance: 8.2 km (5.1 miles)
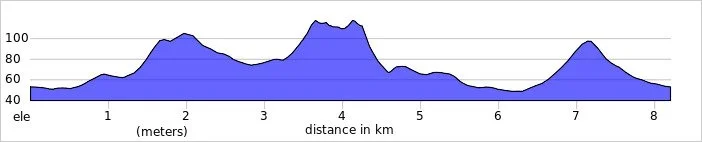
Elevation change: +/- 137m
Terrain: Undulating grassy paths, woodland trails, and steep chalk hill climbs with some uneven sections.
GPX File: get via Buy Me a Coffee
Other routes touched (walk): The Roman Way
Other routes touched (cycle): NCN 5
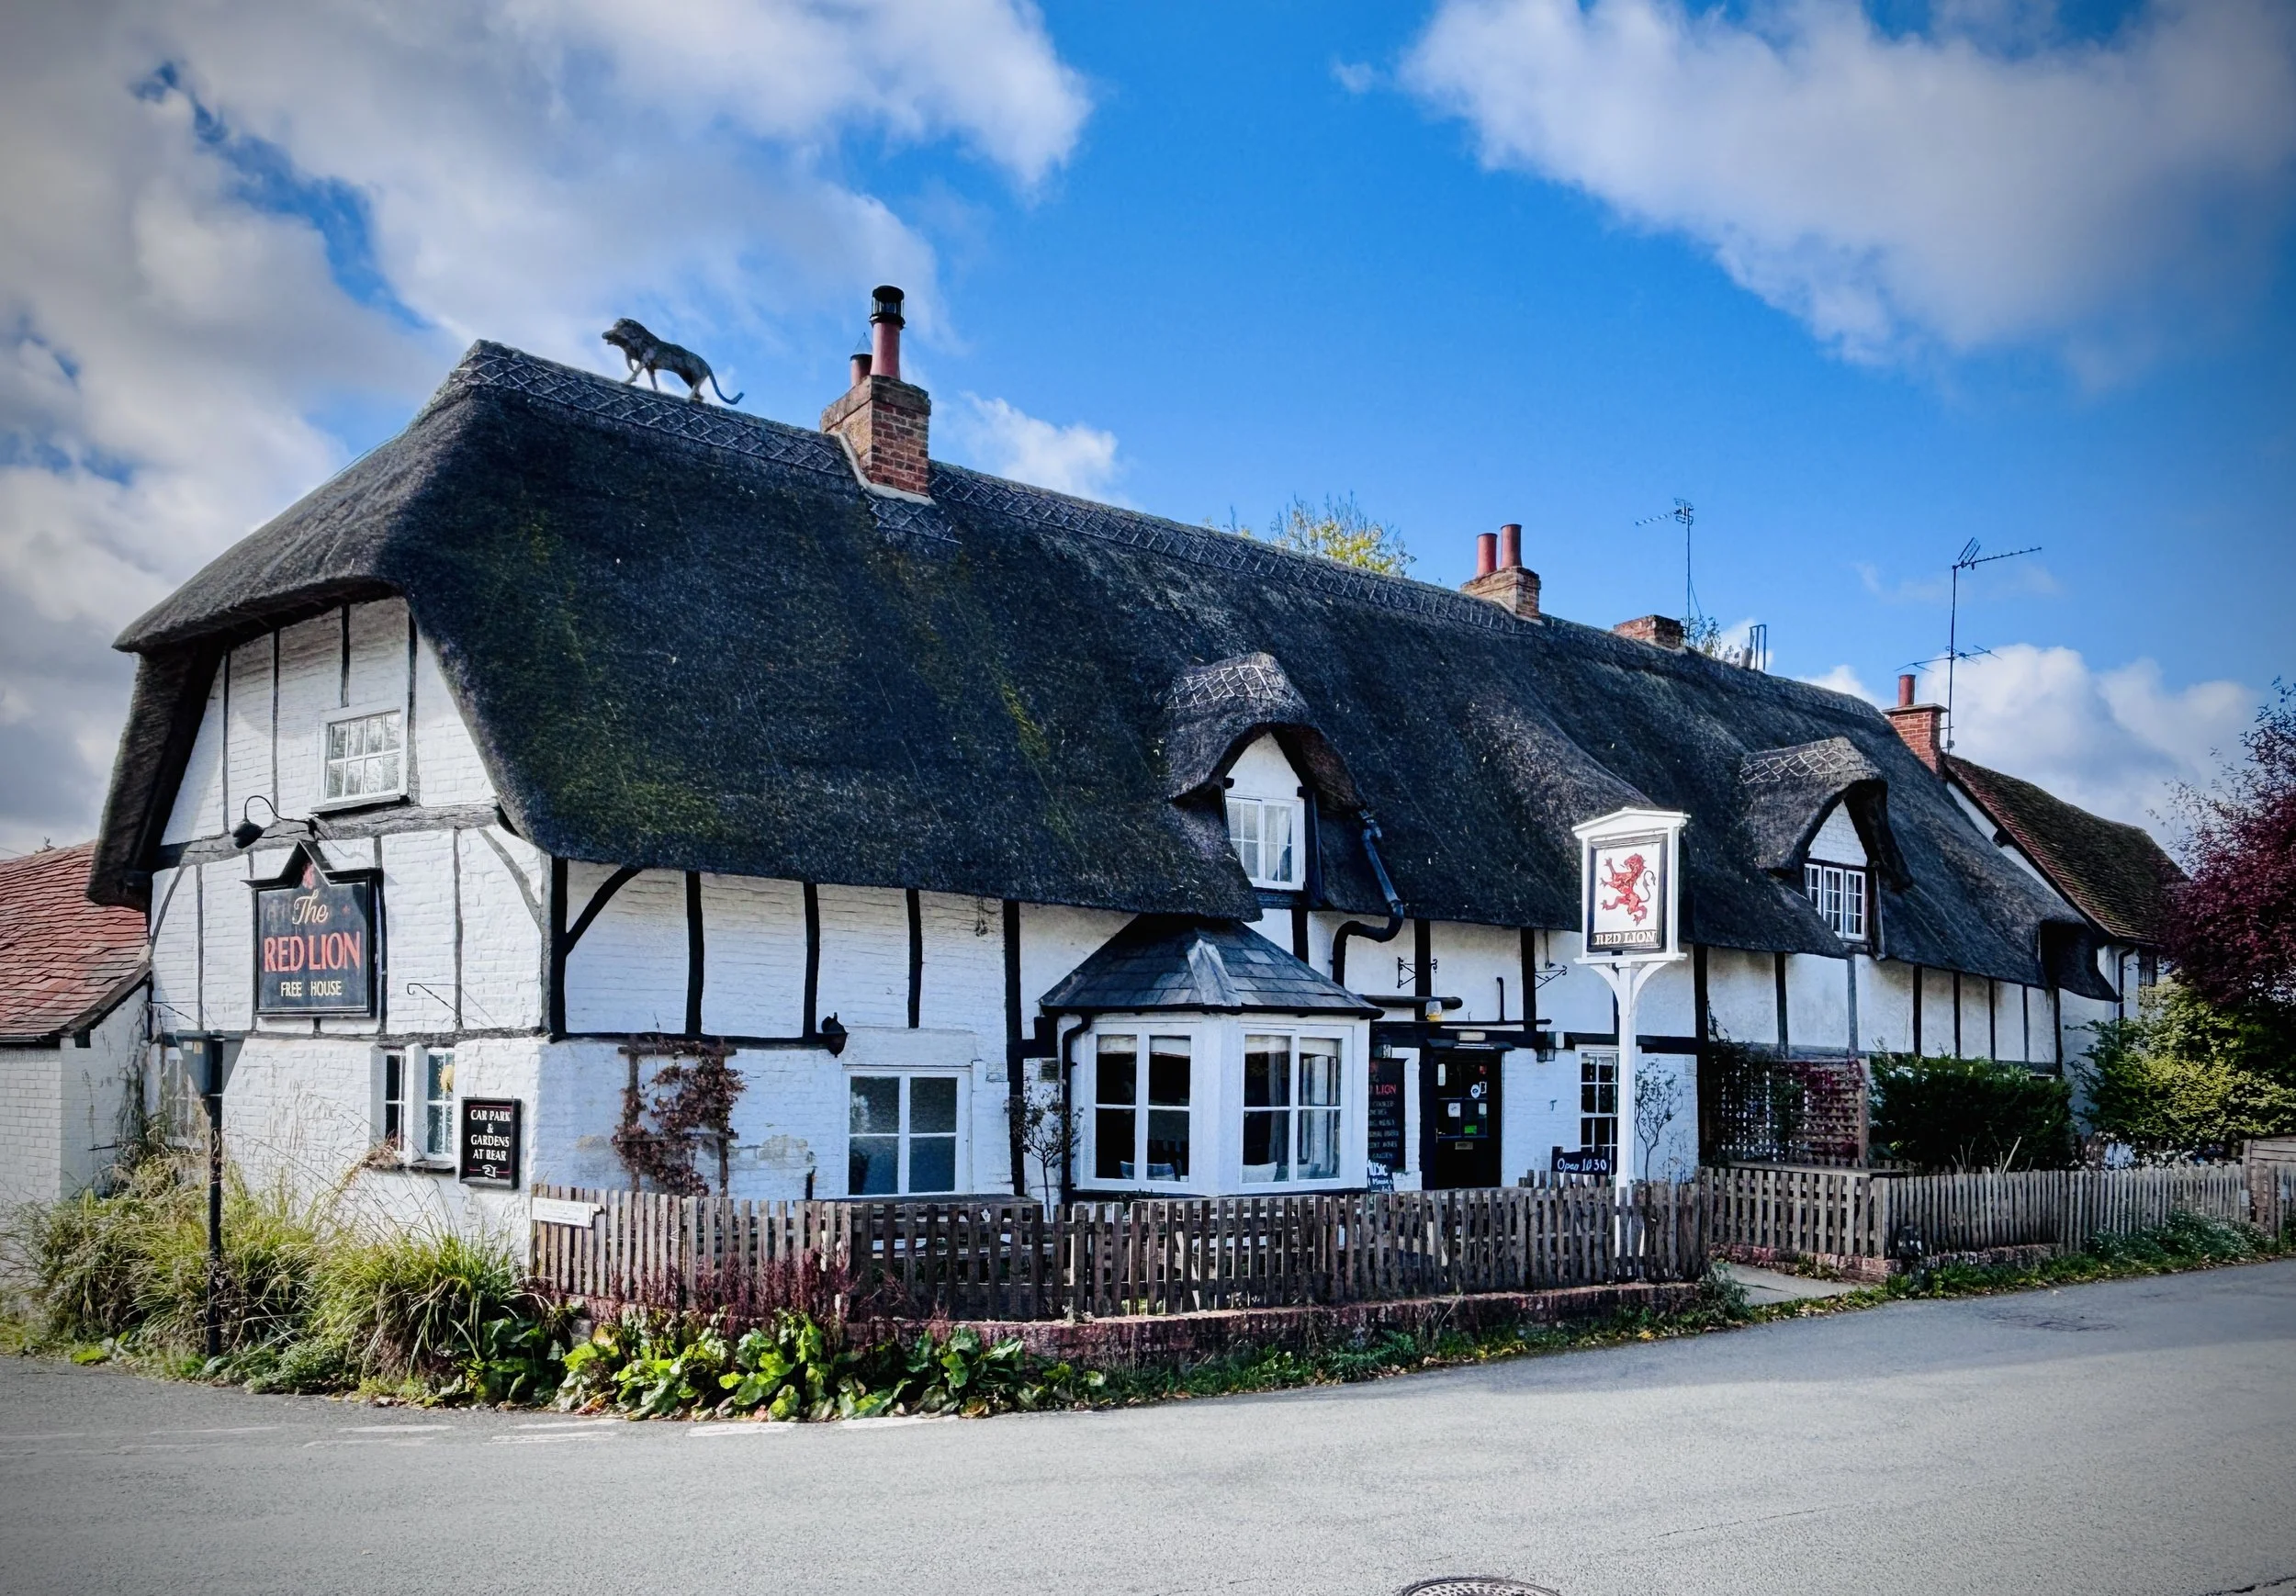
Pubs / Cafes on route: The Red Lion at the start and end of the walk
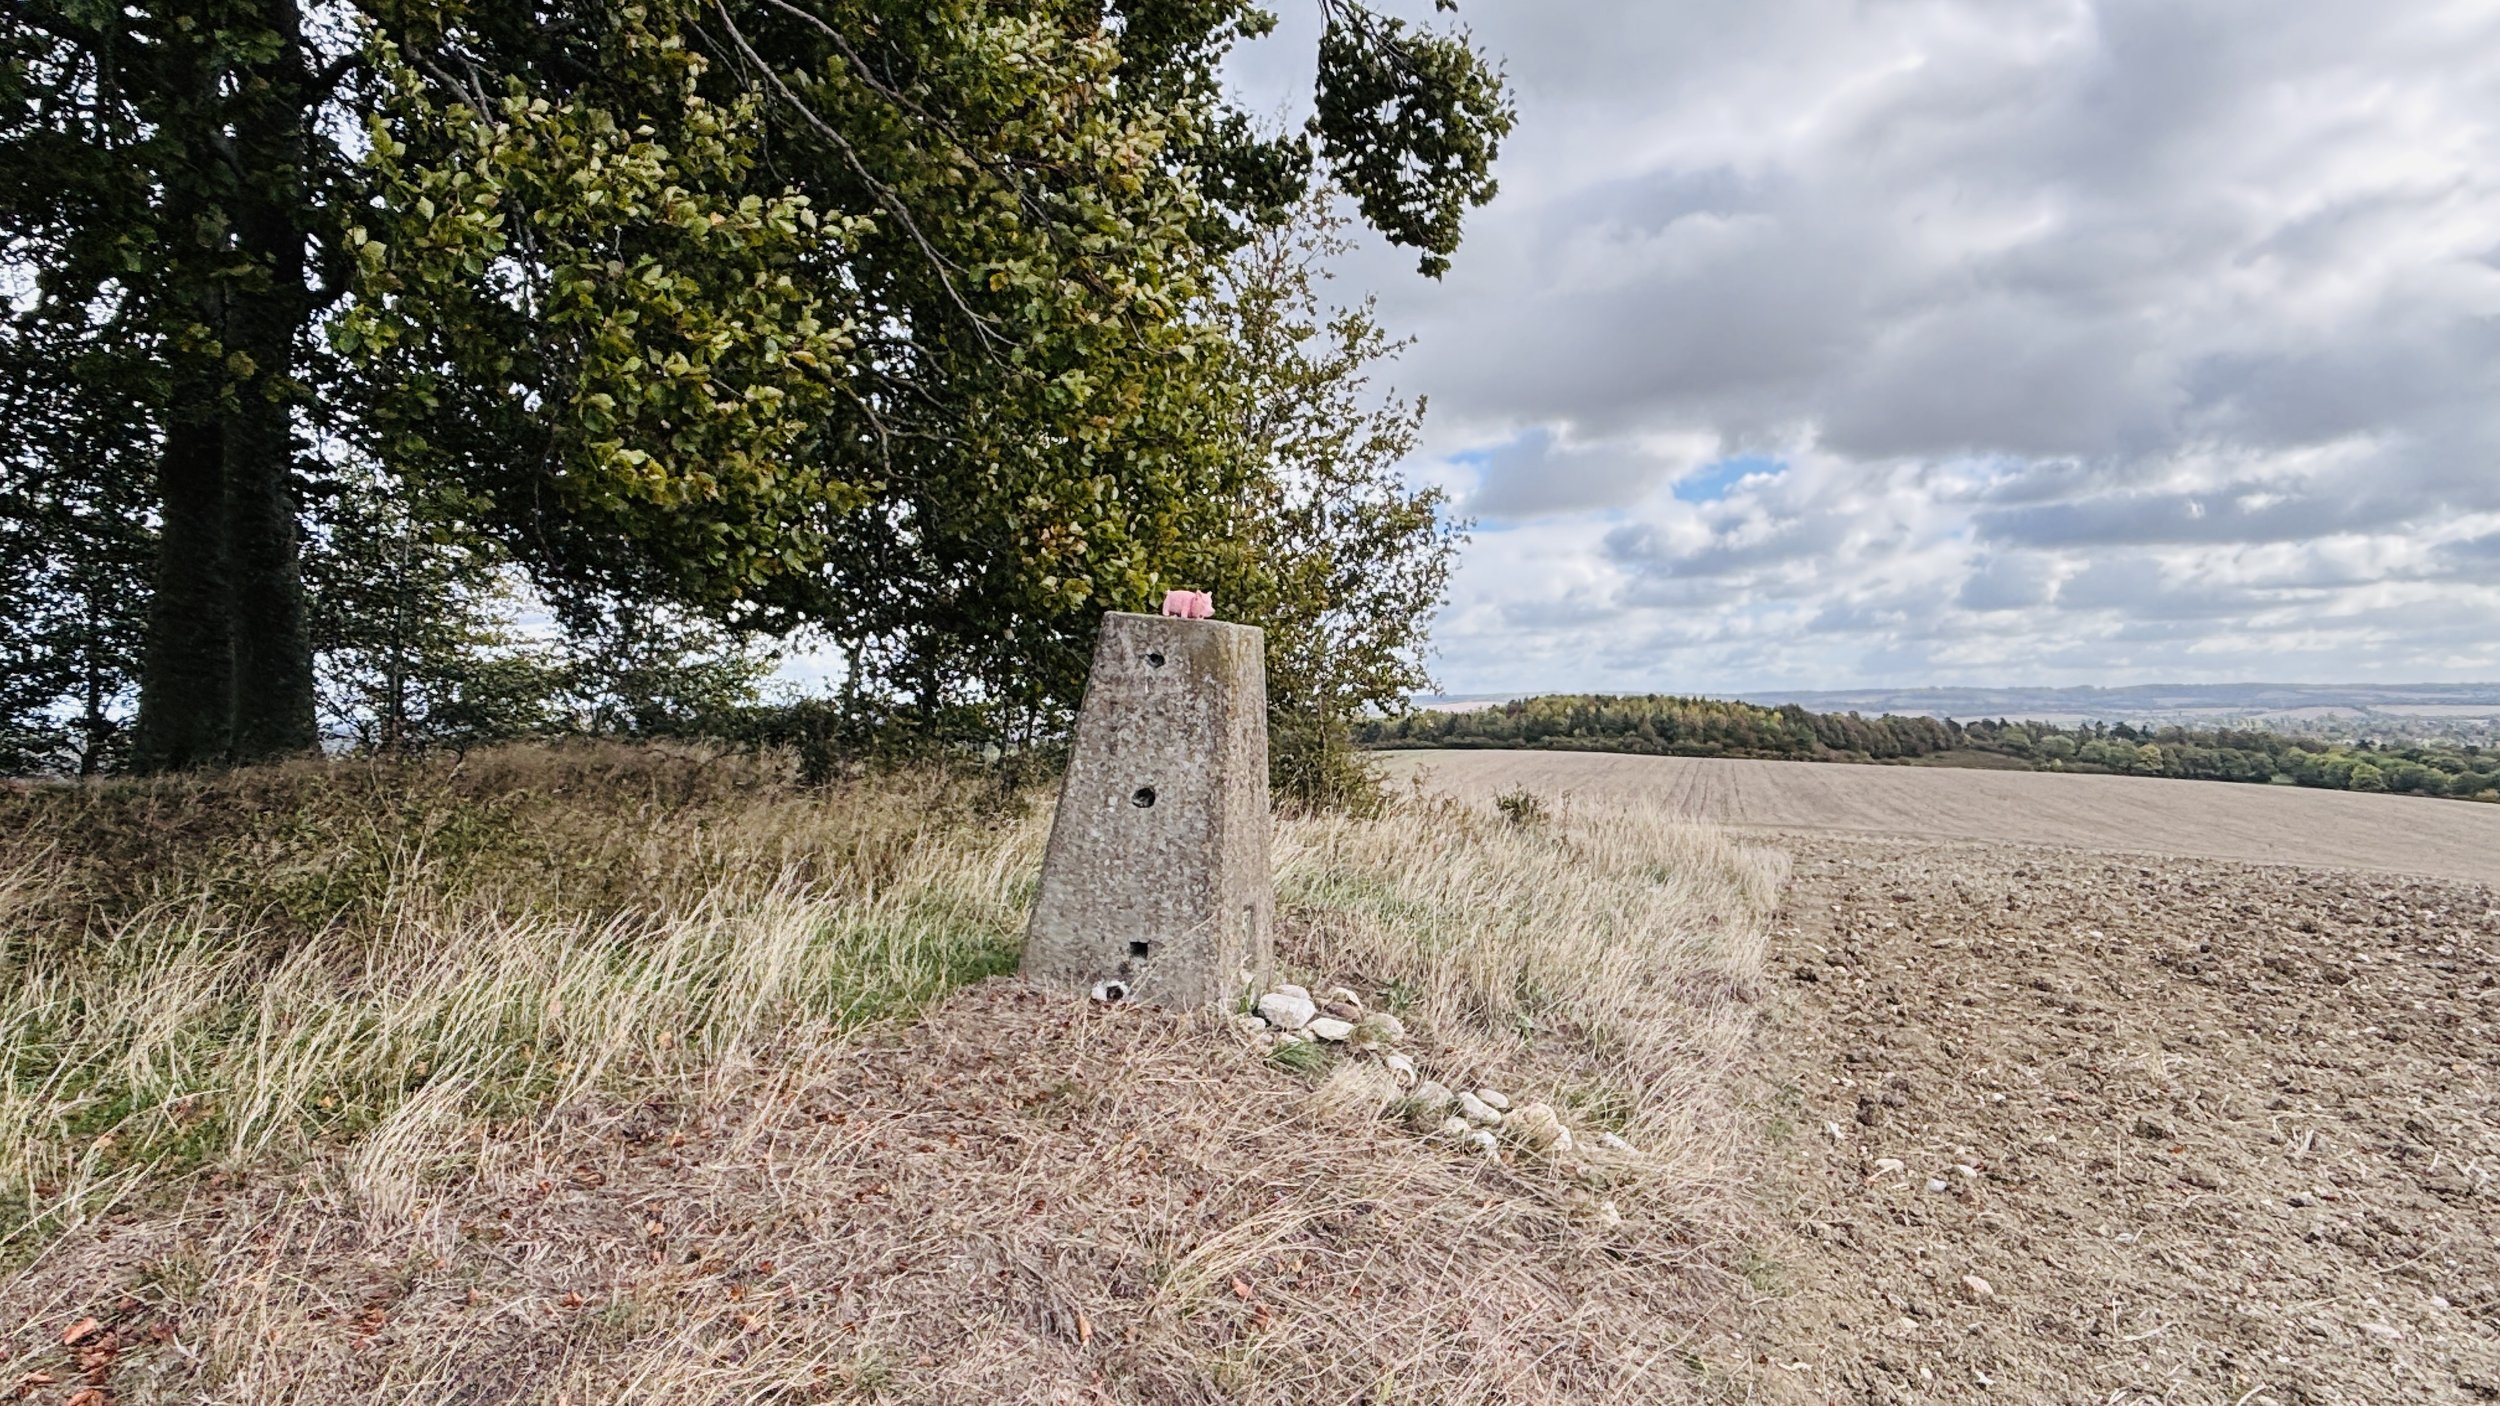
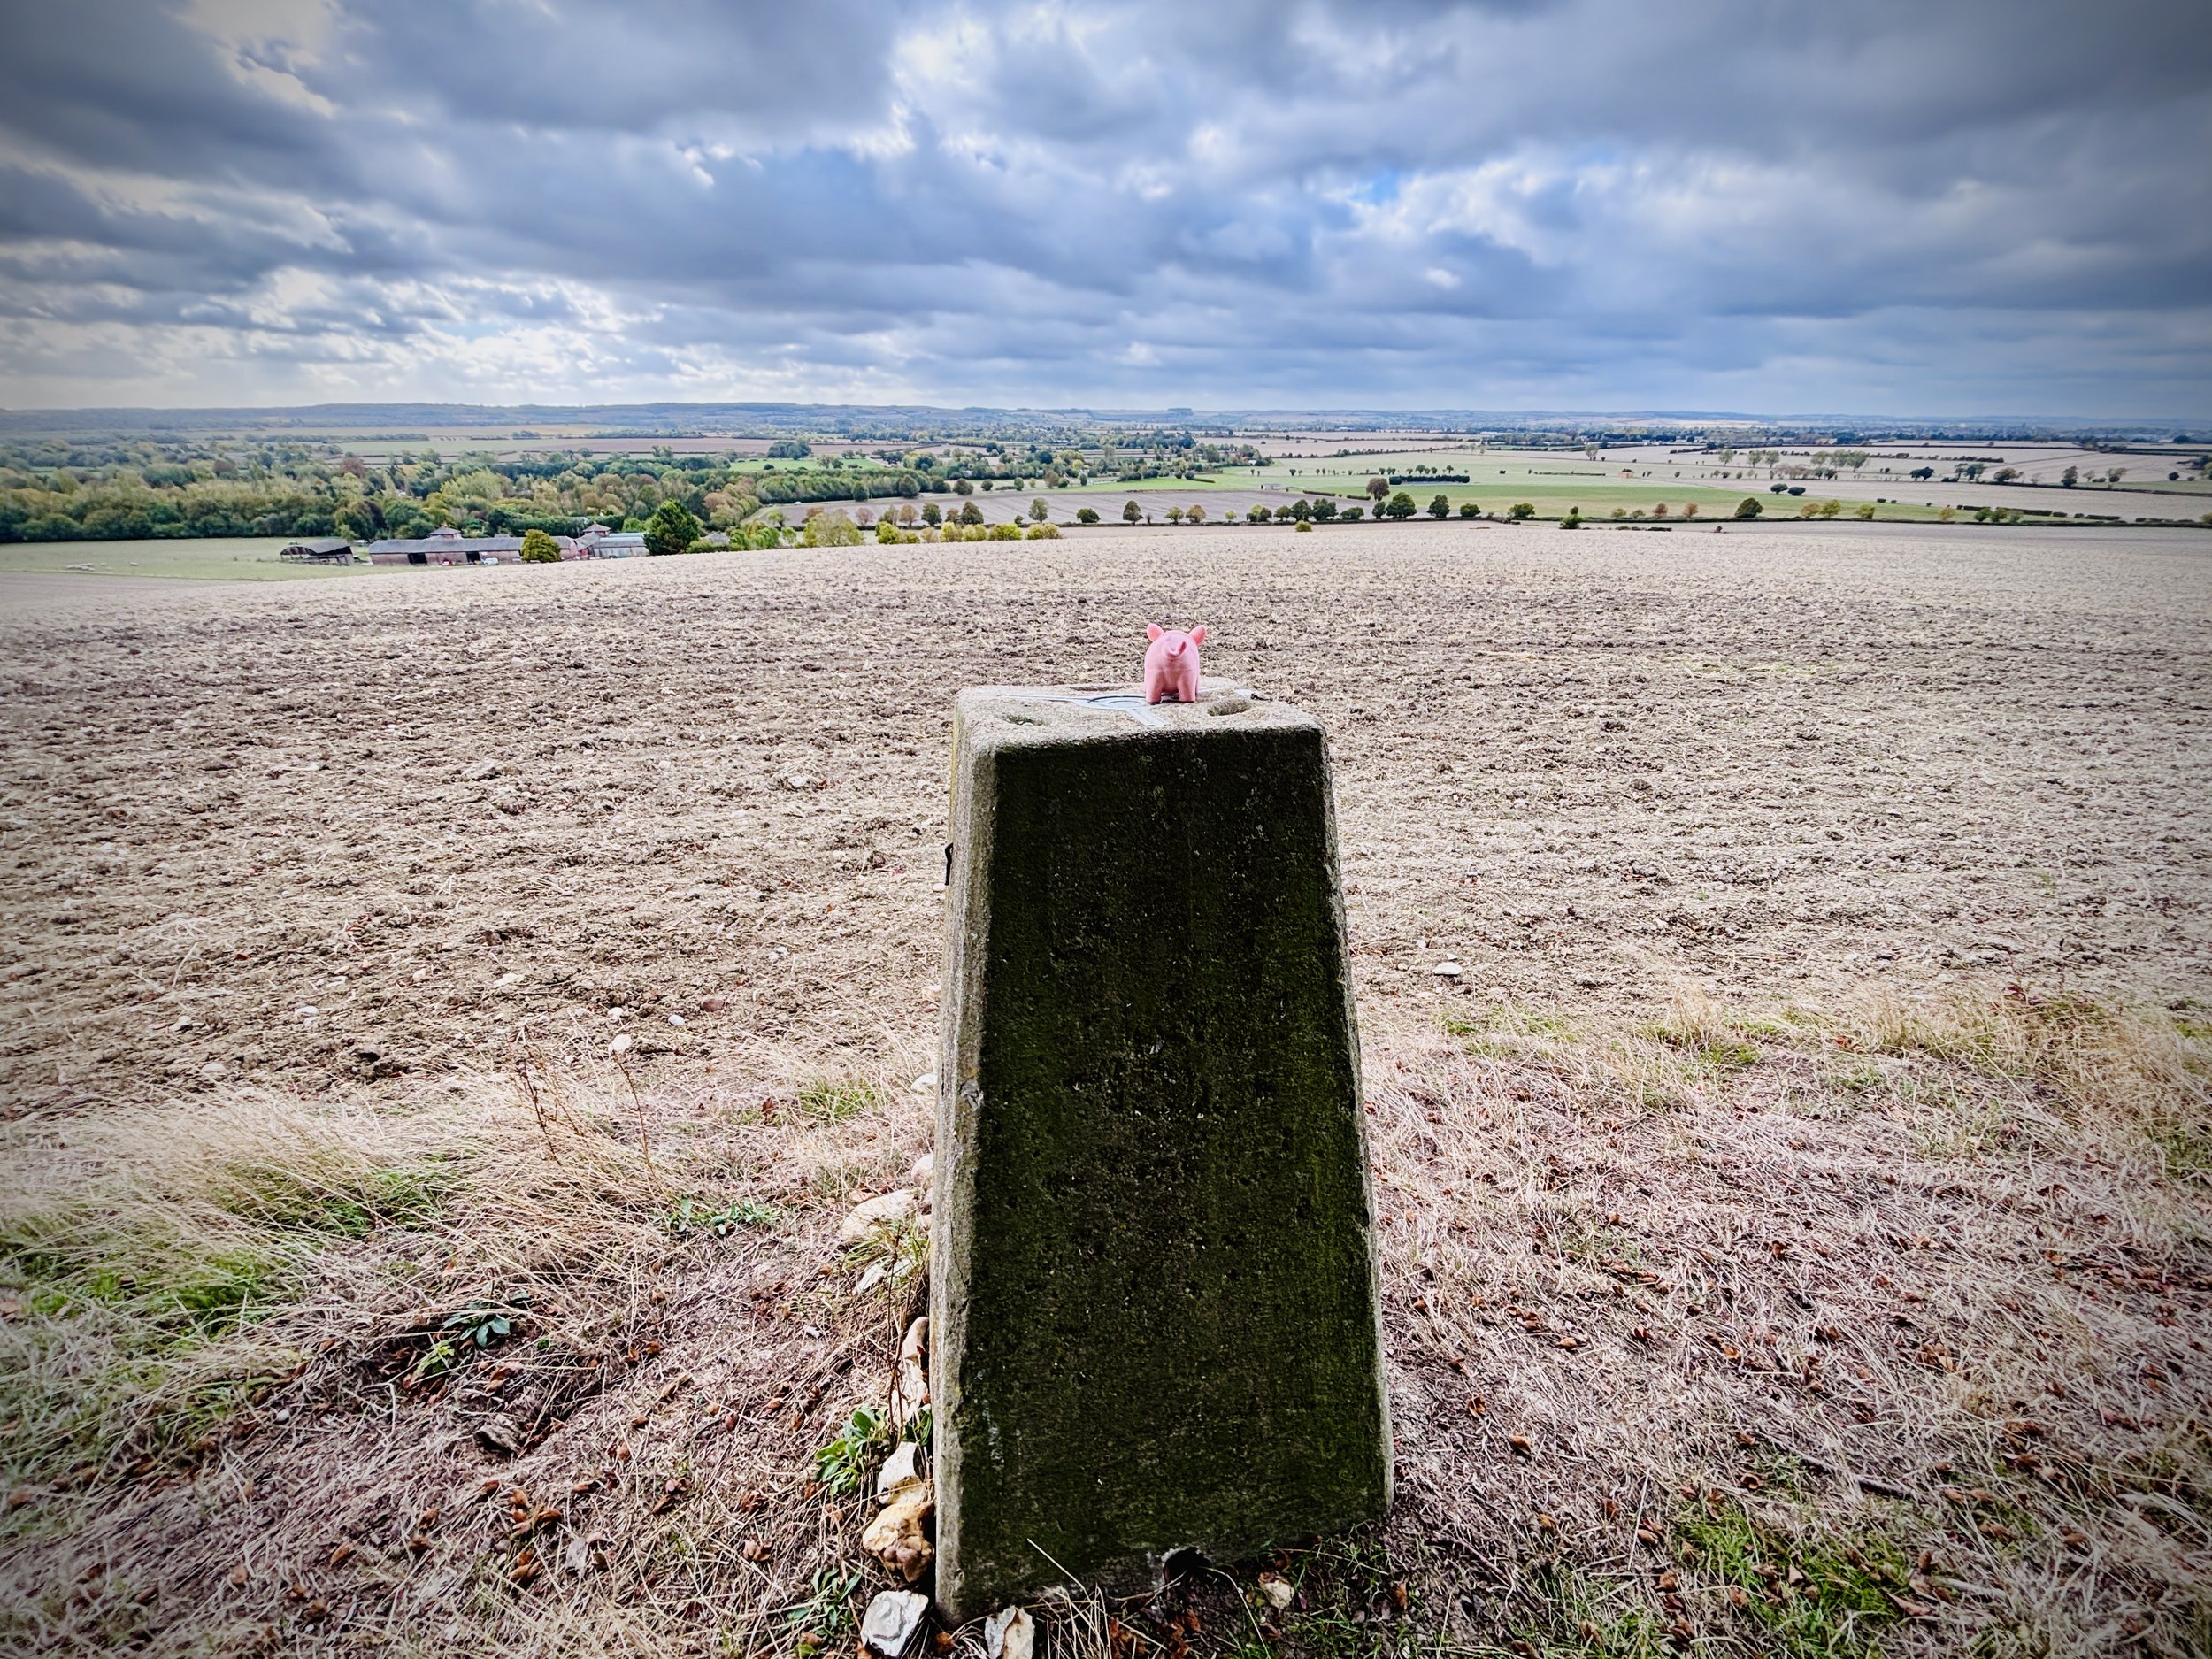
OS Trig Pillar: TP1629 - Brightwell Barrow
Map: Vale of White Horse Map | Abingdon-on-Thames, Wantage, Wallingford & Faringdon | Ordnance Survey | OS Explorer Map 170
Links: Wittenham Clumps, Brightwell Barrow, Brightwell-cum-Sotwell
This is part of a series of walks that combine beautiful countryside trails with finding (or “bagging”) an OS Trig Pillar. If you’ve searched for or stumbled across this page then you probably already know what an OS Trig Pillar is. If you don’t then this article from the Ordnance Survey is a good place to start.
Walking Directions
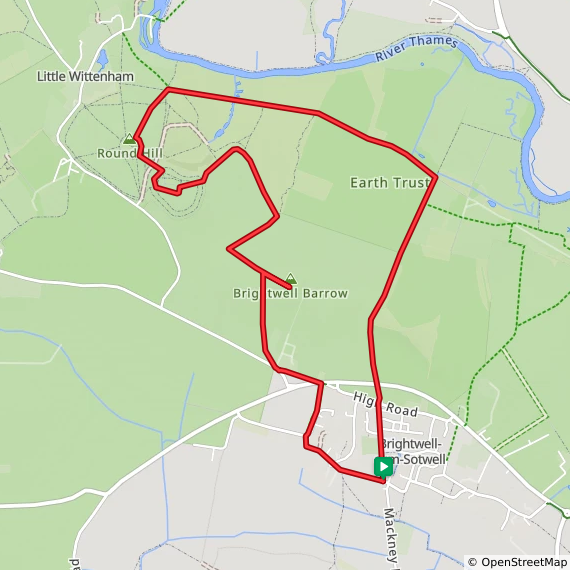
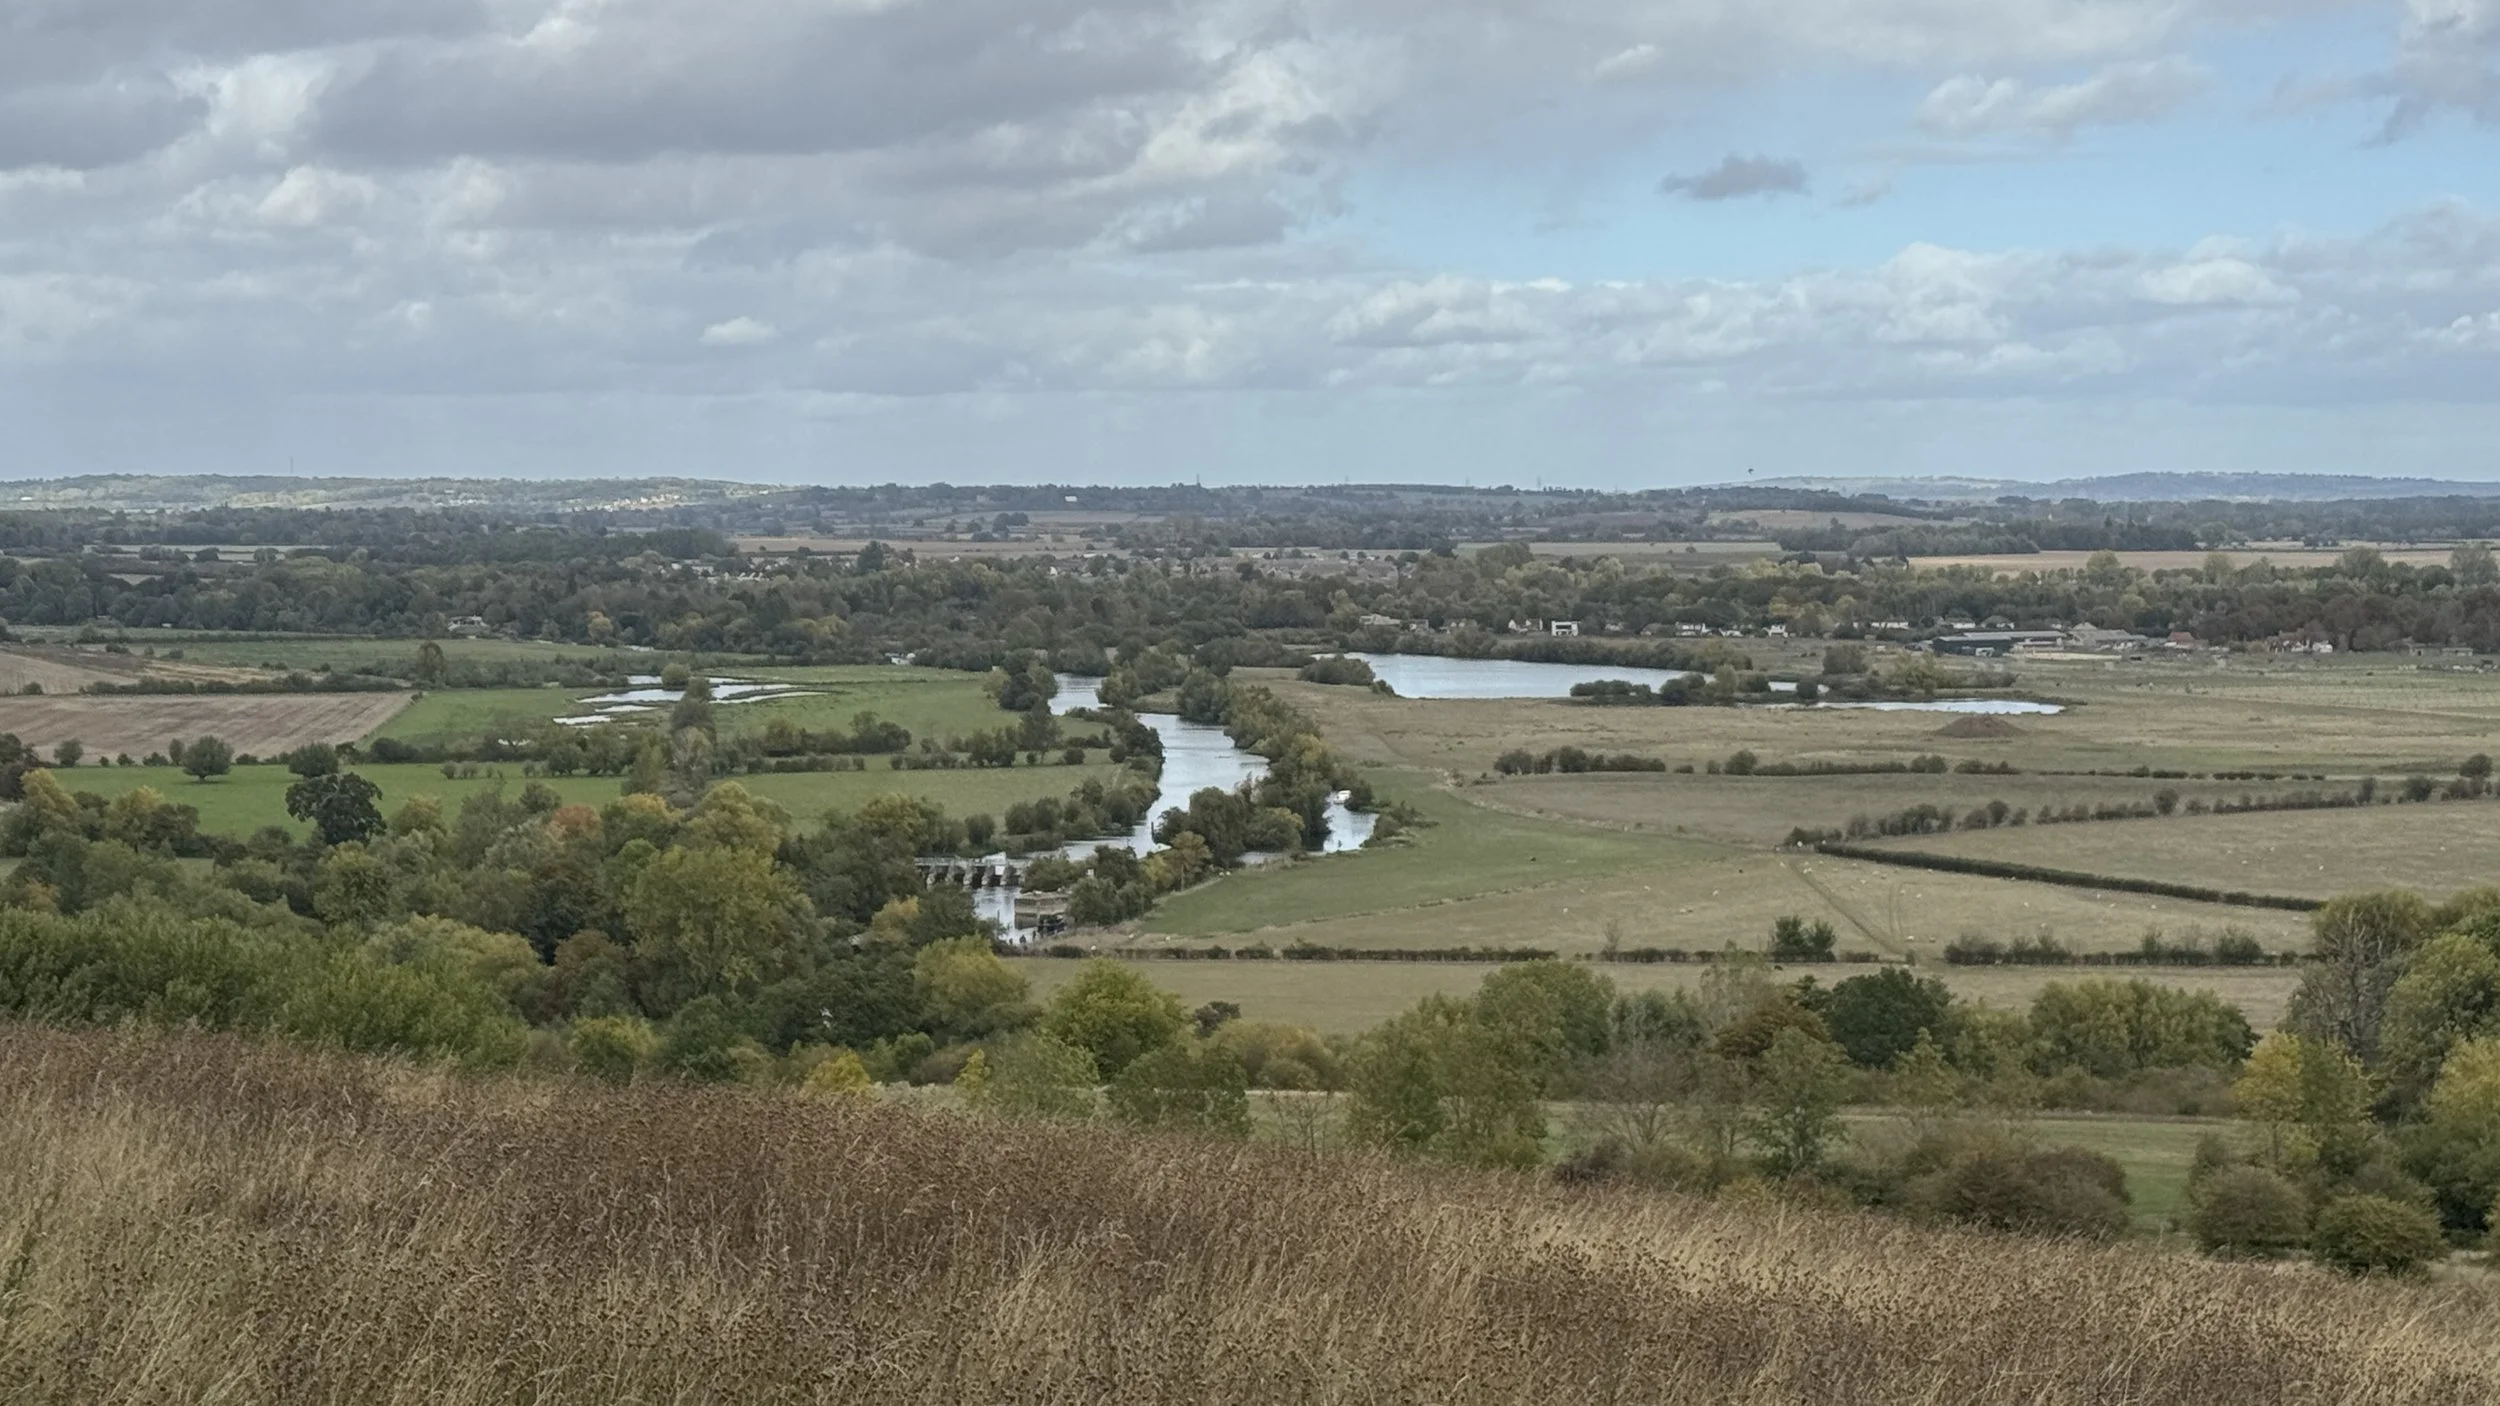
The walking directions below follow a scenic loop encompassing both the Wittenham Clumps and Brightwell Barrow. This route offers a fantastic mix of ancient history and sweeping views across the Thames Valley. While the undulating paths and steep chalk climbs might not be suitable for a fast and flat parkrun, they provide an excellent workout and a rewarding countryside trek for weekend walkers.
The trail begins with a steady ascent towards the Bronze Age site of Brightwell Barrow, a prominent peak marked by a classic Ordnance Survey trig pillar. From there, the path dips and climbs again to the iconic Castle Hill before looping back through the lower fields. The landscape is rich with archaeological history, making this short but energetic walk a true delight for both nature lovers and history enthusiasts.
The guidance below will help you navigate but don’t use it as a fully accurate turn-by-turn guide. Always take a map and/or a GPX route and prepare well for the weather and terrain.
Park for free on-street opposite the Red Lion pub in Brightwell Street, Brightwell-cum-Sotwell.
From the pub, walk west on Brightwell Street, then continue onto West End at the junction with Church Lane.
Follow West End north-west as it curves right to become Didcot Road.
Turn right at Little Martins and take the footpath on the left following the road north.
Cross the A4130 carefully and continue north-west to meet Sires Hill.
Turn right on Sires Hill, then take the footpath north-west to the farm.
Follow the path diagonally across the fields to a water trough; Brightwell Barrow is south-east.
Visit the trig pillar and return to the trough, then descend north-west between the fields.
Go through the gate at the hedgerow, turn right, and follow the track north-east.
Curve left north-west before the forest, then ascend south-west to Castle Hill.
Walk around the southern path to the west, then clockwise to a small path descending towards Round Hill.
Ascend to Round Hill, turn right on the outer circle, and descend steeply towards the River Thames.
Go through the gate at the bottom and take a right through Little Wittingham Wood.
Continue south-west for 1.7 km, follow the field edge to a private property gate, then turn right south-west.
Meet Roman Way, ascend Castle Hill, then descend to the A4130.
Cross the road, continue south over High Road, and follow Green Mere to Brightwell Street.
Points of Interest along or near to the Route
Wittenham Clumps: A prominent pair of wooded chalk hills, comprising Round Hill and Castle Hill. They are a famous local landmark managed by the Earth Trust and contain the earthworks of an Iron Age hillfort.
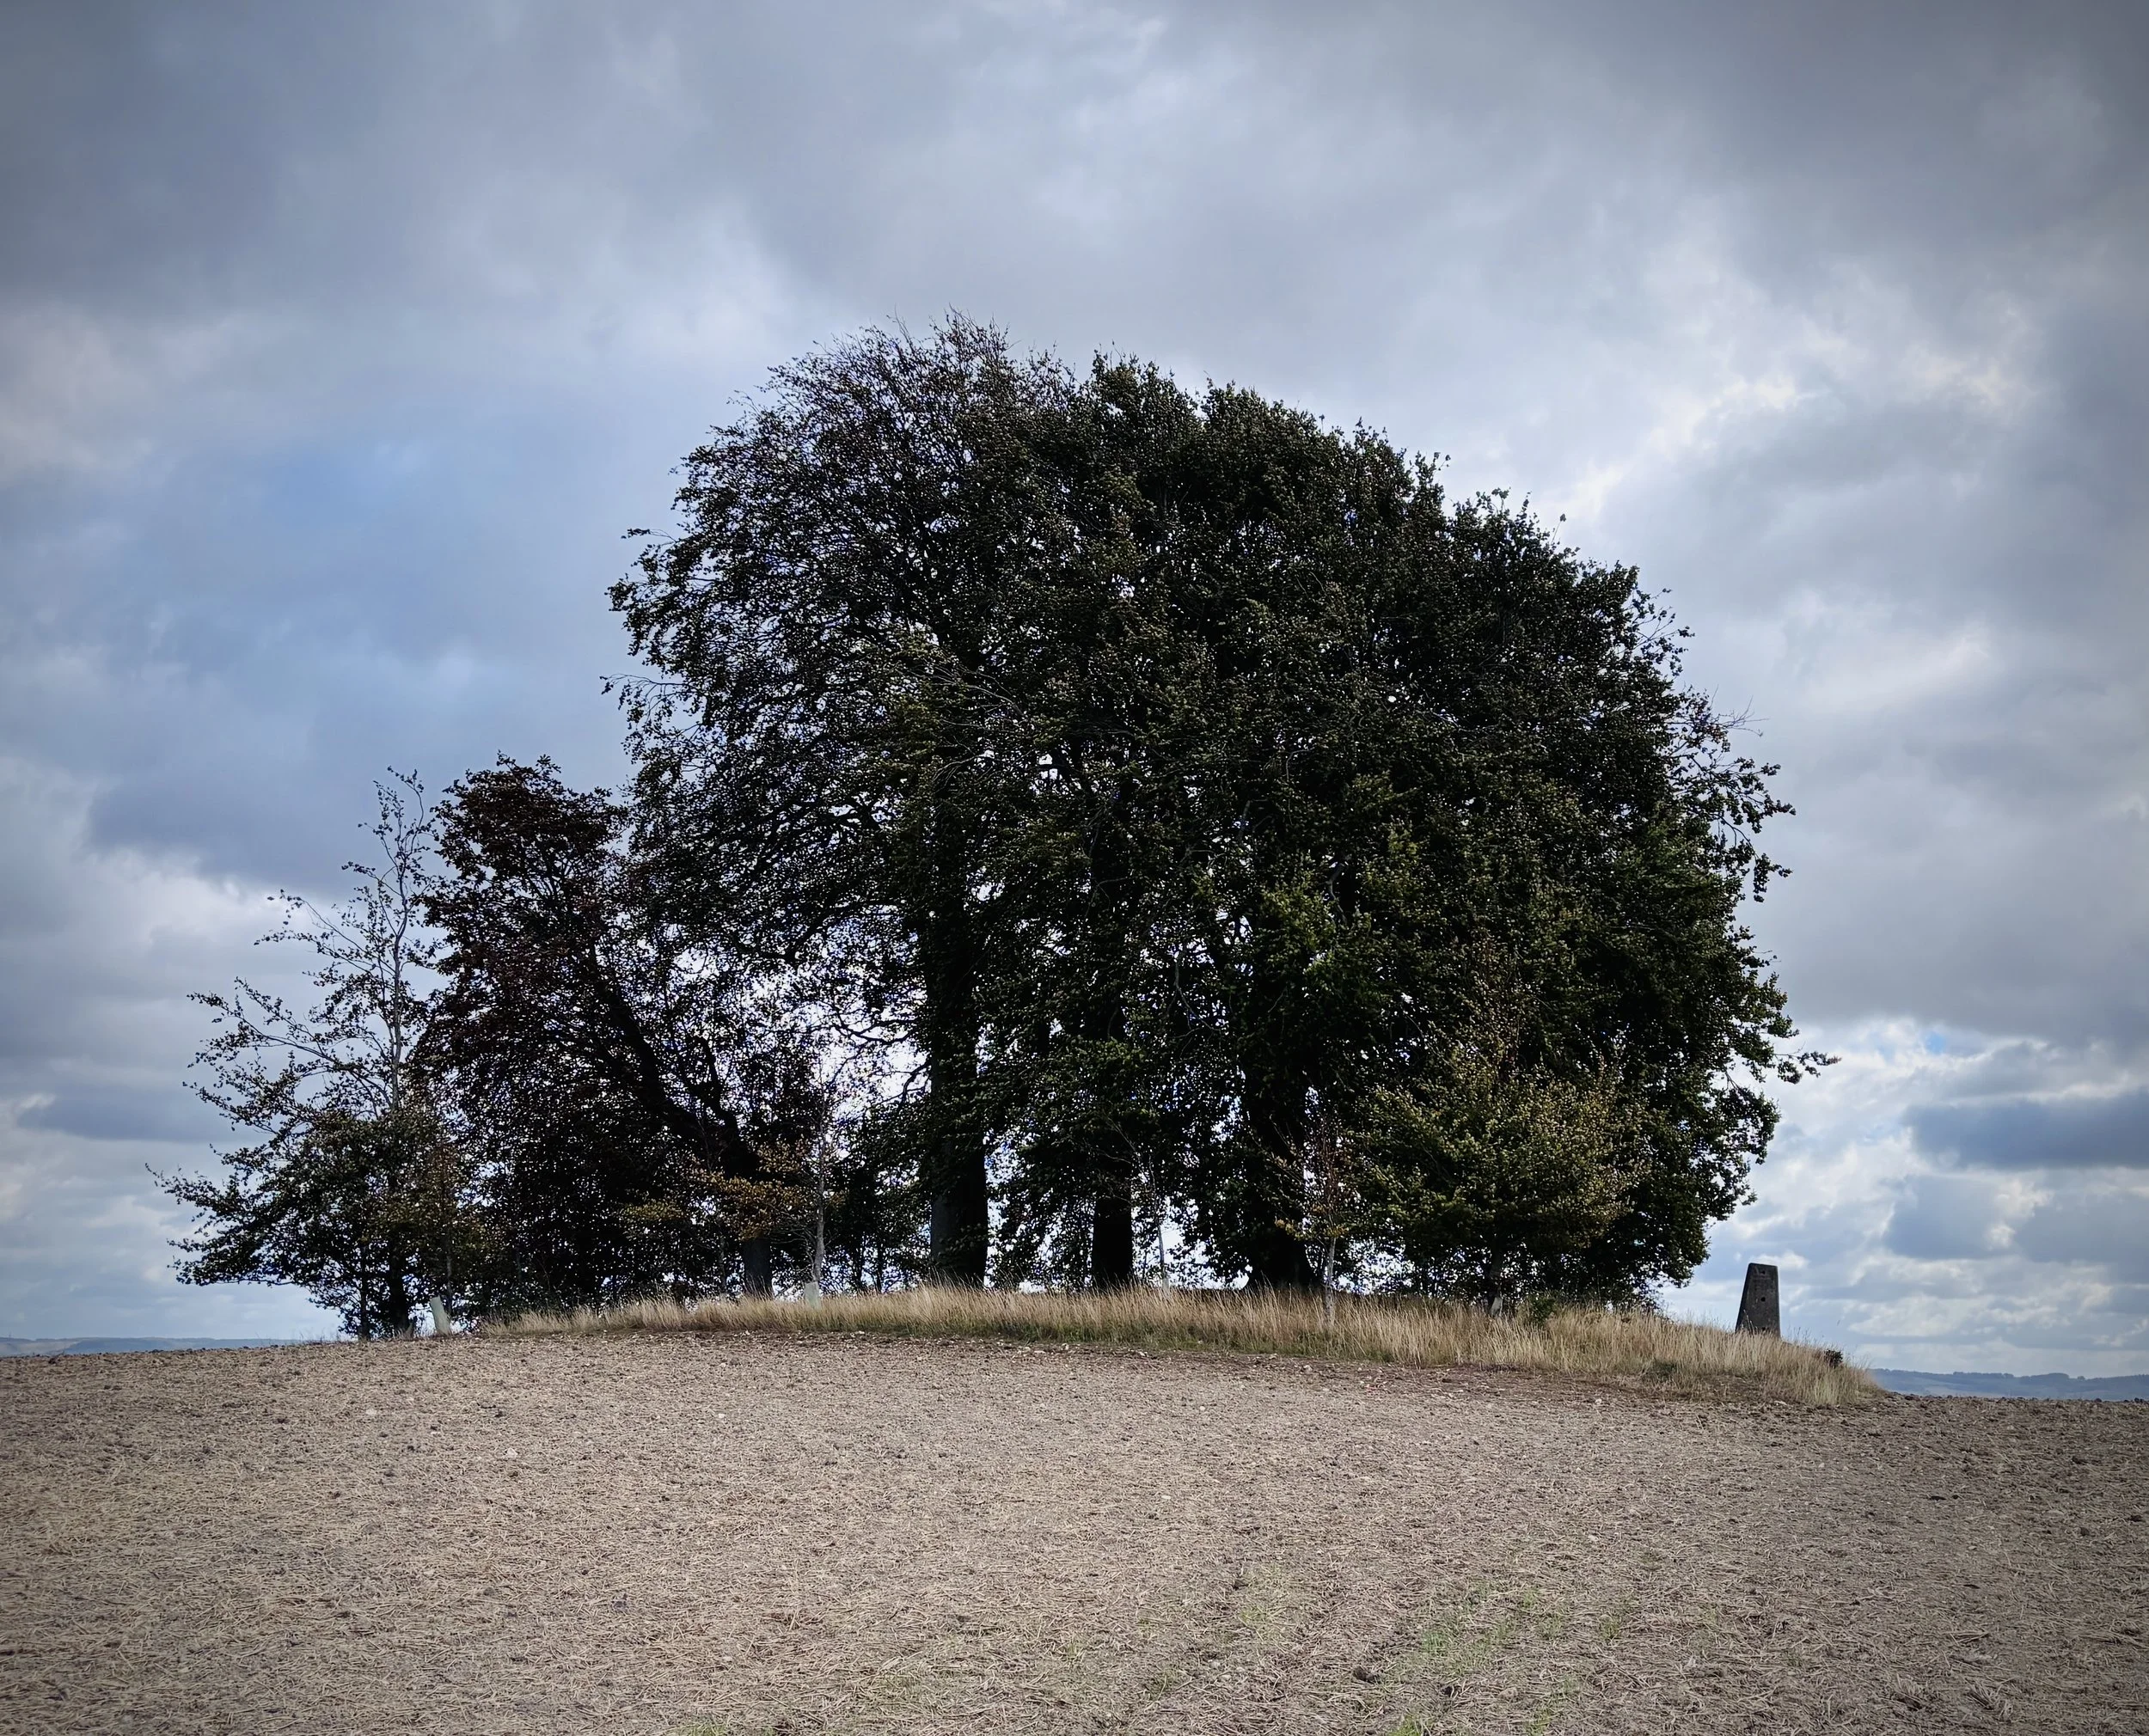
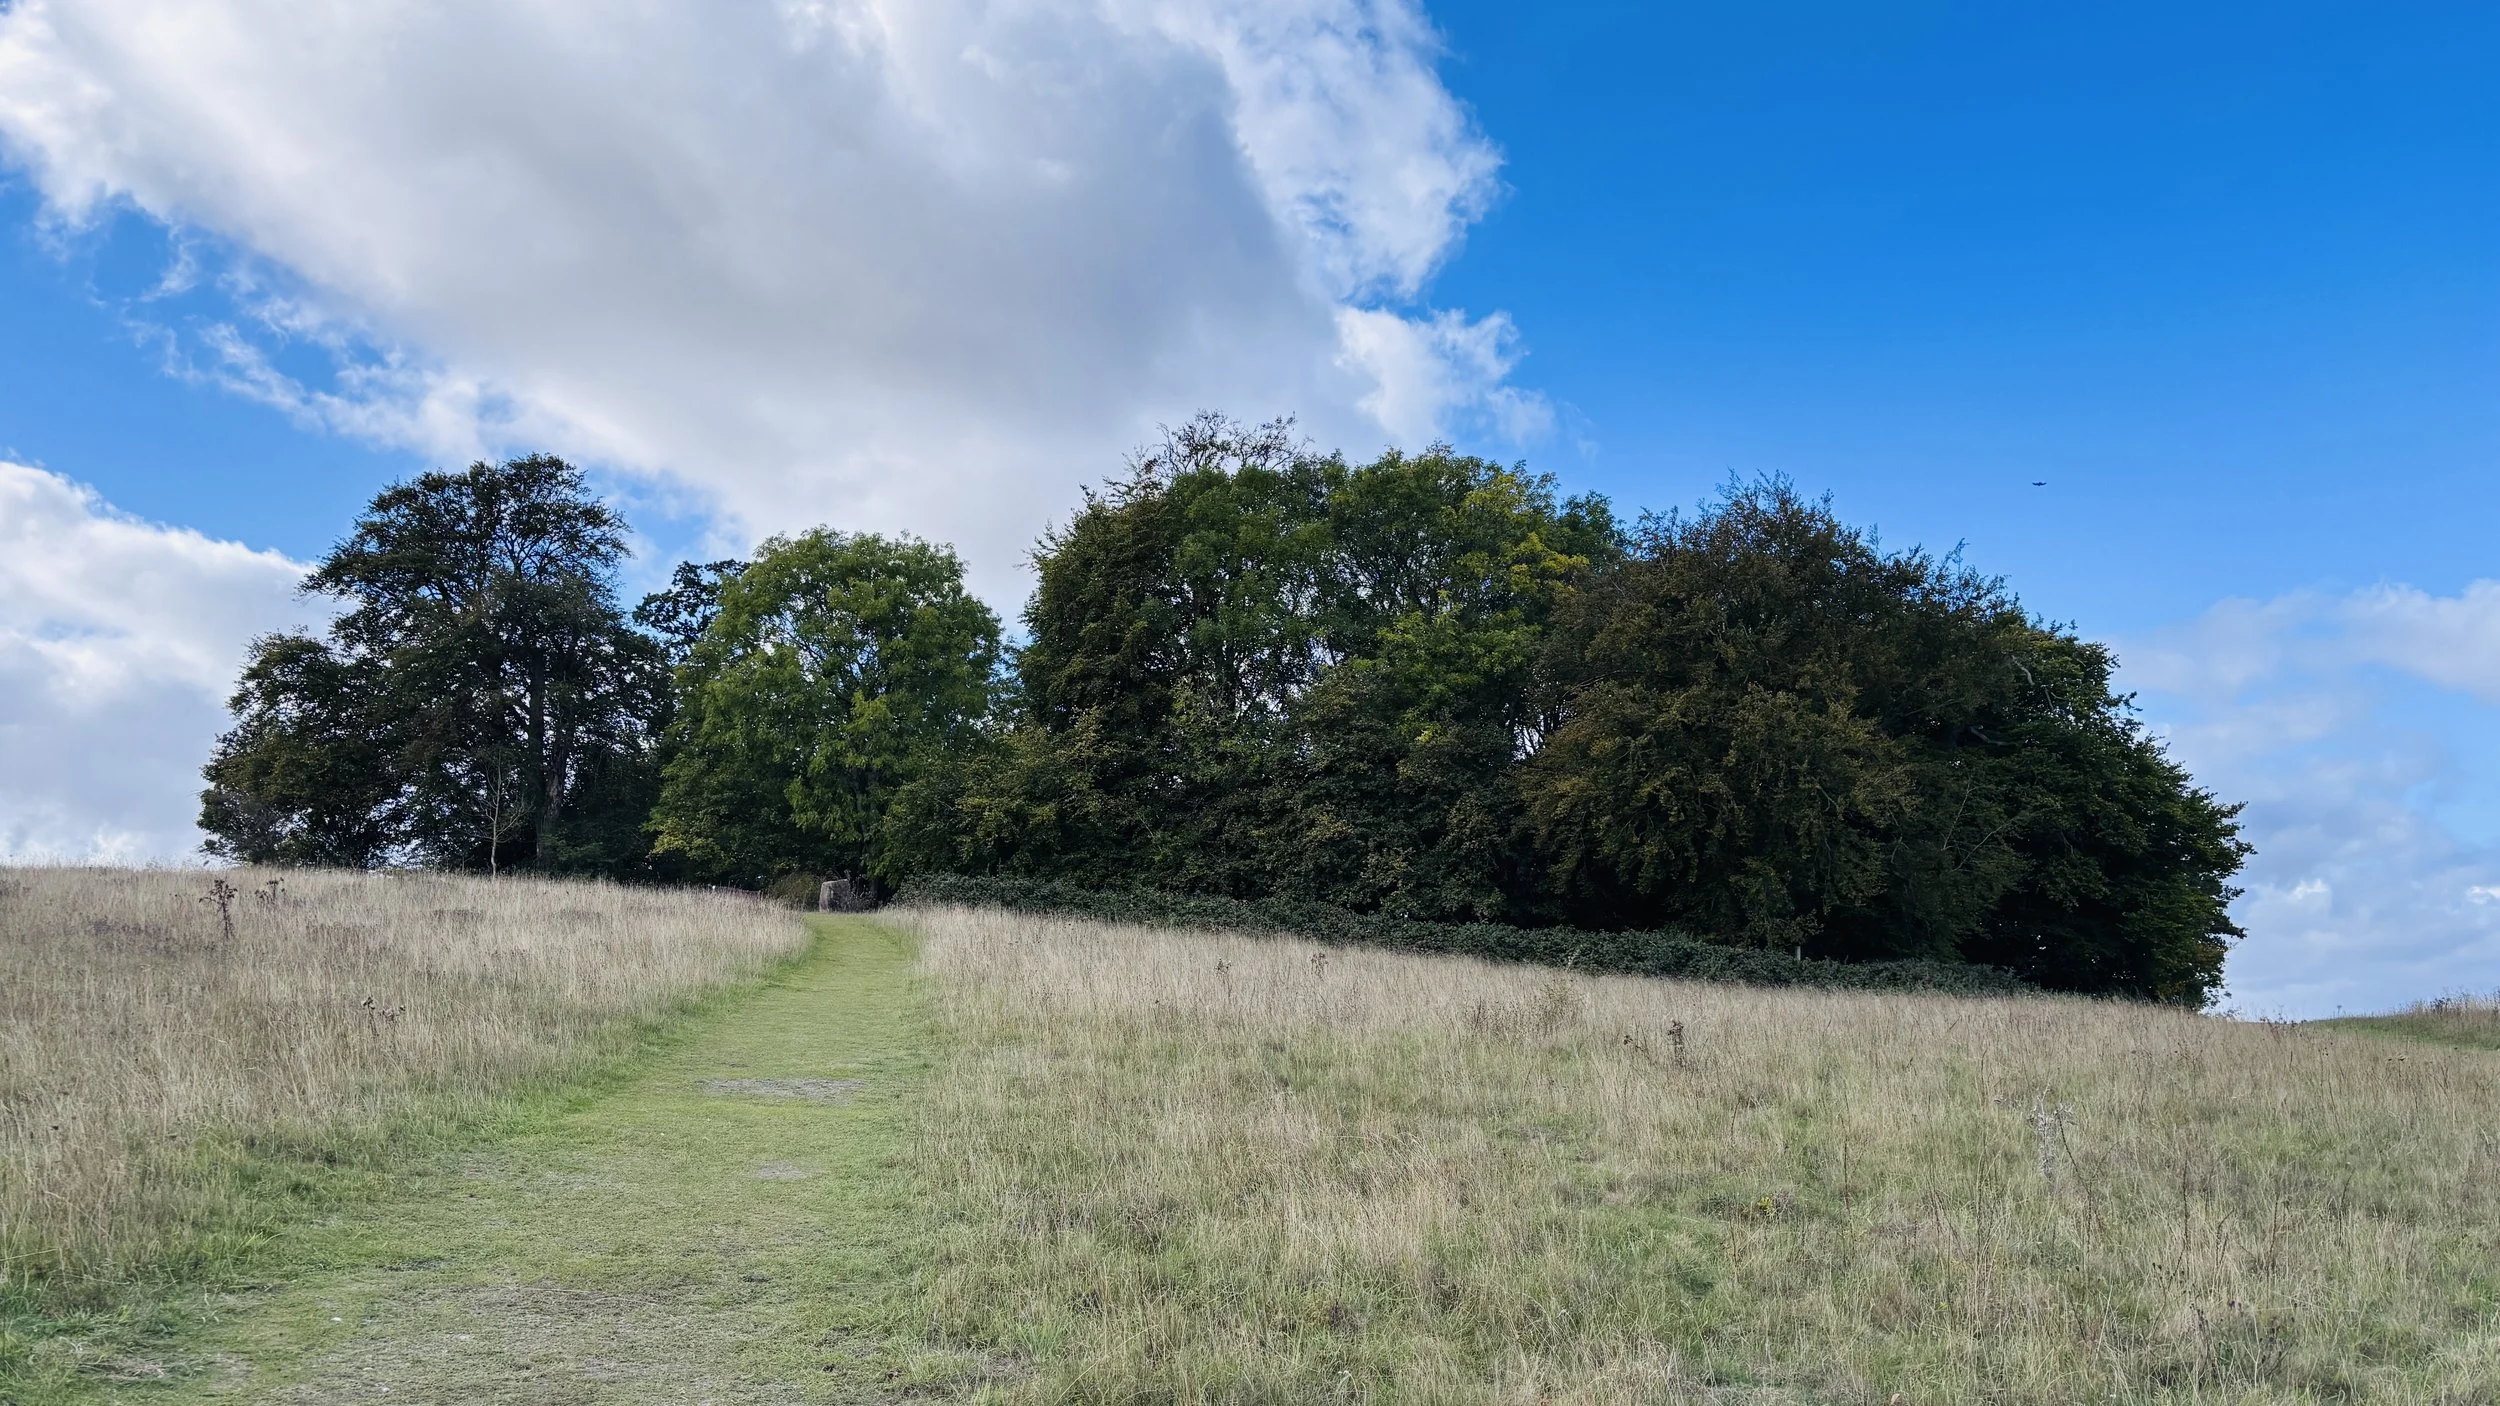
Brightwell Barrow: A Bronze Age round barrow marked by a trig pillar (TP1629) and a small cluster of trees. It offers expansive views across the Oxfordshire countryside.
Walking The Oxfordshire Way Part 6: Pyrton and Clare
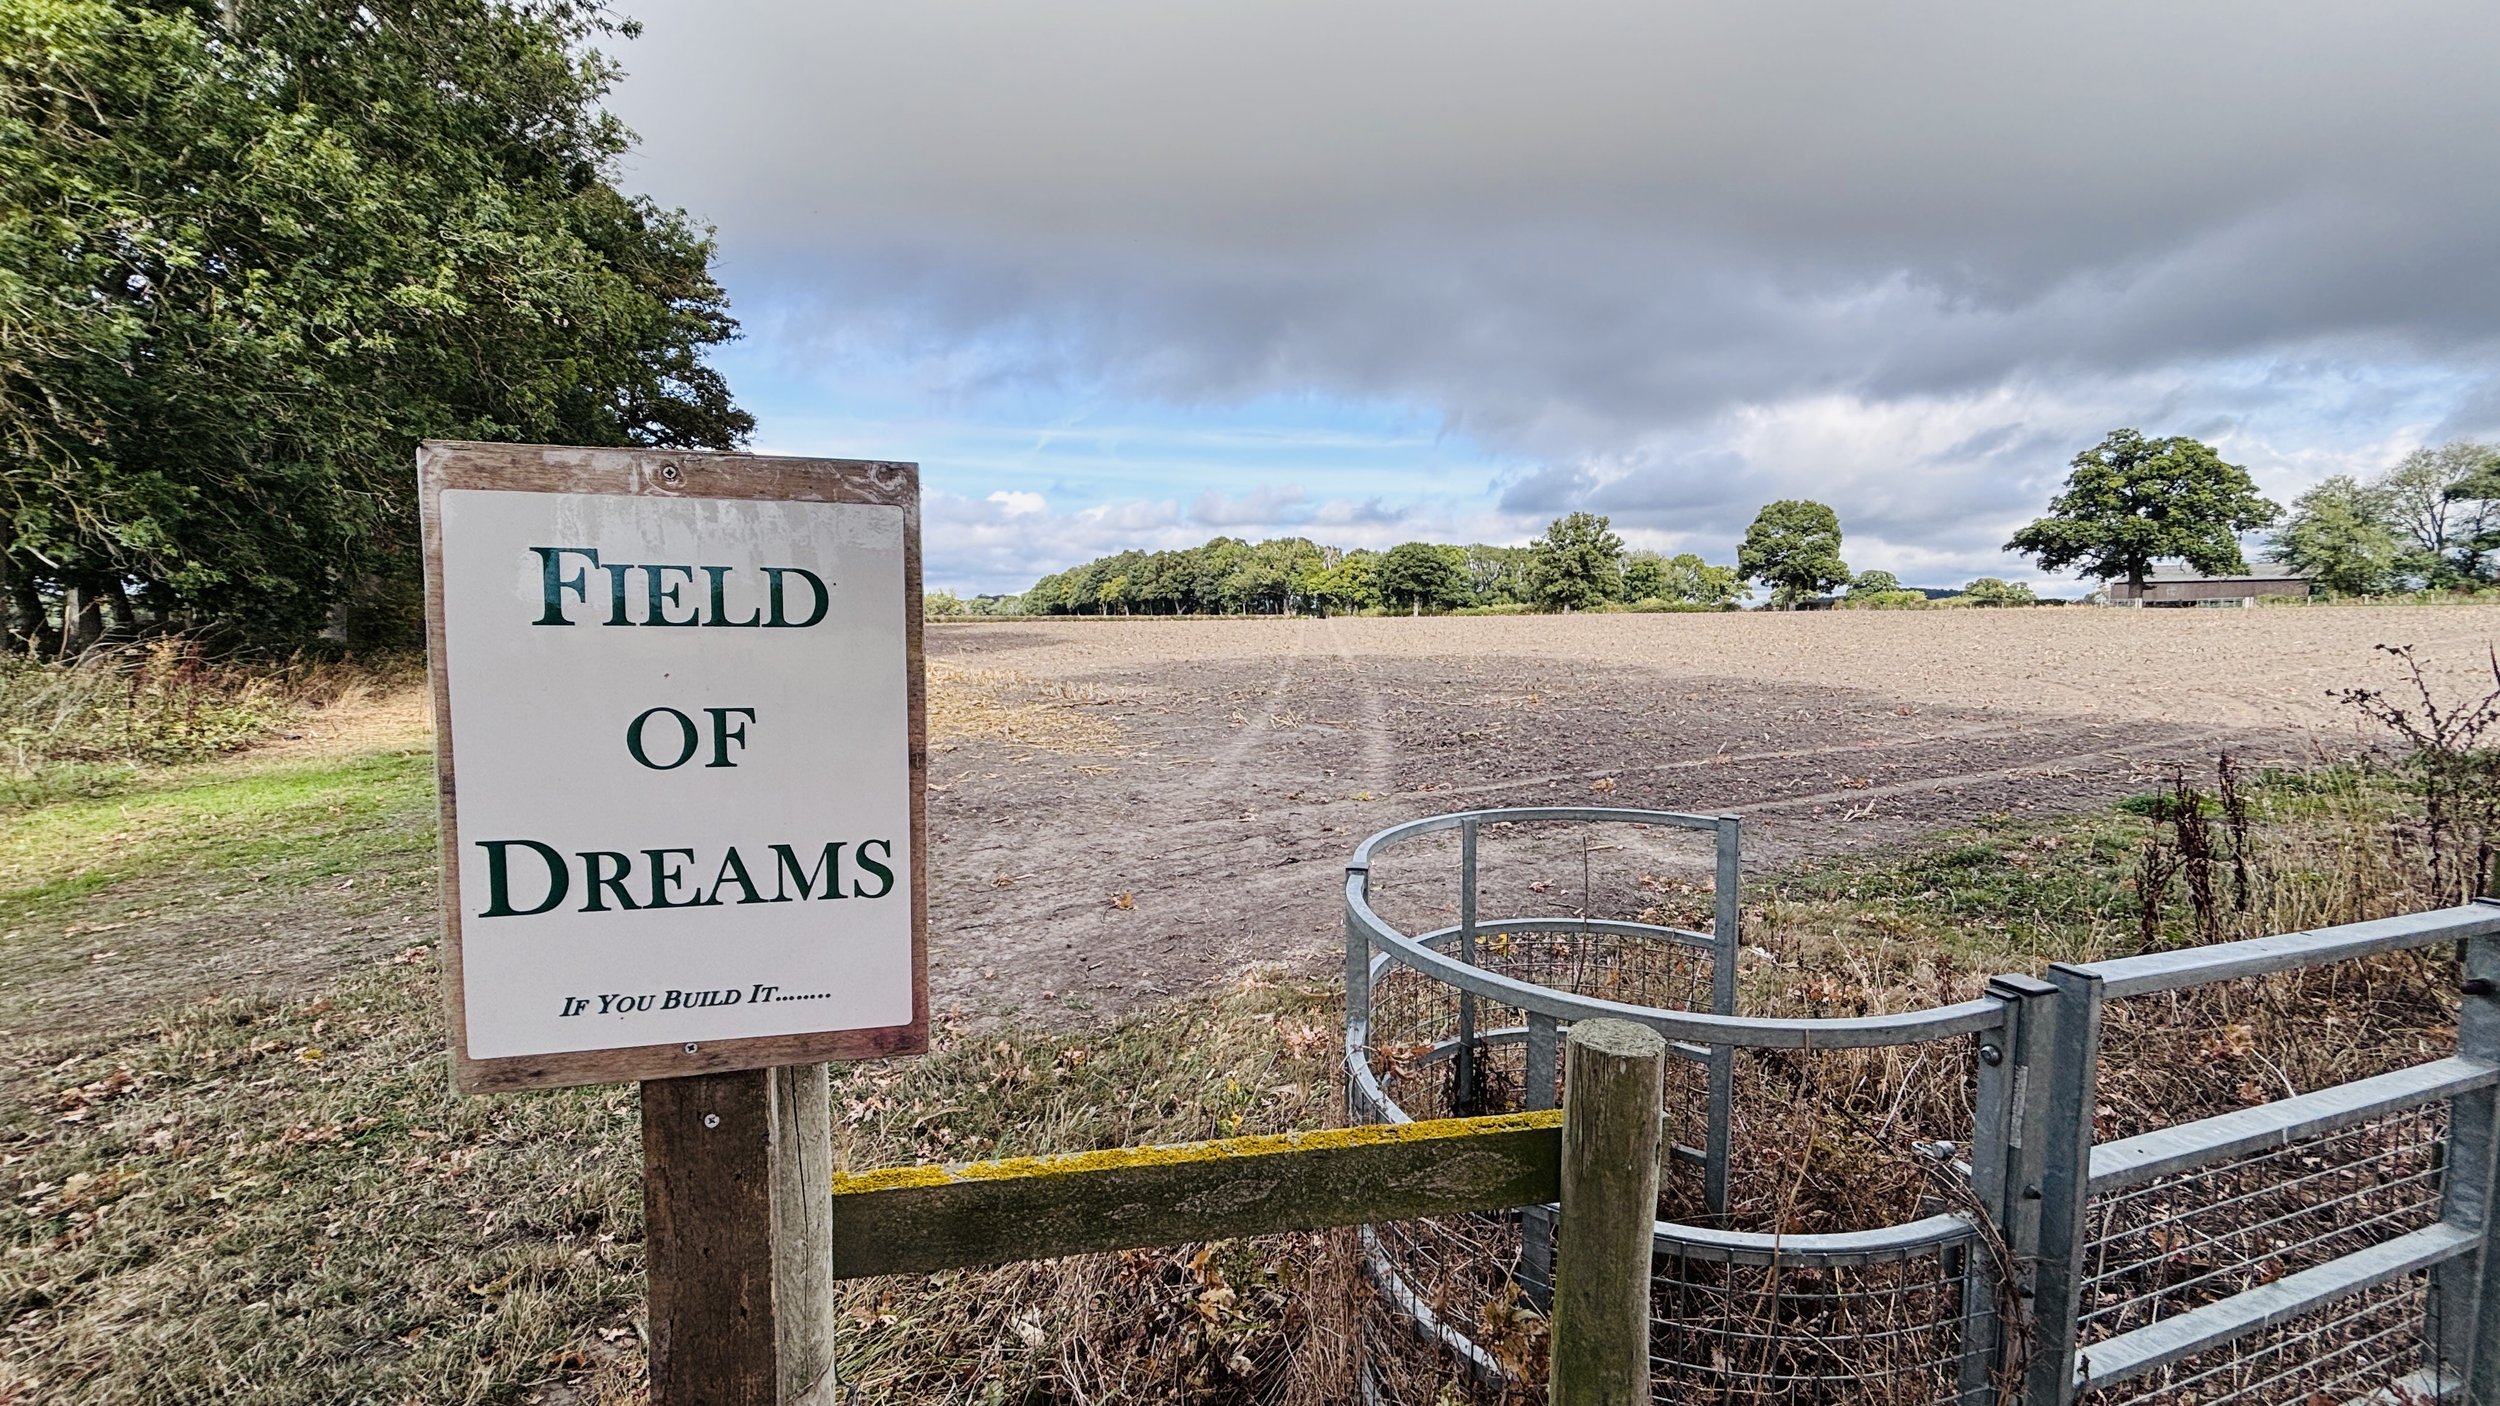
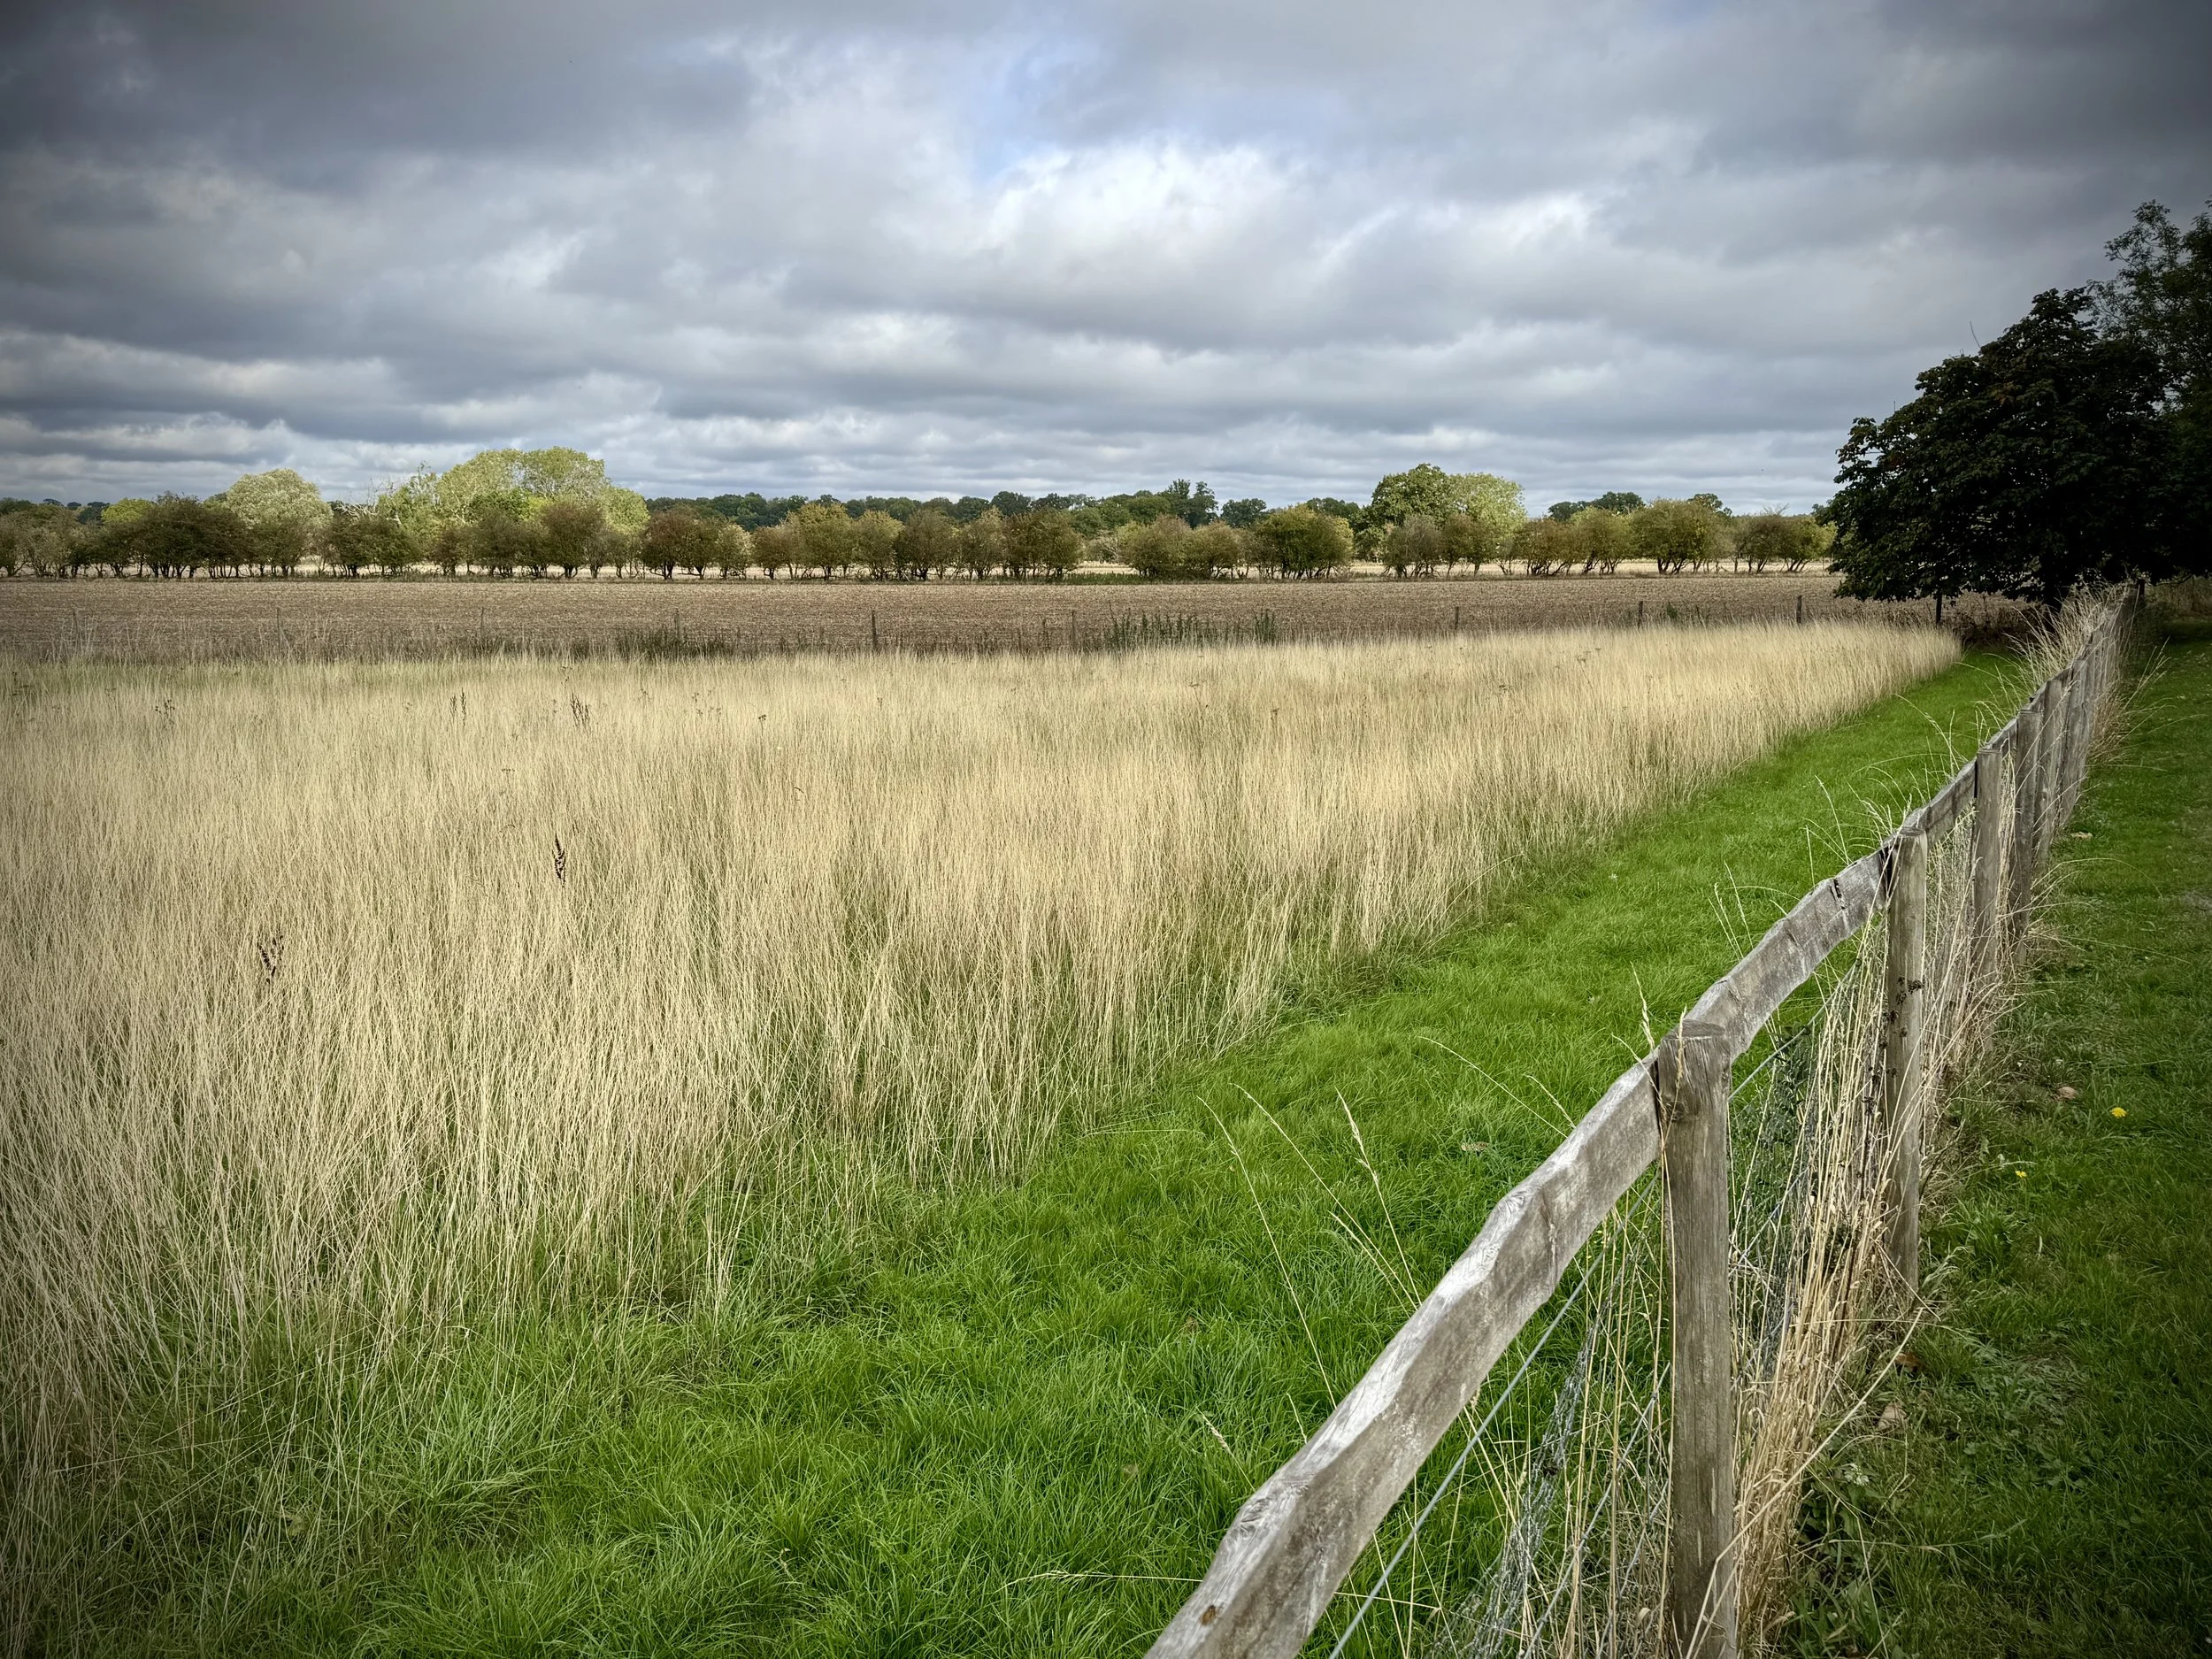
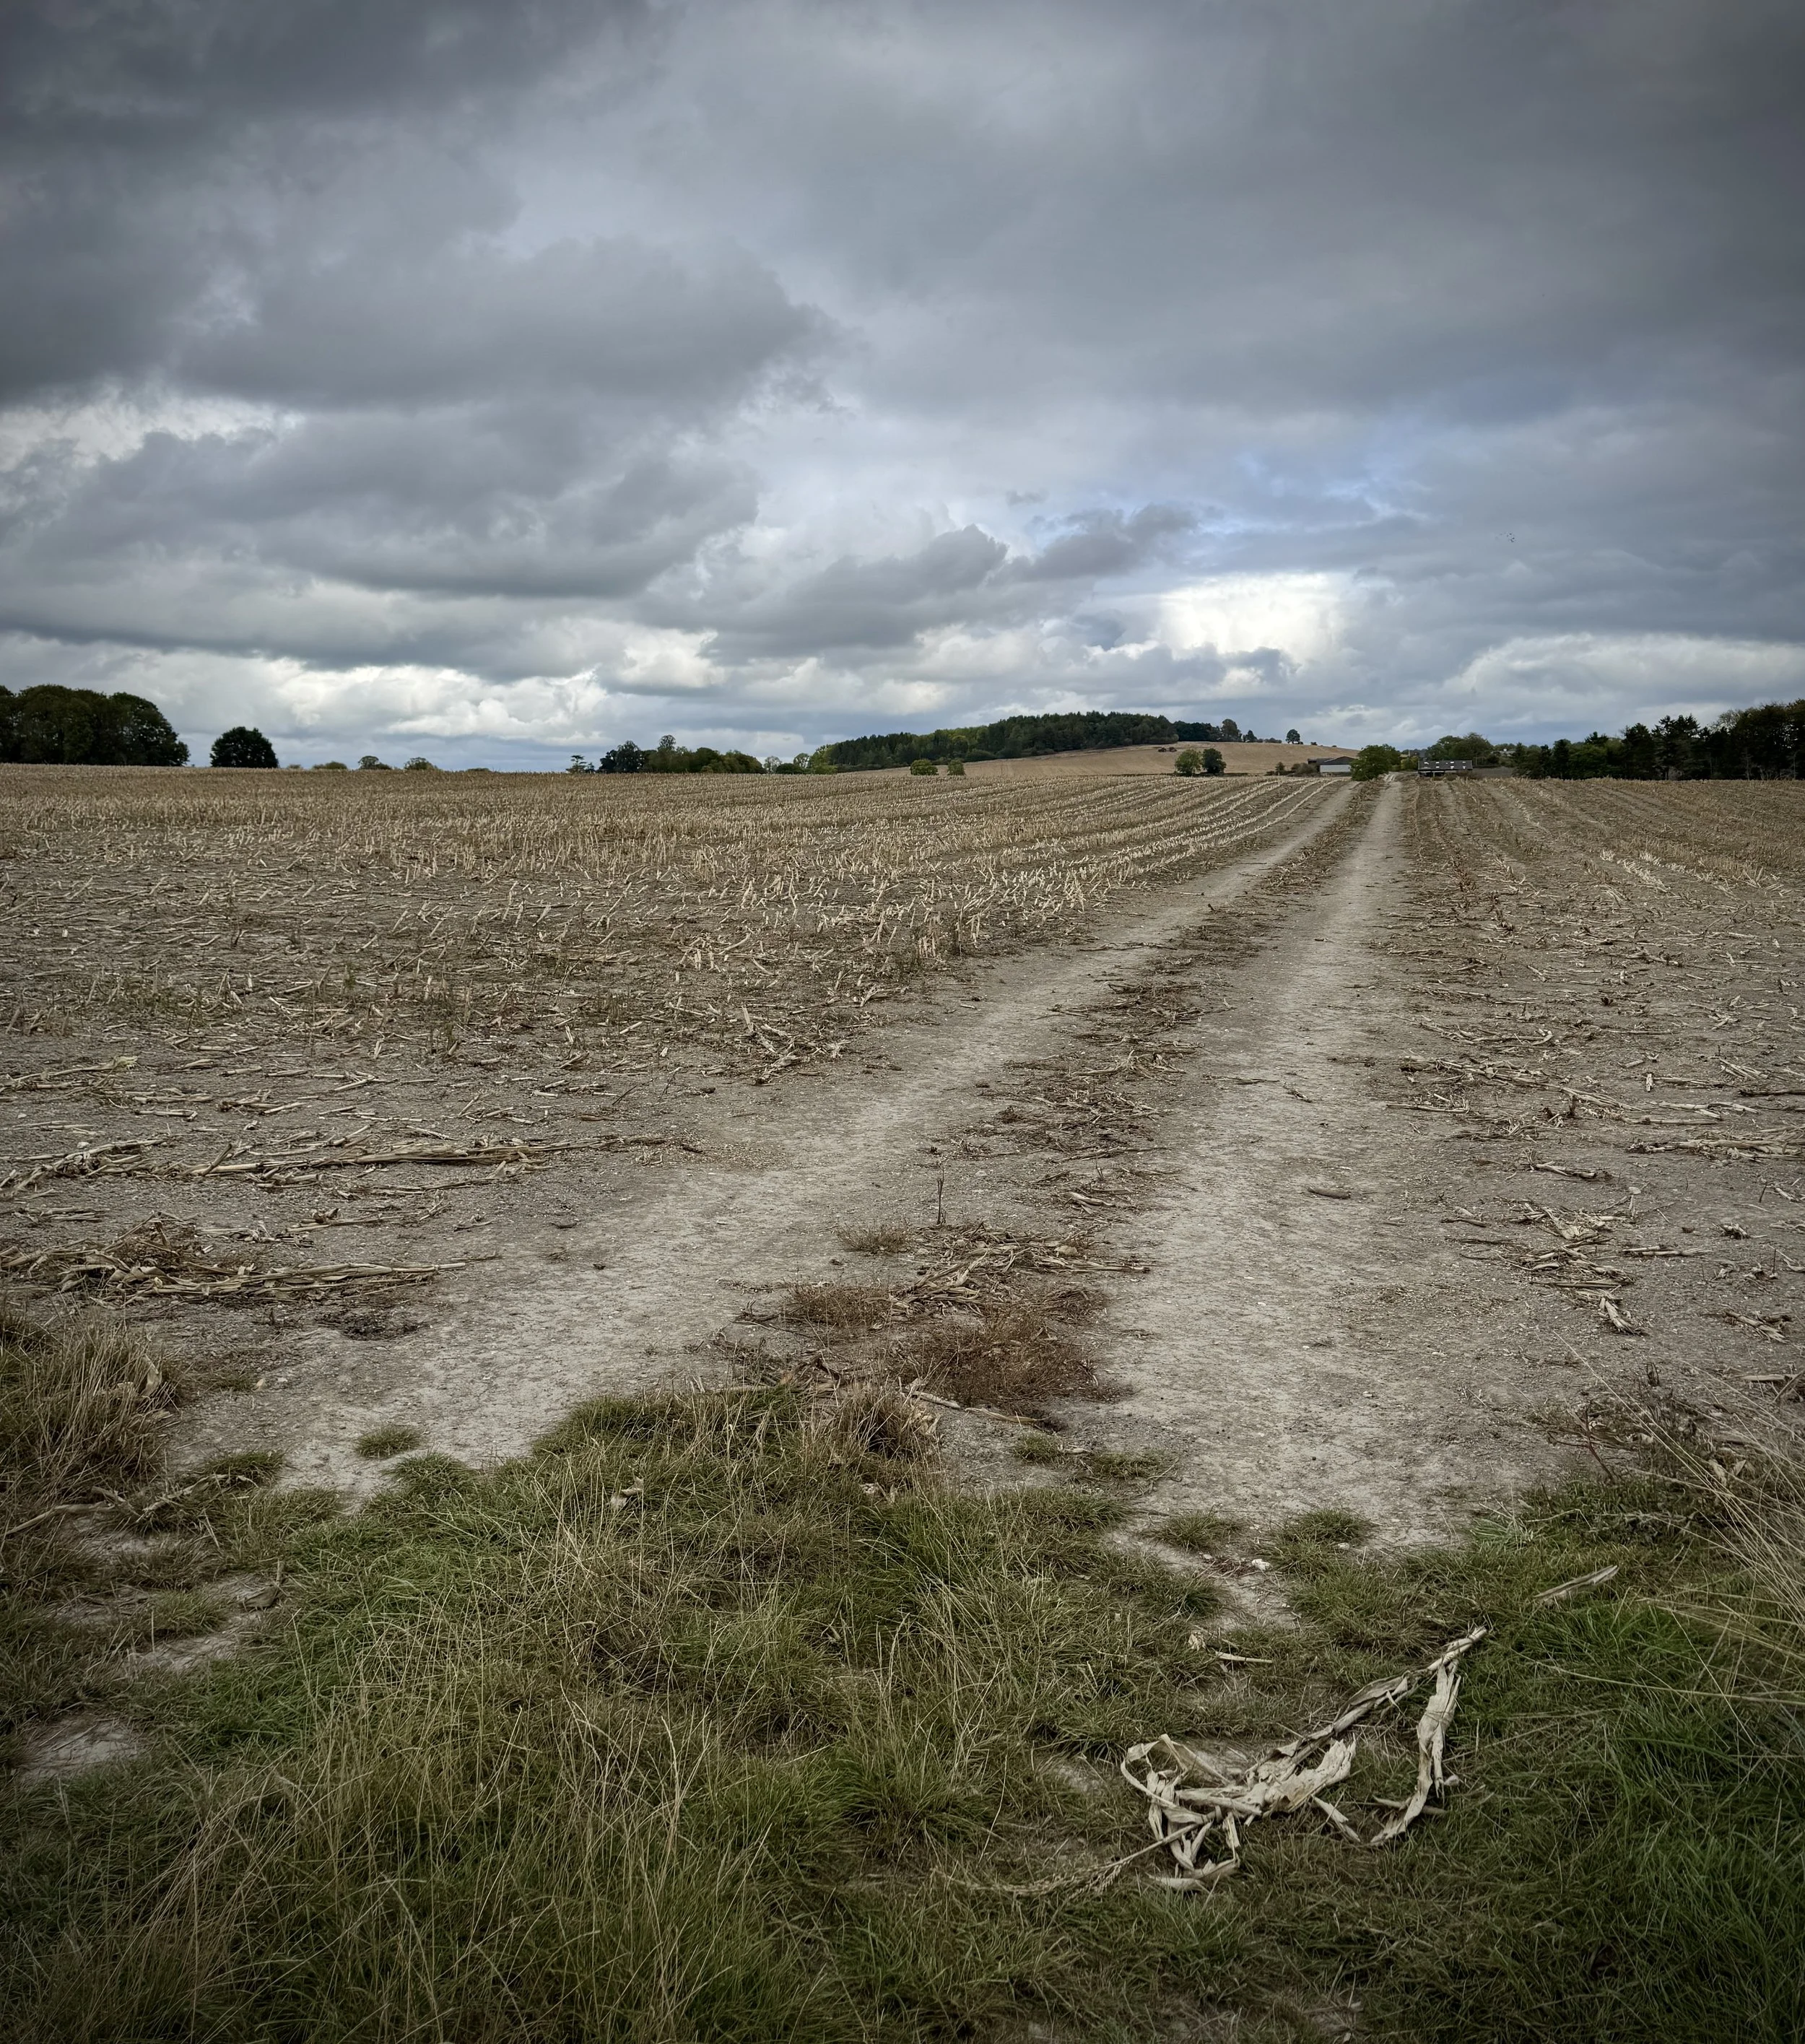
Field of Dreams, near Pyrton
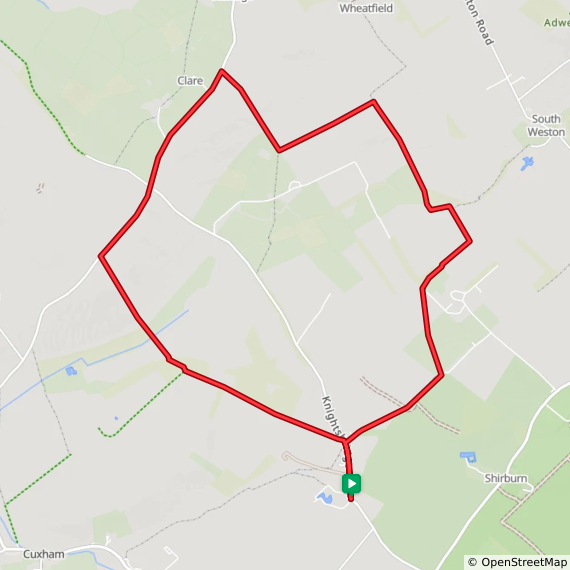
Start & Finish: Parking space at junction of Church Lane and Knightsbridge Lane, Pyrton,
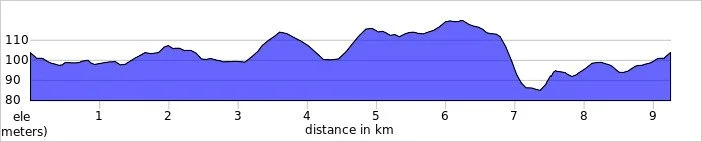
Distance: 9.2 km (5.7 miles)
Elevation change: +/- 71m
Oxfordshire Way Section Covered: Church Lane, Pyrton to path junction near Wheatfield: 3.6 km
GPX File: get via Buy Me a Coffee
Other routes touched (walk): The Oxfordshire Way
Other routes touched (cycle): None
Pubs / Cafes on route: None
OS Trig Pillar: TP2197 - Clare Hill
Map: OS Explorer Map (171) Chiltern Hills West, Henley-on-Thames and Wallingford
Links: Pyrton, Clare, Oxfordshire
Welcome to Part 6 of our series of short circular walks along the Oxfordshire section of the Oxfordshire Way. This is a 66 mile long-distance path connecting Bourton-on-the-Water in the Cotswolds with Henley-on-Thames. For a complete overview of the trail's history, and the end-to-end route, please read my complete Oxfordshire Way Guide.
Walking Directions
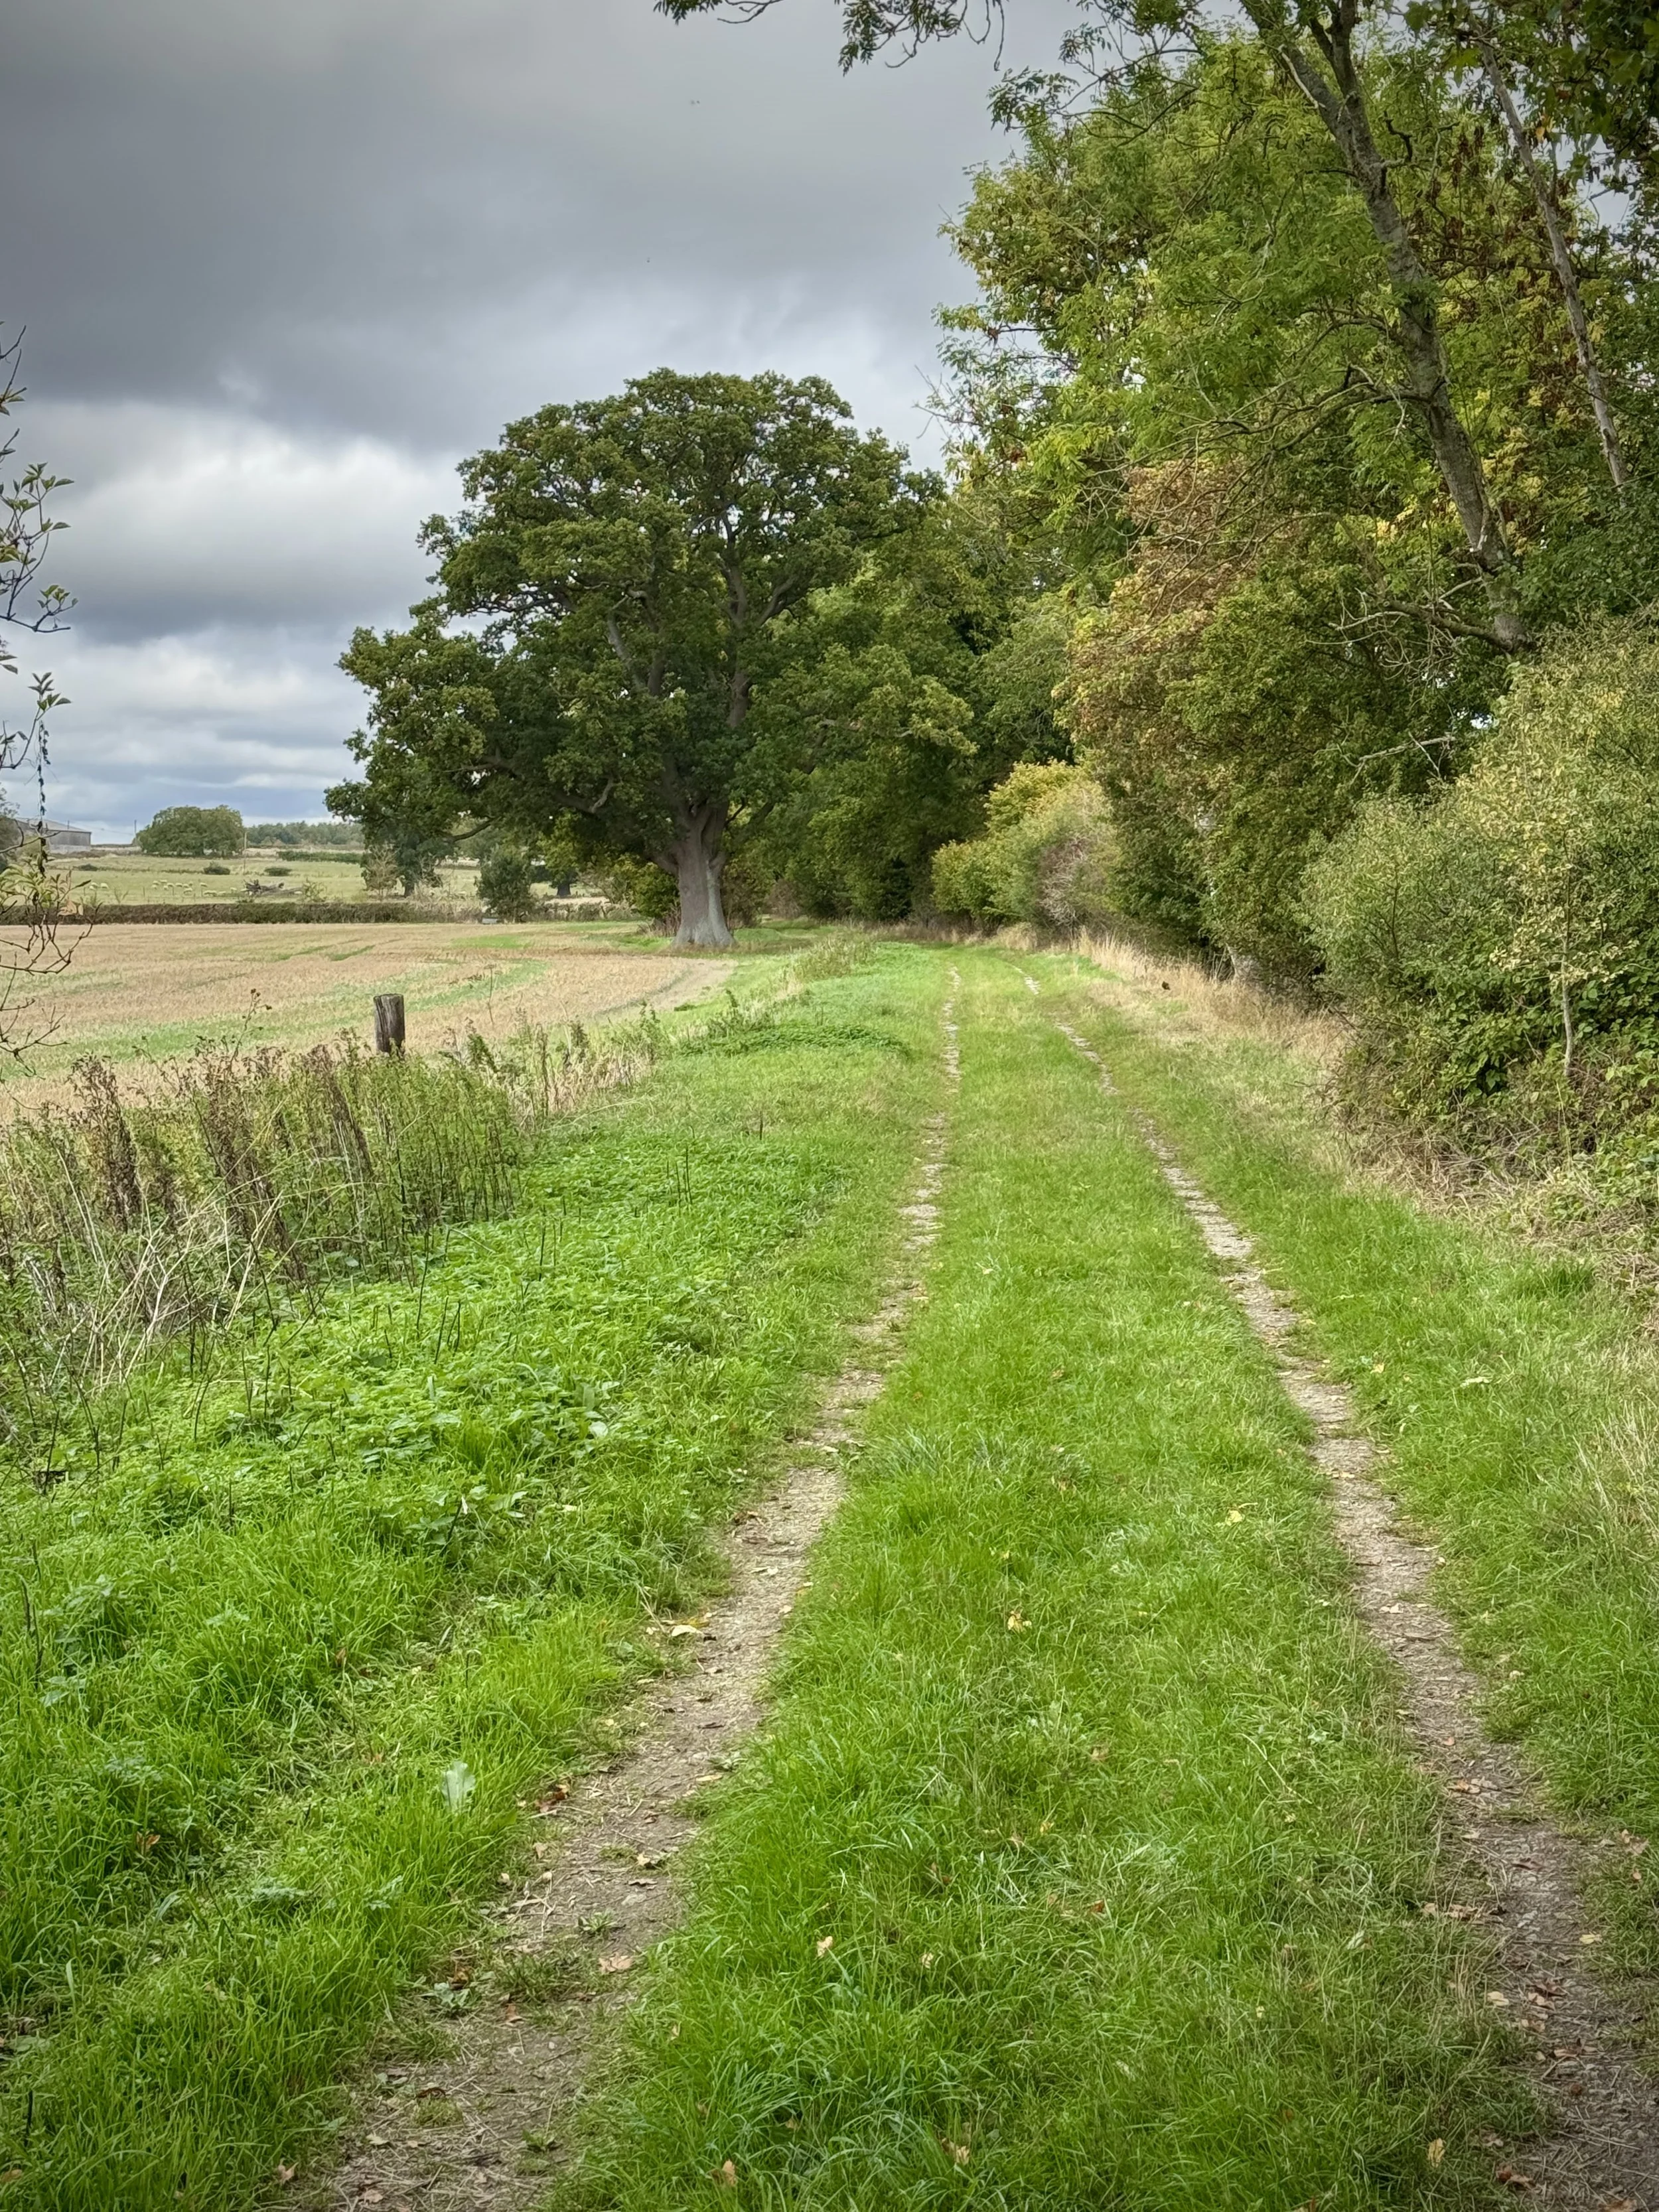
This circular route from Pyrton is a brilliant way to explore the South Oxfordshire countryside, offering a fantastic option for a relaxed weekend stroll or a great way to keep your legs moving after a Saturday morning parkrun. The path makes use of the established Oxfordshire Way, taking you out through sweeping agricultural land and quiet rural tracks towards the hamlet of Clare.
The terrain is straightforward to navigate, featuring well-marked field boundaries and mostly flat ground for the initial stretches. As you approach Clare Hill, you will encounter a steady but gentle incline up to the trig point, which rewards you with excellent views over the landscape before a pleasant, gradual descent back down into the village.
The guidance below will help you navigate but don’t use it as a fully accurate turn-by-turn guide. Always take a map and/or a GPX route and prepare well for the weather and terrain.
Park at the junction of Knightsbridge Lane and Church Lane, just south of Pyrton Village Hall.
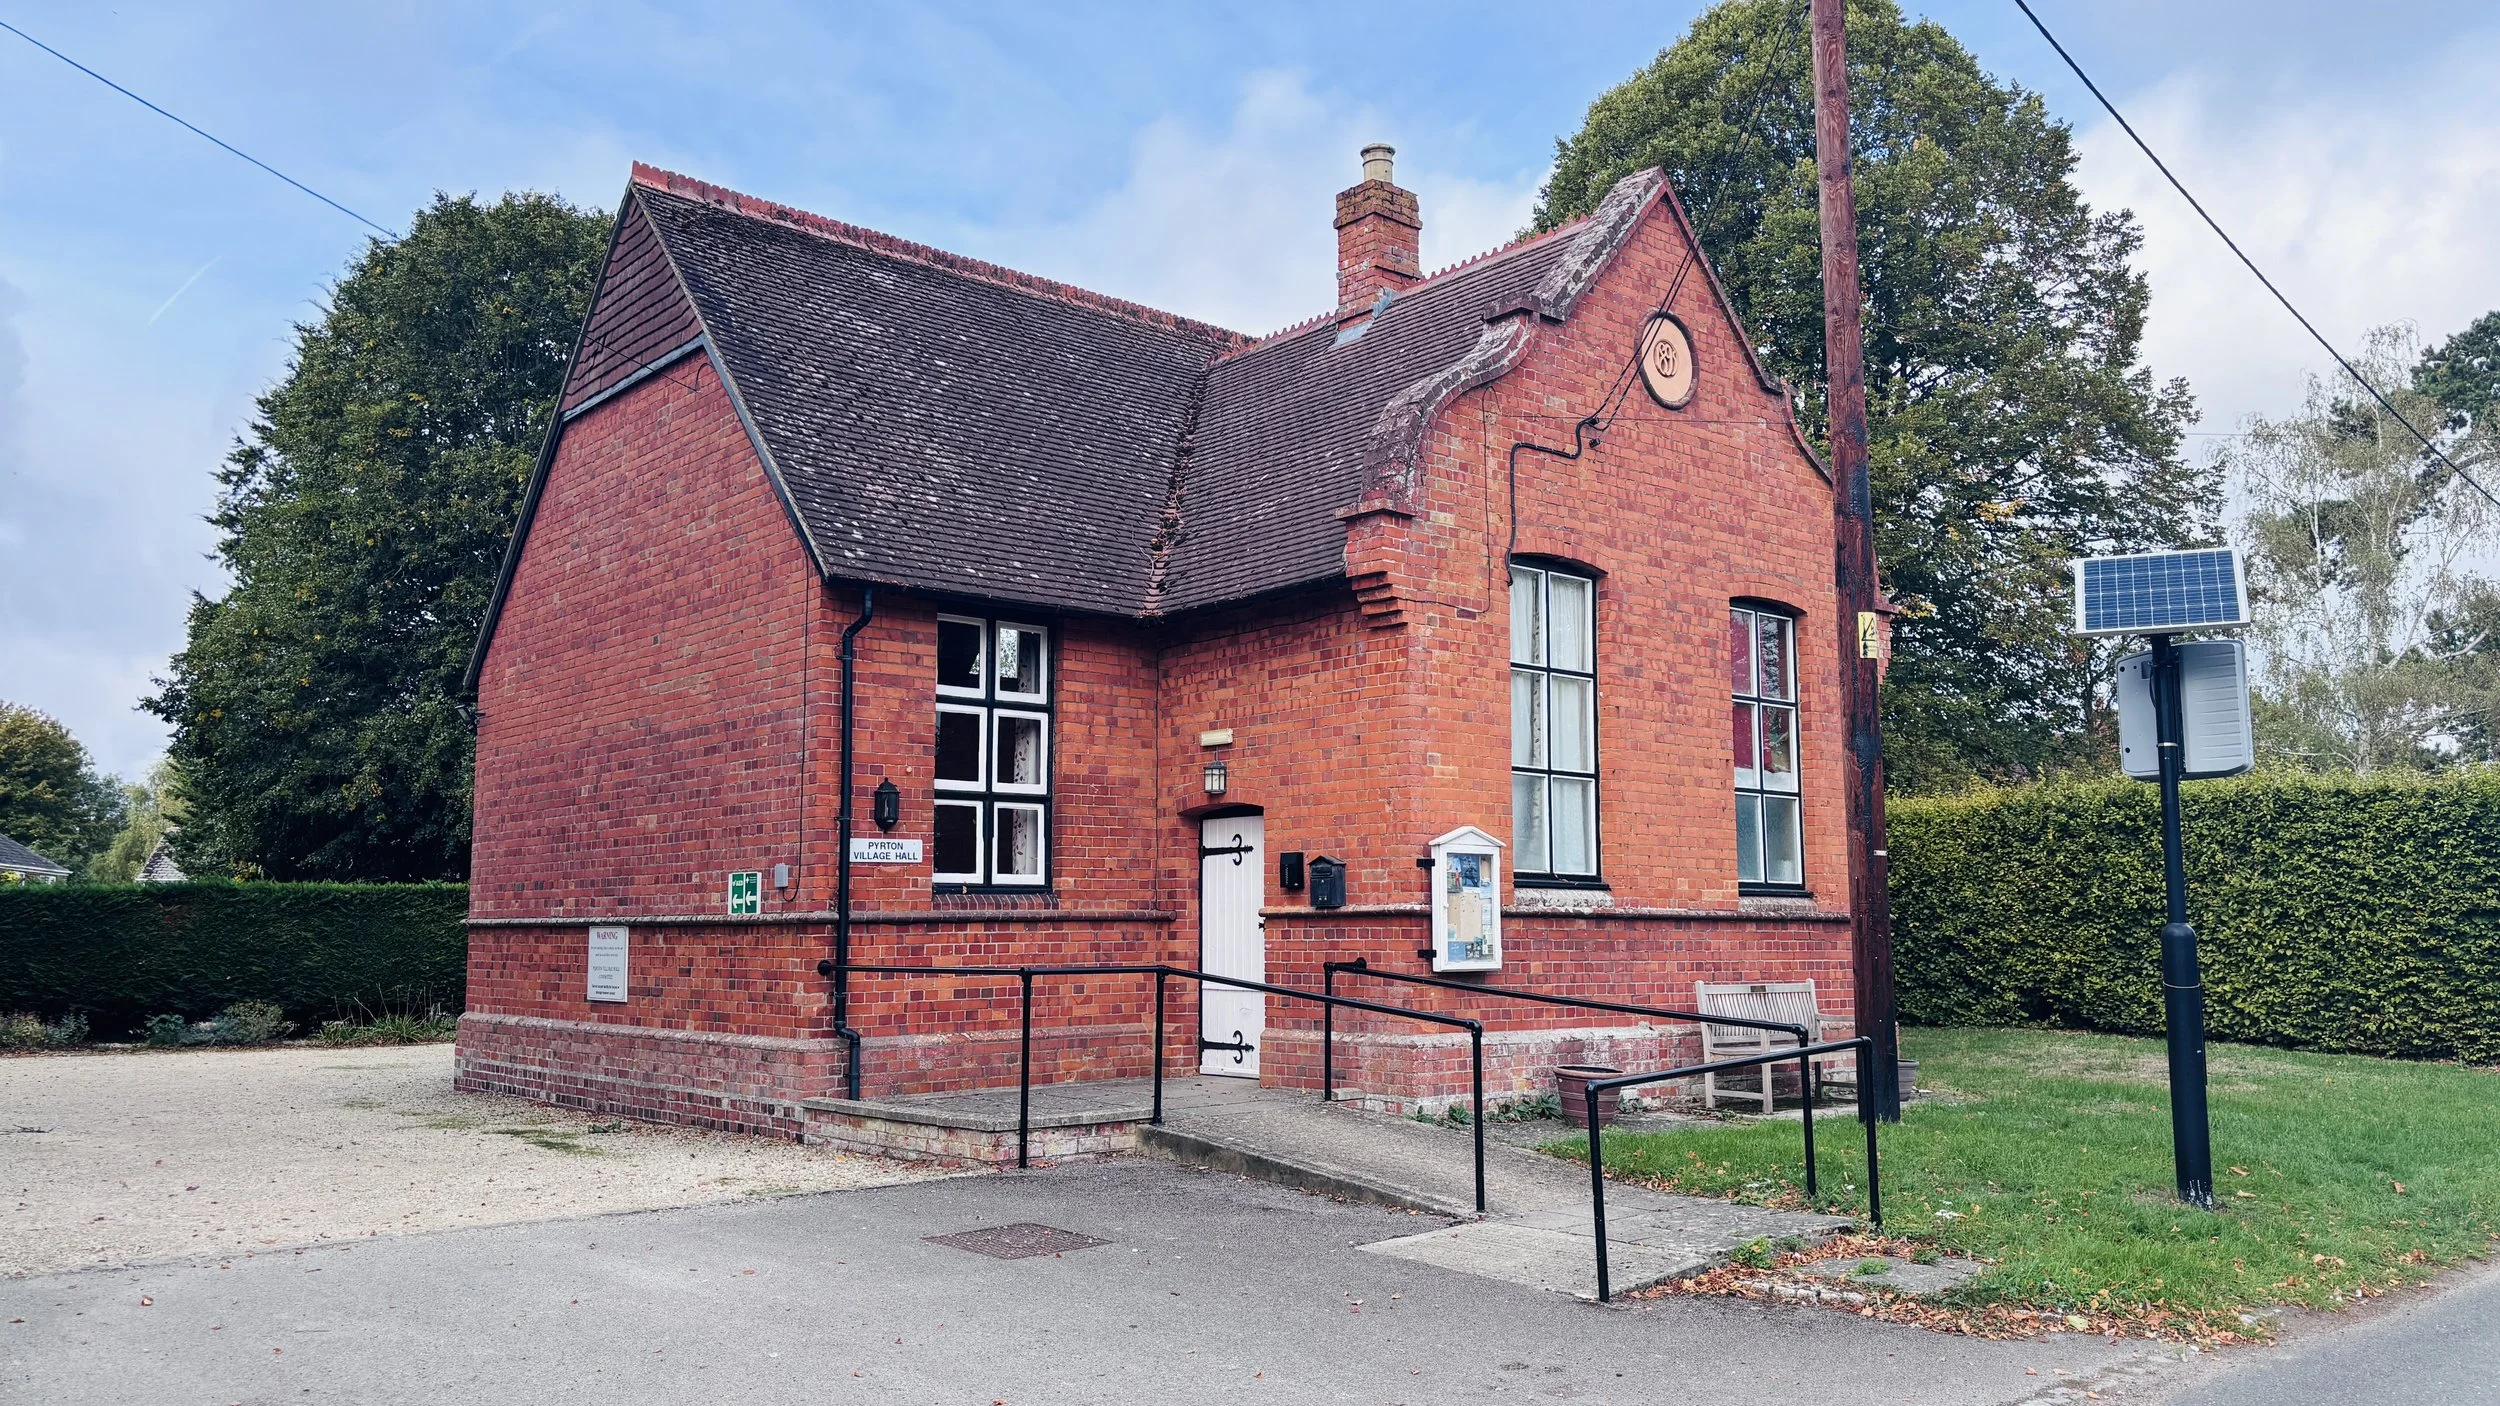
Walk north up Knightsbridge Lane, passing Pyrton Village Hall.
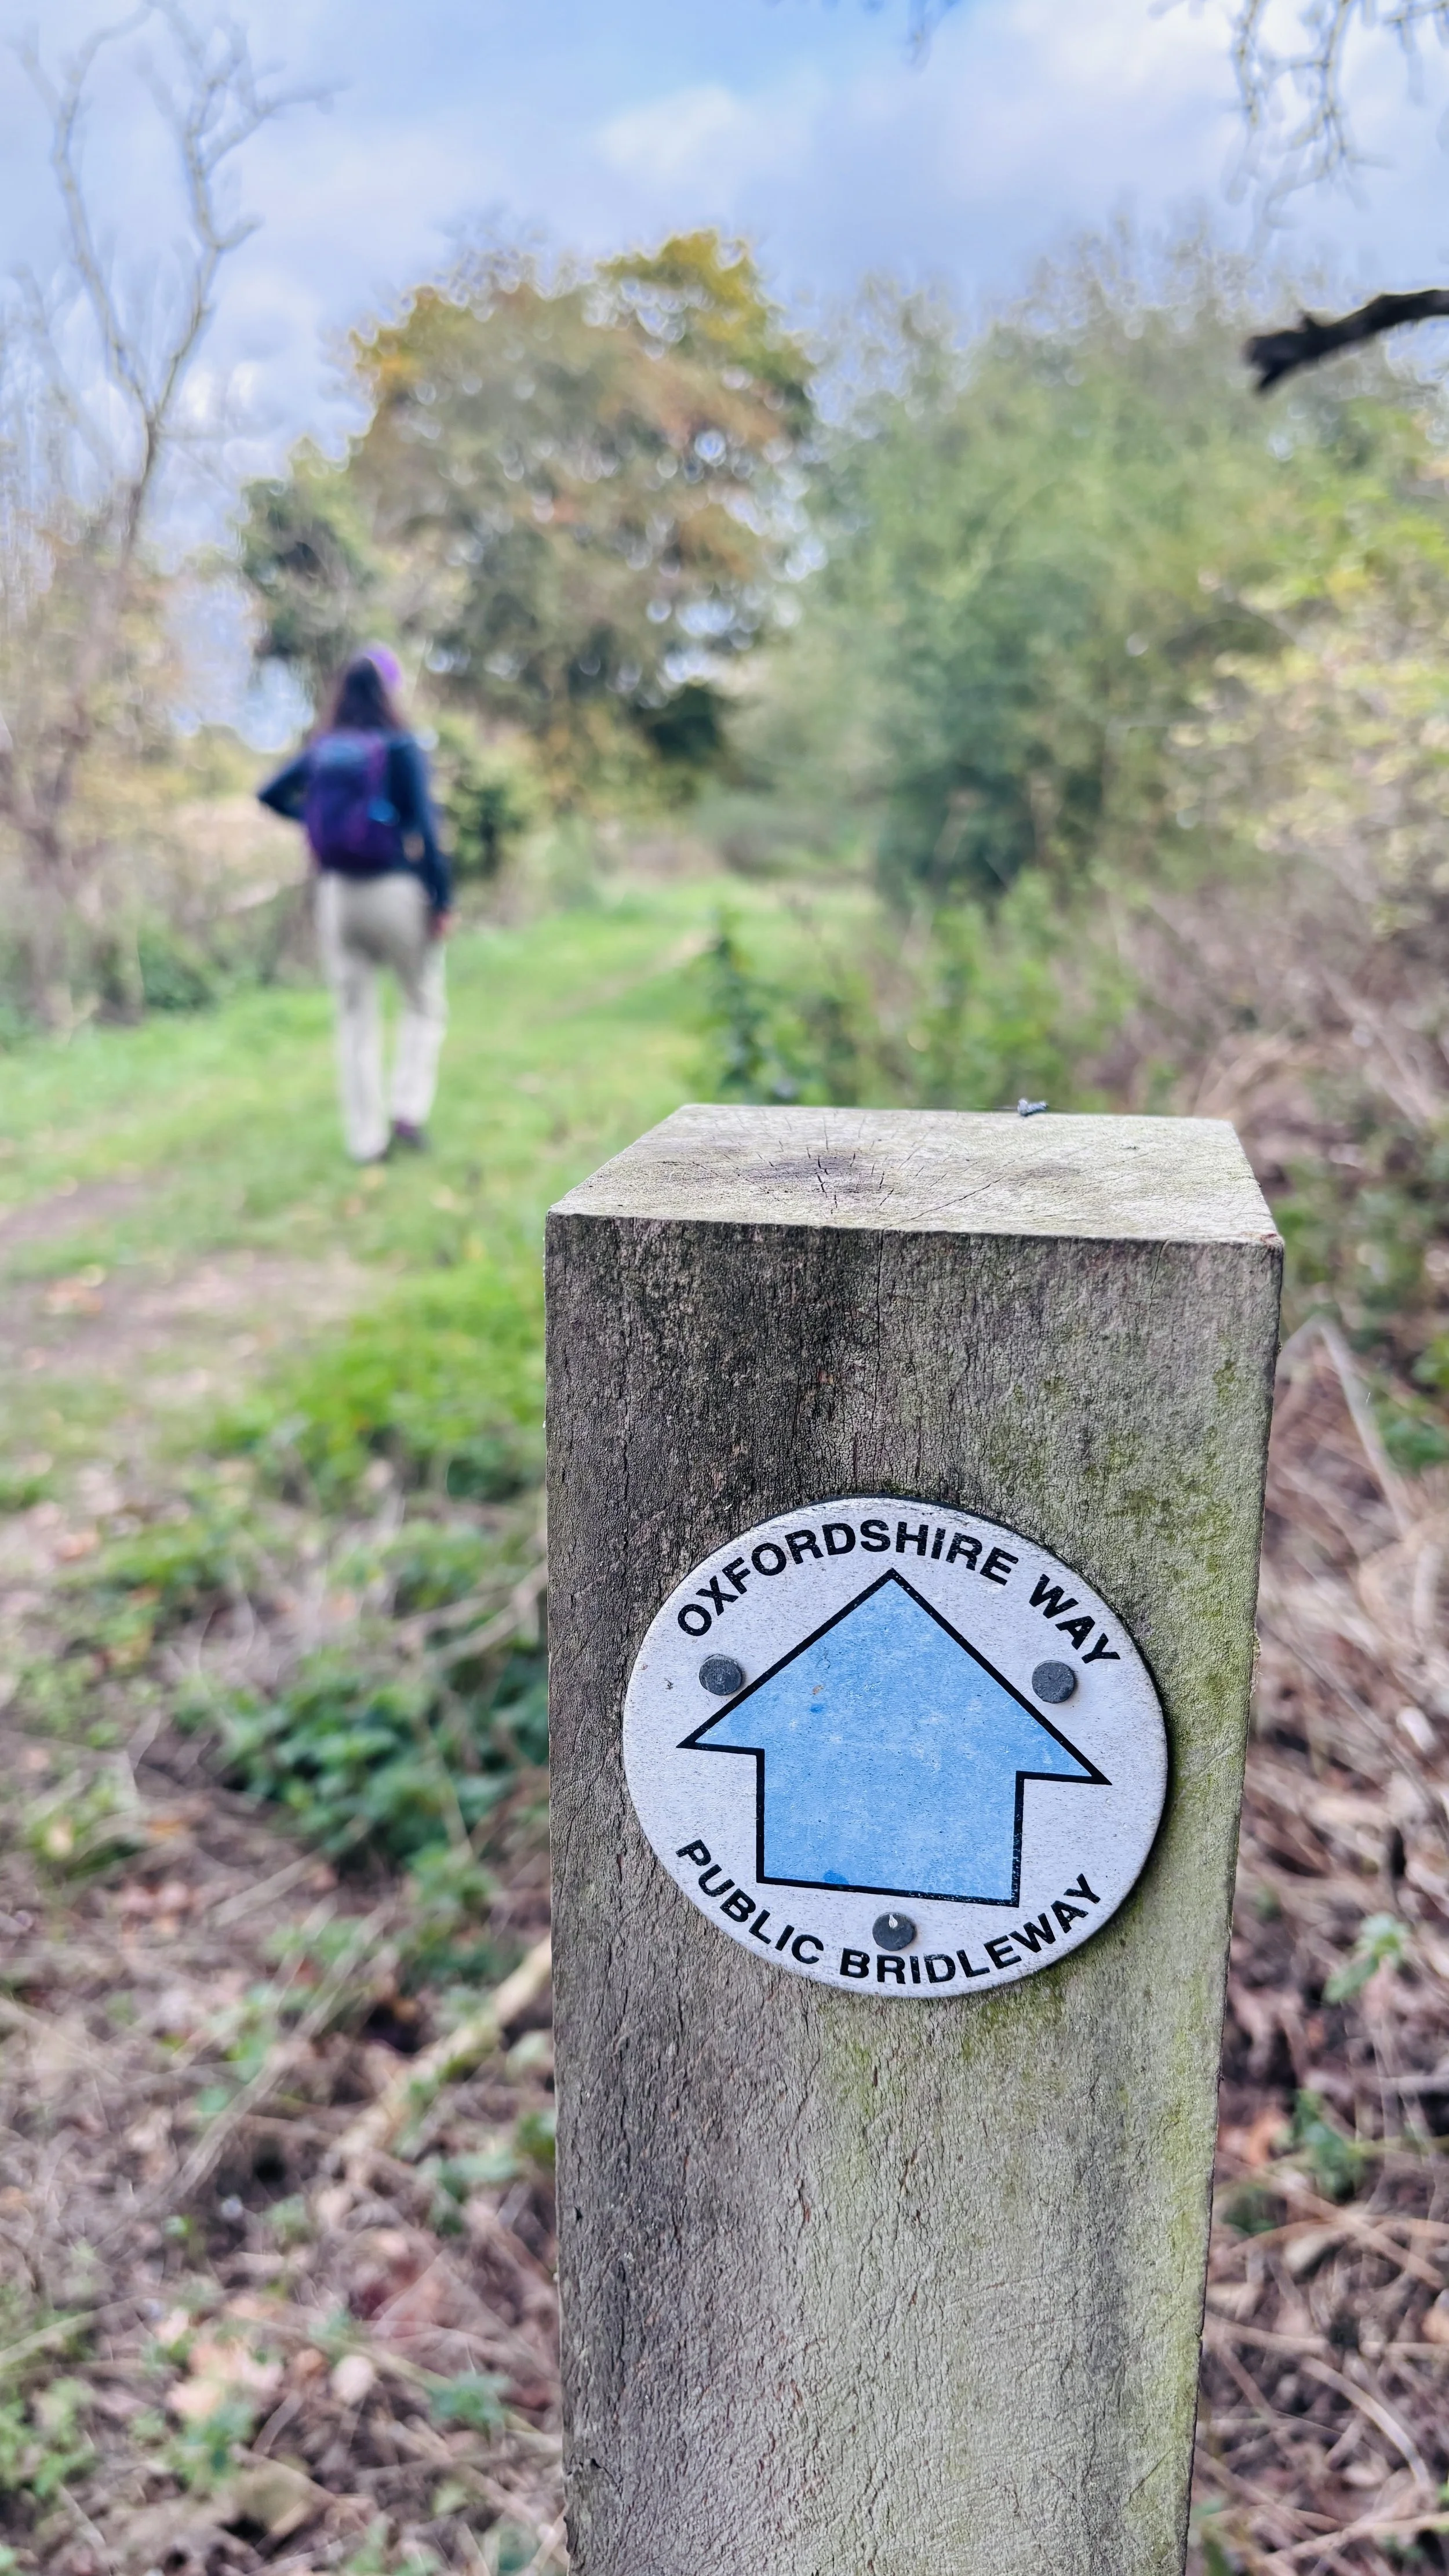
0.4 km: At the path junction by a farm entrance, turn right to follow the signs for the Oxfordshire Way. Continue northeast along the track past the farm.
1.2 km: Turn left through a gate to stay on the Oxfordshire Way, now walking in a northerly direction.
2.0 km: The route curves northeast and then northwest. Keep following the Oxfordshire Way.
3.6 km: Following a field edge with a hedge on your right, you will reach a path junction. Take a sharp left across the field and follow the path for 700 metres.
4.3 km: Take a sharp right and follow the path along the field to the edge bordering the small road connecting Stoke Talmage with Clare and Islip.
Head southwest: keeping to the field edge is a safer option than walking on the quiet road. Continue until you cross over the junction of Stoney Lane and Knightsbridge Lane.
Optional detour: Just after this road junction, you can cut into the field through the hedge to bag the Clare Hill trig pillar.
Continue southwest, then take a footpath on your left to head southeast across a field.
Cross a small stream as you walk through the woods at Diamond Plantation. The path will then curve southwest to reconnect with Knightsbridge Lane in Pyrton.
Turn right onto Knightsbridge Lane for the final 400 metres back to your starting point.
Points of Interest along or near to the Route
Pyrton Manor and St Mary's Church: Pyrton is an ancient settlement recorded in the Domesday Book. St Mary's Church features Norman origins, anchoring the start of the walk in centuries of local architectural heritage.
The Chiltern Escarpment & Clare Hill: Situated on the lower northwestern slopes of the Chilterns National Landscape (formerly Area of Outstanding Natural Beauty), Clare Hill provides a vantage point looking across the fertile Vale of Thame.
Ordnance Survey Trig Pillar (TP2197): Clare Hill hosts a classic concrete flush bracket trig pillar installed as part of the OS retriangulation of Great Britain, standing as a familiar waypoint for regional hill walkers.
Wheatfield Environs: The pastoral trackways skirting toward Wheatfield pass through quiet agricultural land that once formed part of historic parish estates lost or altered over centuries of agrarian change.
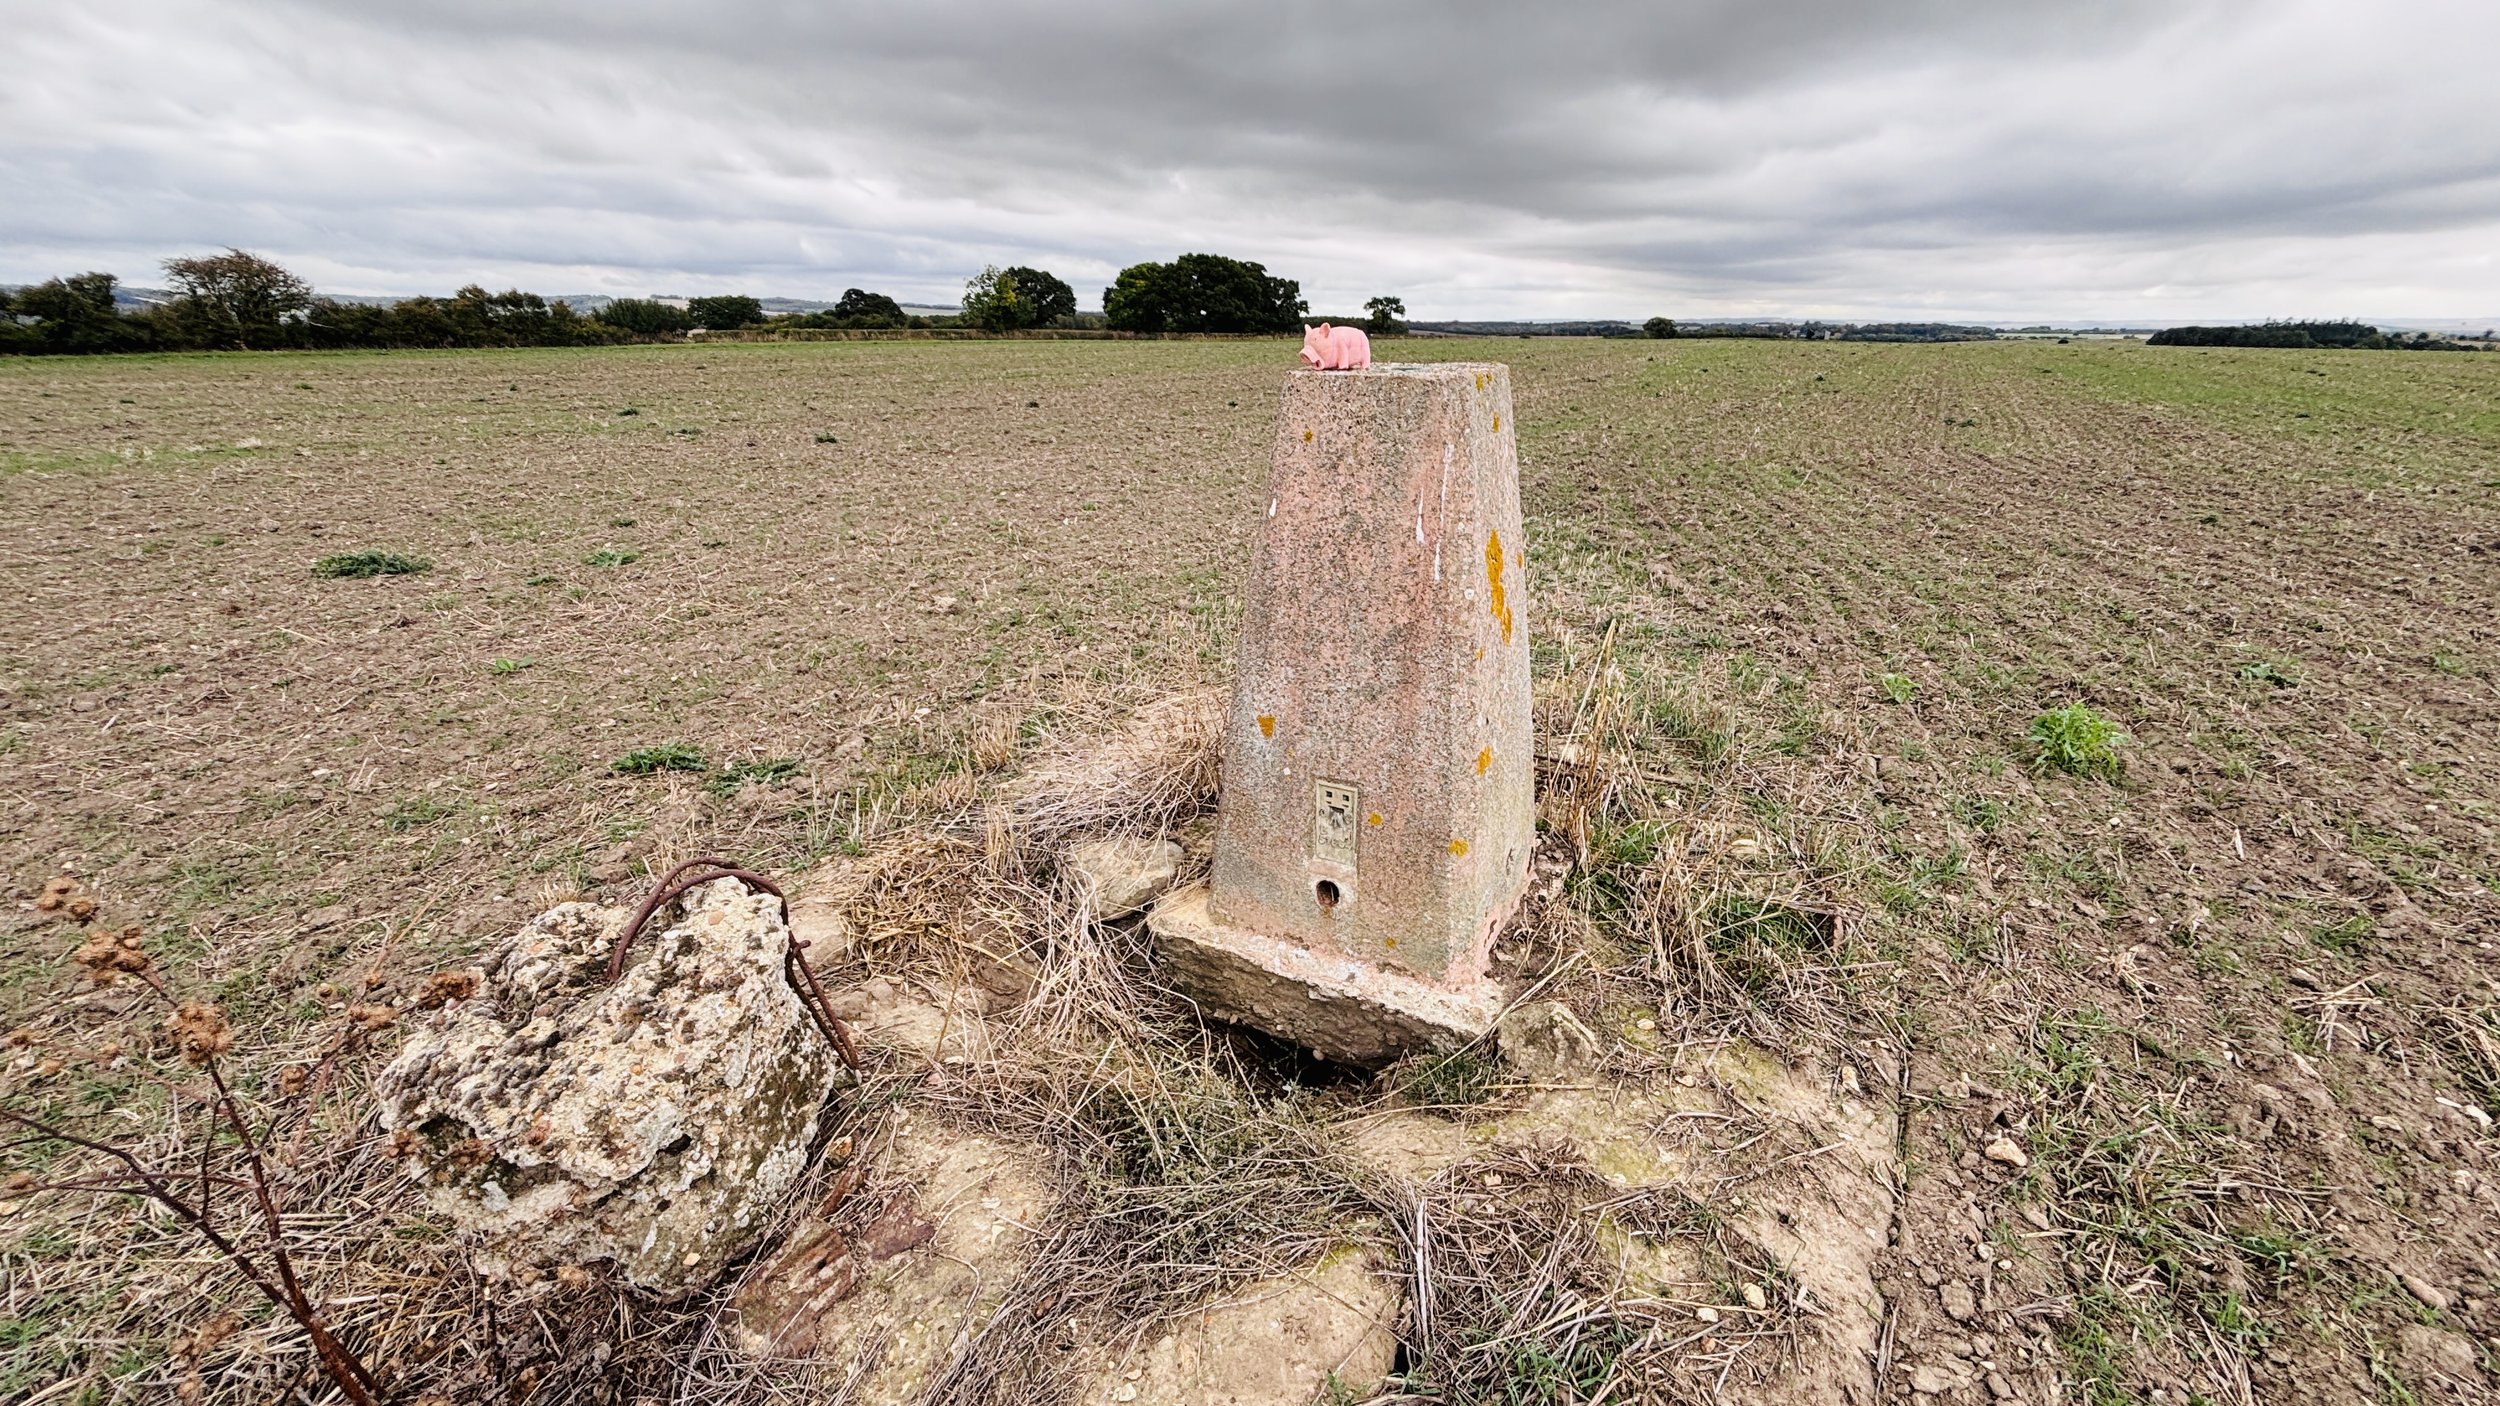
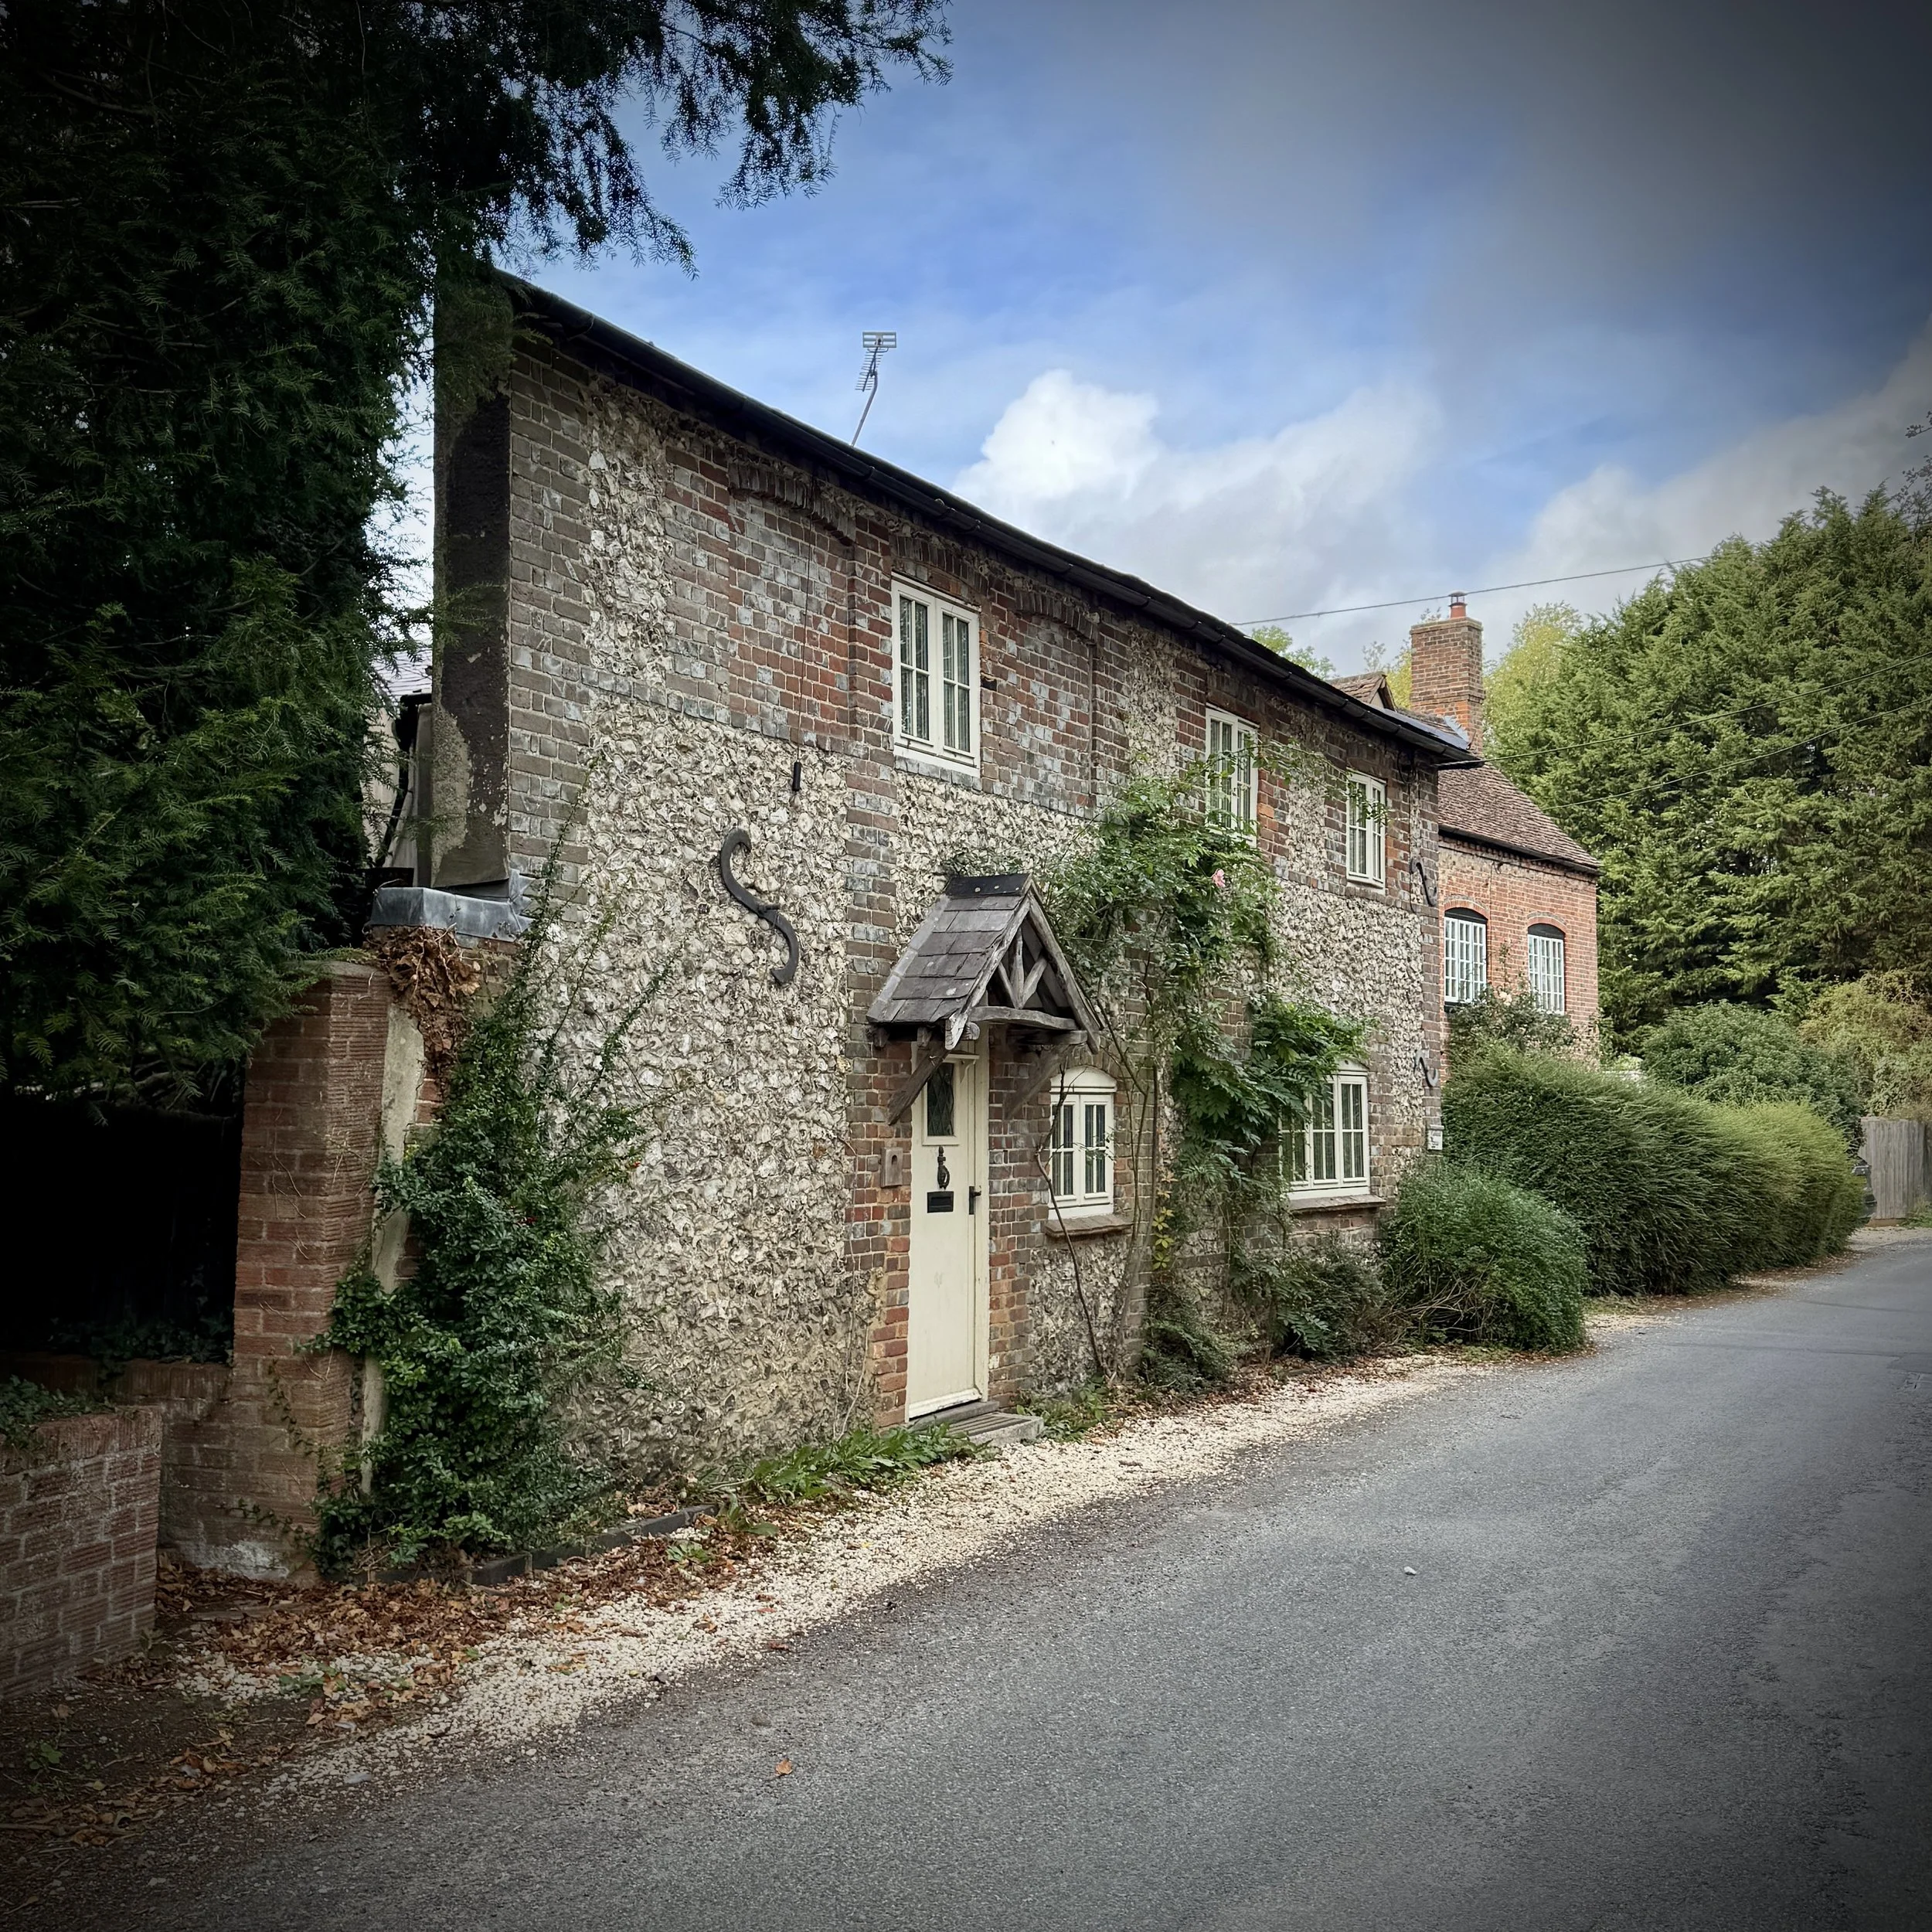
Oxfordshire Way next section (north): Adwell and Stoke Tamage (coming soon)
Oxfordshire Way next section (south): Watlington and The Ridgeway
Trig Pillar Walks: Stowe Landscape Gardens
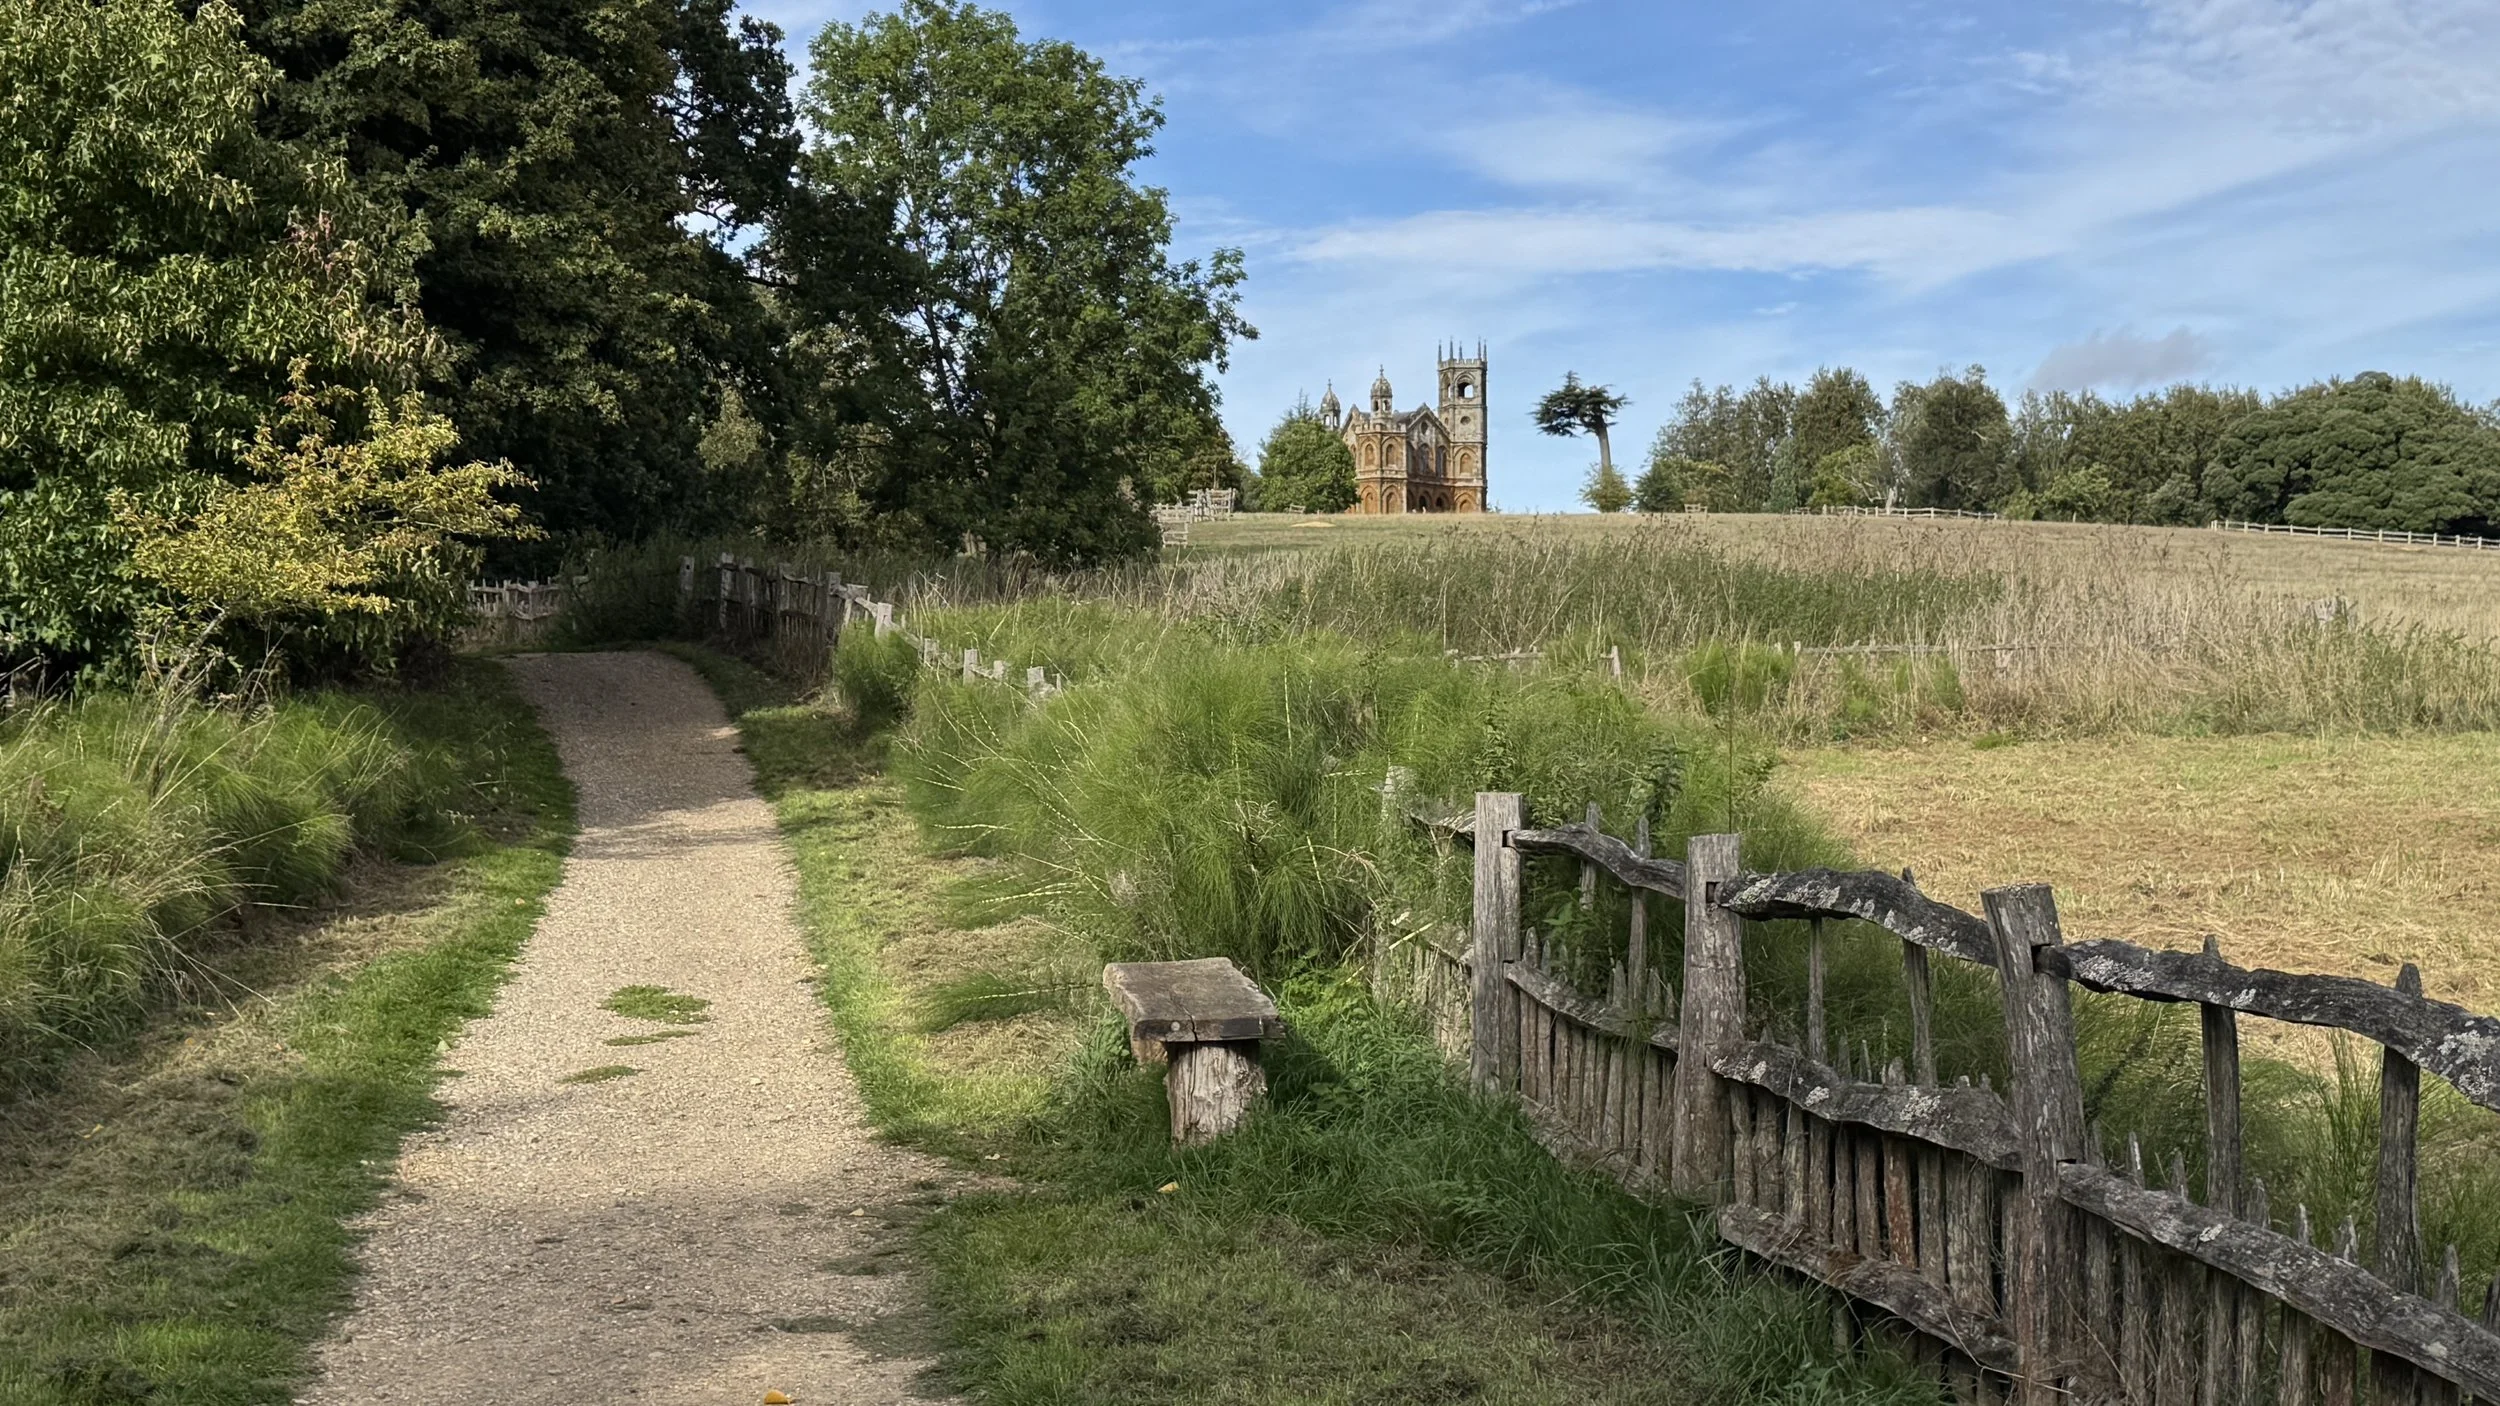
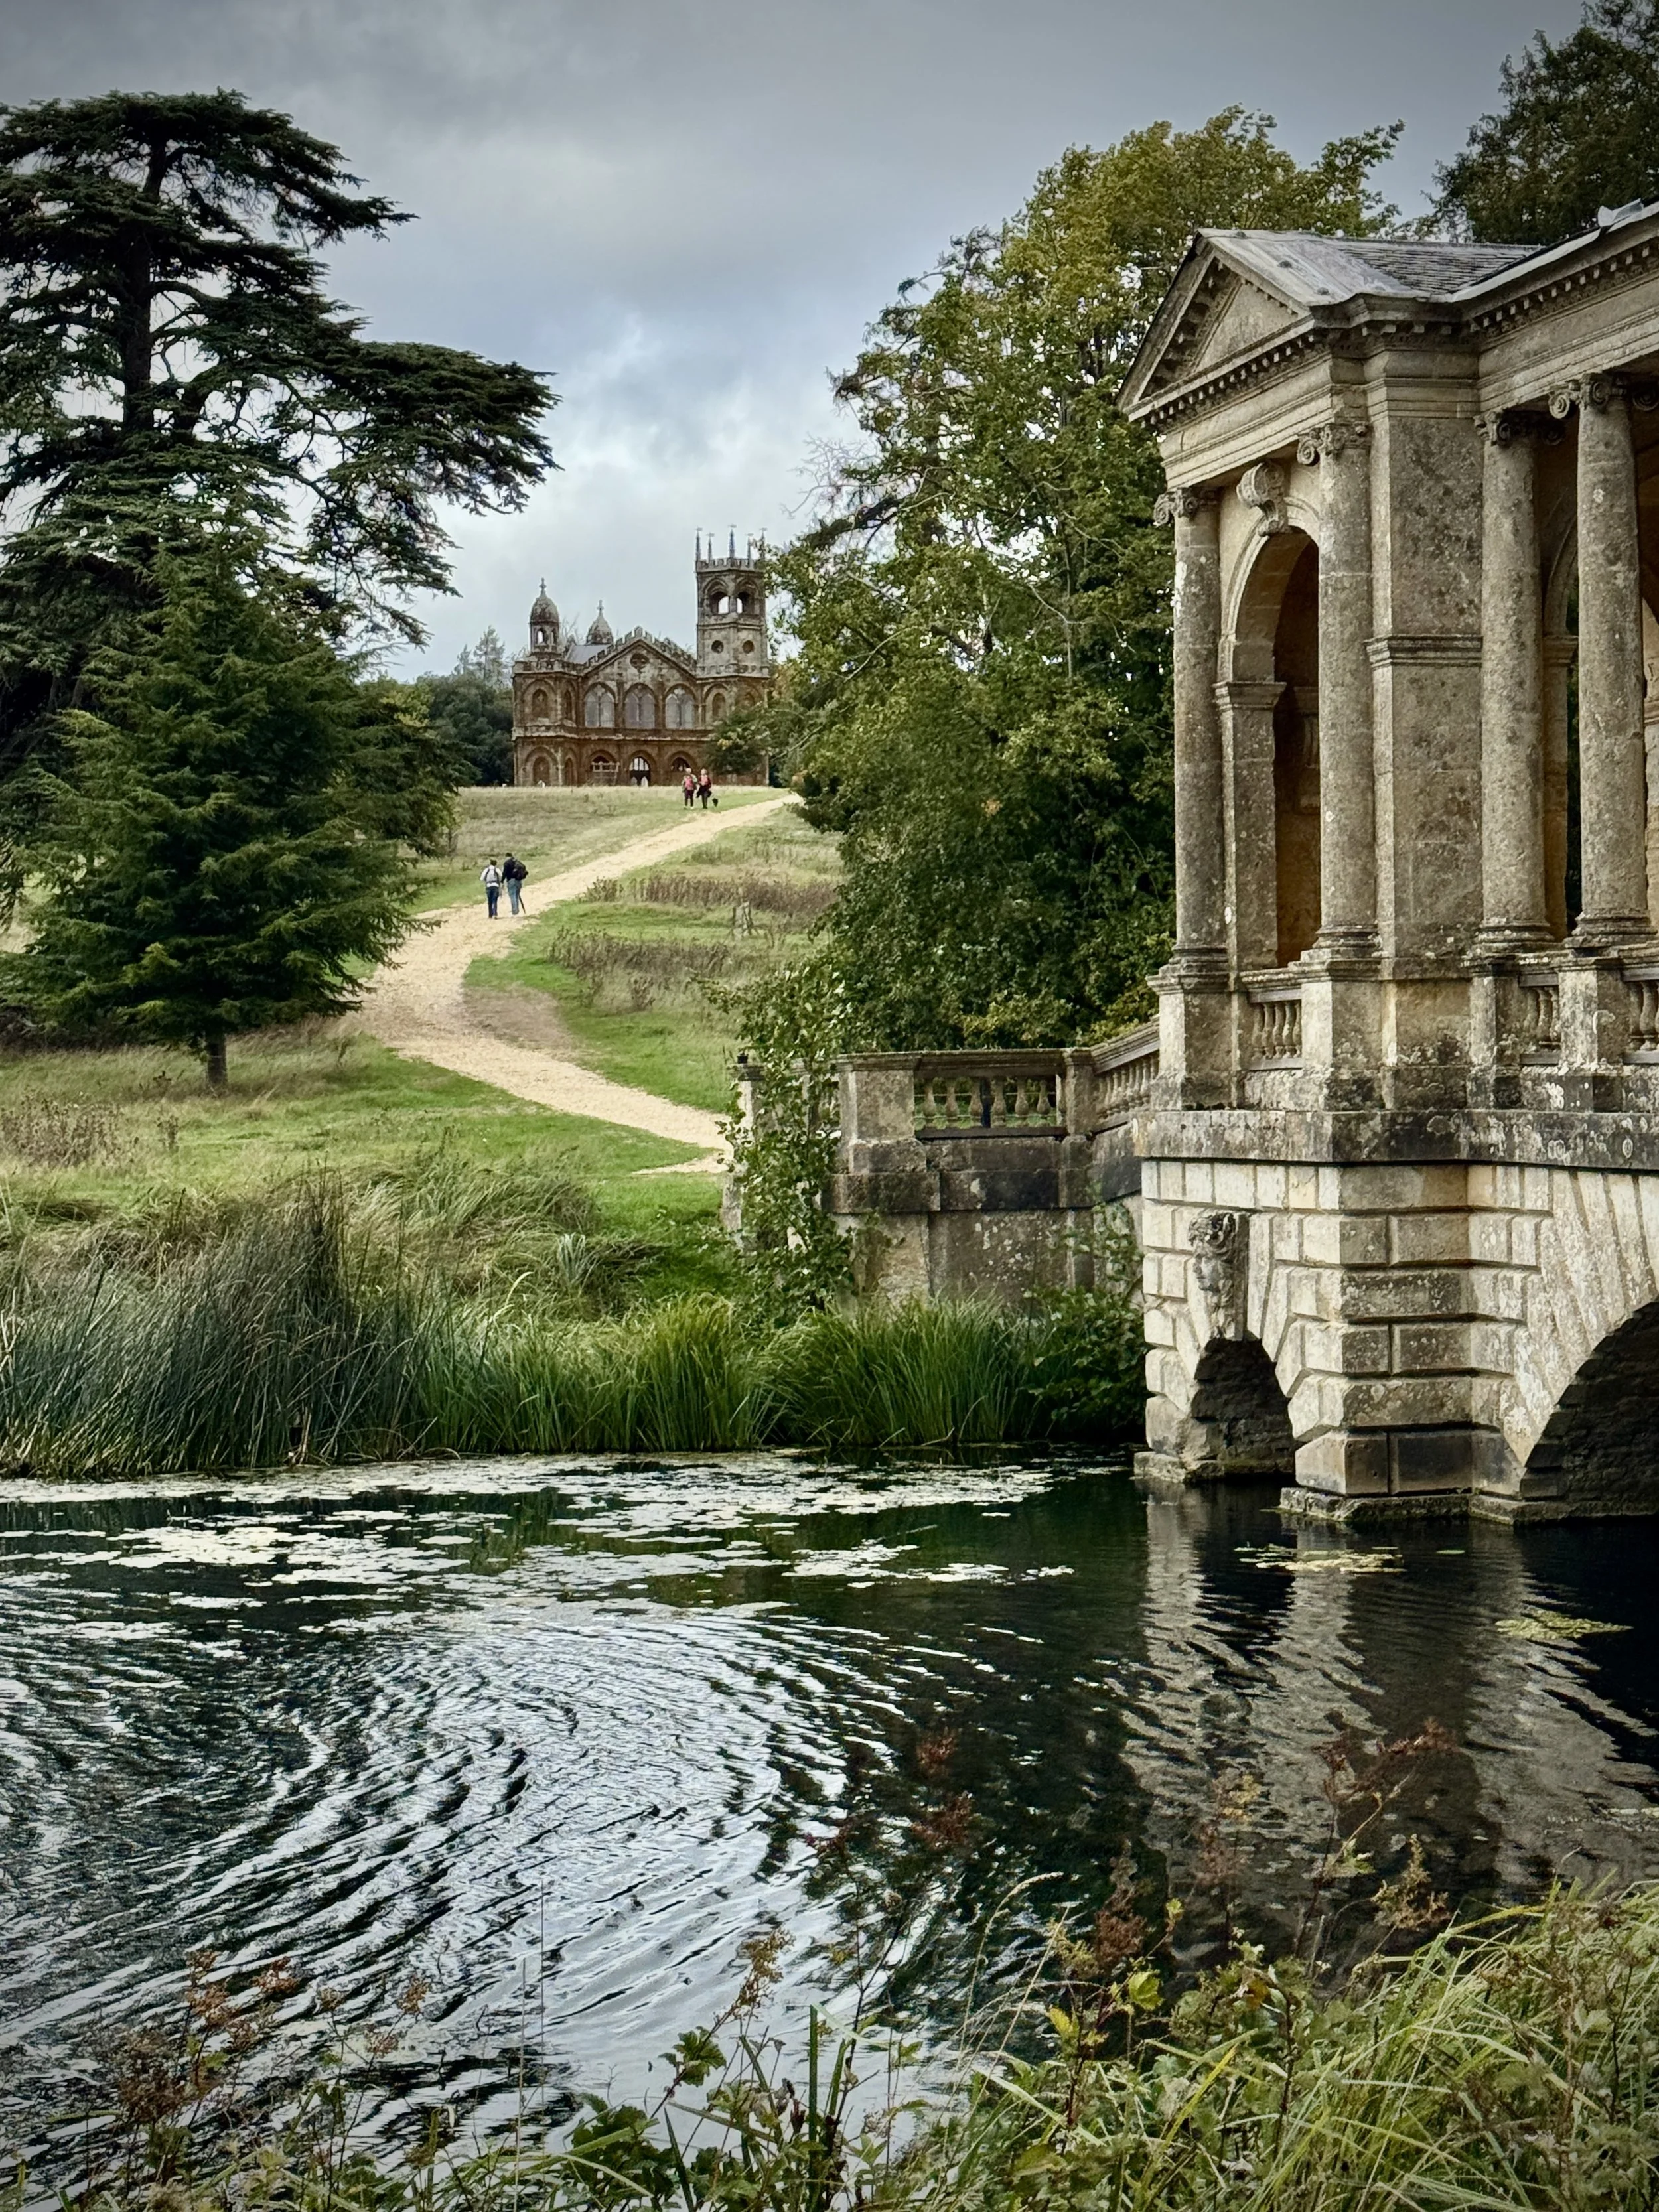
Path leading to the Gothic Temple
Start & Finish: National Trust - Stowe Gardens, New Inn Farm, Buckingham MK18 5EQ
Distance: 9.8 km (6.1 miles)
Elevation change: +/- 111m
Terrain: Mostly well-made estate paths, open parkland grass, and sheltered woodland trails.
GPX File: get via Buy Me a Coffee
Other routes touched (walk): Home Front Route Stowe, Blue Trail Stowe, Military Route Stowe, Stowe Parkland Walk, Ouse Valley Way,
Other routes touched (cycle): None
Pubs / Cafes on route: Cafe at the National Trust Visitors Centre
OS Trig Pillar: TP6219 - Stowe Park
Map: Buckingham & Milton Keynes Map | Leighton Buzzard & Woburn | Ordnance Survey | OS Explorer Map 192
Links: Stowe Landscape Gardens, Stowe House, Buckingham
This is part of a series of walks that combine beautiful countryside trails with finding (or “bagging”) an OS Trig Pillar. If you’ve searched for or stumbled across this page then you probably already know what an OS Trig Pillar is. If you don’t then this article from the Ordnance Survey is a good place to start.
Walking Directions
This circular walking route takes you through the stunning historic parkland of Stowe, a landscape sculpted by some of Britain's most famous garden designers. Starting near the New Inn Visitor Centre, the trail heads northward through the sprawling estate, gently descending before steadily climbing towards the northern boundary where you will find the main objective: Trig Pillar TP6219.
After visiting the trig pillar, the route loops westward before tracking south along the quieter, wooded edges of the estate boundary. The return leg provides a contrasting perspective of the landscape, swapping manicured lawns for rustic bridleways and field margins before finally turning eastwards to guide you back to the start. It offers a perfectly balanced morning or afternoon out in the Buckinghamshire countryside.
The guidance below will help you navigate but don’t use it as a fully accurate turn-by-turn guide. Always take a map and/or a GPX route and prepare well for the weather and terrain.
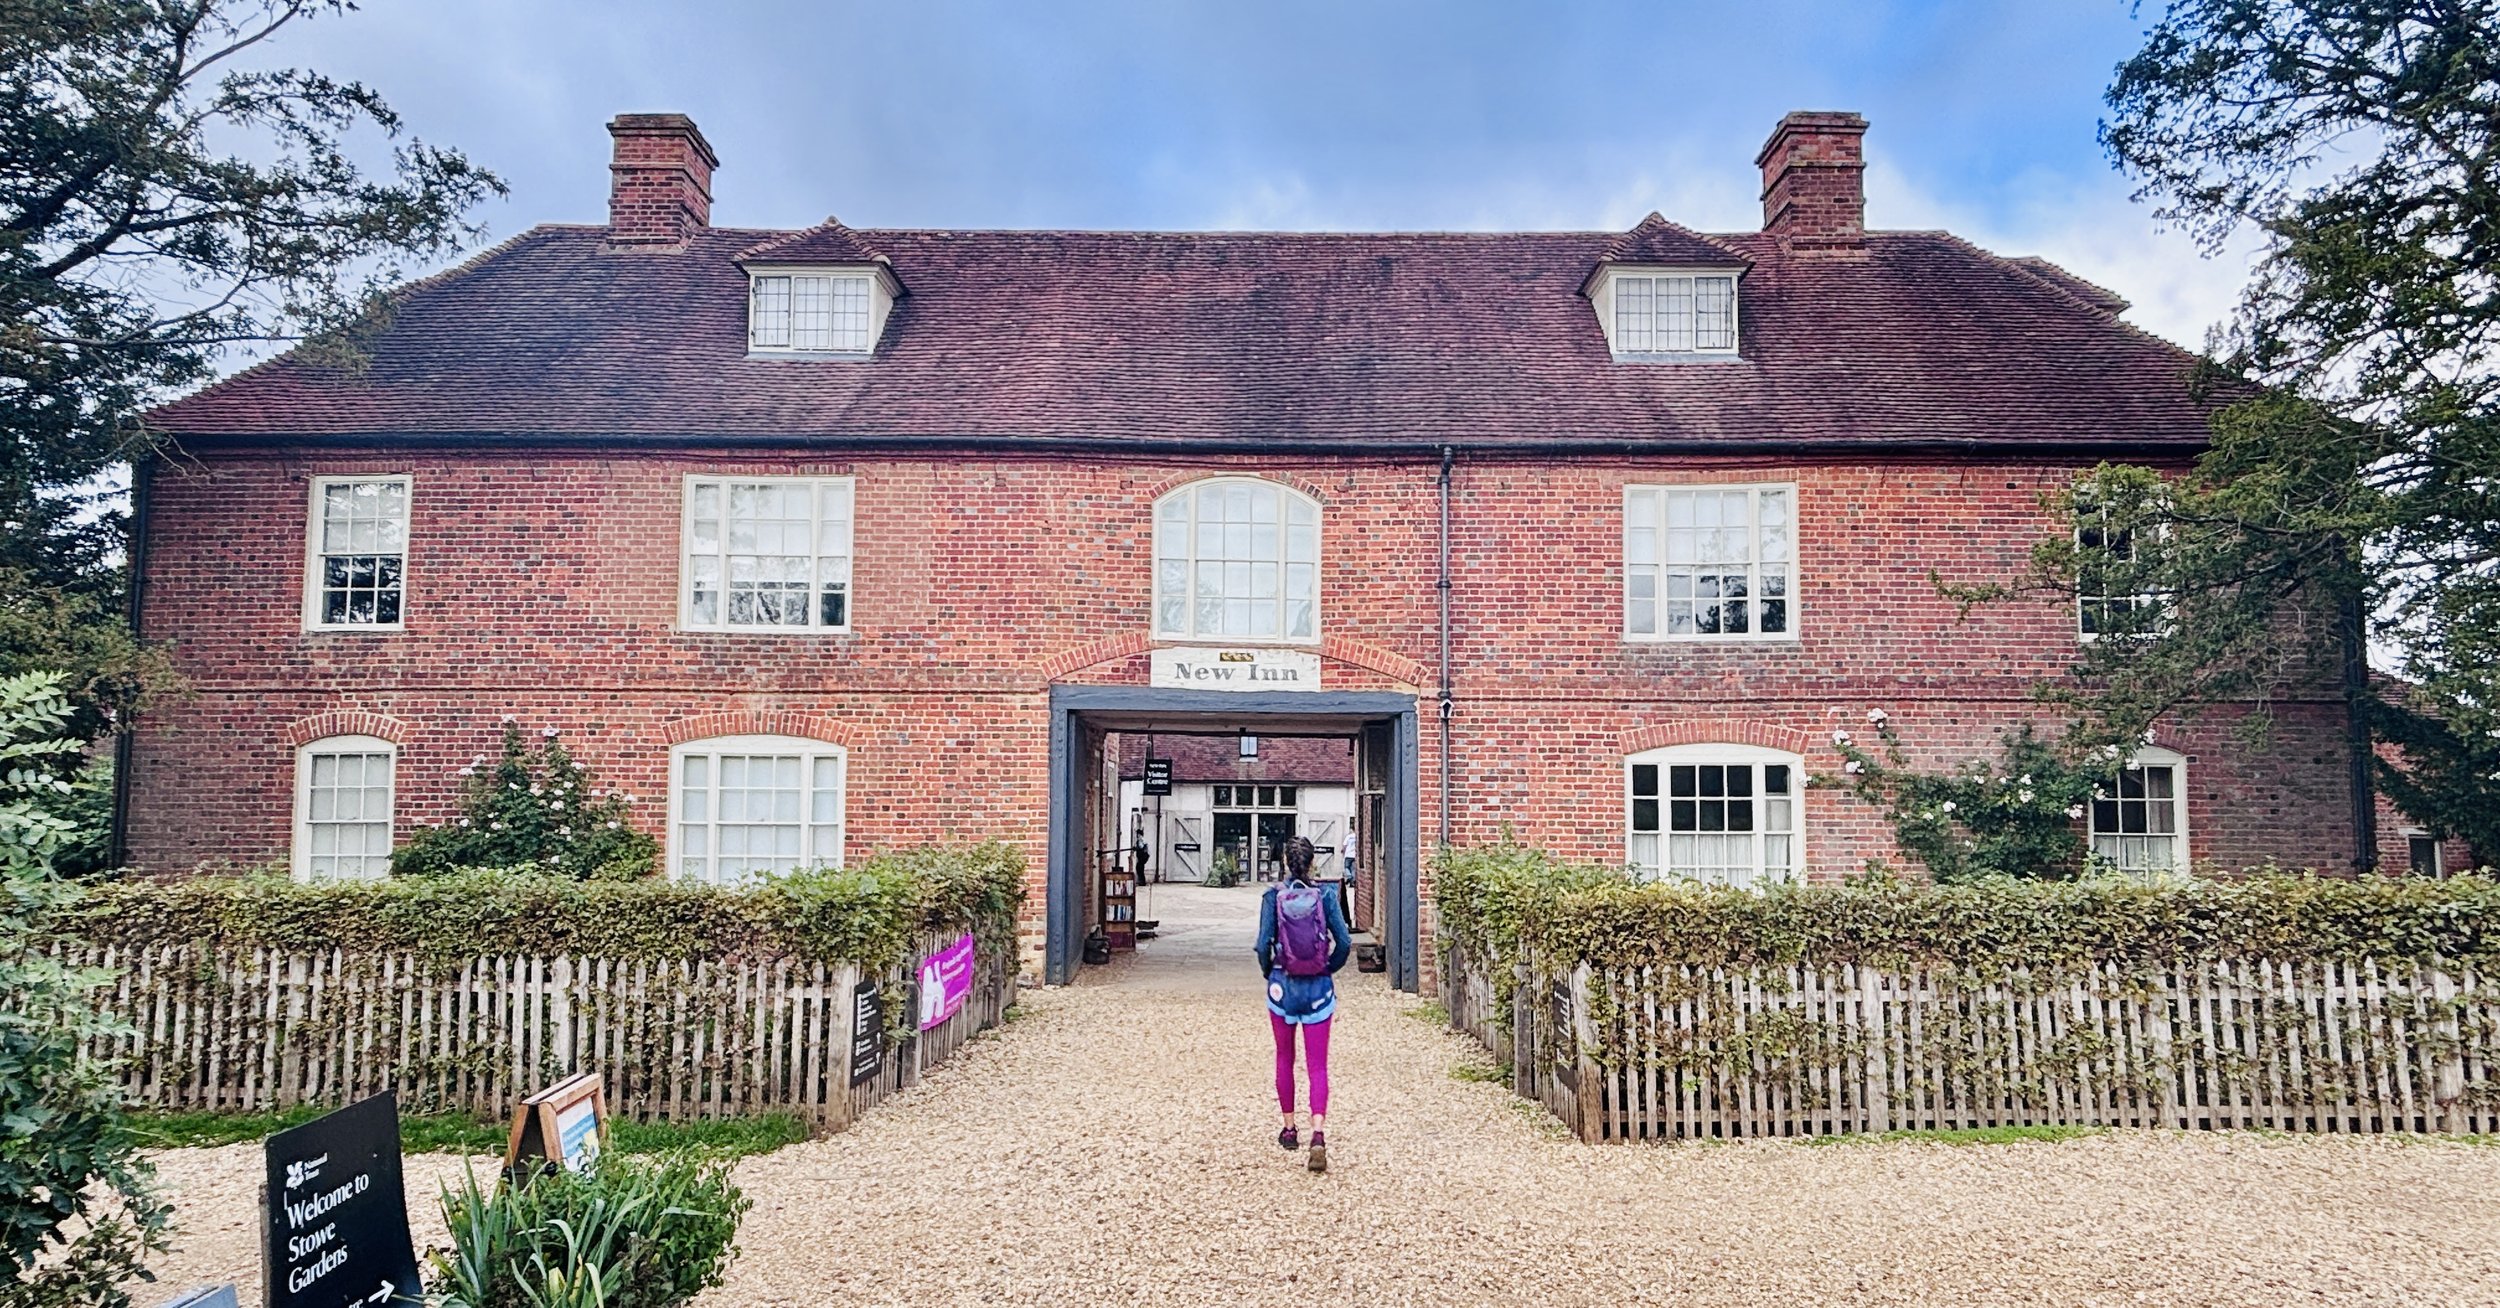
We begin at the New Inn, now serving as the National Trust visitor centre, neatly situated by the main car park. Pass through the inn's buildings to emerge onto the main track, a wide avenue known as the Home Front route, which acts as the grand artery leading up to the landscape garden proper. Follow this deep into the estate.
After a mile or so (roughly 1 km), the path is interrupted by a second ticket booth. It feels slightly incongruous here, but the land is criss-crossed by ancient public rights of way; they must check again to ensure you have bought passage into the inner, managed sanctuary of the gardens.
Once officially within the gardens, take a right turn, followed swiftly by a left. You are now on the 'military route', a path that deliberately traces the southern bank of the Octagon Lake, drawing you north-eastwards along the water’s edge.
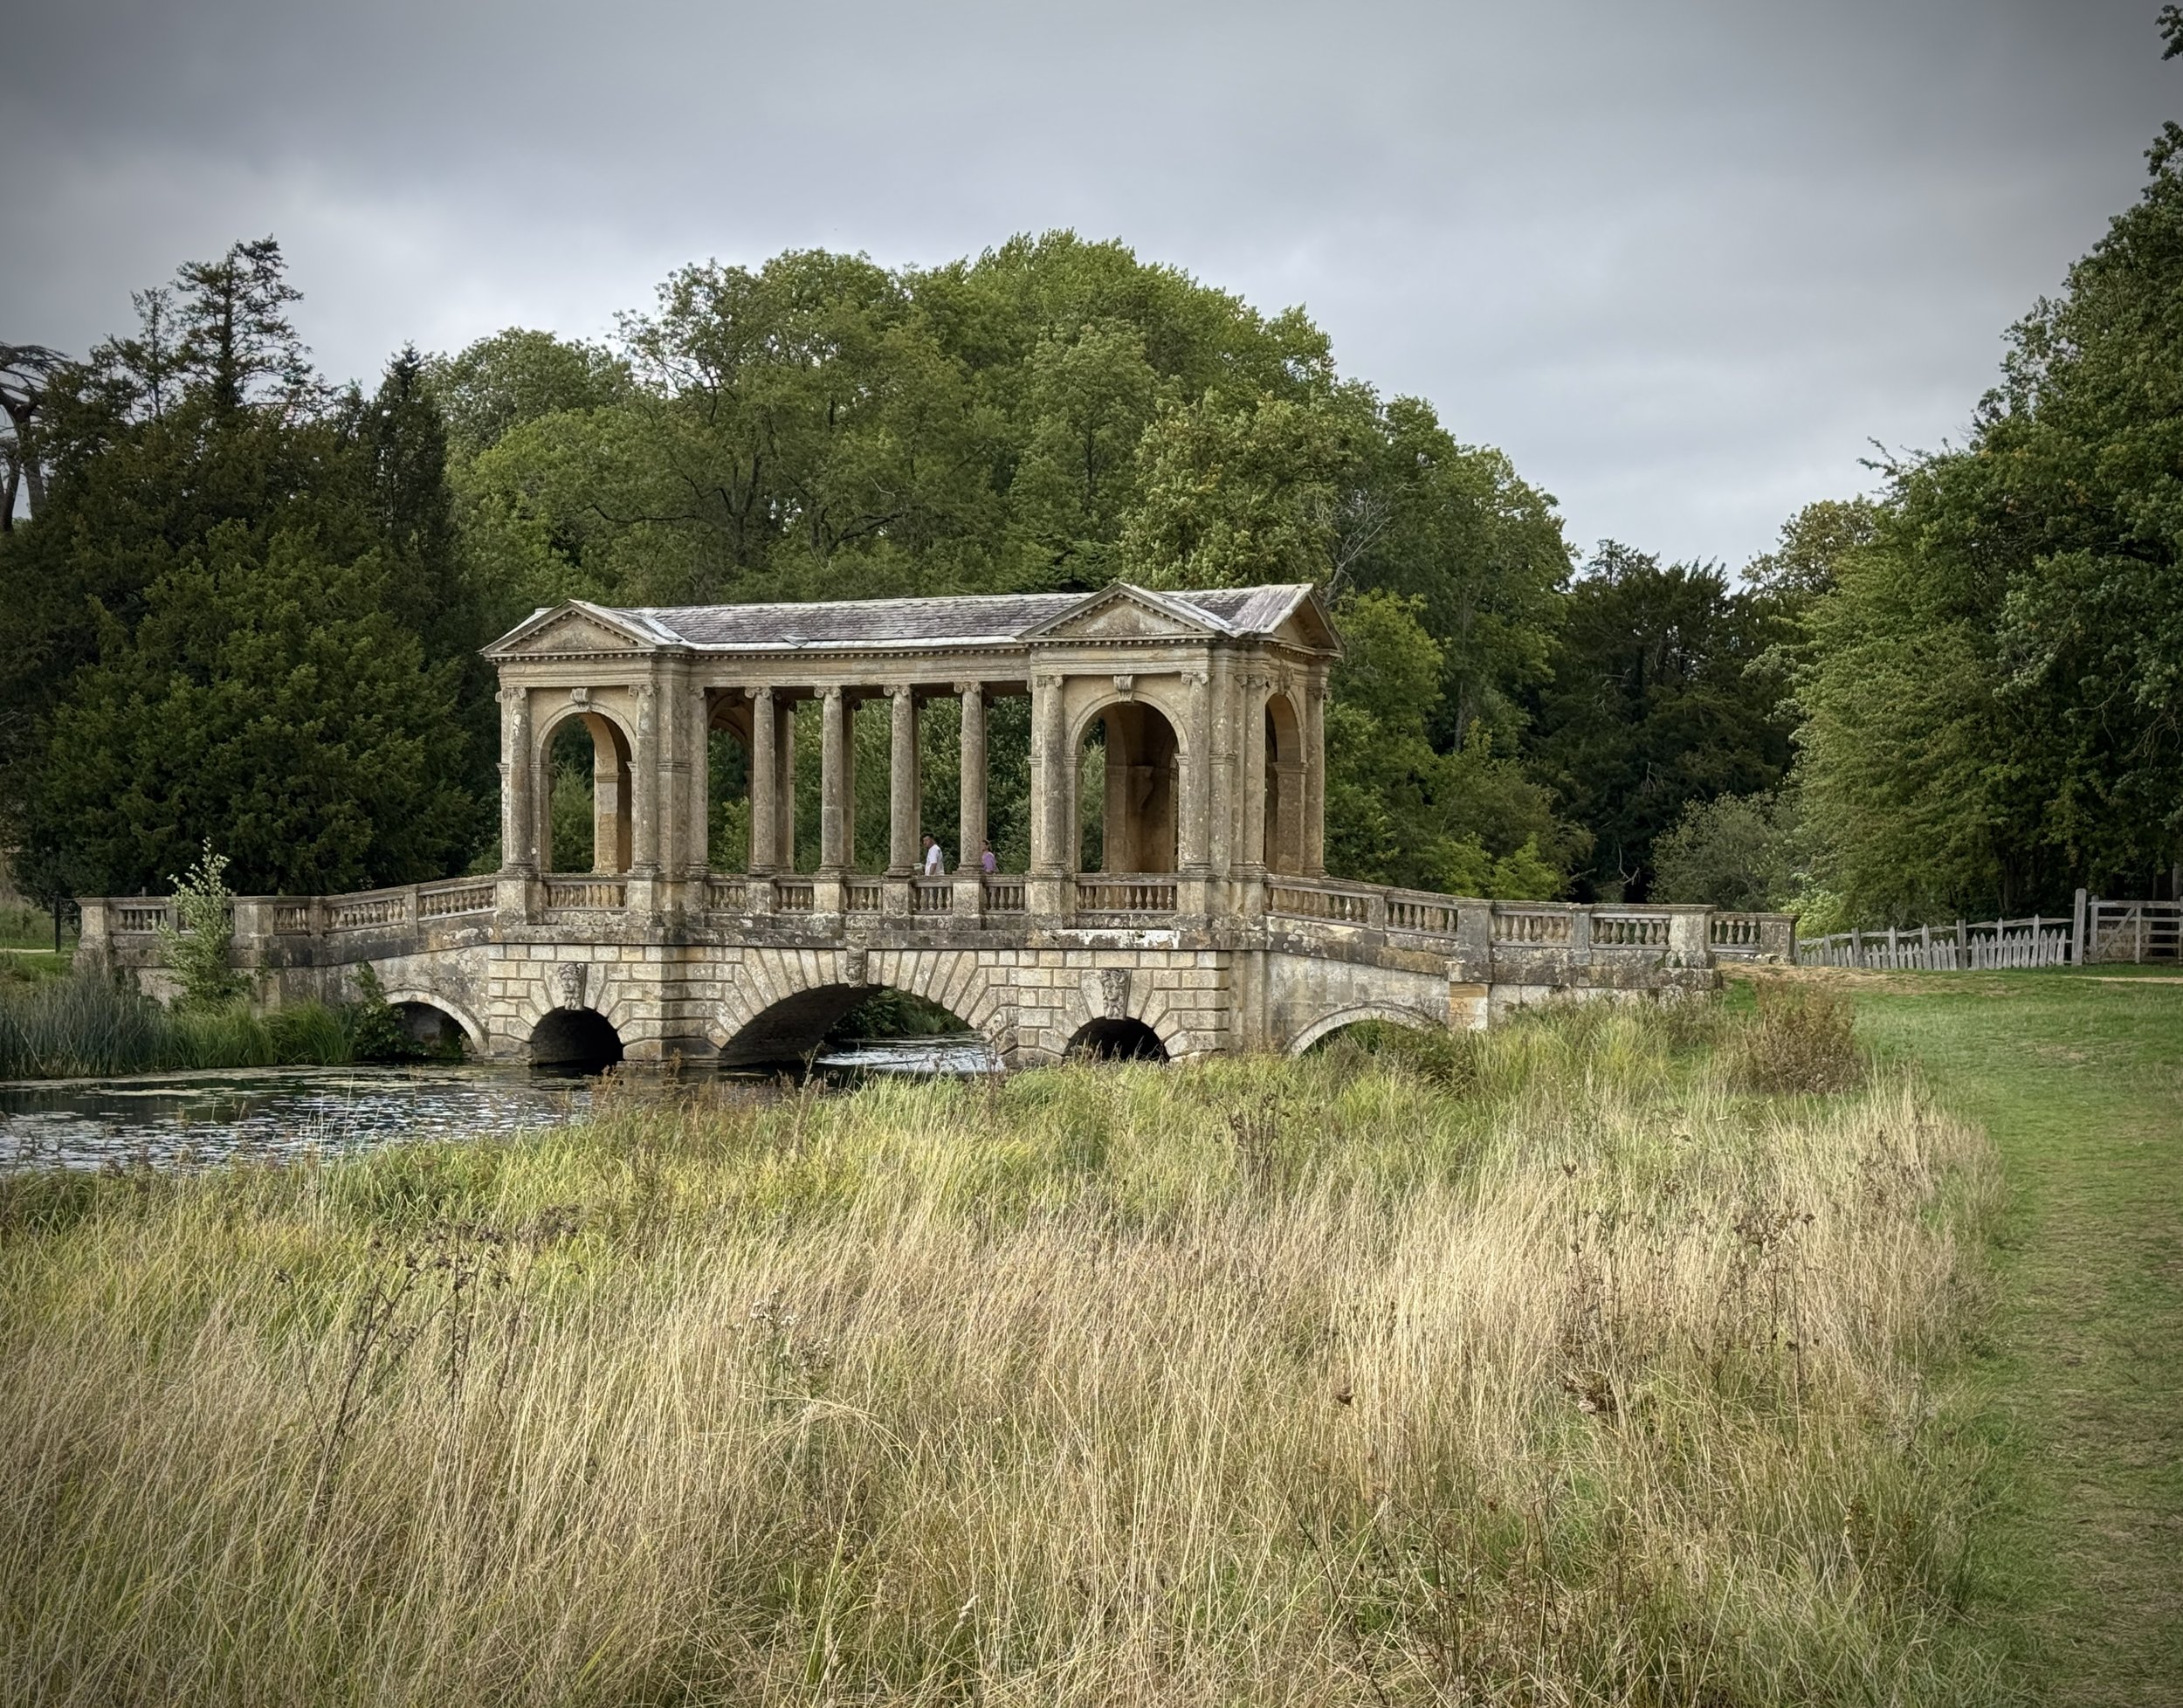
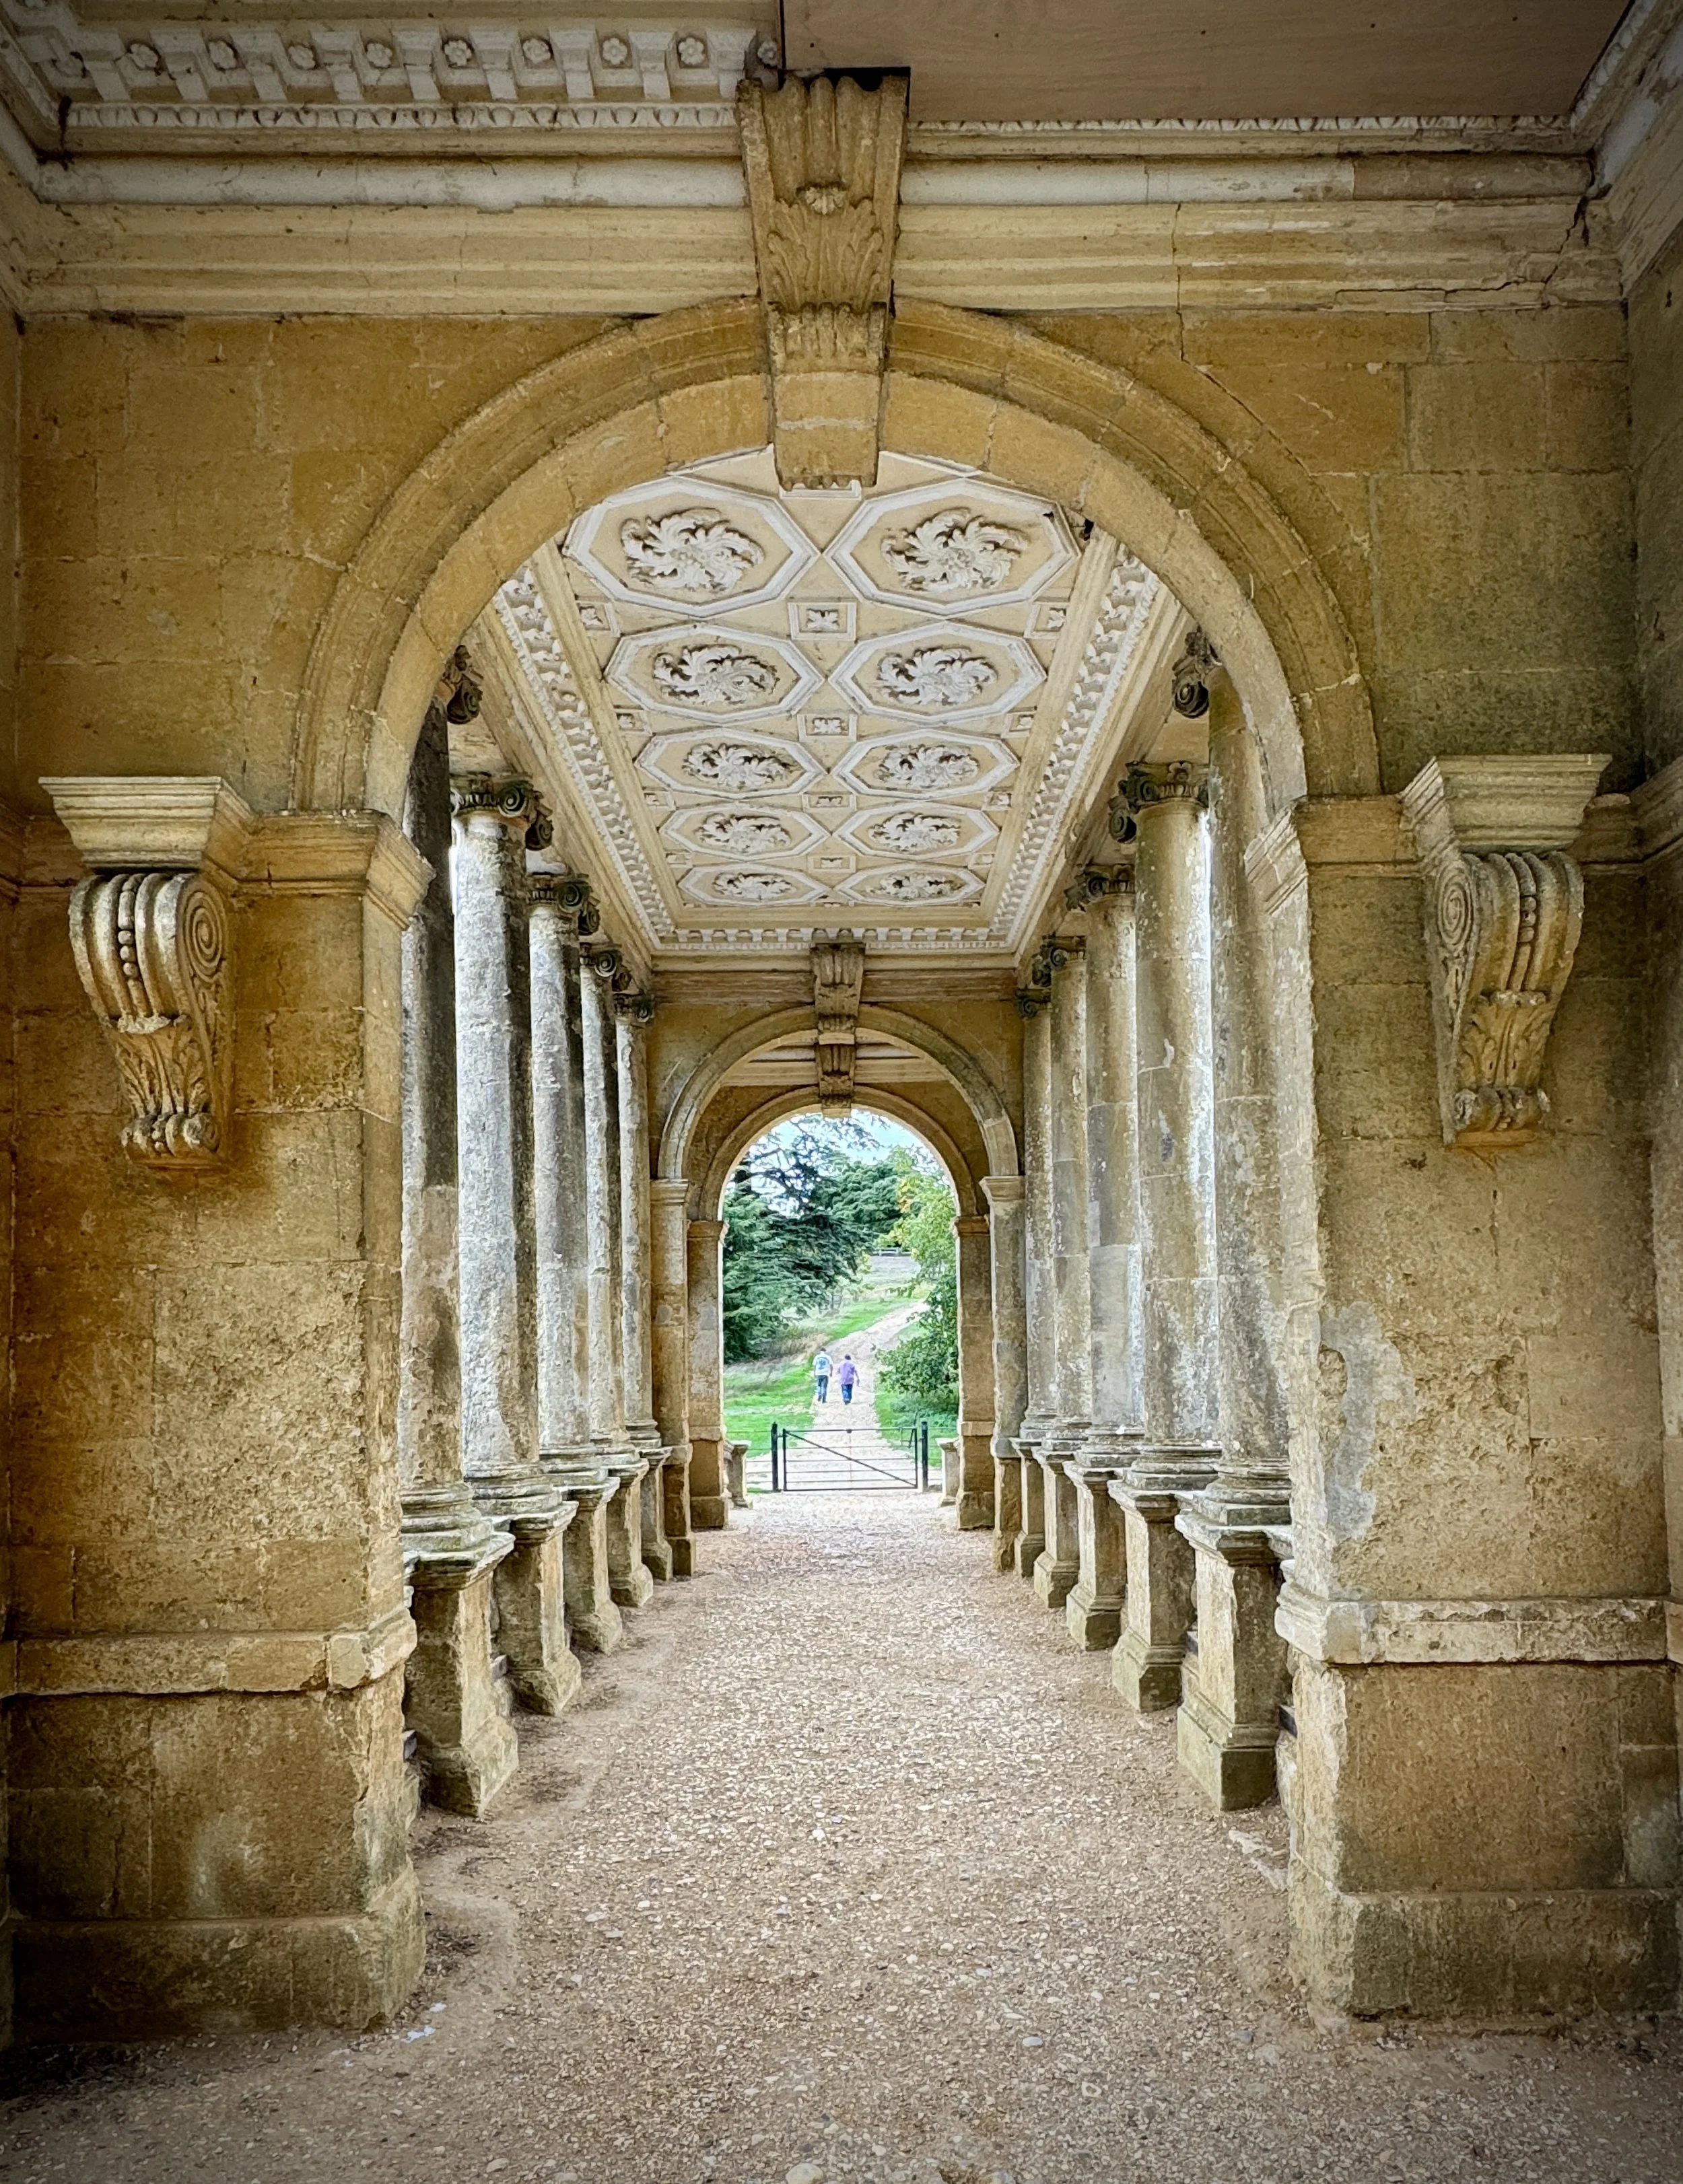
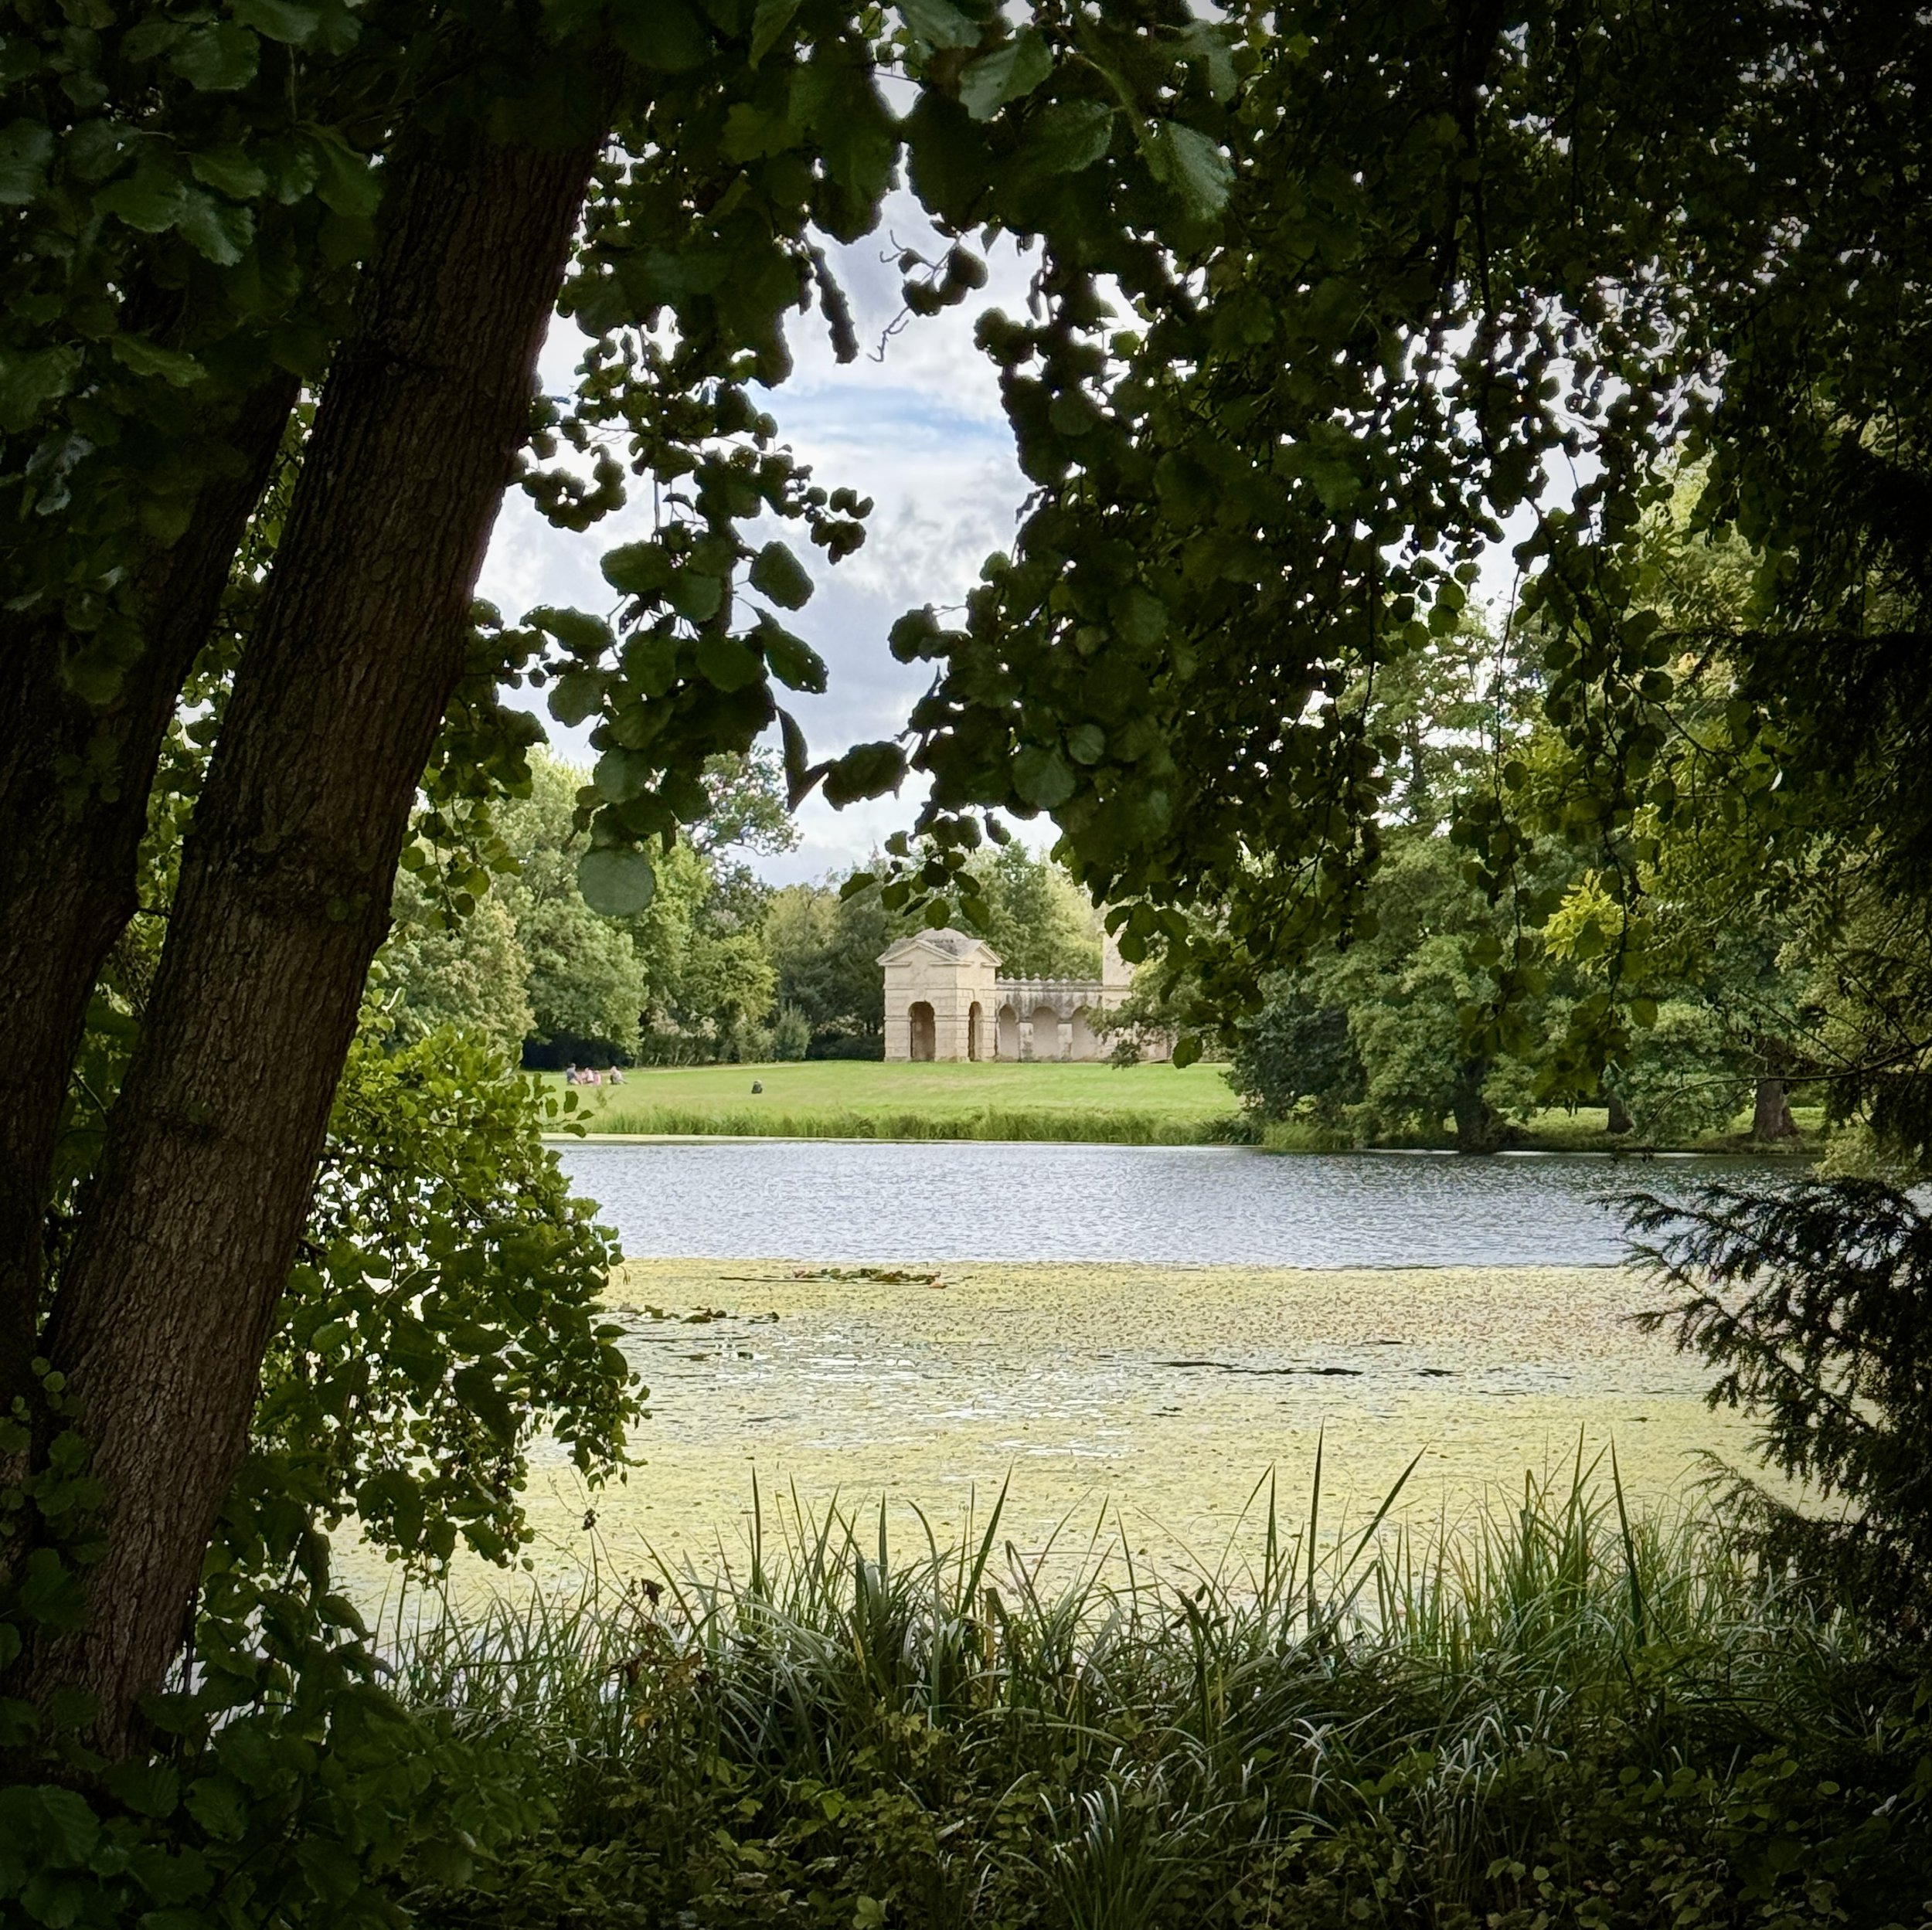
Ahead lies the Palladian Bridge, stretching elegantly across the water. It’s worth pausing here; the views, both of the bridge’s flanks as you approach and from the span itself, offer perfectly framed classical vistas. Cross over it to the far bank.
Continue tracing a northerly line. Here, the track is burdened with a double identity, known as both the military route and the Path of Liberty. Follow its course until it meets the Gothic Tower.
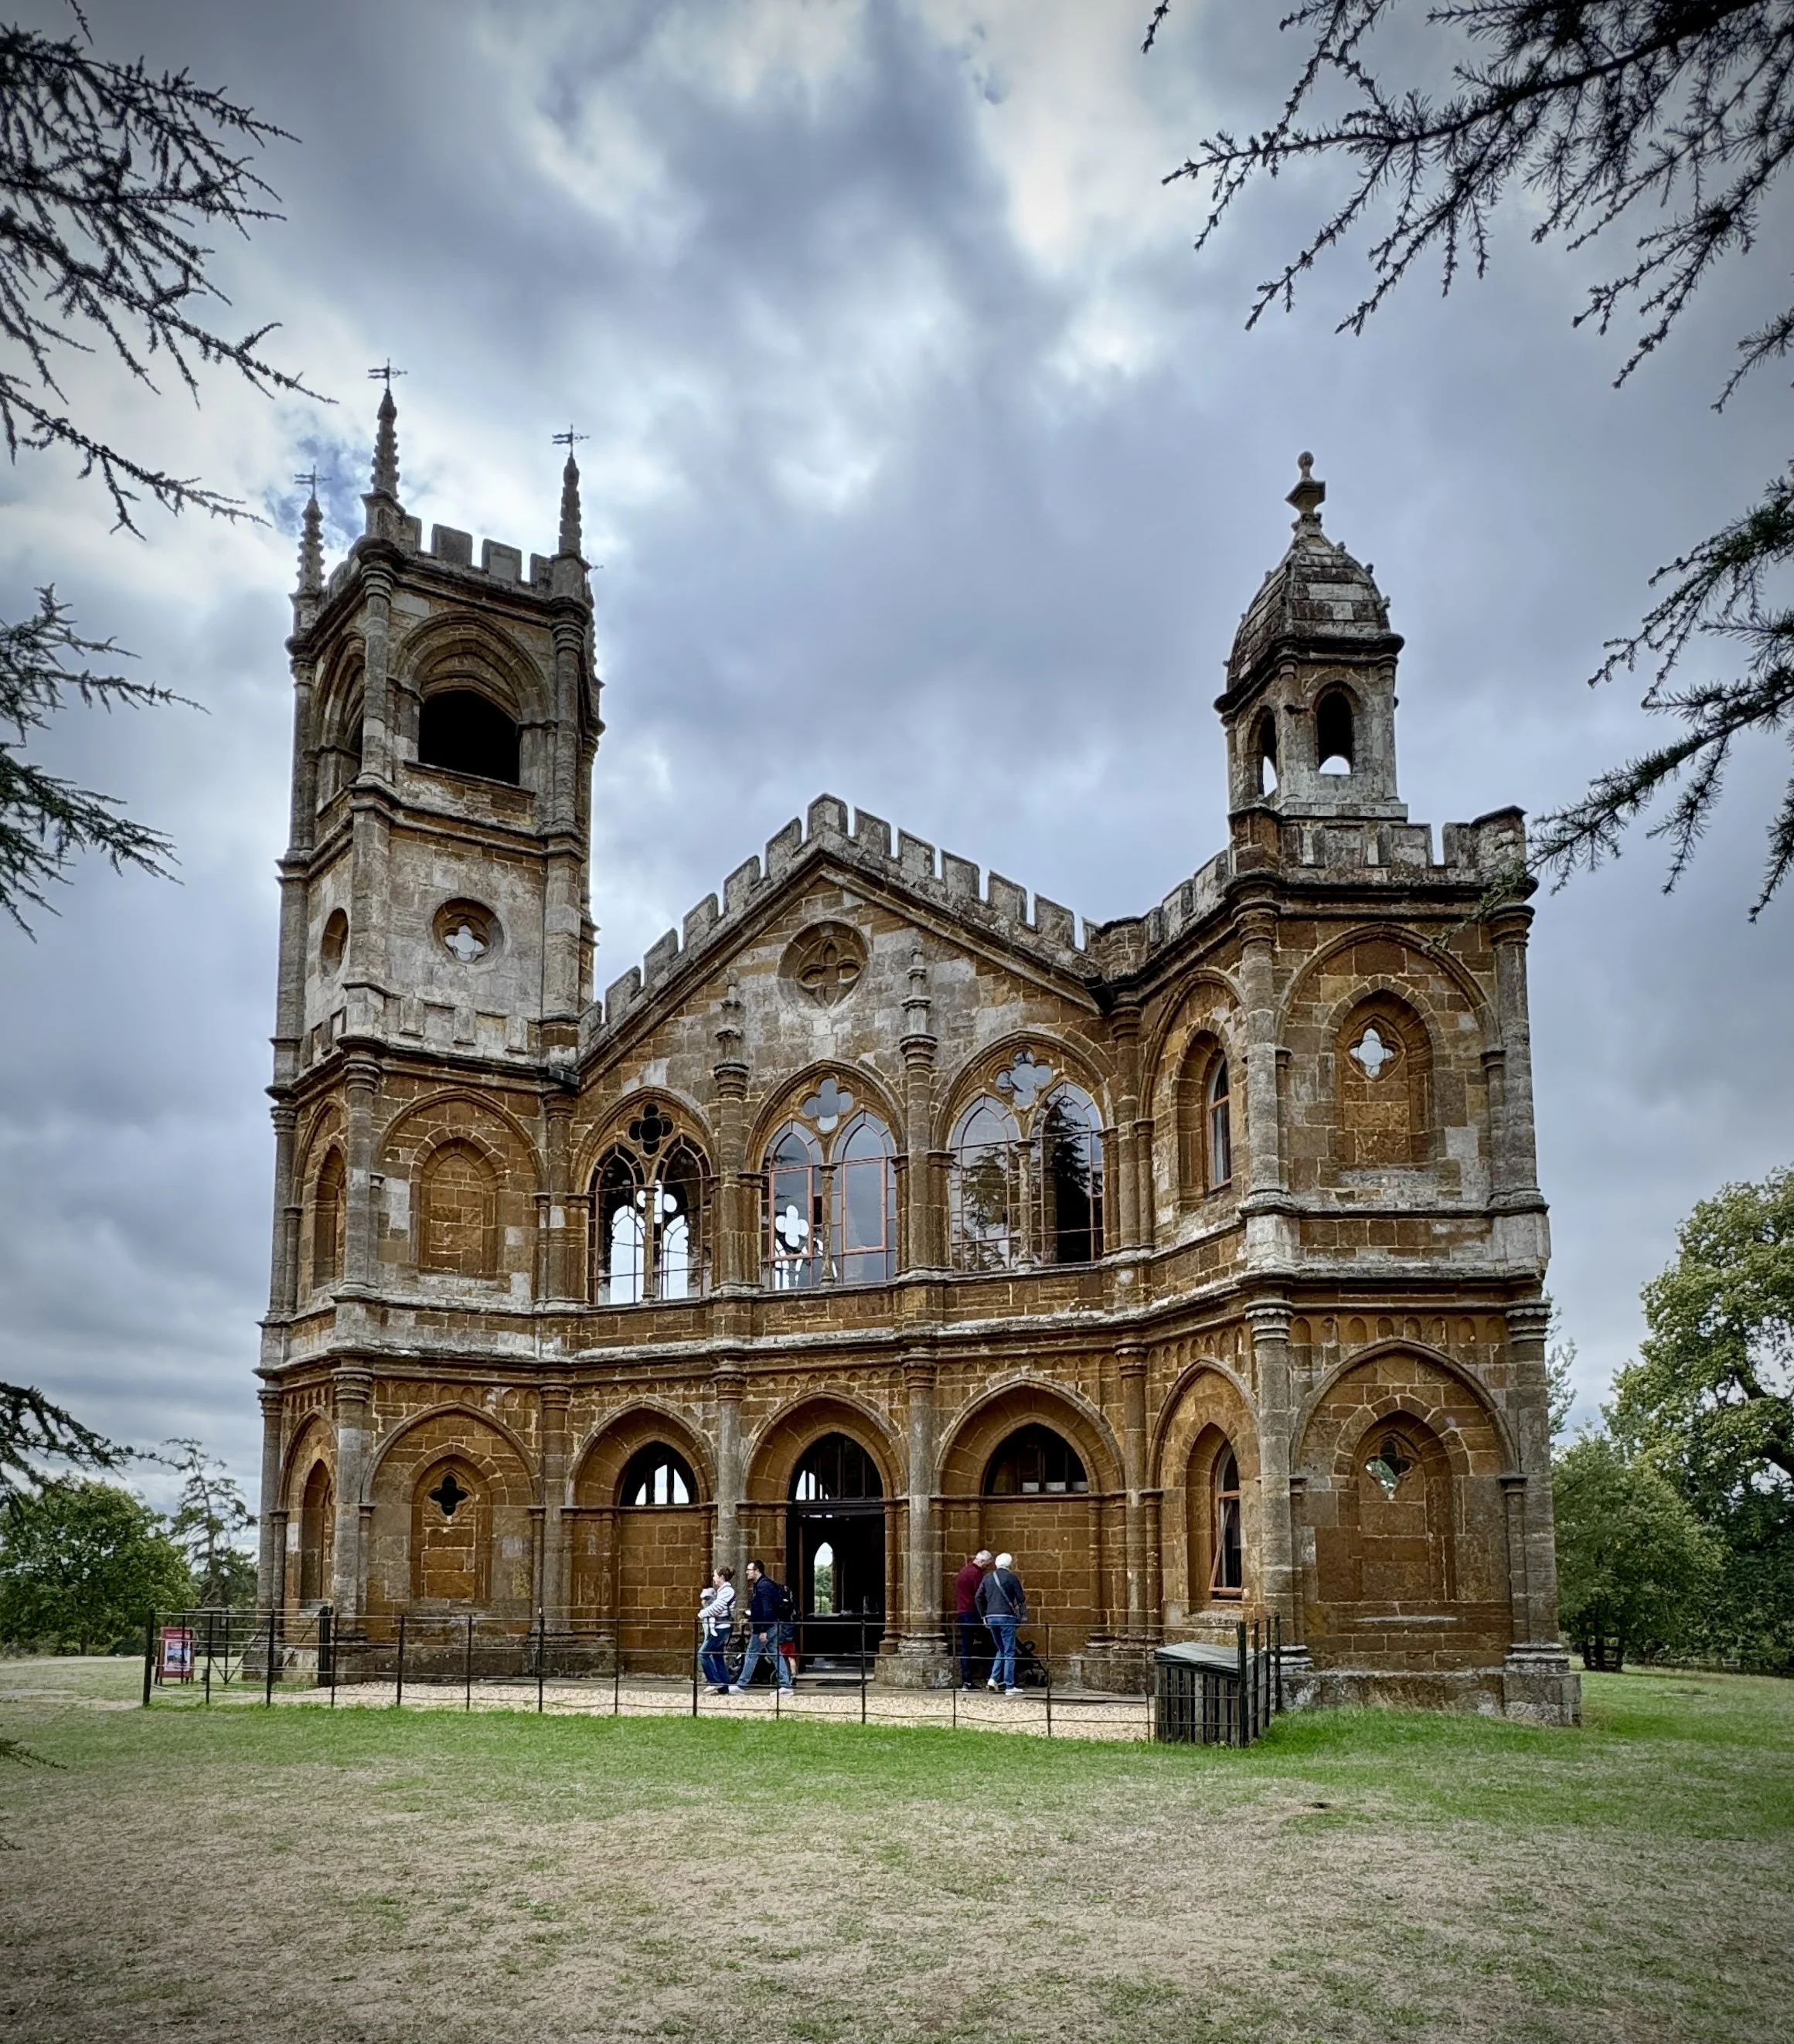
The tower, a property now in the care of the Landmark Trust, usually keeps its doors firmly shut to the casual walker. However, on fortunate days, it stands open, revealing its interior. Whether you manage to slip inside or merely admire its heavy stone silhouette, press on northwards afterwards, keeping to the military route.
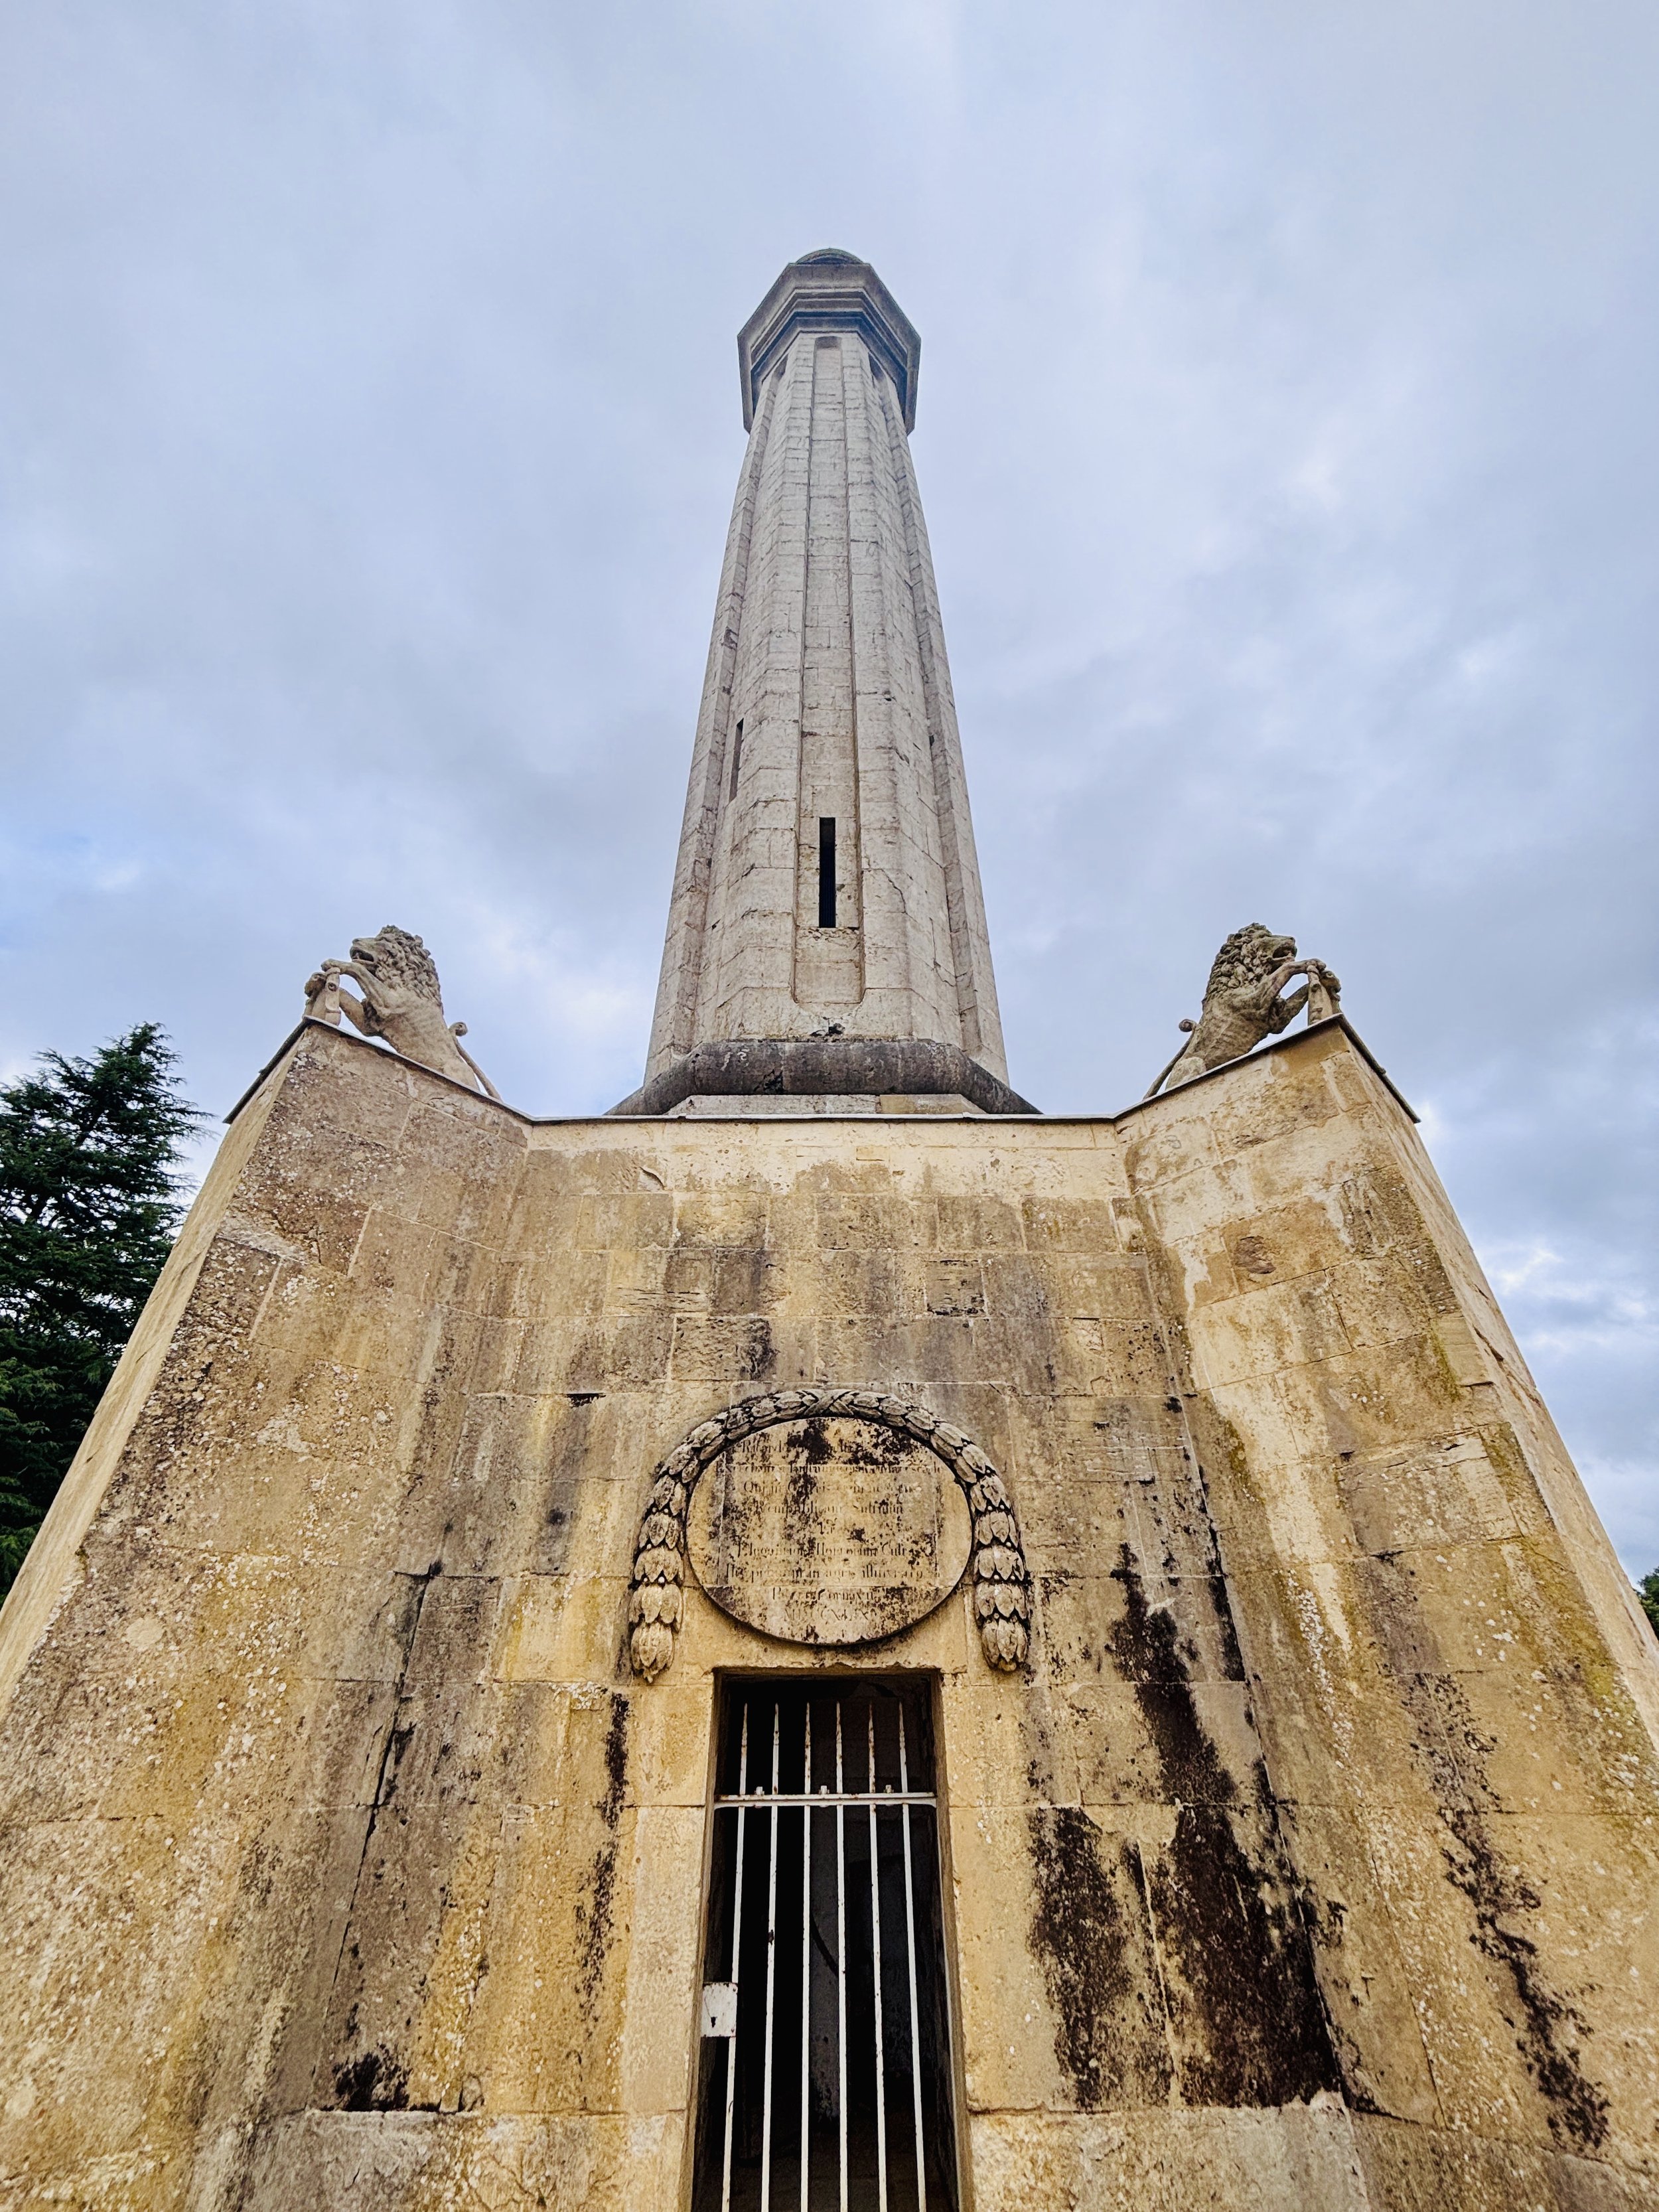
You will soon encounter a towering monument, which one might instinctively call an obelisk, but the estate insists is Lord Cobham's Pillar. Note the distinction and continue your march northwards along the military route.
As you reach the north-eastern extremity of the estate, the formal boundaries fall away, and you slip back out onto public land. You are now joining the Stowe Parkland Walk, a sweeping, longer trail that curves around the hidden back of Stowe House.
Upon meeting the wide stretch of Buckingham Avenue, take a right, then the first left. This footpath strikes out across the open, grazed parkland, an expanse that feels distinctly different from the manicured gardens, leading you towards the Wolfe Obelisk.
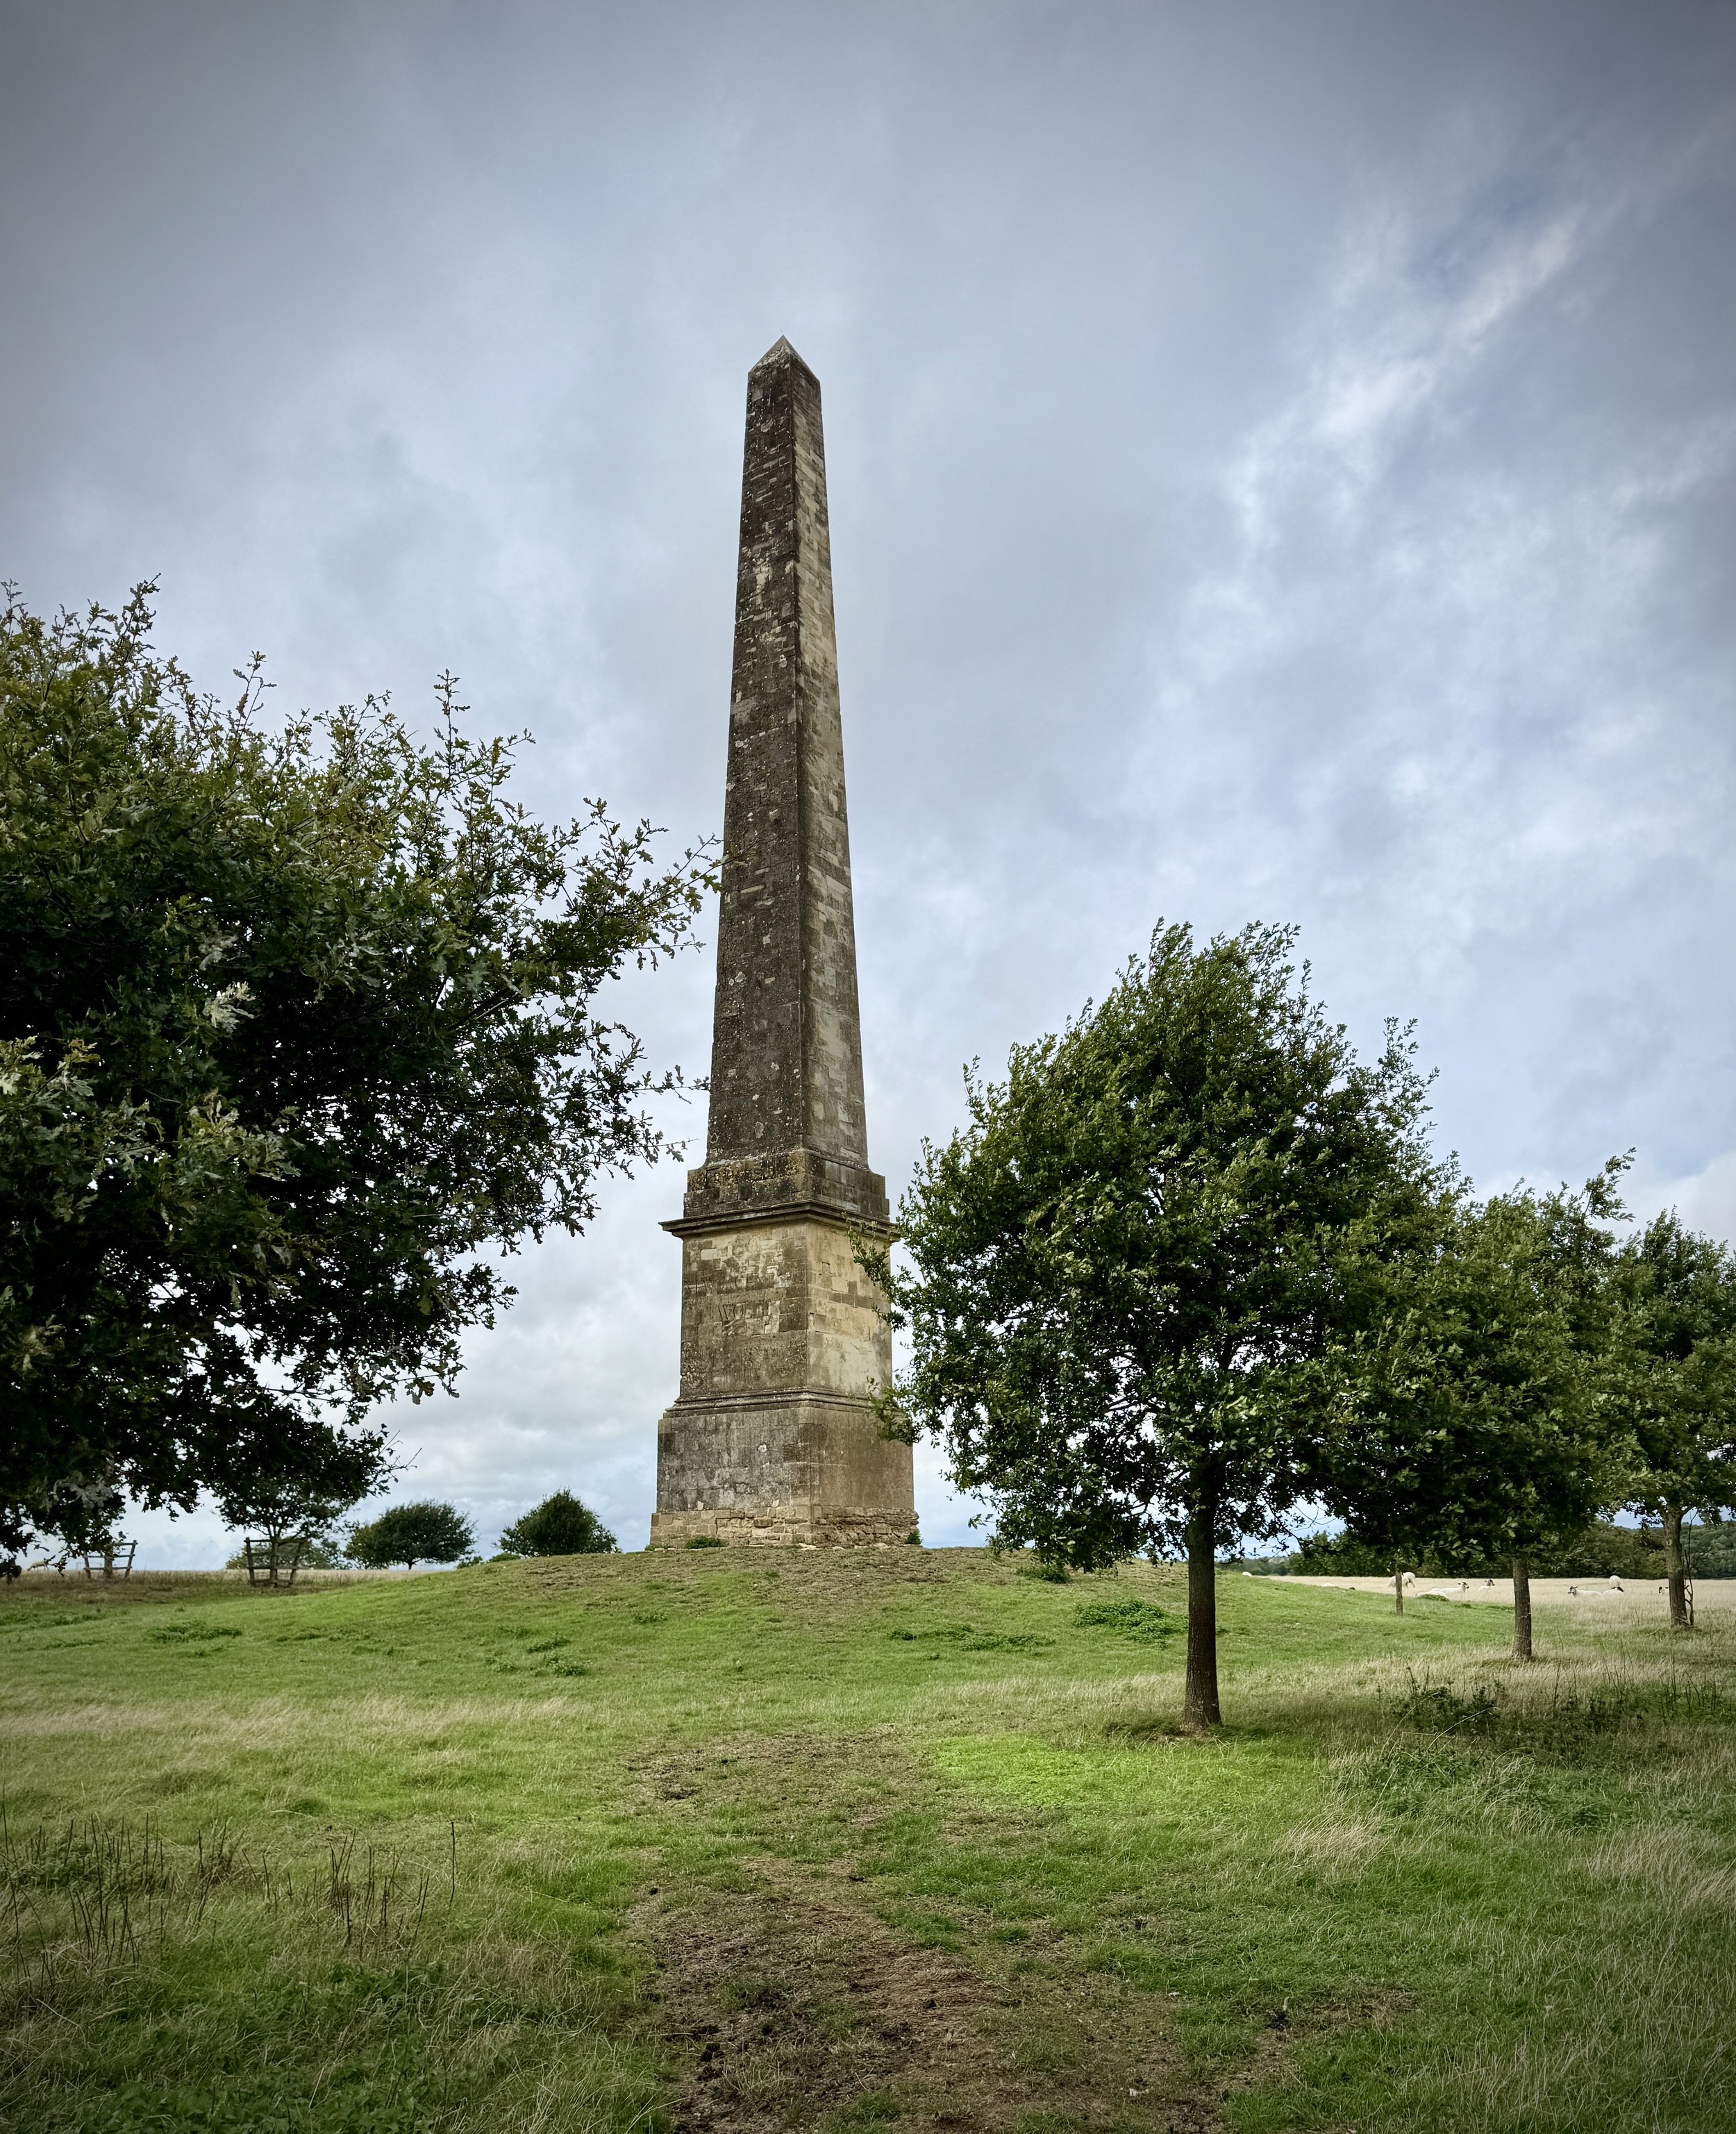
At the obelisk, step off the worn path, turning left into the grass to locate the rather more utilitarian concrete form of a trig pillar sitting quietly in the landscape. Having paid your respects to the surveyors, retrace your steps to the obelisk.
Pressing north again on the Stowe Parkland Walk, the land drops away, descending across an open field. Look for a distinctive, solitary bush—a waymarker in the green—and here take a left. The path now leads west, eventually curving southward to shadow a lake.
The route brings you to the unassuming back entrance of Stowe School. Here, turn right, rejoining the main artery of the Stowe Parkland Walk.
Shortly after passing the bulk of the school buildings, take a footpath that draws you closer in against the outer, enclosing wall of the landscape gardens.
At the corner of the gardens stands a gatehouse entrance. It has an imposing, almost prohibitive air, looking as though the public shouldn't trespass, but with no one to bar the way, we slipped through. Do the same, and follow the main drive to reconnect with the intricate inner paths of the gardens.
You are now walking the Path of Bravery. Follow this until it meets the Path of Vice, where you must turn left. Continue on, passing the quiet, stony recess of Dido's Cave.
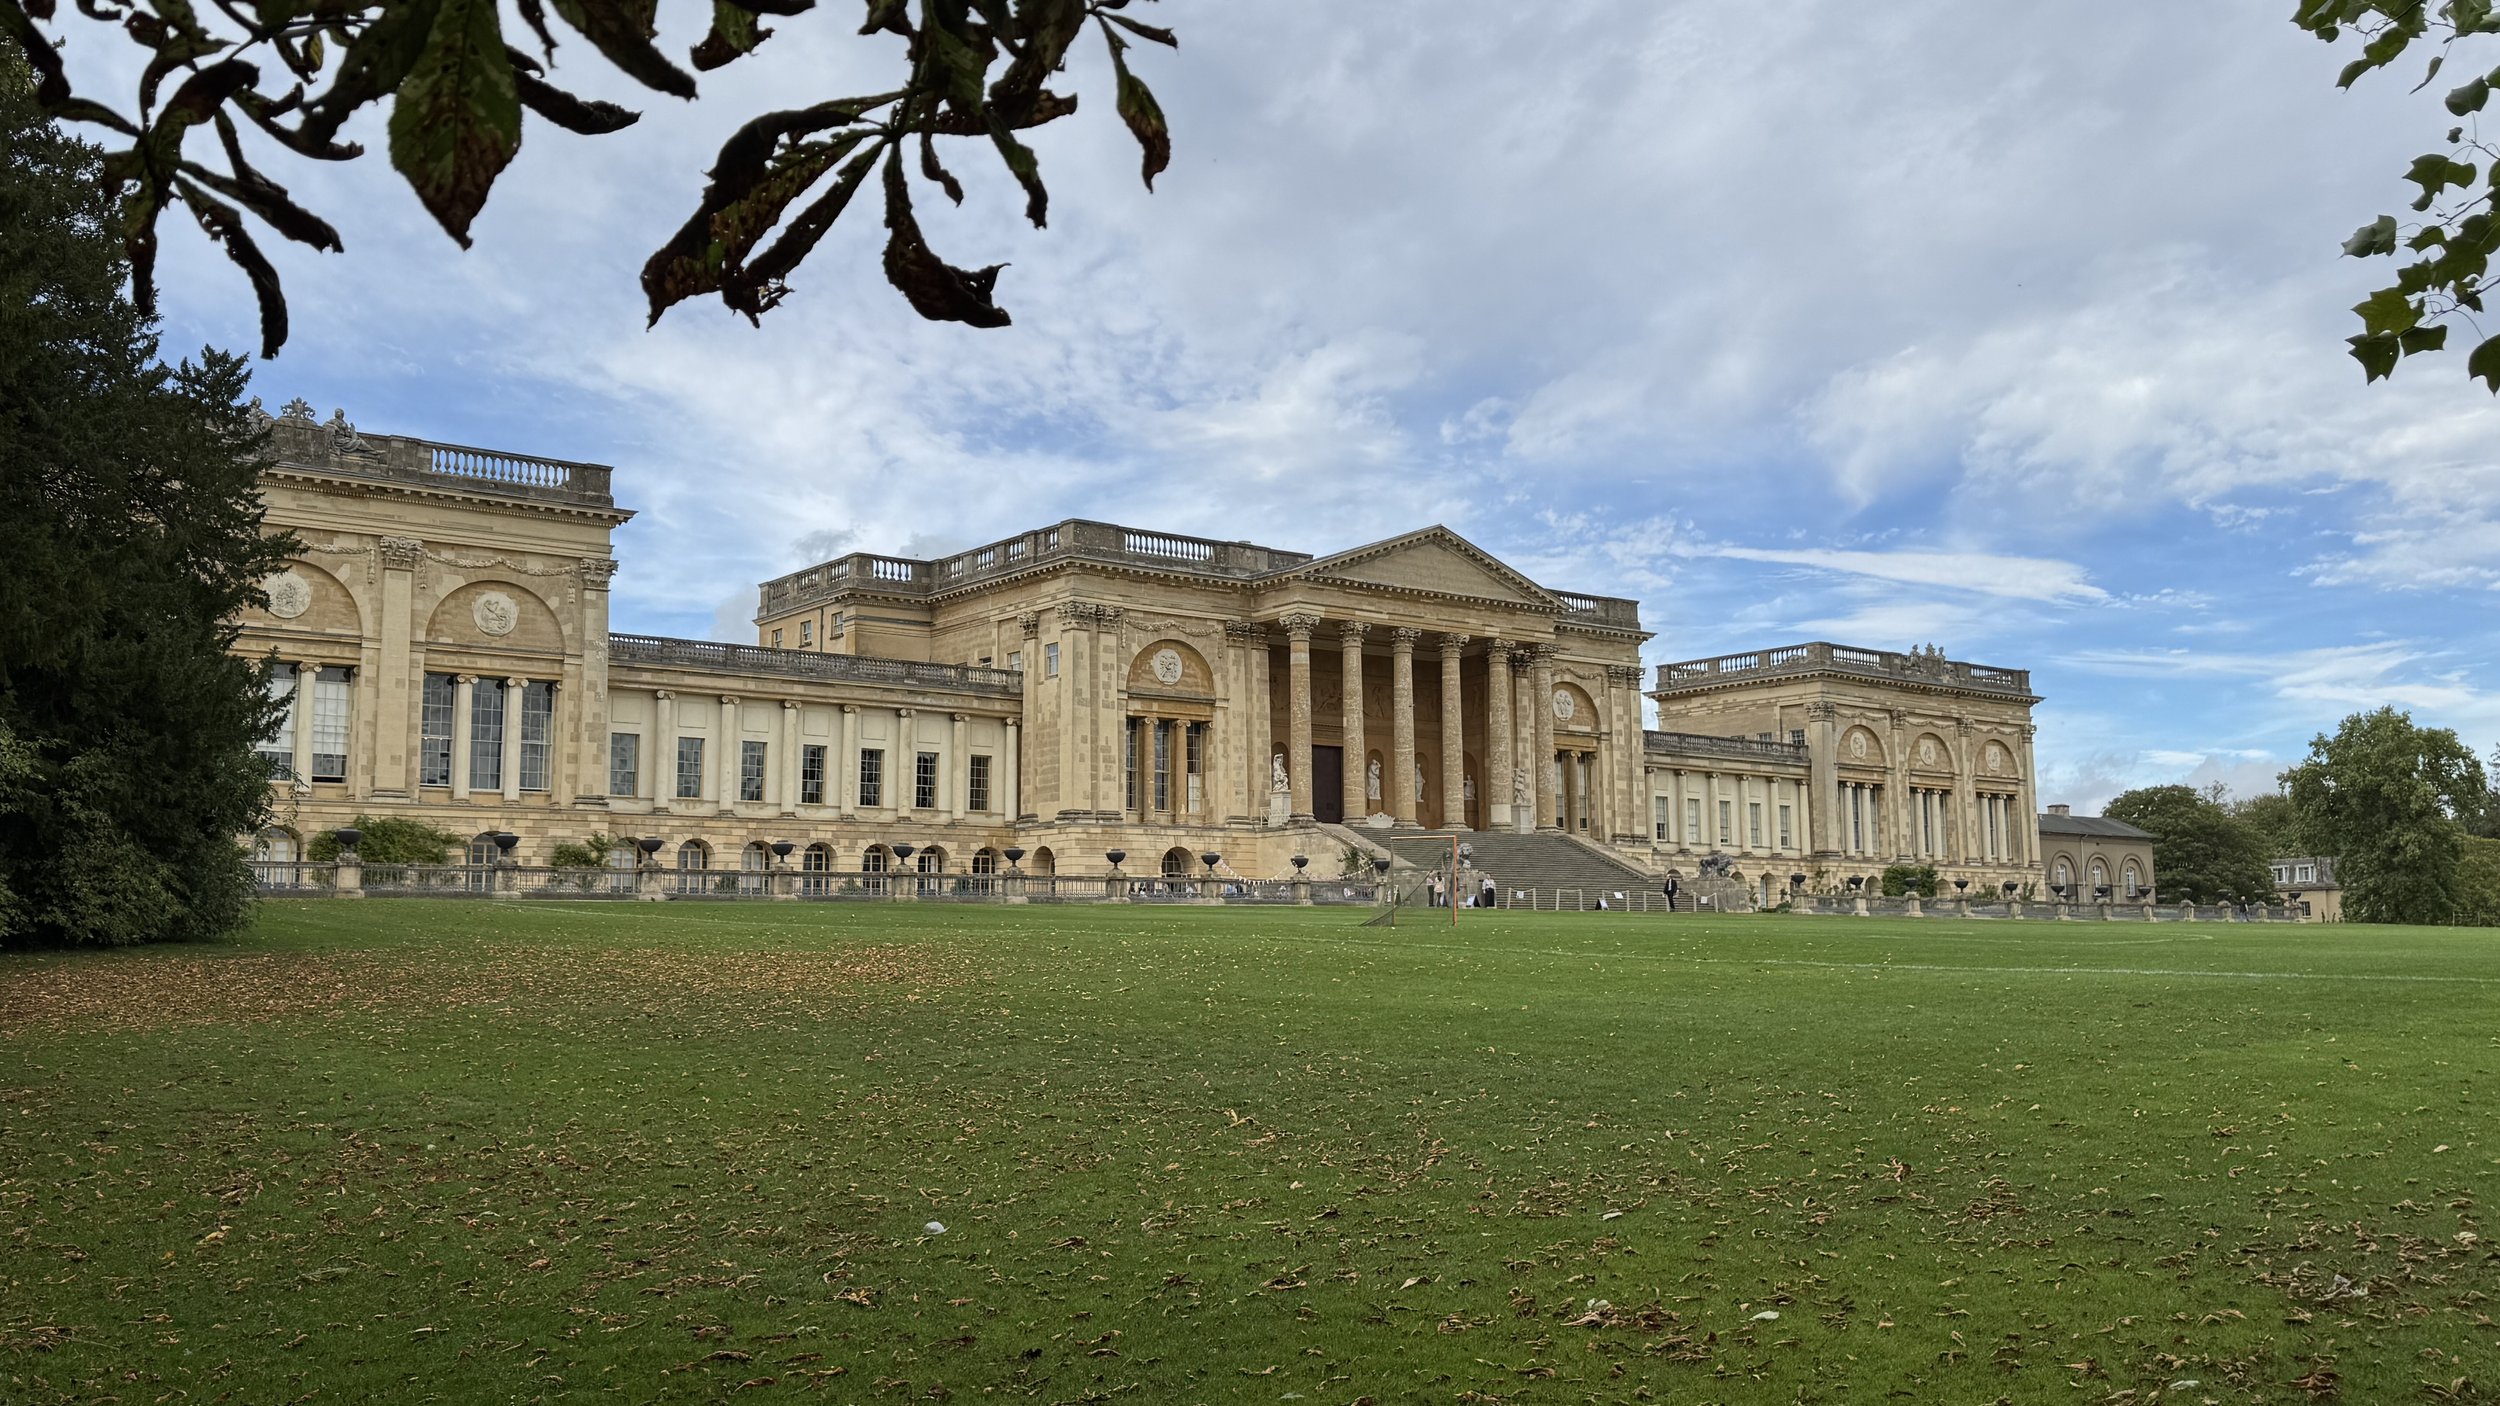
The path eventually delivers you to the grand southern front of Stowe House. While not a National Trust property, it often opens its doors for heritage walks and harbours a small cafe—a welcome modern intrusion for the weary walker.
Continue past the great facade of the house, picking up the blue trail which leads south-eastwards. Pause briefly to take in the Temple of Ancient Virtues, before crossing the bridge that spans the lake.
On the far side, you are greeted by the Temple of British Worthies. From this pantheon, turn south, keeping to the eastern margin of the lake, until the blue trail dictates you cross back over the water via another bridge.
You find yourself deposited on the northern shore of the Octagon Lake. Walk westward, following the water's edge, until a left turn onto the green trail pulls you back to the lake's southern side.
From here, it is a straightforward retreat back to where the journey began, following the paths out to the visitor centre and the New Inn to conclude the walk.
Points of Interest along or near to the Route
There are many interesting features in Stowe Landscape Gardens and if you get the free map at the National Trust Visitor Centre it will detail all of them. The ones below are the points of interest that are directly on the route that we covered.
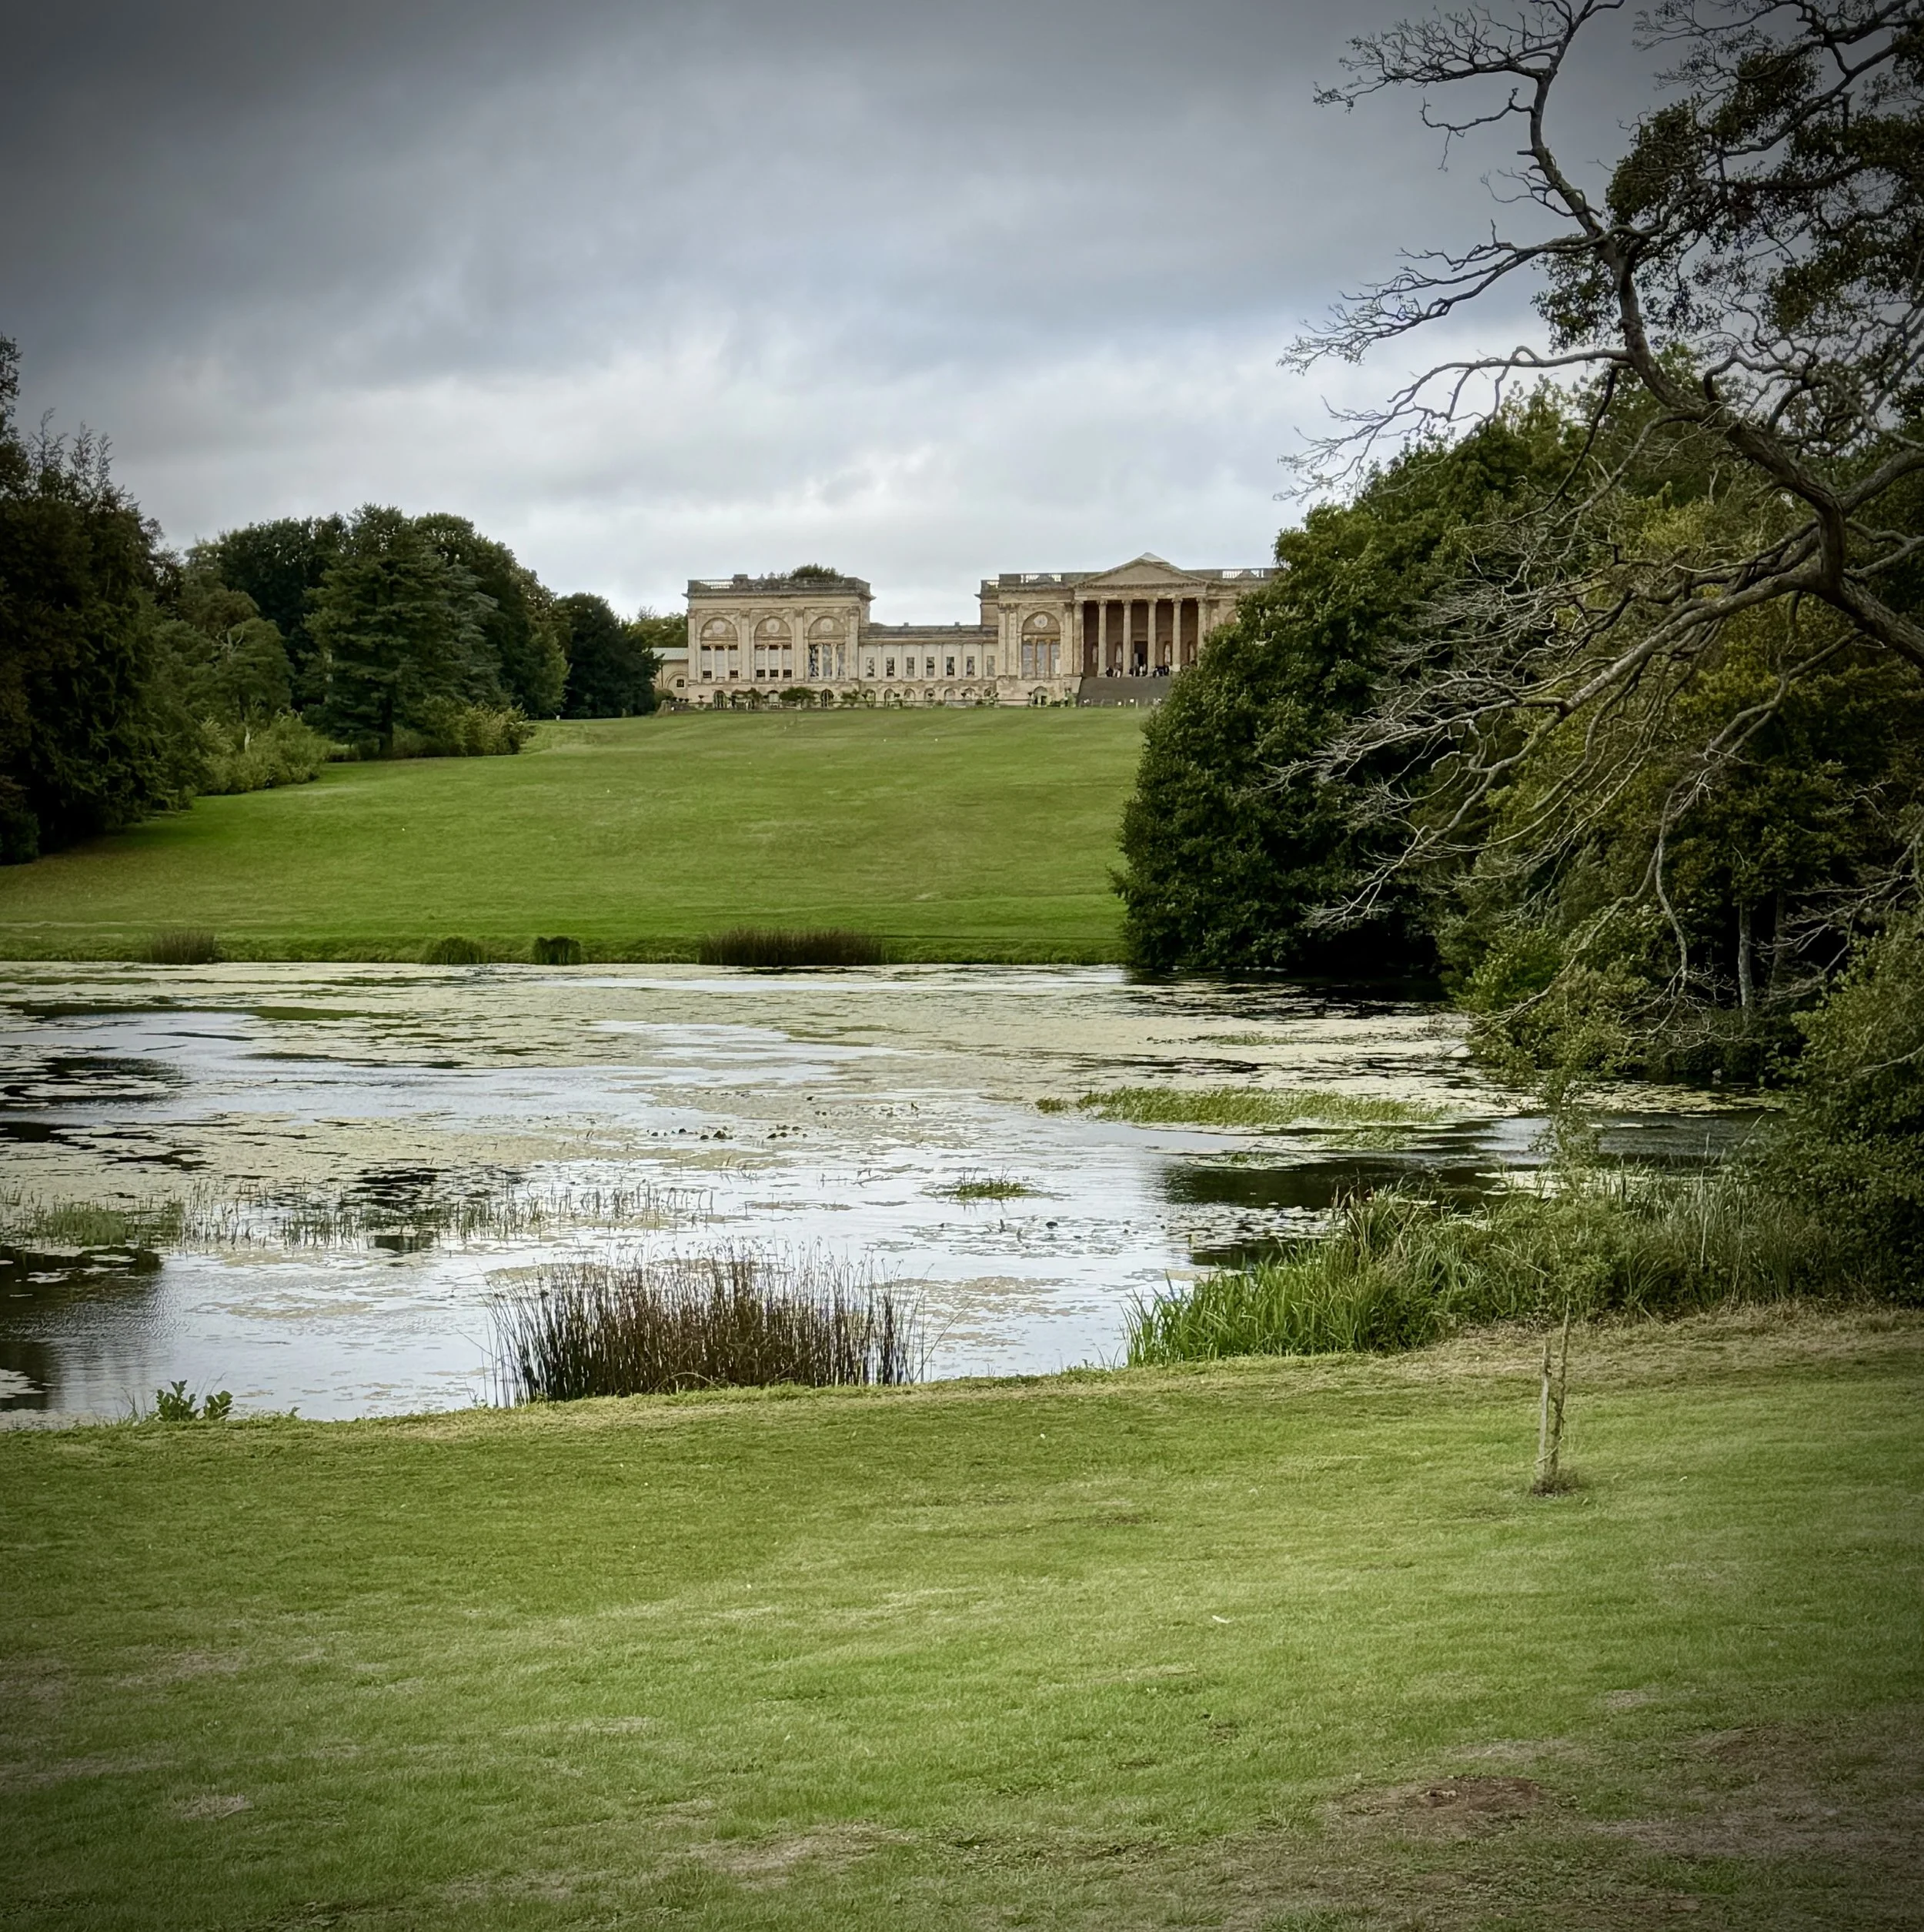
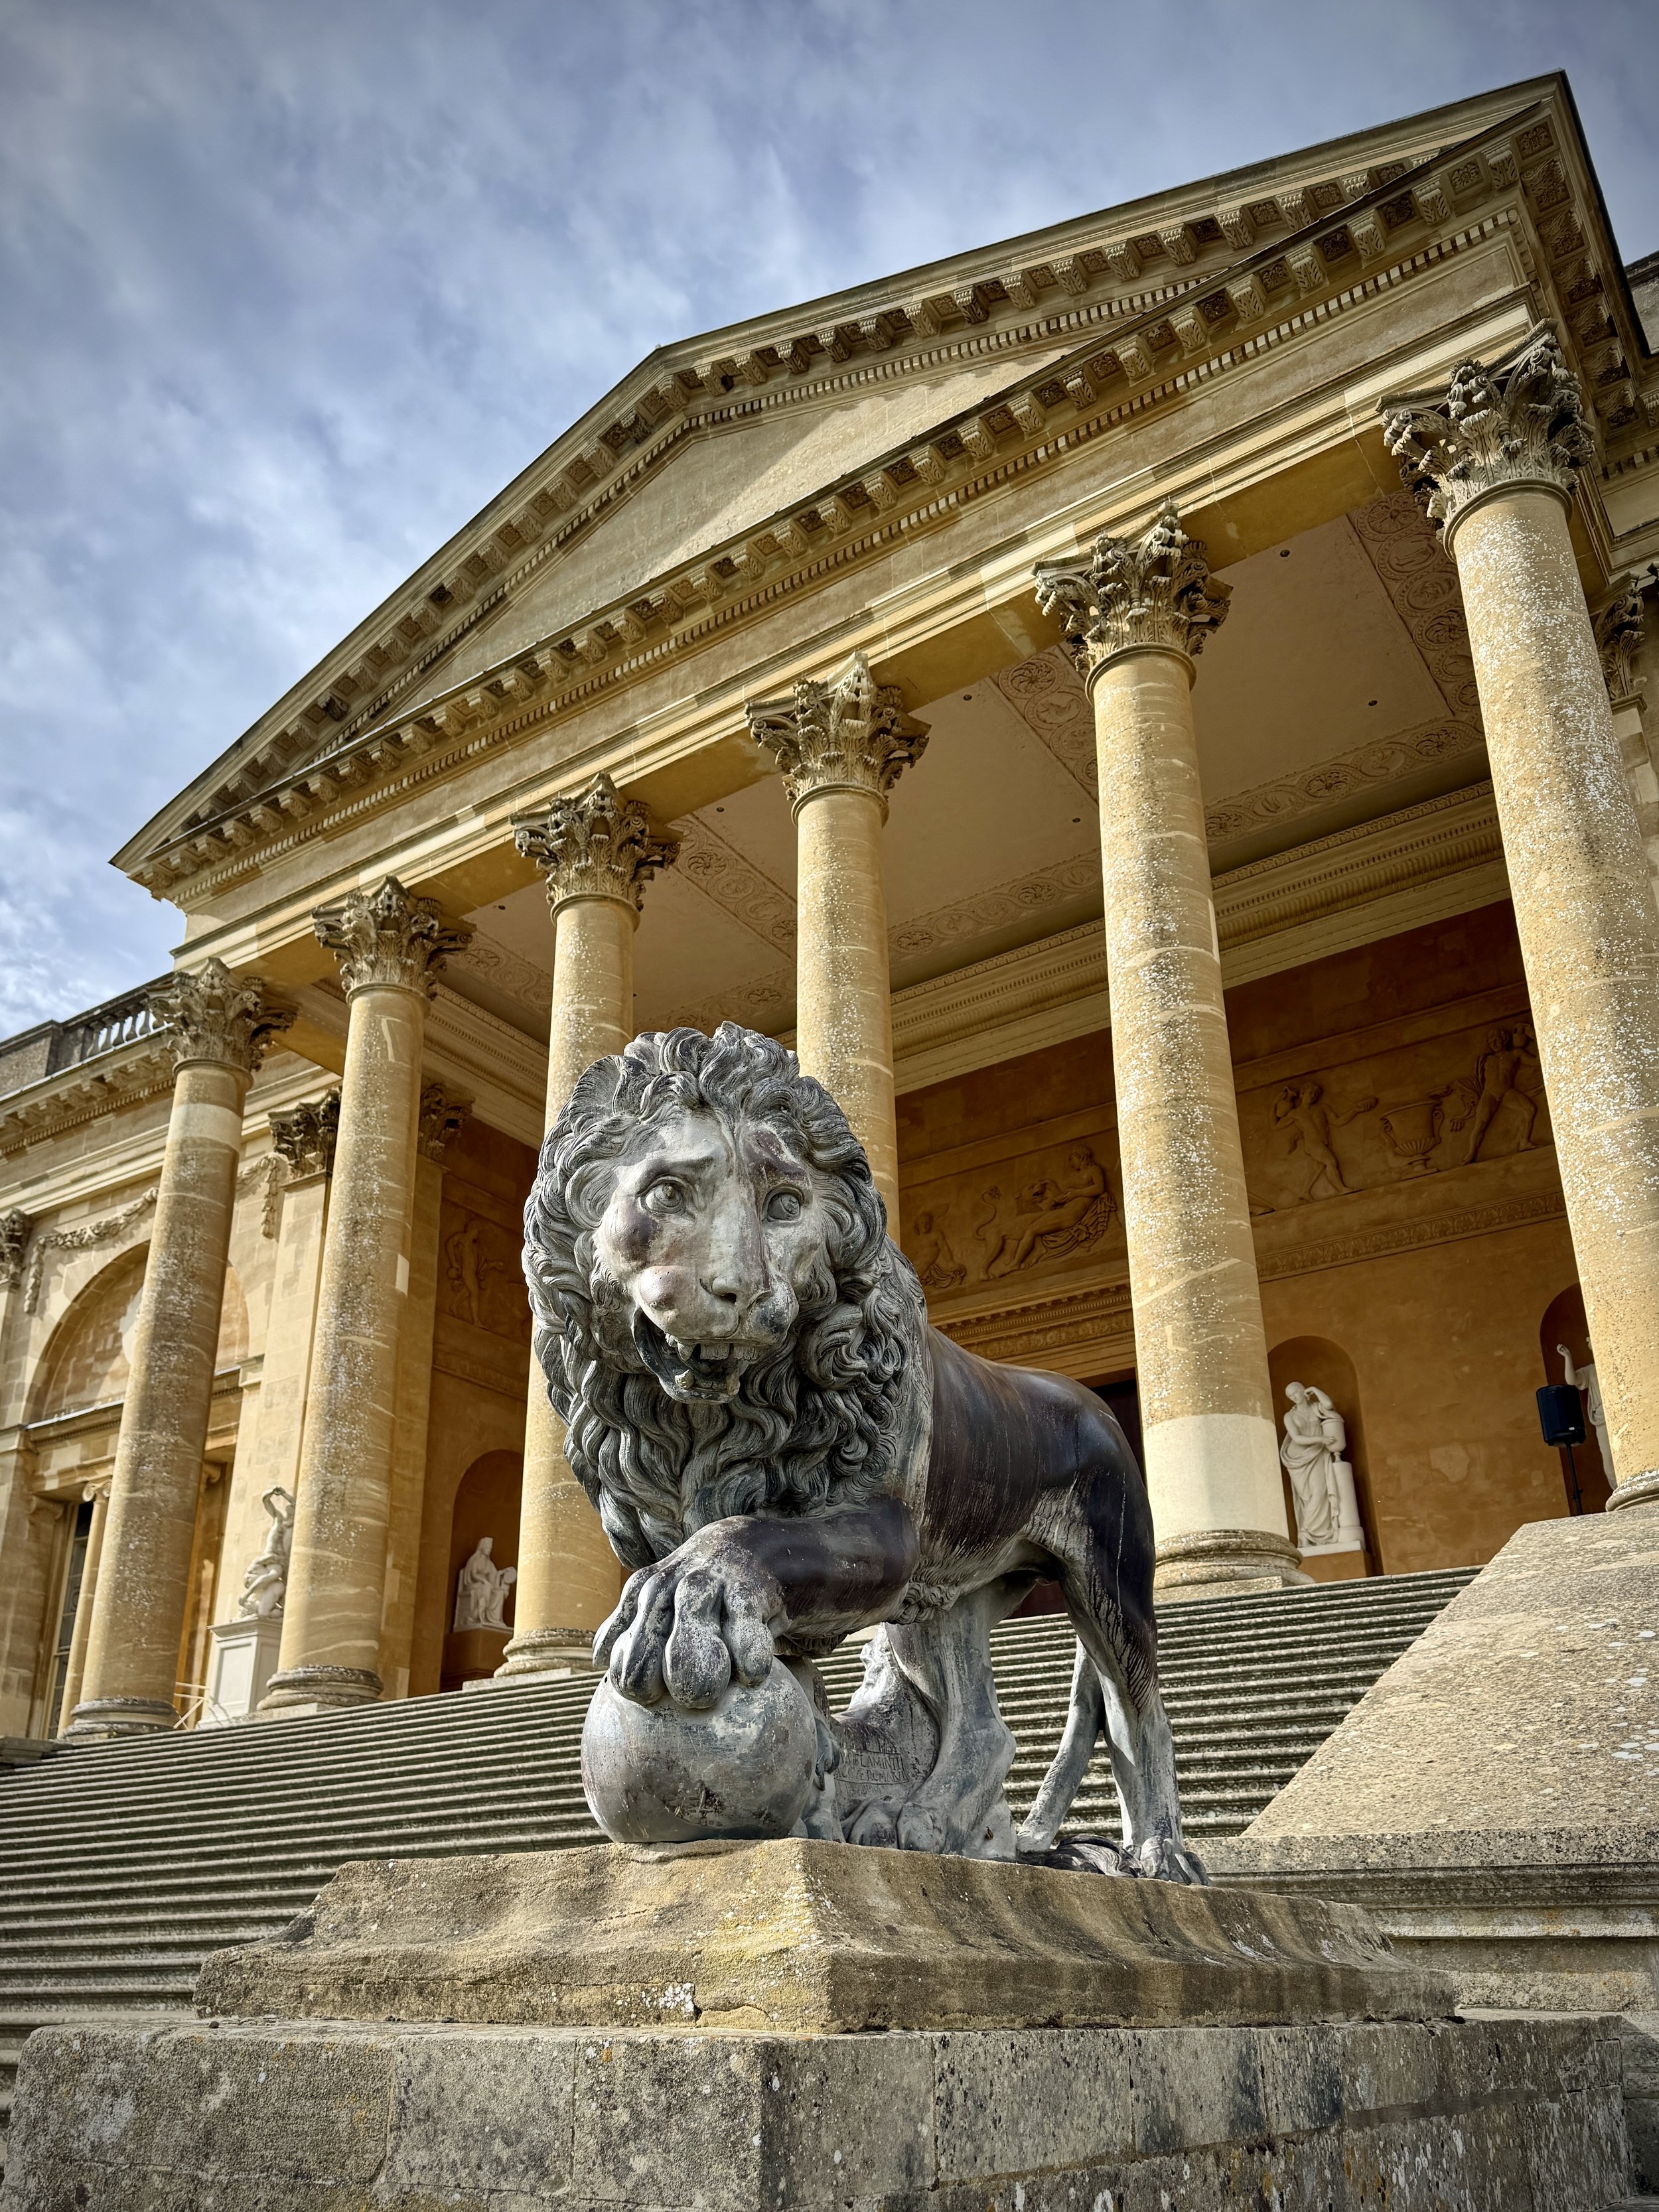
Stowe Landscape Gardens: A masterpiece of 18th-century garden design, this vast estate features works by Charles Bridgeman, William Kent, and Lancelot 'Capability' Brown. While historians sometimes debate the exact attribution of specific early monuments between Kent and Brown, the sheer scale and beauty of their combined vision is unquestionable.
New Inn and Parlour Rooms: Originally built in the 18th century by the Temple family, this early 18th-century inn provided lodgings for the first visitors keen to see the new gardens. It has recently been meticulously restored by the National Trust. Visitors can now explore the beautifully recreated parlour rooms that reflect their authentic Georgian appearance.
Palladian Bridge: Constructed in 1738, this iconic crossing is only the second of its kind ever built in the world, closely modelled on the original at Wilton House. The Stowe version was specially designed without steps to allow horse-drawn carriages to pass directly through its colonnades. It remains one of the most photographed monuments in the entire estate.
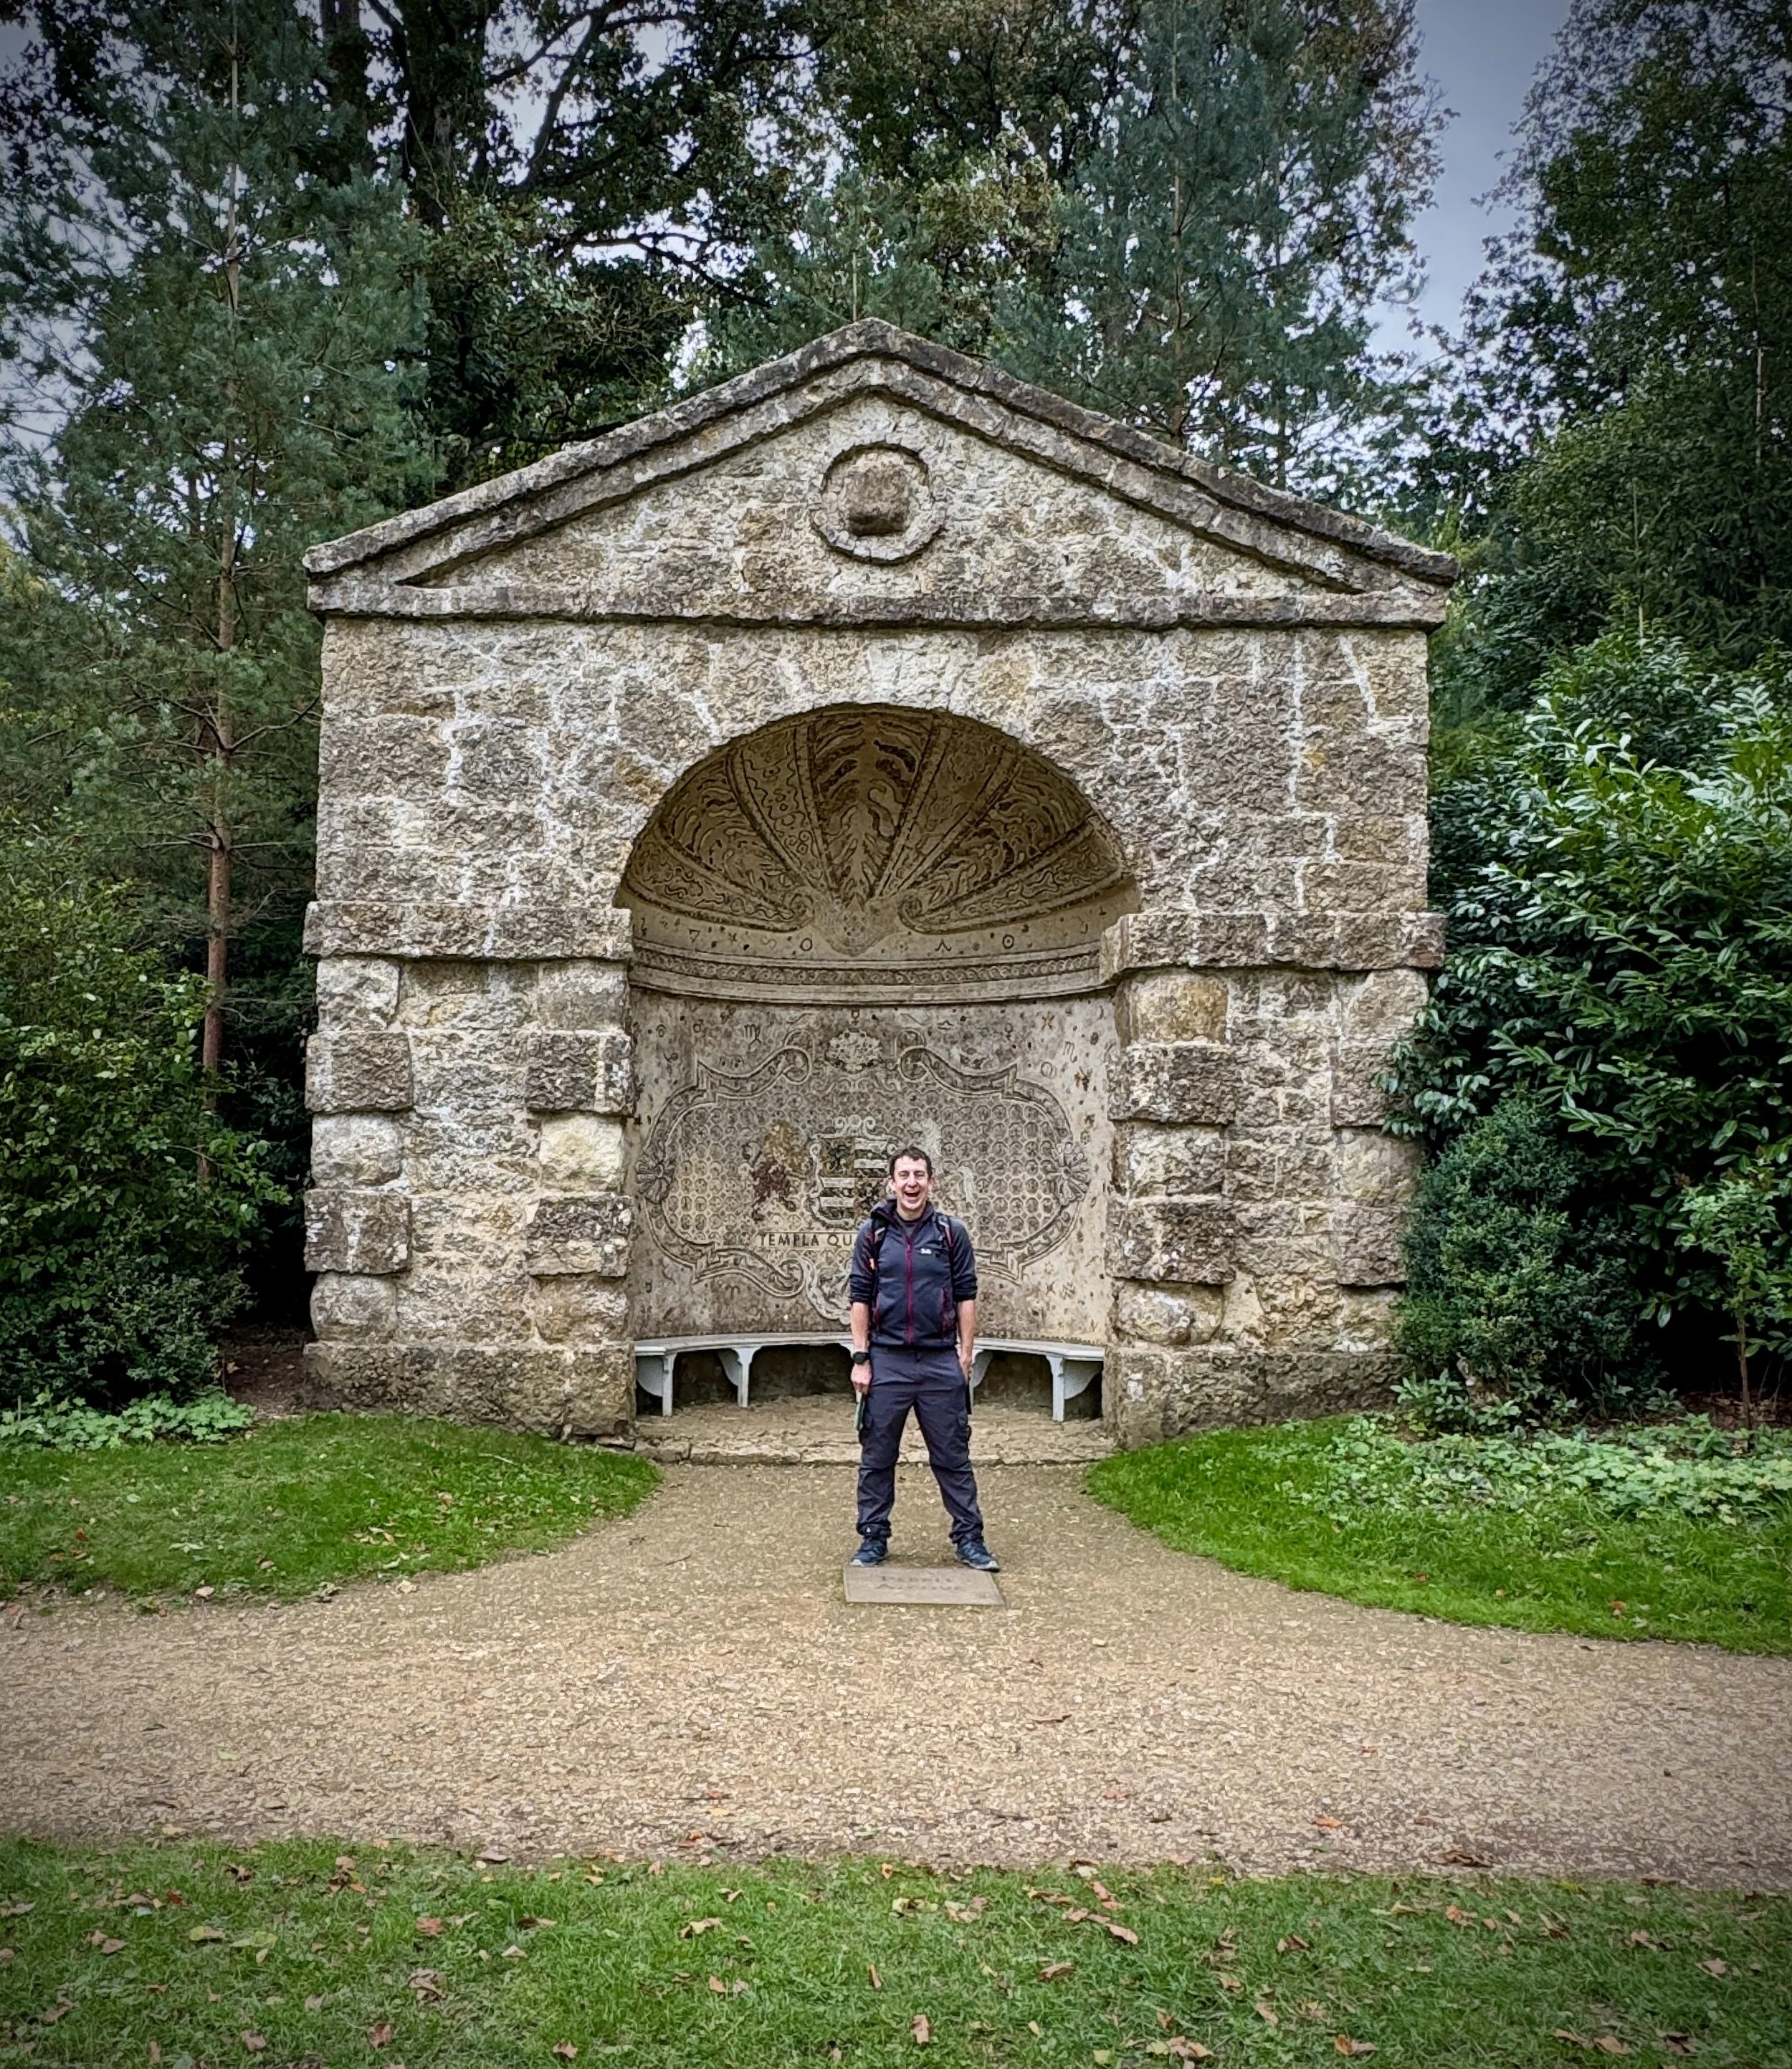
The Gothic Temple: Designed by James Gibbs and built in 1741, this striking triangular building was dedicated by Lord Cobham to the liberty of his ancestors. It stands out uniquely among the classical monuments due to its ecclesiastical, gothic style. Today, the property is maintained by the Landmark Trust and can even be rented as a holiday cottage.
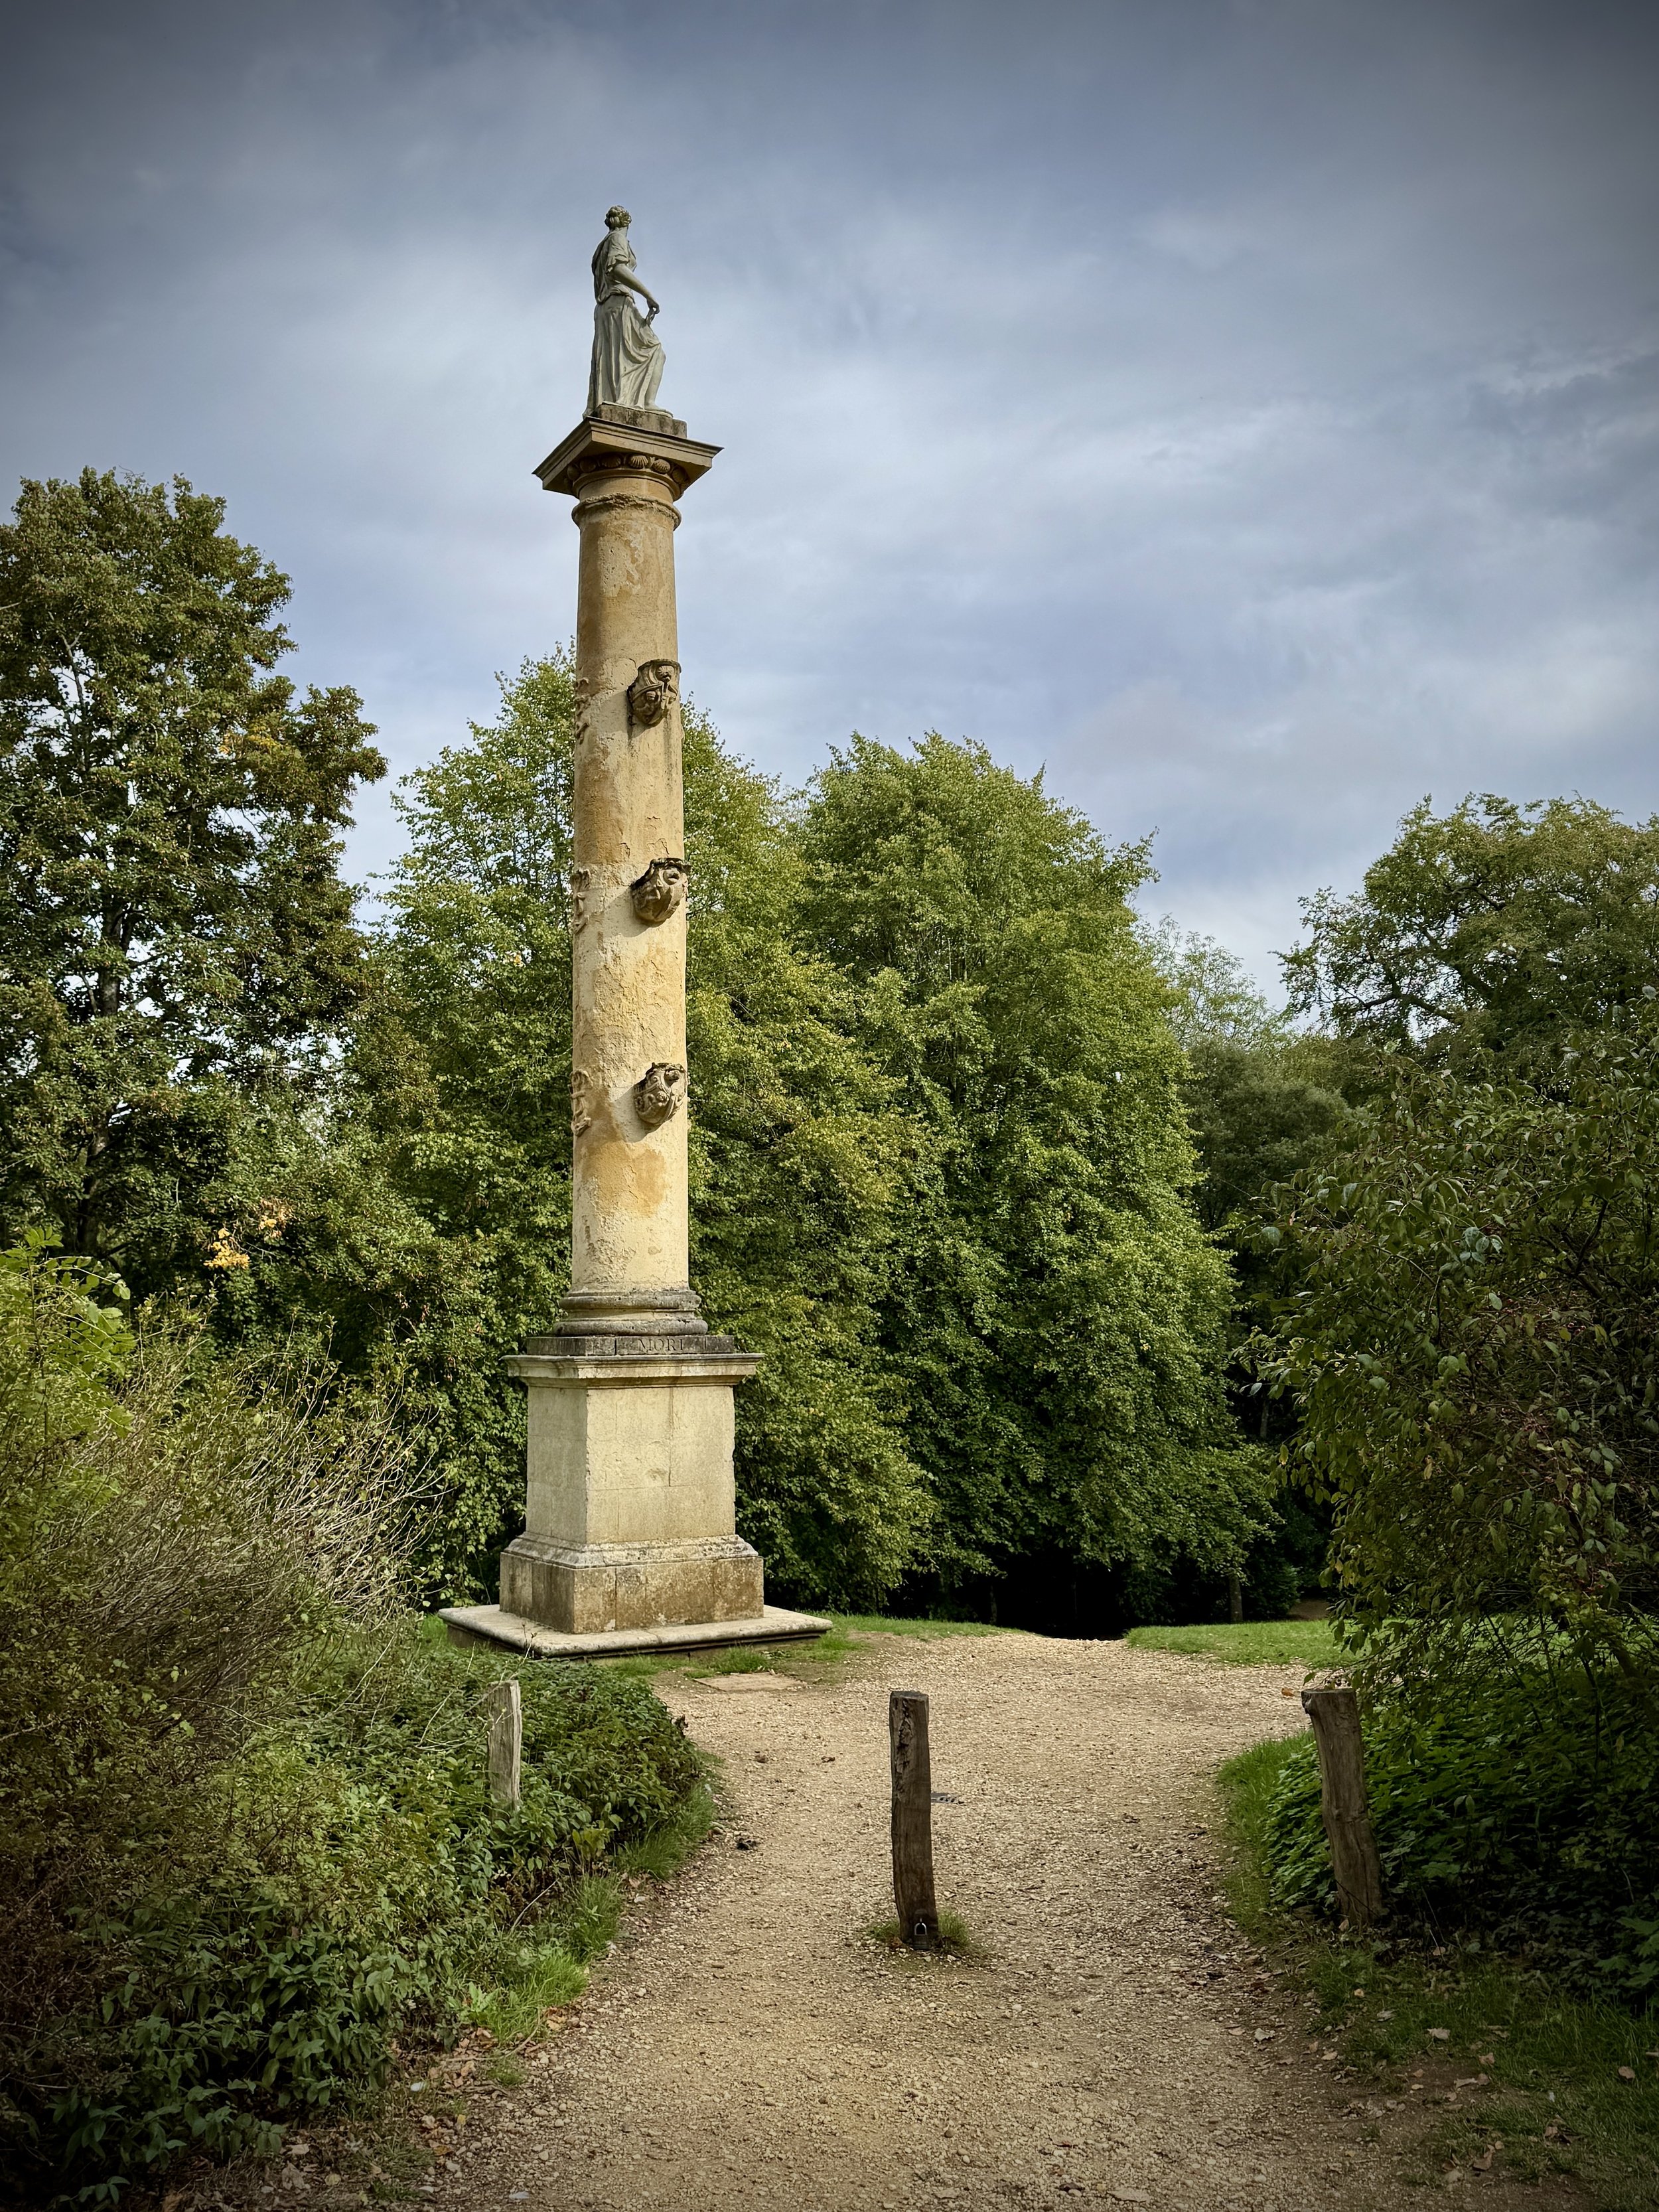
Lord Cobham's Pillar: Standing prominently at 104 feet tall, this is the highest of all the monuments and temples across the Stowe estate. Built between 1742 and 1749, it features a spiral staircase inside that leads up to a belvedere viewing platform. The statue of Lord Cobham himself sits proudly at the very top, surveying his landscaped masterpiece.
The Wolfe Obelisk: Rebuilt in 1754 using stone from a former water feature, this towering obelisk sits proudly in the Deer Park. It was dedicated in 1759 to General James Wolfe following his victory and death at the Battle of Quebec. The trees surrounding it were famously planted to represent the layout of Wolfe's regiments during the battle.
Trig Pillar TP6219 (Stowe Park): Situated near the northern boundary of the estate at 147 metres above sea level, this classic Ordnance Survey trig pillar remains in good condition. It marks the highest point of the trail and offers excellent views over the surrounding Buckinghamshire countryside.
Dido's Cave: Originally built as a simple garden alcove, historians debate whether it was initially designed by Sir John Vanbrugh or James Gibbs. It was later remodelled with a textured tufa rockwork facade around 1800 to create a picturesque grotto. The interior was once painted with scenes depicting the tragic love story of Dido and Aeneas.
Stowe House: An extraordinary Grade I listed country house that sits at the heart of the estate and currently serves as an independent school. Its grand neoclassical facade provides a stunning focal point that can be admired from multiple vantage points along the walk.
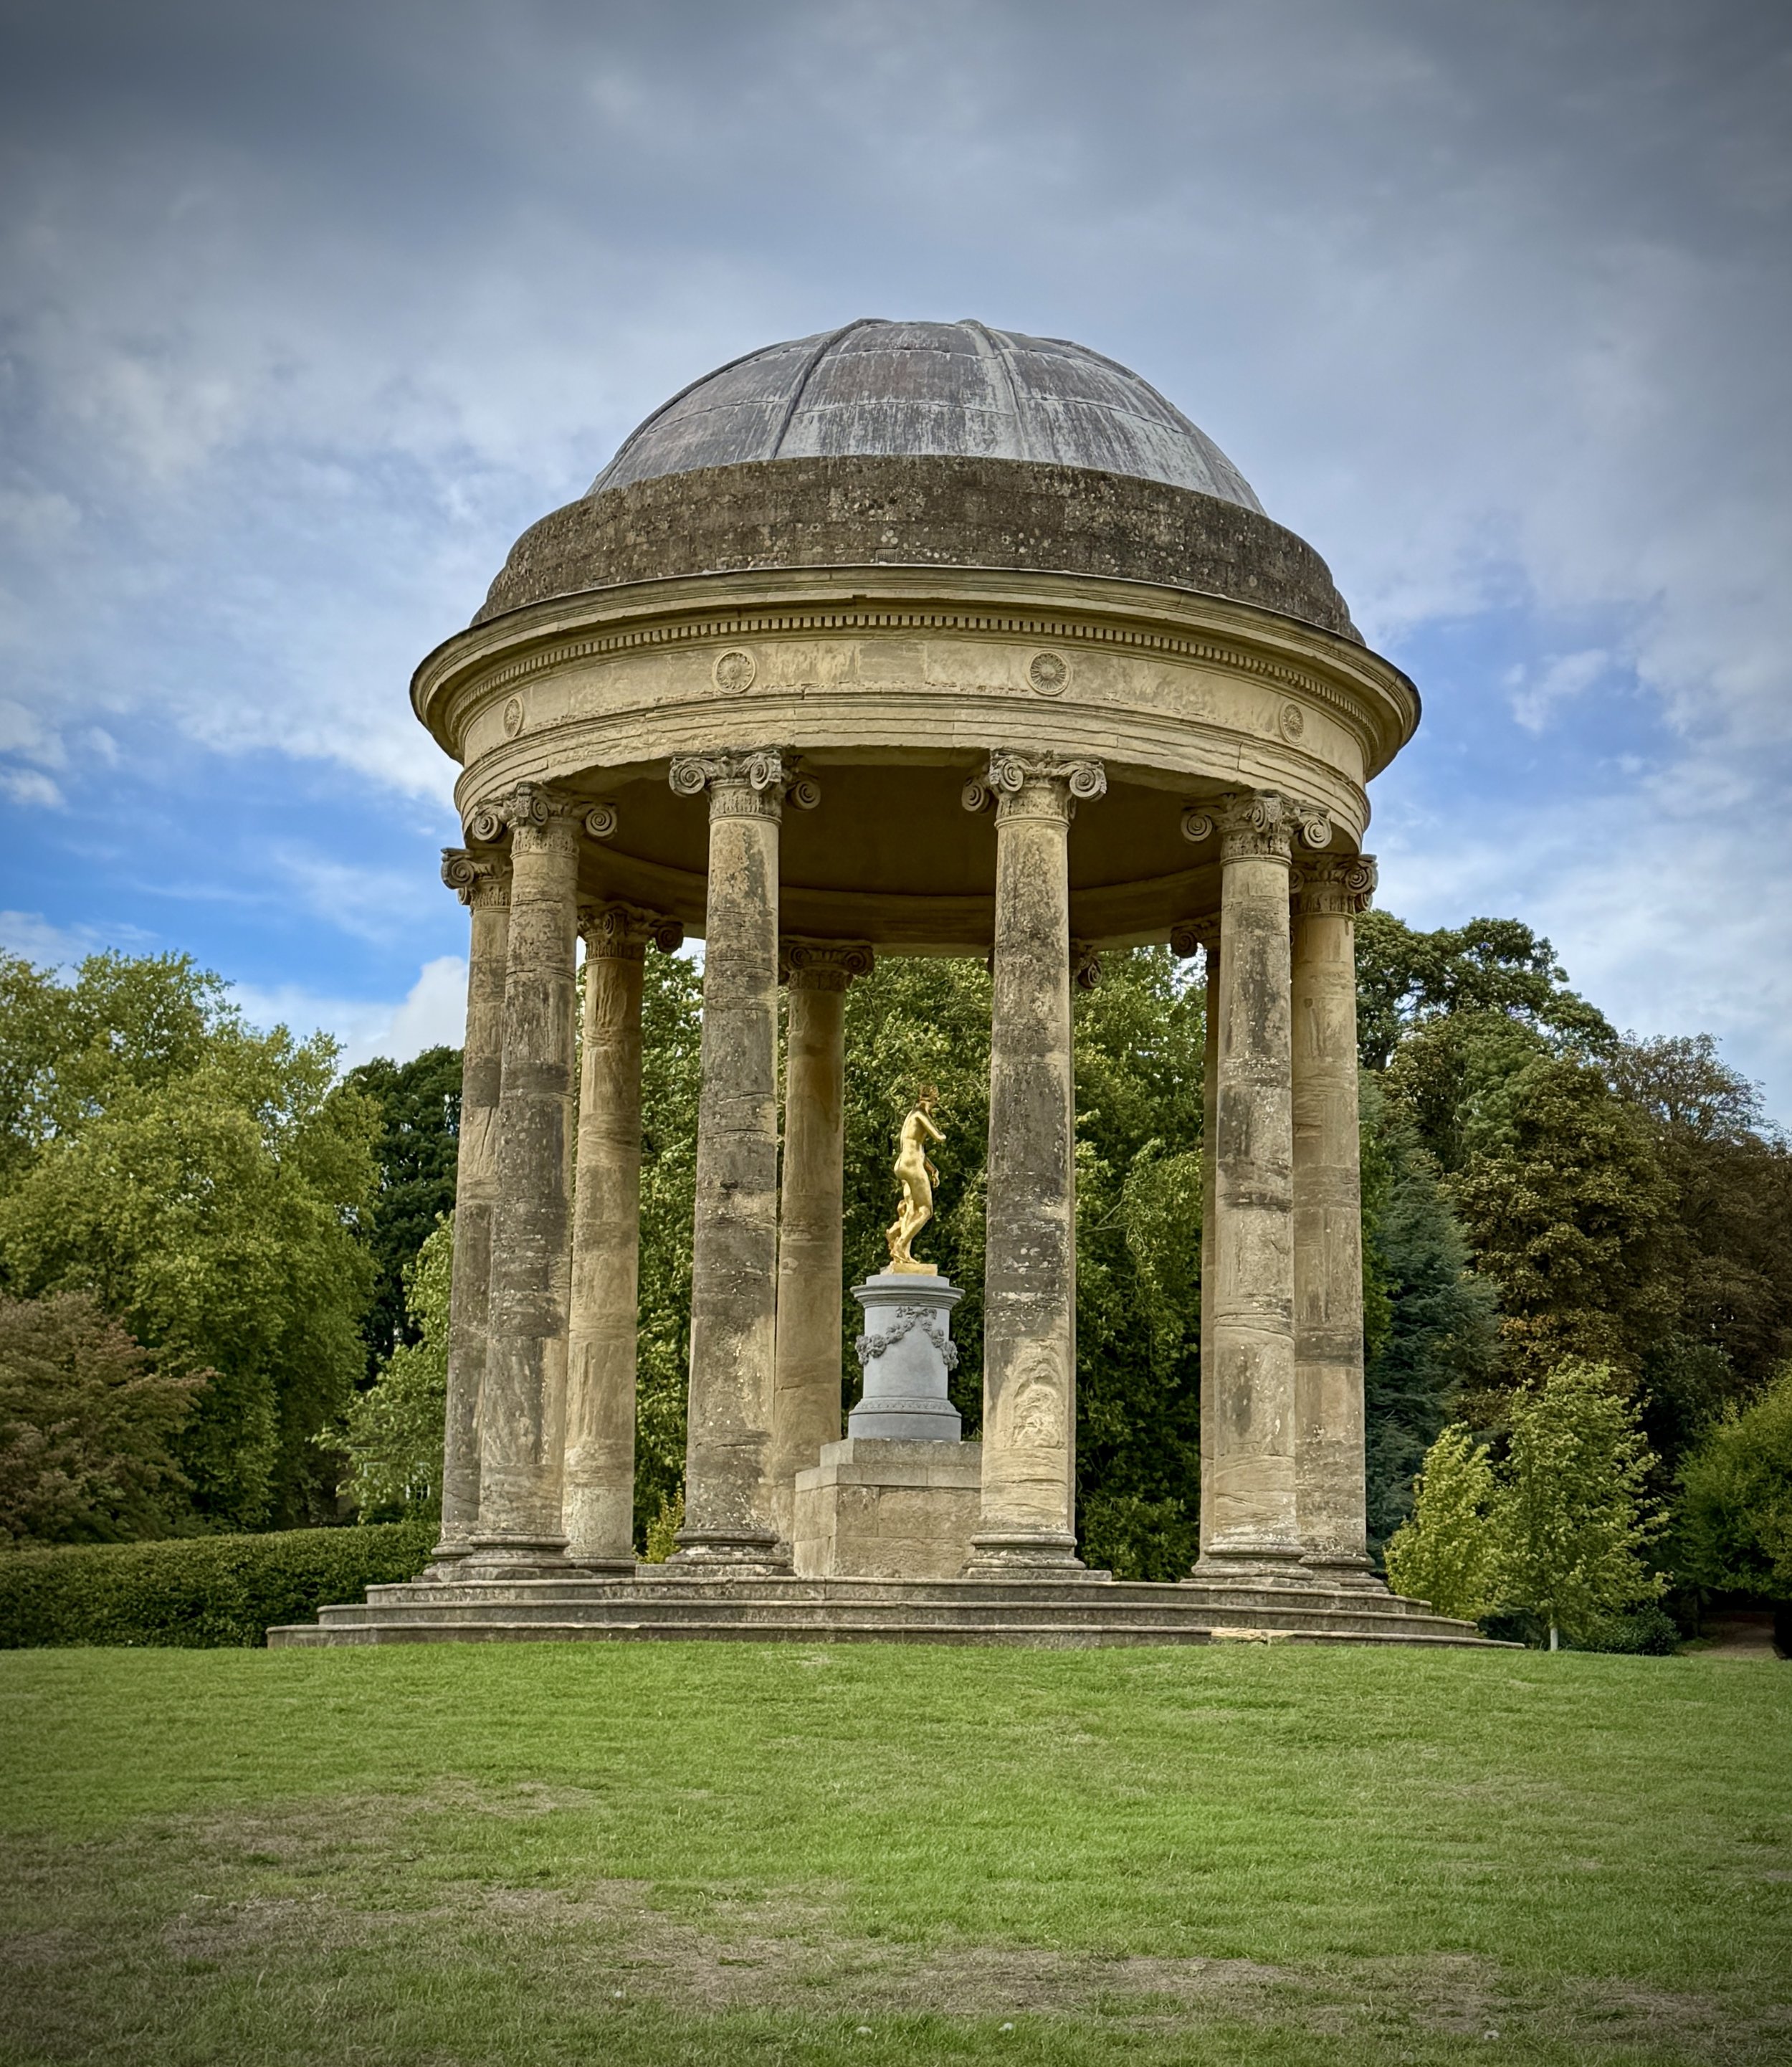
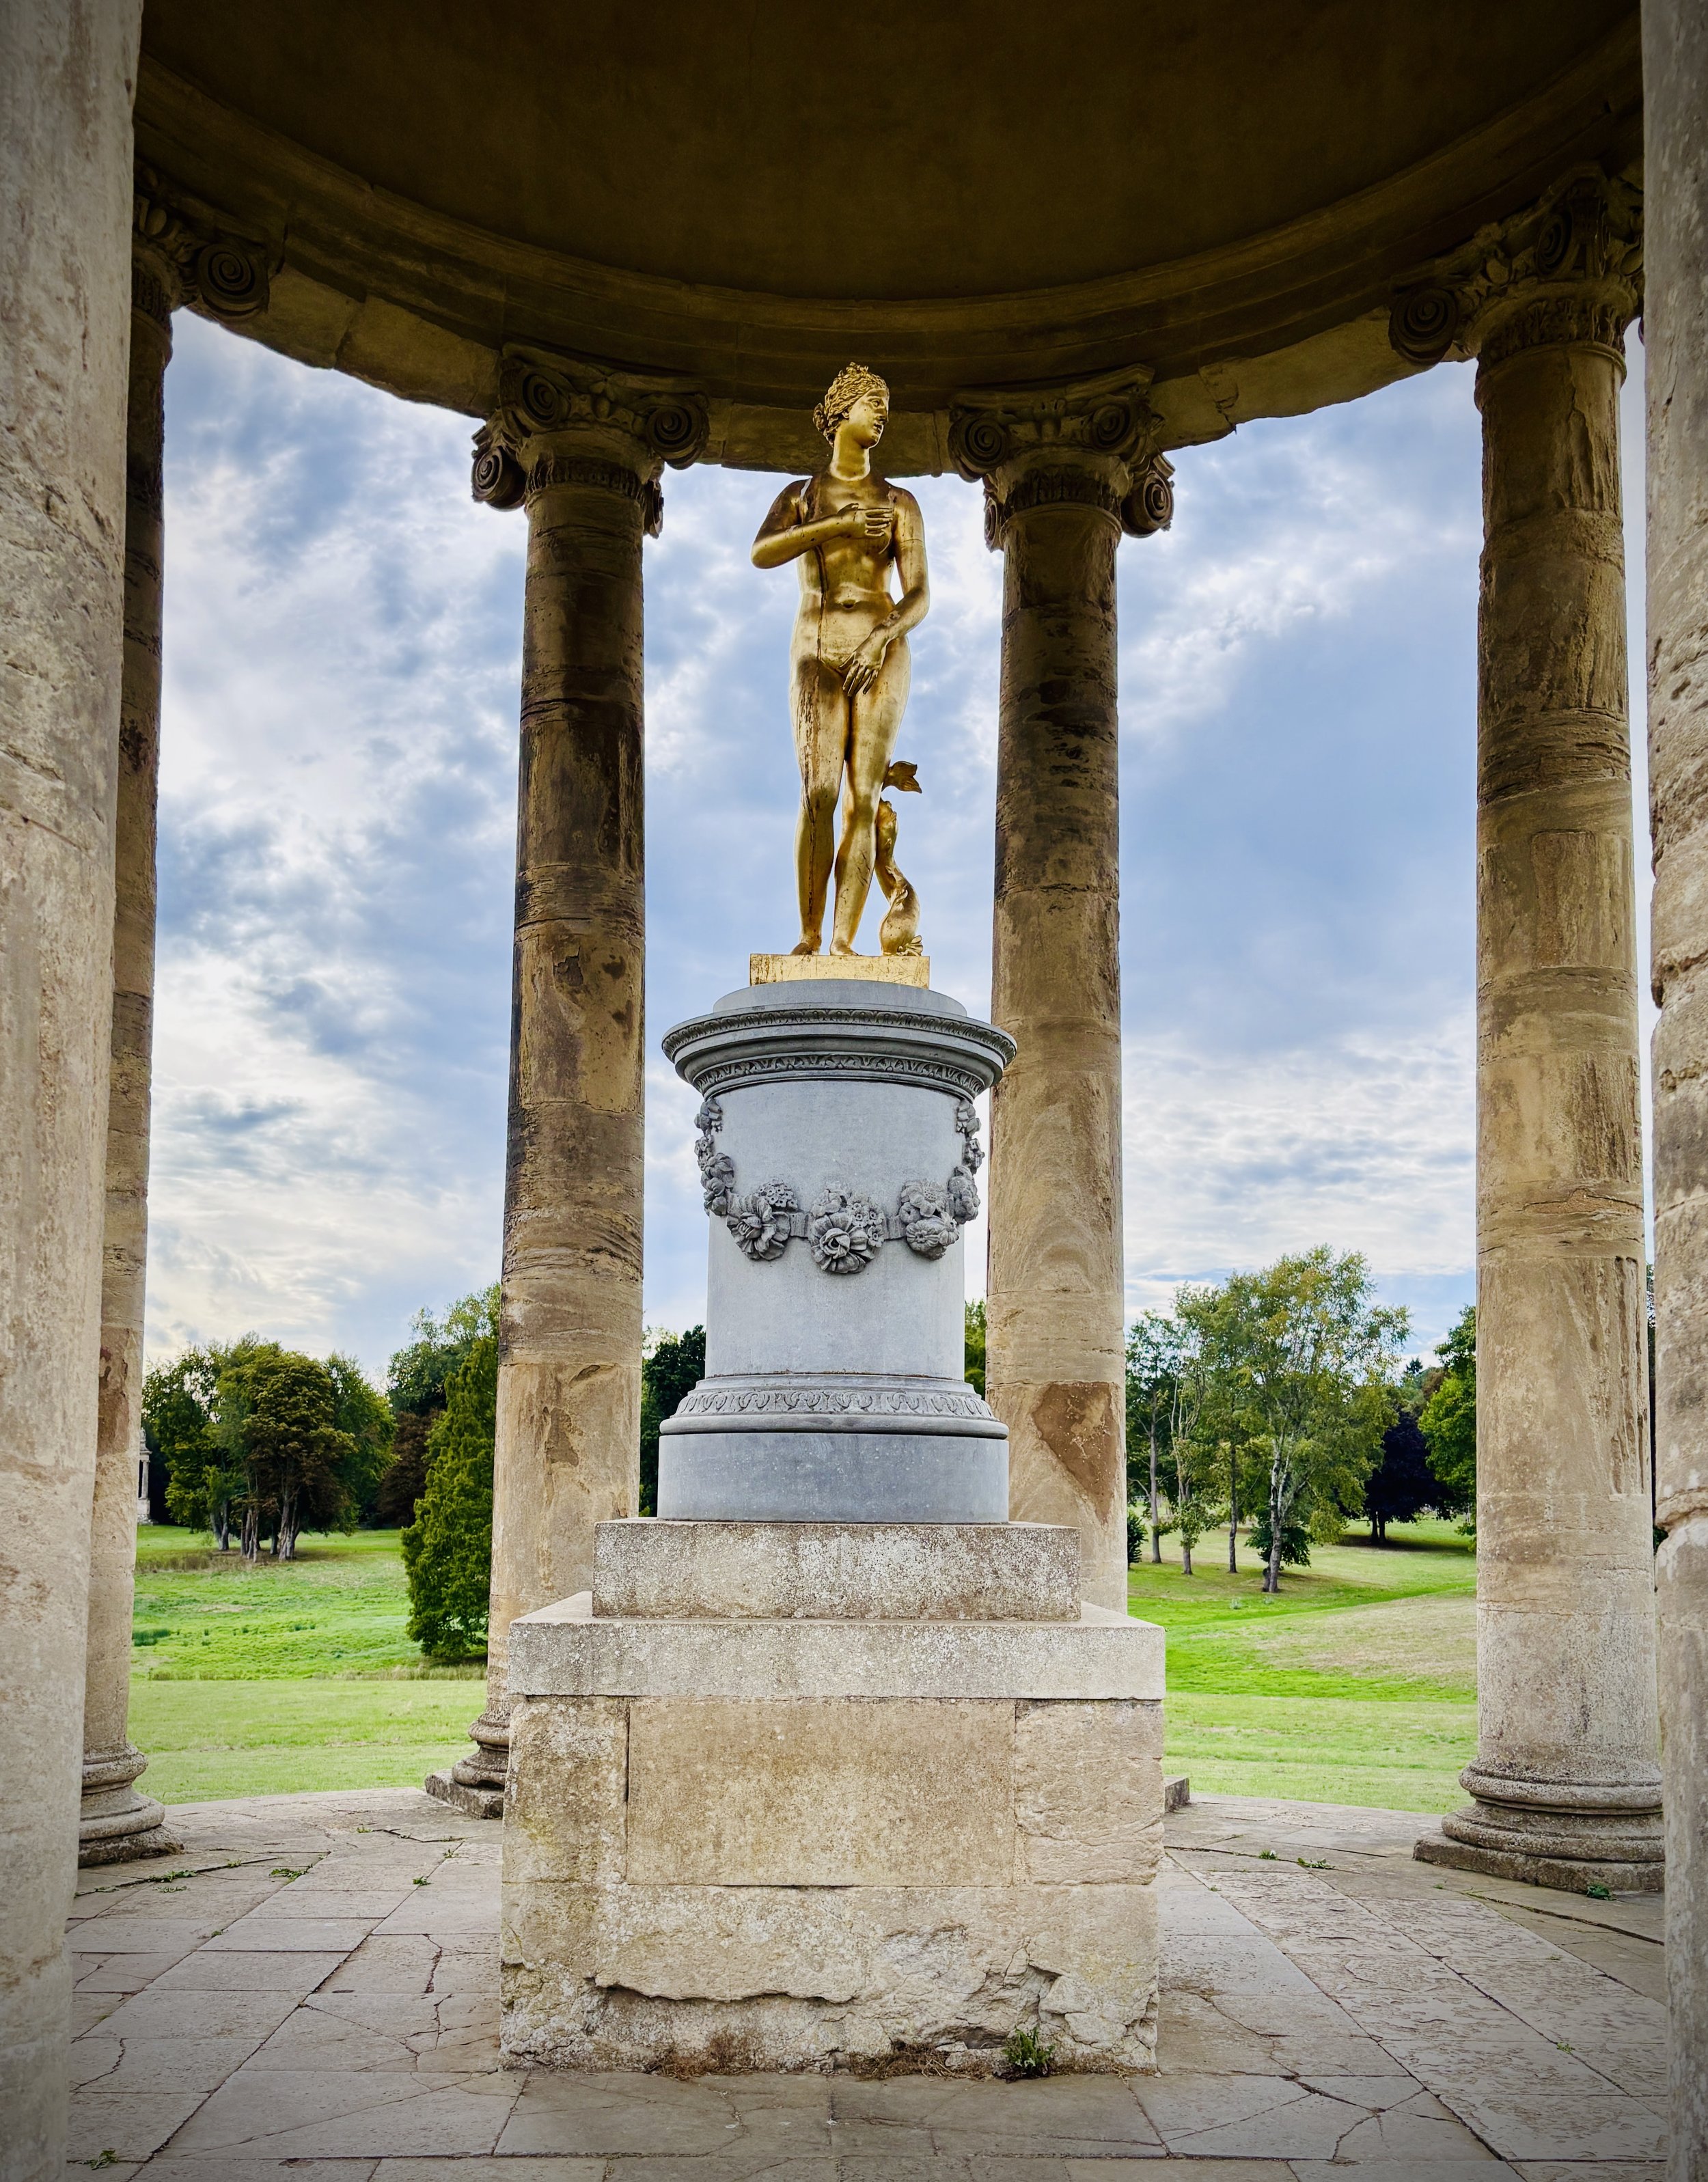
Temple of Ancient Virtue: Designed by William Kent in the 1730s, this circular, domed building was heavily inspired by the Temple of Vesta at Tivoli. Lord Cobham built it as a shrine to four exemplary ancient Greeks: Socrates, Homer, Lycurgus, and Epaminondas. The monument served as a bold political statement, championing the noble virtues that Cobham felt were lacking in contemporary British politicians.
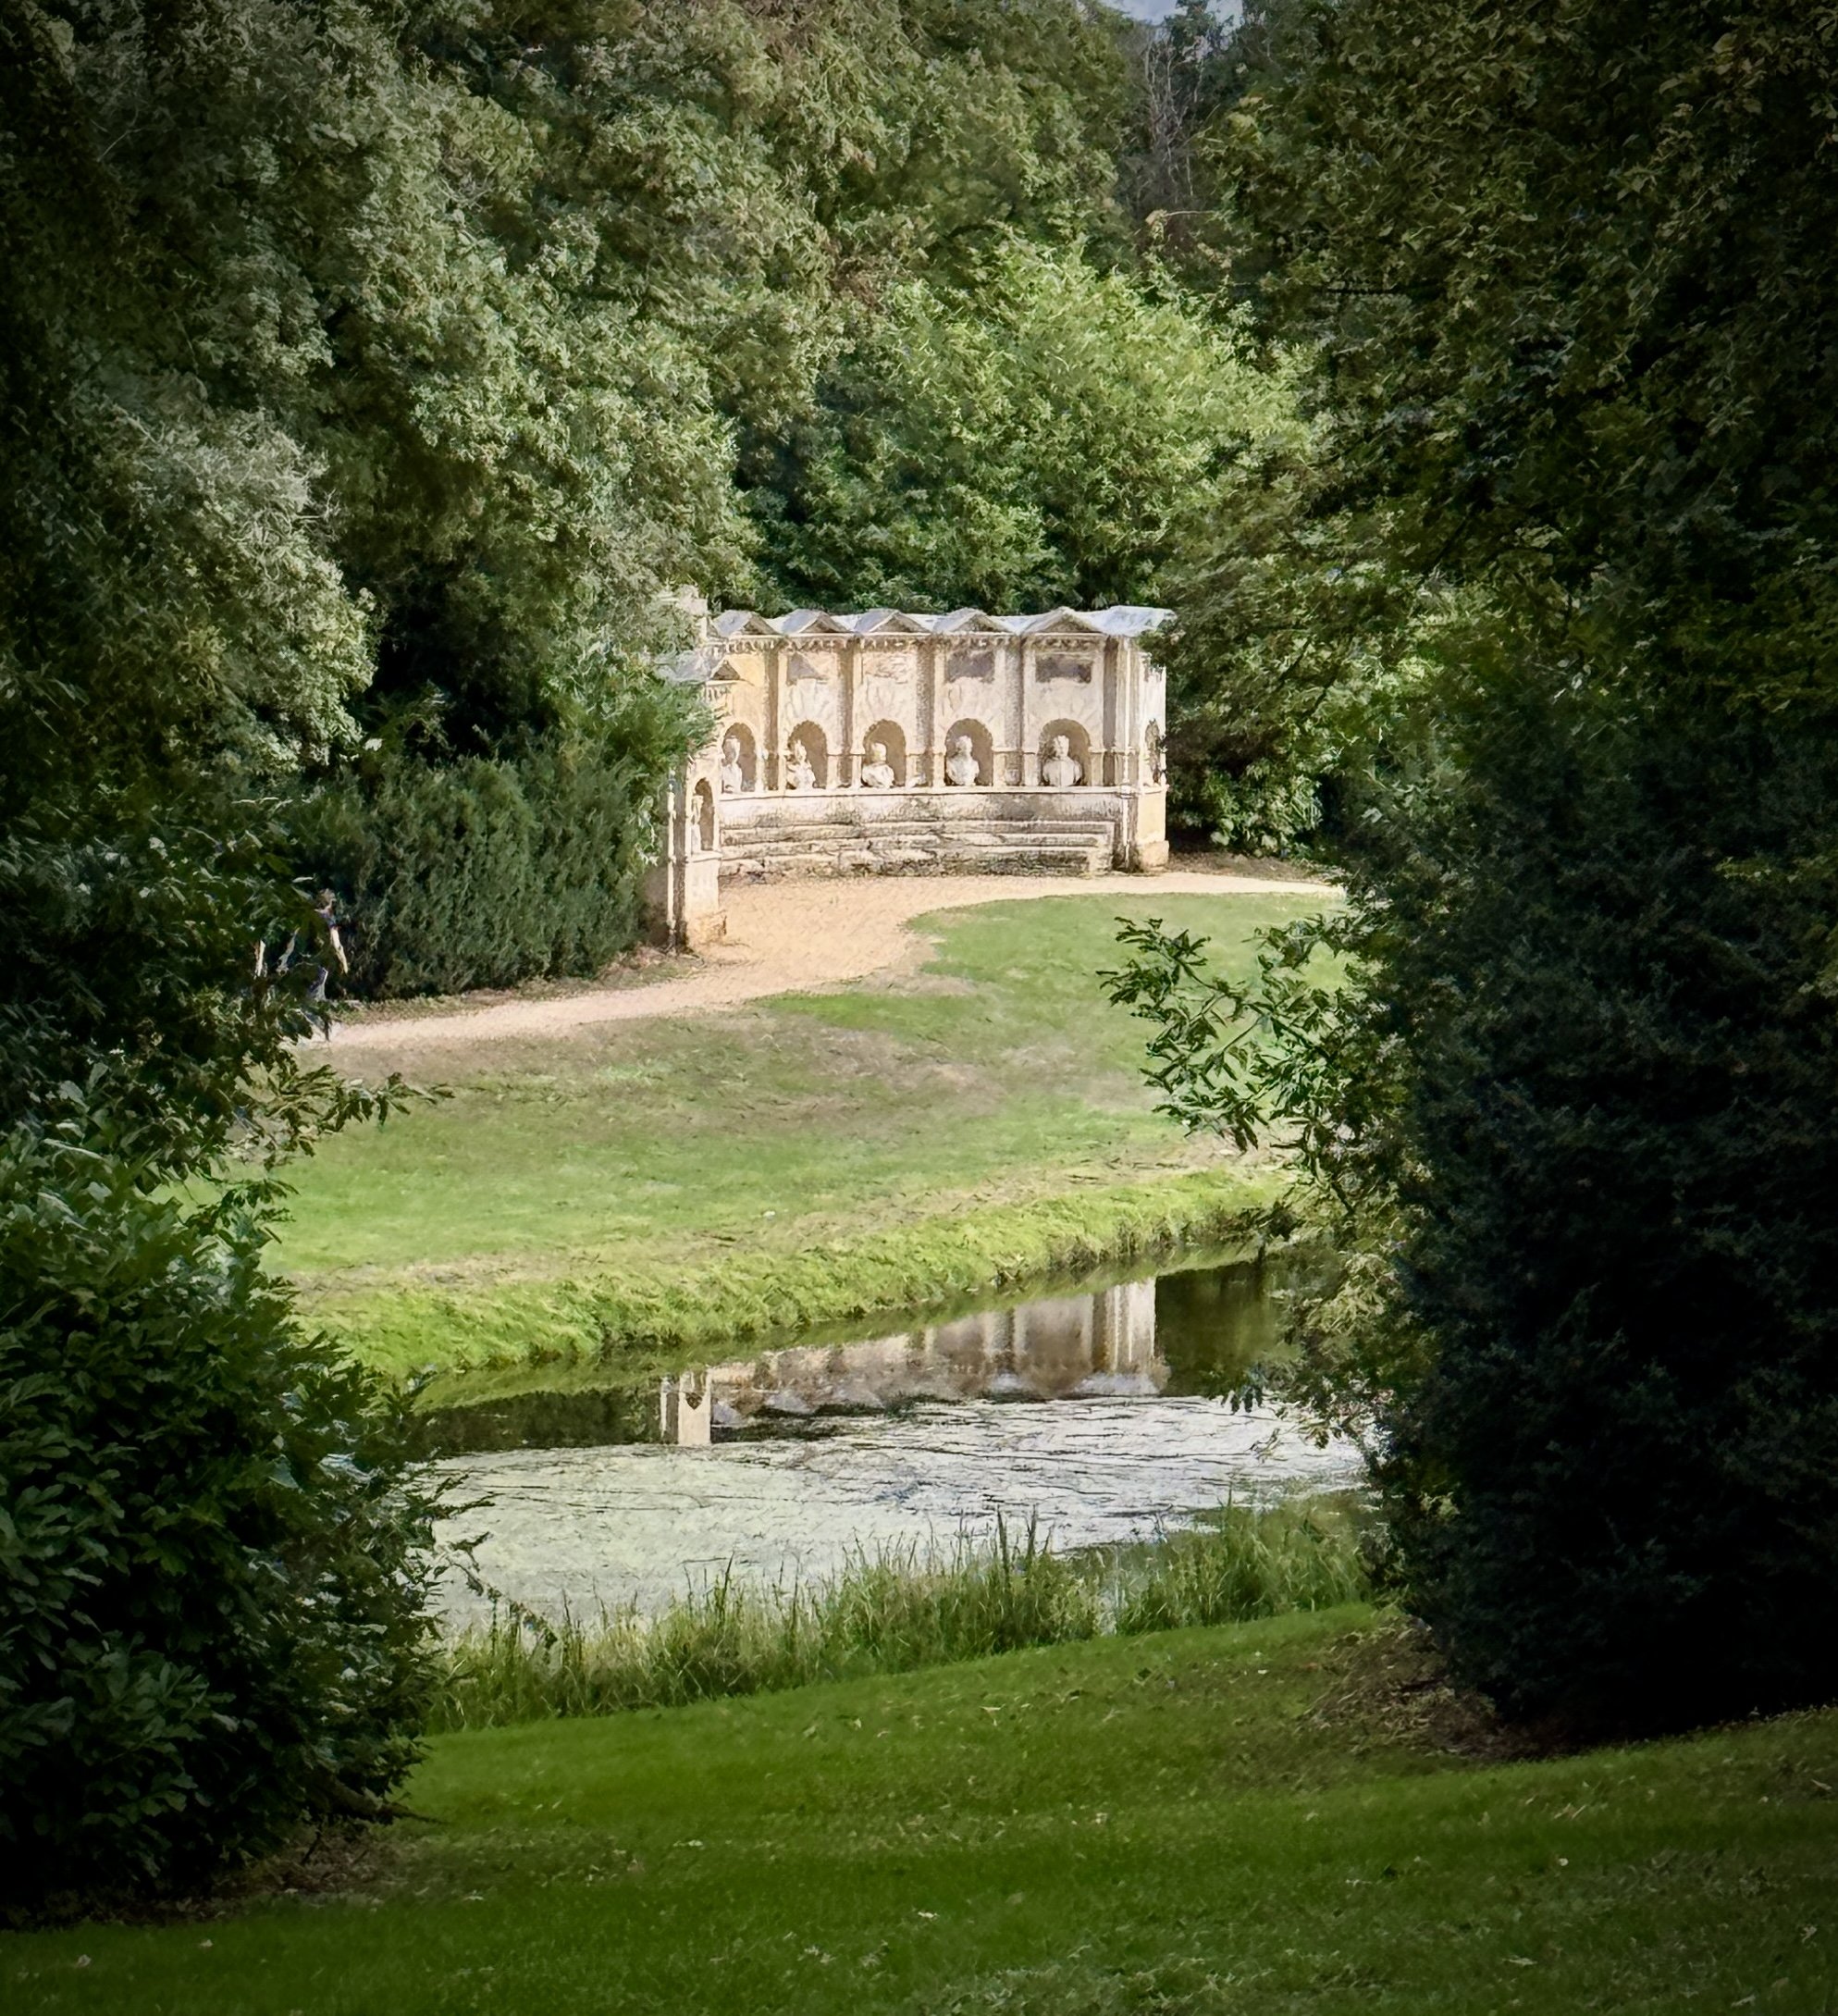
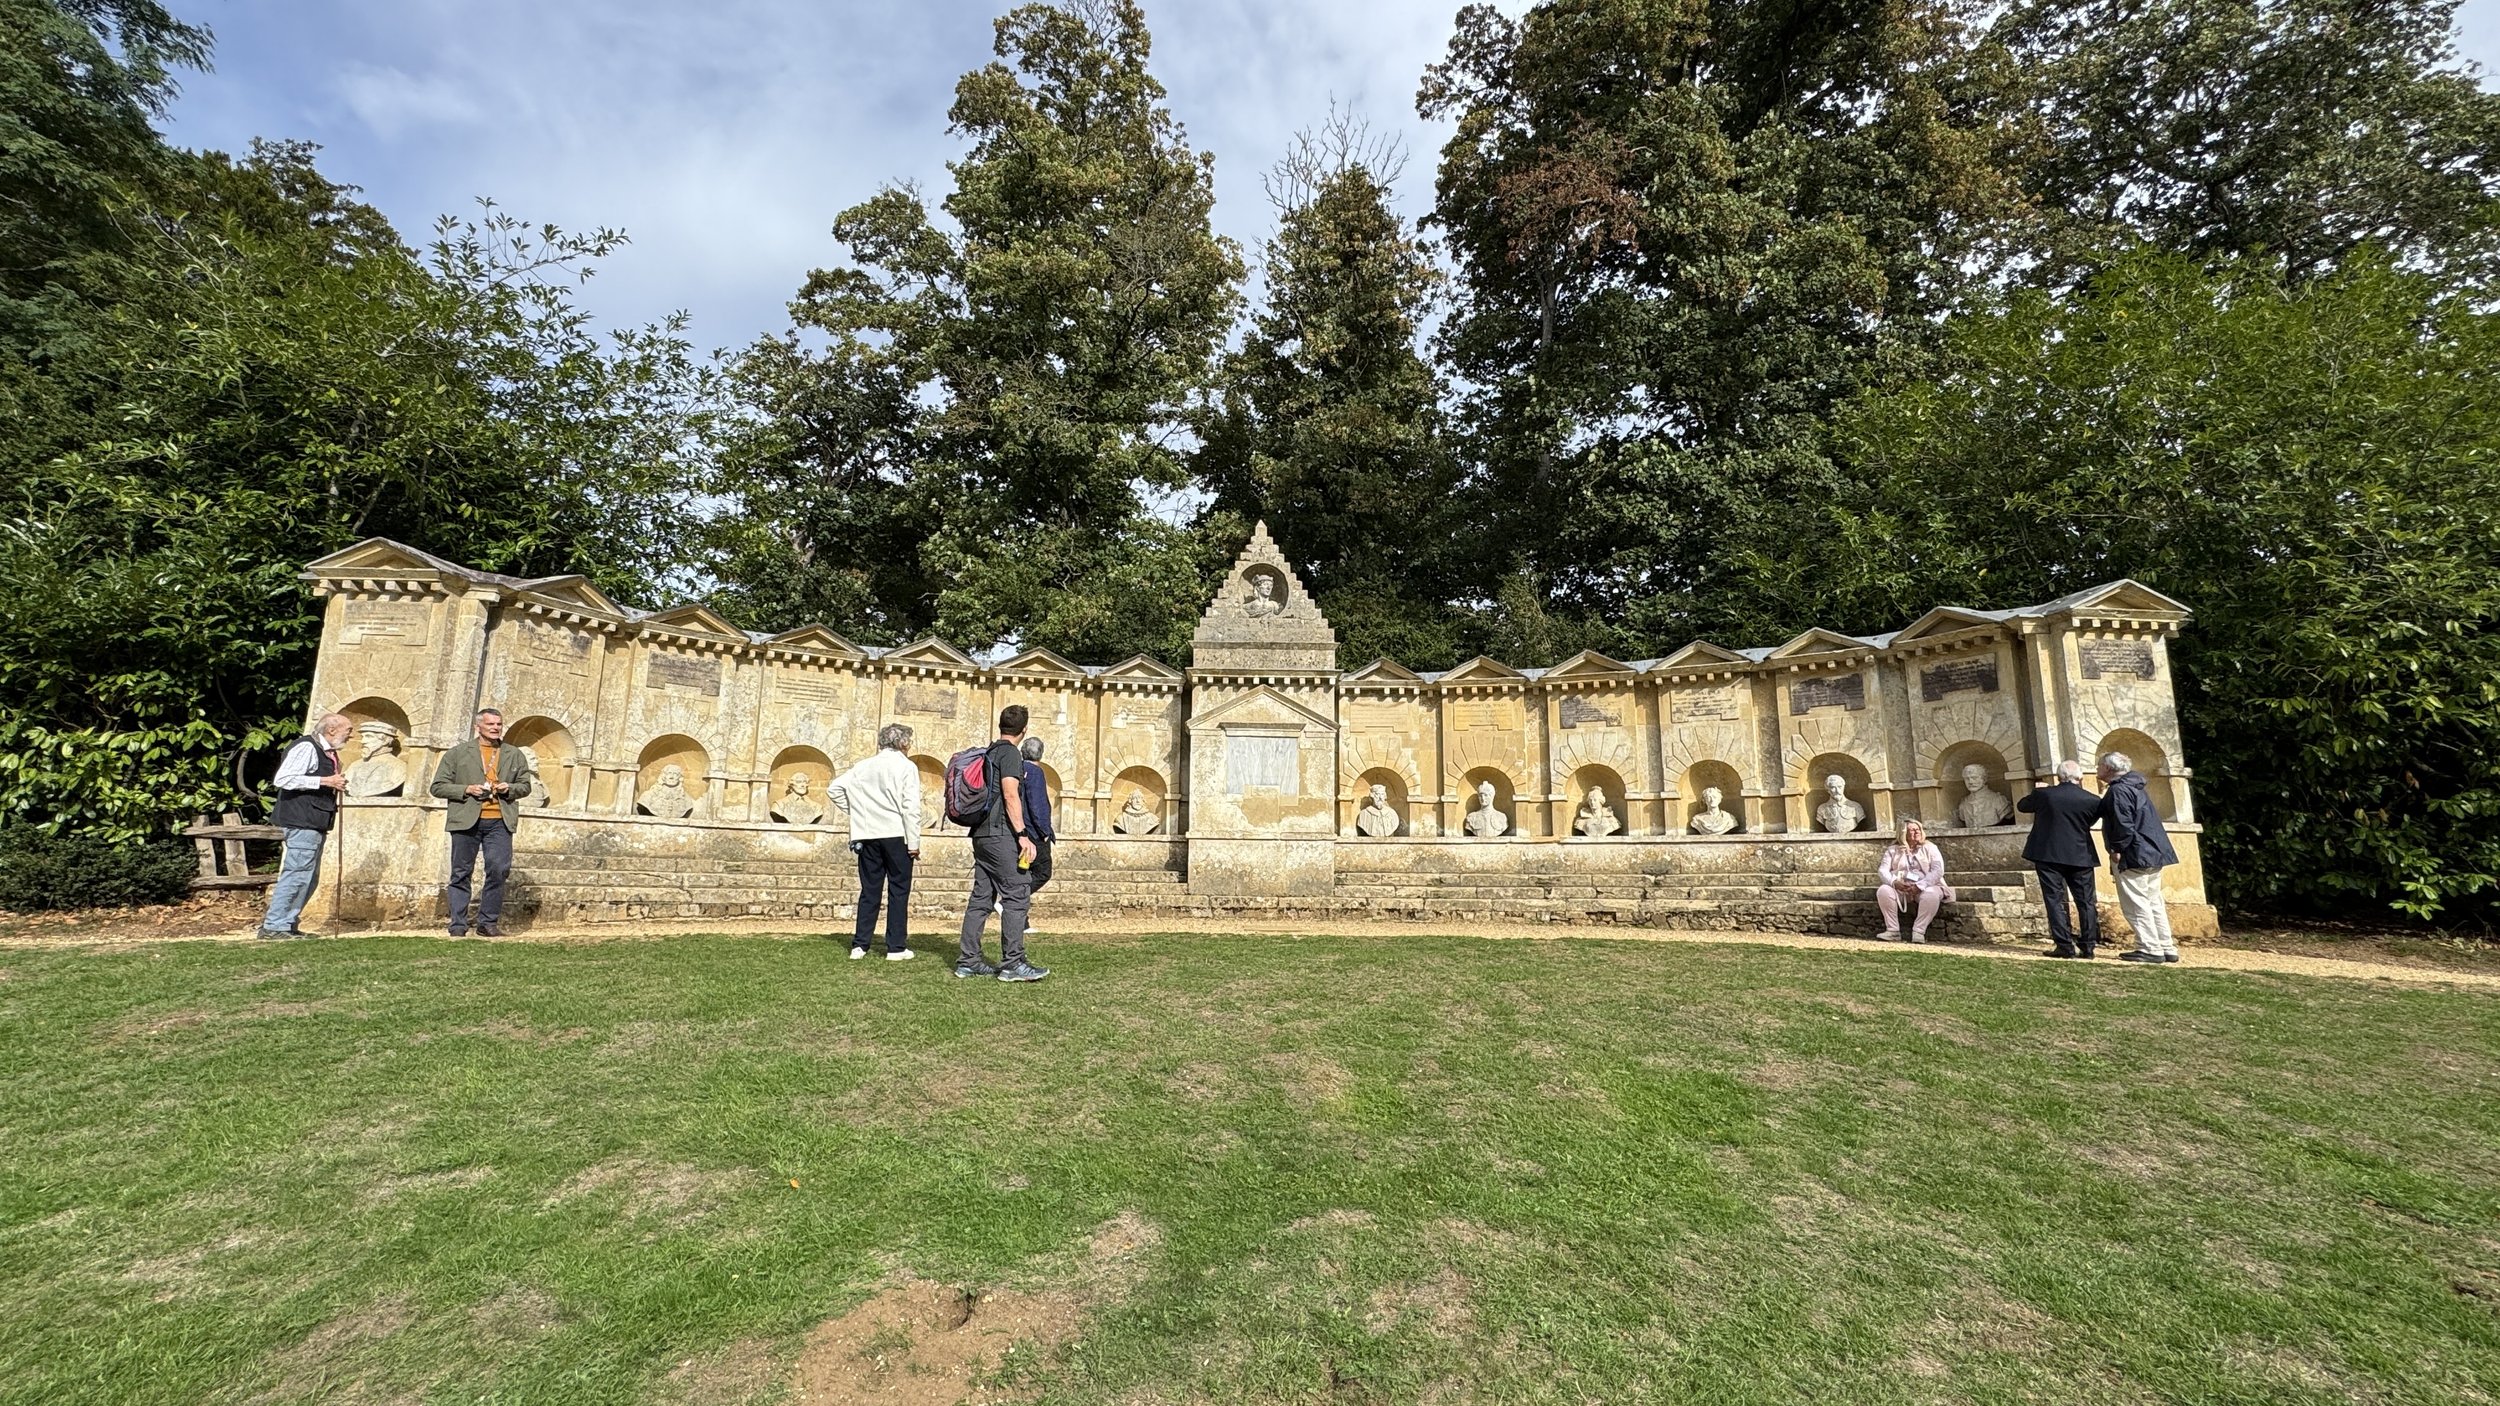
Temple of British Worthies: Also designed by William Kent around 1735, this curved stone wall sits opposite the Temple of Ancient Virtue across the Elysian Fields. It features sixteen niches containing busts of renowned British thinkers and historical figures, notably featuring Queen Elizabeth I as the only woman. The monument was an overt political statement by Lord Cobham, using these individuals to represent his Whig ideals in opposition to the ruling government.
Walking The Midshires Way through Buckinghamshire
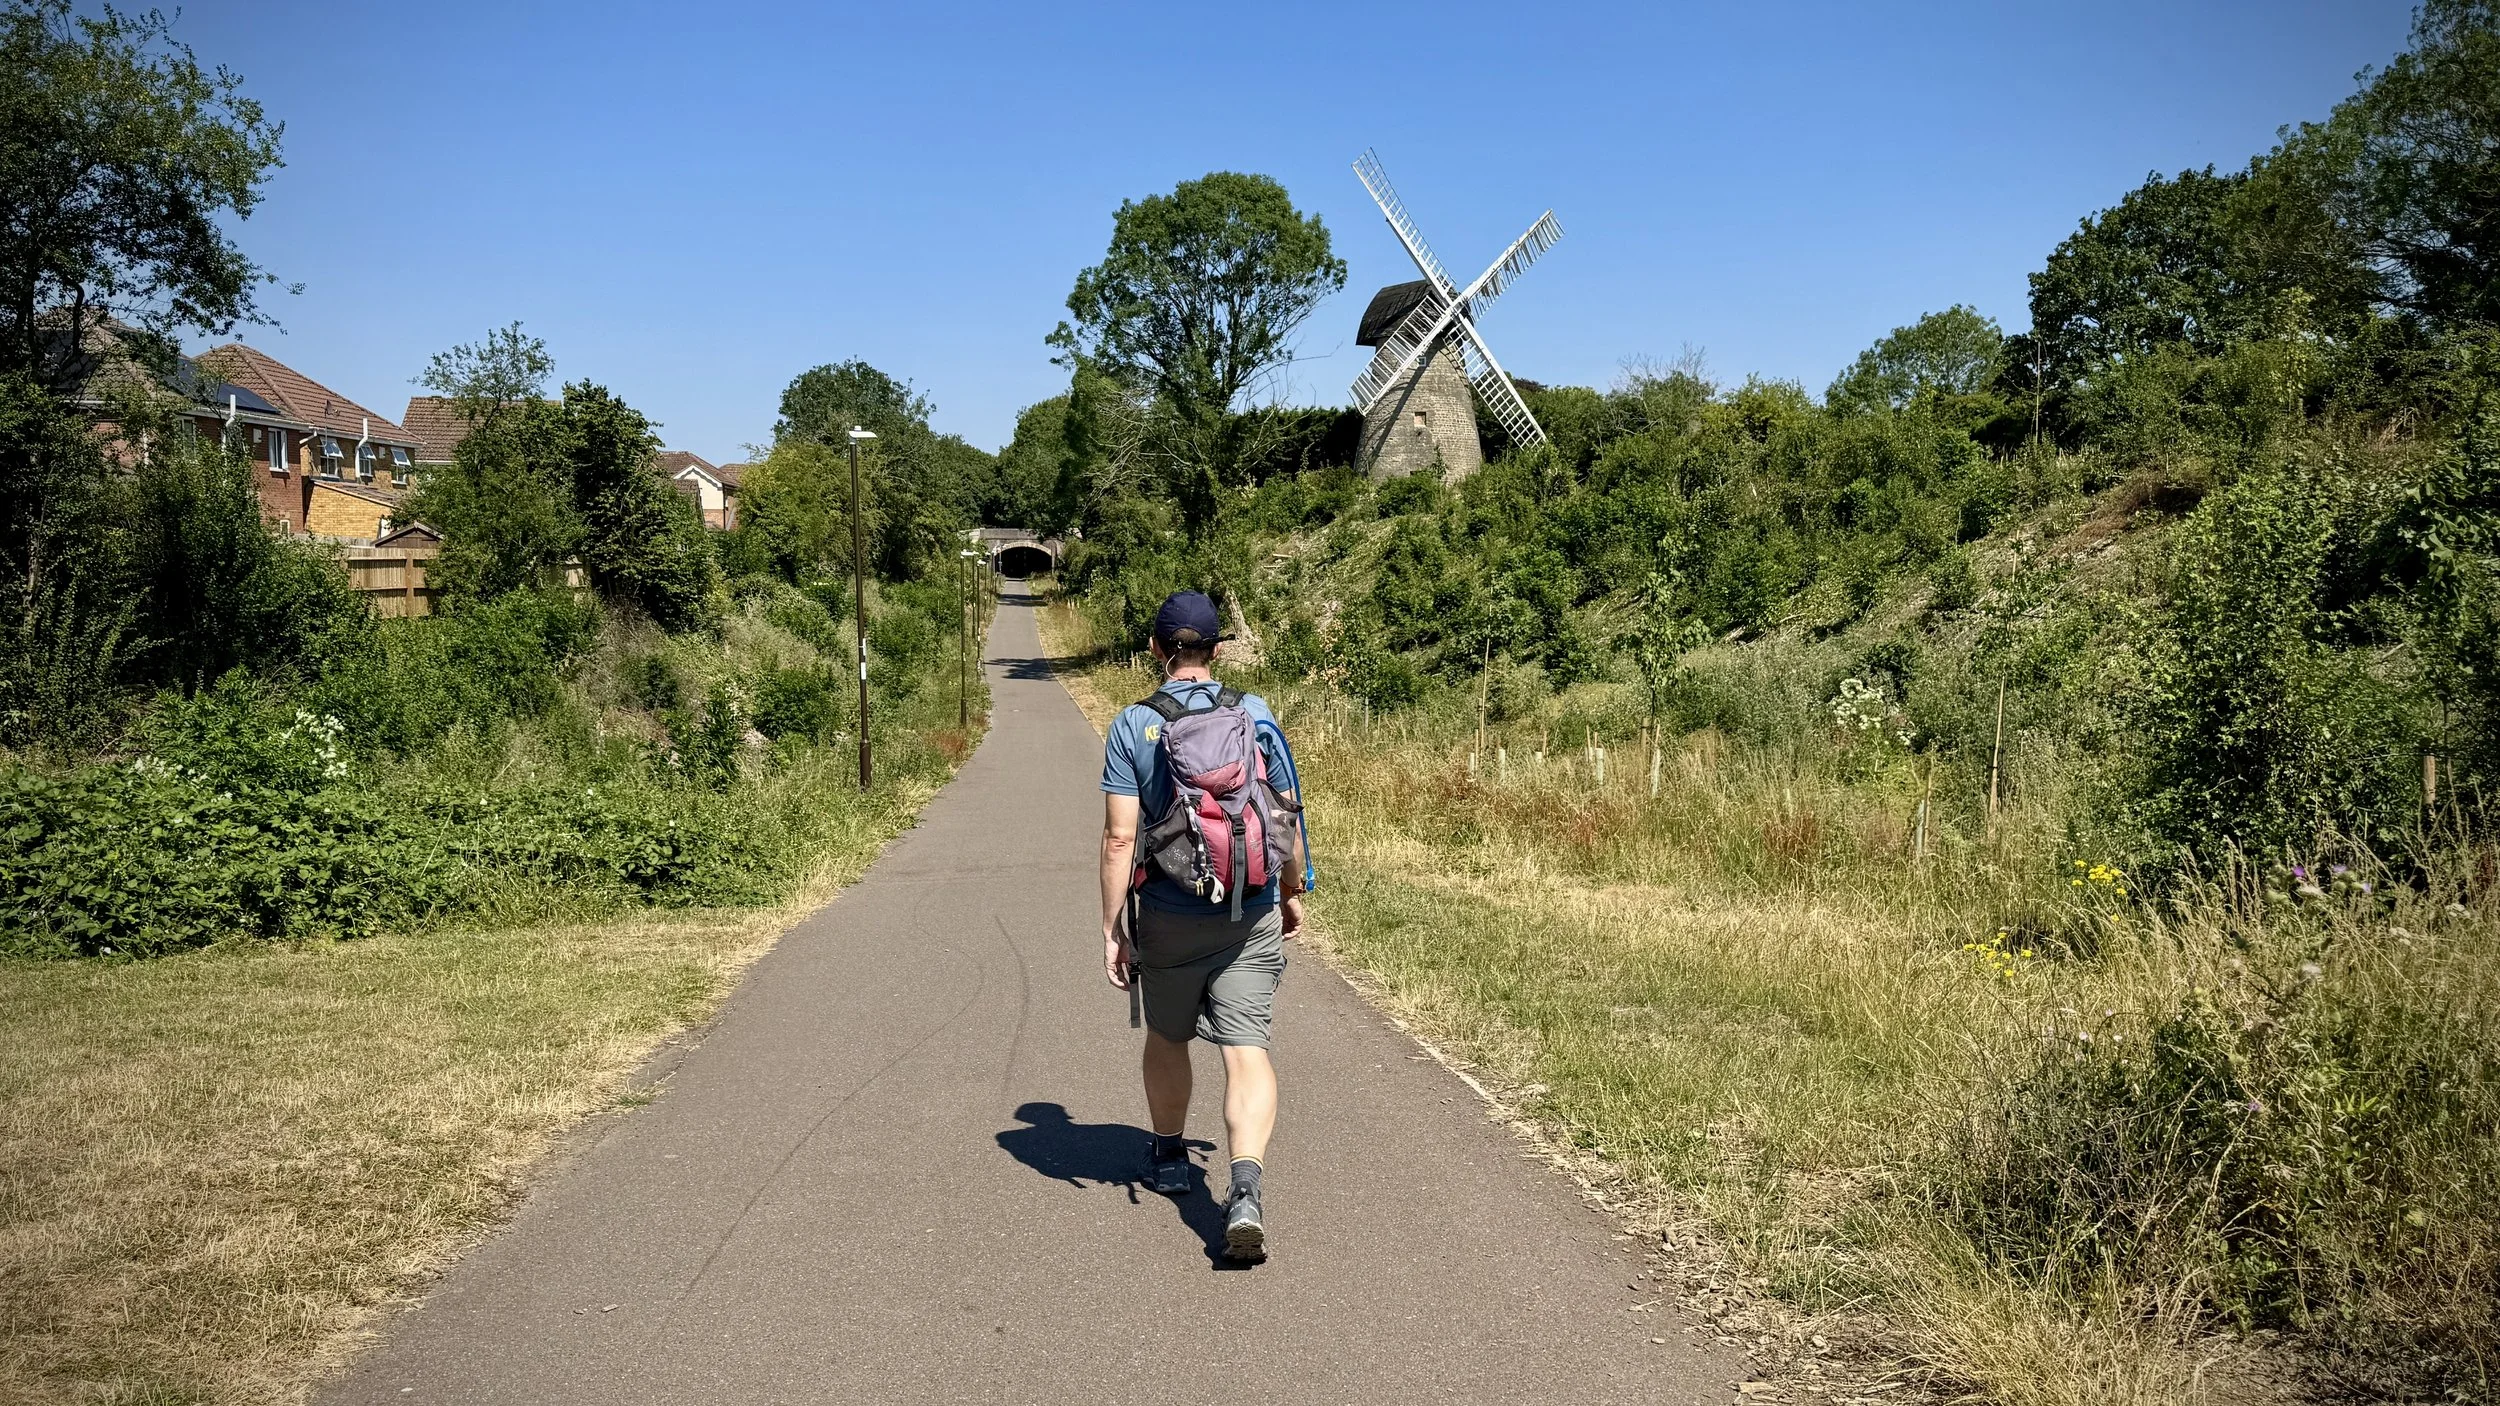
Along the disused railway by Bradwell windmill, Milton Keynes
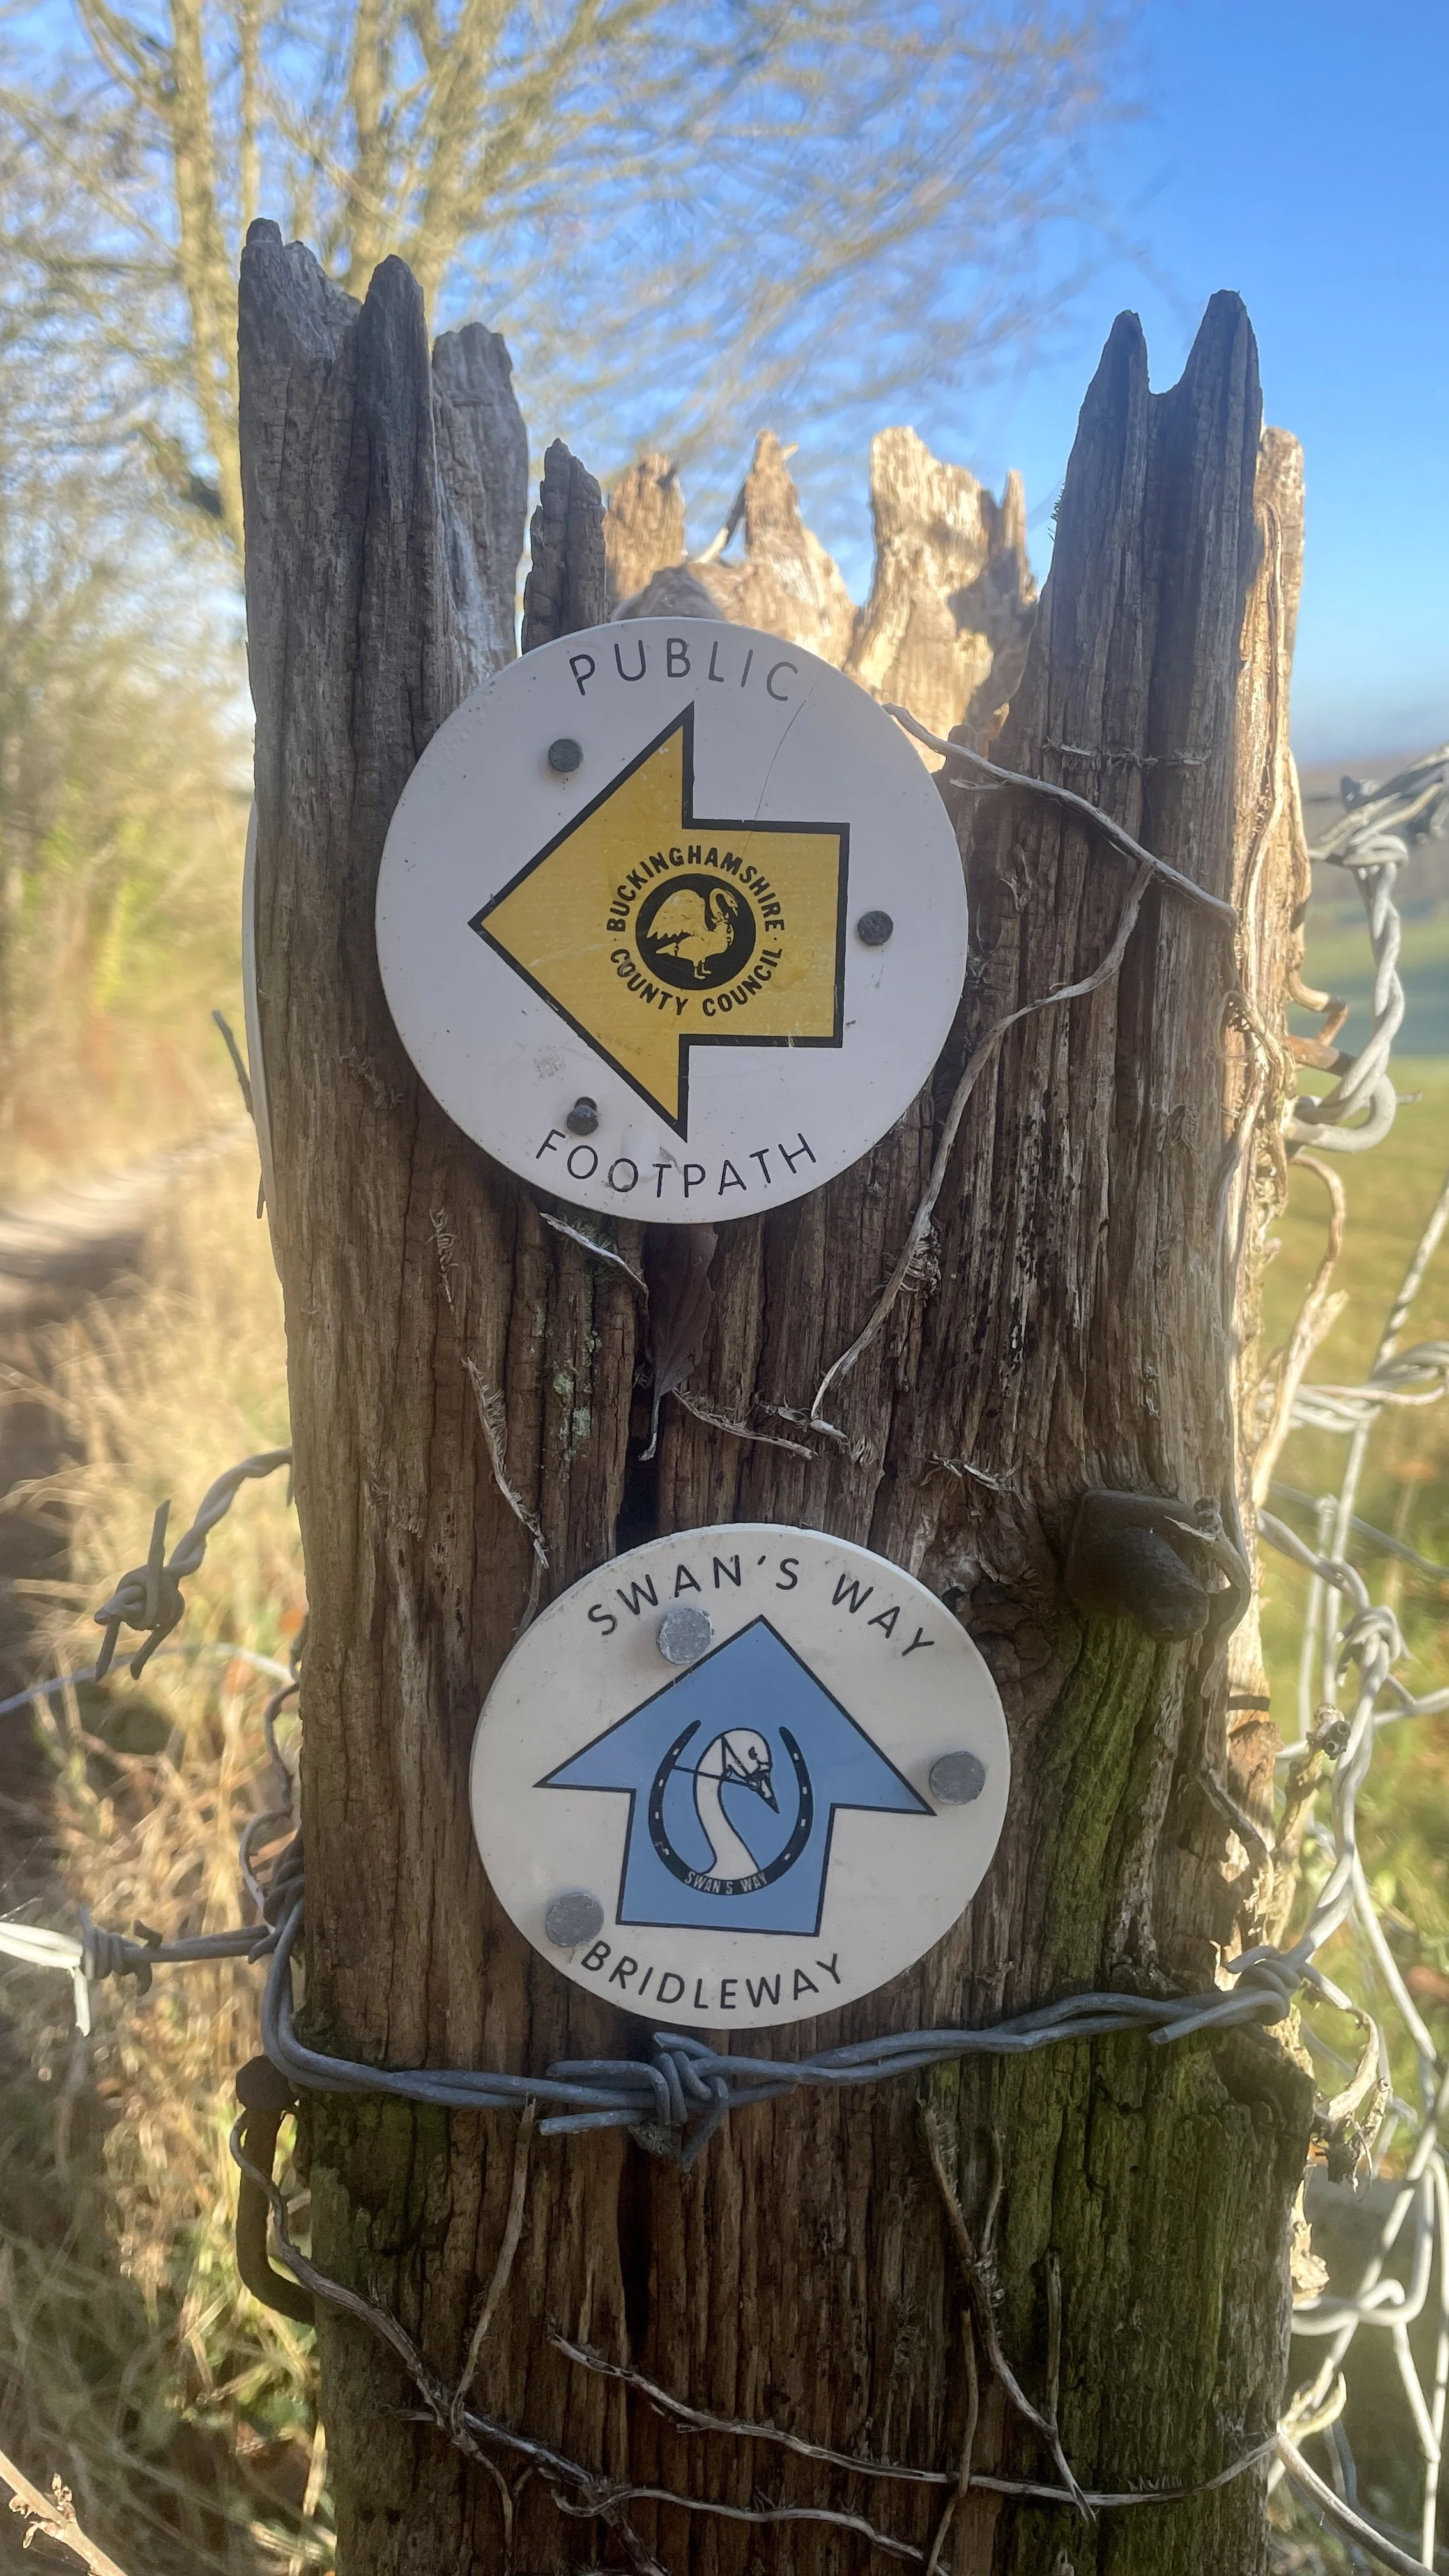
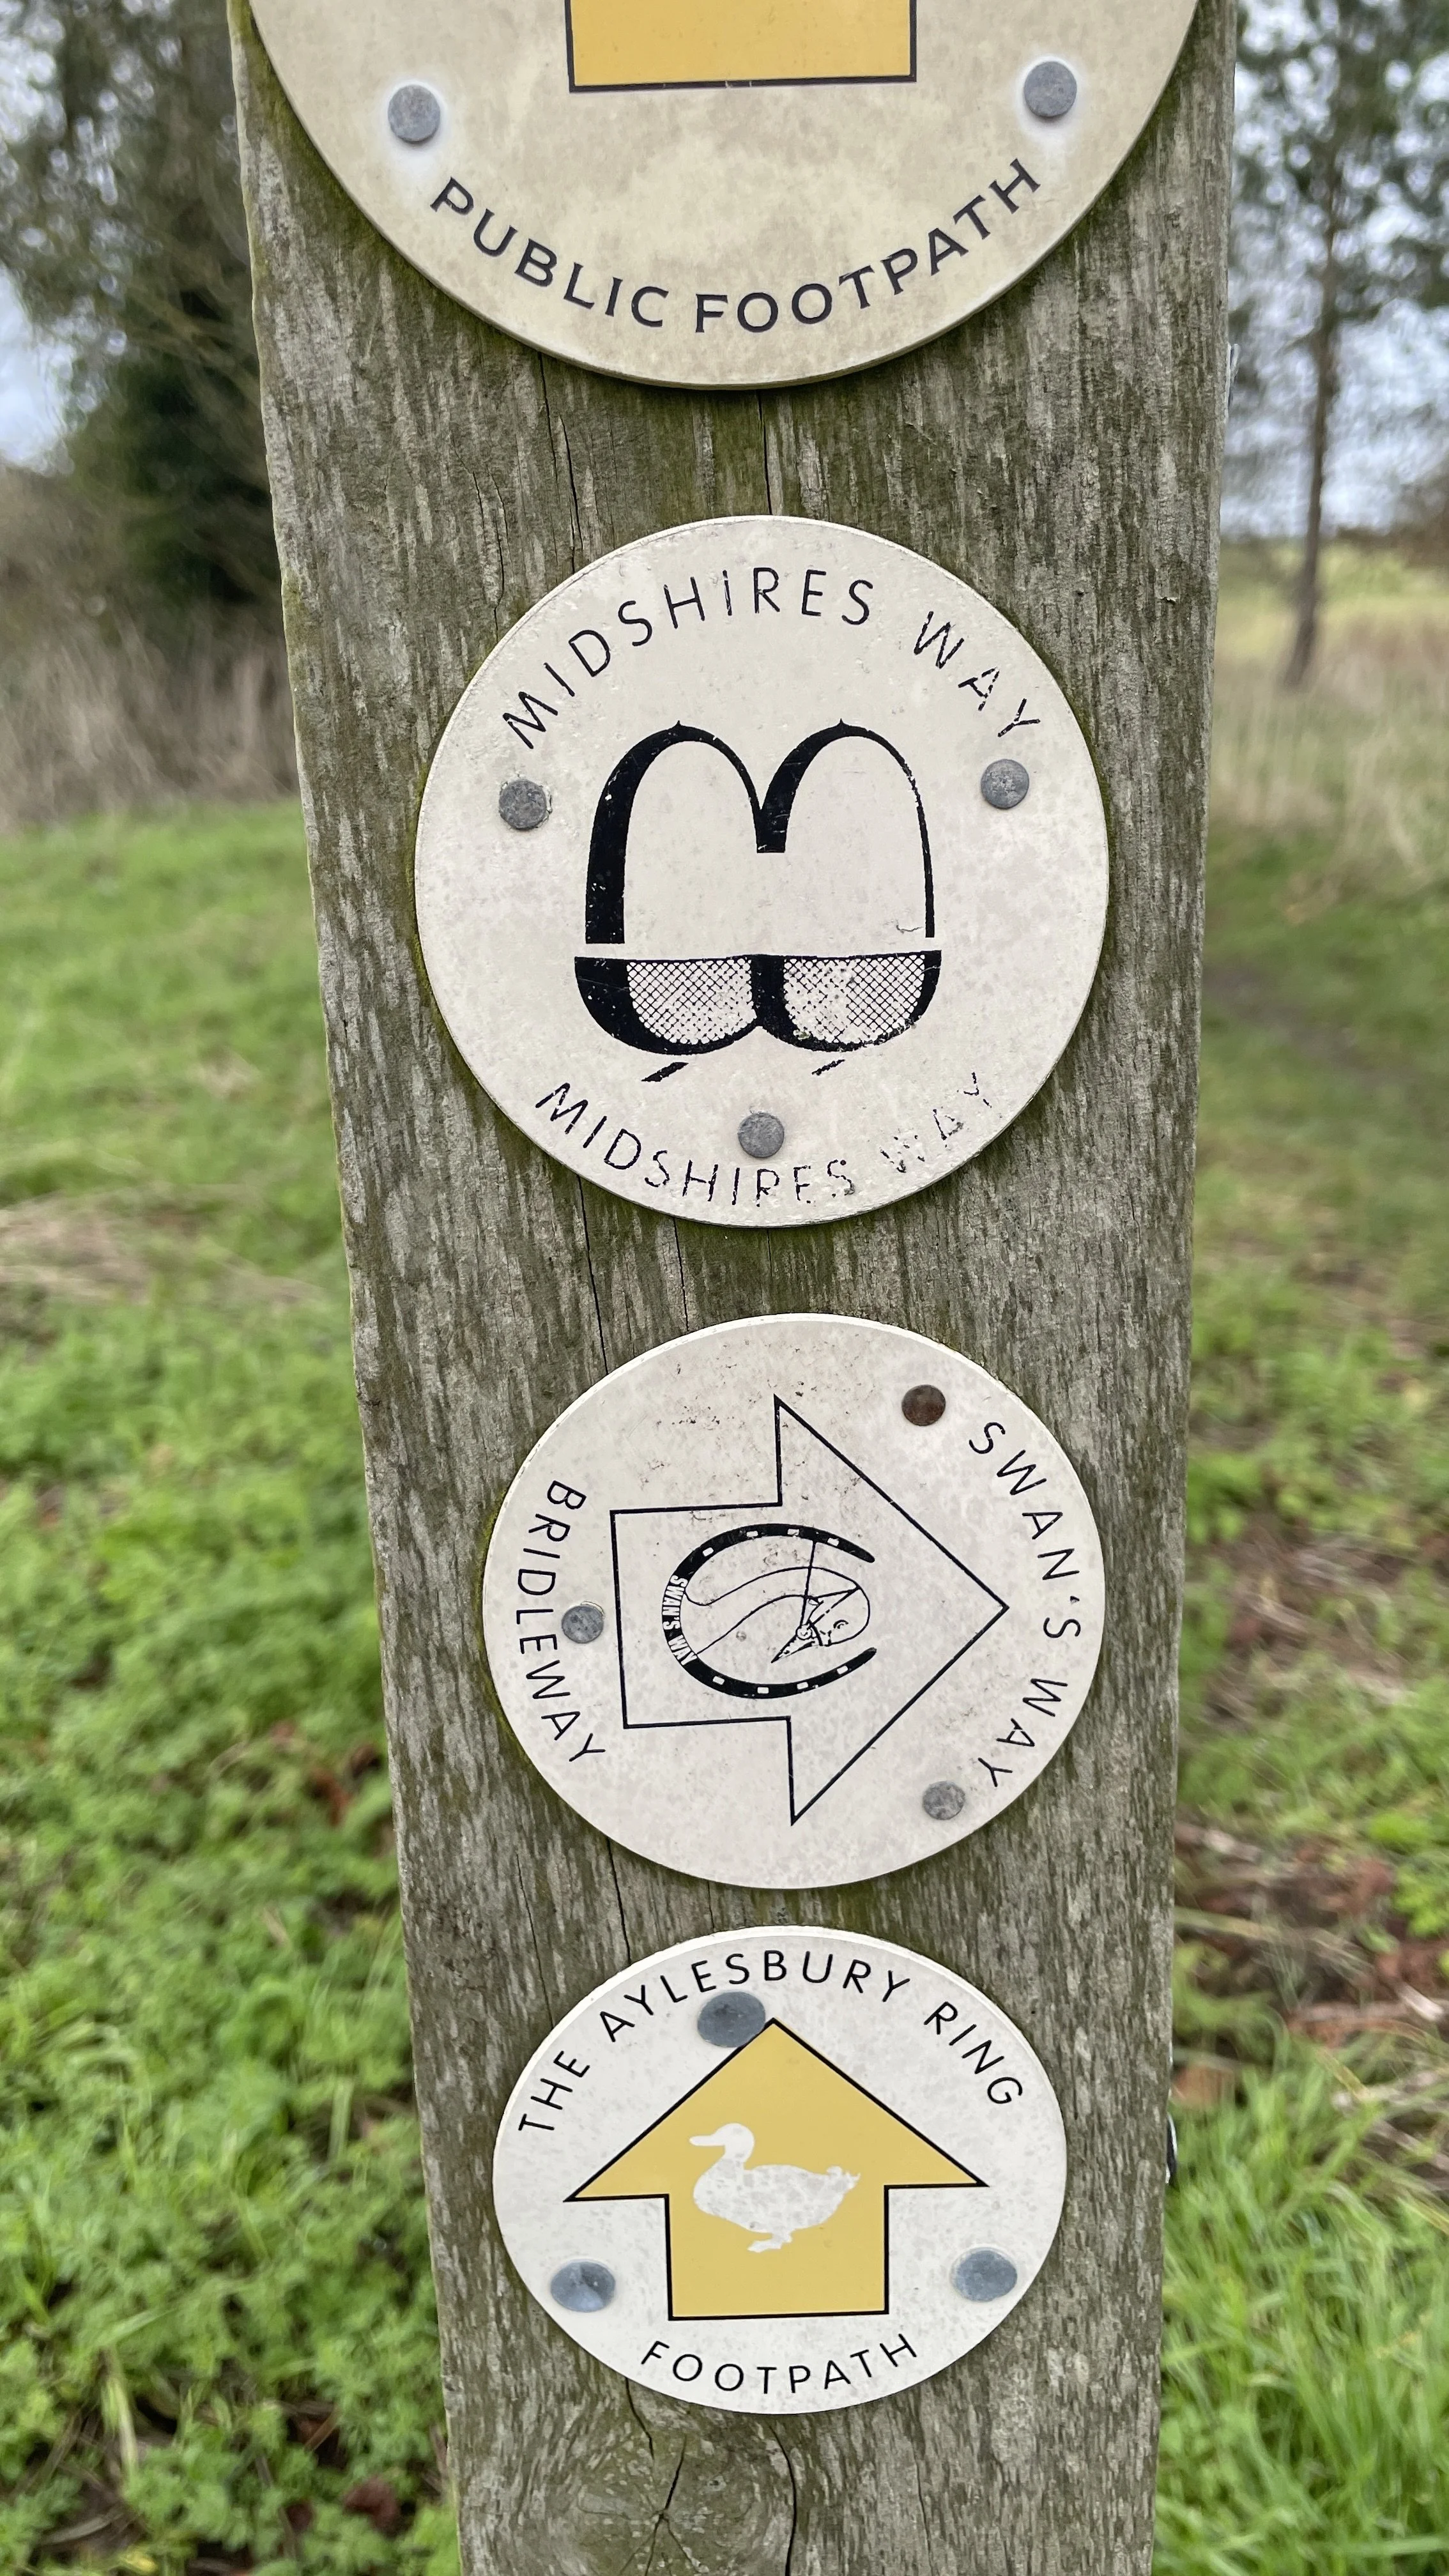
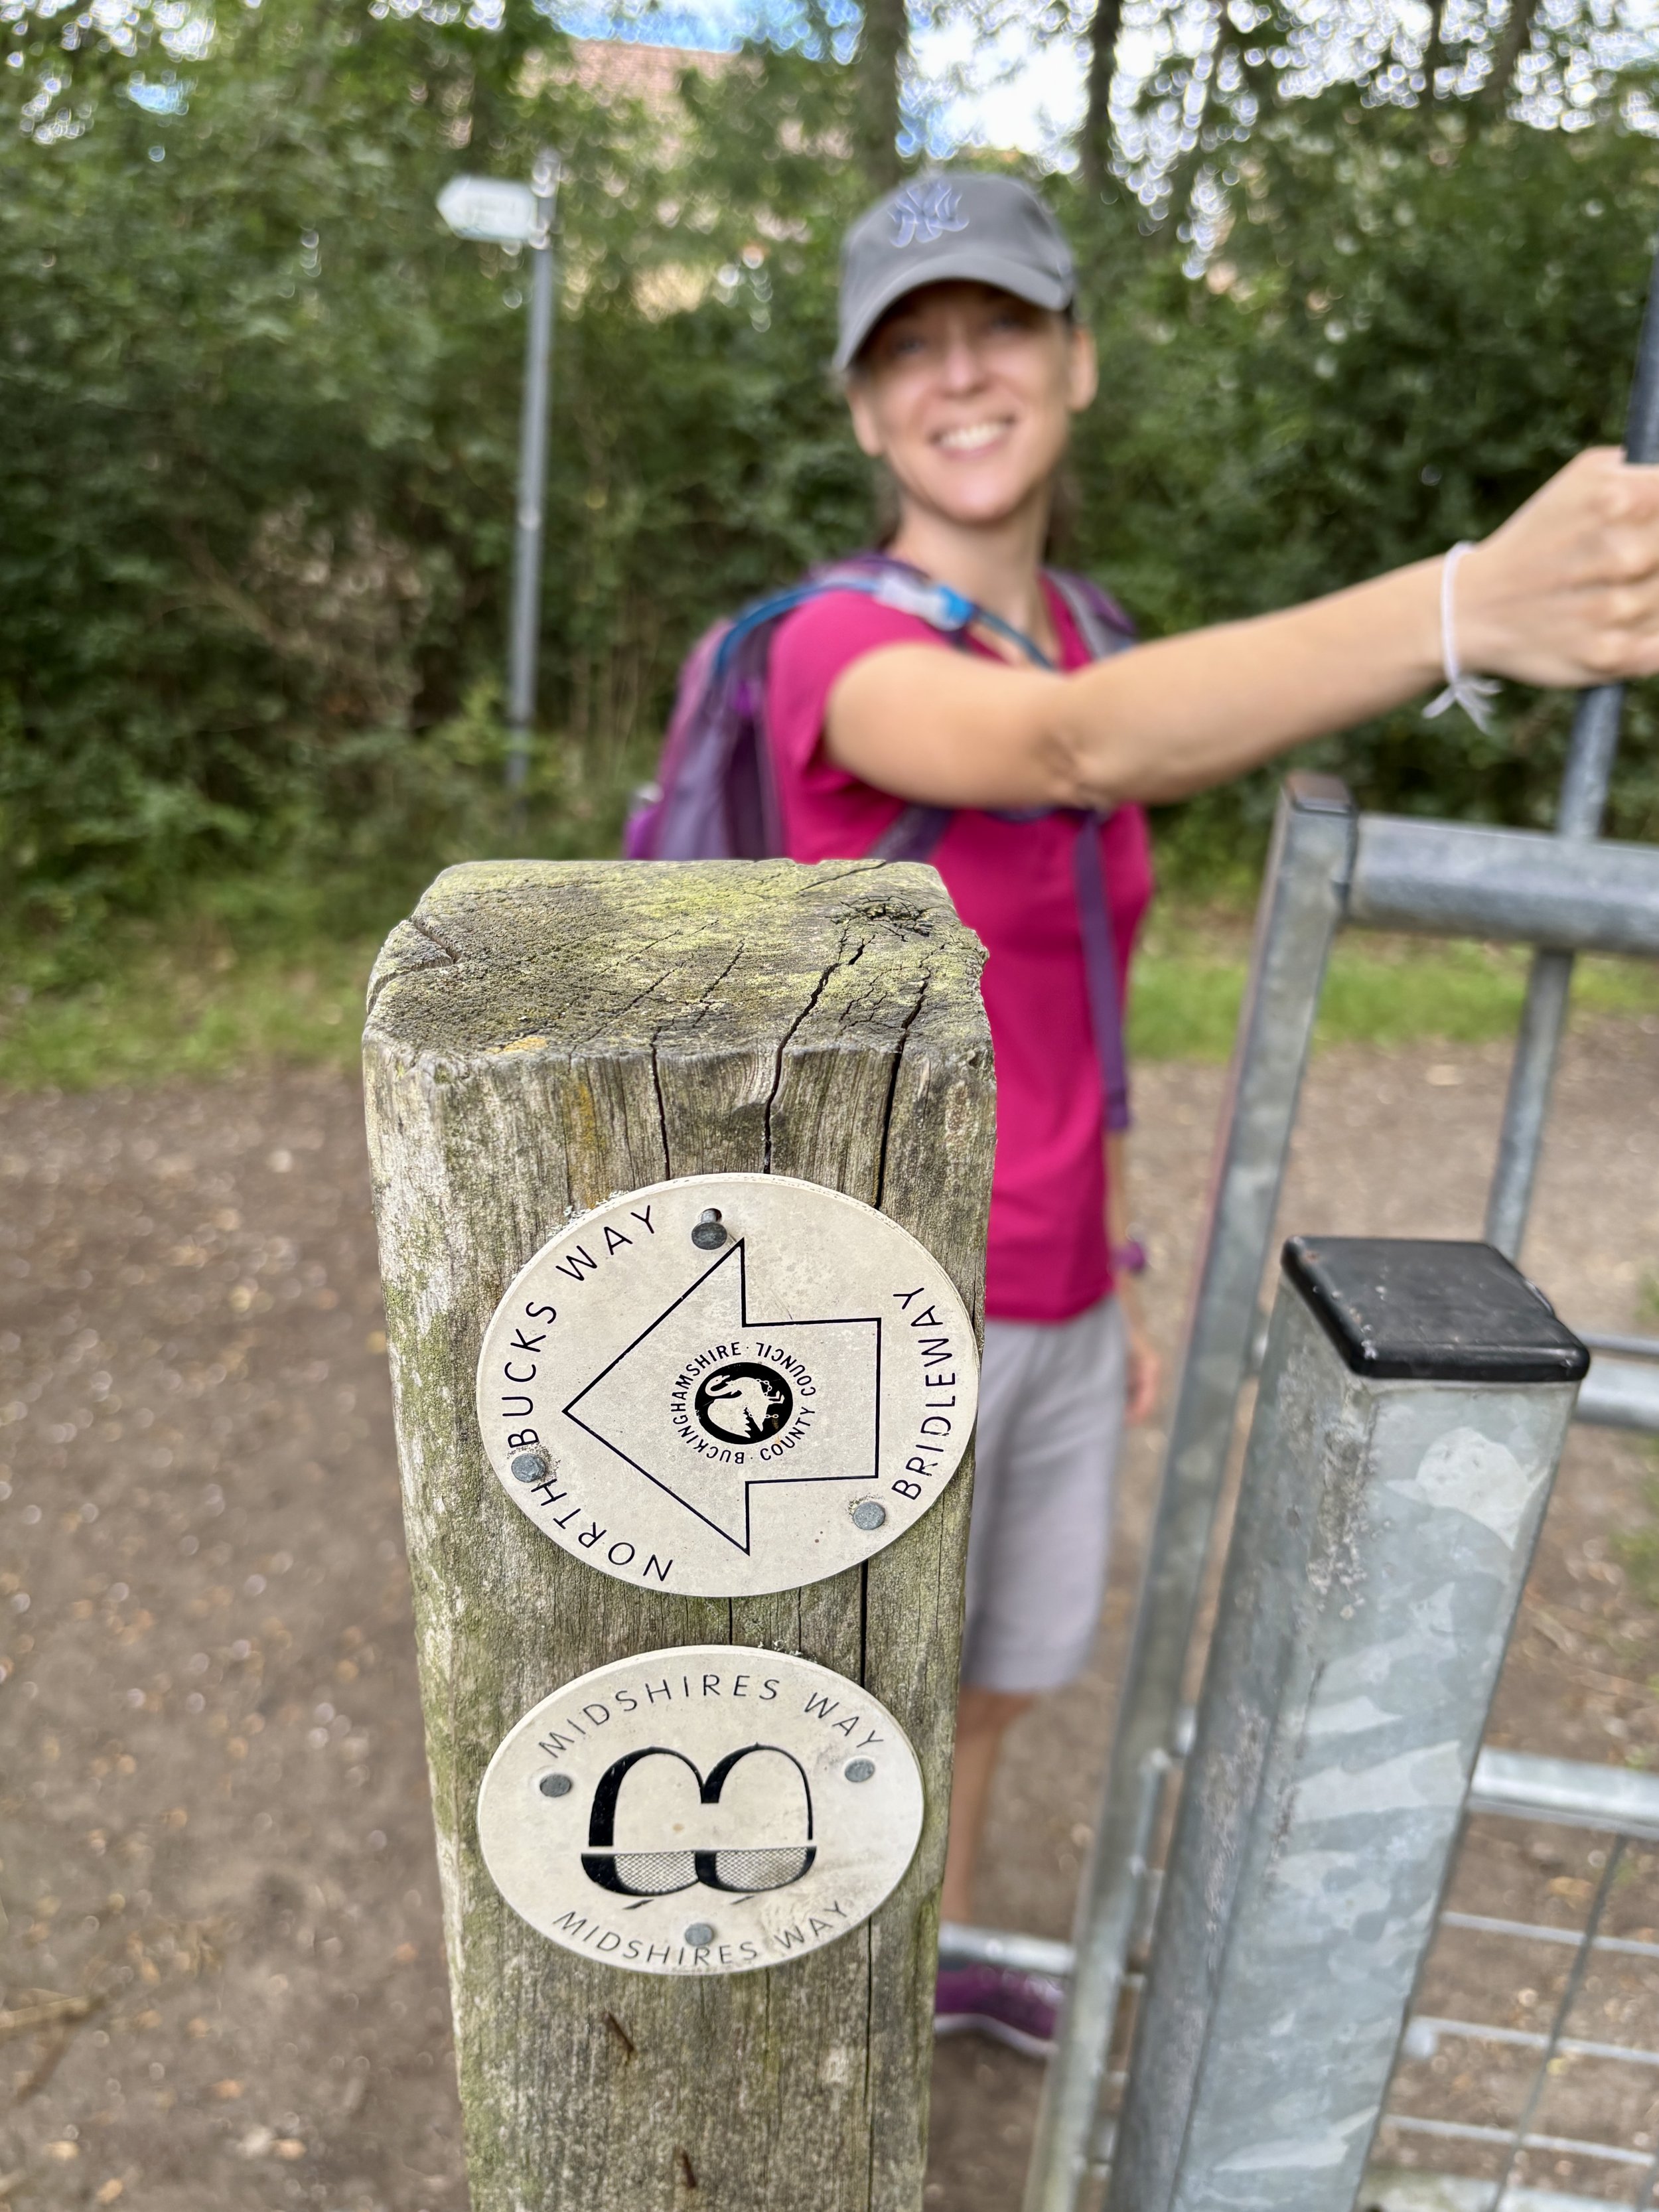
The Midshires Way is a 225-mile (362 km) trail that journeys through the rural heart of Middle England, linking the Ridgeway National Trail at Bledlow in the south to the Trans Pennine Trail at Stockport in the north. Opened in 1994, this route traverses several counties, including Buckinghamshire, Northamptonshire, Leicestershire, Nottinghamshire, Derbyshire, and Greater Manchester, following a scenic tapestry of ancient bridleways, quiet country lanes, and historic canals. In Buckinghamshire, the Midshires Way has a significant connection with the Swan's Way (often referred to as the Swan Way), a 65-mile long-distance bridleway. Essentially, the Swan's Way forms the backbone of the Buckinghamshire section of the Midshires Way, with the two routes being broadly coincident for approximately 50 miles between Salcey Forest and Bledlow. While the Swan's Way strictly adheres to bridleways to accommodate horse riders and cyclists, the Midshires Way sometimes offers alternative waymarked footpaths for walkers to avoid on-road sections.
We walked the Chilterns part of the Mishires Way in 17 sections over a 8 months in 2026. Each section was a circular walk of between 8 and 14 km of which part was along the Midshires with a return to the start along other nearby footpaths.
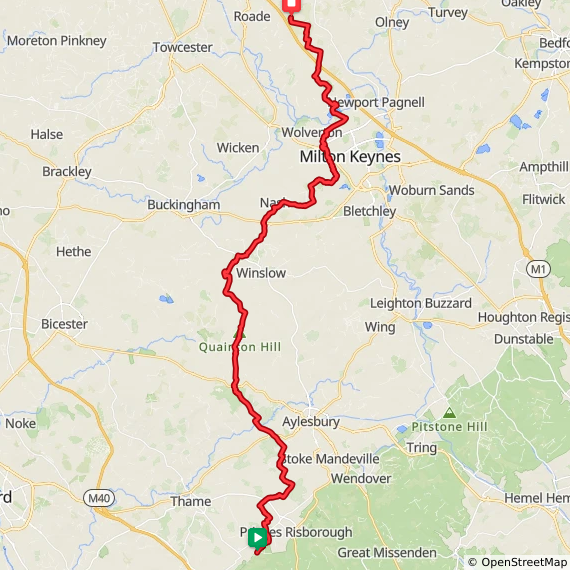
Point to Point: Walking the Midshires Way in Buckinghamshire
Start: ions Of Bledlow, Church End, Bledlow, Princes Risborough, HP27 9PE
Finish: Salcey Forest Visitor’s Centre, Wootton Rd, Northampton NN7 2HX
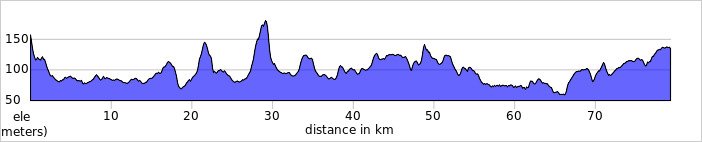
Distance: 80 km (50 miles)
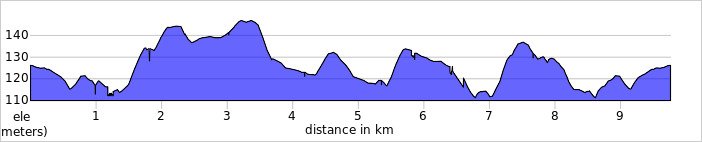
Elevation change: + 647m / - 666m. Net +78m
GPX File: get via Buy Me a Coffee
Maps:
- Chiltern Hills North Map | Aylesbury, Berkhamsted & Chesham | Ordnance Survey | OS Explorer Map 181
- Buckingham & Milton Keynes Map | Leighton Buzzard & Woburn | Ordnance Survey | OS Explorer Map 192
- Newport Pagnell & Northampton South Map | Towcester & Olney | Ordnance Survey | OS Explorer Map 207
See individual section posts linked below for other links.
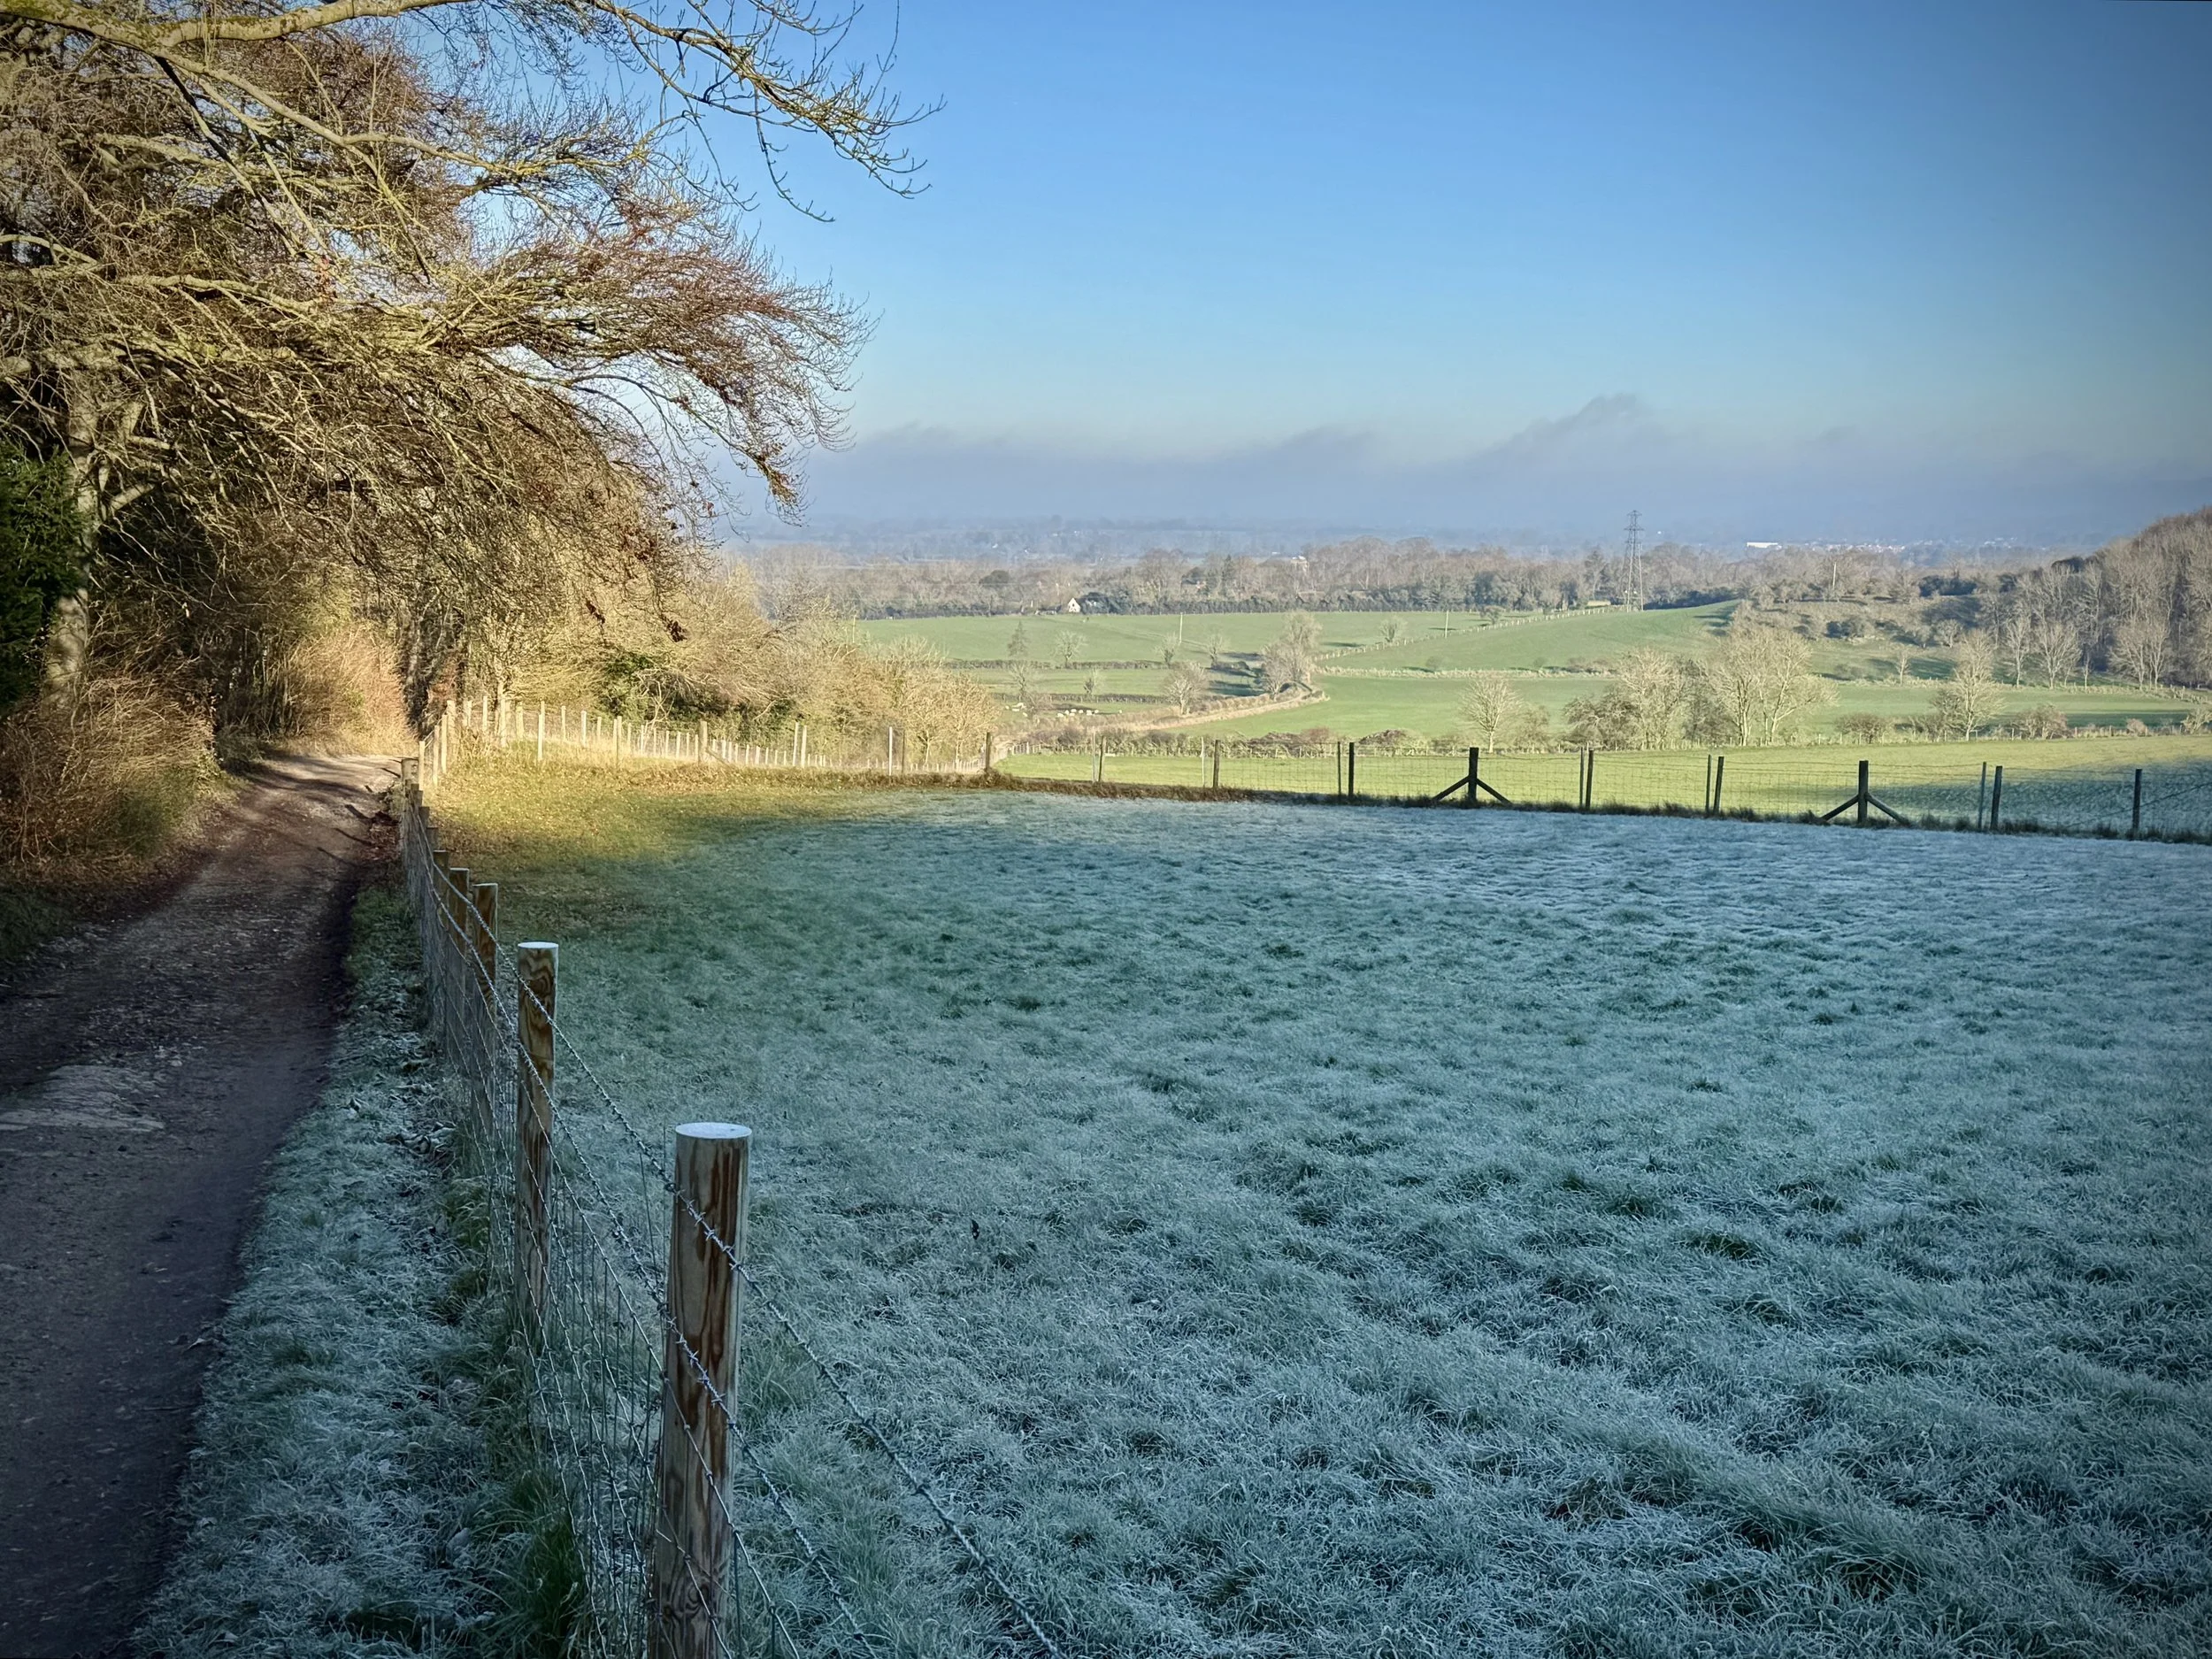
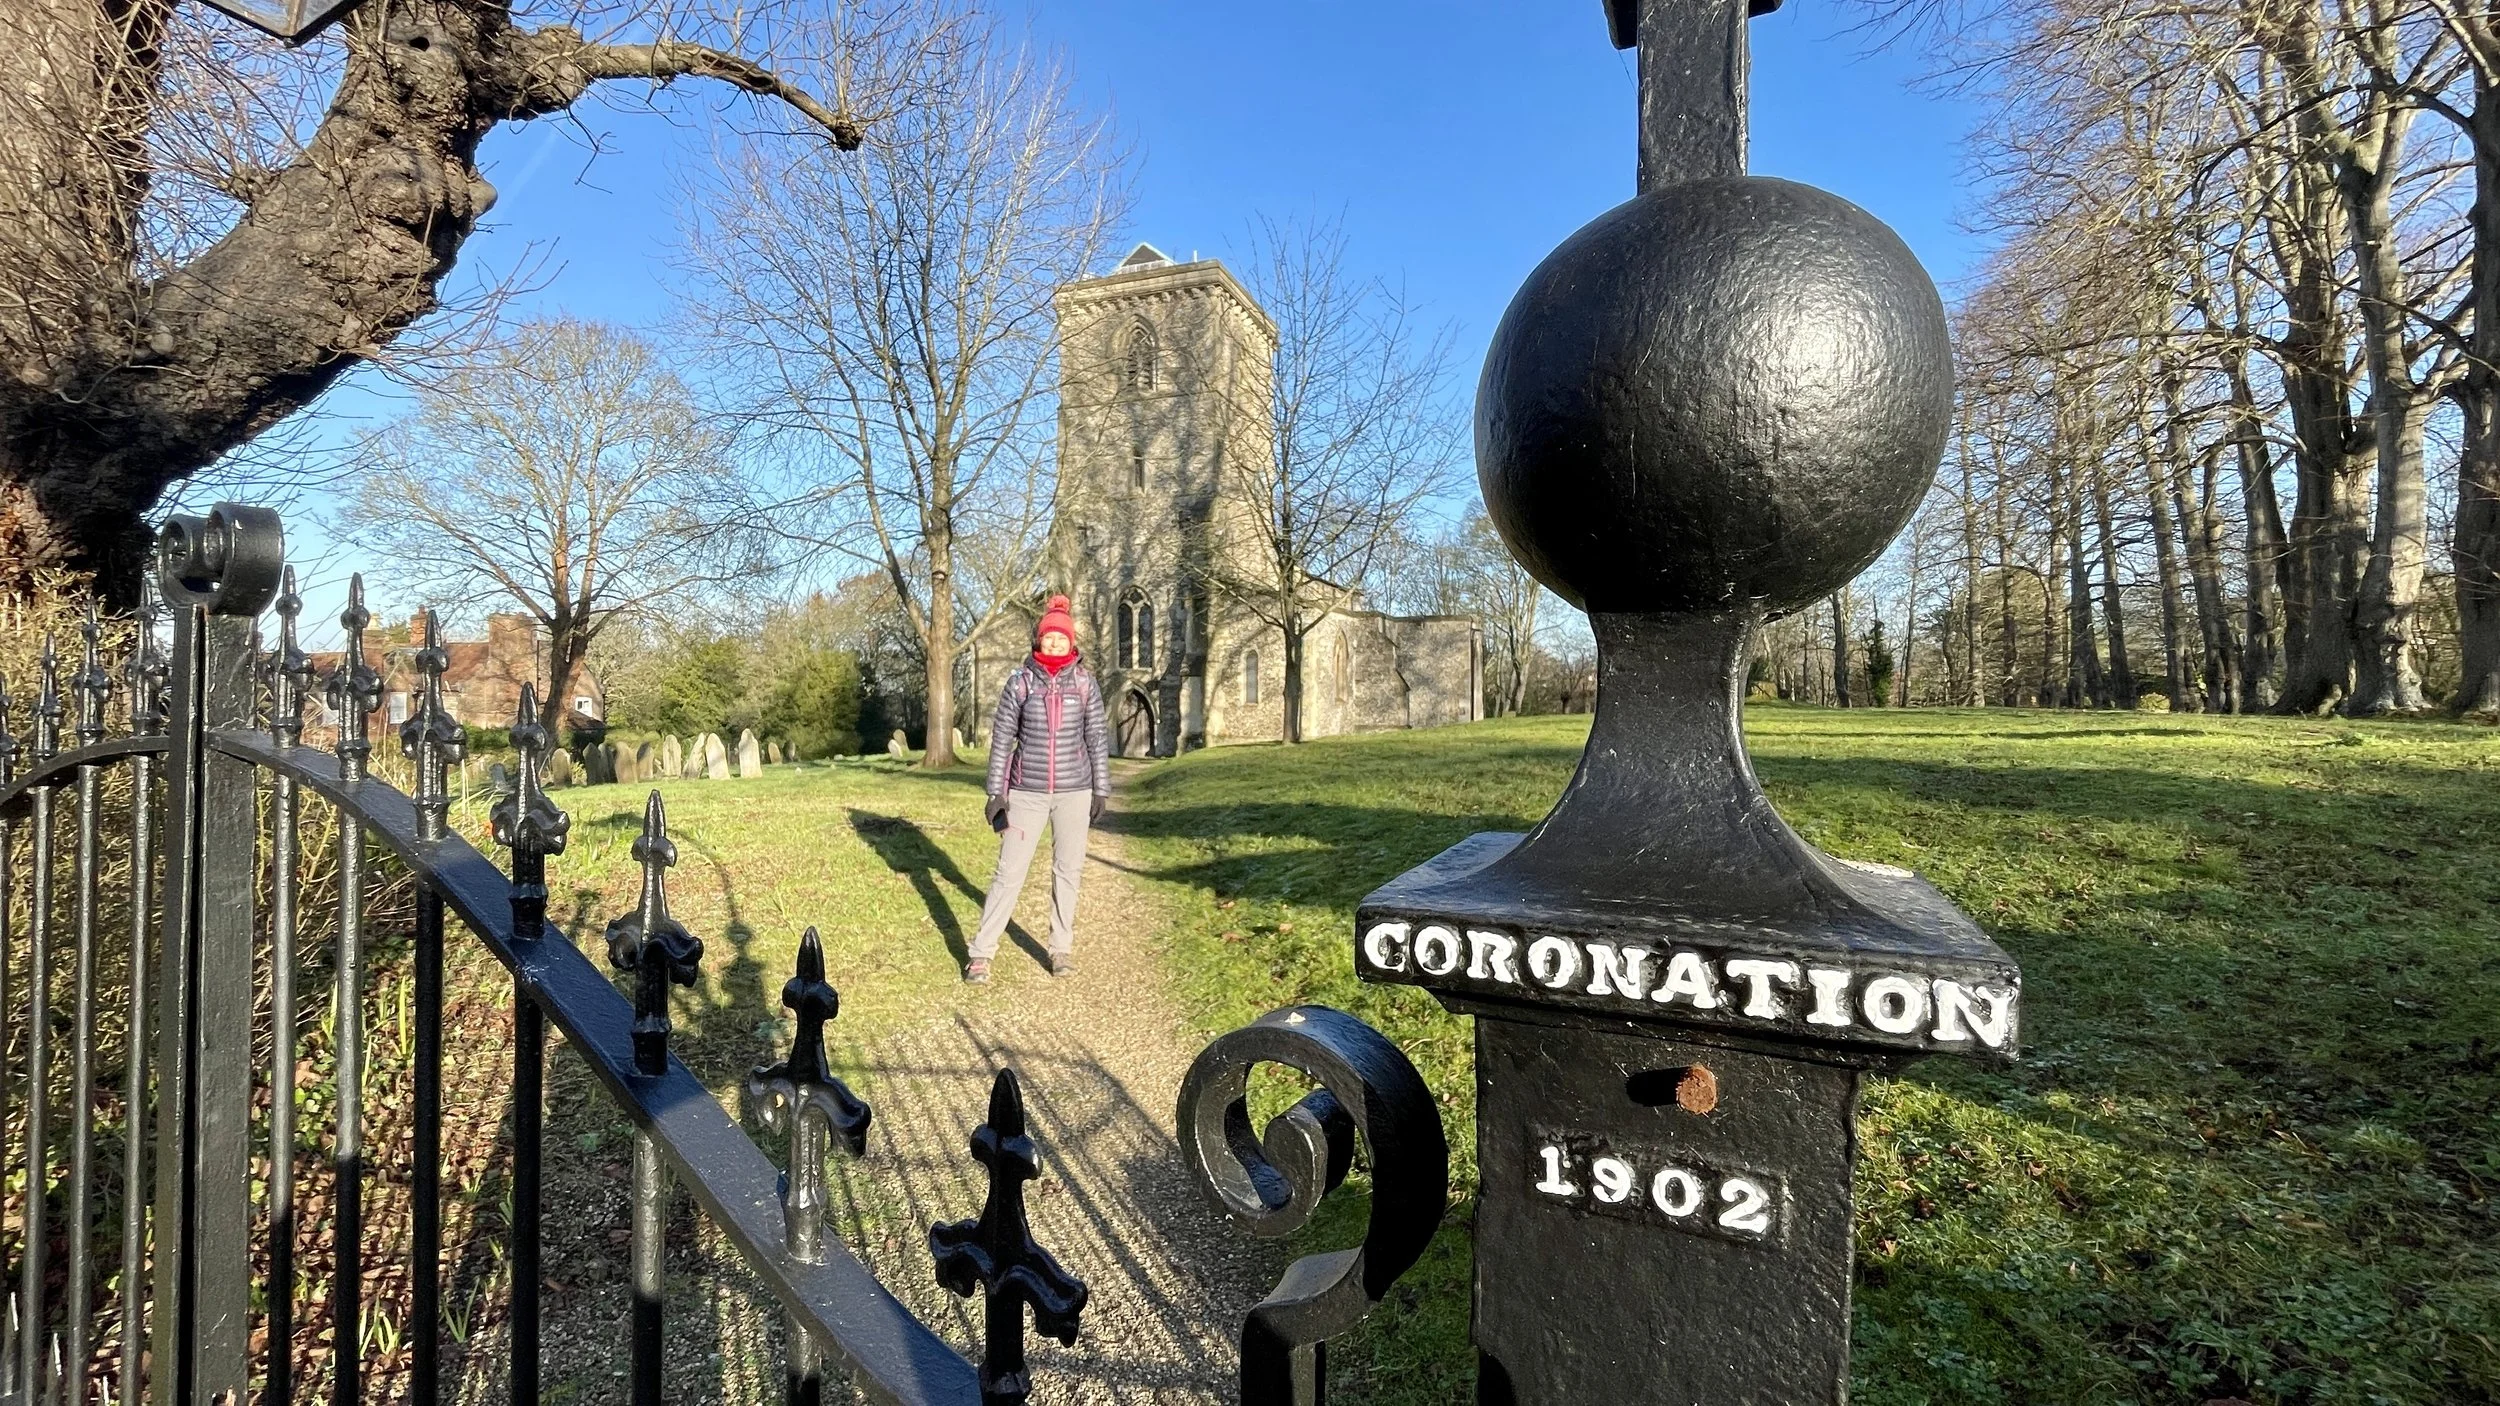
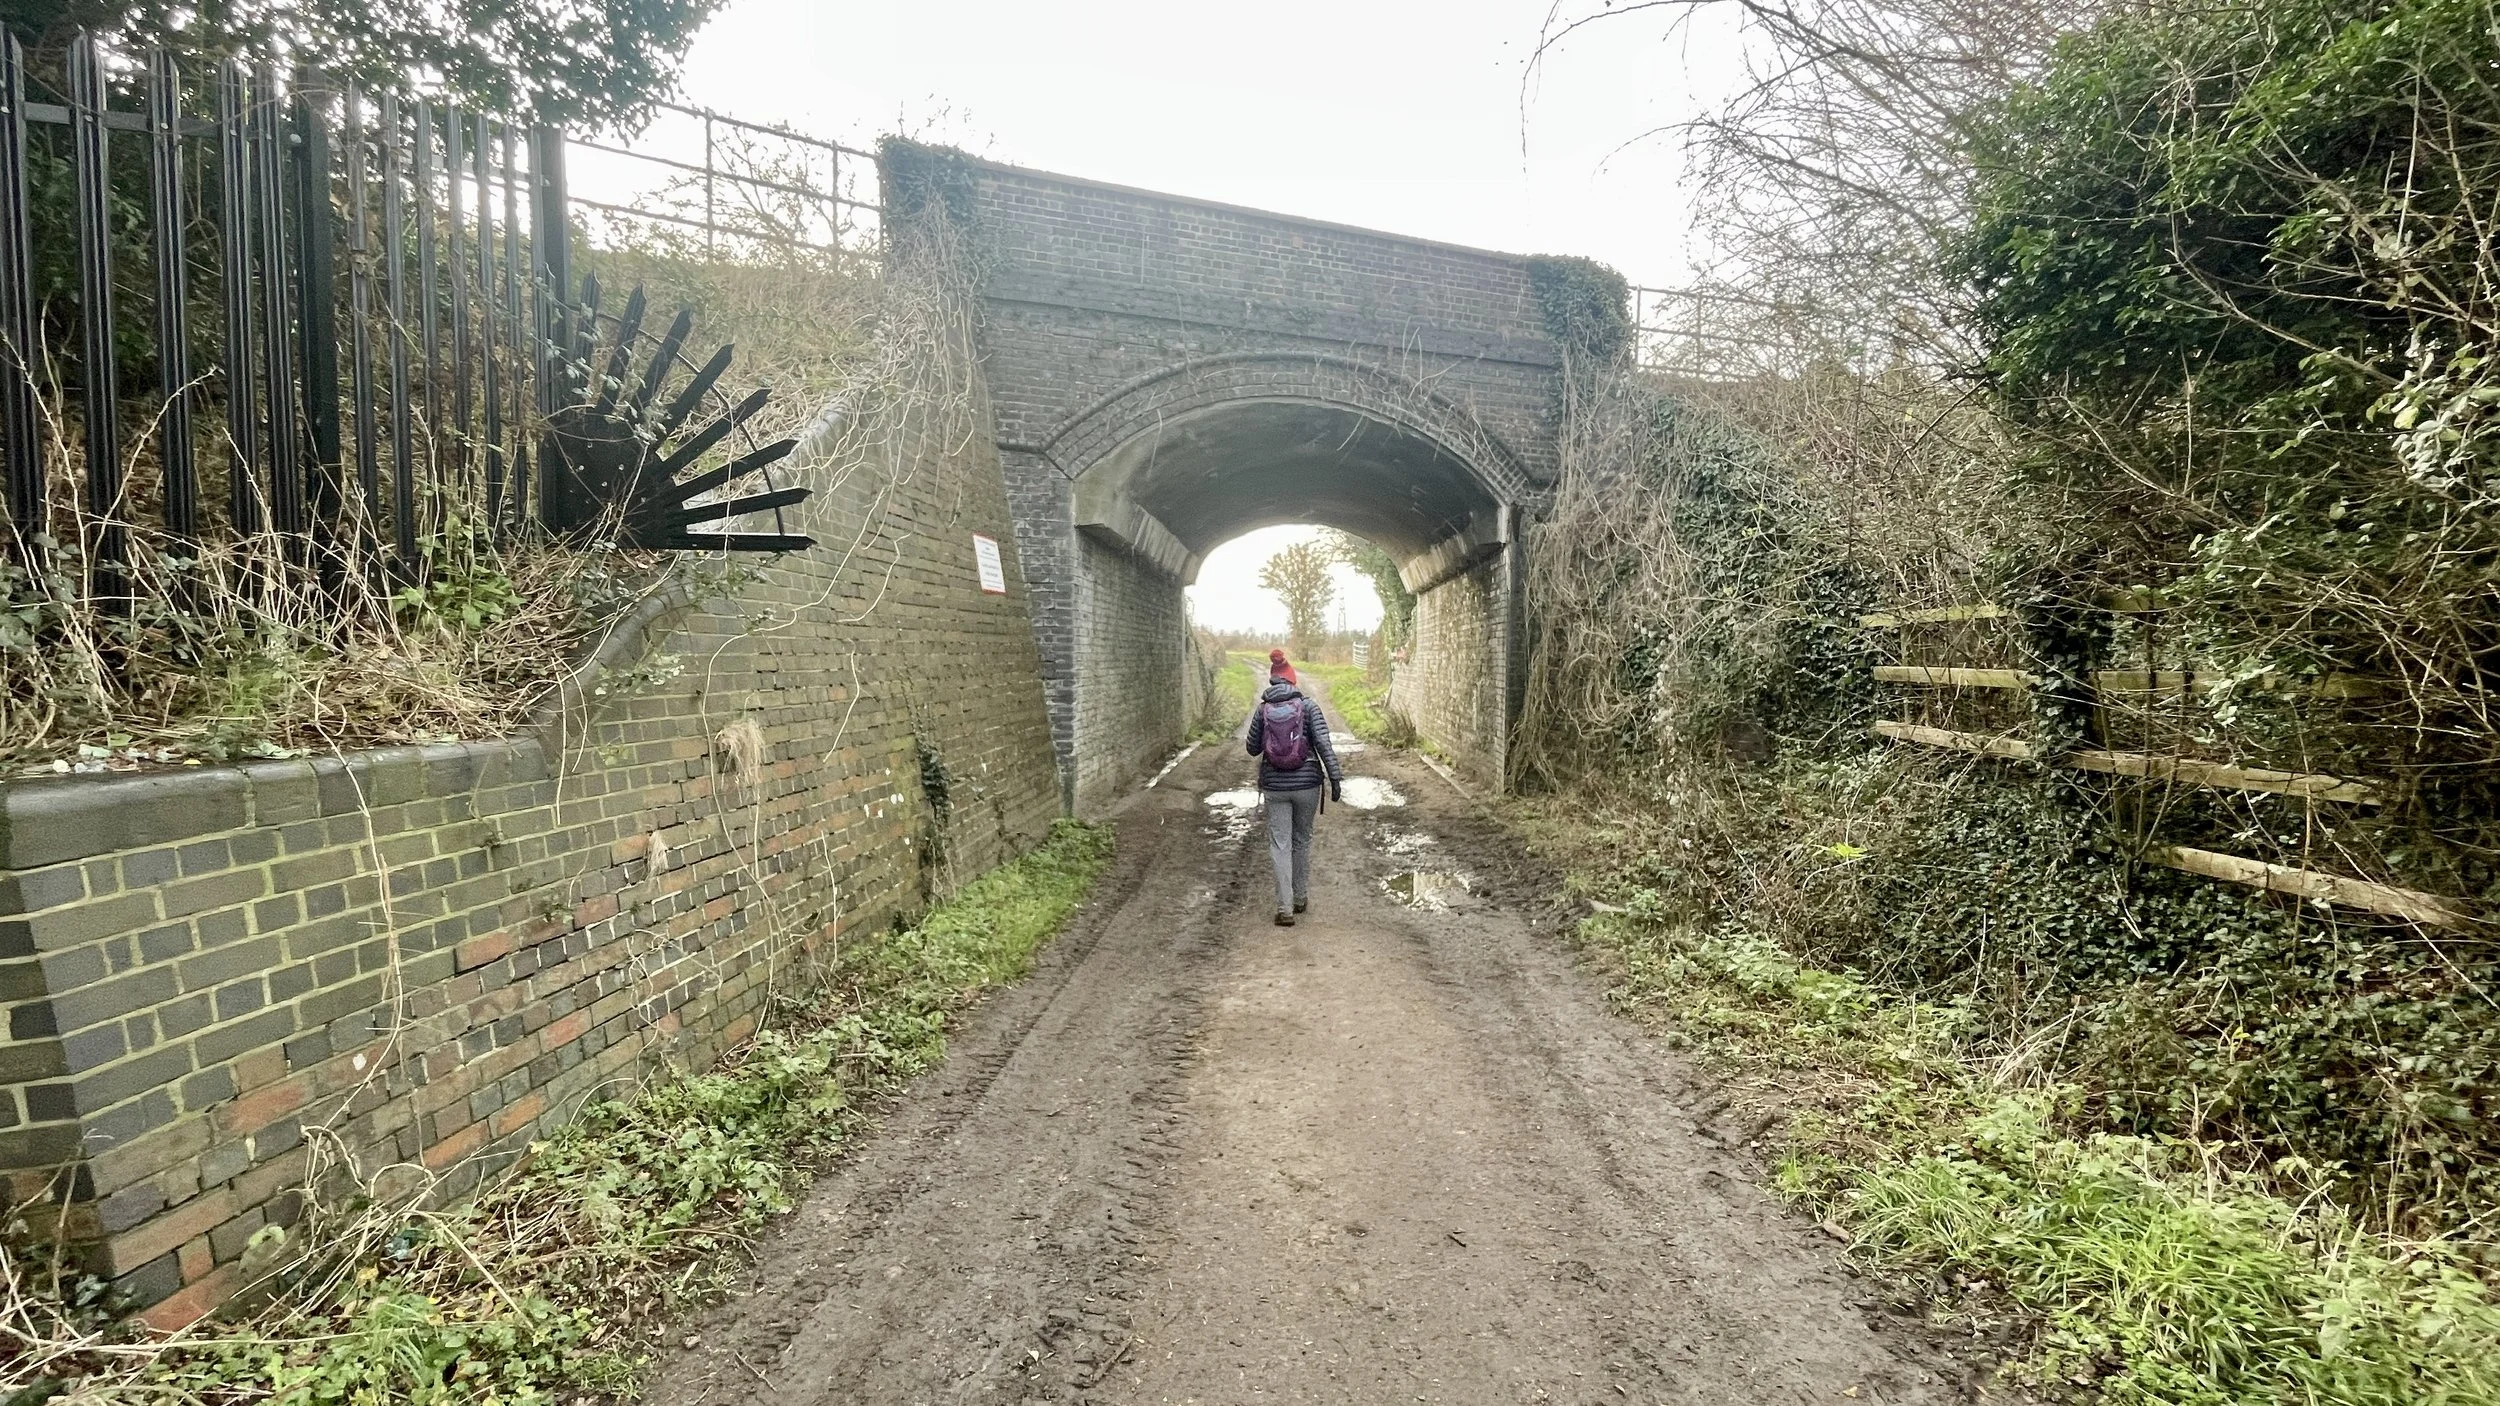
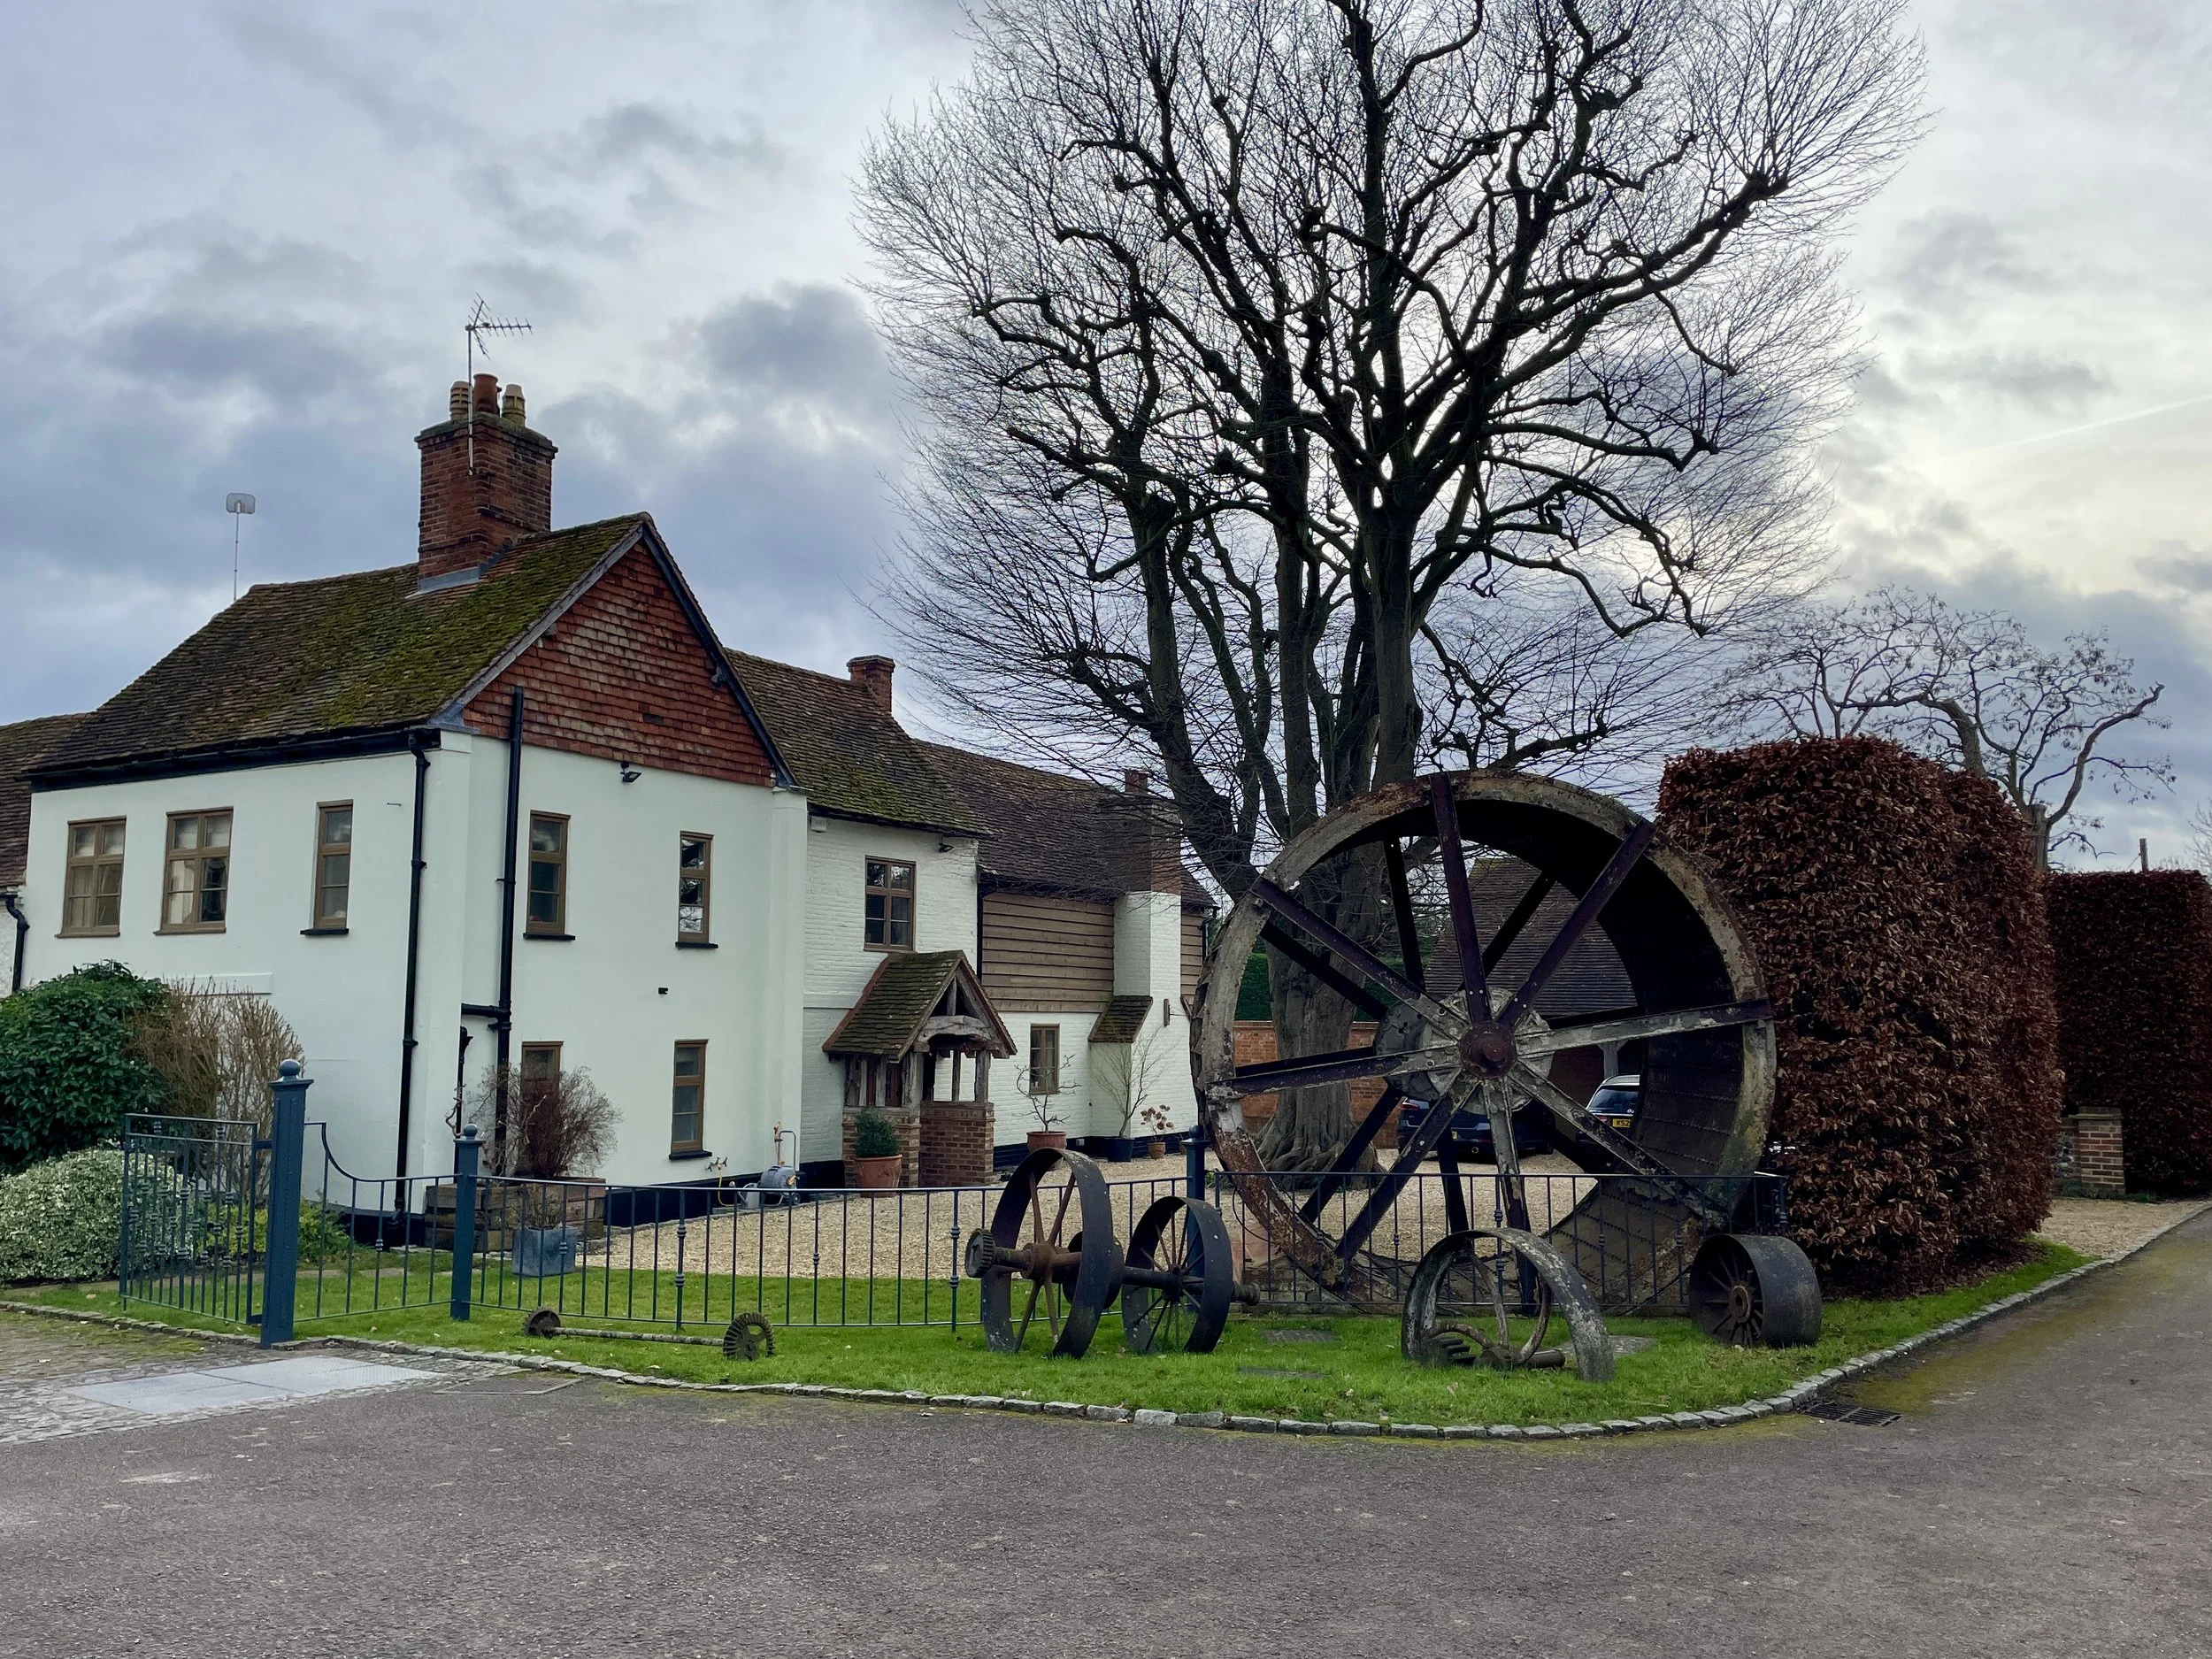
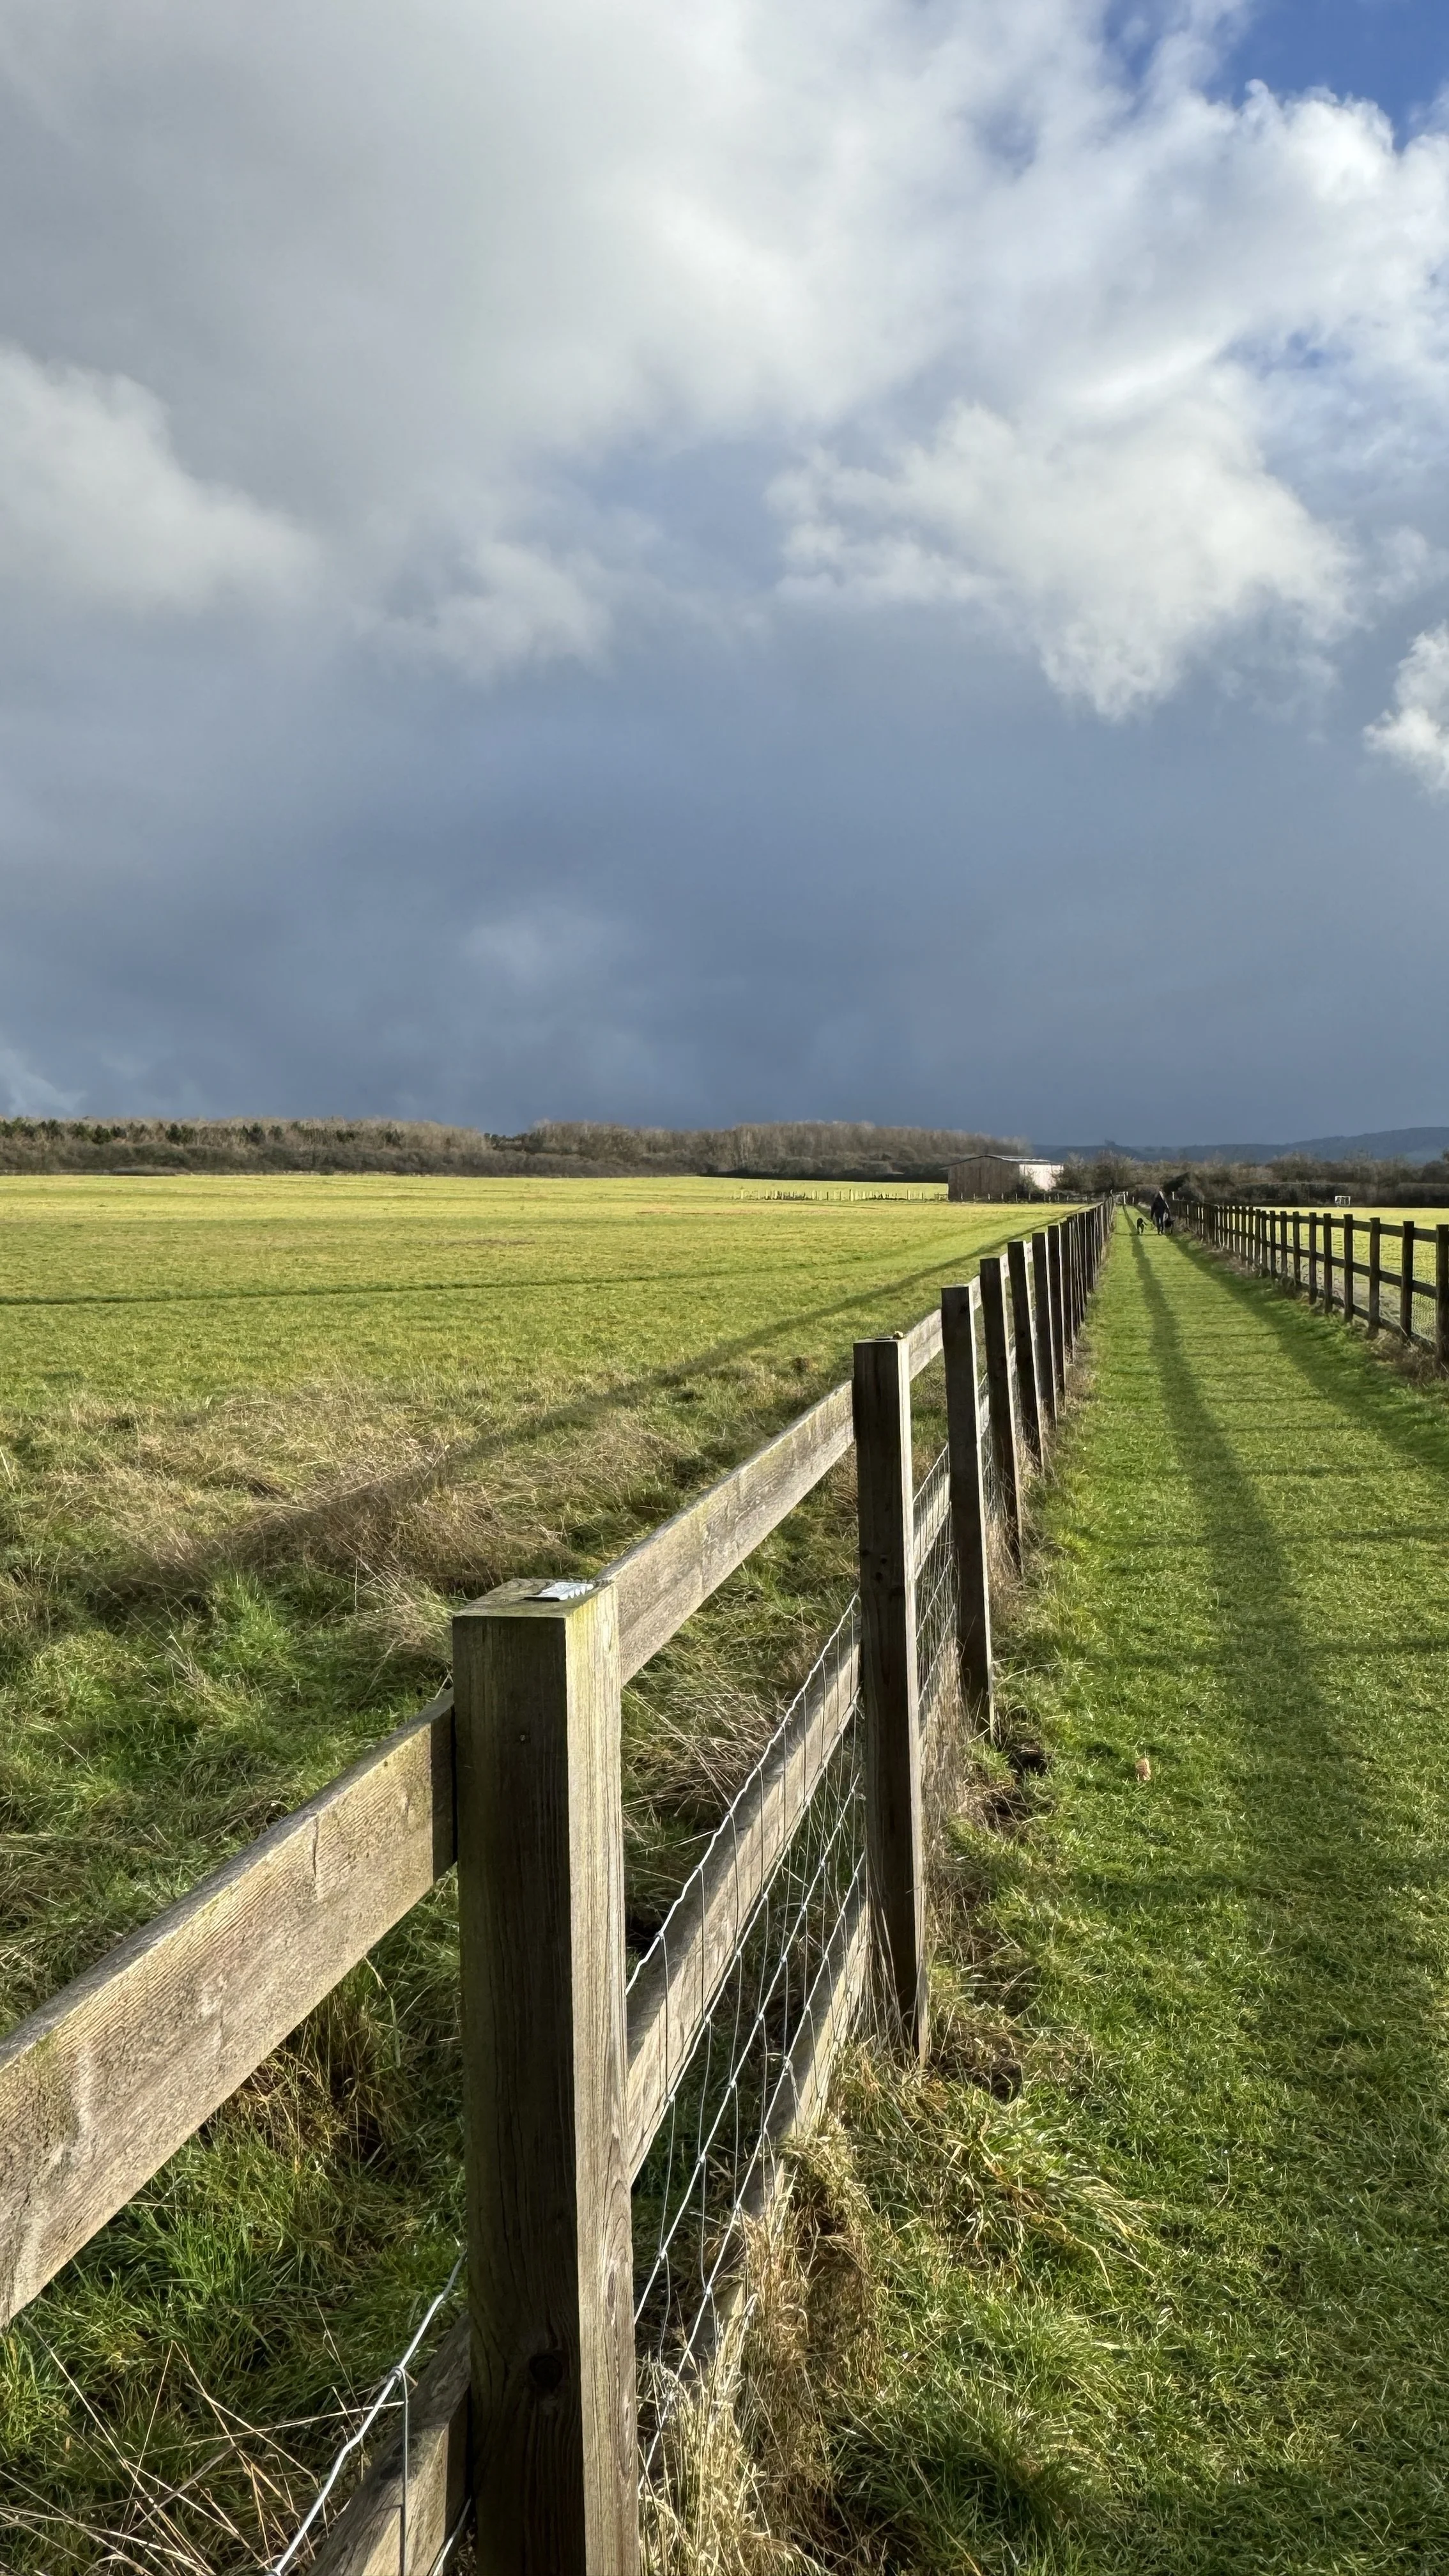
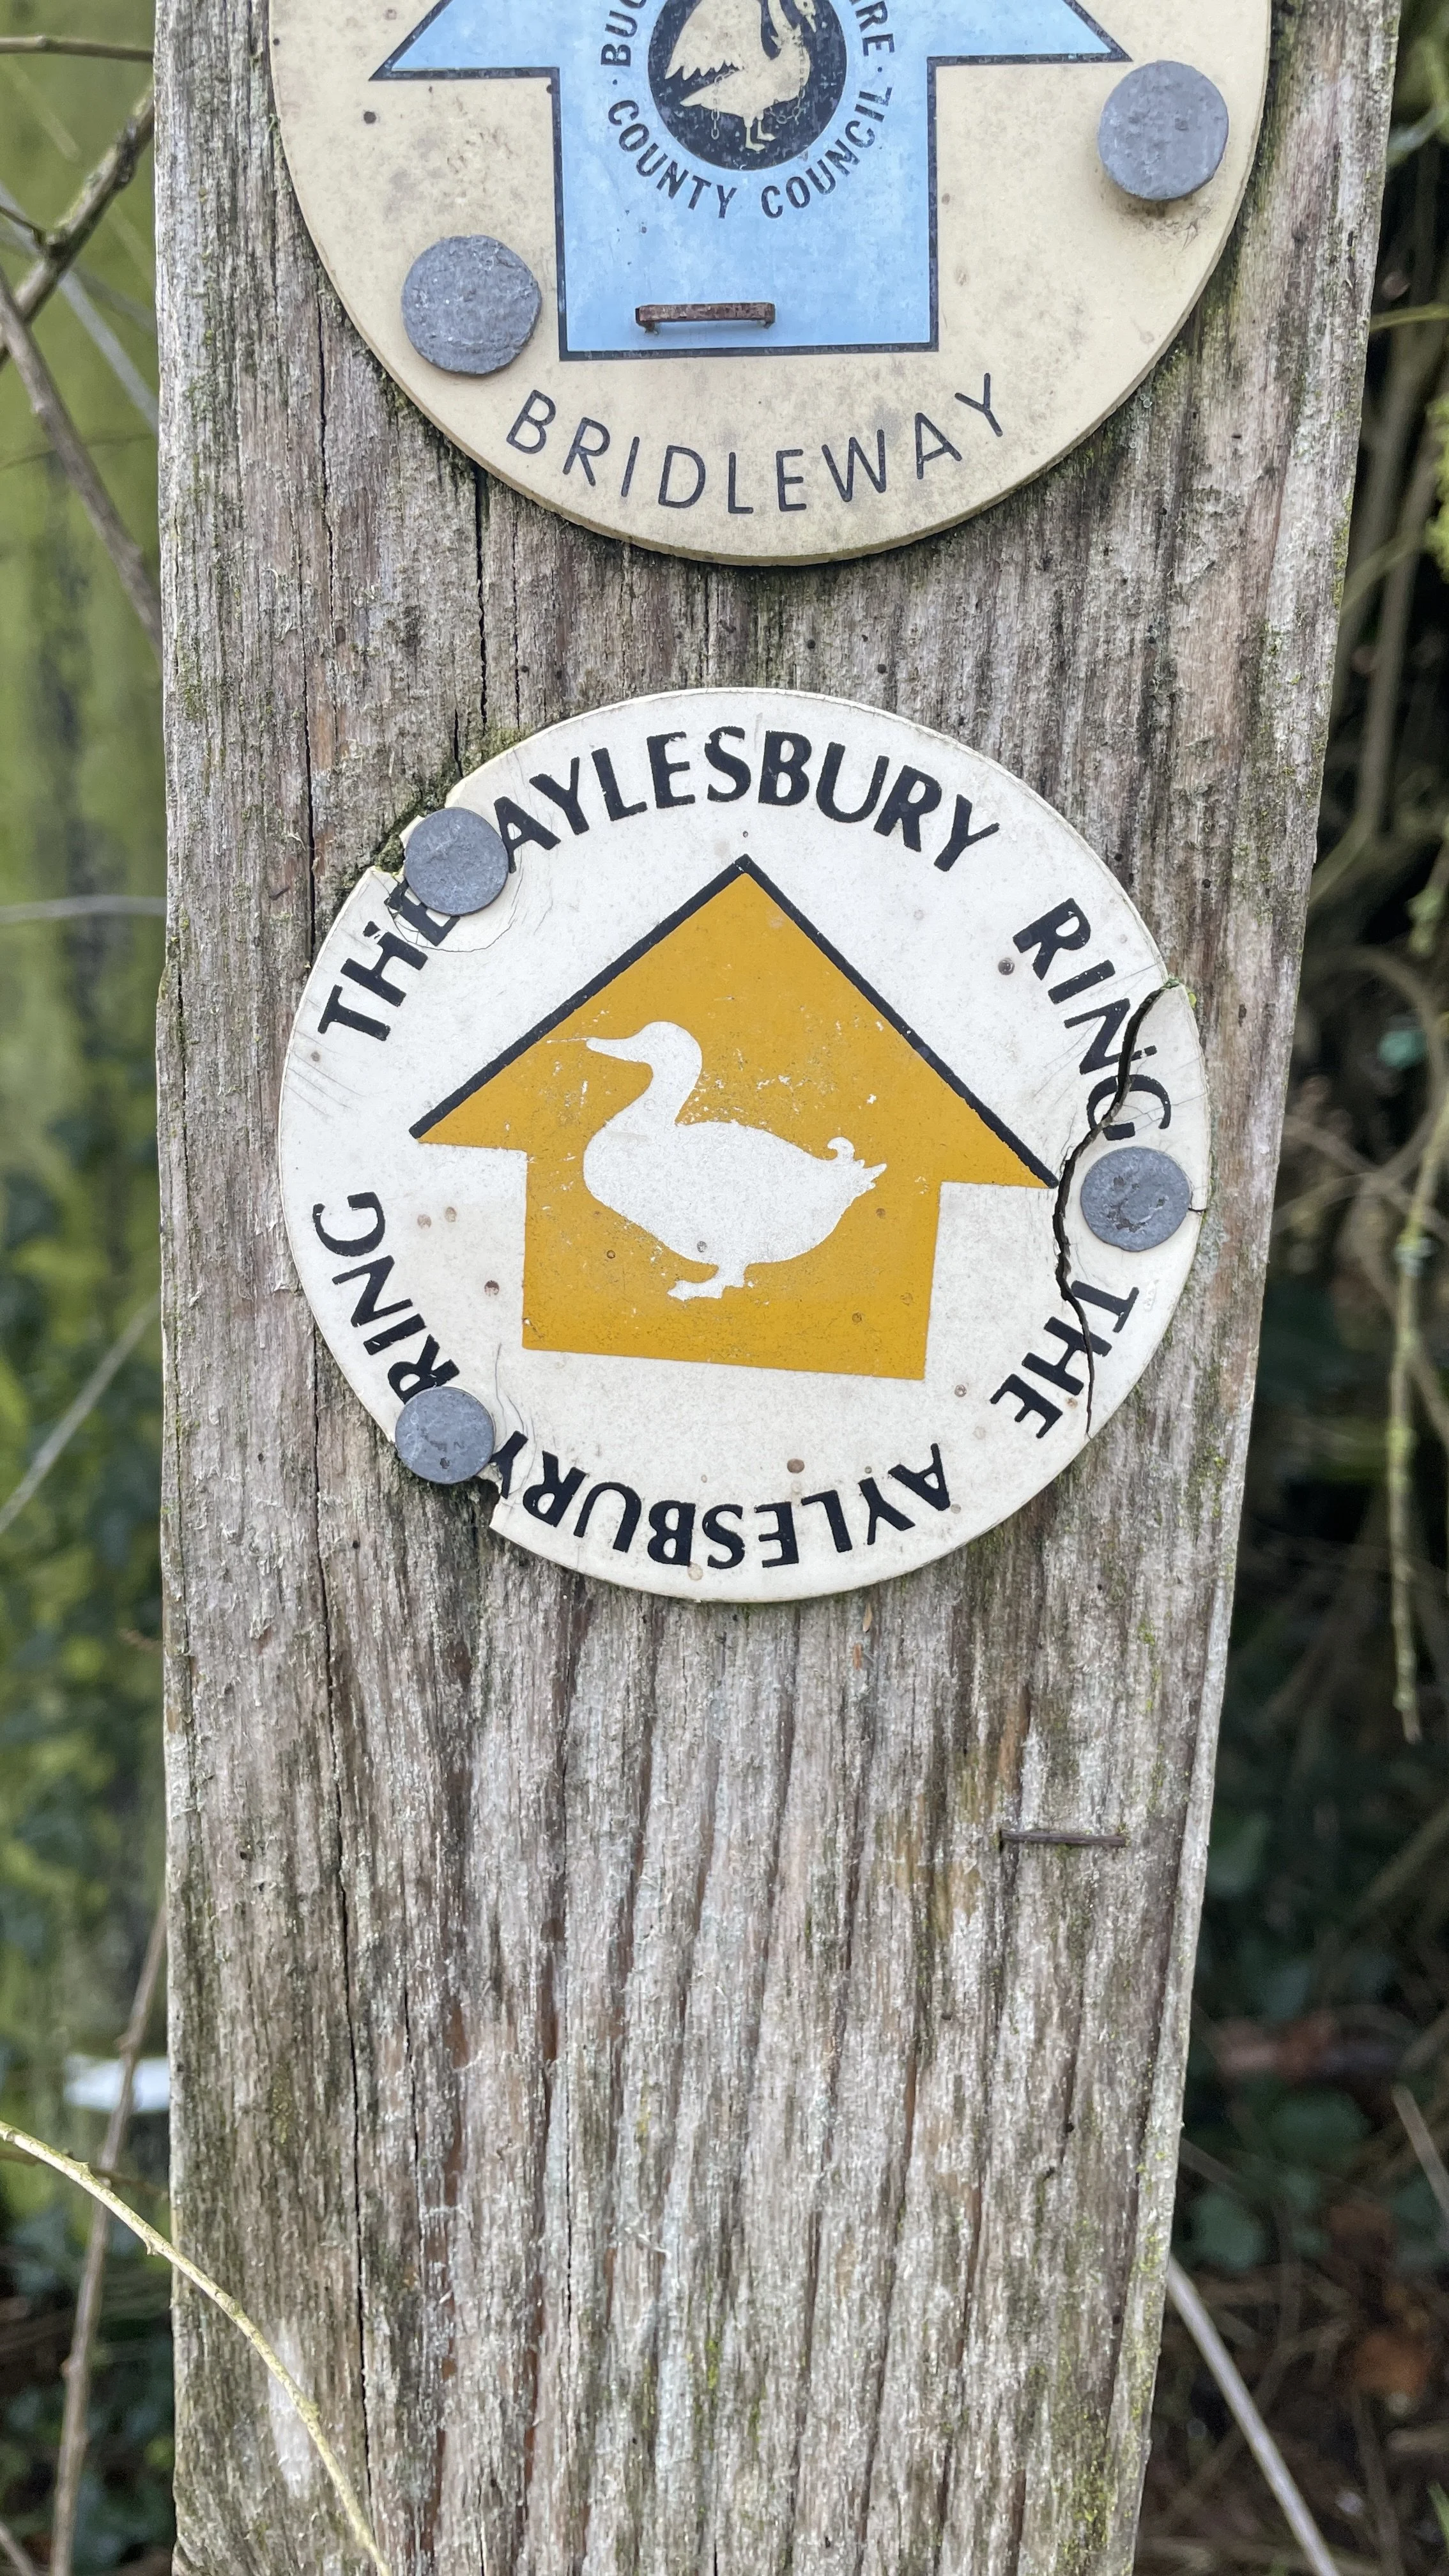
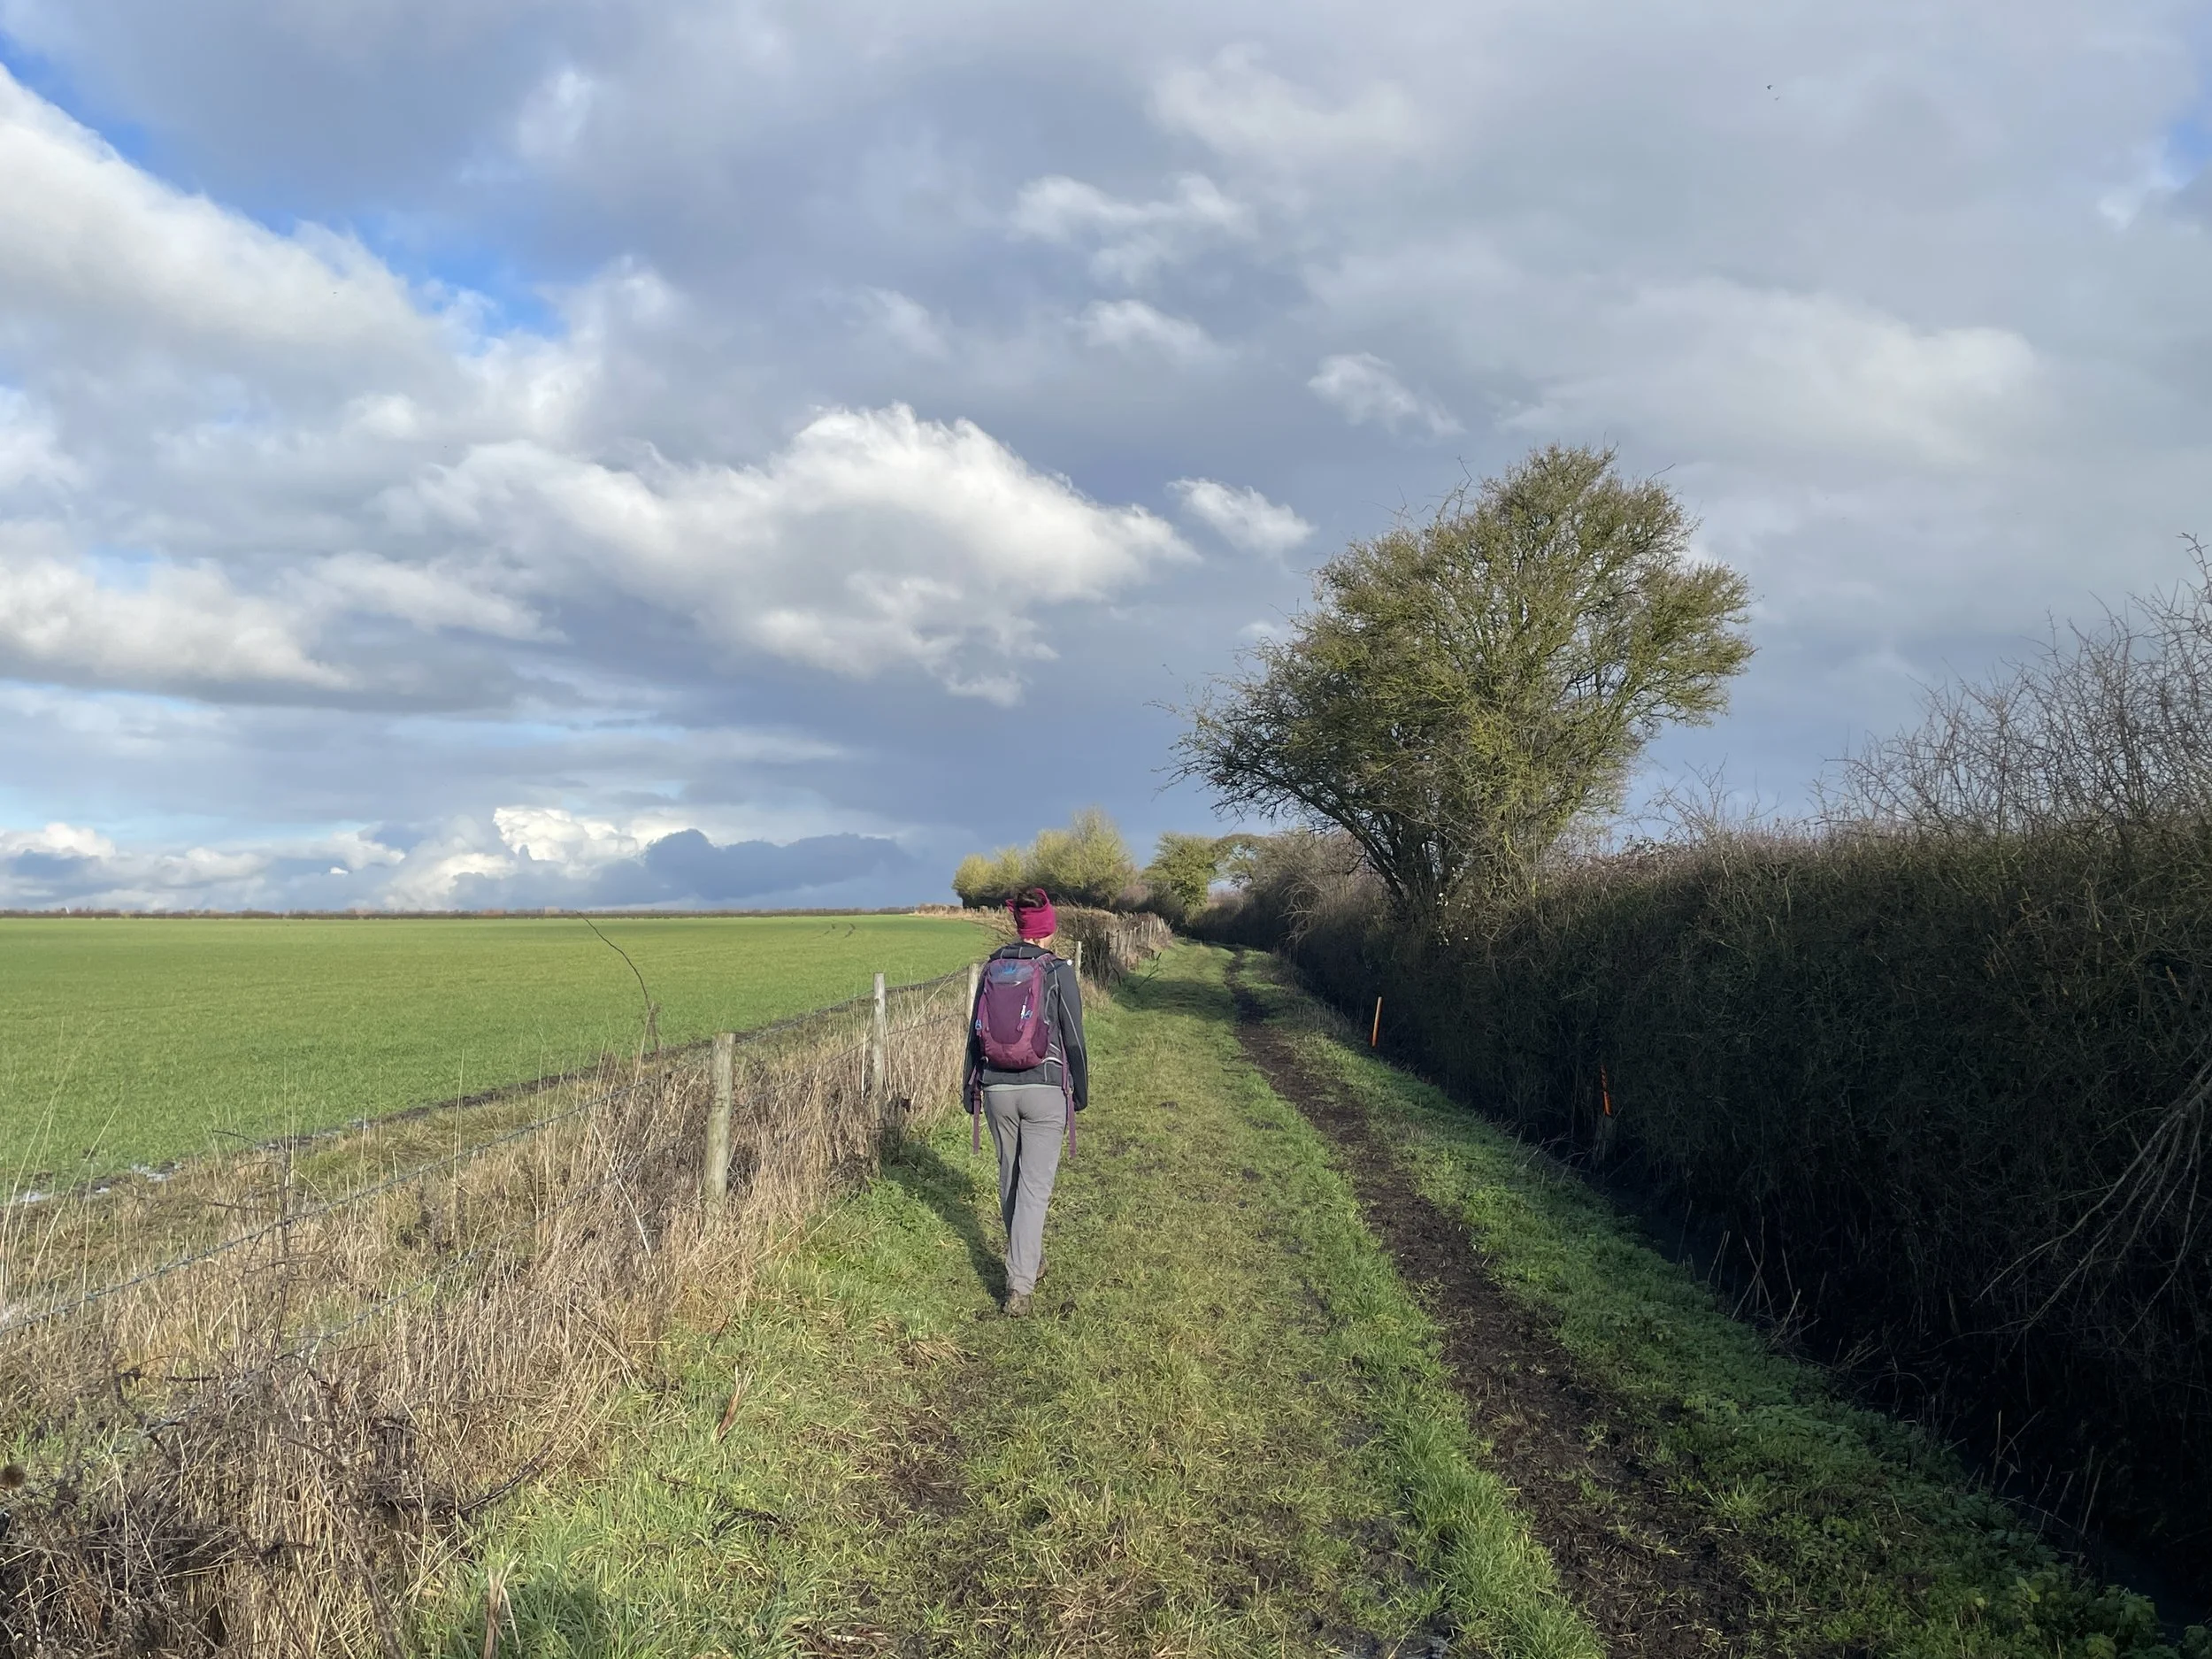
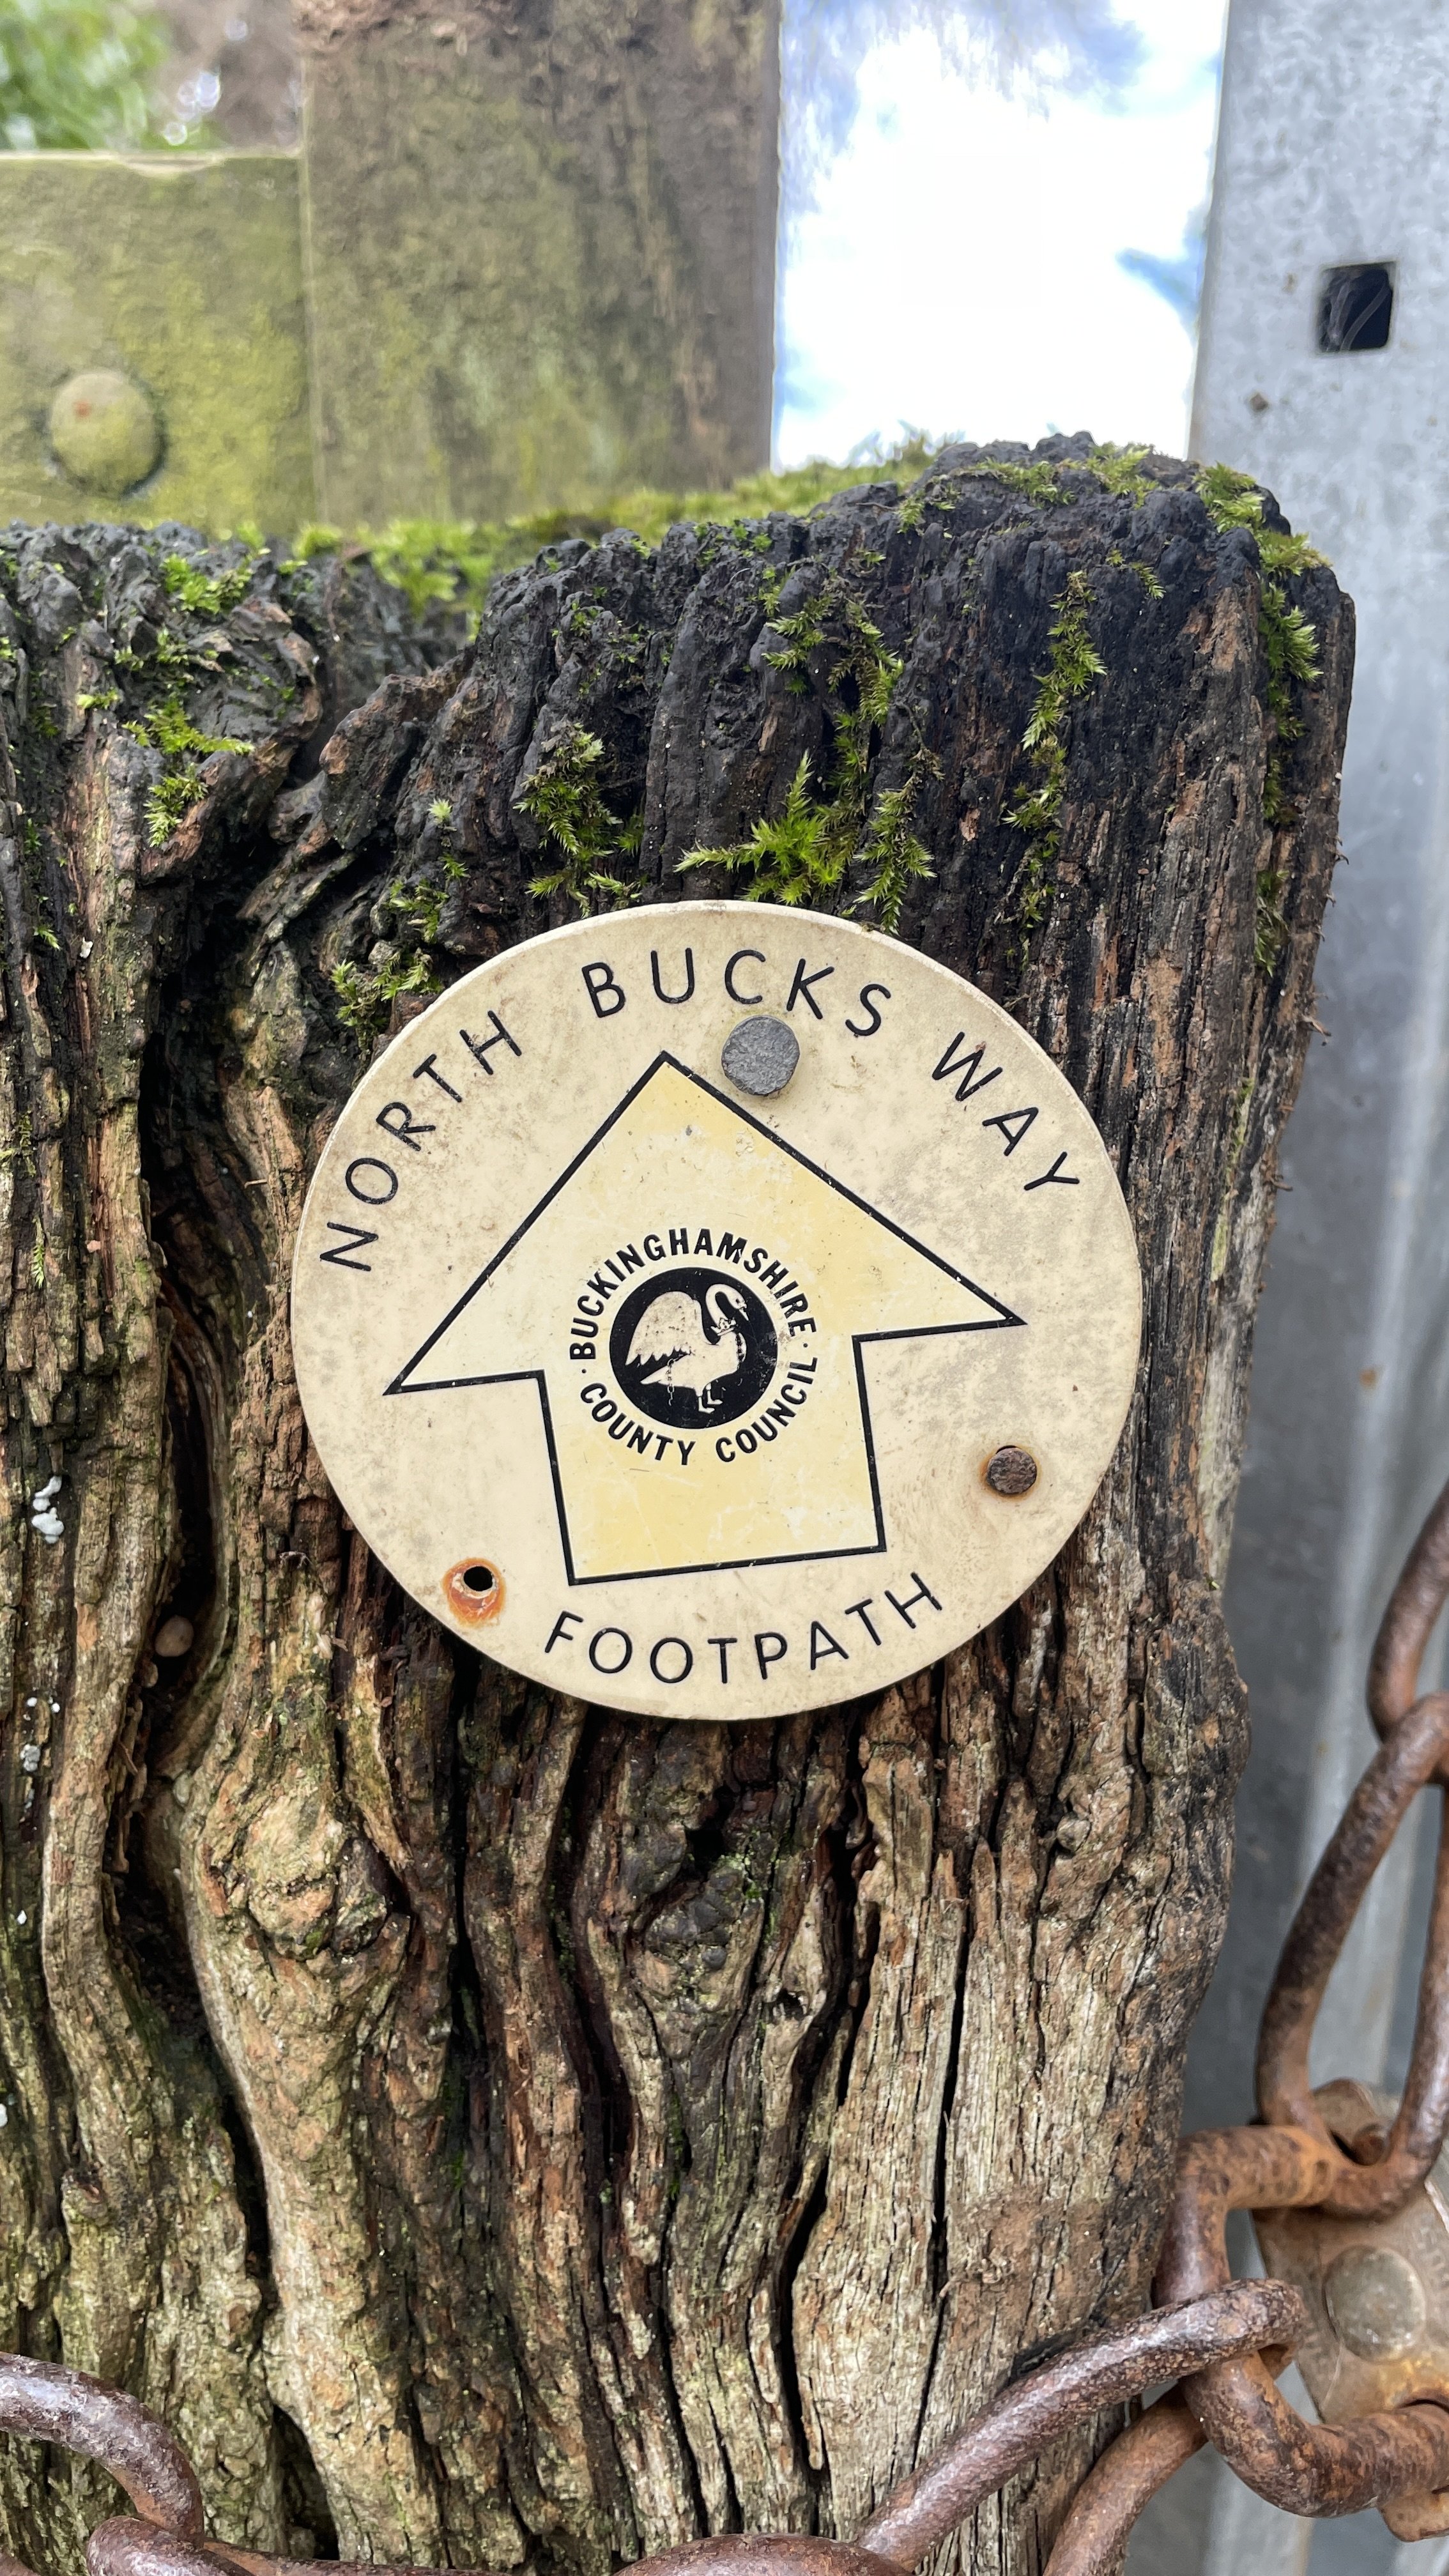
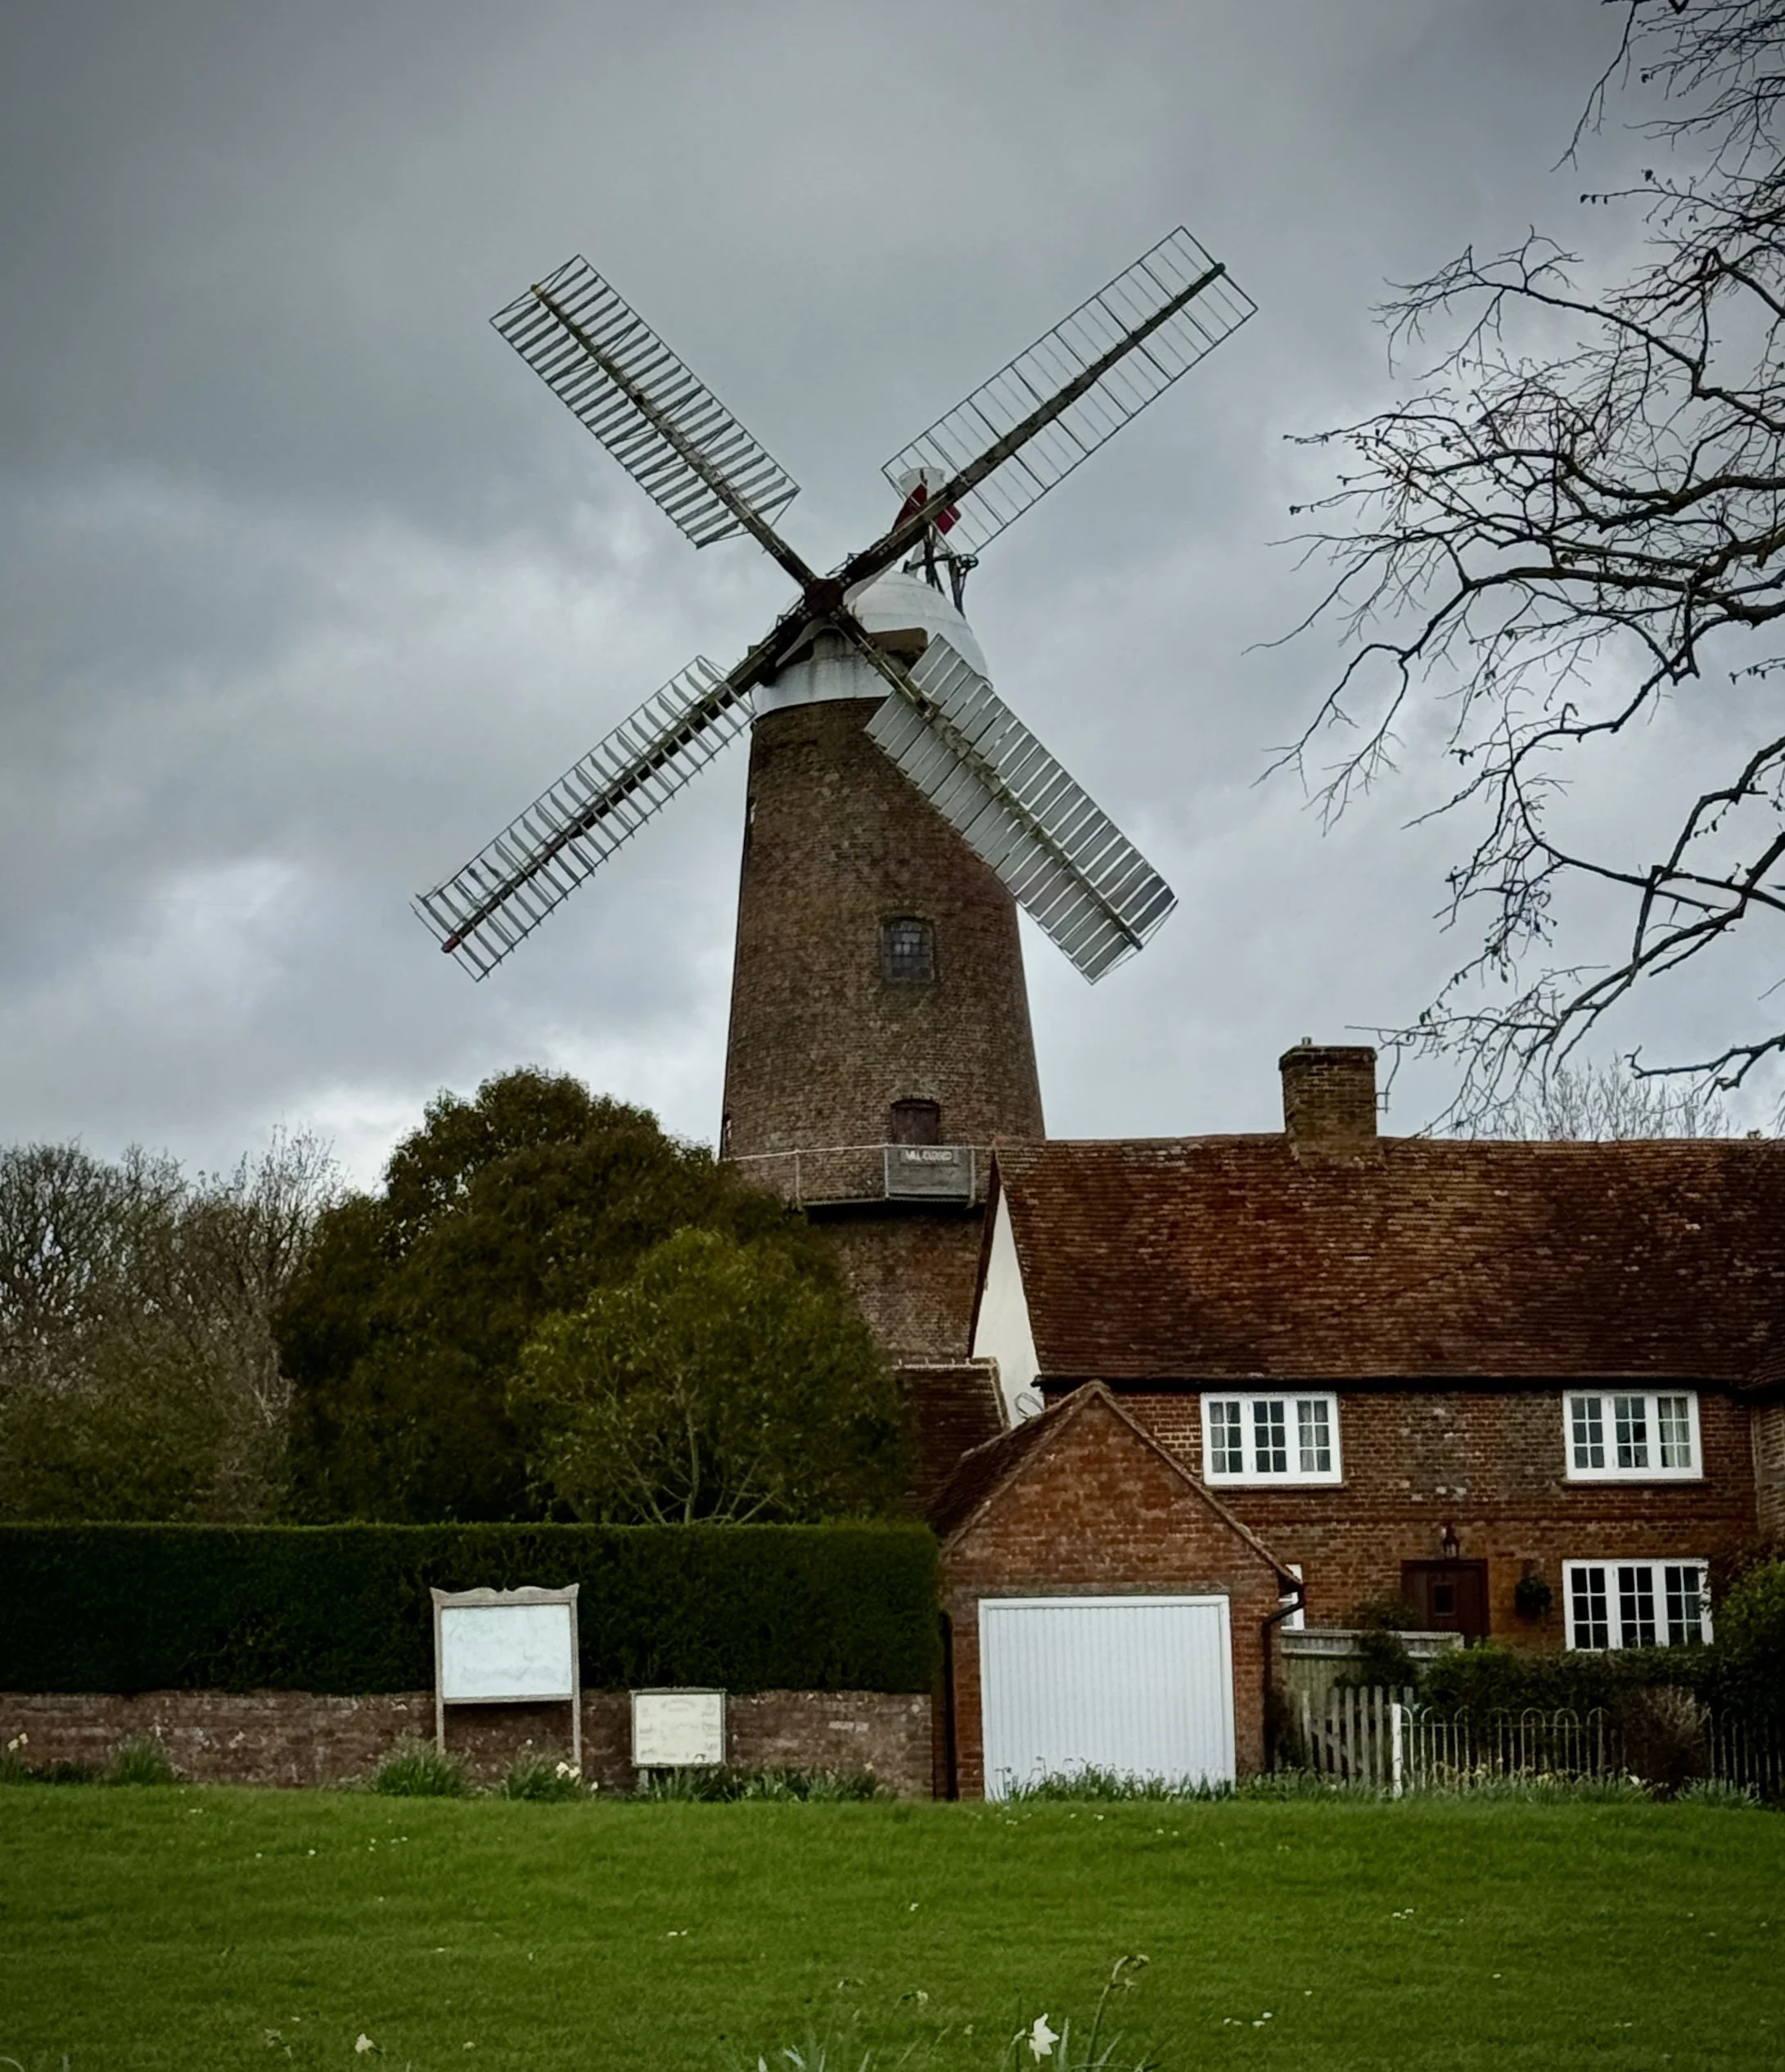
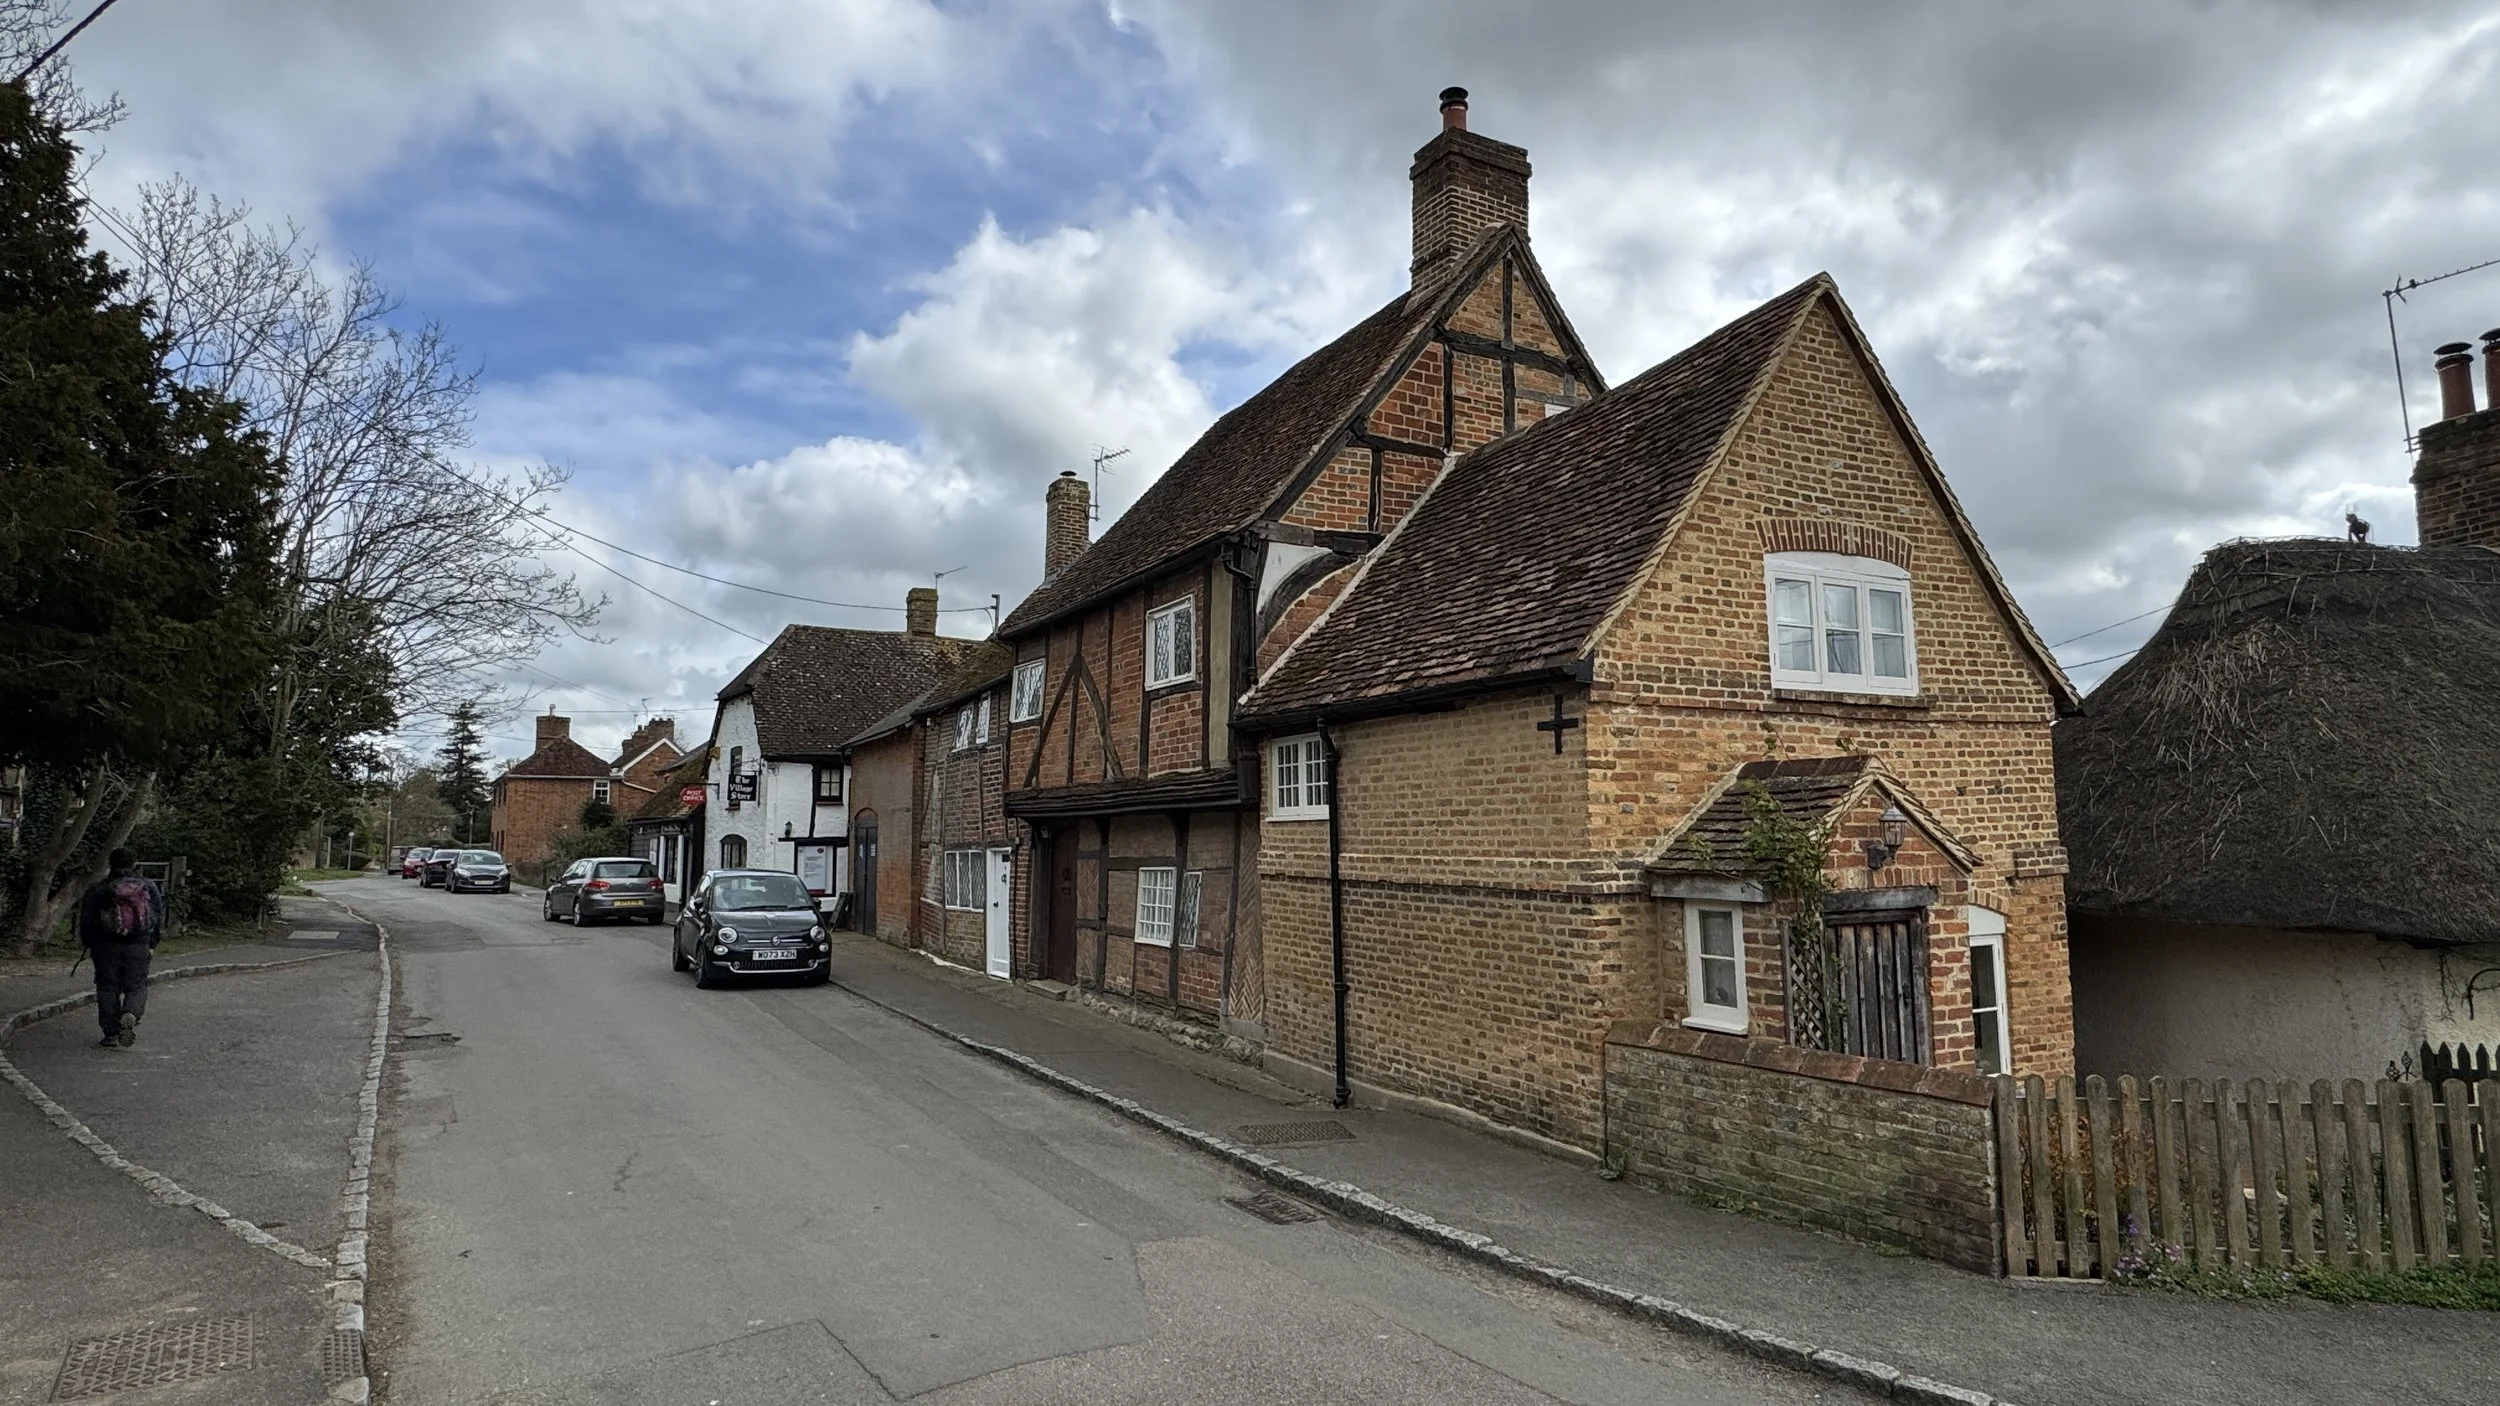
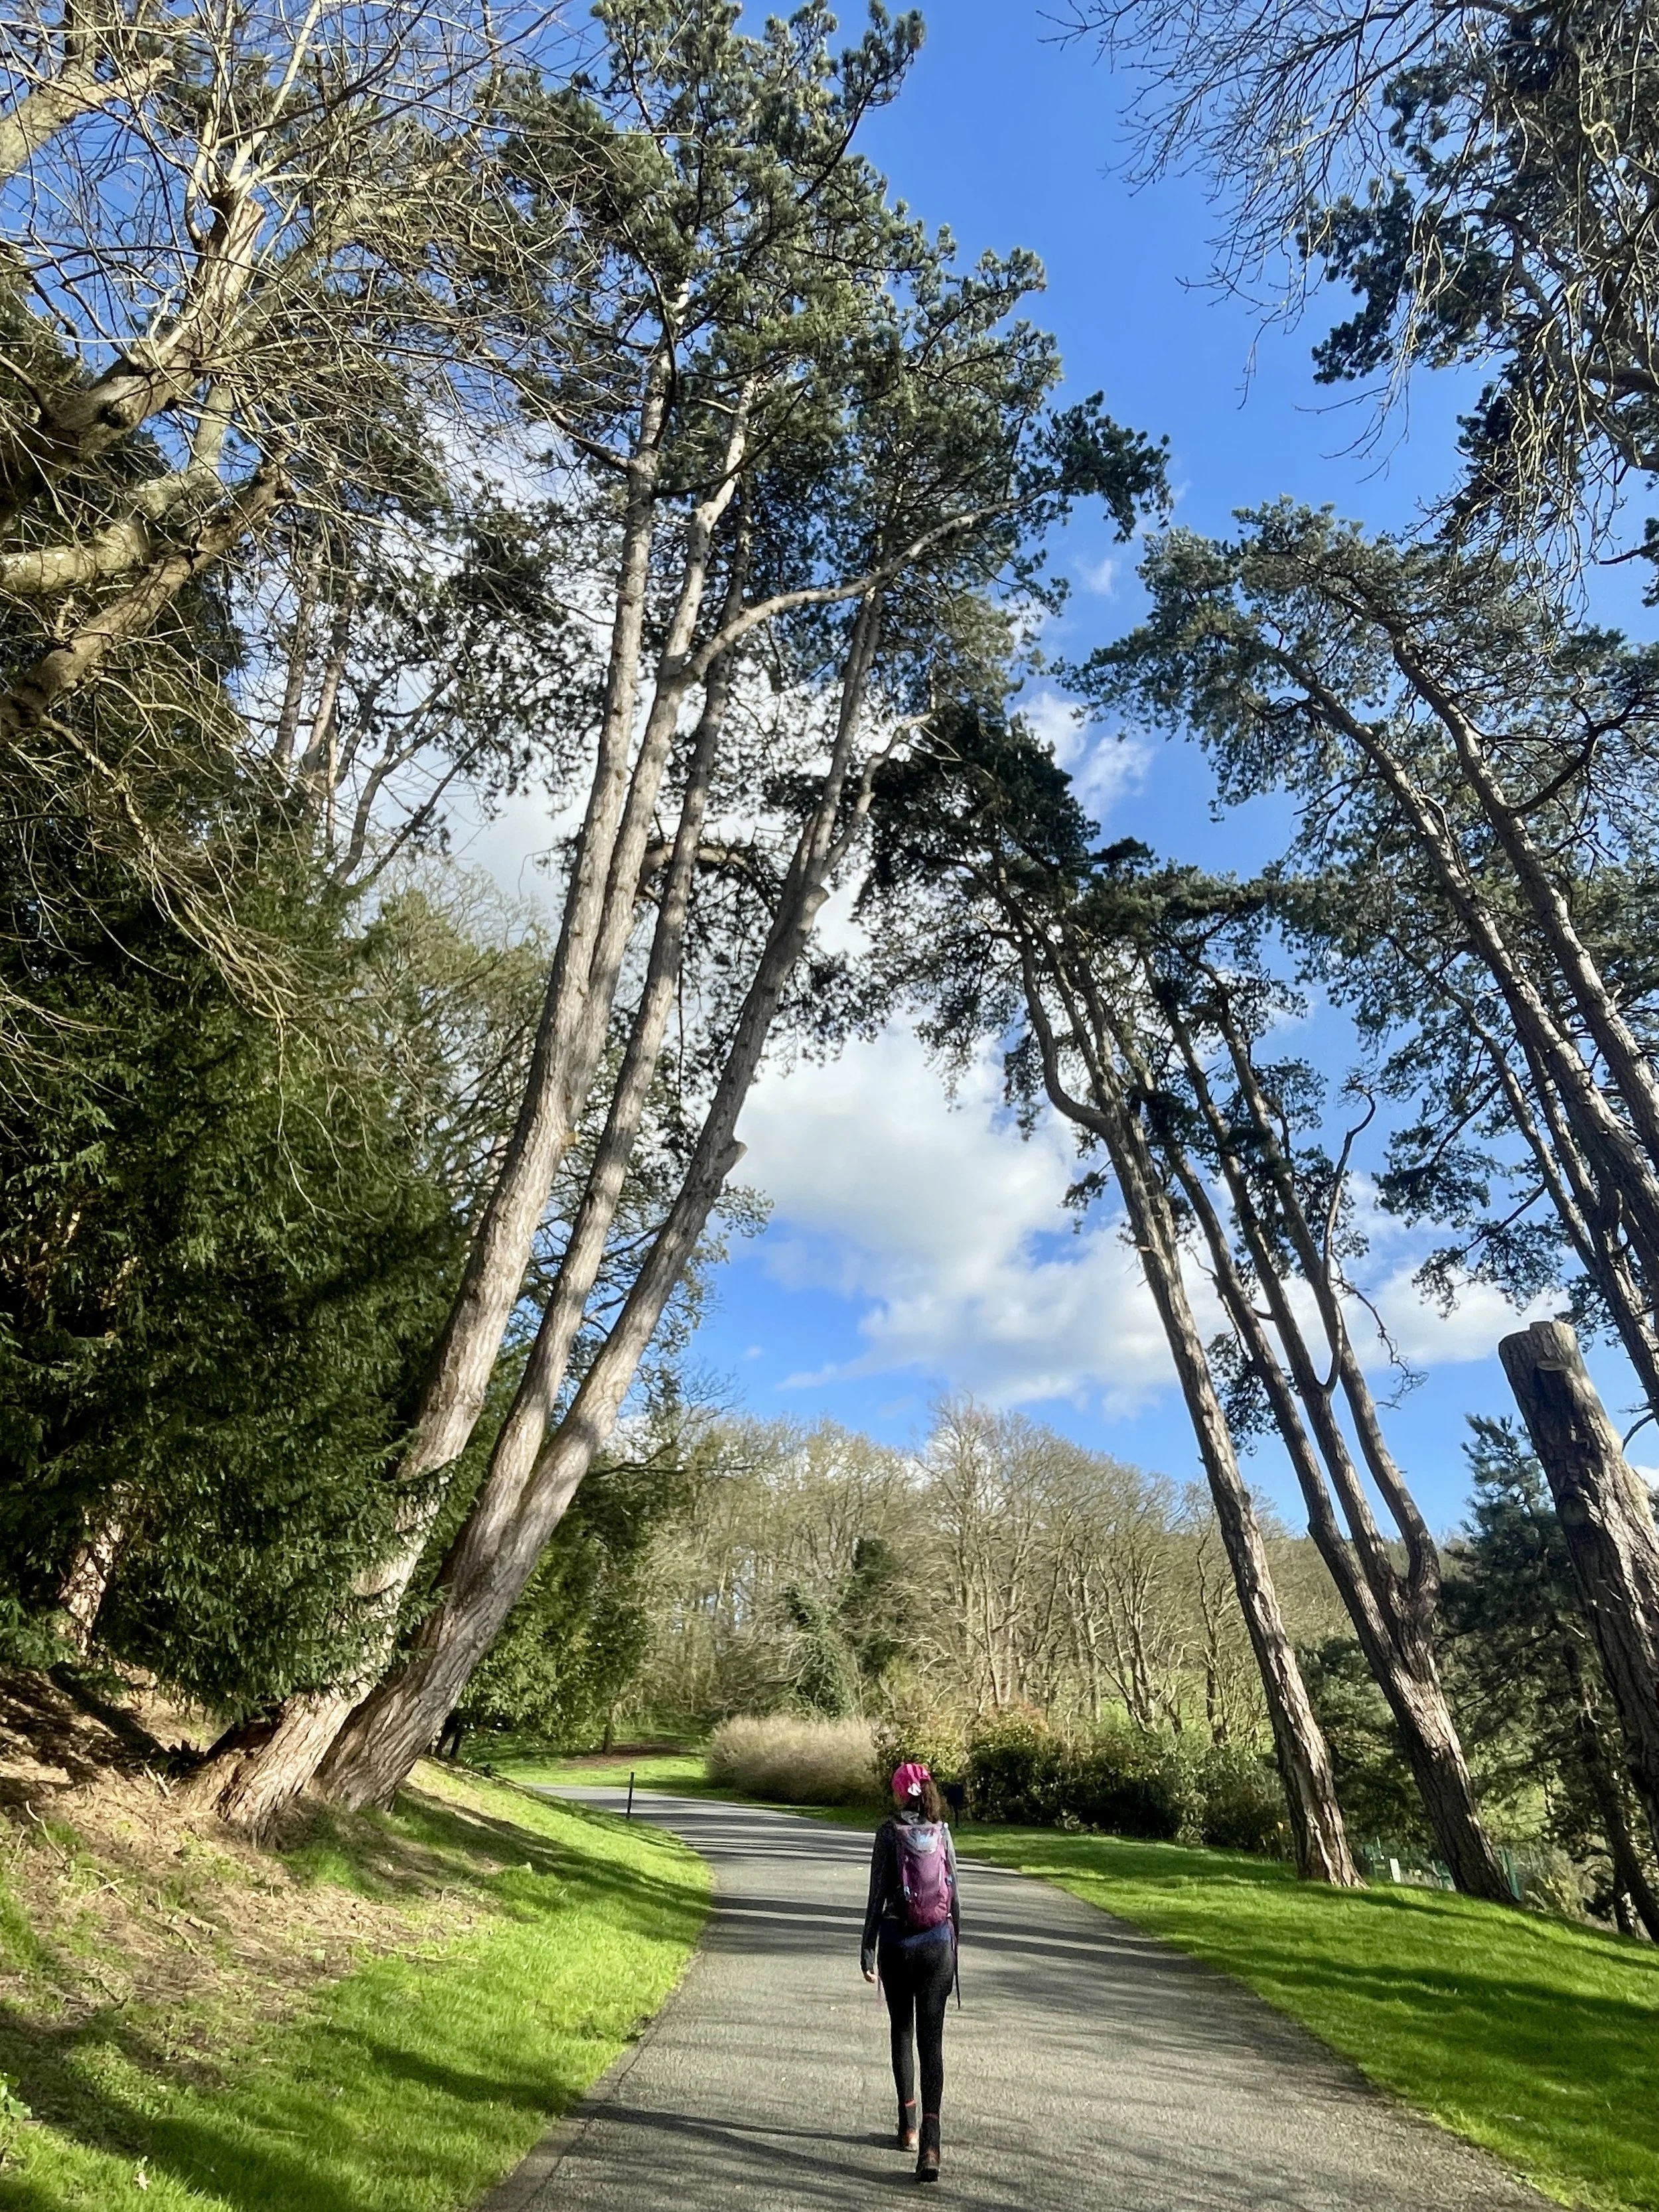
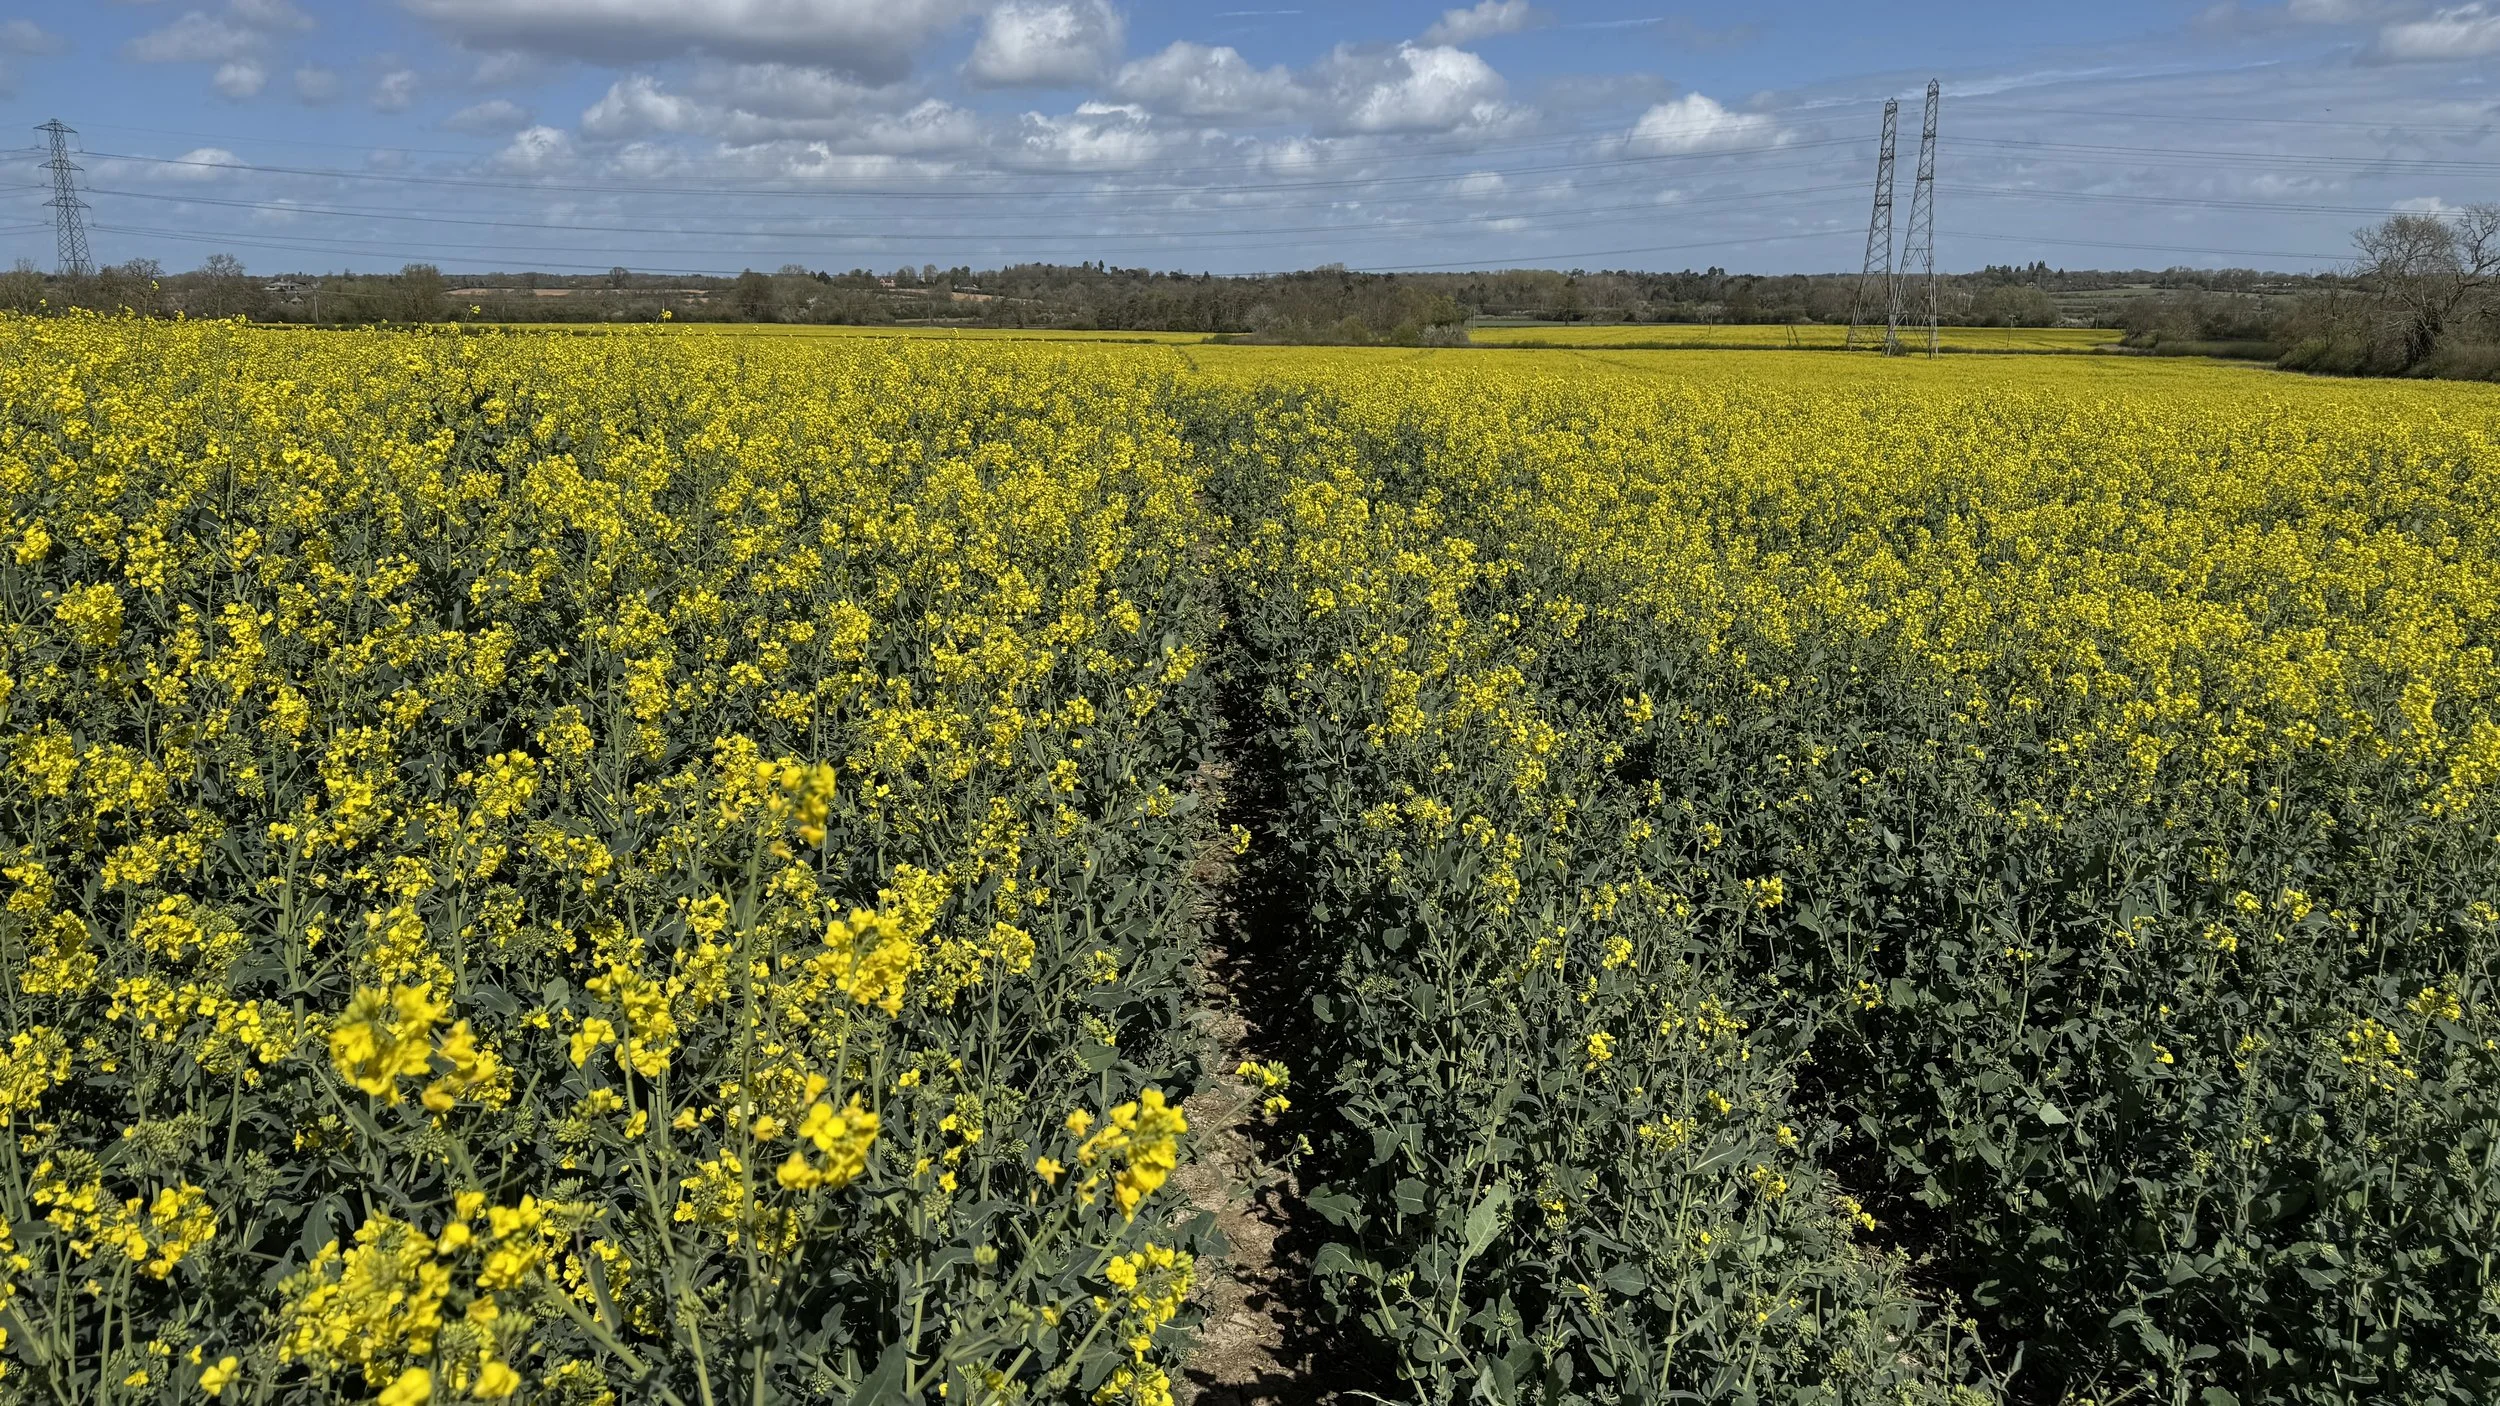
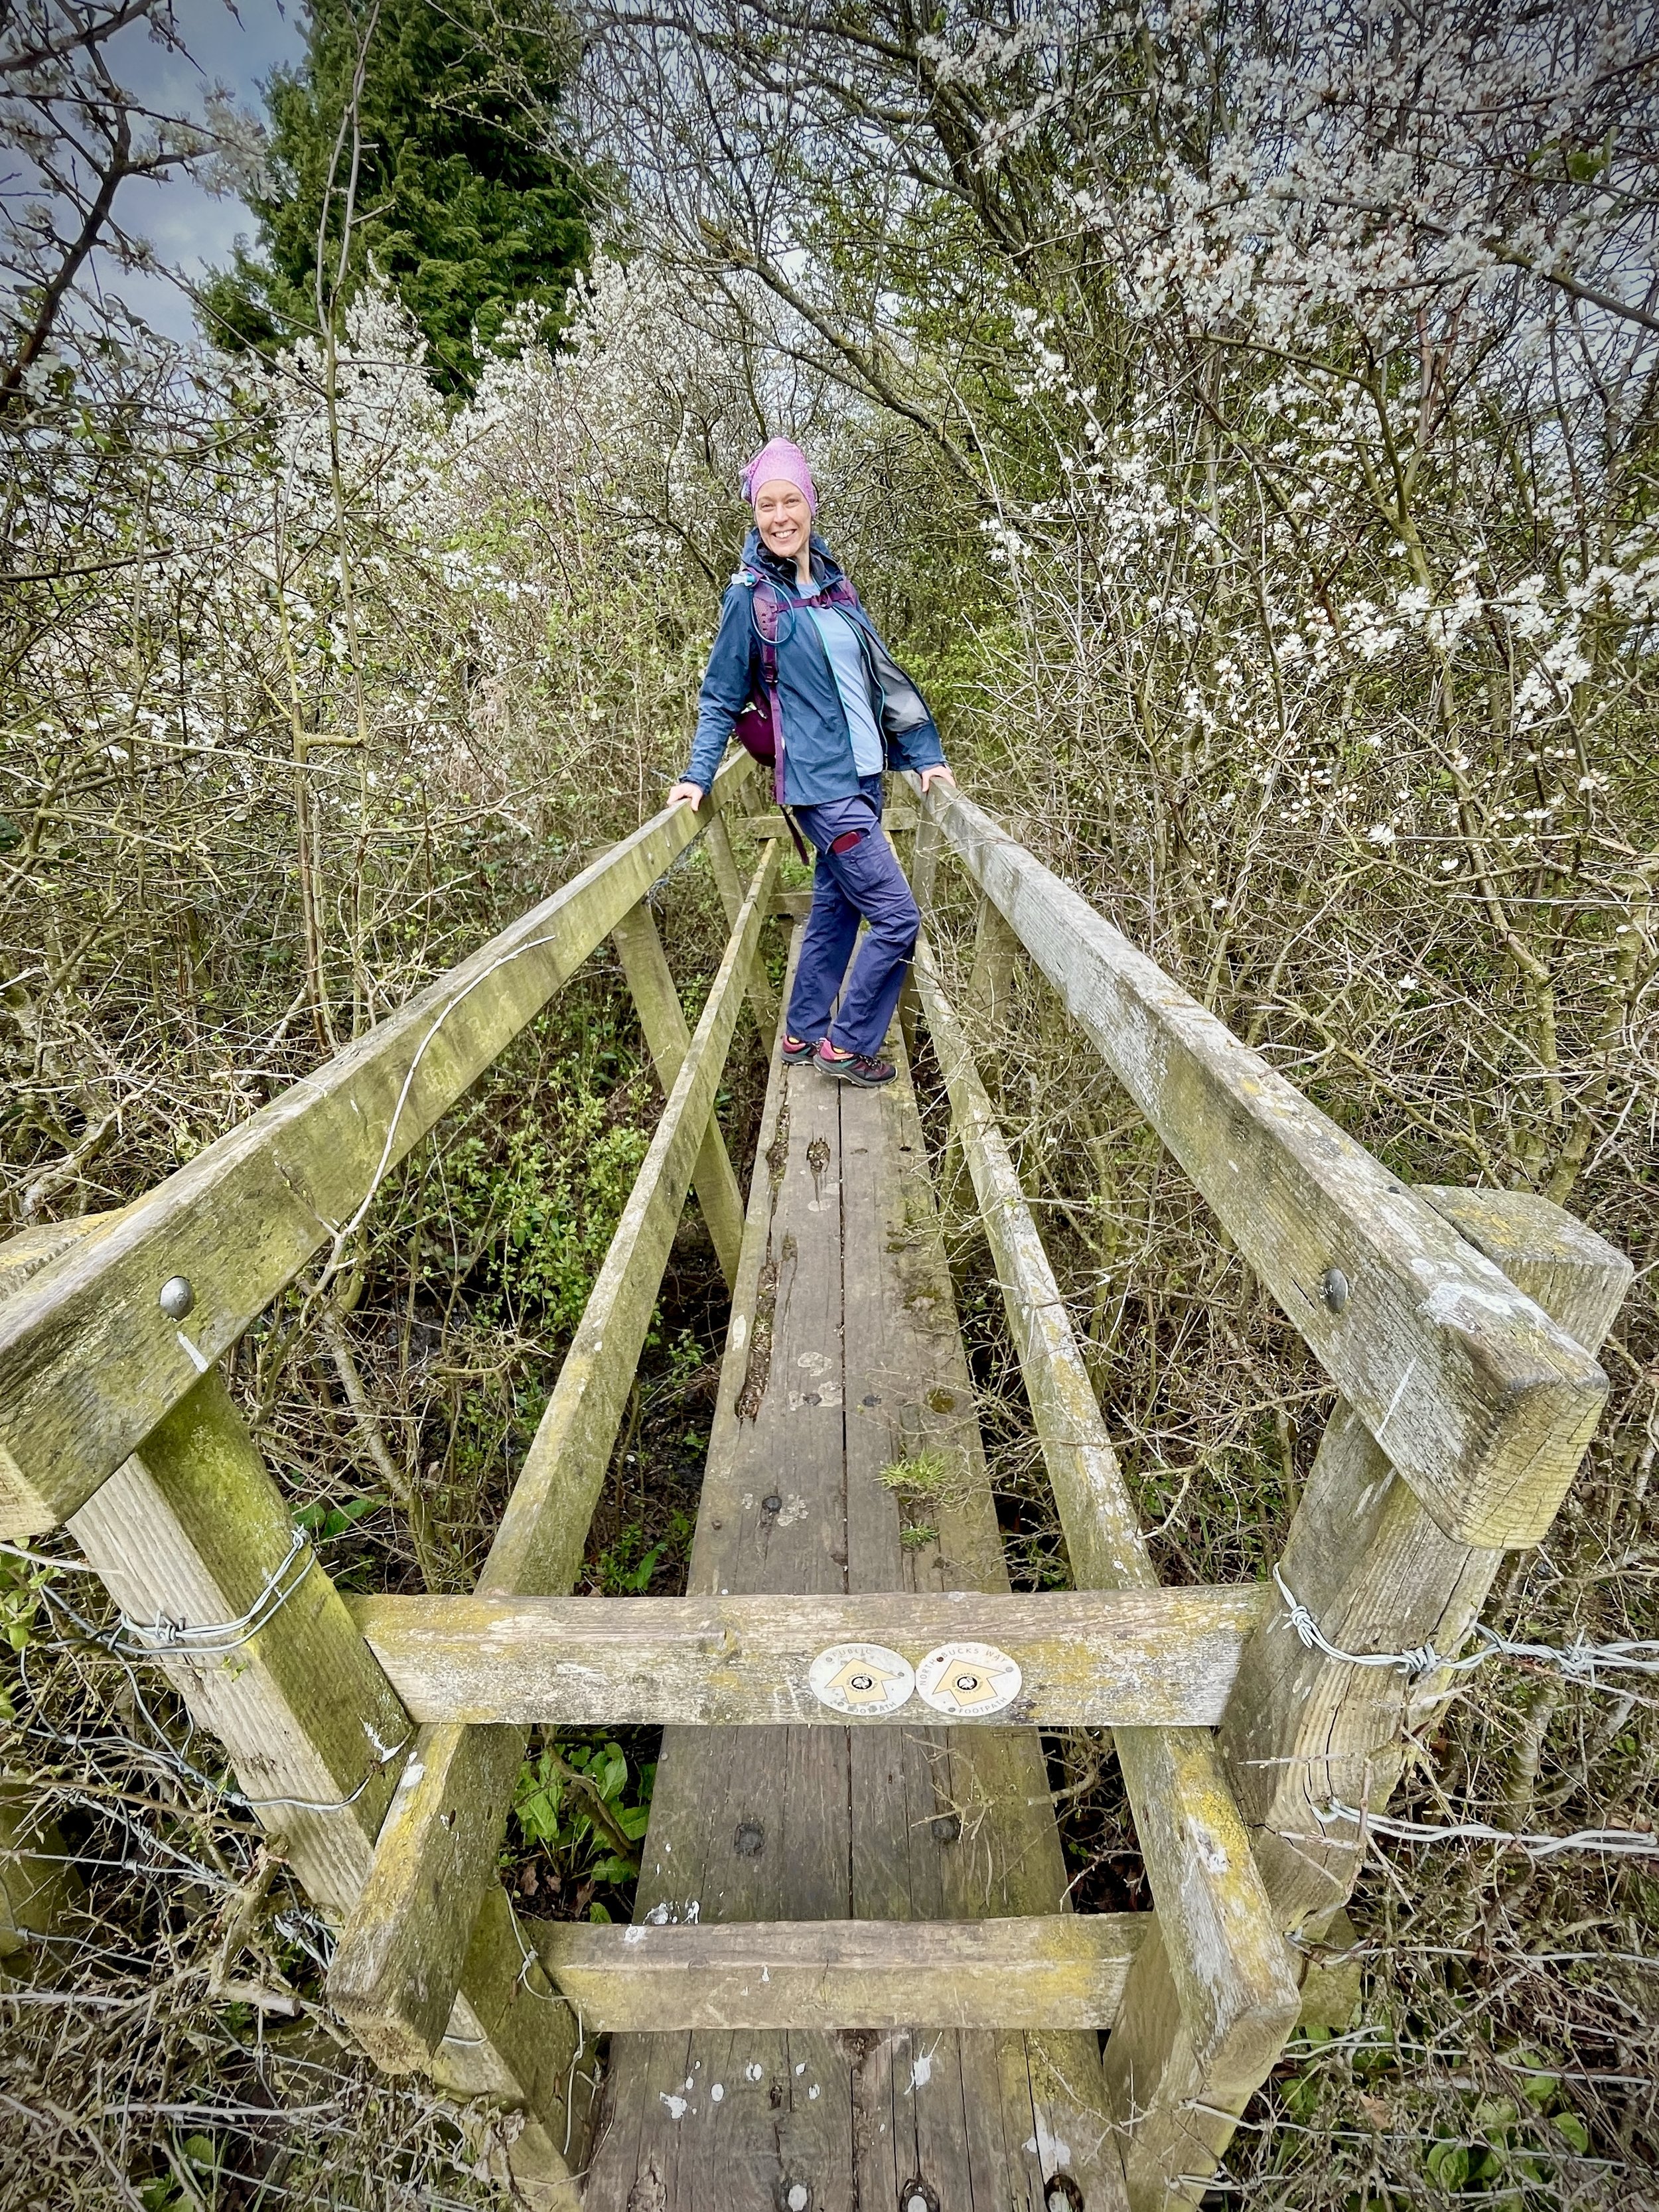
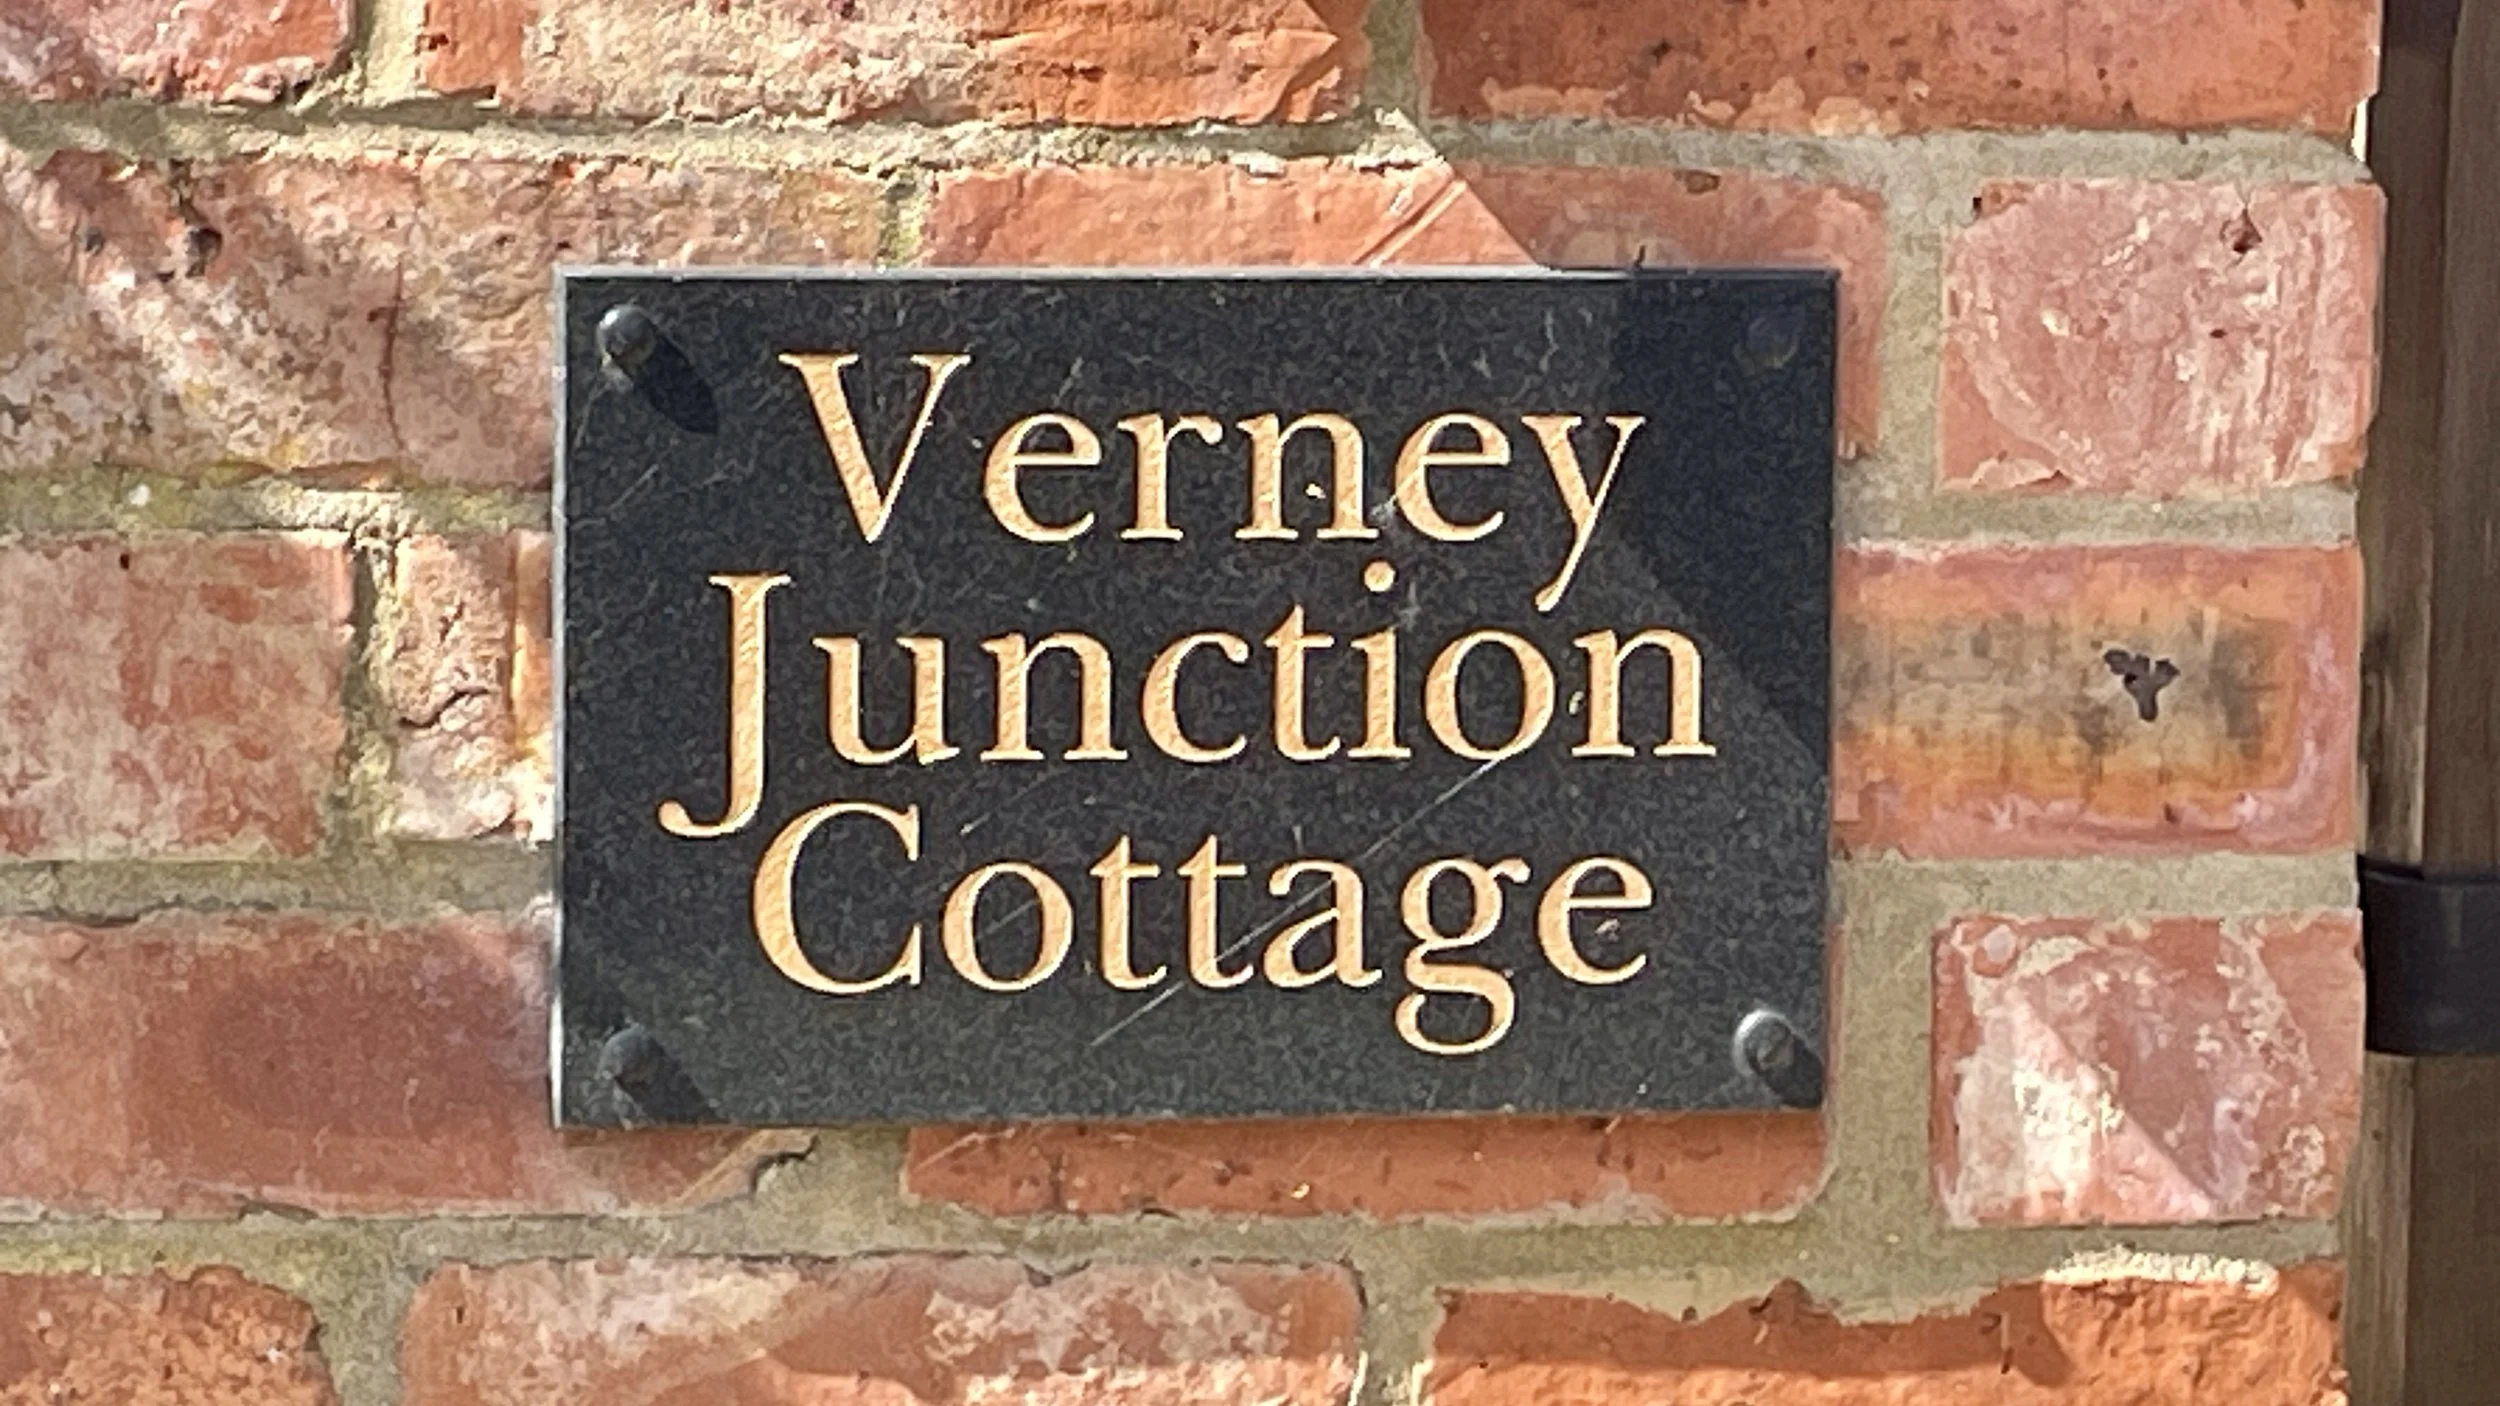
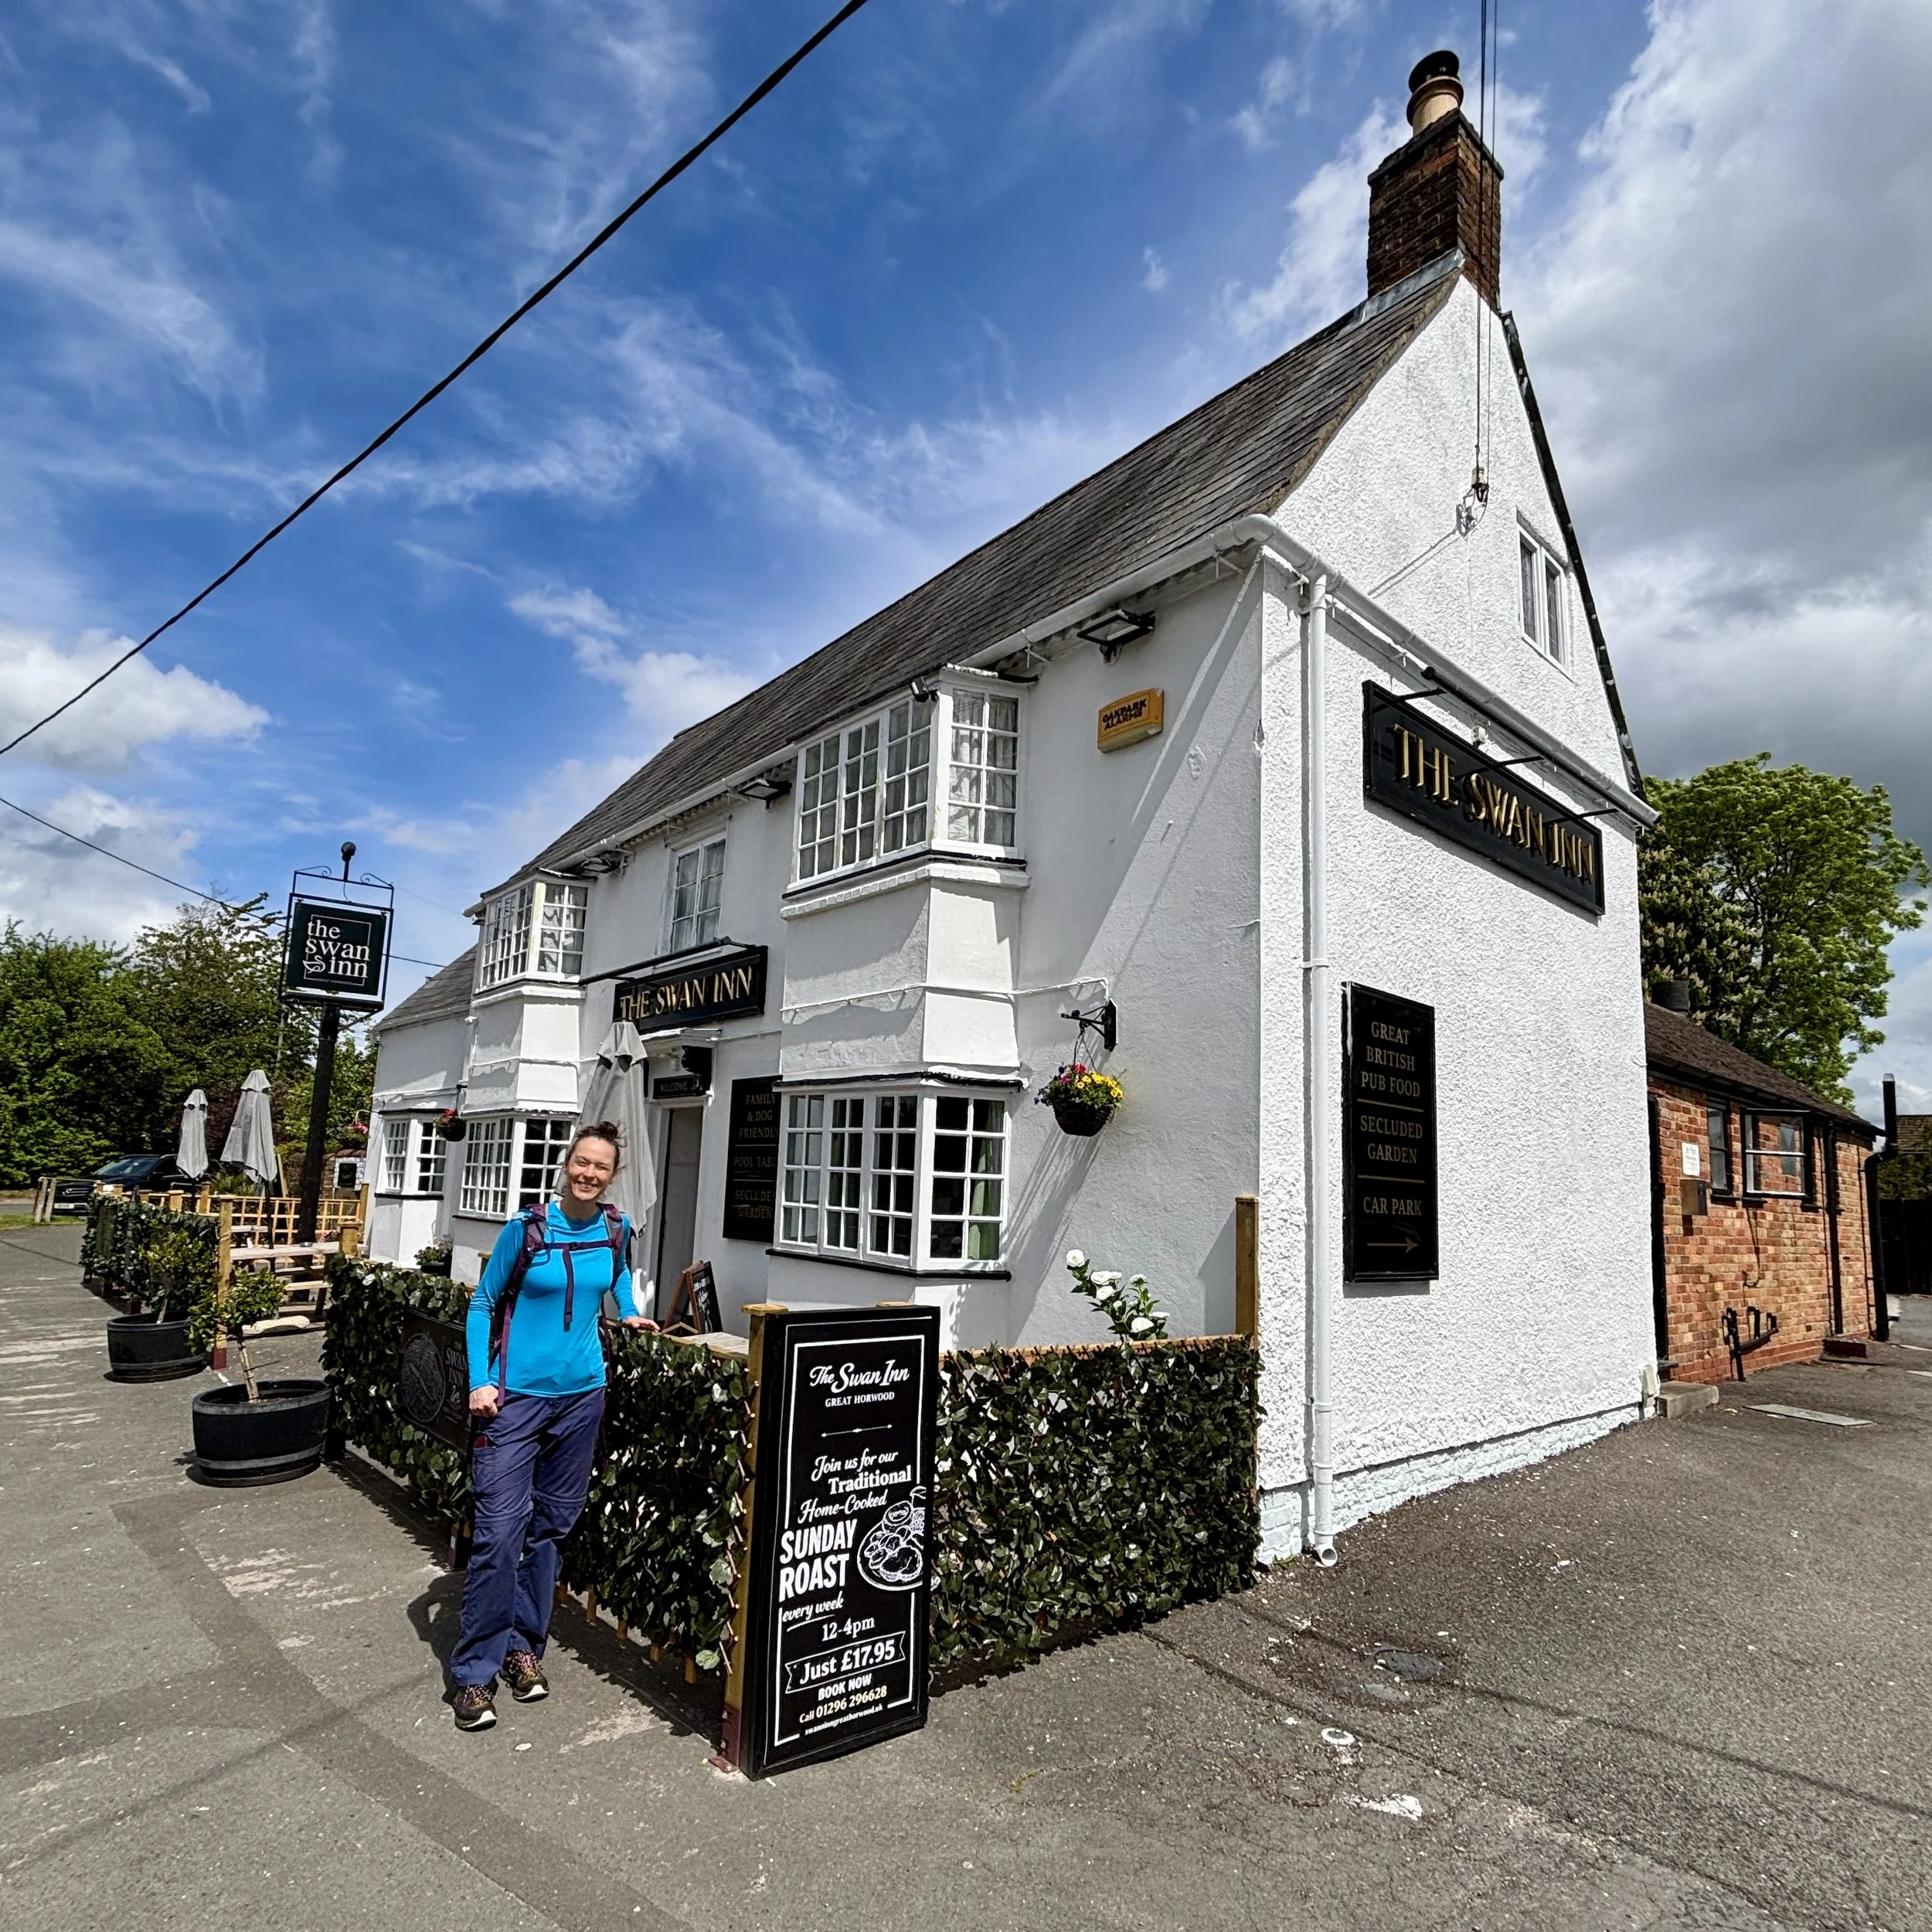
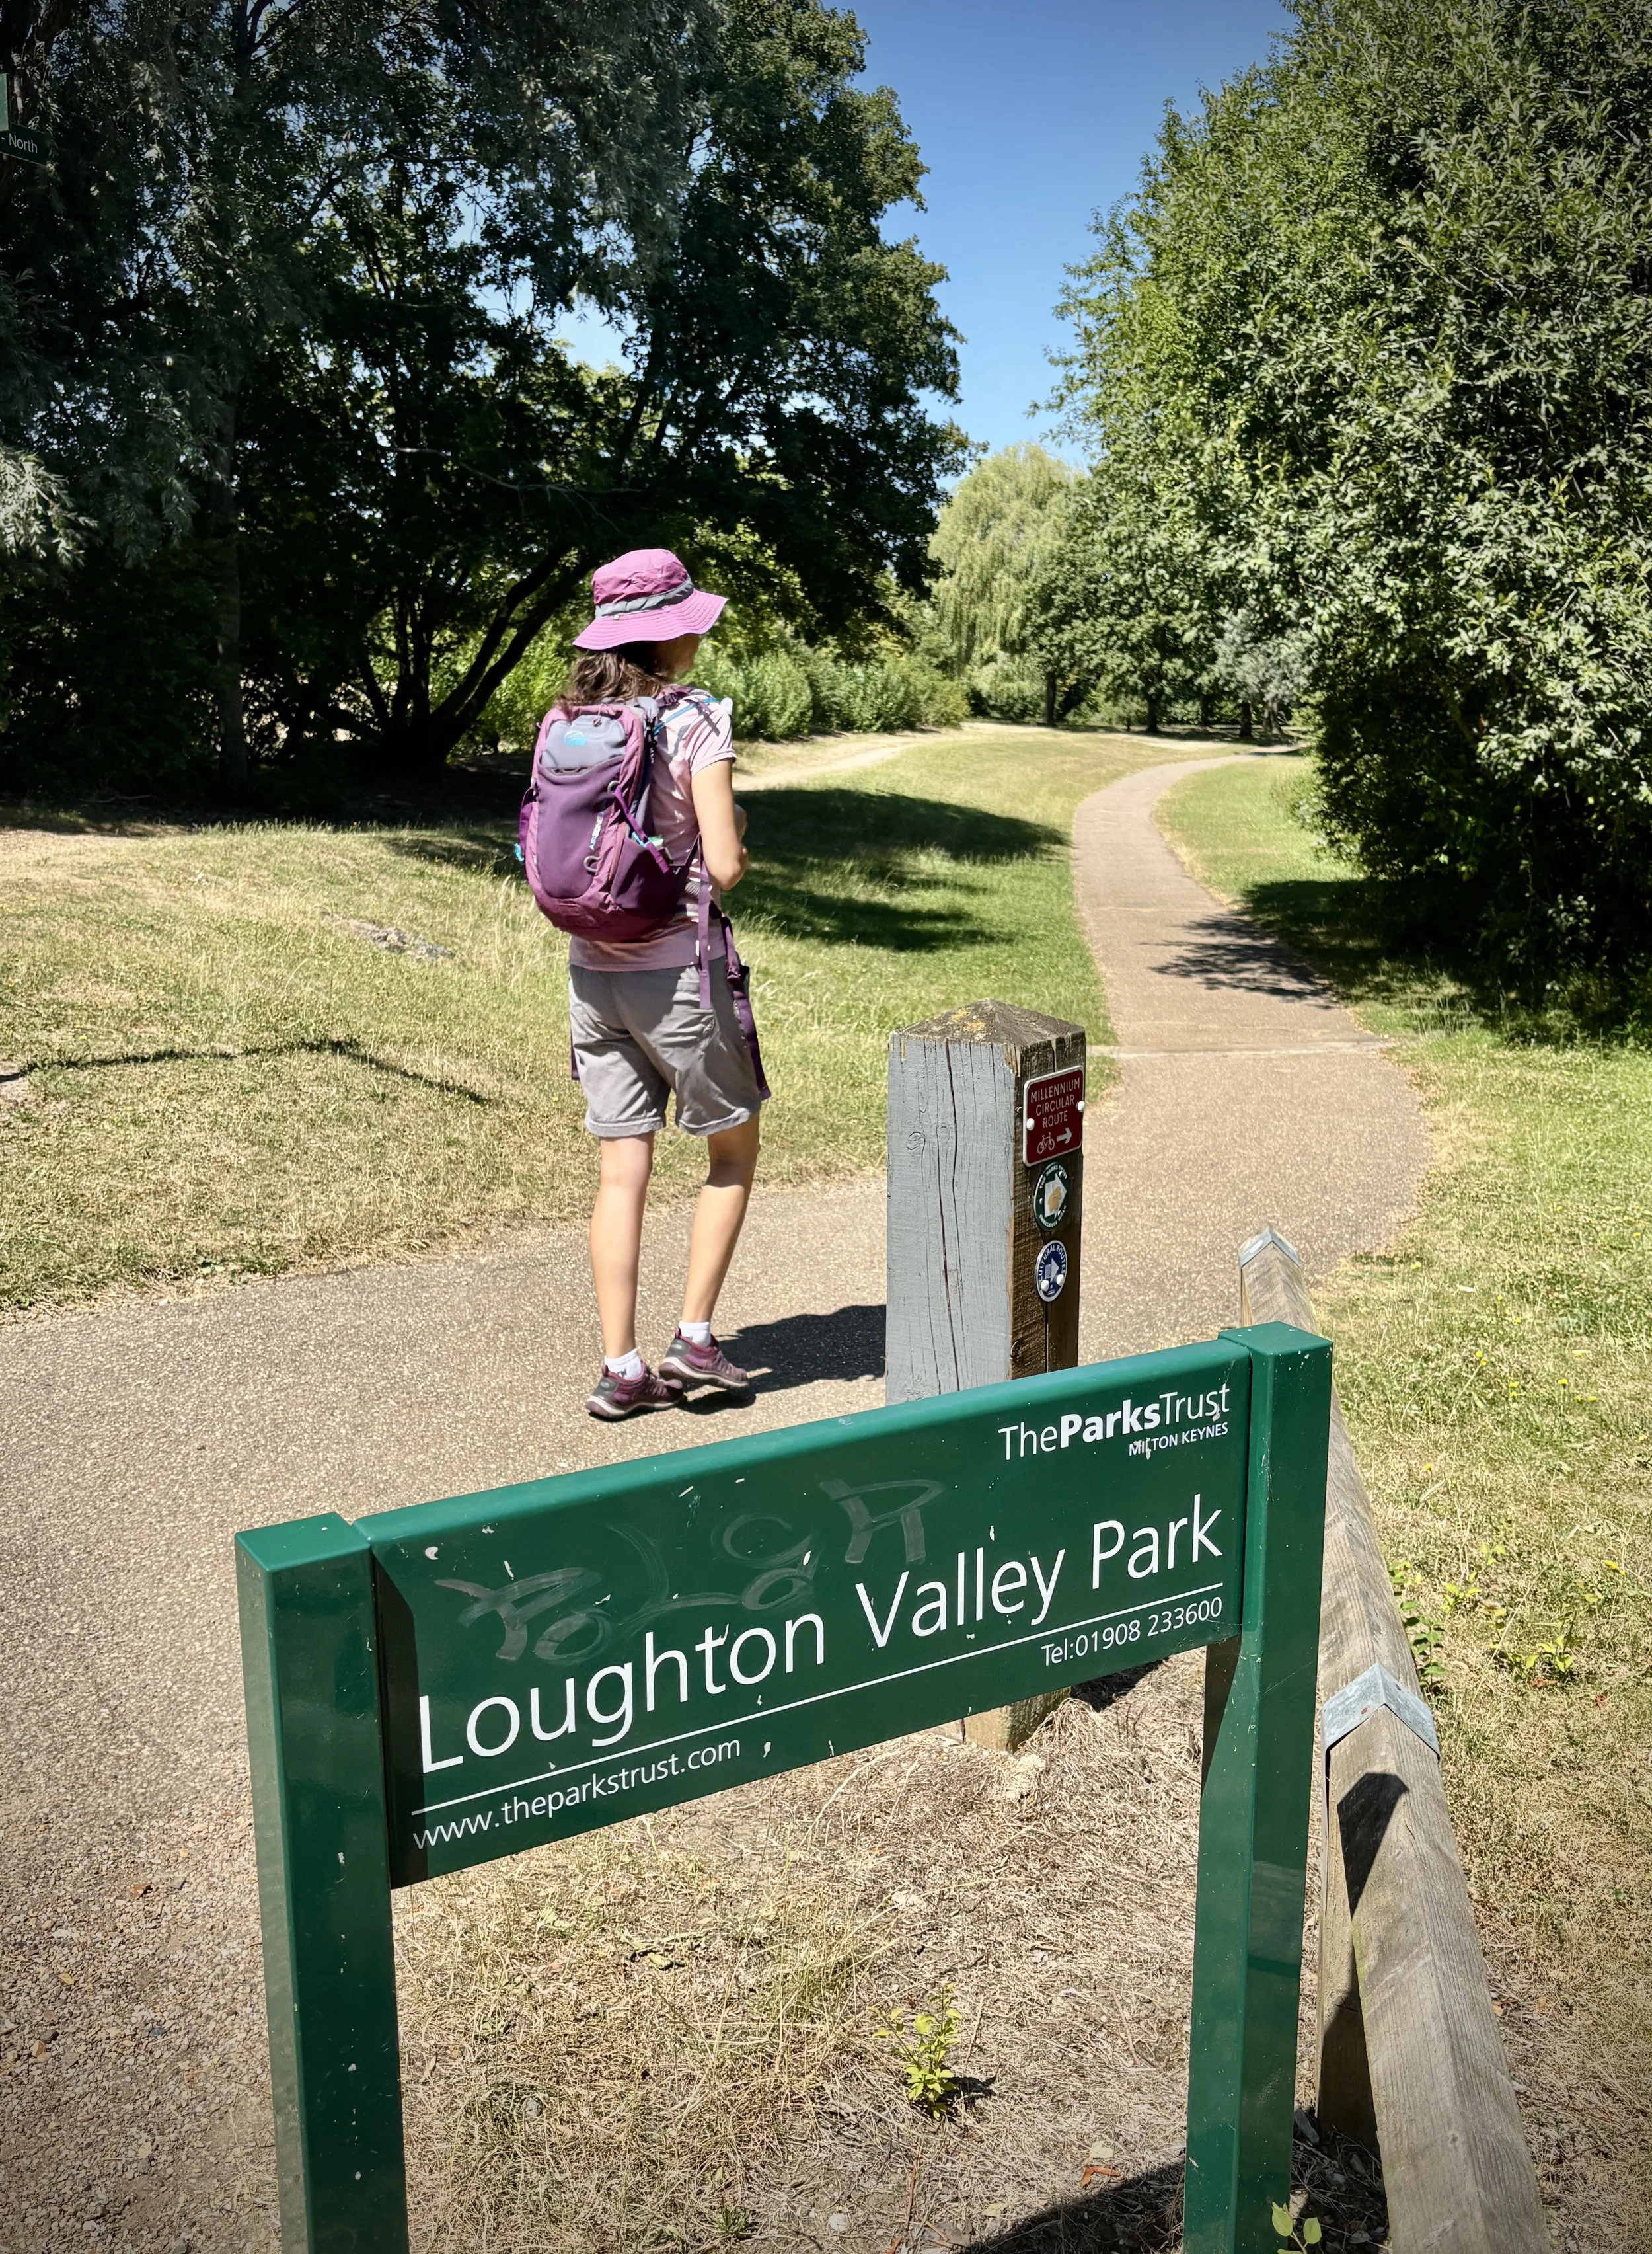
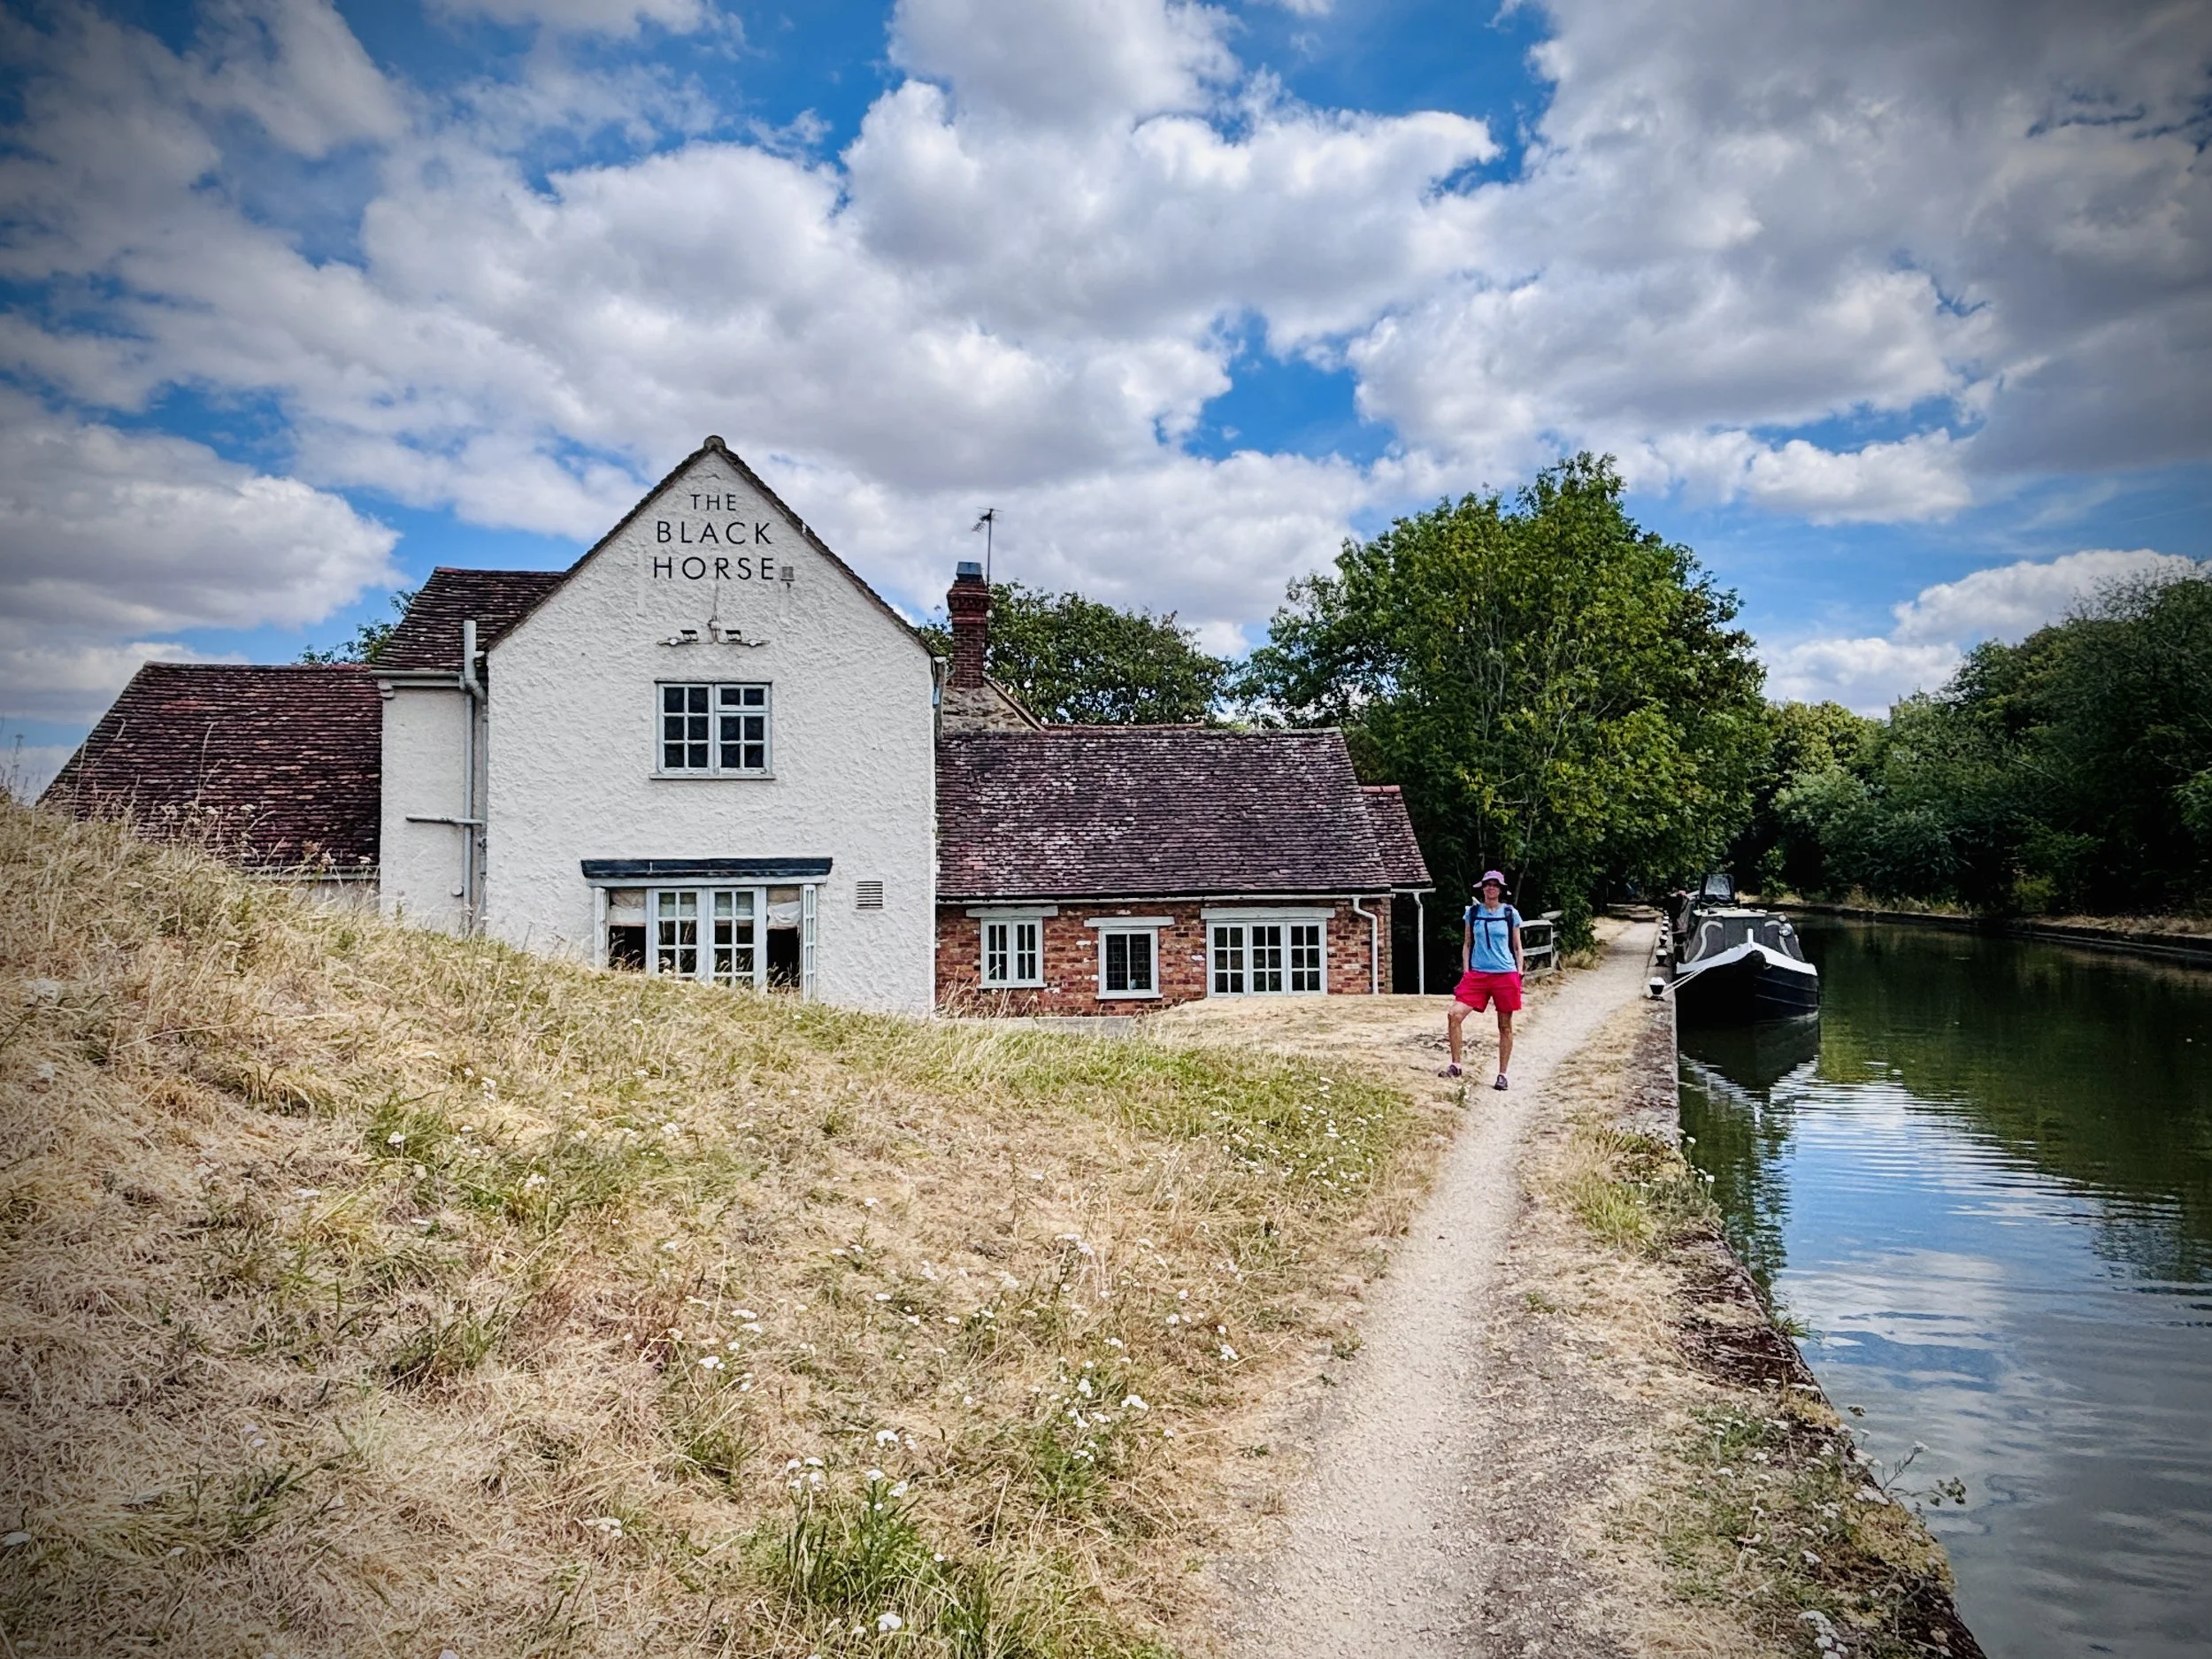
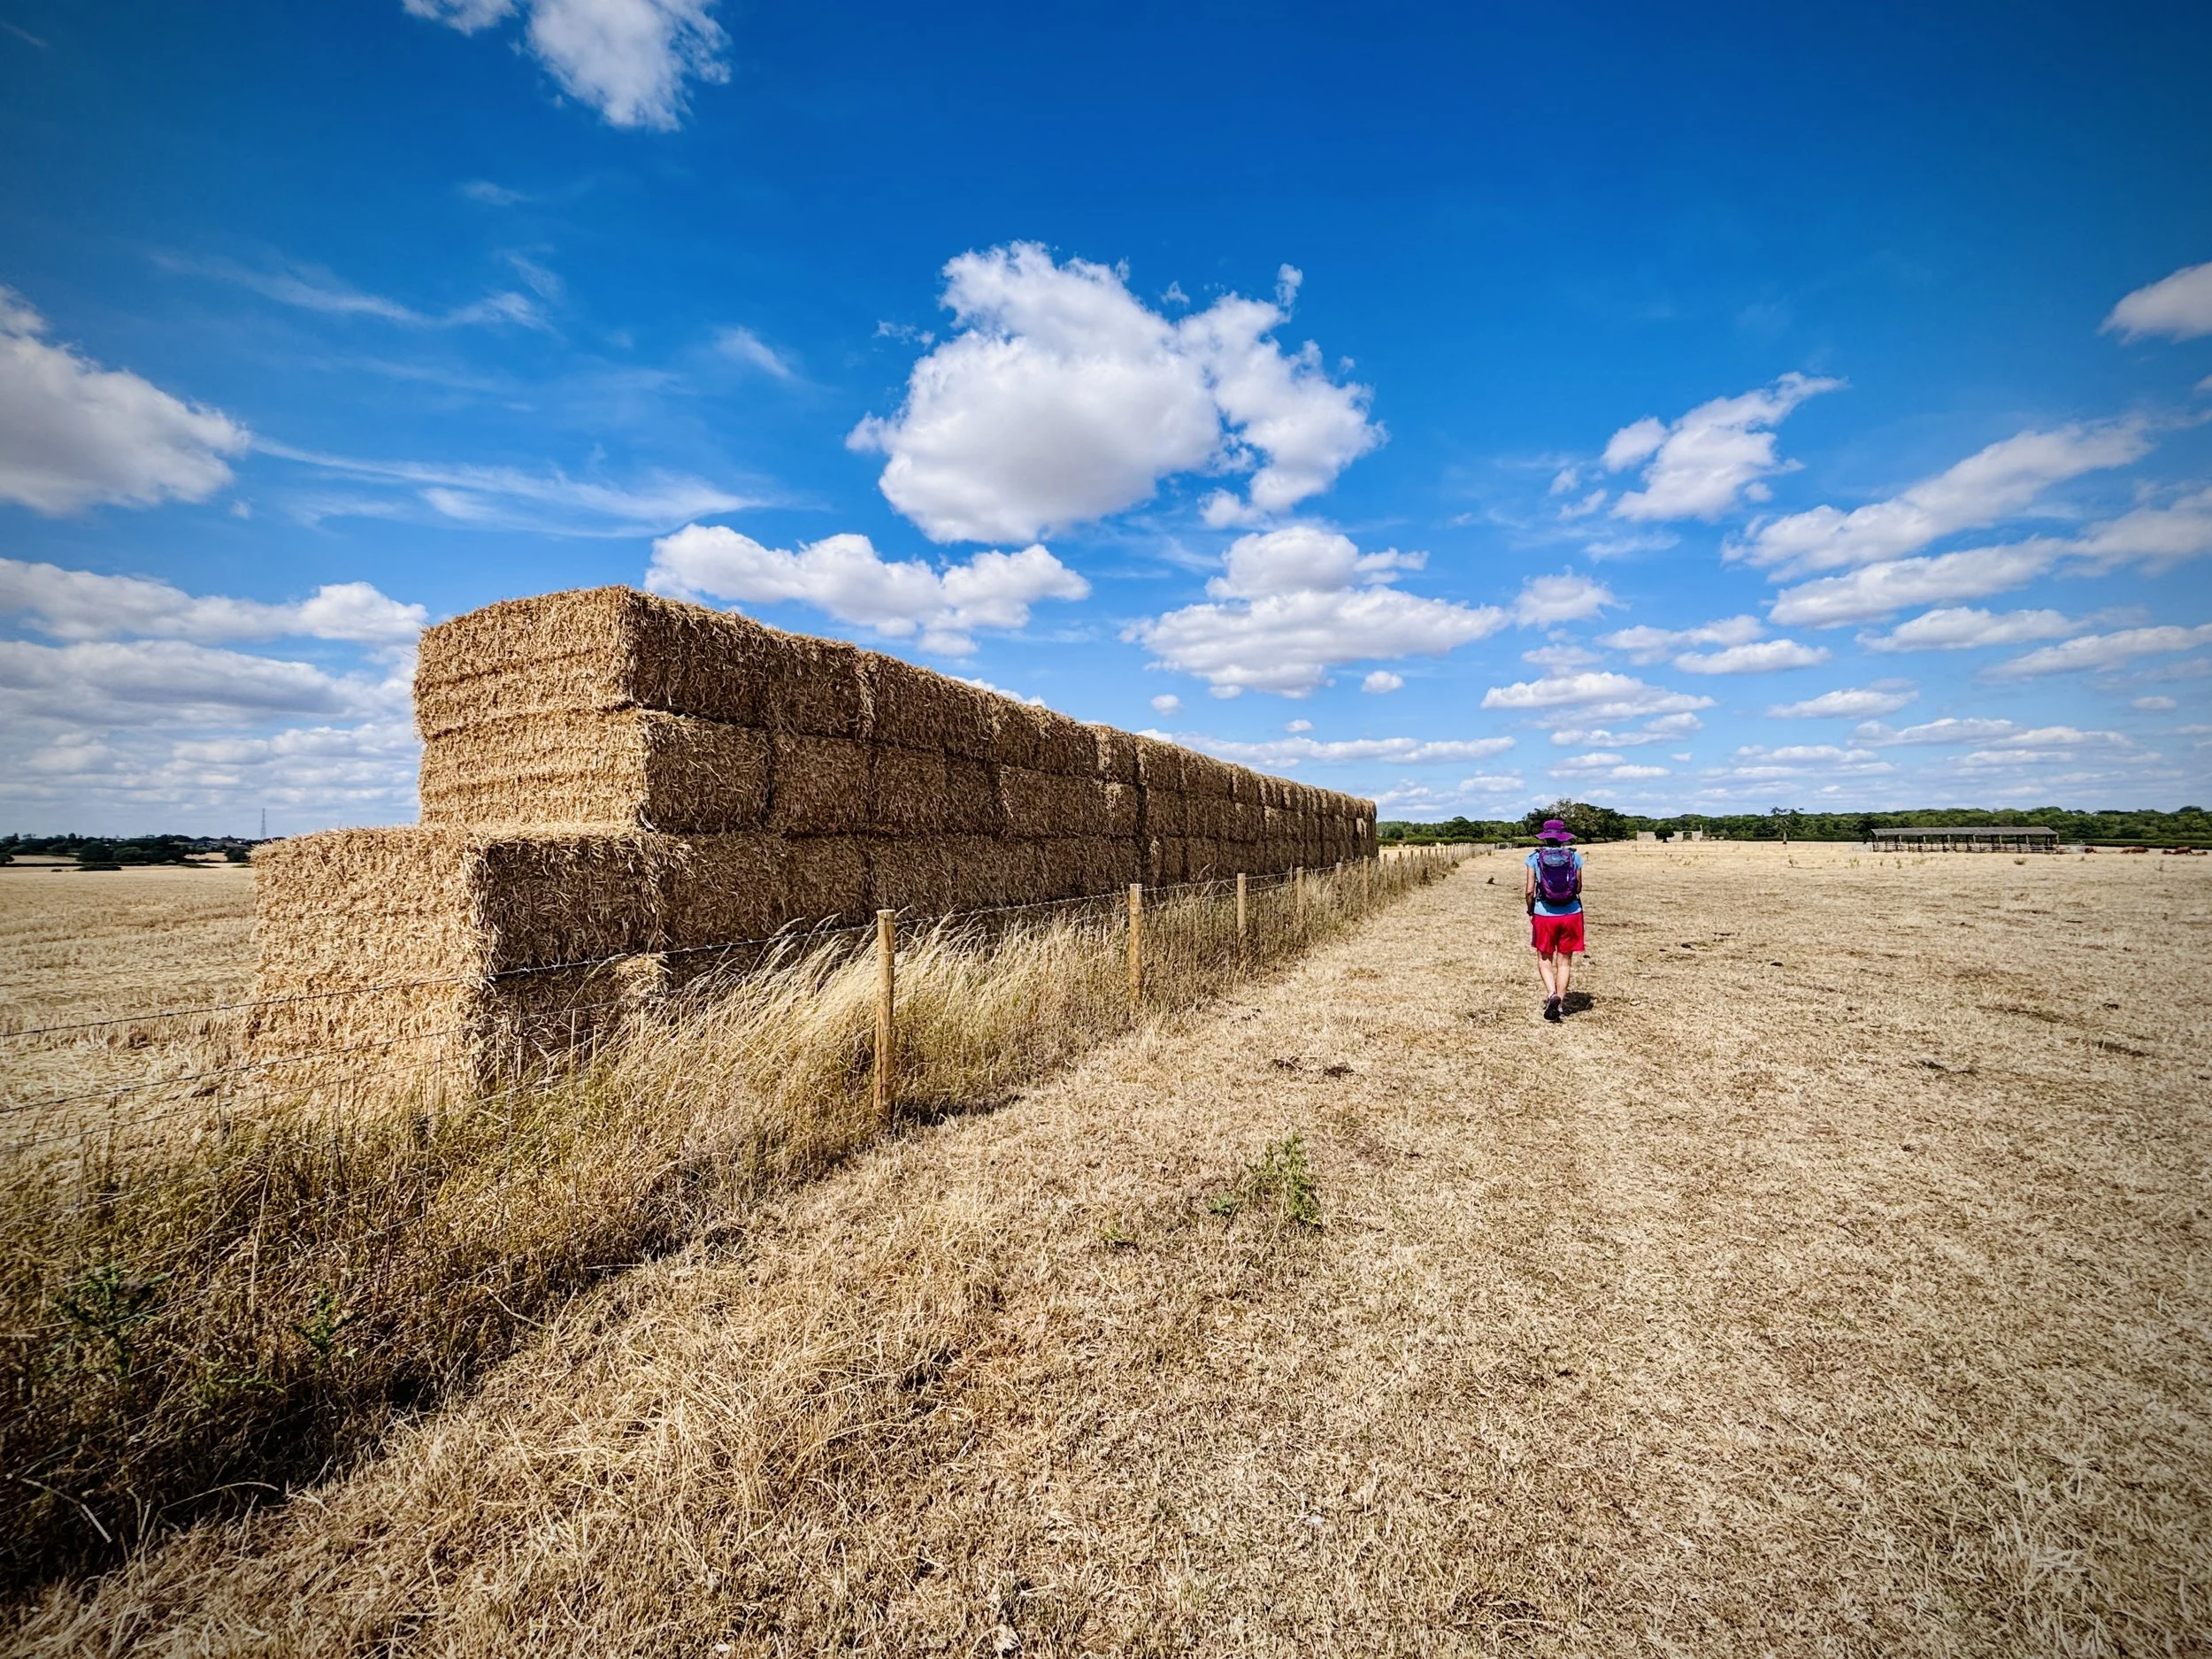
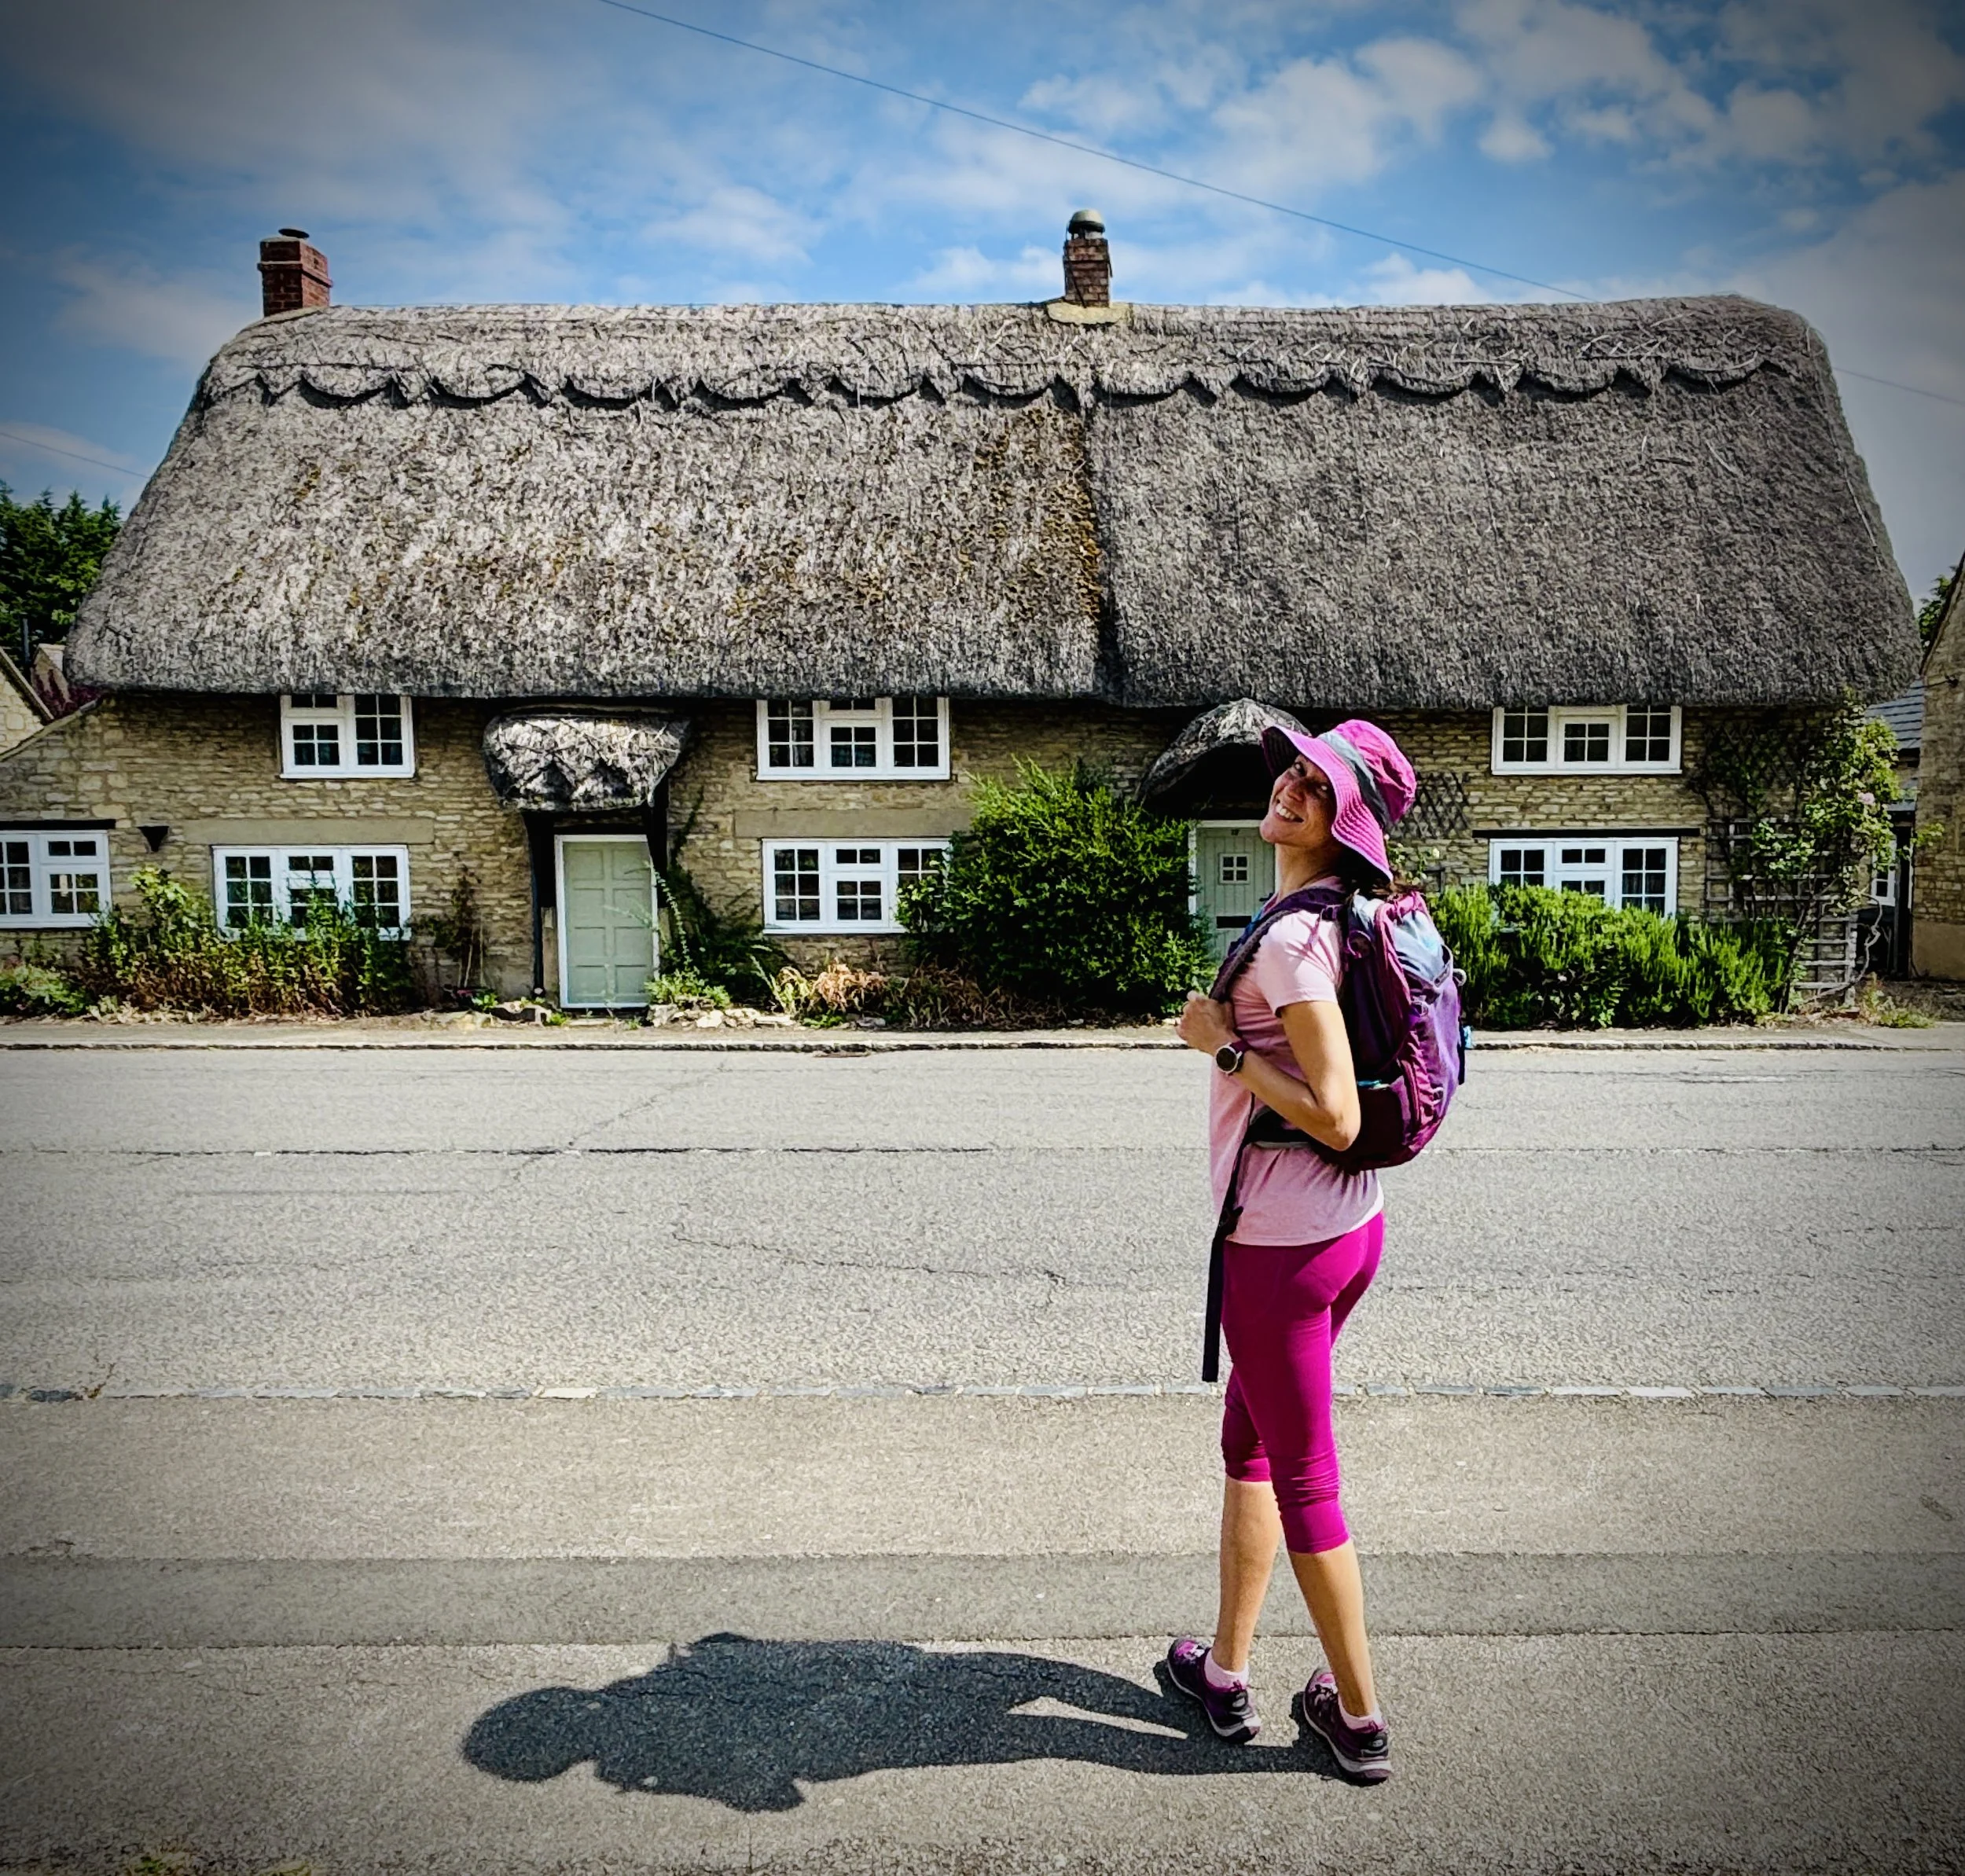
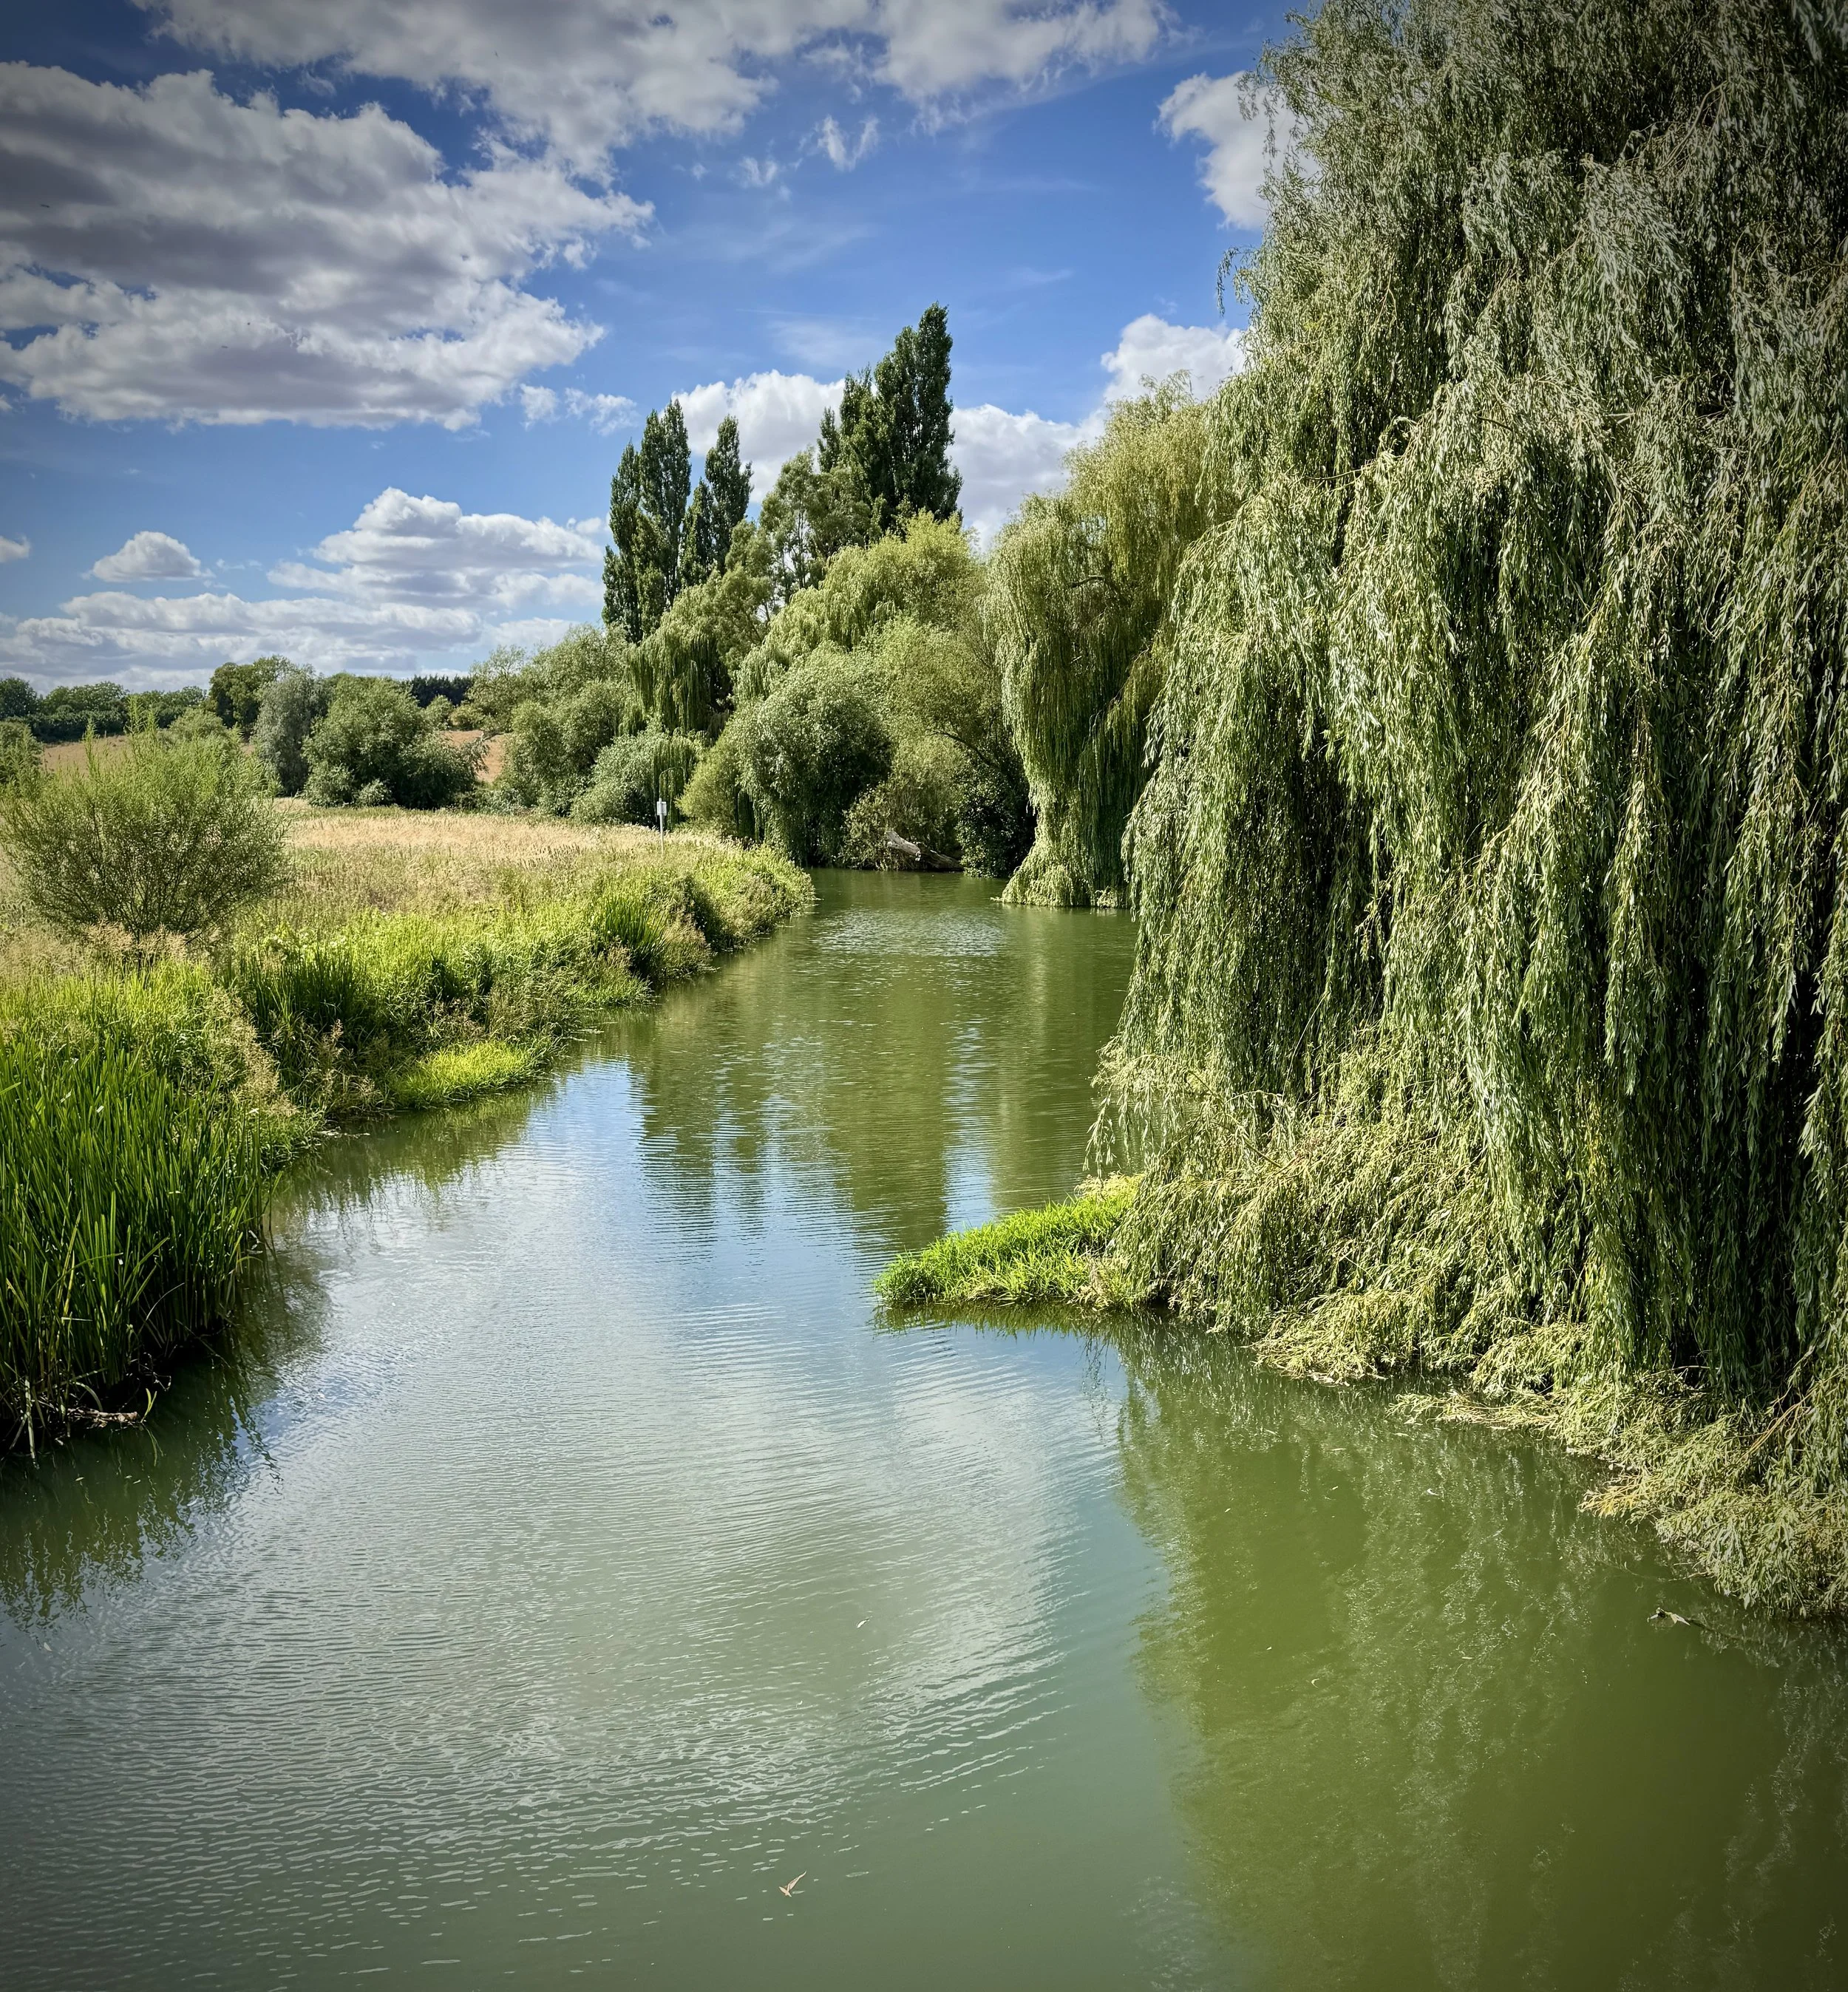
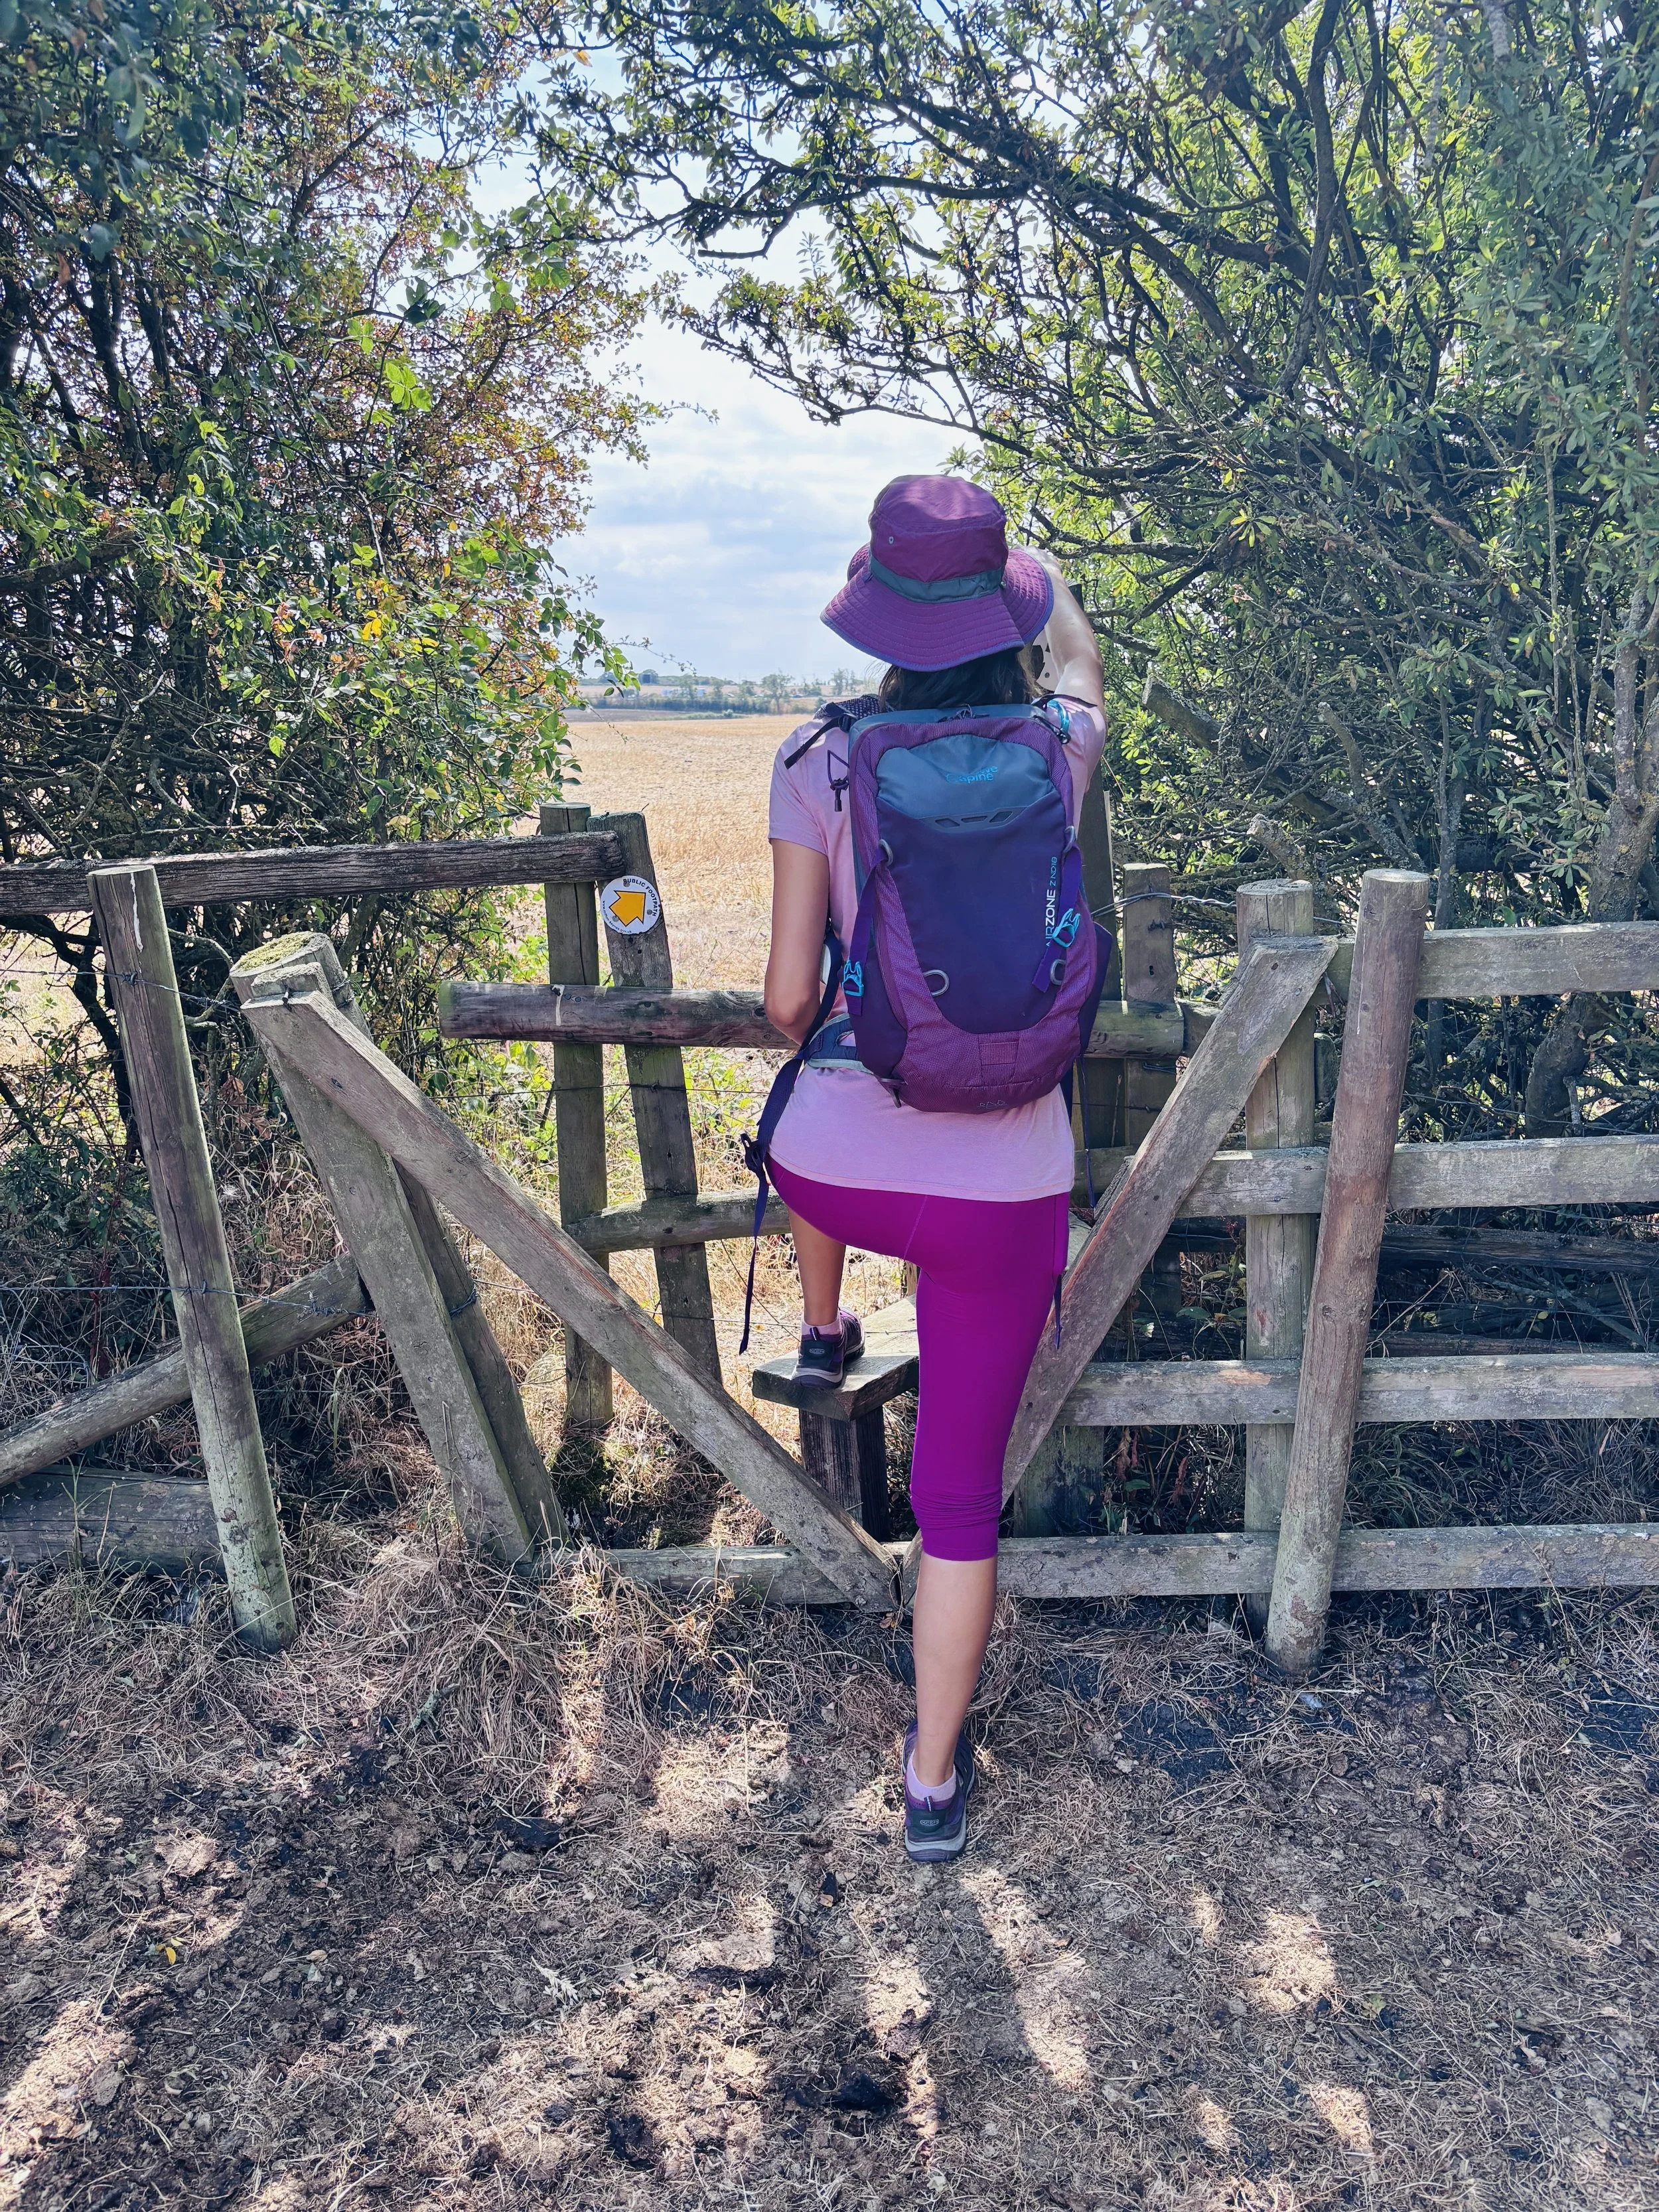
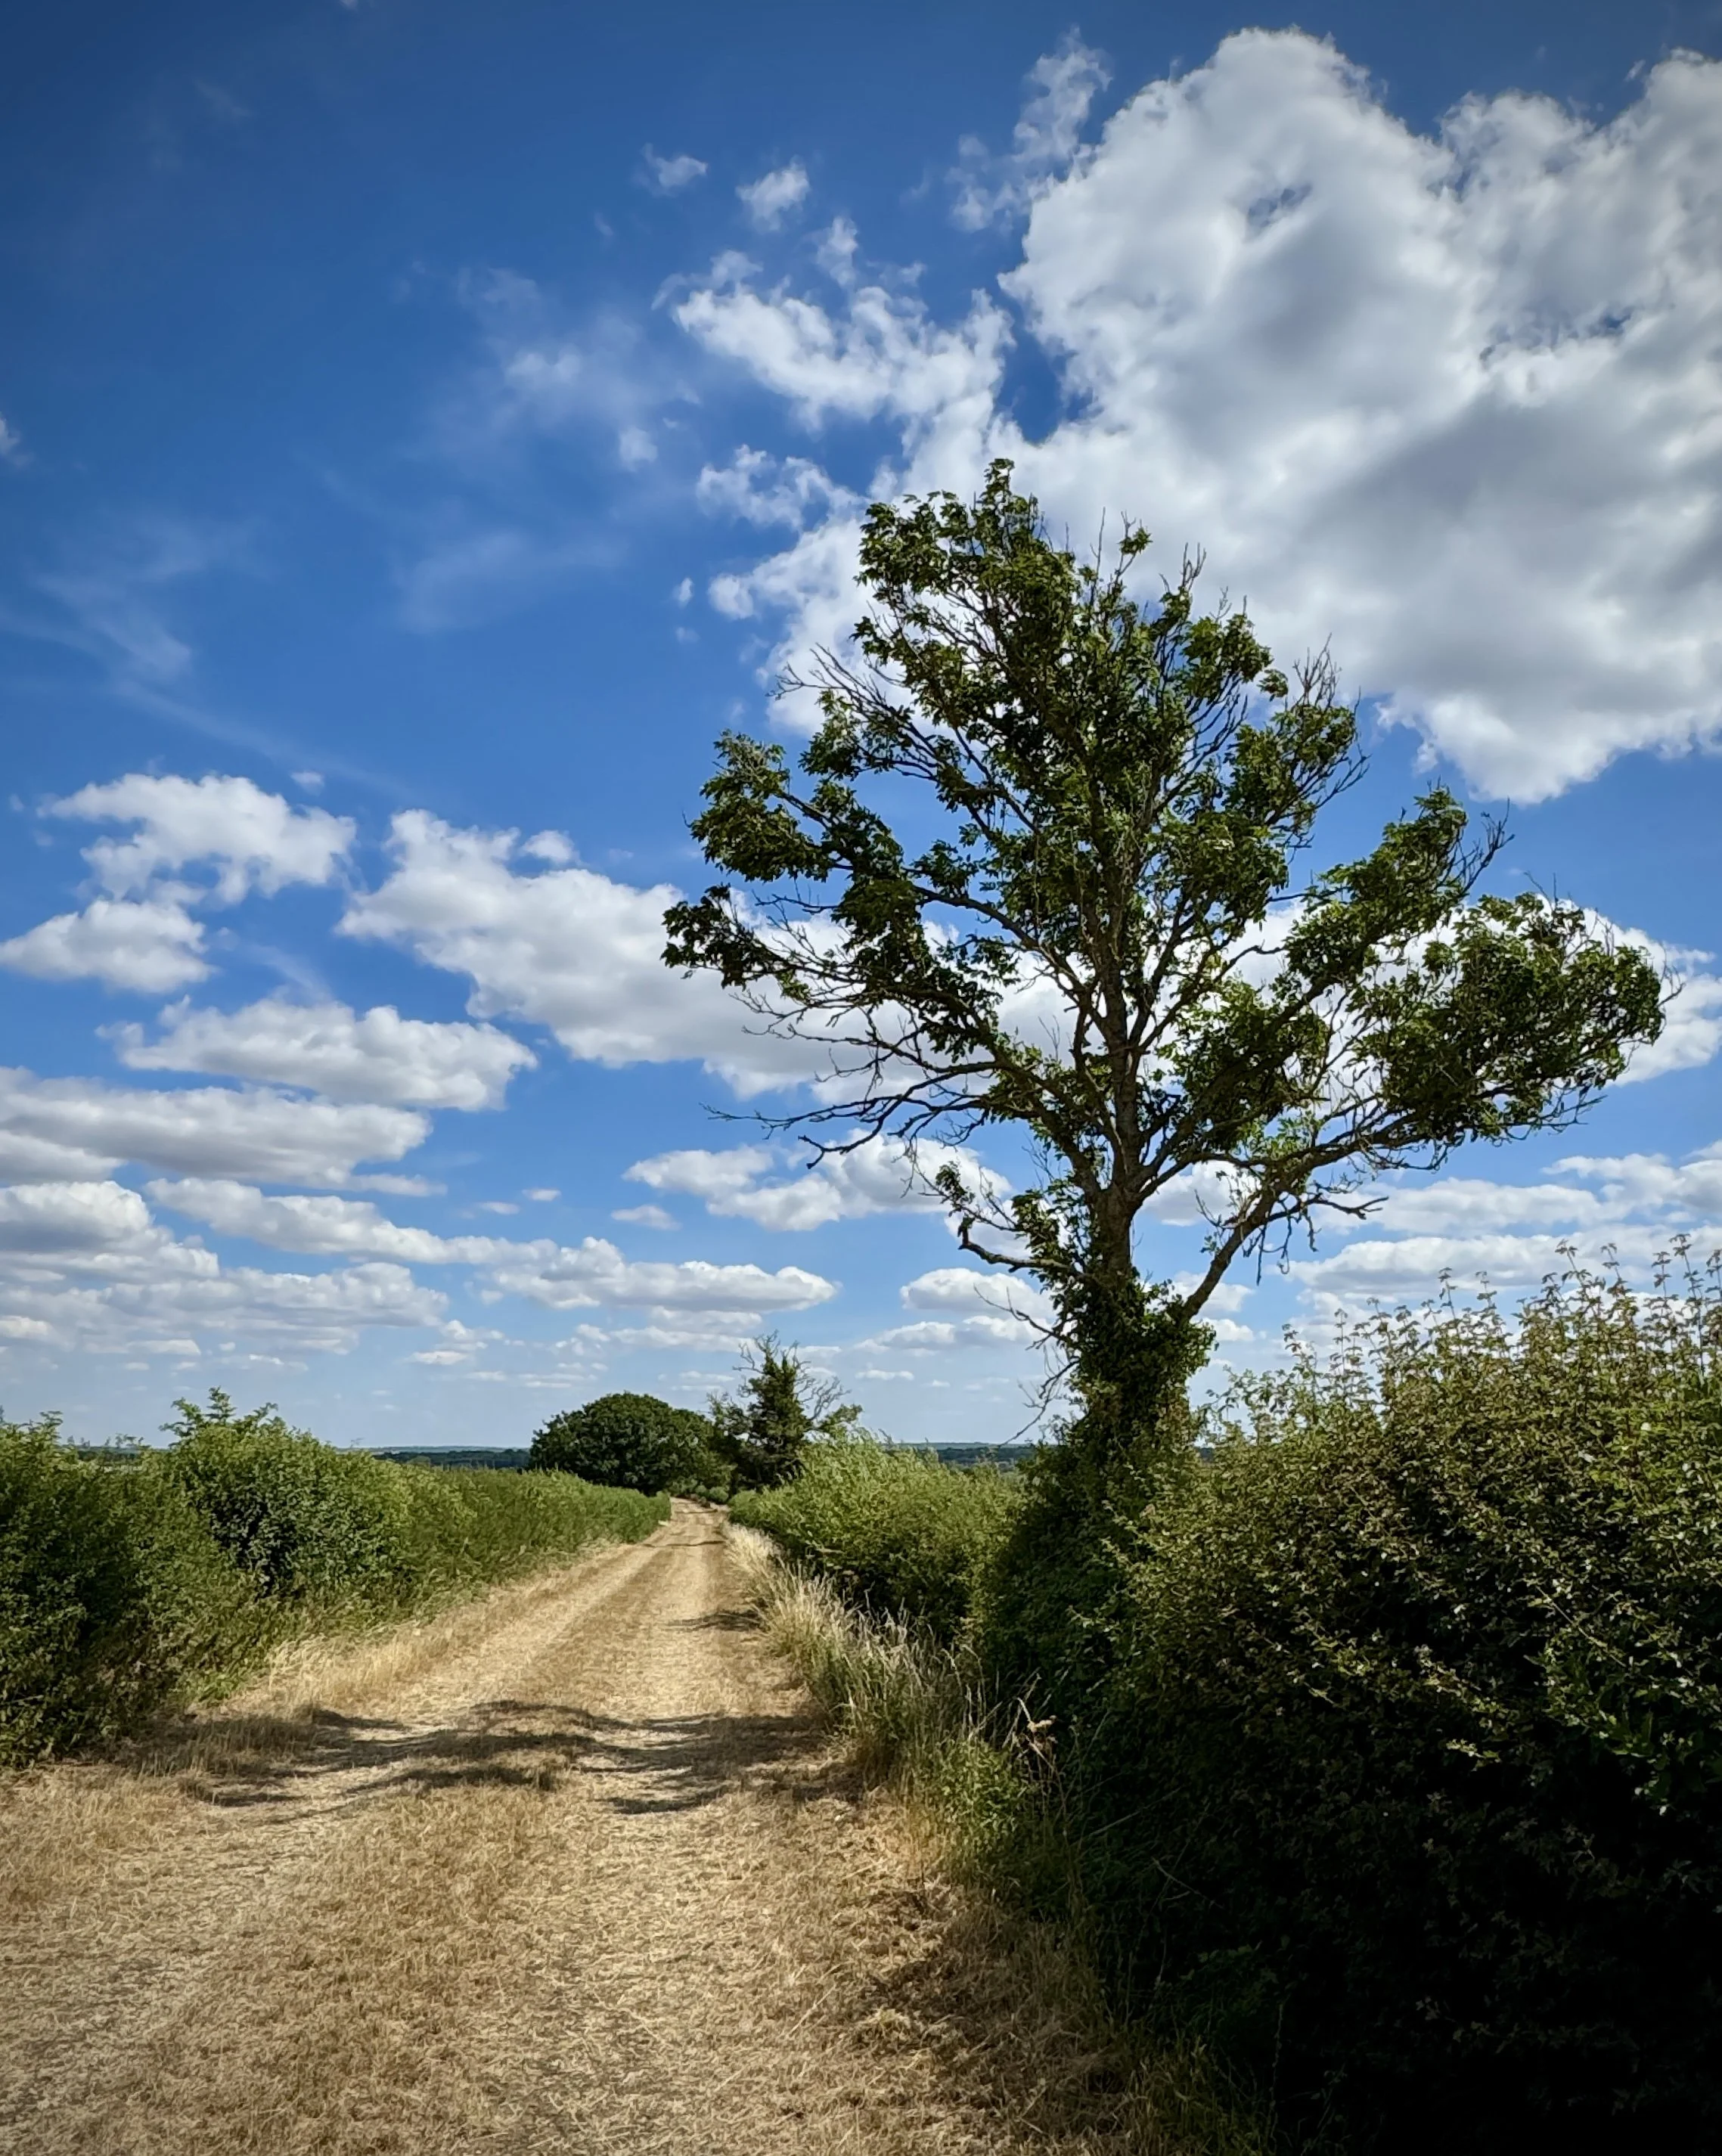
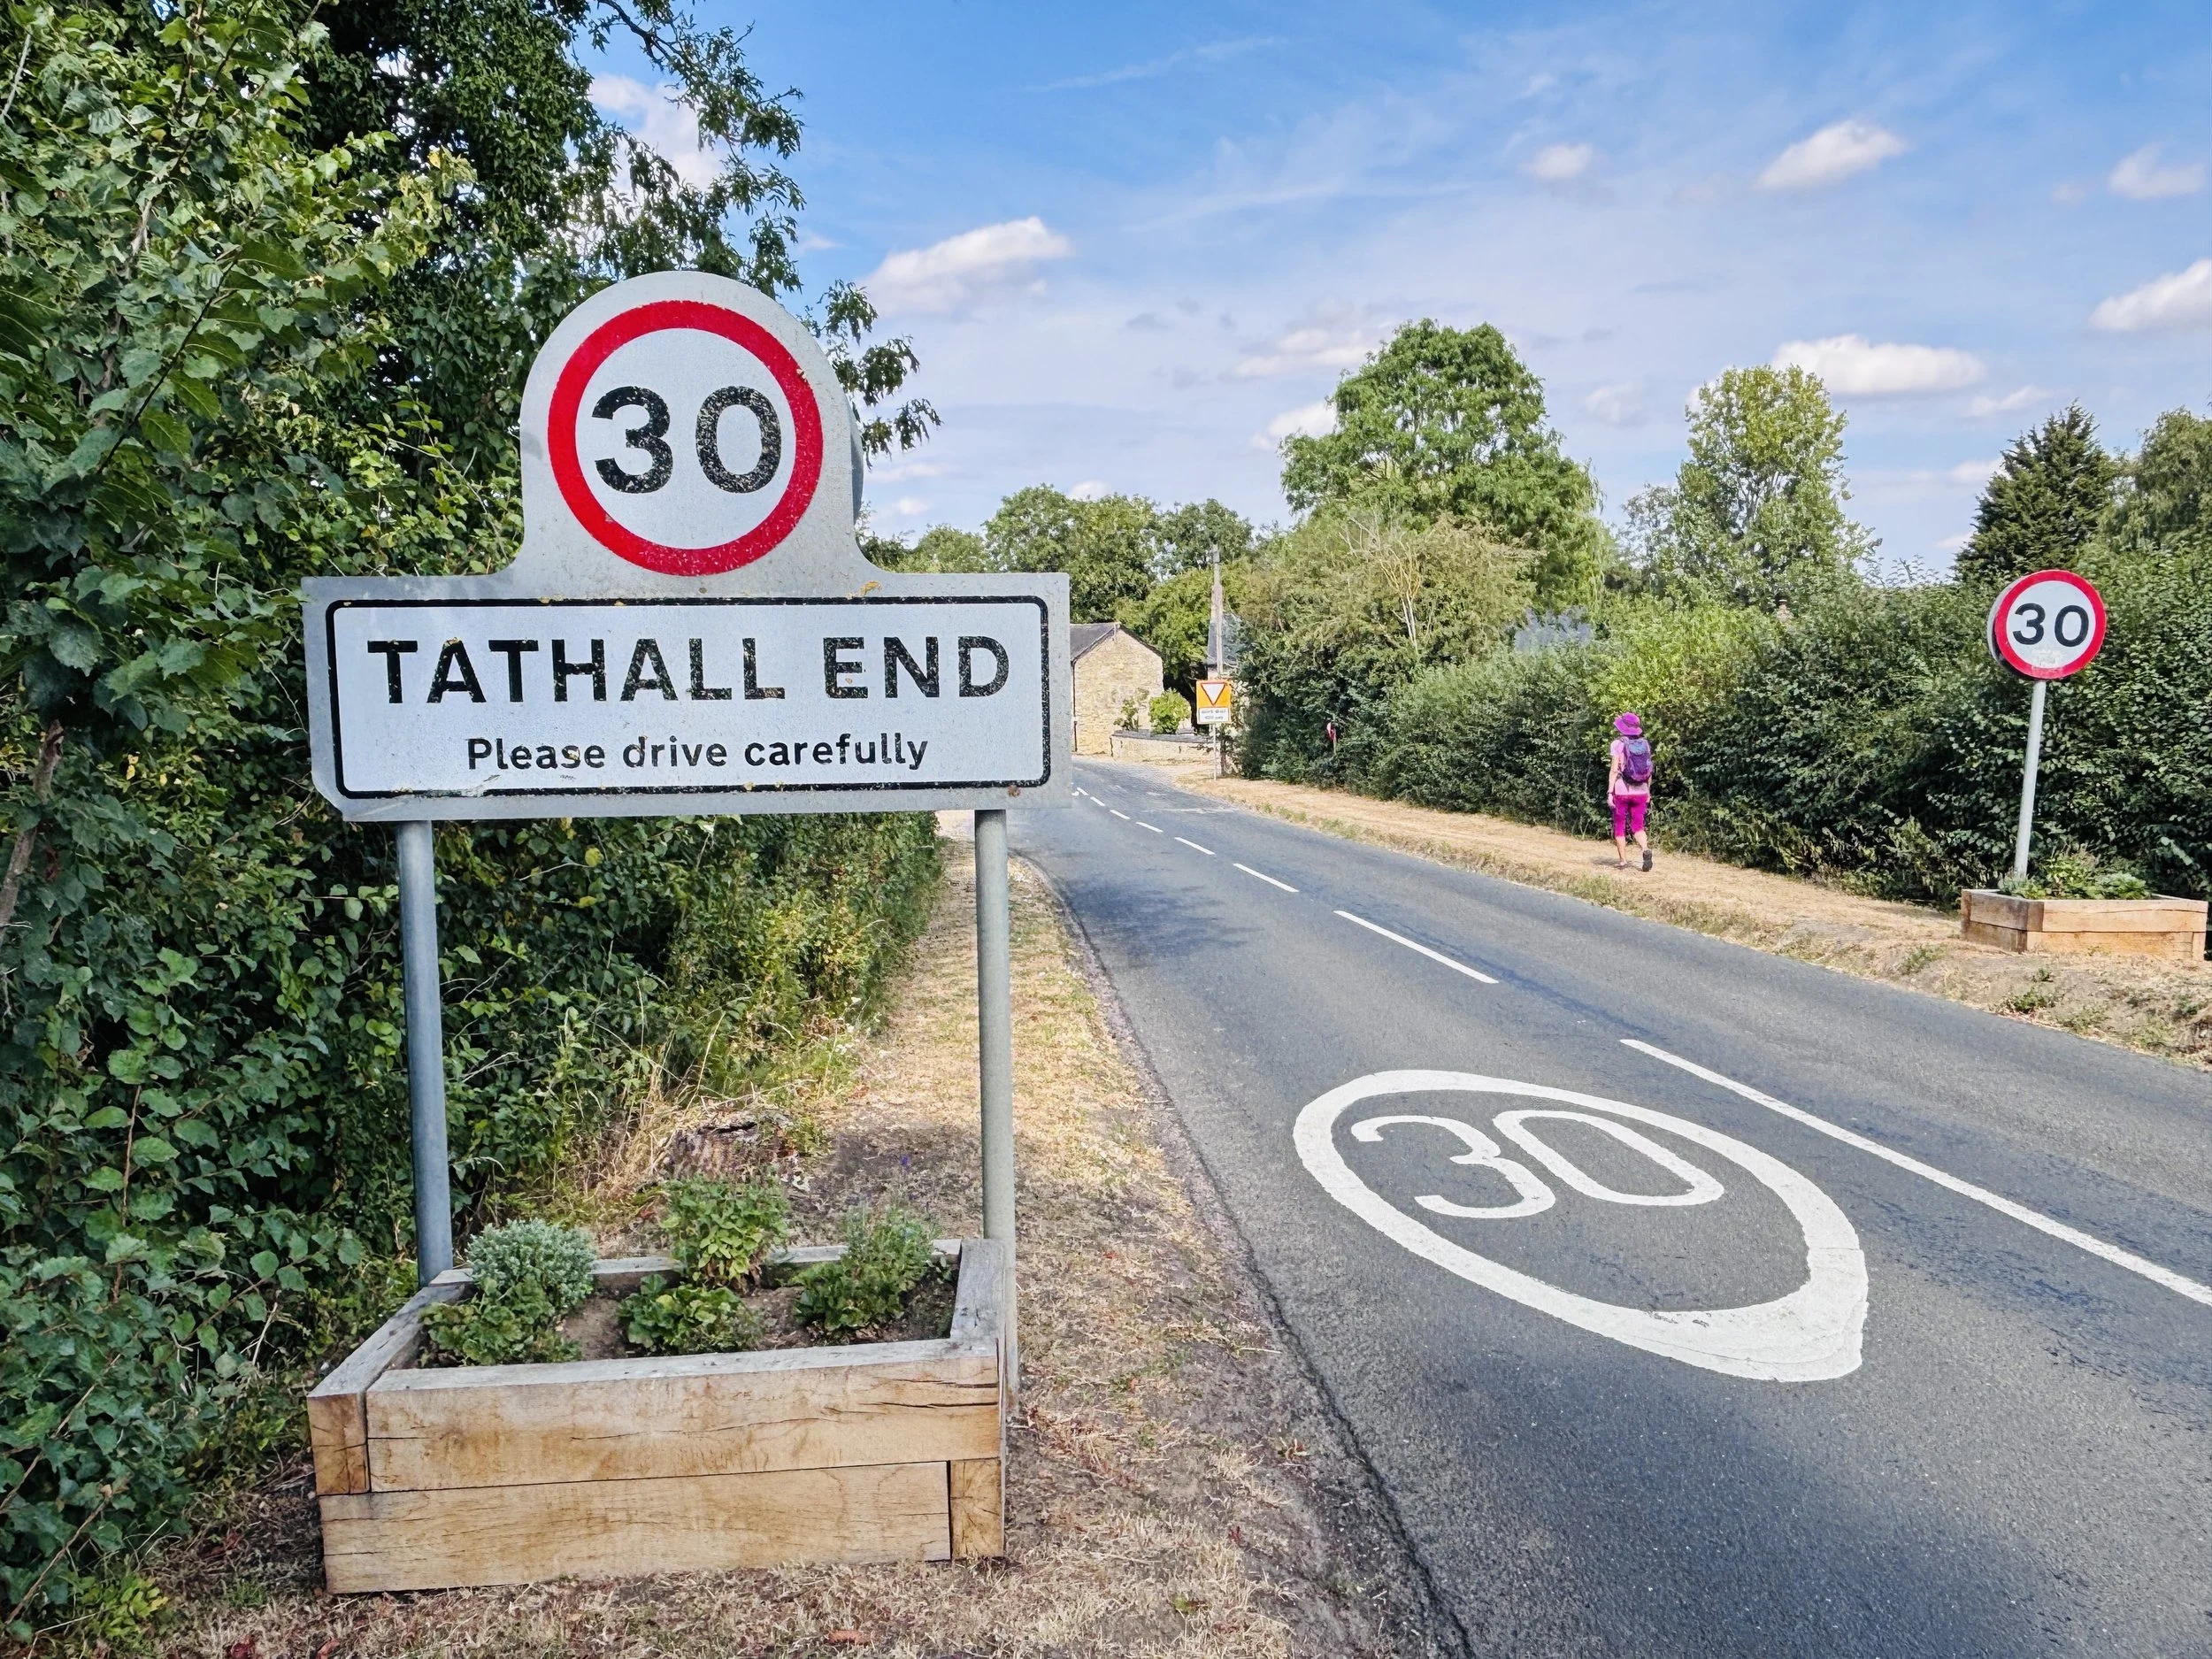
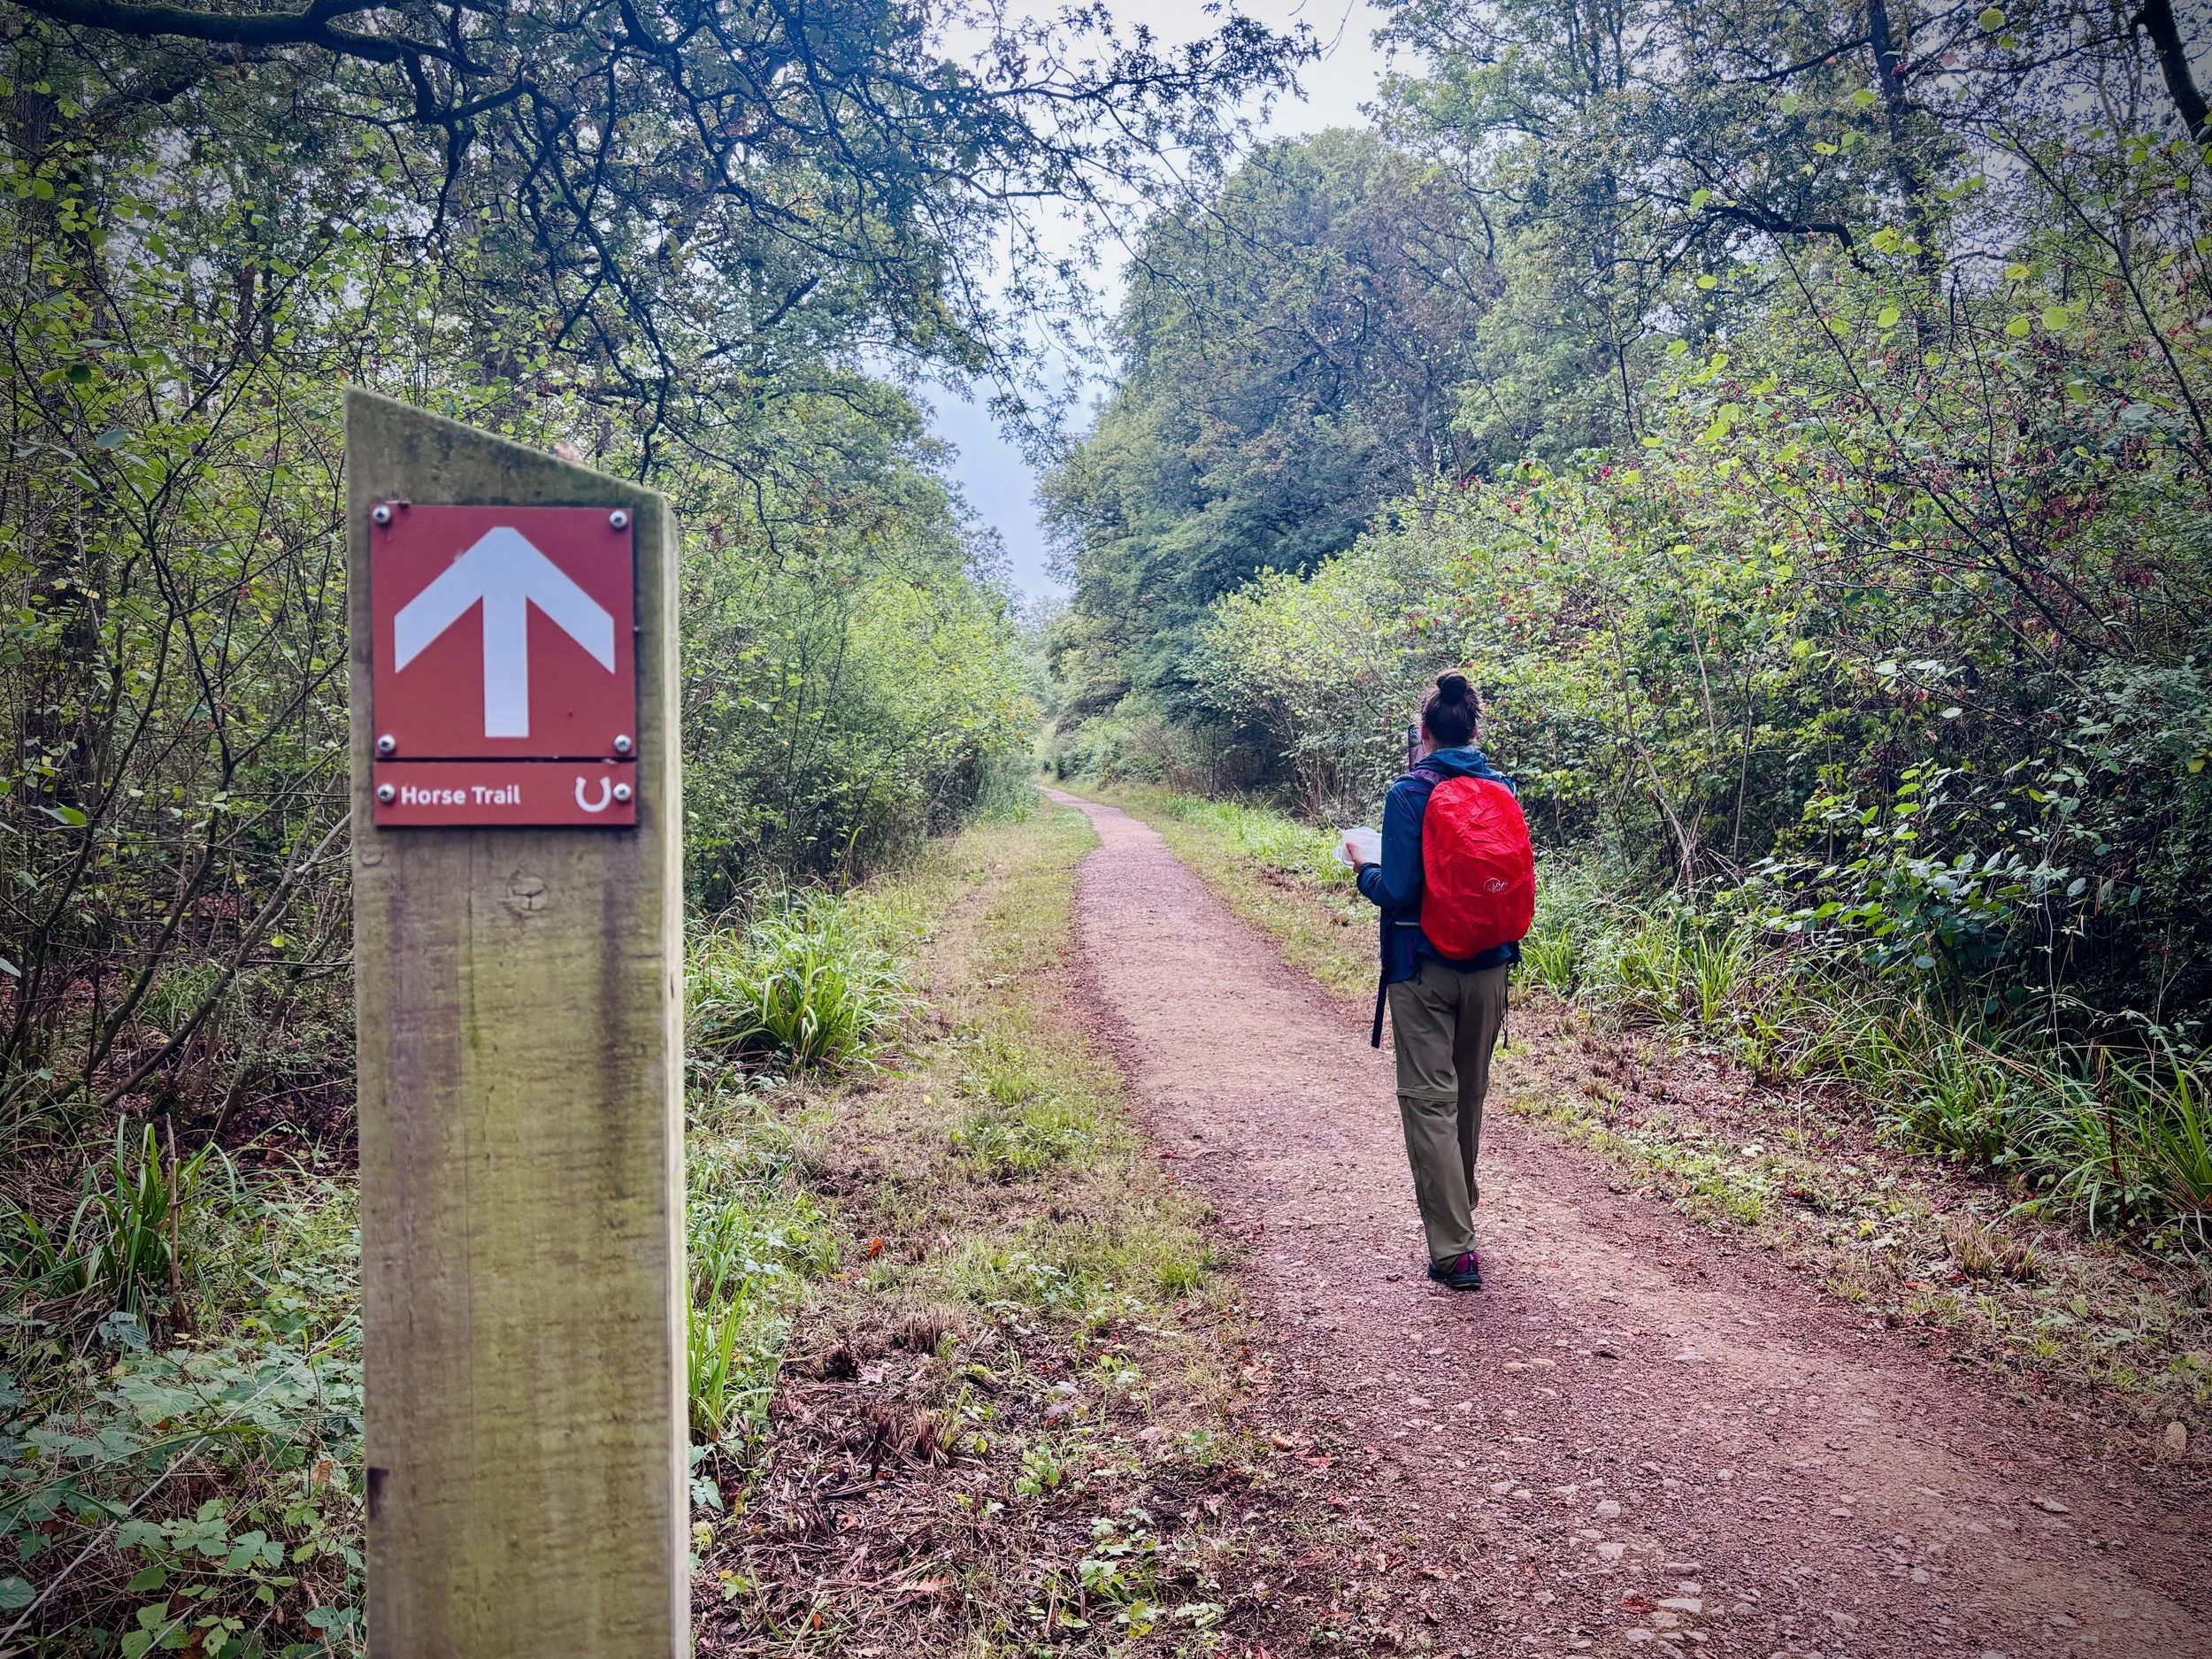
Walking the Midshires Way in Buckinghamshire in 17 walks
If you’re not up for a 80 km walk in one go, you can take in the Midshires Way in Buckinghamshire in 17 walks of between 8 and 14 km each. We chose this option, completing all 17 sections over 8 months in 2026. The advantage of this option is exploring more of the villages and side paths close to the route.
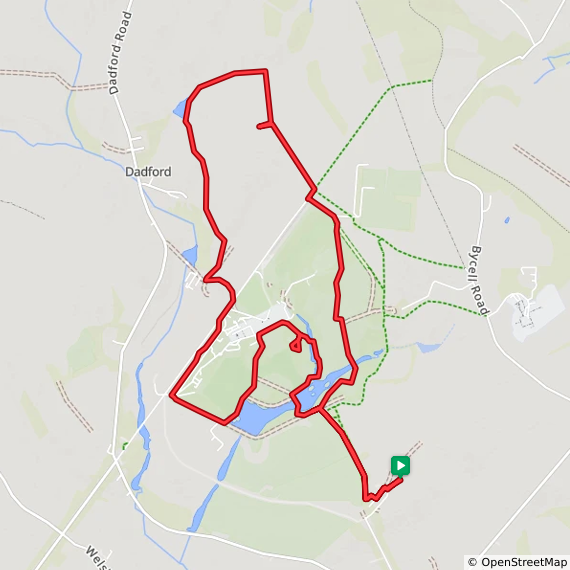
Each number refers to a circular walk below. Base map: Esri Topo via RideWithGPS
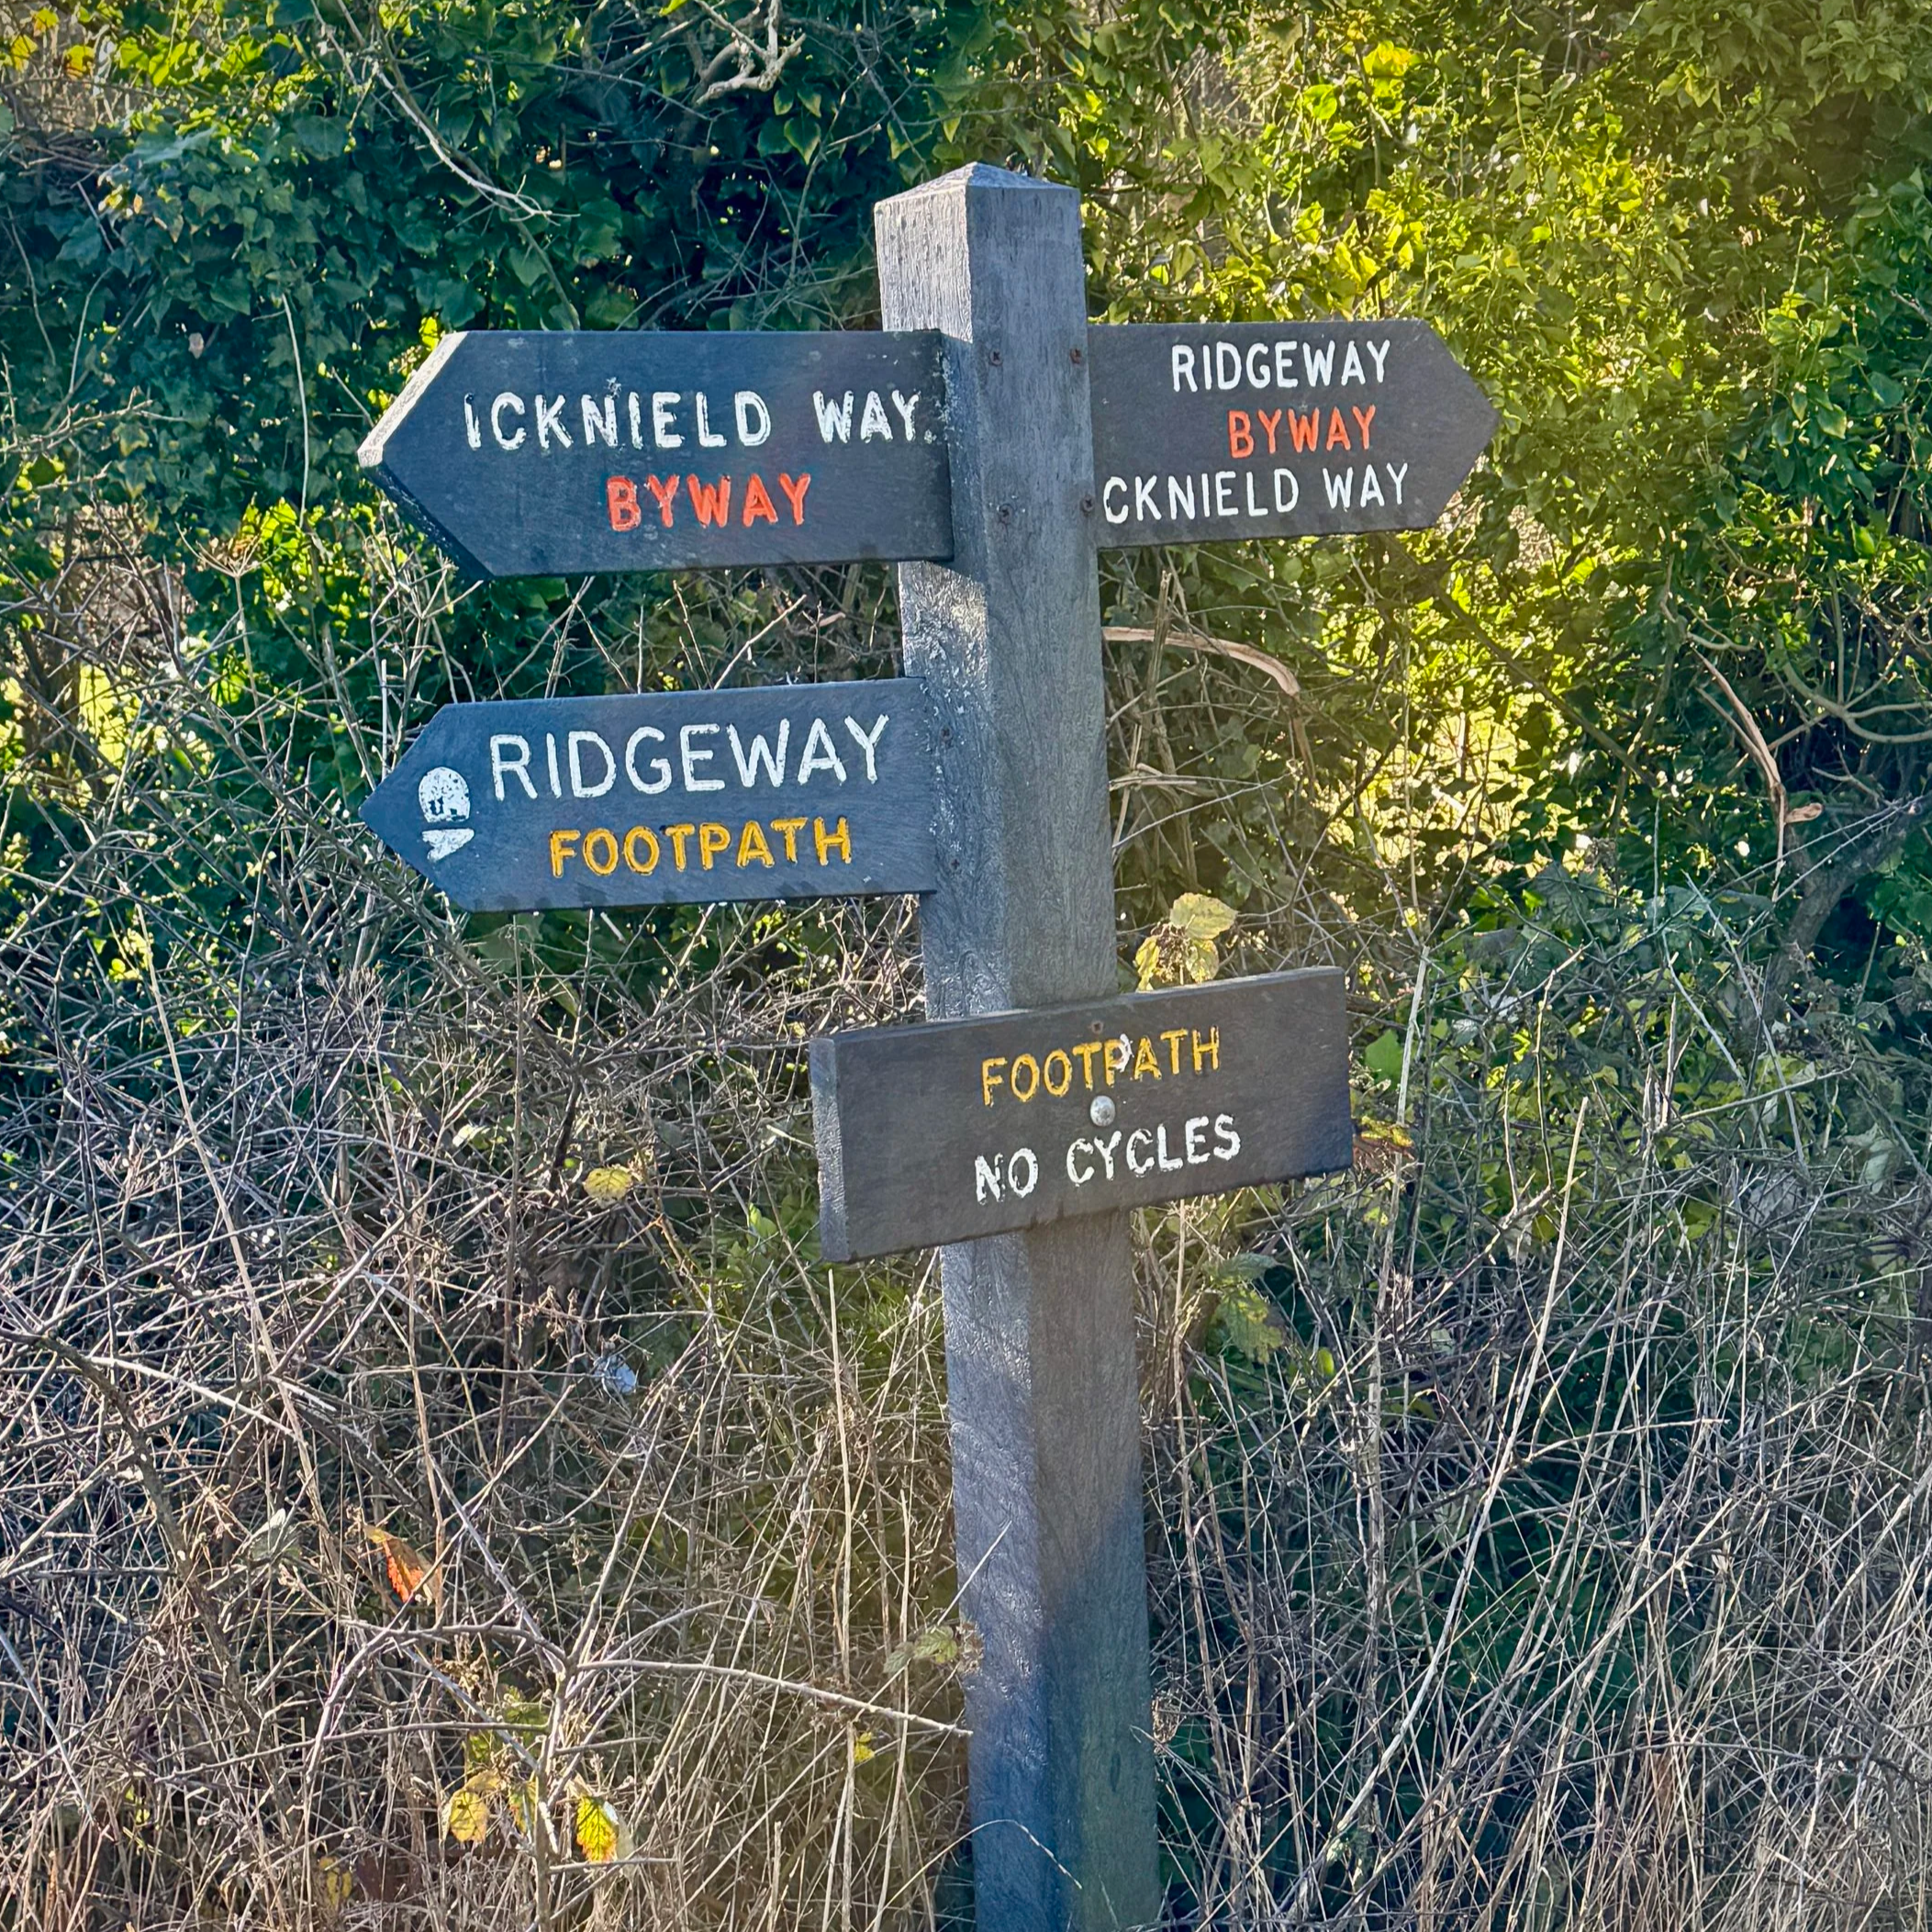
Section 1: Hempton Wainhill & Bledlow
Start & Finish: Lions Of Bledlow, Church End, Bledlow, Princes Risborough, HP27 9PE
Distance: 10.2 km (6.4 miles)
Elevation change: +/- 121m
Terrain: Elevated ridge-top bridleways, sheltered woodland trails, and level field-edge paths following the old railway line.
Midshires Way section covered: The Ridgeway at Wainhill to North Mill Road: 3.7 km
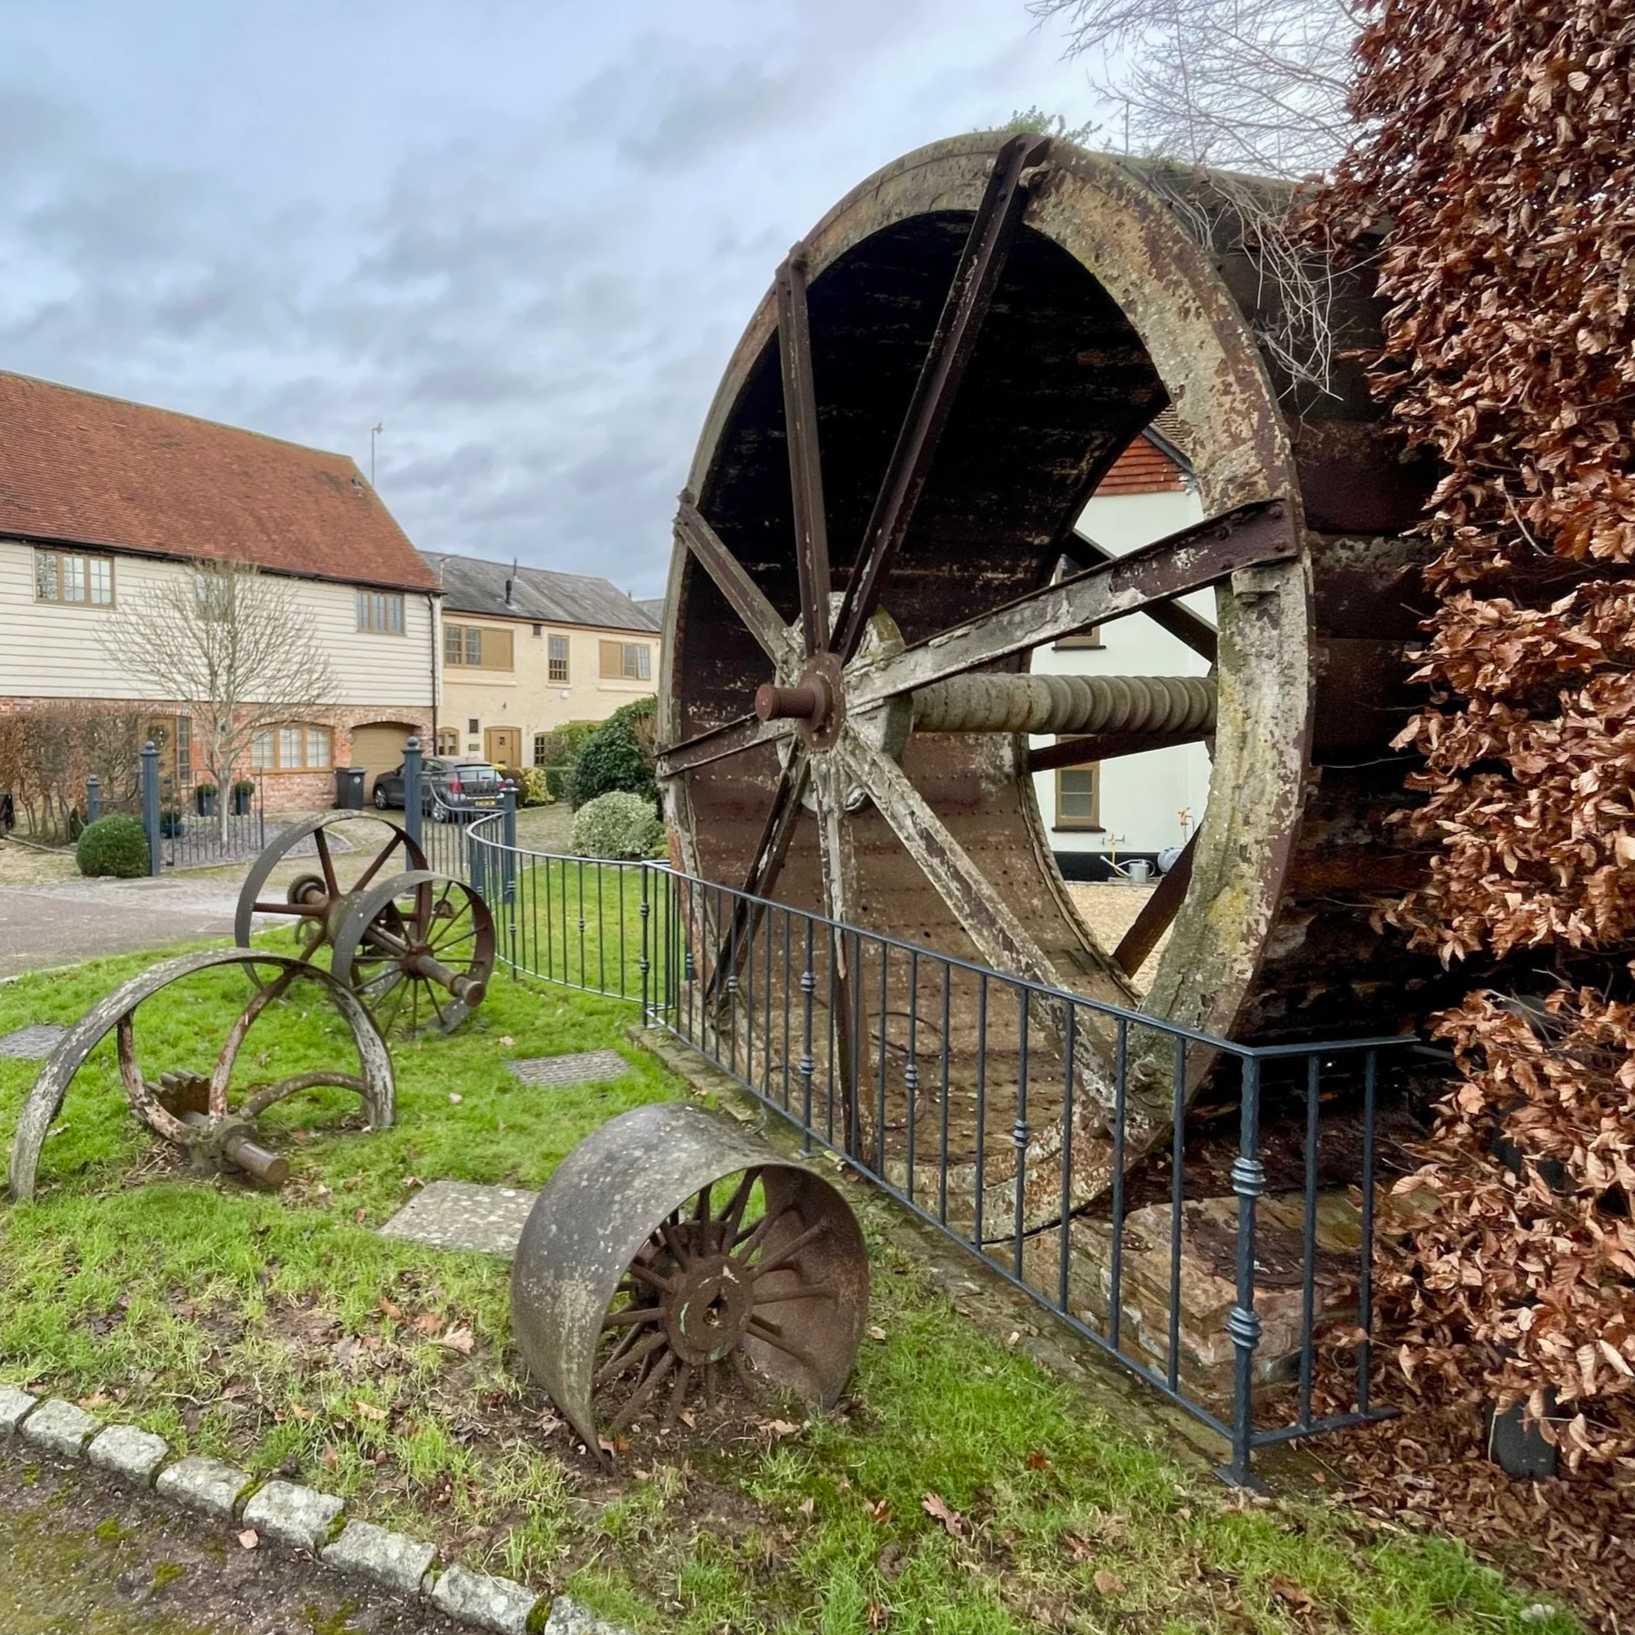
Start & Finish: Longwick Stores And Post Office, Thame Road, Longwick, Princes Risborough, HP27 9SF
Distance: 8.3 km (5.2 miles). Can be shortened by ~1 km by removing the detours. See walk description.
Elevation change: +/- 37m
Terrain: Level field-edge paths, quiet country lanes, and agricultural tracks.
Midshires Way section covered: North Mill Road to Longwick: 3.6 km
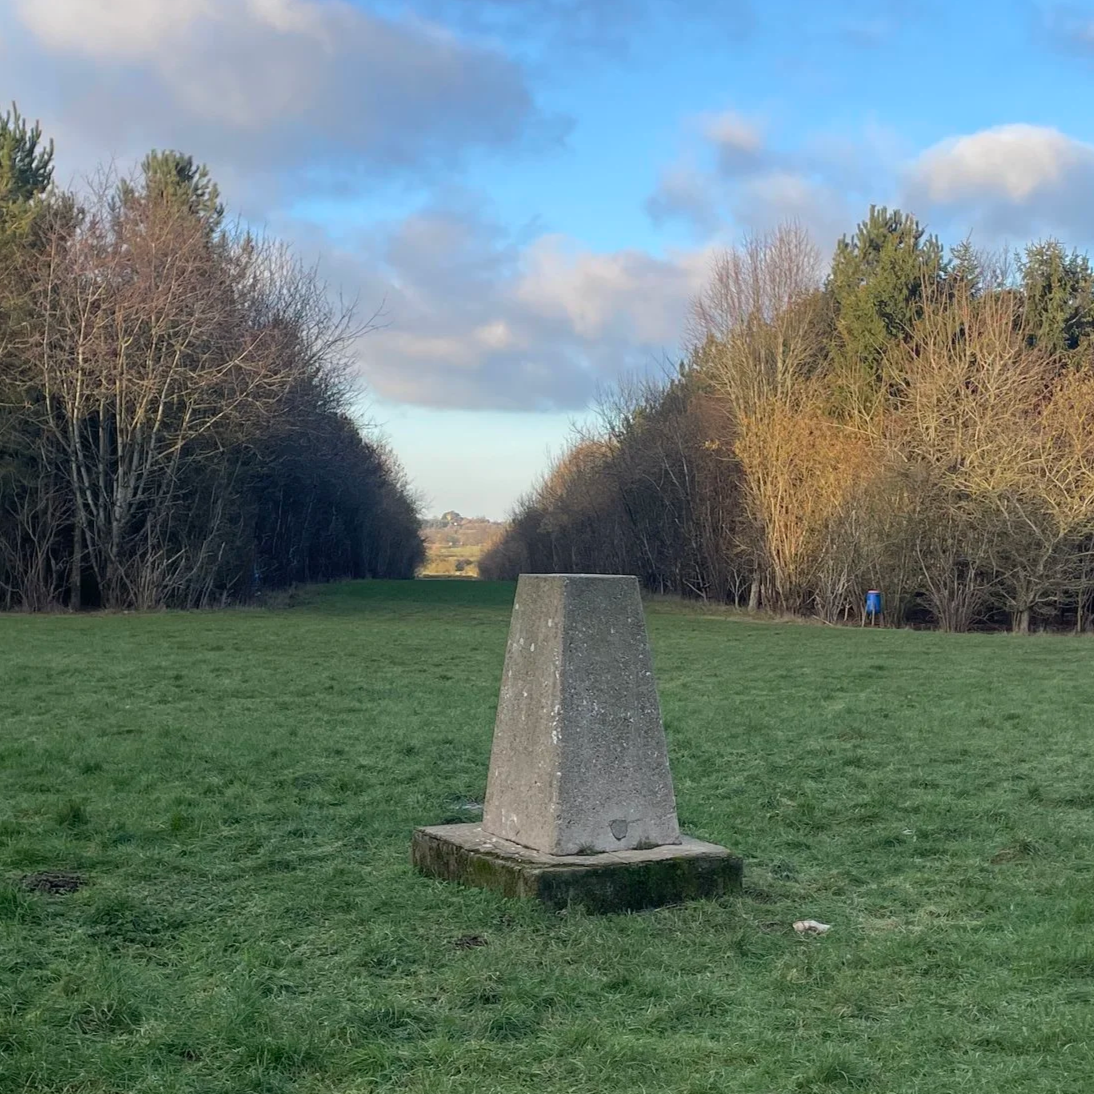
Section 3: Ford and Kemble Wick
Start & Finish: The Dinton Hermit, Water Lane, Ford, Aylesbury, HP17 8XH
Distance: 11.6 km (7.2 miles)
Elevation change: +/- 58m
Terrain: Predominantly level terrain consisting of field-edge footpaths, narrow country lanes, and farm tracks across the Aylesbury Vale.
Midshires Way section covered: Longwick to Michael’s Peace: 4.3 km
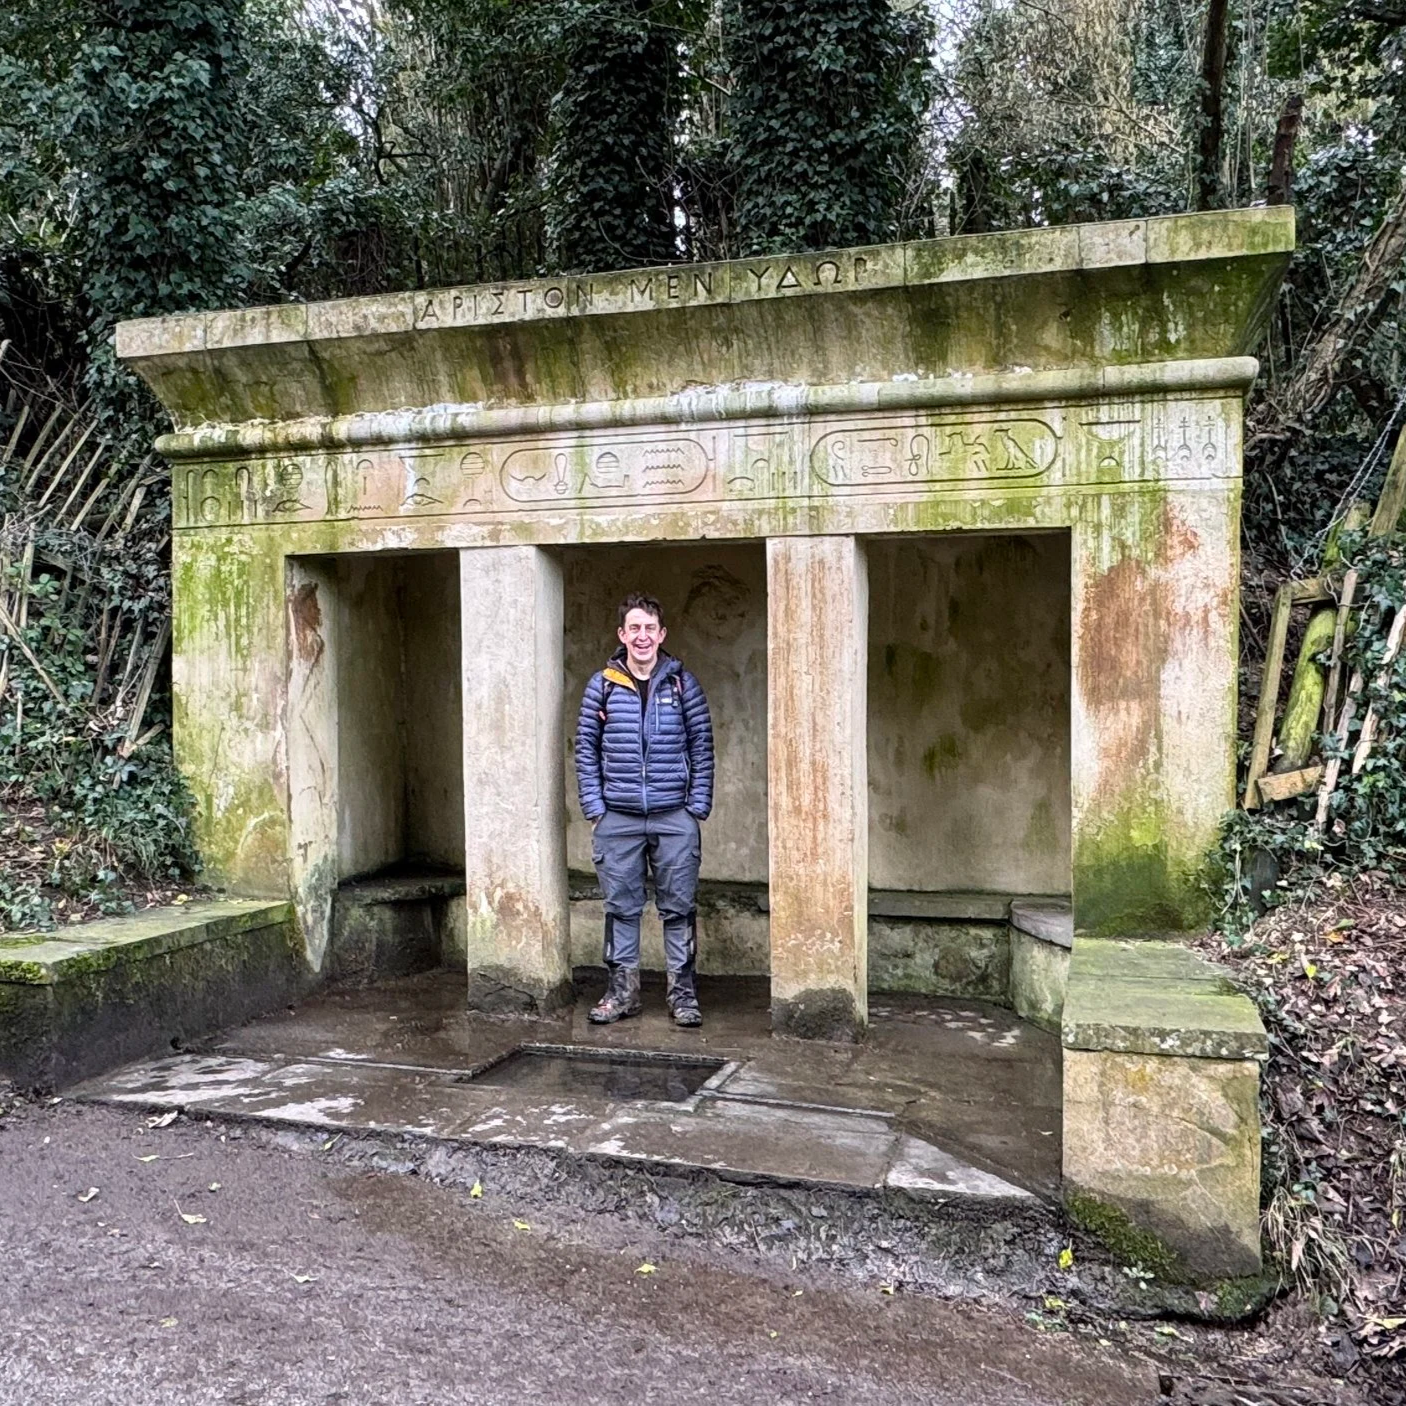
Section 4: Ford and Michael's Peace
Start & Finish: The Dinton Hermit, Water Lane, Ford, Aylesbury, HP17 8XH
Distance: 8.3 km (5.2 miles)
Elevation change: +/- 41 m
Terrain: Mostly level field-edge paths, quiet country lanes, and a short optional section through community woodland.
Midshires Way section covered: Michael’s Peace to Bishopstone Road: 3.8 km
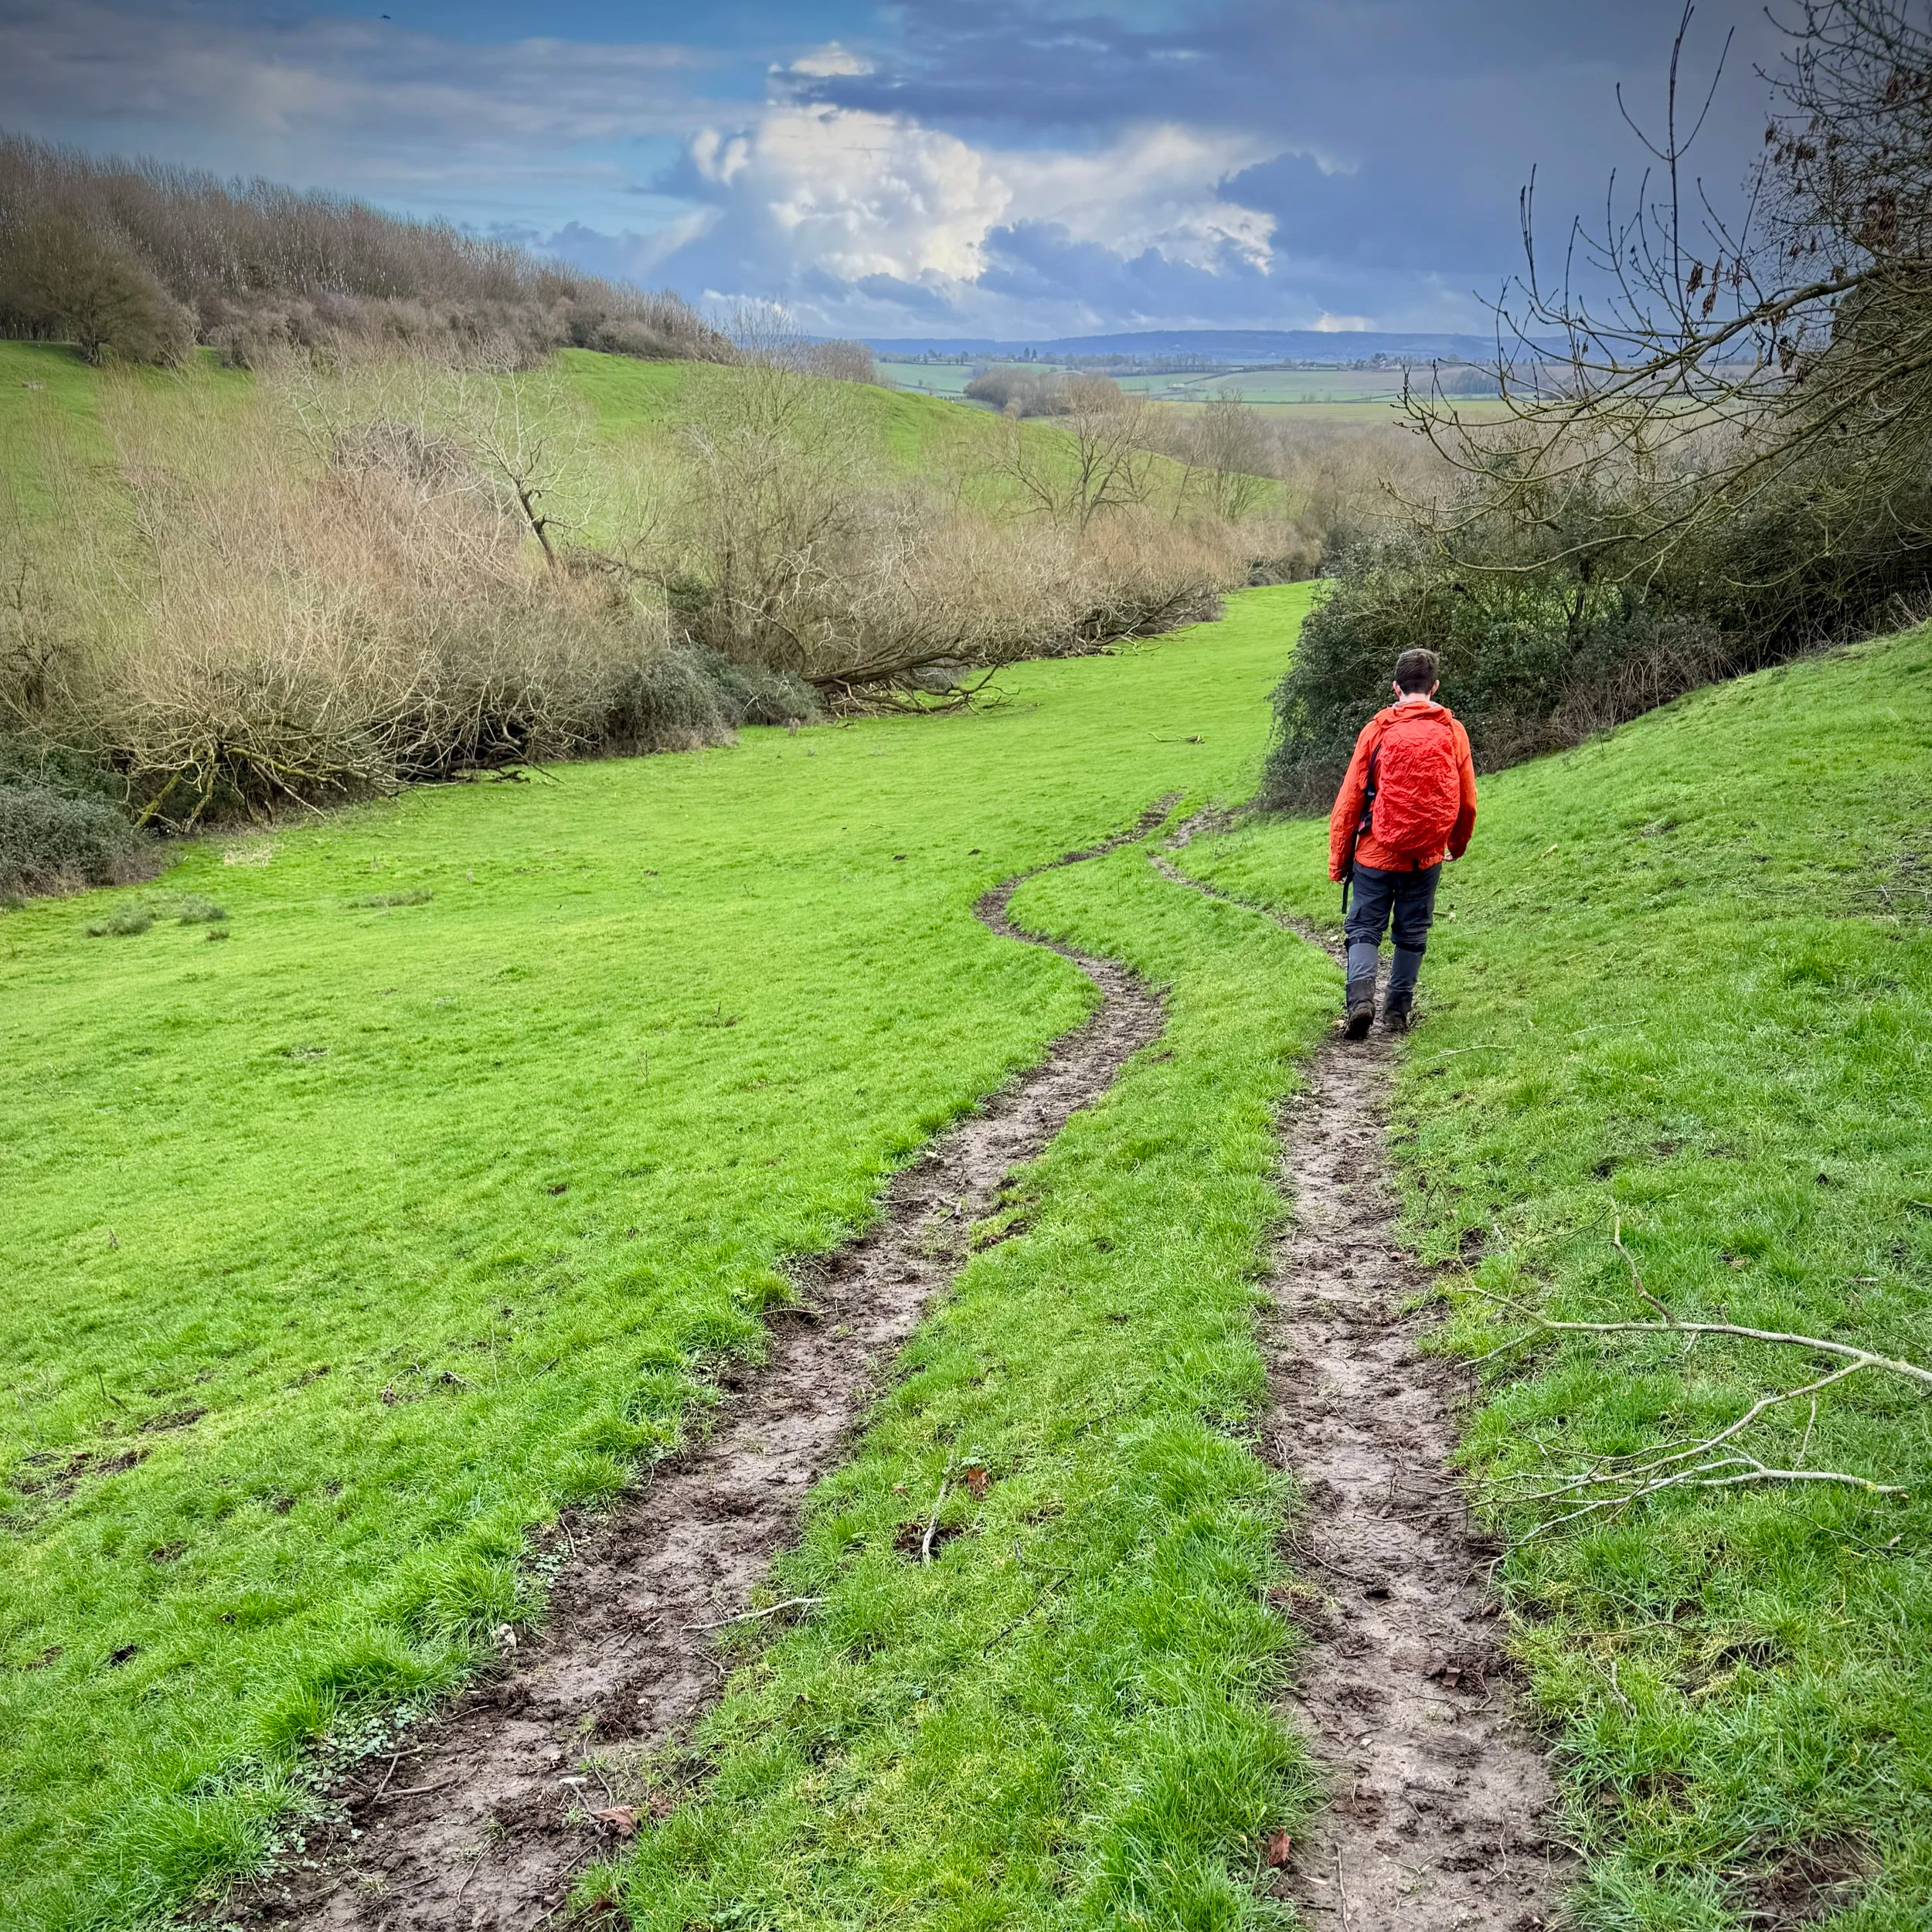
Start & Finish: Stone Village Hall, 50 Oxford Road, Stone Aylesbury, HP17 8PB
Distance: 10.1 km (6.3 miles)
Elevation change: +/- 75 m
Terrain: A mixture of quiet village lanes and open field-edge bridleways.
Midshires Way section covered: Bishopstone Road to the River Thame: 3.5 km
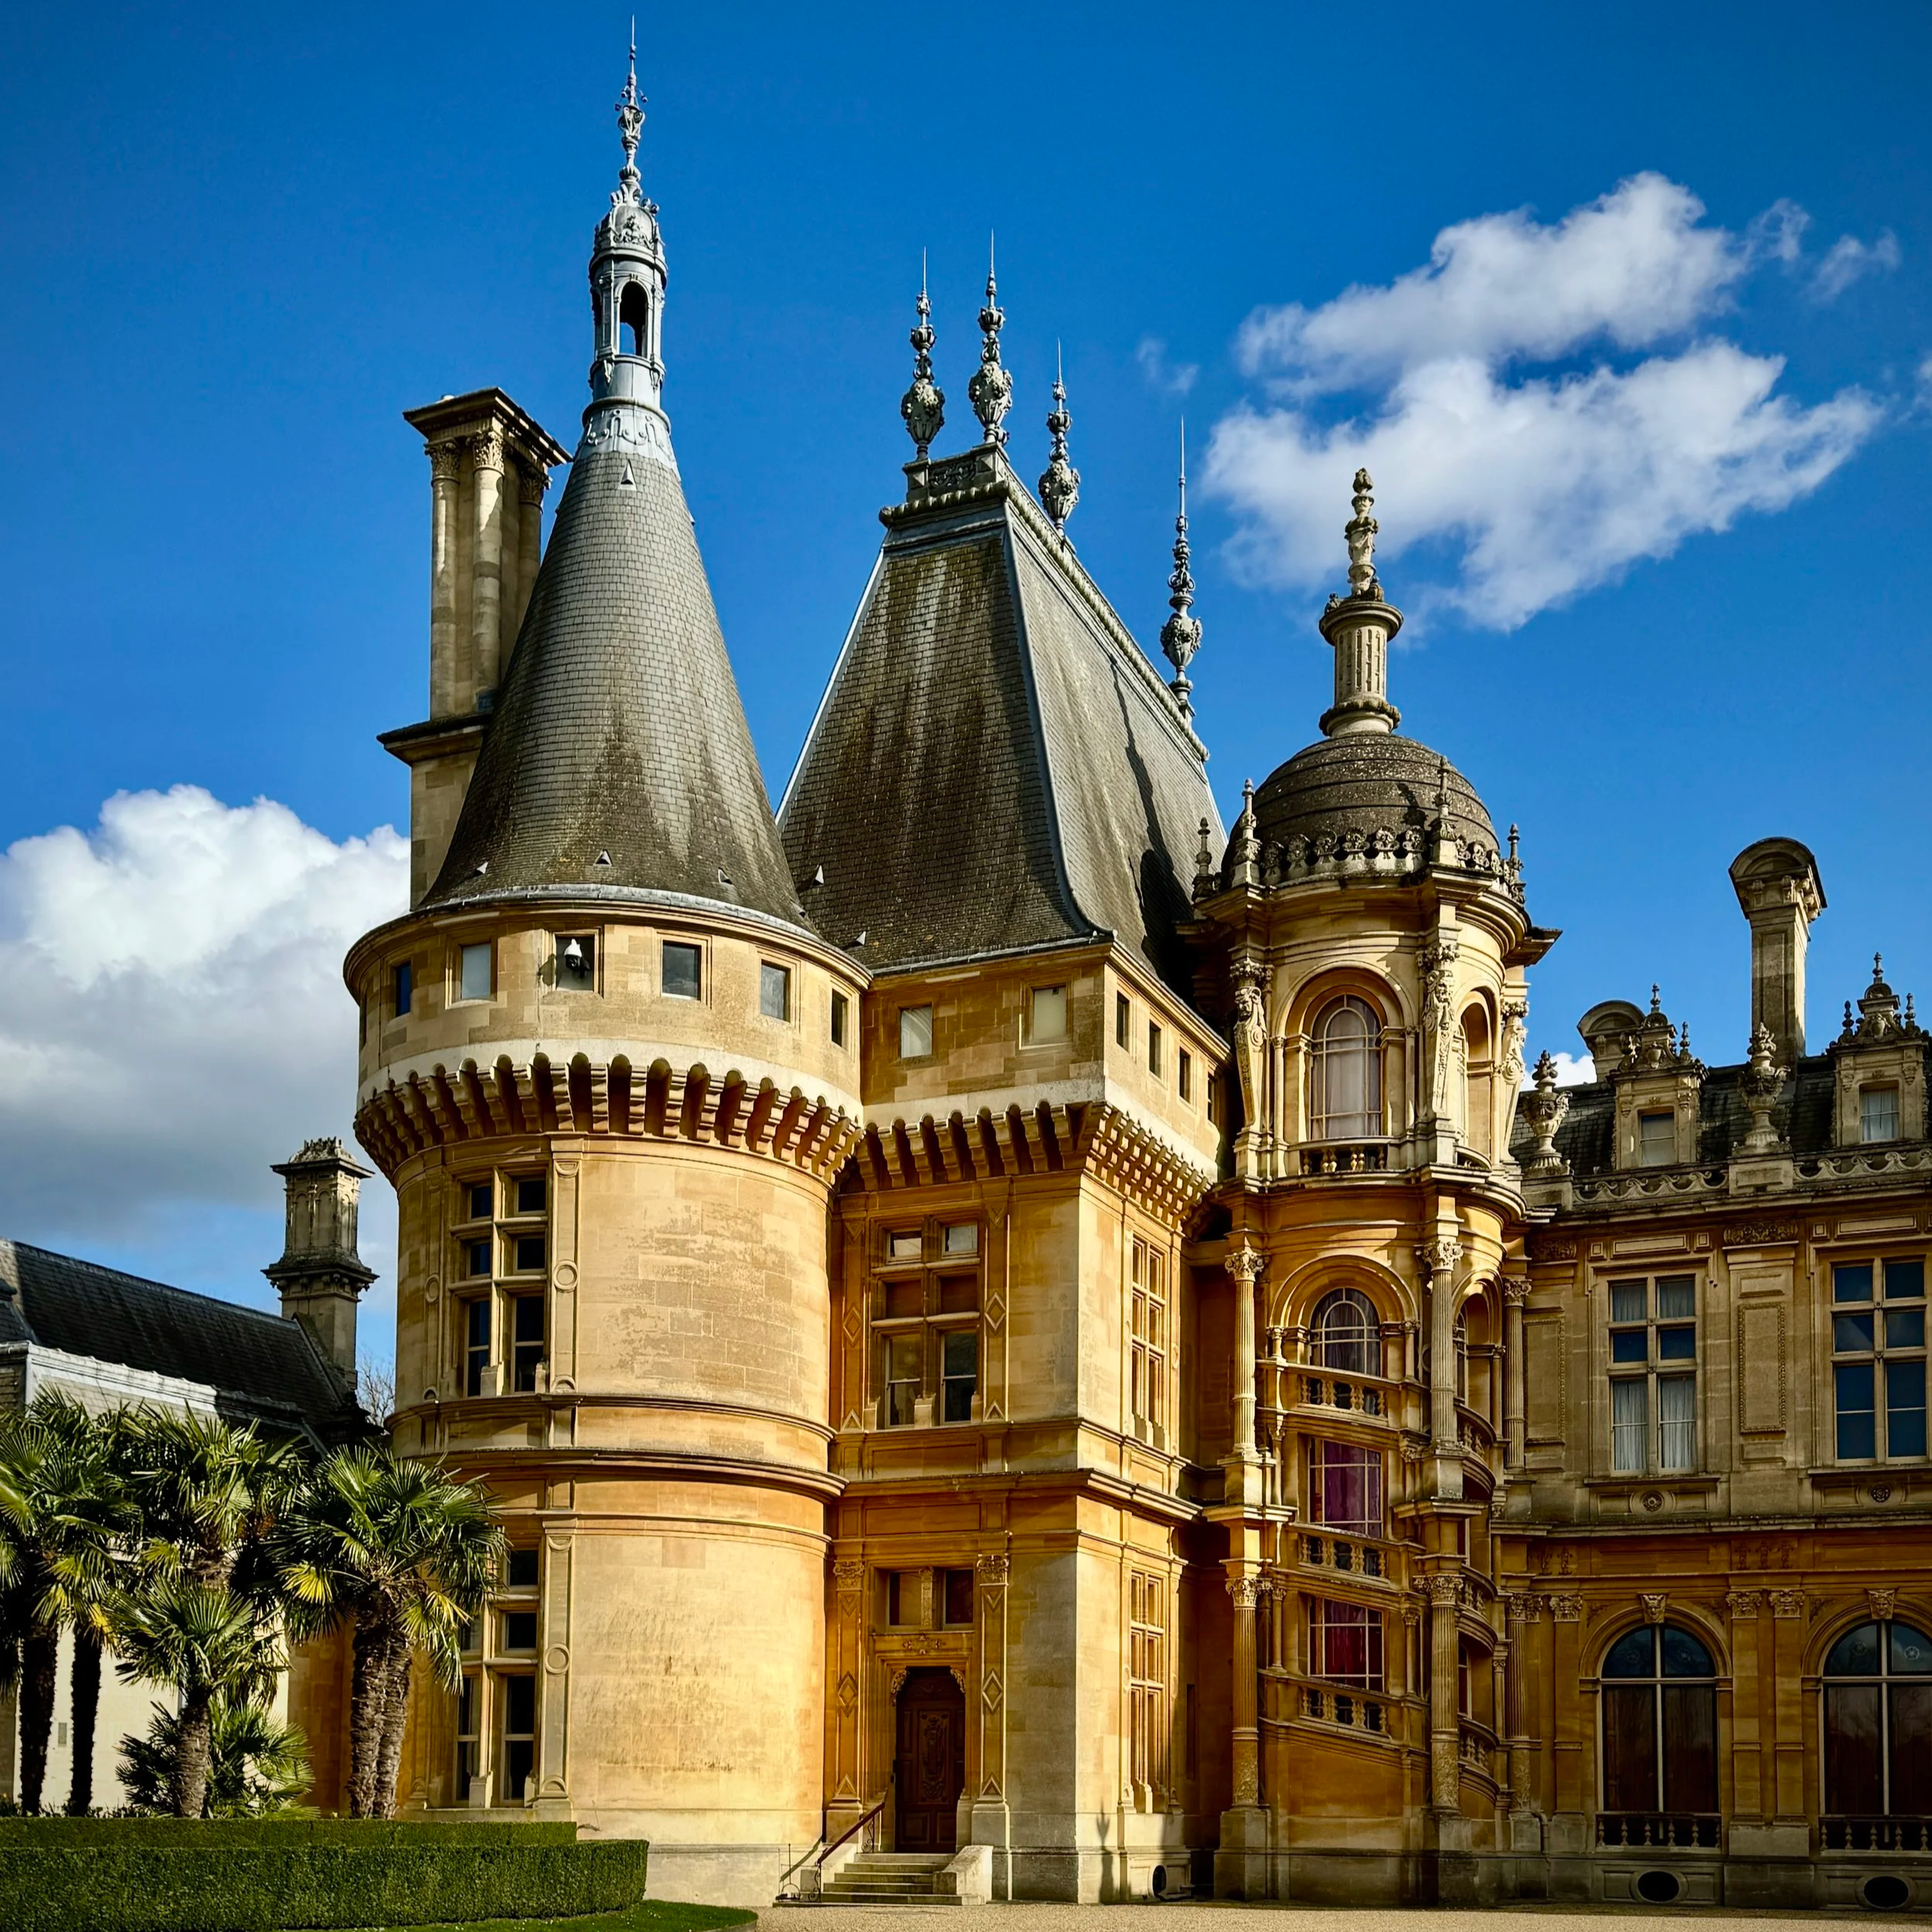
Section 6: Waddesdon and Eythrope
Start & Finish: Waddesdon Manor Car Park, Waddesdon, Aylesbury, HP18 0JE
Distance: 11.1 km (6.9 miles)
Elevation change: +/- 160 m
Terrain: A mixture of paved estate roads, grassy footpaths, and woodland tracks across undulating farmland.
Midshires Way section covered: River Thame to Waddeston: 3.7 km
Section 7: Waddesdon and Quainton Road
Start & Finish: Waddesdon Manor Car Park, Waddesdon, Aylesbury, HP18 0JE
Distance: 11.9 km (7.4 miles)
Elevation change: +/- 96m
Terrain: A mixture of paved surfaces, grassy footpaths, and countryside tracks with rolling elevations.
Midshires Way section covered: Waddesdon to Quainton: 4.5 km
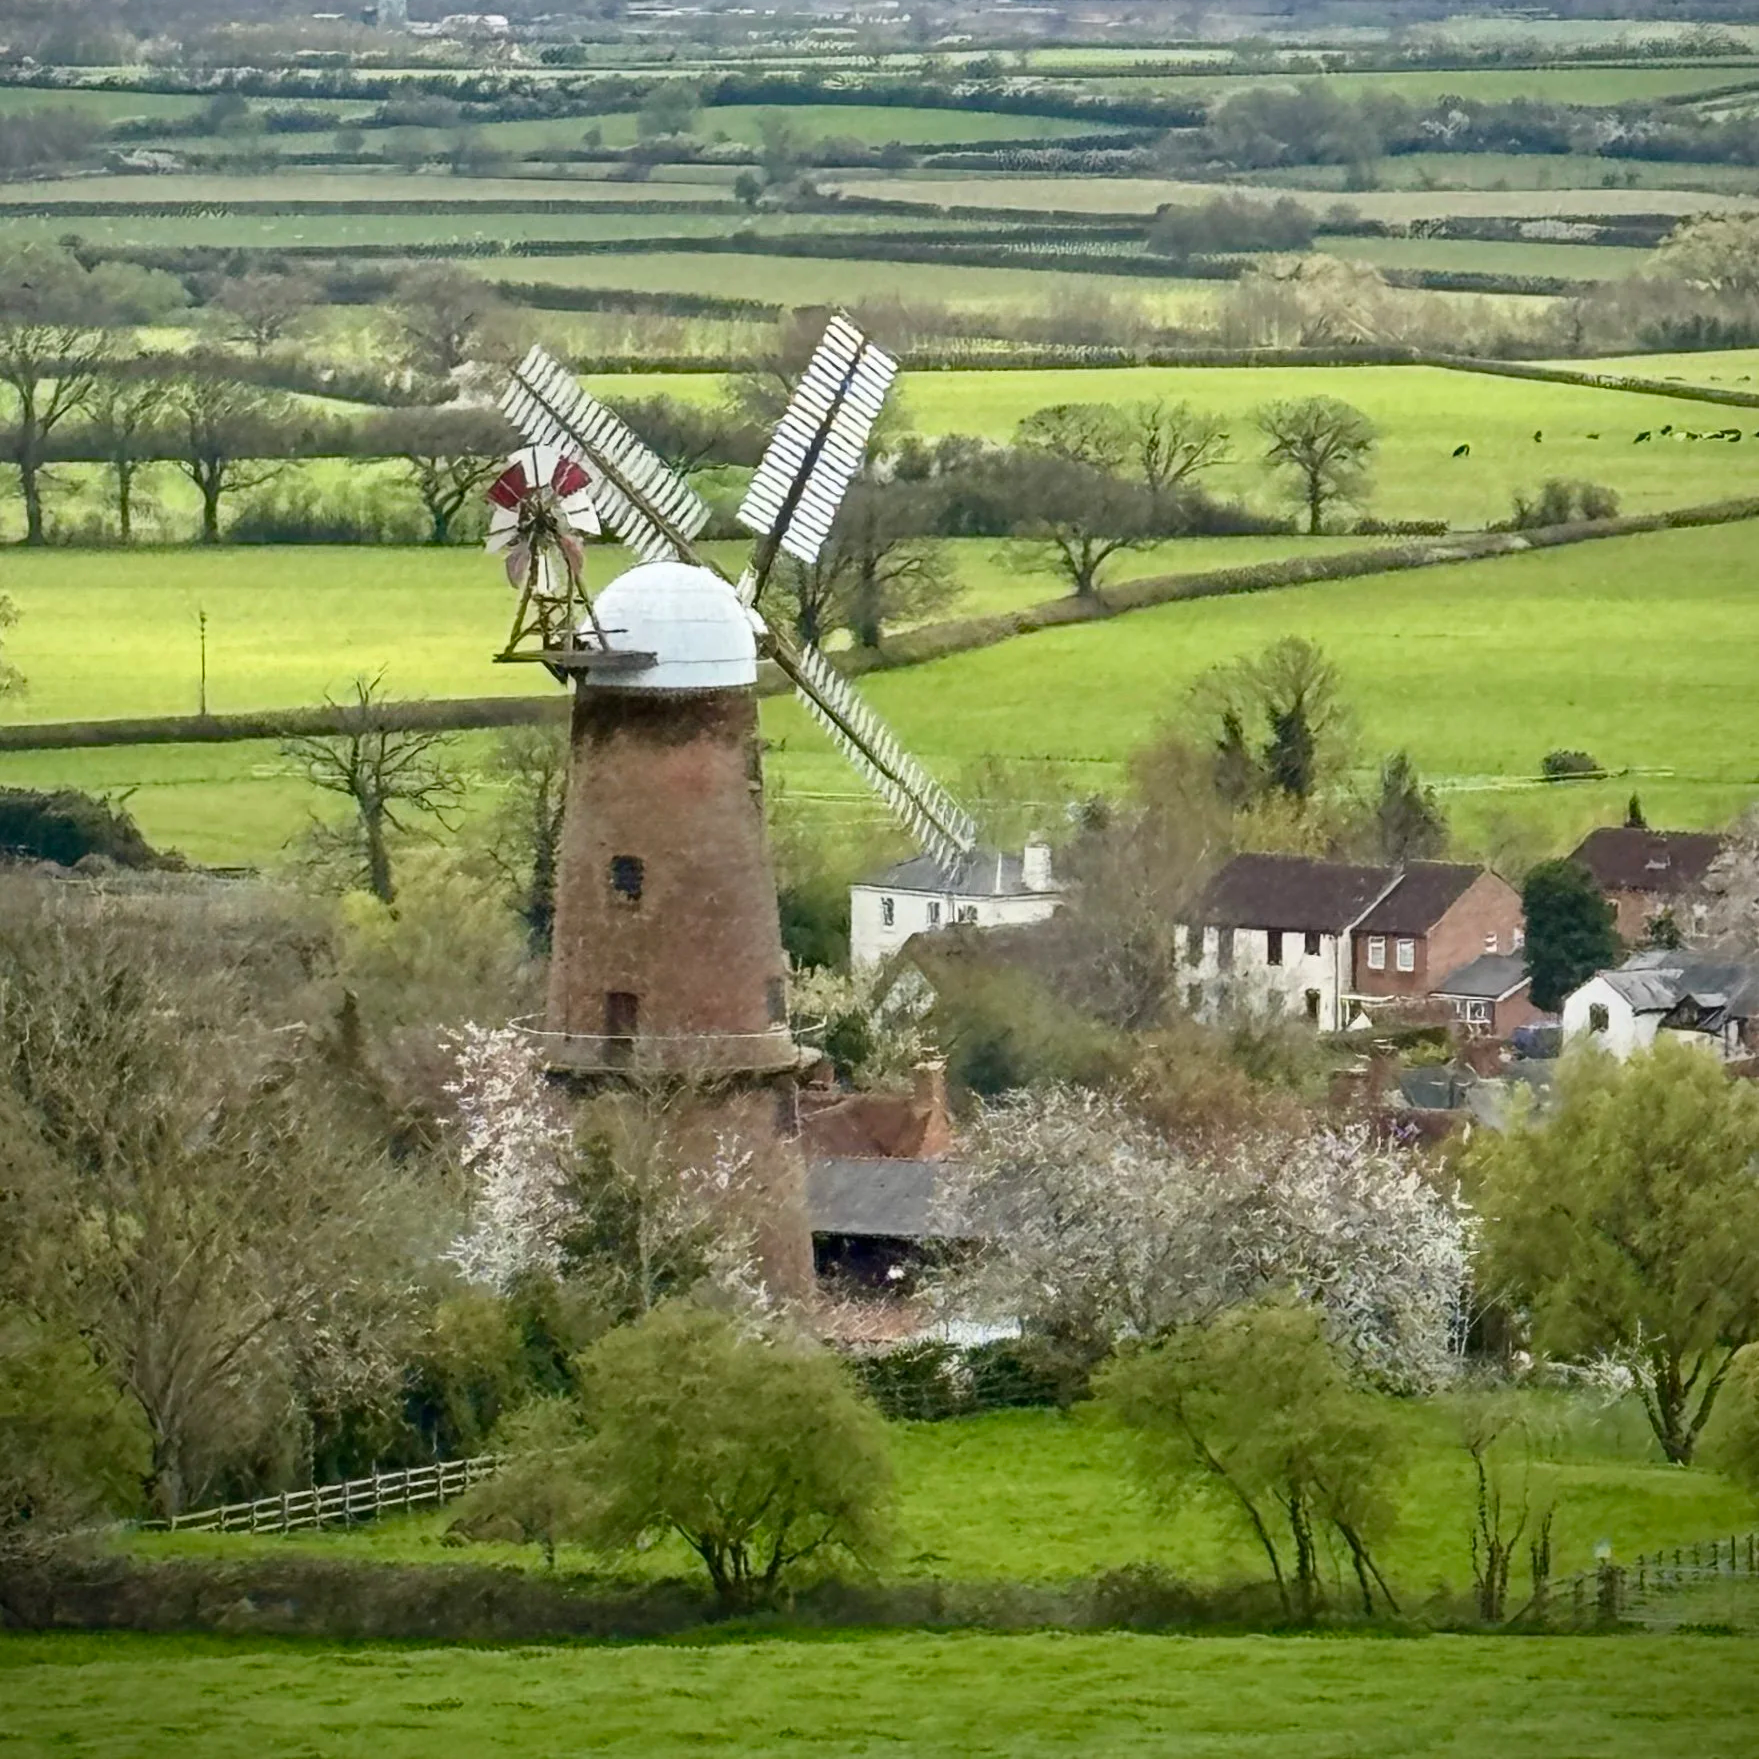
Section 8: Quainton and Botolph Claydon
Start & Finish: George and Dragon pub, 32 The Green, Quainton, Aylesbury HP22 4AR
Distance: 13.2 km (8.2 miles)
Elevation change: +/- 144m
Terrain: The route predominantly follows public bridleways and quiet country lanes, with some muddy sections likely after heavy rain.
Midshires Way section covered: Quainton to East Claydon: 6.7 km
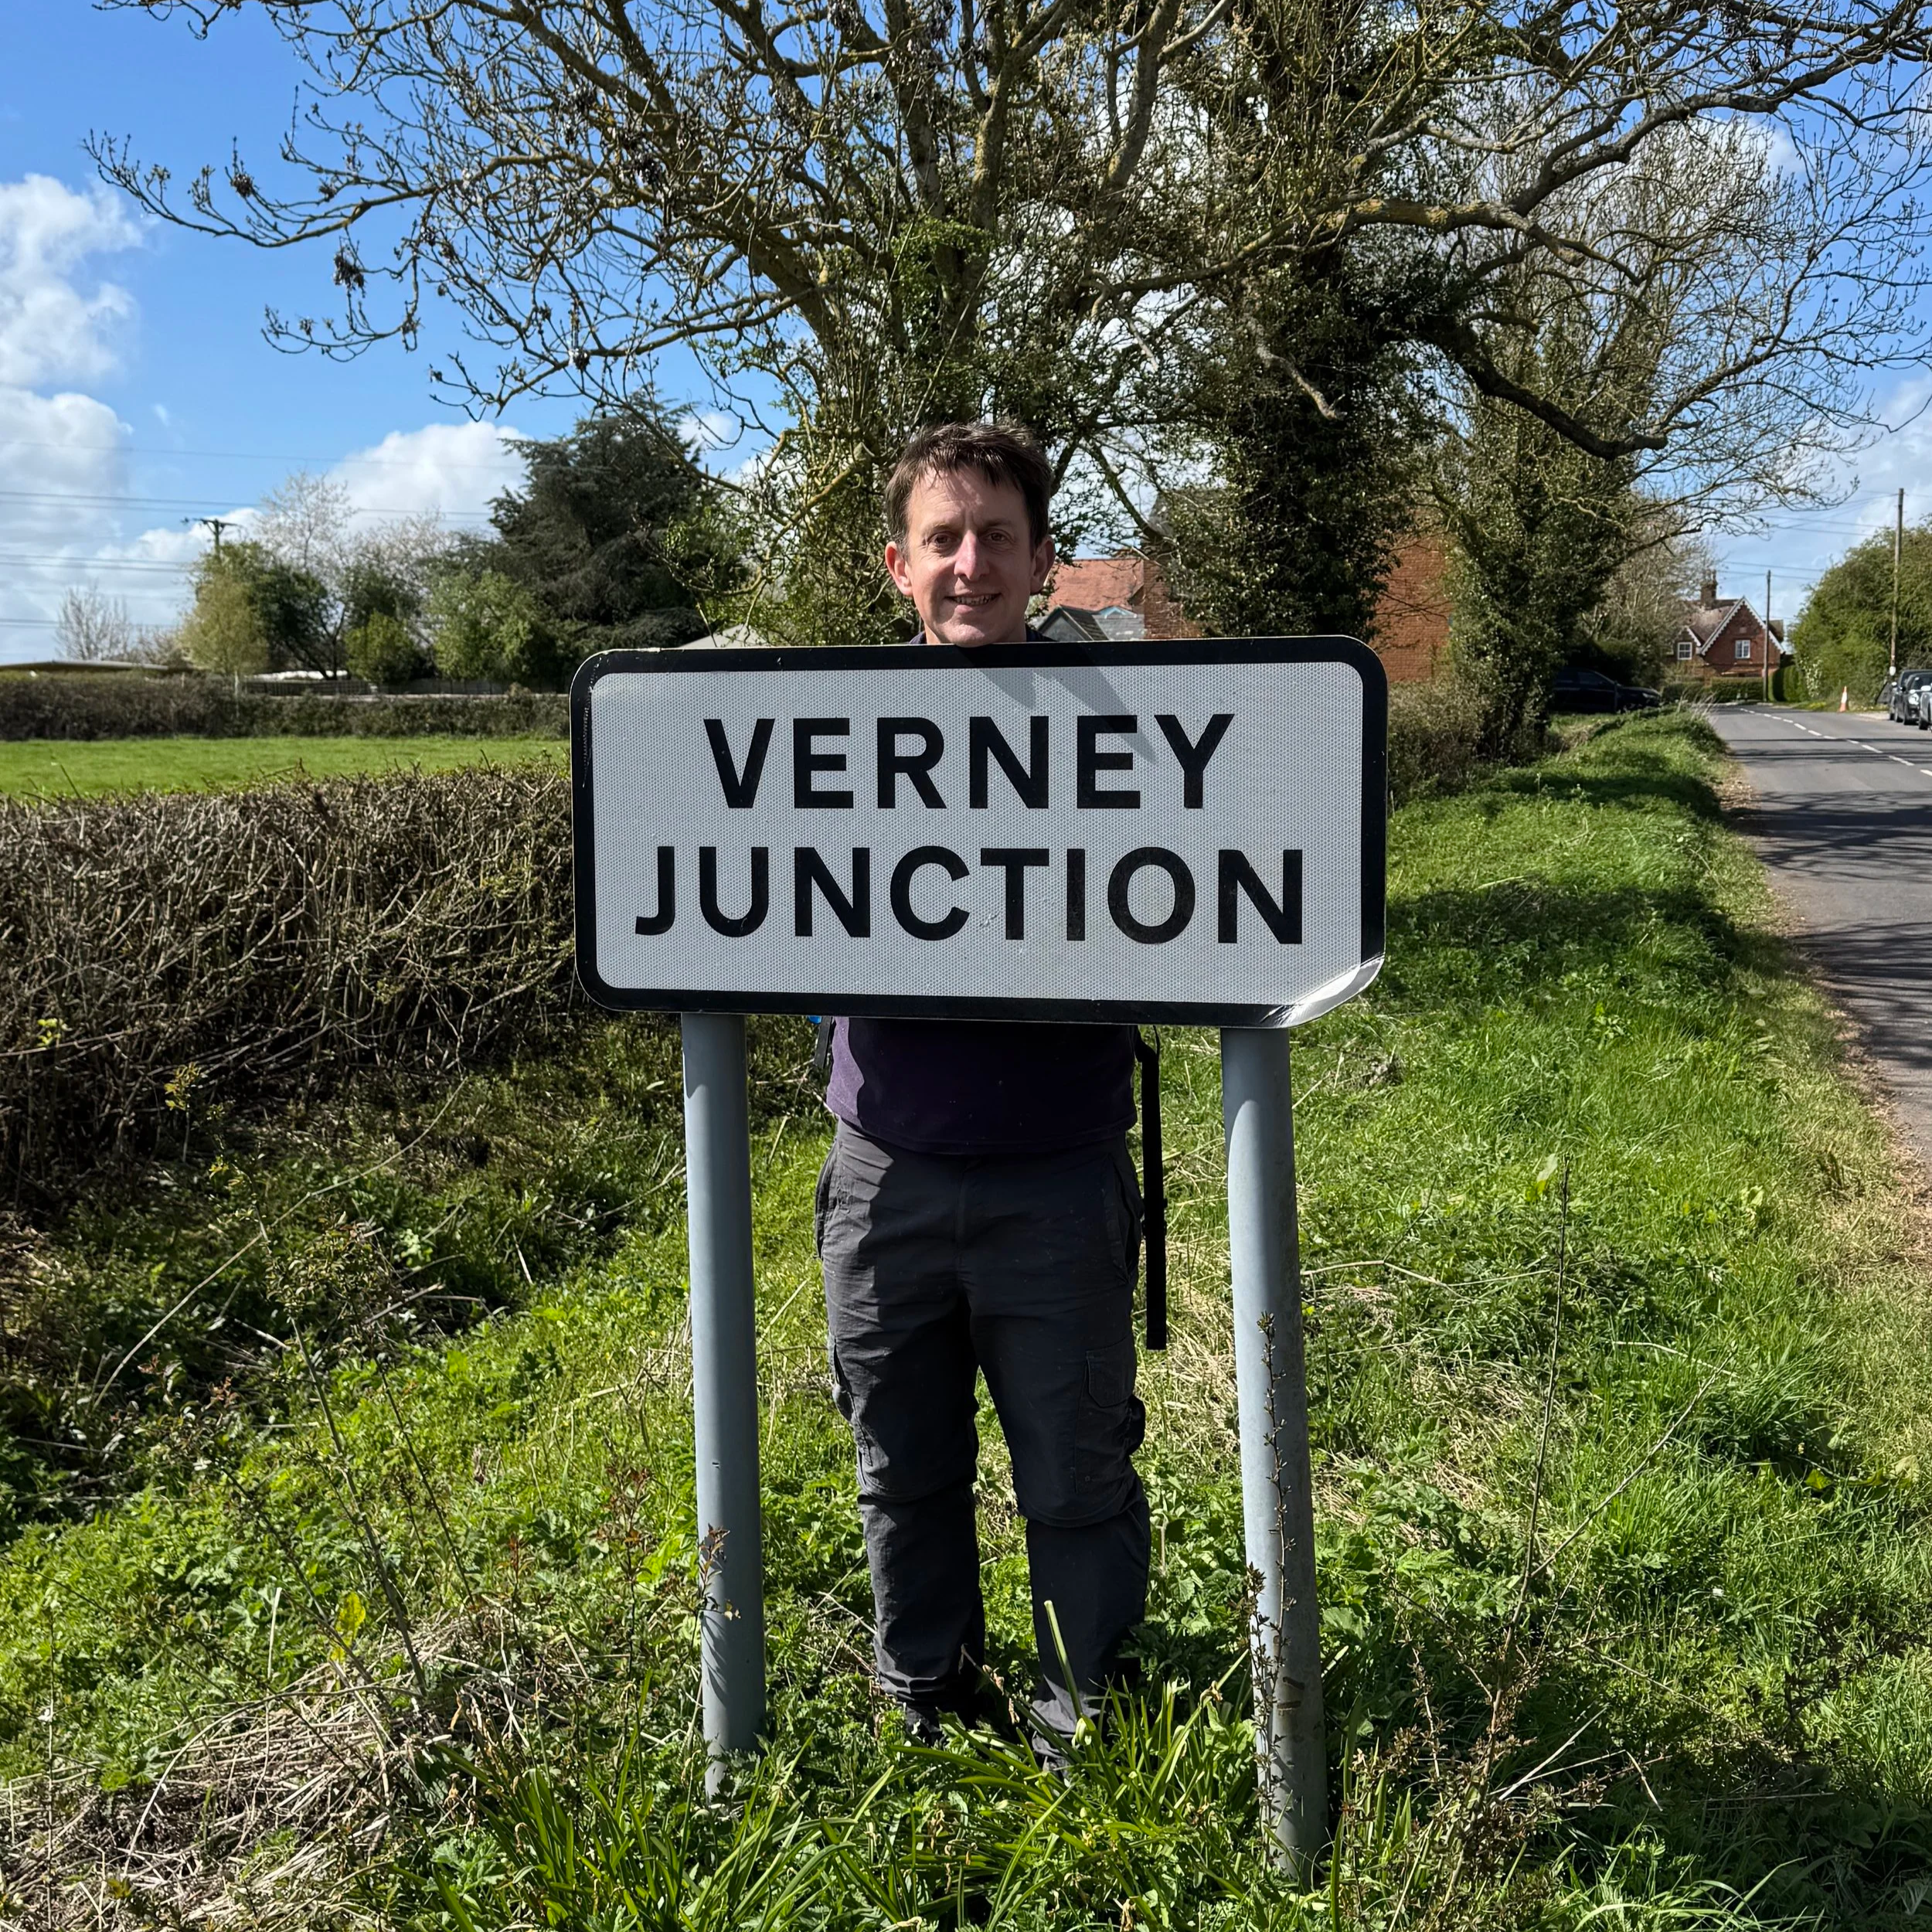
Section 9: Verney Junction and Winslow
Start & Finish: St Mary's Church, Church Way, East Claydon, Buckingham, MK18 2ND
Distance: 12.7 km (7.9 miles)
Elevation change: +/- 97m
Terrain: Mixed terrain including field paths, bridleways, and quiet country lanes.
Midshires Way section covered: East Claydon to Addington: 4.7 km
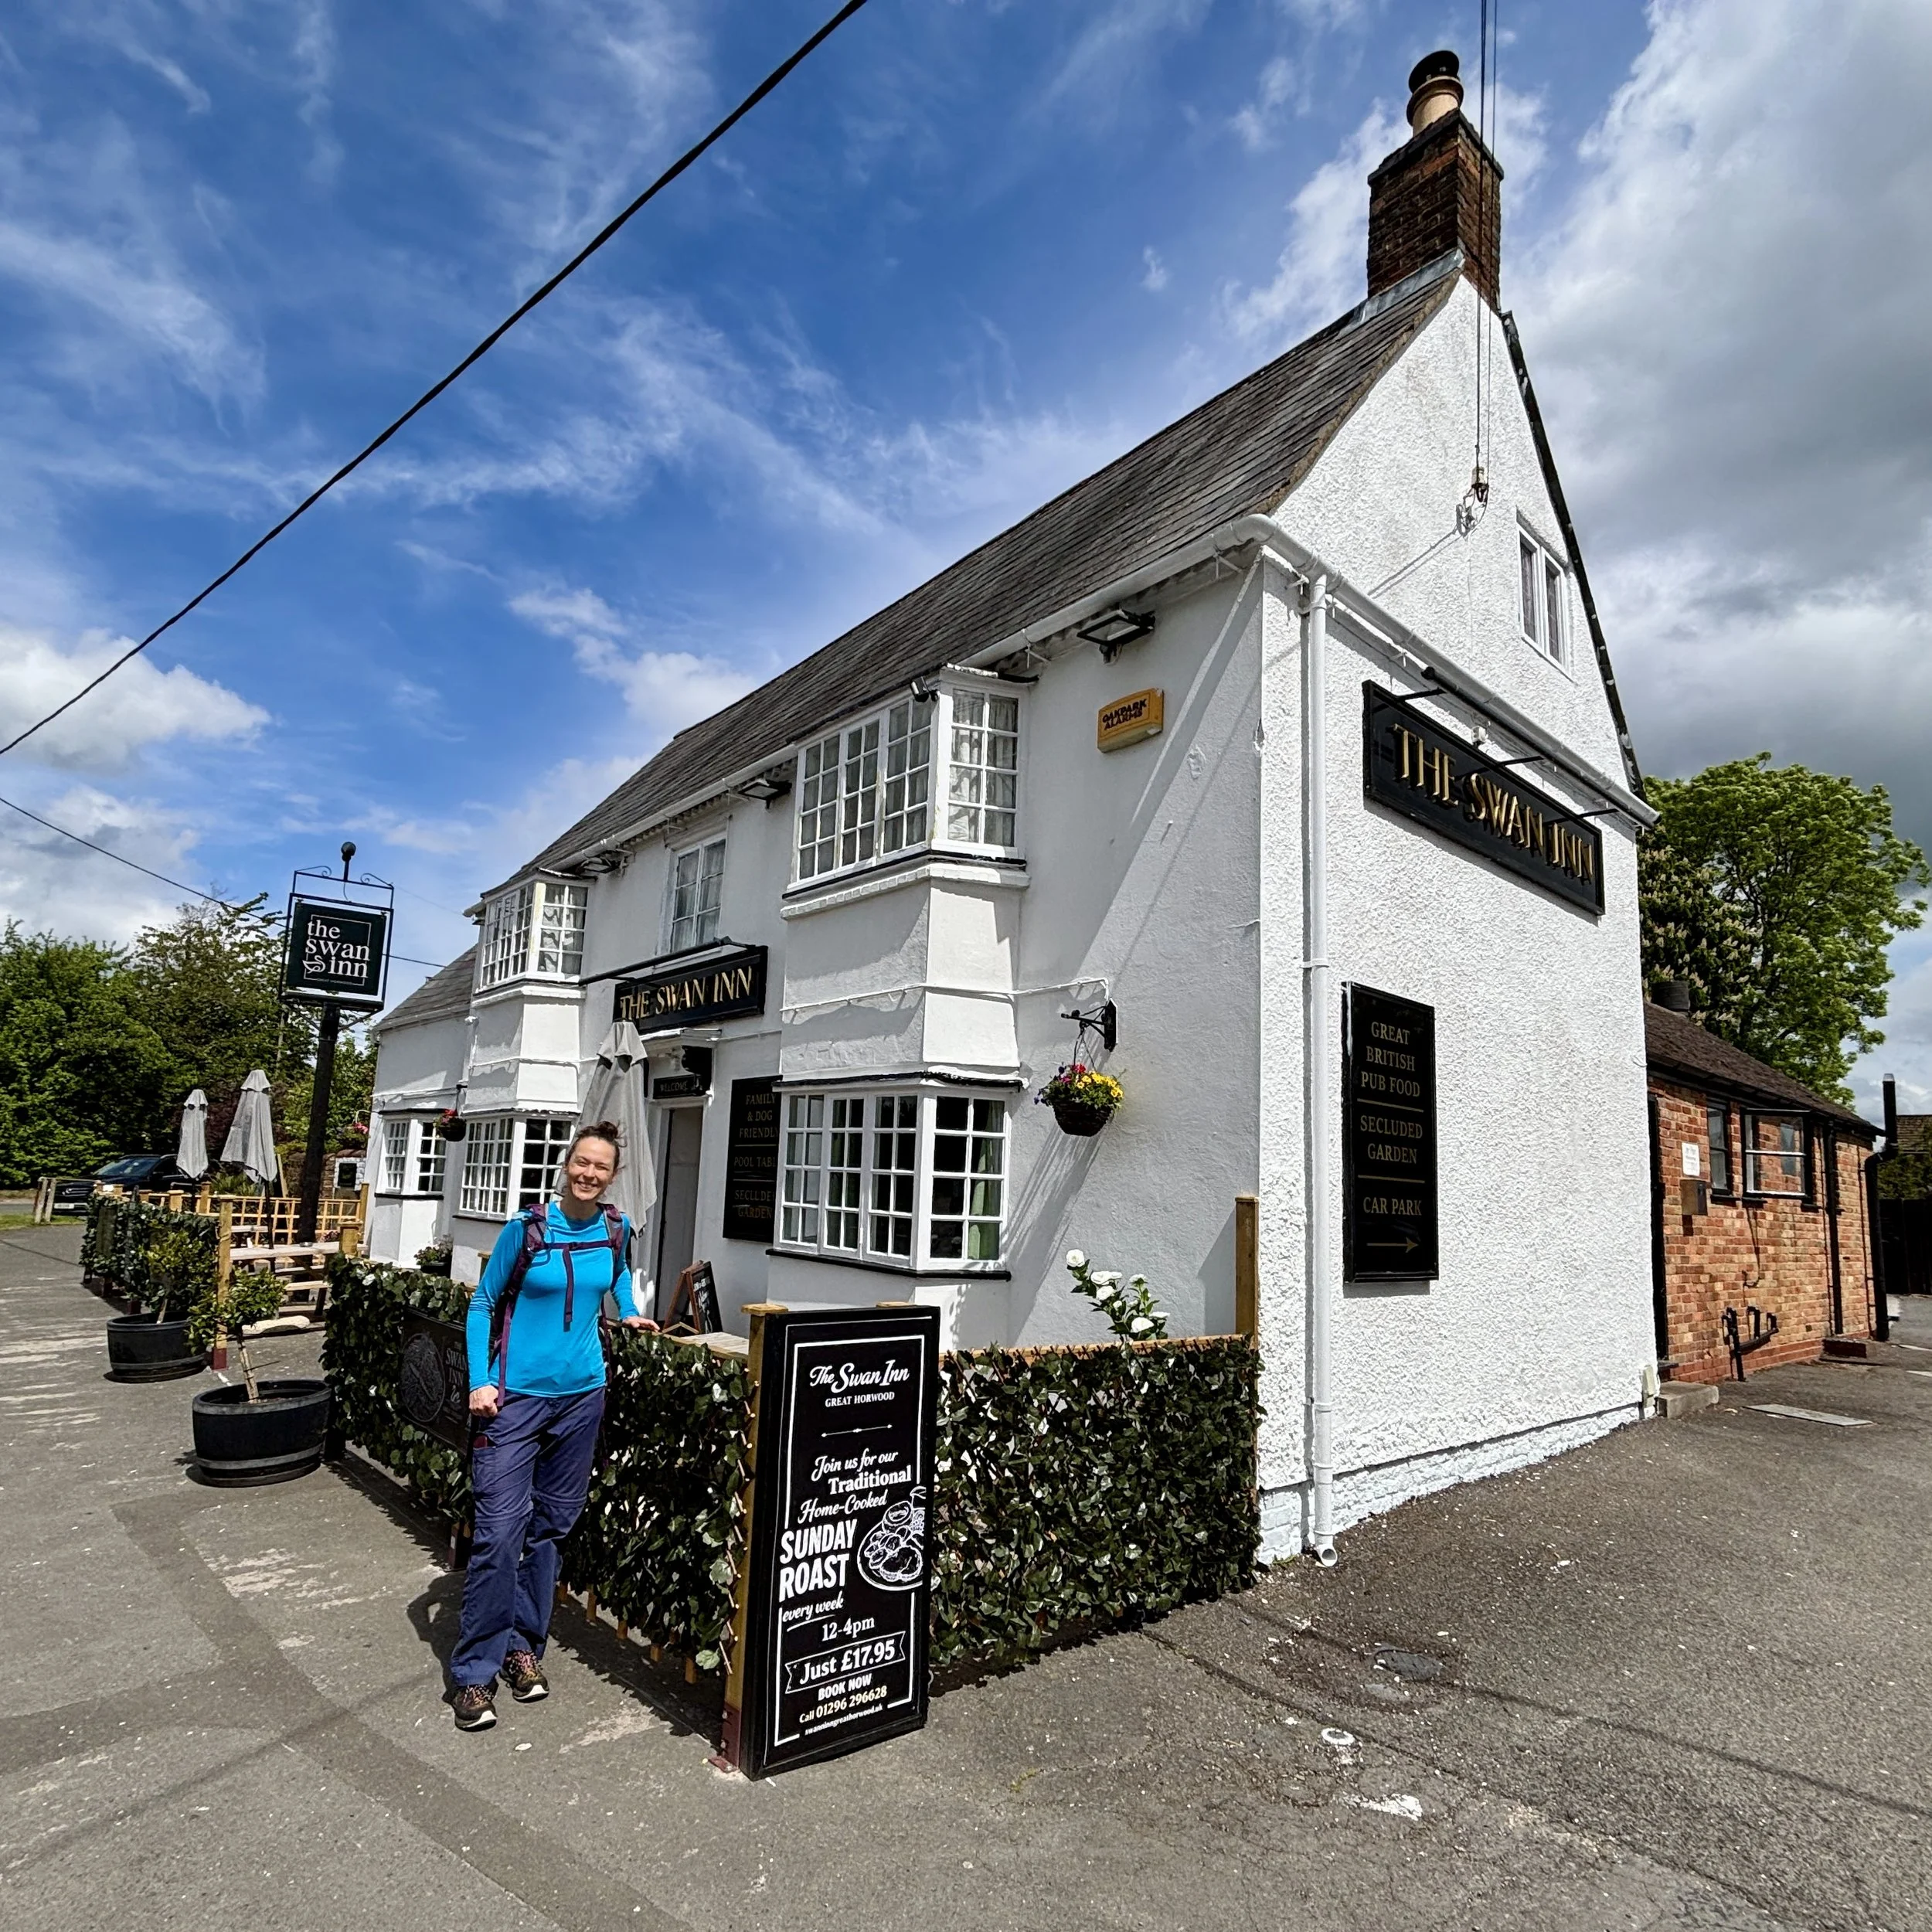
Section 10: Addington and Great Horwood
Start & Finish: Church End, Adstock, Buckingham, MK18 2HY
Distance: 10.3 km (6.4 miles)
Elevation change: +/- 79m
Terrain: A pleasant mix of open arable fields, ancient bridleways, and quiet village lanes.
Midshires Way section covered: Addington to Great Horwood: 4.3 km
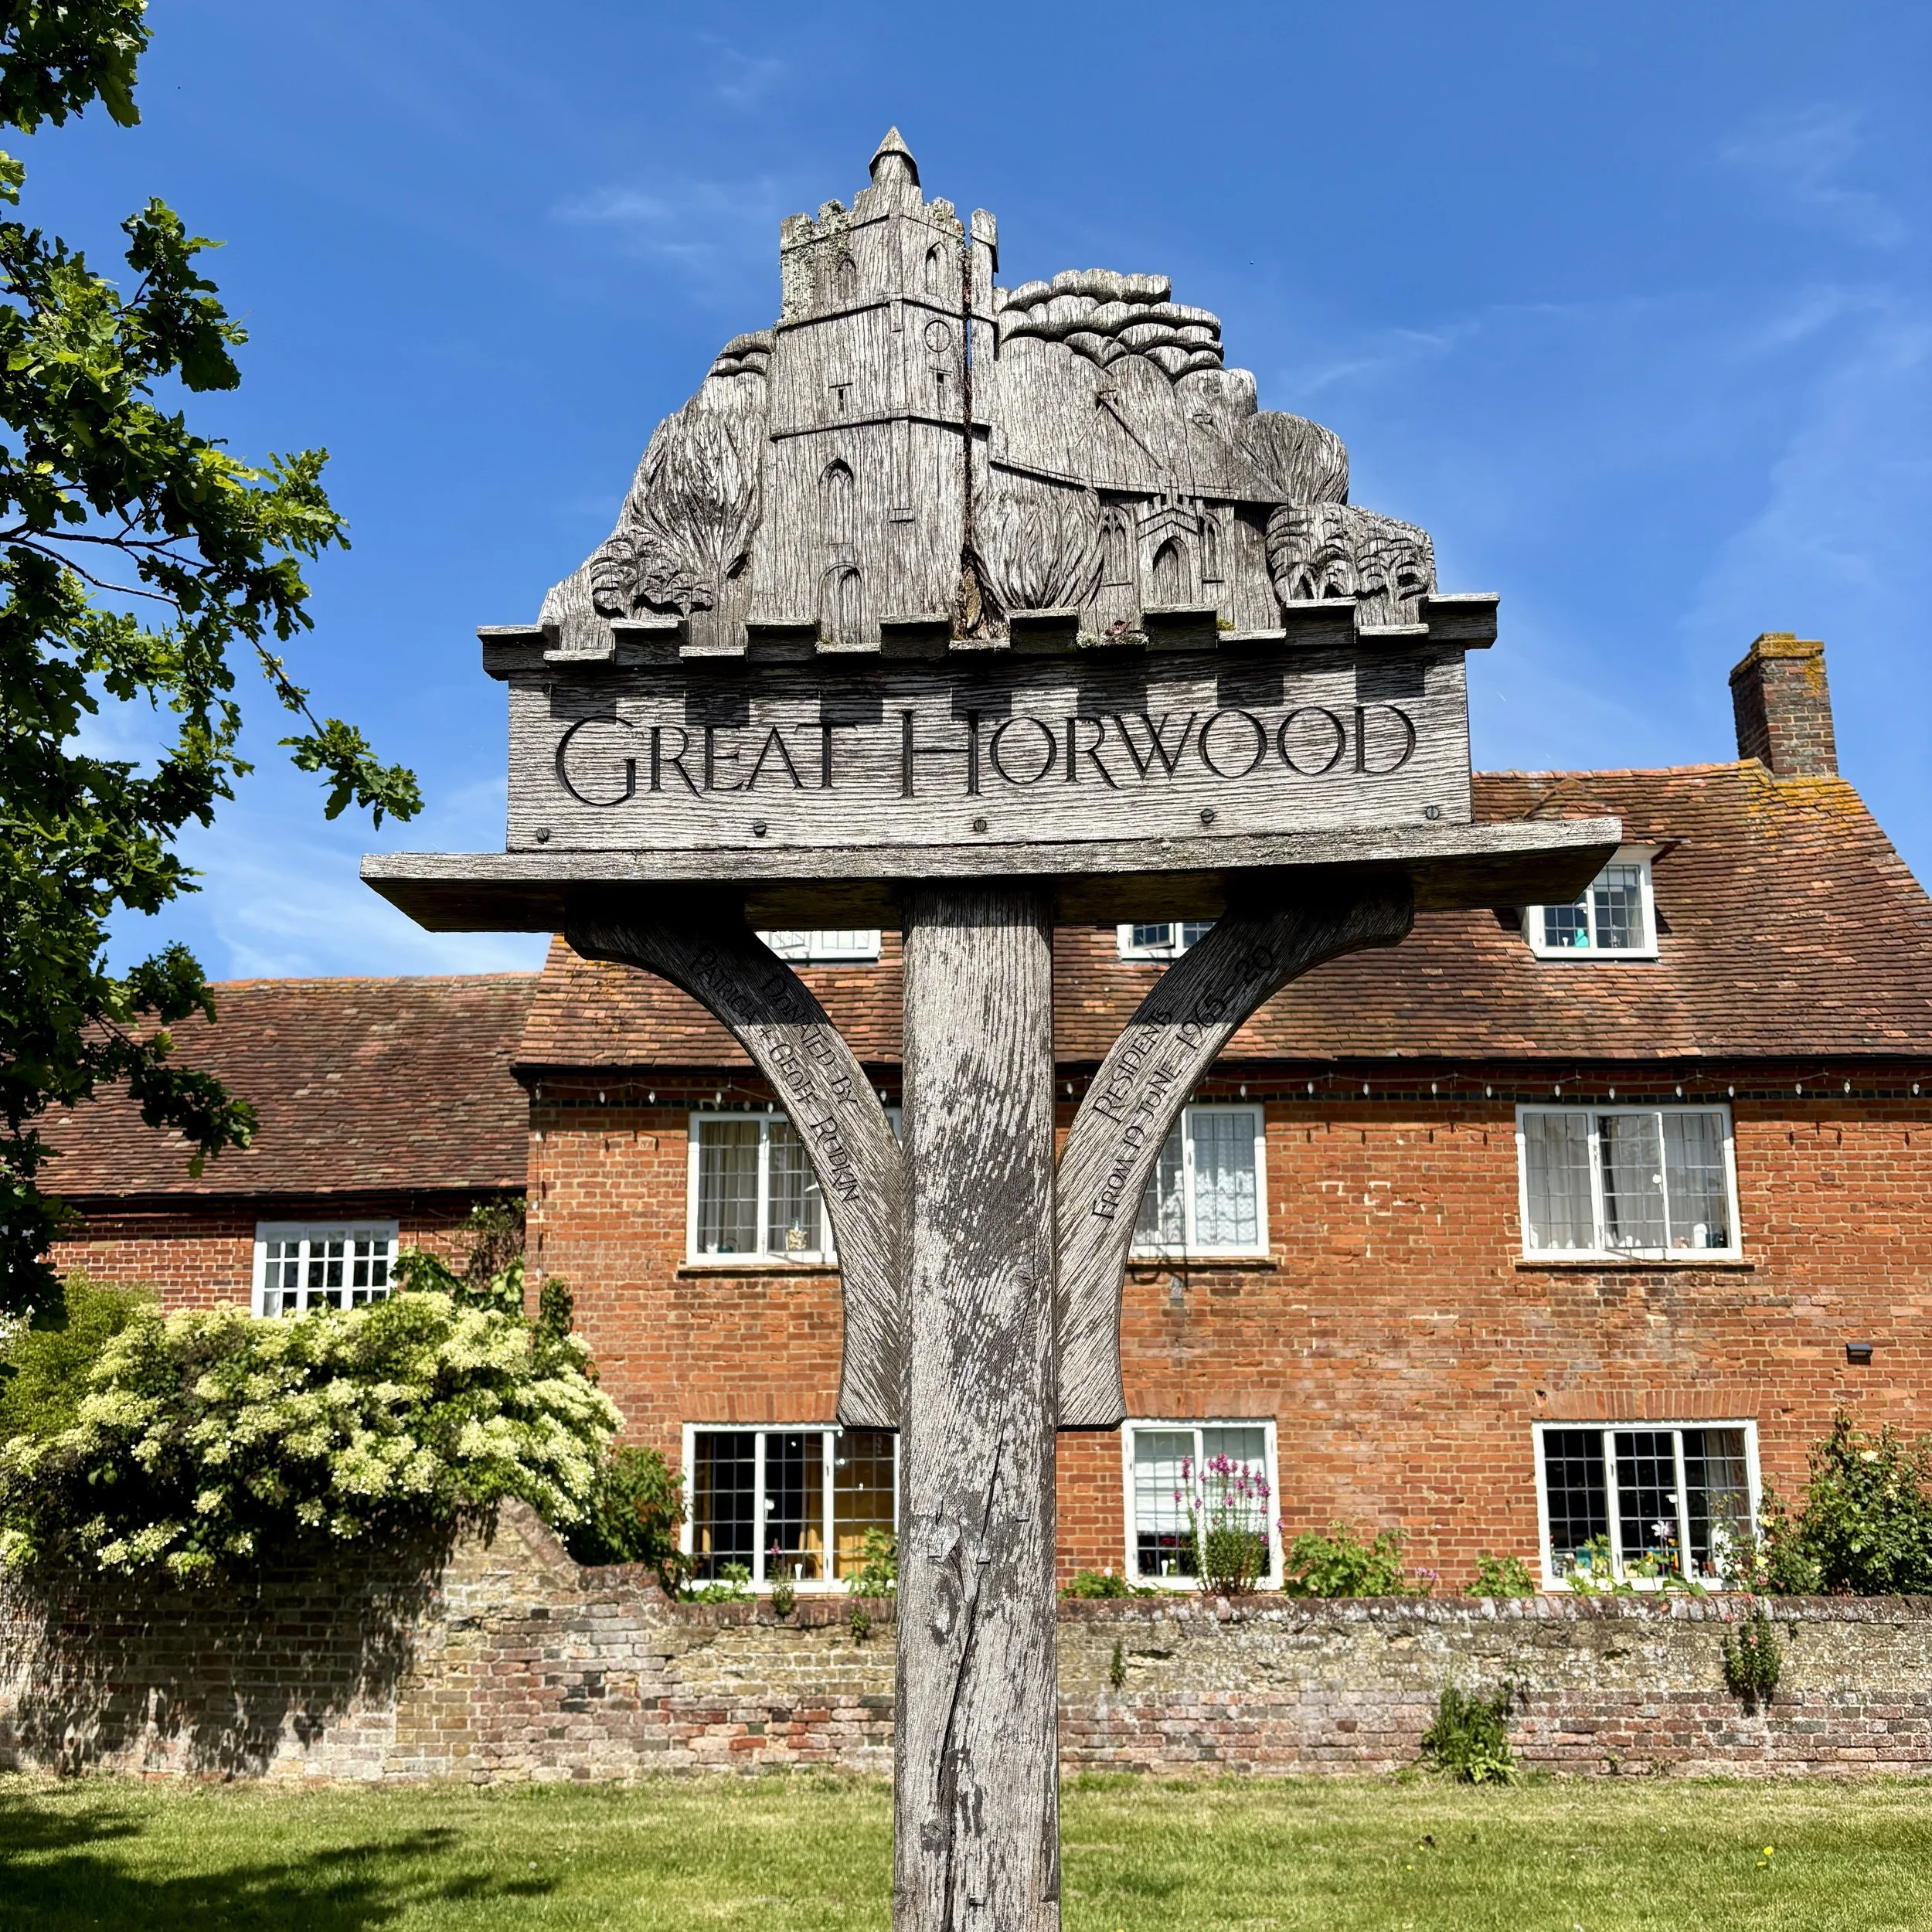
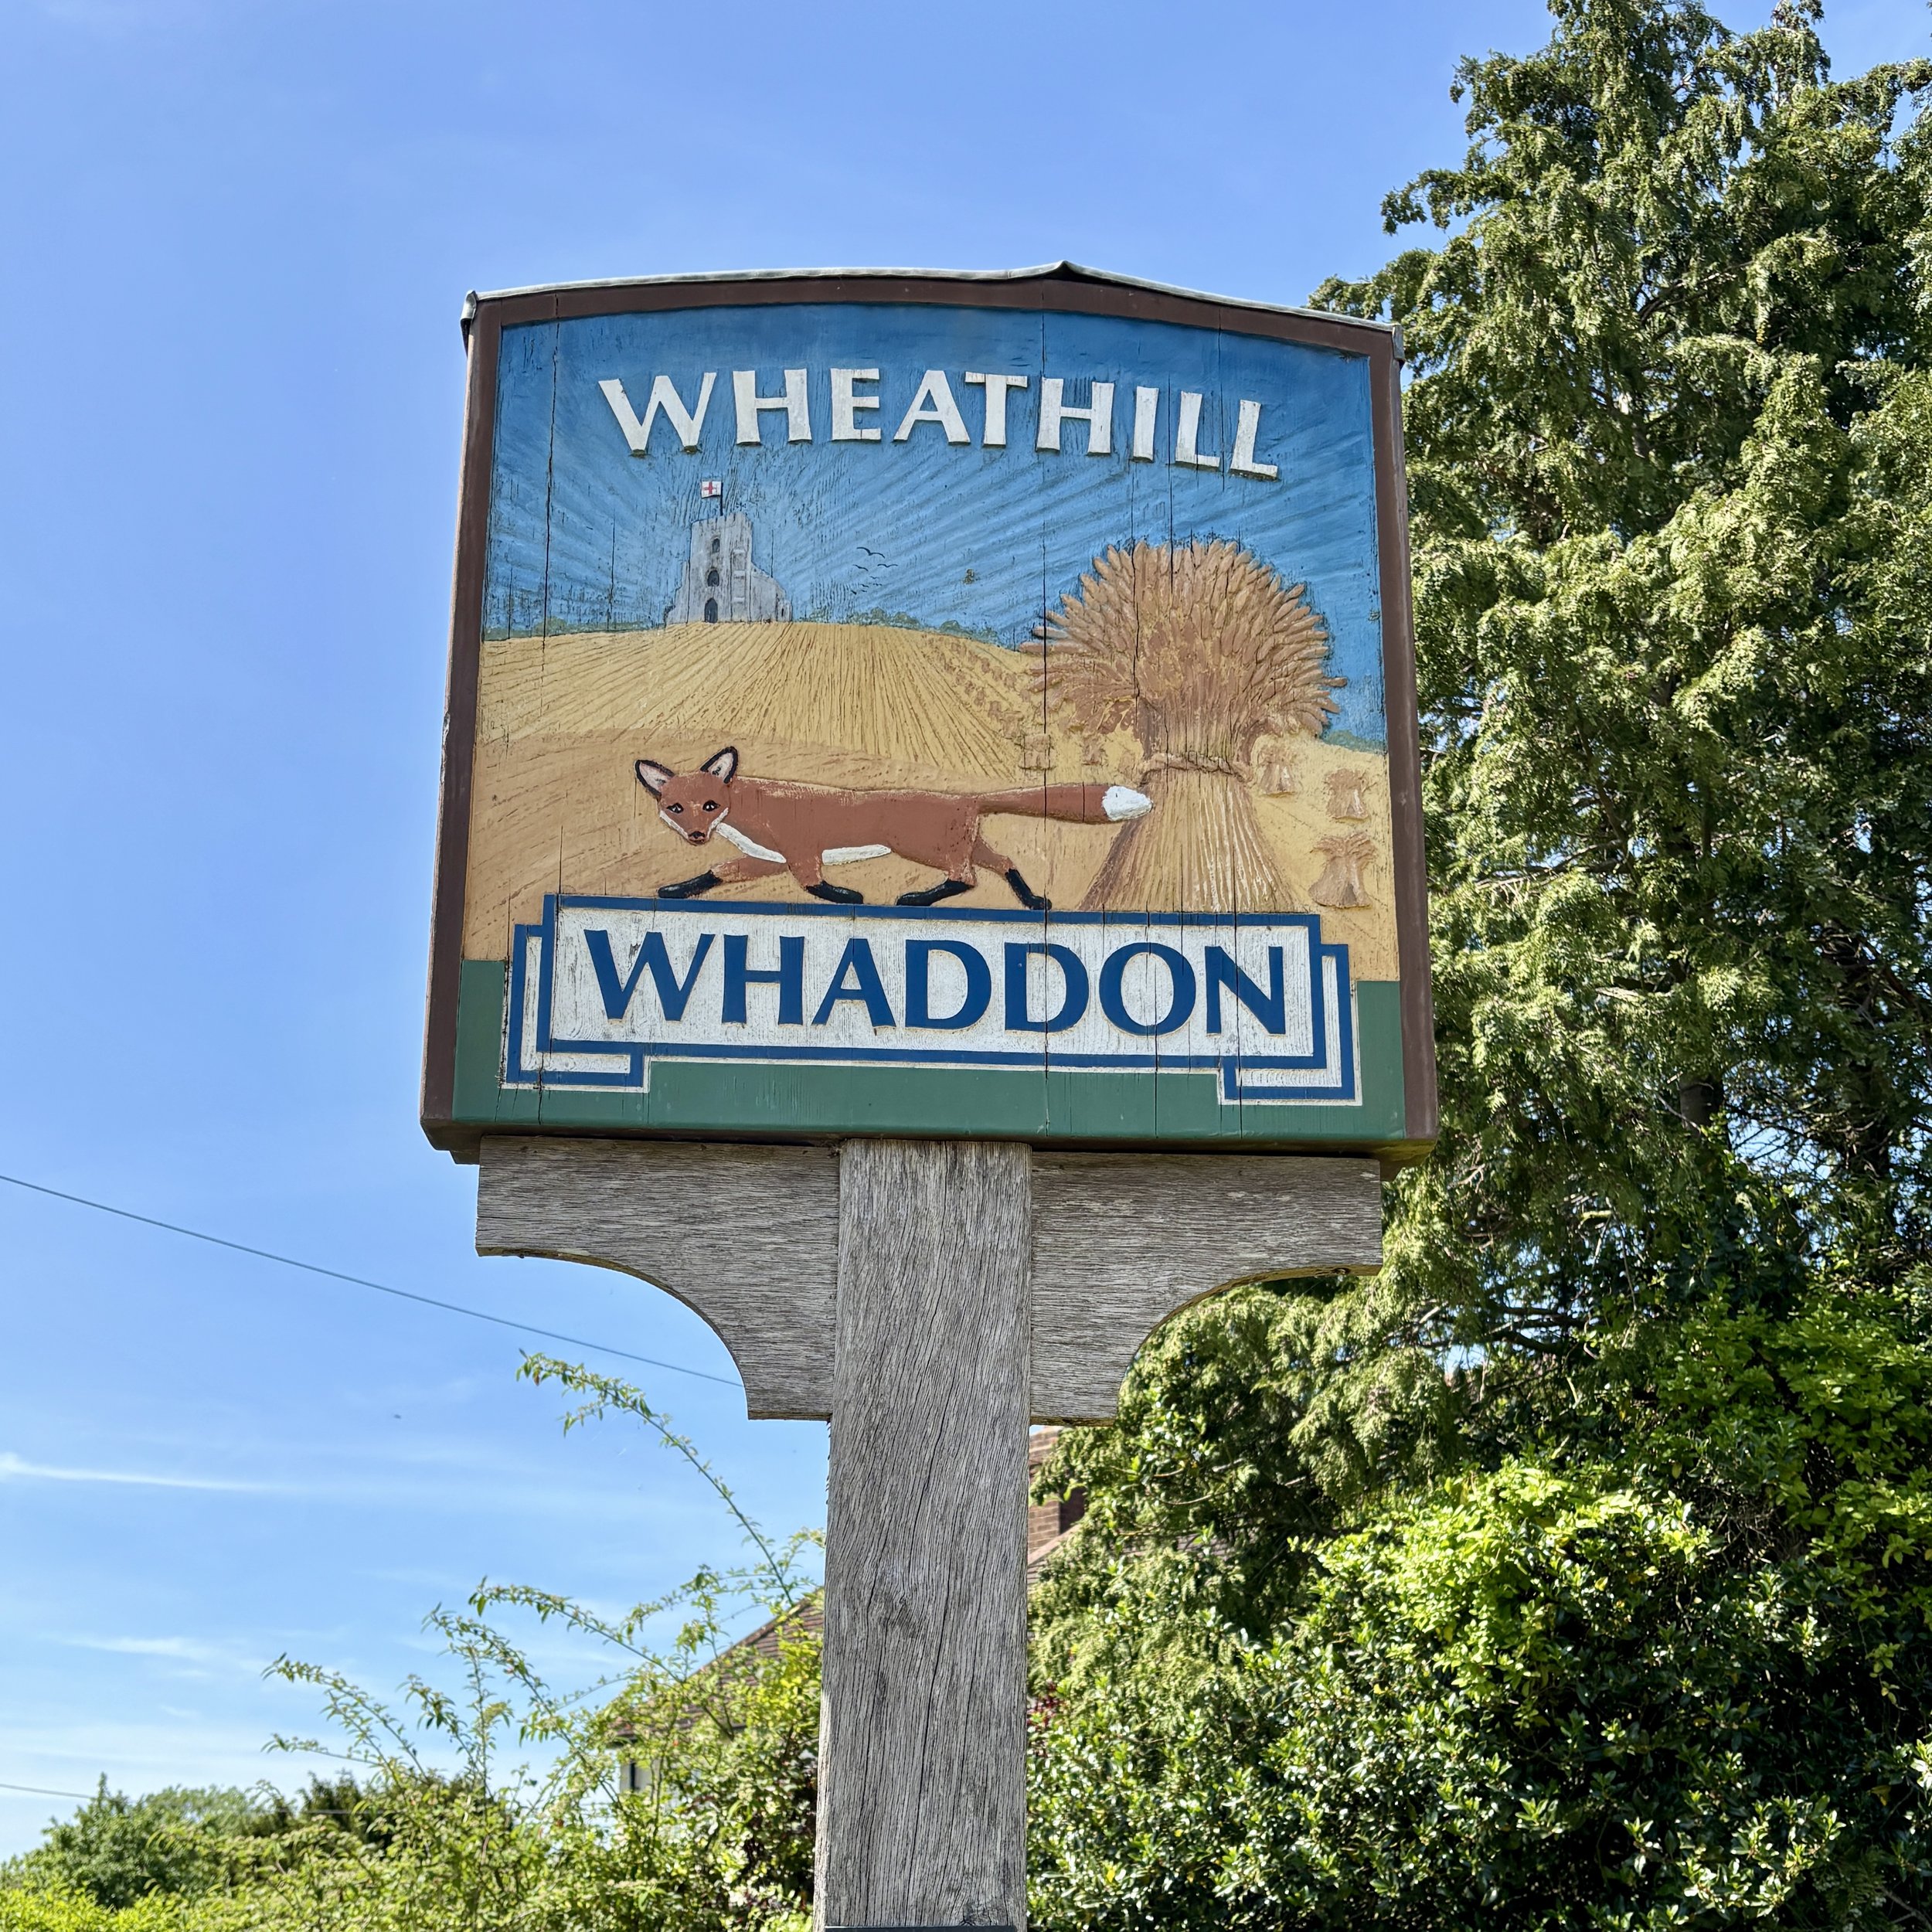
Section 11: Great Horwood and Whaddon
Start & Finish: The Swan Inn, 1 Winslow Road, Great Horwood, Milton Keynes, MK17 0QN
Distance: 11.4 km (7.1 miles)
Elevation change: +/- 85m
Terrain: A mixture of grassy footpaths, bridleways, agricultural field margins, and village pavements.
Midshires Way section covered: Great Horwood to Whaddon: 6.1 km
Section 12: Whaddon and Oakhill Wood
Start & Finish: St Mary's Church, Church Hill, Whaddon, Milton Keynes, MK17 0LZ
Distance: 8.3 km (5.2 miles)
Elevation change: +/- 74m
Terrain: A combination of quiet country lanes, well-marked grassy footpaths, and rustic woodland tracks.
Midshires Way section covered: Whaddon to Oakhill: 3.2 km
Section 13: Oakhill and Loughton
Start & Finish: Lodge Lake Car Park, Bradwell Road, Loughton Lodge, Great Holm, Milton Keynes, MK8 9LG
Distance: 9.8 km (6.1 miles)
Elevation change: +/- 84m
Terrain: A mix of ancient woodland paths, paved Milton Keynes redways, and grassy parkland trails.
Midshires Way section covered: Oakhill to Lodge Lake: 5.8 km
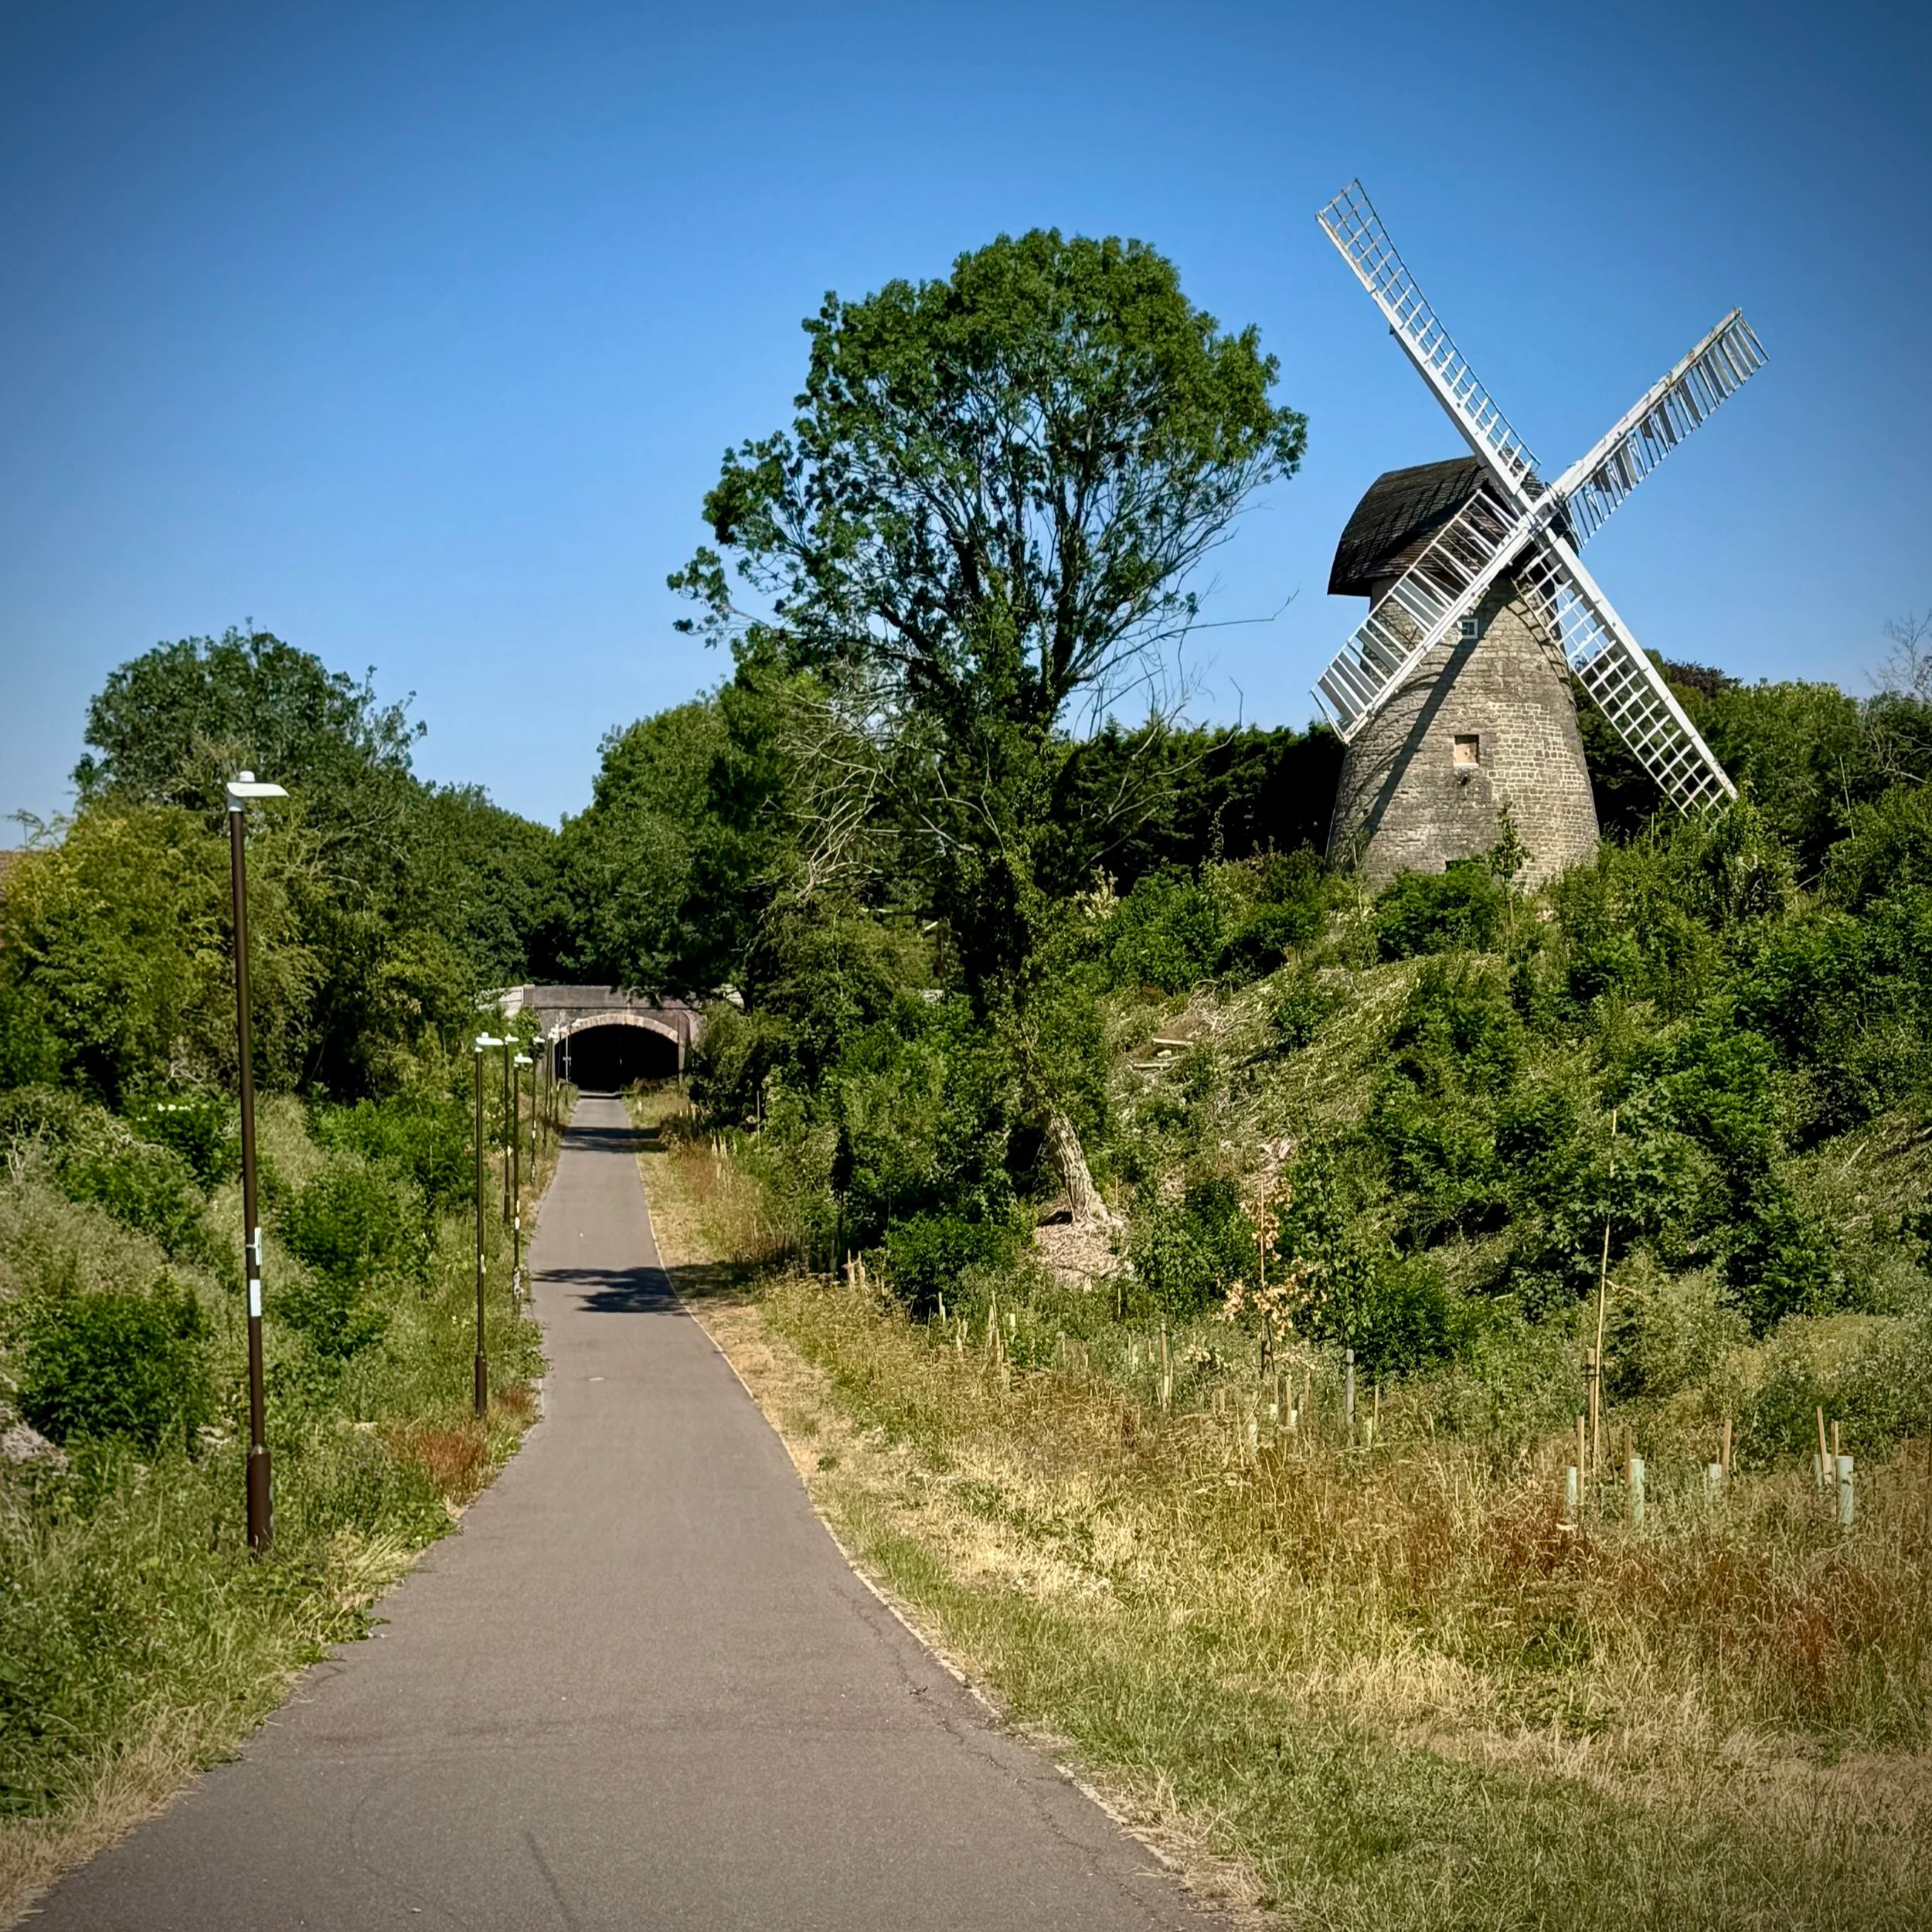
Section 14: Bradwell Abbey and Linford Wood
Start & Finish: Lodge Lake Car Park, Bradwell Road, Loughton Lodge, Great Holm, Milton Keynes, MK8 9LG
Distance: 11.6 km (7.2miles)
Elevation change: +/- 84m
Terrain: Predominantly flat, well-paved redways and shaded woodland paths suitable for most weather conditions.
Midshires Way section covered: Lodge Lake to Great Linford: 6.1 km
Section 15: Stantonbury Lake and Little Linford
Start & Finish: Great Linford Memorial Hall Car Park, 630 Marsh Dr, Great Linford, Milton Keynes MK14 5AS
Distance: 10.4 km (6.5 miles)
Elevation change: +/- 74m
Terrain: A mixture of paved suburban footpaths, established park trails, and potentially muddy rural tracks.
Midshires Way section covered: Great Linford to Little Linford Wood : 5.0 km
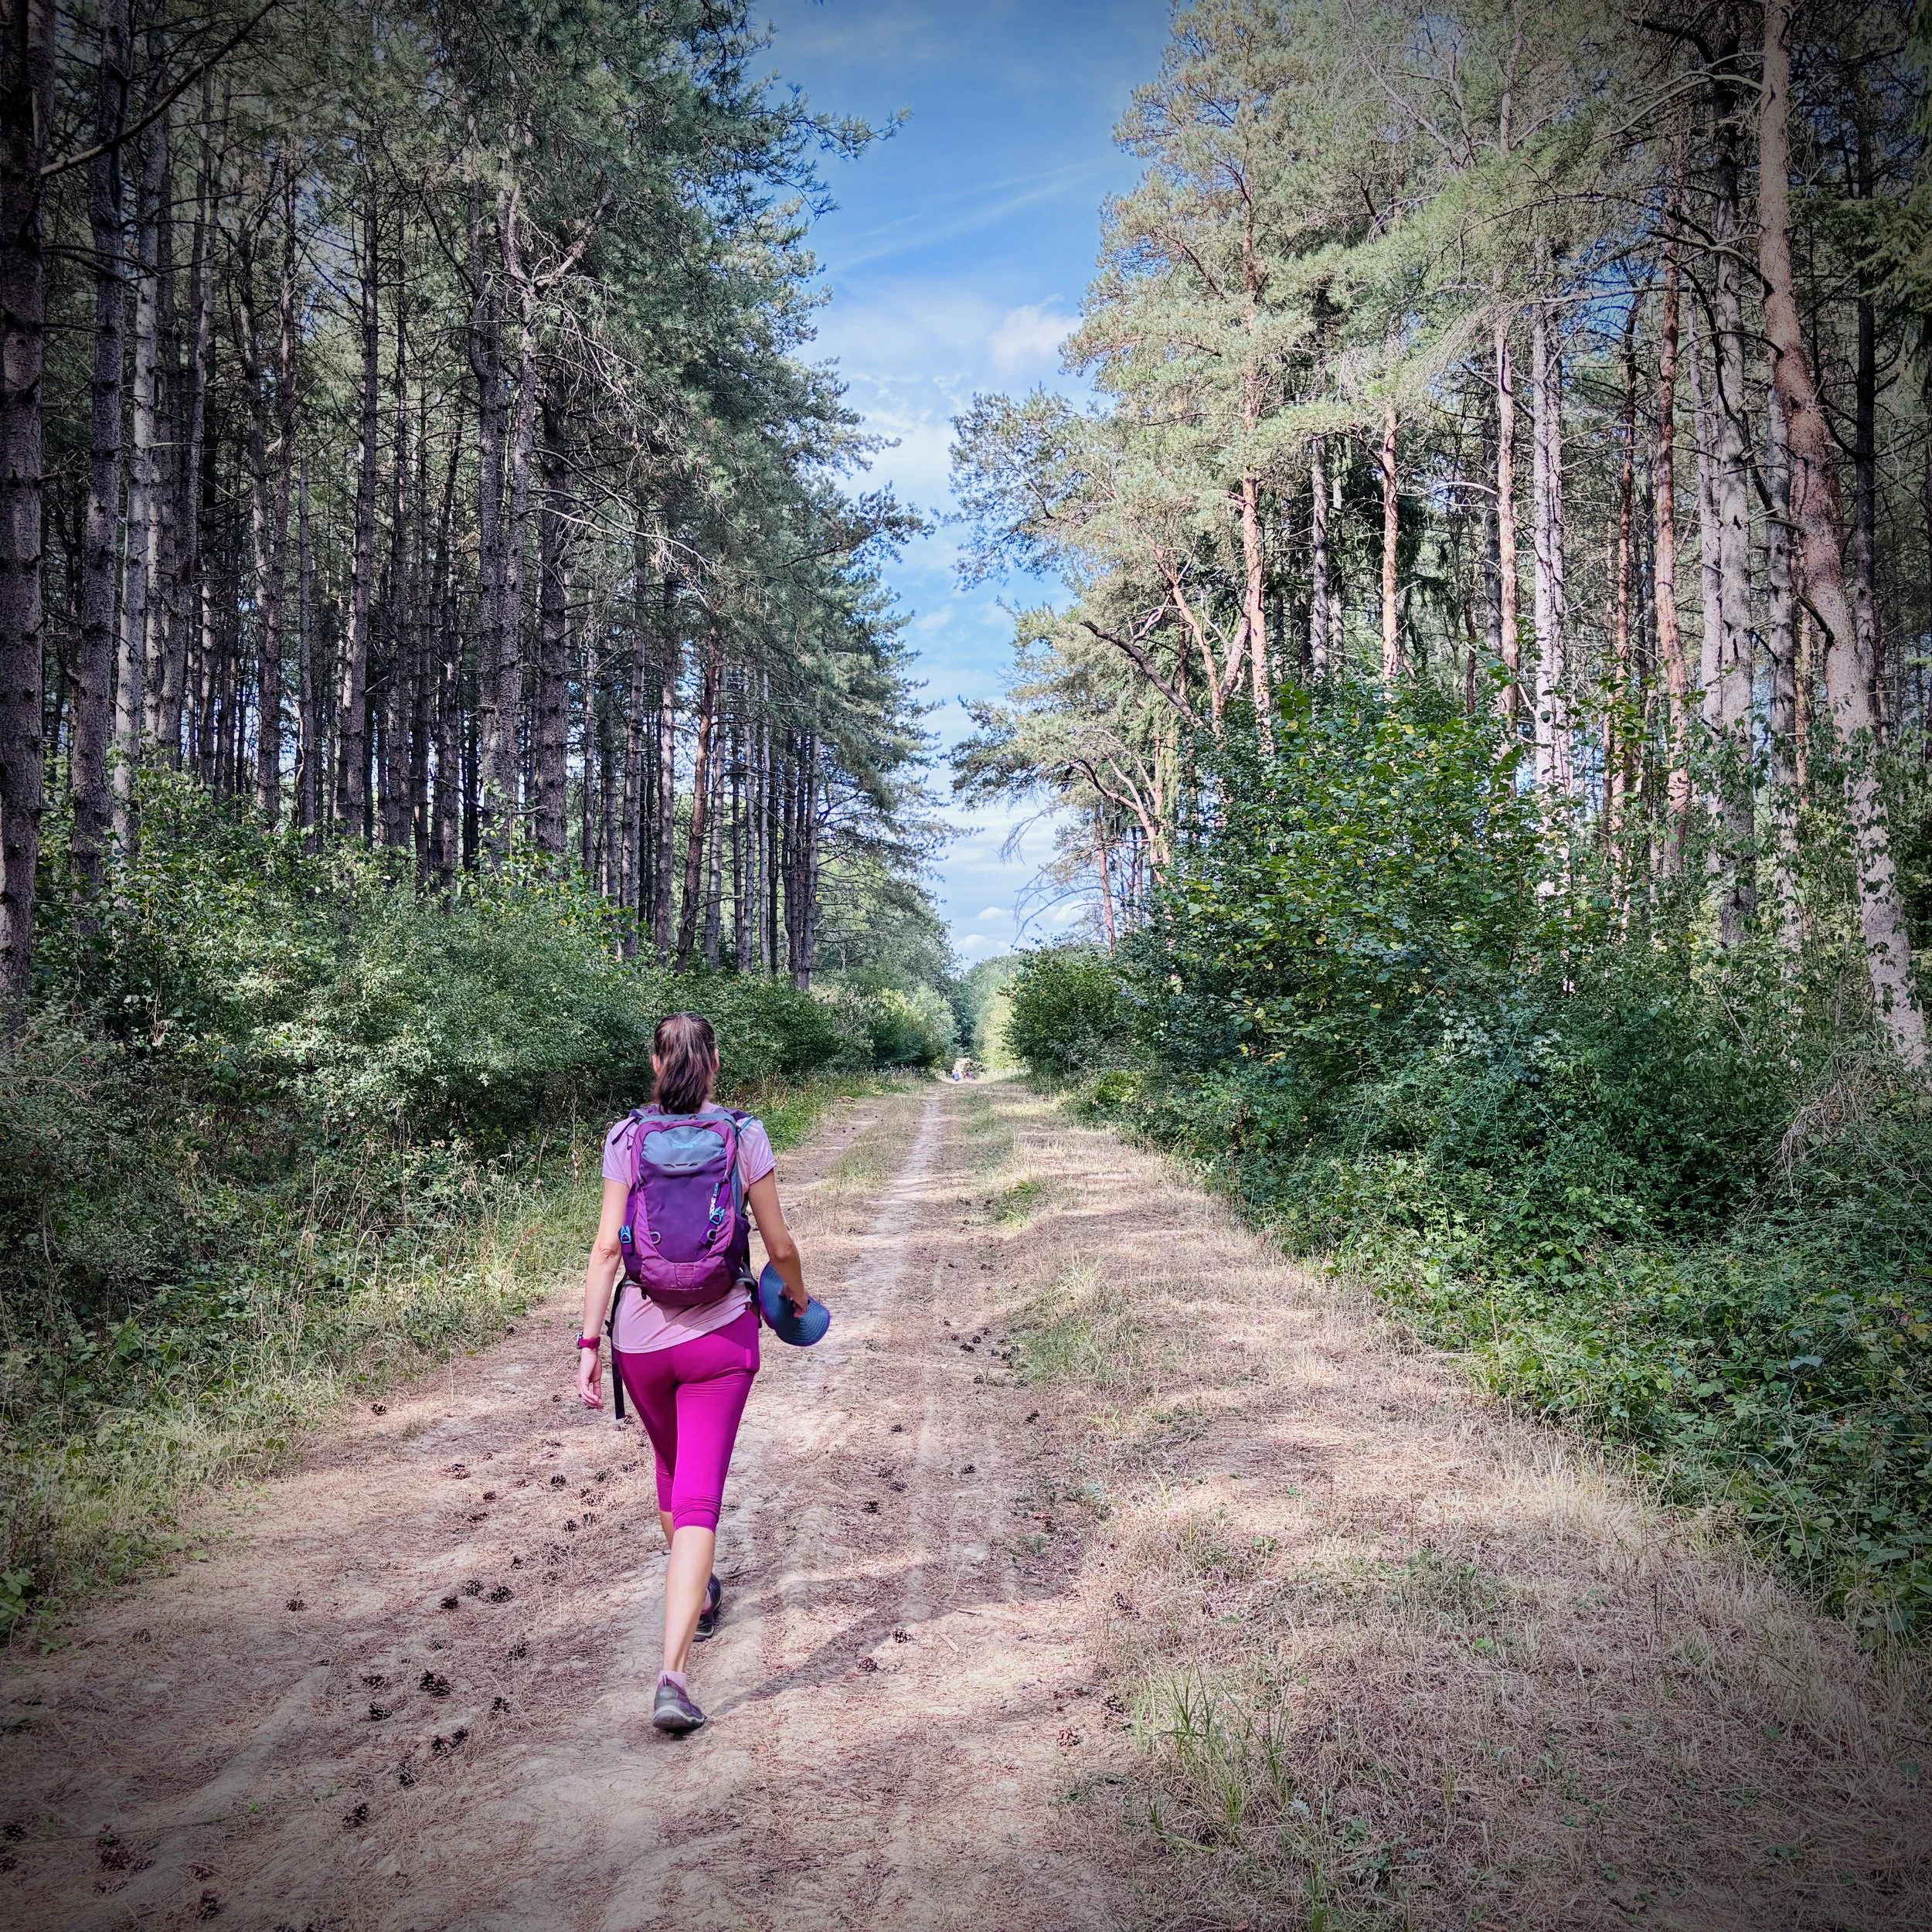
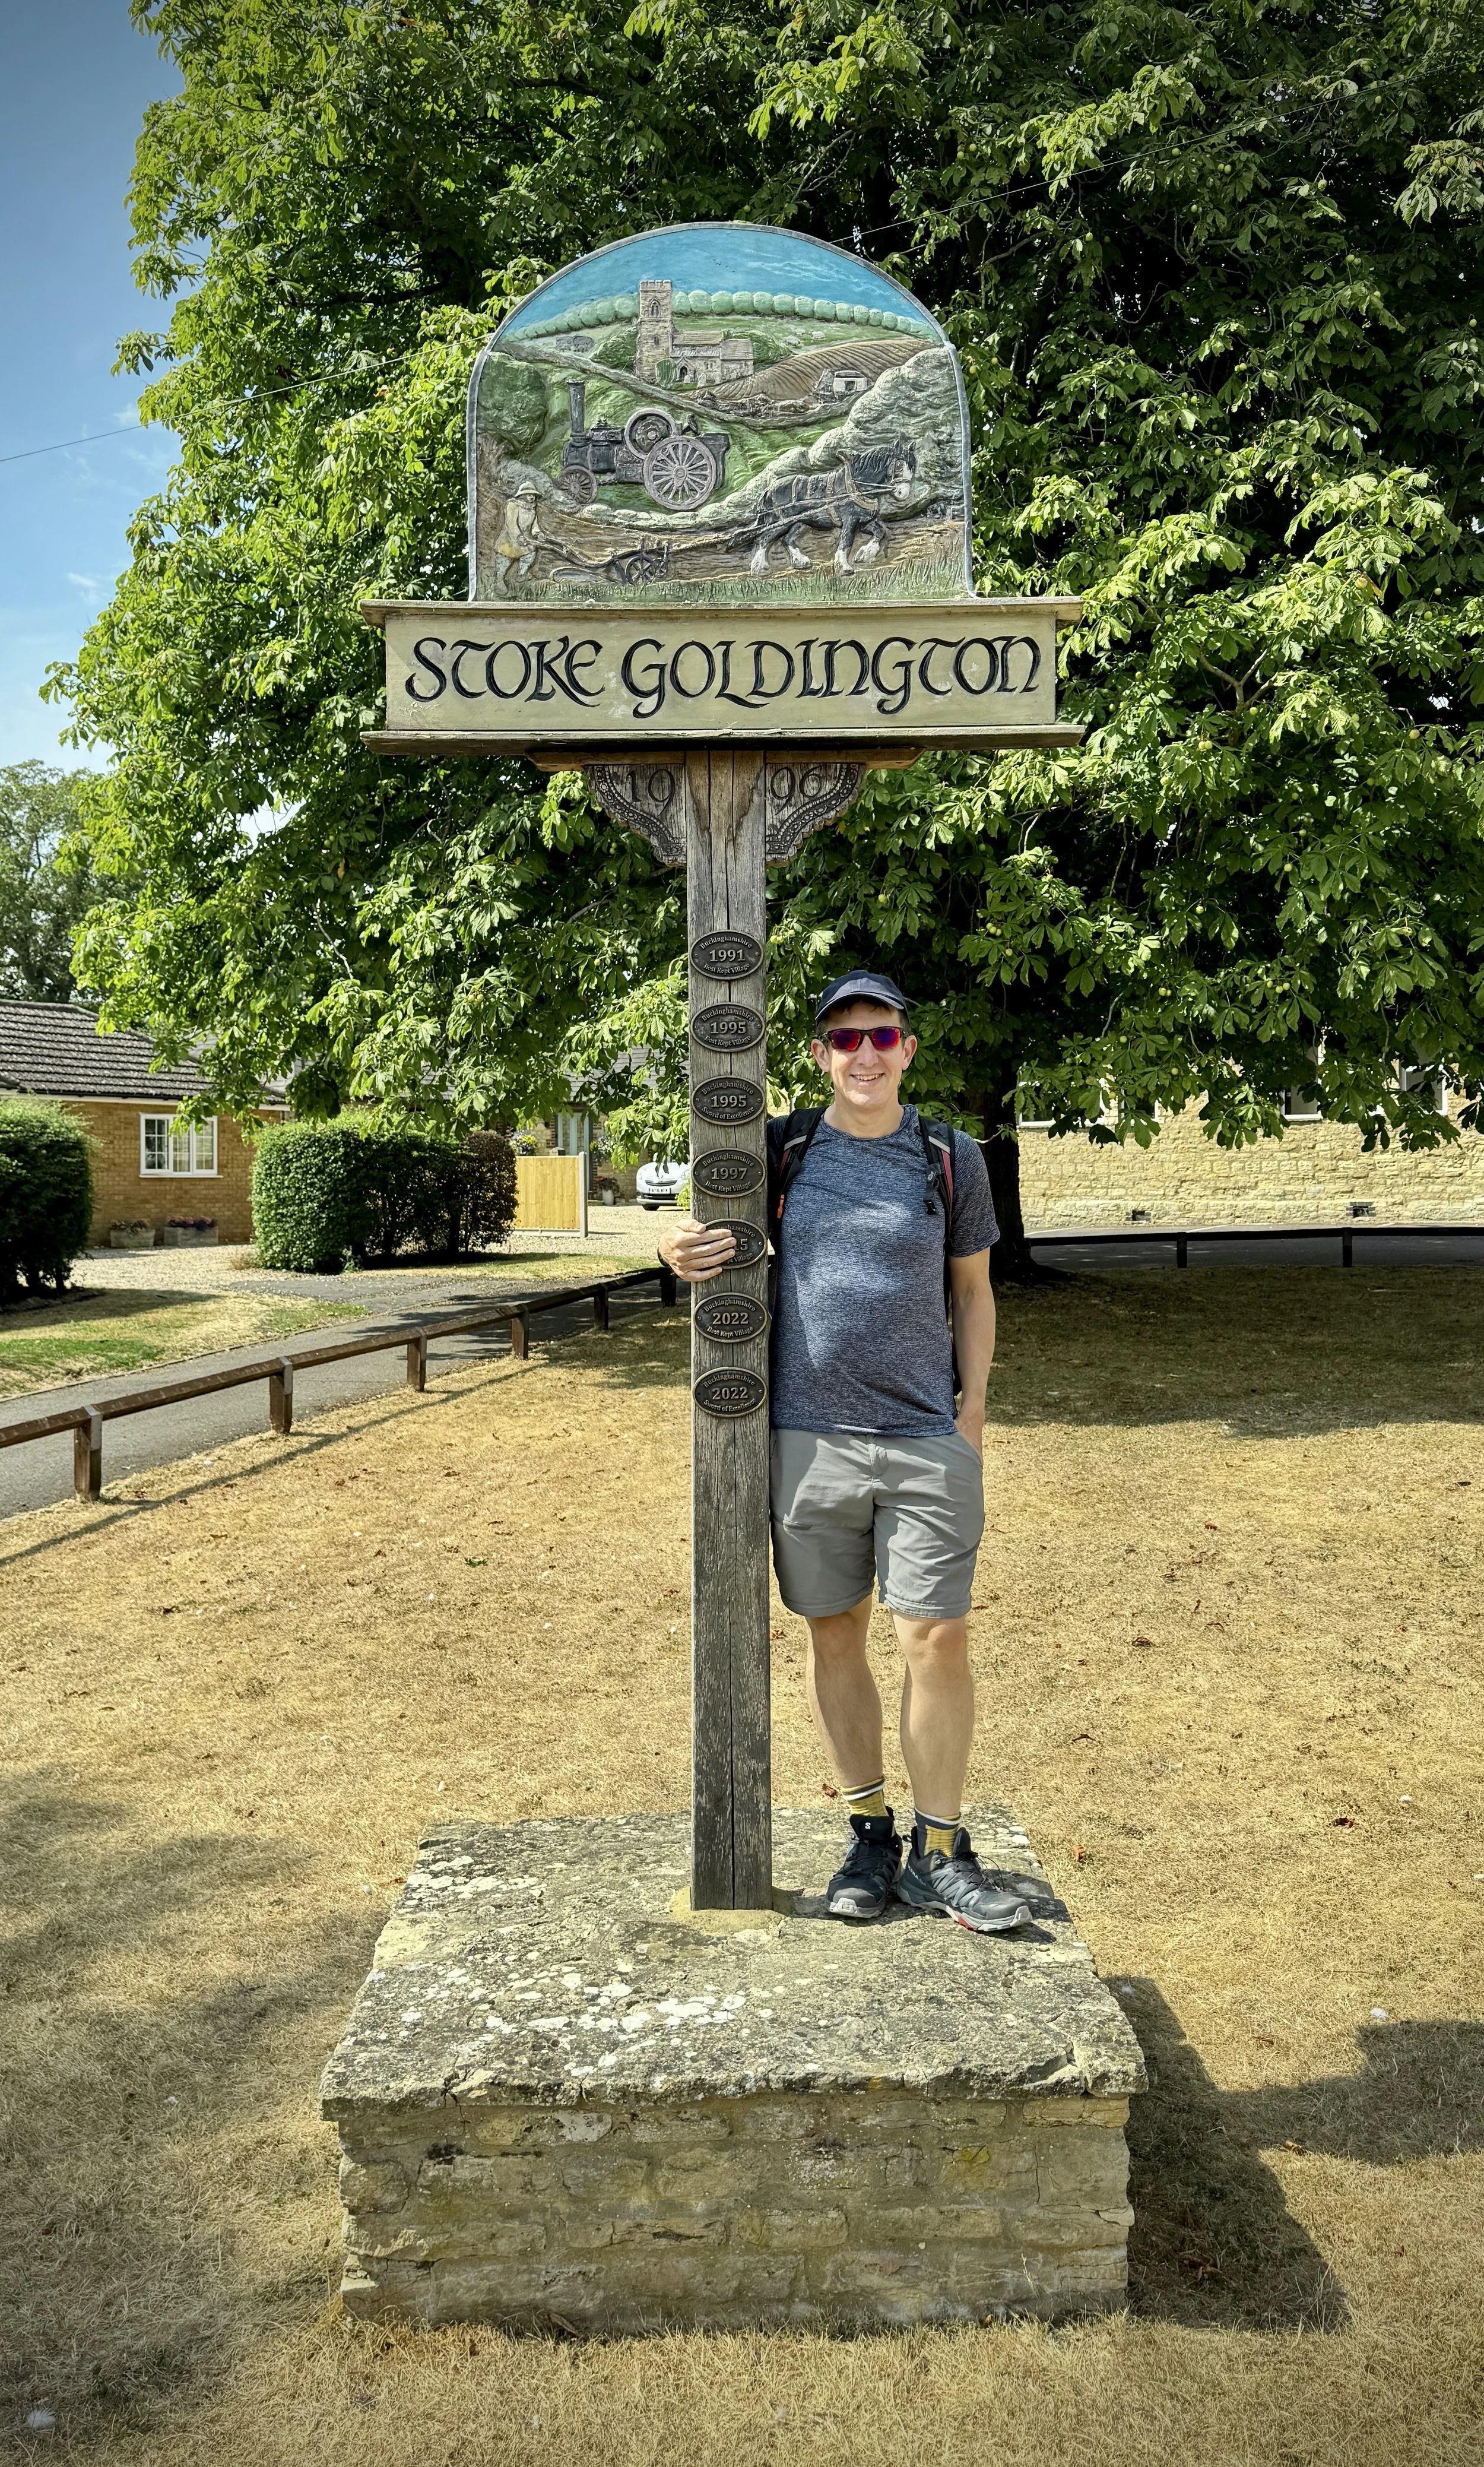
Section 16: Stoke Goldington and Tathall End
Start & Finish: High Street, Stoke Goldington, Newport Pagnell MK16 8NR
Distance: 12.9 km (8.0 miles)
Elevation change: +/- 125m
Terrain: A mixture of village pavements, country lanes, field paths, and rural tracks.
Midshires Way section covered: Little Linford Wood to (near) Stokepark Wood: 4.5 km
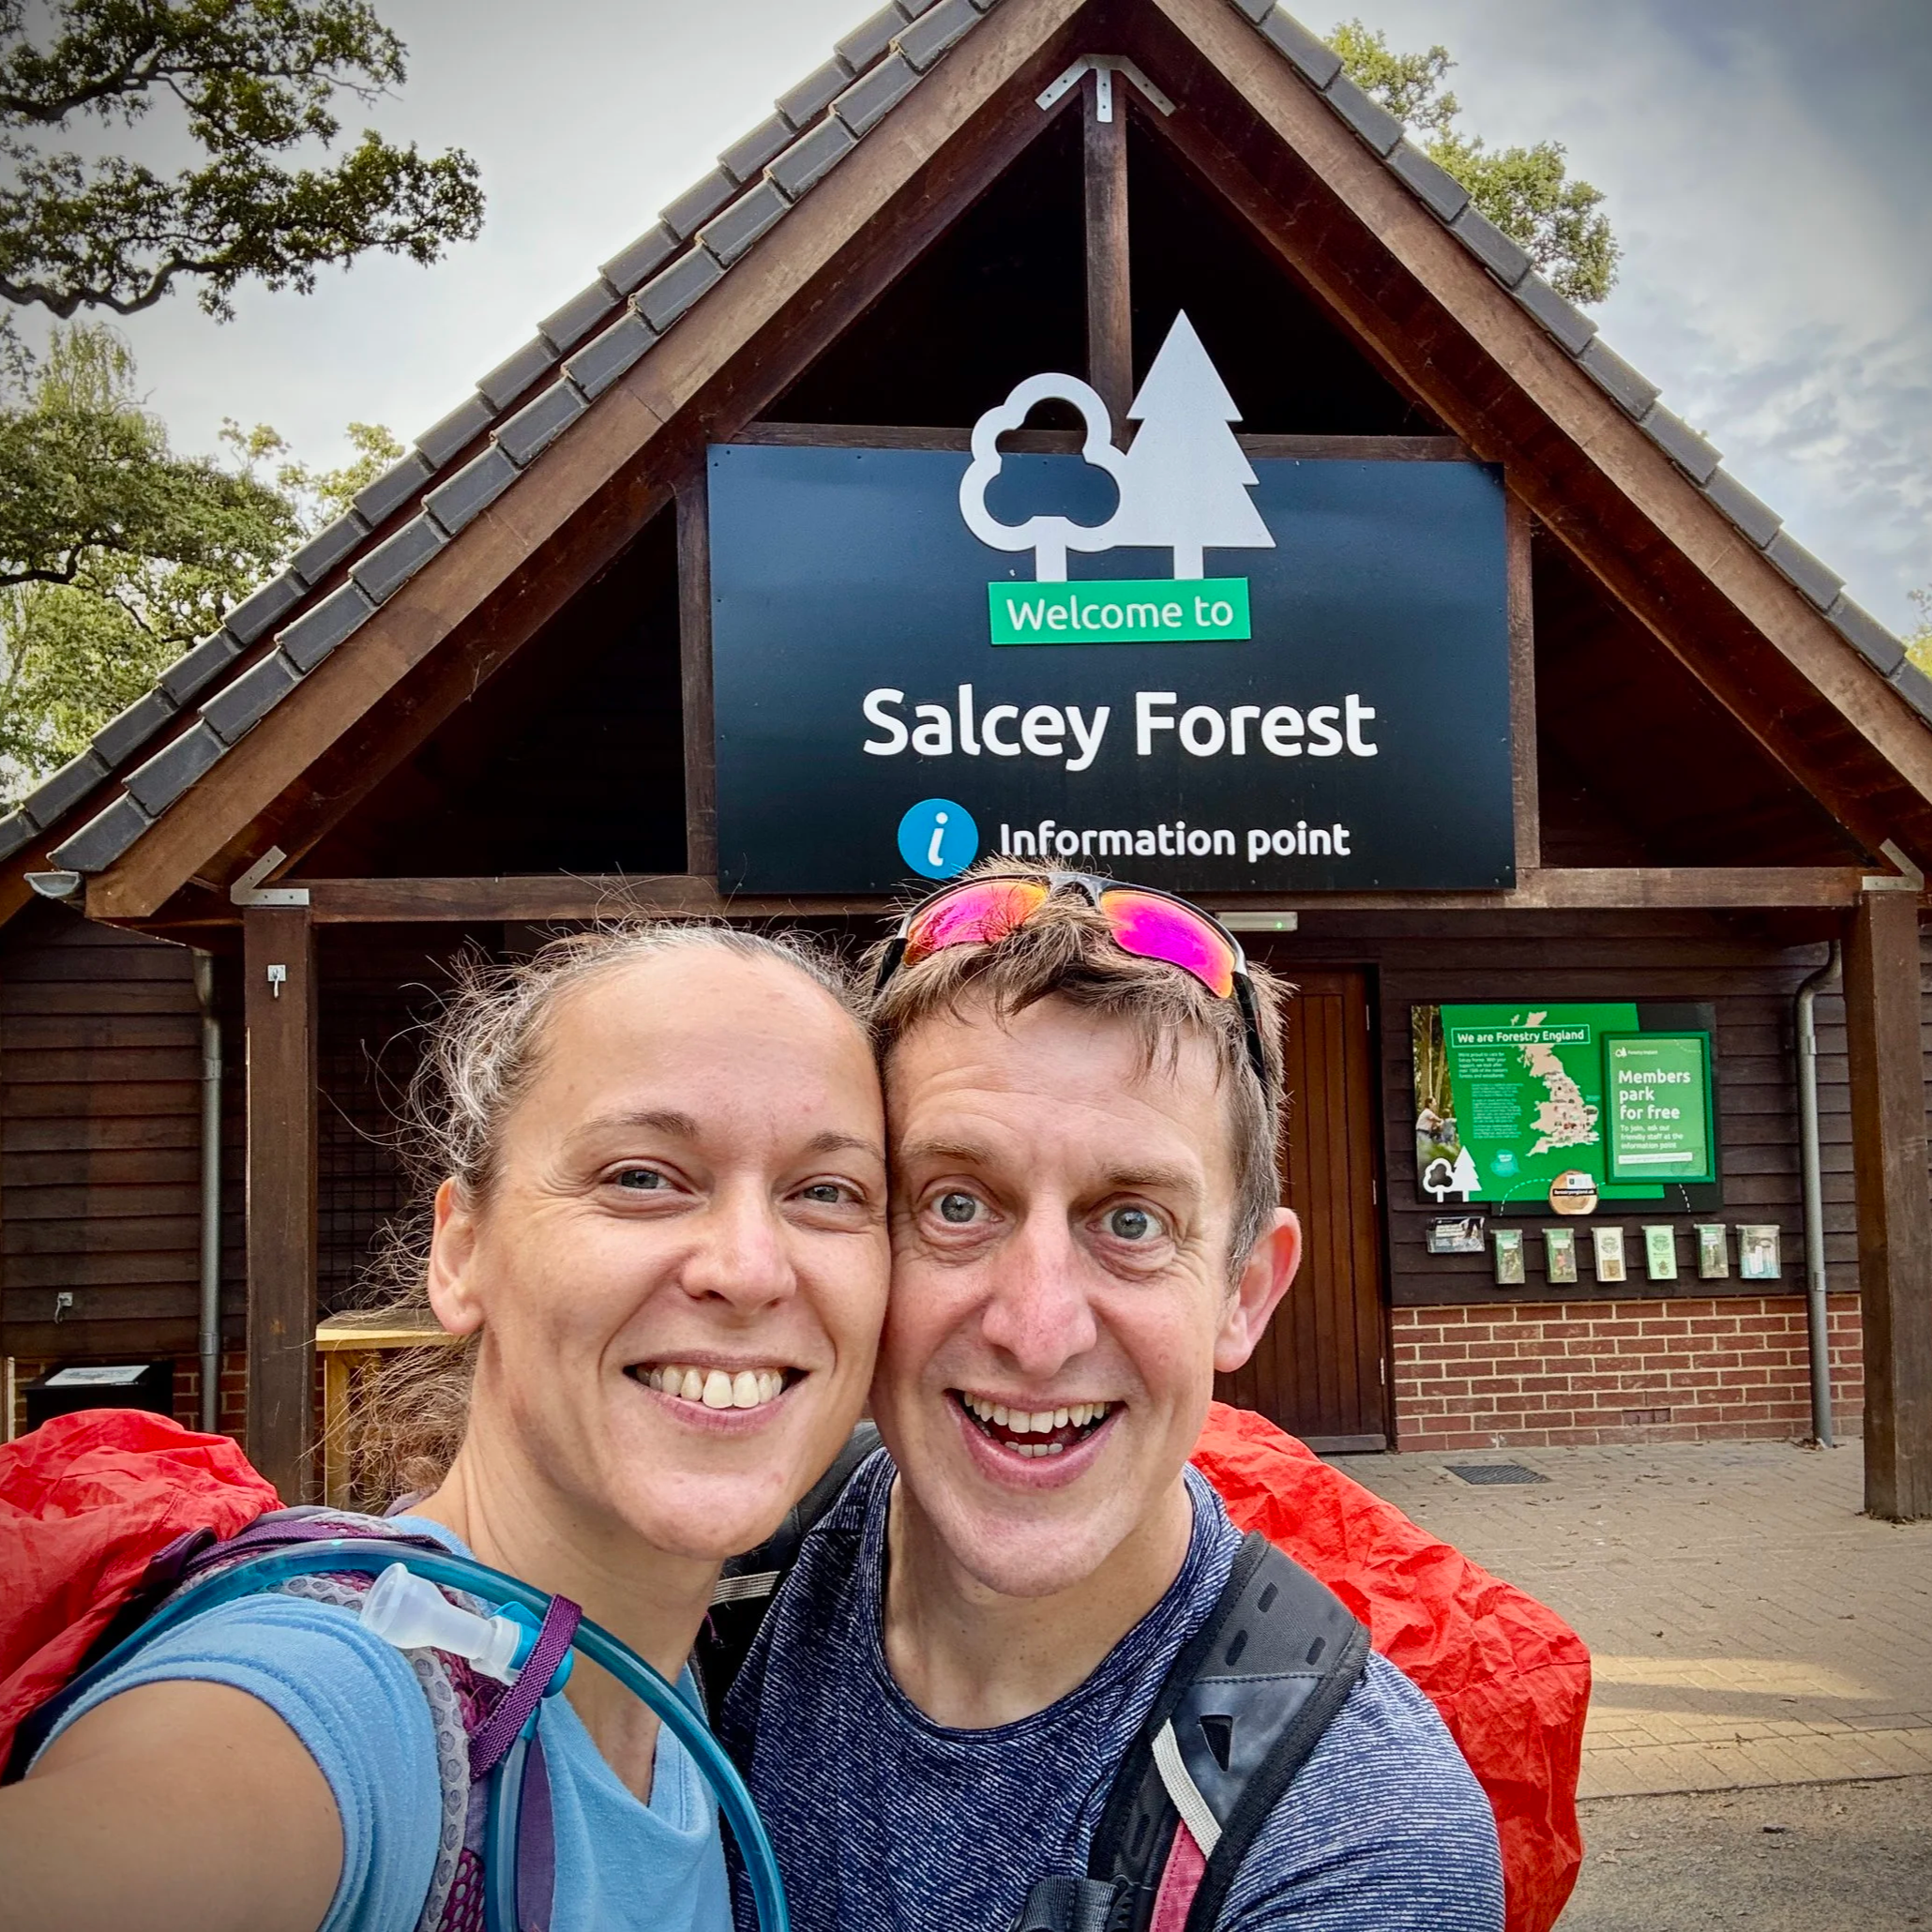
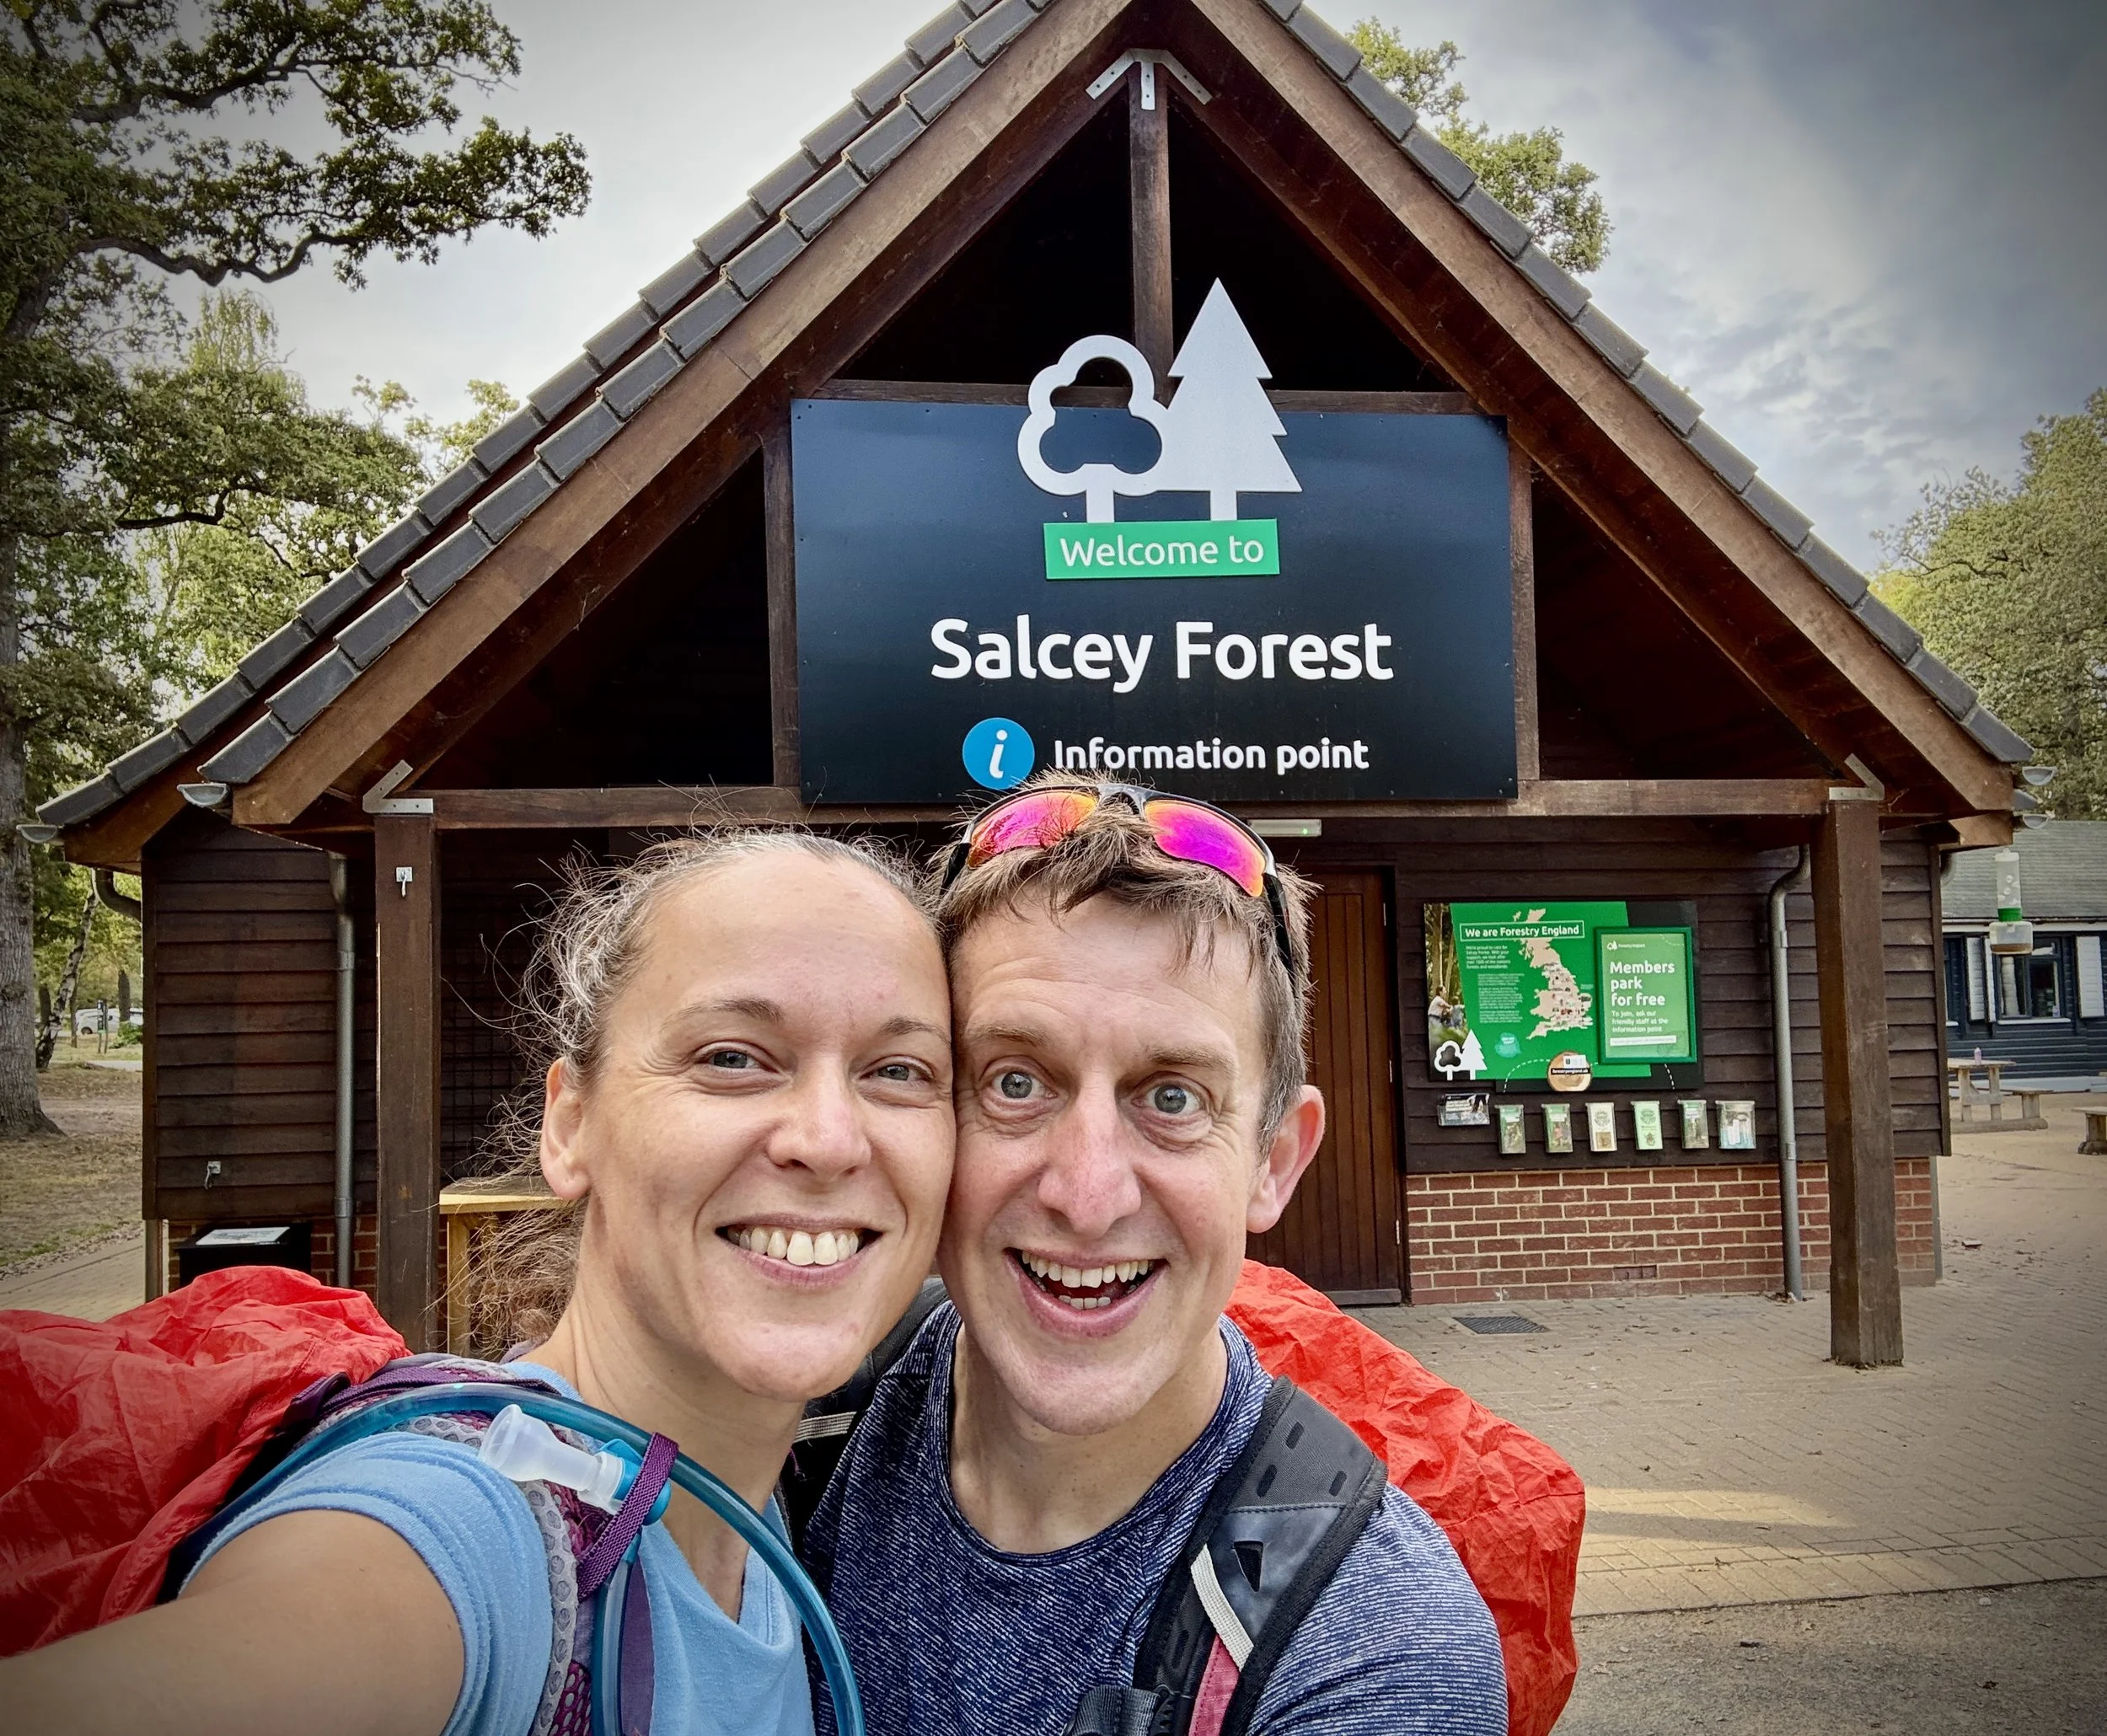
Section 17: Salcey Forest and the Northamptonshire Border
Start & Finish: Salcey Forest Visitor’s Centre, Wootton Rd, Northampton NN7 2HX
Distance: 13.6 km (8.5 miles)
Elevation change: +/- 90m
Terrain: A mix of ancient woodland trails, quiet country lanes, and undulating field paths.
Midshires Way section covered: (near) Stokepark Wood to Salcey Forest: 6.3 km
Càrn Eige: Ross & Cromarty County Top
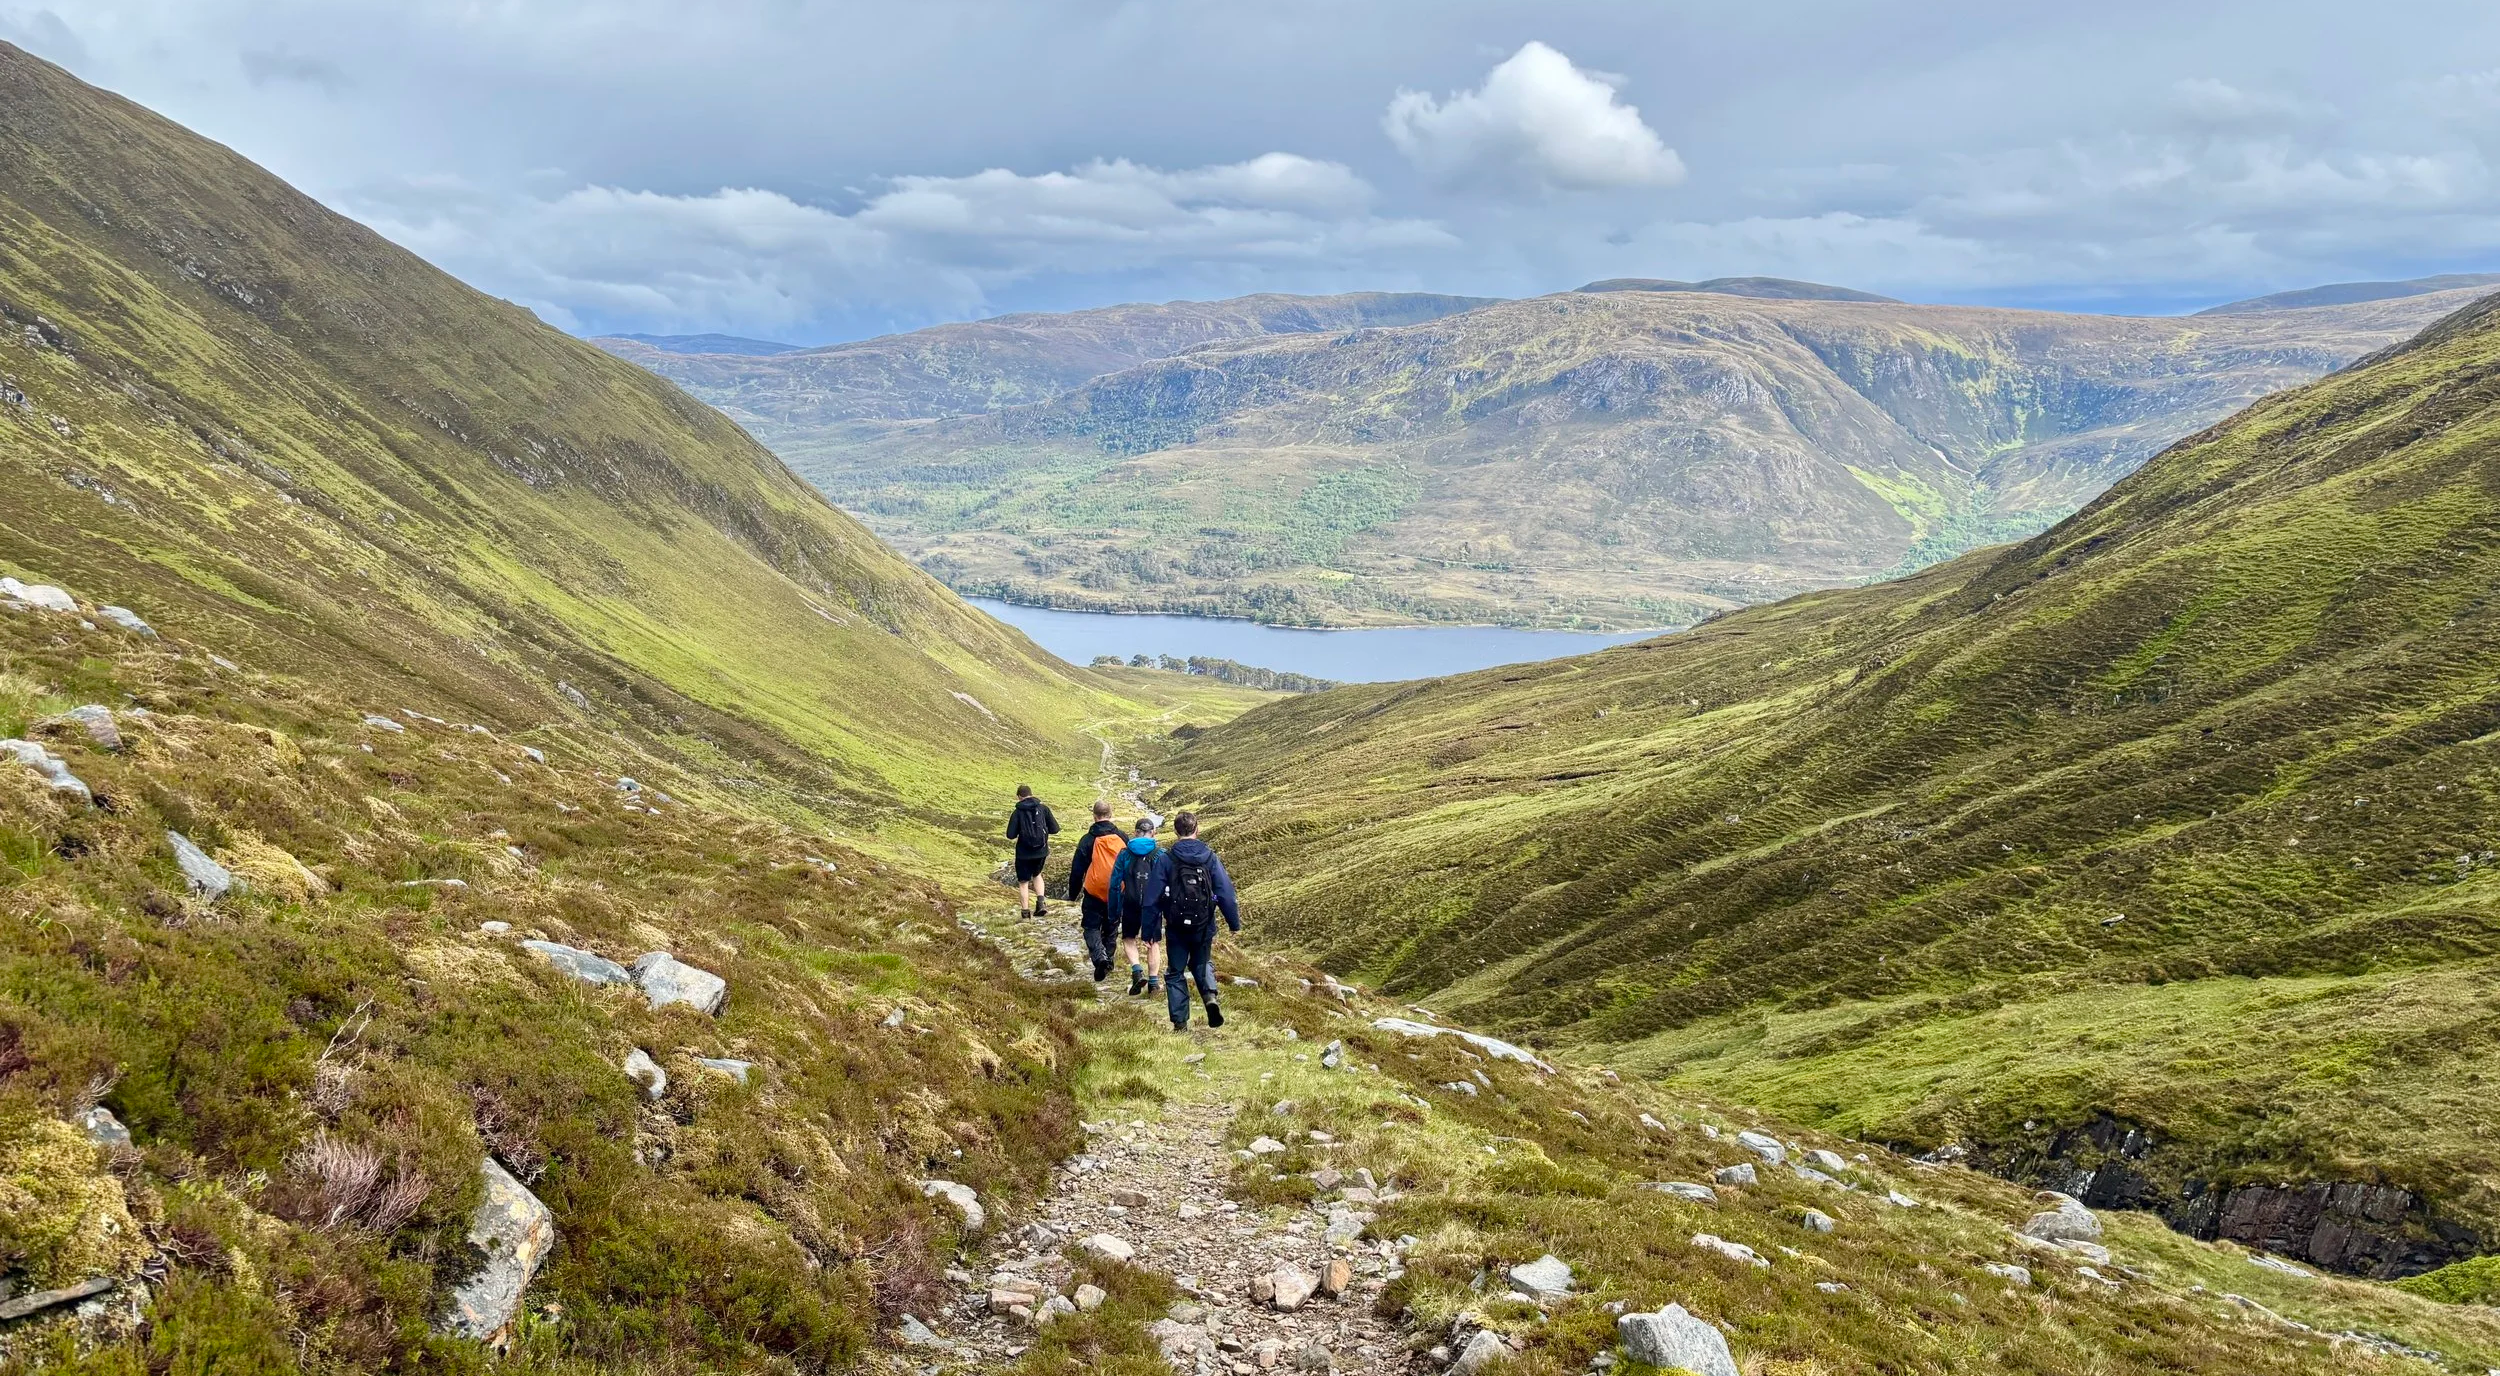
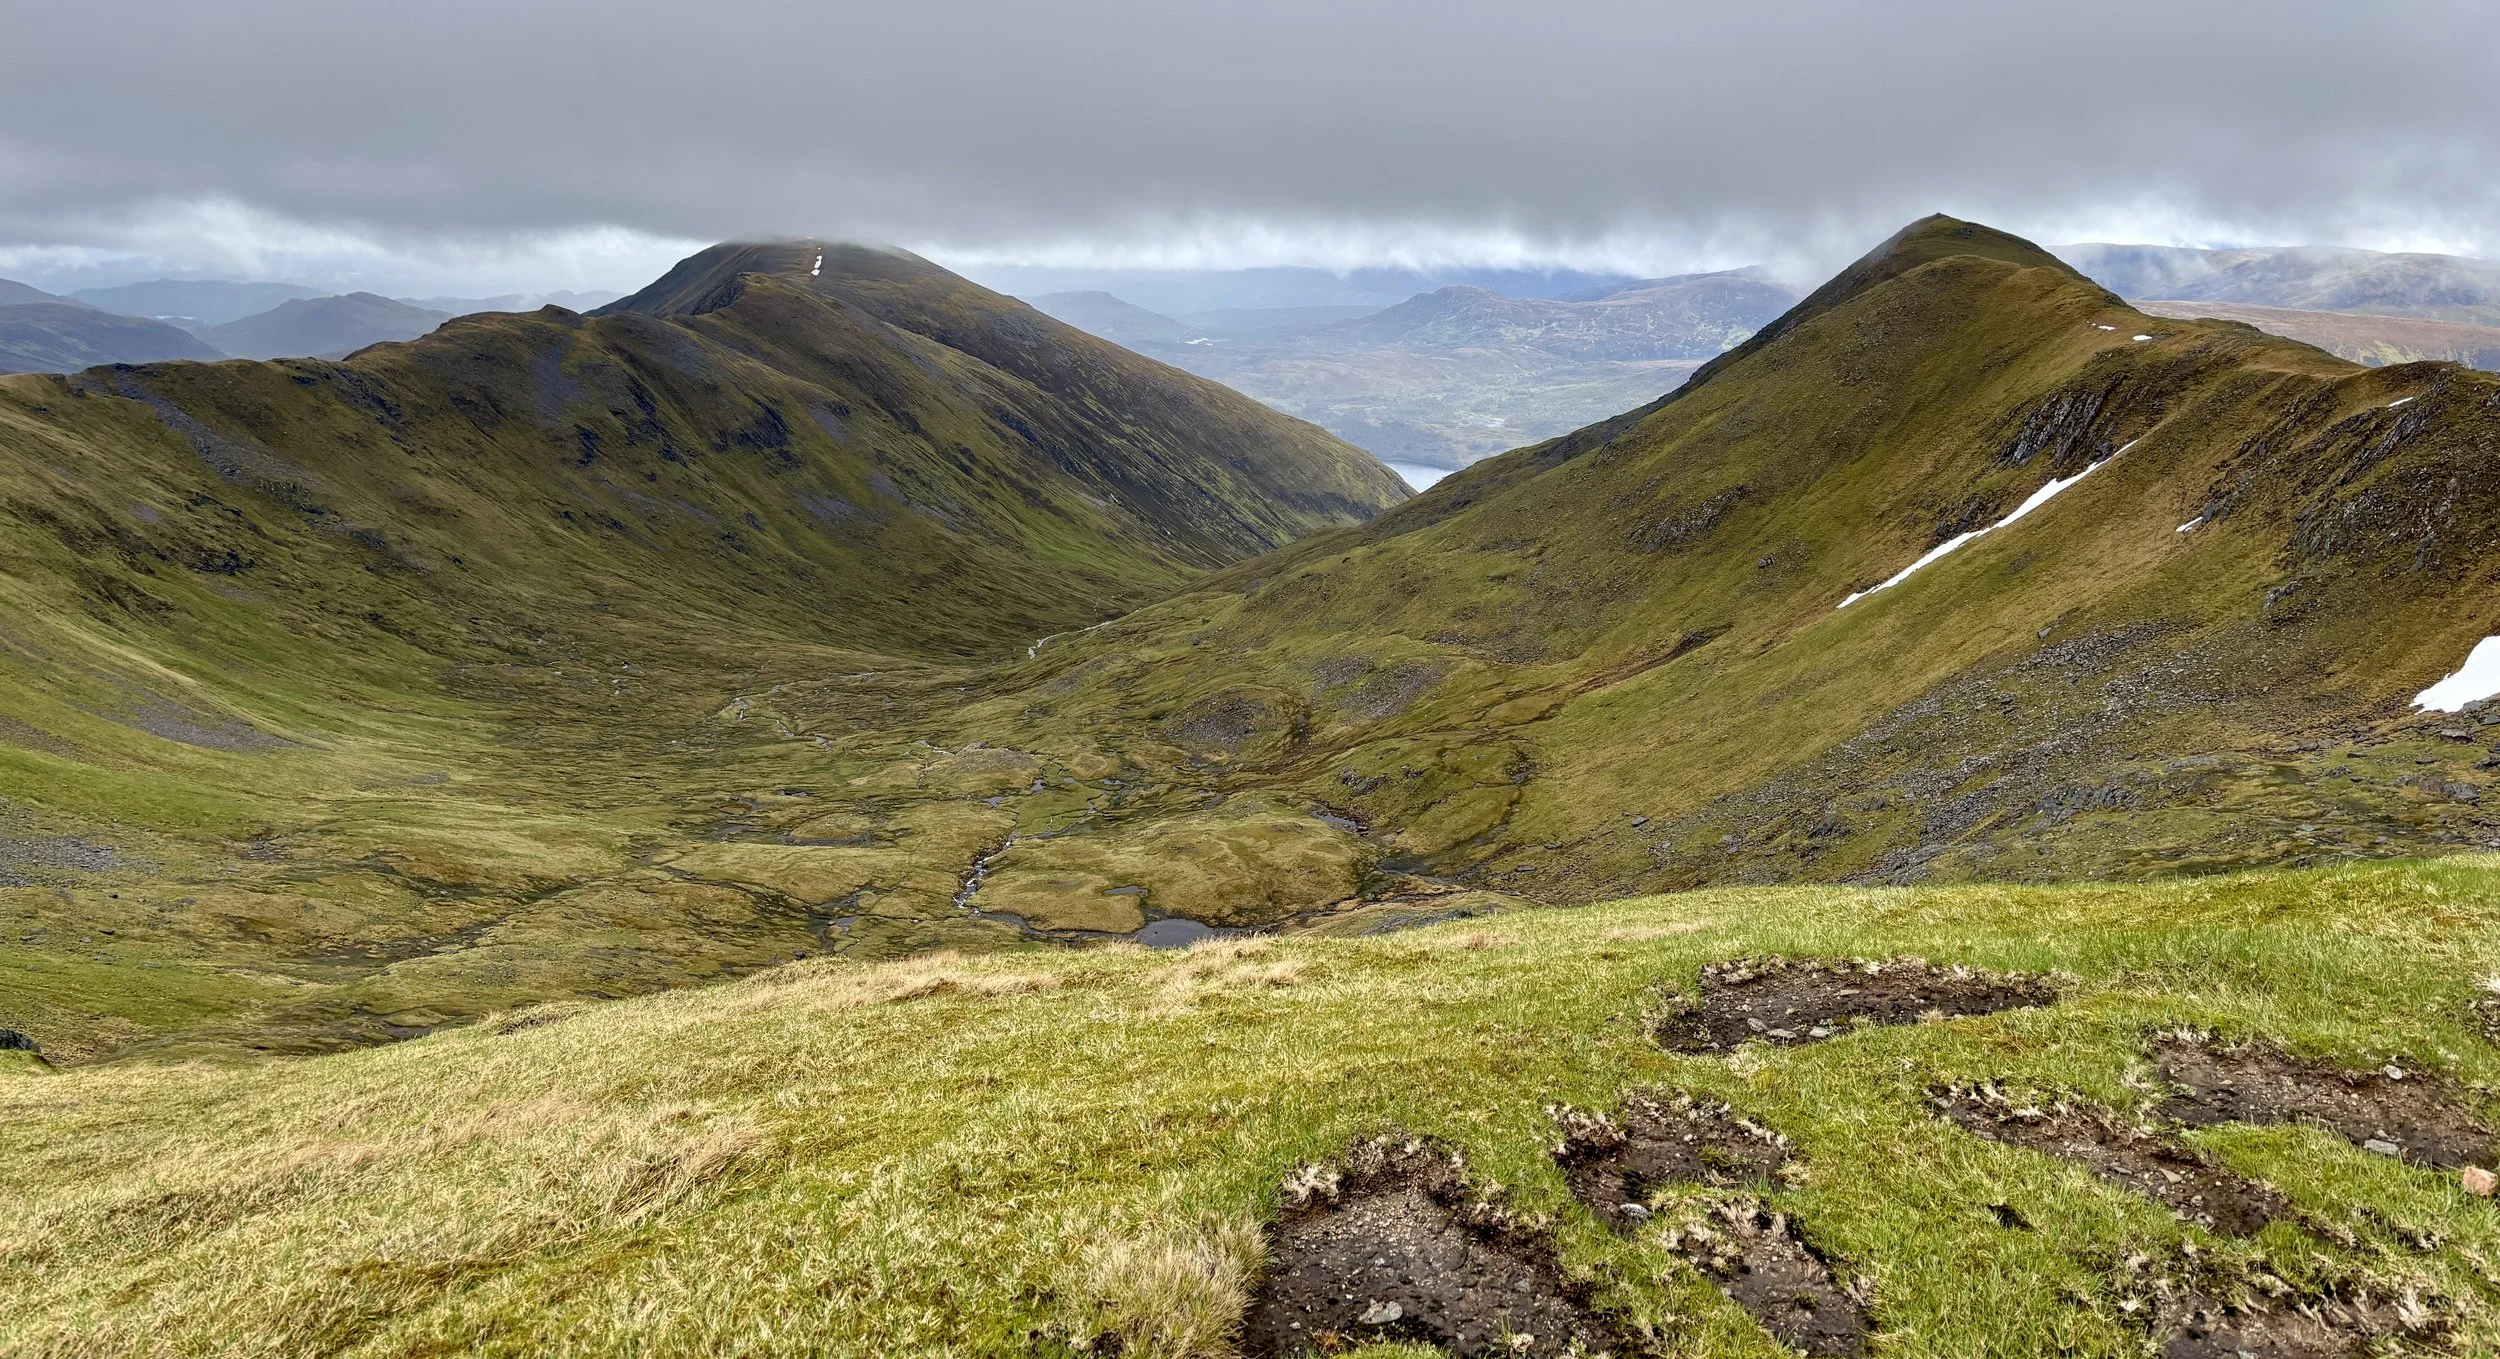
The descent towards Loch Affric
Also Known As: Càrn Èite (Scottish Gaelic)
Significance: Historic County Top for Ross and Cromarty, Pre-Historic County Top for Ross-shire
Member of: Munros, Marilyns
Parent Peak: Ben Nevis
Nearest Higher Neighbour: Aonach Mor (1,220 m)
Elevation: 1,183m
Date climbed: June 7th 2026
Coordinates: 57° 17' 16'' N, 5° 6' 55'' W
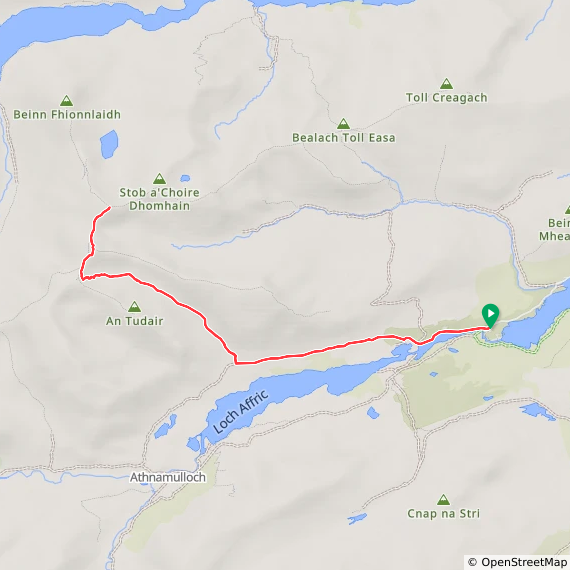
Route Start & Finish: River Affric Car Park, Beauly, IV4 7LY
Route Distance: 23.2 km (14.4 miles)
Route Elevation change: +/- 1,180m
Subsidiary tops on route: Mam Sodhail (1,179 m)
GPX File: get via Buy Me a Coffee
Other routes touched (walk): None
OS Trig Pillar: TP1949 - Carn Eige
Pubs / Cafes on route: None
Map: Glen Shiel & Kintail Forest Map | Shiel Bridge, Morvich, Killilan & Kinloch Hourn | Ordnance Survey | OS Explorer Map 414
Links: Wikipedia: (Ross and Cromarty / Càrn Eighe), Peakbagger, Hillbagging
Càrn Eige is the Historic County Top for Ross and Cromarty and the 4th highest of all of the UK County Tops. I bagged it in 2026 on our annual County Top weekend trip, along with the present-day County Tops of East Dunbartonshire, West Dunbartonshire, Glasgow City and the Historic County Top of Argyll.
Walking Directions
The guidance below will help you navigate but don’t use it as a fully accurate turn-by-turn guide. Always take a map and/or a GPX route and prepare well for the weather and terrain.
This was the big walk of the weekend. Clocking in at around 25 km, it was scheduled for the Sunday, right after our epic climb up Bidean nam Bian. Unsurprisingly, we were all feeling quite tired. It had already been a long couple of days: I was dealing with some fresh blisters on my feet, and according to my Garmin watch, my Body Battery was running seriously low. To top it off, we woke up at the Glen Nevis Youth Hostel in Fort William to a lot of rain.
We set off on the two-hour drive towards Glen Affric. Along the way, a serious debate sparked up in the car. Given our state of fatigue, the miserable weather, and the fact that we were approaching another genuinely big, intimidating mountain, we were questioning if this was actually a good idea. I kept remembering a mountain rescue call-out from early in my trekking days, so I was understandably a bit nervous.
However, as we drove away from Fort William and closer to the start of the walk, the weather began to visibly improve. We decided we would at least give it a try. To keep things safe, we agreed to assess the conditions at the start line and committed to three clear options.
Plan A was to complete the full circular route as described in Jonny Muir's UK County Tops book, provided the weather held and we felt strong. Plan B was our fallback if the weather was merely okay and the final sections looked unappealing: we would bag the main summits and retrace our steps for an out-and-back route, avoiding the boggy sections described in the book. Finally, Plan C was our baseline: if the conditions turned dangerous, became too slippery, or the weather closed in, we would turn back immediately. It is always better to not attempt a climb and try again another year.
By the time we got close, we were quite hungry. We stopped off on the way at the Bog Cotton Café at a nearby caravan park in Cannich. It was exactly what we needed: a fantastic Scottish breakfast to build up some energy. Conveniently, there was a local store just around the corner that specialised in Australian pies, so I couldn't resist buying a kangaroo and ale pie to take up the mountain.
Taking an hour for breakfast was well worth it, and by the time we arrived at the River Affric car park, it was midday. Given the generous amount of daylight in June, this timing was perfectly fine. We quickly got our gear ready and started the hike.
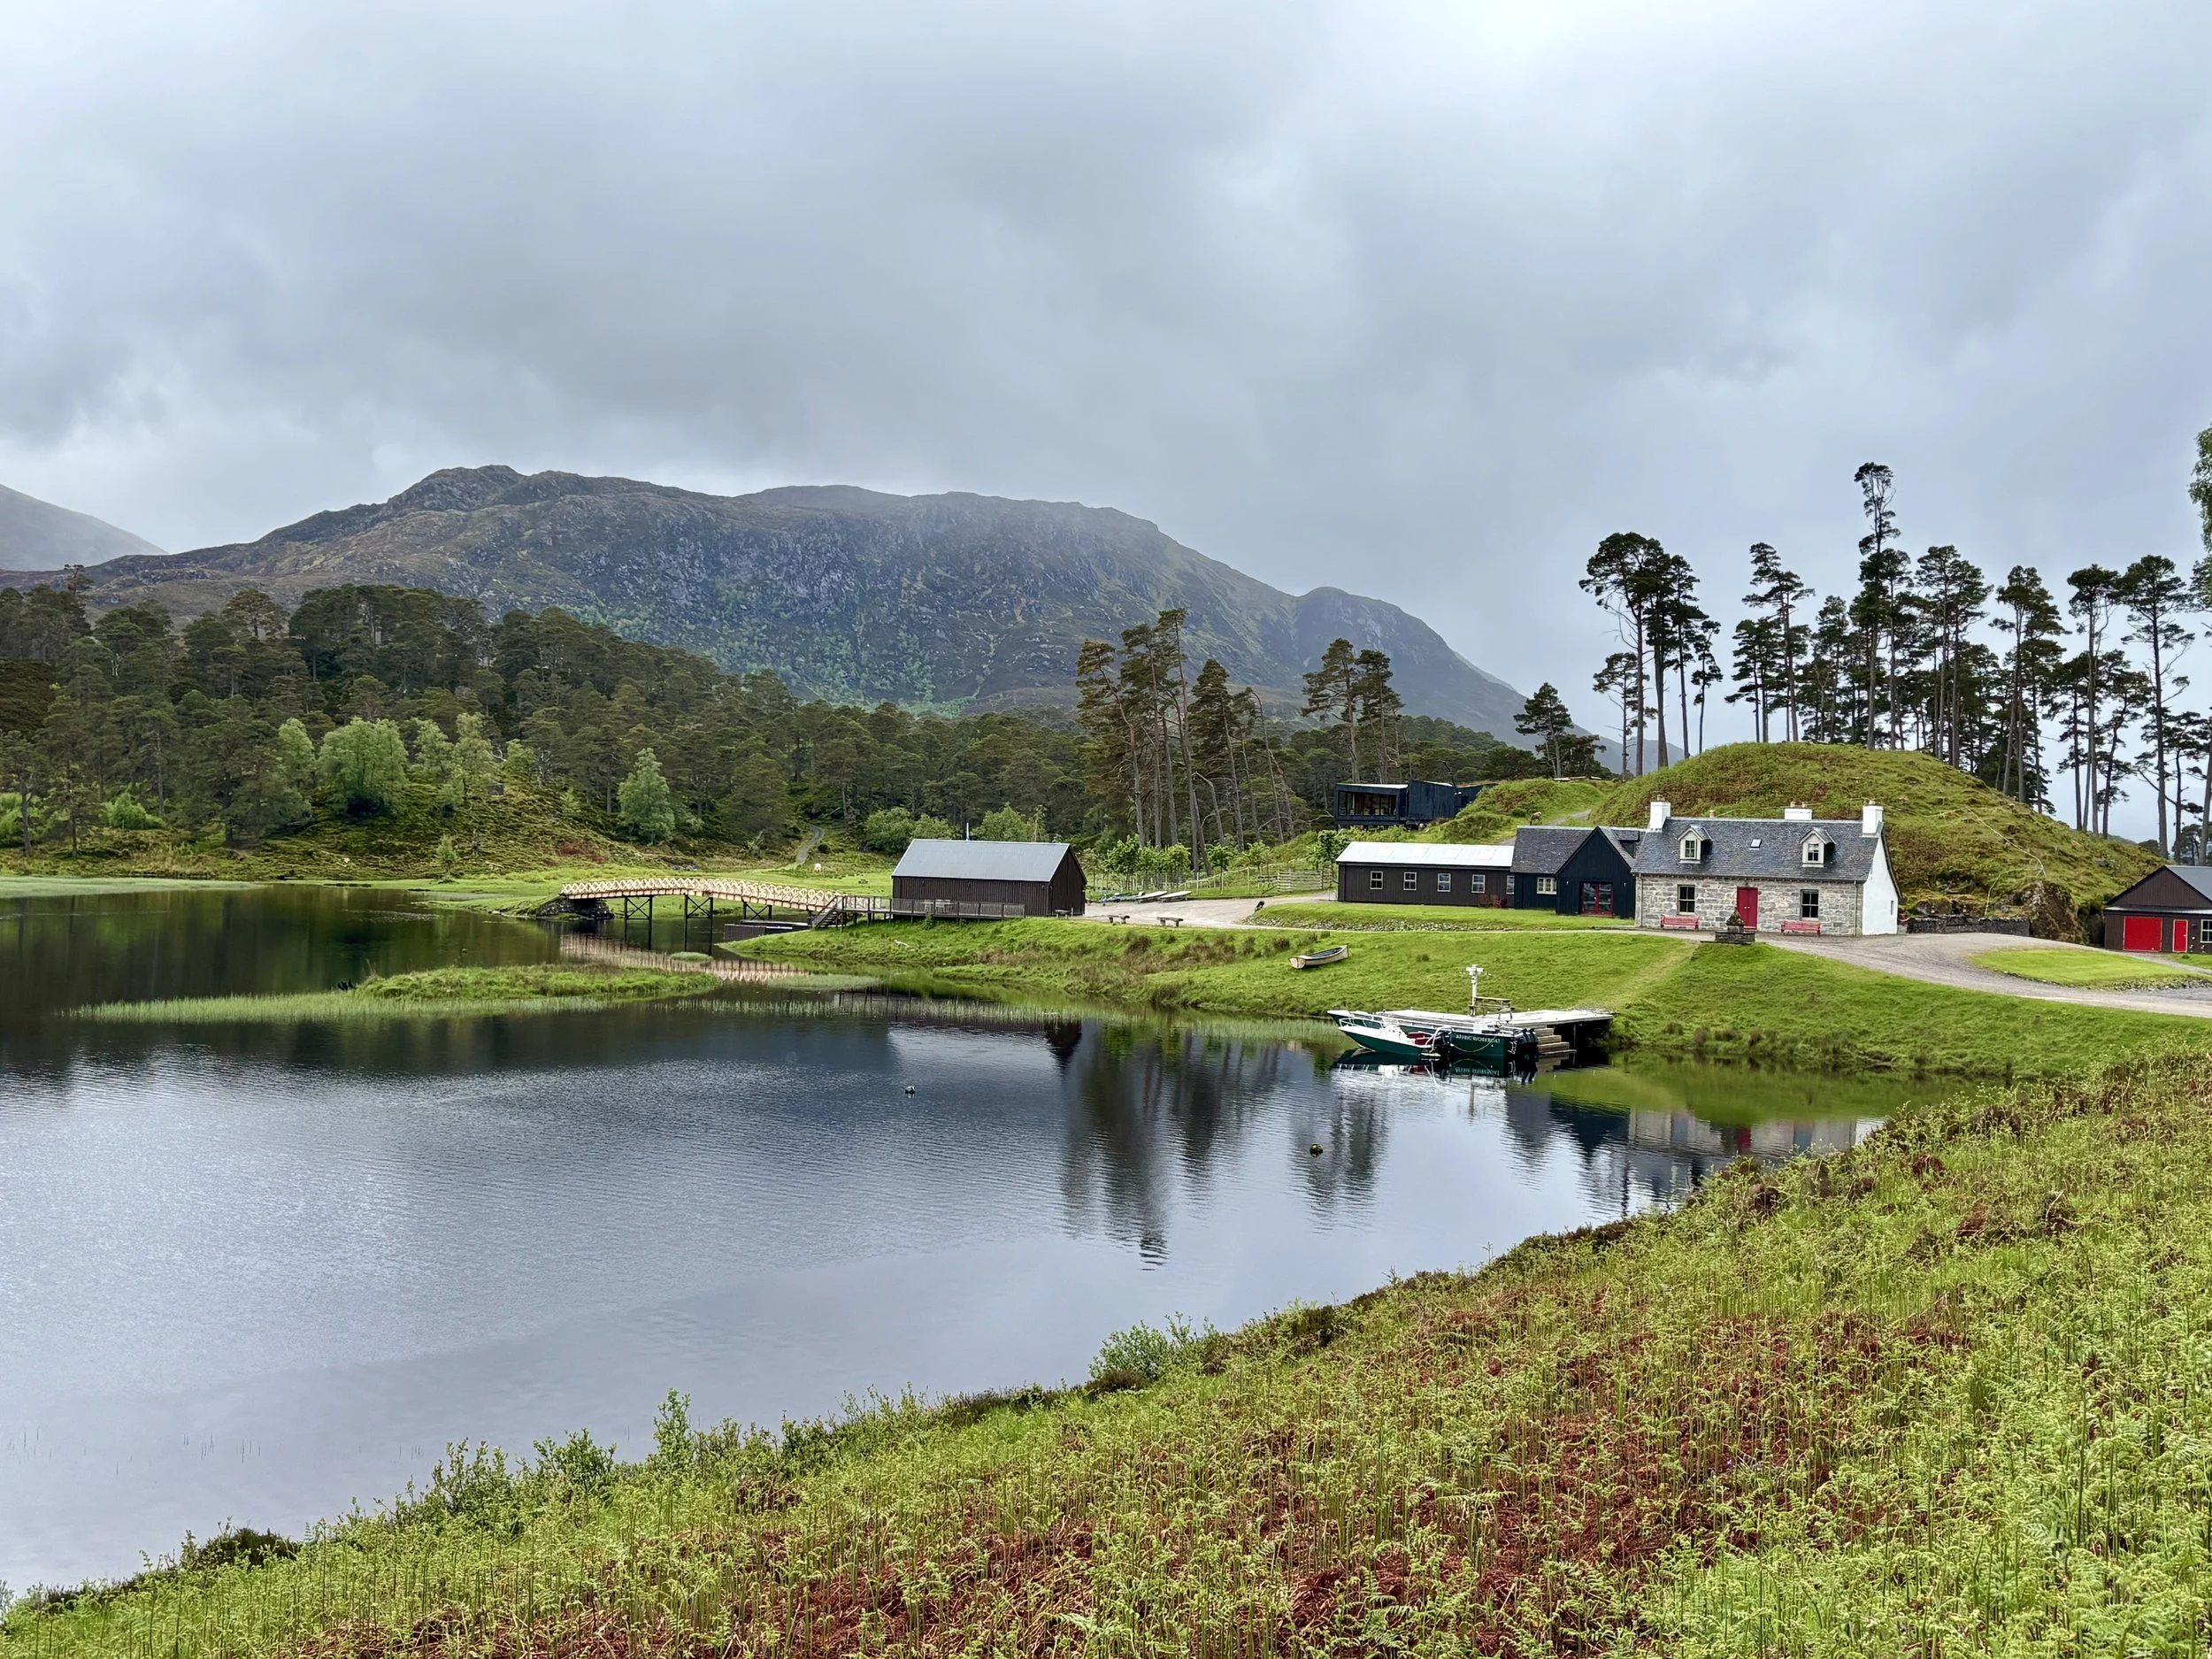
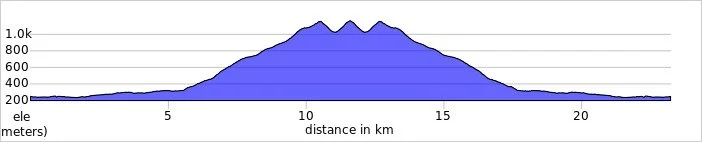
The first six kilometres are straightforward. The track runs parallel to the north side of Loch Affric, offering a steady warm-up. At around the 5.5 km mark, you leave the main trail and start a slow, steady climb following a stream with a waterfall. The ground here was a little bit boggy, but the path remained well-defined in most places.
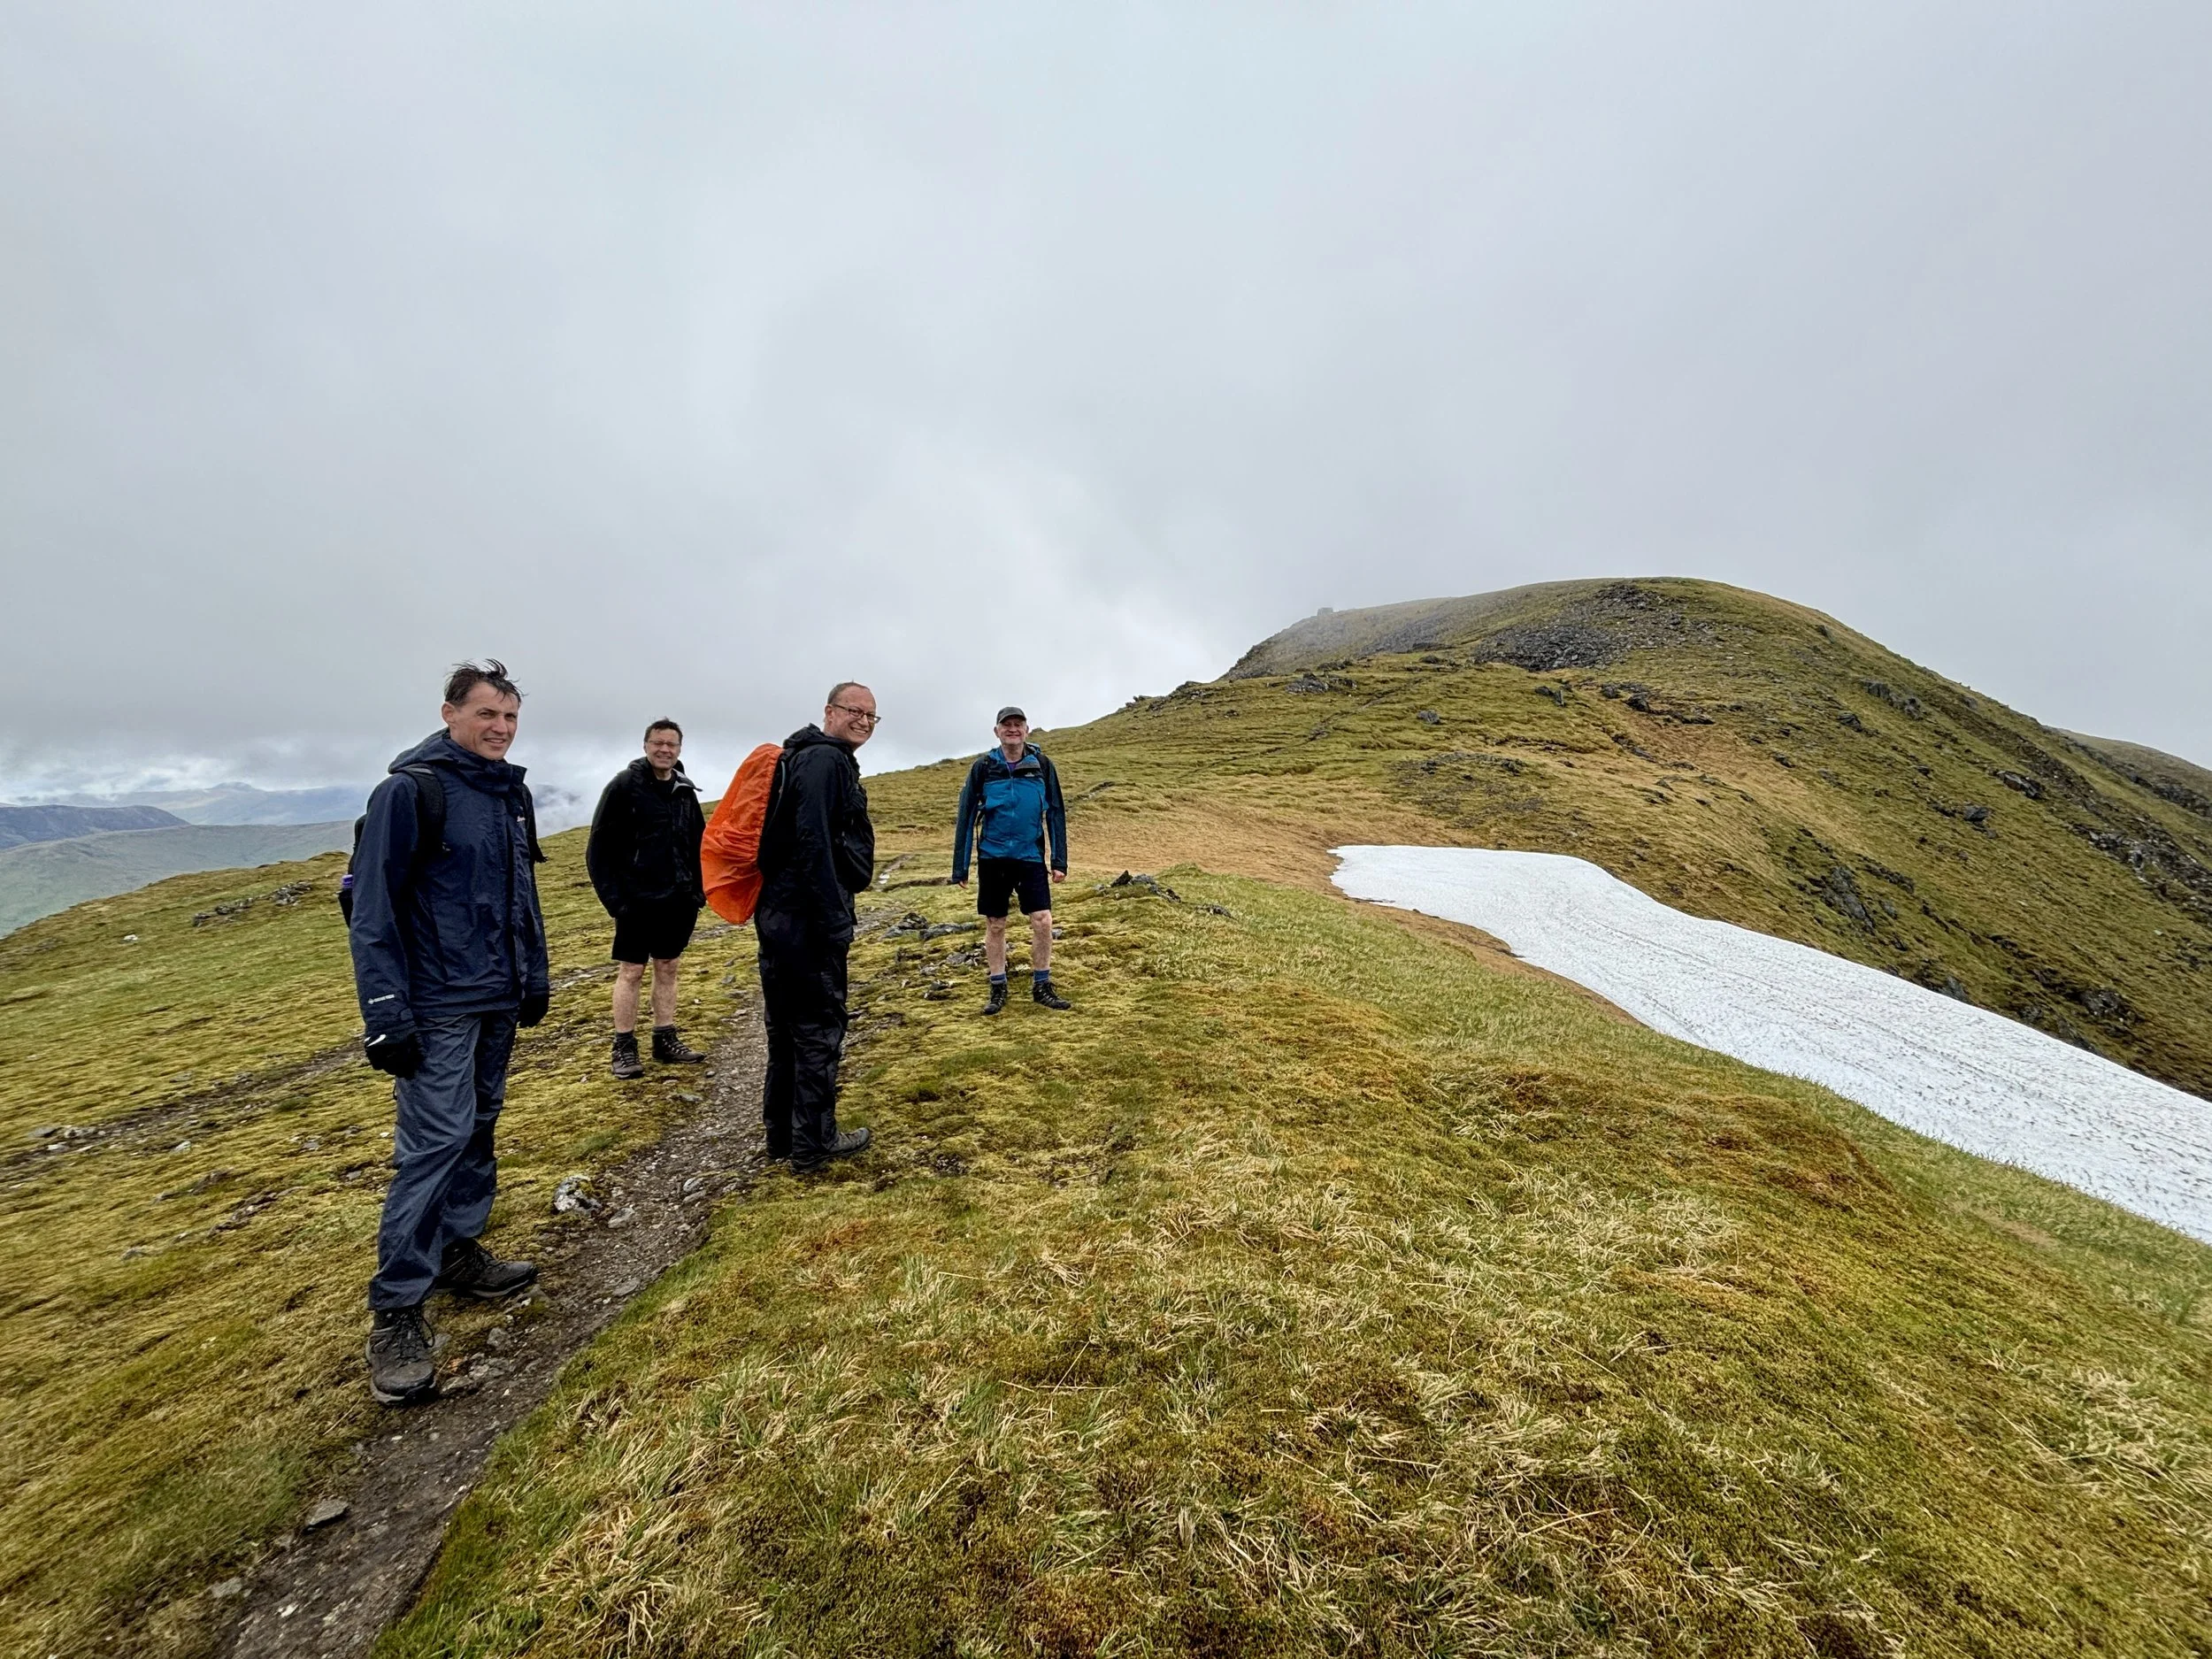
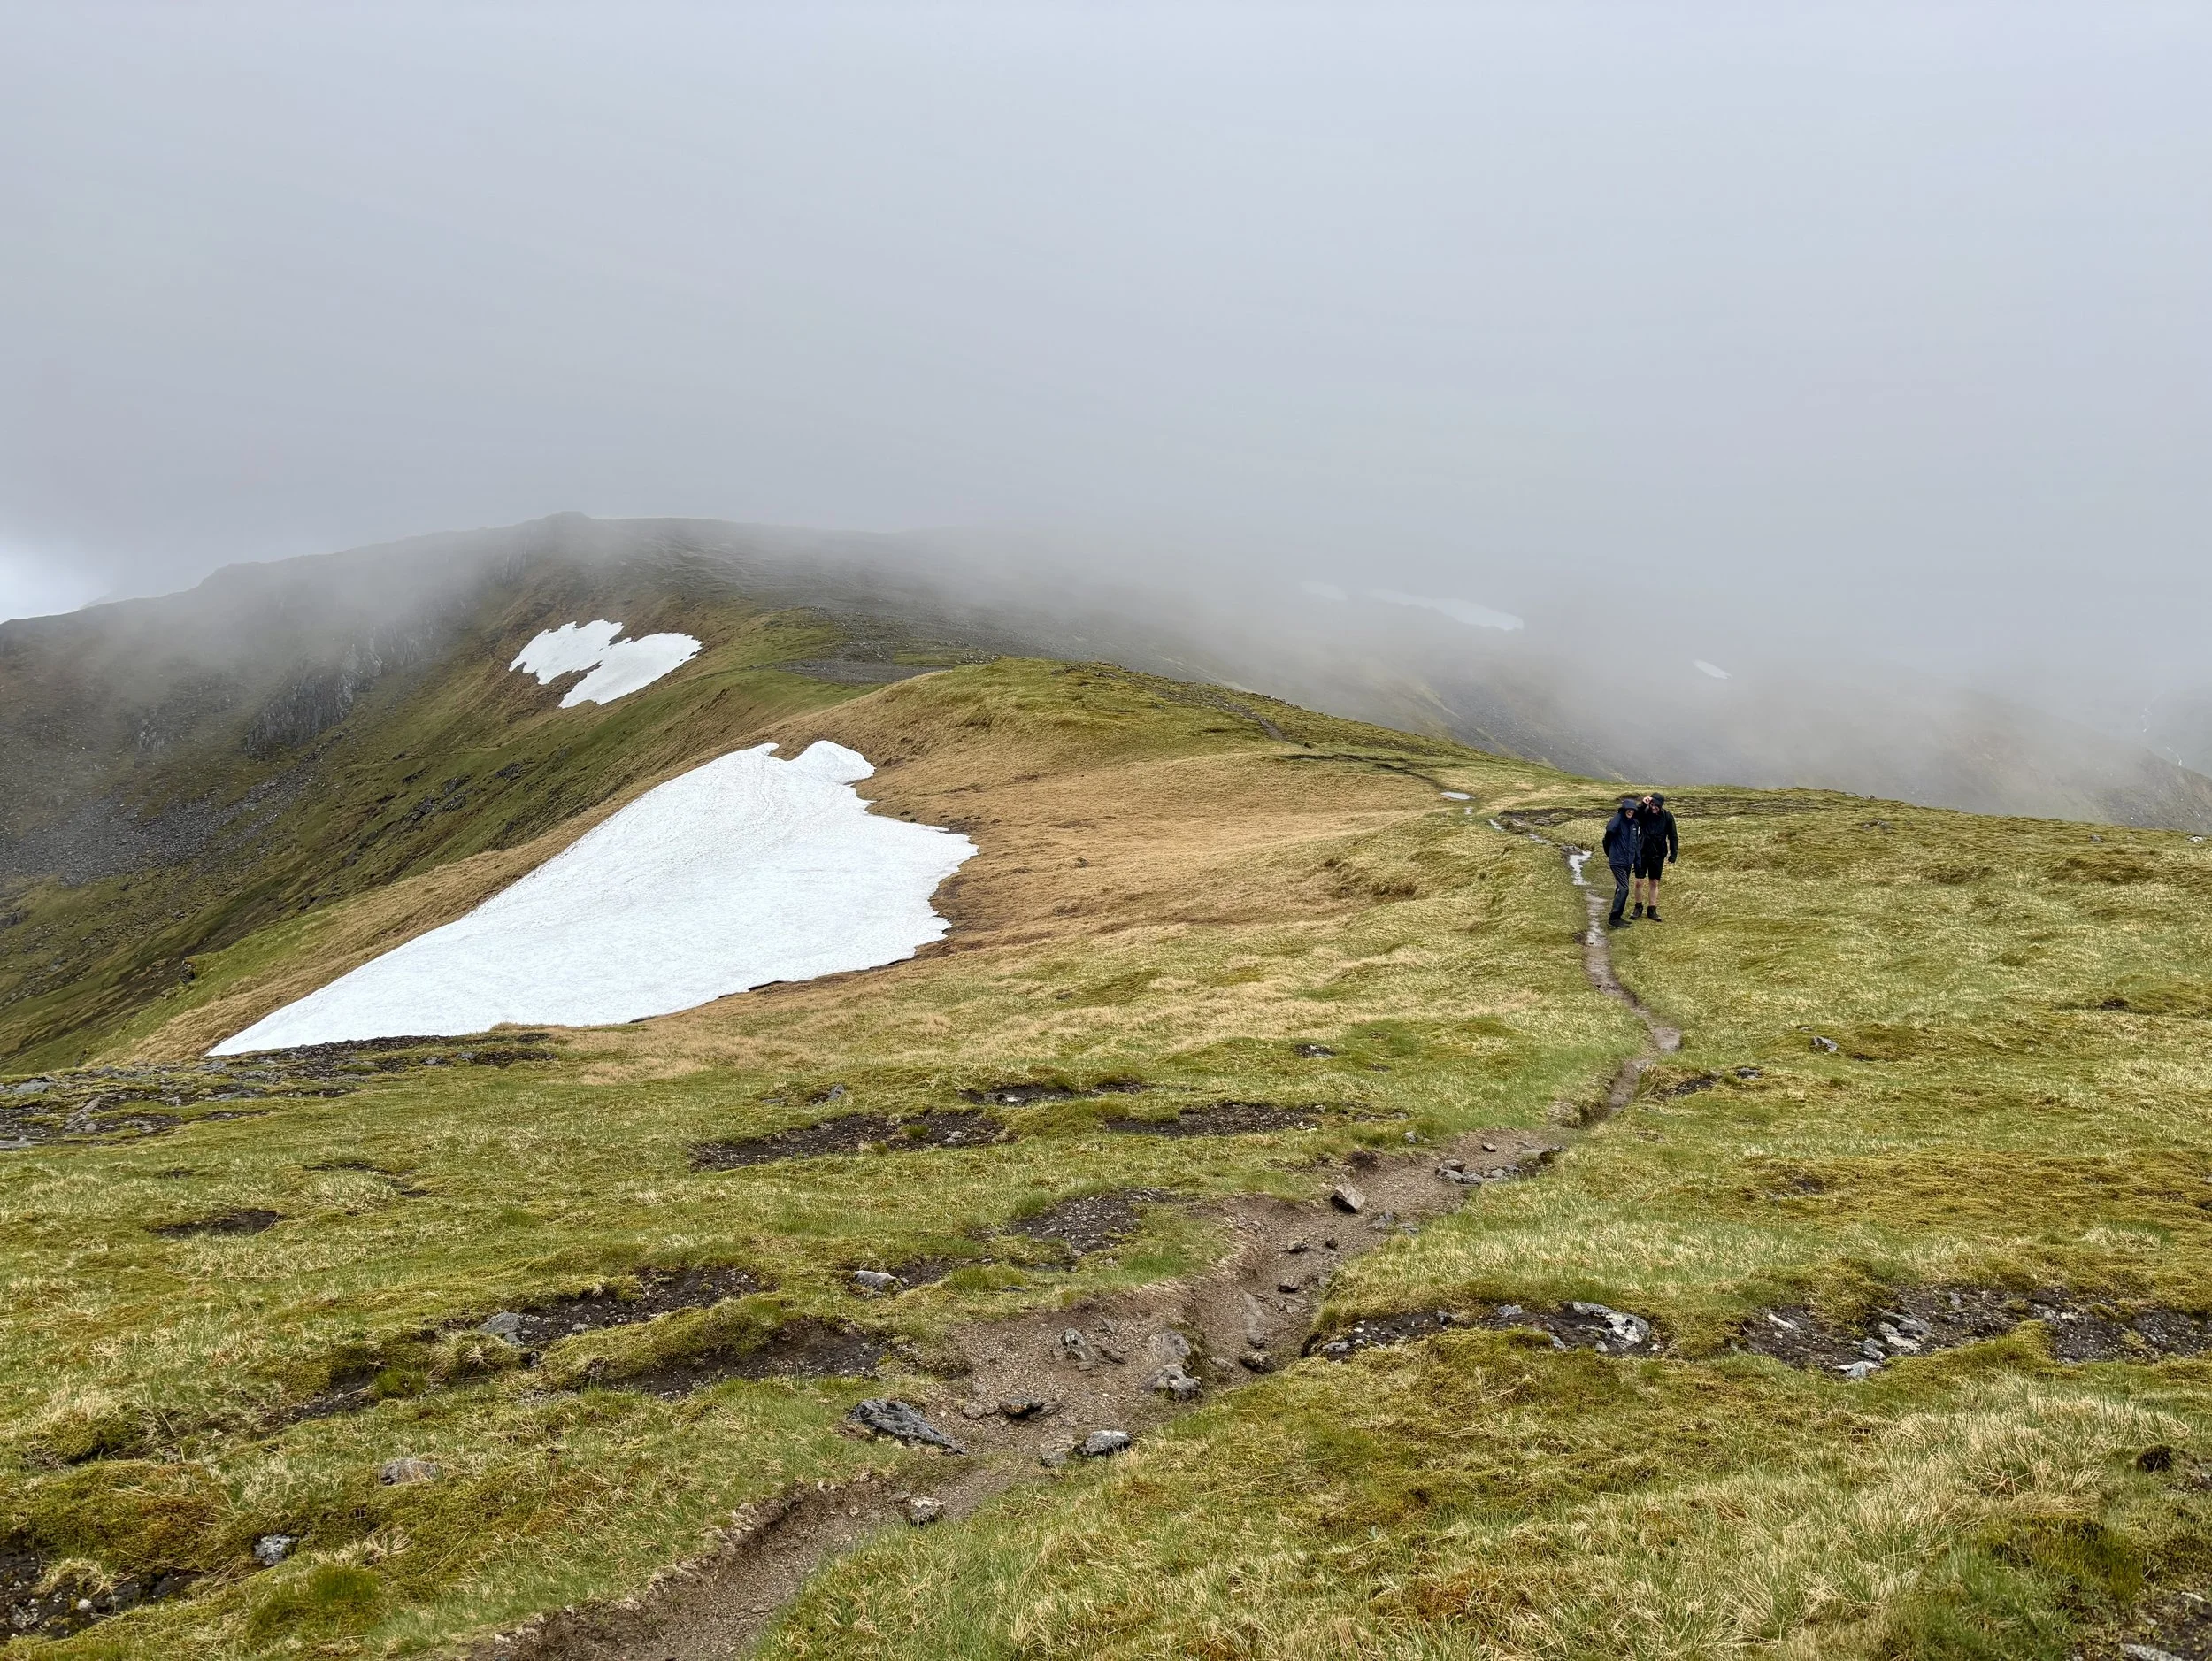
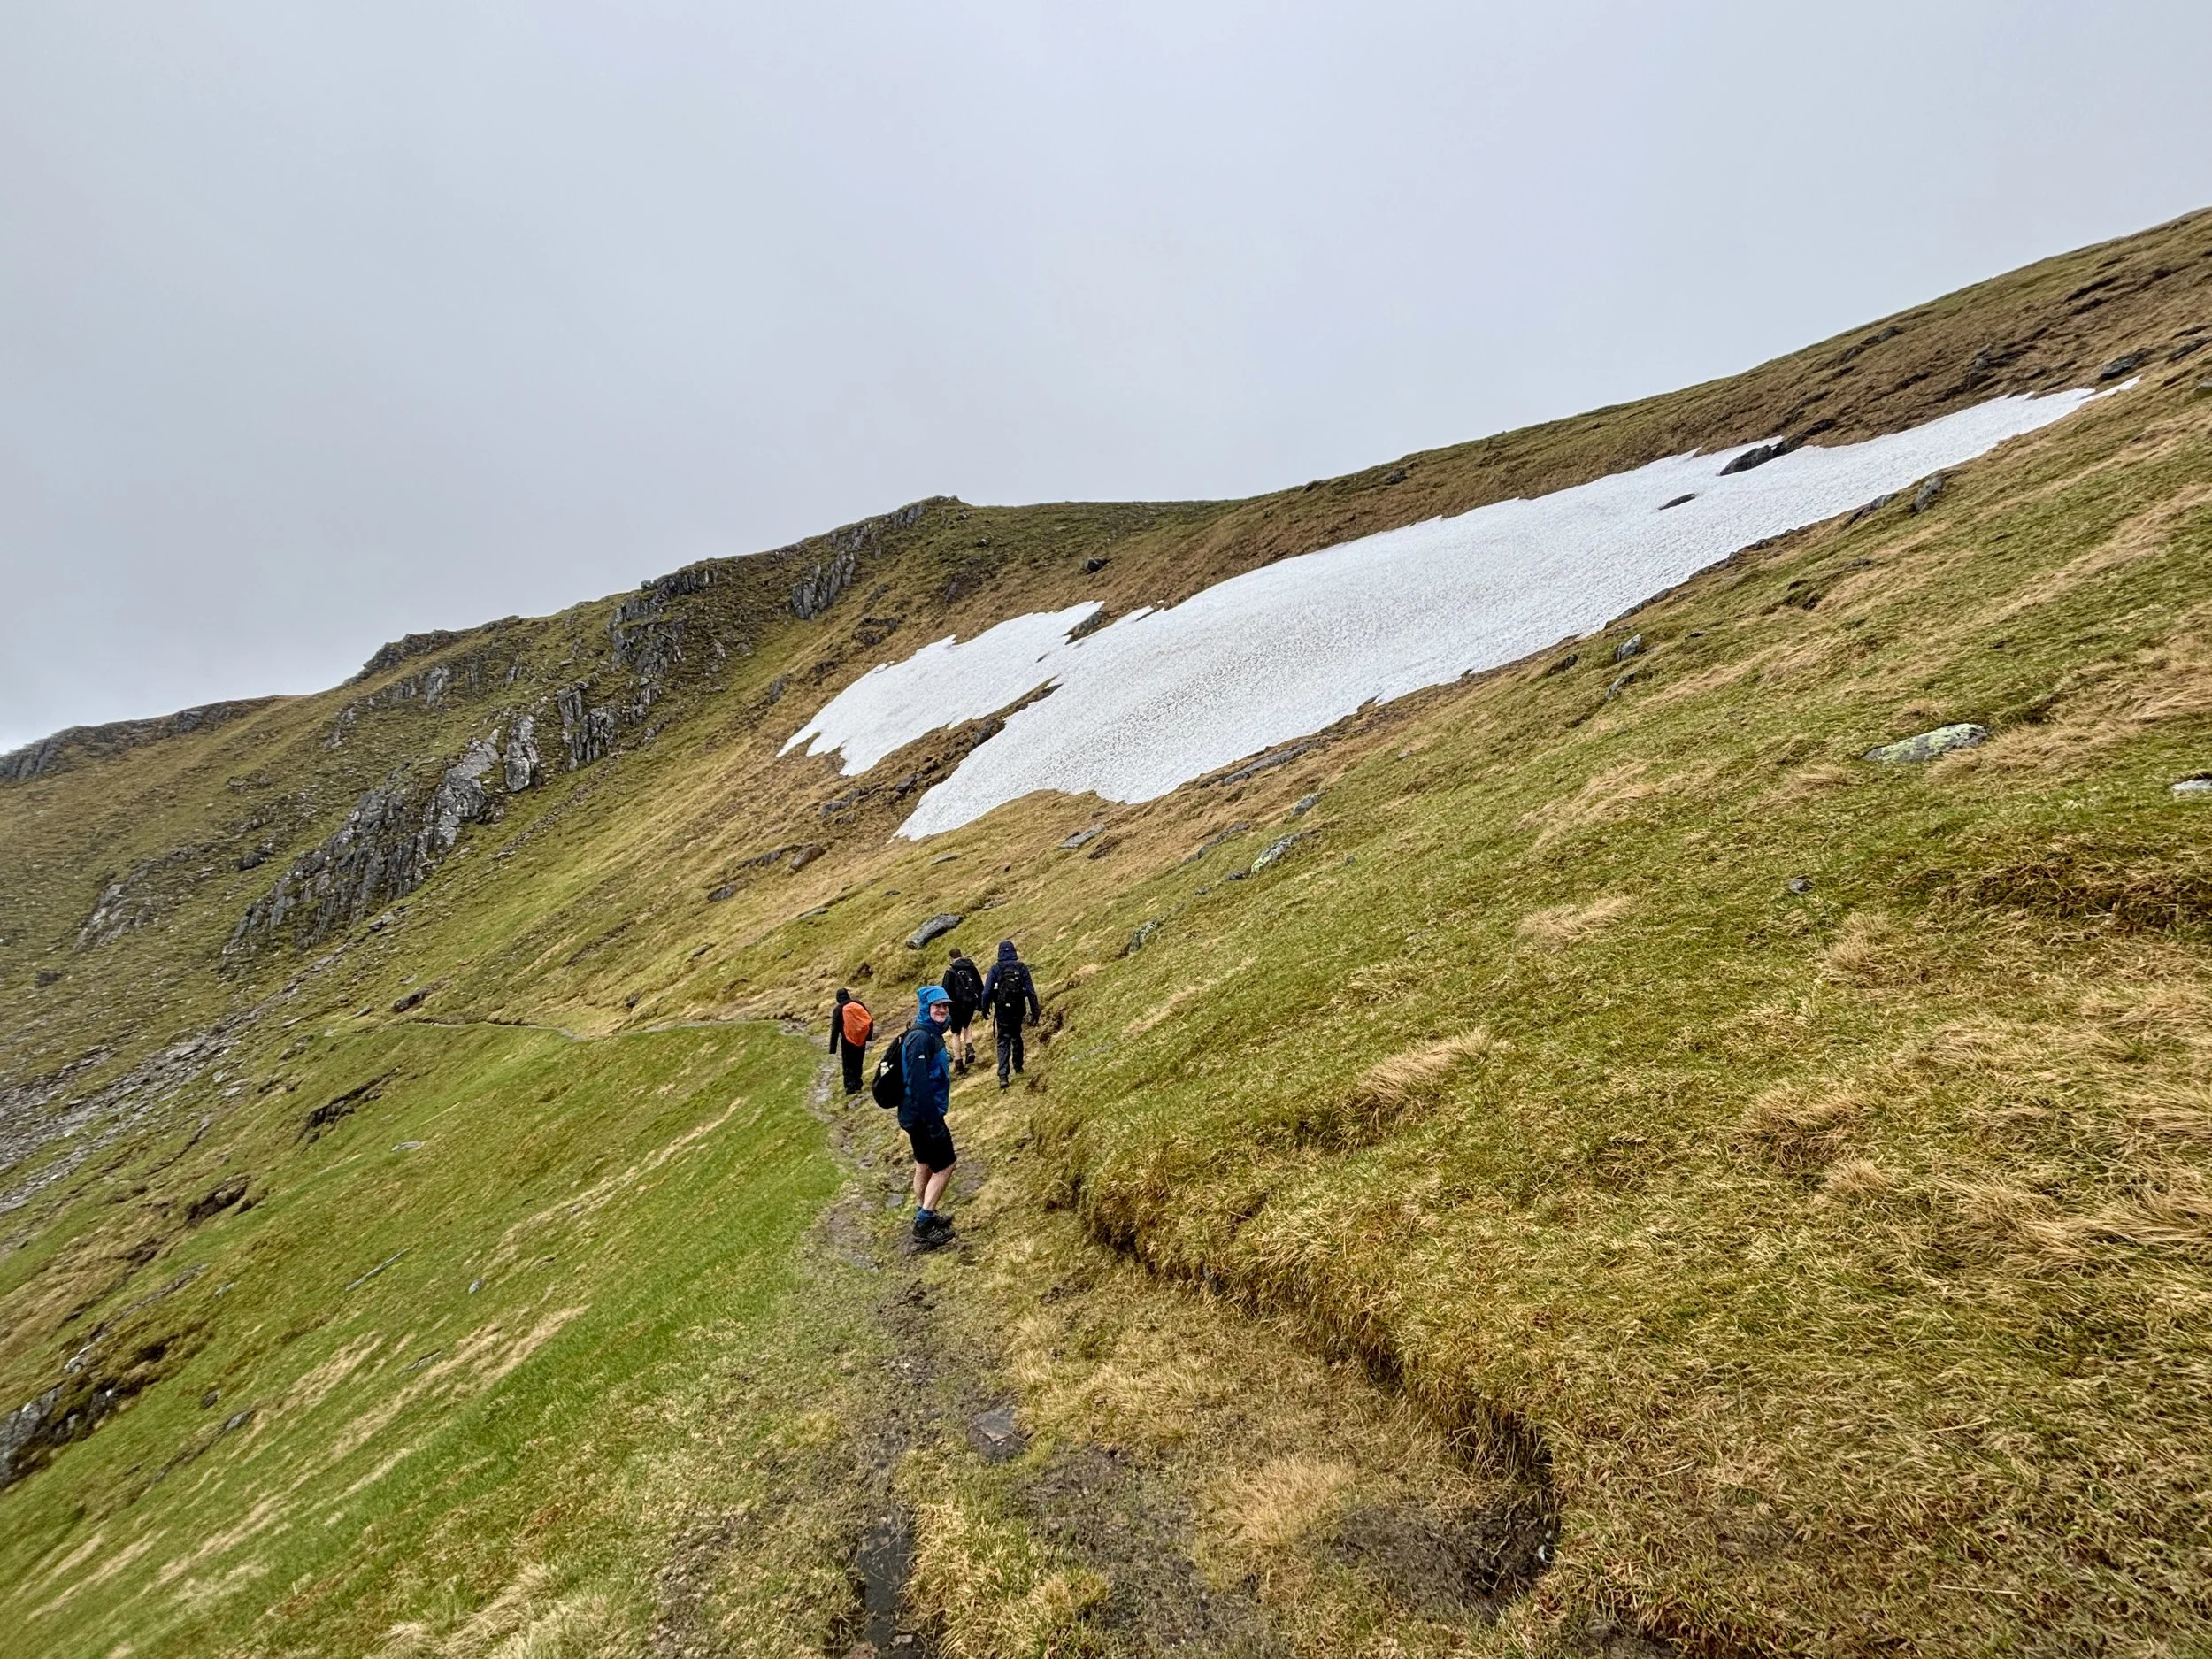
The final section of the ascent is the steepest, pushing you up onto the ridge line. Surprisingly for the time of year, there was still quite a lot of snow up there, but it wasn't dangerous to navigate. So far, so good: the weather was holding out, and we had decent visibility.
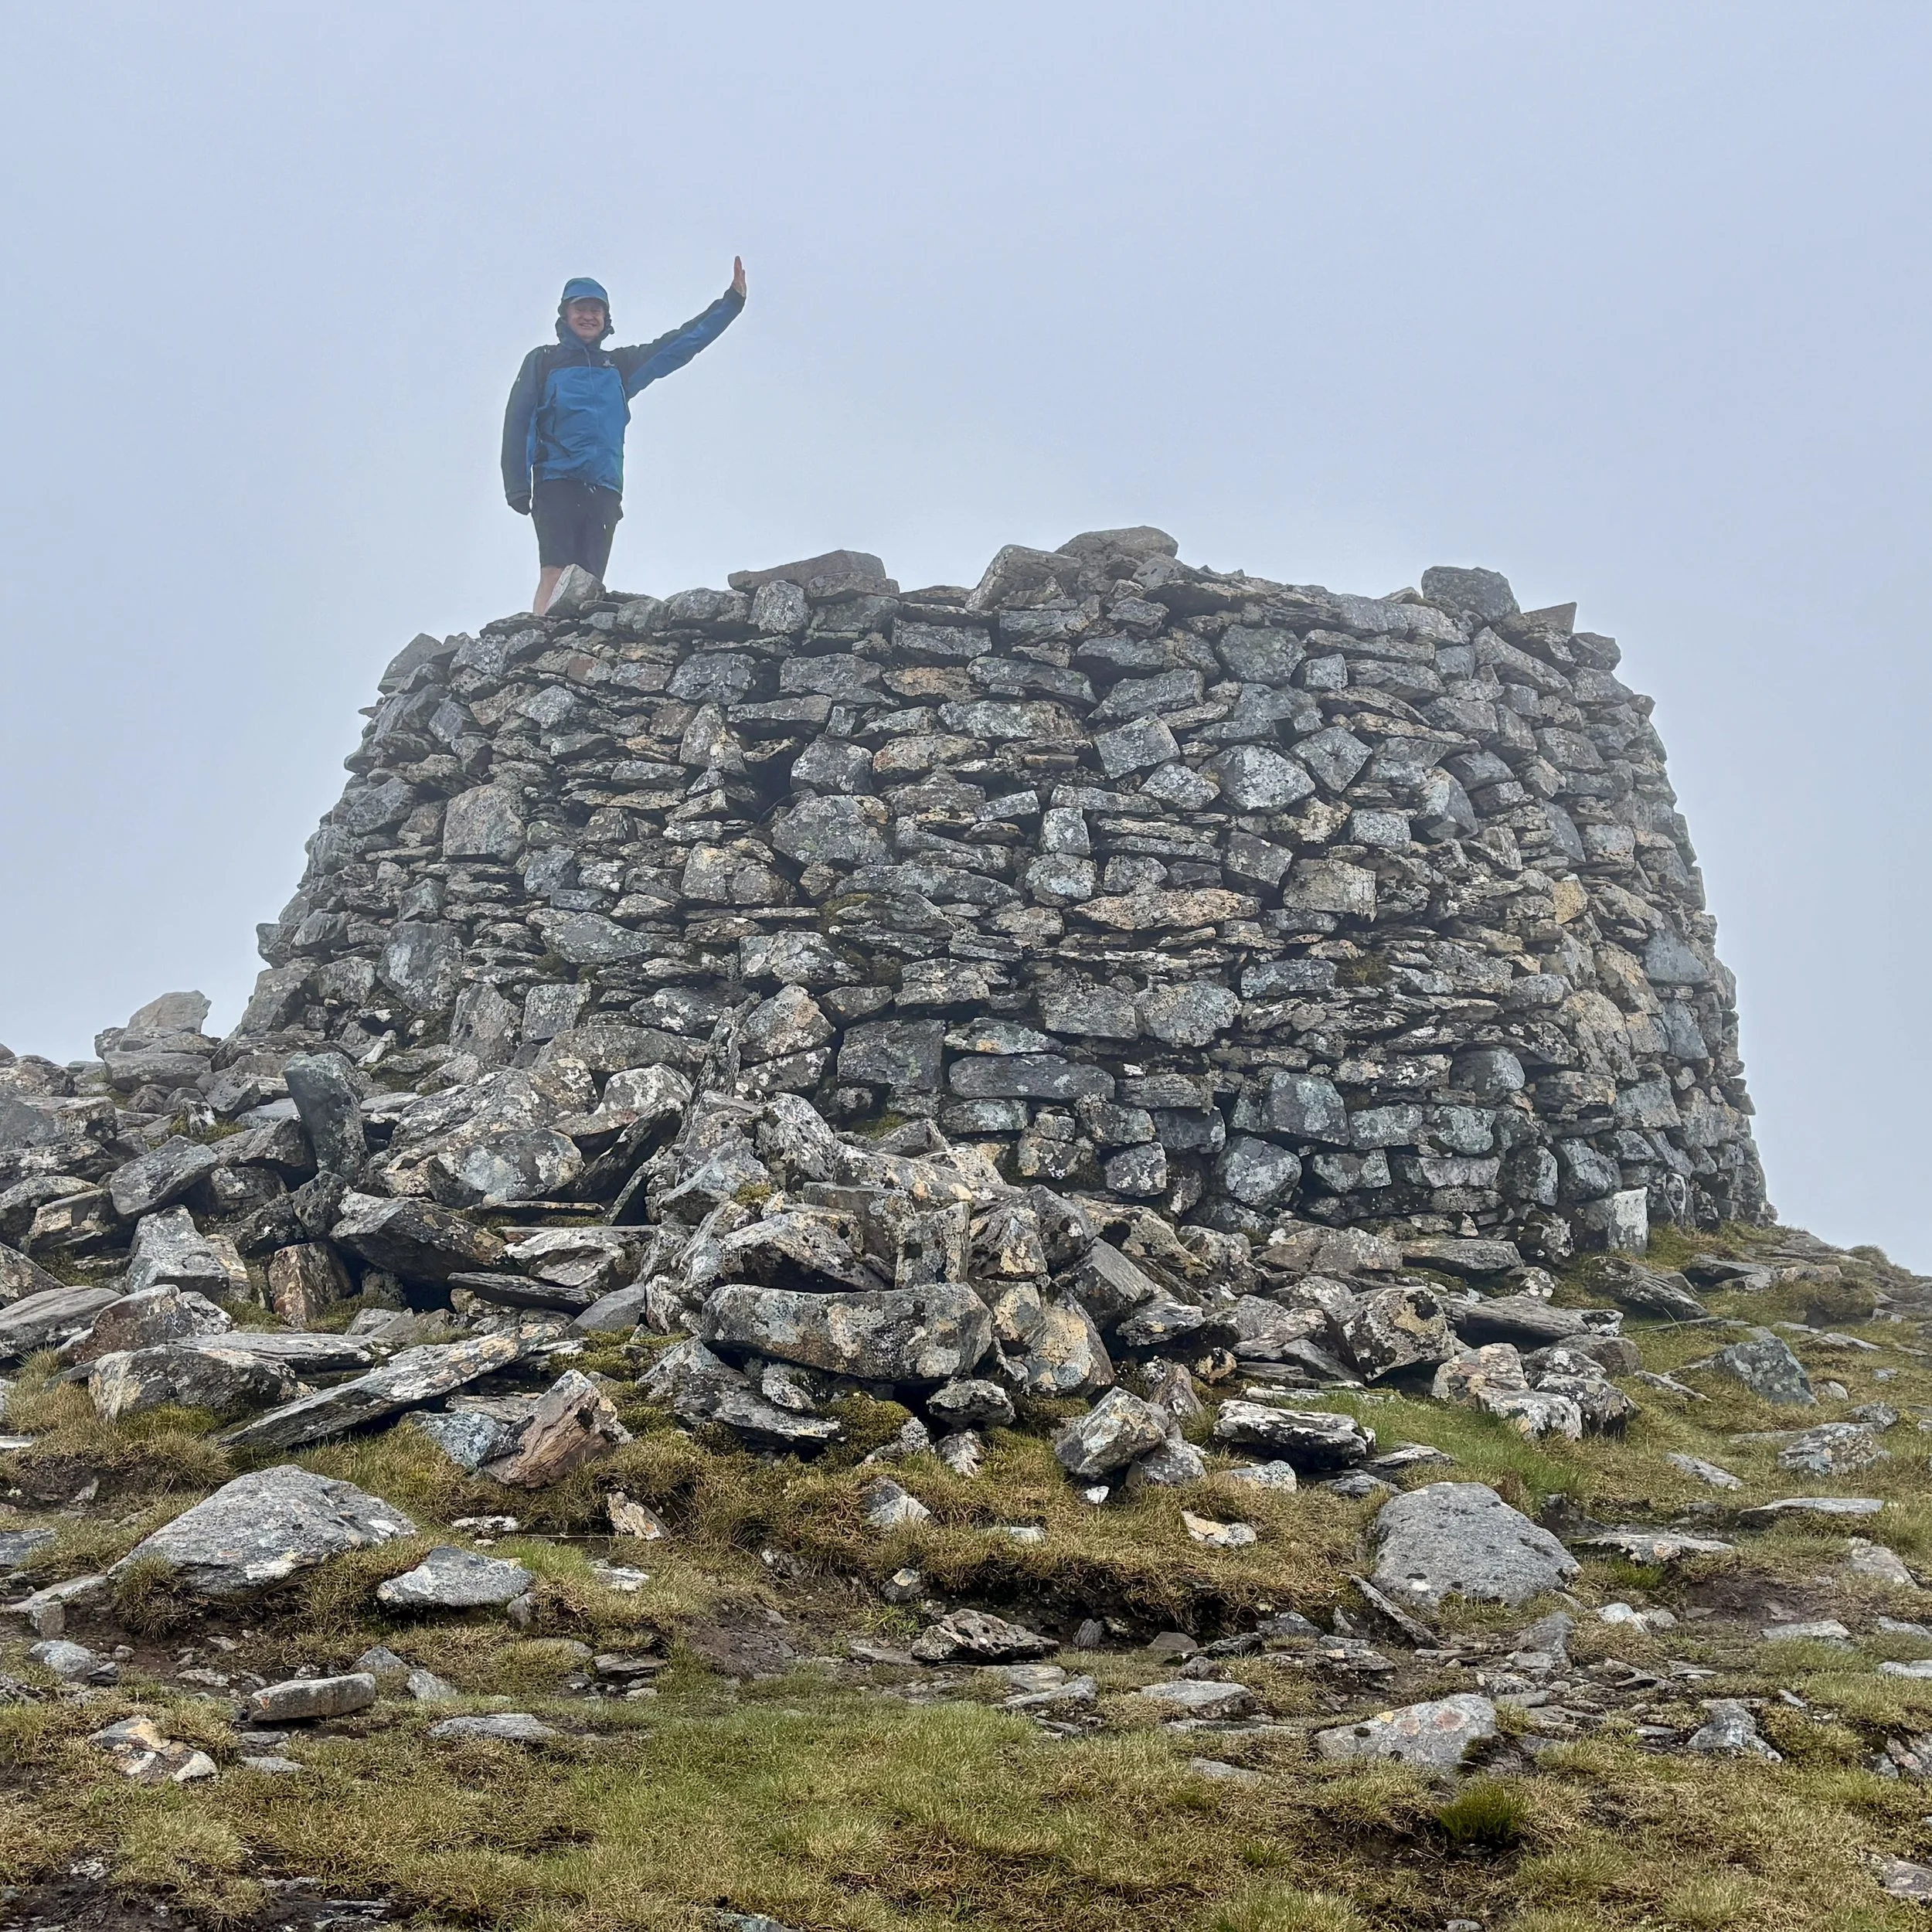
Once on the ridge, we turned right to tackle the first summit of the day: Mam Sodhail. Standing at 1,179 metres, it is only marginally lower than our main target, sitting just four metres shorter than Càrn Eige.
At the top of Mam Sodhail, it was a little bit windy and misty. However, the wind kept blowing the mist clear, rewarding us with brilliant views right down the valley.
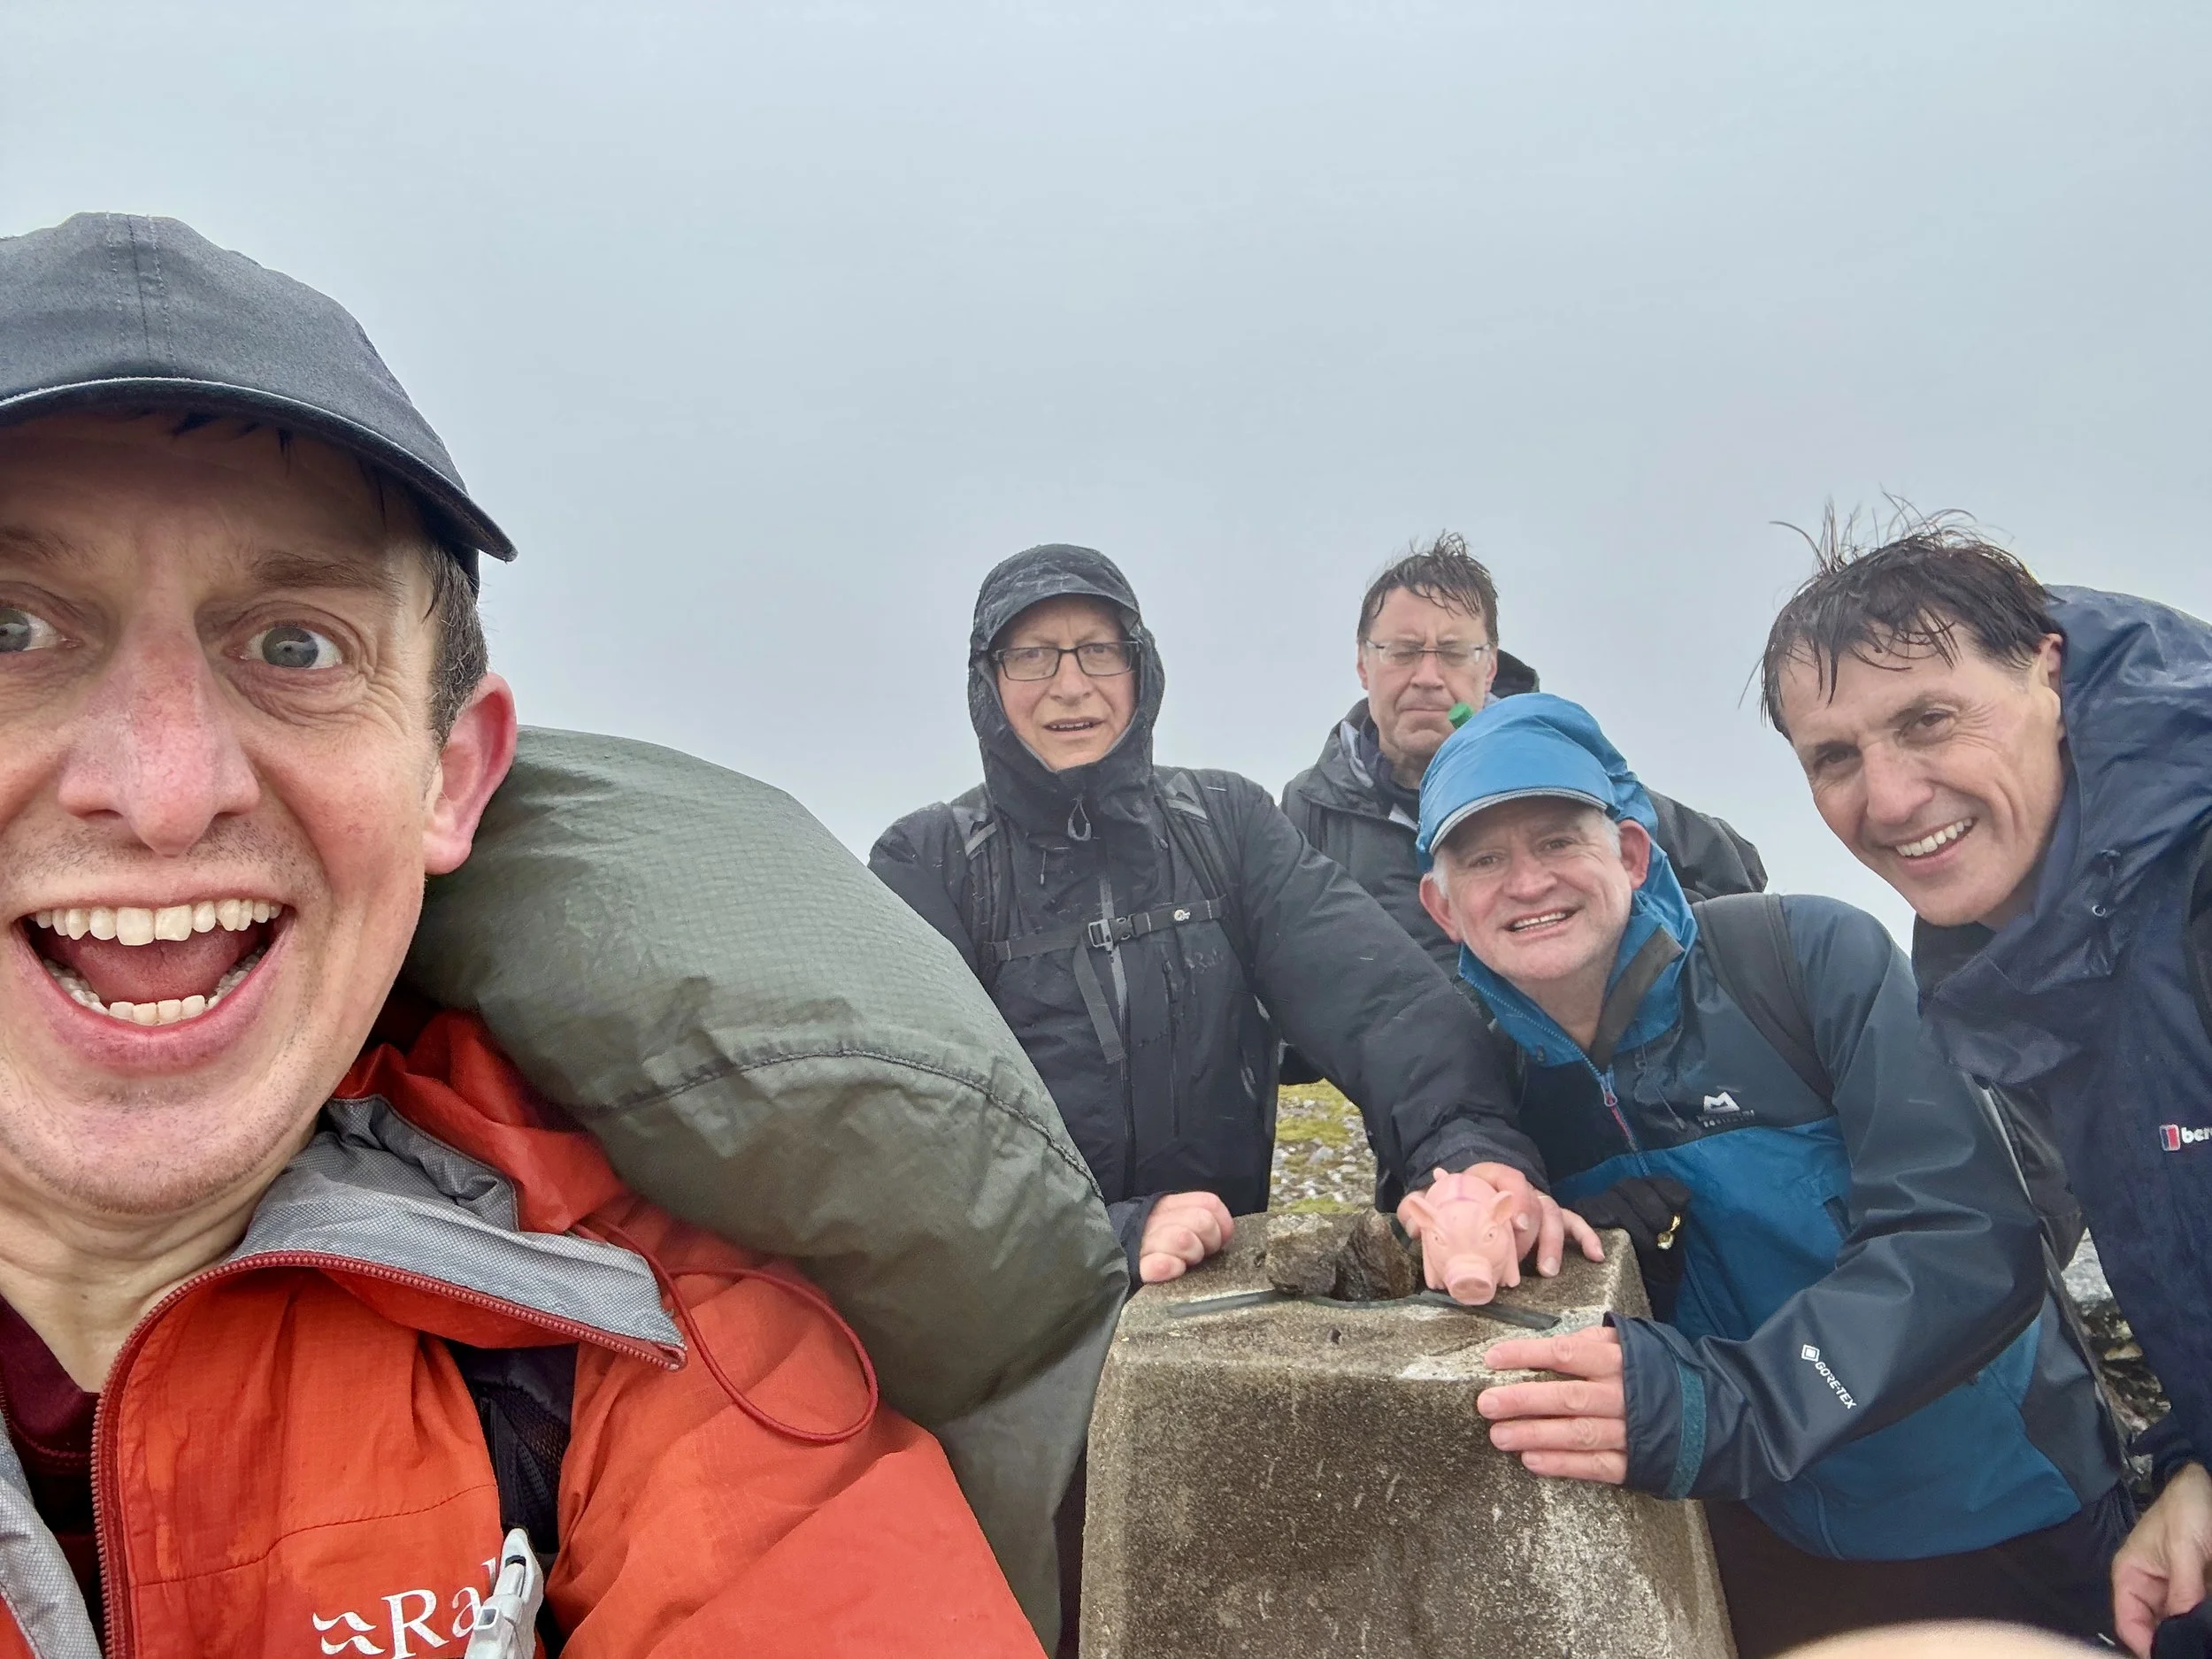
Feeling good, we descended the other side and began the final ascent up to the summit of Càrn Eige. Reaching the top felt like a massive victory, and we were rewarded with the trig pillar marking the high point of historic Ross and Cromarty. We were thrilled: we had successfully avoided Plan C and safely made it to the top!
Despite the success, the weather was still a factor, and we made the sensible decision to execute Plan B rather than attempting the full circular route. The only real disadvantage of the out-and-back route is missing out on a couple of other Munros, but they weren't on our main bagging list anyway. Claiming Càrn Eige was our primary goal for the day, and we had well and truly ticked that box.
We retraced our steps back down over Mam Sodhail. As we descended, the weather improved significantly. We enjoyed a very pleasant, warm walk back down the valley with high visibility, following the trail back to Loch Affric and along the farm track to the car park.
That successfully concluded the trek. We returned to the car at around 4:00 PM in very high spirits, already looking forward to our next county tops adventure.
Points of Interest along or near to the Route
Glen Affric: A celebrated Highland landscape often regarded as one of Scotland’s most beautiful glens. Its ancient Scots pinewoods form one of the largest surviving fragments of the Caledonian Forest, protected today within the Glen Affric National Nature Reserve.
Mam Sodhail: A broad, imposing Munro commonly climbed alongside Càrn Eighe. Despite appearances, its Gaelic name means “hill of the barns,” reflecting traditional shieling associations rather than a saddle‑like shape.
Loch Affric: A striking freshwater loch set beneath the surrounding peaks. Its shores support rich Caledonian woodland and diverse wildlife, including golden eagles, otters, pine martens, and other species that embody the wild character of Glen Affric.

Cathkin Braes: Glasgow City County Top
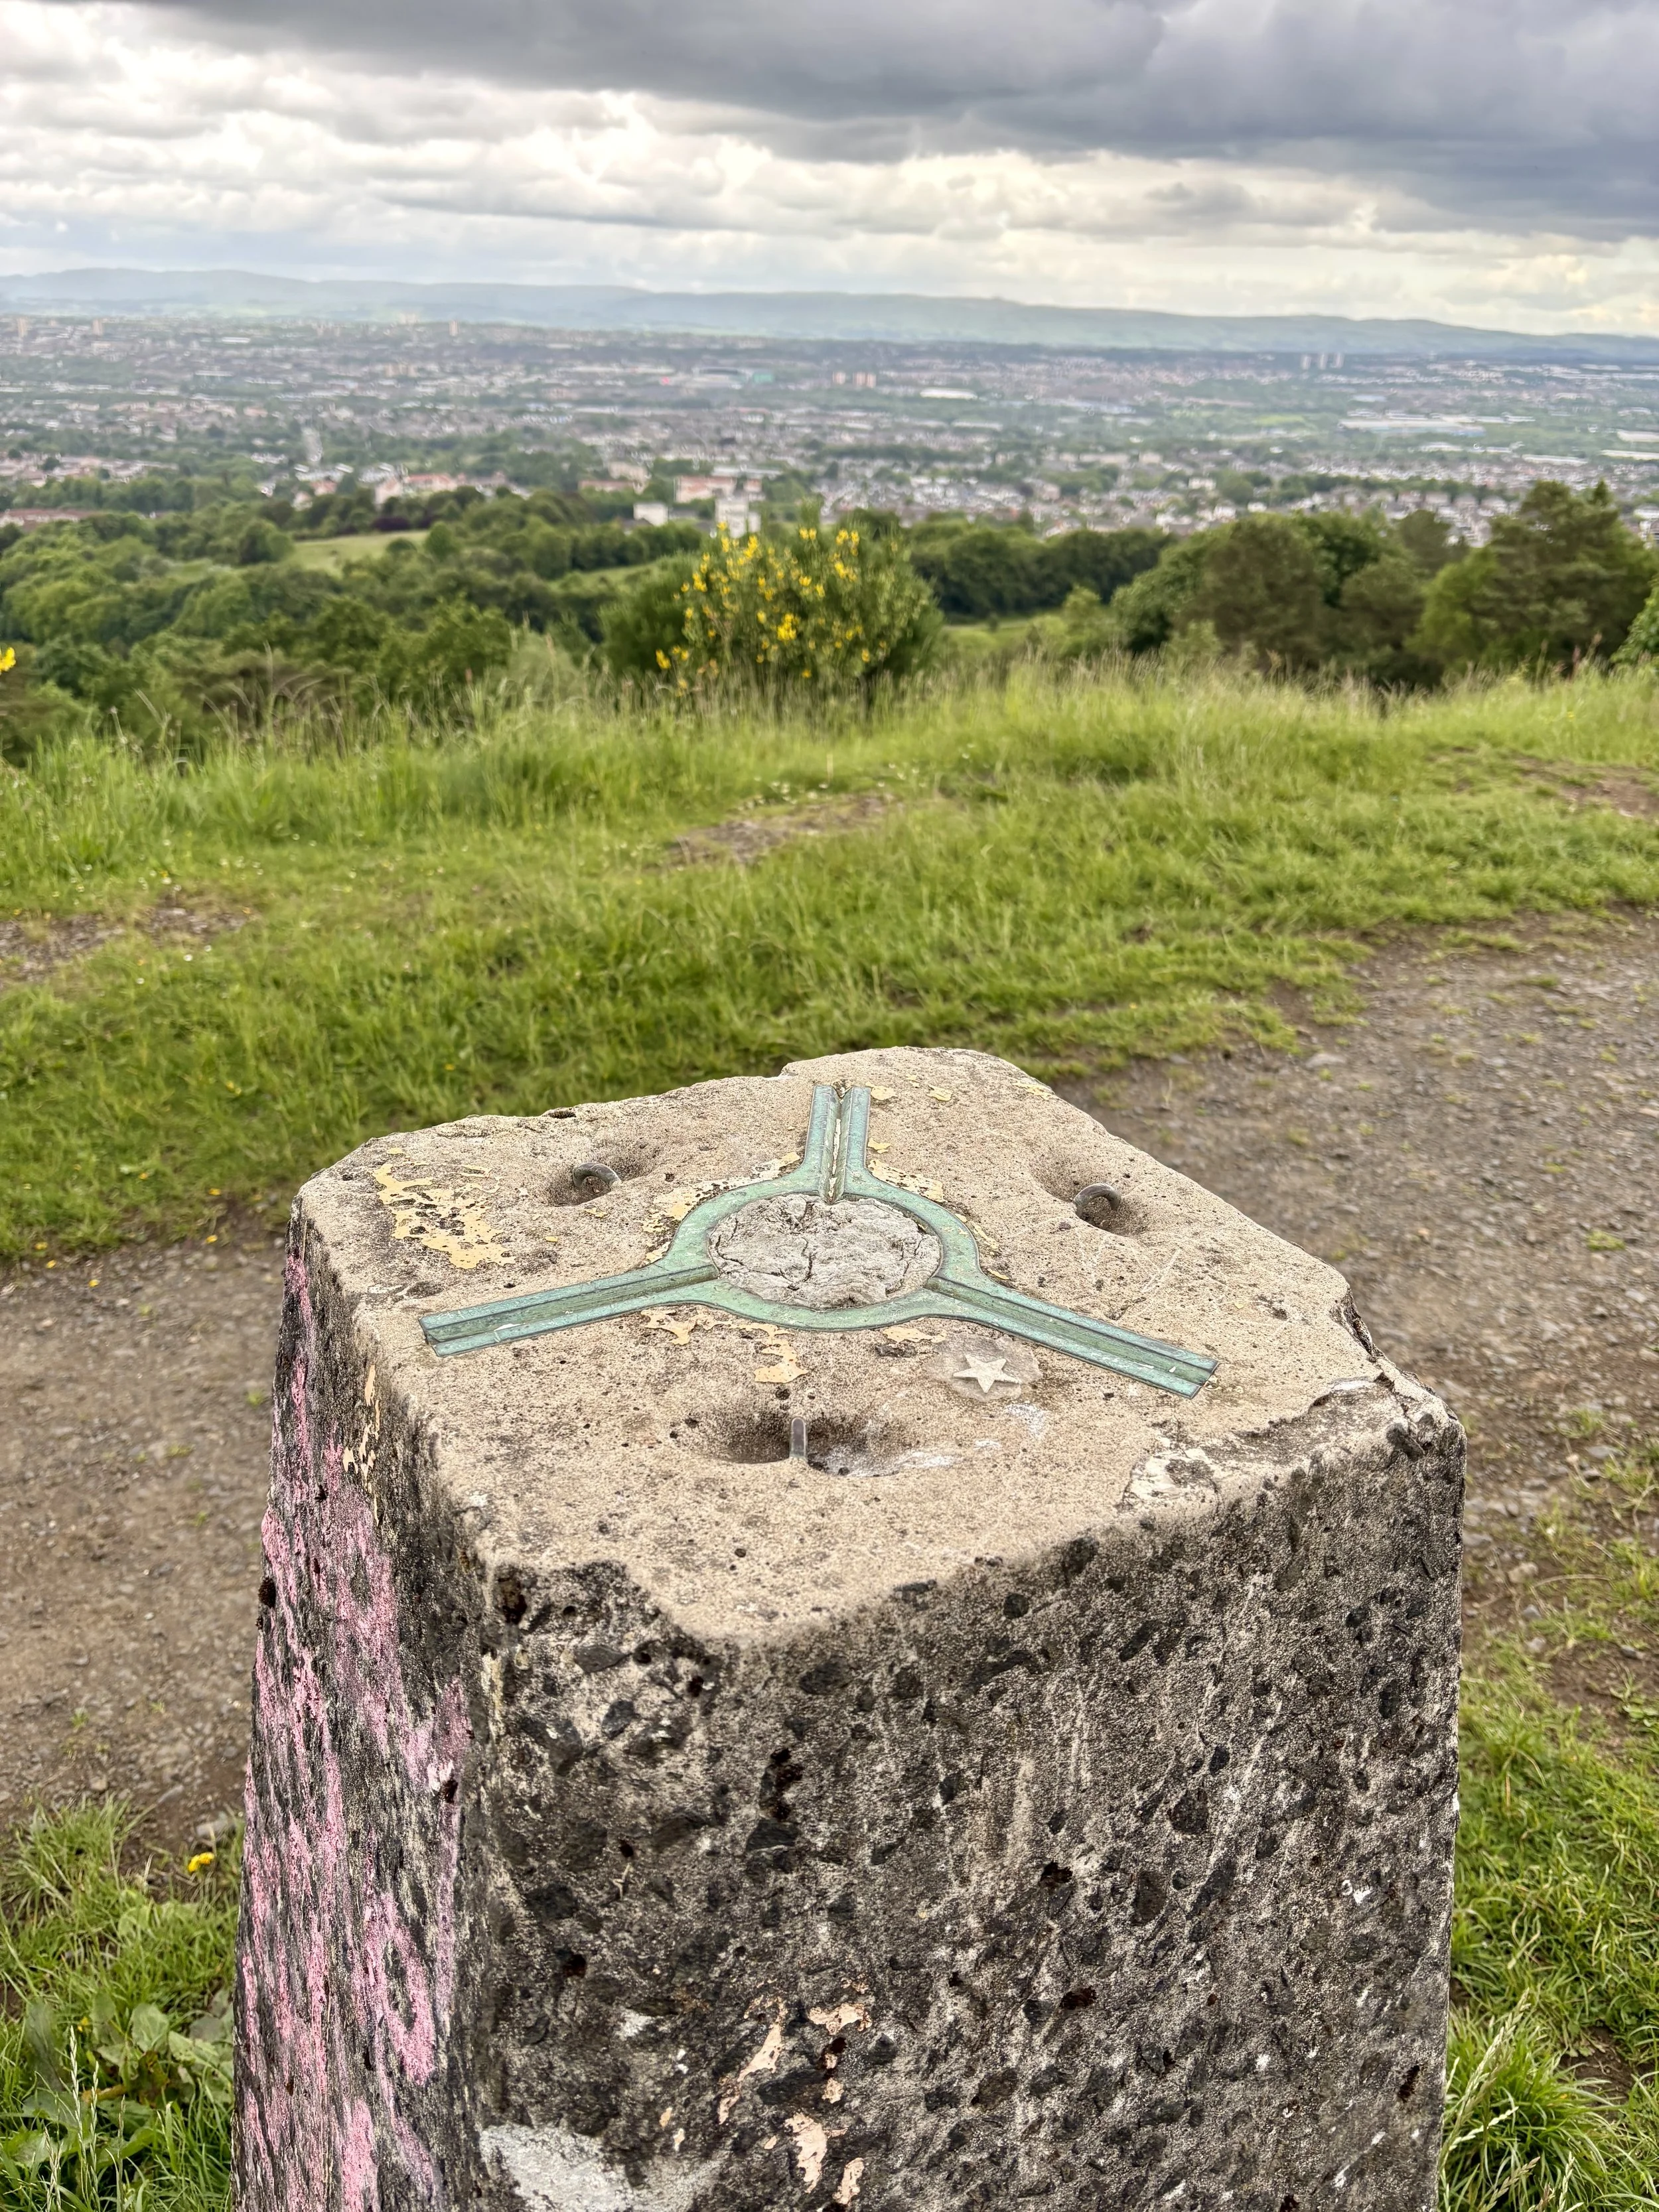
View over Glasgow from the OS Trig Pillar
Significance: Present-day County Top for Glasgow City
Historic County: Lanarkshire, of which Culter Fell is the Historic County Top
Member of: N/A
Nearest Higher Neighbour: Corse Hill
Elevation: 200m
Date climbed: June 5th 2026
Coordinates: 55° 47' 56'' N, 4° 12' 41'' W
Route Start & Finish: Cathkin Brae Bike Park Top Car Park, B759, Glasgow, G76 9EY
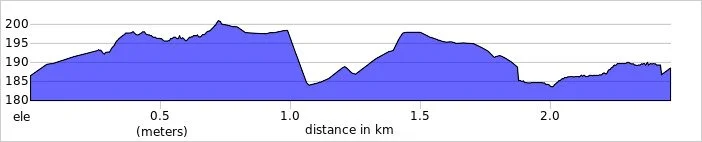
Route Distance: 2.3 km (1.42 miles)
Route Elevation change: +/- 31m
GPX File: get via Buy Me a Coffee
Other routes touched (walk): None
OS Trig Pillar: None
Pubs / Cafes on route: None
Map: Glasgow Map | Paisley, Rutherglen & Kirkintilloch | Ordnance Survey | OS Explorer Map 342
Links: Wikipedia: (Glasgow / Cathkin Braes), Peakbagger, Hillbagging
Cathkin Braes is the Present-day County Top for Glasgow City. I bagged it in 2026 on our annual County Top weekend trip, along with the present-day County Tops of East and West Dunbartonshire and the Historic County Tops of Argyll and Ross and Cromarty.
It had already been a successful hiking day, having conquered both Earl's Seat and Duncolm to successfully claim the high points of East and West Dunbartonshire. This was part of our broader weekend plan and a parallel adventure: while I was out ticking off these local summits, Mark, Matt, and Joel were over on the Isle of Arran to tackle Goat Fell.
With a couple of hours to spare before I needed to drop my hire car back at Glasgow Airport and reunite with the boys, I realised I had the perfect window for a quick detour. I have been saving Cathkin Braes for a few years, waiting for an opportunity to comfortably squeeze it into an itinerary. As the county top for Glasgow City, it is highly accessible and makes for a very straightforward, short walk.
Walking Directions
The guidance below will help you navigate but don’t use it as a fully accurate turn-by-turn guide. Always take a map and/or a GPX route and prepare well for the weather and terrain.
The drive over from Kilpatrick Braes was quick and easy. I pulled into the main Cathkin Braes car park located just off the B759 road. It is a good size, and being late on a Friday afternoon, it was full of people out enjoying a walk with their dogs.
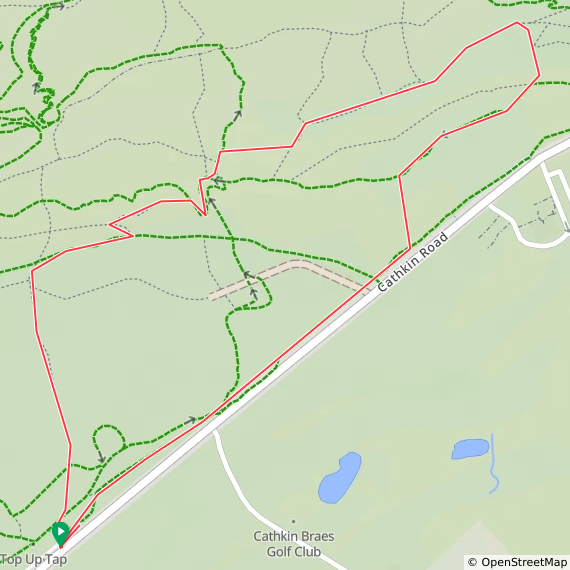
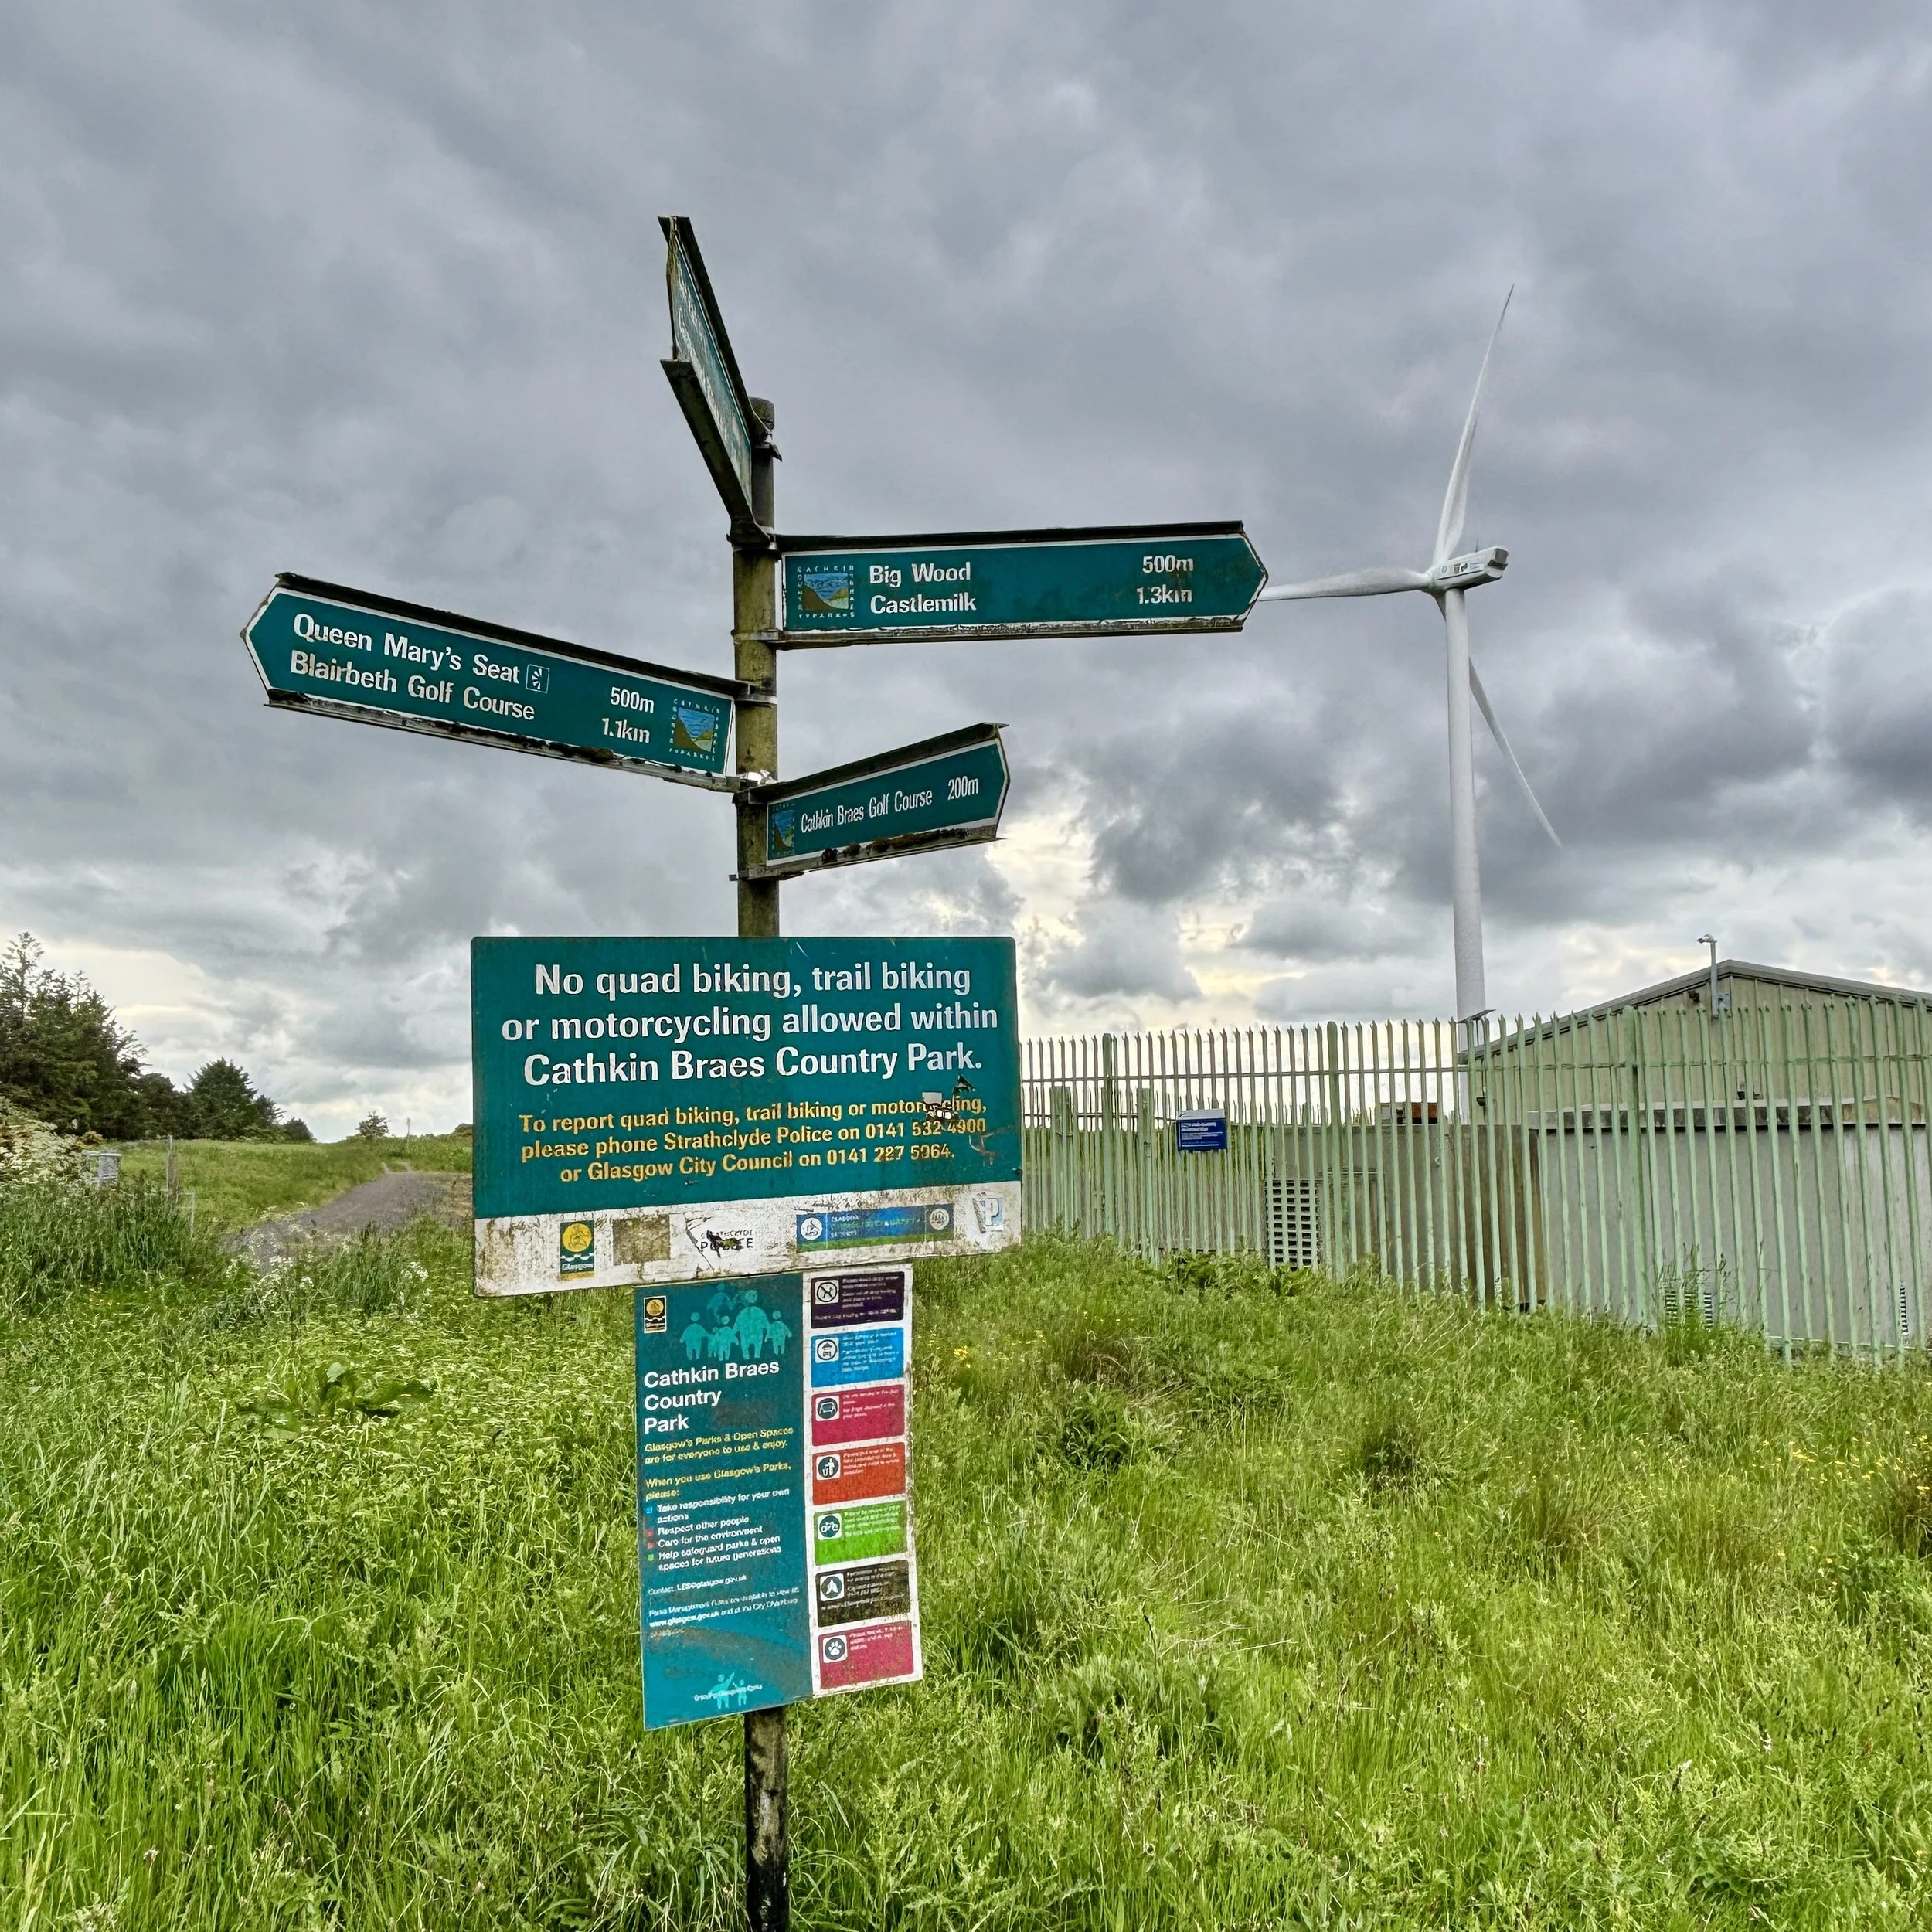
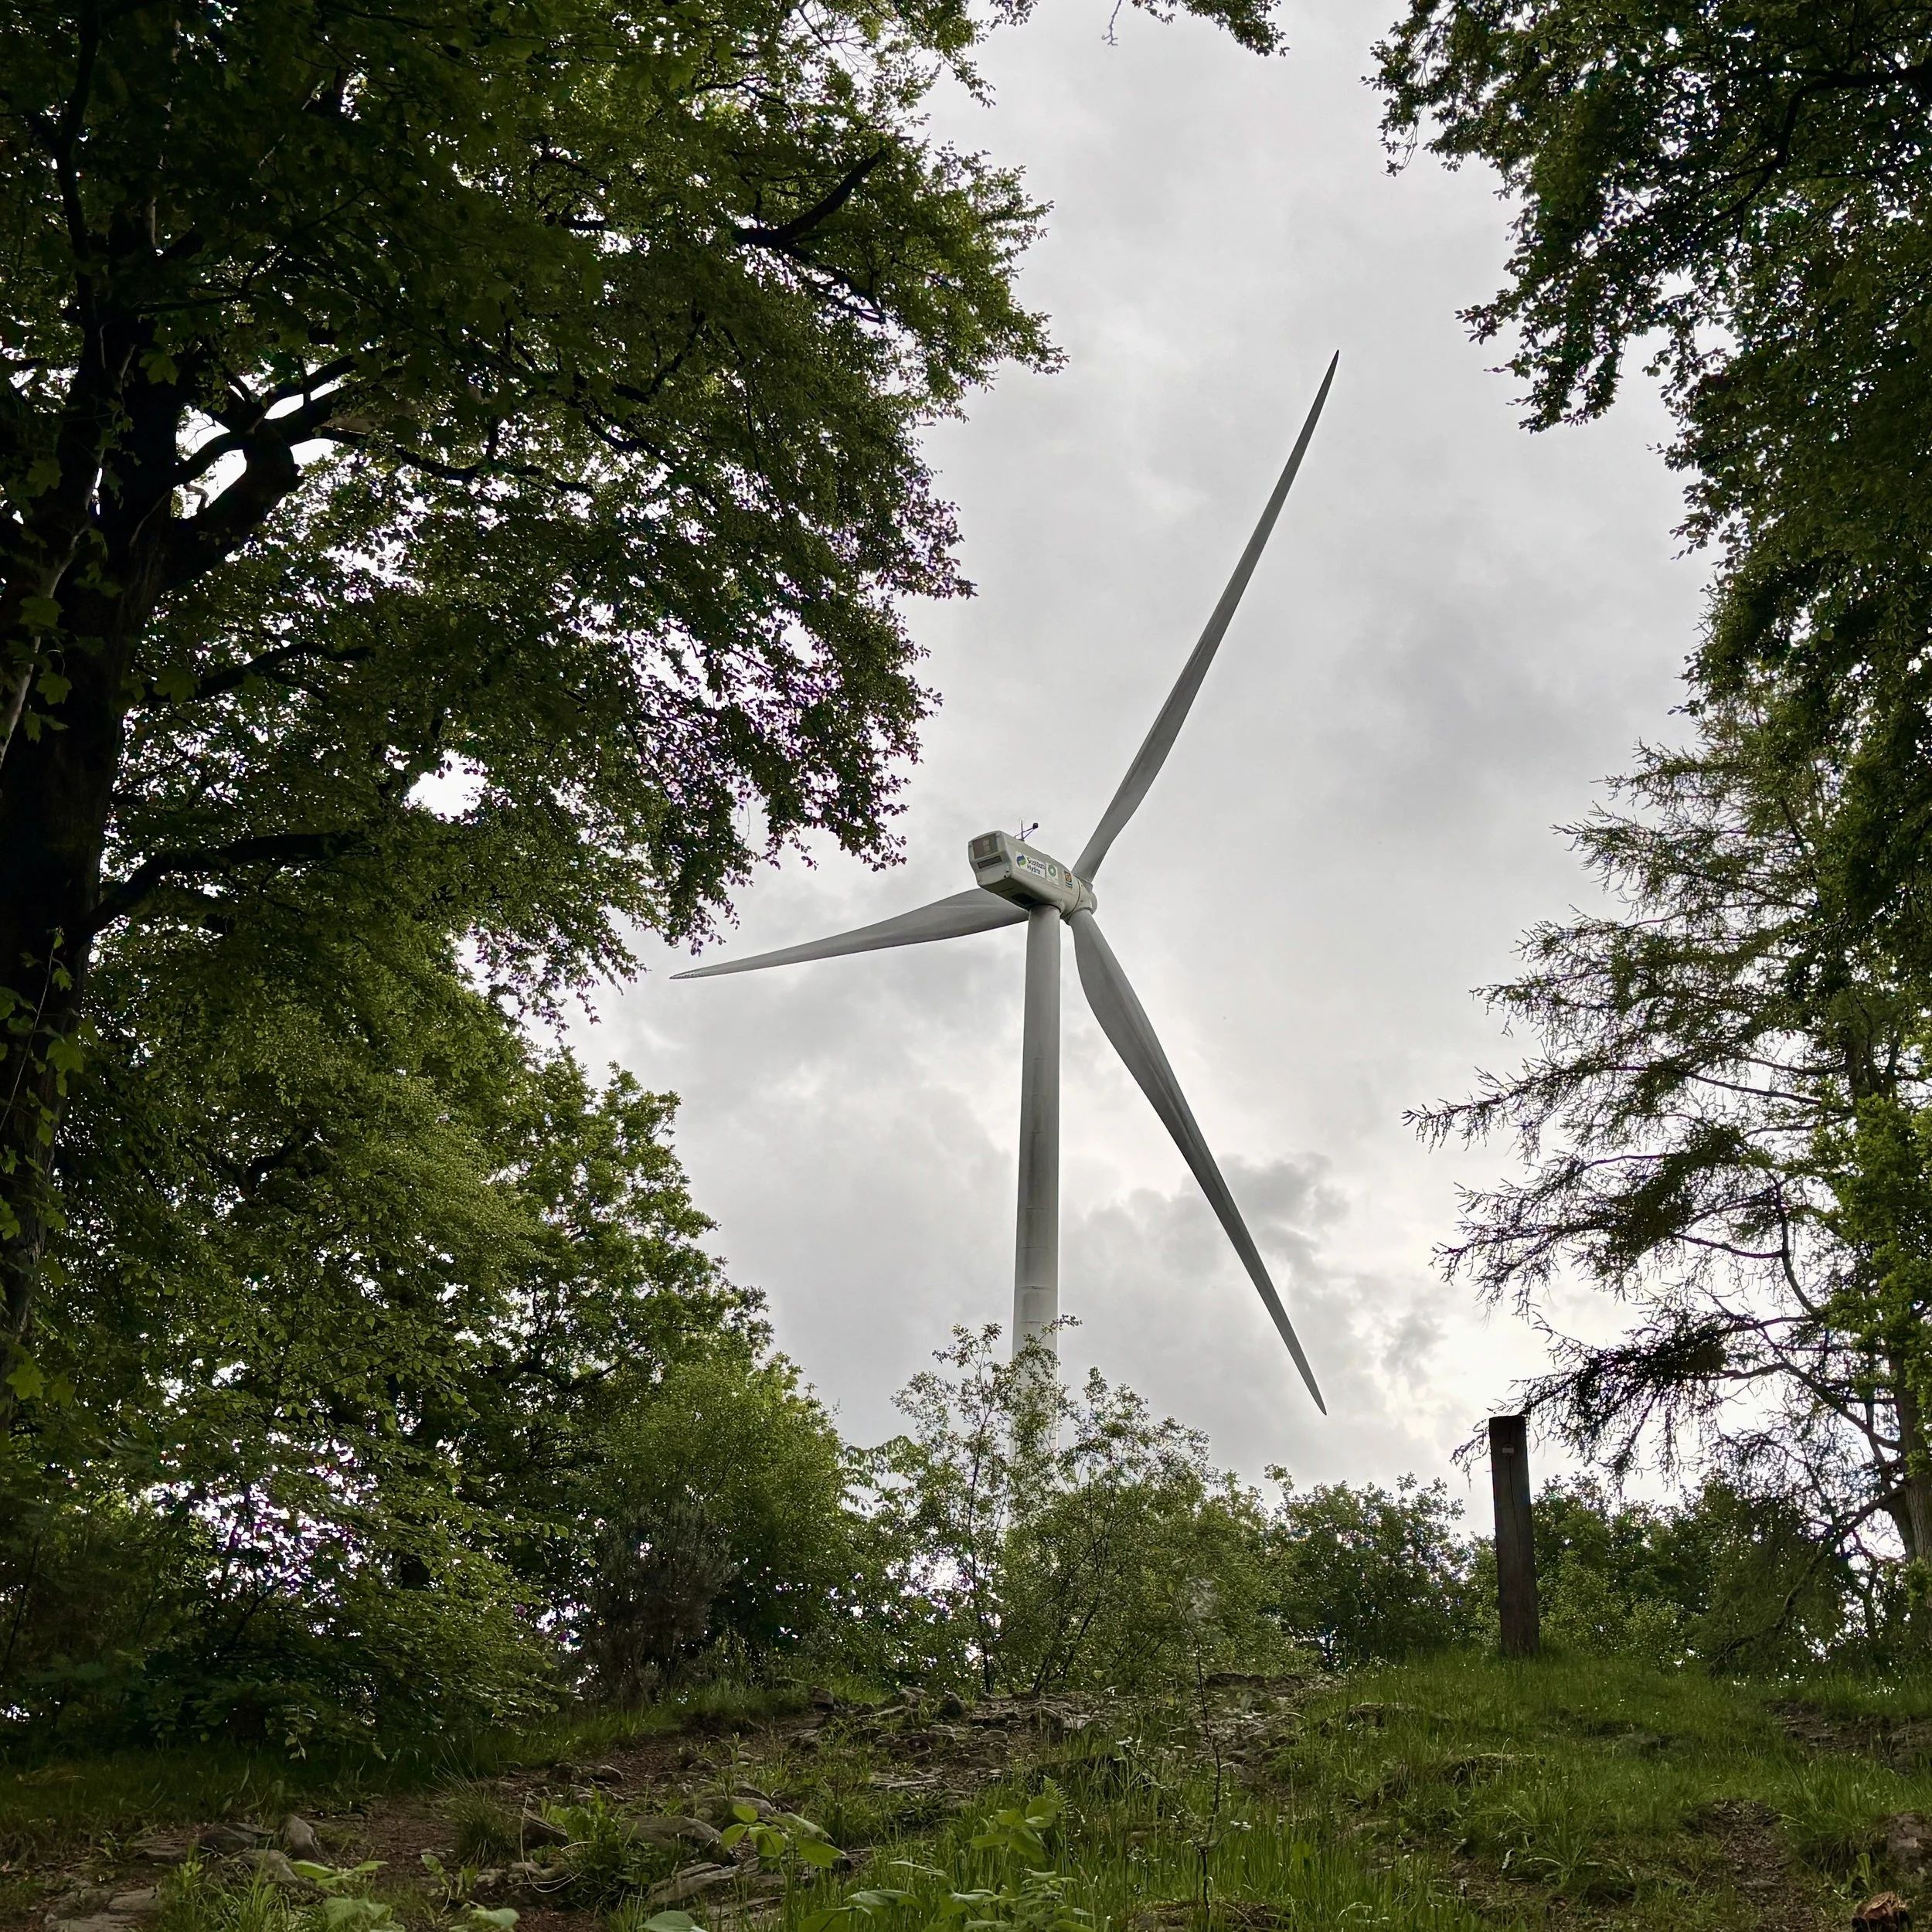
From the car park, you pick up a path that runs close to and parallel with the B759 in a north-easterly direction. The route takes you through some vegetation, pointing you towards a very clear visual target: the large wind turbine. You simply keep heading towards it, eventually passing right through the turbine's car park and out the other side.
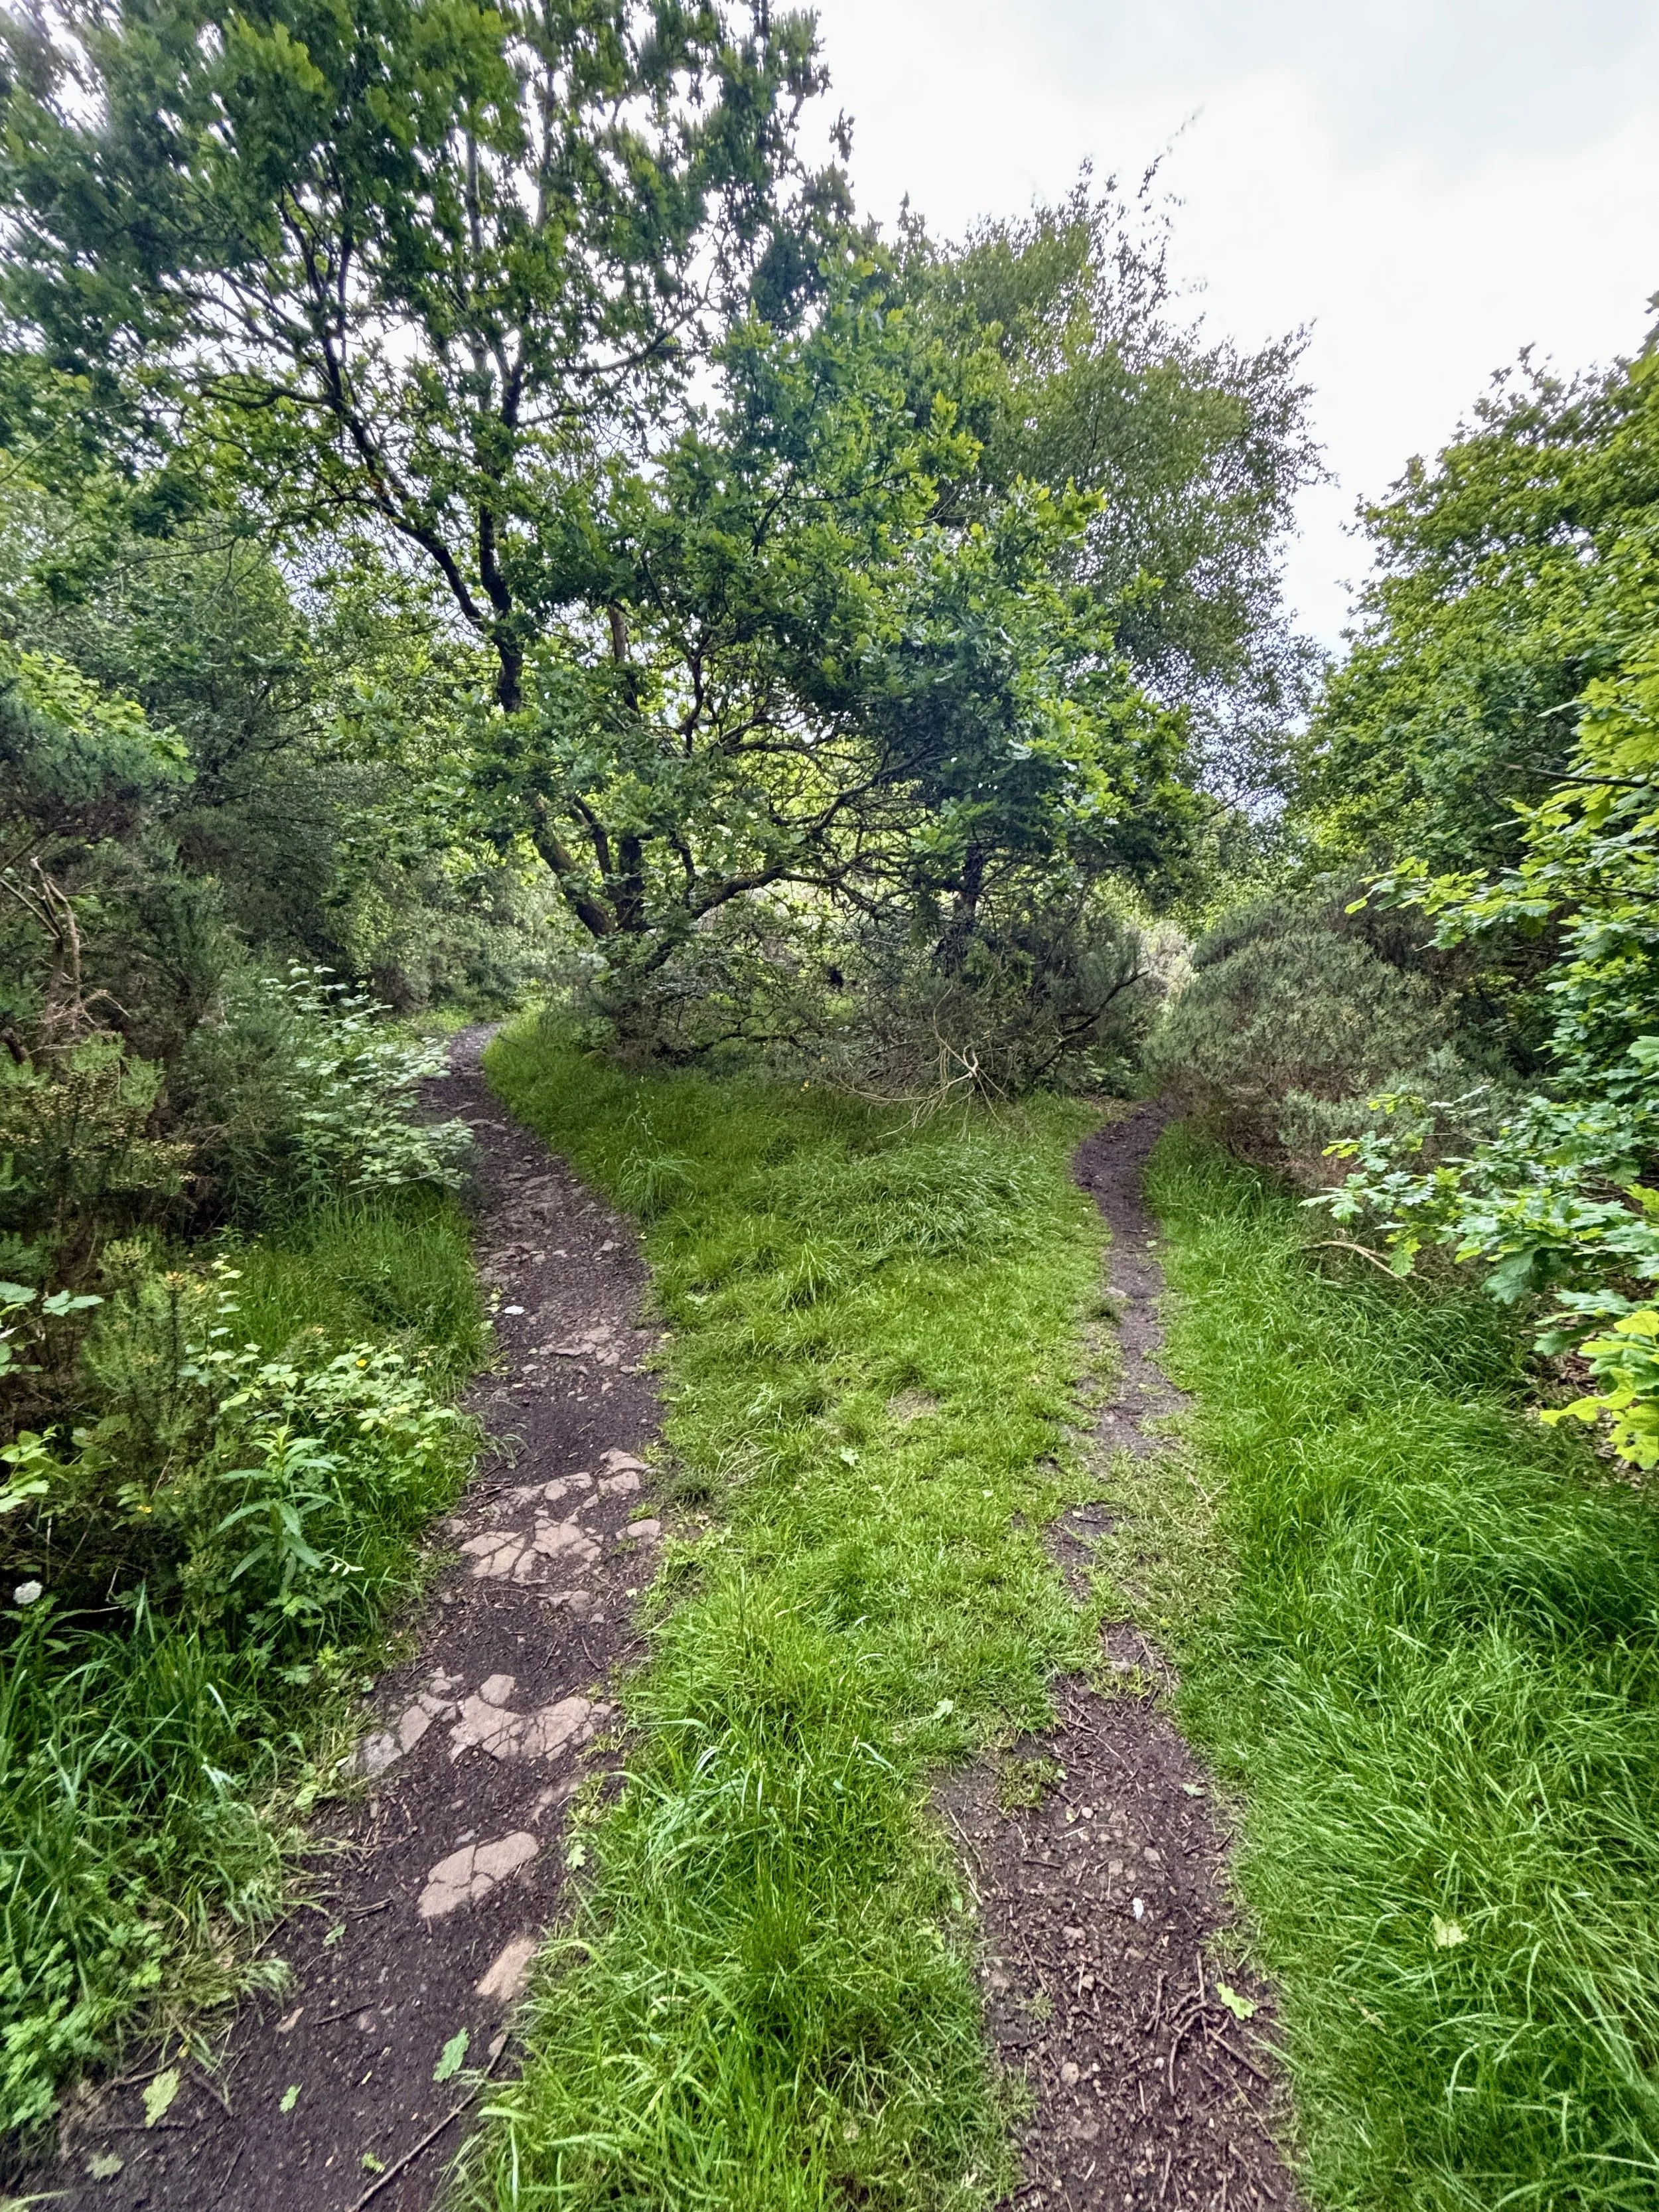
From the turbine, you follow a path heading in a slightly northerly direction to hunt down the exact coordinates of the high point. Unlike some of the more dramatic peaks, the true highest elevation here is beautifully unassuming. It is located on a path deep in the woods, with nothing marking the spot other than a distinct fork in the trail. I snapped a quick picture of the fork to officially document the achievement and pressed on.
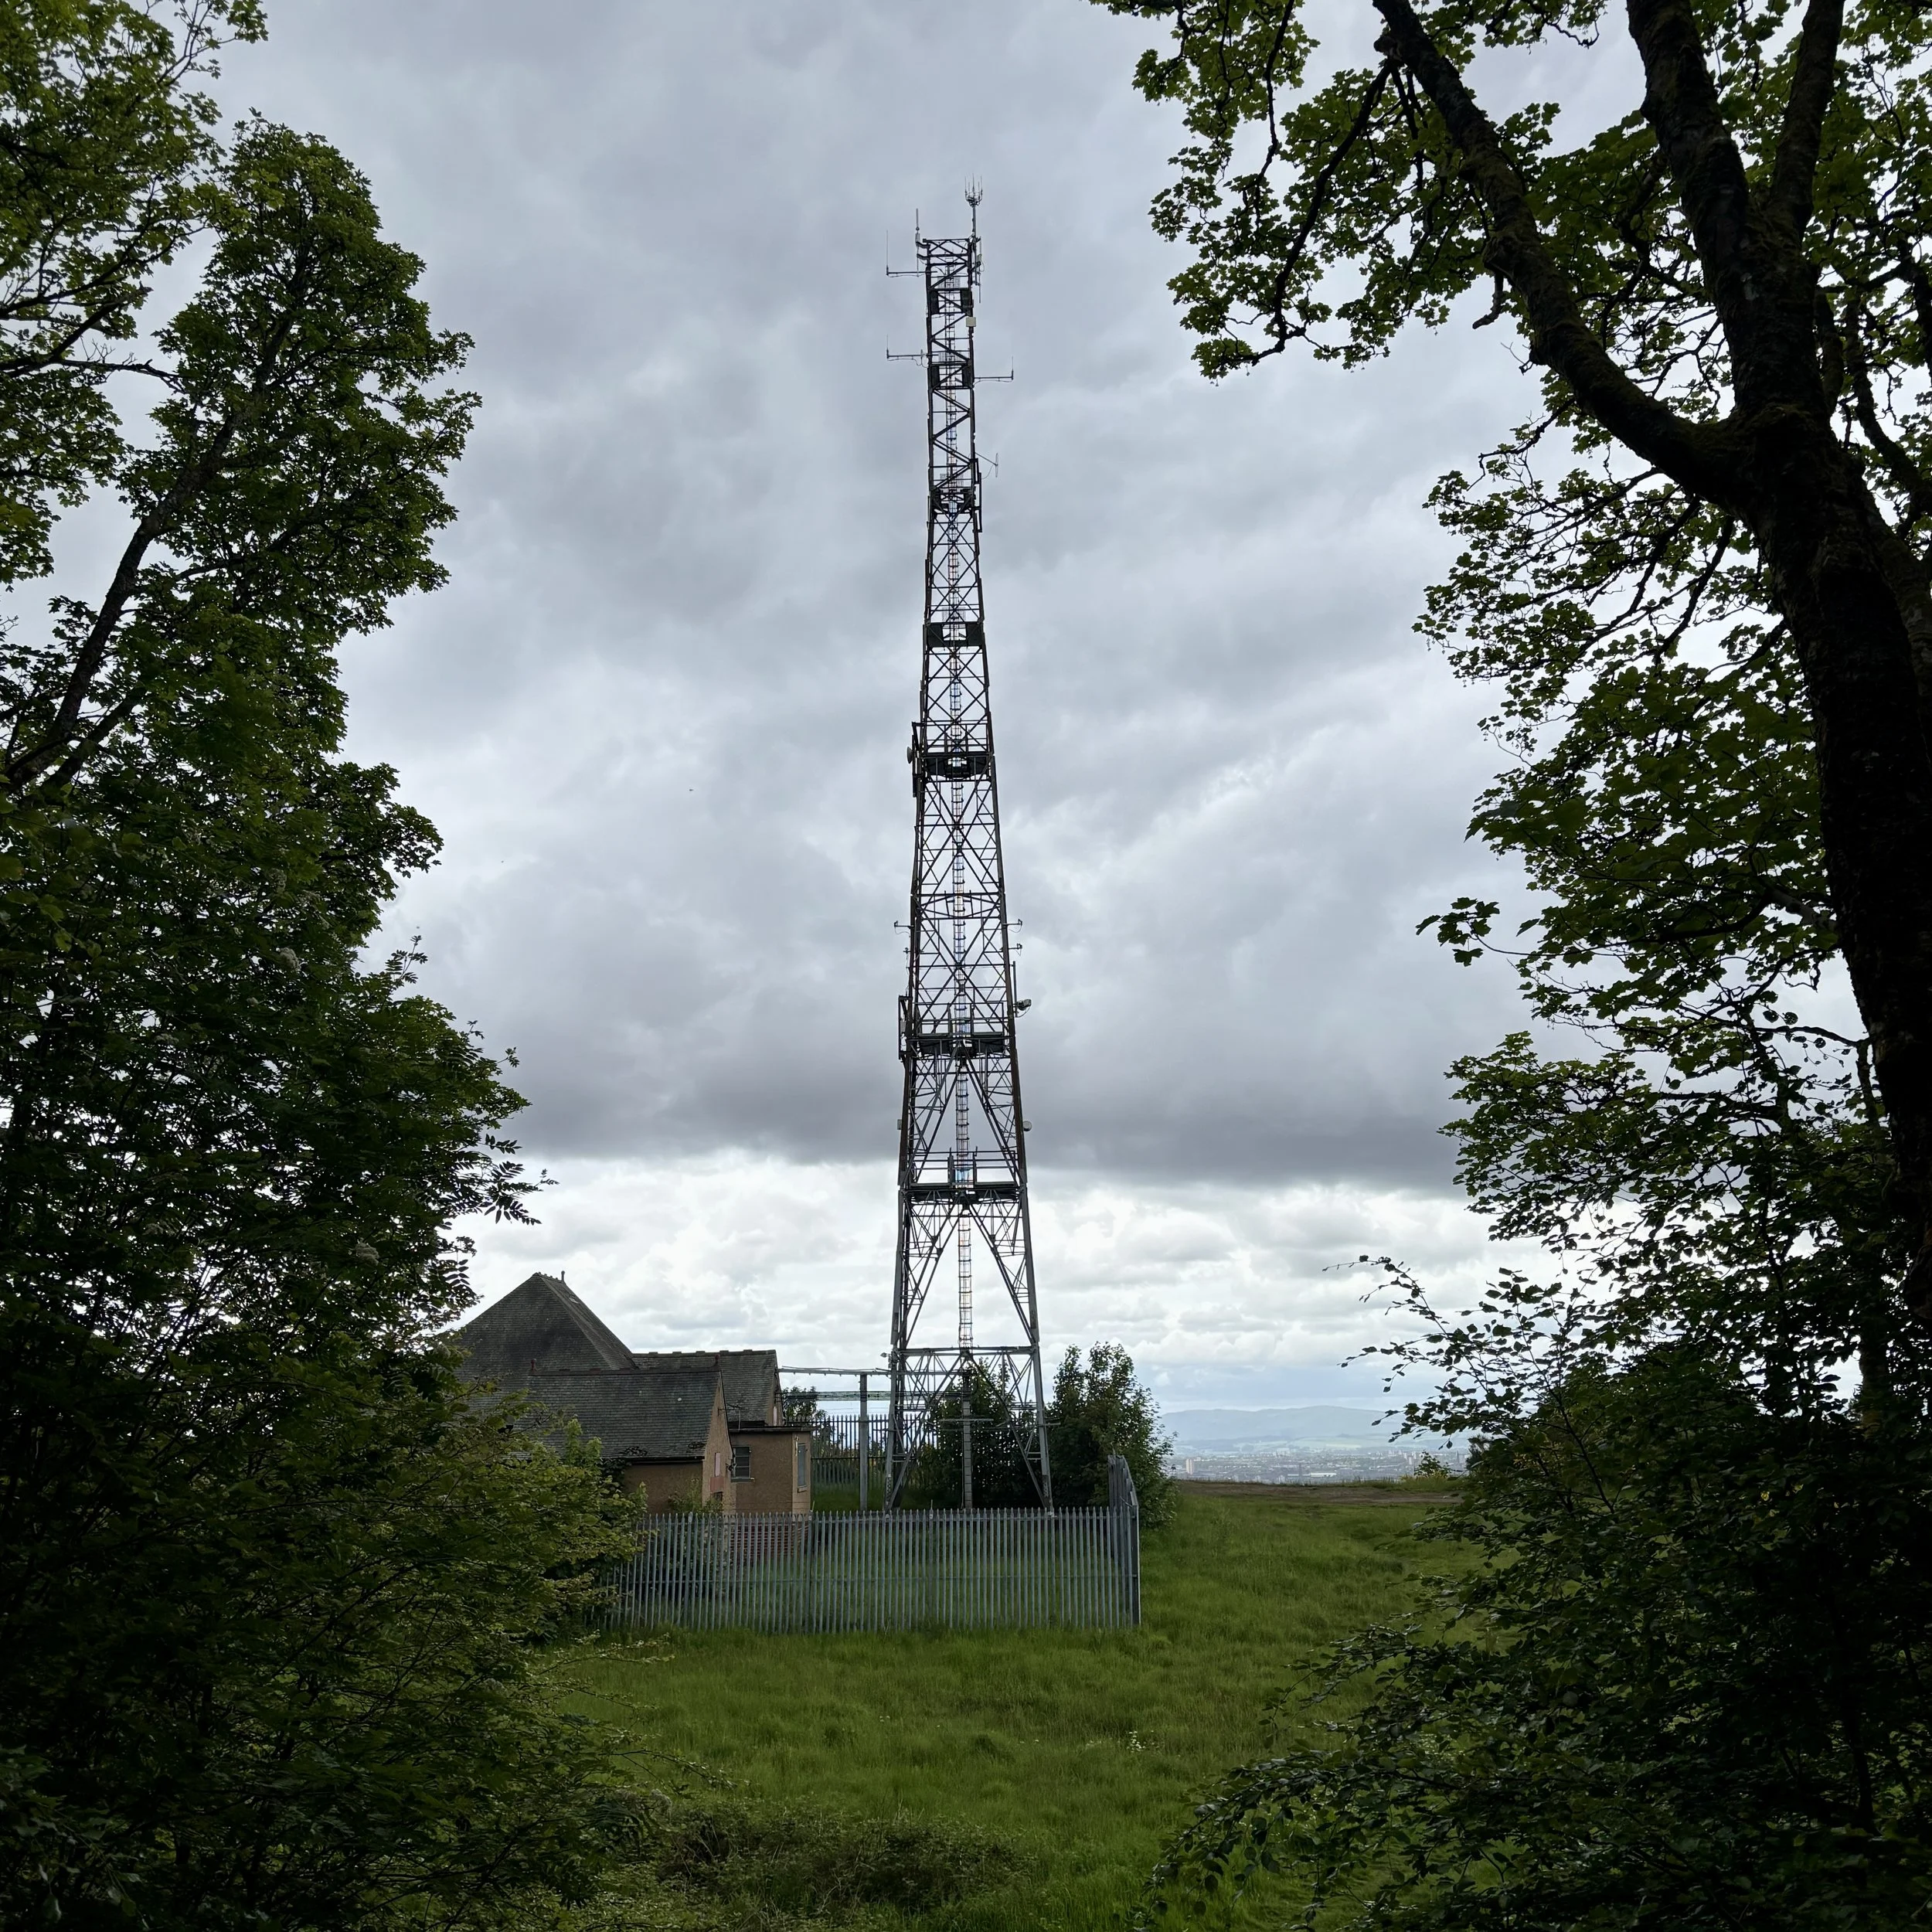
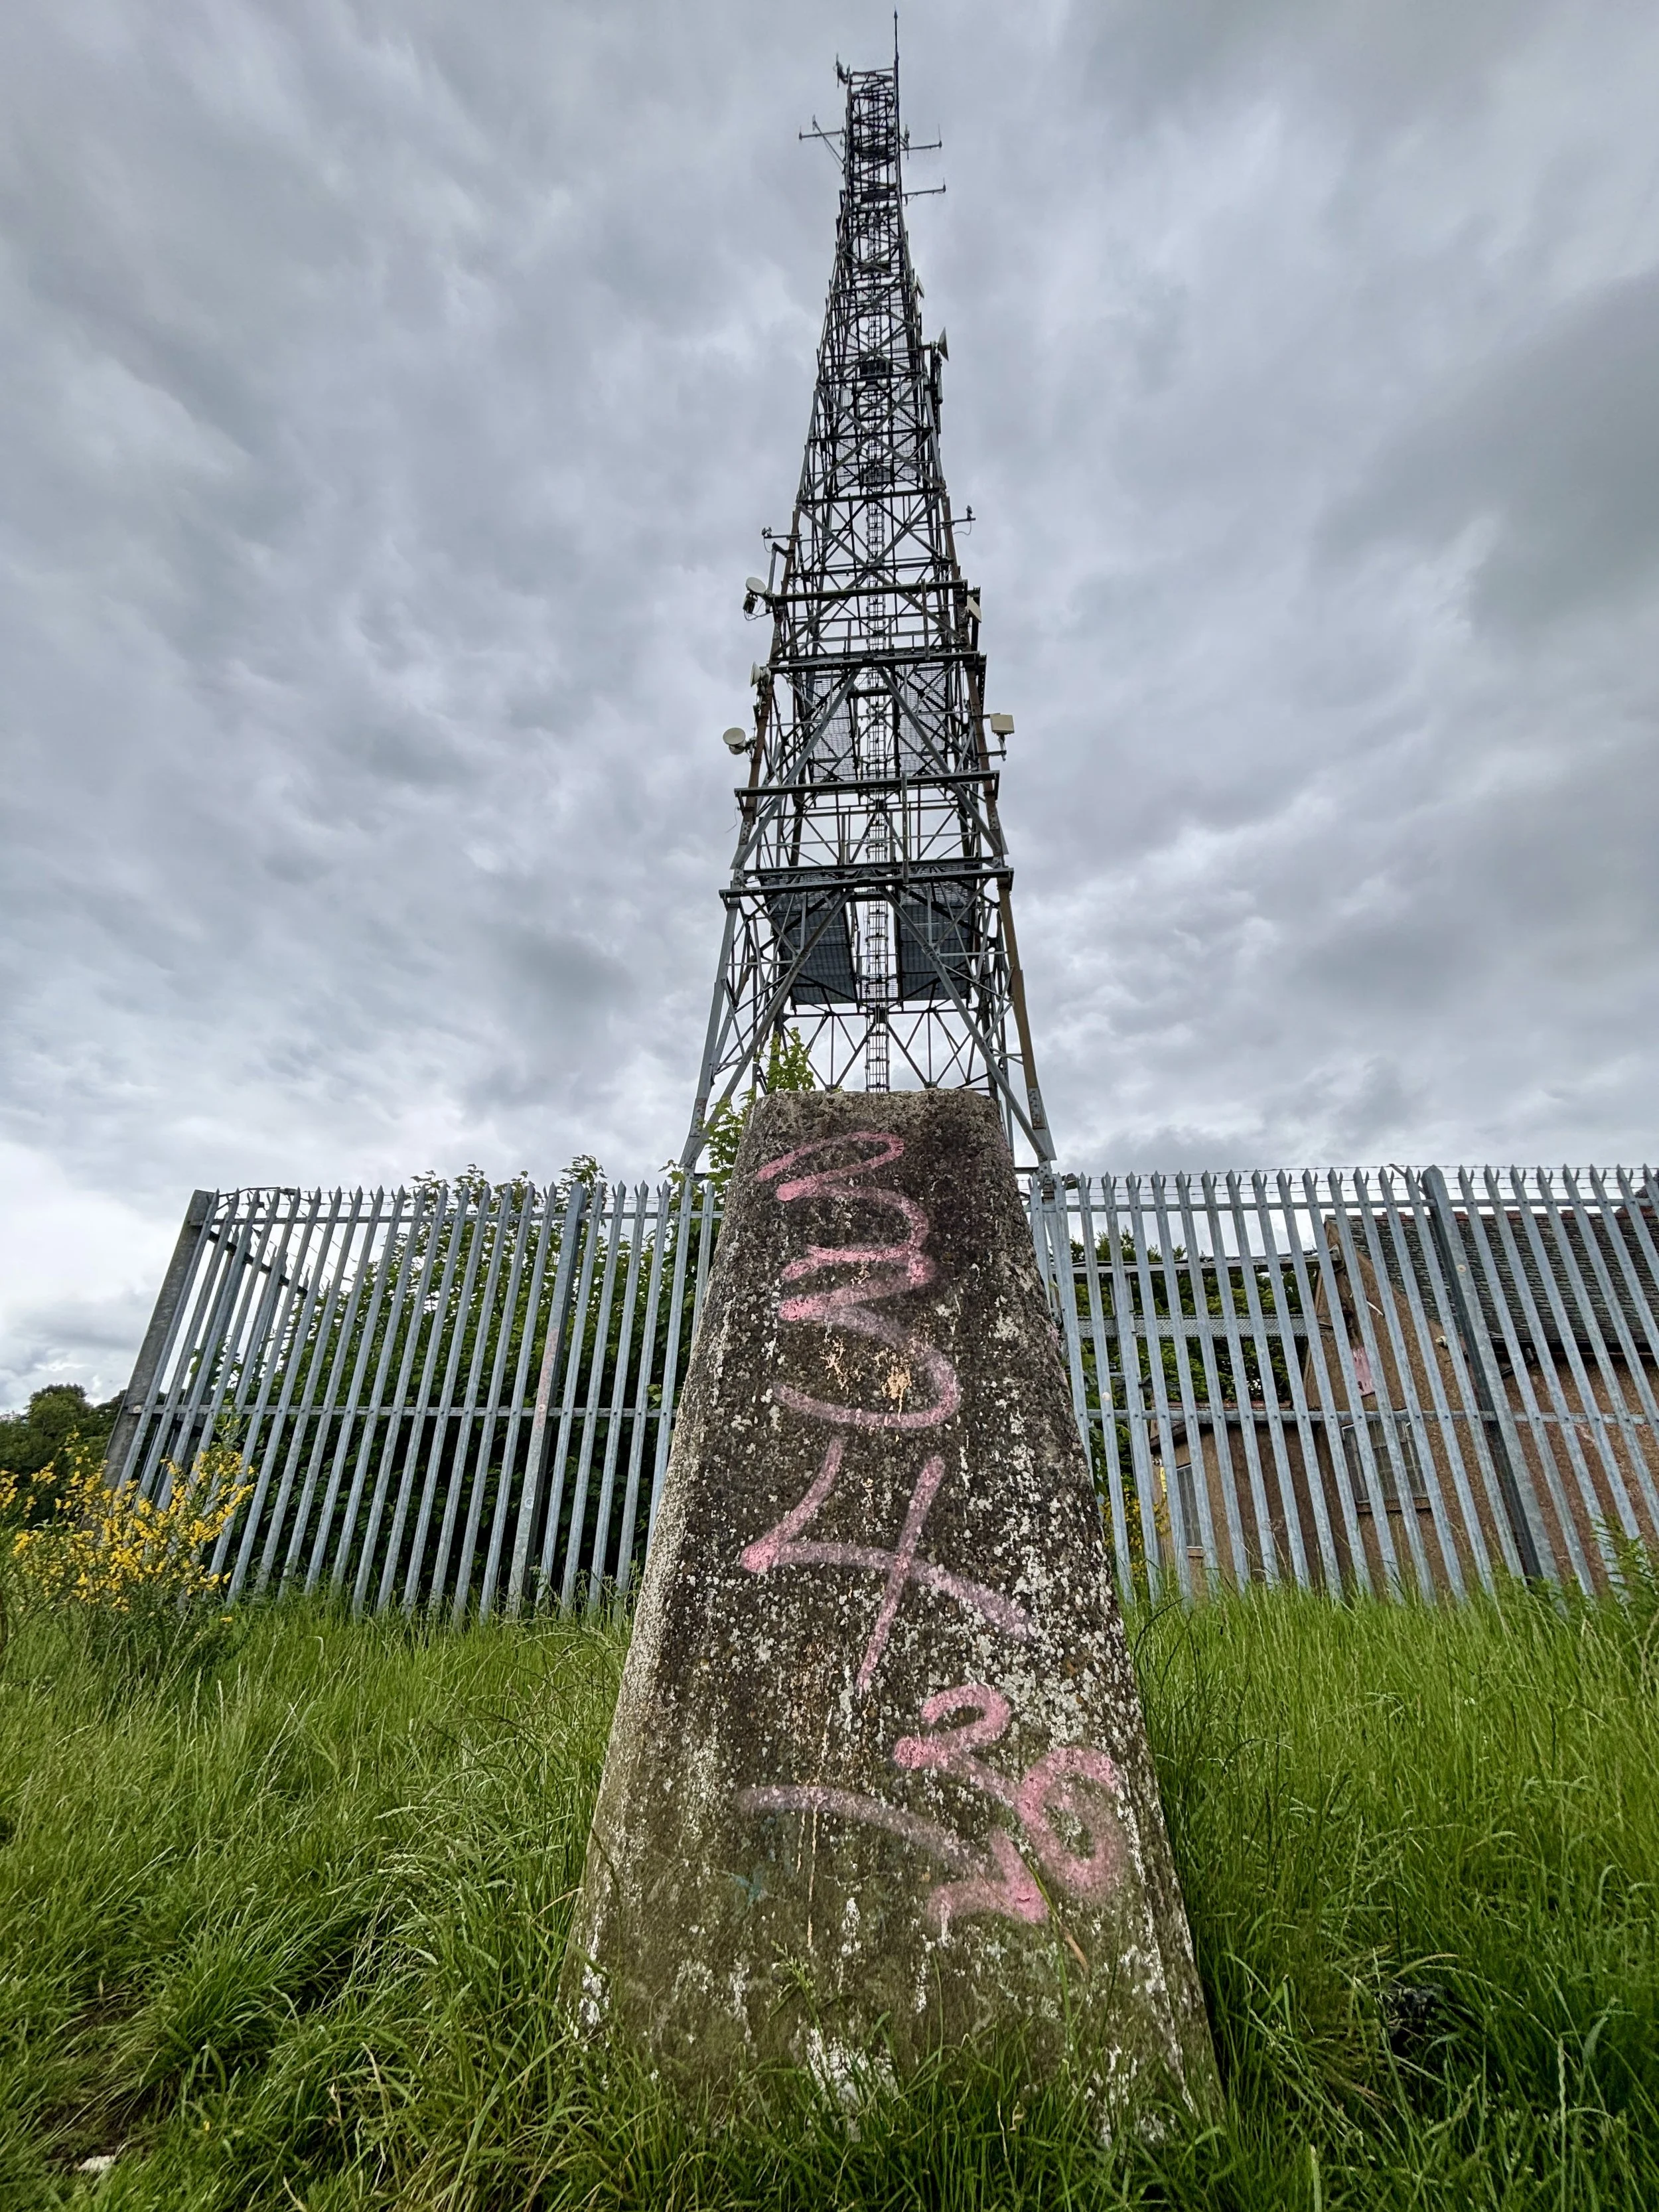
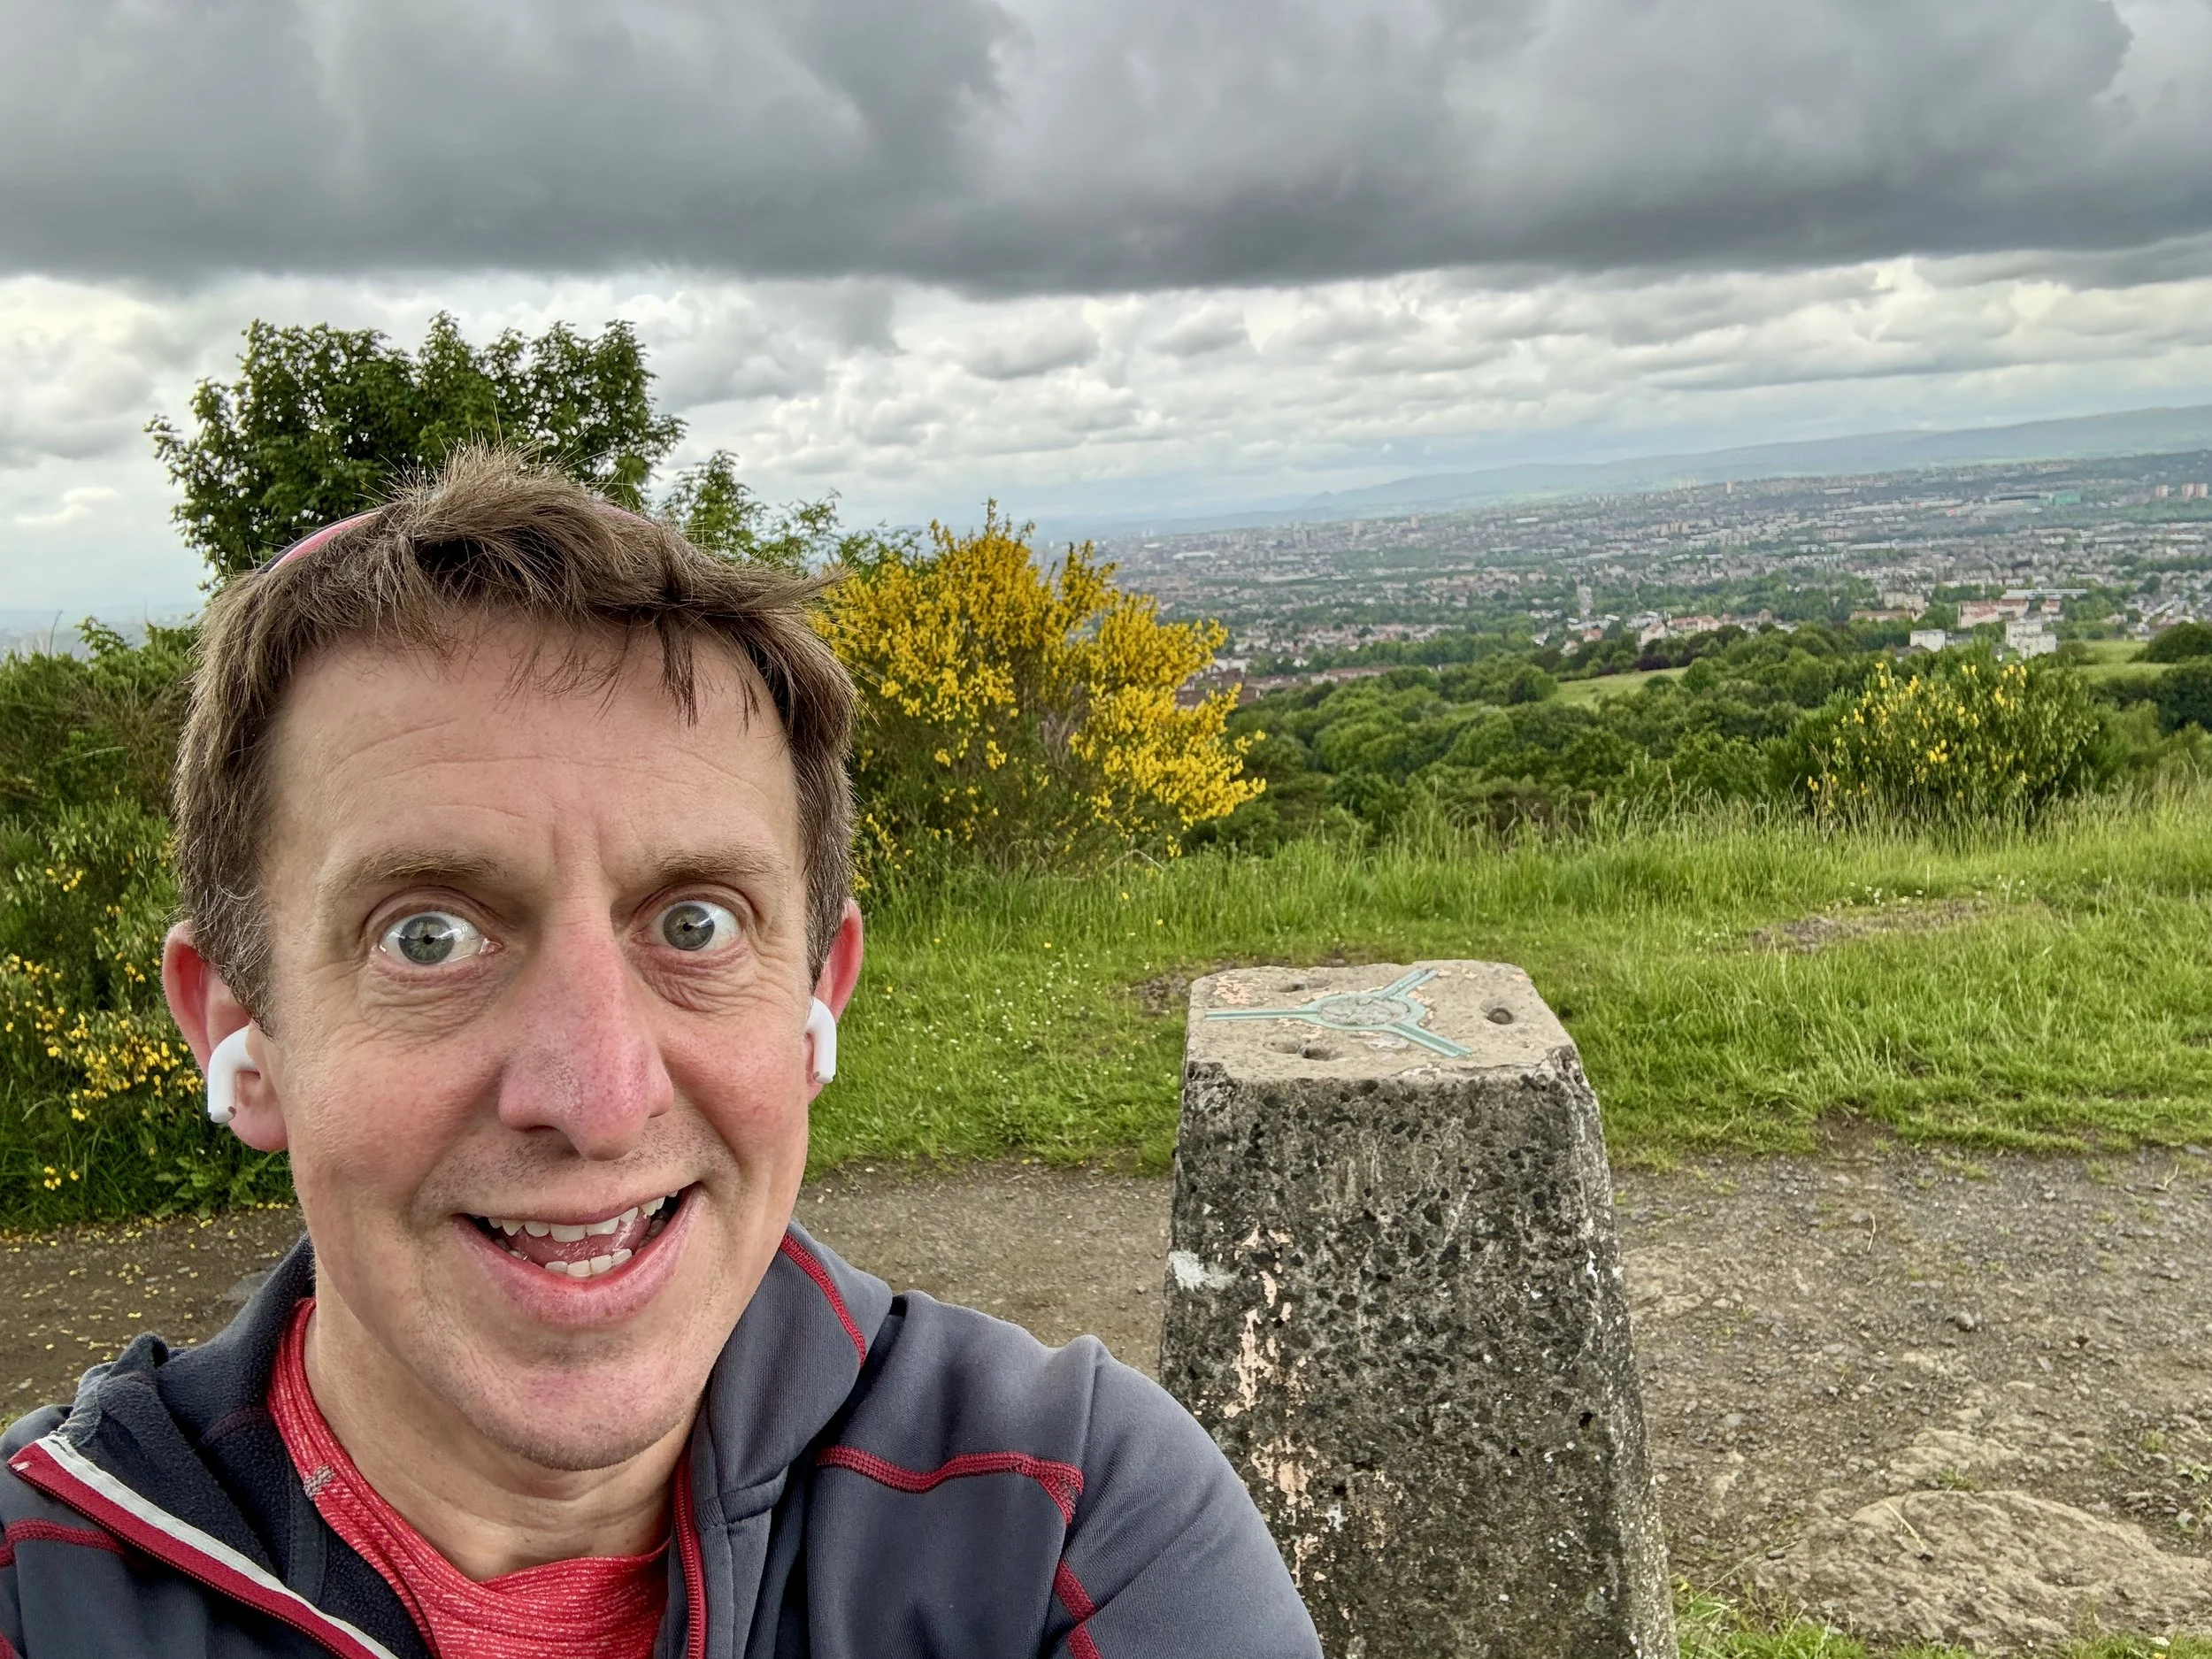
Taking the north-easterly path from the fork, I headed out towards a clearing. This is where the walk really rewards you: it opens up onto the ridge line, offering a fantastic view stretching right over the city of Glasgow. Sitting just in front of a very large telegraph pole, you will find the trig pillar. It is sporting a little bit of graffiti these days, but it is otherwise in good condition and well looked after.
After taking in the city views, the return leg is incredibly simple. You just follow the path along the ridge in a south-westerly direction, re-enter the woods shortly afterwards, and follow the trail all the way back to where you started at the B759 car park. It was an excellent, short walk to cap off the day before heading to the airport.
Points of Interest along or near to the Route
Cathkin Braes Country Park: Sitting among the highest points in Glasgow at around 200 metres, Cathkin Braes offers sweeping views across the city towards the Campsie Fells and, on clear days, the distant Southern Highlands. The Braes are also tied to the story of Mary, Queen of Scots: tradition holds that she watched the 1568 Battle of Langside from a vantage point here, witnessing the defeat of her supporters and the effective end of her reign in Scotland.
Geological Significance: The Braes form part of Glasgow’s Carboniferous volcanic landscape, shaped over millions of years as lava flows and volcanic rocks were gradually eroded into the distinctive ridge line seen today. This varied terrain supports a rich mosaic of habitats, from acid grassland and heath to woodland edges and wetlands. It is an important refuge for wildlife, including kestrels, owls, and seasonal migratory birds, making it one of the city’s most ecologically valuable upland areas.
Duncolm: West Dunbartonshire County Top
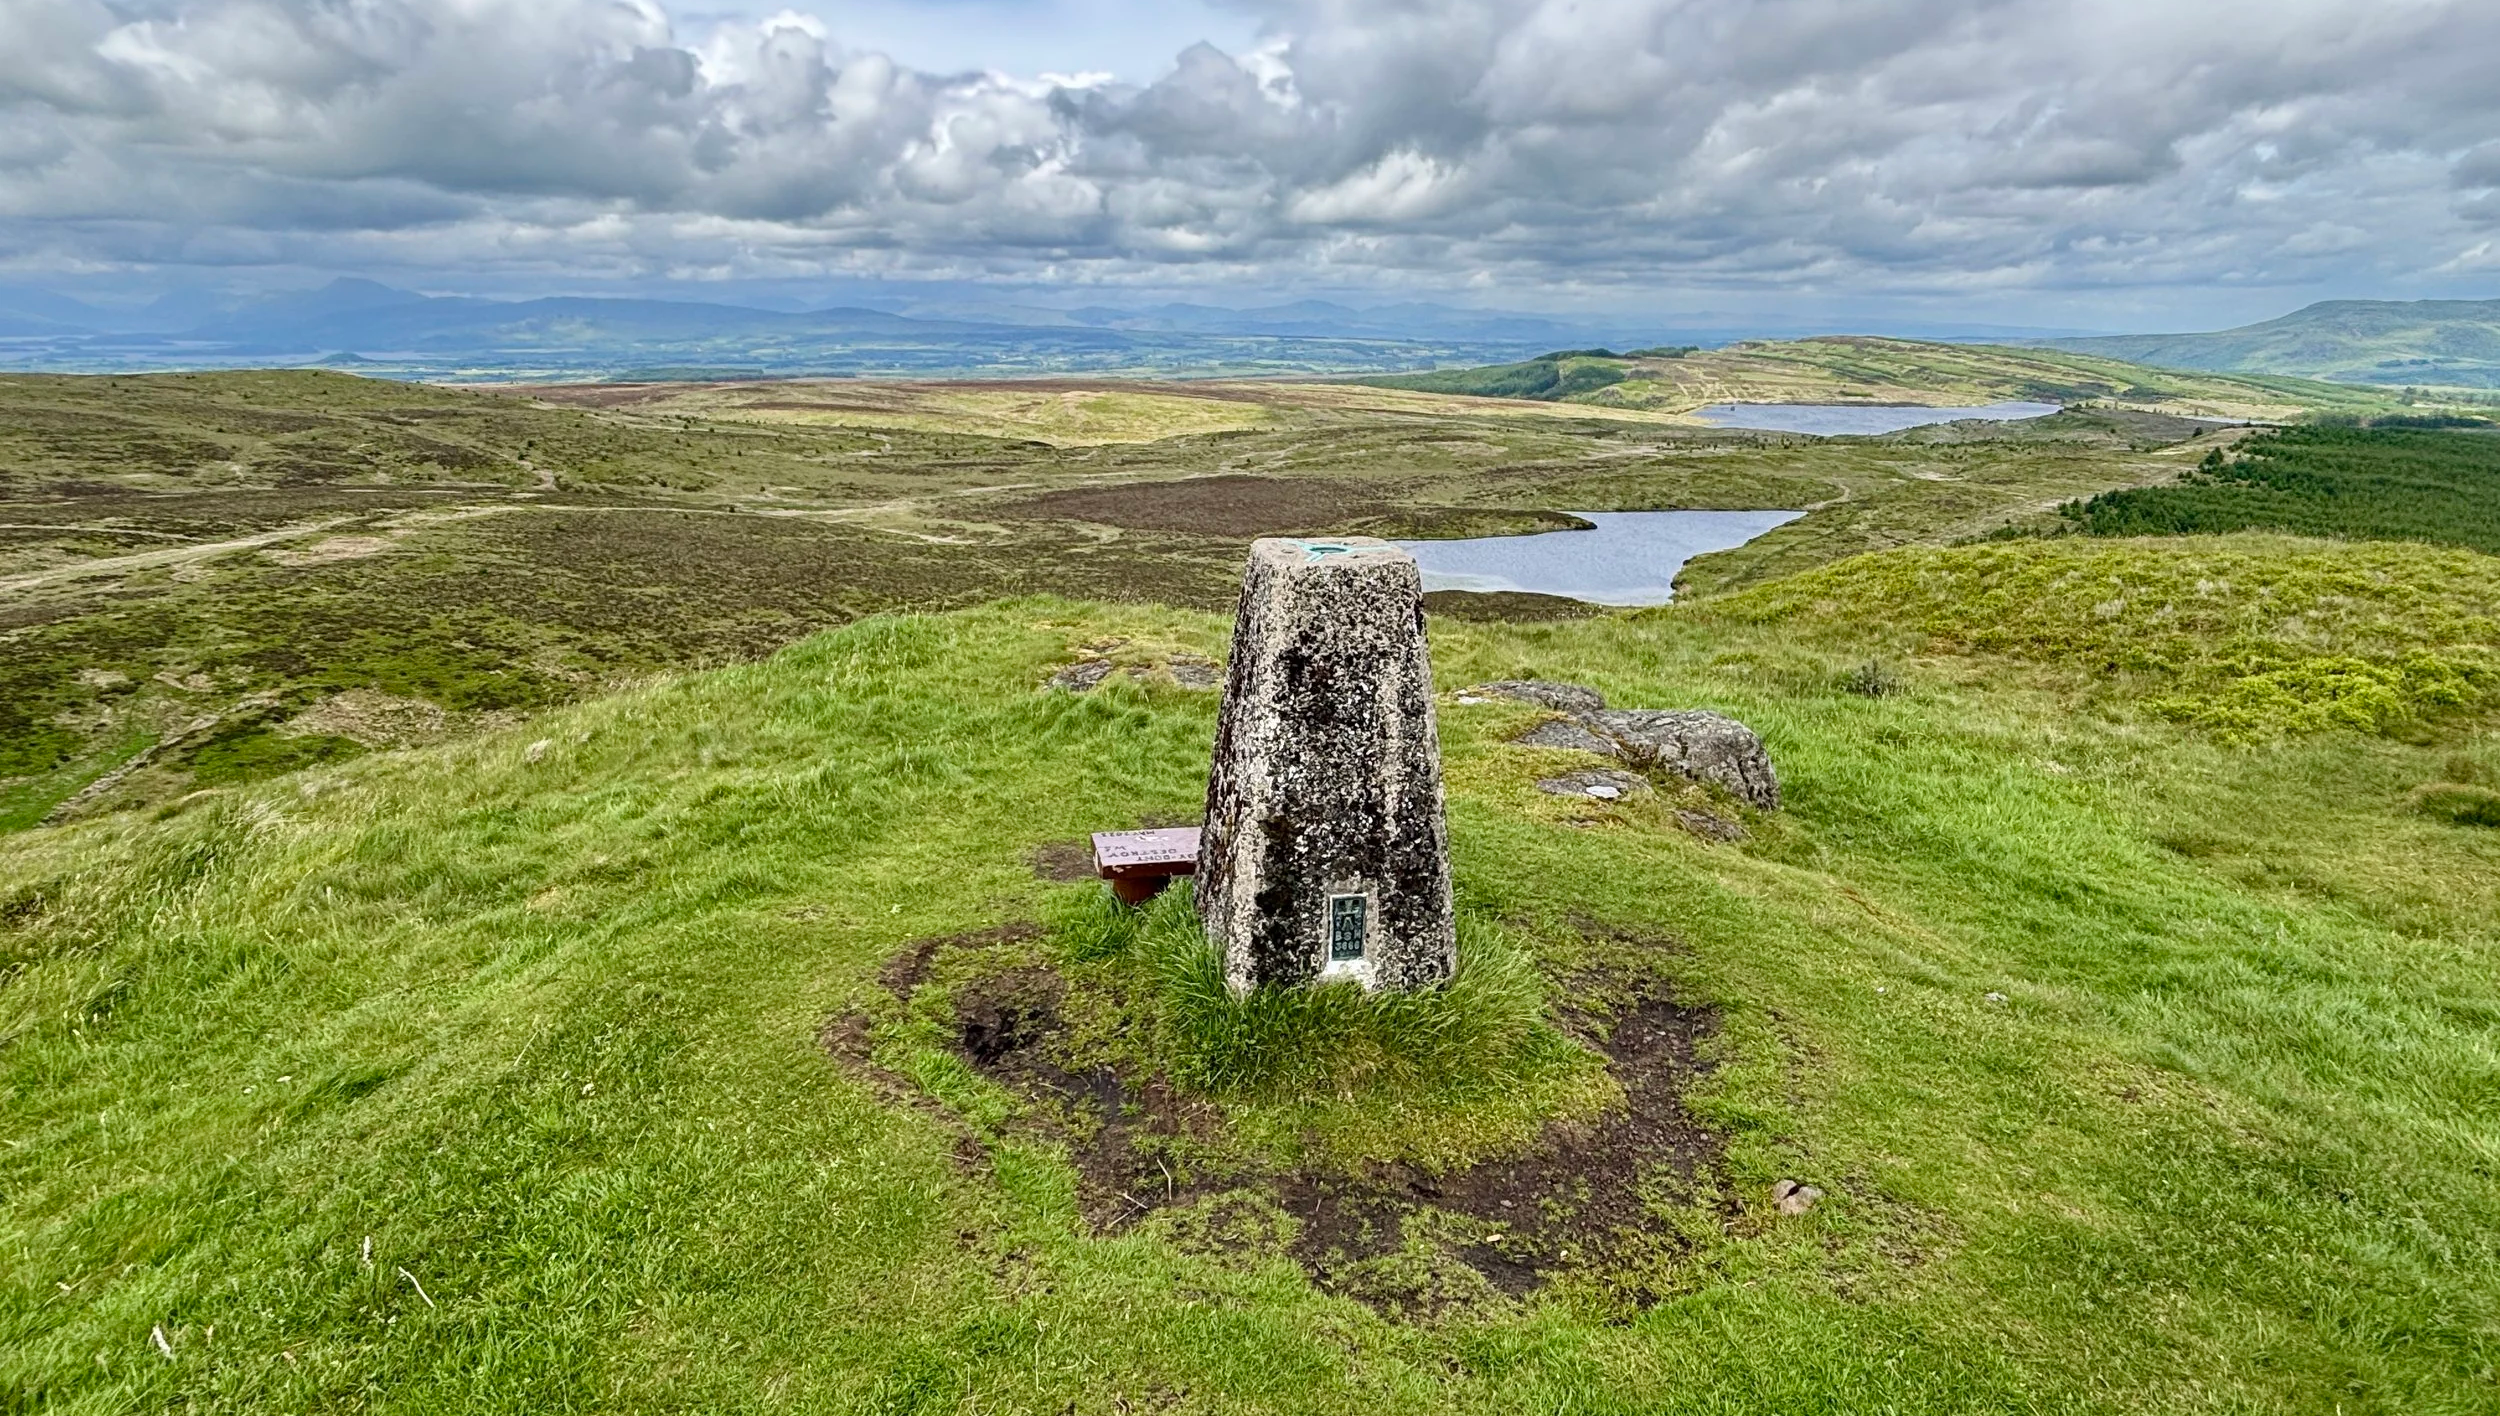
Trig Pillar at the summit of Duncolm
Also Known As: Dùn Choluim (Scottish Gaelic)
Significance: Present-day County Top for West Dunbartonshire, highest point of the Kilpatrick Hills
Historic County: Dunbartonshire, of which Ben Vorlich is the Historic County Top
Member of: N/A
Nearest Higher Neighbour: Dumgoyne (427m)
Elevation: 401 m
Date climbed: June 5th 2026
Coordinates: 55° 57' 58'' N, 4° 27' 5'' W
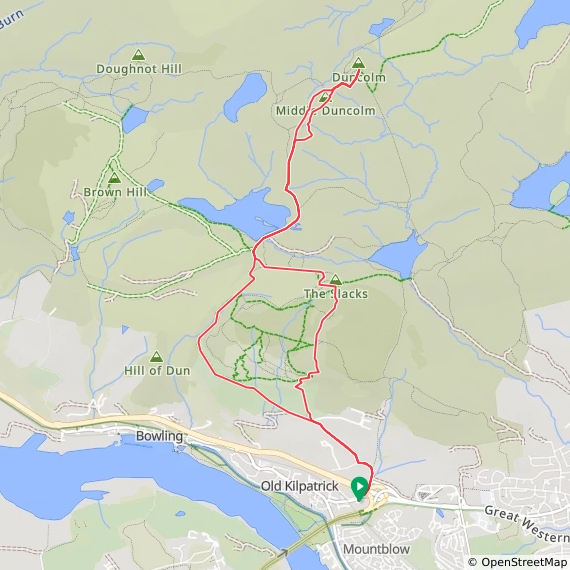
Route Start & Finish: Kilpatrick Braes Car Park, 25 Mount Pleasant Drive, Old Kilpatrick, Glasgow, G60 5LT
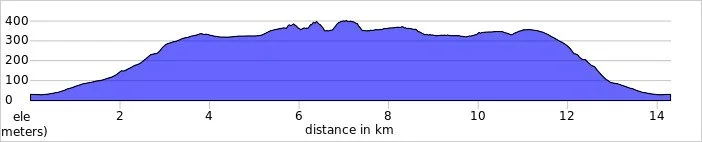
Route Distance: 14.2 km (8.8 miles)
Route Elevation change: +/- 479m
Subsidiary tops on route: Little Duncolm, Middle Duncolm, The Slacks
GPX File: get via Buy Me a Coffee
Other routes touched (walk): Clyde Coastal Path
OS Trig Pillar: TP2908 - Duncolm Hill and TP6428 - The Slacks
Pubs / Cafes on route: None
Maps:
- Glasgow Map | Paisley, Rutherglen & Kirkintilloch | Ordnance Survey | OS Explorer Map 342
- Loch Lomond South Map | Dumbarton, Helensburgh, Drymen & Cove | Ordnance Survey | OS Explorer Map OL38
Links: Wikipedia (West Dunbartonshire / Kilpatrick Hills / Duncolm), Peakbagger, Hillbagging
Duncolm is the Present-day County Top for West Dunbartonshire. I bagged it in 2026 on our annual County Top weekend trip, along with the present-day County Tops of East Dunbartonshire, Glasgow City and the Historic County Tops of Argyll and Ross and Cromarty.
After successfully tackling Earl's Seat to claim the high point of East Dunbartonshire, the next natural step was to complete the regional set by summiting Duncolm. This serves as the present-day county top of West Dunbartonshire and sits nicely in the nearby Kilpatrick Hills.
Walking Directions
The guidance below will help you navigate but don’t use it as a fully accurate turn-by-turn guide. Always take a map and/or a GPX route and prepare well for the weather and terrain.
Getting there involved a 30-minute drive back towards Glasgow. I parked in the Kilpatrick Braes car park, located just off the Great Western Road (the A82).
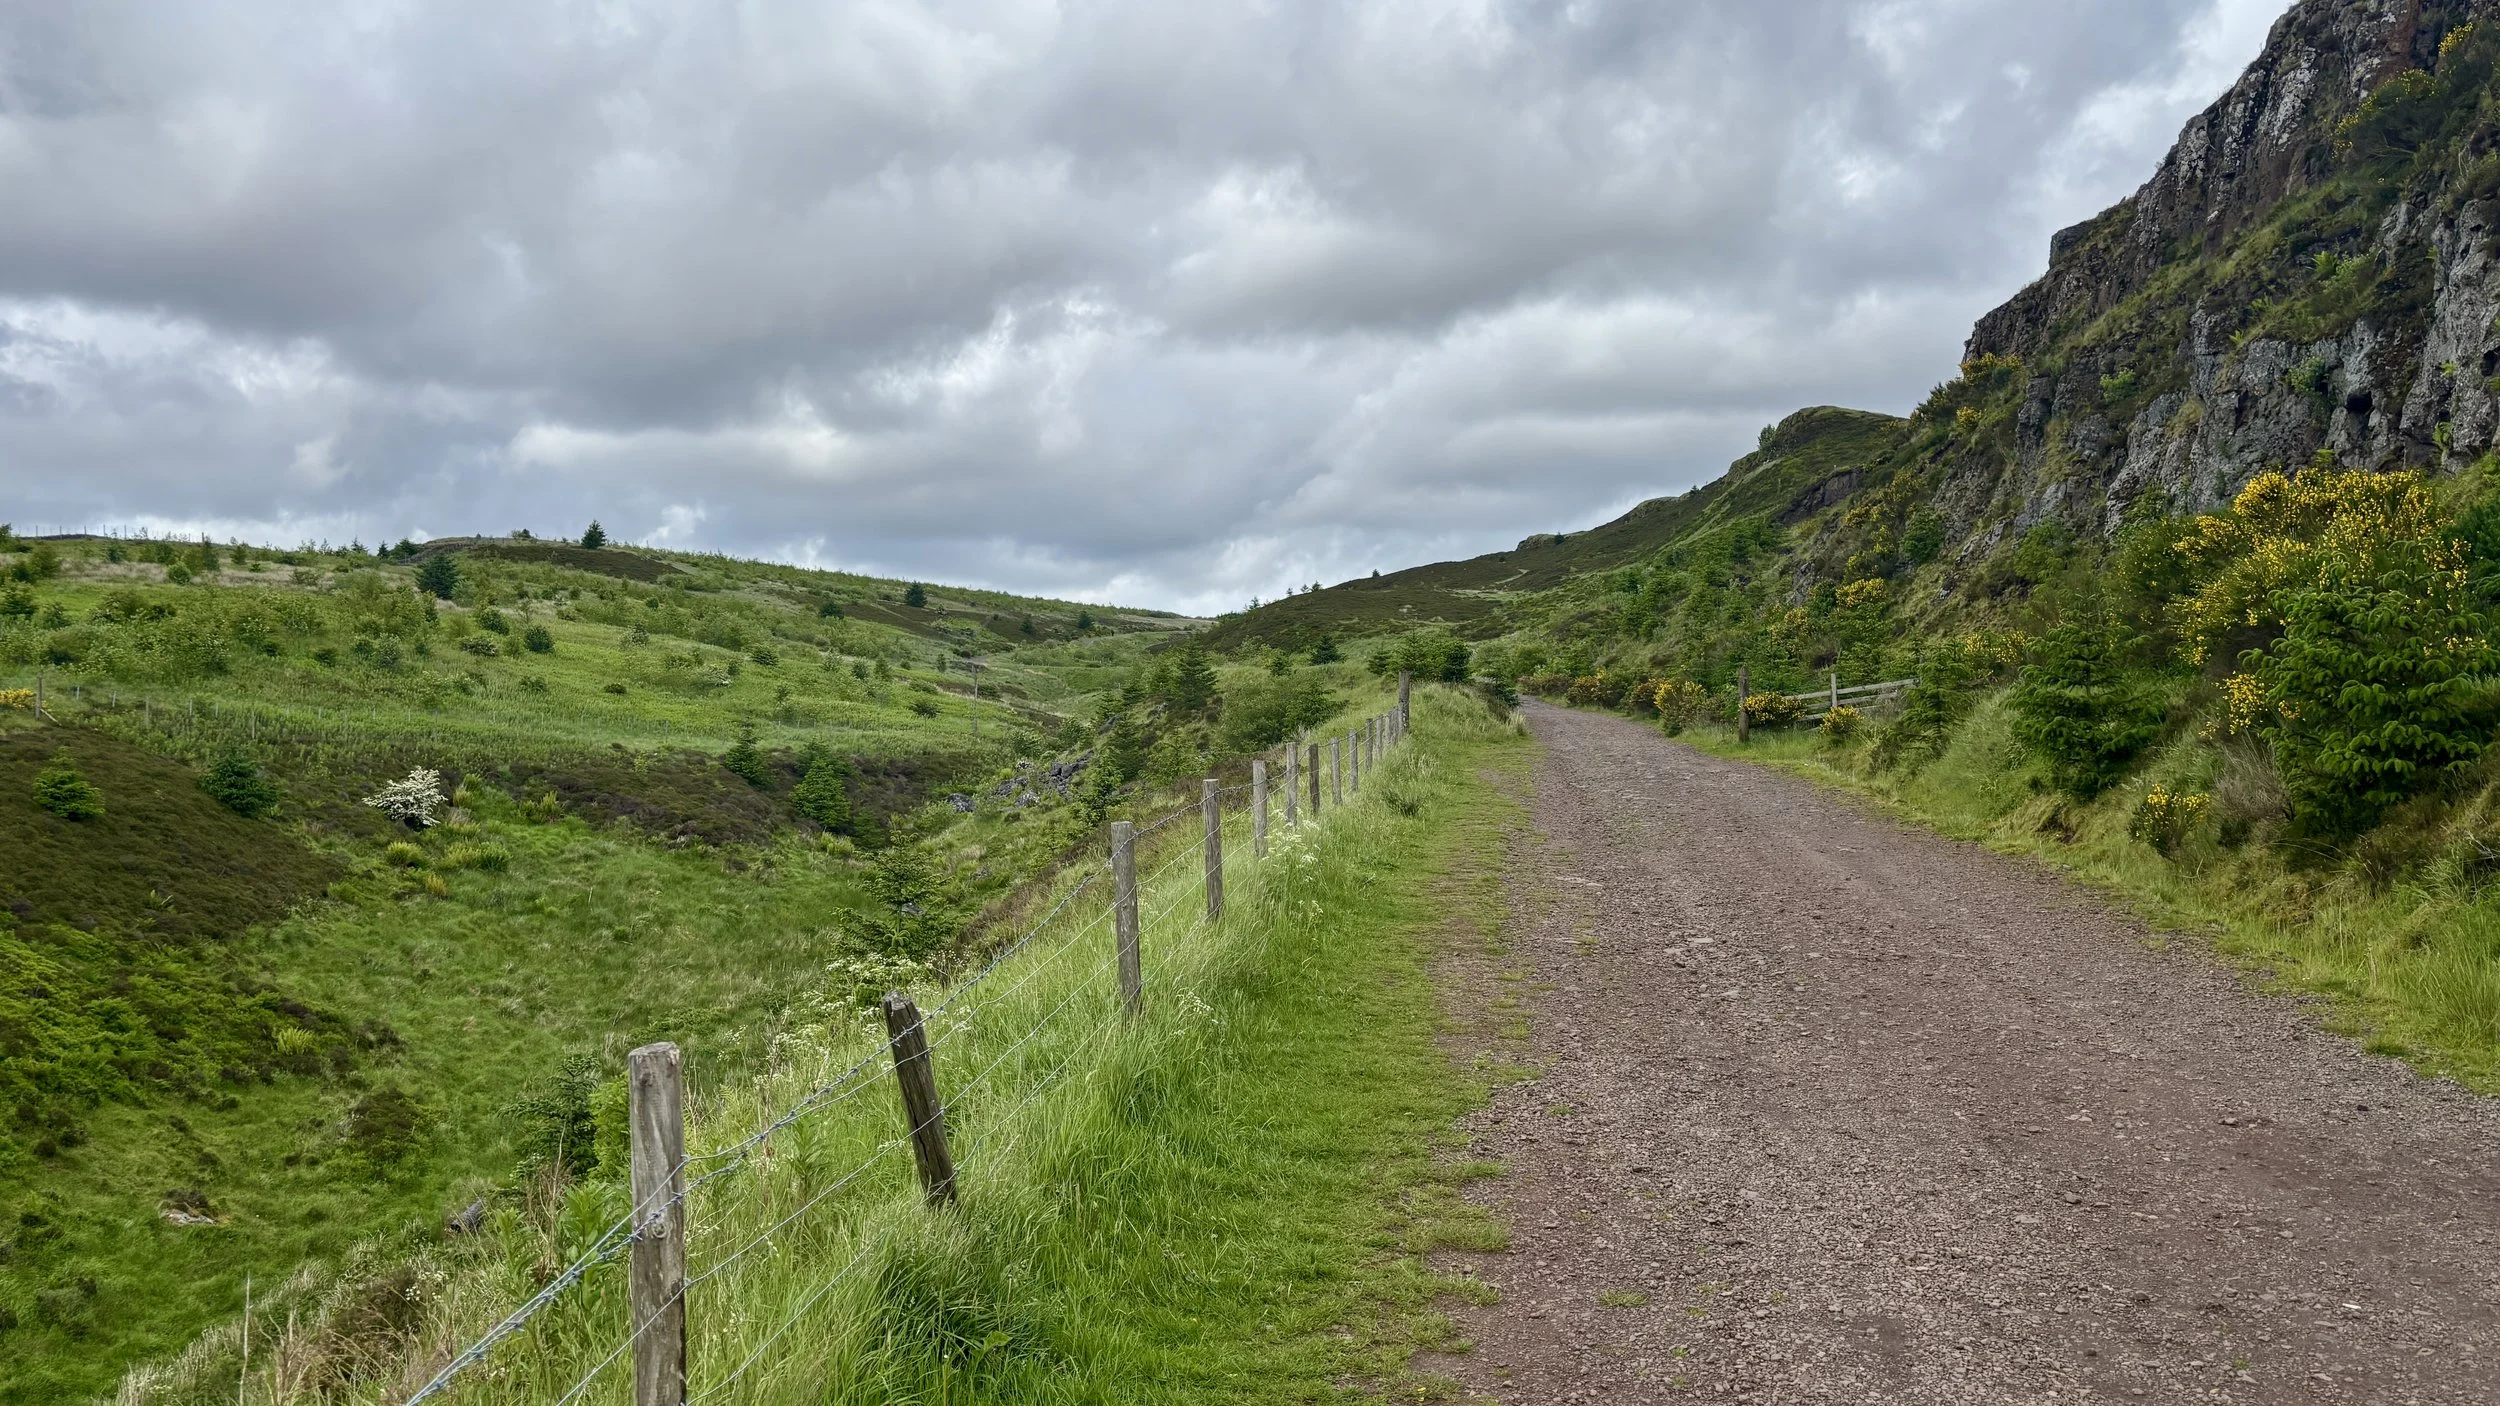
From the car park, the route begins by walking down onto Mount Pleasant Drive. You then take the underpass to safely cross under the A82 and follow a small road leading towards a local farm. At the farm entrance, take a right to join a path that steadily winds its way uphill in a north-westerly direction.
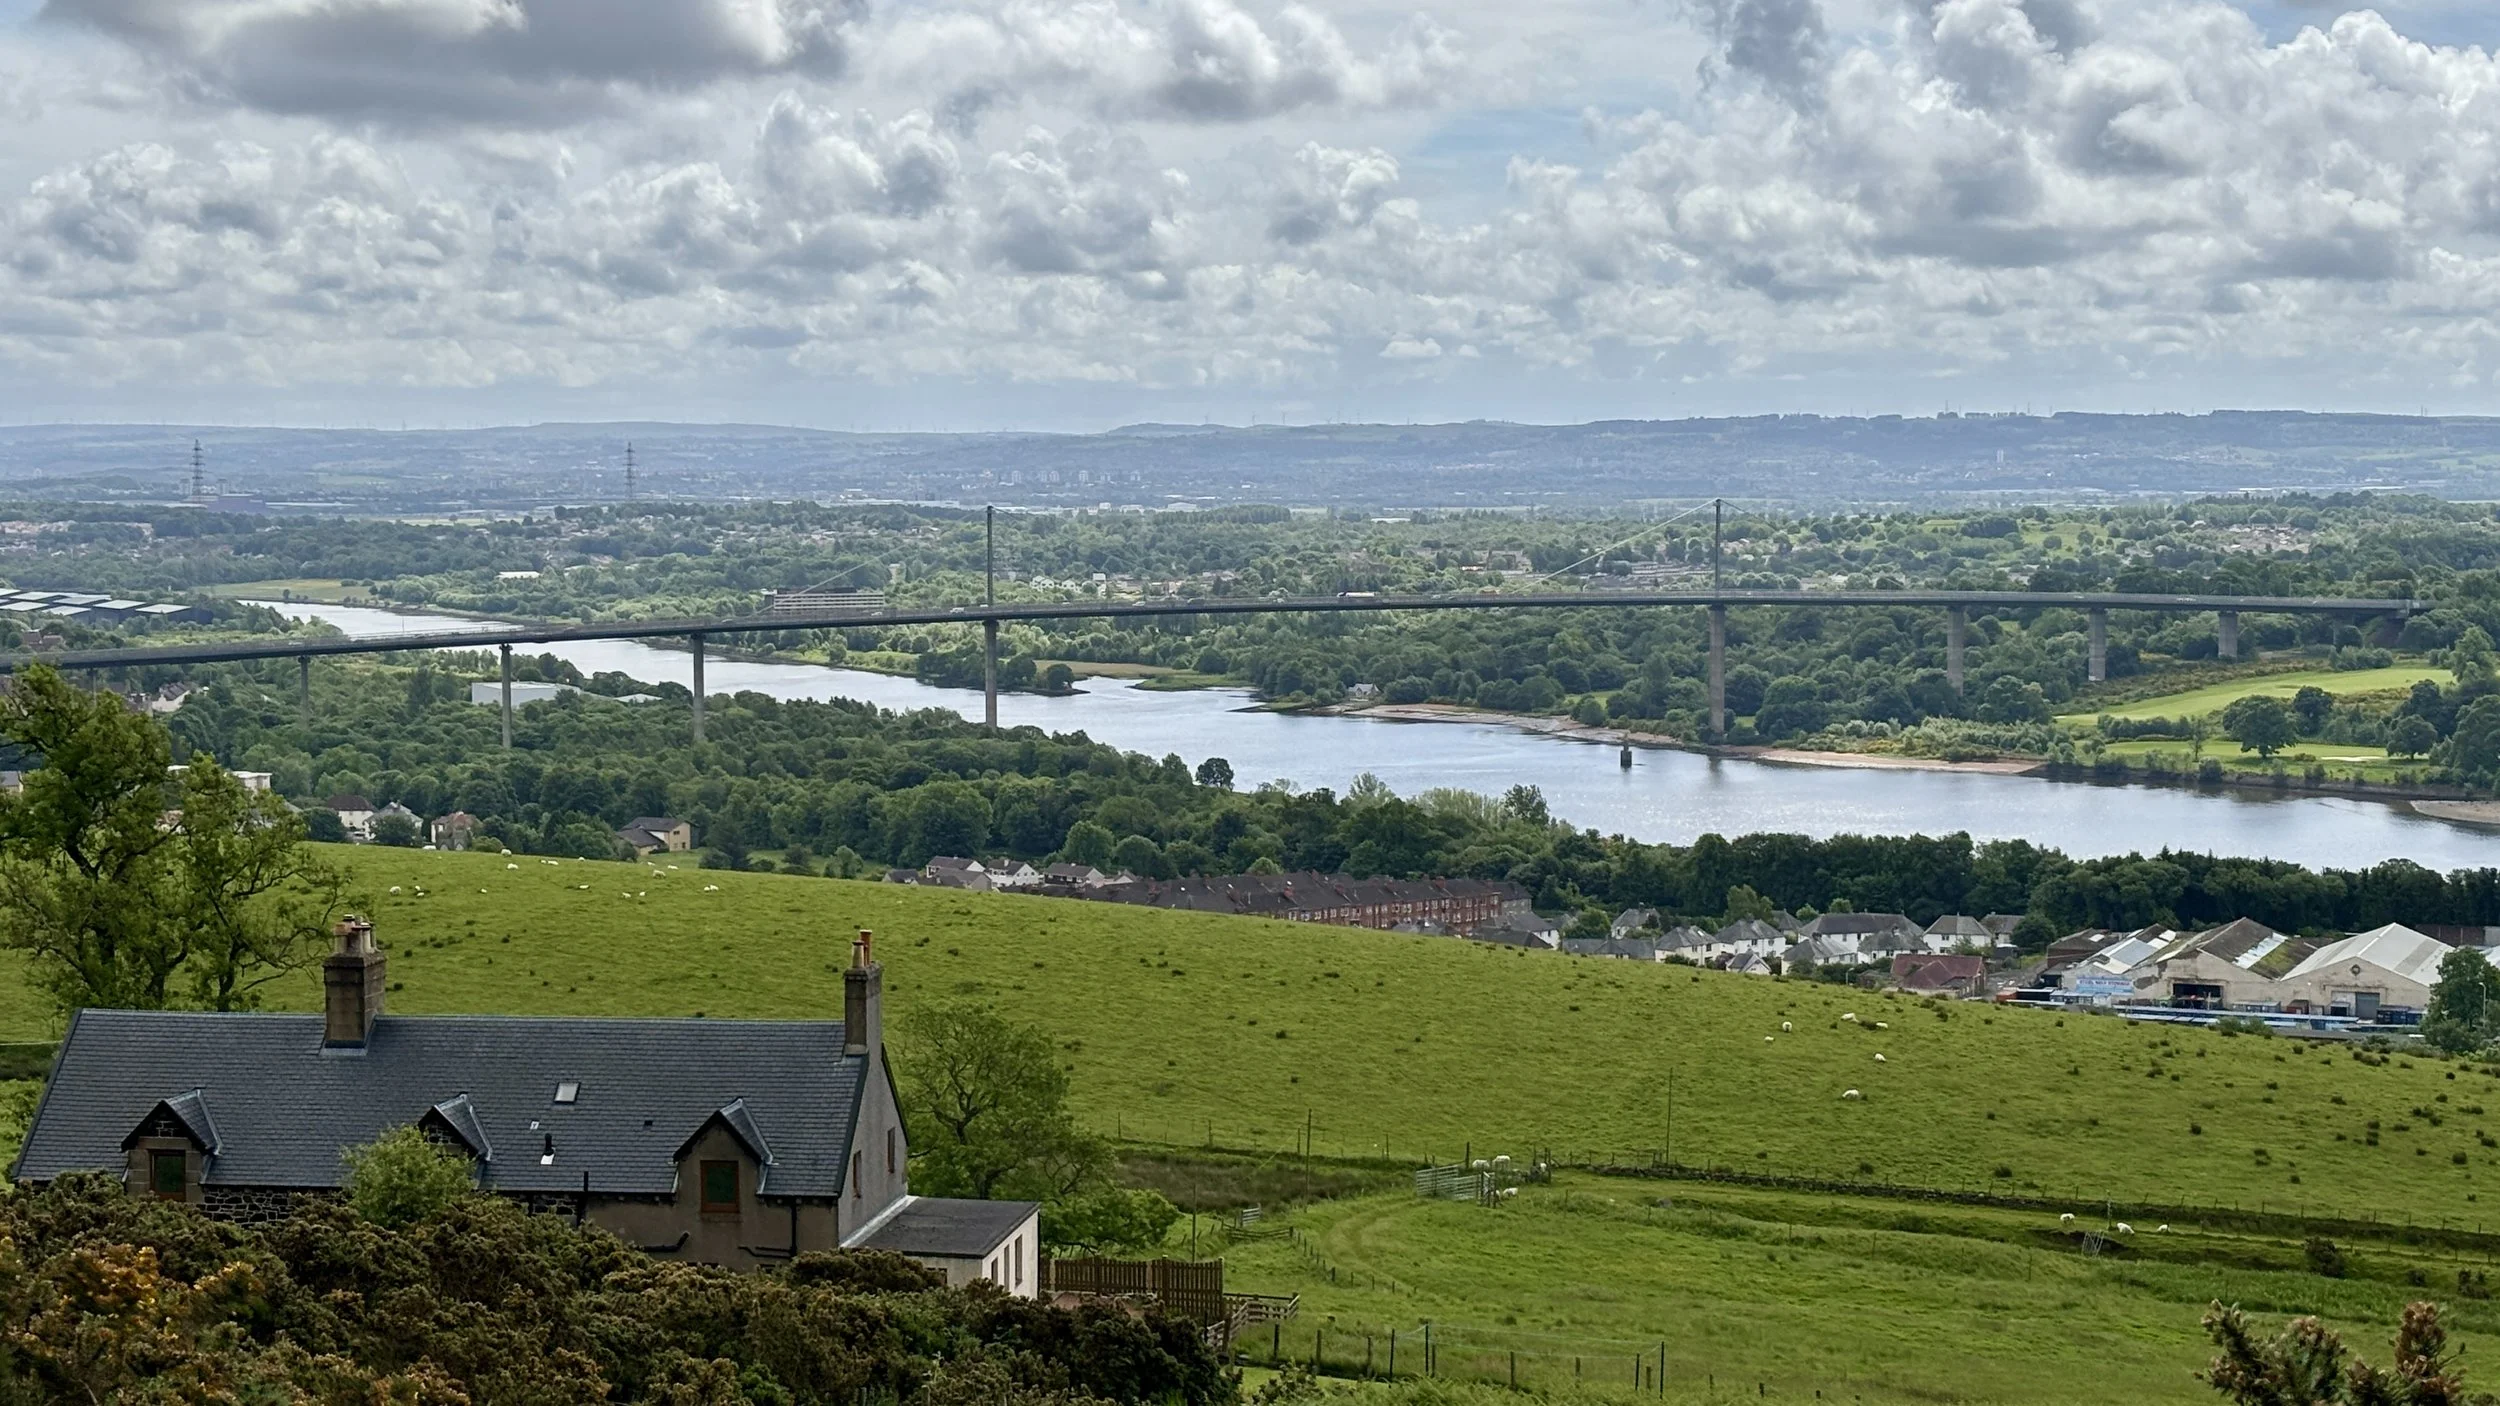
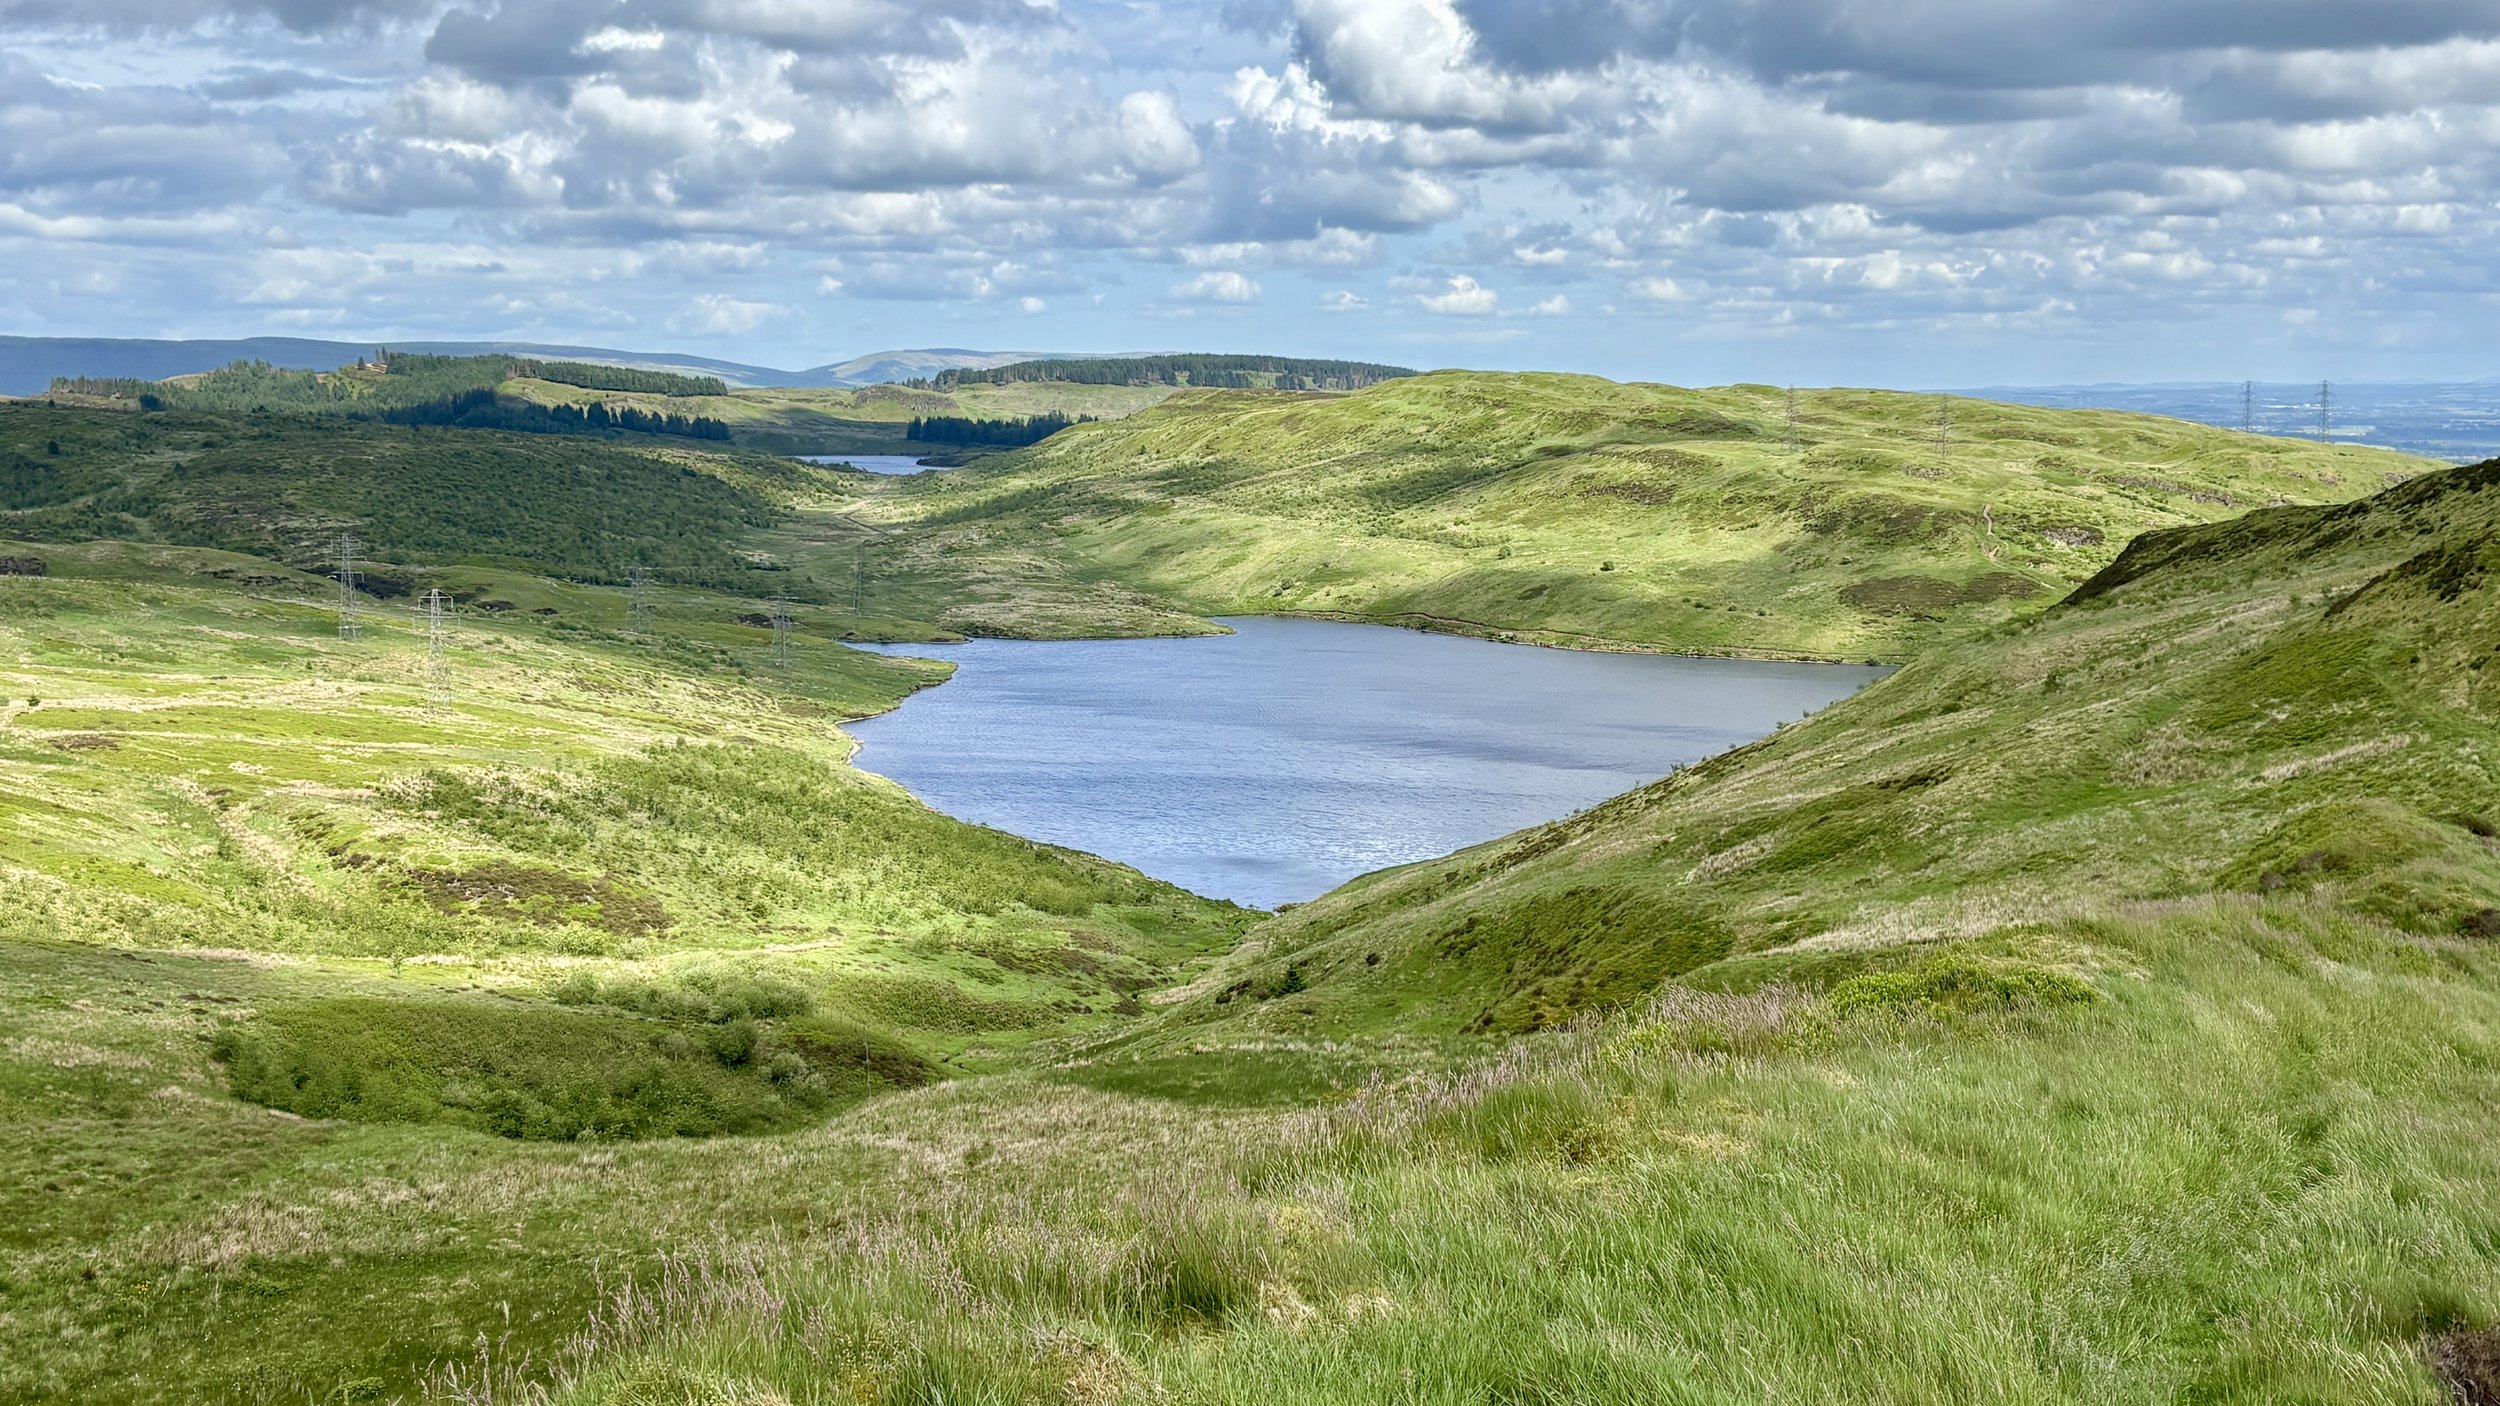
As you ascend, the scenery really starts to deliver. On your right-hand side, you are flanked by impressive cliff edges. Meanwhile, over on your left, the elevation offers a fantastic, sweeping view over the River Clyde and back towards the Erskine Bridge.
The path eventually curves around the side of the hills, shifting you into a north-easterly direction. After walking roughly 4.2 kilometres, you reach the pleasant shores of Loch Humphrey. It is a fantastic spot to take in the views: there is plenty of local wildlife, including a fair few ducks, and you can clearly spot Duncolm rising in the distance.
From the loch, the path continues along its south-eastern edge before curving steadily towards the north. Around the 5.7-kilometre mark, it is time to leave the established track and tackle a fairly steep grassy bank.
This ascent brings you to Little Duncolm, the first of three distinctly named peaks in the cluster. While there isn't a marker at the summit, the views are excellent. From there, it requires a careful descent down the northern side, crossing over a small stream before immediately beginning the climb up to Middle Duncolm.
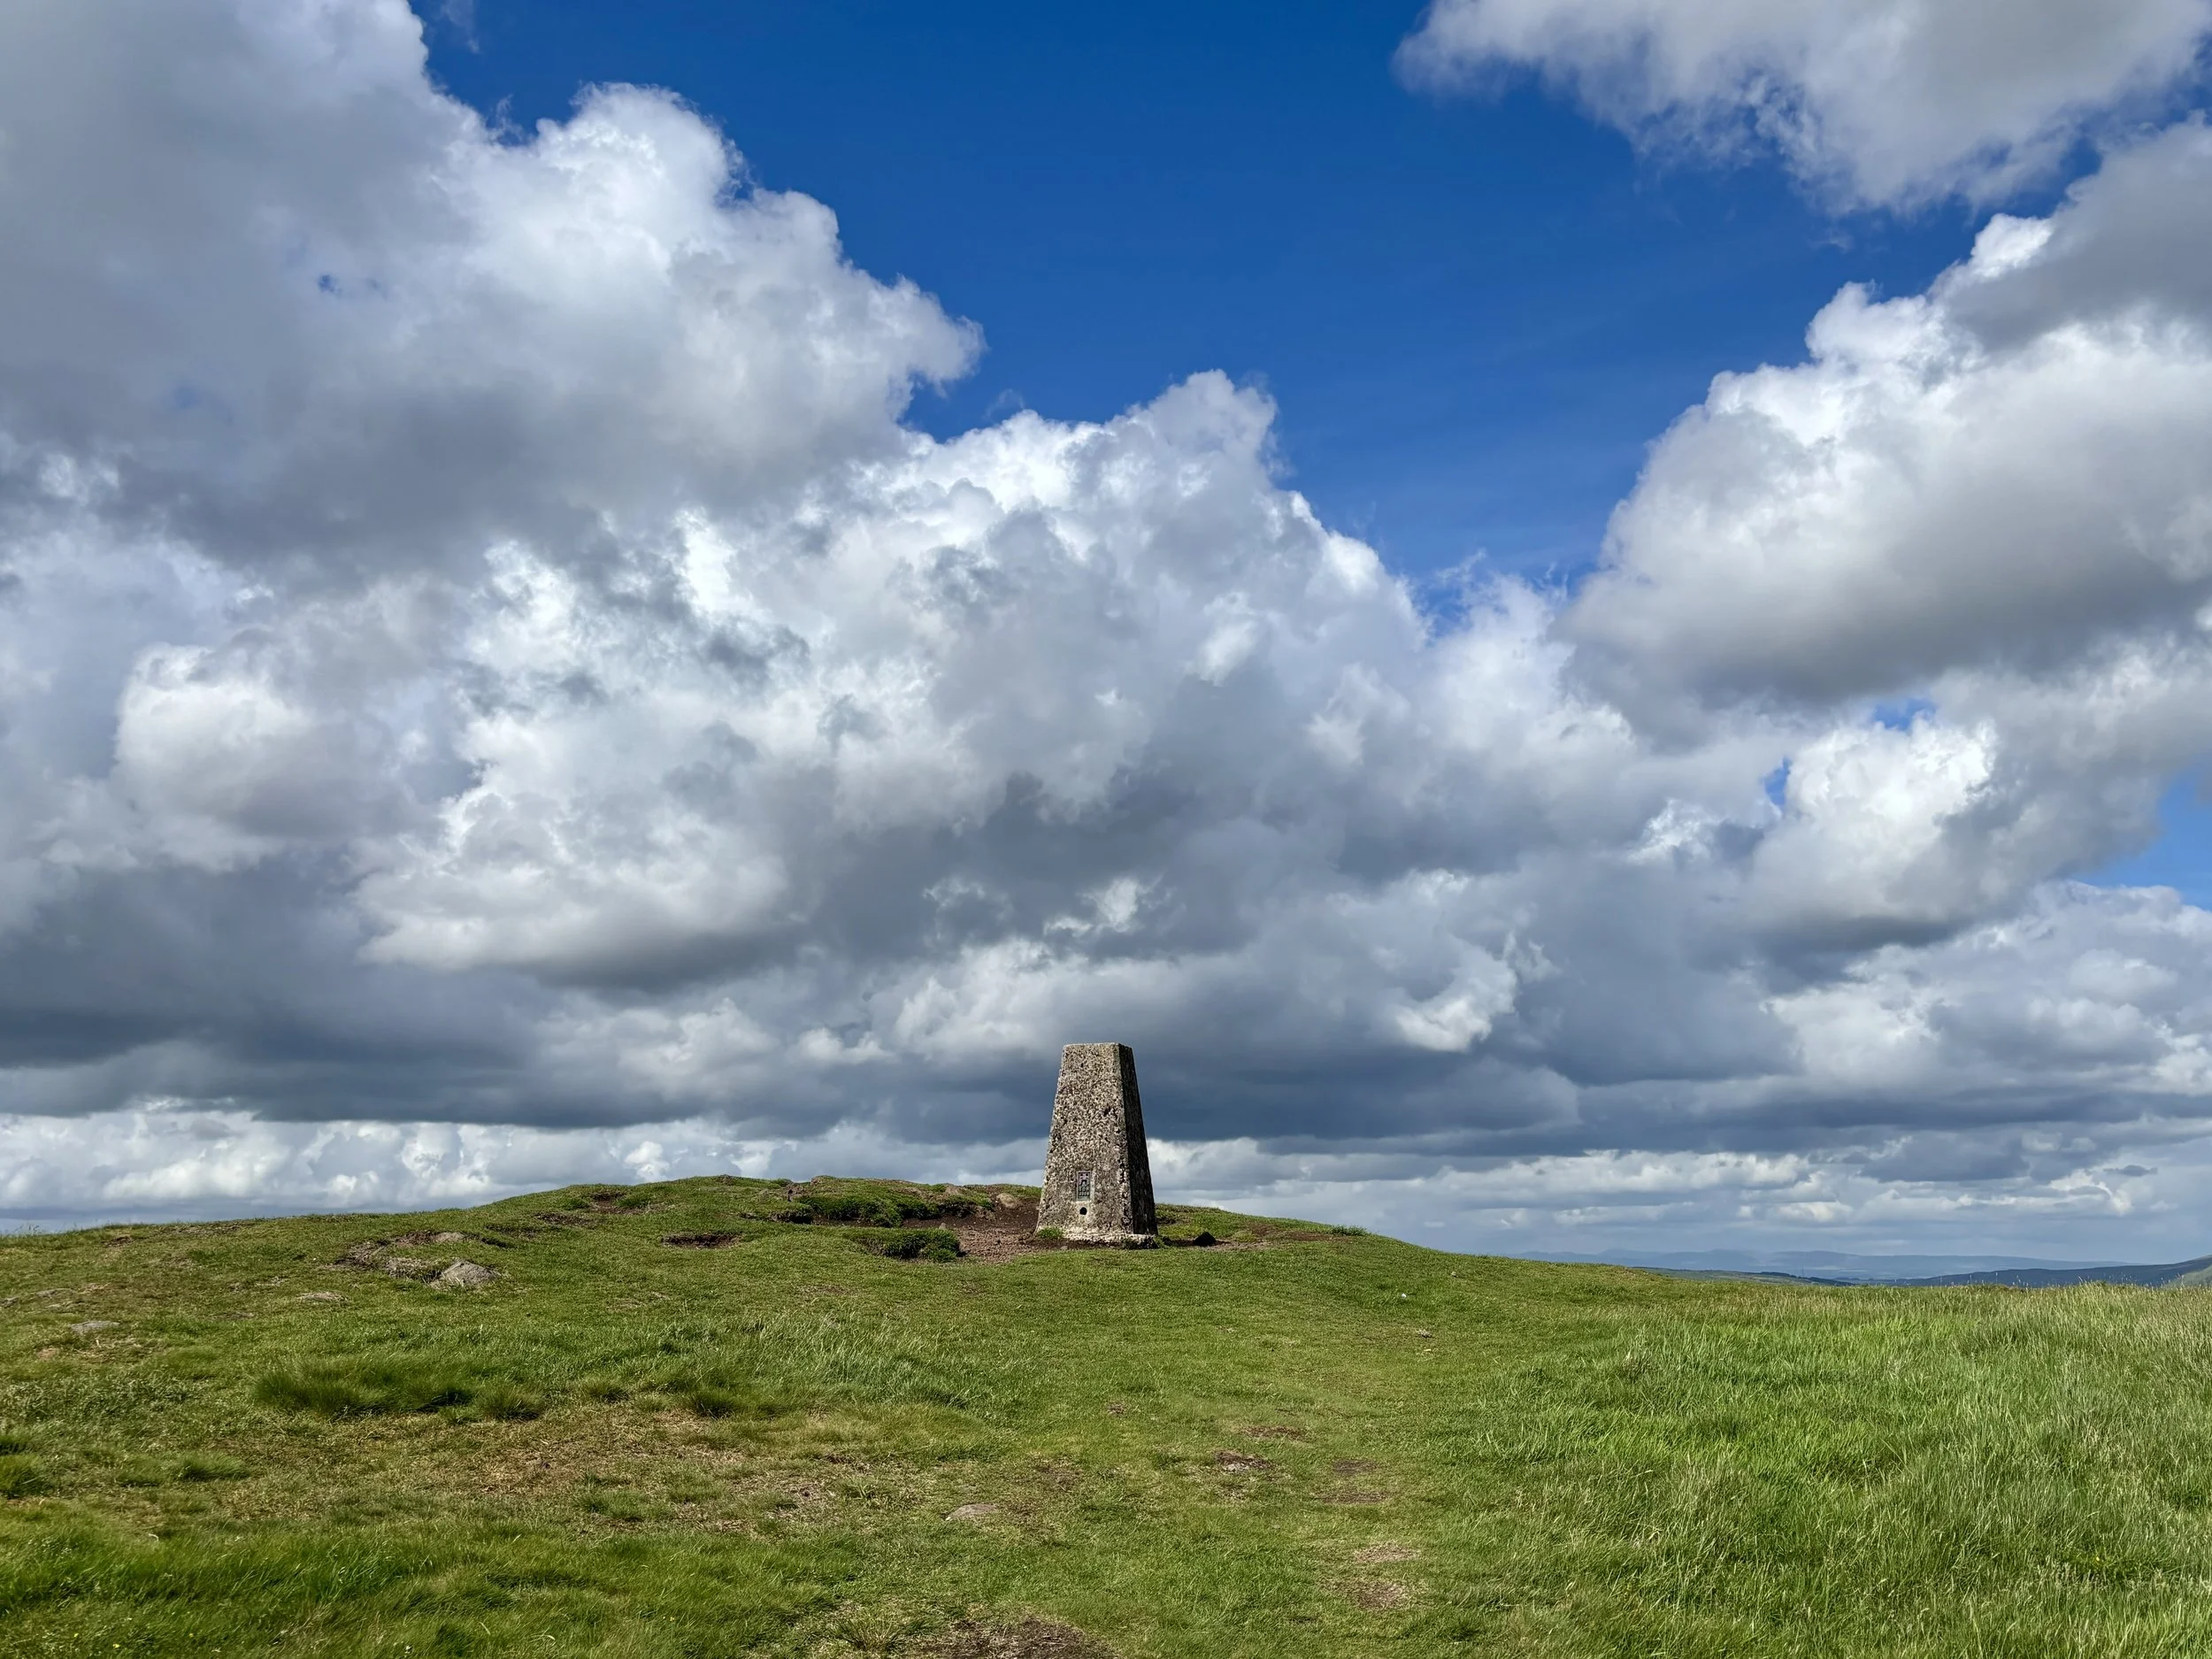
After navigating Middle Duncolm, you descend its north-eastern side before continuing in a north-easterly direction to tackle the steep bank up to the main summit of Duncolm. You will know you have made it when you reach the Trig Pillar, which offers stunning 360-degree views of the surrounding area.
After enjoying the views from the Trig Pillar, it is time to retrace your steps back down. Thankfully, there is no need to re-ascend Middle and Little Duncolm: you can simply stay on the bypass path that skirts their north-westerly side, eventually rejoining the main track just south of Little Duncolm.
Continue back along the main path. At around the 10-kilometre mark of the trip, take a path on the left. This cuts across the hill towards a fence line enclosing a small wooded area. Follow the fence line as it heads east, then turn south for a slight descent before heading up to The Slacks, where you can successfully bag another trig pillar.
From The Slacks, pick up the path heading in a southerly direction. This provides a steady descent back down to the original route. Take a left to rejoin it, and from there, it is just a case of retracing your steps for the final 1.3 kilometres all the way back to the Kilpatrick Braes car park. It makes for a rewarding route and a very satisfying way to finish off the Dunbartonshire high points.
Points of Interest along or near to the Route
Kilpatrick Hills: These hills are of volcanic origin, formed during the Carboniferous period as part of the Clyde Plateau Volcanic Formation. Their mix of basaltic crags and broad plateau surfaces creates a distinctive upland landscape that contrasts sharply with the surrounding urban areas of West Dunbartonshire.
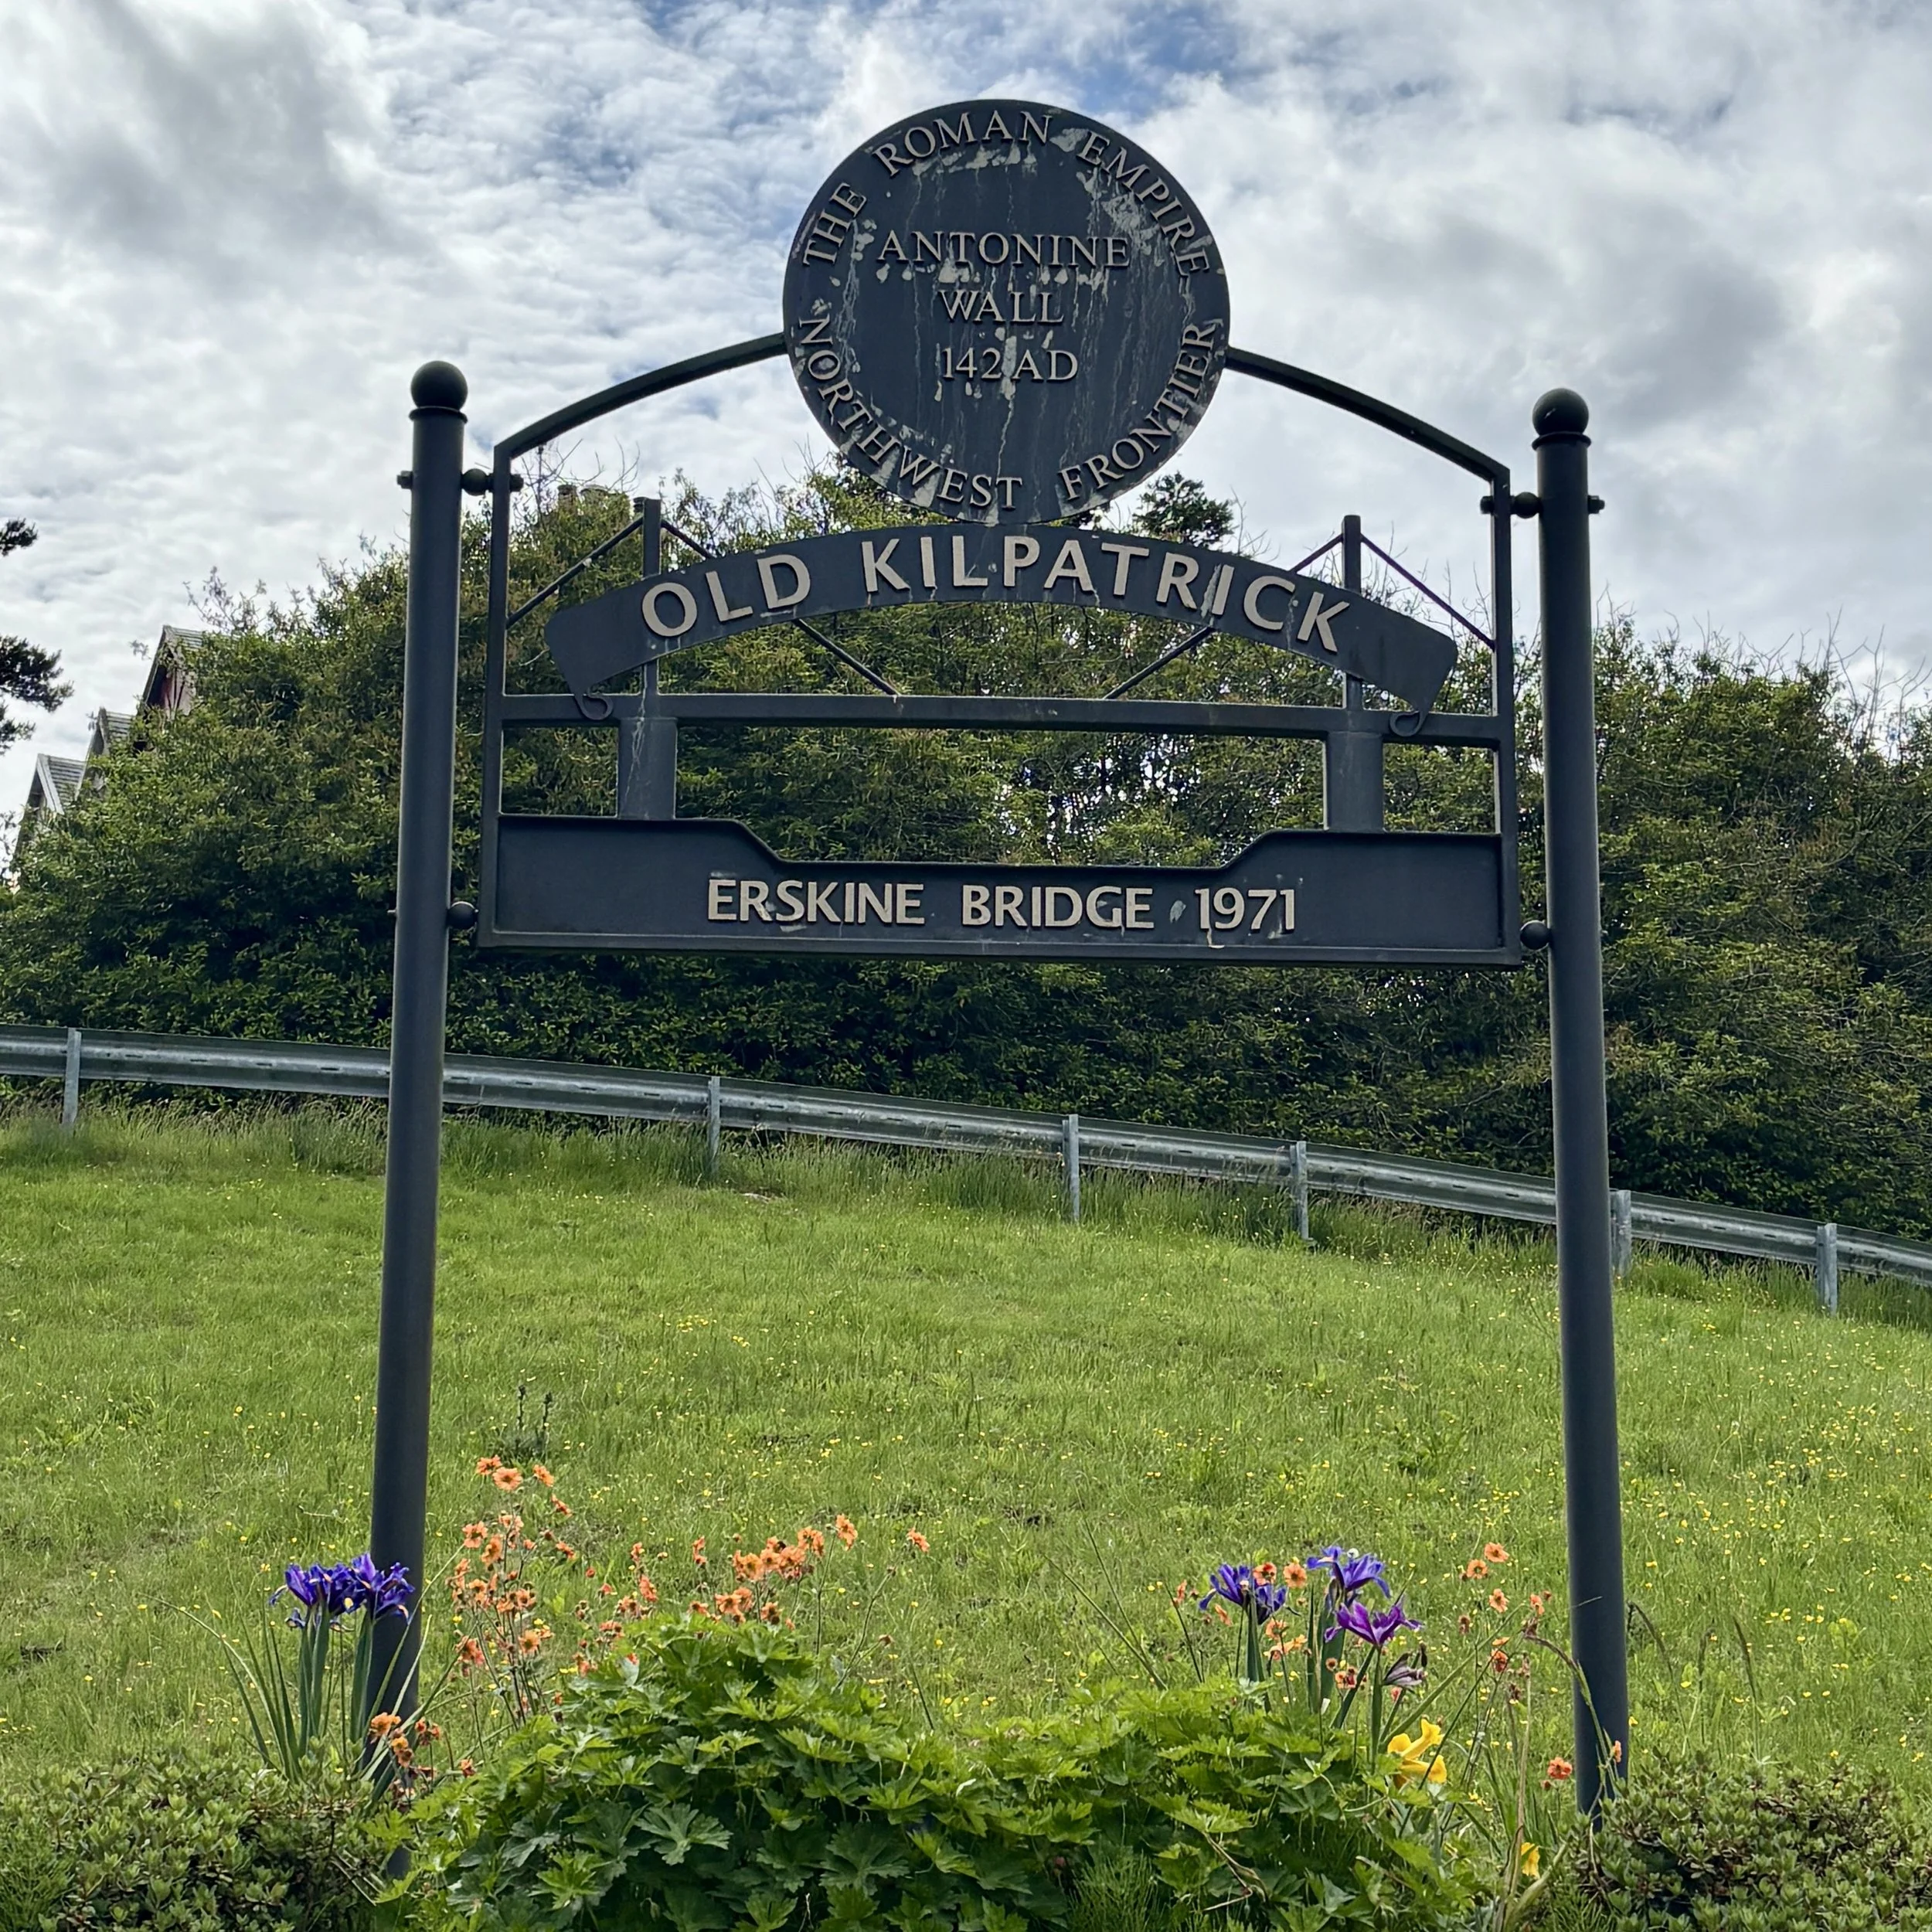
Erskine Bridge: Looking back over the River Clyde, the Erskine Bridge stands out as a major cable‑stayed box‑girder bridge, opened in 1971. It forms a key crossing linking the A898 to the A82 and sits just north of the M8 corridor. Its elegant profile provides a striking engineering landmark against the natural backdrop of the river.
Earl's Seat: East Dunbartonshire County Top
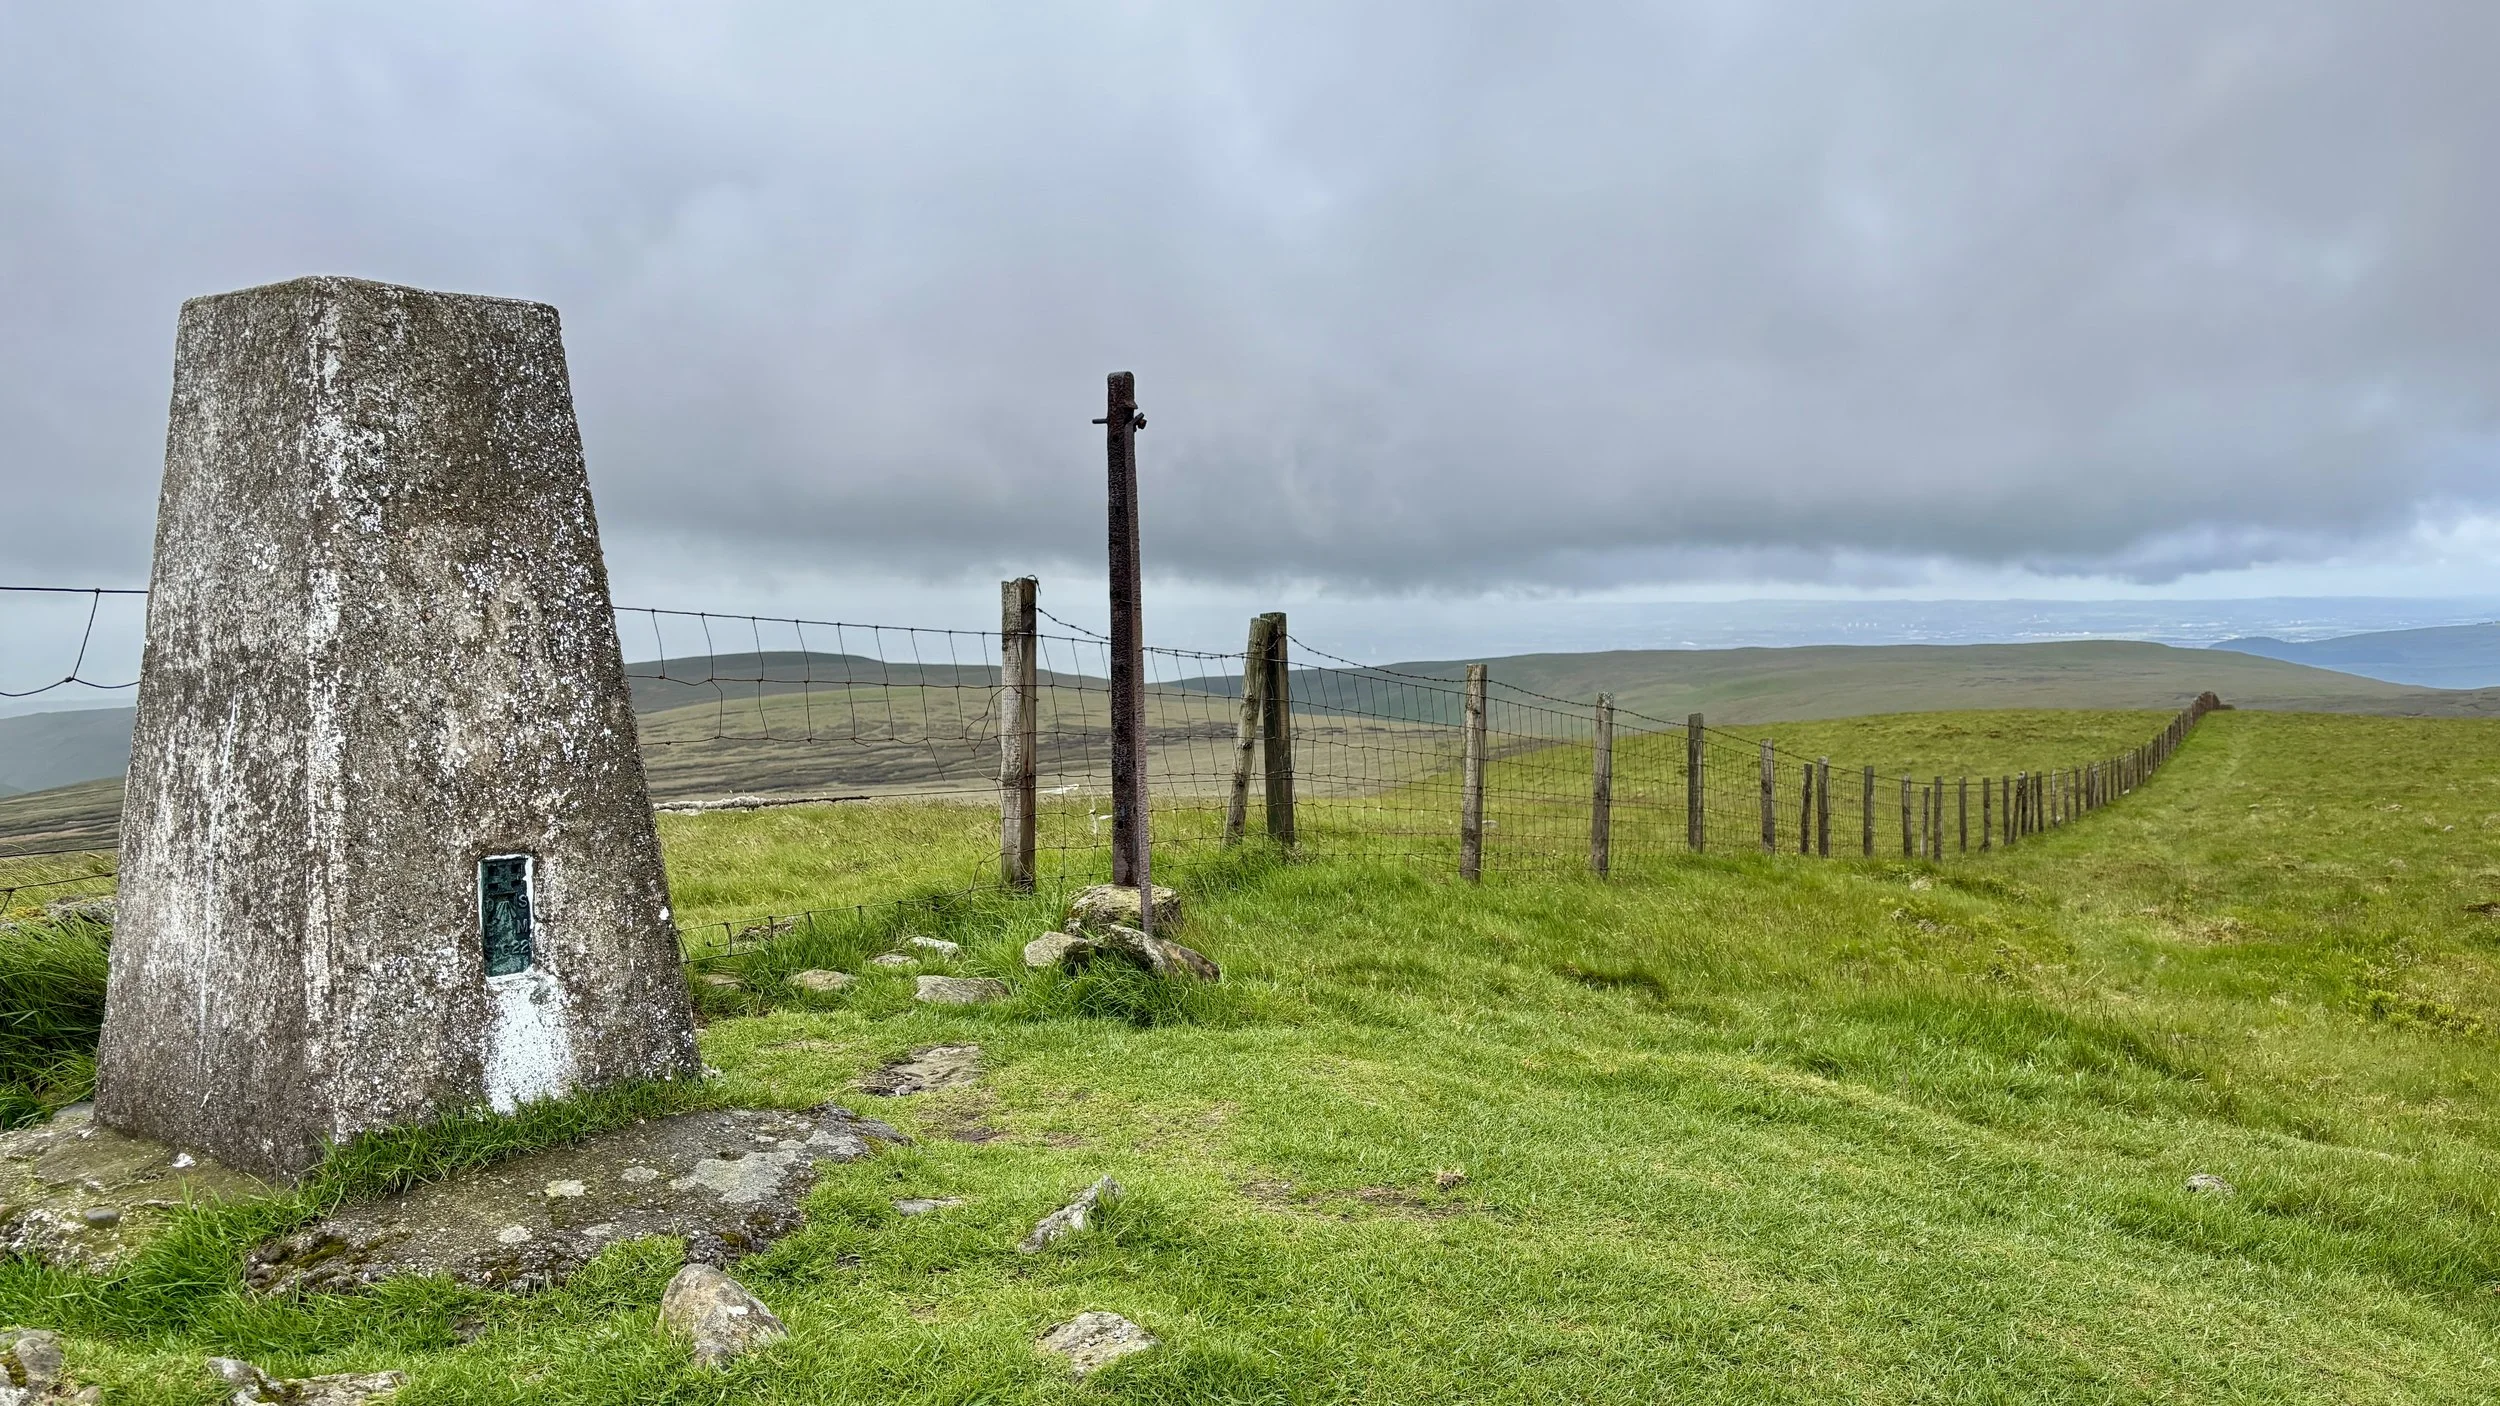
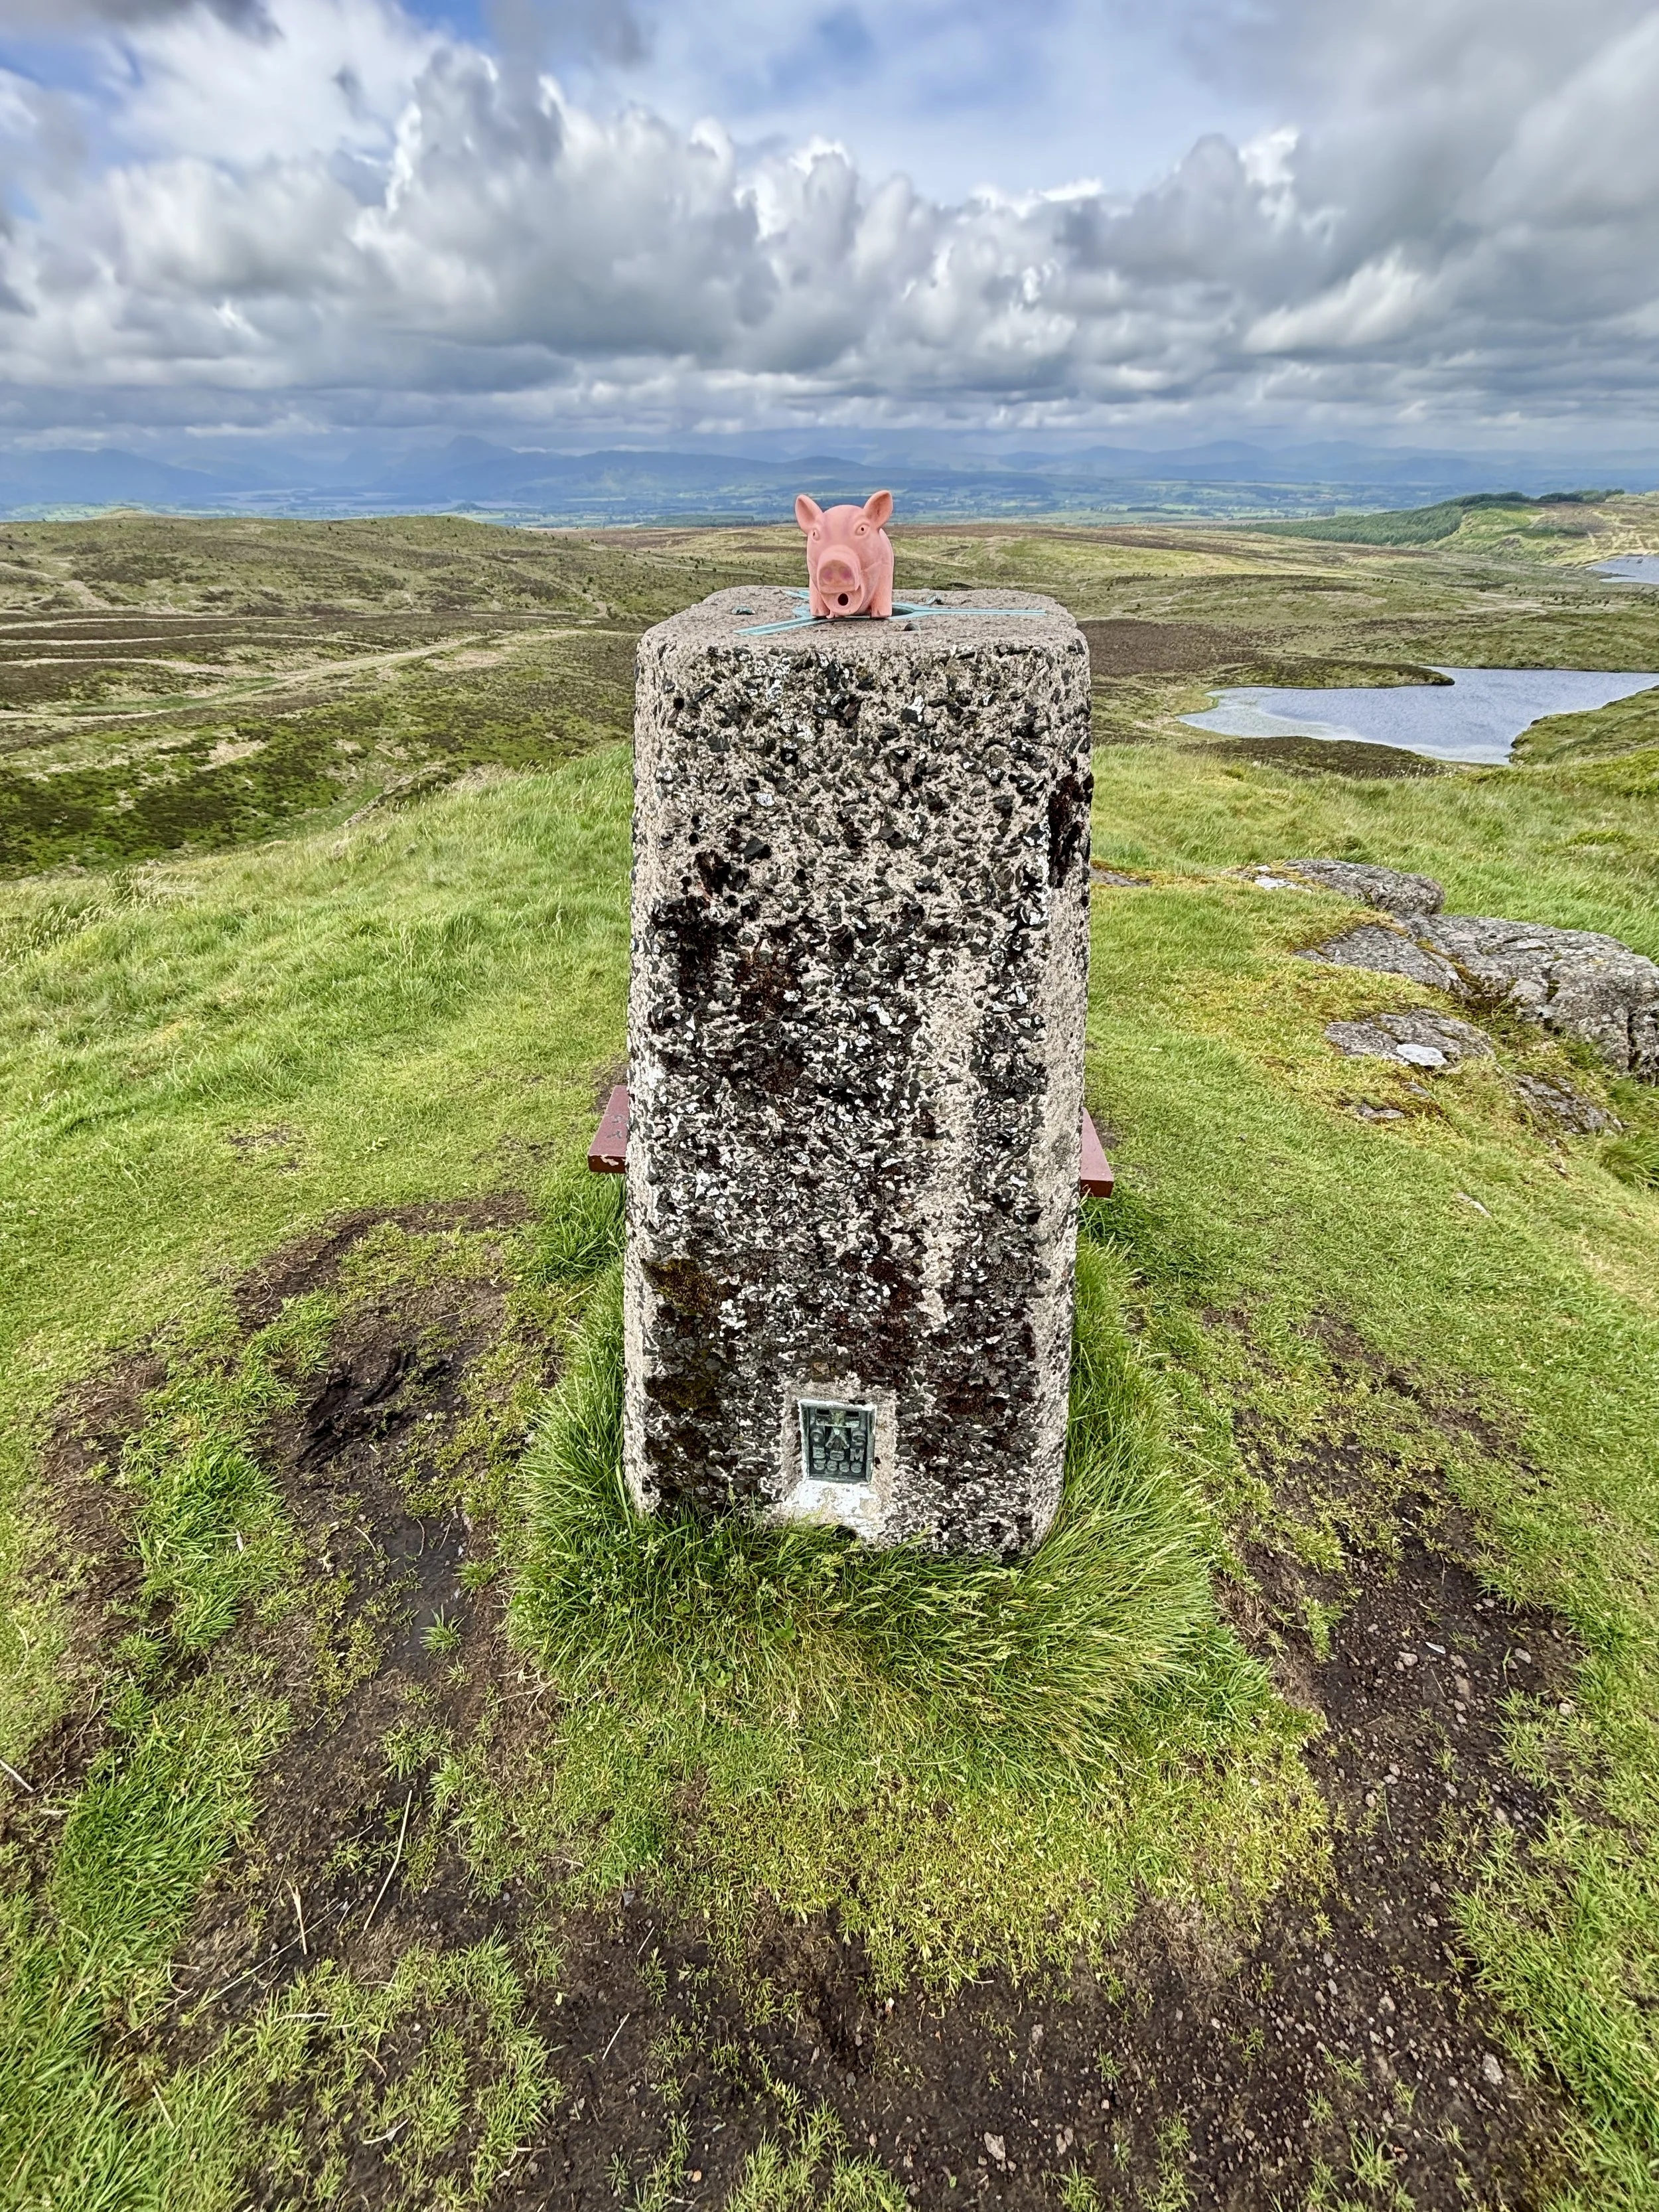
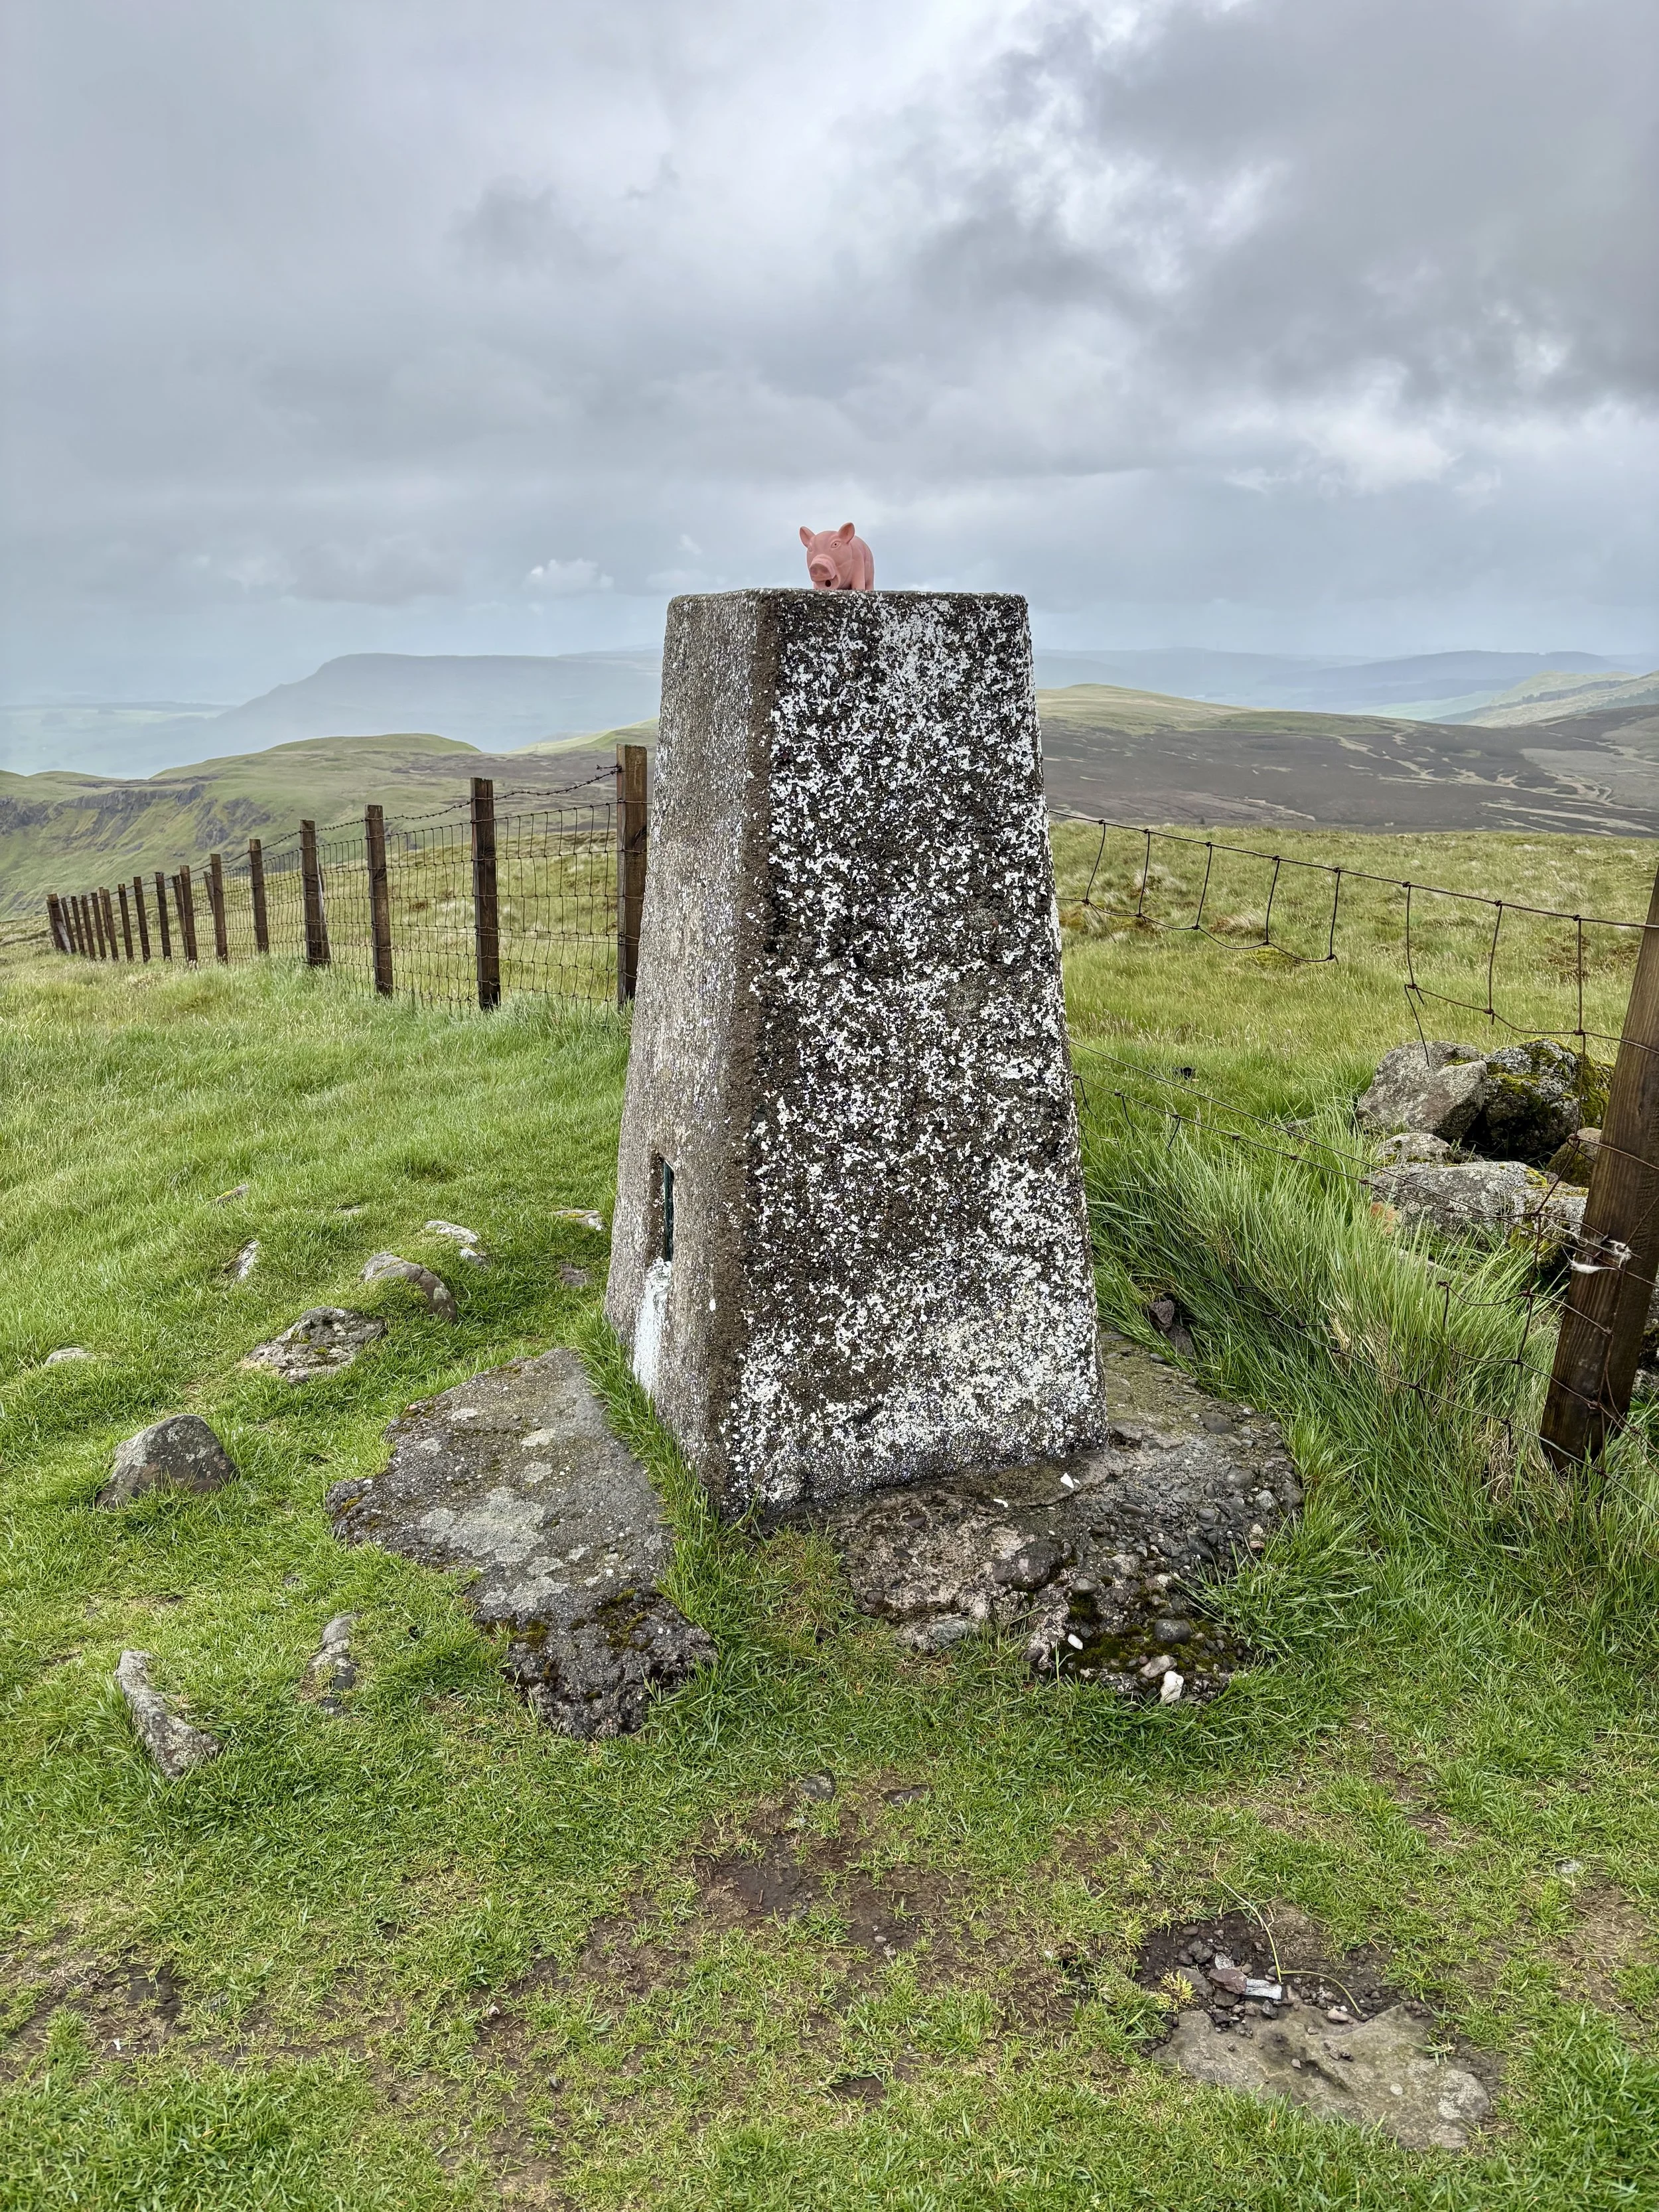
OS Trig Pillar at the top of Earl’s Seat at the border of East Dunbartonshire and Stirling
Significance: Present-day County Top for East Dunbartonshire
Historic County: Stirlingshire, of which Ben Lomond is the Historic County Top
Member of: Marilyns
Parent Range: Campsie Fells
Nearest Higher Neighbour: Binnean nan Gobhar
Elevation: 578m
Date climbed: June 5th 2026
Coordinates: 56°01′33″N 4°17′47″W
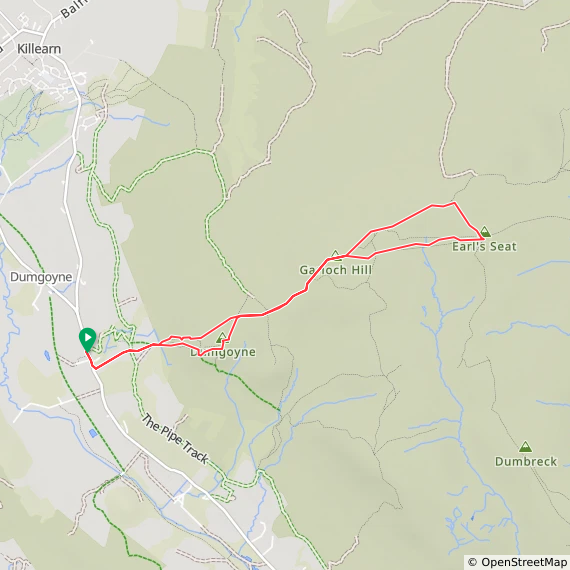
Route Start & Finish: Glengoyne Distillery, Dumgoyne, Killearn, Glasgow, G63 9LB
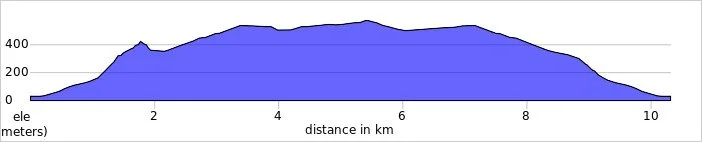
Route Distance: 10.3 km (6.4 miles)
Route Elevation change: +/- 628m
Subsidiary tops on route: Dumgoyne Hill (427m), Garloch Hill (524m)
GPX File: get via Buy Me a Coffee
Other routes touched (walk): None
OS Trig Pillar: TP2957 - Earls Seat
Pubs / Cafes on route: None
Map: Campsie Fells Map | Kilsyth, Strathblane & Fintry | Ordnance Survey | OS Explorer Map 348
Links: Wikipedia: (East Dunbartonshire / Campsie Fells / Earl’s Seat), Peakbagger, Hillbagging
Earl’s Seat is Present-day County Top for East Dunbartonshire. I bagged it in 2026 on our annual County Top weekend trip, along with the present-day County Tops of West Dunbartonshire, Glasgow City and the Historic County Tops of Argyll and Ross and Cromarty.
This year marked a significant milestone: the tenth anniversary of our annual boys' County Top trip. The adventure kicked off on a Friday, but this time around, we opted for parallel adventures. While Mark, Matt, and Joel headed over to the Isle of Arran to tackle Goat Fell to claim the highest point of that county, I decided on a different path. Having already summited Goat Fell a few years prior, I set my sights on bagging the high points of present-day East and West Dunbartonshire. Because they are fairly close together, they make for two great summits to link up in a single day. First up on the agenda: Earl's Seat.
Walking Directions
The guidance below will help you navigate but don’t use it as a fully accurate turn-by-turn guide. Always take a map and/or a GPX route and prepare well for the weather and terrain.
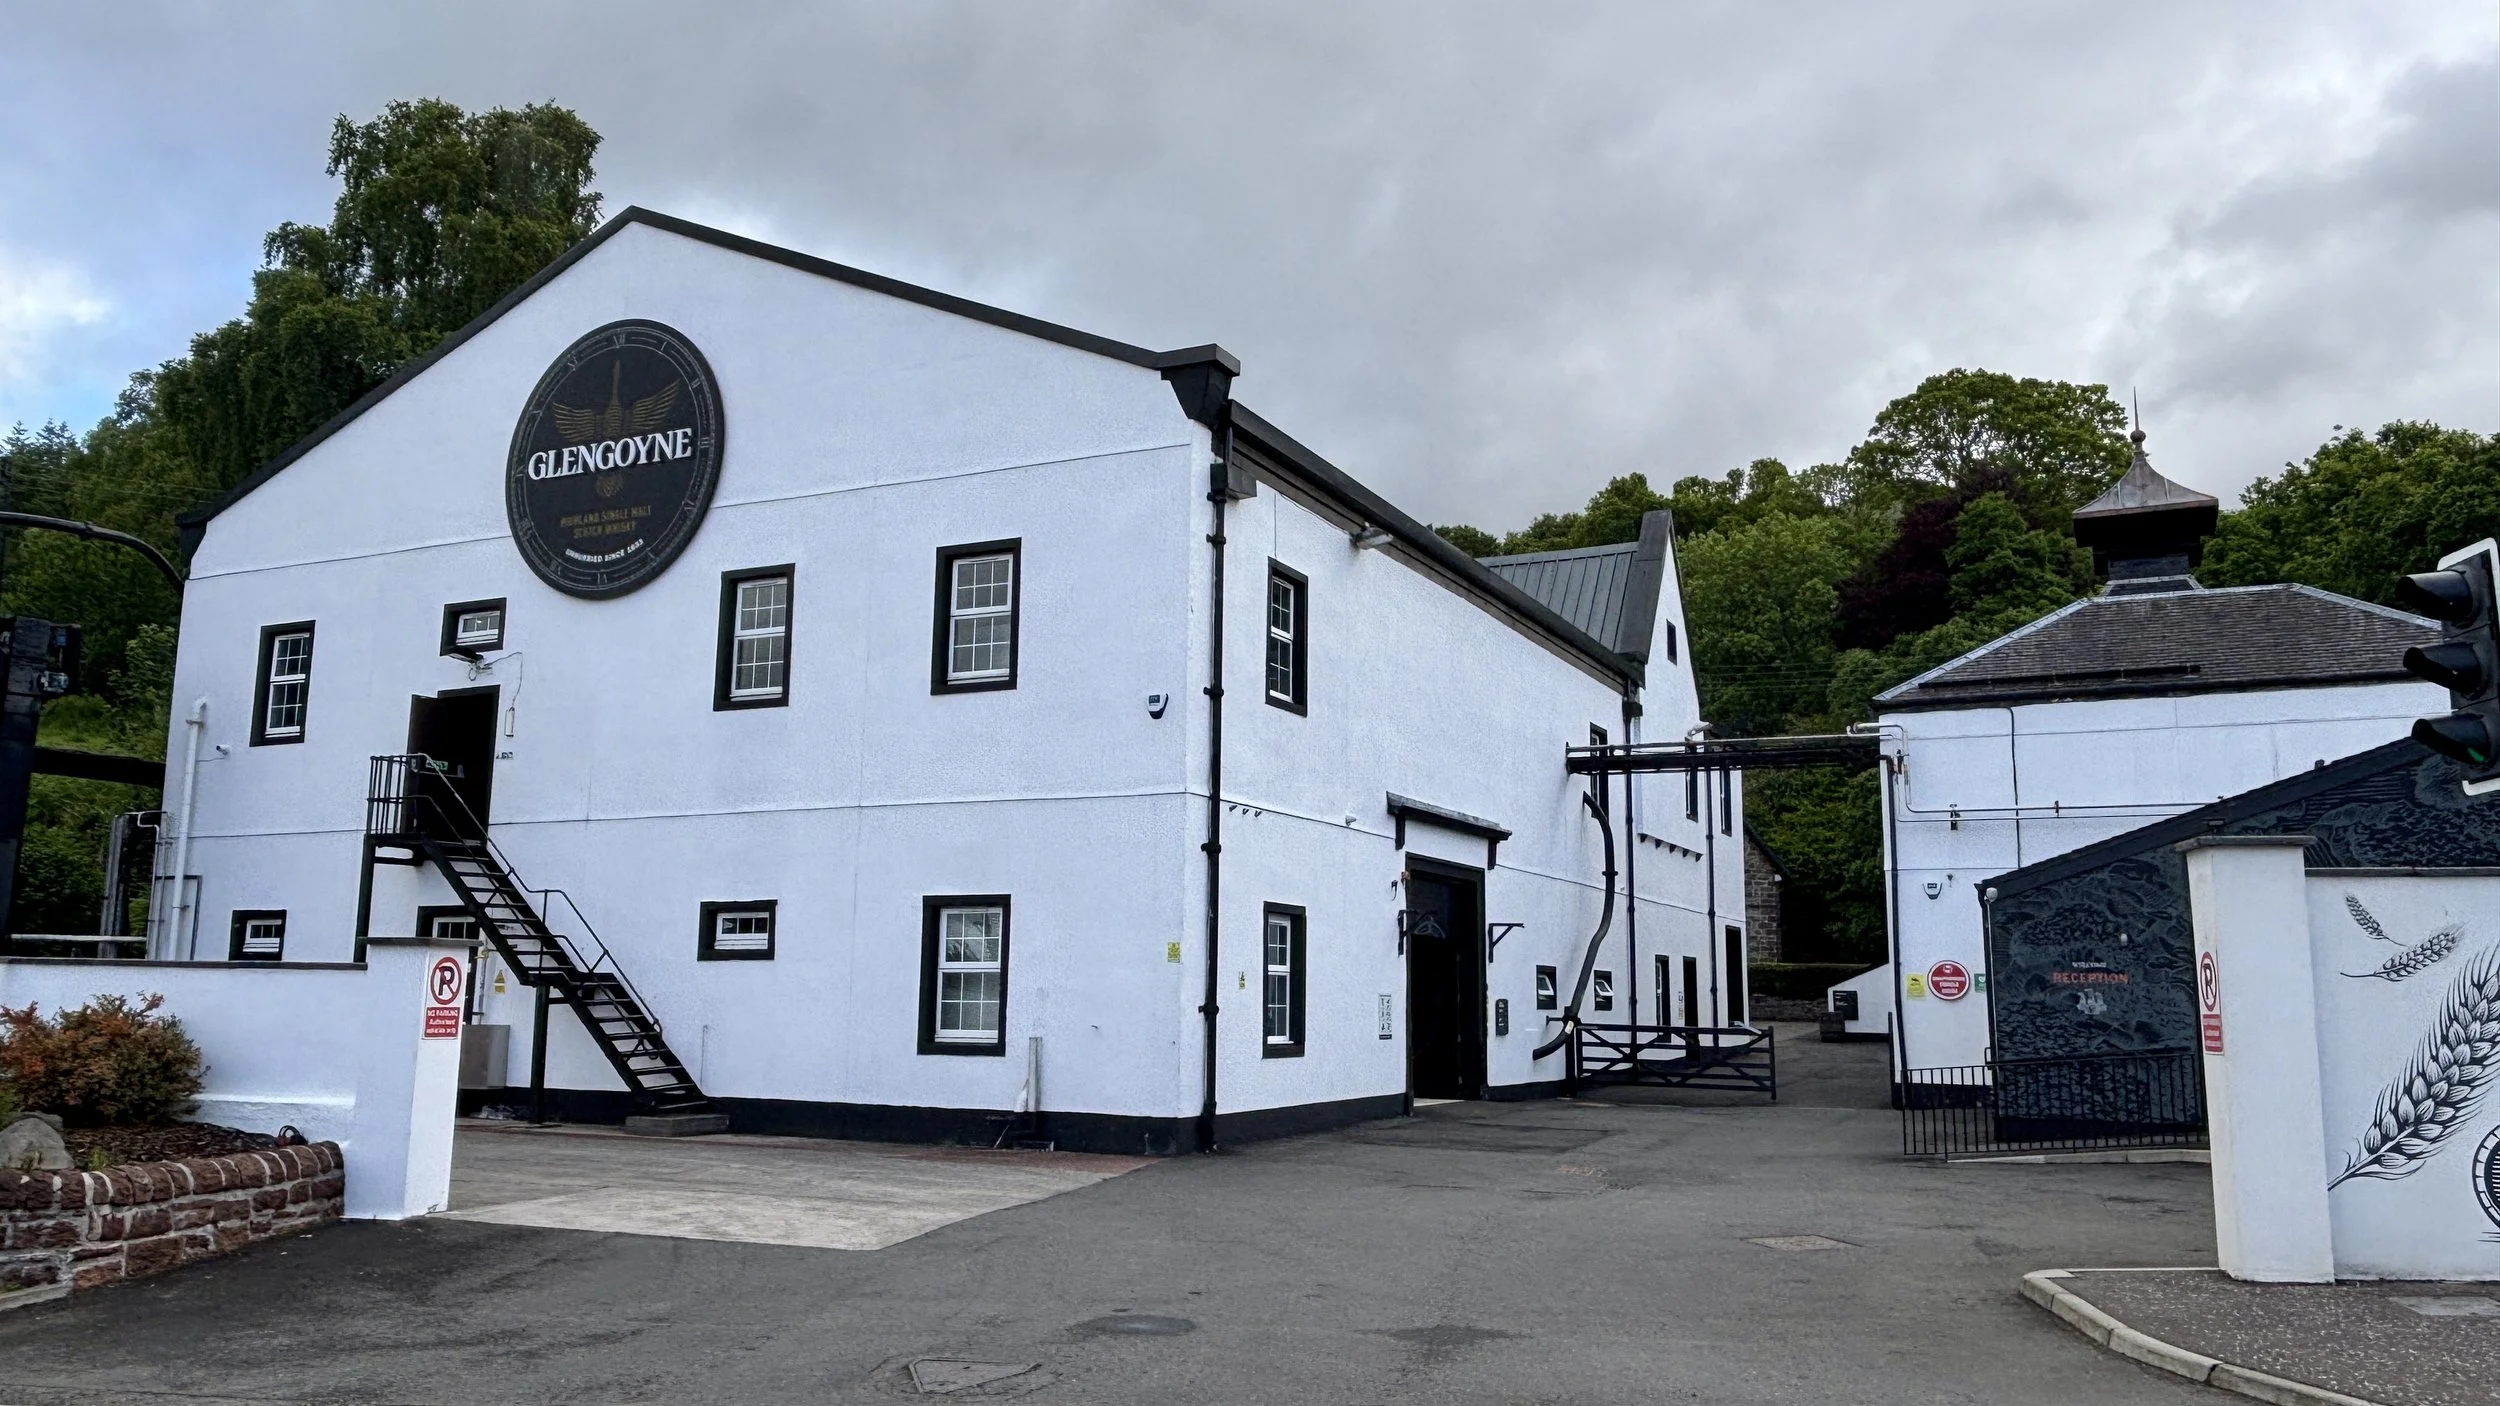
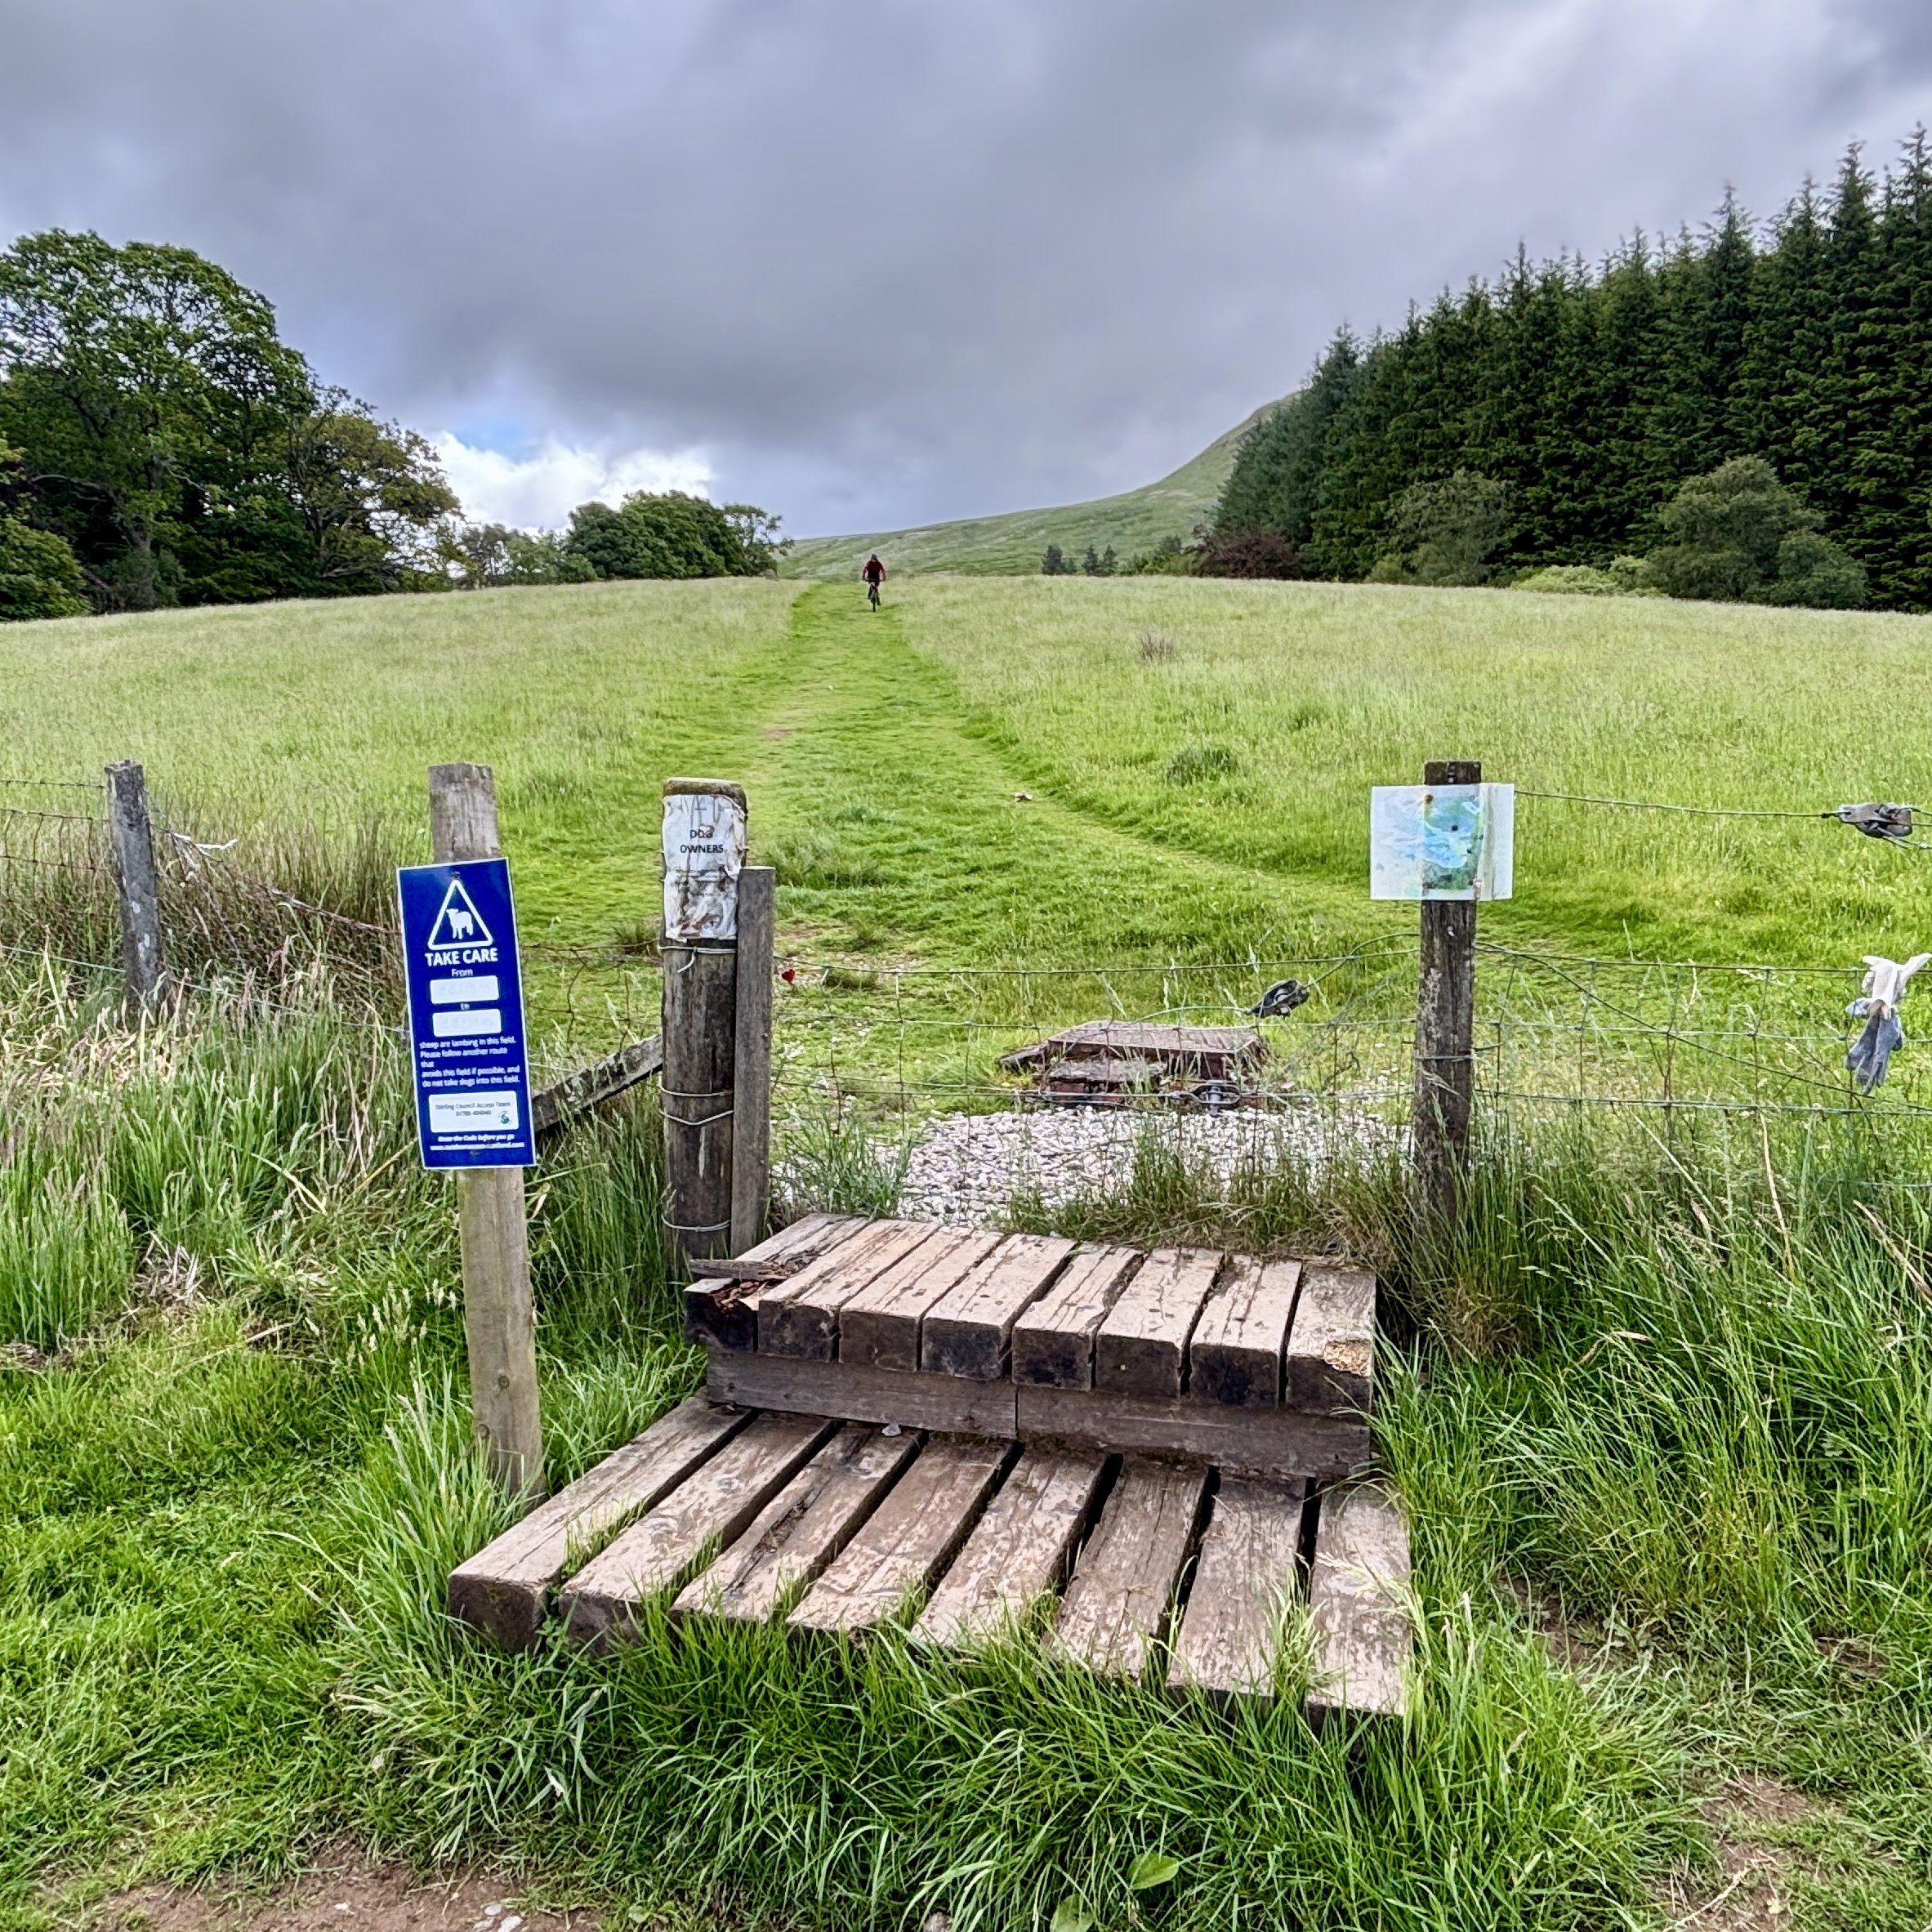
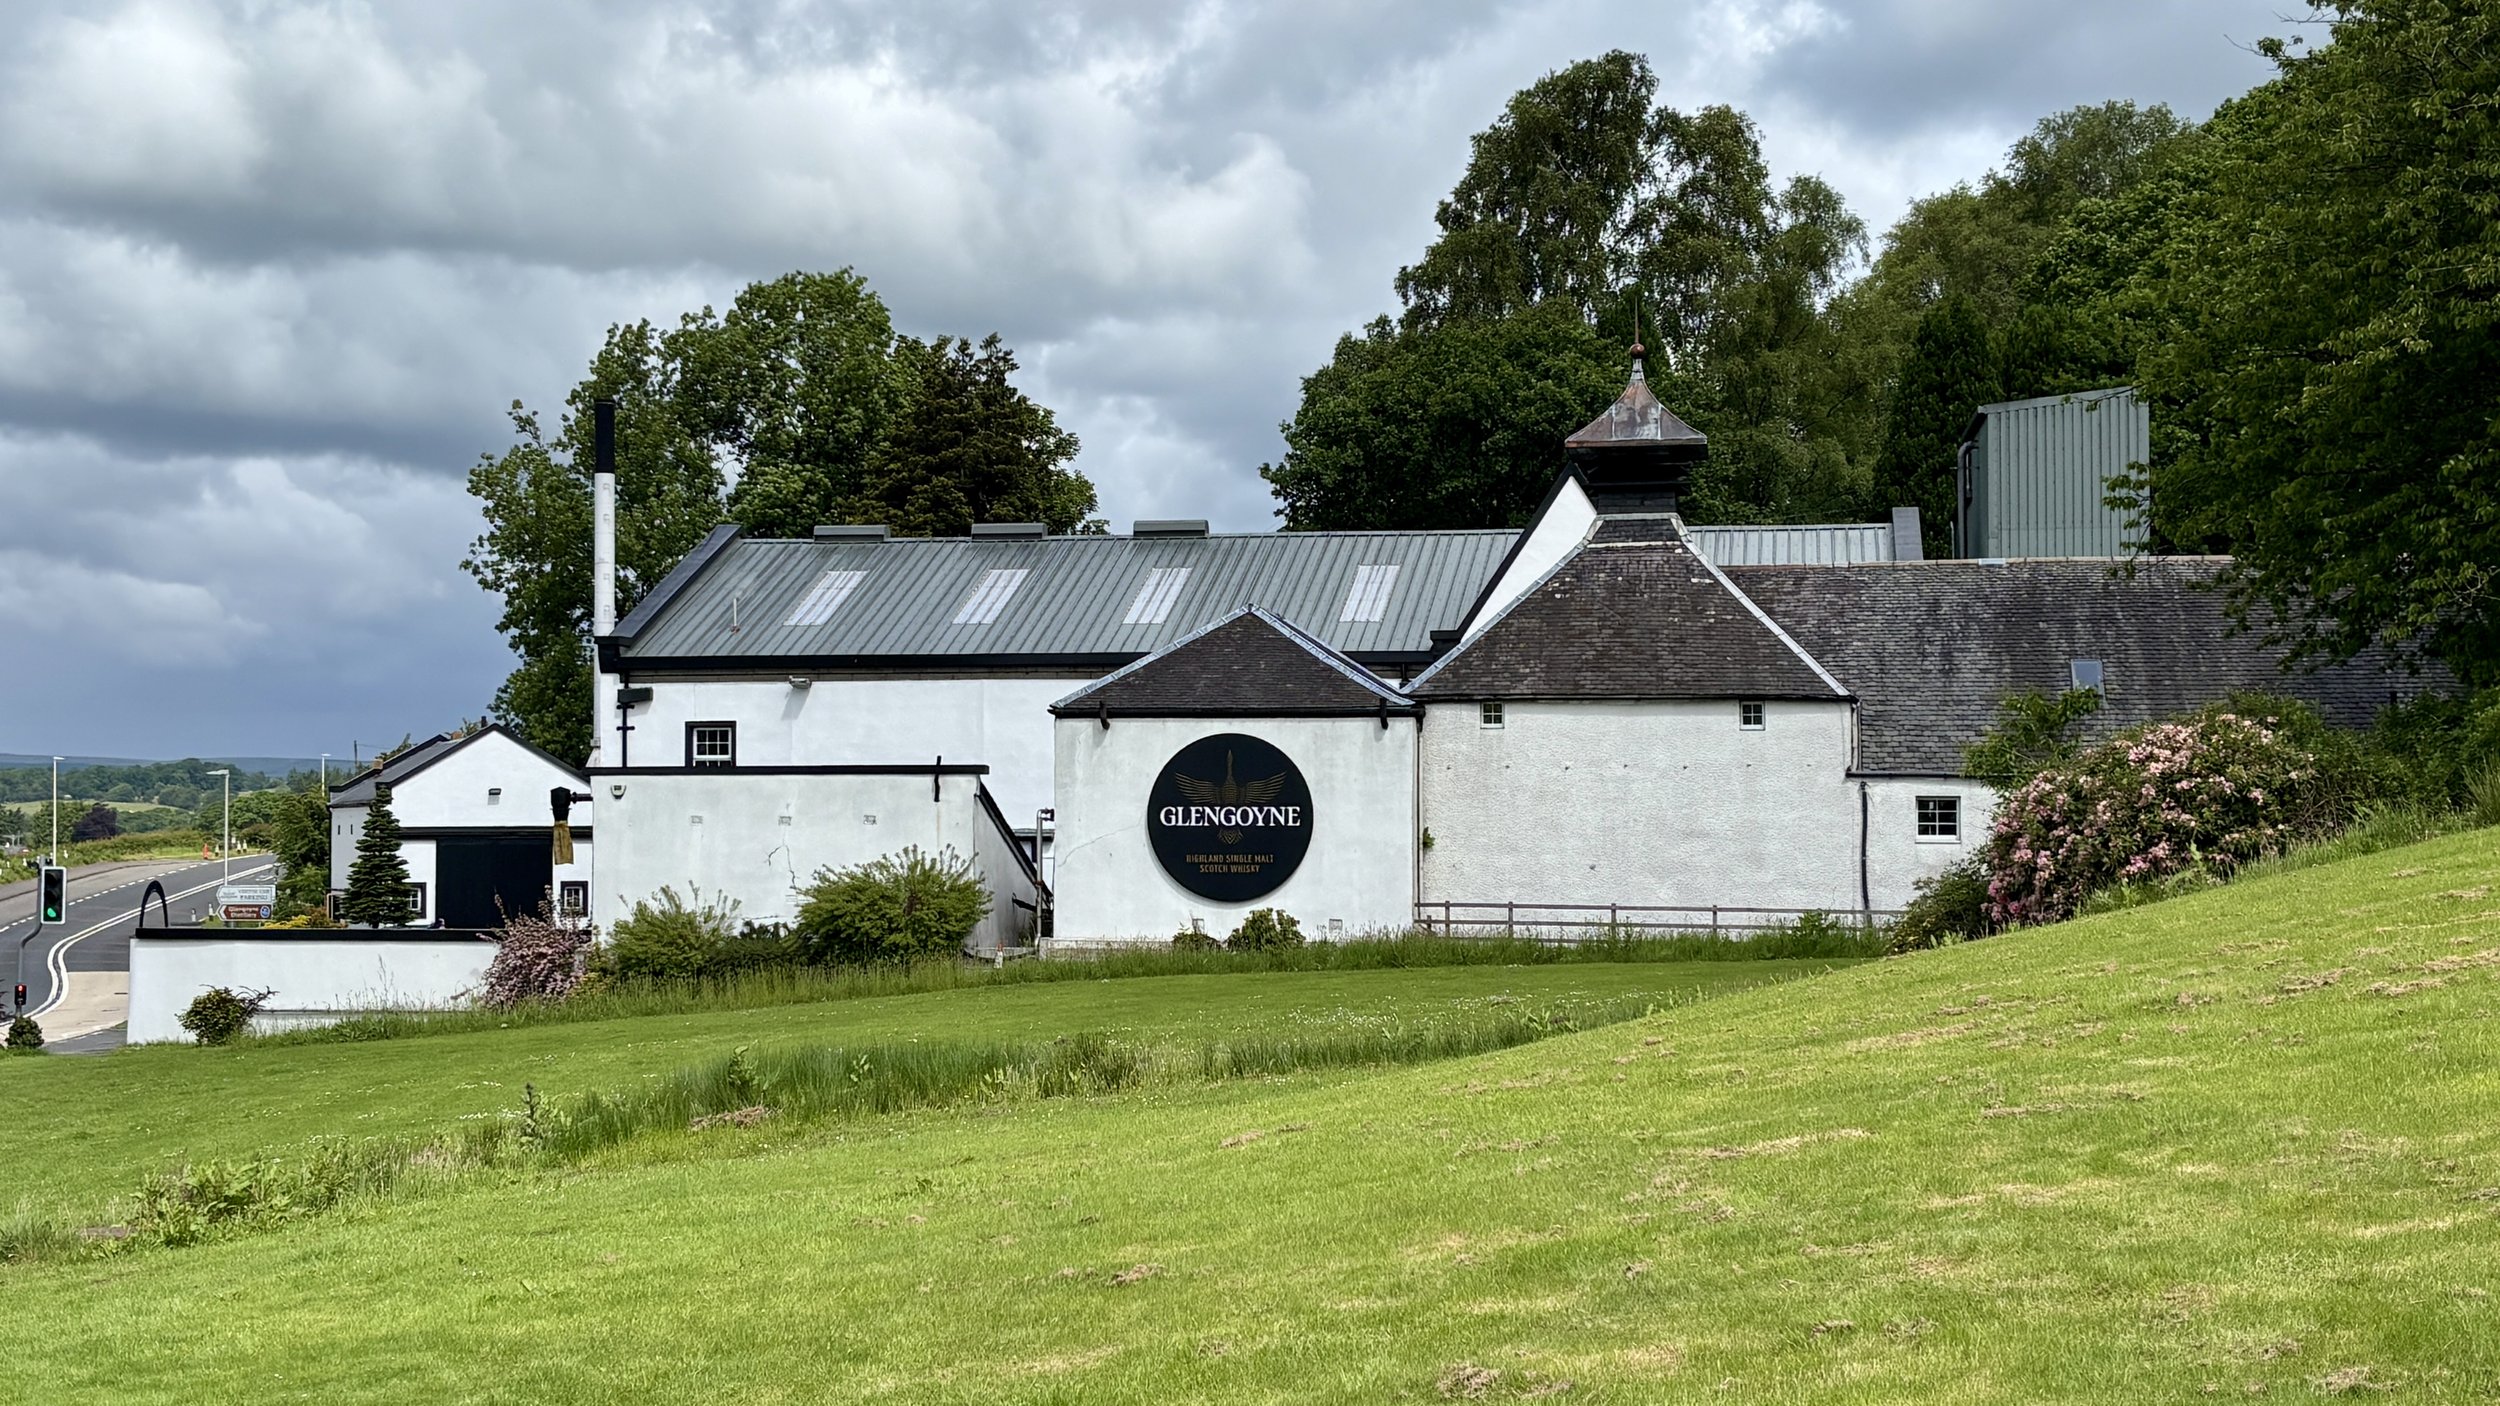
The starting point was an easy forty-minute drive from Glasgow Airport. I headed for the Glengoyne Distillery, which offers great parking. A quick note for anyone planning this route: the distillery car park is officially for customers only. Given it was a quiet day, I chanced it, but there is alternative parking nearby if you prefer to play it safe. From the distillery, the route begins by heading south down the main road for about 100m. After crossing over, you will find a gate leading into a field, and the path begins its slow, steady climb up the hill.
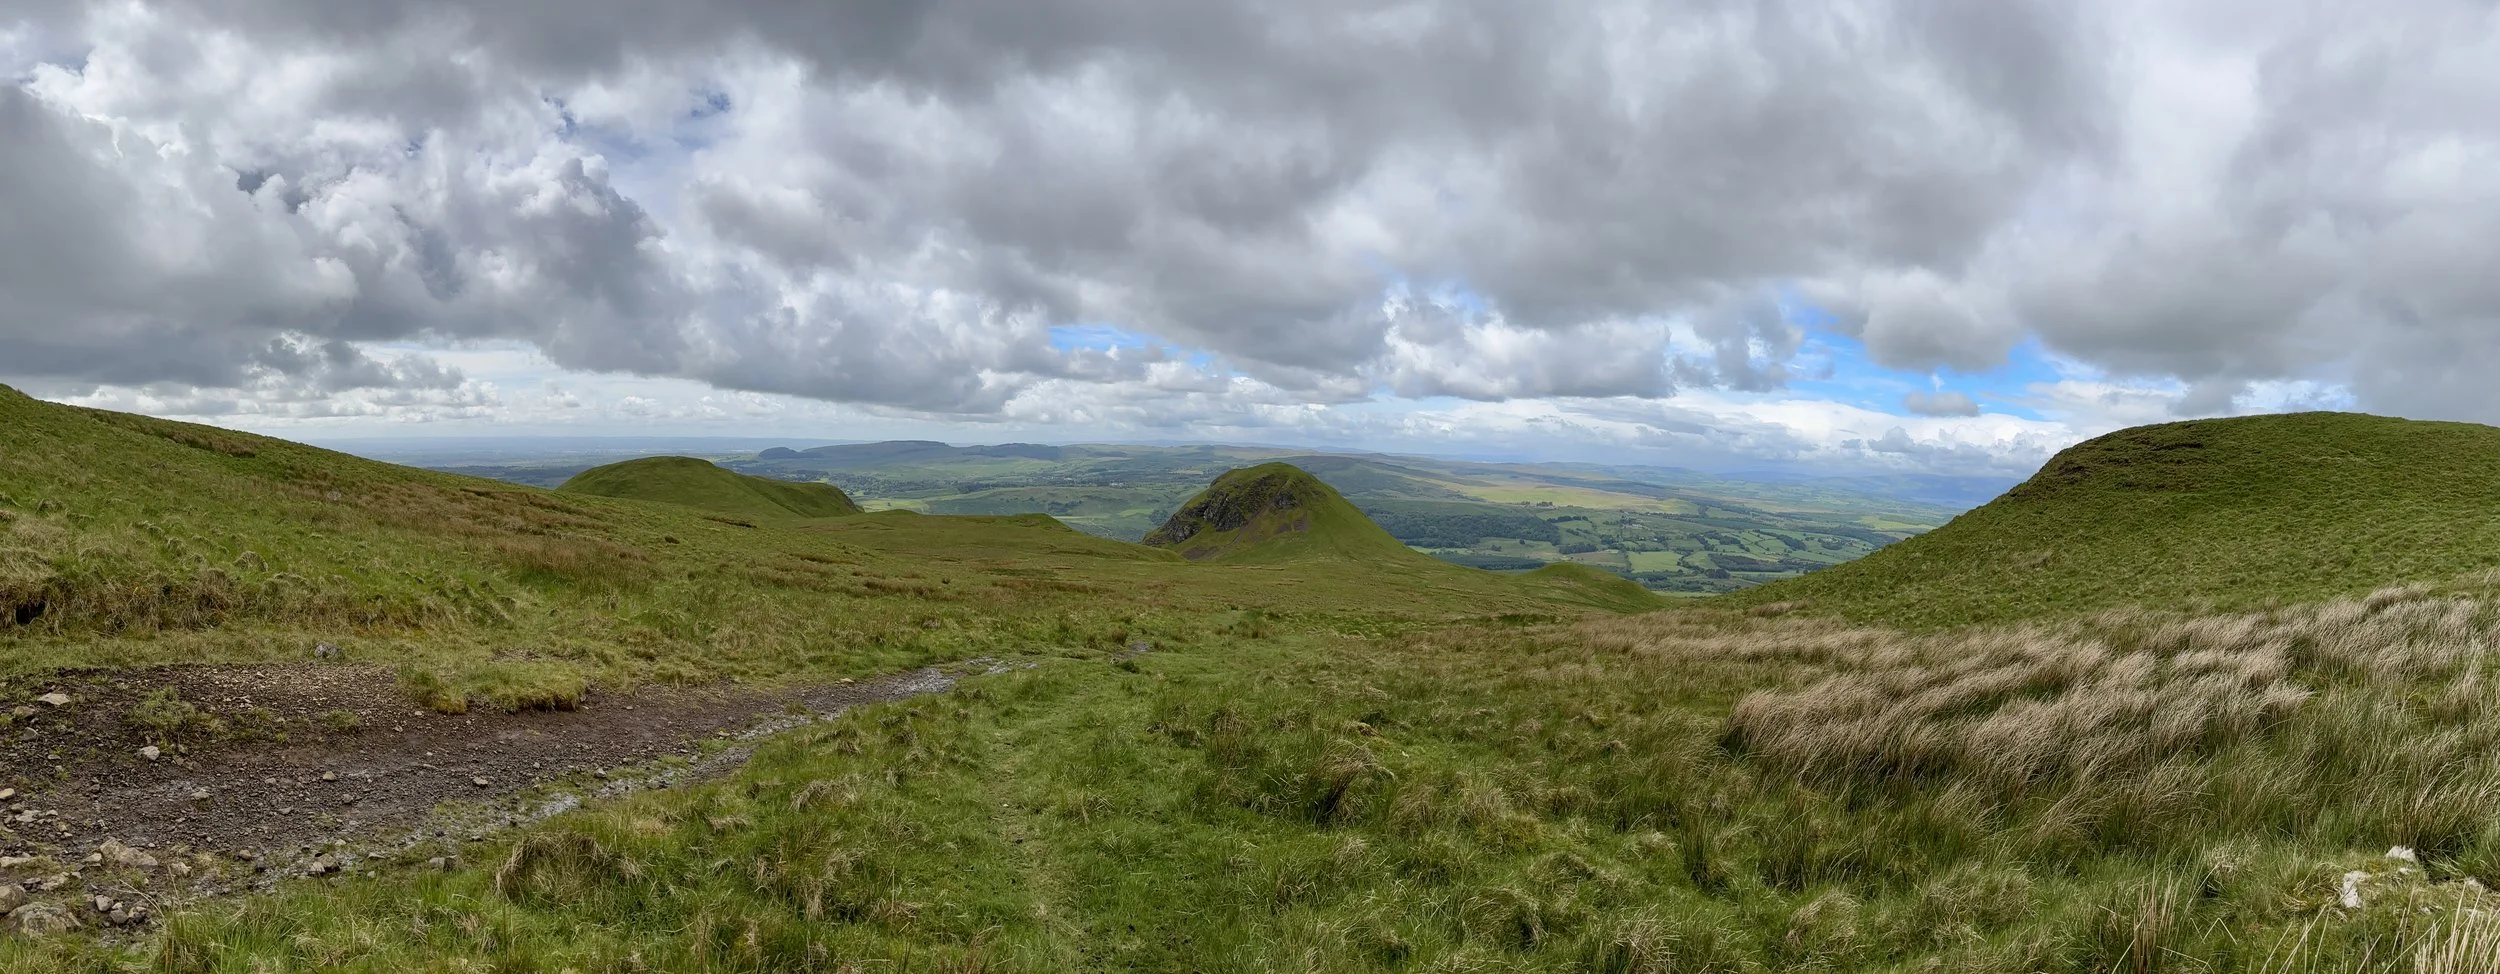
It isn't long before you are greeted by the imposing, steep figure of Dumgoyne Hill. At this stage, the path presents two choices: fork right to take the path straight over the top of Dumgoyne Hill, or keep left to skirt around the side and avoid the climb entirely.
Determined to bag Dumgoyne Hill as well, I took the right-hand path. It is a steep ascent up the southern side, but the effort is richly rewarded. While there isn't a traditional trig pillar at the summit, there is a large, pillar-sized stone and, more importantly, fantastic views stretching right across the valley.
Leaving Dumgoyne Hill, the path heads in a north-north-easterly direction down the opposite side of the hill. I will admit this section was a little daunting: the ground was damp, and the gradient was extremely steep. I don't typically tackle tricky hills on my own, but it wasn't particularly dangerous. With a bit of care, and an undignified slide down one short section, I made it to the bottom safely.
Continuing northeast, the route seamlessly joins back up with the main bypass path you would have taken had you skipped Dumgoyne Hill. From here, it becomes a steady, albeit slightly boggy, ascent towards a subsidiary top called Garloch Hill, marked by a few cairns. Pushing on towards Earl's Seat, the landscape opens up, and you can spot the Trig Pillar from quite a distance: a perfect visual target to aim for.
After taking in the summit of Earl's Seat, I decided against simply retracing my steps. Instead, I opted to turn the walk into a circular route. Heading north-west, the path leads towards Ballagan Tops before taking a westerly turn to rejoin the original ascent path just east of Garloch Hill.
From there, it was a straightforward walk retracing my steps back to the distillery. This time, however, I took the northerly path to comfortably bypass Dumgoyne Hill.
All in all, the route took about three hours: a highly enjoyable morning on the hills and a fantastic start to the weekend's county top bagging.
Points of Interest along or near to the Route
Glengoyne Distillery: Established in 1833, this distillery is unique for being located on the Highland Line, the geographical divide between the Highlands and Lowlands. Uniquely, the distillery sits in the Lowlands, while its maturation warehouses sit across the road in the Highlands.
The Campsie Fells: These are a range of volcanic hills formed during the Carboniferous period. They are composed largely of basalt, creating the dramatic crags and scree slopes visible from the surrounding valleys, including the steep face of Dumgoyne.
The Highland Boundary Fault: The route passes over a significant geological divide. This fault line runs across Scotland from Arran in the west to Stonehaven in the east, separating the flatter, sedimentary Lowlands from the rugged, metamorphic Highlands.
Dumgoyne: A striking volcanic plug that rises sharply from the edge of the Campsie Fells. It formed when magma solidified within an ancient volcanic vent, leaving behind the resistant core that now stands as a prominent landmark. Its steep, symmetrical profile has been further shaped by glacial erosion, but it is not a crag‑and‑tail formation; instead, it is simply the exposed remnant of a Carboniferous volcano.
Trig Pillar Walks: St. Catherine's Hill, Isle of Wight
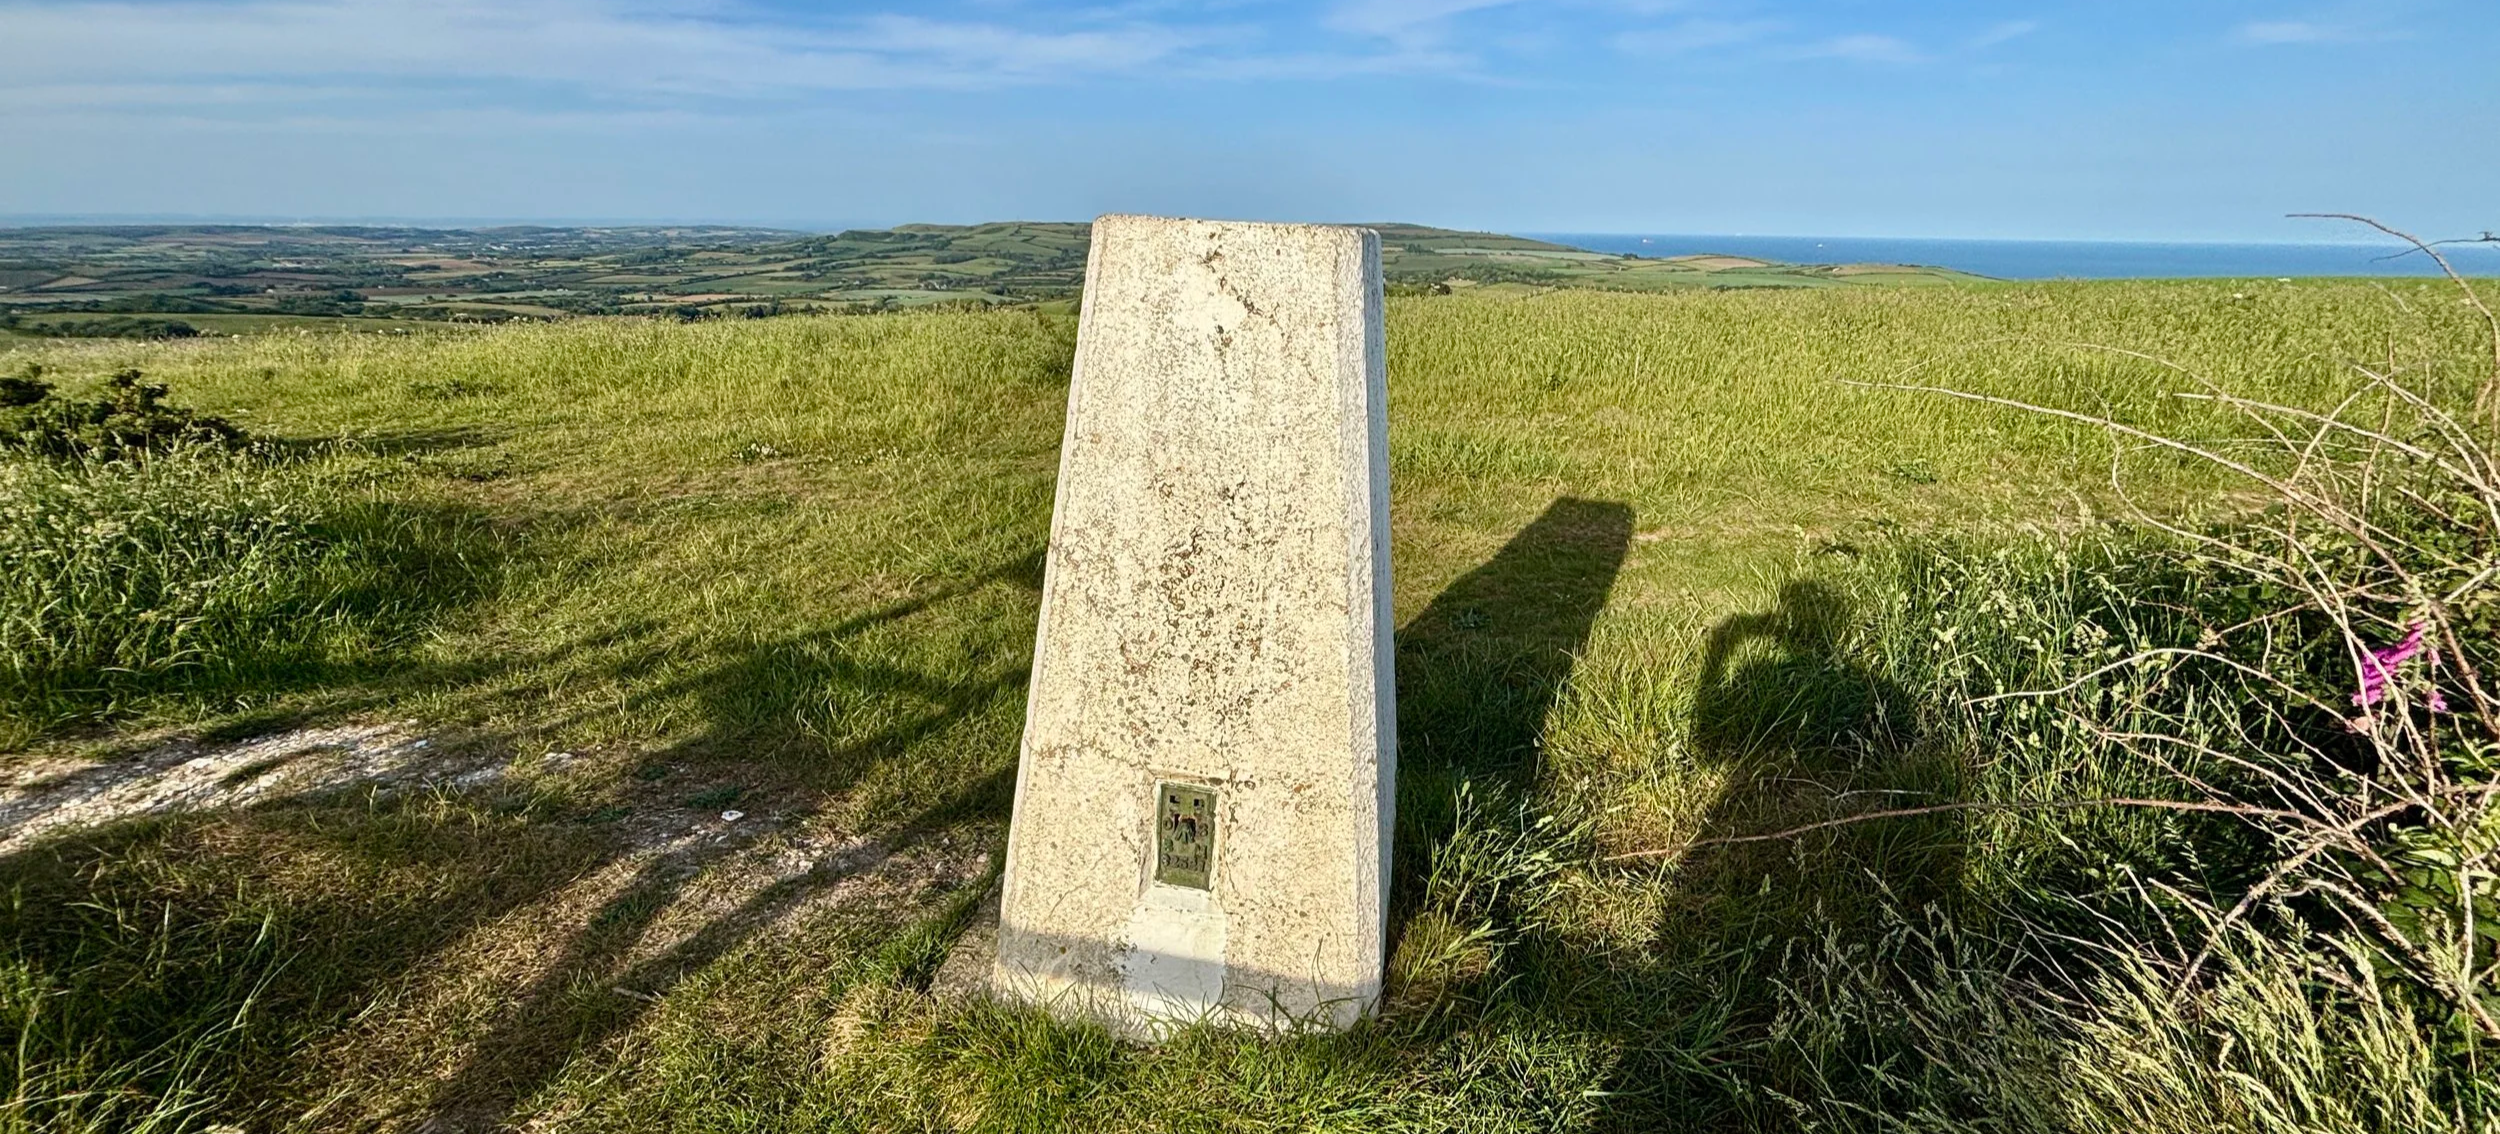
St Catherine’s Hill IoW Trig Pillar
Start & Finish: Wight Mouse Inn, Church Place, Chale, Ventnor, PO38 2HA
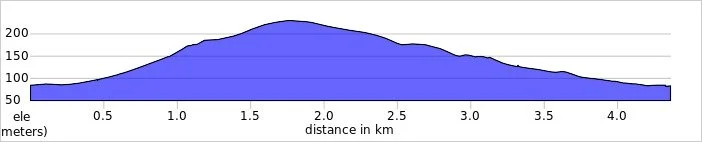
Distance: 4.4 km (2.7 miles)
Elevation change: +/- 144m
GPX File: get via Buy Me a Coffee
Other routes touched (walk): Isle of Wight Coastal Path
Other routes touched (cycle): Isle of Wight Round-The-Island Cycle Route (Route 67)
Pubs / Cafes on route: Wight Mouse Inn at the start and end
OS Trig Pillar: TP6127 - St Catherines Hill Isle Of Wight
Map: Isle of Wight Map | Cowes, Newport, Ryde, Sandown, Shanklin, Yarmouth & Ventnor | Ordnance Survey | OS Explorer Map OL29
Links: Chale, St. Catherine's Down, St Catherine's Oratory, Blackgang
Our Isle of Wight coastal cycle weekend late in May brought a brilliant unexpected bonus walk. Brian and I were on a two-day trip, and our first day involved cycling from Newport down to Chale on the south coast. We stayed overnight at a lovely pub called the Wight Mouse.
We arrived and checked in around 5:00 in the afternoon. We were both pretty tired, and Brian was particularly exhausted. We decided to grab an early dinner, after which I planned to head out for a short walk up nearby St. Catherine's Hill to bag the trig pillar. Brian had absolutely no interest in joining me: partly because of the fatigue, but mostly because he only had his clip-in cycle shoes with him, which are completely useless for walking. I do not use clip-ins, so I had my trusty trainers for the weekend, which were perfectly fine for a hike. Plus, we could actually see the top of the hill from our bedroom window at the pub: it was just too tempting to pass up!
Walking Directions
The guidance below will help you navigate but don’t use it as a fully accurate turn-by-turn guide. Always take a map and/or a GPX route and prepare well for the weather and terrain.
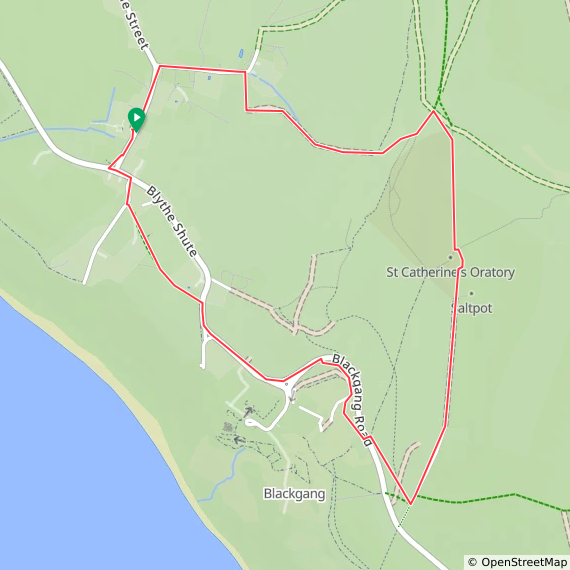
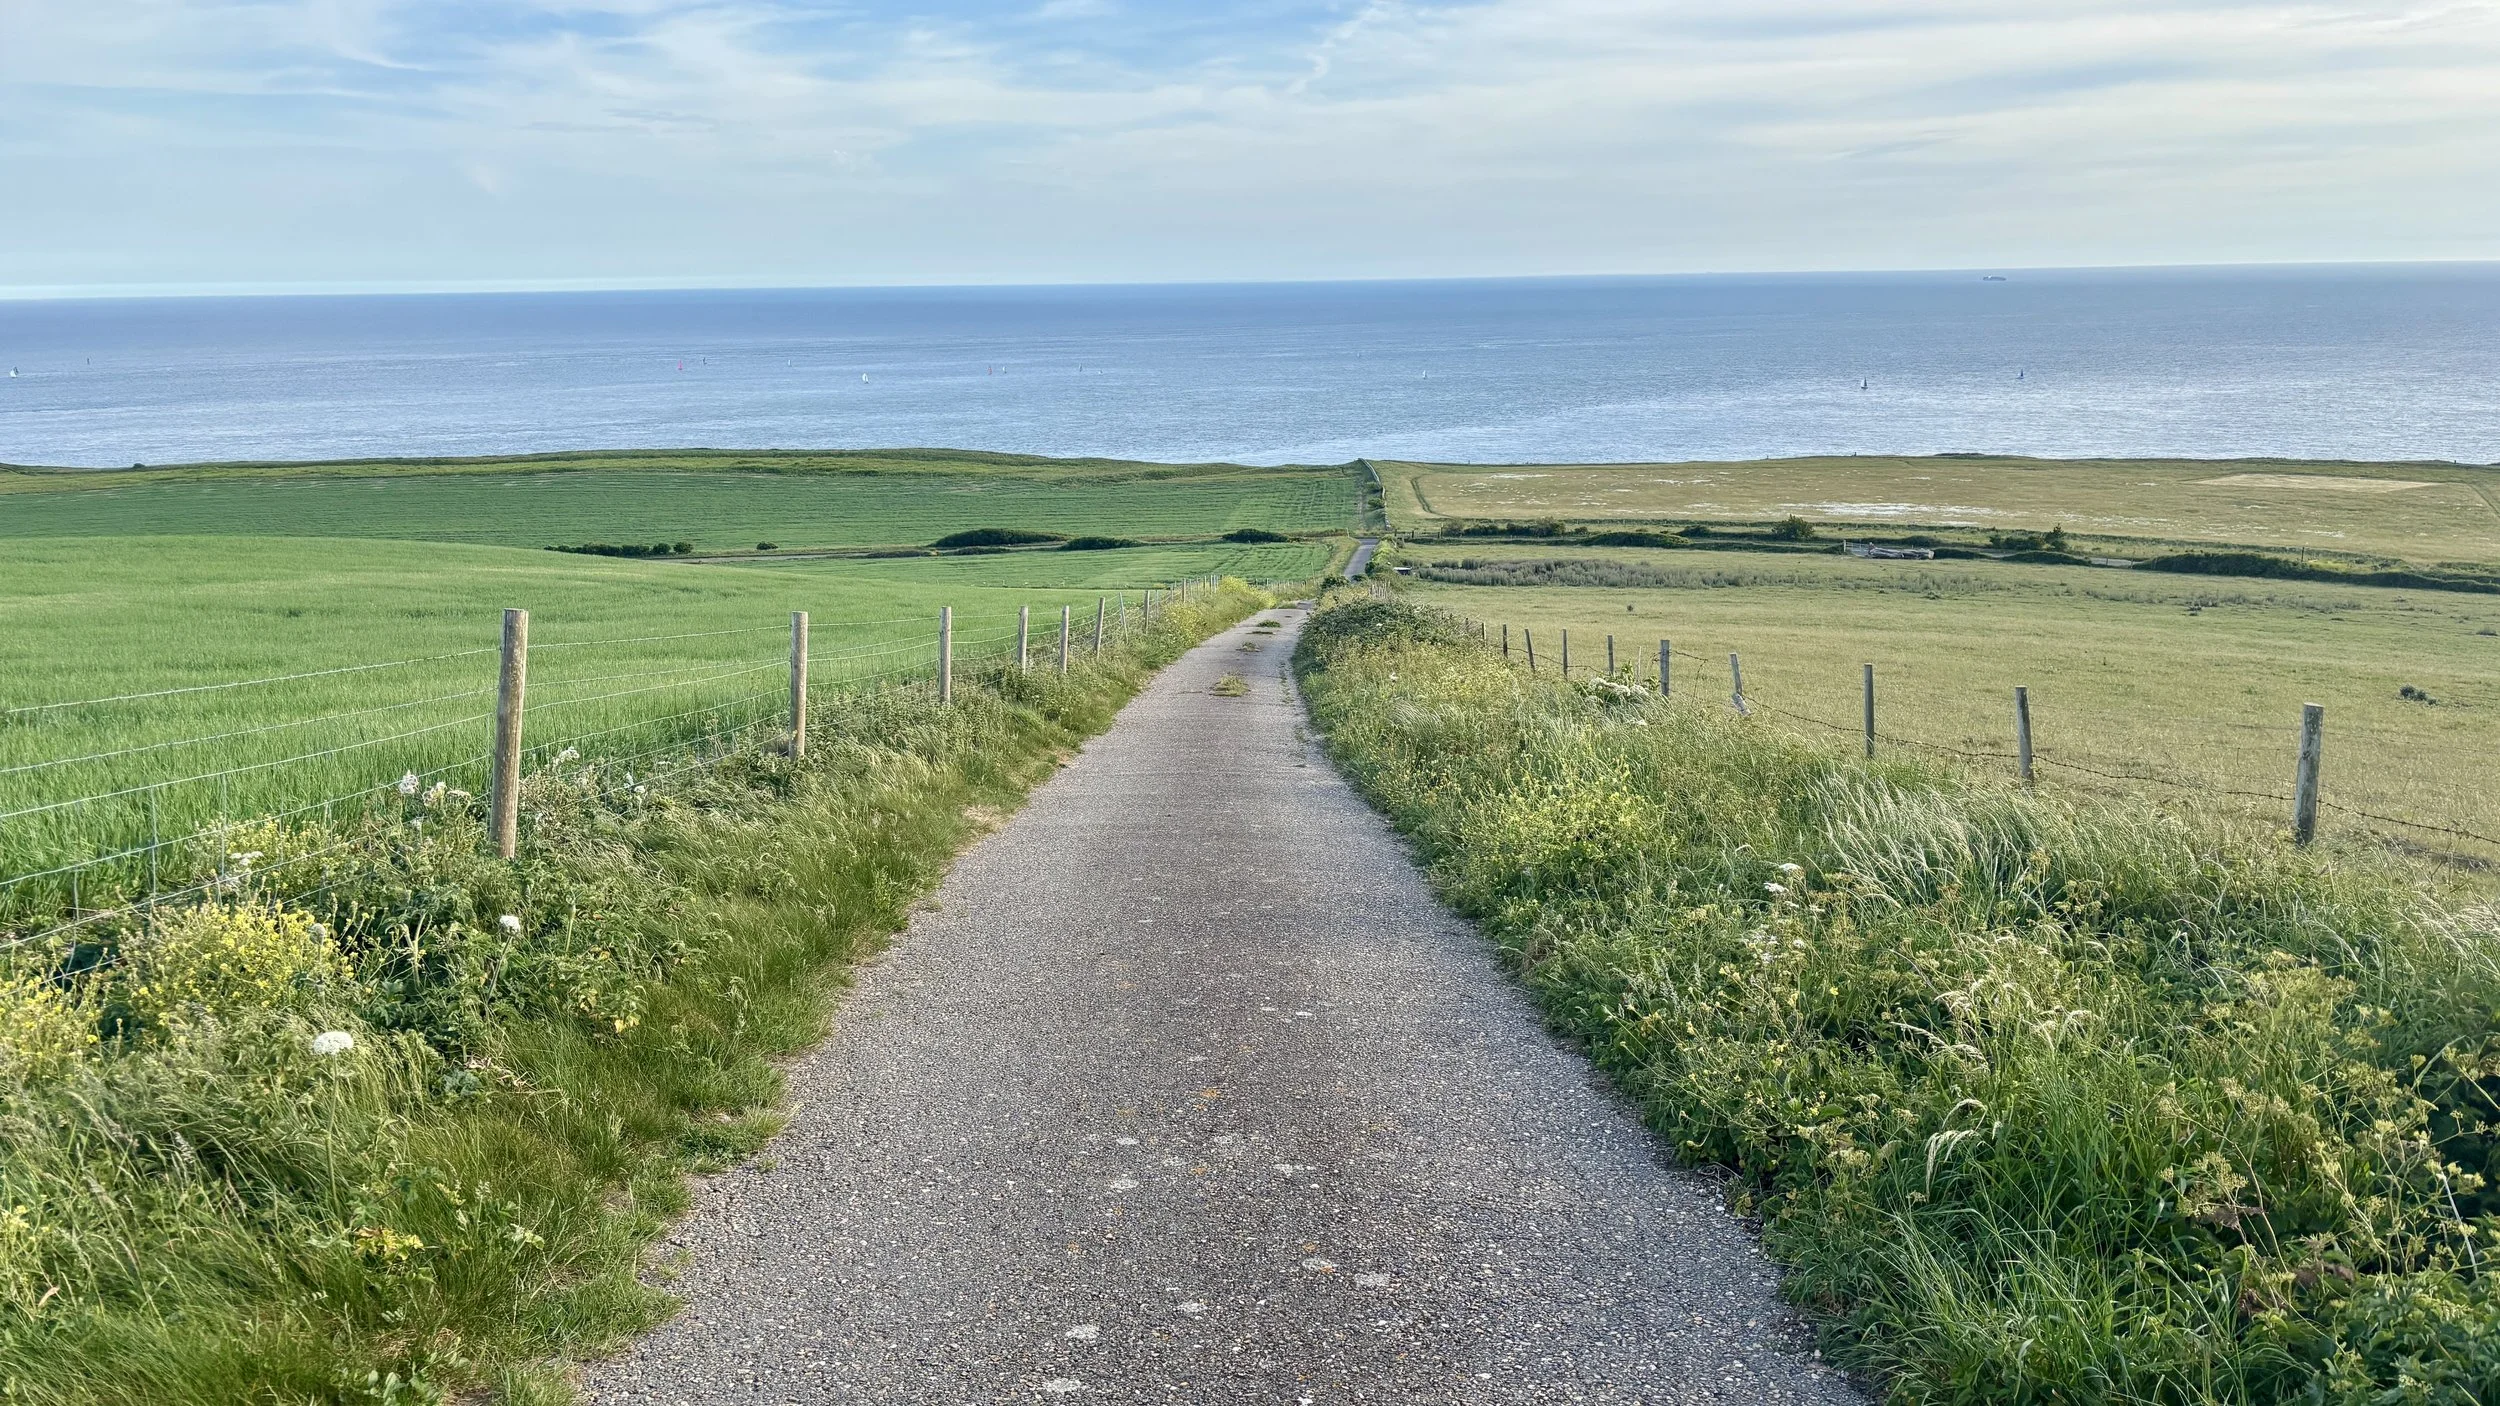
Just after dinner, I set out. I took a left out of the pub onto Church Place, and then the first right onto Upper House Lane. Taking a right onto a footpath, I headed out into the fields. From there, you can navigate through the fields and up a steep bank to the ridge line, which leads straight to St. Catherine's Hill.
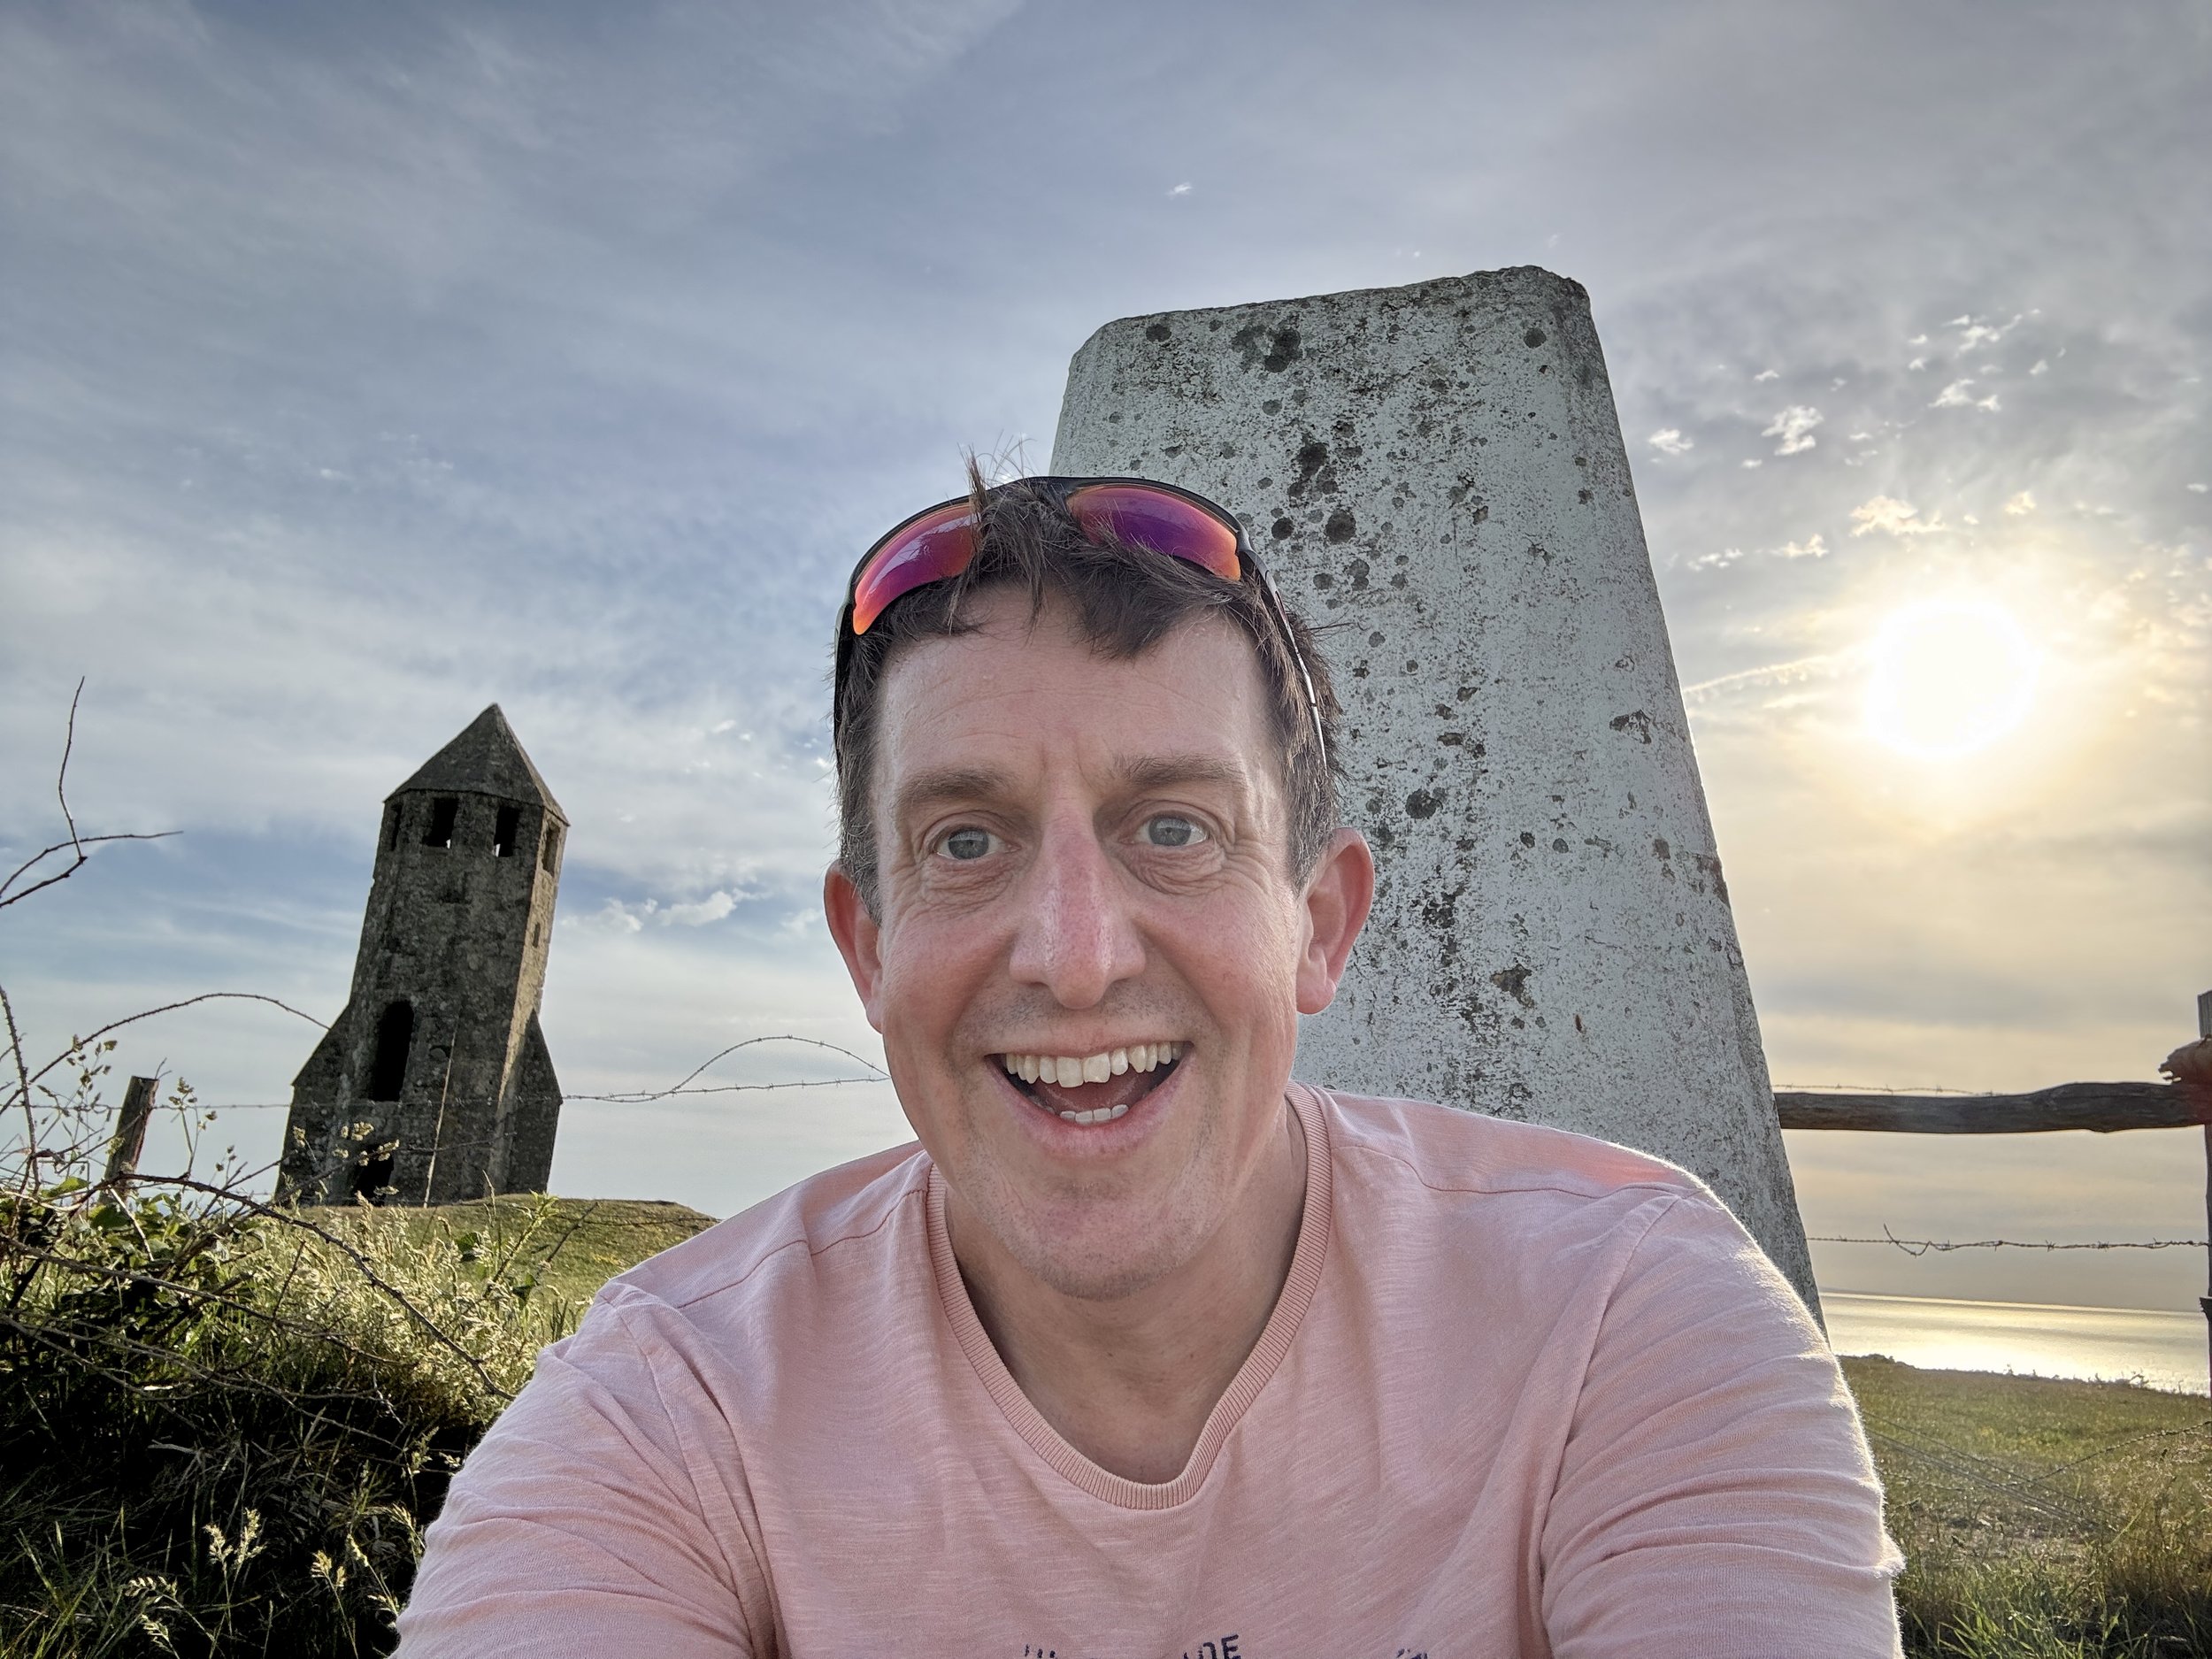
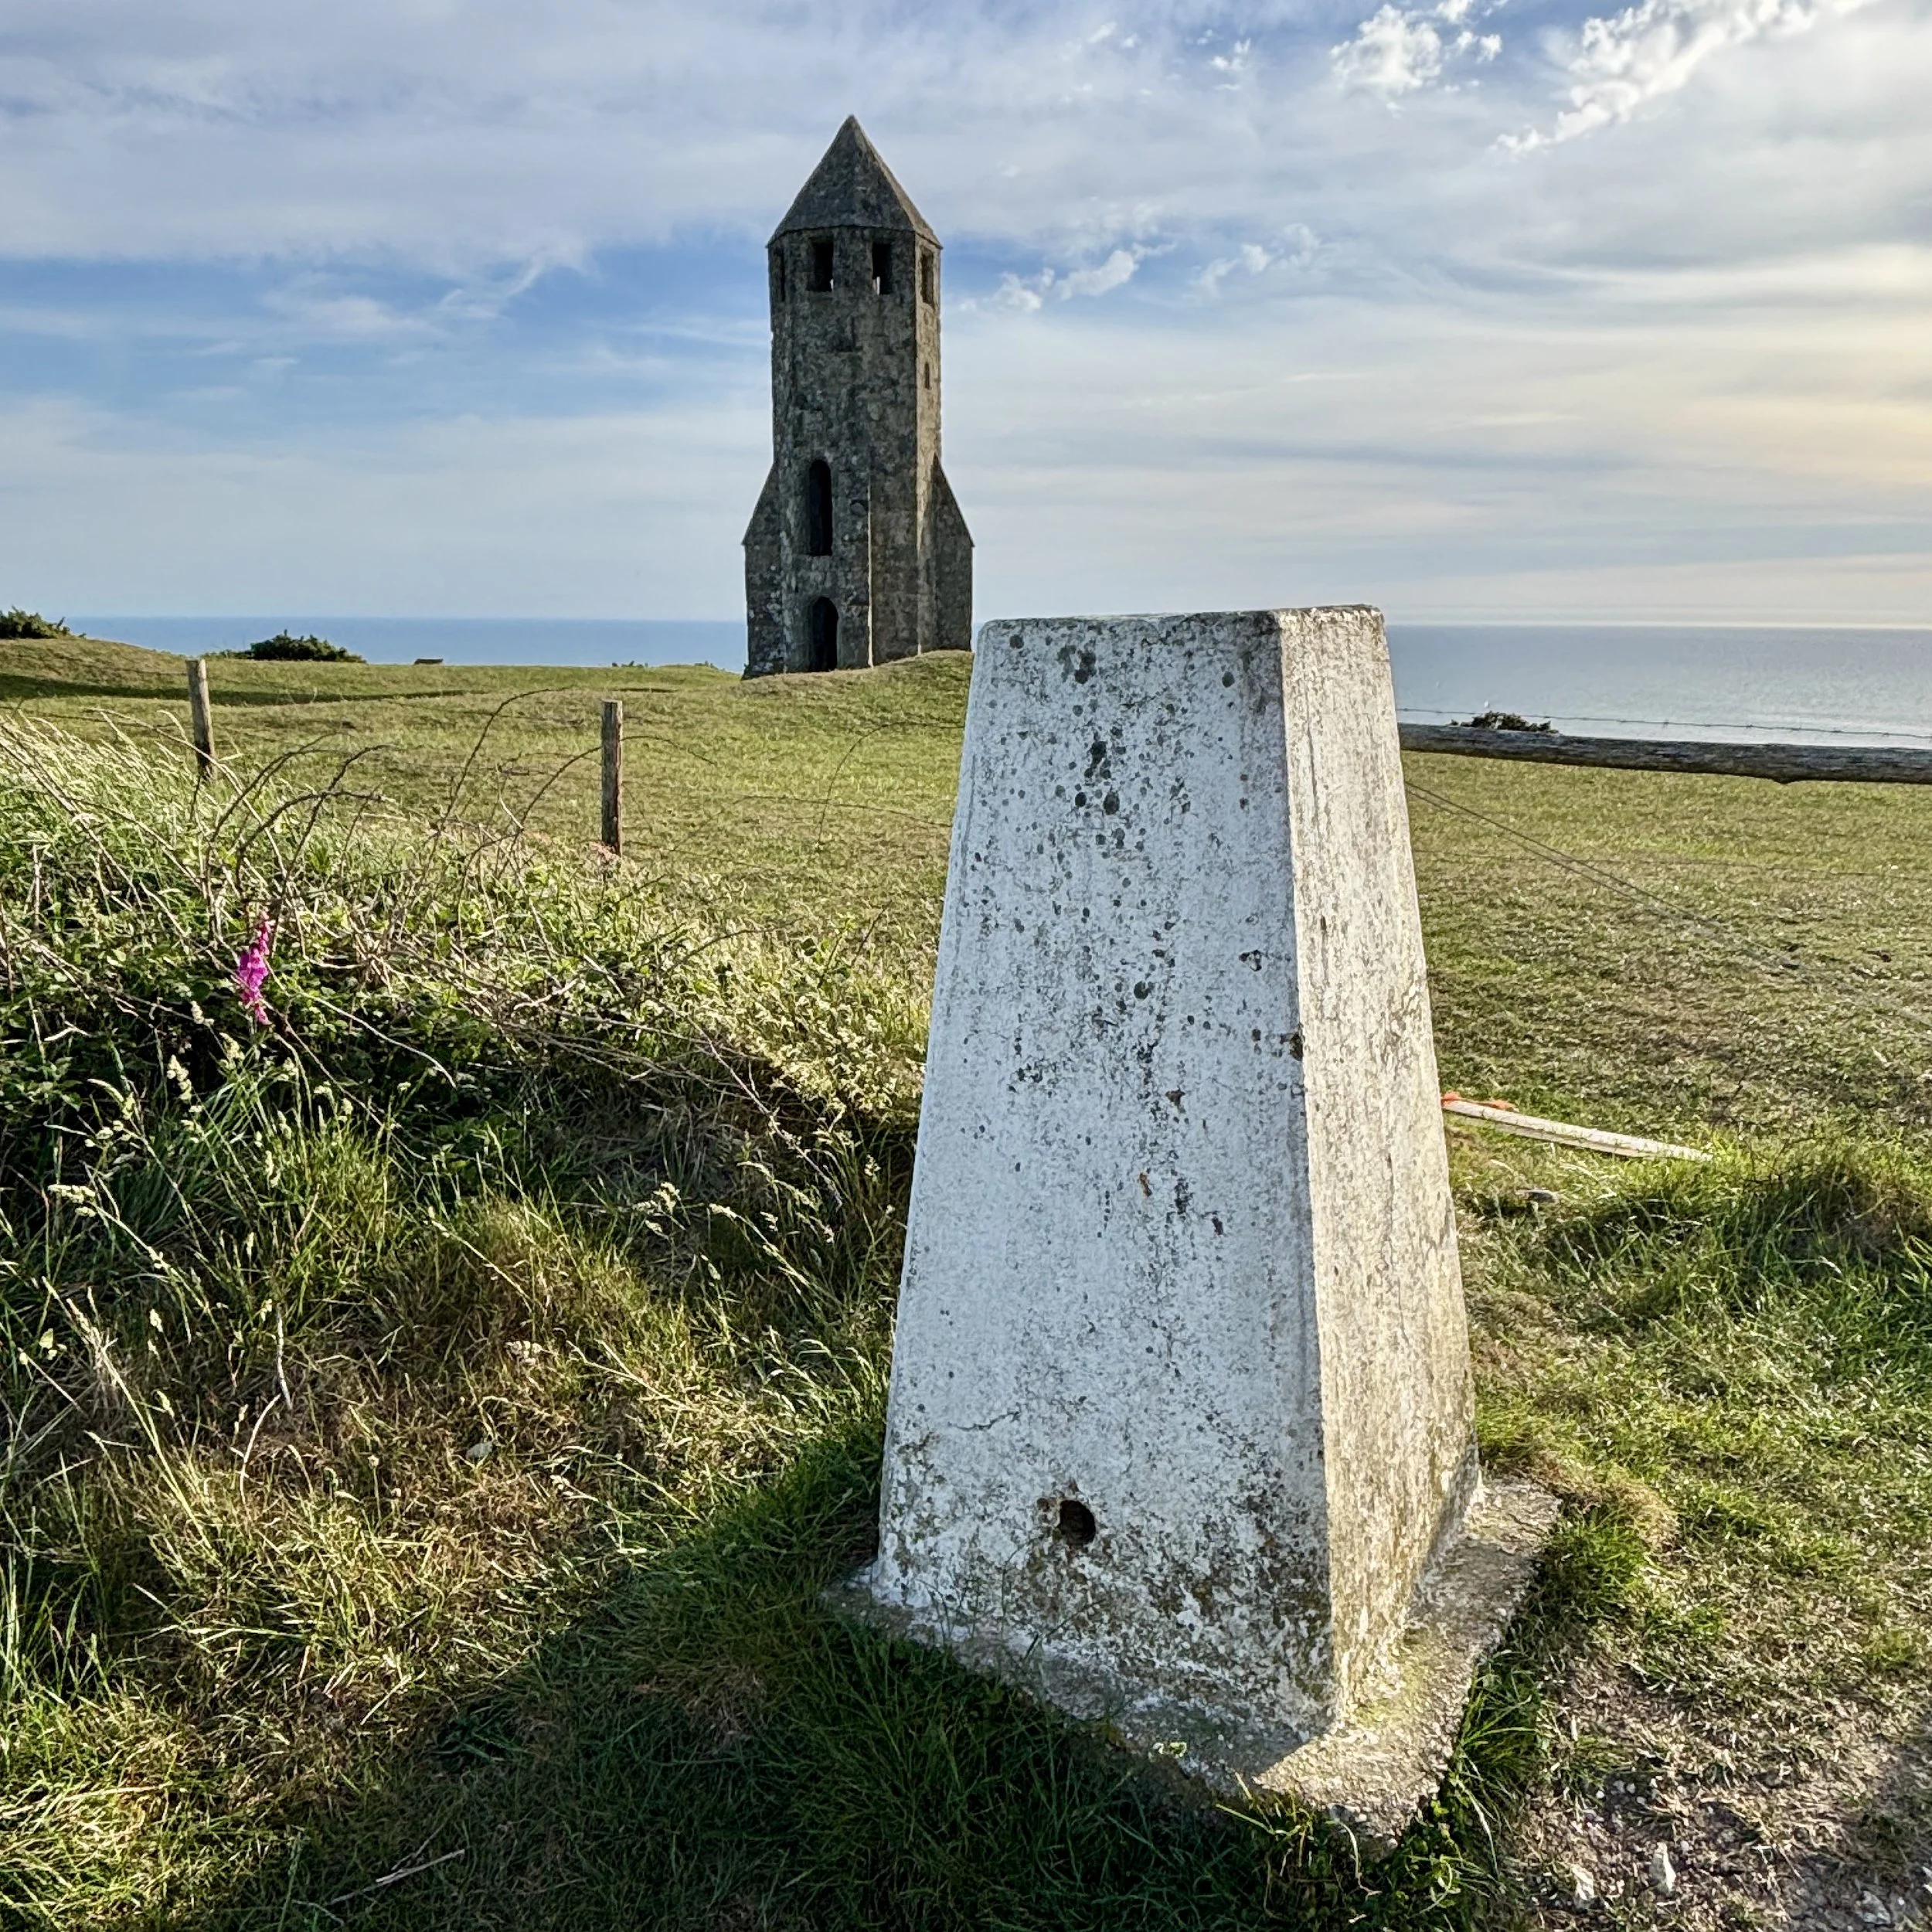
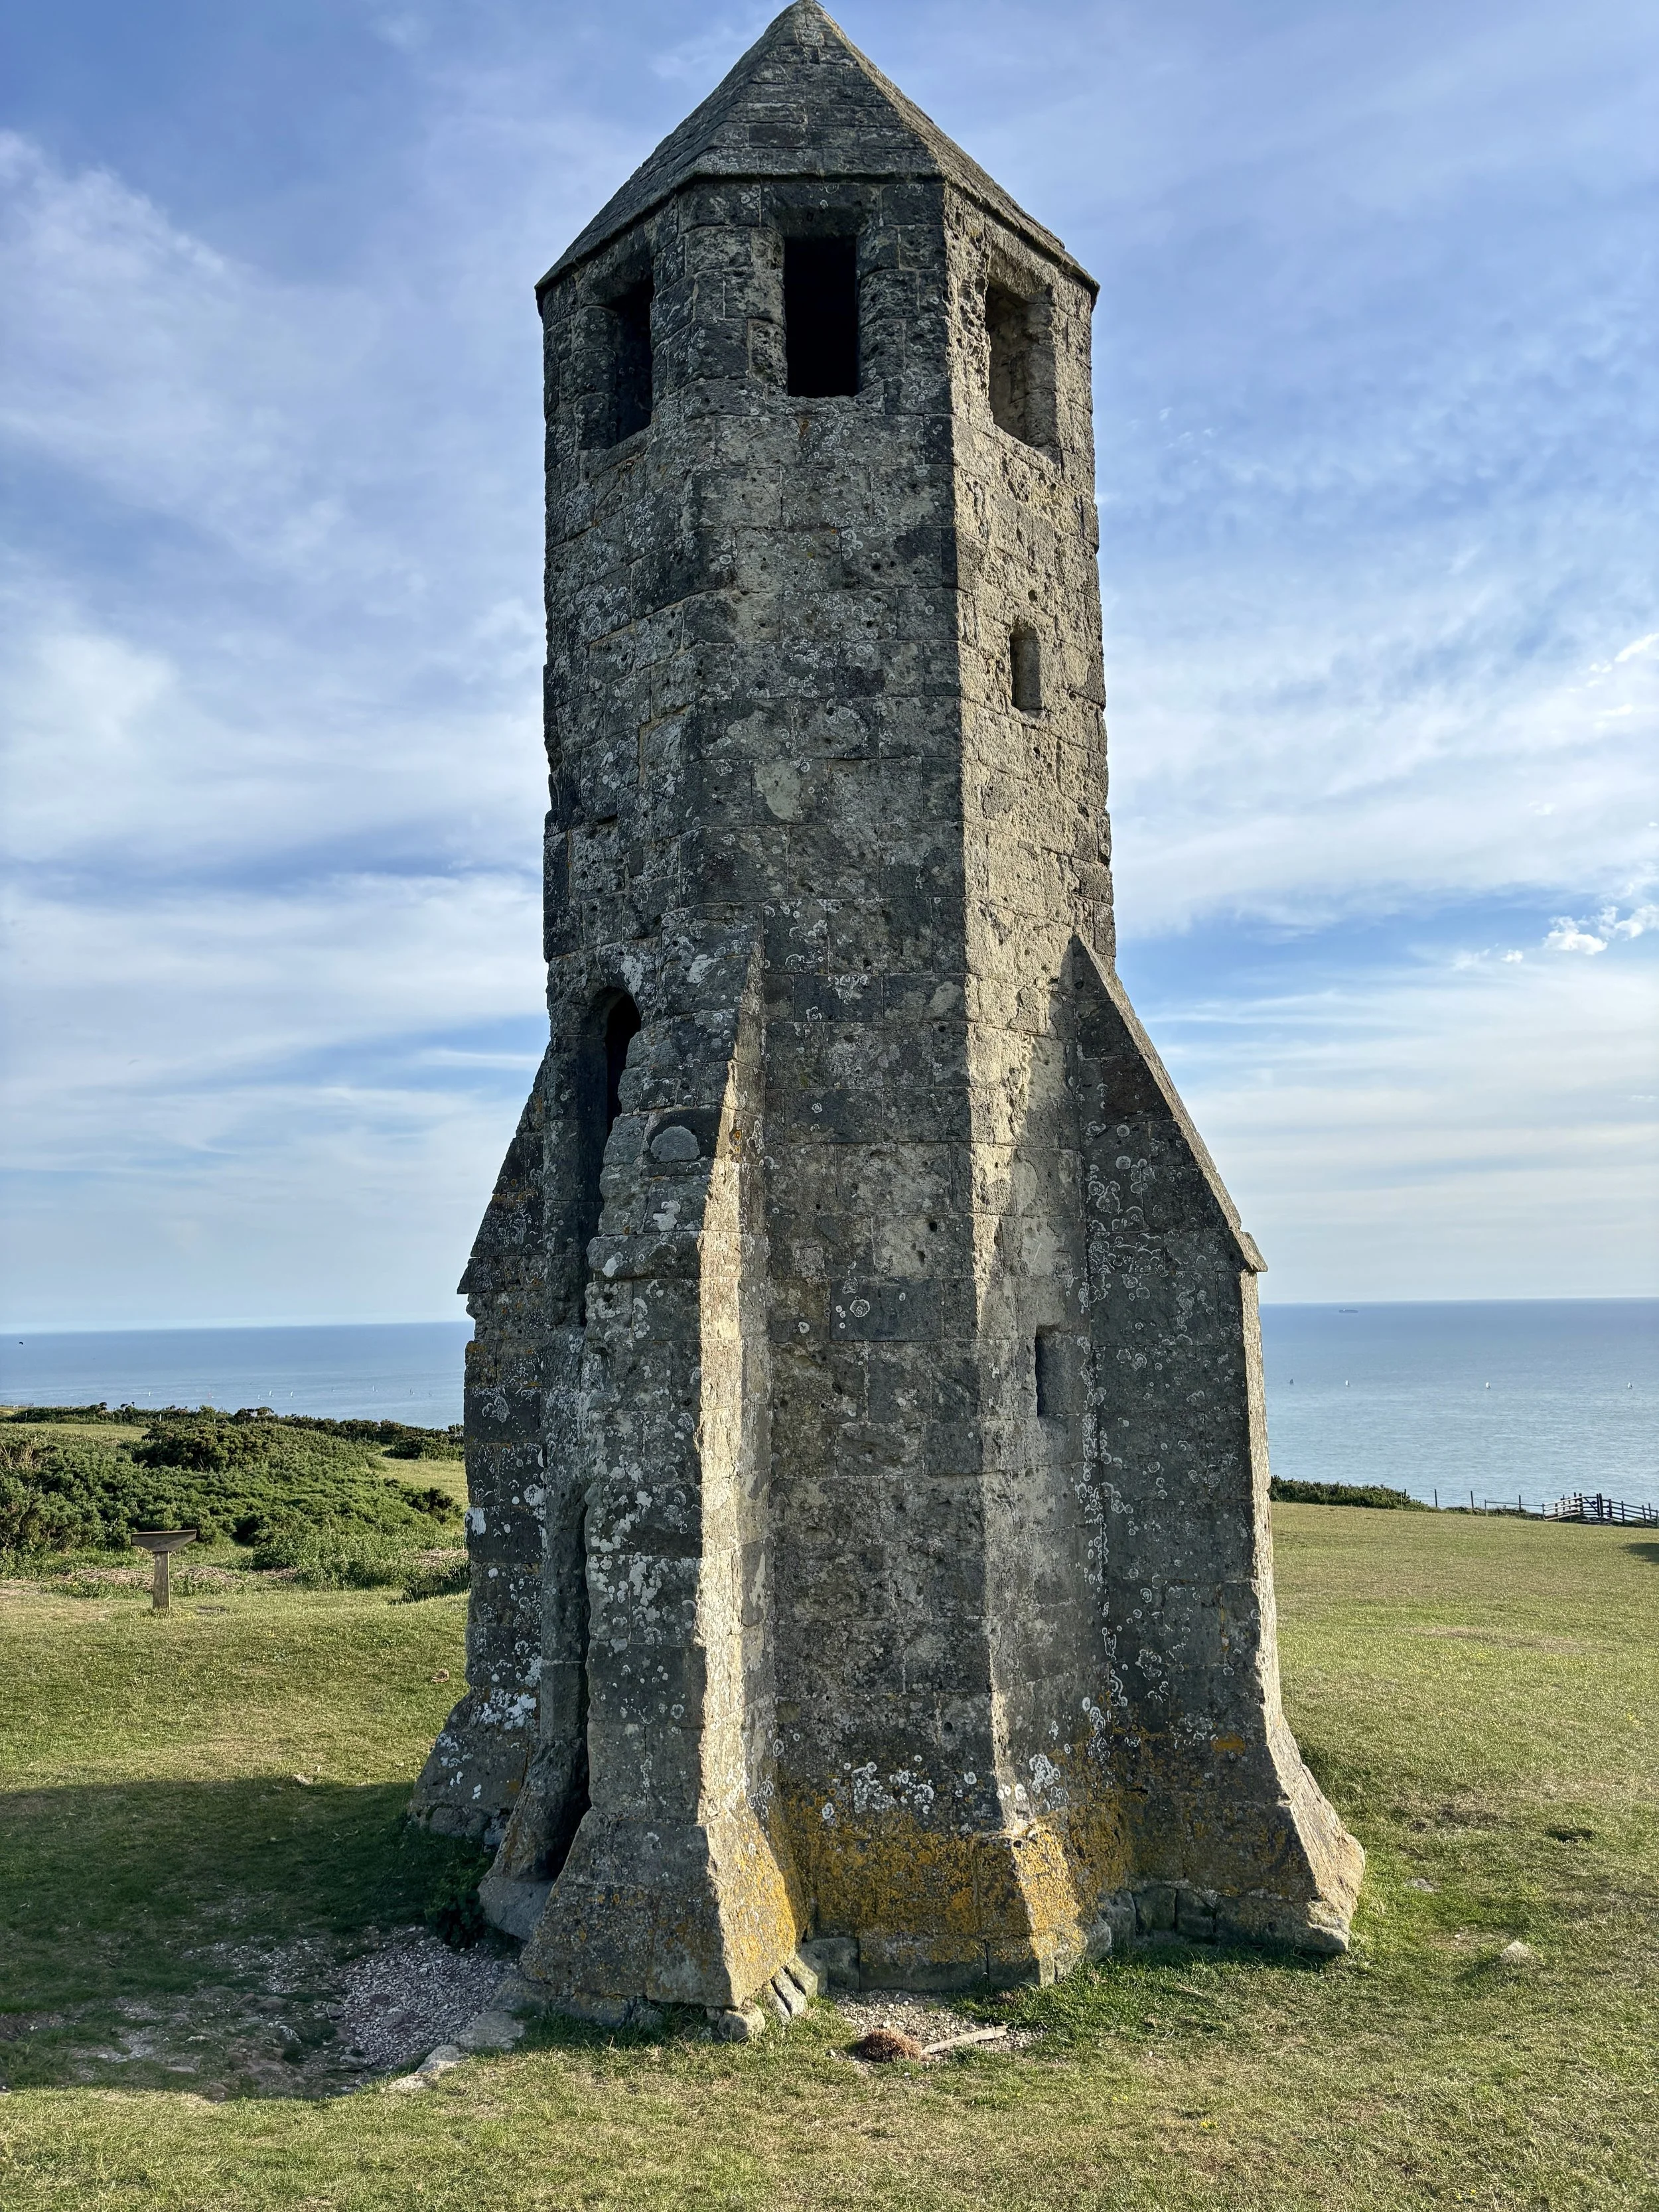
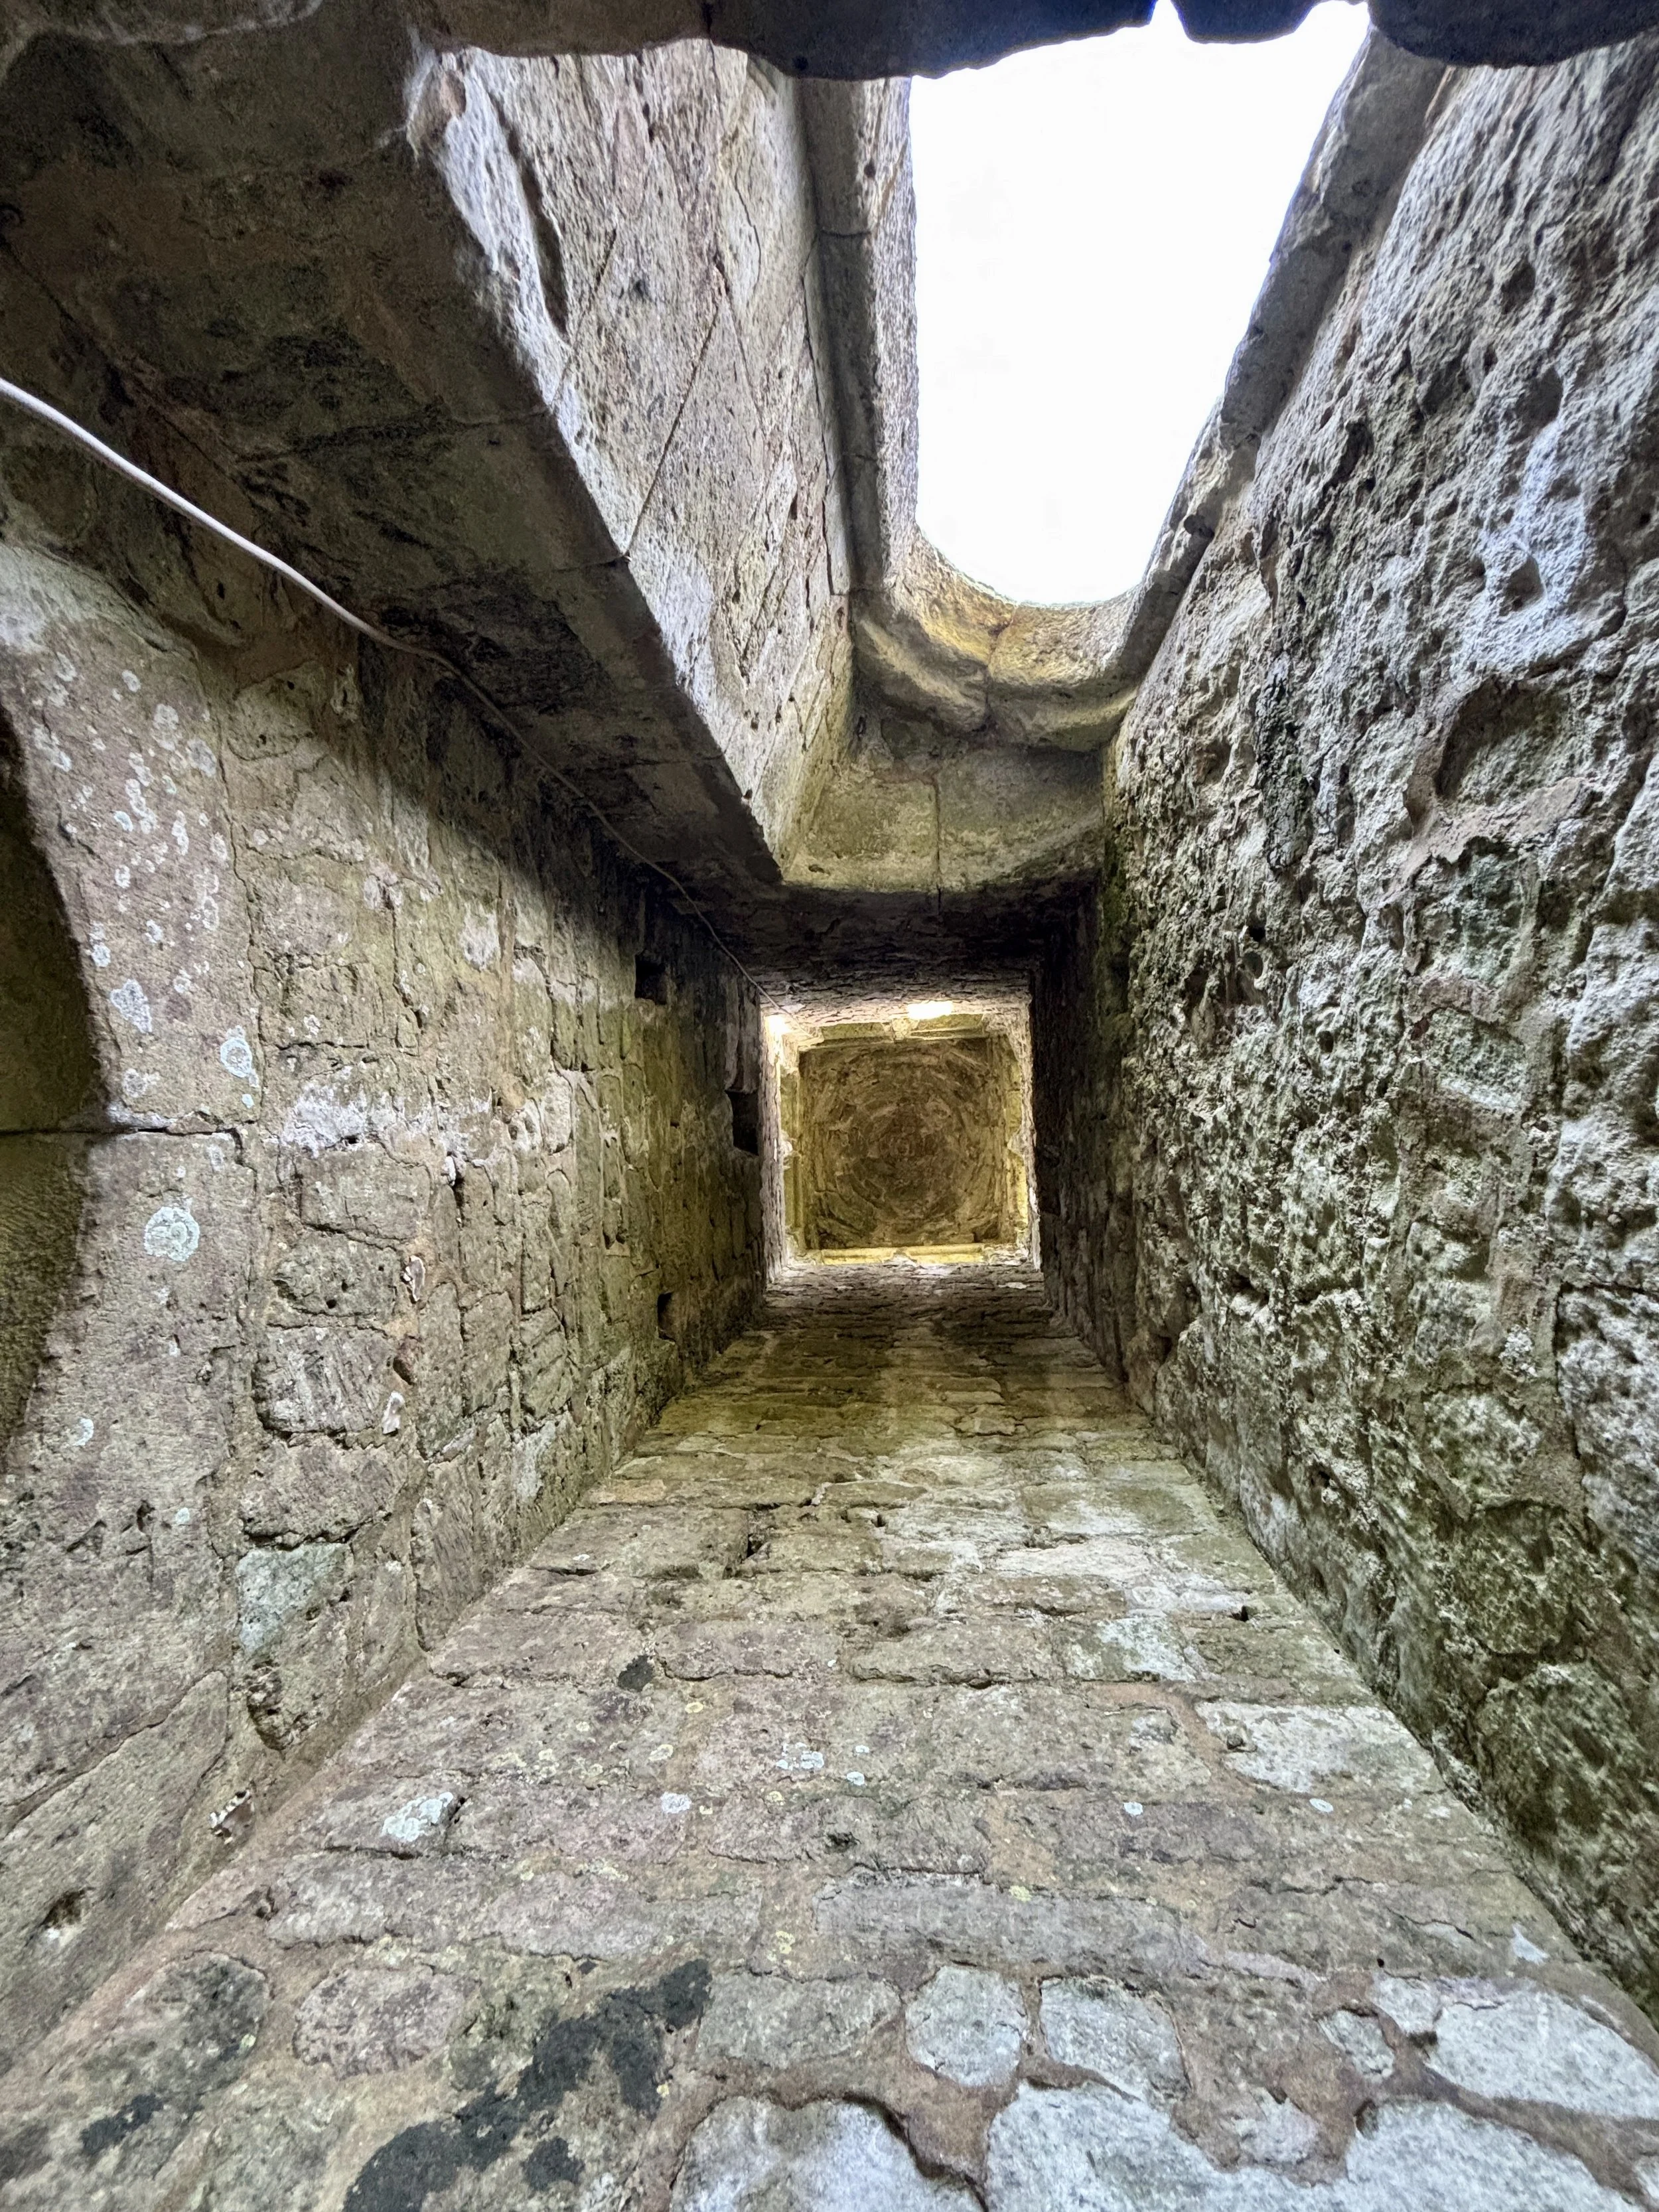
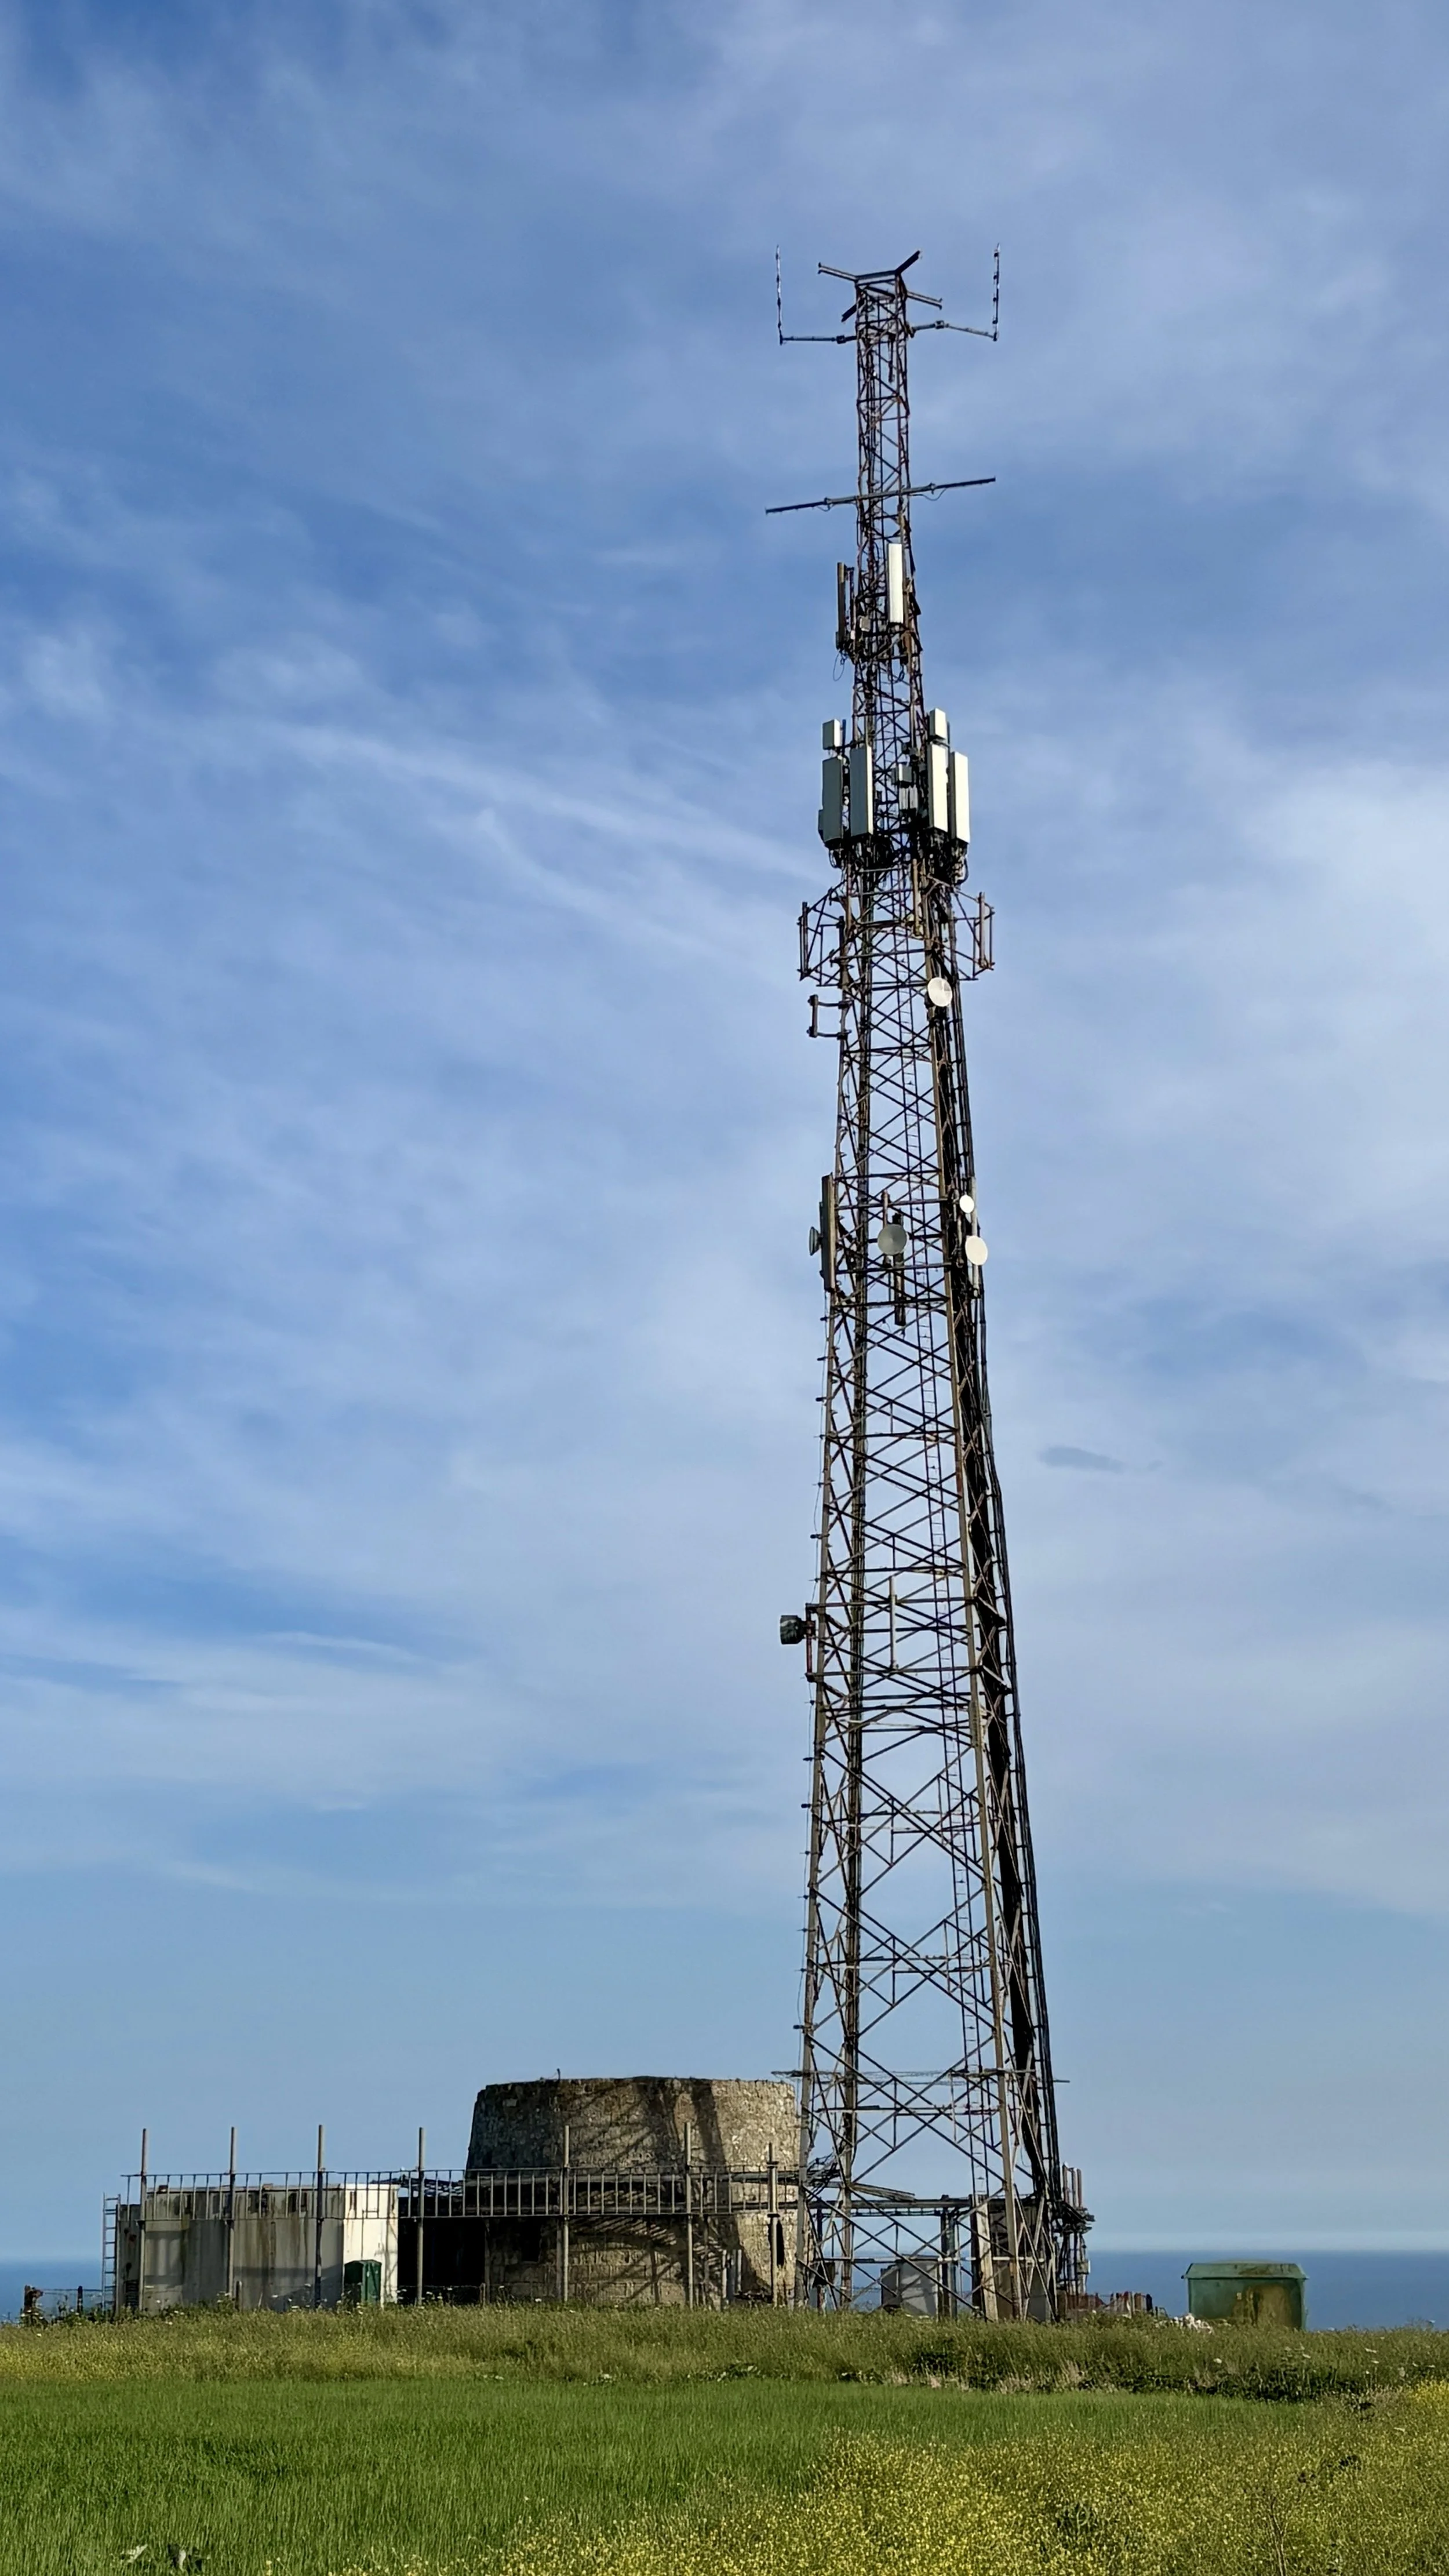
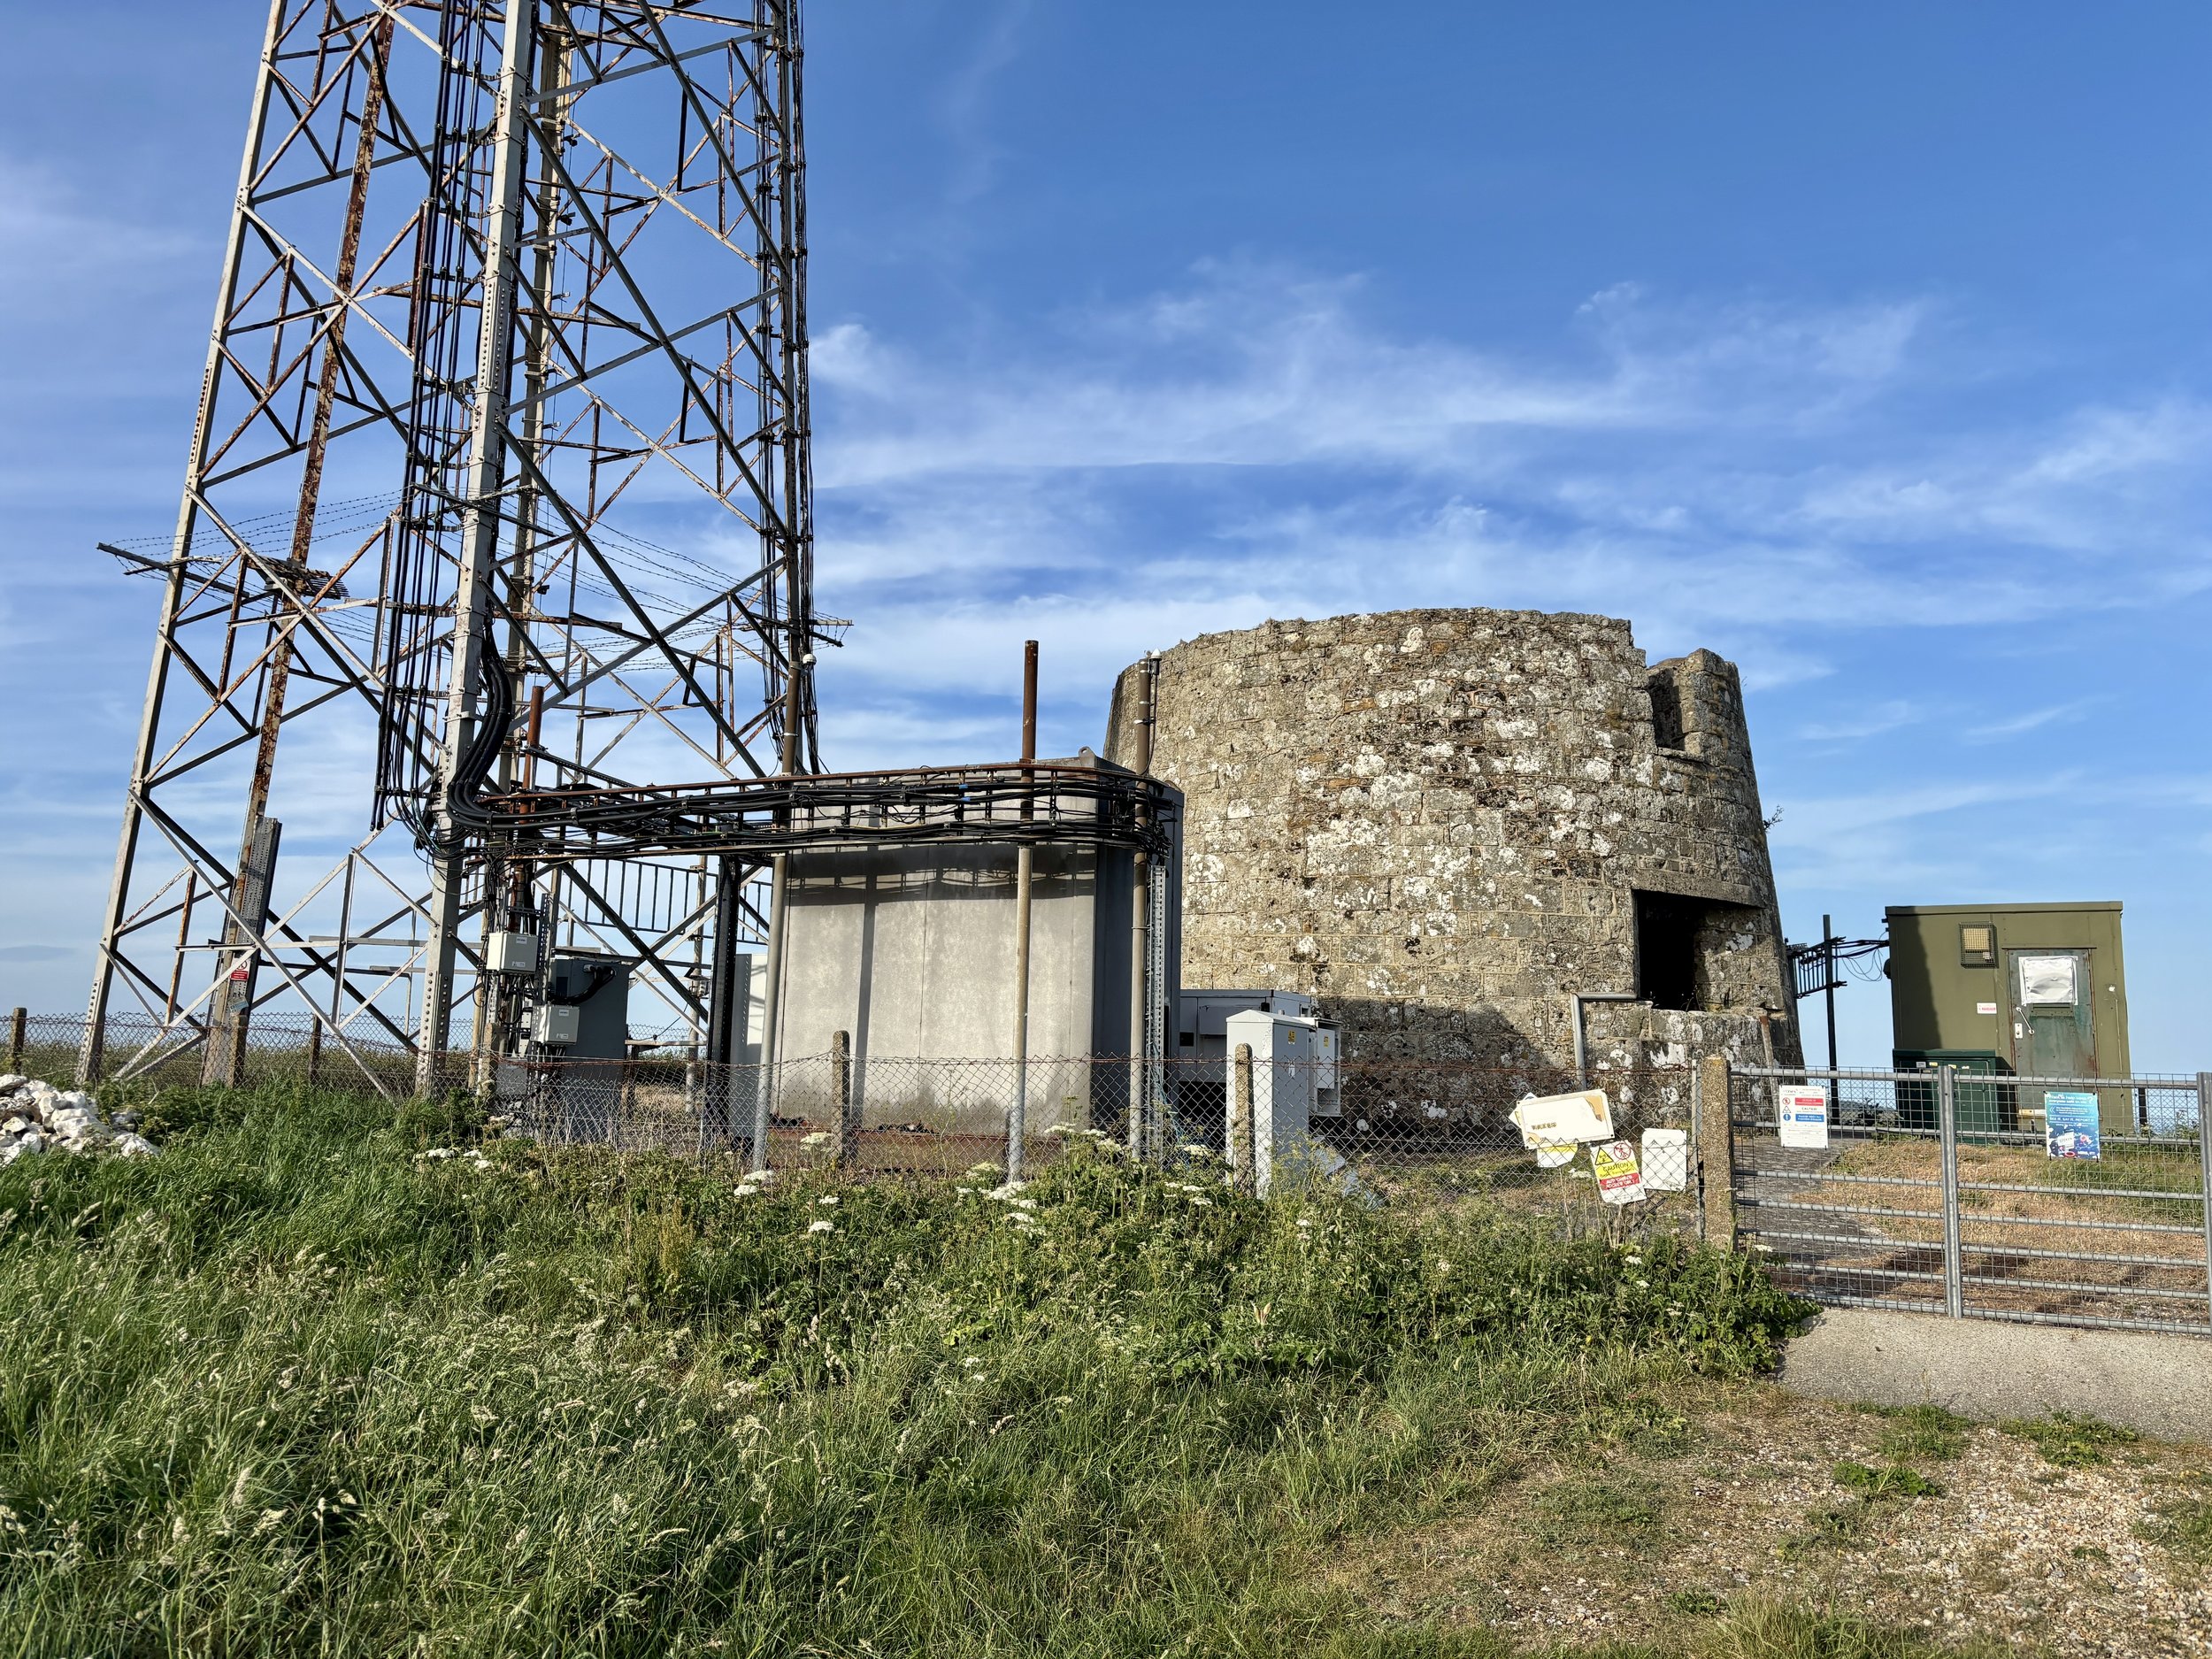
There are some genuinely fascinating things to see at the top. Naturally, my first stop was the trig pillar itself, which I successfully bagged. Moving on, the landscape reveals St. Catherine's Oratory, affectionately known locally as the "Pepperpot". This 35-foot structure is the only surviving medieval lighthouse in England. It was completed in 1328 by Walter de Godeton, the Lord of Chale. He was ordered by the Church to build the lighthouse and an adjoining oratory as an act of penance after he illegally plundered casks of white wine from a shipwrecked vessel called the St Marie of Bayonne in Chale Bay. Interestingly, historical sources conflict slightly on the exact date of the wreck: English Heritage and some historical texts note it as occurring in 1314, whilst other local historical records state it happened on 20 April 1313. A bit further south from the trig pillar, there is another striking piece of history: a modern telecommunications tower built right next to an old World War II pillbox.
After spending a good amount of time at the top investigating the sights, I continued south along the footpath until I reached Blackgang Road: the exact road we had cycled down just a couple of hours prior.
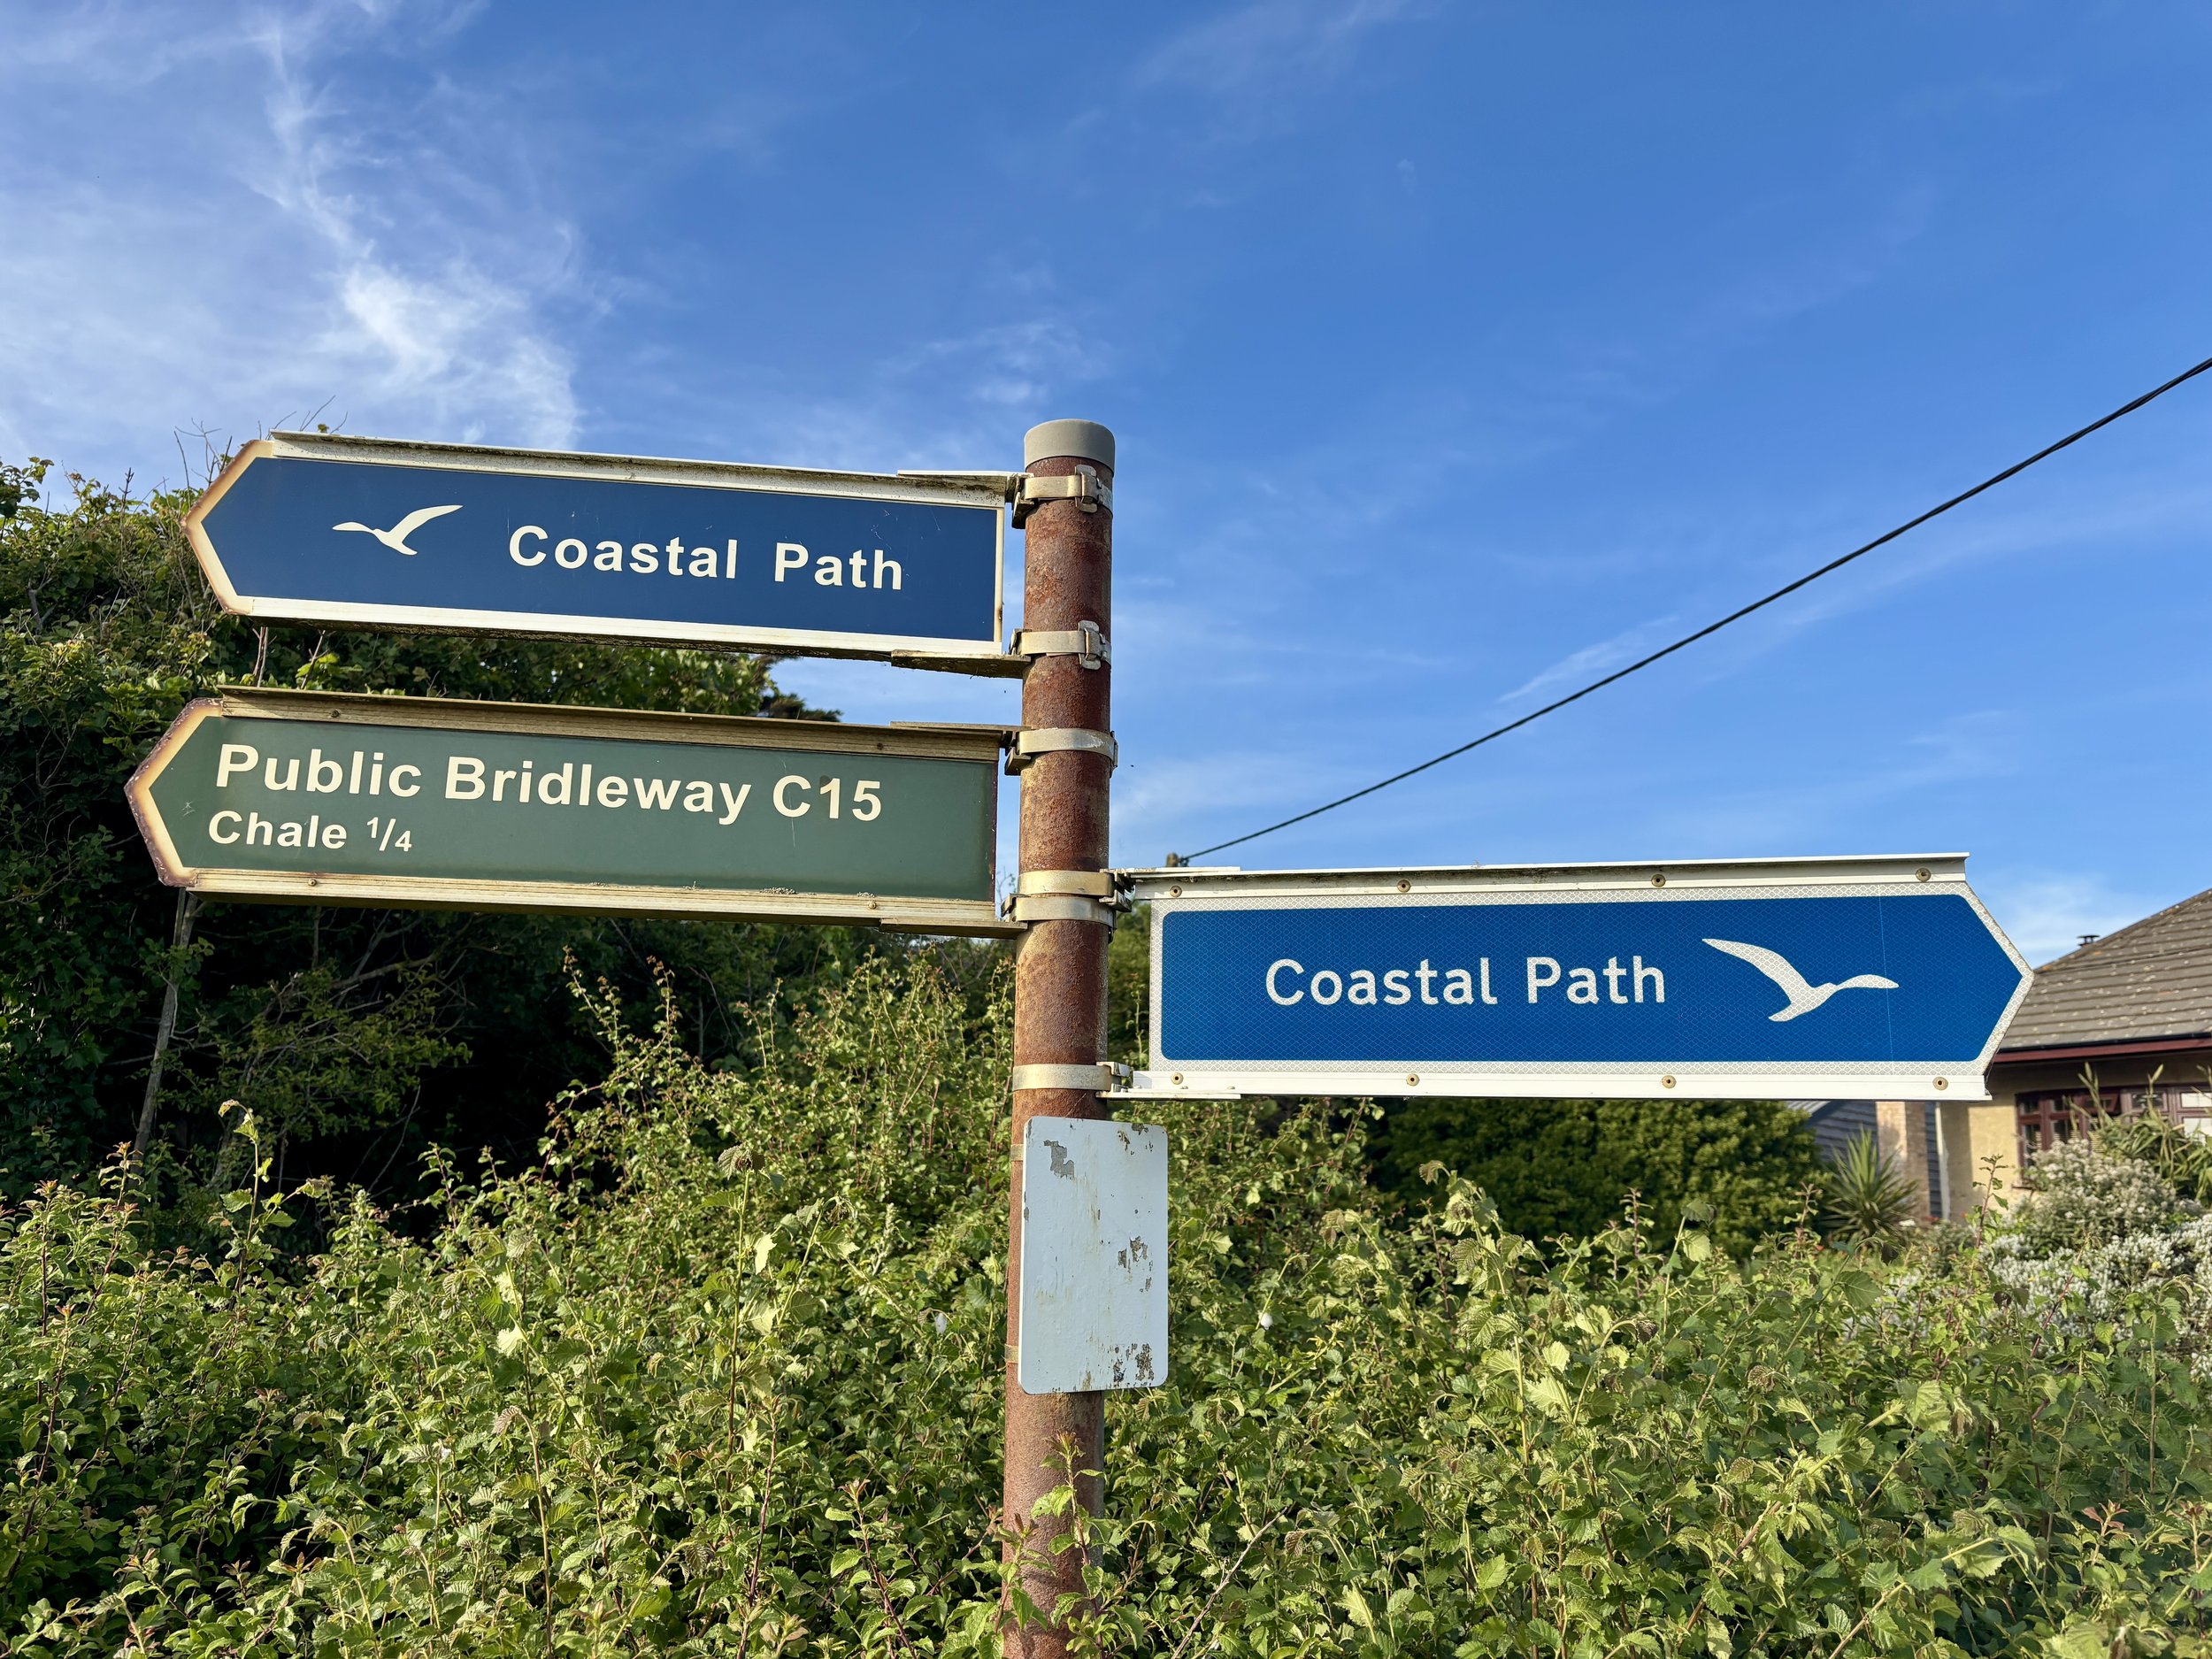
I crossed over the road at a safe point into the Blackgang Viewpoint car park. From there, I picked up the Isle of Wight Coastal Path. This walking route takes a much safer path running parallel to Blackgang Road. I followed it all the way back to Chale, returning to Church Place and finally arriving back at the Wight Mouse. I found Brian relaxing in the pub garden, and we enjoyed a final drink together before getting a big sleep ahead of our second day of cycling.
Points of Interest along or near to the Route
St Catherine's Hill (Trig Pillar & Tumuli) At 239 metres above sea level, St Catherine's Hill is one of the highest points on the Isle of Wight. The summit area, including St. Catherine's Down, not only houses the trig pillar but also features ancient burial mounds (tumuli) dating back to the Bronze Age. The elevation provides commanding, uninterrupted views across the English Channel and the rolling downland of the island.
St Catherine's Oratory (The Pepperpot) Standing 35 feet tall, this striking octagonal stone tower is Britain's only surviving medieval lighthouse. It was built in 1328 by Walter de Godeton as penance for plundering a shipwrecked vessel laden with wine destined for a monastery. Originally, a priest would have tended the light to warn sailors of the treacherous Chale Bay below while offering prayers for the souls of those lost at sea.
Wight Mouse Inn (Chale) Located in the village of Chale, this historic 17th-century pub serves as a welcome starting and finishing point for the route. The building has deep roots in the local community, serving weary travellers for generations. Chale is positioned near the rugged southwestern coast, an area historically notorious for shipwrecks, giving the pub a rich maritime and smuggling heritage.
Blackgang Viewpoint Overlooking the dramatic southern coastline, this viewpoint offers spectacular vistas along the Undercliff and out over the sea. The area around Blackgang is constantly shaped by coastal erosion and landslides, which gives the cliffs their rugged, sheer appearance. In the past, this stretch of coastline was heavily patrolled by coastguards due to frequent shipwrecks and active smuggling operations.
The High Points of Ibiza and Formentera
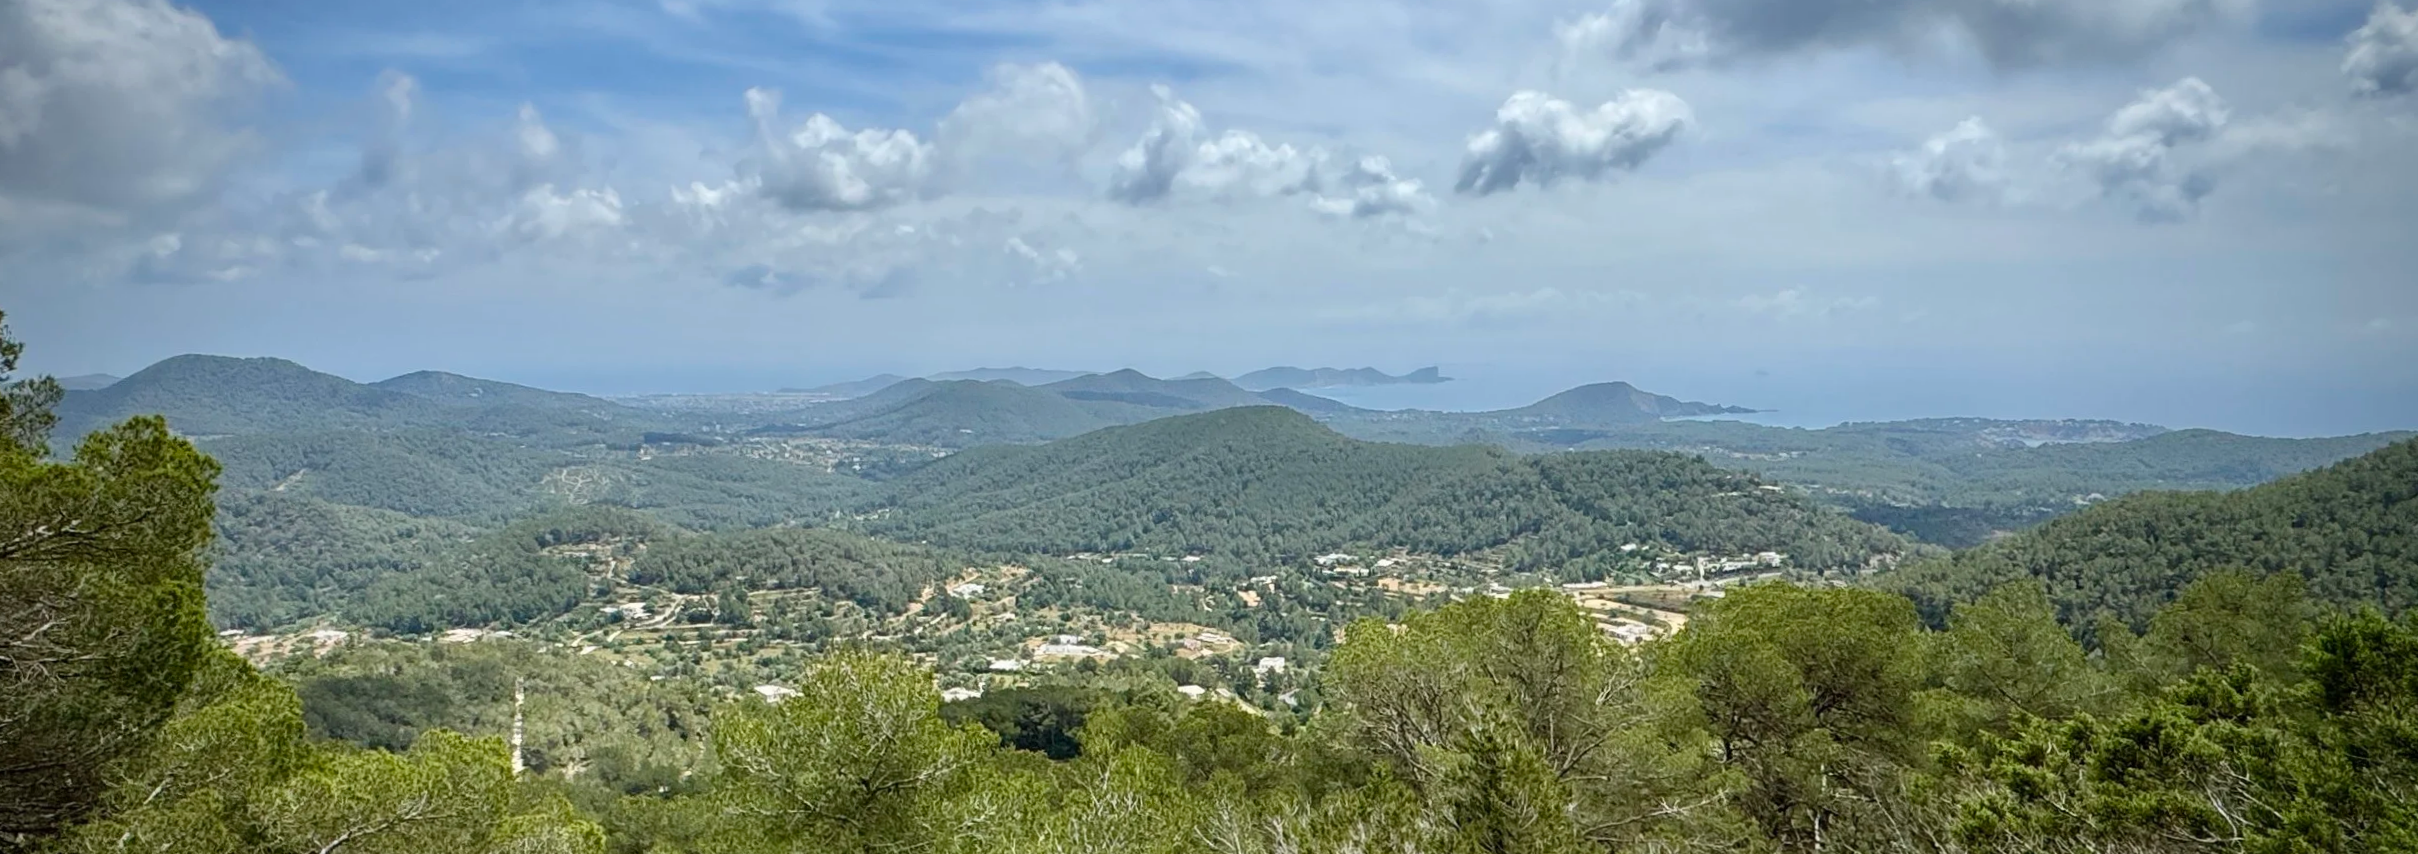
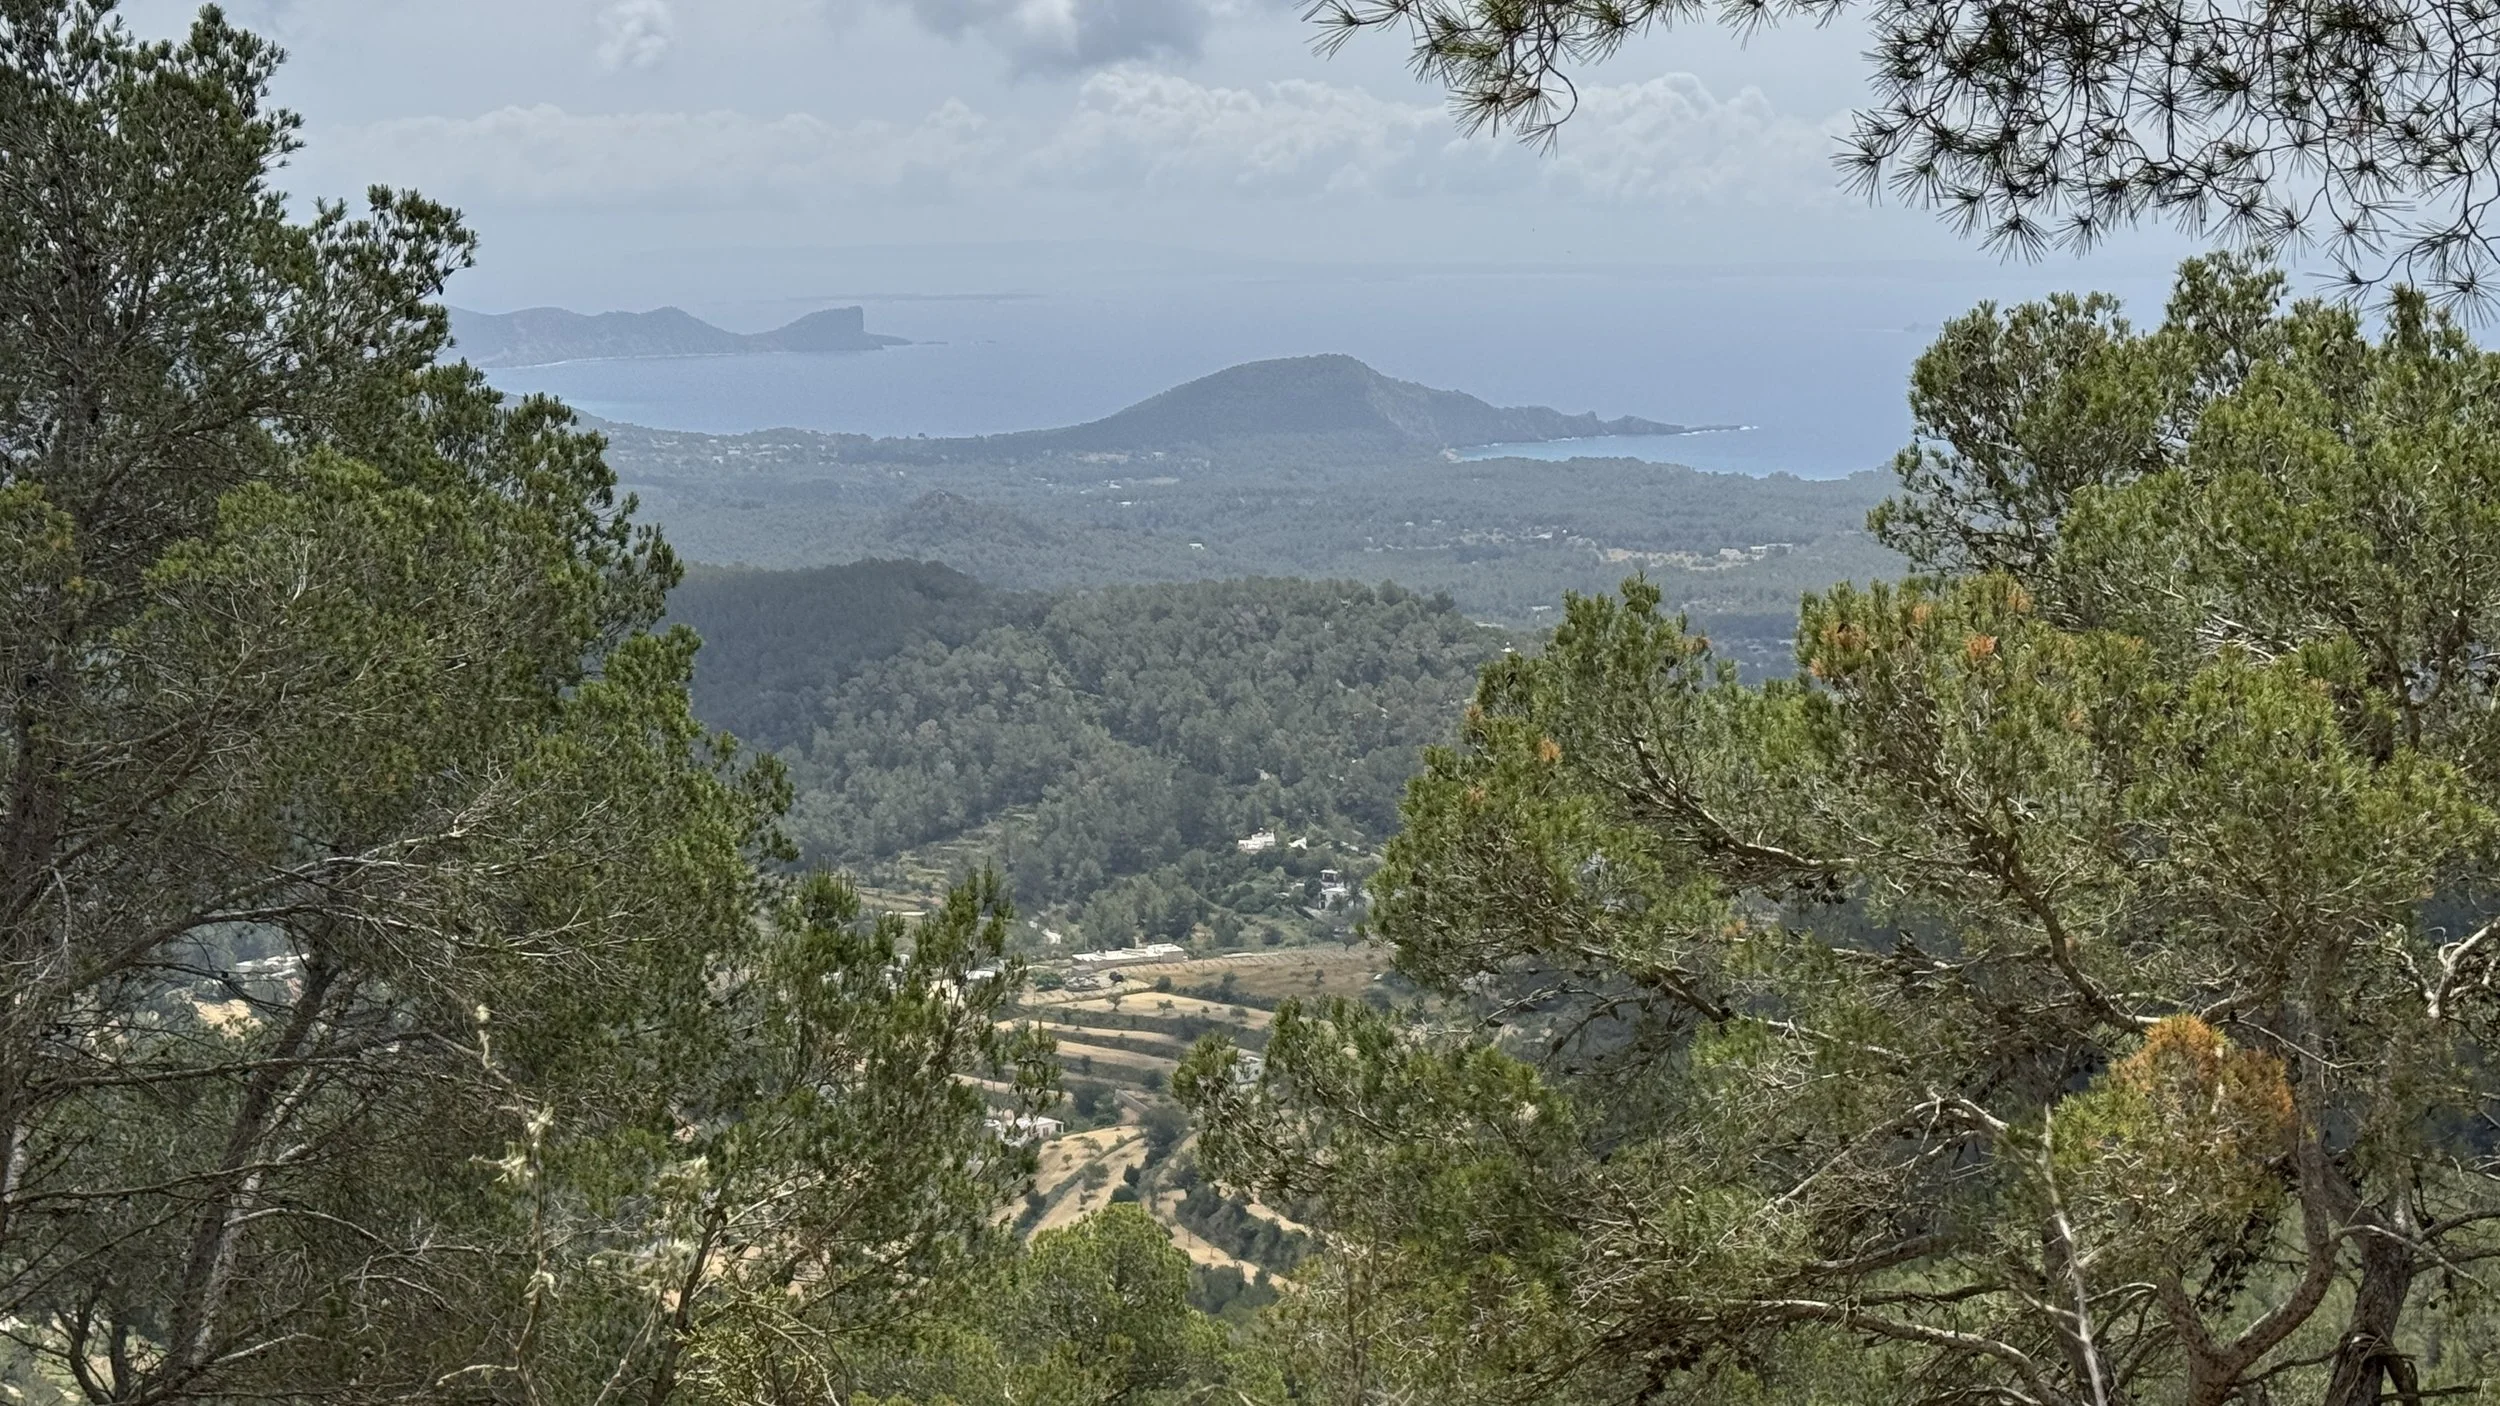
View to the south-east from Sa Talaiassa, Ibiza
Two years ago, we visited Menorca and ticked off its rather modest high point at just over 350 metres. We decided it was time to return to the Balearics to visit the final two islands, Ibiza and its very close neighbour, Formentera.
Here is how we got on walking the highest points of both islands.
Sa Talaiassa, Ibiza
Also known as: Sa Talaia / Sa Talia de Sant Josep
Significance: High point of the island of Ibiza
Elevation: 487m
Date climbed: 5th May 2026
Coordinates: 38° 54' 39'' N, 1° 16' 25'' E
Start & Finish: Aparcament públic de Sant Josep, 07830 Sant Josep de sa Talaia, Ibiza
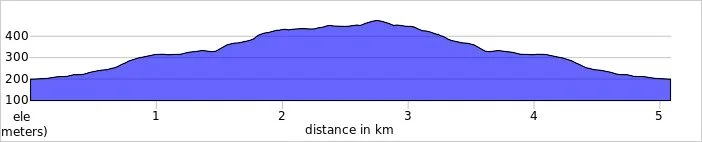
Distance: 5.1 km (3.2 miles)
Elevation change: +/- 262m
GPX File: get via Buy Me a Coffee
Other routes touched: None
Links: Ibiza, Sant Josep de sa Talaia, Sa Talaiassa, Peakbagger
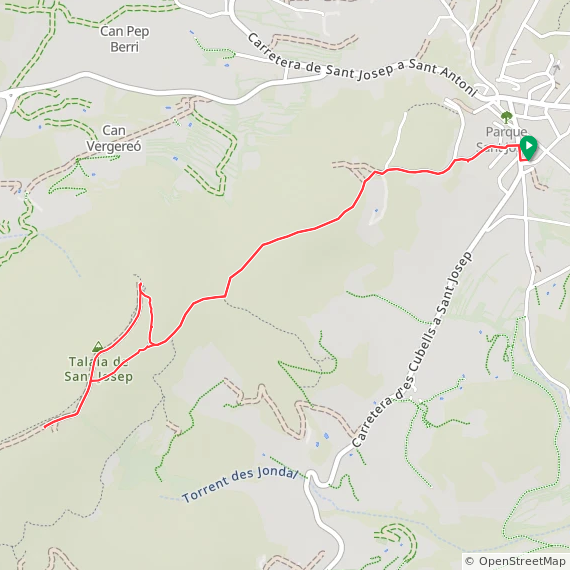
The highest area in Ibiza is generally known as Sa Talaia or Sa Talaiassa. It is an enjoyable and relatively easy out-and-back route totalling about 5 kilometres (roughly 2.5 kilometres up and the same back down).
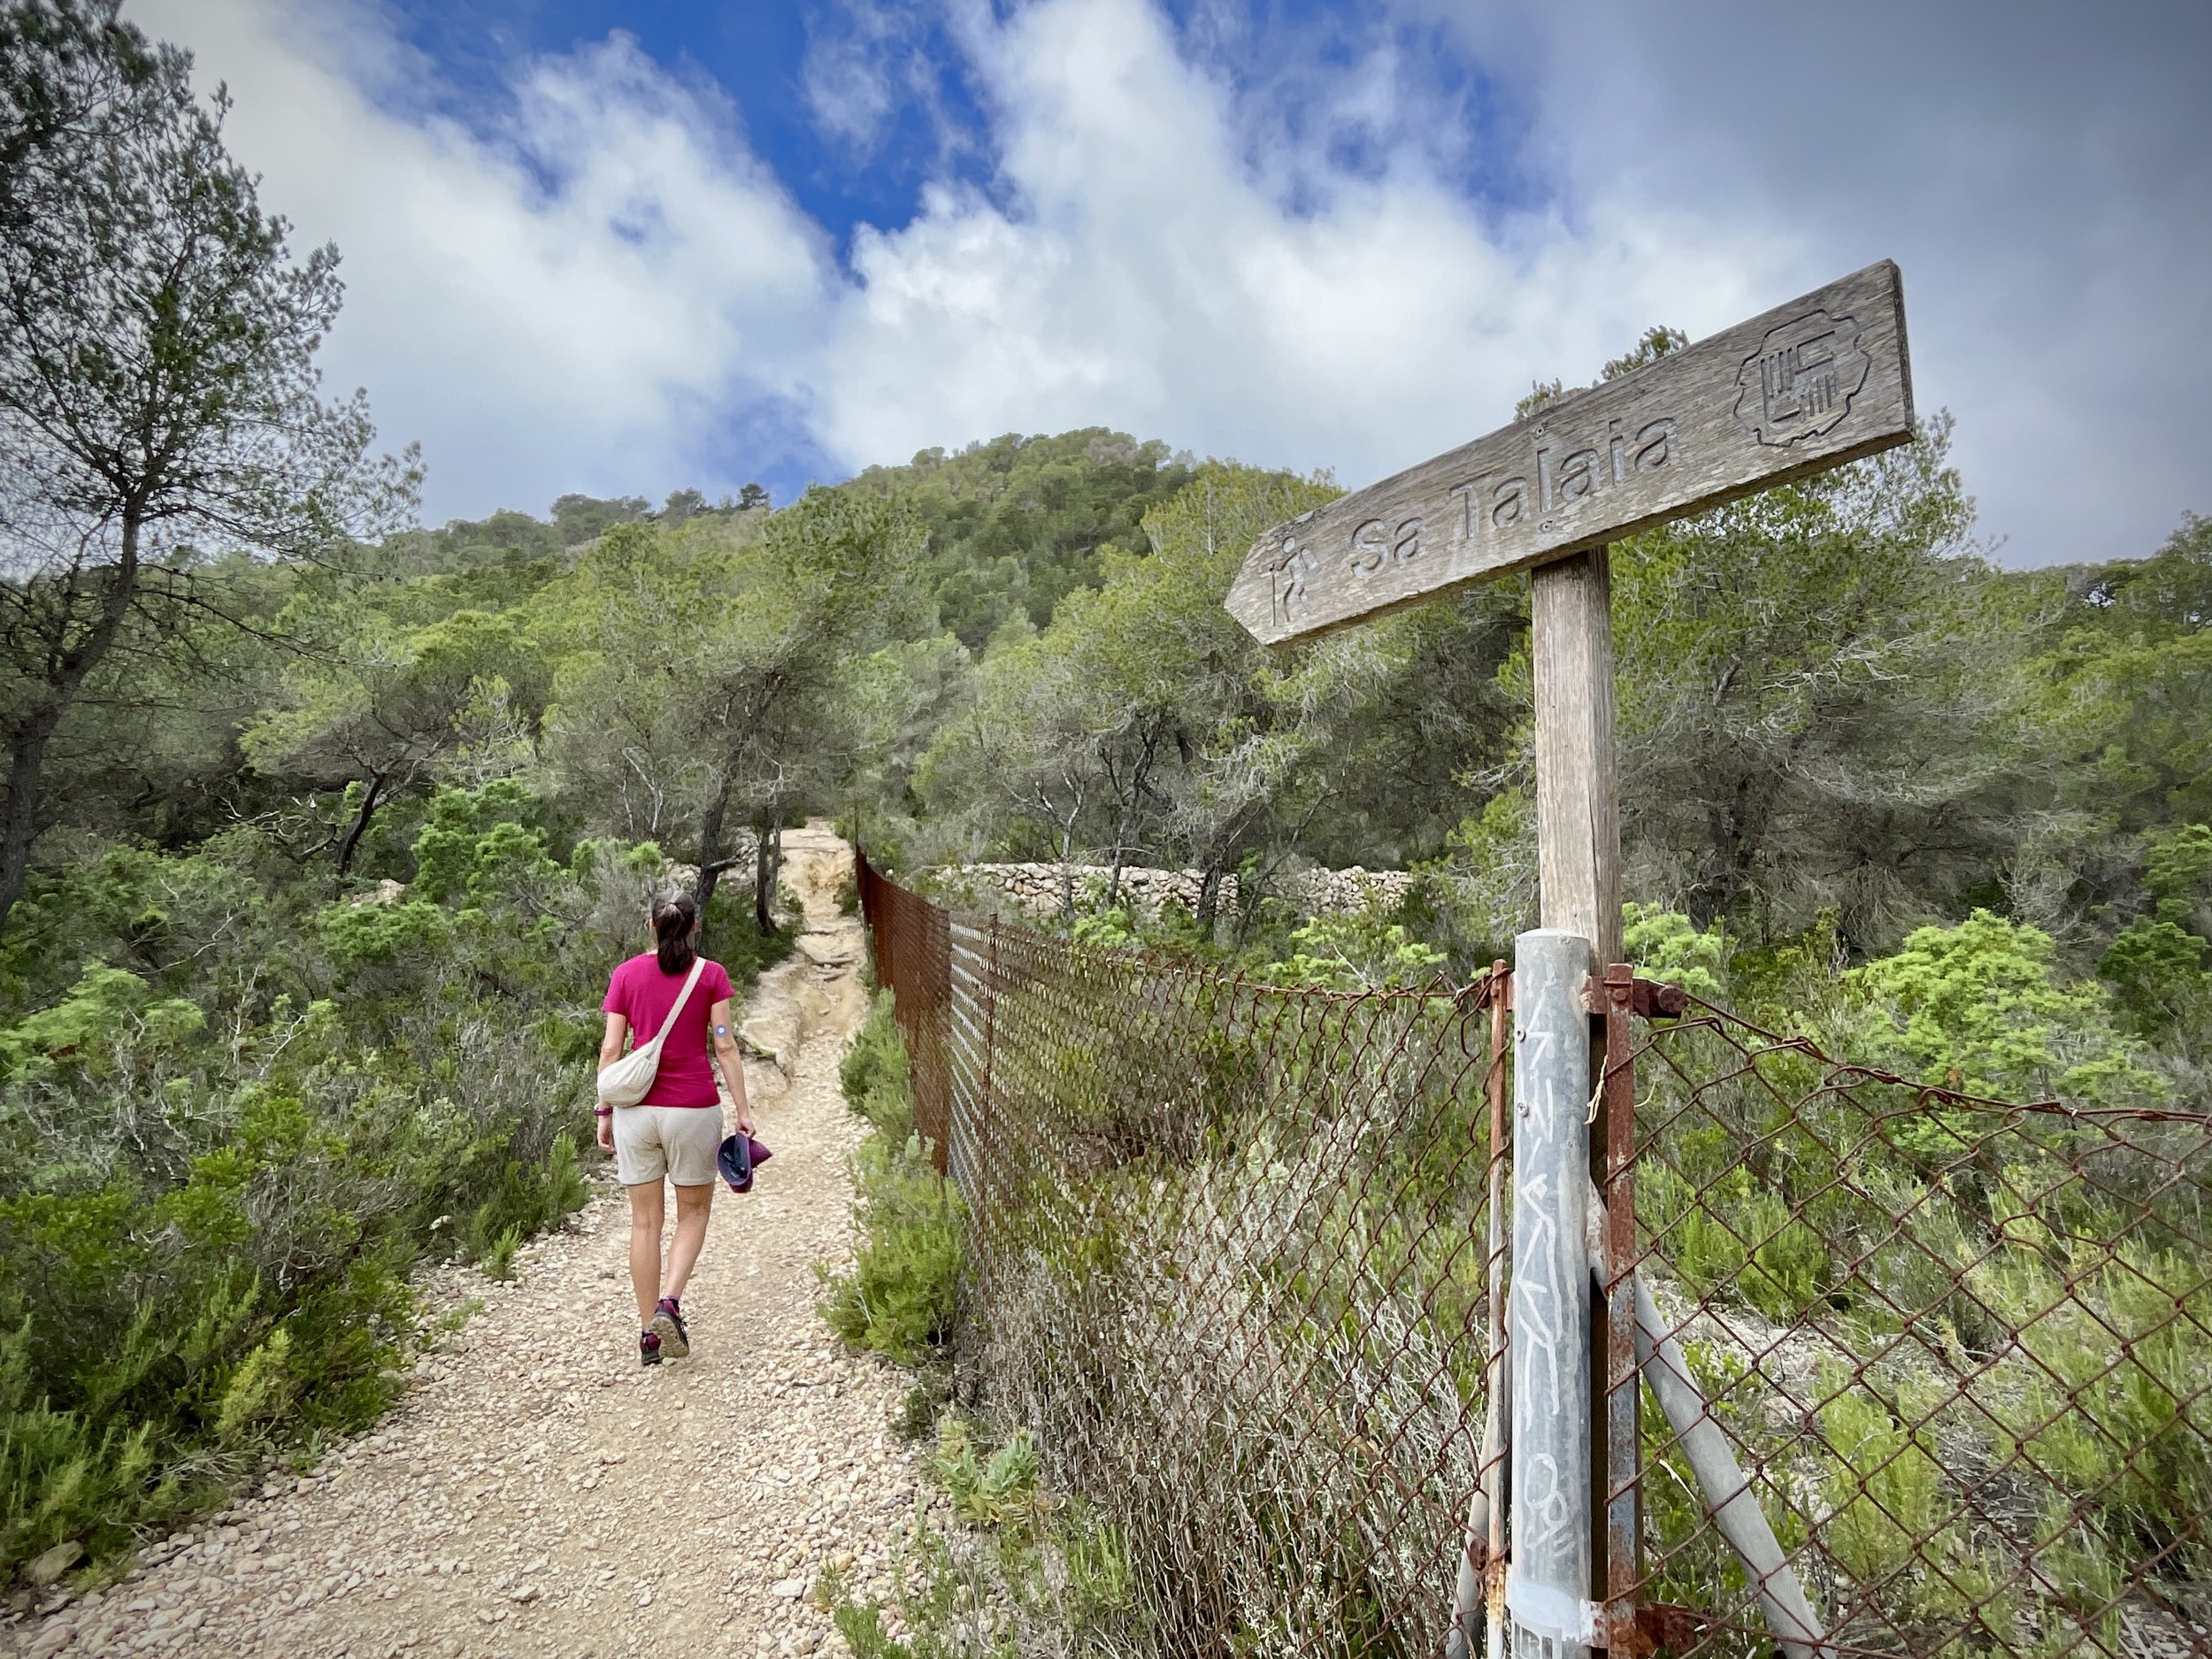
The best place to start your hike is the Aparcament públic de Sant Josep in the town of Sant Josep, which sits right near the mountain. From the car park, turn right onto the main street heading towards the town centre, and then take a left onto Carrer des Pujol d'en Cardona. You just need to continue walking up to the end of this road. There is actually some additional parking just off this road before it ends, which is where we ended up parking as the main car park was full.
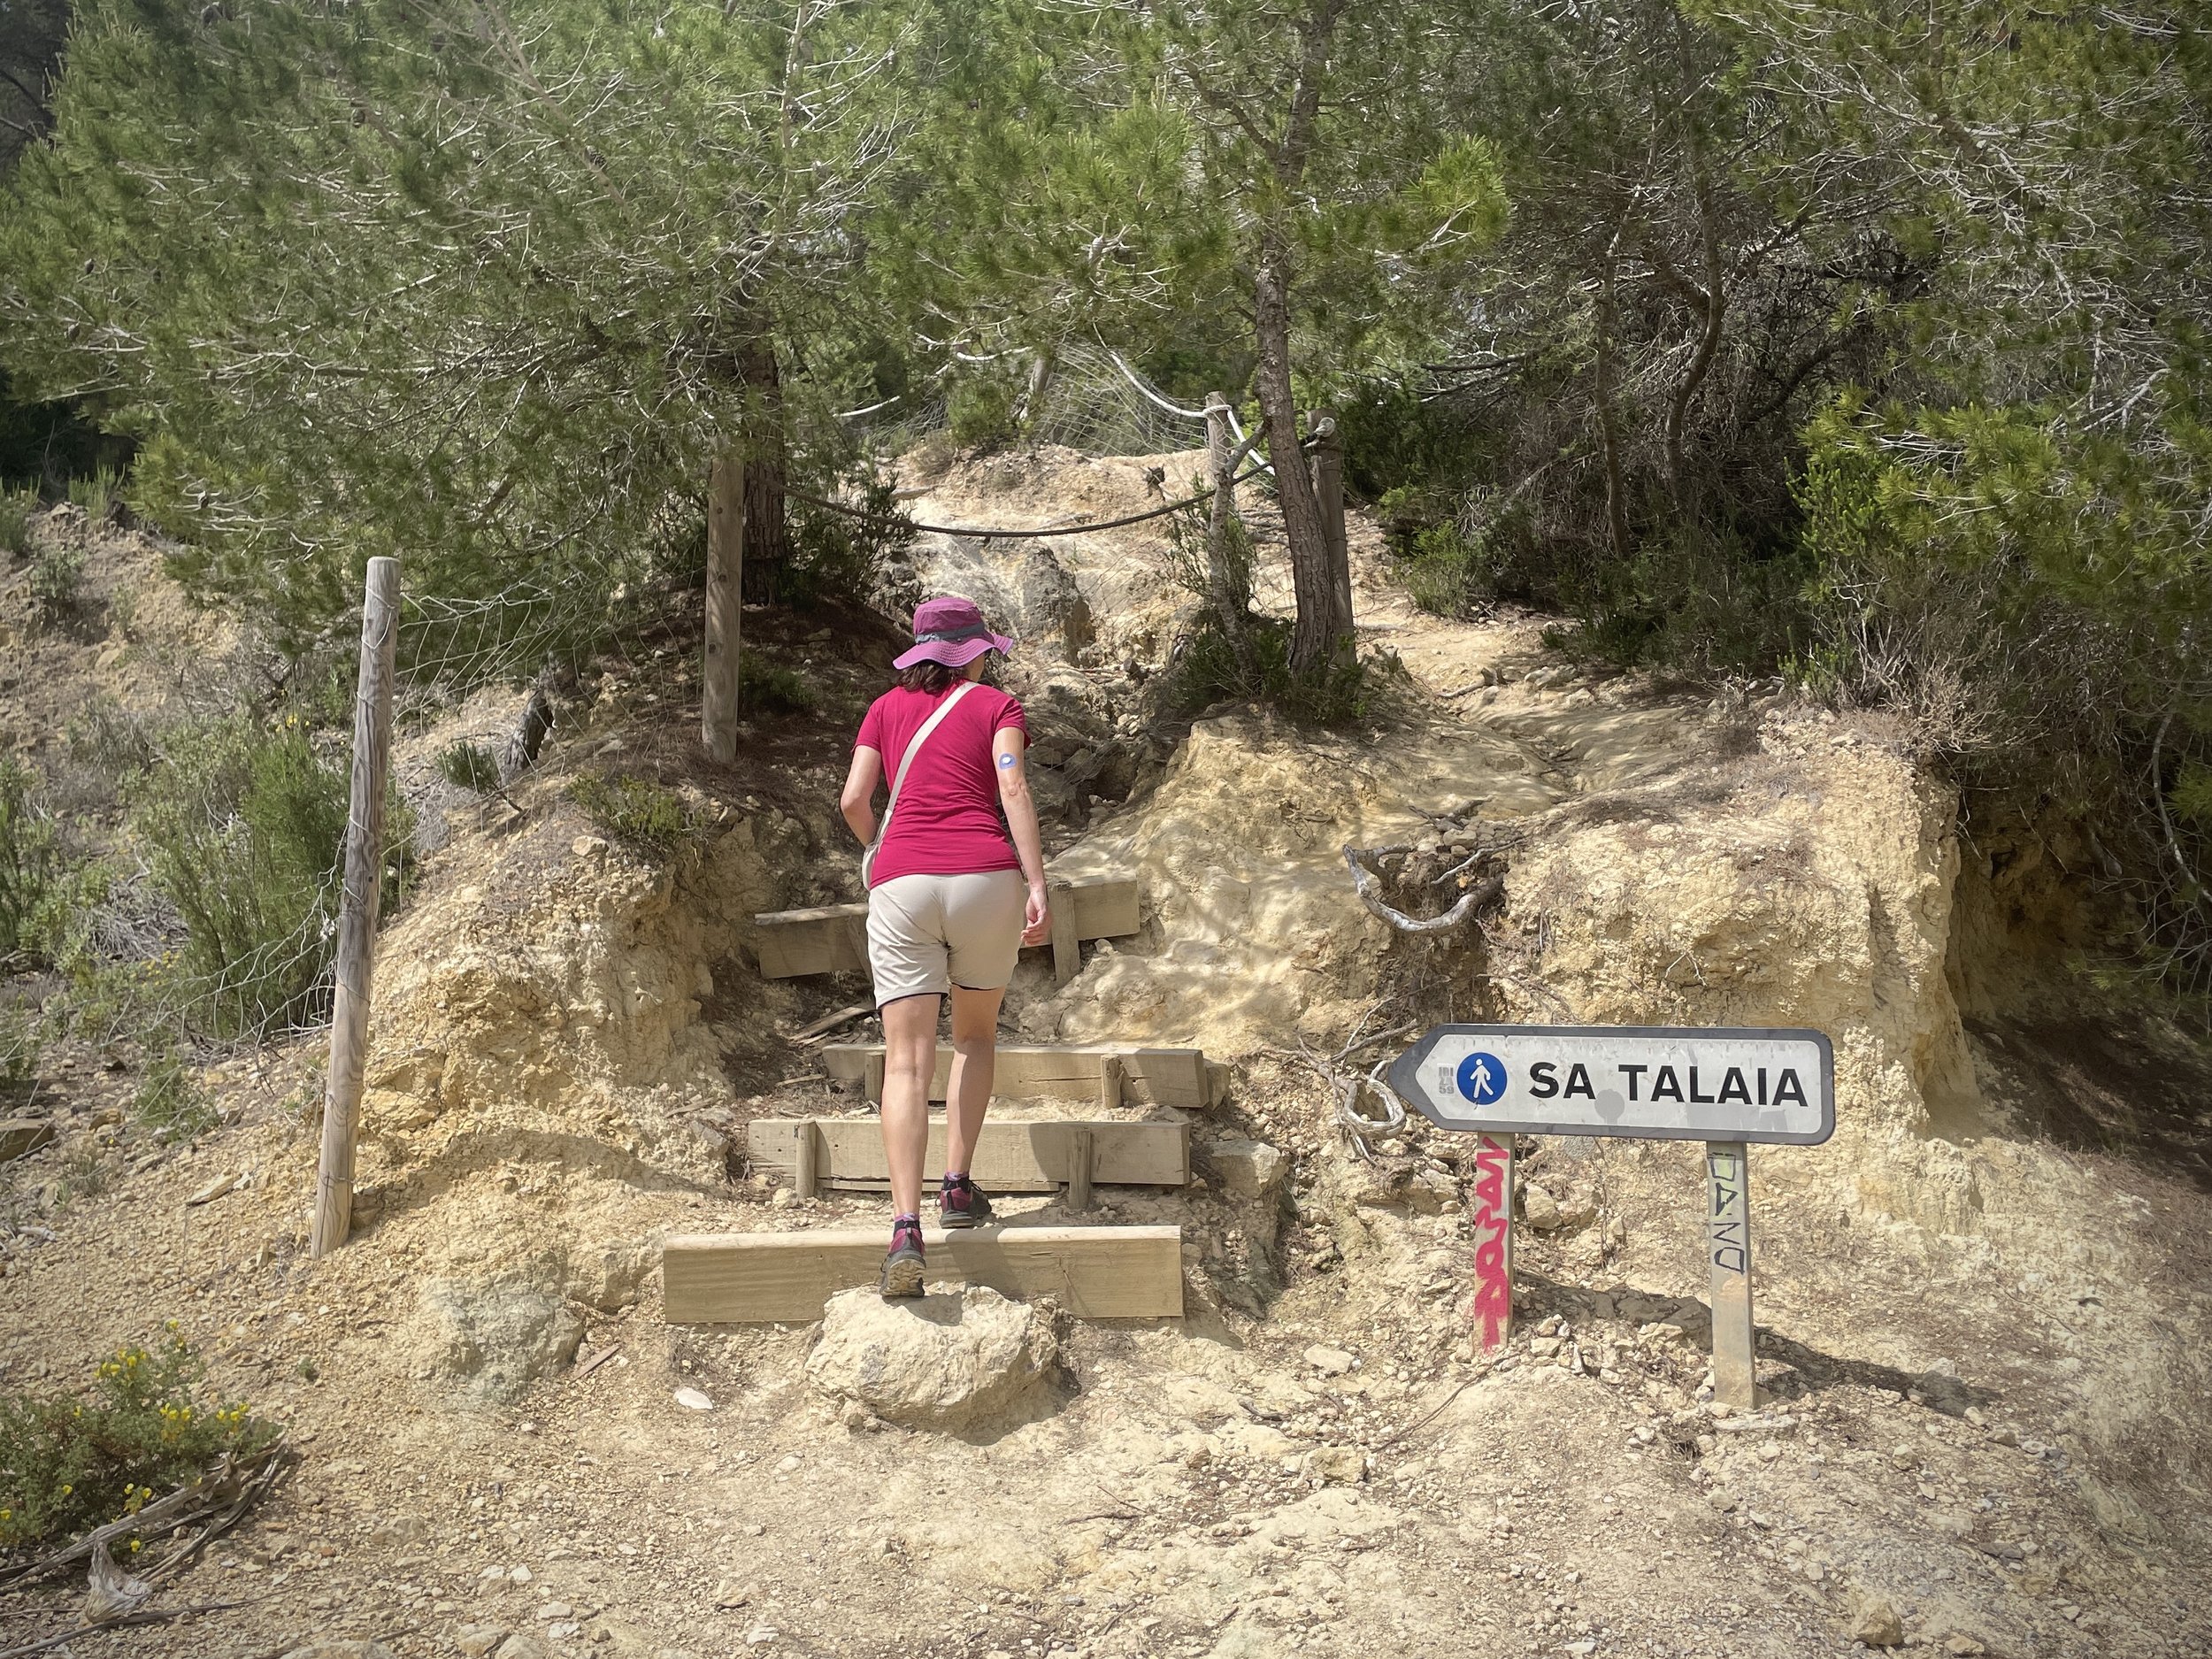
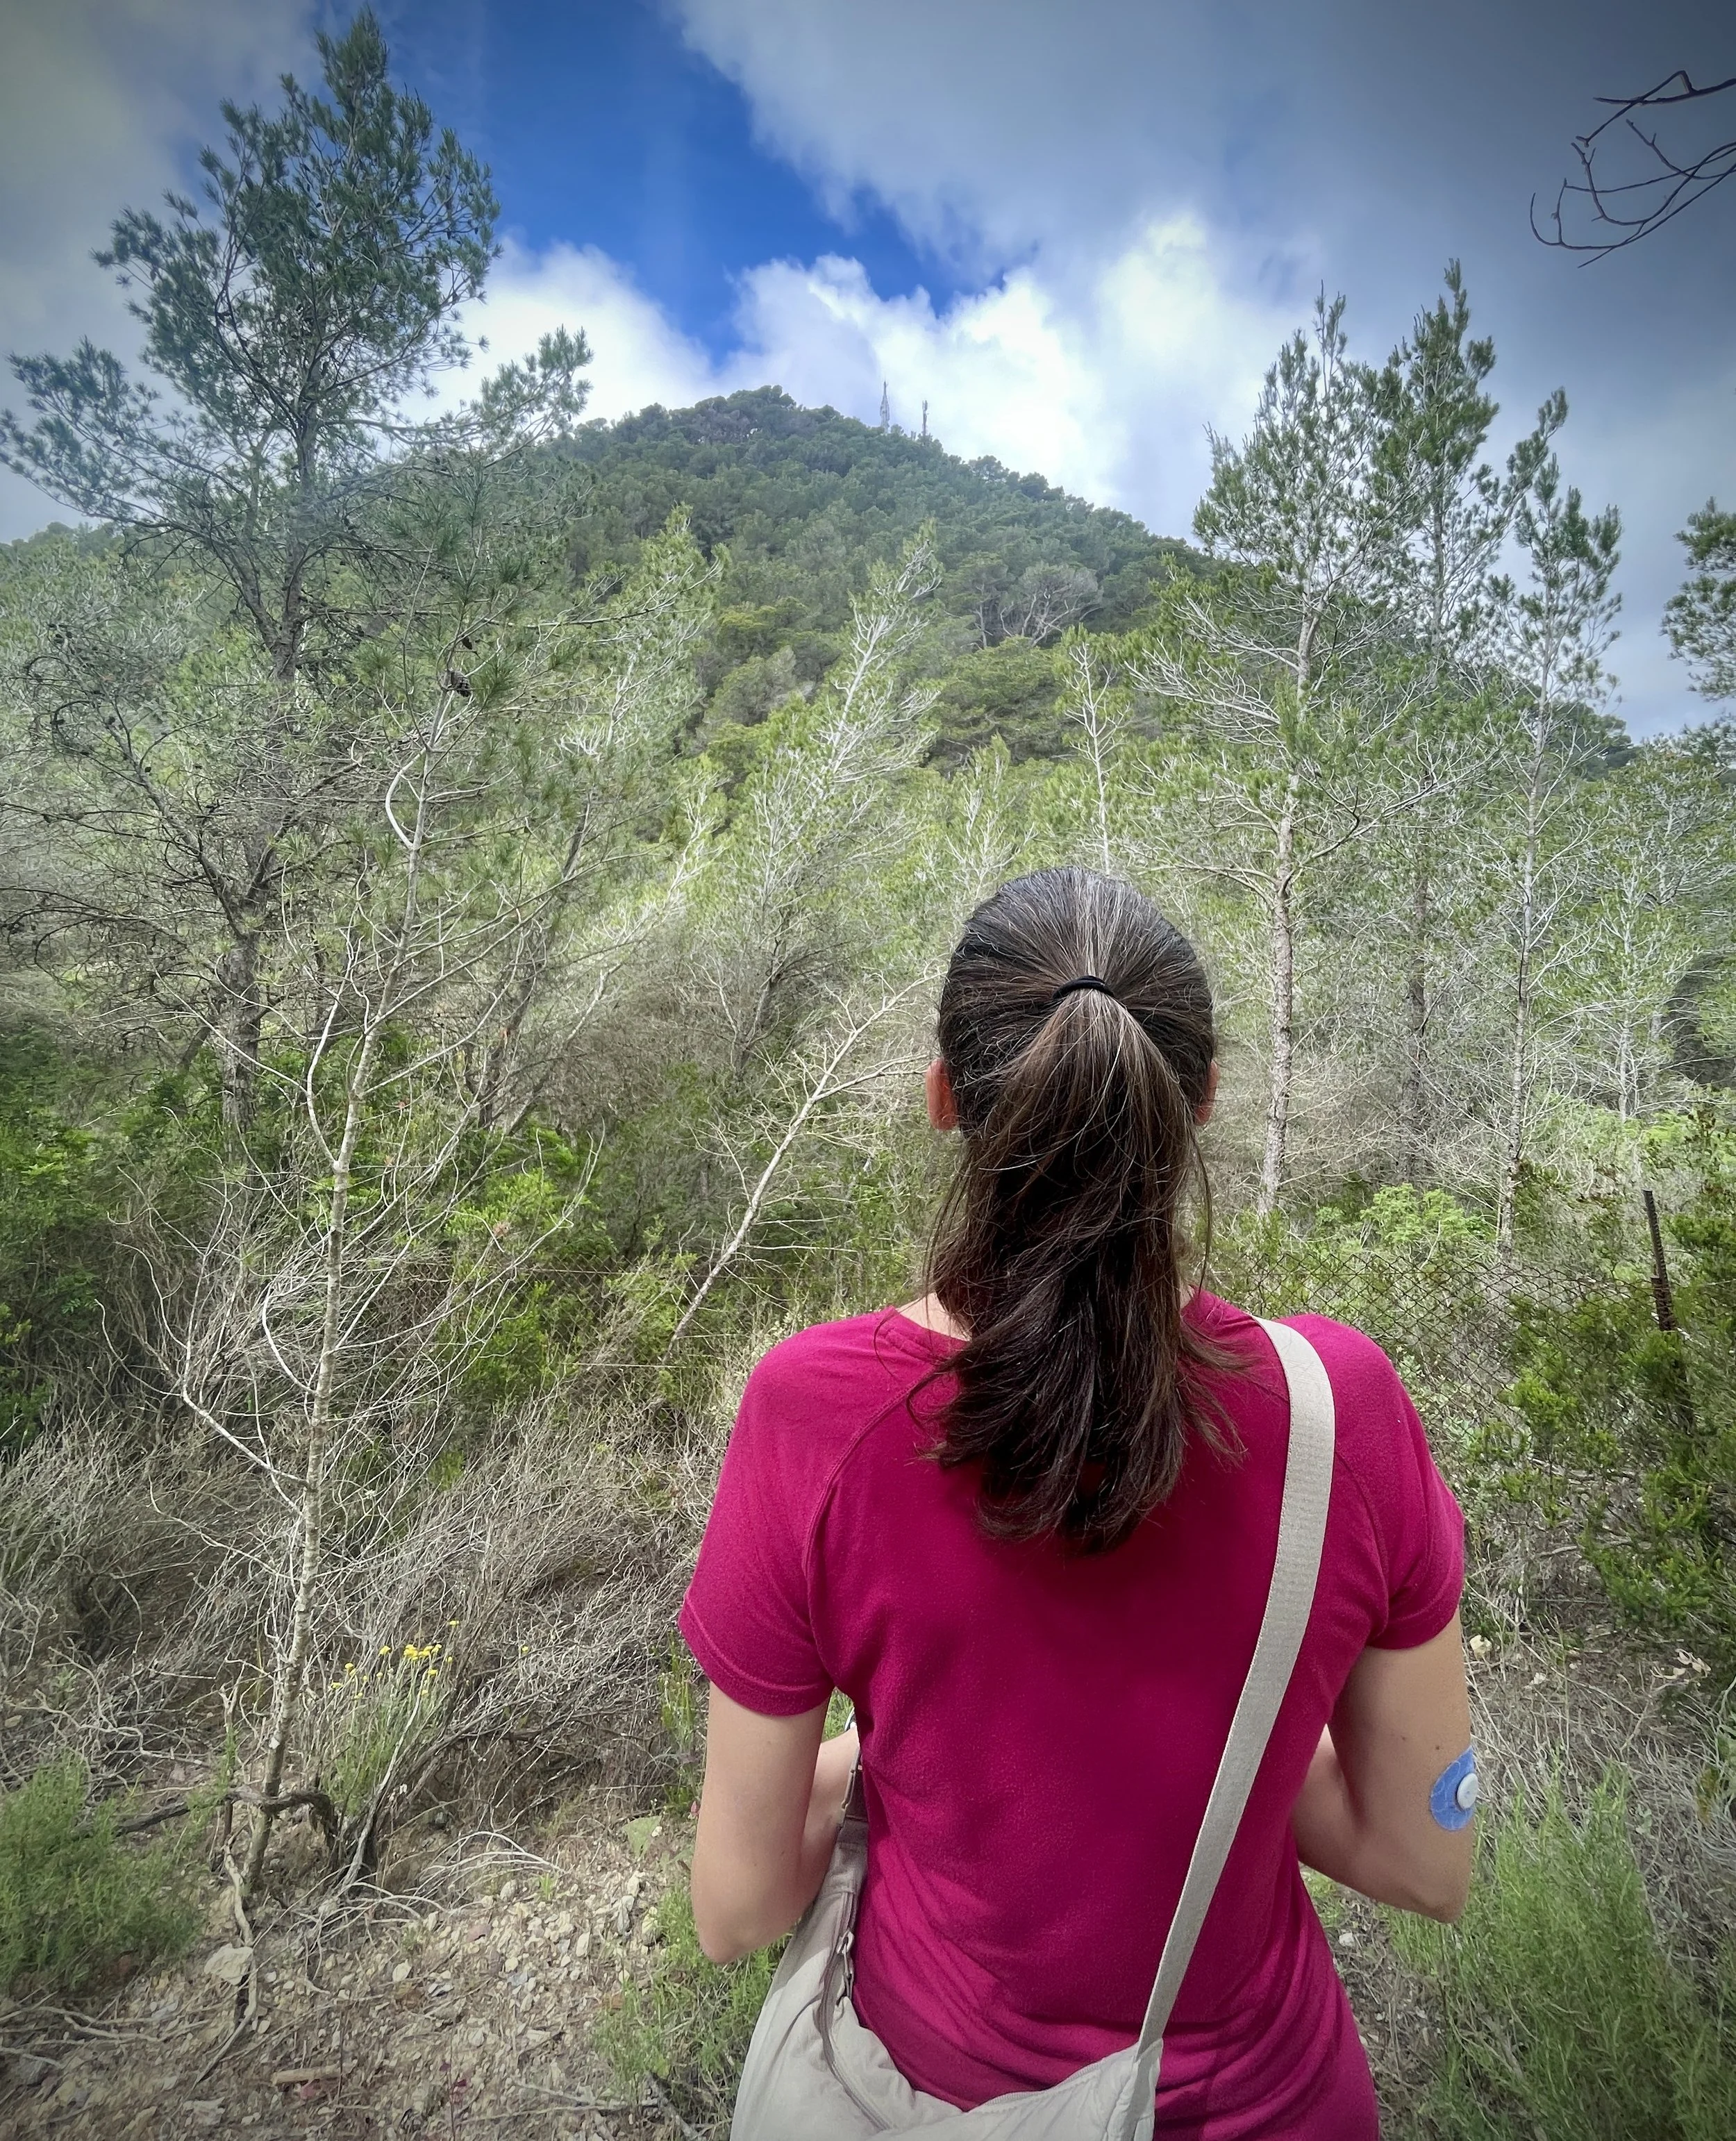
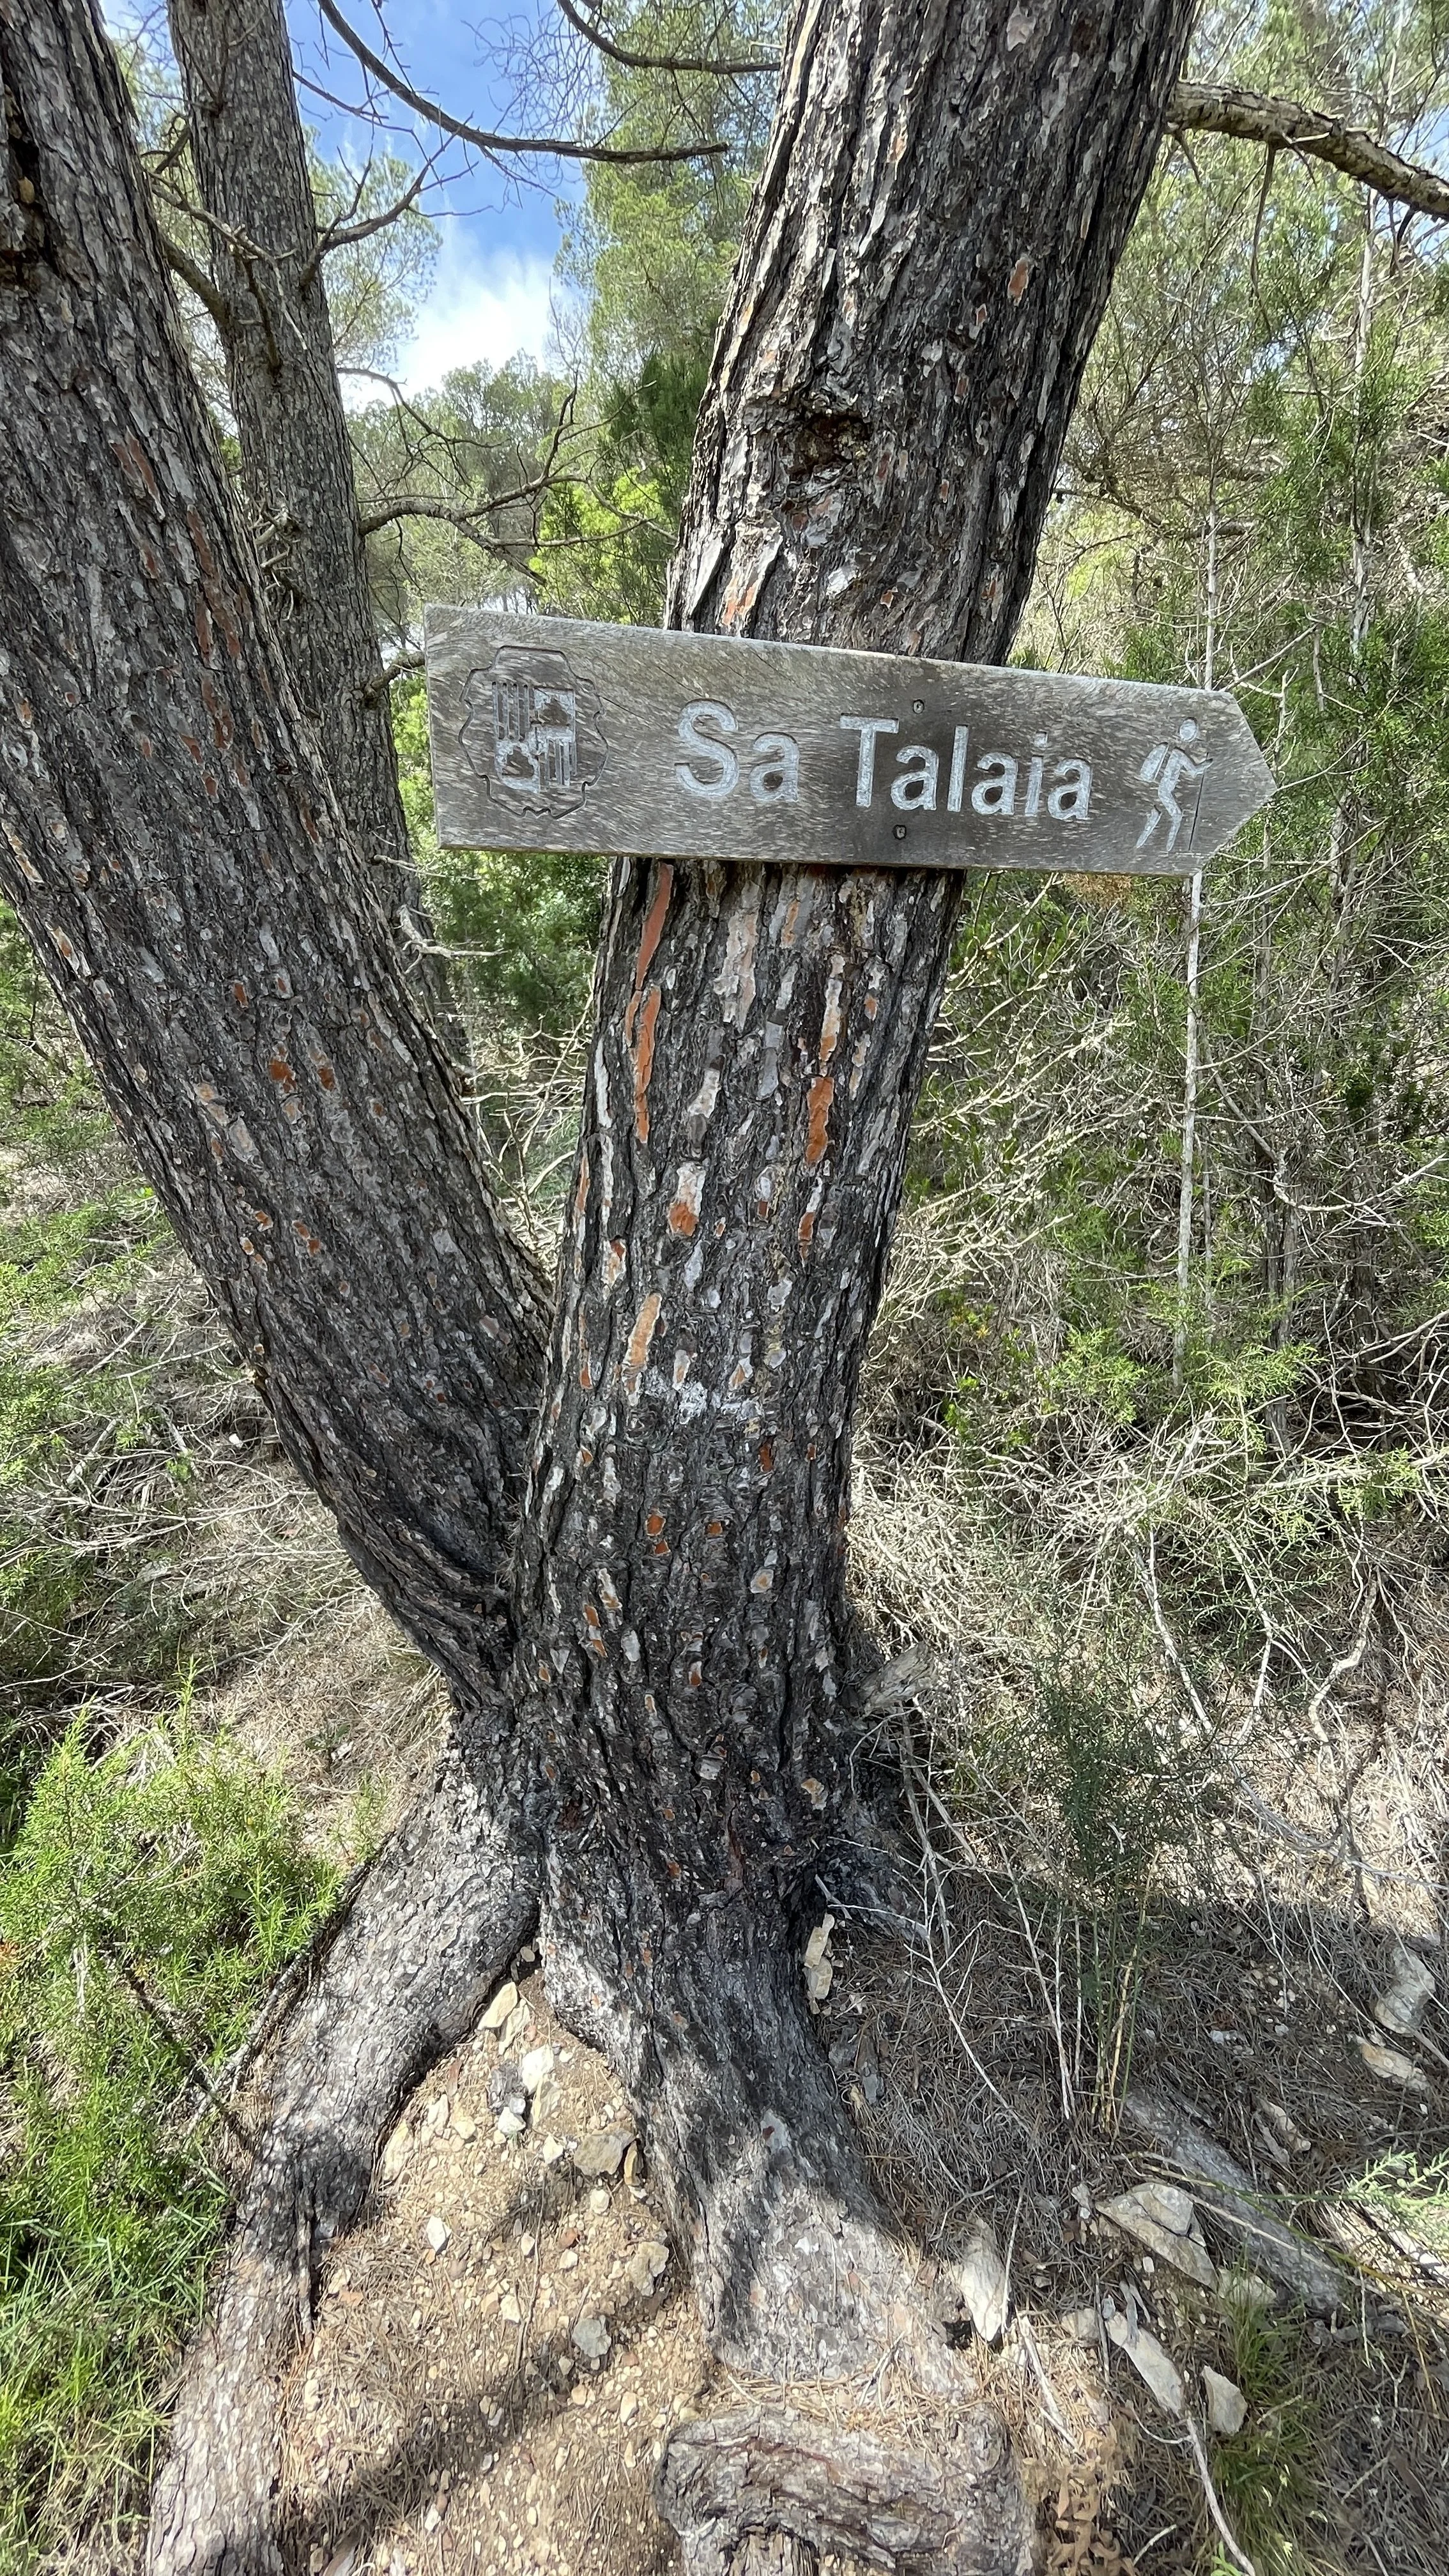
Just before the road comes to an end, you will see the signposted entrance to the trail. It goes steeply up the hill through the woods, winding its way up the northeasterly side of the mountain. As you climb, you get several glimpses of the hill ahead marked with a transmitter in the distance.
Keep heading up the hill and ignore any paths that branch off to the left. At around 1.8 kilometres from the car park, you will reach a fork in the path. We took the right-hand fork, climbing steeply in a northerly direction.
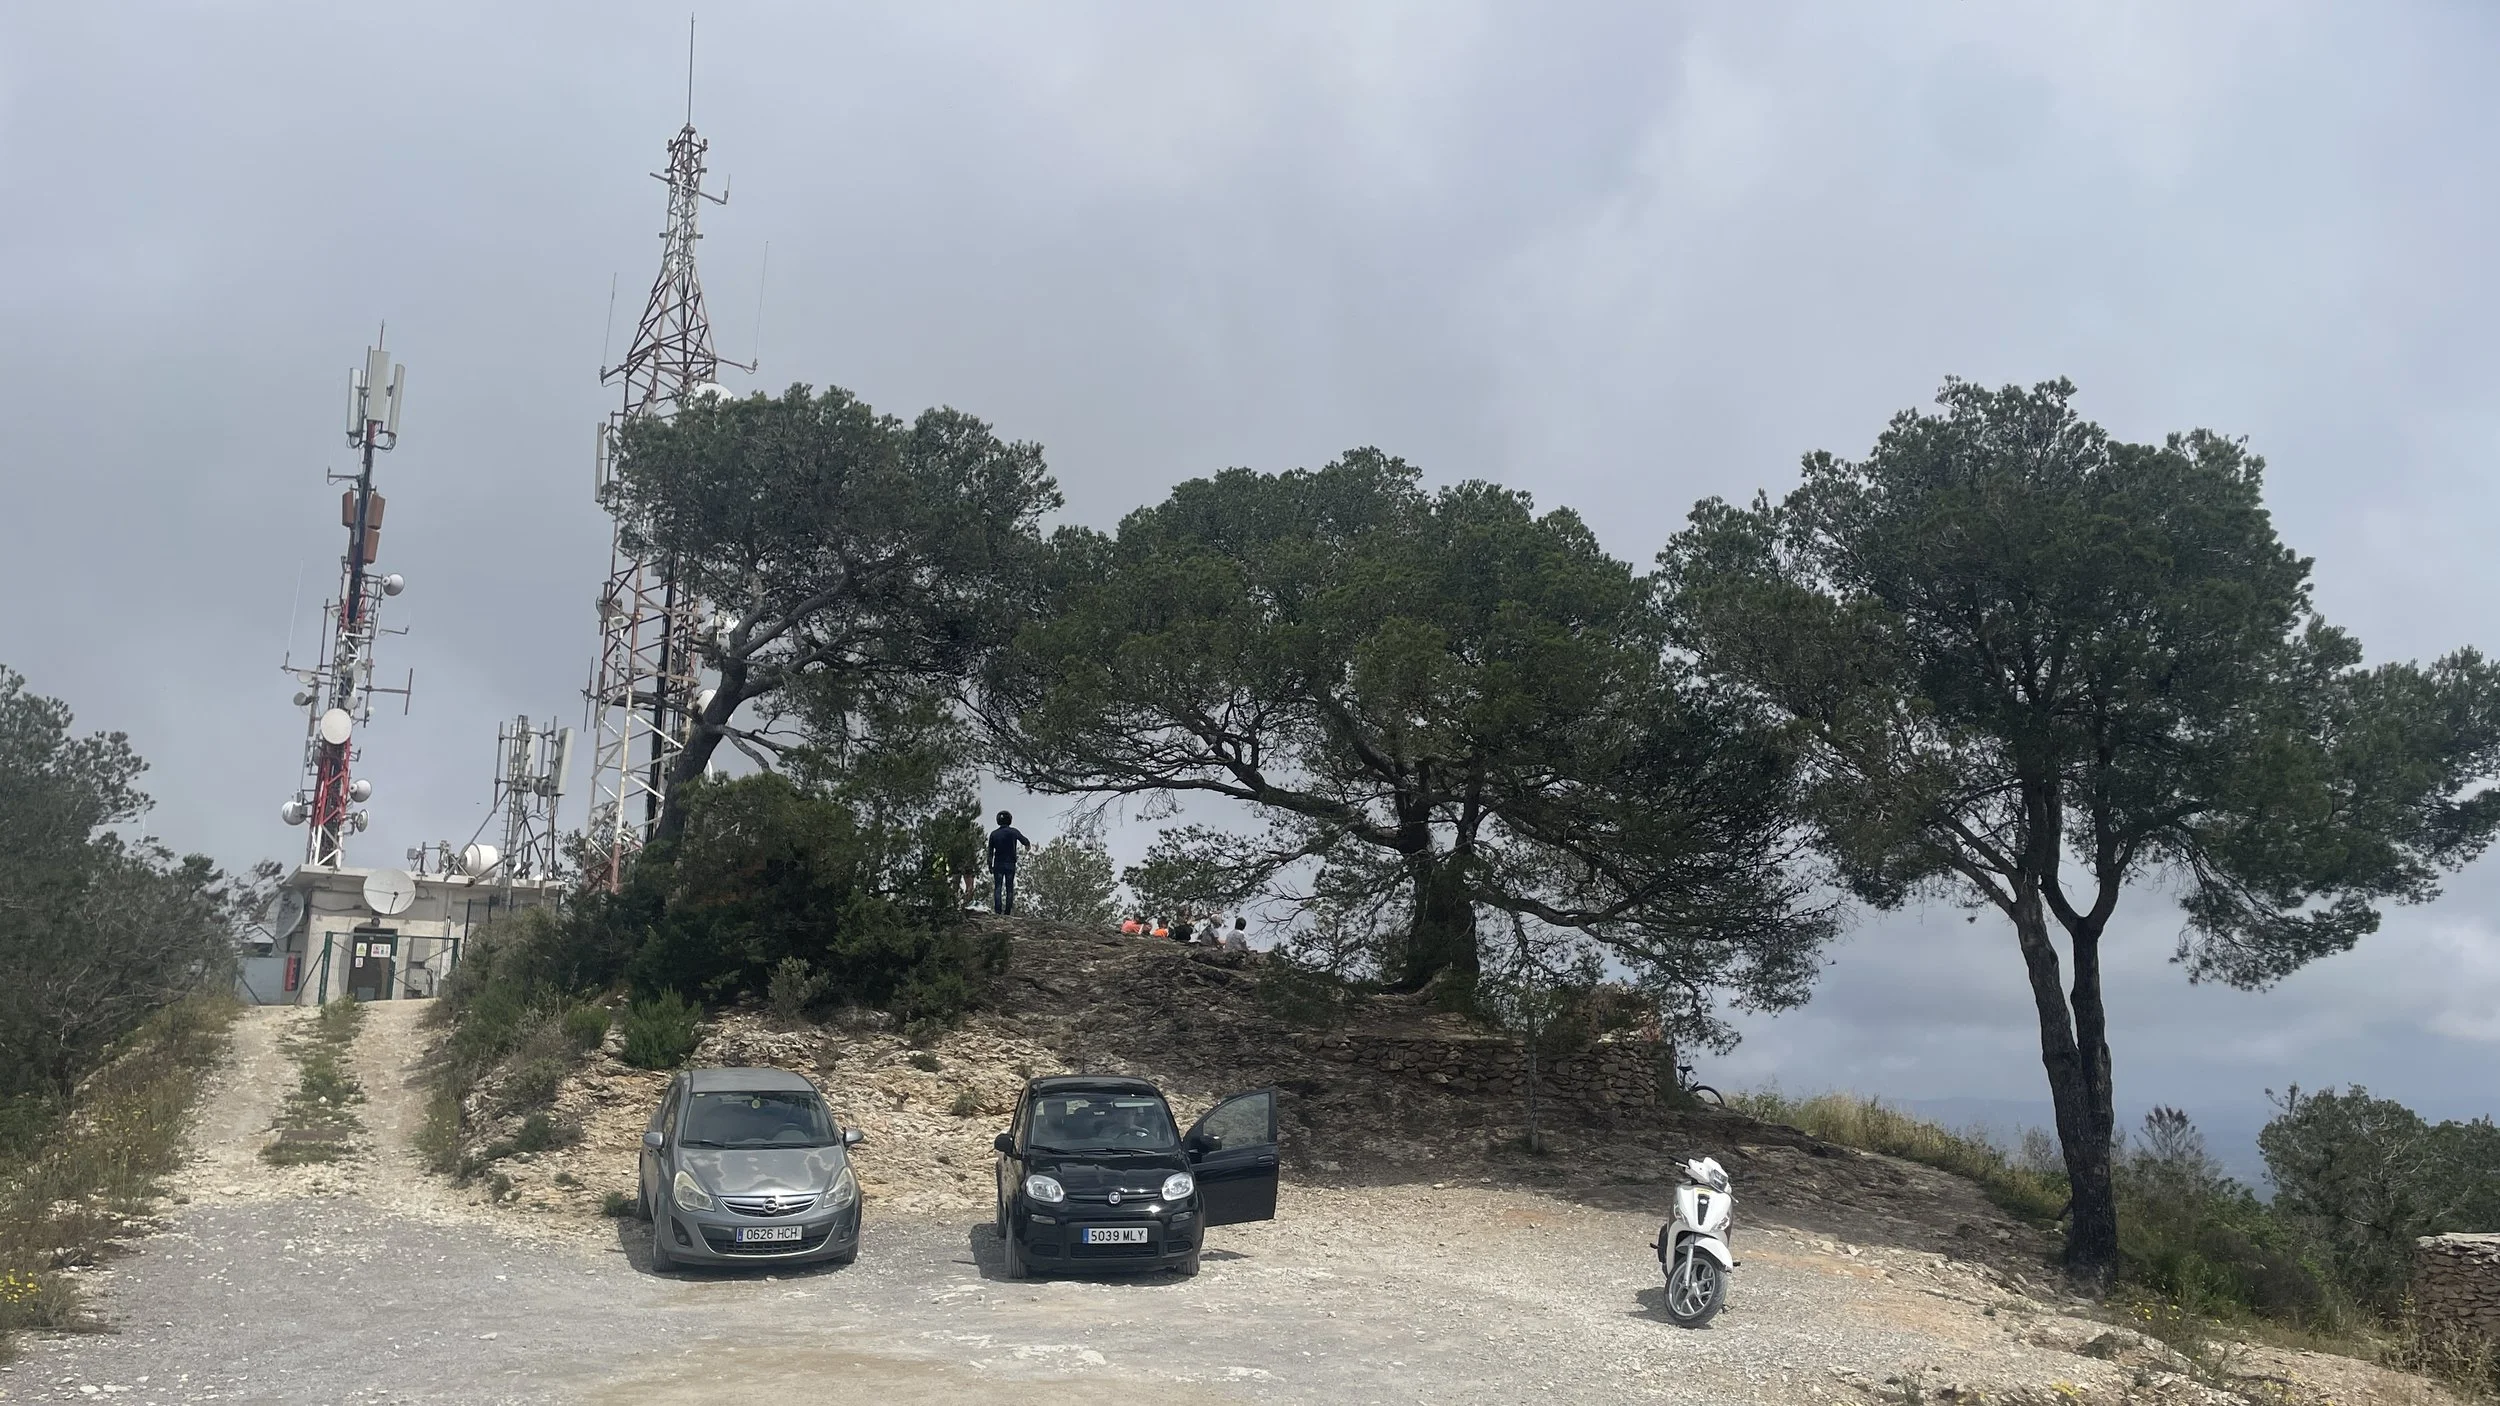
This path leads you to Cap de Sa Talaia. There is a transmitter mast here and absolutely fantastic views over the coast, the old town, and Formentera in the distance. It is an obvious viewpoint and you could easily be fooled into thinking this is the summit if you didn't know better! I imagine many people walk up to here, take in the view, and head back down. However, the true high point is a little further on.
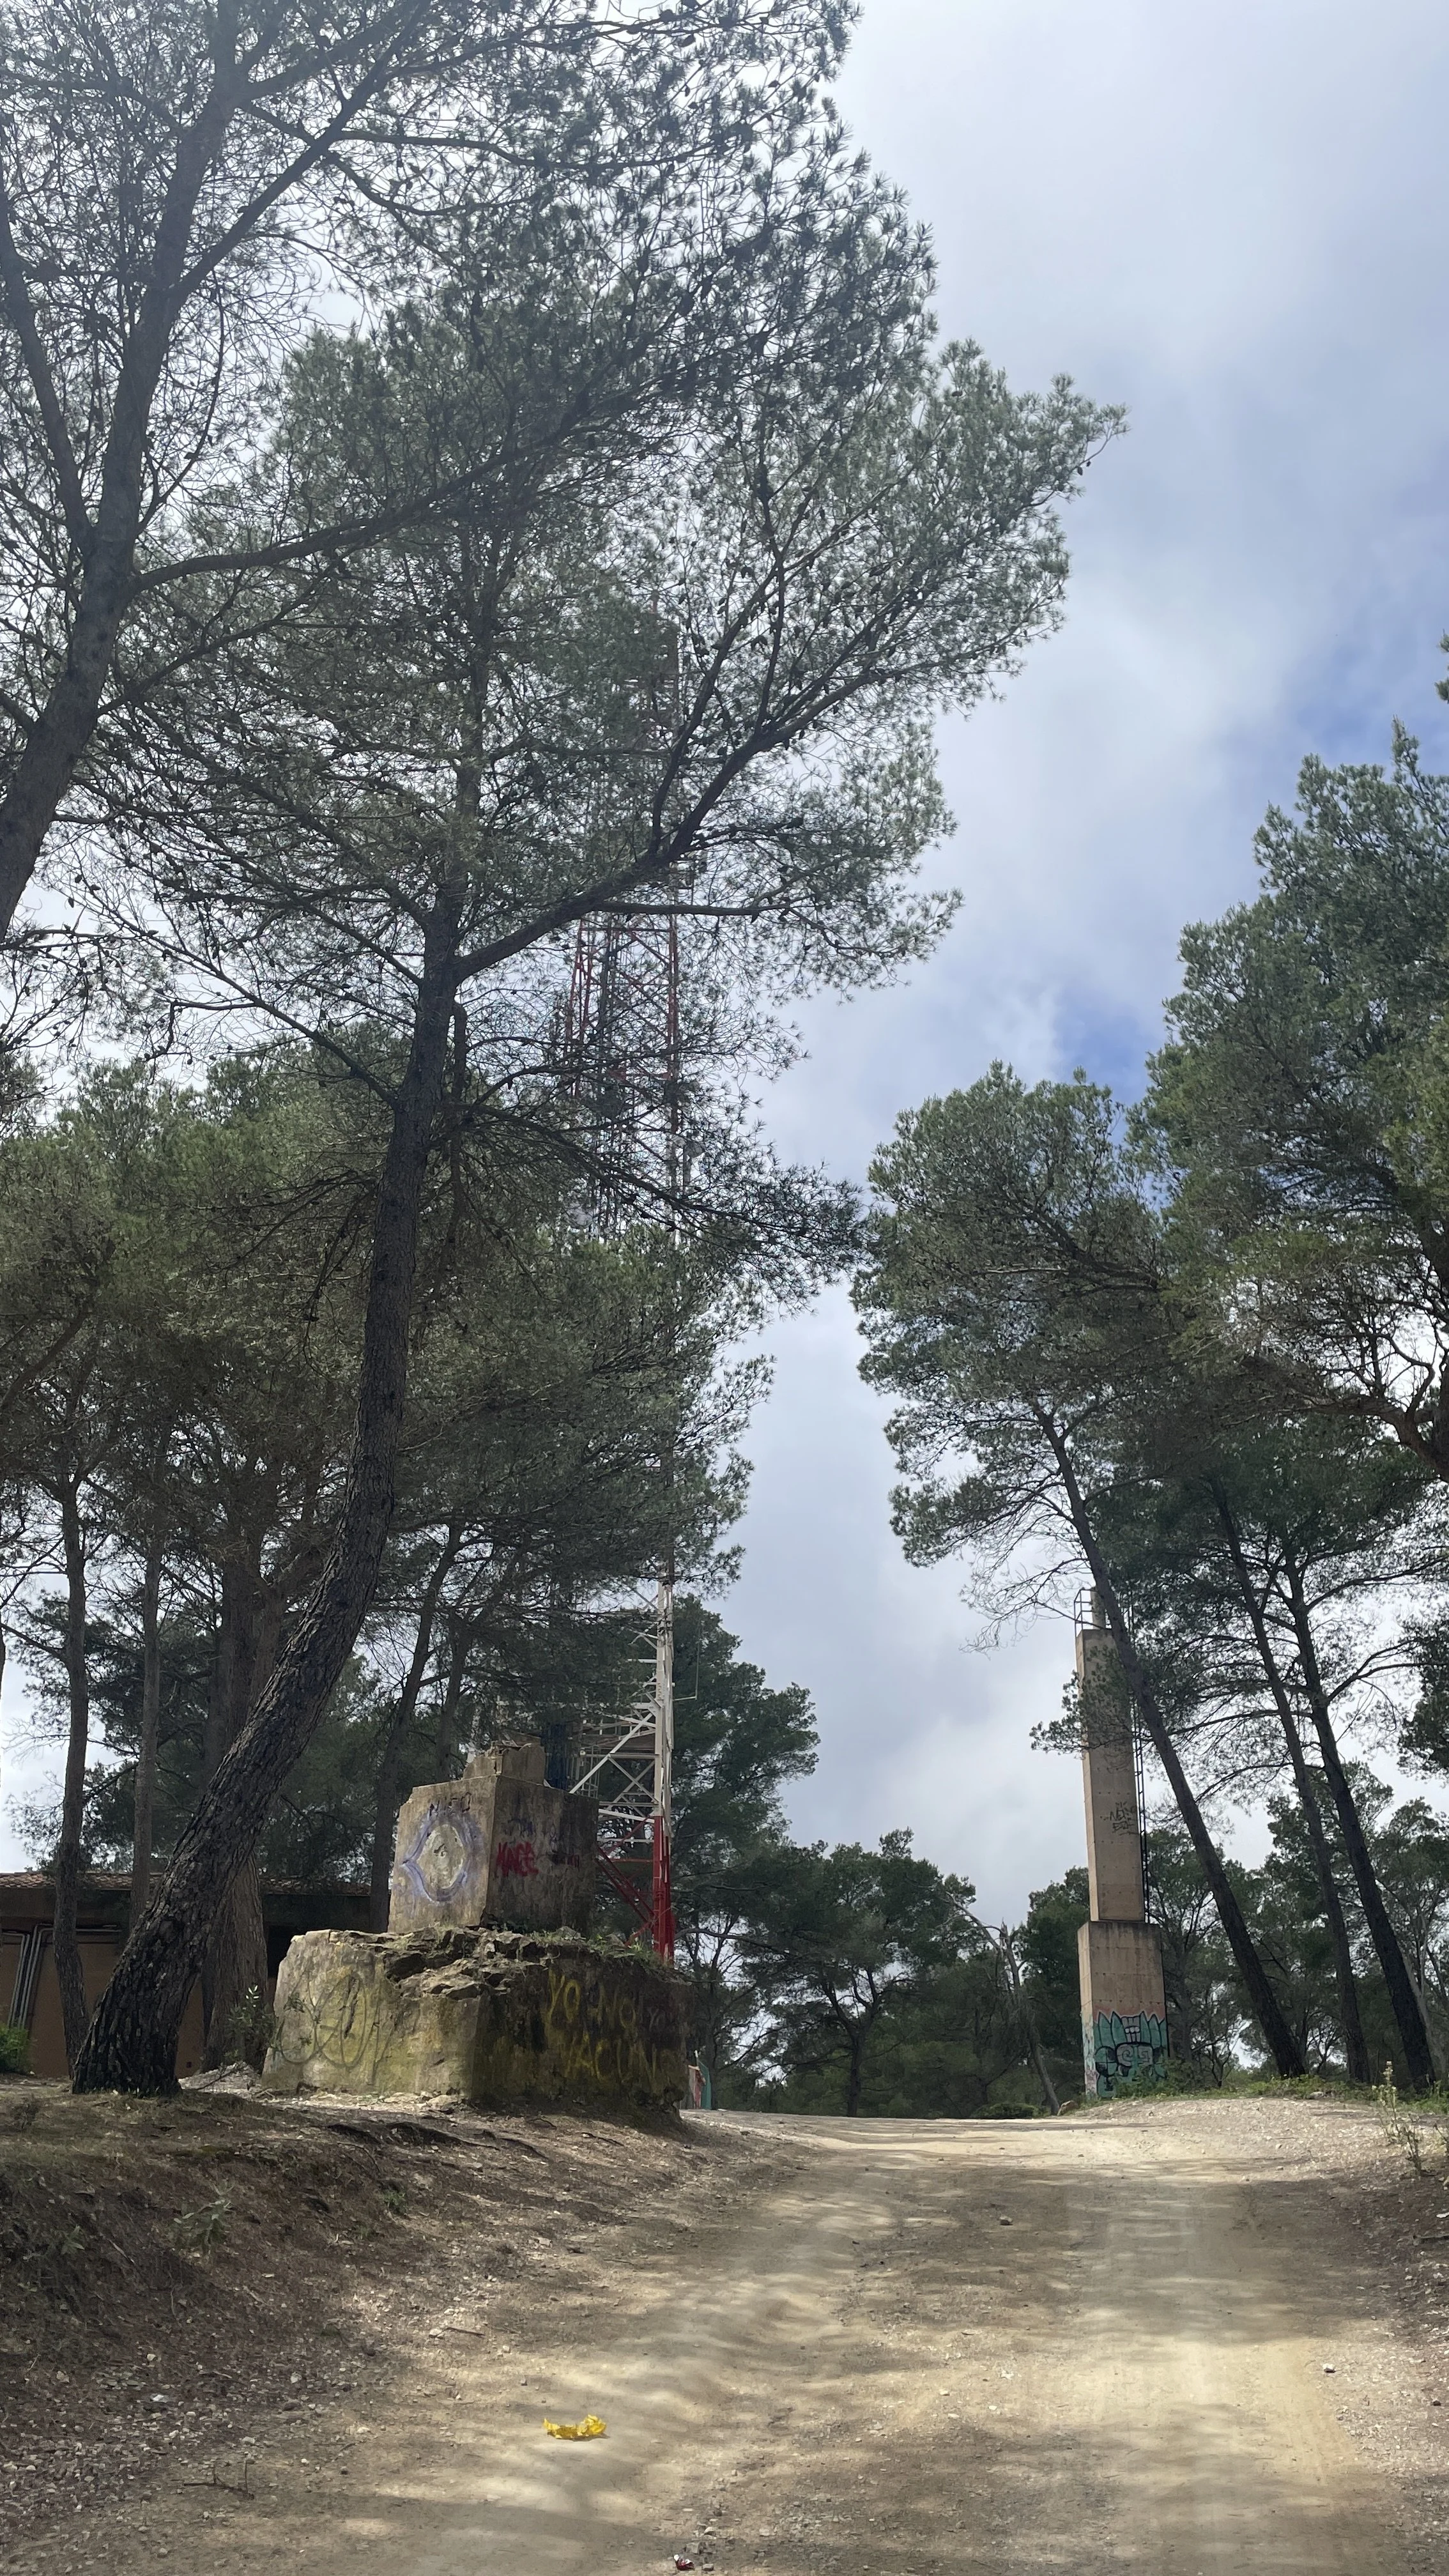
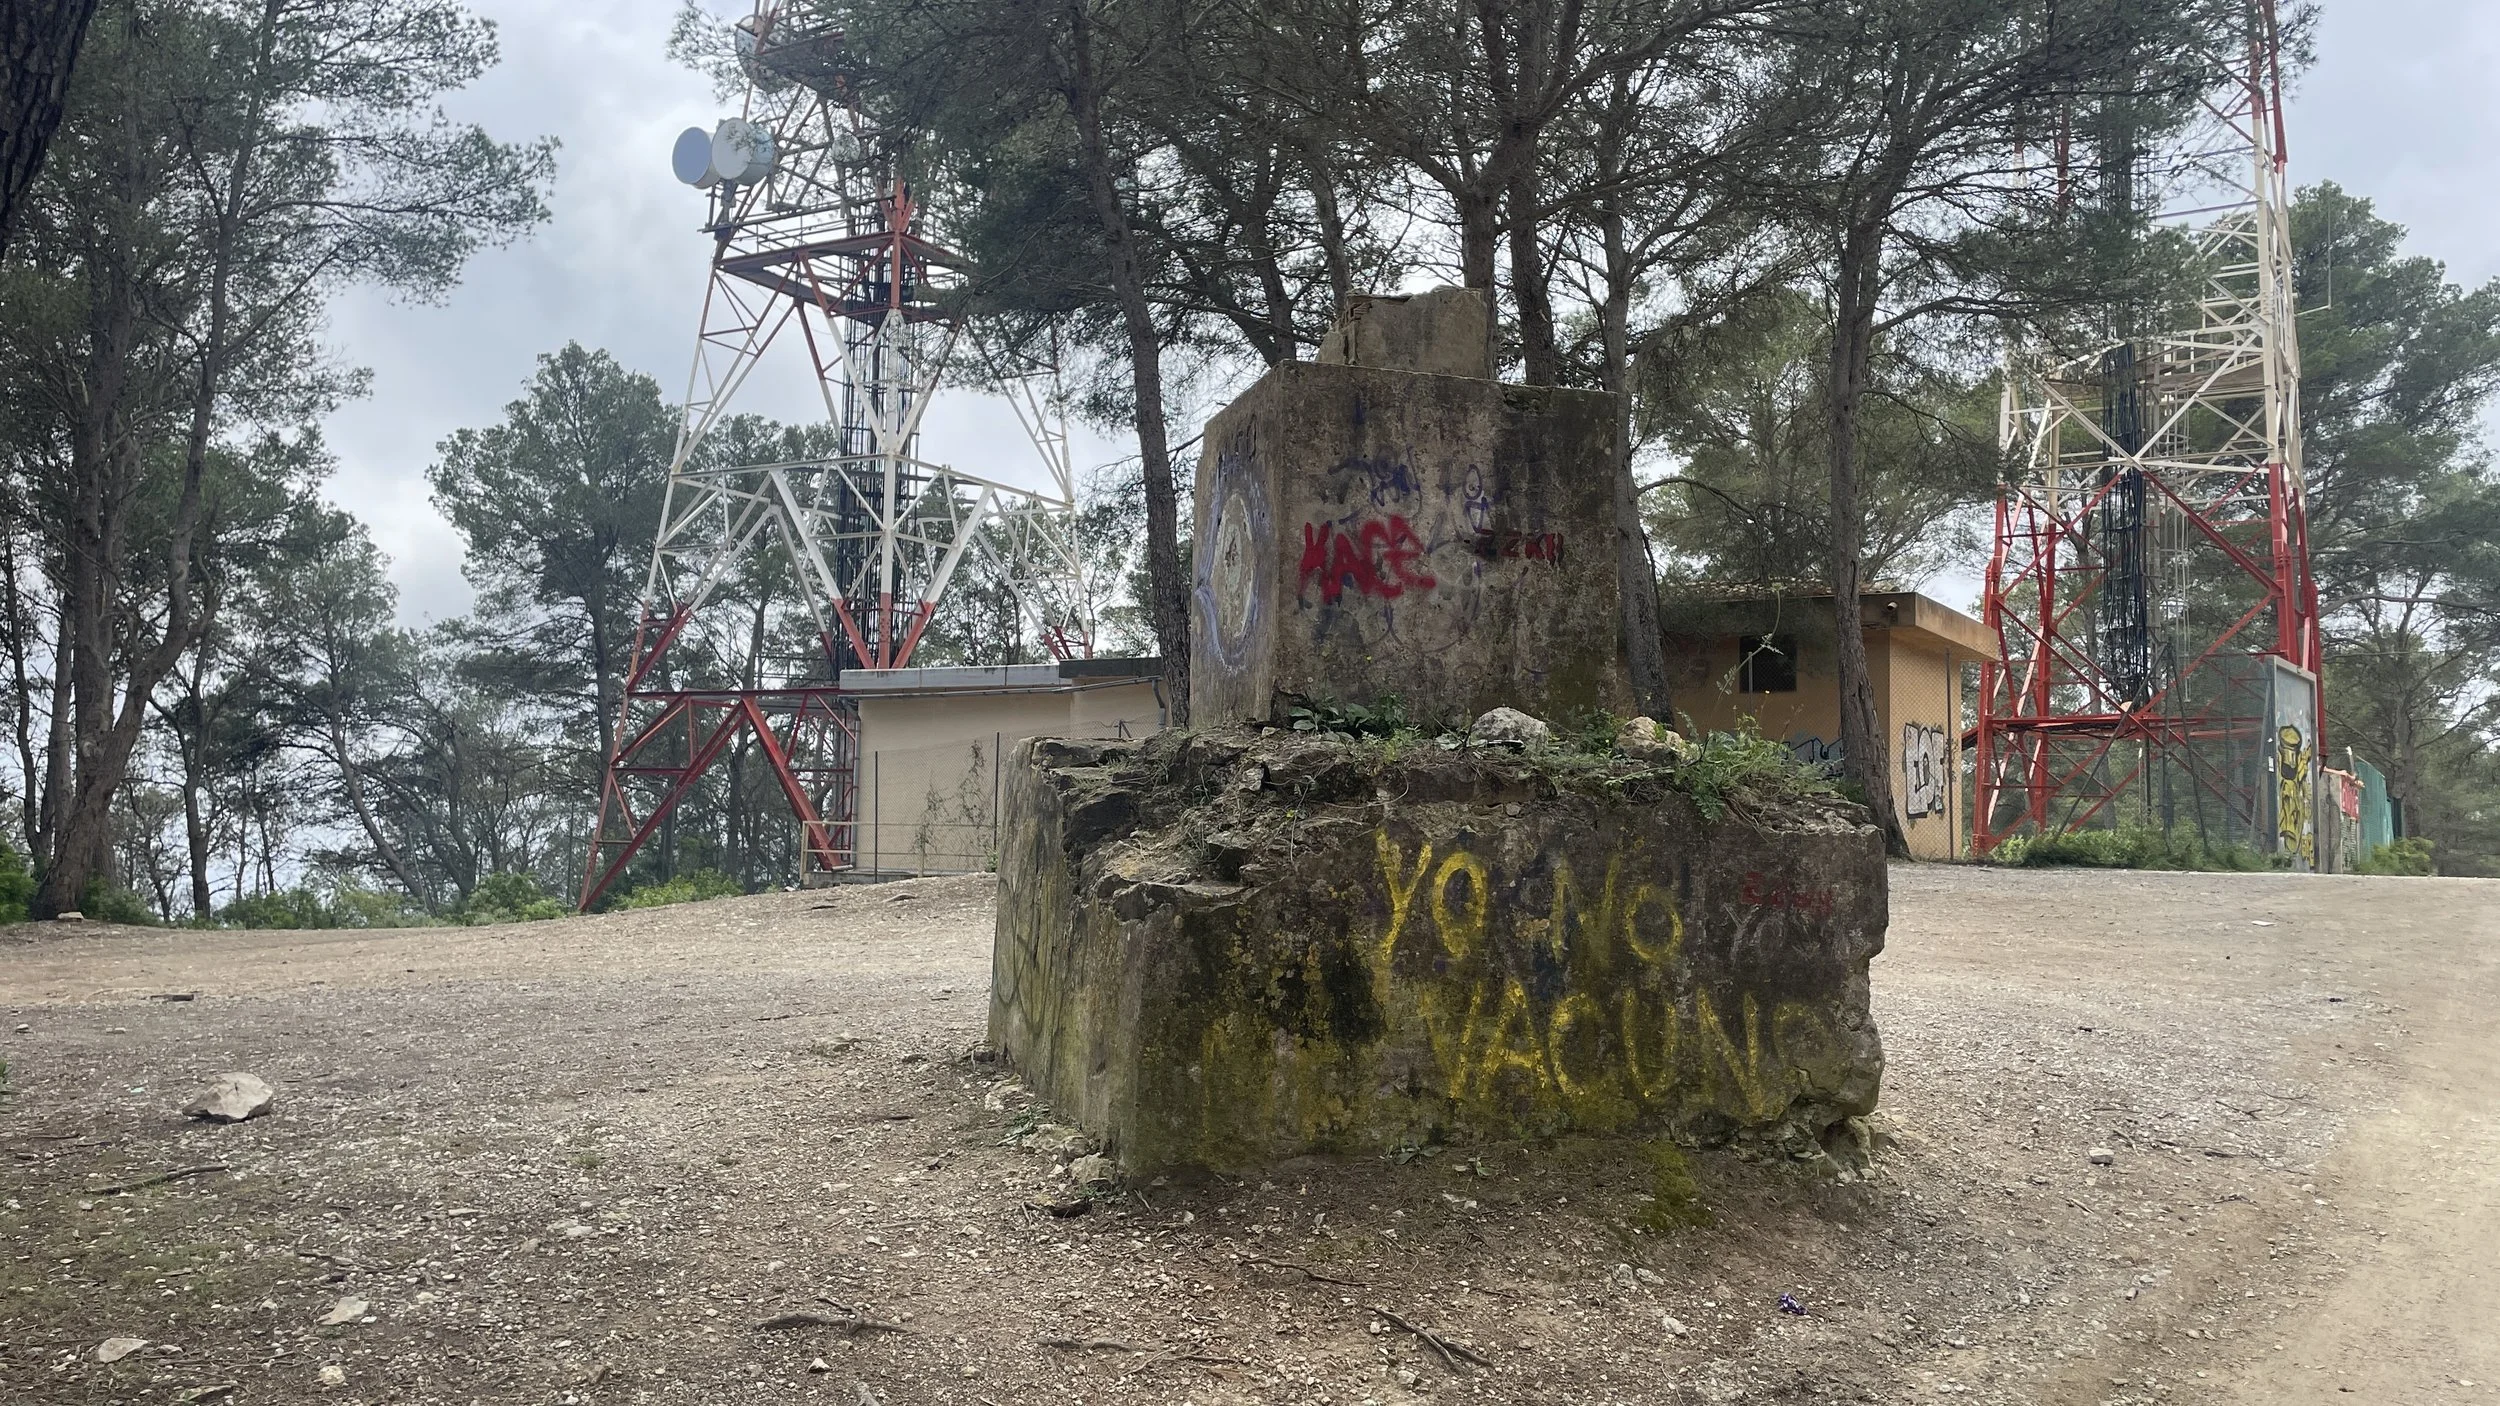
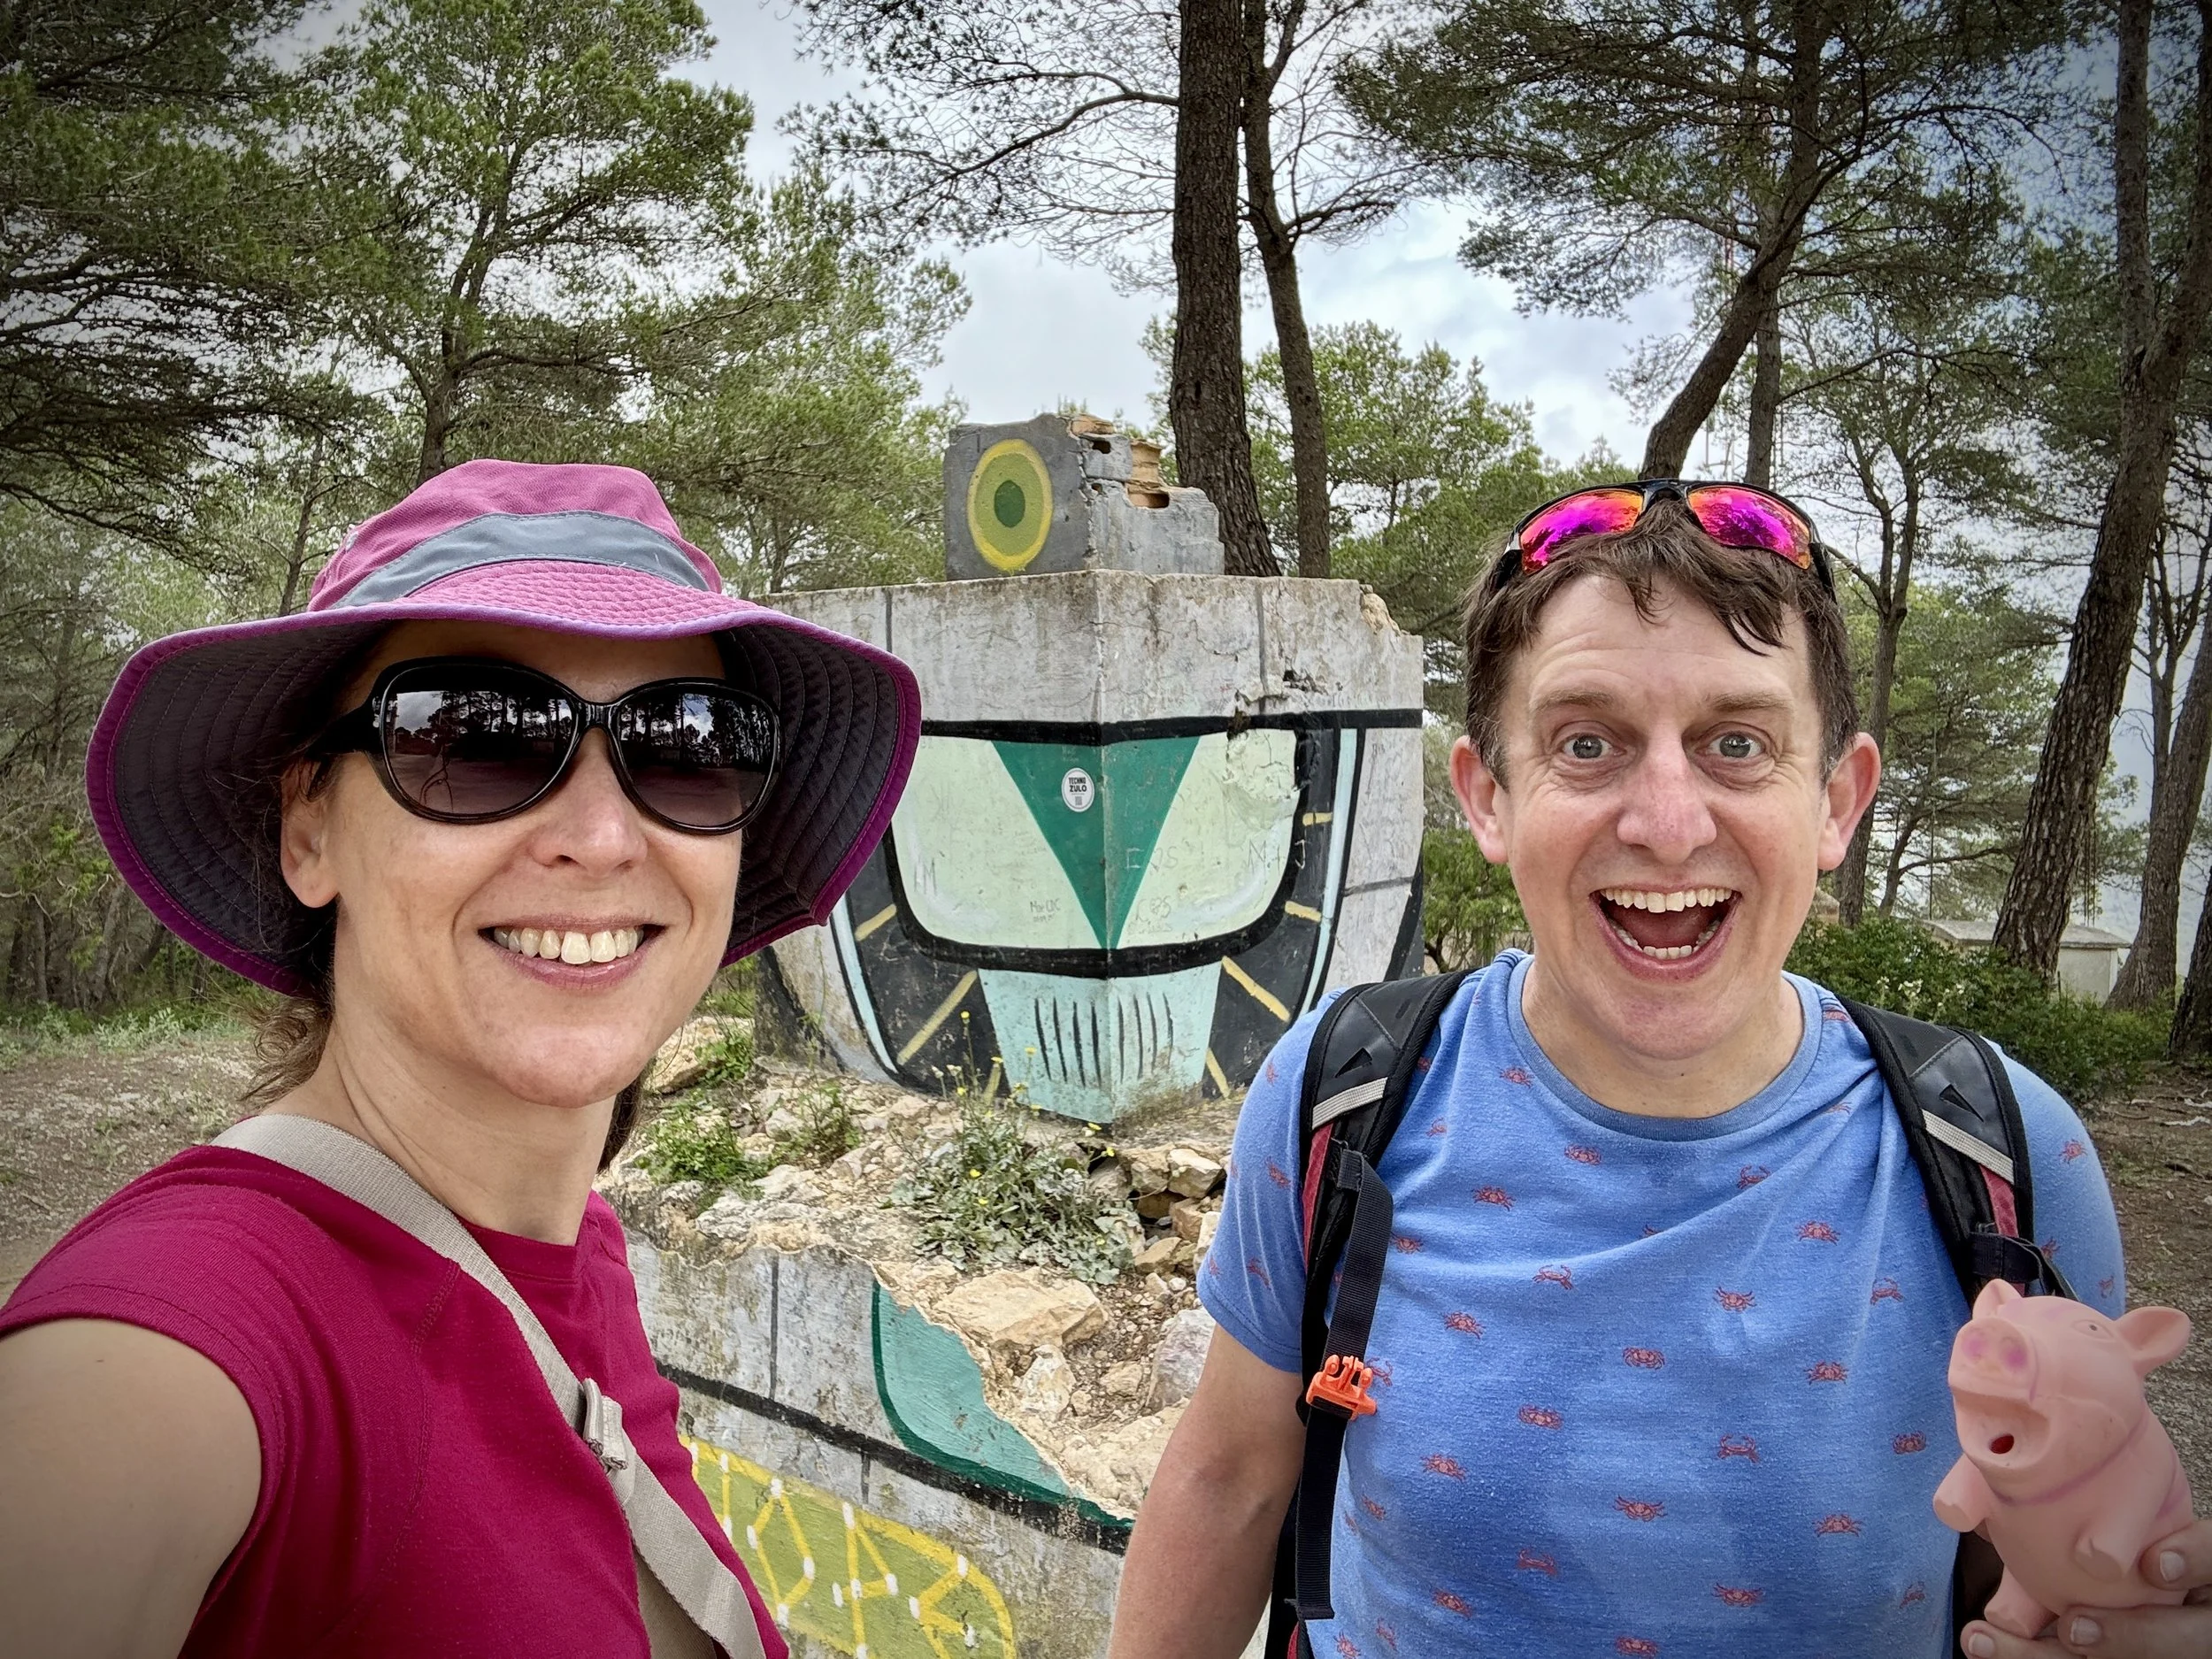
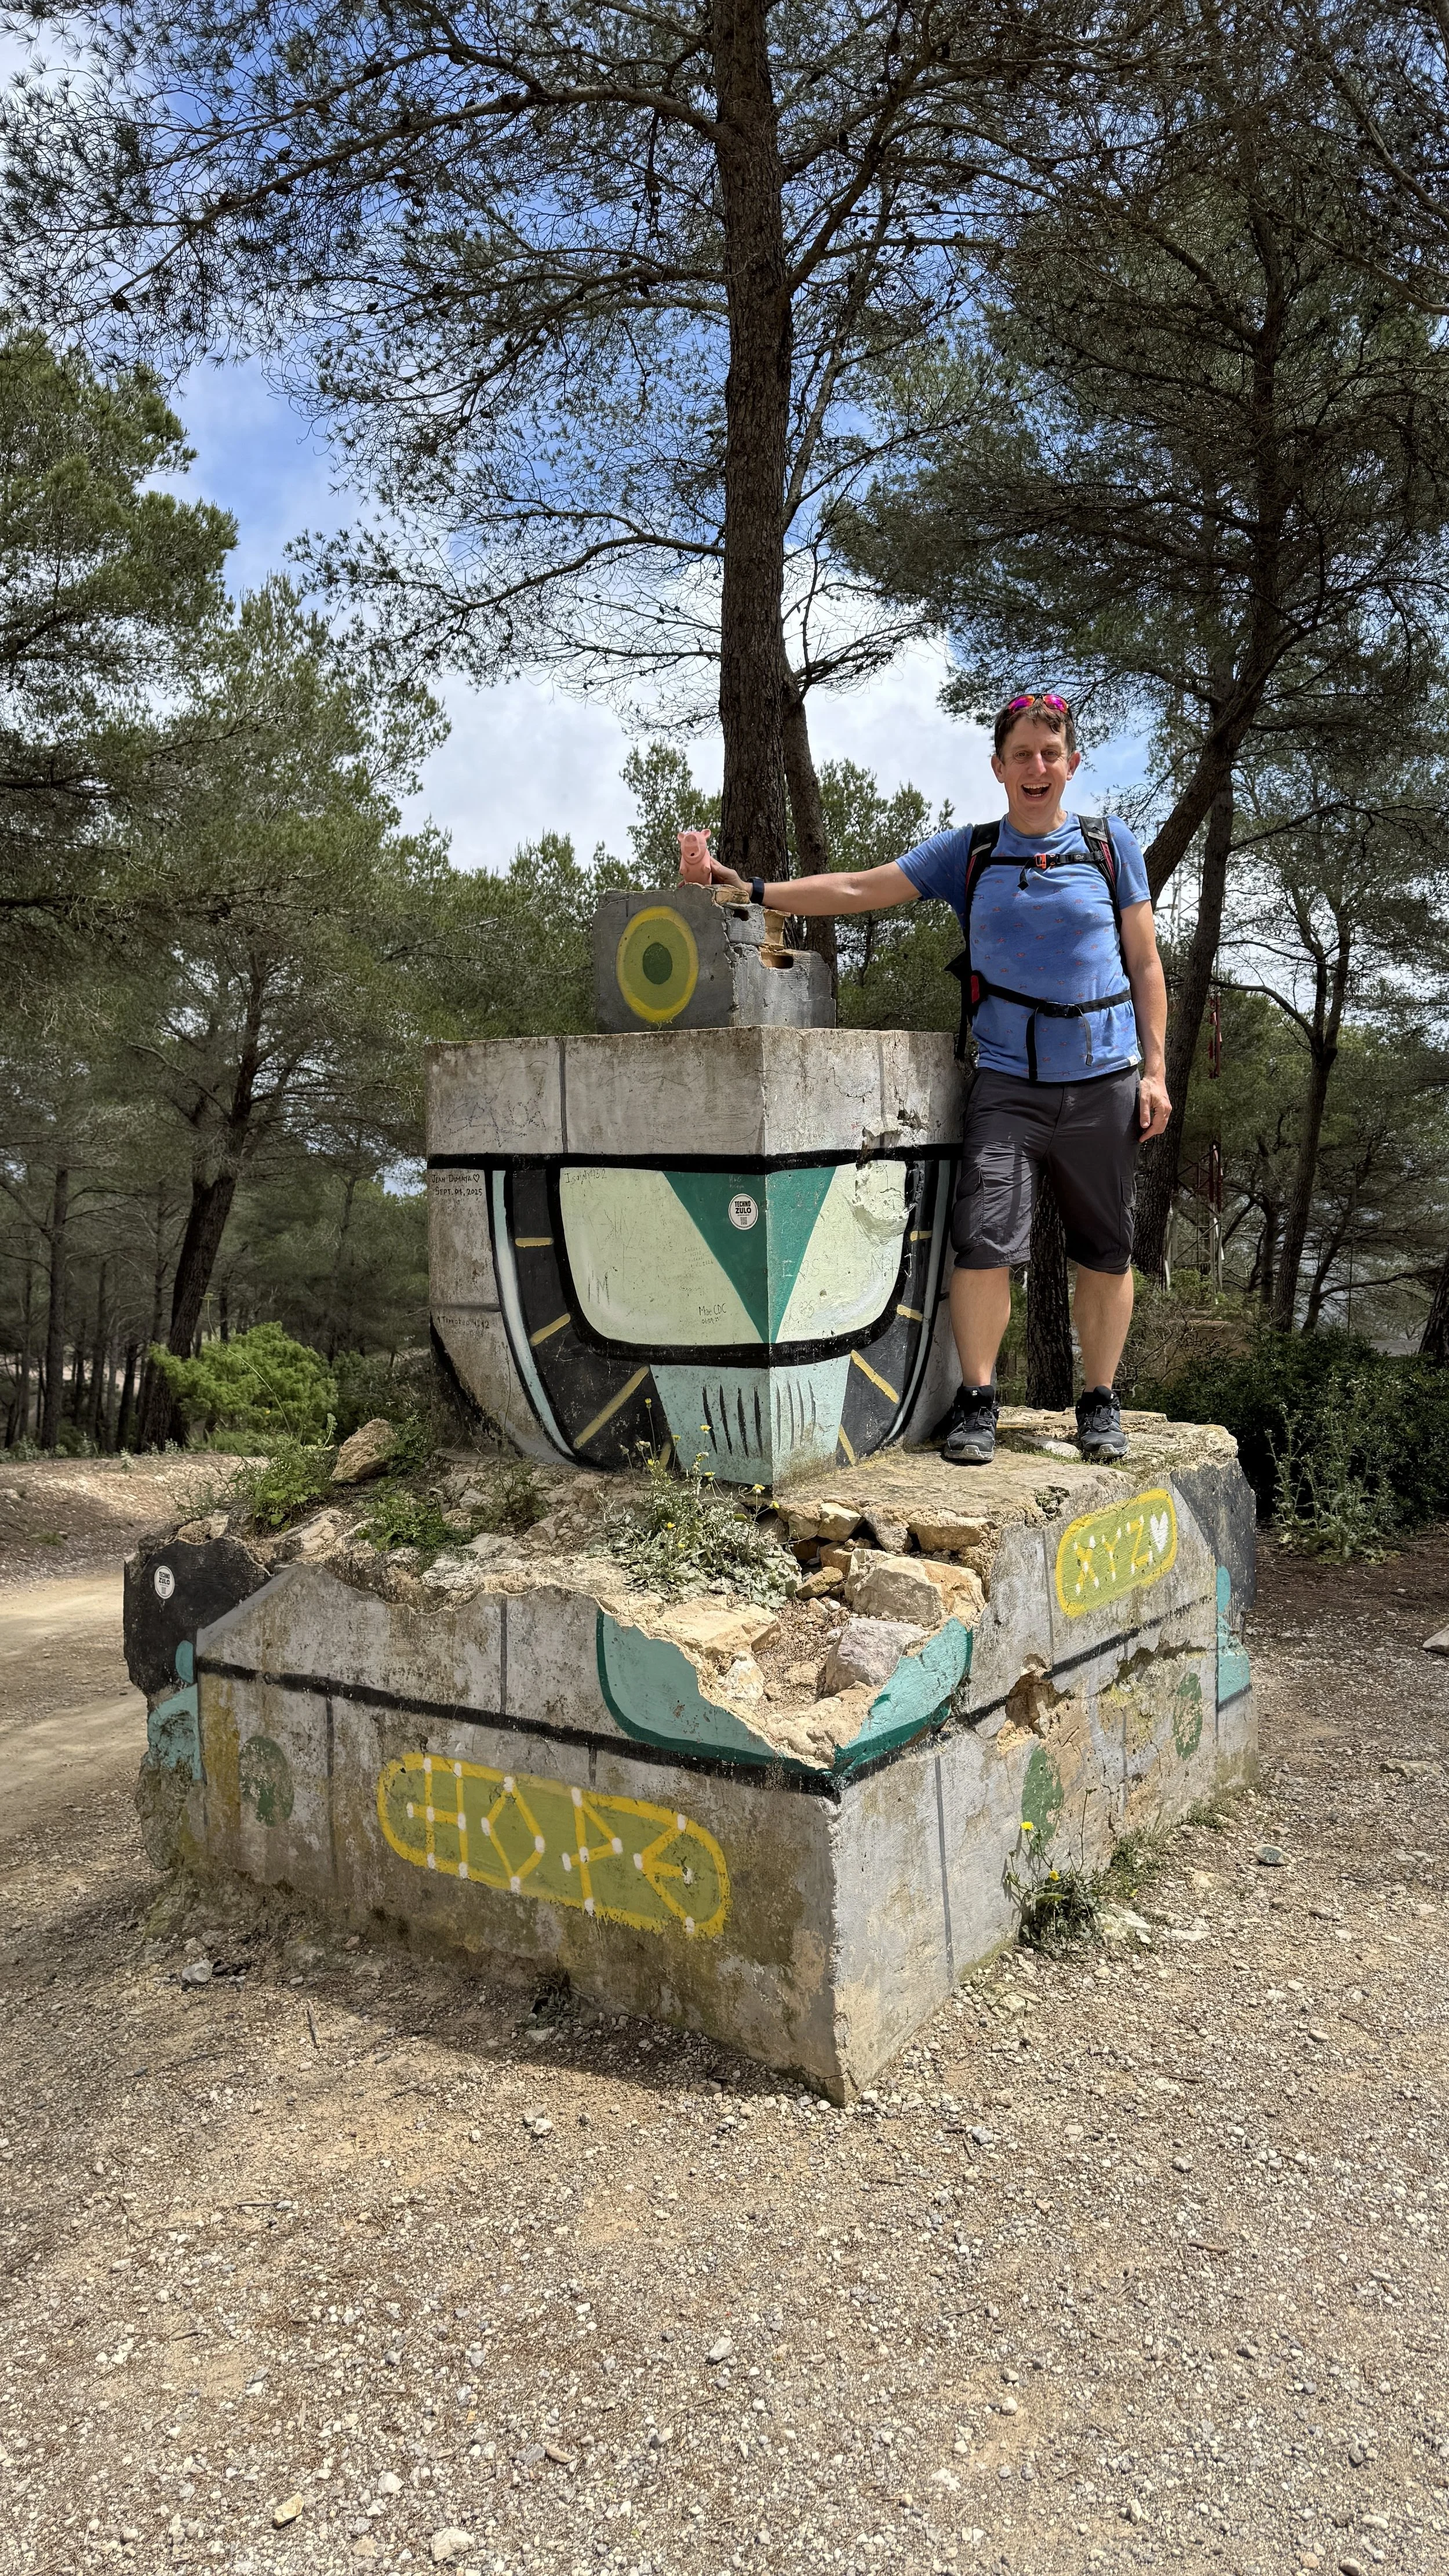
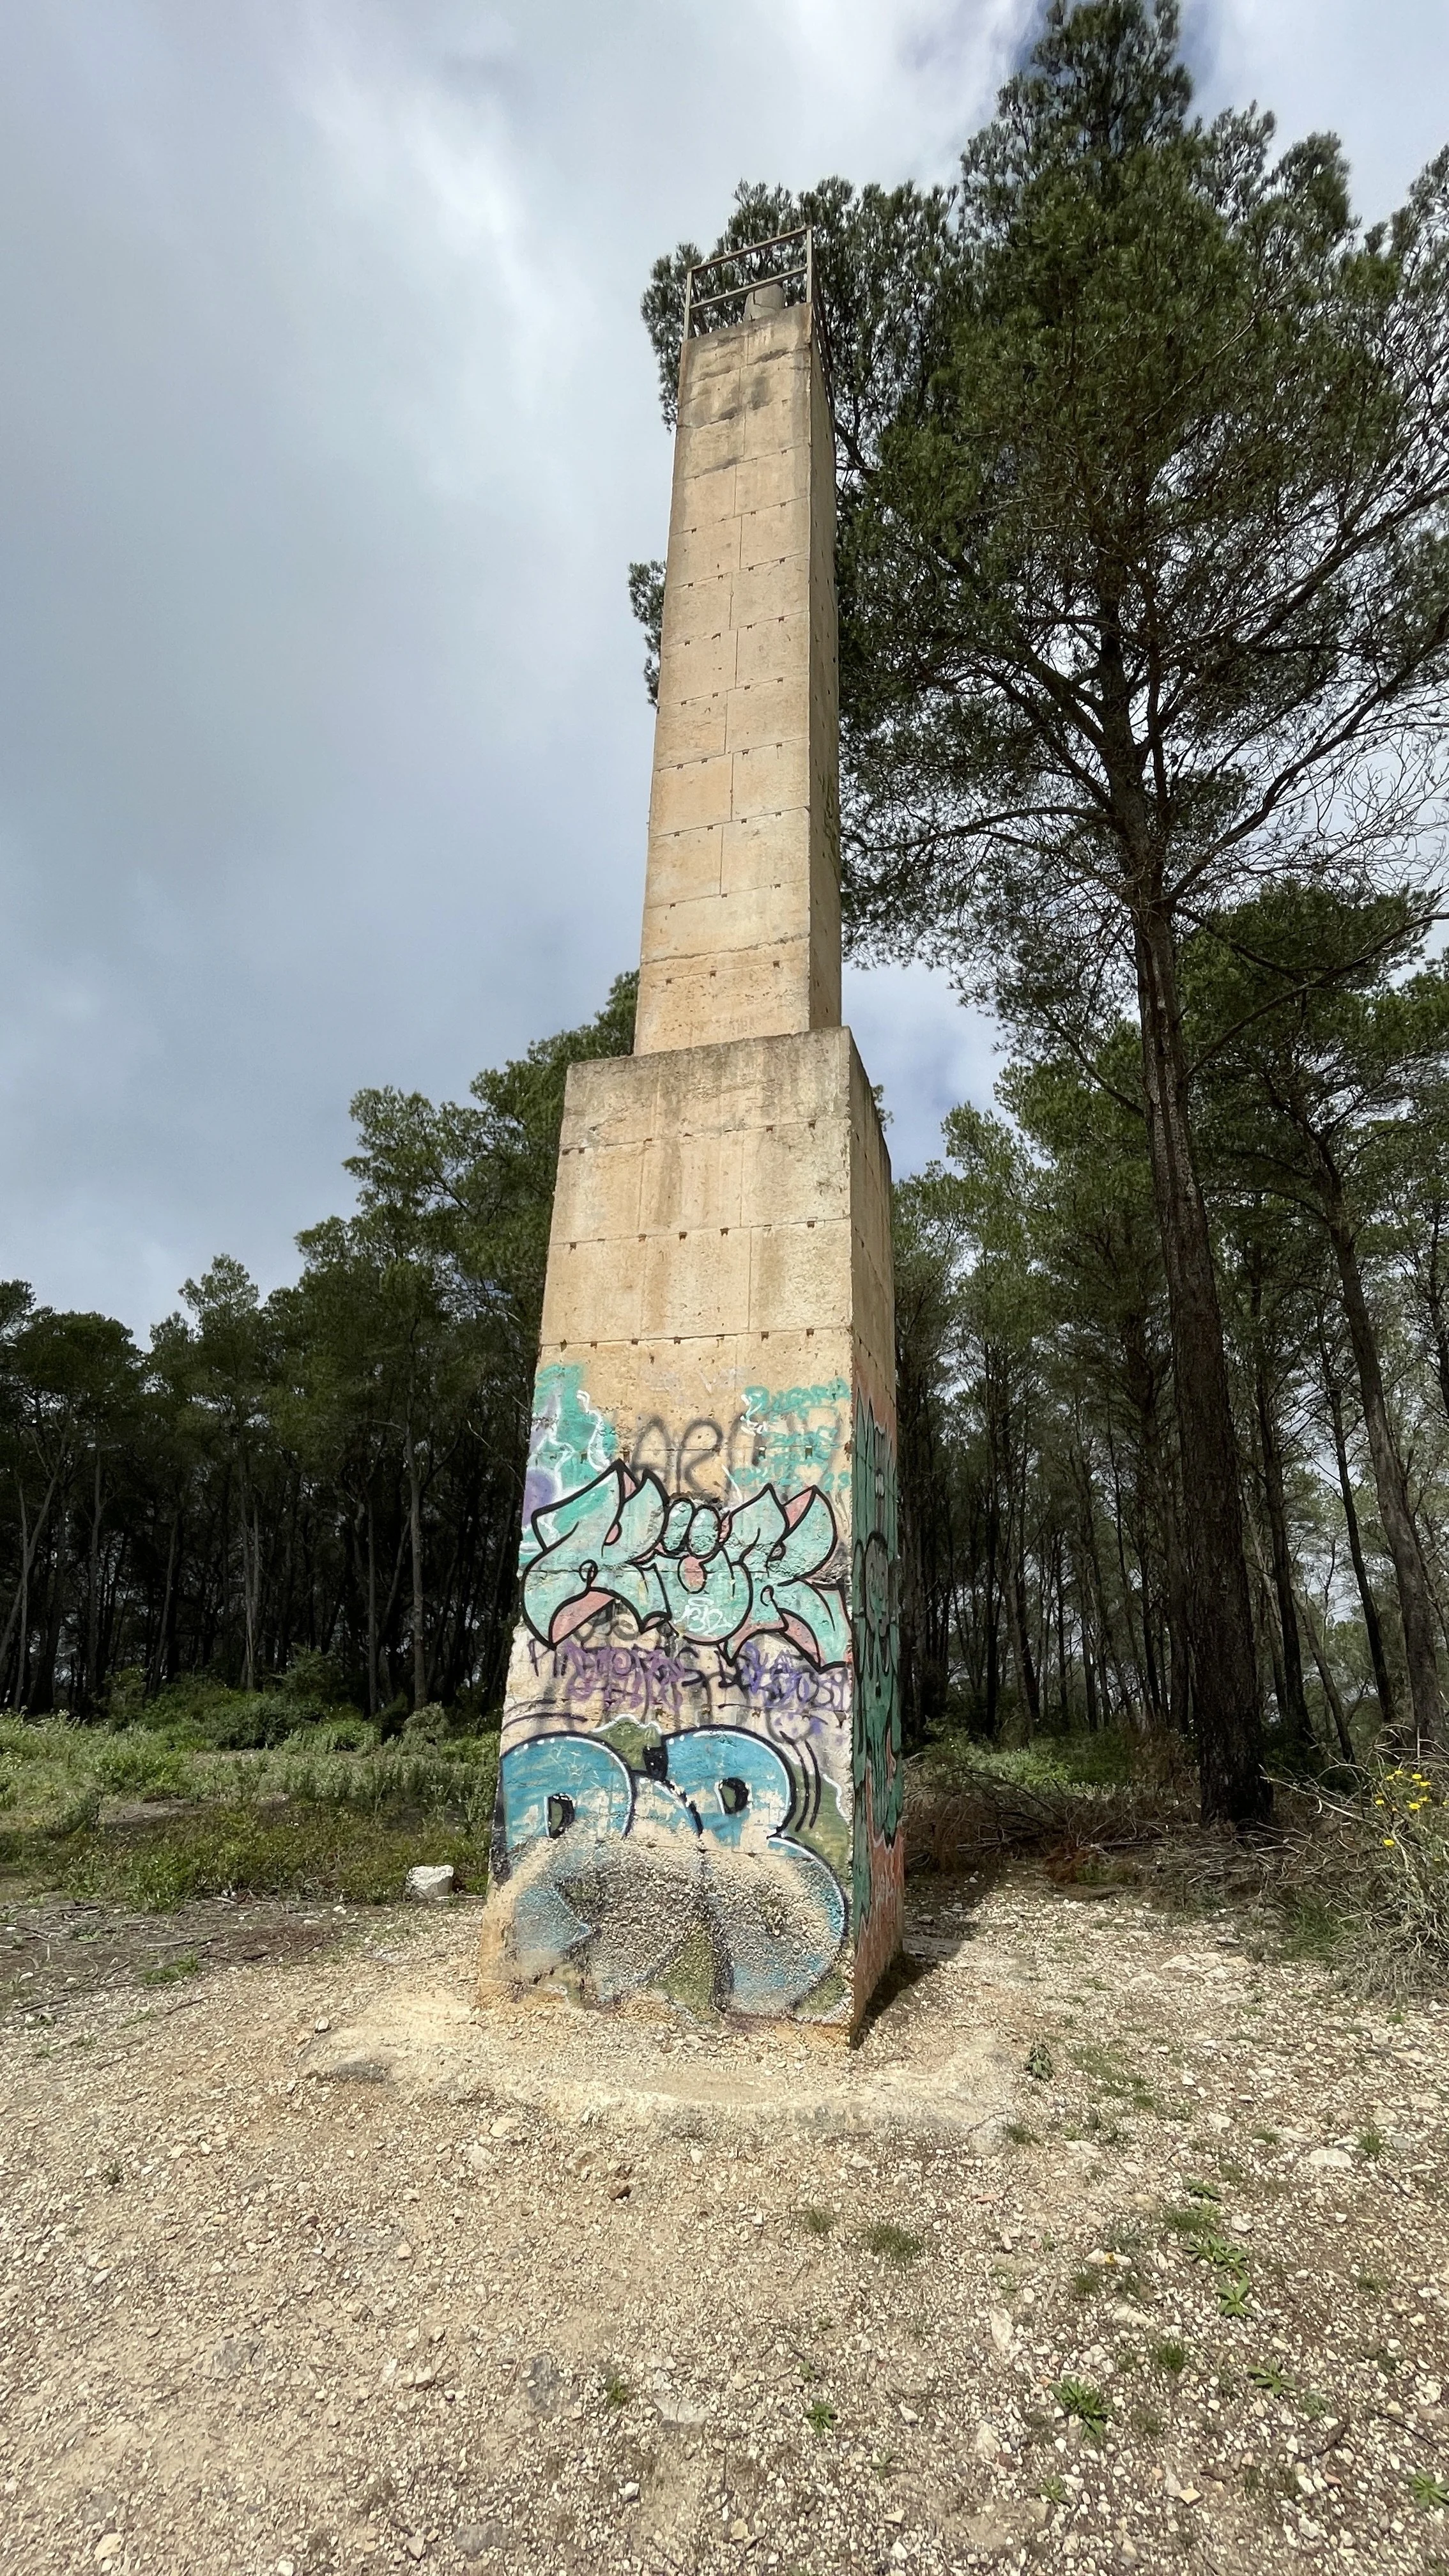
We turned around and followed the small road that runs along the ridge. You will pass another transmitter and a bump in the ridge called Talaia de Sant Josep at 463 metres, but keep going. A little further down the track is the actual high point: Roca Grossa at 487 metres, clearly marked by a Spanish trig pillar.
One sombre piece of history about this mountain: in January 1972, Sa Talaia was the site of a tragic aviation accident. Aviaco Flight 118 crashed into the mountain in dense fog while on approach to the airport, resulting in the loss of all 104 people on board. Coincidentally, my parents visited Ibiza that exact same year. In an even stranger twist of fate, my parents also visited Madeira in 1977 during the exact same week as a major plane crash there. That accident involved TAP Air Portugal Flight 425, which tragically overran the runway at Madeira Airport in heavy rain and high winds, claiming 131 lives.
Beyond this sombre history, the area boasts a rich and varied past. The foothills of the Sa Talaia mountain range are home to the Sa Caleta settlement, dating back to the 7th century BC. The Phoenicians used the area for metallurgy, melting down minerals to extract lead and silver. Additionally, the coastline visible from these high ridges was historically heavily plagued by pirate attacks. This led to the construction of coastal defences in the 18th century, such as the nearby Torre des Savinar (often called the Pirate's Tower), which you can spot from the elevated vantage points.
After finding the trig pillar and taking a few photos, we retraced our steps along the ridge for about 200 metres. We then took a fork on the right to head down the hill in a northwesterly direction. This brought us back to the original trail at the fork we had encountered earlier. From there, it was a simple case of retracing our steps down the steep wooded descent, back to the road, and down to the car park.
La Mola, Formentera
Also known as: Sa Talaïassa
Significance: High point of the island of Formentera
Elevation: 197m
Date climbed: 6th May 2026
Coordinates: 38° 39' 56'' N, 1° 32' 8'' E
Links: Formentera, La Mola, Peakbagger
Having successfully ticked off Ibiza, we set out the very next day on a day trip to Formentera. We caught the ferry from Ibiza Old Town. Formentera is a lovely, small island, and taking a hire car over on the ferry (which takes about an hour) is incredibly convenient. Alternatively, you can take the foot ferry and rent a bike, scooter, or car once you arrive. As we had our own hire car for the week, we brought it with us.
Once you arrive at the Formentera port, it is about a 20-minute drive to the far end of the island to reach the La Mola peninsula. A real highlight here is visiting the lighthouse right at the far end of the peninsula, which also boasts a really good cafe. This was our first stop to fuel up for the day.
This lighthouse actually has a famous literary history. It is widely said to have inspired Jules Verne’s sci-fi novel Hector Servadac (Off on a Comet), where it is described as the "lighthouse at the end of the world". There is even a small monument plaque dedicated to Verne right next to the lighthouse to commemorate this. The astronomer character in Verne's book was based on a real person, François Arago, who stayed at the La Mola site around 1808 while working on measuring the meridian arc, which helped to officially define the exact length of a "metre".
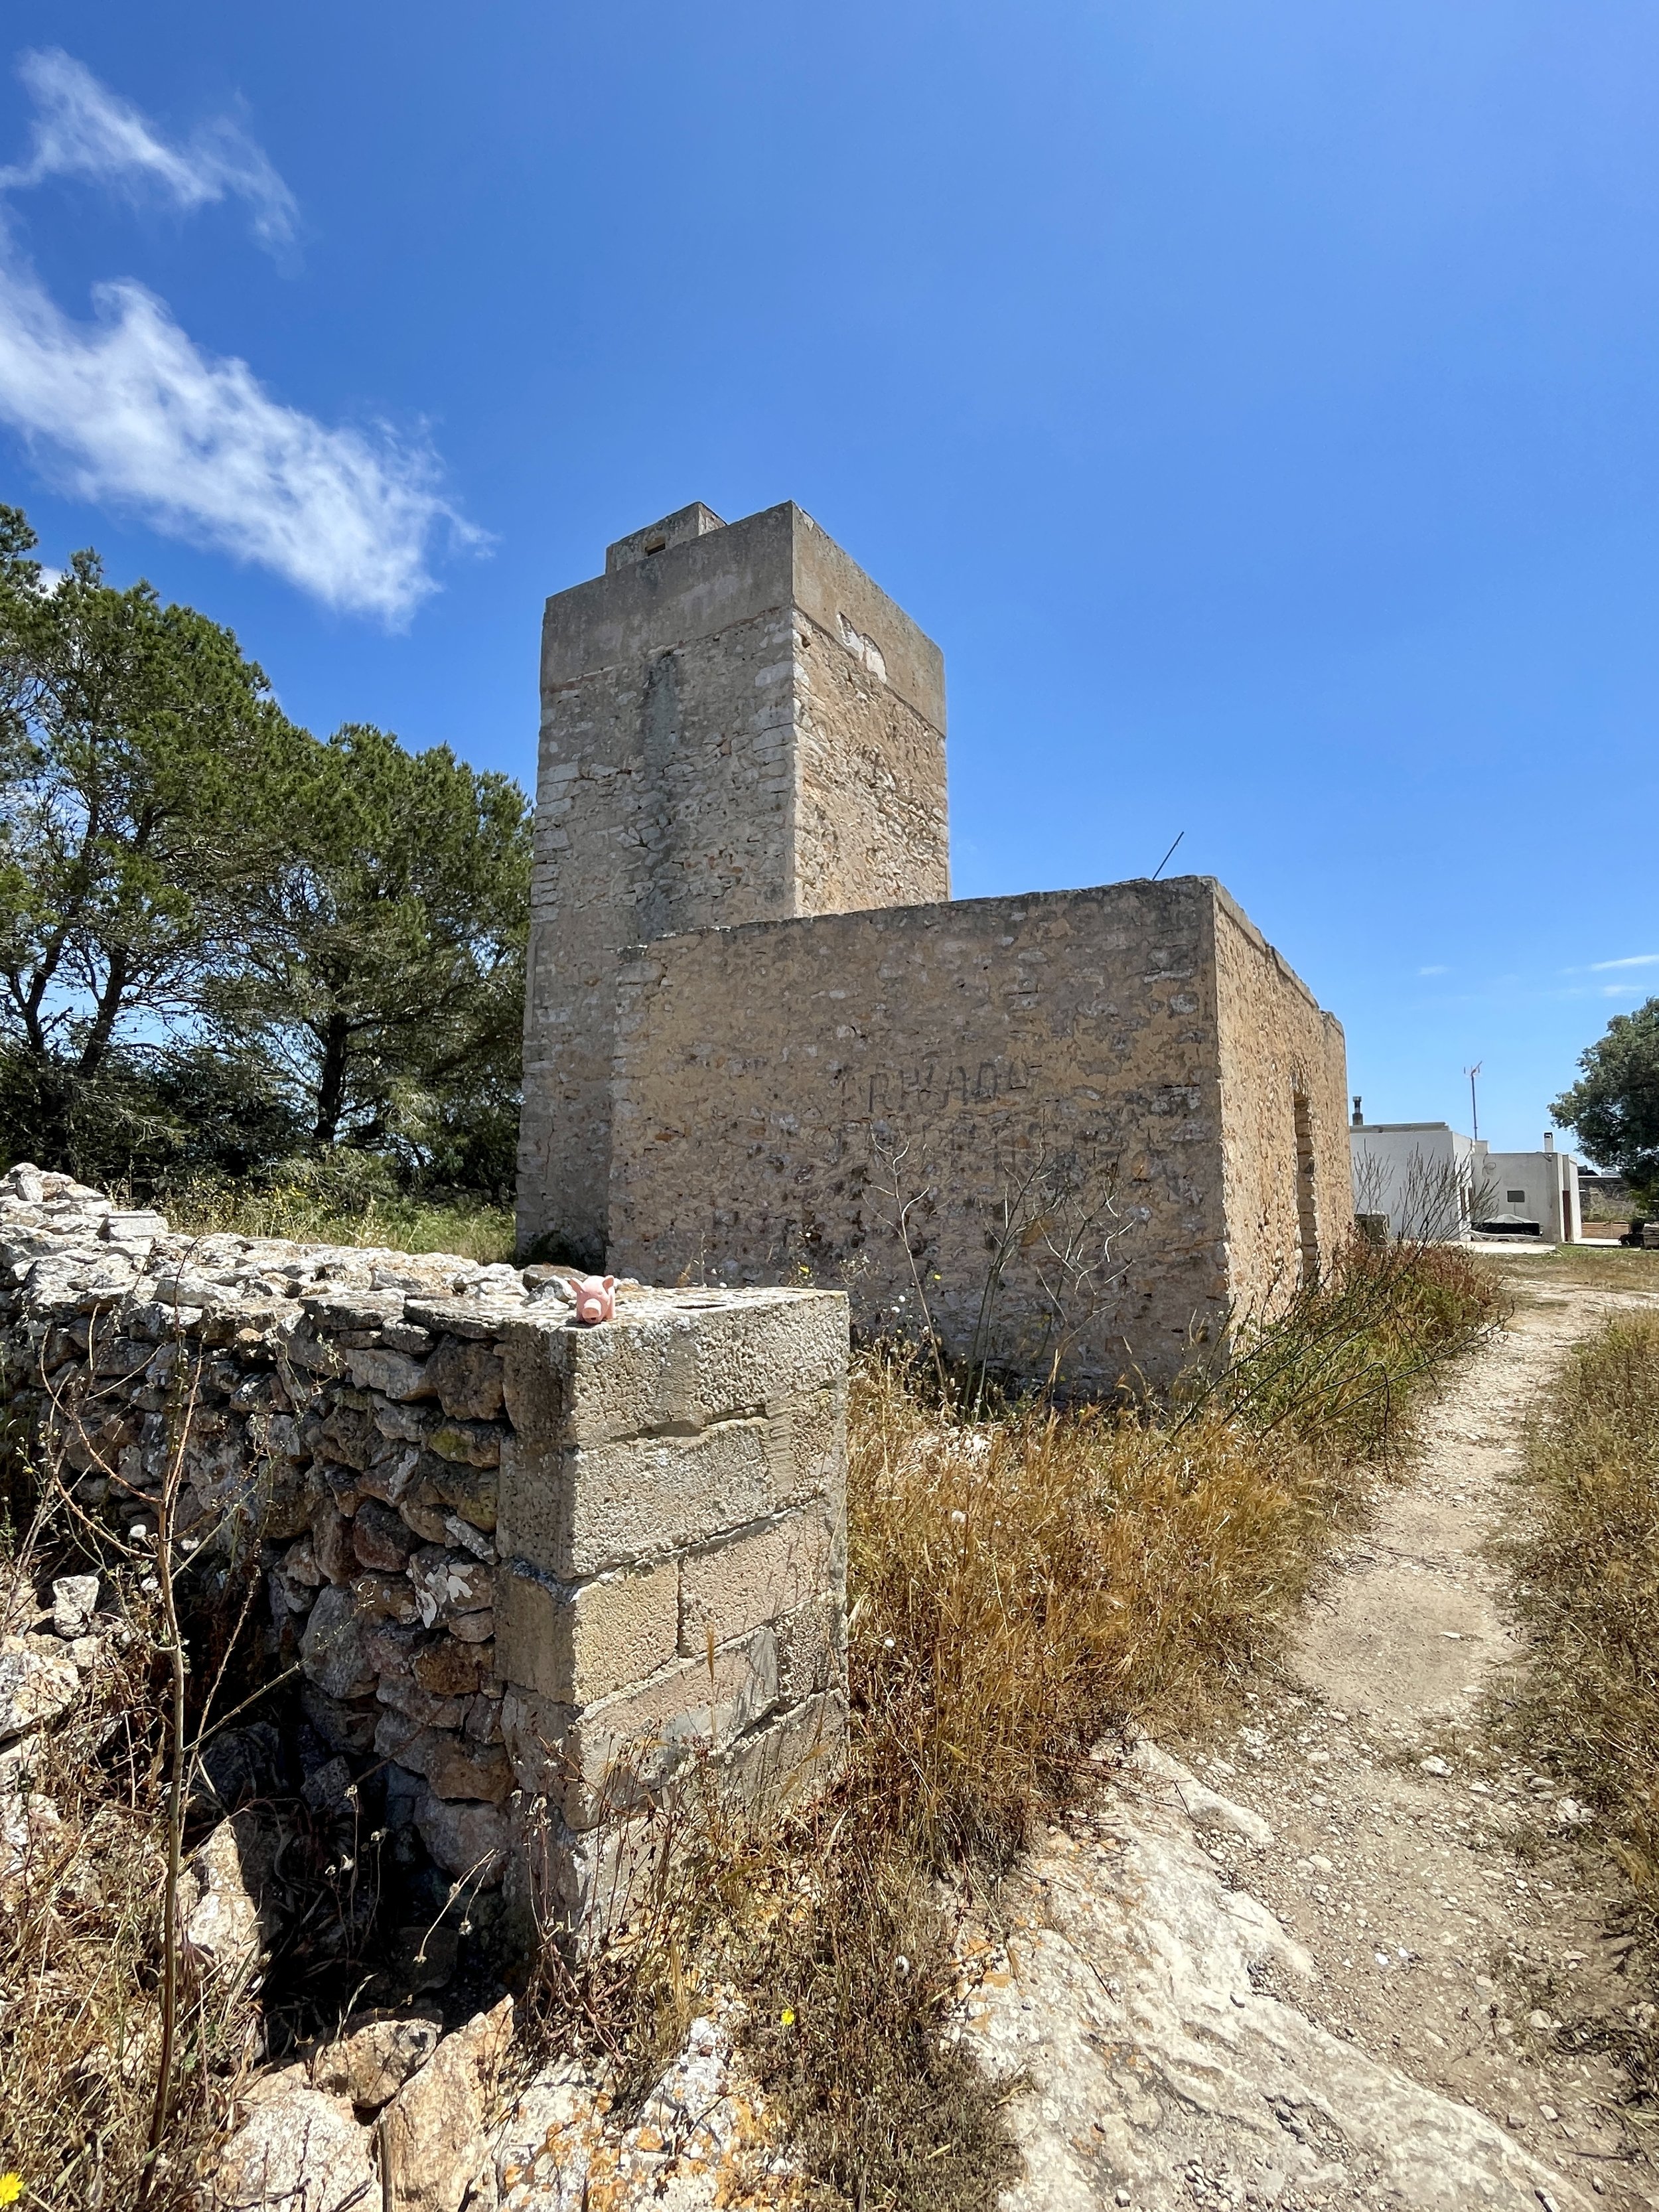
After the cafe and the lighthouse, we drove to the island's high point, which is only about 10 minutes away, just outside the main town of El Pilar de la Mola. Another quirky sight to look out for near here is the Molí Vell de La Mola. Built in 1778, it is one of the oldest and best-preserved flour windmills in the Balearics.
A quick warning: while it is definitely possible to drive to the summit, the road heading up is a very rough, single-lane track. You need a car with good ground clearance, and you have to be very careful as it is difficult to pass if you meet another car coming the other way. If you have a bit more time, walking or cycling up is a great alternative.
Because we had the car, we carefully drove up. You can park very close to the actual high point, which is located right at the back of a bed and breakfast called Casa Rural Formentera. It is very easy to spot because there is a large telecommunications pole right next to it. We found the exact coordinates of the high point right at the back of the B&B, next to what looks like an abandoned building.
And with that, we have completed our visits to all of the Balearic islands! However, our high-point mission isn't quite finished yet: we need to revisit Mallorca one day to officially bag the high point there.

Walking The Tamsin Trail in Richmond Park
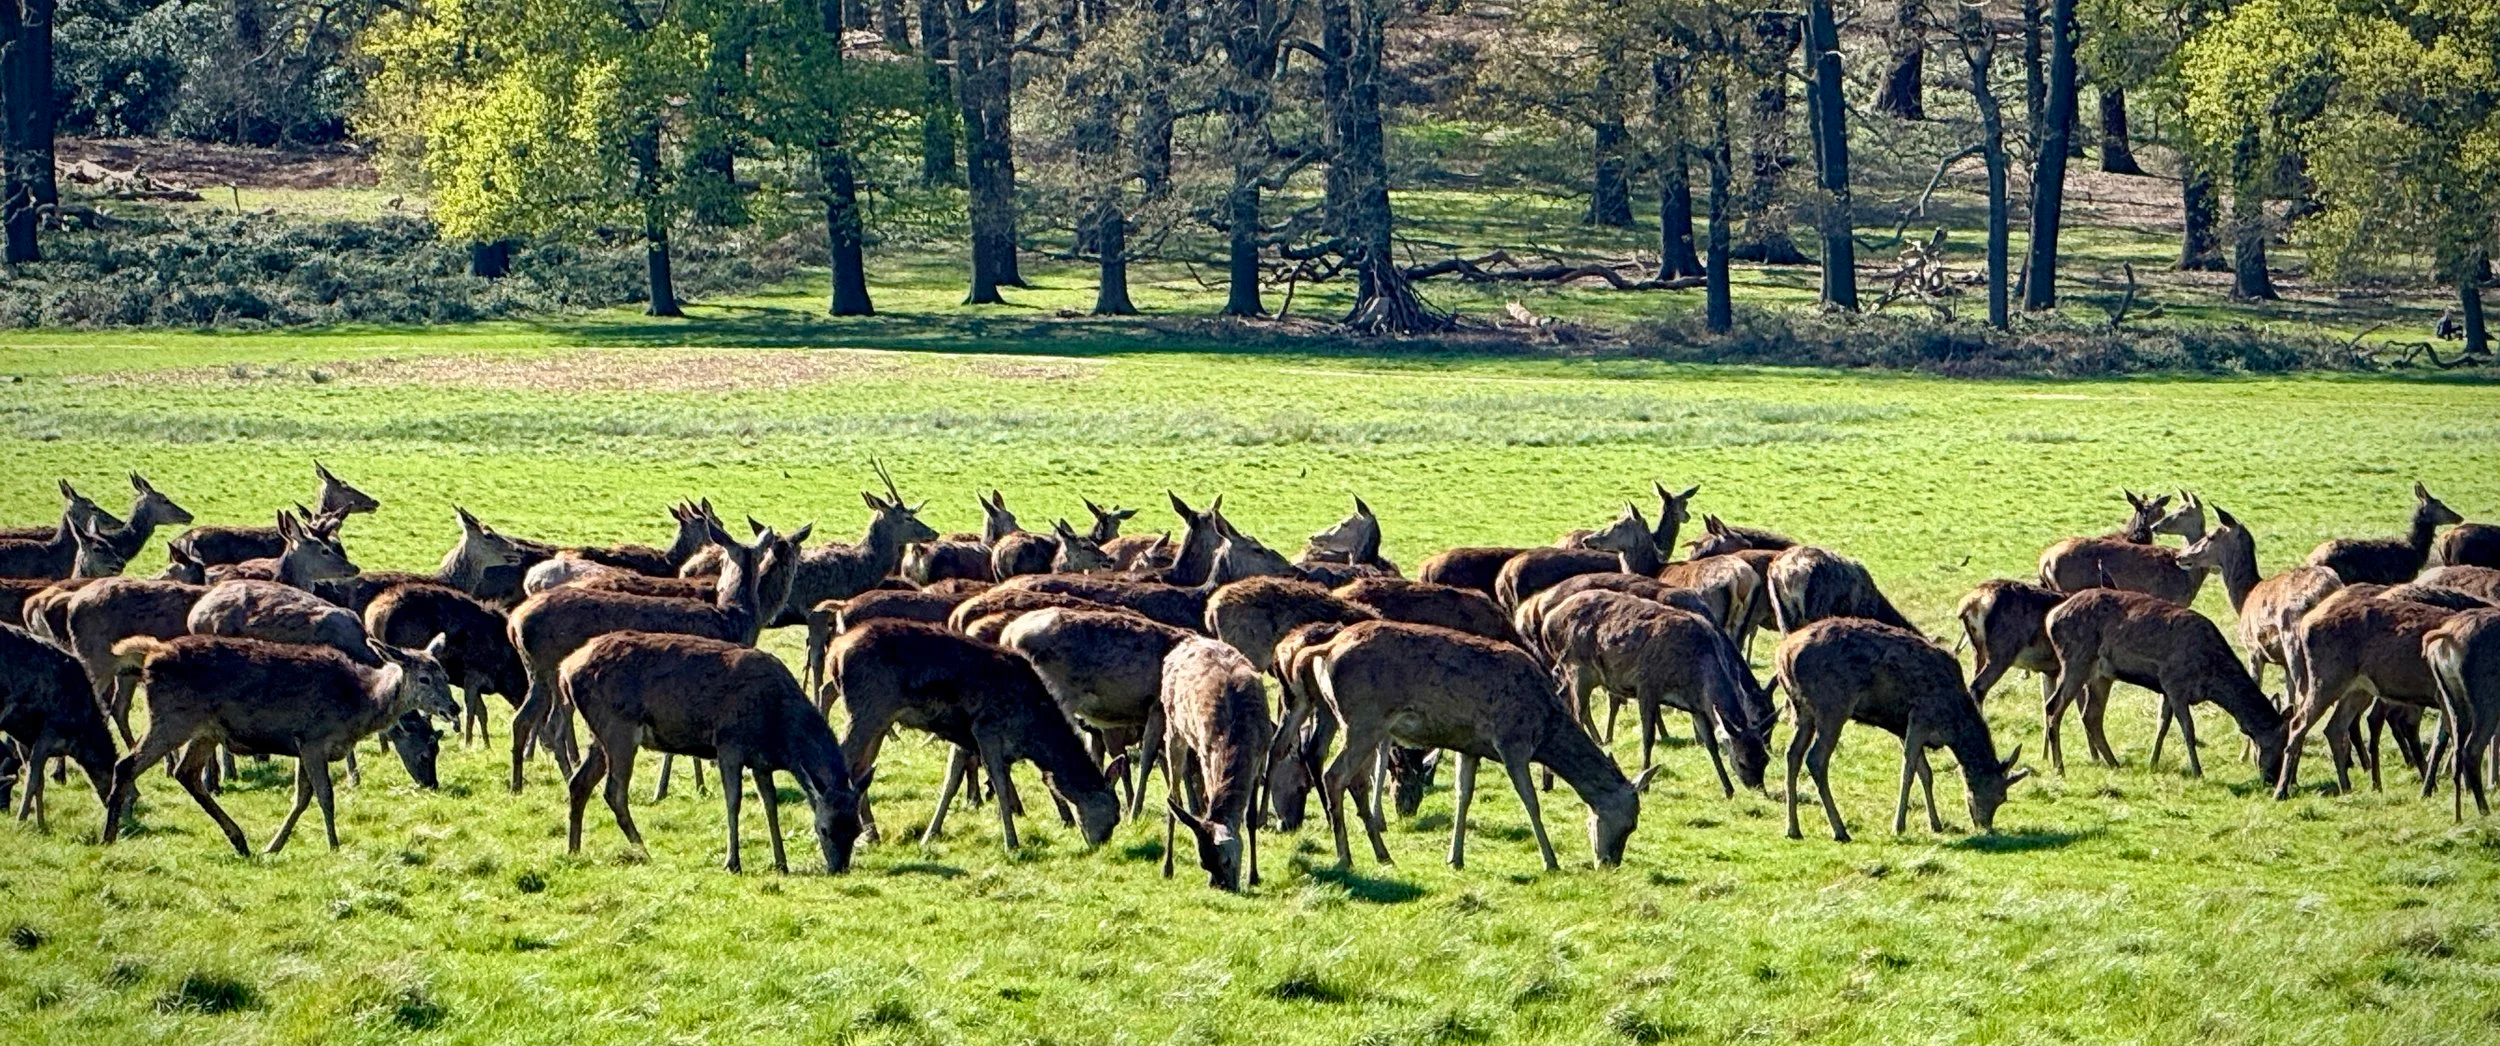
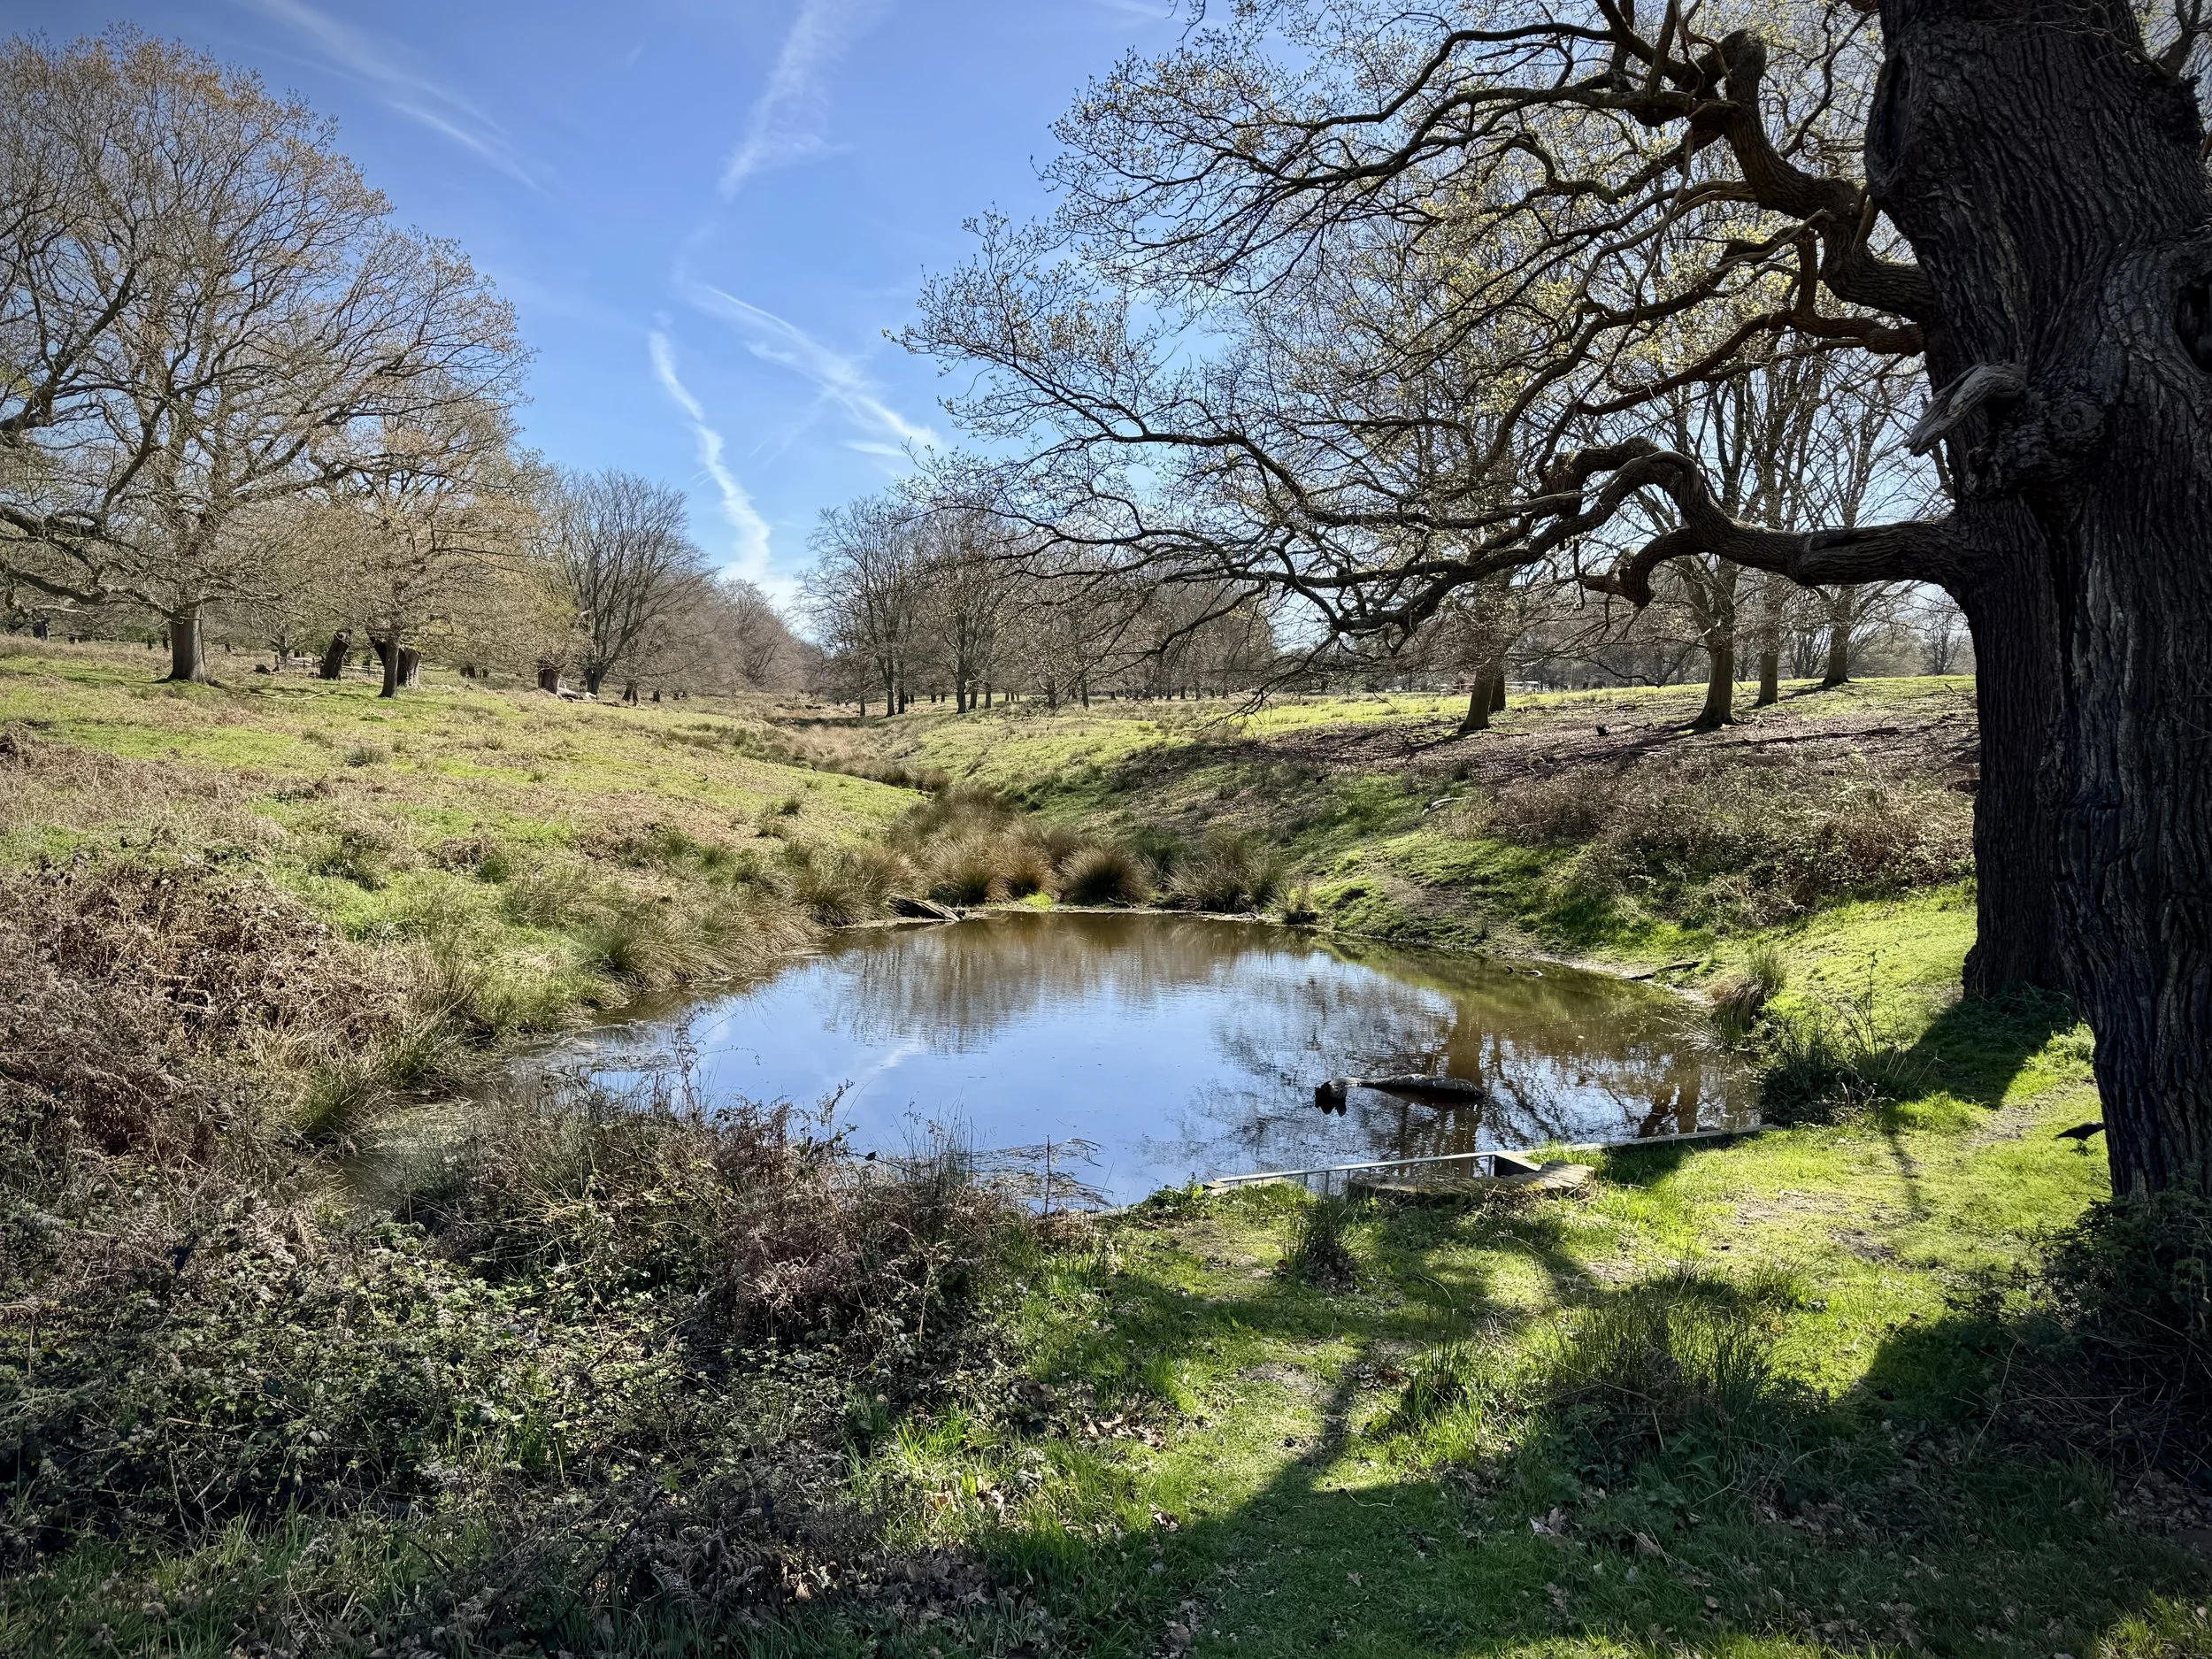
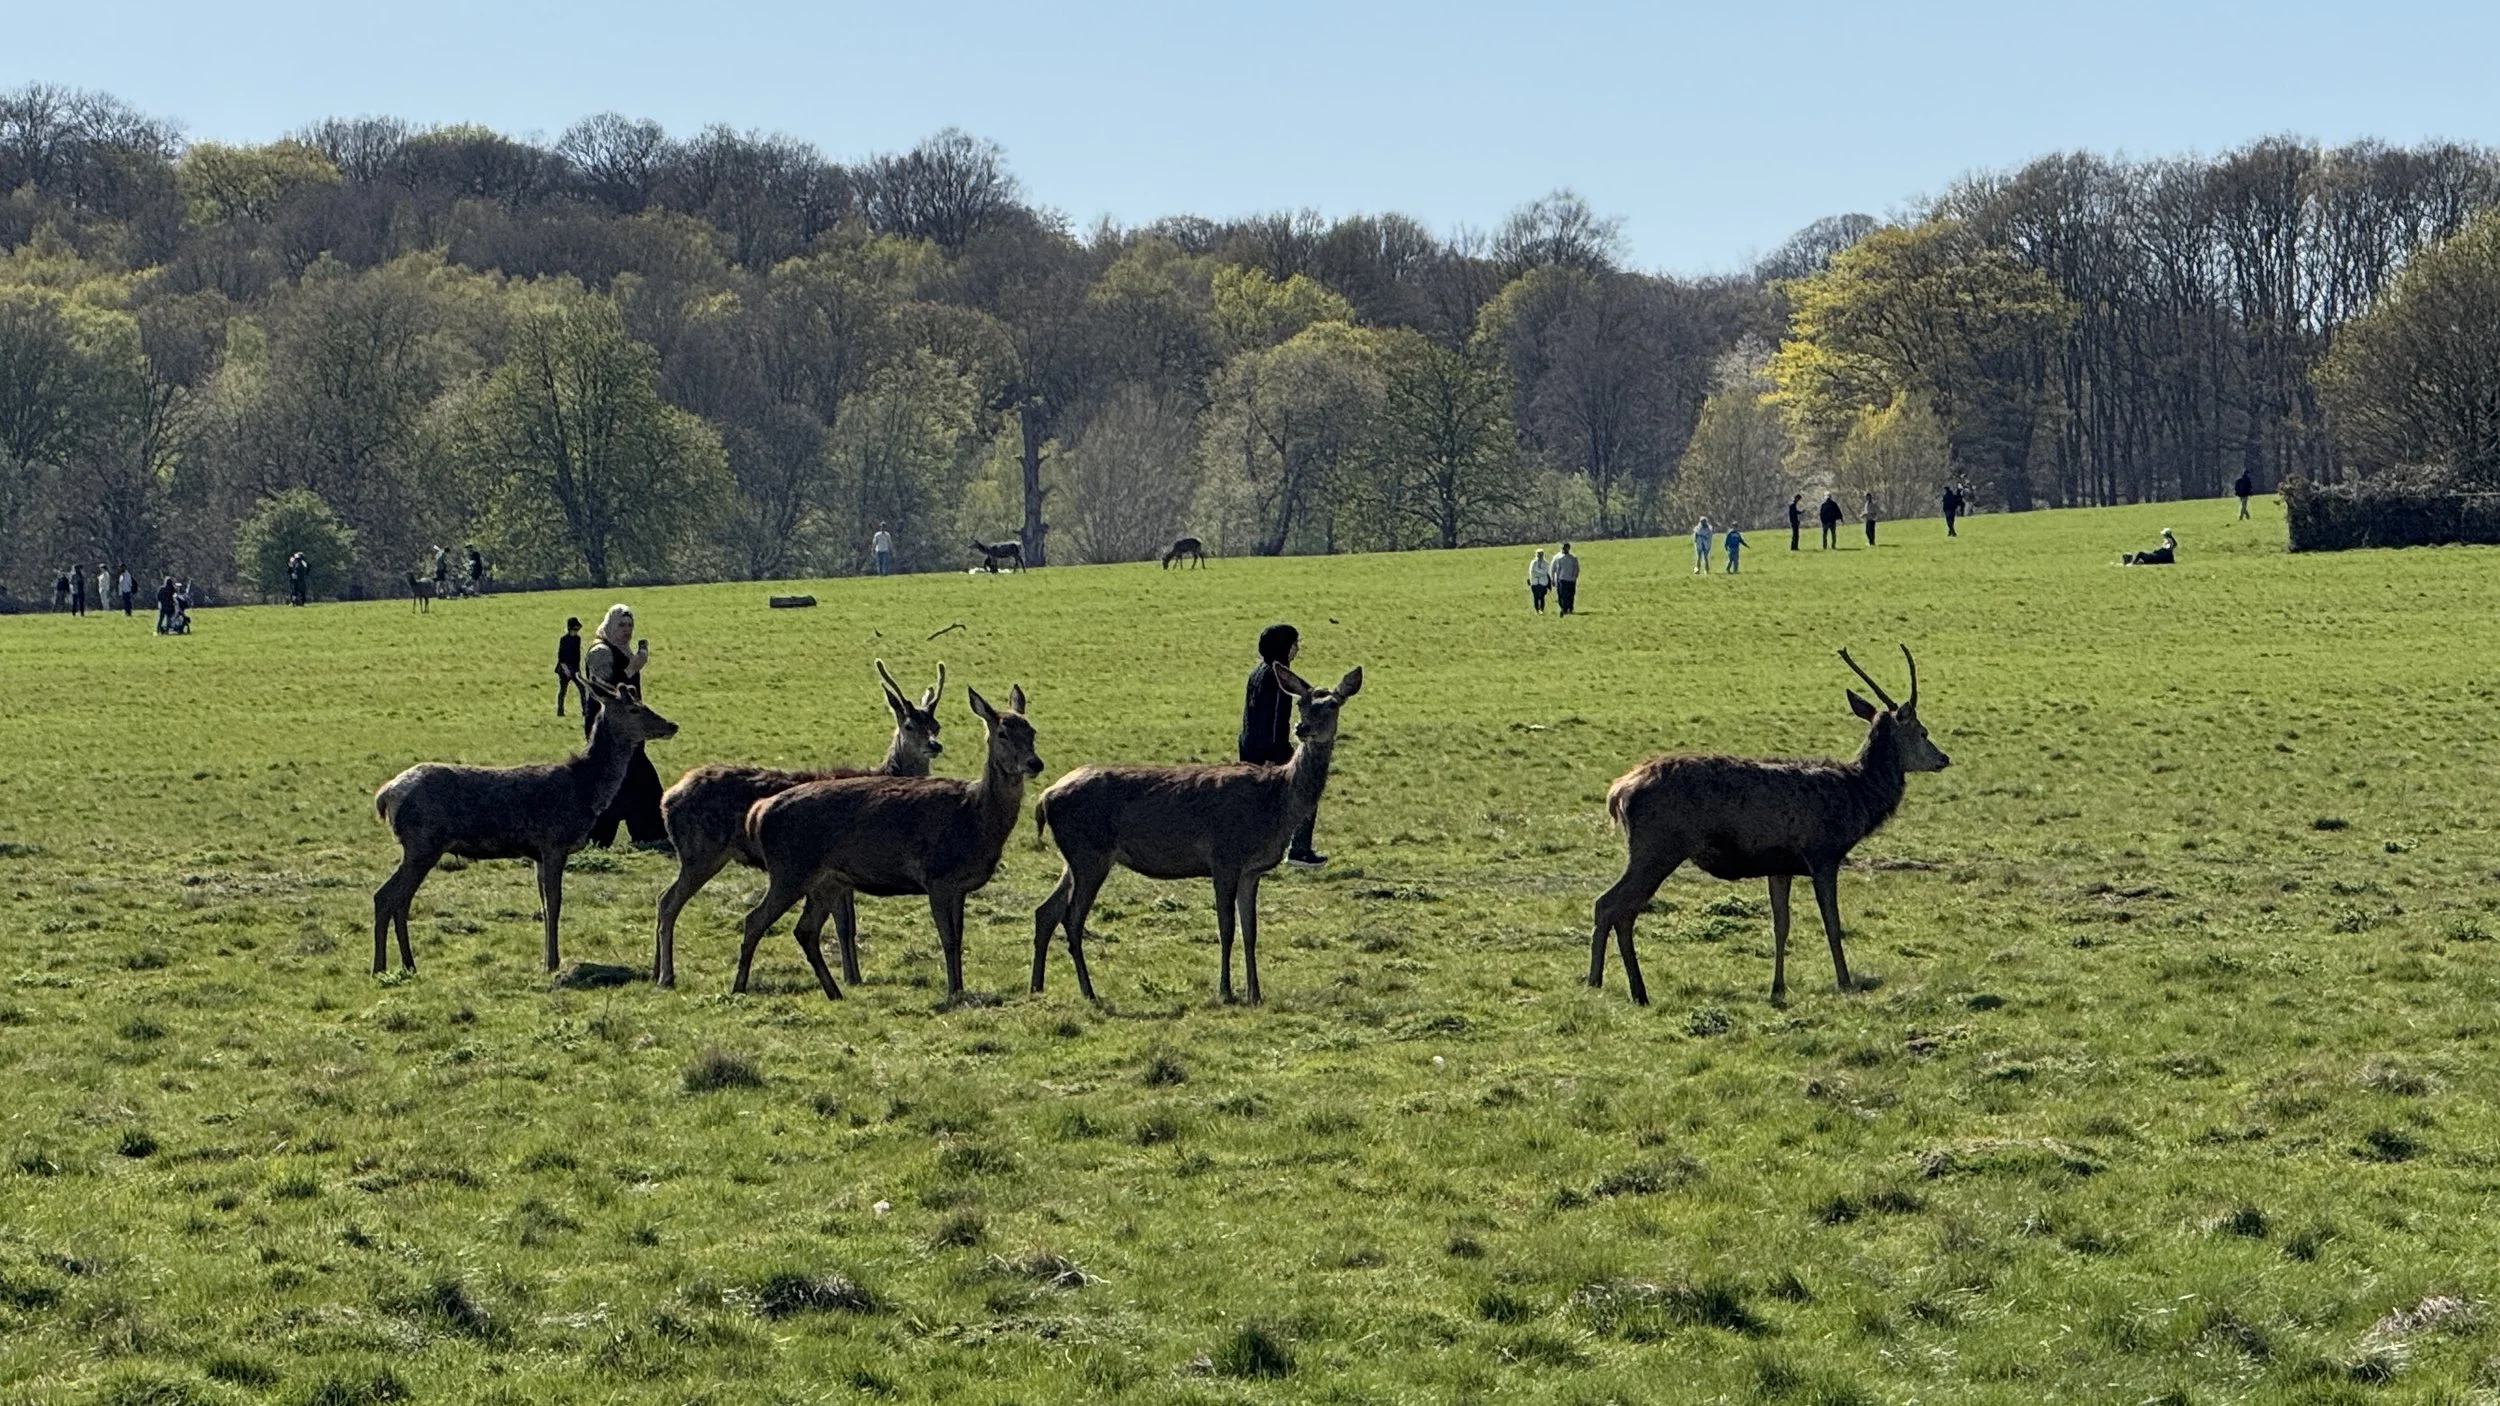
Deer grazing near the Tamsin Trail
Start & Finish: Various (see notes below)
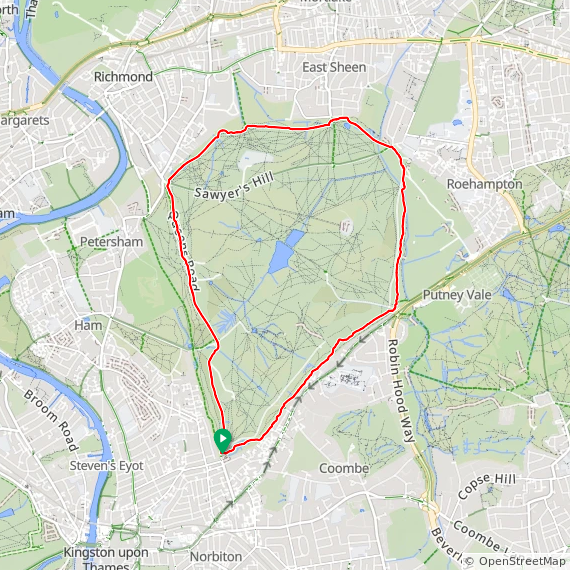
Distance: 11.5 km (7.1 miles)
Elevation change: +/- 107m
GPX File: get via Buy Me a Coffee
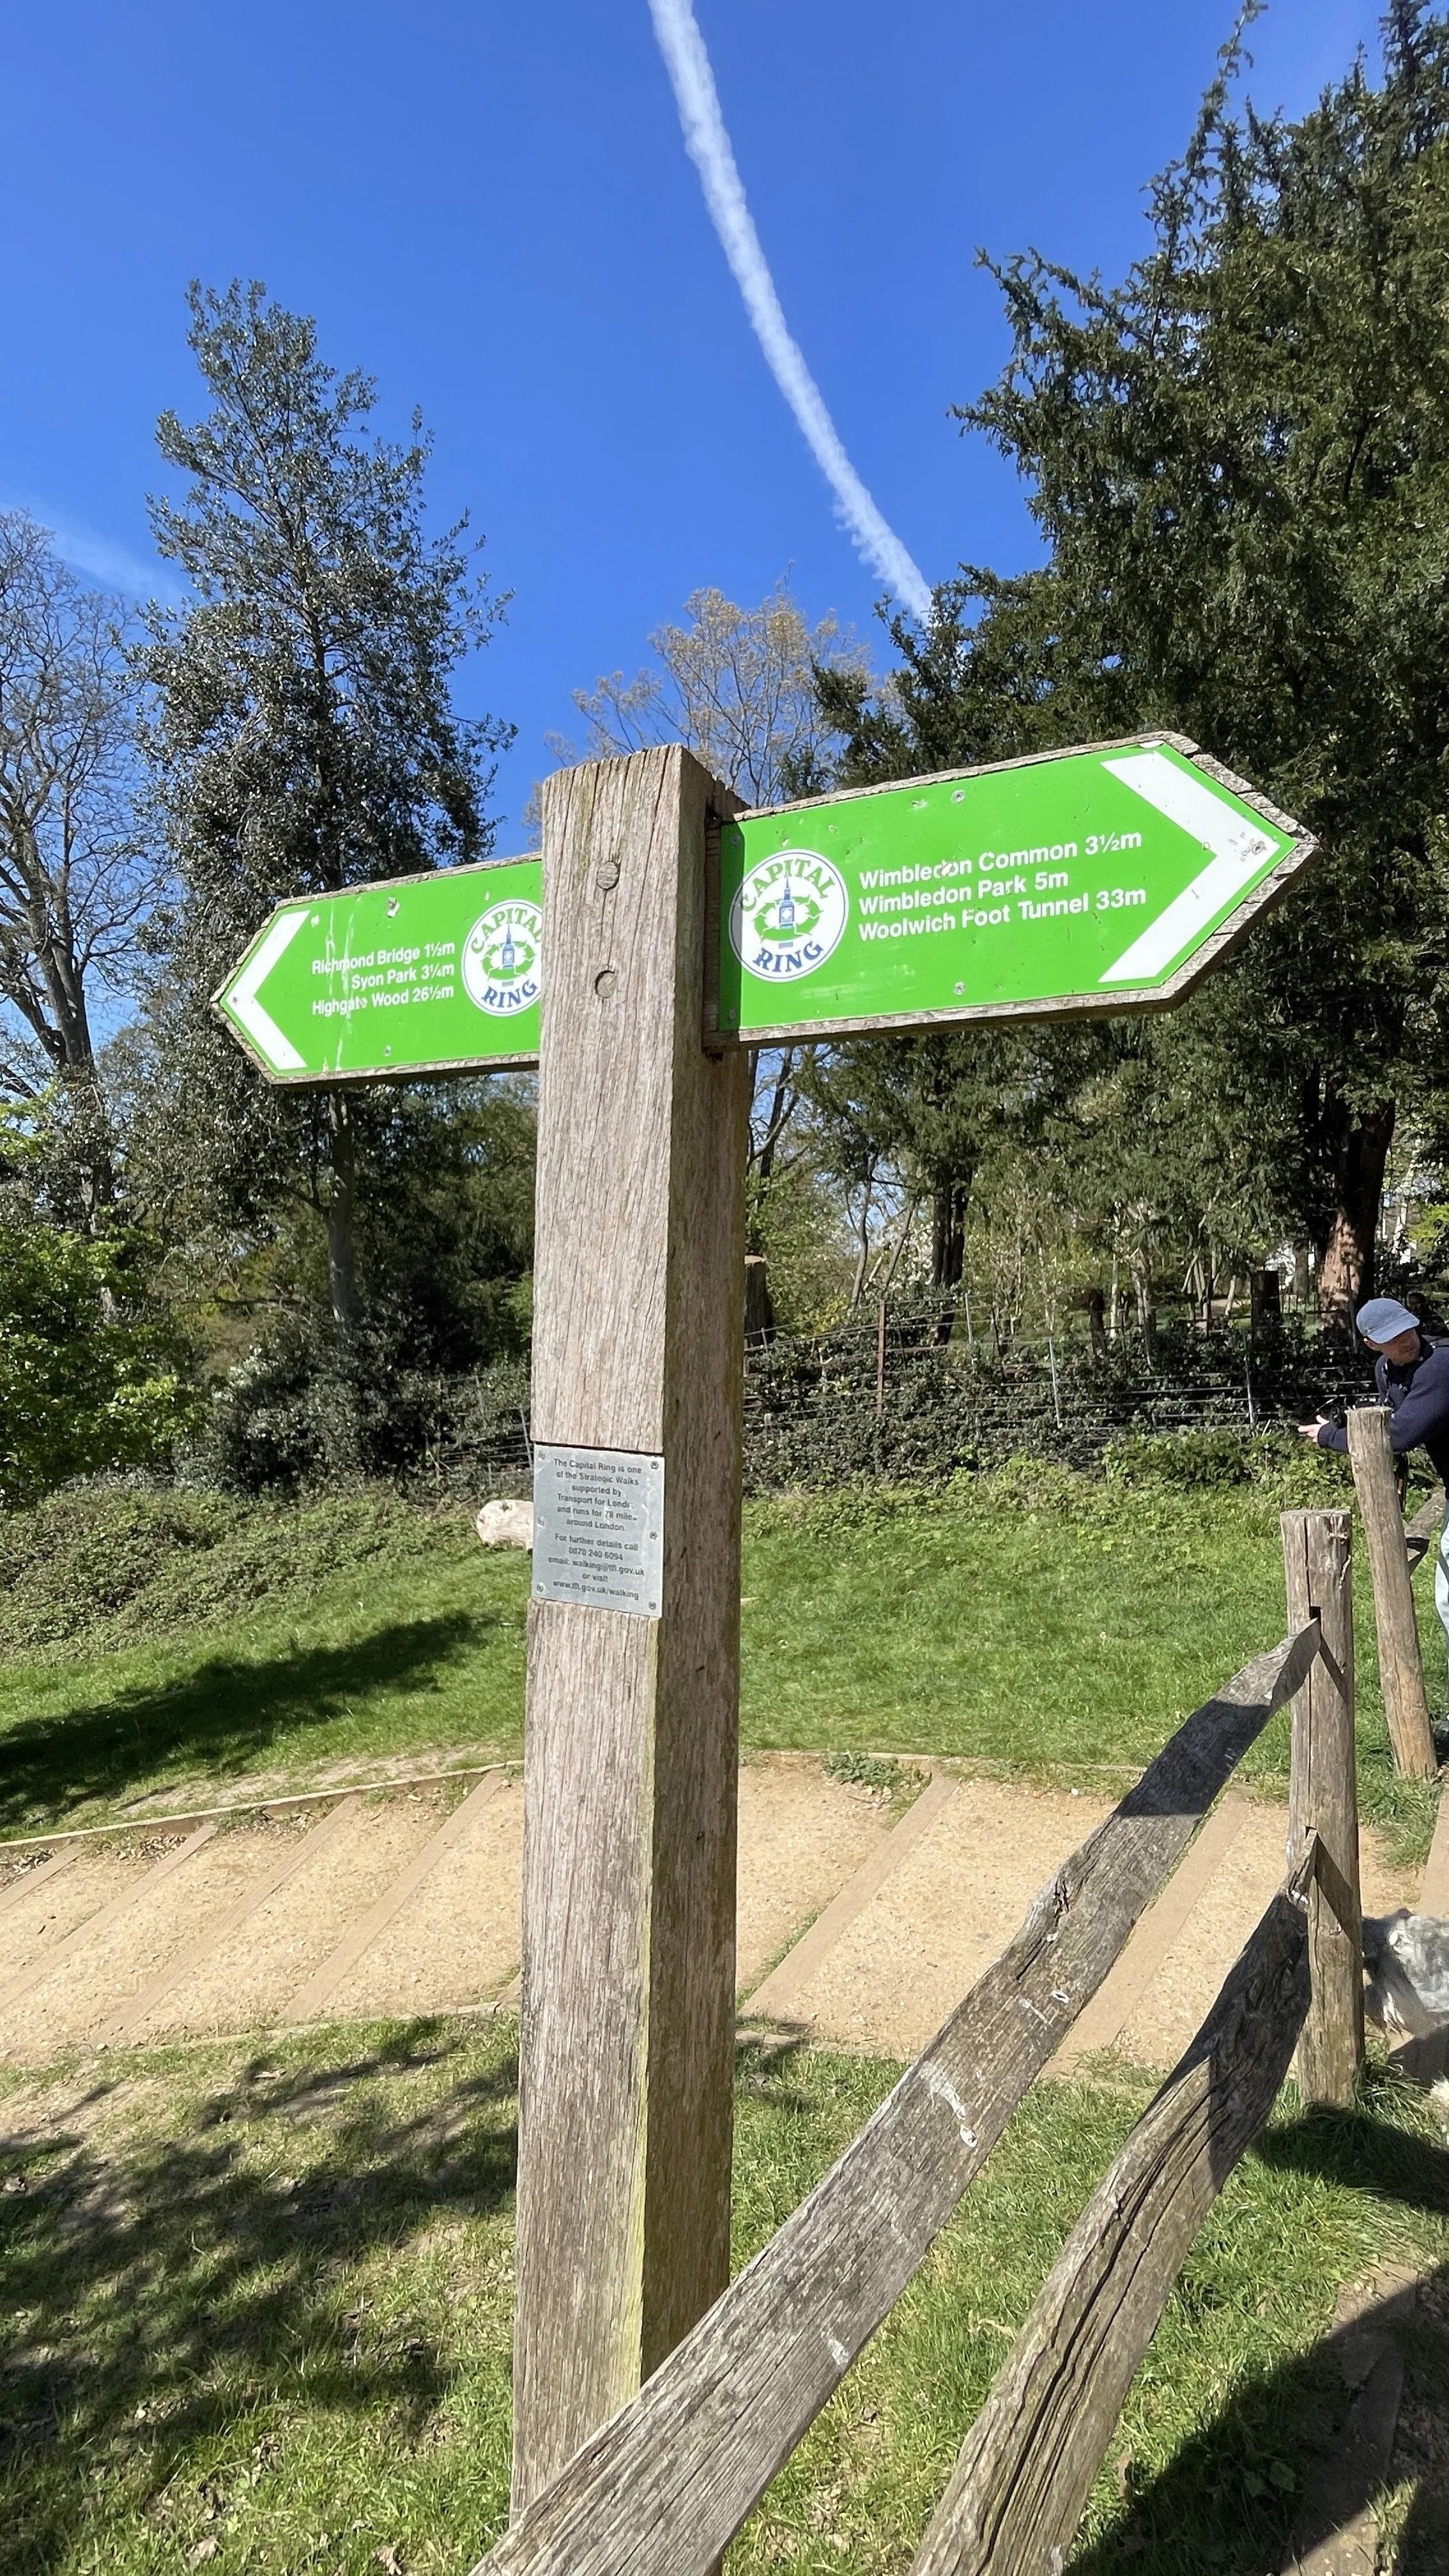
Other routes touched (walk): Capital Ring, Beverley Brook Walk
Other routes touched (cycle): NCN 4
Pubs / Cafes on route: Various (see notes below)
OS Trig Pillar: TP5674 - Richmond Park
Map: London South Map | Westminster, Greenwich, Croydon, Esher & Twickenham | Ordnance Survey | OS Explorer Map 161
Links: Richmond, Richmond Park, Pembroke Lodge, London’s Protected Views
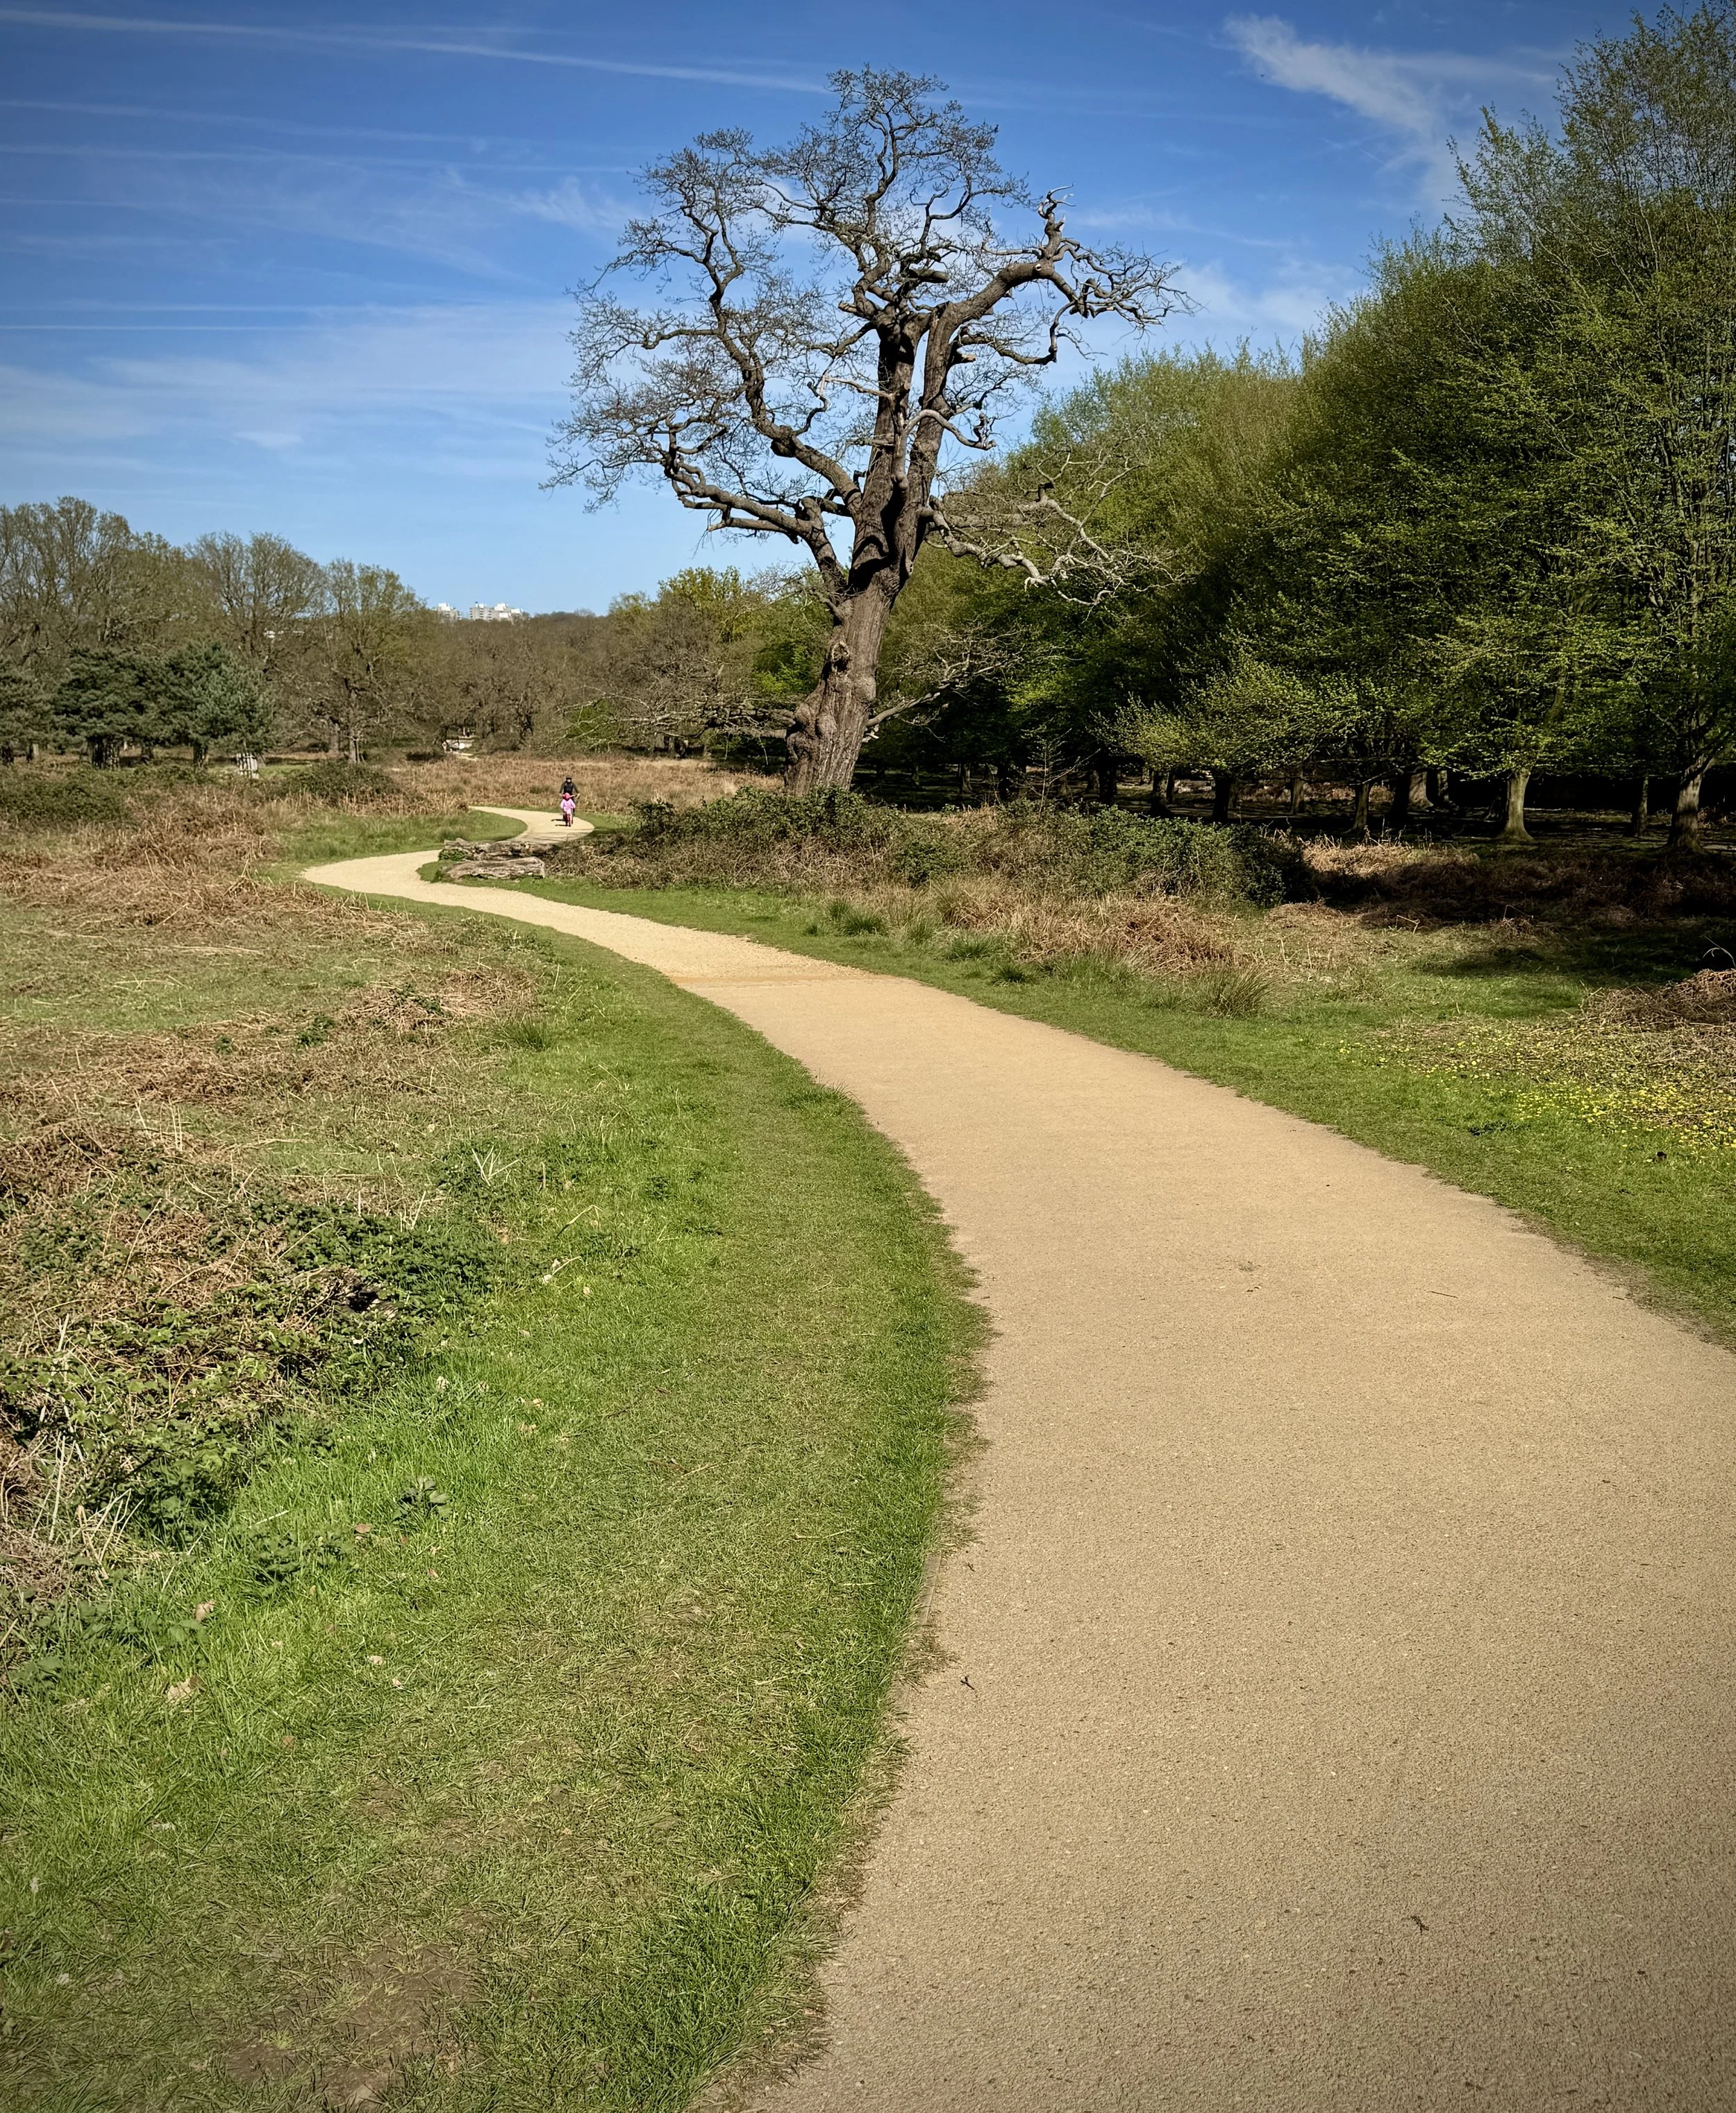
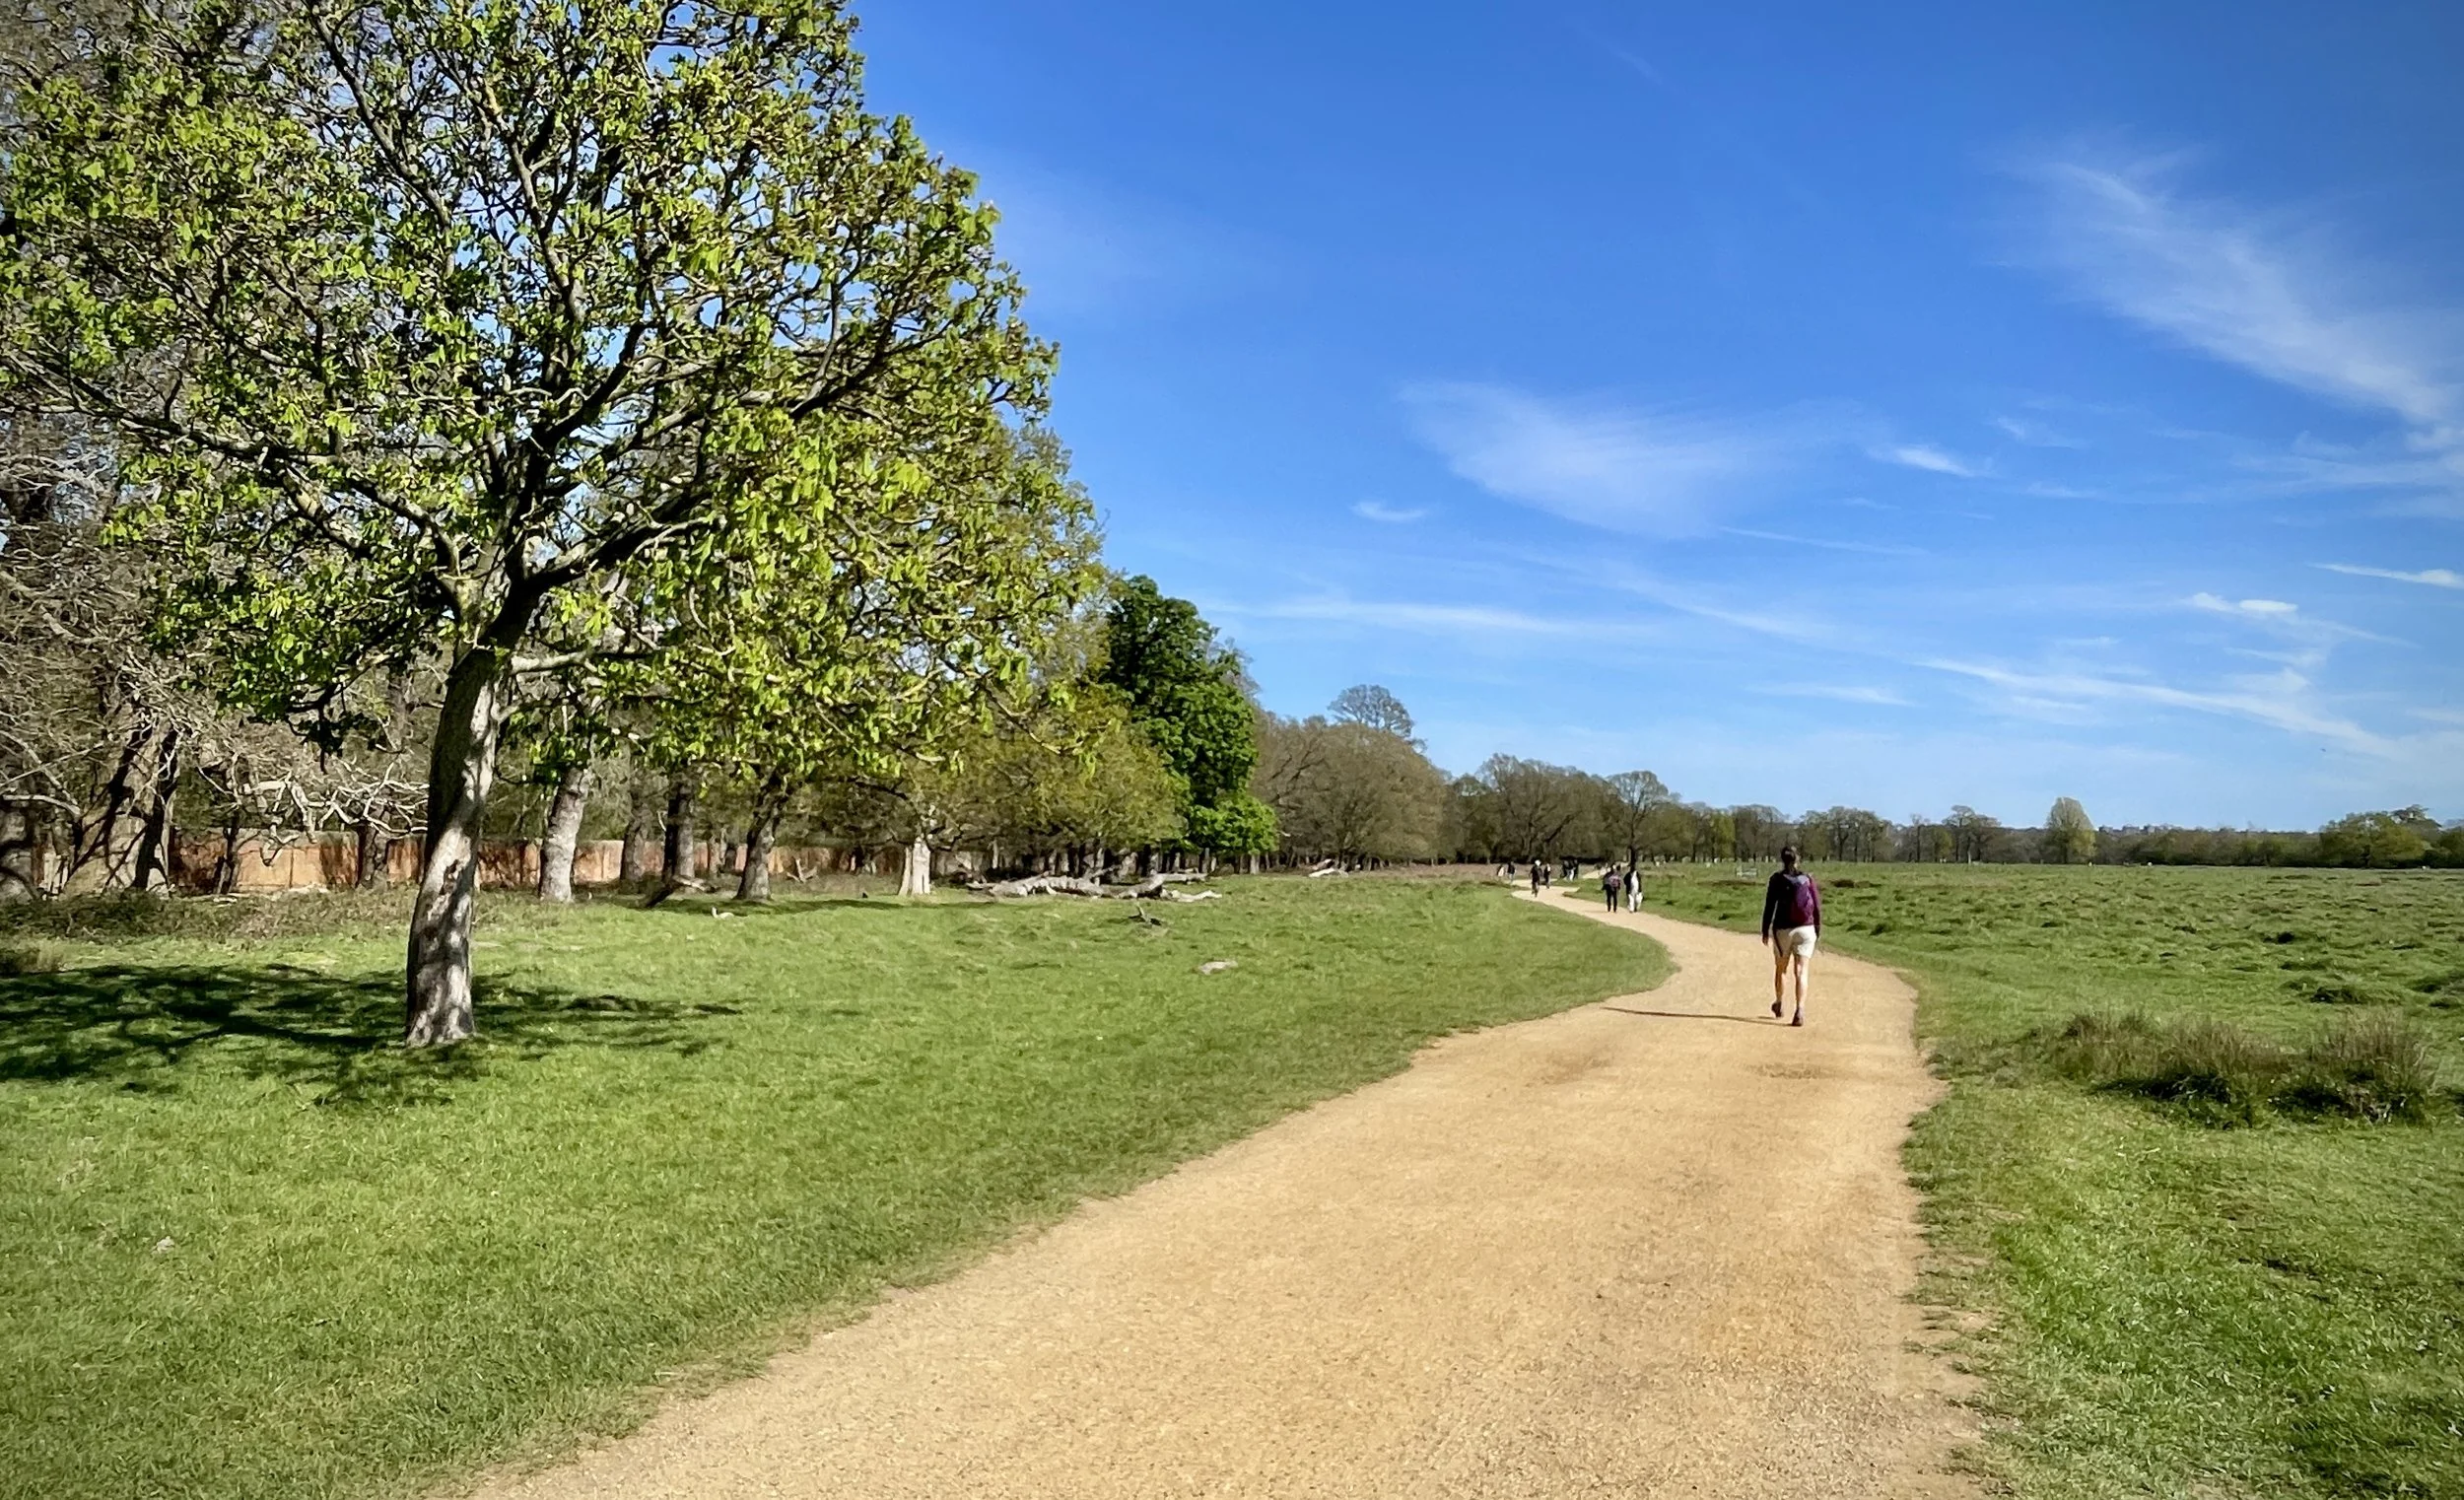
The Tamsin Trail is a shared perimeter cycleway and walking path that traces the outskirts of Richmond Park, closely following the boundary wall. It was originally conceived as a way to reduce off-track cycling and protect the park's delicate grassland and flora from mountain bikers. In this regard, it is considered a highly successful addition to the park, having significantly reduced off-path riding in the vicinity.
Today, it is incredibly popular with walkers, runners, and cyclists. If you happen to be there on a Saturday morning, you will likely spot the local parkrun community using part of the route.
How the Trail Got Its Name
The factual origin of the Tamsin Trail's name is well documented. The trail was under construction for several years before being officially opened in September 1997 by celebrity Jerry Hall and Peter Beckwith. It was named after Tamsin, the daughter of Peter Beckwith, who was the Chairman of The Richmond Park Charitable Trust at the time. It was his significant private donation that funded the creation of the trail.
Despite this clear history, if you chat with some of the park regulars, you might hear a couple of local legends floating around. Some say the path was named after a beloved Labrador called Tamsin who belonged to a local cyclist, while others claim it was named after Tamsin Keys, the wife of a former park ranger. While these stories add a bit of charming folklore to the walk, it is the Beckwith family's generosity we ultimately have to thank for the route.
Sharing the Path
Because it is a shared path for both cyclists and pedestrians, there have been ongoing concerns and strong views regarding the safety and co-existence of both groups. Over the years, various measures have been taken to manage this: in 2003, the police even conducted a trial specifically to catch speeding cyclists on the trail.
Additionally, near Pembroke Lodge, cyclists using the upper part of the trail would sometimes ride directly down the slope to connect to a newer lower path: this led to the installation of barriers to prevent the descent and limit soil erosion.
What to Expect on the Route
The trail is accessible and relatively easy to navigate:
Terrain: The path is largely made of hard-packed crushed limestone and sand. While mostly flat, there are a few undulating sections, particularly the climb up Broomfield Hill near the Robin Hood Gate.
Time Needed: For walking, it is best to allow between 2.5 and 4 hours. This gives you plenty of time to stop for photographs, rest, or grab a coffee. You can also make the walk slightly longer by using some of the smaller paths that hug closer to the boundary. We used some of these for a quieter experience as some of the Trail stays close to the main park roads.
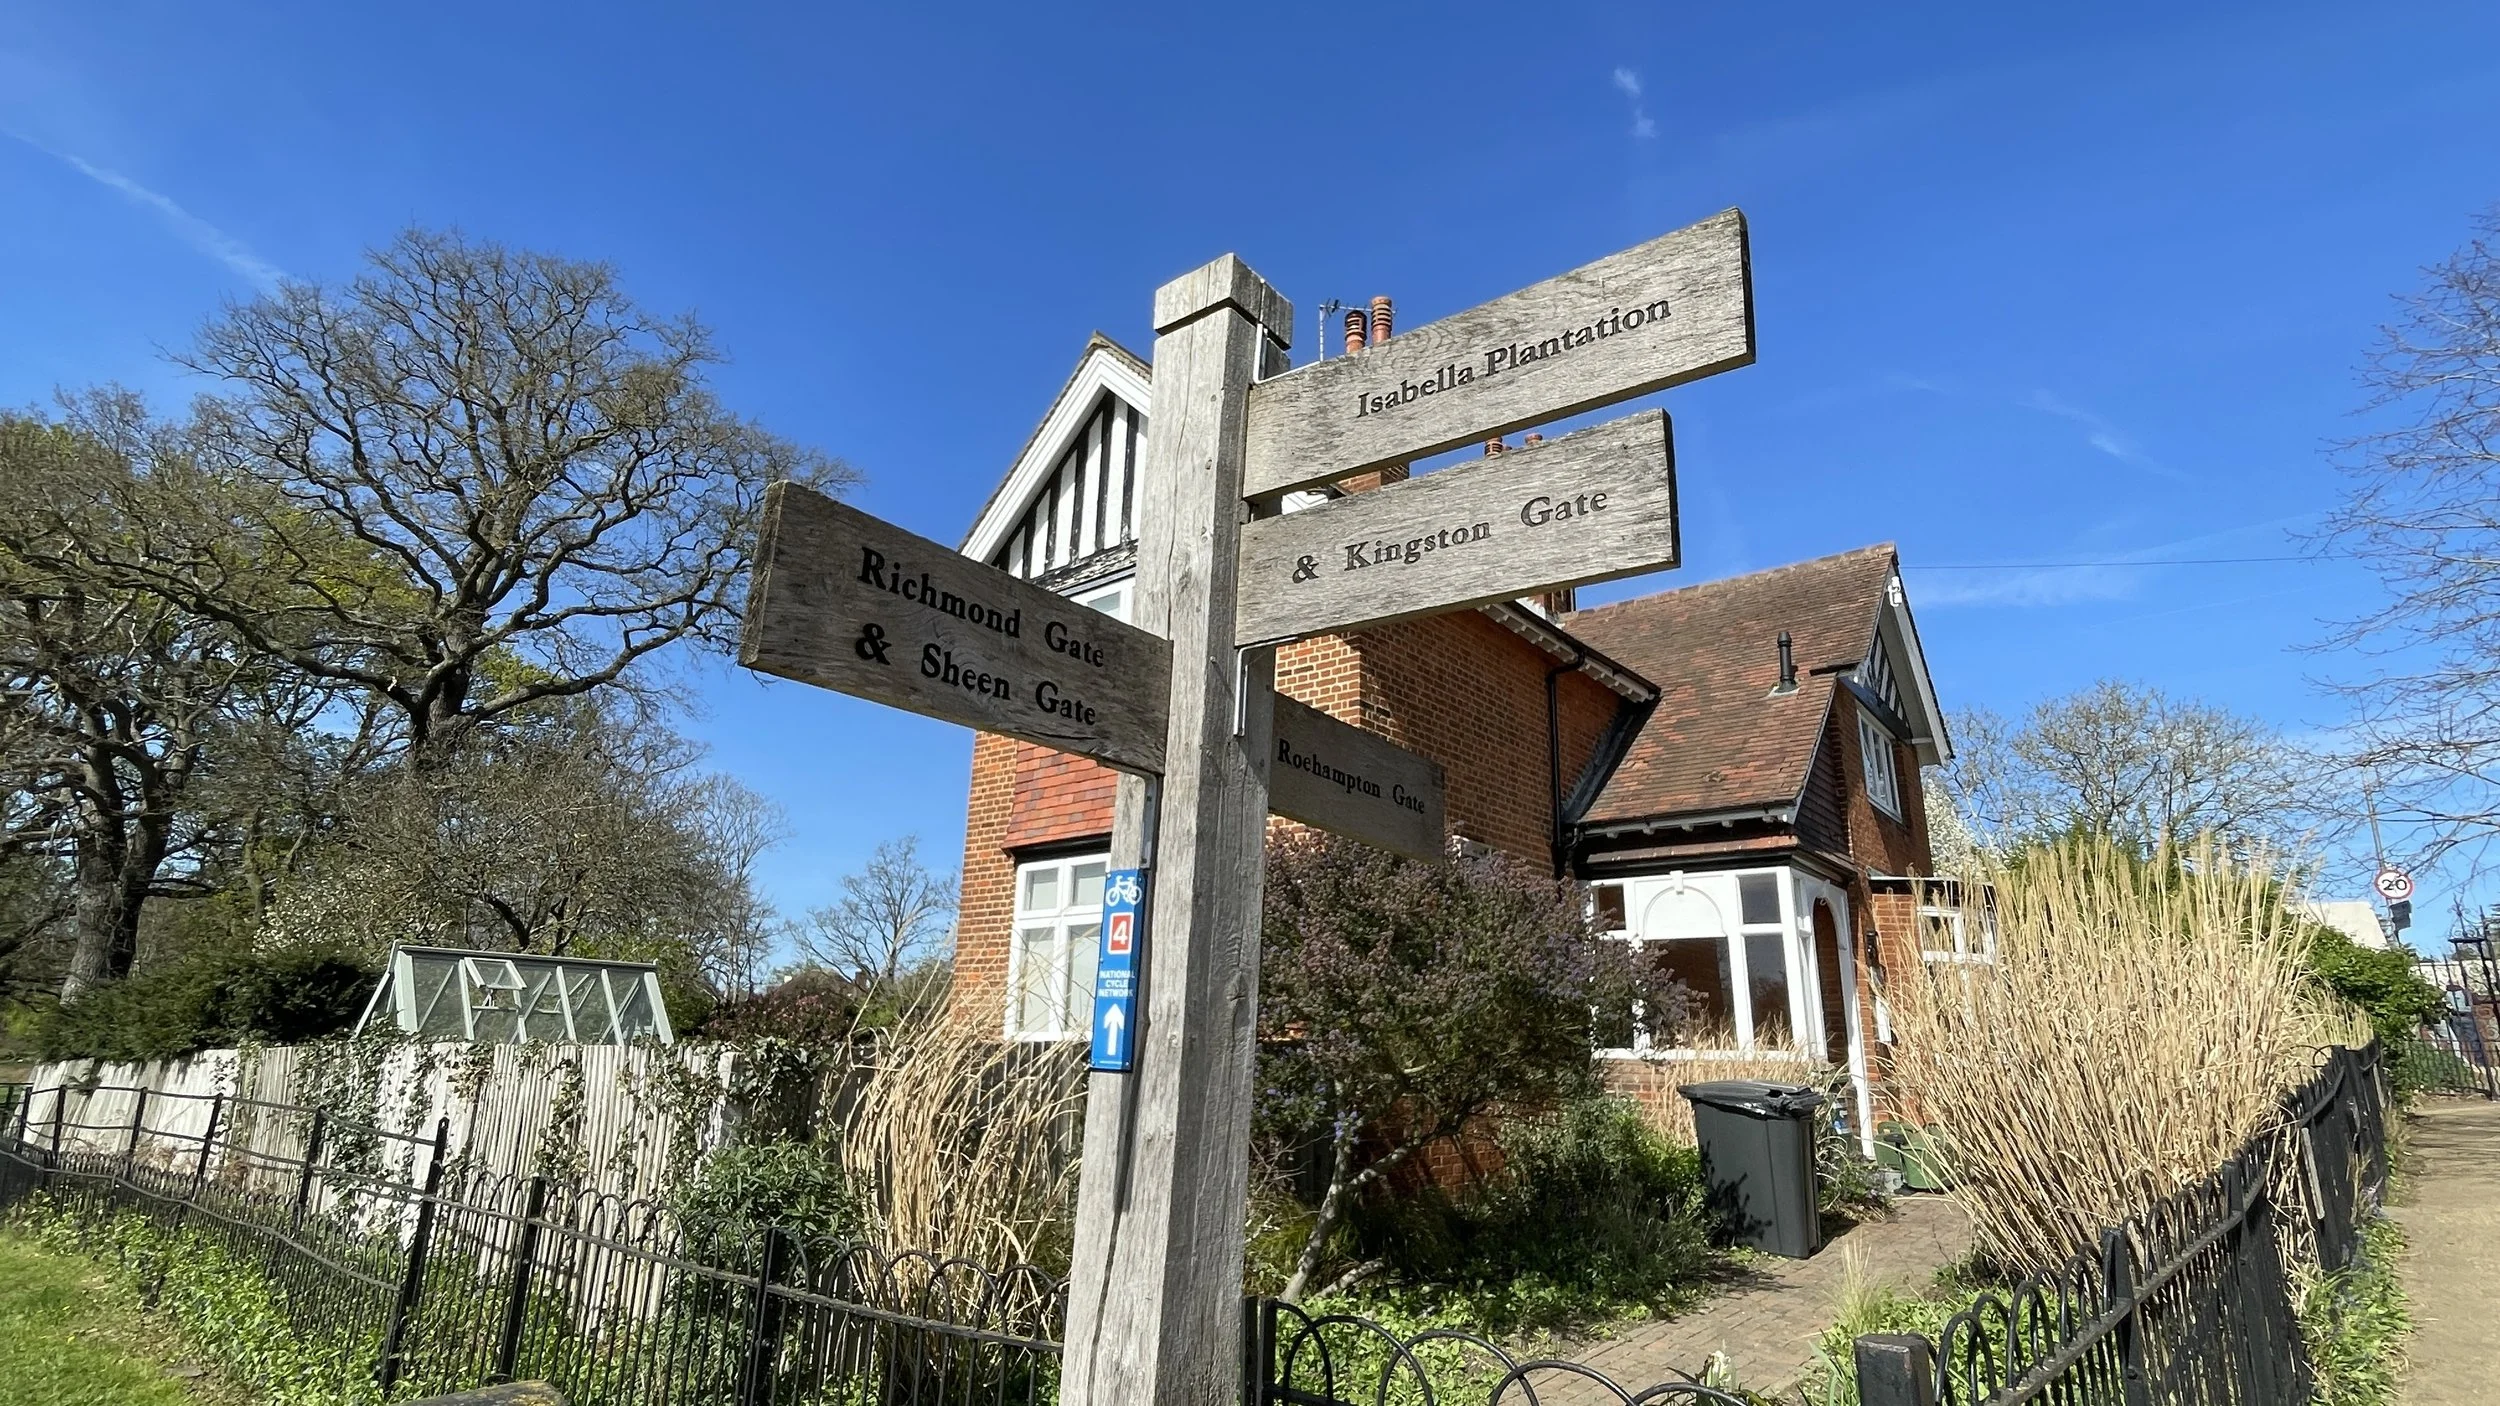
Starting Point: The trail connects all the main gates: Roehampton, Robin Hood, Kingston, Ham, Richmond, and East Sheen. Because of this, you can start your walk from any entrance and simply choose to go clockwise or anti-clockwise.
Highlights Along the Way
Walking the Tamsin Trail gives you a great tour of the park's varied landscapes and wildlife. Here are a few highlights to look out for:
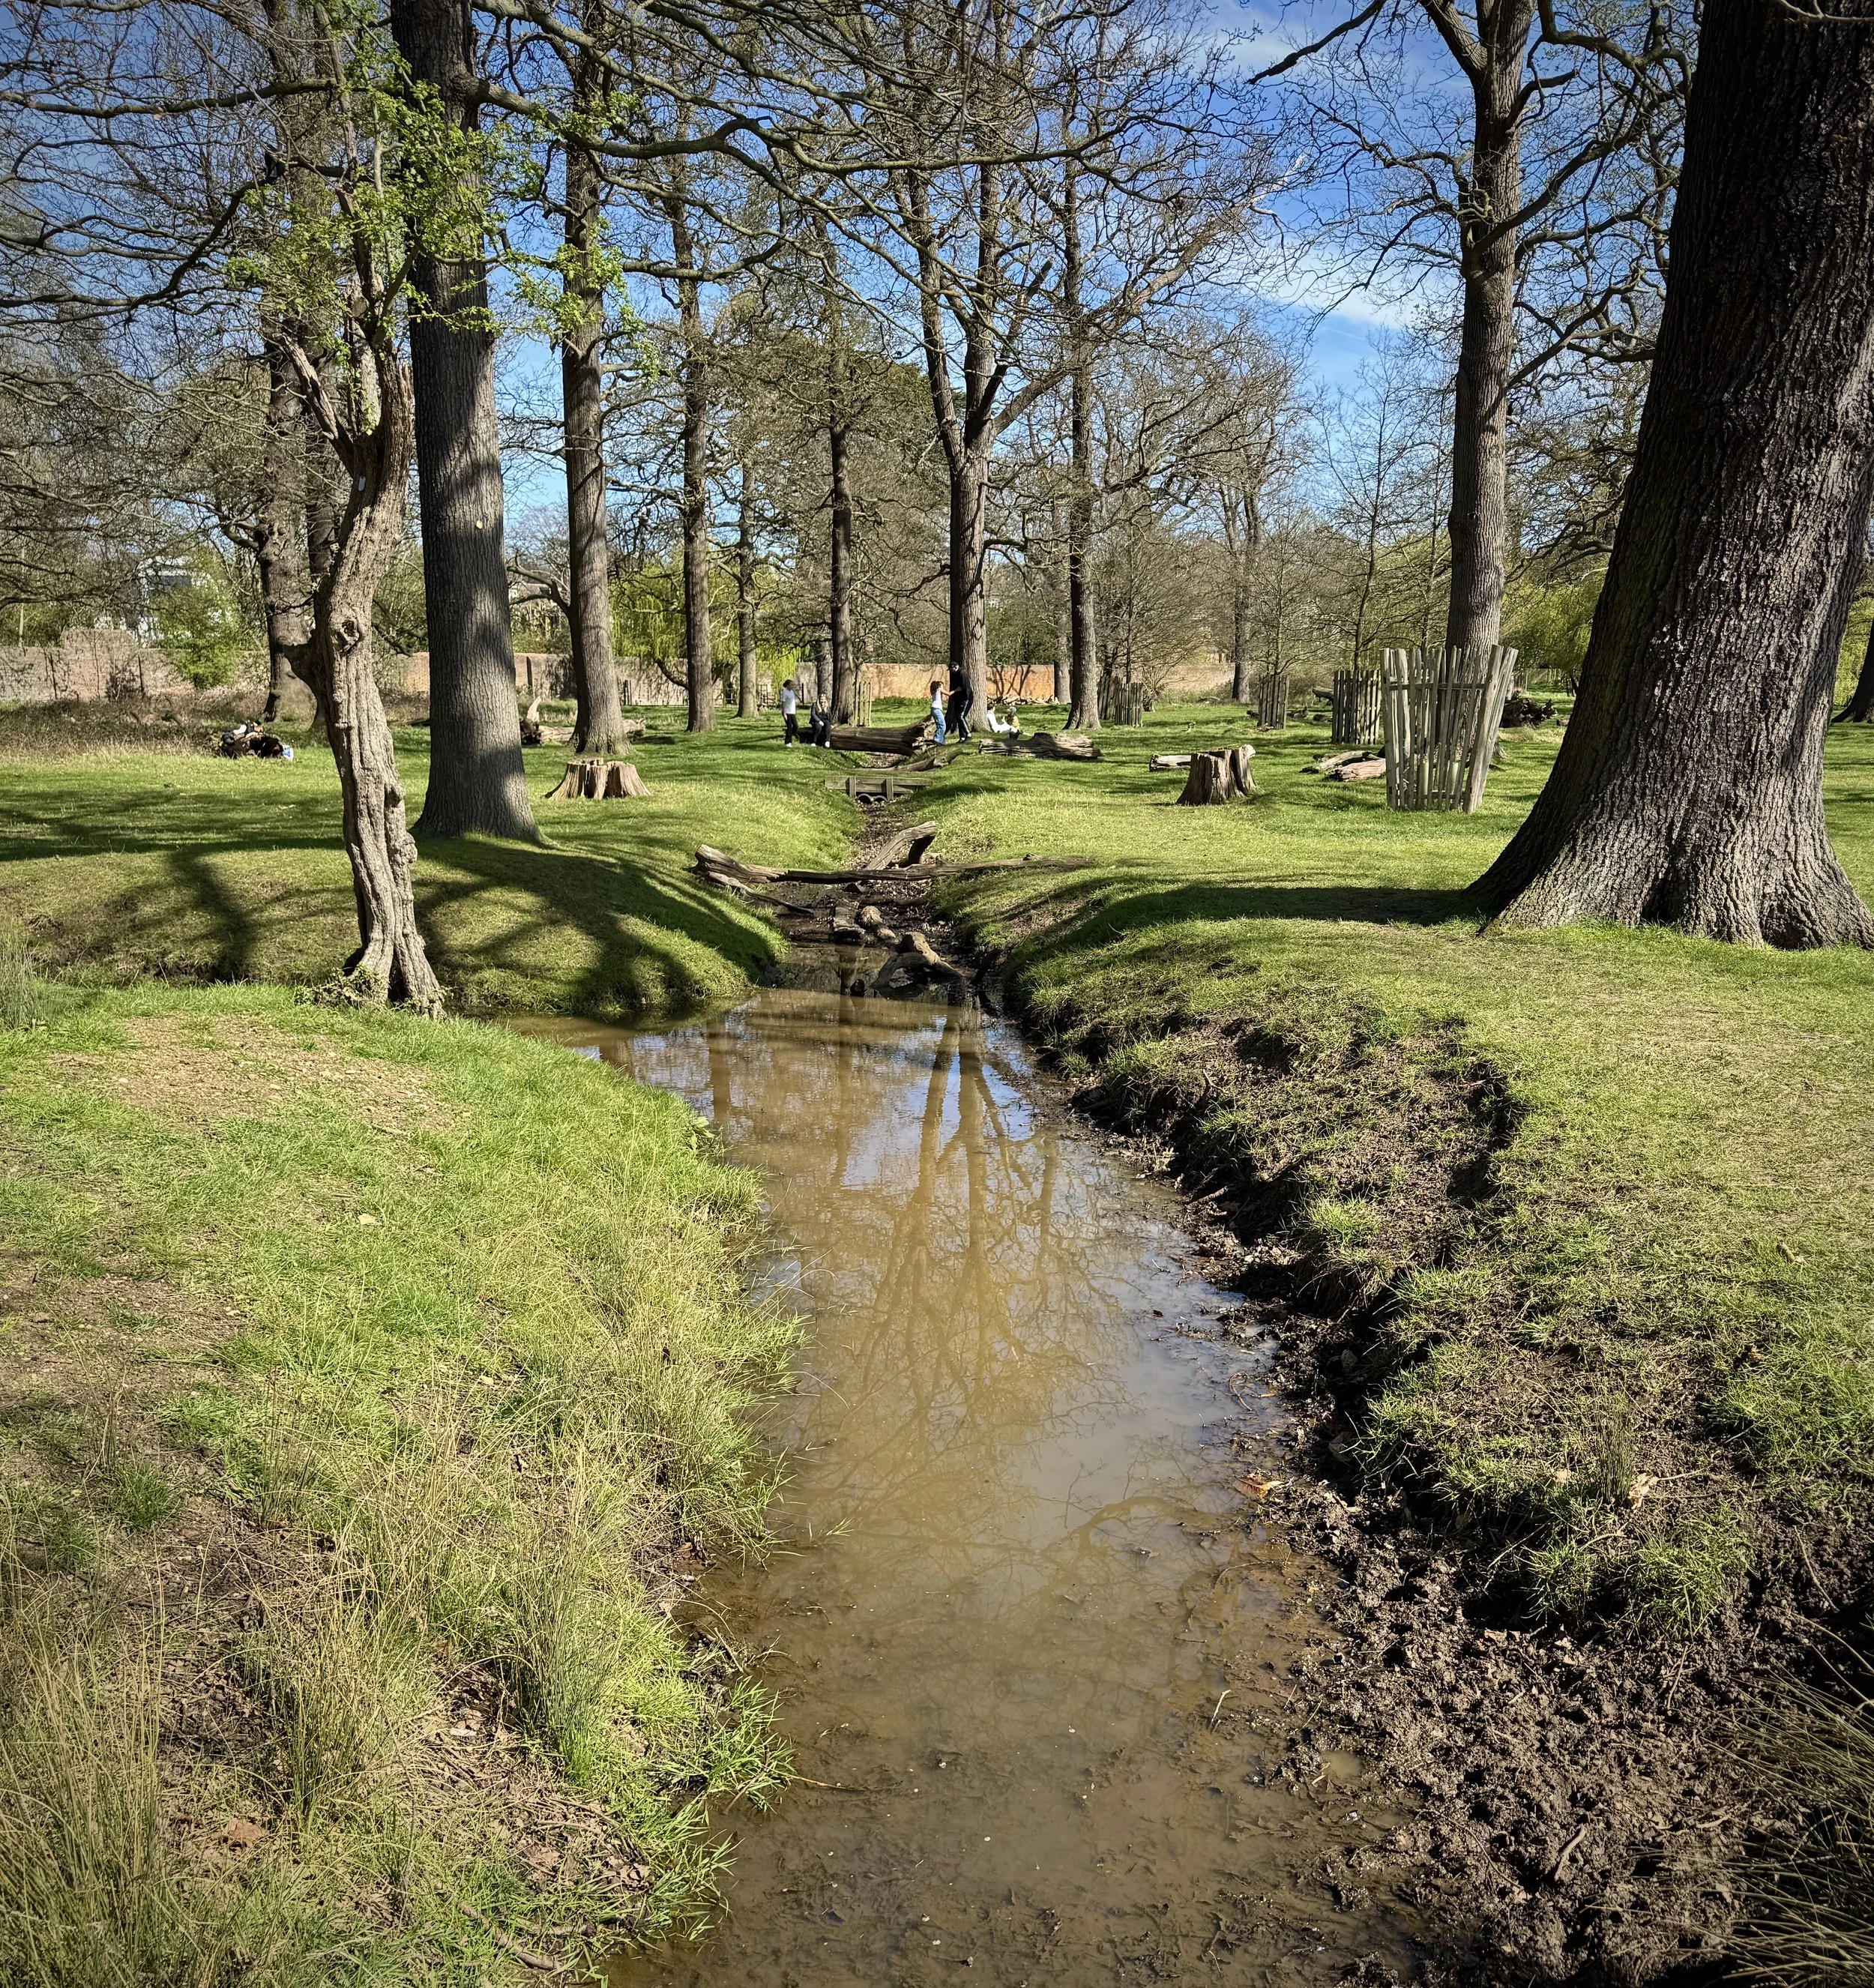
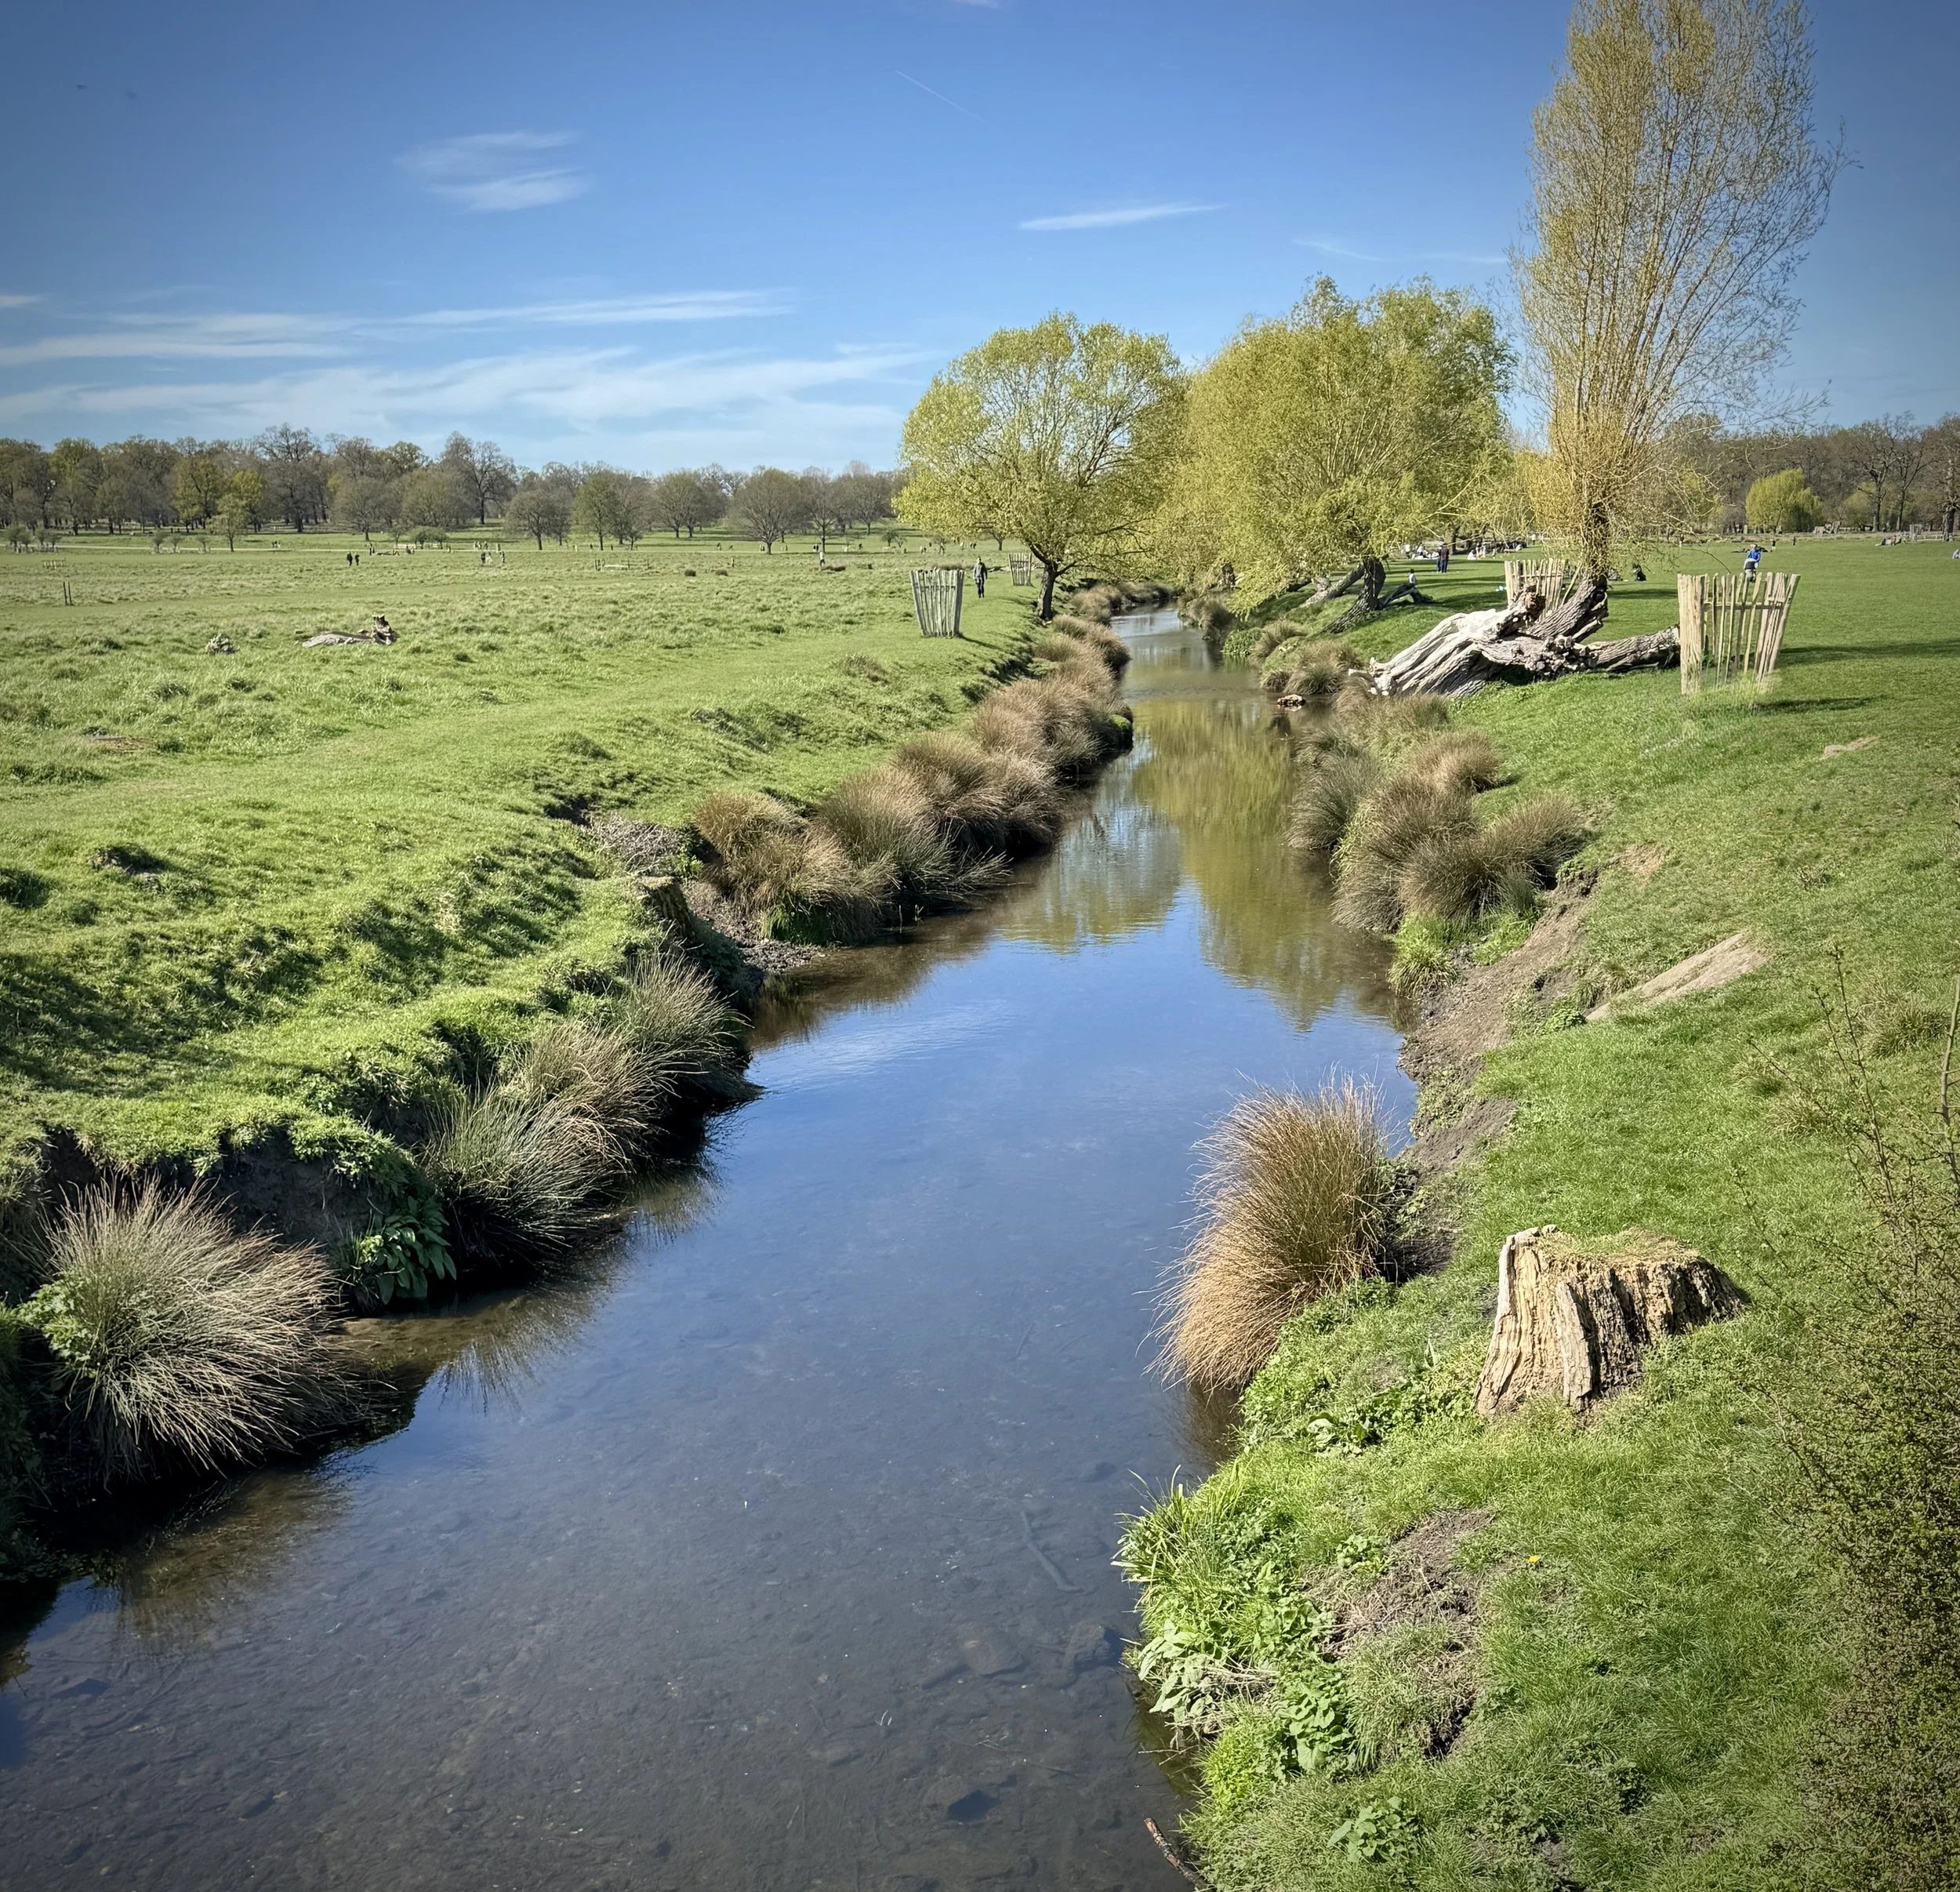
Beverley Brook: Just past the Roehampton Gate, the trail crosses a footbridge over this beautiful little river. The name actually comes from the Old English 'Beaver's Ley', meaning a place where beavers live. While you will not see beavers today, the brook is a fantastic spot for wildlife. Keep your eyes peeled: you might spot the bright blue flash of a kingfisher, parakeets in the trees, or even deer cooling off in the shallow water during warmer weather.
The Deer: Richmond Park is famous for its hundreds of free-roaming red and fallow deer. The trail passes many of their favourite grazing spots. Just remember to keep a respectful distance and never feed them.
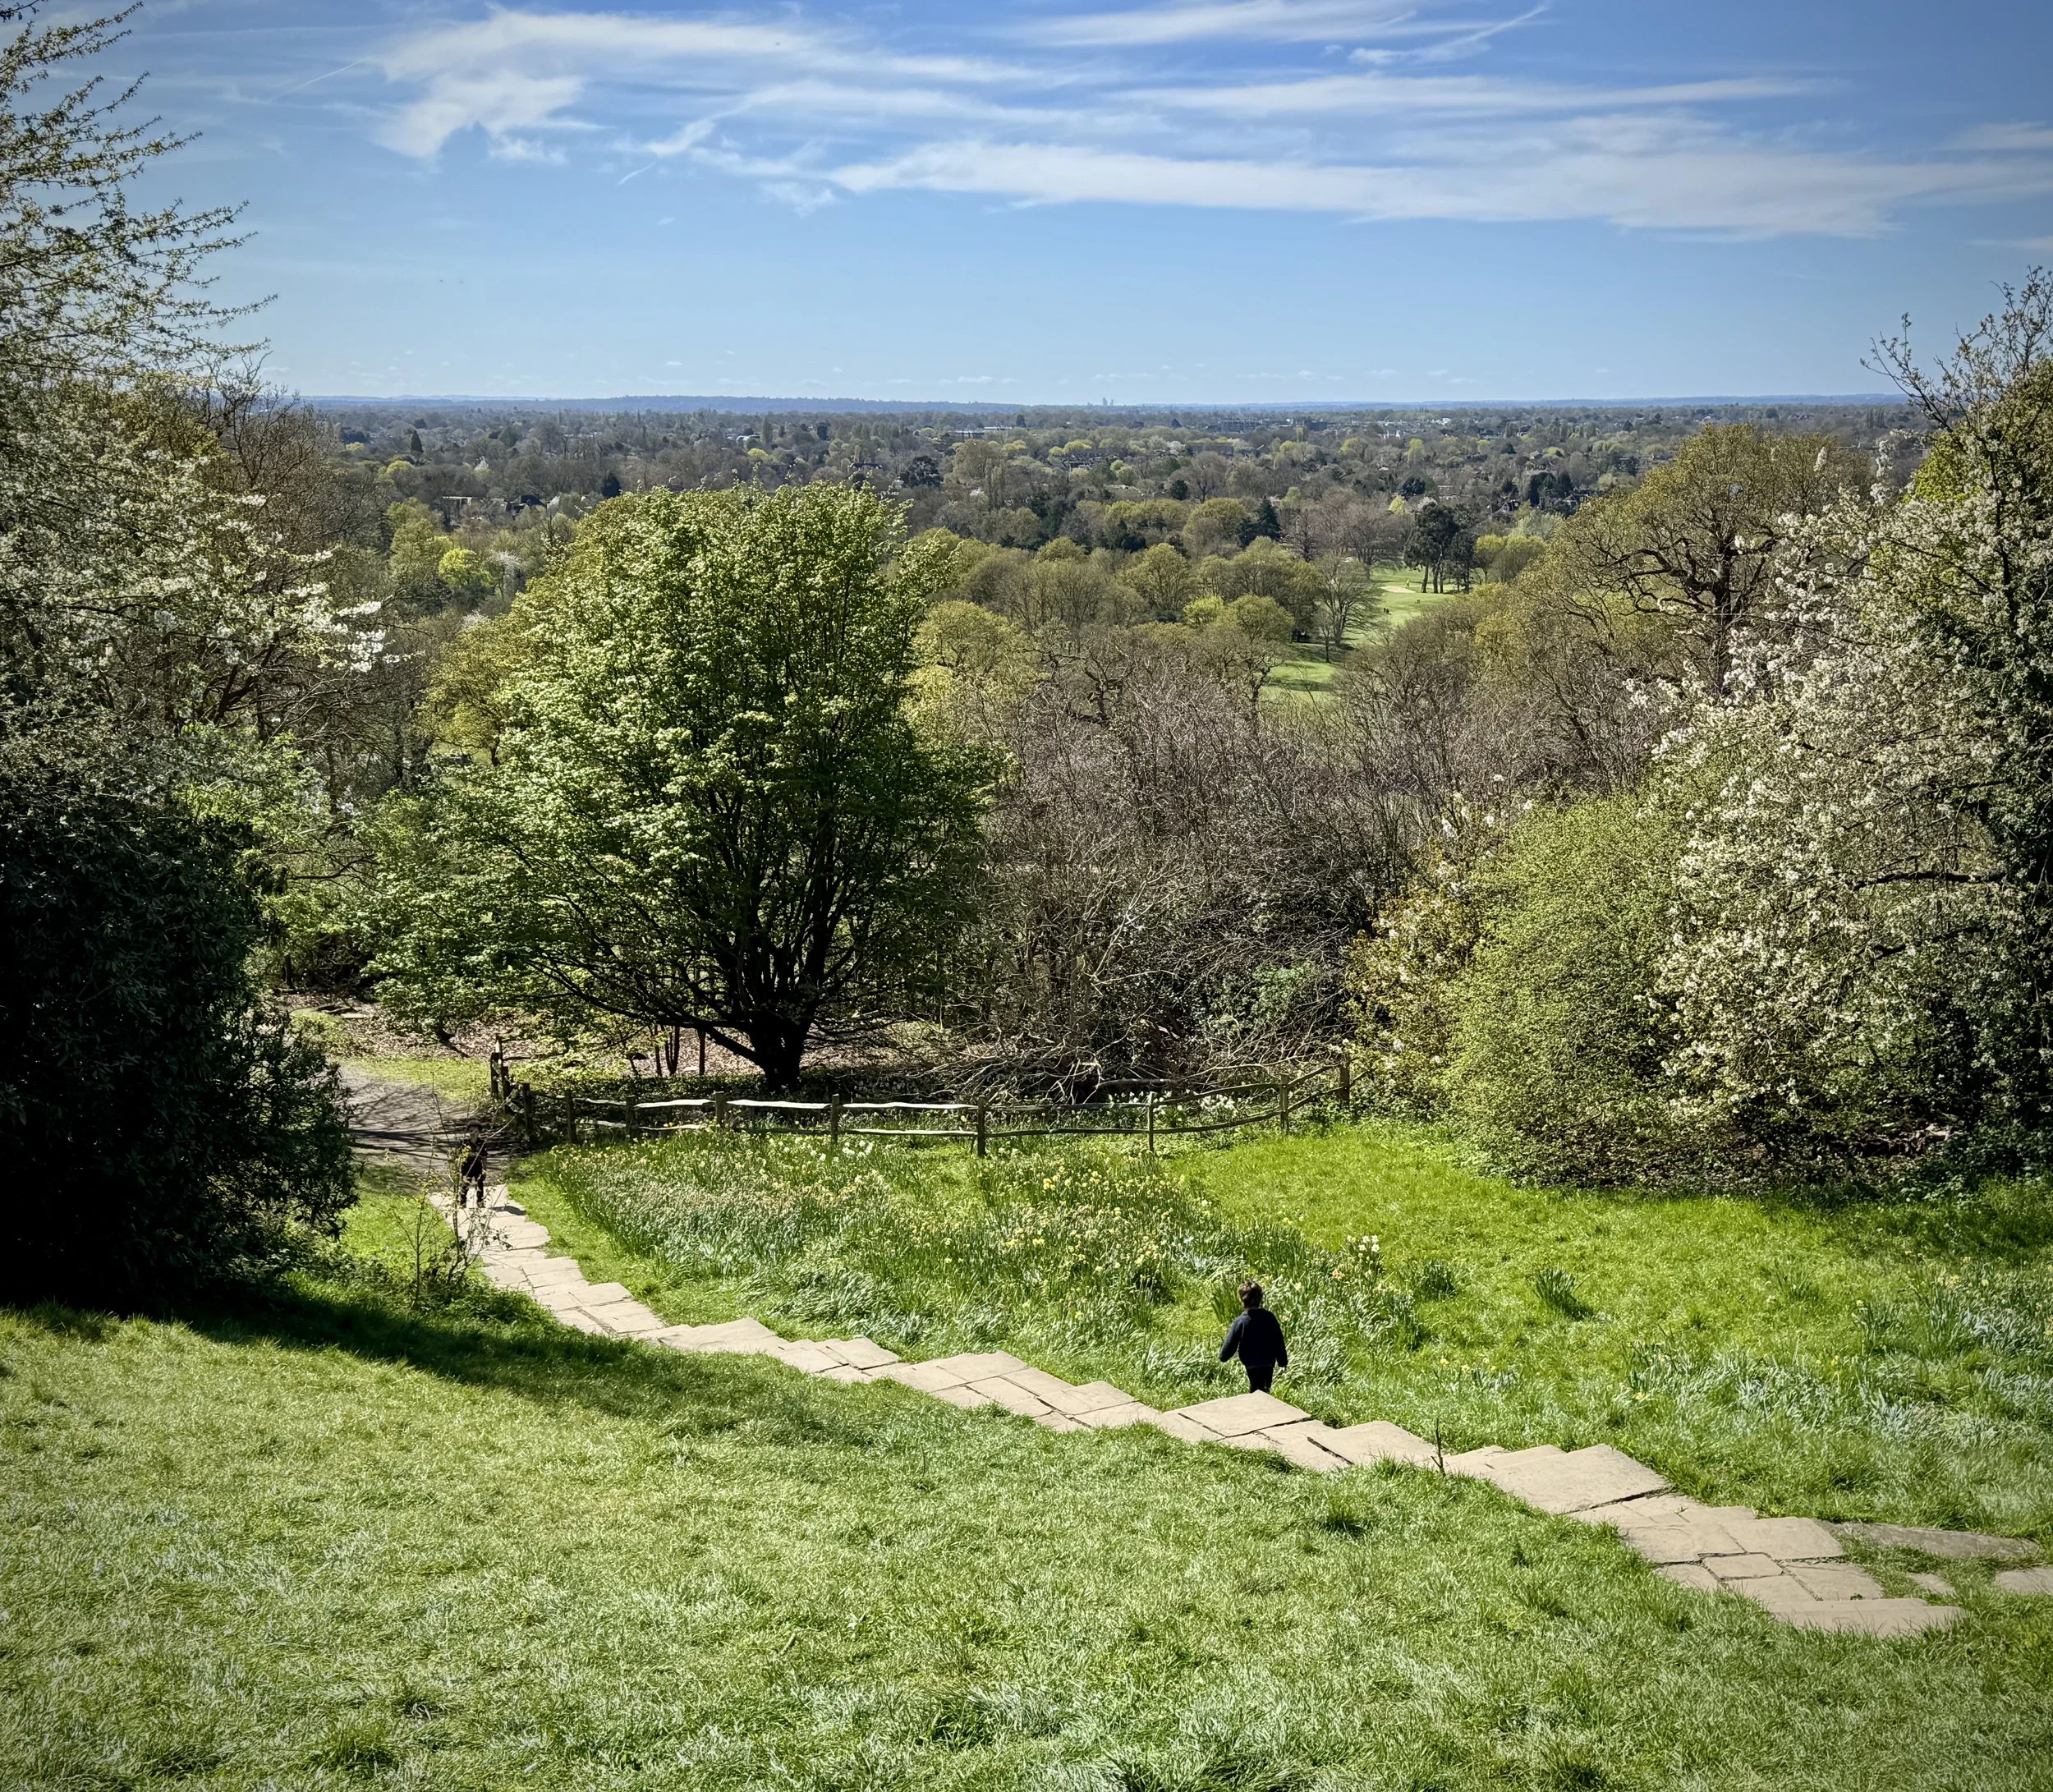
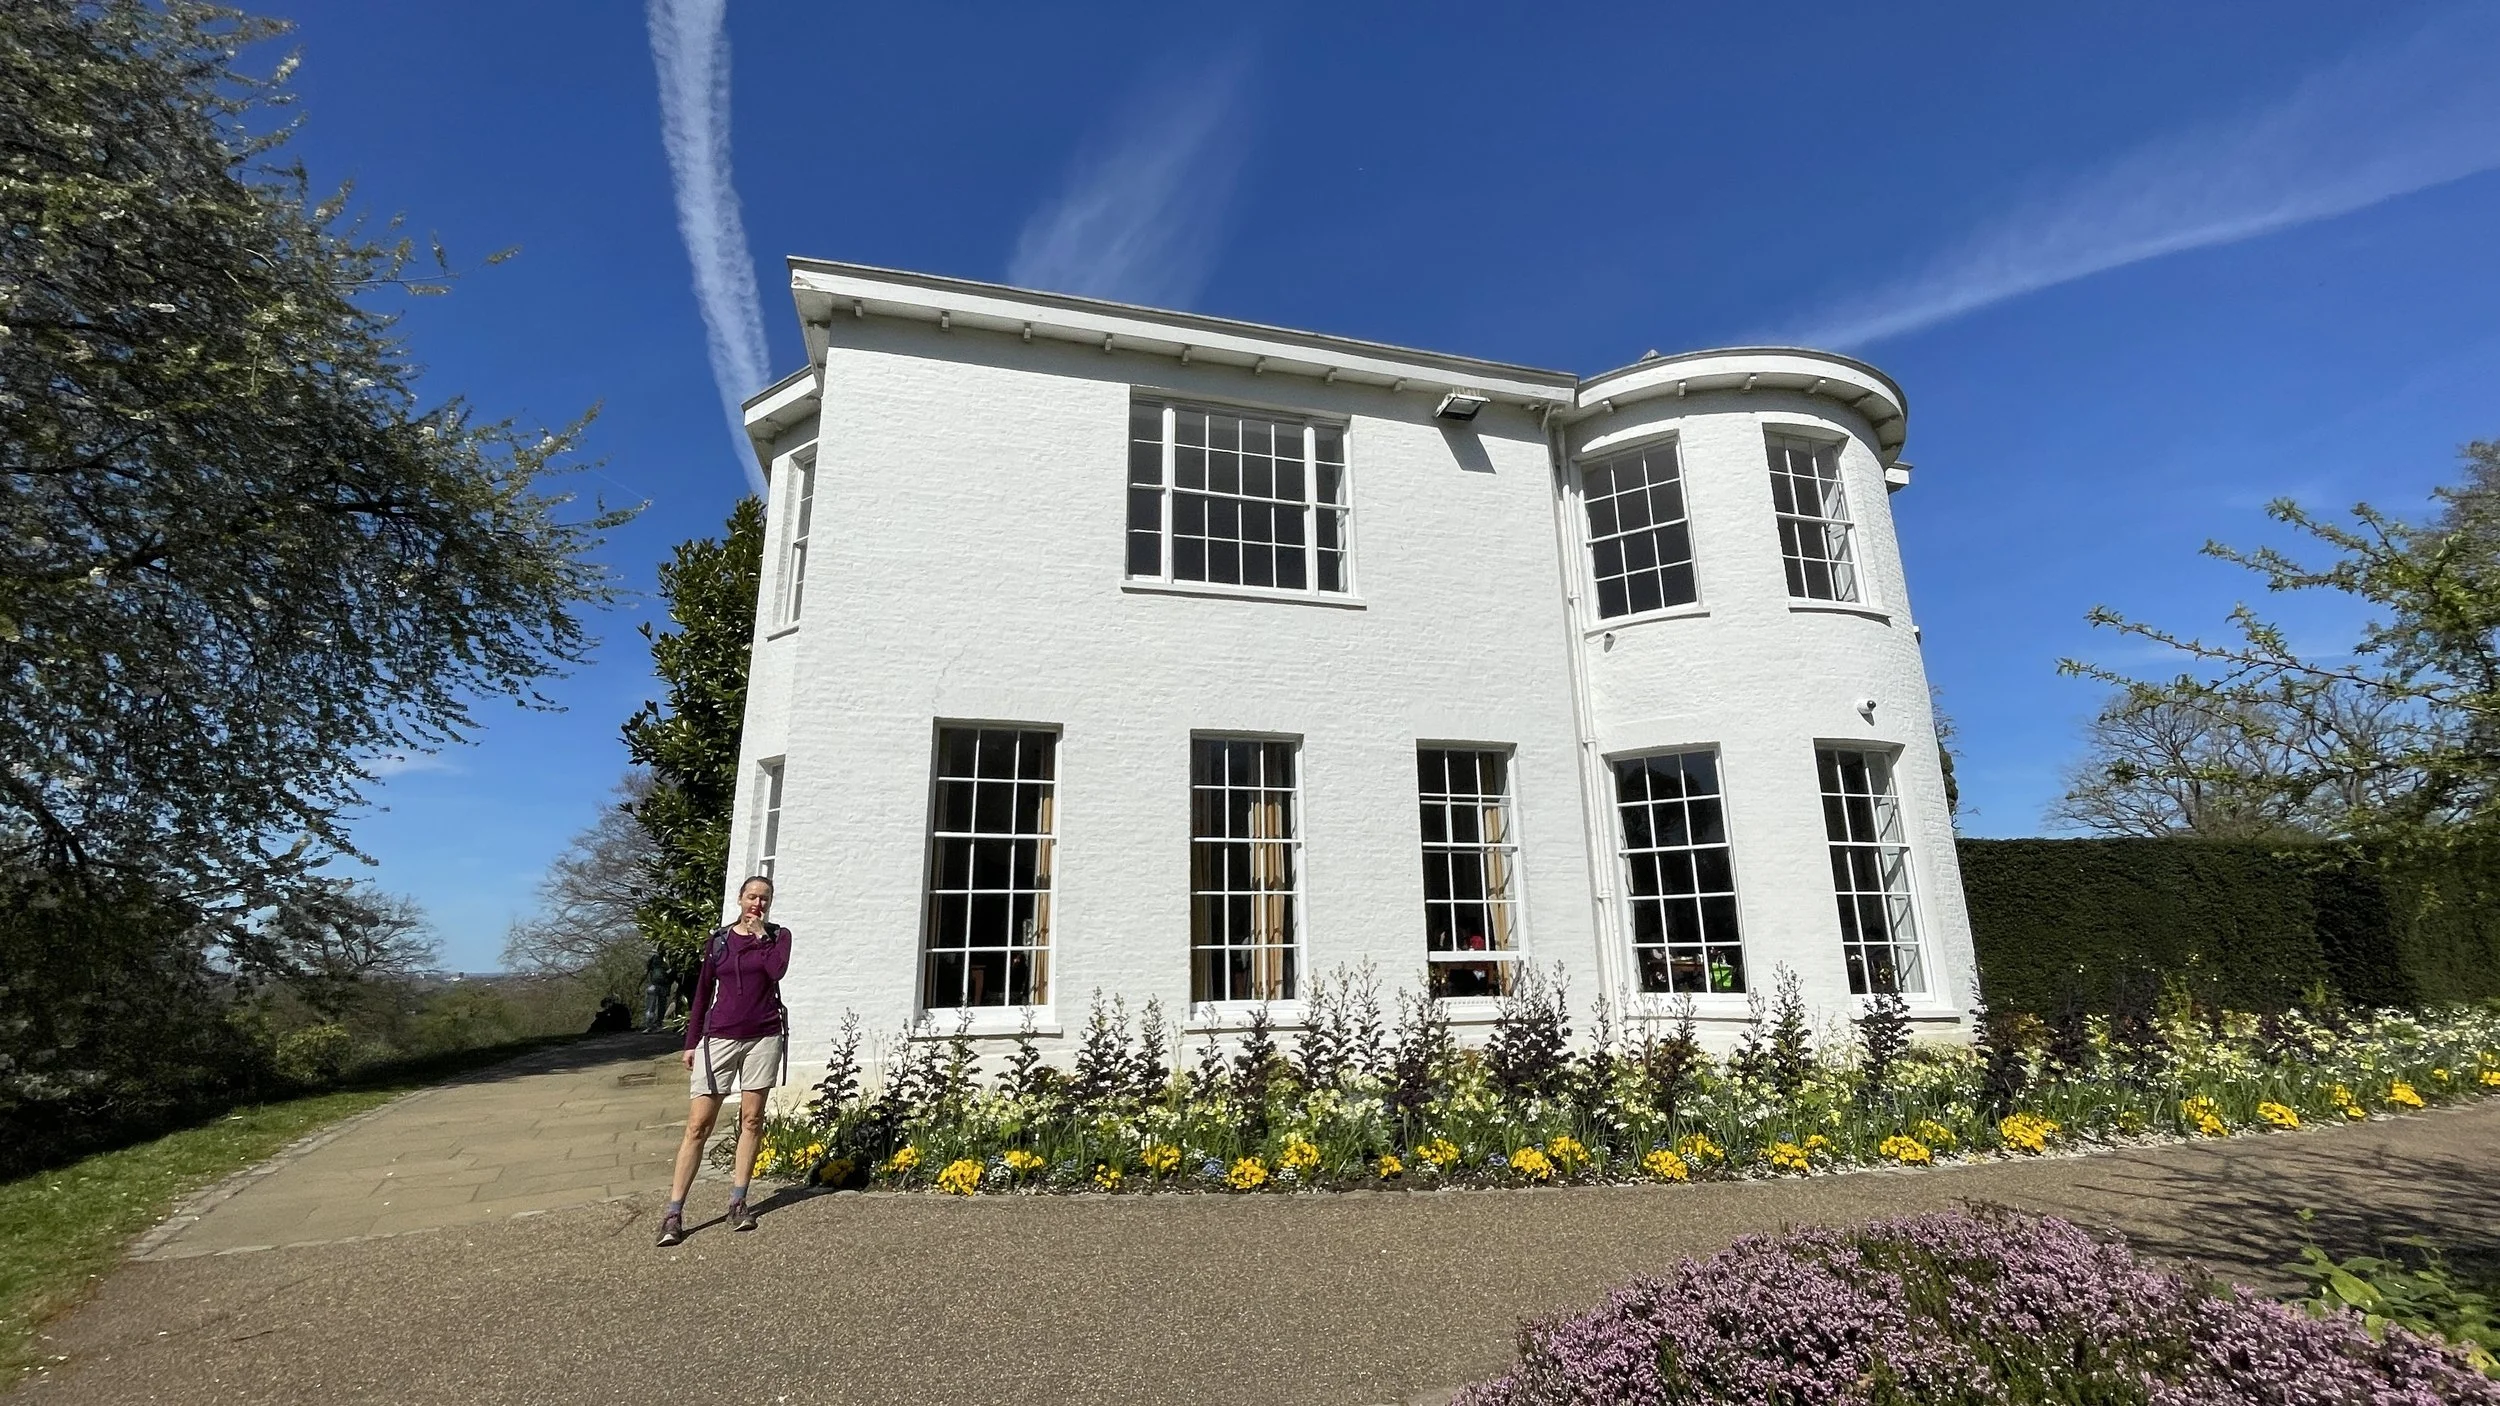
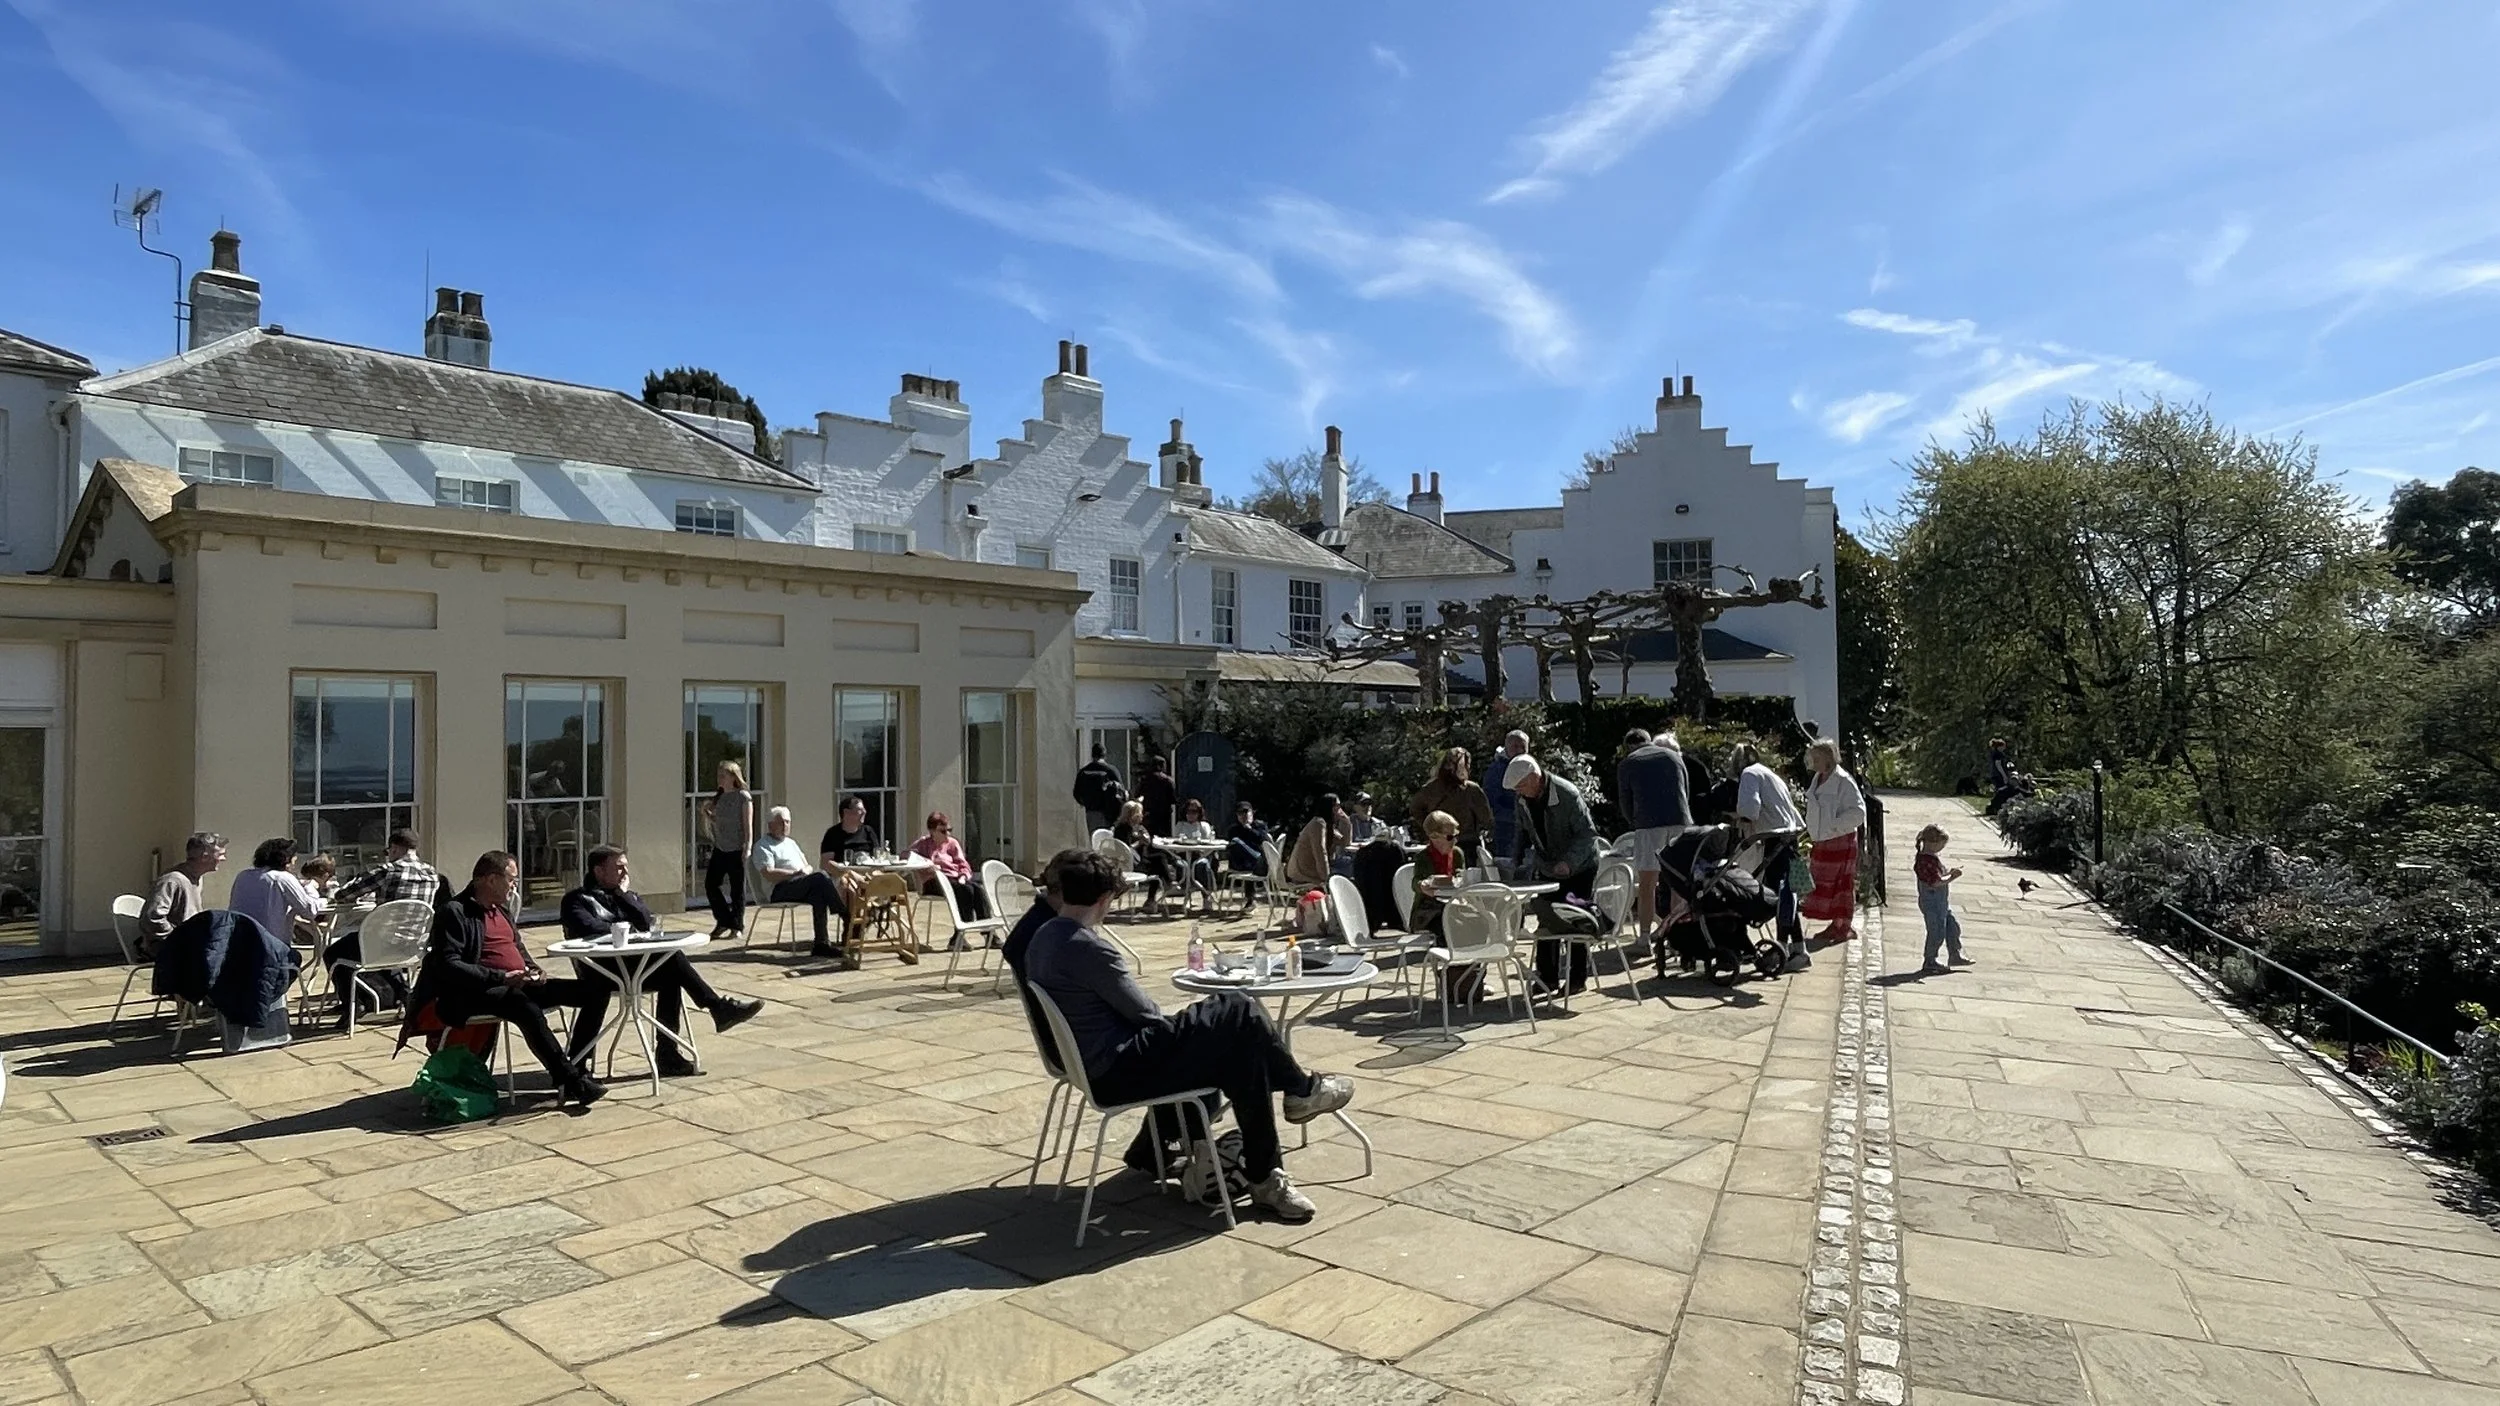
Pembroke Lodge: Situated on the high ground within the park, this Grade II listed Georgian mansion is a brilliant place to stop. It features beautifully landscaped gardens and a popular cafe. The lodge has a rich history, having once been the home of Prime Minister Lord John Russell, and its elevated position offers sweeping, panoramic views over the Thames Valley.
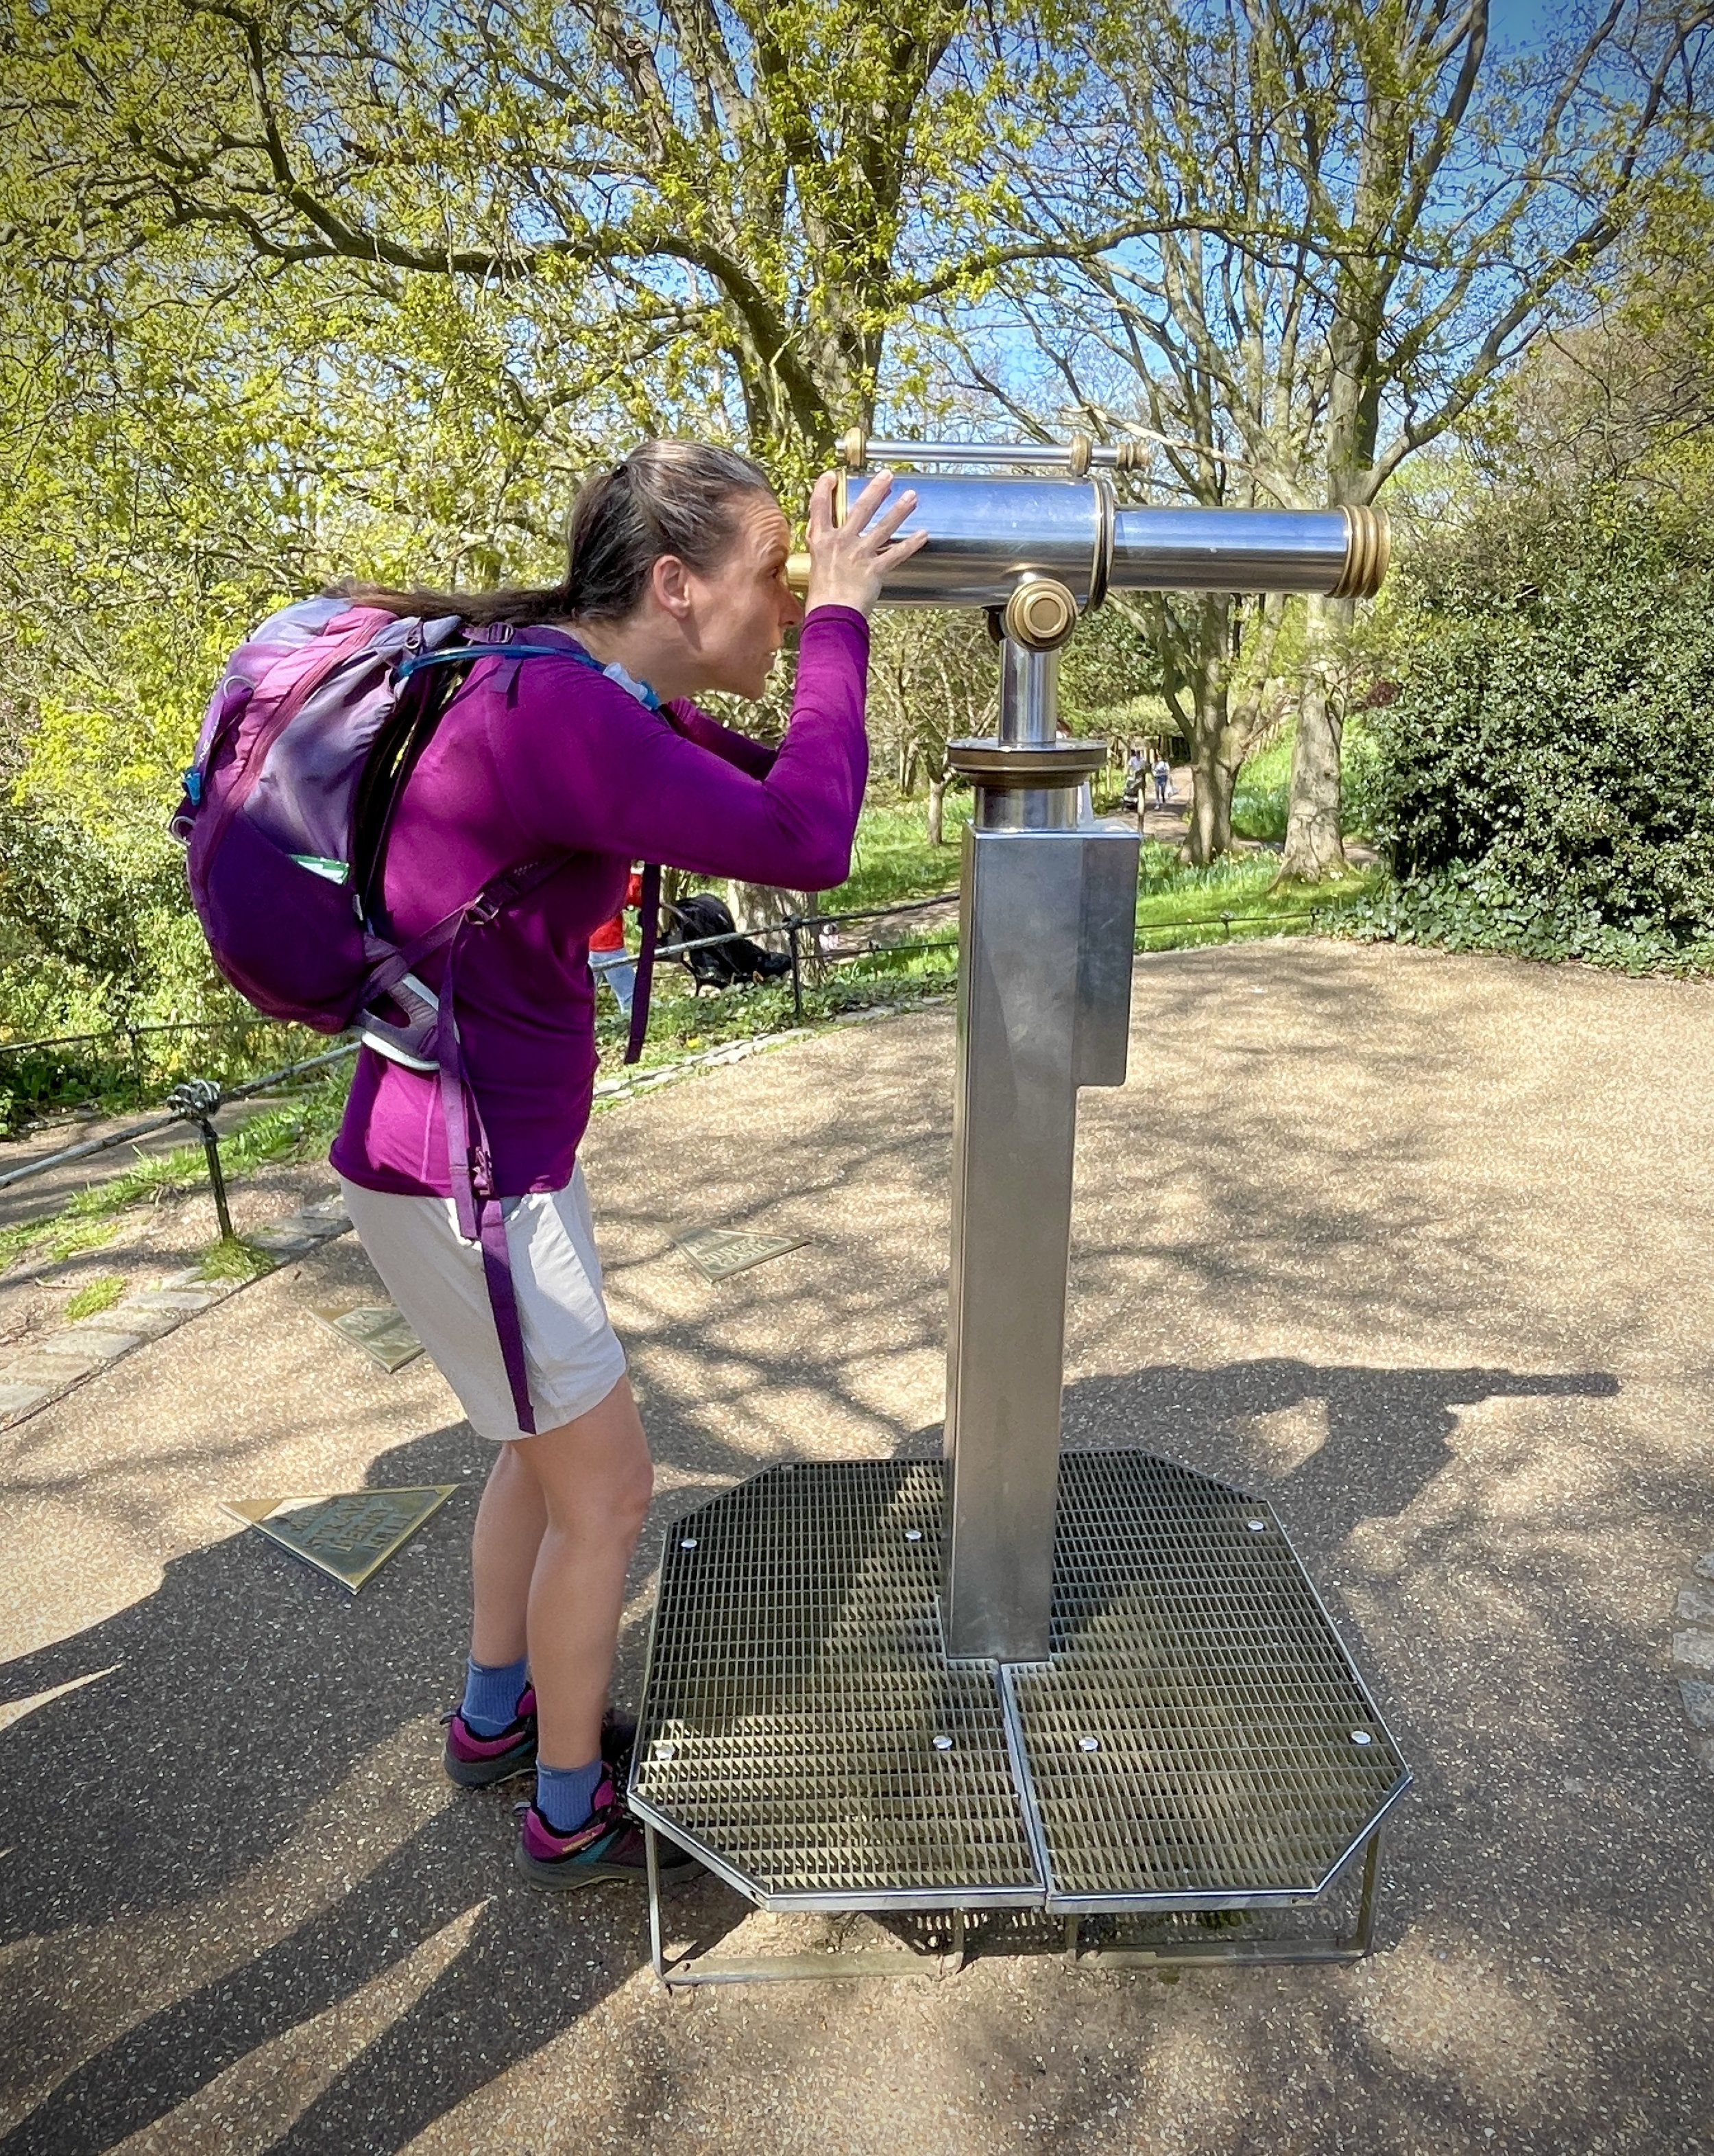
King Henry's Mound and the OS Trig Pillar: Located just north of Pembroke Lodge, King Henry's Mound is a prehistoric burial chamber that provides an incredible vantage point. If you look through the trees, you can see a specially protected, framed view of St Paul's Cathedral. Just a stone's throw from the mound, between the footpath and the road, you will also spot an Ordnance Survey trig pillar. These historic concrete pillars were part of the vast retriangulation network used to map Great Britain, and this specific one sits at an elevation of 56 metres above sea level.
Refreshments: You will not be short of places to stop. There are cafes, toilets, and water fountains at both Roehampton Gate and Pembroke Lodge, along with various refreshment kiosks located around the park.
Getting There
Richmond Park is highly accessible, whether you are arriving by public transport or driving.
By Public Transport:
Train & Tube: The closest mainline stations are Richmond and North Sheen to the north of the park, and Norbiton to the south. You can also catch the District Line directly to Richmond Station. From these stations, it is roughly a 15 to 25-minute walk to the nearest park gate, or you can hop on a local bus.
Bus: Several bus routes serve the park's perimeter. The 85 and K3 stop near Ladderstile Gate on Kingston Hill, the 65 stops near Ham Gate Avenue, and the 371 stops near Ham Village.
Free Park Minibus: If you are visiting on a Monday, Wednesday, or Friday between March and November, you can take advantage of the free, volunteer-run RP1 minibus. It is fully accessible for wheelchair users and loops between all the car parks and main gates.
By Car (Gates, Car Parks, and Facilities): If you are driving, the park has several main vehicle gates with car parks. Since the Tamsin Trail is a loop, you can park at any of these and start your walk immediately. Here is a breakdown of the main car parks and their facilities:
Roehampton Gate: Car park, Roehampton Gate Café (which includes an ice cream parlour), and toilets.
Pembroke Lodge: Car park, a fantastic café (perfect for a classic cream tea), and toilets. This is located close to Richmond Gate.
Kingston Gate: Car park, a refreshment kiosk, and toilets.
Sheen Gate: Car park and toilets.
Robin Hood Gate: Car park and toilets.
Internal Car Parks: If the gate car parks are busy, there are also internal car parks at Pen Ponds (with a kiosk) and Broomfield Hill (with a kiosk). There is also a dedicated disabled visitors' car park at Isabella Plantation, which has accessible toilets.
Note: Parking in the Royal Parks is free, but it can fill up very quickly on weekends and bank holidays. There is a 20p contactless charge to use the public toilets.
Whether you are looking for a brisk weekend walk or a leisurely stroll to take in the wildlife, the Tamsin Trail is a fantastic choice. It is a wonderful reminder of the beautiful places we have access to right outside our doors, full of history and nature that is just waiting to be explored.
Walking The Midshires Way Part 8: Quainton and Botolph Claydon
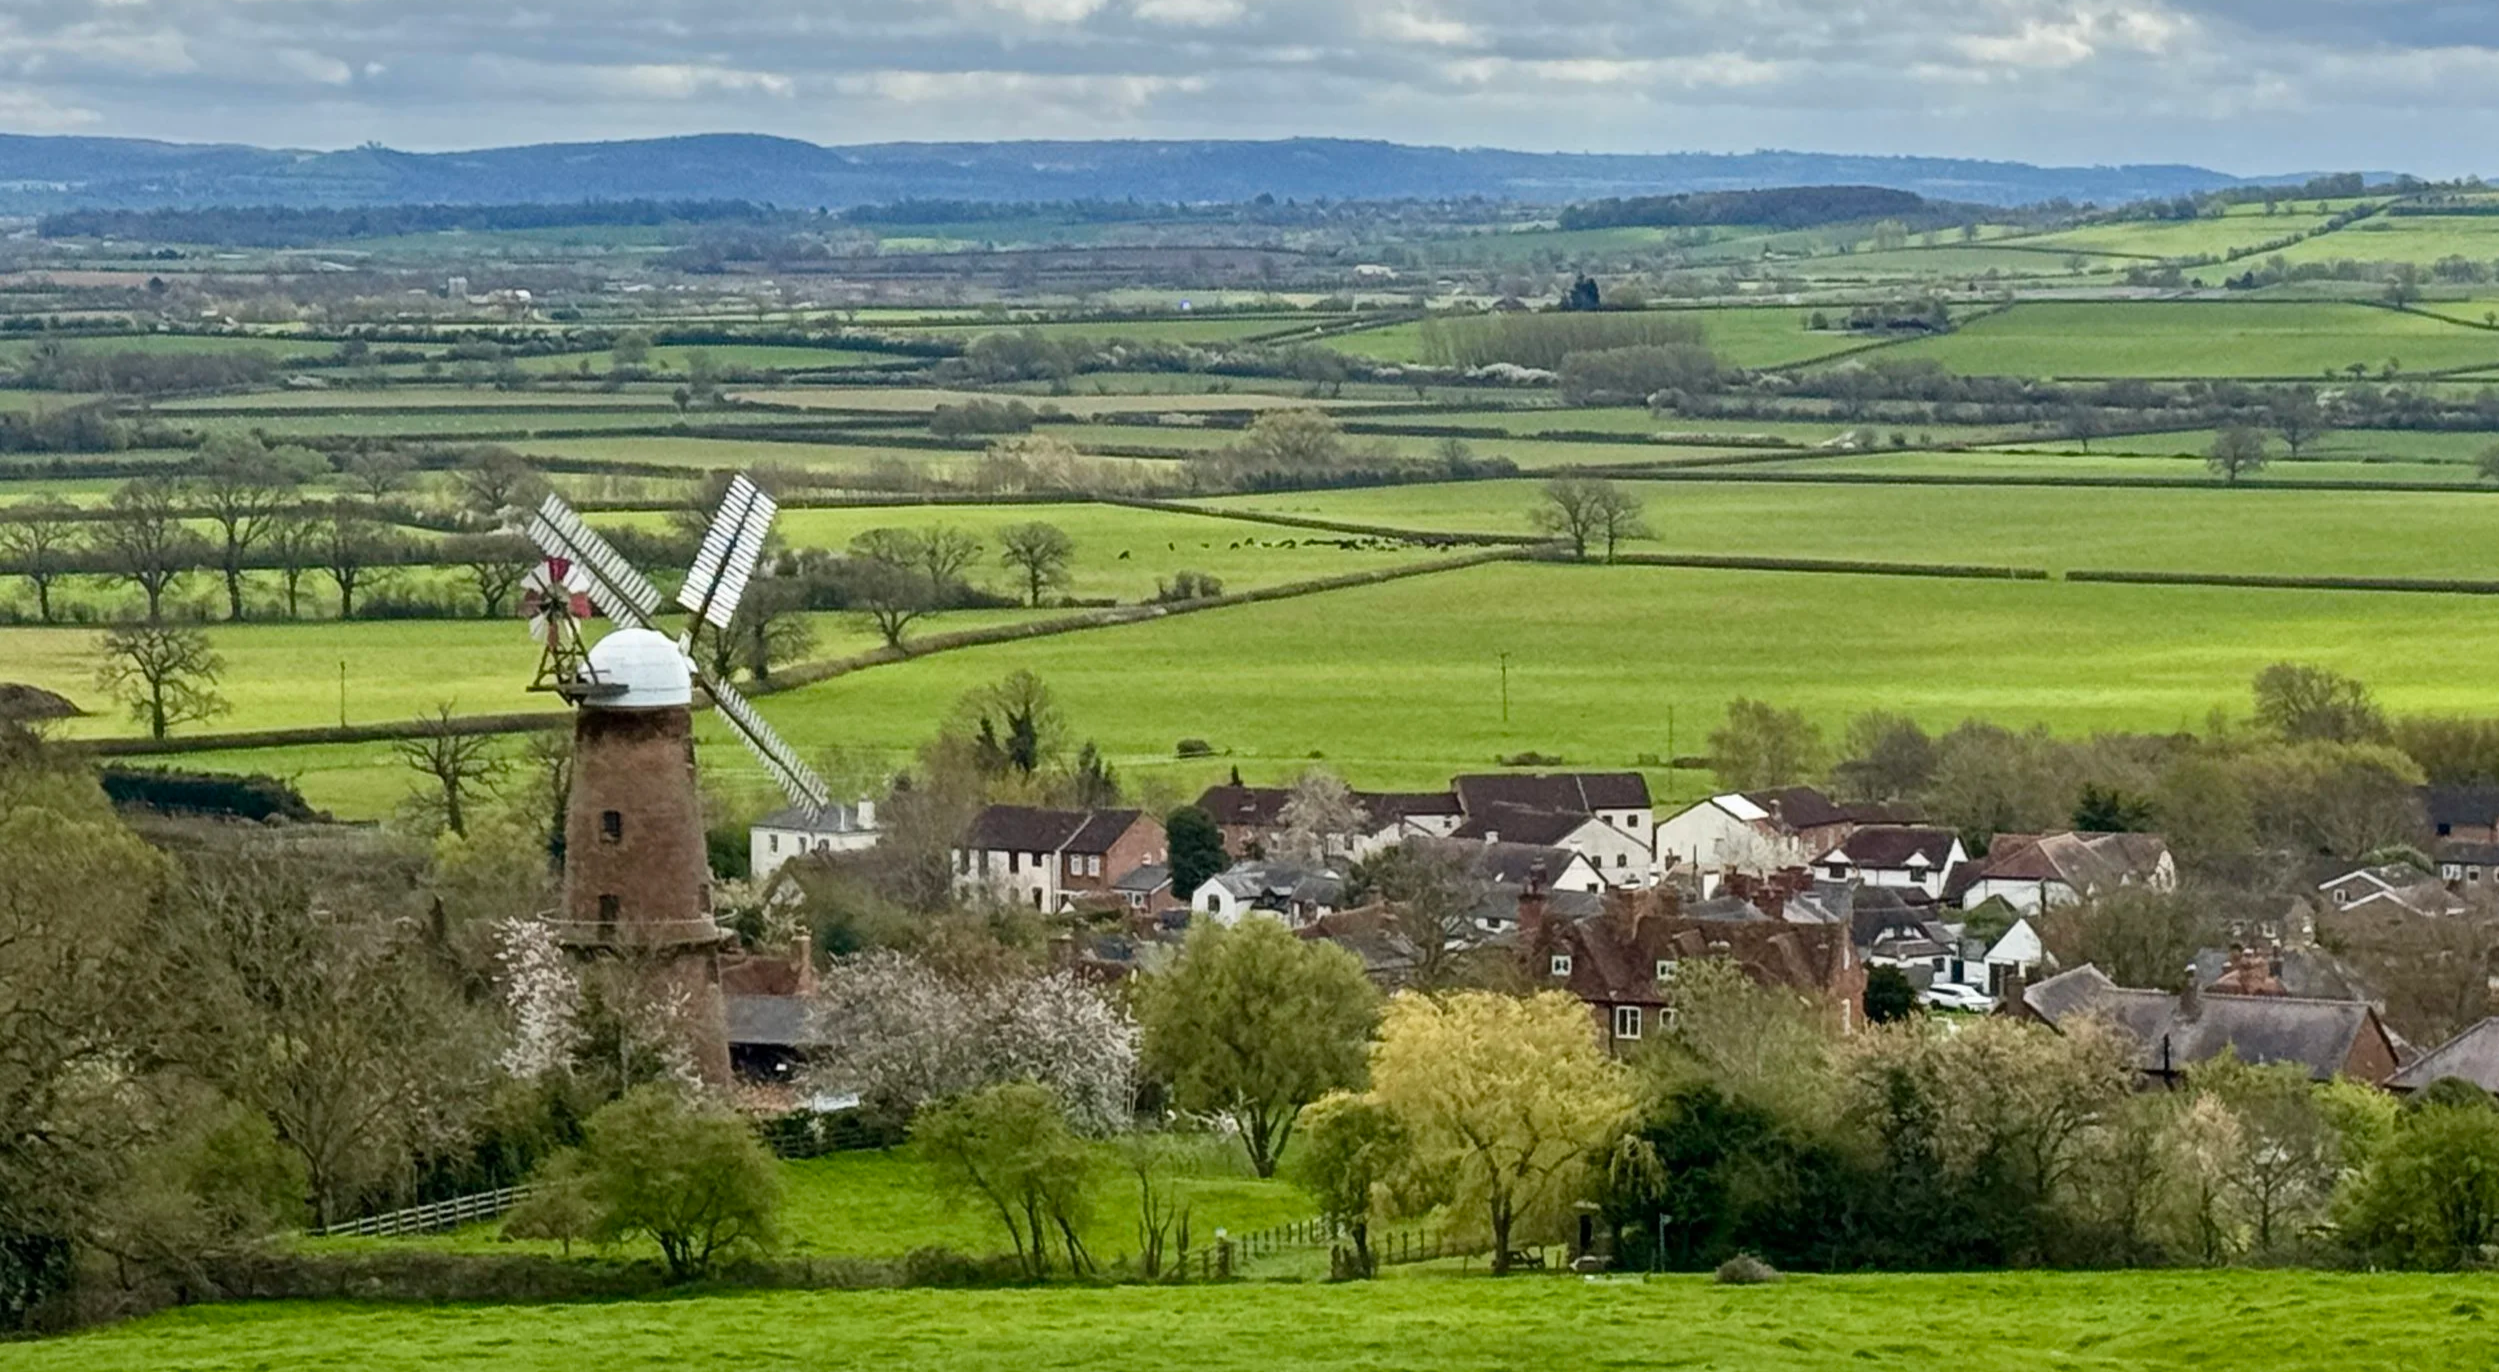
View over Quainton from the Quainton Beacon
Start & Finish: George and Dragon pub, 32 The Green, Quainton, Aylesbury HP22 4AR
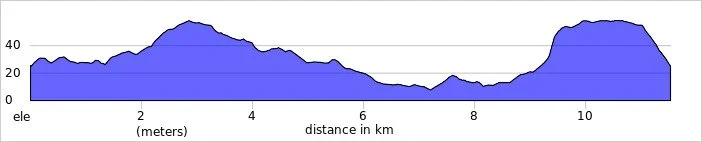
Distance: 13.2 km (8.2 miles)
Elevation change: +/- 144m
Terrain: The route predominantly follows public bridleways and quiet country lanes, with some muddy sections likely after heavy rain.
Midshires Way section covered: Quainton to East Claydon: 6.7 km
GPX File: get via Buy Me a Coffee
Other routes touched (walk): Midshires Way, The Swan Way, North Bucks Way, Outer Aylesbury Ring, Bernwood Jubilee Way
Other routes touched (cycle): None
Pubs / Cafes on route: The George & Dragon, Quainton (at the start and end), Cafe at Hogshaw Farm and Wildlife Park (just off route at 9.7 km in)
OS Trig Pillar: TP5550 - Quainton Resr
Map: Buckingham & Milton Keynes Map | Leighton Buzzard & Woburn | Ordnance Survey | OS Explorer Map 192
Links: Quainton, East Claydon, Botolph Claydon
Welcome to Part 8 of our series of short circular walks along the Buckinghamshire section of the Midshires Way. For a complete overview of the 225-mile trail's history, its connection to the Swan's Way, and preparation tips, please read my complete Midshires Way Through Buckinghamshire Guide.
Walking Directions
This section of the Midshires Way offers a fantastic circular route through the heart of the Buckinghamshire countryside. Starting in the village of Quainton, the path almost immediately asks you to conquer Quainton Hill, where the elevation climbs from 98 metres to over 180 metres. It is a steady ascent that rewards walkers with sweeping views of the surrounding area before the path levels out and begins a gentle descent.
The guidance below will help you navigate but don’t use it as a fully accurate turn-by-turn guide. Always take a map and/or a GPX route and prepare well for the weather and terrain.
Begin your walk at the village green in Quainton outside the George and Dragon Pub.
Follow The Green in a north-easterly direction then take a right onto Church Street then take the footpath on the left to ascend Quainton Hill.
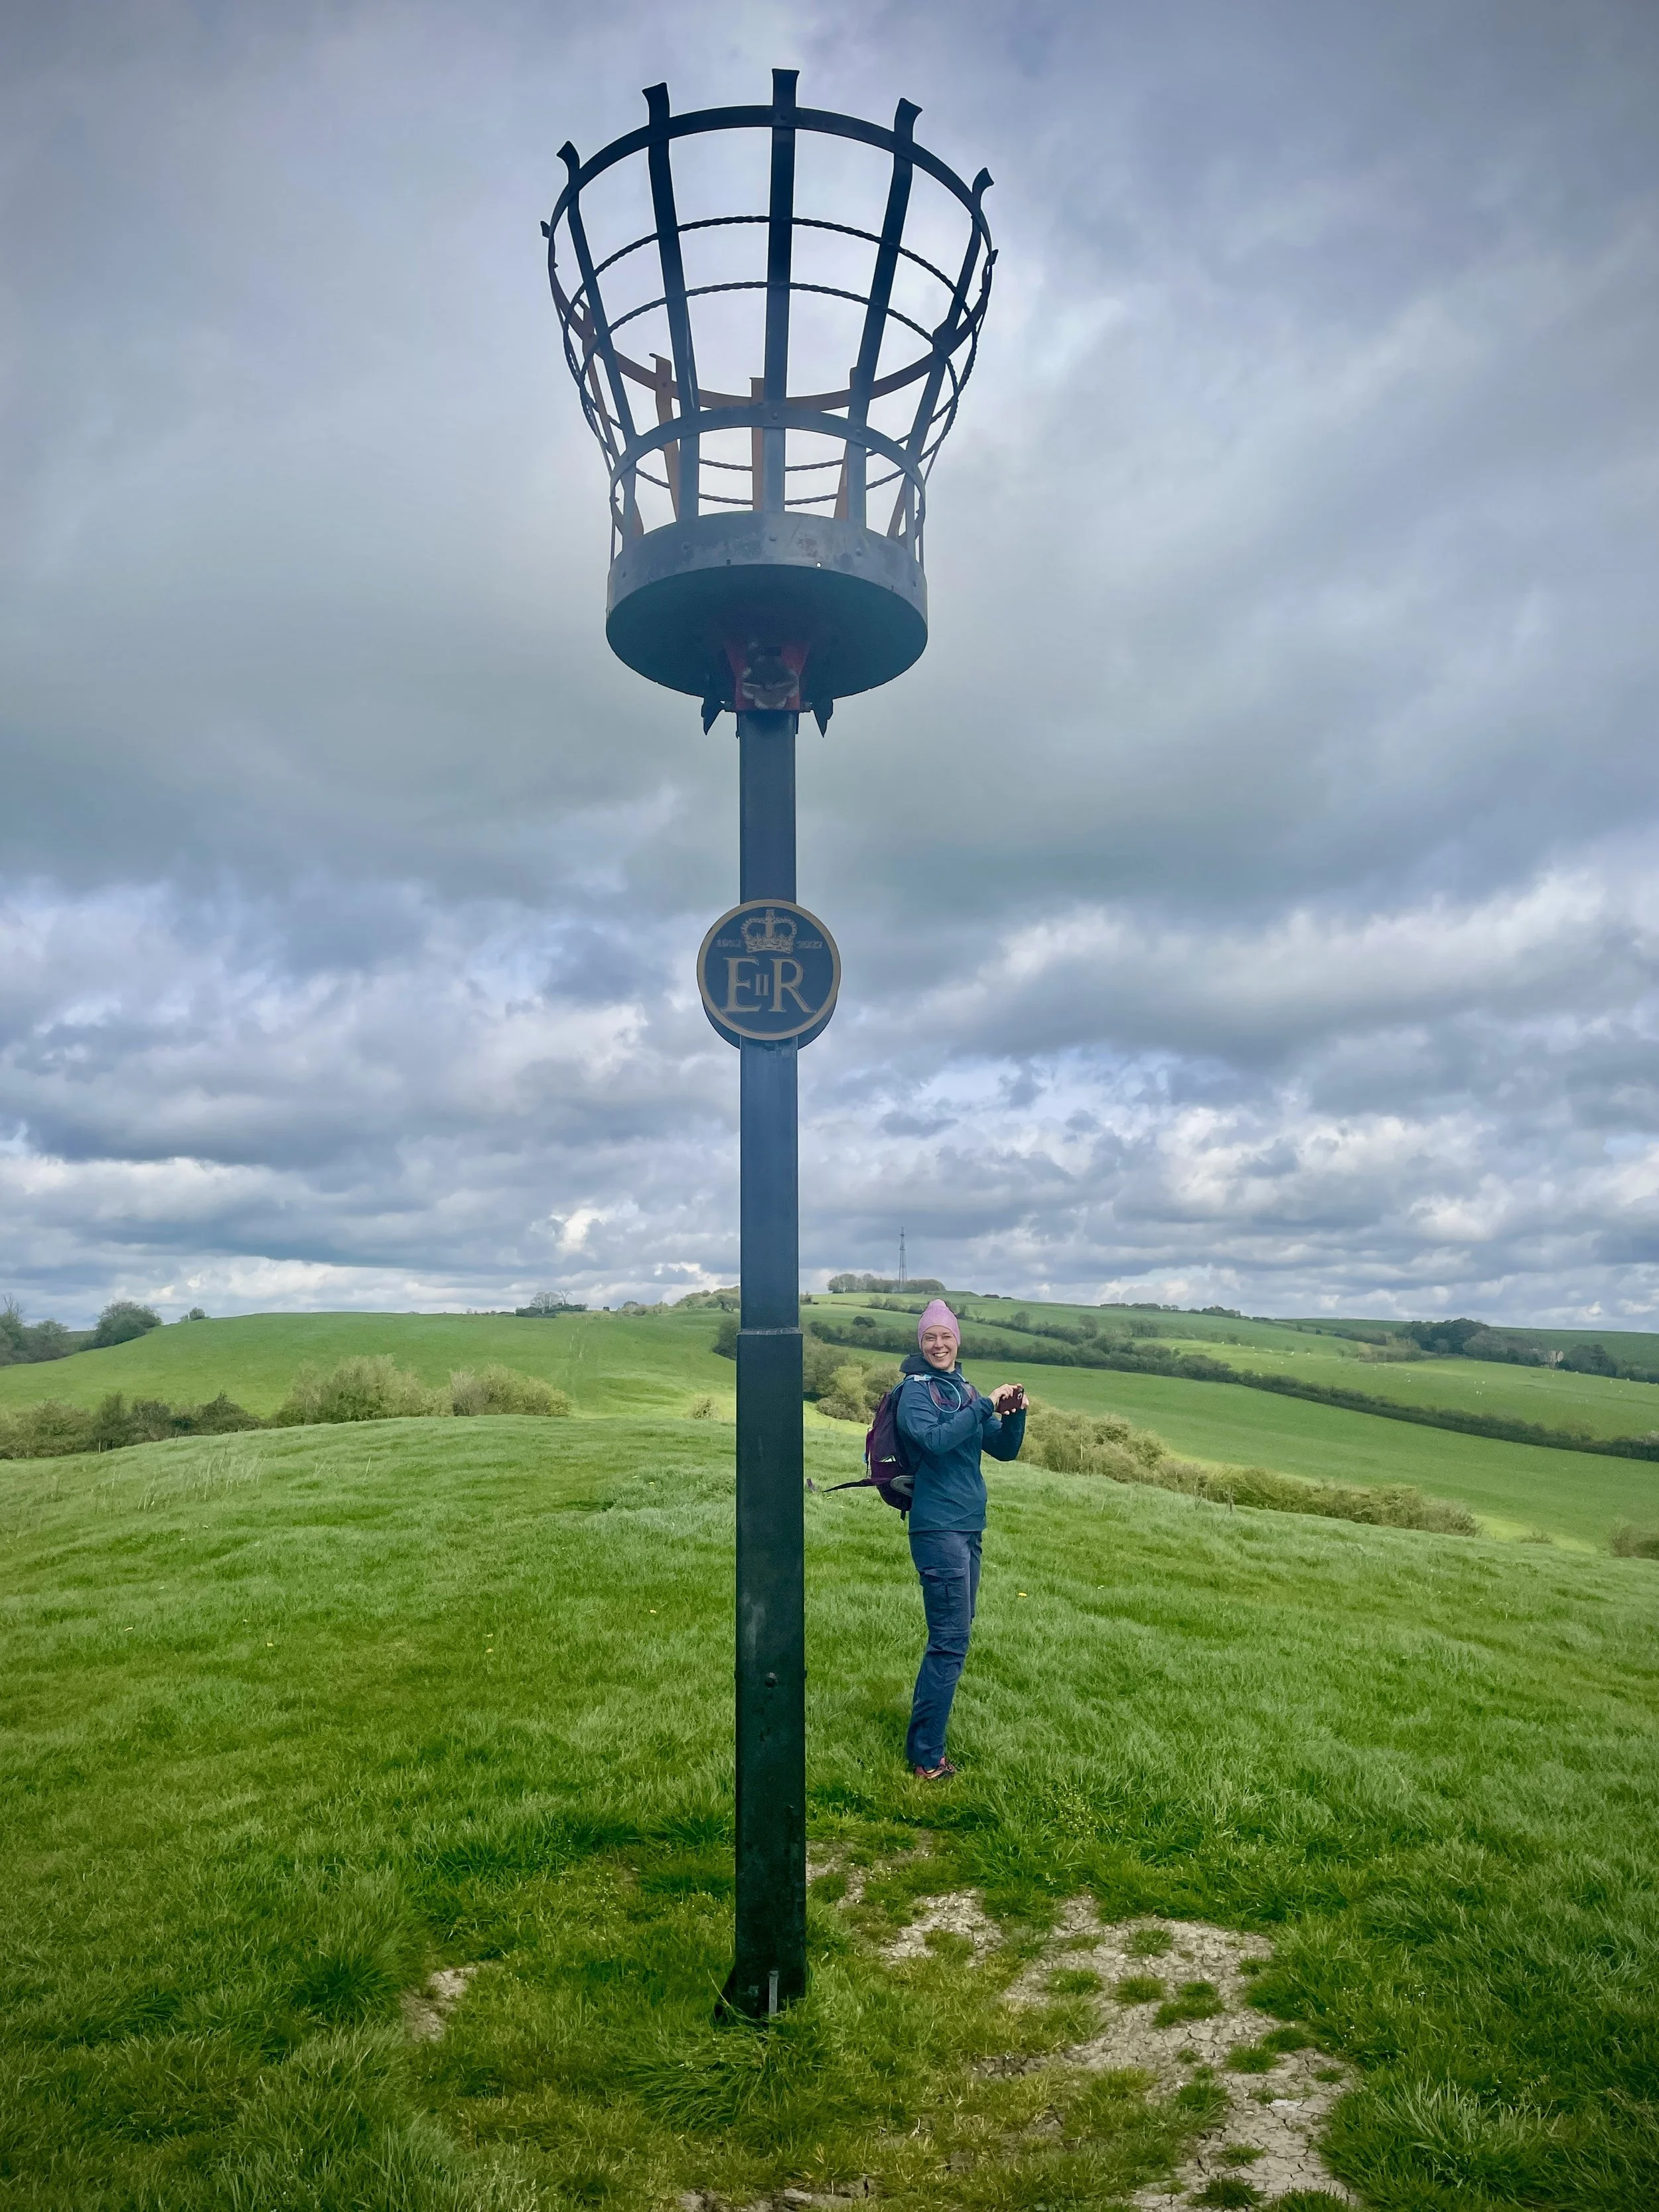
The Midshires Way ascends along the side of the hill where Quainton Beacon stands. It’s well worth taking a small diversion to the Beacon for the views to the south over Quainton Village and across the Vale to the Waddesdon Estate.
As you continue to climb Quainton hill in a north / north-easterly direction you’ll see the large transmitter mast and reservoir on your right. If you want to bag the OS Trig Pillar you can divert off the Midshires along a farm track to the reservoir. The Trig Pillar is on top of the reservoir and surrounded by a high fence so you can get within a few metres of it but not touch it. Follow the footpath that runs alongside the western edge of the reservoir until you rejoin the Midshires Way.
Once you pass the summit of Conduit Hill (just north of Quainton Hill) descend in a north-easterly direction following the Midshires Way. Note that this splits here from the Outer Aylesbury Ring which follows the more obvious route of the treeline. The Midshires Way is not obvious here so you’ll either need a GPX file or good compass skills to keep on track.
When you reach Hogshaw Road take a left to follow it for 400m then take a right to follow the footpath through fields in a north-westerly direction to Church Way in East Claydon.
Take a left off Church Way towards the entrance of St Mary’s Church. Follow the footpath in a south-westerly direction to join St Mary’s Road.
Follow St Mary’s Road in southerly direction, joining Botyl Road as it passes through Botolph Claydon. Cross over the junction with Orchard Way onto Weir Lane and continue walking in a southerly direction.
When you reach the farm buildings at the end of Weir Lane continue south across farmland and across the old Bernwood Farm Airstrip (now not visible)
When you reach the back of Hogshaw Farm and Wildlife Park you can either continue on the path through to Claydon Road or take a small diversion into the farm to reach the cafe. This is the only place to get food and drink on the route until you are back at Quainton.
Cross over Claydon Road and follow the driveway towards Hill Cottage Farm, taking the footpath on the right before the farm buildings.
Continue to follow the footpath through fields until you reach Upper Street in Quainton. Take a left onto Upper Street and follow it back to the start at The Green.
Points of Interest along or near to the Route
Quainton’s Village Heritage The walk begins and ends in the picturesque village of Quainton, dominated by the magnificent Quainton Windmill. Built in 1830, this towering six-storey working mill remains the tallest in Buckinghamshire and stands as a stunning monument to 19th-century agricultural engineering. Just below the turning sails sits The George & Dragon, a historic free house on the village green dating back to 1777, offering a quintessential village pub experience. As you ascend out of the village, you pass the Quainton Beacon atop Mill Hill—a ceremonial site recently lit for Queen Elizabeth II's Platinum Jubilee, which offers elevated, sweeping views over the Waddesdon Estate.
East Claydon: This historic Buckinghamshire village has Anglo Saxon origins, with its name deriving from the Old English term for a clay hill. The settlement is home to the parish church of St Mary, which features a 14th century chancel and was partially rebuilt following the English Civil War. It provides a picturesque and culturally rich backdrop as you navigate the local countryside.
Botolph Claydon: A historic Buckinghamshire village that is home to a community-run bar. It would be a perfect mid-walk rest stop if it opened during the day. At time of writing the bar only opens in the evenings.
Conservation and Countryside The return leg of the journey crosses a diverse blend of agricultural land and dedicated conservation areas. The route crosses the old unpaved Bernwood Farm Airstrip, a subtle nod to local civil aviation that has been active since the 2000s. Just beyond lies Hogshaw Farm and Wildlife Park, set within 44 acres of open countryside. Dedicated to protecting rare breeds and local natural habitats, this environmentally conscious farm is a haven for European wildlife and a perfect refreshment stop for walkers exploring the local nature trails.
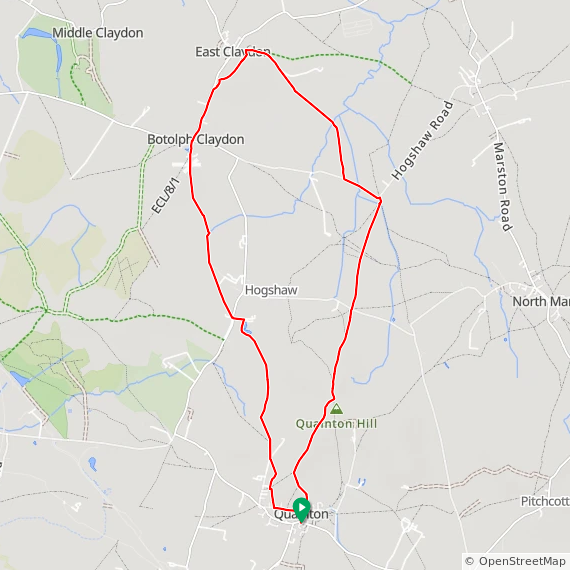
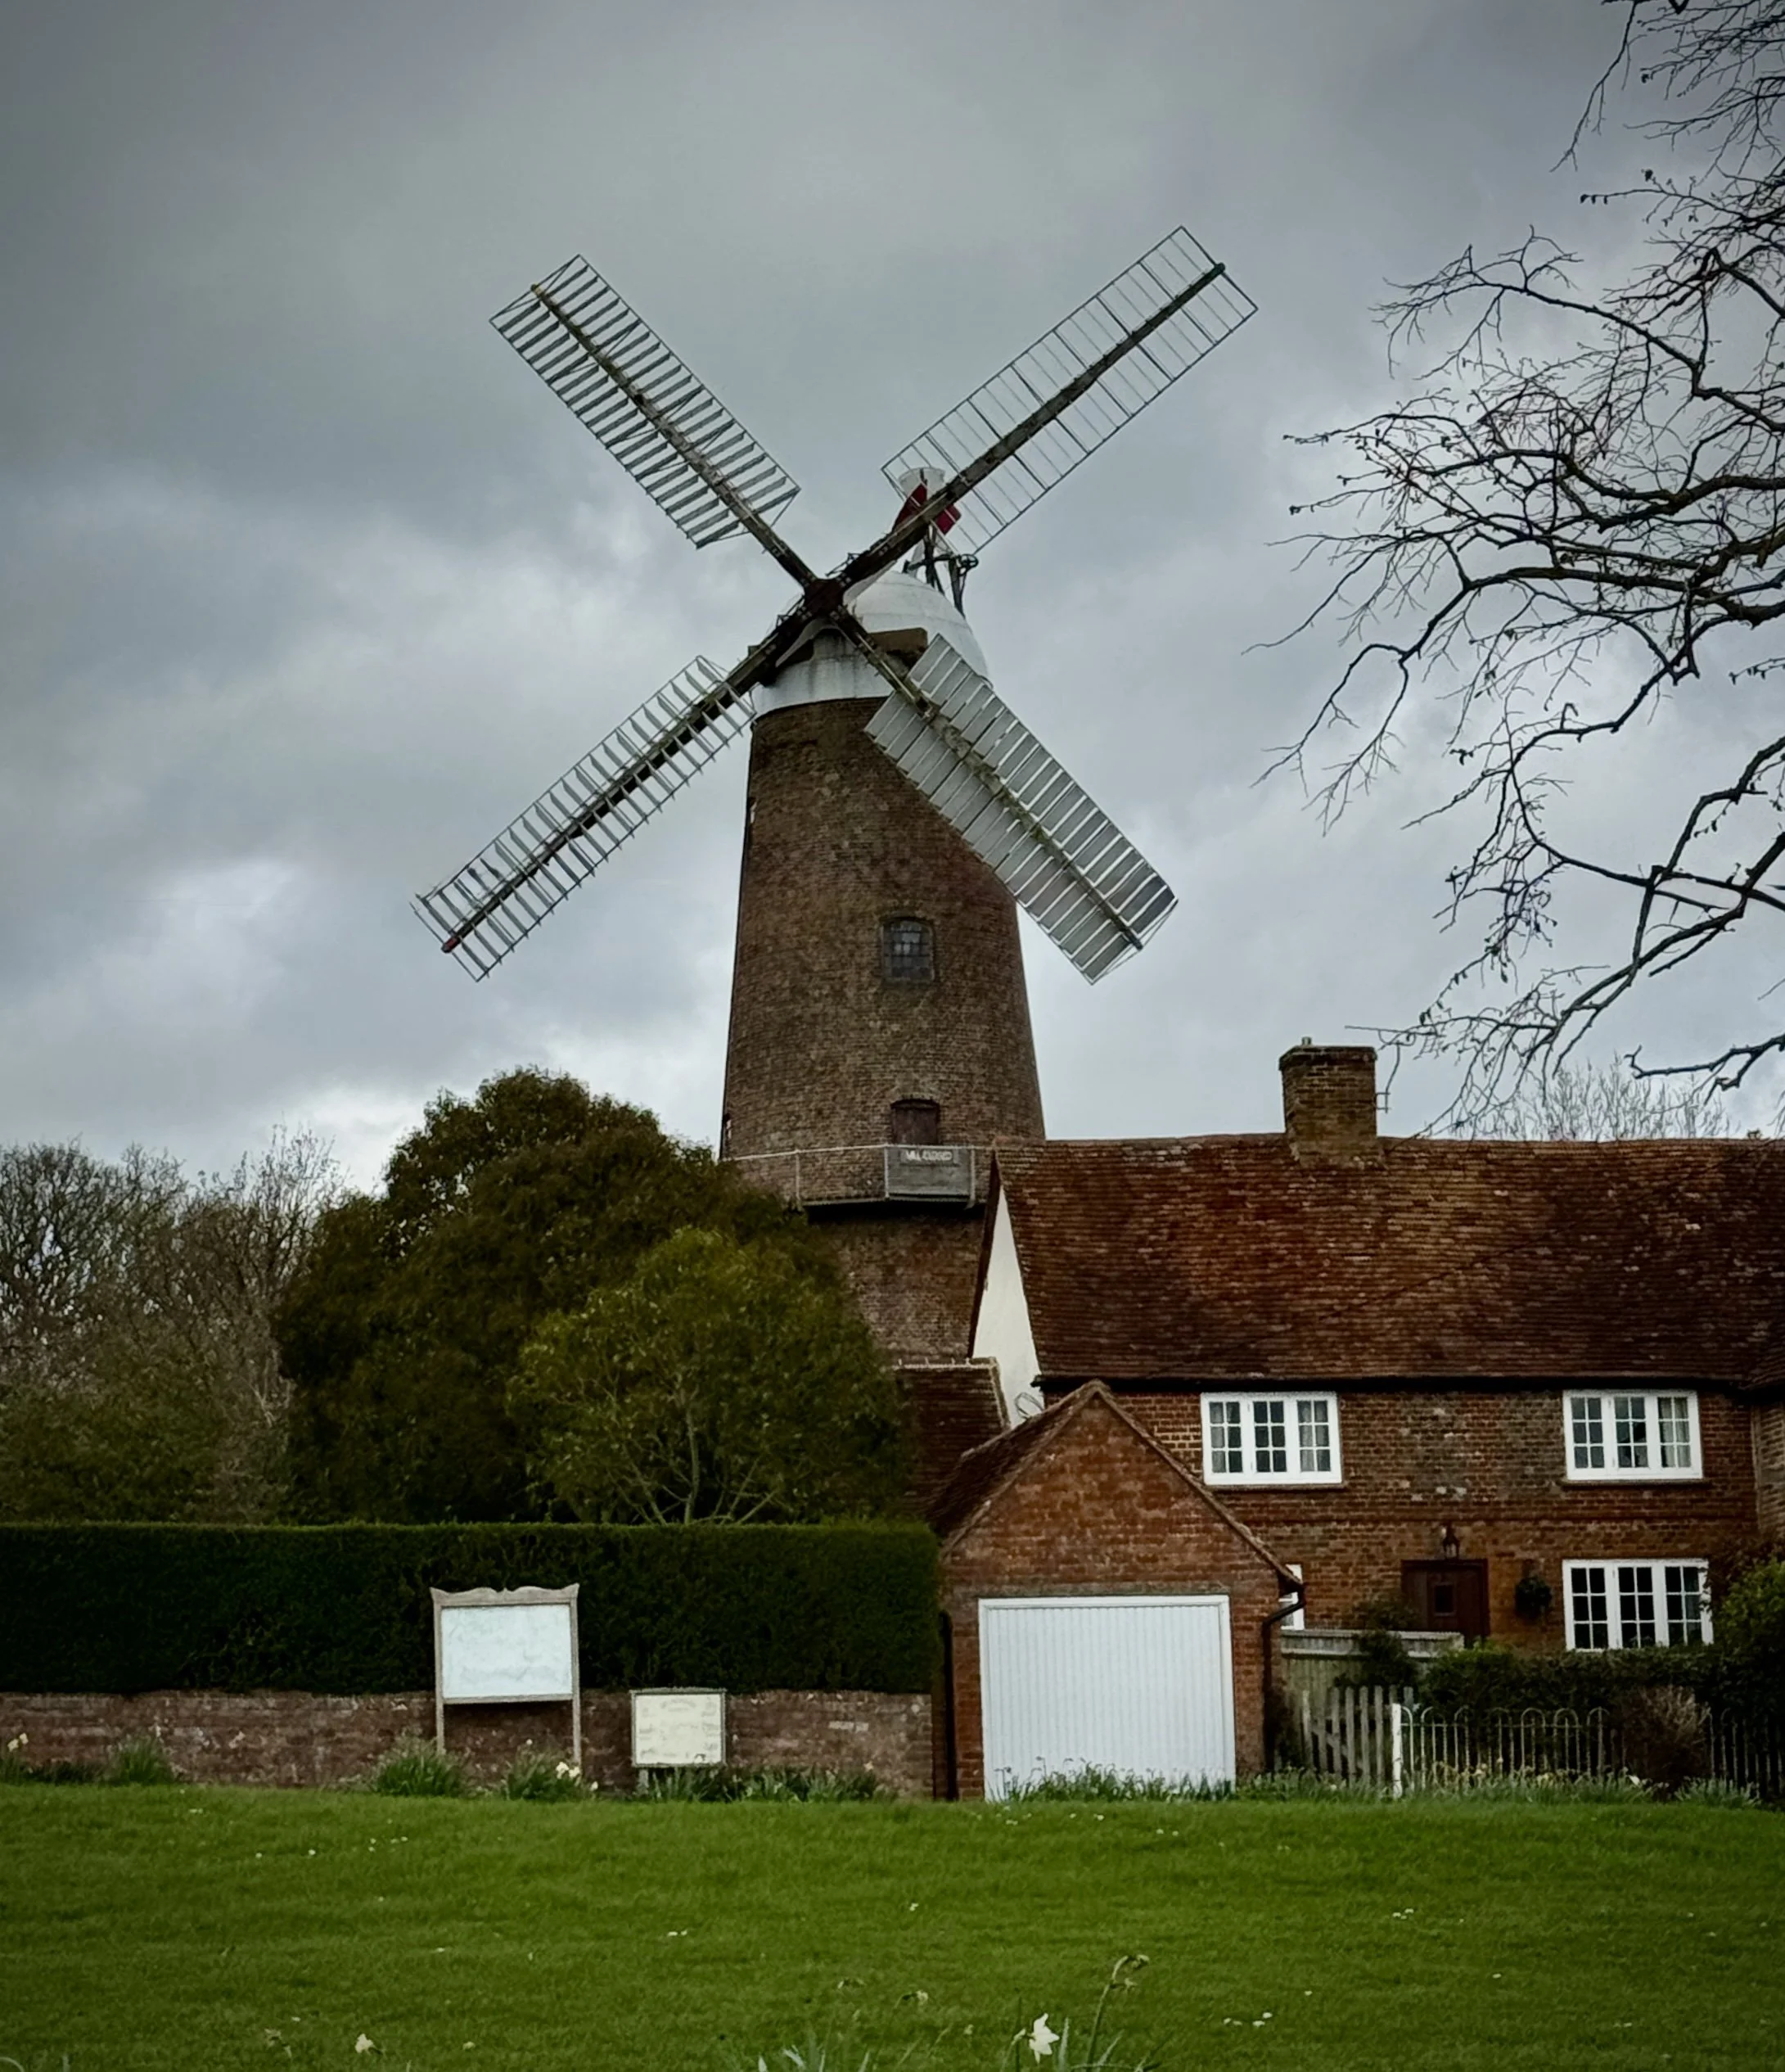
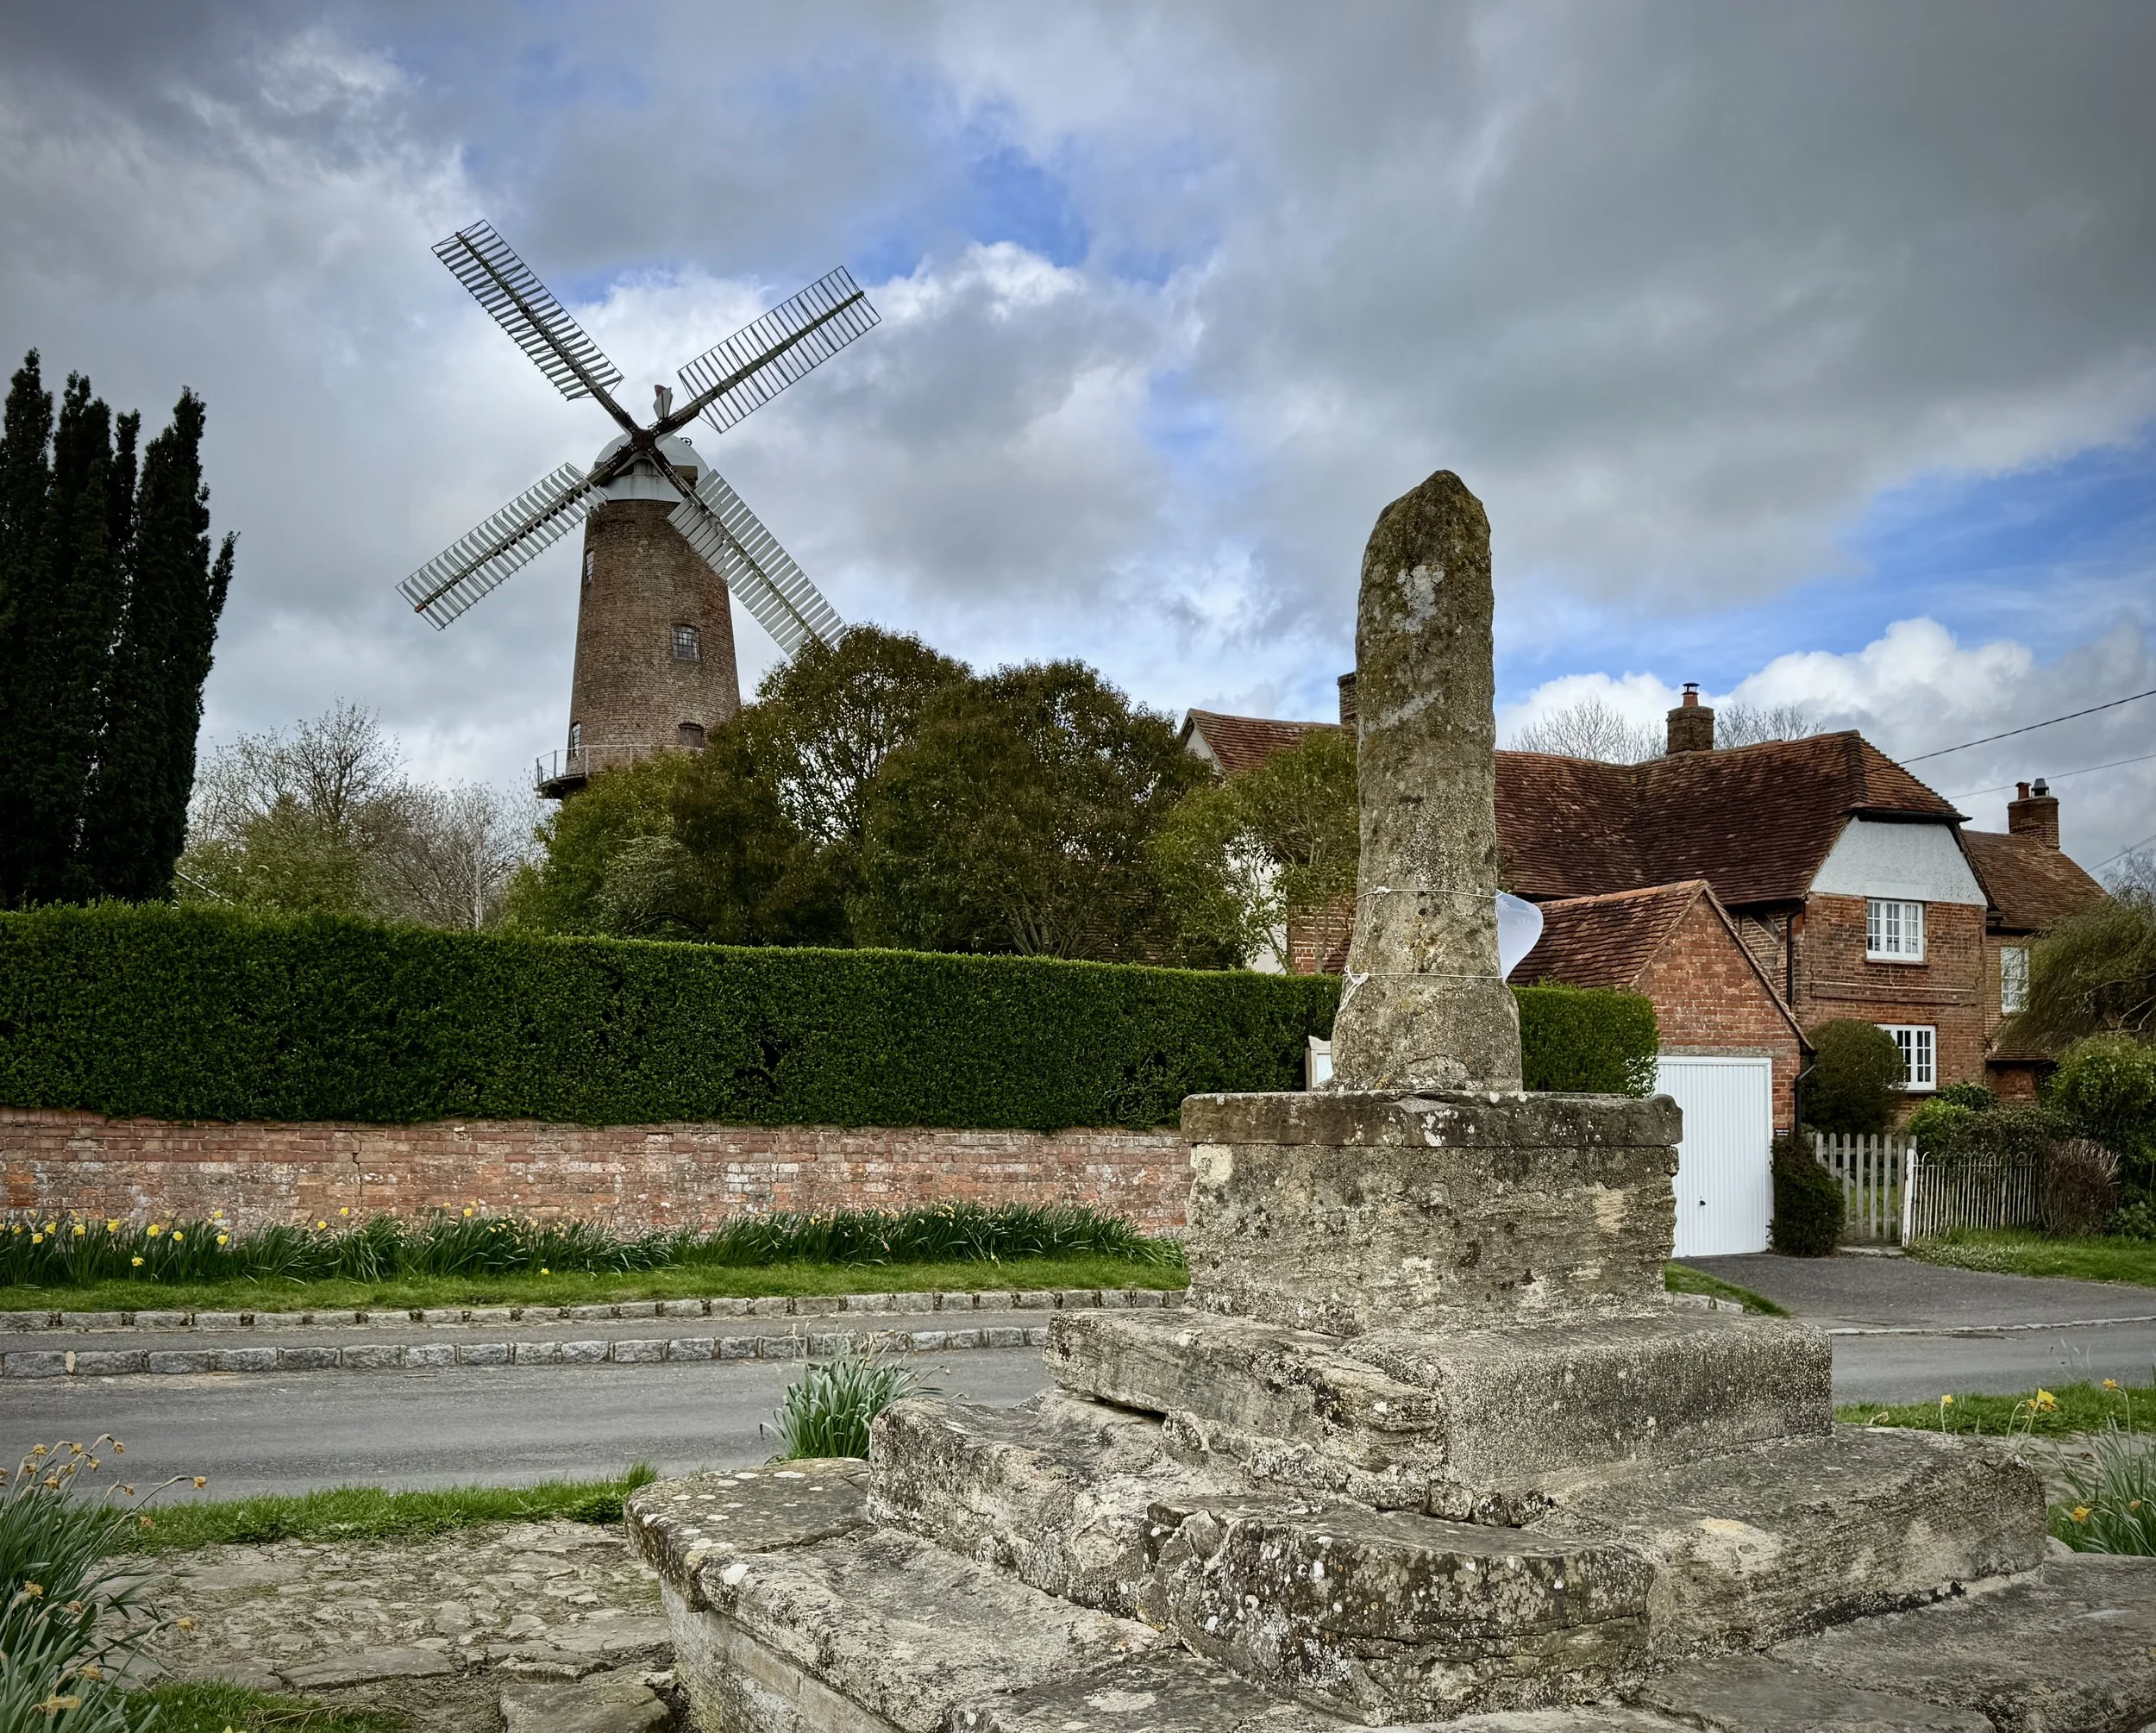
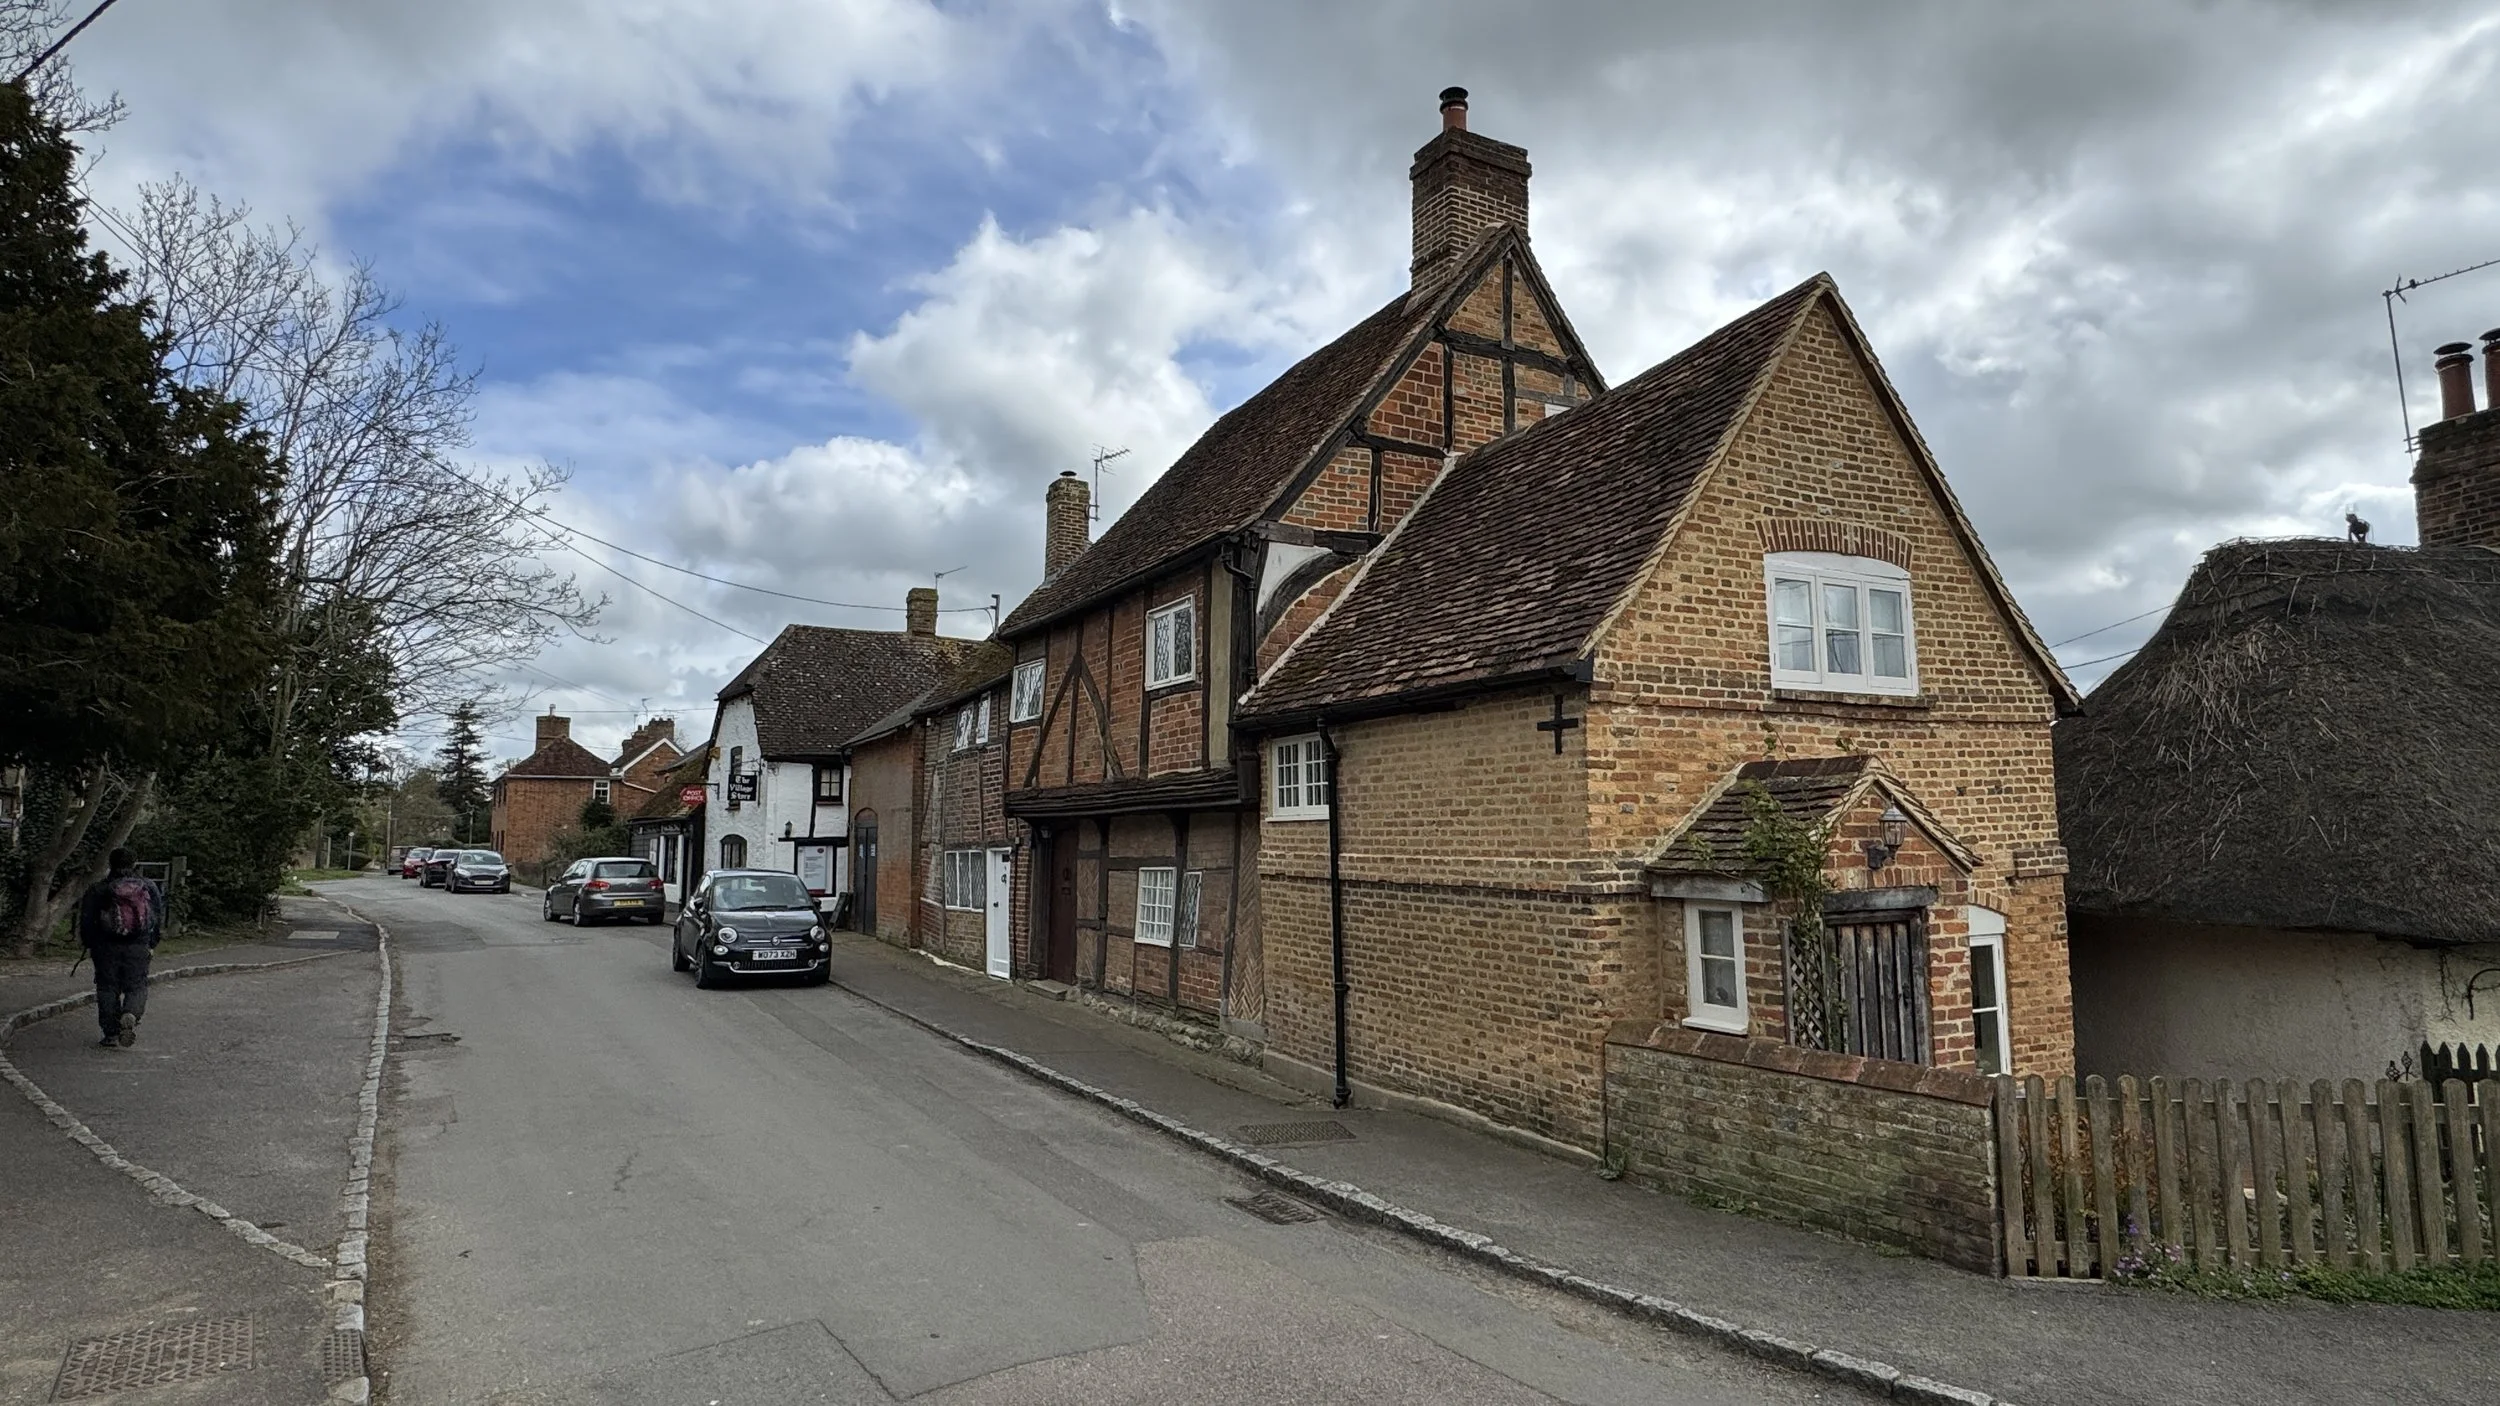
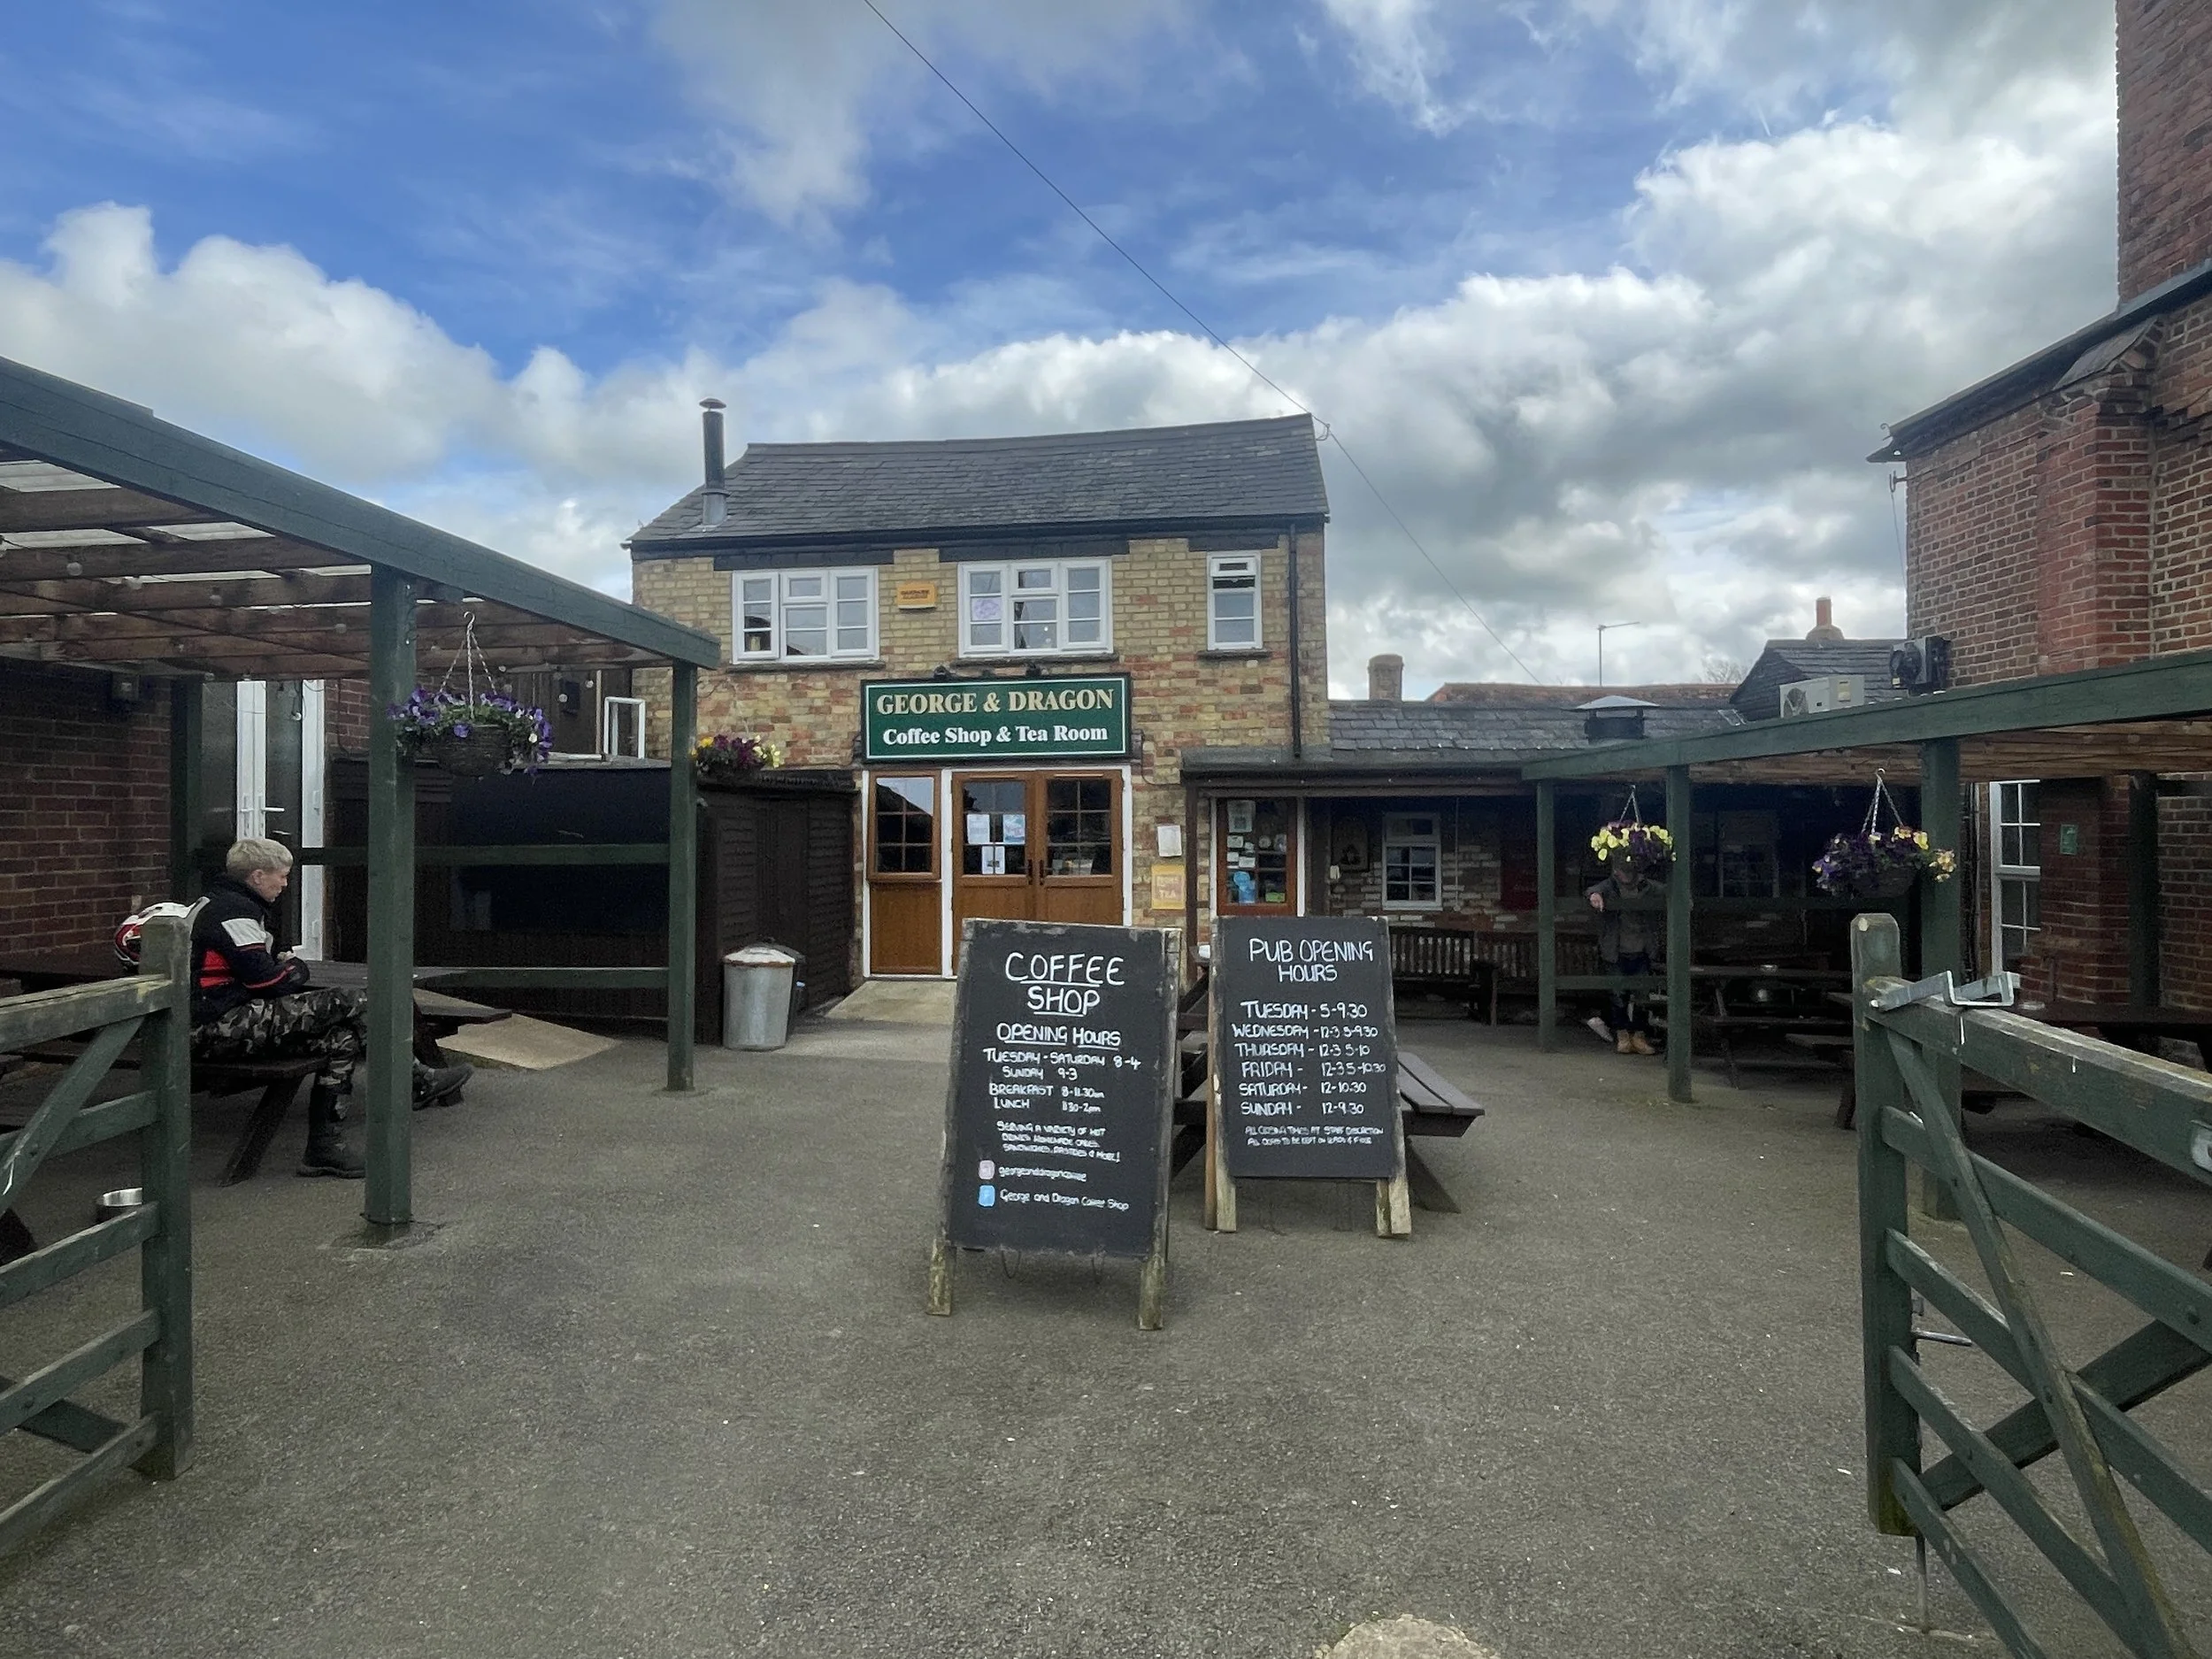
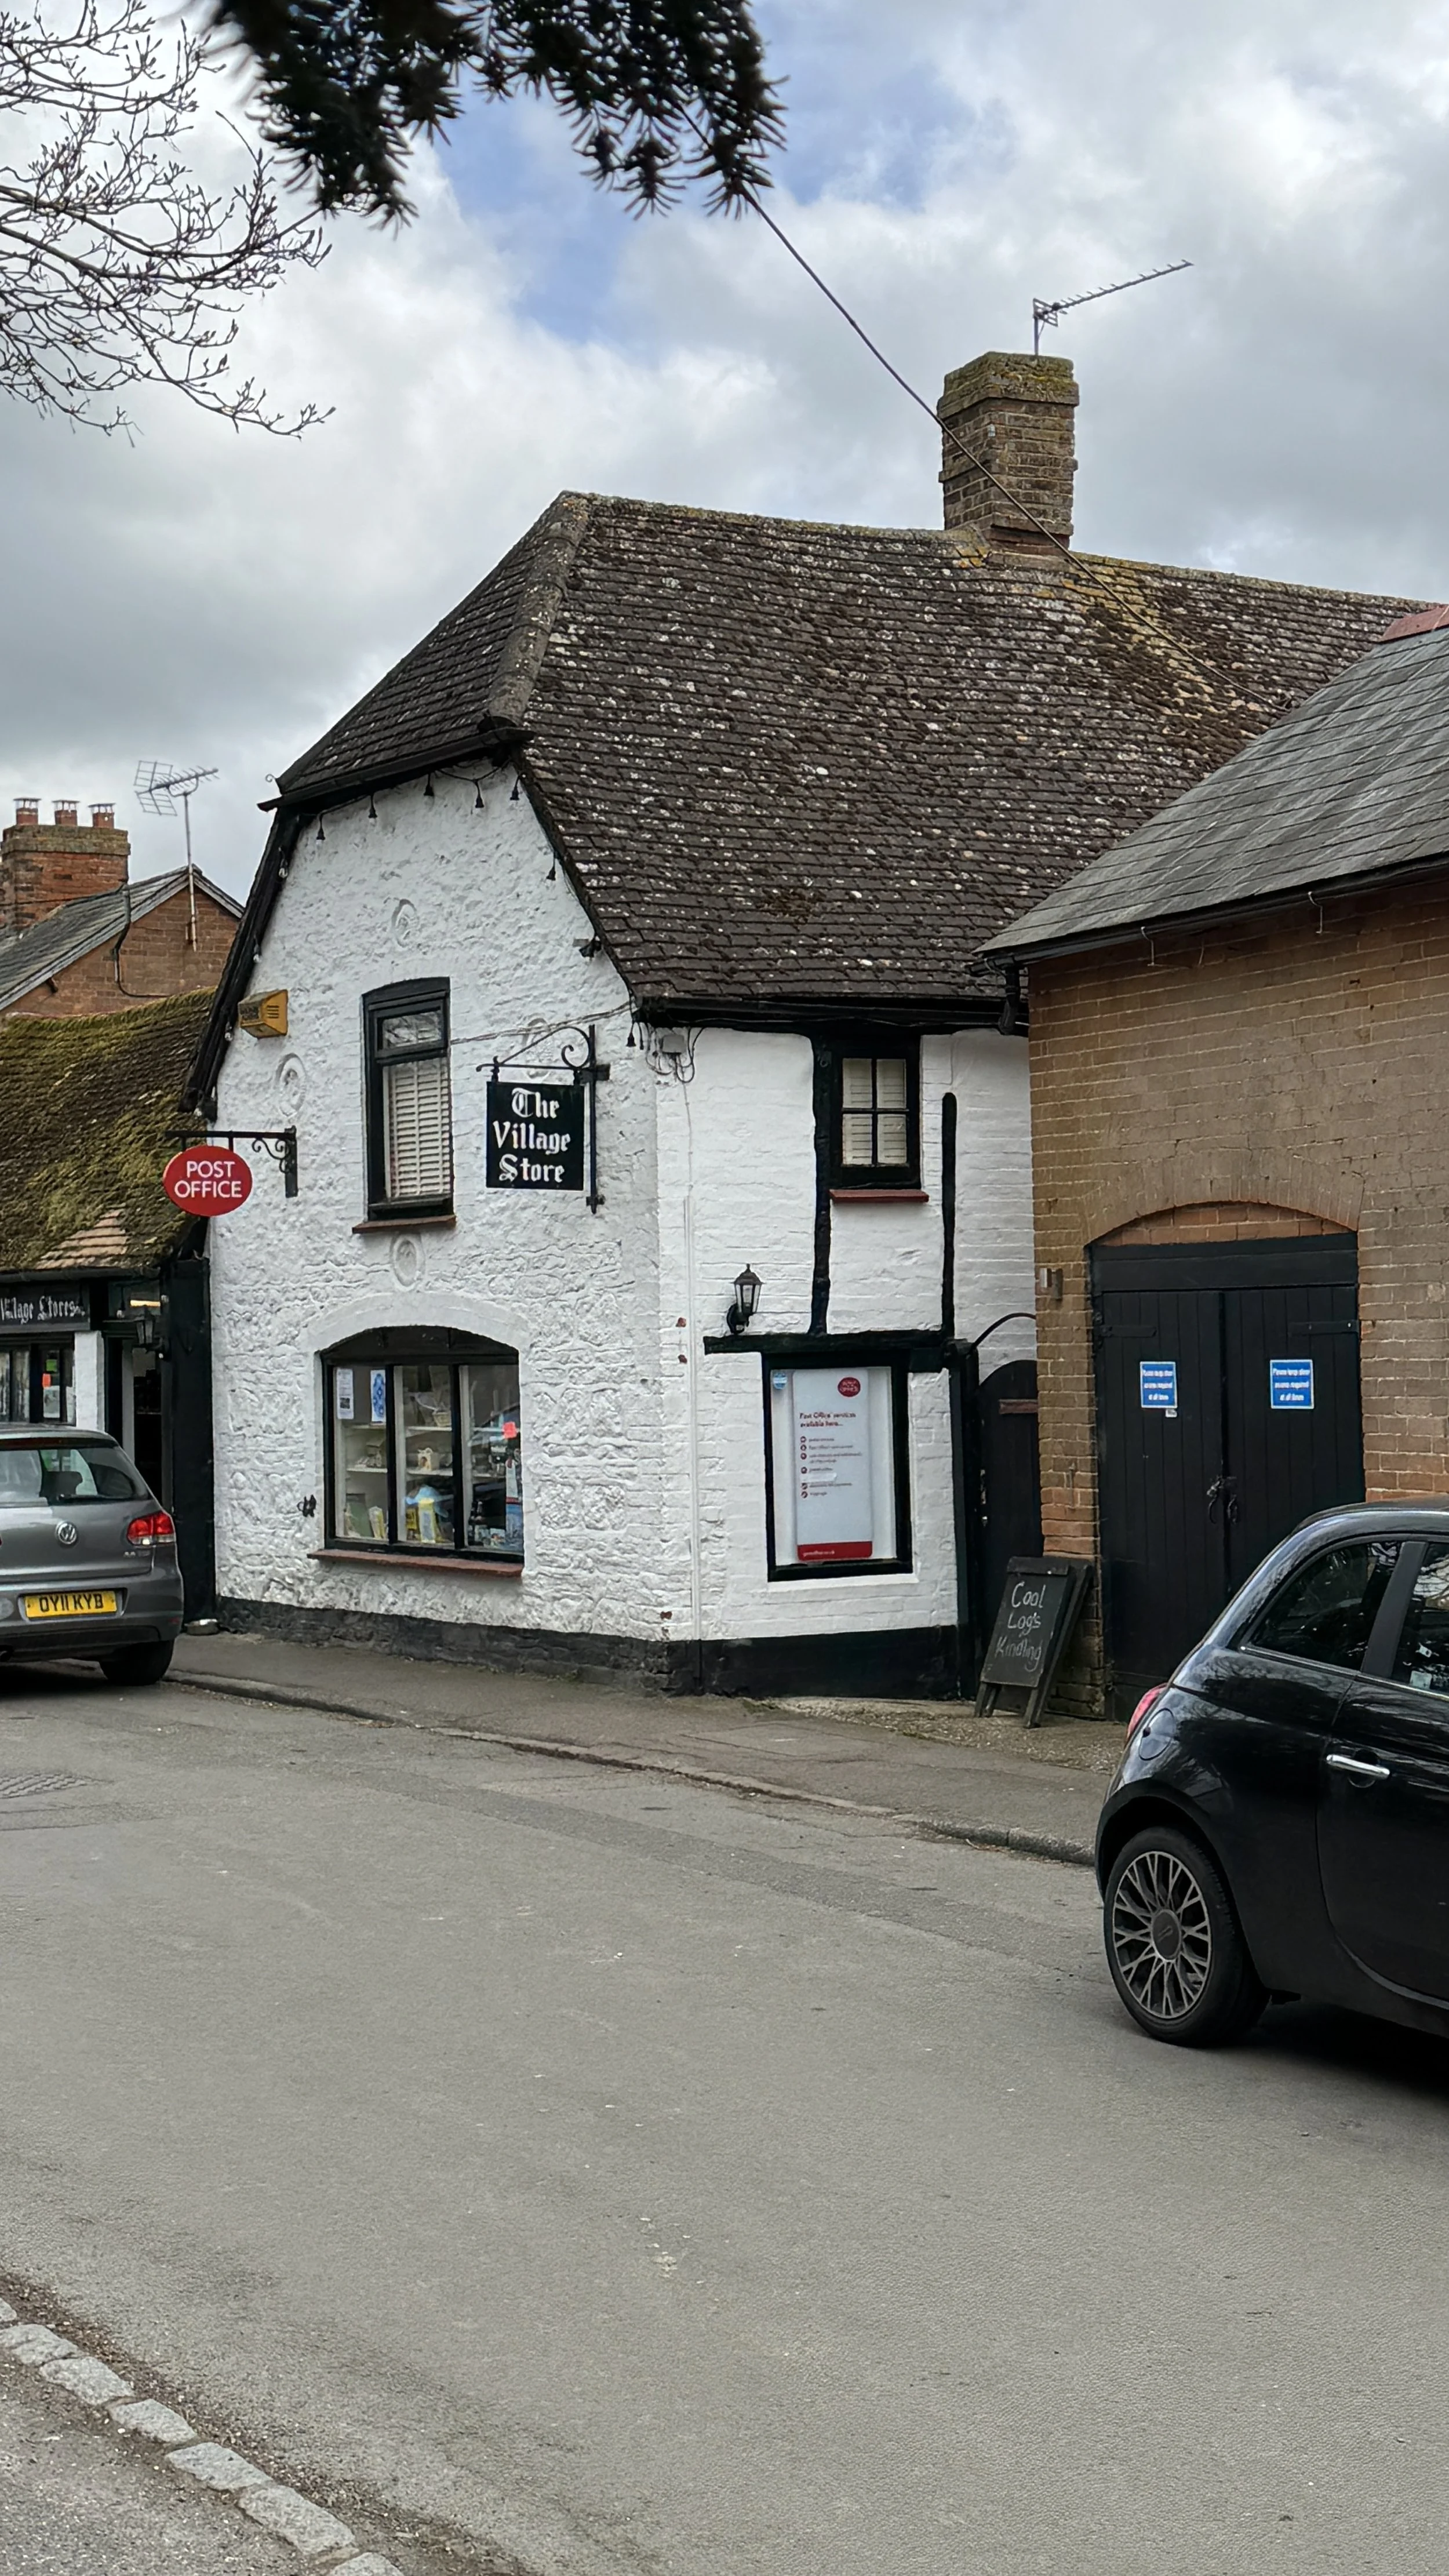
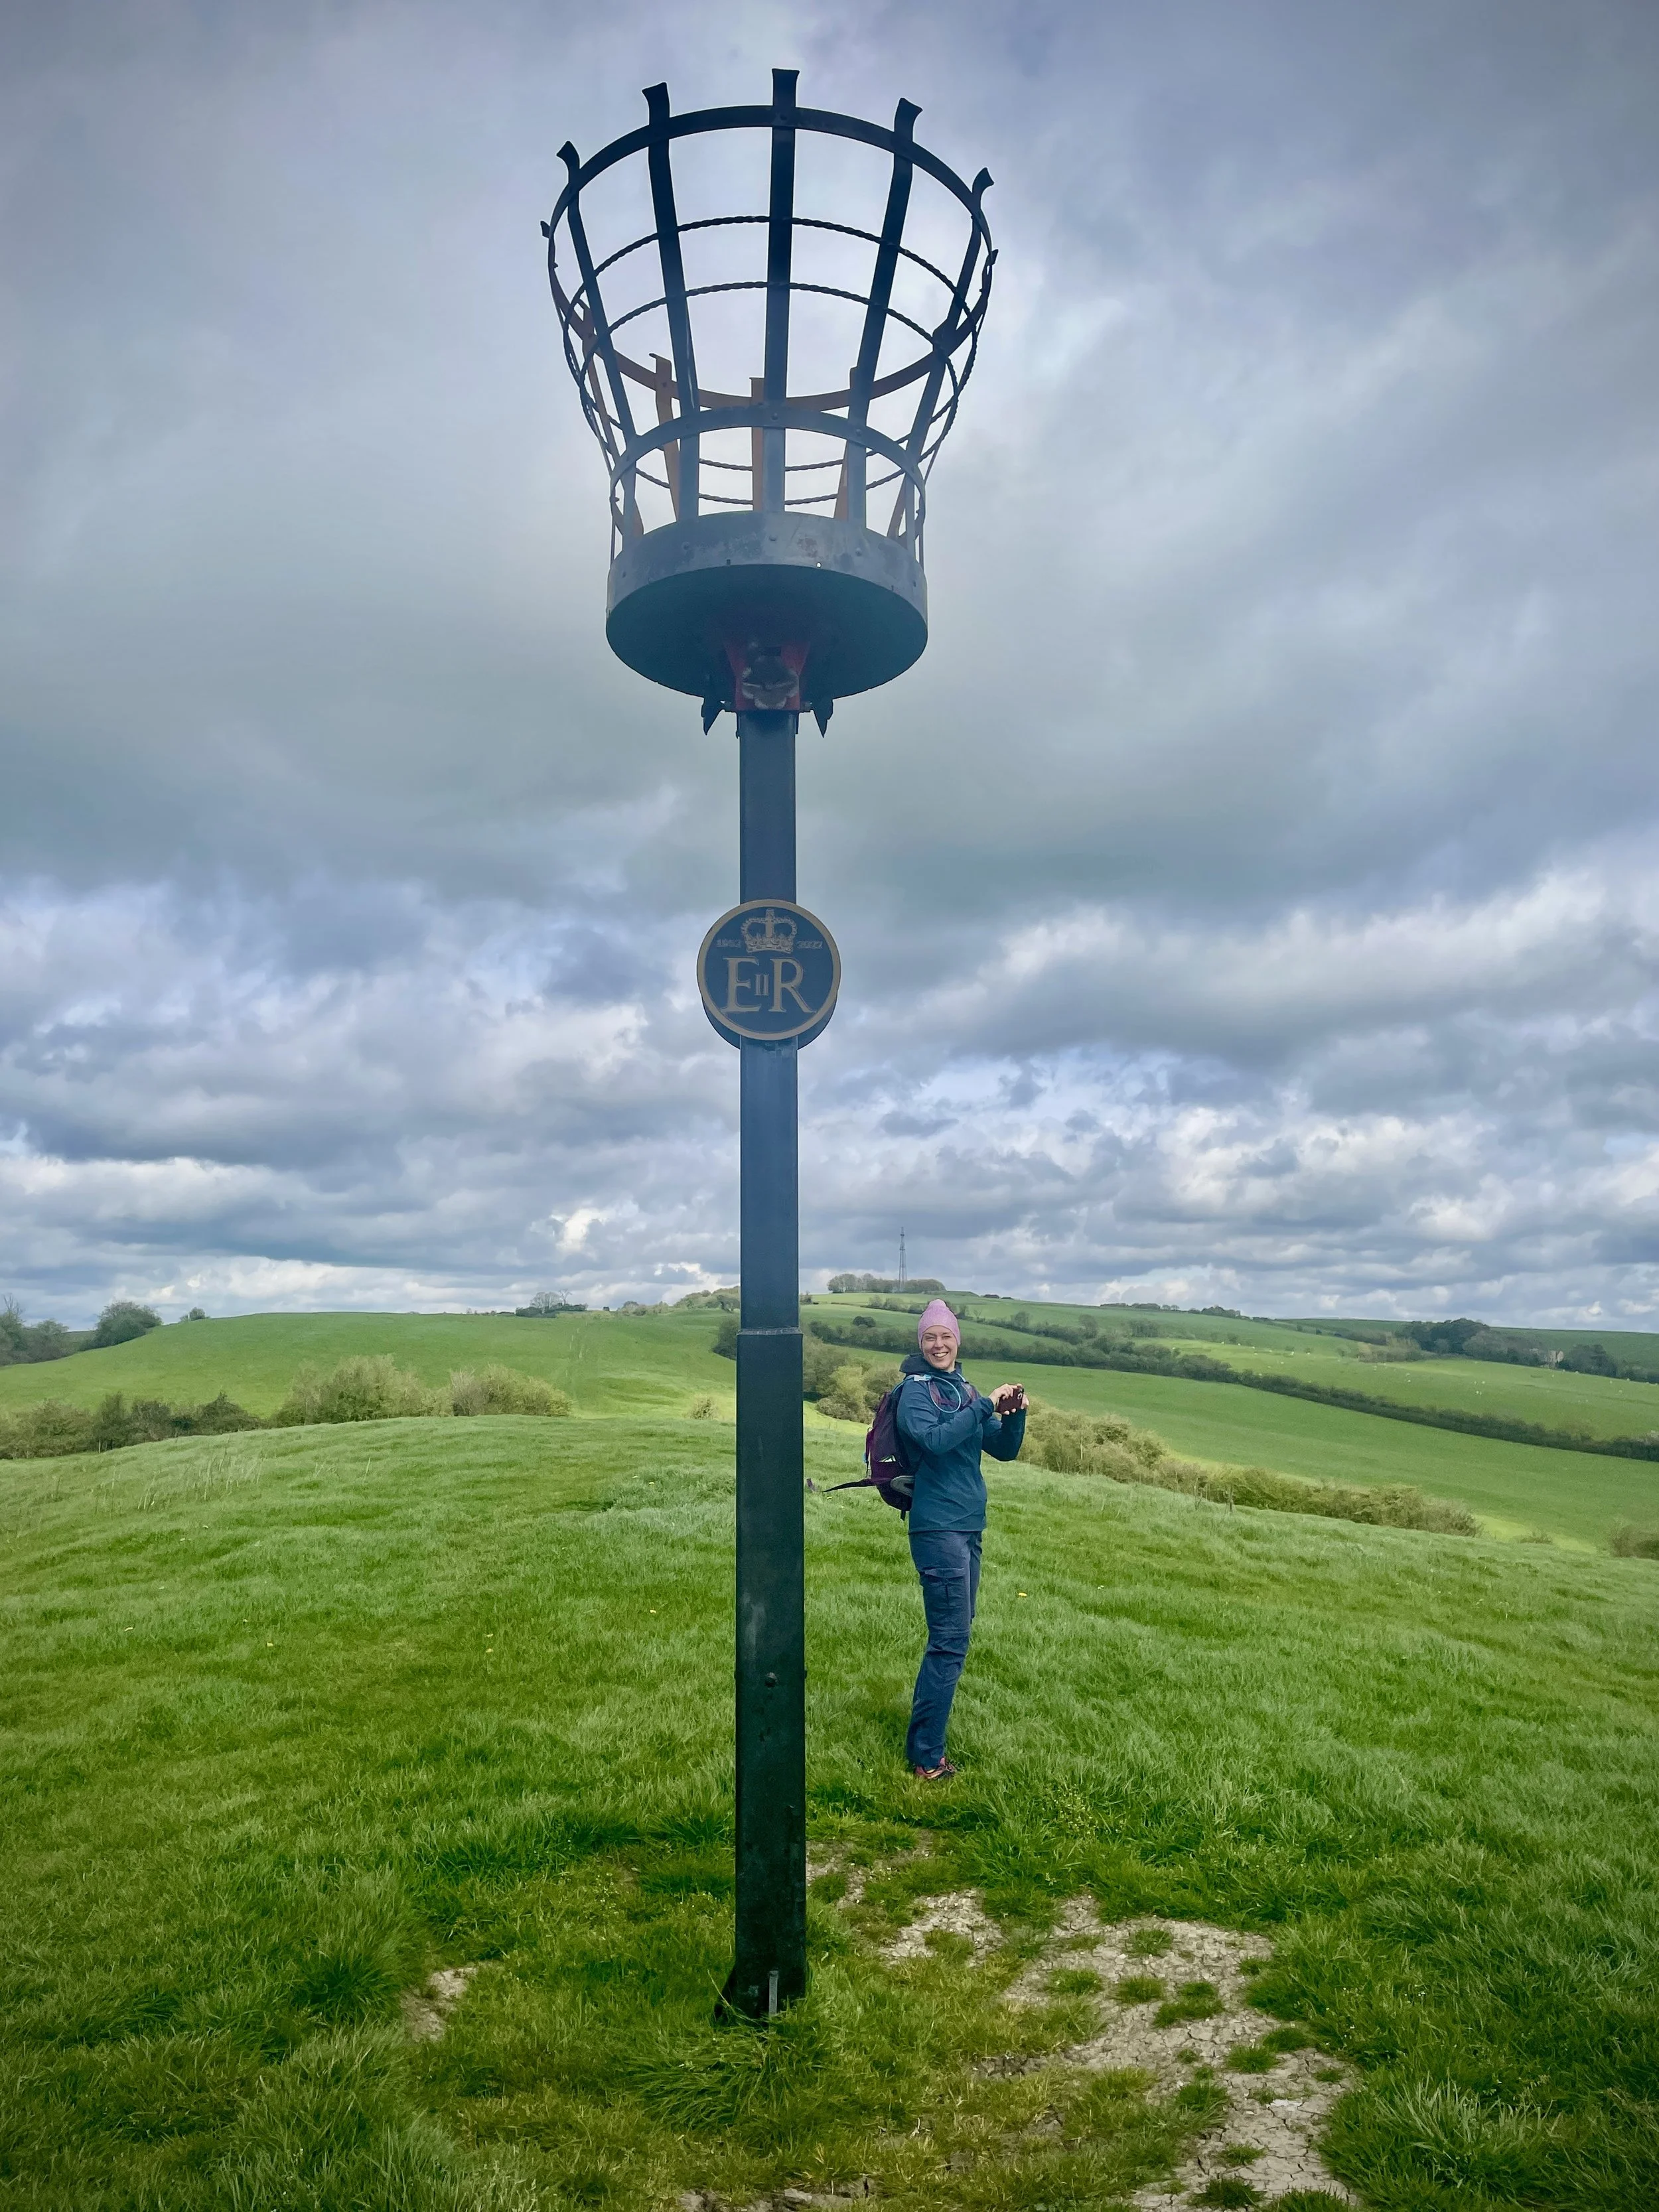
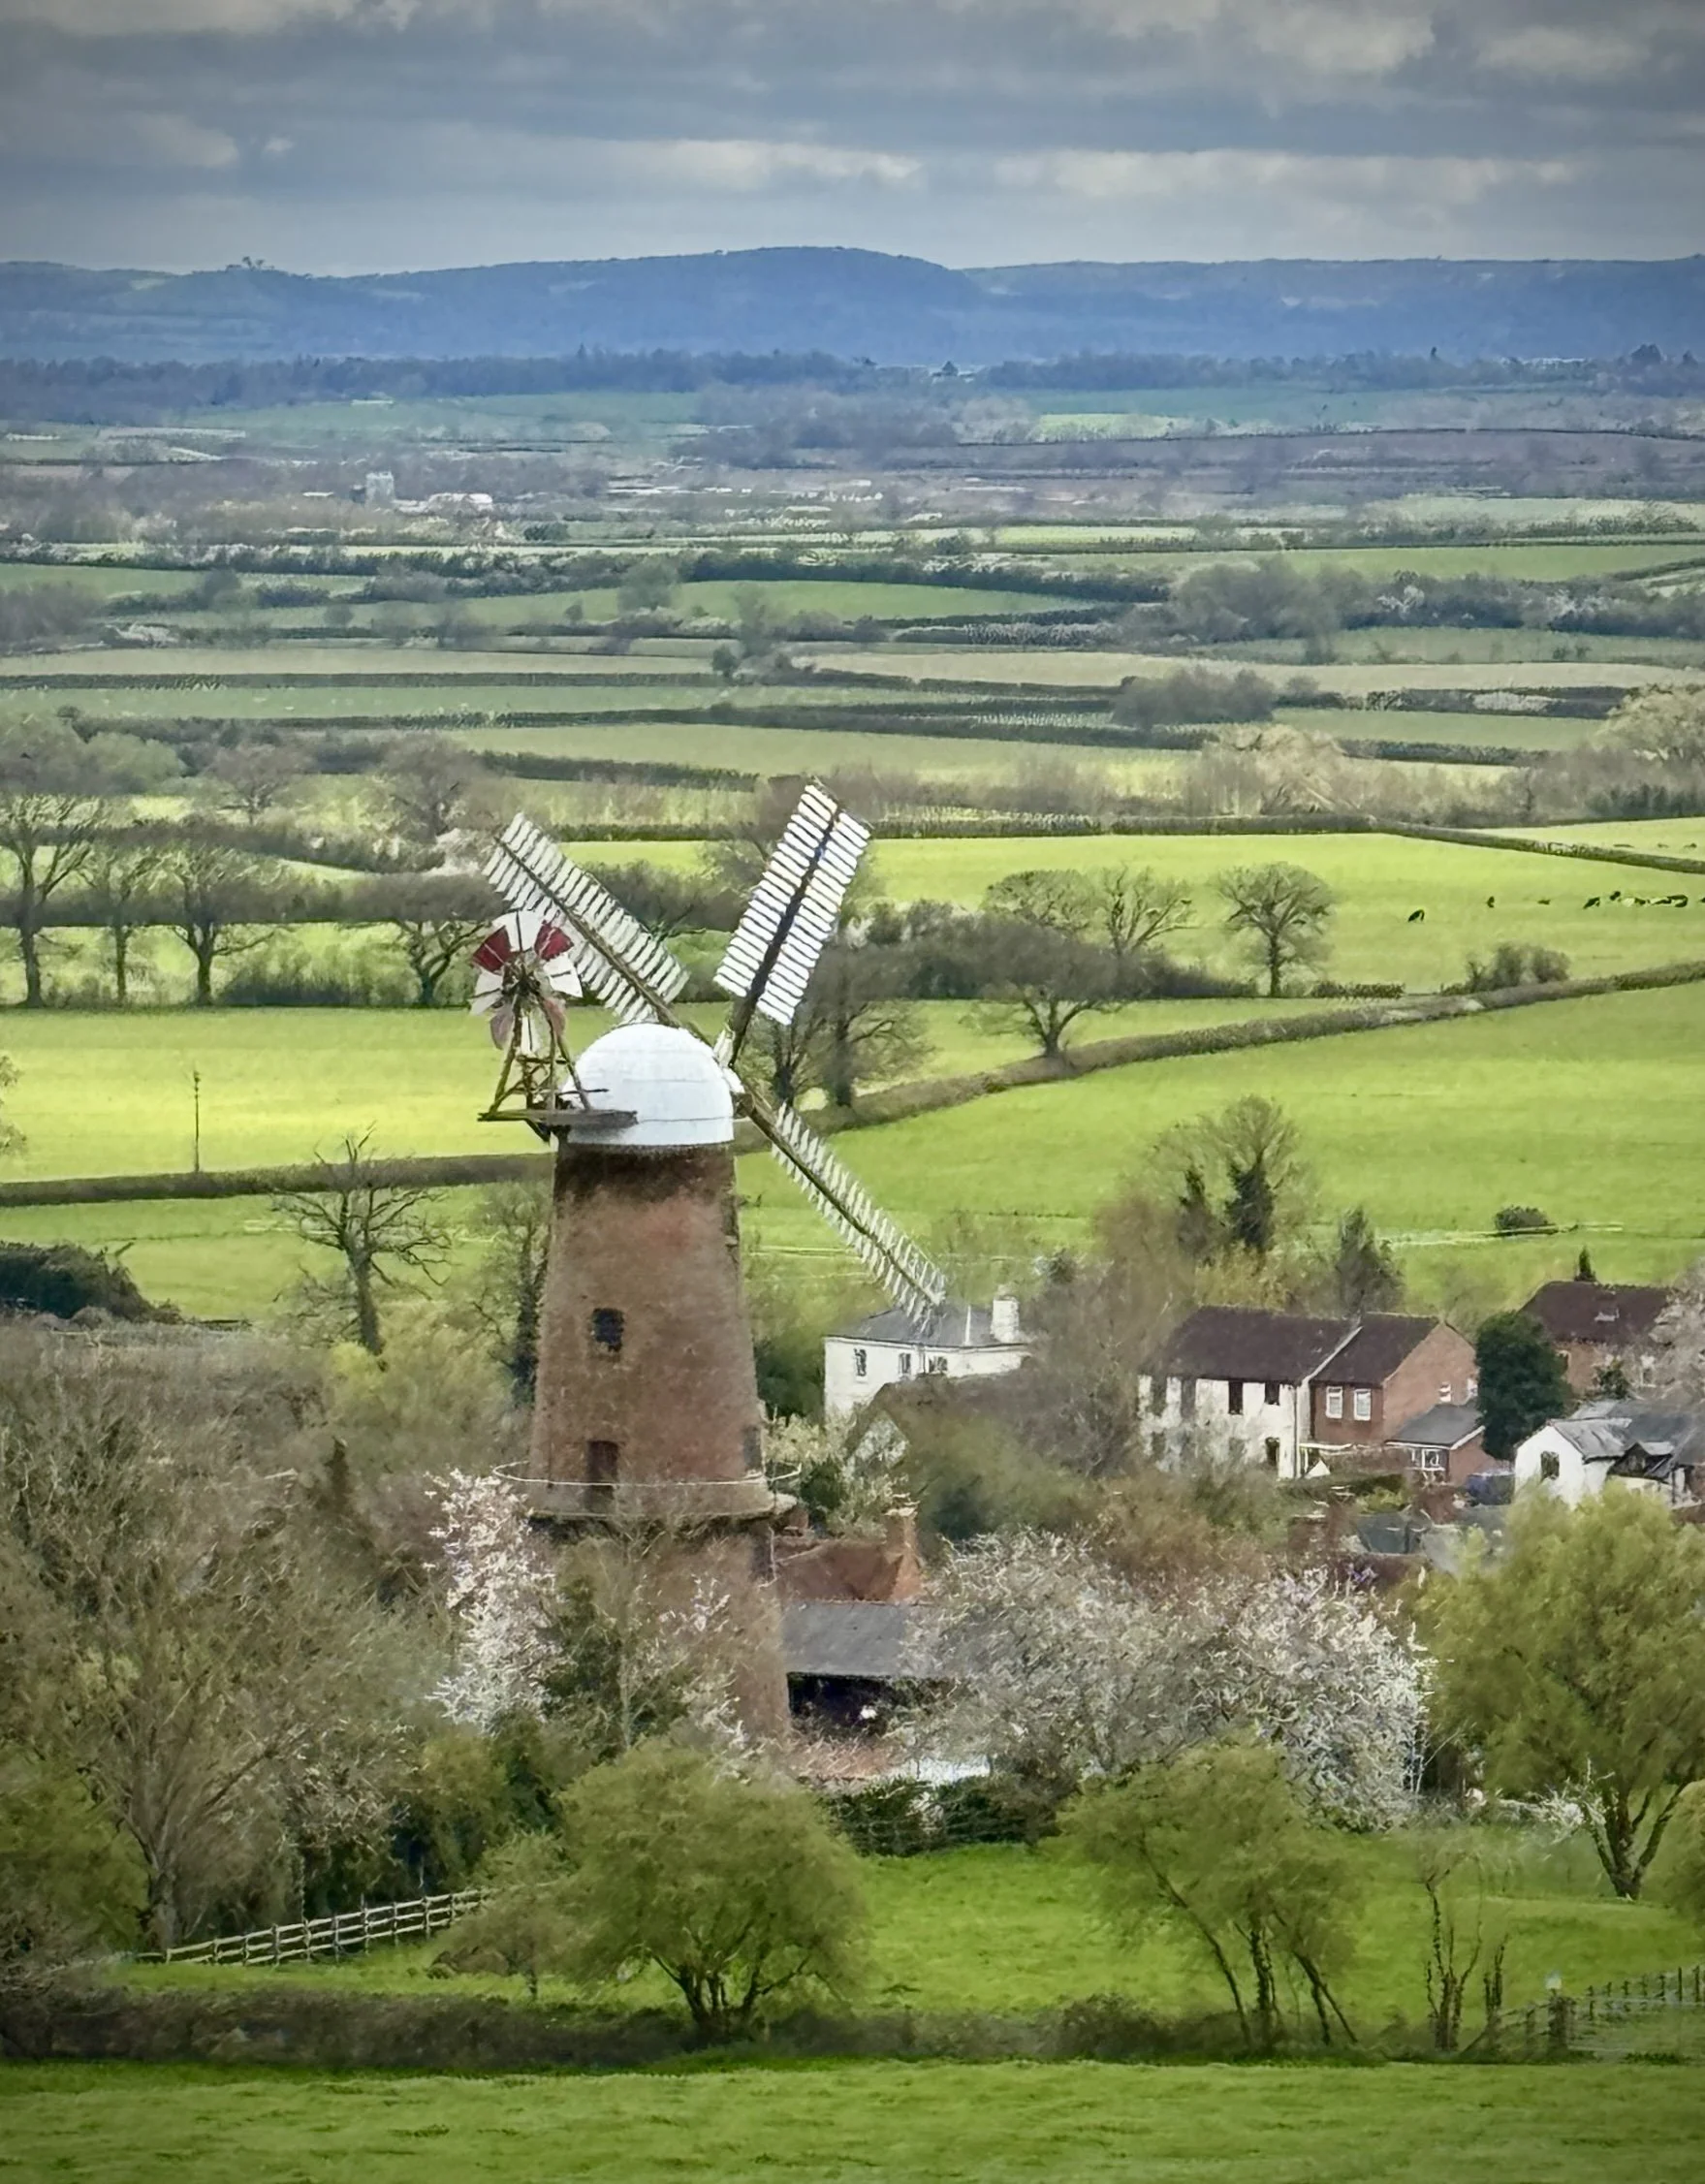
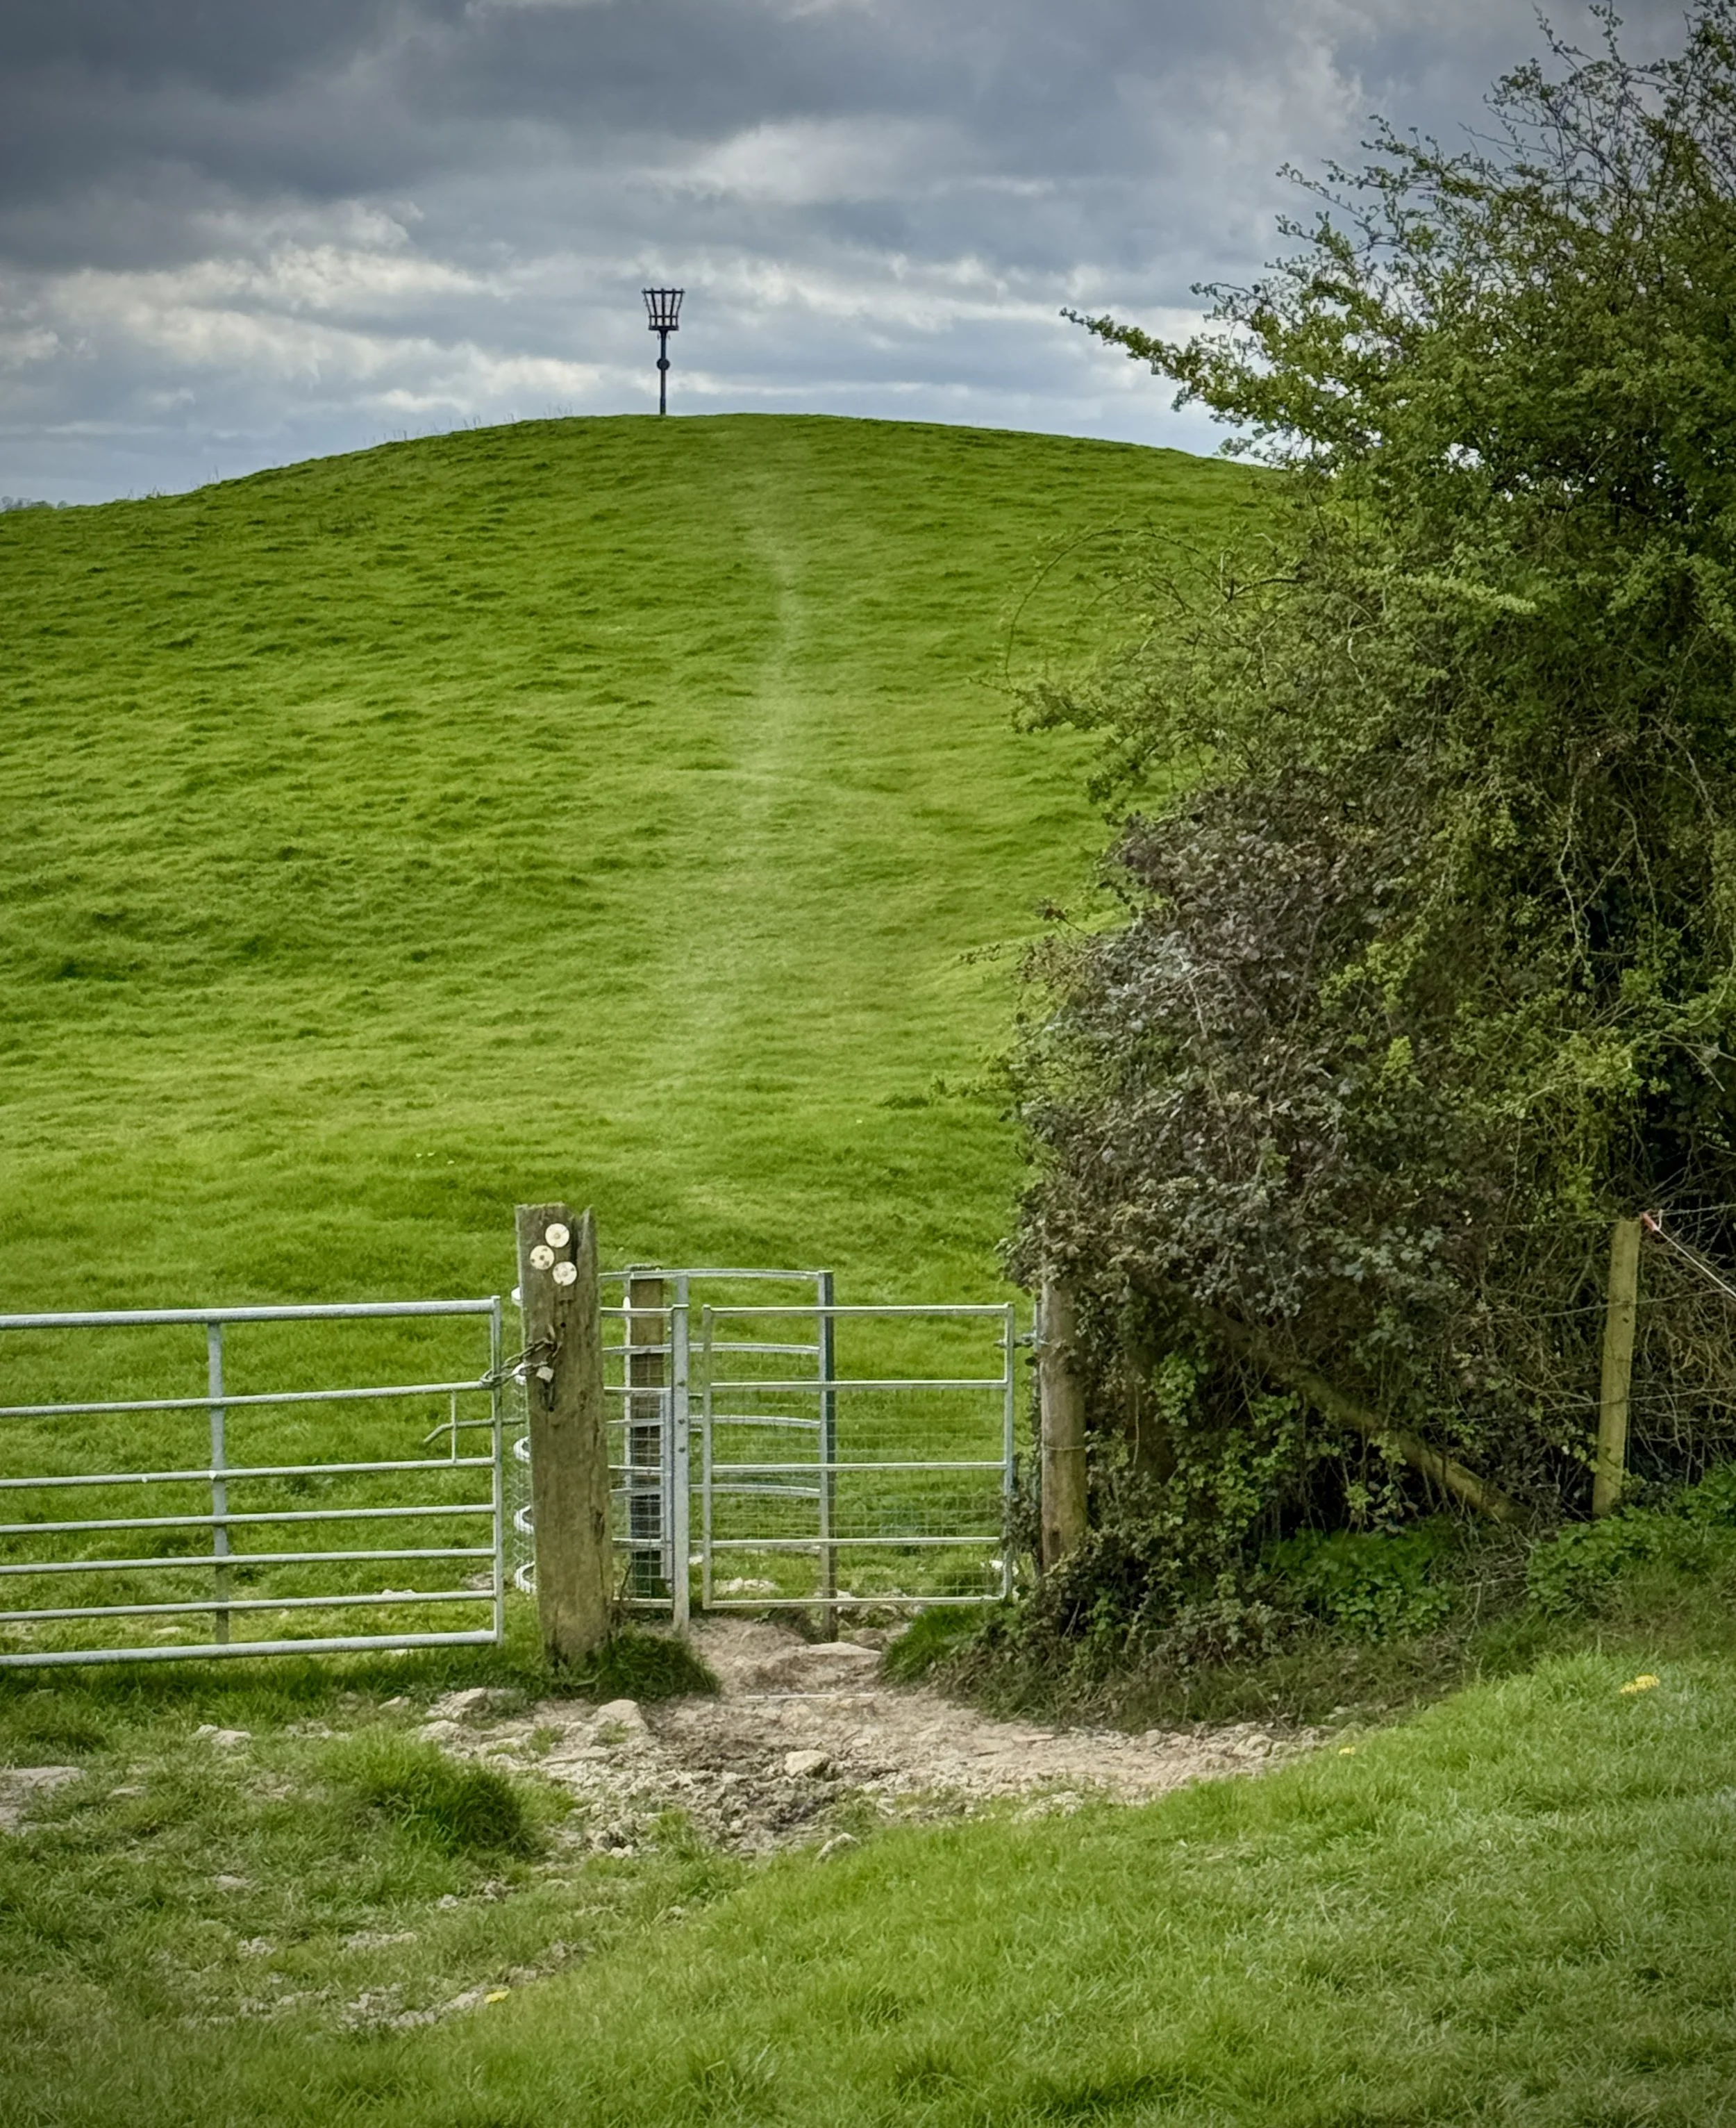
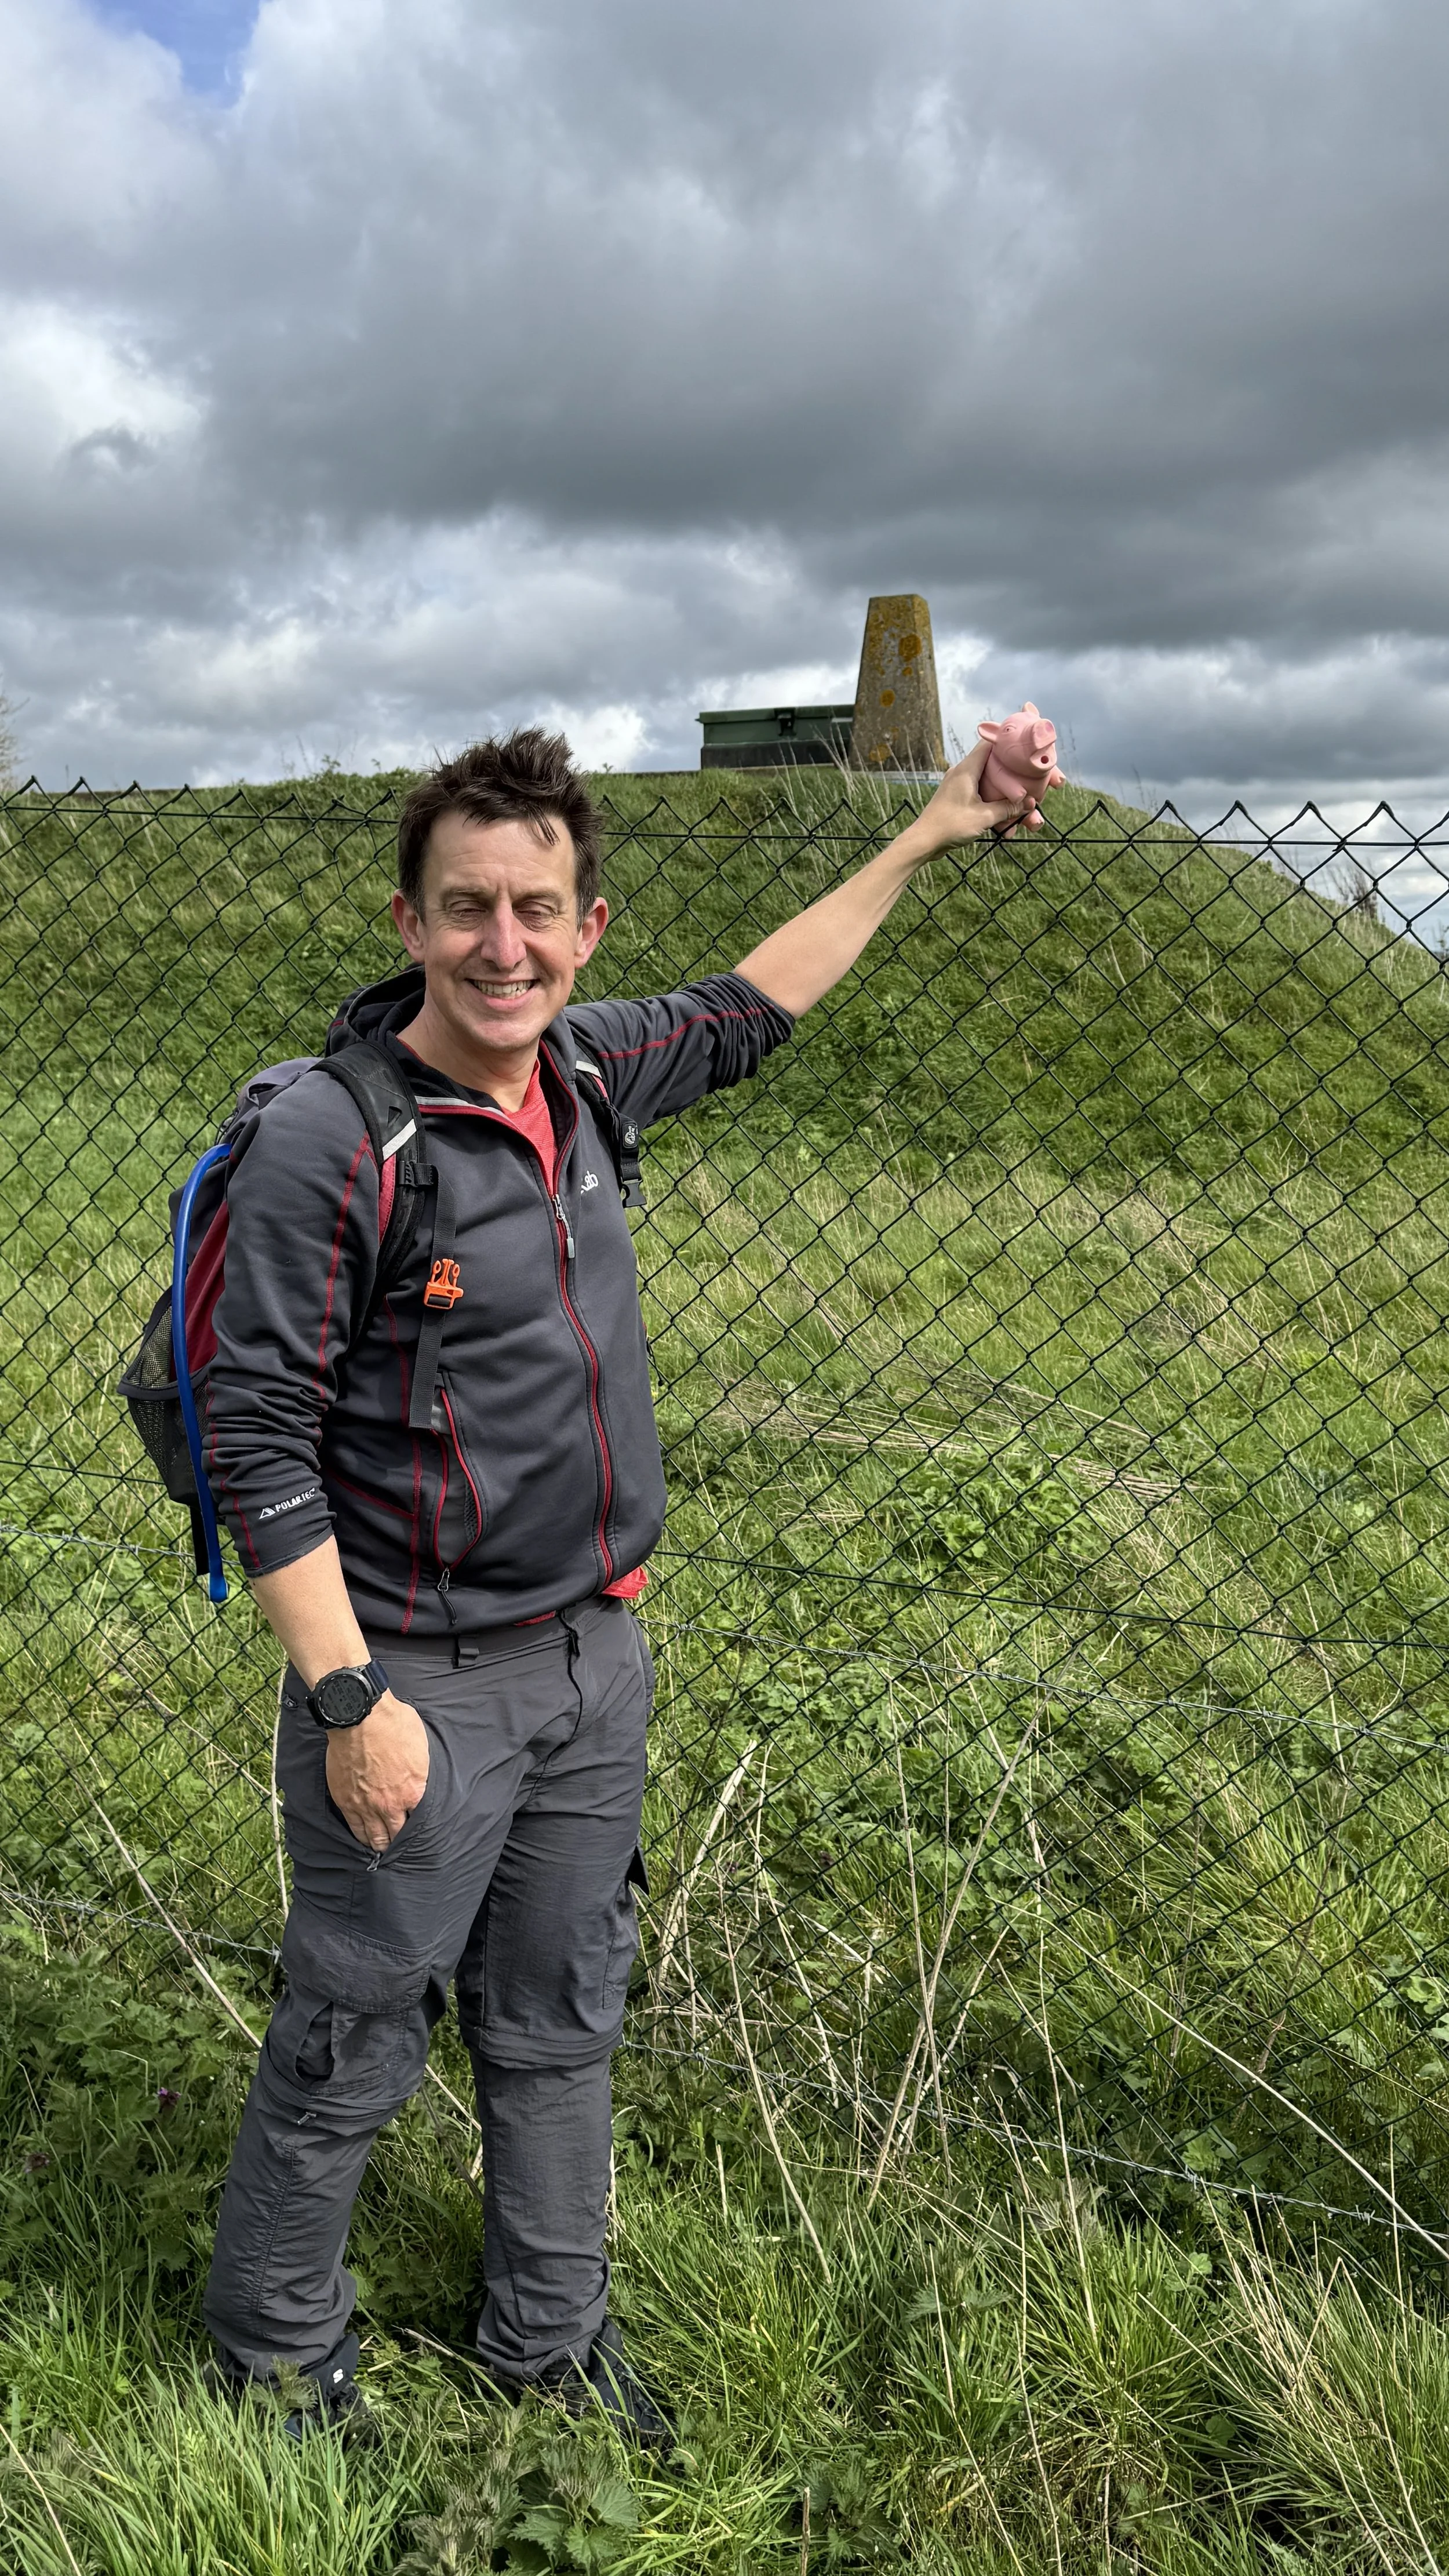
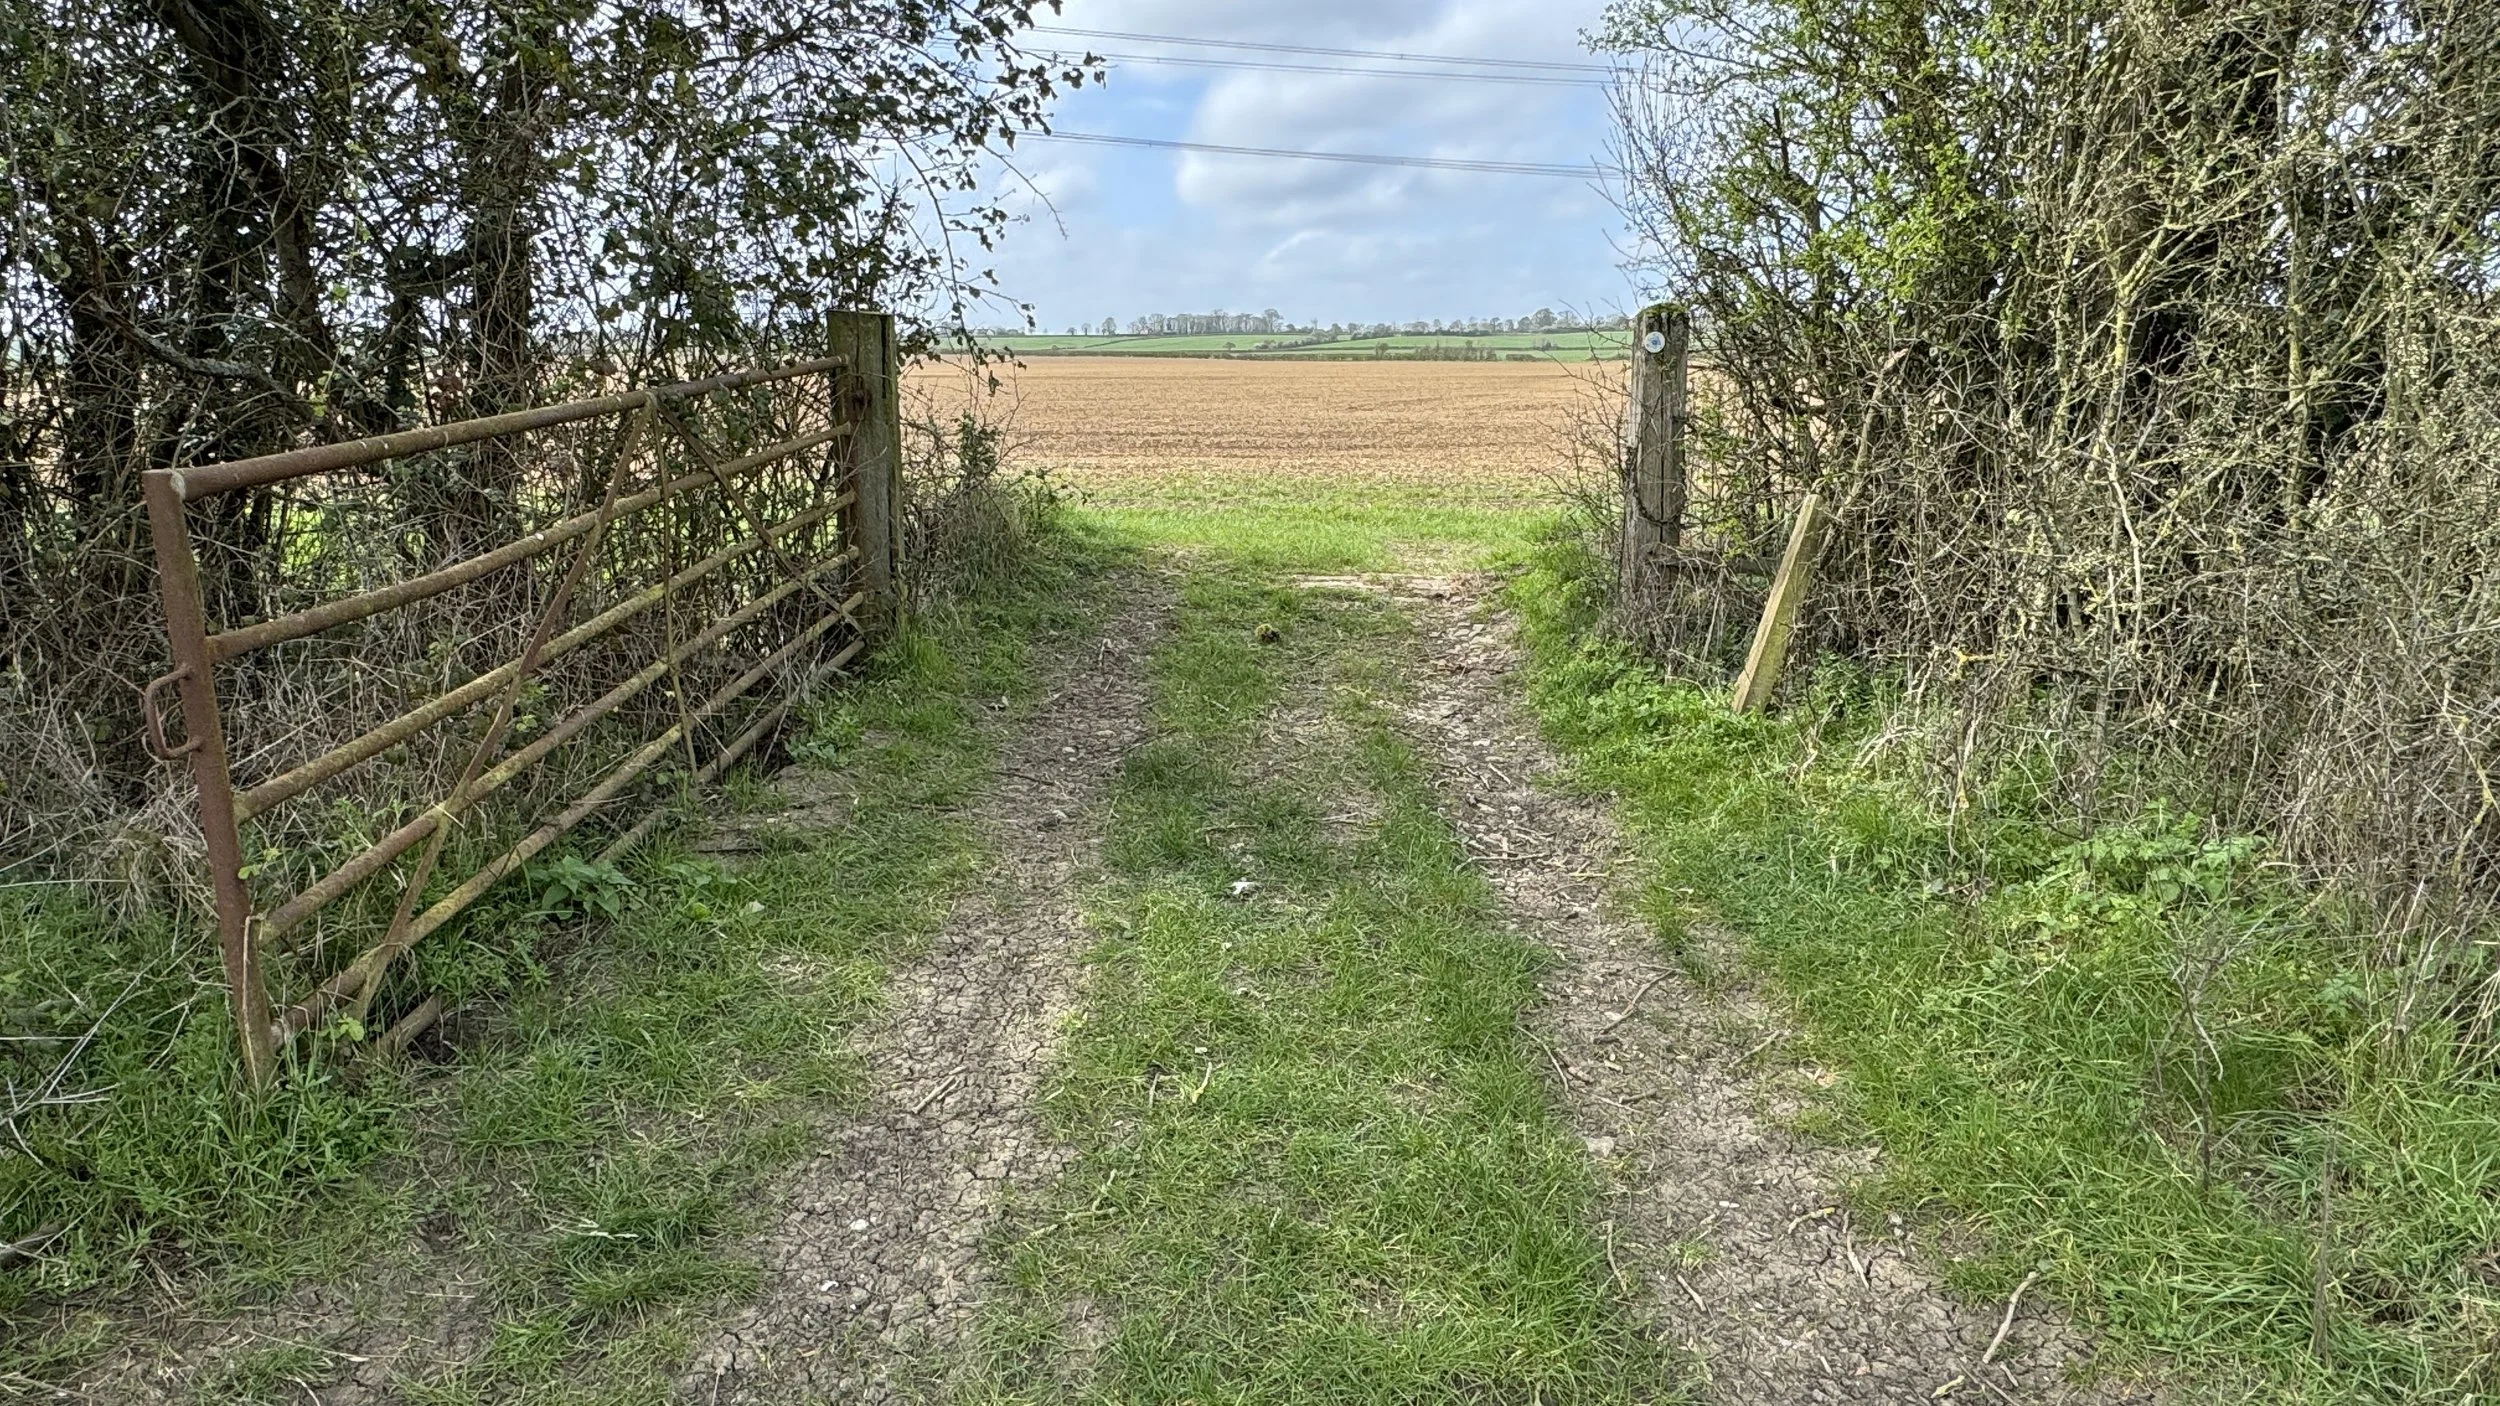
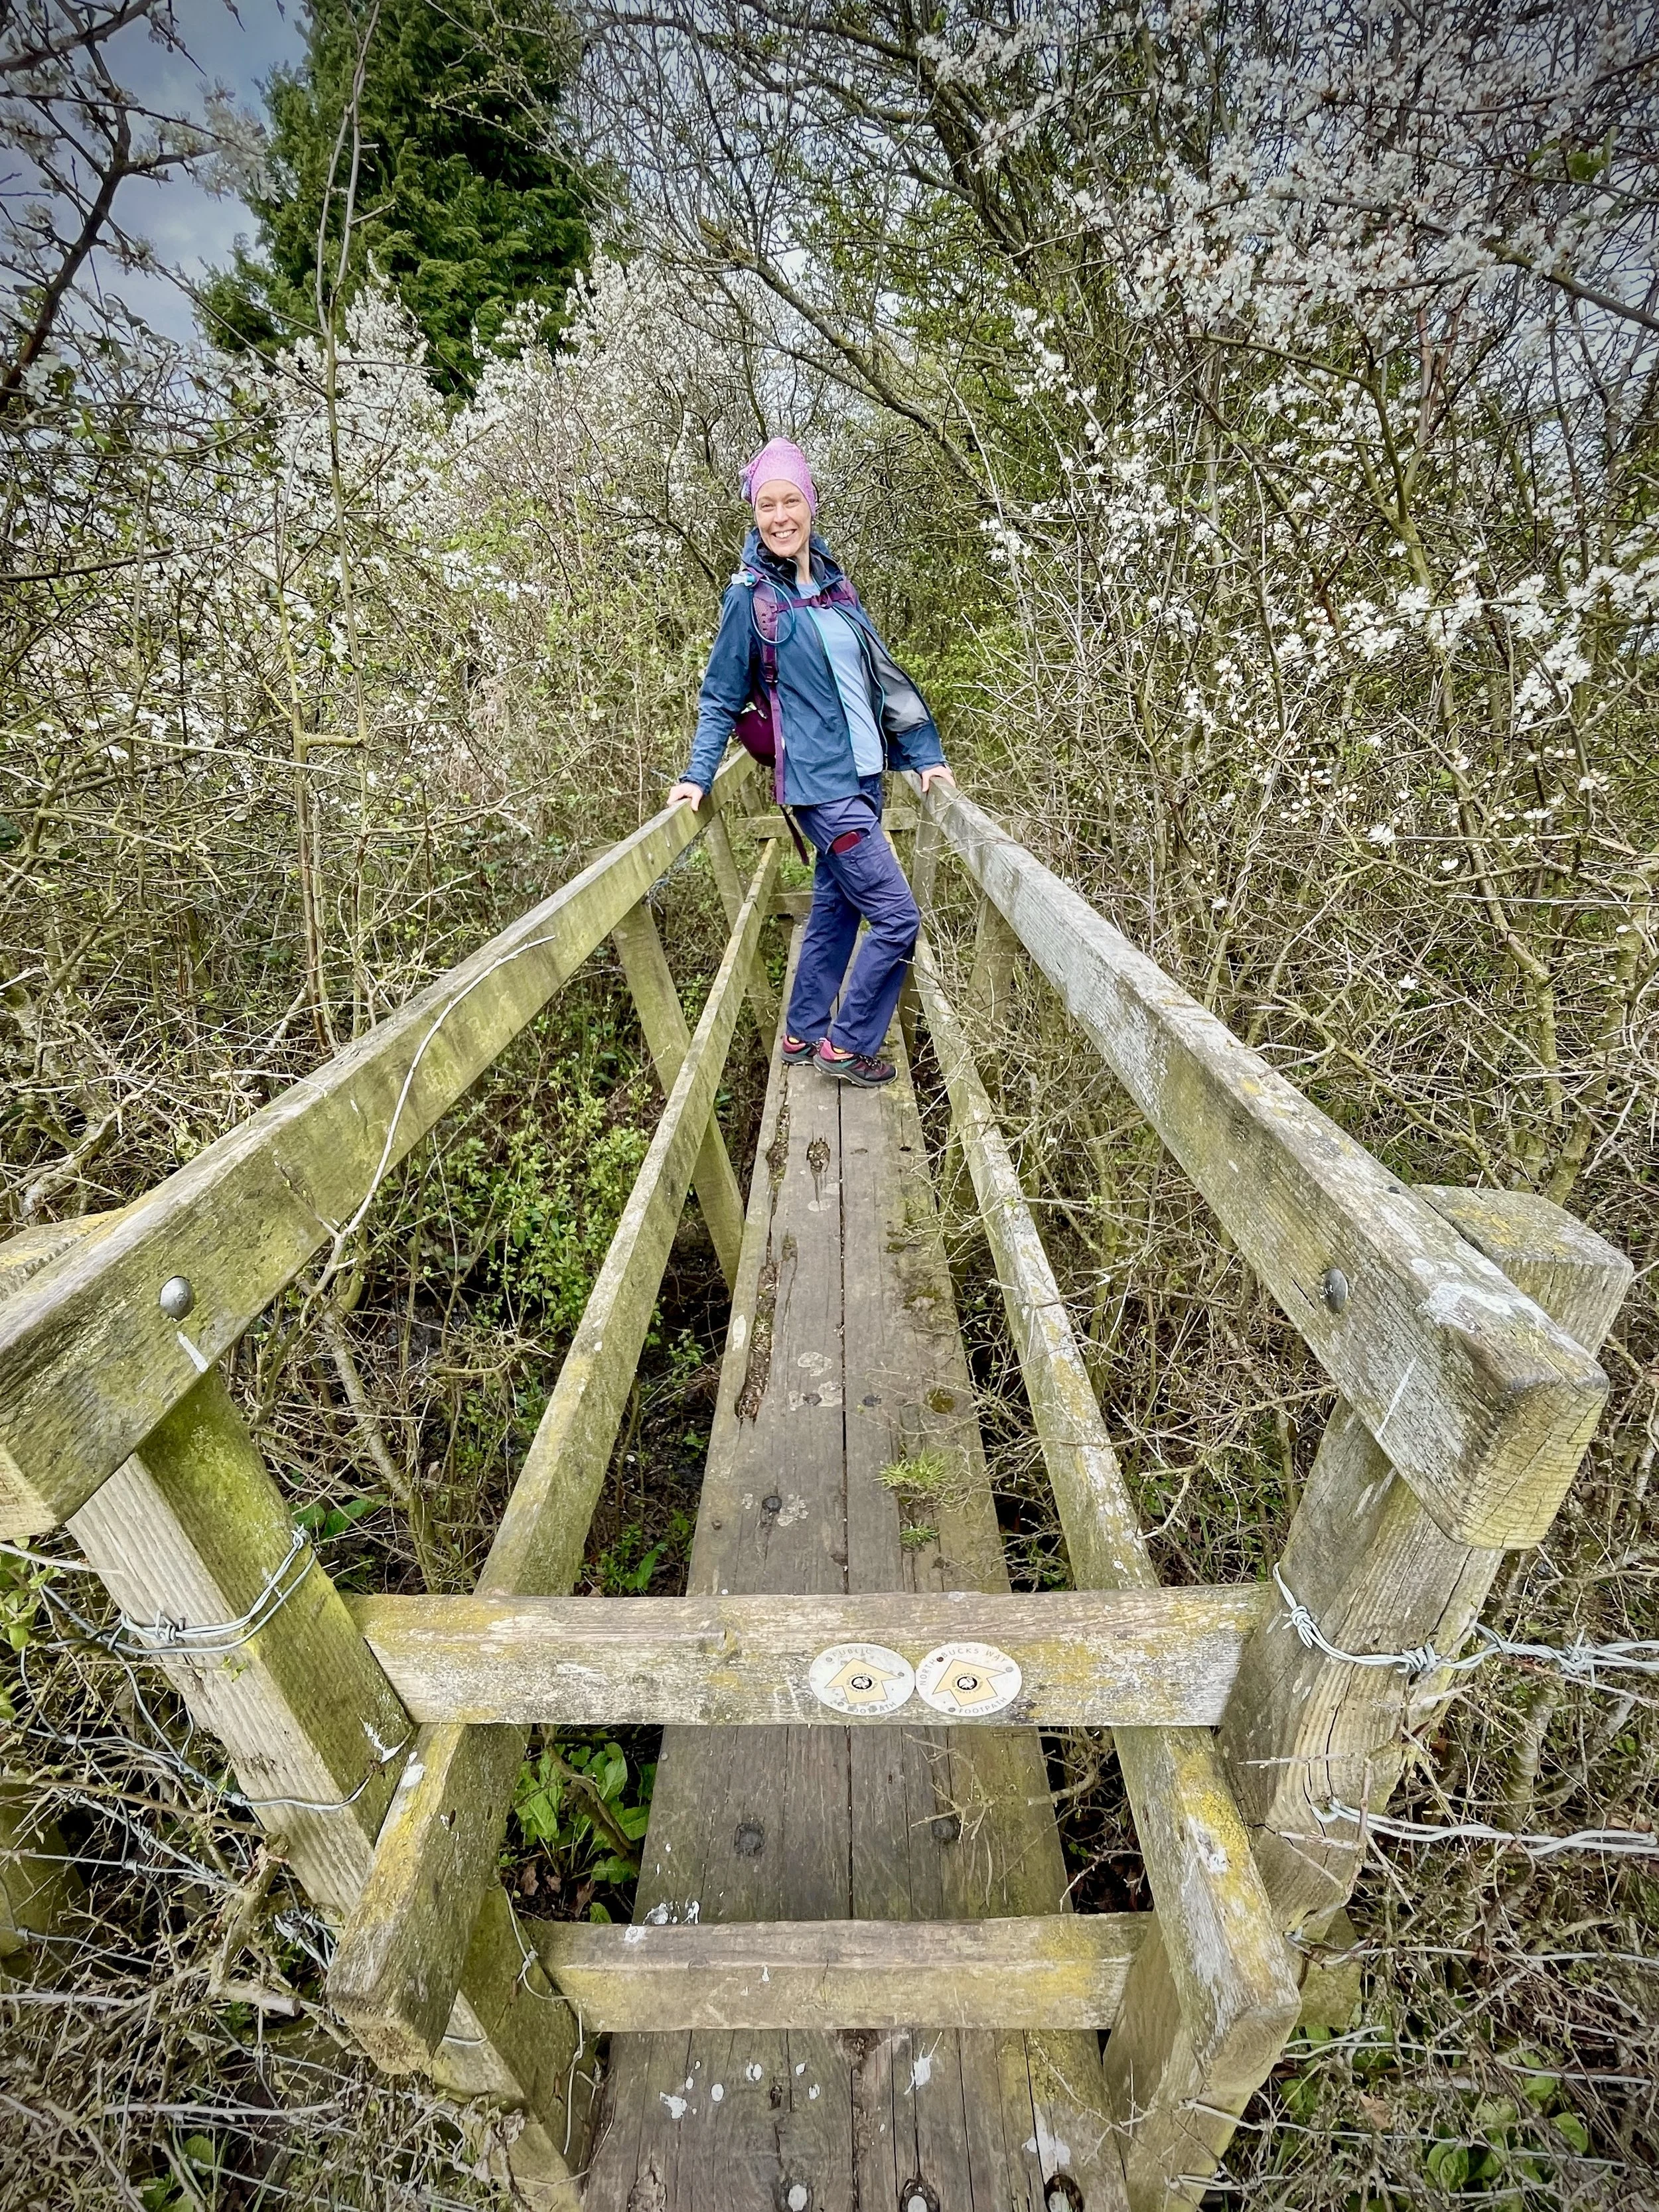
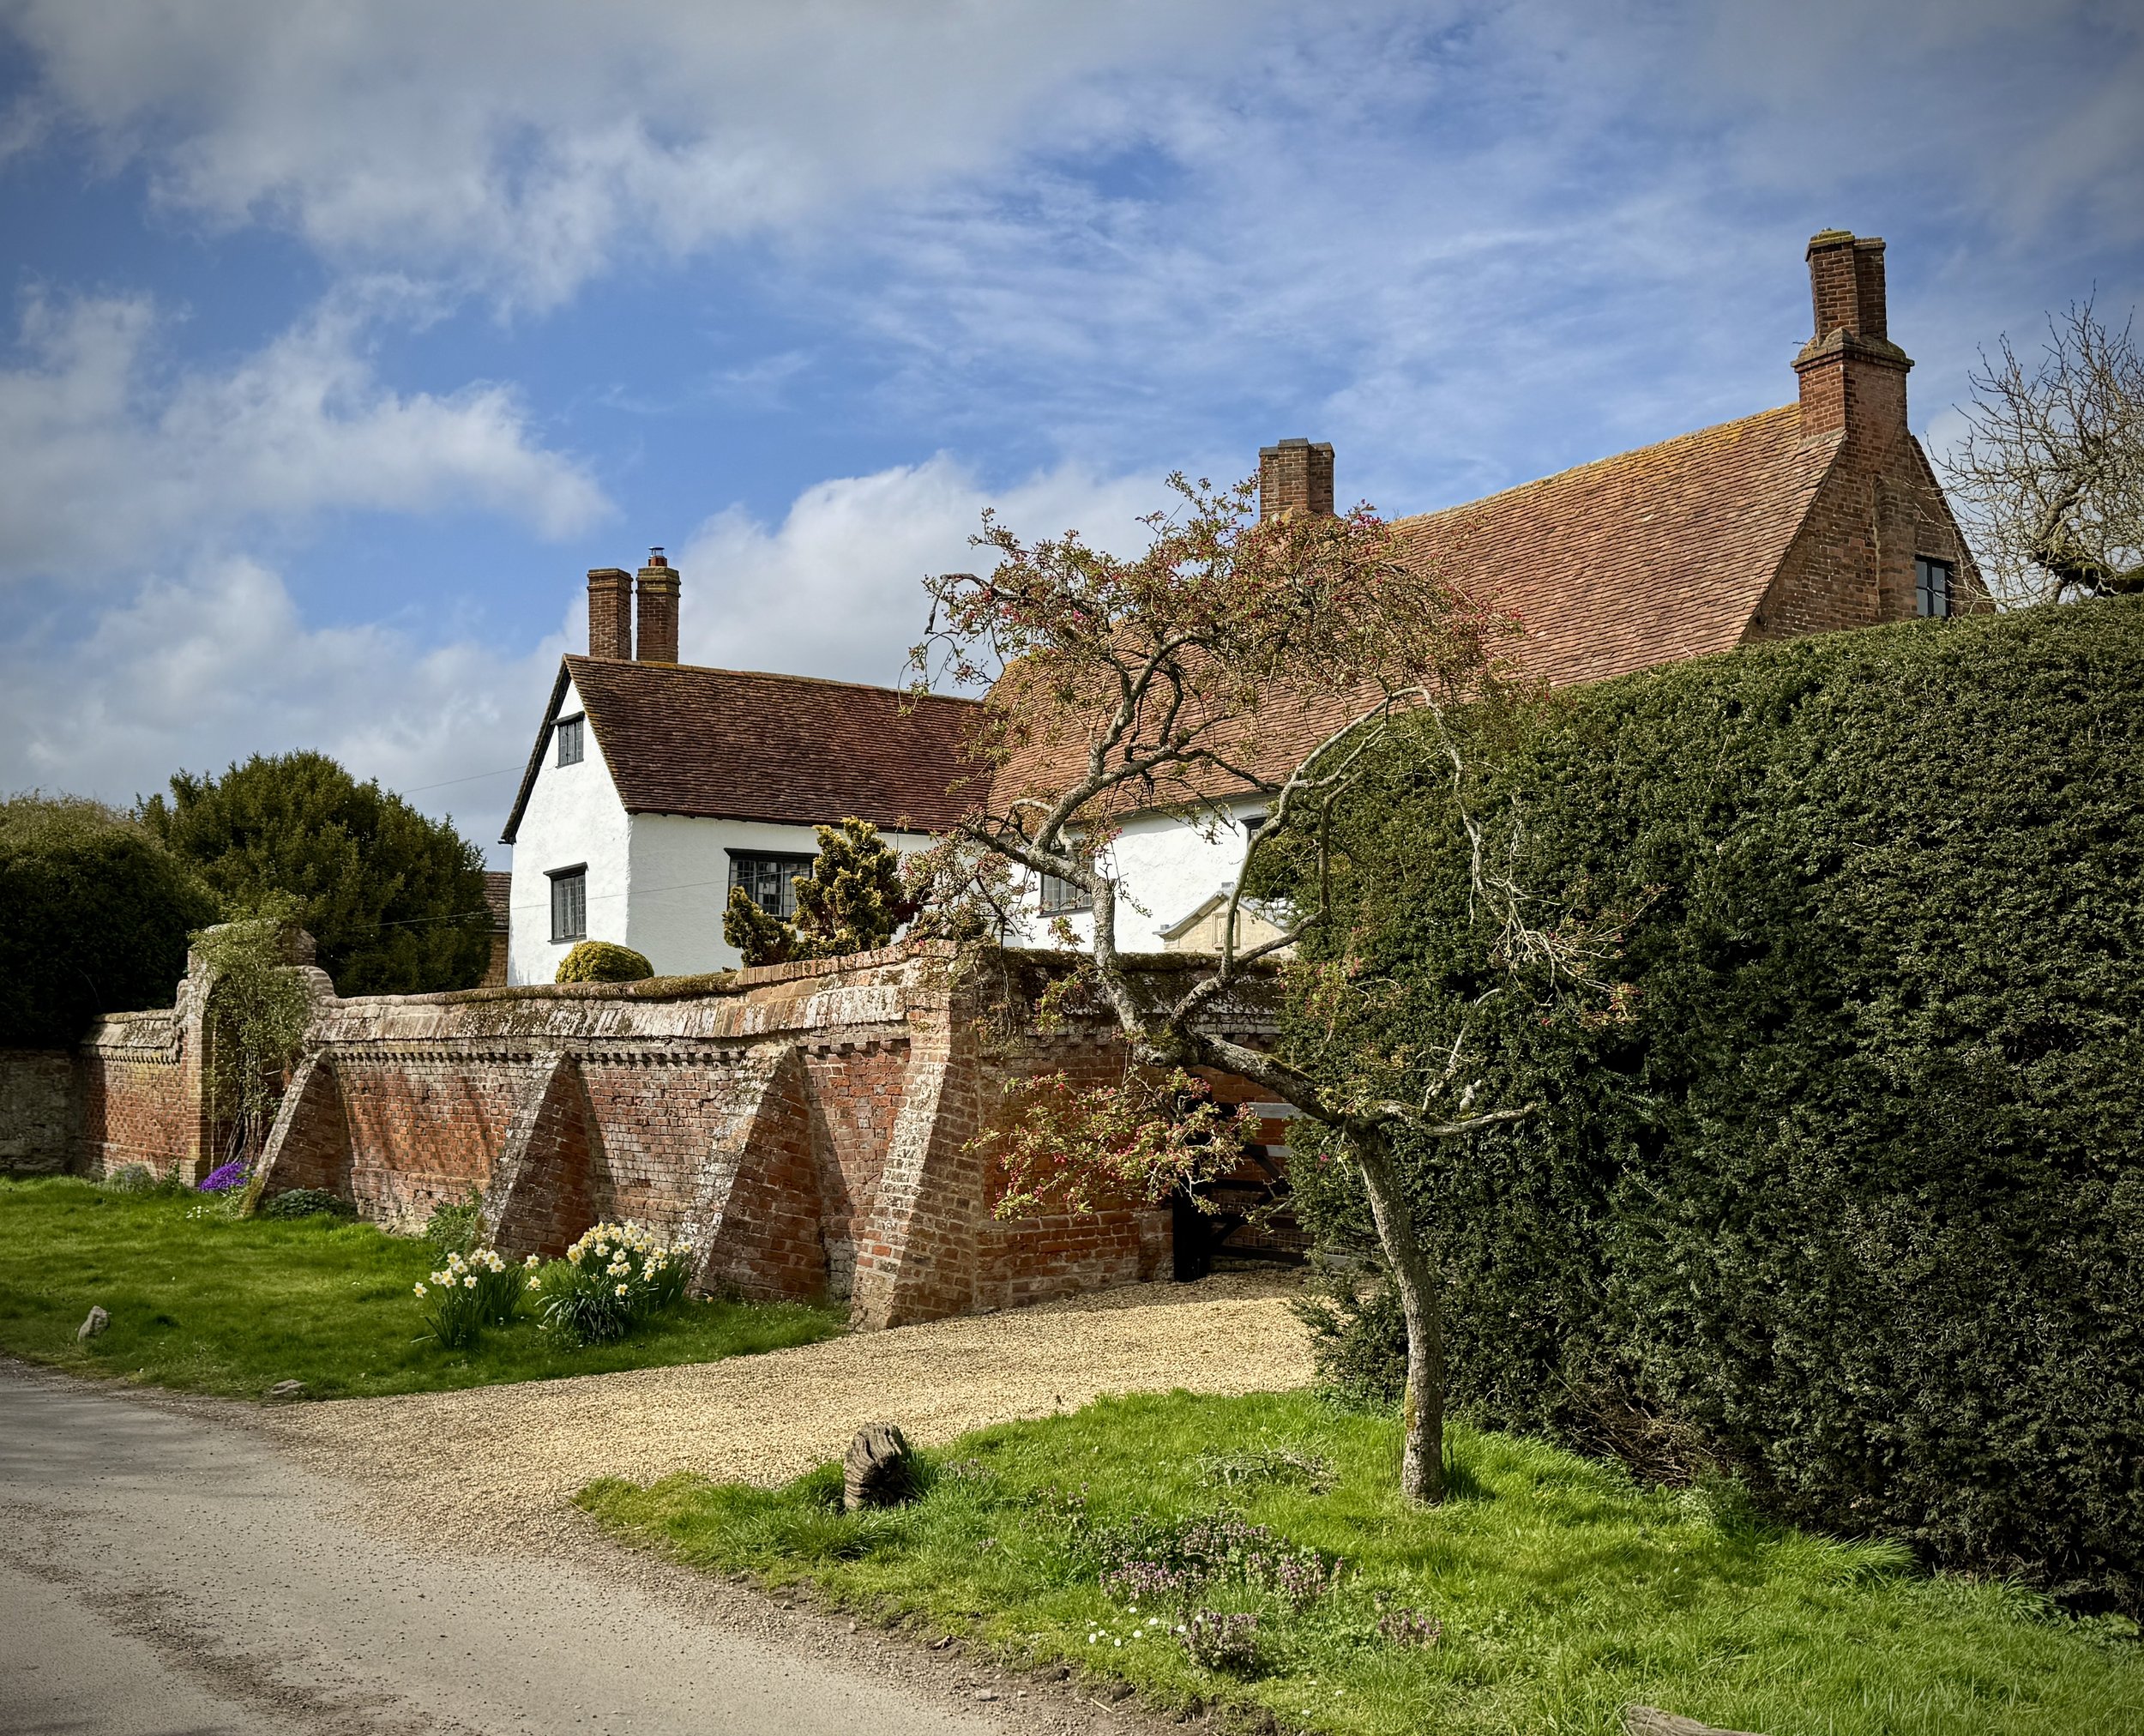
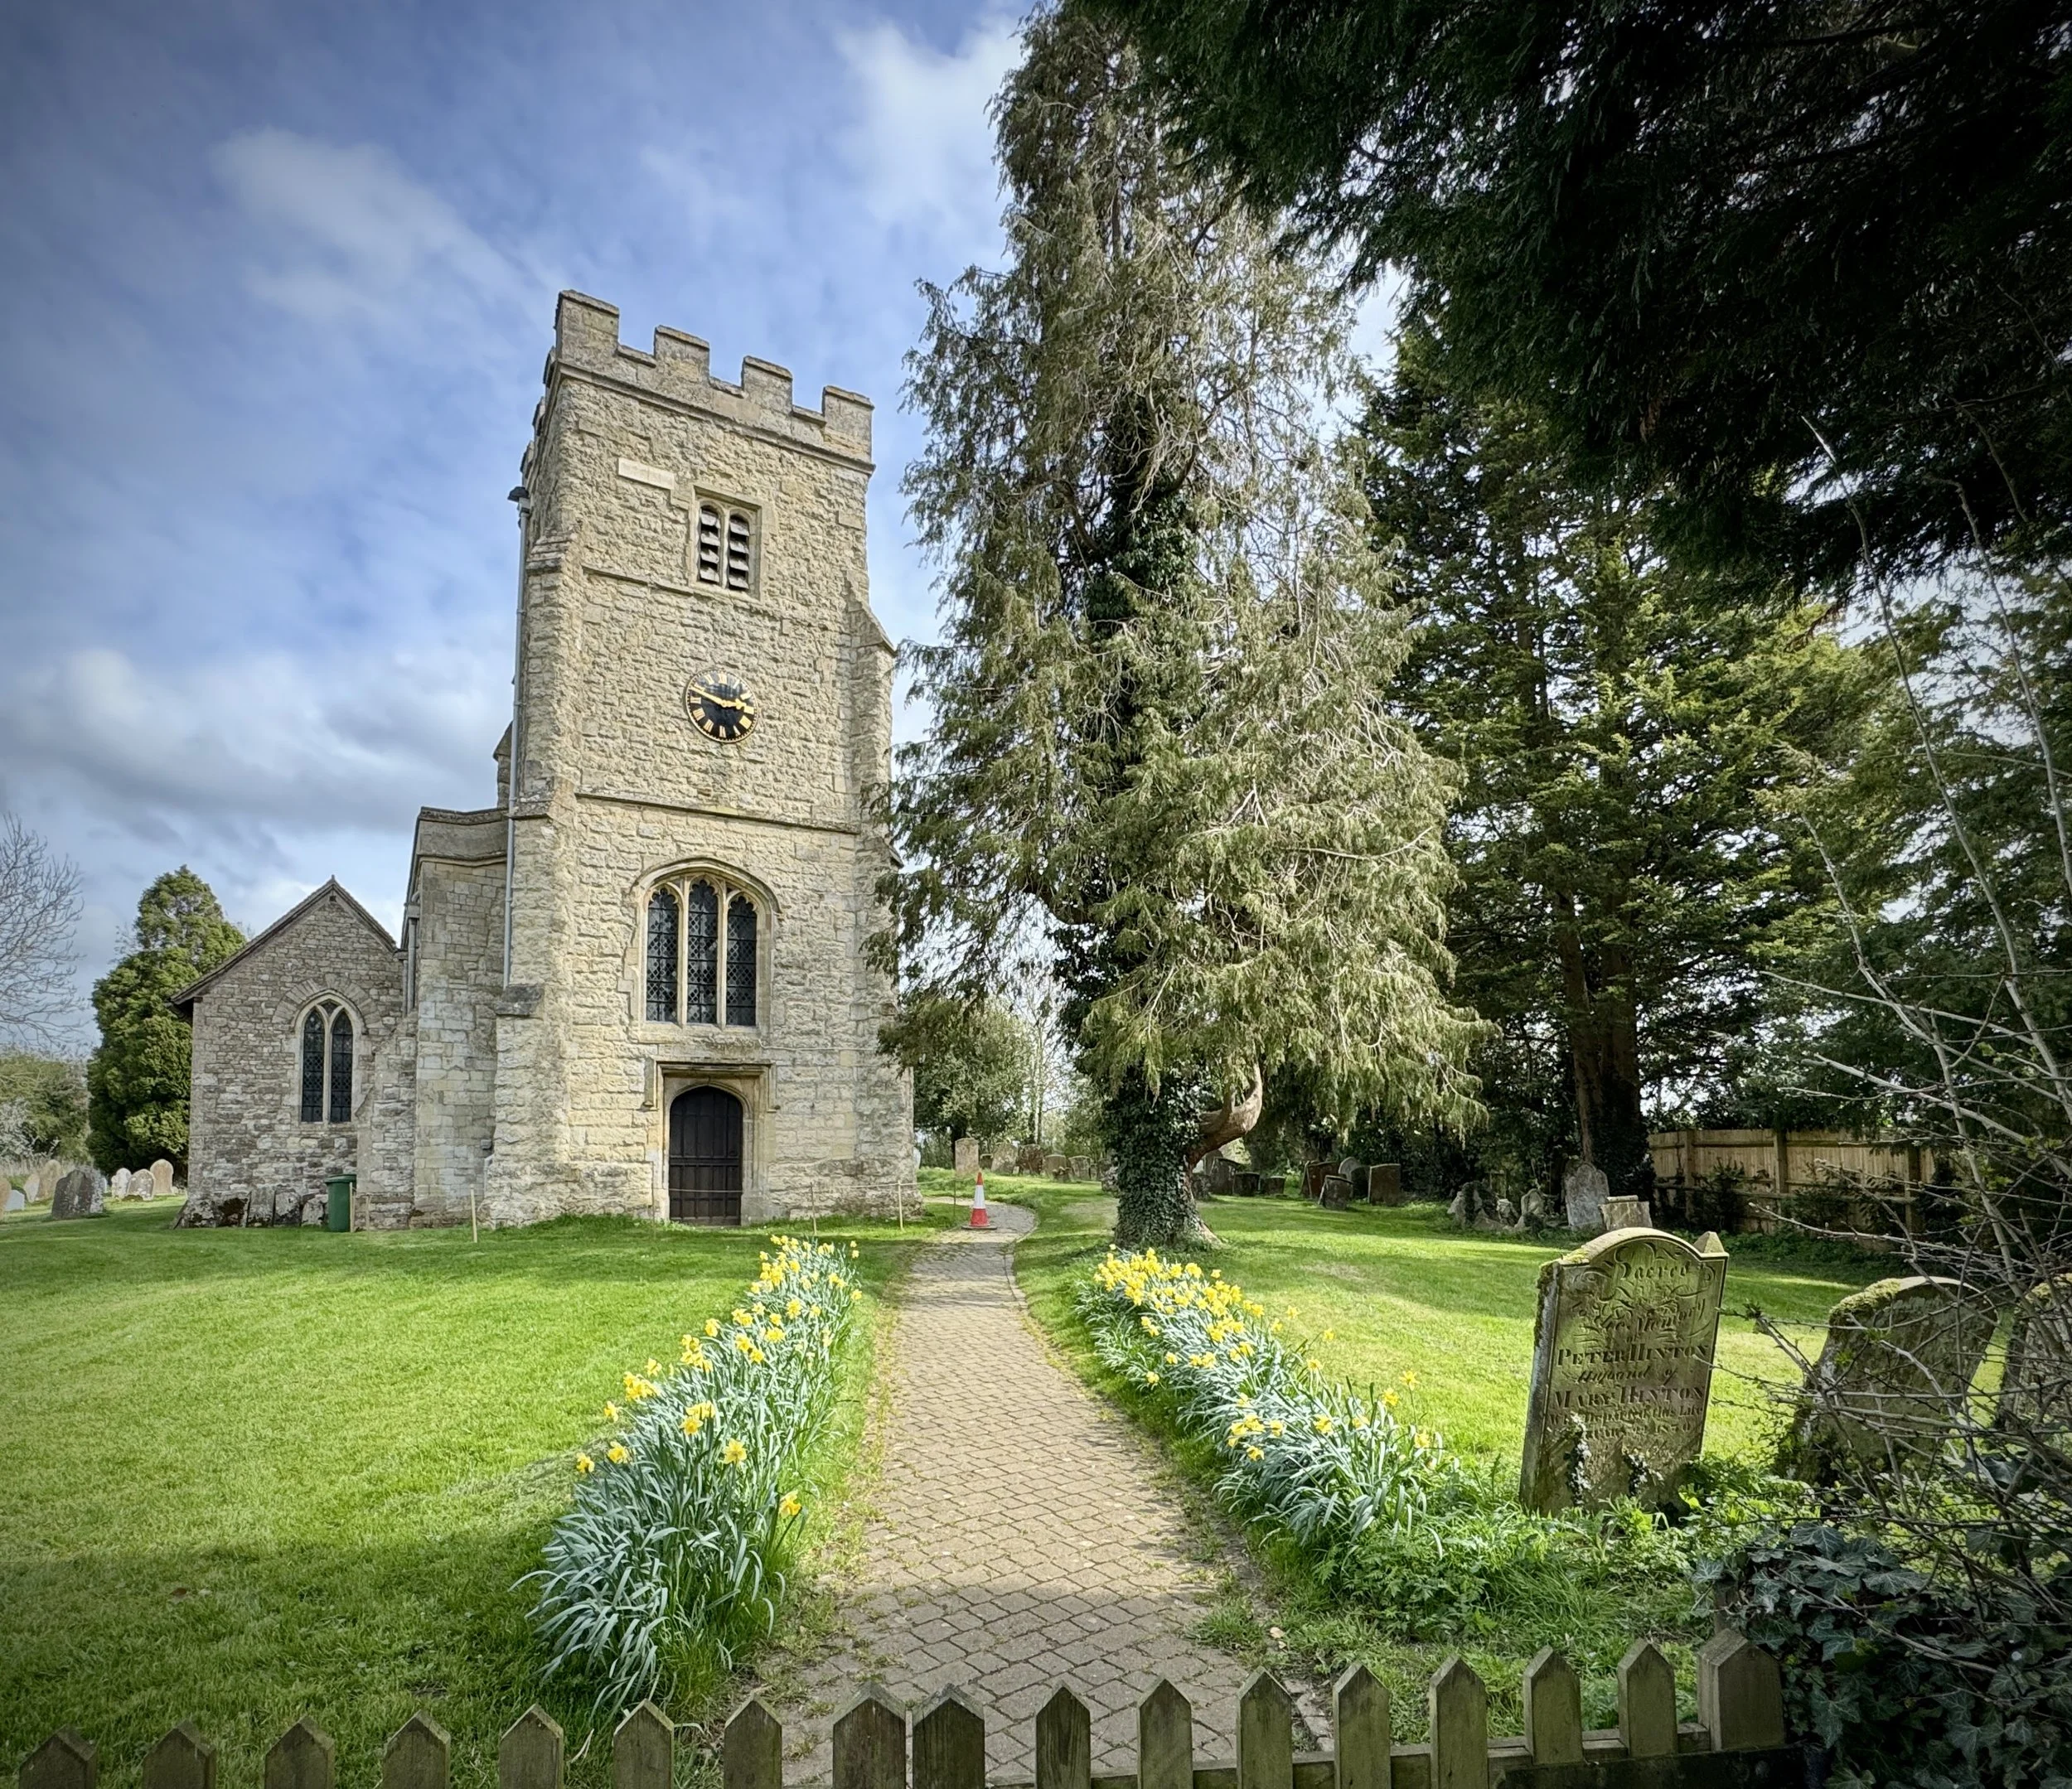
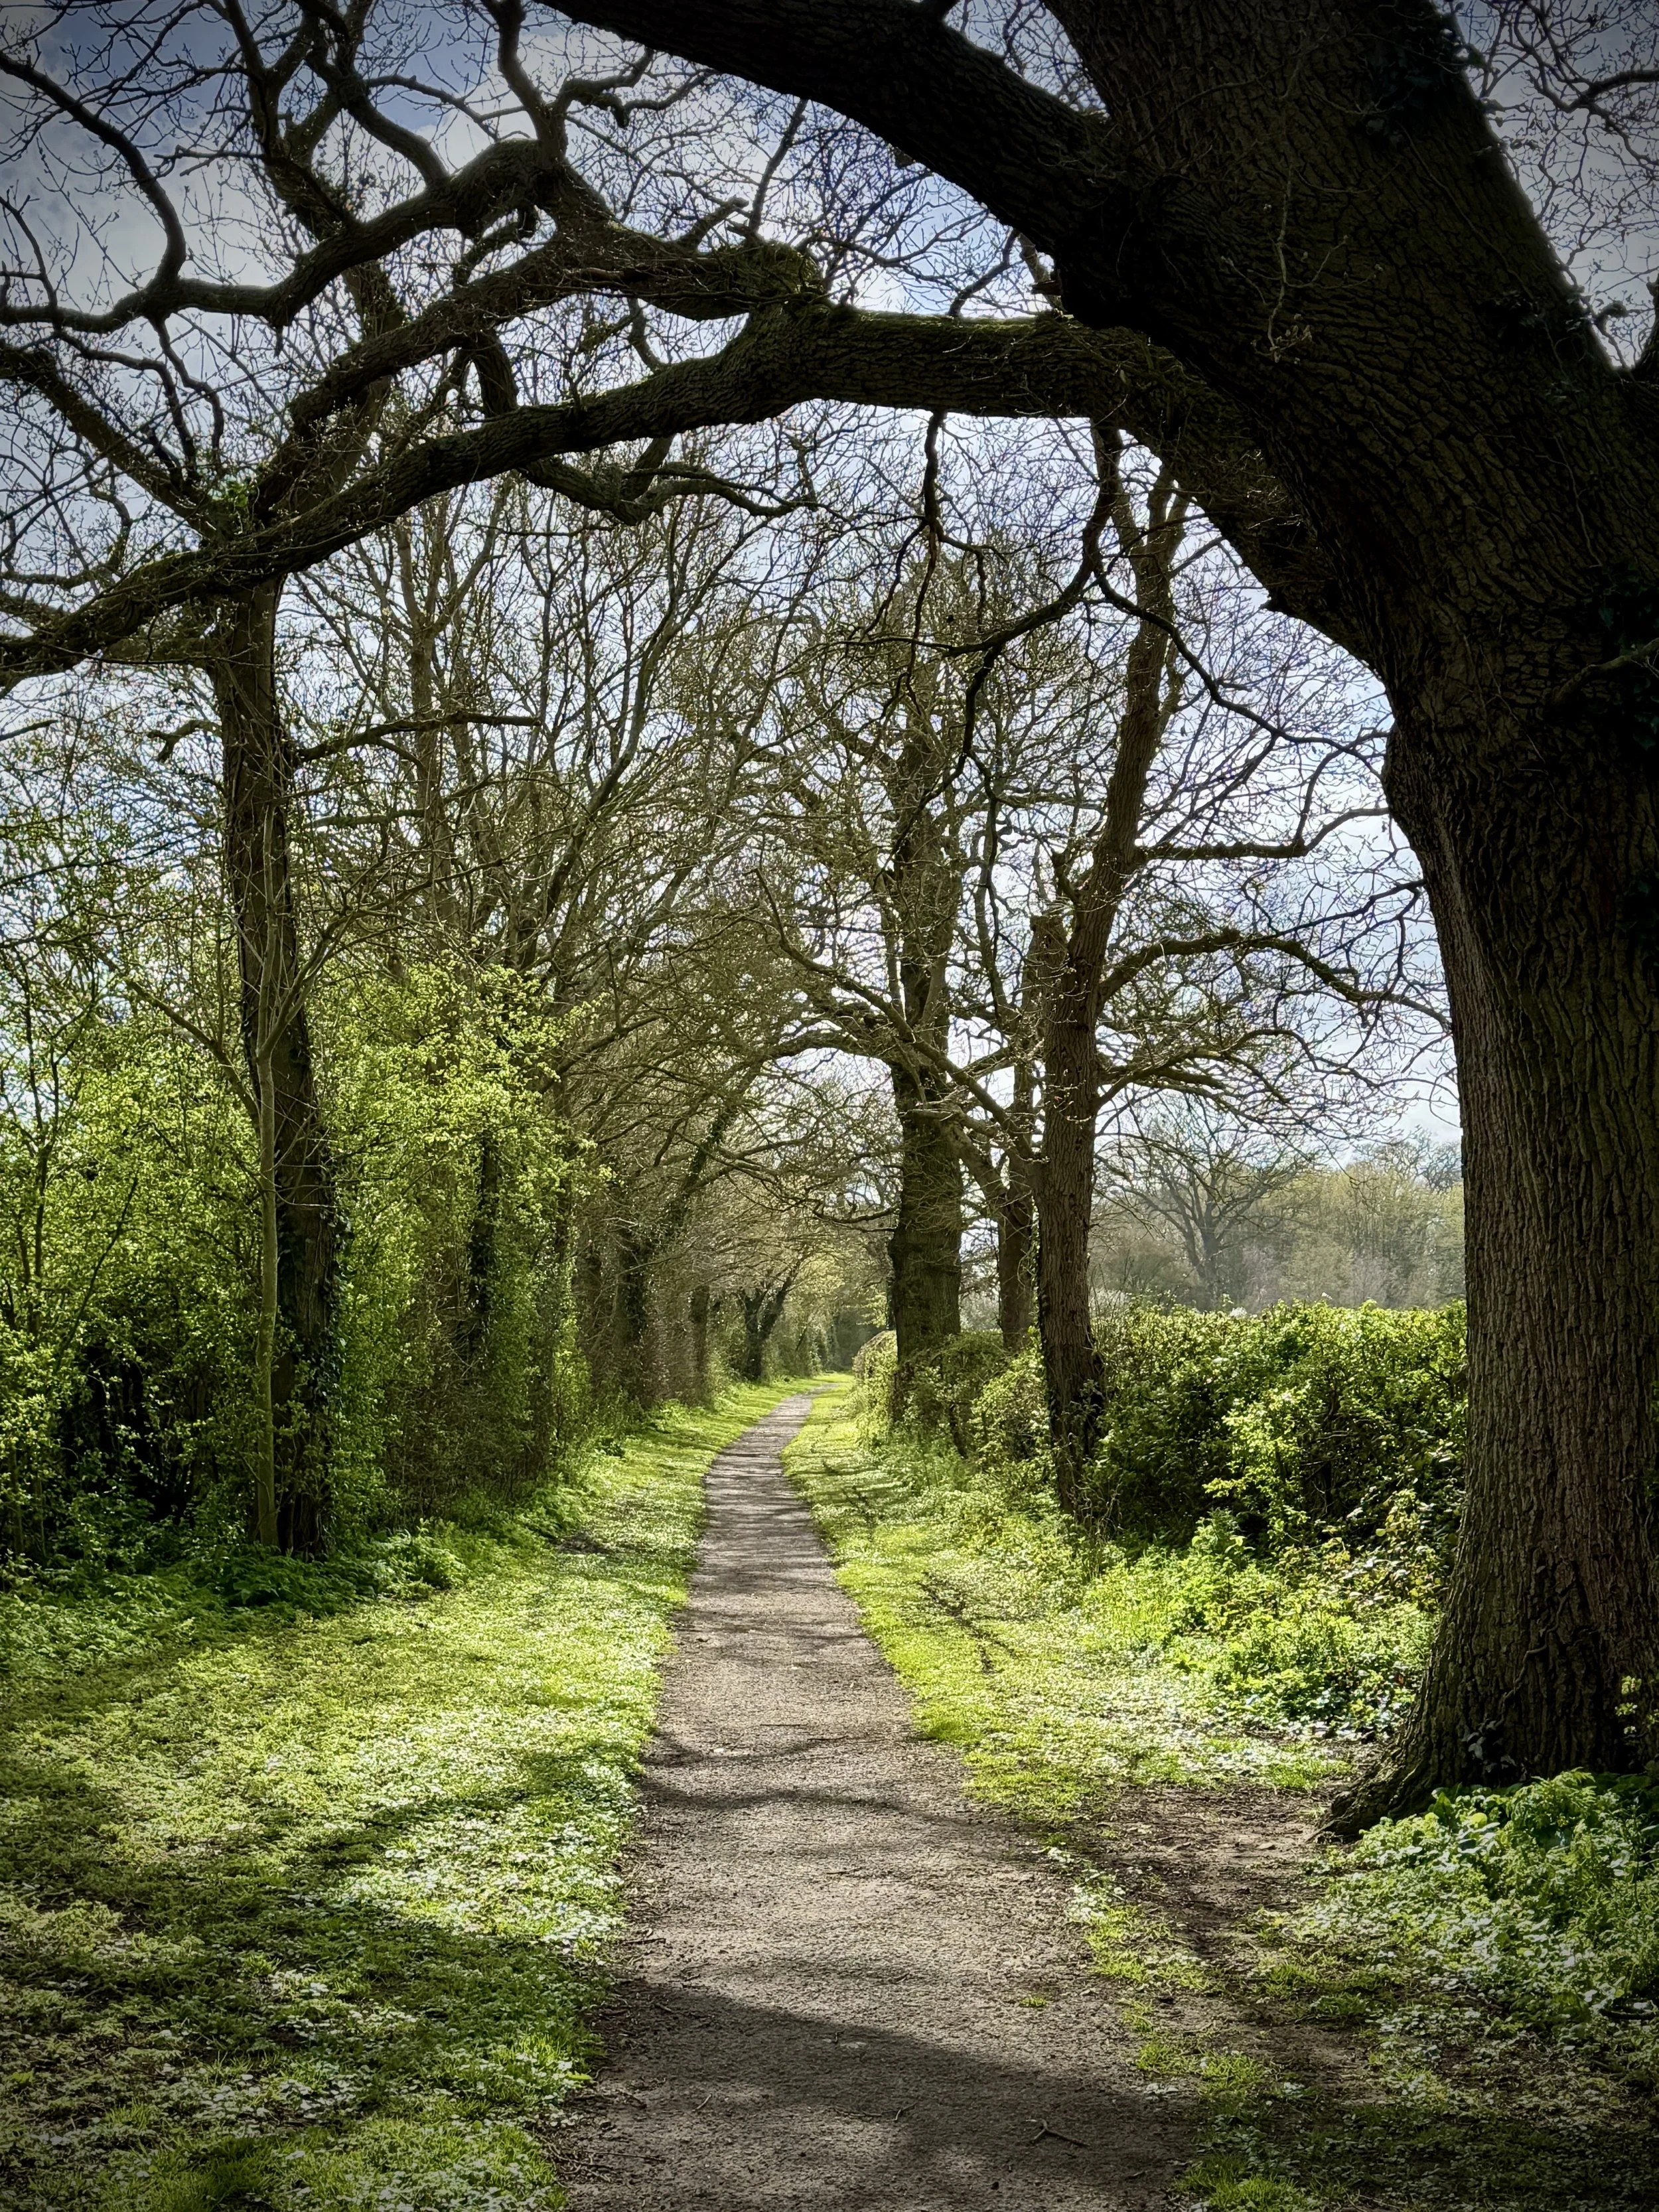
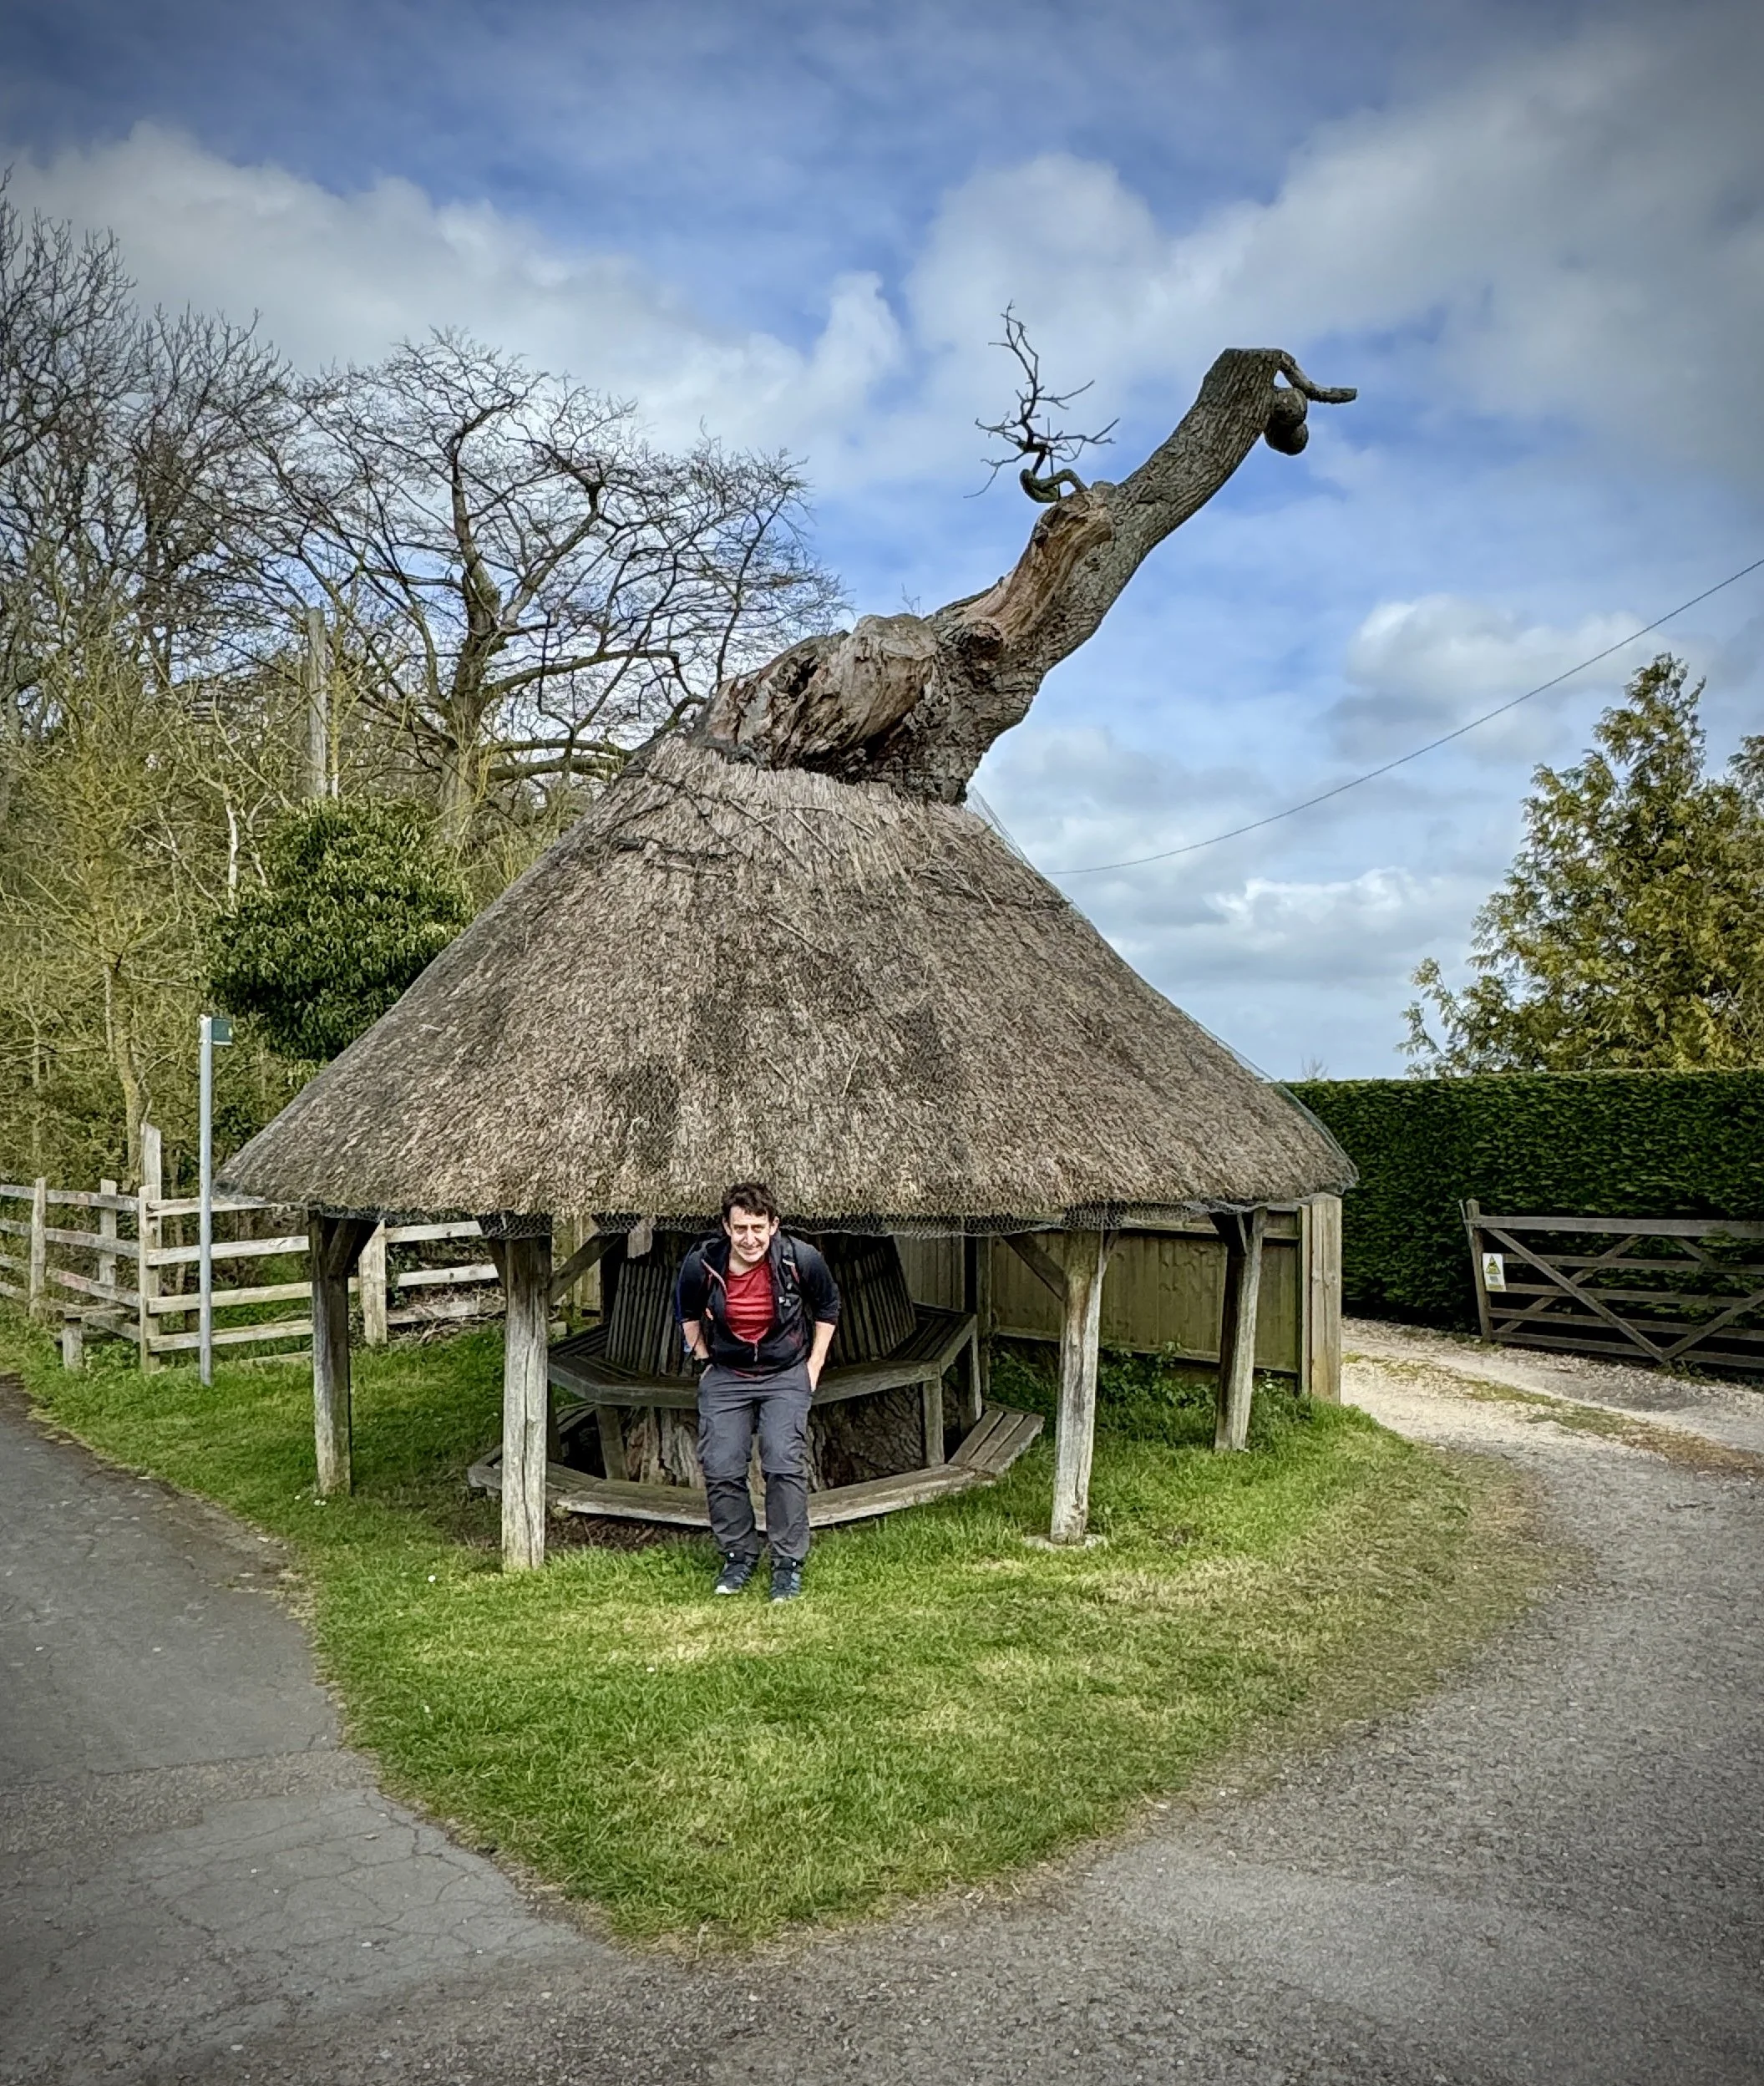
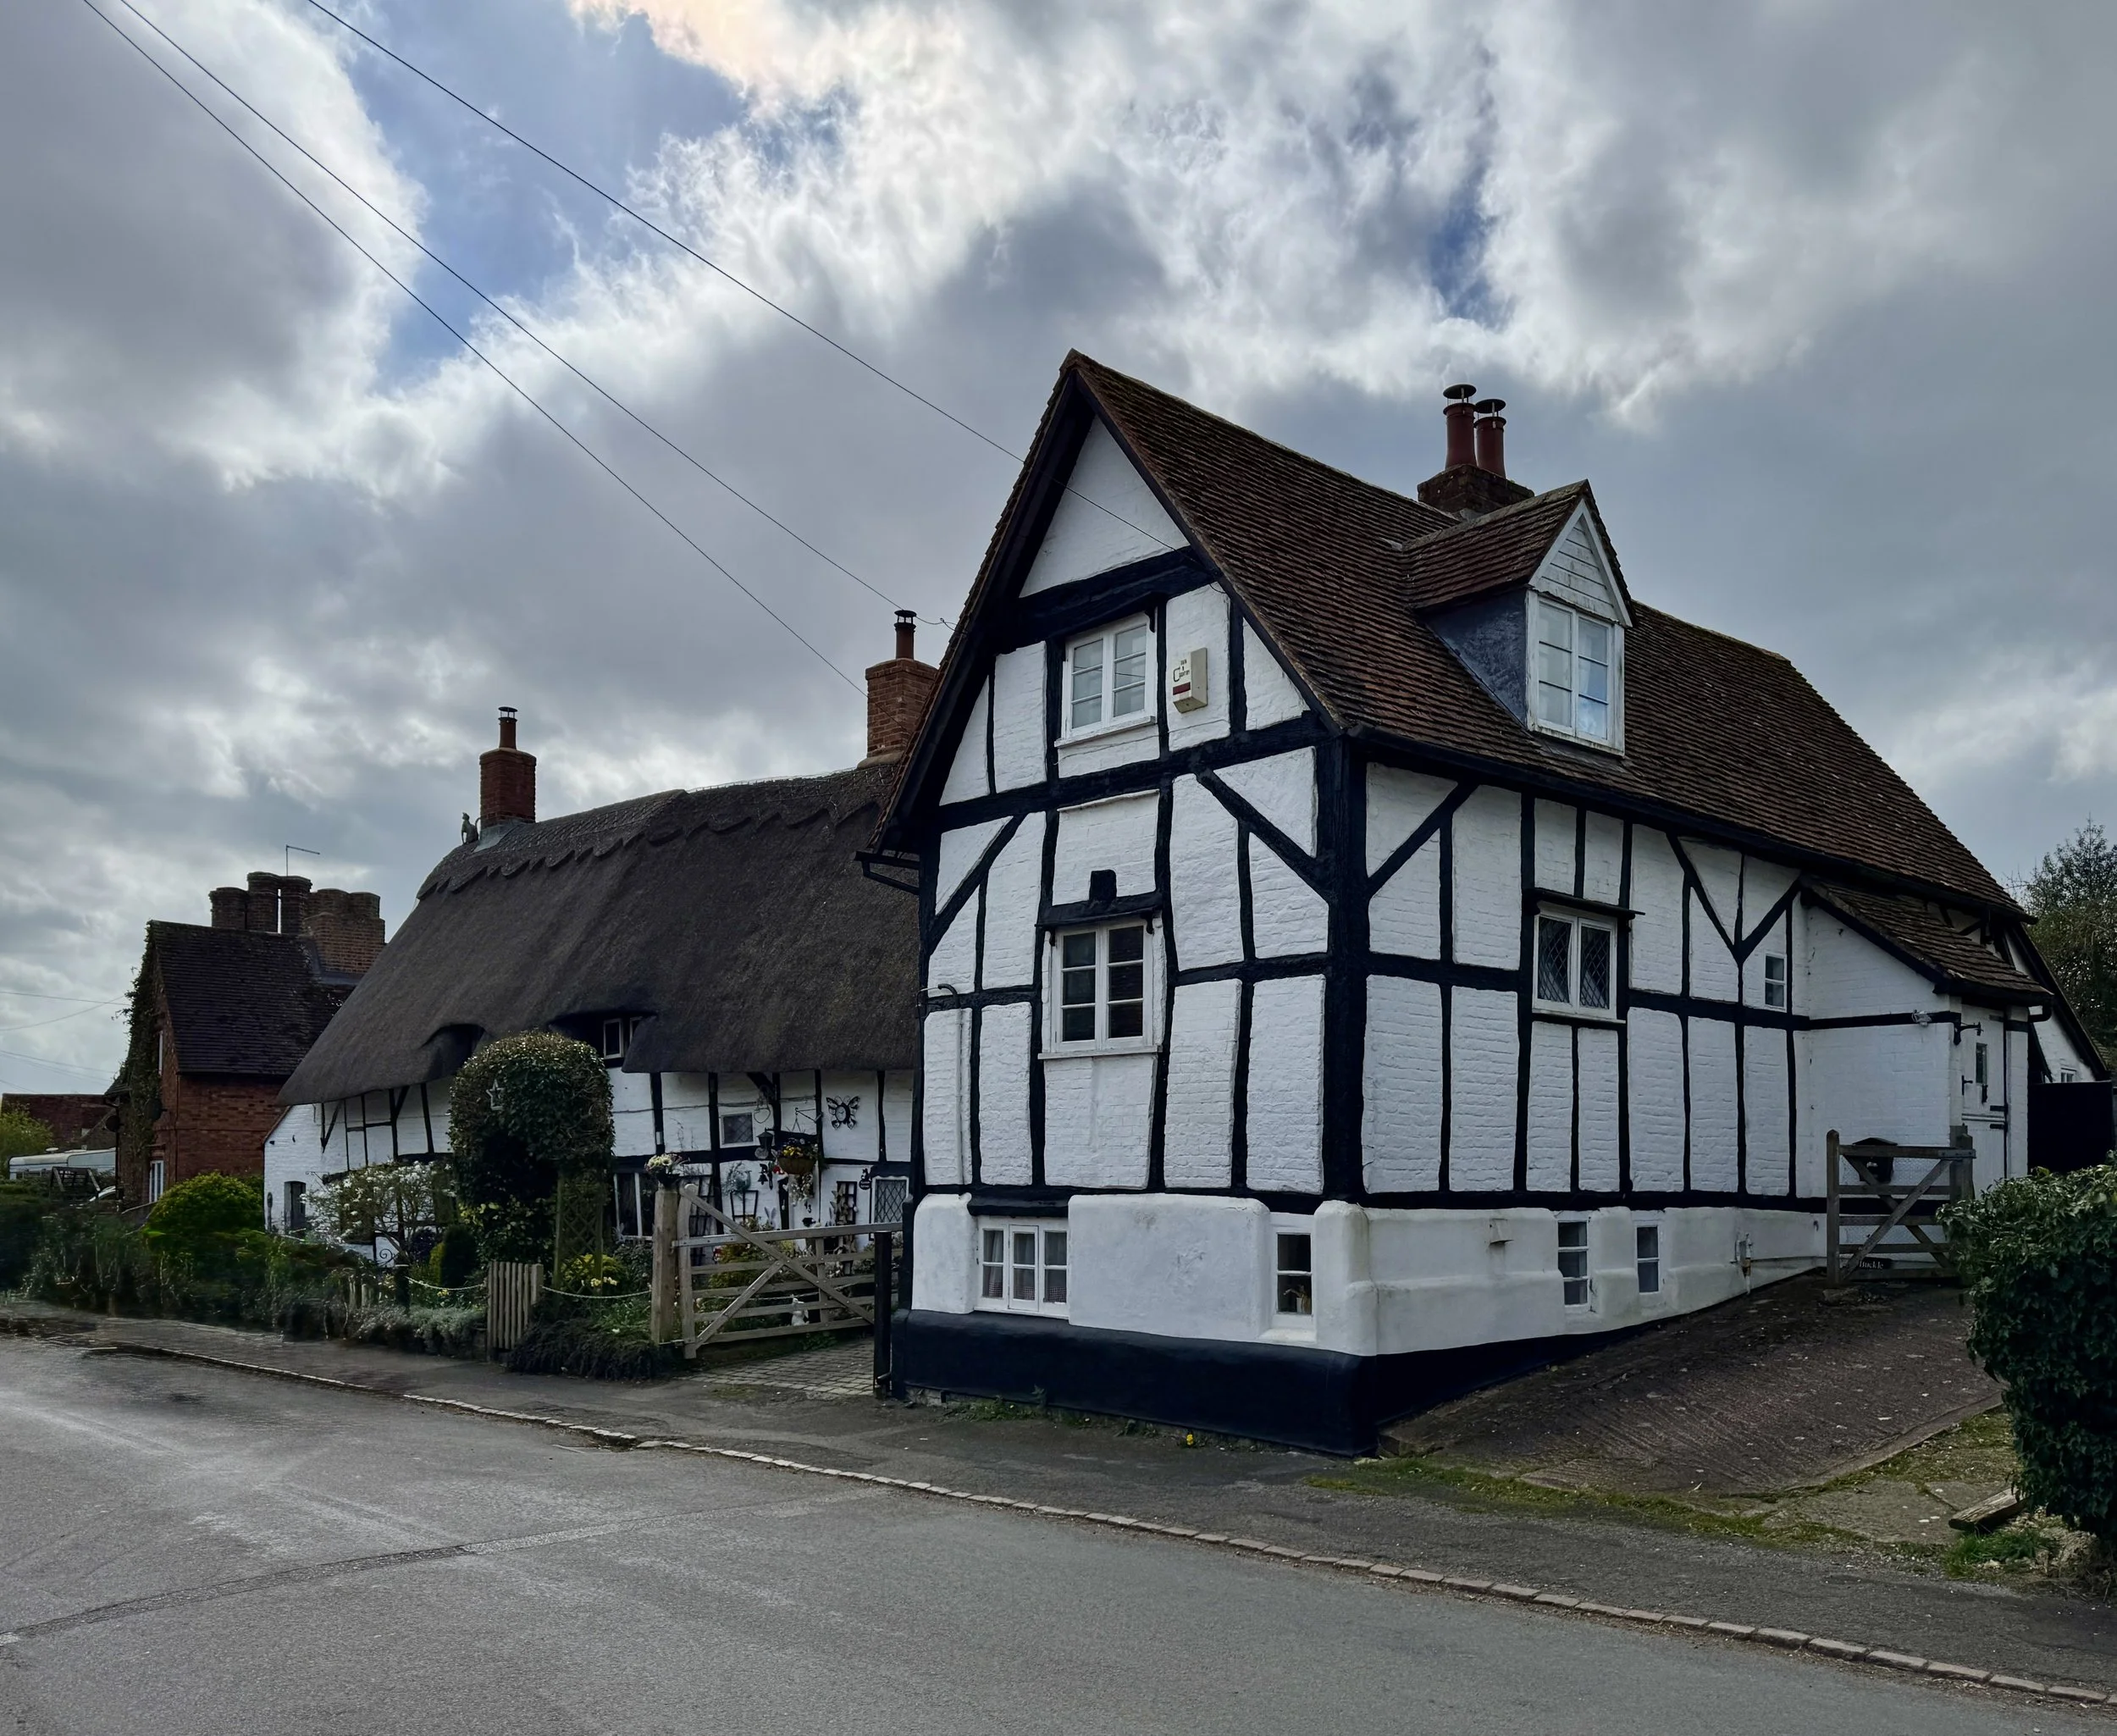
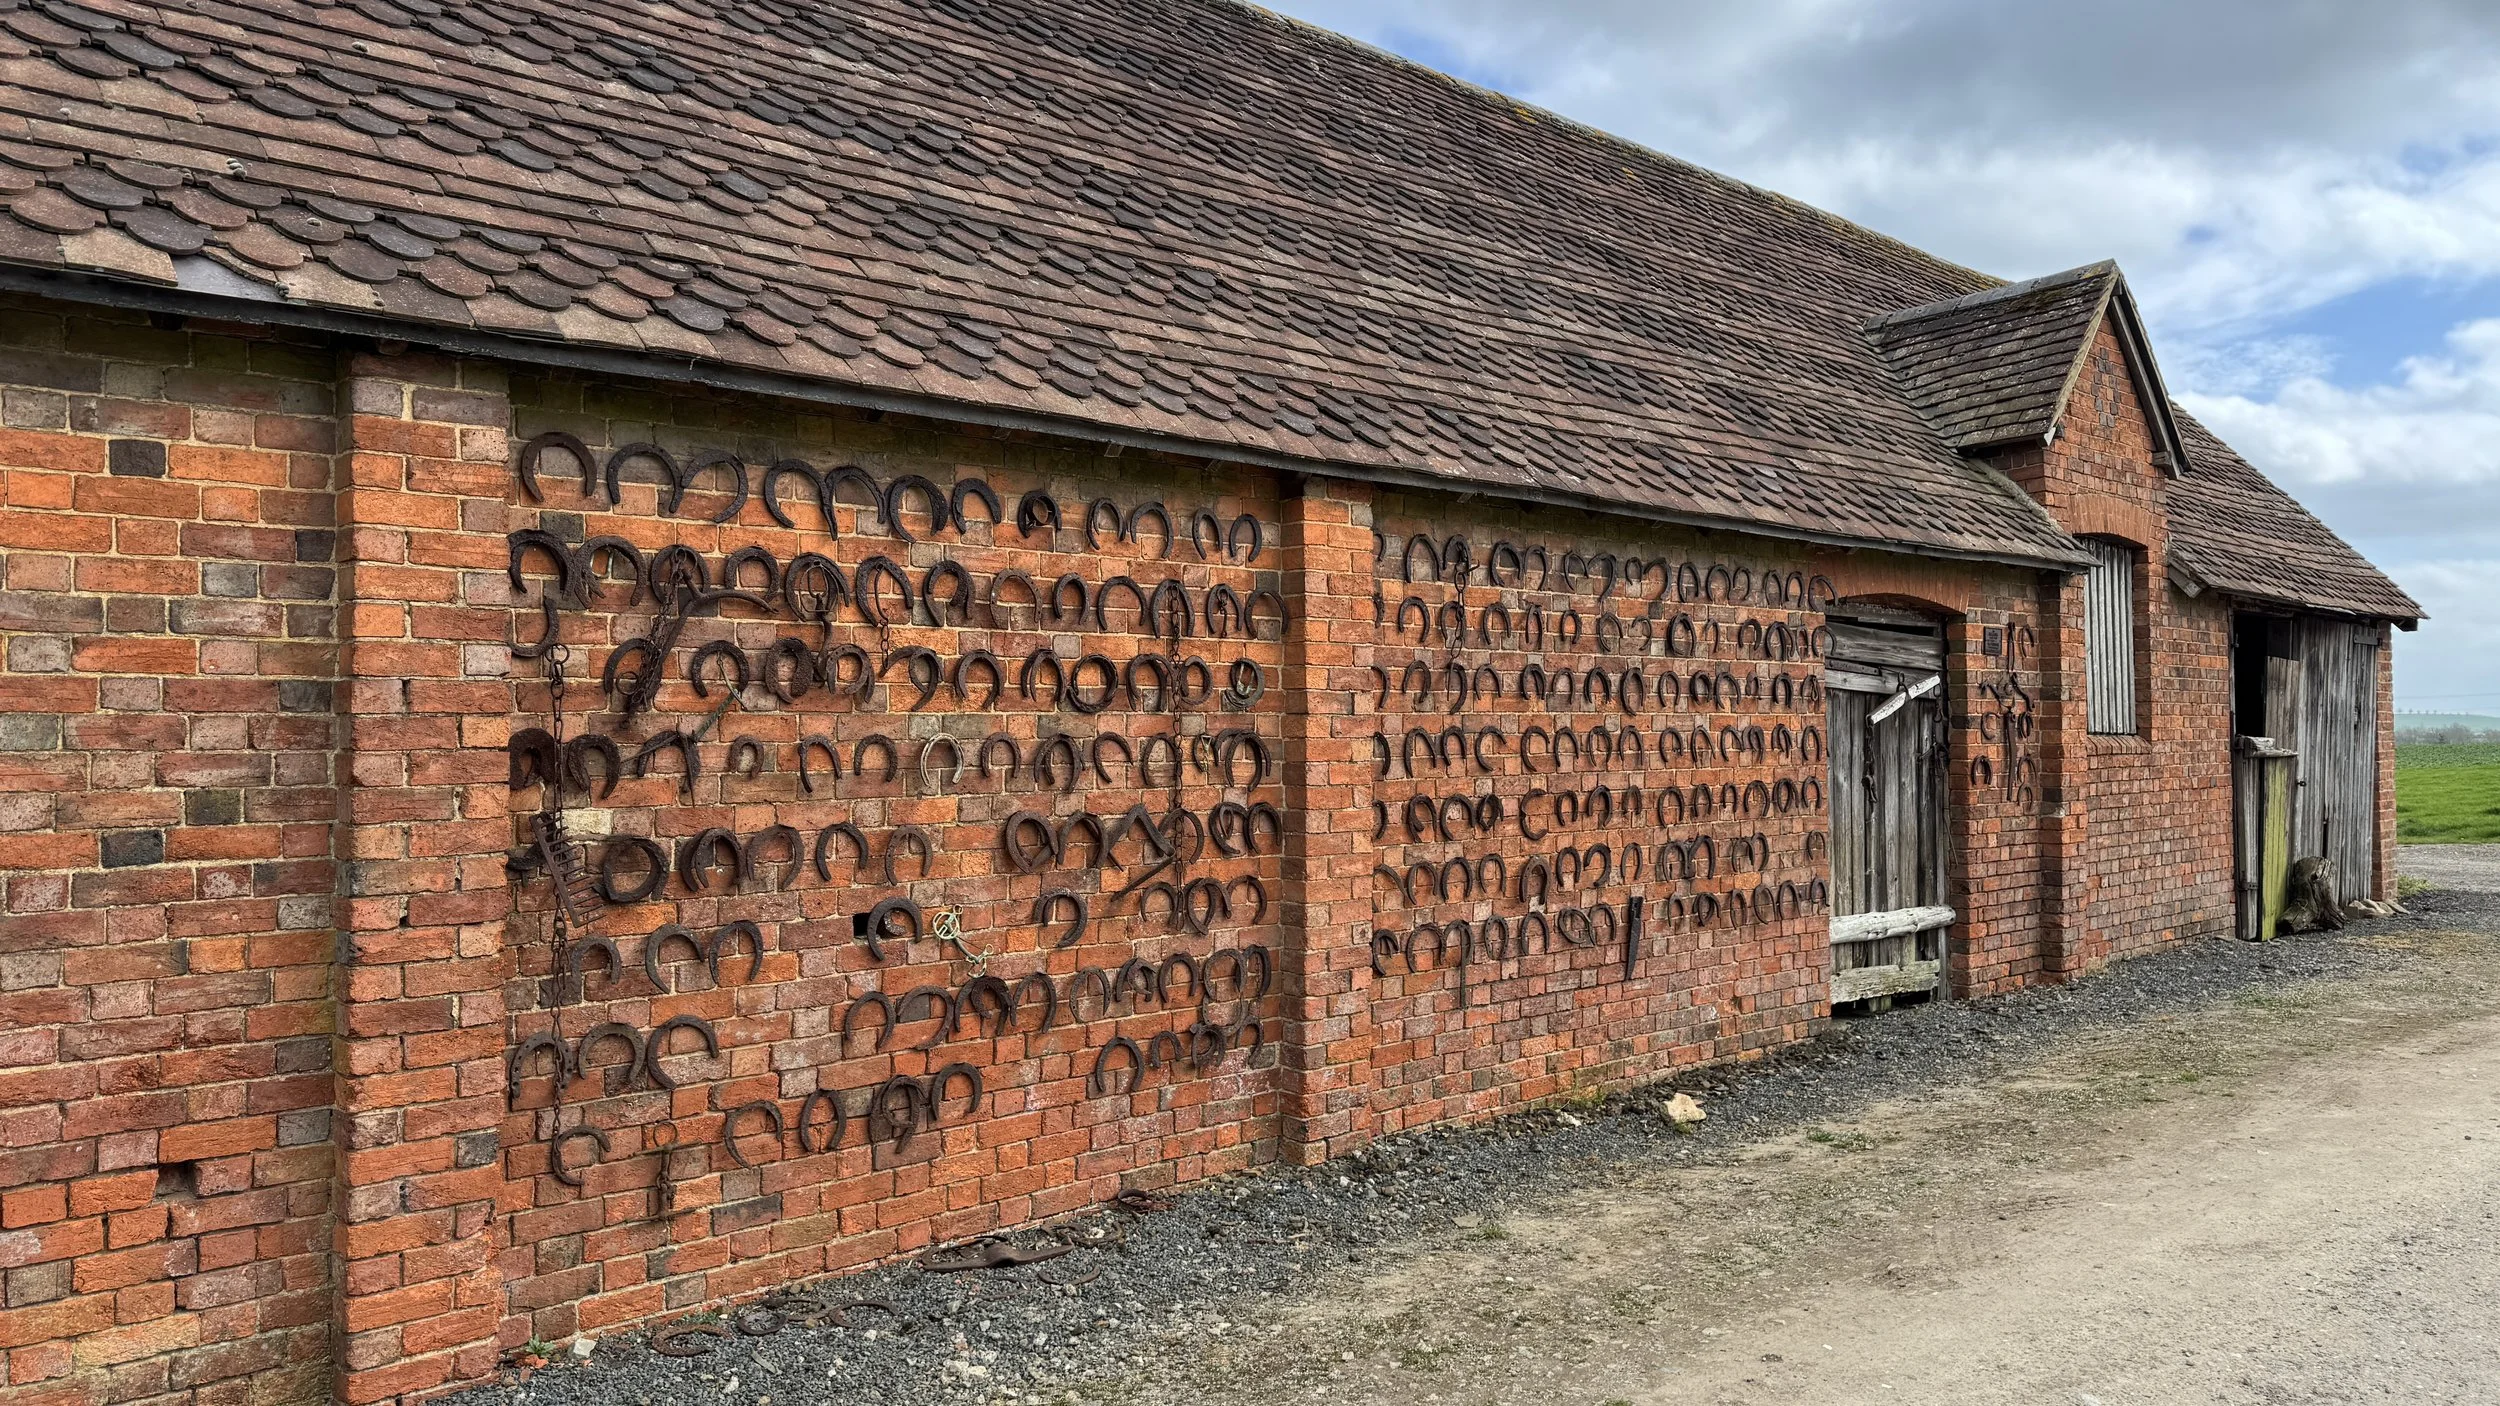
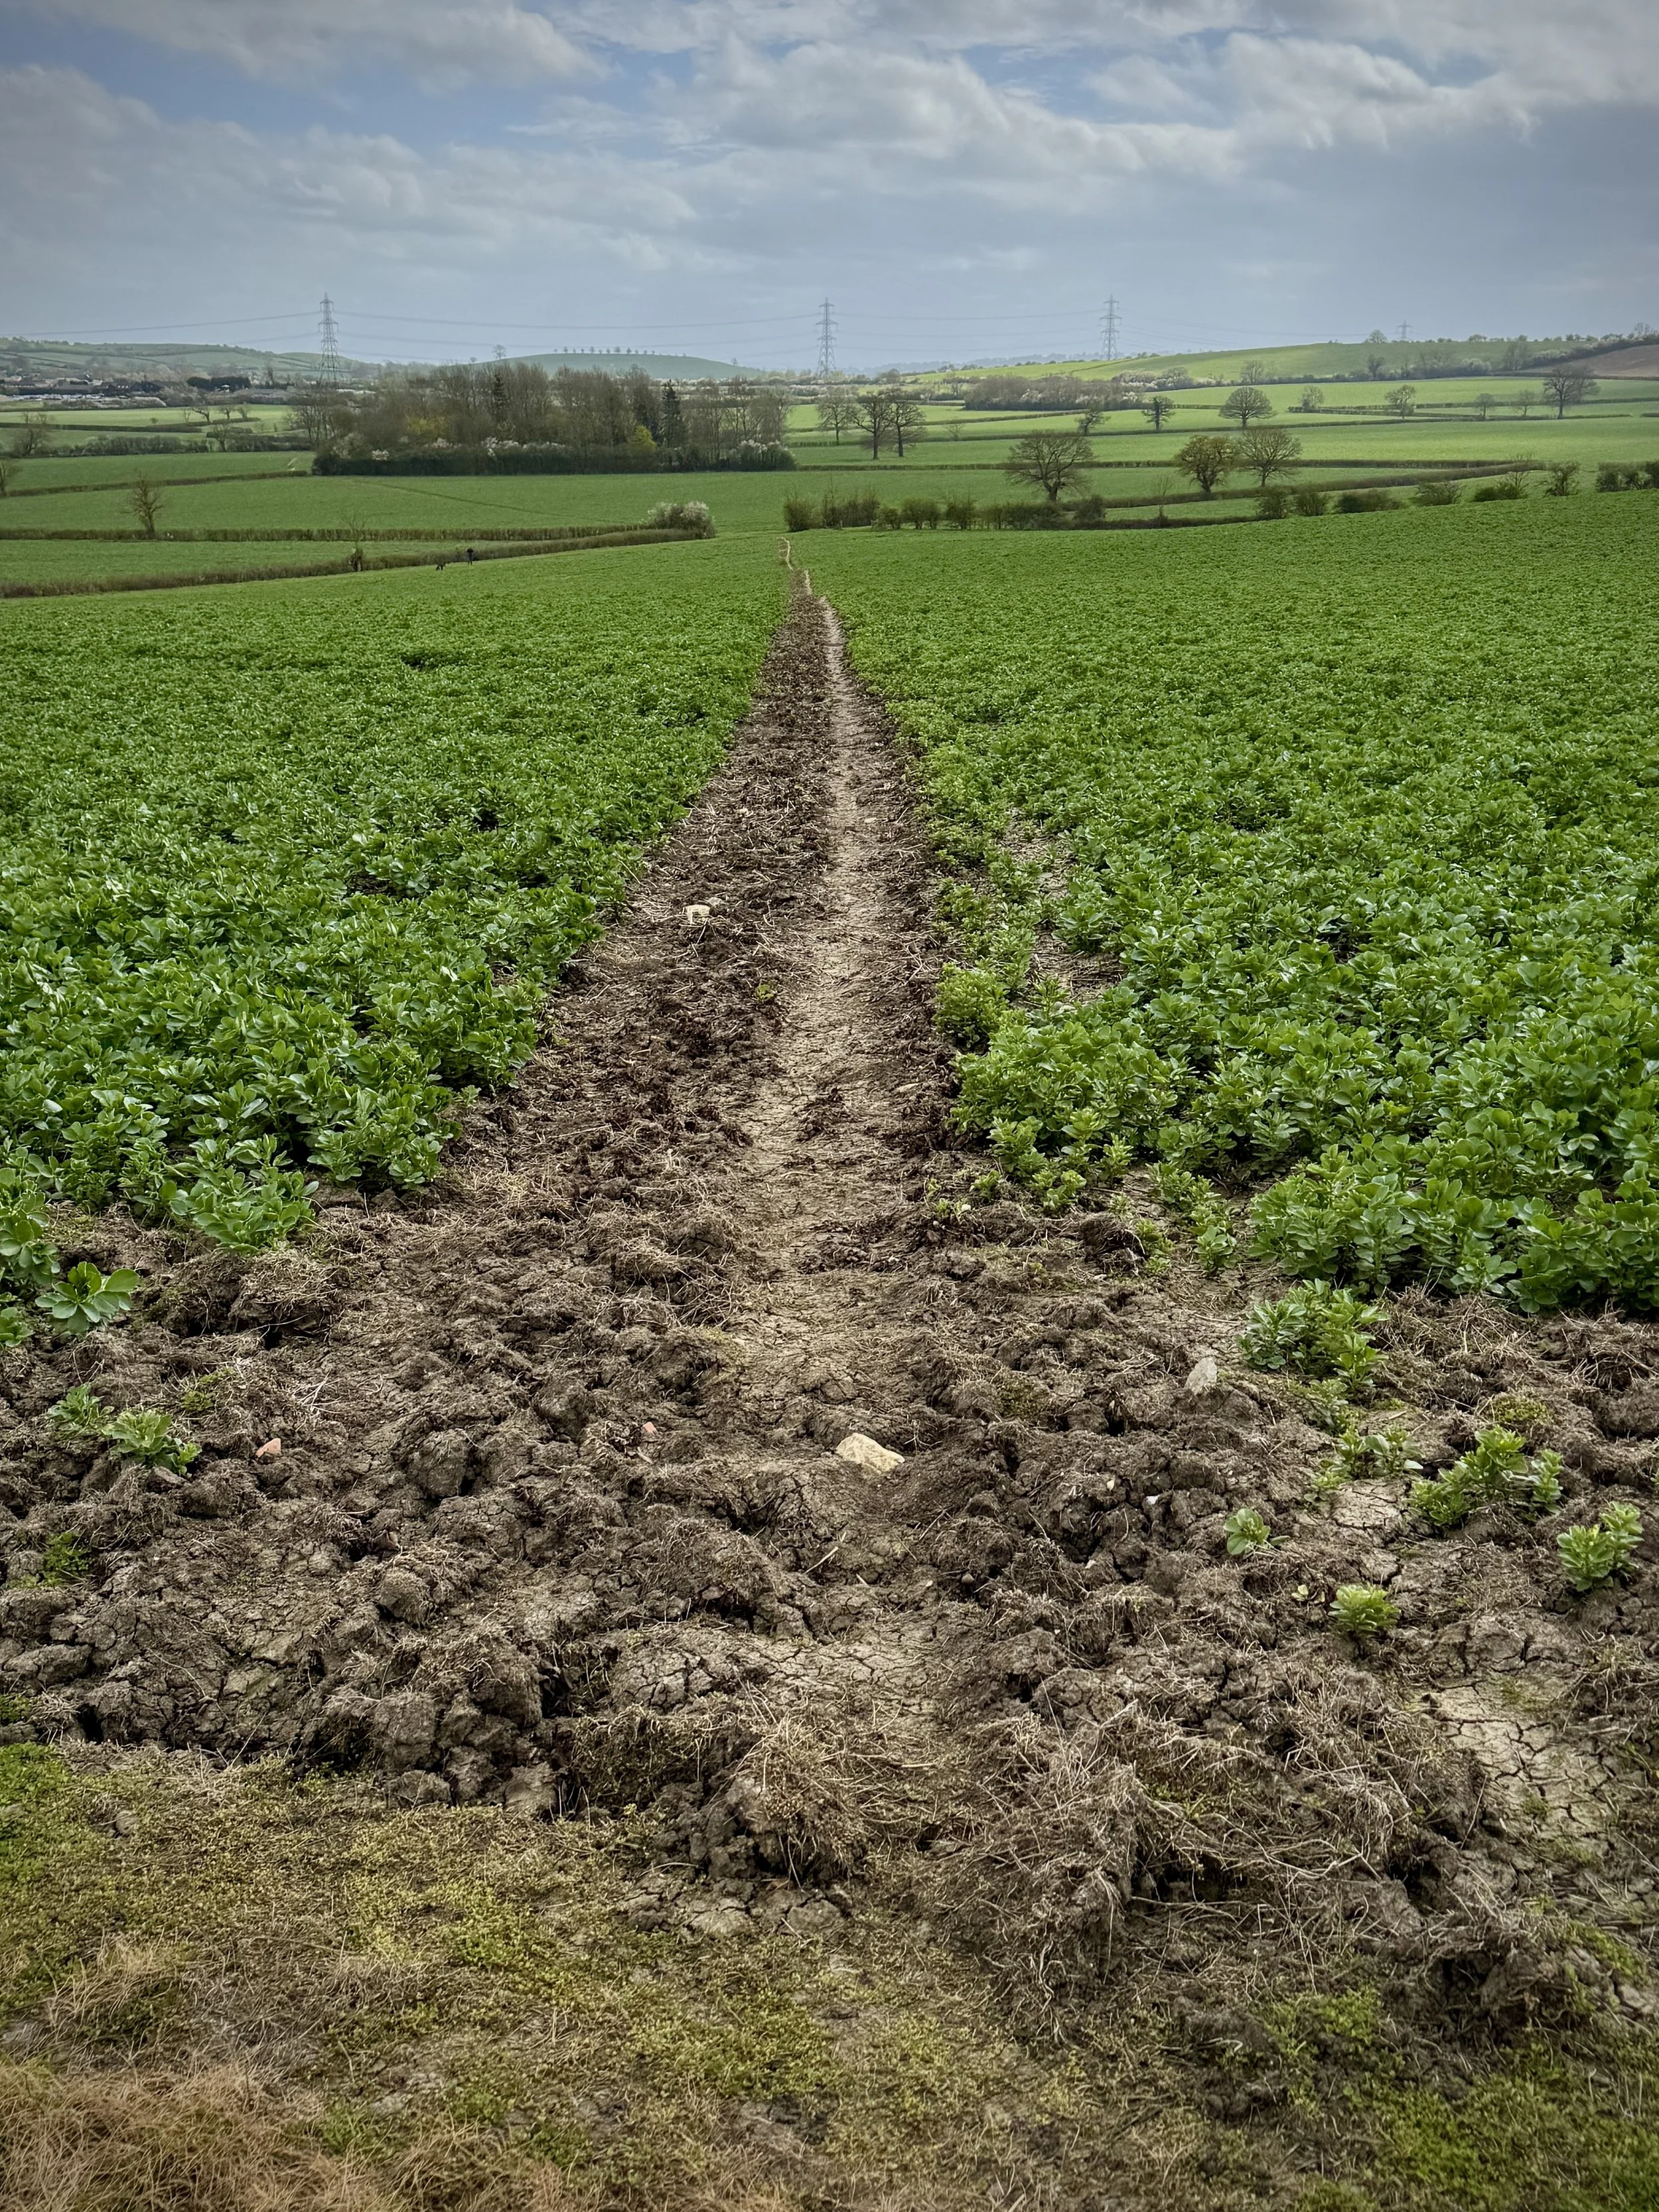
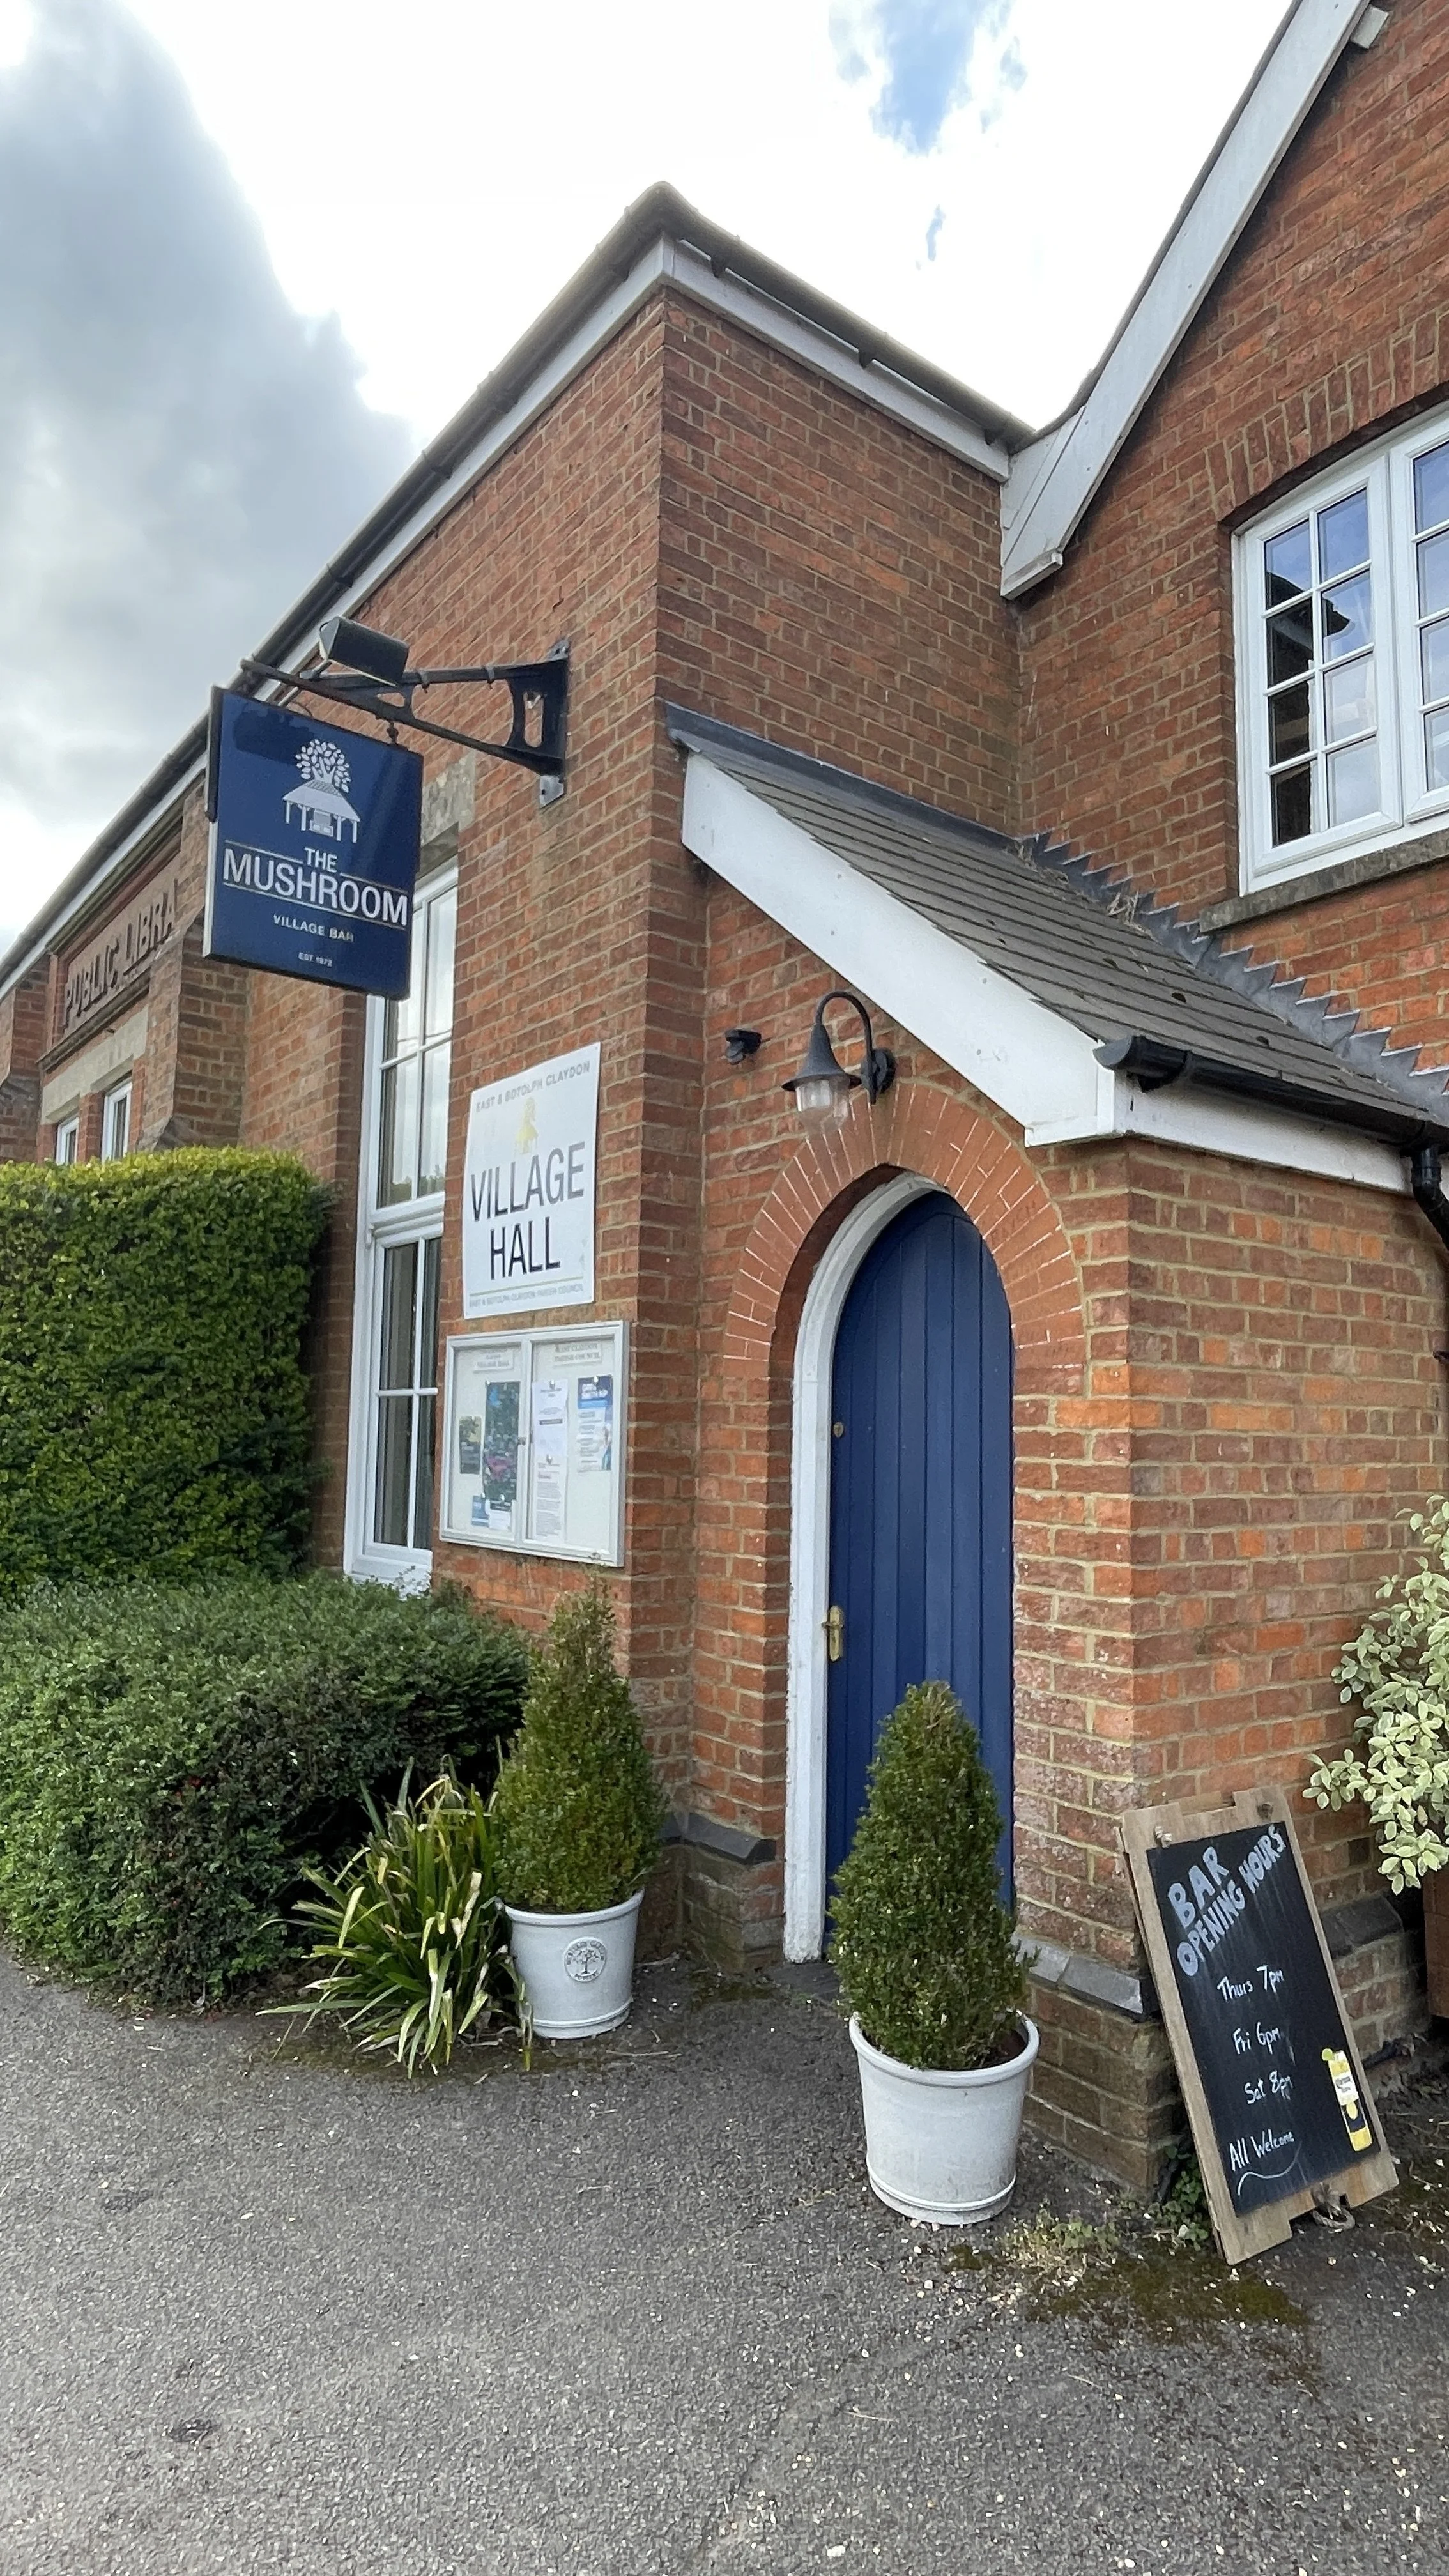
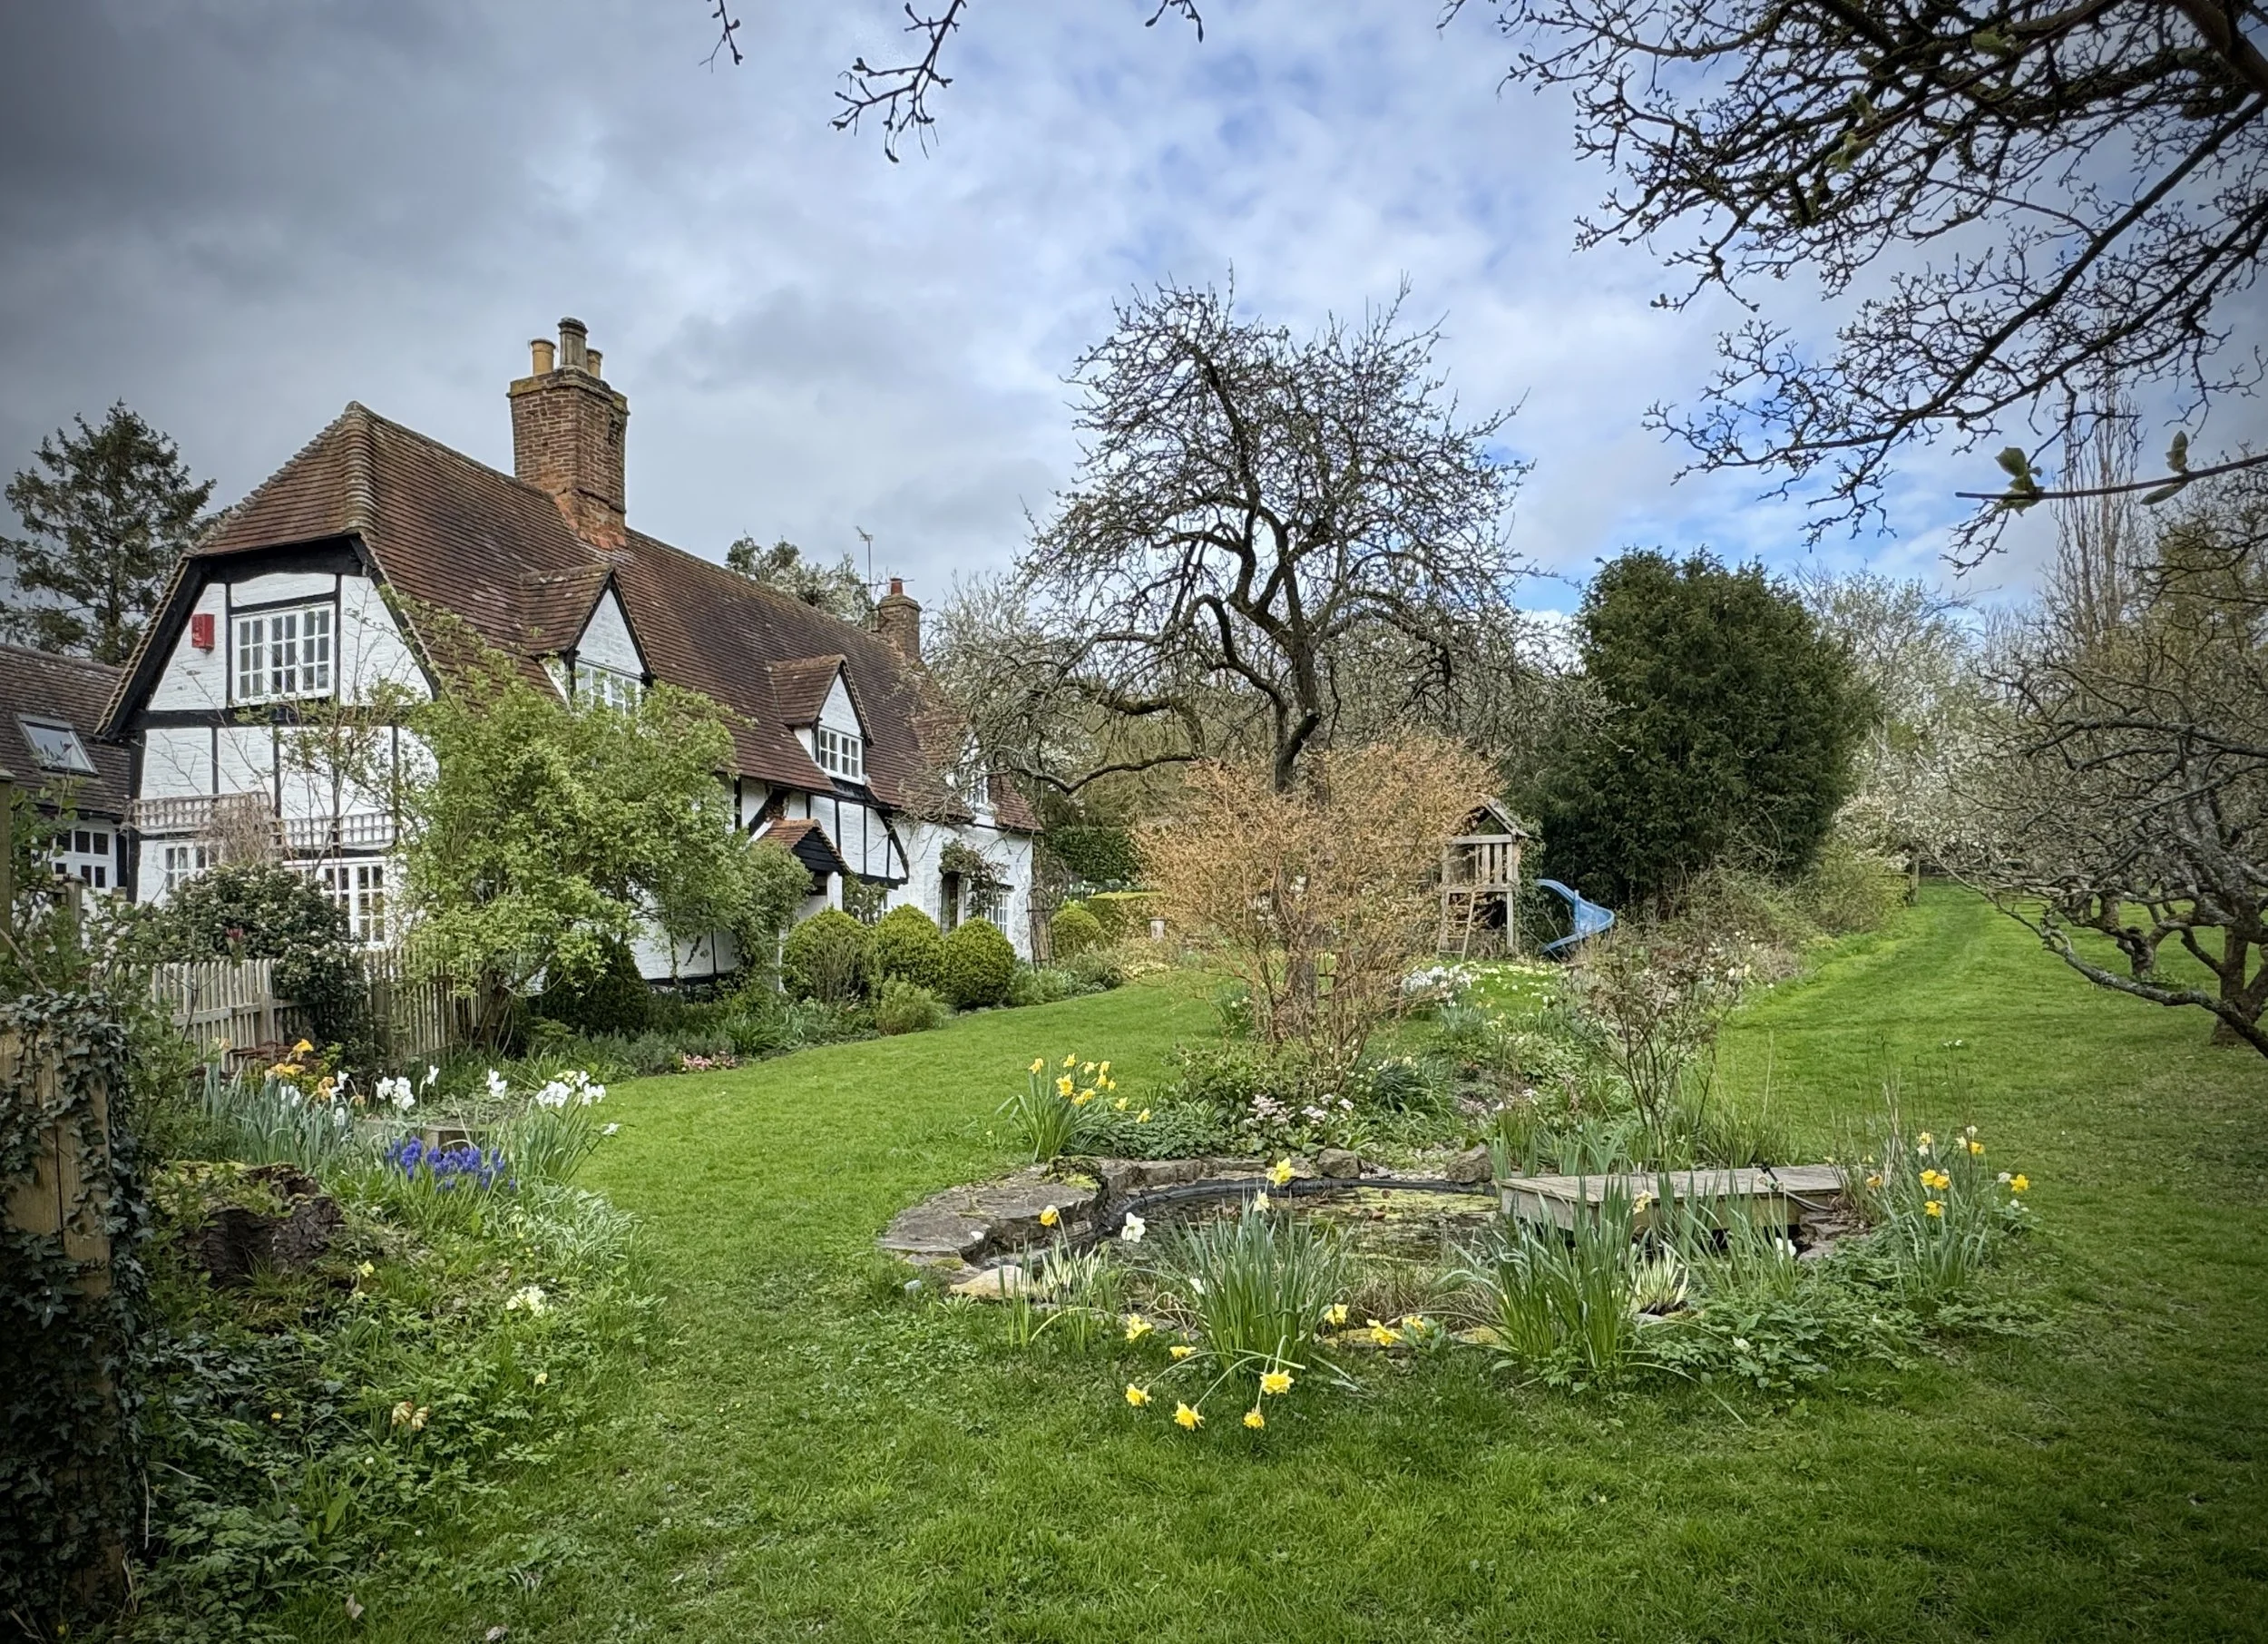
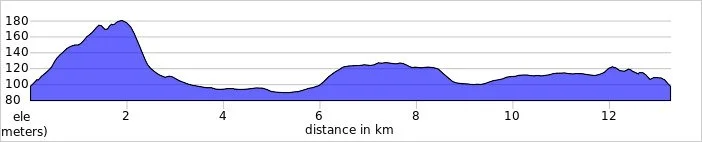
Midshires Way previous section (south): Waddesdon and Quainton Road
Midshires Way next section (north): Verney Junction and Winslow
London Outdoors
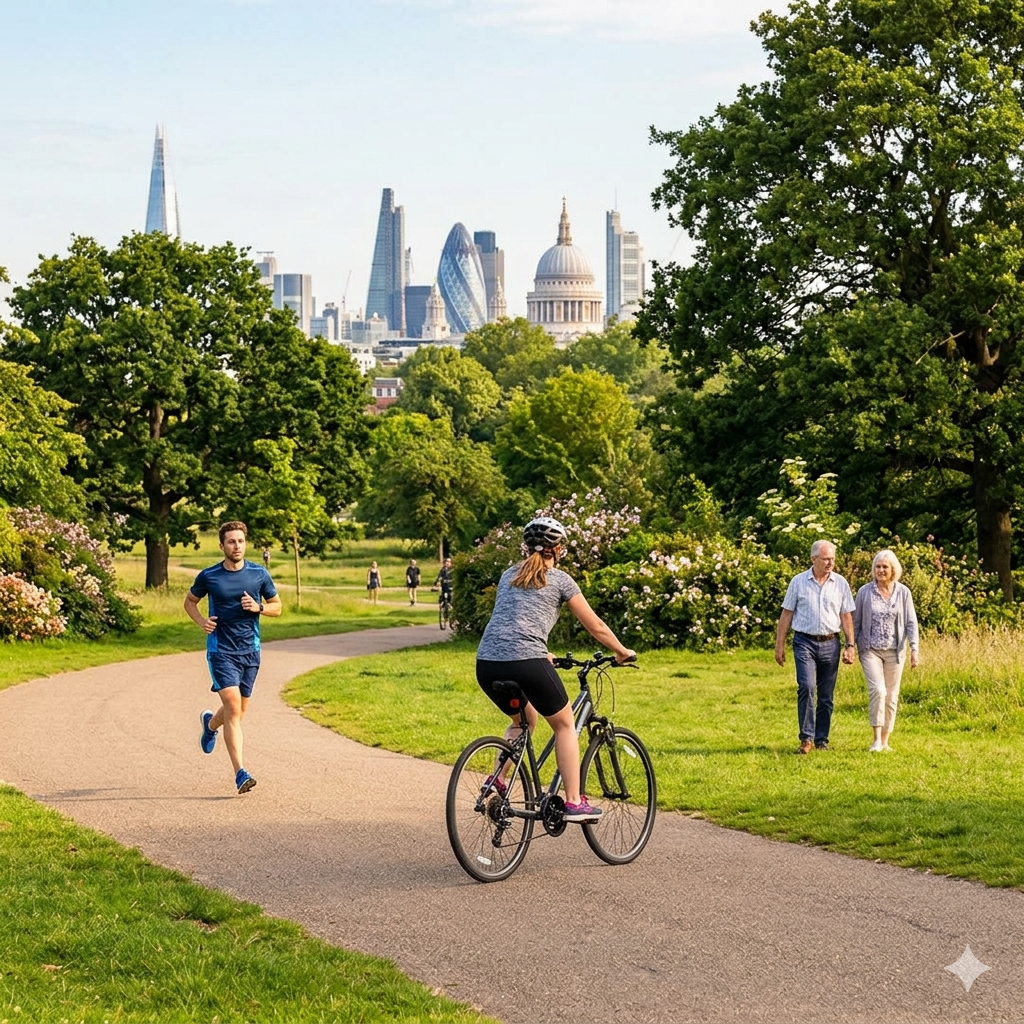
Welcome to London Outdoors. London might be a busy city, but it is also packed with incredible green spaces and trails. This page is a collection of my outdoor adventures across the capital: whether I am heading out for a long walk, exploring new cycling routes, or lacing up my trainers for a local parkrun. Have a look through the index below to find all my posts about getting outside in the city.
Comment below or contact me if you have any questions, suggestions for improvement or if you spot any errors in any of the posts. I’ll donate £ to one of the outdoor causes that i support for any correction made.
Featured and Popular Posts
This section brings together some of my most memorable urban explorations. It includes the fascinating history behind London's Coal Duty Posts and the challenge of navigating the historic City of London boundary.
You can also find my journeys tracing the Roman London Wall and my comprehensive treks around the London Loop and Capital Ring. These routes offer a fantastic mix of history and scenery: showcasing the diverse places that make the capital so unique.
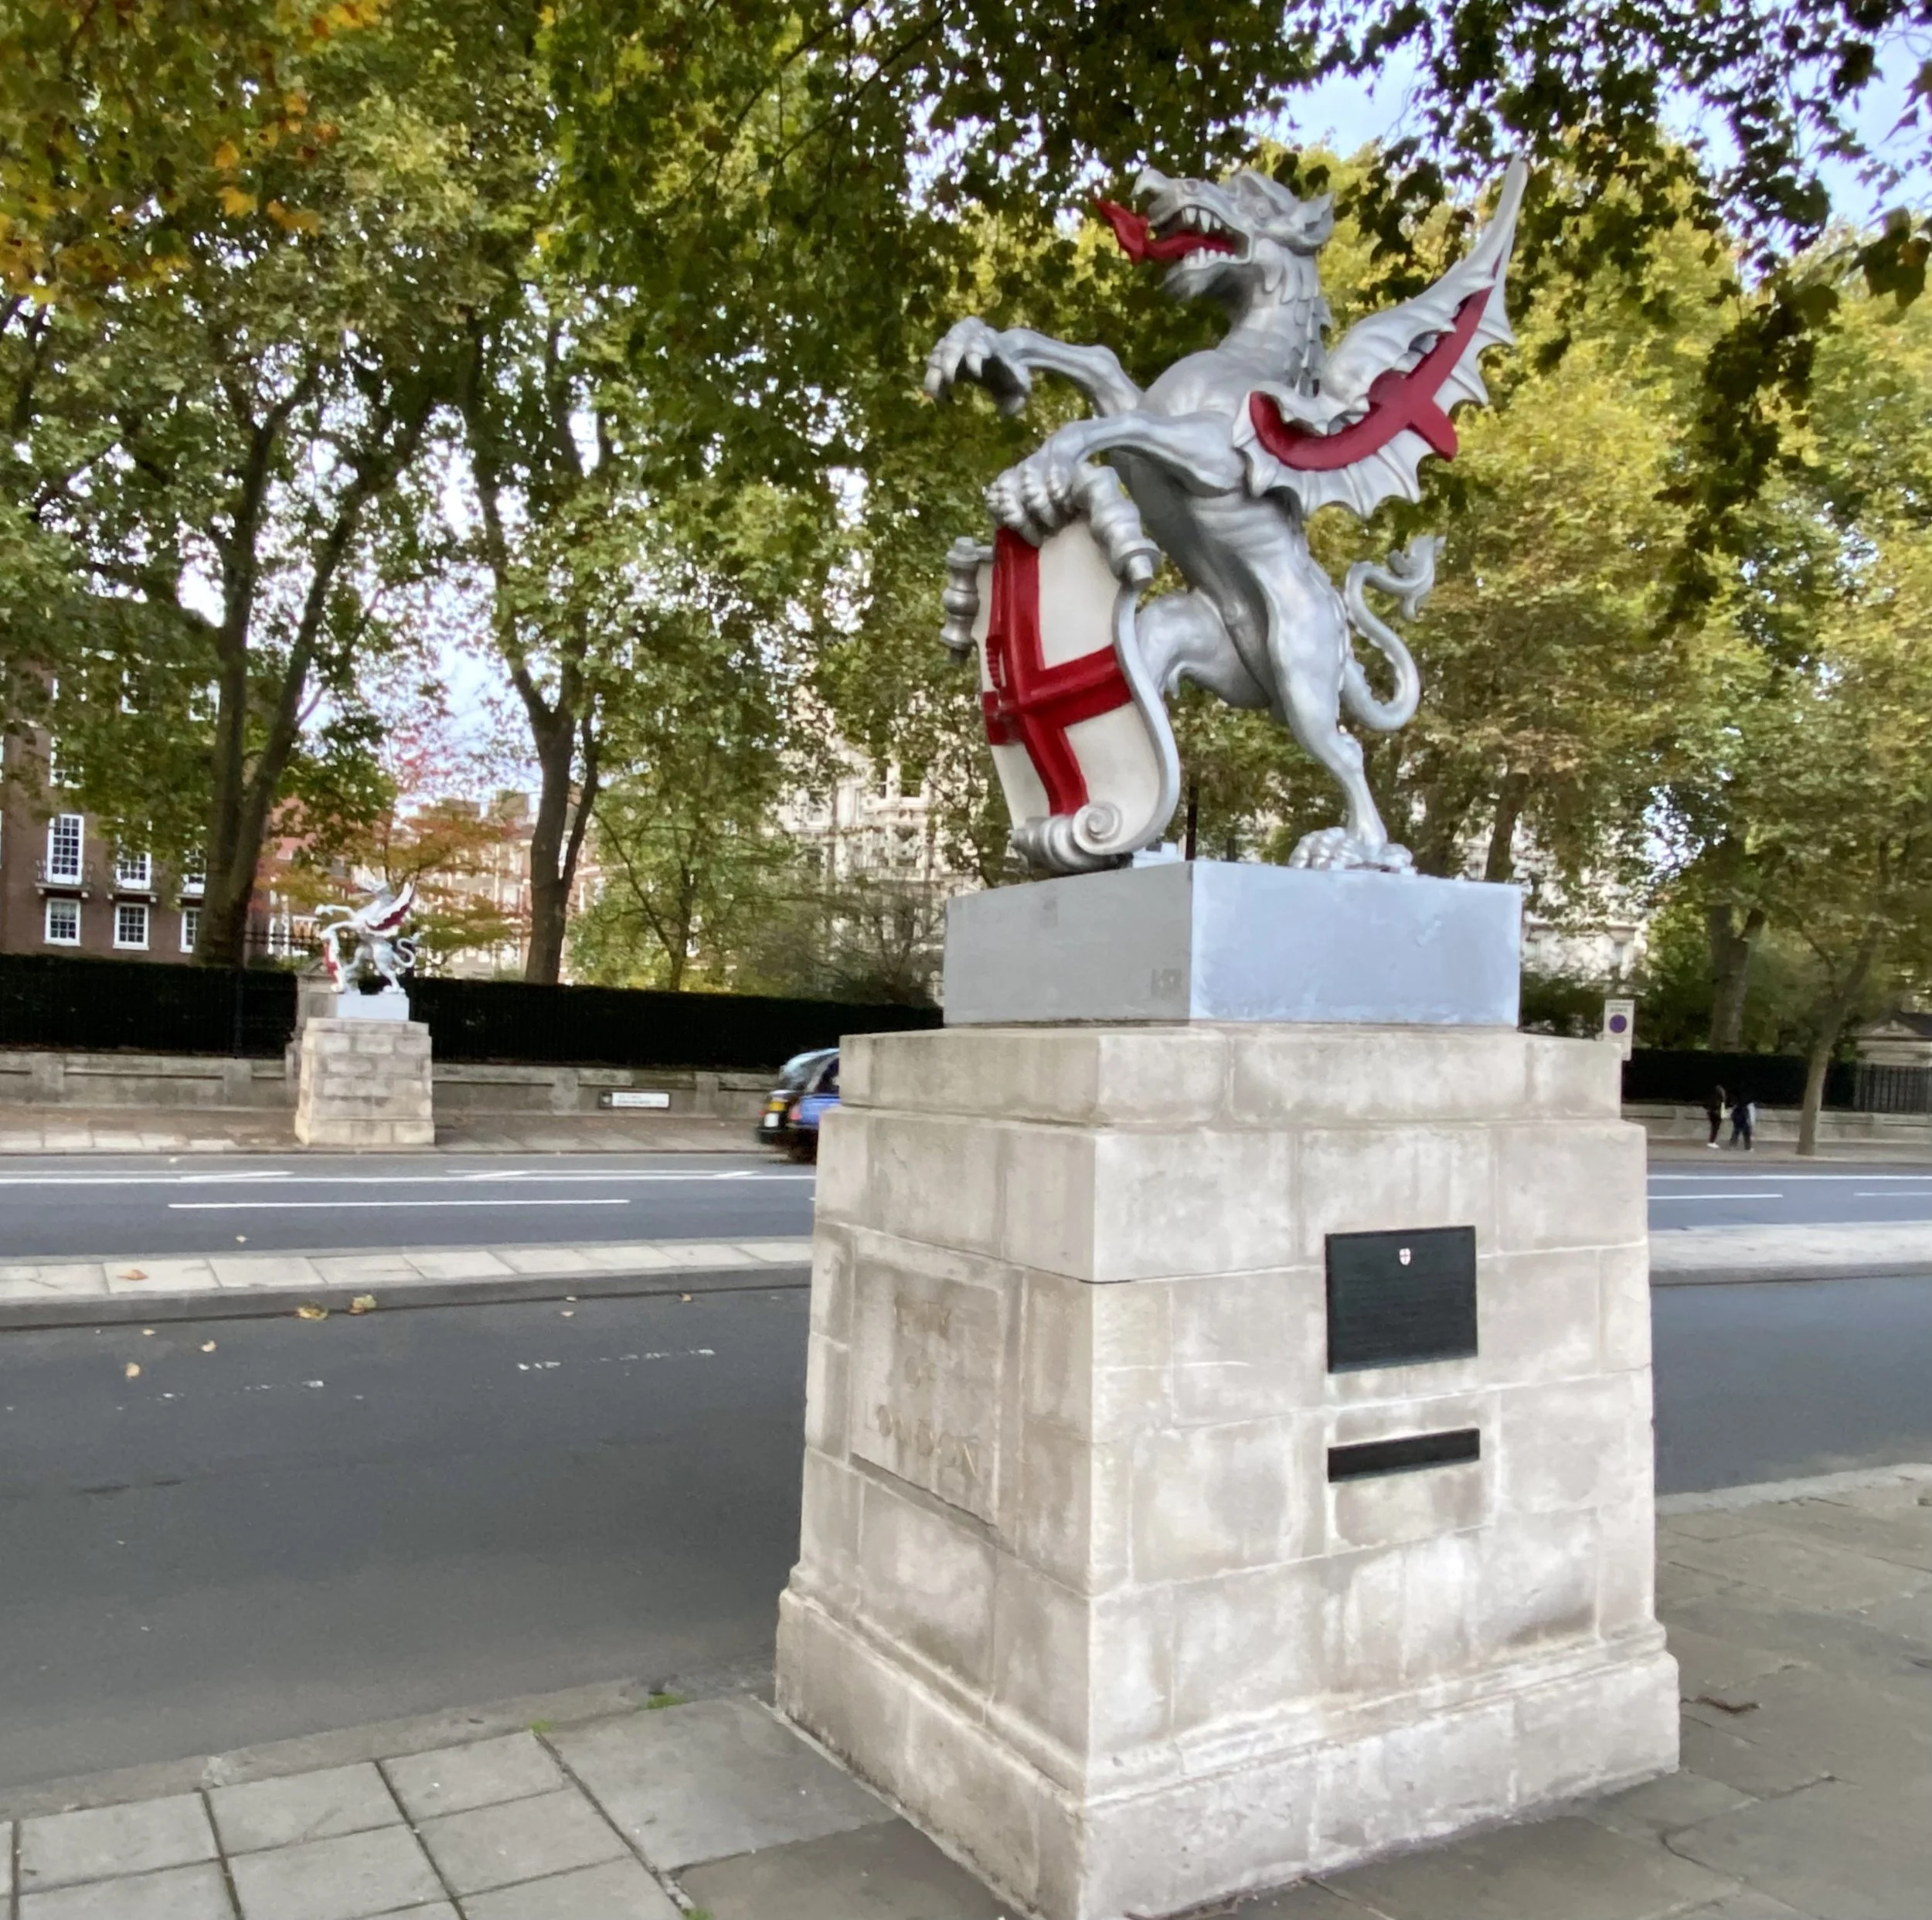
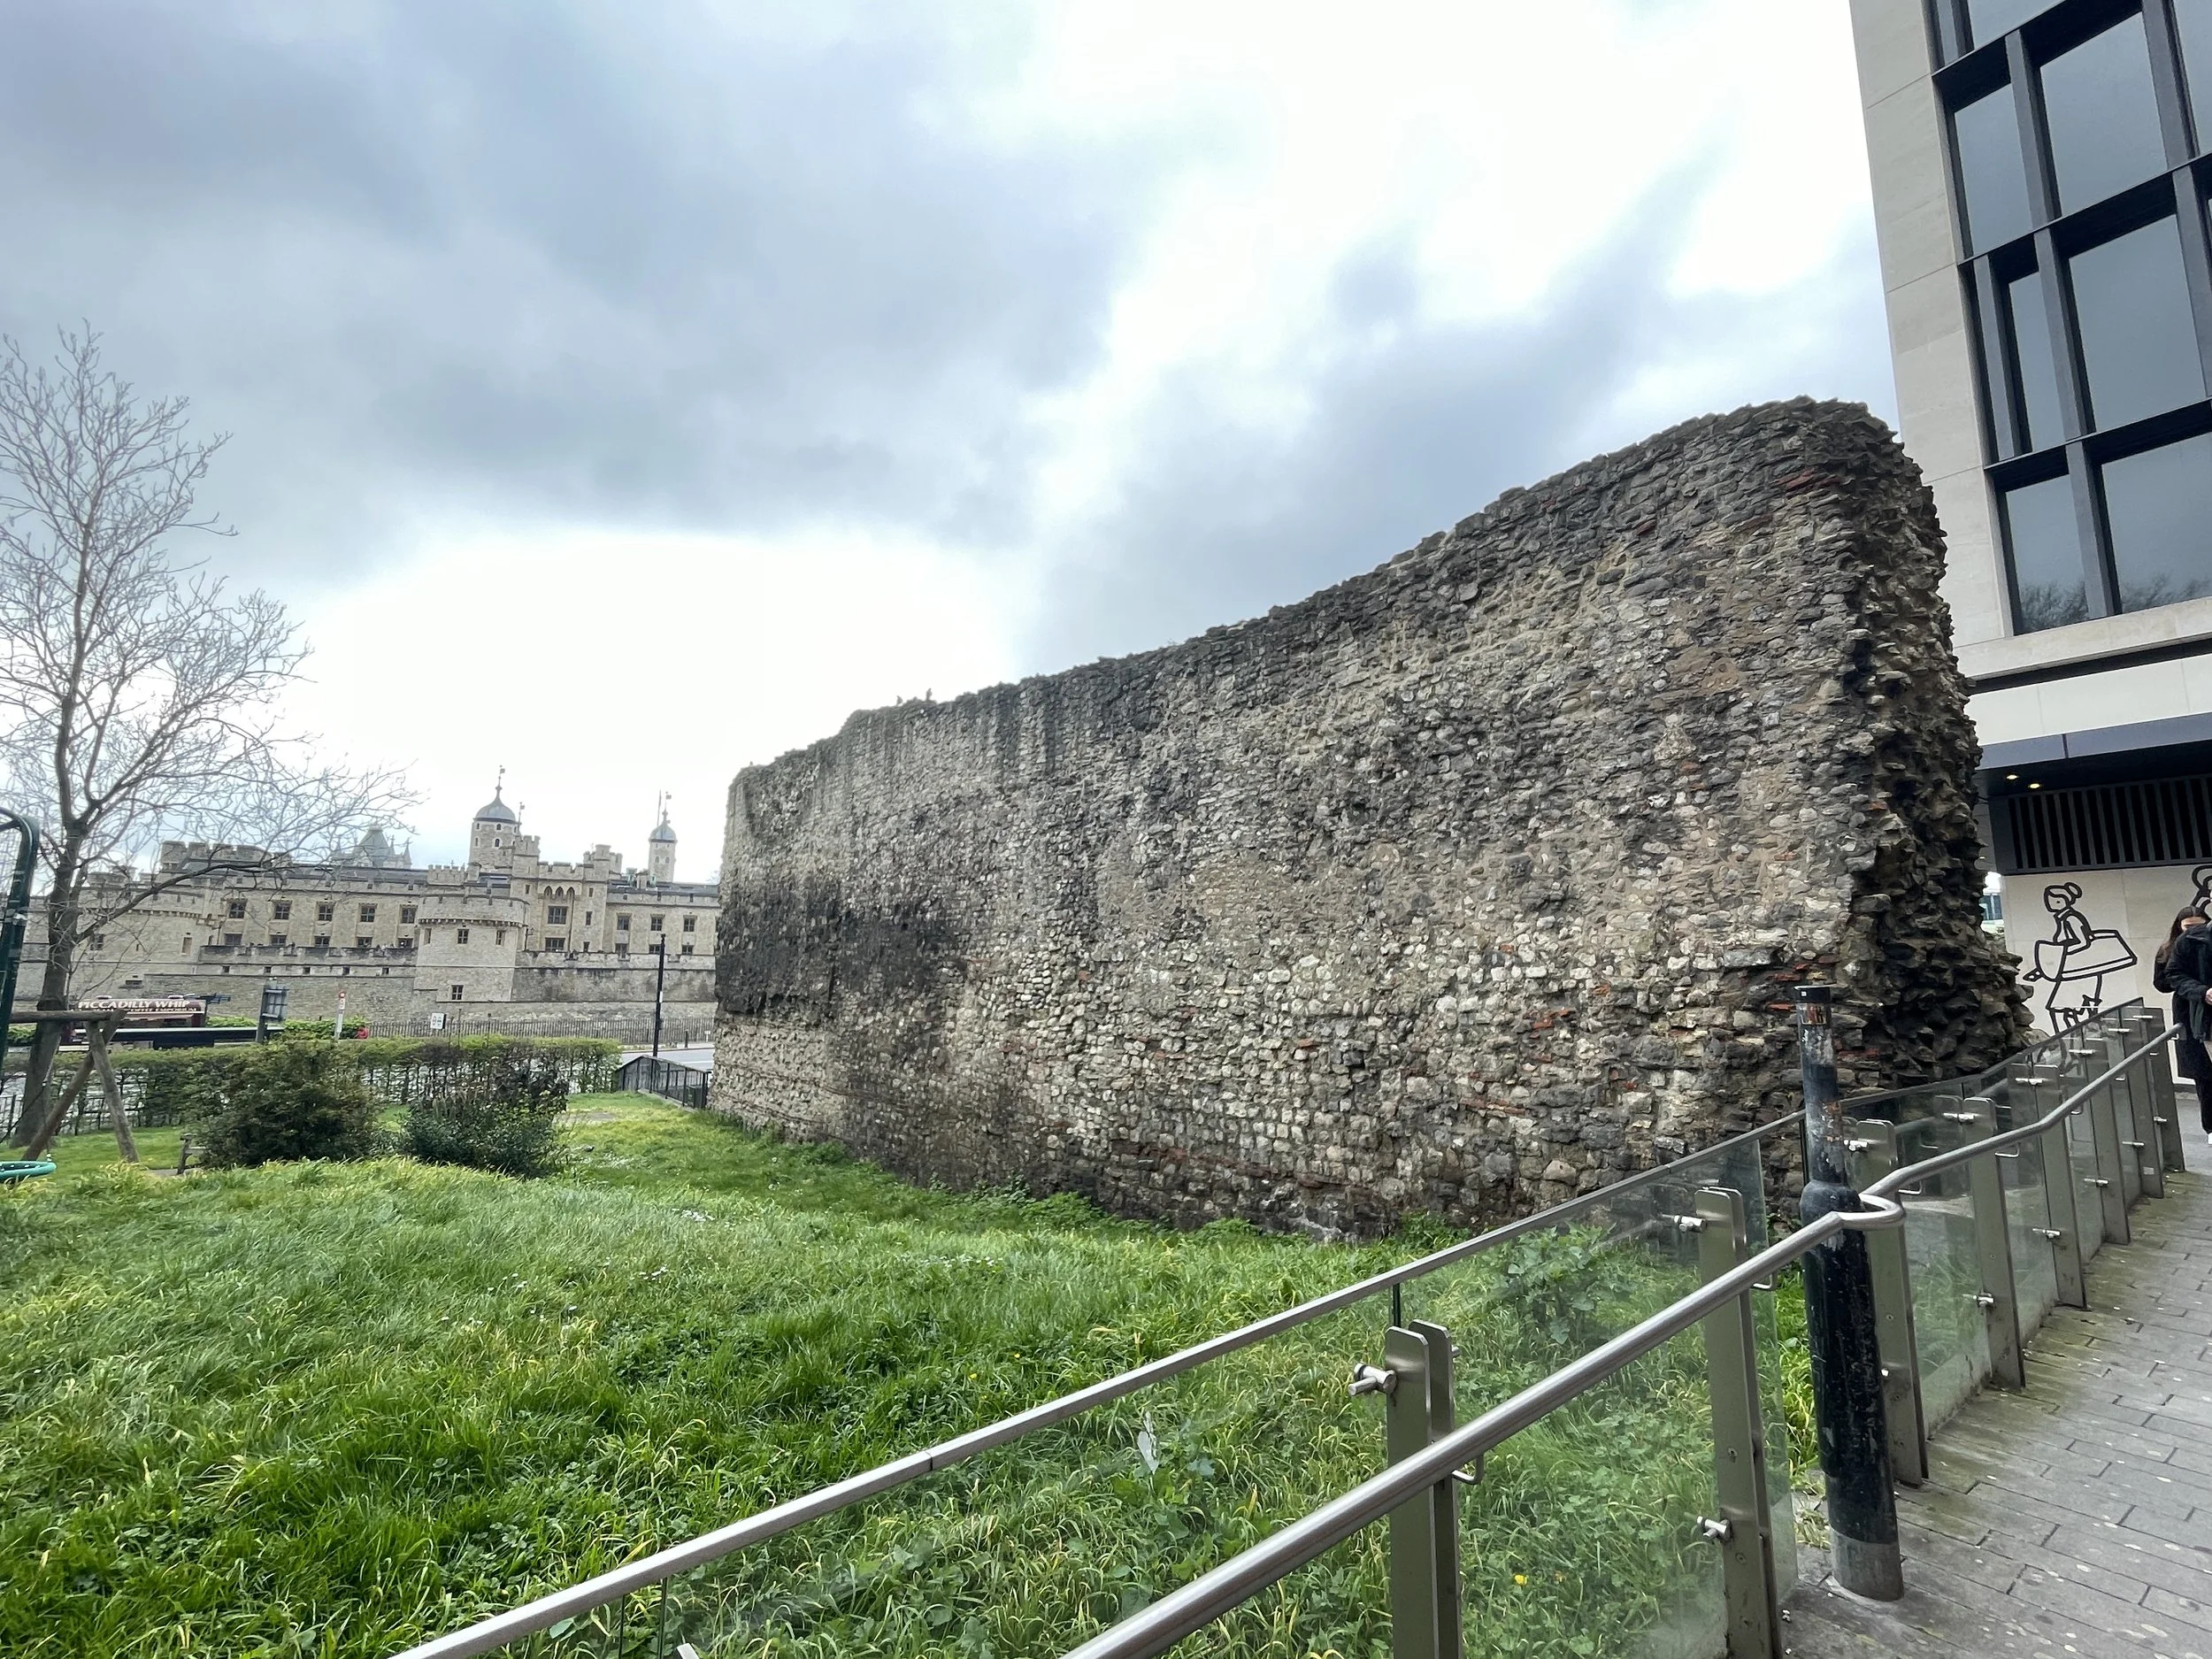
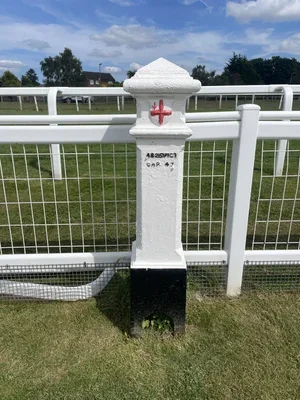
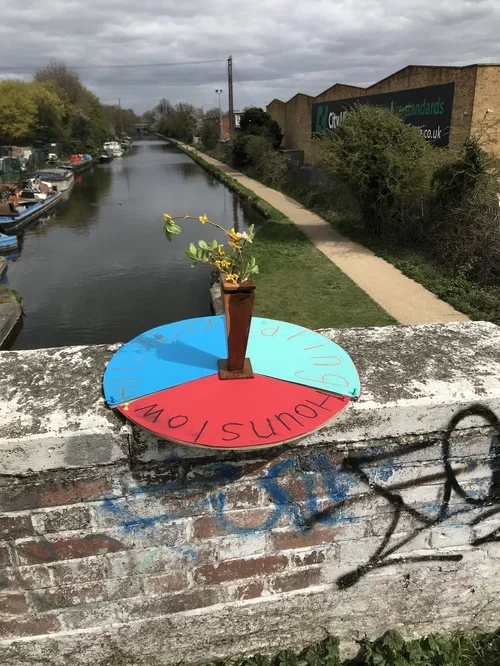
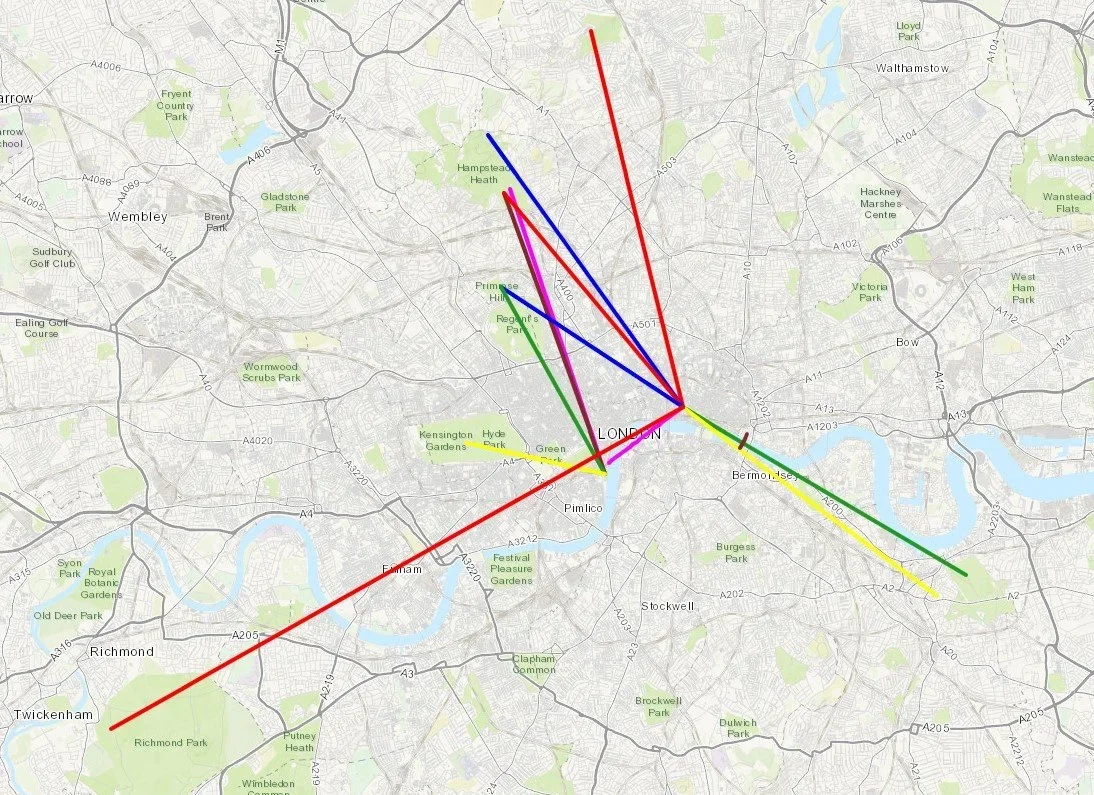
Walking in London
Exploring on foot is one of the best ways to uncover the hidden details of the capital. This section brings together a variety of walking routes across the city, from short urban strolls through central neighbourhoods to much longer trails connecting the outer boroughs.
It is not just about the distance covered, either: these walks also take in a wide variety of fascinating places. Whether your route passes by historic National Trust properties, takes in the Royal Parks or other green spaces, these posts will guide you through the diverse landmarks that make navigating the city so rewarding.
Scroll down for a separate section on walks along London’s Waterways.
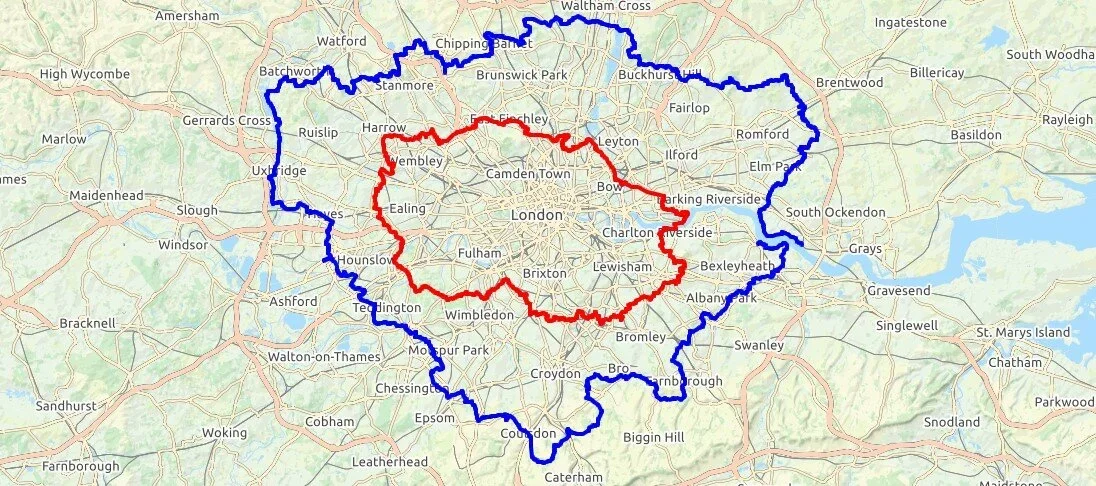
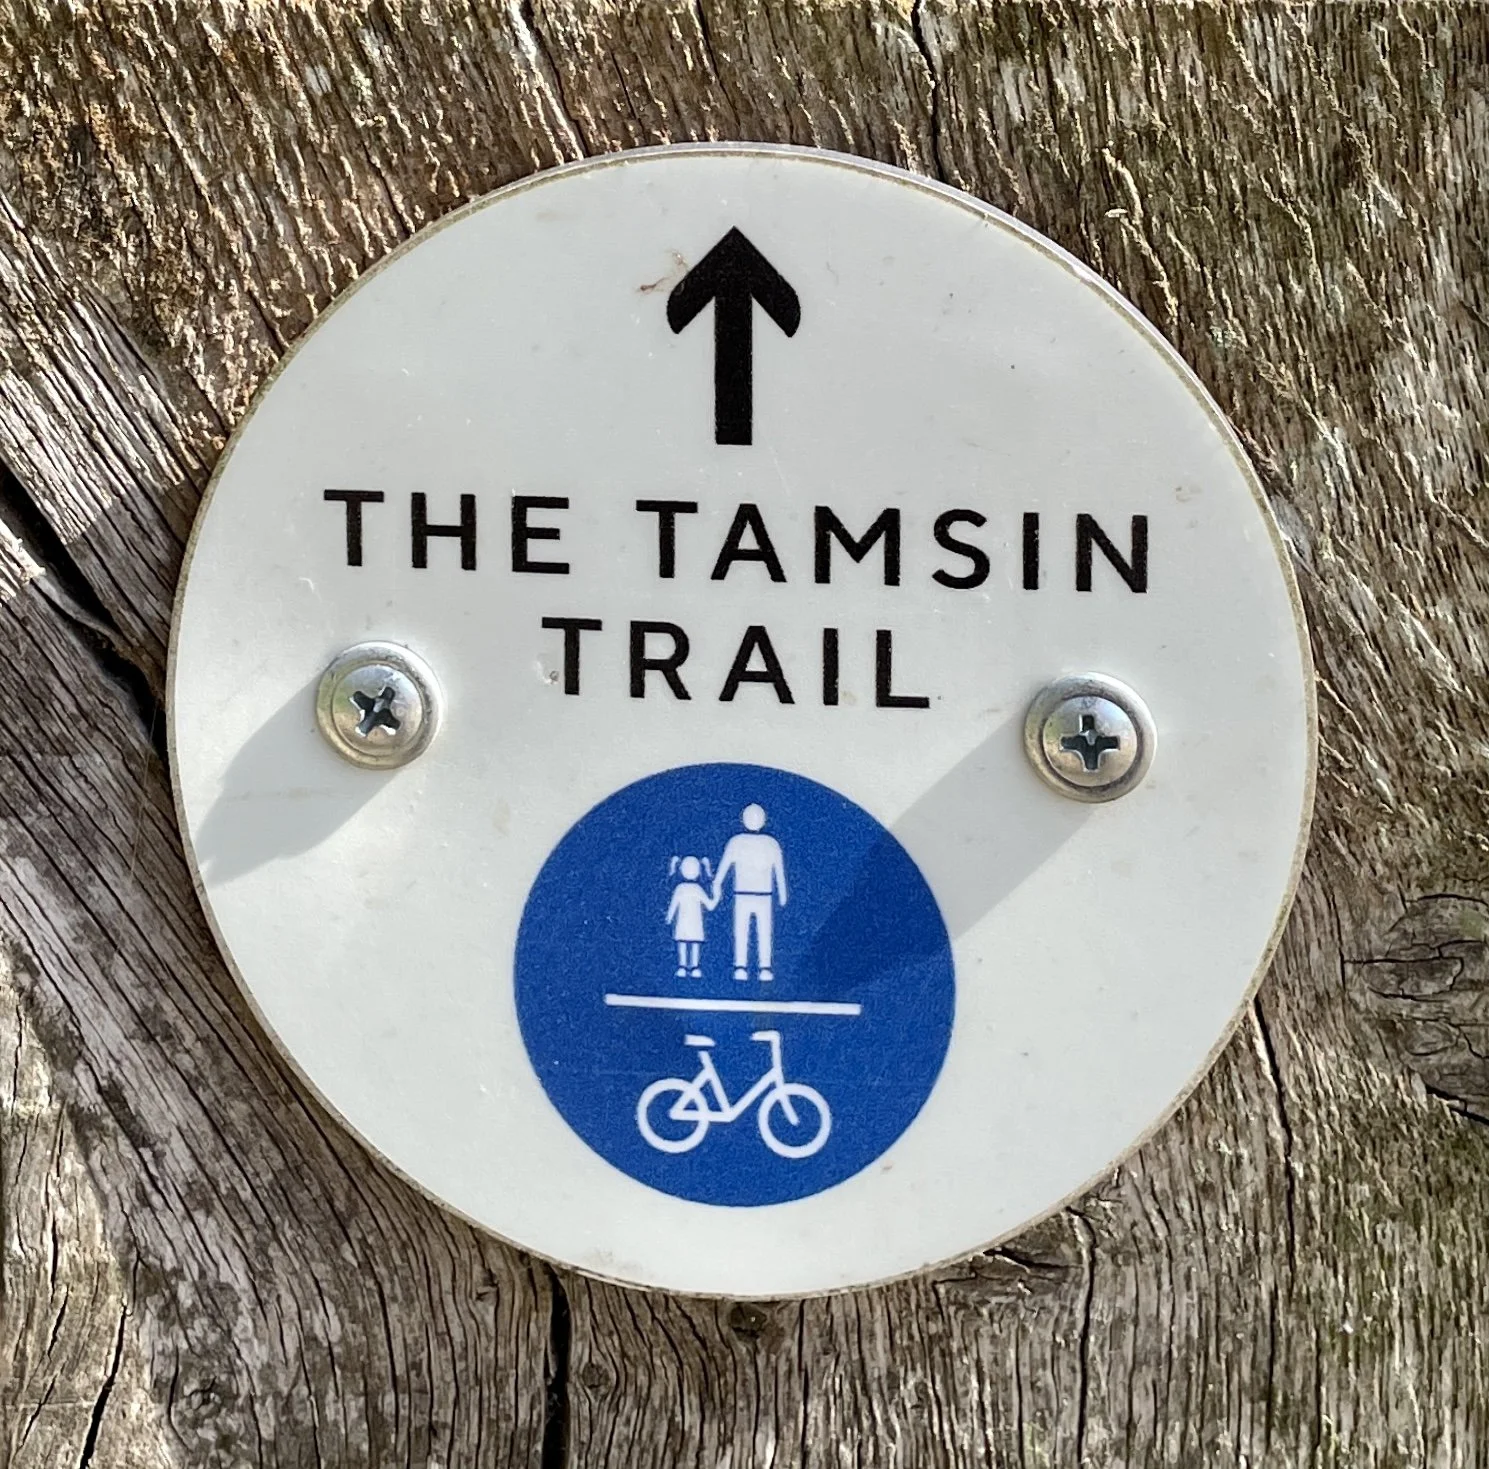
London High Points
For those who like a good view or a geographical challenge, this collection focuses on the highest spots across the city. From standing at the specific peaks of every London Borough to tracking down Greater London OS Trig Pillars, there is plenty of elevation to seek out.
Whether you are aiming for the Middlesex County Top at Bushey Heath or uncovering the City of London High Point at High Holborn, these posts will guide you to the summits hidden within the urban landscape.
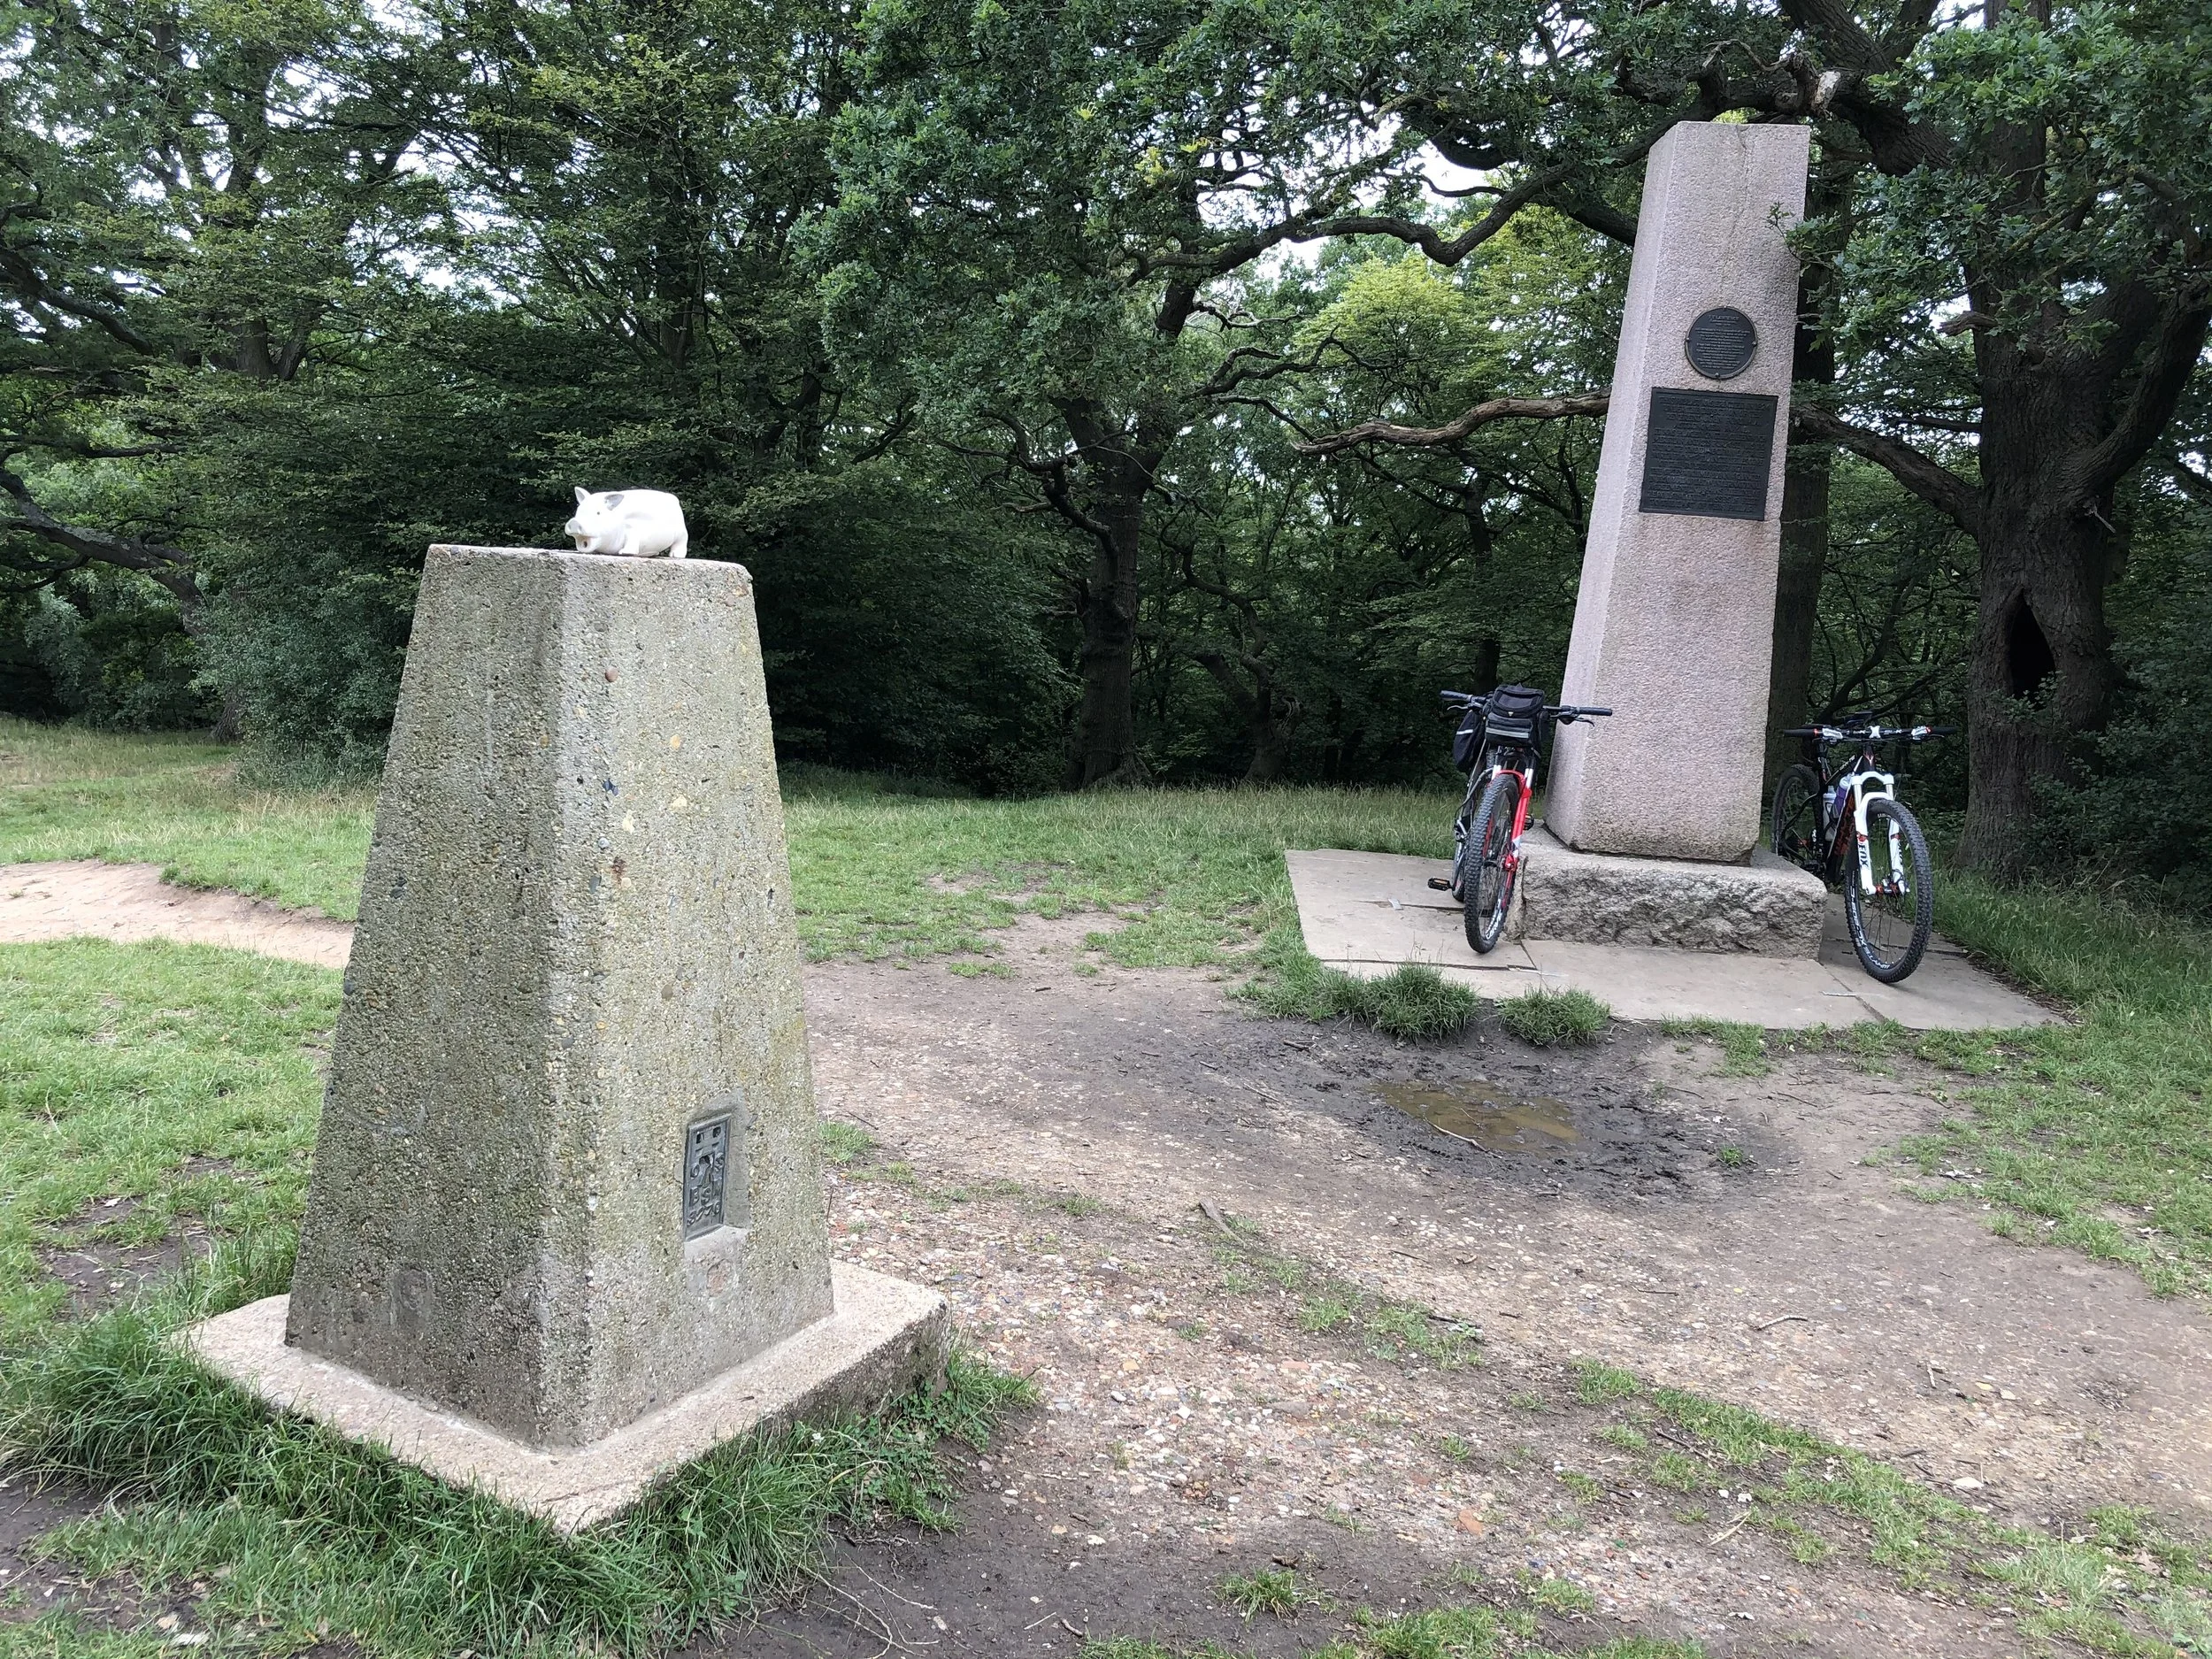
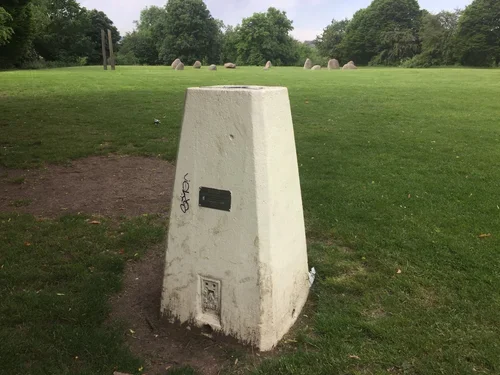
London’s Rivers and Waterways
London is defined by its waterways, and walking their paths reveals a calmer side to the busy city. This section covers relaxing strolls along the River Wandle Trail and the River Brent Path, as well as tracing the fascinating historic route of the River Fleet.
If you prefer towpaths, you will also find my guides to navigating the Regent's Canal, the Limehouse Cut, and the Hertford Union Canal. These waterside routes are brilliant environments to explore at your own pace.
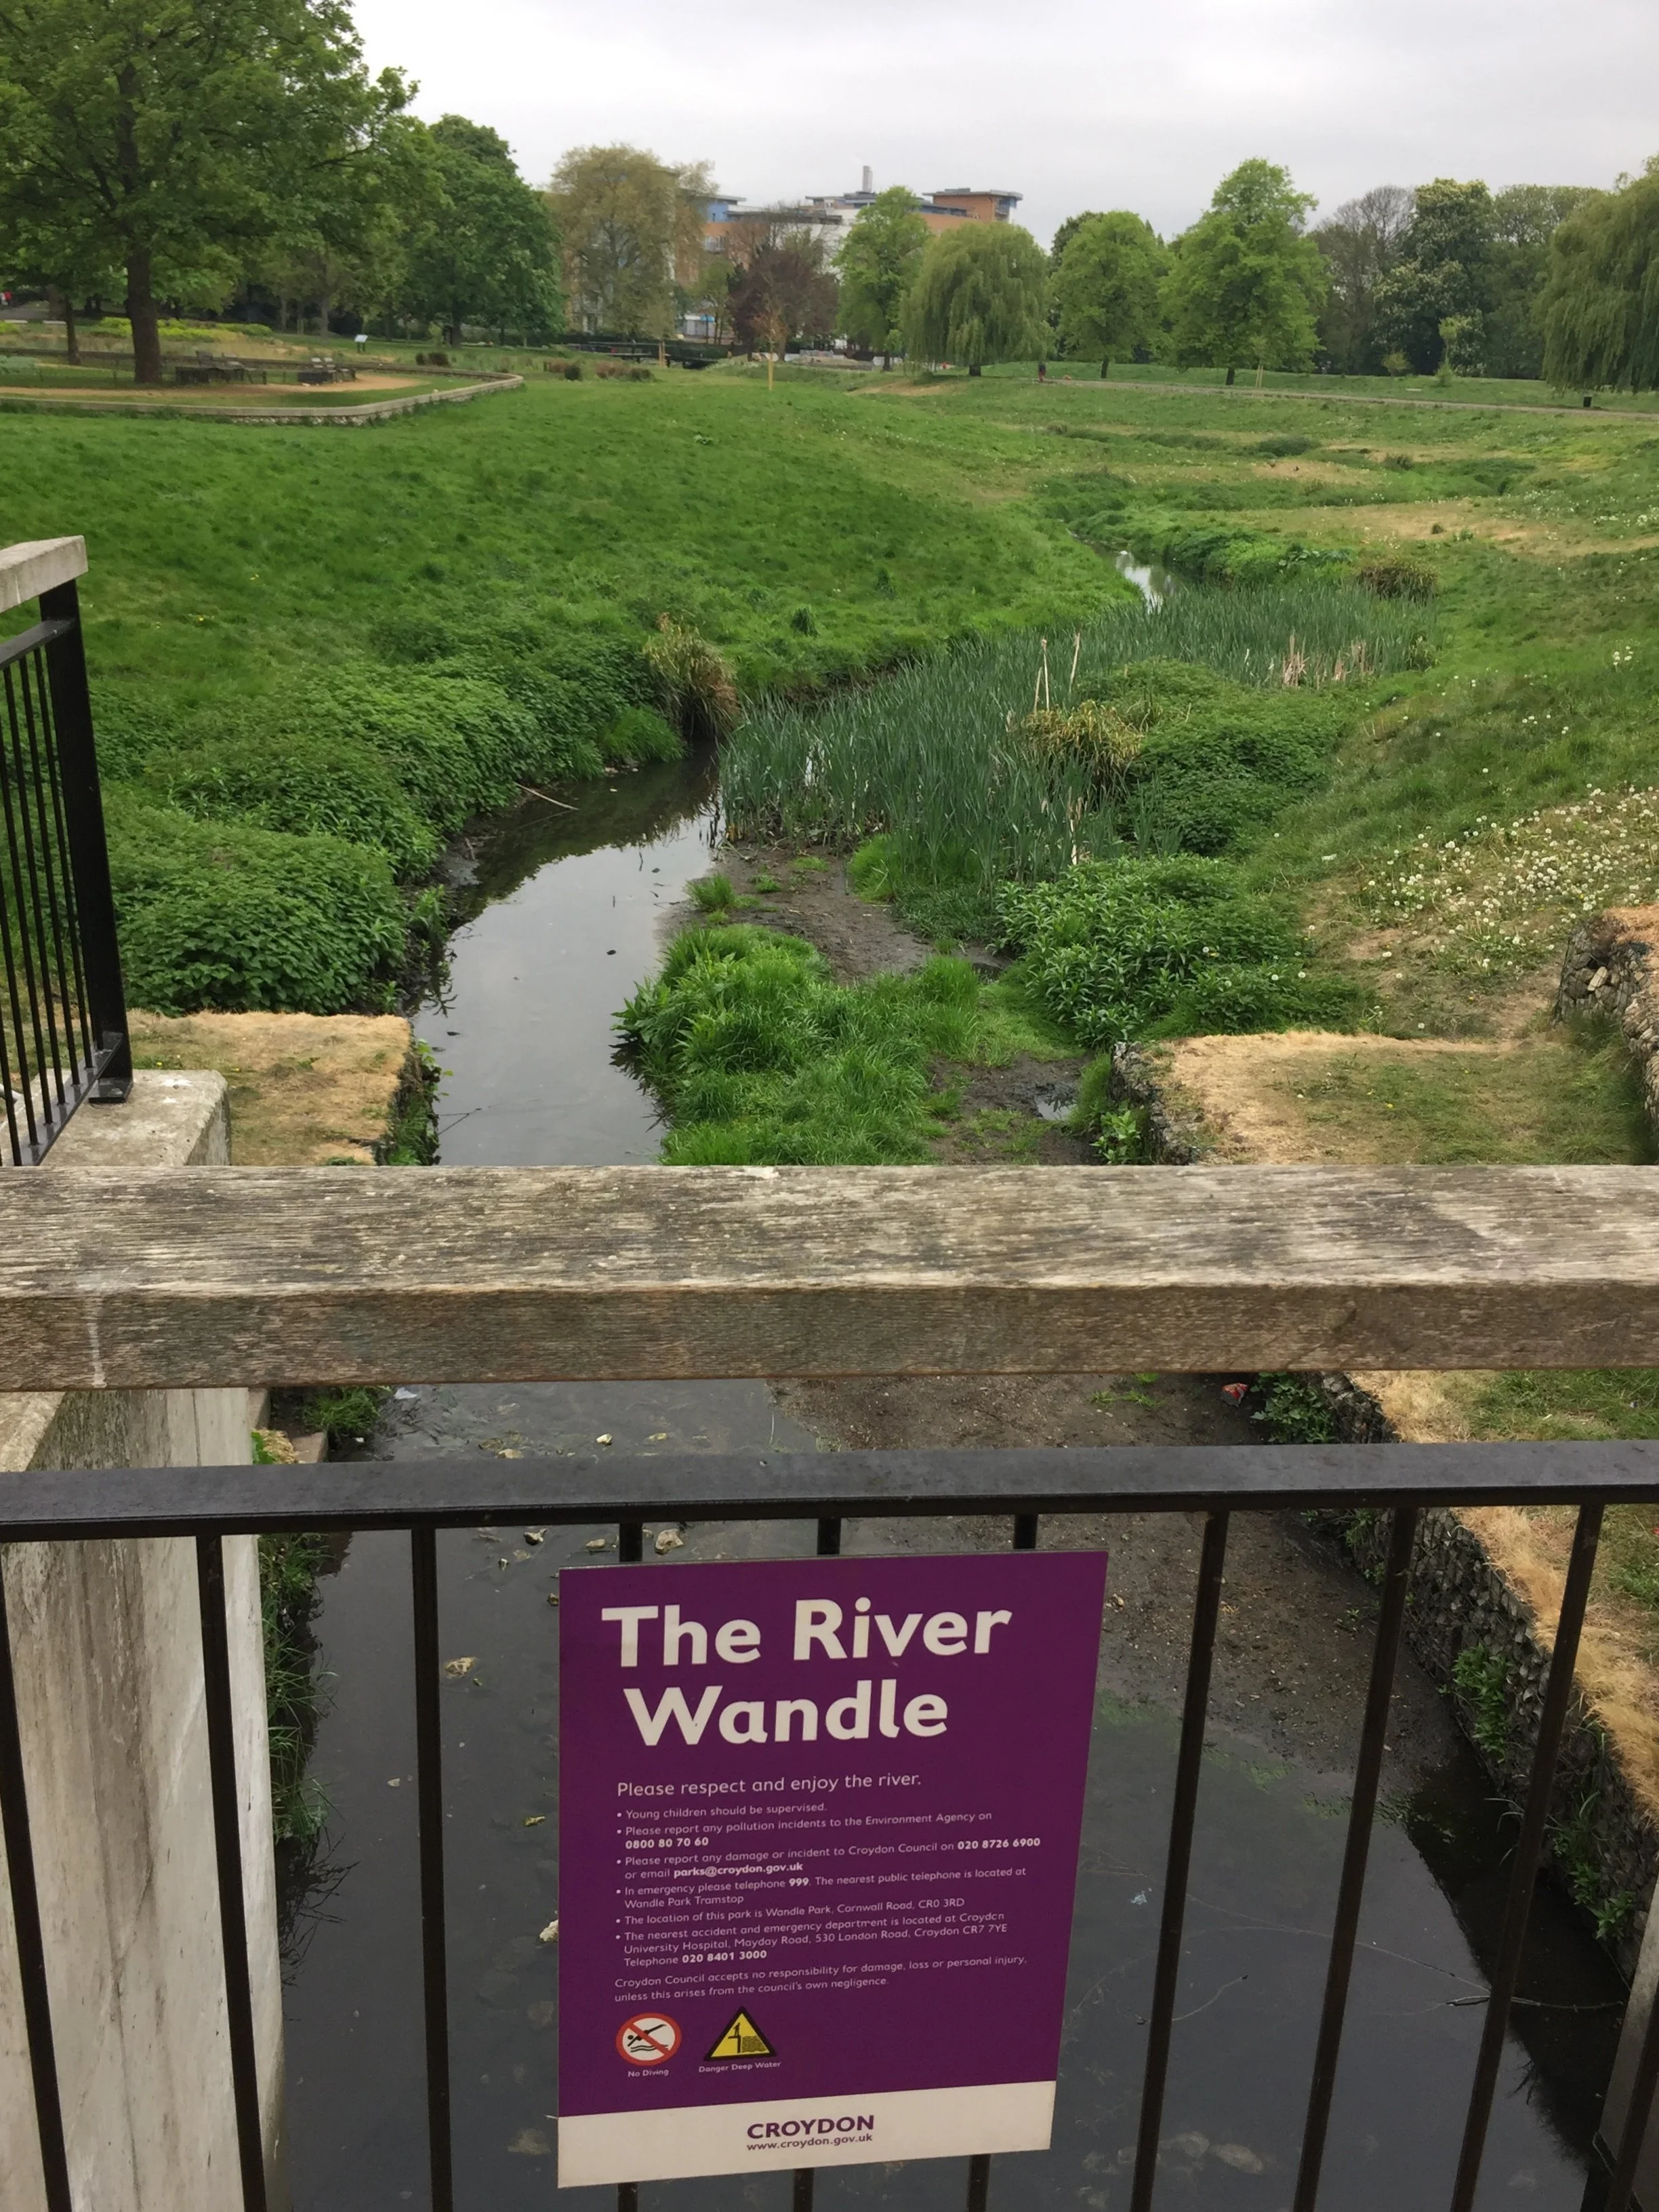
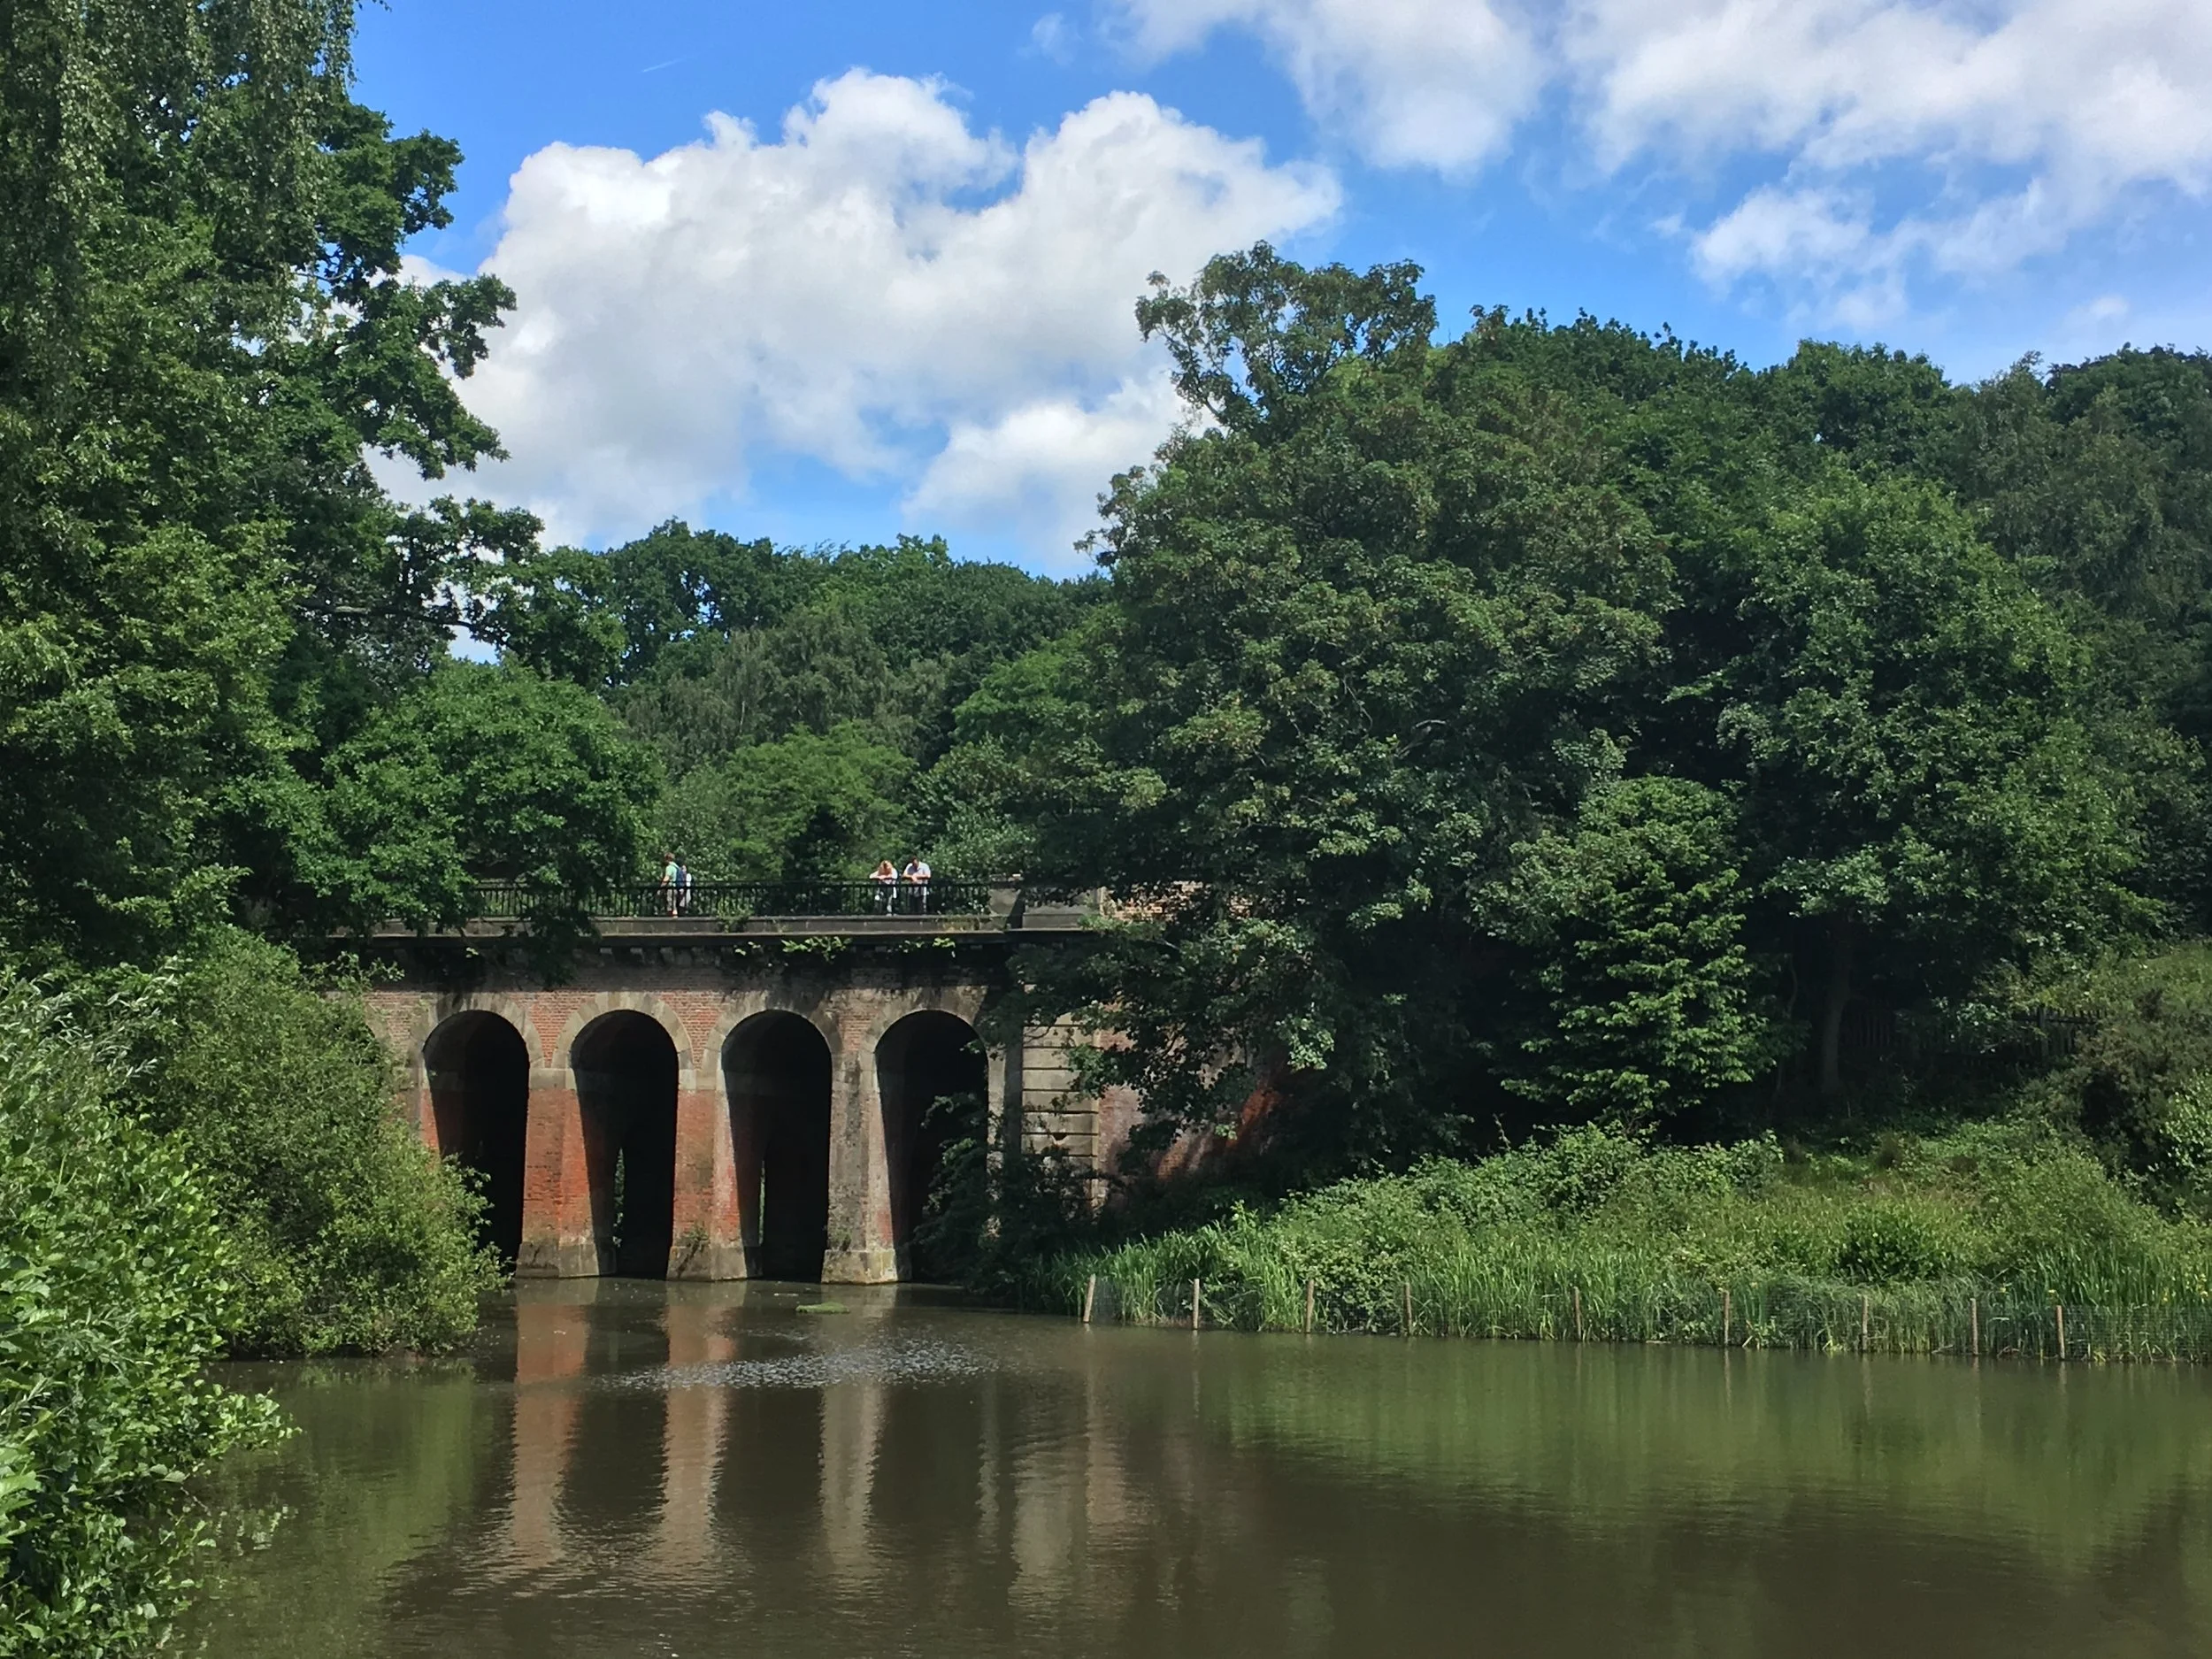
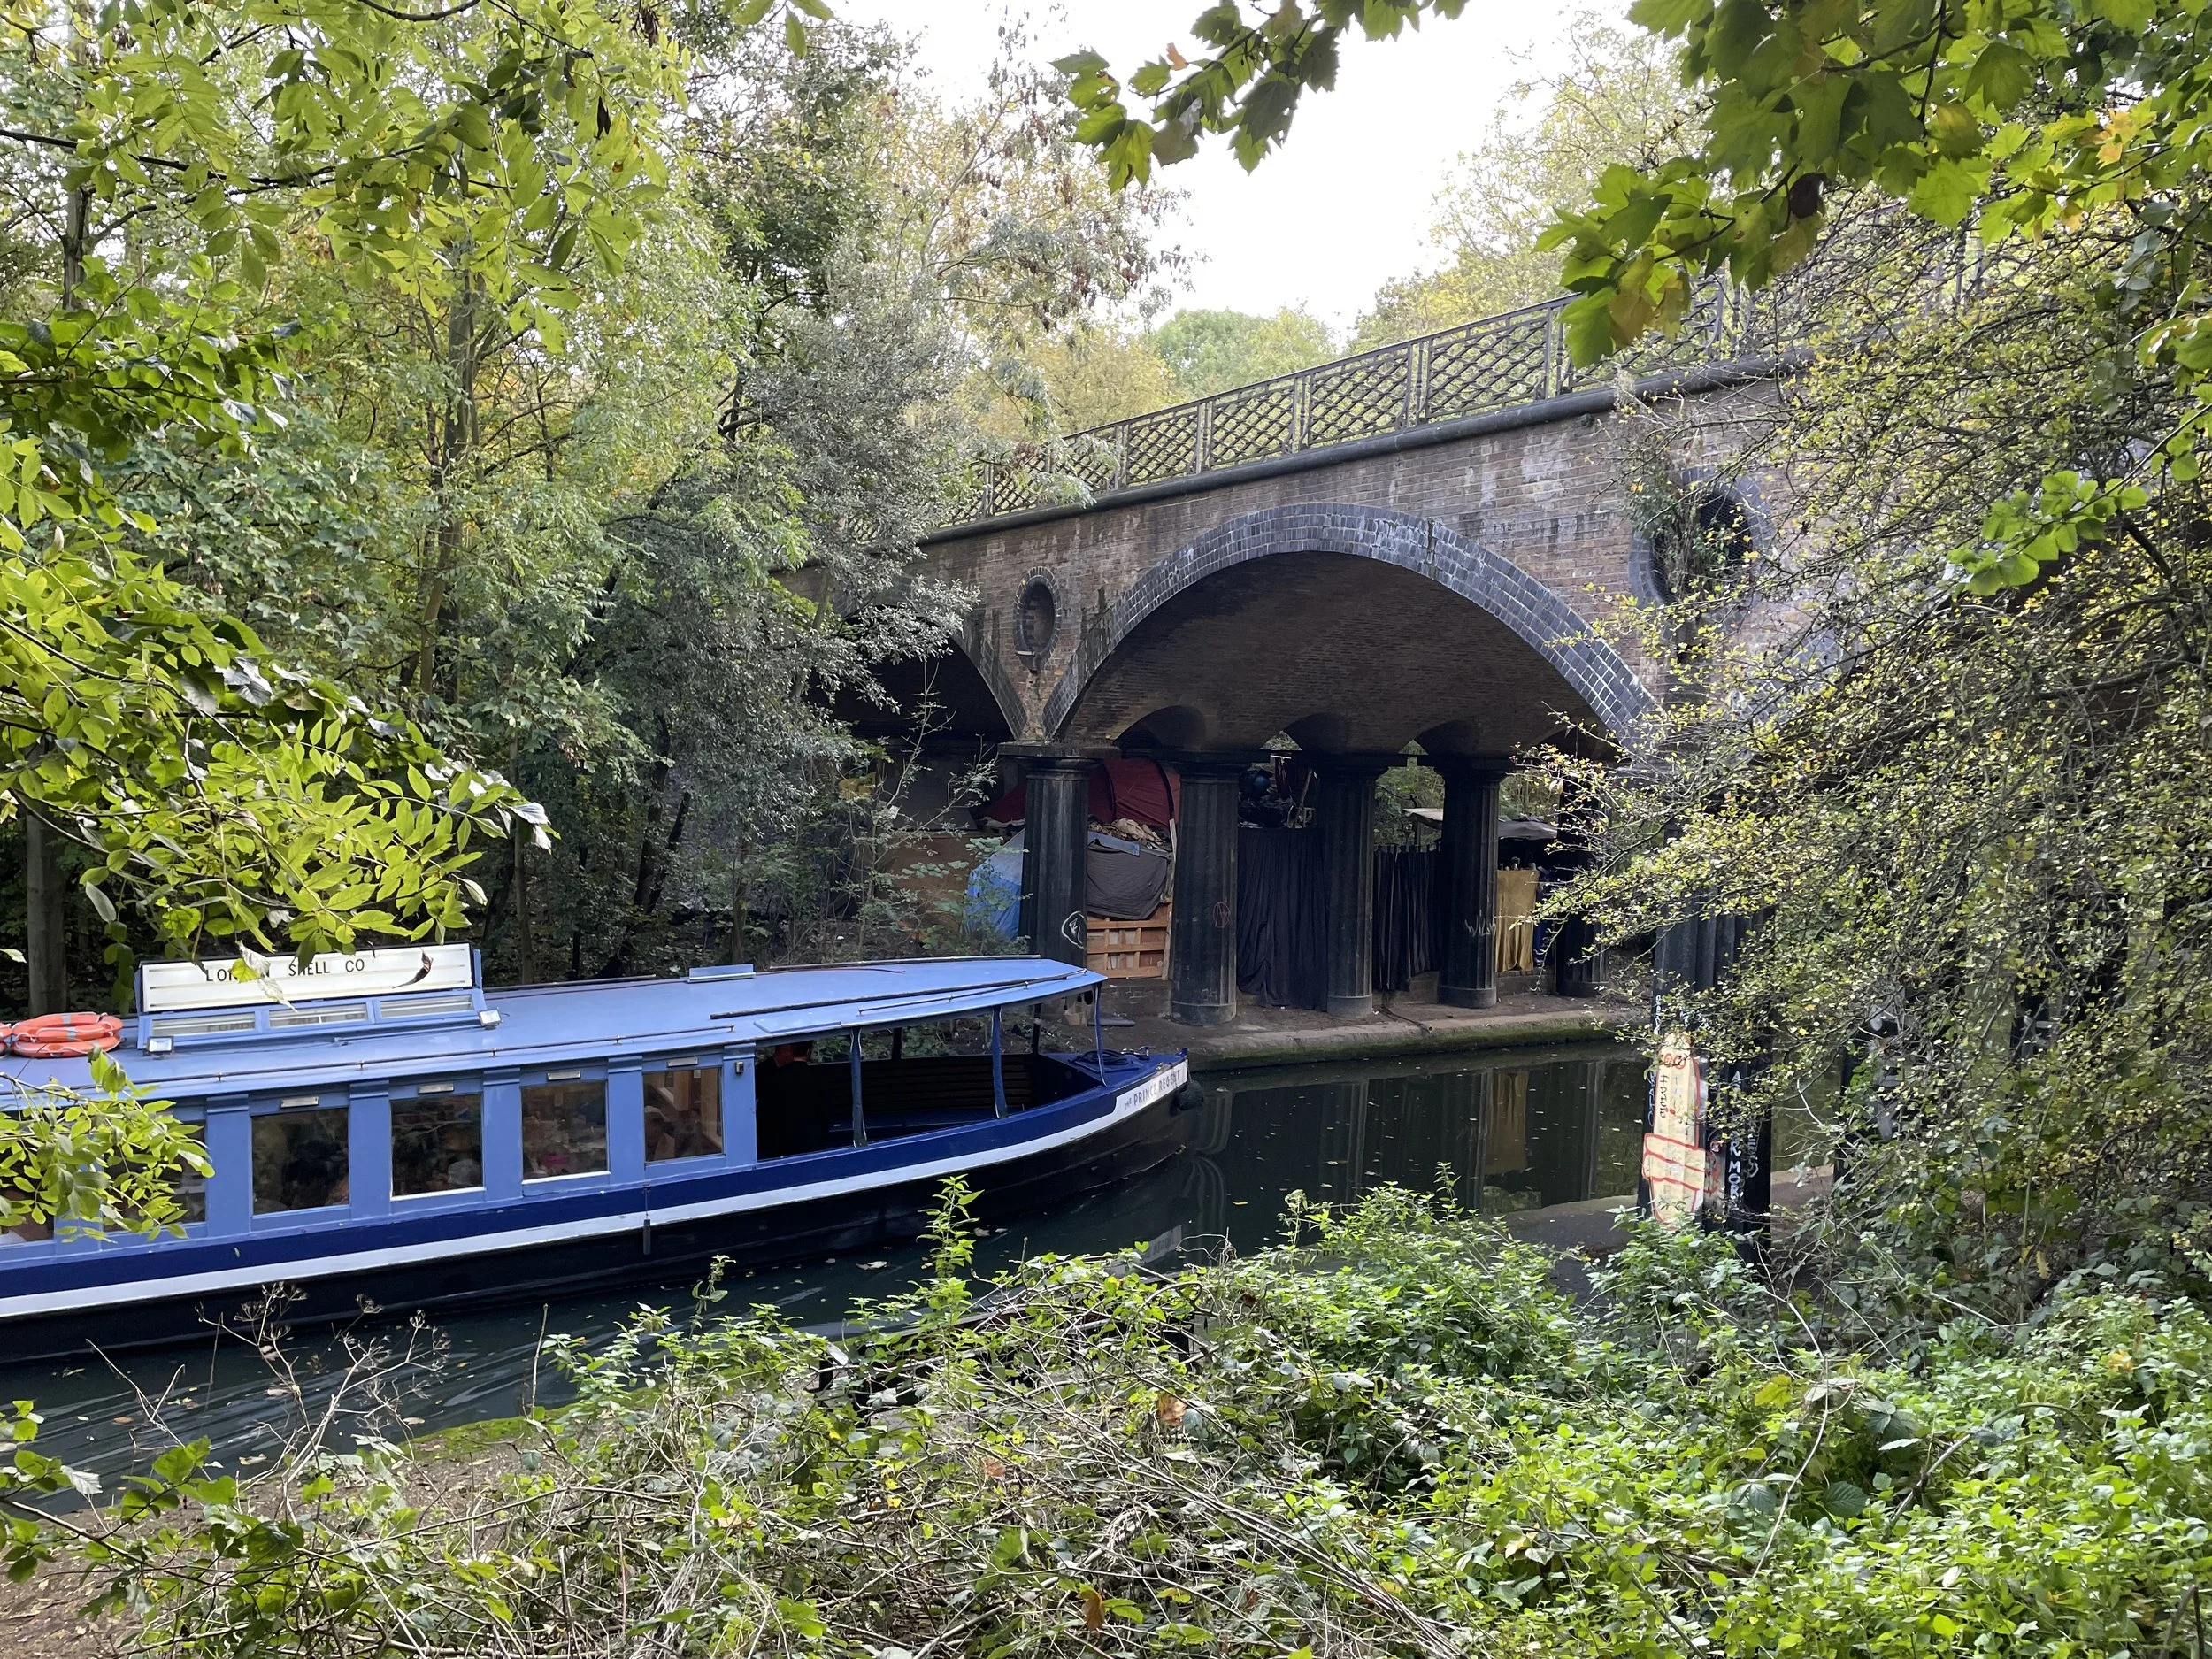
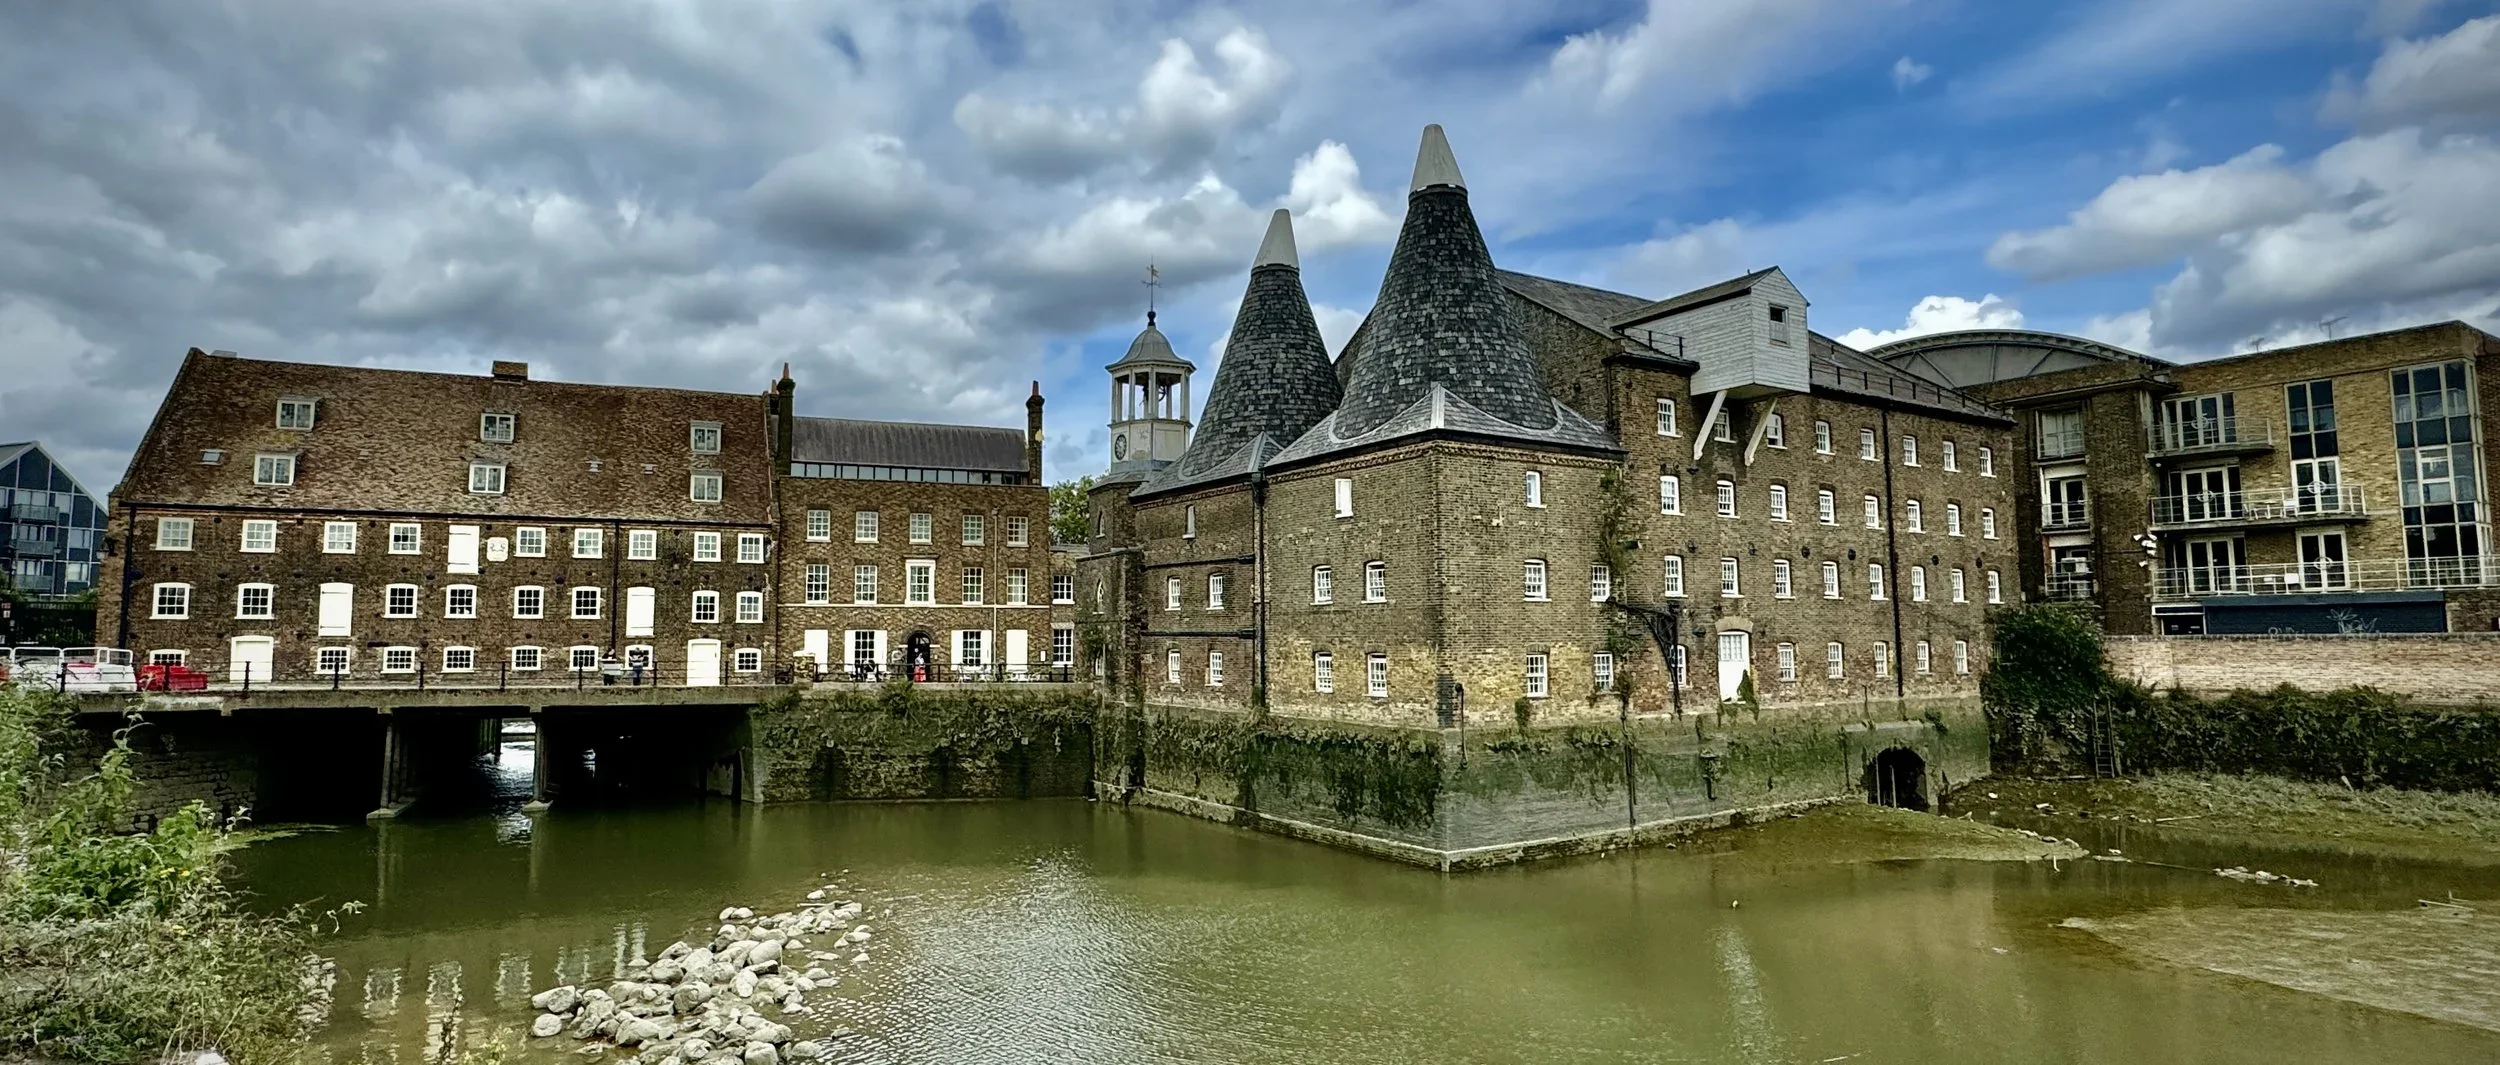
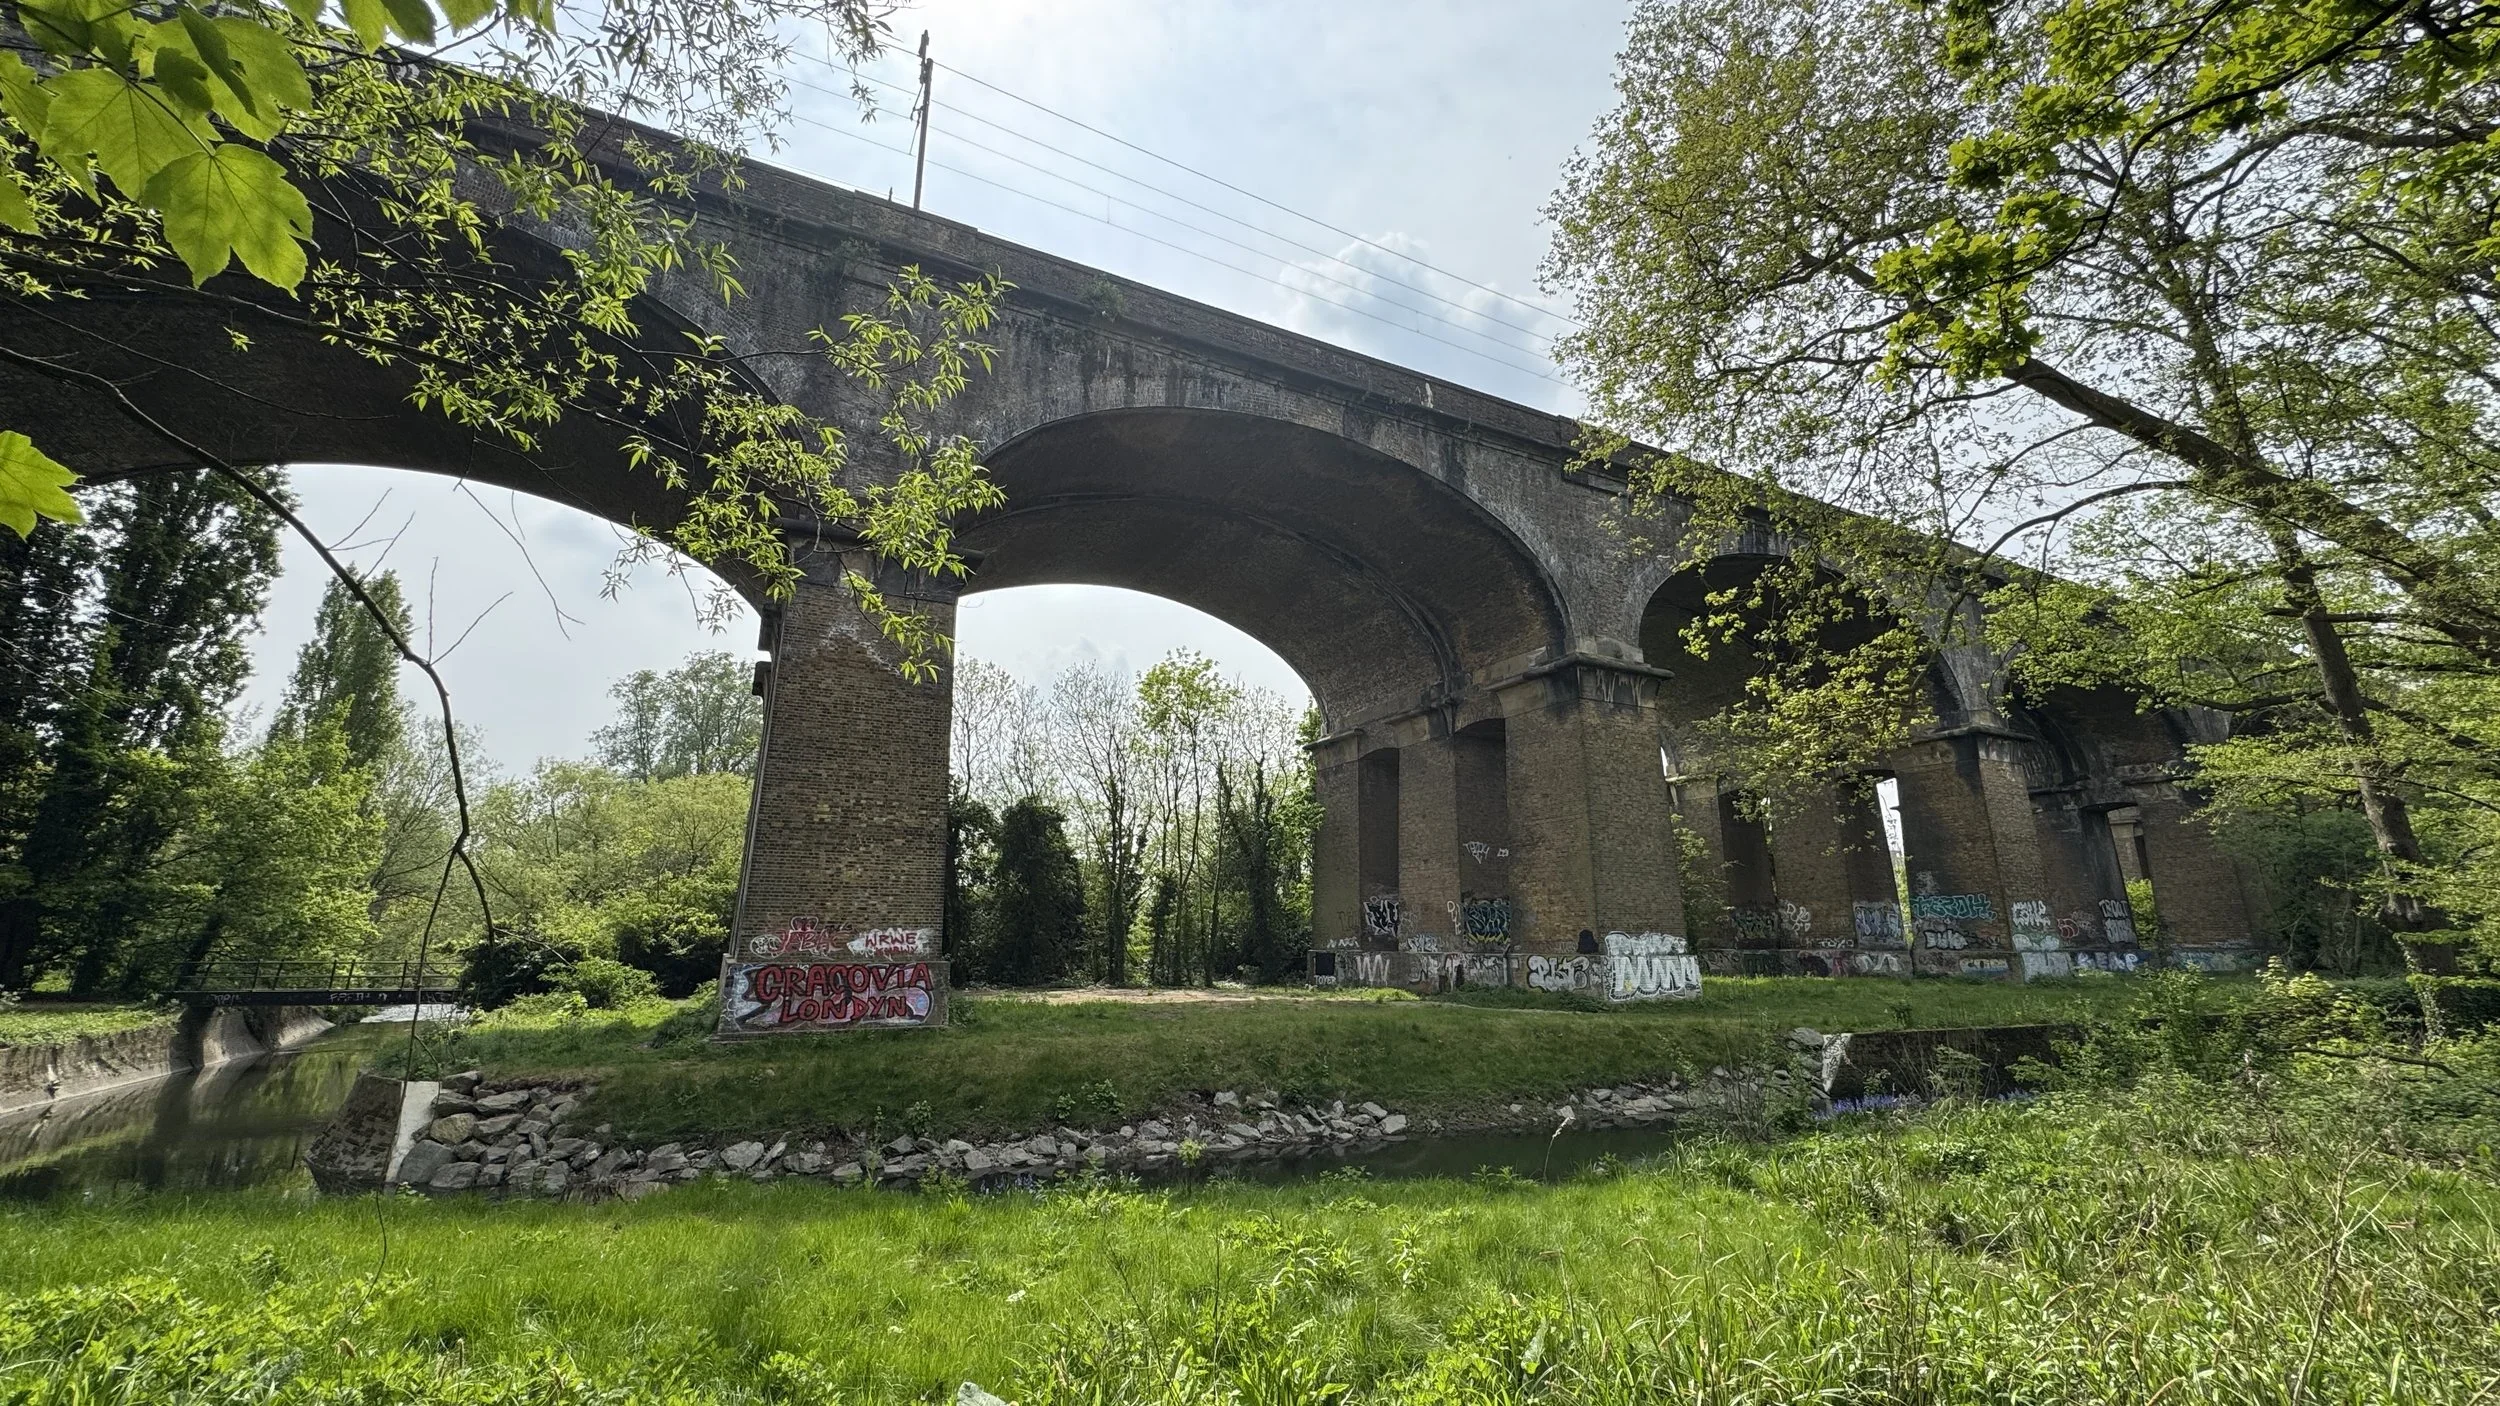
Train and Tube
Public transport networks offer some surprising opportunities for outdoor adventures. Here you can read about tracking the Elizabeth Line stations above ground and the physical challenge of running the entire Circle Line.
It is not just about active lines, either: this section also explores historic transport routes transformed into nature trails, including the Parkland Walk near Alexandra Palace and the disused railway from Uxbridge to Denham.
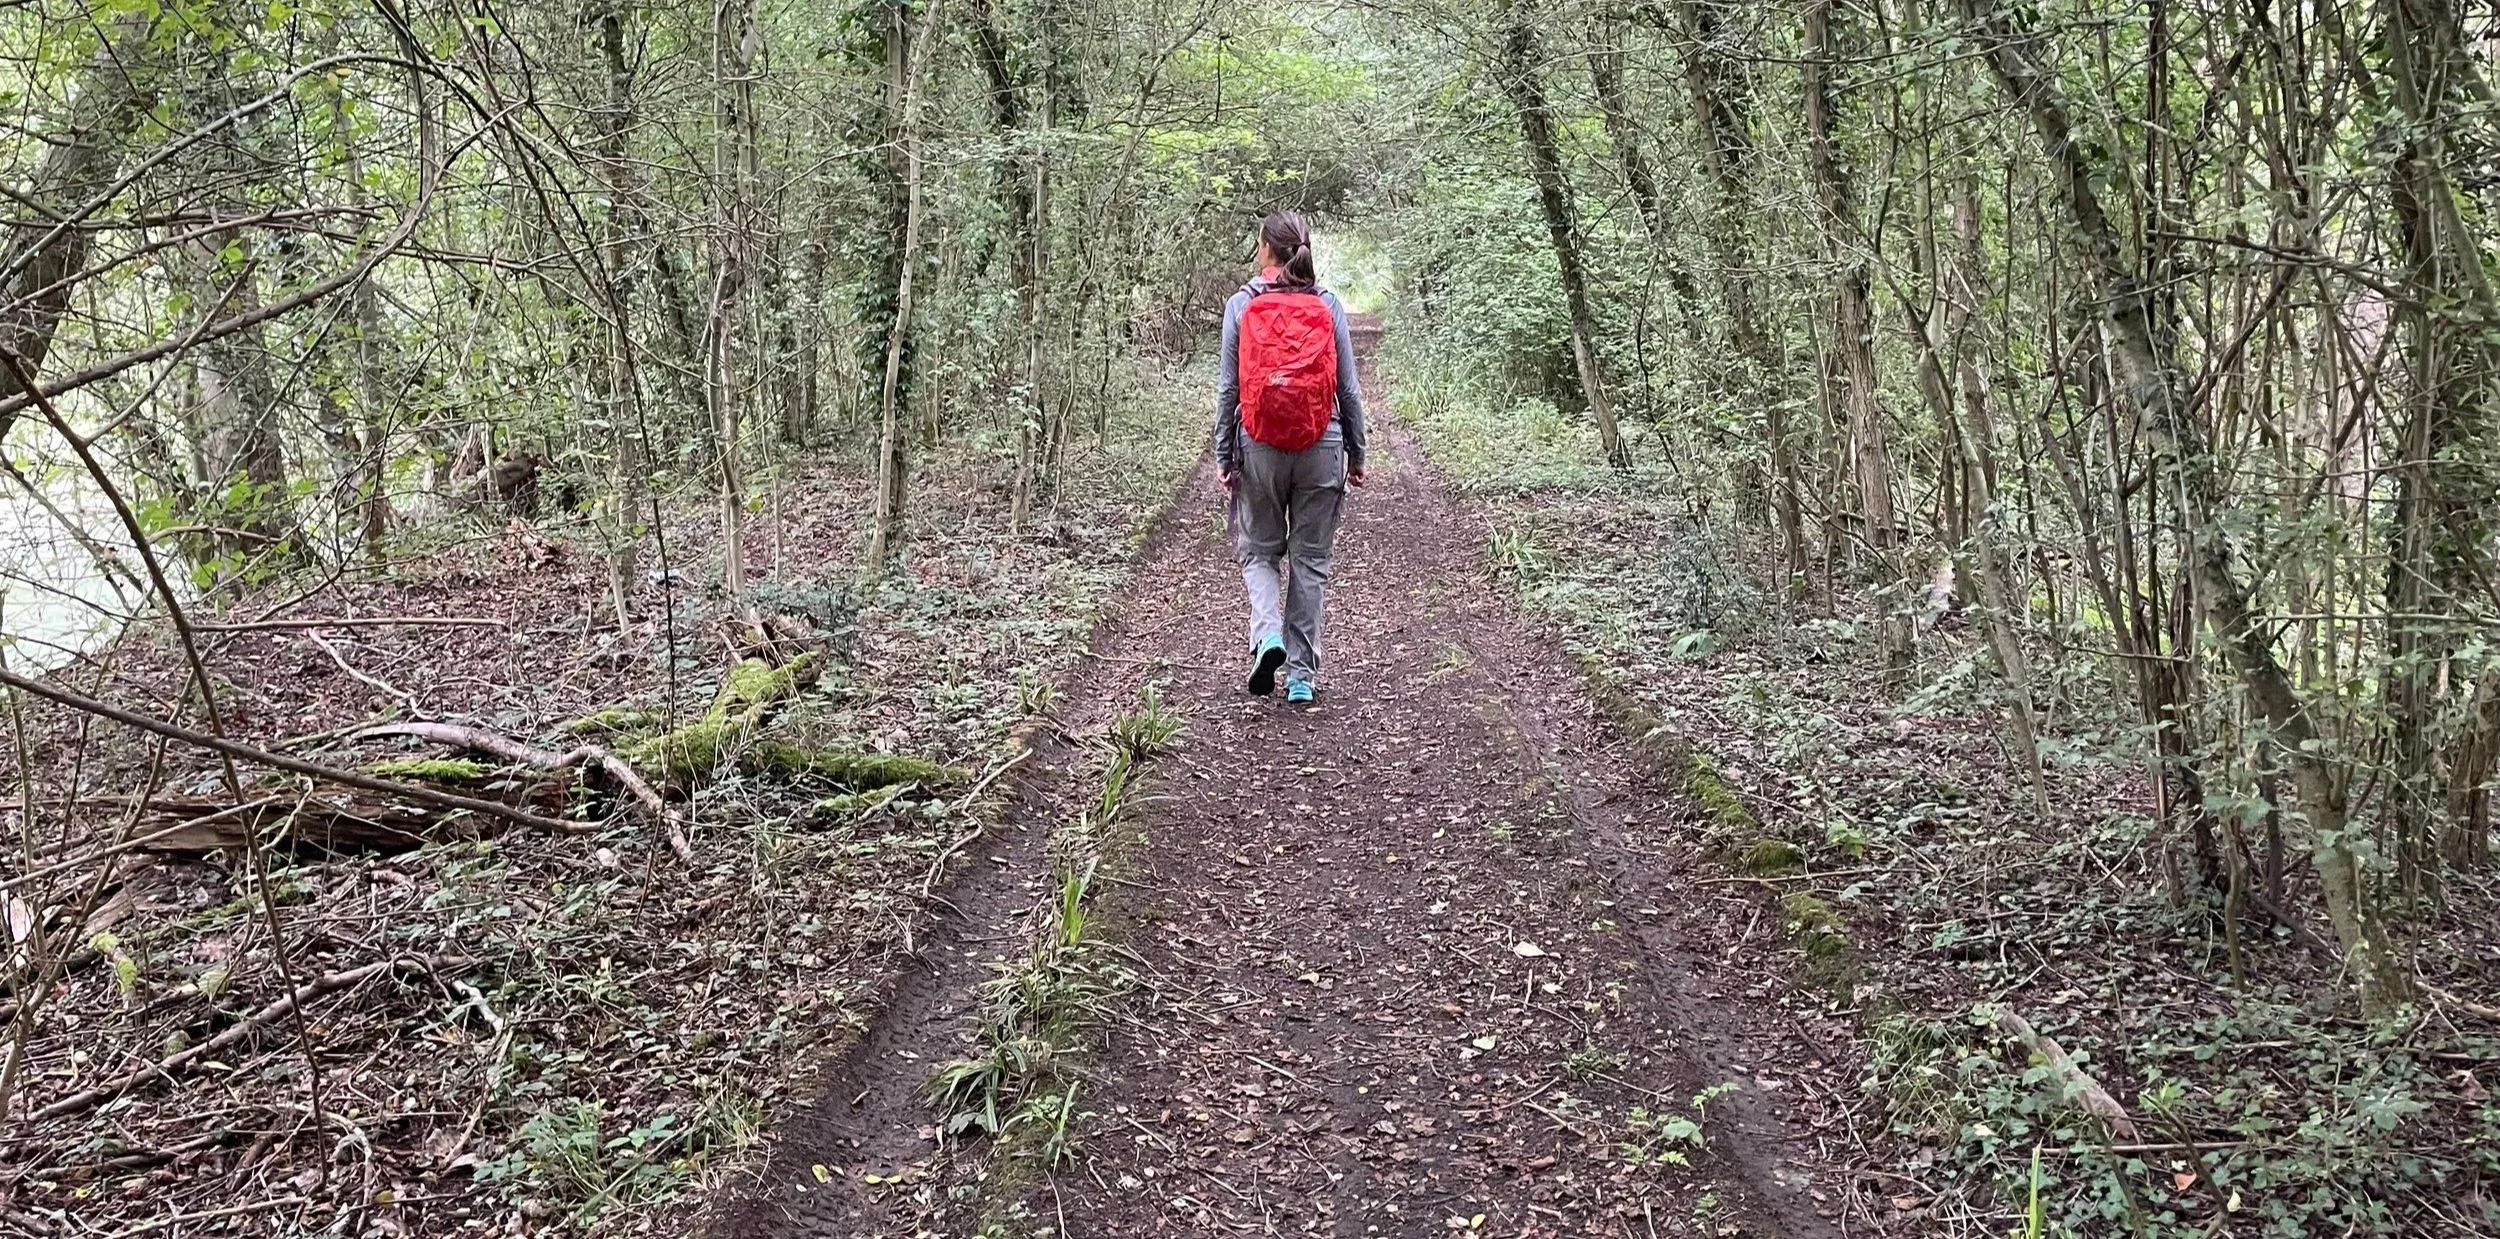
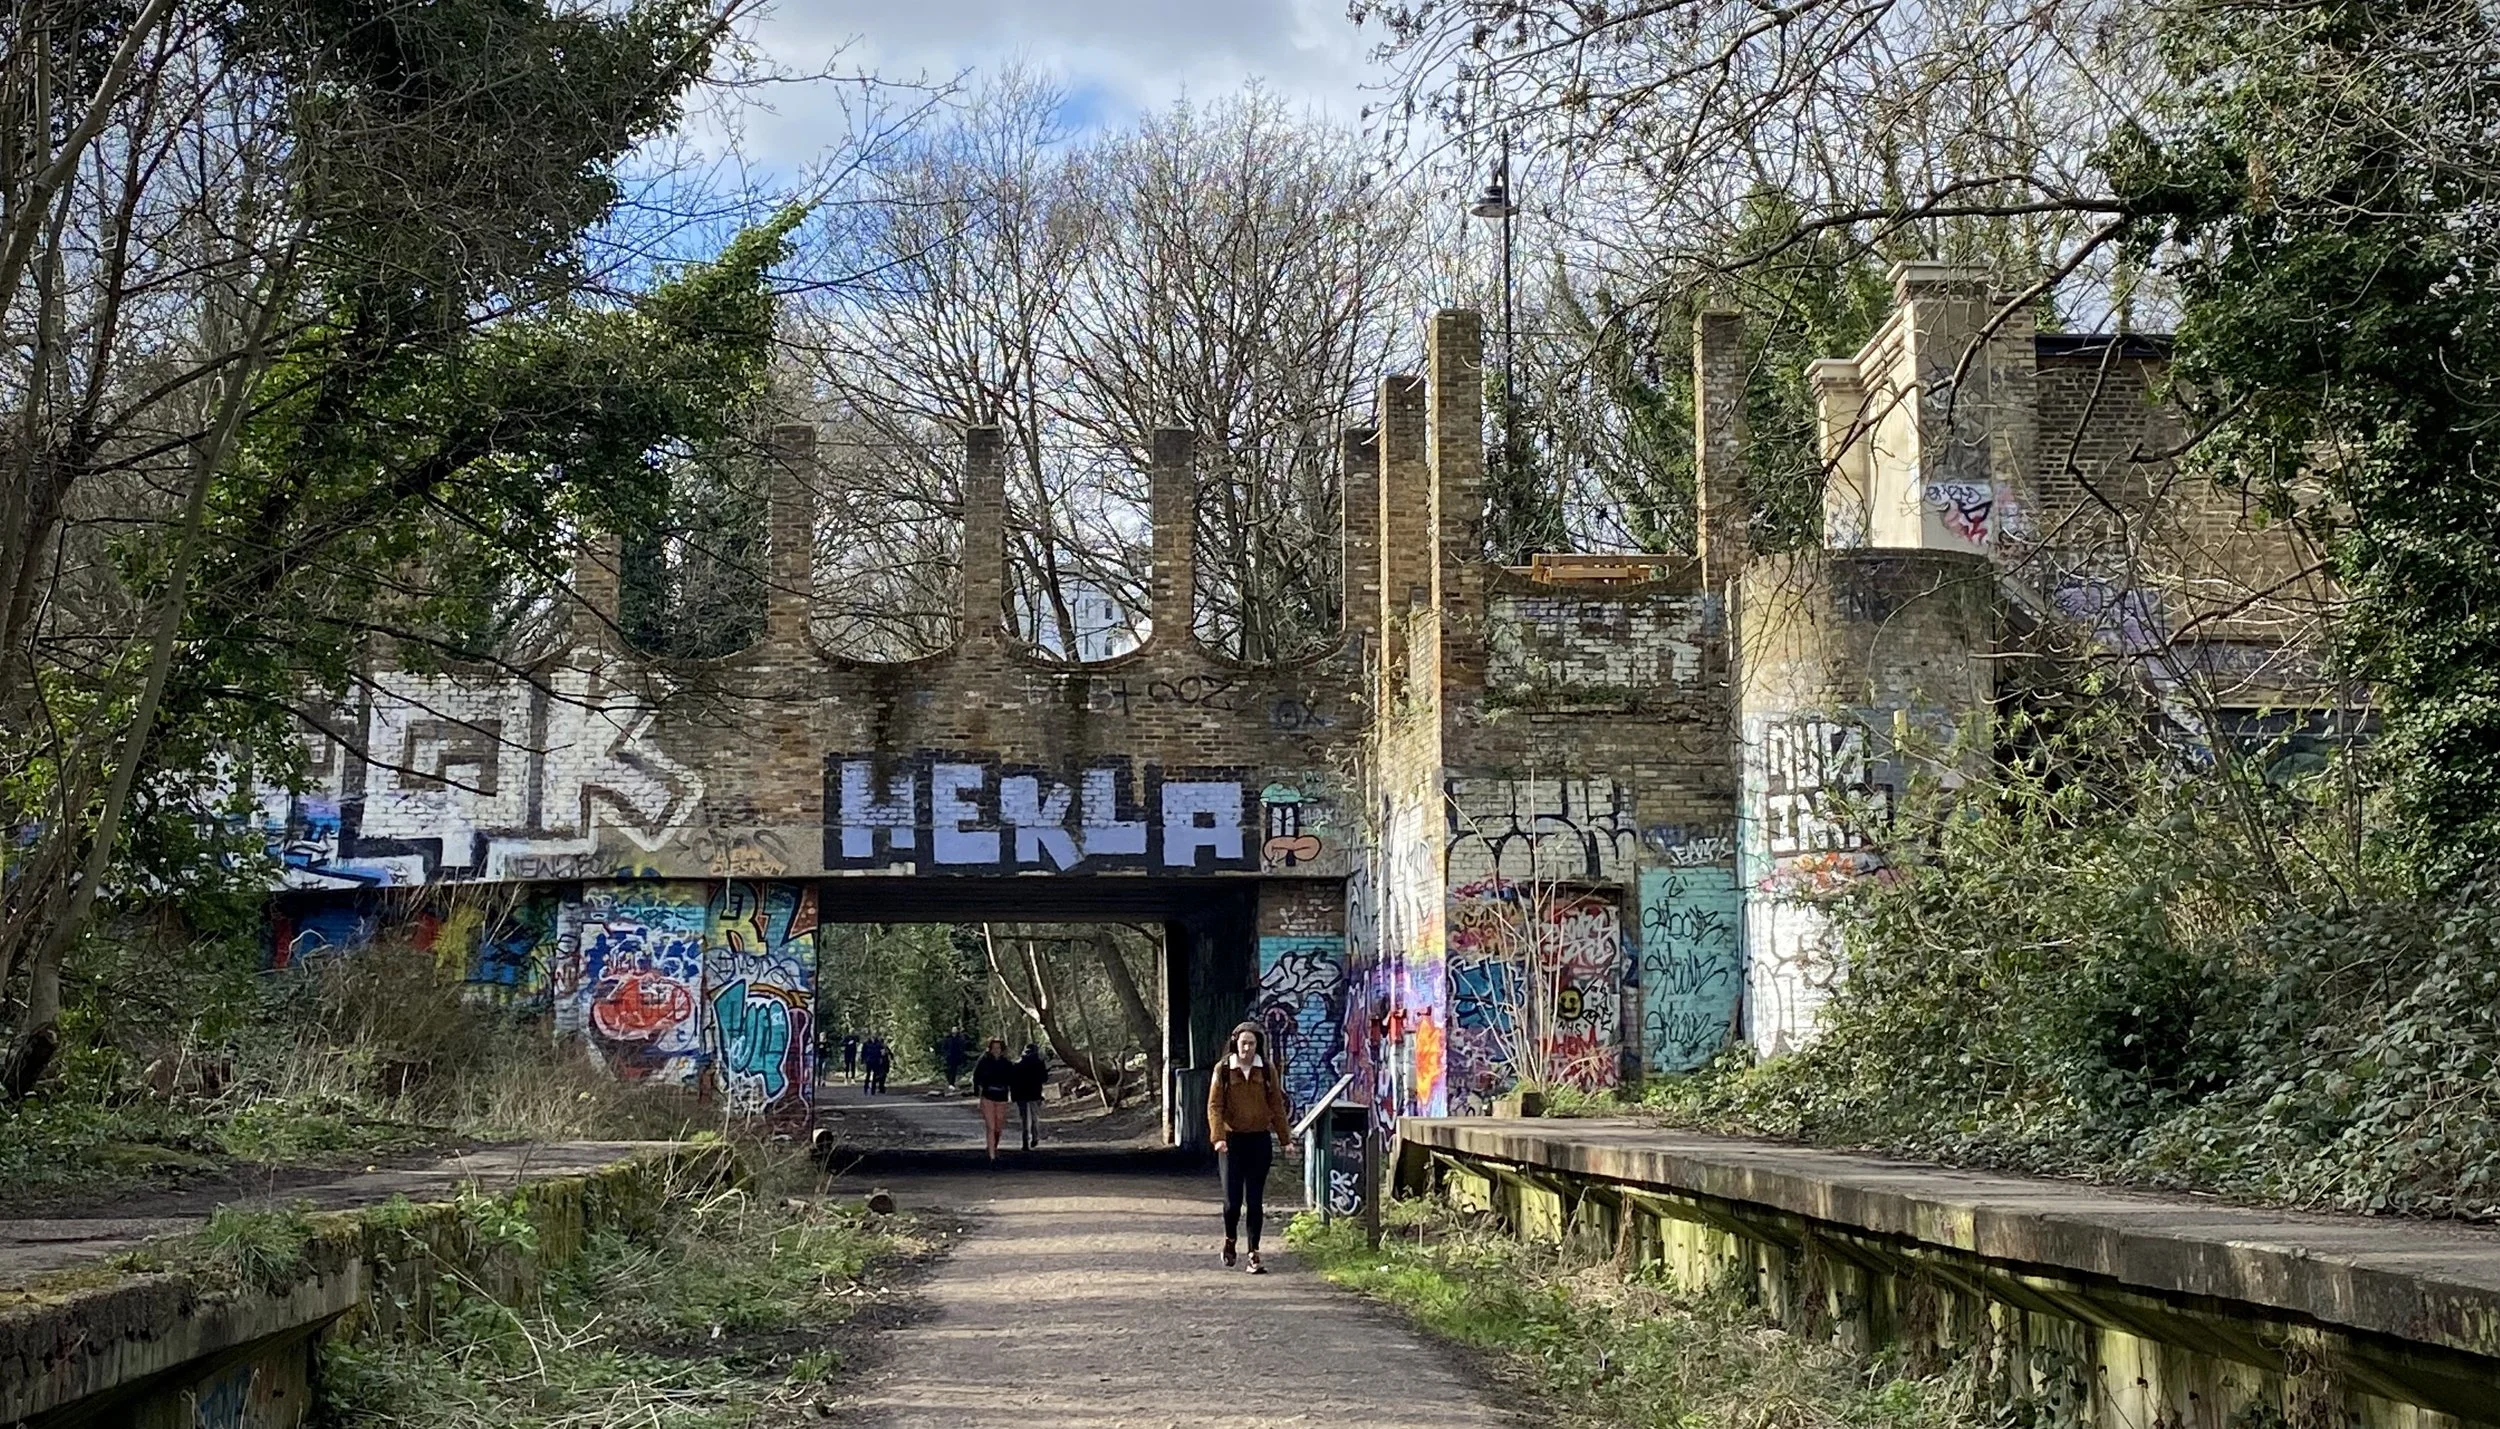
London parkruns
Saturday mornings are often dedicated to parkrun, and this category is a dedicated hub for achieving the coveted 'LonDone' status. It details my experiences visiting events across Greater London and completing all the Middlesex courses.
For anyone else chasing the ultimate tourism goals, I have also included guides on transport connections and venturing into the extended challenges of LonDone + and LonDone ++.



Cycling In London
Getting on the bike is one of the best ways to cover longer distances across the city's green spaces. These posts highlight dedicated cycling routes, including the vast orbital circuits of the London Loop and Capital Ring.
You can also follow my two-wheeled adventures along the River Crane and the River Ash: offering peaceful cycling alternatives away from the busy main roads.
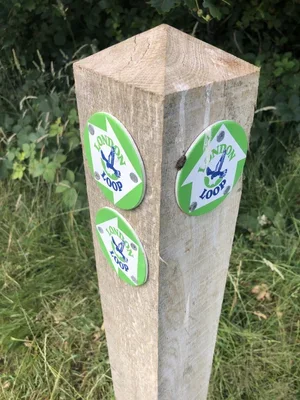
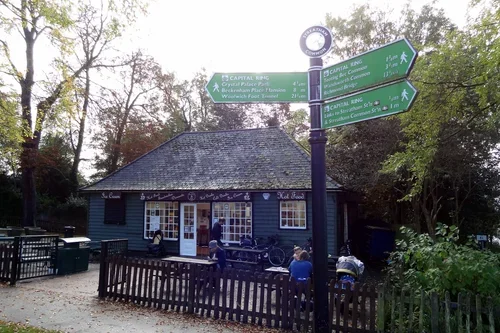
Cycling to and through London
For those looking to stretch their legs on longer rides, these routes connect the capital to the wider landscape. You will find journeys along the Grand Union Canal and the River Lea, offering straightforward navigation right into the heart of the city.
The collection also features epic rides tracking the Prime Meridian, following the historic Semaphore Line from Portsmouth, and riding out to the coast along the Thames Estuary to Margate.
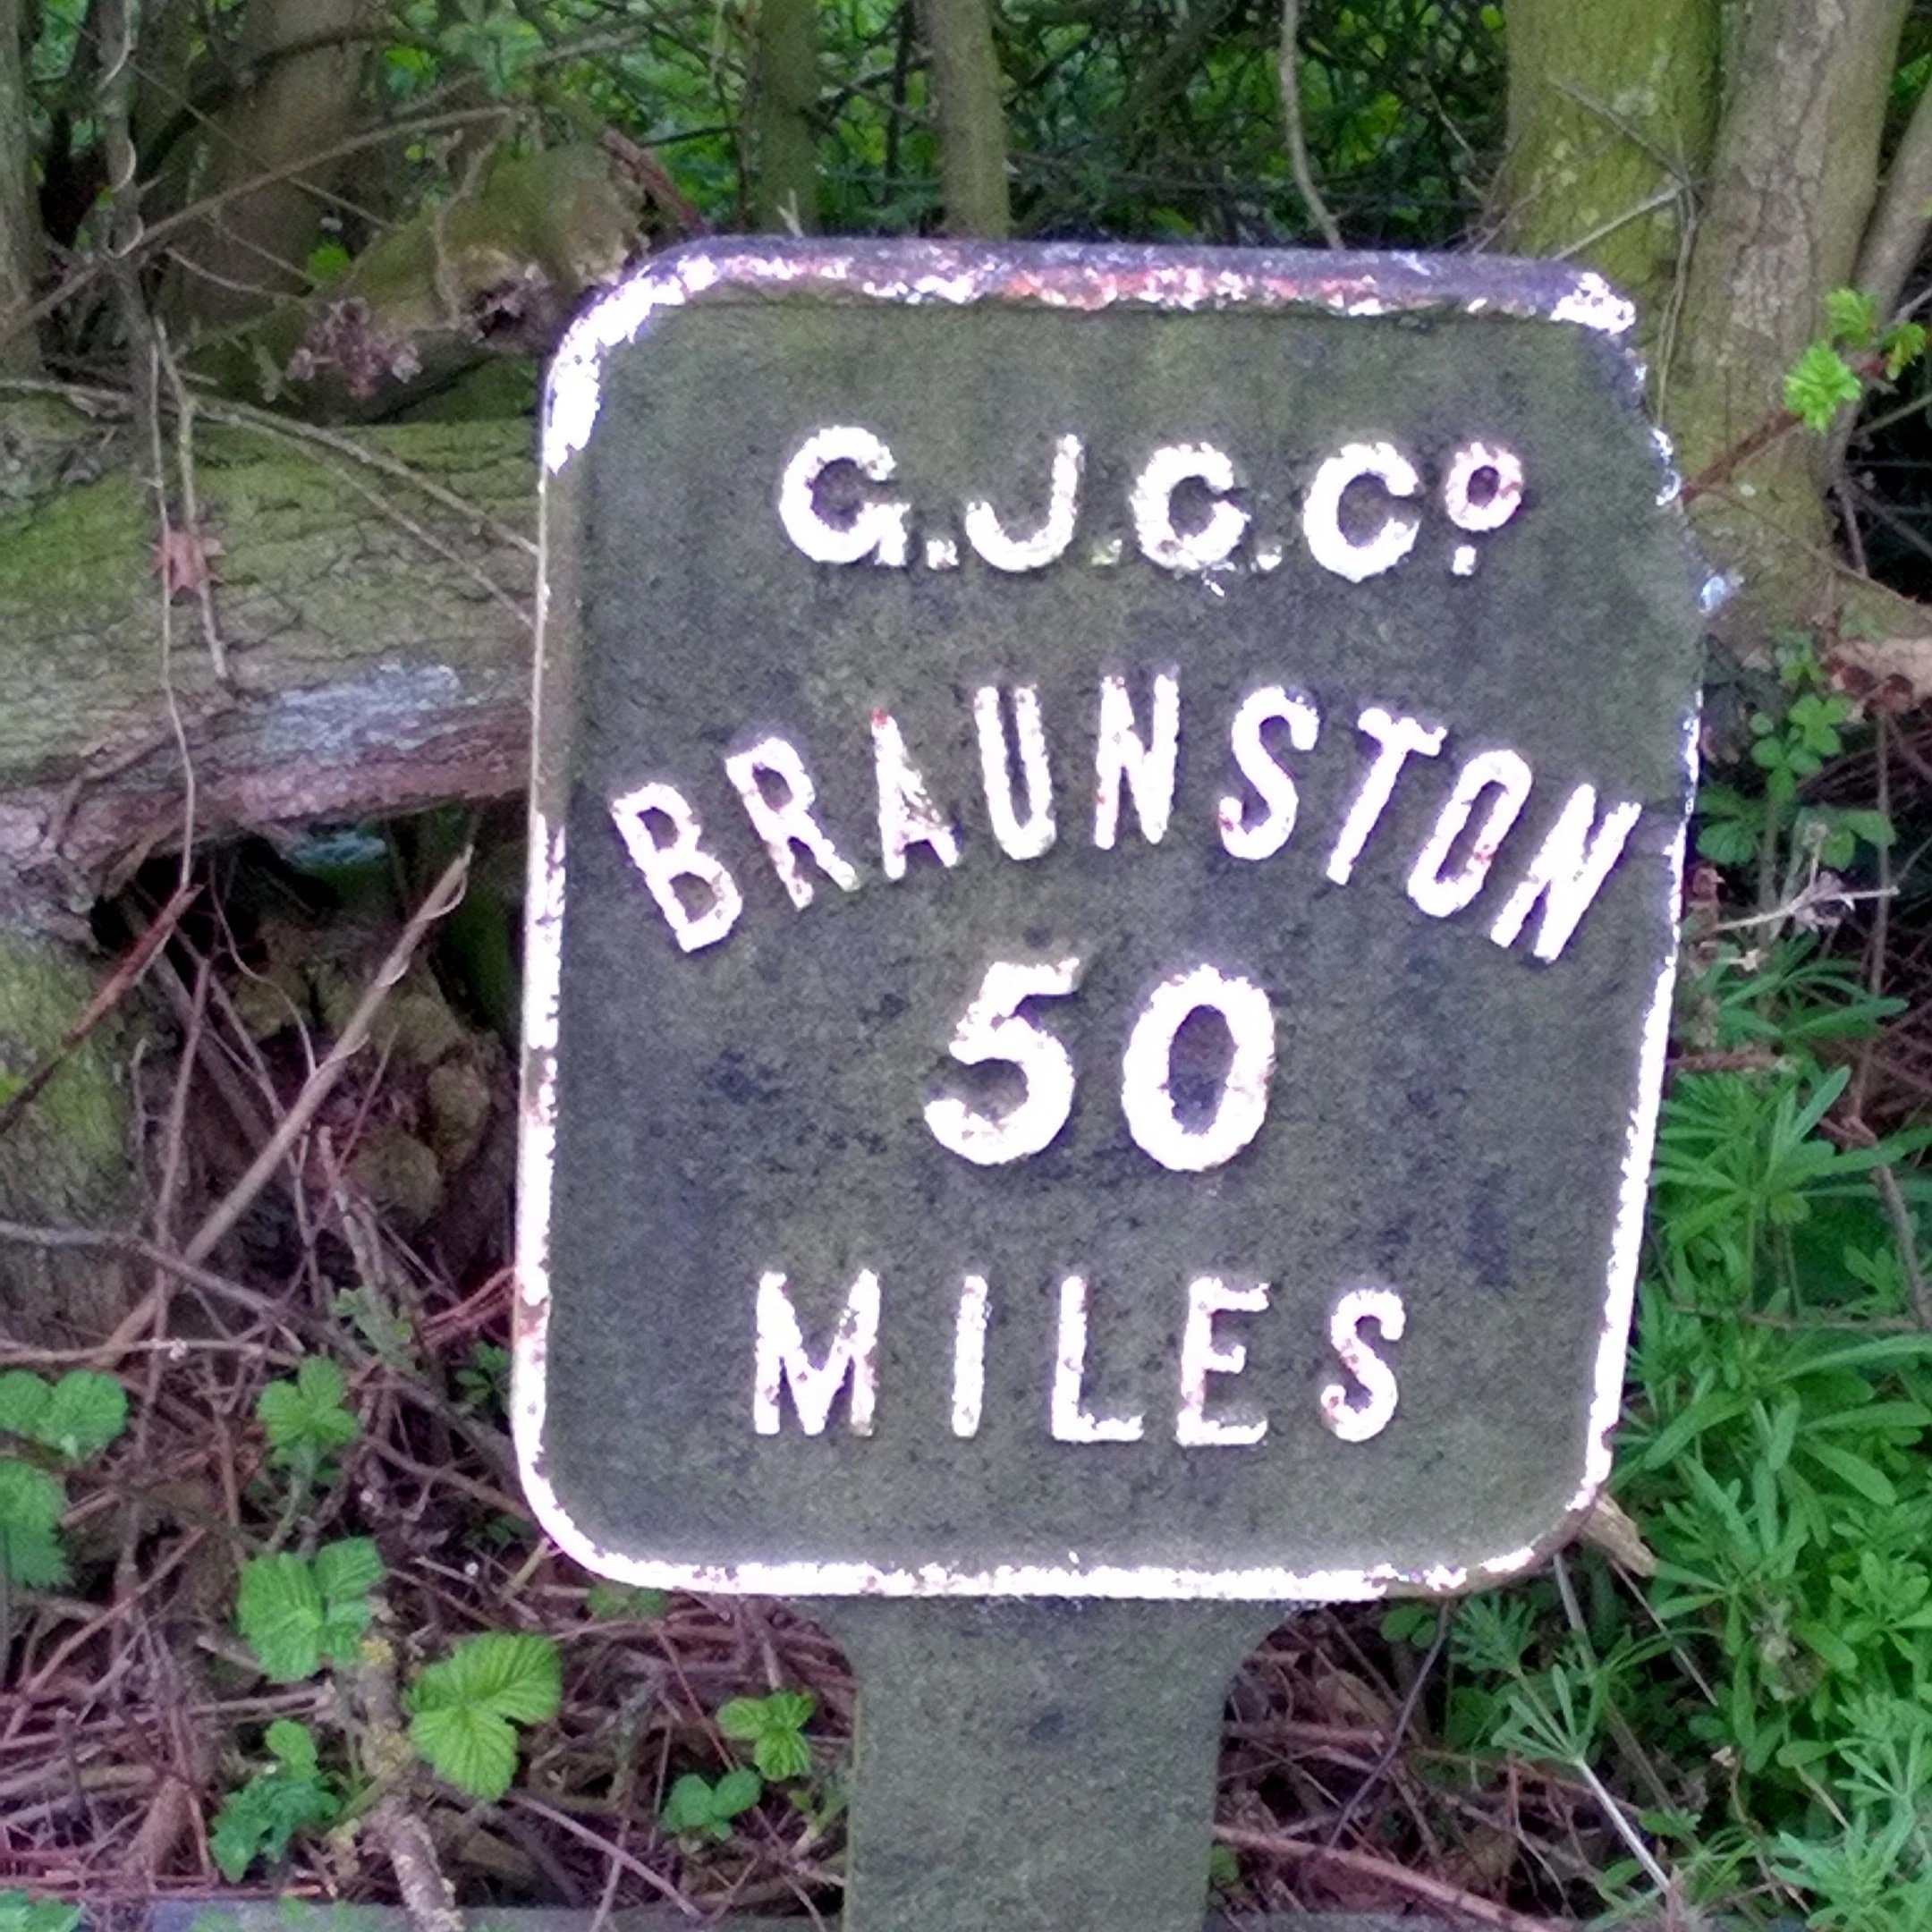
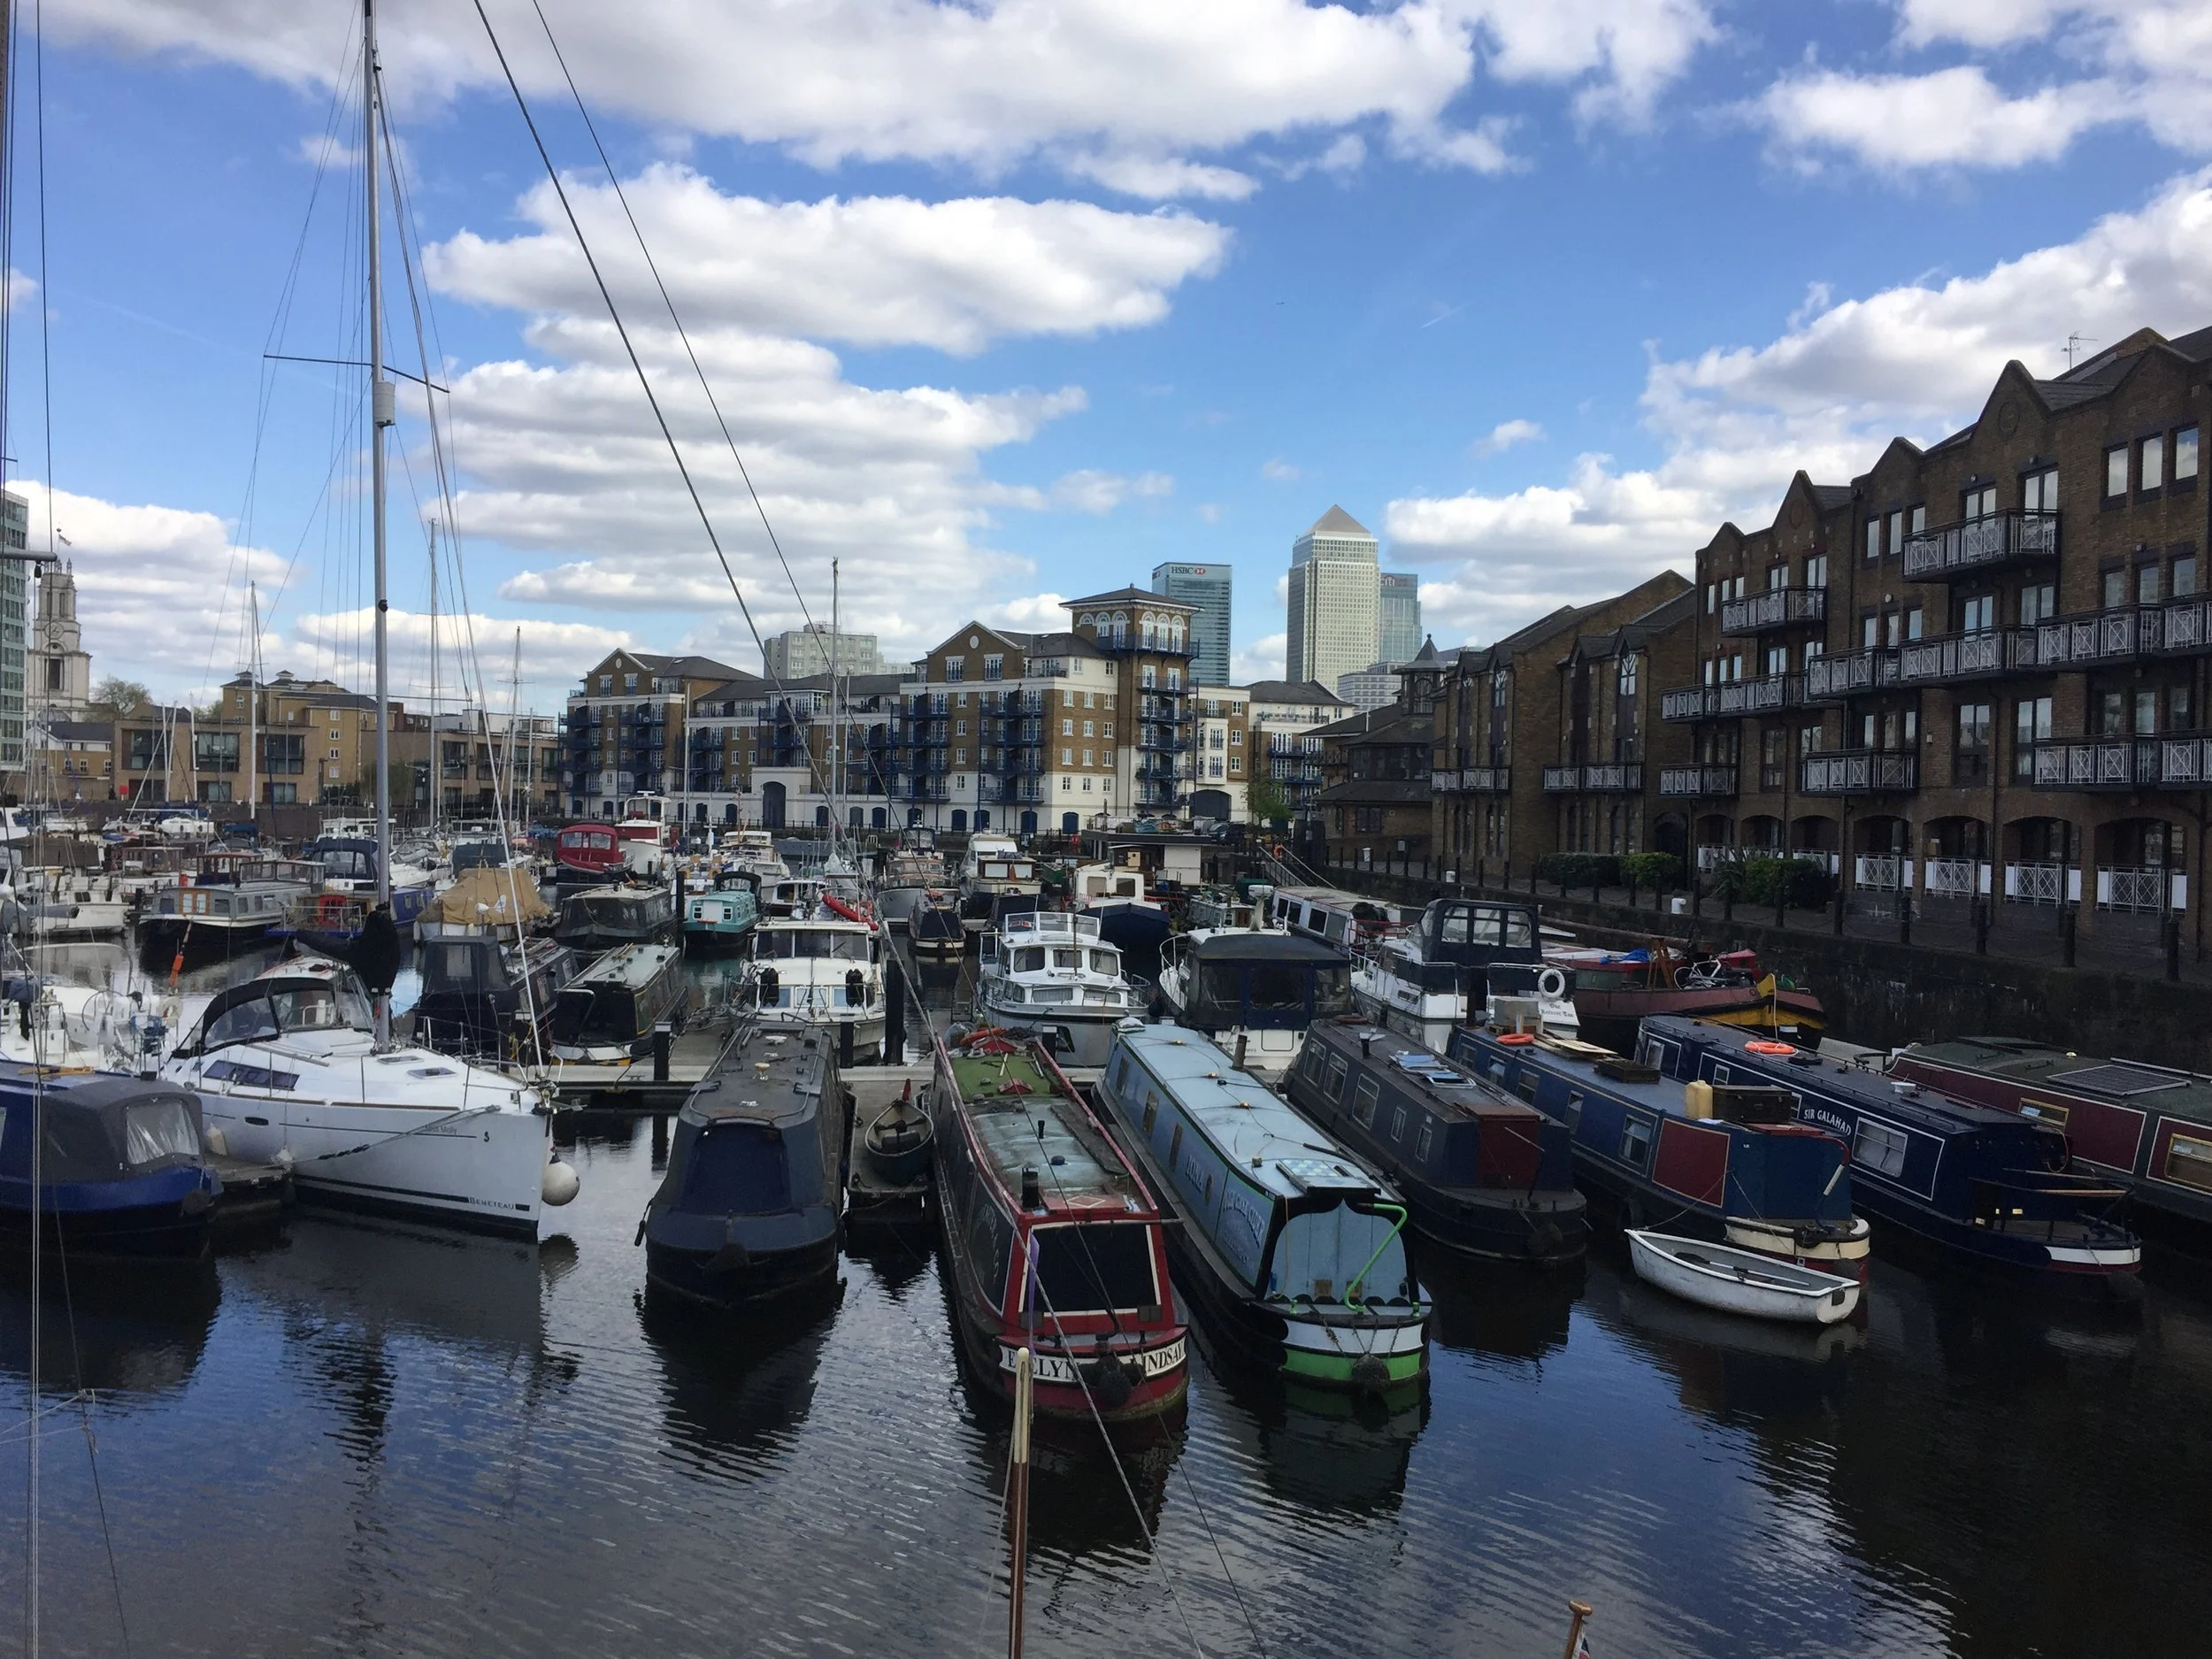
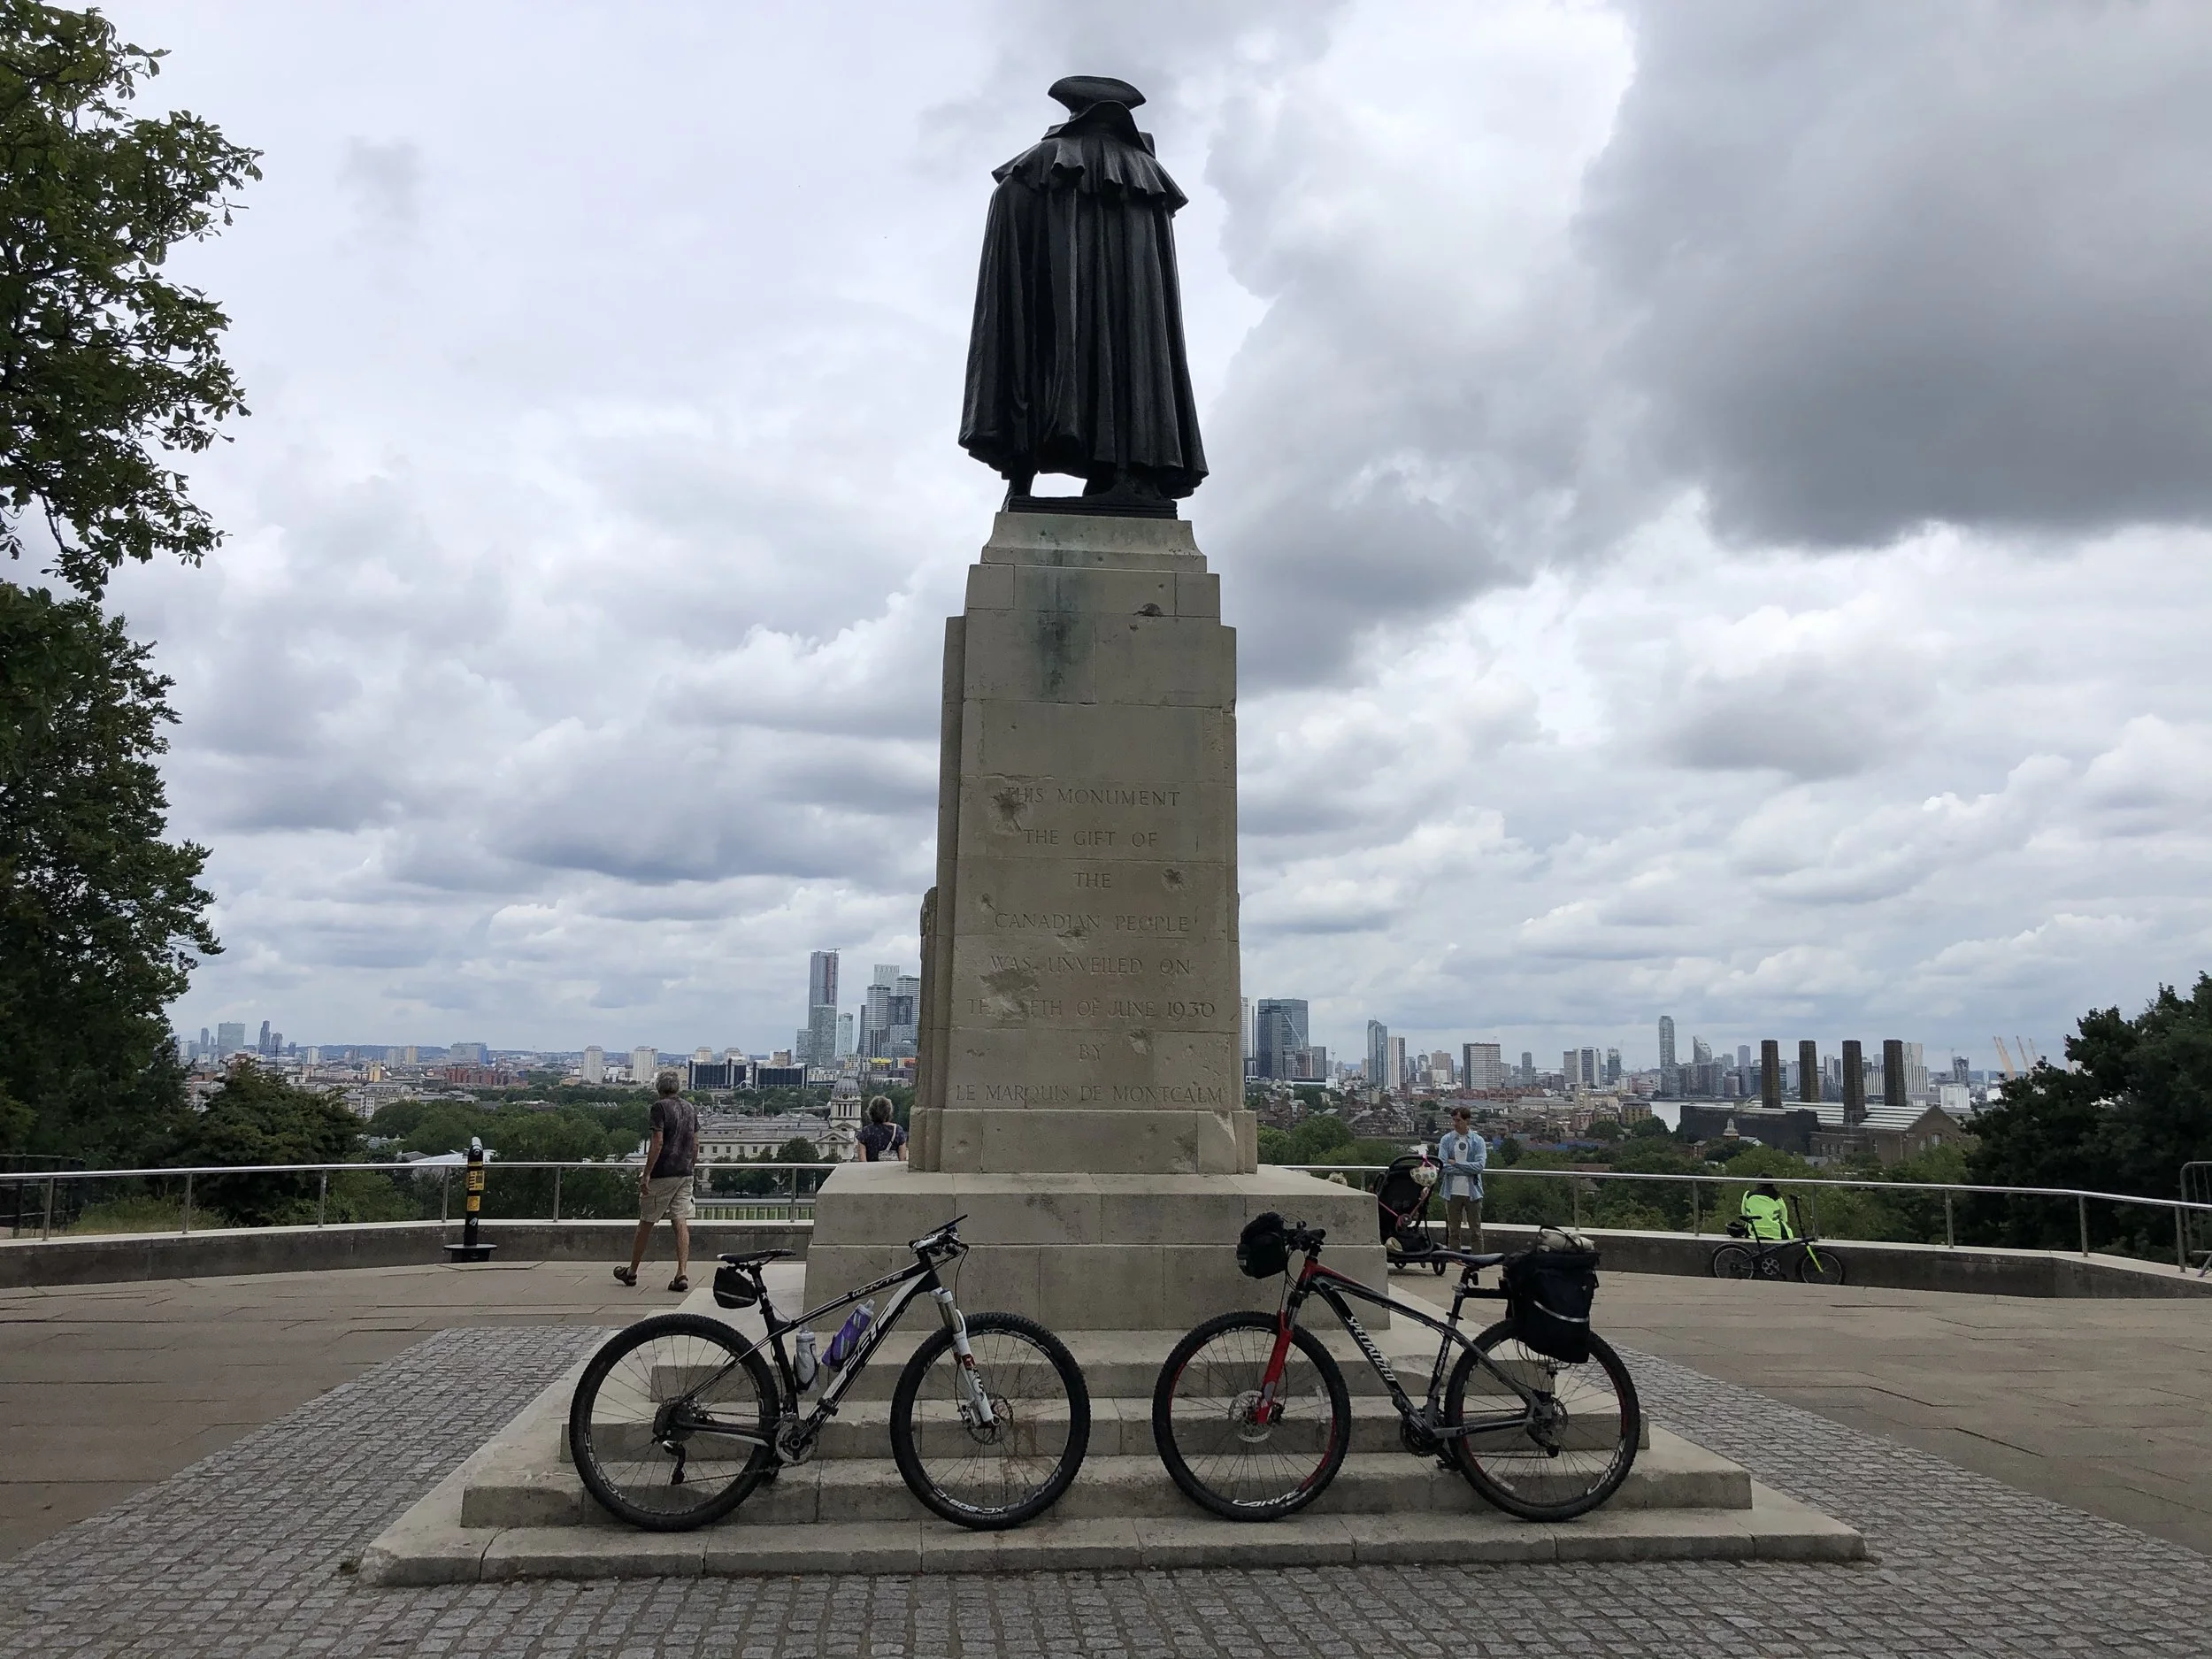
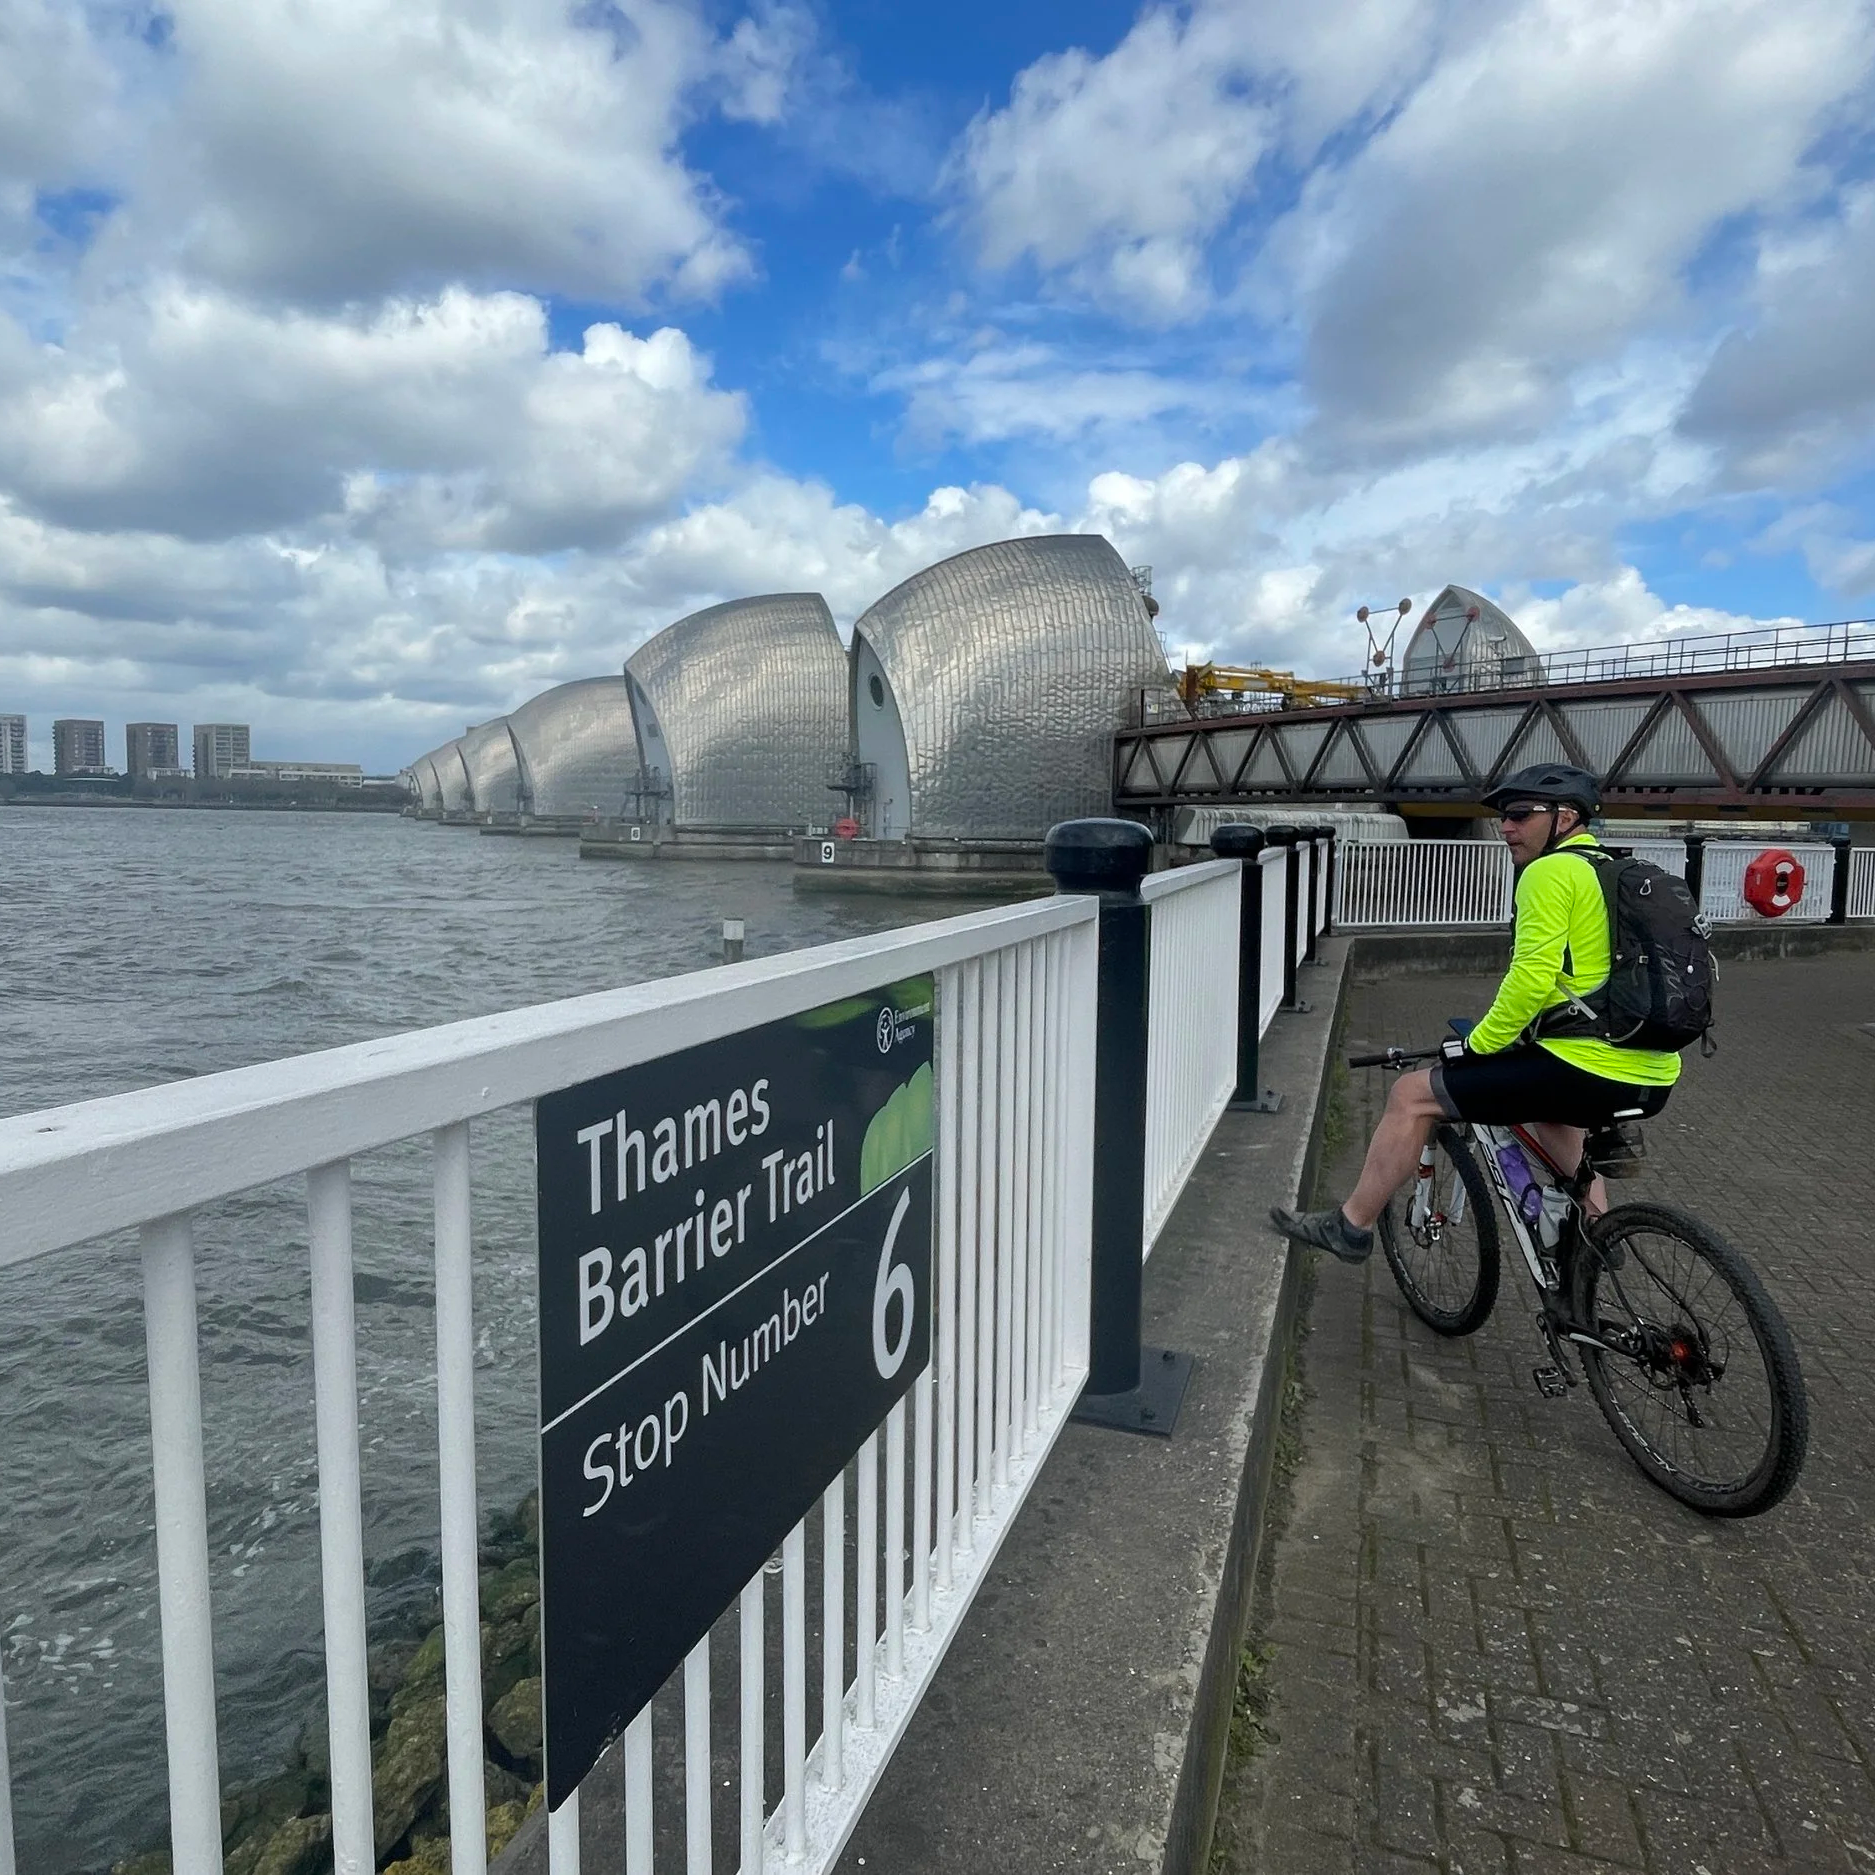
Double-click to edit...
The Pilgrim Challenge 110k Ultra Marathon
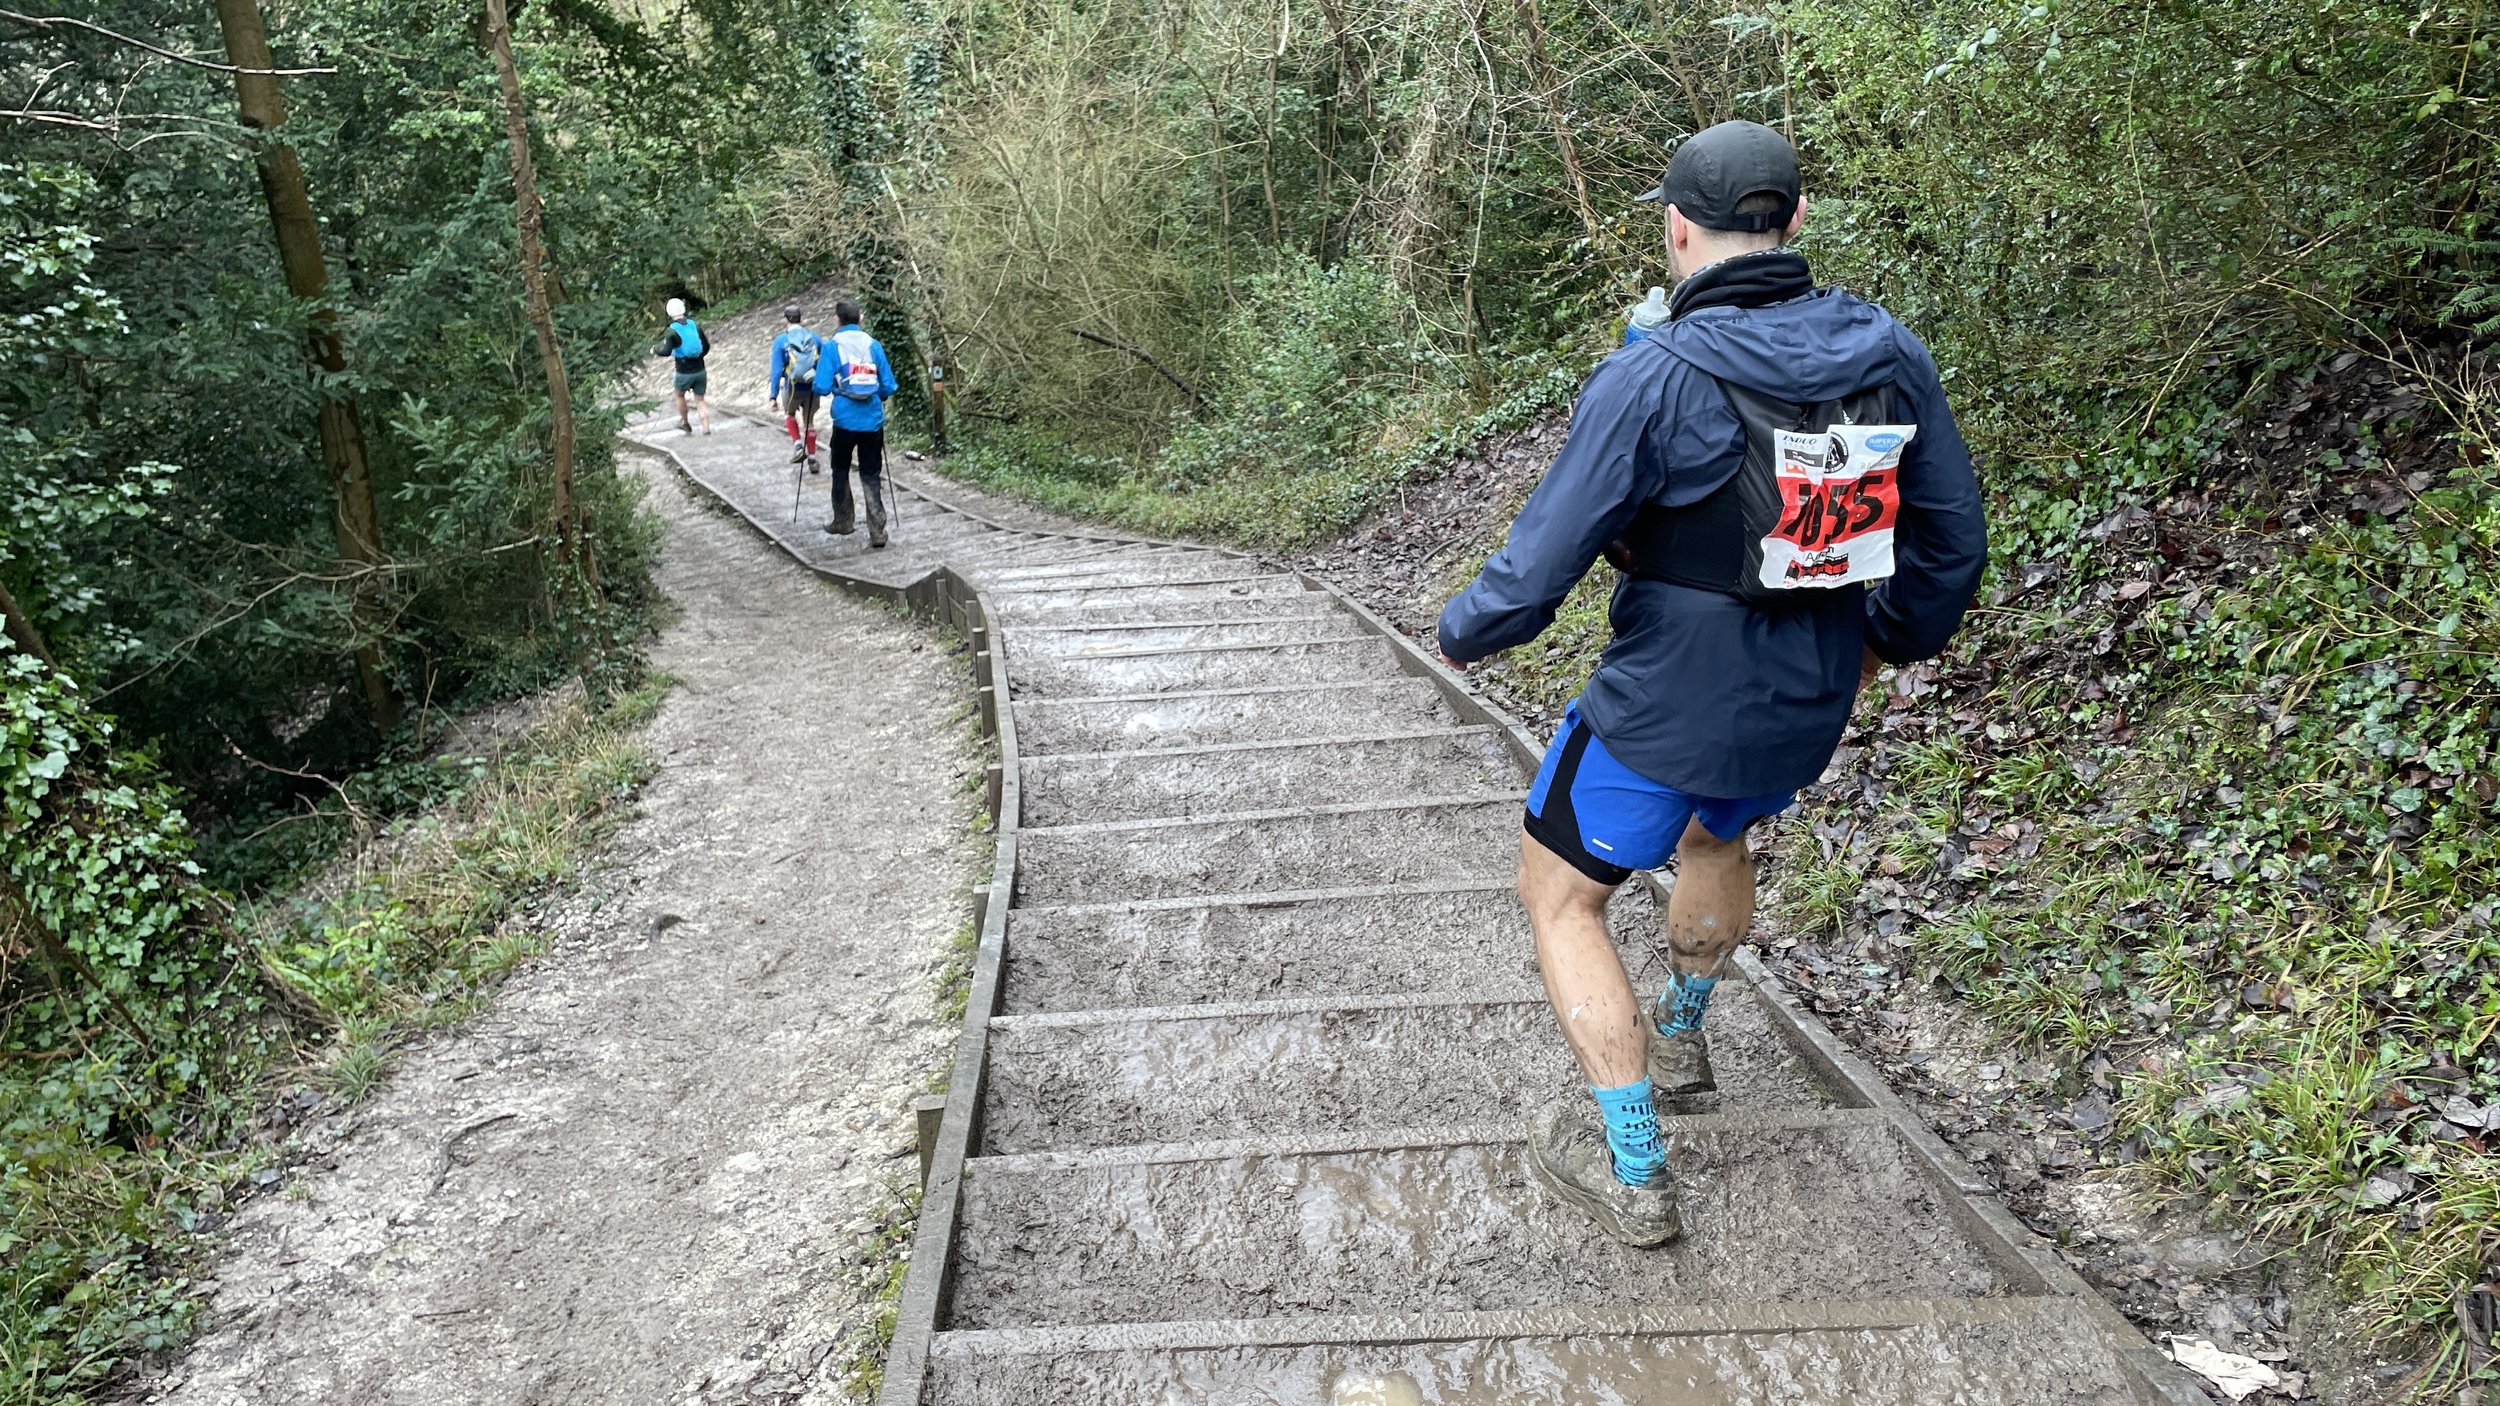
Descent of Box Hill
When: February 7th and 8th 2026
Start and Finish: Sandy Farm Business Park, Sands Road, The Sands, Farnham, Surrey, GU10 1PX
Organiser: XNRG
Distance: 55km (34 miles) x 2 days = 110km (68 miles), including the diversion.
Elevation change: +/- 1,155m per day = +/- 2310m for the 2 day event
GPX File: get via Buy Me a Coffee
Other routes touched (walk): North Downs Way, The Fox Way, Wey South Path, Scholar’s Trail, Downs Link, Prospects of Polesden, Ranmore Circular, Mole Gap Trail, Box Hill Hike, Stepping Stones Path, Leith Hill Greenway, Reigate Hill Walk Harewoods, Greensand Way
Other routes touched (cycle): NCN 22, Surrey Cycleway
Other routes touched (run): Downs Link Ultra, Hardest of Snails 10k
Summits: St. Martha's Hill (175m), Reigate Hill (235m)
OS Trig Pillars: TP1553 - Box Hill
Maps:
- Guildford & Farnham Map | Godalming & Farnborough | Ordnance Survey | OS Explorer Map 145
- Dorking, Box Hill & Reigate Map | Leatherhead & Caterham | Ordnance Survey | OS Explorer Map 146
Finish time Day 1: 9 hours, 41 minutes, 53 seconds
Finish time Day 2: 11 hours, 33 minutes, 27 seconds
Links: North Downs Way, Puttenham, Guildford, St. Martha’s Hill, Newlands Corner, Shere, Denbies, Box Hill, Betchworth, Redhill
After loving The Lap Ultra around Lake Windermere the previous year, I was looking for inspiration for a new event. My social media feeds had no shortage of ads for big races, but they were either ones I had done before, too long, too far away, or simply didn't inspire me enough.
It was at a pre-Christmas family lunch when my sister, Lisa, gave me that inspiration: she had recently completed the Druid's Challenge on the Ridgeway. That was a 3-day event with overnight stays along the way. I had only done single-day Ultras before, so the novelty of doing a multi-day event with Lisa gave me the "Hell Yes" decision I was looking for.
I tried in vain to recruit my friend Mark to sign up too: he is normally up for Ultras but didn't seem too keen on a winter one or the prospect of sleeping in a school. Timea also had no interest in being my support crew in the bleak midwinter (which was fair enough). Then, shortly after New Year, Lisa decided that the race wasn't right for her this year. I briefly considered deferring my place but decided to go ahead anyway when I remembered how much I enjoyed The Hurtwood, an Ultra I did a few years back which was also in the winter.
My January was both dry and wet. I had pressed pause on alcohol before New Year, except for some pre-Christmas drinks with a friend that we postponed until Jan 14th. The wet part came from nearly constant rain for the 3 weeks leading up to the event. The North Downs Way is known for its mud, and I could feel that this was going to be tough.
On the night before the race, we received an email from XNRG, the organisers, stating that a diversion would add a mile to each day. At that point, my attitude was "bring it on". If it was going to be tough, then why not an extra hilly 2 miles? That was the same attitude that meant I wasn't bothered that it was pissing it down with rain through the hour's drive to the start.
I was in the 08:00 walkers start based on the predicted finish time I gave when I signed up. The runners would start an hour later. After a short briefing, we were off. I usually run the first half of an Ultra but decided to take this one easier. I also didn’t want to be at the front of the pack and risk getting everyone lost.
As it happened, the group I was following took a wrong turn after the first 5 minutes, following the edge of the starting field rather than exiting via the corner. Luckily, other participants noticed and called us back, only adding about 100m to our route.
Having previously walked the whole of the North Downs Way, the route was very familiar and felt like an old friend. The first 16 km took us through the villages of Seale and Puttenham, across the River Wey at Guildford and over to Chantry Wood.
This was also the section with the diversion to avoid repairs on the trail. Not only was it an extra mile, but it was all hill: the route climbed a steep hill to the A31 then descended steeply again shortly after.
After the first checkpoint, we climbed up to St Martha’s Hill. This would have been the first great view, but the mist and rain didn’t show off the Downs at their best. Newlands Corner came next, which felt like a big milestone in the race. I half-considered stopping in the cafe for a coffee and cake, but I was making good time and didn’t need the food, so I pressed on.
The 12 km after Newlands Corner through Shere Woodlands is beautiful, but it involves a lot of the same view, so I found it one of the less interesting parts of the route. This was also where I was overtaken by the faster runners who had started an hour behind me.
After the Ranmore Common checkpoint, the trail became much more interesting again. The descending curve around Denbies gave us great views across the vineyard over to Dorking and Box Hill.
After crossing under the A24 near Dorking, we came to the River Mole crossing. We were told in the briefing that the Mole had burst its banks and it would be a wet one: we would have a choice of crossing over the Stepping Stones or using the dry route over the footbridge.
It was only because I had been to the crossing before that I knew where the stepping stones would be. That day they were submerged under fast-flowing water and couldn’t be seen at all. Even the bridge option wasn’t completely dry as there was a large, deep puddle on the other side that required wading.
Next up was the steep climb up the steps to the Box Hill viewpoint, followed by an equally steep descent through a narrow wooded path.
After Checkpoint 3 at Betchworth, I joined a fellow participant named Lee for the final couple of hours. Like several others on the route, Lee was using the event as training for the Marathon des Sables. He was suffering, having fallen earlier in the day, and was going slower than planned. Lee’s slow pace was my normal pace, and it gave us the opportunity to chat for a couple of hours.
I’ve learned that there are two types of Ultra conversation. The usual one is the 2-minute chat as you briefly pass someone at a similar speed before one of you pulls ahead. That chat is a mixture of "tough isn’t it?", "how are you feeling?" and "is this your first Ultra?"
The other type of chat only happens when your pace exactly matches another runner for a long period and you can have a much deeper conversation. Ultra runners tend to have very interesting backstories, and Lee was no exception. I think the chat helped both of us, and it certainly helped me through the last 15 km, which always feel longer.
We arrived at the school in Redhill just after it got dark. I was mostly interested in going straight to bed and waking up in the morning, but I managed to summon the energy to get showered, changed, sort my kit and have dinner. Lisa had given good reviews about the evenings based on her Druid's Challenge experience. The food was great, and it was nice to hear the Ultra-related speeches after dinner.
I slept better than expected, although my Garmin wasn't happy with me in the morning. The focused rest I had before the weekend had given me good Body Battery, Sleep and HRV scores. At the start of Day 2, however, I was down to 33% Body Battery, a 43% Sleep Score and an HRV of 54 (down from 91 the previous night). Not the best numbers to have in the tank ahead of the second Ultra distance of the weekend.
Based on my Saturday finish time, I was placed in the earliest starting wave at 07:00. I was happy with this as I had decided I would walk the day and needed all the daylight I could get. Even being in the walker's group, I was still near the back. I wasn't worried, though, as I decided that I would just enjoy another day on the trail.
Day 2 was dry with no rain for much of the route. The mud was still there and the first couple of hours of steep, narrow and mud-filled paths were slow going. I was only 100 minutes in before the fastest of the second wave overtaken me. They may have been half my age and likely to have done significantly more Ultras and training than I had, but the speed they went through on the second day was incredibly impressive.
With my decision to just walk and enjoy the day, I settled into getting through my backlog of podcast episodes and finished an audiobook. On the quieter times without headphones, I got into a "zone": a fairly Zen-like state where the miles slipped away slowly but peacefully towards the finish.
The final hour was a bit tougher as it was all in the dark and with mostly no one else around. With the finish line in sight and the sounds of the event crew audible, I decided to do my only running of the day: the 100 metres to the finish. A bit of drizzle turned into heavy rain within minutes of crossing the finish, so I didn't hang around too long. I was so tired and cold at the end that I couldn't get changed fully, so I drove home still kitted up.
After 14 Ultras, it was good to do one that was a real challenge again. At 110 km, it was the longest distance I've done in a single event. I also found out what it's like to do a 2-dayer with a sleep in between. I think I've scratched that itch for now and will probably stick to single-day 50ks for a while.
A huge thanks goes to the crew at XNRG for putting on a very well-managed, safe and friendly event. When the skin grows back and I've had a few weeks of rest, I'm sure I will be coming back for more.
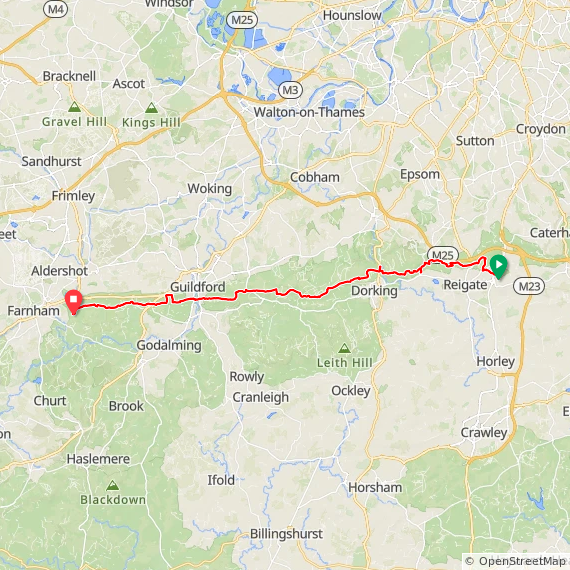
Day 2: Redhill to Sandy Farm
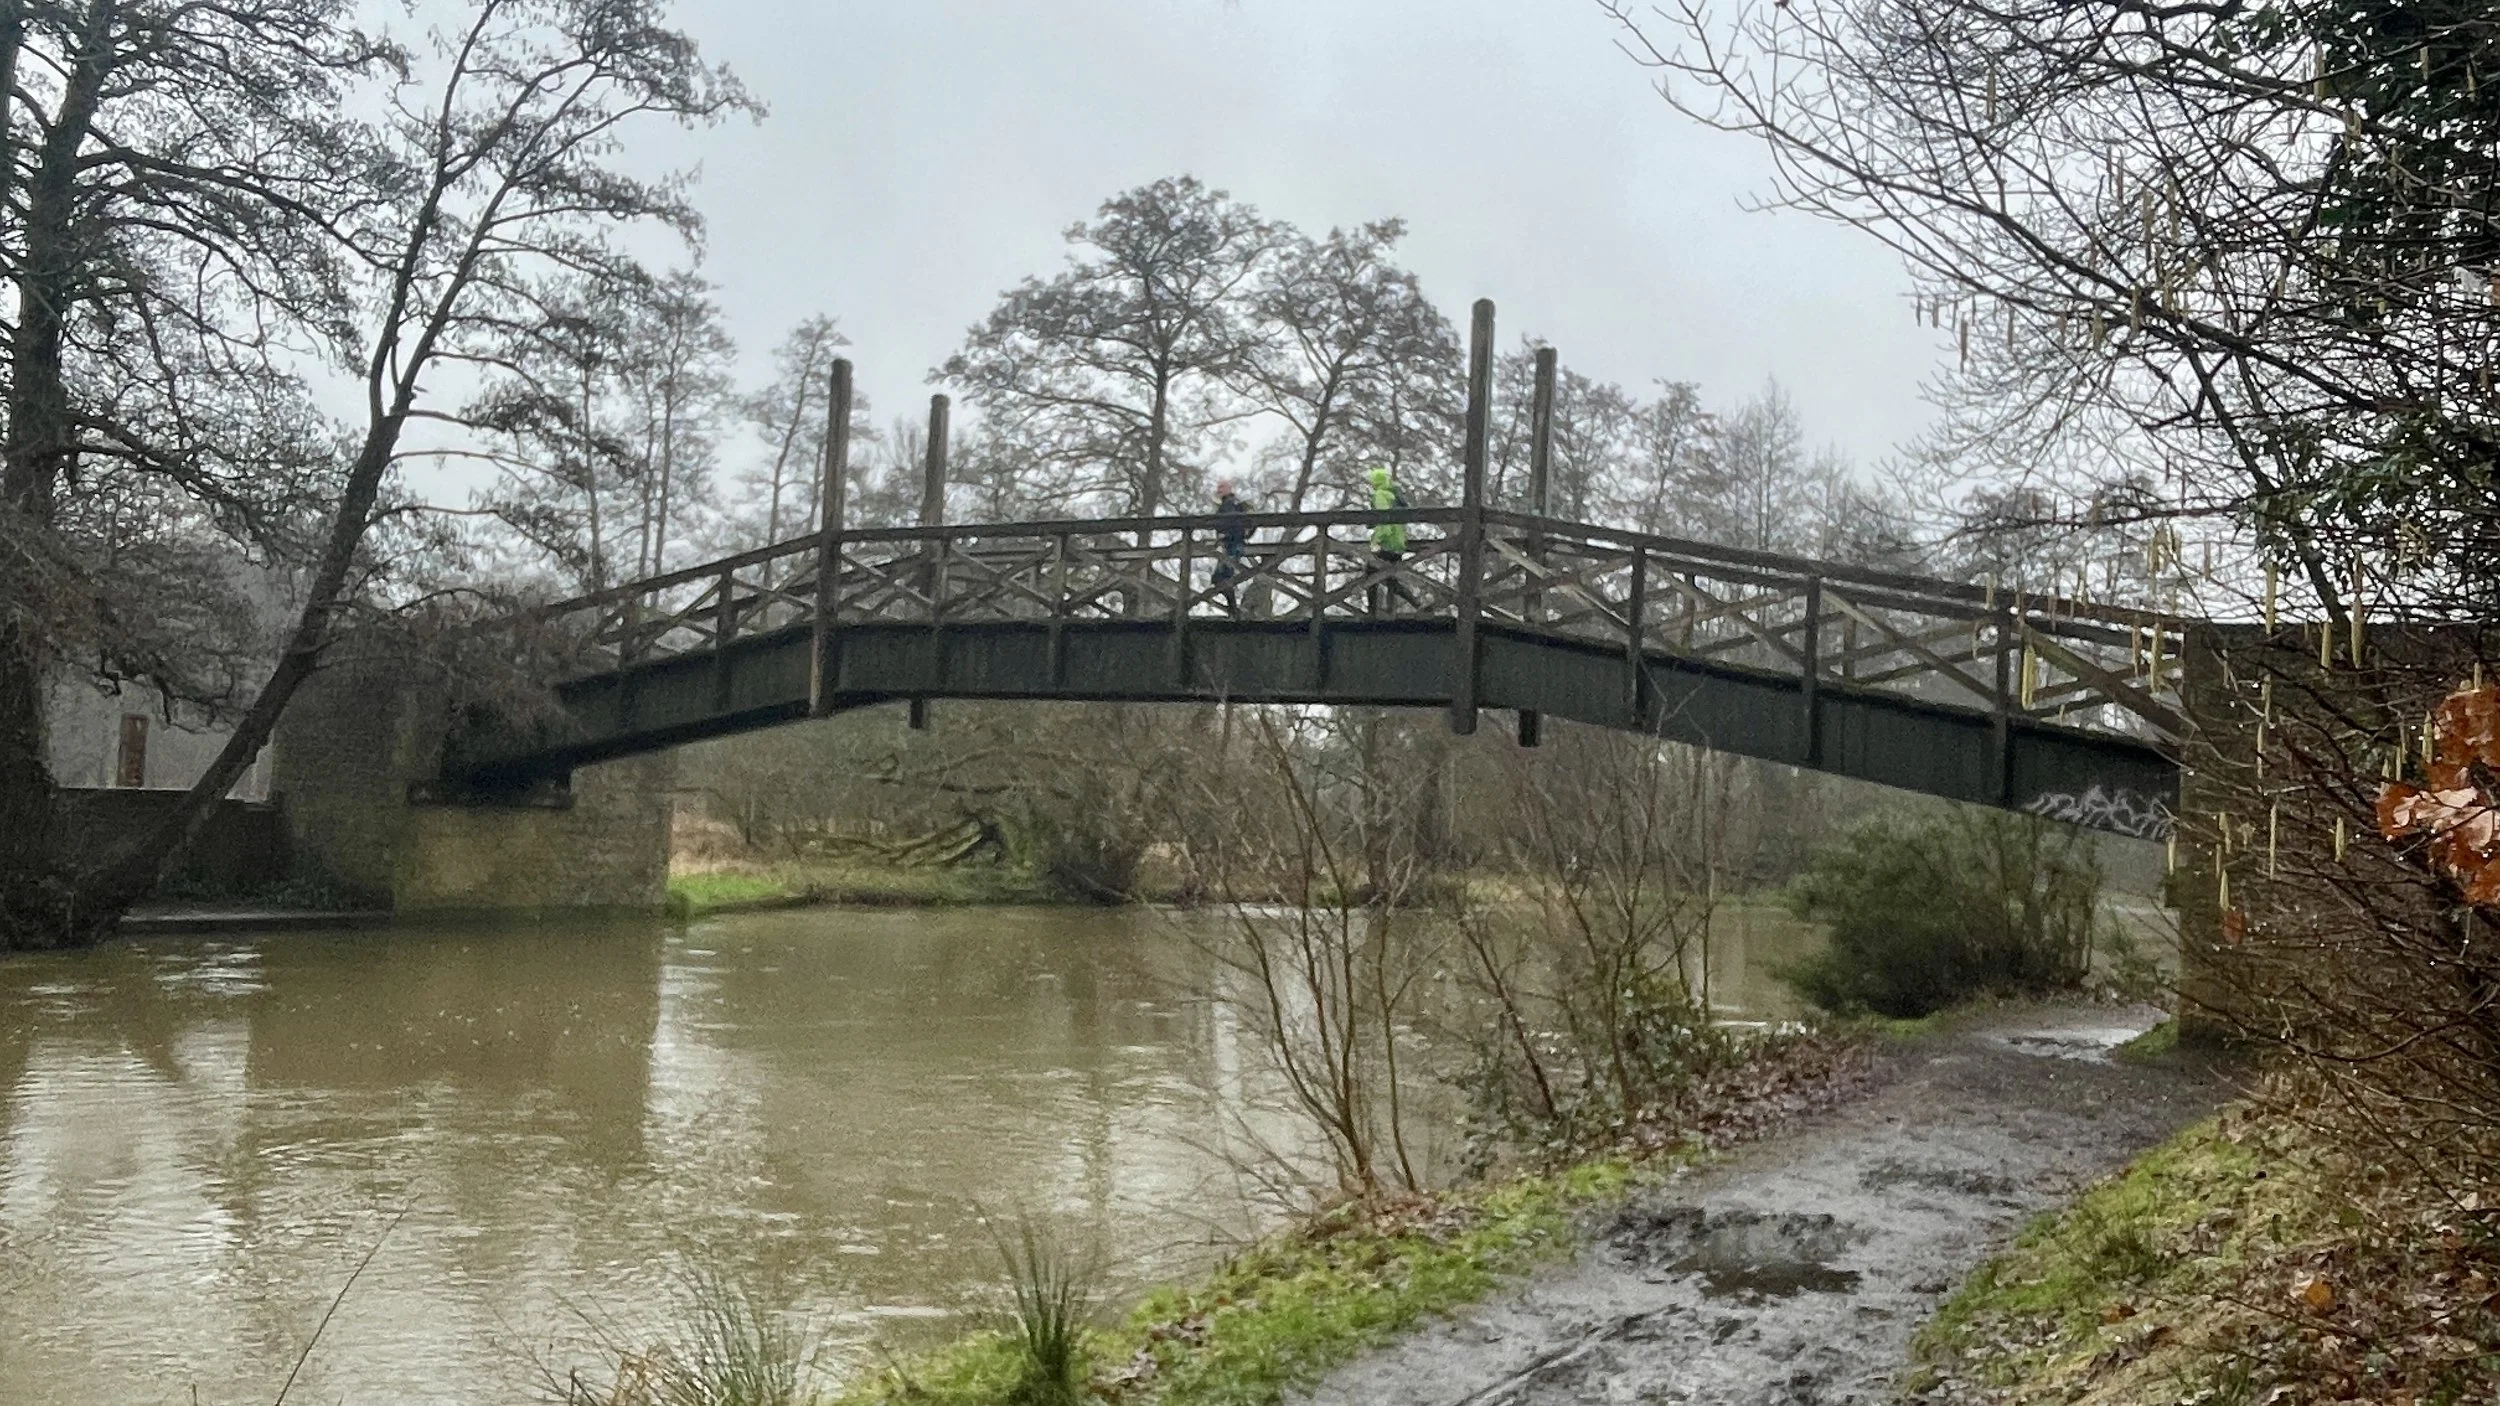
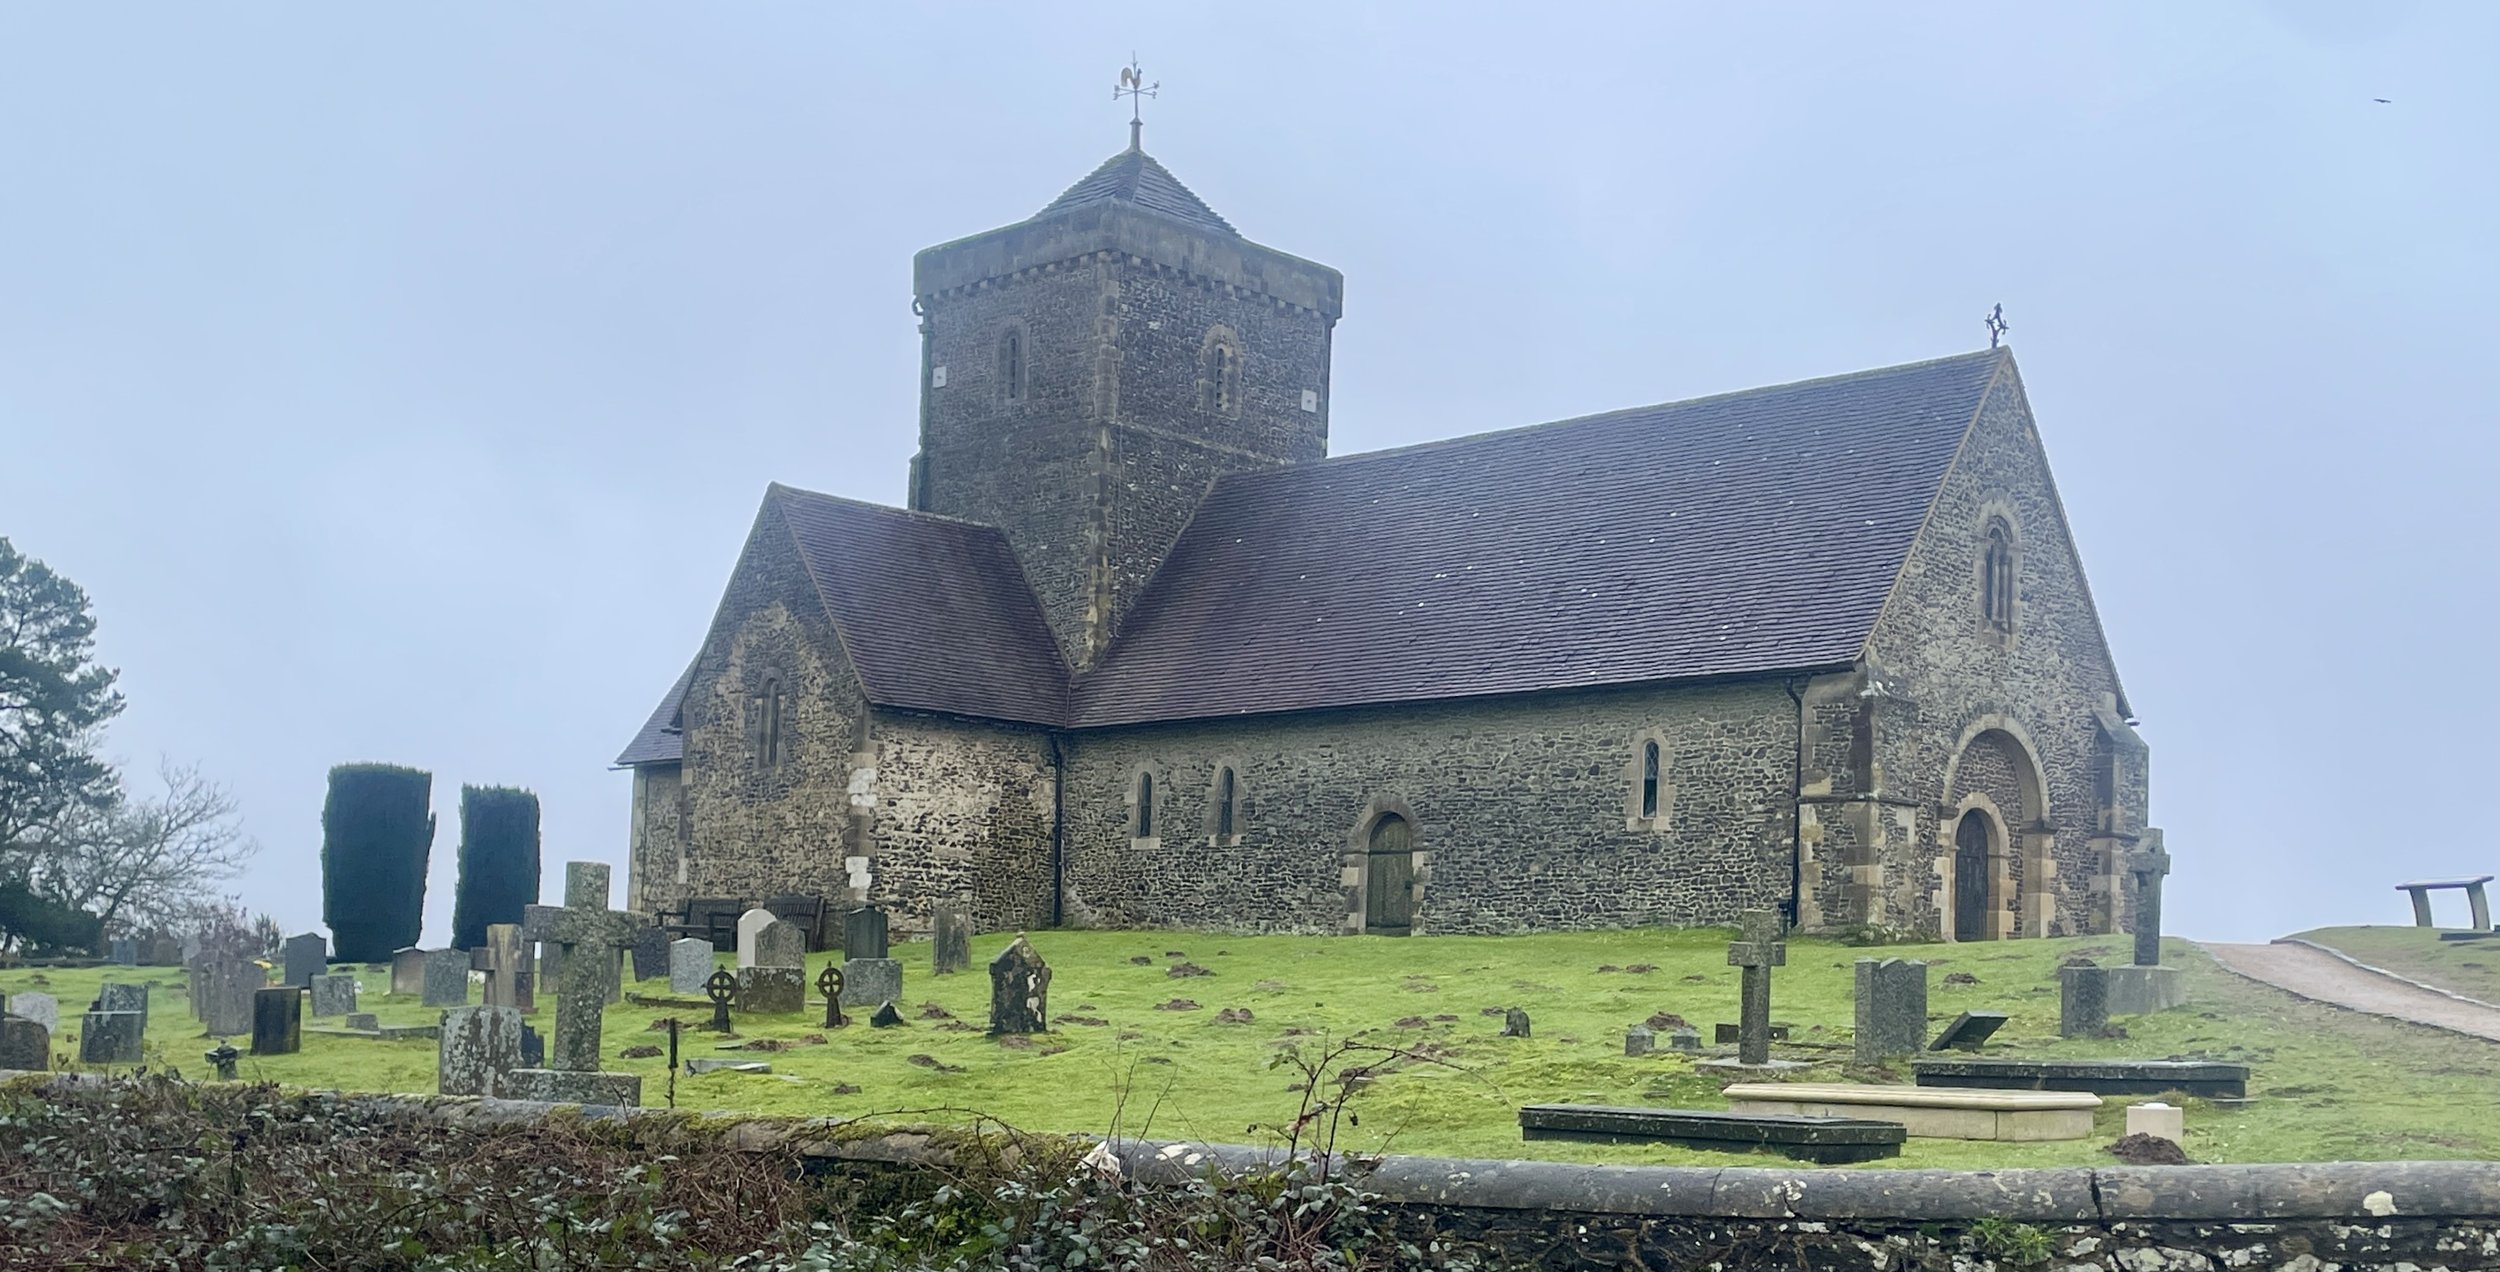
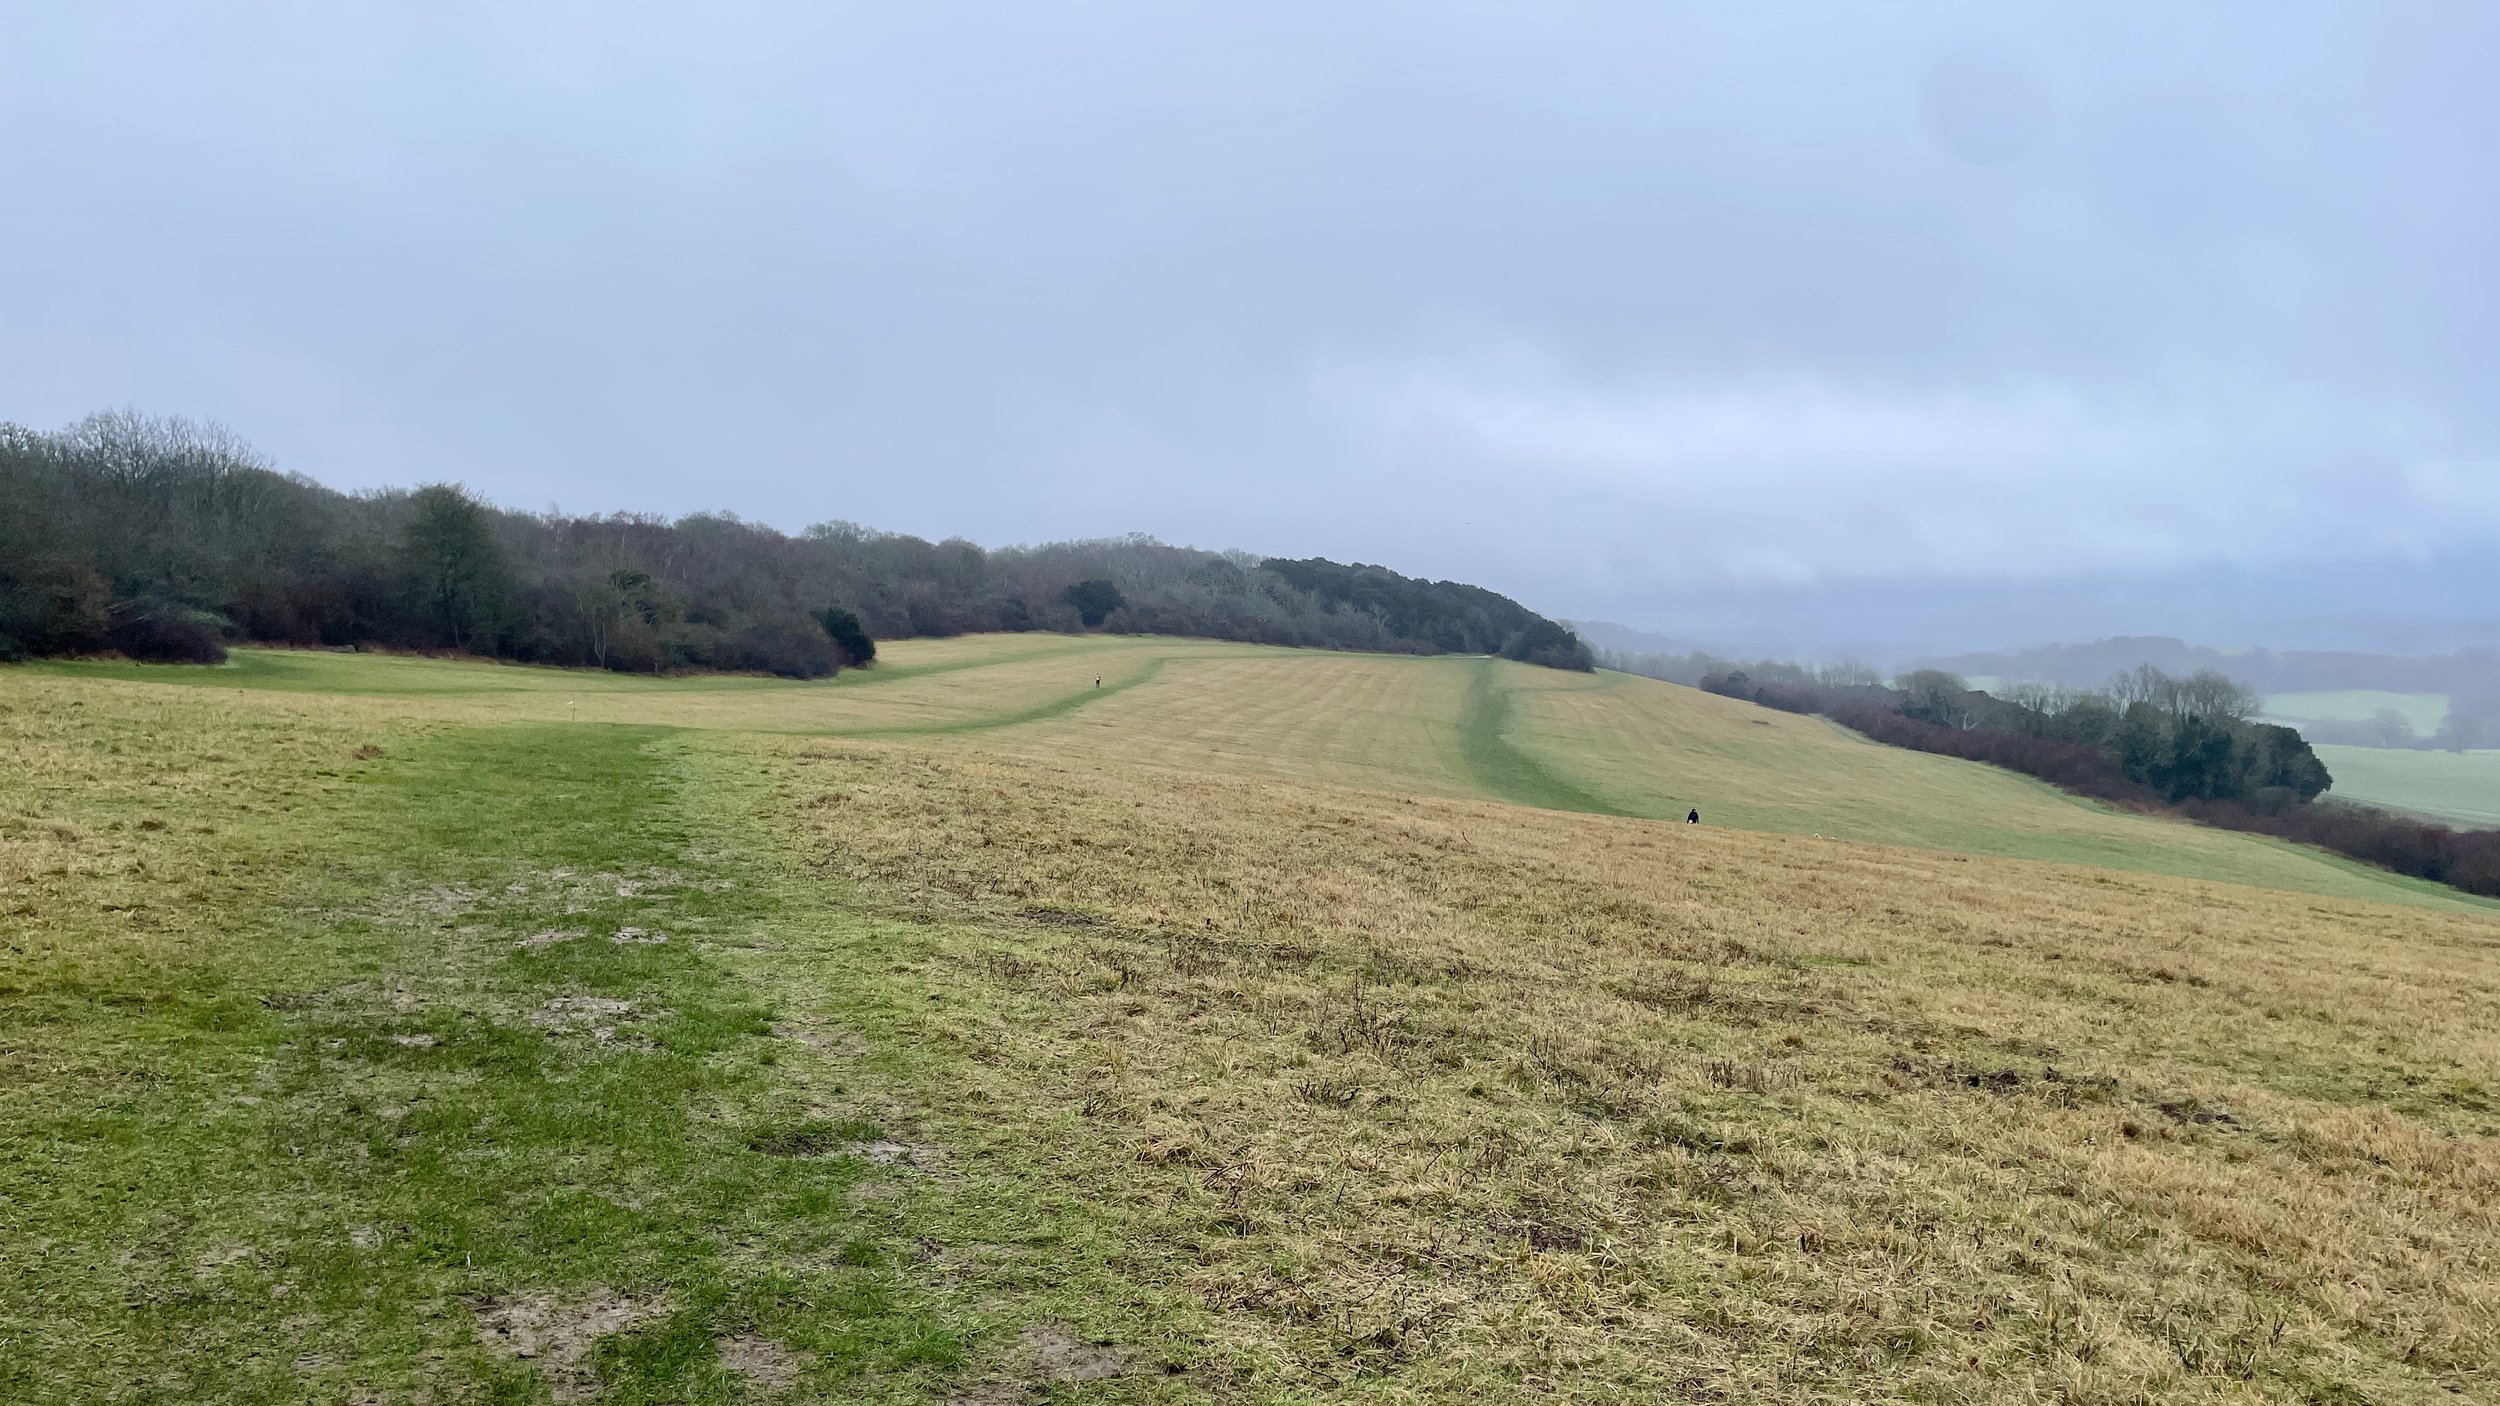
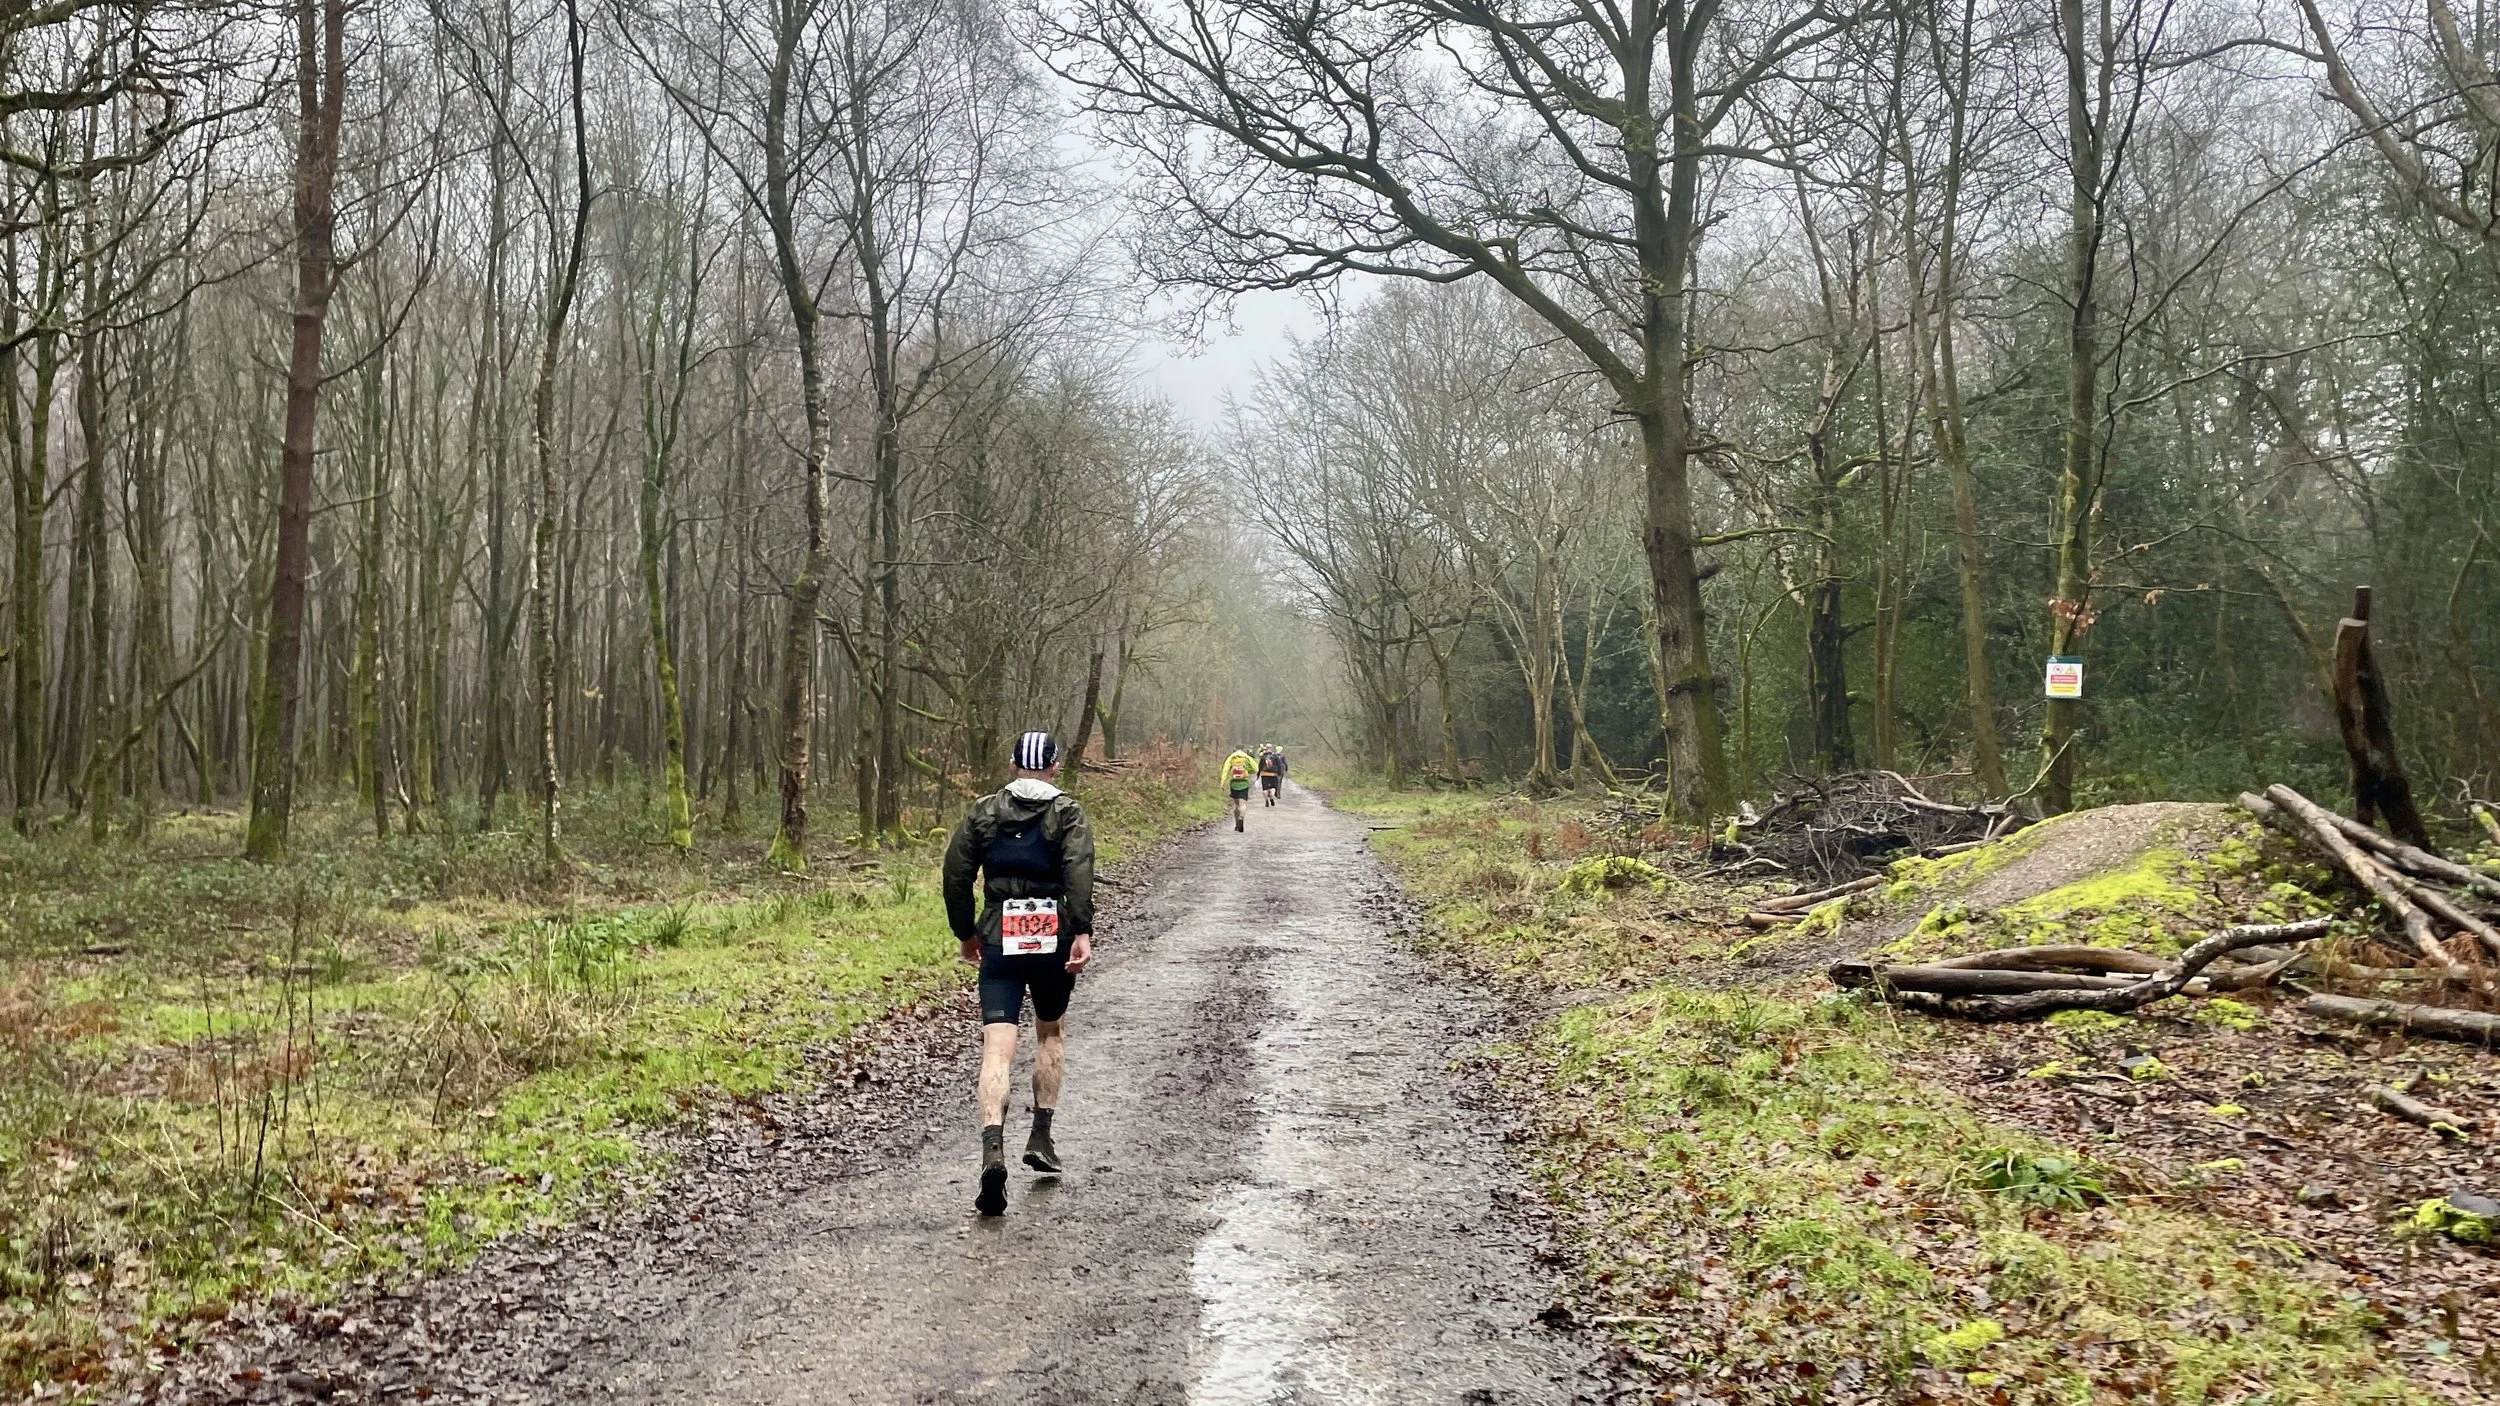
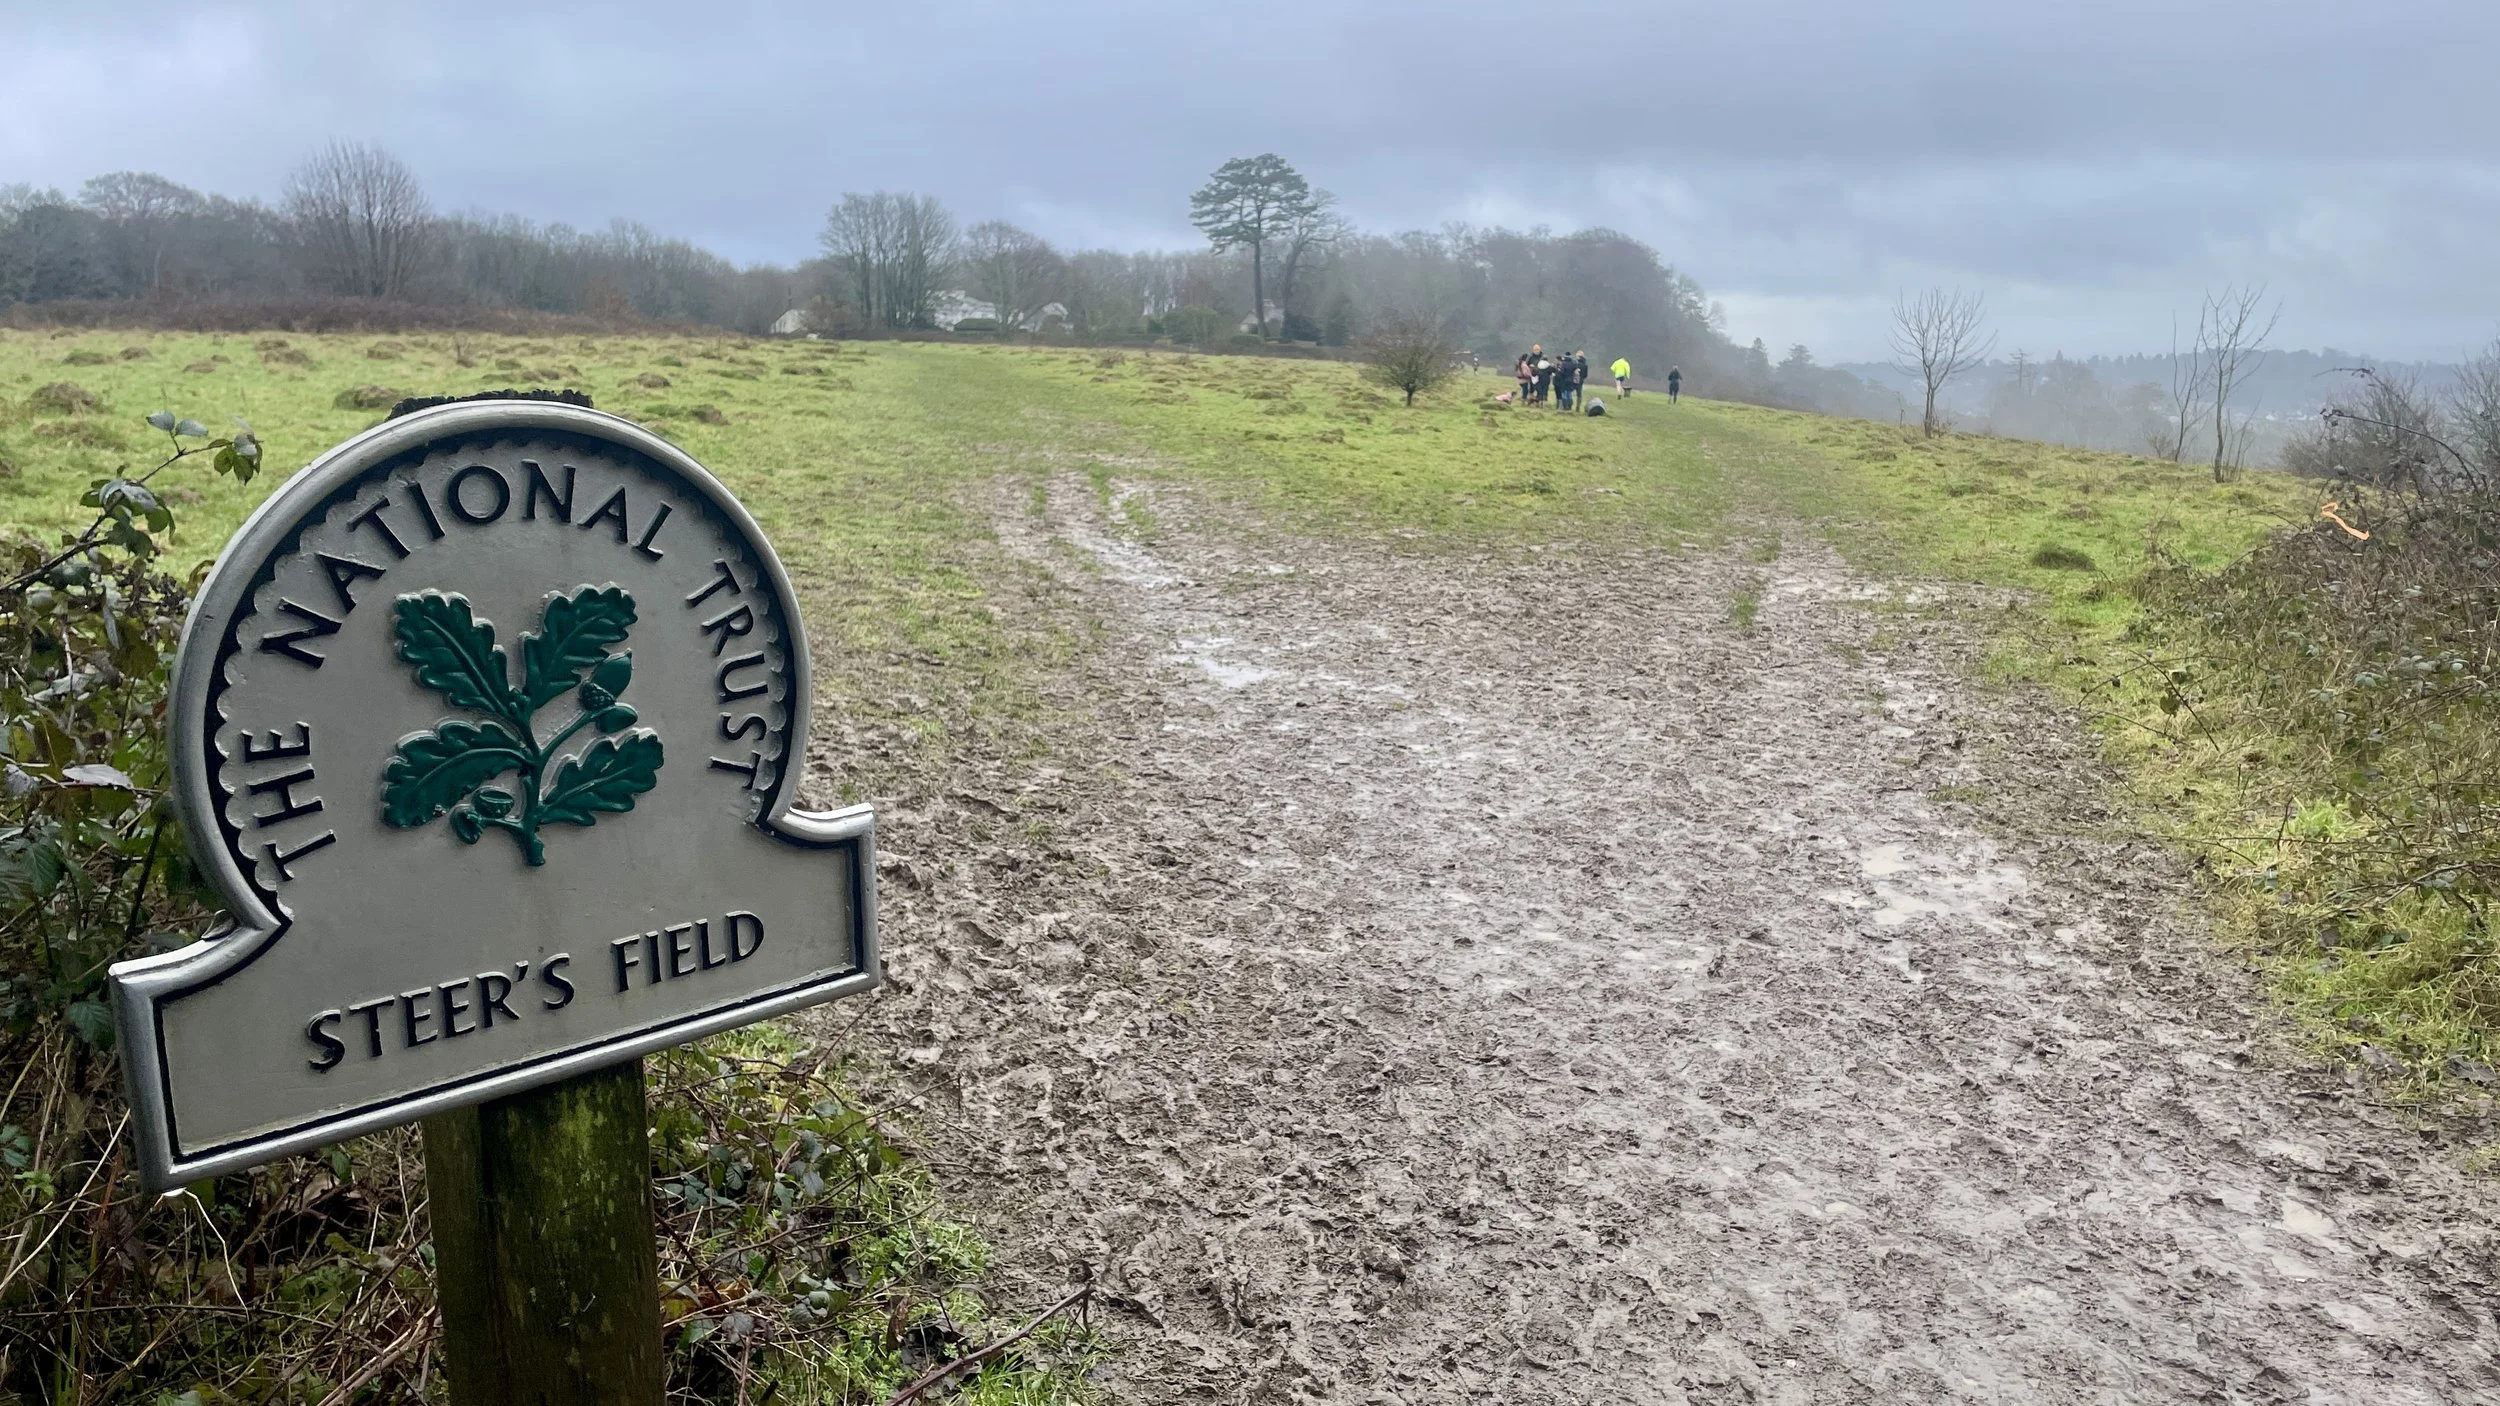
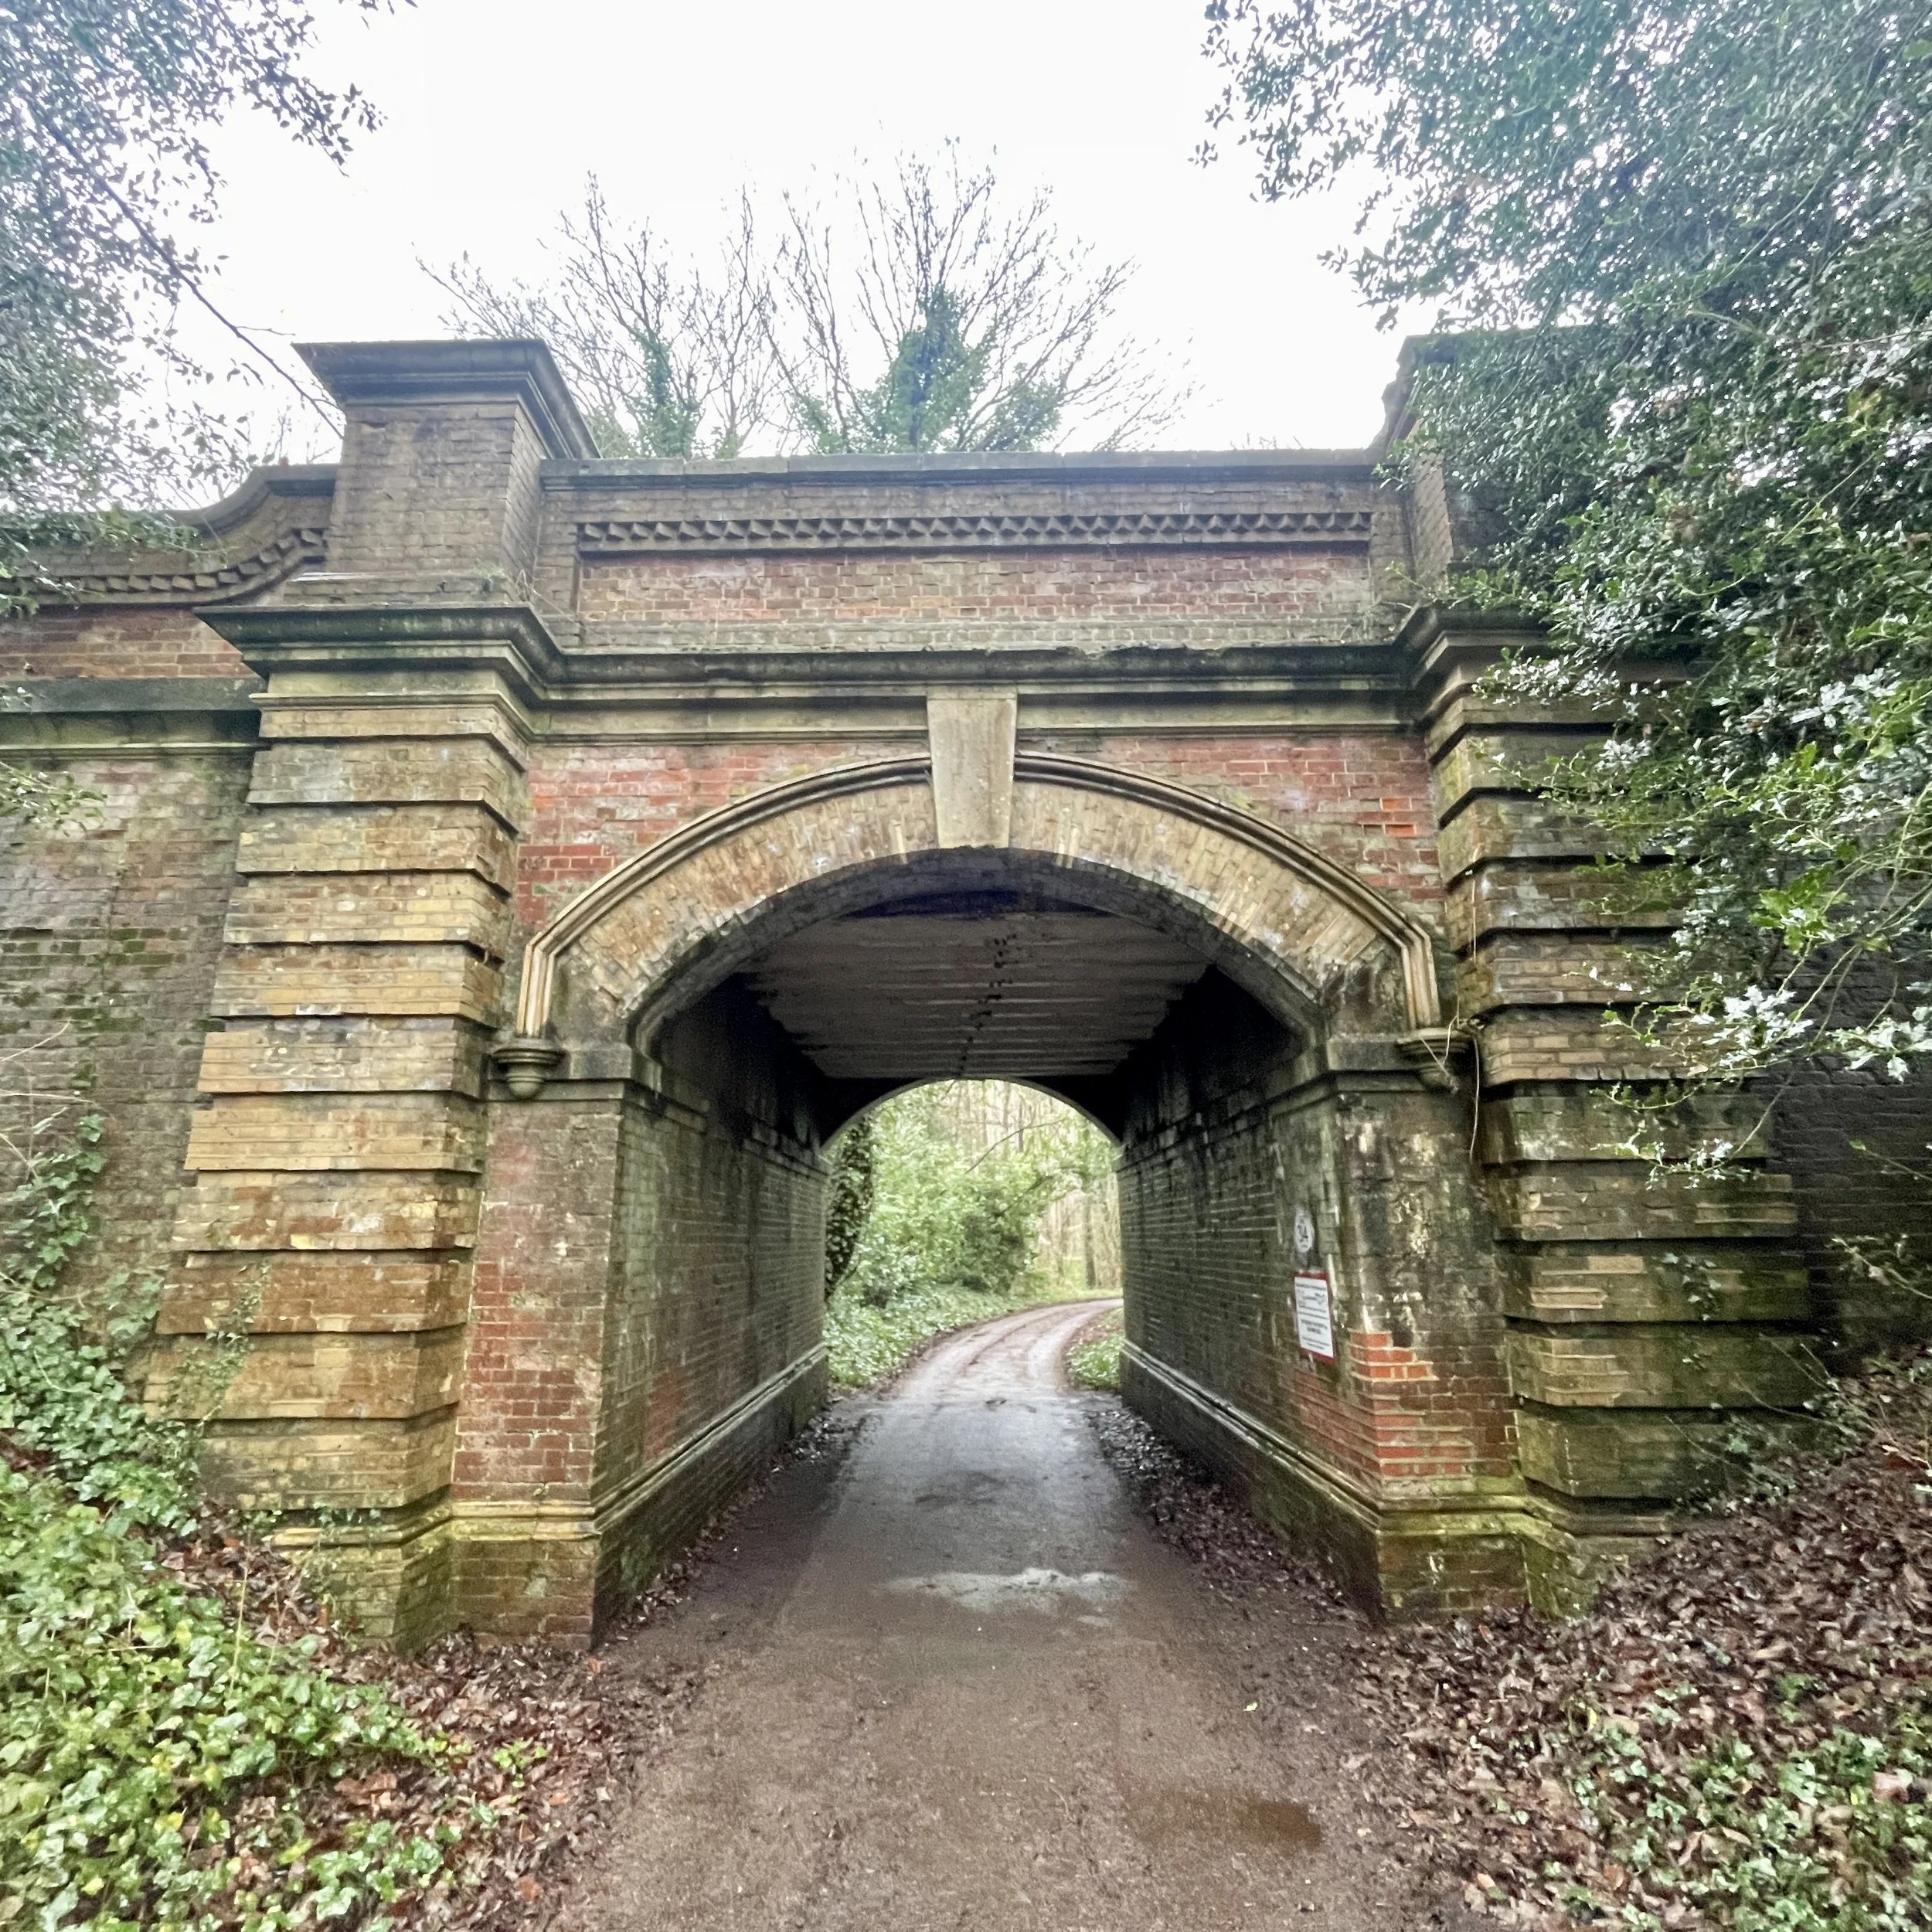
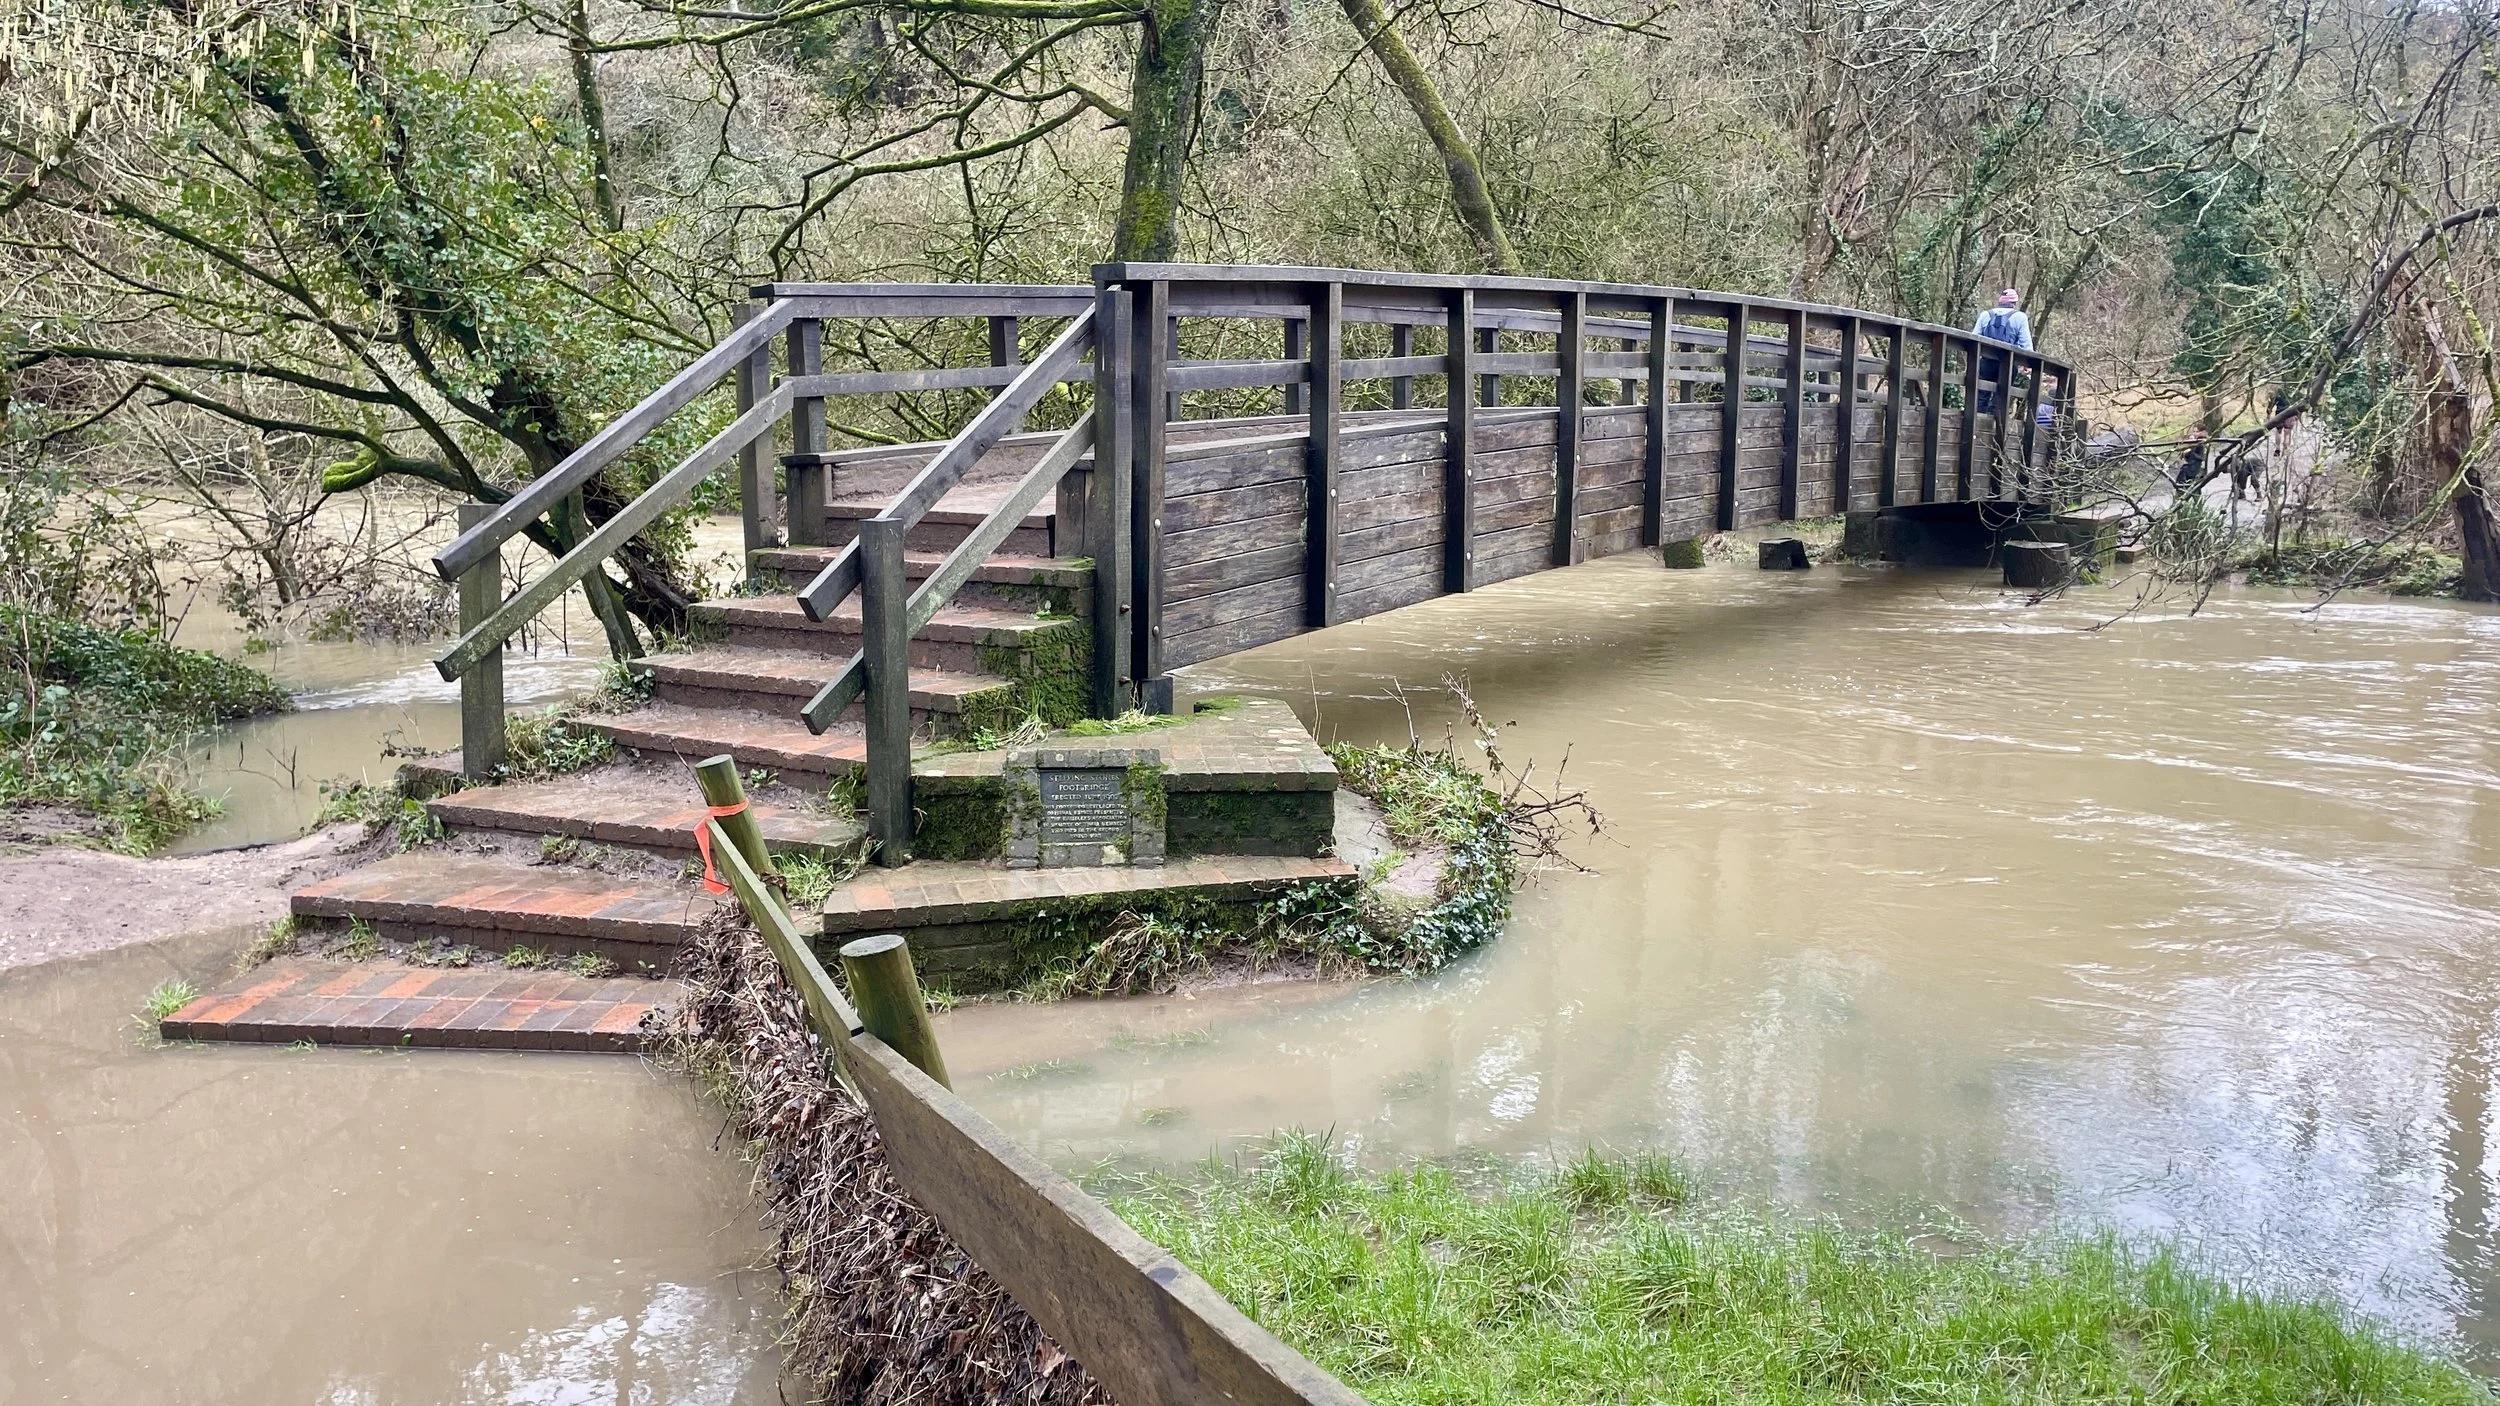
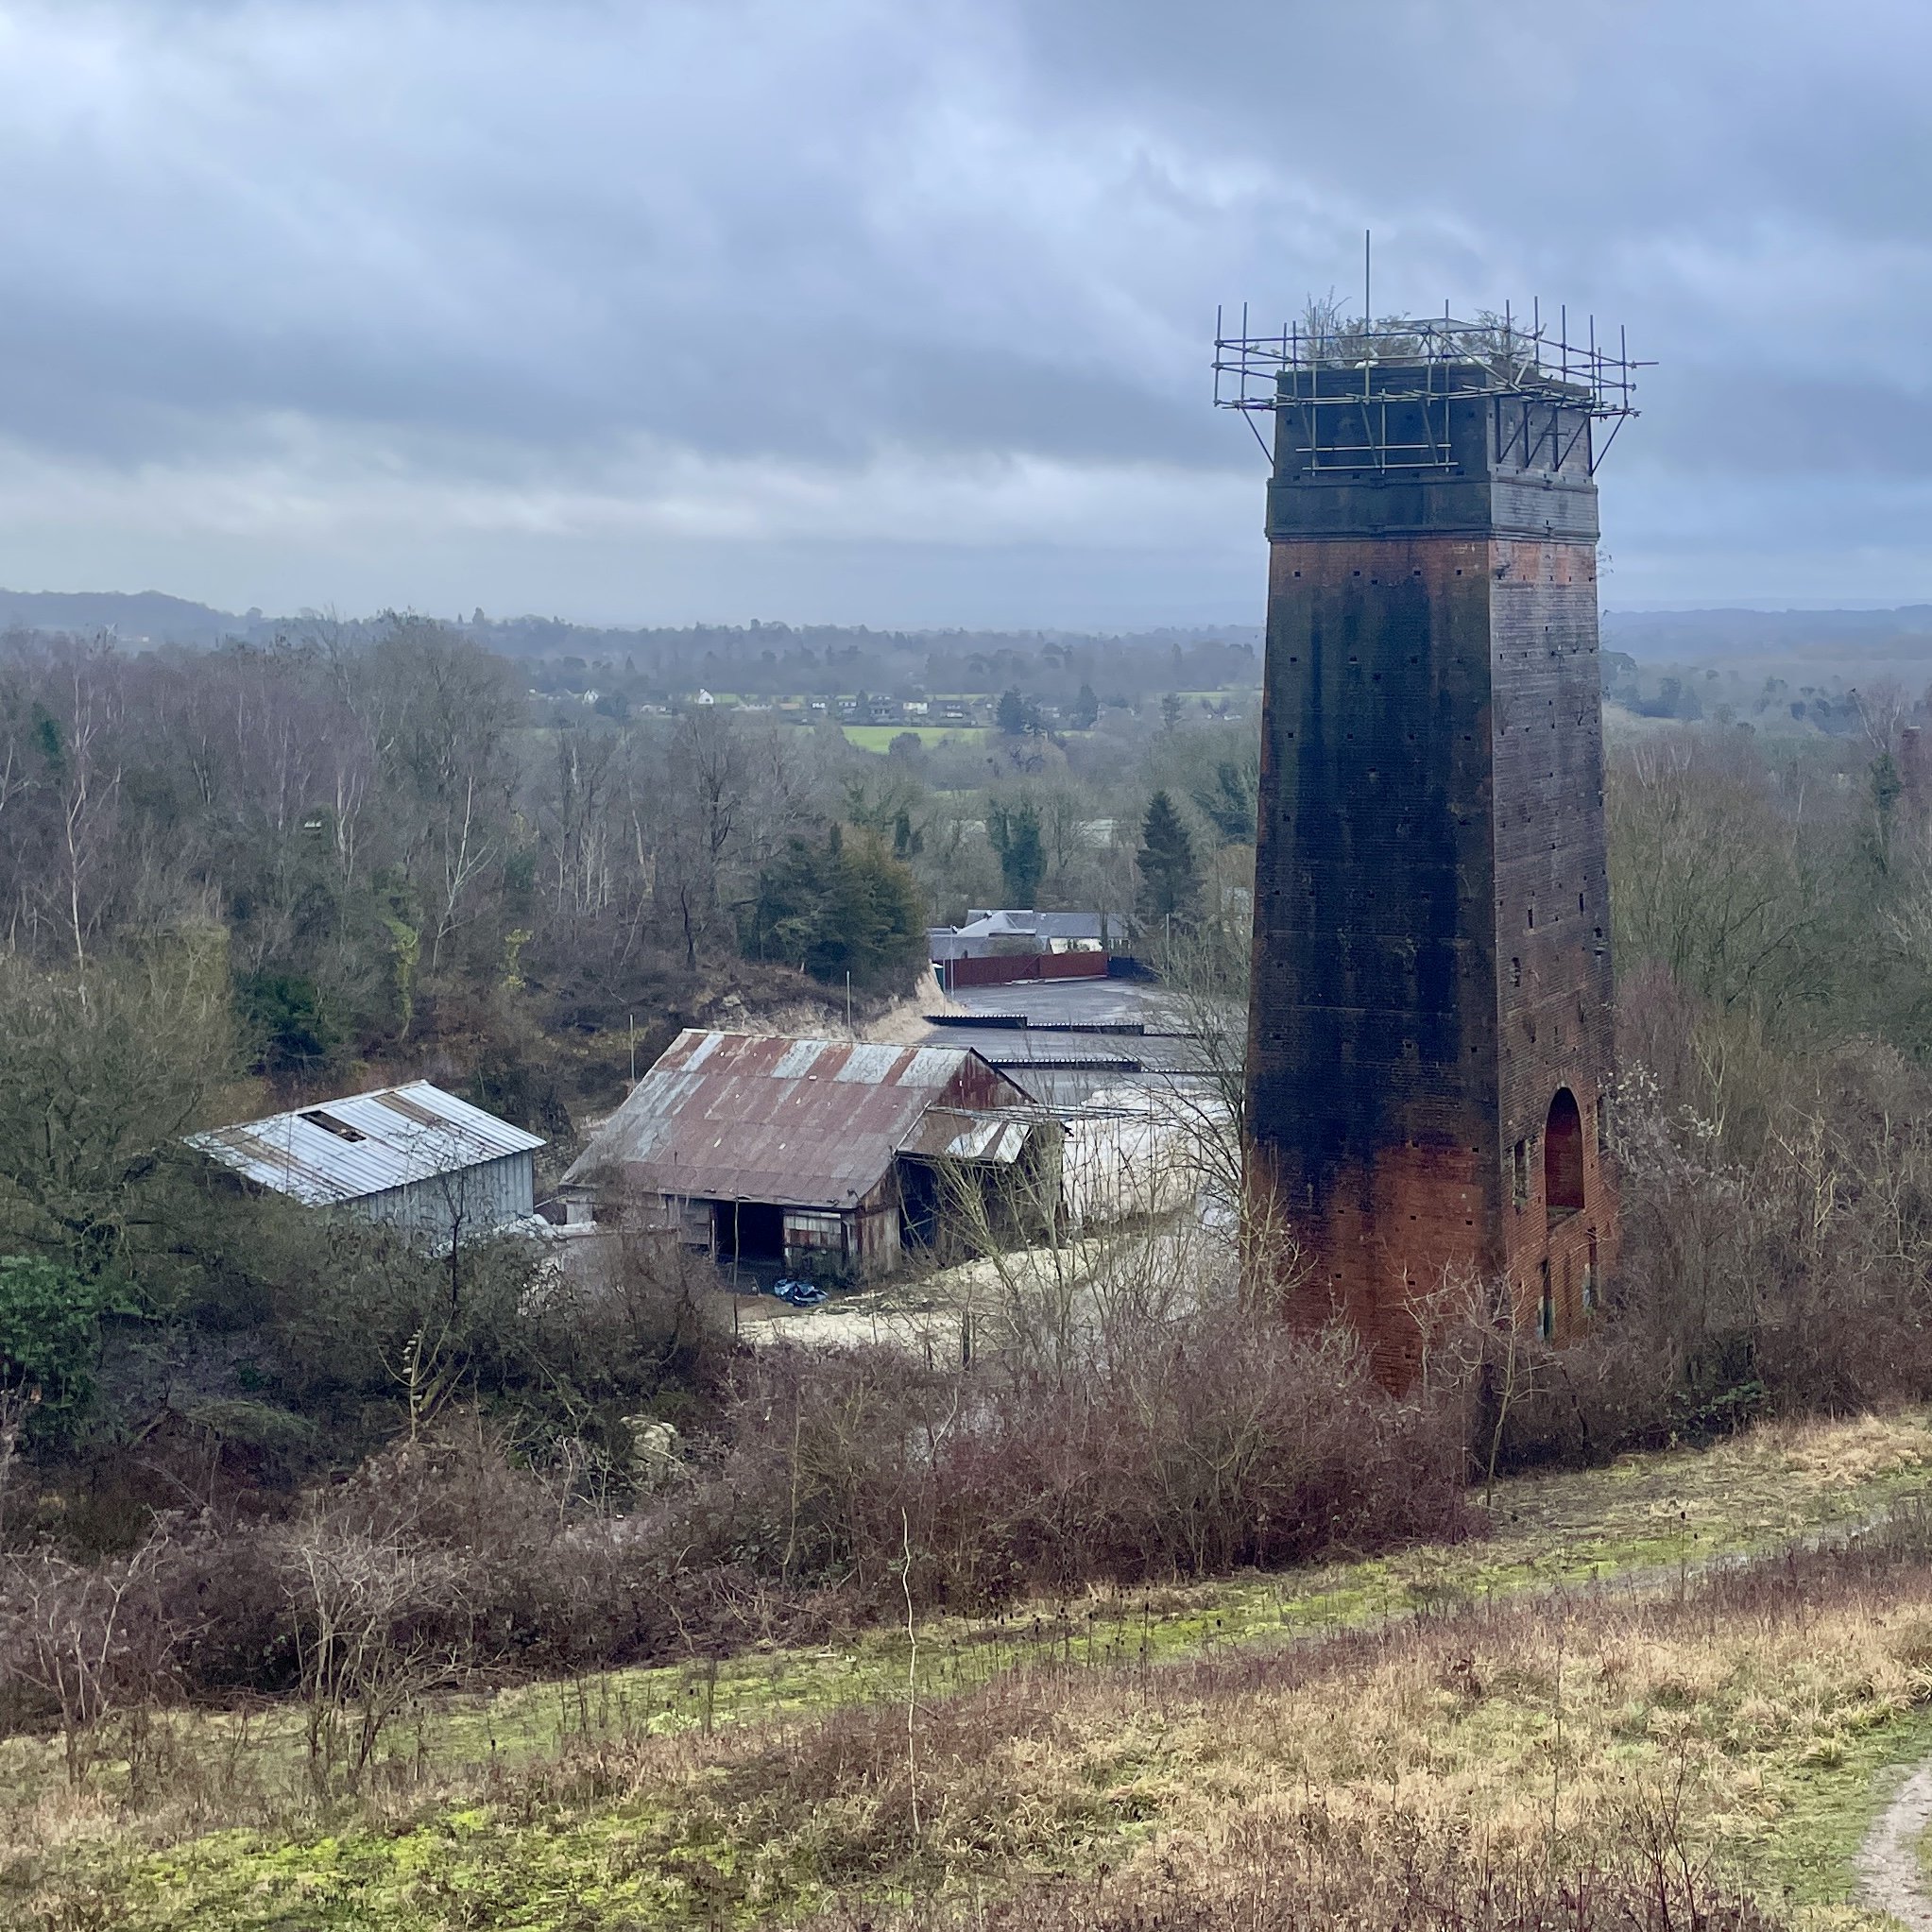
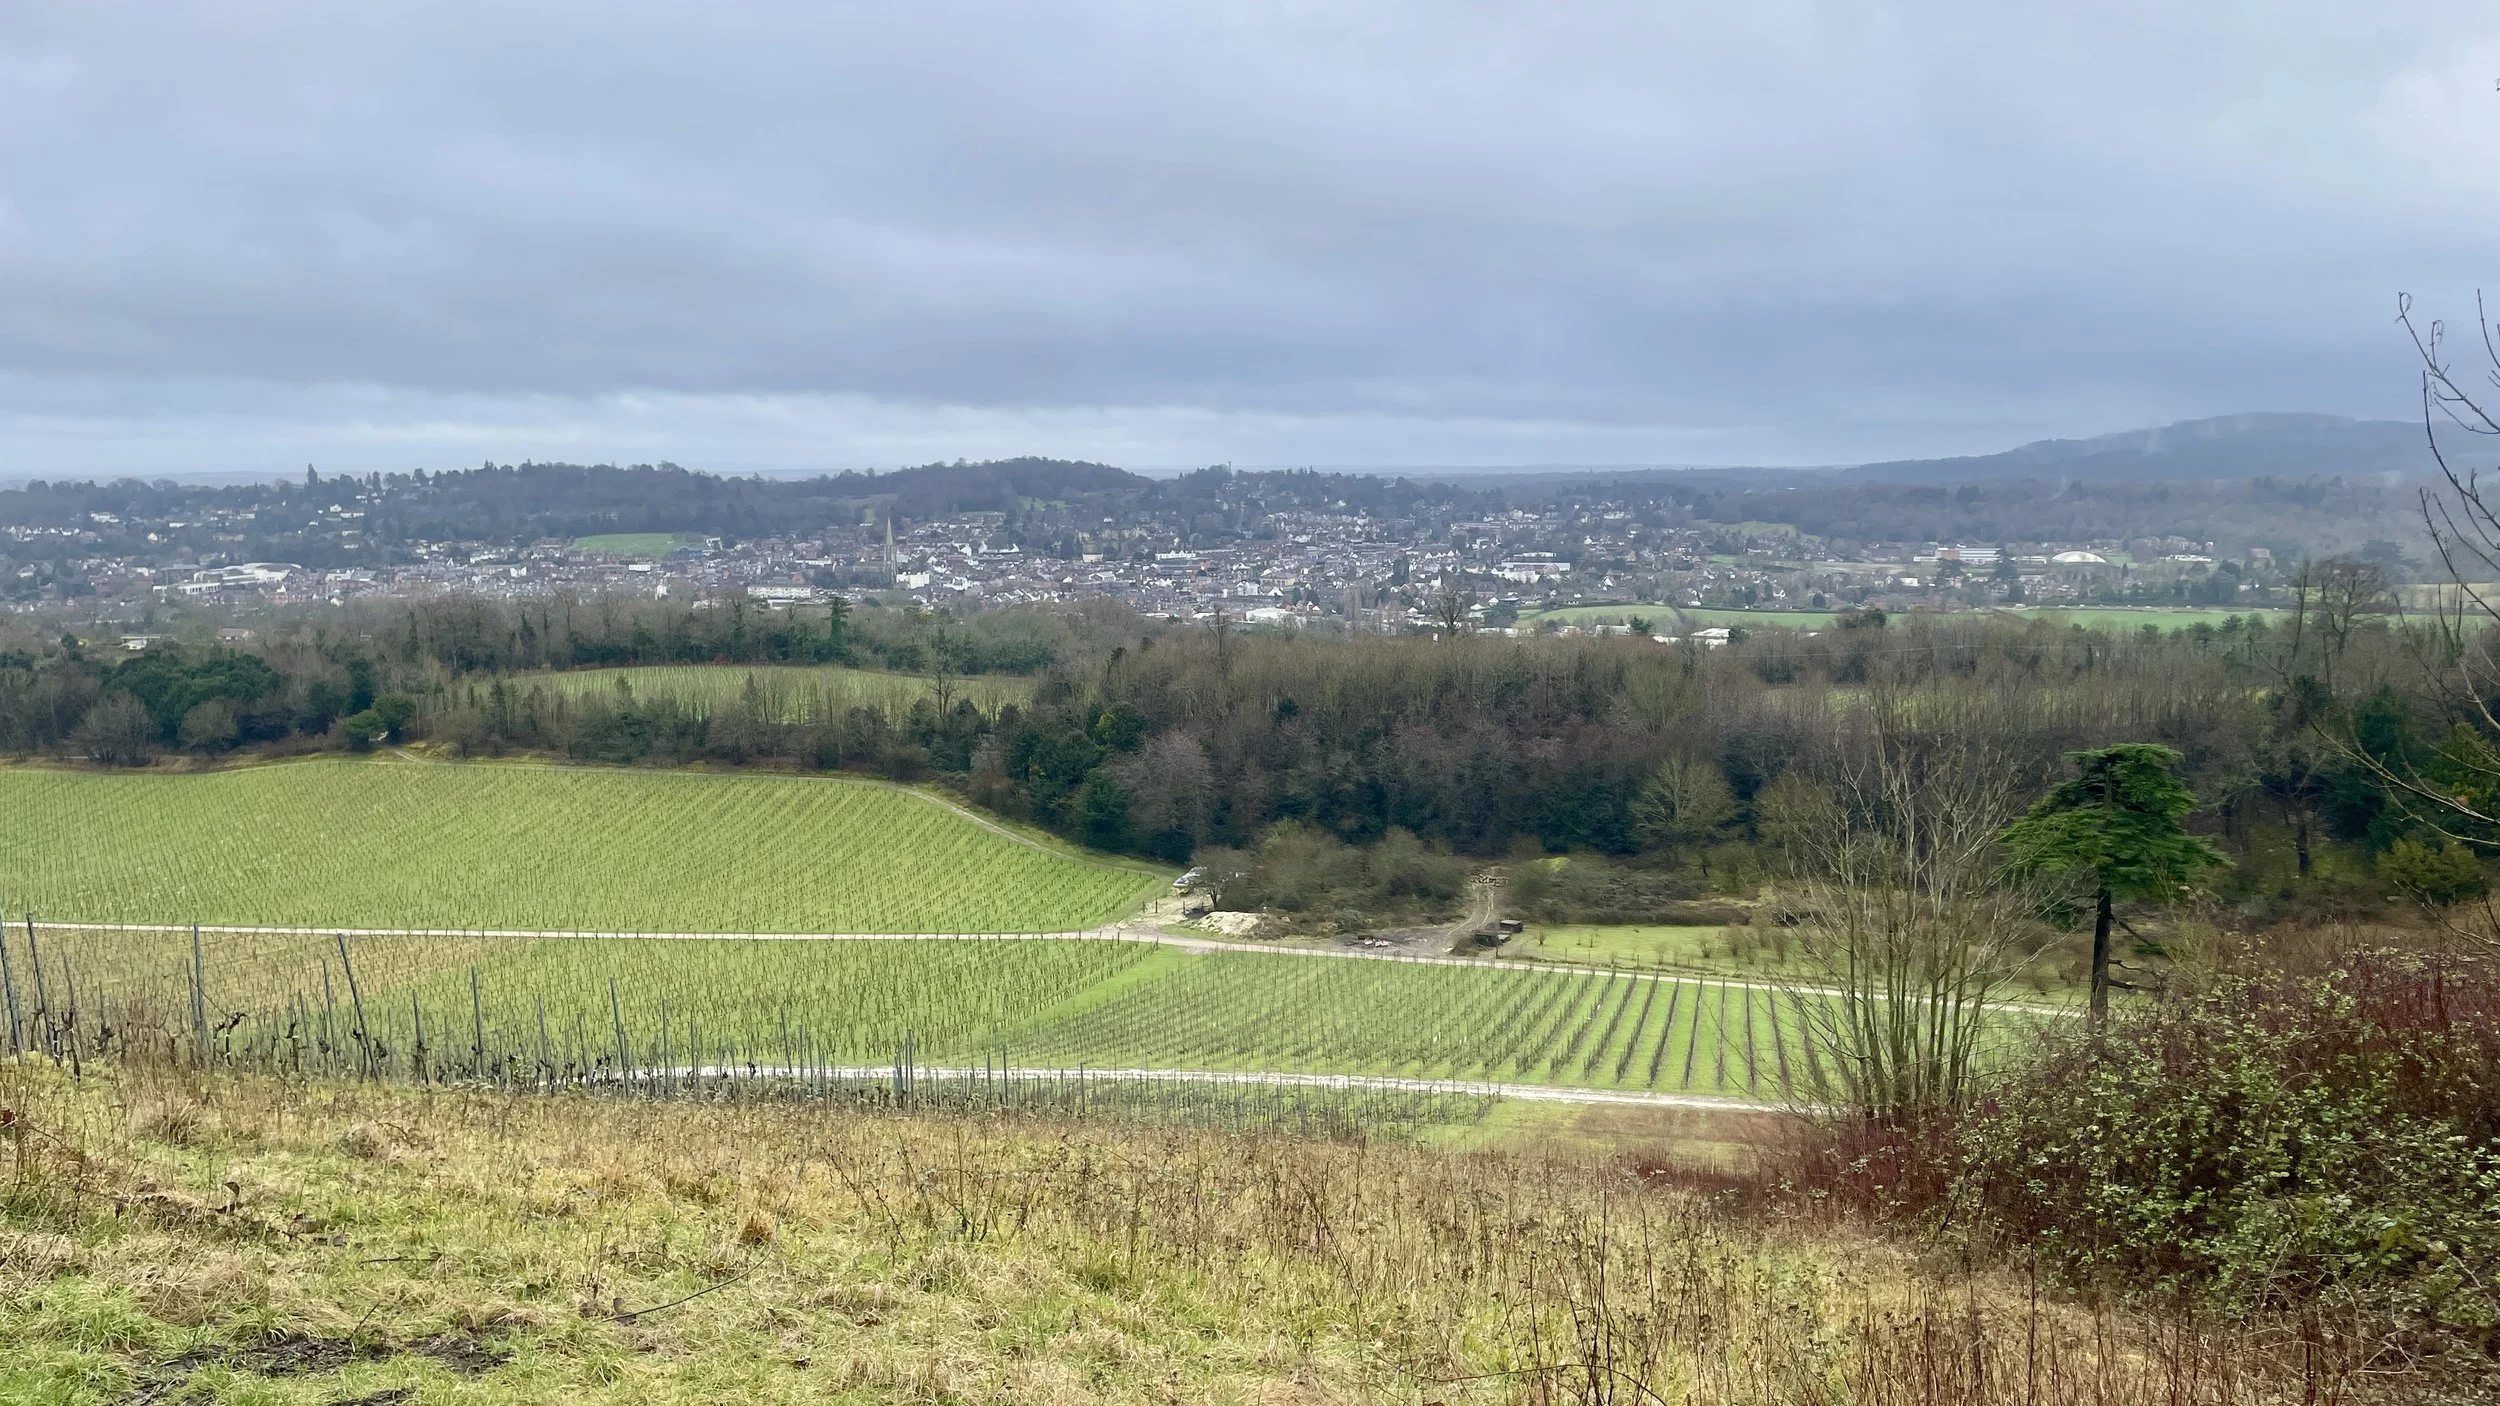

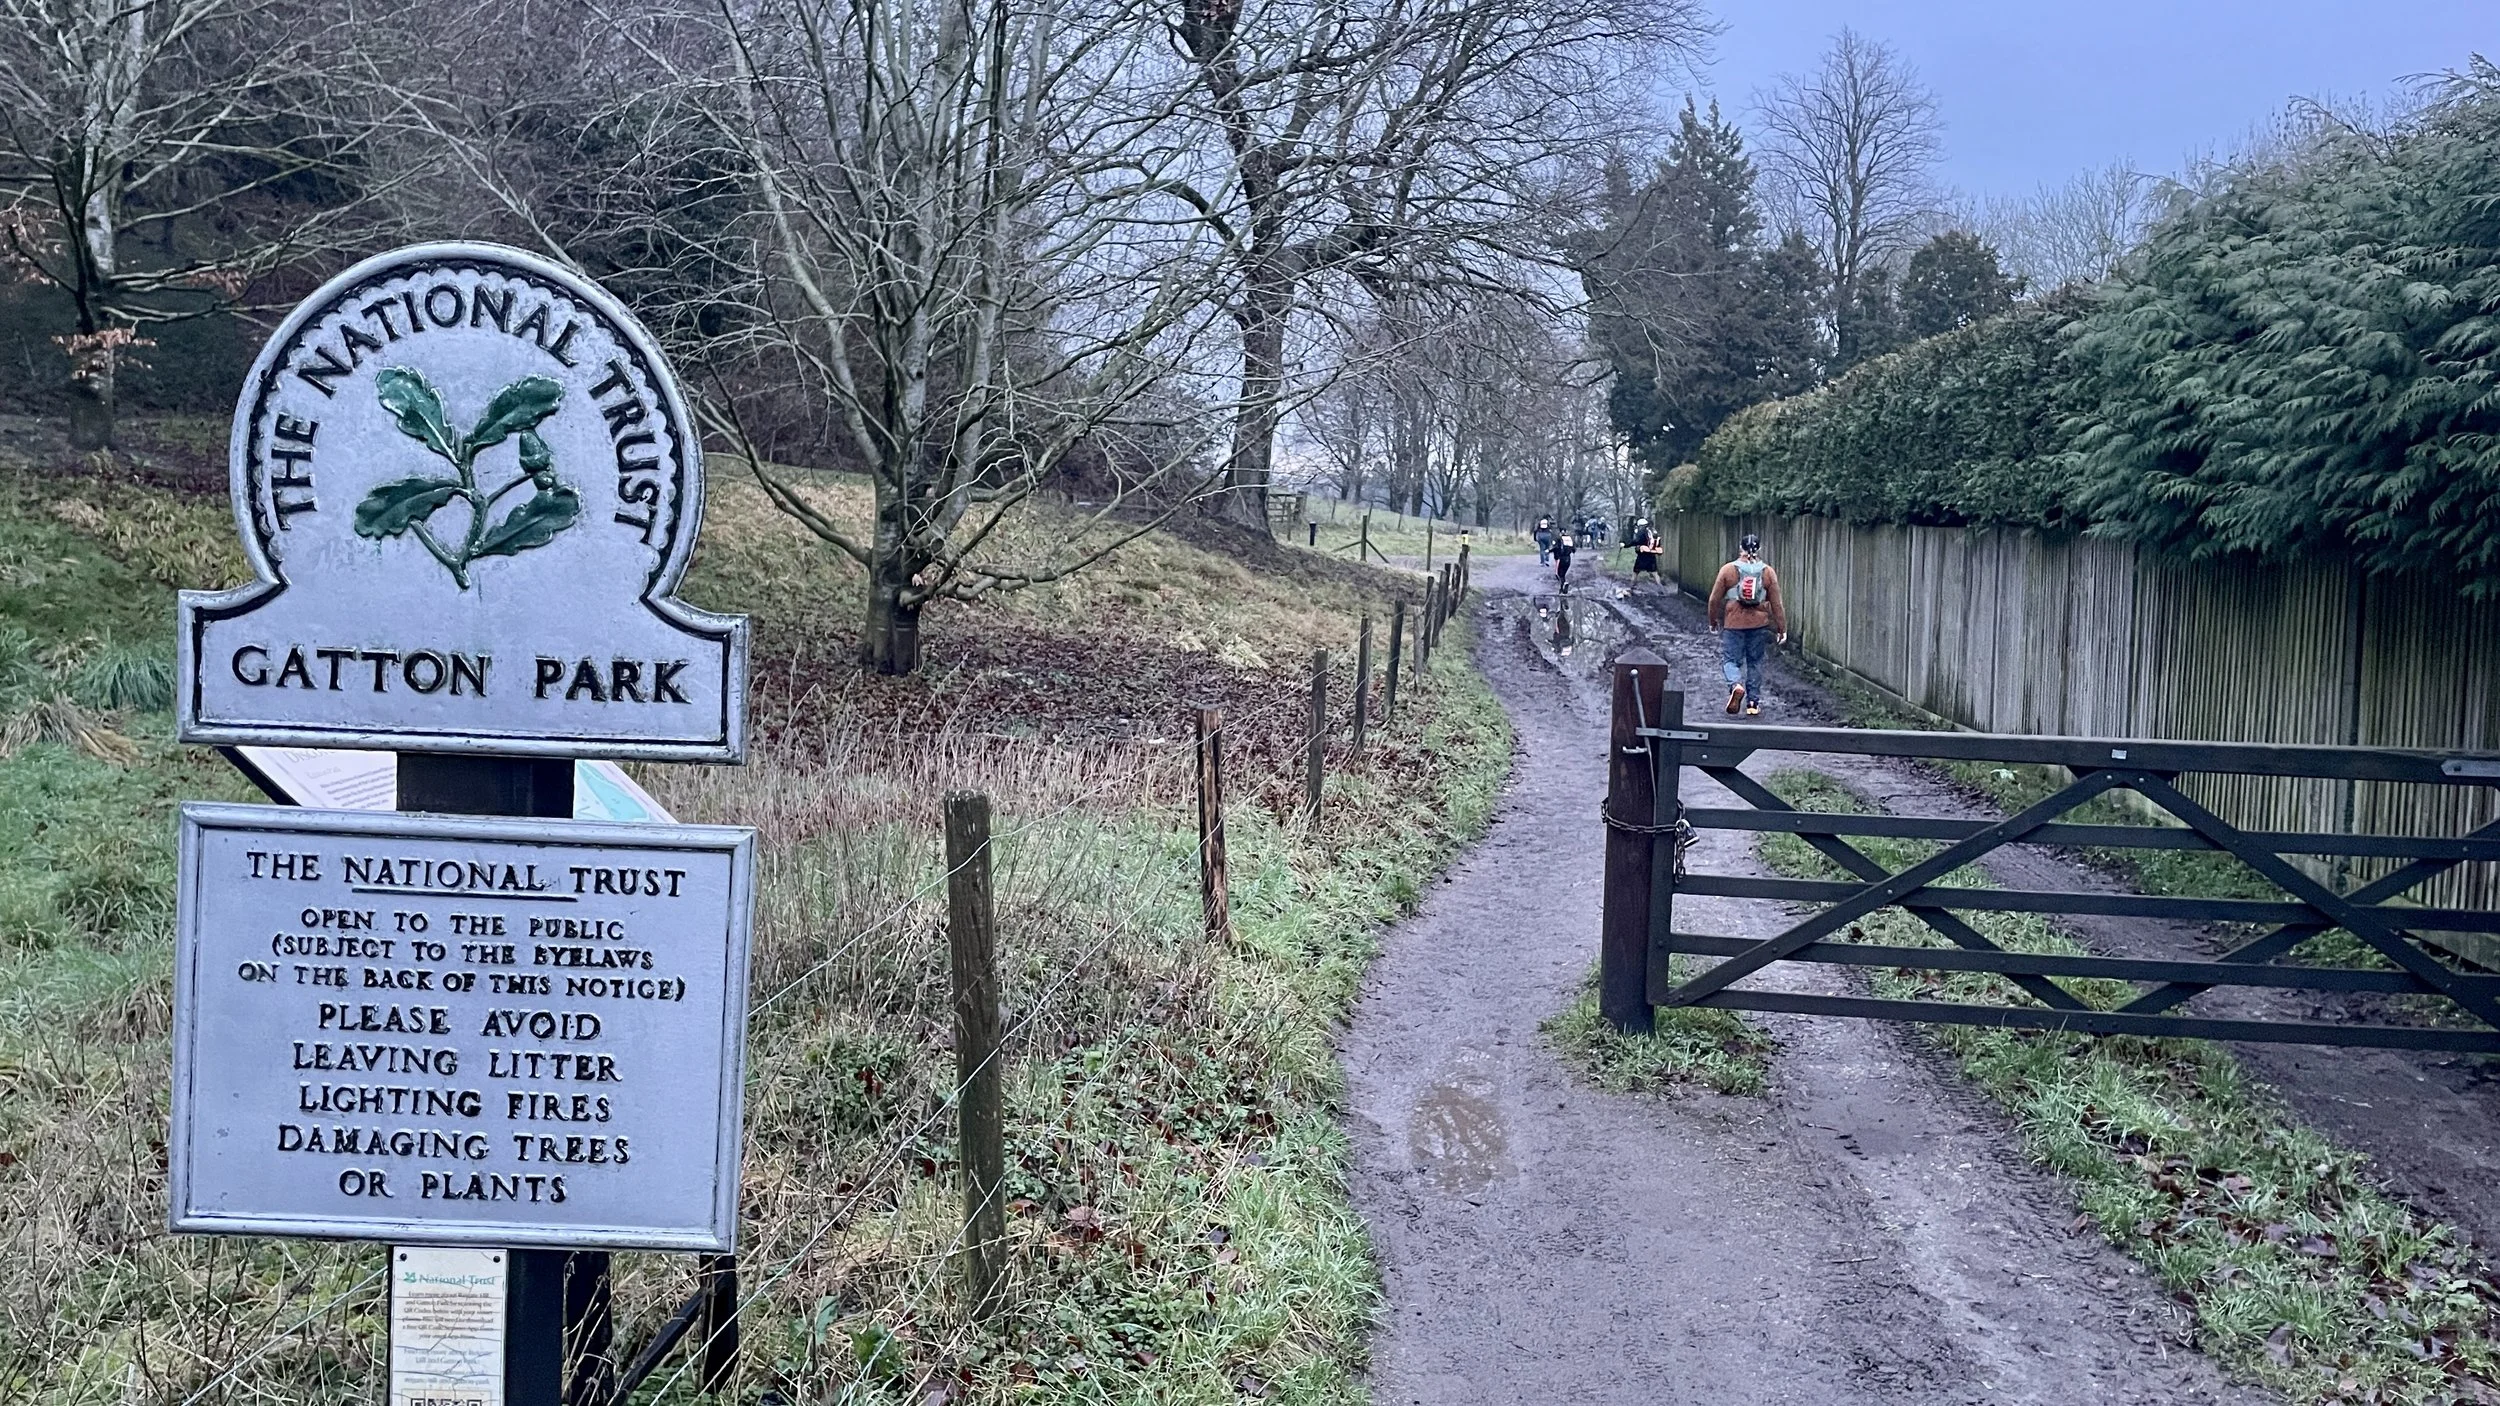
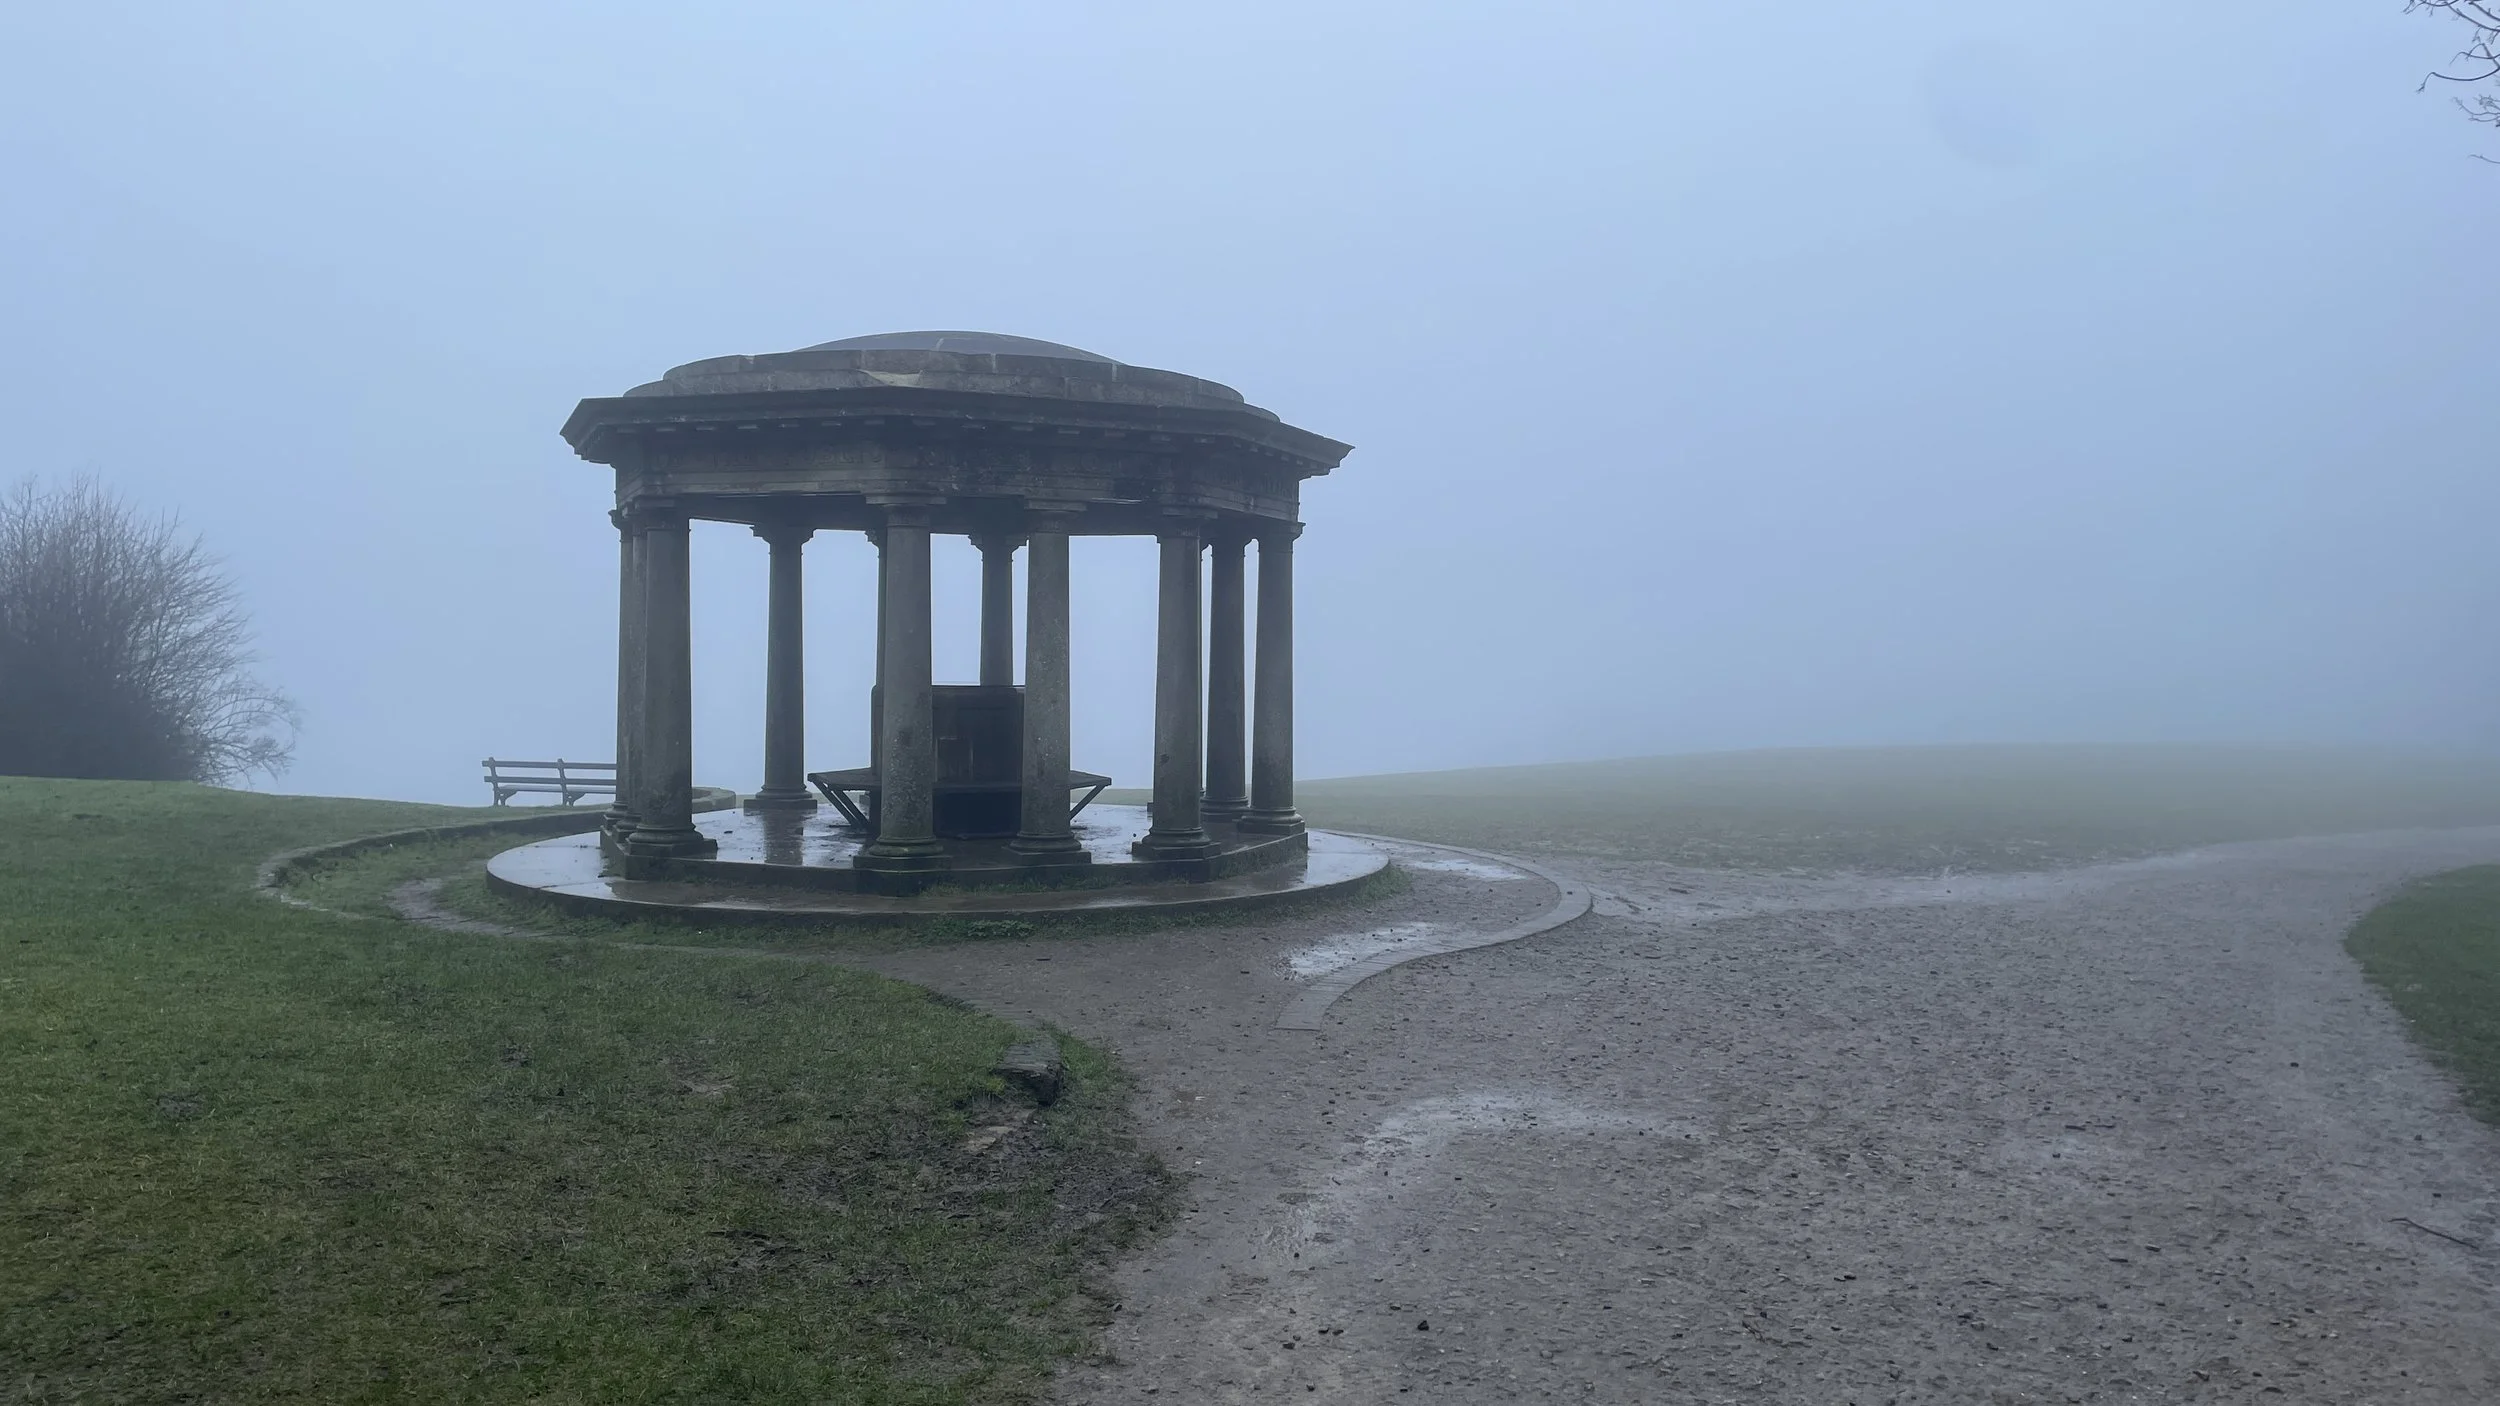
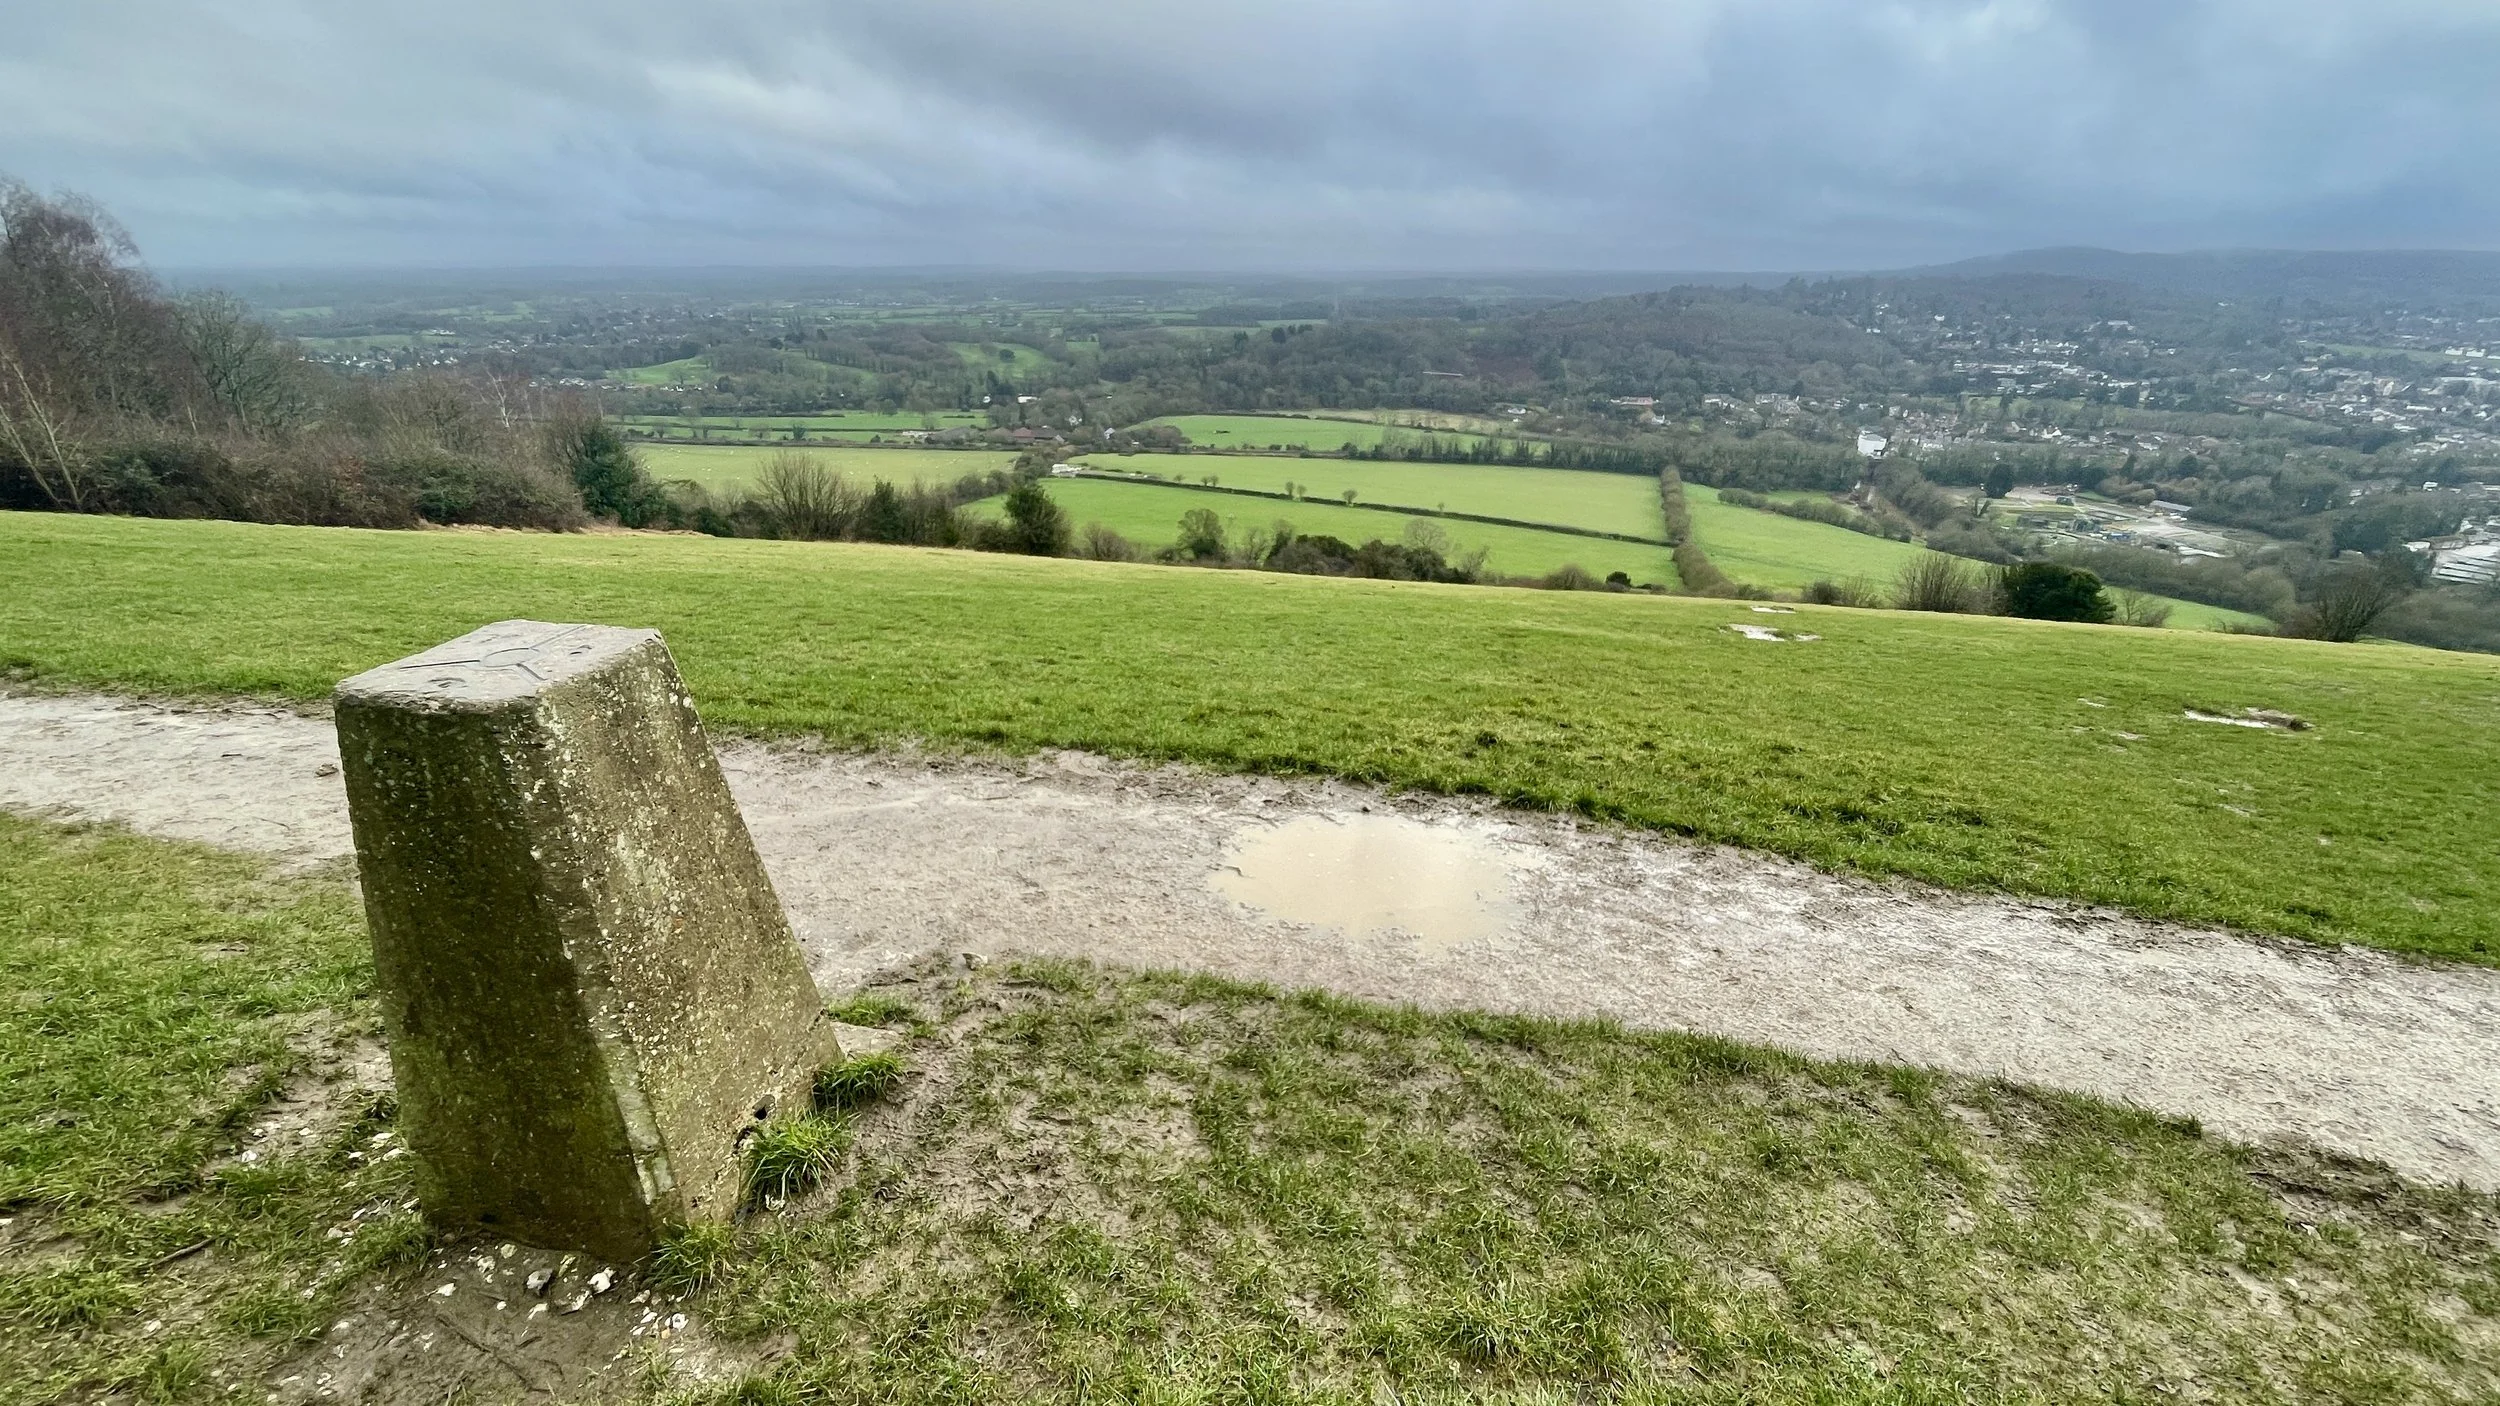
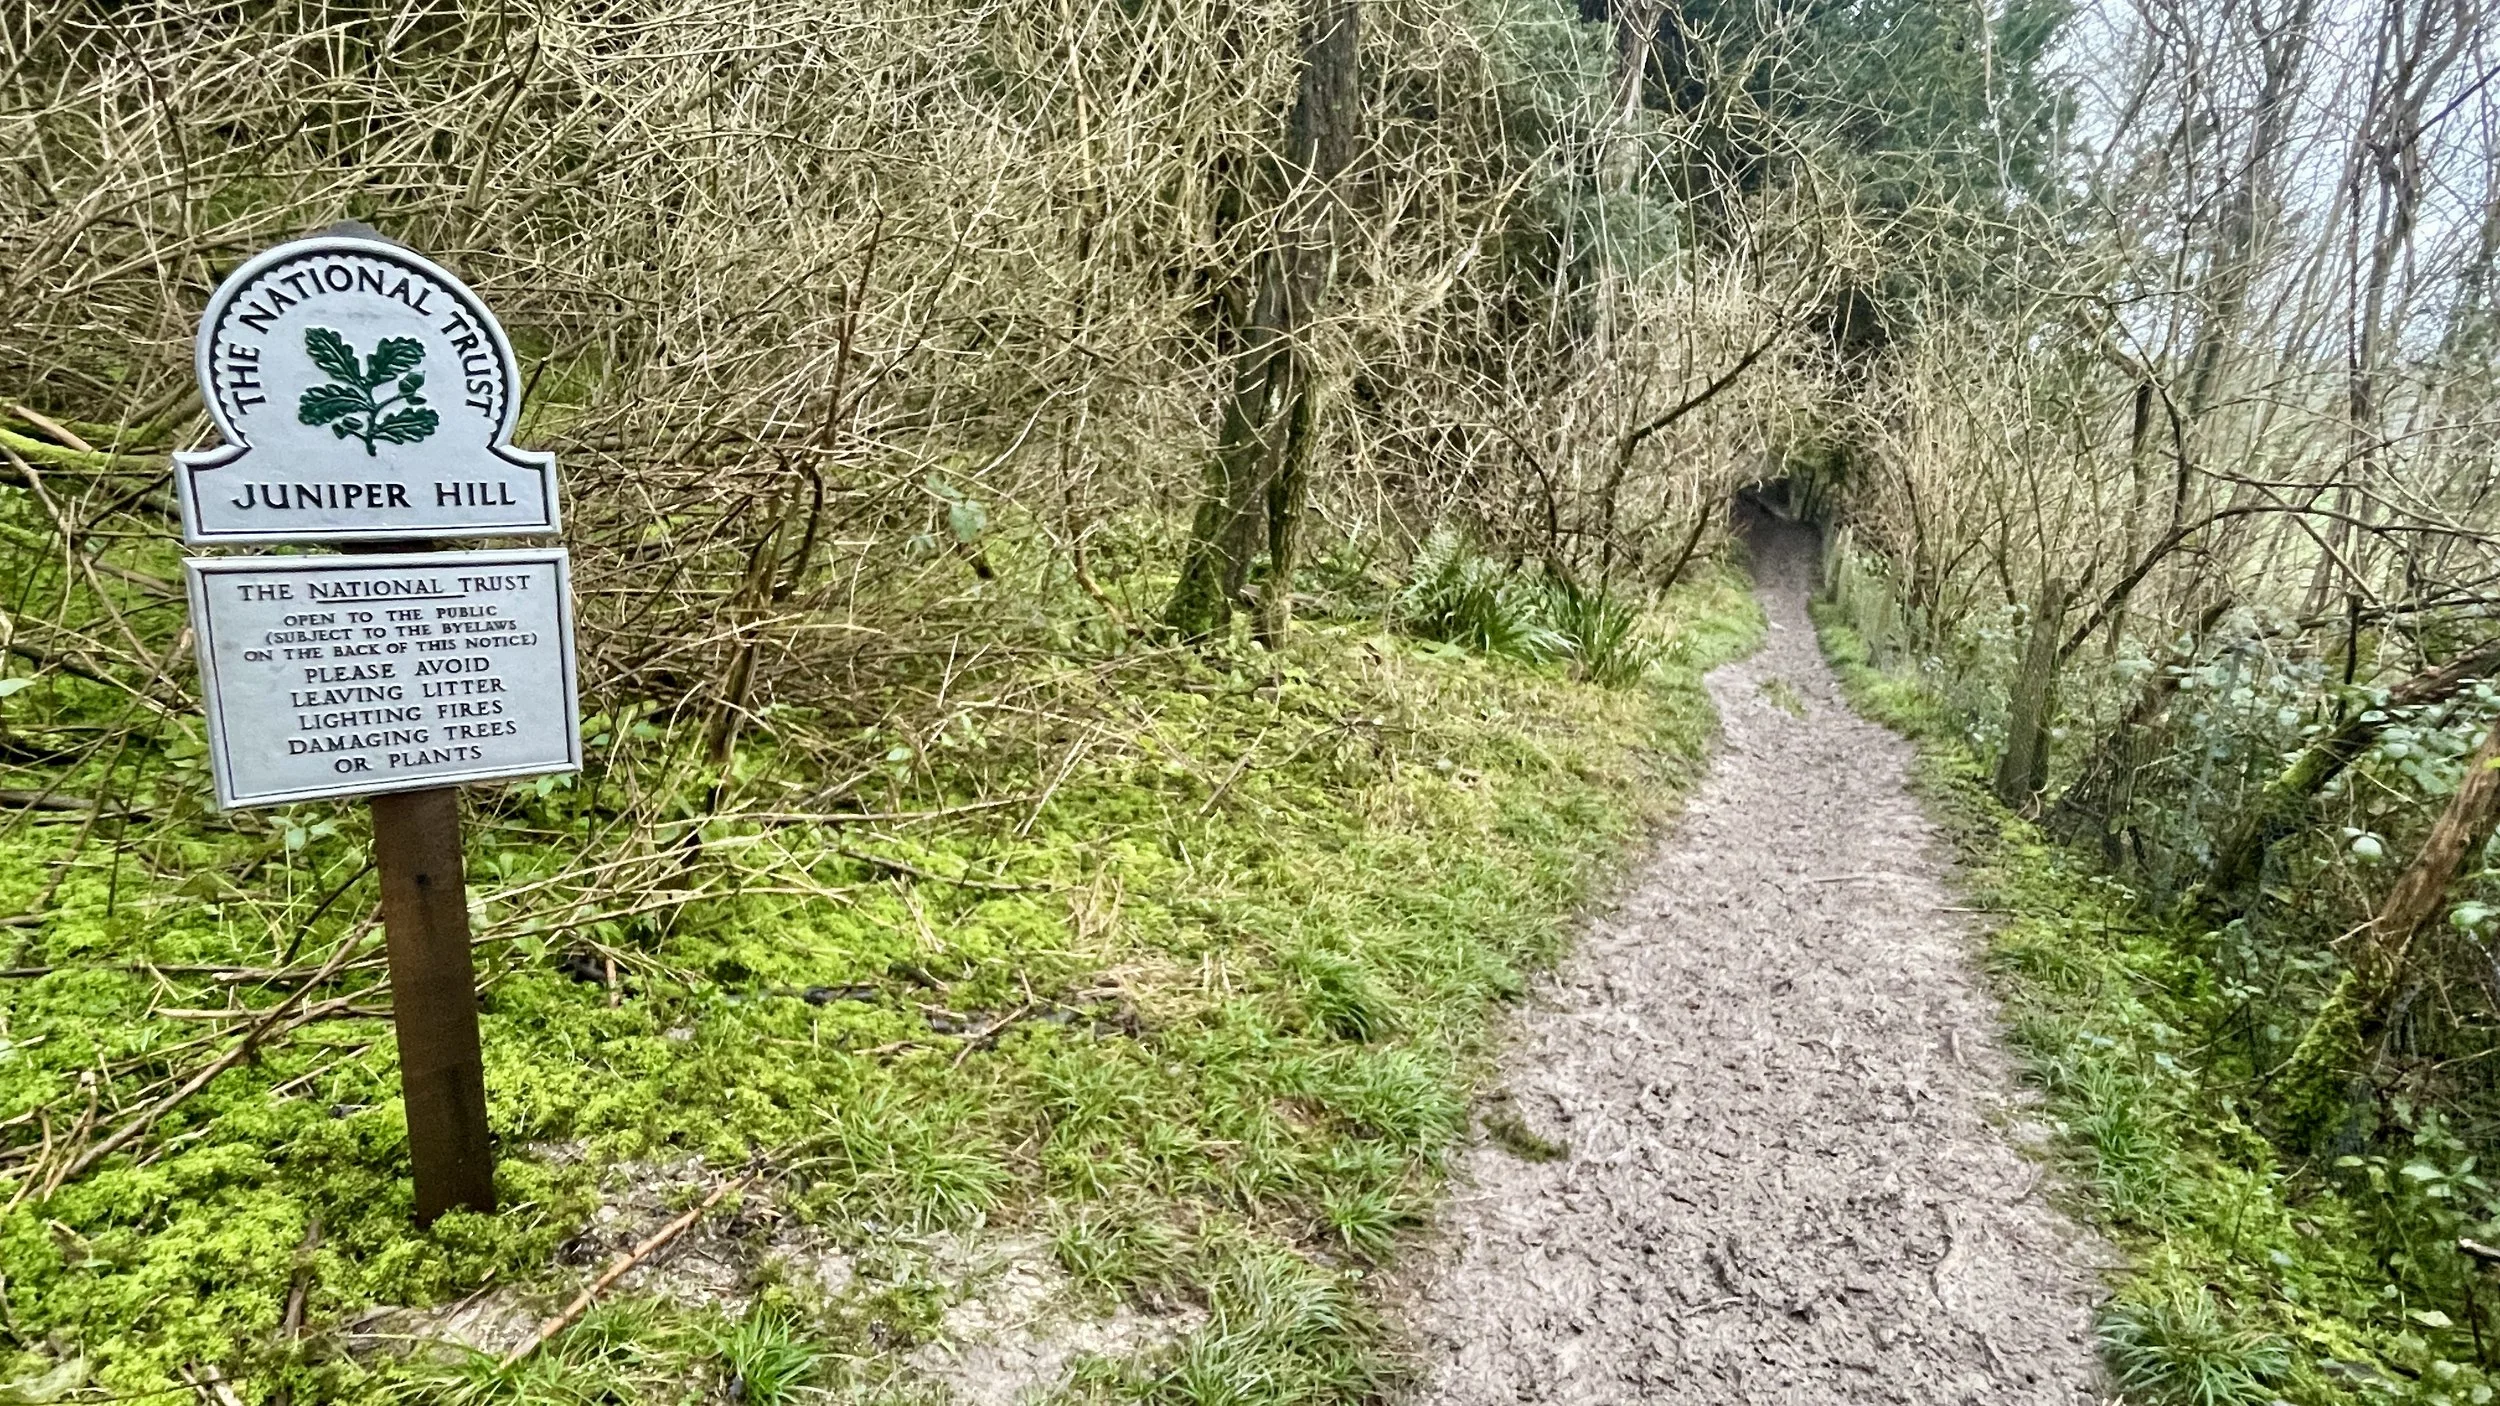
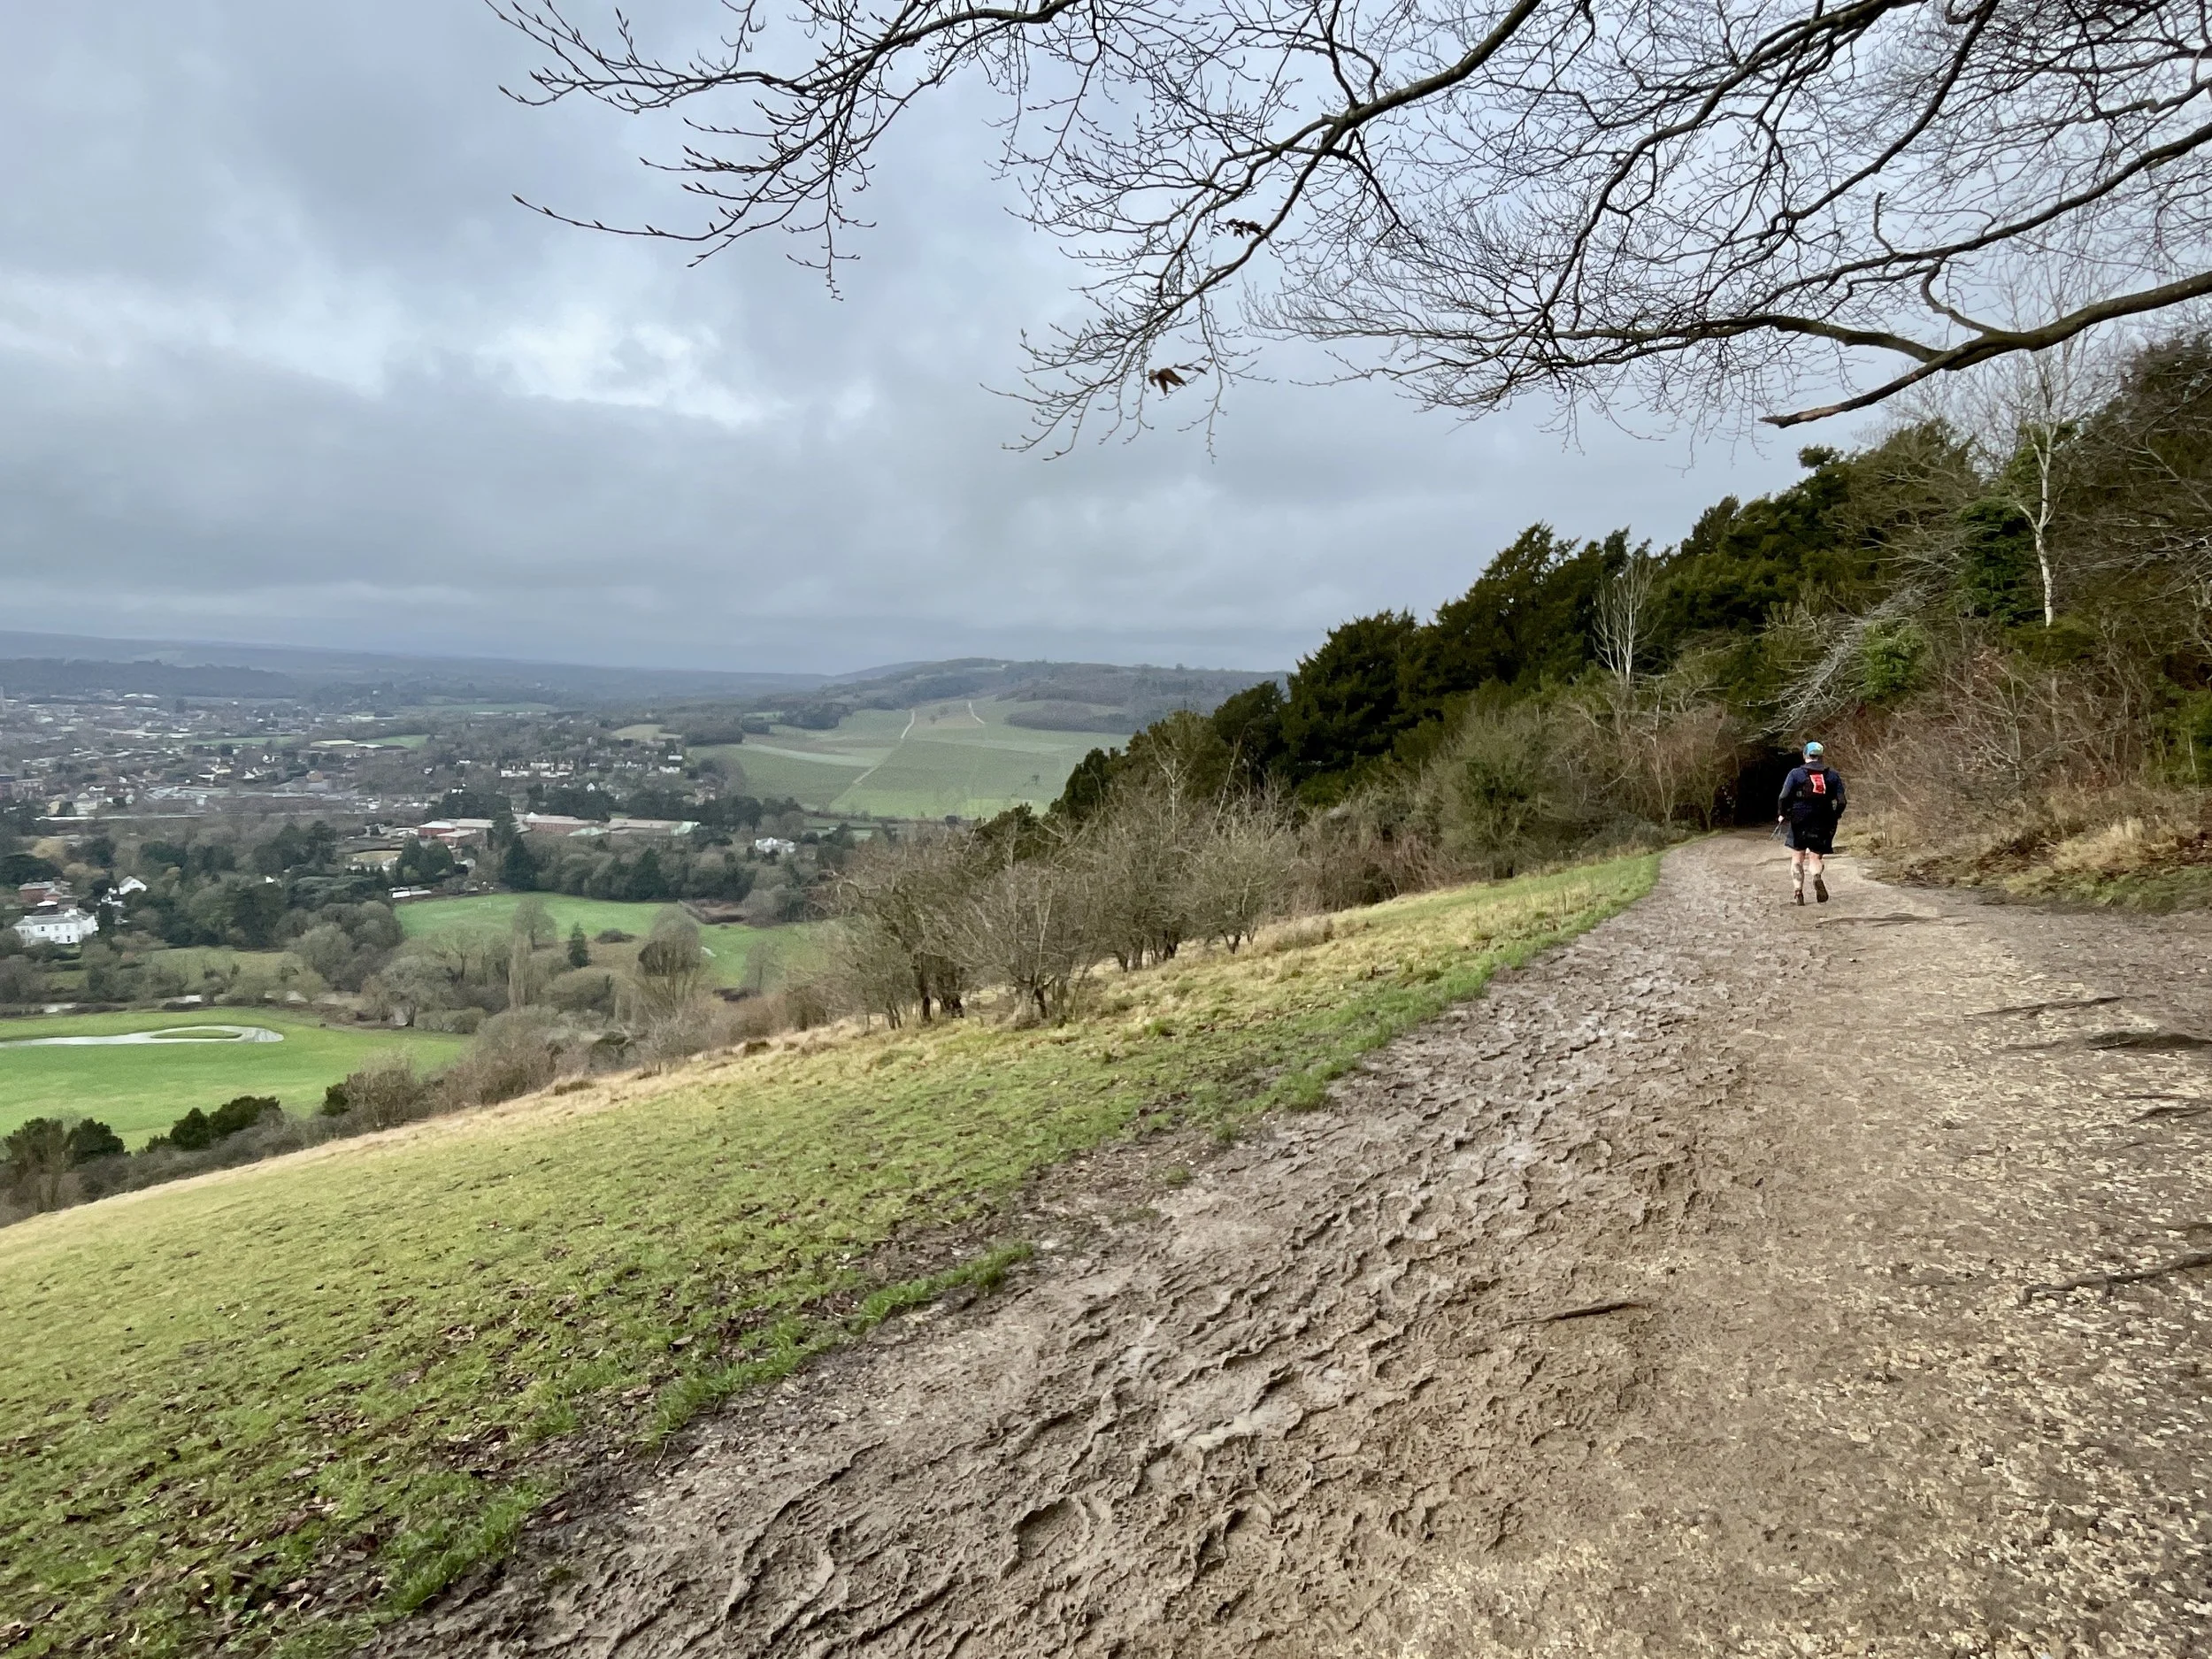
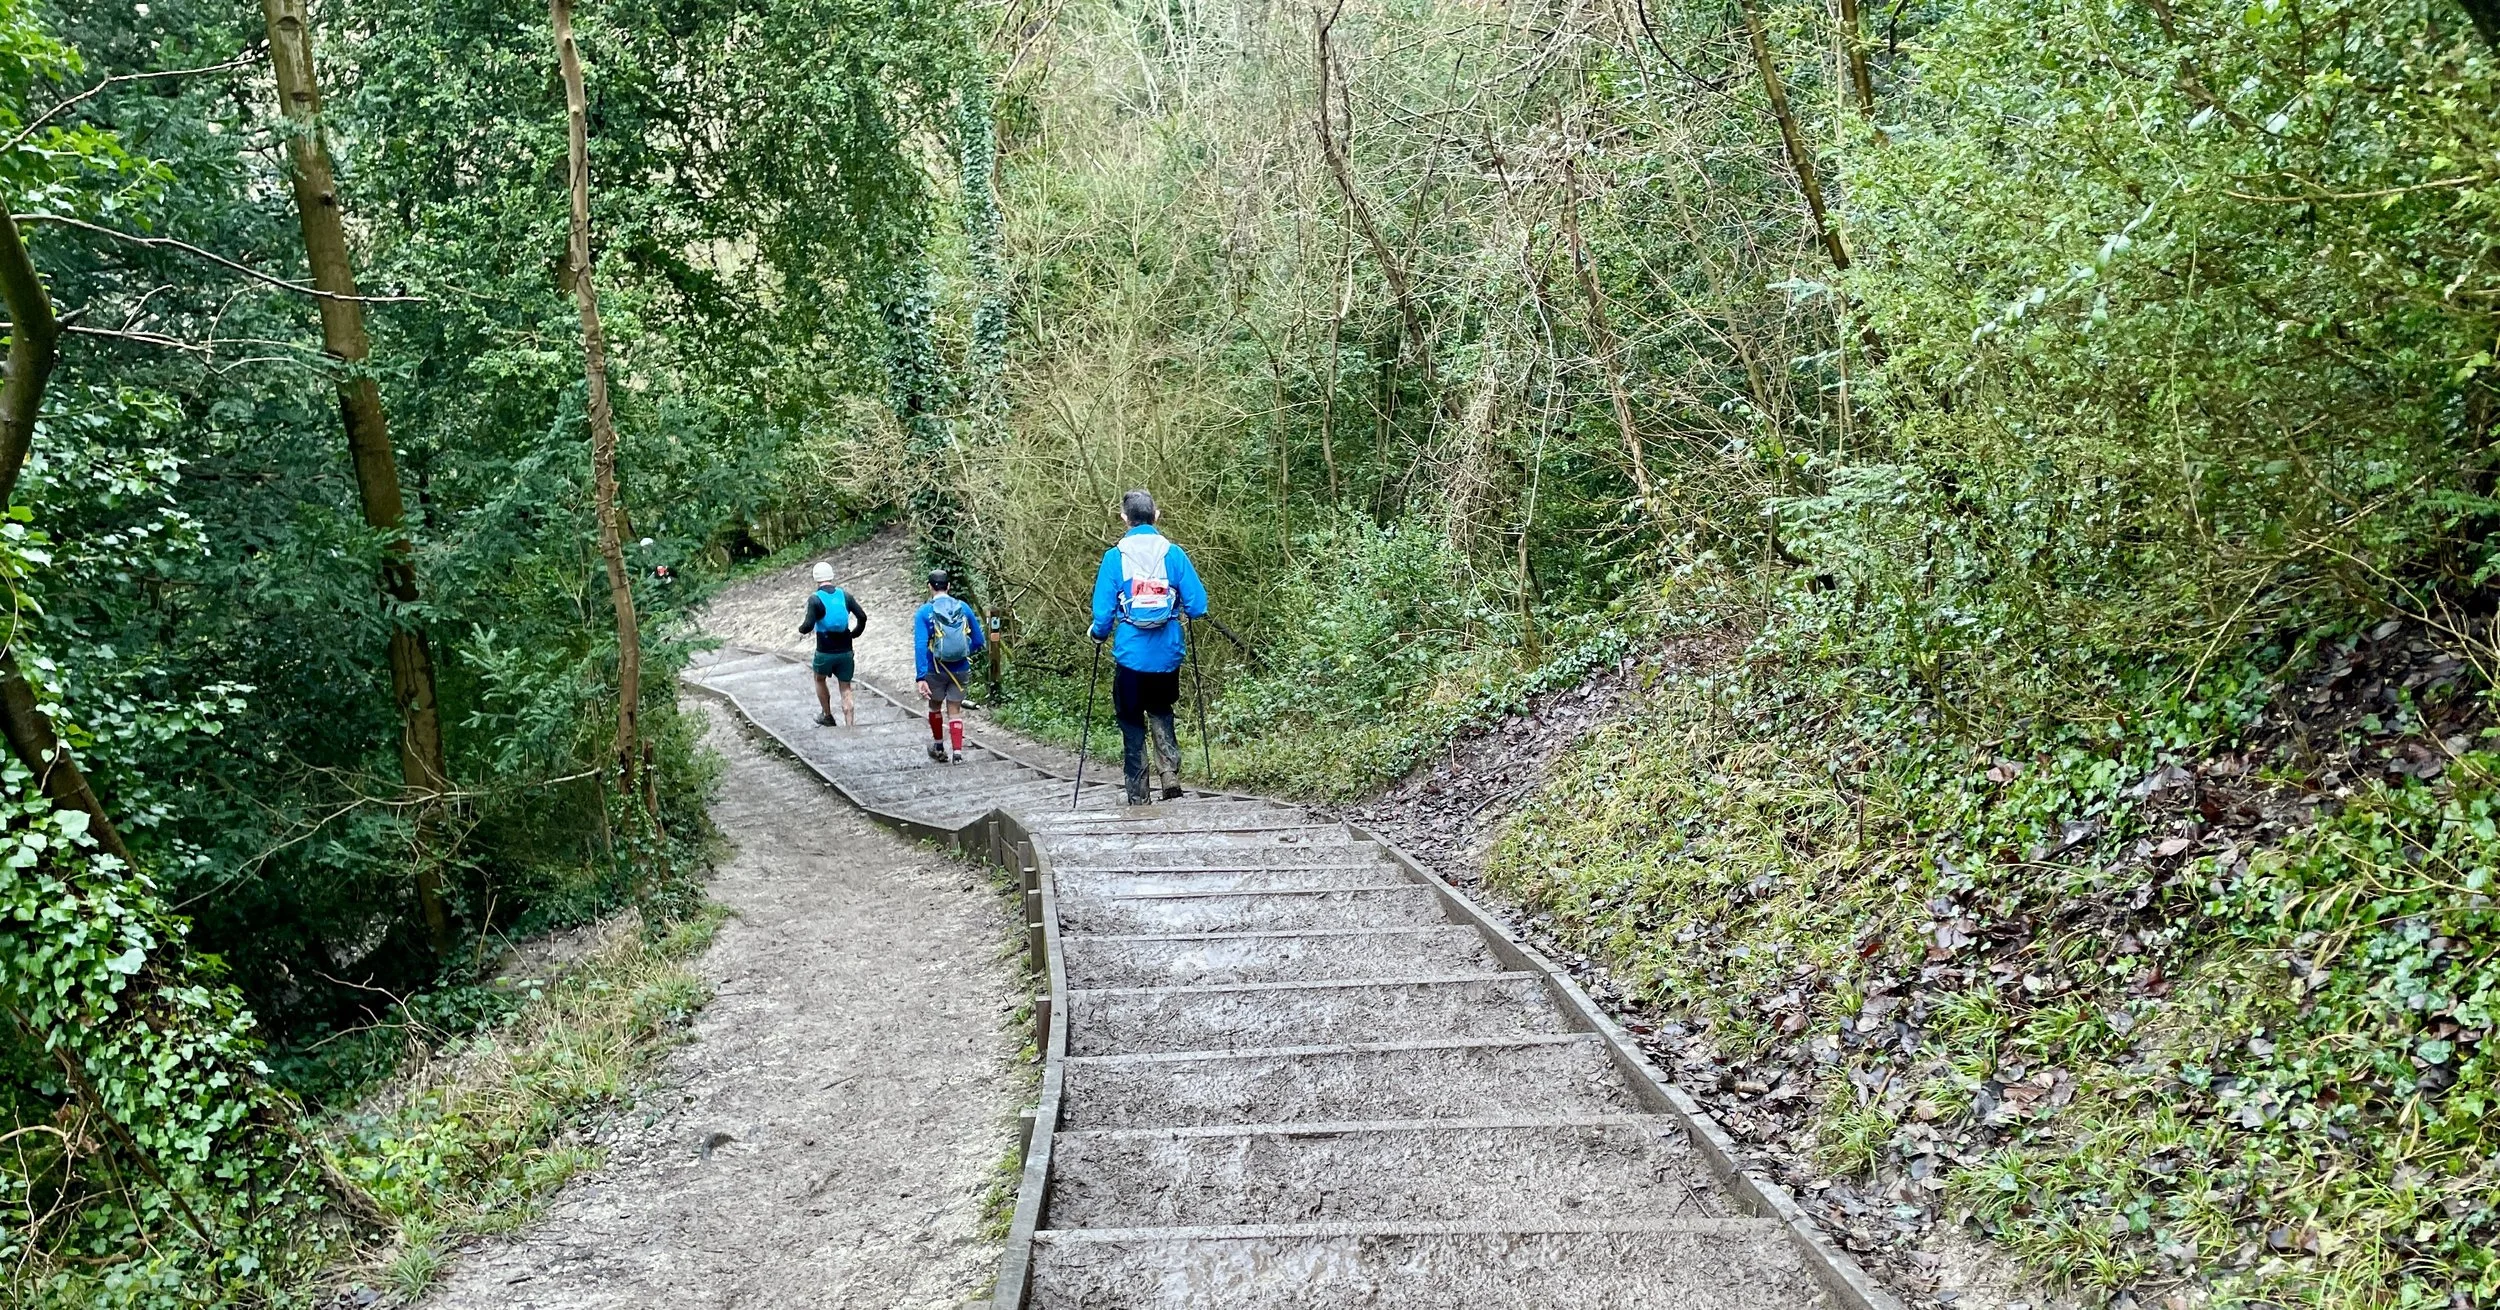
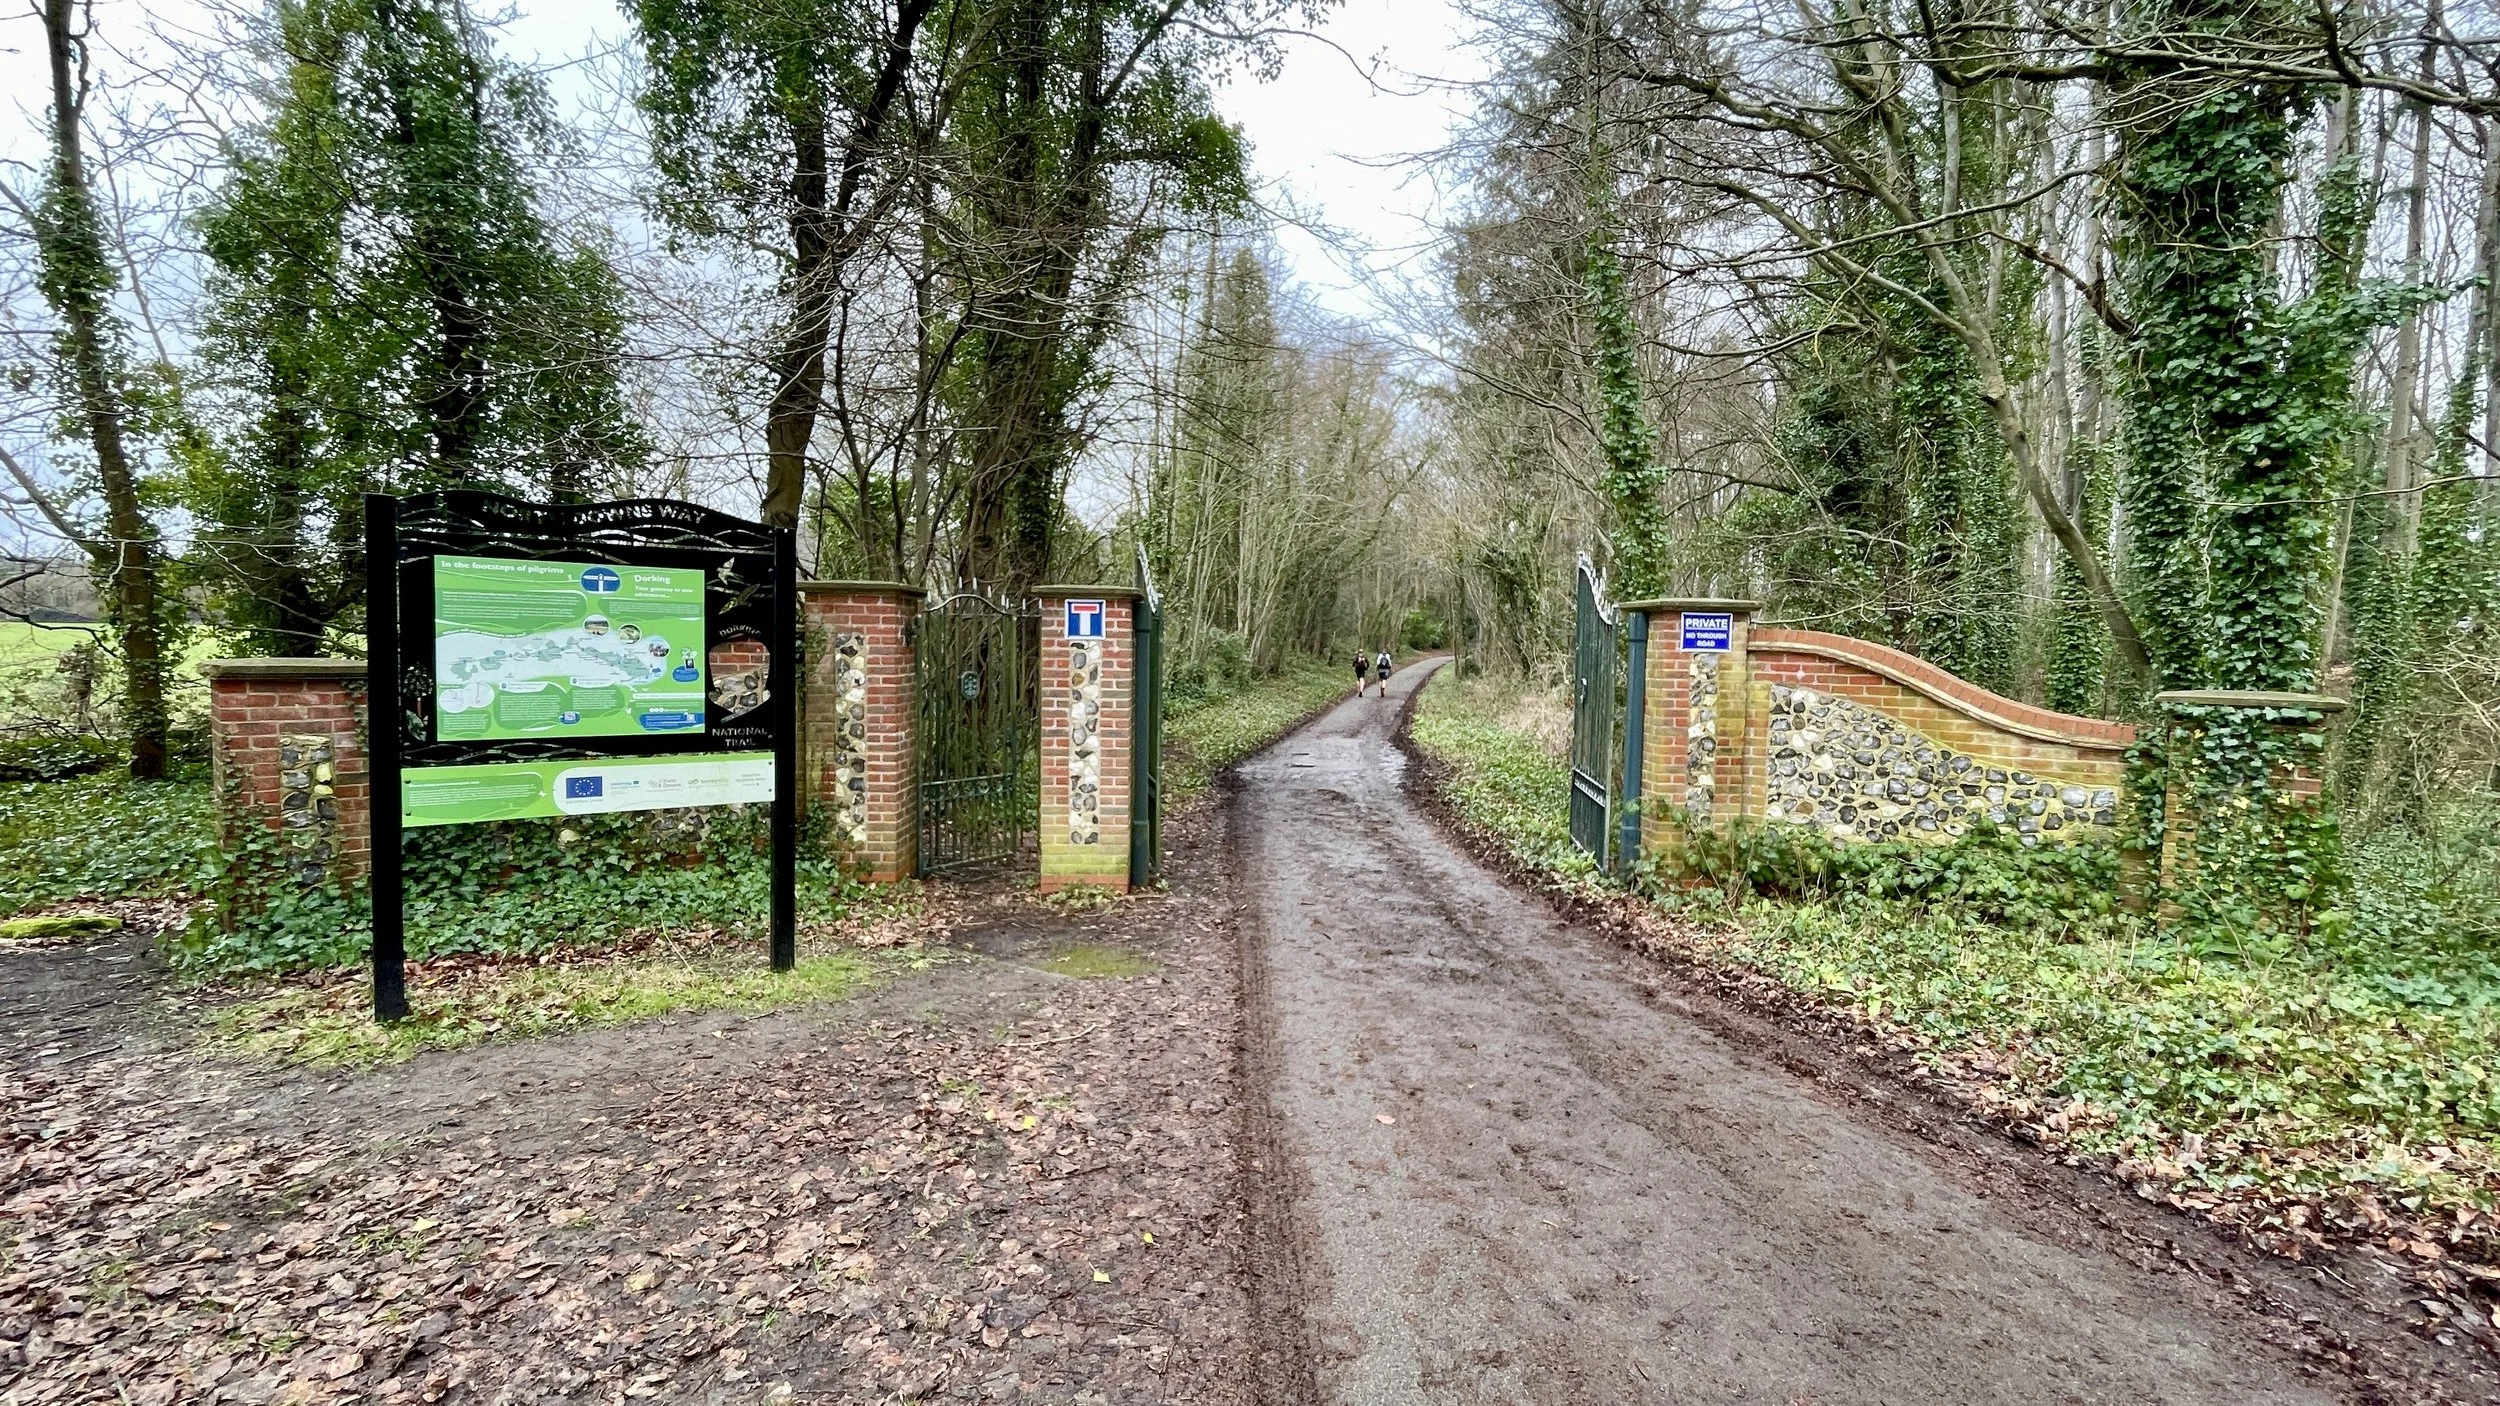
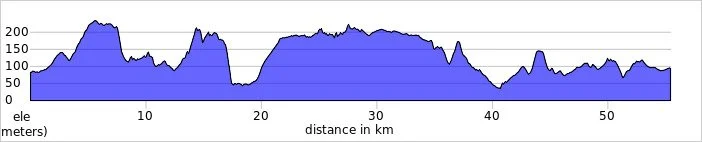
Walking The Midshires Way Part 6: Waddesdon and Eythrope
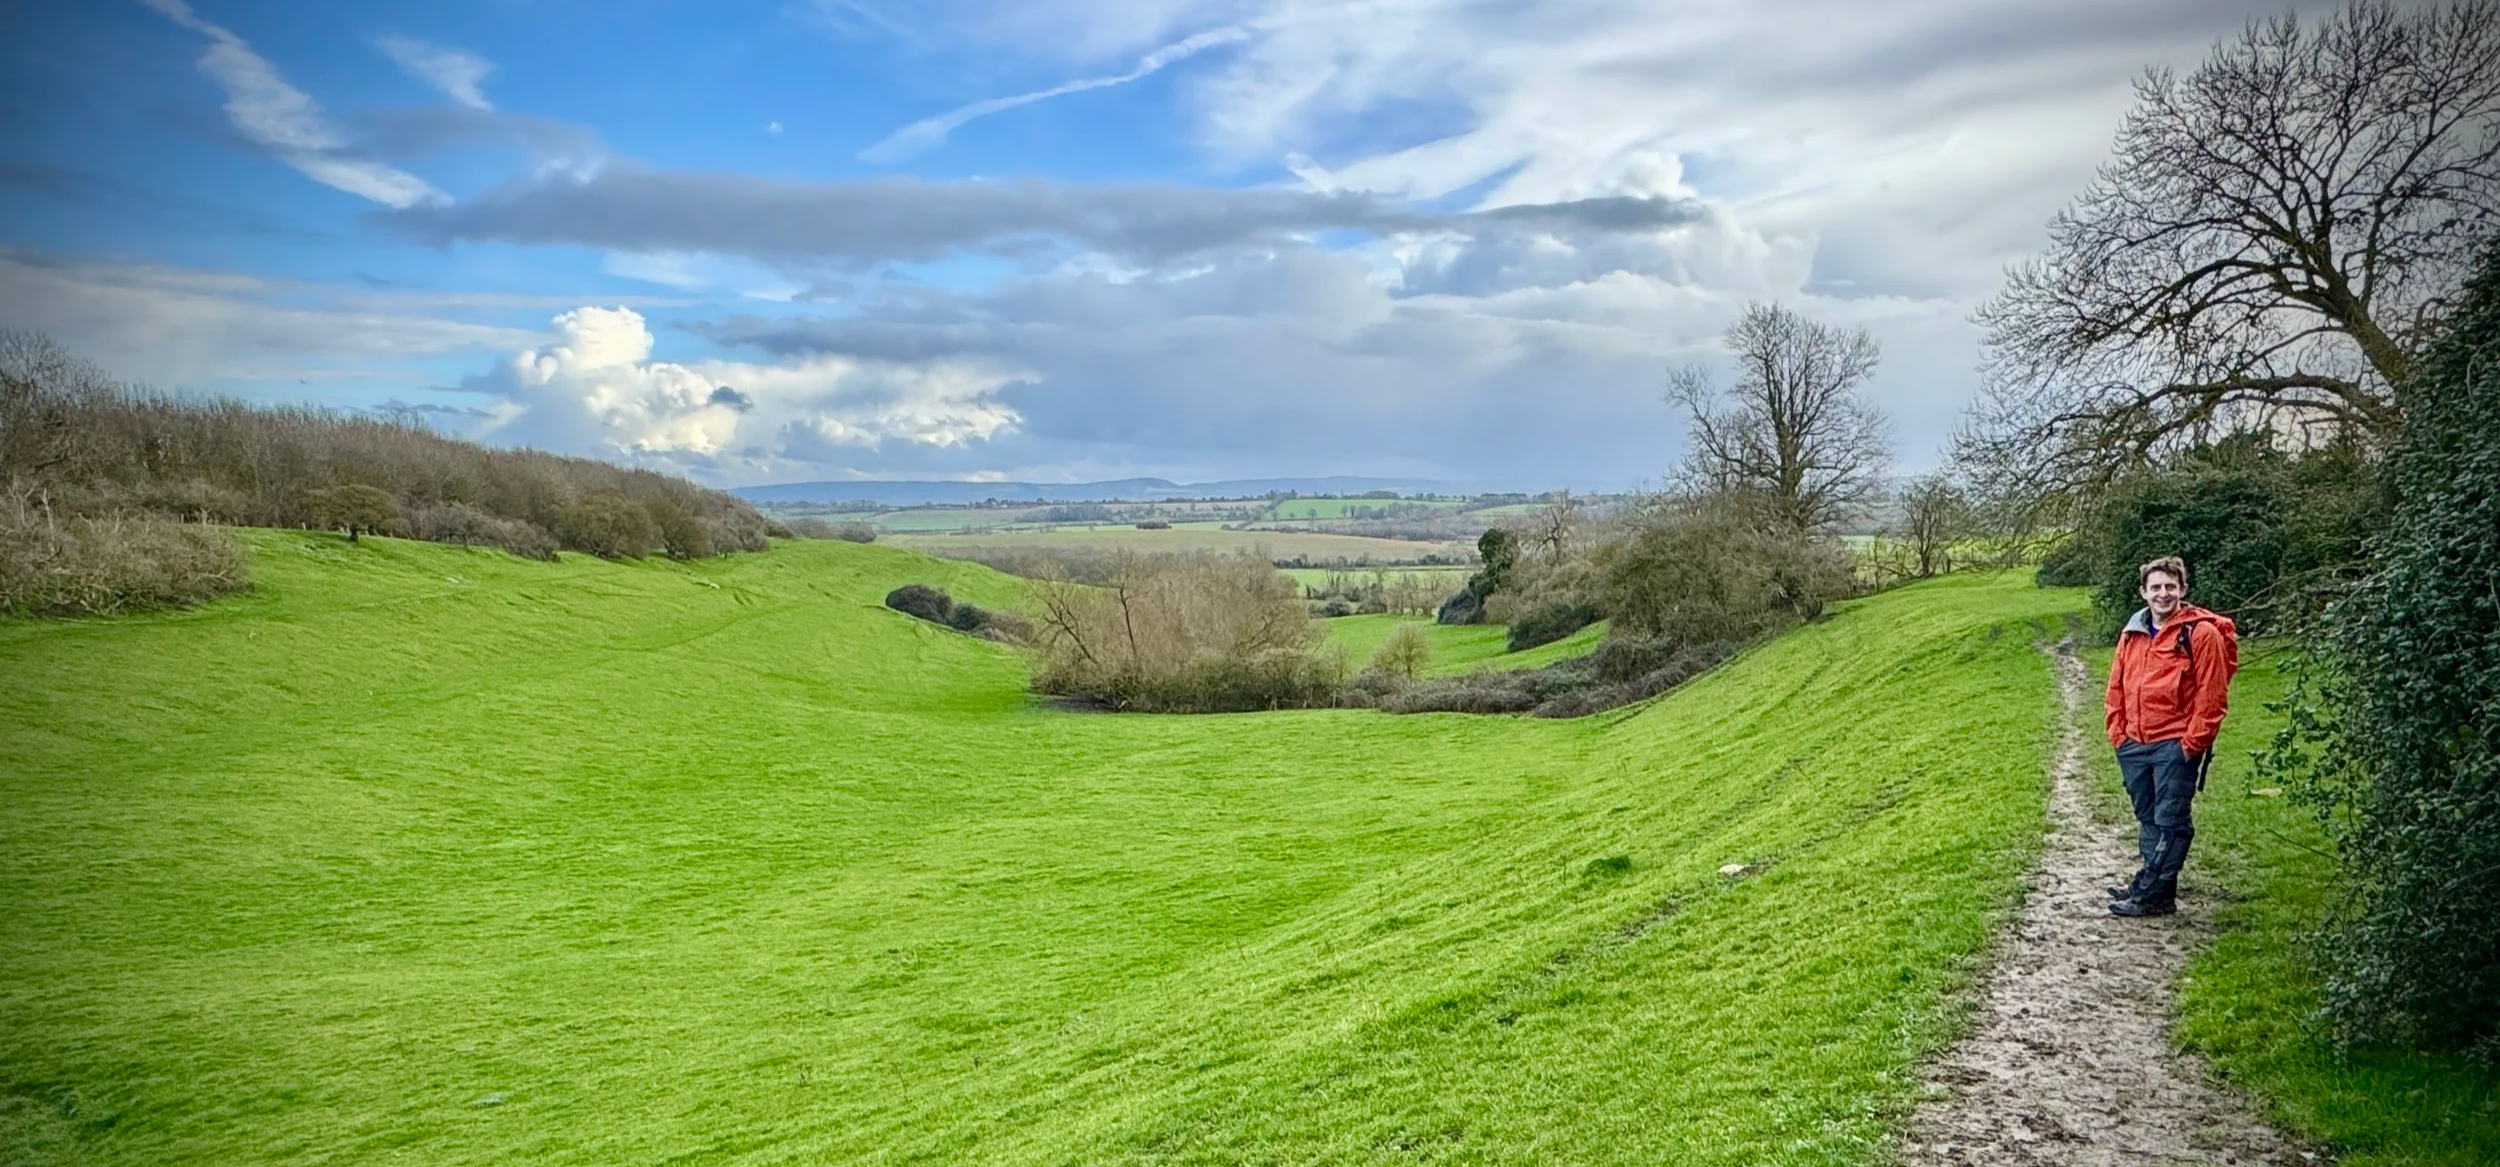
View to the River Thame and the Chilterns from Upper Winchendon
Start & Finish: Waddesdon Manor Car Park, Waddesdon, Aylesbury, HP18 0JE
Distance: 11.1 km (6.9 miles)
Elevation change: +/- 160 m
Terrain: A mixture of paved estate roads, grassy footpaths, and woodland tracks across undulating farmland.
Midshires Way section covered: River Thame to Waddeston: 3.7 km
GPX File: get via Buy Me a Coffee
Other routes touched (walk): Midshires Way, The Swan Way, Thame Valley Walk, North Bucks Way, Aylesbury Ring, Windmill Hill at Waddesdon, Bernwood Jubilee Way
Other routes touched (cycle): National Bridleway, Waddesdon Greenway
Pubs / Cafes on route: The Five Arrows, Waddesdon. Near the start and finish.
OS Trig Pillar: TP6692 - Waddesdon Hill
Map: Chiltern Hills North Map | Aylesbury, Berkhamsted & Chesham | Ordnance Survey | OS Explorer Map 181
Links: River Thame, Waddesdon Manor, Waddesdon National Trust, Waddesdon, Eythrope
Welcome to Part 6 of our series of short circular walks along the Buckinghamshire section of the Midshires Way. For a complete overview of the 225-mile trail's history, its connection to the Swan's Way, and preparation tips, please read my complete Midshires Way Through Buckinghamshire Guide.
Walking Directions
This section of the Midshires Way offers a stunning journey through the heart of the Rothschild family's historical estates in Buckinghamshire. Starting at the Waddesdon Manor car park, the route climbs gently to provide sweeping views of the Vale of Aylesbury before descending into the more intimate, tranquil landscape of the Eythrope estate. It is a walk defined by grand architectural statements, ancient trees, and the peaceful meanderings of the River Thame.
The trail transitions from the manicured elegance of Waddesdon to the secluded charm of Eythrope’s private gardens and wilderness areas. As you loop back towards the starting point, the route follows a ridge that showcases the impressive scale of the local landscape. Whether you are interested in Victorian horticultural history or simply a quiet stroll through some of the county’s finest parkland, this route delivers a perfect blend of both.
The guidance below will help you navigate but don’t use it as a fully accurate turn-by-turn guide. Always take a map and/or a GPX route and prepare well for the weather and terrain.
Start at the large, free Waddesdon Manor car park. Check closing times to make sure that you don’t get locked in.
Pass by the Visitors’ Centre, where there are toilets, and walk along the main path in a westerly direction towards the manor. If you are a National Trust member you may be asked to show your membership cards but if not tell the staff that you are having a walk on the public footpaths and not entering the estate grounds.
At 400m after the Visitors’ Centre take a road on the right to follow the Windmill at Waddesdon Walk in a southerly direction.
After 700m you’ll reach a boulevard of trees descending from the manor down the valley to the south-east. Take a left to follow the path between the trees. Near the end of the trees, after a gate, curve to the south to reach School Lane on the hamlet of Upper Winchendon.
Cross over Main Road to follow a driveway towards a house. Take the footpath to the left of the house, pausing at the gate to take in the views across the Thame Valley.
Descend down the valley to reach the Bernwood Jubillee Trail before the River Thame.
Take a left to follow the Bernwood Jubillee Trail running parallel to the River Thame on its northern bank to the gates of the Eythrope Estate. Here you’'ll take a left into the Estate but if you continue over the bridge for ~100m you’ll meet the point of the Midshires Way where you left it on Section 5. If you visit the bridge, retrace your steps back to the gates of the gates of the Eythrope Estate.
Follow the paths along the gates of the Eythrope Estate drive, following it to the right as it curves towards the main house.
Before the gates of the main house take a left to follow the Midshires Way in a north-westerly direction back towards Waddesdon.
If you’re a Trig Bagger you’ll find the Waddesdon Hill Trig Pillar on a side-path just to the right of the main path approximately 2km from the where you turned left at the Eythrope House.
Cross over Waddesdon Hill Road to take the path alongside Waddesdon Stud.
Continue until the meet the Waddesdon Greenway then take a left to return to the Waddesdon Manor Car Park.
Points of Interest along or near to the Route
Waddesdon Manor: A striking Neo‑Renaissance country house built for Baron Ferdinand de Rothschild in the late 19th century, Waddesdon Manor rises from the landscape like a French château. Its formal gardens, sweeping terraces, and historic aviary showcase the wealth, ambition, and artistic sensibilities of the Rothschild family.
Eythrope Estate: A more secluded corner of the wider Waddesdon estate, Eythrope is renowned for its exceptional walled garden and for The Pavilion, the riverside house created by Alice de Rothschild. The estate has a distinctly intimate character, shaped by its focus on ornamental horticulture and its tranquil setting beside the River Thame.
River Thame: Flowing quietly through the southern stretch of the route, the River Thame supports a rich mosaic of wildlife. Its meadows form a gentle contrast to the higher ground of the estate, with pollarded willows, wetland habitats, and seasonal wildflowers adding texture and colour to the landscape.
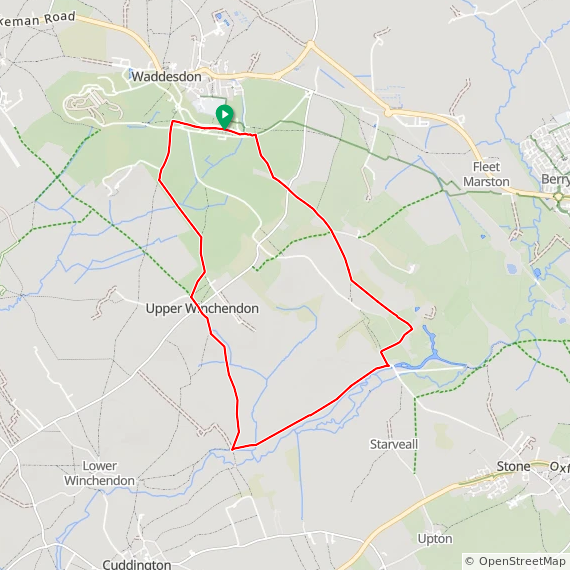
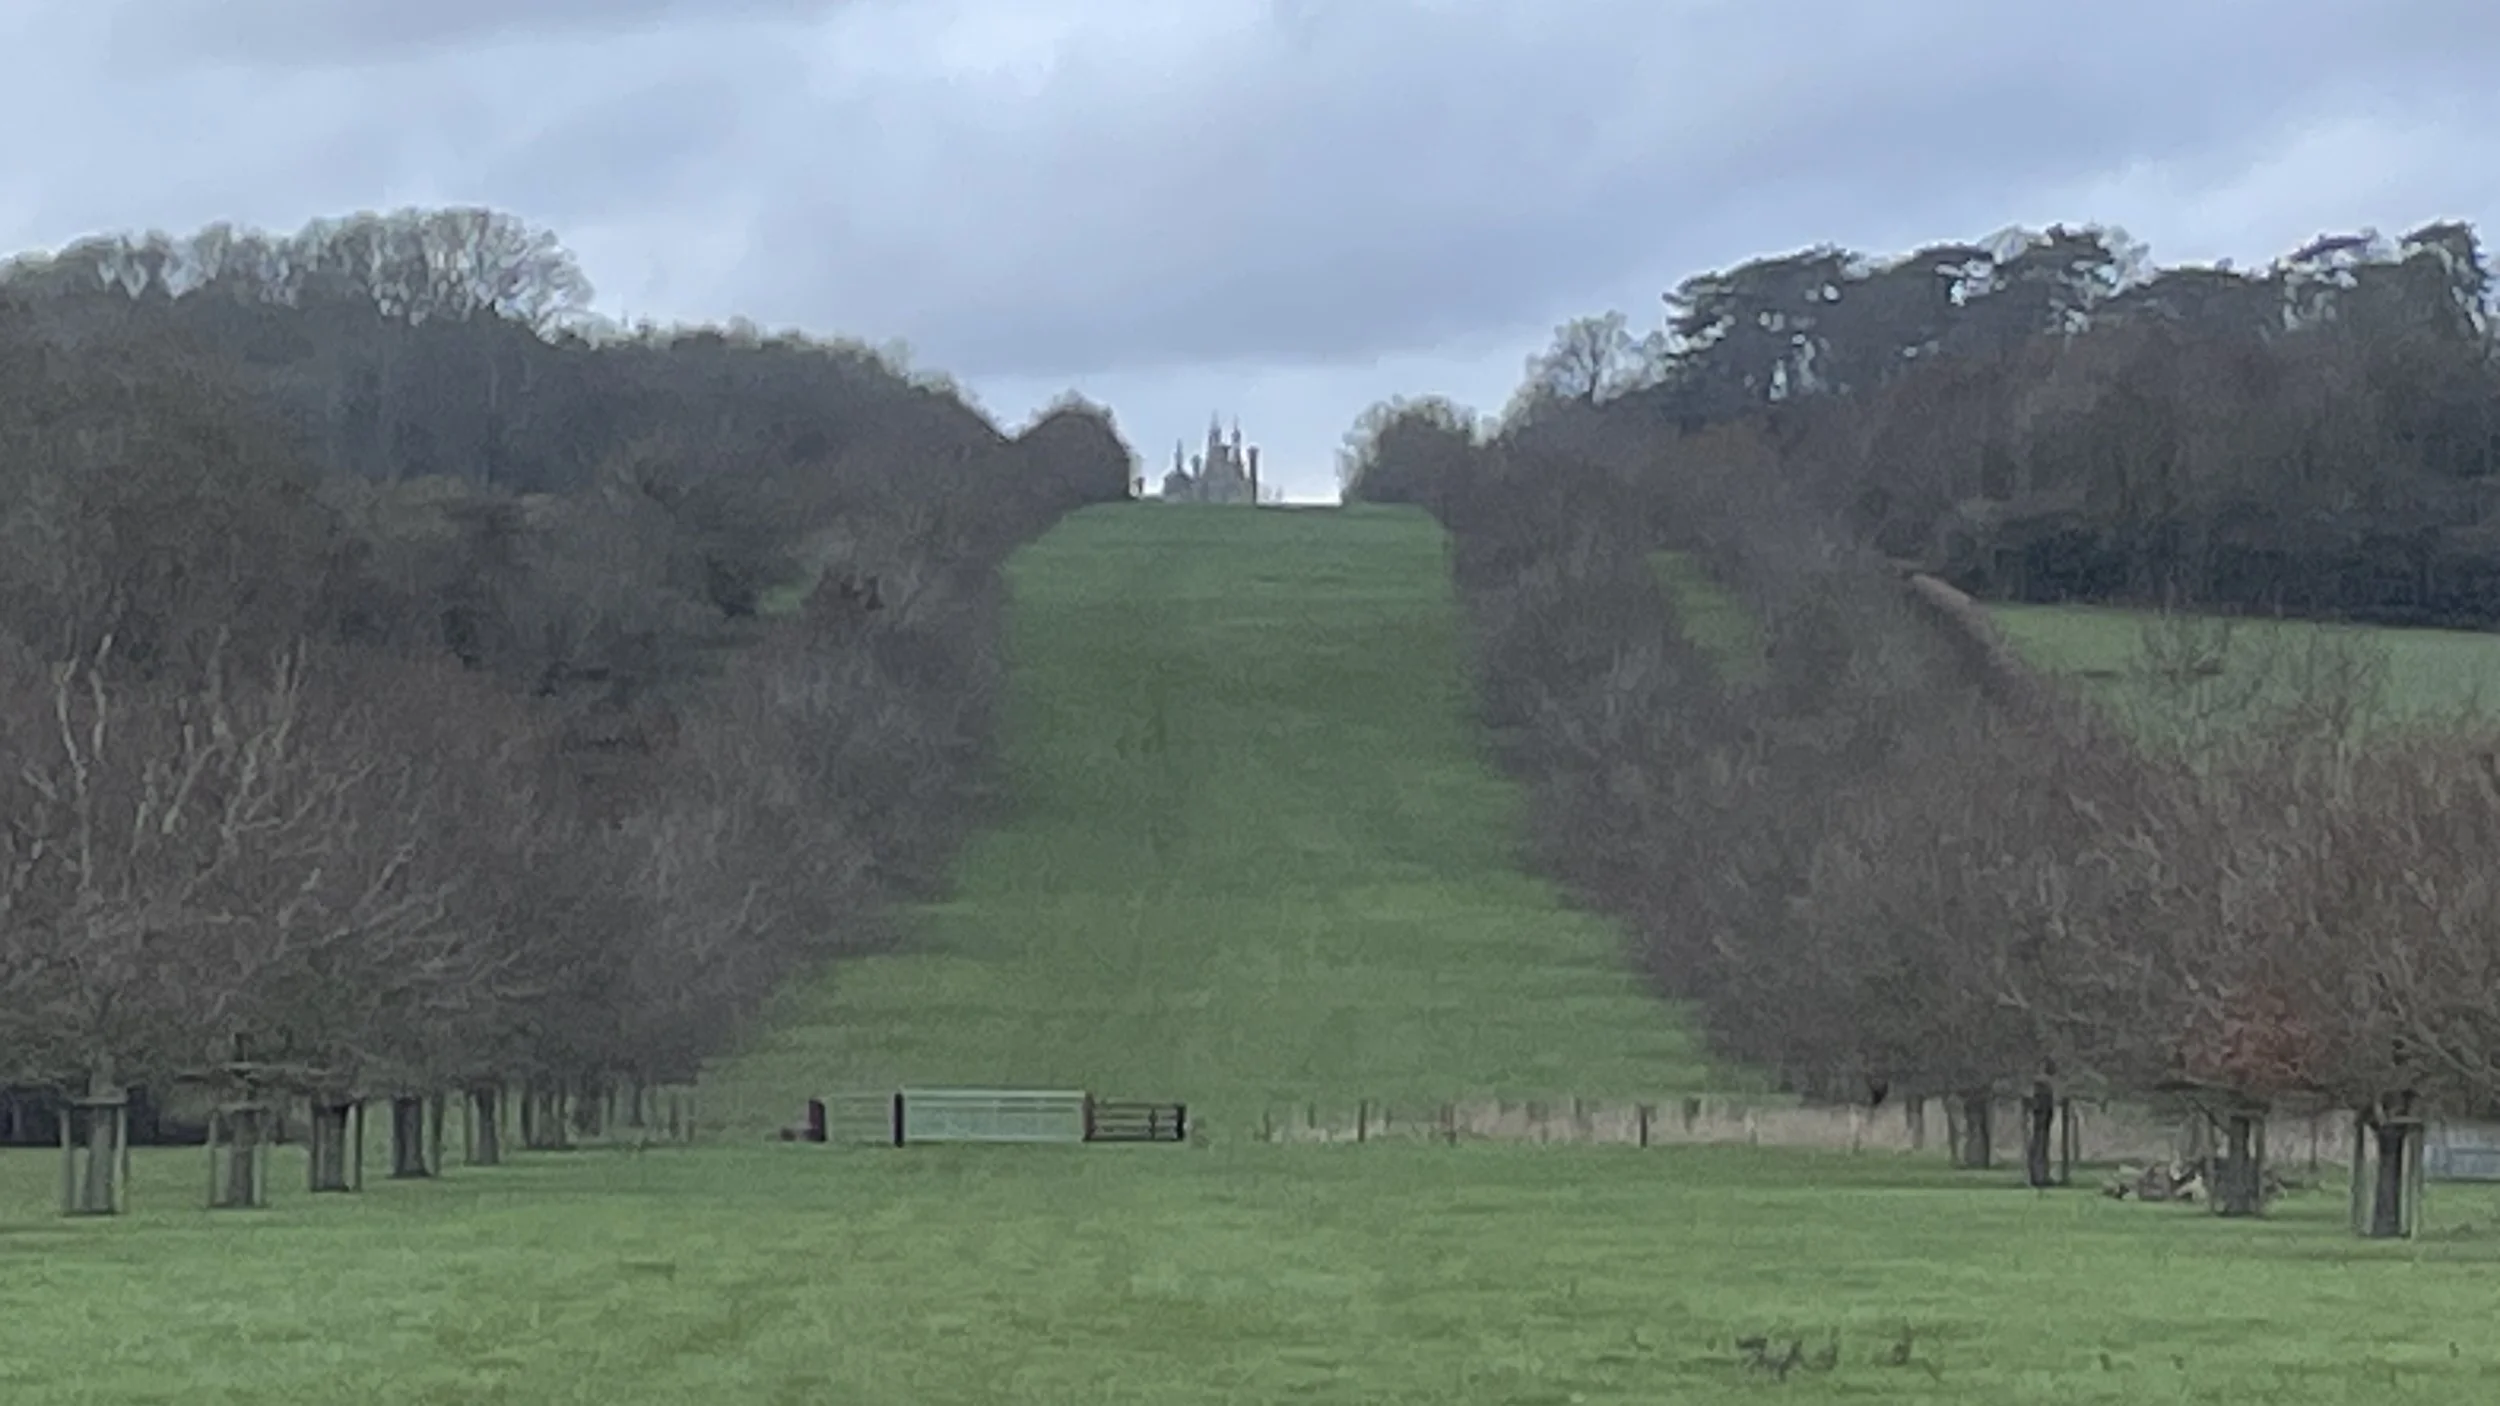
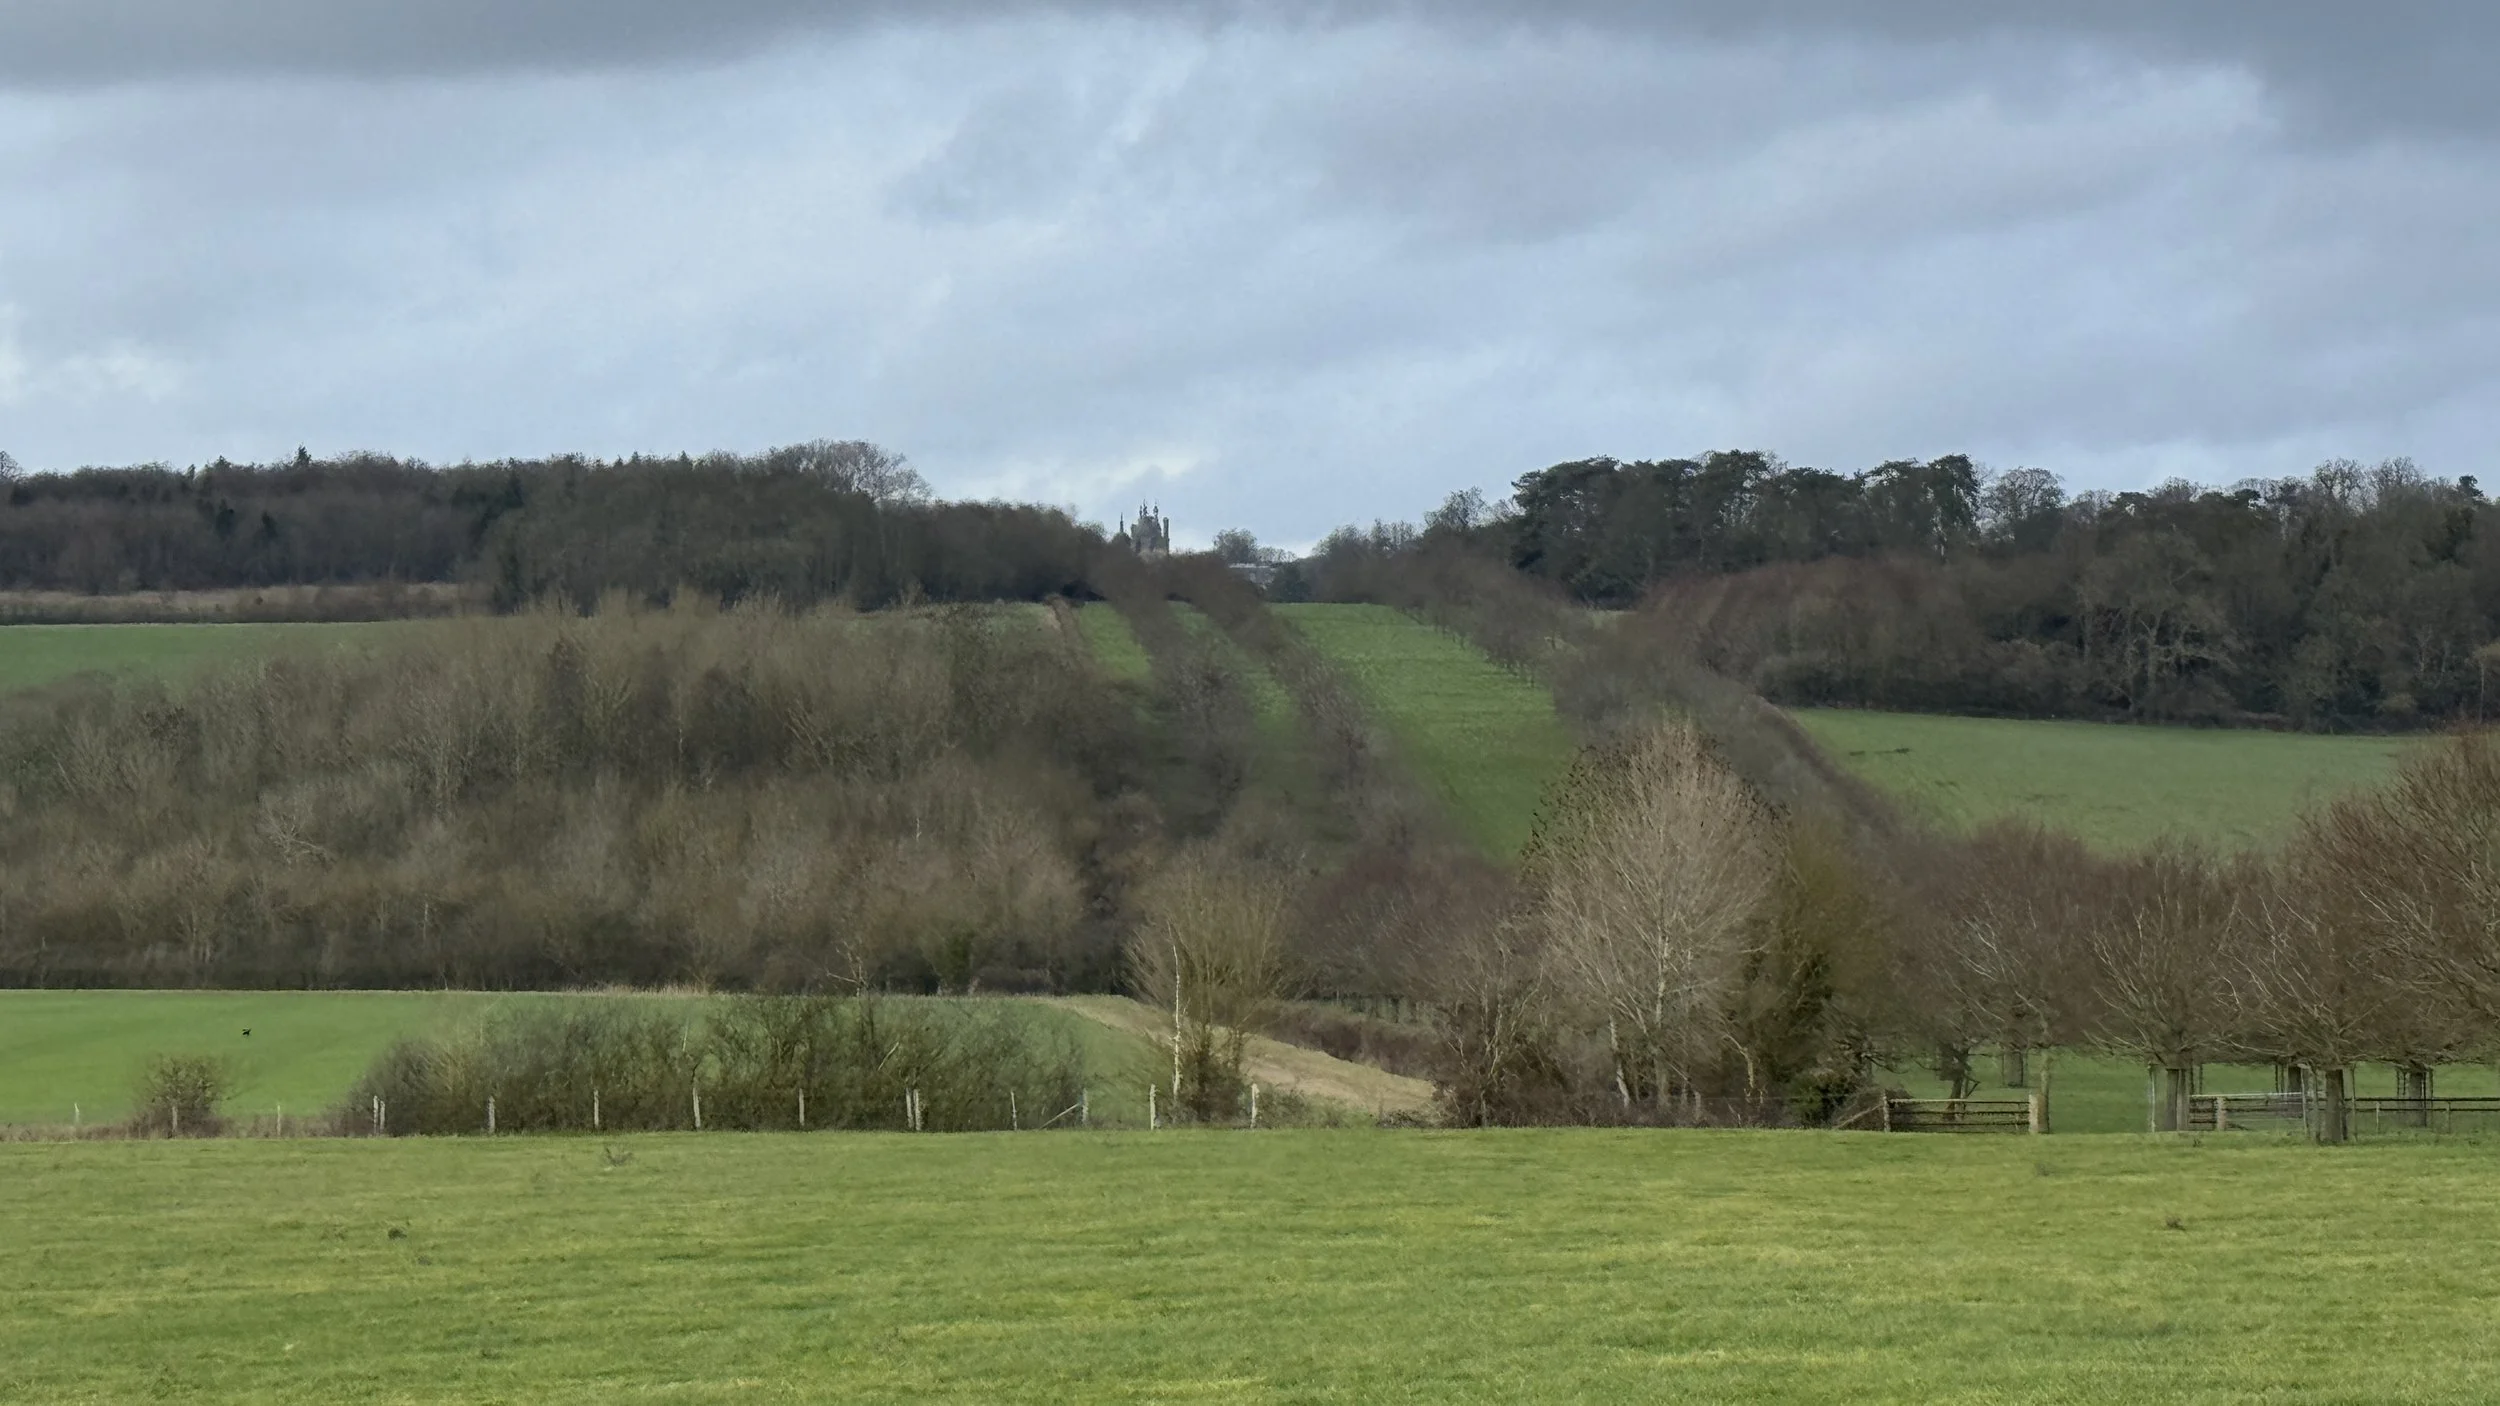
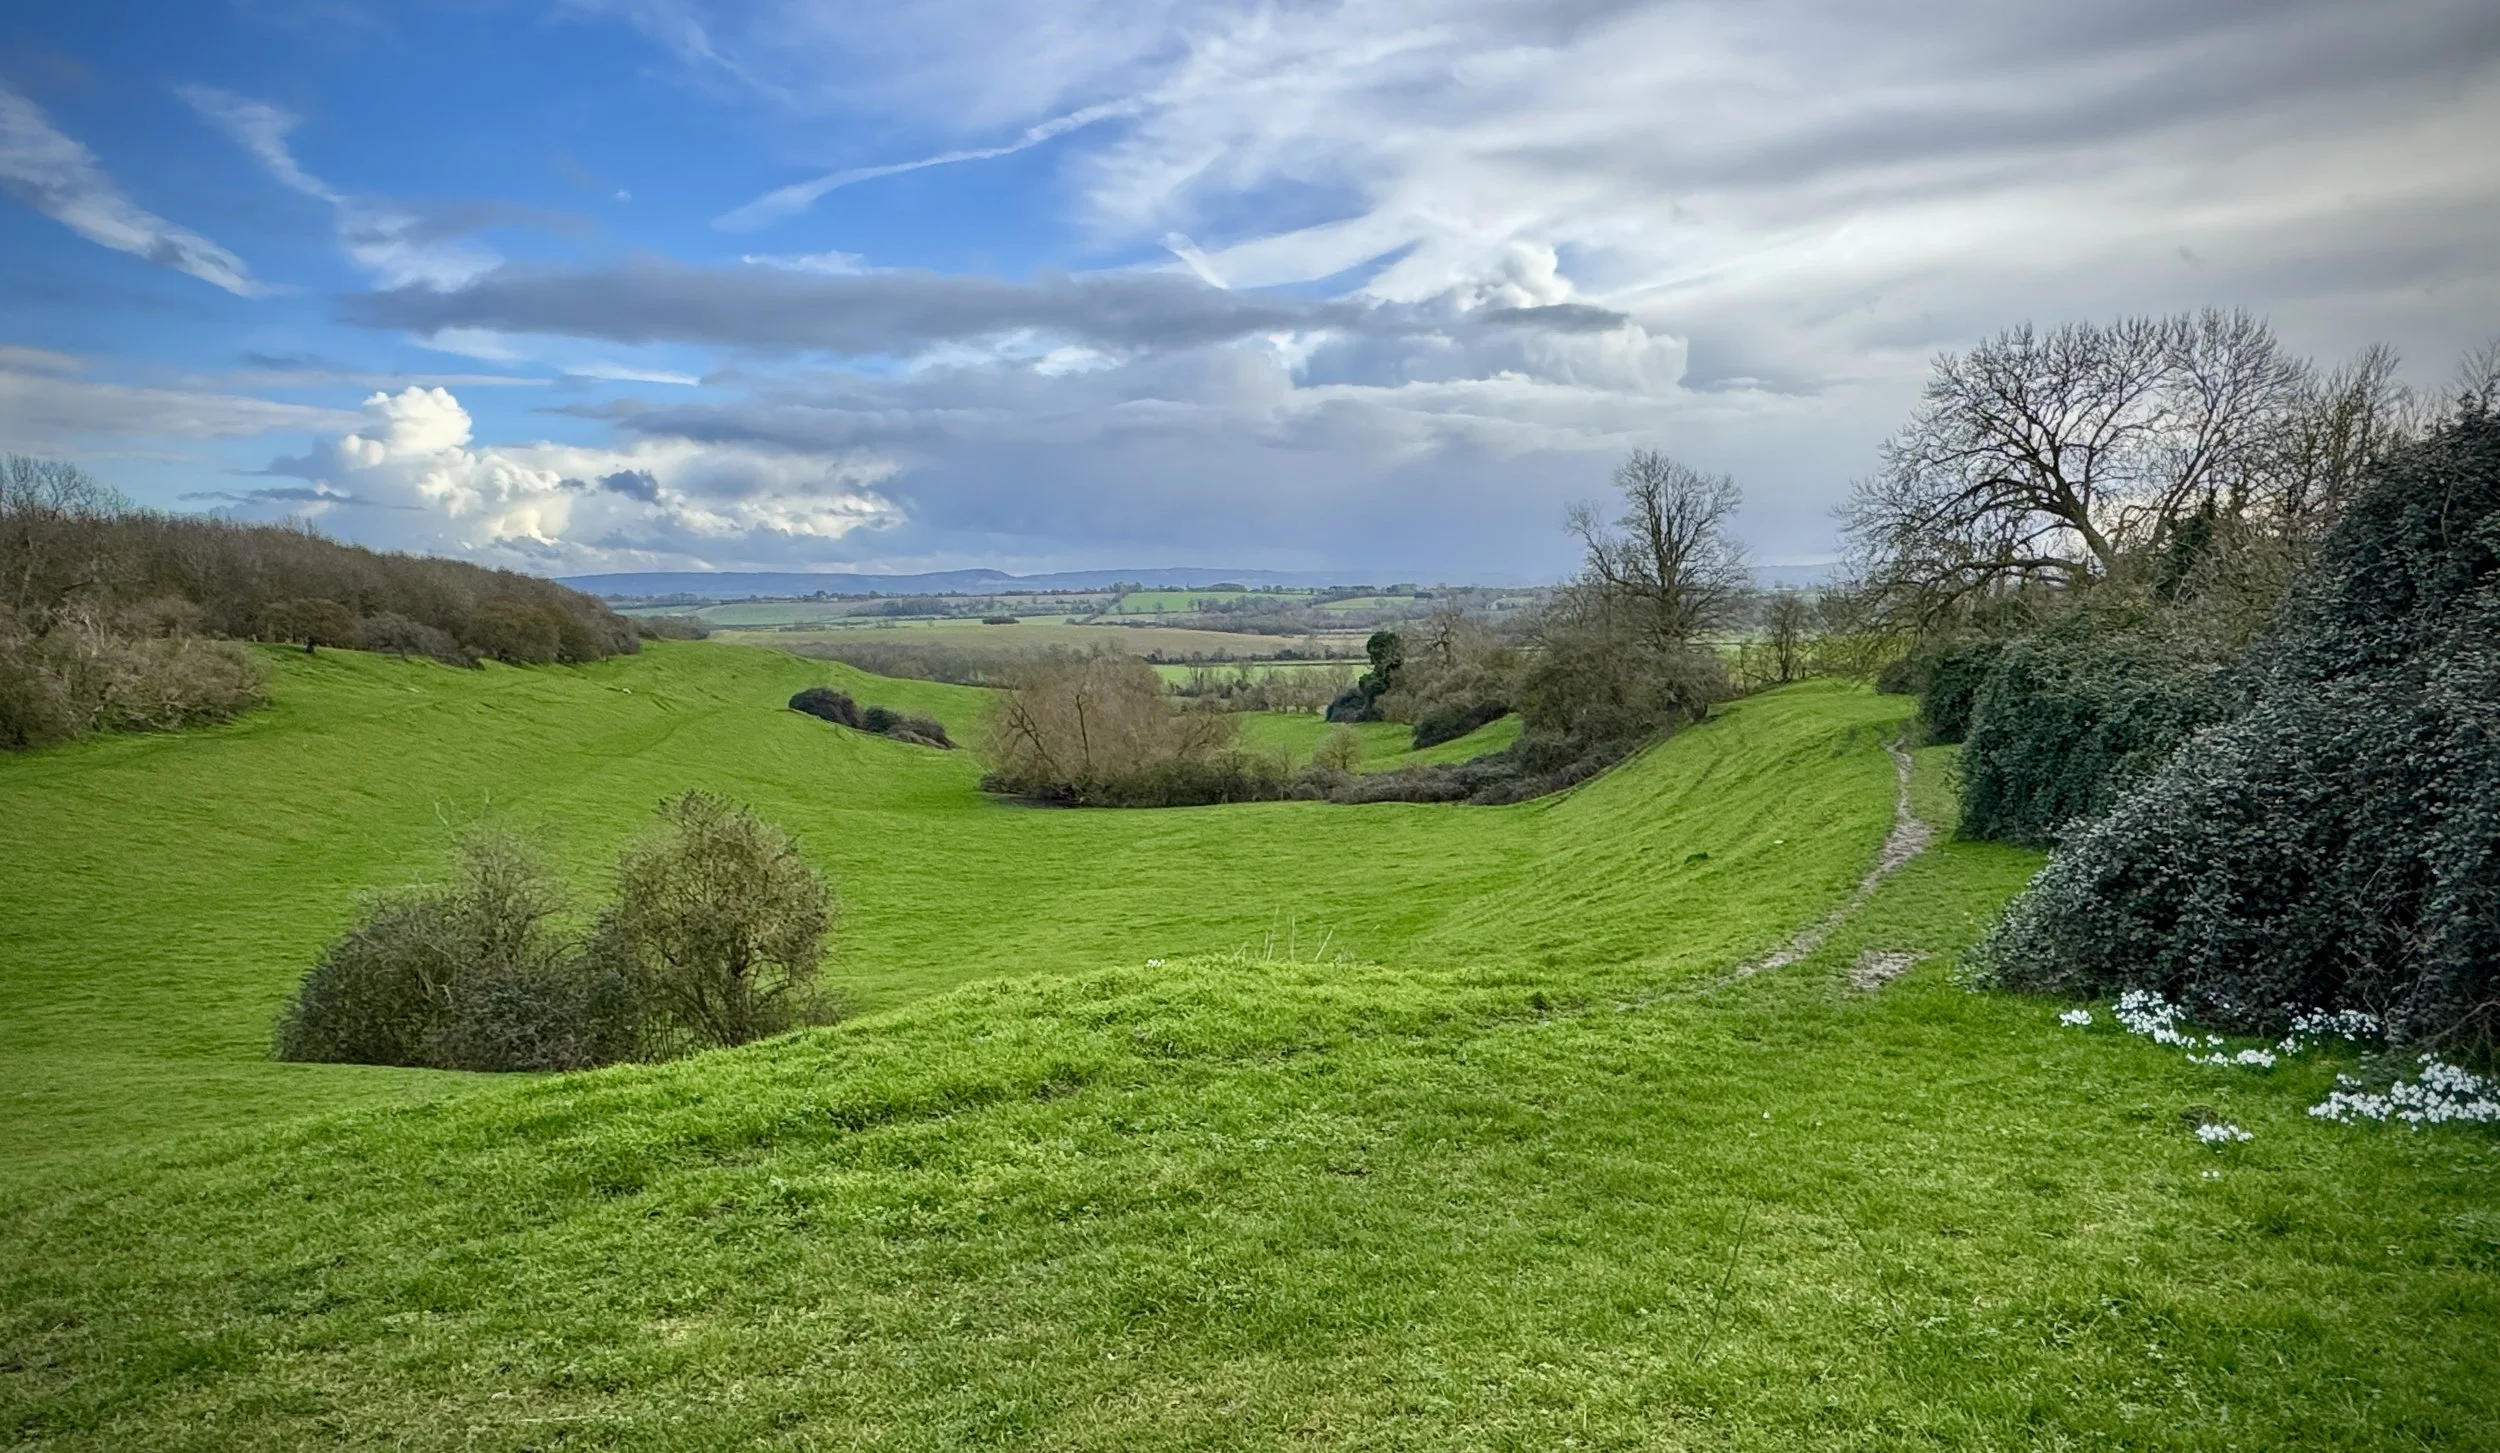
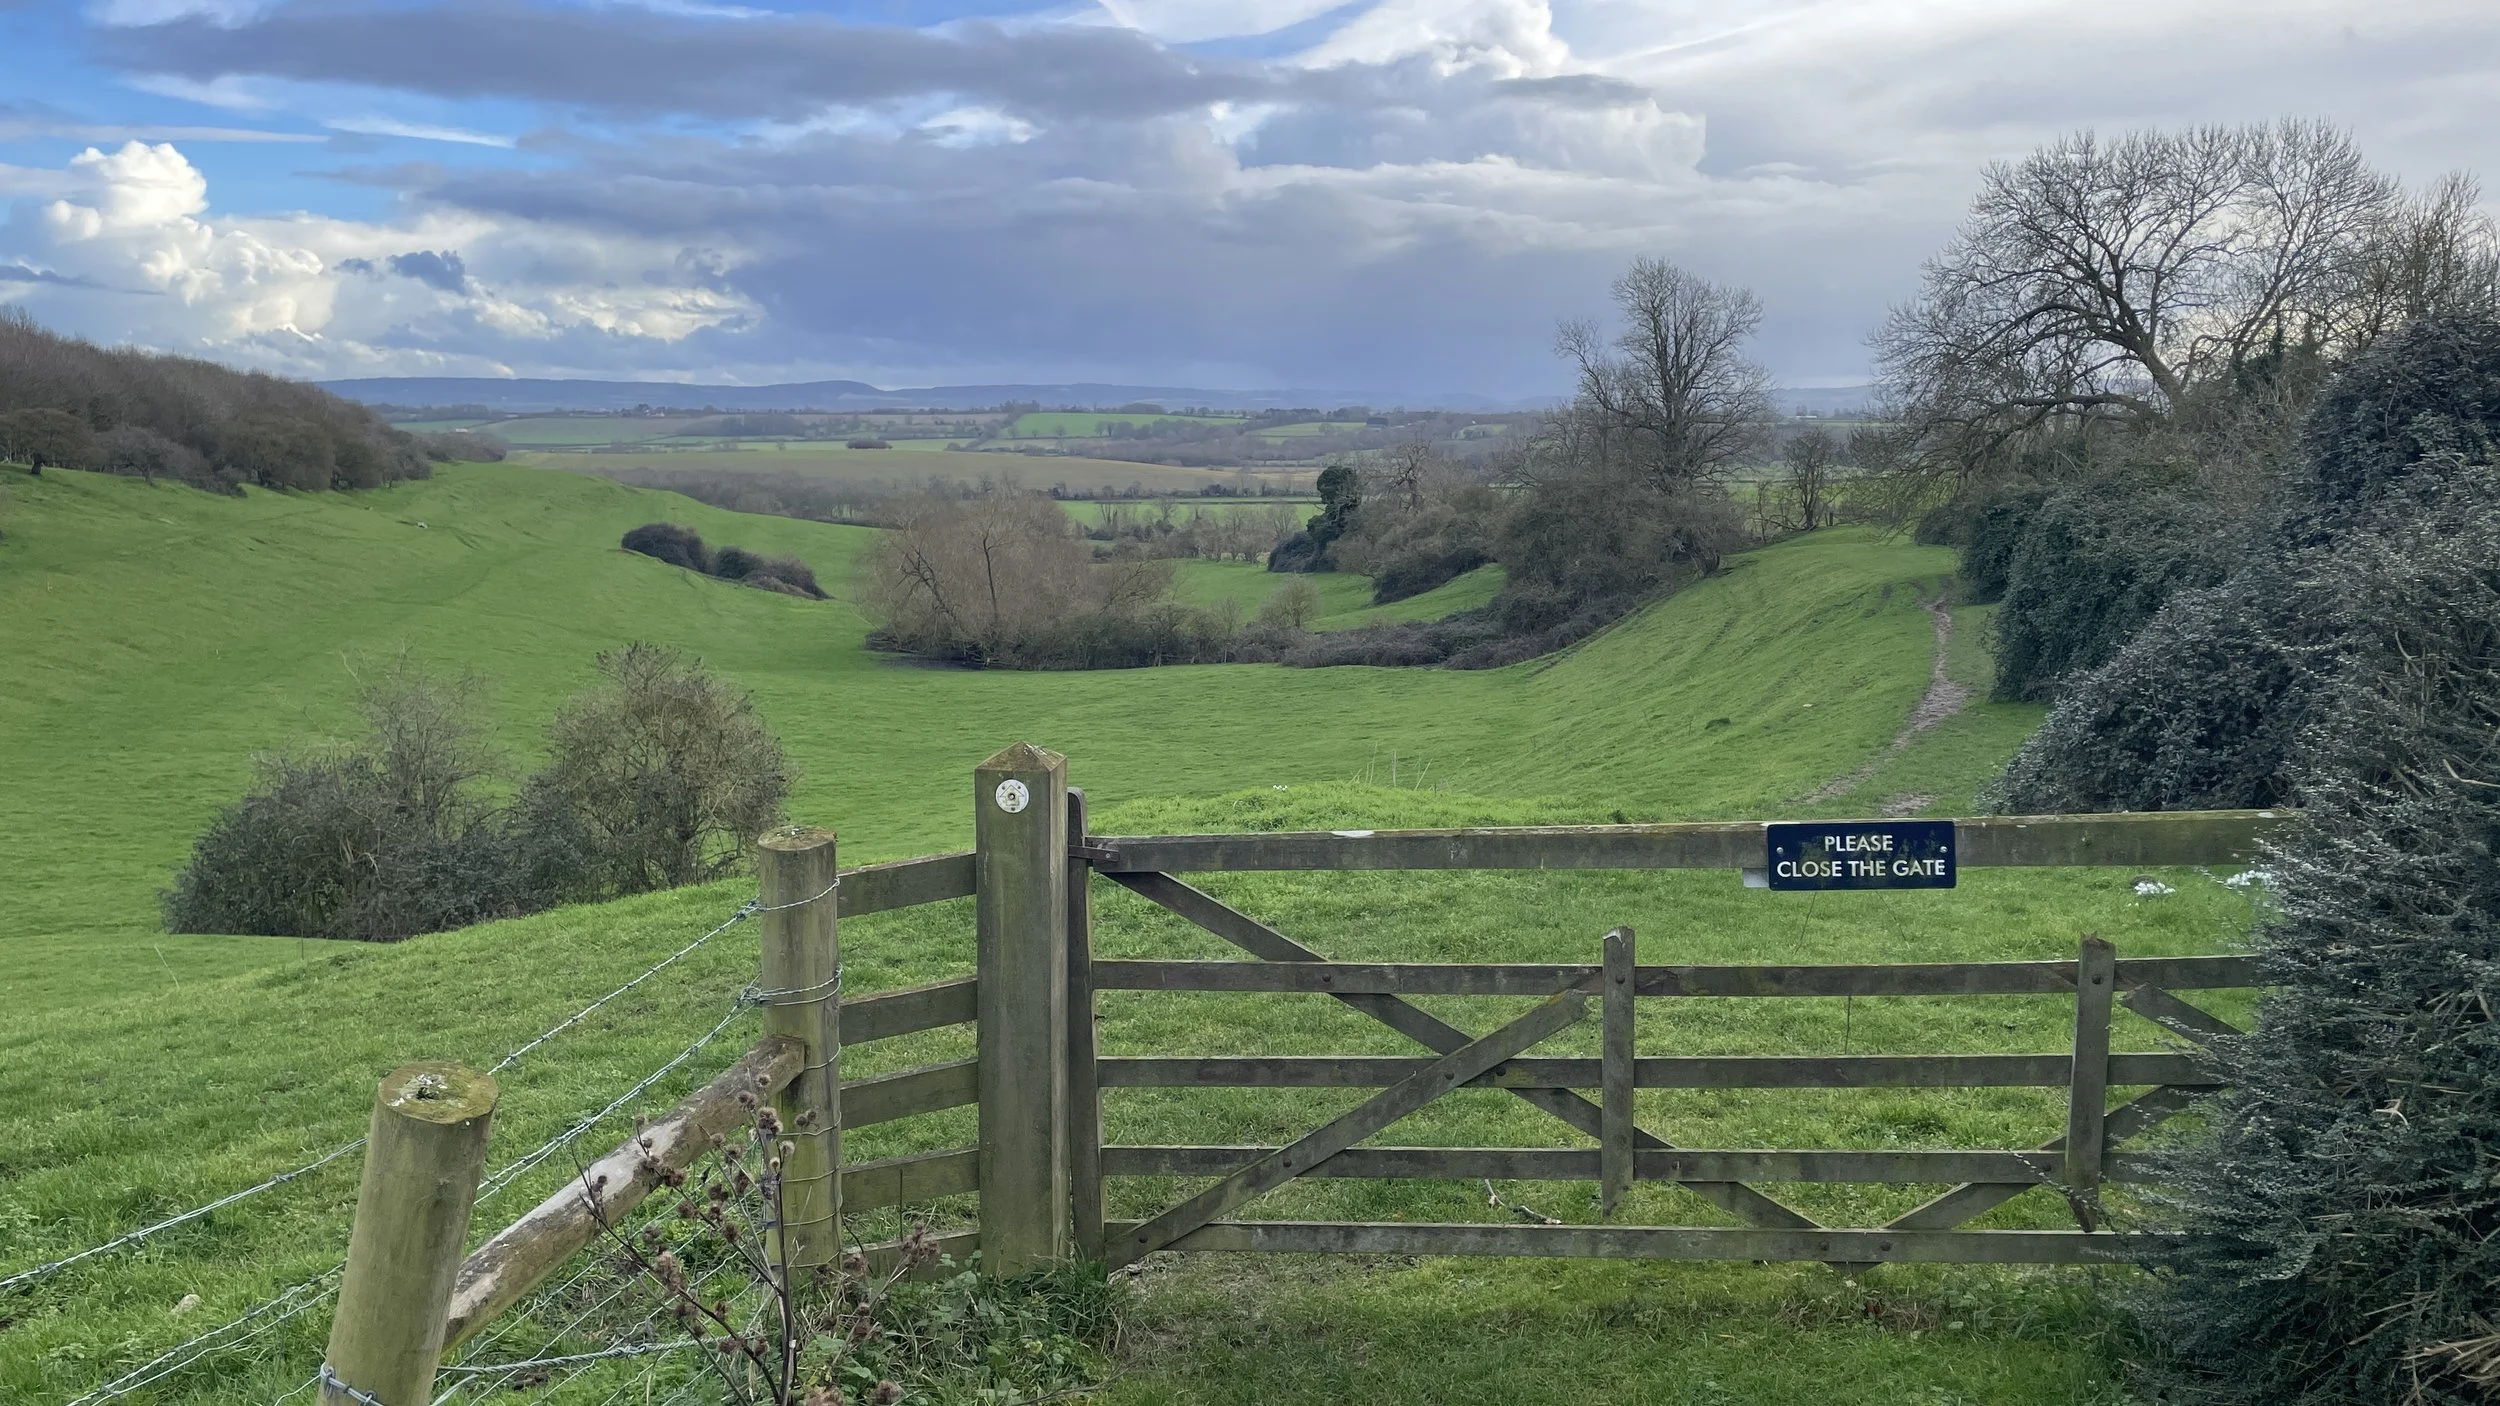
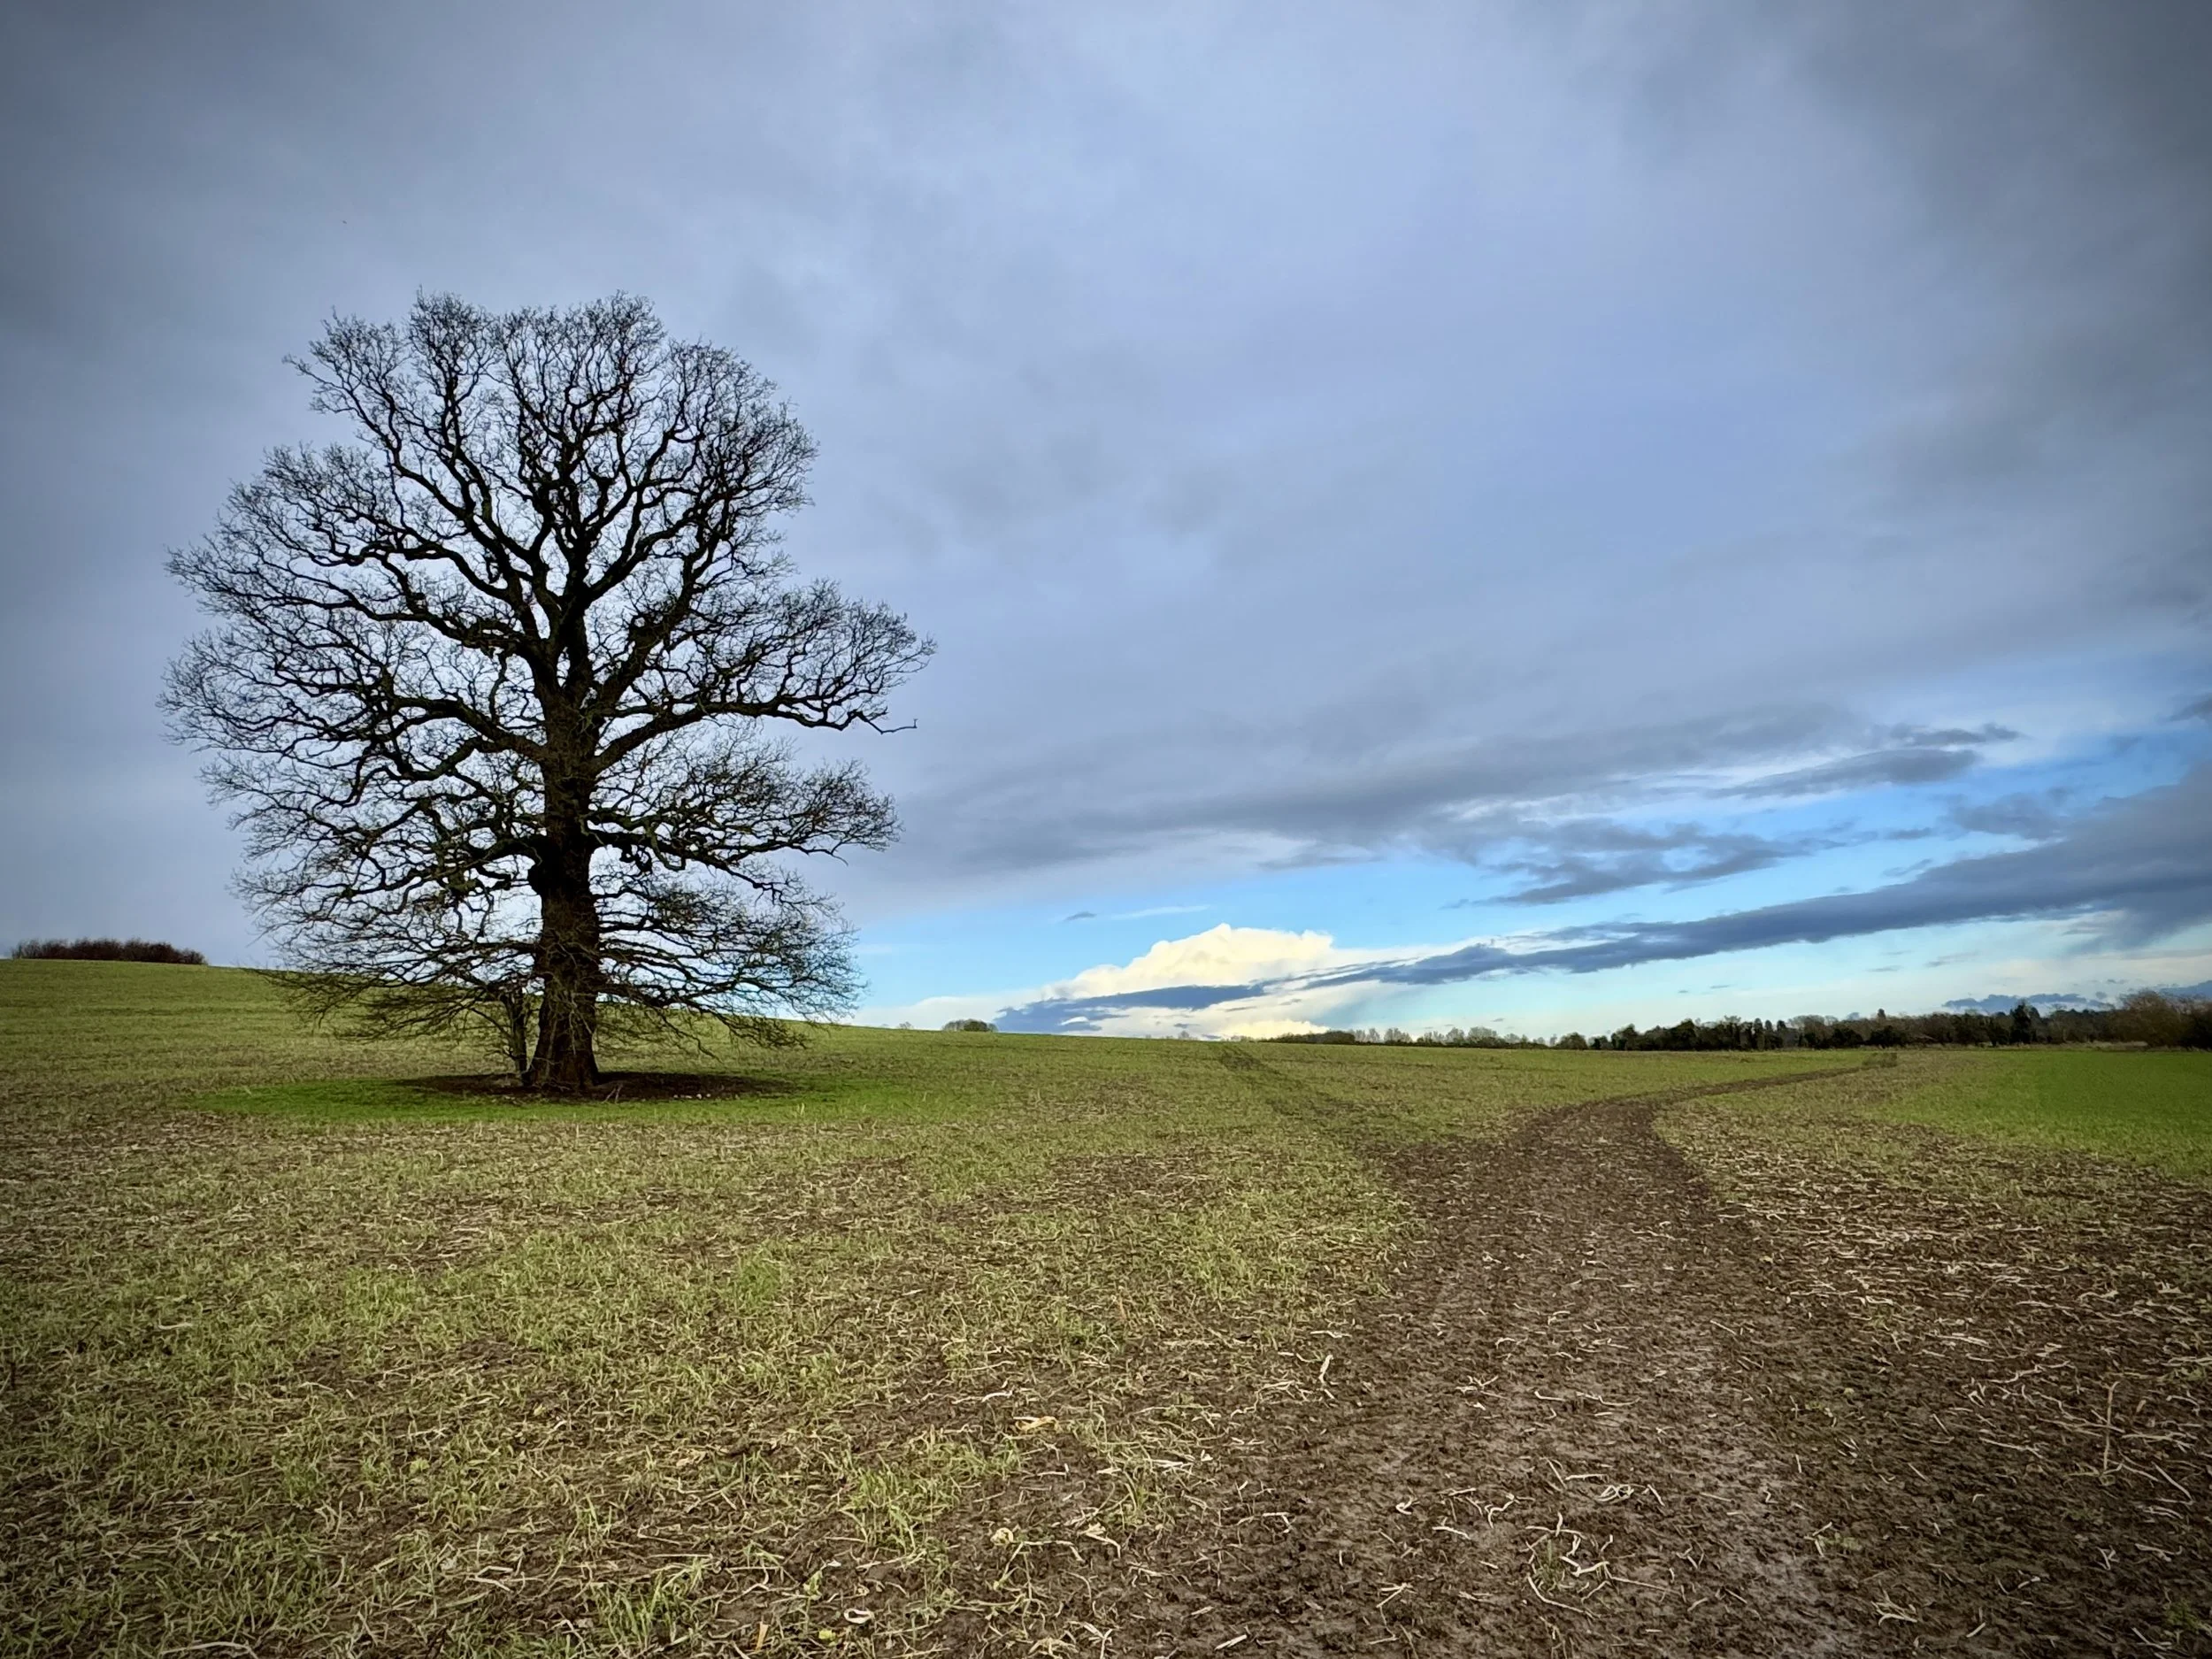
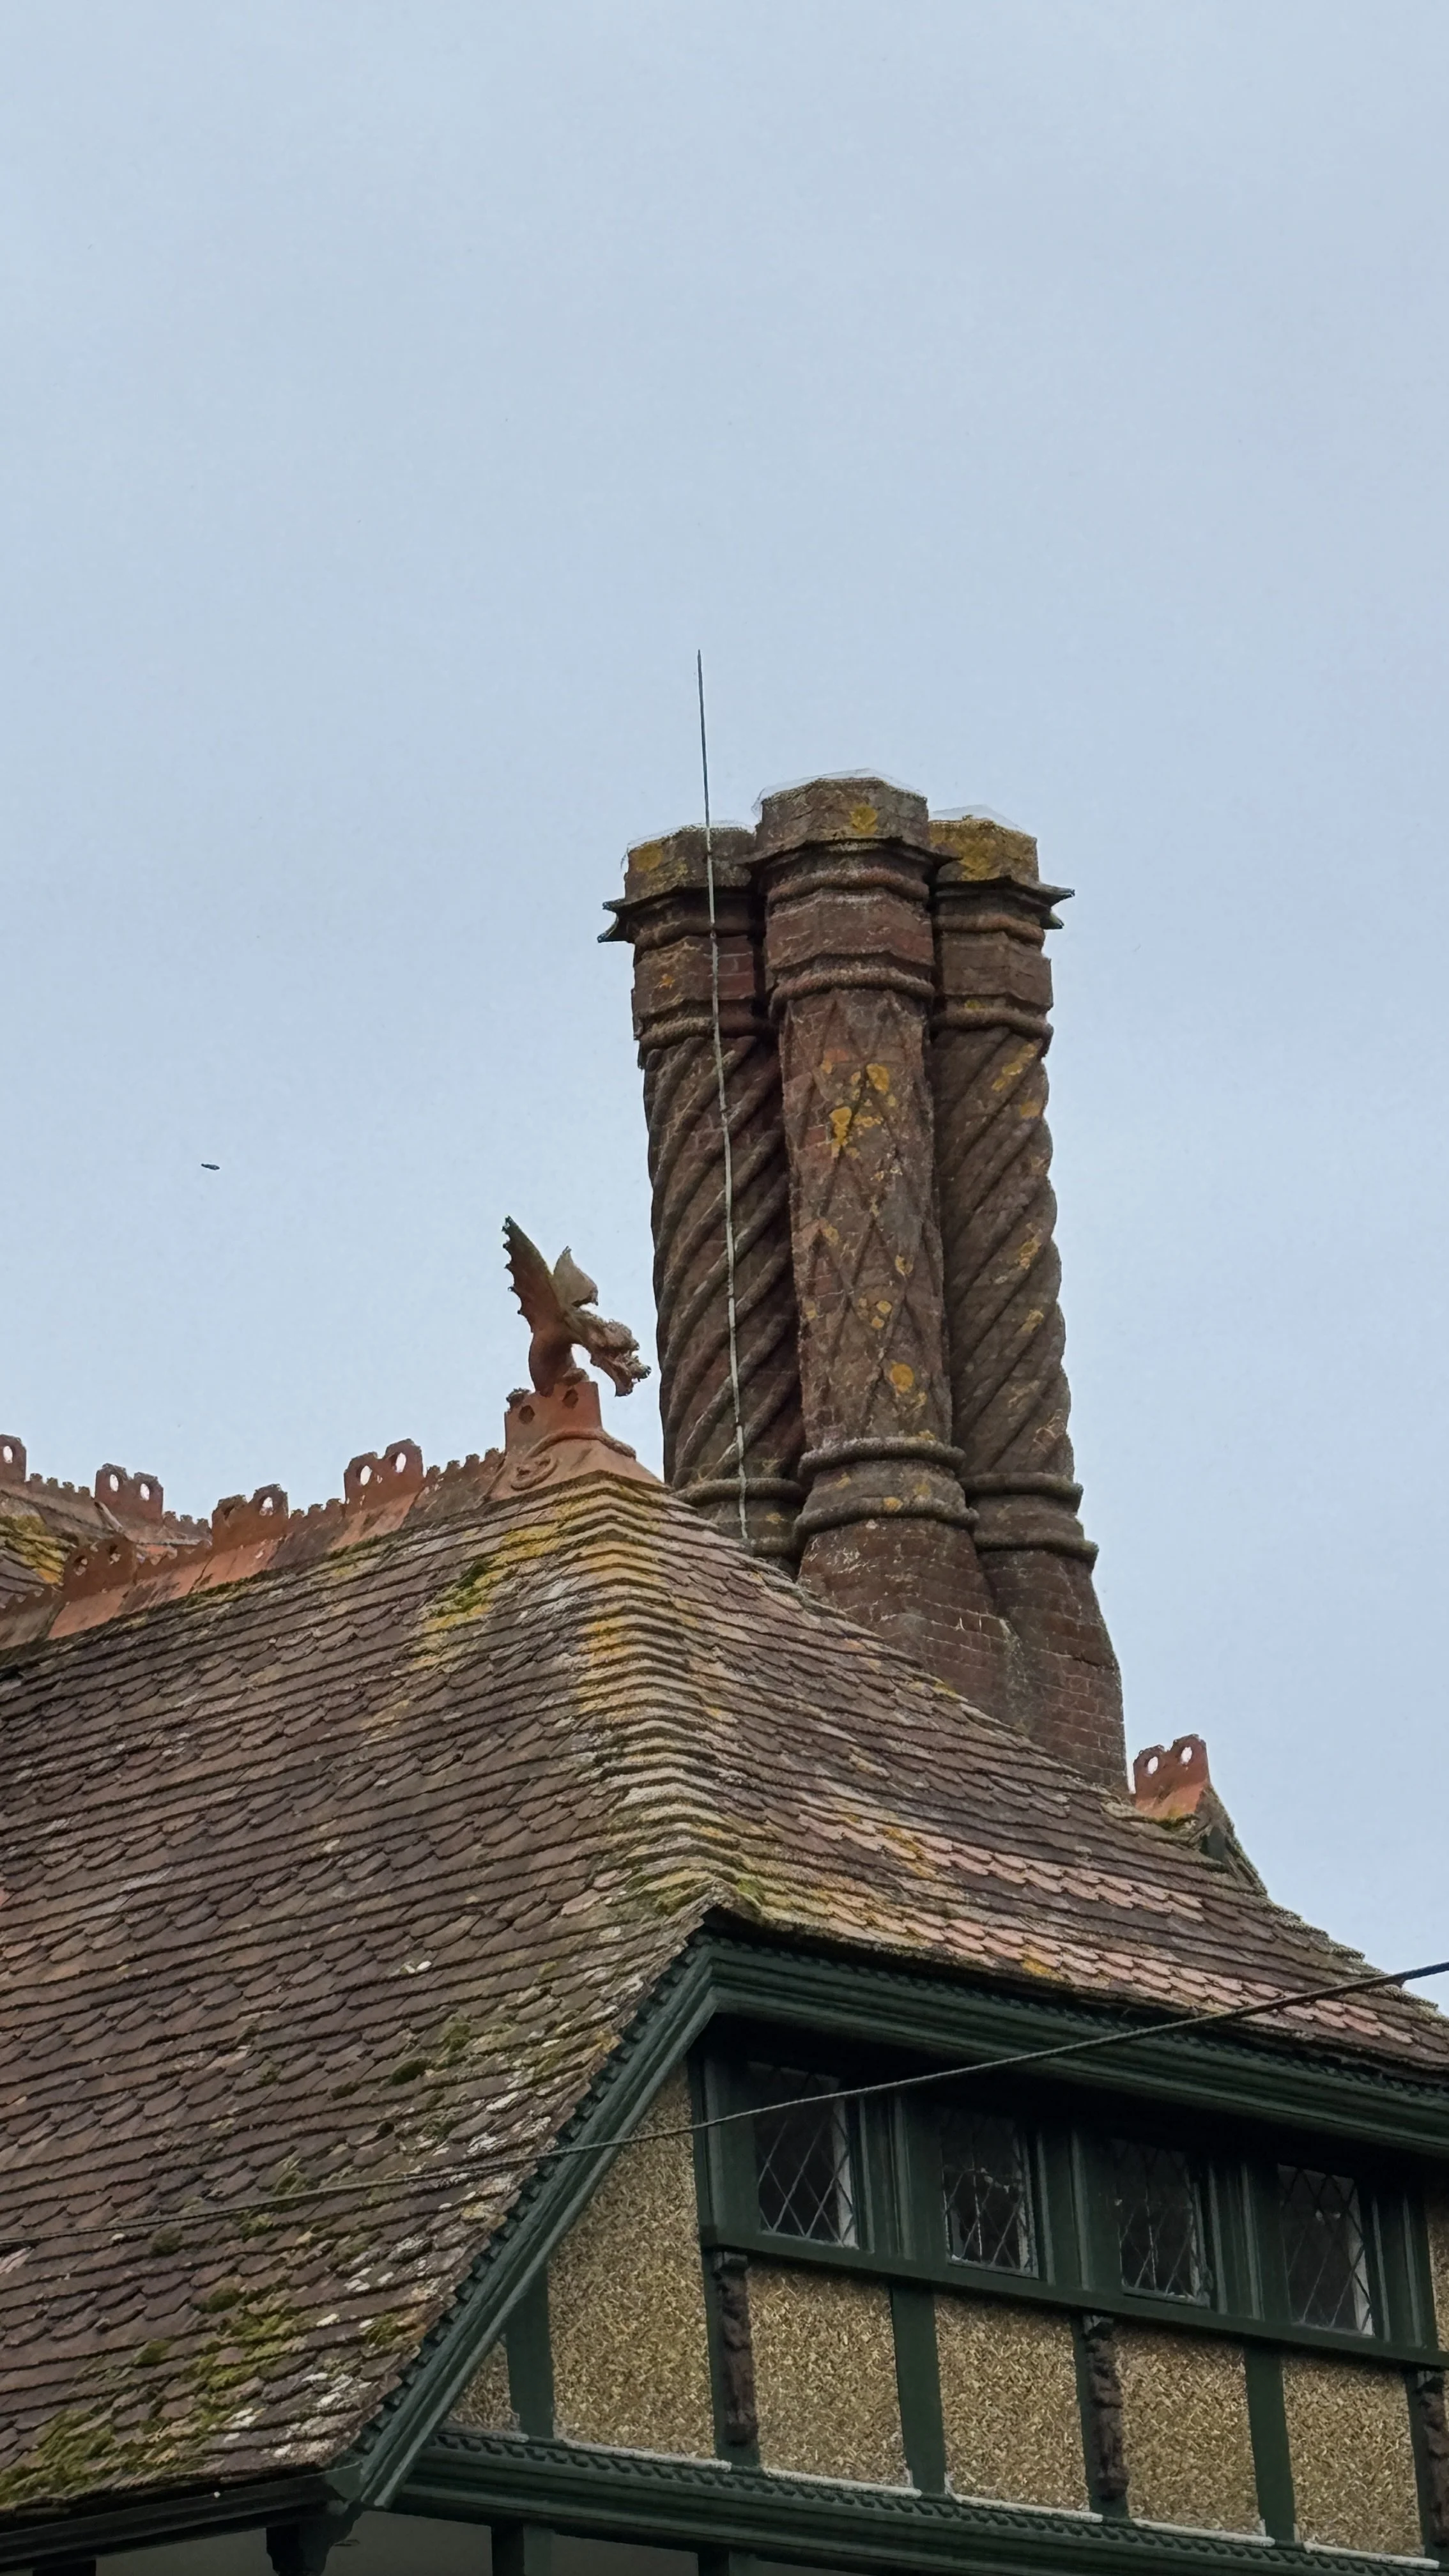
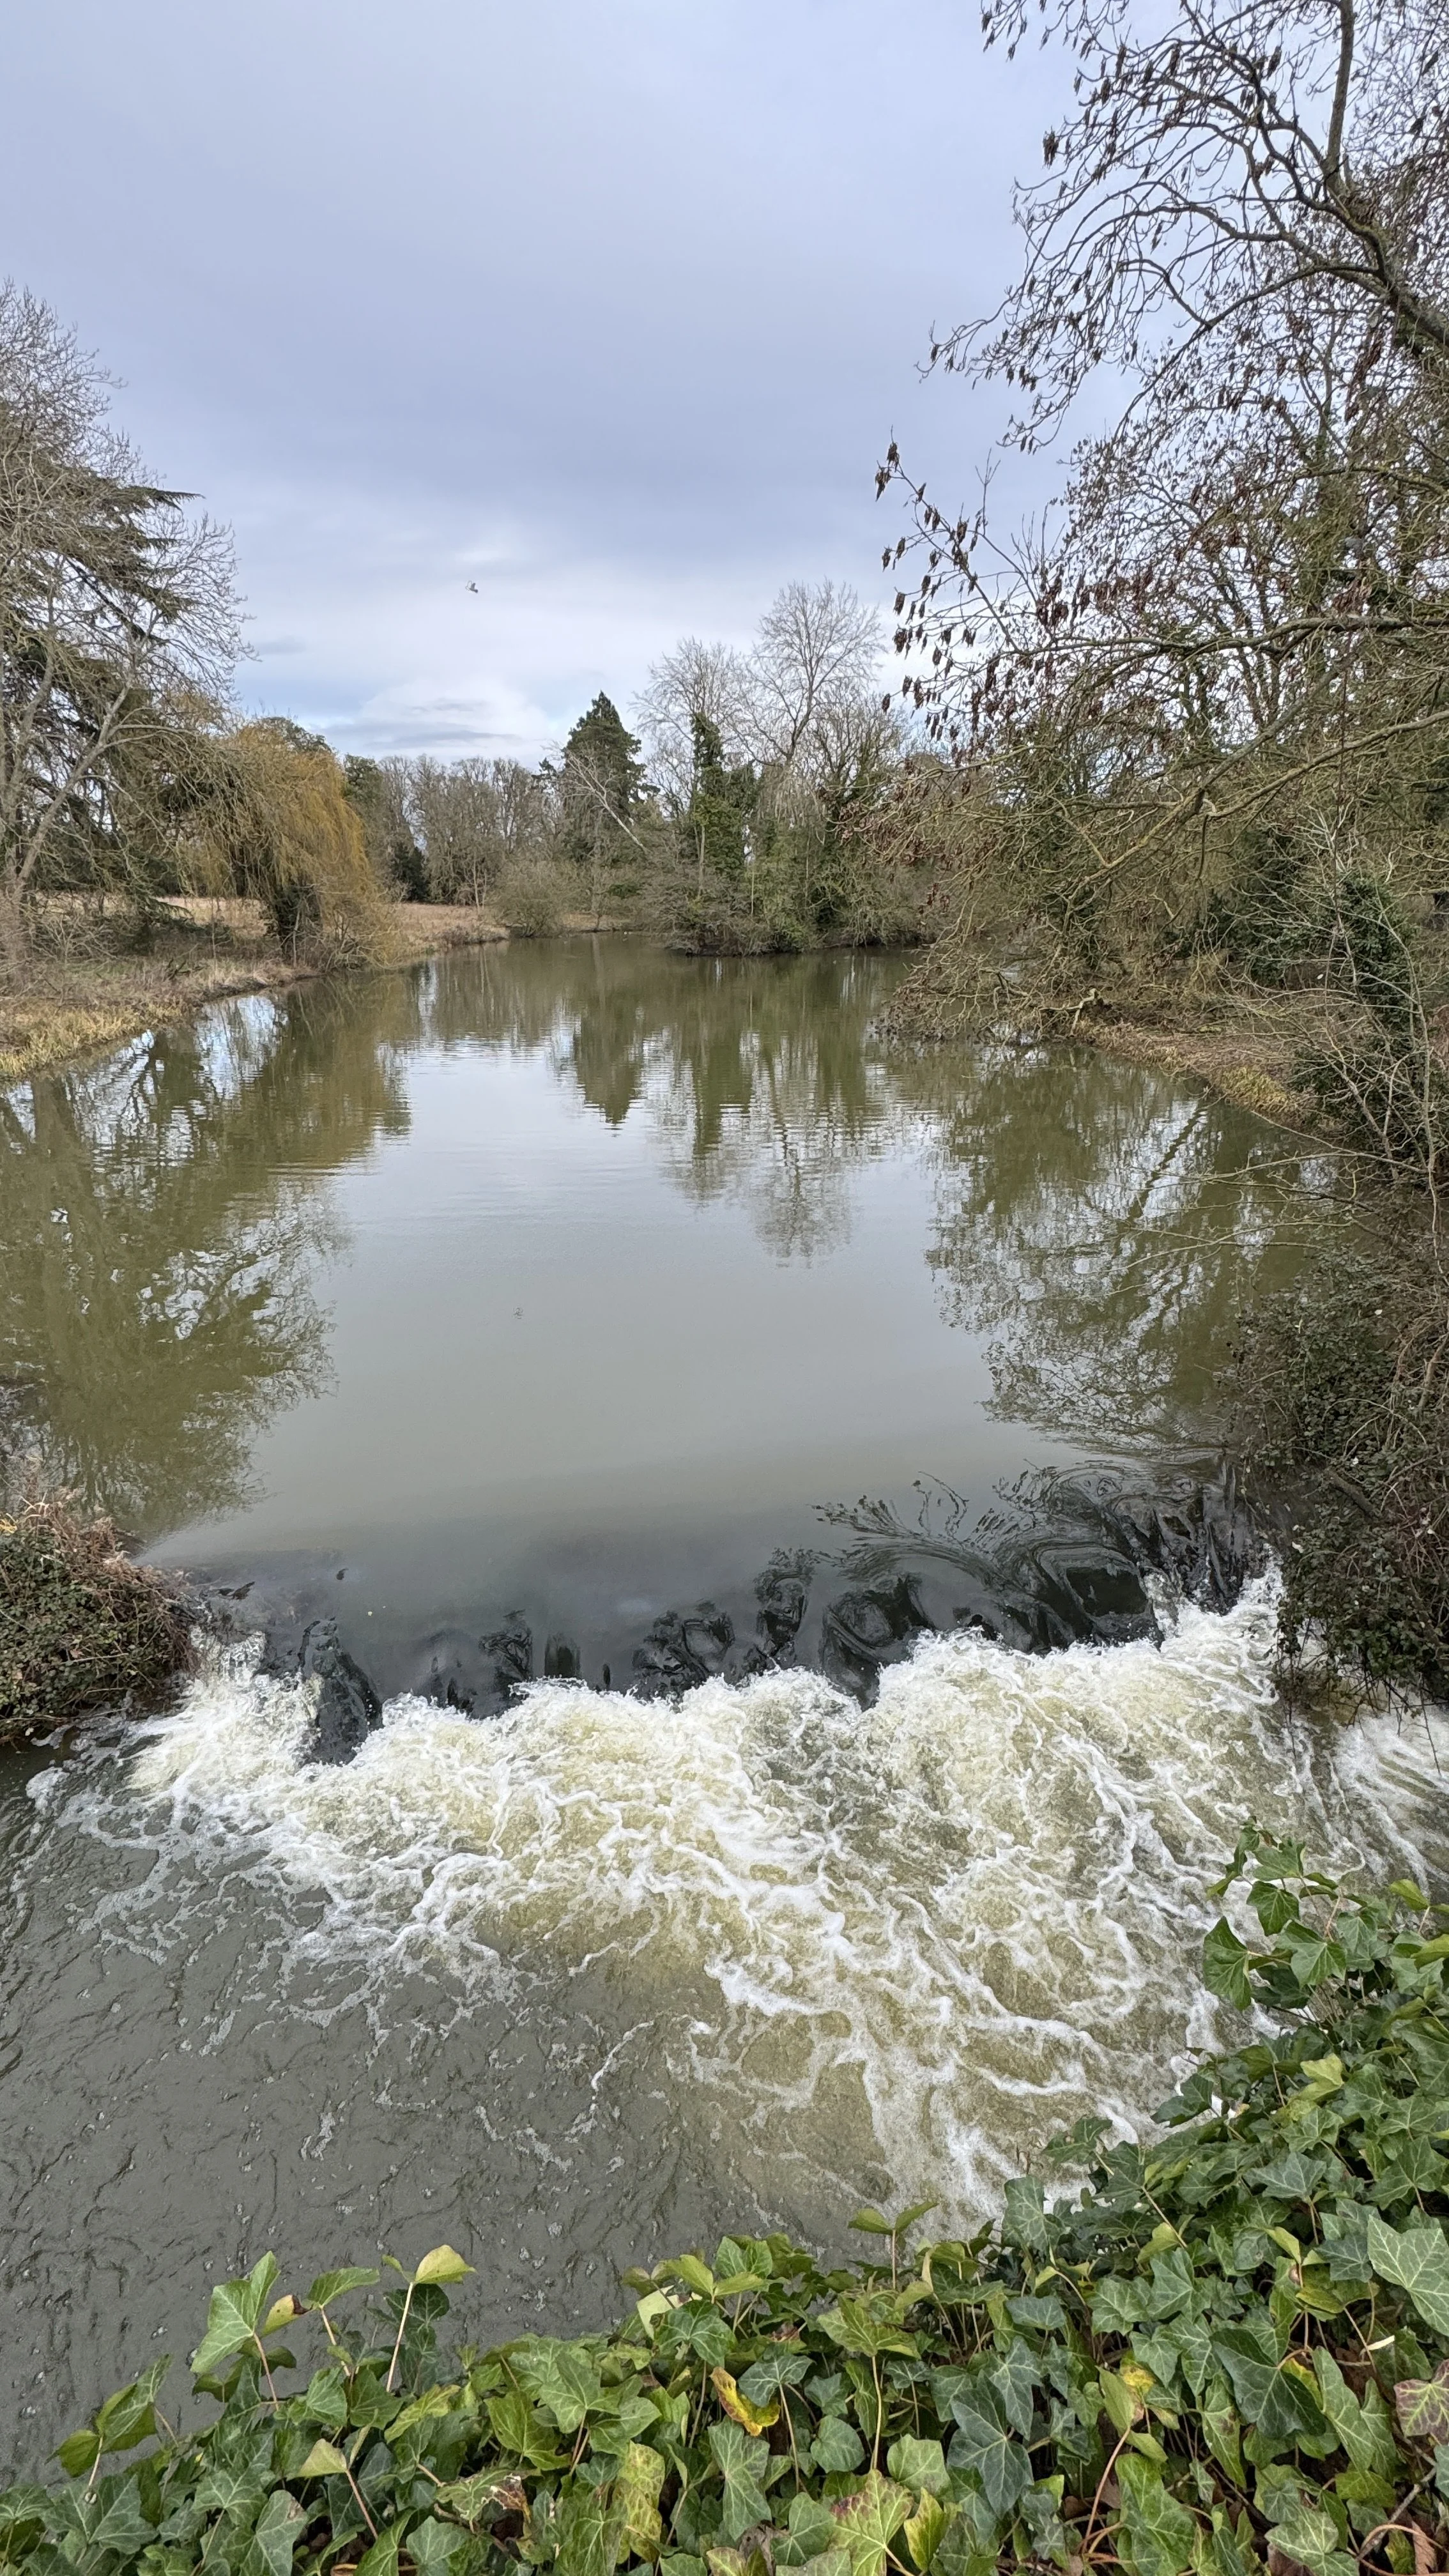
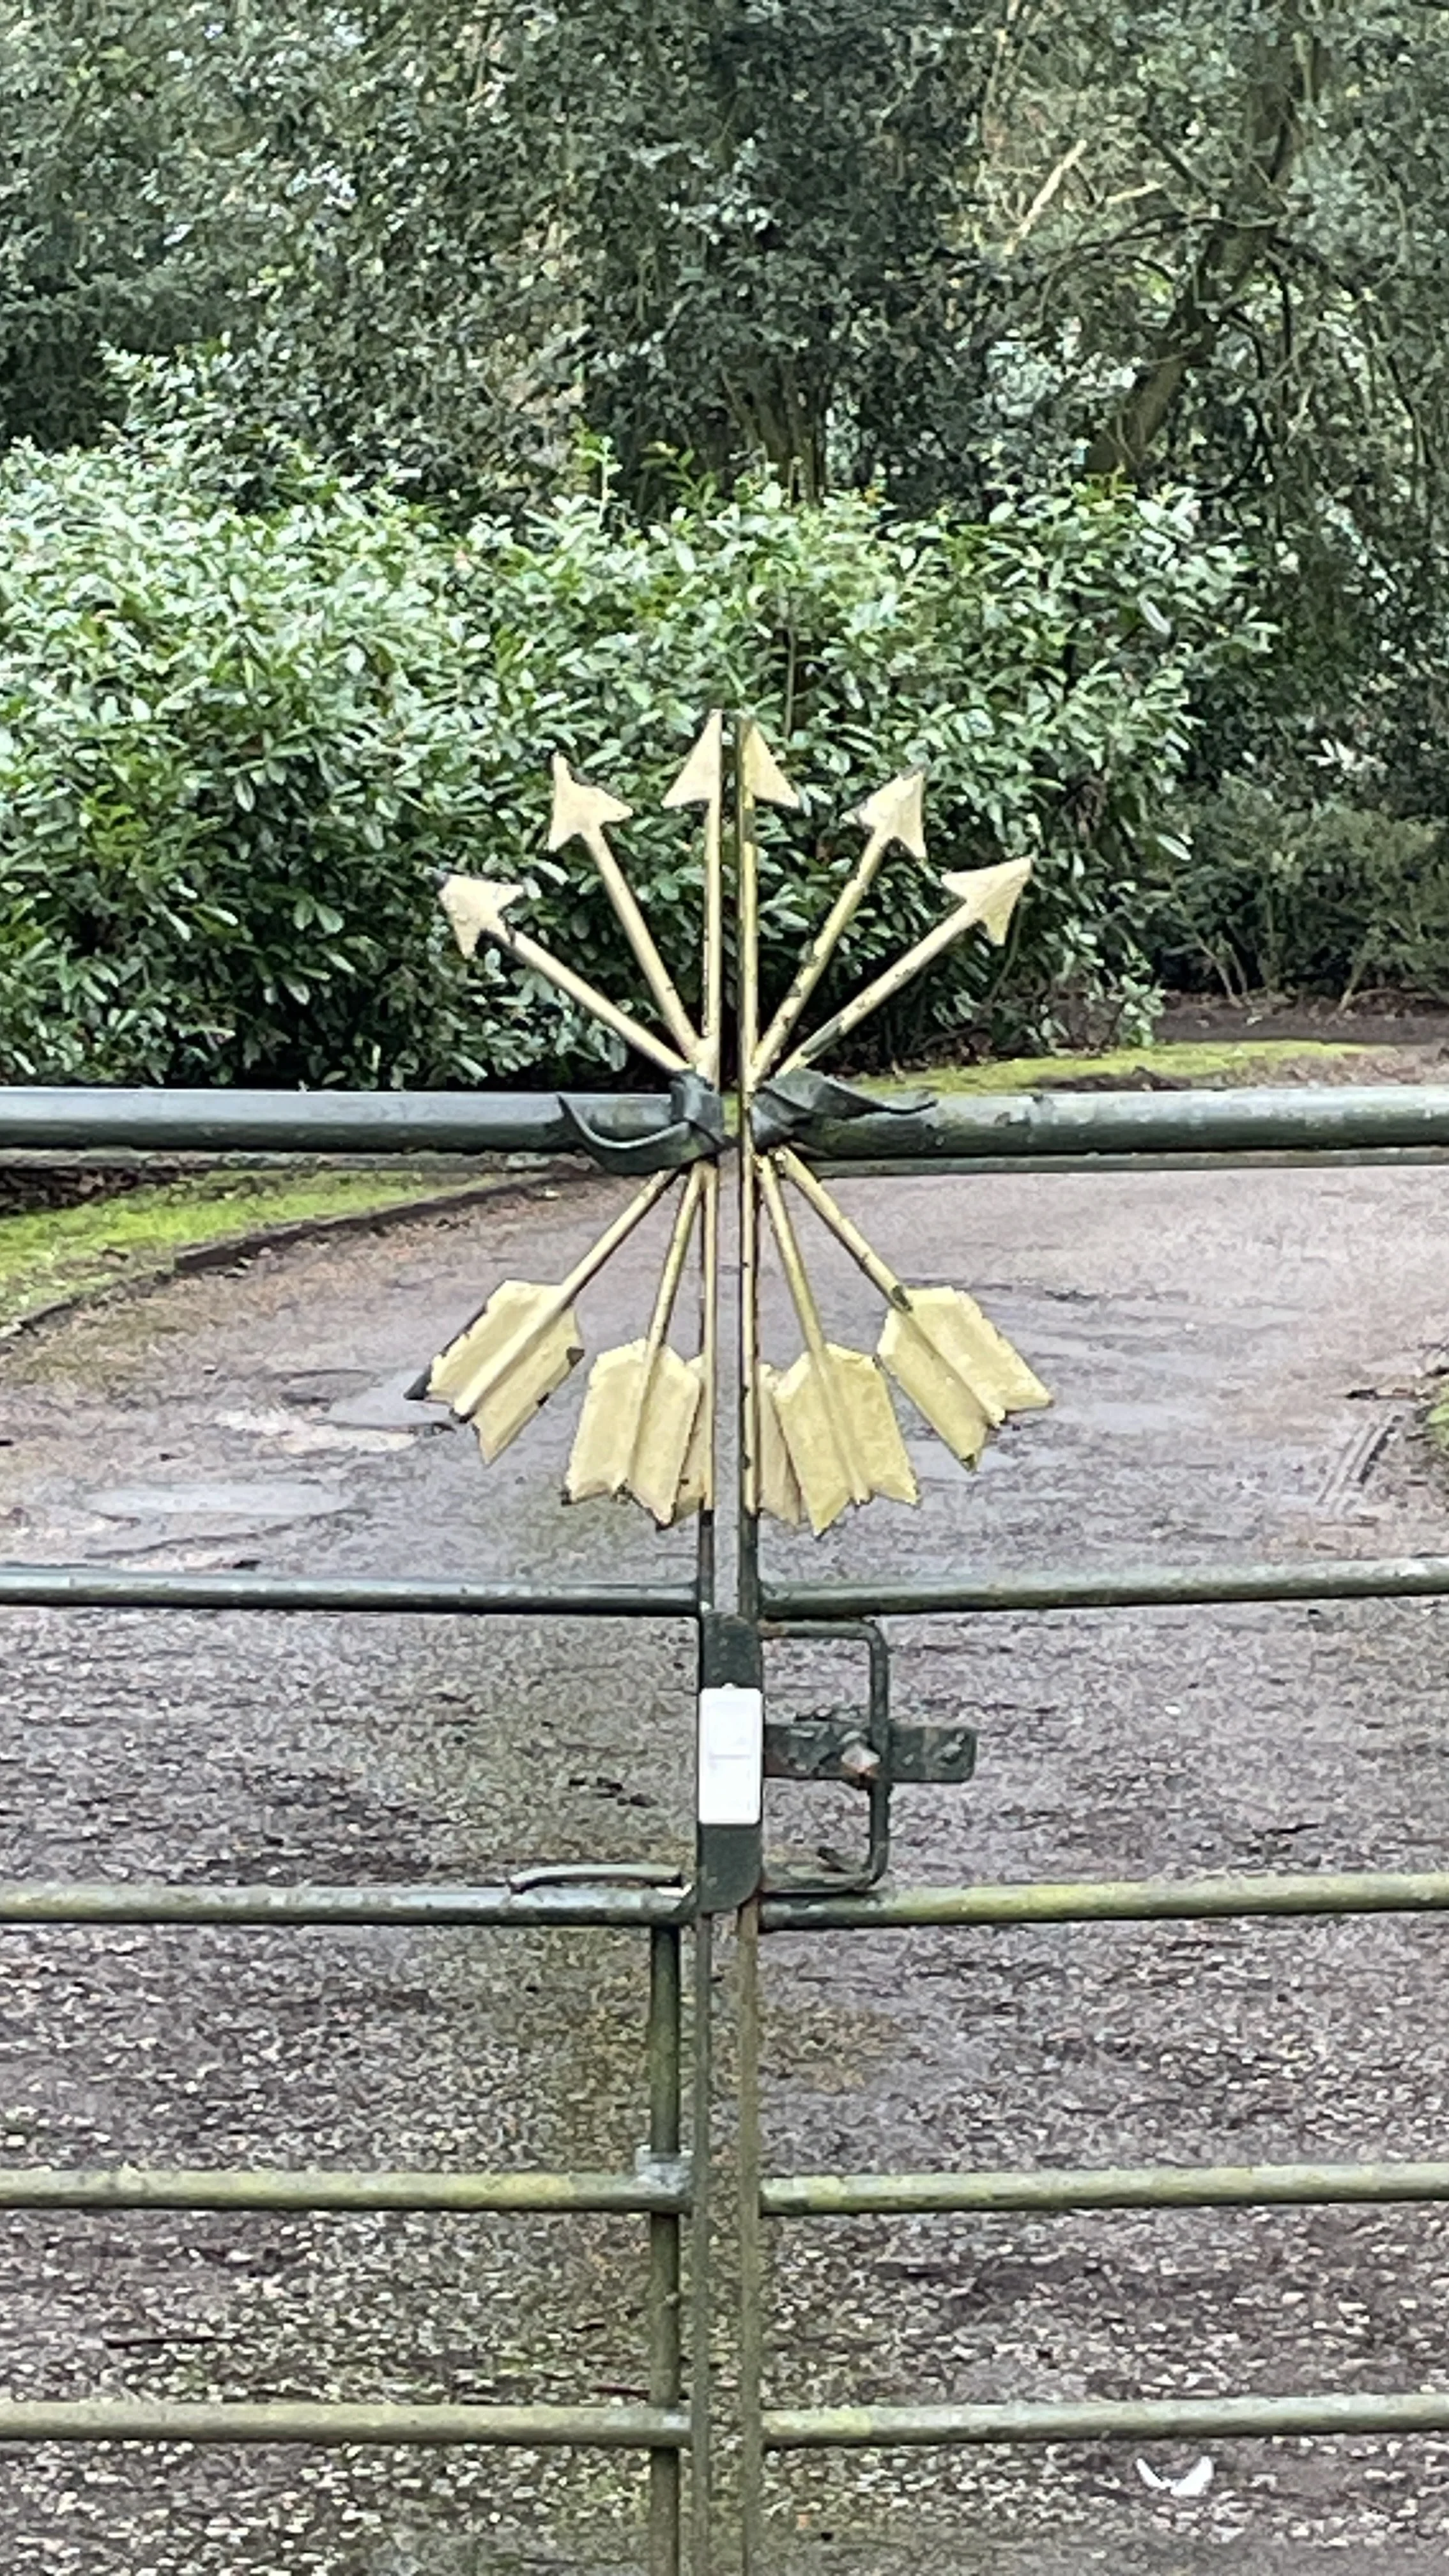
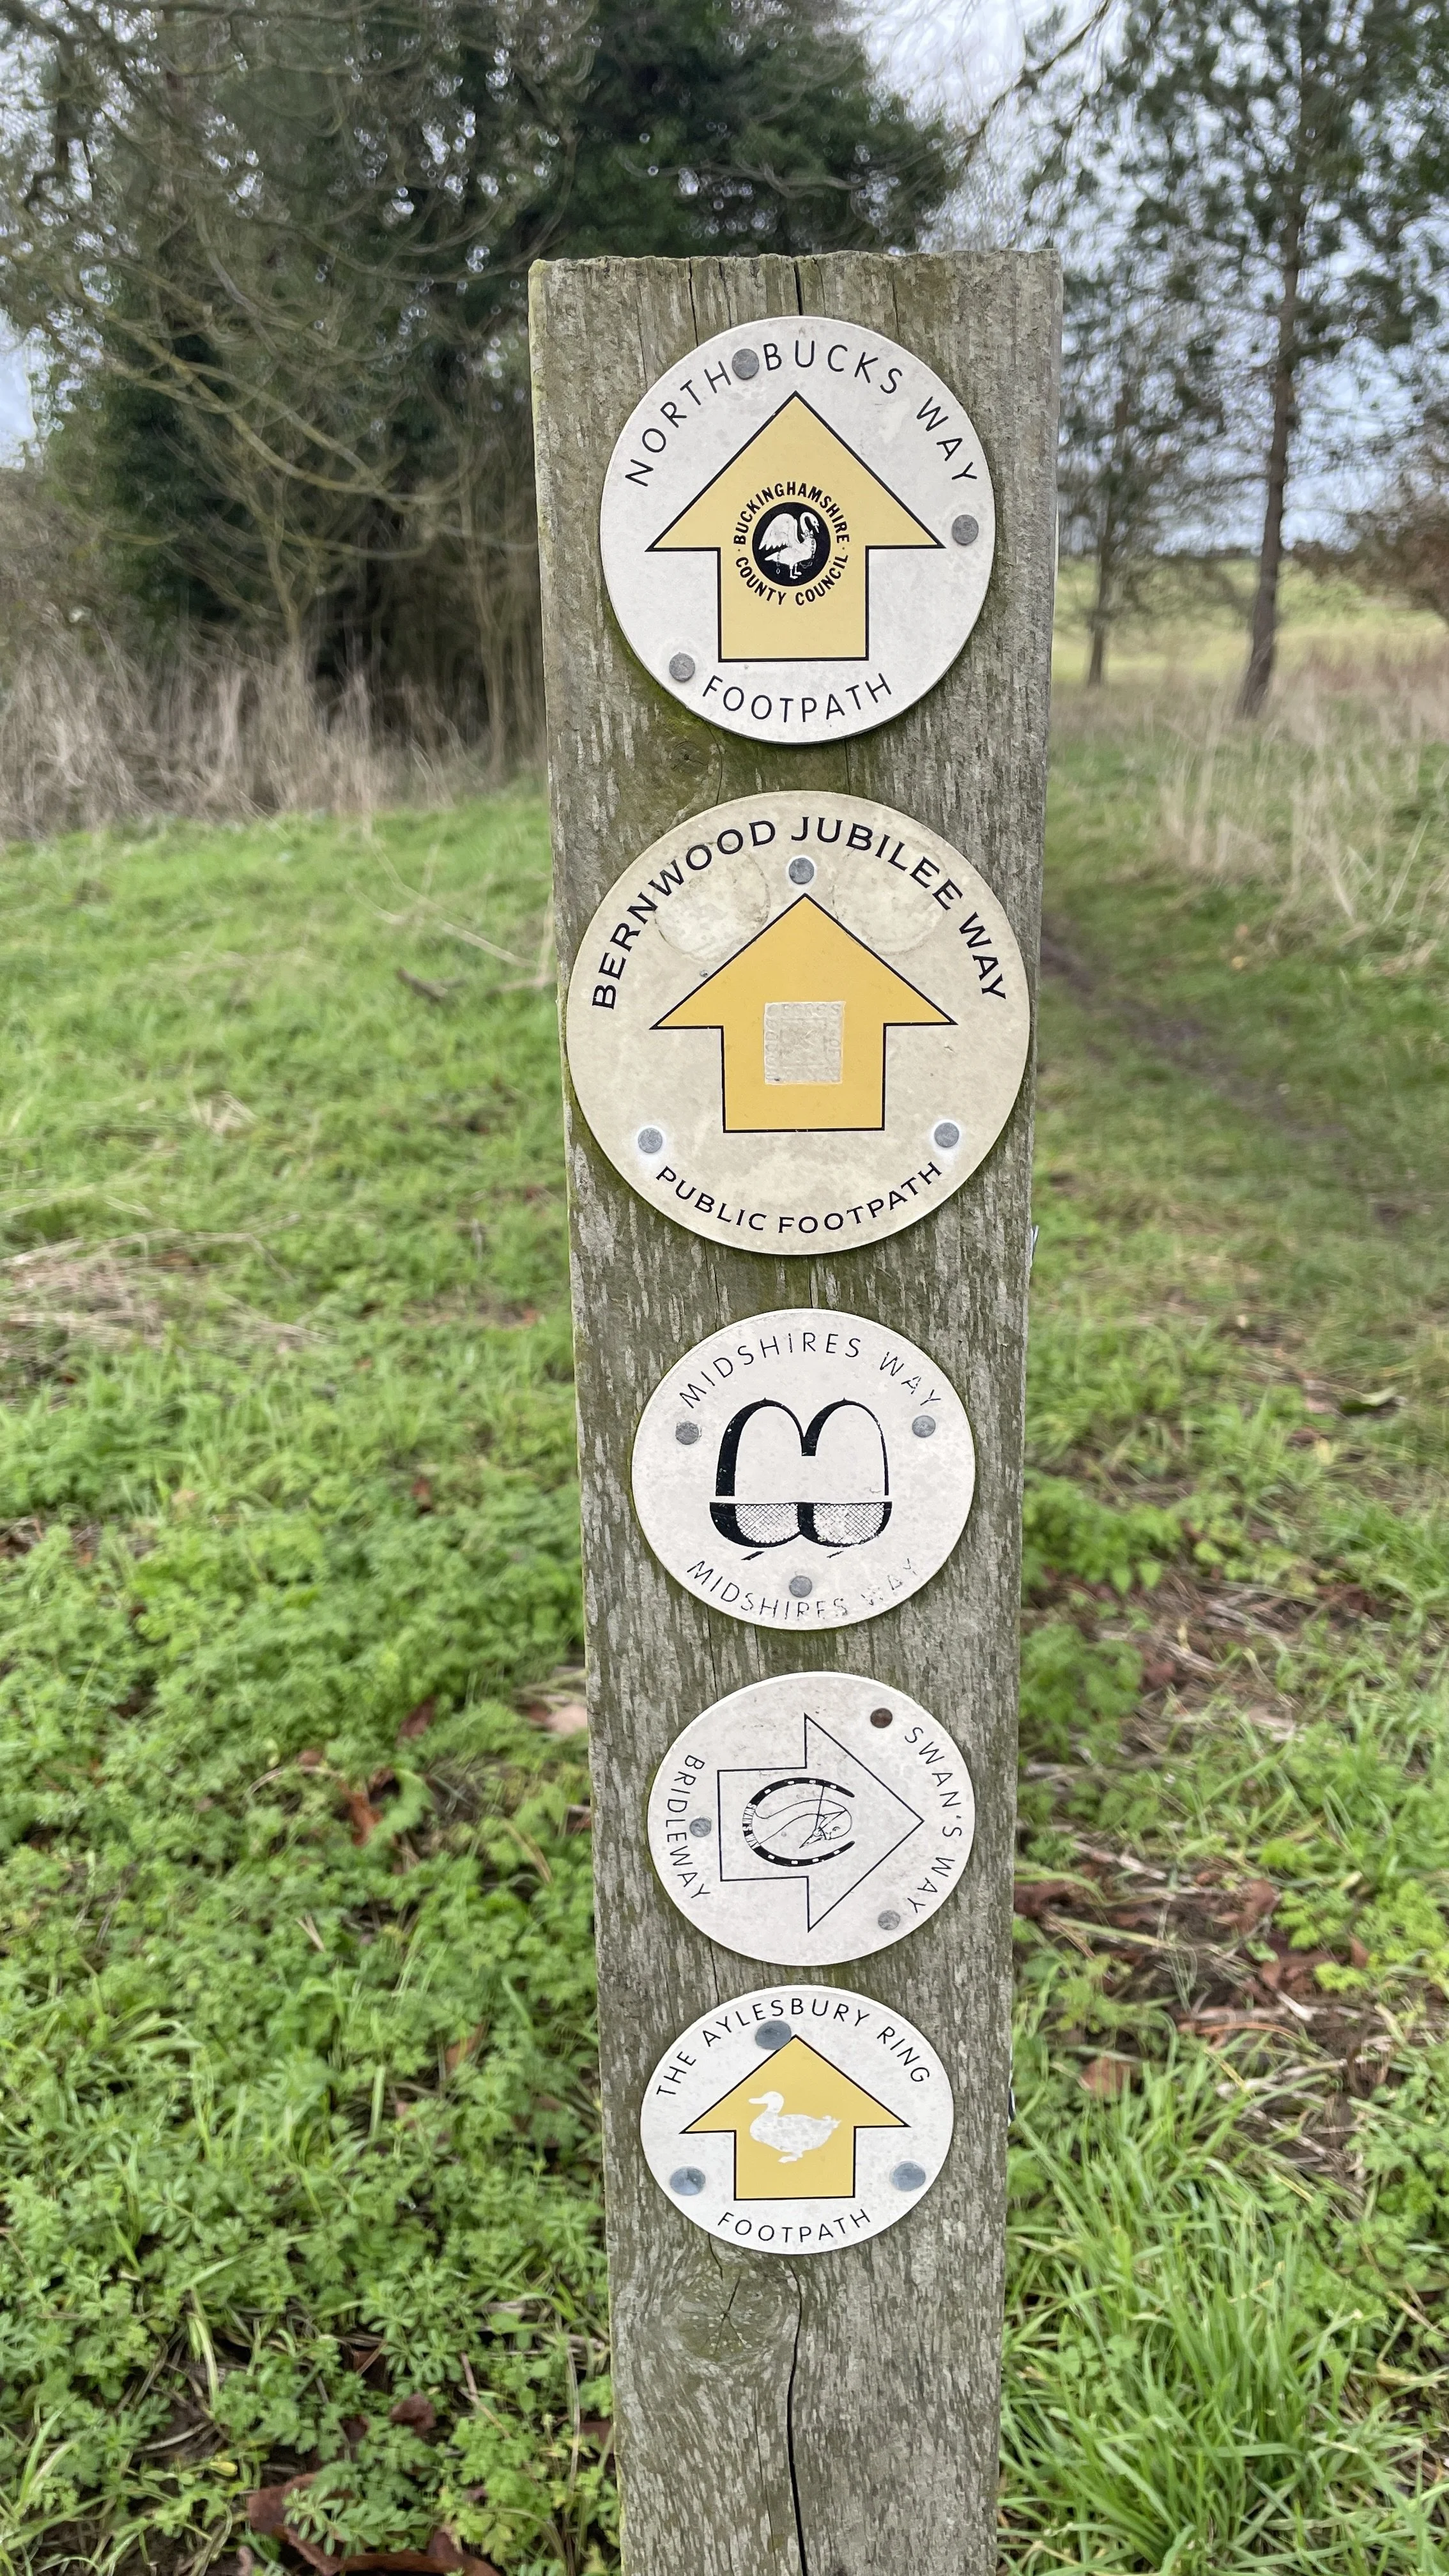
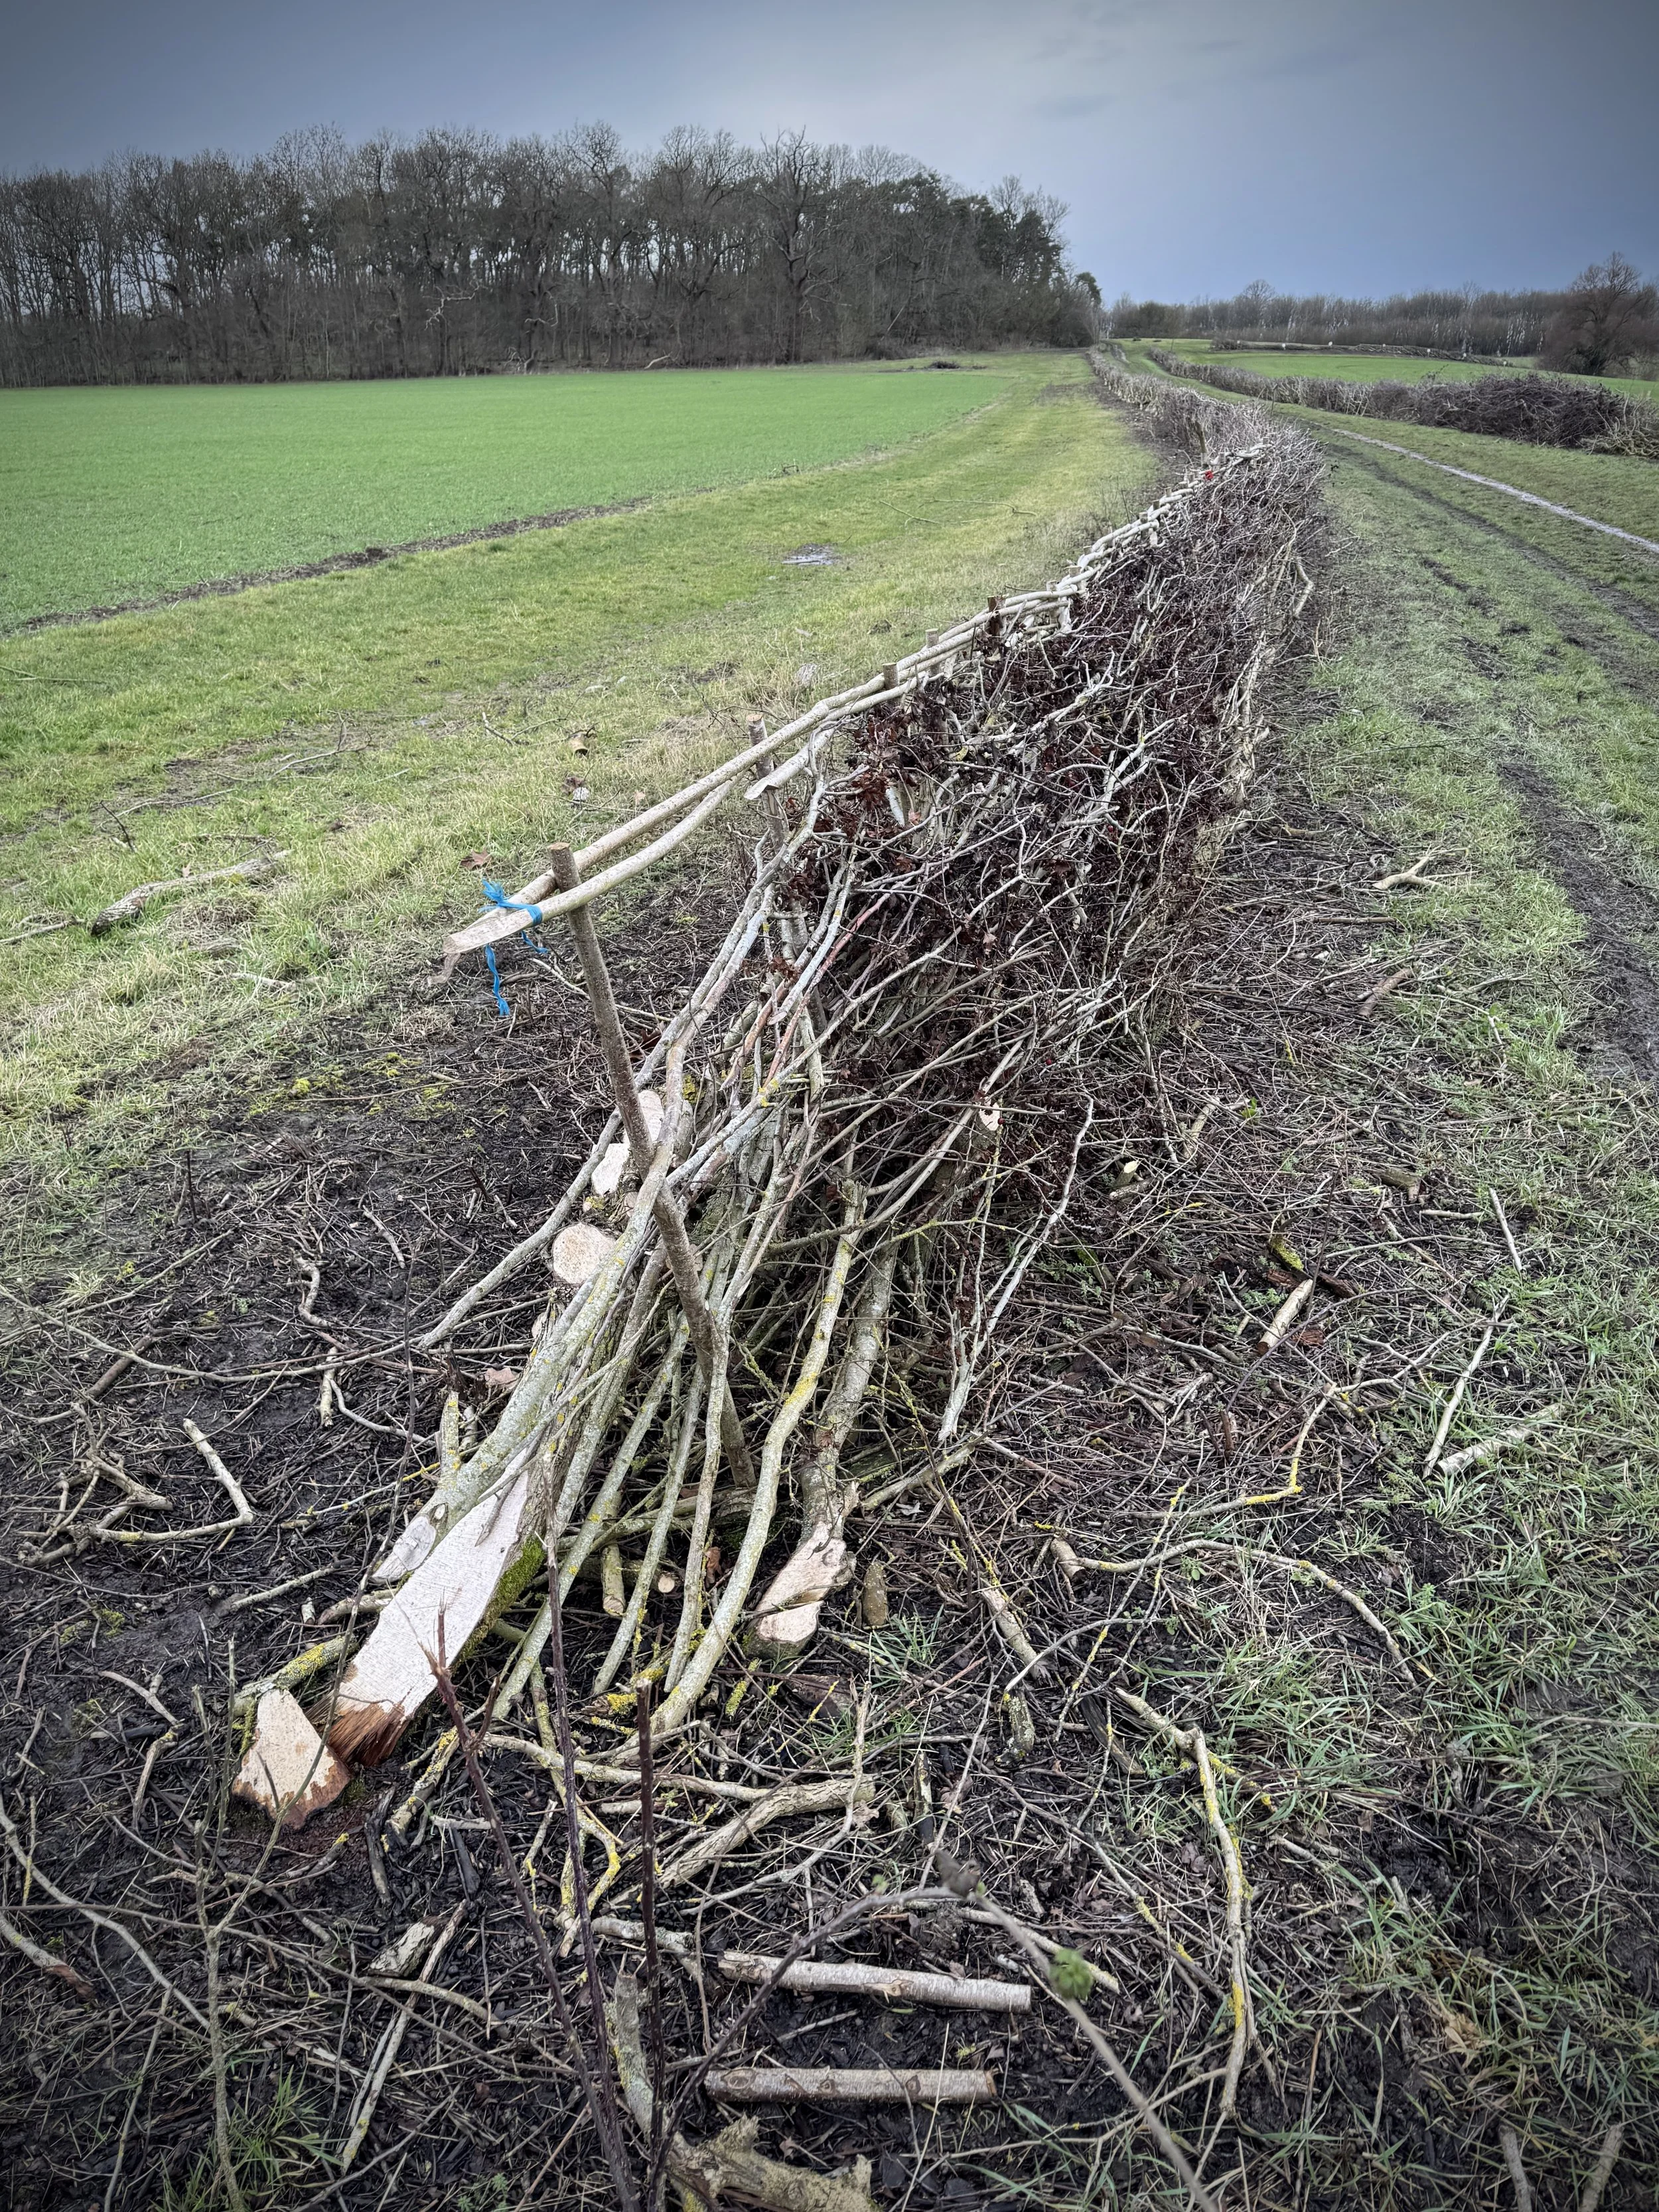
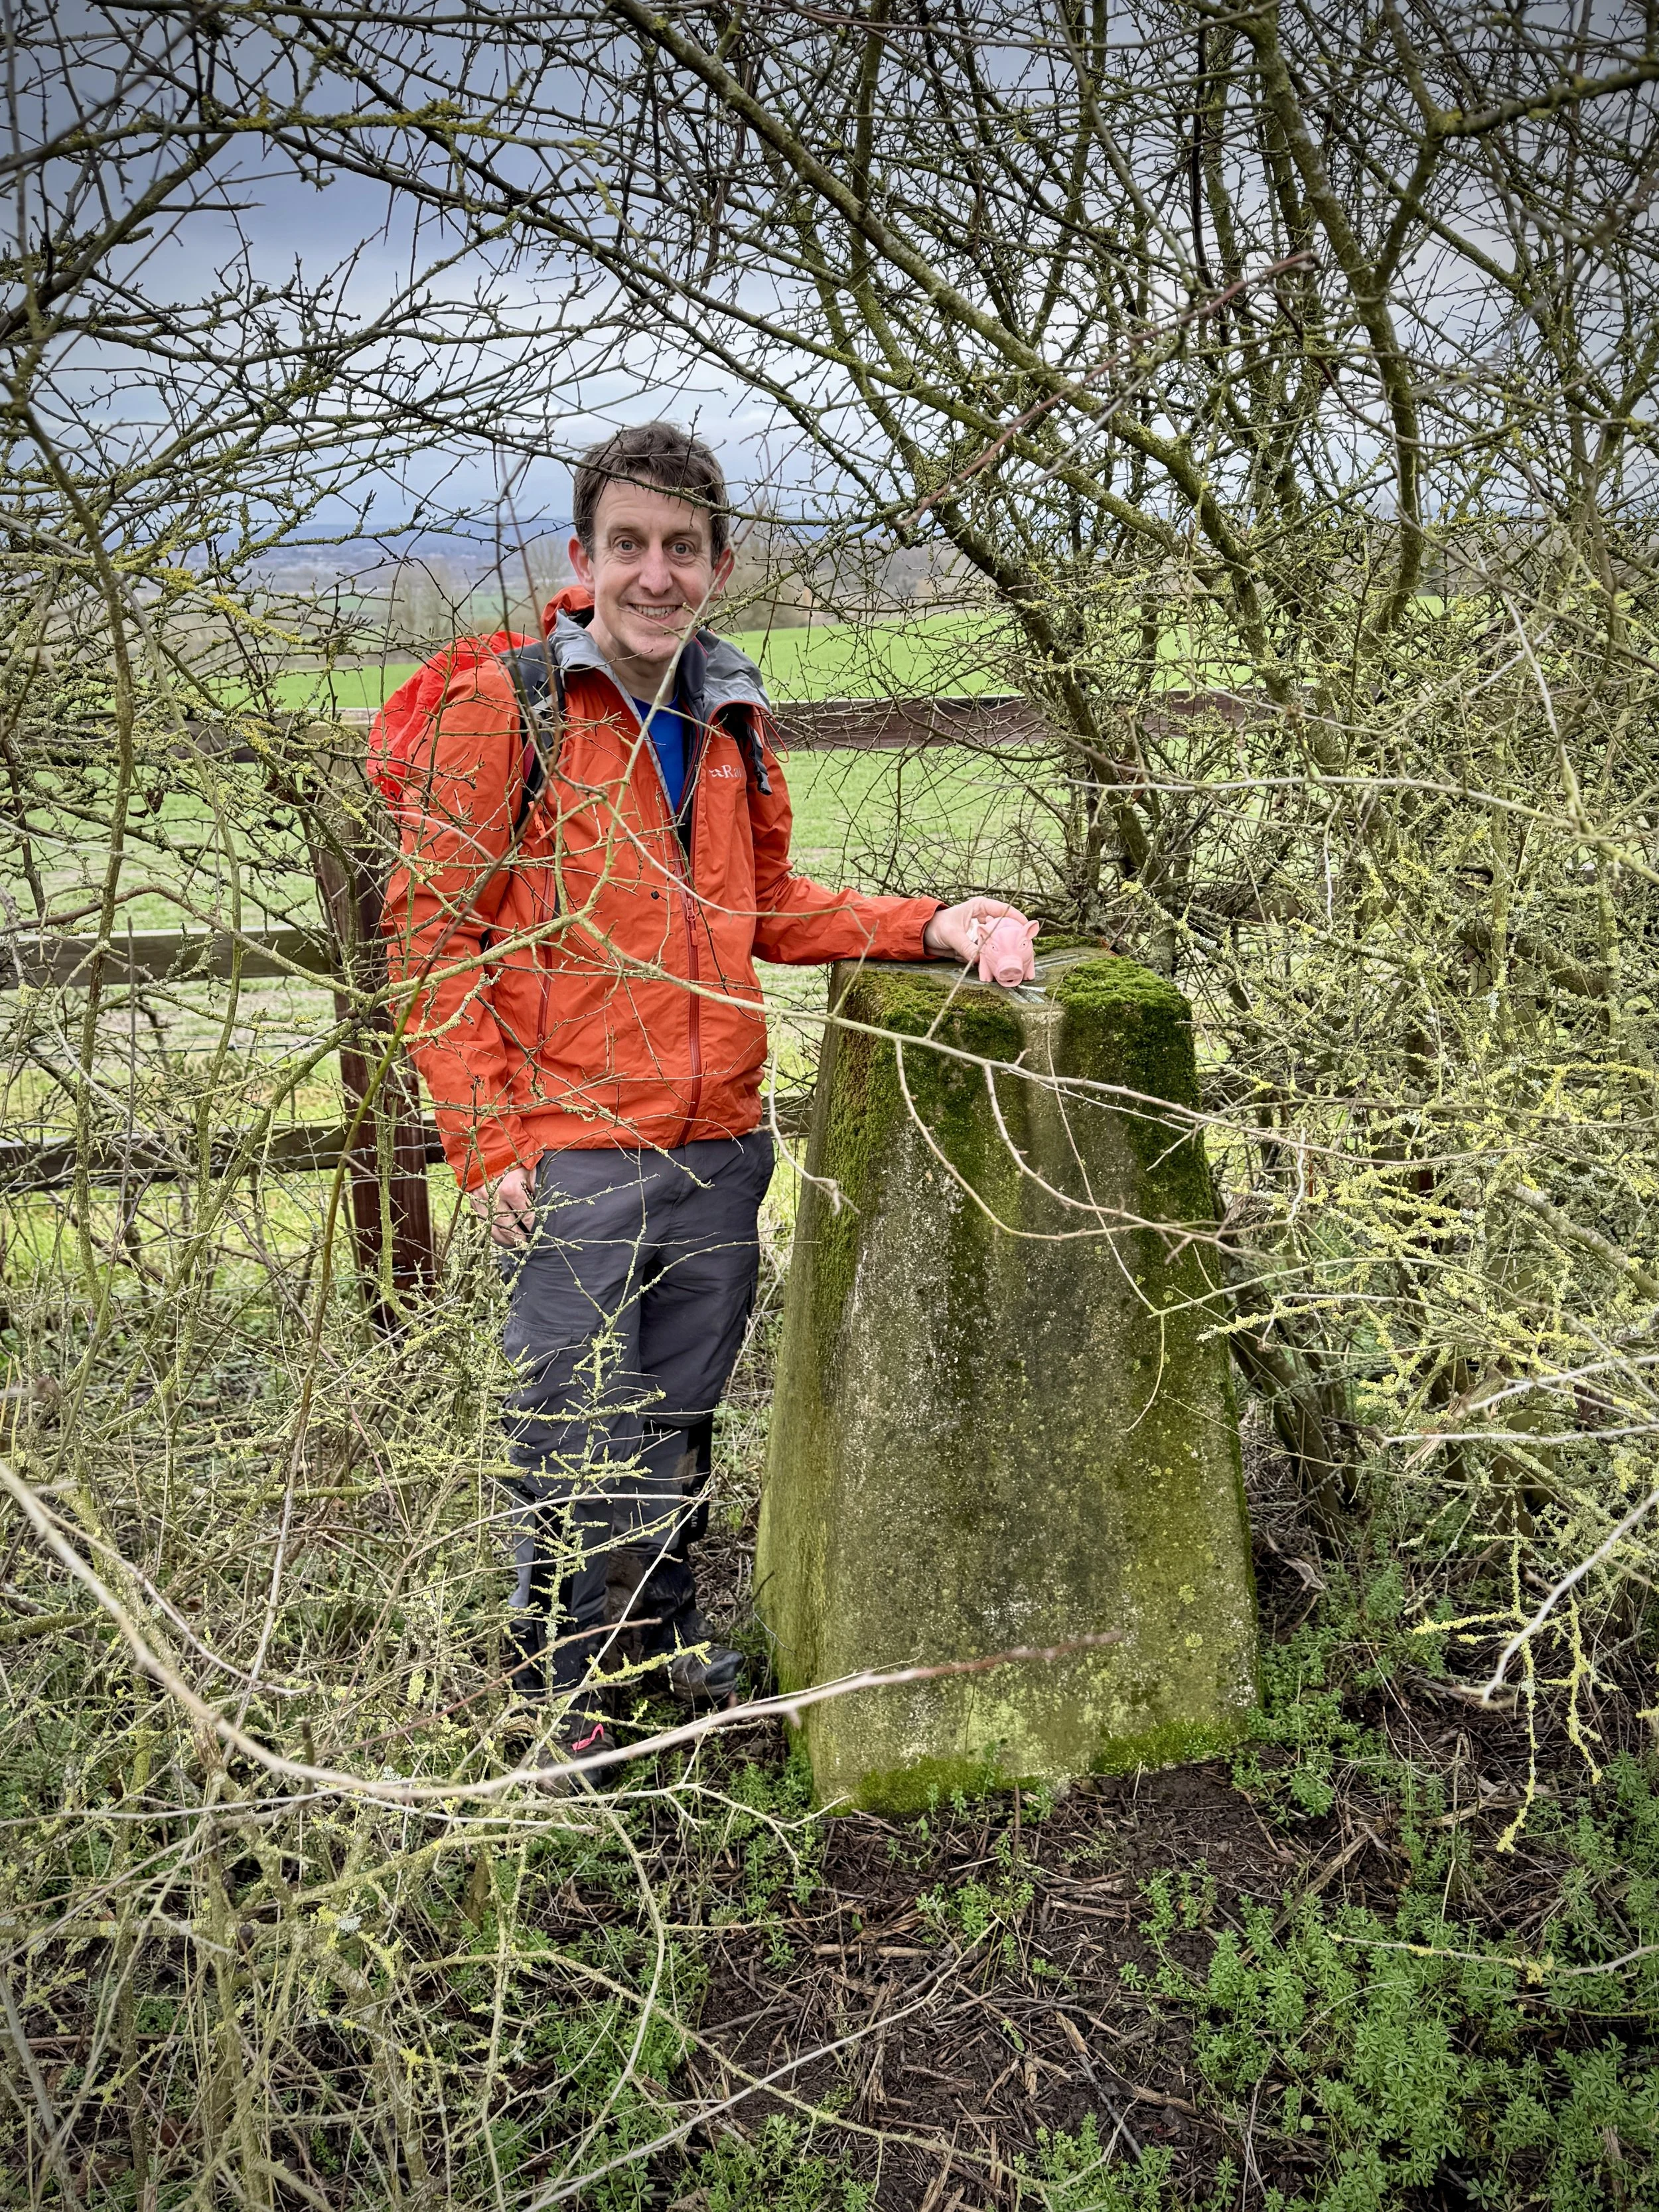
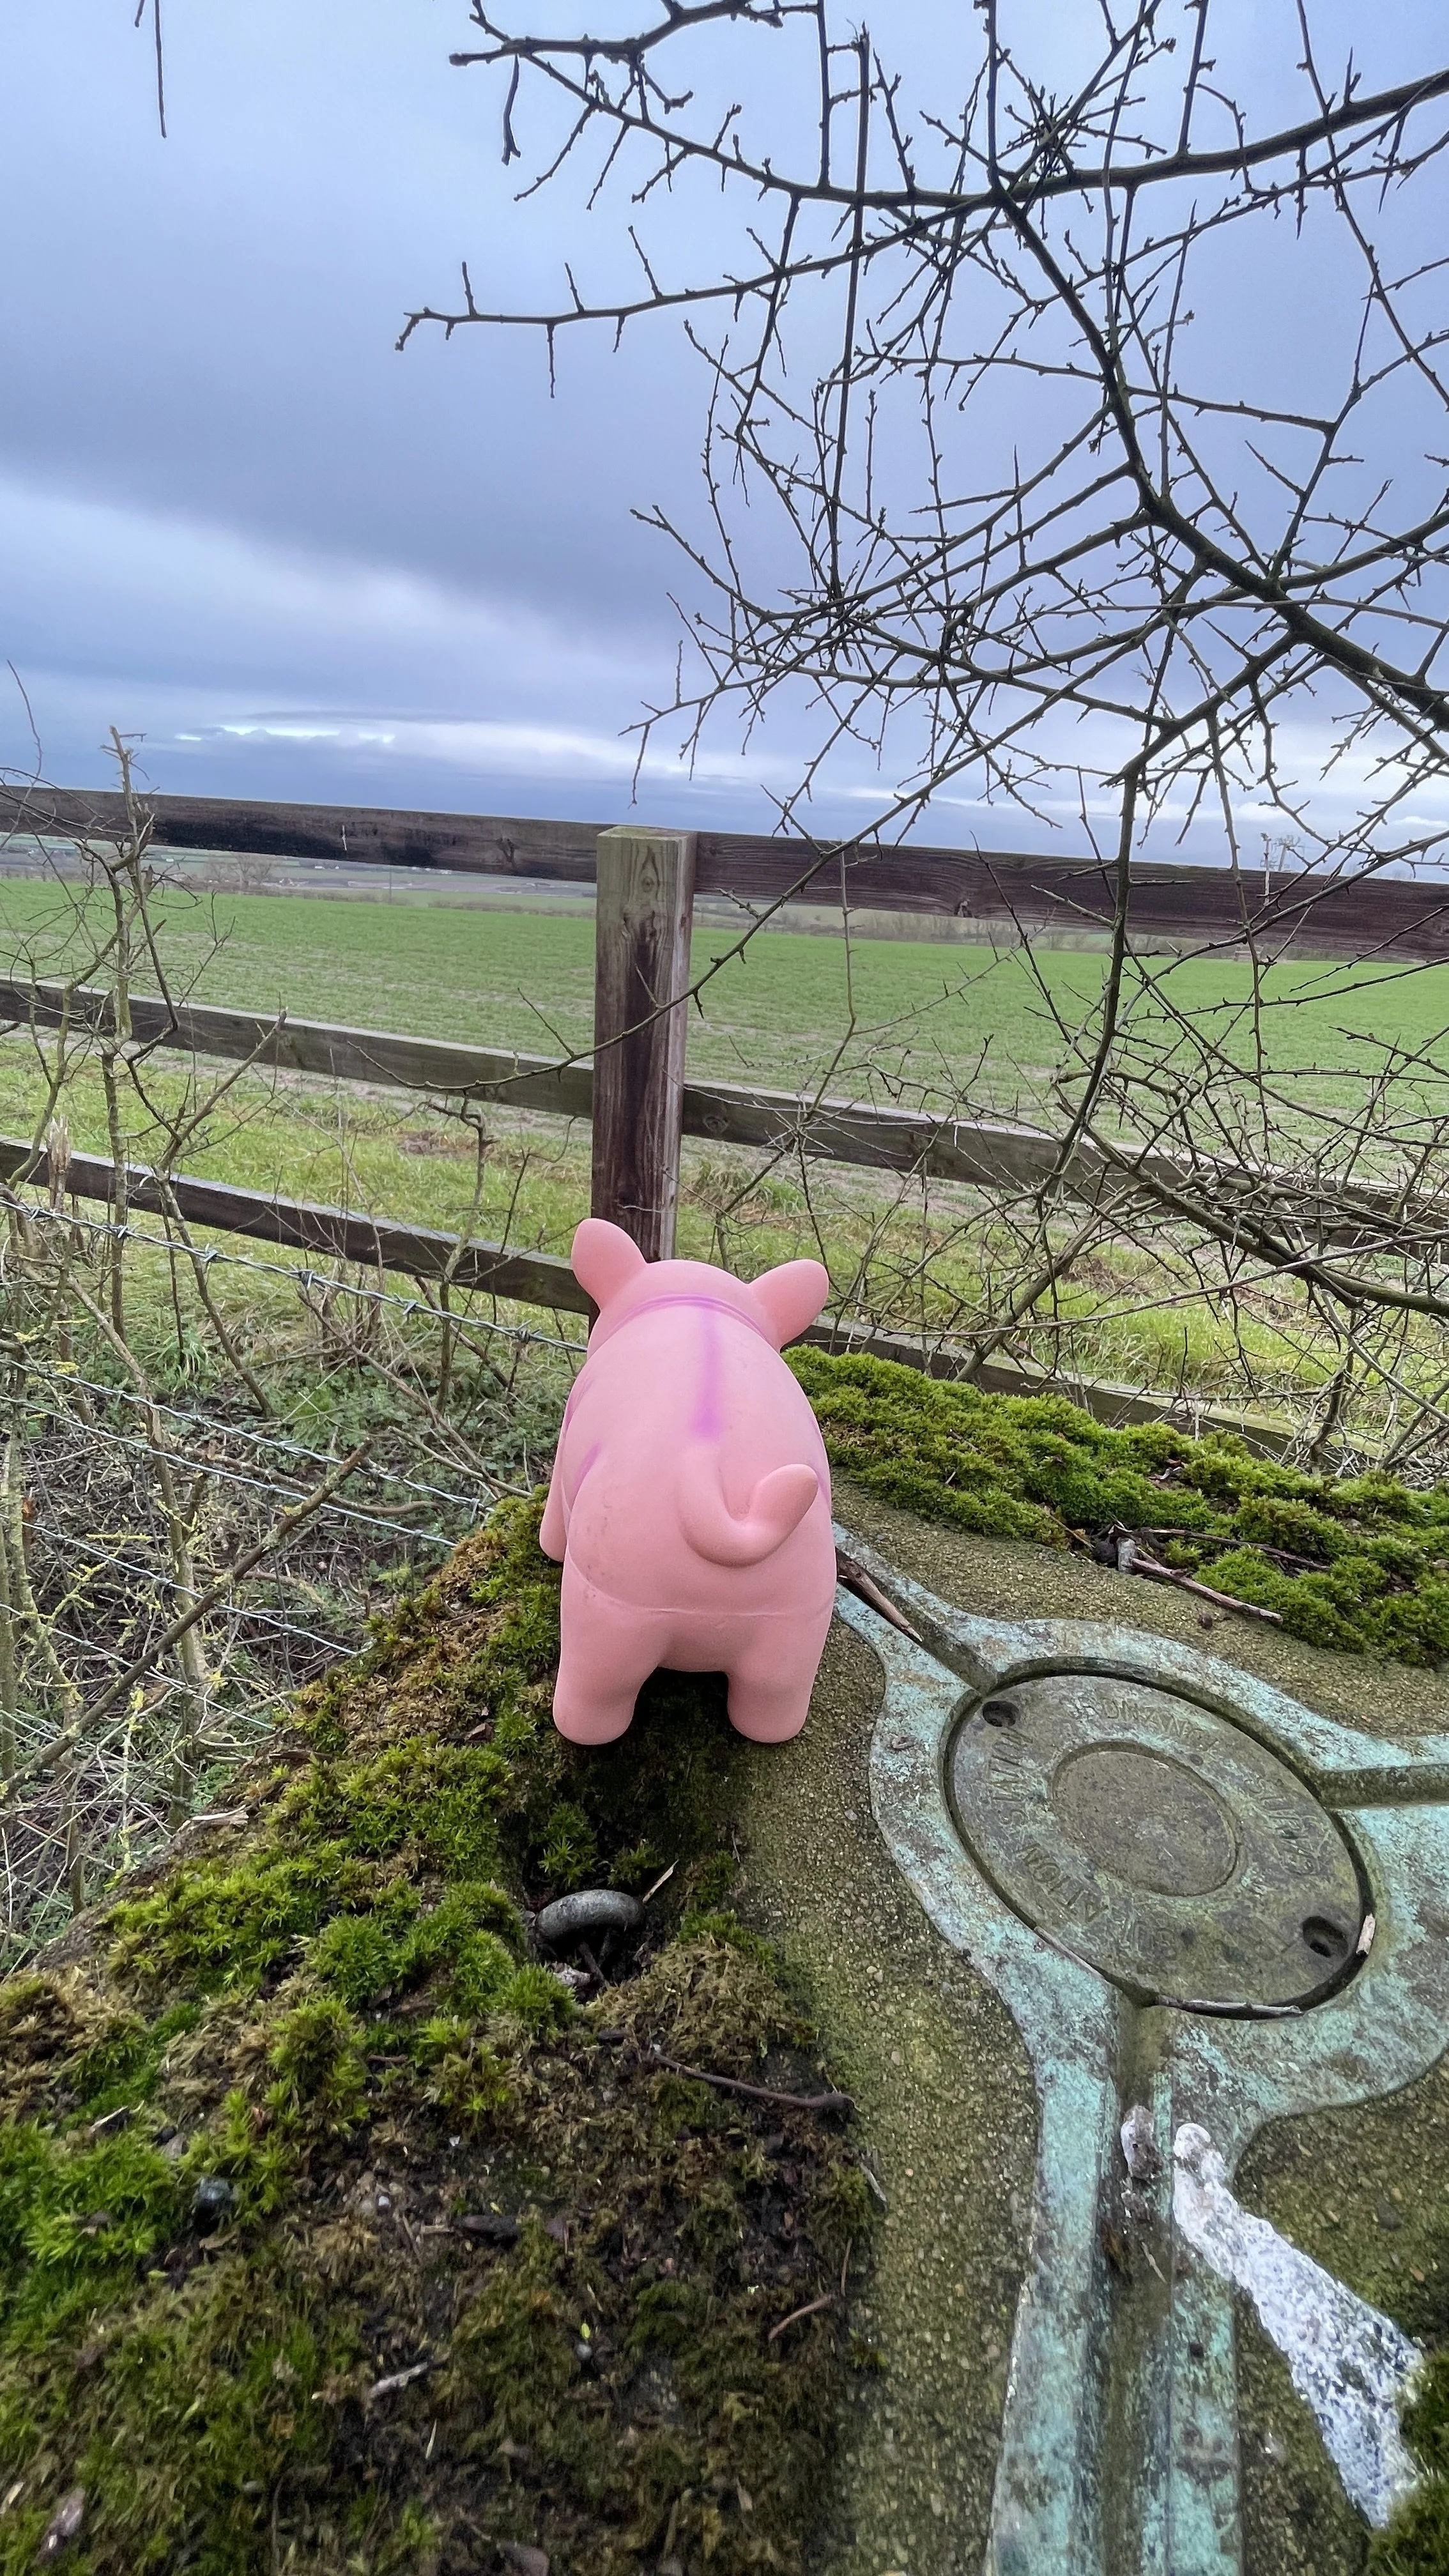
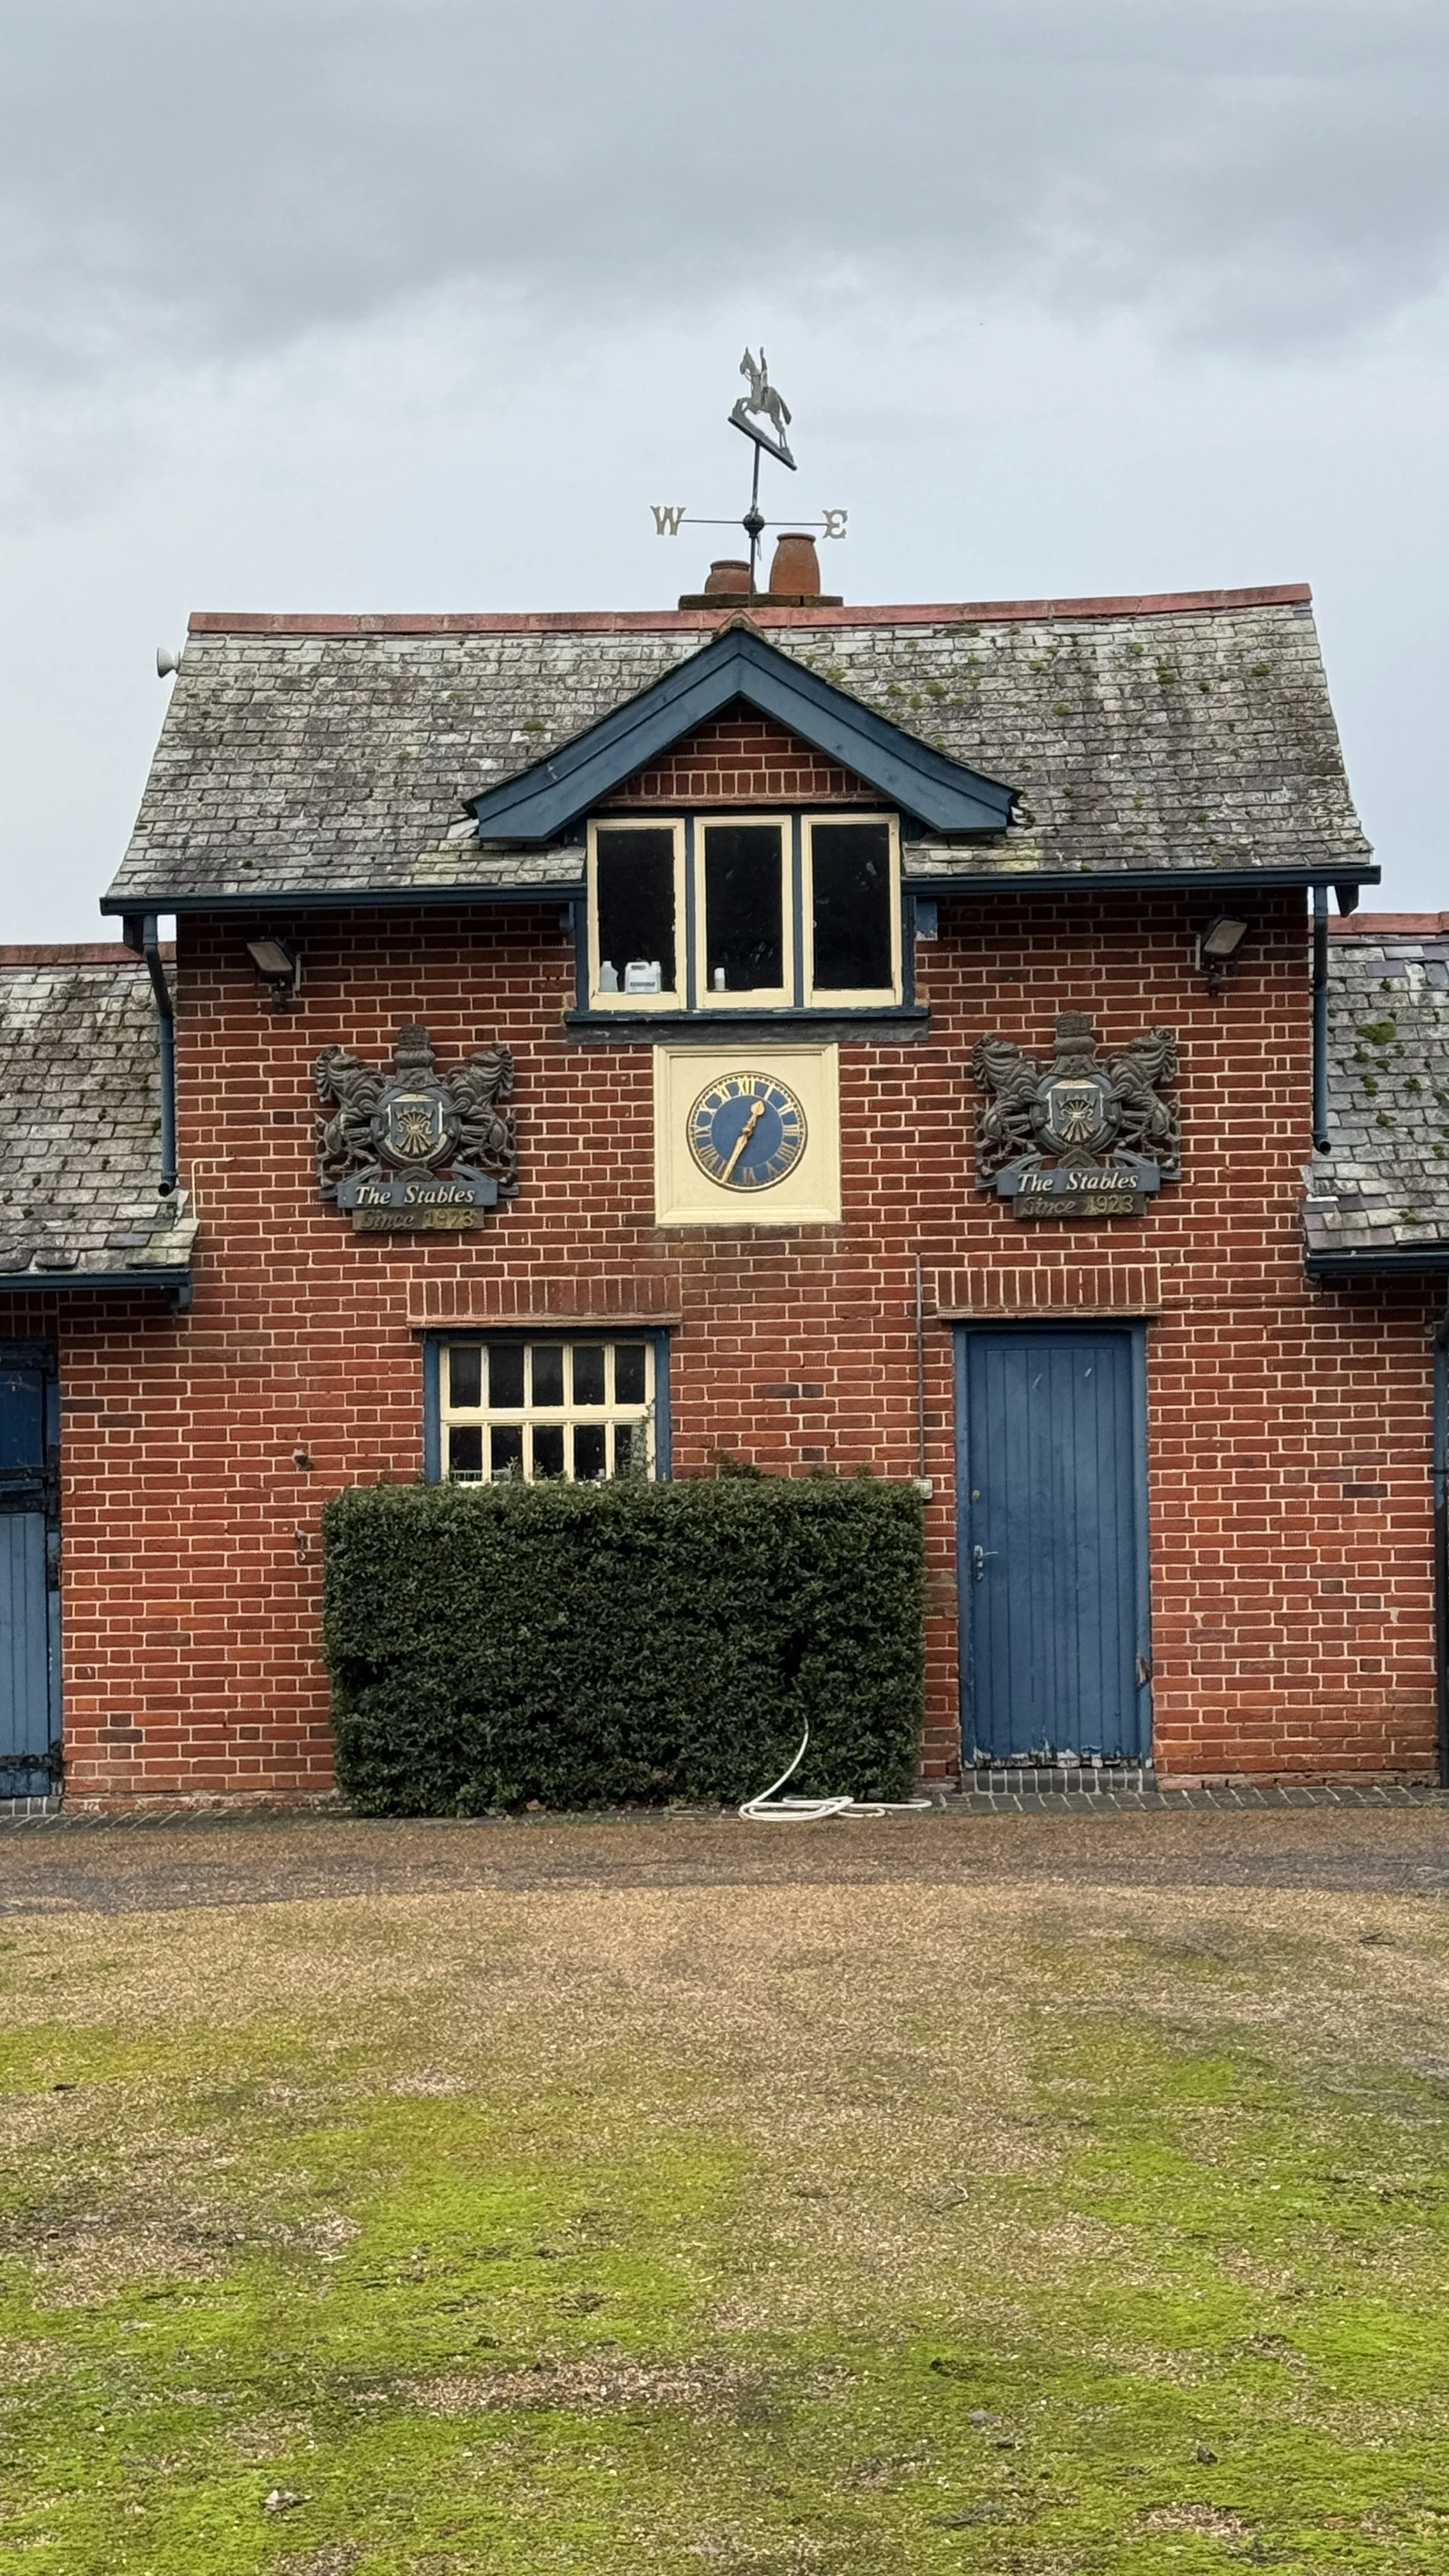
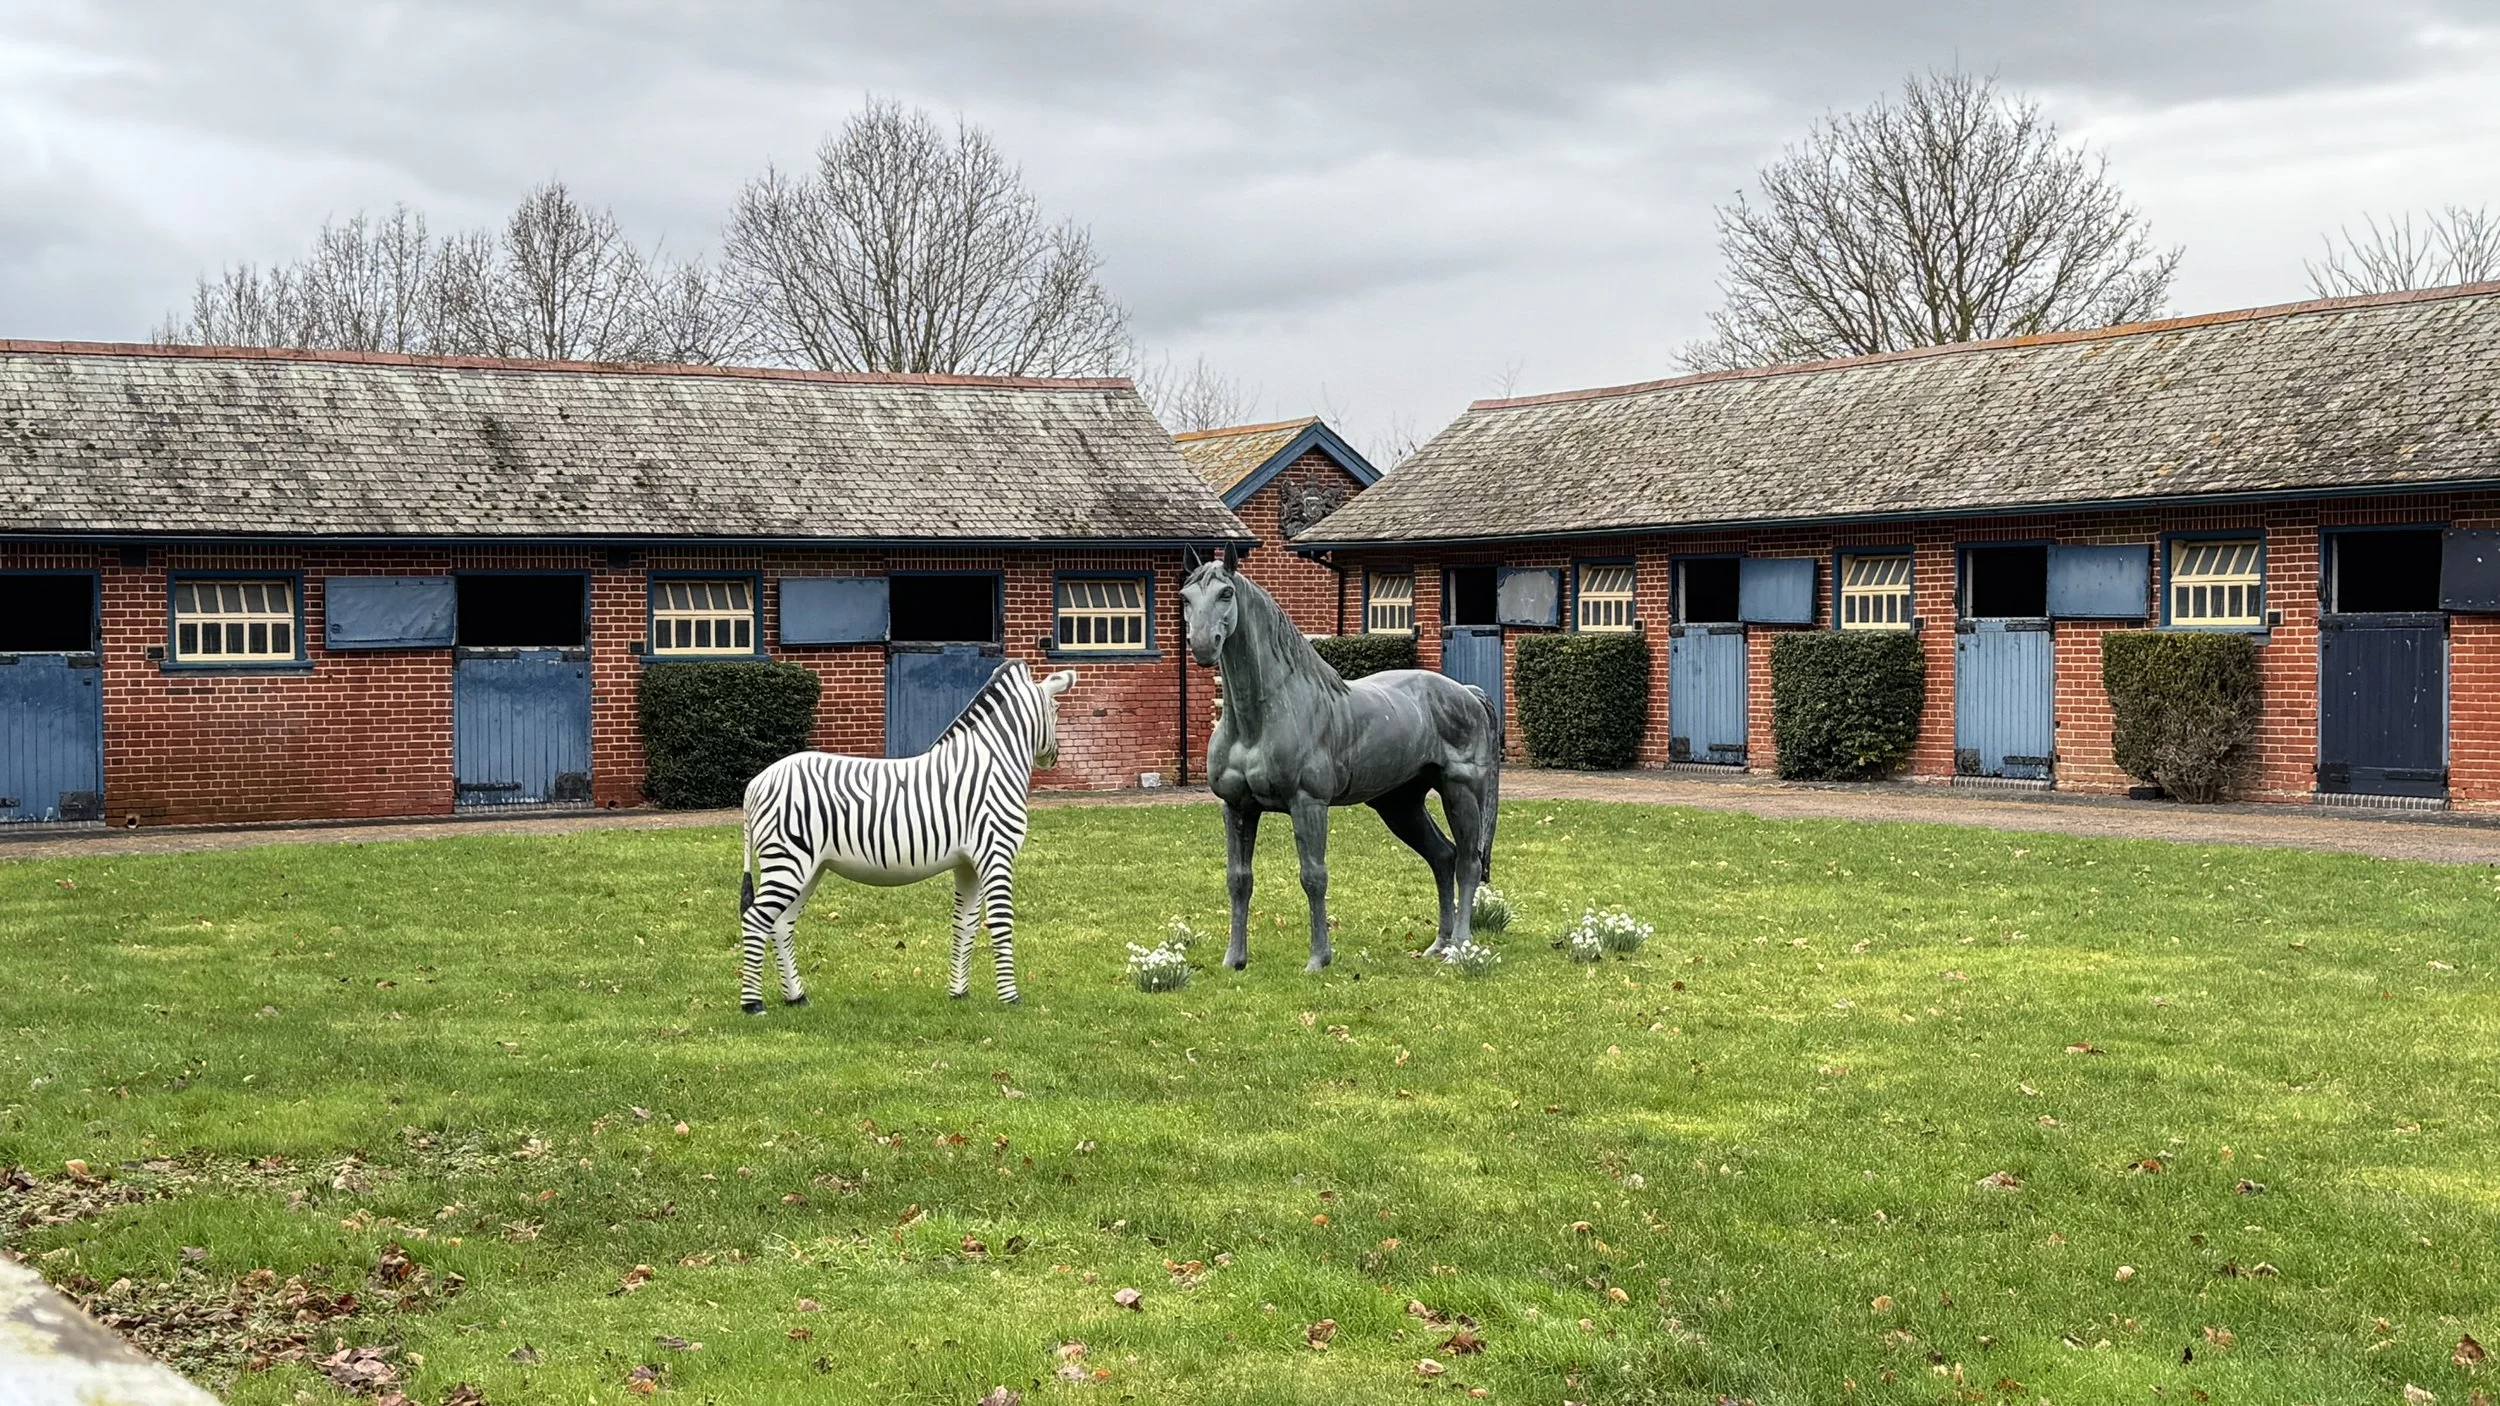
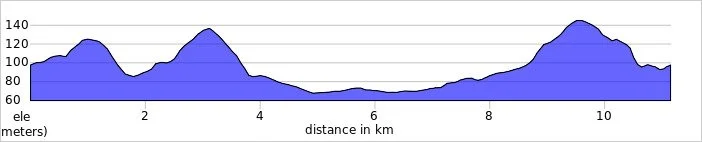
Midshires Way previous section (south): Hartwell and Stone
Midshires Way next section (north): Waddesdon and Quainton Road
Walking The Midshires Way Part 4: Ford and Michael's Peace
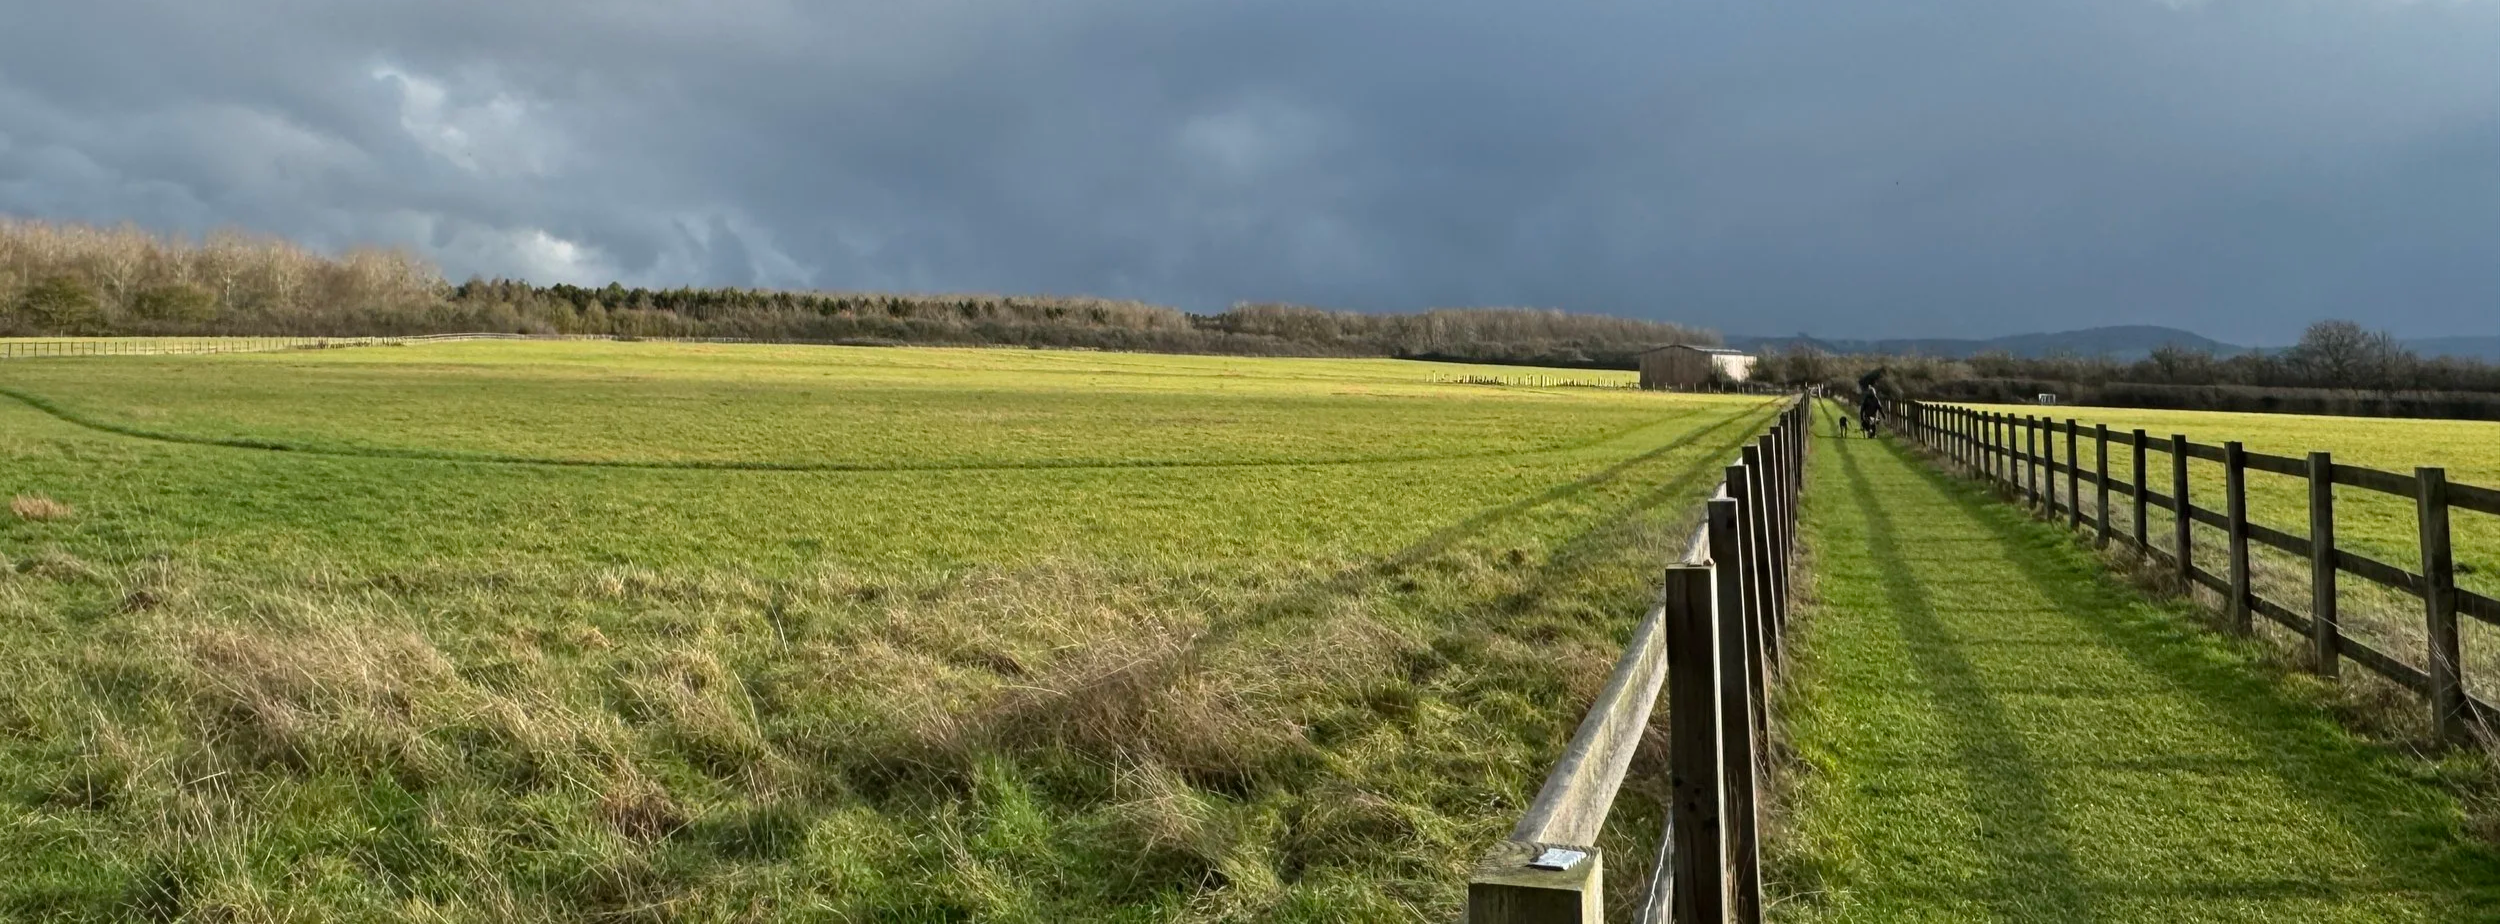
Cloudy sky over the Chilterns. View from near Ford village
Start & Finish: The Dinton Hermit, Water Lane, Ford, Aylesbury, HP17 8XH
Distance: 8.3 km (5.2 miles)
Elevation change: +/- 41 m
Terrain: Mostly level field-edge paths, quiet country lanes, and a short optional section through community woodland.
Midshires Way section covered: Michael’s Peace to Bishopstone Road: 3.8 km
GPX File: get via Buy Me a Coffee
Other routes touched (walk): Midshires Way, The Swan Way, The Wychert Way, Aylesbury Ring, North Bucks Way
Other routes touched (cycle): None
Pubs / Cafes on route: The Dinton Hermit at the start and end of the walk
OS Trig Pillar: TP4919 - Moreton Farm
Map: Chiltern Hills North Map | Aylesbury, Berkhamsted & Chesham | Ordnance Survey | OS Explorer Map 181
Links: Ford, Buckinghamshire, Midshires Way
Welcome to Part 4 of our series of short circular walks along the Buckinghamshire section of the Midshires Way. For a complete overview of the 225-mile trail's history, its connection to the Swan's Way, and preparation tips, please read my complete Midshires Way Through Buckinghamshire Guide.
Walking Directions
This walk starts in the quiet hamlet of Ford, setting off into the heart of the Aylesbury Vale. The route primarily follows a scenic section of the Midshires Way, leading you through an undulating landscape of traditional English farmland. It is a fantastic choice for those looking for a peaceful journey that avoids the steeper climbs of the nearby Chiltern ridge while still offering great views of the hills in the distance.
If you are into bagging OS Trig Pillars, there’s an optional diversion into Michael’s Peace to the Moreton Farm Pillar. The guidance below will help you navigate but don’t use it as a fully accurate turn-by-turn guide. Always take a map and/or a GPX route and prepare well for the weather and terrain.
Starting at the Dinton Hermit pub in Ford, head south-east cross over Water Lane to follow the Aylesbury Ring in a south-easterly direction for 1.8 km.
When you reach the track that connects with the Midshires Way take a left for ~750m to take the first path on the left.
Continue along the path for ~750m to a path junction on the boundary of Michael’s Peace. If you want to visit the Moreton Farm Trig Pillar, there’s 2 entrances on the left of this section of path.
At the path junction take a right to continue following the Midshires Way across farmland to Bishopstone Road.
Take a left onto Bishopstone Road then take the first path on the left at #2 Bishopstone.
Follow this path in a south-westerly direction for 2.5 km back to Water Lane and the Dinton Hermit pub.
Points of Interest along or near to the Route
Ford: A picturesque hamlet whose name derives from the Anglo-Saxon for a stream crossing. It is home to several Grade II listed buildings and thatched cottages.
The Dinton Hermit: This historic 17th-century country inn in Ford is named after John Bigg, the "Dinton Hermit," who was reputedly the executioner of King Charles I and lived in a cave nearby.
Michael's Peace: A 90-acre woodland planted in the winter of 2001-2002 that features diverse tree species like oak, ash, and hazel. A central memorial stone dedicated to Michael Roads serves as the starting point for six radiating rides, providing panoramic views of six local churches and the Chilterns. Supported by the Forestry Commission, this high point has become a haven for wildlife, including skylarks, little owls, and butterflies, making it a popular destination for the local community.
Moreton Farm Trig Pillar (TP4919): This concrete pillar is part of the historic Ordnance Survey triangulation network. At an elevation of roughly 92m, it provides a quiet marker in the Aylesbury Vale landscape.
The Wychert Way: The route touches this unique local trail. "Wychert" is a traditional building material made of white decayed limestone and straw, unique to this small pocket of Buckinghamshire (the Haddenham/Dinton area).
View of Coombe Hill: On clear days, look south-east. The Boer War Monument on top of Coombe Hill is often visible as a tiny spike on the horizon of the Chilterns.
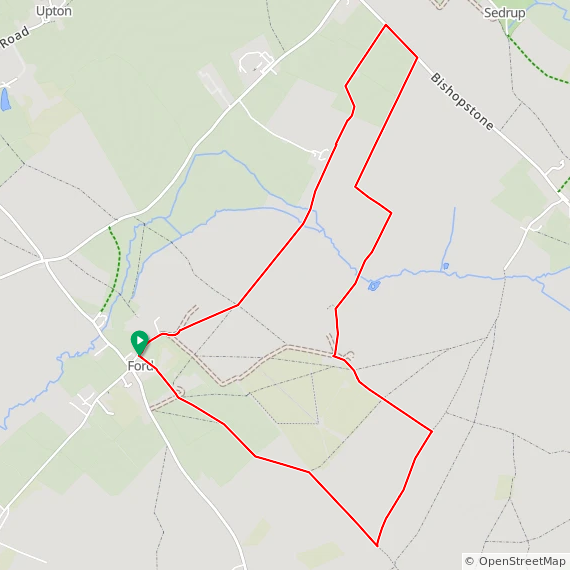
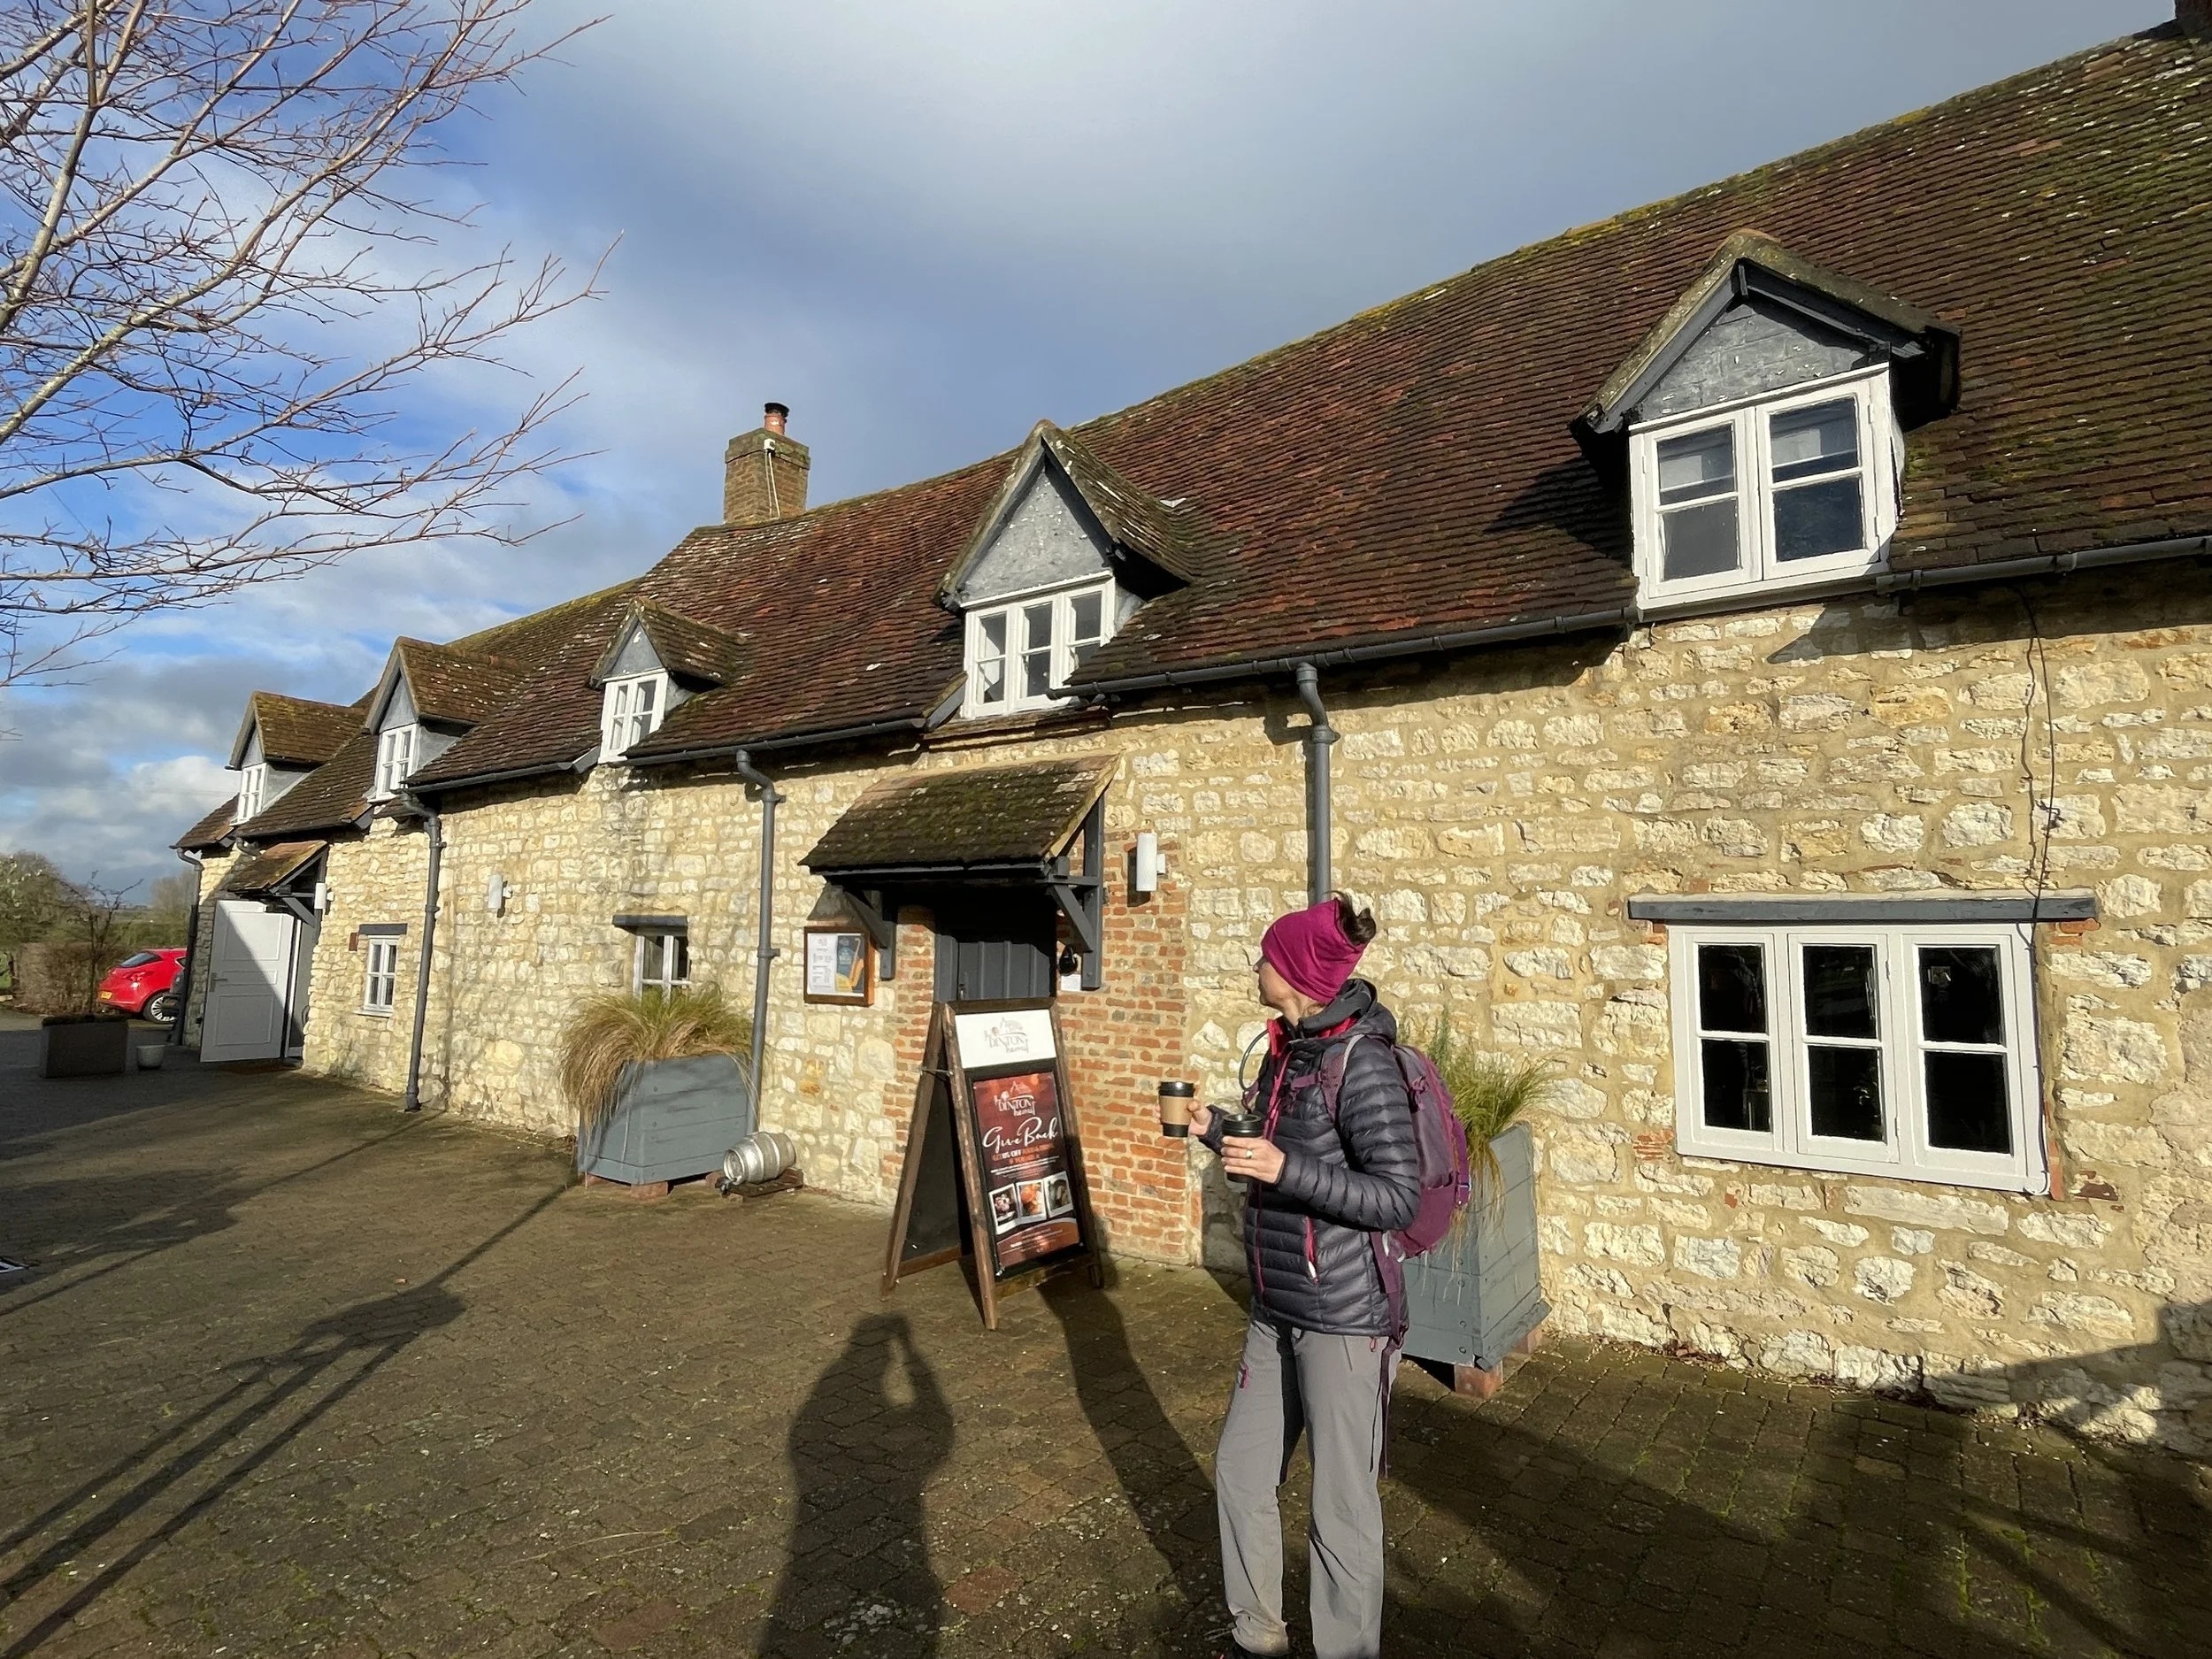
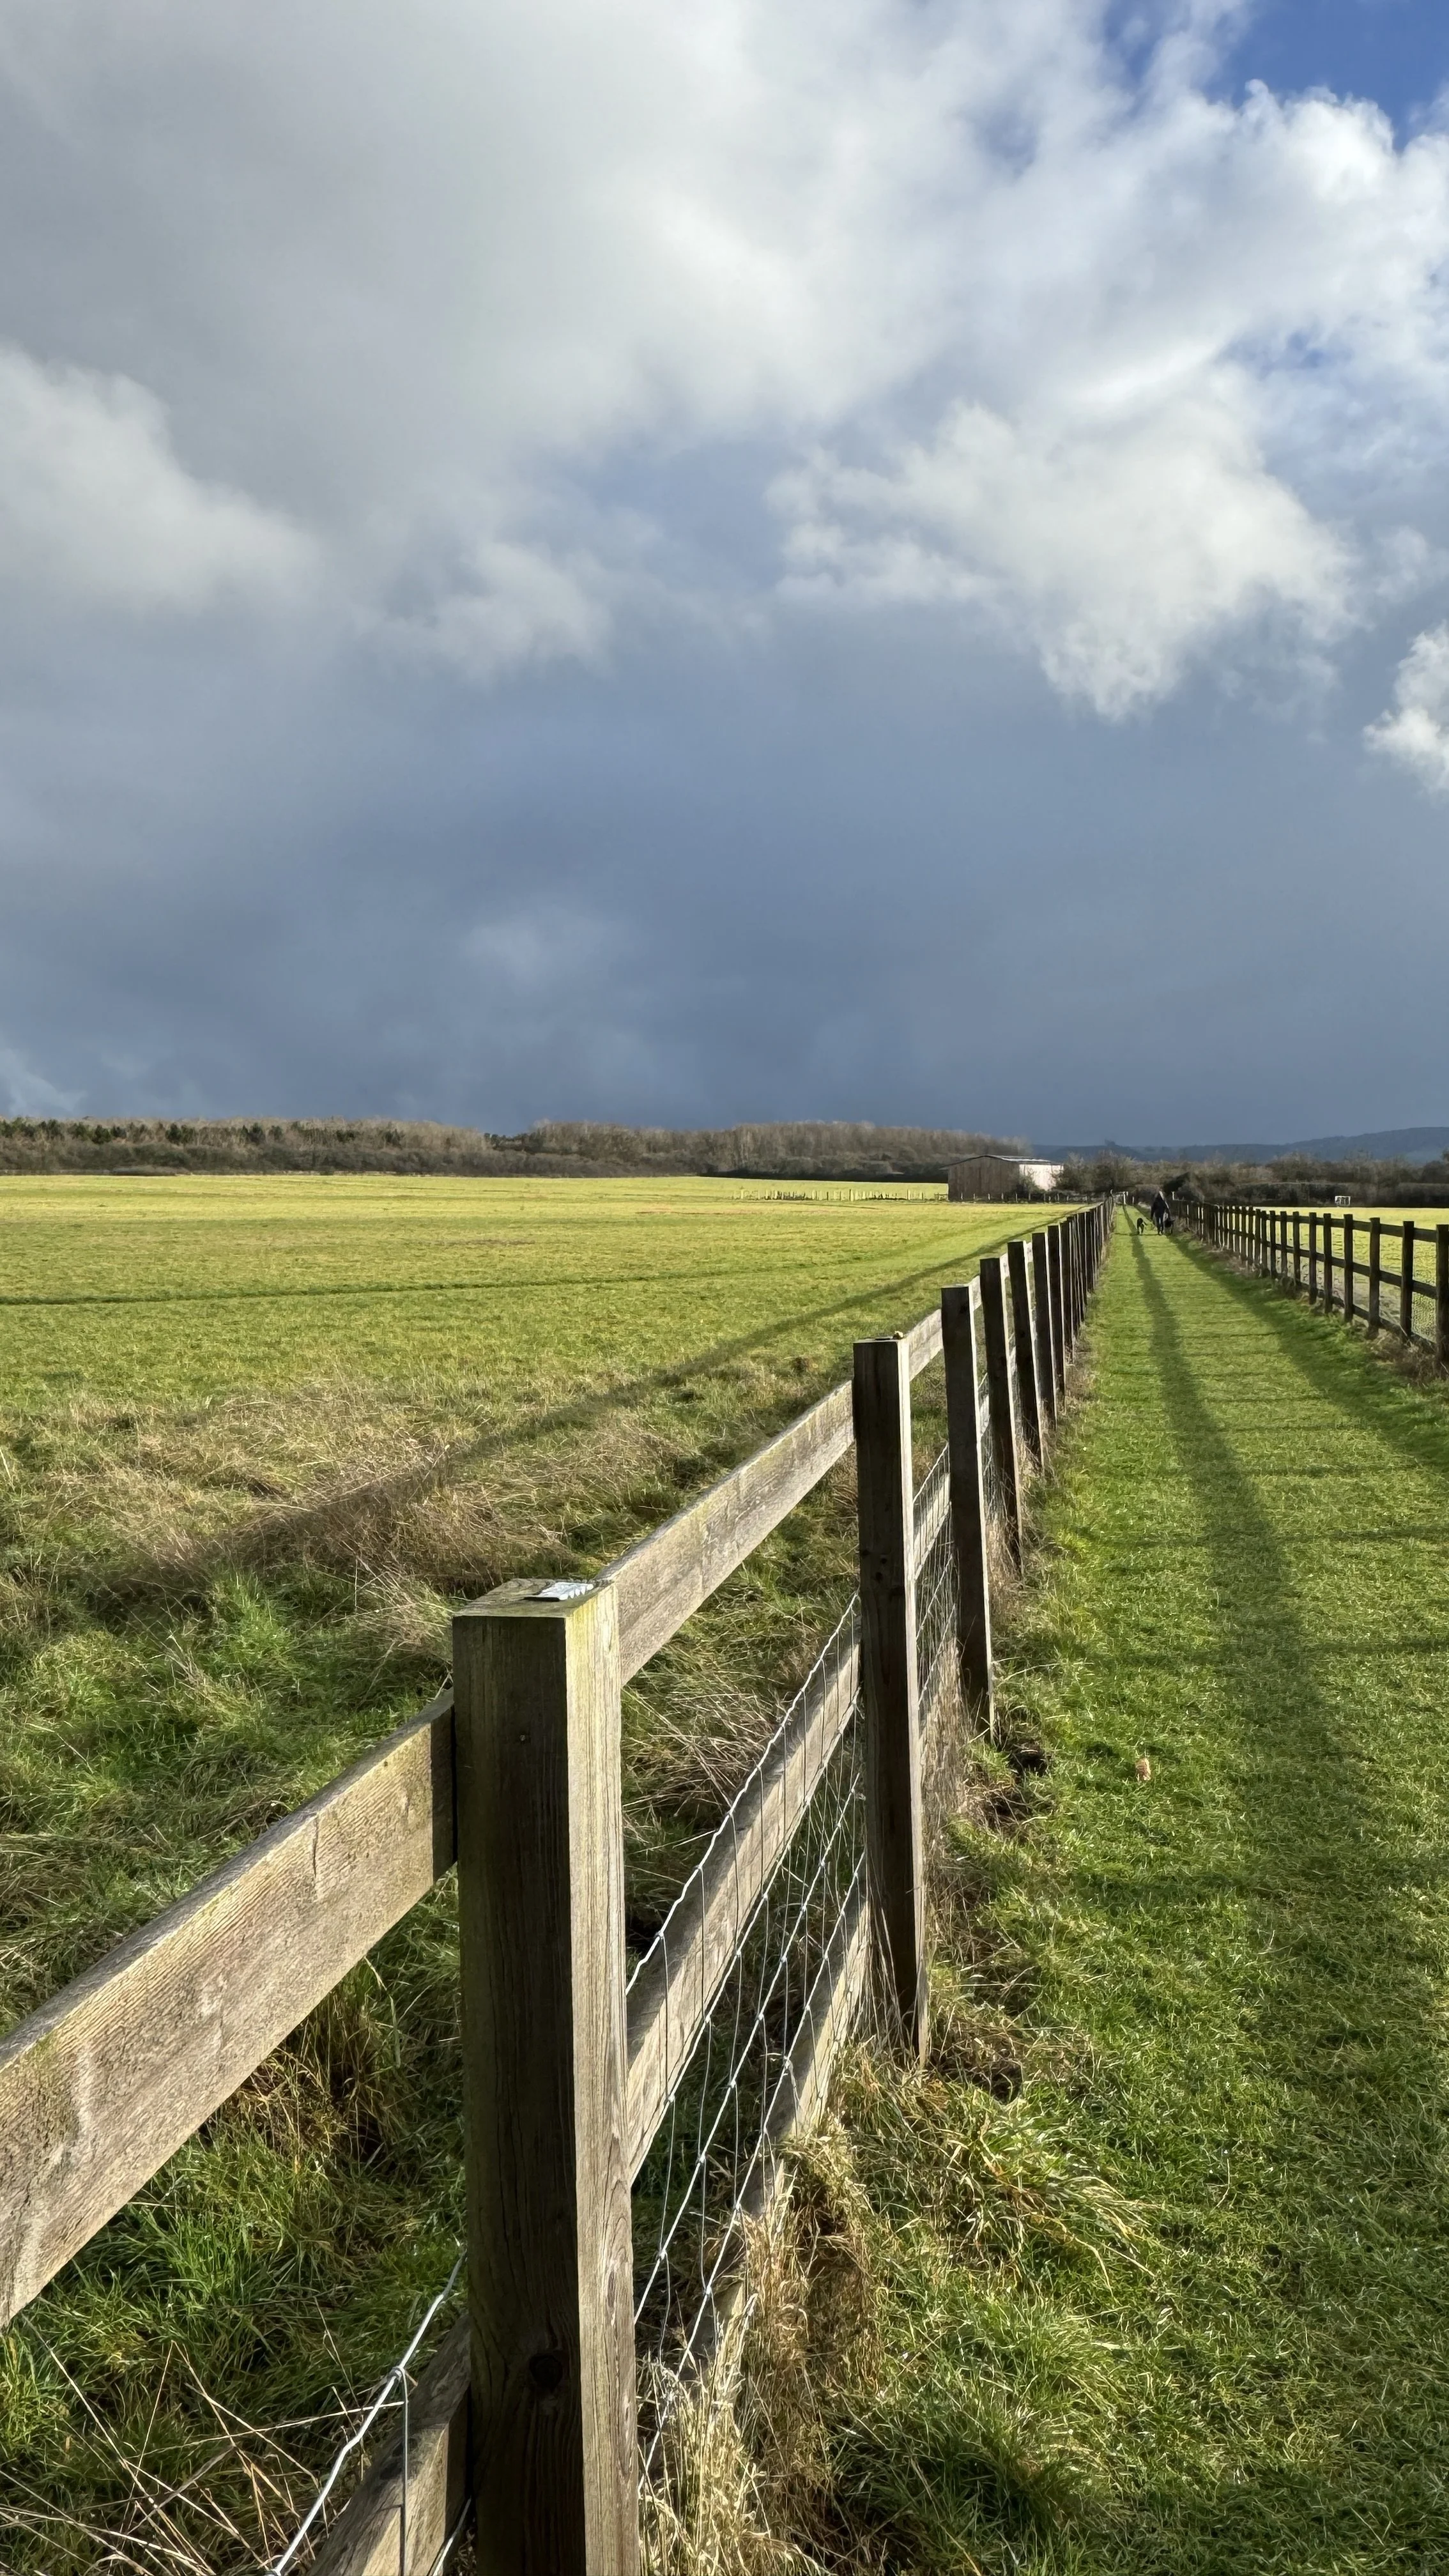
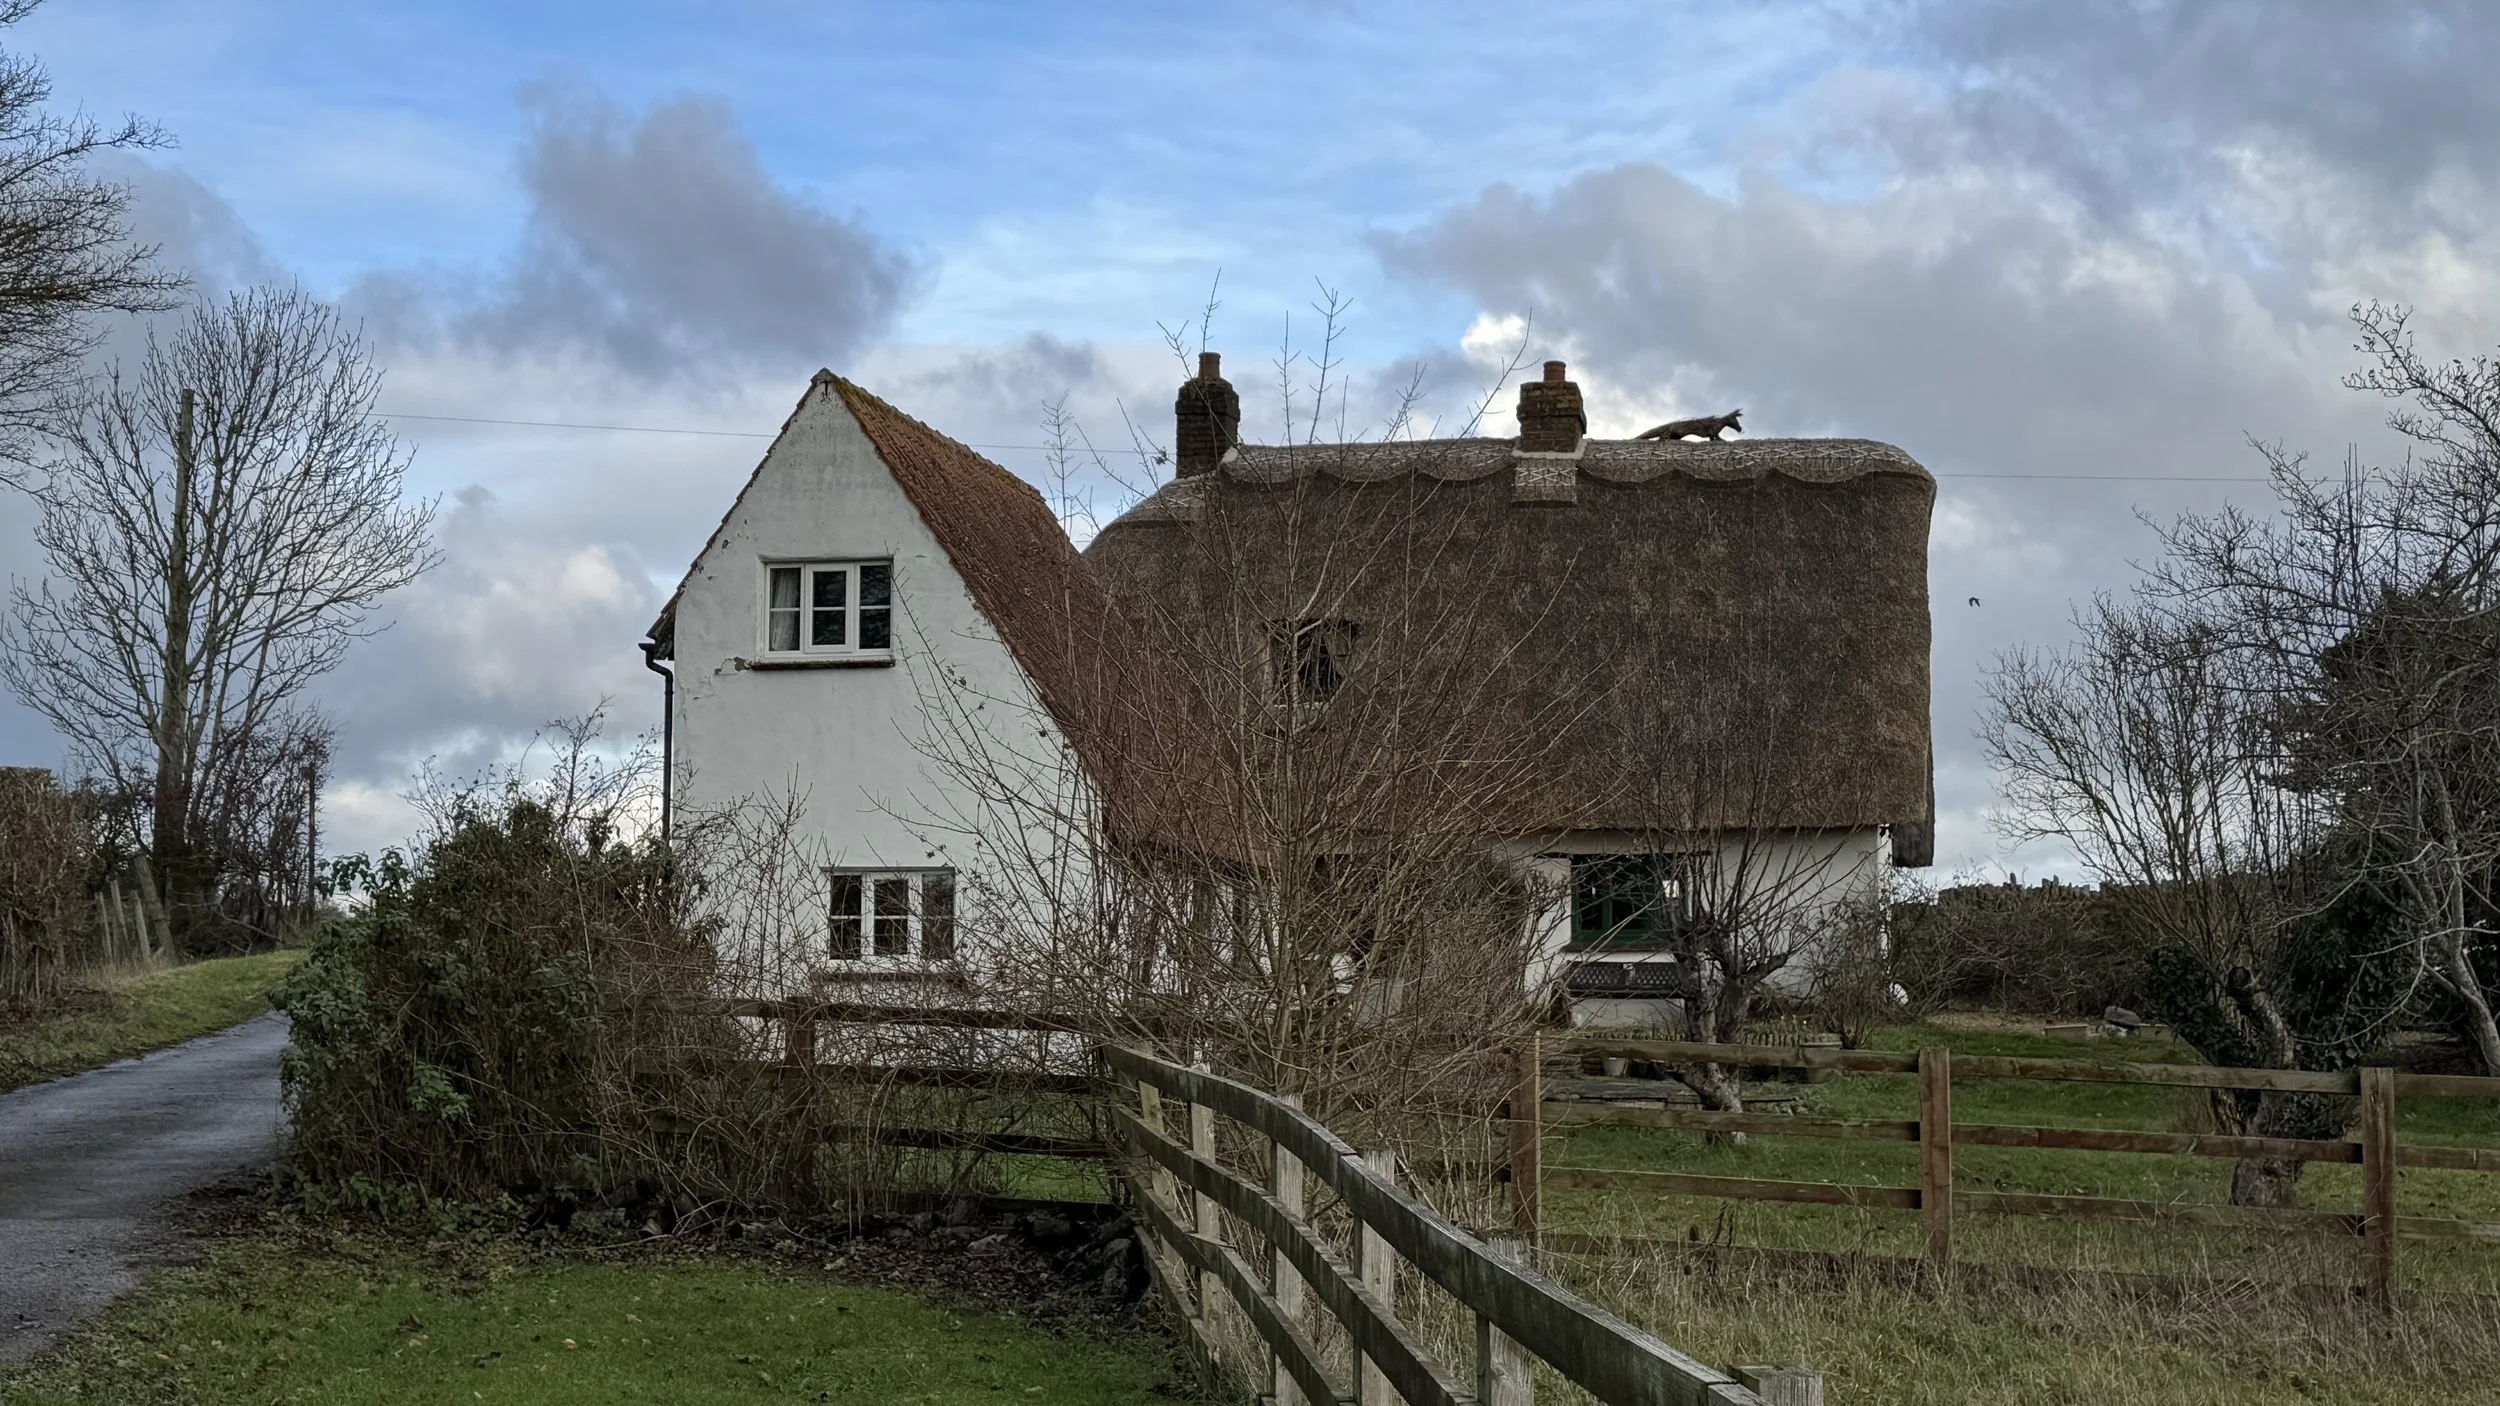
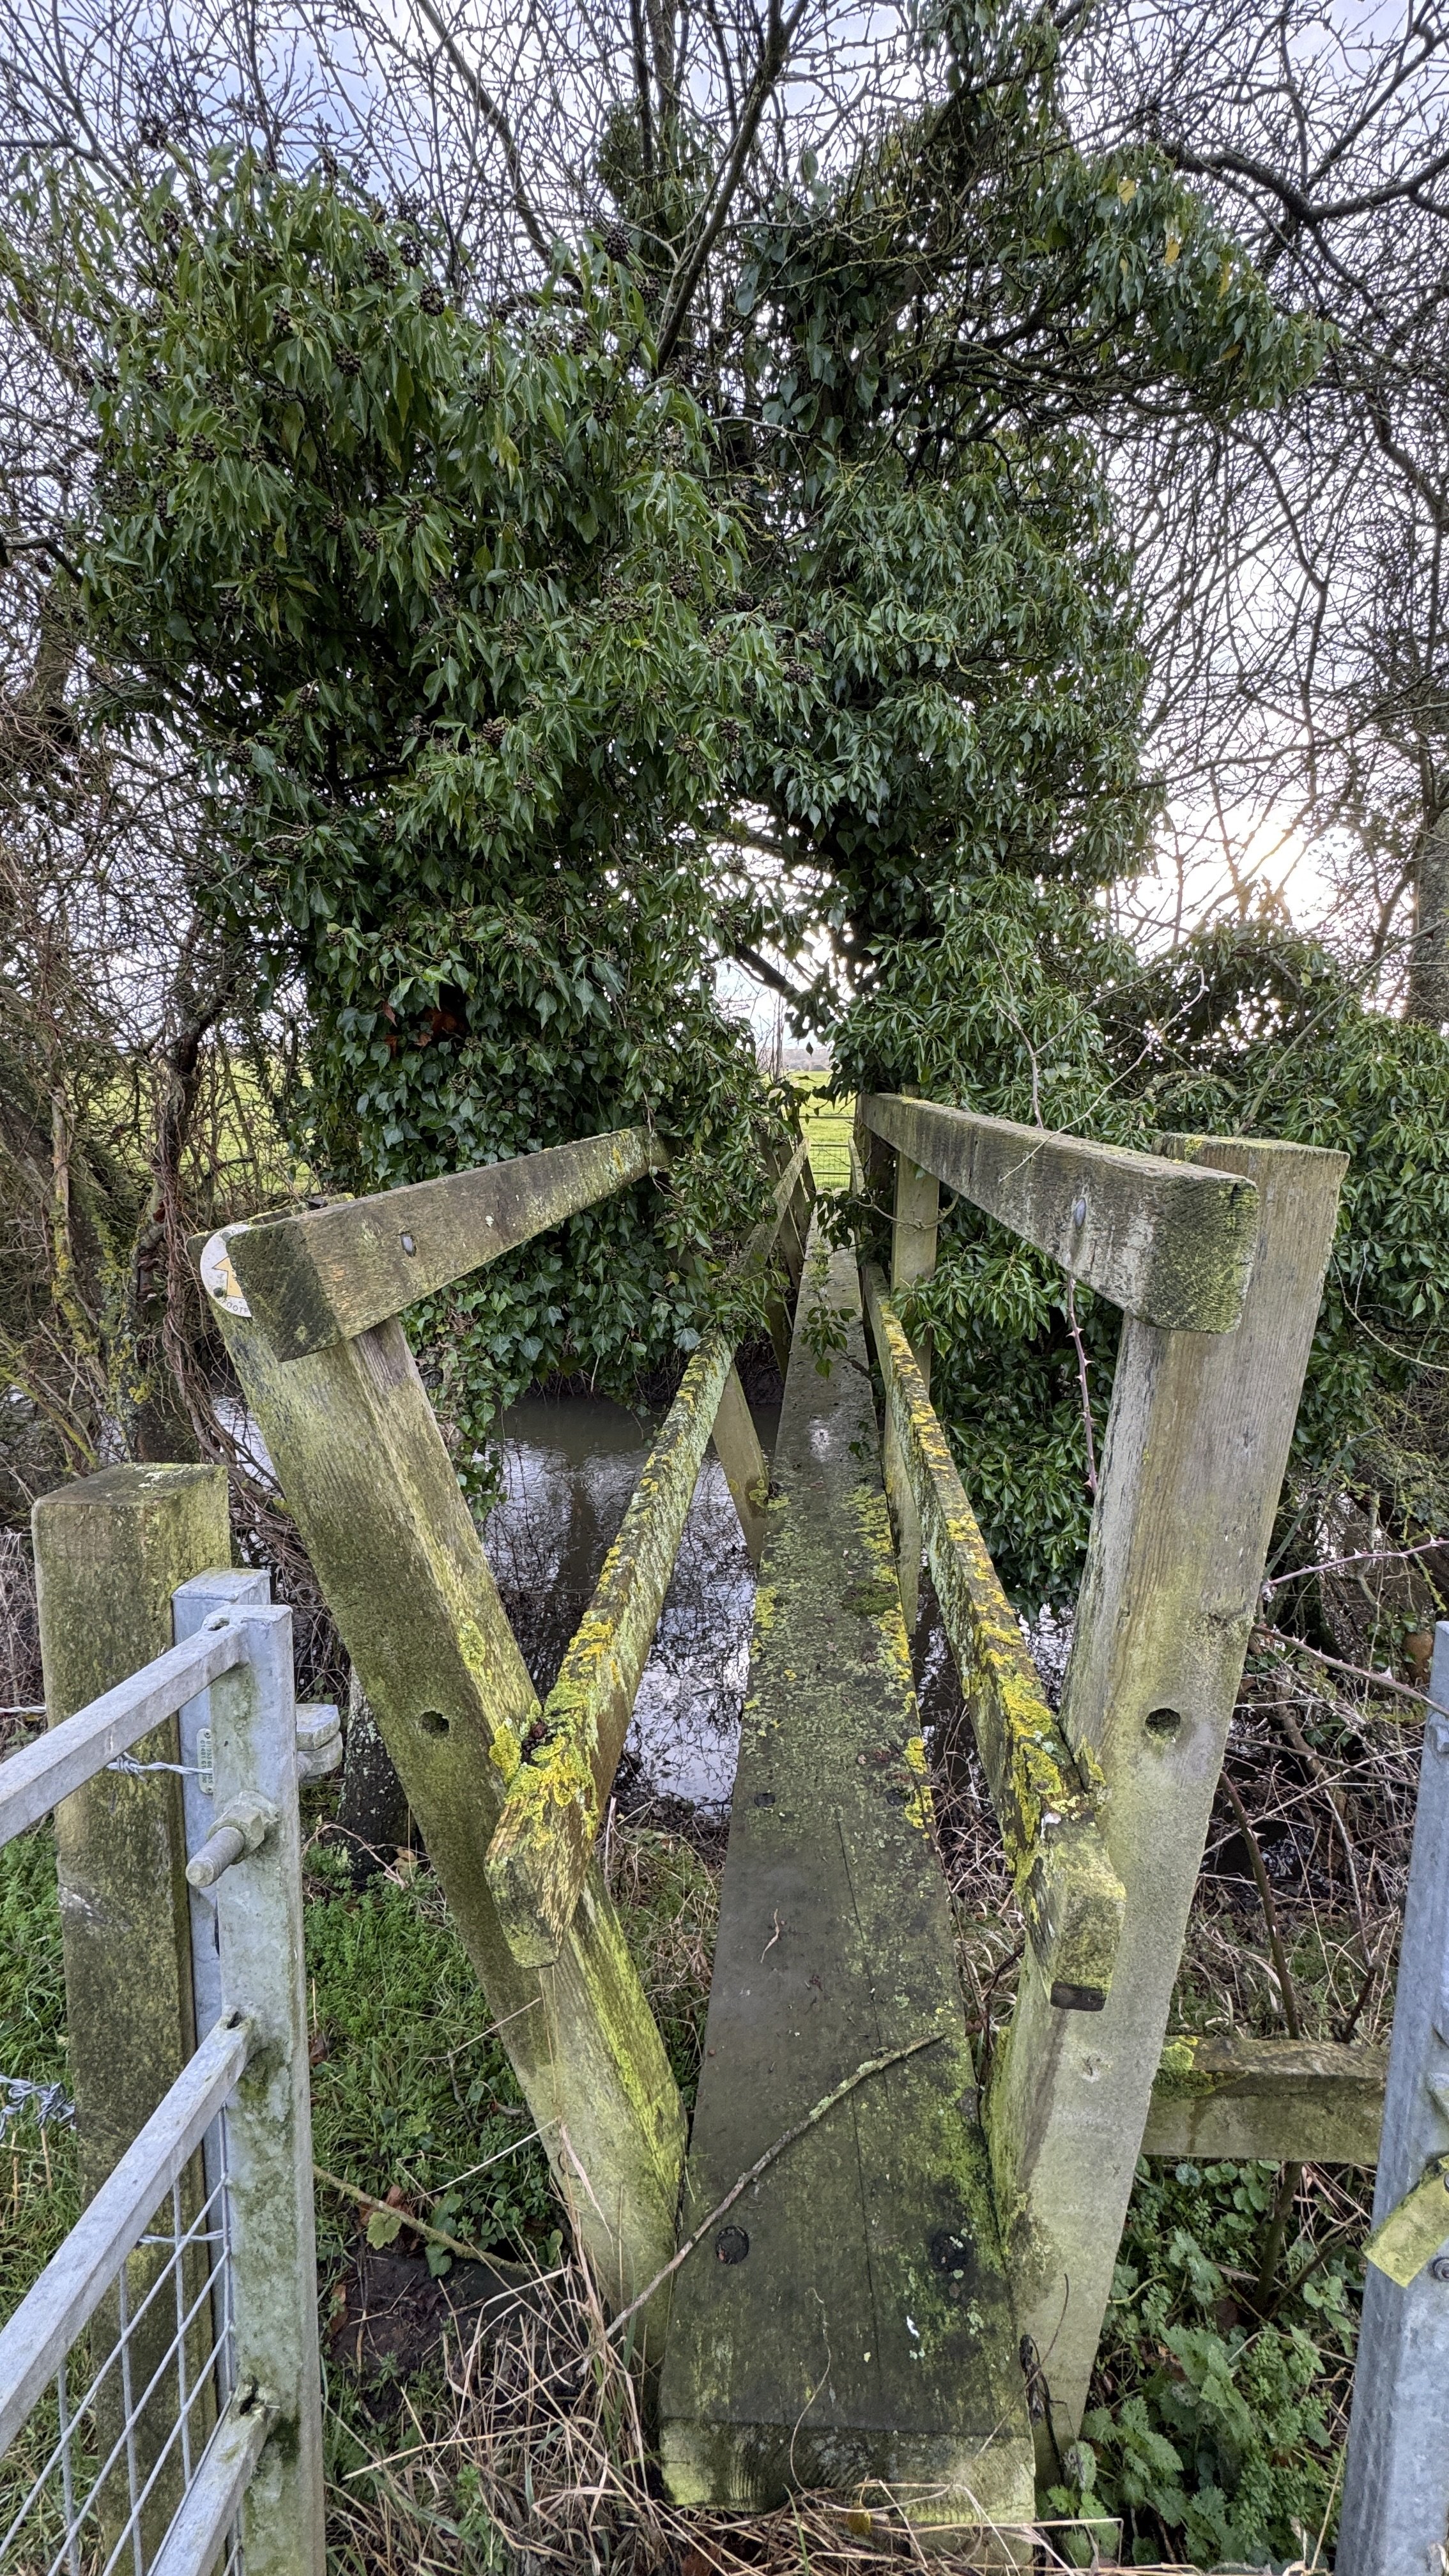
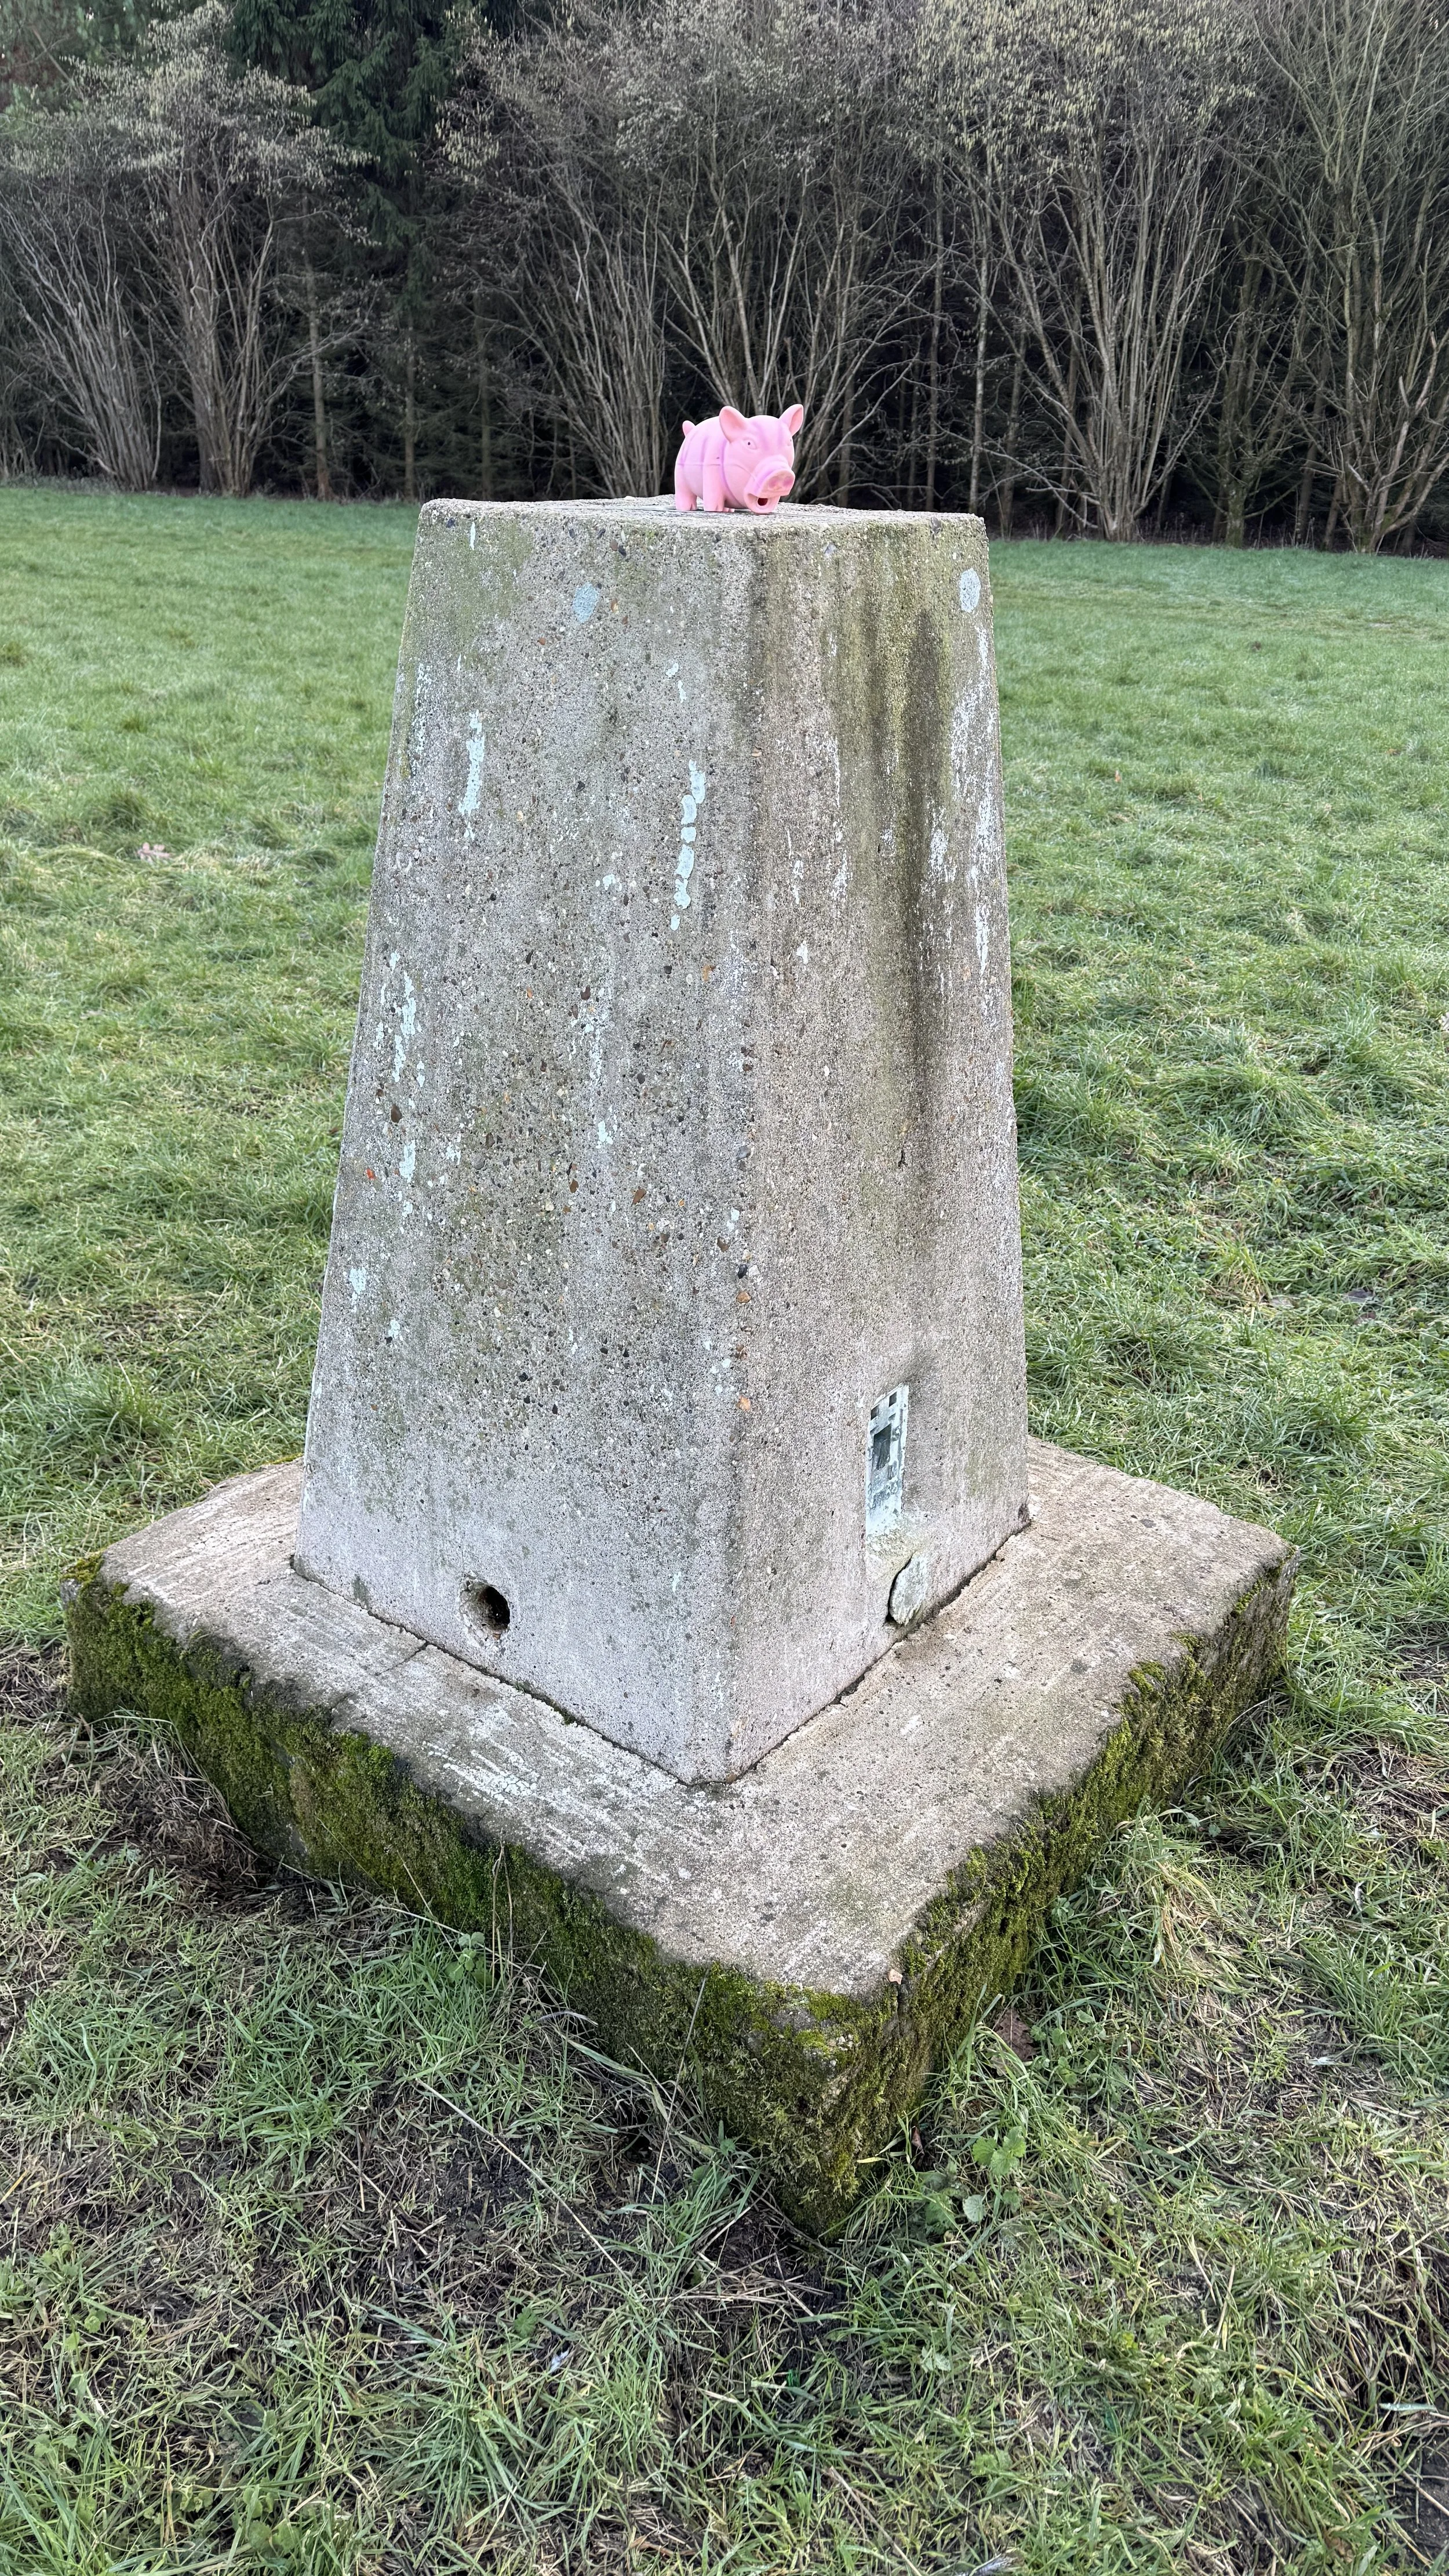
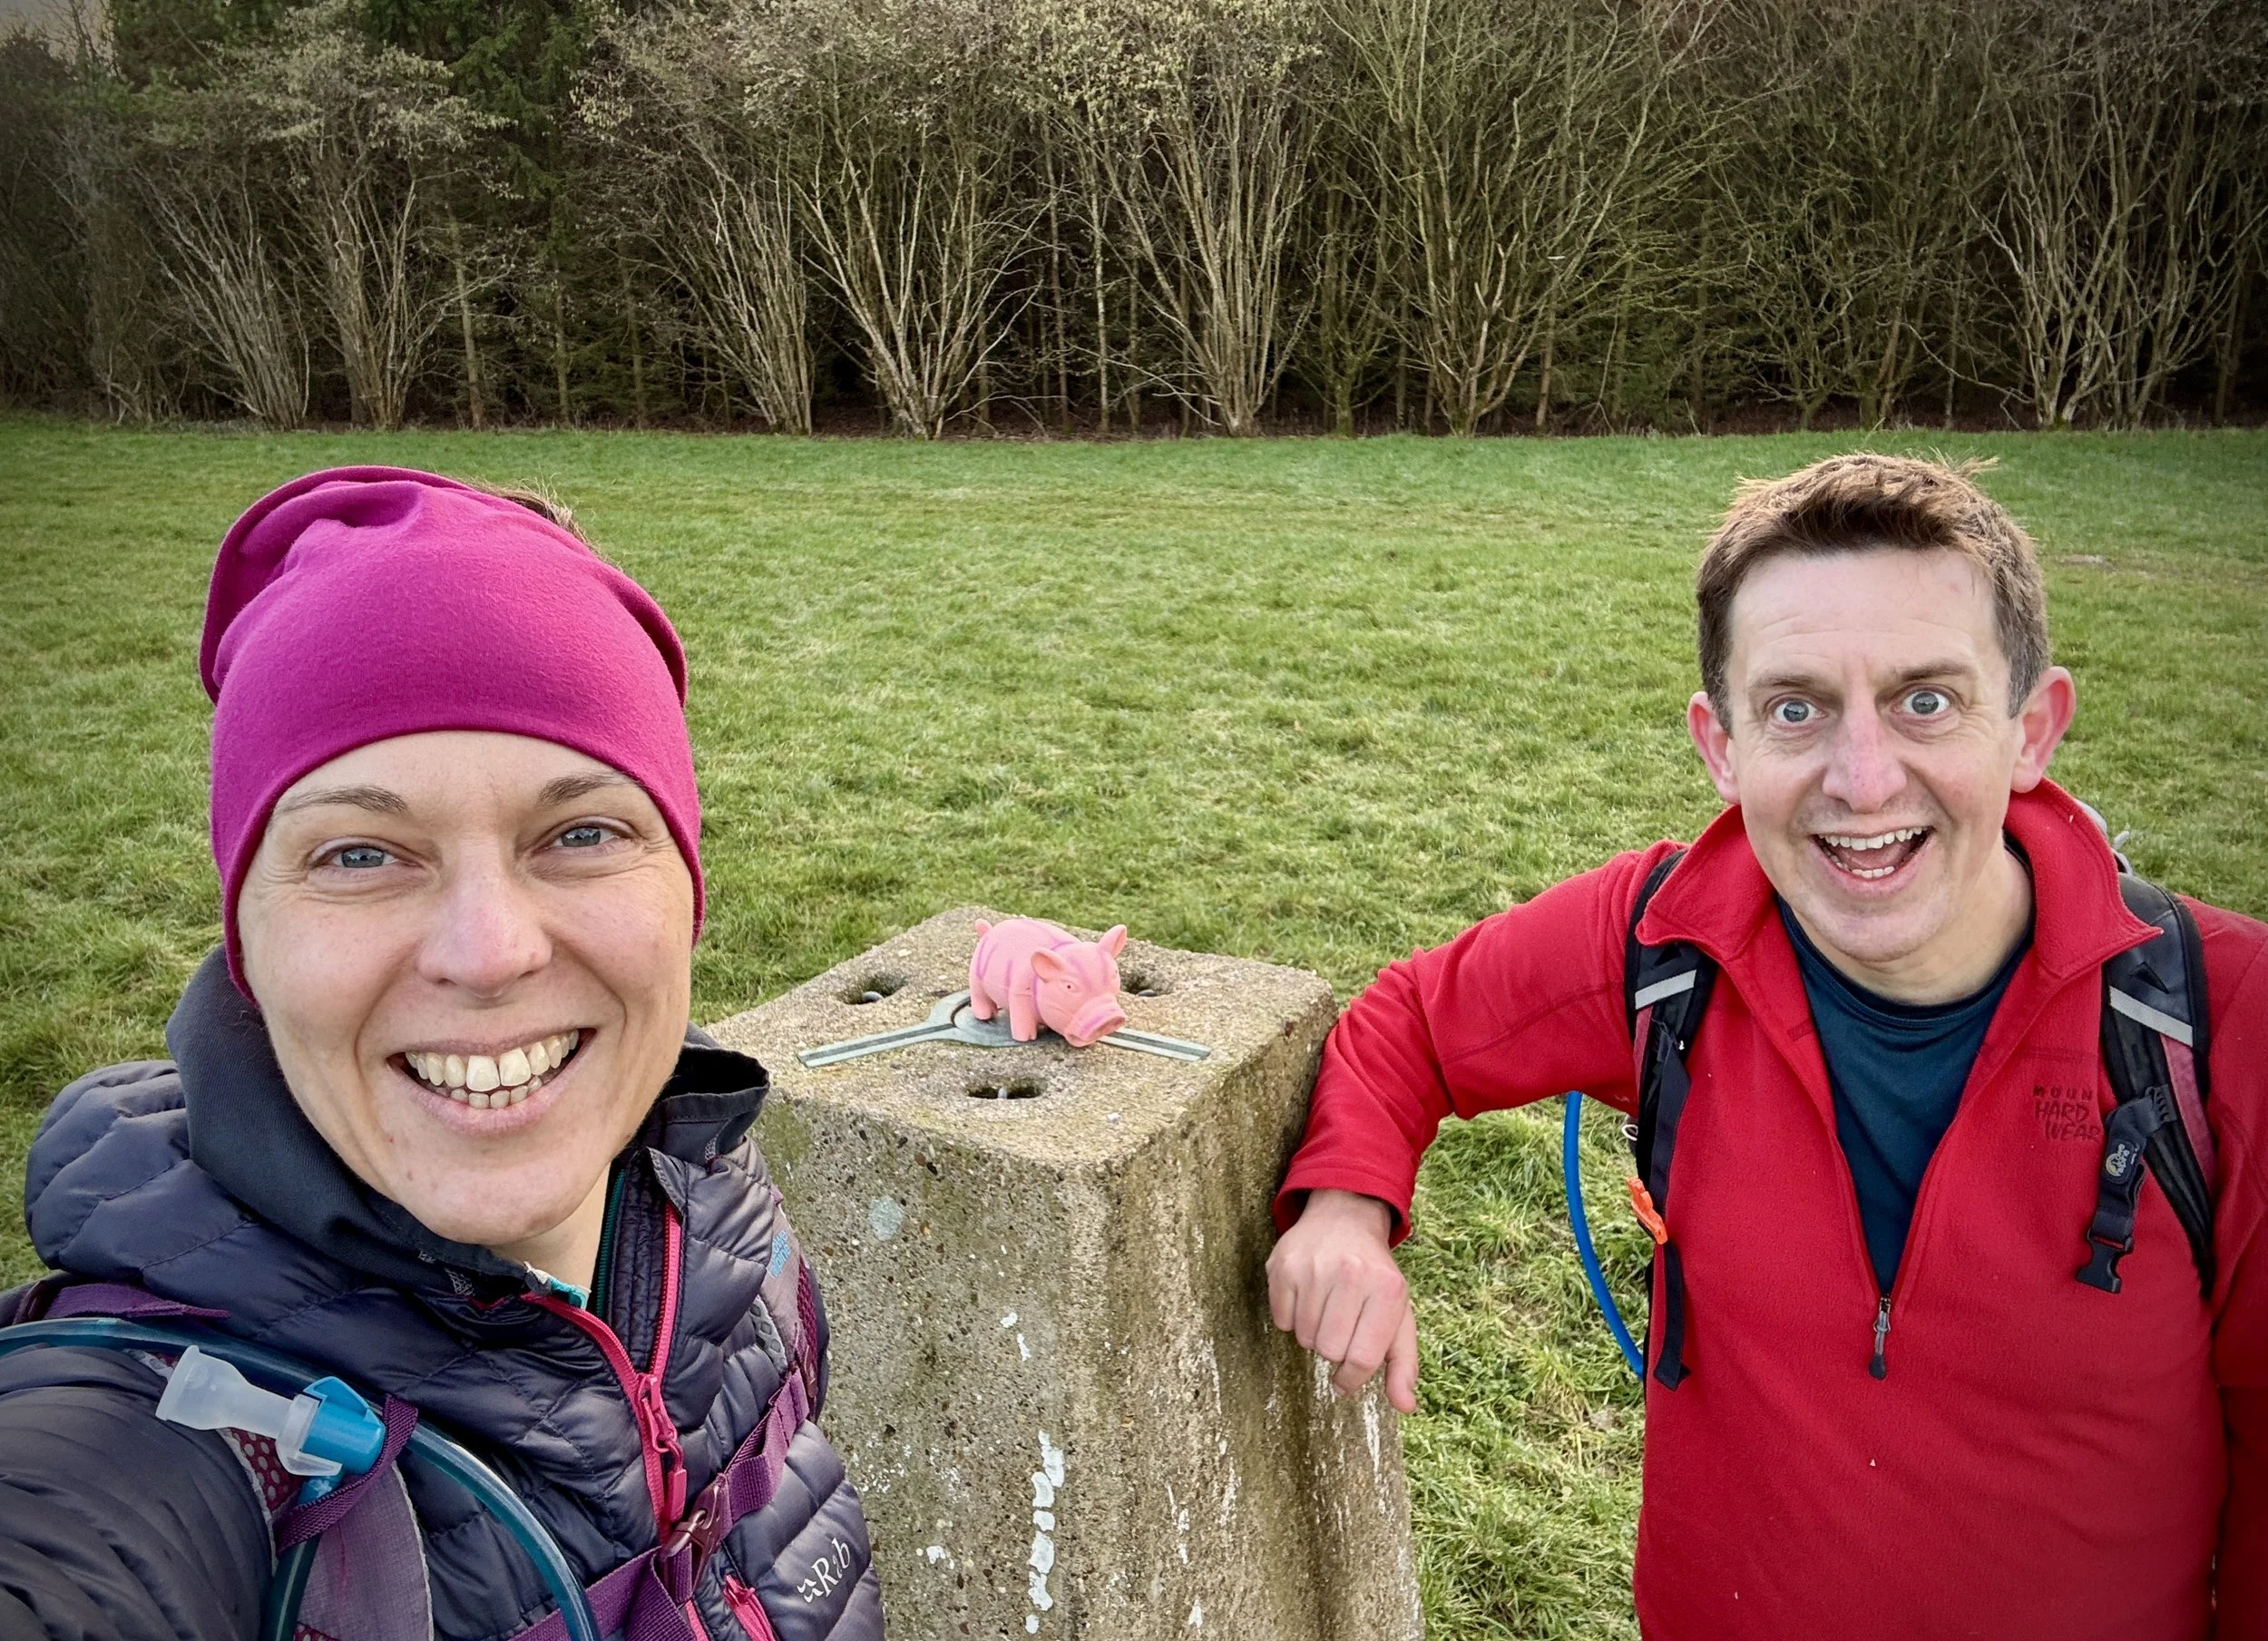
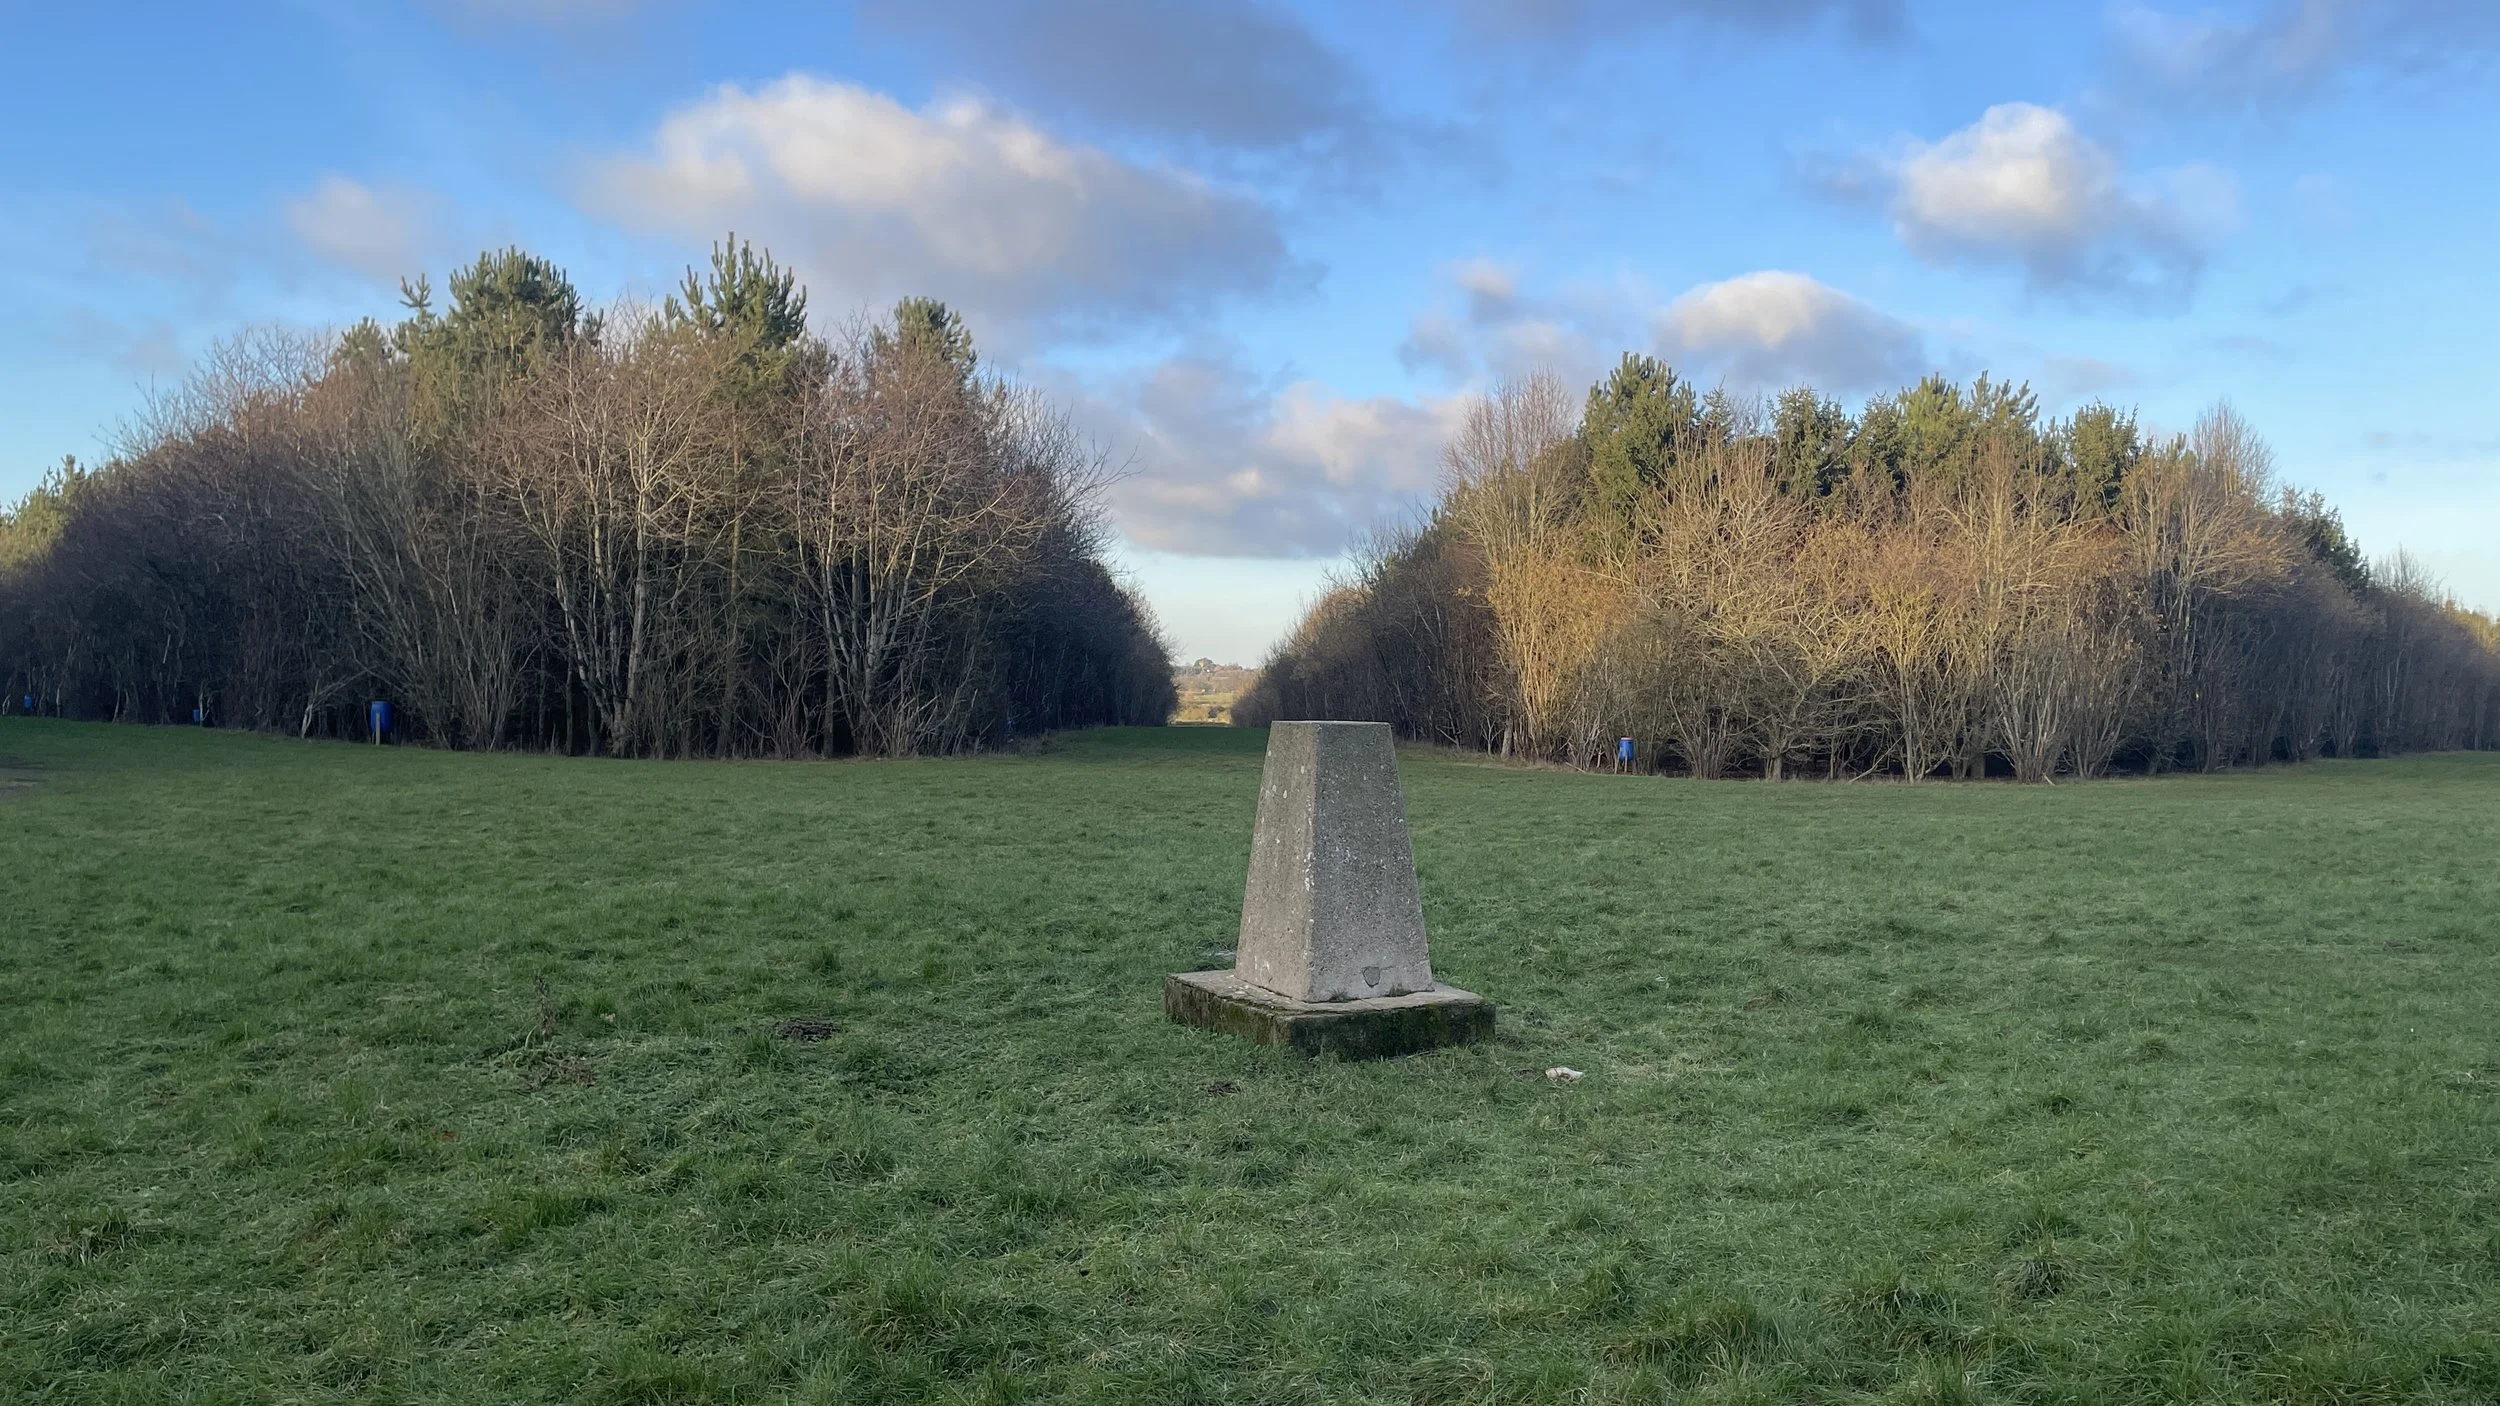
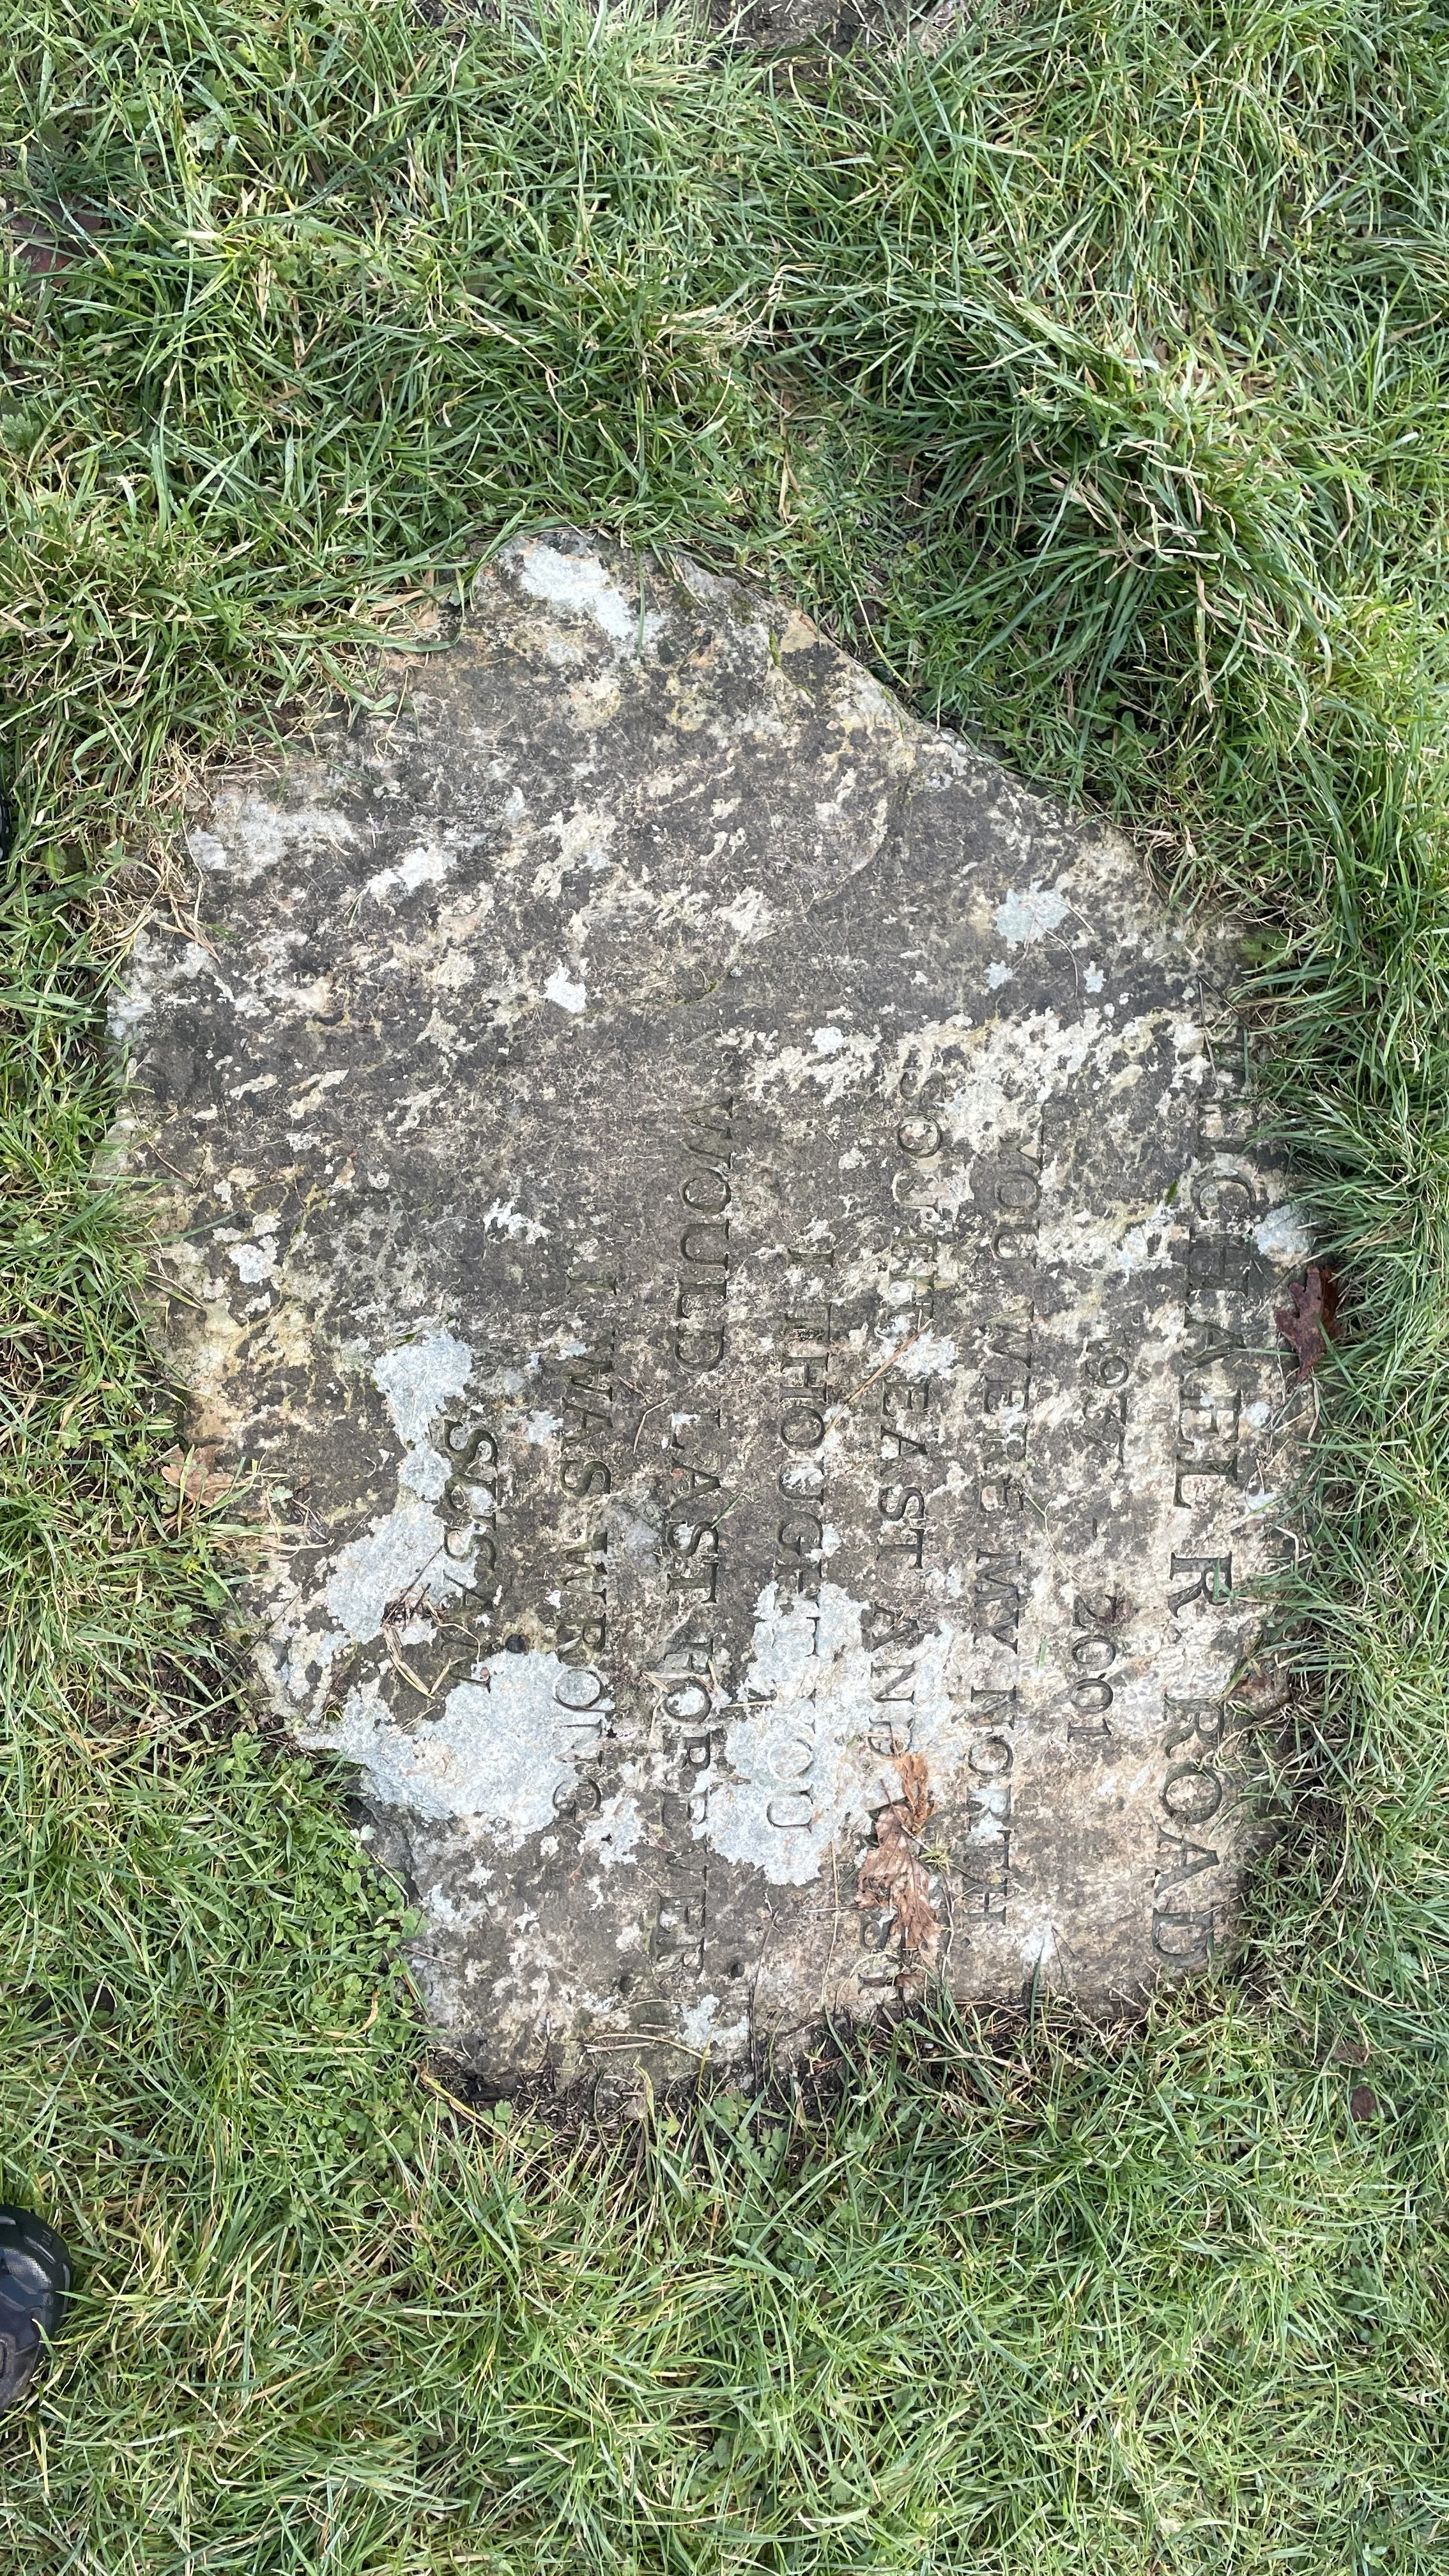
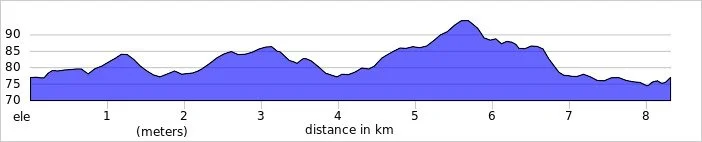
Midshires Way previous section (south): Ford and Kemble Wick
Midshires Way next section (north): Hartwell and Stone
Walking The Midshires Way Part 2: Ilmer and Longwick
Water Wheel on North Mill Road
Start & Finish: Longwick Stores And Post Office, Thame Road, Longwick, Princes Risborough, HP27 9SF
Distance: 8.3 km (5.2 miles). Can be shortened by ~1 km by removing the detours. See walk description.
Elevation change: +/- 37m
Terrain: Level field-edge paths, quiet country lanes, and agricultural tracks.
Midshires Way section covered: North Mill Road to Longwick: 3.6 km
GPX File: get via Buy Me a Coffee
Other routes touched (walk): Midshires Way, Swan Way, Outer Aylesbury Ring,
Other routes touched (cycle): None
Pubs / Cafes on route: The Red Lion Longwick, just off the route at the start and end.
OS Trig Pillar: TP5612 - Red House Farm
Disused Station: Ilmer Halt
Map: Chiltern Hills North Map | Aylesbury, Berkhamsted & Chesham | Ordnance Survey | OS Explorer Map 181
Links: Longwick, Ilmer, Aylesbury Vale,
Welcome to Part 2 of our series of short circular walks along the Buckinghamshire section of the Midshires Way. For a complete overview of the 225-mile trail's history, its connection to the Swan's Way, and preparation tips, please read my complete Midshires Way Through Buckinghamshire Guide.
Walking Directions
For this walk, we set out from Longwick, a pleasant village situated in the Aylesbury Vale just north of Princes Risborough. This circular route explores the quiet, low-lying farmlands of Buckinghamshire, leading us through the small hamlet of Ilmer and offering wide, open views of the Chiltern escarpment in the distance.
The trail is largely level, making it a relaxing journey through a patchwork of fields and narrow country lanes. It captures the quintessential rural charm of this part of the county, where ancient hedgerows and slow-moving streams define the landscape. The guidance below will help you navigate but don’t use it as a fully accurate turn-by-turn guide. Always take a map and/or a GPX route and prepare well for the weather and terrain.
Start in Longwick, where there’s free on-street parking near the Longwick Stores and Post Office on the A4129 Thame Road.
Take Walnut Tree Lane in a south-westerly direction toward the edge of the village.
When you reach the open field on the right hand side, where the Lane becomes a track, you have the option of taking a 800m out-and back diversion to bag the Red House Farm Trig Pillar. You’ll need to keep to the outside of the field to avoid damaging crops.
After passing under the railway bridge continue in a south-westerly direction for 300m then take a path on the left. Follow this path in a south-easterly direction for 220m then take a right to head south-west.
At the corner of the field you’ll meet the Midshires Way near a kink in the Horsenden Stream. You could take a right to follow the Midshires but you’ll have missed a very small section that connects to Part 1 of this series. For completer-finishers you can continue walking south-west to the corner of North Mill Road / Sandpit Lane where you crossed over the Horsenden Stream in Part 1. Retrace your steps back to the field-corner taking a moment to admire the old wooden water-wheel.
Follow The Midshires Way / Swan Way in a north-westerly direction along field edges until you meet Ilmer Lane. Take a right onto Ilmer Lane to cross under the railway bridge. On the right you can see a house called The Sidings, a clue that the old Ilmer Halt railway station was once located here.
Continue along Ilmer Lane in a north-easterly direction, cross over the A4129 Thame Road and along the track to the left of the entrance to the flower nursery.
Approximately 300m after crossing the A4129 take the first footpath on the right to leave the Midshires Way to cross open fields in an easterly direction to Bar Lane.
Take a right onto Bar Lane to follow it back to the start at the A4129 in Longwick Village.
Points of Interest along or near to the Route
Longwick: Our starting point is a village with a long agricultural history. Local produce from this area, including watercress and willow poles, was historically exported to London markets via the nearby railway.
Longwick Mill: Located in Longwick, this mill was part of a thriving network of local businesses that benefited from regional freight services.
Red House Farm Trig Pillar: Sitting at an elevation of 92m, this concrete pillar (TP5612) is part of the historic Ordnance Survey triangulation network used to map the UK.
Ilmer: A tiny, secluded hamlet known for the Grade II* listed St Peter’s Church. The name Ilmer is thought to mean "Yewmere," referring to a lake where yew trees grew.
The Horsenden Stream: A quiet tributary that the route follows near the Red House Farm. Its gentle flow is a key feature of the low-lying Aylesbury Vale landscape.
Ilmer Halt (Disused Station): Opened in 1929 and closed in 1963, this was one of the smallest "halts" on the Great Western Railway. The nearby house "The Sidings" marks the spot where commuters once boarded steam trains.
Views of the Chilterns: While the walk itself remains in the vale, the elevation changes provide a fantastic perspective of the nearby ridge, including Wain Hill.
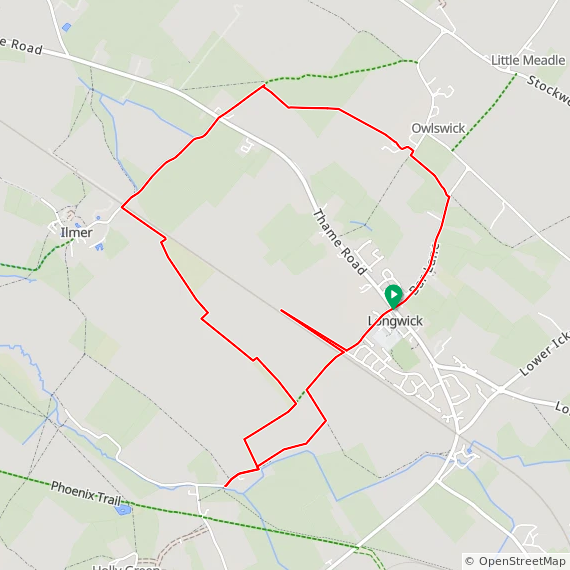
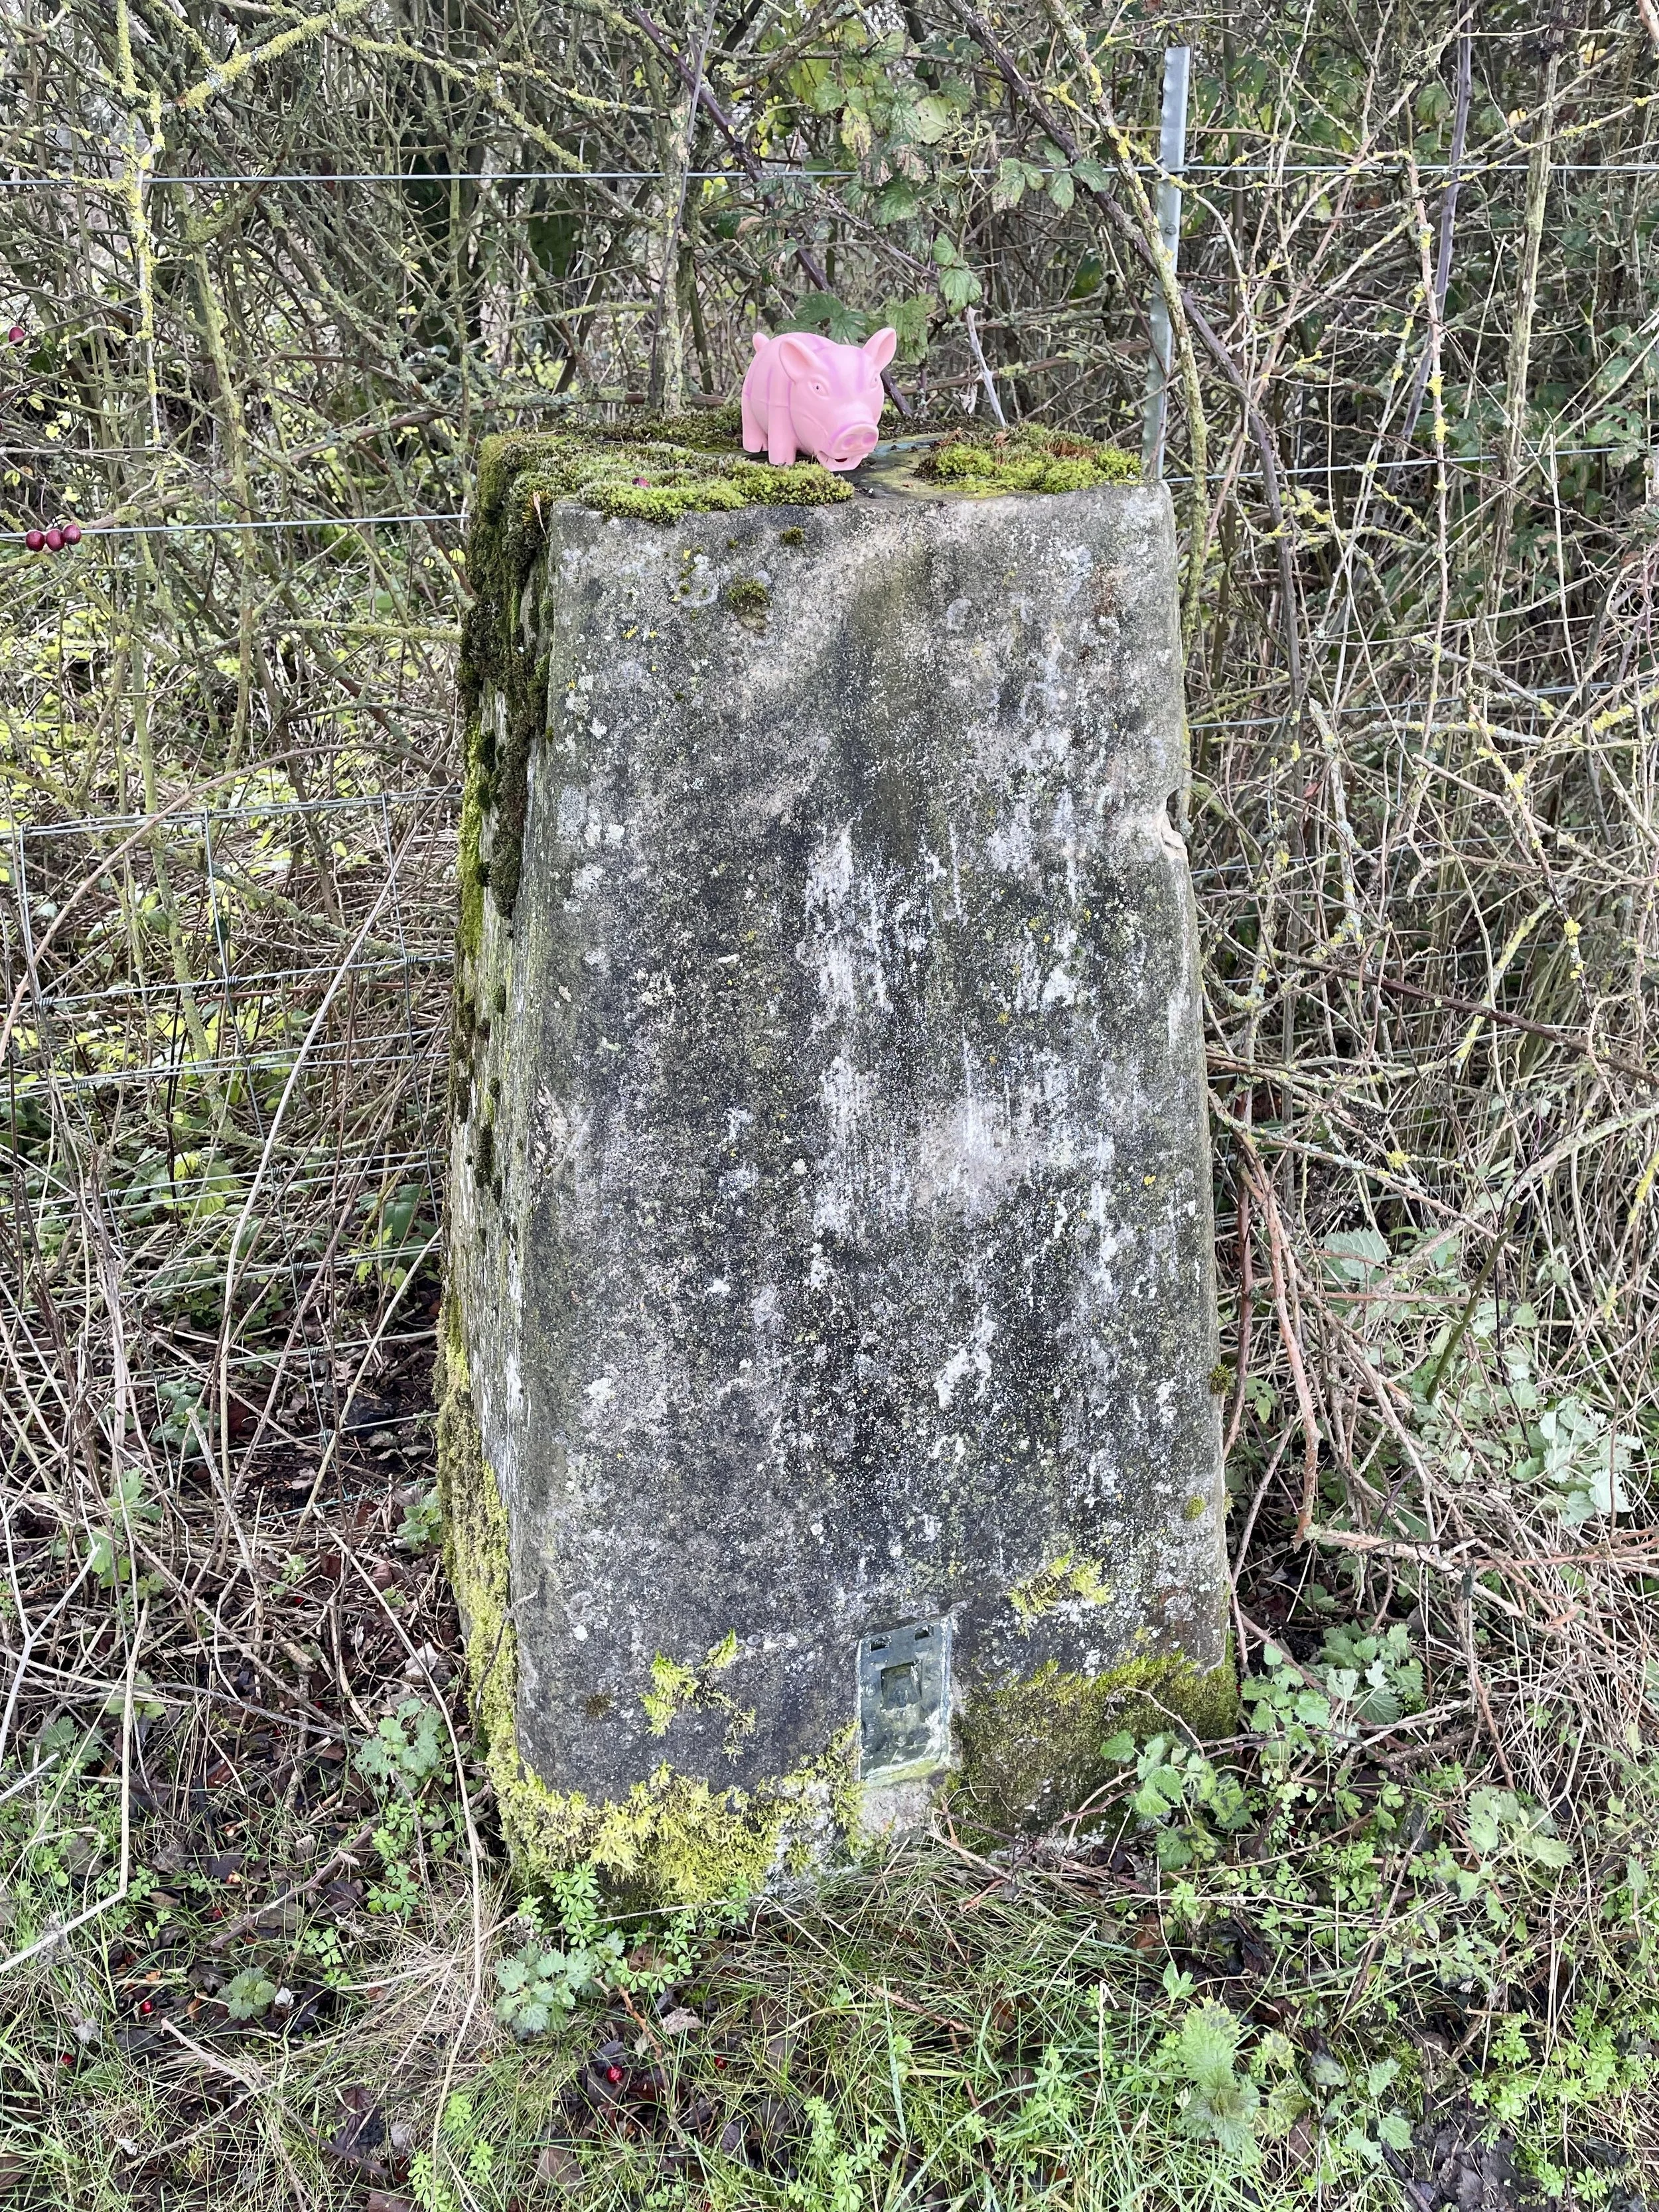
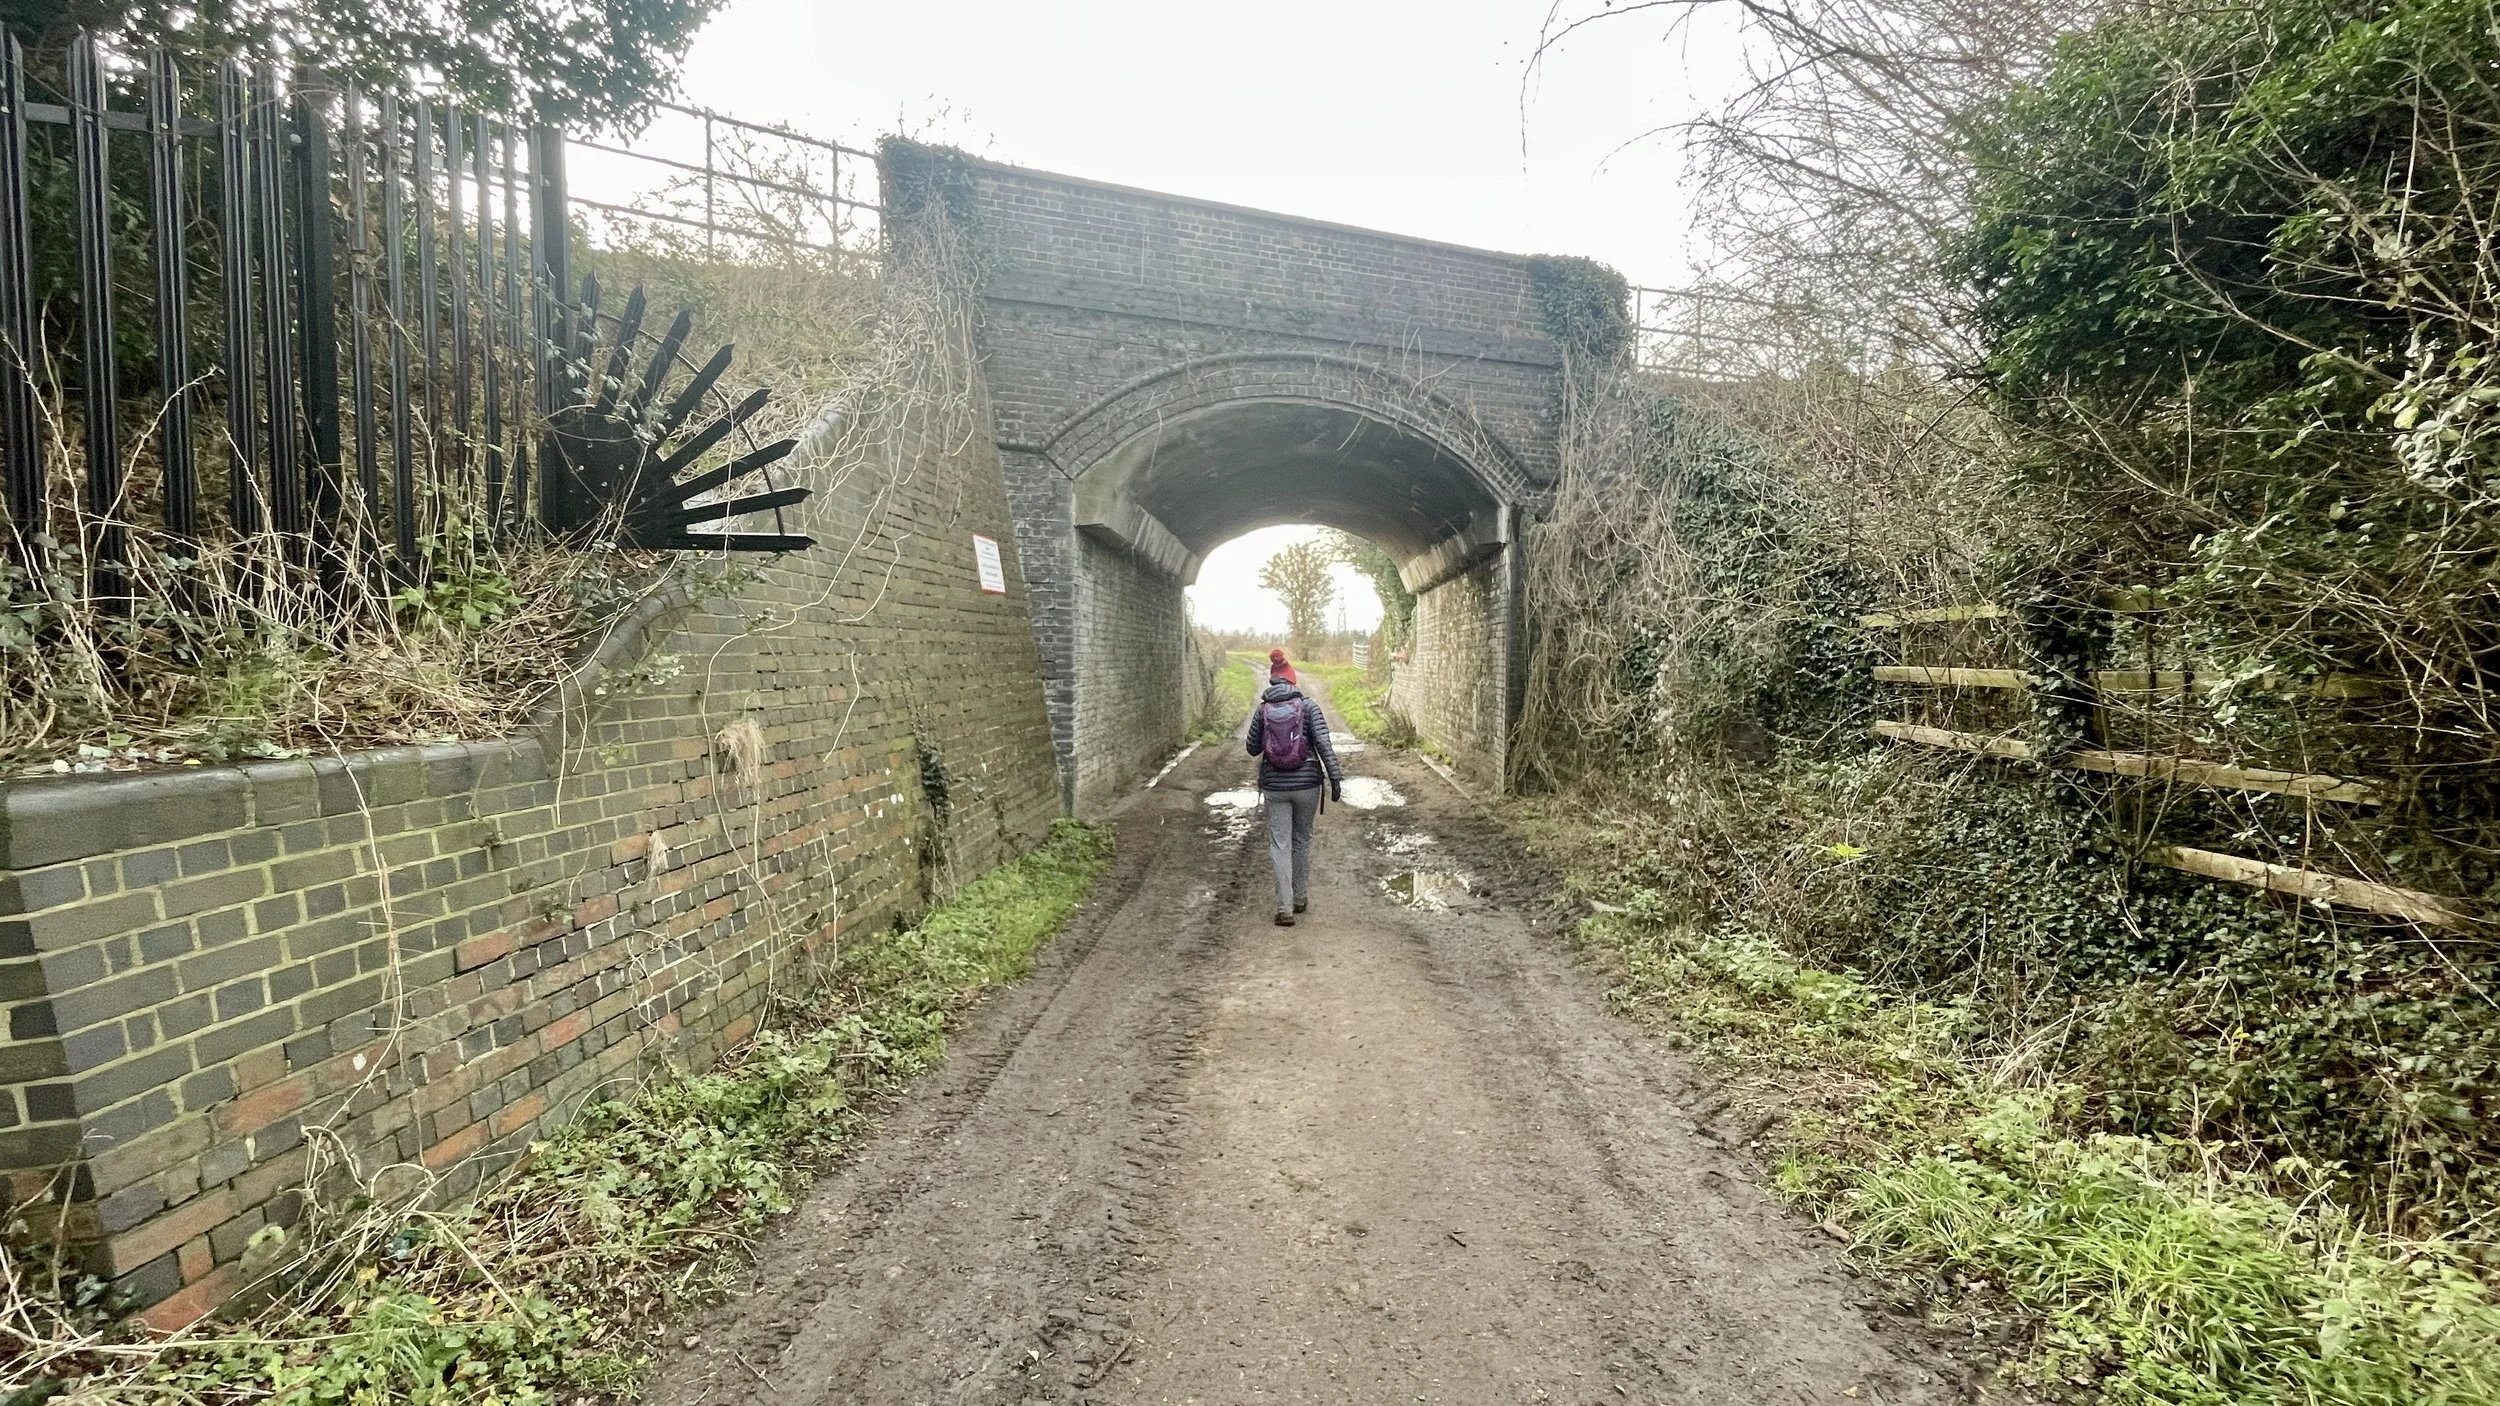
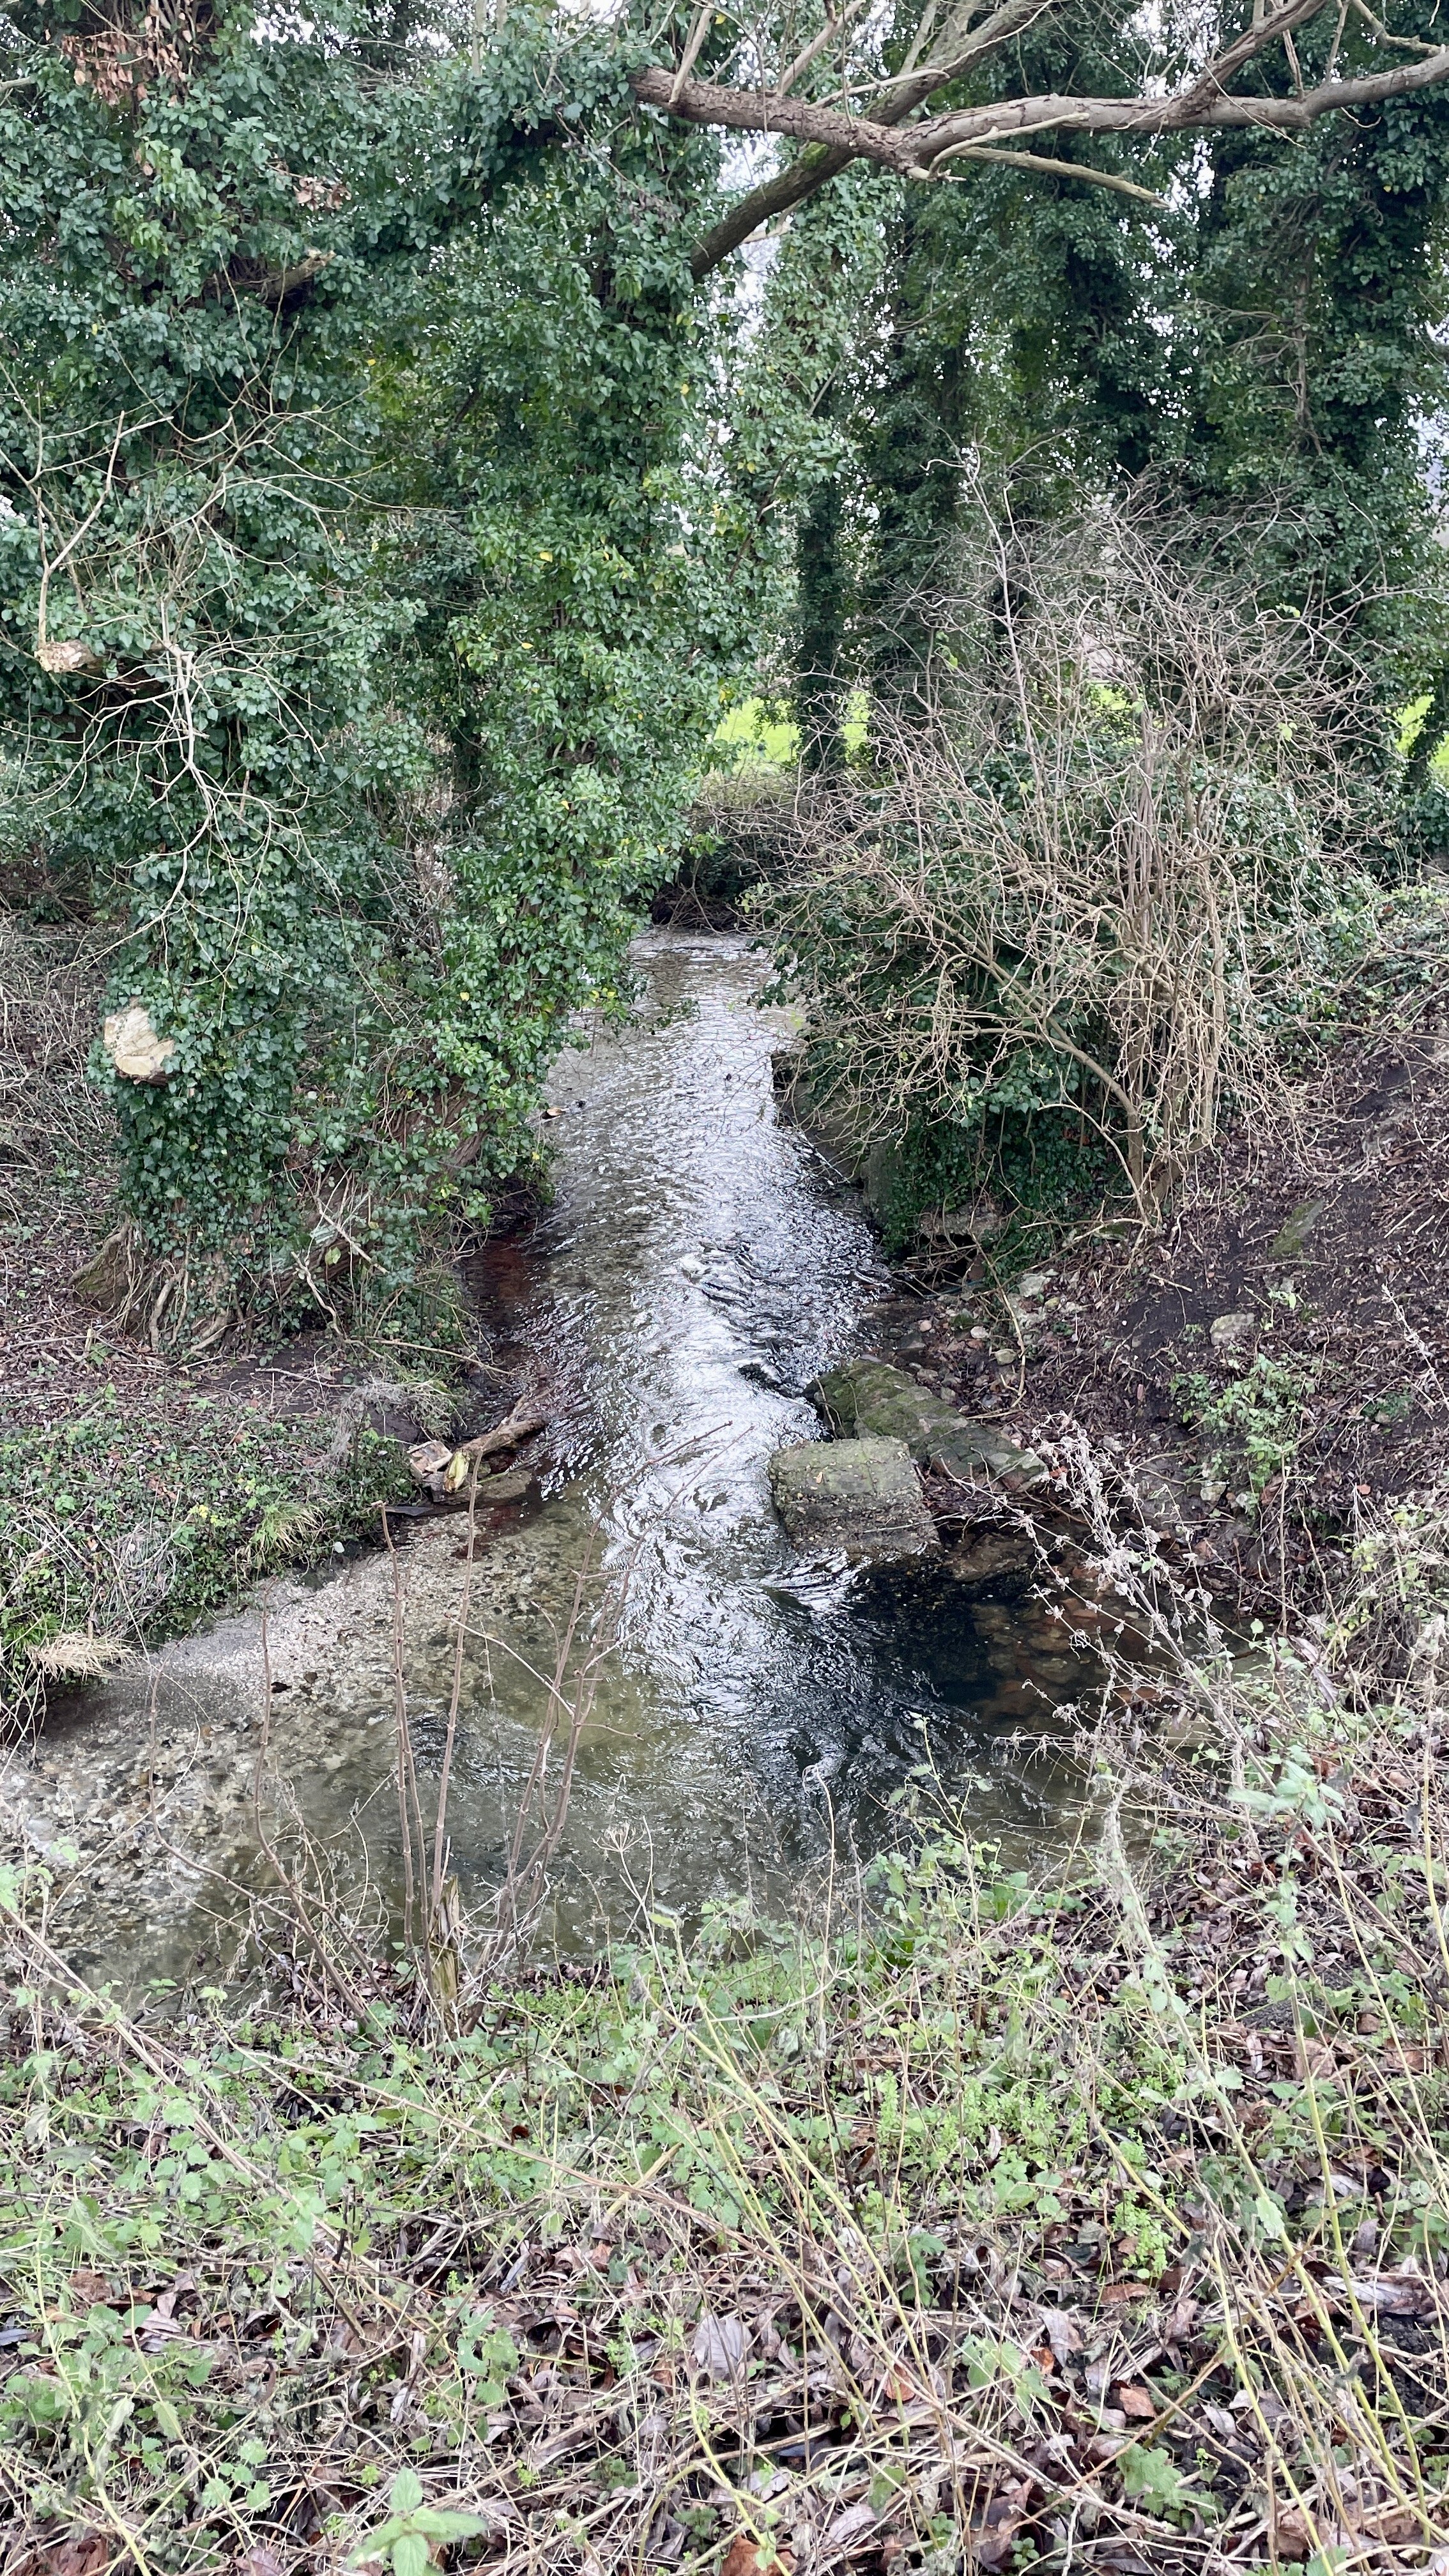
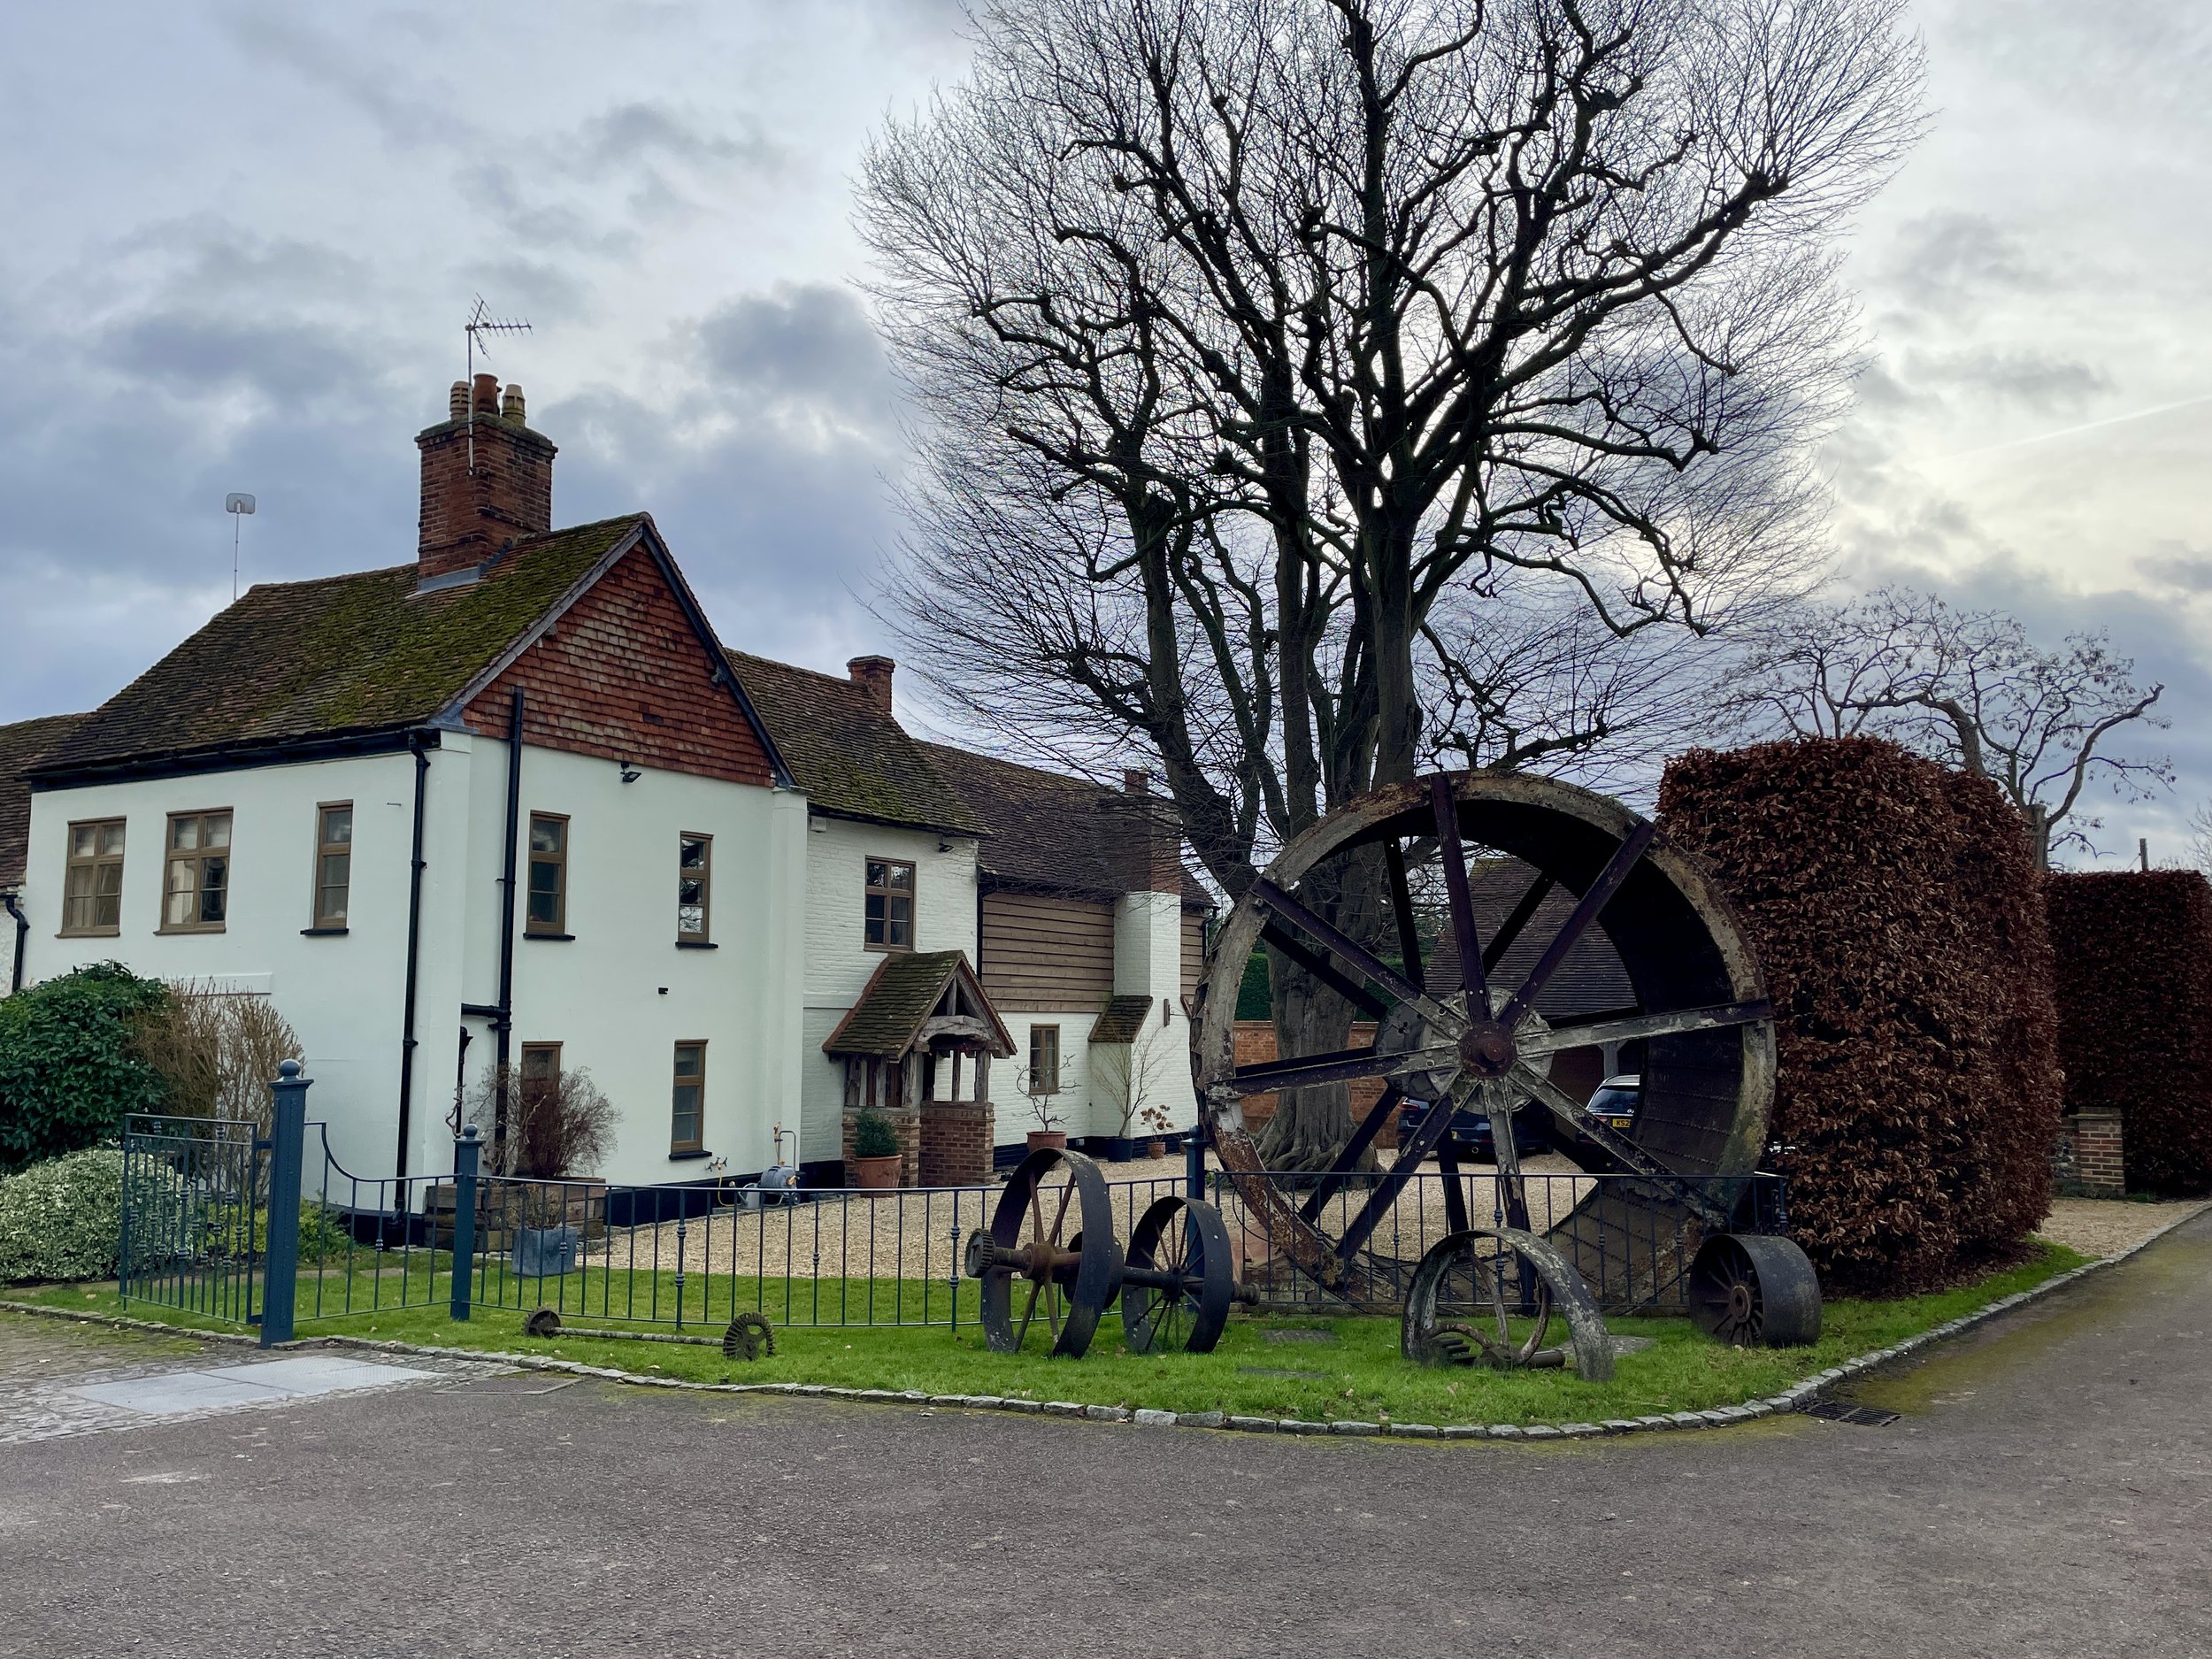
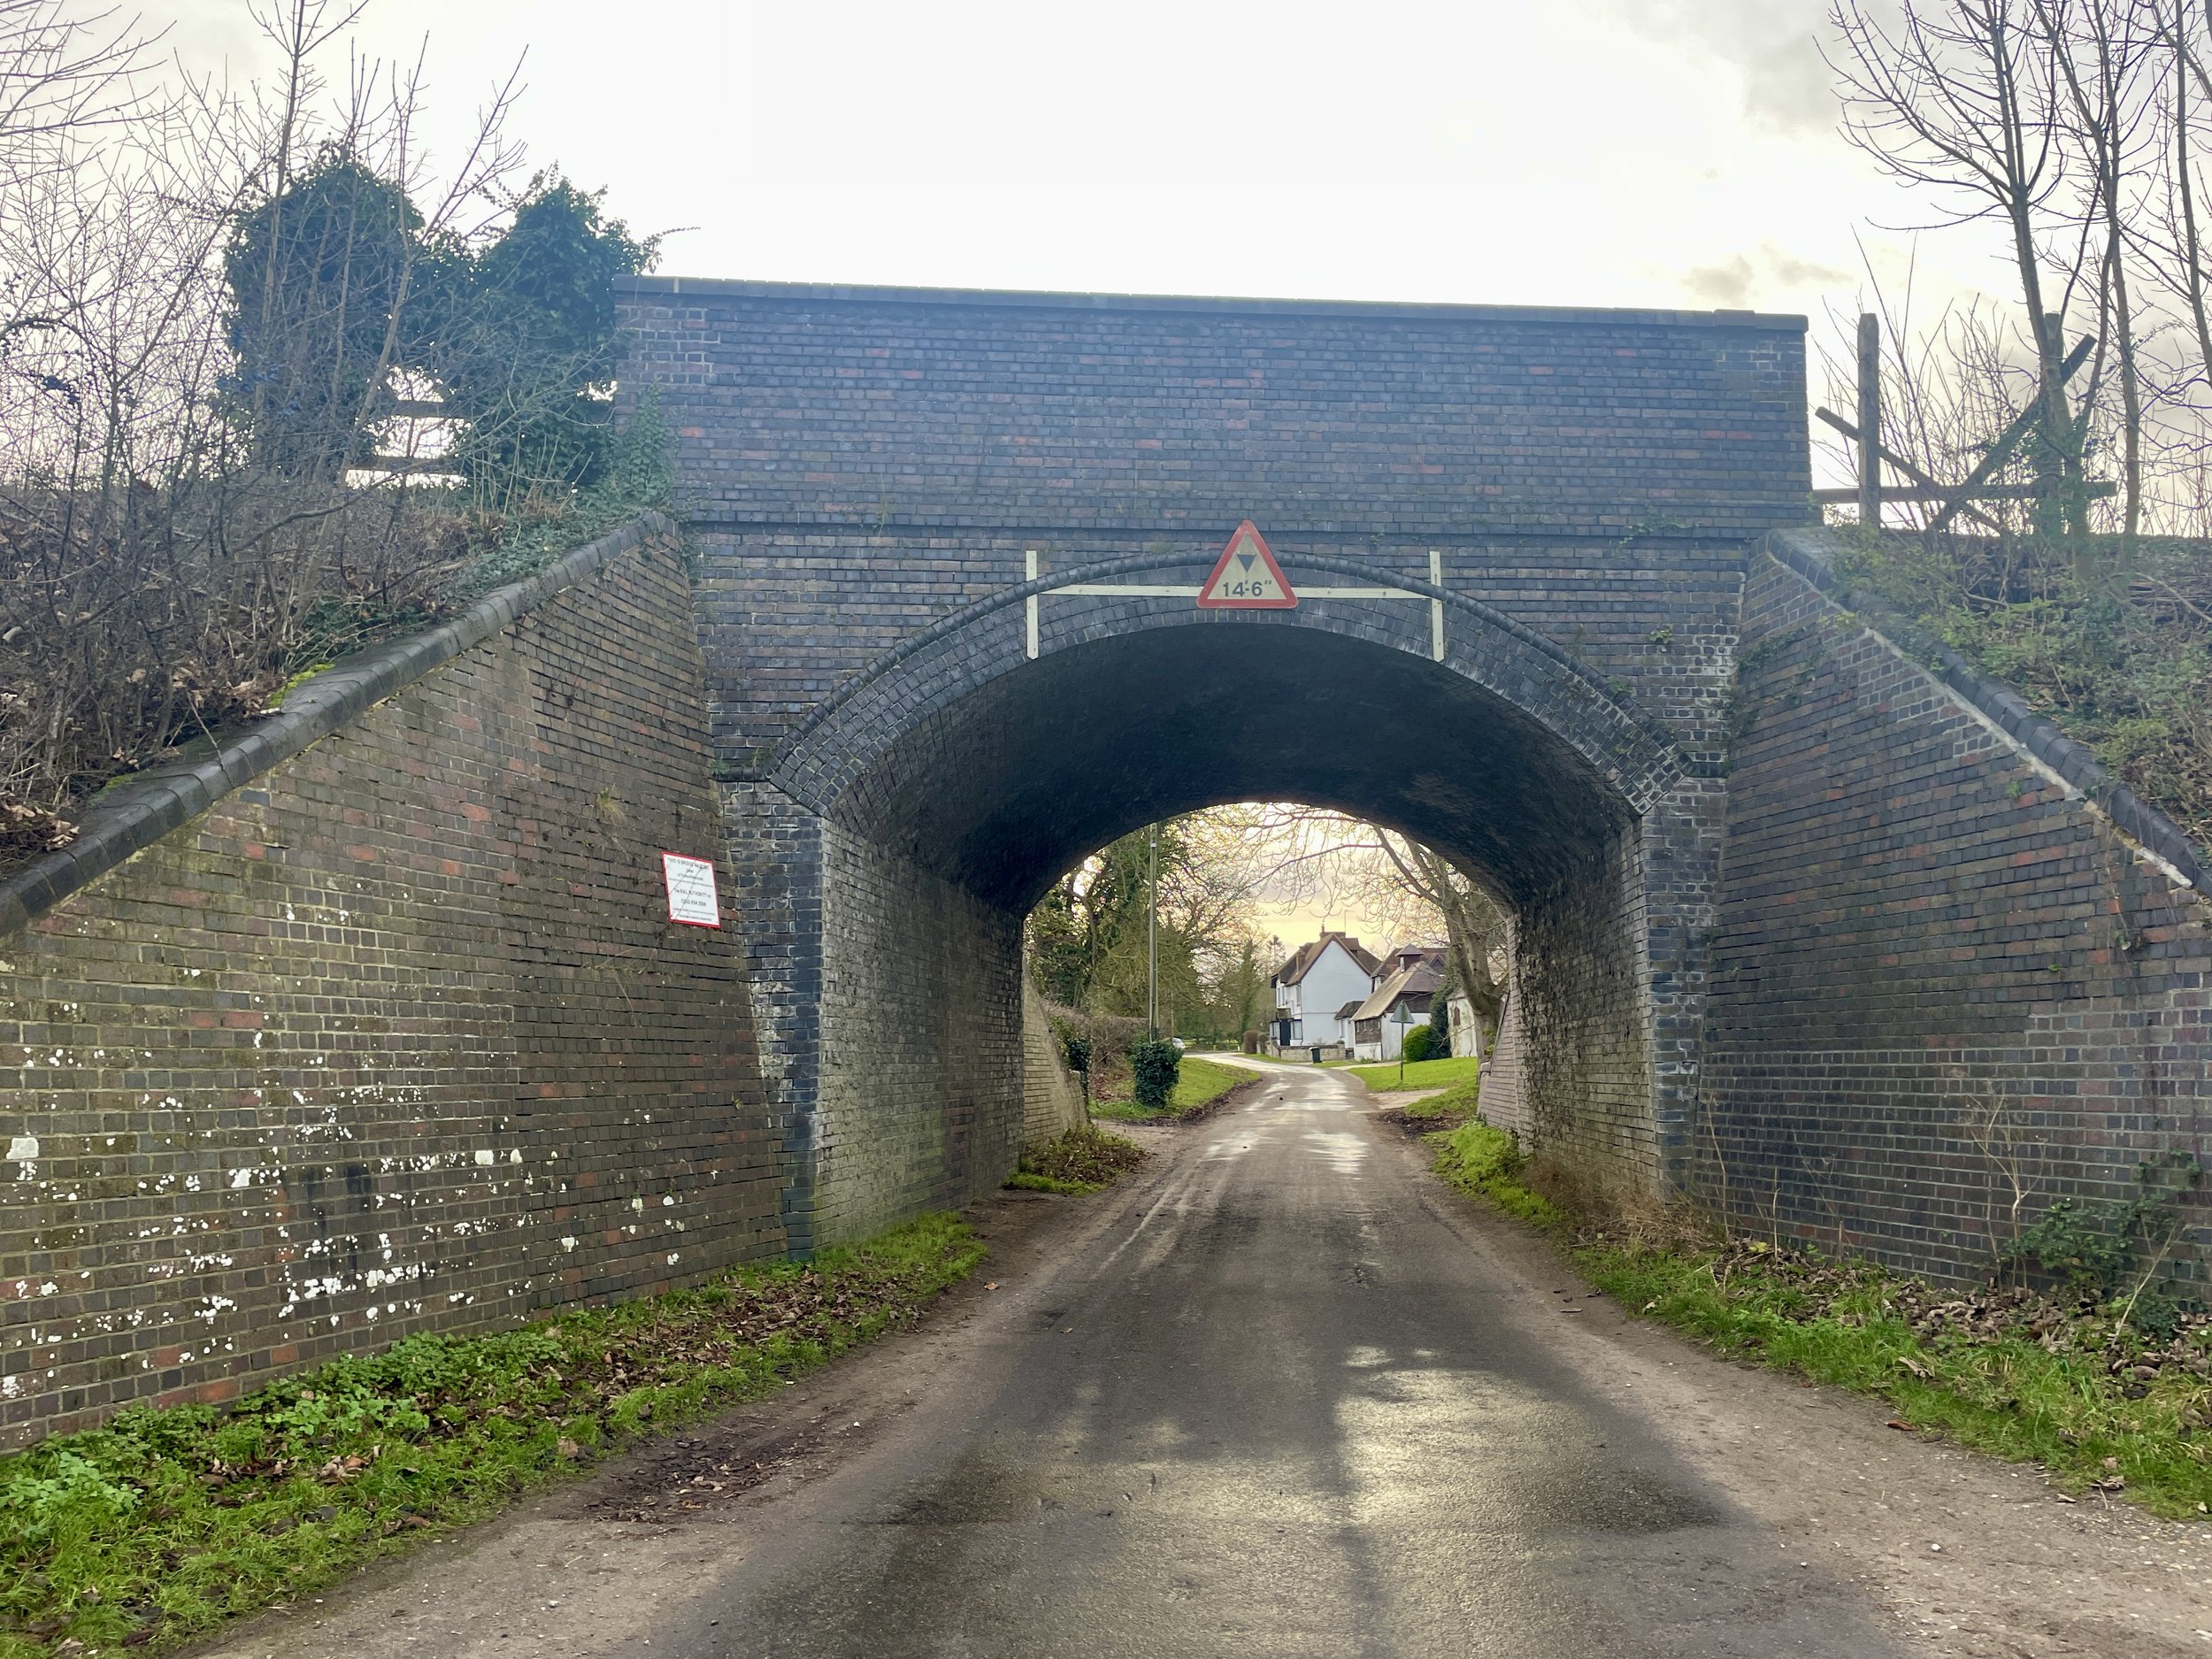
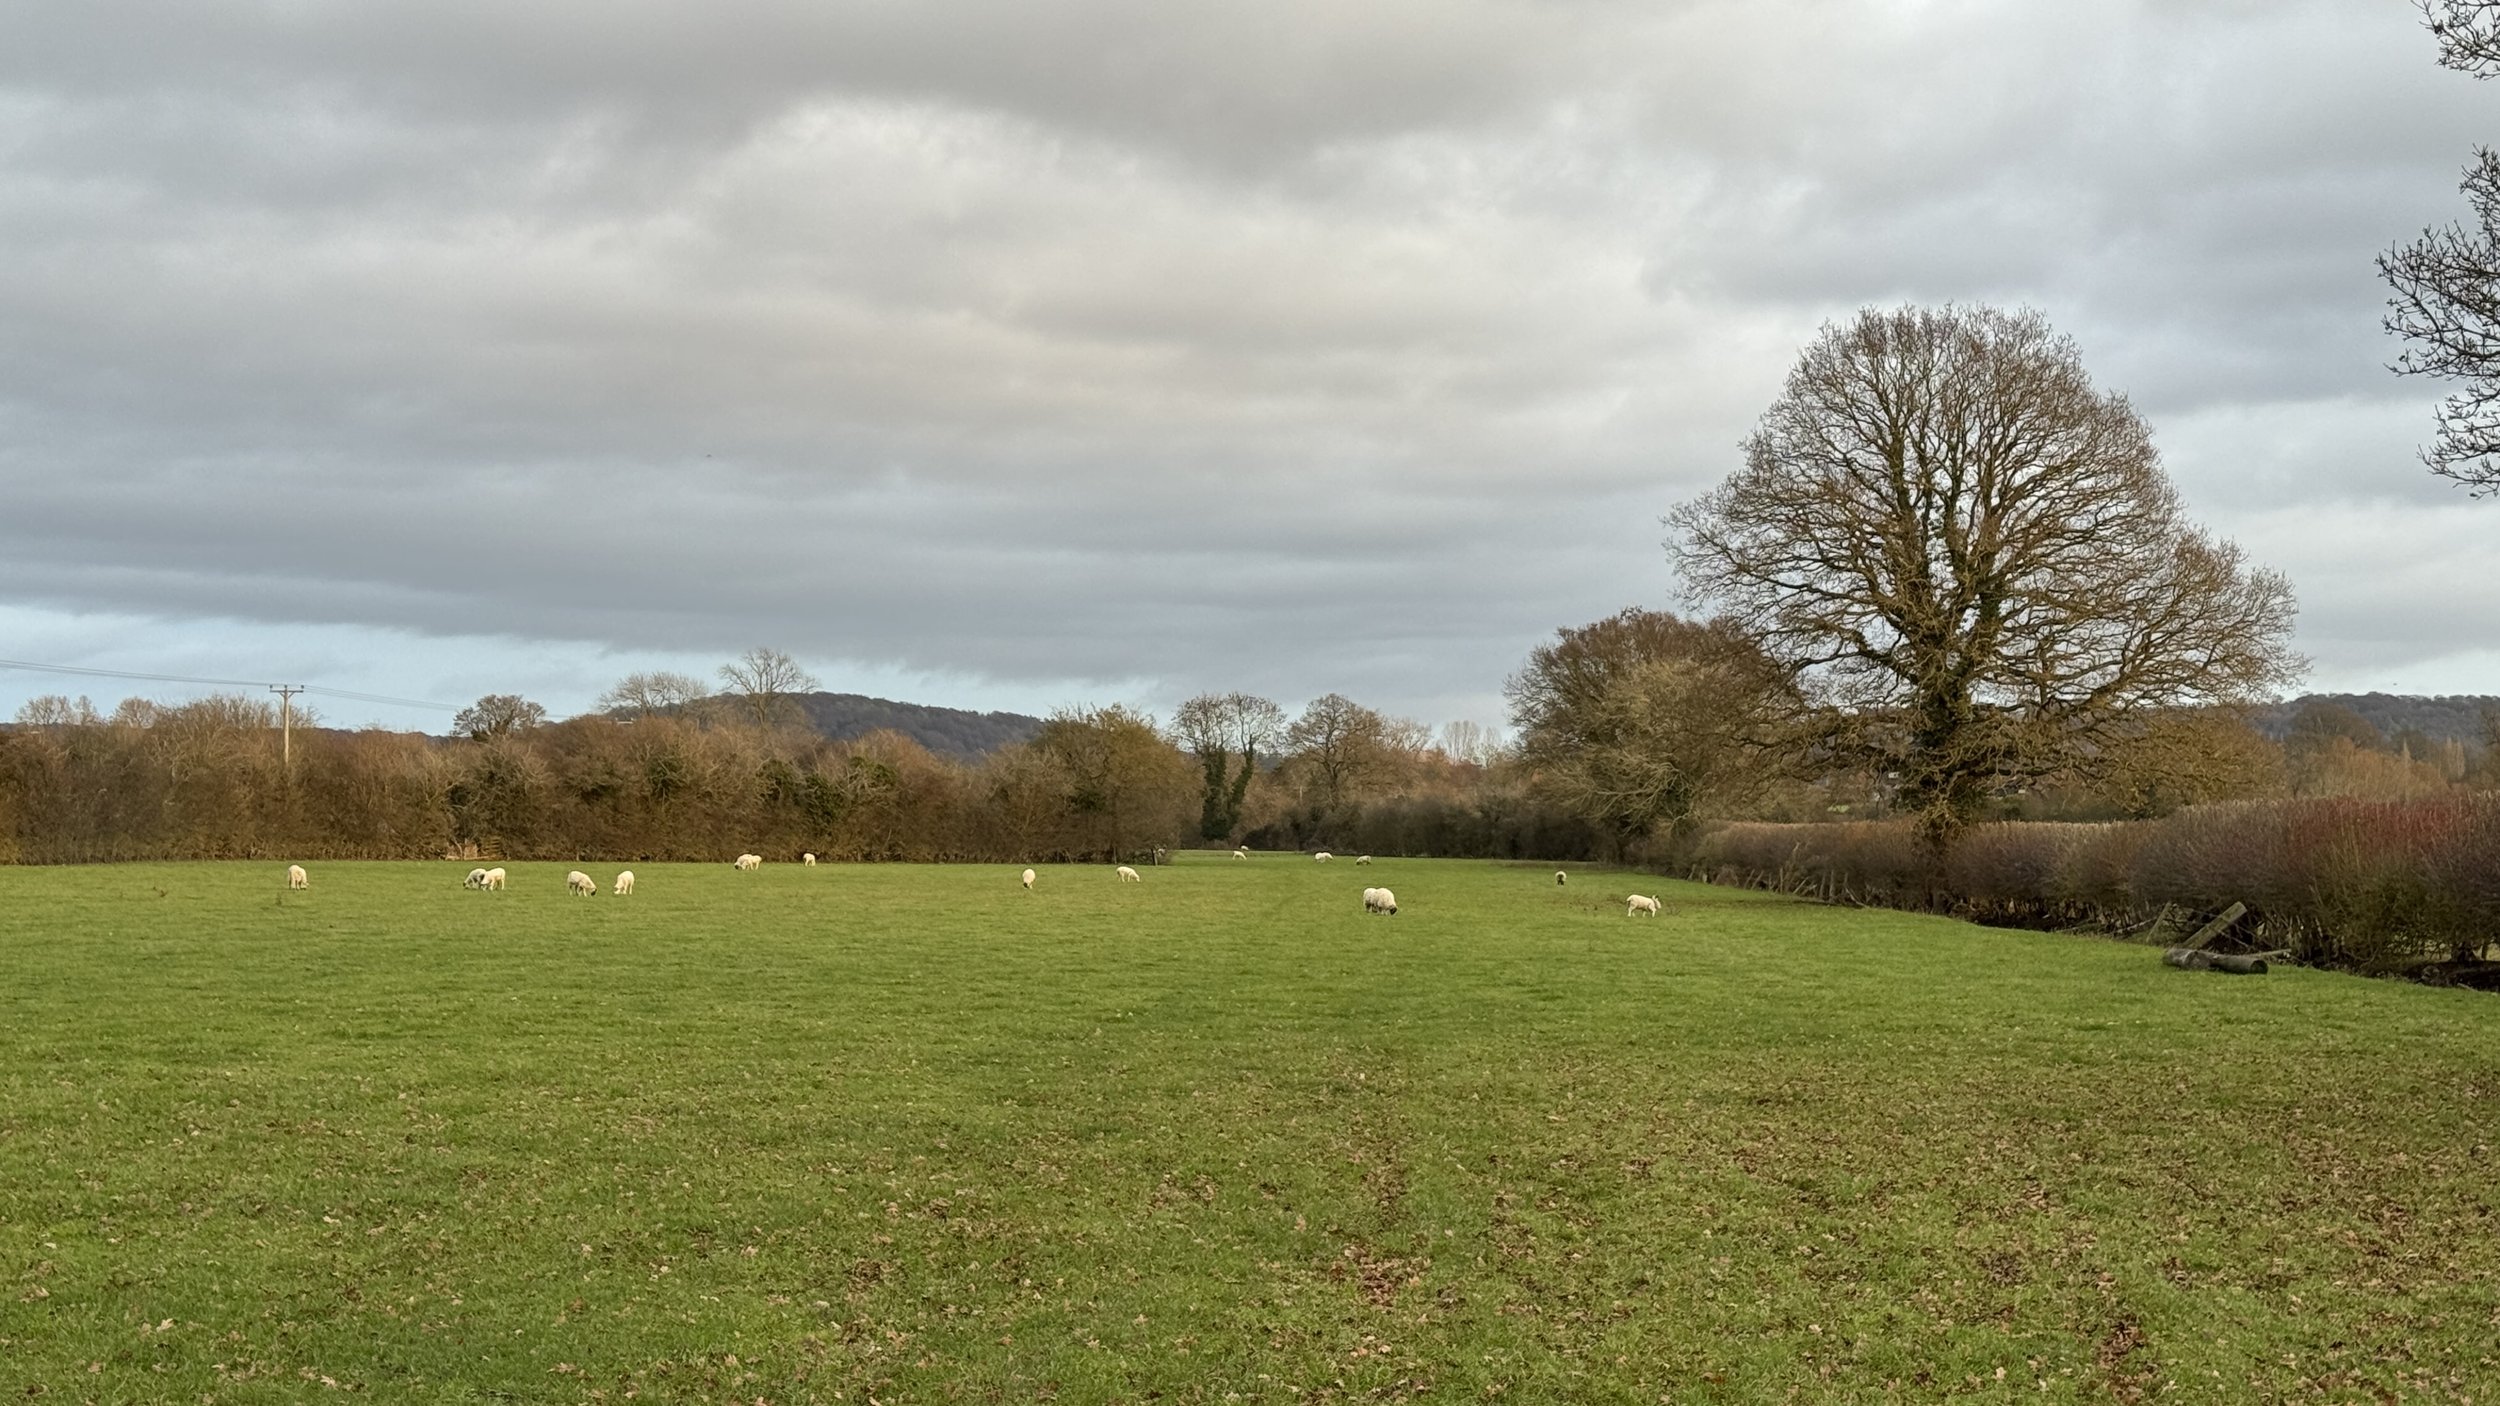
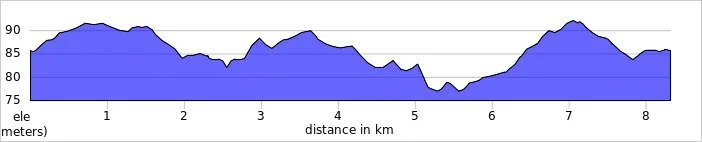
Midshires Way previous section (south): Hempton Wainhill & Bledlow
Midshires Way next section (north): Ford and Kemble Wick
Midshires Way through Buckinghamshire Guide
Trek Index
Trig Pillar Walks: Brill Windmill and Muswell Hill
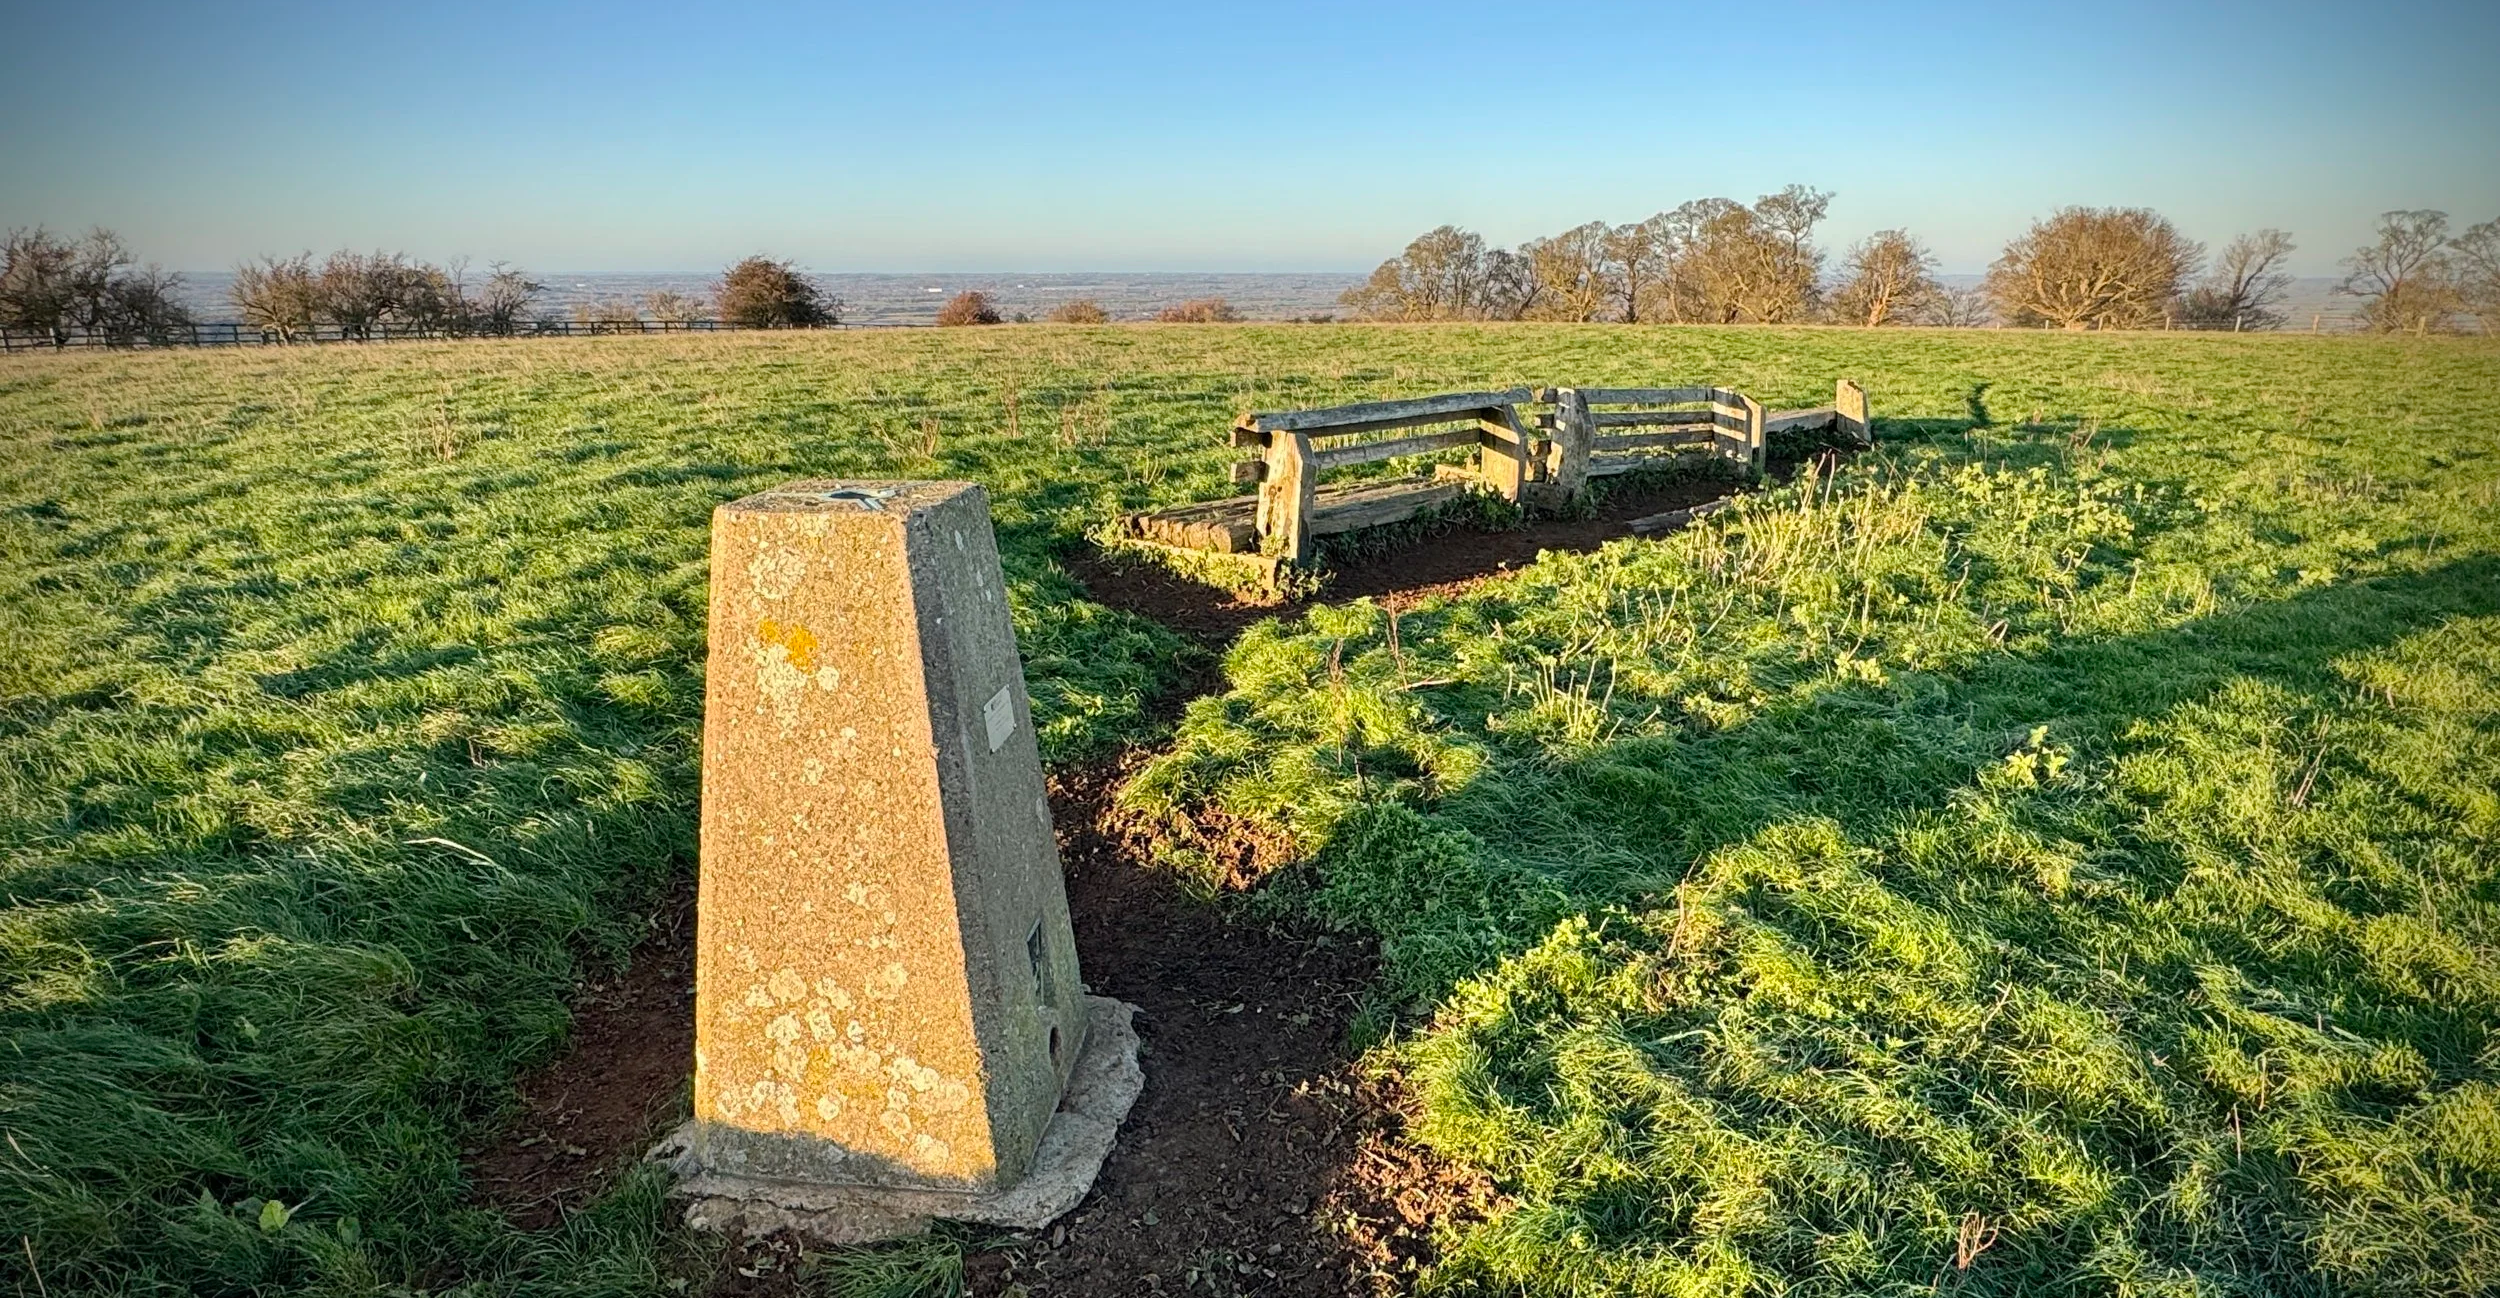
Muswell Hill Trig Pillar
Start & Finish: Brill Windmill, South Hills, Brill, Aylesbury, HP18 9TQ
Distance: 7.6 km (4.7 miles)
Elevation change: +/- 125m
GPX File: get via Buy Me a Coffee
Terrain: Rolling hilltop ridges, open common land, geological SSSI sites, and village footpaths.
Other routes touched (walk): Bernwood Jubilee Way, Piddington Circular Walk
Other routes touched (cycle): National Byway
Pubs / Cafes on route: The Pointer, The Pheasant, both in Brill at the start and end of the walk.
OS Trig Pillars: TP0728 - Muswell Hill and (just off route) TP1632 - Brill House
Map: Oxford Map | Witney & Woodstock | Ordnance Survey | OS Explorer Map 180
Links: Brill, Brill Windmill, Muswell Hill (Buckinghamshire), Brill Tramway, Bernwood Forest.
This is part of a series of short circular walks in the Buckinghamshire based around bagging an Ordnance Survey Trig Pillar. If you’ve searched for or stumbled across this page then you probably already know what an OS Trig Pillar is. If you don’t then this article from the Ordnance Survey is a good place to start.
The Muswell Hill Trig Pillar is right on the route but the Brill House Pillar is just off the rout to the south-east of Brill just off the Thame Road. We bagged it as a drive-by after the main walk but you could add it into the walk by walking to it, and back, when you get to Church Street. This will add an extra 800m to the total route length.
Note that Muswell Hill shouldn’t be confused with the place in London of the same name. The two places named Muswell Hill, one in London and one in Buckinghamshire, share a similar name but not a proven shared origin. London’s Muswell Hill is well documented as taking its name from a medieval healing spring known as the “Mus Well,” which attracted pilgrims. The Buckinghamshire Muswell Hill, near Brill, is historically associated with a hermitage and chapel, giving it its own religious significance, though no clear evidence links its name to a well or to the London site. While both locations have medieval religious associations, the connection between them appears to be coincidental rather than a direct naming relationship.
Walking Directions
For this walk we parked at Brill in the free parking spaces outside the historic Windmill. This circular route begins at the iconic 17th-century post mill, leading you through an undulating landscape with expansive vistas across the Vale of Aylesbury. It was Christmas Day, and we were very lucky to have a bright, sunny day for our stroll.
The guidance below will help you navigate but don’t use it as a fully accurate turn-by-turn guide. Always take a map and/or a GPX route and prepare well for the weather and terrain.
Start at Brill Common: Begin at the historic Brill Windmill. Walk south-west across the undulating mounds of the common, which were formed by ancient clay workings.
Brill Village: Walk down Windmil Street in a south-easterly direction towards the village centre. Take a left onto Temple Street then a right on to a footpath that joins the Bernwood Jubilee Way. Keep on the Bernwood Jubilee Way as it traces a circle of the village, passing All Saints Church and onto The Square. After 1.4 km into the walk you’ll reach South Hills (road) where you’ll get another view of the Windmill.
The Jubilee Way: Keep following the Bernwood Jubilee Way in a westerly direction to the B4011.
Busy Road. Take a right onto this road to follow it in a northerly direction. Please note that there is no pavement here, so you need to be very careful of any approaching cars. Continue until you pass the signs marking the Oxfordshire/Buckinghamshire border. Just past these, take a right onto a footpath that also forms part of the Piddington circular walk.
Muswell Hill Ascent: Follow the path north-west to begin the steady climb up Muswell Hill (Buckinghamshire). As you reach the top, you will enter the geological SSSI area.
Private Drive: At the top of the hill, cross over the road and take the footpath on the left that follows a private drive. As you walk along the drive, look to your right and you will be able to see the trig pillar poking up over the top of the hill. When you turn the corner on the private drive, look out for the footpath on the right: there is a stile to climb over the fence.
Panoramic Views: Take time at the summit of Muswell Hill to enjoy the 360-degree views across the Vale of Aylesbury and toward the Oxfordshire border.
Return to Brill: After the trig pillar, keep walking in the same direction diagonally across the field to the stile in the corner. Earlier, take a left and follow the road all the way back to the Windmill to complete the loop.
Points of Interest along or near to the Route
Brill Windmill: Built around 1685, this is one of the best-preserved examples of a "post mill" in the UK. Its timber frame is Grade II* listed and offers a direct link to the village's agricultural past.
Muswell Hill (Buckinghamshire): A 0.2-hectare geological Site of Special Scientific Interest (SSSI). It is significant for its early Cretaceous sandstones and ironstones, providing a window into the area’s prehistoric environment.
The Brill Tramway Terminus: The route passes the site of Brill’s former tramway terminus. Remarkably, until 1935 this quiet hilltop was linked by the Metropolitan Railway all the way to Baker Street in central London.
Tolkien Connection: Scholars note that Tolkien drew inspiration for the village of Bree from Brill—both linguistically (“hill‑hill”) and from his familiarity with the area during his Oxford years.
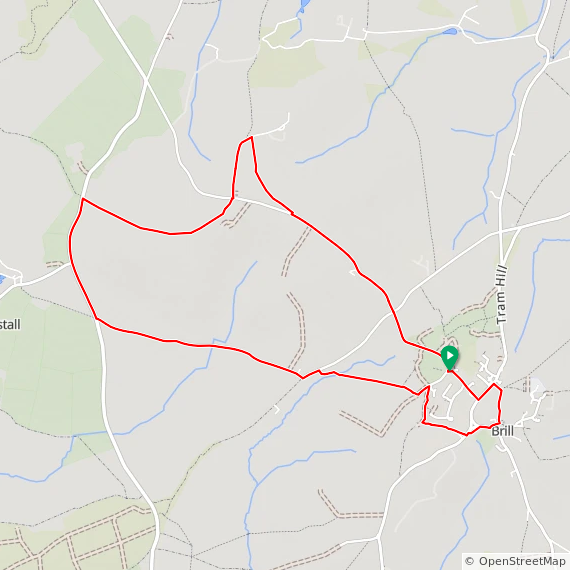
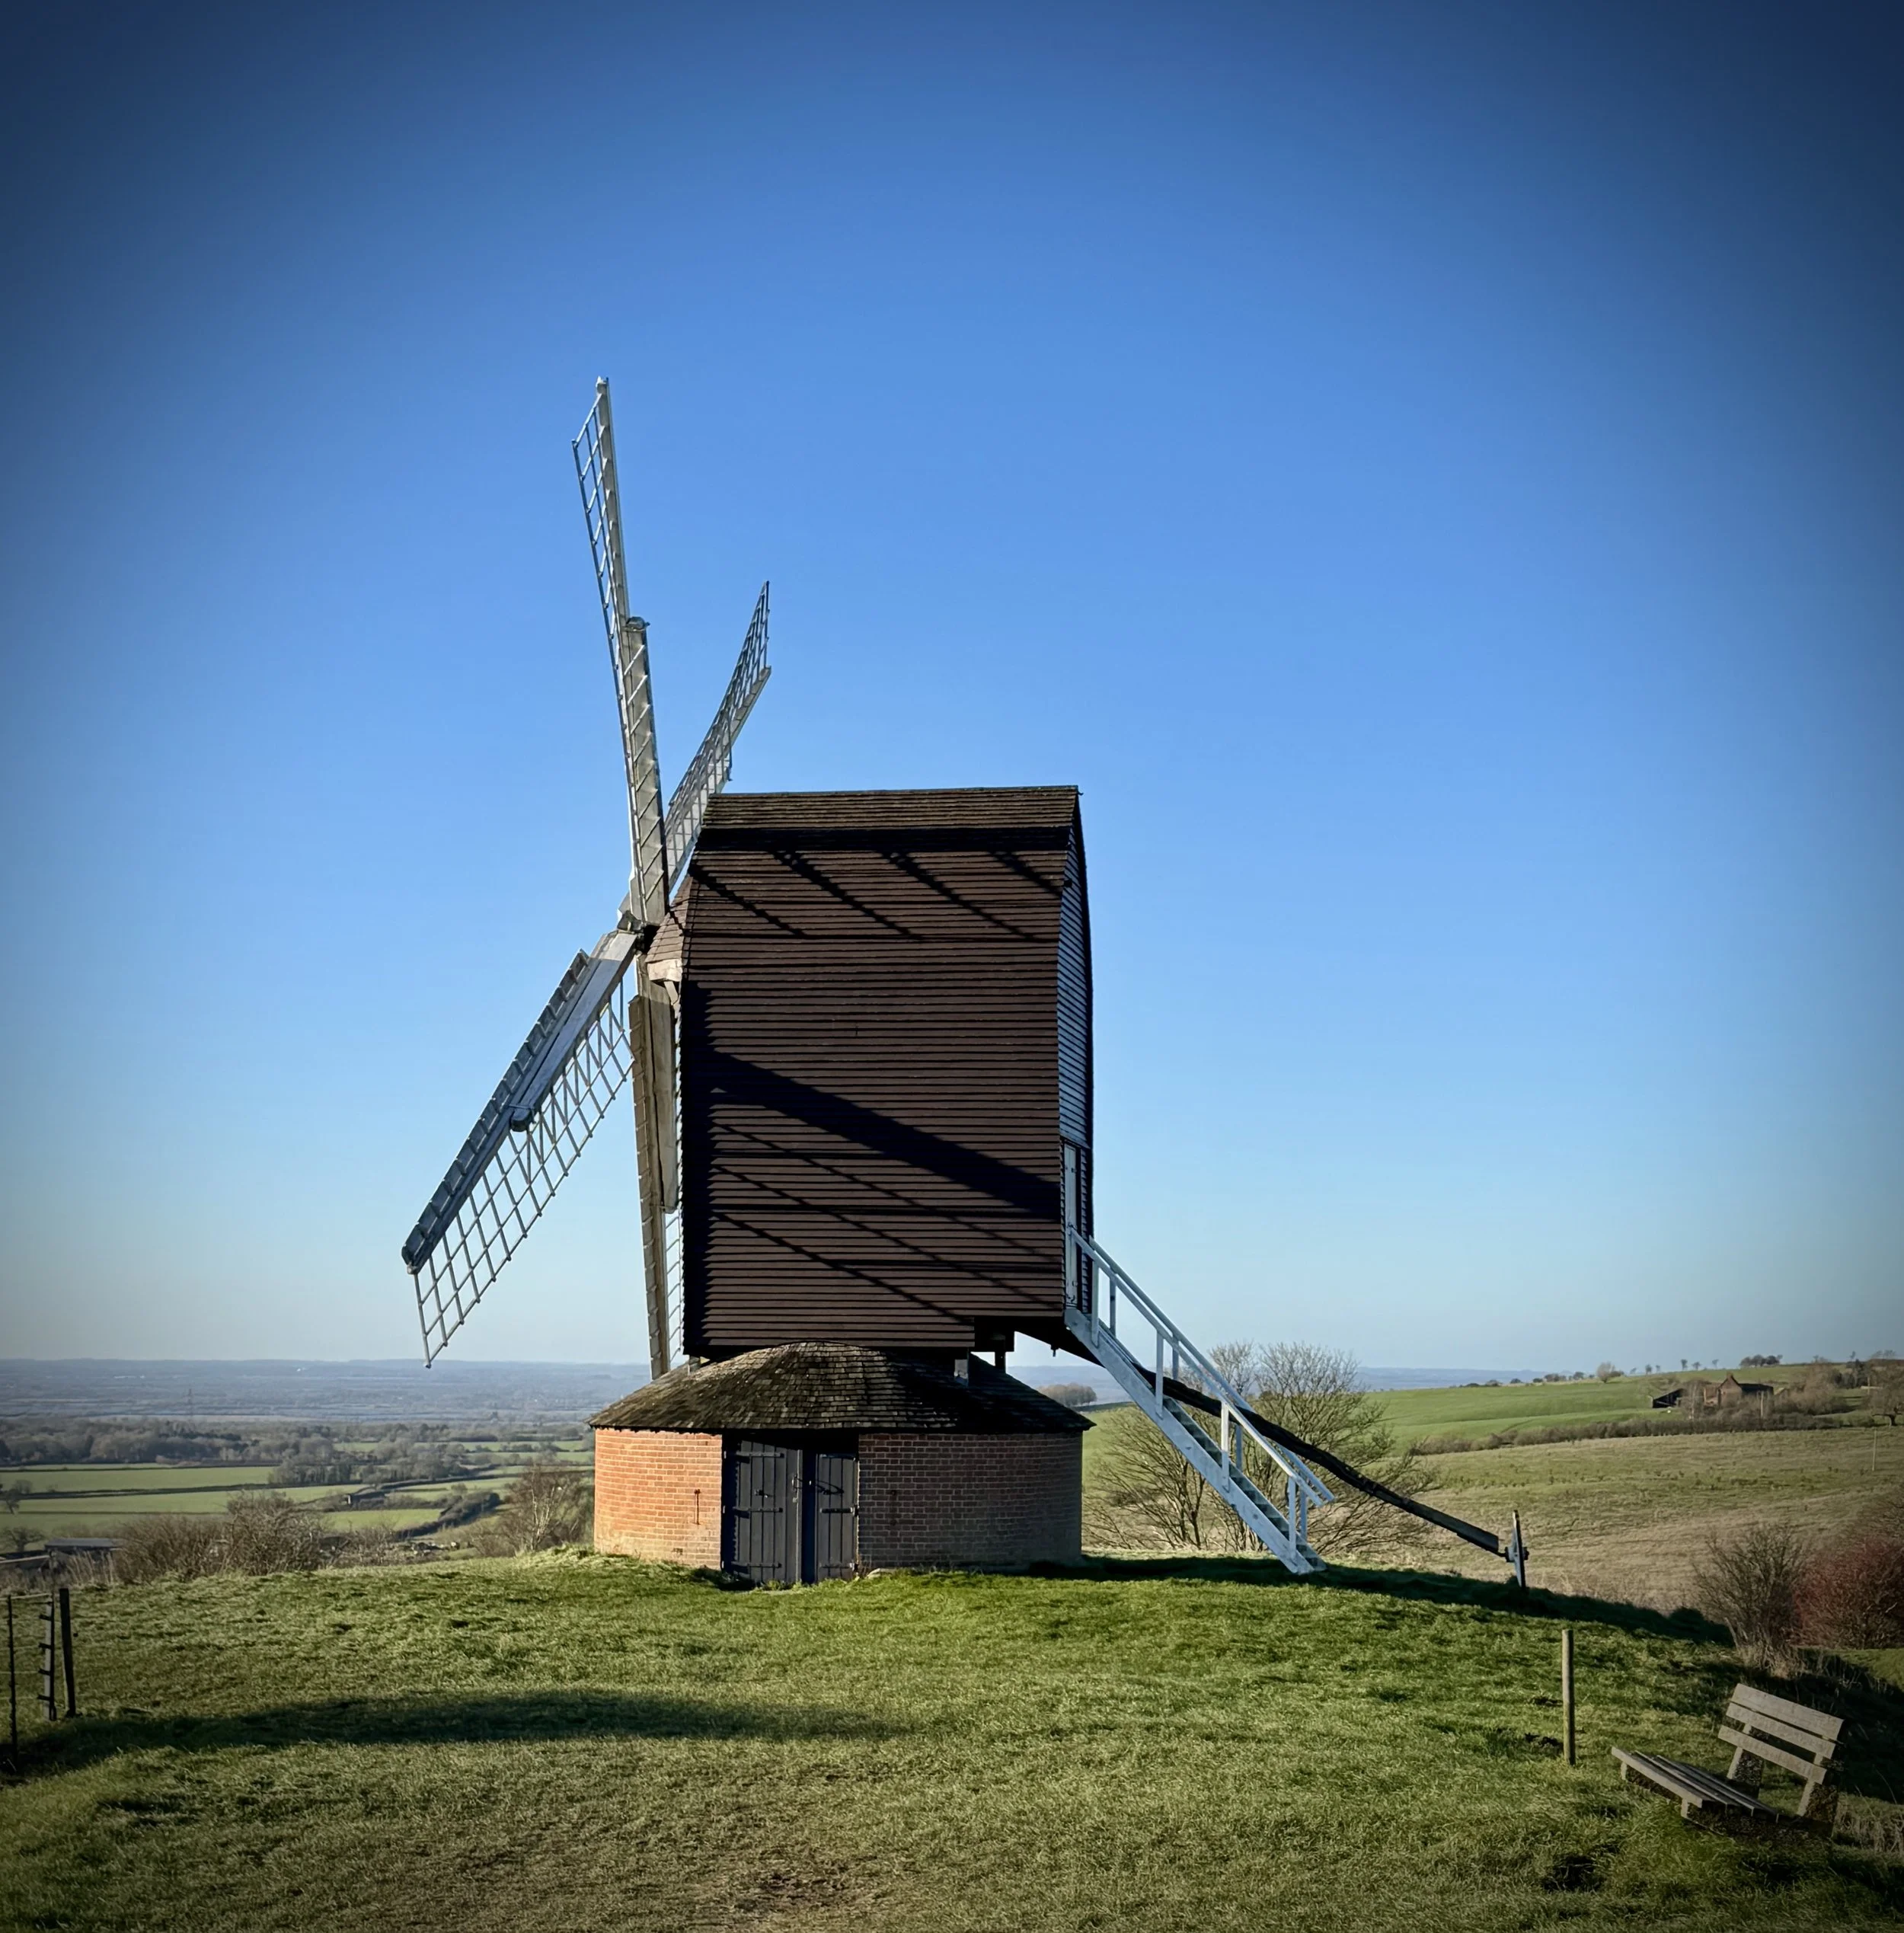
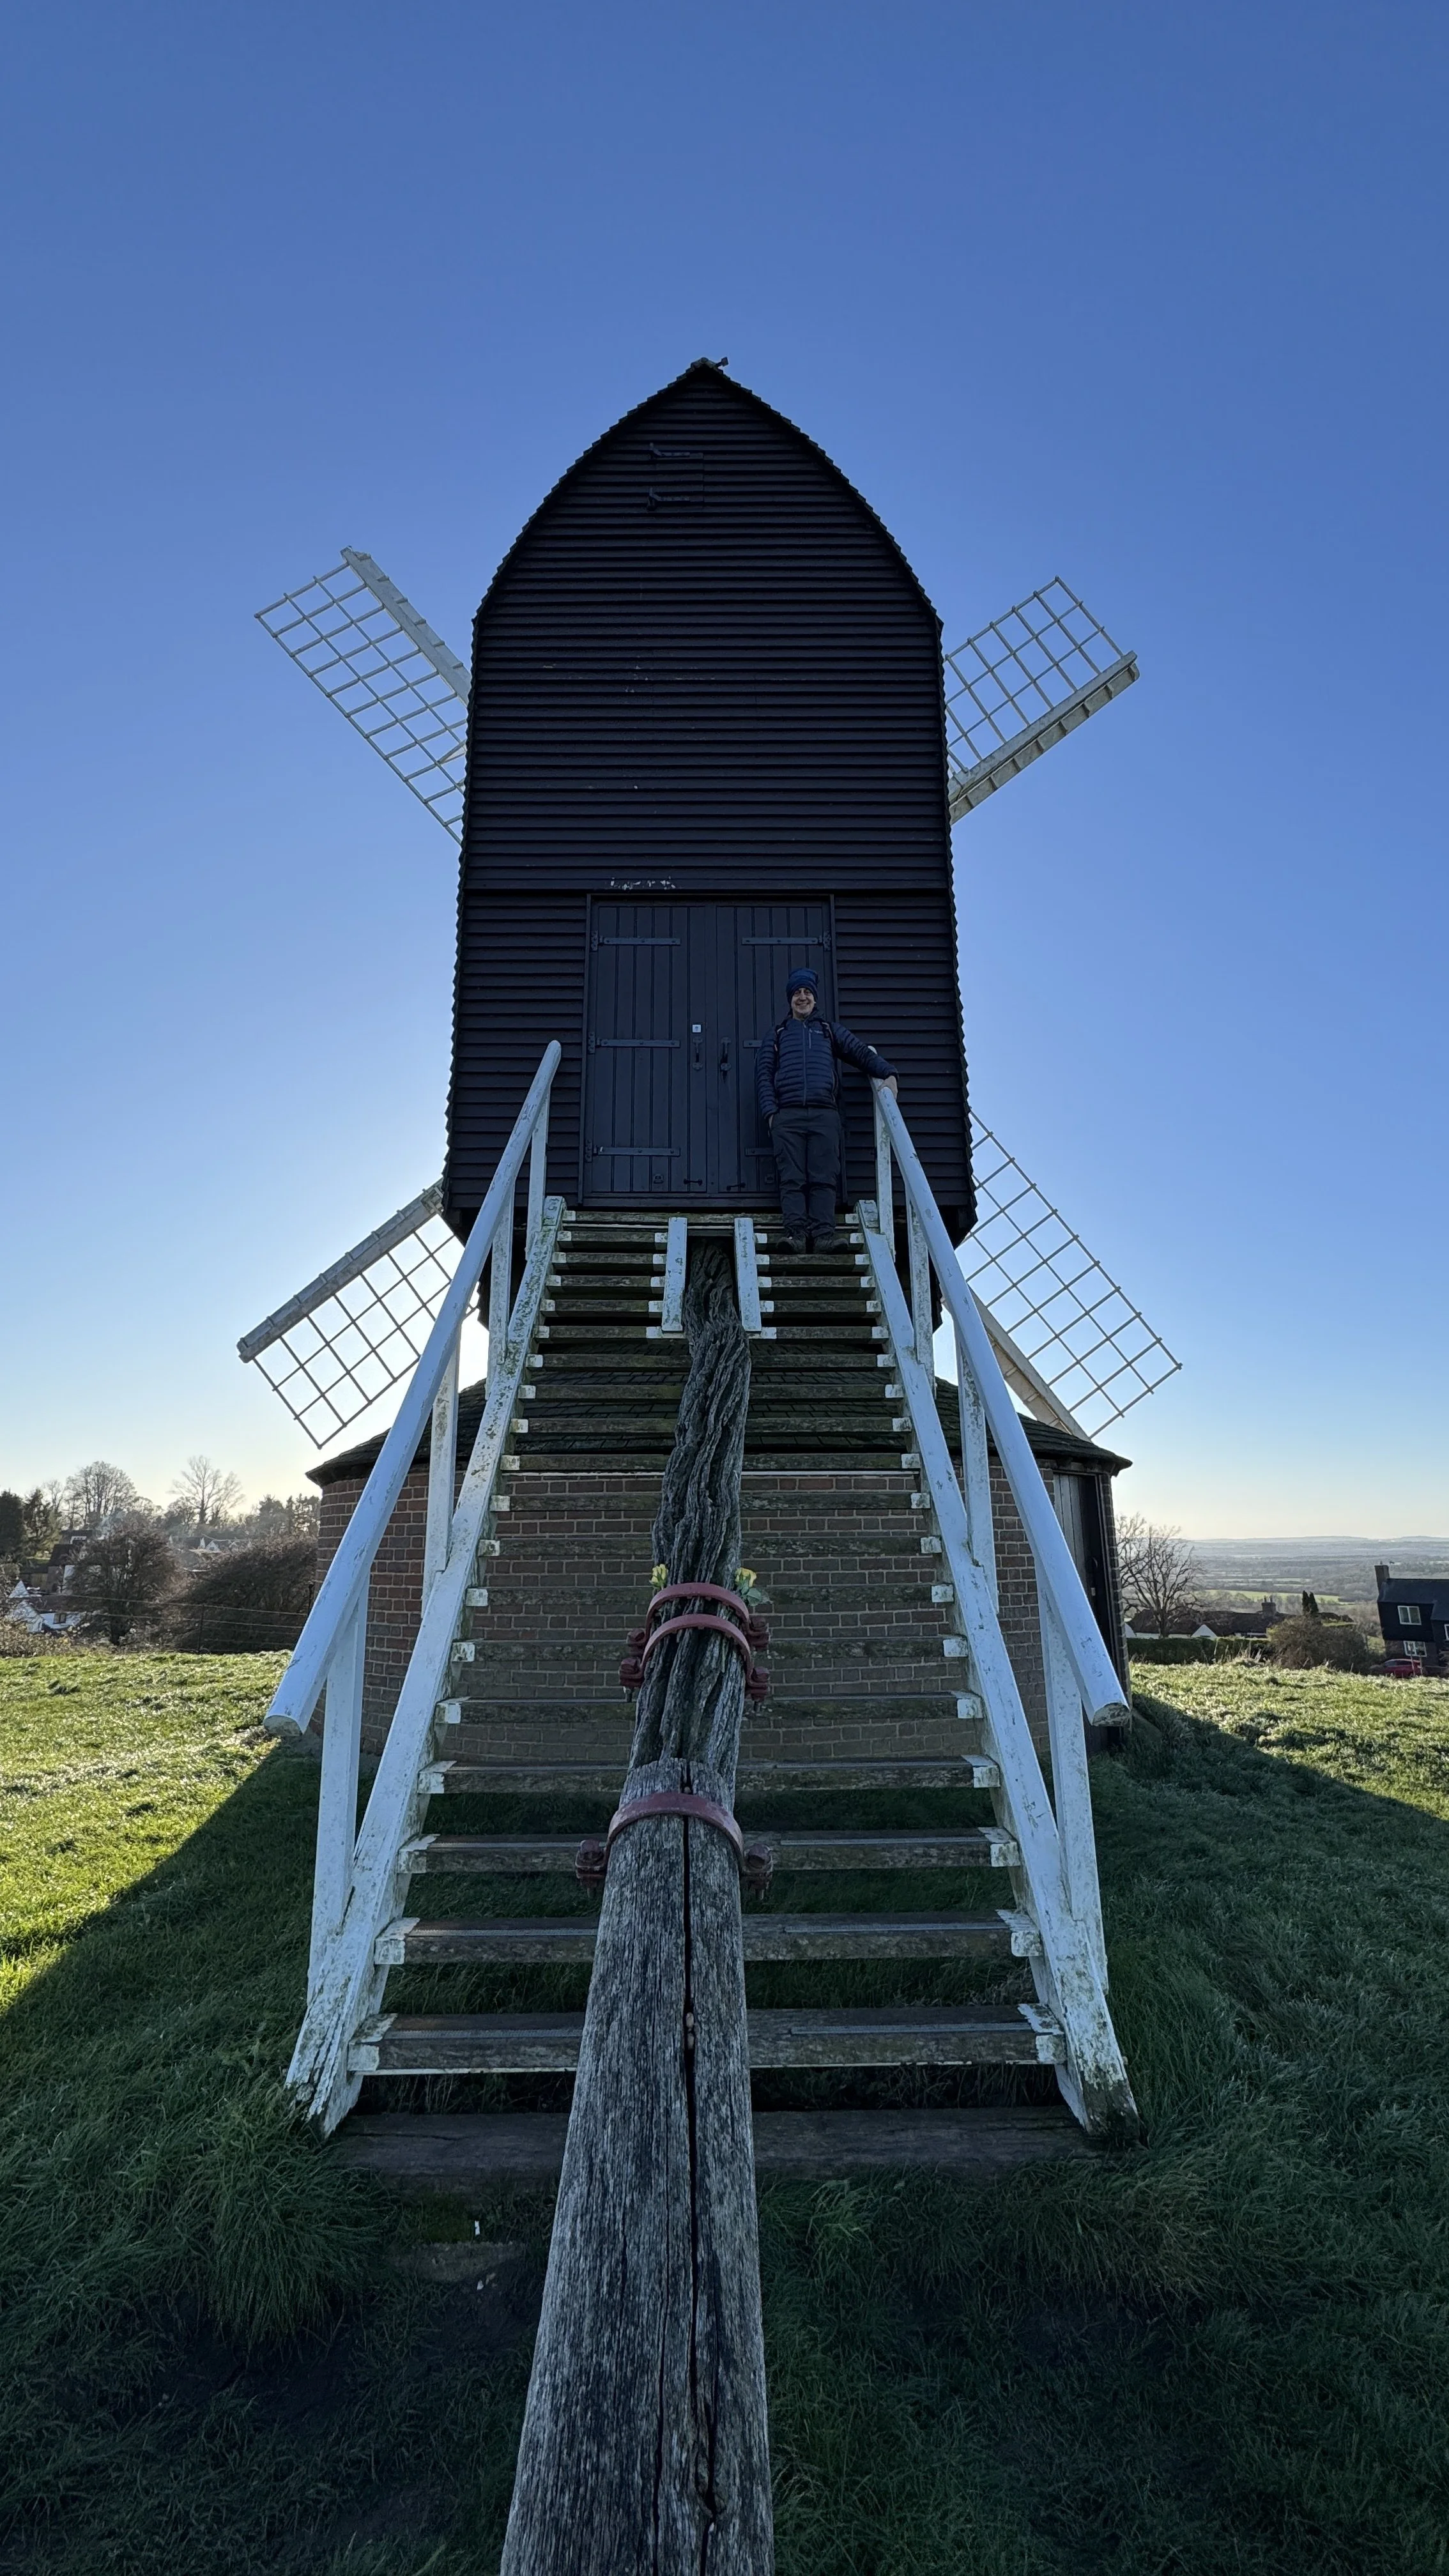
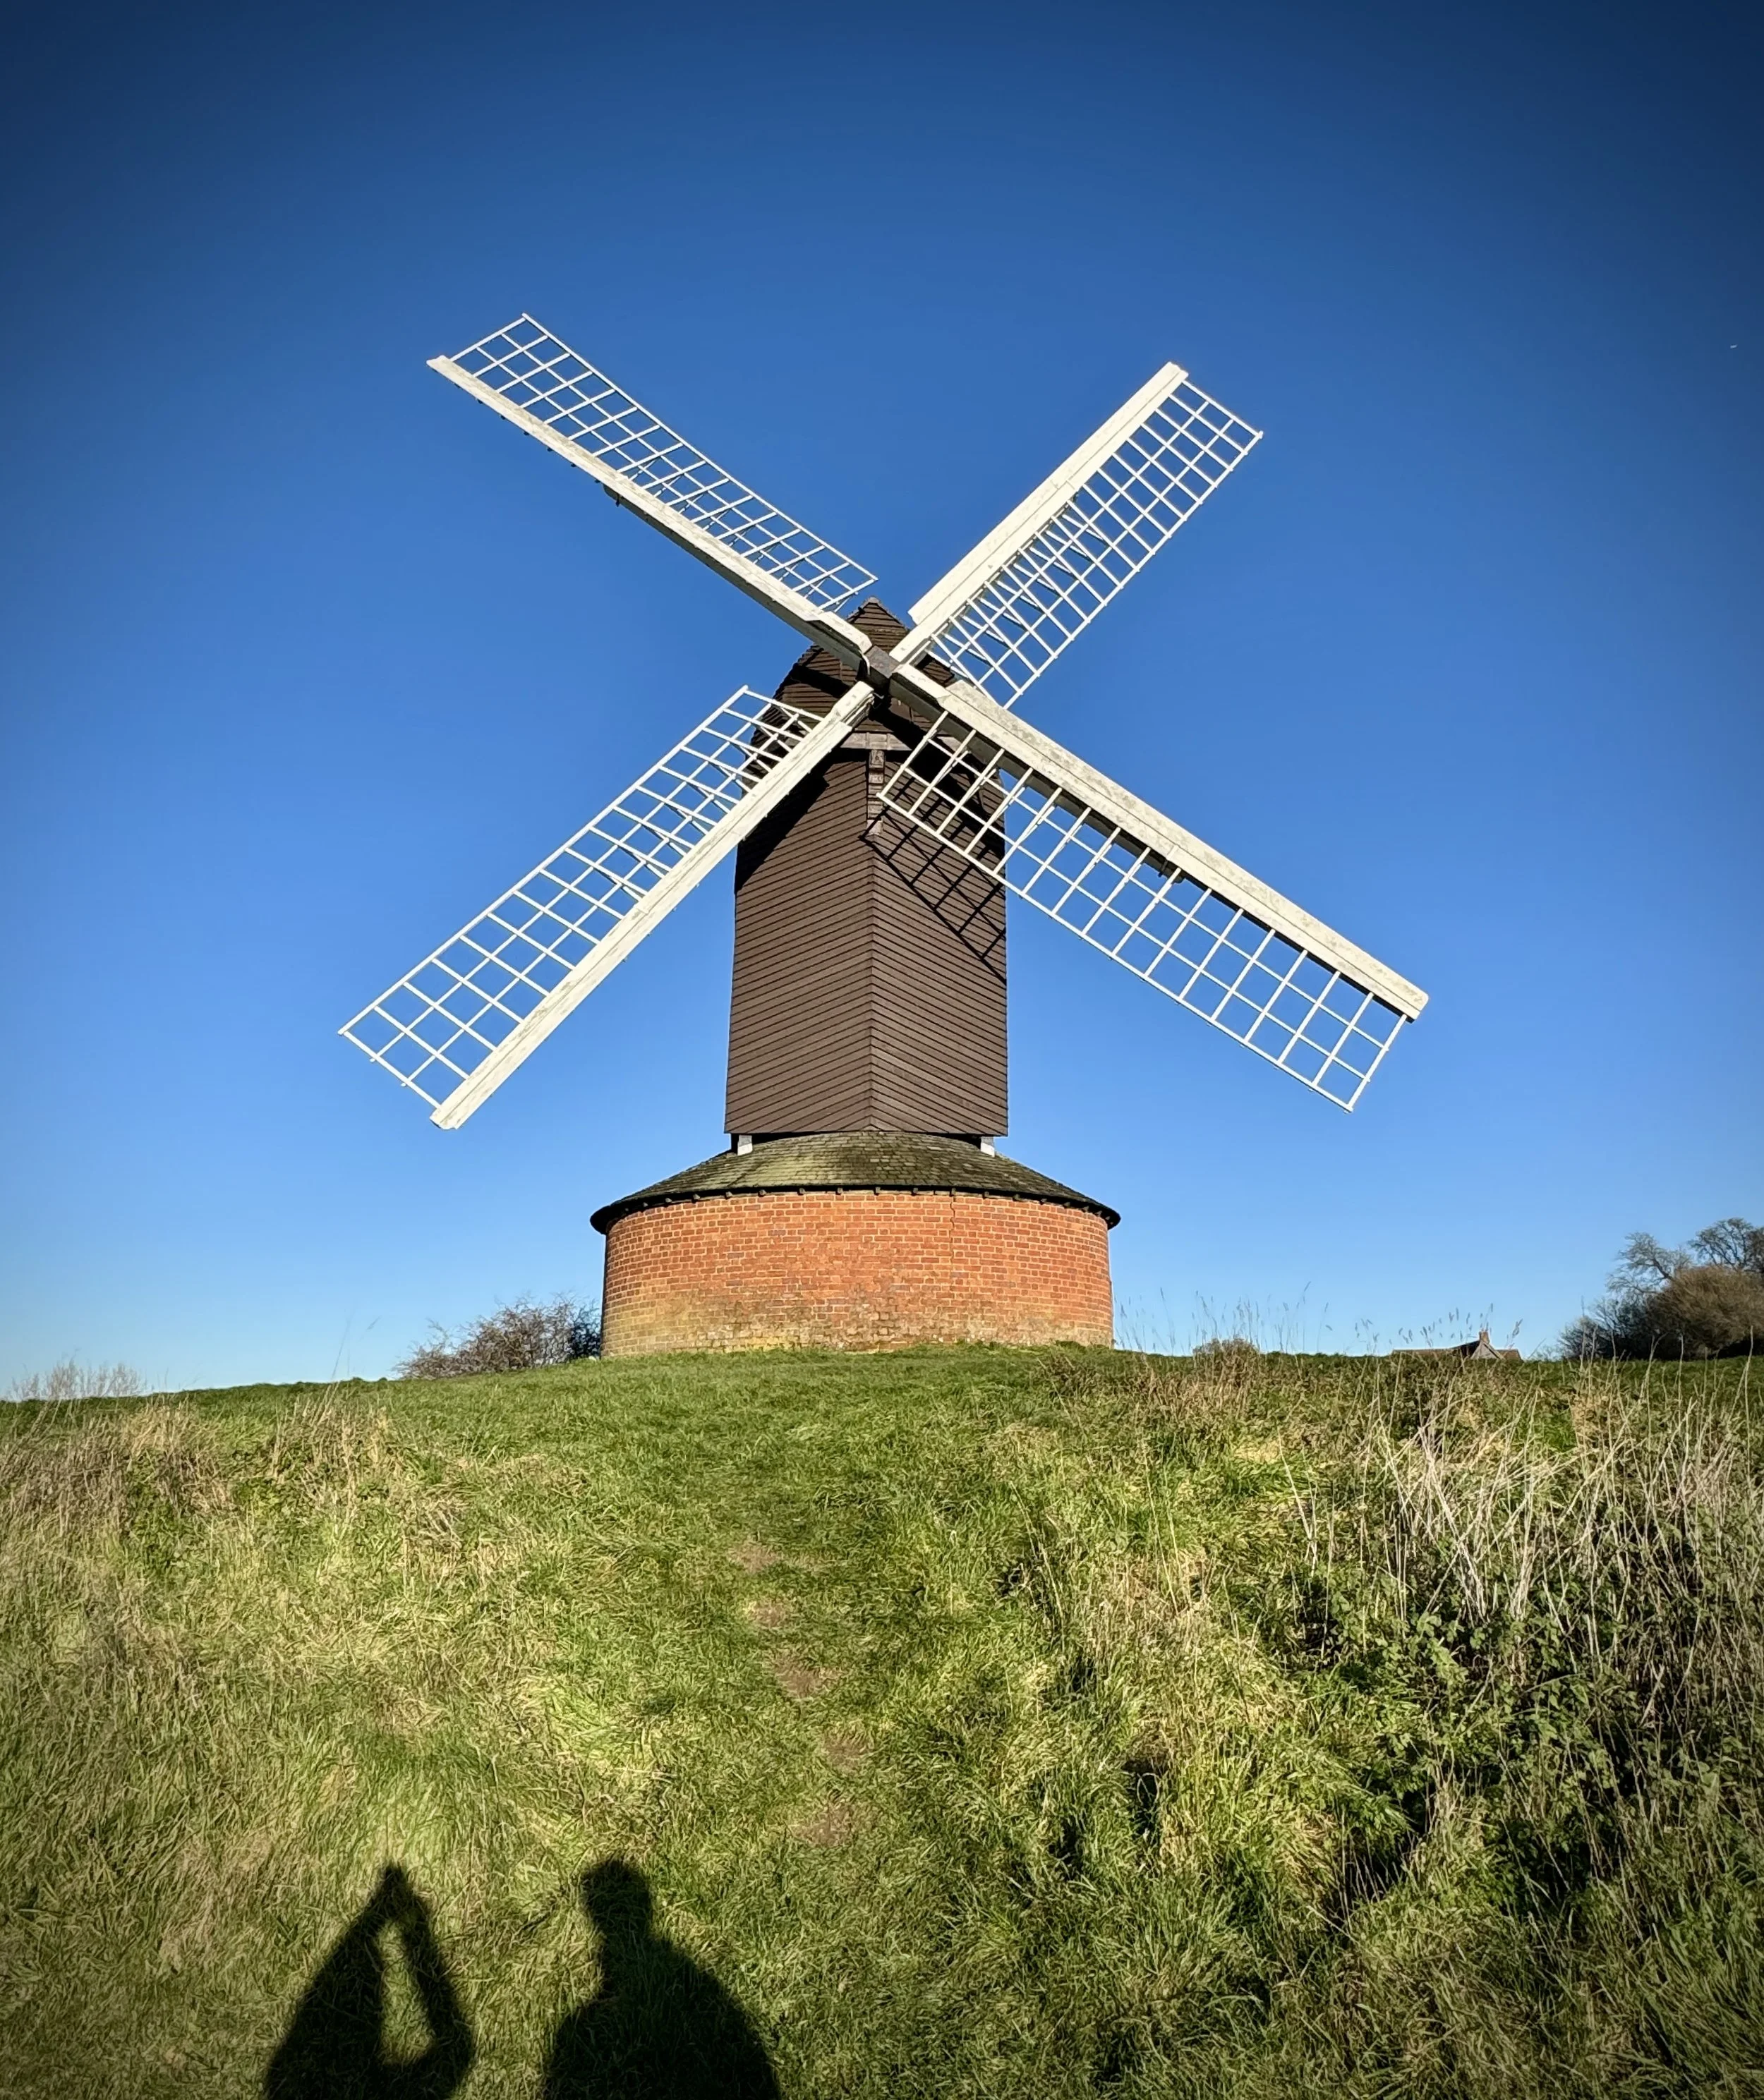
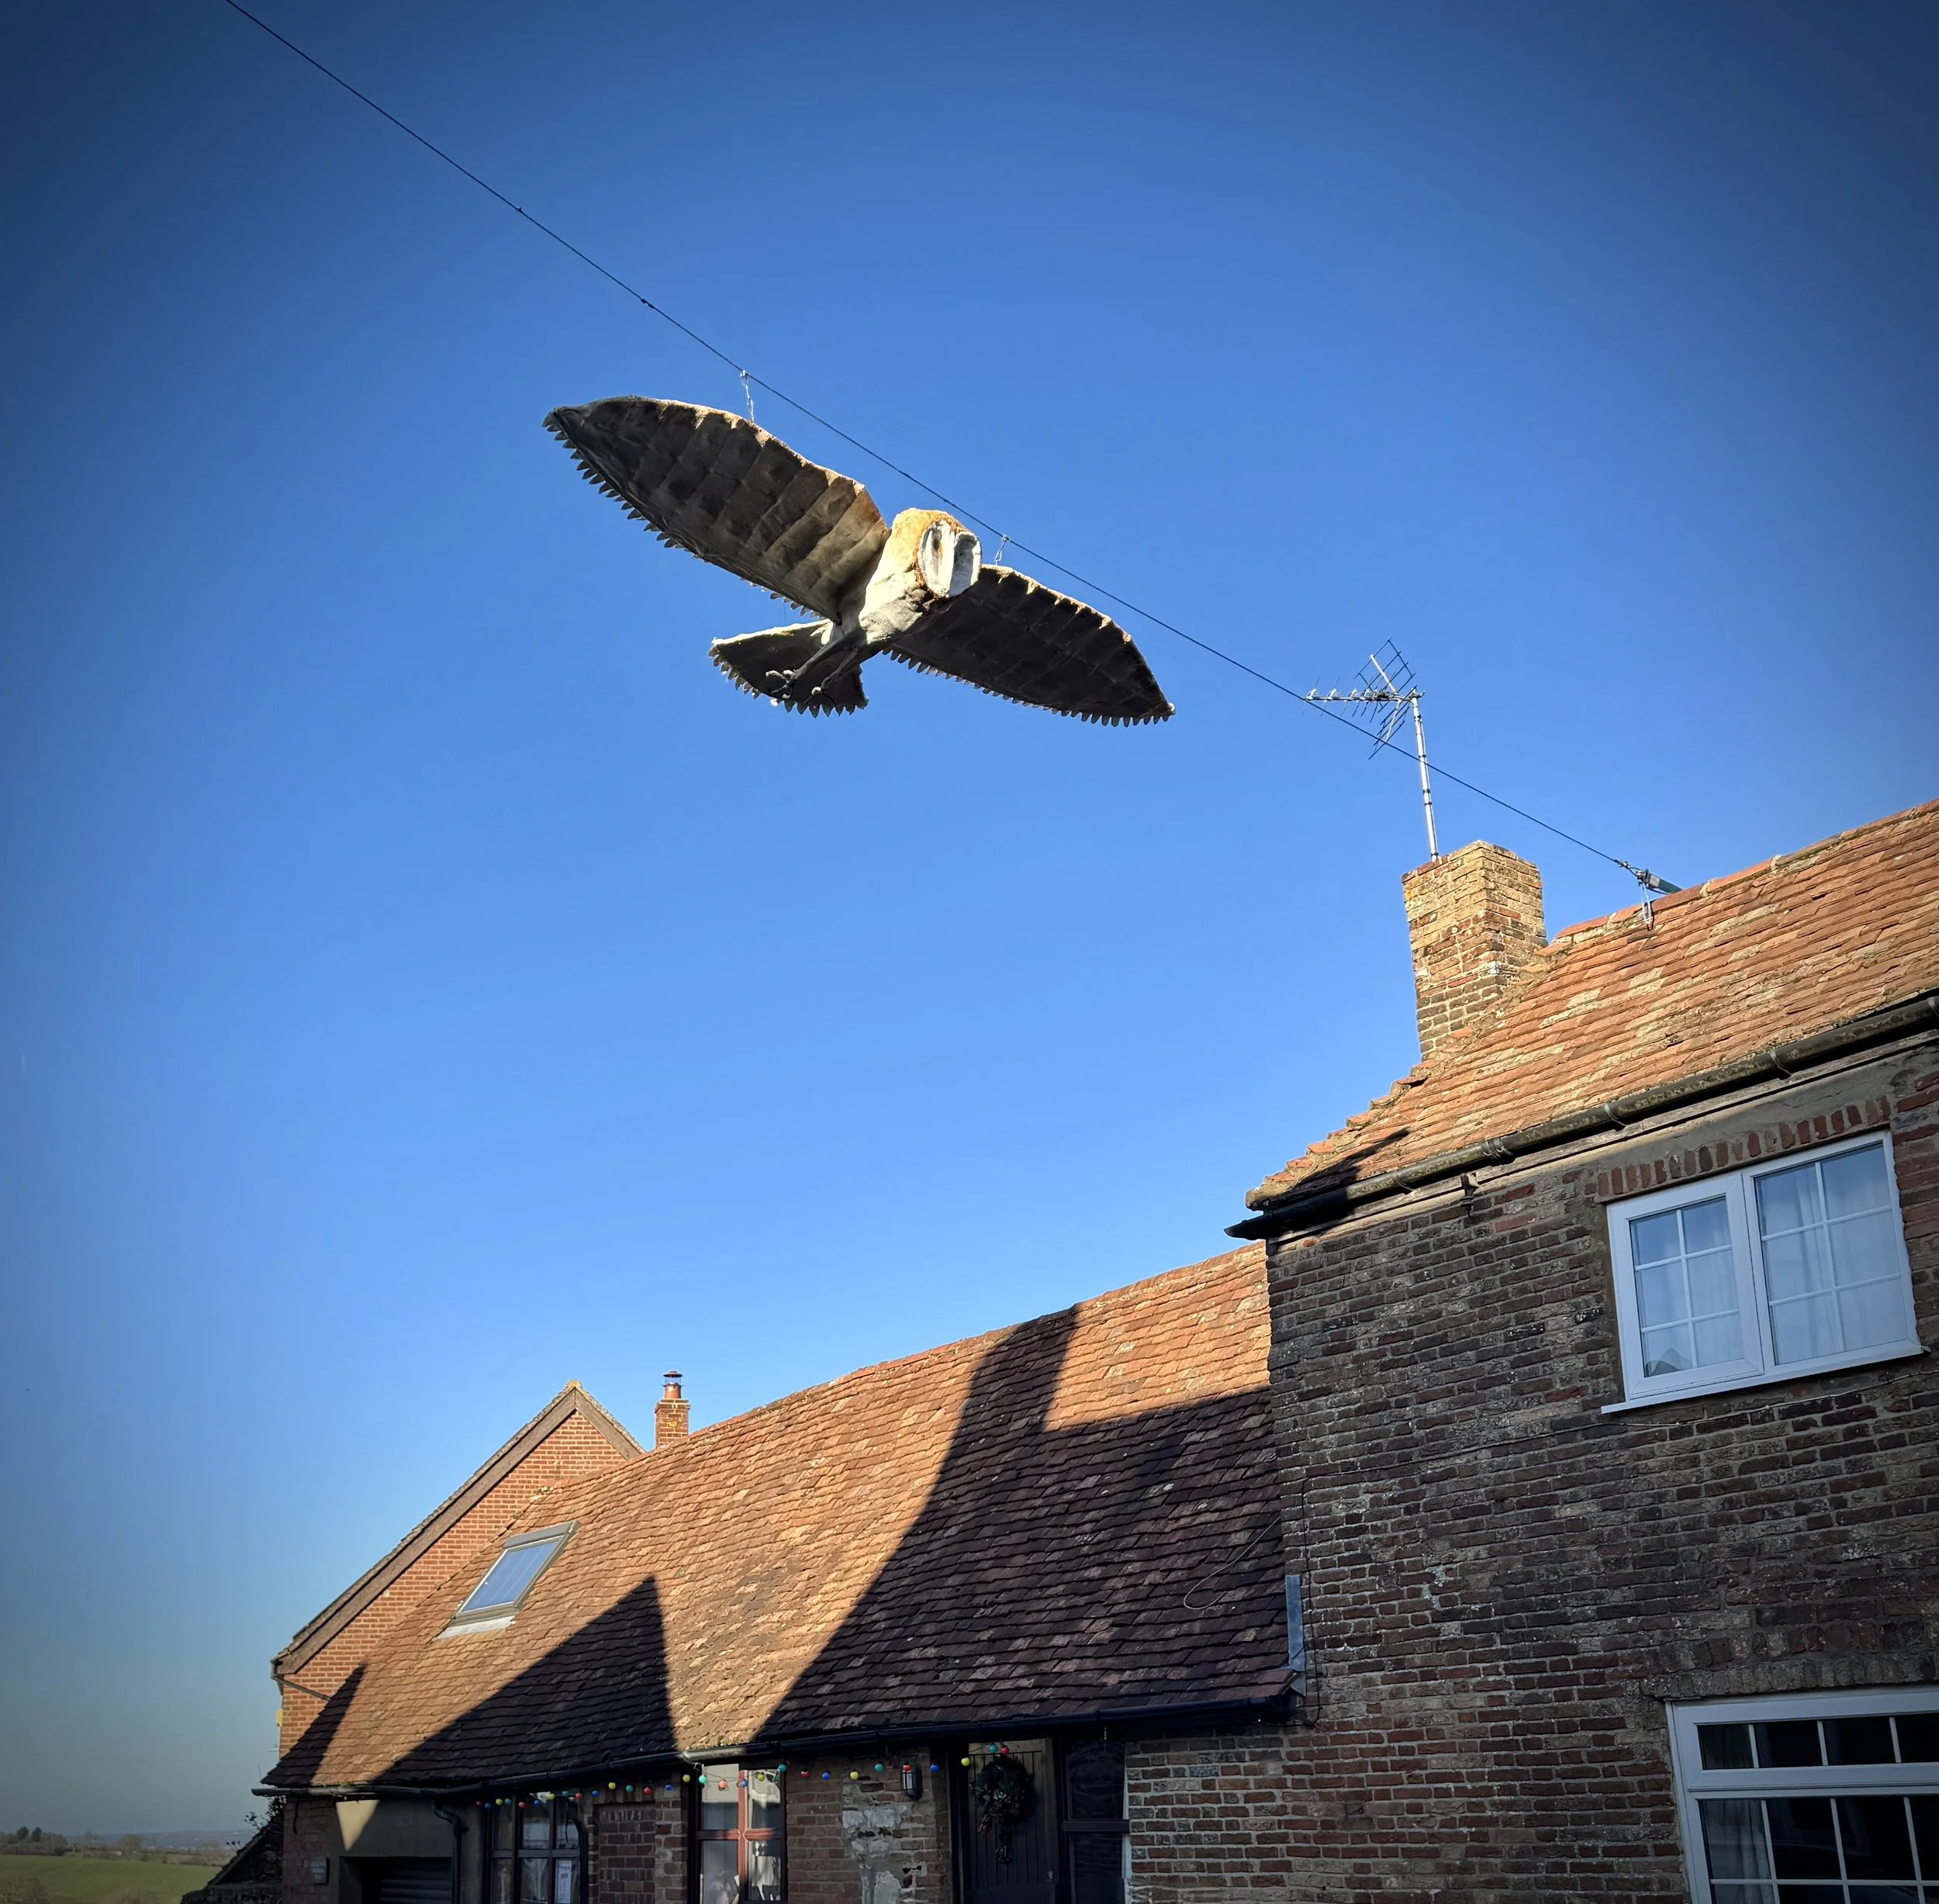
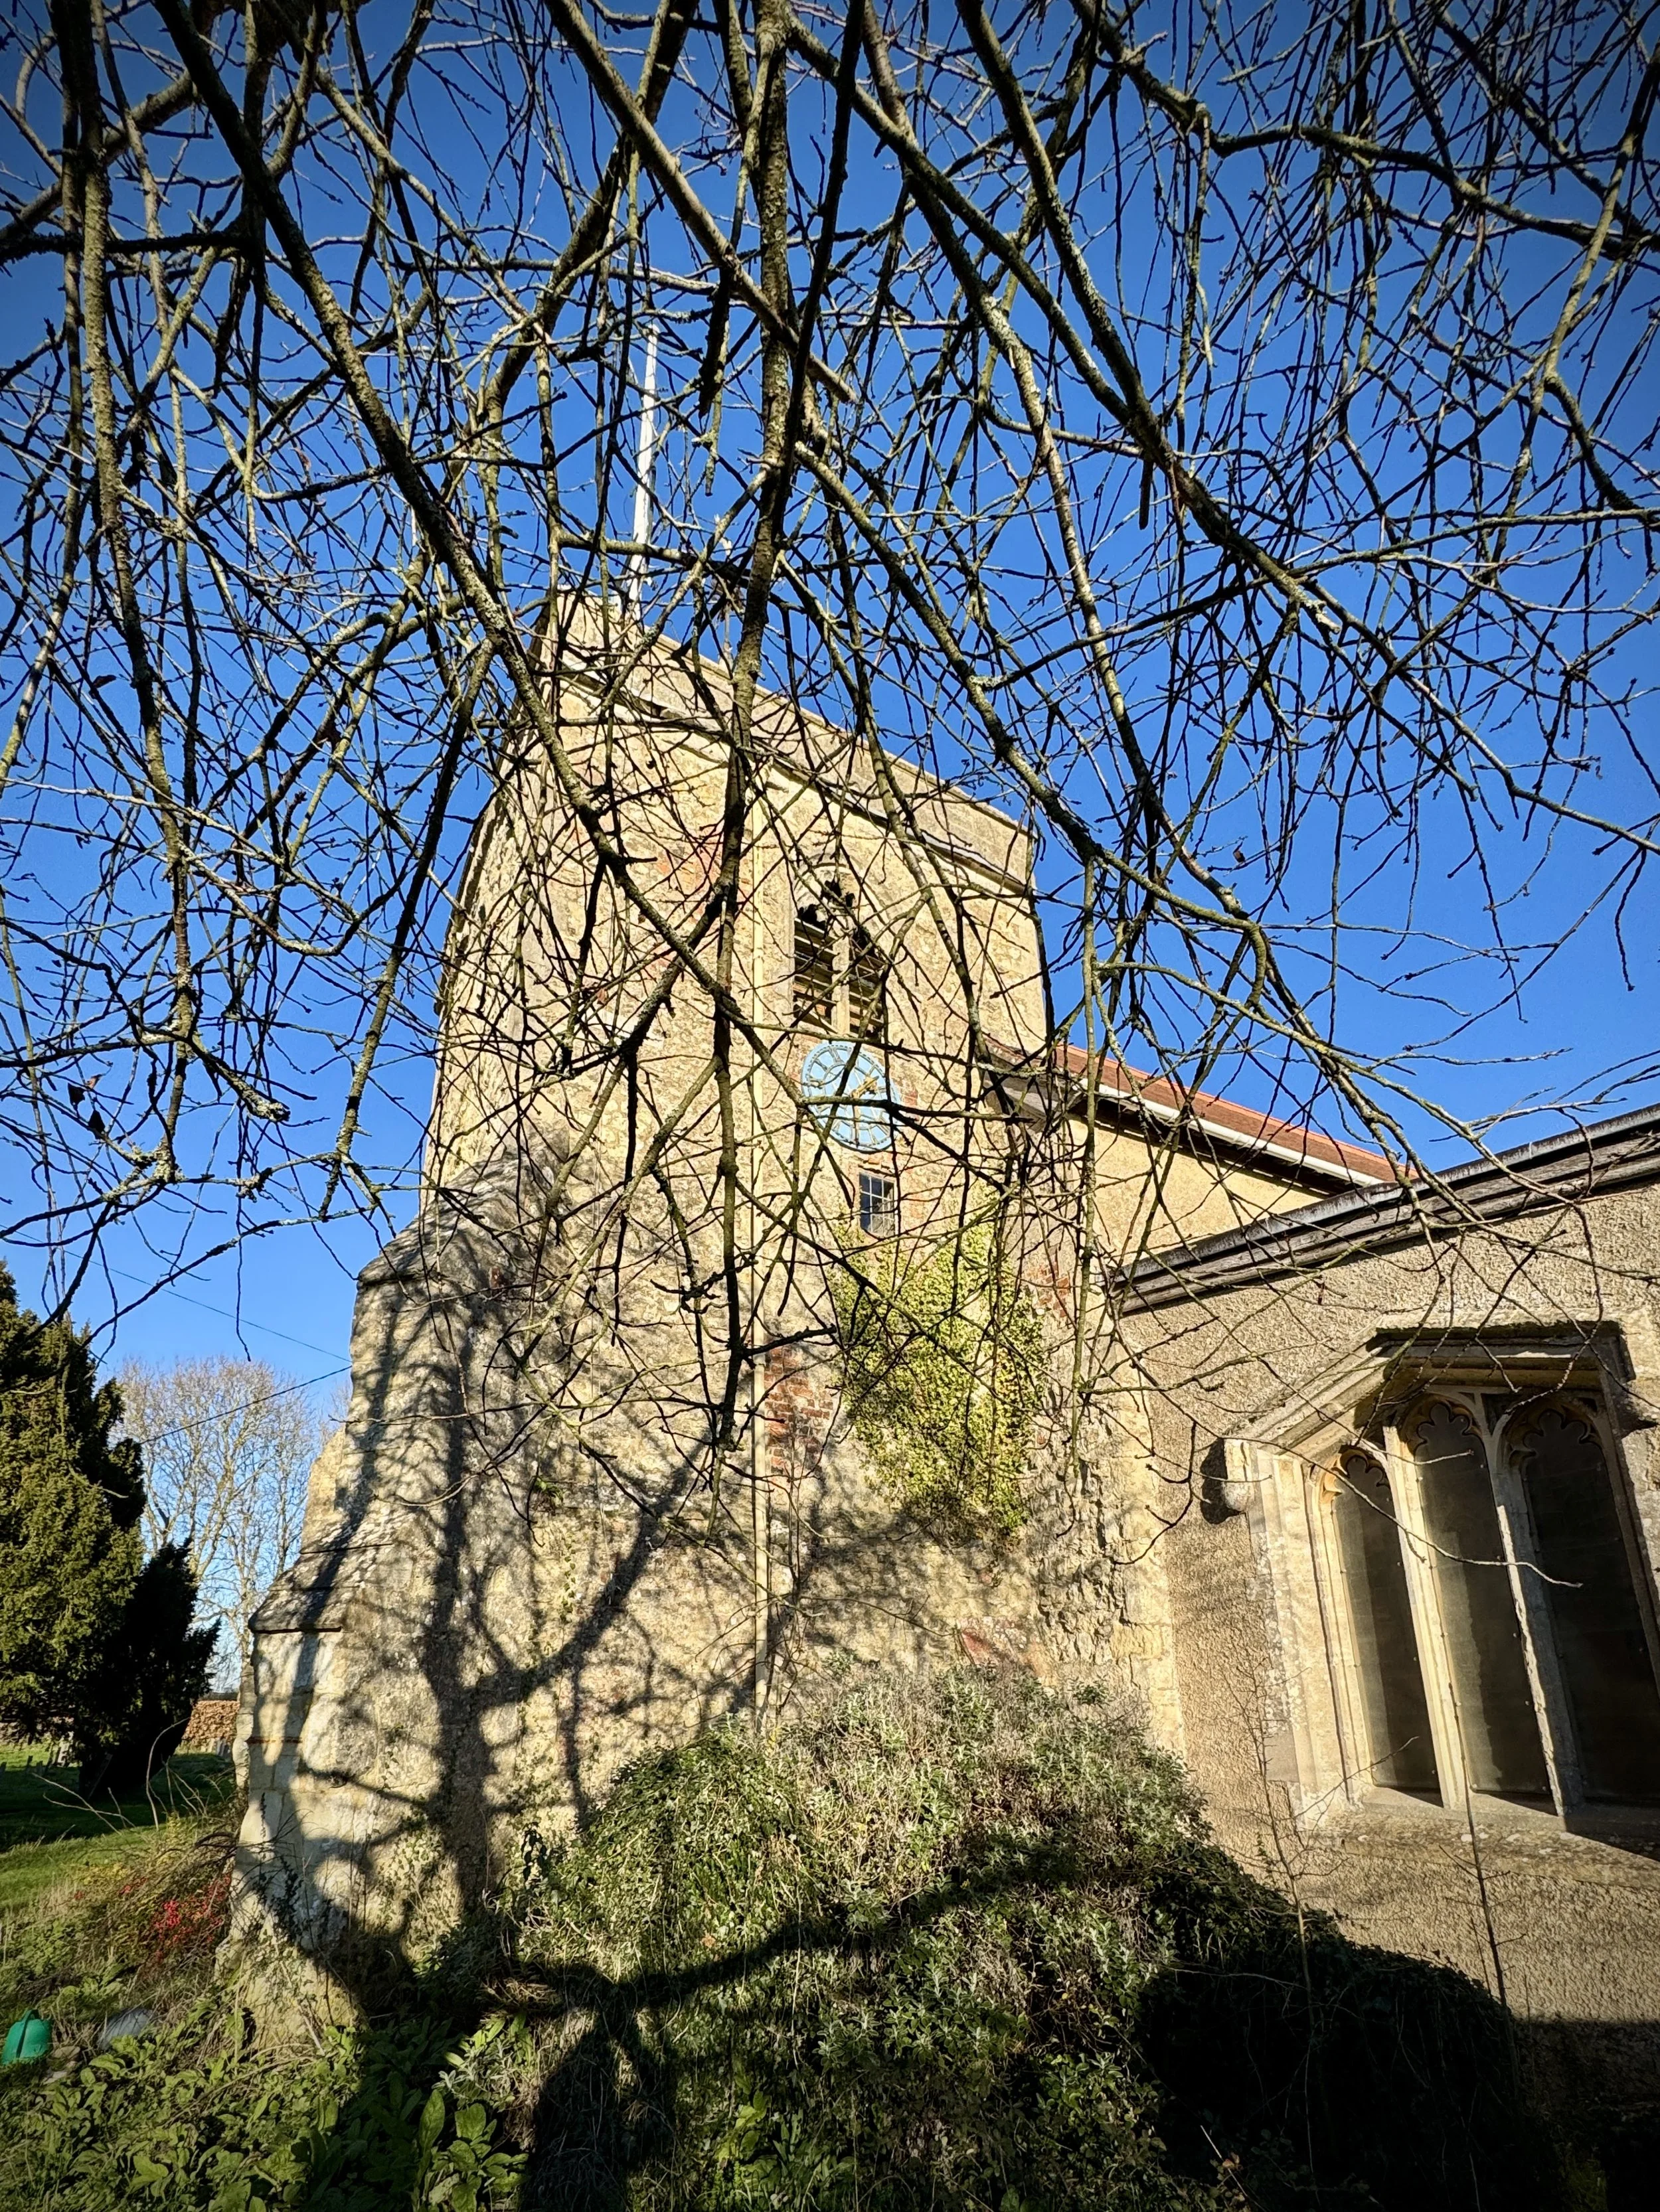
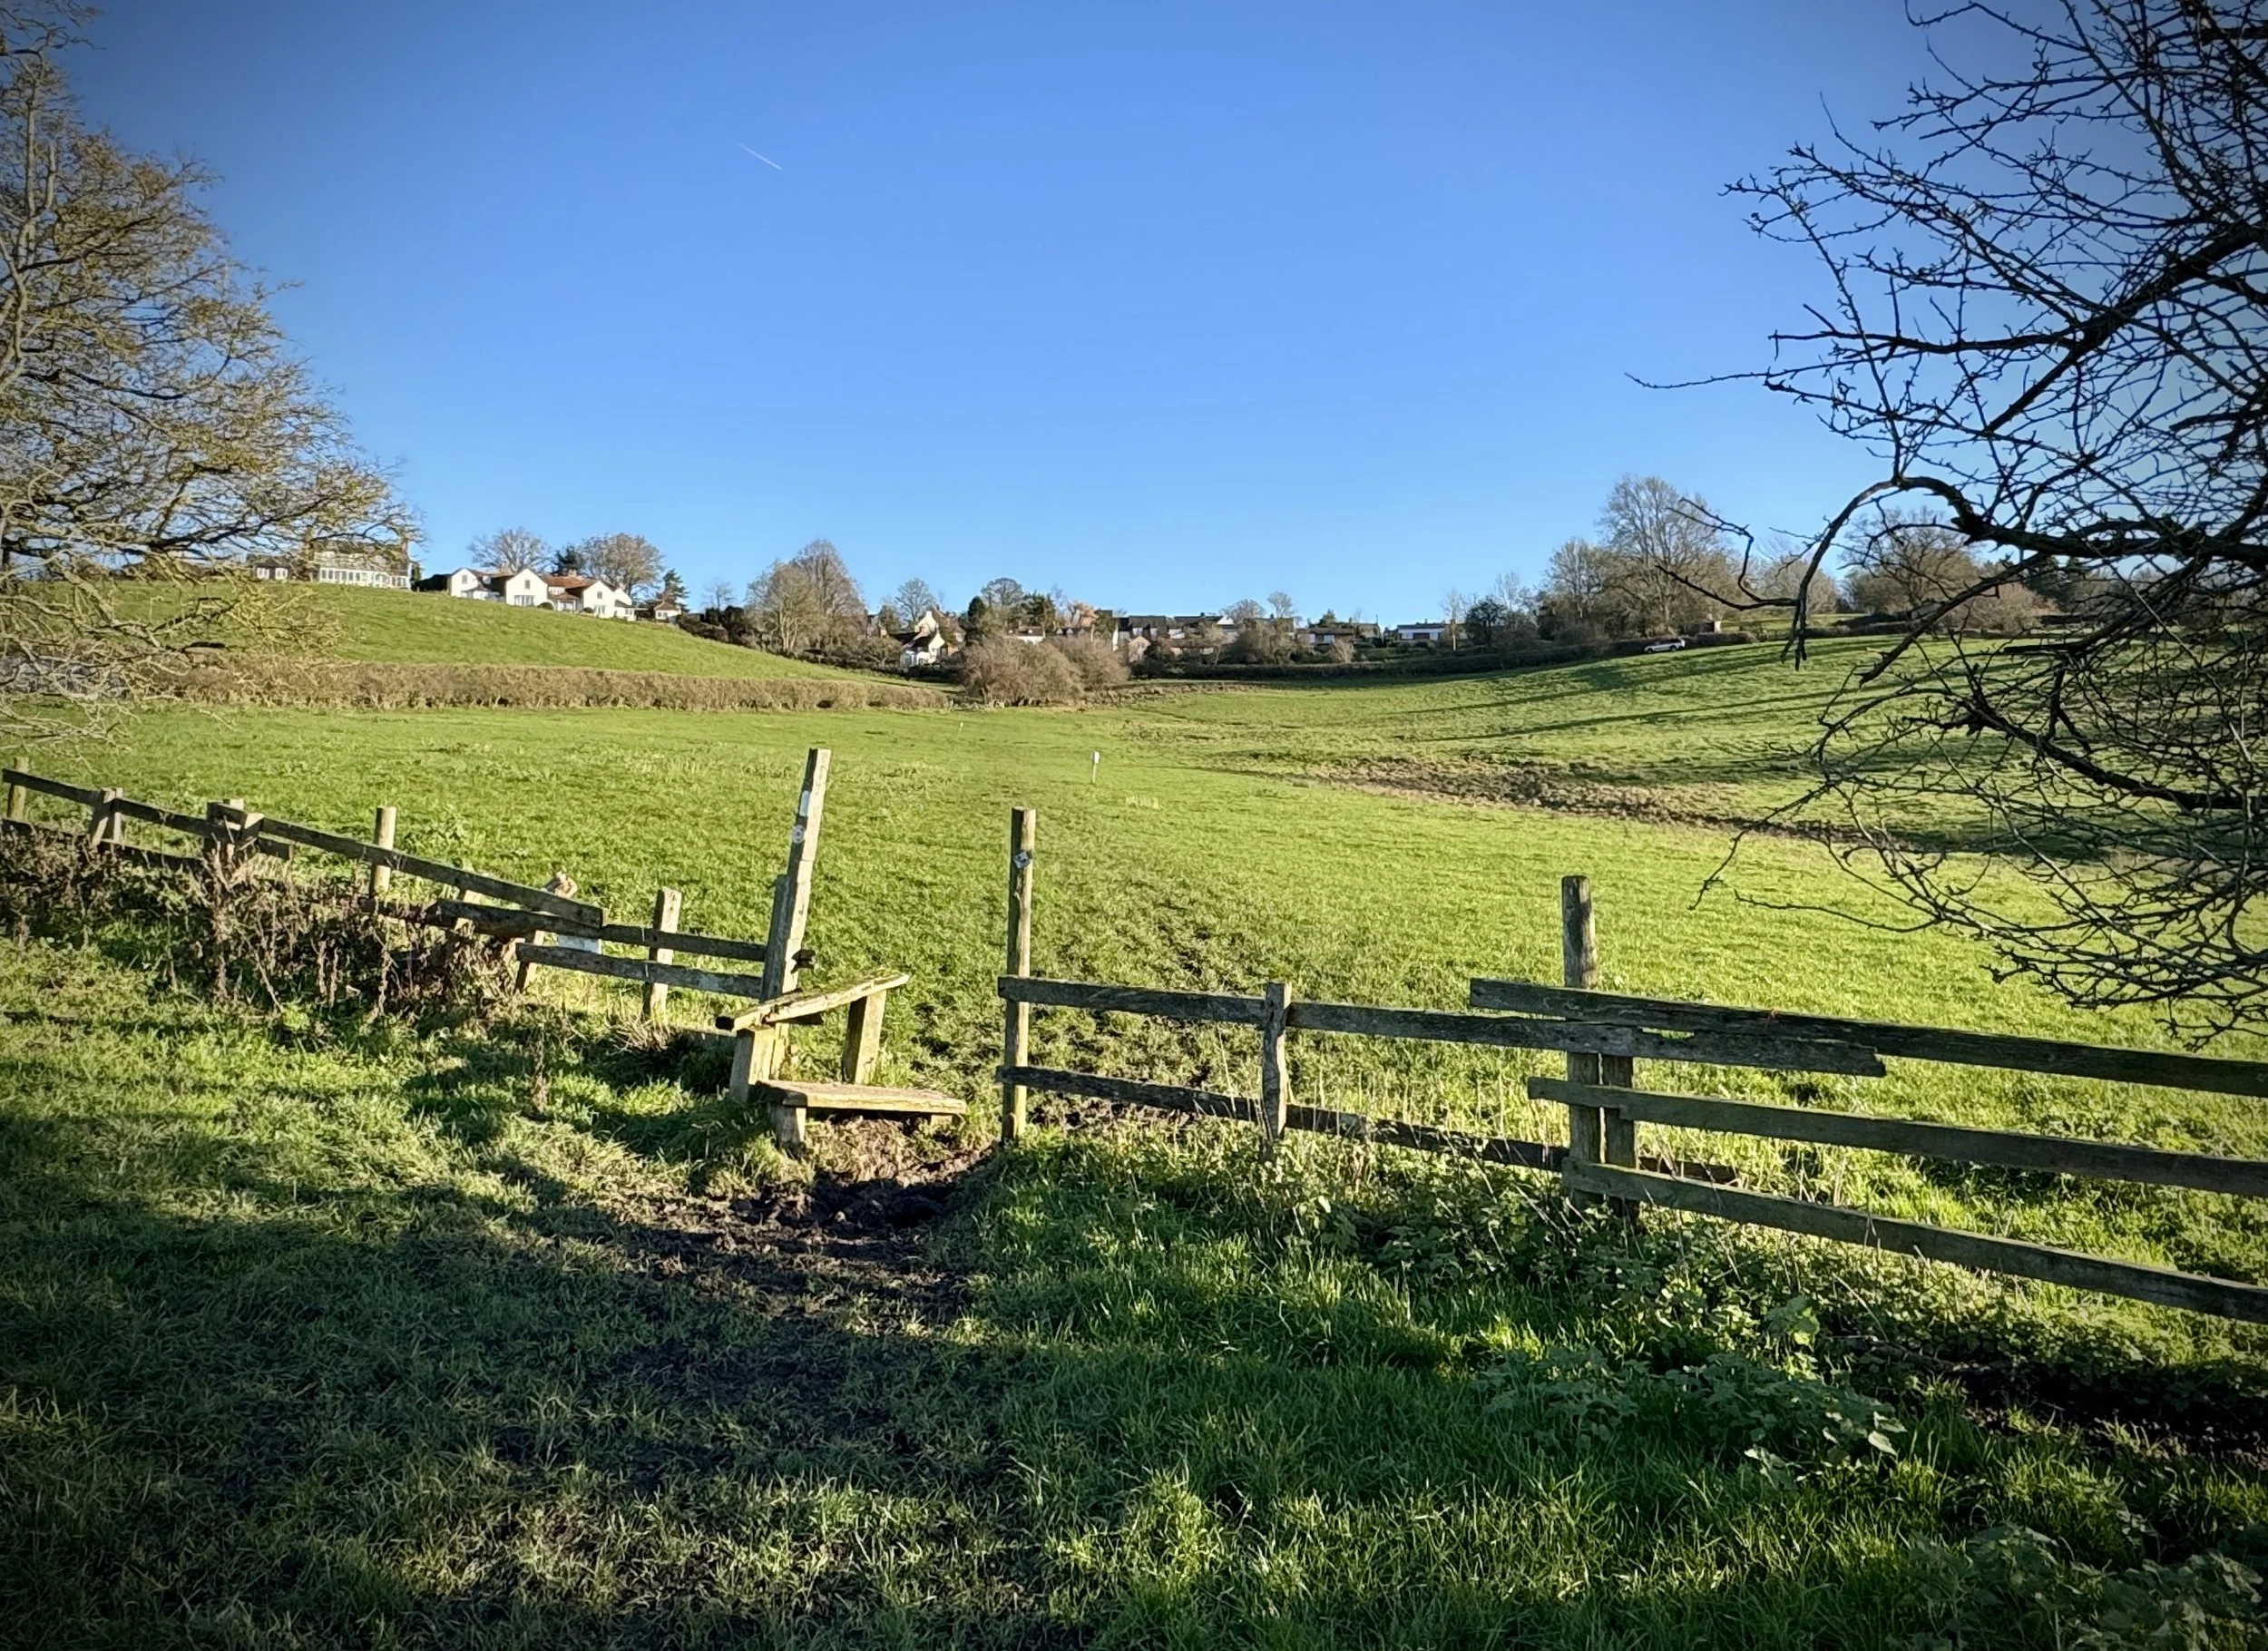
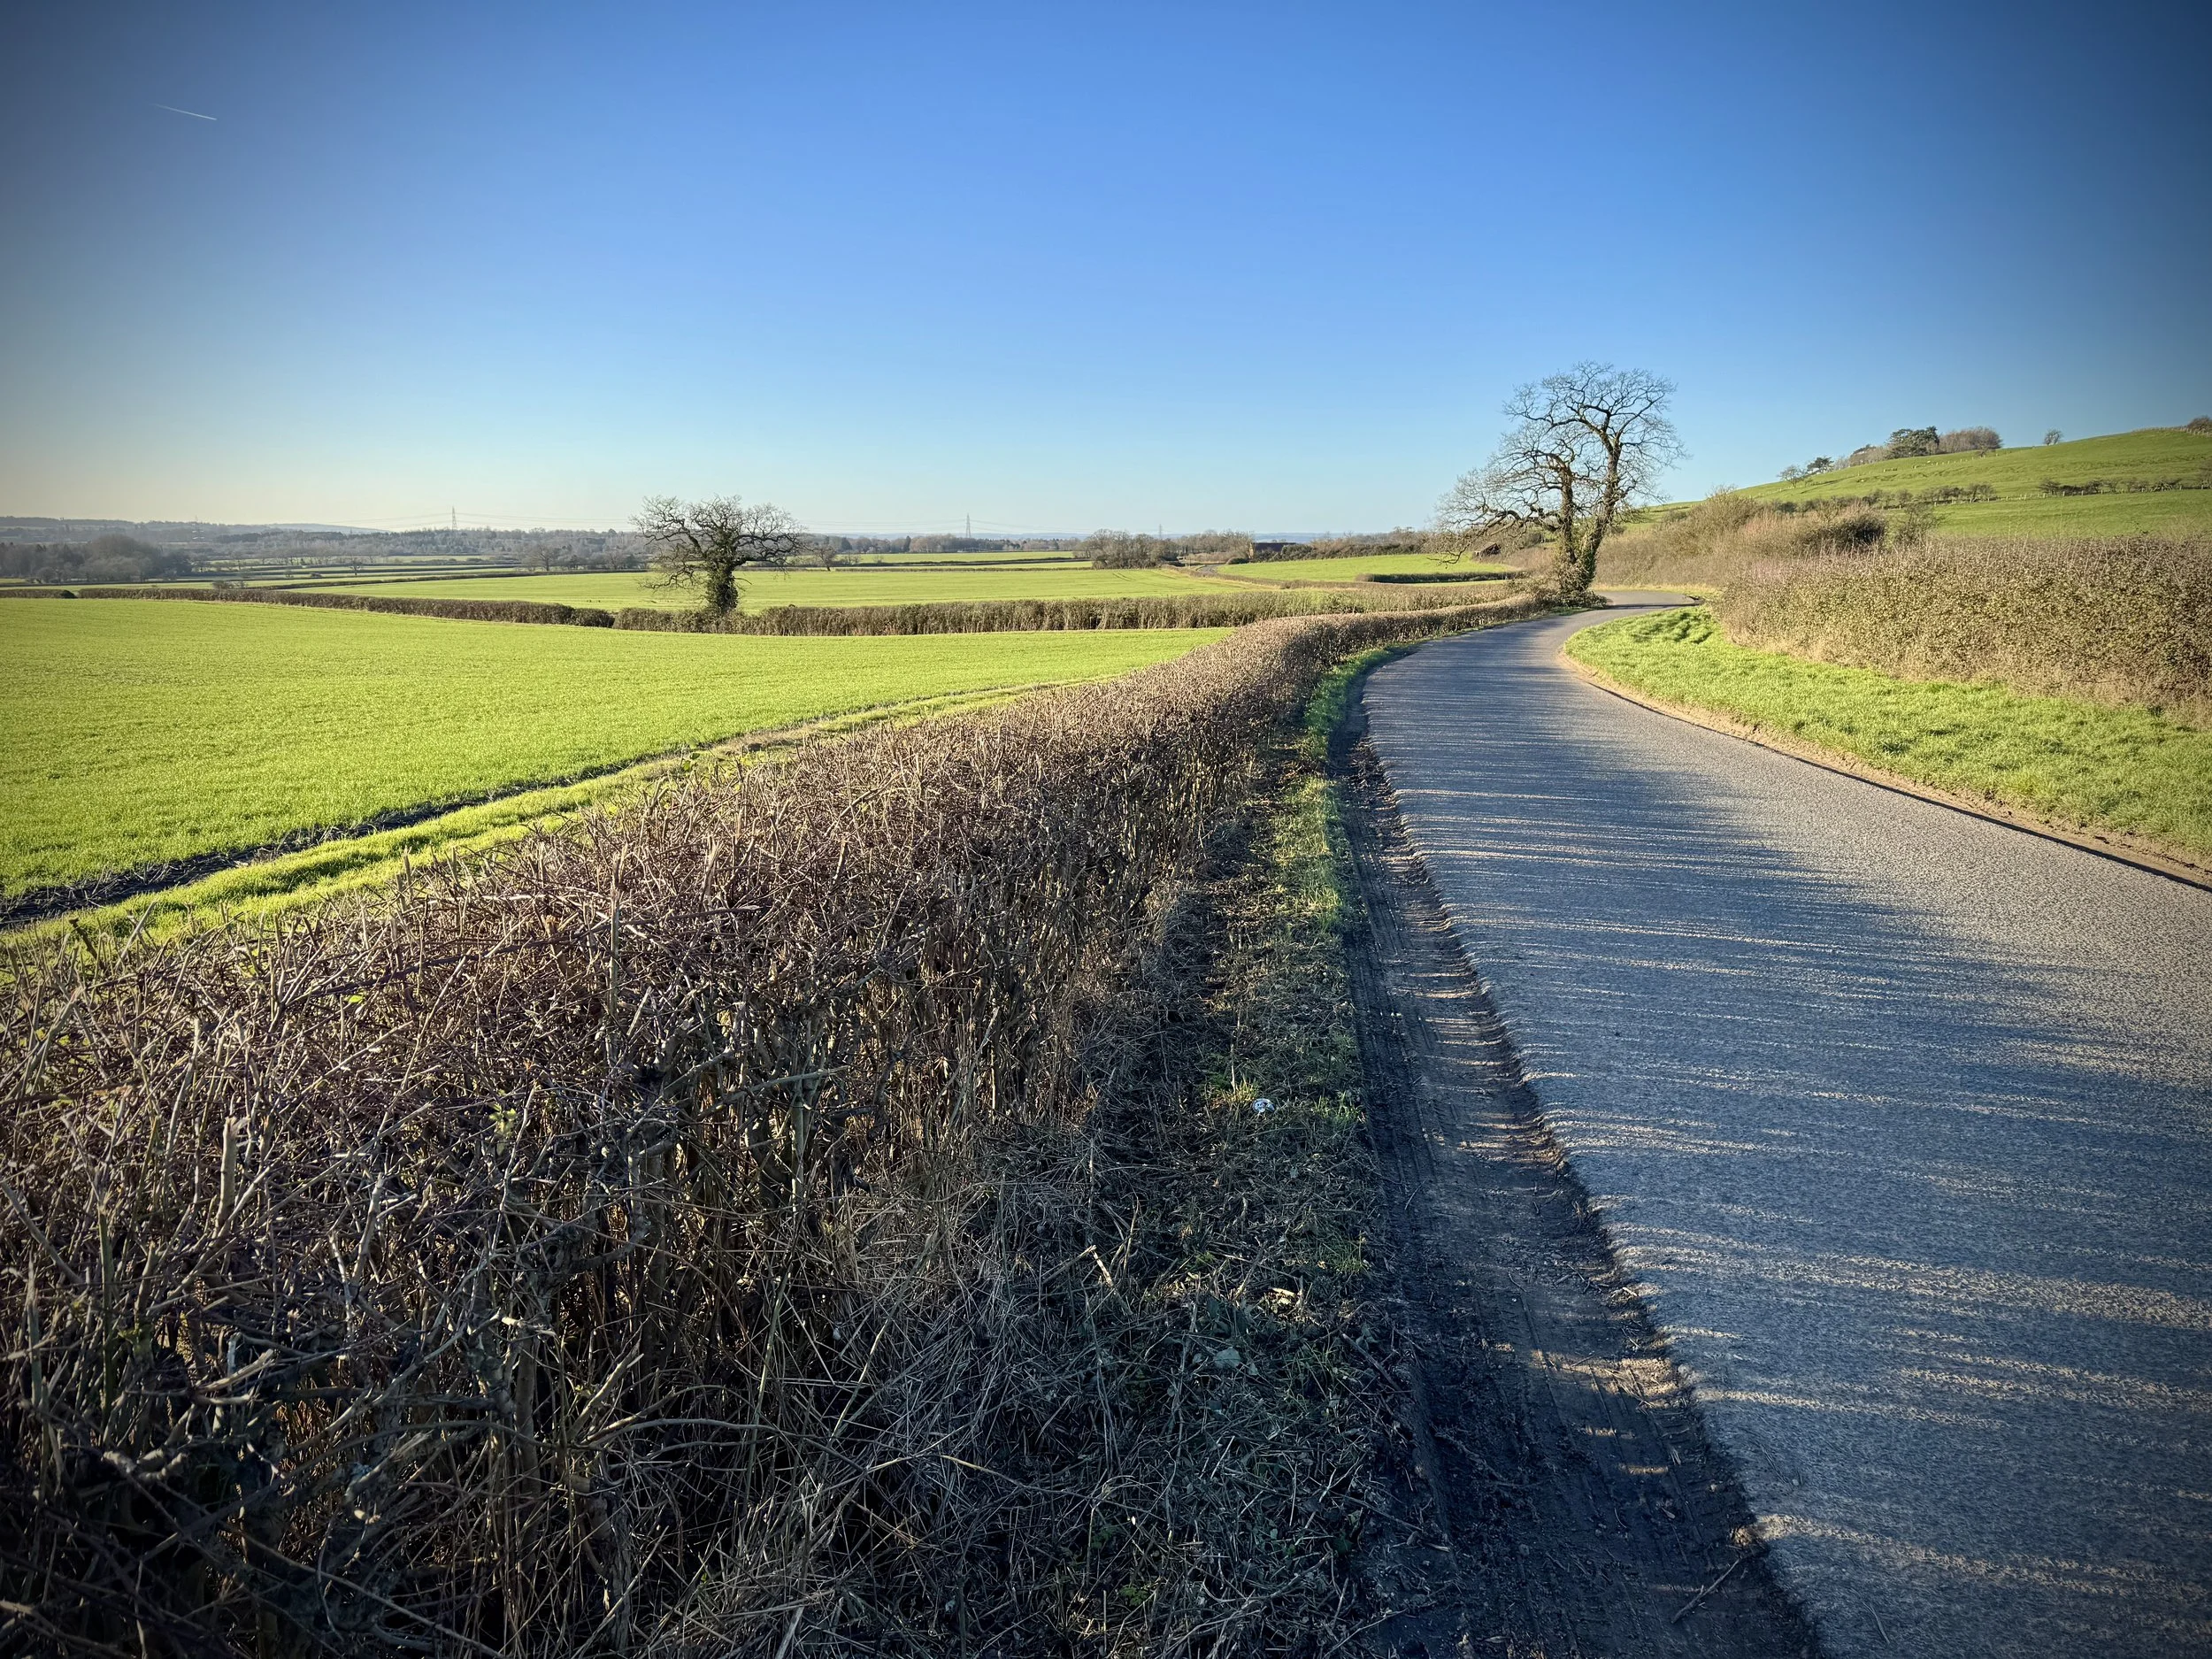
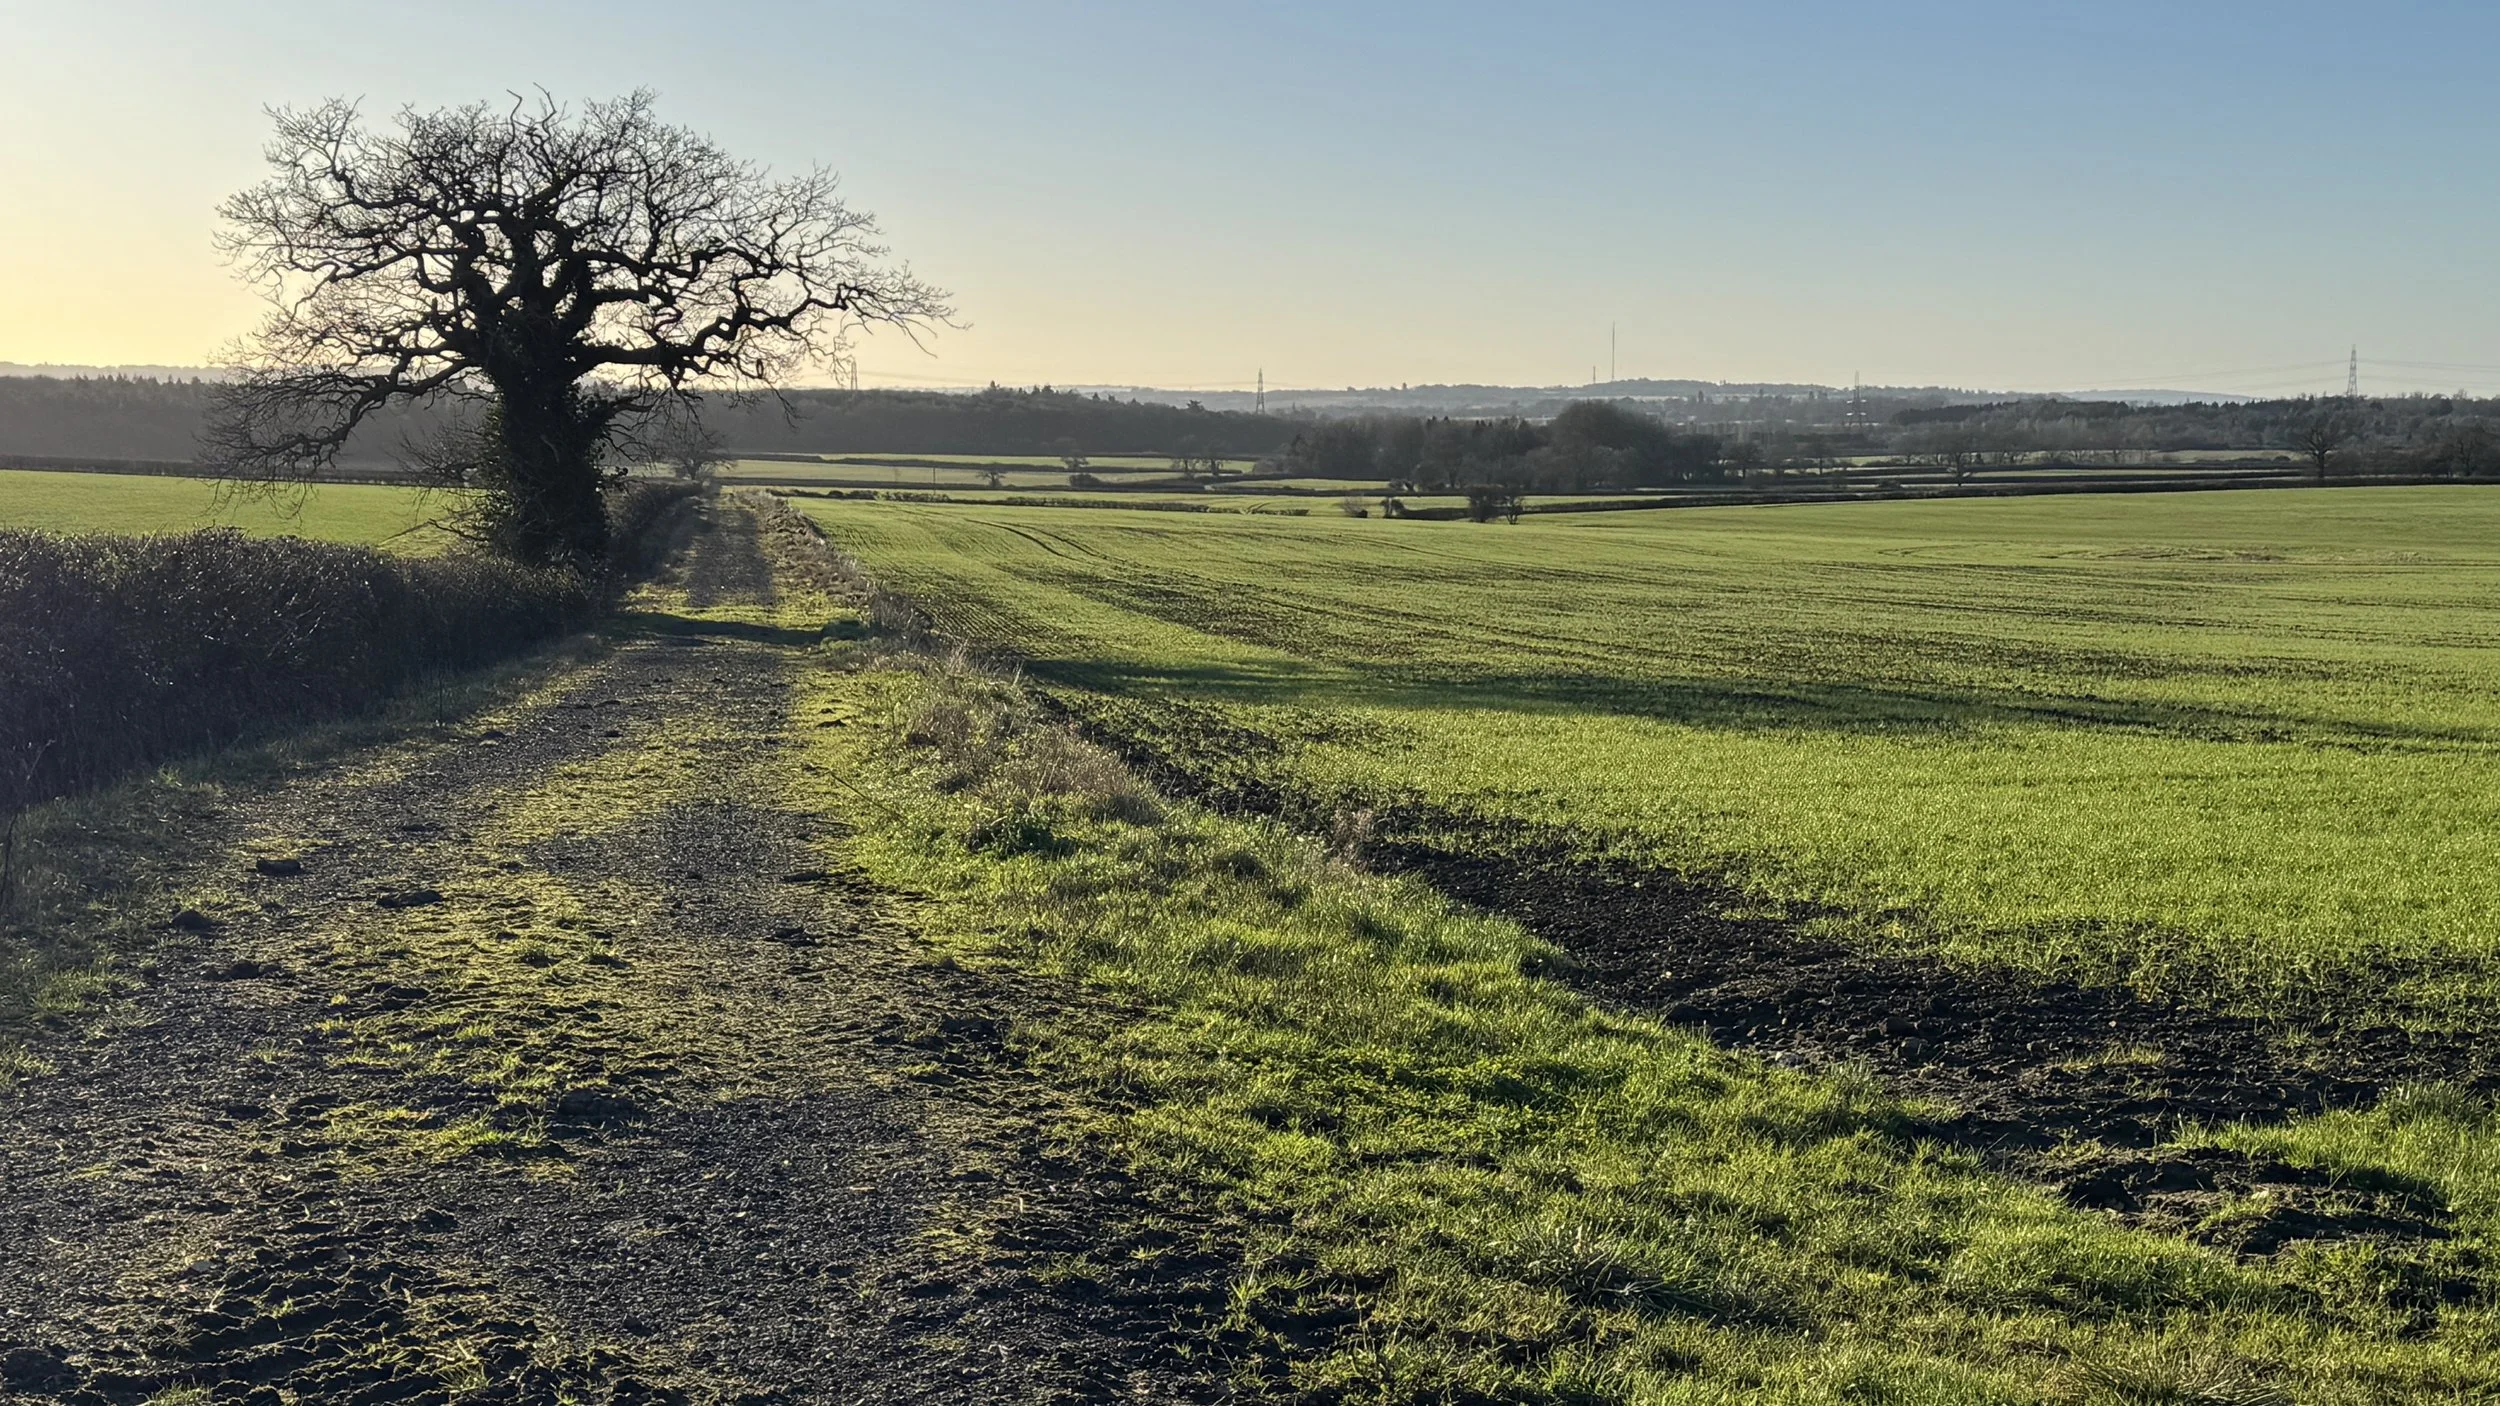
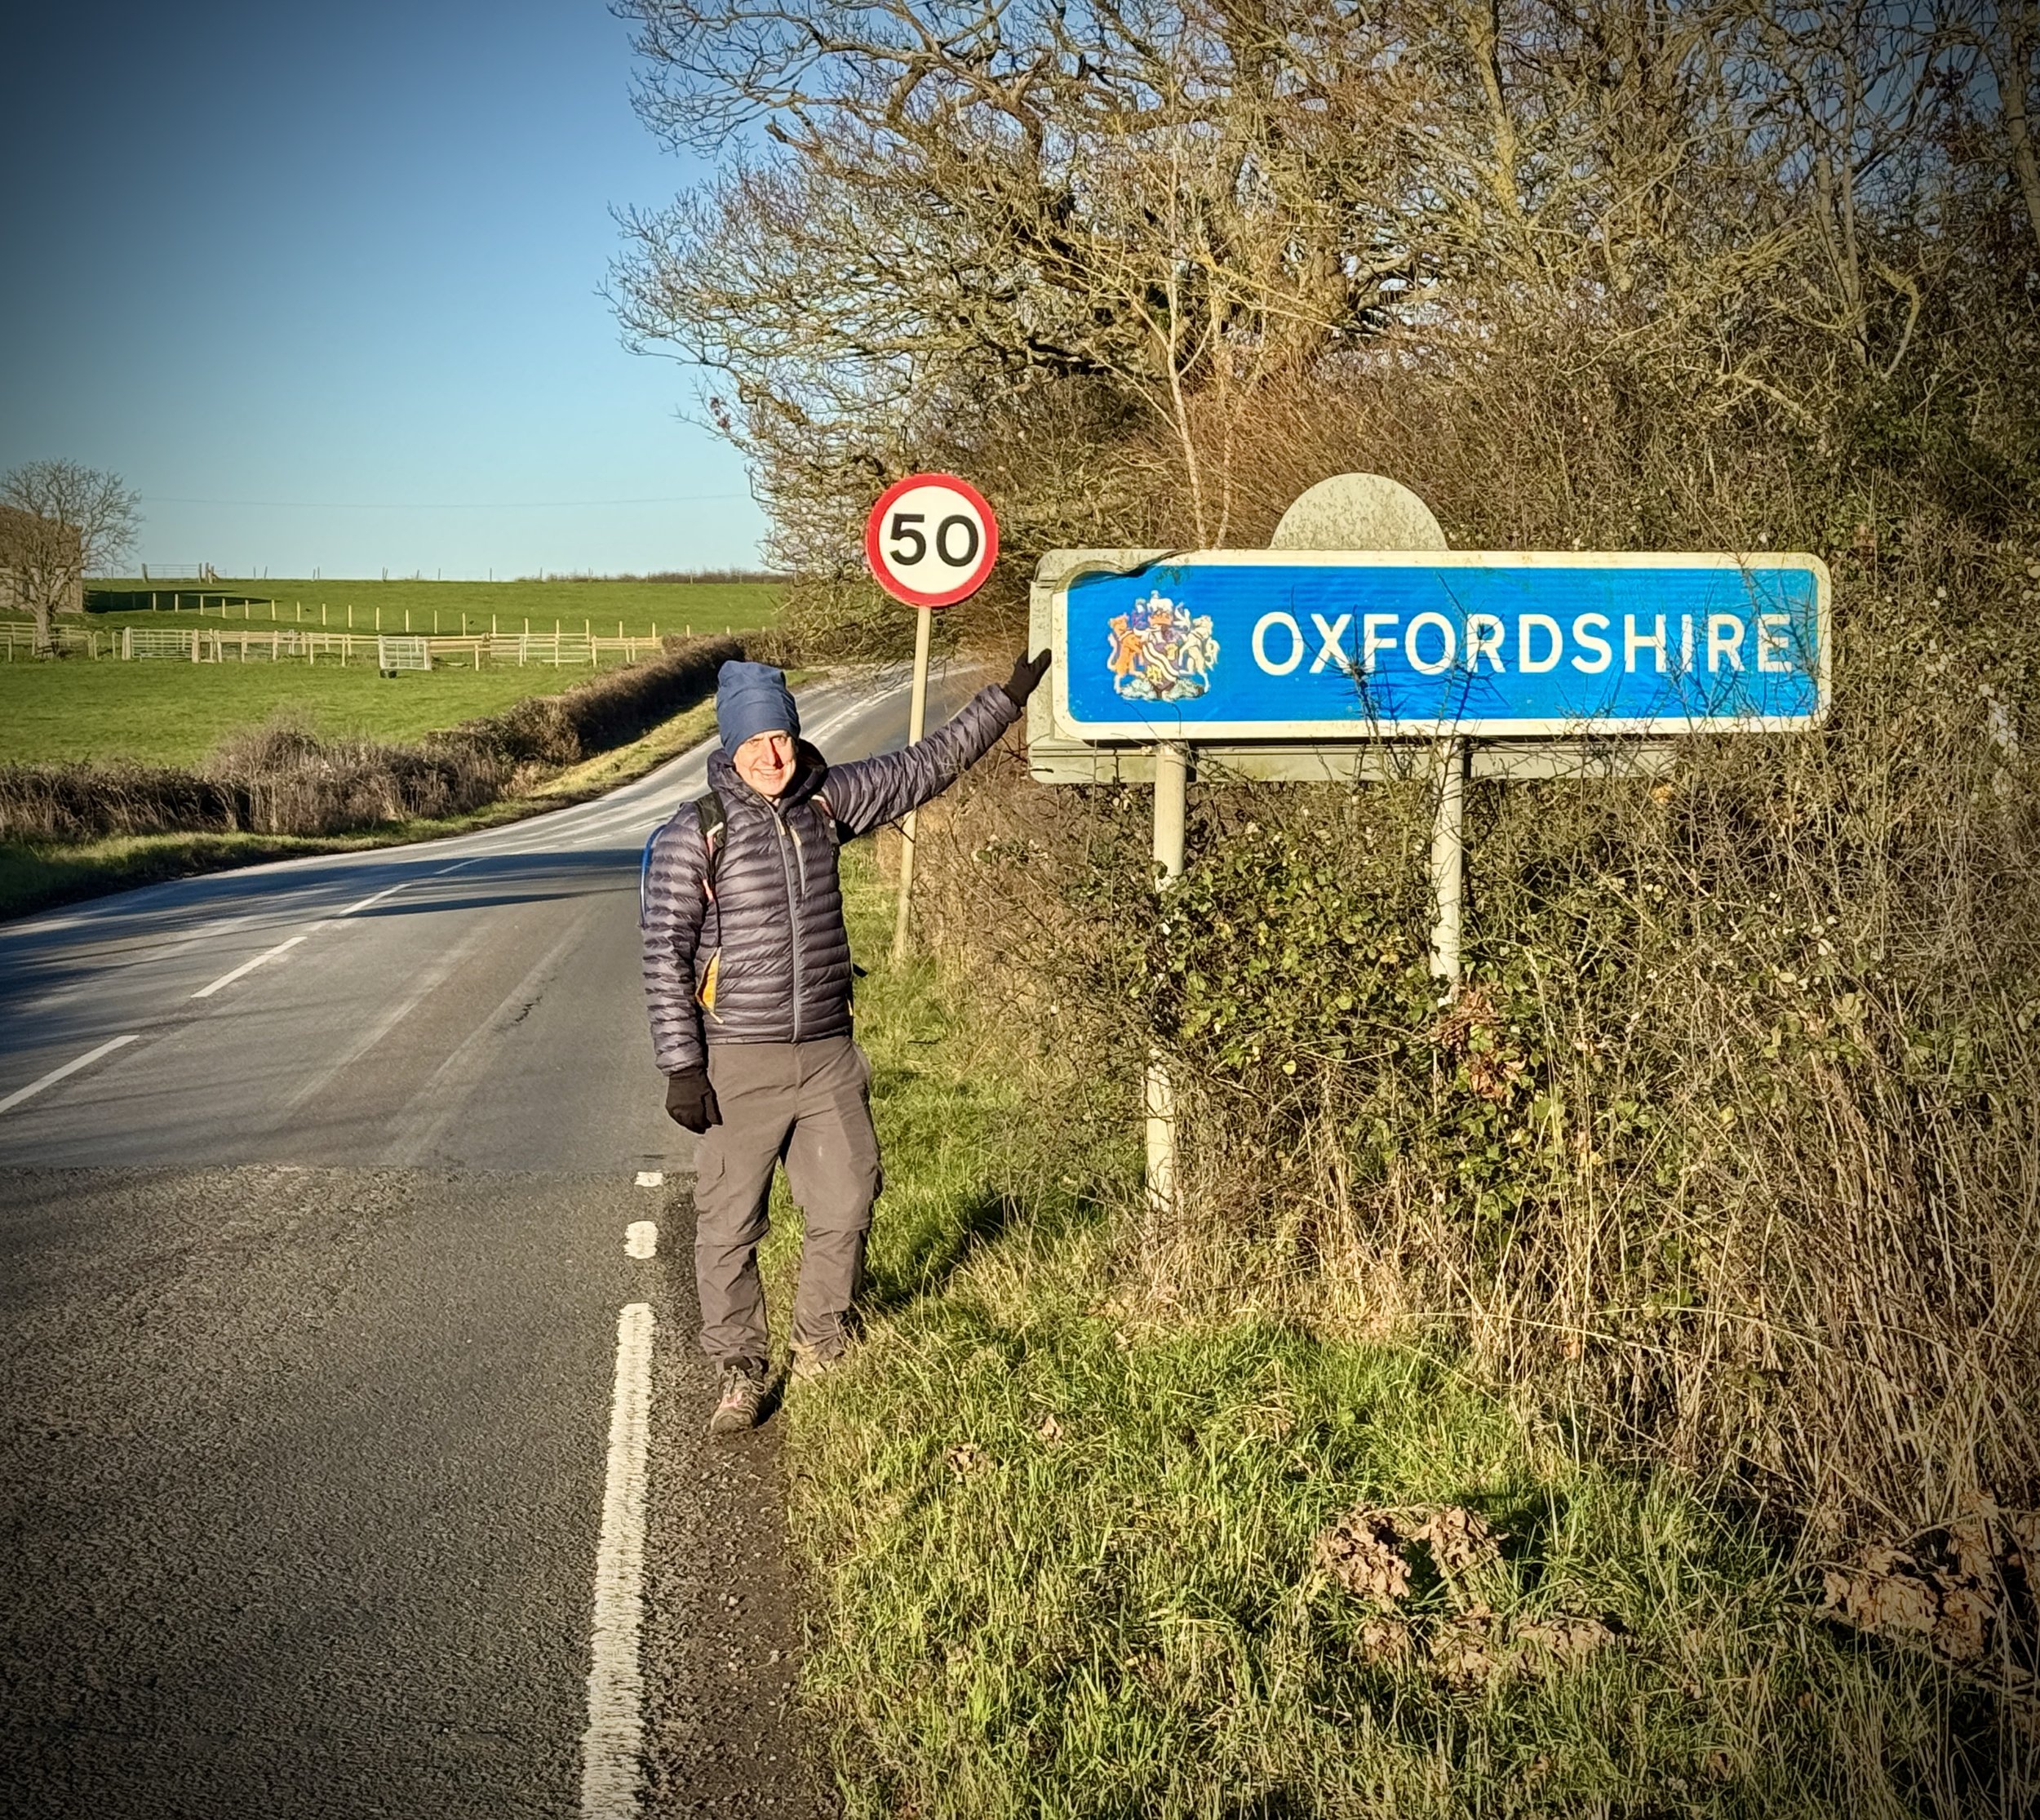
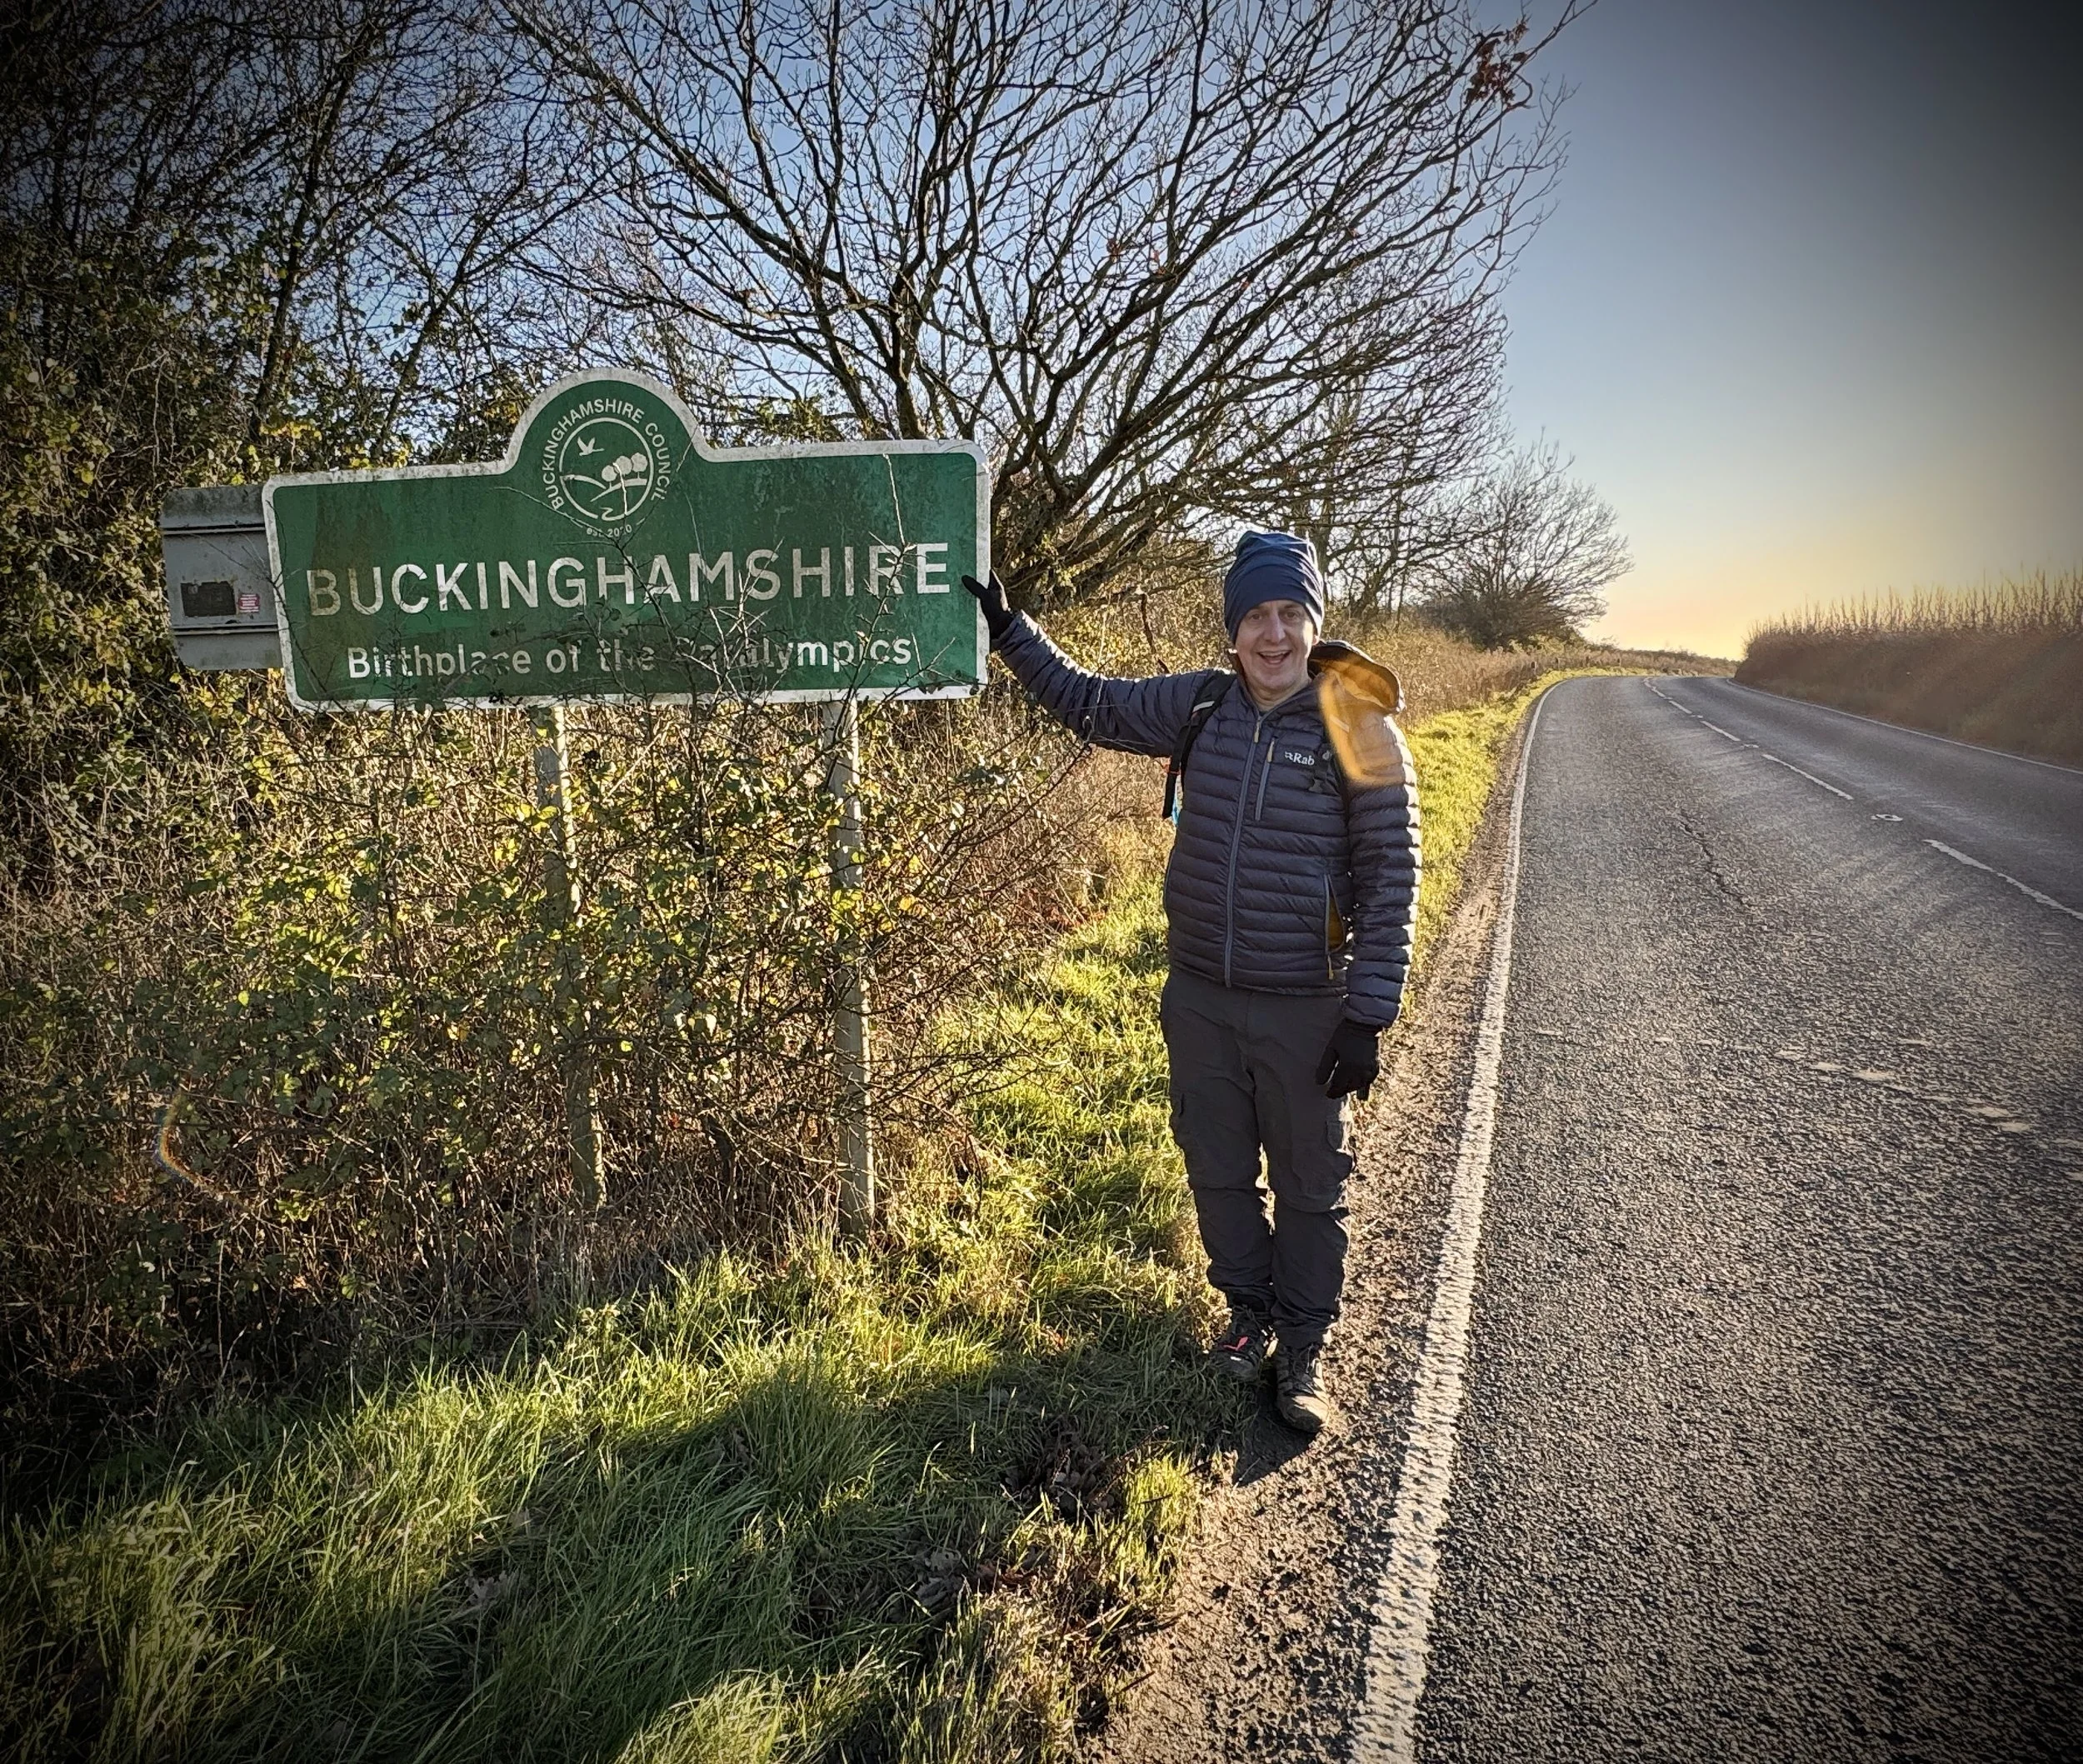
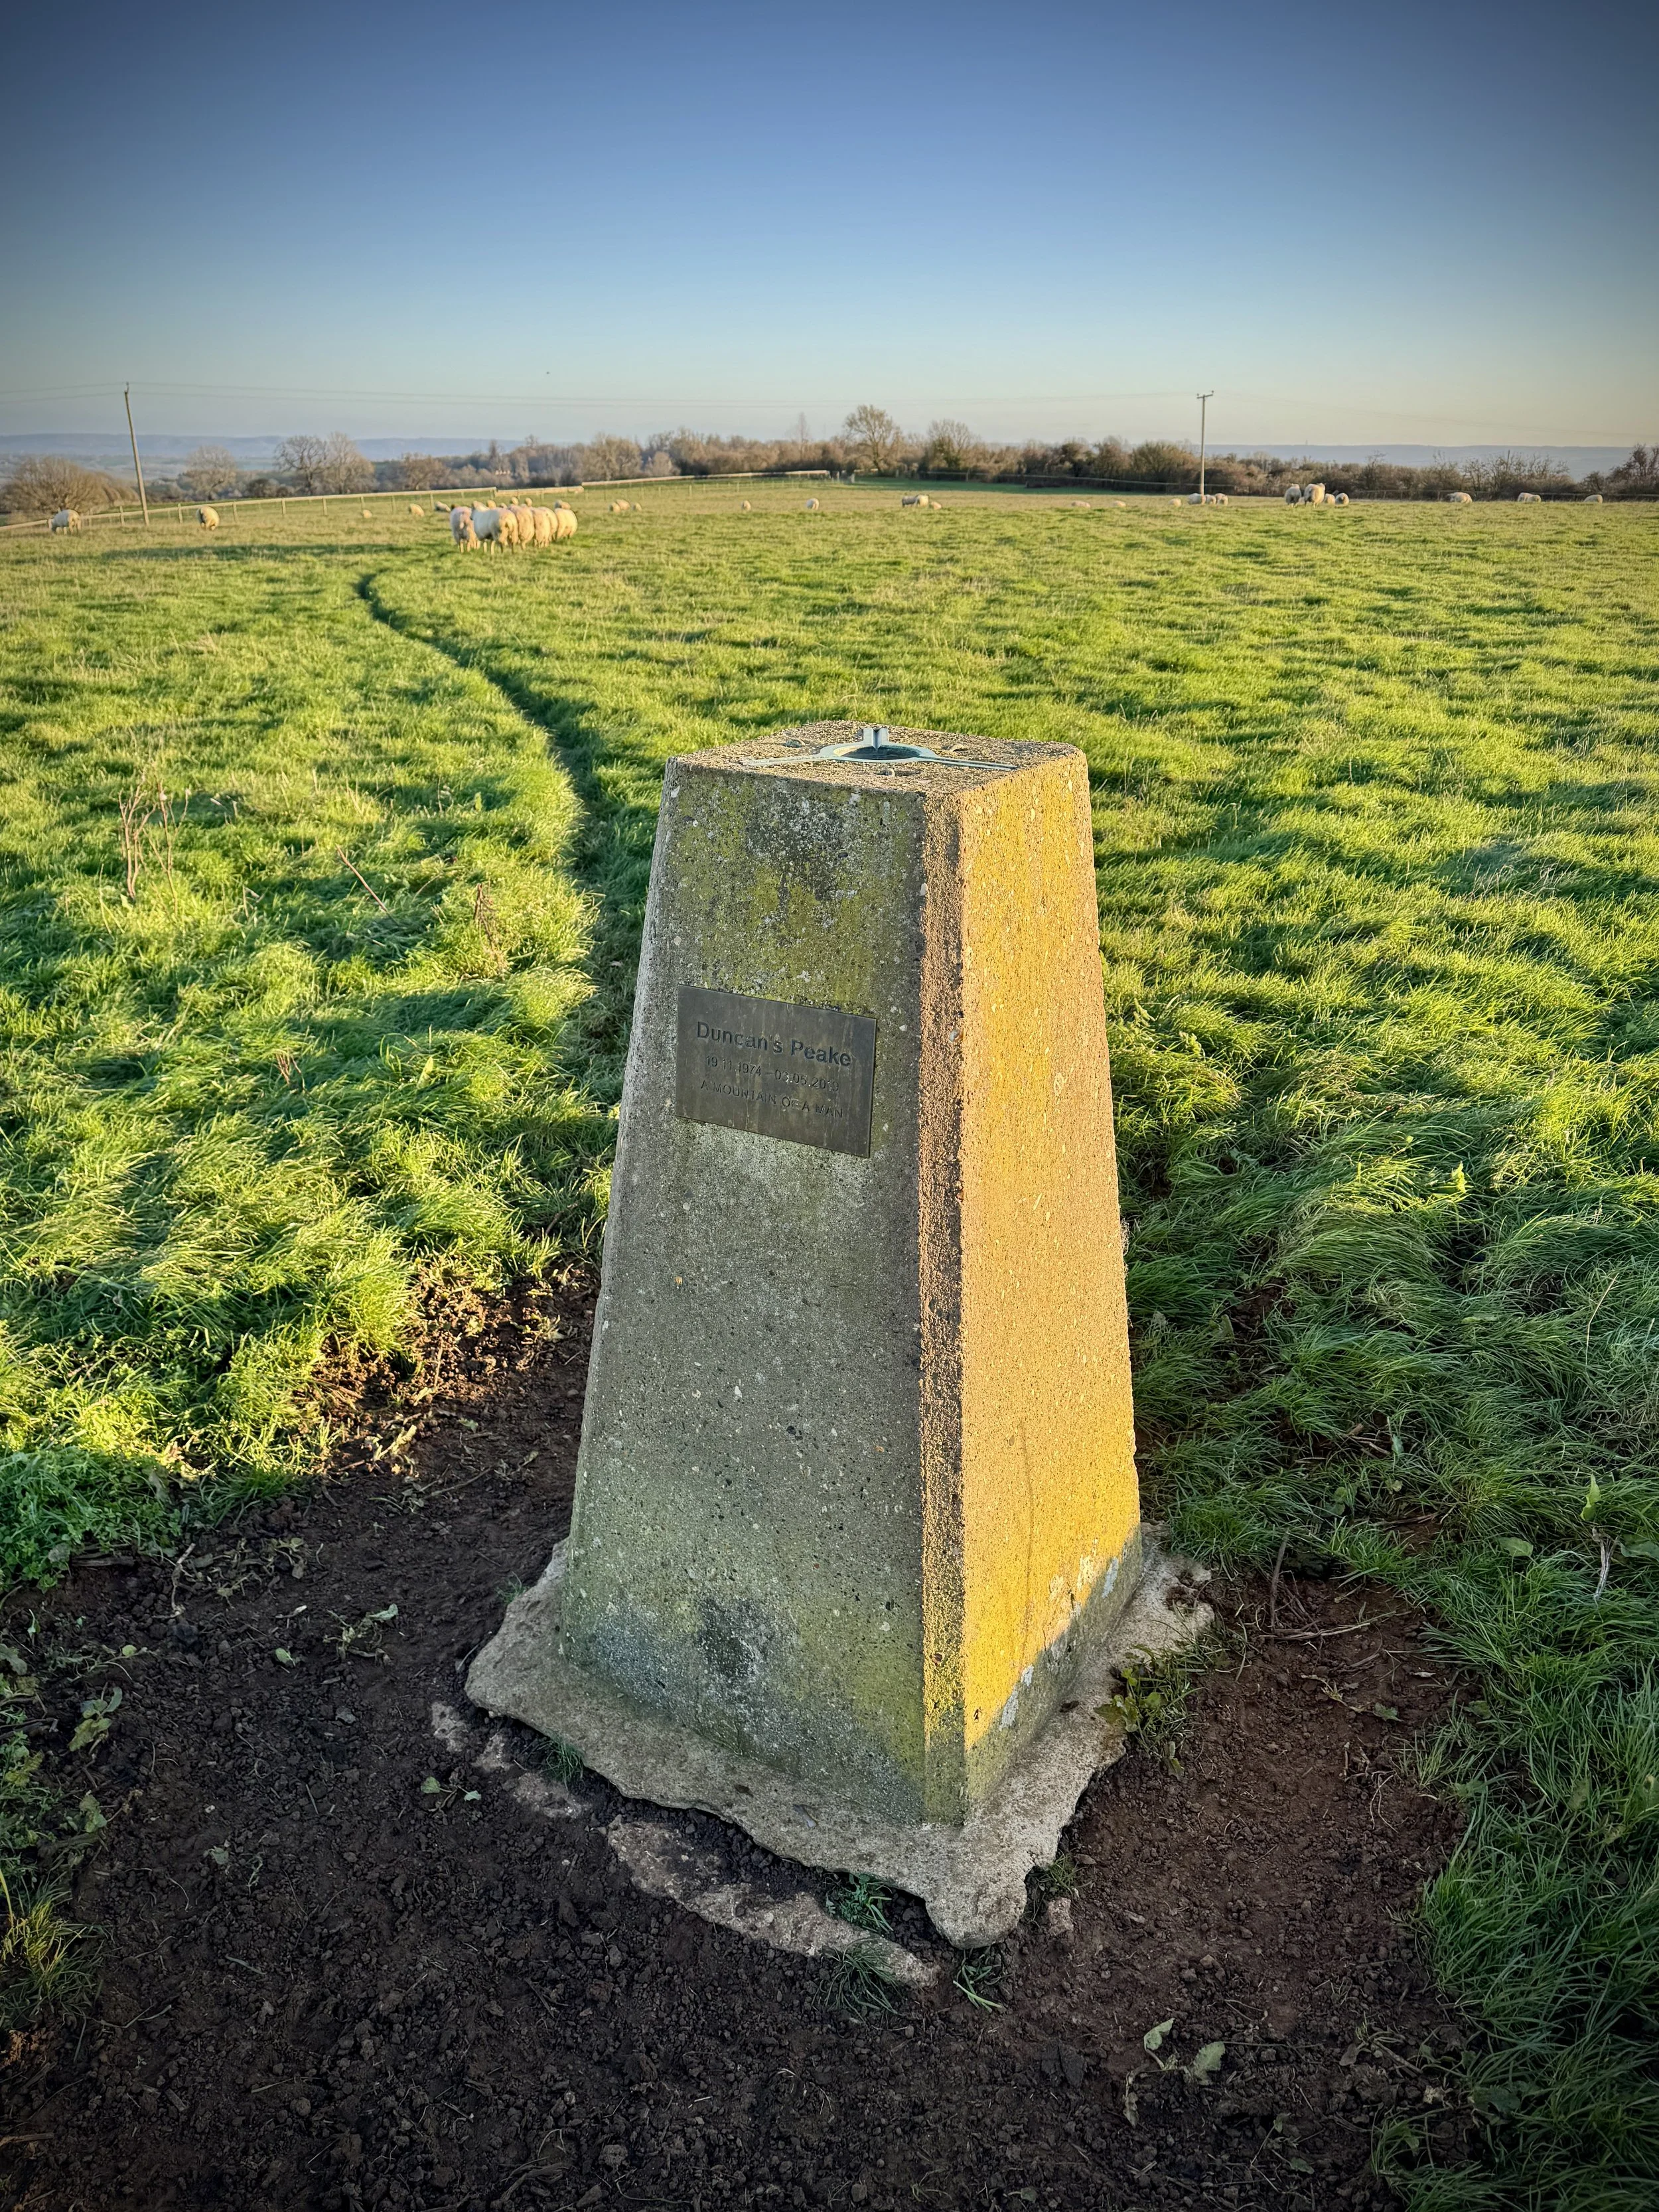
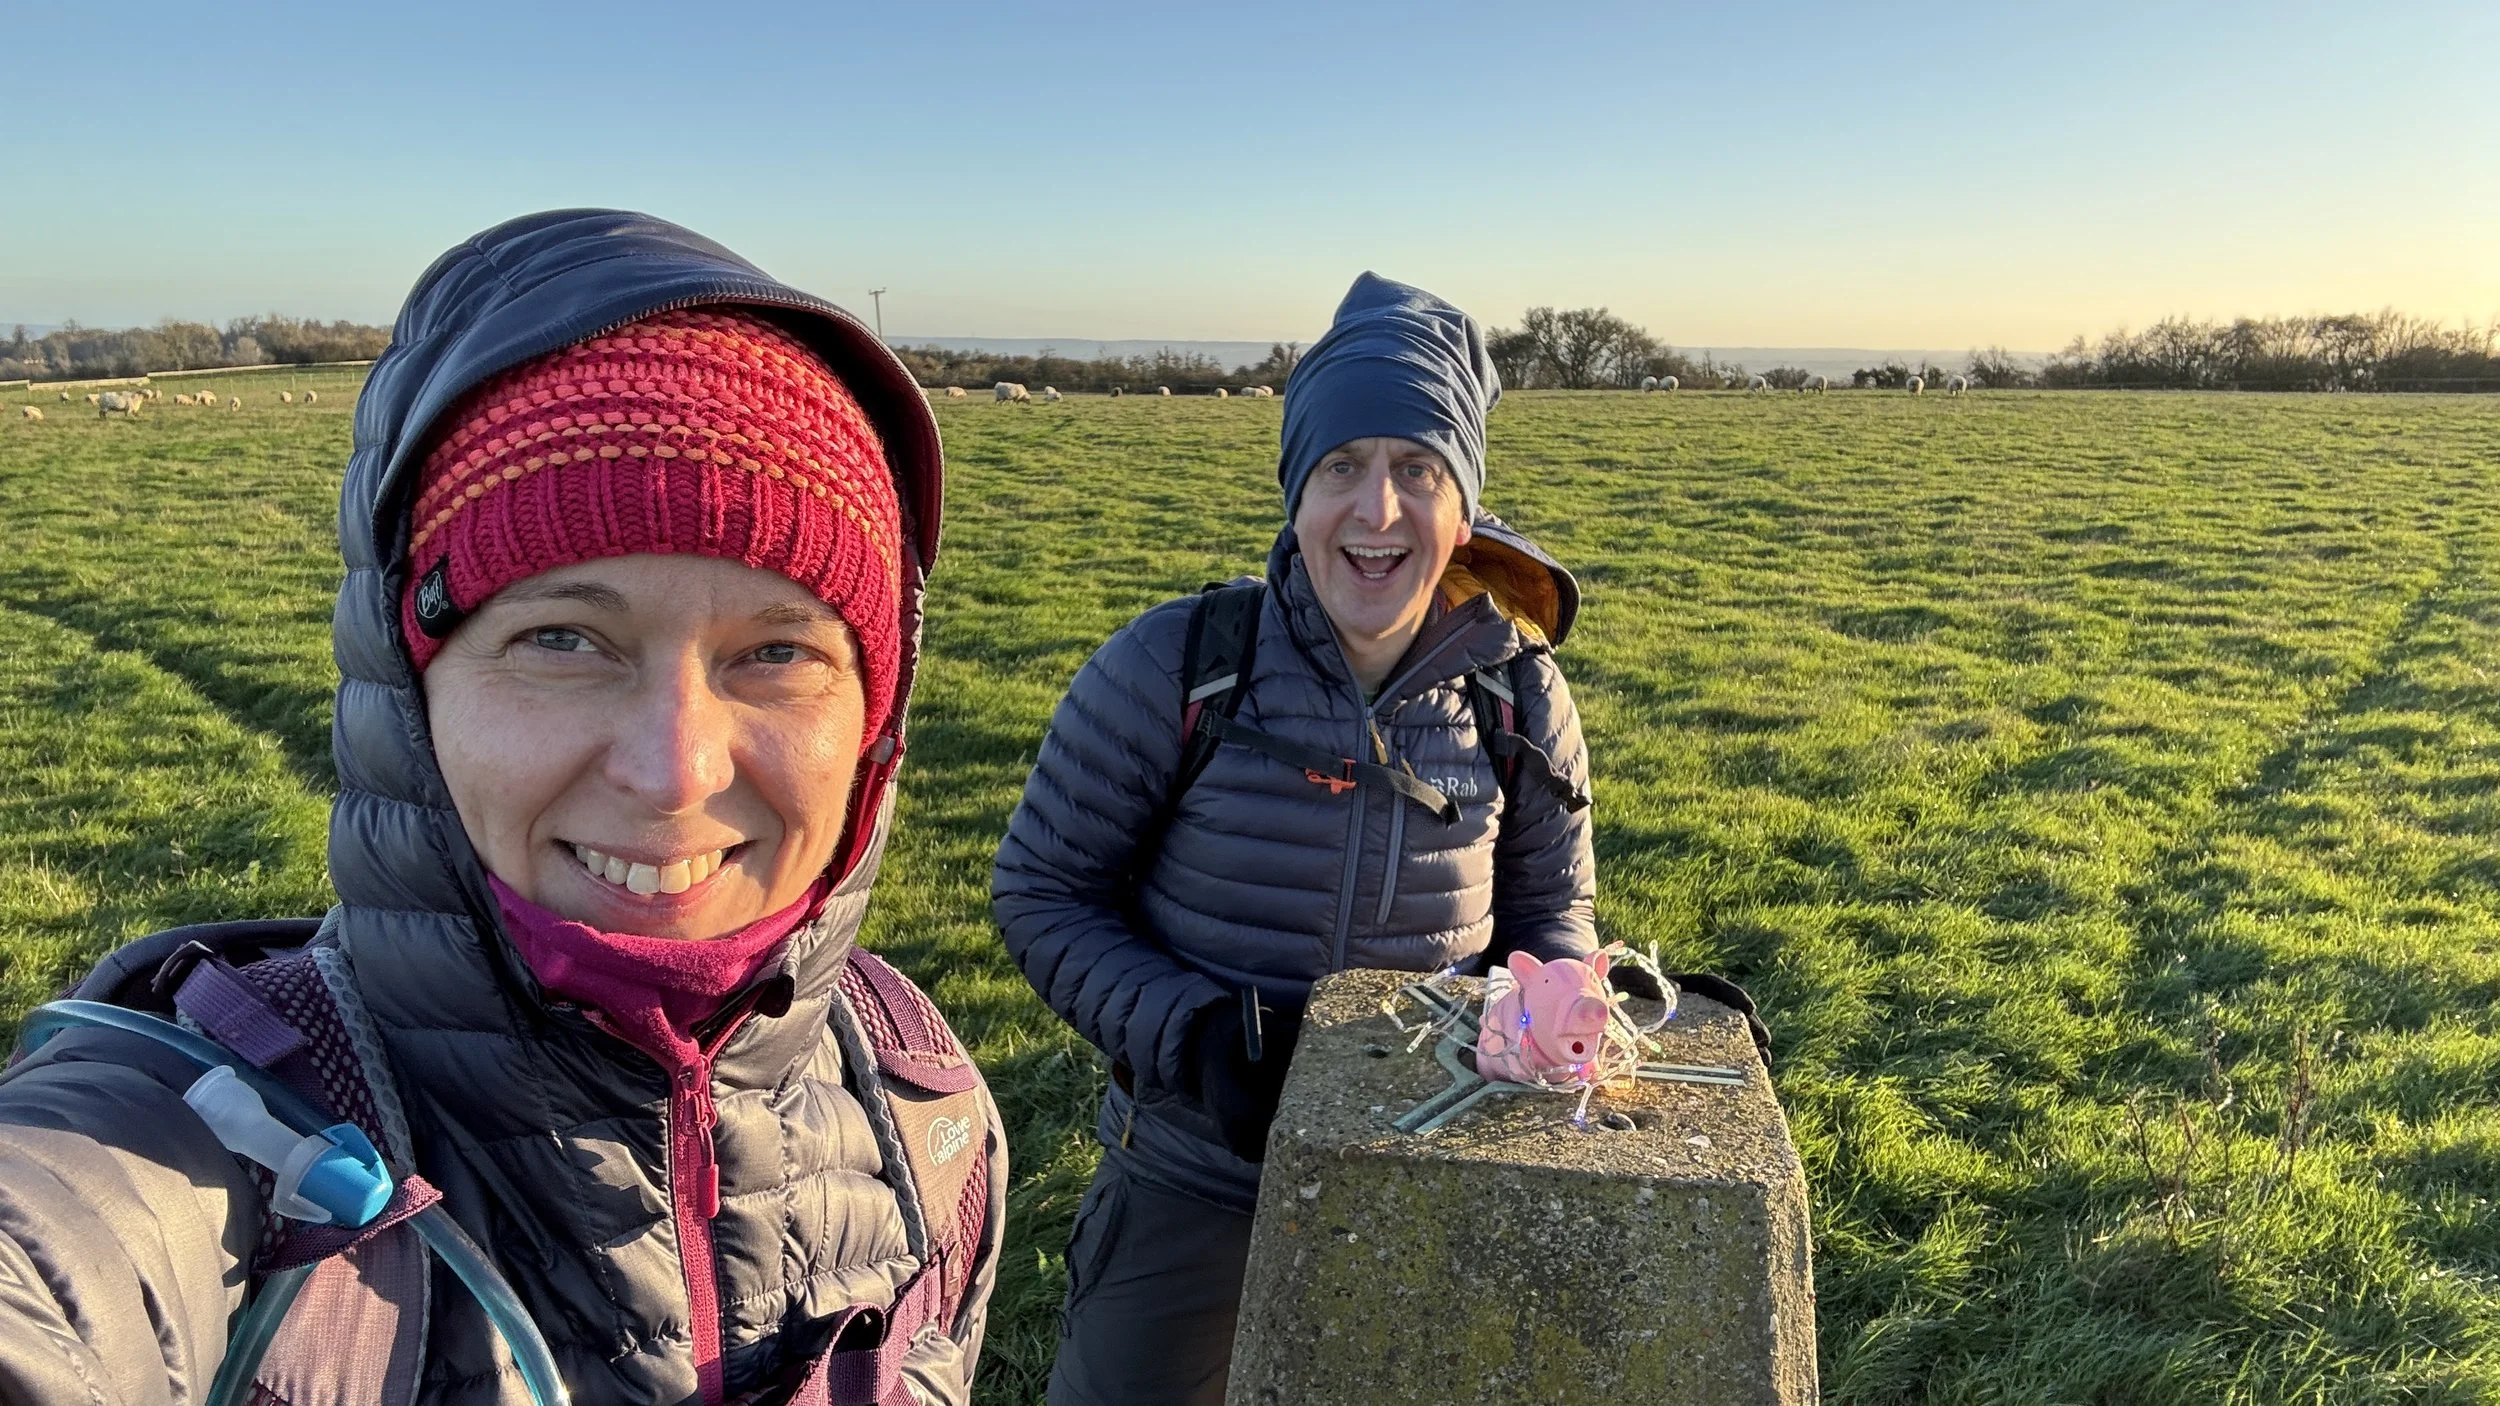
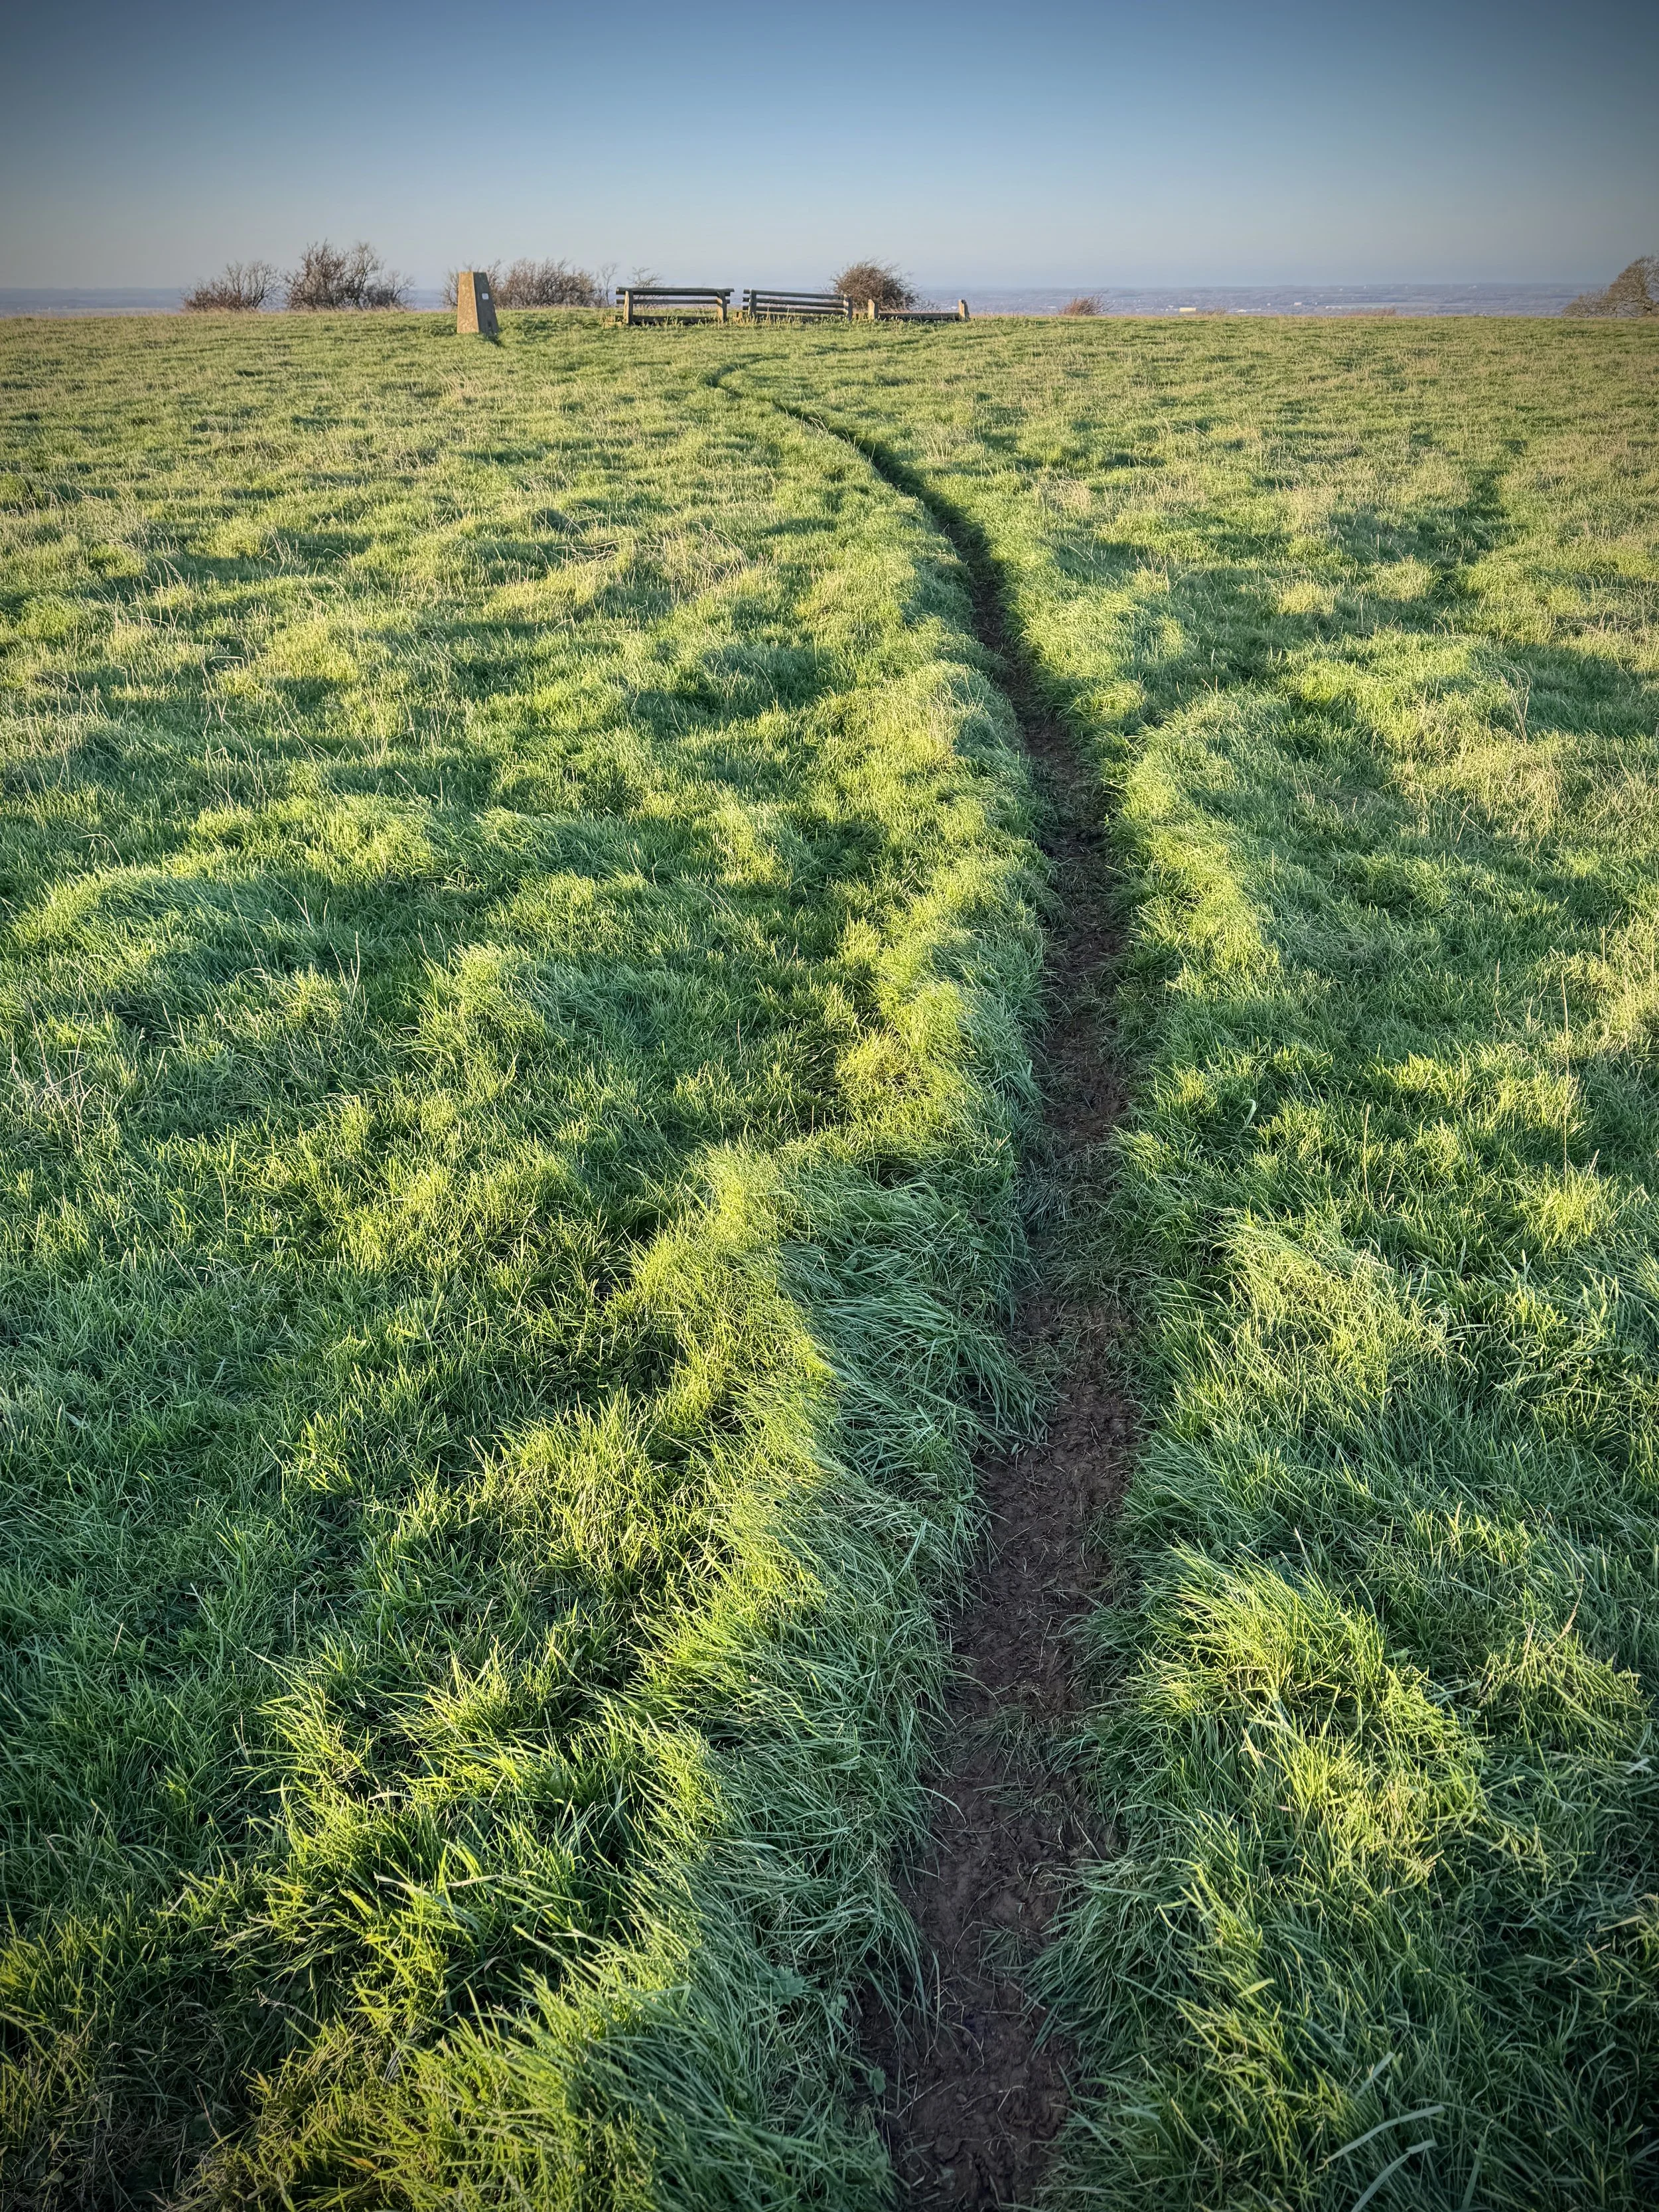
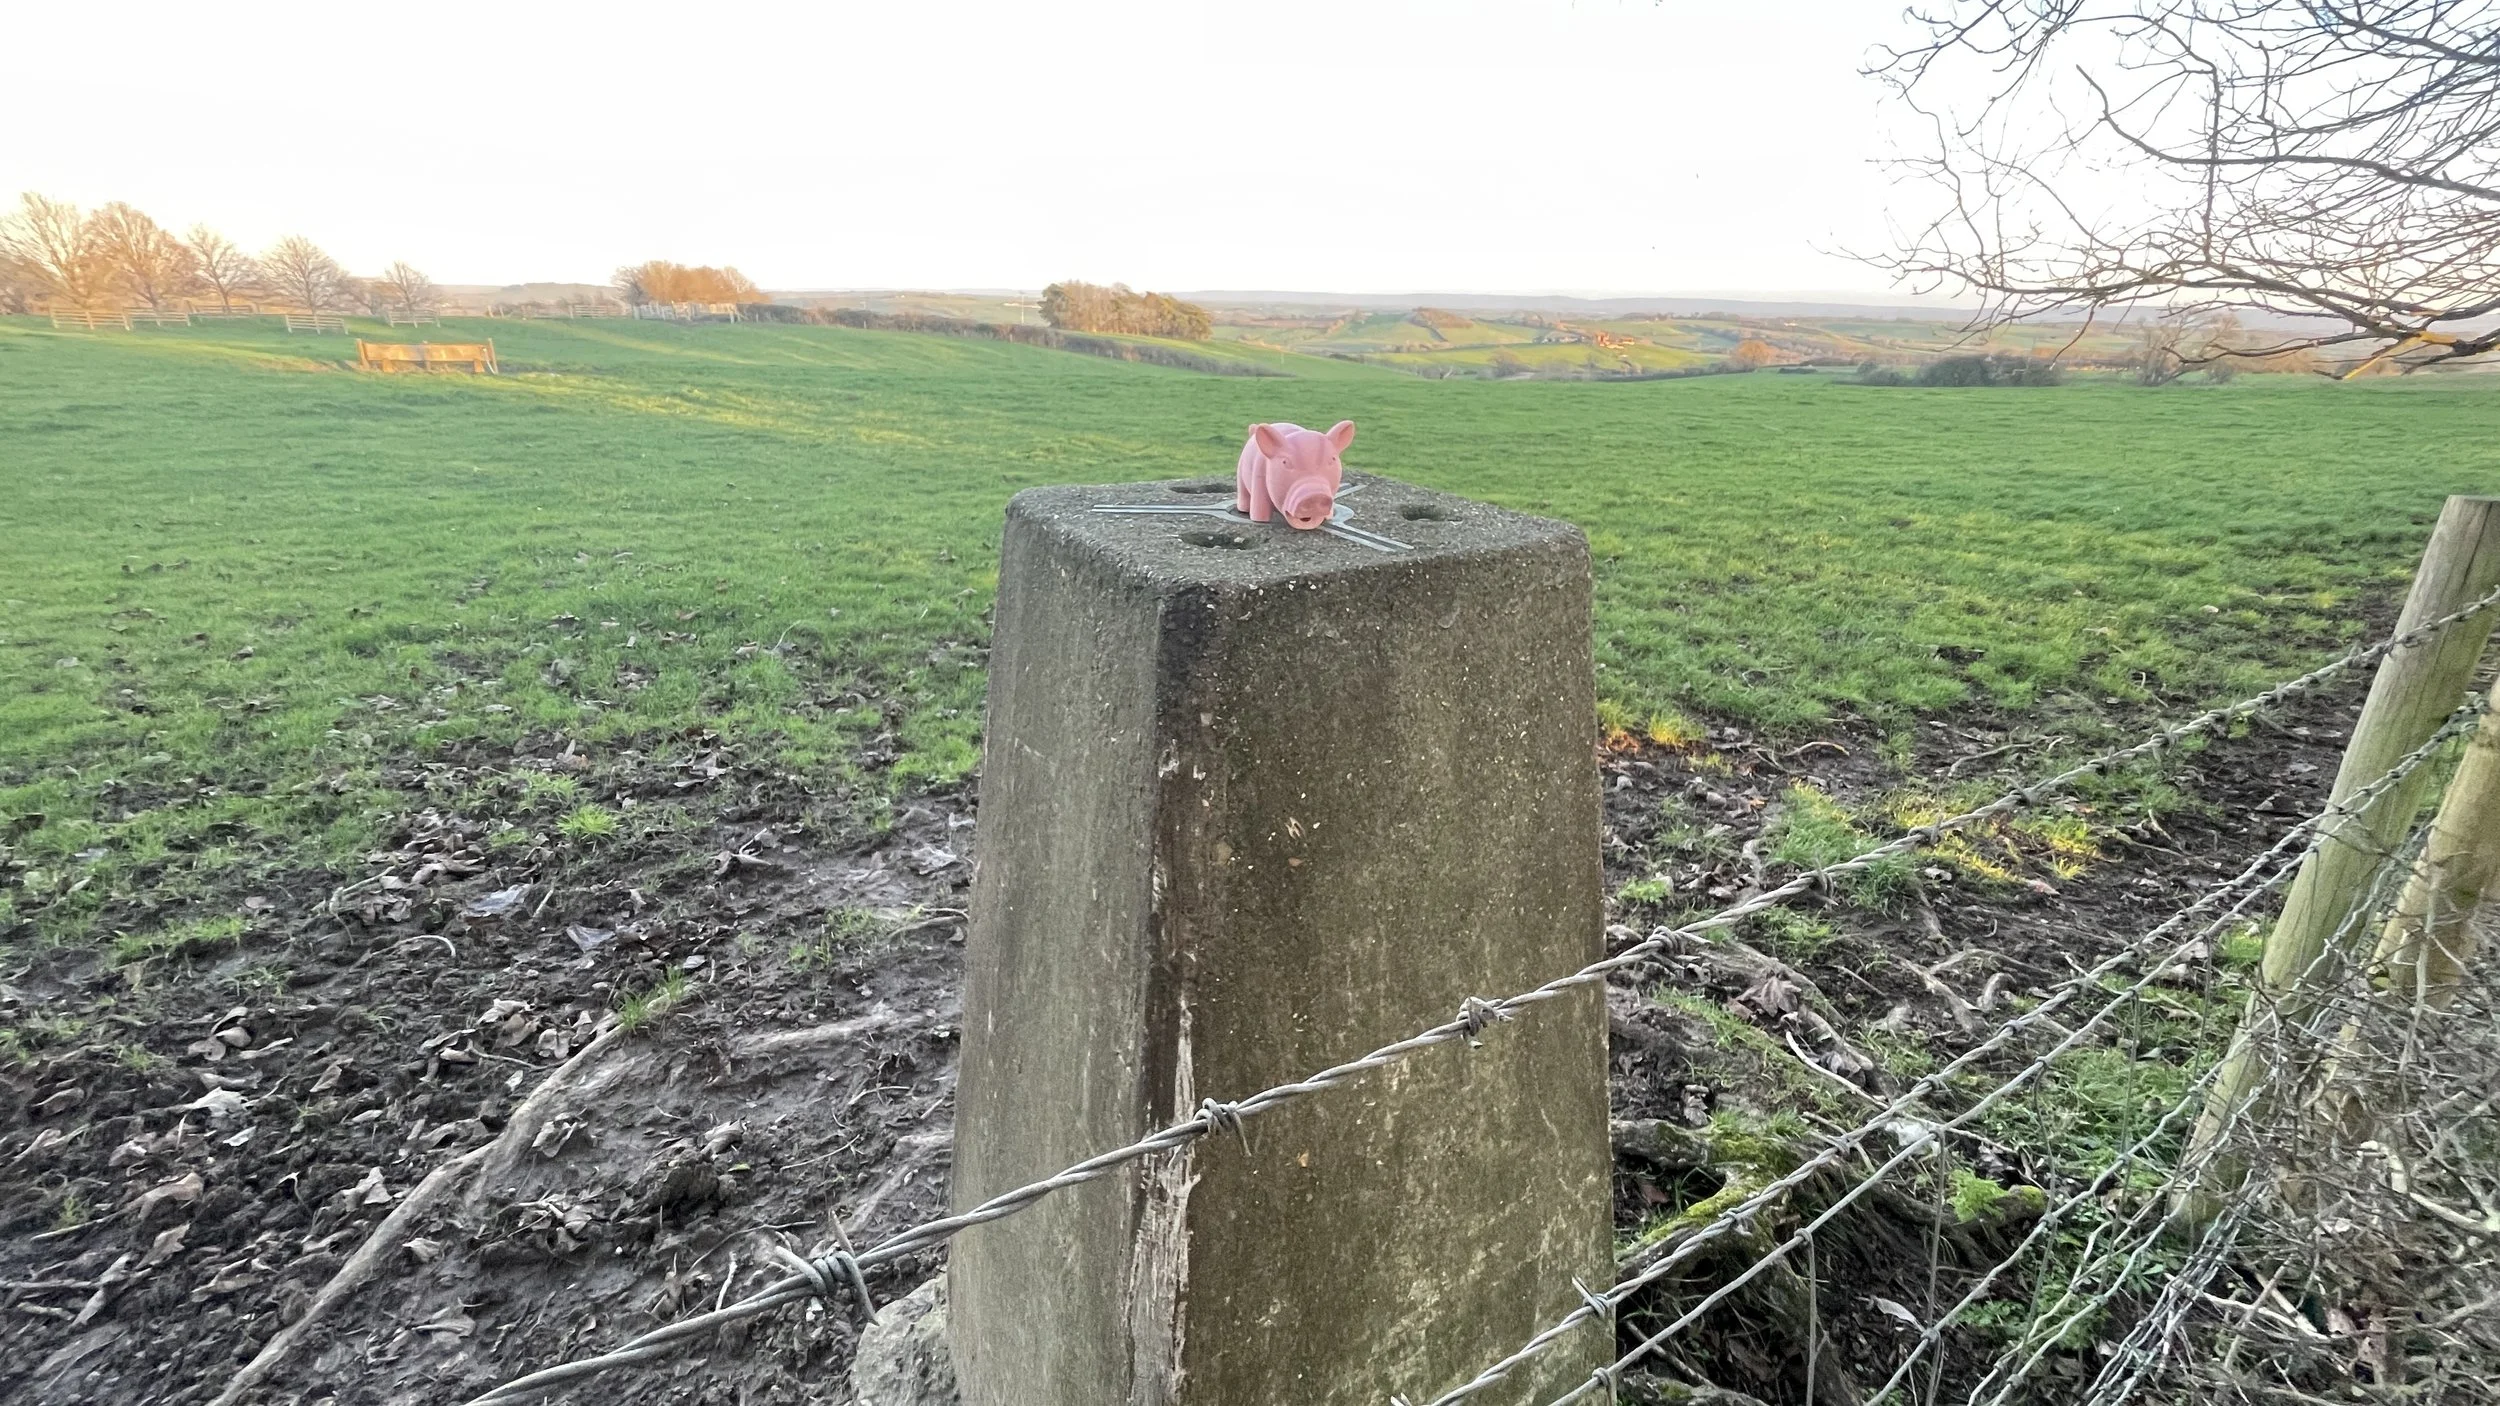
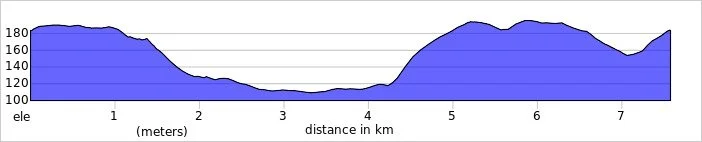
Cookham Dean and Bisham Wood Circular Walk
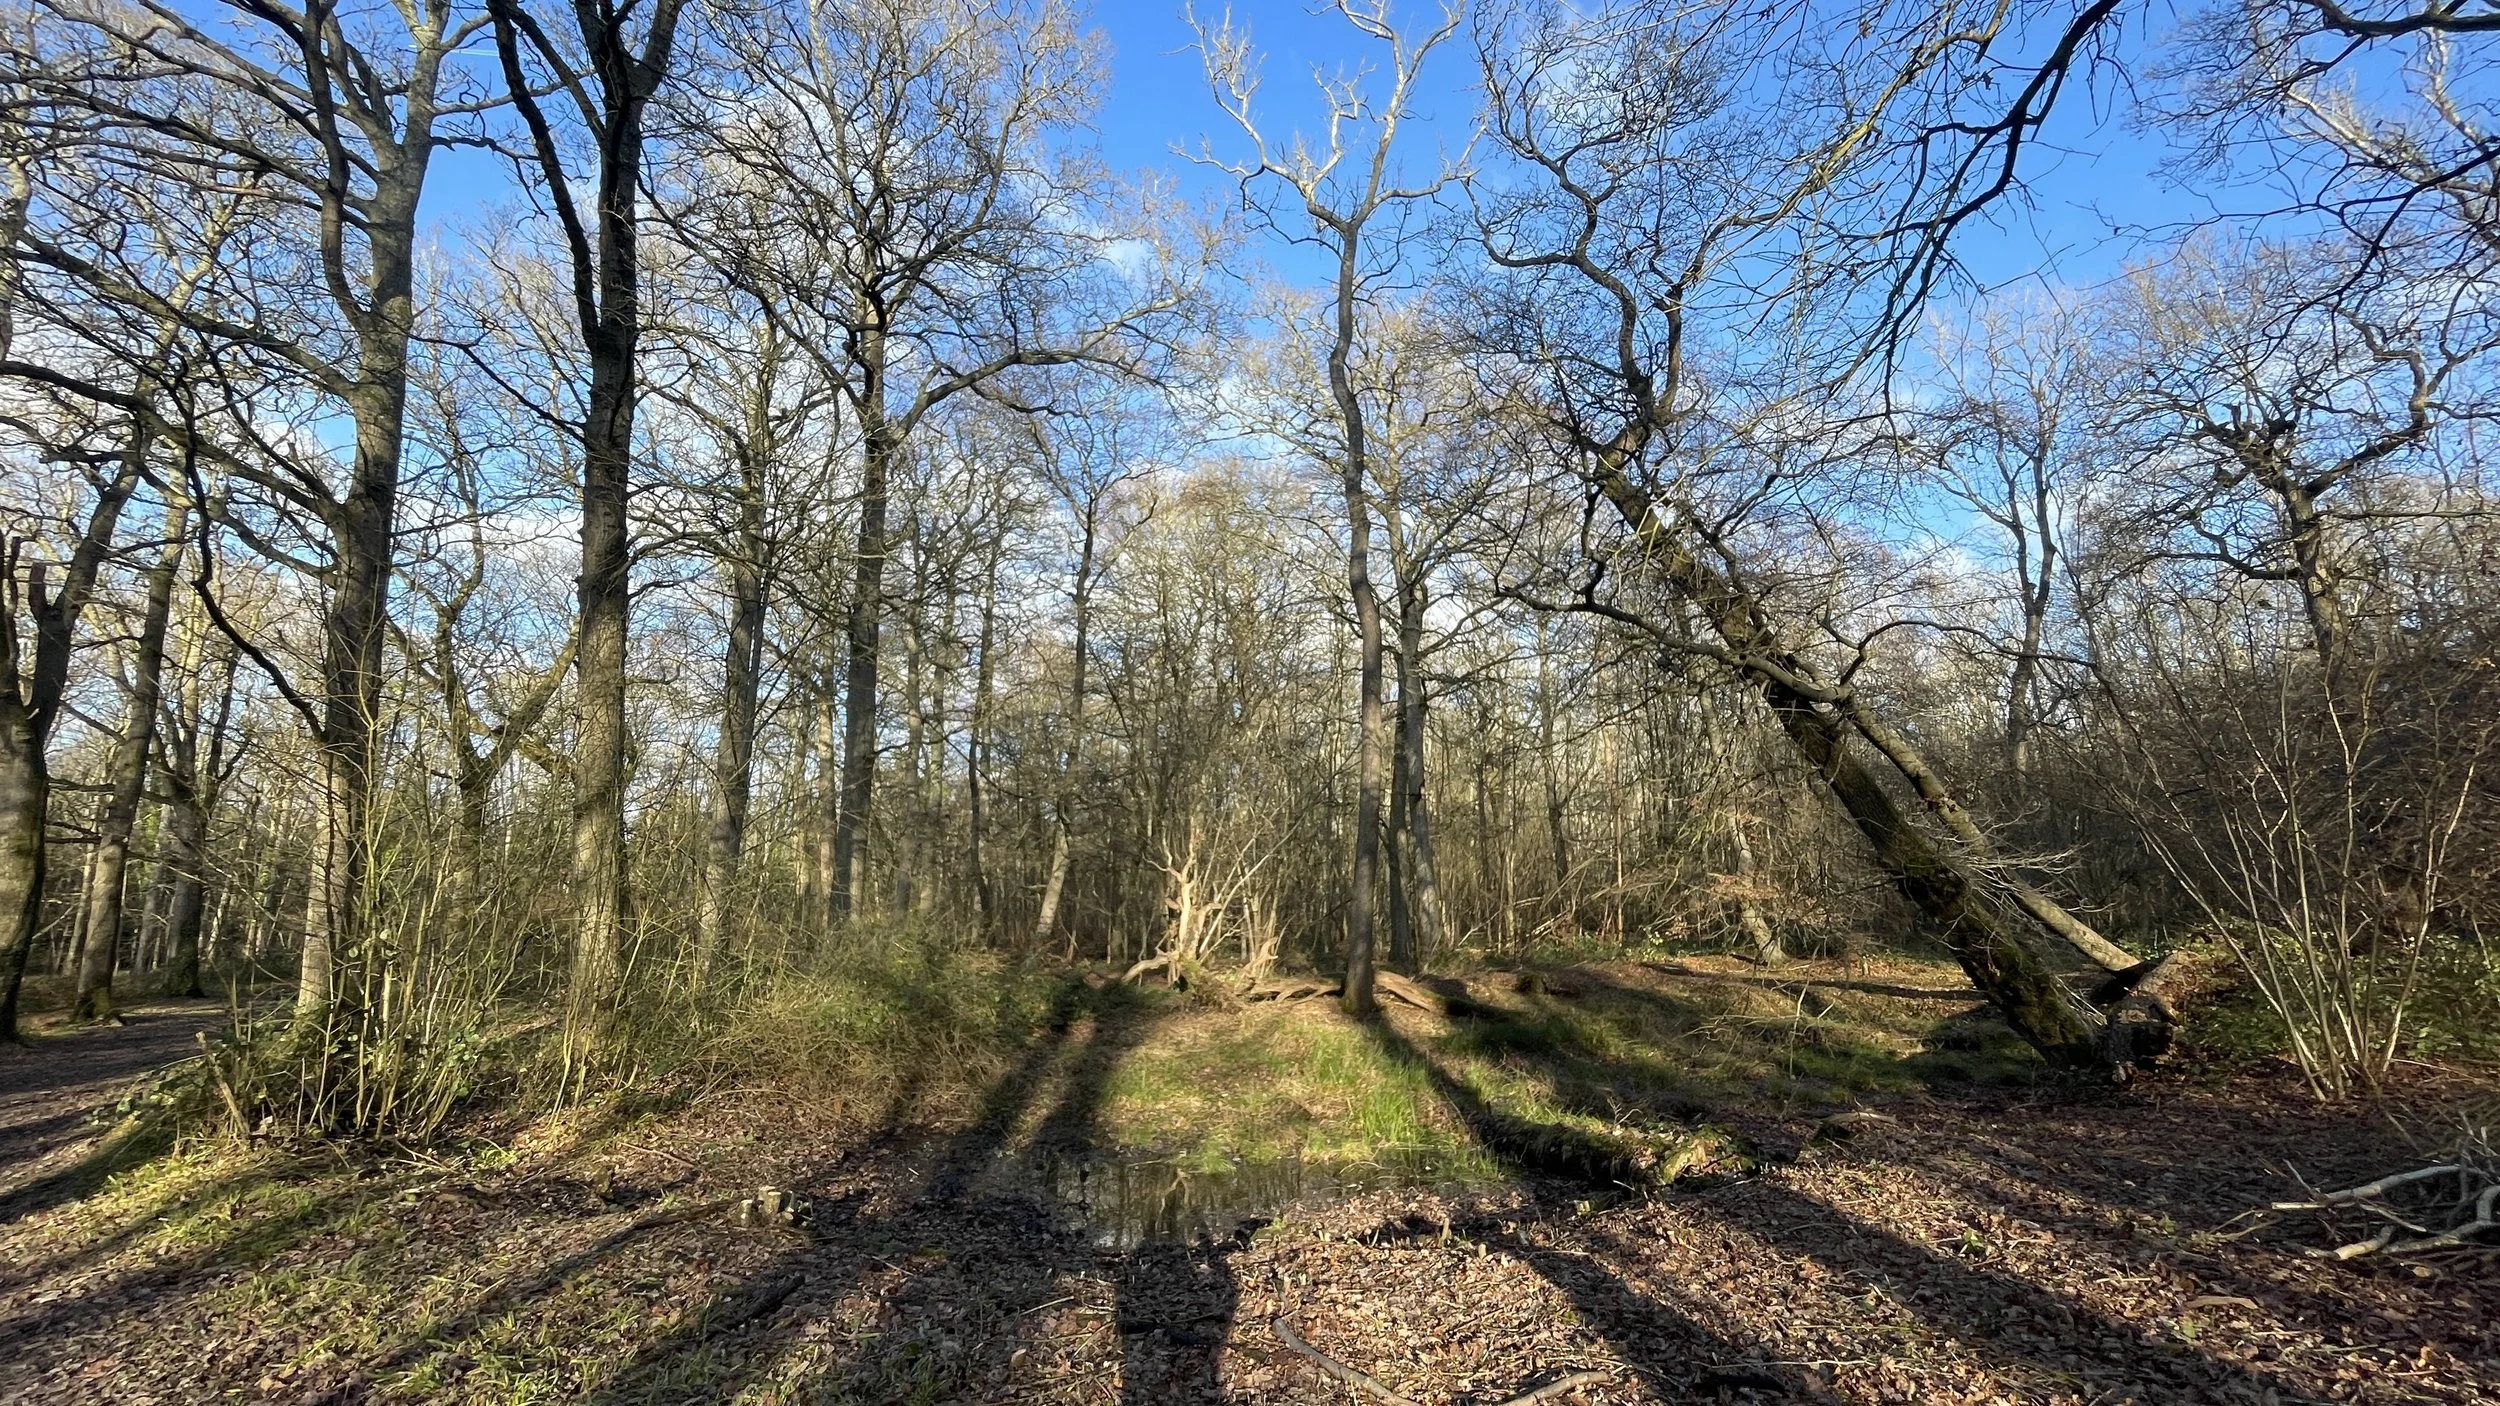
A winter’s day in Bisham Wood
Start & Finish: The Golden Ball Pub and Kitchen, 2 Golden Ball Lane, Maidenhead, SL6 6NW
Distance: 6.9 km (4.3 miles)
Elevation change: +/- 77m
Terrain: Quiet village lanes, woodland tracks through ancient beech woods, and field-edge footpaths.
GPX File: get via Buy Me a Coffee
Other routes touched (walk): Maidenhead Boundary Walk, Maidenhead Millennium Walk, Maidenhead Commons Trail, The Chiltern Way Berkshire Loop
Other routes touched (cycle): Round Berkshire Cycle Route
OS Trig Pillar: TP5638 - Resr Mount Hill (On private property and not visible from the public right of way)
Pubs / Cafes on route: The Golden Ball at the start and finish
Map: Chiltern Hills East Map | High Wycombe, Maidenhead & Rickmansworth | Ordnance Survey | OS Explorer Map 172
Links: National Trust Maidenhead and Cookham Commons. Cookham Dean, Bisham Woods, Cookham, Kenneth Grahame, Wind in the Willows
This circular route offers a delightful journey through the rolling landscape of Berkshire and the edges of the Chilterns. The trail takes you through a beautiful combination of ancient woodland and open commons, providing a real sense of peace as you move between the sheltered forest tracks and elevated village paths. It is a perfect choice for those who enjoy a varied landscape within a relatively compact distance.
Walking Directions
For this walk we parked on Golden Ball Lane near the pub of the same name. The guidance below will help you navigate but don’t use it as a fully accurate turn-by-turn guide. Always take a map and/or a GPX route and prepare well for the weather and terrain.
Start at The Golden Ball: Begin at the pub on Golden Ball Lane and head east. Cross over Winter Hill Road to continue onto Malders Lane.
Enter the Old Brick Works: Shortly on your right, enter the National Trust Old Brick Works. Follow the trail down to the pond, circling it to the east before taking the exit path on the right that runs along its eastern edge back up to Malders Lane.
Cross to the Fields: Turn right on Malders Lane for approximately 150m. At the junction of the Maidenhead Boundary and Millennium walks, take a left to head north across the open field.
Long Lane Crossing: Upon reaching the driveway at the 2km mark (Copas Brothers property), turn right and follow it to Long Lane. Cross directly over to Spring Lane and continue north.
Village Navigation: Turn left onto Pudseys Close. Follow this west, cross Church Road, and traverse the village green to reach Hollybush Lane.
Into the Woods: Cross Bigfrith Lane onto Hackett Lane. Follow it to the very end where it enters the ancient canopy of Bisham Woods.
The Woodland Loop: Follow the main tracks in an anti-clockwise curve. You will pass through High Wood and Inkydown Wood before entering Park Wood and finally Goulding Wood.
The Return: The path exits the southern corner of Goulding Wood onto Marlow Road. Turn right to return to the junction with Golden Ball Lane.
Finish: Complete the circular route back at The Golden Ball pub for refreshments.
If you’re feeling adventurous and a bit tresspassy you could bag the Resr Mount Hill OS Trig Pillar. It’s next to the top of the reservoir on Thames Water Property. The locked gate to the driveway up to it is off Pudseys Close. We had a look but decided not to risk it that day.
Points of Interest along or near to the Route
National Trust Old Brick Works: A hidden gem of industrial archaeology. These former clay pits now form a peaceful woodland area and pond, managed for wildlife.
Cookham Dean: This picturesque village is the start and end of your journey. Known for its historic charm and as the childhood home of Kenneth Grahame, the author of The Wind in the Willows, it sets a classic English tone for the walk.
Bisham Woods: A significant portion of the route passes through these ancient woods. They are designated as a Site of Special Scientific Interest (SSSI) and offer a stunning canopy of beech and oak trees, particularly vibrant during the autumn months.
Quarry Wood: As you transition through the woodland areas, you will pass through sections of Quarry Wood. These slopes provide atmospheric walking paths and occasional glimpses through the trees toward the Thames Valley.
Winter Hill: Although the main trail stays largely within the woods and village fringes, the route skirts the area near Winter Hill, offering potential for expansive views across the River Thames toward Marlow.
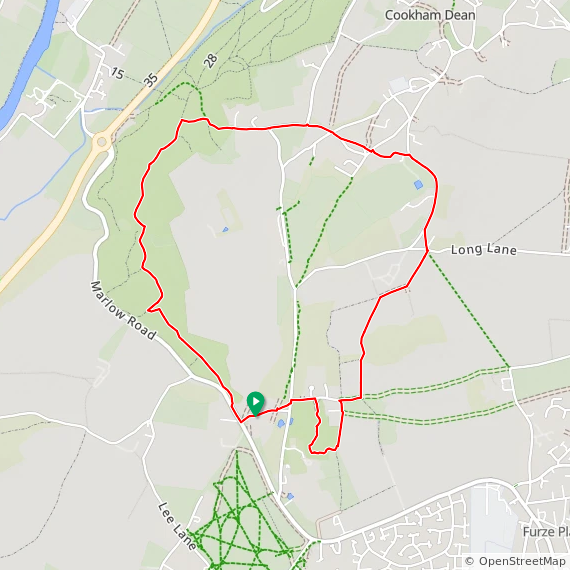
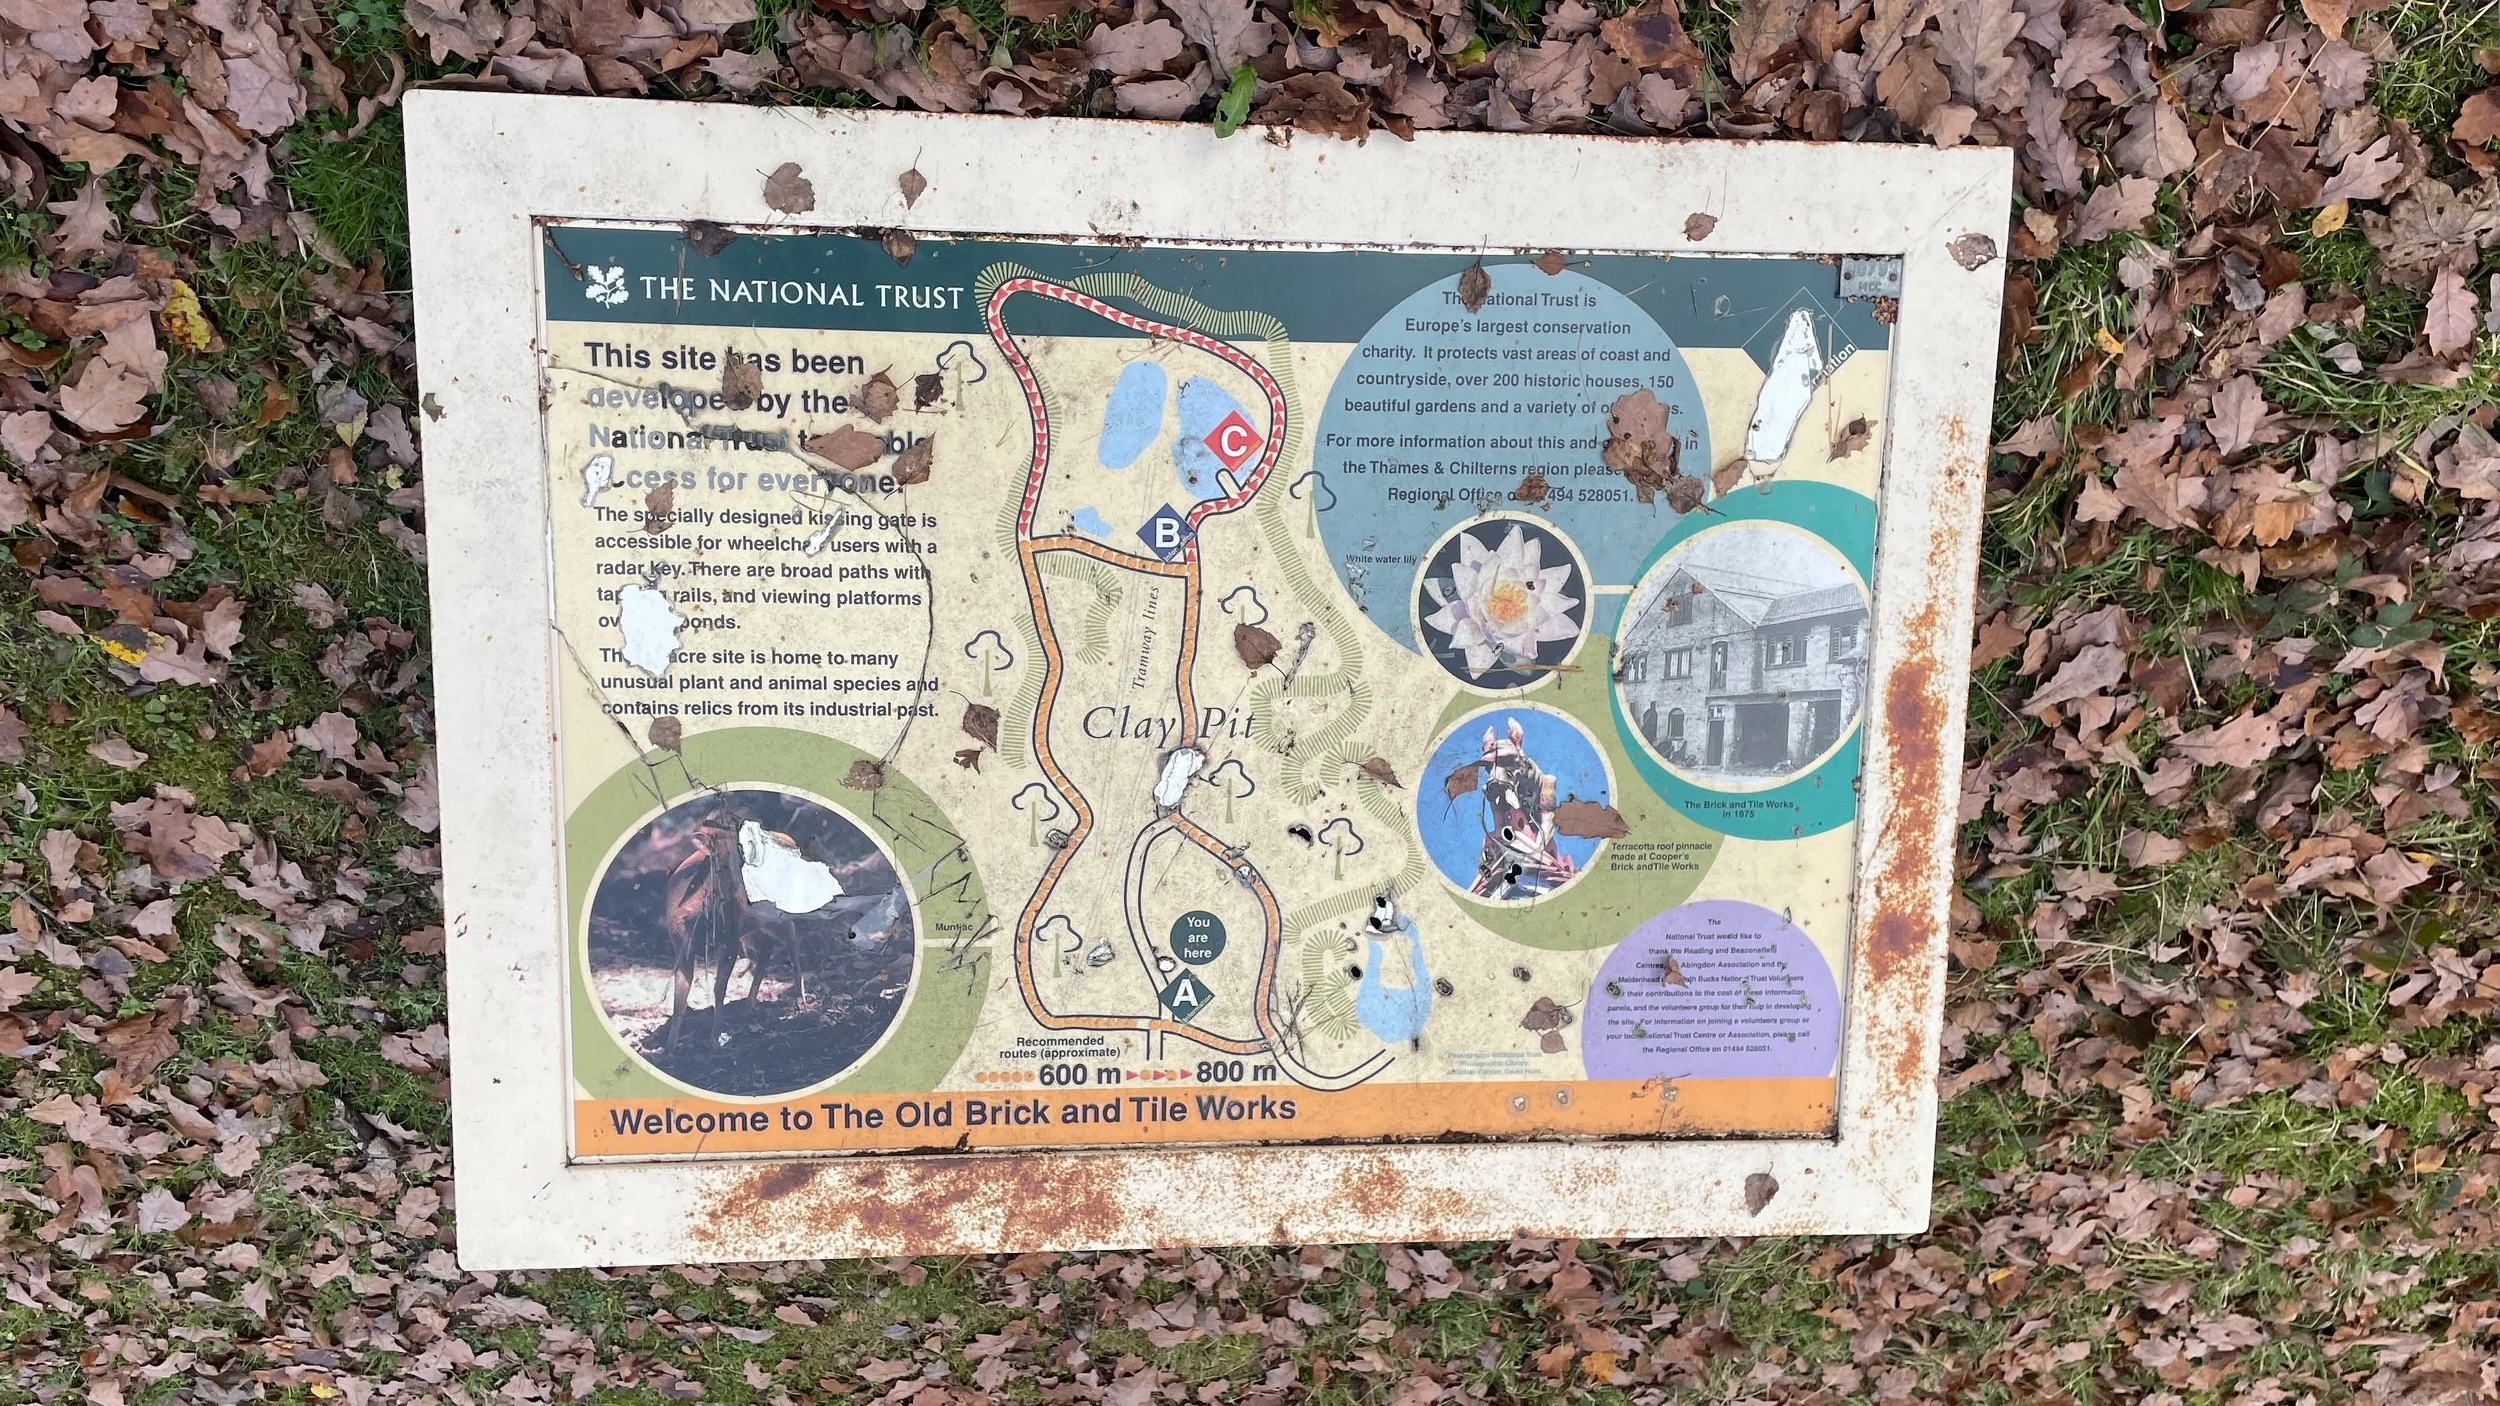
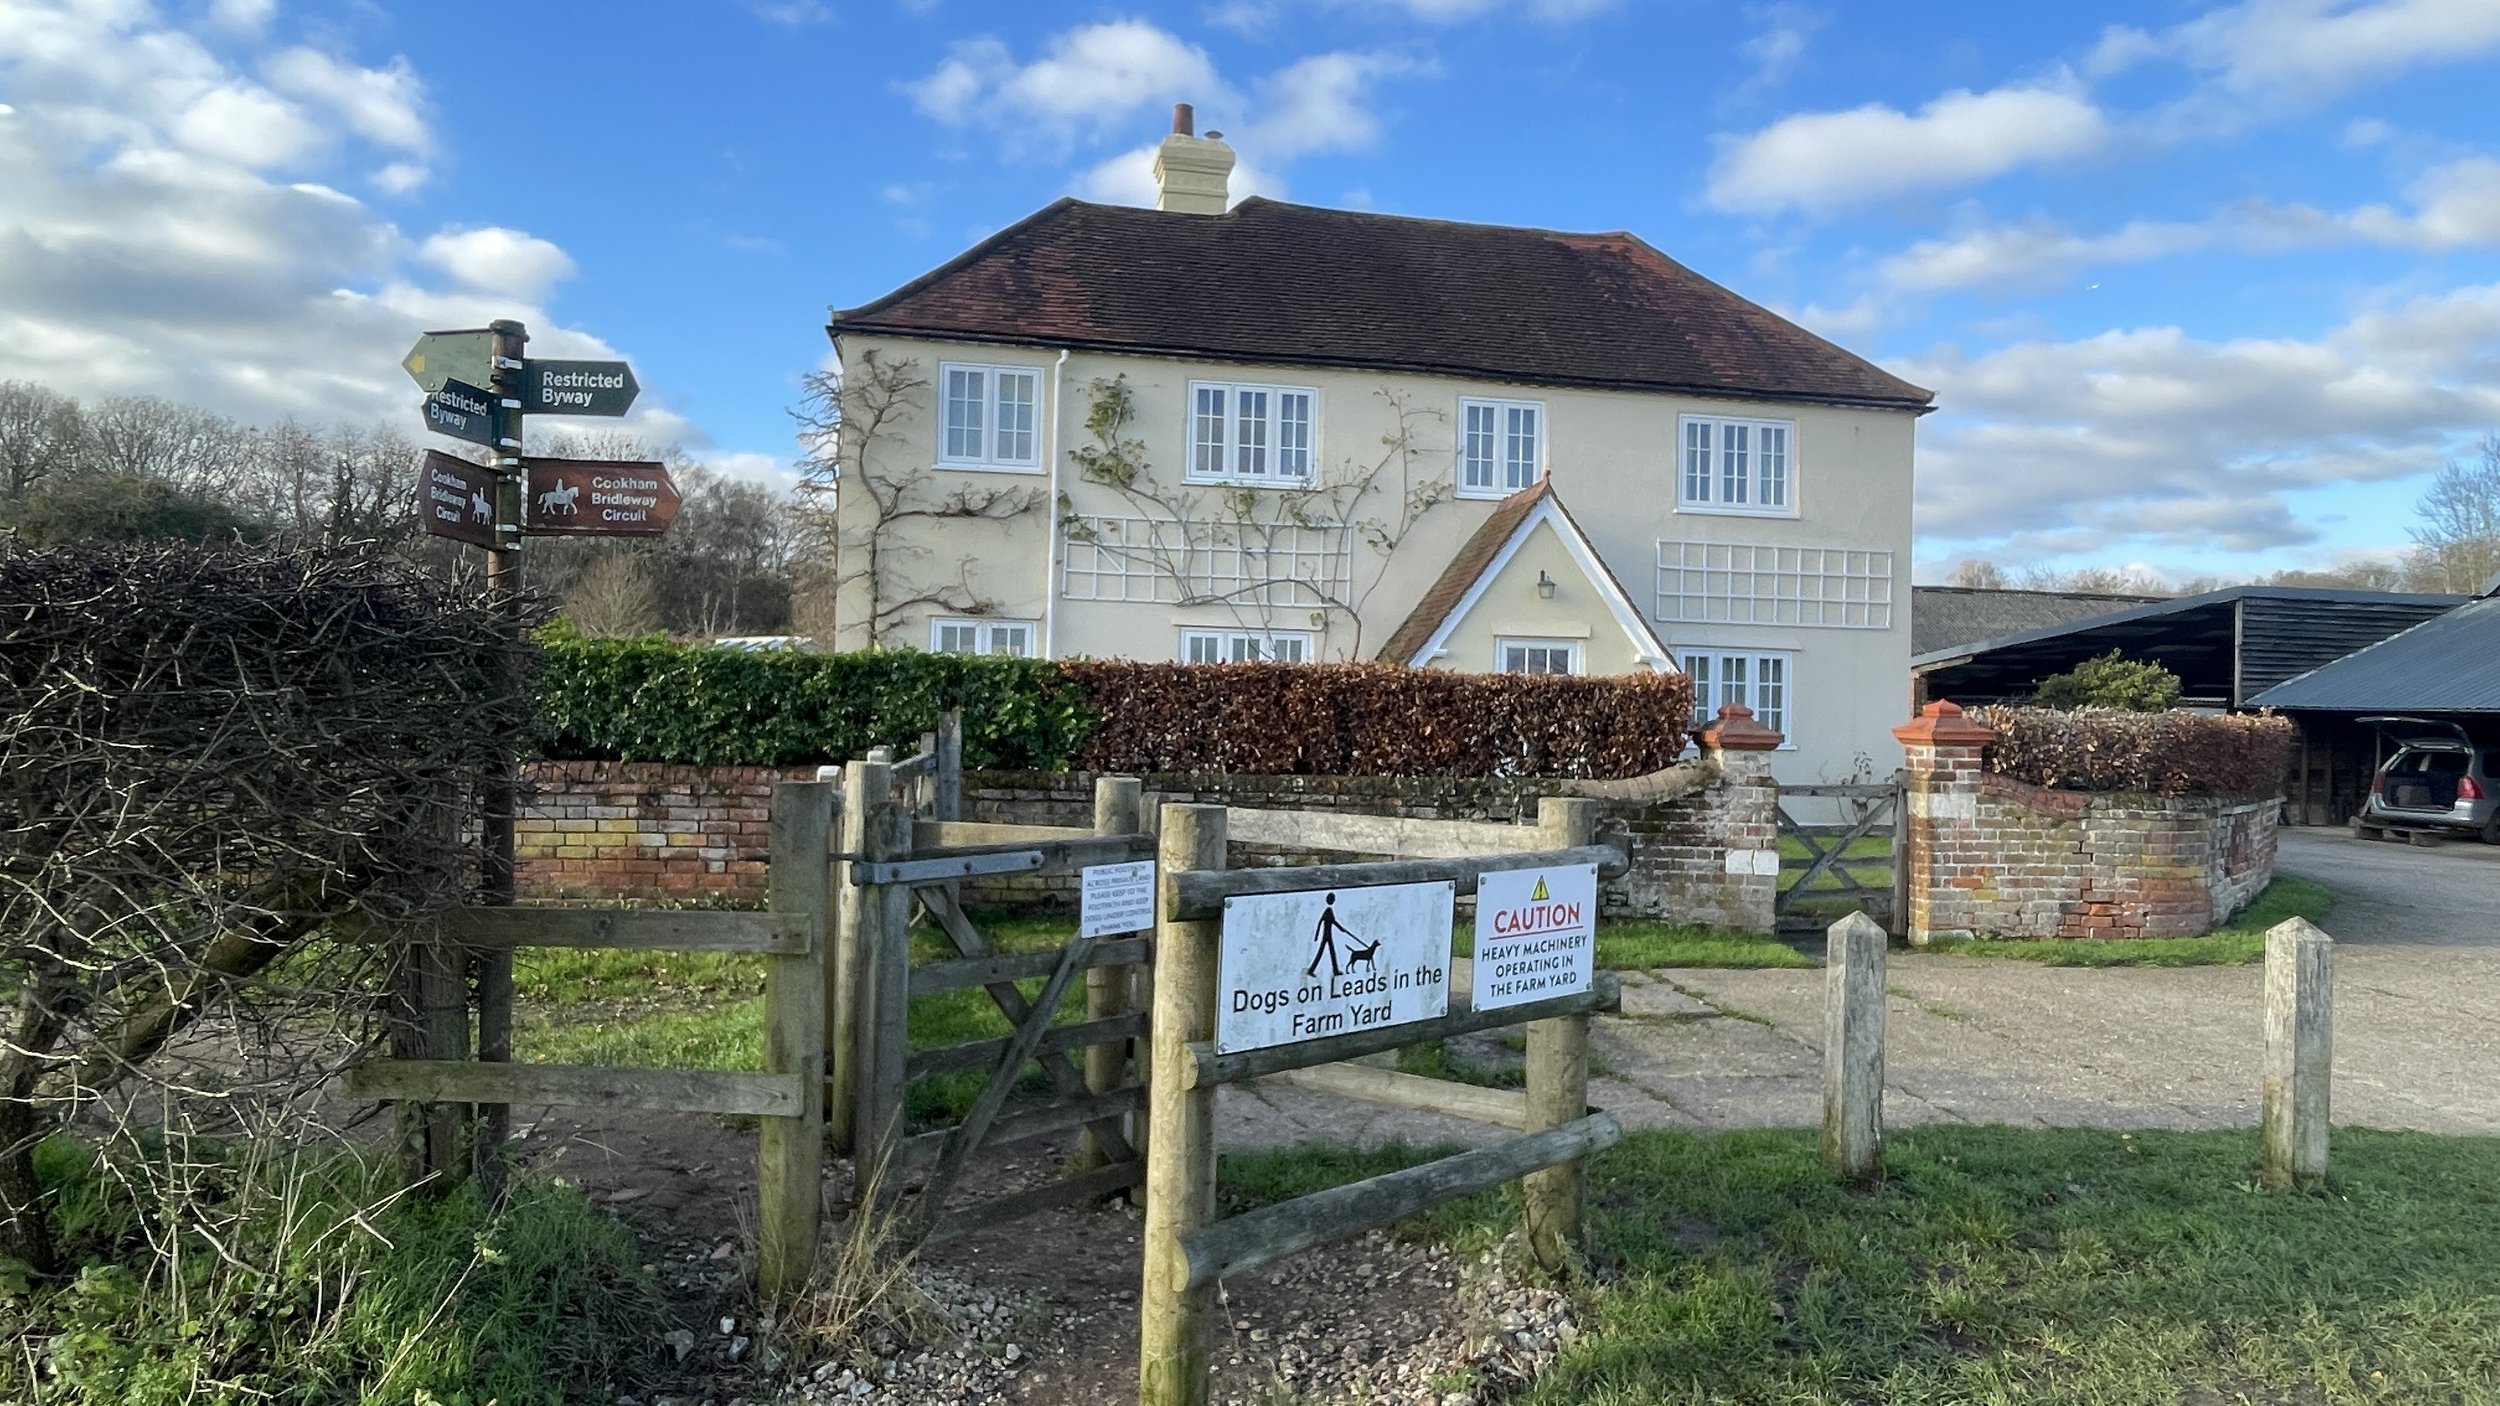
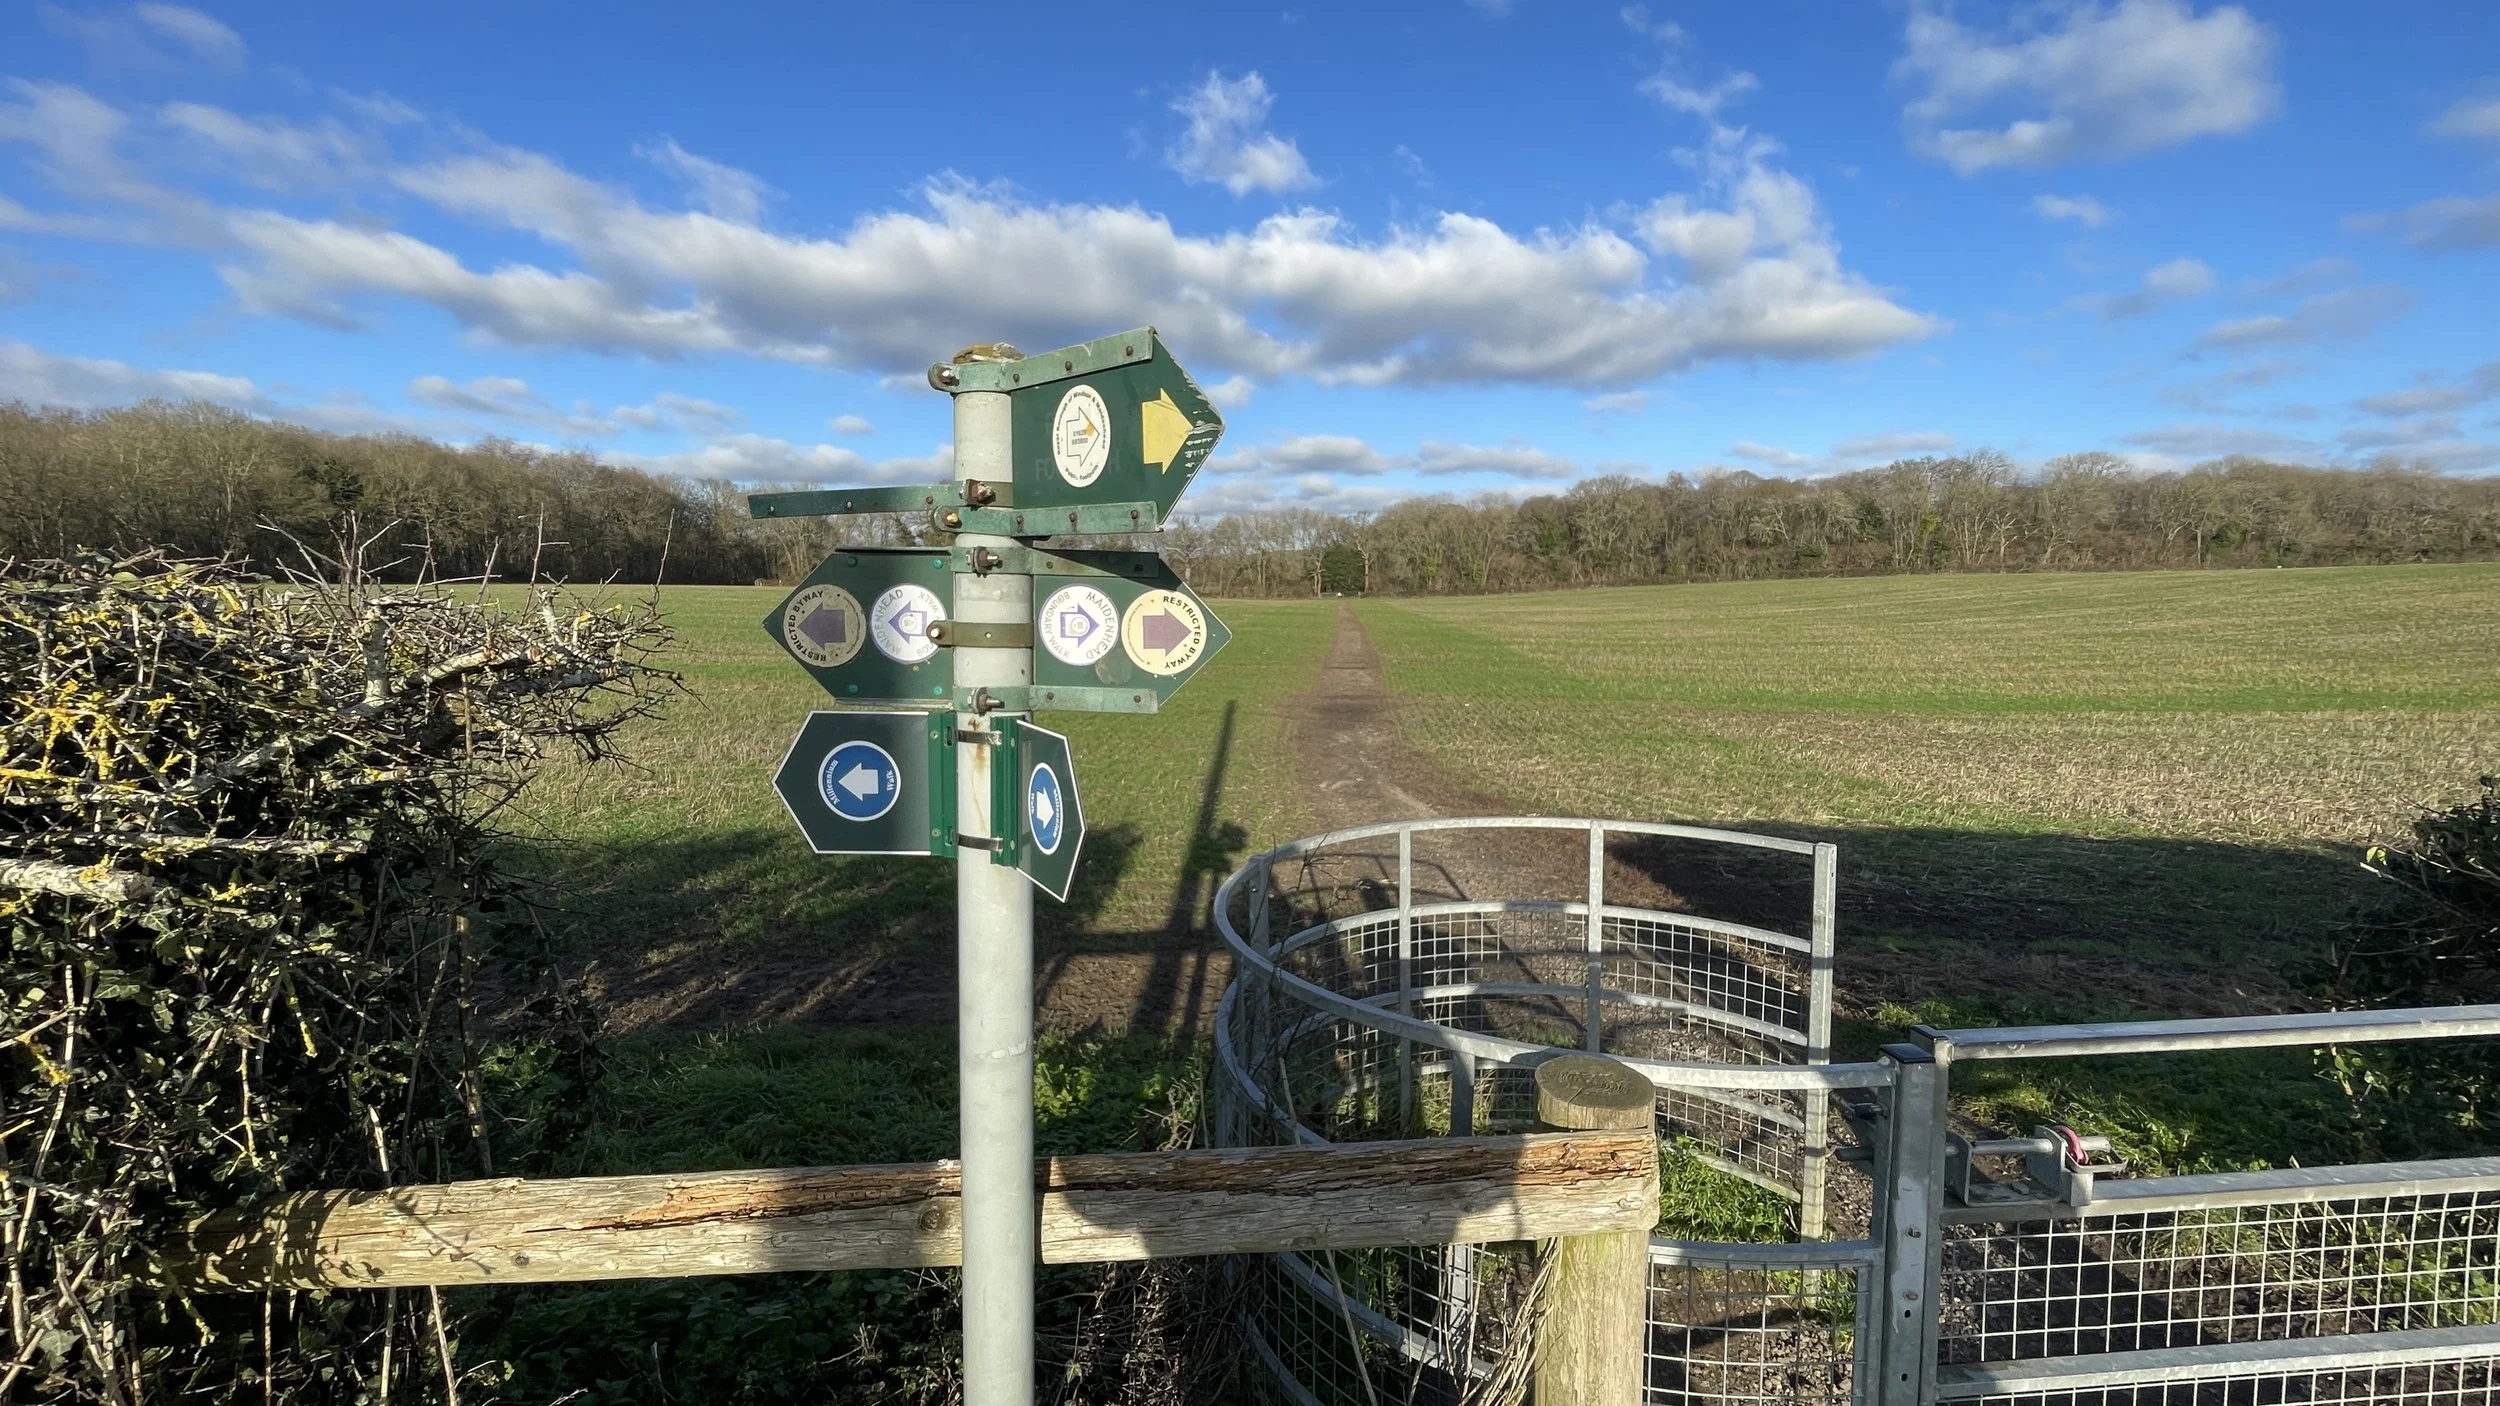
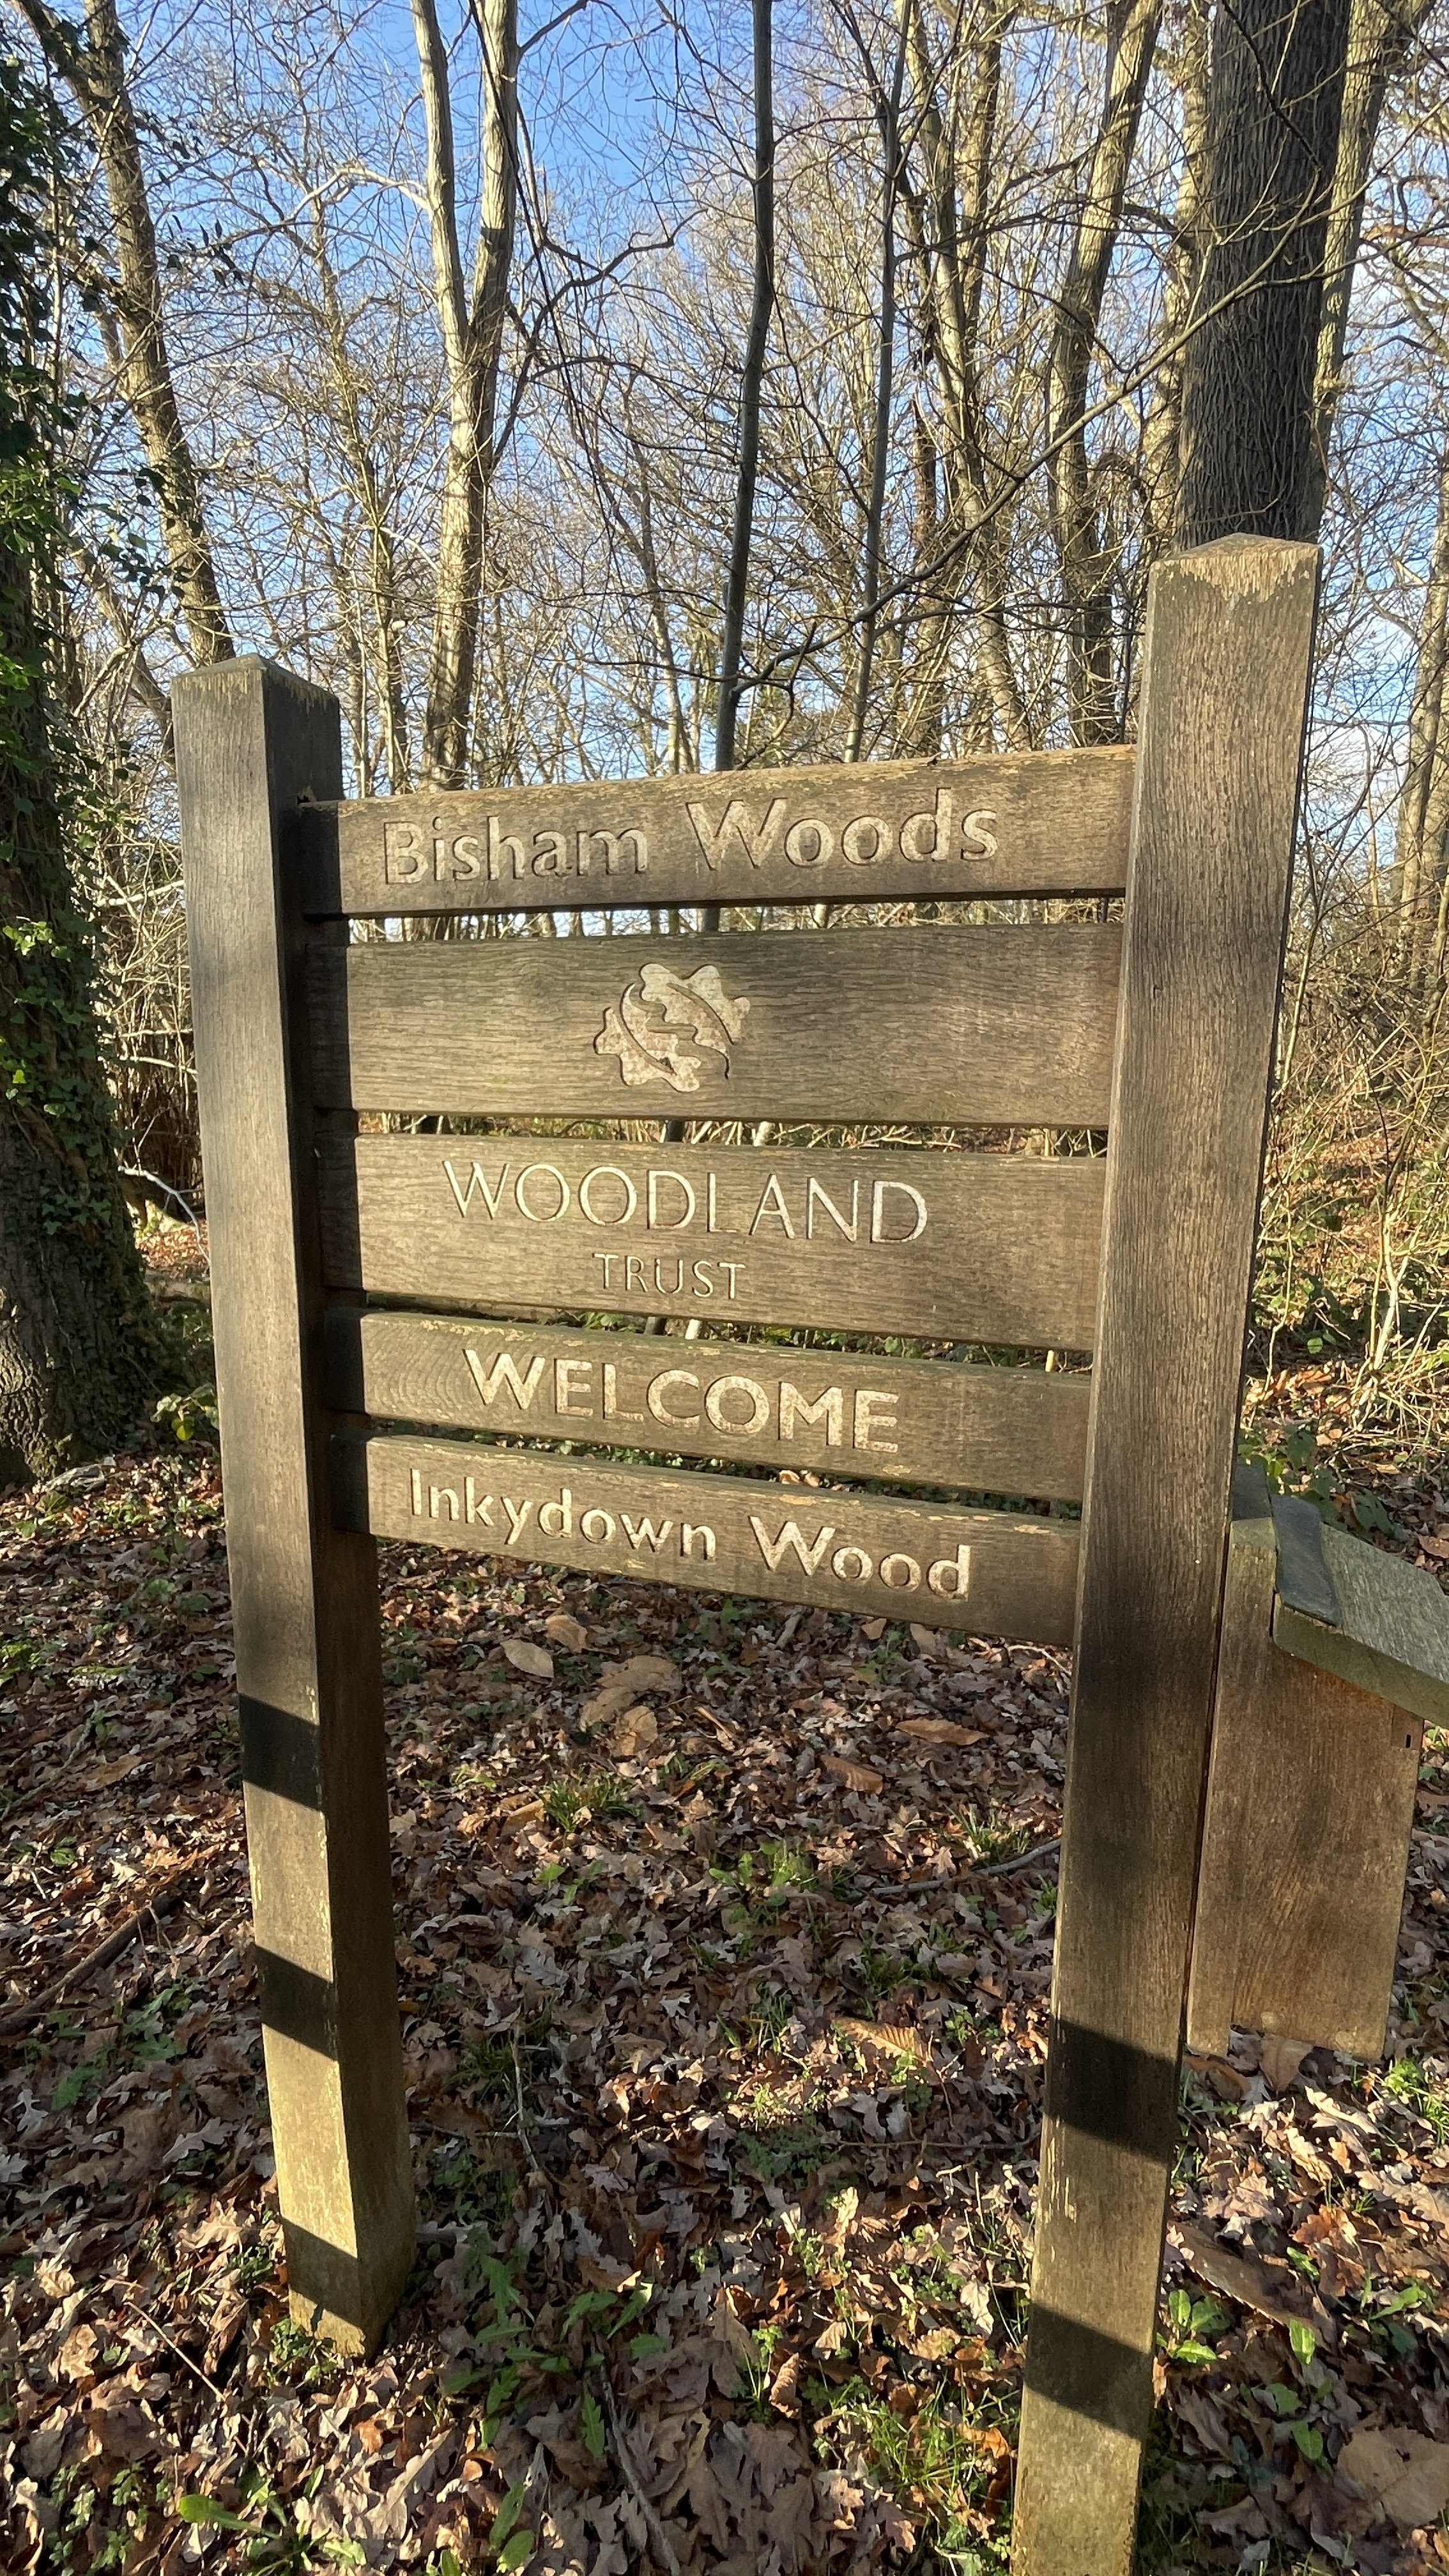
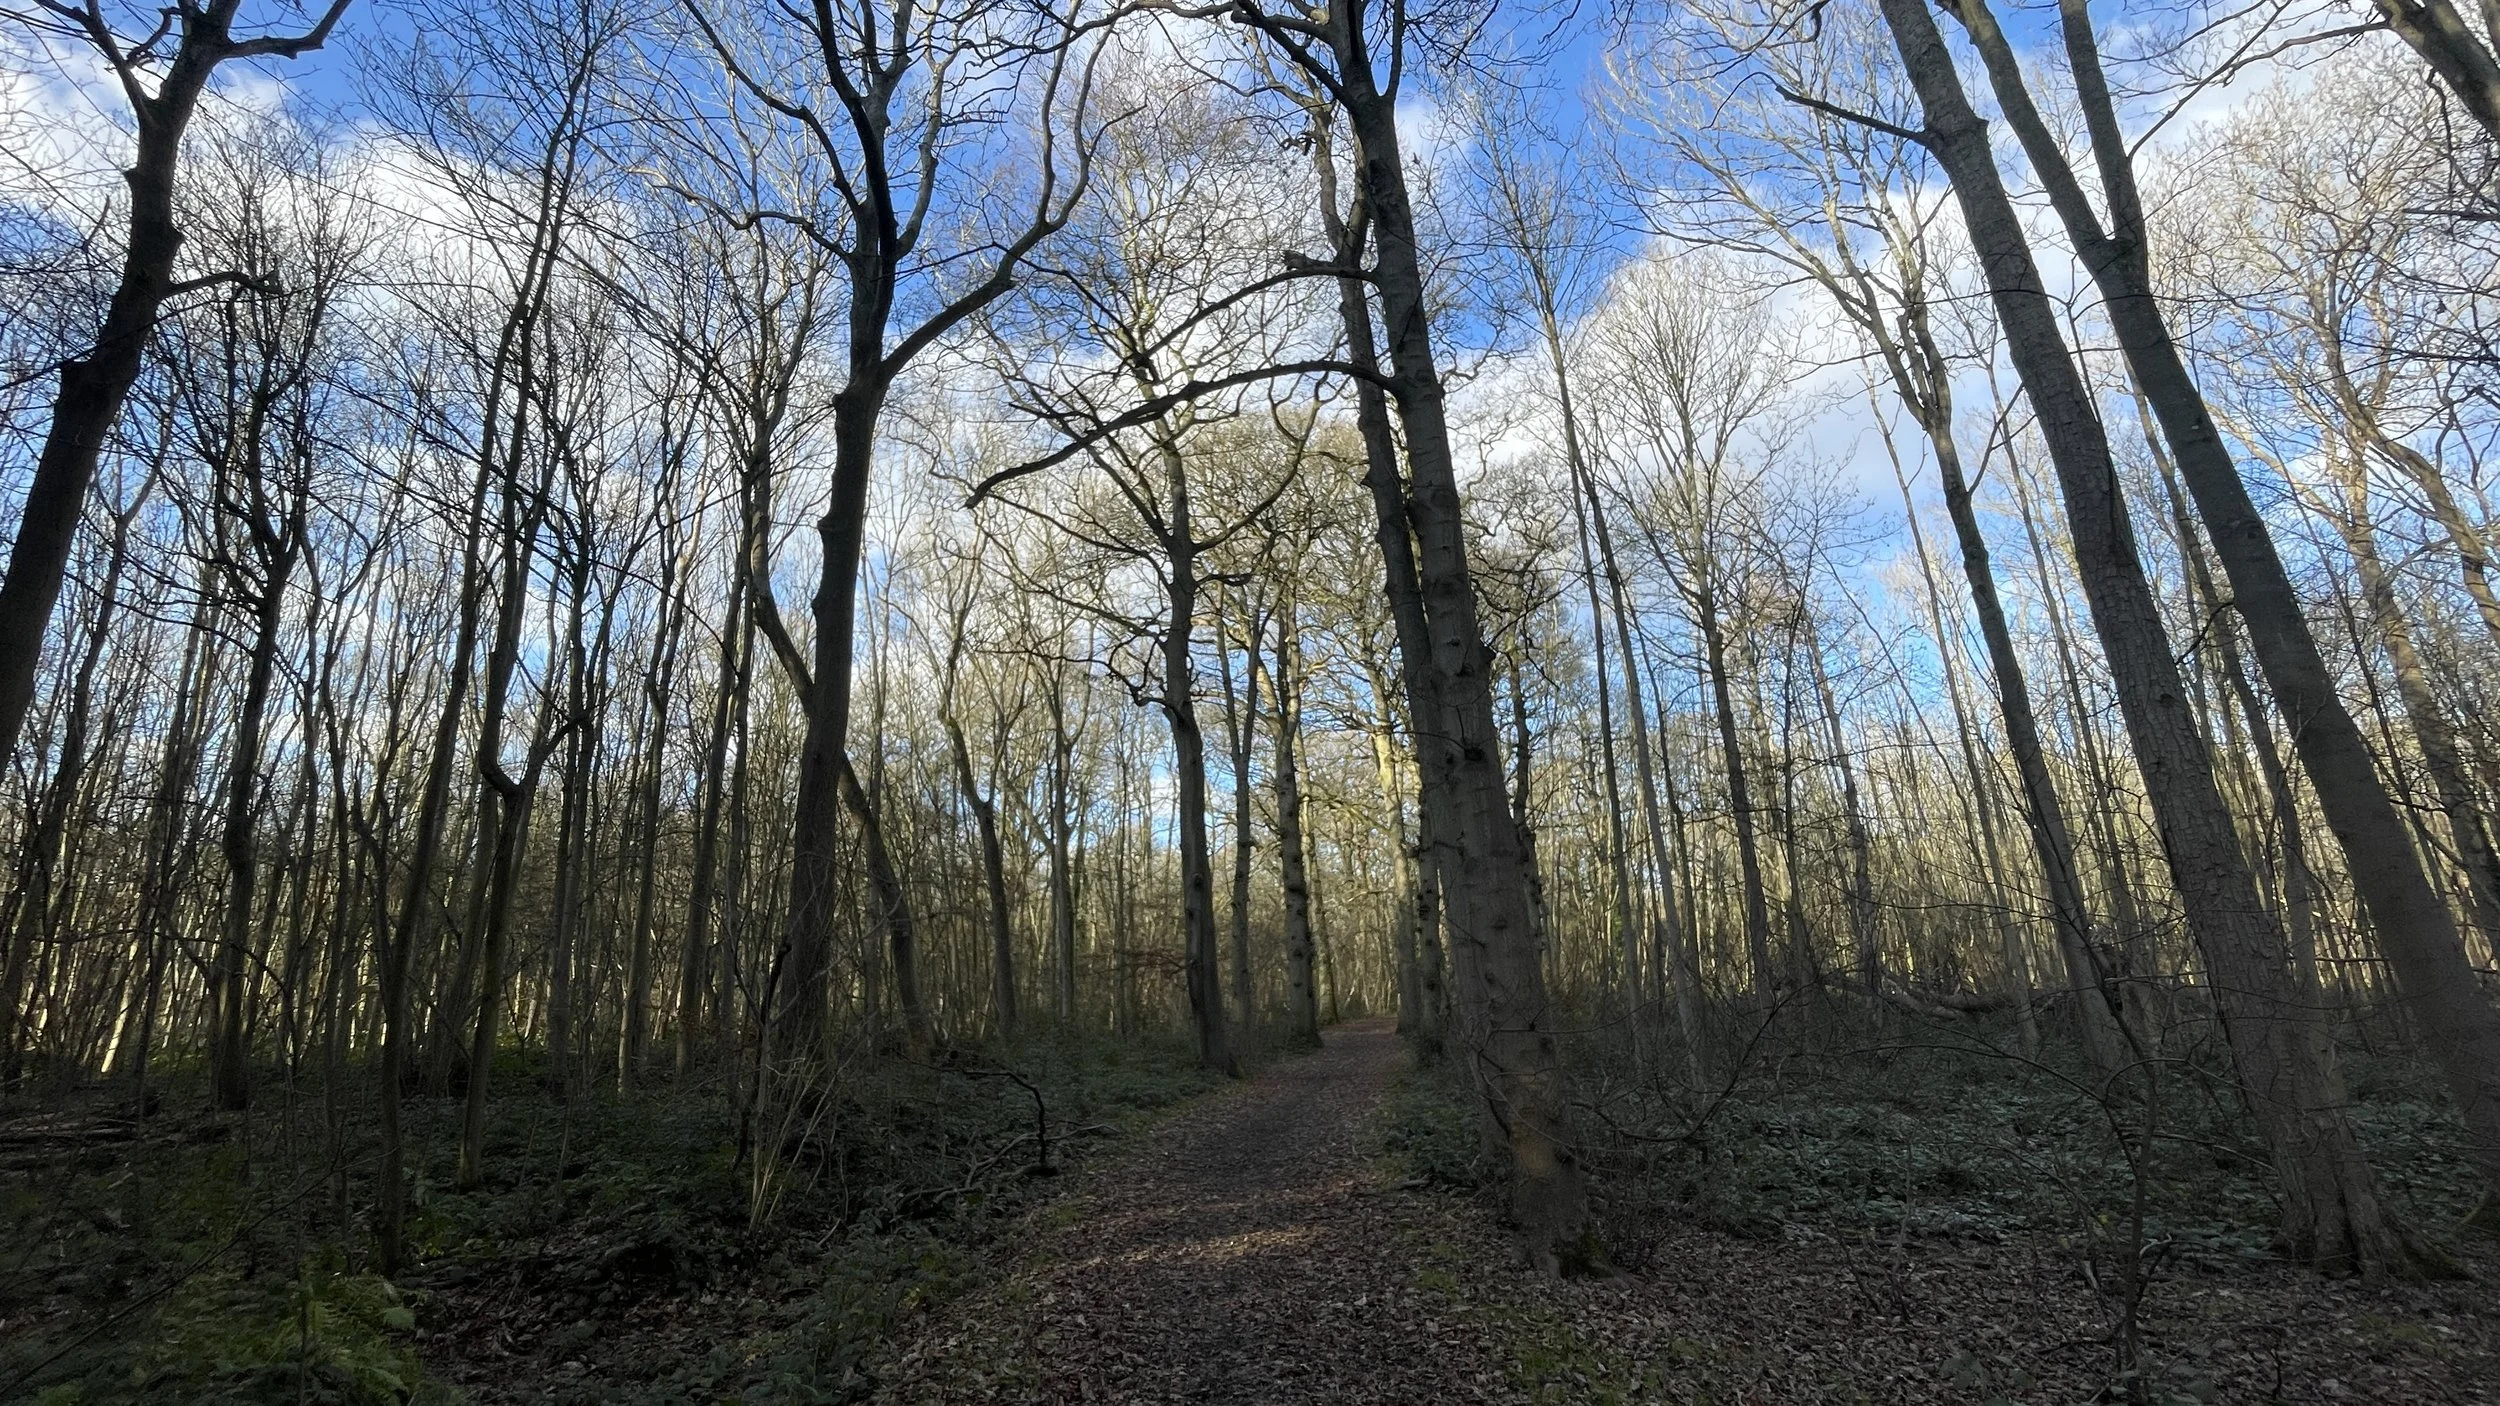
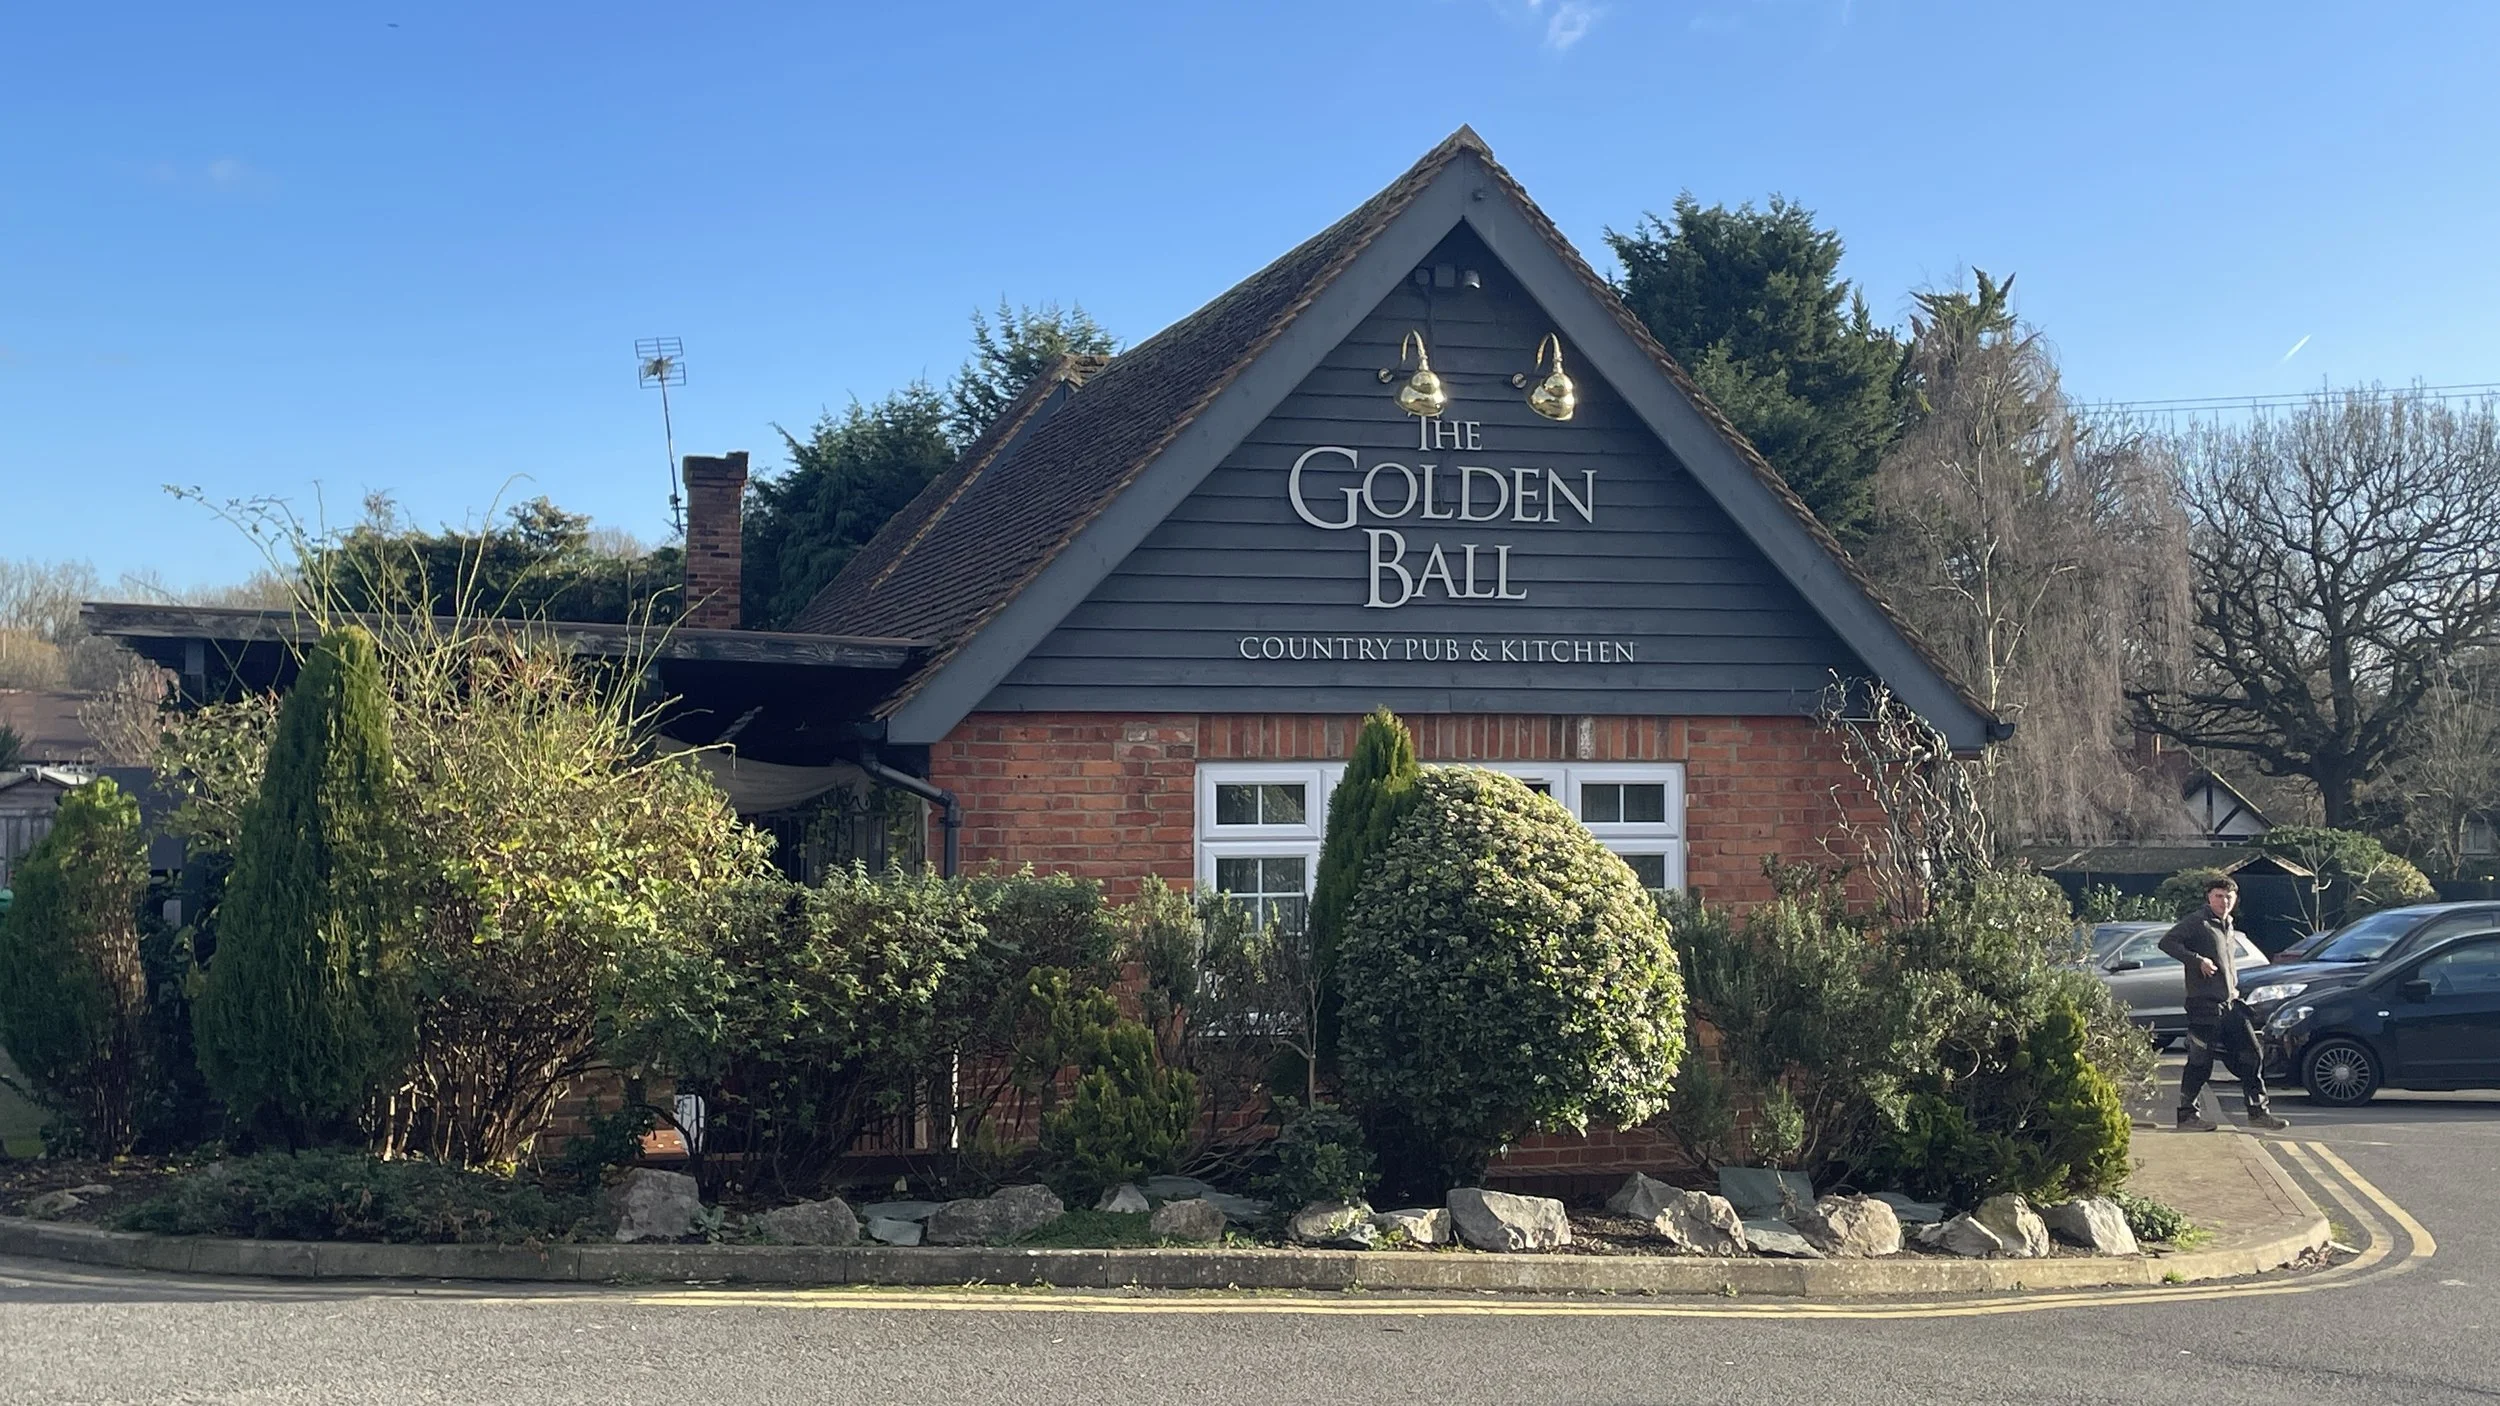
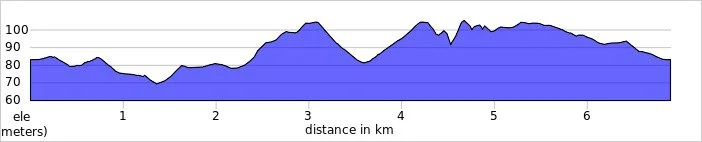
Trig Pillar Extremes
If you’ve searched for or stumbled across this page then you probably already know what an OS Trig Pillar is. If you don’t then this article from the Ordnance Survey is a good place to start.
Over 6,000 Trig Pillars were erected across the country from 1936 to 1962. The first known person to have visited all of them was Rob Woodall who completed his 14-year personal quest in April 2016. At the time of writing this I’ve also been visiting Trig Pillars for over 14 years but so far I’ve bagged less than 5%. While I don’t have the need to bag them all, I’d be happy with an “interesting 10%”. These would include all of the pillars on the UK County Tops and, as it’s close to home, all of South East England. After a geeky pub conversation somewhere in Scotland after a County Top climb, I also took an interest in the extremes: the oldest, the newest, the furthest north, east, south and west. This post shows the results of my research so far into what are those extreme Trig Pillars.
Let me know if you have any corrections to the information on this page or any suggestions for other extreme Trig Pillars. I’ll donate £1 to one of the outdoor causes that I support for any edit made.
Trig Pillar Compass Club
The spreadsheet below shows the same Trig Pillars as in the map above. Note that those highlighted in yellow are ones that I’m less confident in. Comment below if you can confirm or correct any of these.
Other Extremes
First Trig Pillar installed: TP0256 - Cold Ashby, Northamptonshire. Installed on April 18th 1936. See article
Last Trig Pillar installed: TP6459 - Thorny Gale, Cumbria. Installed on 4th June 1962.
Highest Trig Pillar: TP1289 - Ben Nevis, Scotland. 1,344m elevation. See blog post.
Lowest Trig Pillar: TP4449 - Little Ouse, Norfolk. -1m elevation.
Most Remote: TP6131 - St Kilda. 35miles north west of North Uist in the Western Isles.
Longest time missing (England): TP4355 - Langstone - 78 years. Destroyed August 1945 by erosion & refound in shingle more or less intact Aug 2023.
Longest time missing (Wales): TP7409 - Crug Yr Afan - 70 years. Destroyed in June 1937 and its remains were rediscovered in November 2006.
Longest time missing (Scotland): TP5490 - Polloktown - 43 years.
Most travelled from original location: TP3015 - Eastwood moved from Rayleigh Essex to Diss in Norfolk.
Thanks to Mark Brace and Ross Lockley for their contributions to this page.