Trig Pillar Walks: Stowe Landscape Gardens
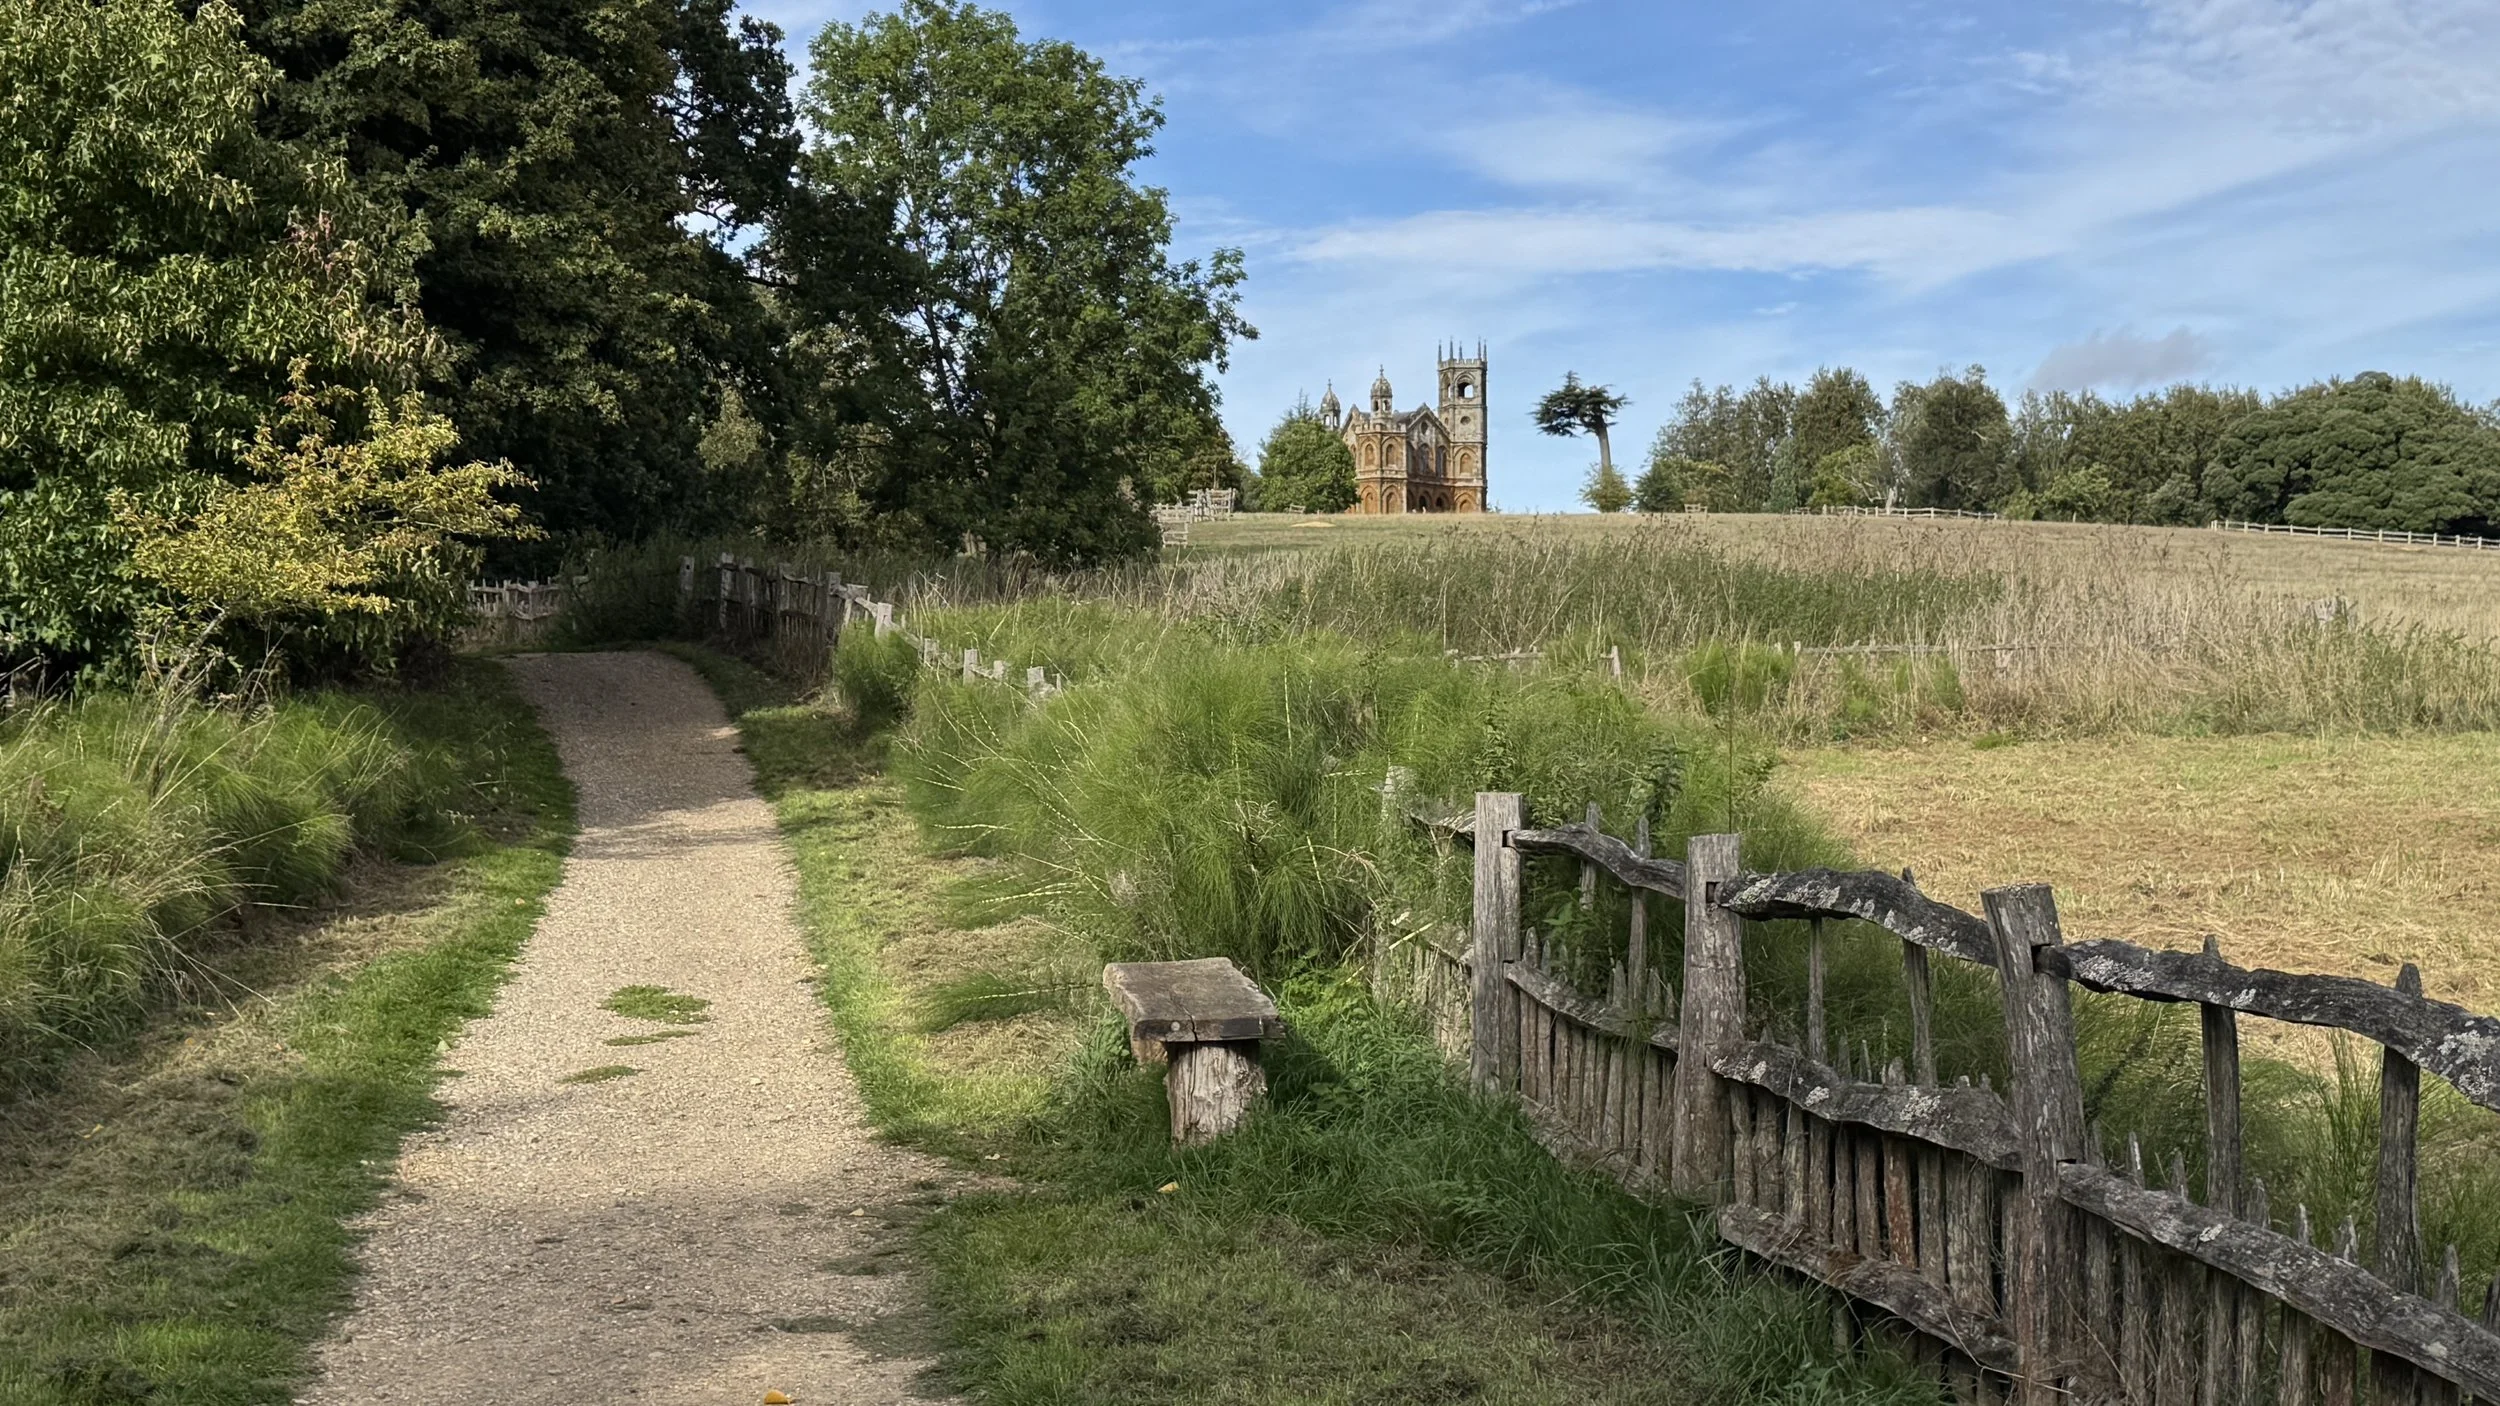
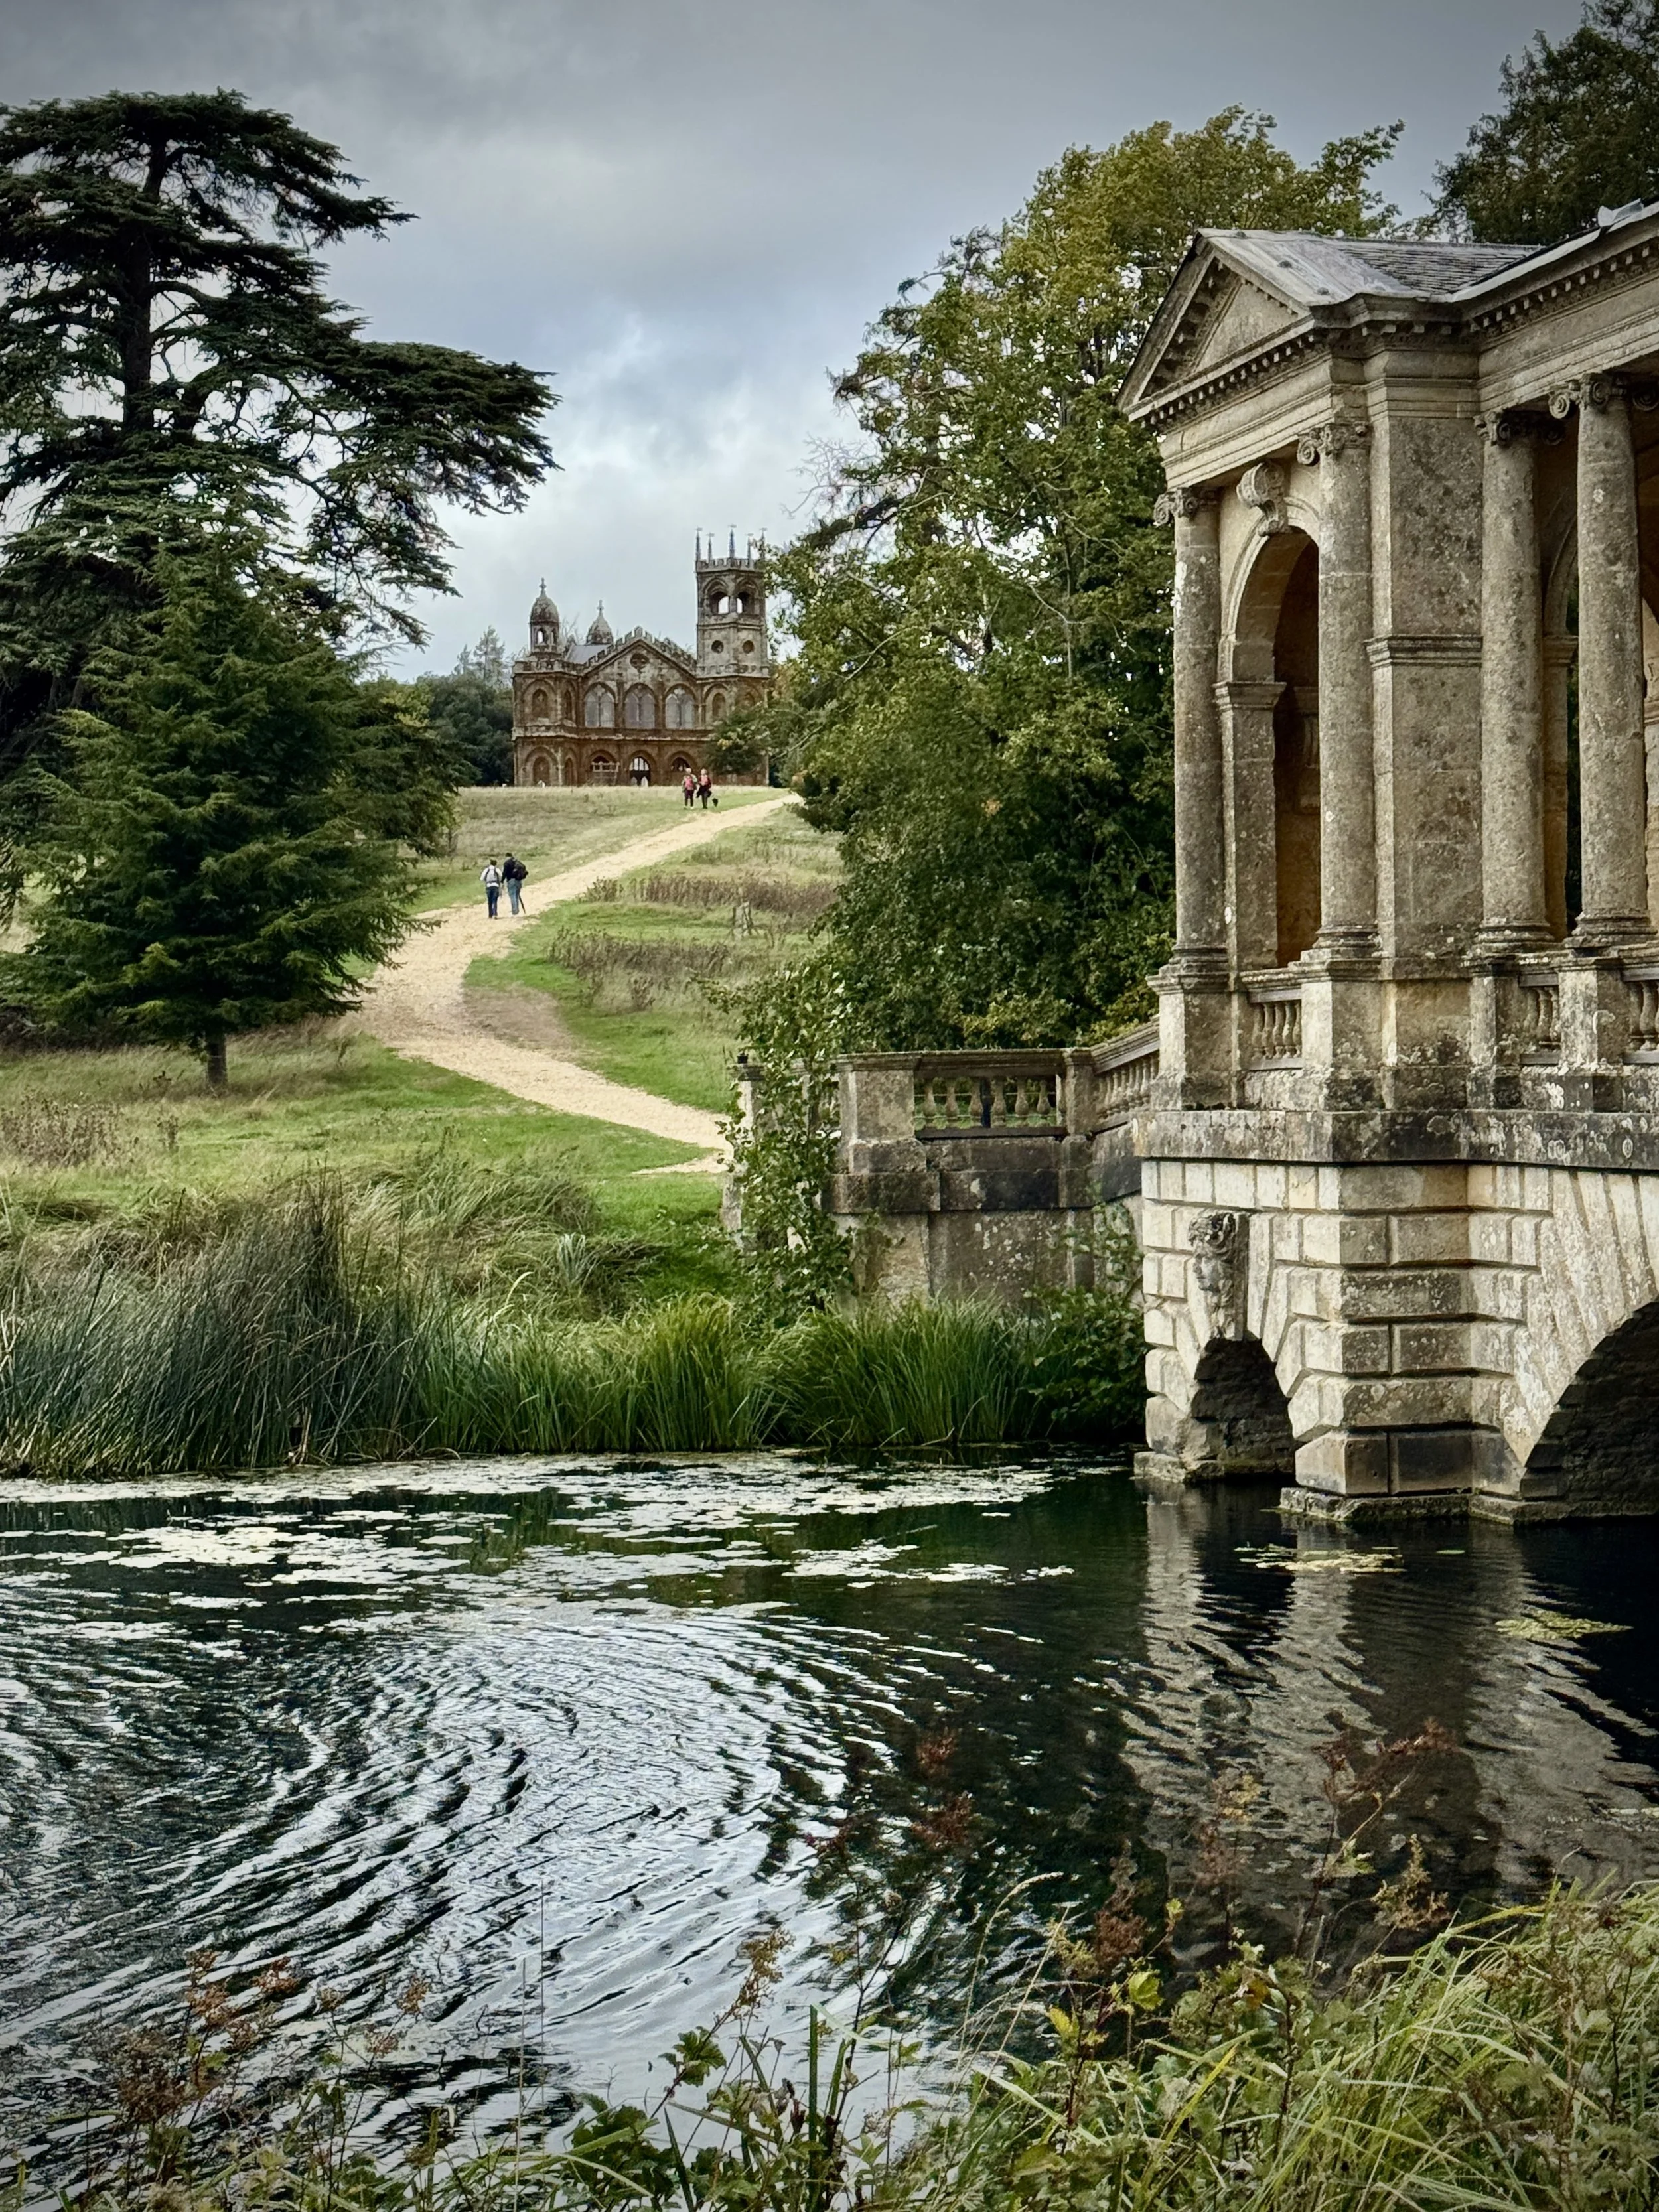
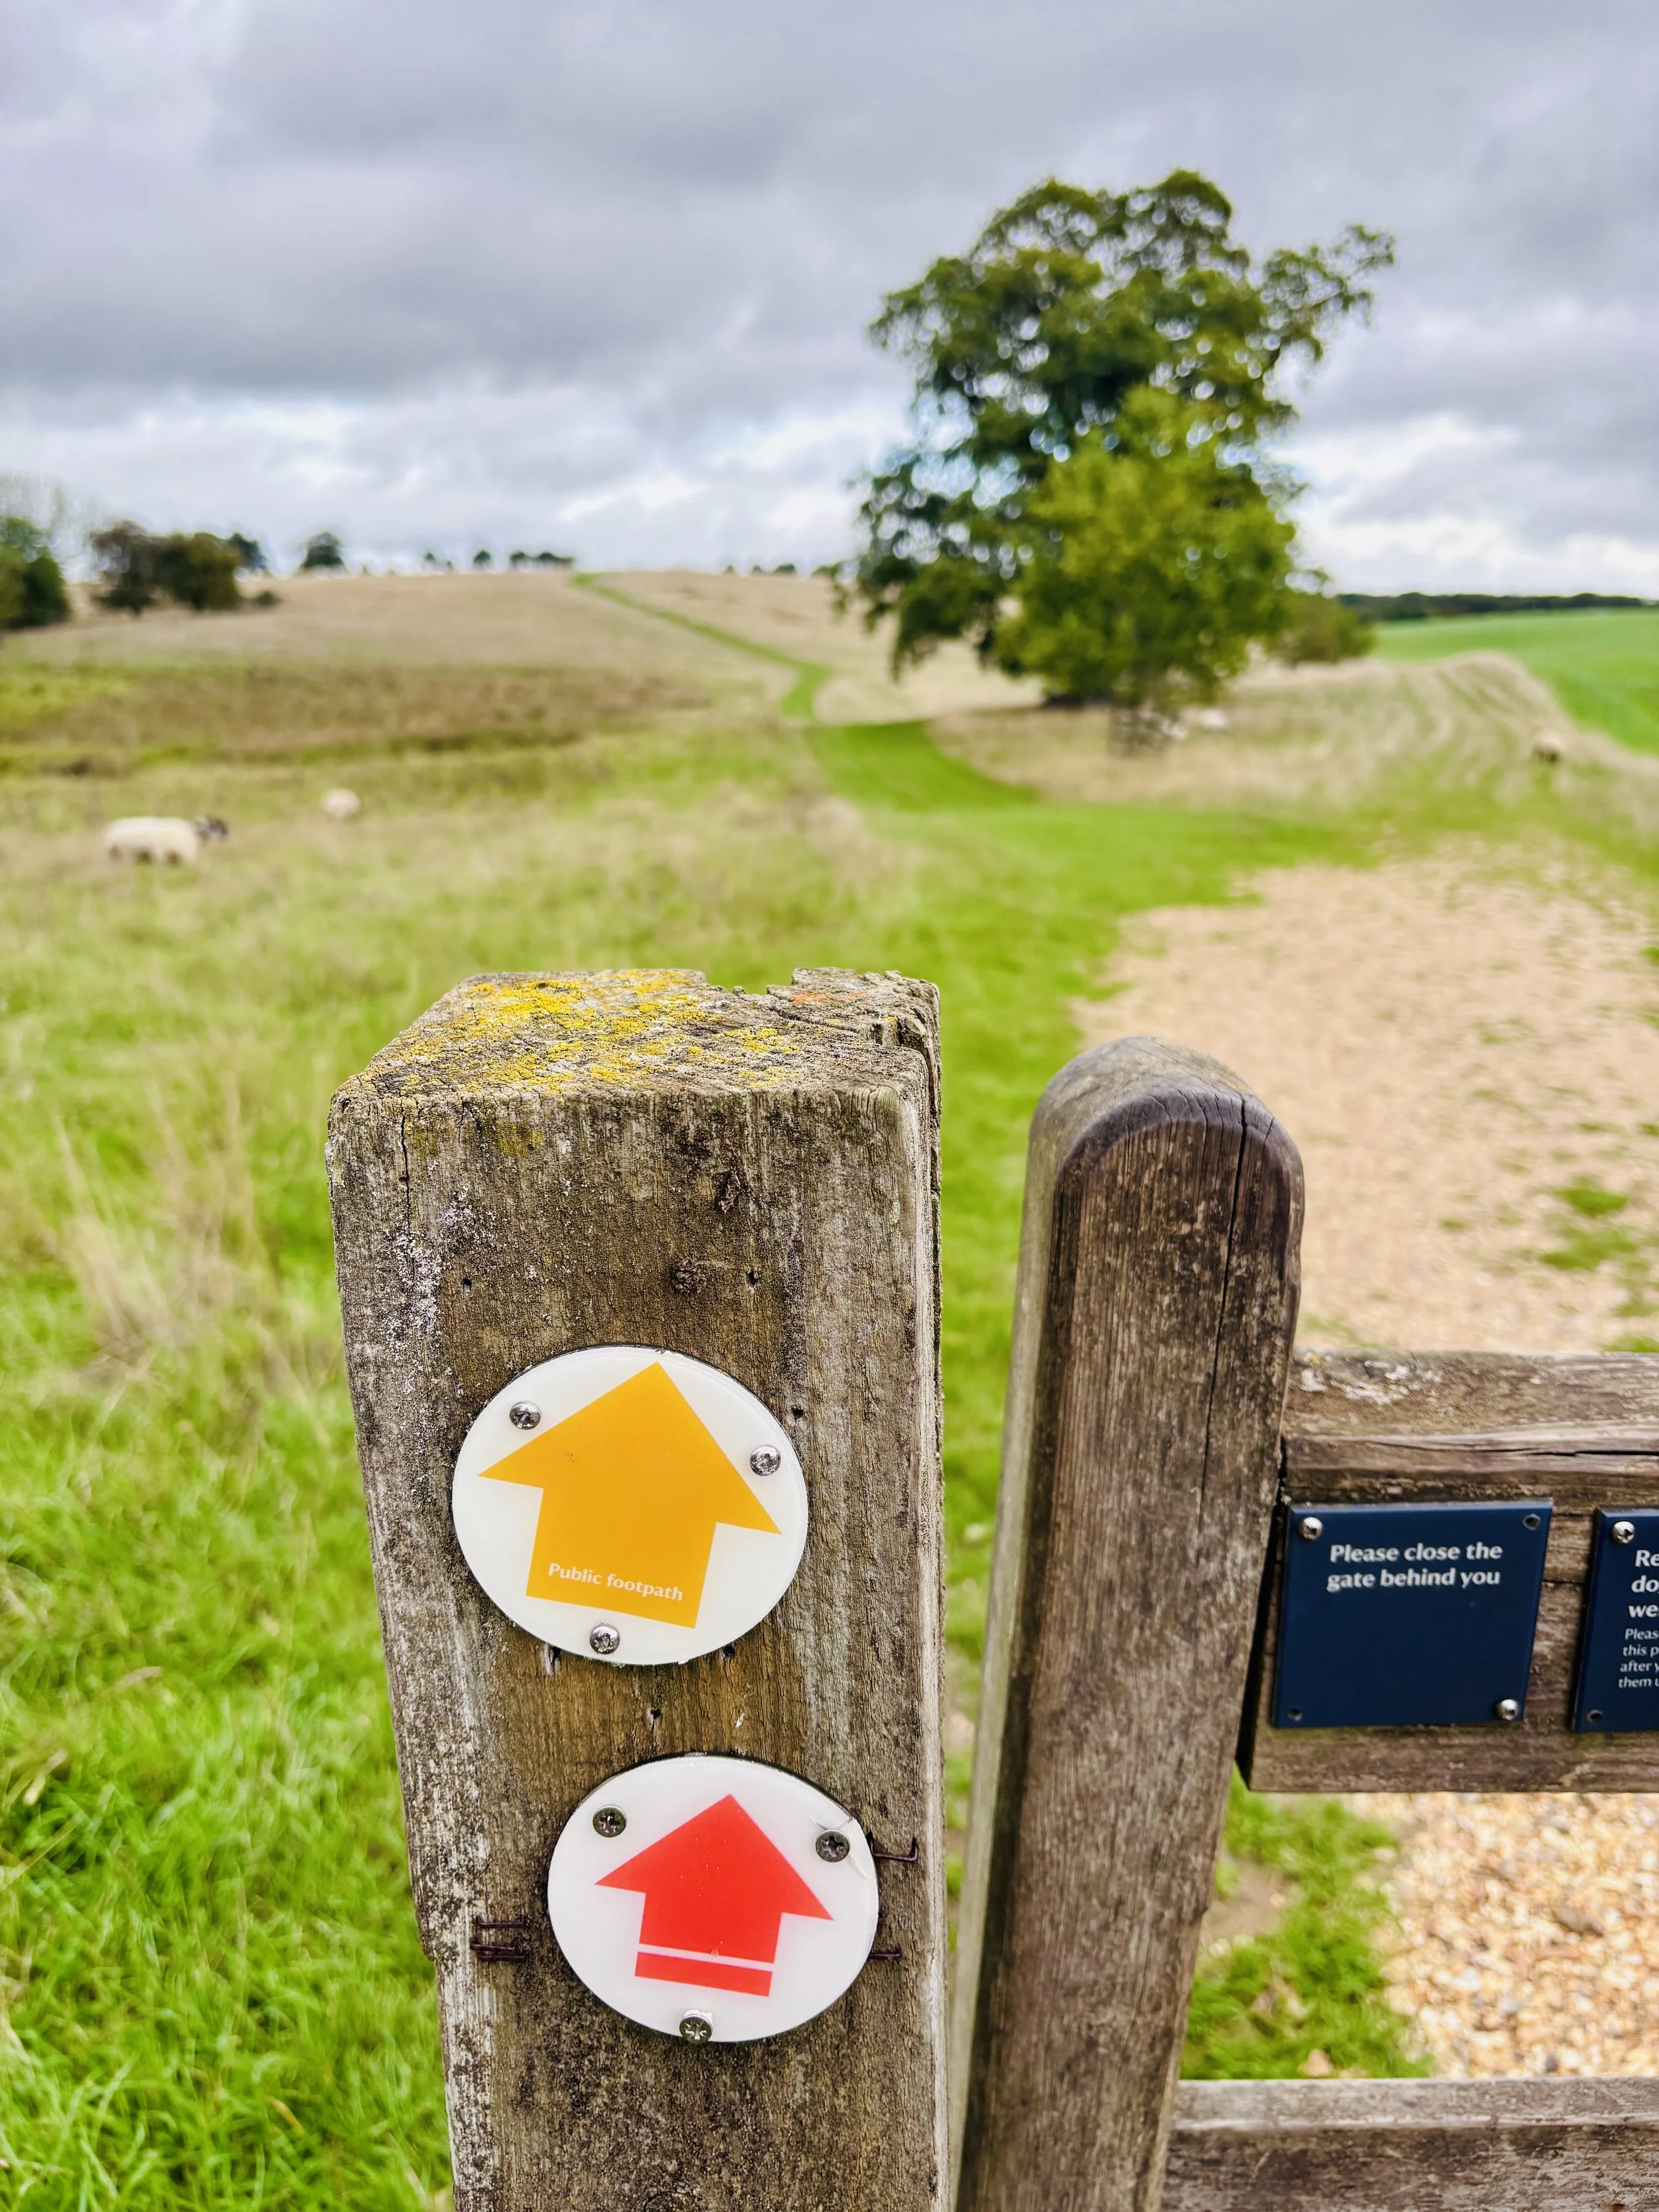
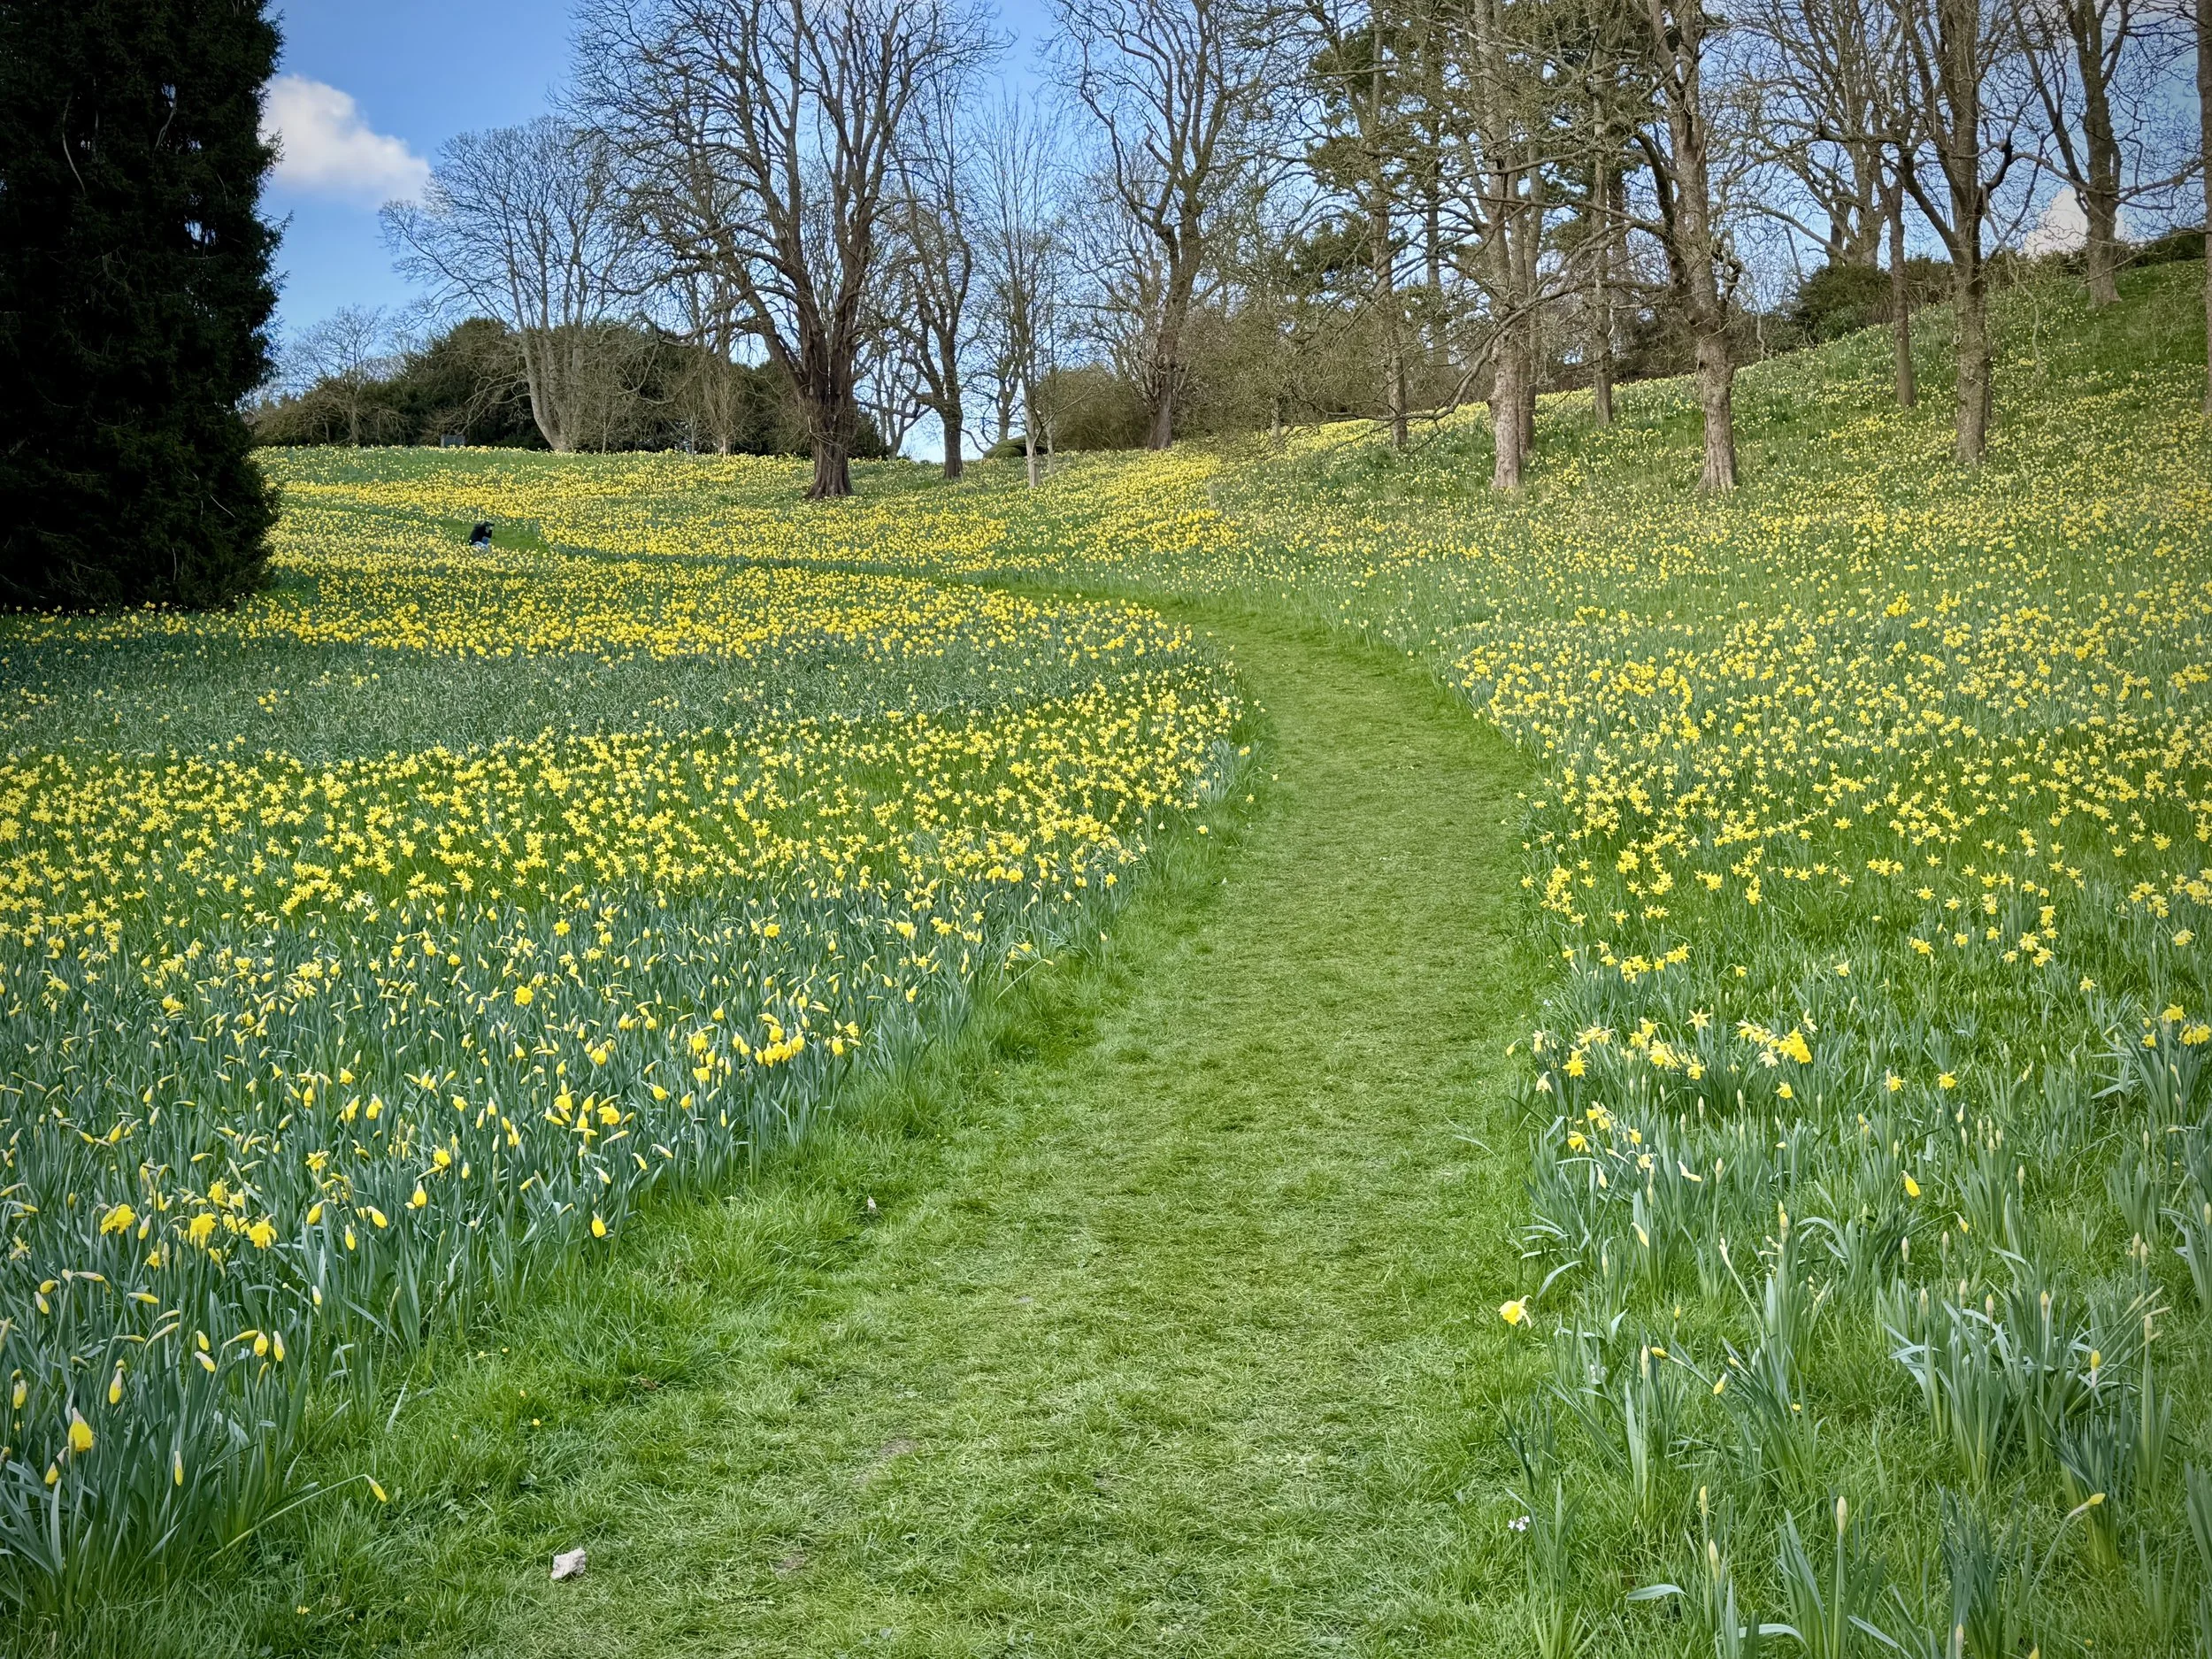
Path leading to the Gothic Temple
Start & Finish: National Trust - Stowe Gardens, New Inn Farm, Buckingham MK18 5EQ
Distance: 9.8 km (6.1 miles)
Elevation change: +/- 111m
Terrain: Mostly well-made estate paths, open parkland grass, and sheltered woodland trails.
GPX File: get via Buy Me a Coffee
Other routes touched (walk): Home Front Route Stowe, Blue Trail Stowe, Military Route Stowe, Stowe Parkland Walk, Ouse Valley Way,
Other routes touched (cycle): None
Pubs / Cafes on route: Cafe at the National Trust Visitors Centre
OS Trig Pillar: TP6219 - Stowe Park
Map: Buckingham & Milton Keynes Map | Leighton Buzzard & Woburn | Ordnance Survey | OS Explorer Map 192
Links: Stowe Landscape Gardens, Stowe House, Buckingham
This is part of a series of walks that combine beautiful countryside trails with finding (or “bagging”) an OS Trig Pillar. If you’ve searched for or stumbled across this page then you probably already know what an OS Trig Pillar is. If you don’t then this article from the Ordnance Survey is a good place to start.
Walking Directions
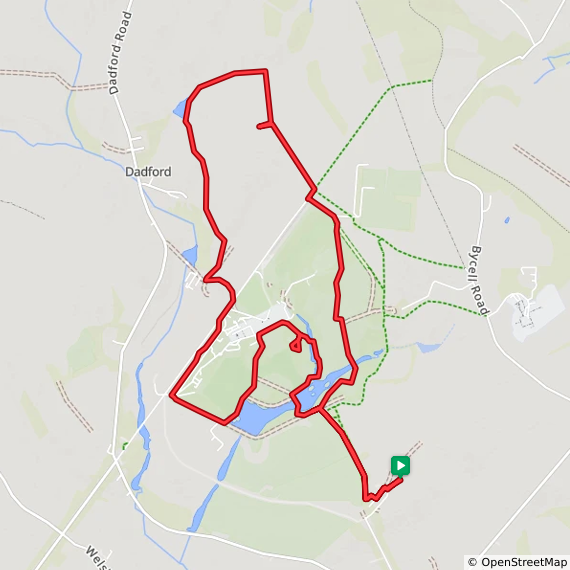
This circular walking route takes you through the stunning historic parkland of Stowe, a landscape sculpted by some of Britain's most famous garden designers. Starting near the New Inn Visitor Centre, the trail heads northward through the sprawling estate, gently descending before steadily climbing towards the northern boundary where you will find the main objective: Trig Pillar TP6219.
After visiting the trig pillar, the route loops westward before tracking south along the quieter, wooded edges of the estate boundary. The return leg provides a contrasting perspective of the landscape, swapping manicured lawns for rustic bridleways and field margins before finally turning eastwards to guide you back to the start. It offers a perfectly balanced morning or afternoon out in the Buckinghamshire countryside.
The guidance below will help you navigate but don’t use it as a fully accurate turn-by-turn guide. Always take a map and/or a GPX route and prepare well for the weather and terrain.
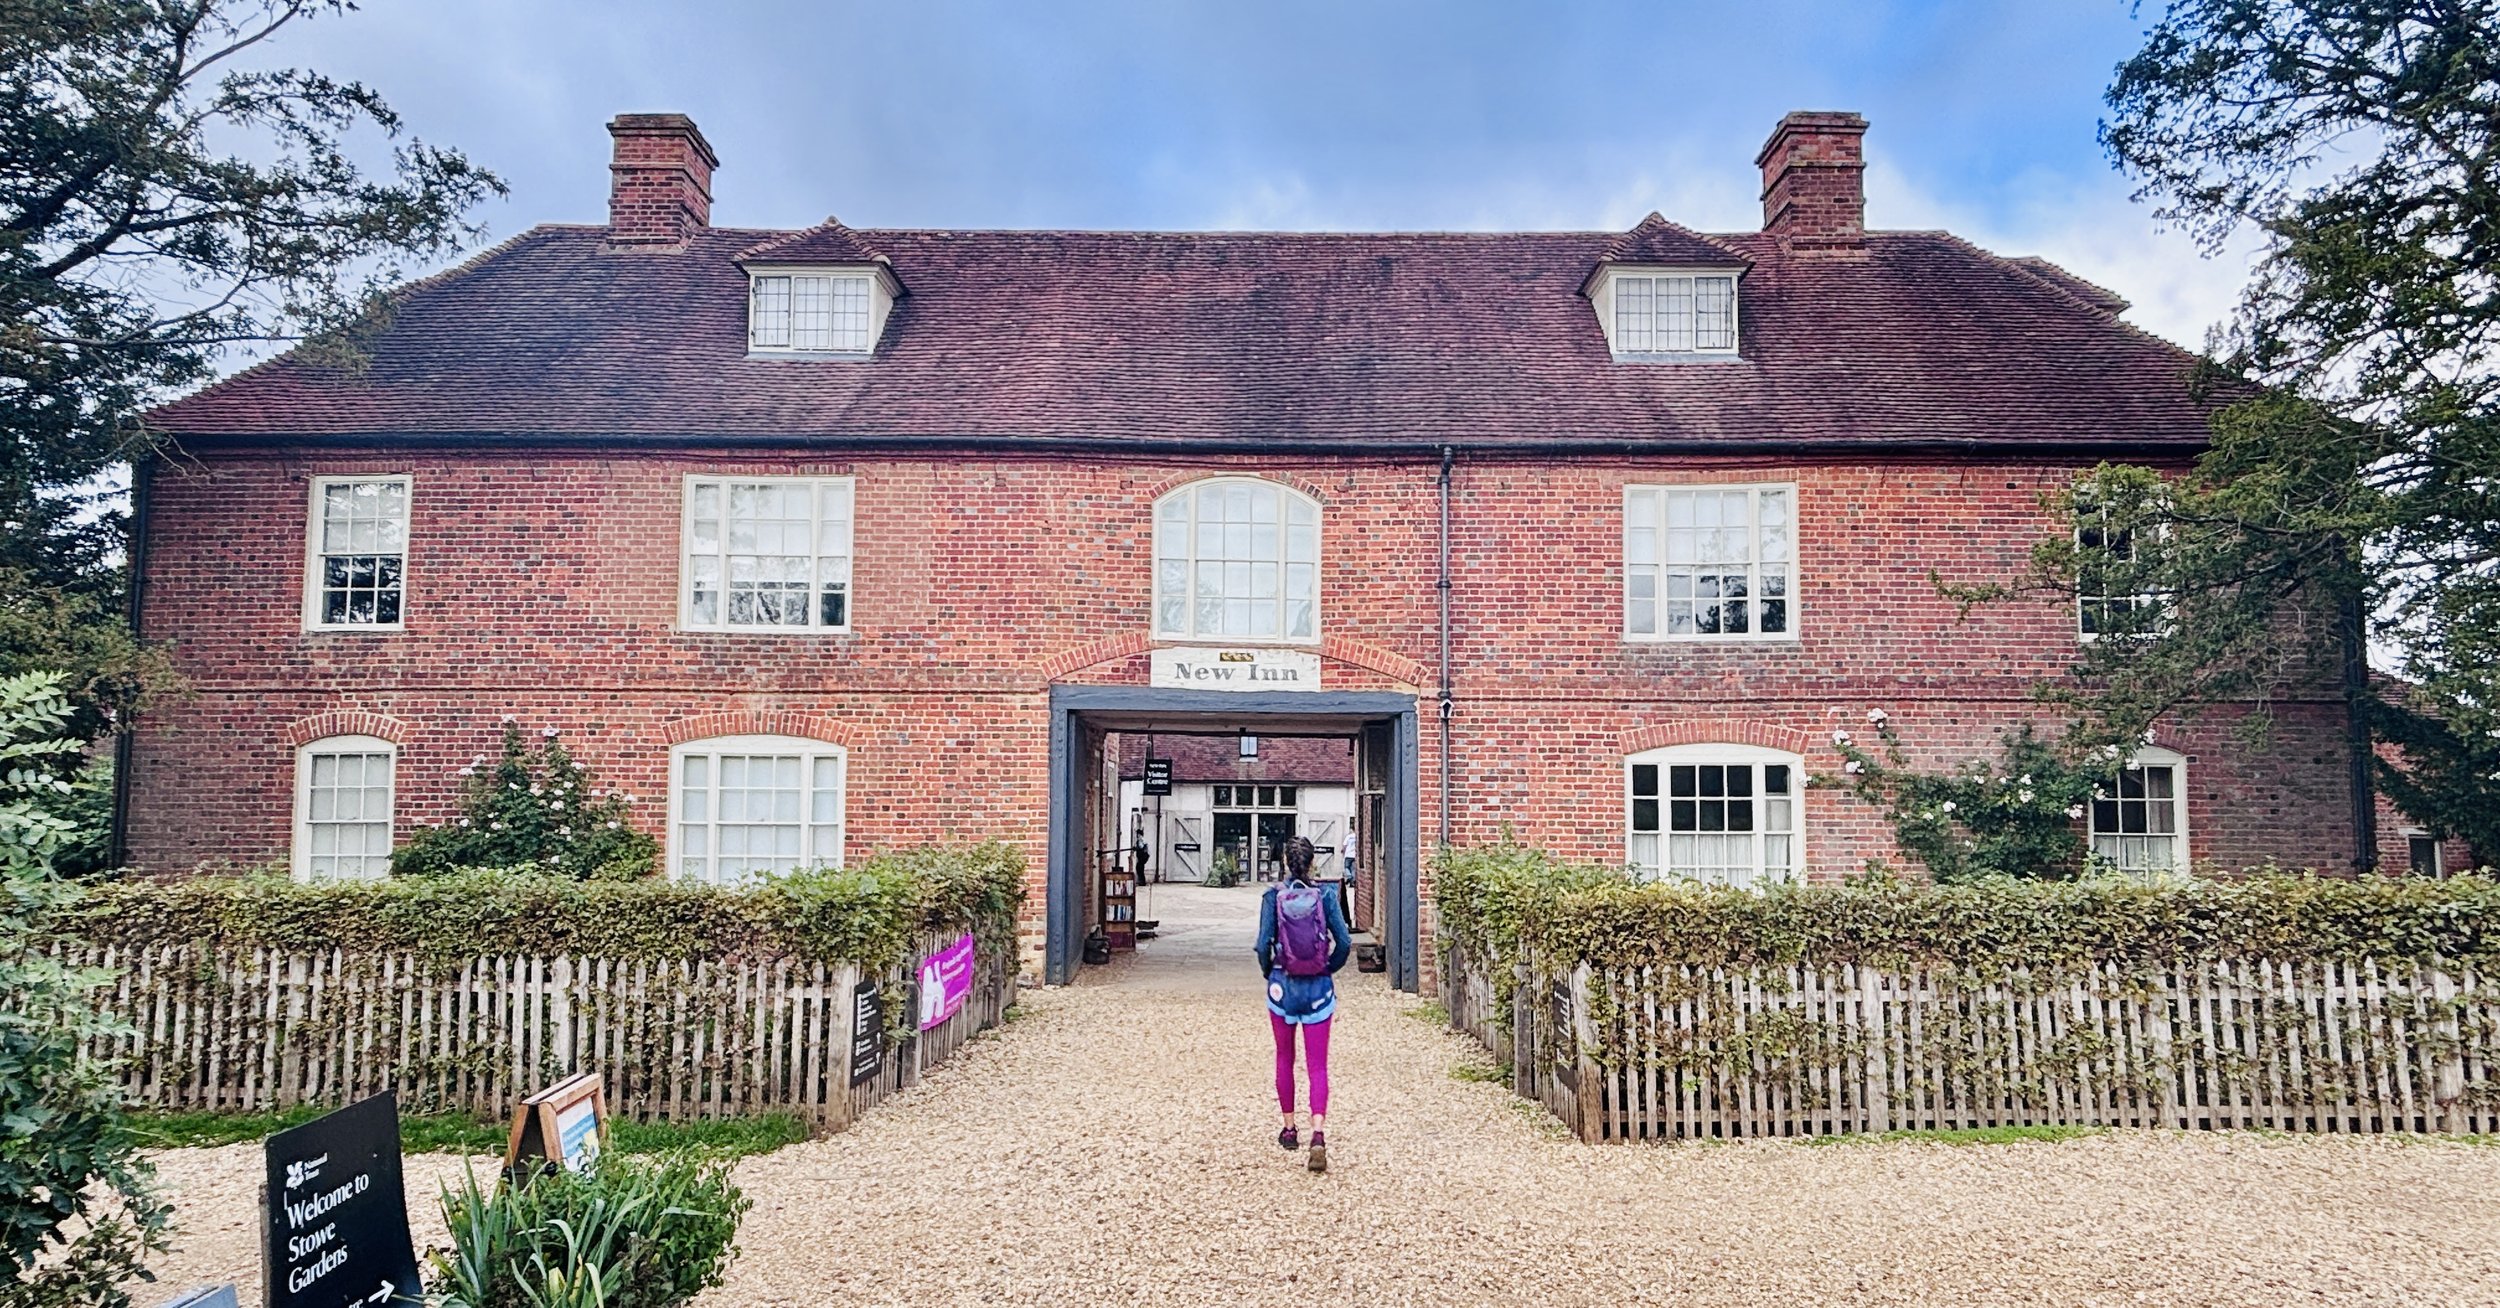
We begin at the New Inn, now serving as the National Trust visitor centre, neatly situated by the main car park. Pass through the inn's buildings to emerge onto the main track, a wide avenue known as the Home Front route, which acts as the grand artery leading up to the landscape garden proper. Follow this deep into the estate.
After a mile or so (roughly 1 km), the path is interrupted by a second ticket booth. It feels slightly incongruous here, but the land is criss-crossed by ancient public rights of way; they must check again to ensure you have bought passage into the inner, managed sanctuary of the gardens.
Once officially within the gardens, take a right turn, followed swiftly by a left. You are now on the 'military route', a path that deliberately traces the southern bank of the Octagon Lake, drawing you north-eastwards along the water’s edge.
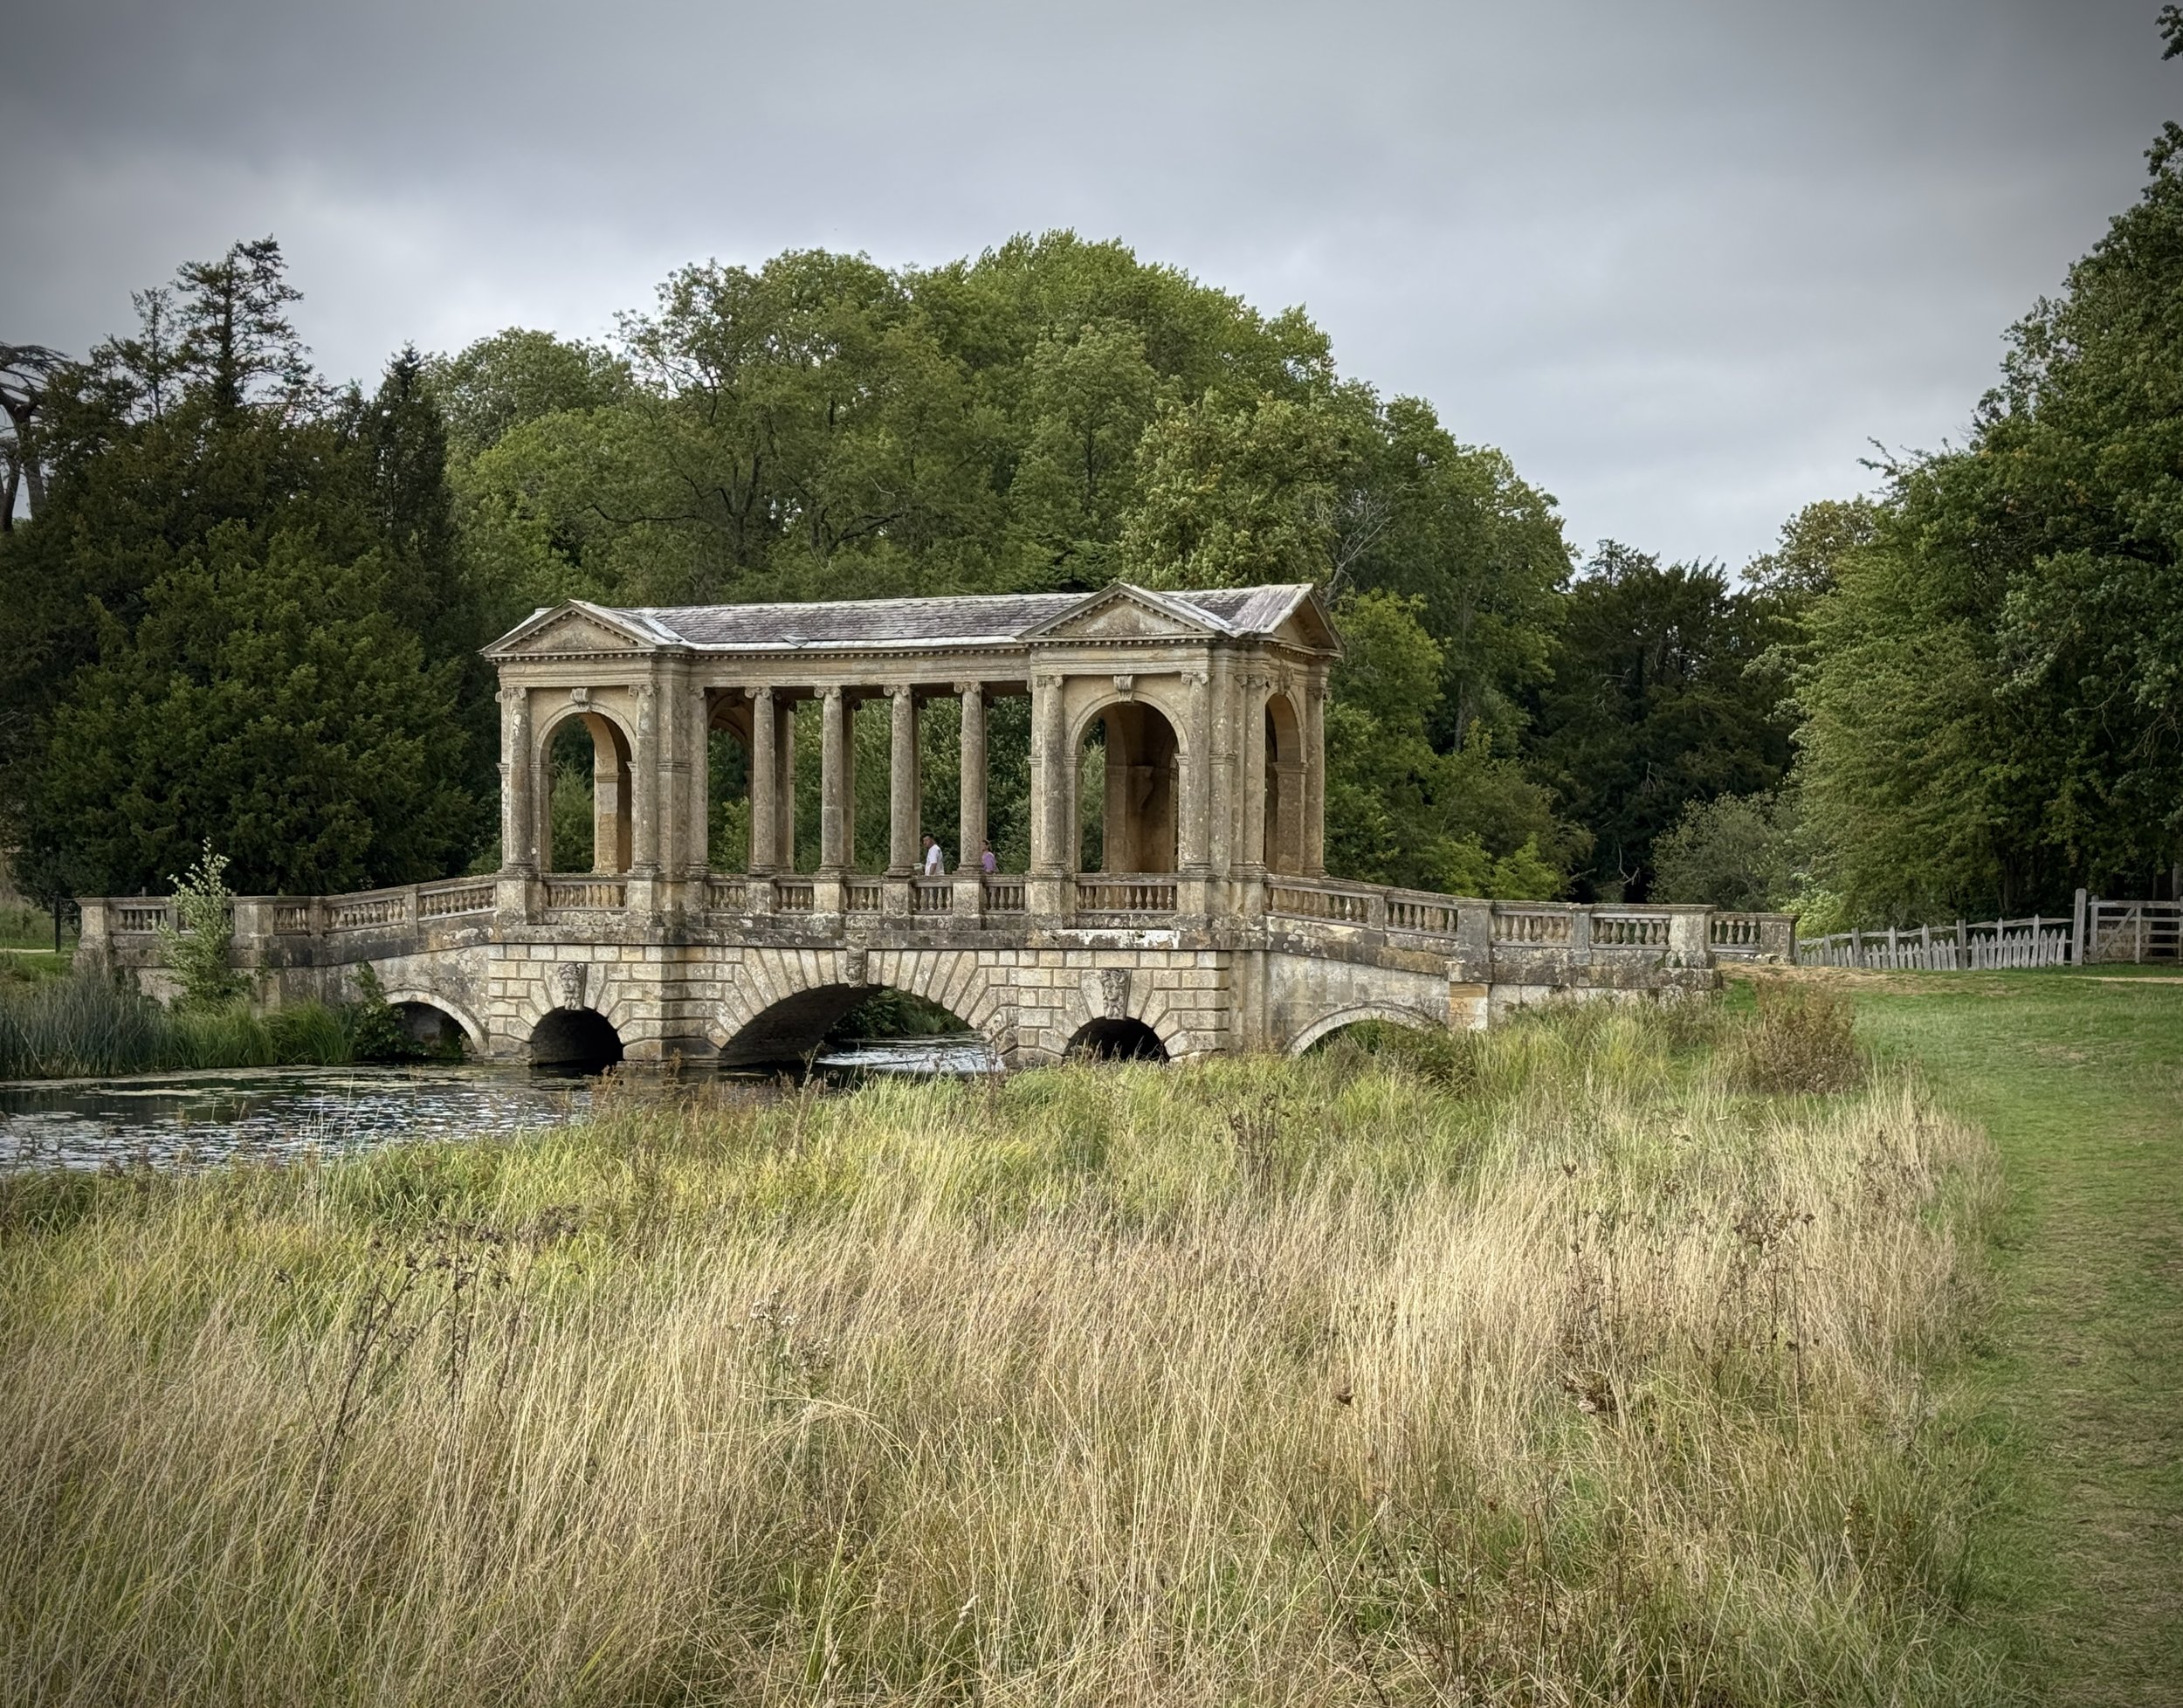
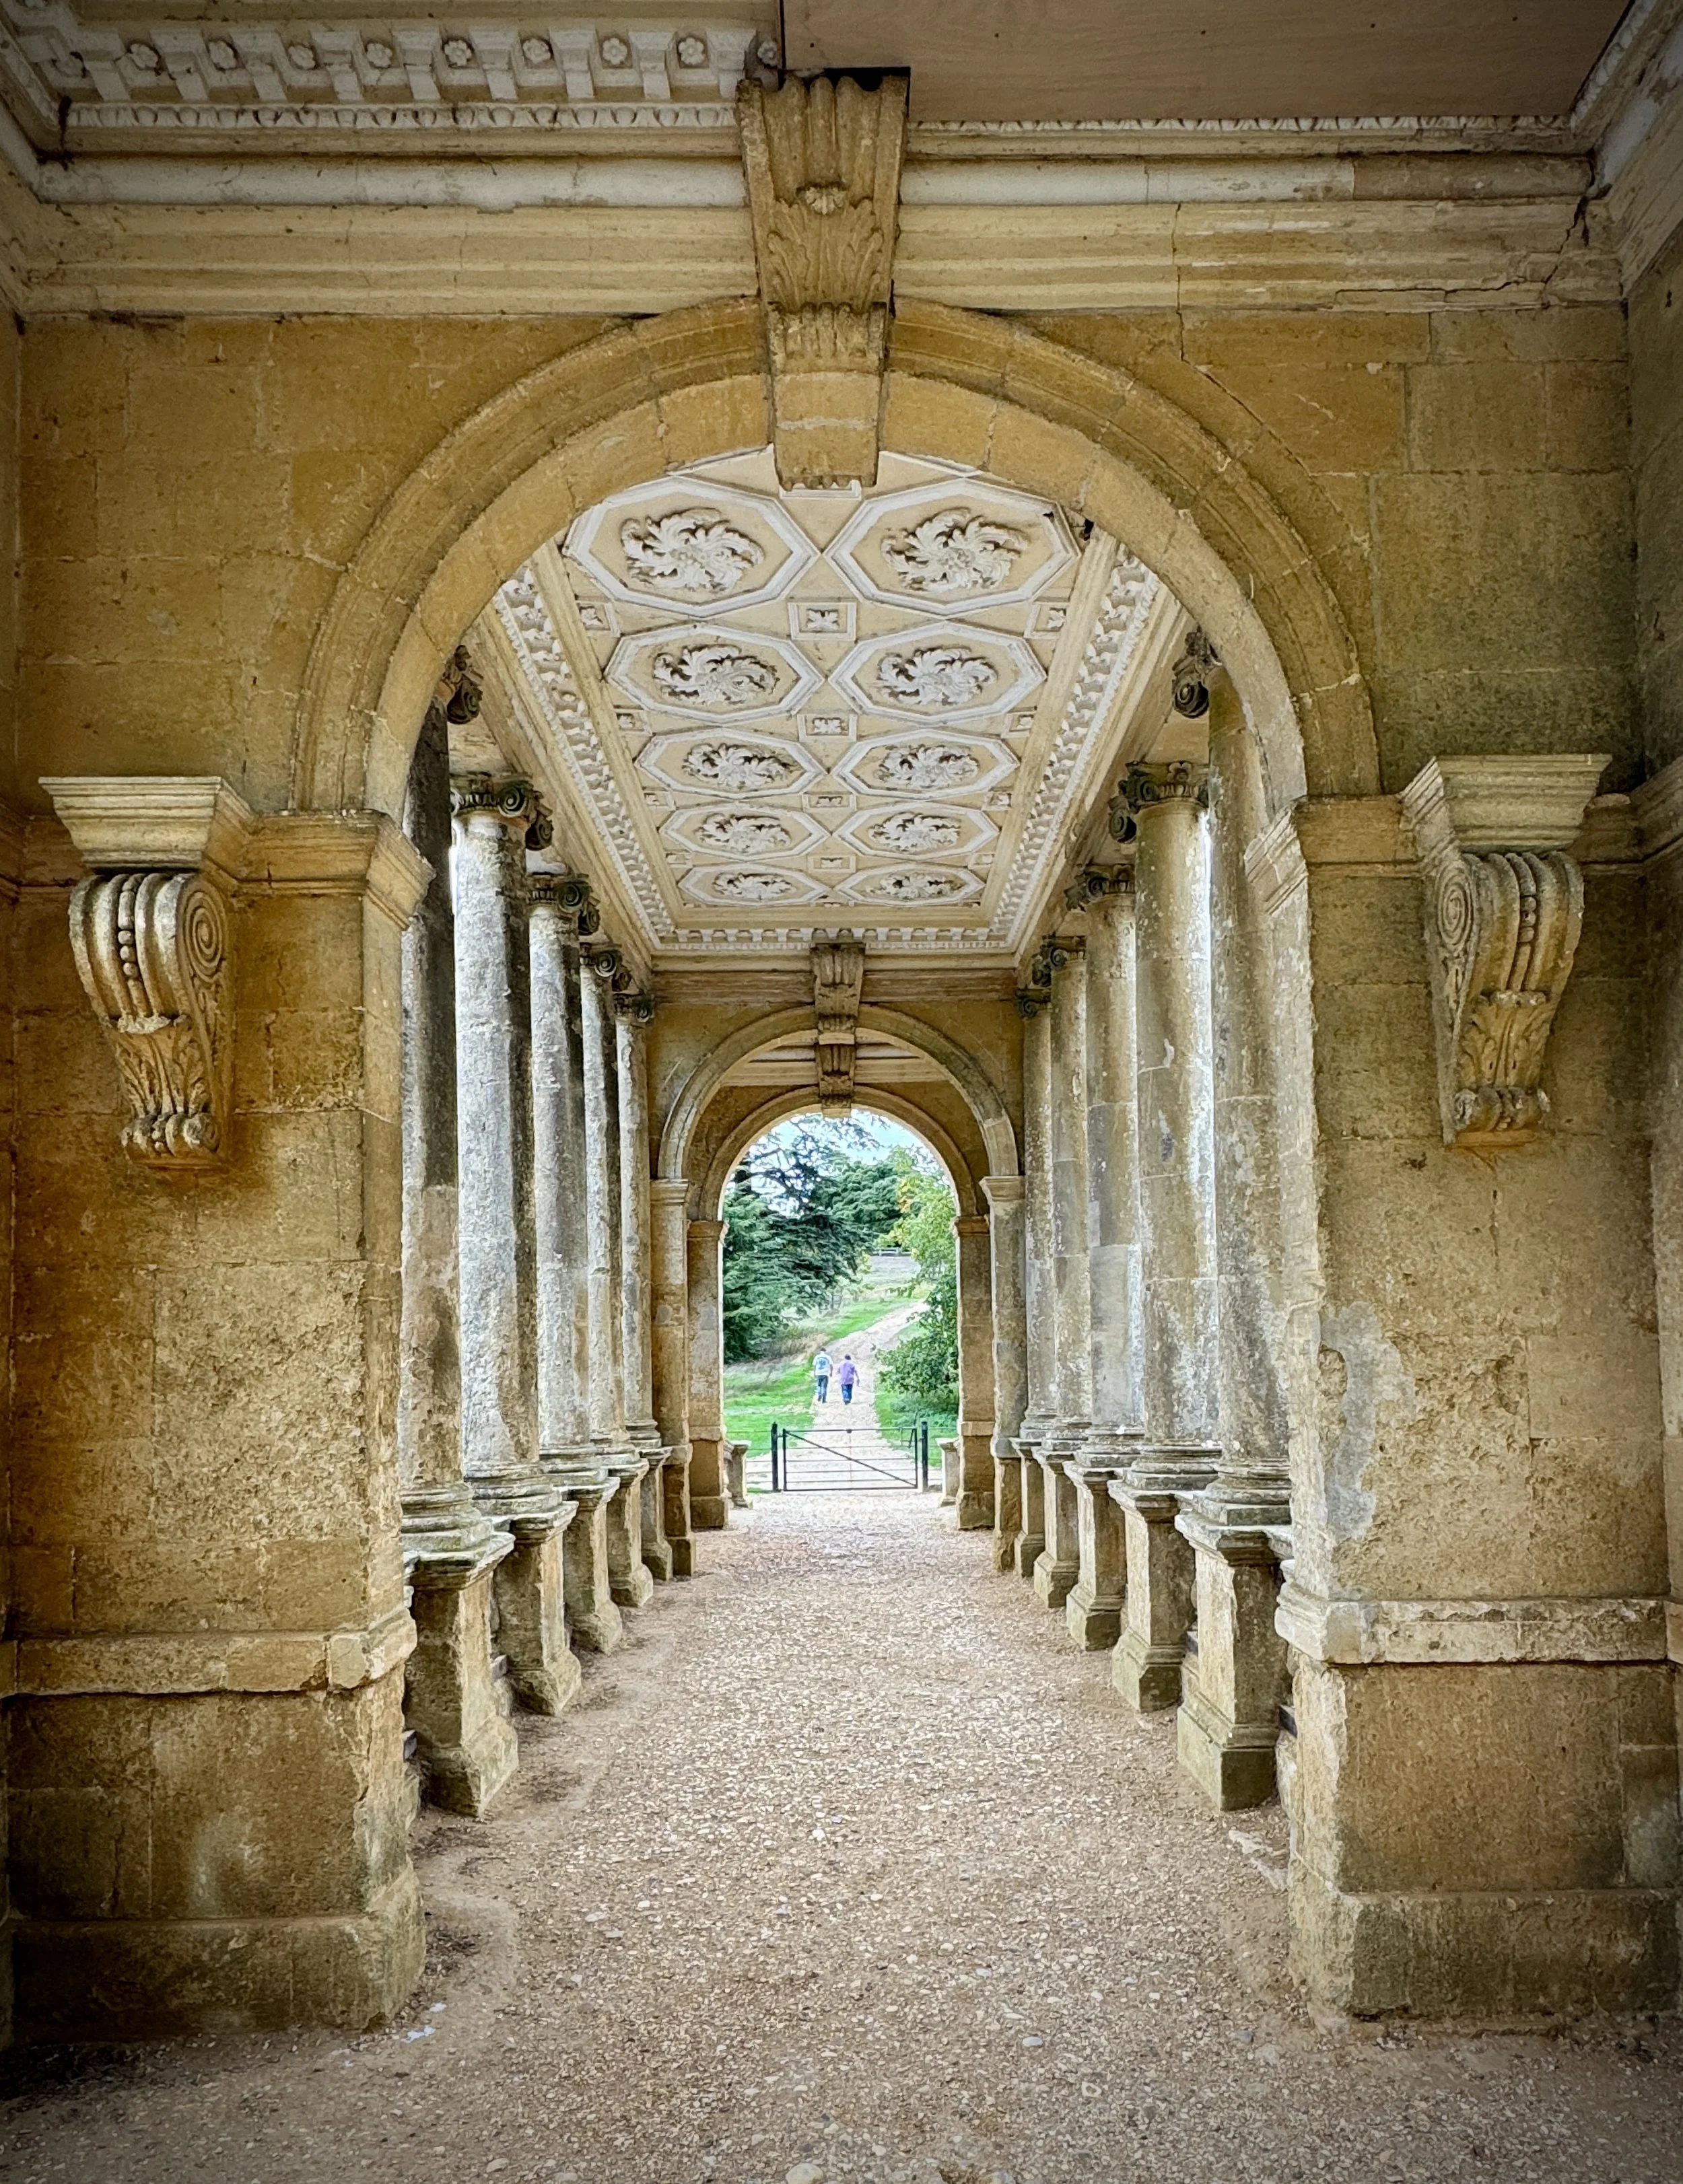
Ahead lies the Palladian Bridge, stretching elegantly across the water. It’s worth pausing here; the views, both of the bridge’s flanks as you approach and from the span itself, offer perfectly framed classical vistas. Cross over it to the far bank.
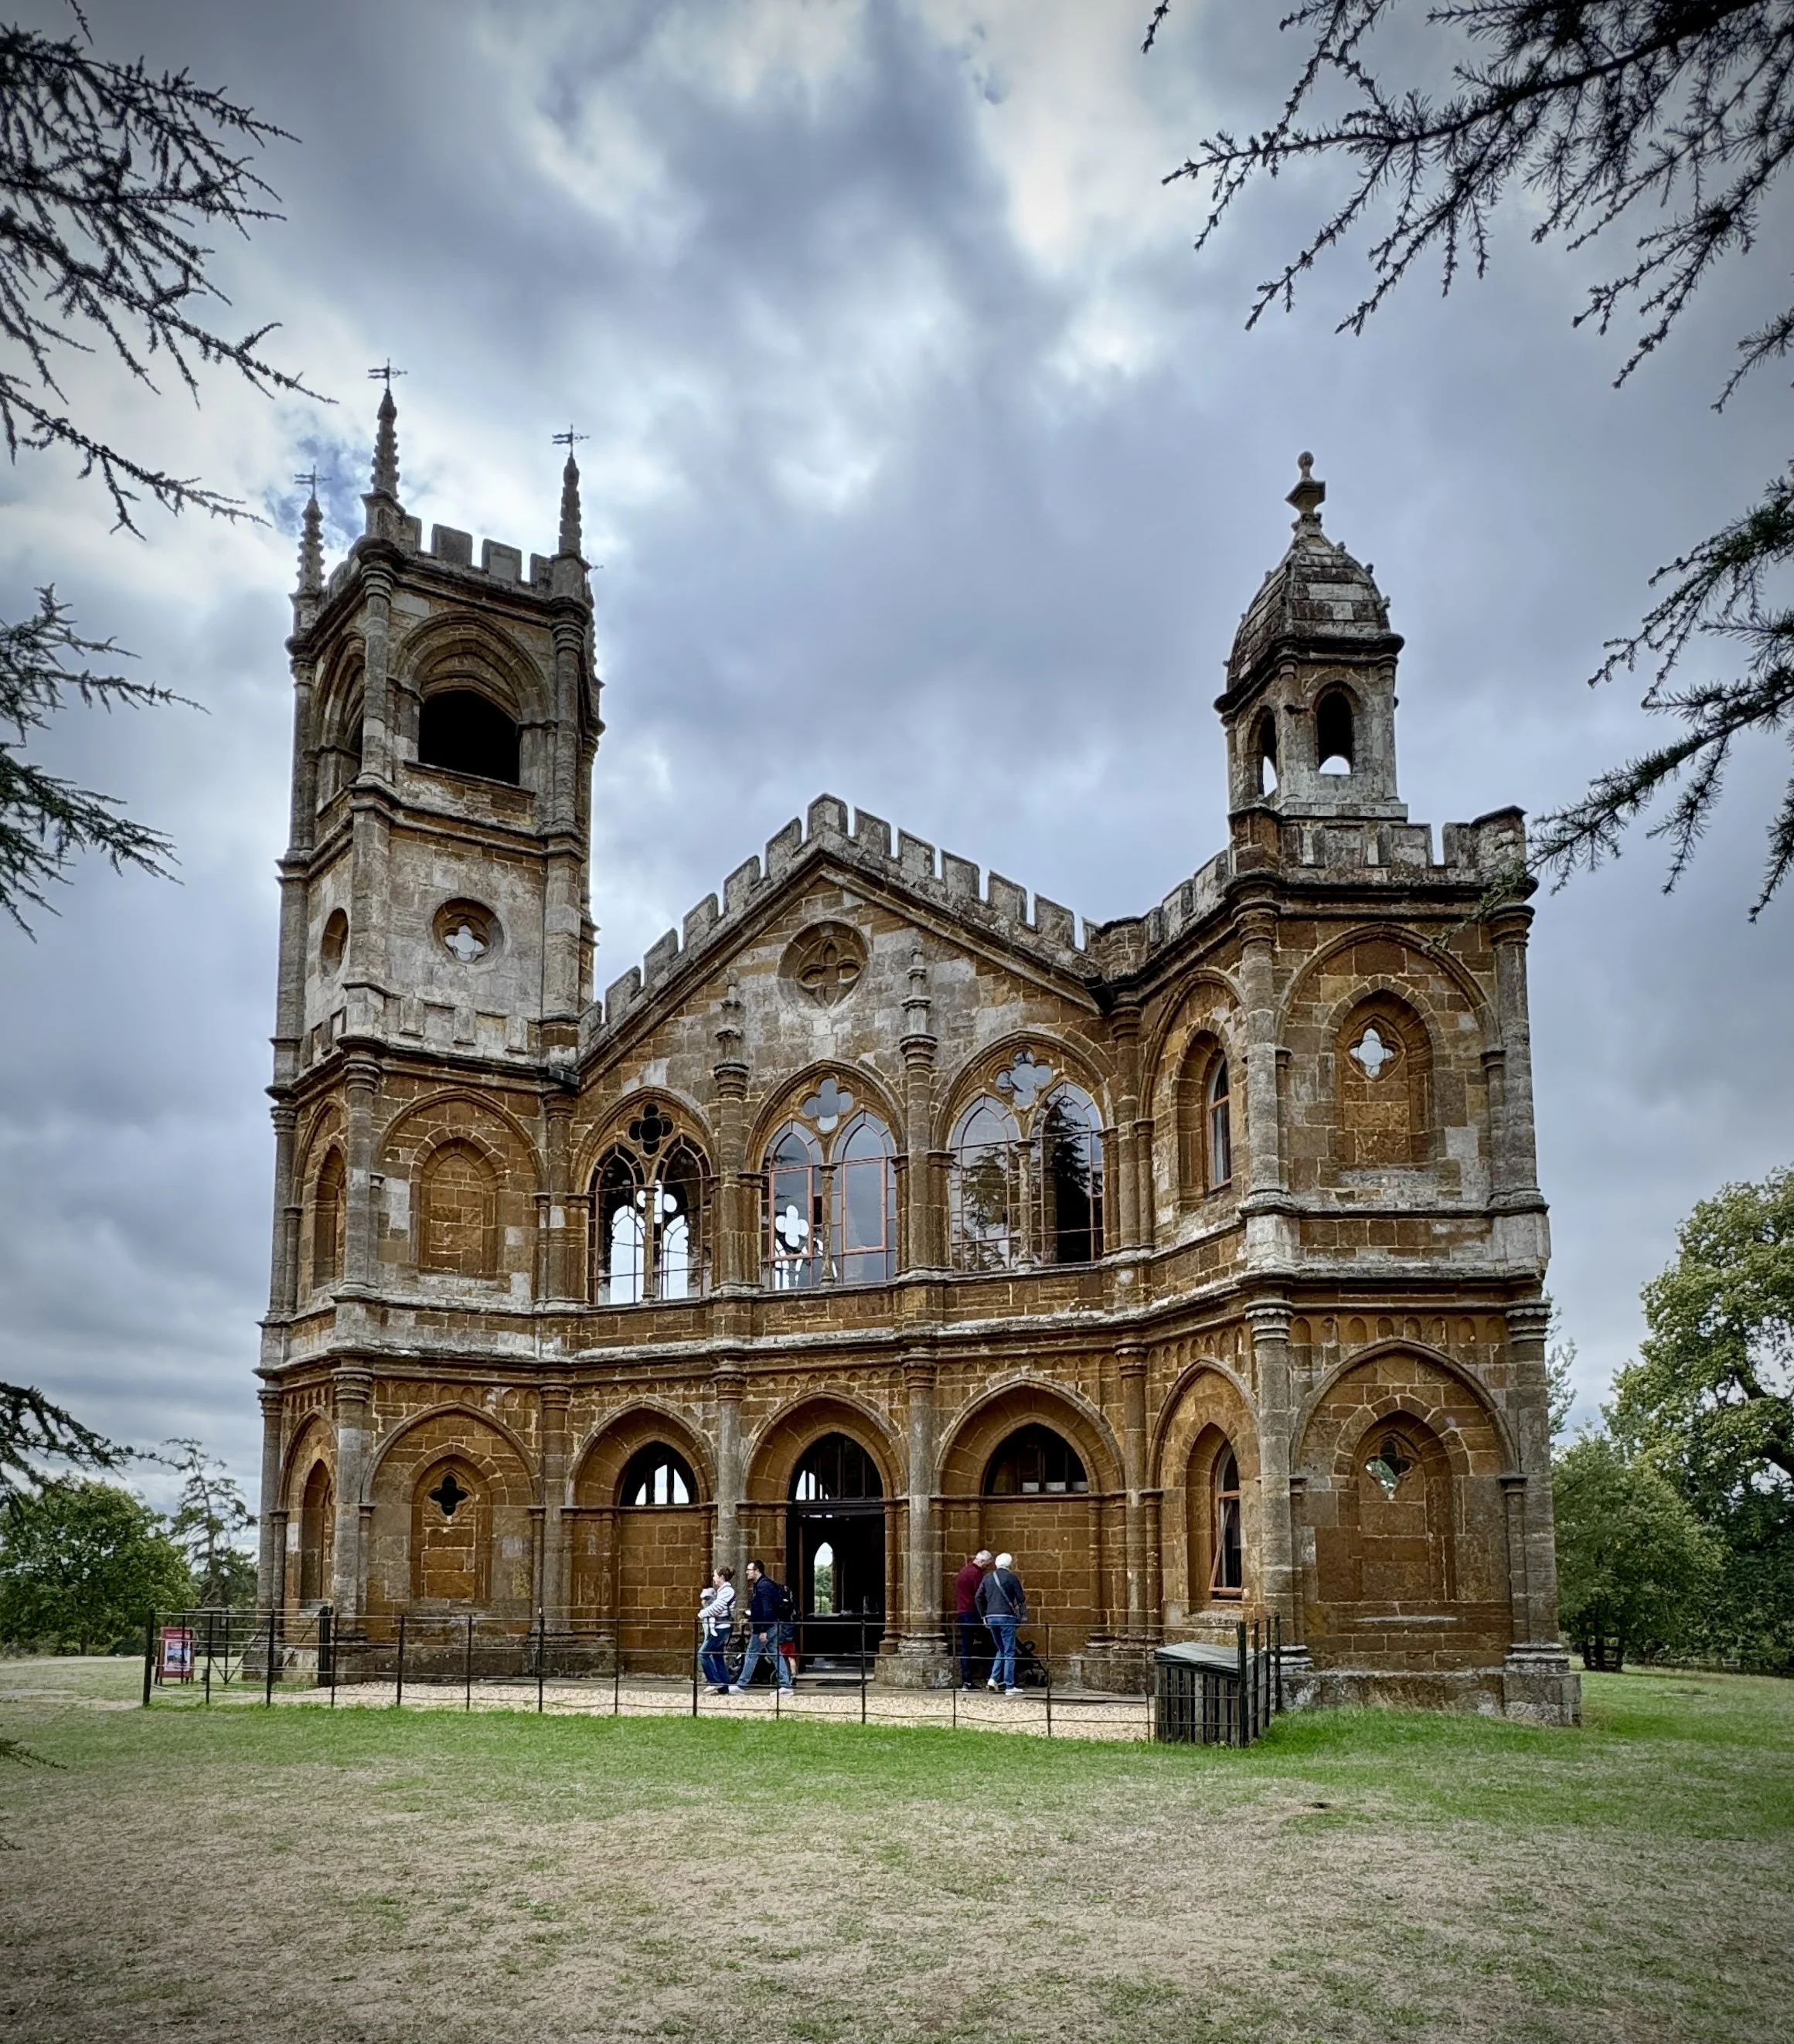
Continue tracing a northerly line. Here, the track is burdened with a double identity, known as both the military route and the Path of Liberty. Follow its course until it meets the Gothic Tower.
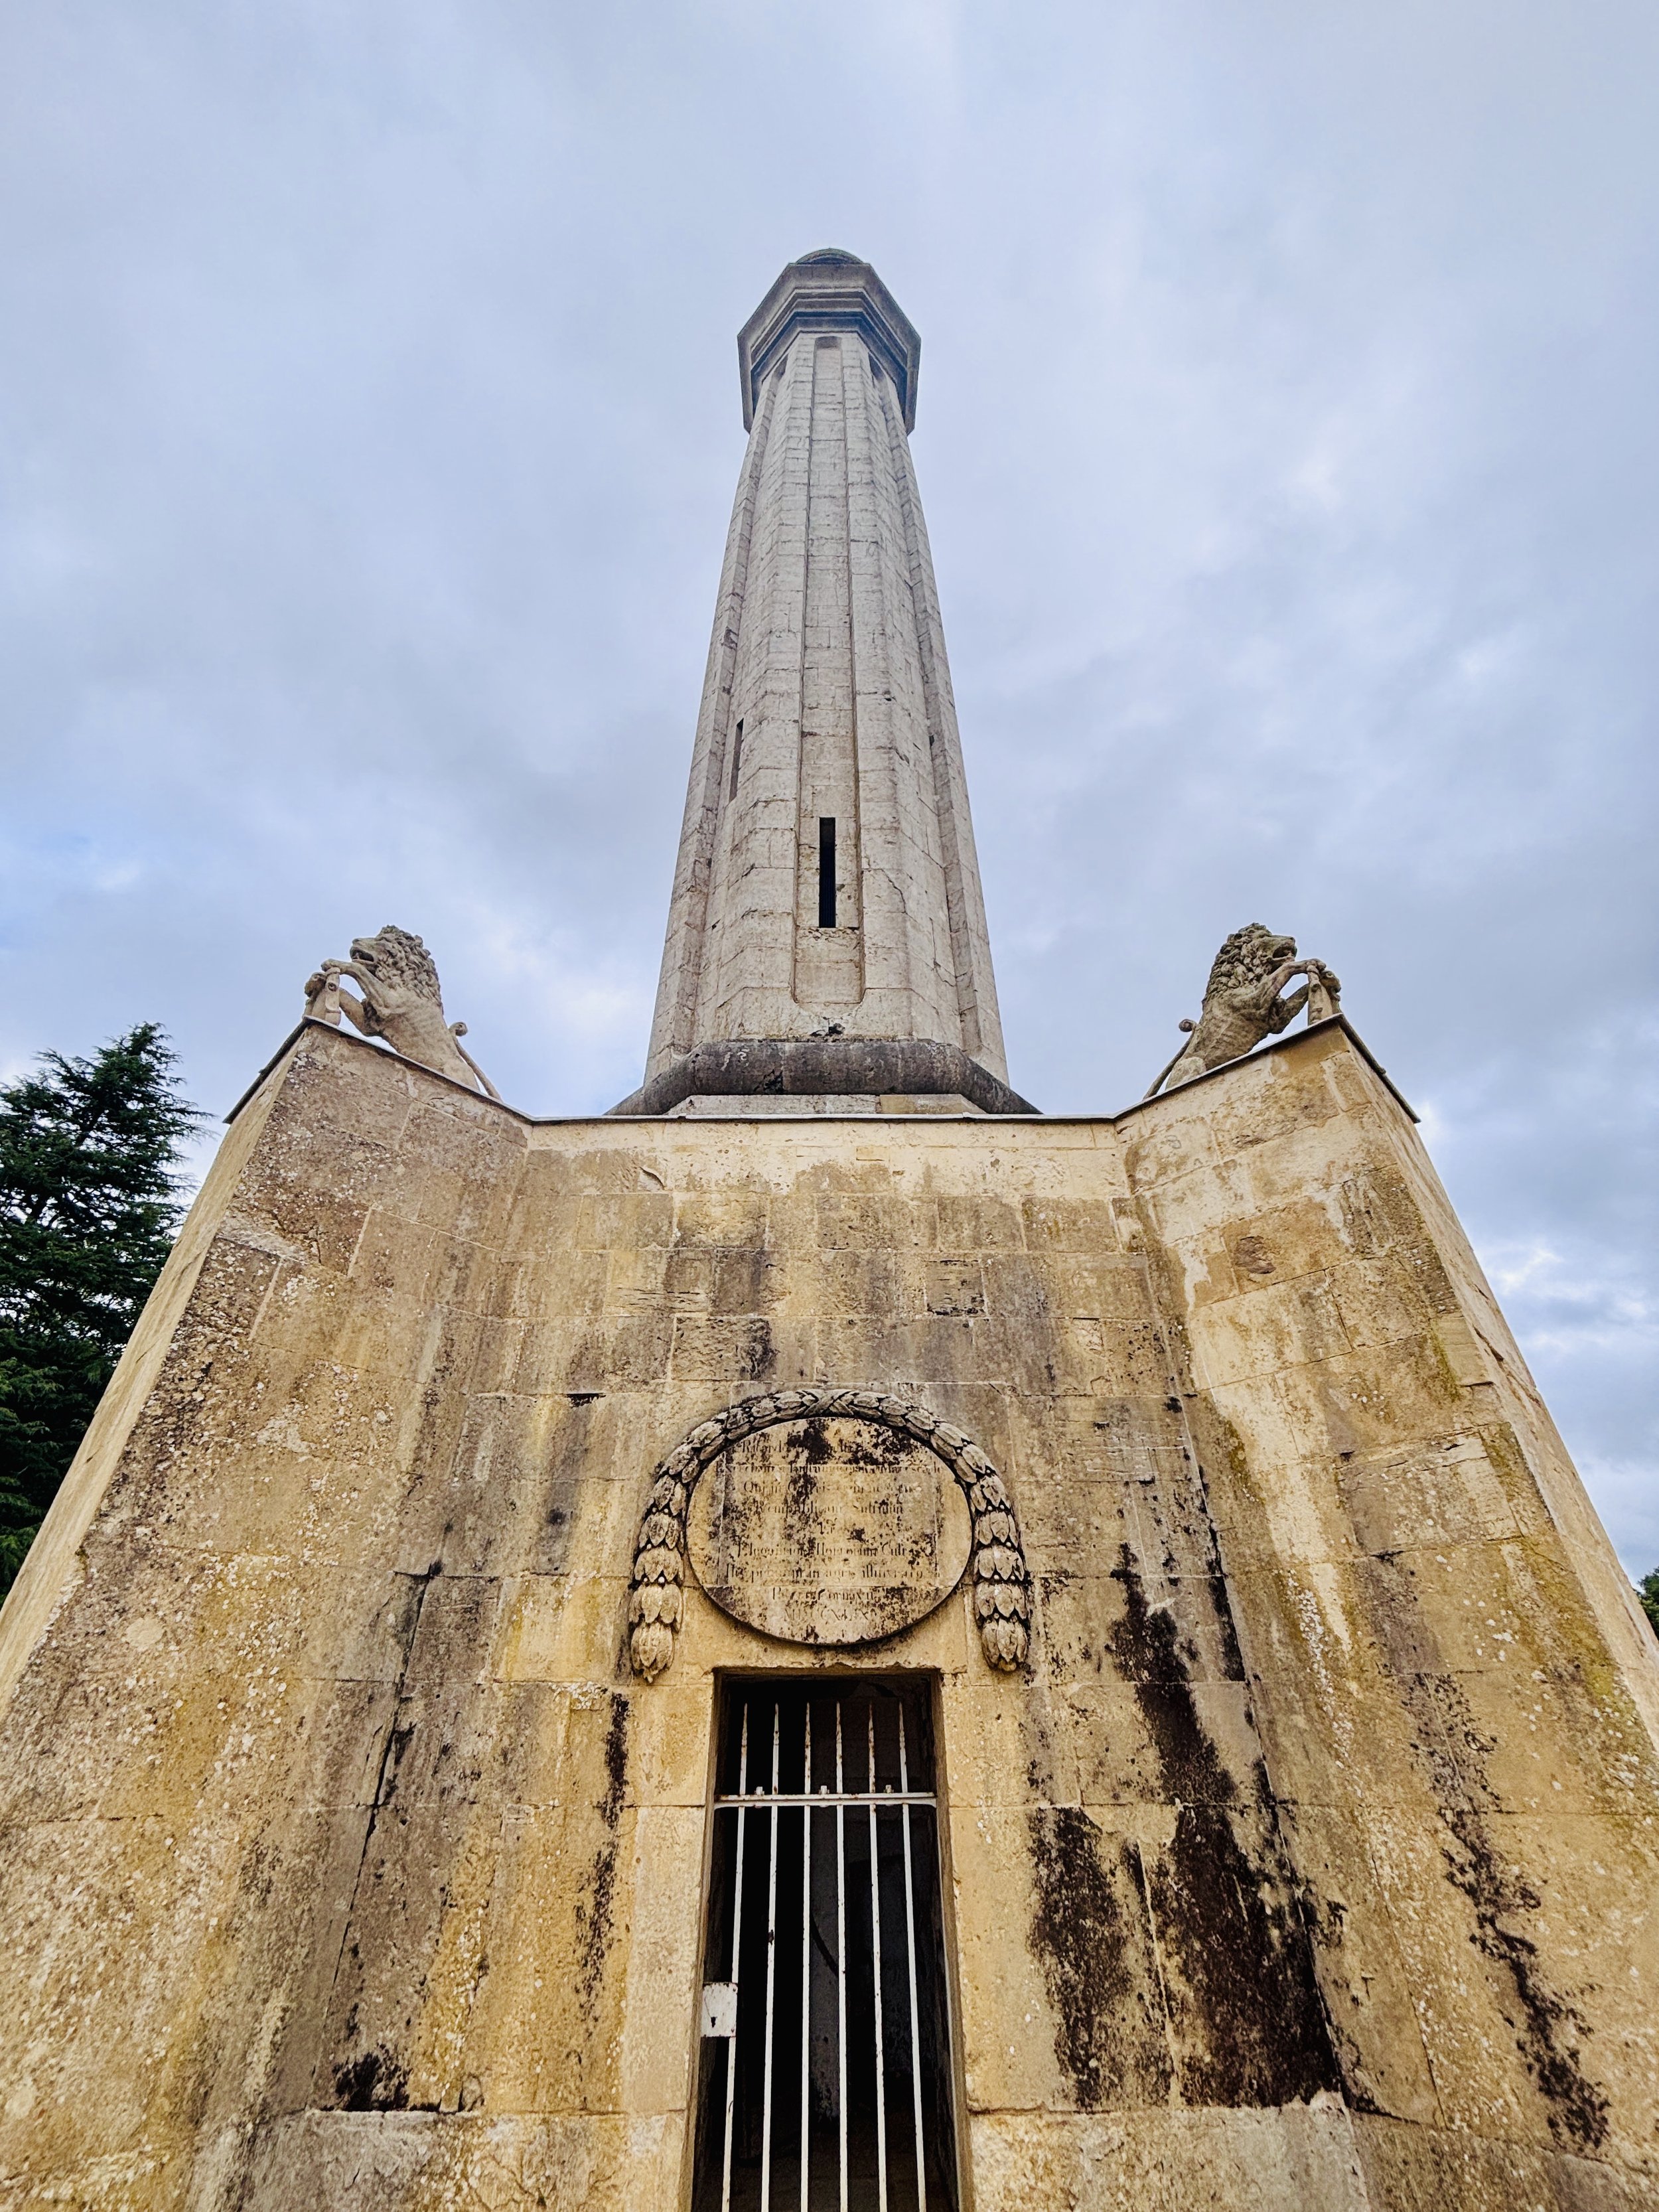
The tower, a property now in the care of the Landmark Trust, usually keeps its doors firmly shut to the casual walker. However, on fortunate days, it stands open, revealing its interior. Whether you manage to slip inside or merely admire its heavy stone silhouette, press on northwards afterwards, keeping to the military route.
You will soon encounter a towering monument, which one might instinctively call an obelisk, but the estate insists is Lord Cobham's Pillar. Note the distinction and continue your march northwards along the military route.
As you reach the north-eastern extremity of the estate, the formal boundaries fall away, and you slip back out onto public land. You are now joining the Stowe Parkland Walk, a sweeping, longer trail that curves around the hidden back of Stowe House.
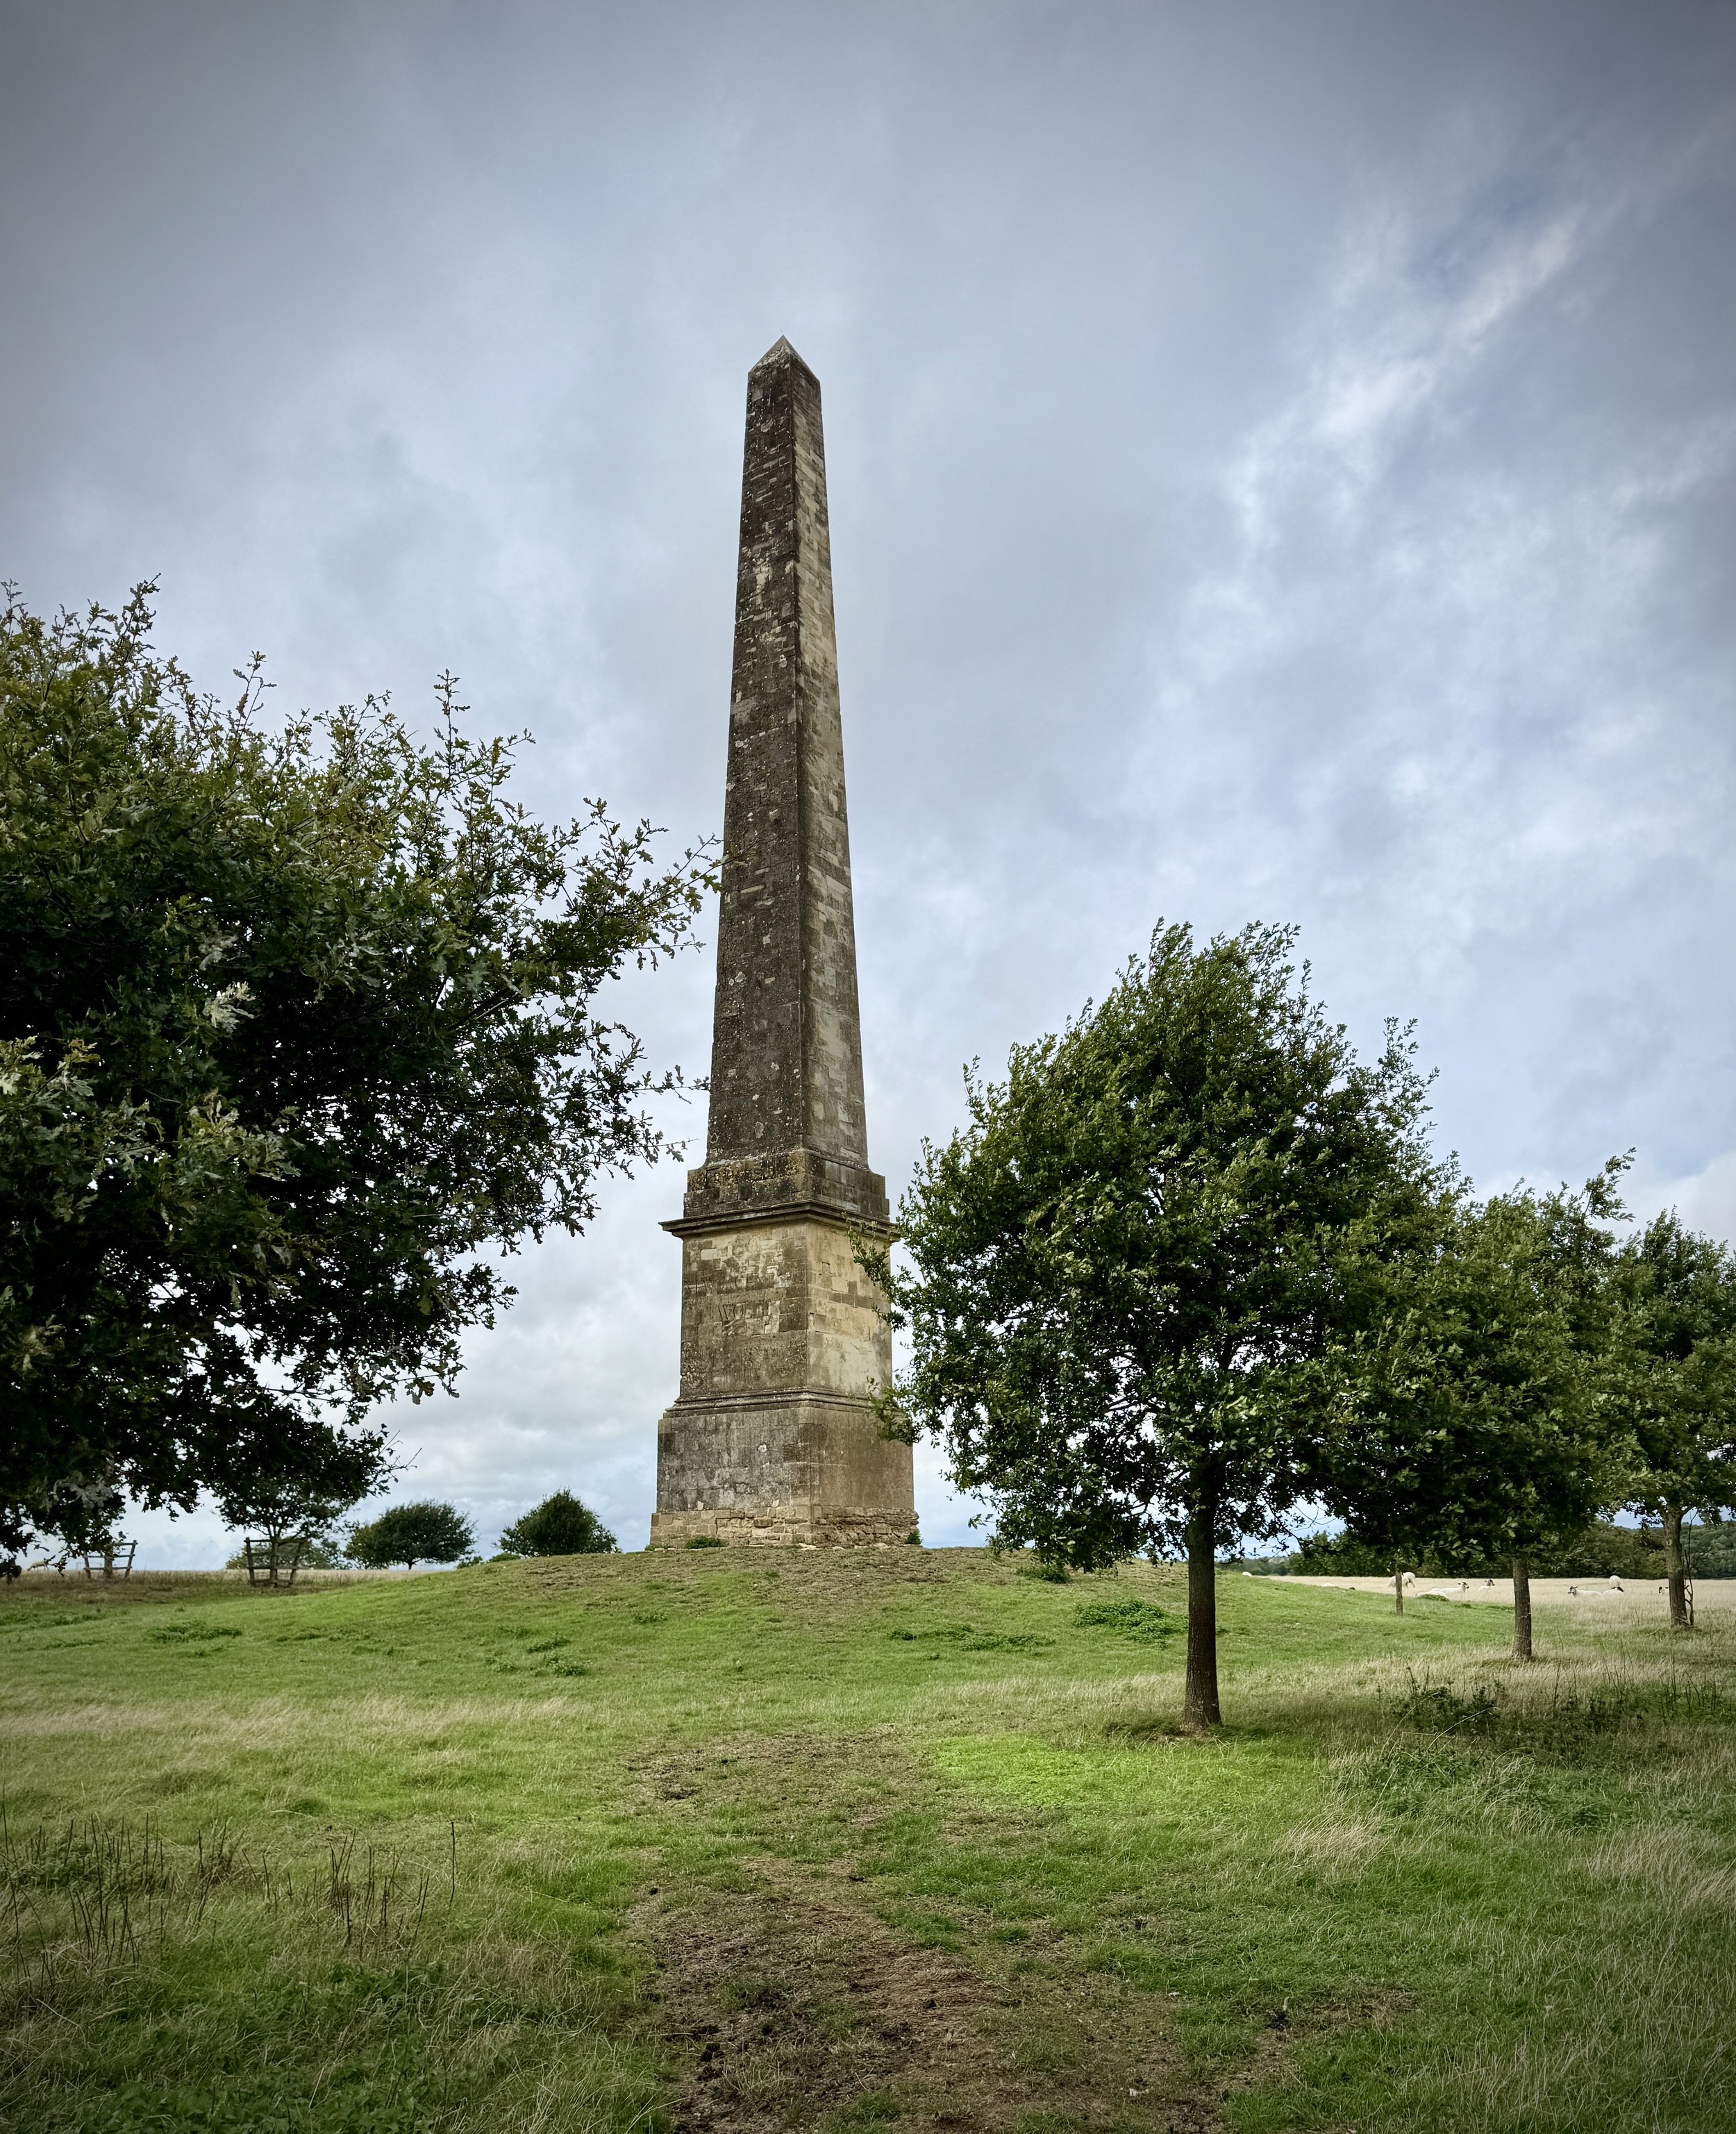
Upon meeting the wide stretch of Buckingham Avenue, take a right, then the first left. This footpath strikes out across the open, grazed parkland, an expanse that feels distinctly different from the manicured gardens, leading you towards the Wolfe Obelisk.
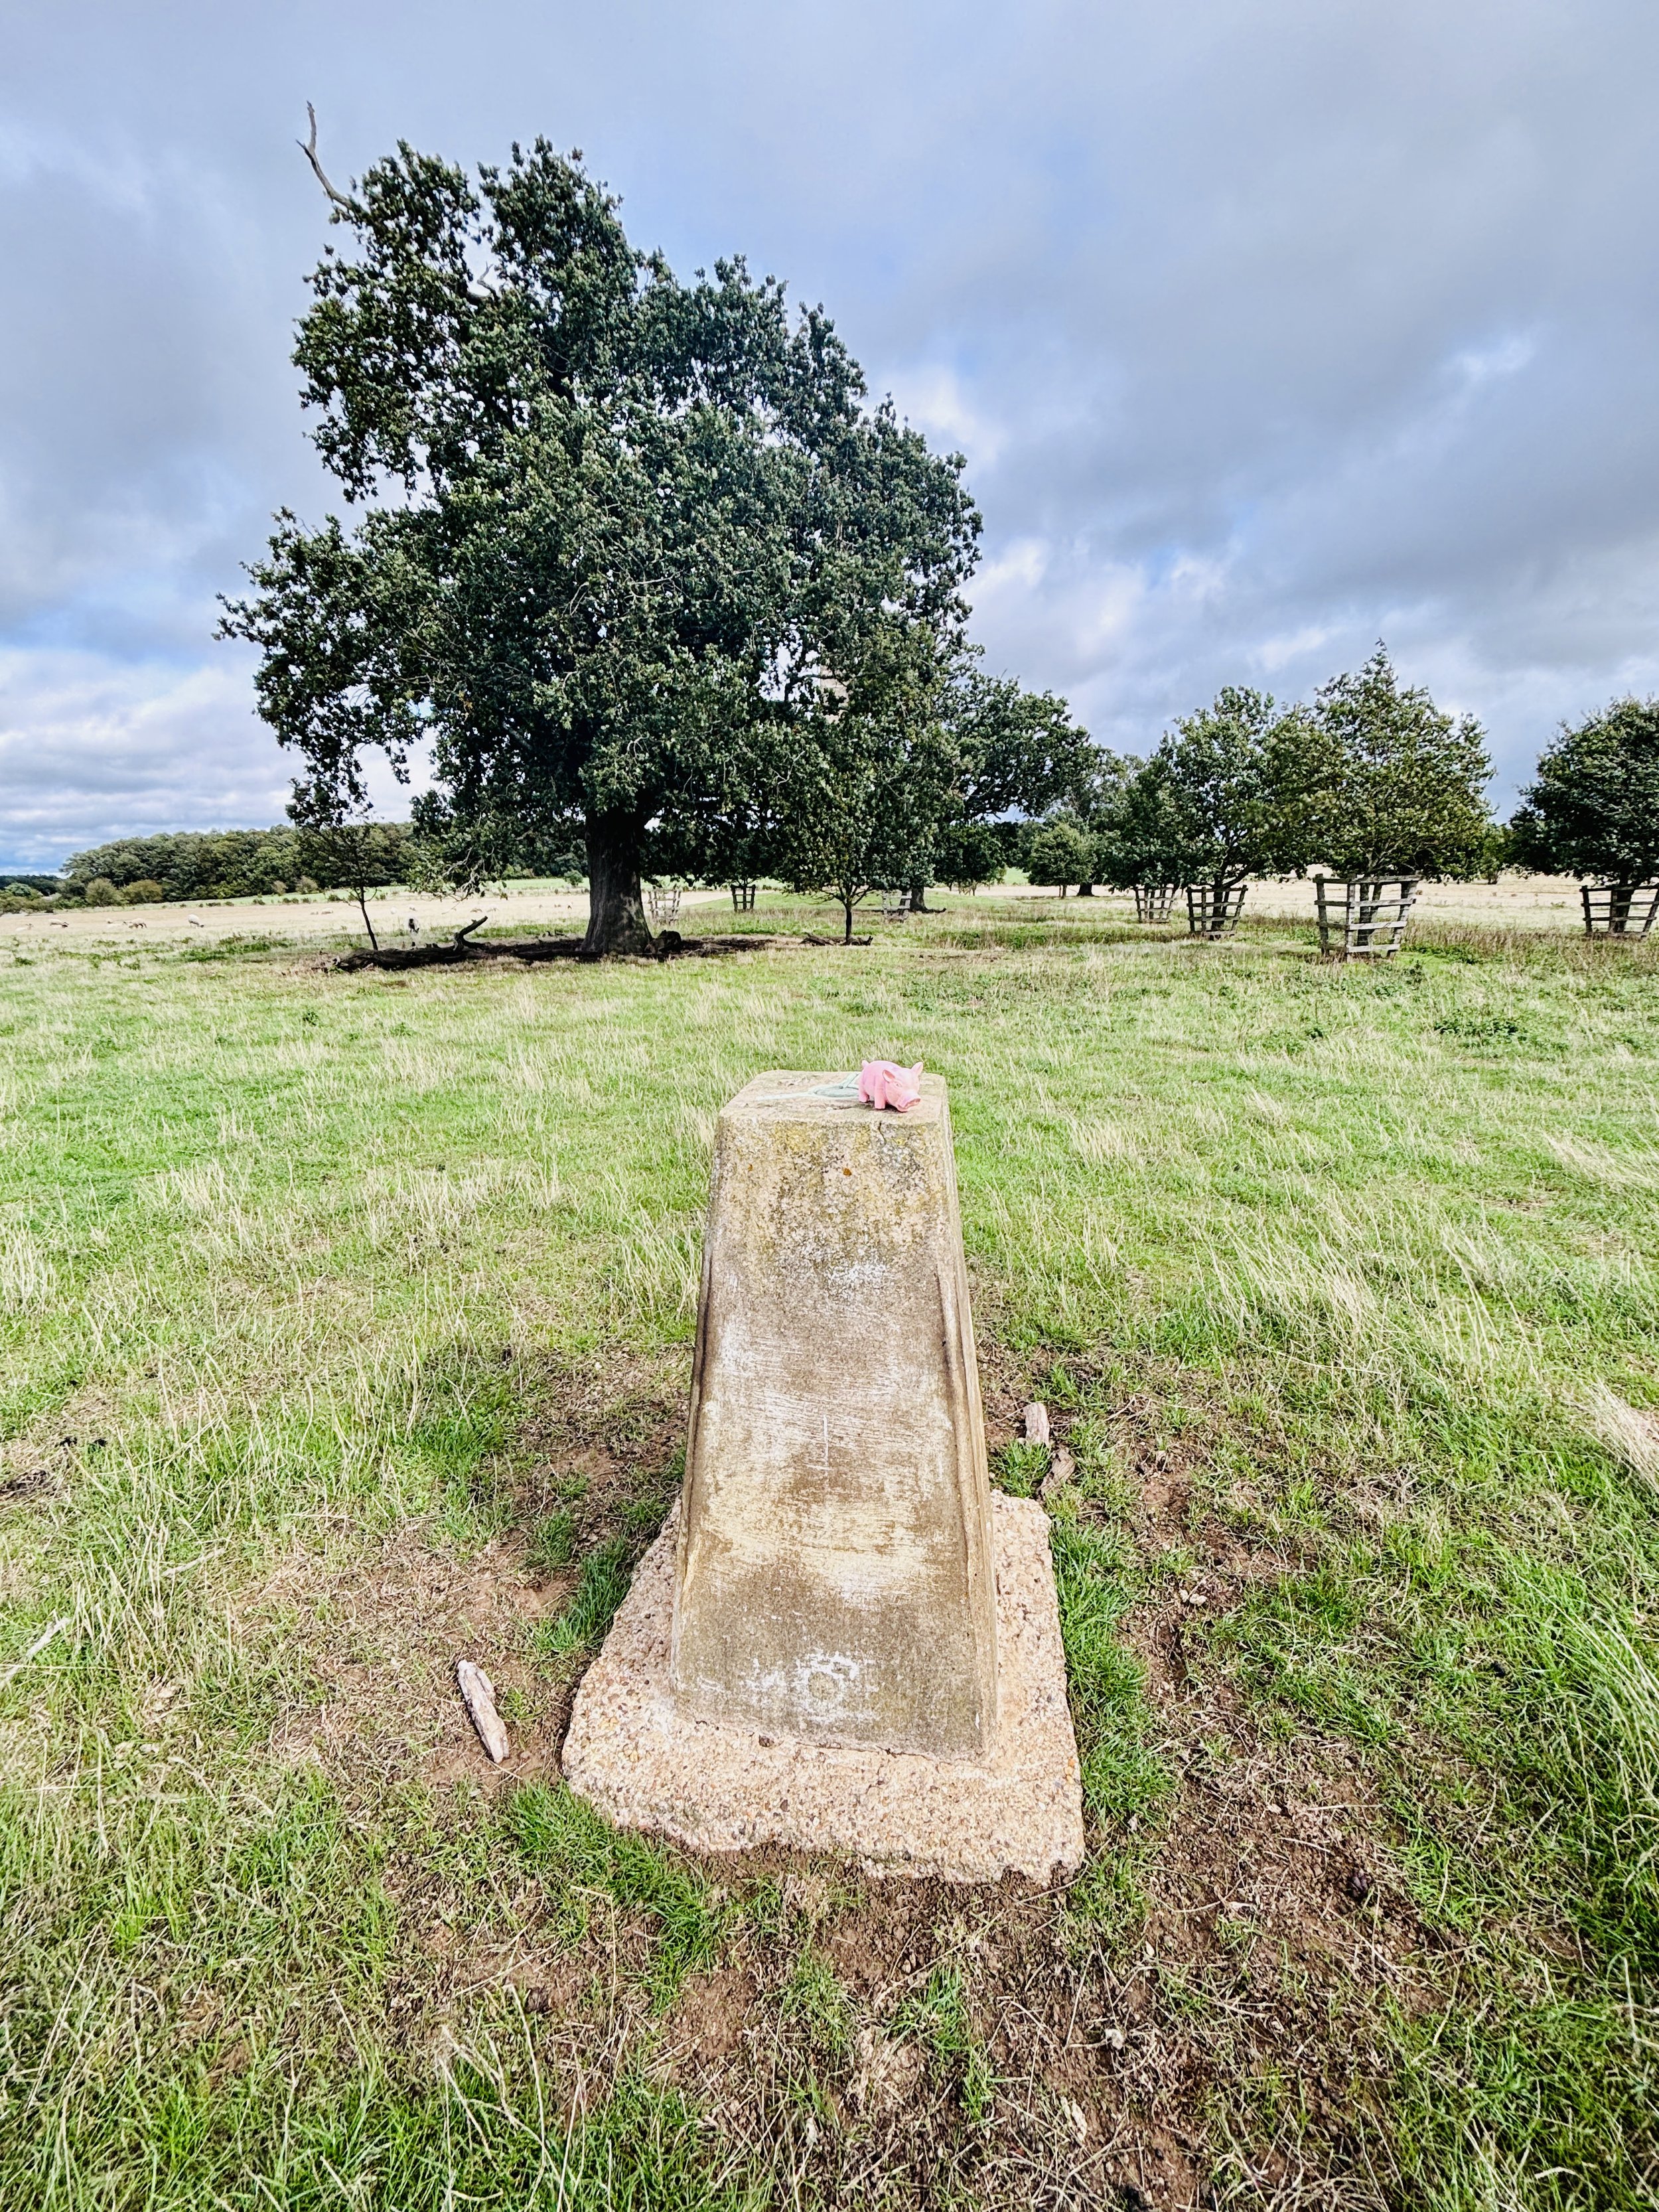
At the obelisk, step off the worn path, turning left into the grass to locate the rather more utilitarian concrete form of a trig pillar sitting quietly in the landscape. Having paid your respects to the surveyors, retrace your steps to the obelisk.
Pressing north again on the Stowe Parkland Walk, the land drops away, descending across an open field. Look for a distinctive, solitary bush—a waymarker in the green—and here take a left. The path now leads west, eventually curving southward to shadow a lake.
The route brings you to the unassuming back entrance of Stowe School. Here, turn right, rejoining the main artery of the Stowe Parkland Walk.
Shortly after passing the bulk of the school buildings, take a footpath that draws you closer in against the outer, enclosing wall of the landscape gardens.
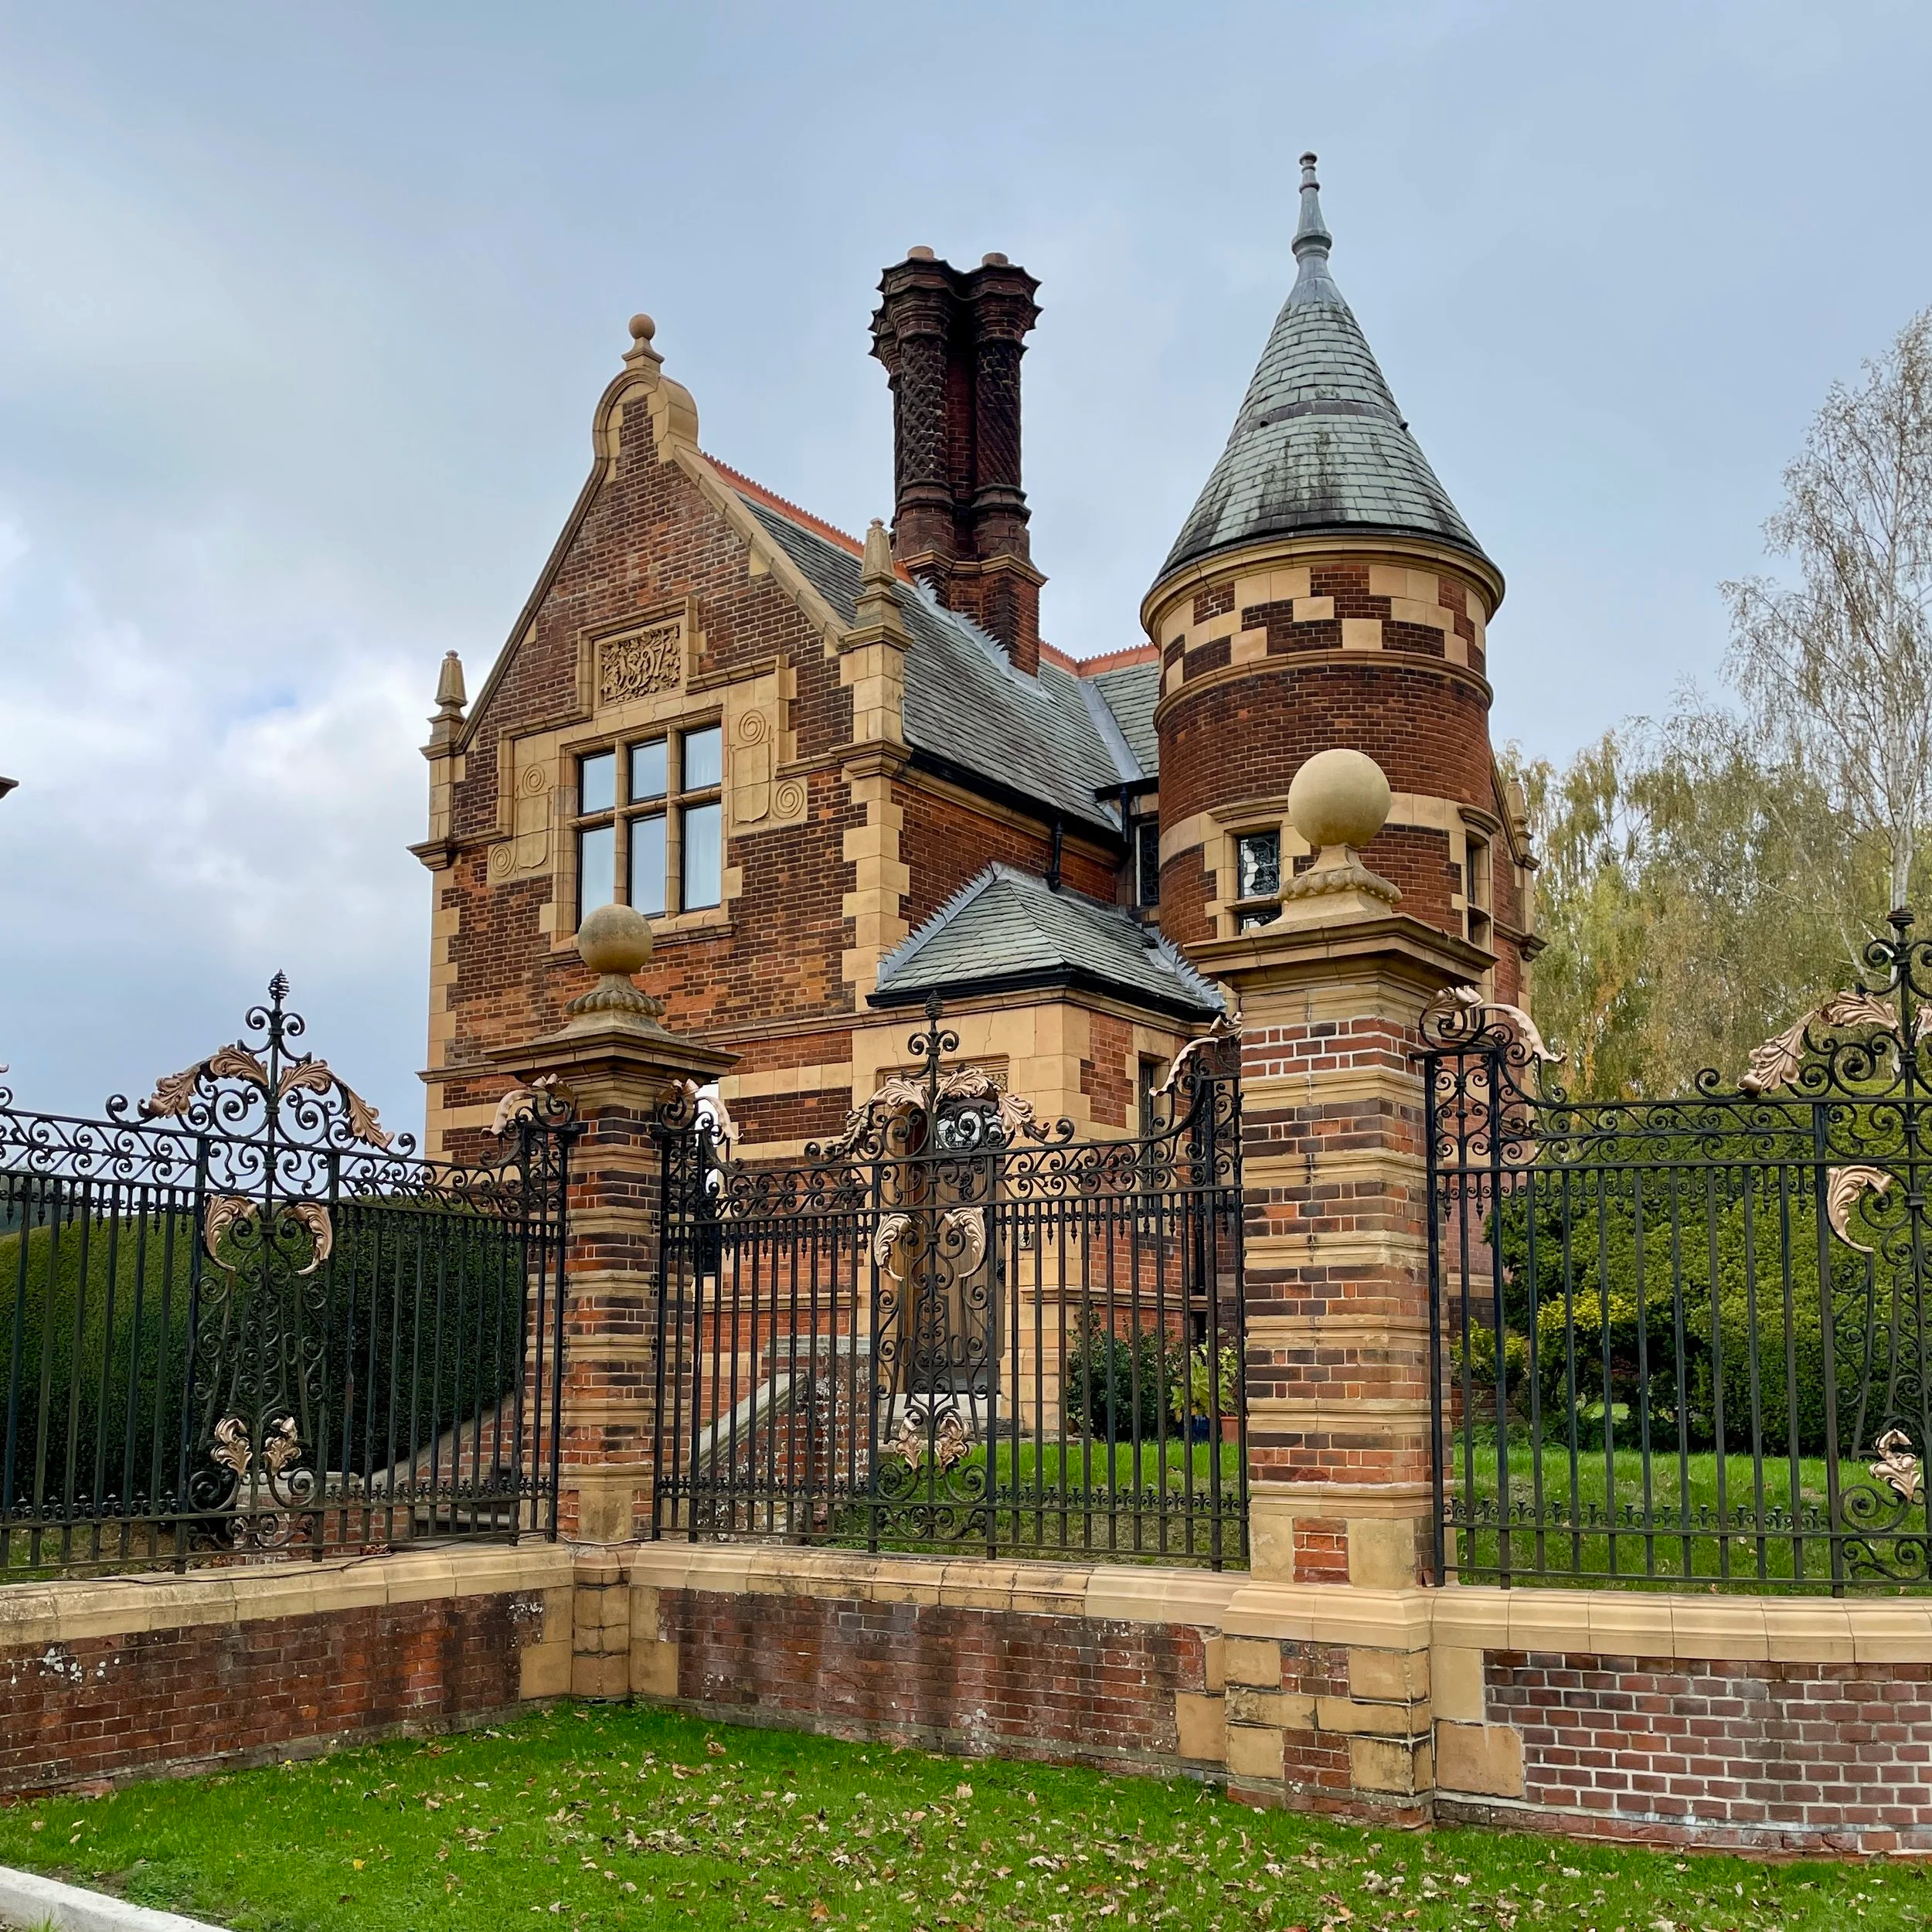
At the corner of the gardens stands a gatehouse entrance. It has an imposing, almost prohibitive air, looking as though the public shouldn't trespass, but with no one to bar the way, we slipped through. Do the same, and follow the main drive to reconnect with the intricate inner paths of the gardens.
You are now walking the Path of Bravery. Follow this until it meets the Path of Vice, where you must turn left. Continue on, passing the quiet, stony recess of Dido's Cave.
The path eventually delivers you to the grand southern front of Stowe House. While not a National Trust property, it often opens its doors for heritage walks and harbours a small cafe—a welcome modern intrusion for the weary walker.
Continue past the great facade of the house, picking up the blue trail which leads south-eastwards. Pause briefly to take in the Temple of Ancient Virtues, before crossing the bridge that spans the lake.
On the far side, you are greeted by the Temple of British Worthies. From this pantheon, turn south, keeping to the eastern margin of the lake, until the blue trail dictates you cross back over the water via another bridge.
You find yourself deposited on the northern shore of the Octagon Lake. Walk westward, following the water's edge, until a left turn onto the green trail pulls you back to the lake's southern side.
From here, it is a straightforward retreat back to where the journey began, following the paths out to the visitor centre and the New Inn to conclude the walk.
Points of Interest along or near to the Route
There are many interesting features in Stowe Landscape Gardens and if you get the free map at the National Trust Visitor Centre it will detail all of them. The ones below are the points of interest that are directly on the route that we covered.
Stowe Landscape Gardens: A masterpiece of 18th-century garden design, this vast estate features works by Charles Bridgeman, William Kent, and Lancelot 'Capability' Brown. While historians sometimes debate the exact attribution of specific early monuments between Kent and Brown, the sheer scale and beauty of their combined vision is unquestionable.
New Inn and Parlour Rooms: Originally built in the 18th century by the Temple family, this early 18th-century inn provided lodgings for the first visitors keen to see the new gardens. It has recently been meticulously restored by the National Trust. Visitors can now explore the beautifully recreated parlour rooms that reflect their authentic Georgian appearance.
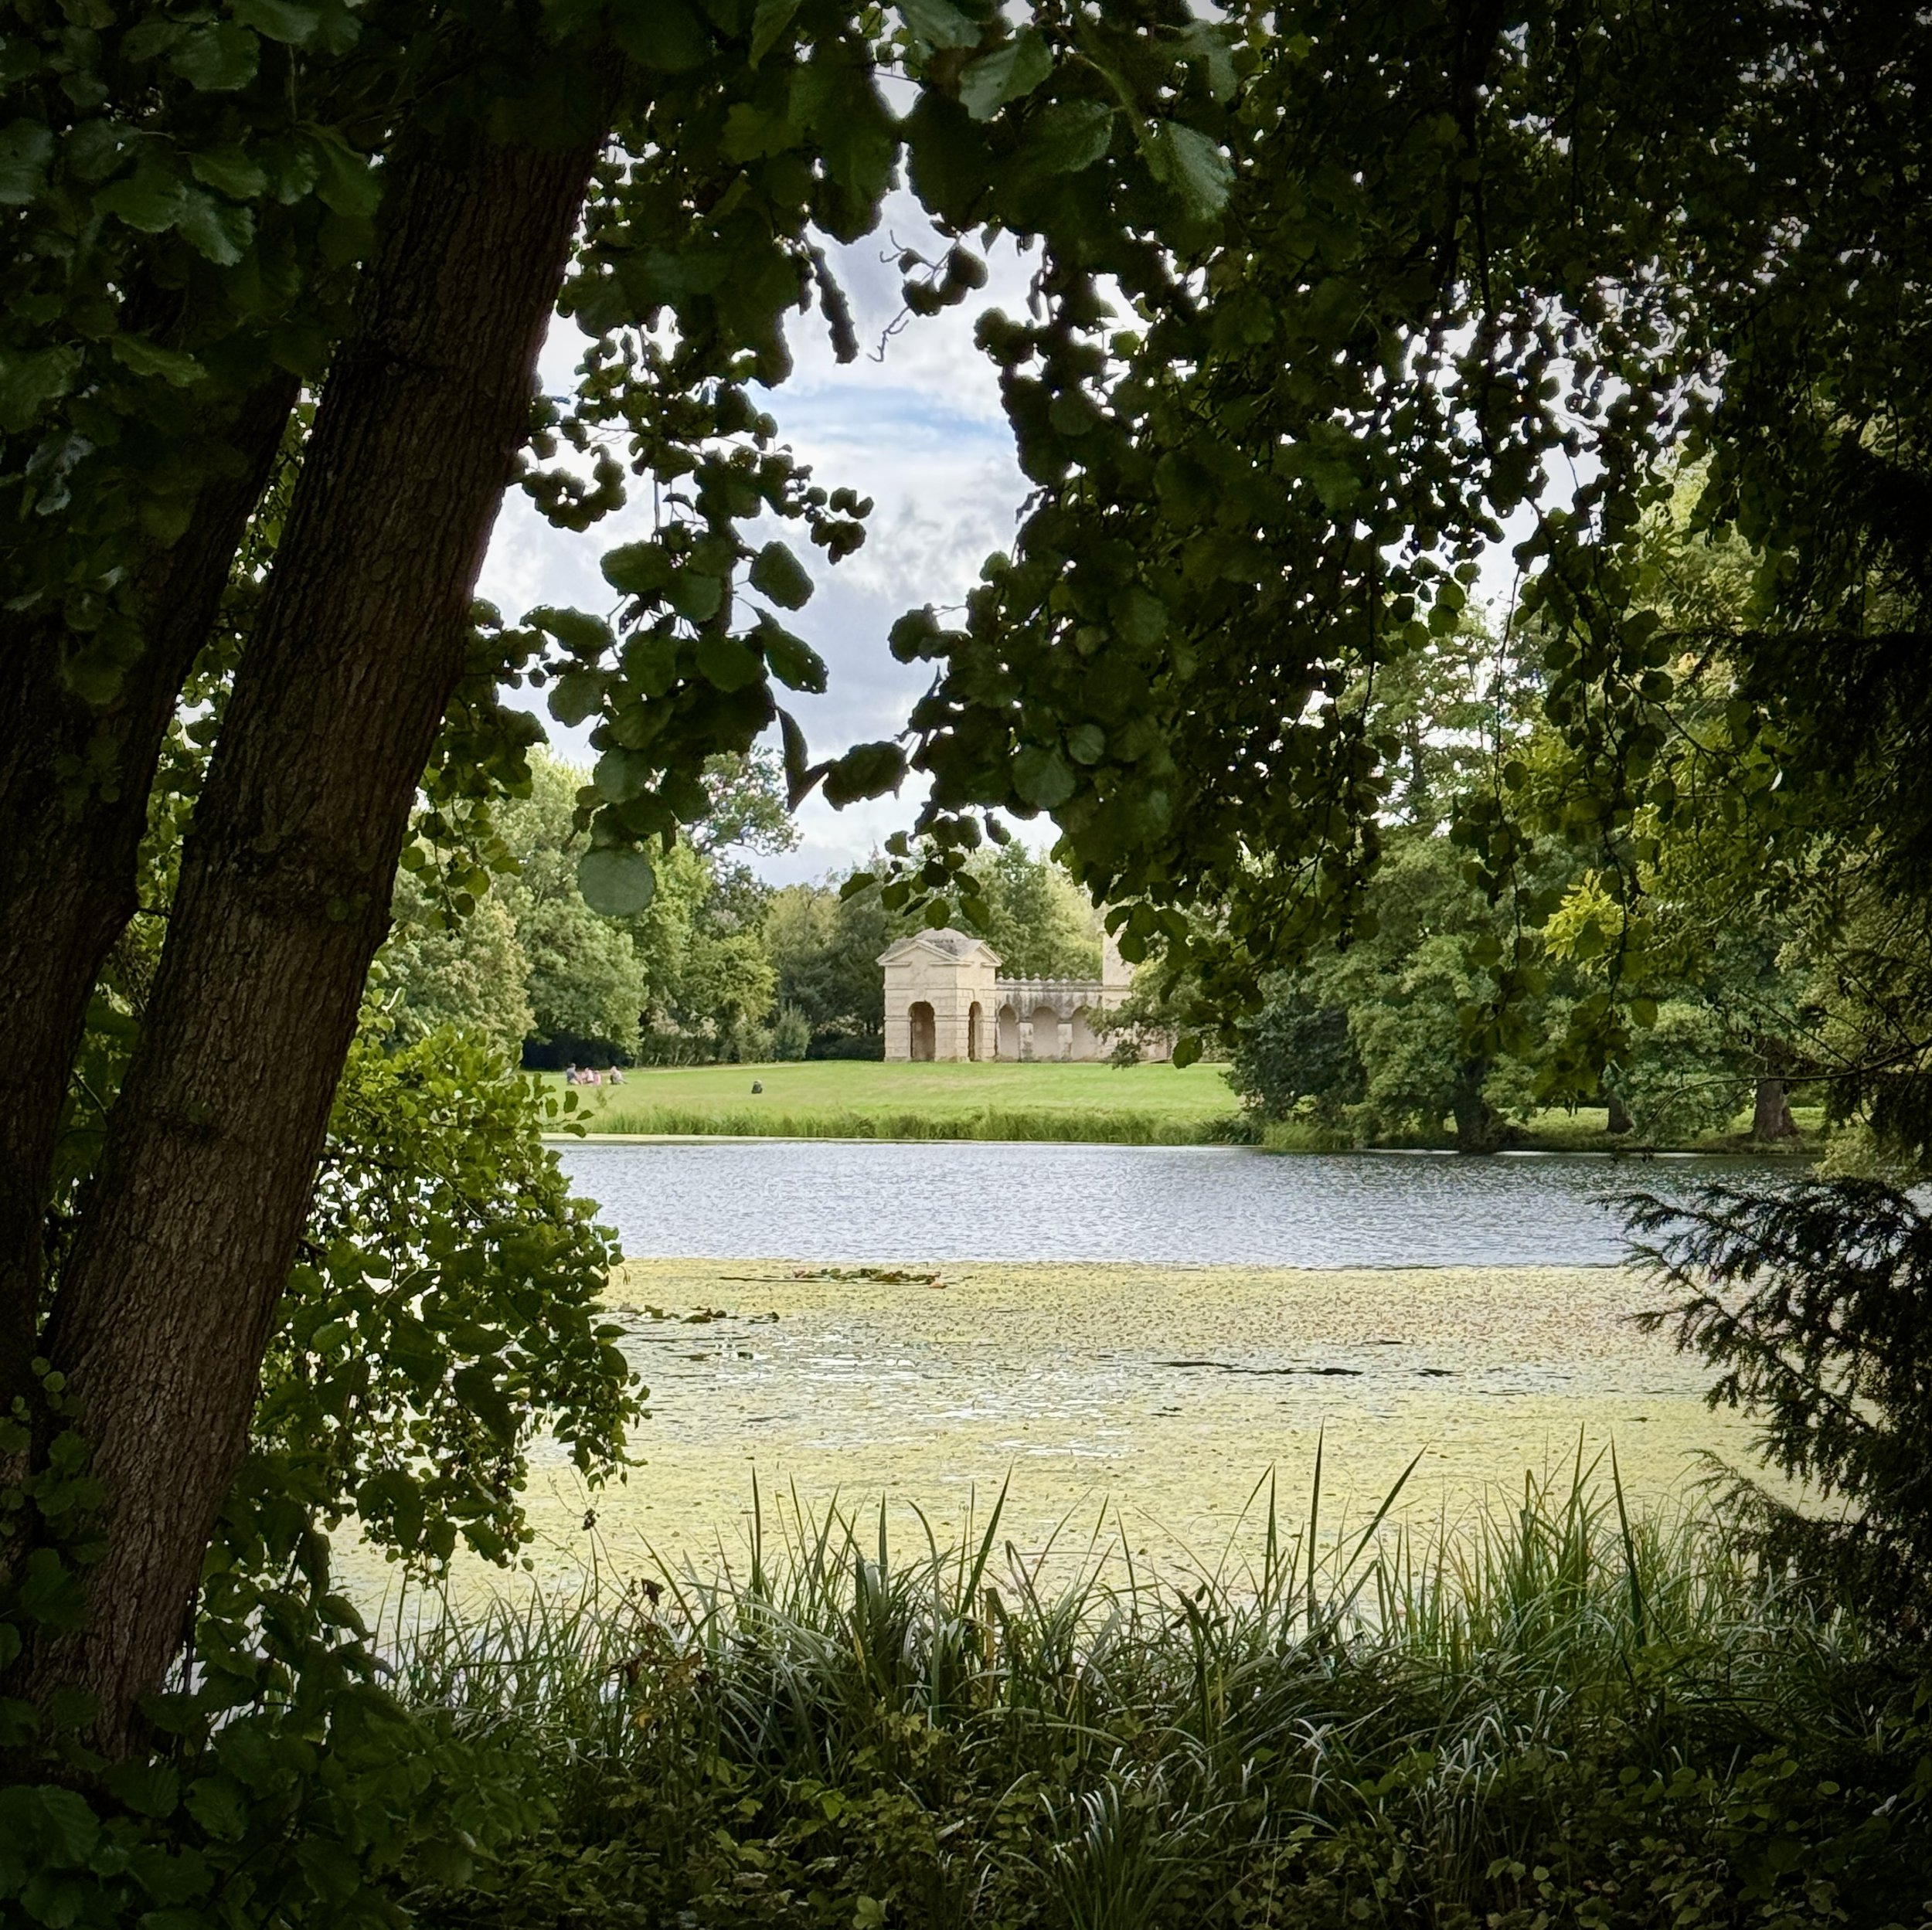
Palladian Bridge: Constructed in 1738, this iconic crossing is only the second of its kind ever built in the world, closely modelled on the original at Wilton House. The Stowe version was specially designed without steps to allow horse-drawn carriages to pass directly through its colonnades. It remains one of the most photographed monuments in the entire estate.
The Gothic Temple: Designed by James Gibbs and built in 1741, this striking triangular building was dedicated by Lord Cobham to the liberty of his ancestors. It stands out uniquely among the classical monuments due to its ecclesiastical, gothic style. Today, the property is maintained by the Landmark Trust and can even be rented as a holiday cottage.
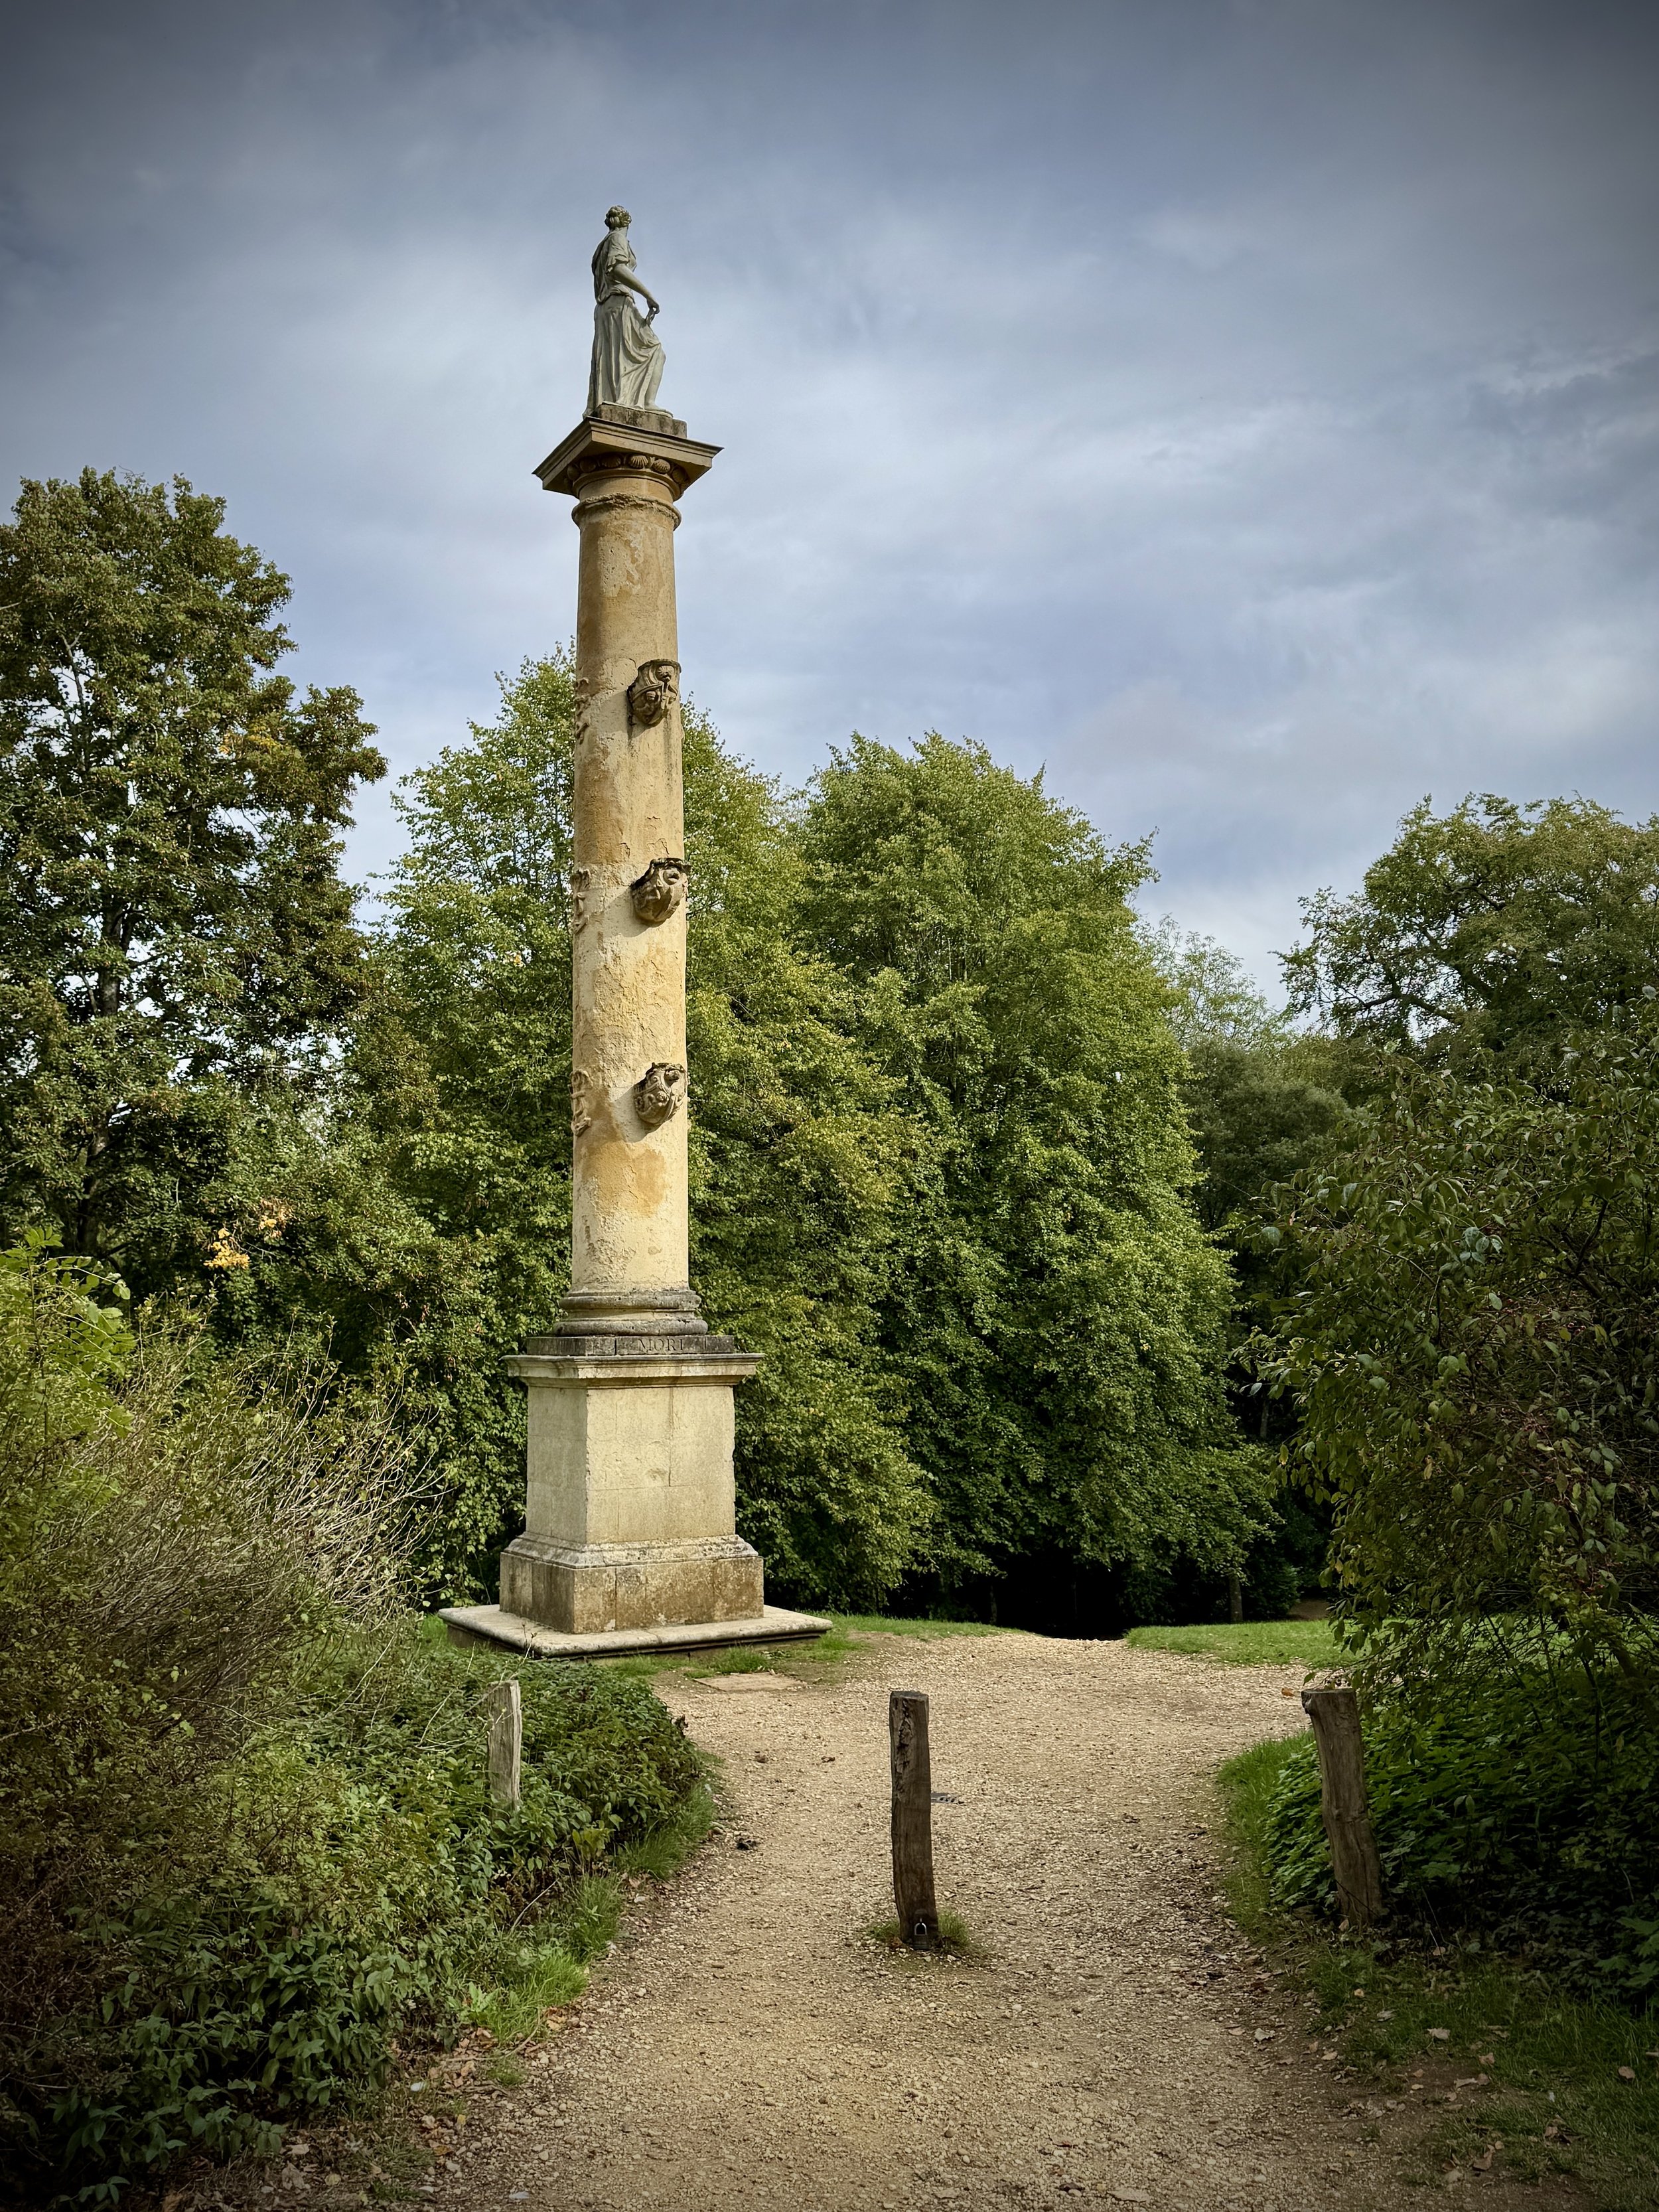
Lord Cobham's Pillar: Standing prominently at 104 feet tall, this is the highest of all the monuments and temples across the Stowe estate. Built between 1742 and 1749, it features a spiral staircase inside that leads up to a belvedere viewing platform. The statue of Lord Cobham himself sits proudly at the very top, surveying his landscaped masterpiece.
The Wolfe Obelisk: Rebuilt in 1754 using stone from a former water feature, this towering obelisk sits proudly in the Deer Park. It was dedicated in 1759 to General James Wolfe following his victory and death at the Battle of Quebec. The trees surrounding it were famously planted to represent the layout of Wolfe's regiments during the battle.
Trig Pillar TP6219 (Stowe Park): Situated near the northern boundary of the estate at 147 metres above sea level, this classic Ordnance Survey trig pillar remains in good condition. It marks the highest point of the trail and offers excellent views over the surrounding Buckinghamshire countryside.
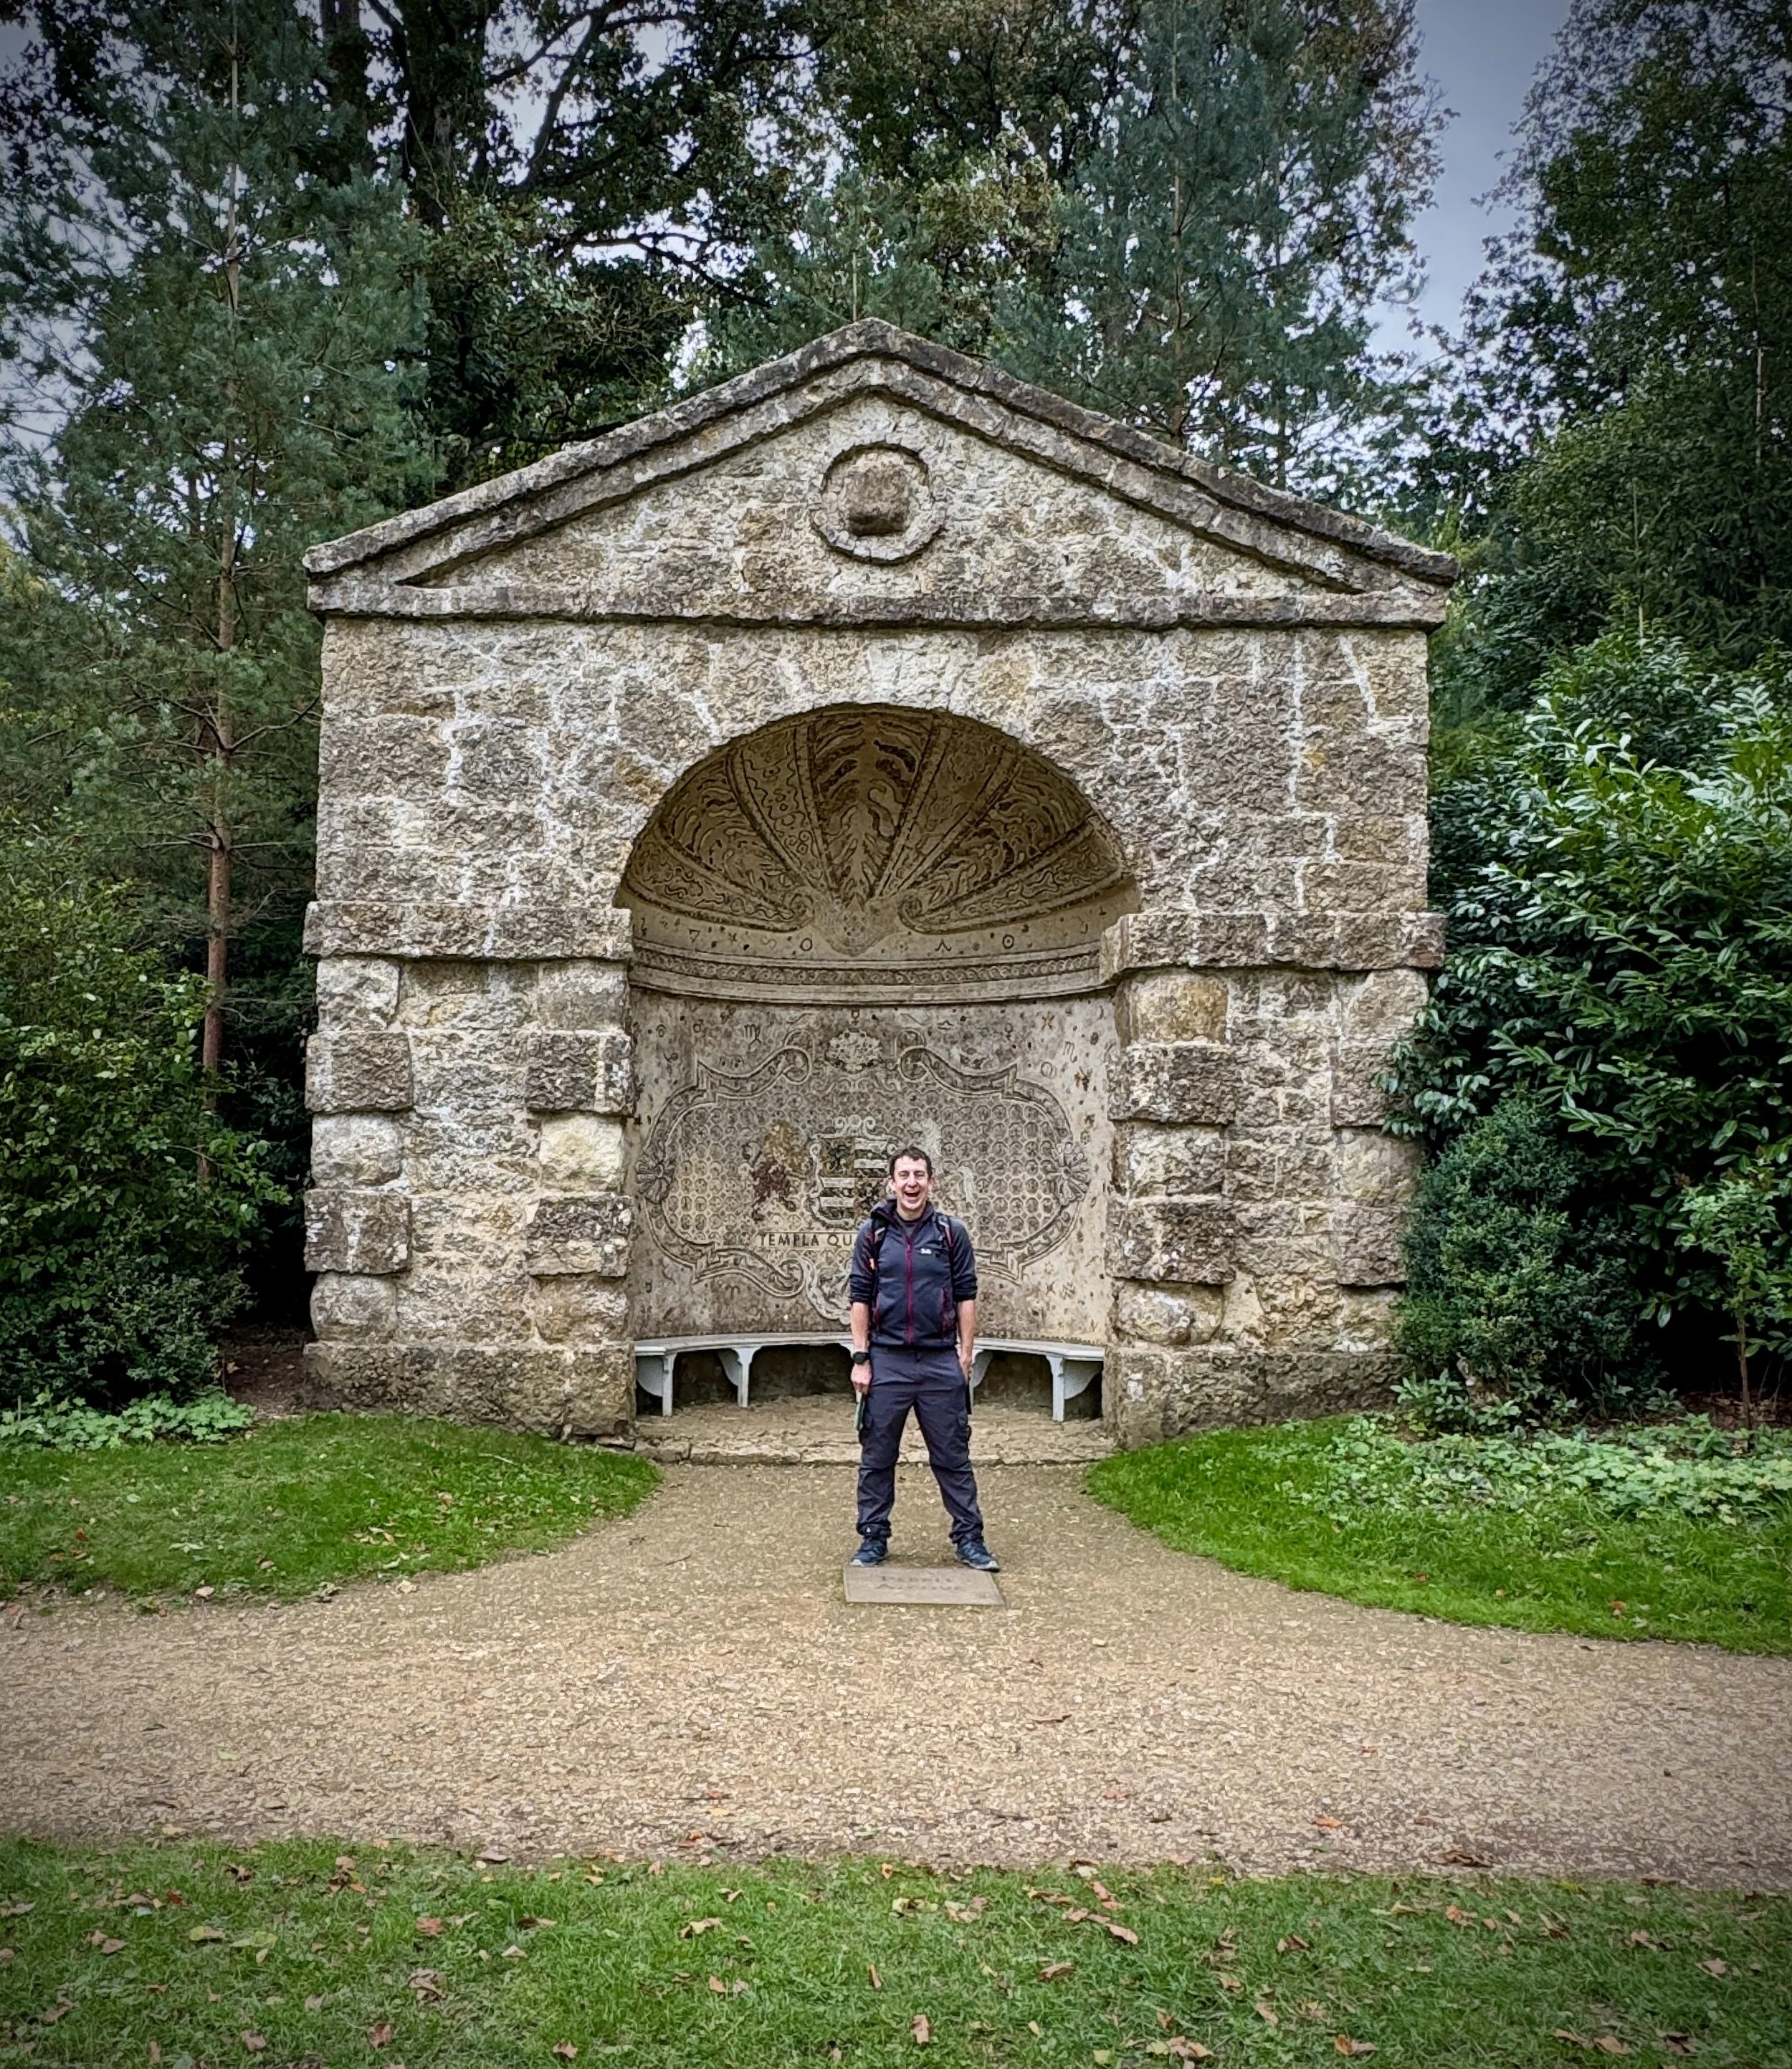
Dido's Cave: Originally built as a simple garden alcove, historians debate whether it was initially designed by Sir John Vanbrugh or James Gibbs. It was later remodelled with a textured tufa rockwork facade around 1800 to create a picturesque grotto. The interior was once painted with scenes depicting the tragic love story of Dido and Aeneas.
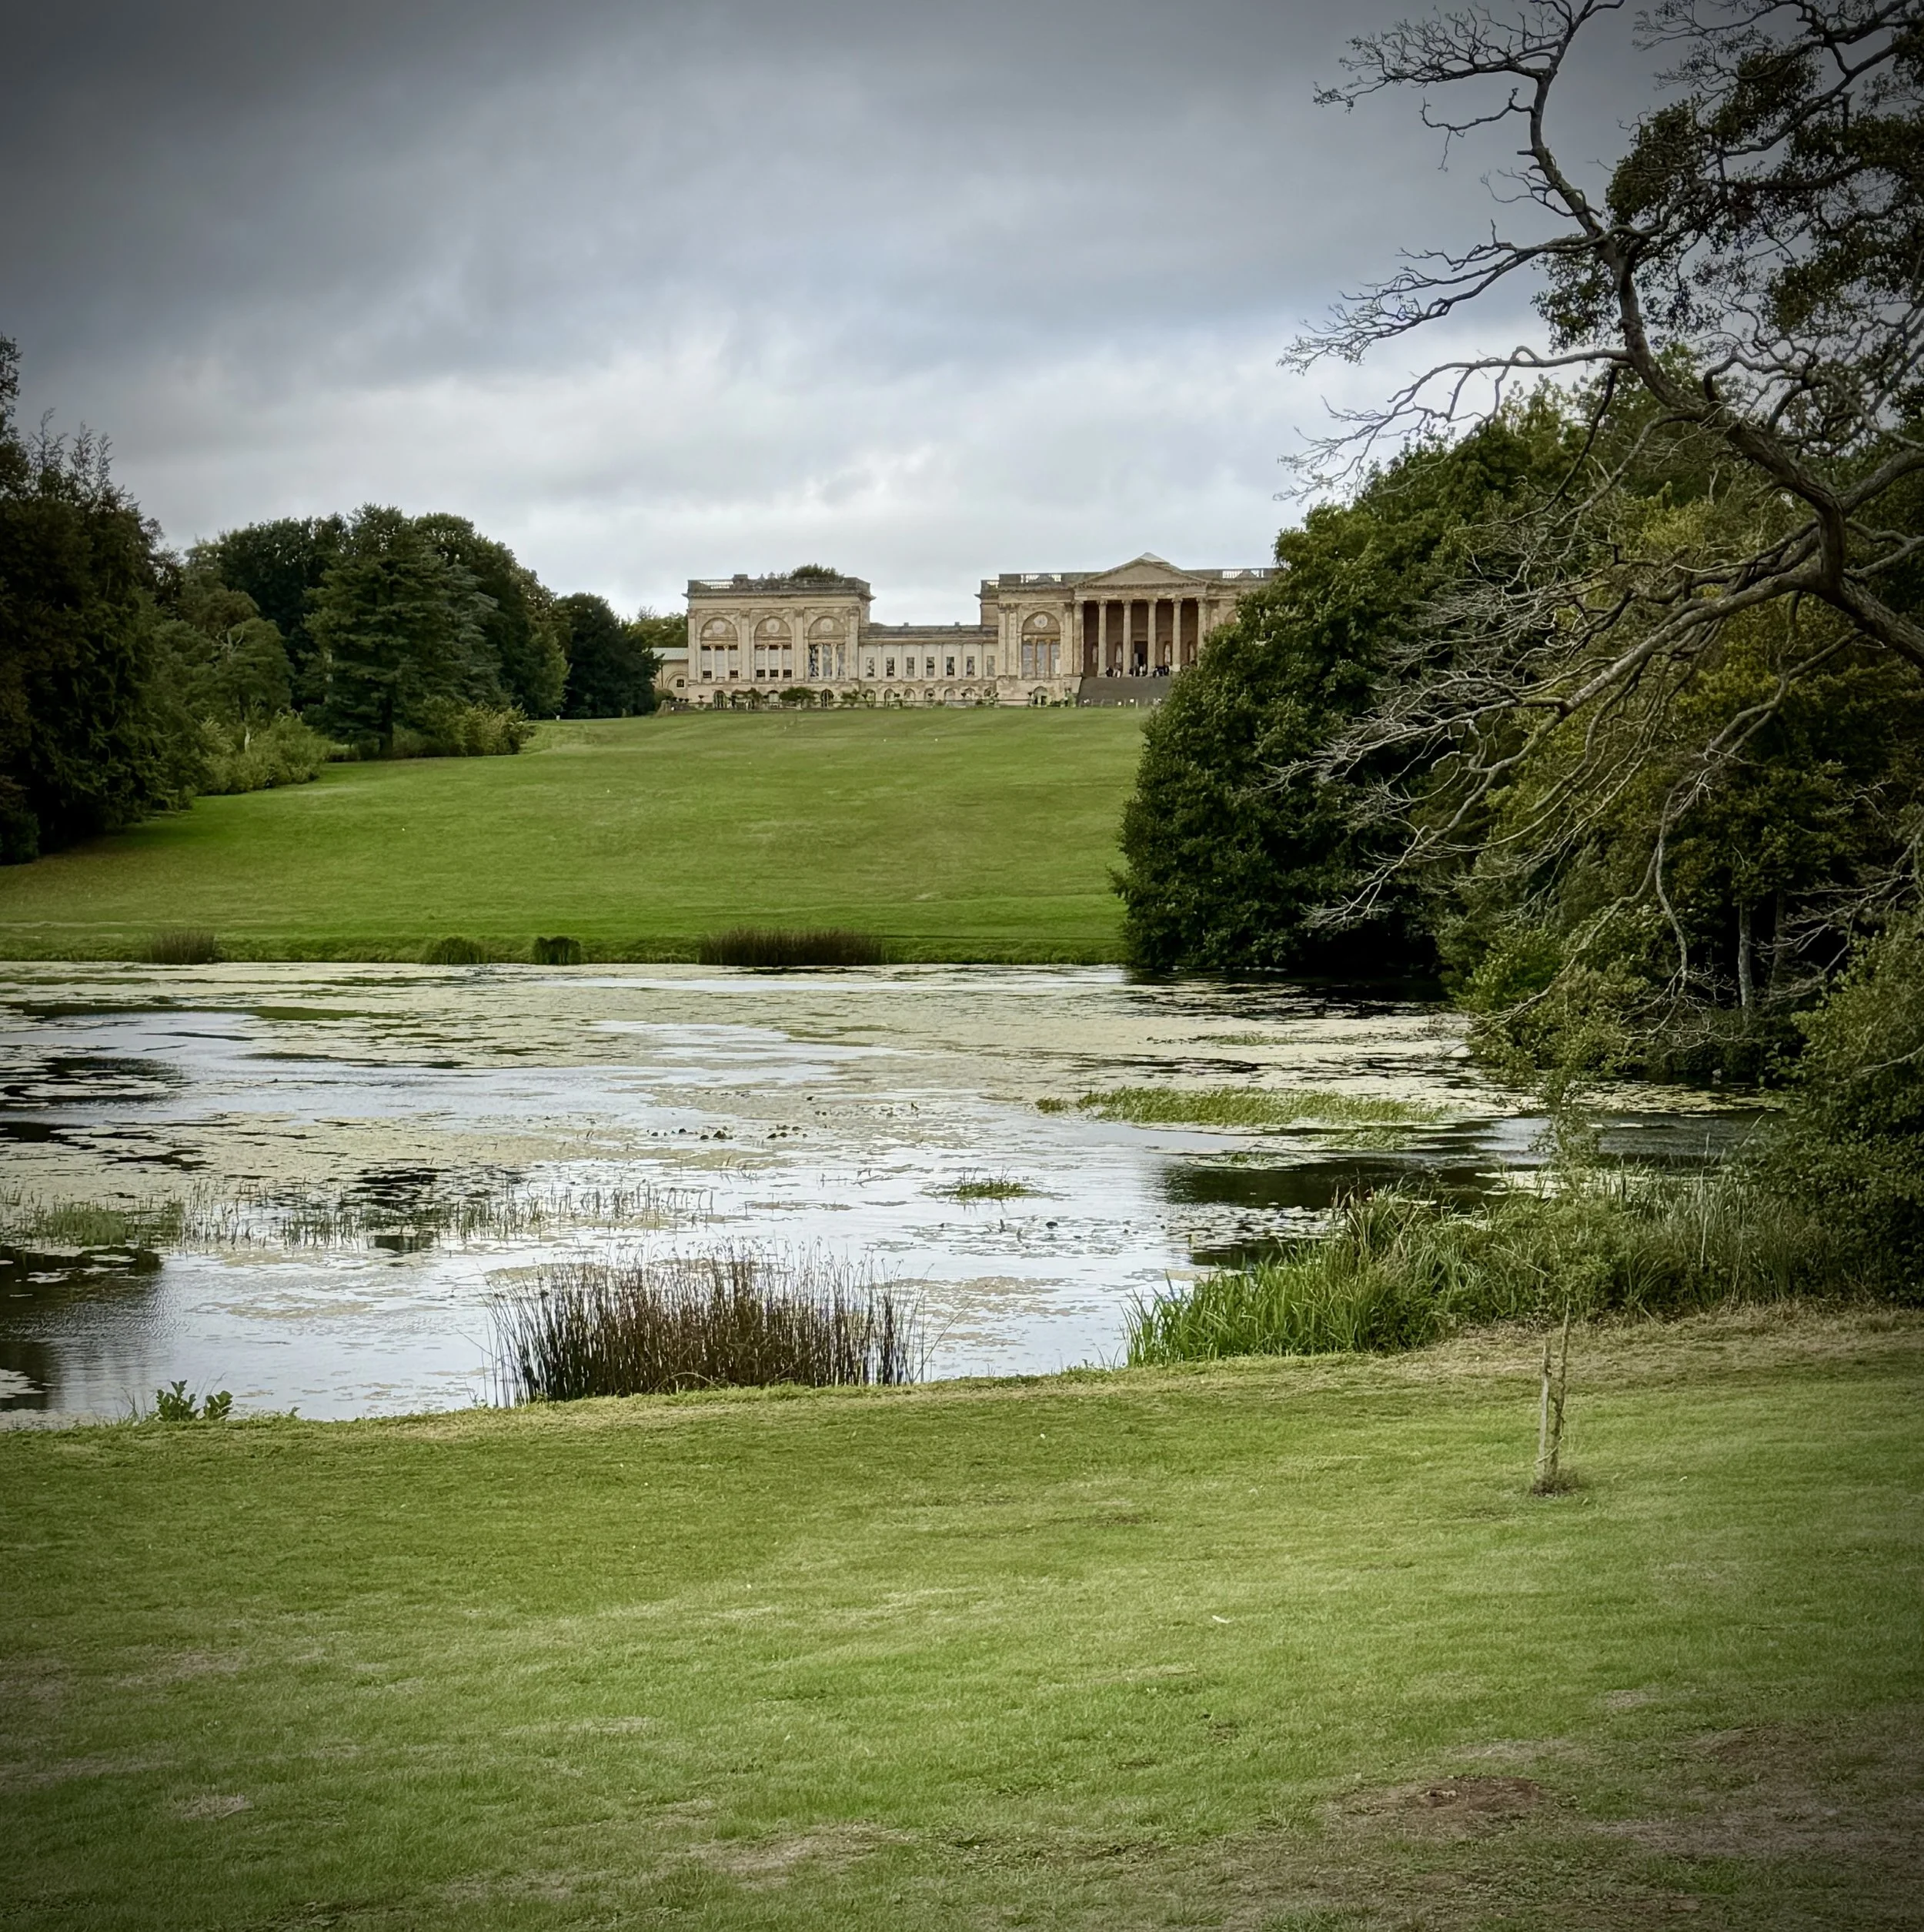
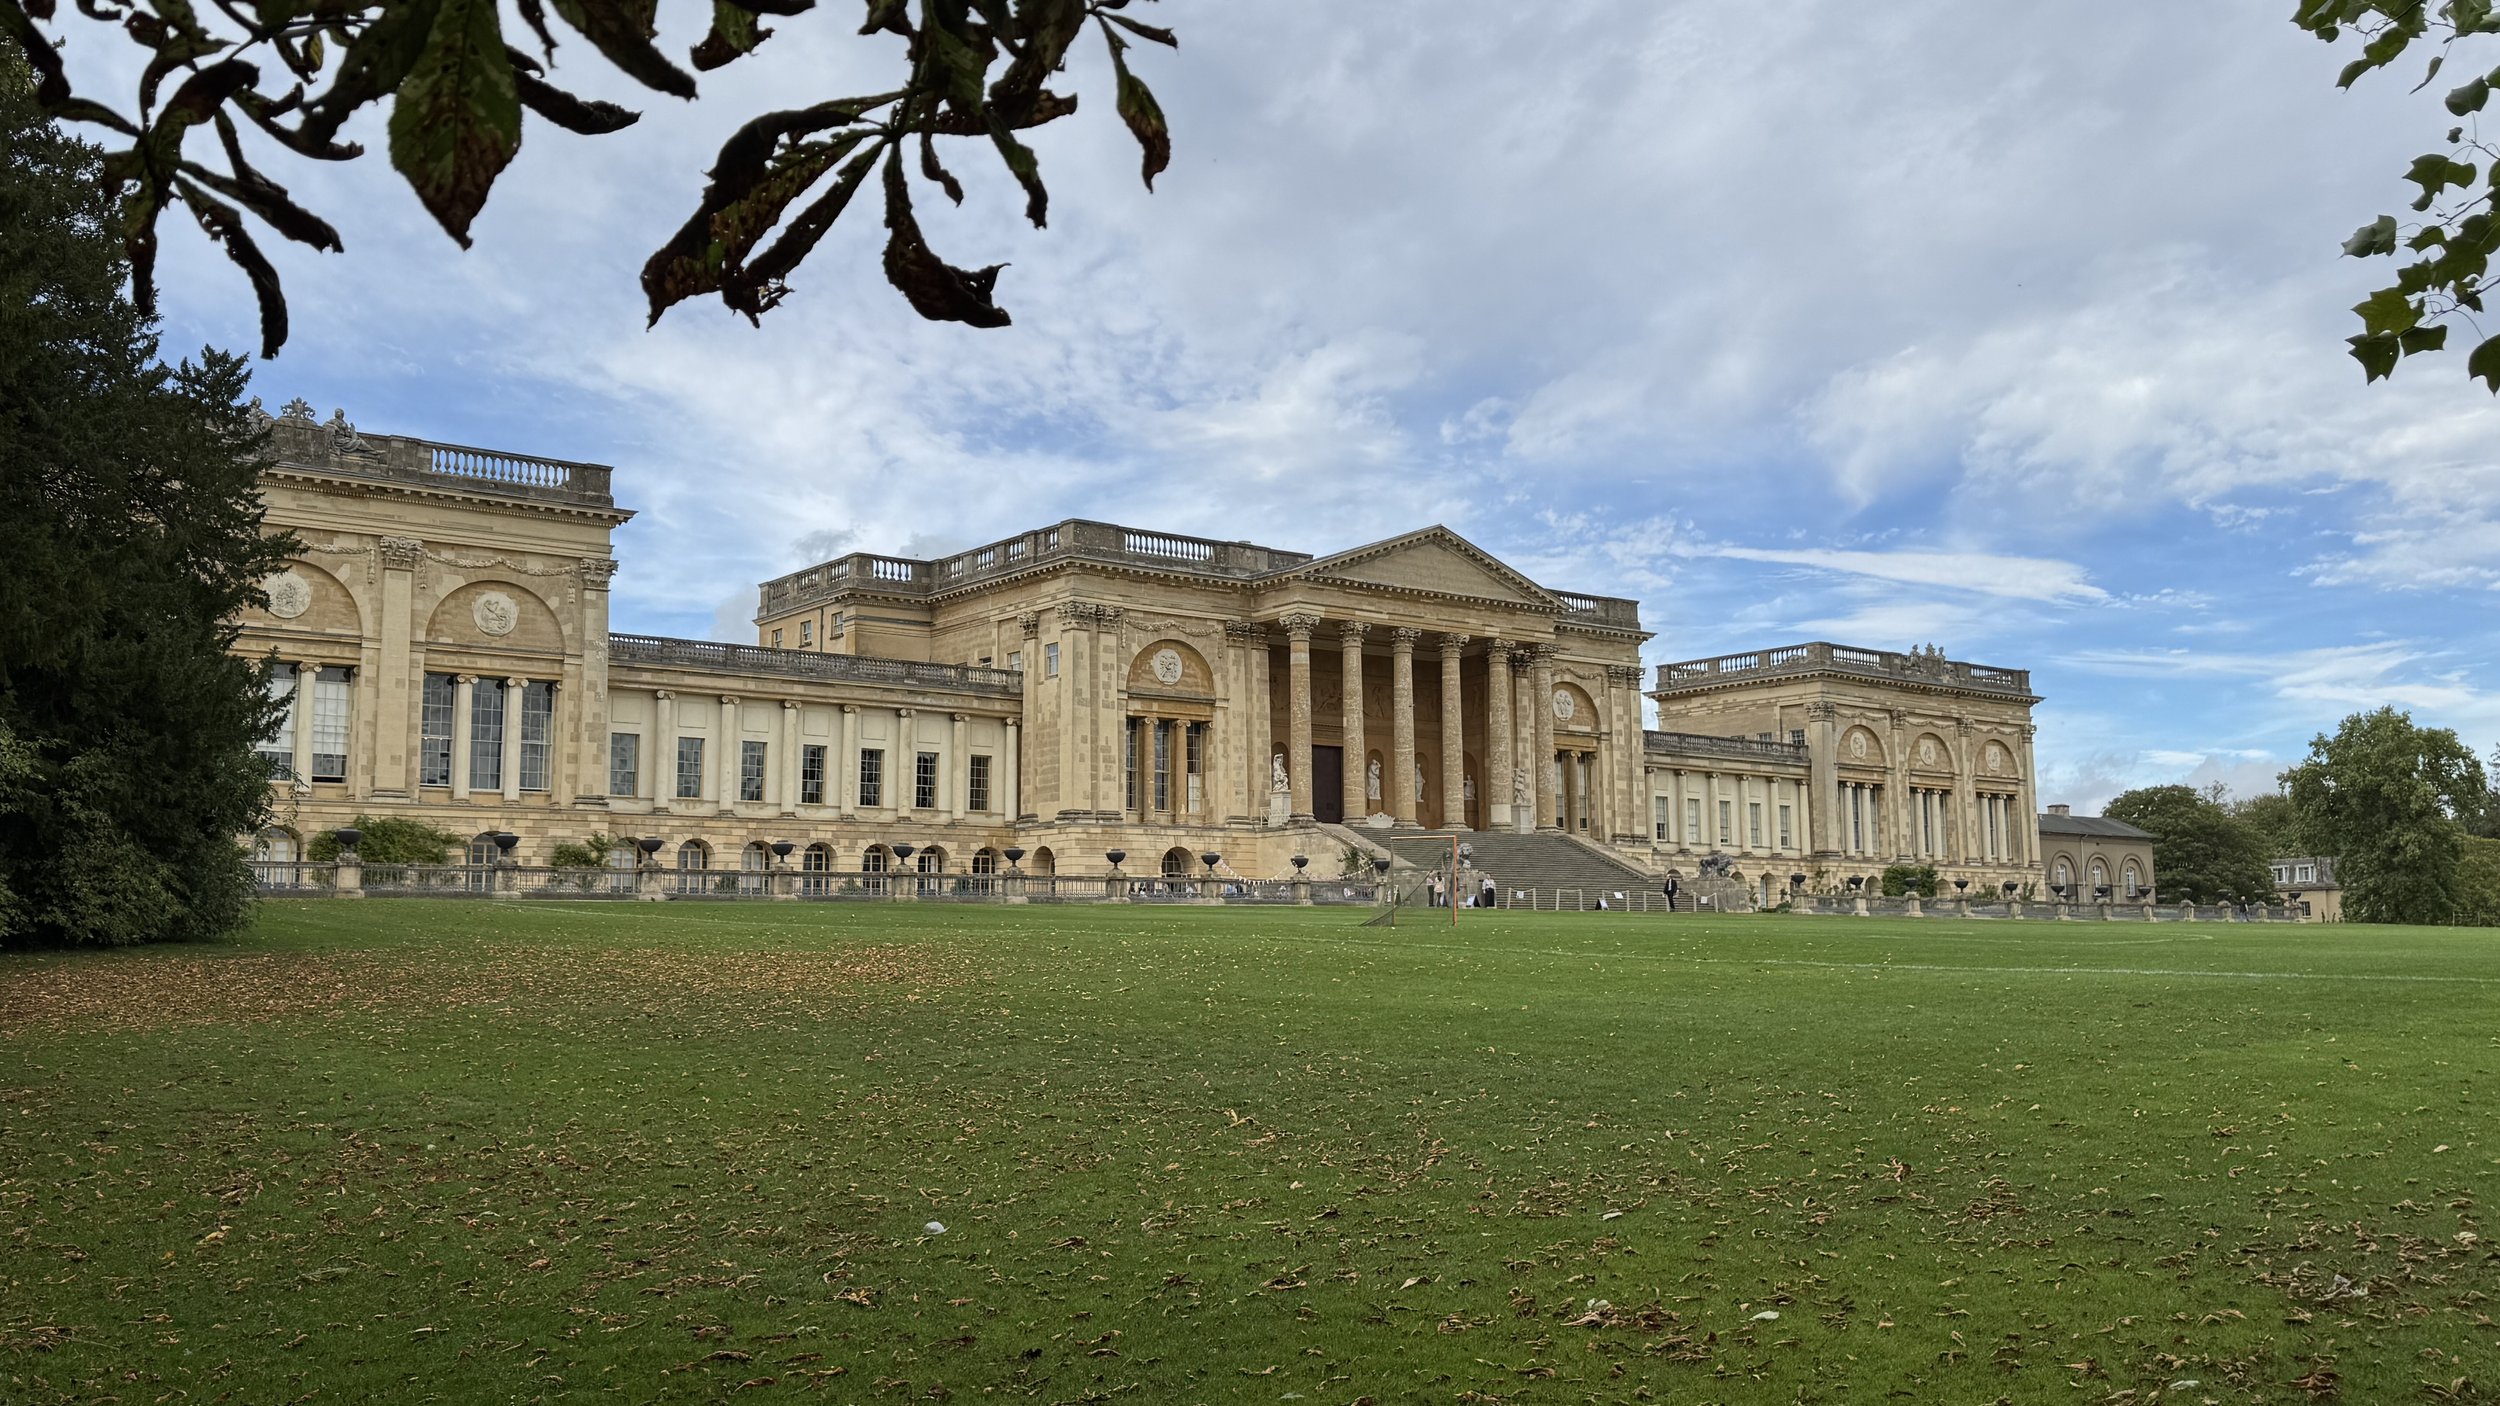
Stowe House: An extraordinary Grade I listed country house that sits at the heart of the estate and currently serves as an independent school. Its grand neoclassical facade provides a stunning focal point that can be admired from multiple vantage points along the walk.
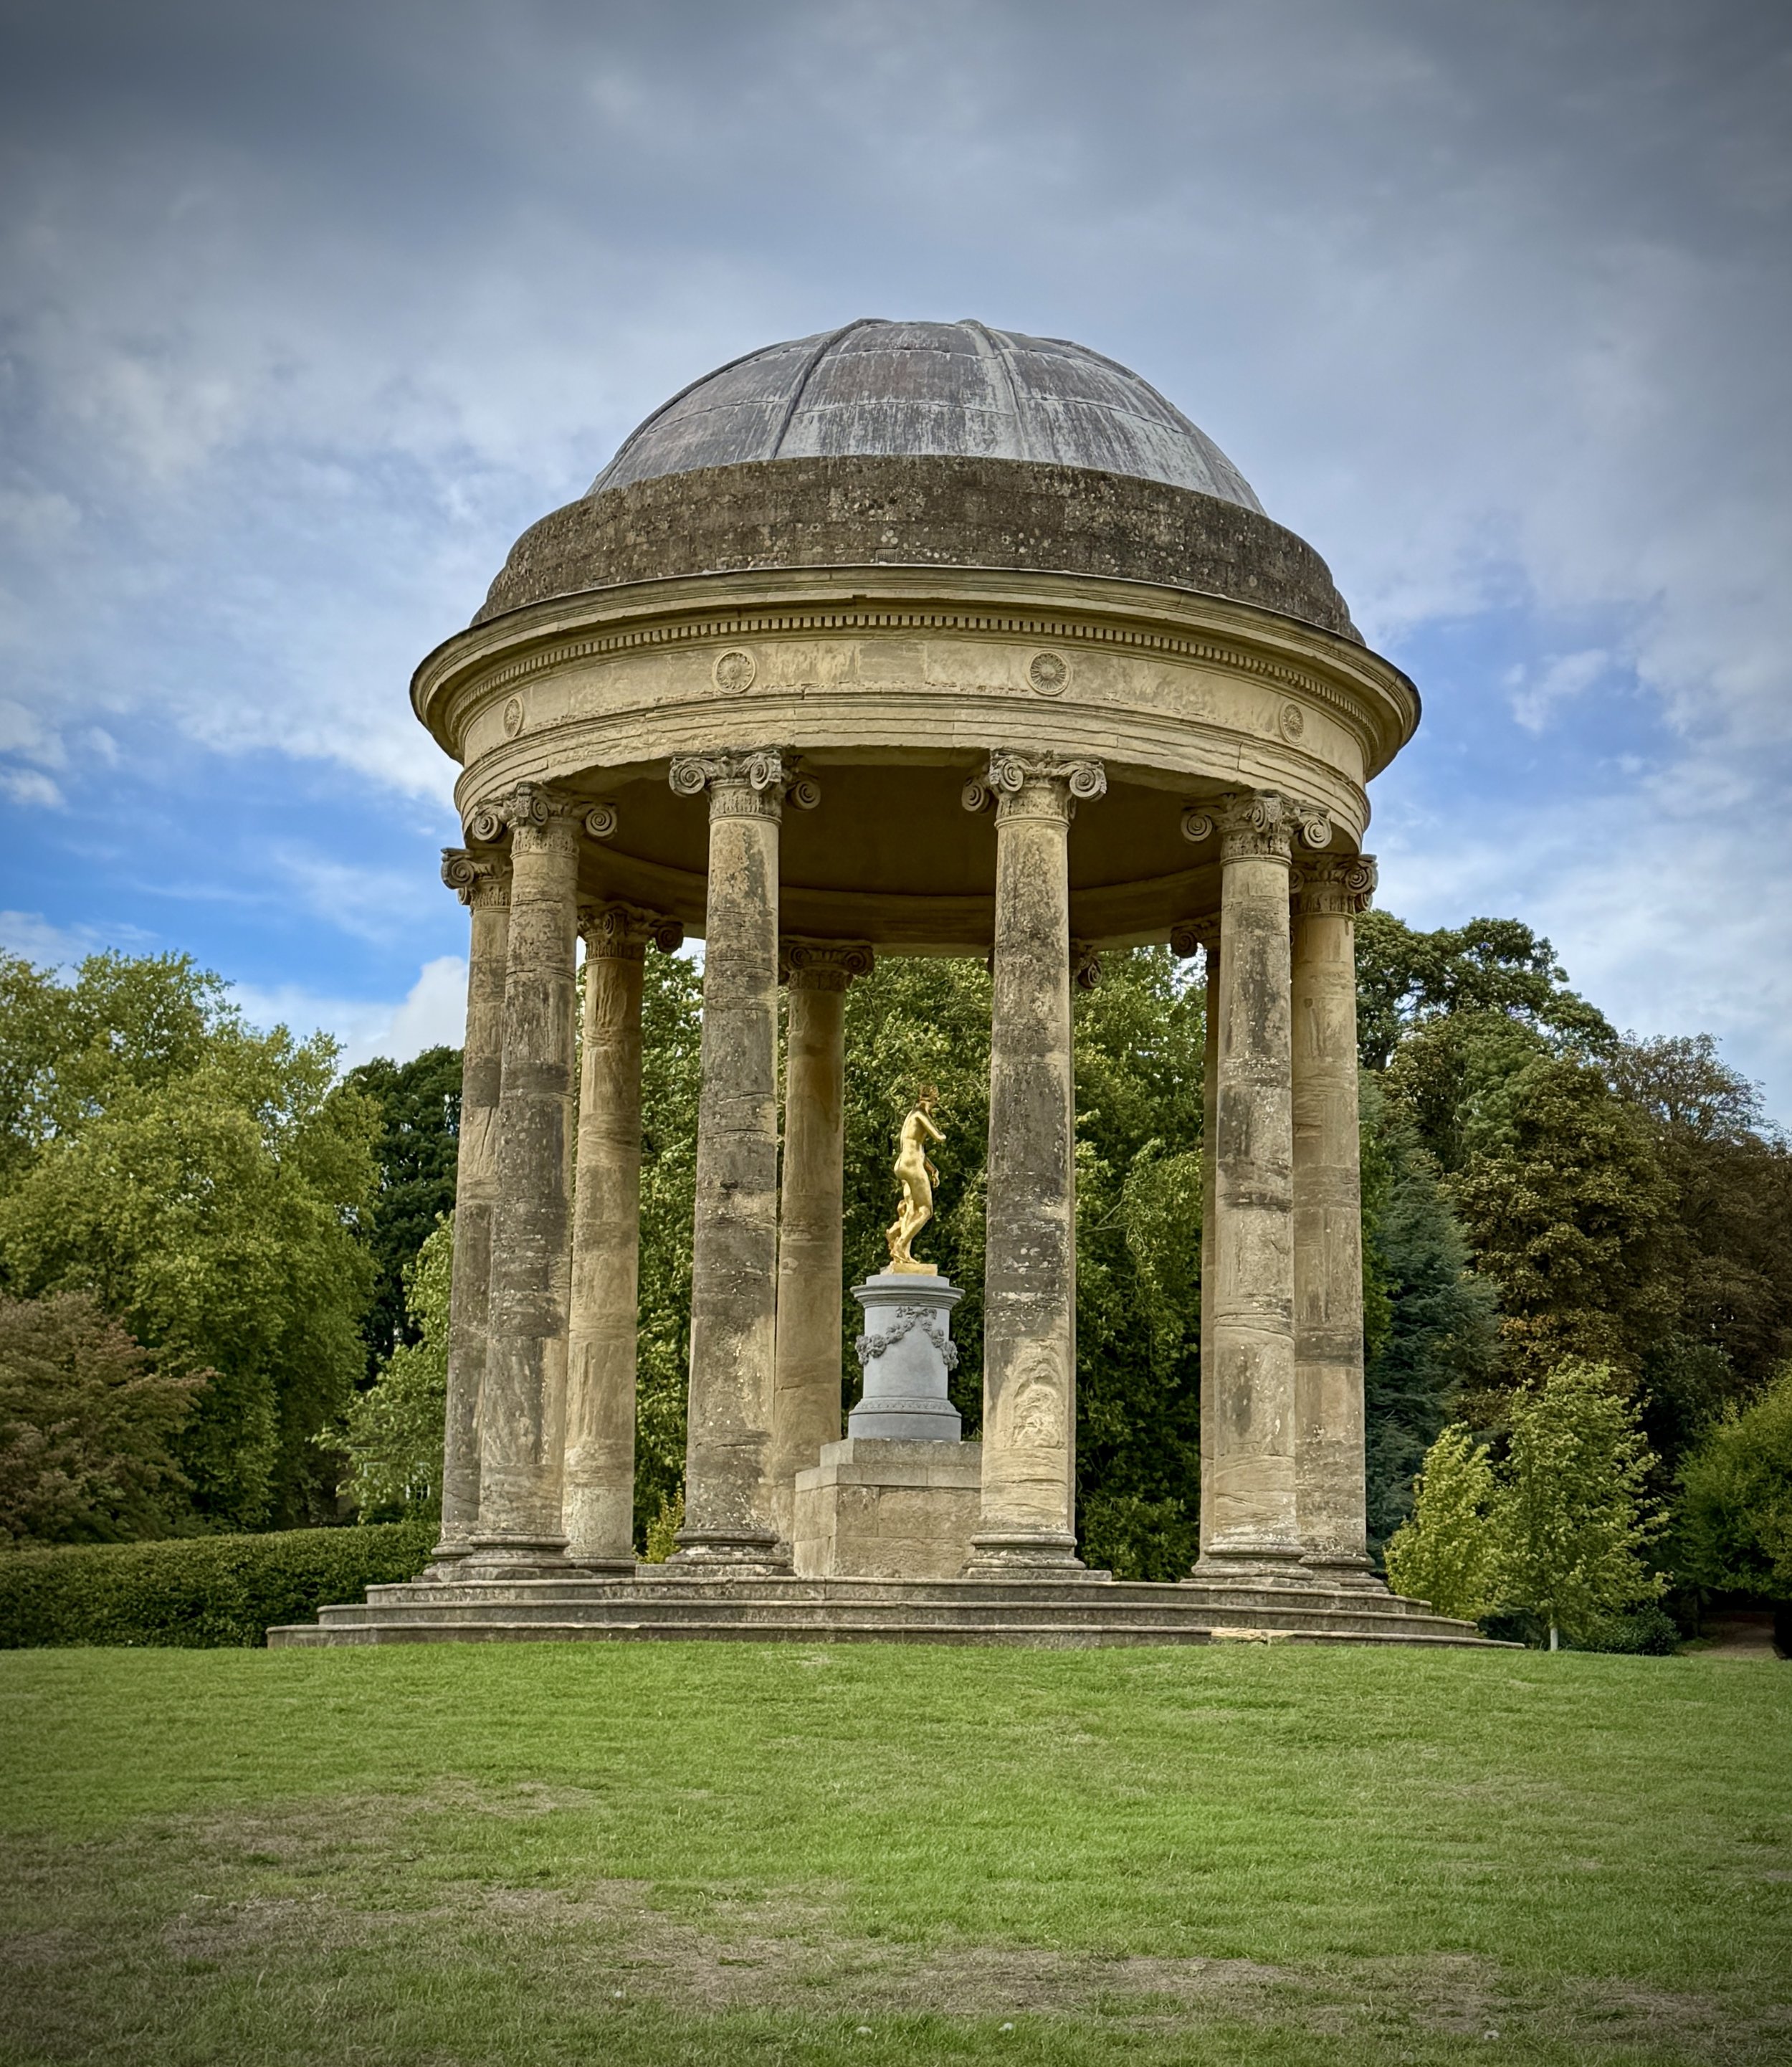
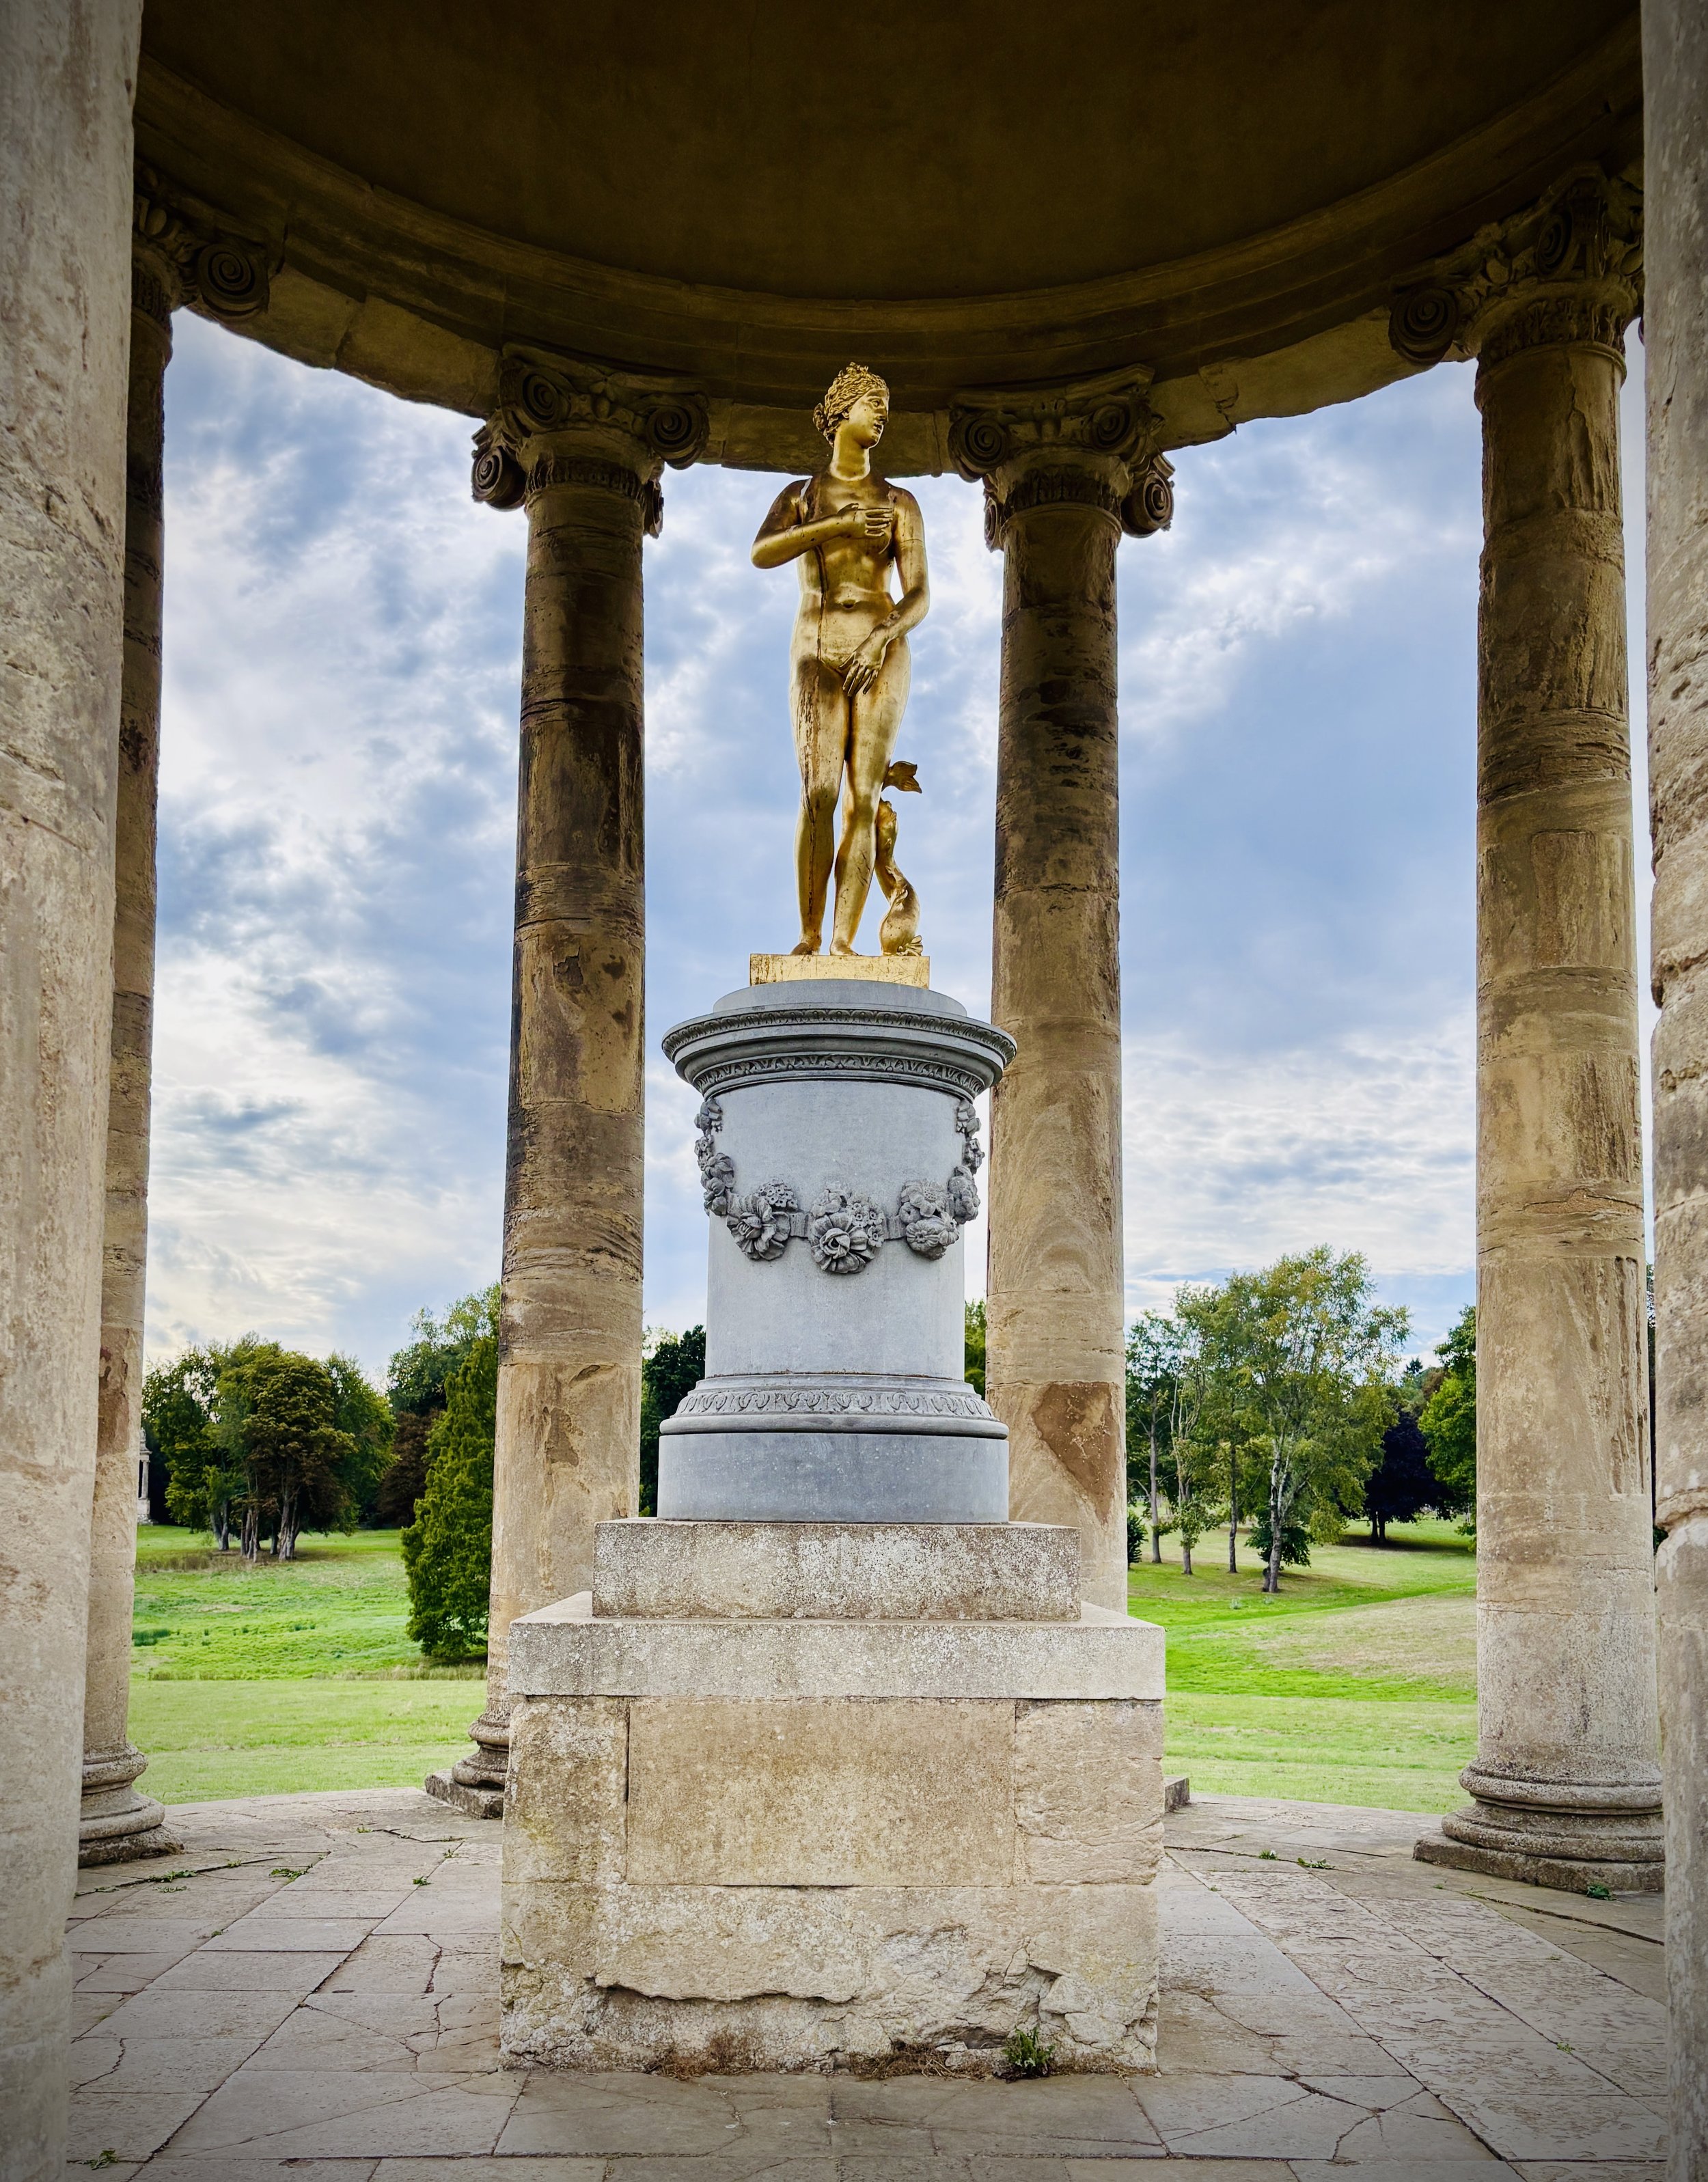
Temple of Ancient Virtue: Designed by William Kent in the 1730s, this circular, domed building was heavily inspired by the Temple of Vesta at Tivoli. Lord Cobham built it as a shrine to four exemplary ancient Greeks: Socrates, Homer, Lycurgus, and Epaminondas. The monument served as a bold political statement, championing the noble virtues that Cobham felt were lacking in contemporary British politicians.
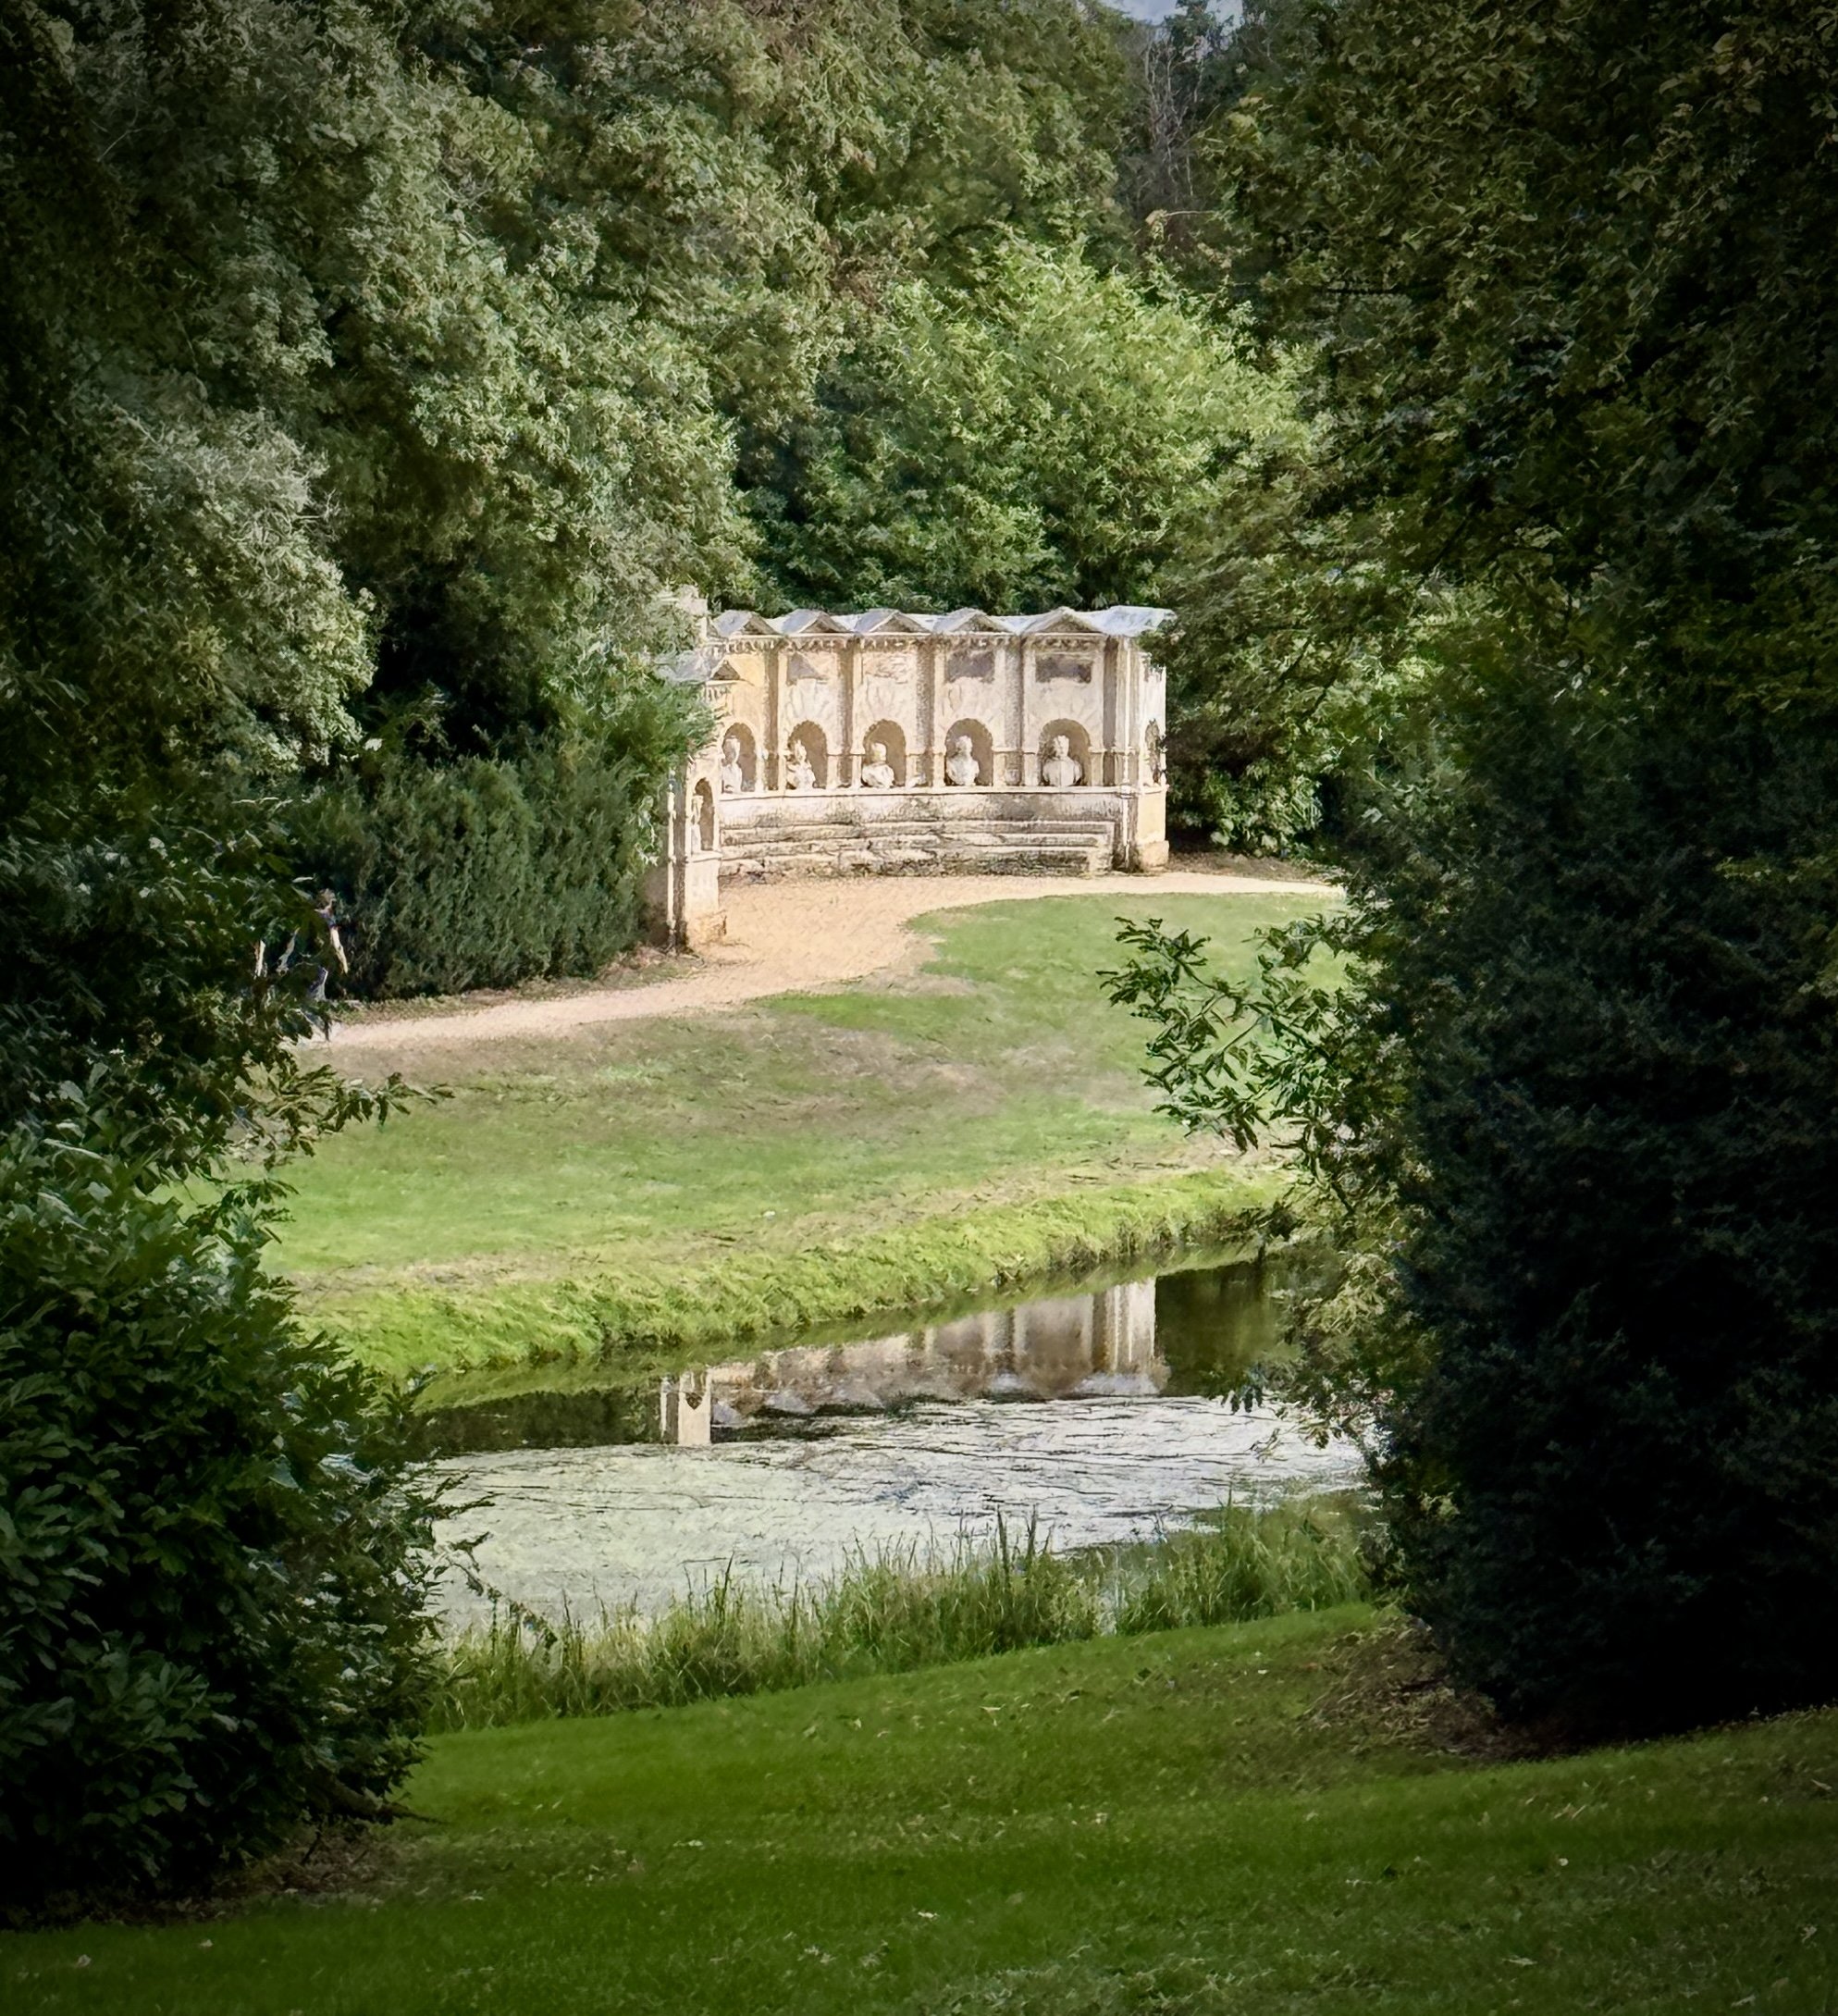
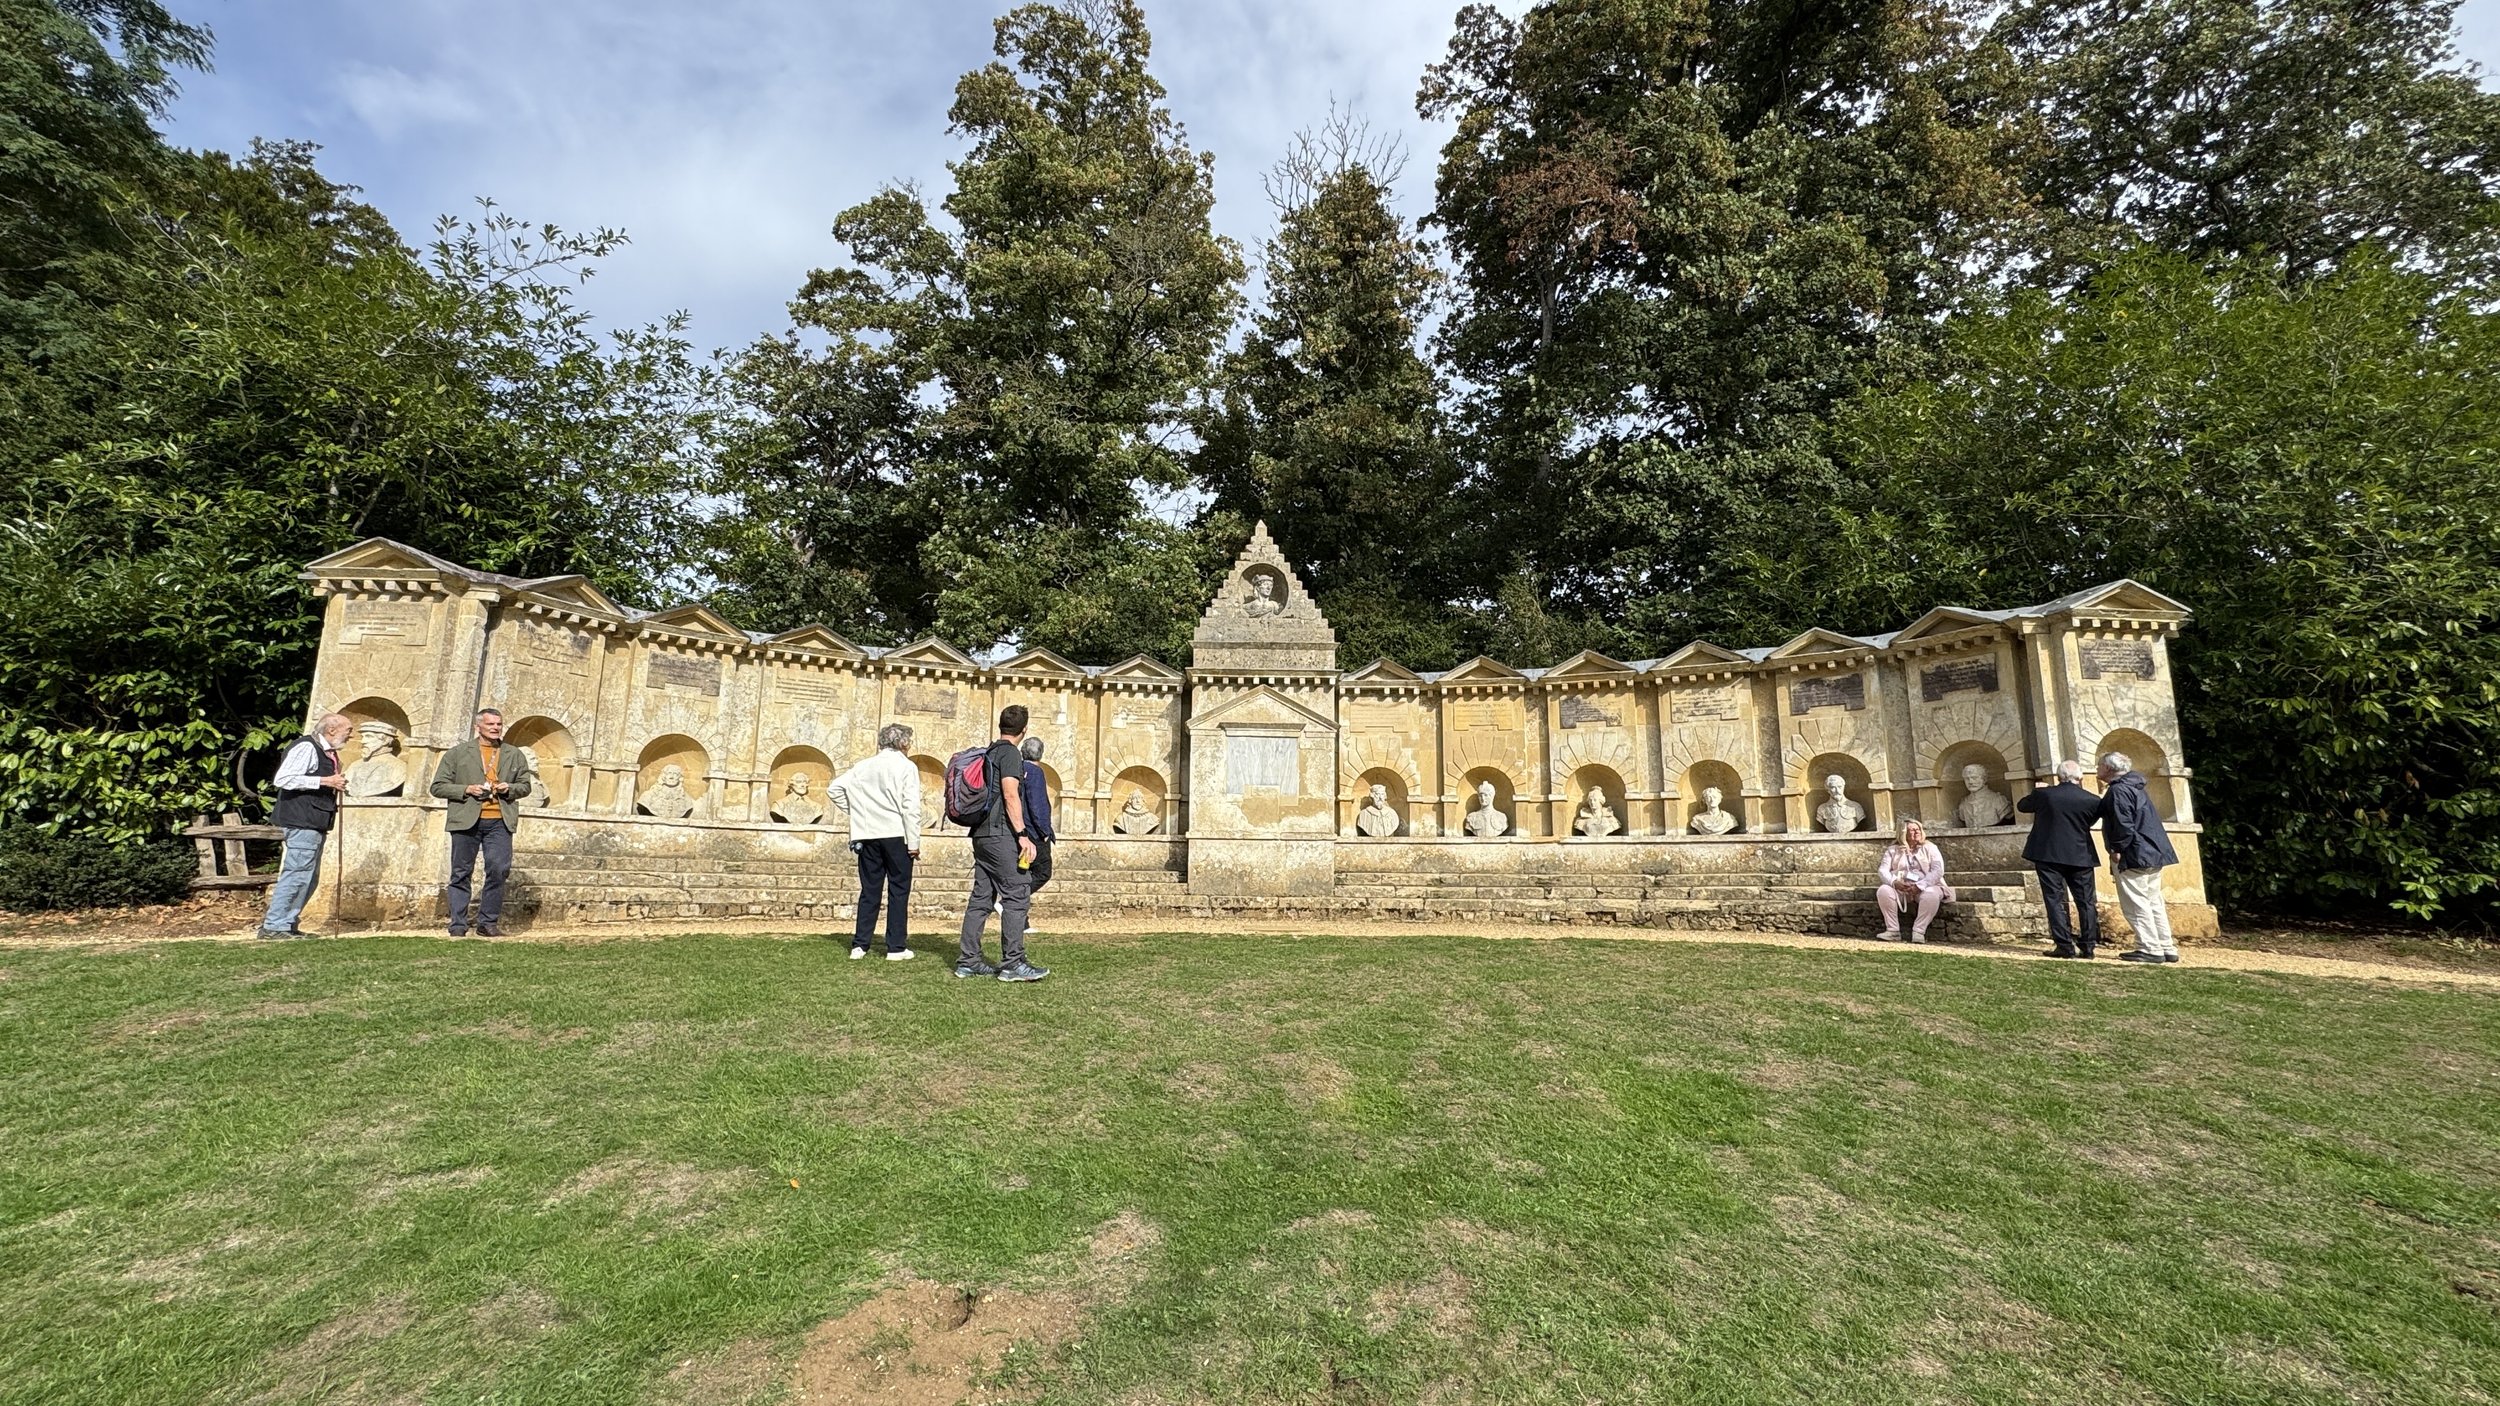
Temple of British Worthies: Also designed by William Kent around 1735, this curved stone wall sits opposite the Temple of Ancient Virtue across the Elysian Fields. It features sixteen niches containing busts of renowned British thinkers and historical figures, notably featuring Queen Elizabeth I as the only woman. The monument was an overt political statement by Lord Cobham, using these individuals to represent his Whig ideals in opposition to the ruling government.

Walking The Midshires Way through Buckinghamshire
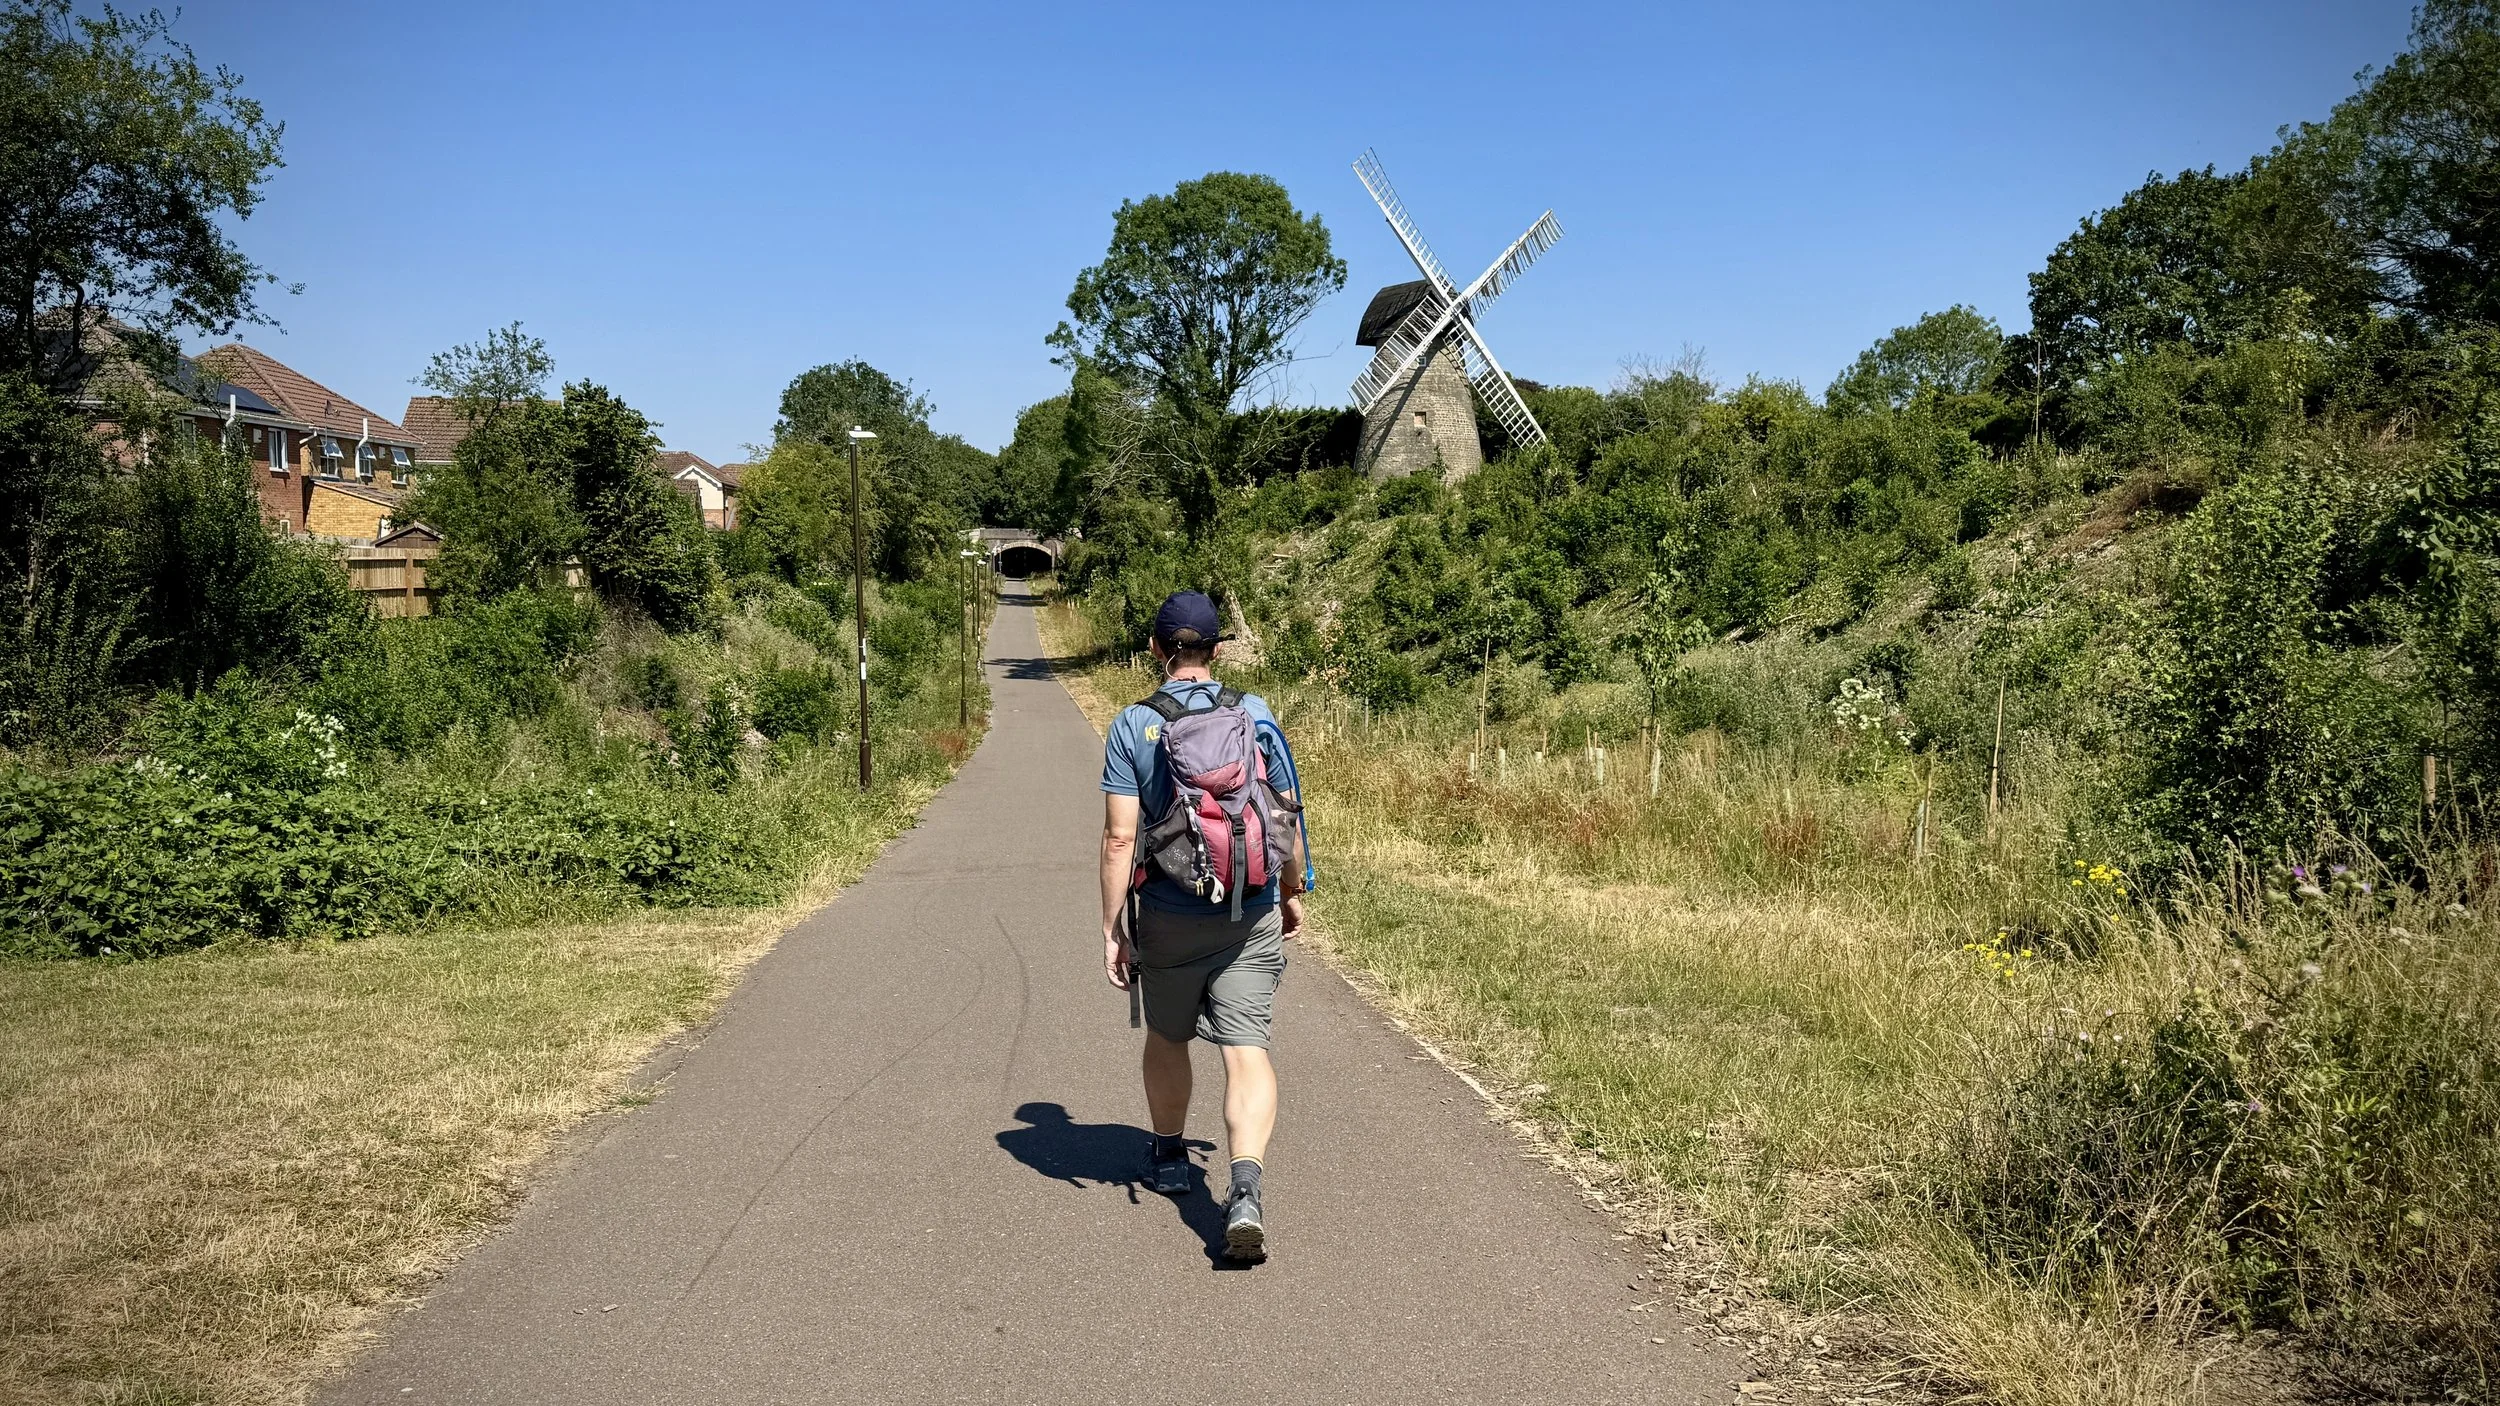
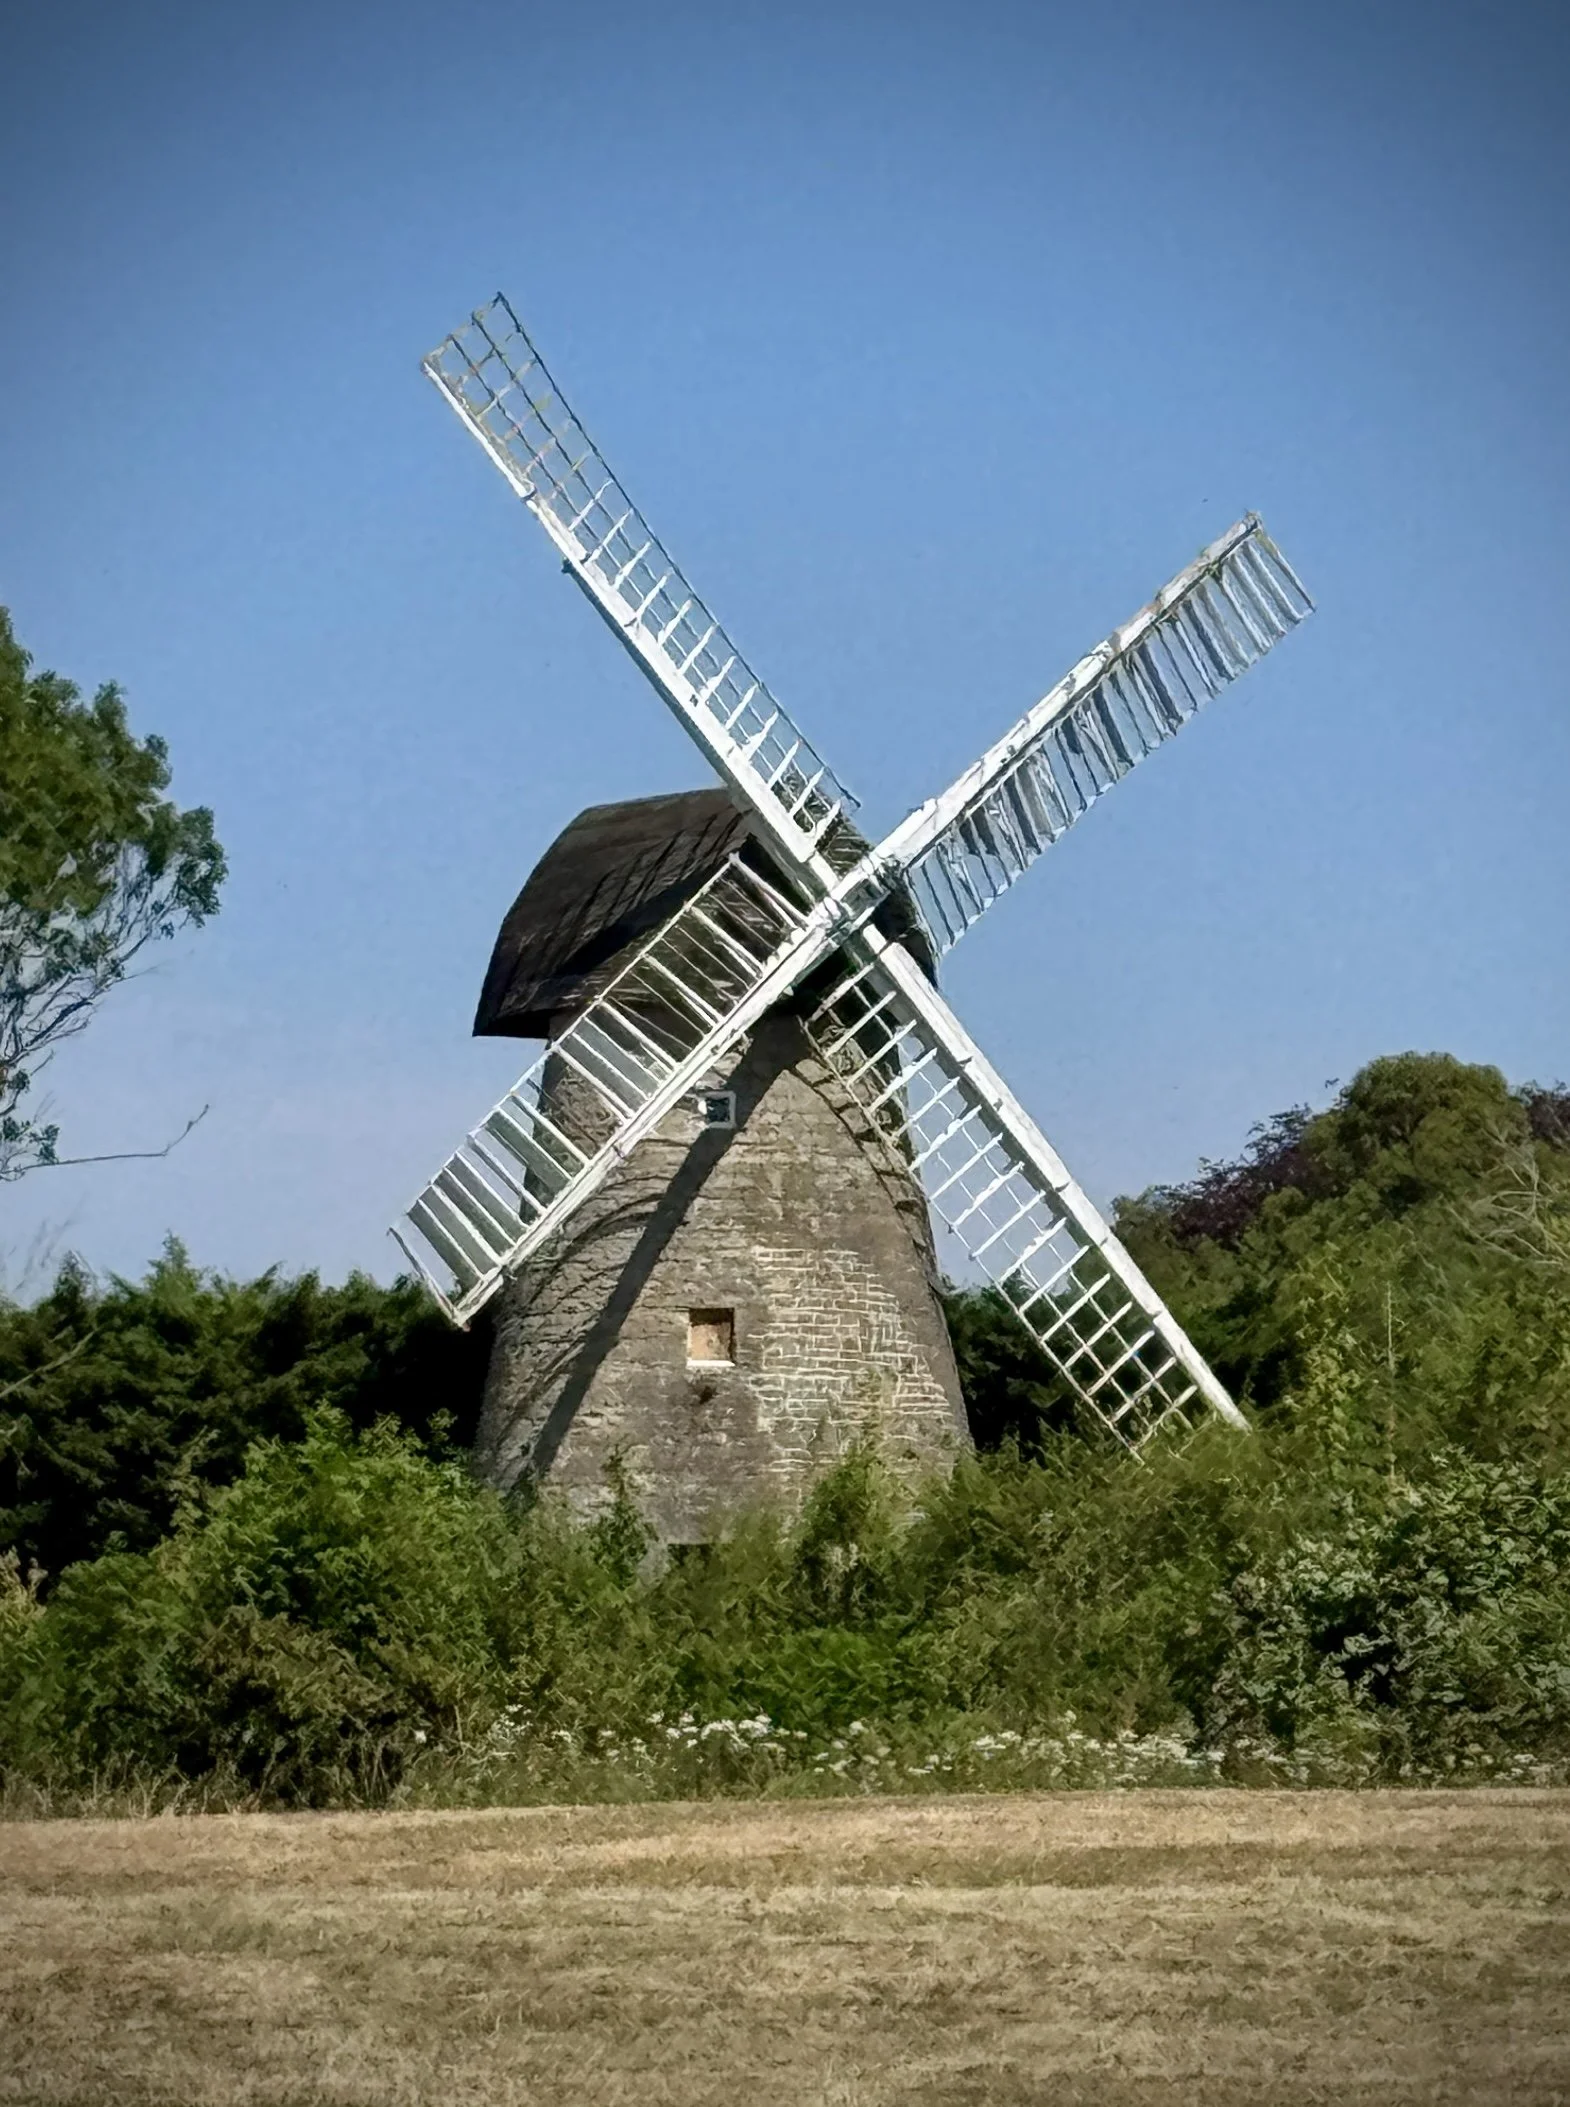
Along the disused railway by Bradwell windmill, Milton Keynes
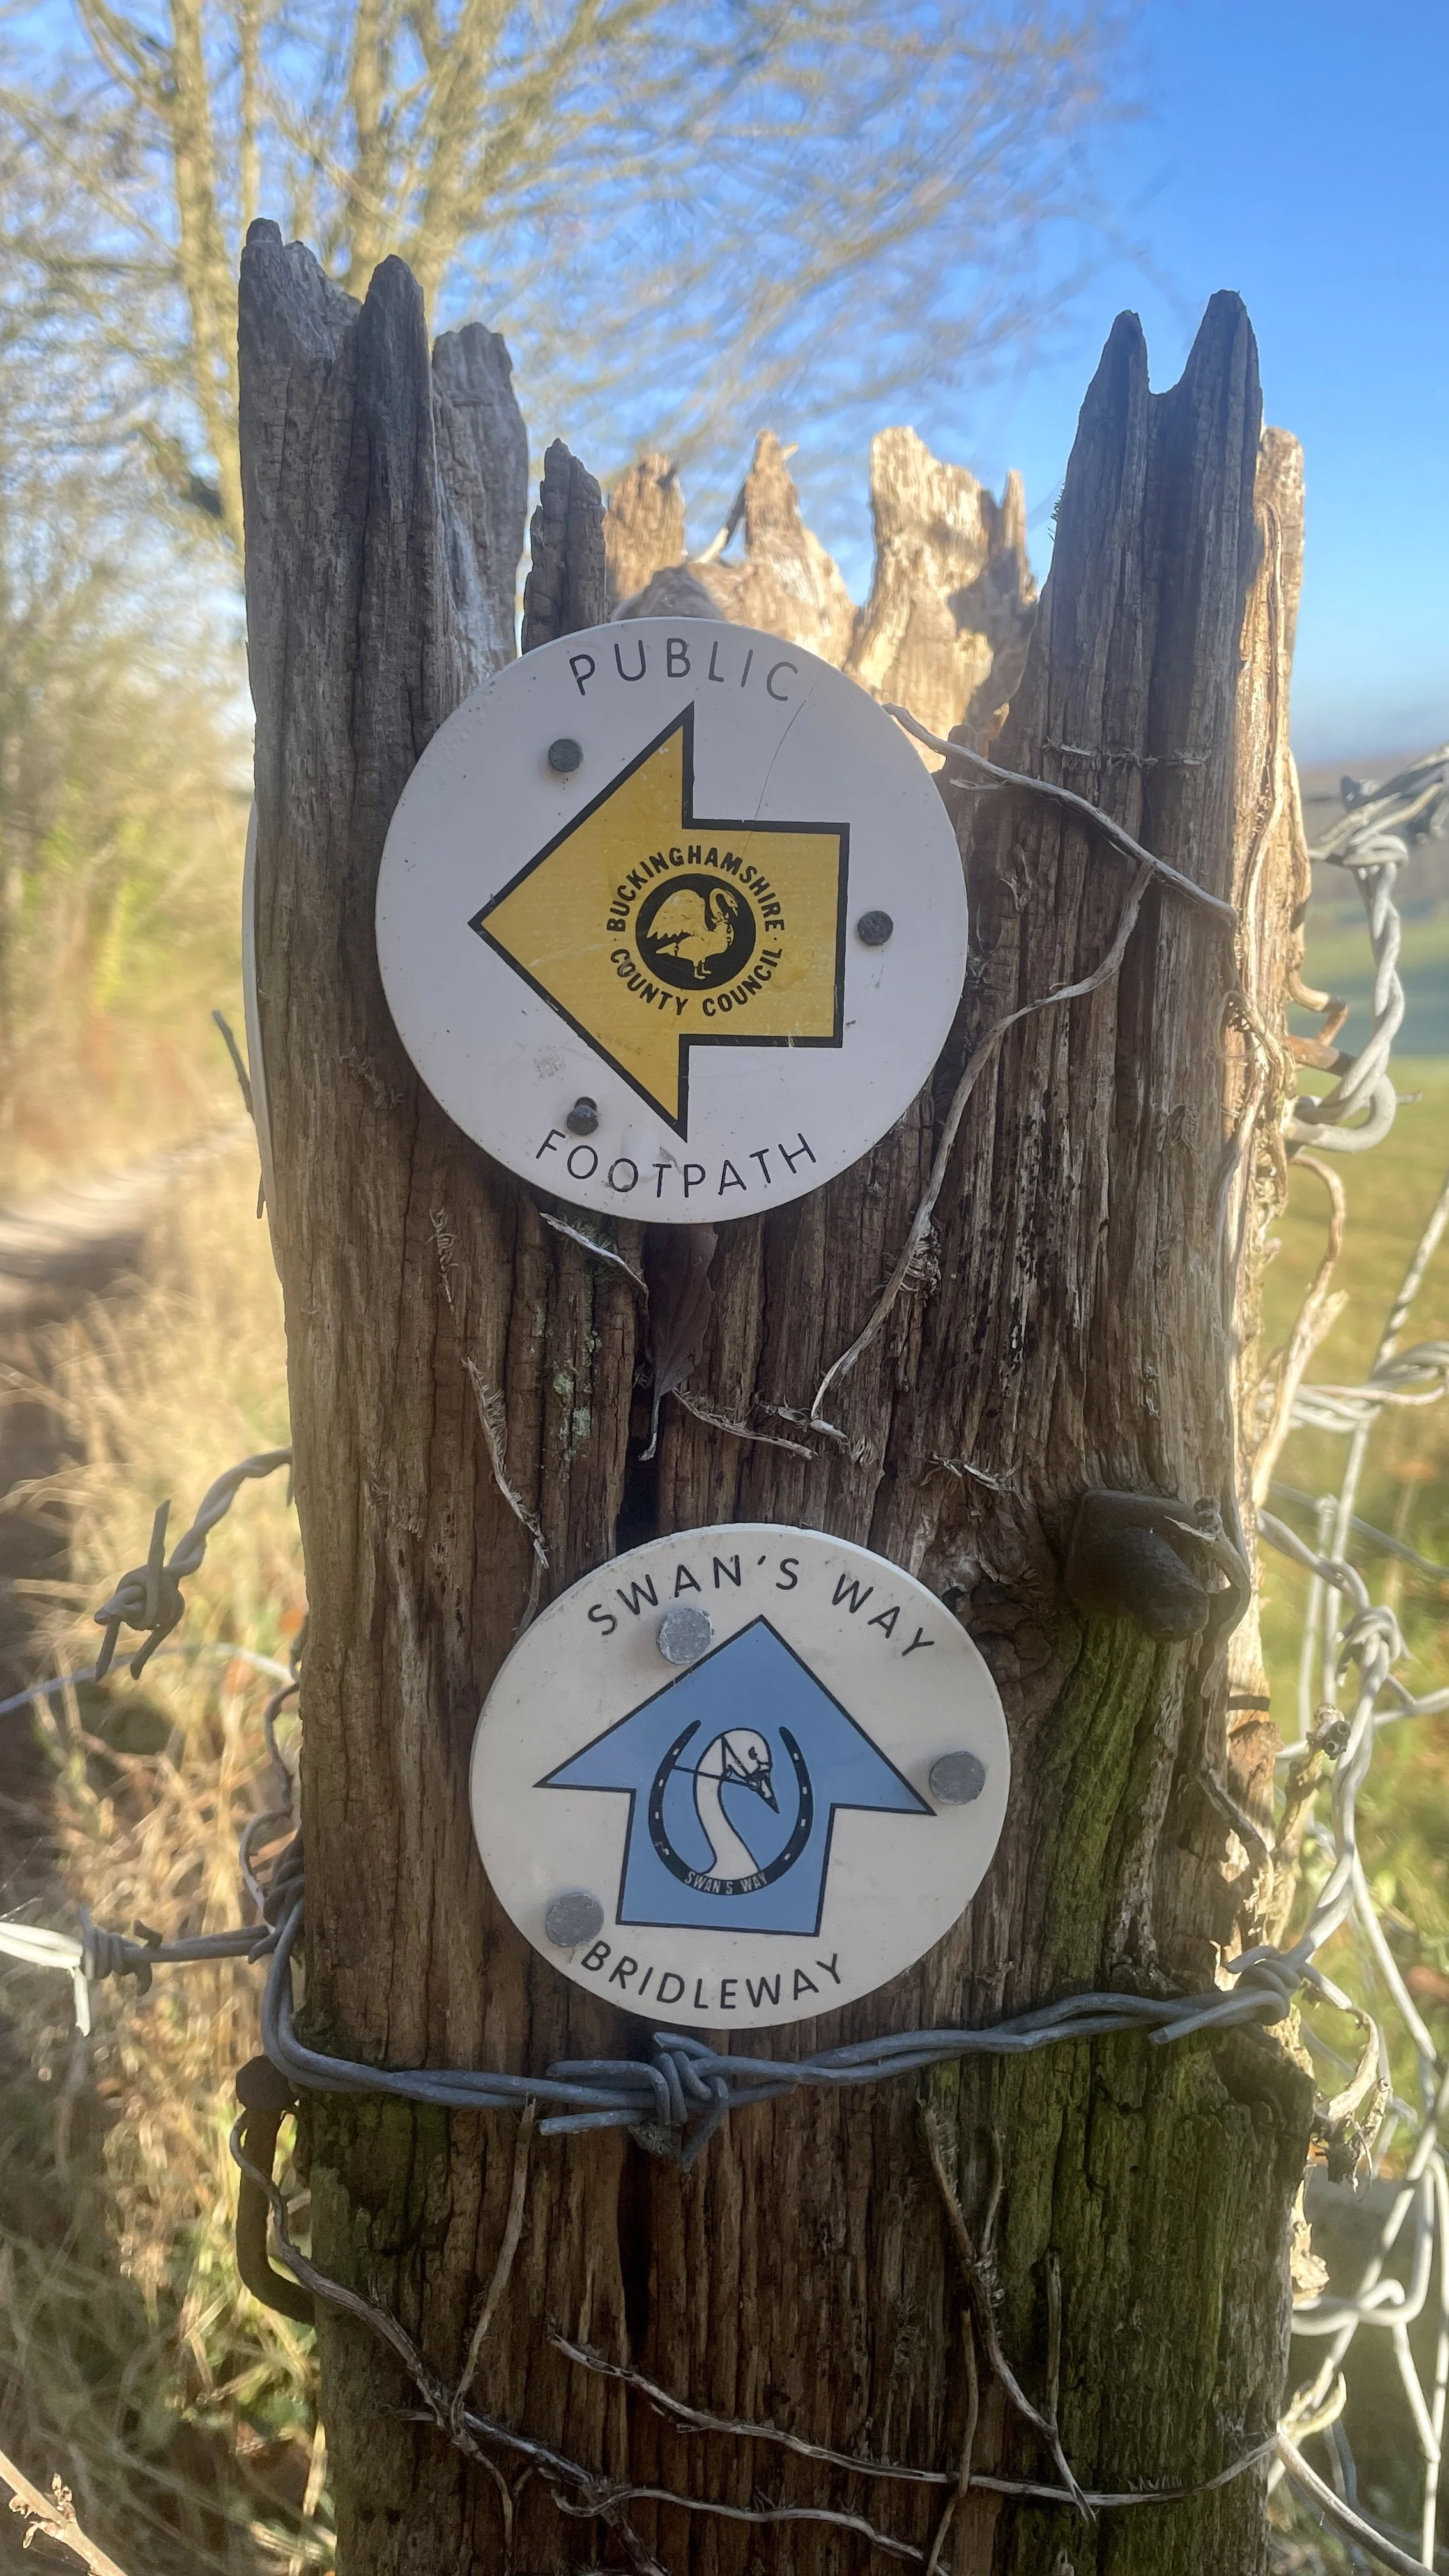
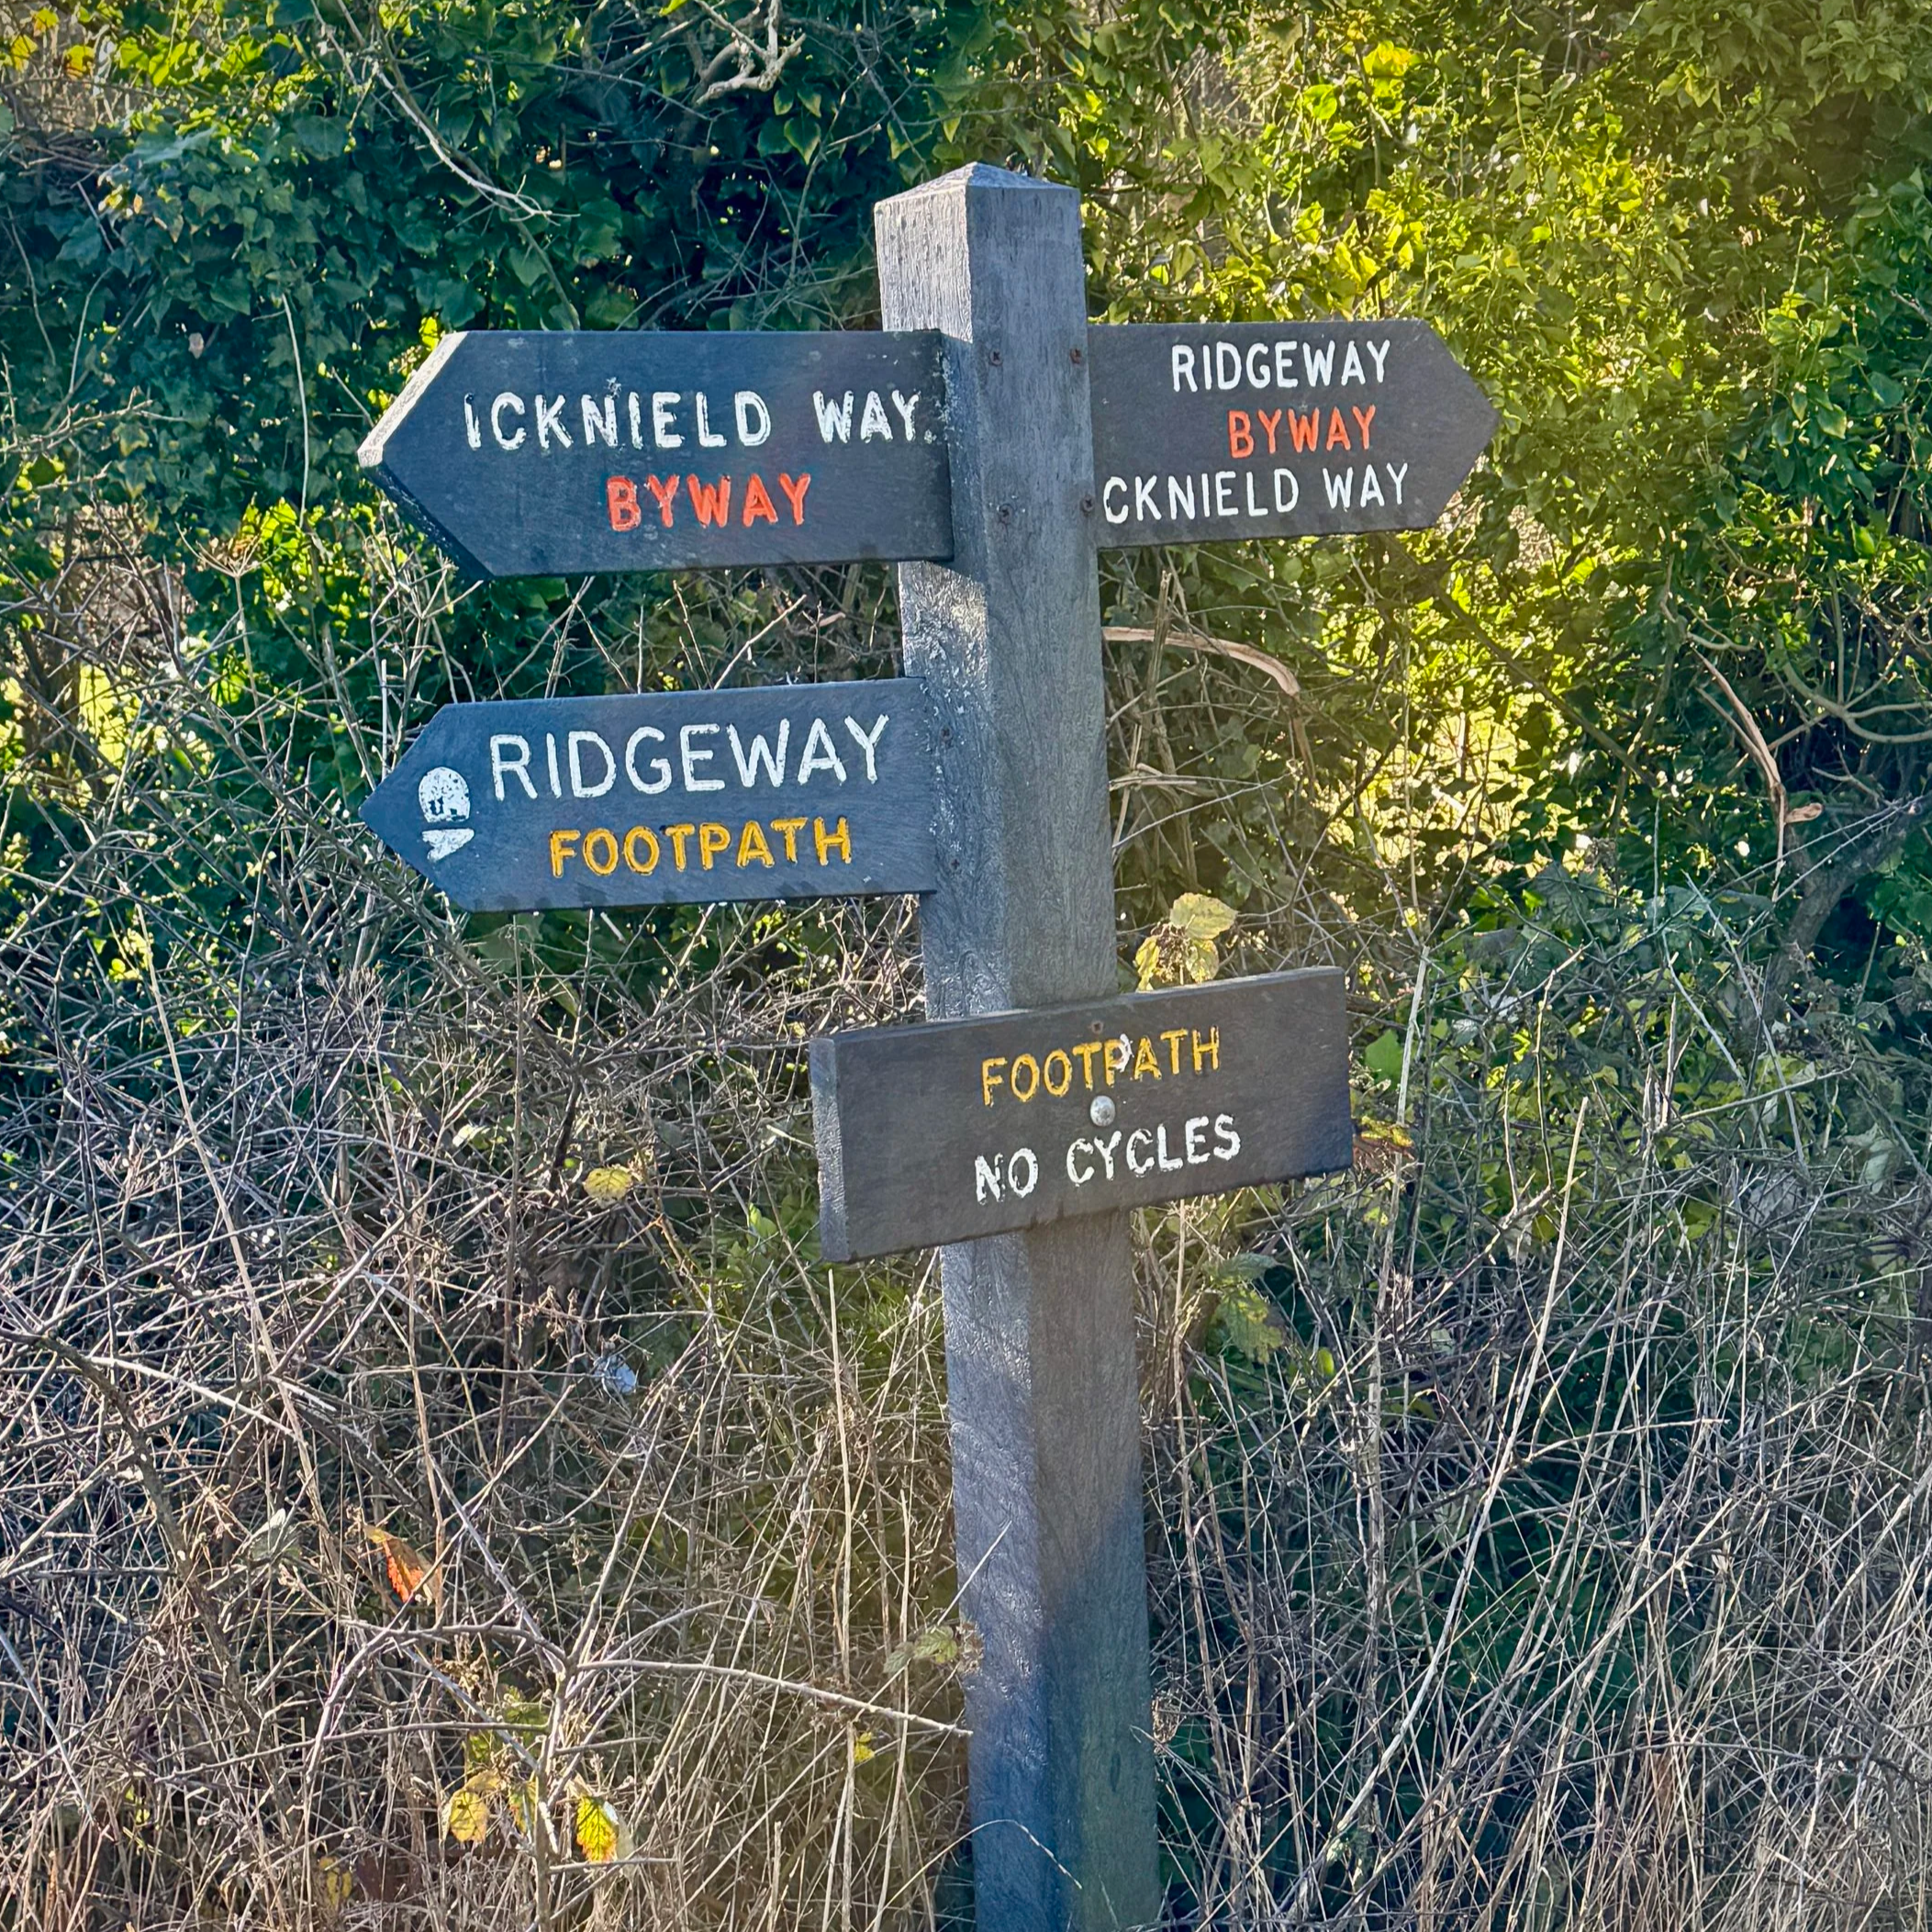
The Midshires Way is a 225-mile (362 km) trail that journeys through the rural heart of Middle England, linking the Ridgeway National Trail at Bledlow in the south to the Trans Pennine Trail at Stockport in the north. Opened in 1994, this route traverses several counties, including Buckinghamshire, Northamptonshire, Leicestershire, Nottinghamshire, Derbyshire, and Greater Manchester, following a scenic tapestry of ancient bridleways, quiet country lanes, and historic canals. In Buckinghamshire, the Midshires Way has a significant connection with the Swan's Way (often referred to as the Swan Way), a 65-mile long-distance bridleway. Essentially, the Swan's Way forms the backbone of the Buckinghamshire section of the Midshires Way, with the two routes being broadly coincident for approximately 50 miles between Salcey Forest and Bledlow. While the Swan's Way strictly adheres to bridleways to accommodate horse riders and cyclists, the Midshires Way sometimes offers alternative waymarked footpaths for walkers to avoid on-road sections.
We walked the Chilterns part of the Mishires Way in 17 sections over a 8 months in 2026. Each section was a circular walk of between 8 and 14 km of which part was along the Midshires with a return to the start along other nearby footpaths.
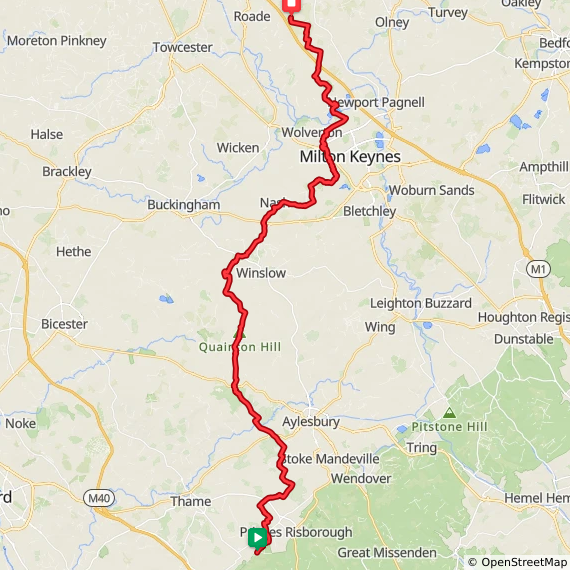
Point to Point: Walking the Midshires Way in Buckinghamshire
Start: ions Of Bledlow, Church End, Bledlow, Princes Risborough, HP27 9PE
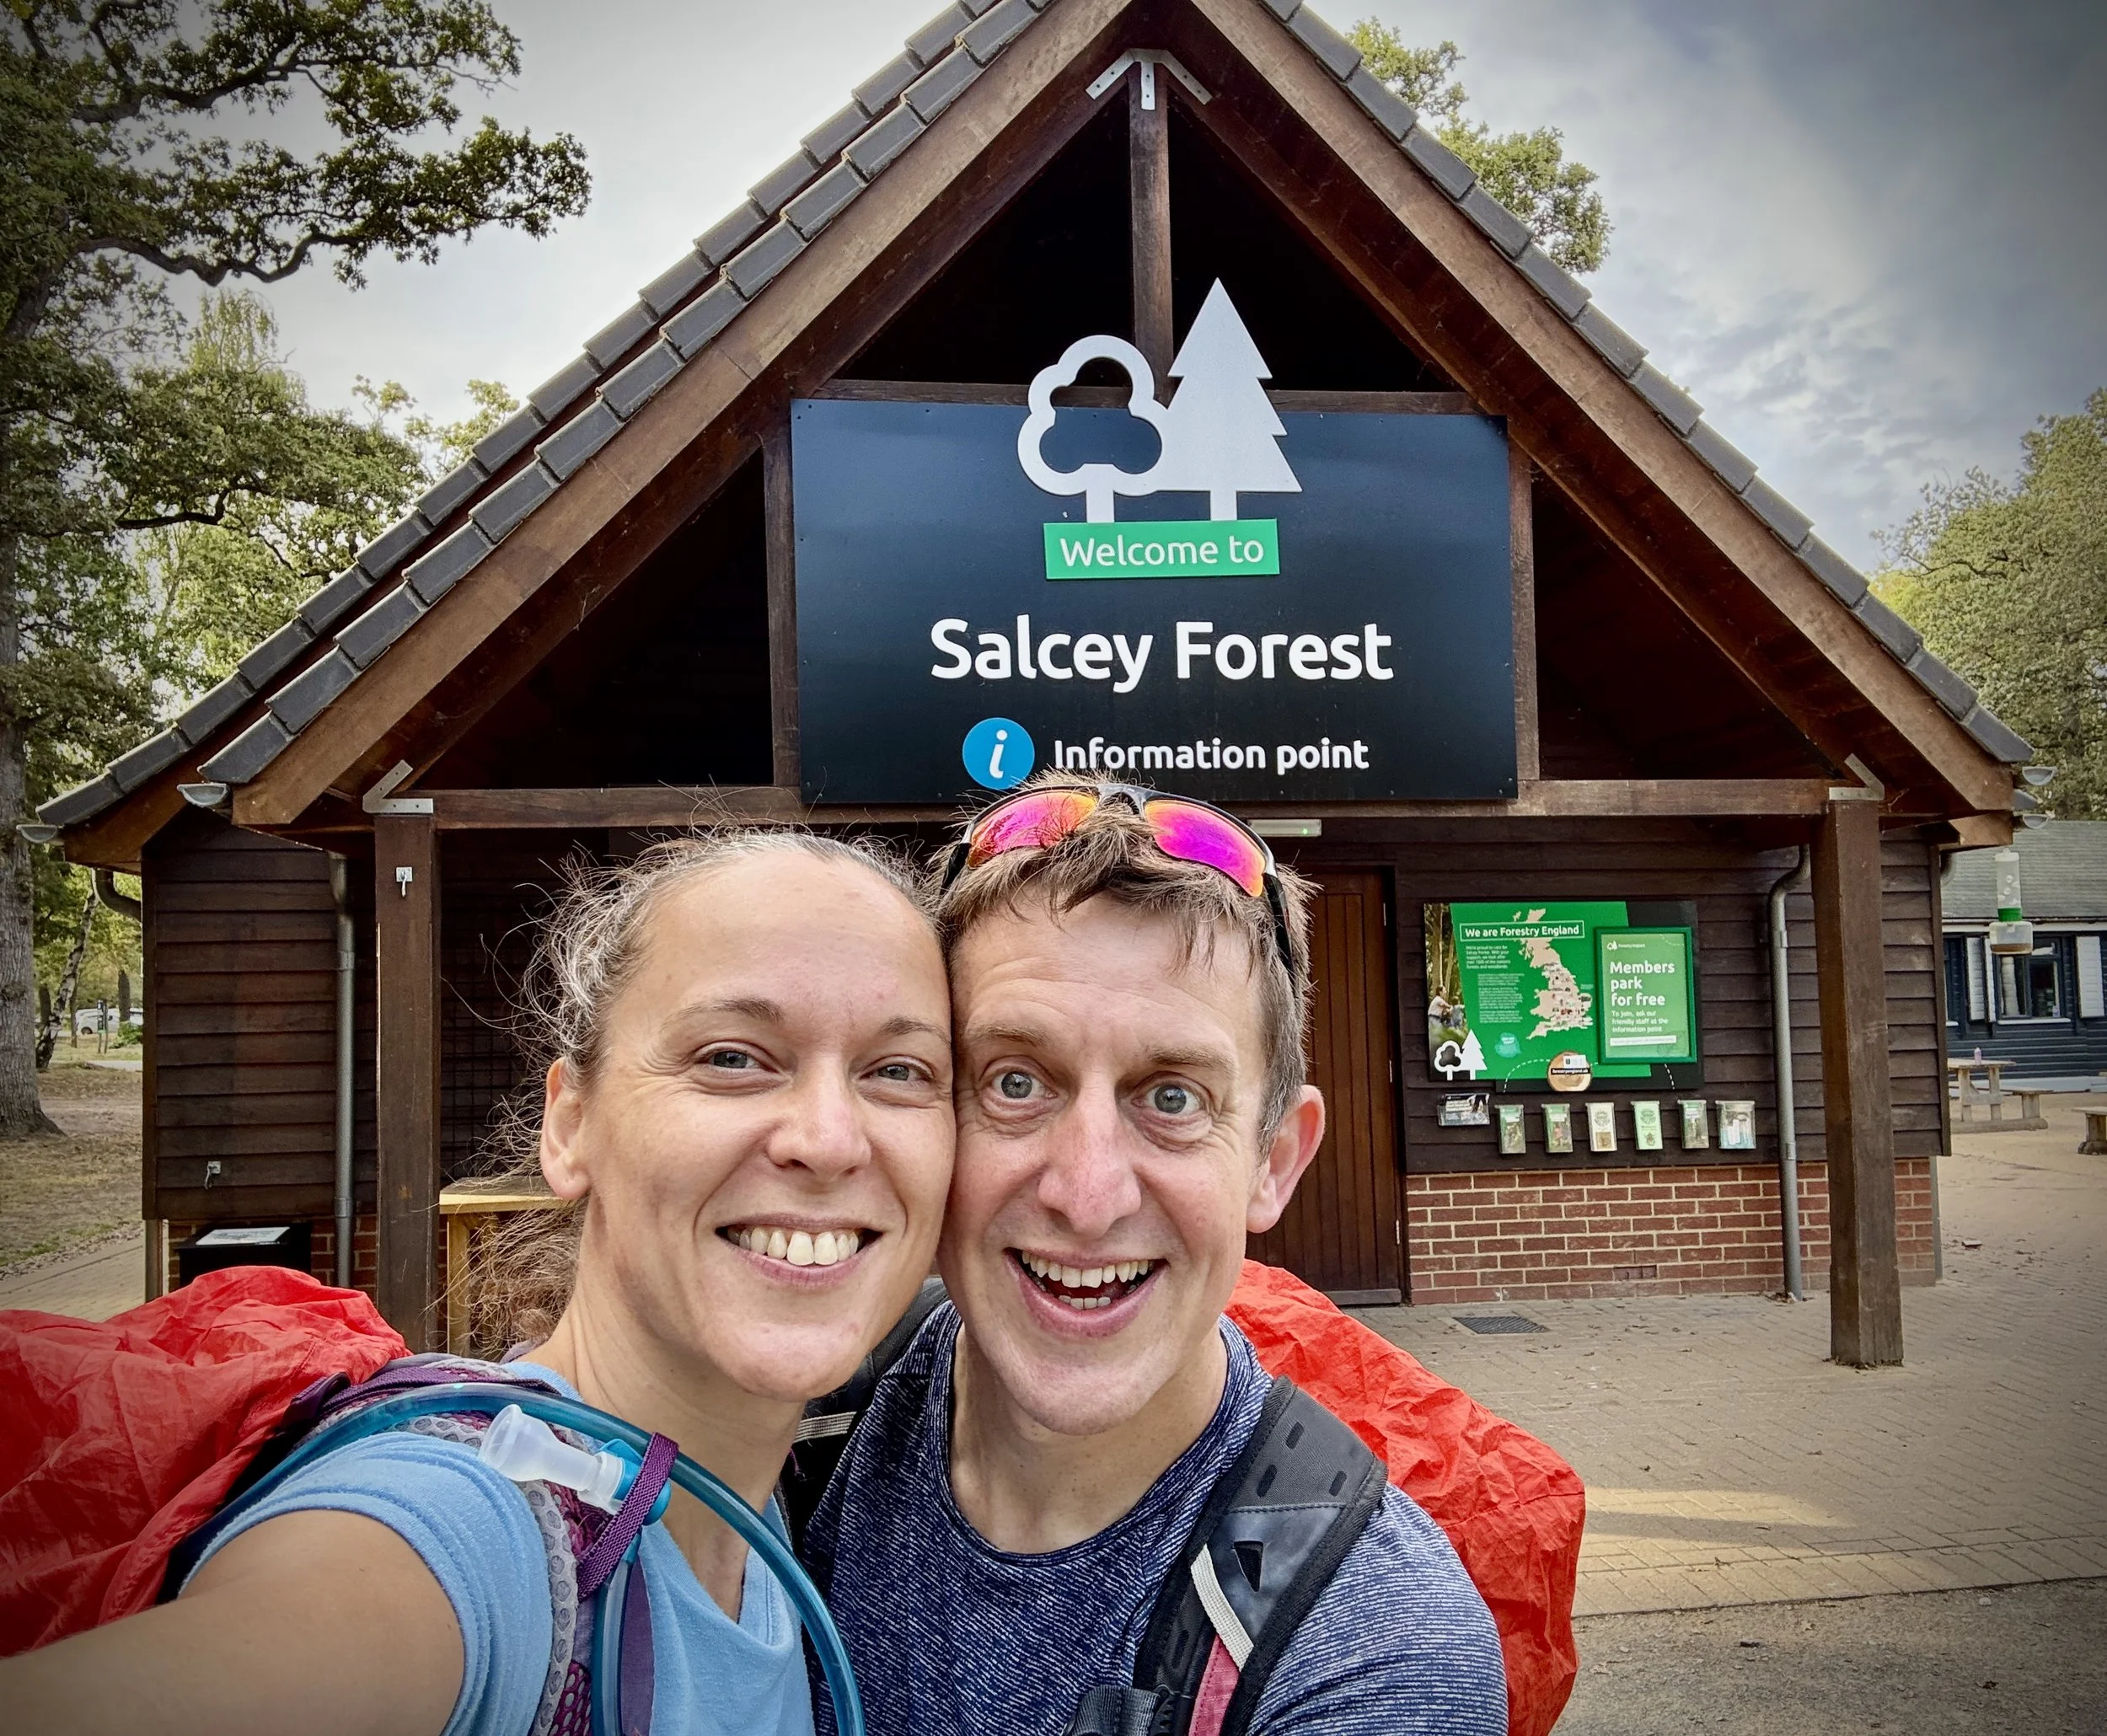
Finish: Salcey Forest Visitor’s Centre, Wootton Rd, Northampton NN7 2HX
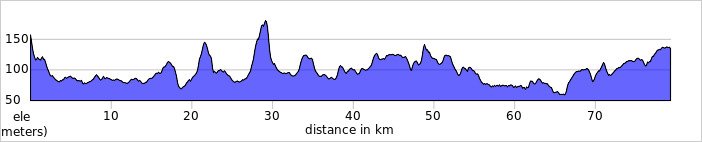
Distance: 80 km (50 miles)
Elevation change: + 647m / - 666m. Net +78m
GPX File: get via Buy Me a Coffee
Maps:
- Chiltern Hills North Map | Aylesbury, Berkhamsted & Chesham | Ordnance Survey | OS Explorer Map 181
- Buckingham & Milton Keynes Map | Leighton Buzzard & Woburn | Ordnance Survey | OS Explorer Map 192
- Newport Pagnell & Northampton South Map | Towcester & Olney | Ordnance Survey | OS Explorer Map 207
See individual section posts linked below for other links.
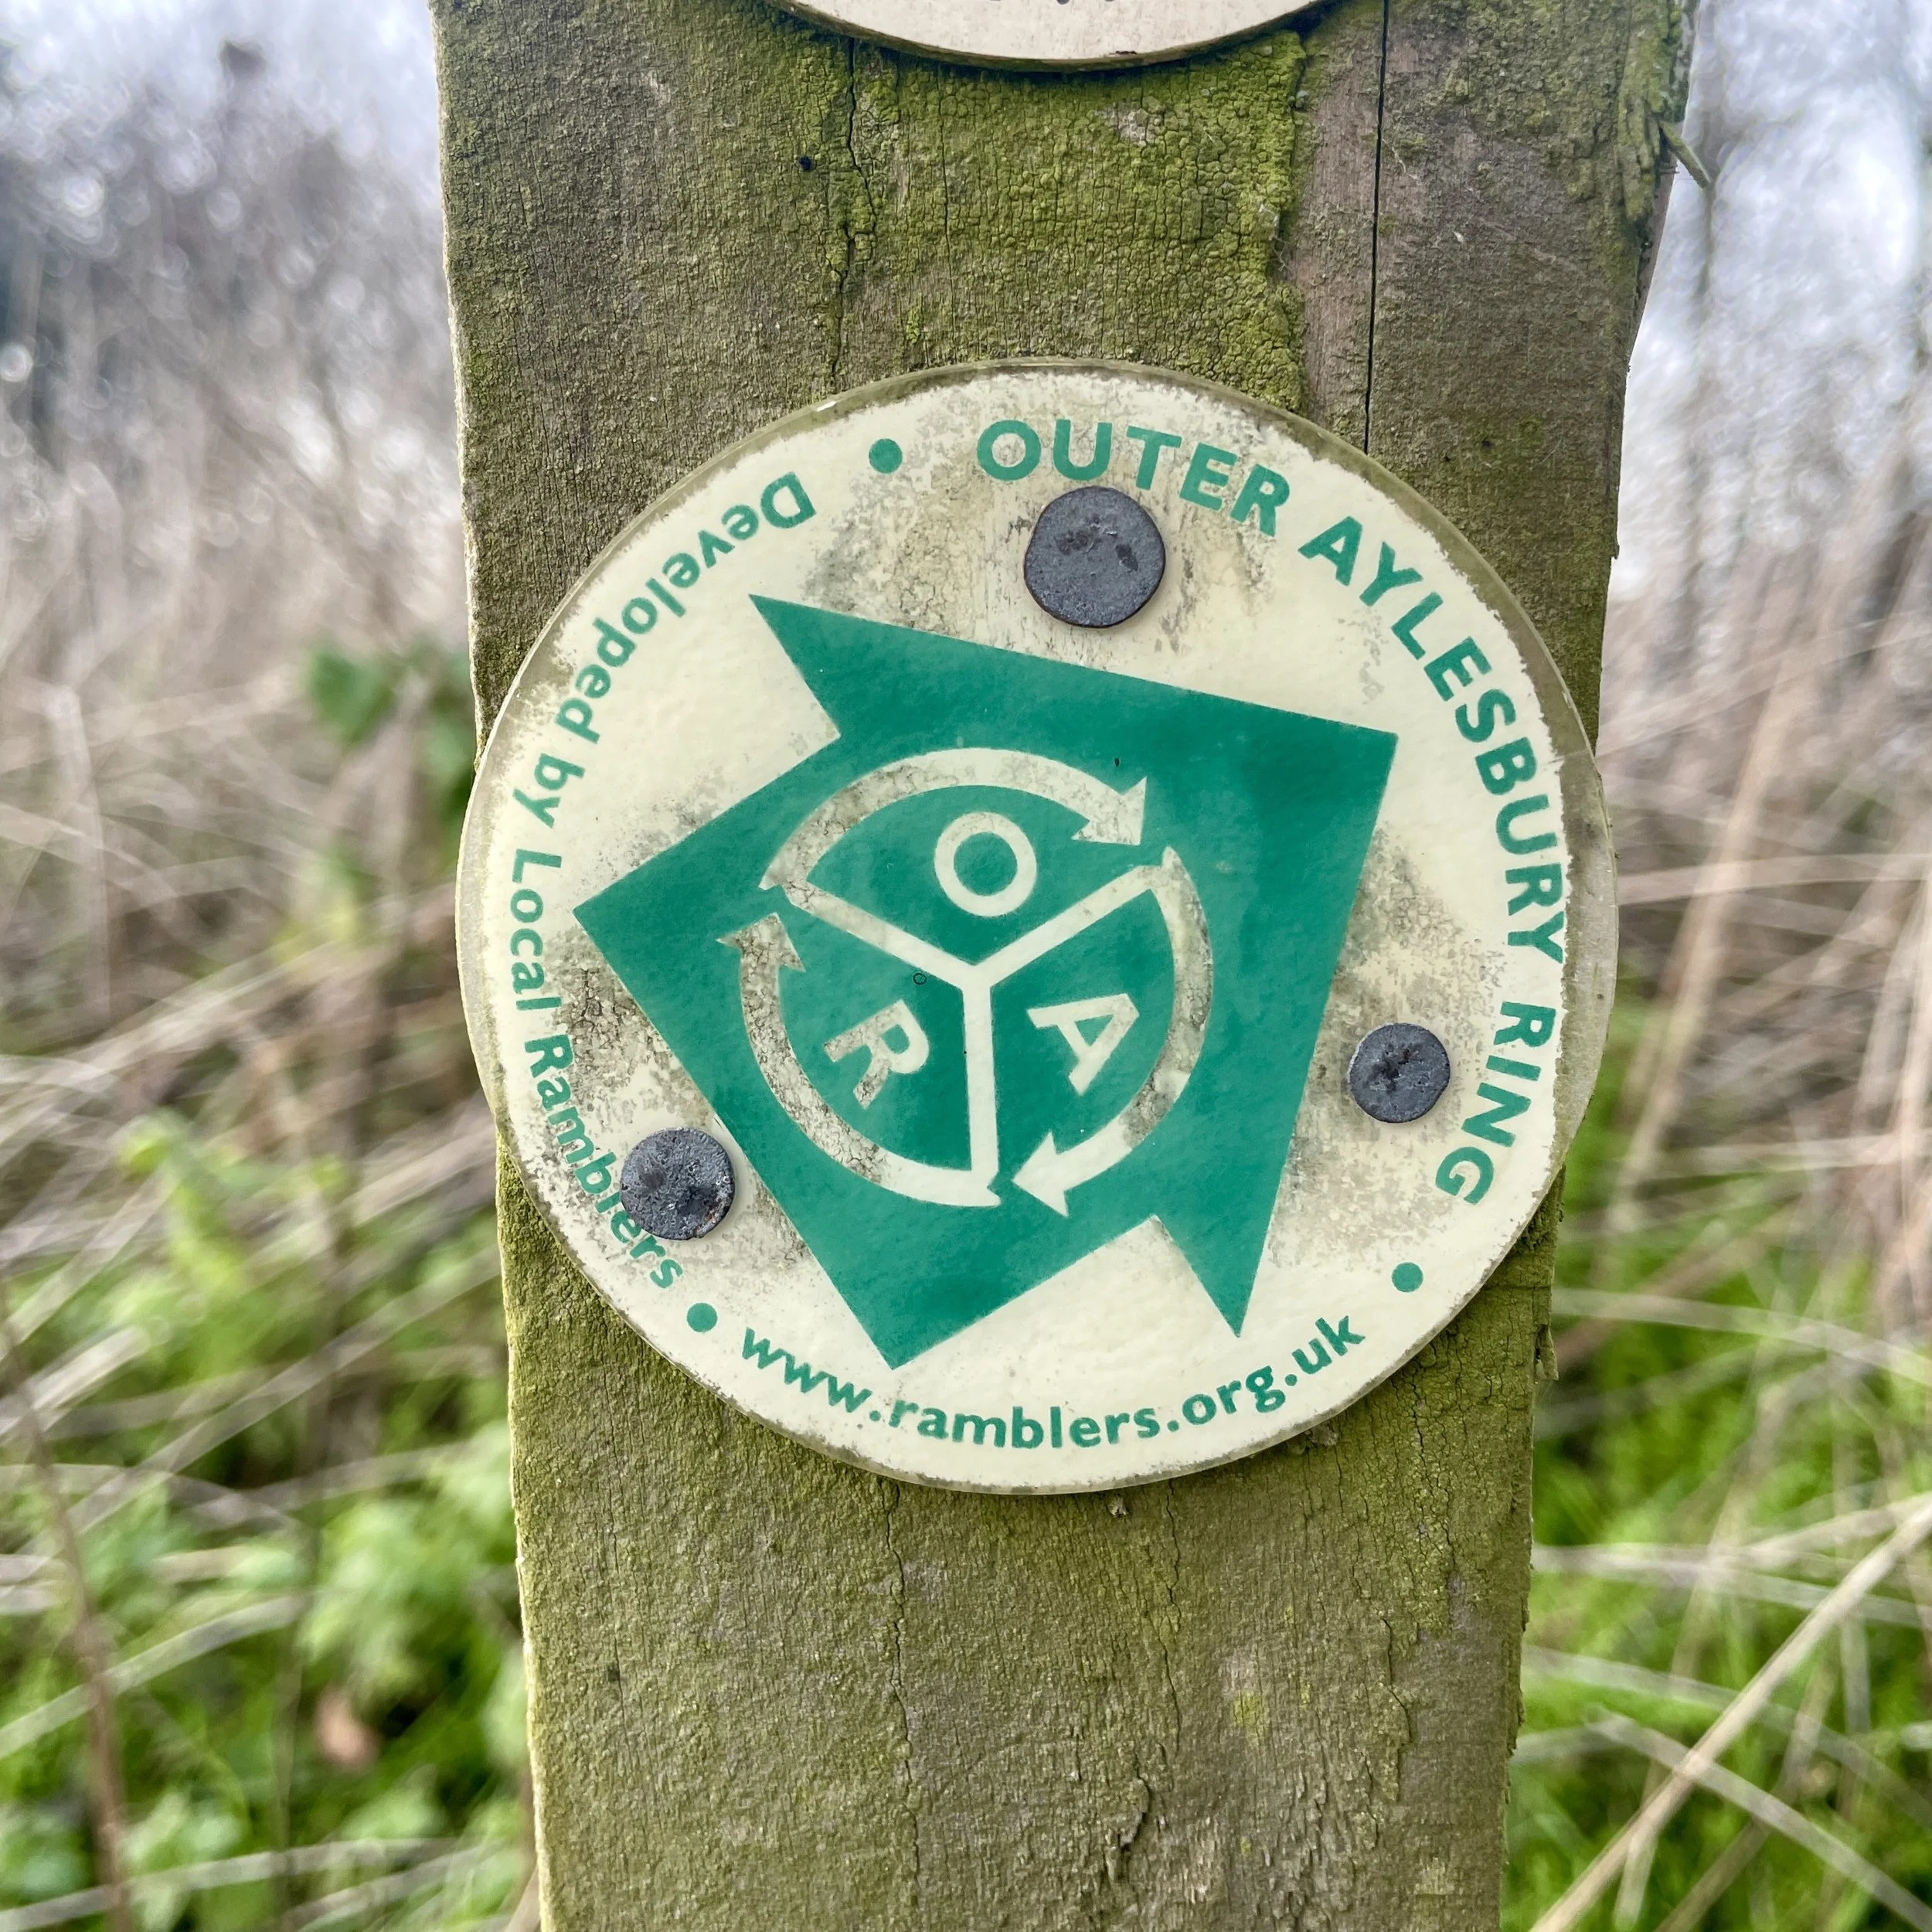
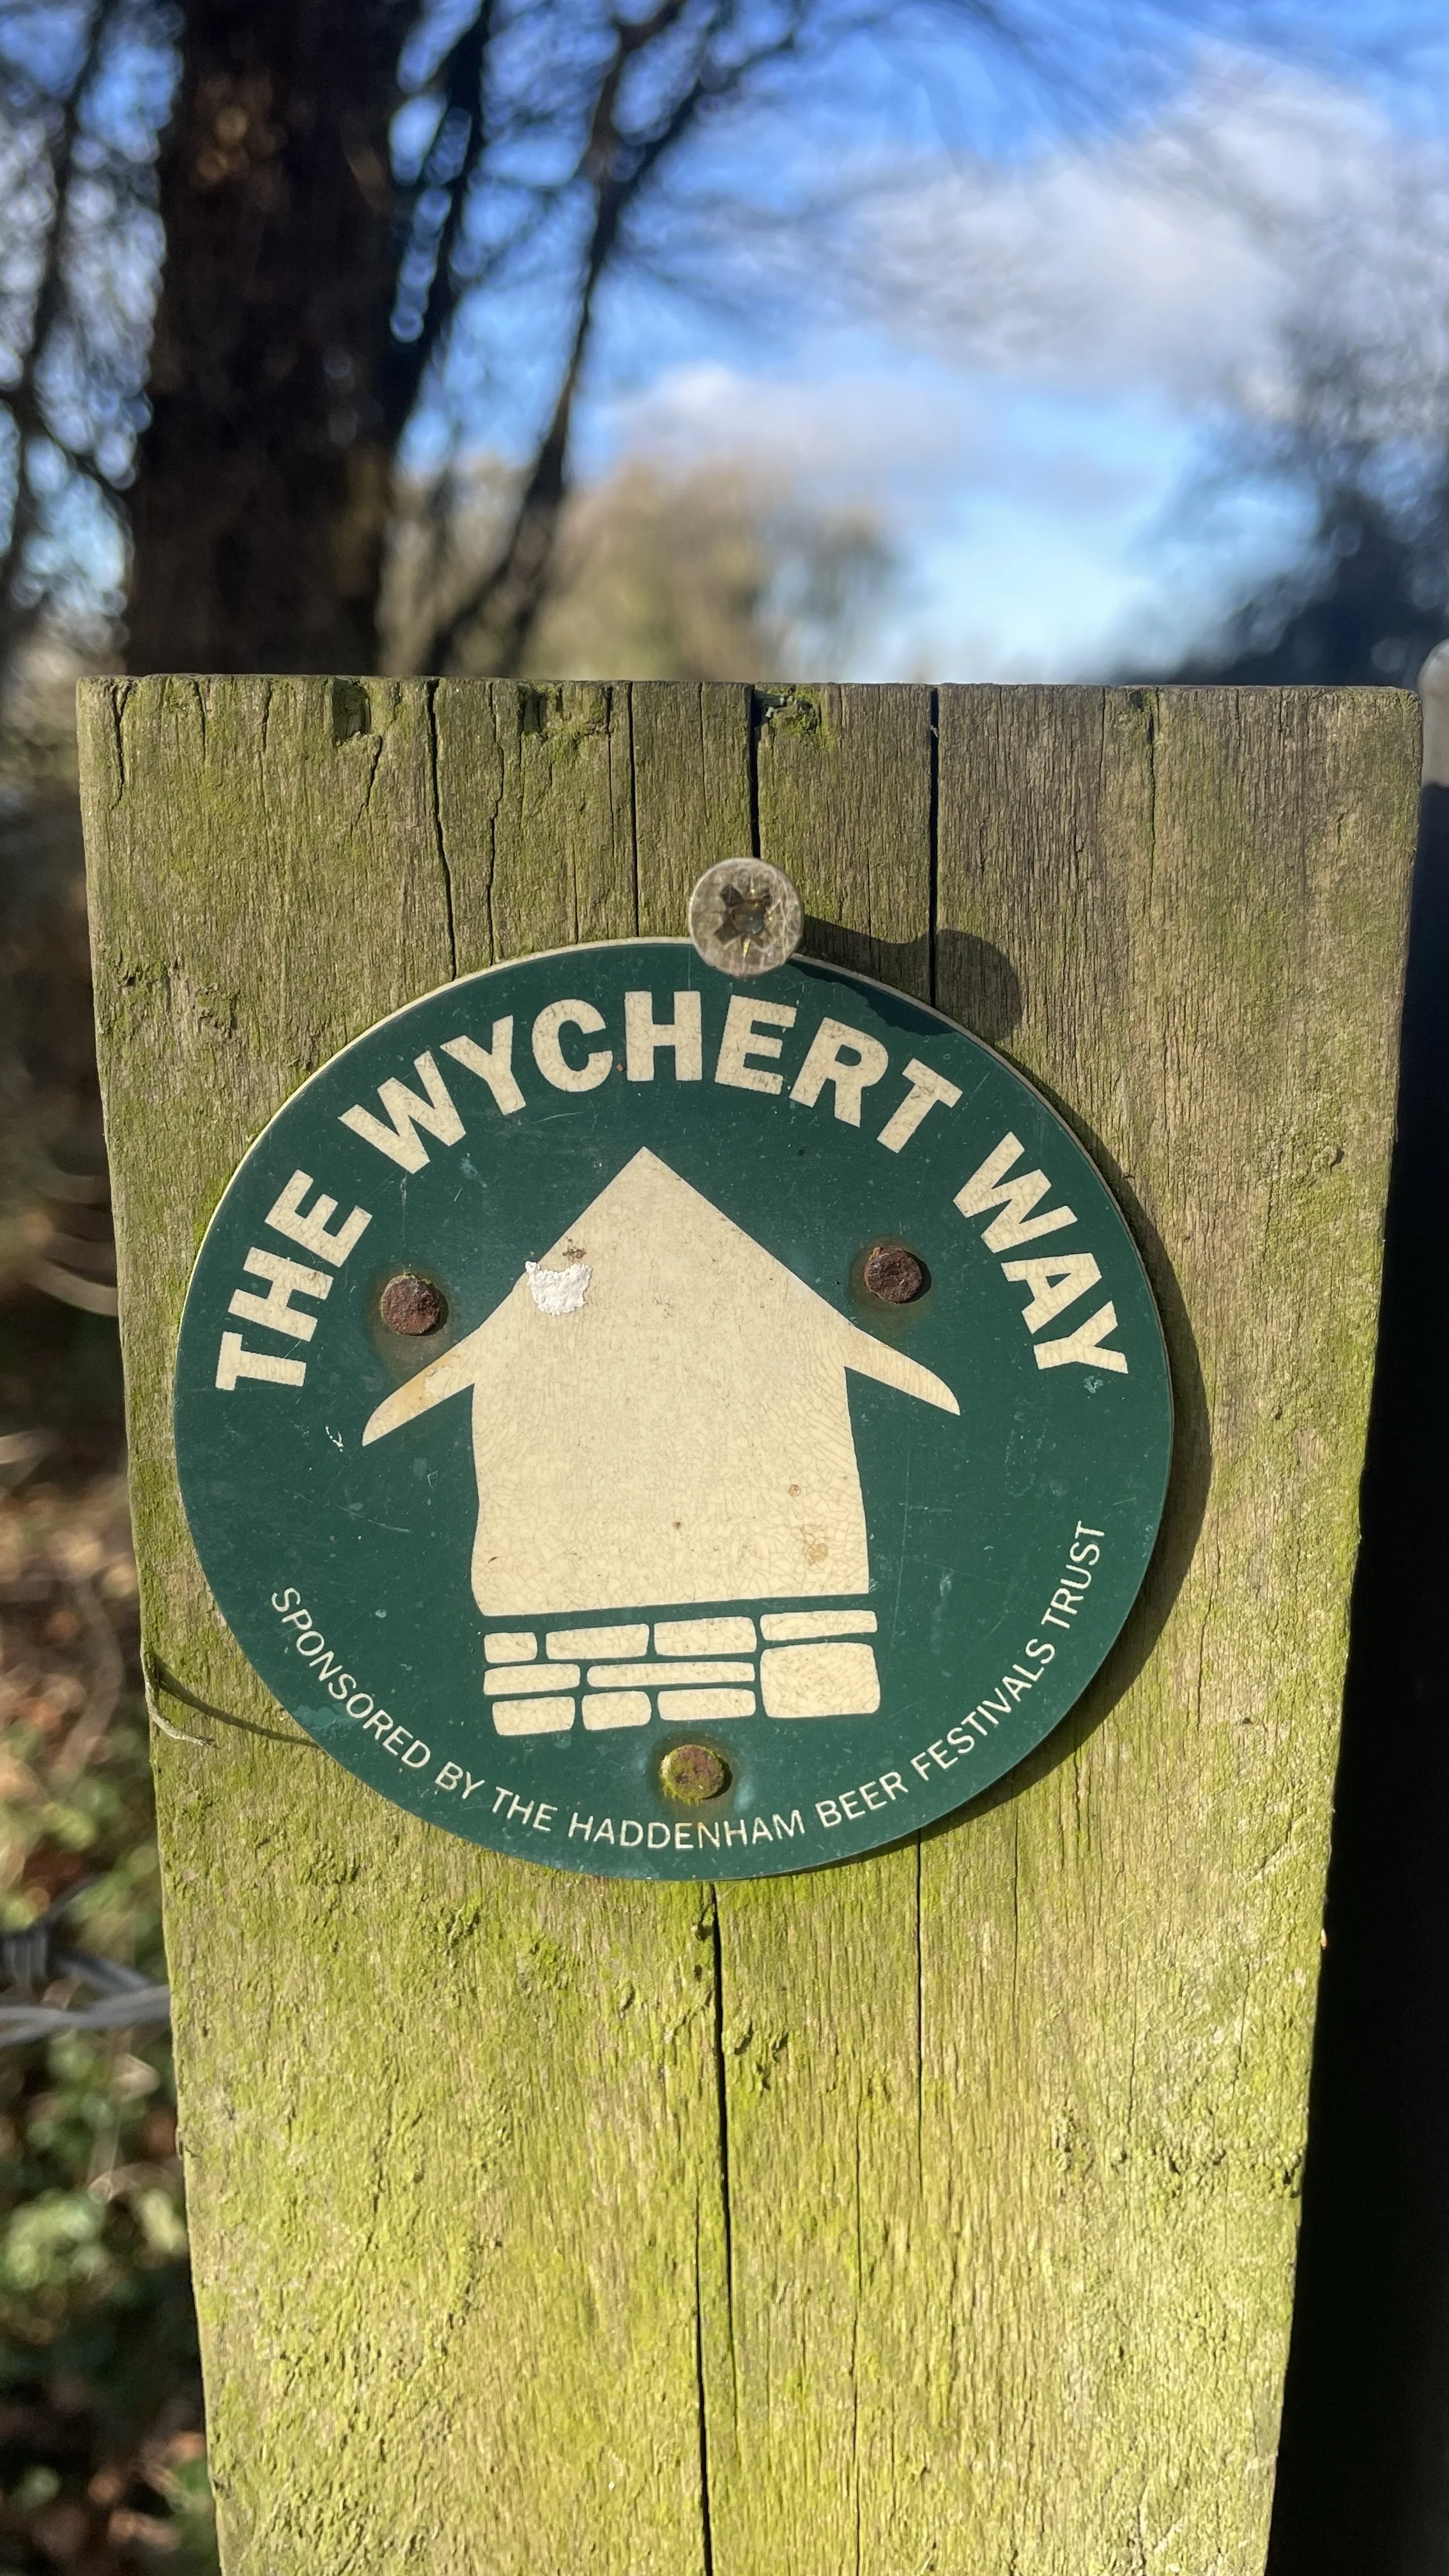
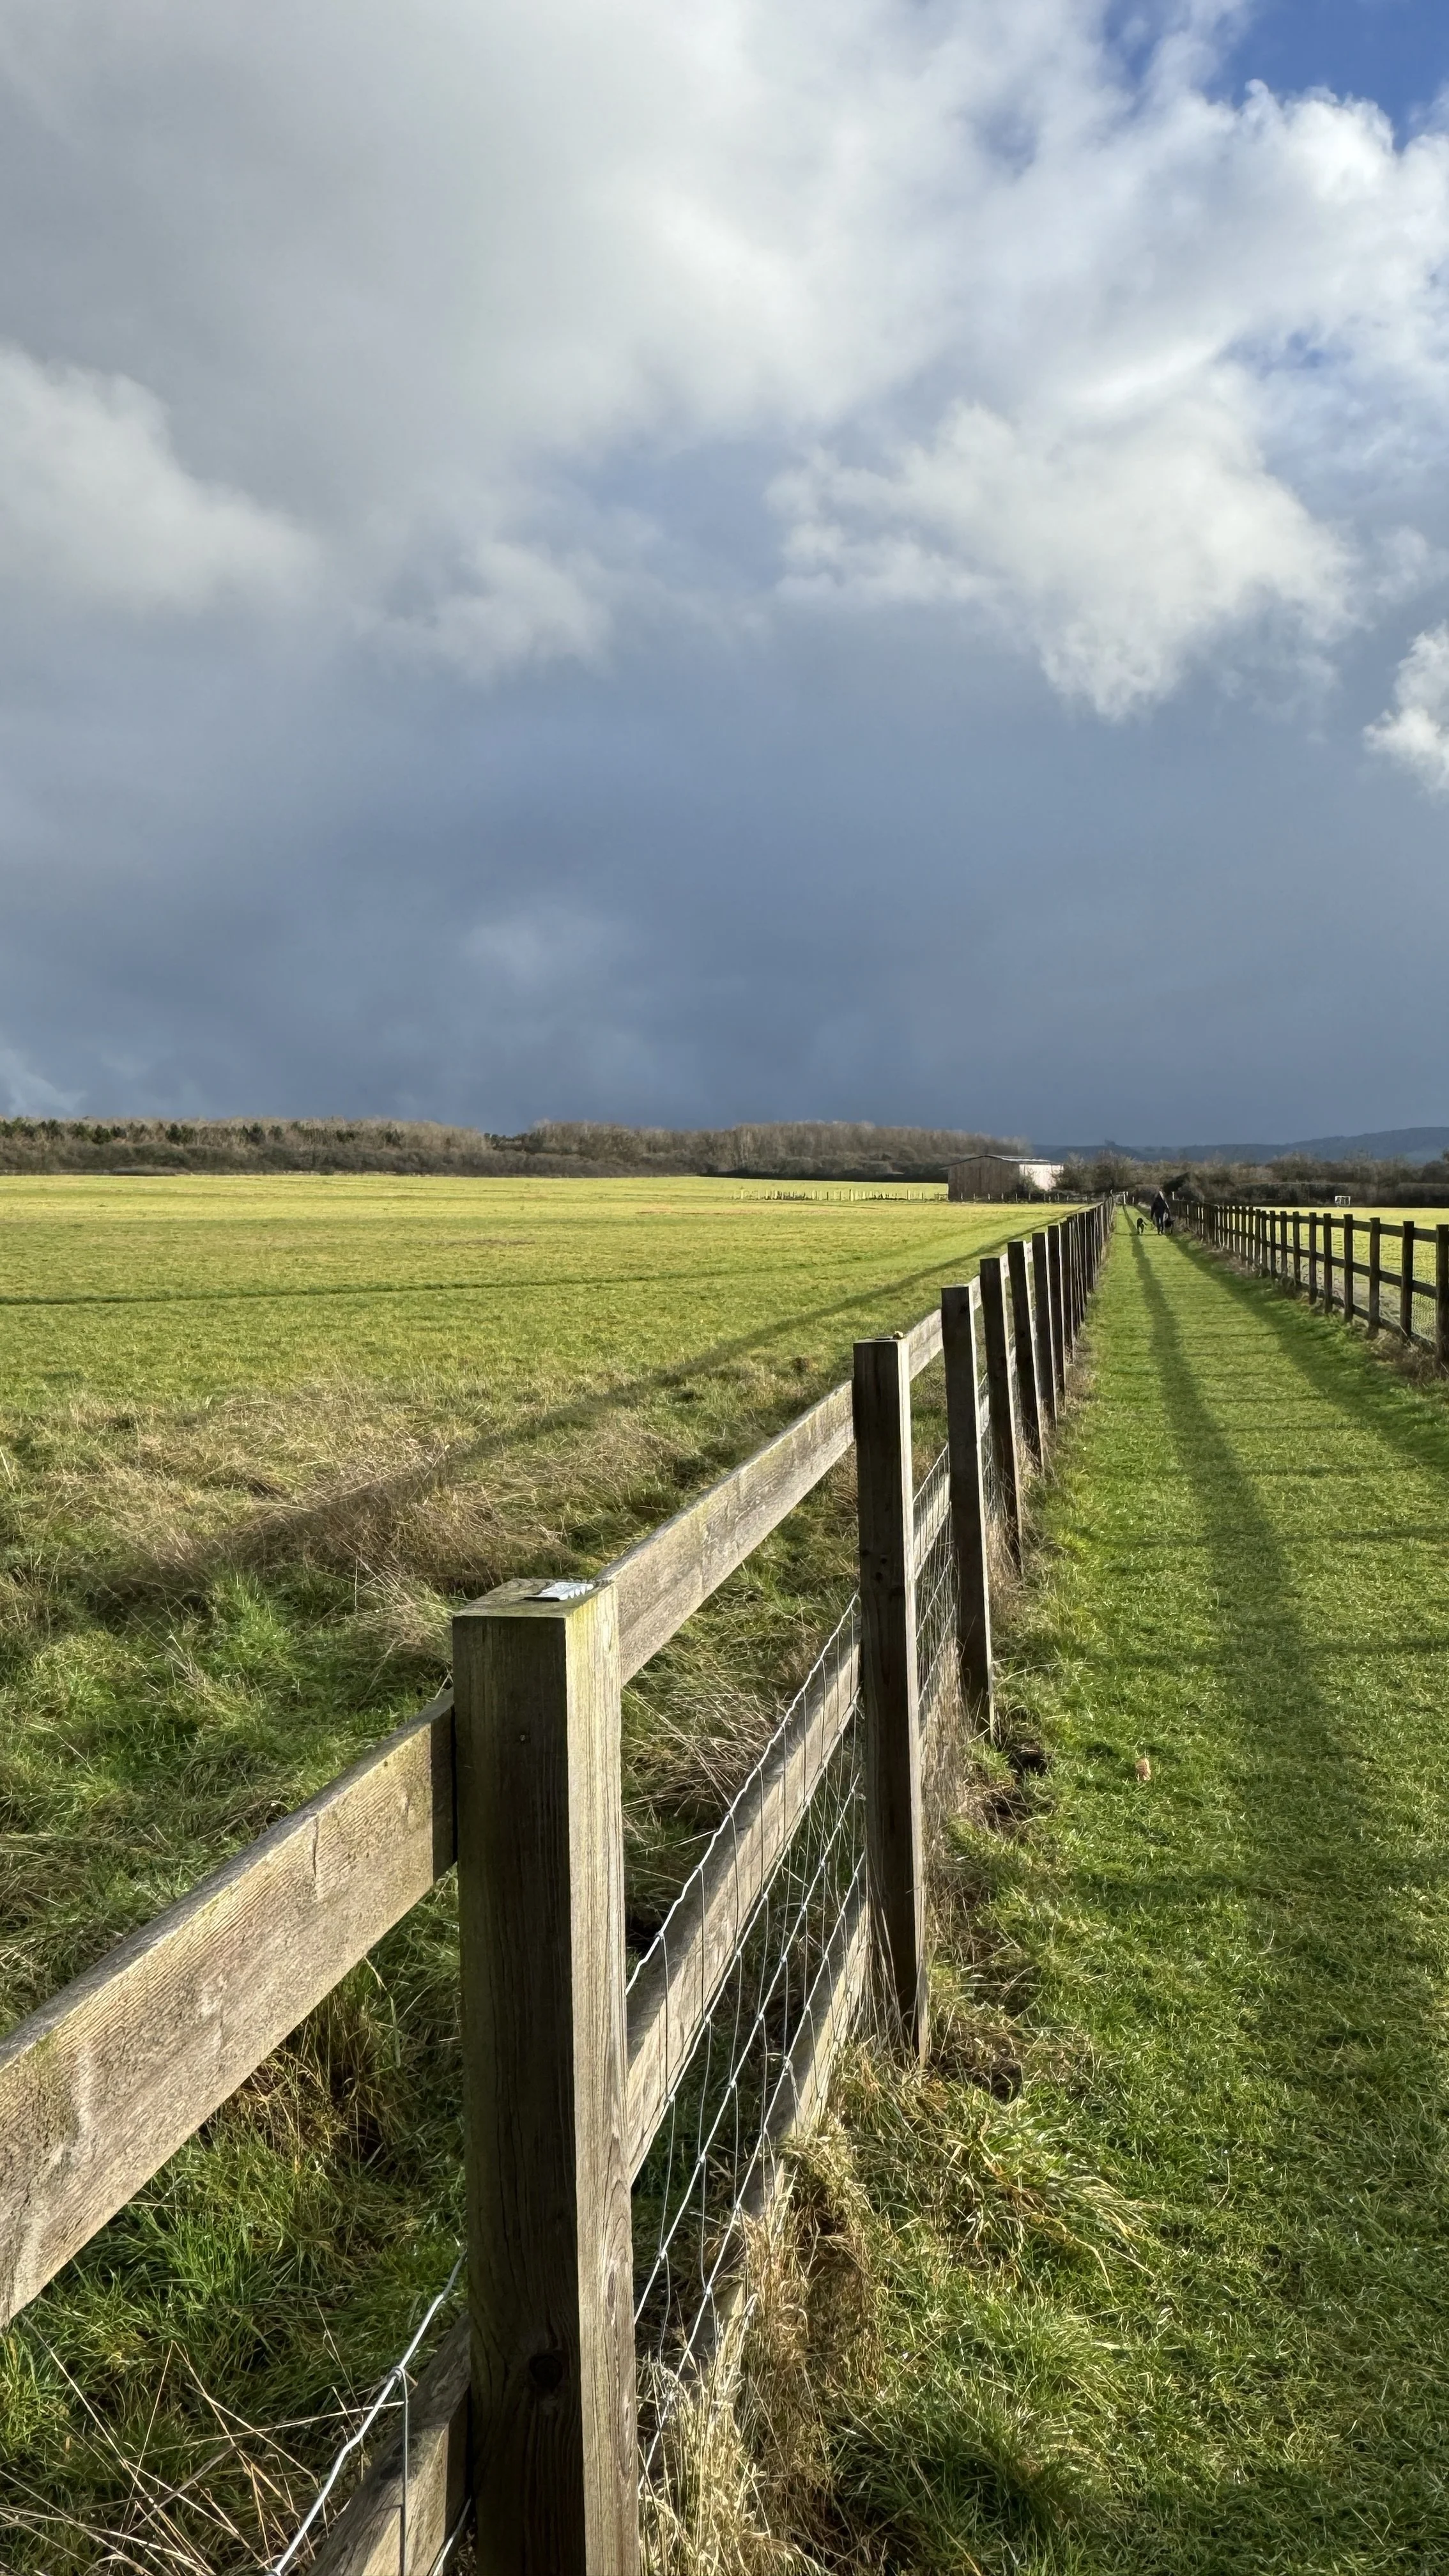
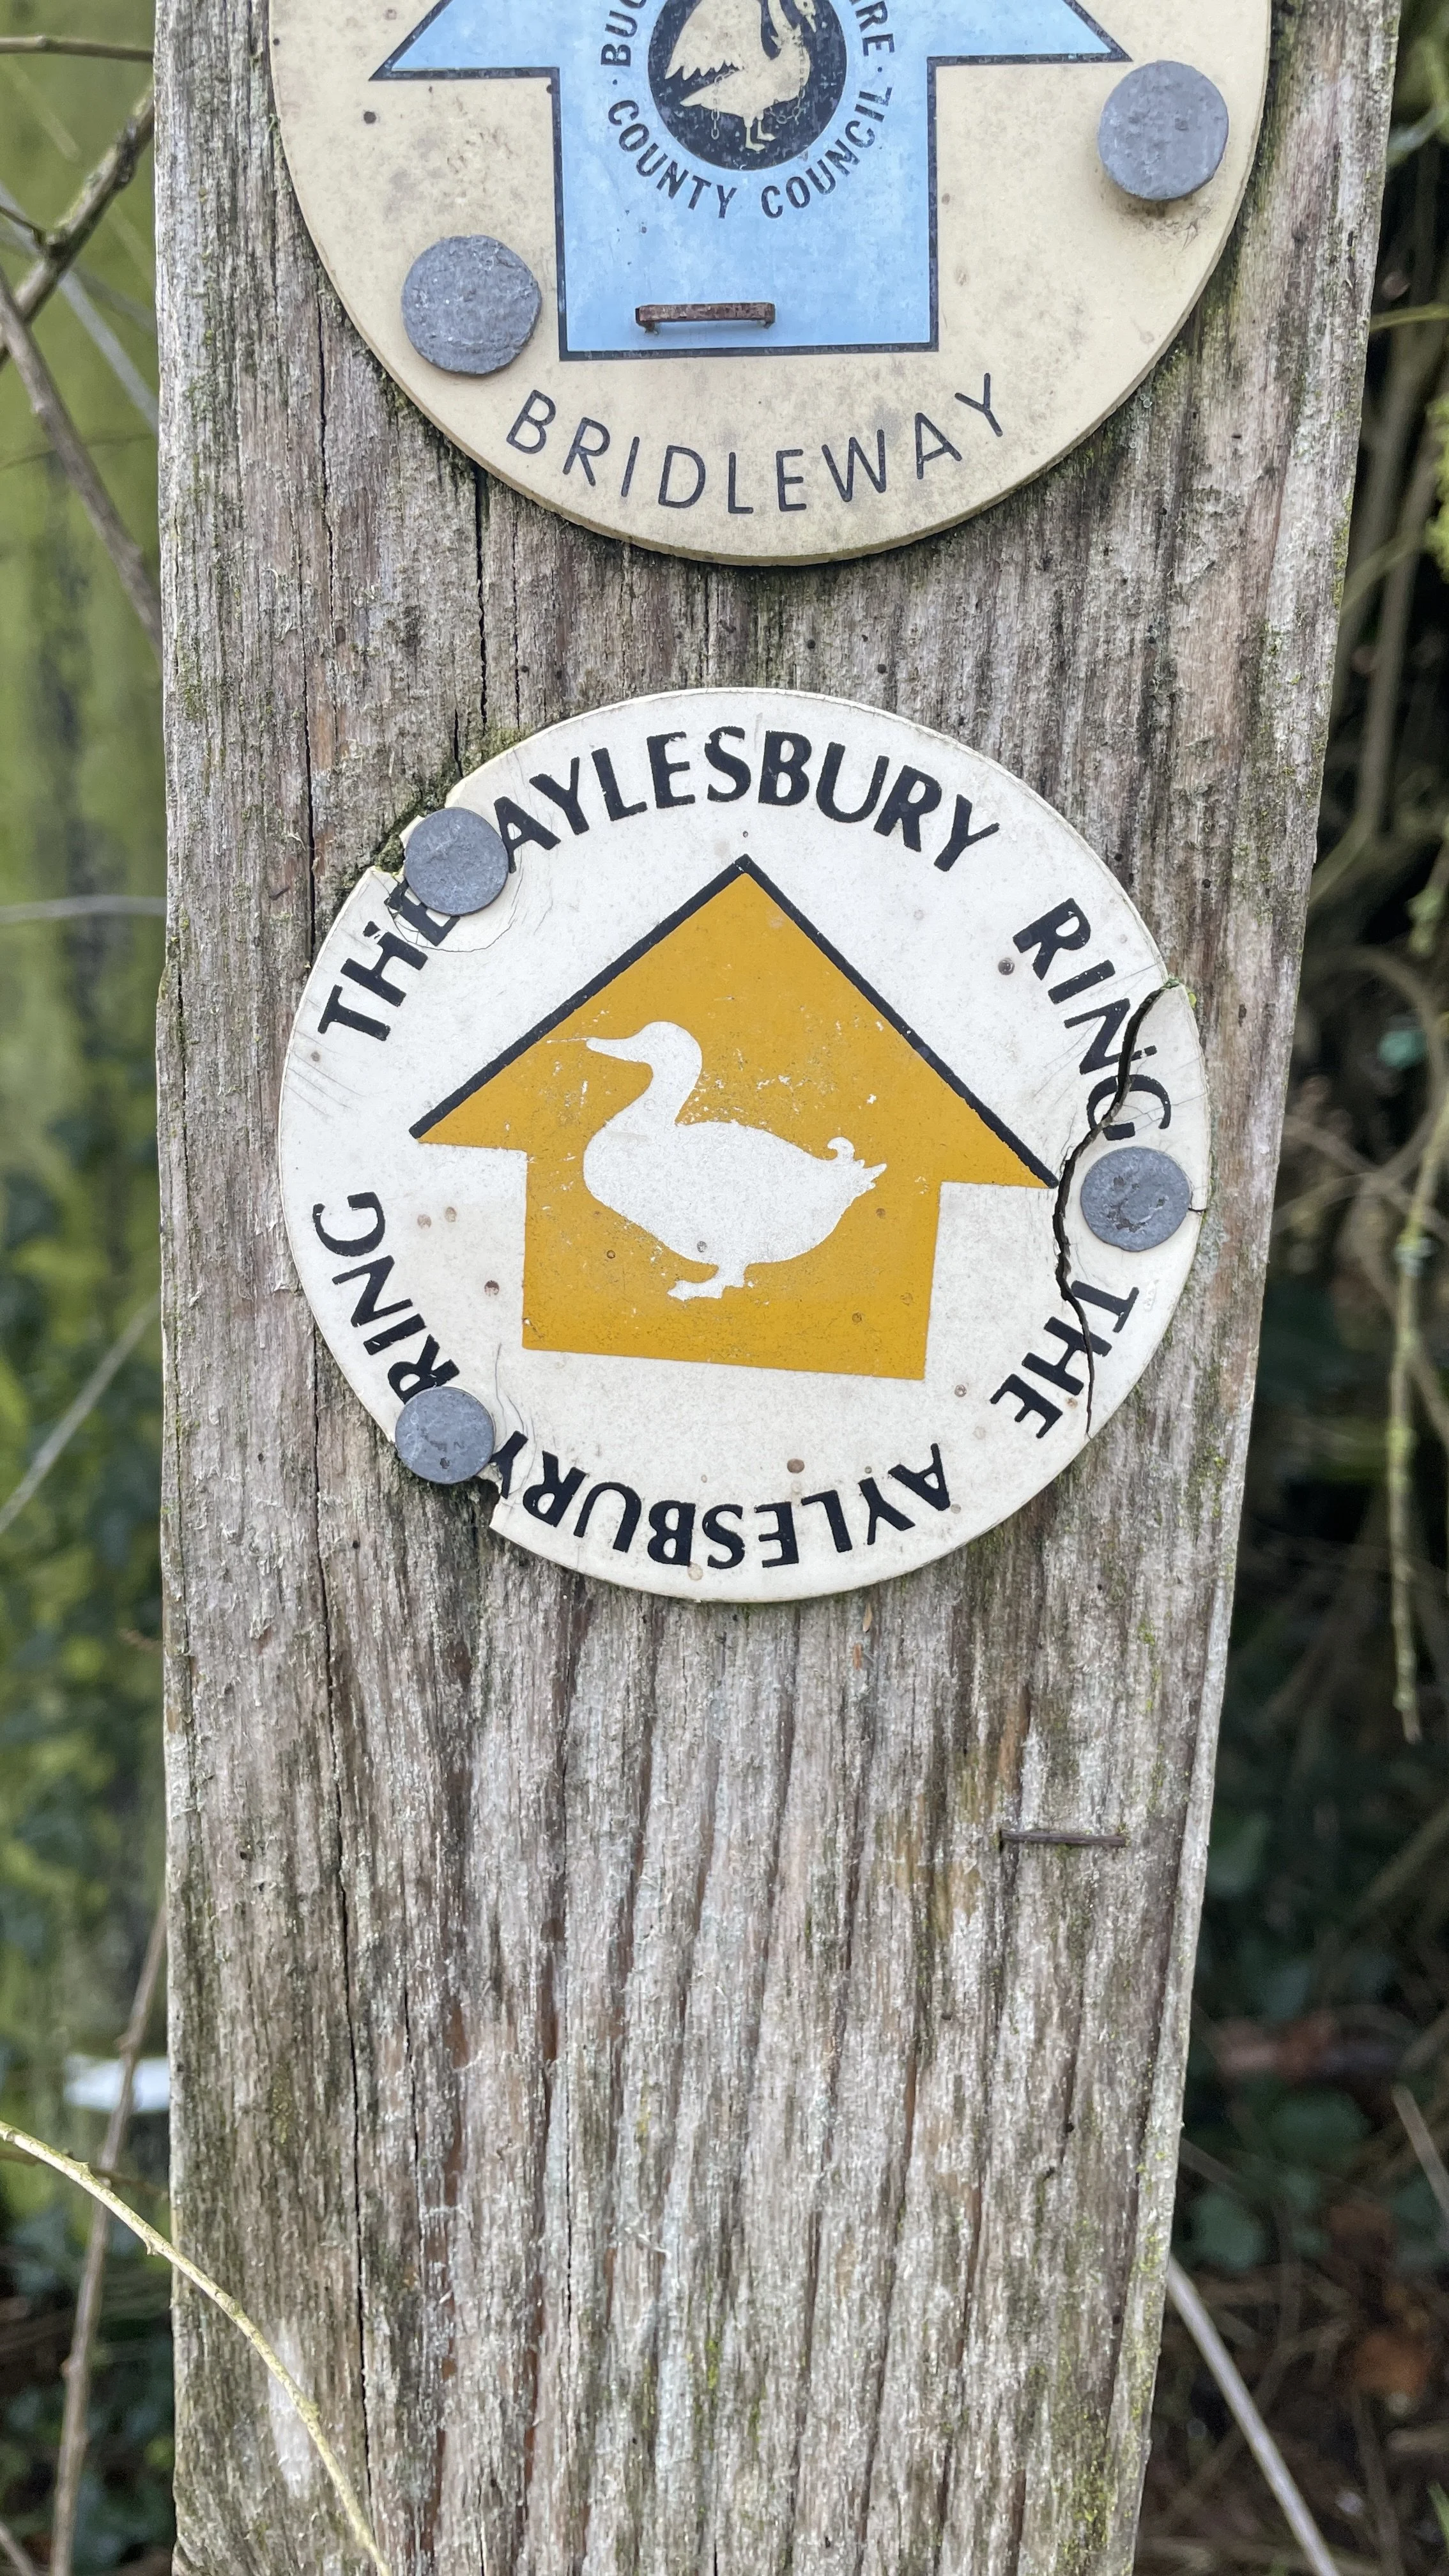
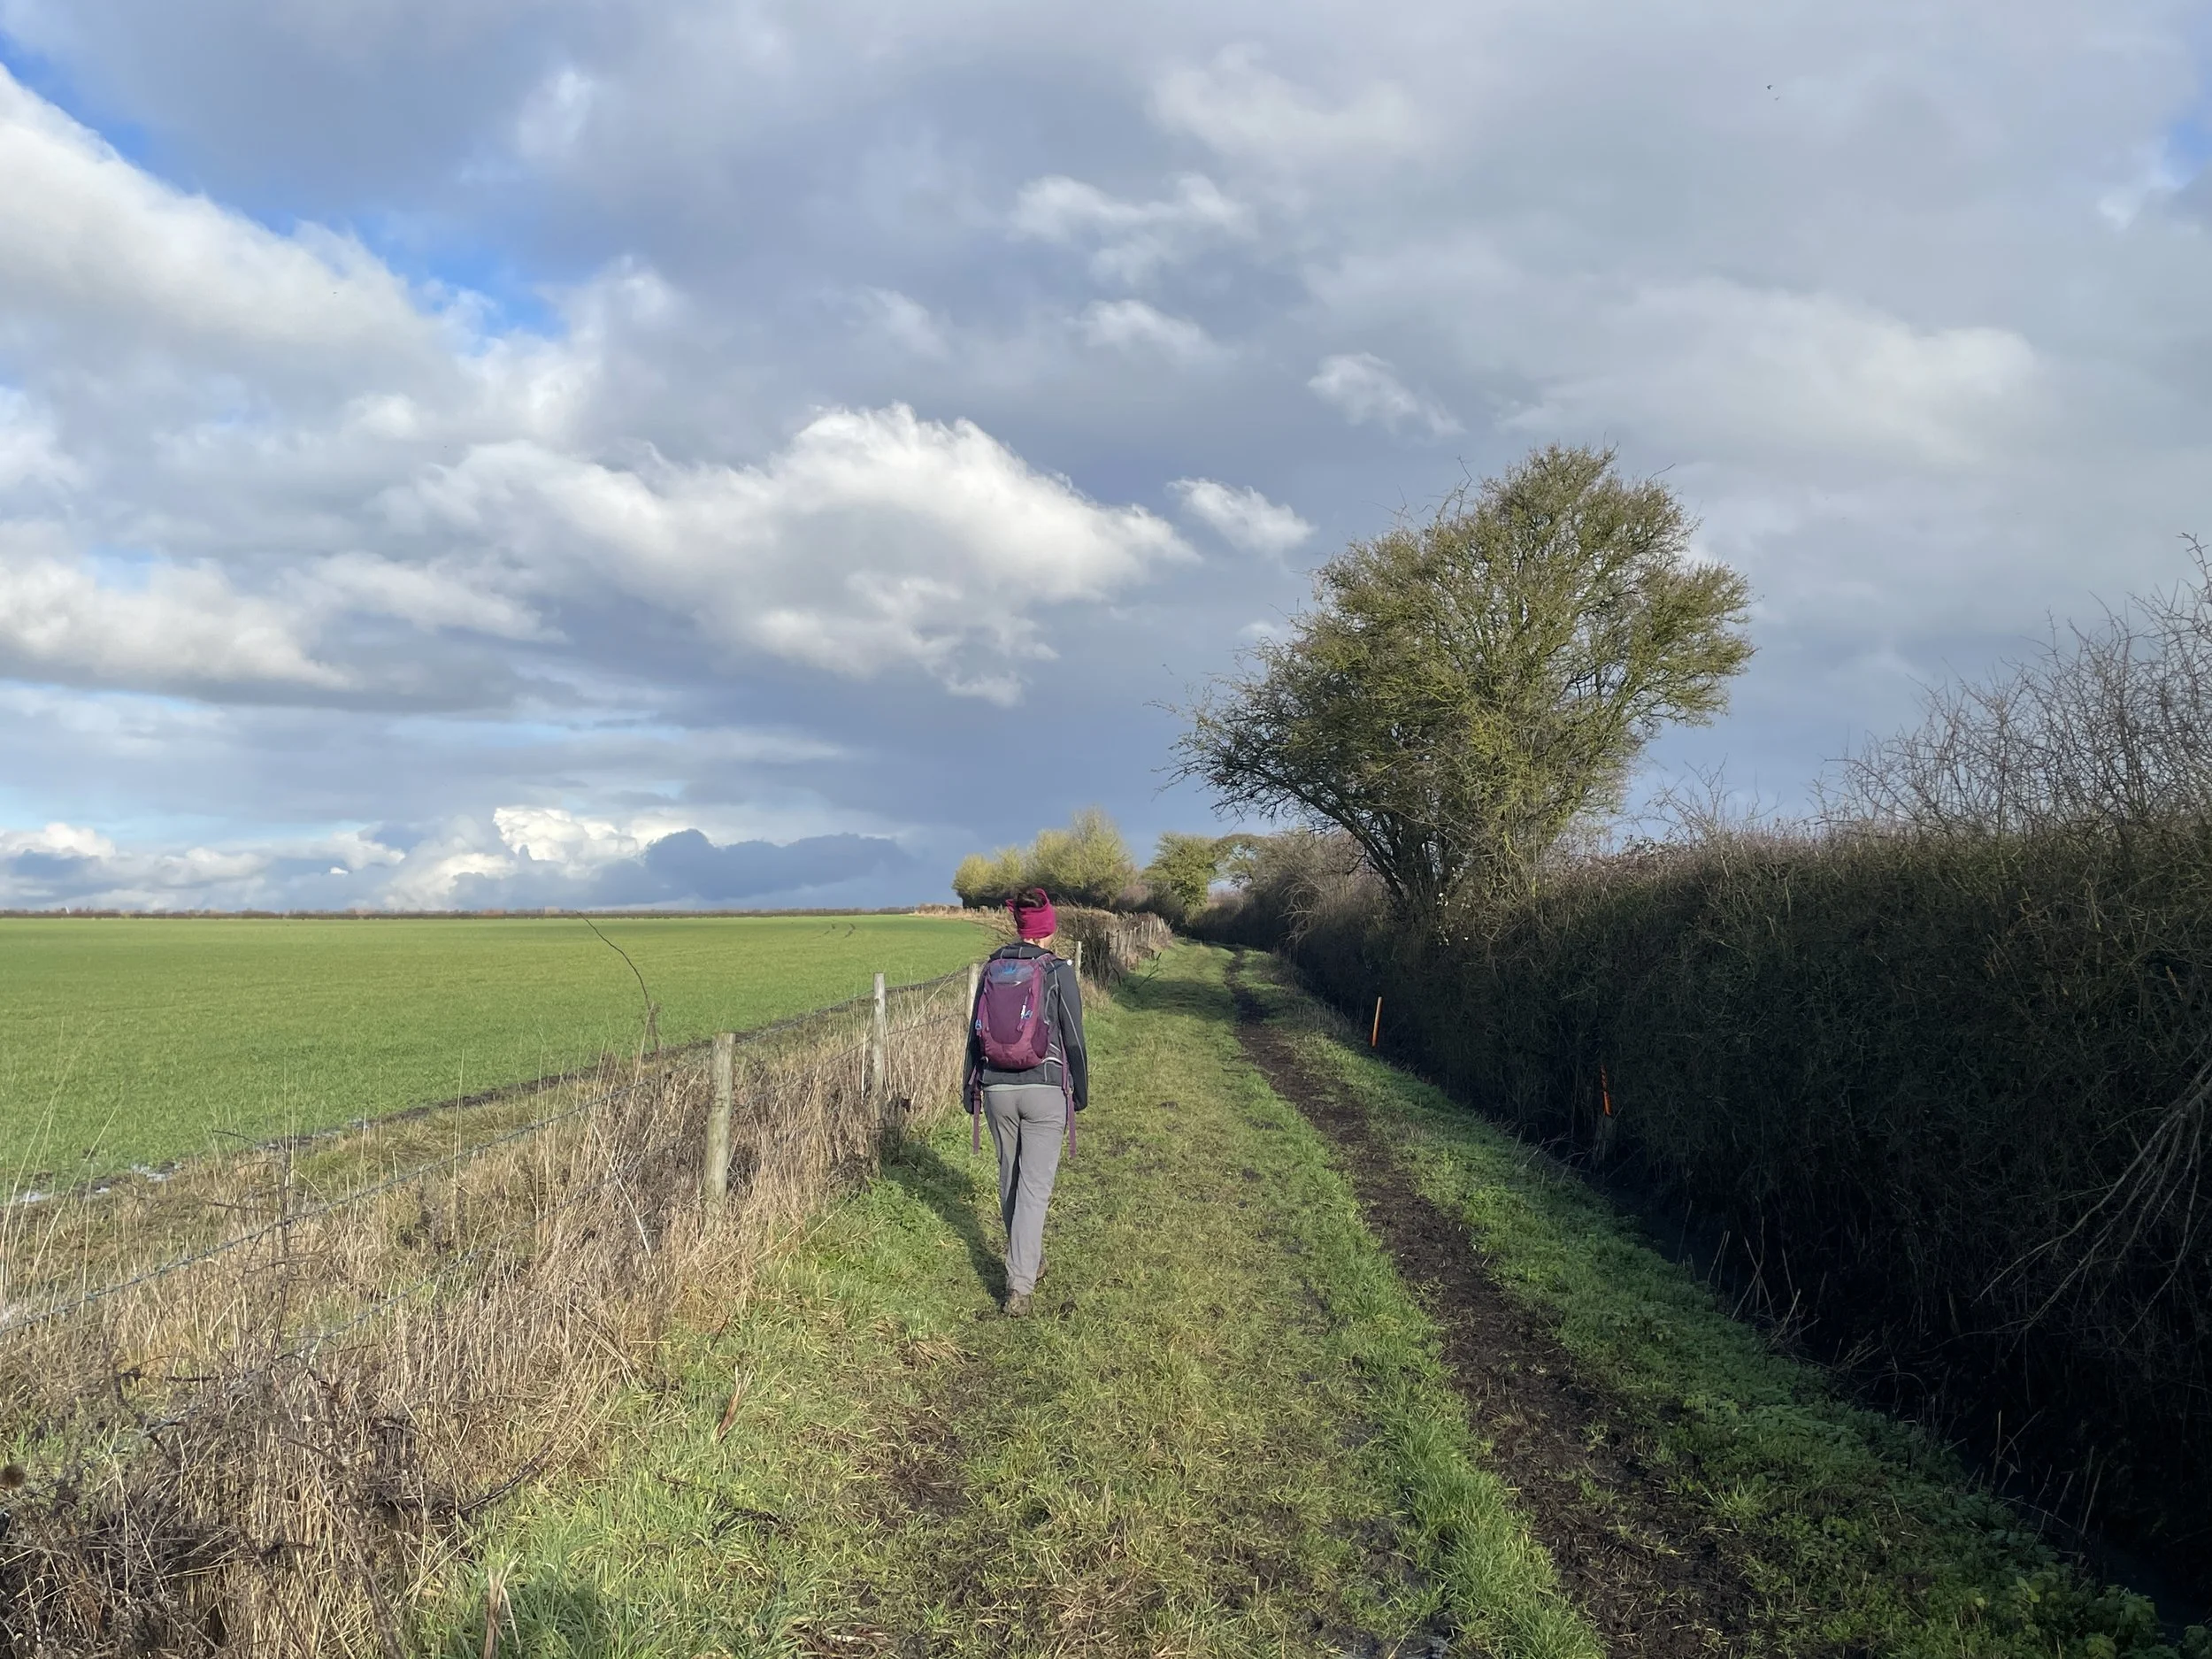
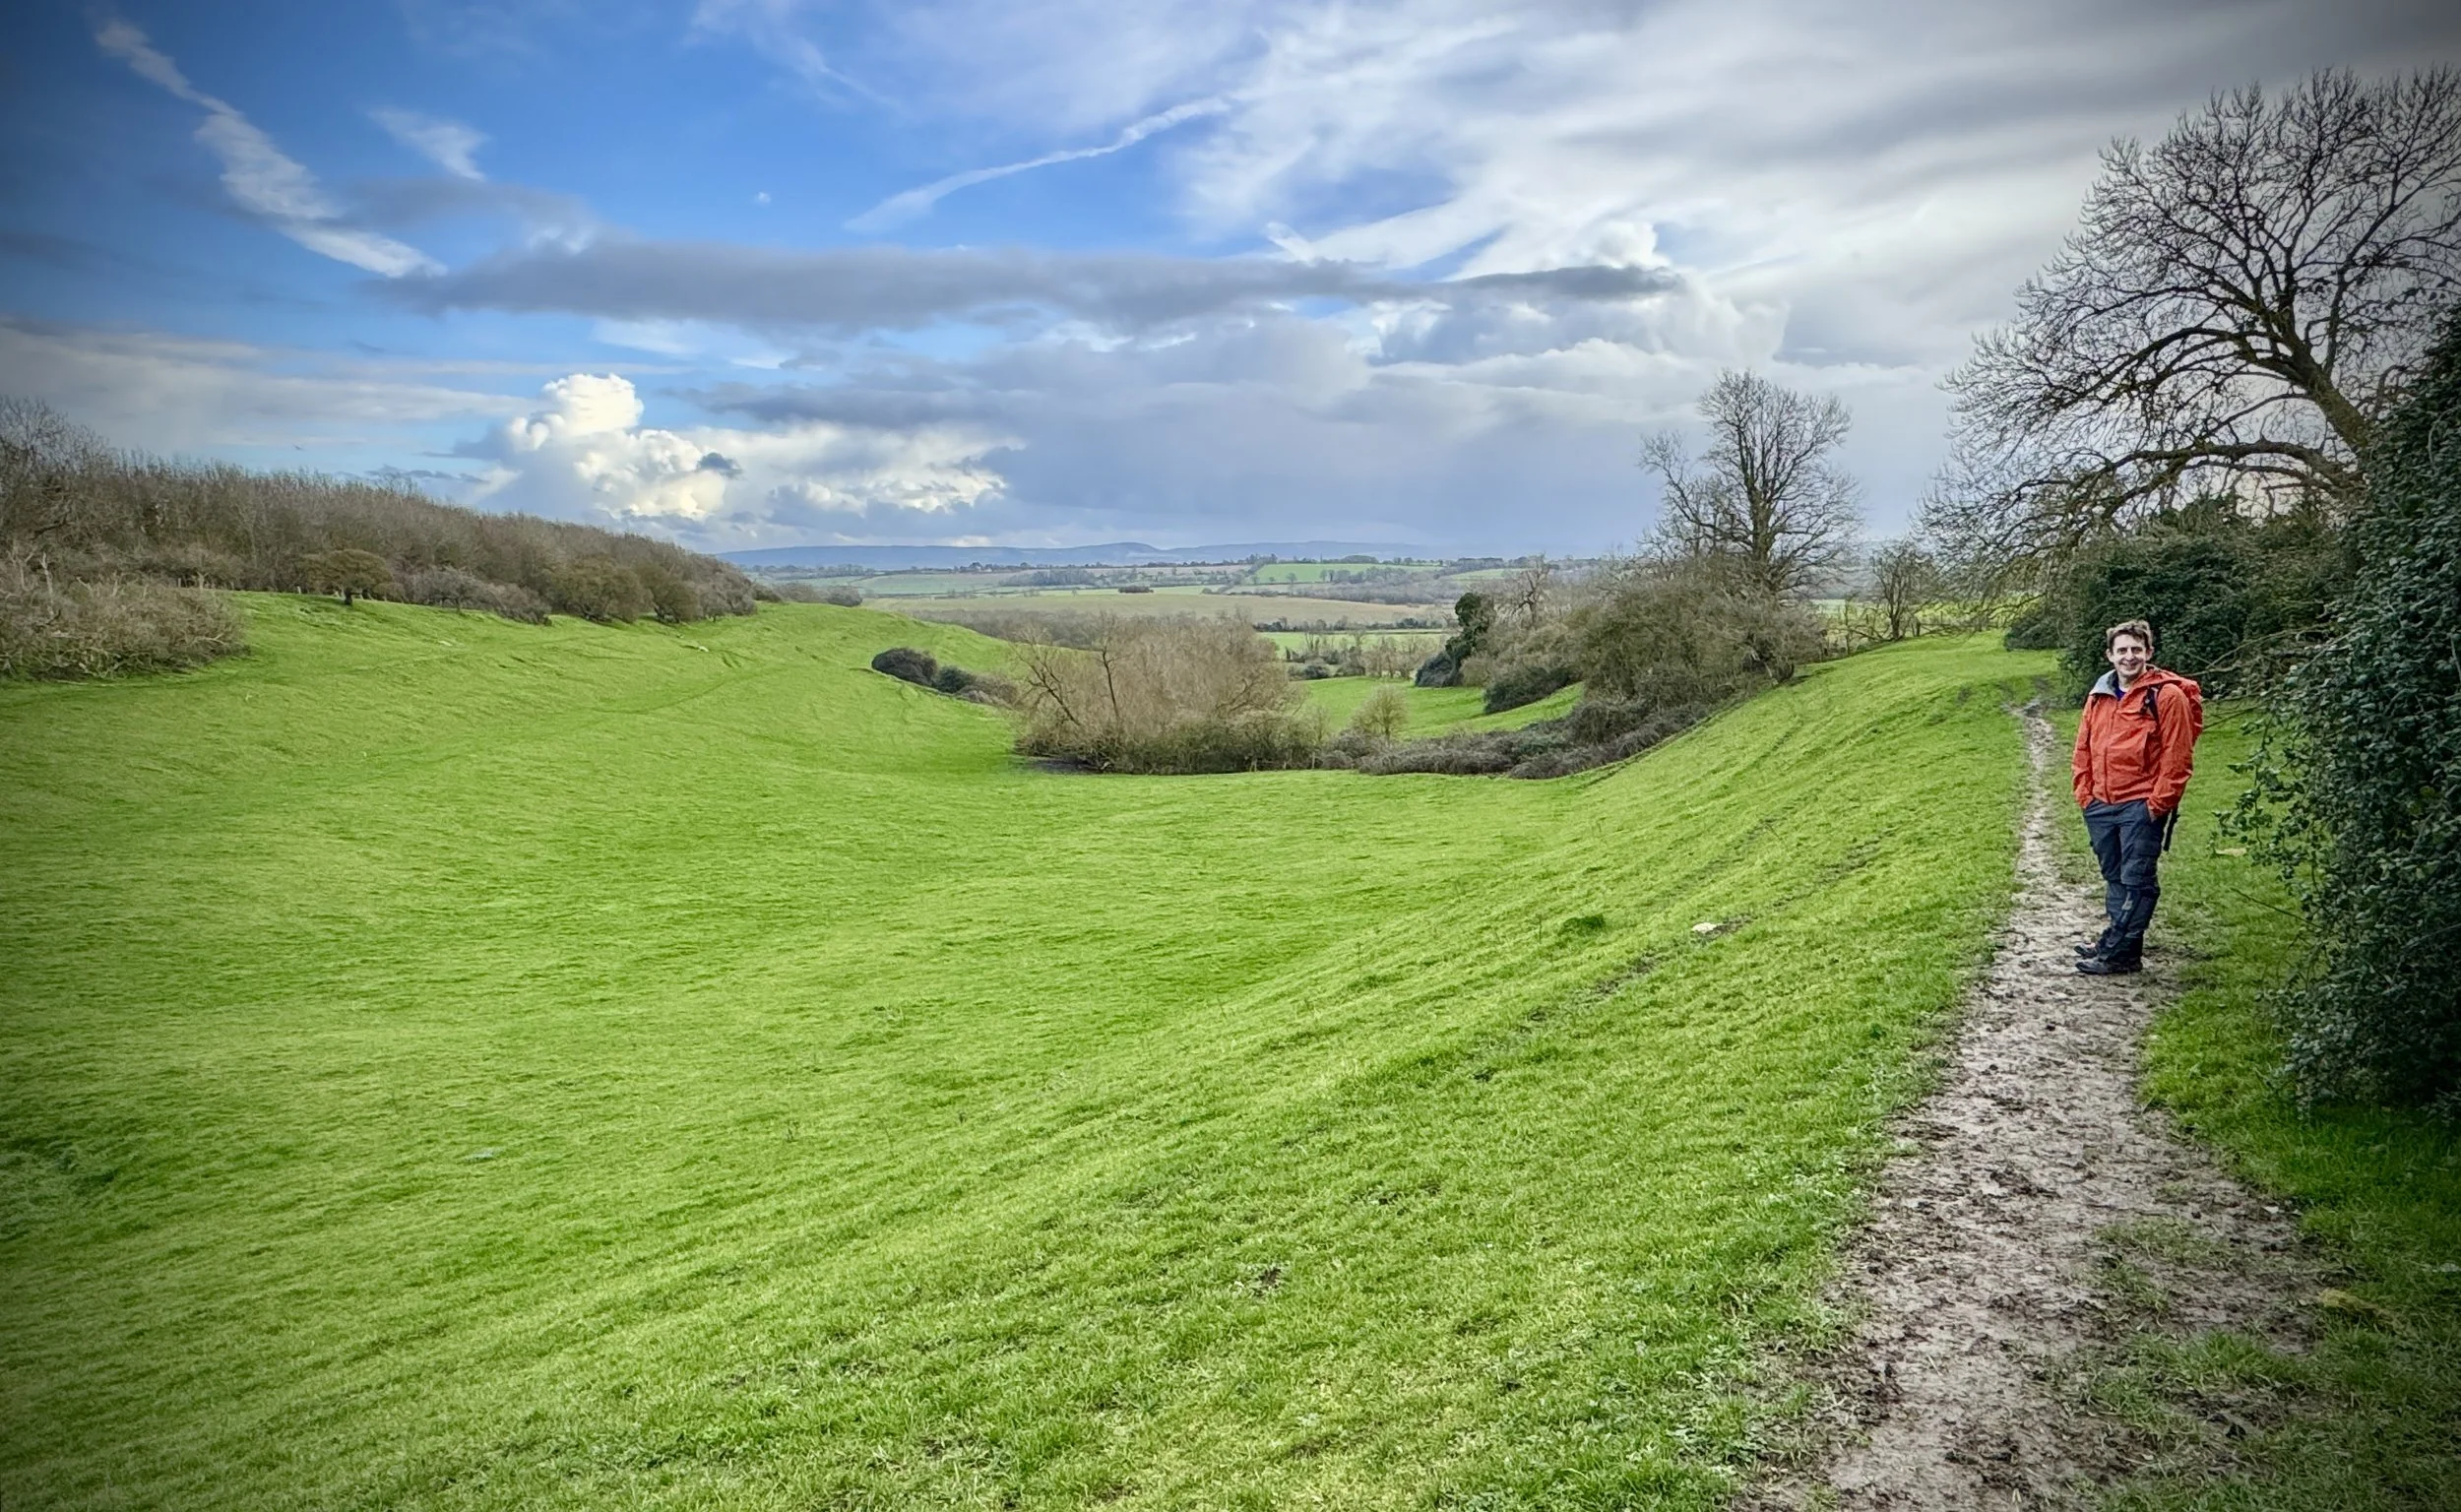
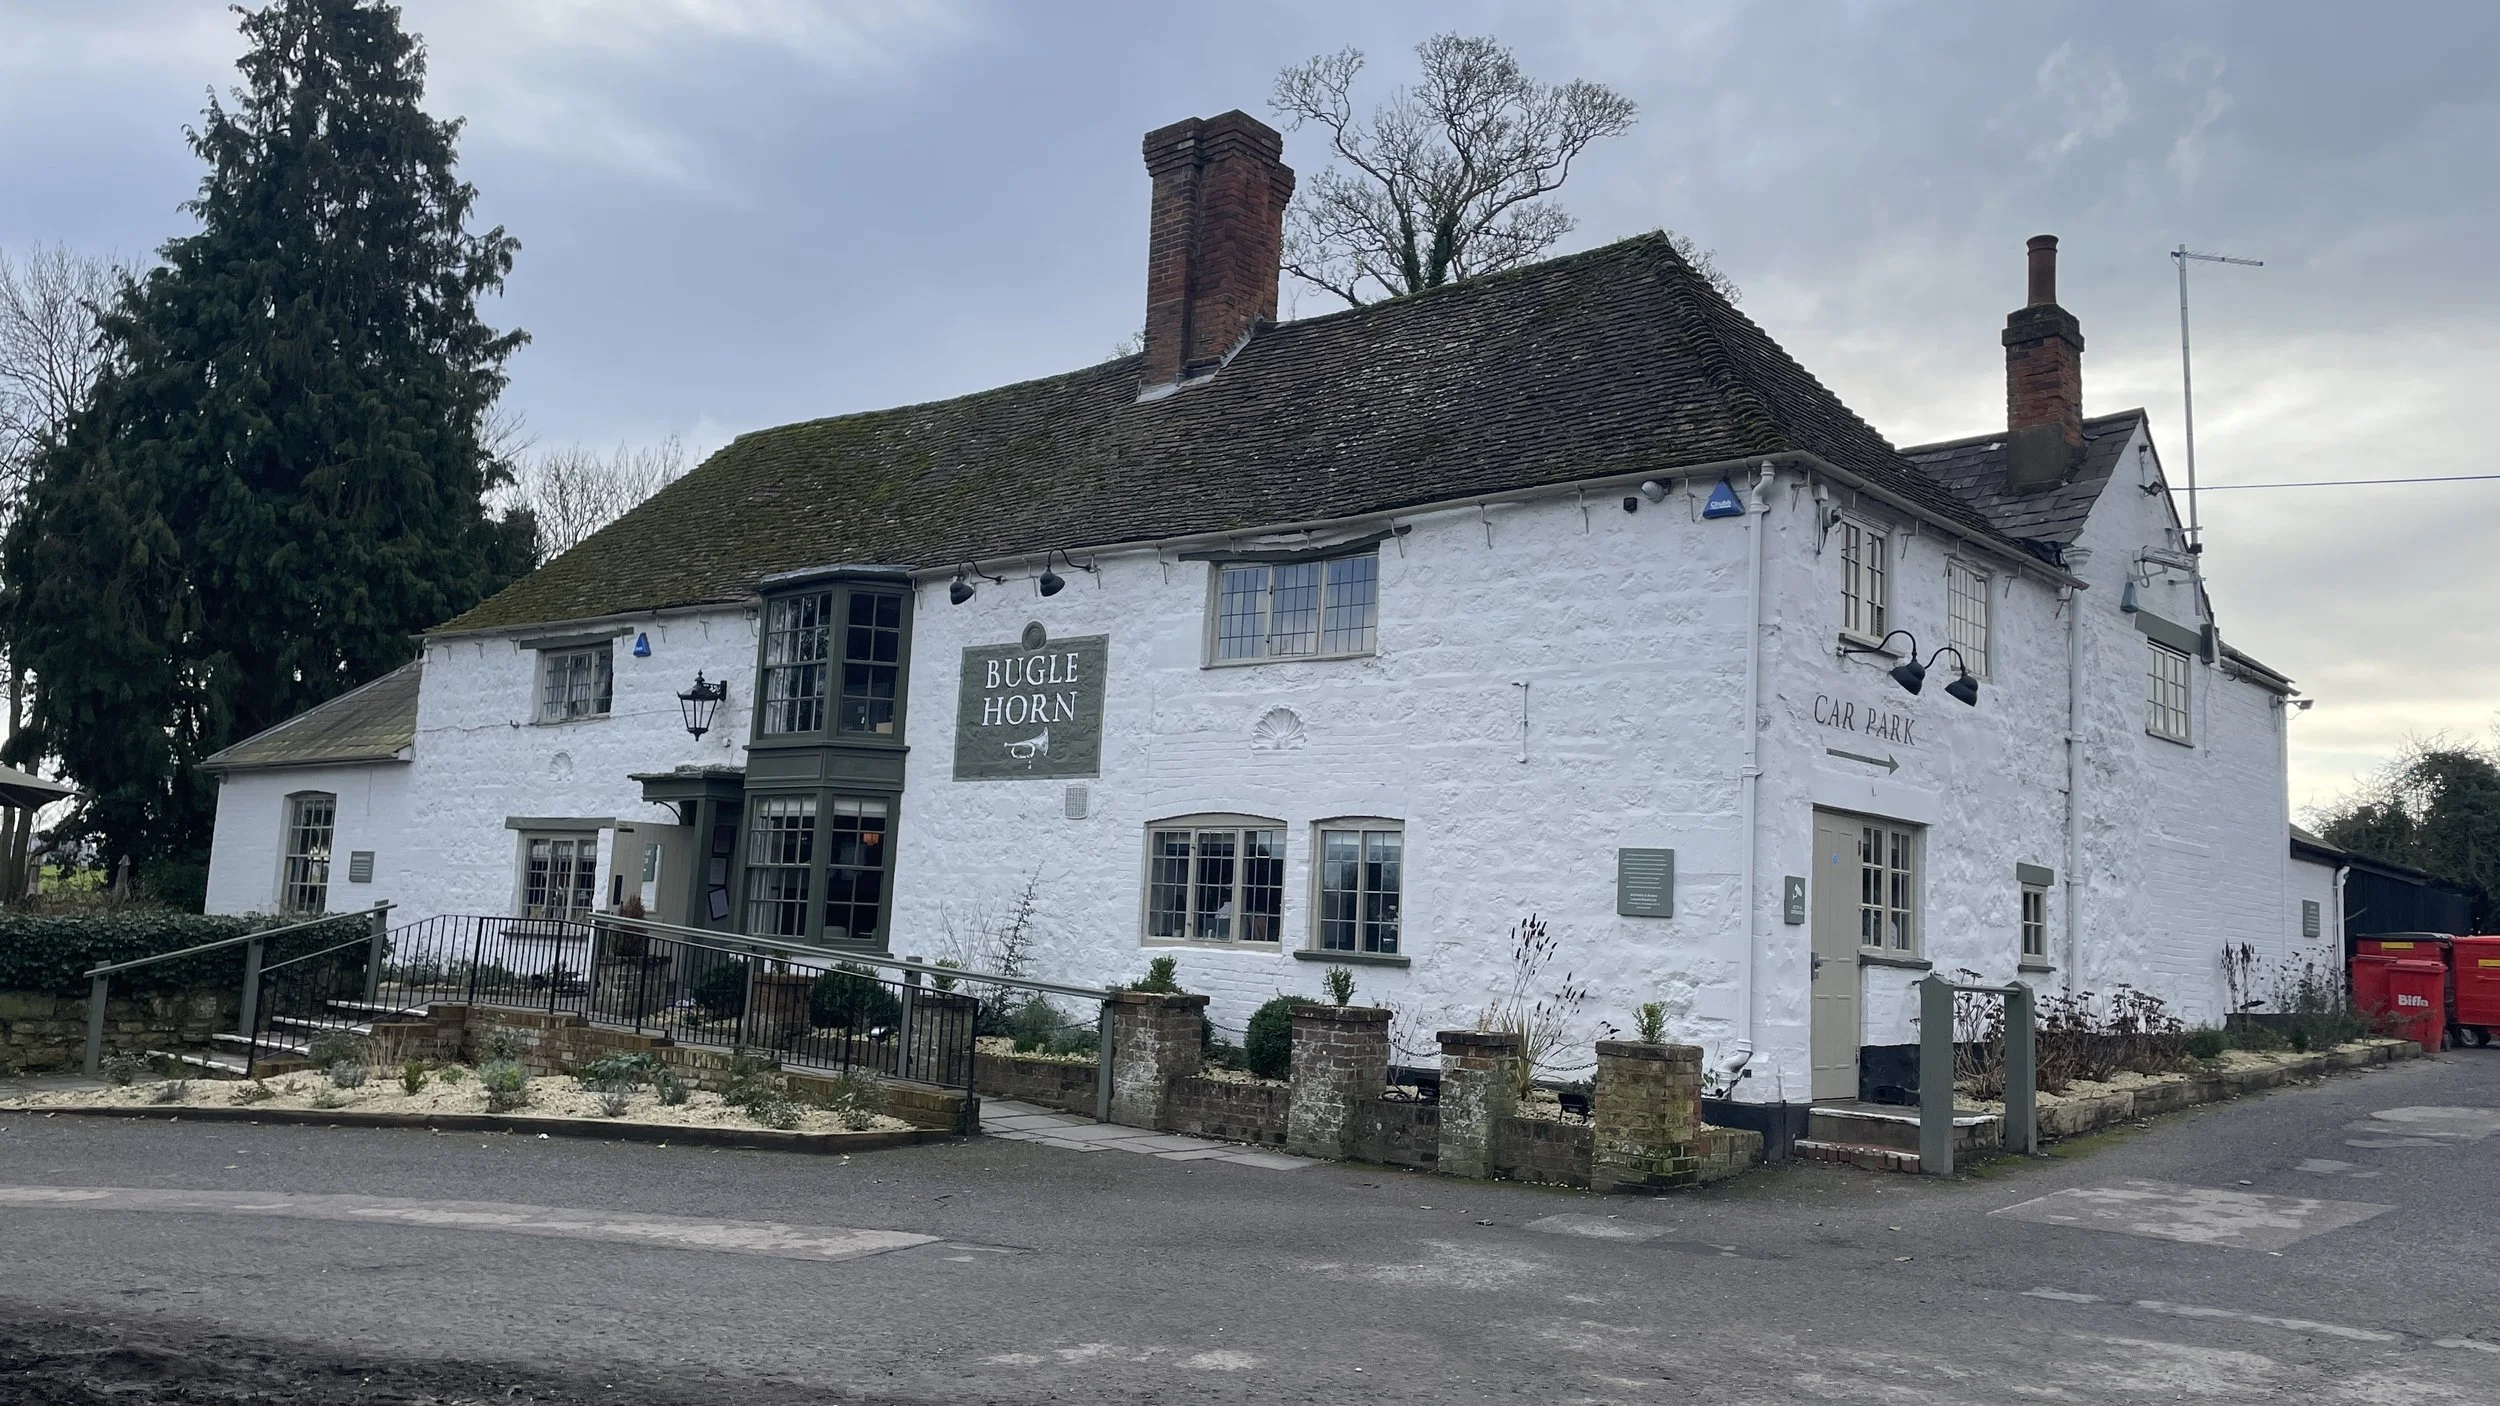
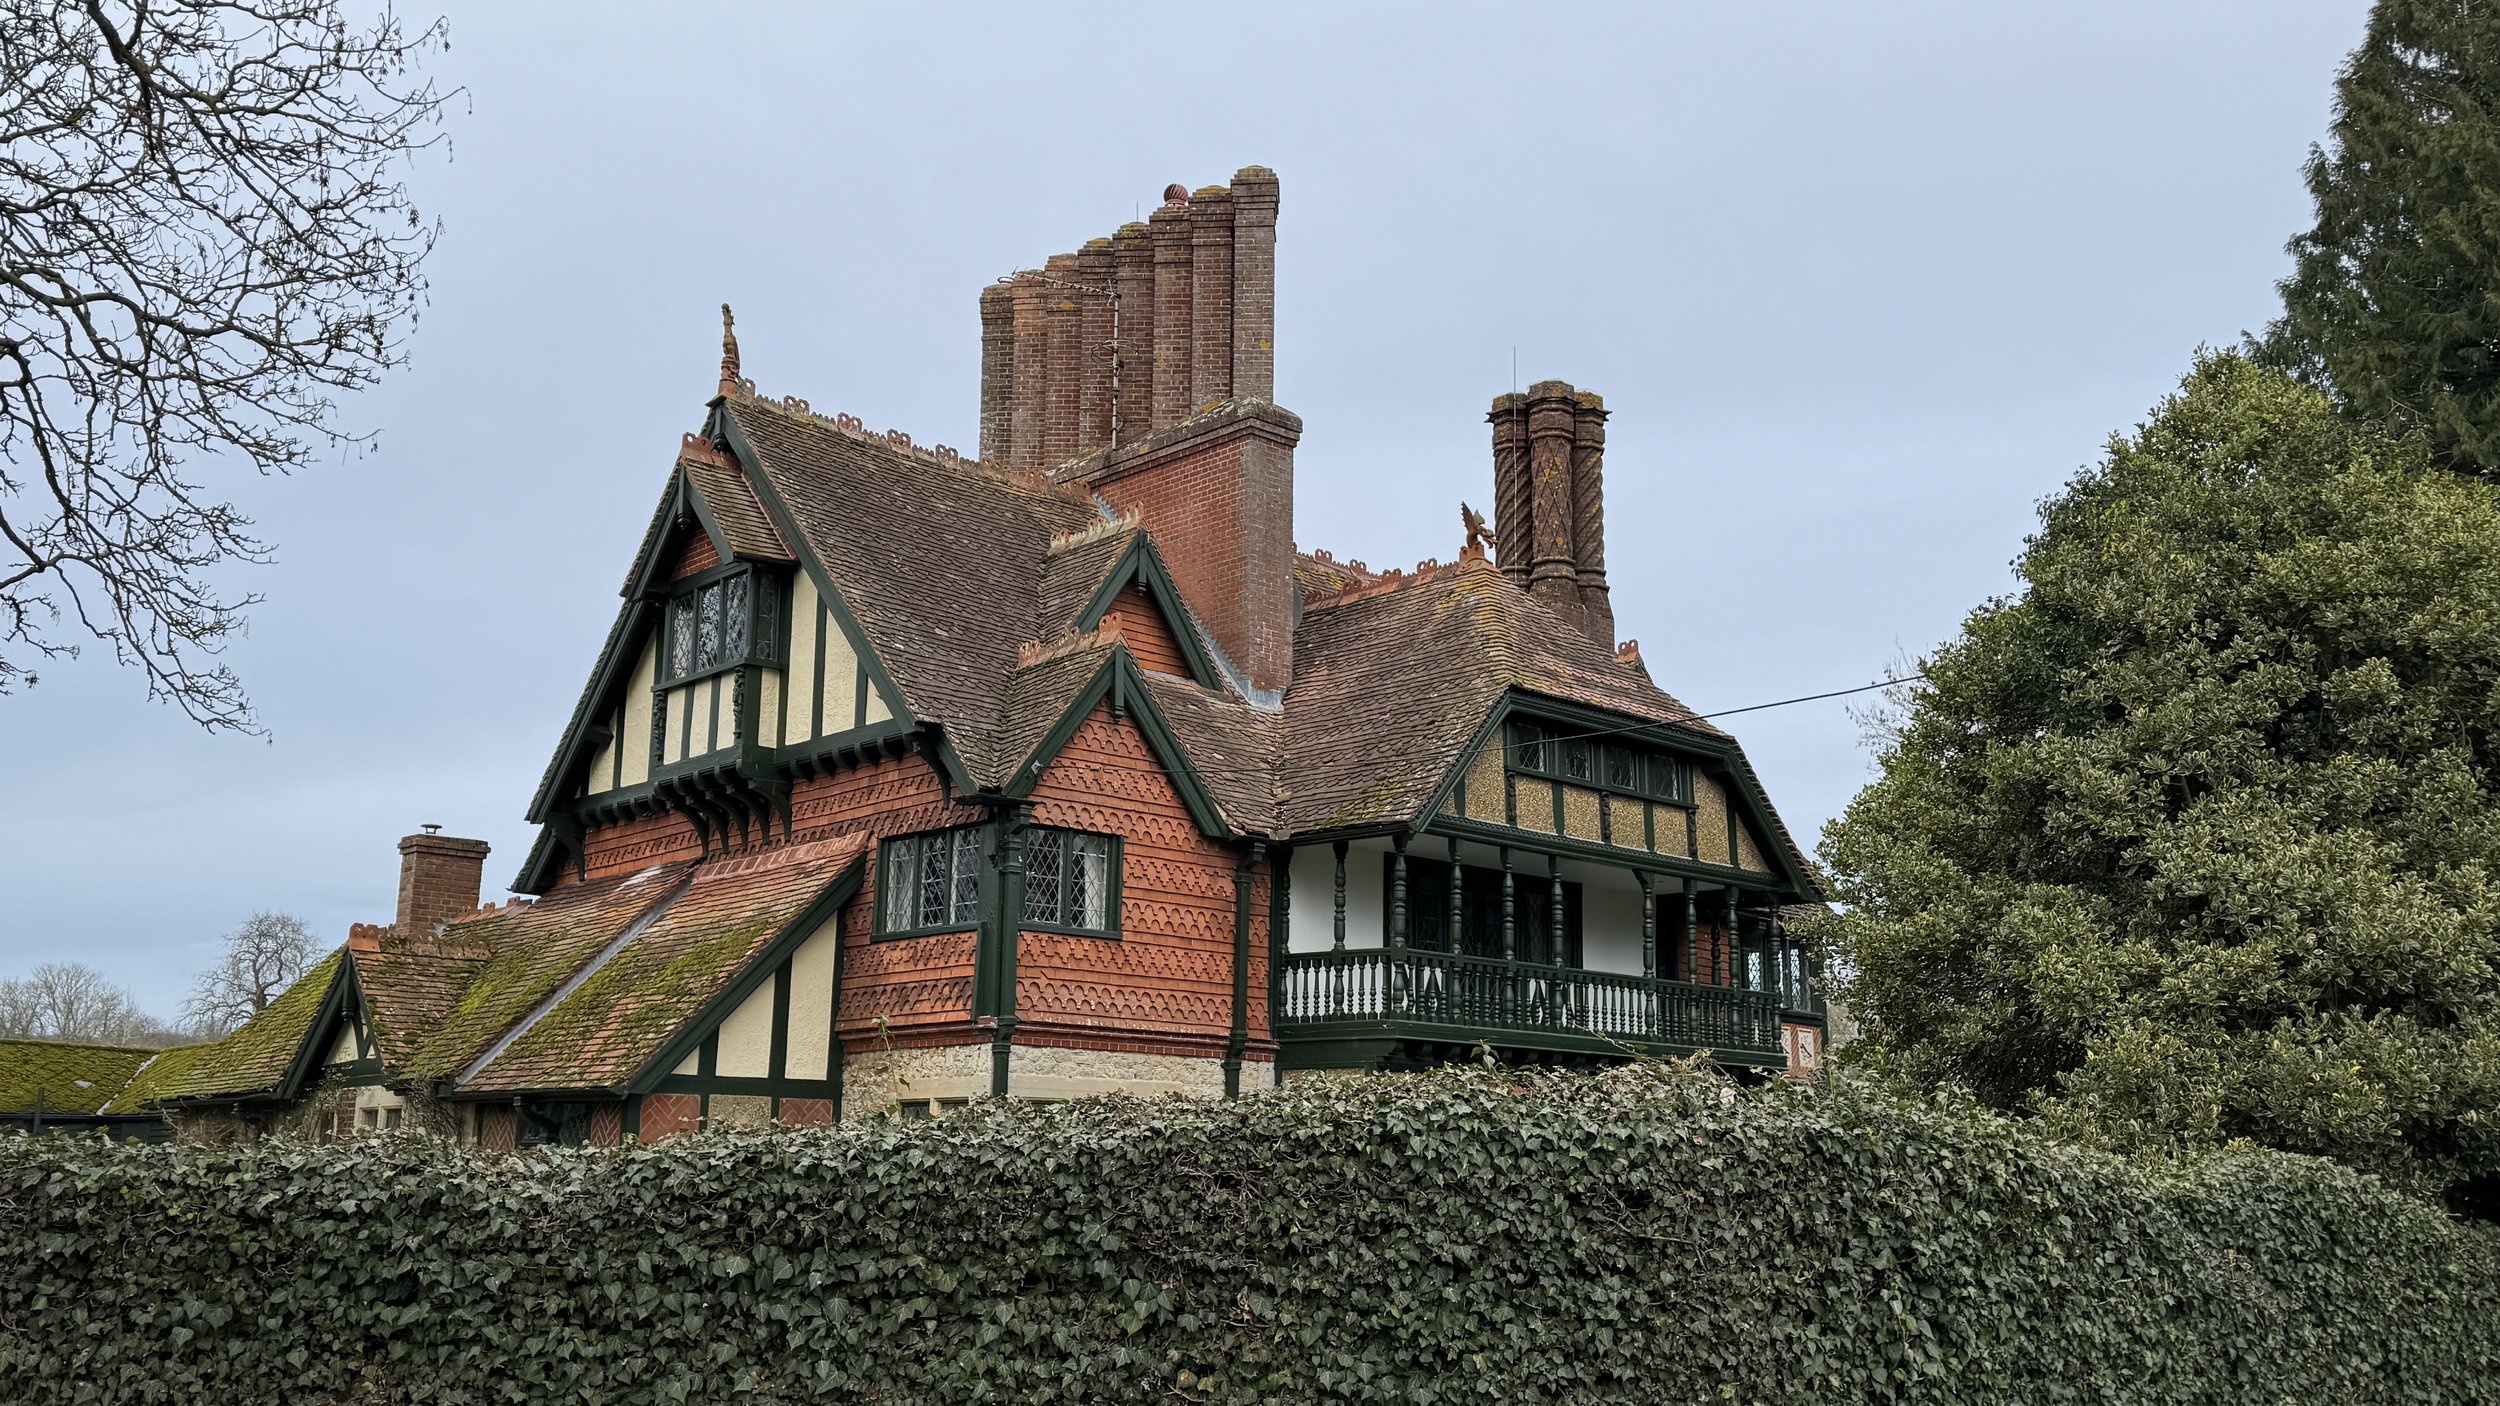
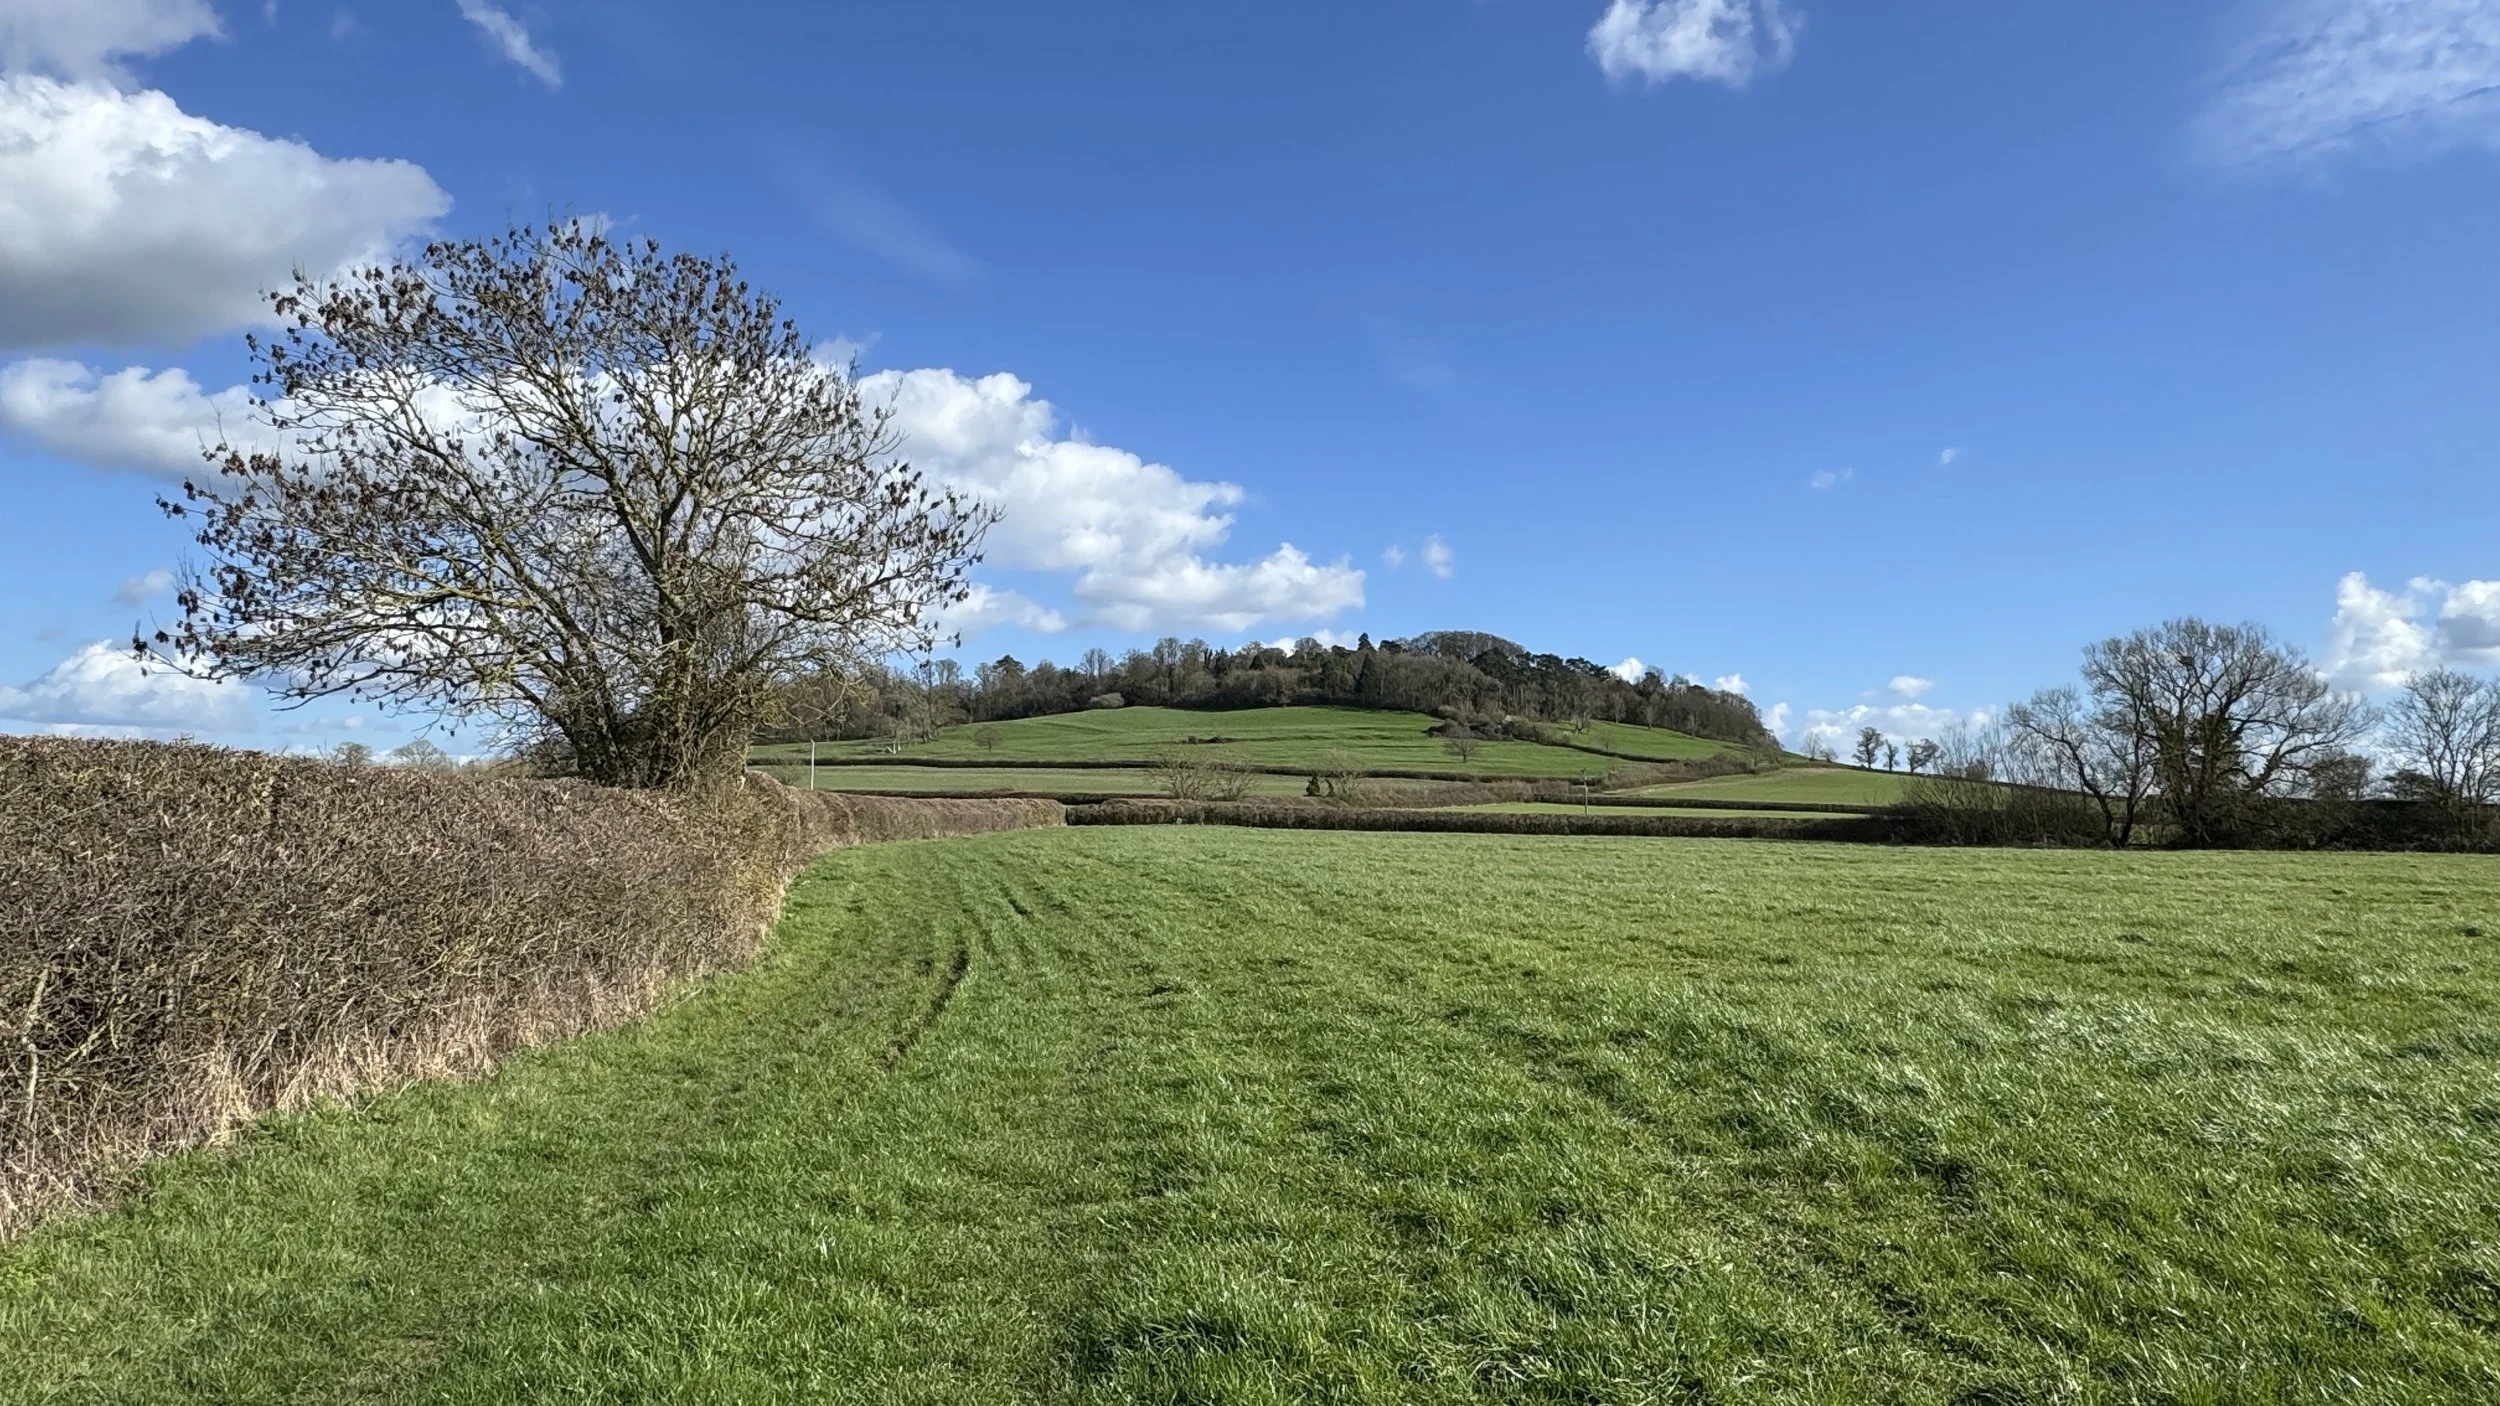
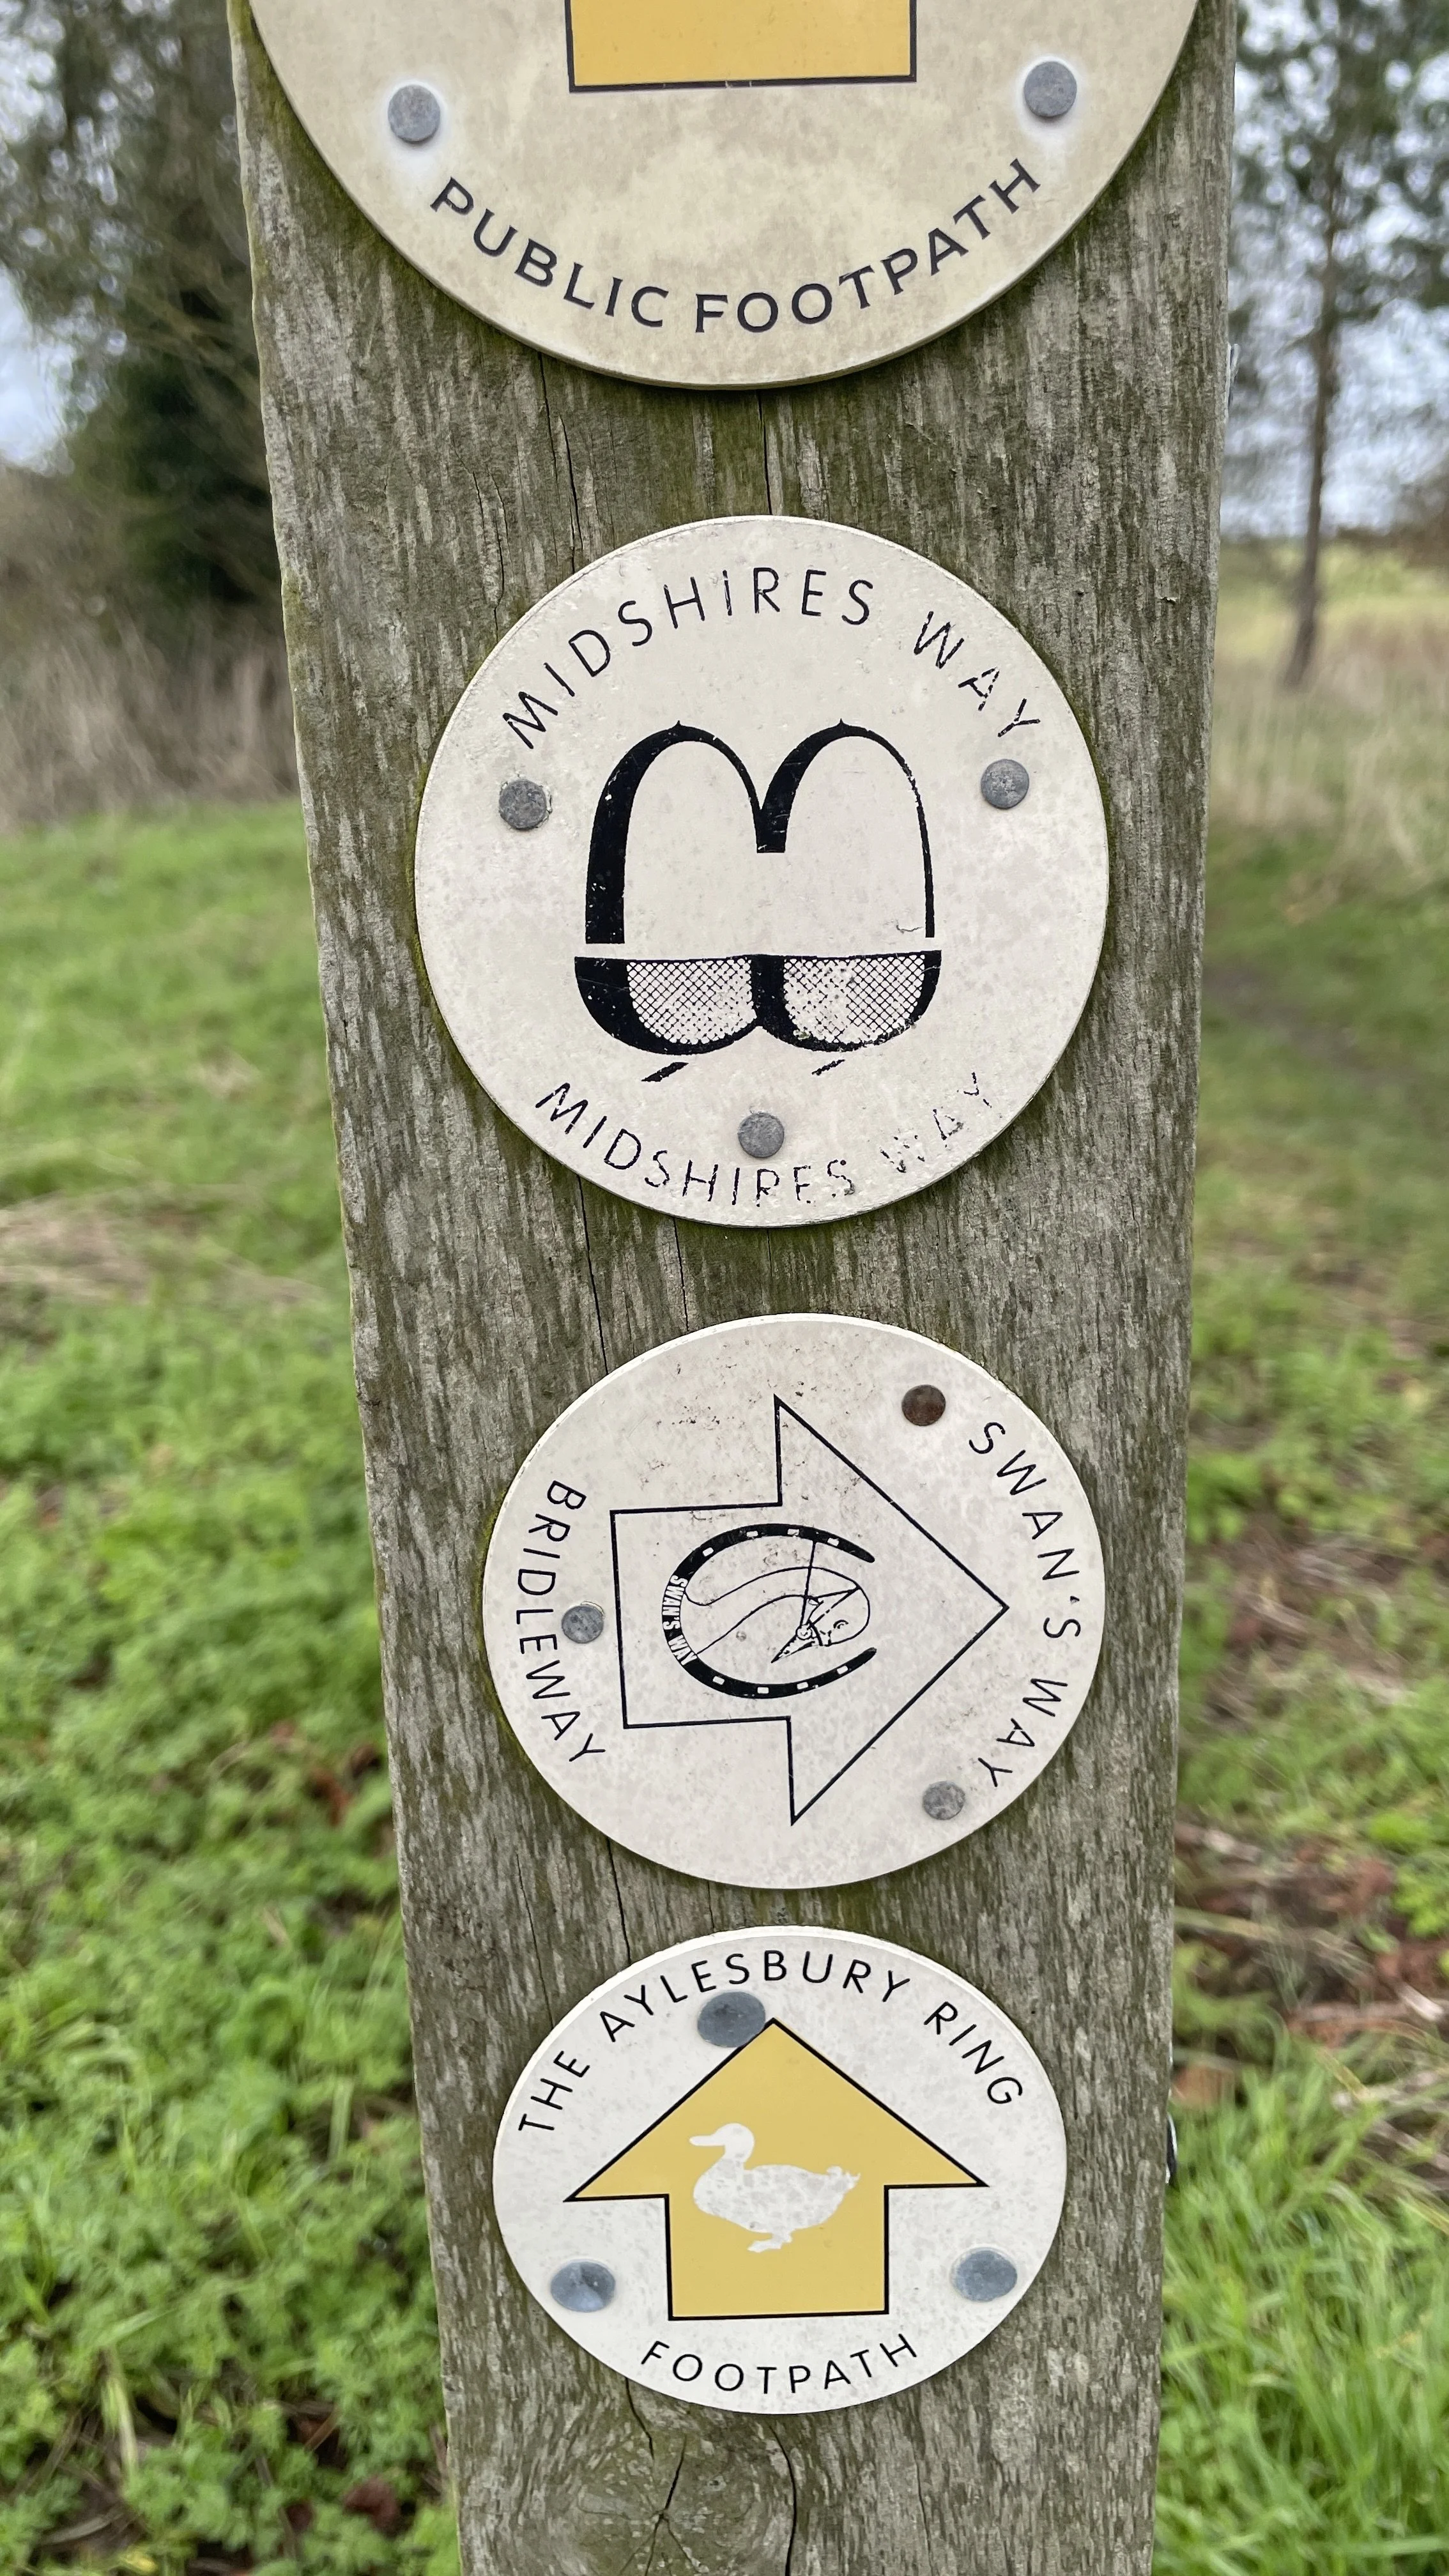
Walking the Midshires Way in Buckinghamshire in 17 walks
If you’re not up for a 80 km walk in one go, you can take in the Midshires Way in Buckinghamshire in 17 walks of between 8 and 14 km each. We chose this option, completing all 17 sections over 8 months in 2026. The advantage of this option is exploring more of the villages and side paths close to the route.
Each number refers to a circular walk below. Base map: Esri Topo via RideWithGPS
Section 1: Hempton Wainhill & Bledlow
Start & Finish: Lions Of Bledlow, Church End, Bledlow, Princes Risborough, HP27 9PE
Distance: 10.2 km (6.4 miles)
Elevation change: +/- 121m
Terrain: Elevated ridge-top bridleways, sheltered woodland trails, and level field-edge paths following the old railway line.
Midshires Way section covered: The Ridgeway at Wainhill to North Mill Road: 3.7 km
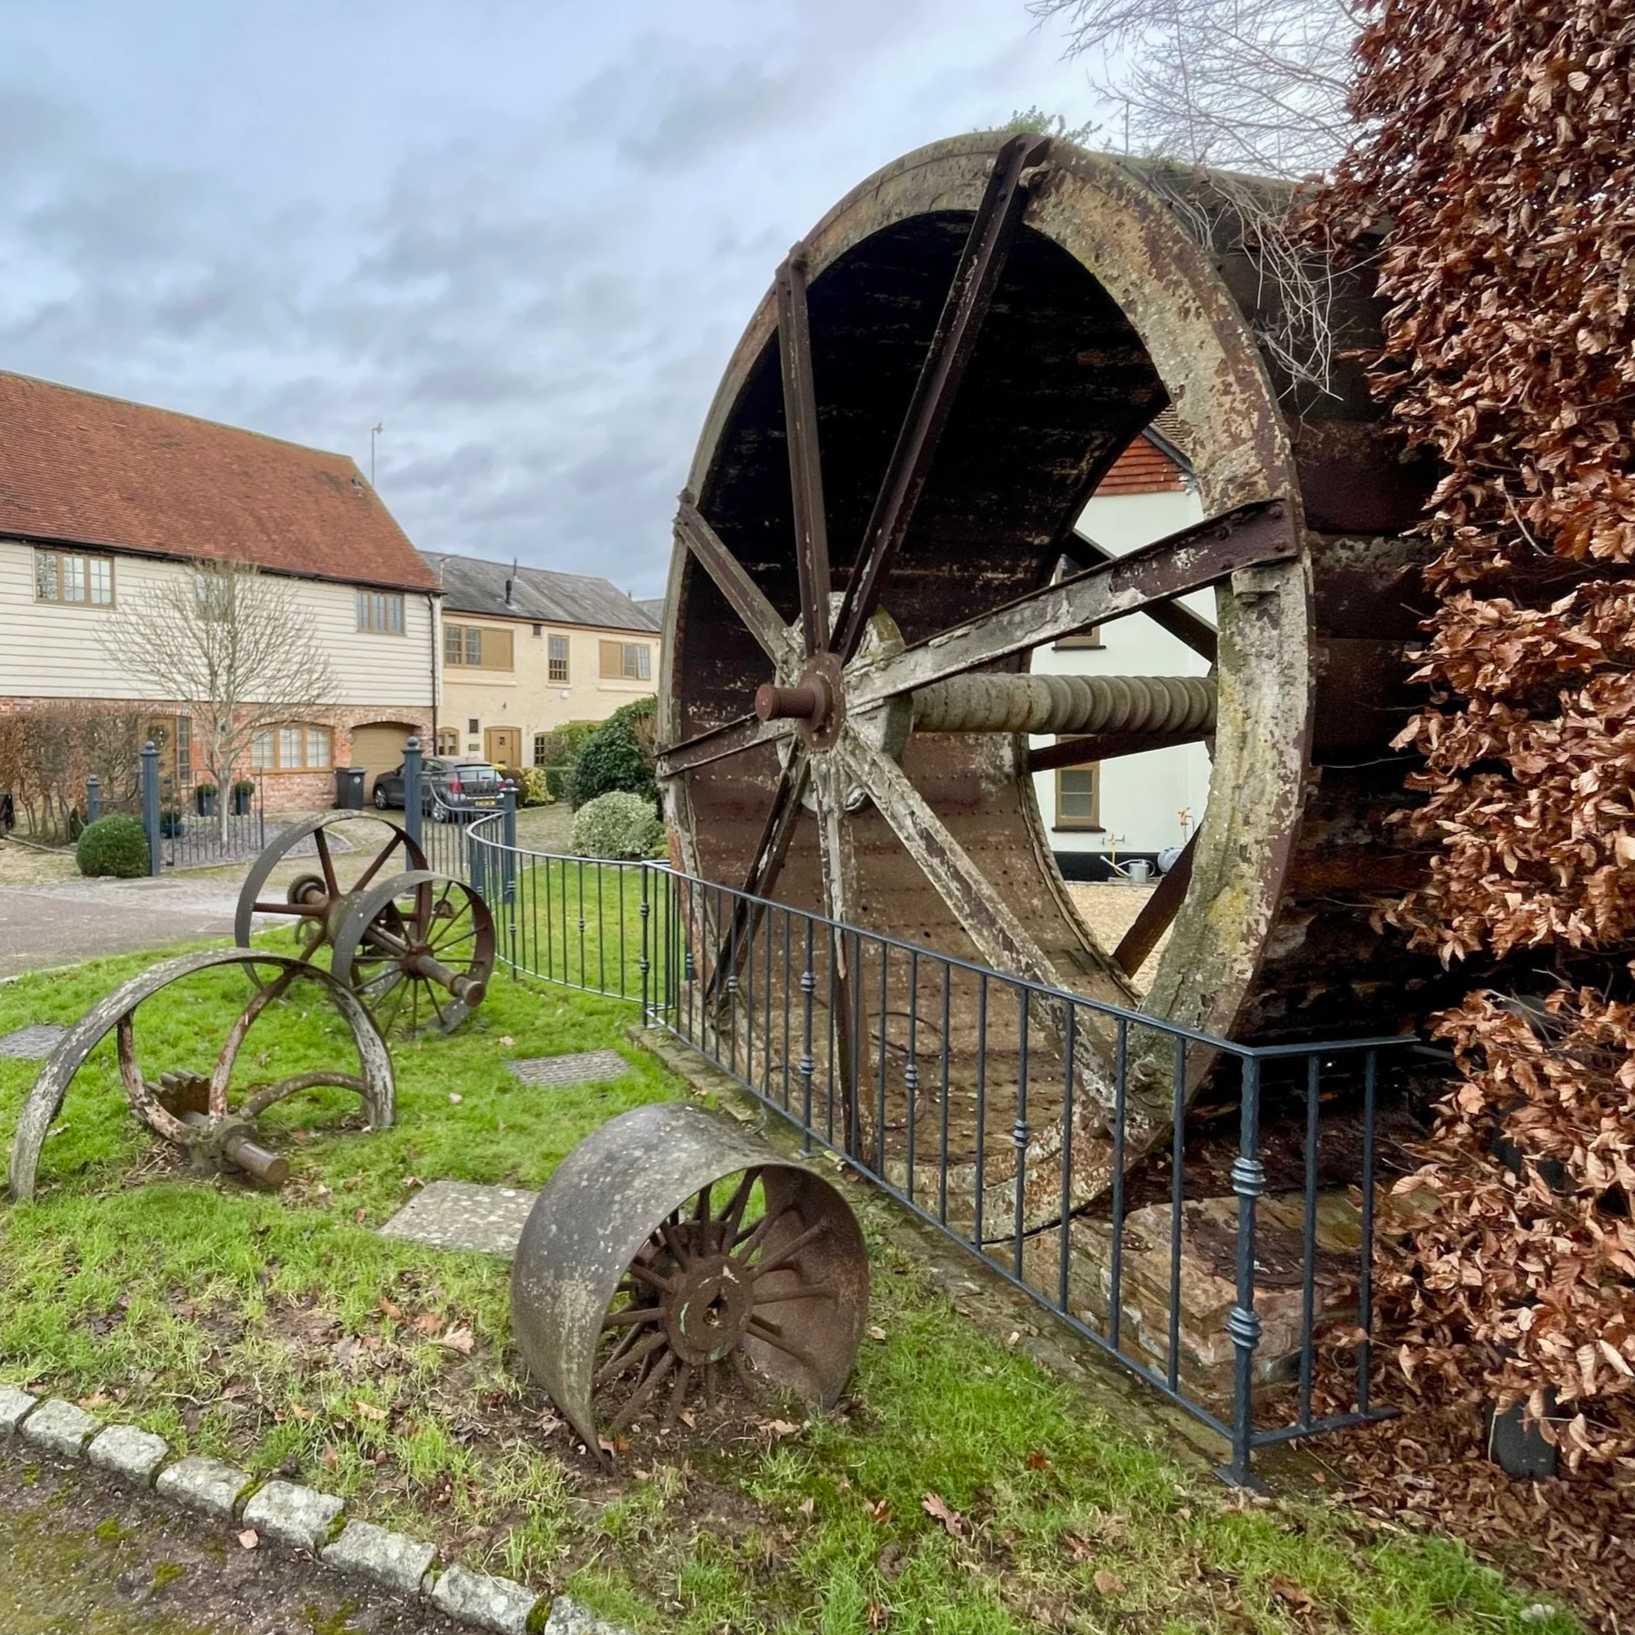
Start & Finish: Longwick Stores And Post Office, Thame Road, Longwick, Princes Risborough, HP27 9SF
Distance: 8.3 km (5.2 miles). Can be shortened by ~1 km by removing the detours. See walk description.
Elevation change: +/- 37m
Terrain: Level field-edge paths, quiet country lanes, and agricultural tracks.
Midshires Way section covered: North Mill Road to Longwick: 3.6 km
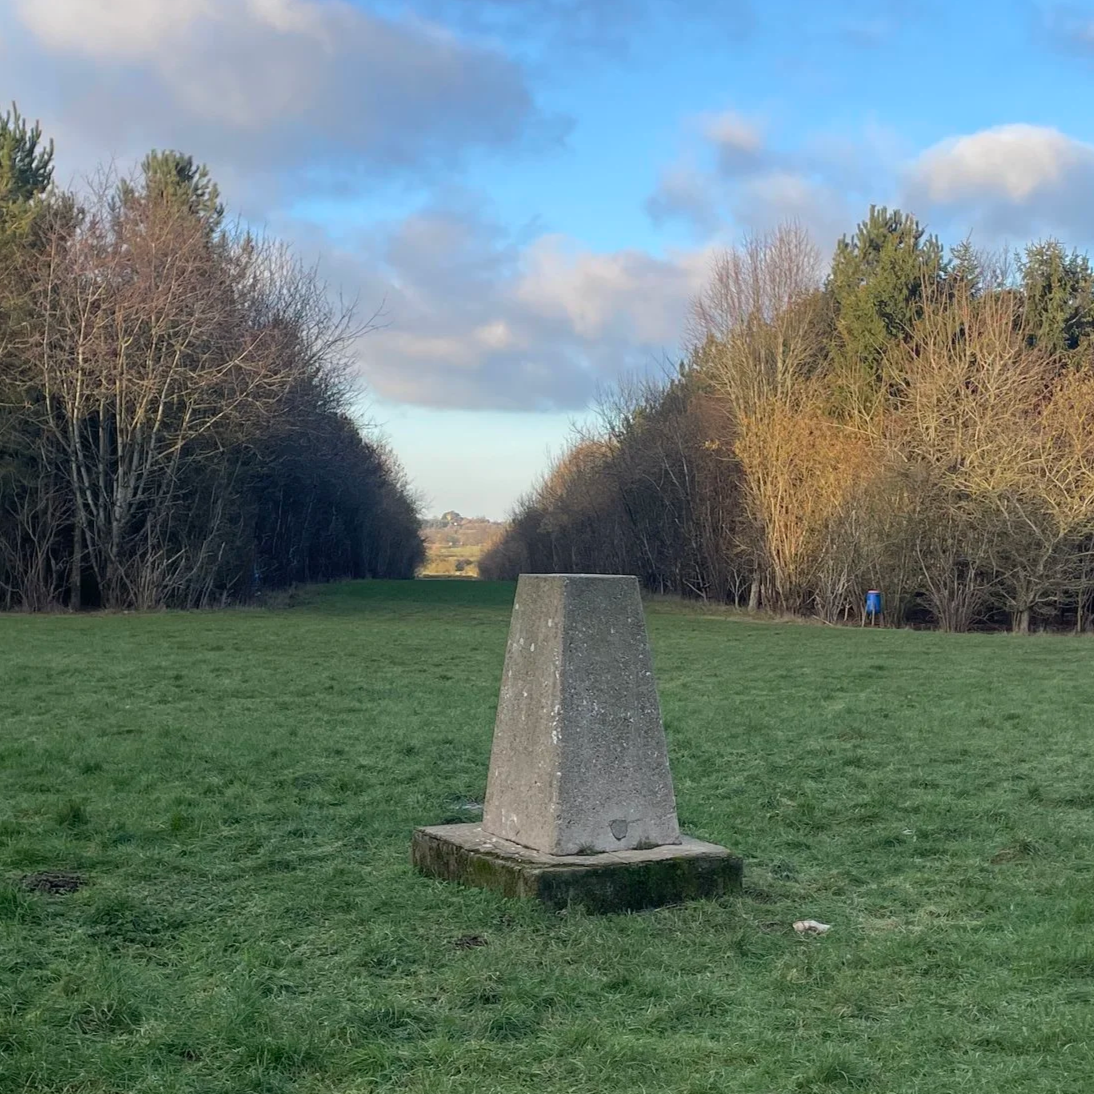
Section 3: Ford and Kemble Wick
Start & Finish: The Dinton Hermit, Water Lane, Ford, Aylesbury, HP17 8XH
Distance: 11.6 km (7.2 miles)
Elevation change: +/- 58m
Terrain: Predominantly level terrain consisting of field-edge footpaths, narrow country lanes, and farm tracks across the Aylesbury Vale.
Midshires Way section covered: Longwick to Michael’s Peace: 4.3 km
Section 4: Ford and Michael's Peace
Start & Finish: The Dinton Hermit, Water Lane, Ford, Aylesbury, HP17 8XH
Distance: 8.3 km (5.2 miles)
Elevation change: +/- 41 m
Terrain: Mostly level field-edge paths, quiet country lanes, and a short optional section through community woodland.
Midshires Way section covered: Michael’s Peace to Bishopstone Road: 3.8 km
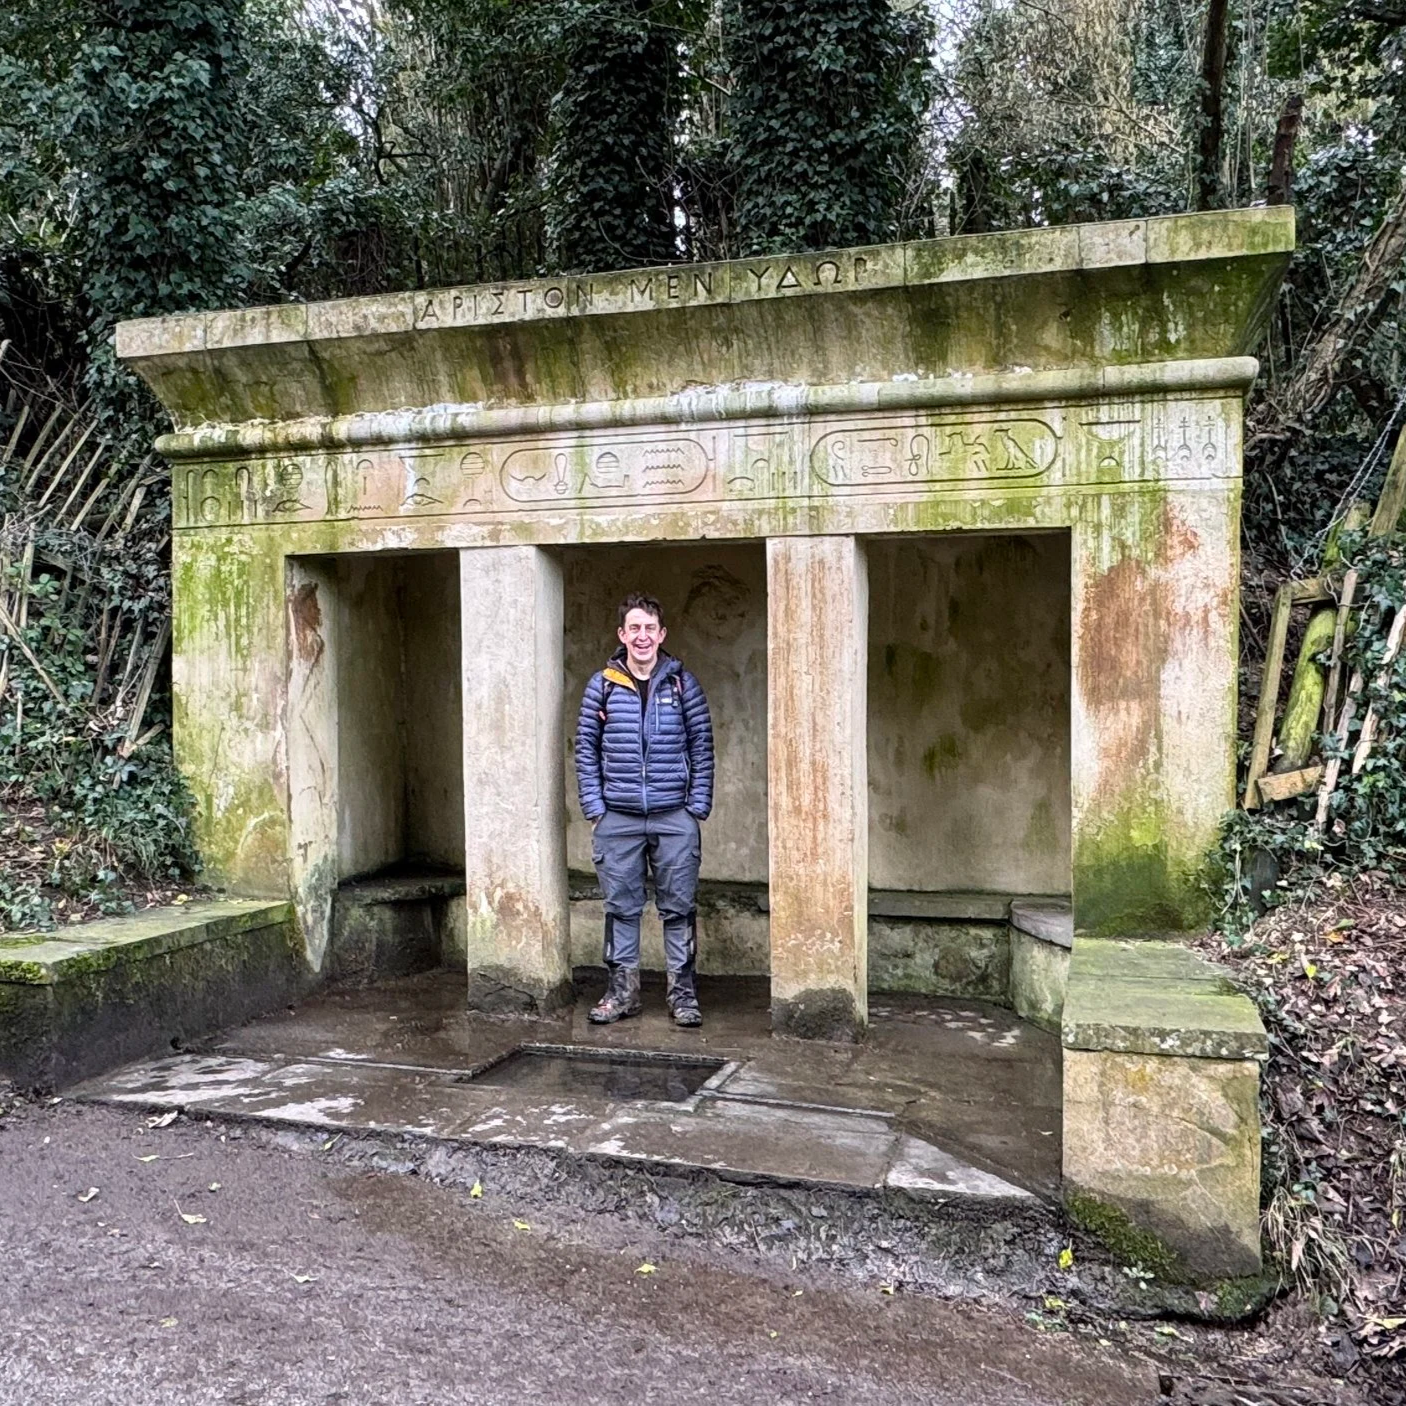
Start & Finish: Stone Village Hall, 50 Oxford Road, Stone Aylesbury, HP17 8PB
Distance: 10.1 km (6.3 miles)
Elevation change: +/- 75 m
Terrain: A mixture of quiet village lanes and open field-edge bridleways.
Midshires Way section covered: Bishopstone Road to the River Thame: 3.5 km
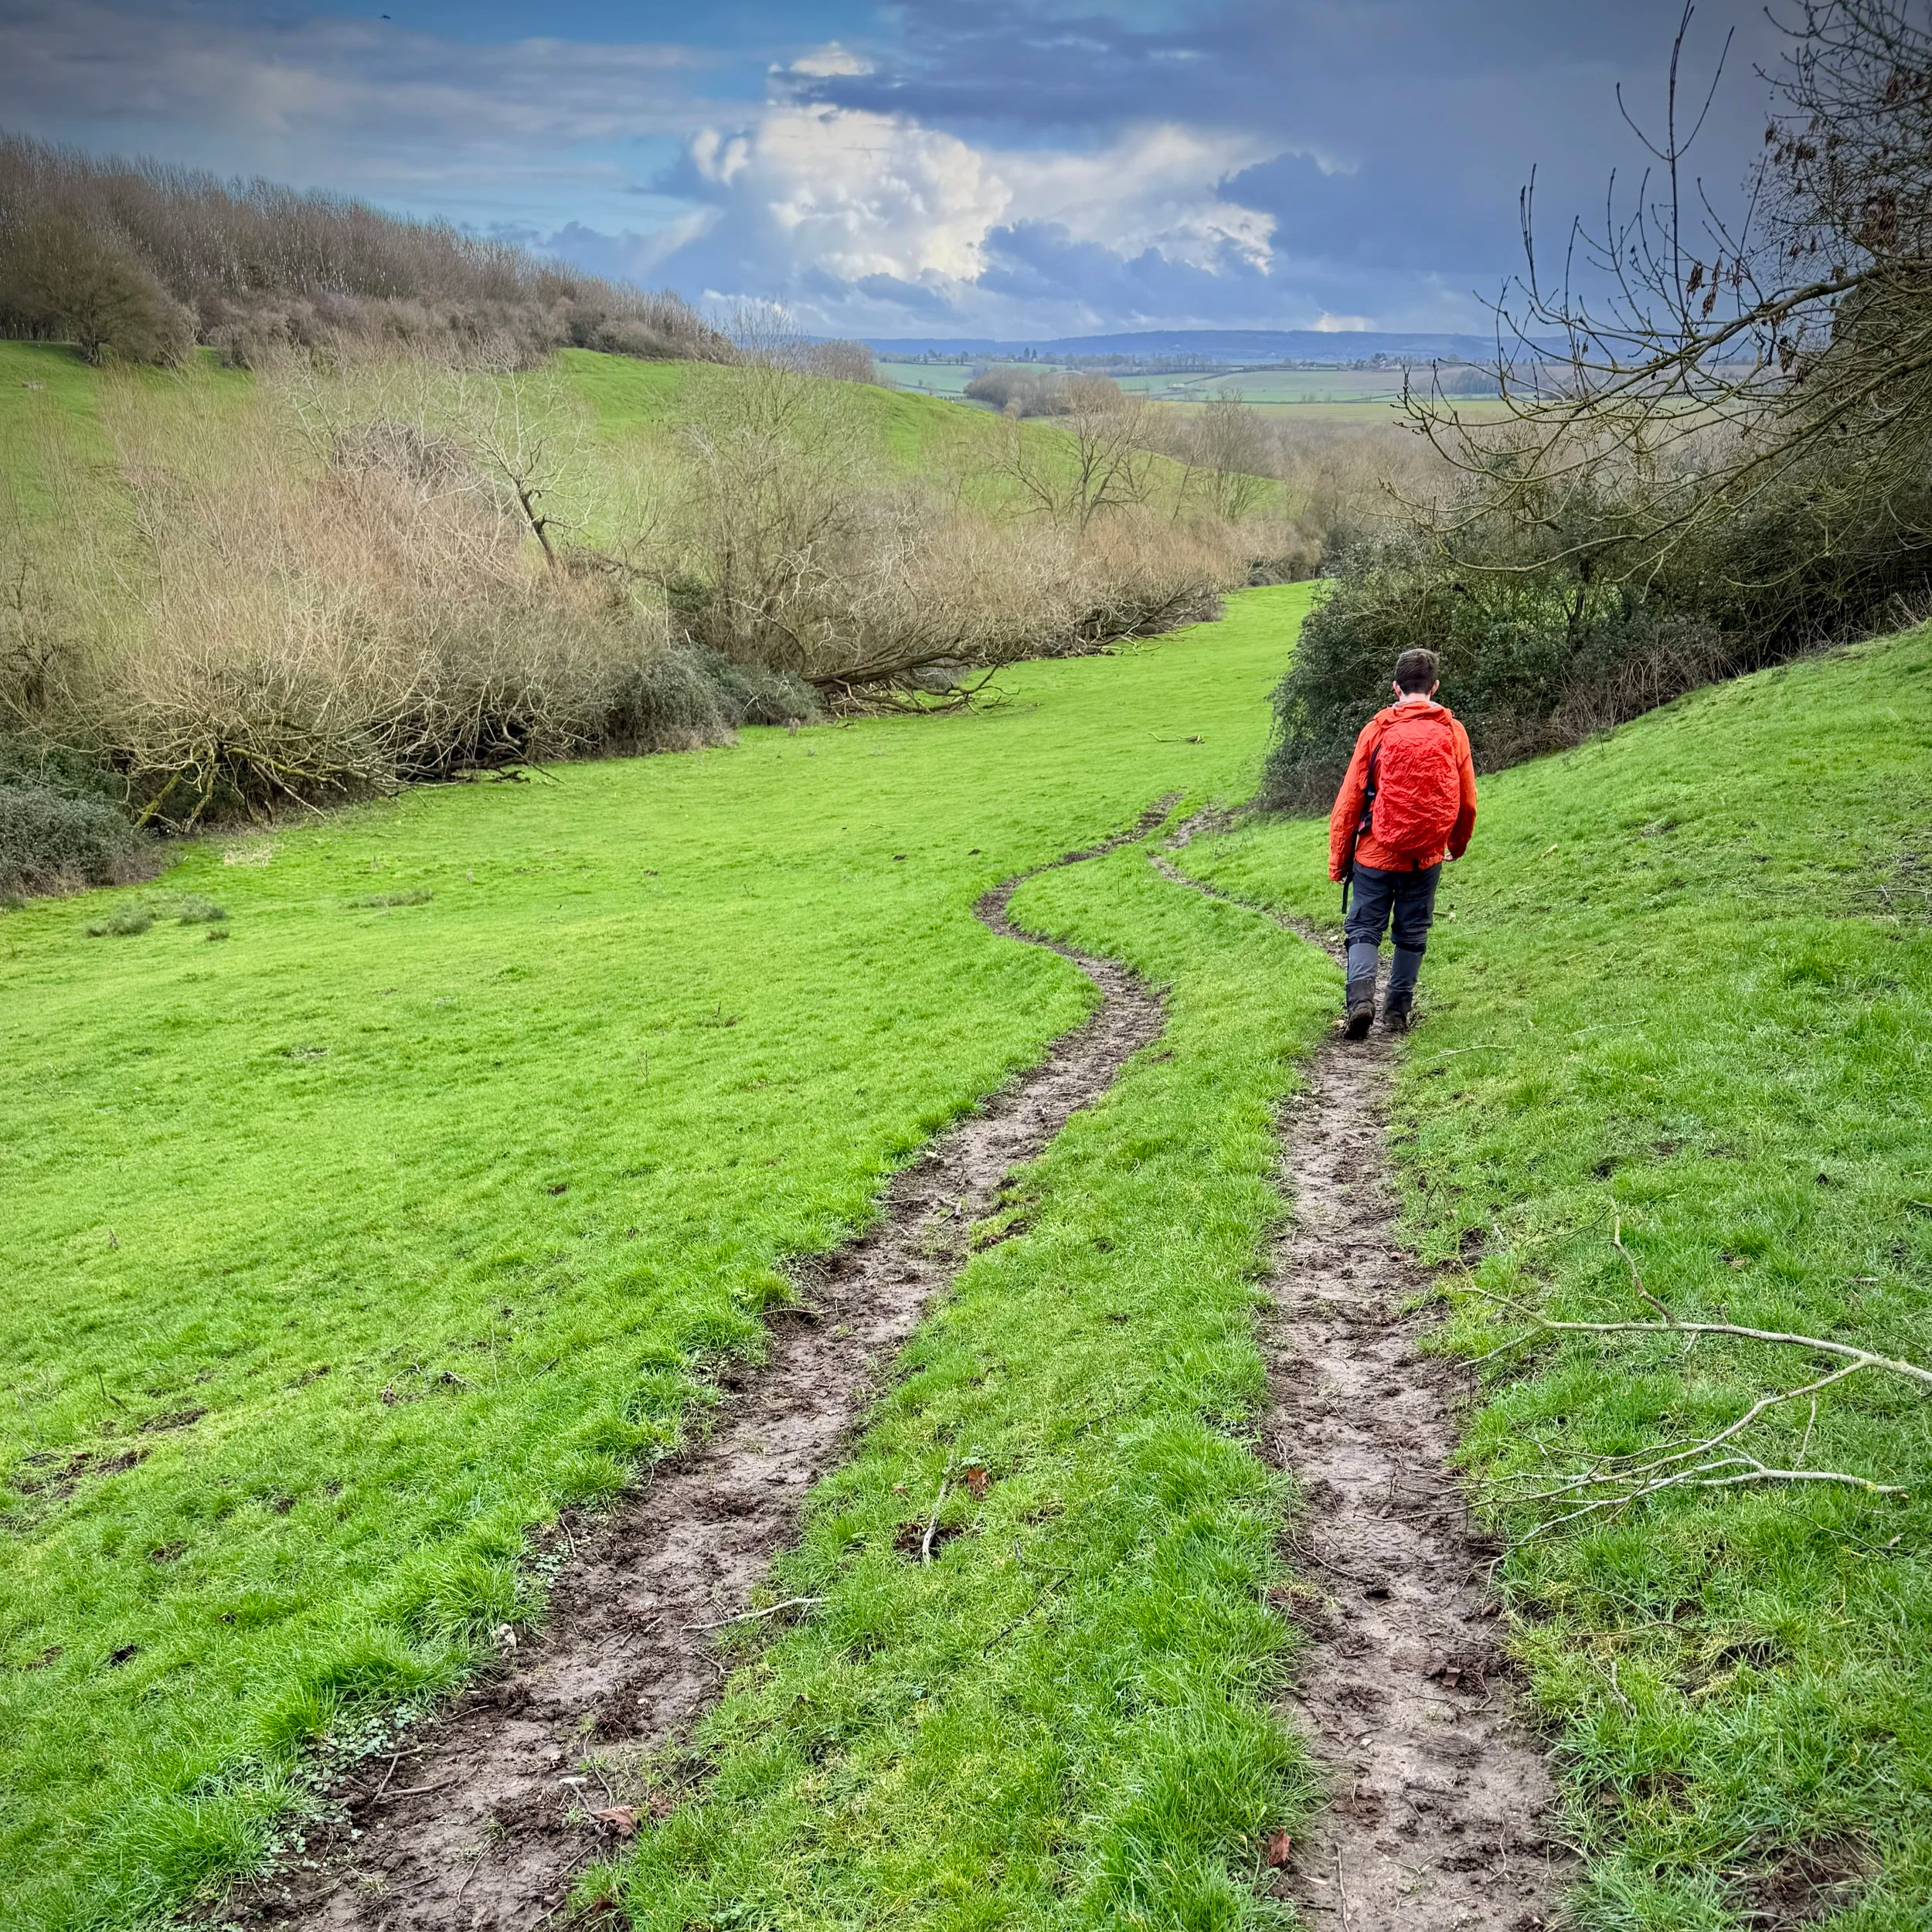
Section 6: Waddesdon and Eythrope
Start & Finish: Waddesdon Manor Car Park, Waddesdon, Aylesbury, HP18 0JE
Distance: 11.1 km (6.9 miles)
Elevation change: +/- 160 m
Terrain: A mixture of paved estate roads, grassy footpaths, and woodland tracks across undulating farmland.
Midshires Way section covered: River Thame to Waddeston: 3.7 km
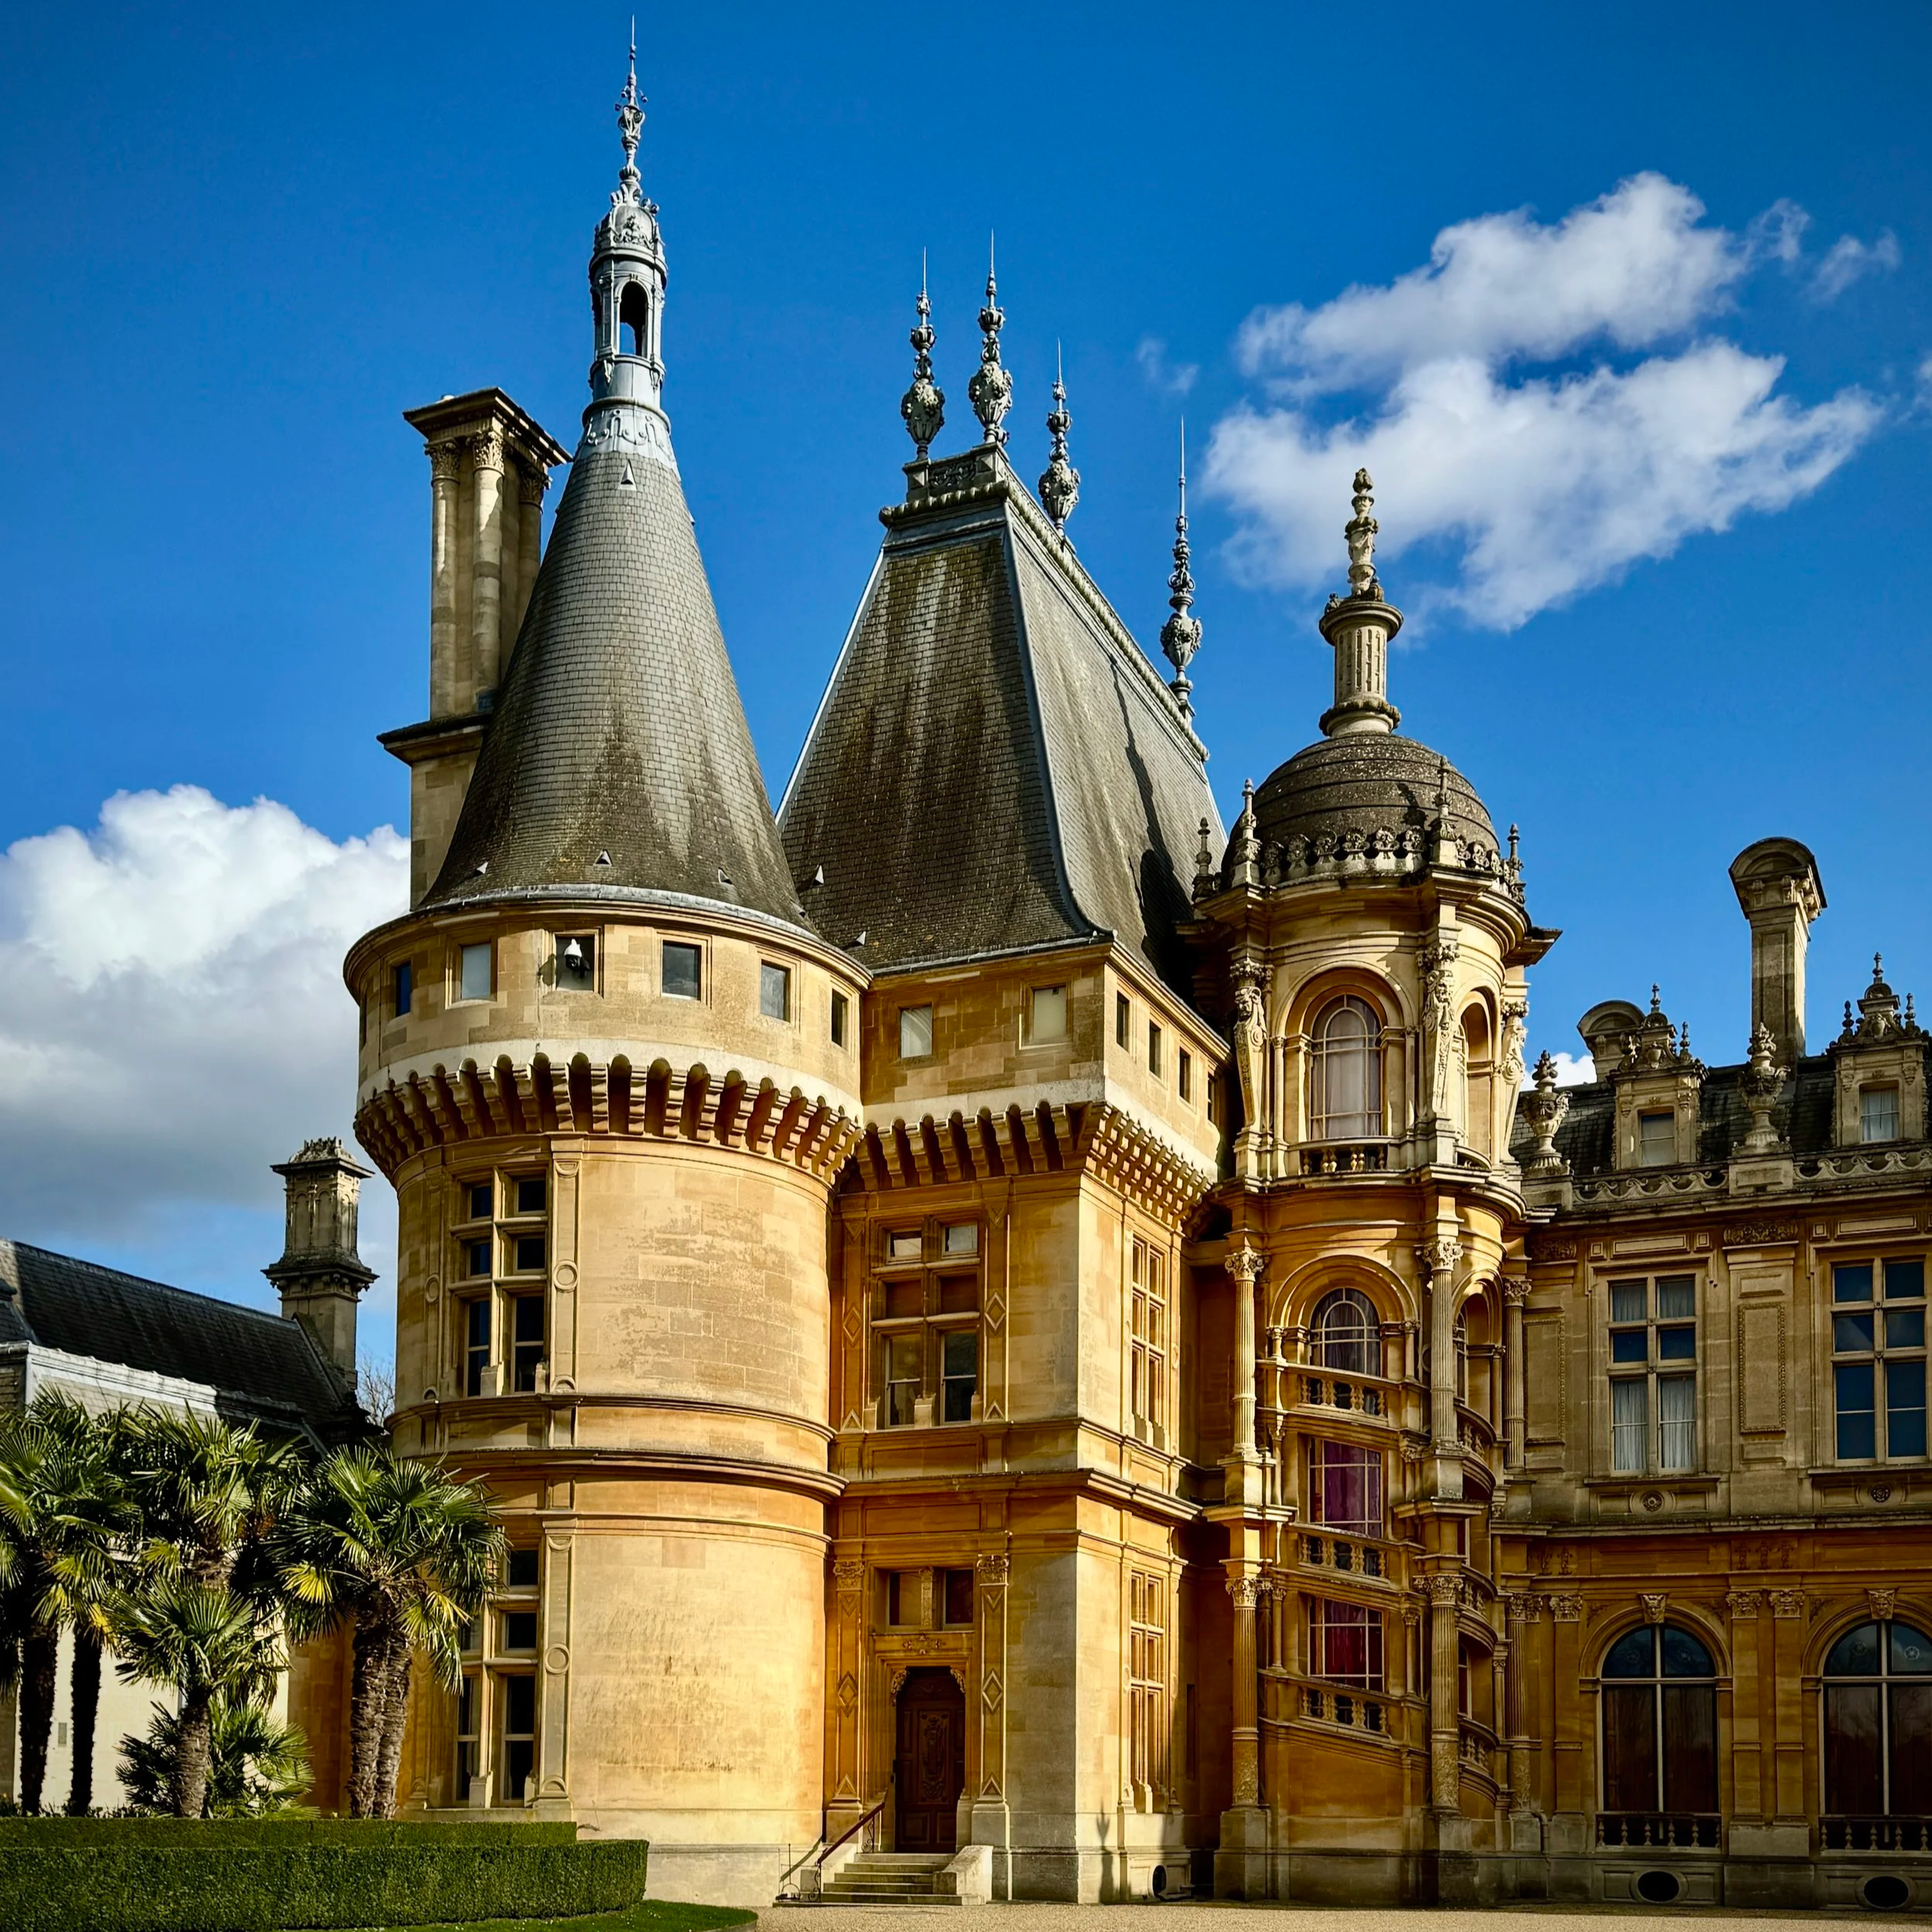
Section 7: Waddesdon and Quainton Road
Start & Finish: Waddesdon Manor Car Park, Waddesdon, Aylesbury, HP18 0JE
Distance: 11.9 km (7.4 miles)
Elevation change: +/- 96m
Terrain: A mixture of paved surfaces, grassy footpaths, and countryside tracks with rolling elevations.
Midshires Way section covered: Waddesdon to Quainton: 4.5 km
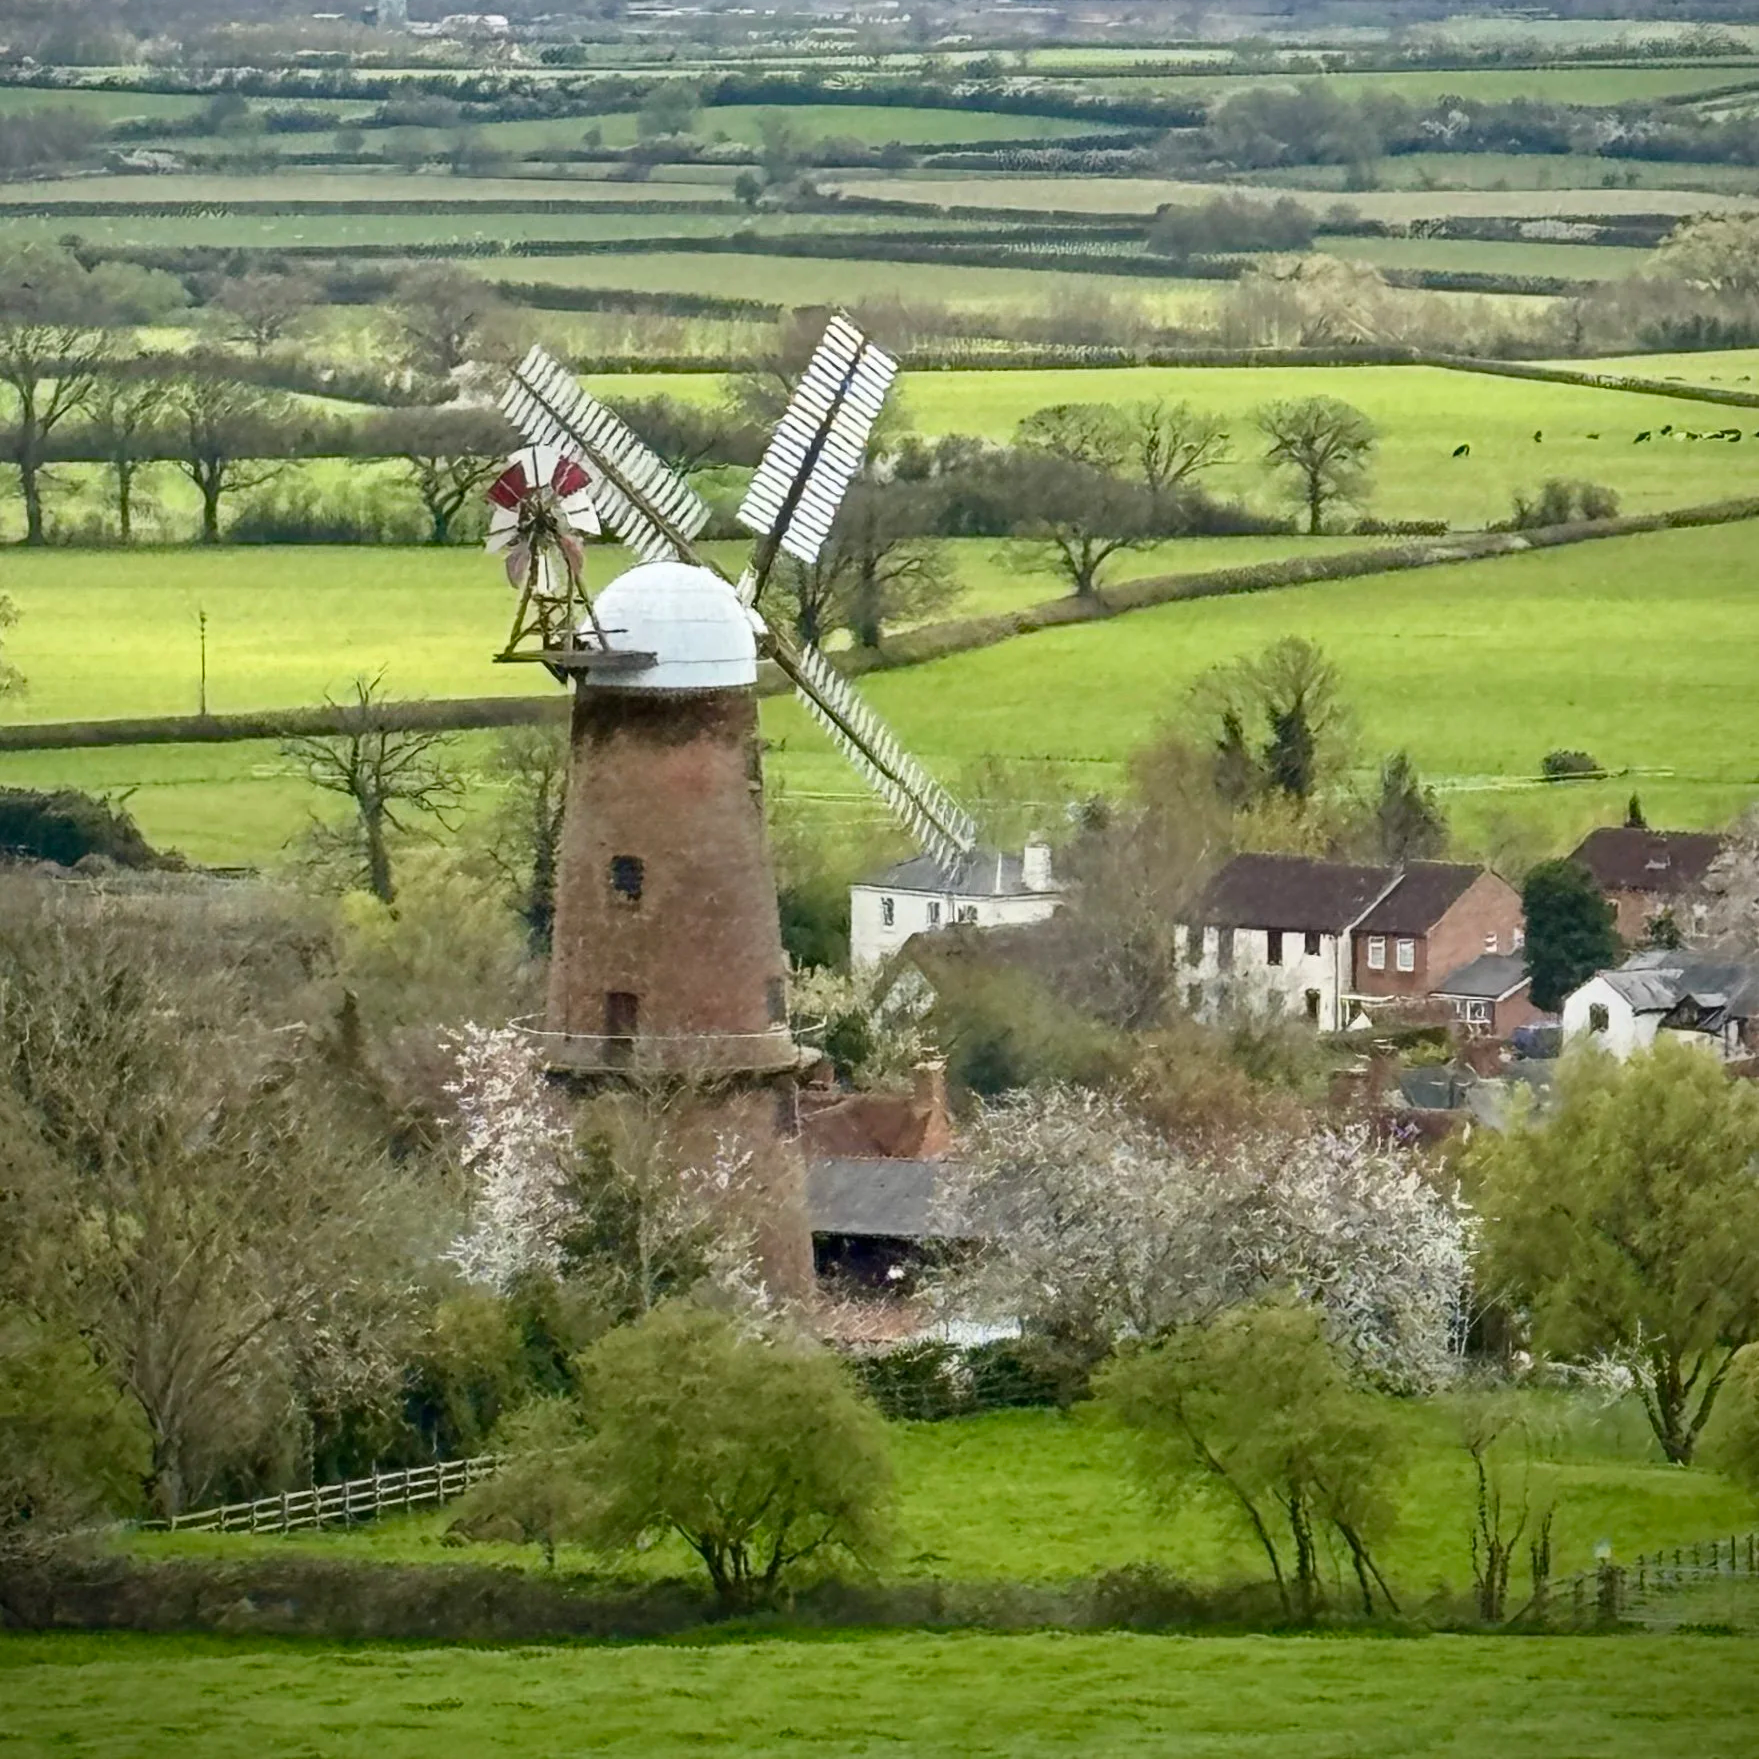
Section 8: Quainton and Botolph Claydon
Start & Finish: George and Dragon pub, 32 The Green, Quainton, Aylesbury HP22 4AR
Distance: 13.2 km (8.2 miles)
Elevation change: +/- 144m
Terrain: The route predominantly follows public bridleways and quiet country lanes, with some muddy sections likely after heavy rain.
Midshires Way section covered: Quainton to East Claydon: 6.7 km
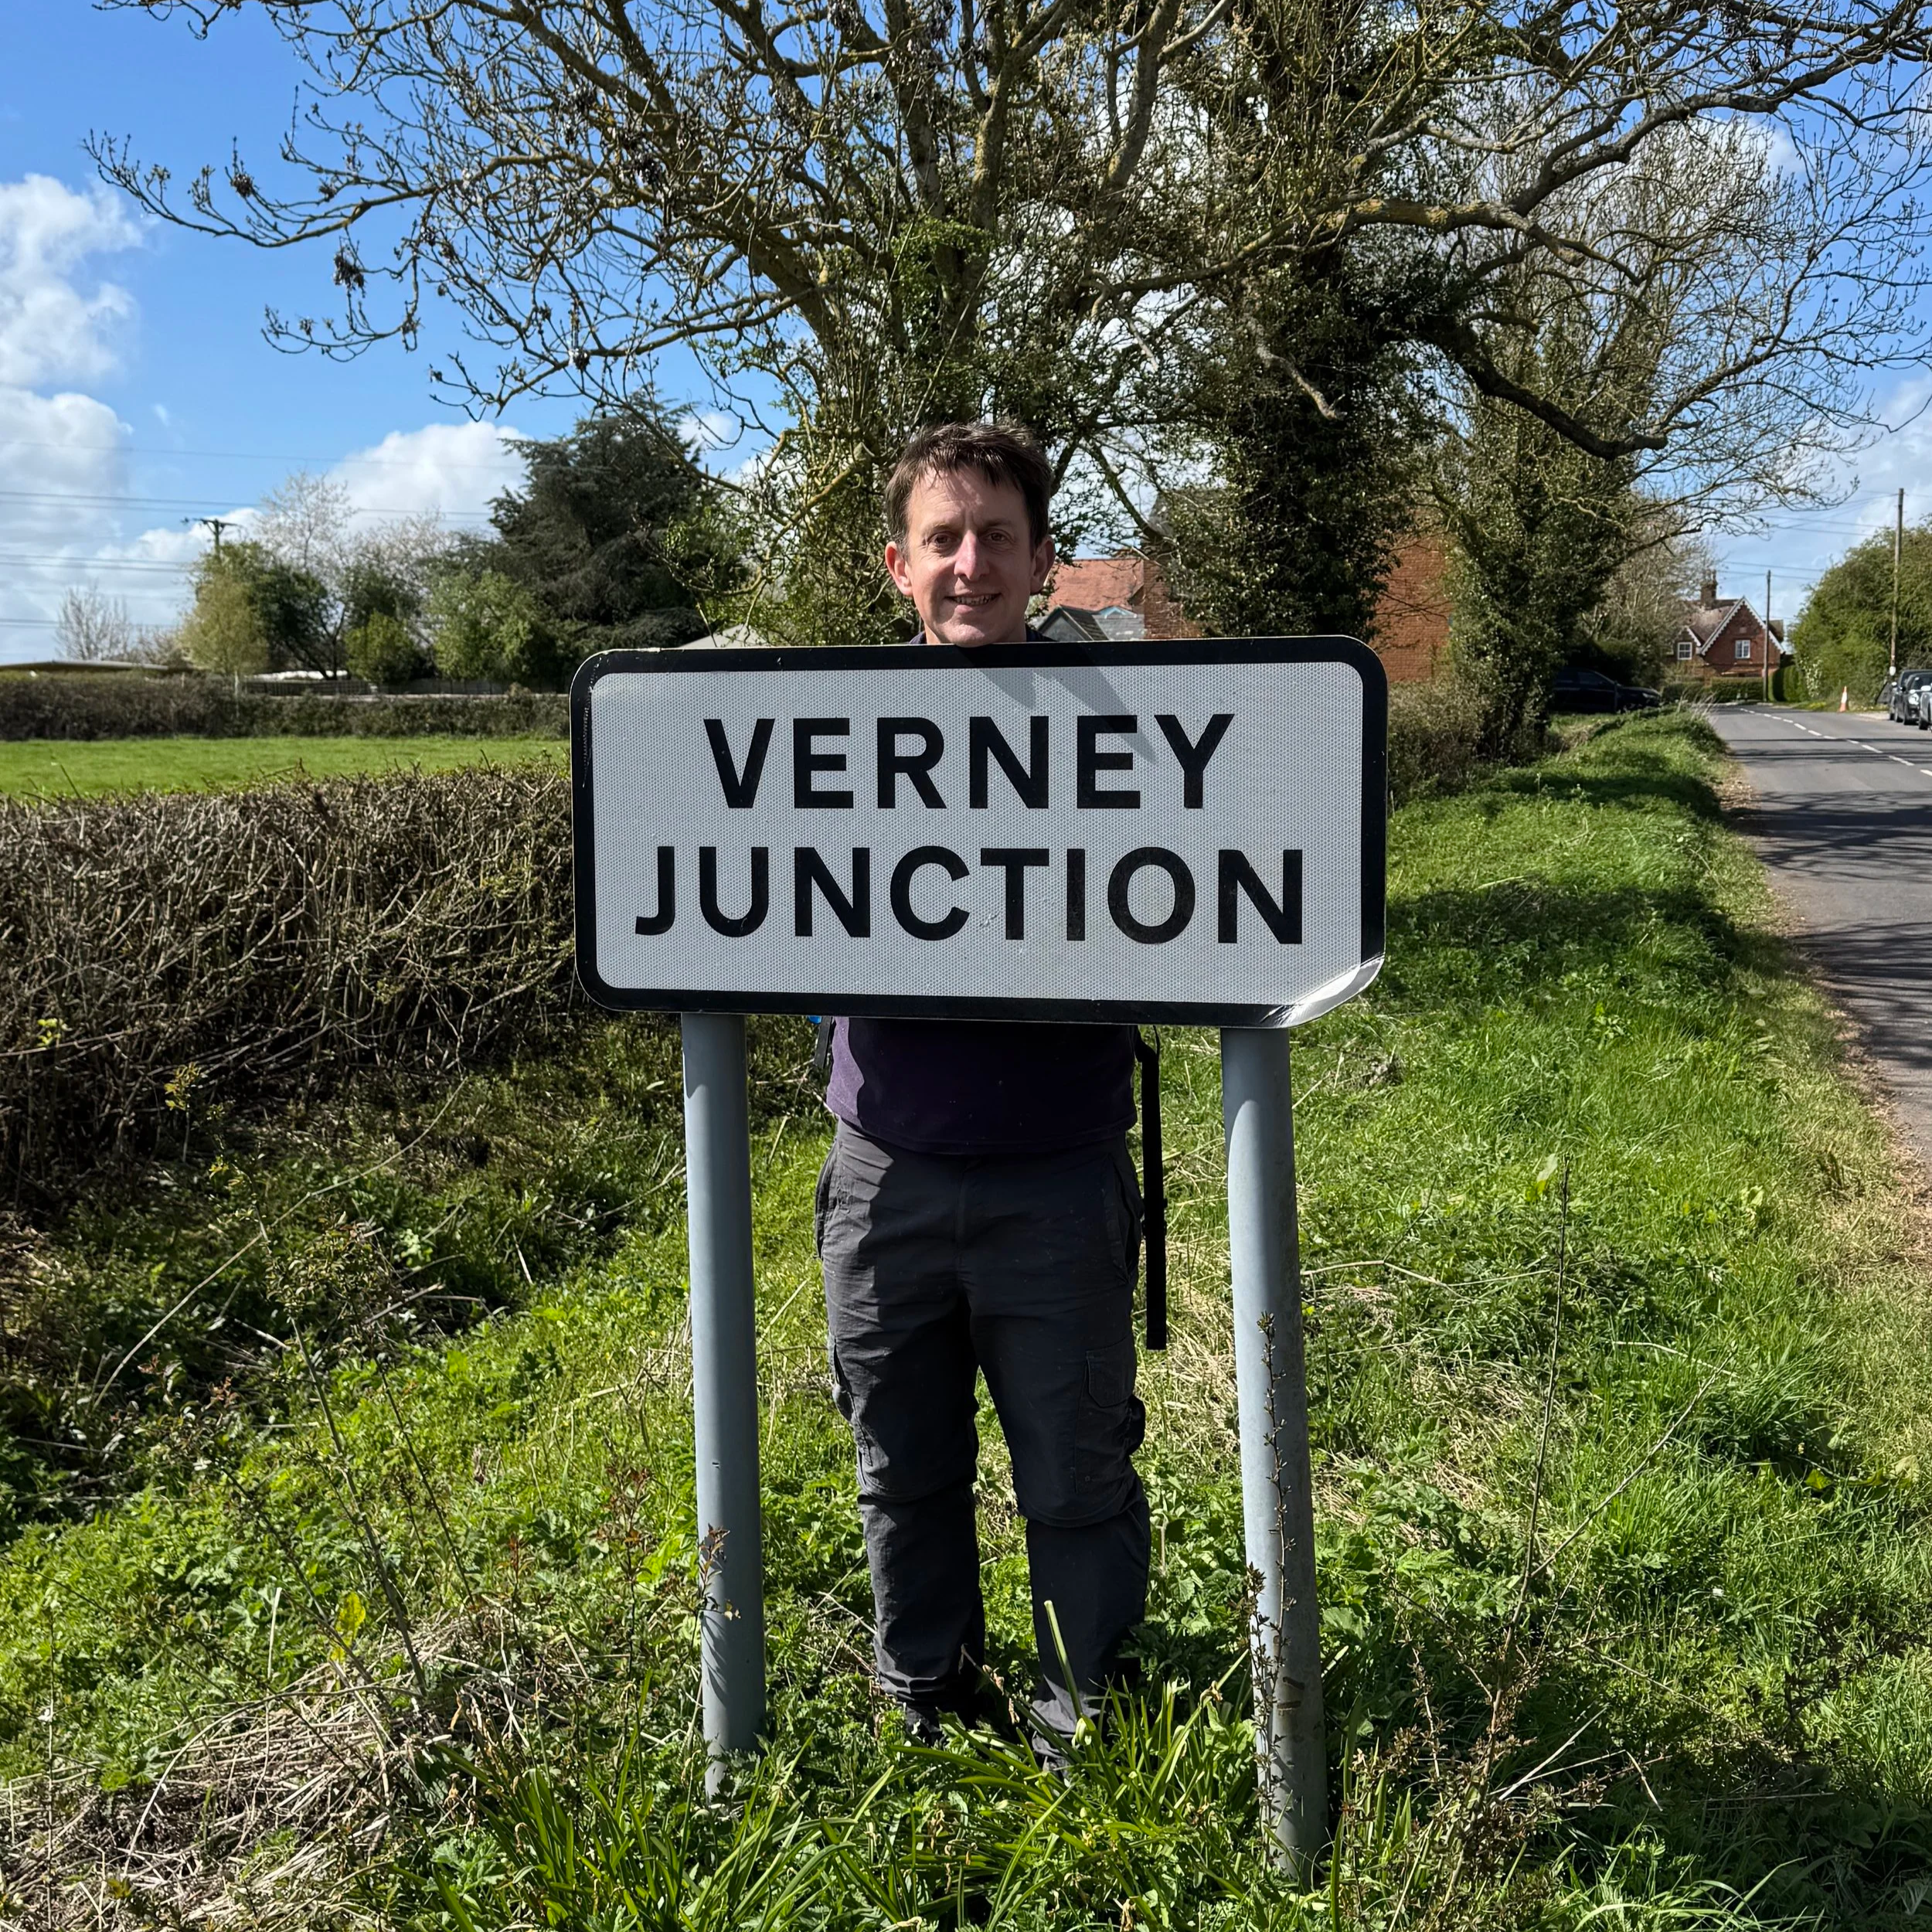
Section 9: Verney Junction and Winslow
Start & Finish: St Mary's Church, Church Way, East Claydon, Buckingham, MK18 2ND
Distance: 12.7 km (7.9 miles)
Elevation change: +/- 97m
Terrain: Mixed terrain including field paths, bridleways, and quiet country lanes.
Midshires Way section covered: East Claydon to Addington: 4.7 km
Section 10: Addington and Great Horwood
Start & Finish: Church End, Adstock, Buckingham, MK18 2HY
Distance: 10.3 km (6.4 miles)
Elevation change: +/- 79m
Terrain: A pleasant mix of open arable fields, ancient bridleways, and quiet village lanes.
Midshires Way section covered: Addington to Great Horwood: 4.3 km
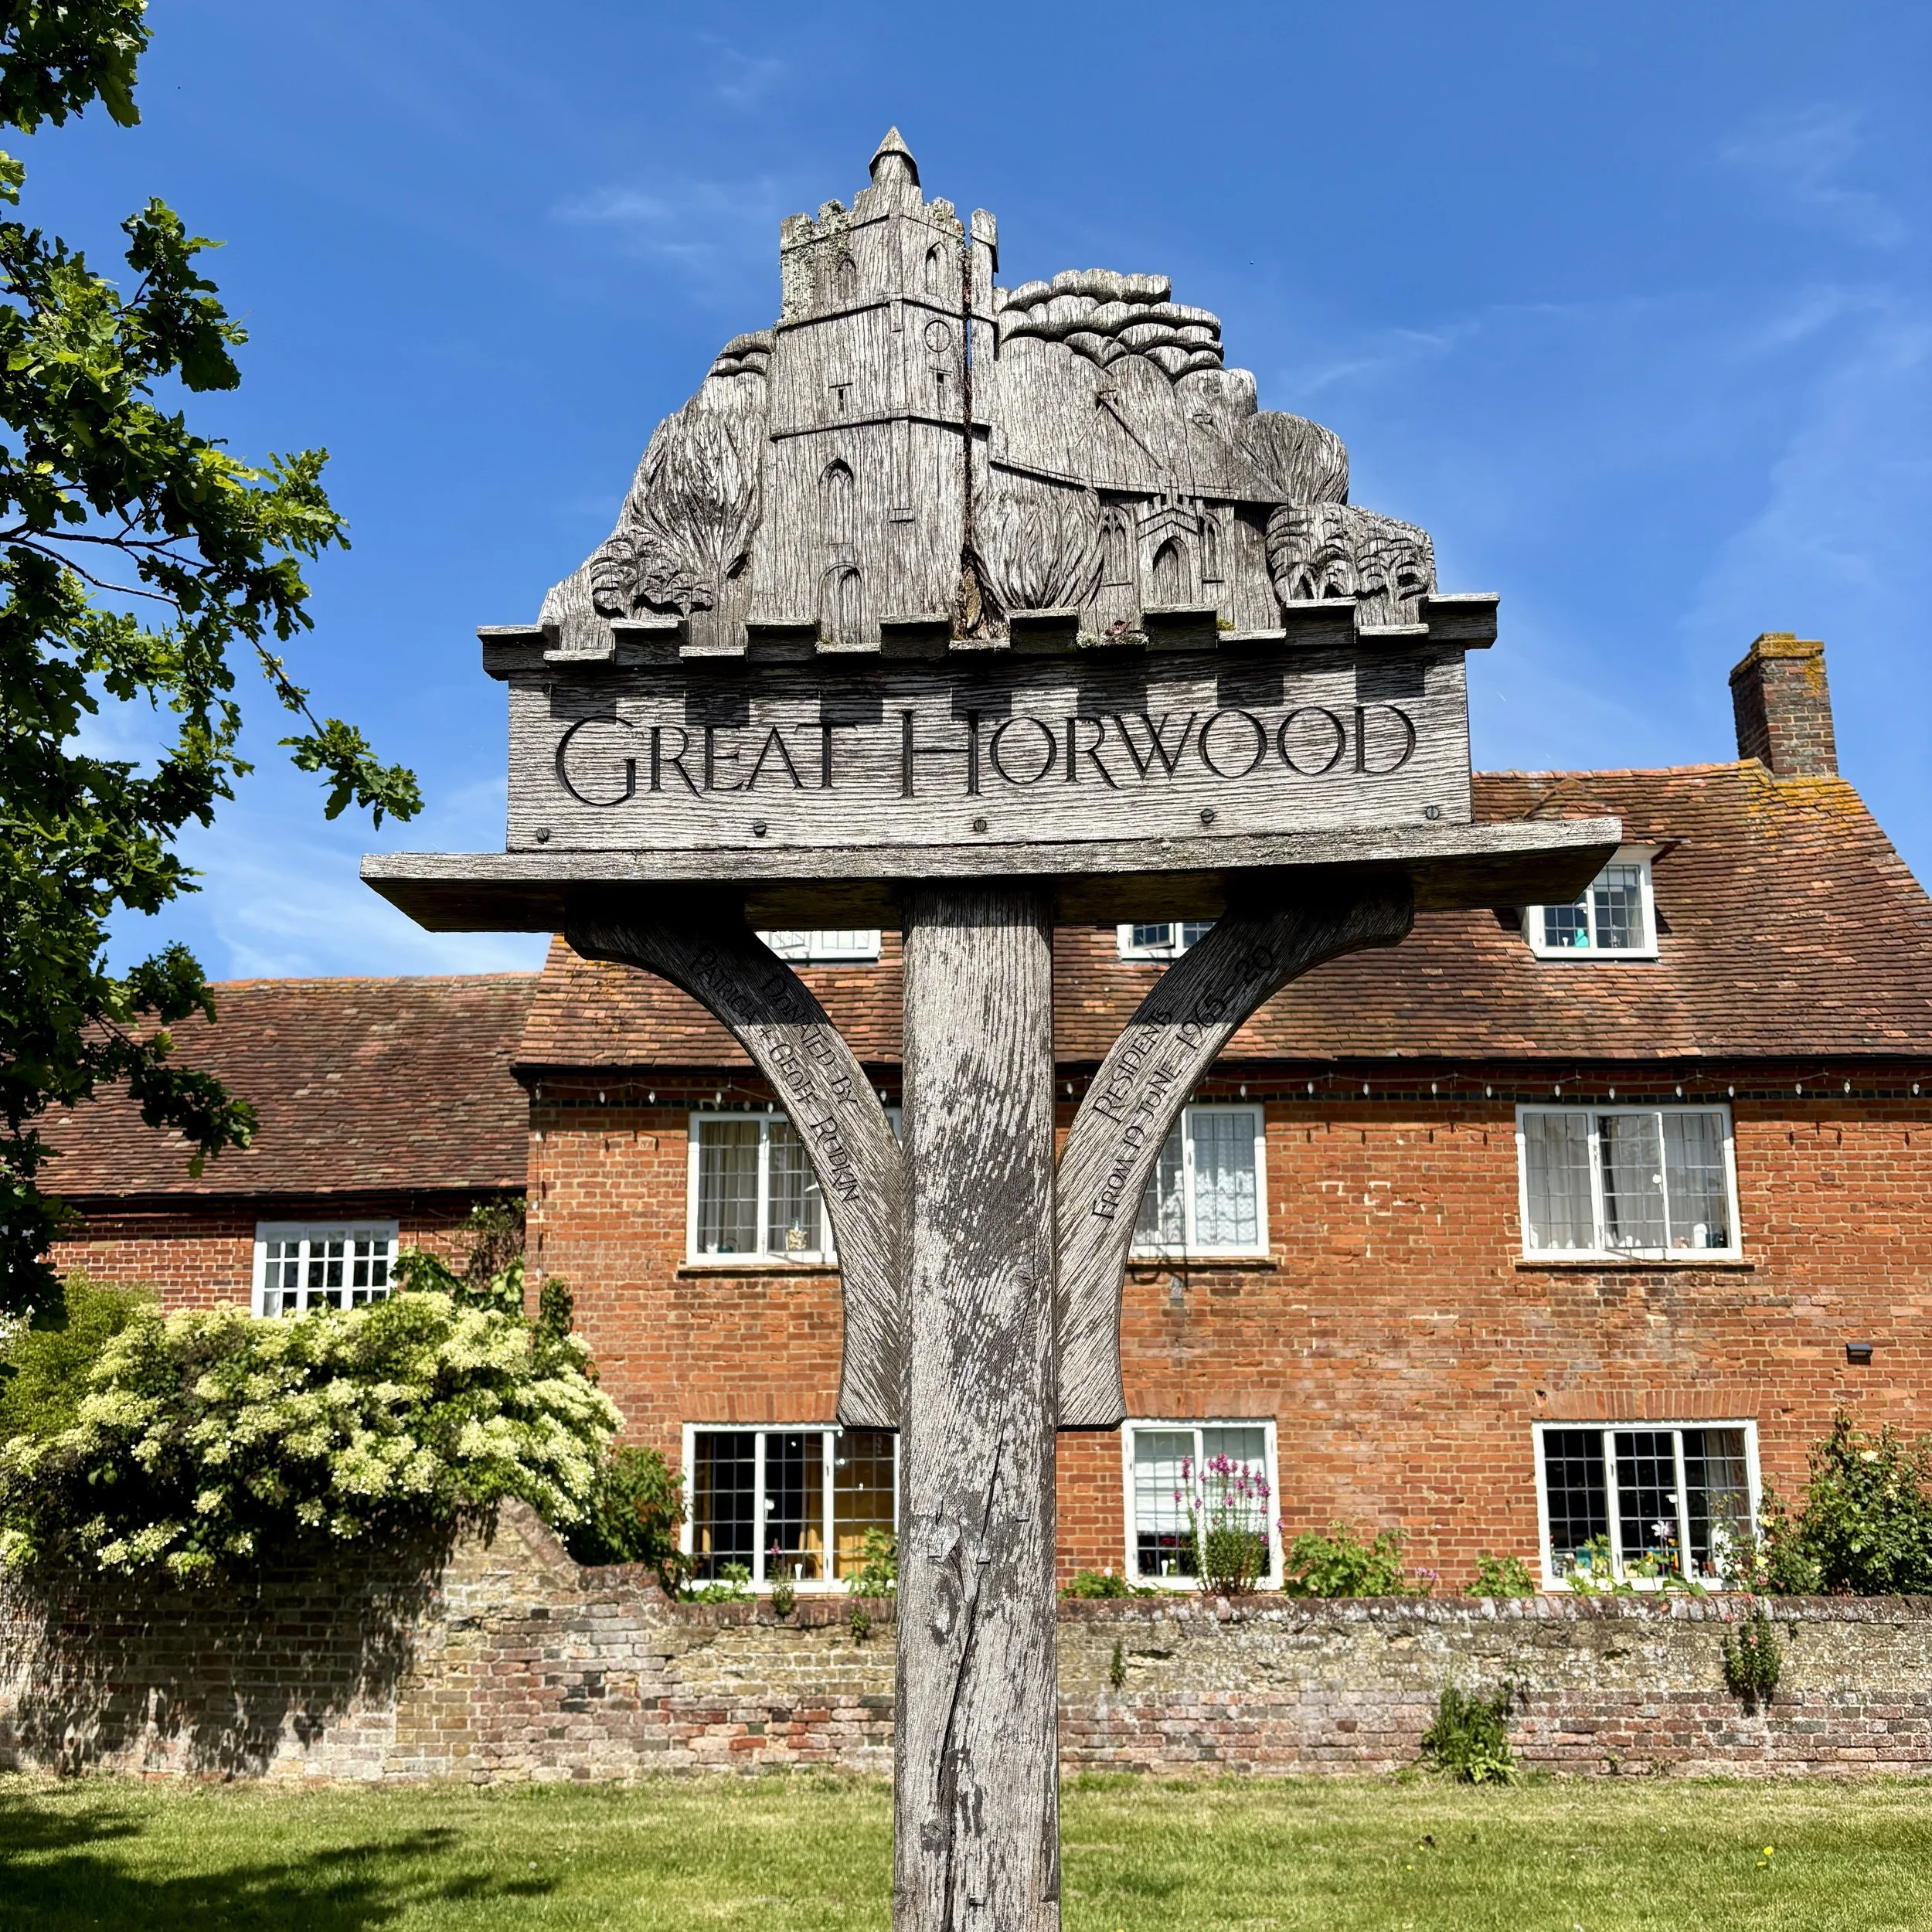
Section 11: Great Horwood and Whaddon
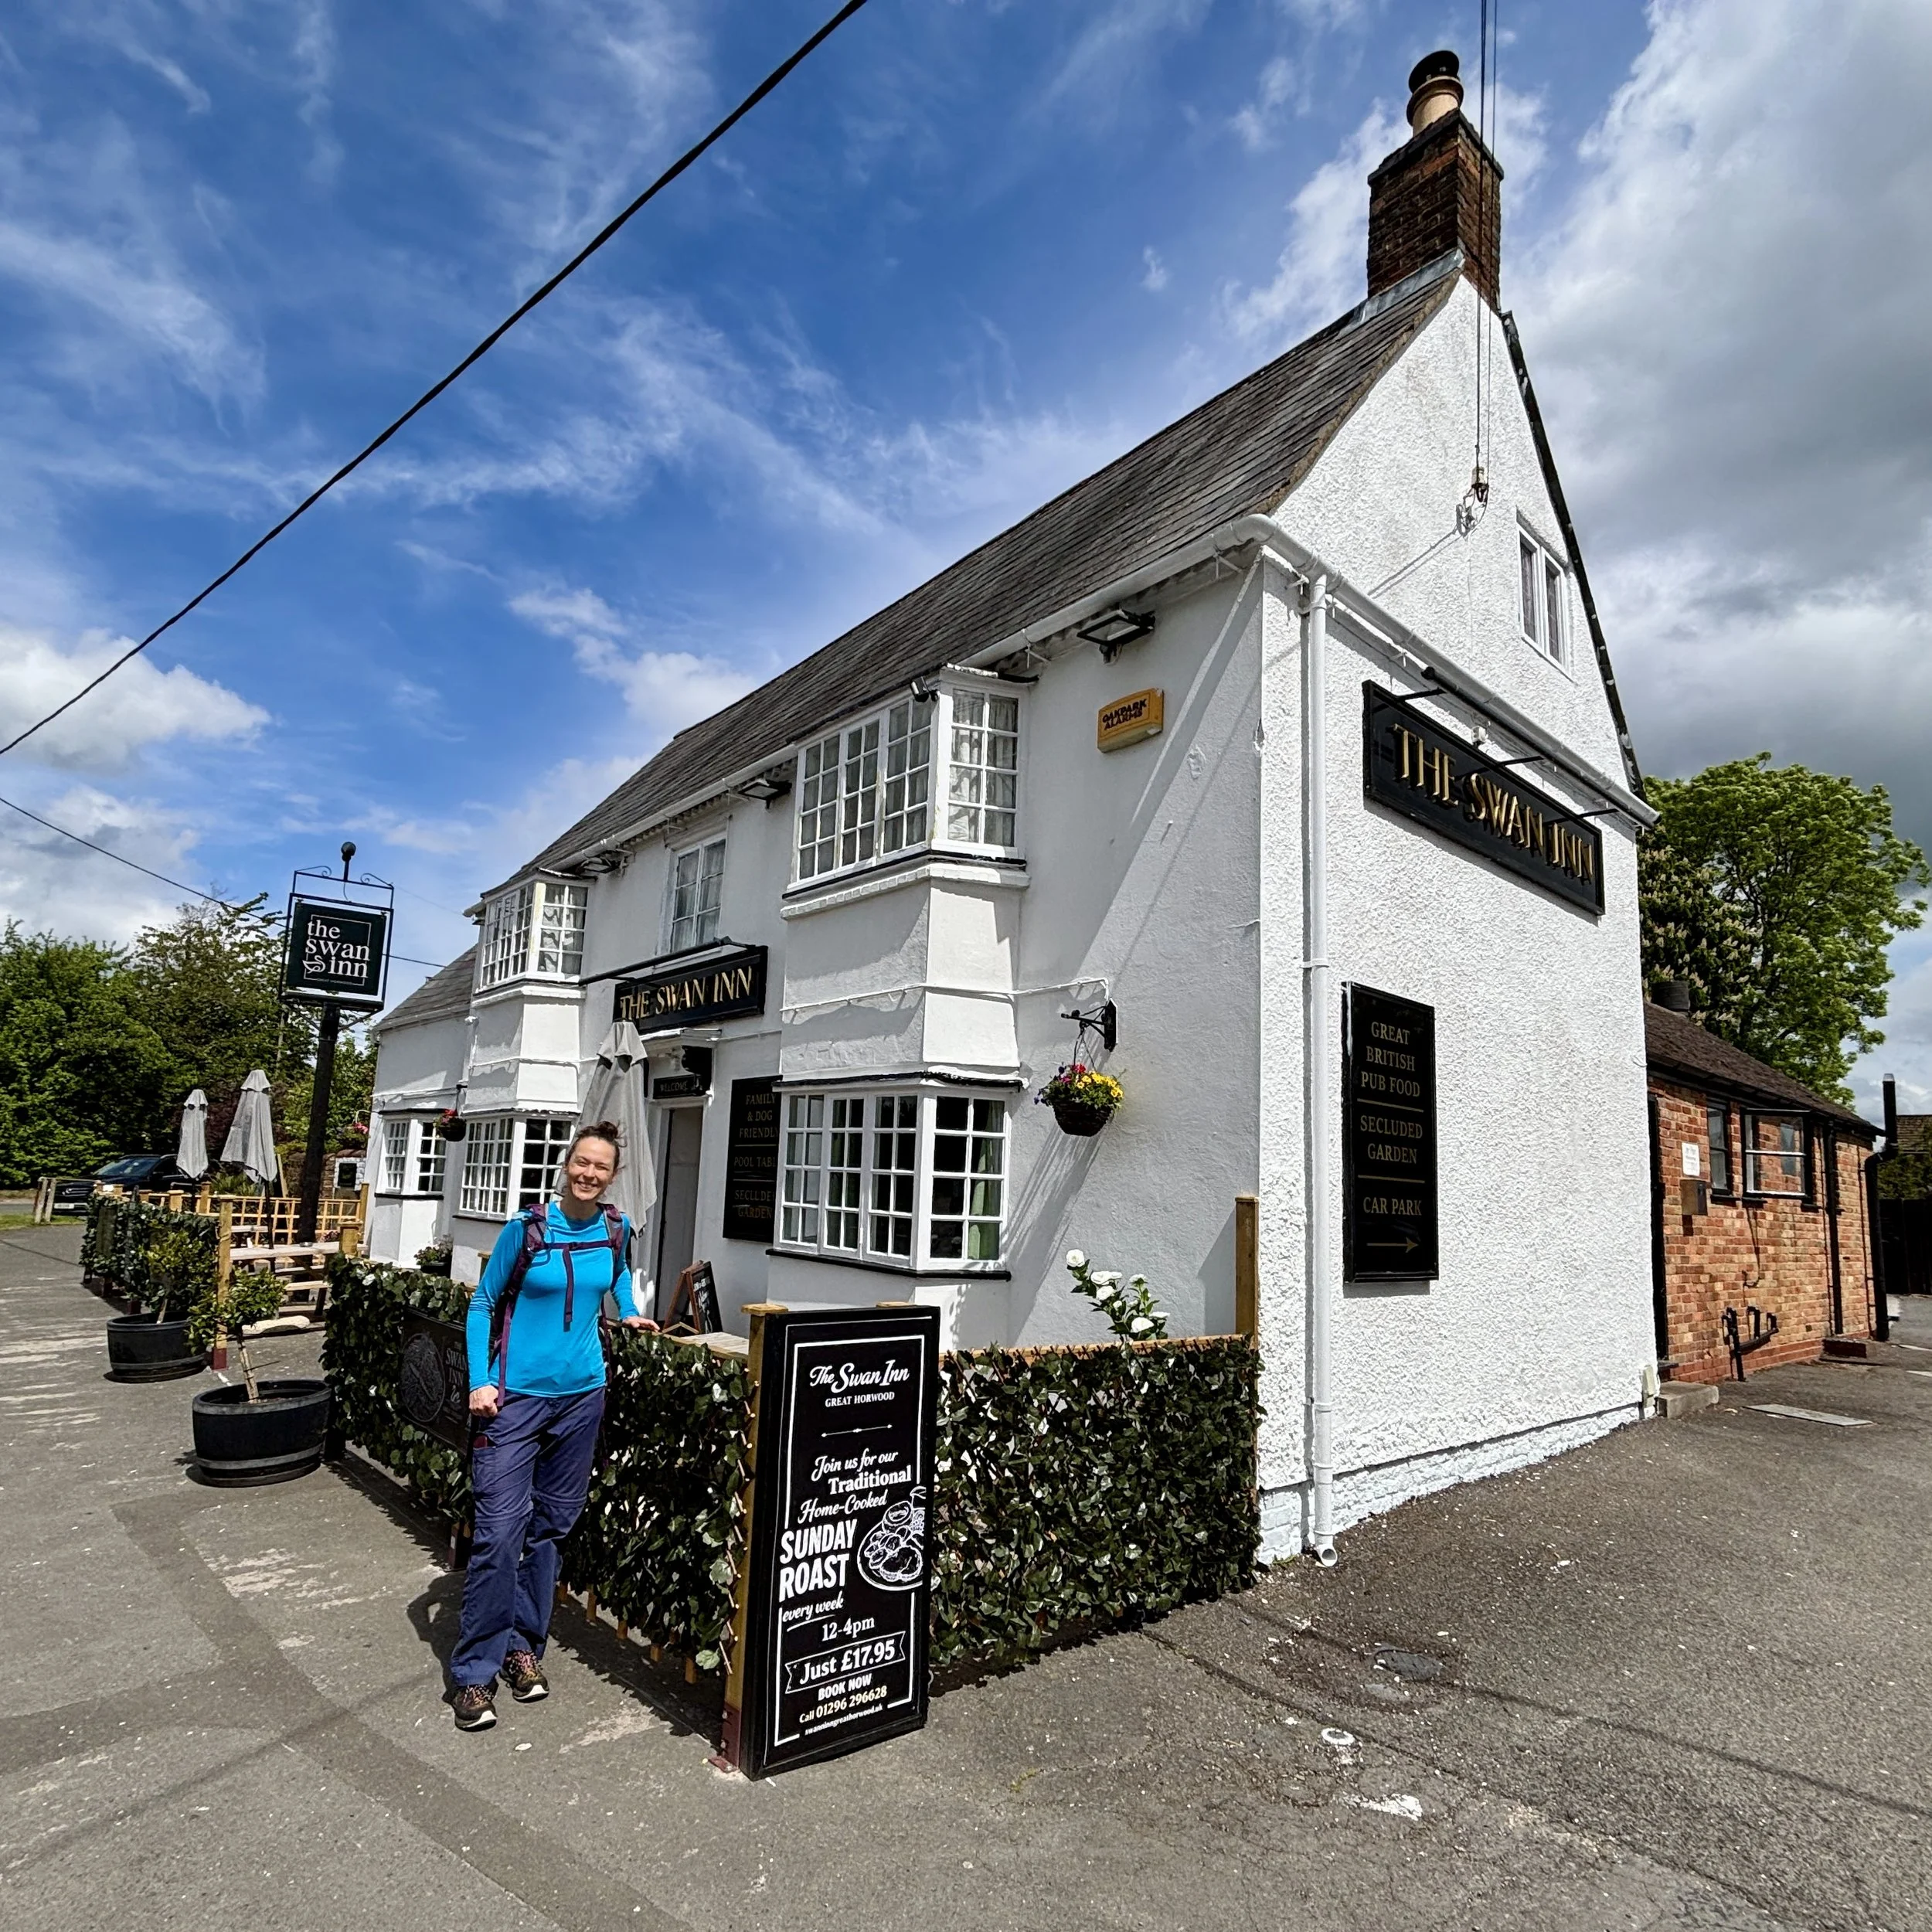
Start & Finish: The Swan Inn, 1 Winslow Road, Great Horwood, Milton Keynes, MK17 0QN
Distance: 11.4 km (7.1 miles)
Elevation change: +/- 85m
Terrain: A mixture of grassy footpaths, bridleways, agricultural field margins, and village pavements.
Midshires Way section covered: Great Horwood to Whaddon: 6.1 km
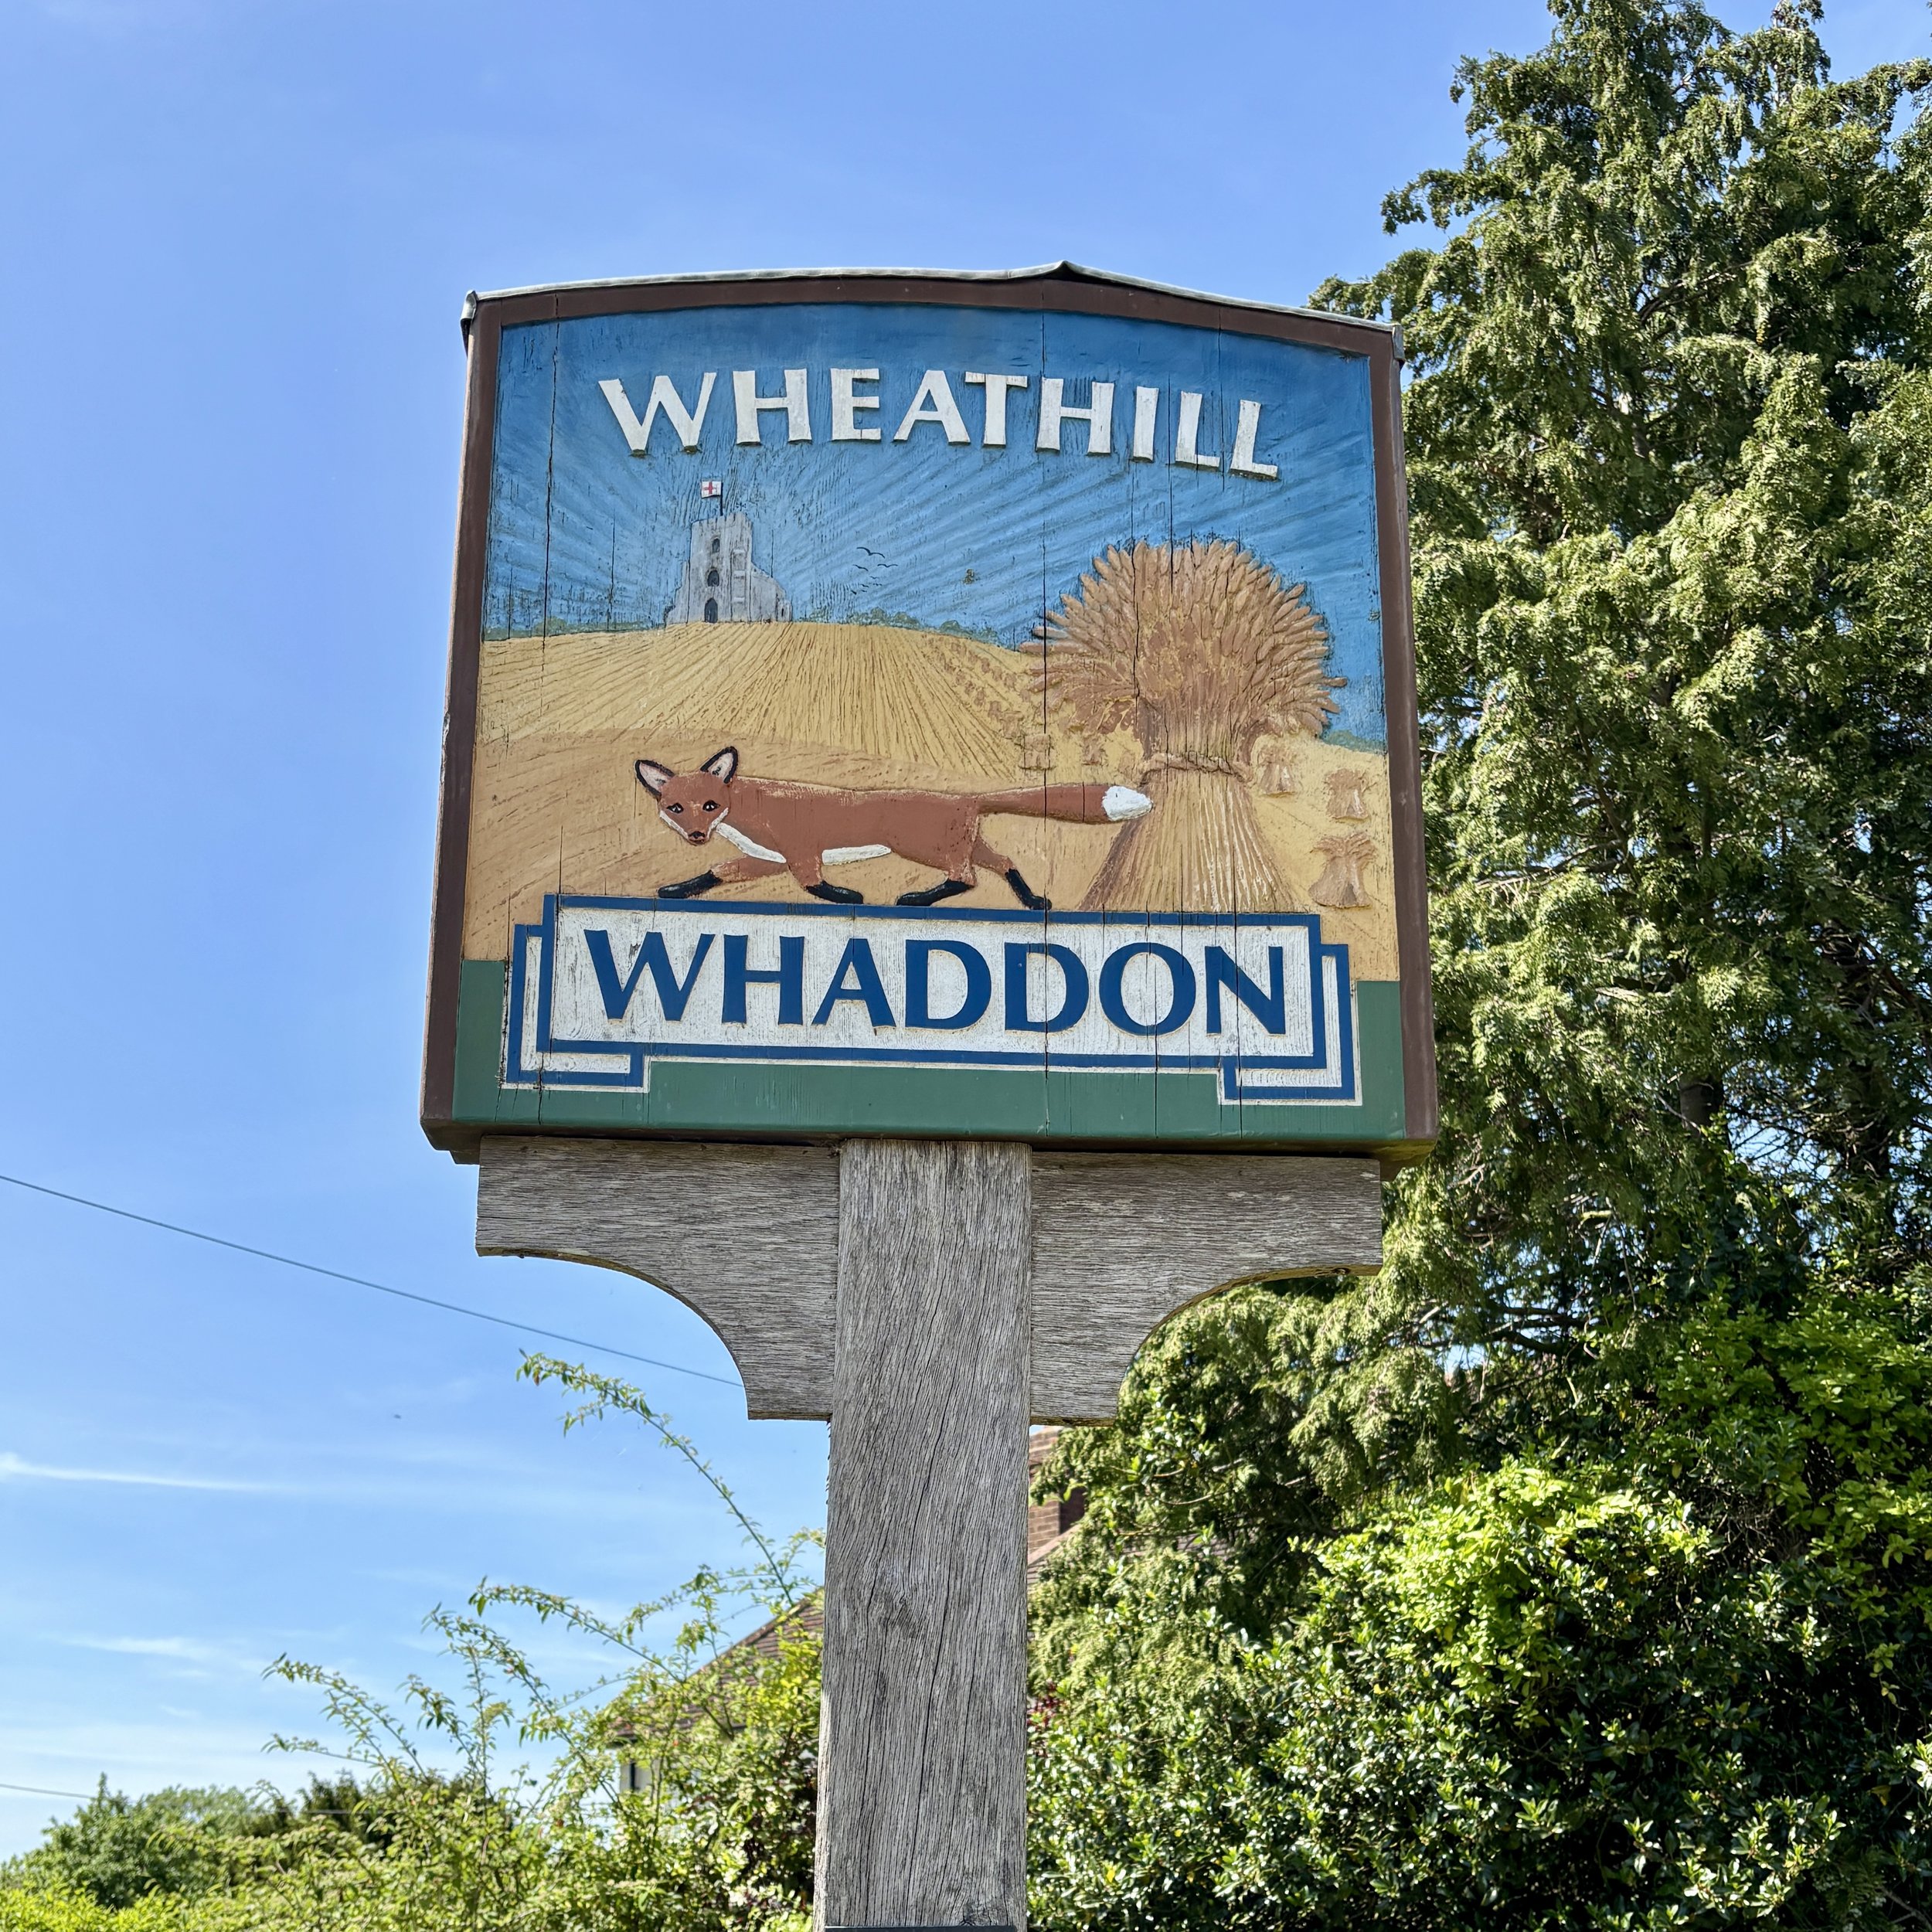
Section 12: Whaddon and Oakhill Wood
Start & Finish: St Mary's Church, Church Hill, Whaddon, Milton Keynes, MK17 0LZ
Distance: 8.3 km (5.2 miles)
Elevation change: +/- 74m
Terrain: A combination of quiet country lanes, well-marked grassy footpaths, and rustic woodland tracks.
Midshires Way section covered: Whaddon to Oakhill: 3.2 km
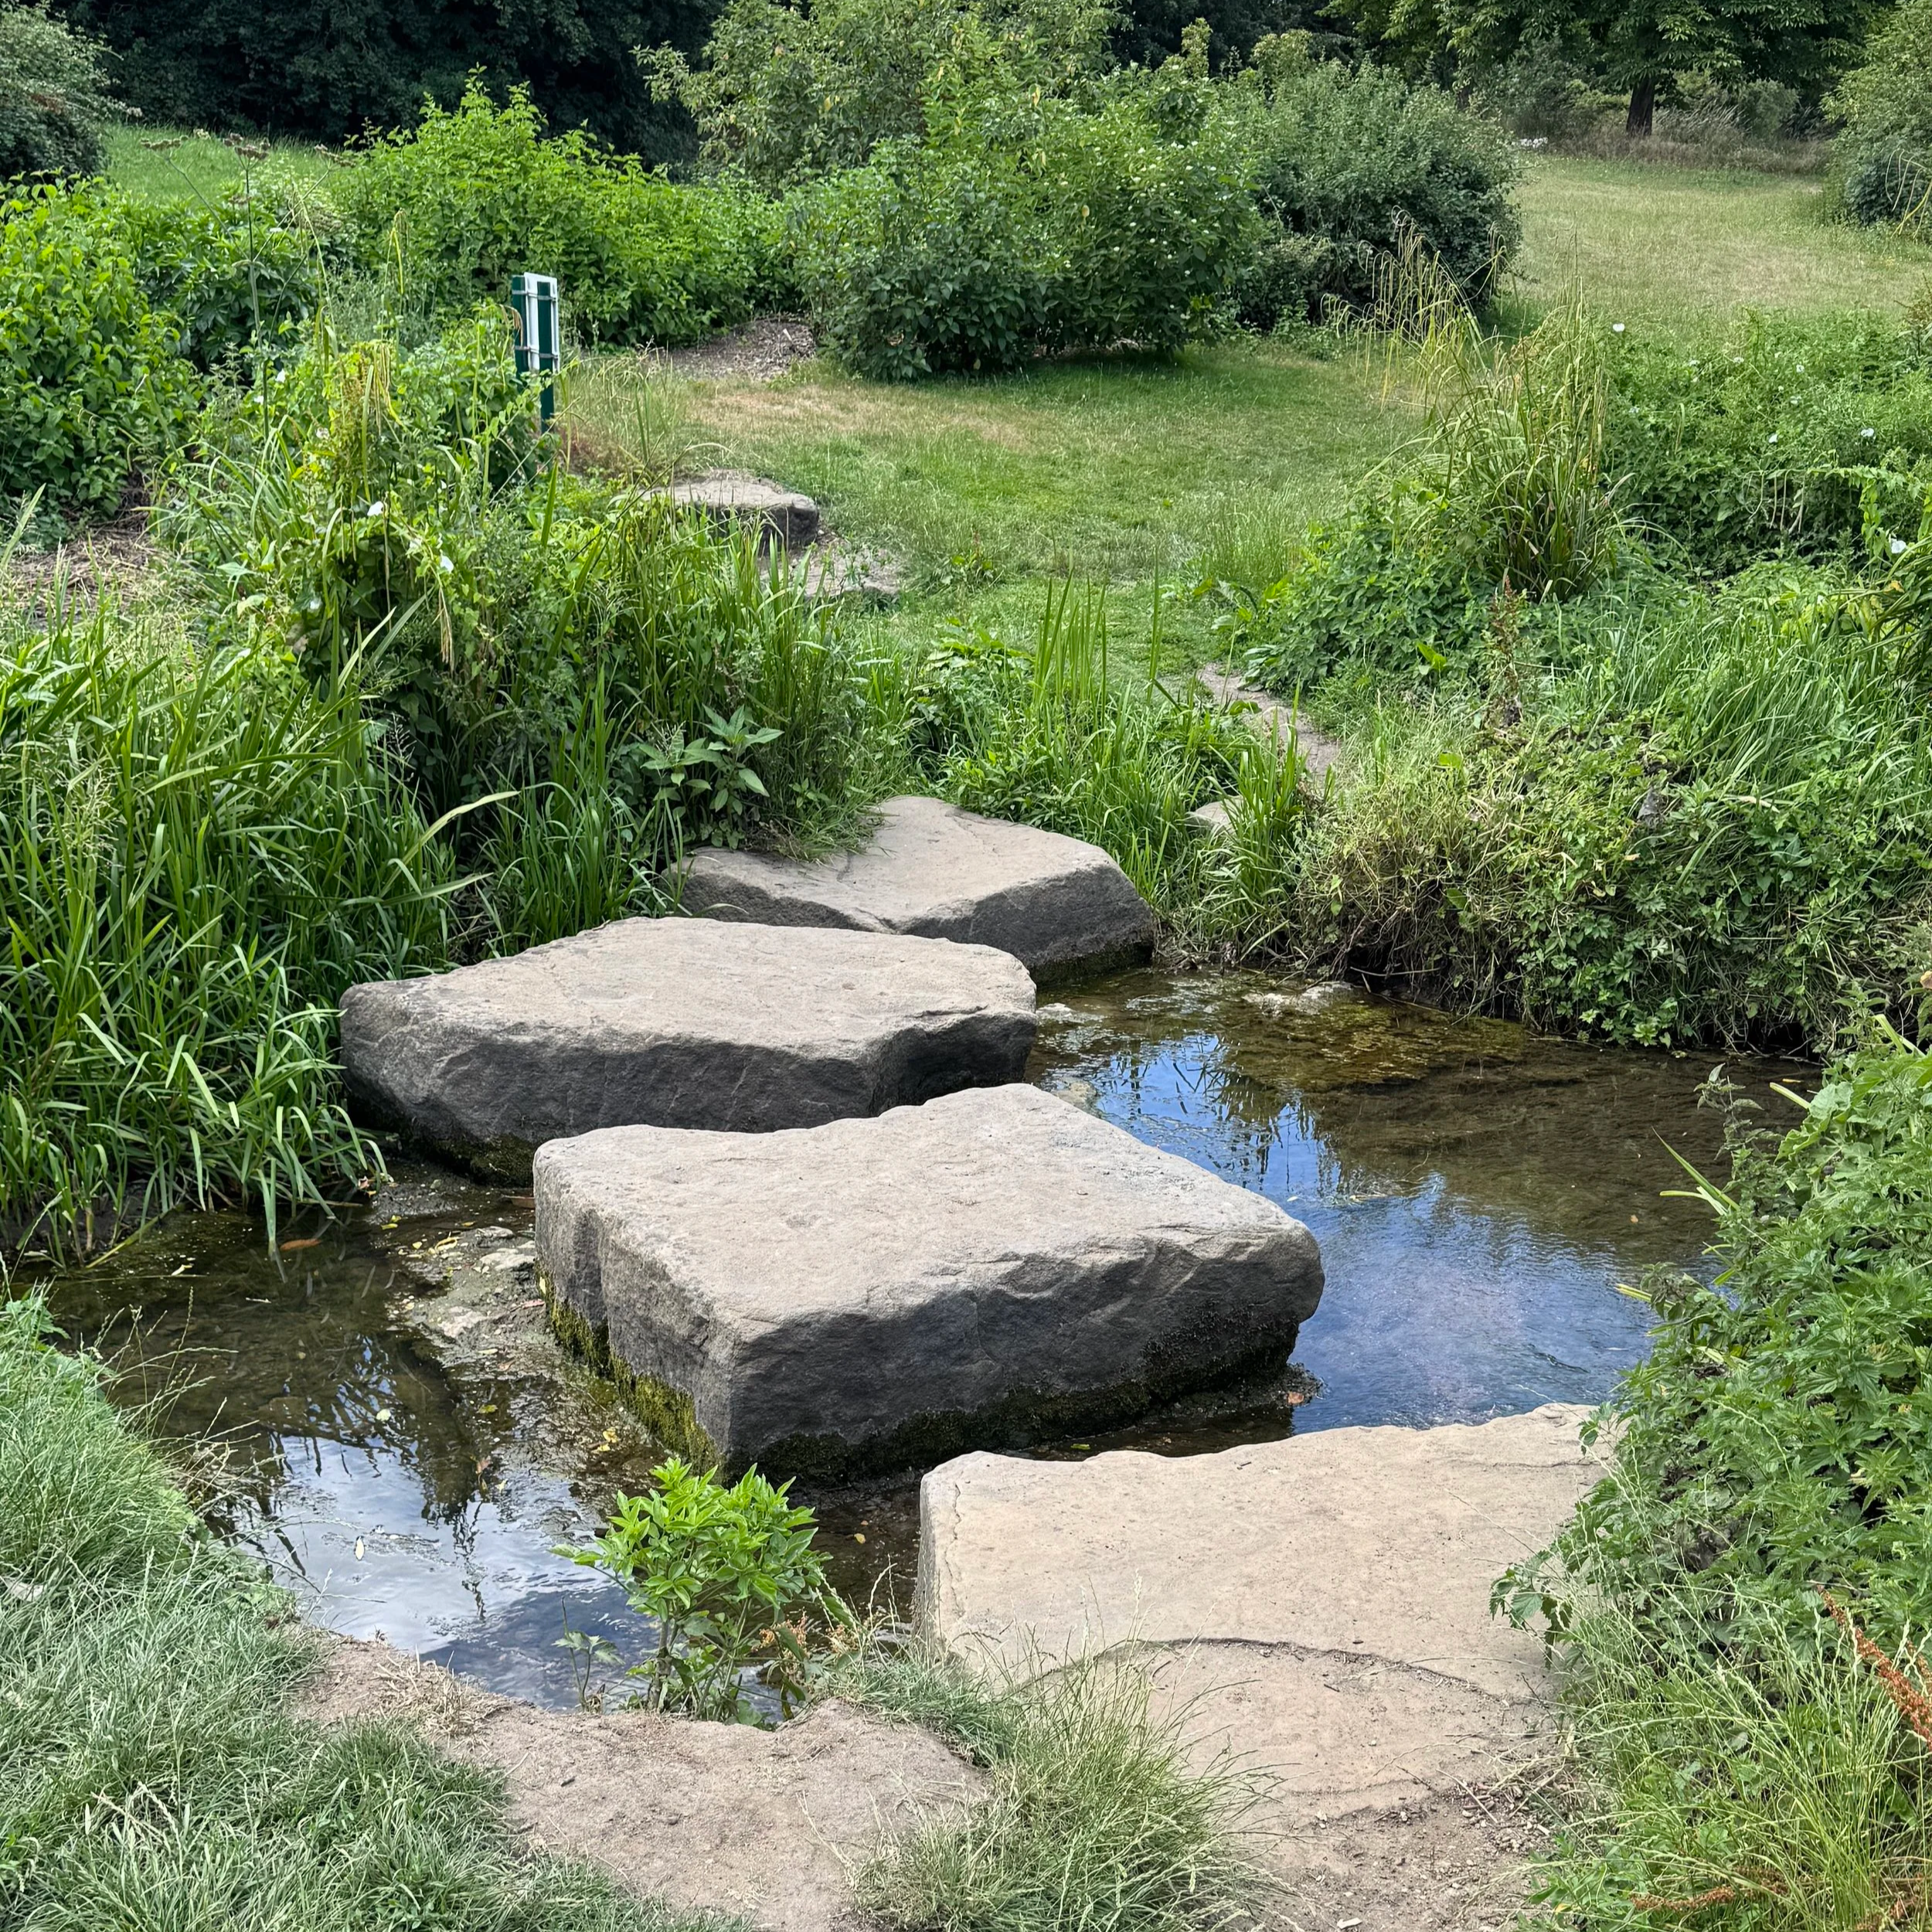
Section 13: Oakhill and Loughton
Start & Finish: Lodge Lake Car Park, Bradwell Road, Loughton Lodge, Great Holm, Milton Keynes, MK8 9LG
Distance: 9.8 km (6.1 miles)
Elevation change: +/- 84m
Terrain: A mix of ancient woodland paths, paved Milton Keynes redways, and grassy parkland trails.
Midshires Way section covered: Oakhill to Lodge Lake: 5.8 km
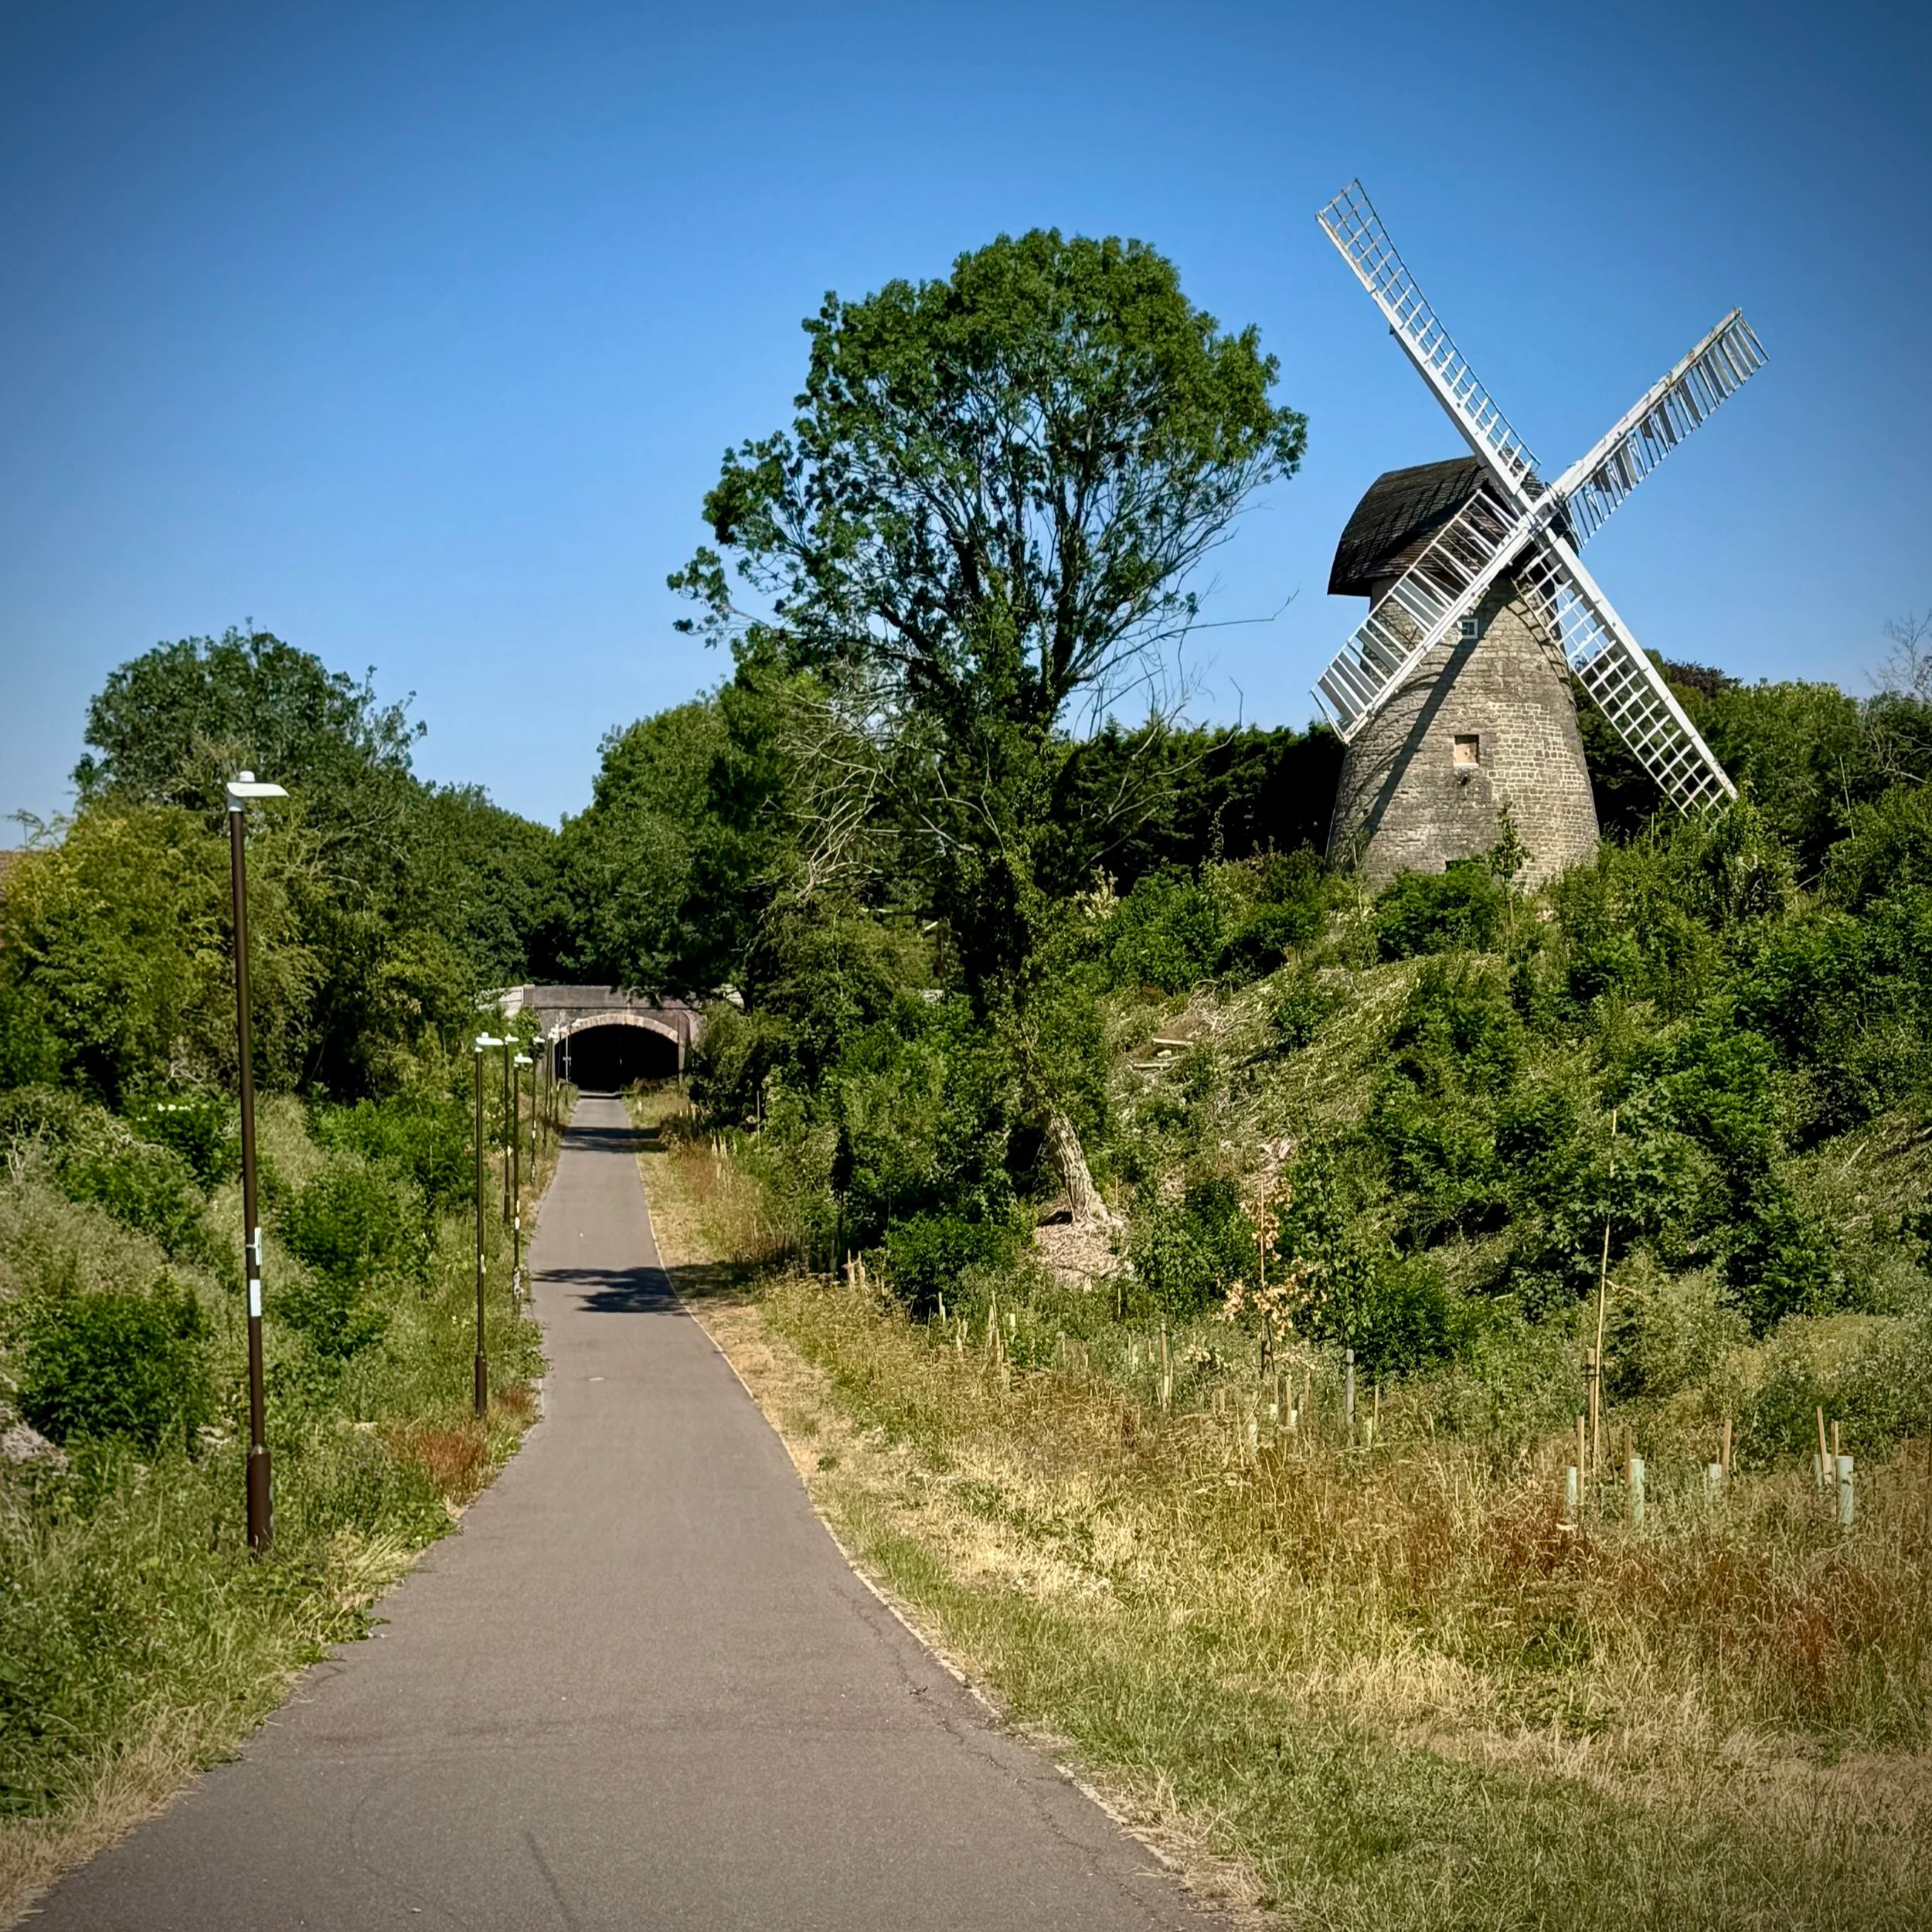
Section 14: Bradwell Abbey and Linford Wood
Start & Finish: Lodge Lake Car Park, Bradwell Road, Loughton Lodge, Great Holm, Milton Keynes, MK8 9LG
Distance: 11.6 km (7.2miles)
Elevation change: +/- 84m
Terrain: Predominantly flat, well-paved redways and shaded woodland paths suitable for most weather conditions.
Midshires Way section covered: Lodge Lake to Great Linford: 6.1 km
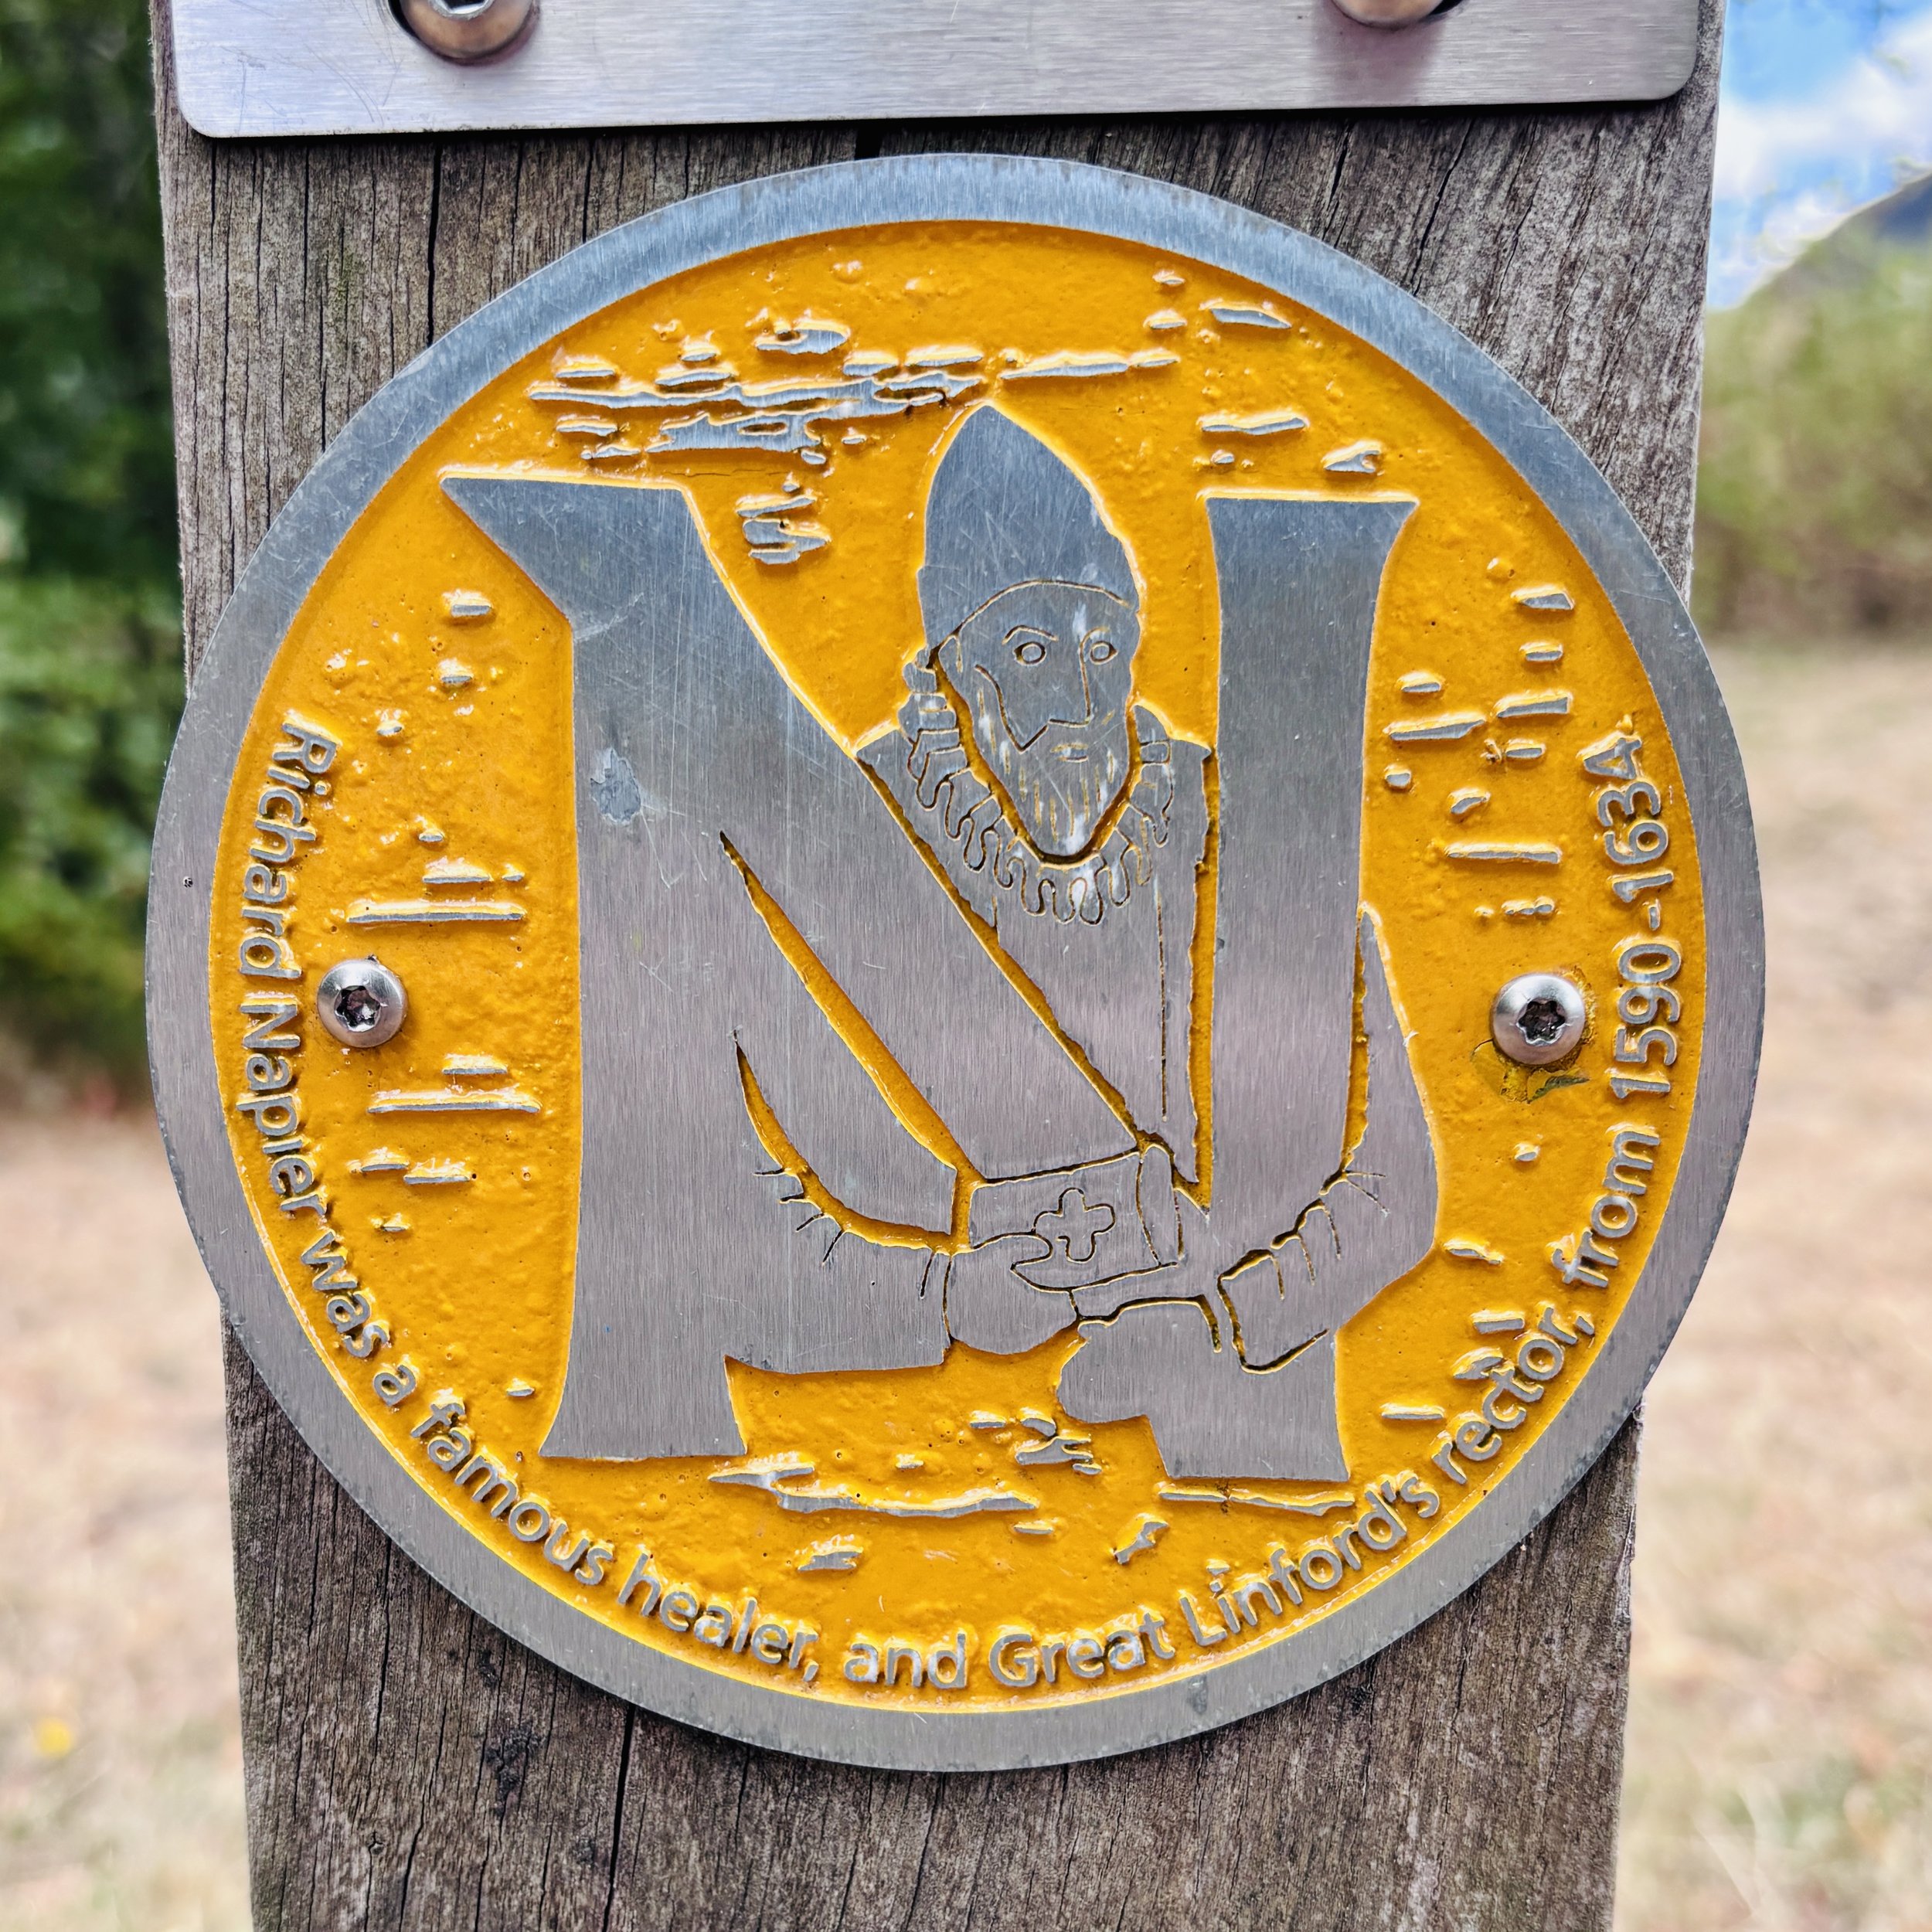
Section 15: Stantonbury Lake and Little Linford
Start & Finish: Great Linford Memorial Hall Car Park, 630 Marsh Dr, Great Linford, Milton Keynes MK14 5AS
Distance: 10.4 km (6.5 miles)
Elevation change: +/- 74m
Terrain: A mixture of paved suburban footpaths, established park trails, and potentially muddy rural tracks.
Midshires Way section covered: Great Linford to Little Linford Wood : 5.0 km
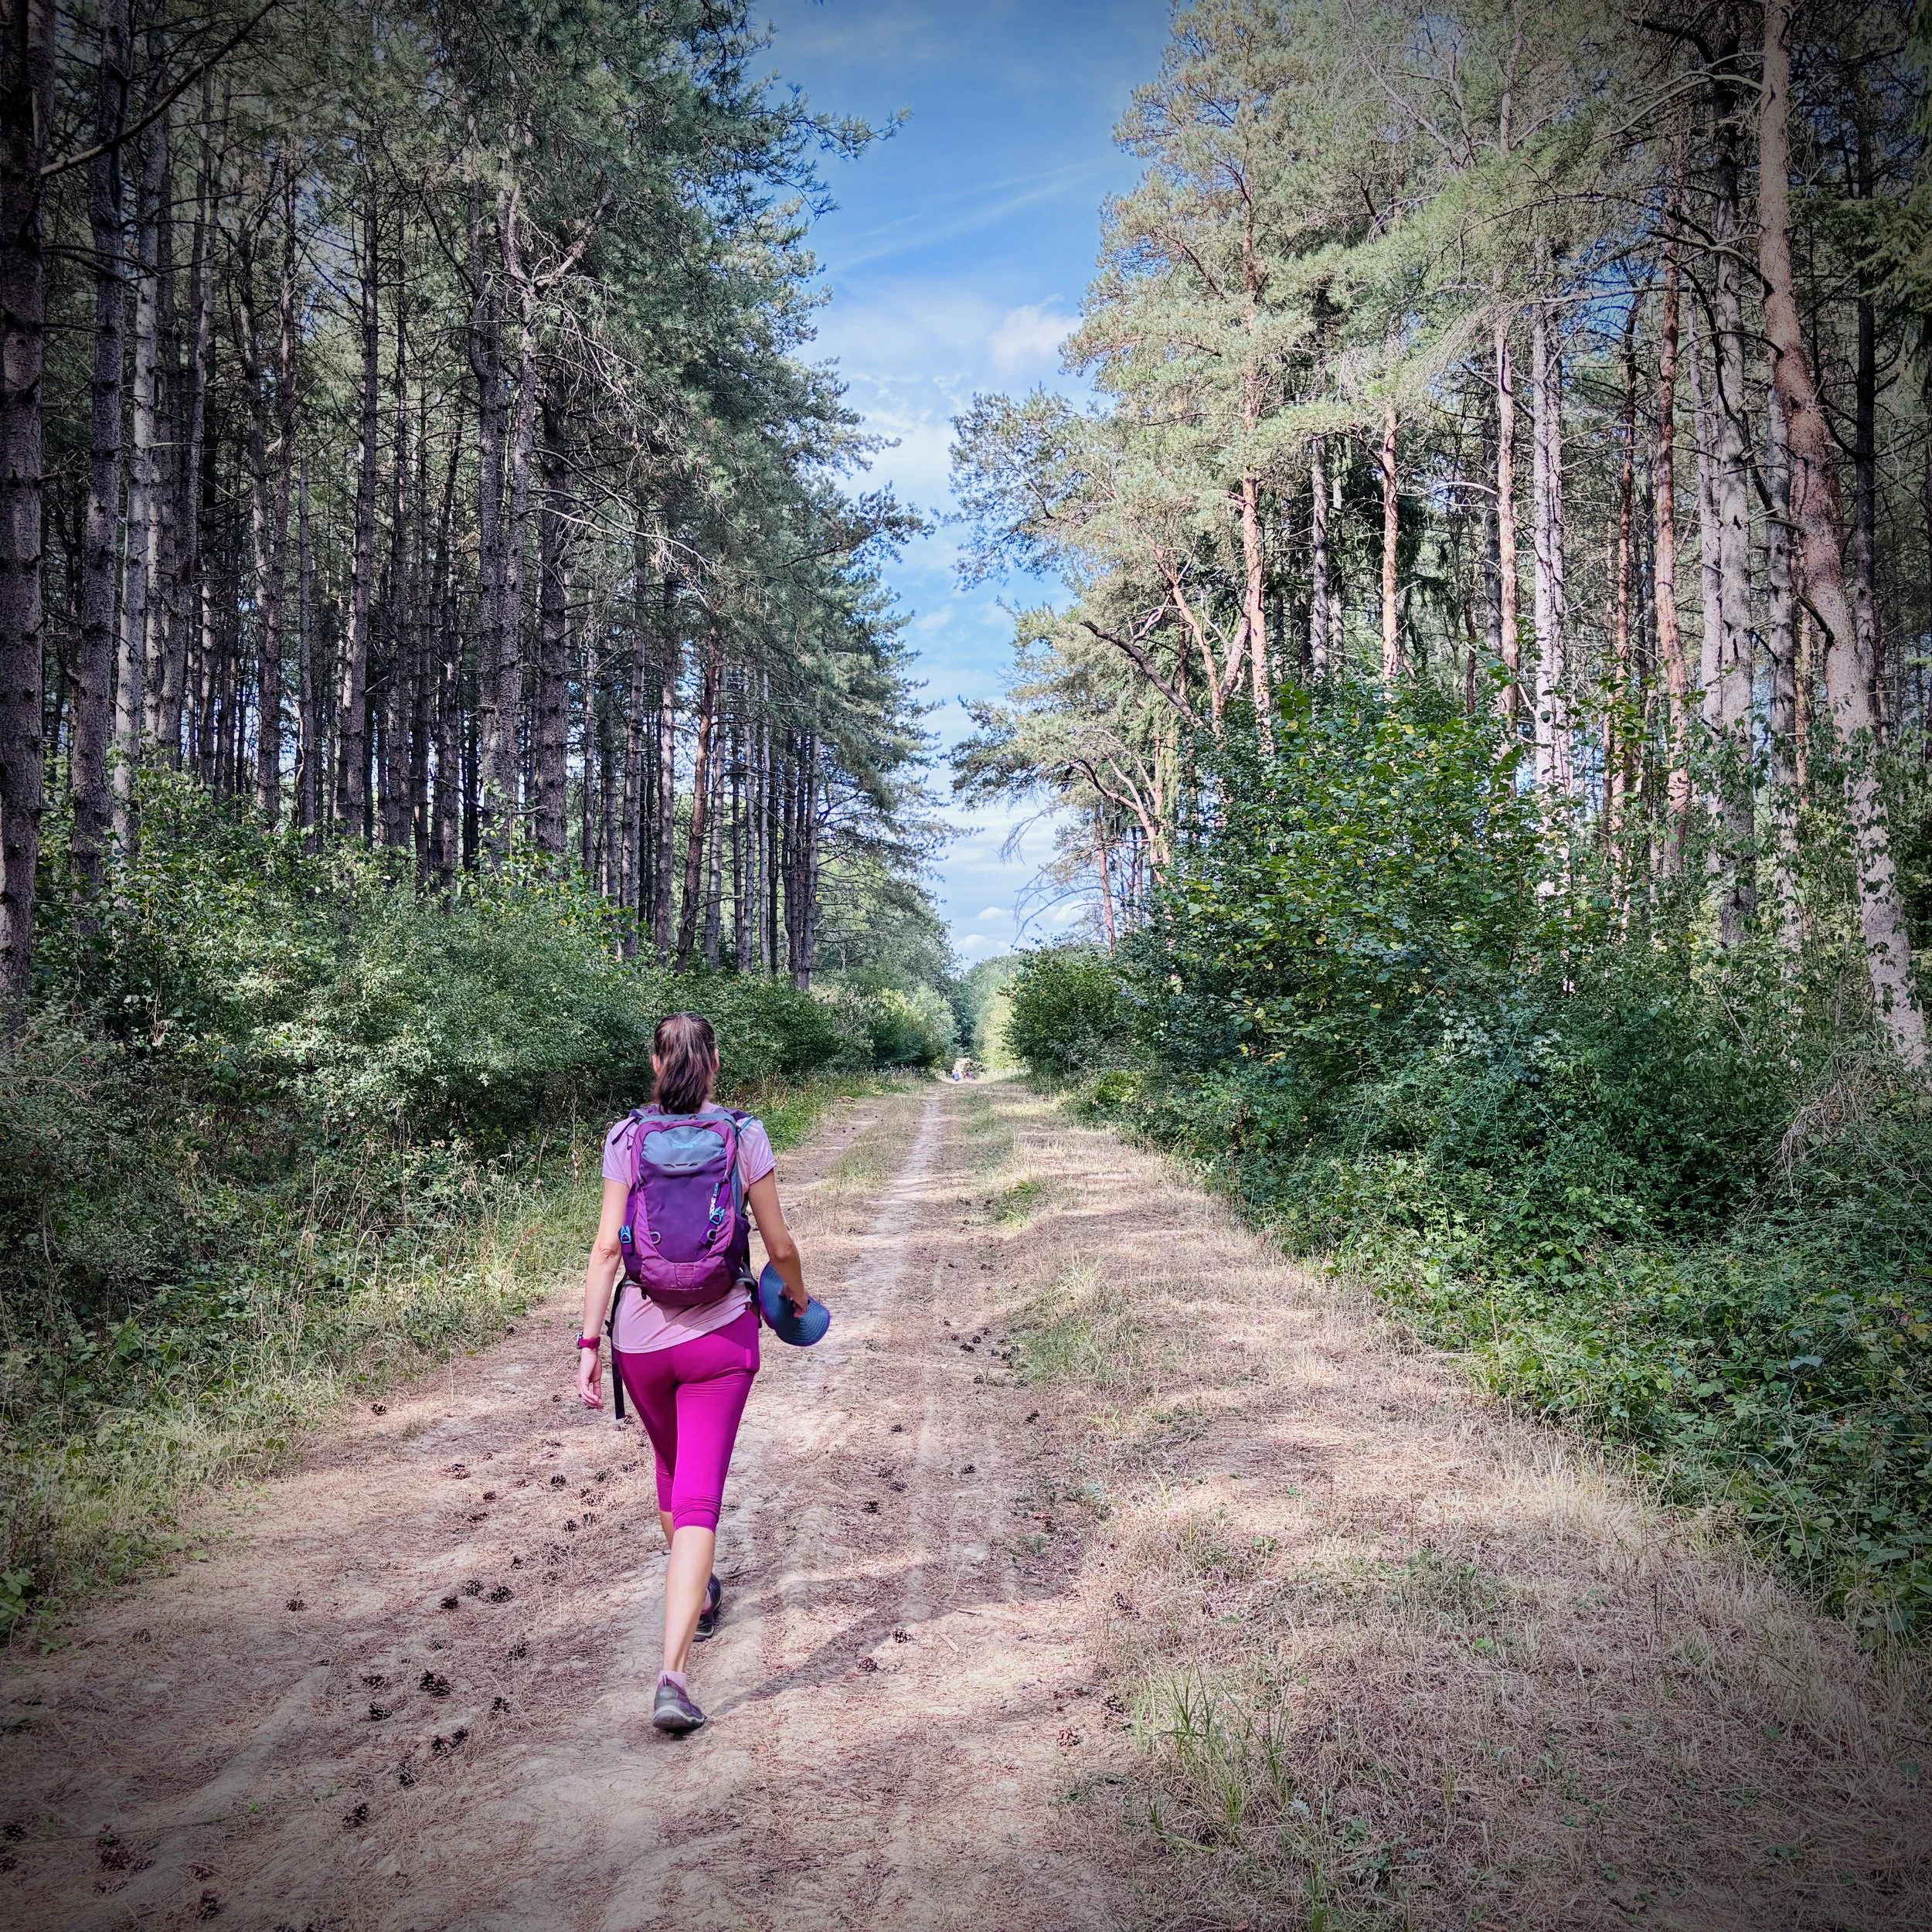
Section 16: Stoke Goldington and Tathall End
Start & Finish: High Street, Stoke Goldington, Newport Pagnell MK16 8NR
Distance: 12.9 km (8.0 miles)
Elevation change: +/- 125m
Terrain: A mixture of village pavements, country lanes, field paths, and rural tracks.
Midshires Way section covered: Little Linford Wood to (near) Stokepark Wood: 4.5 km
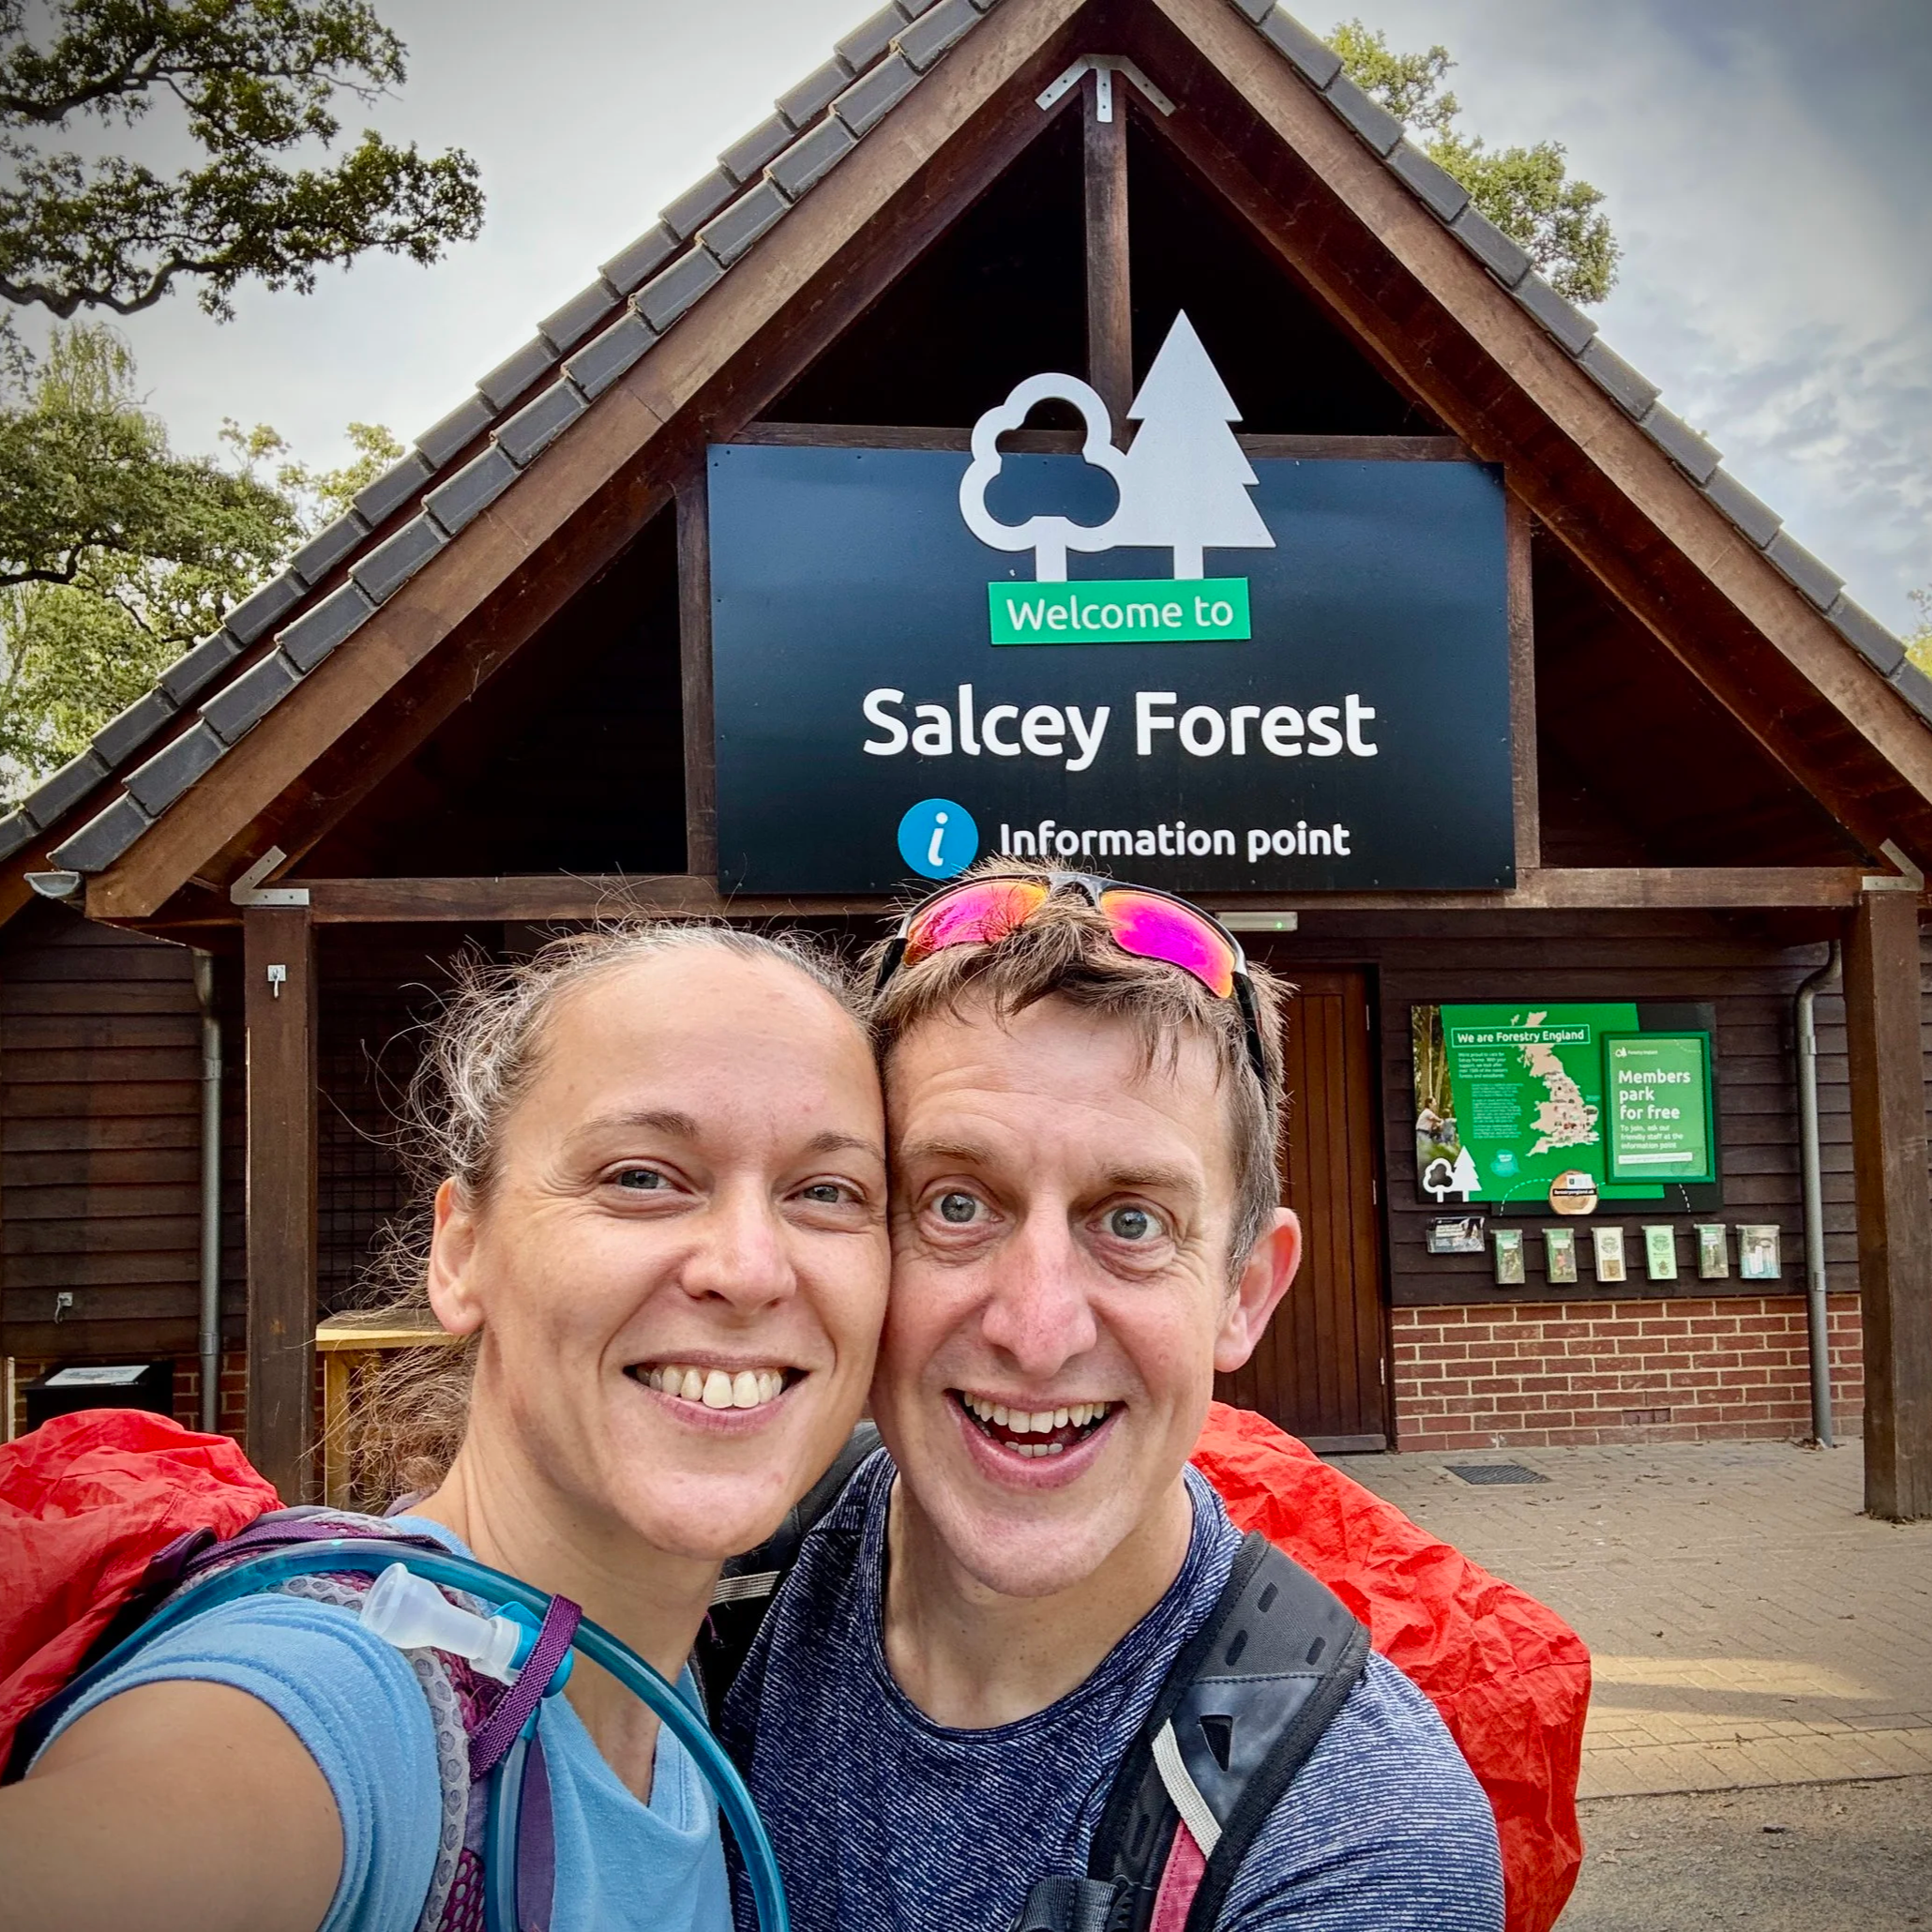
Section 17: Salcey Forest and the Northamptonshire Border
Start & Finish: Salcey Forest Visitor’s Centre, Wootton Rd, Northampton NN7 2HX
Distance: 13.6 km (8.5 miles)
Elevation change: +/- 90m
Terrain: A mix of ancient woodland trails, quiet country lanes, and undulating field paths.
Midshires Way section covered: (near) Stokepark Wood to Salcey Forest: 6.3 km
Walking The Midshires Way Part 7: Waddesdon and Quainton Road
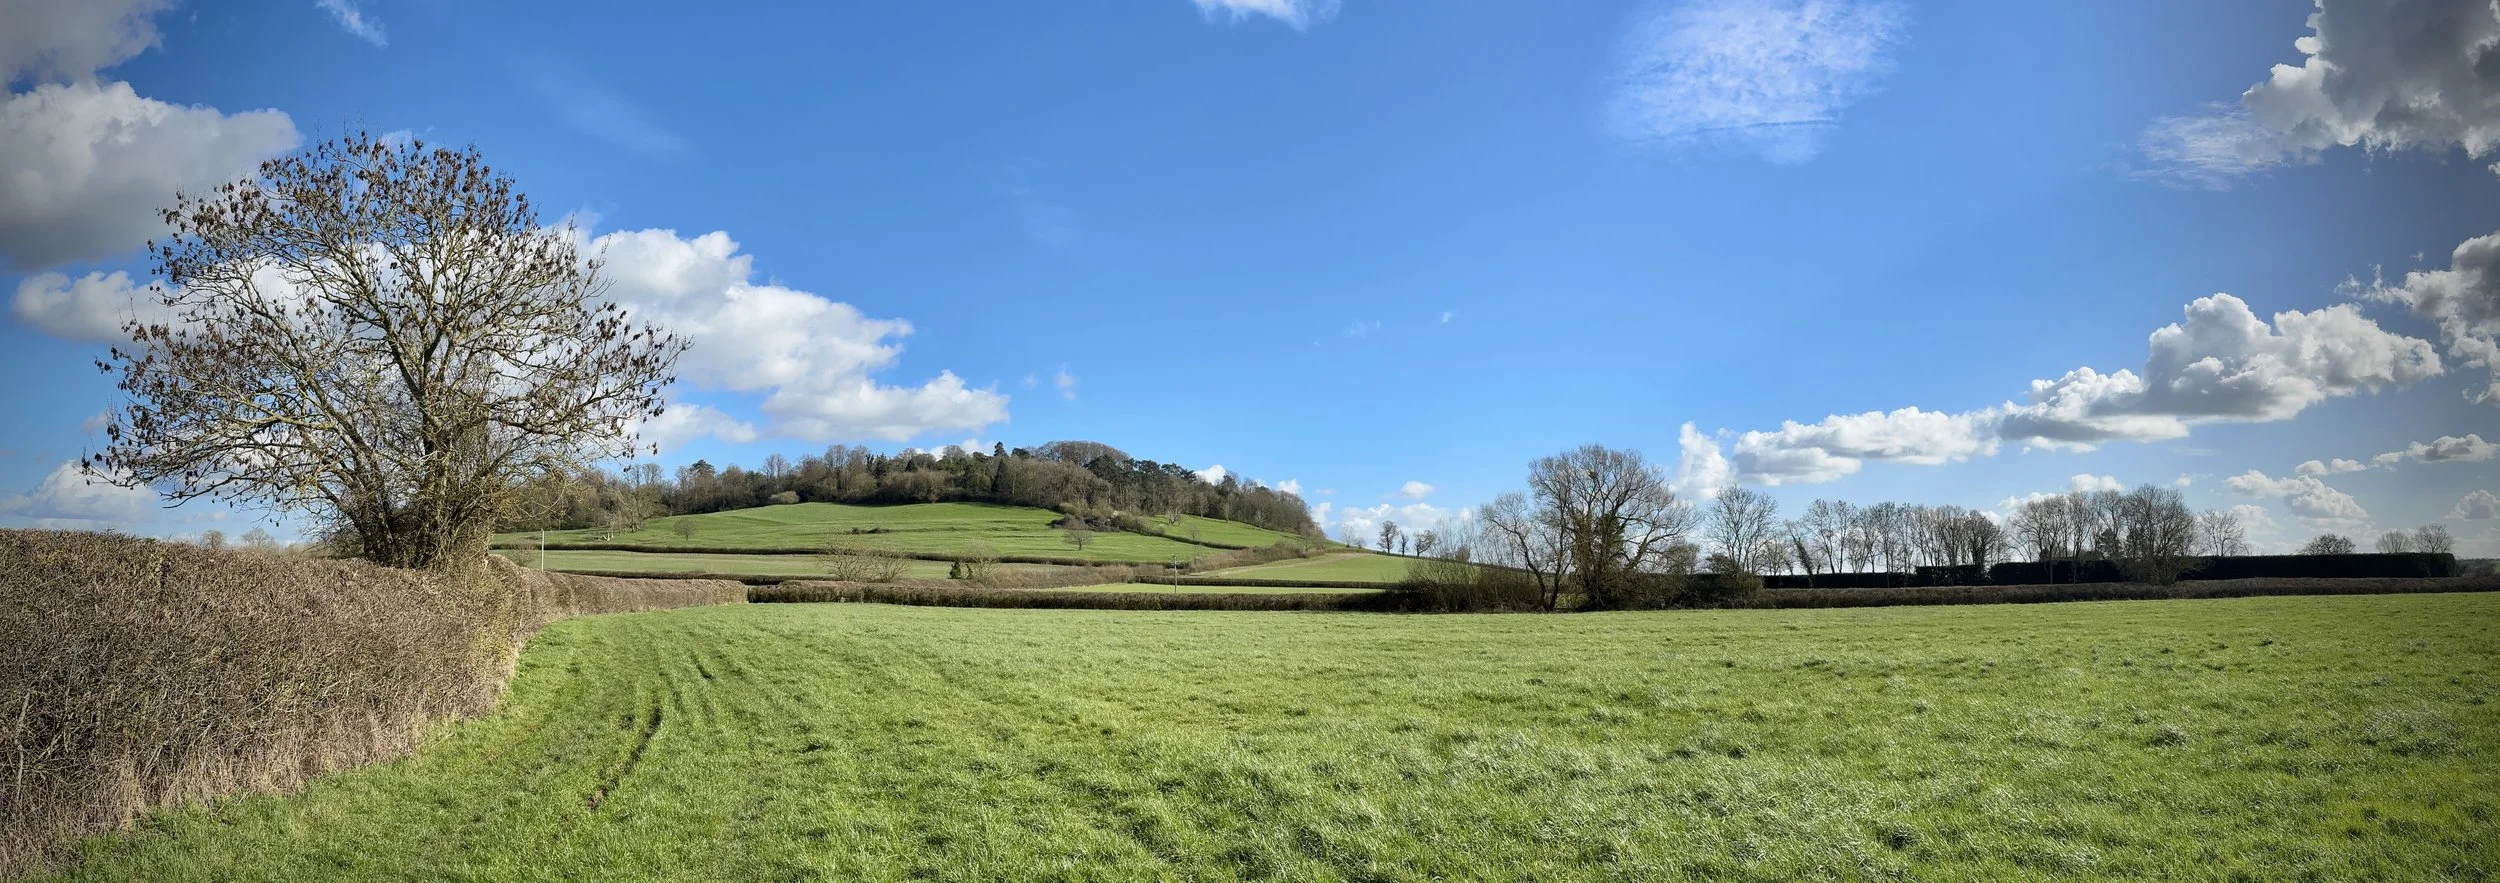
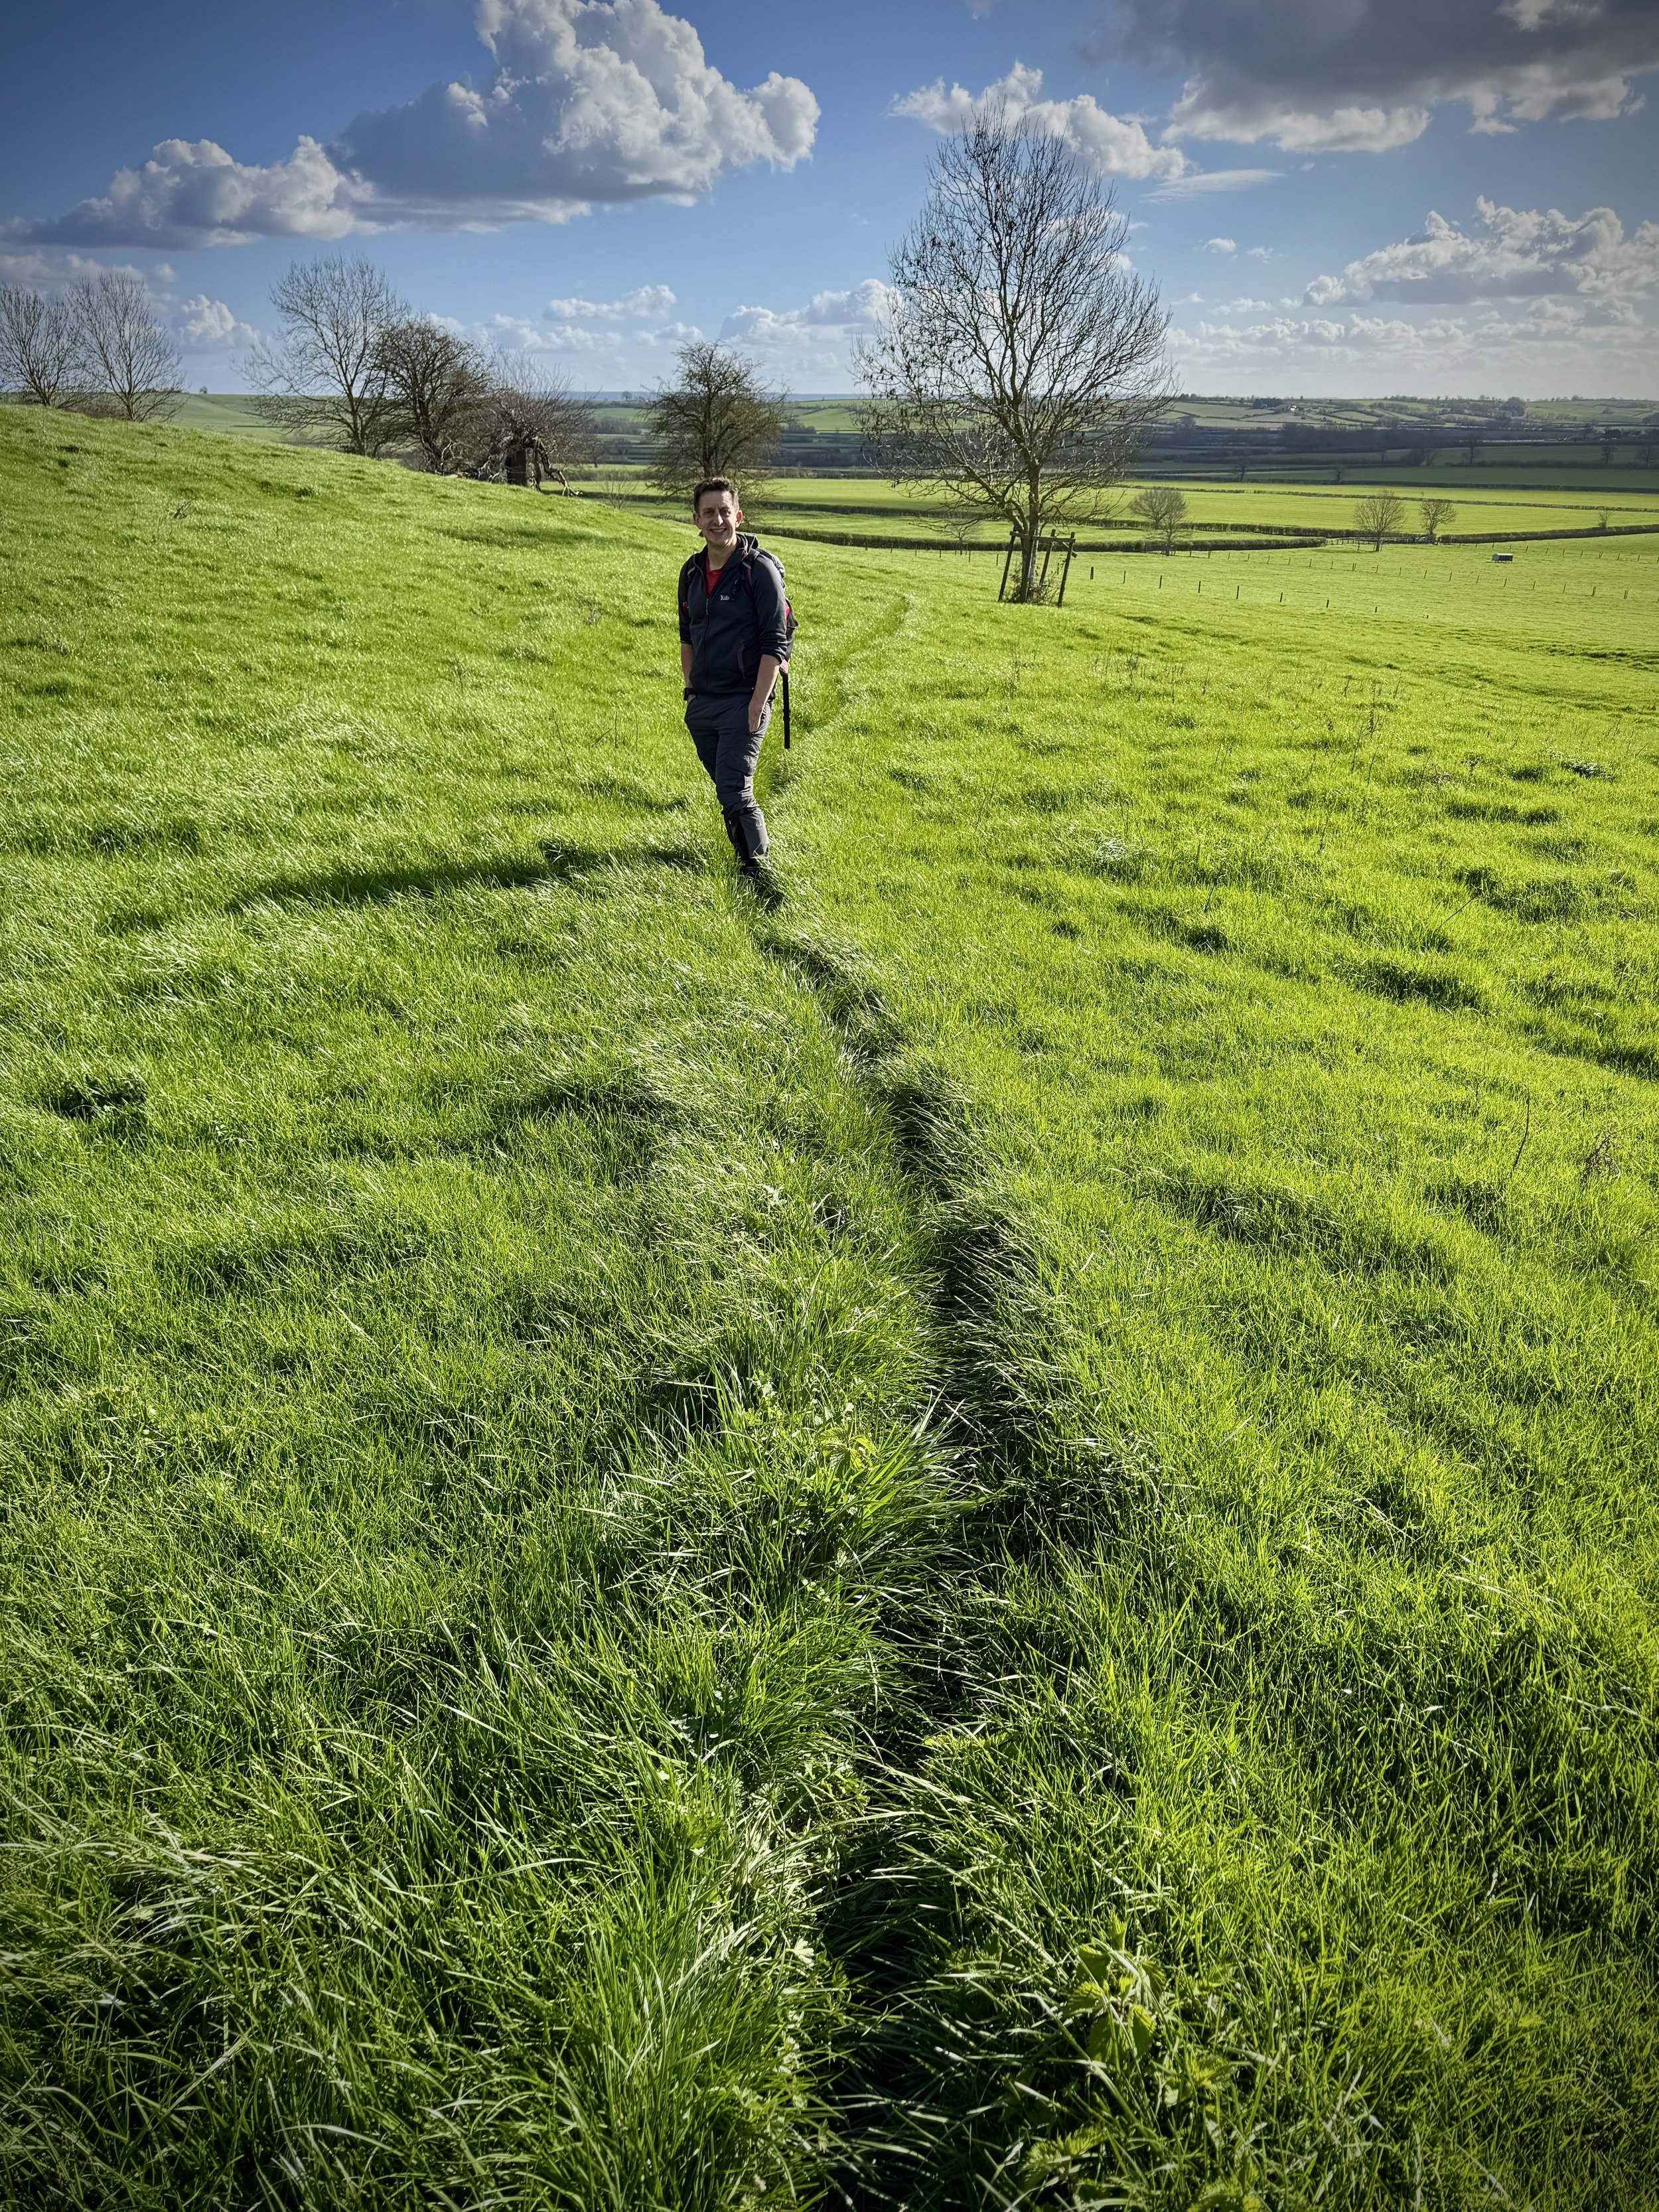
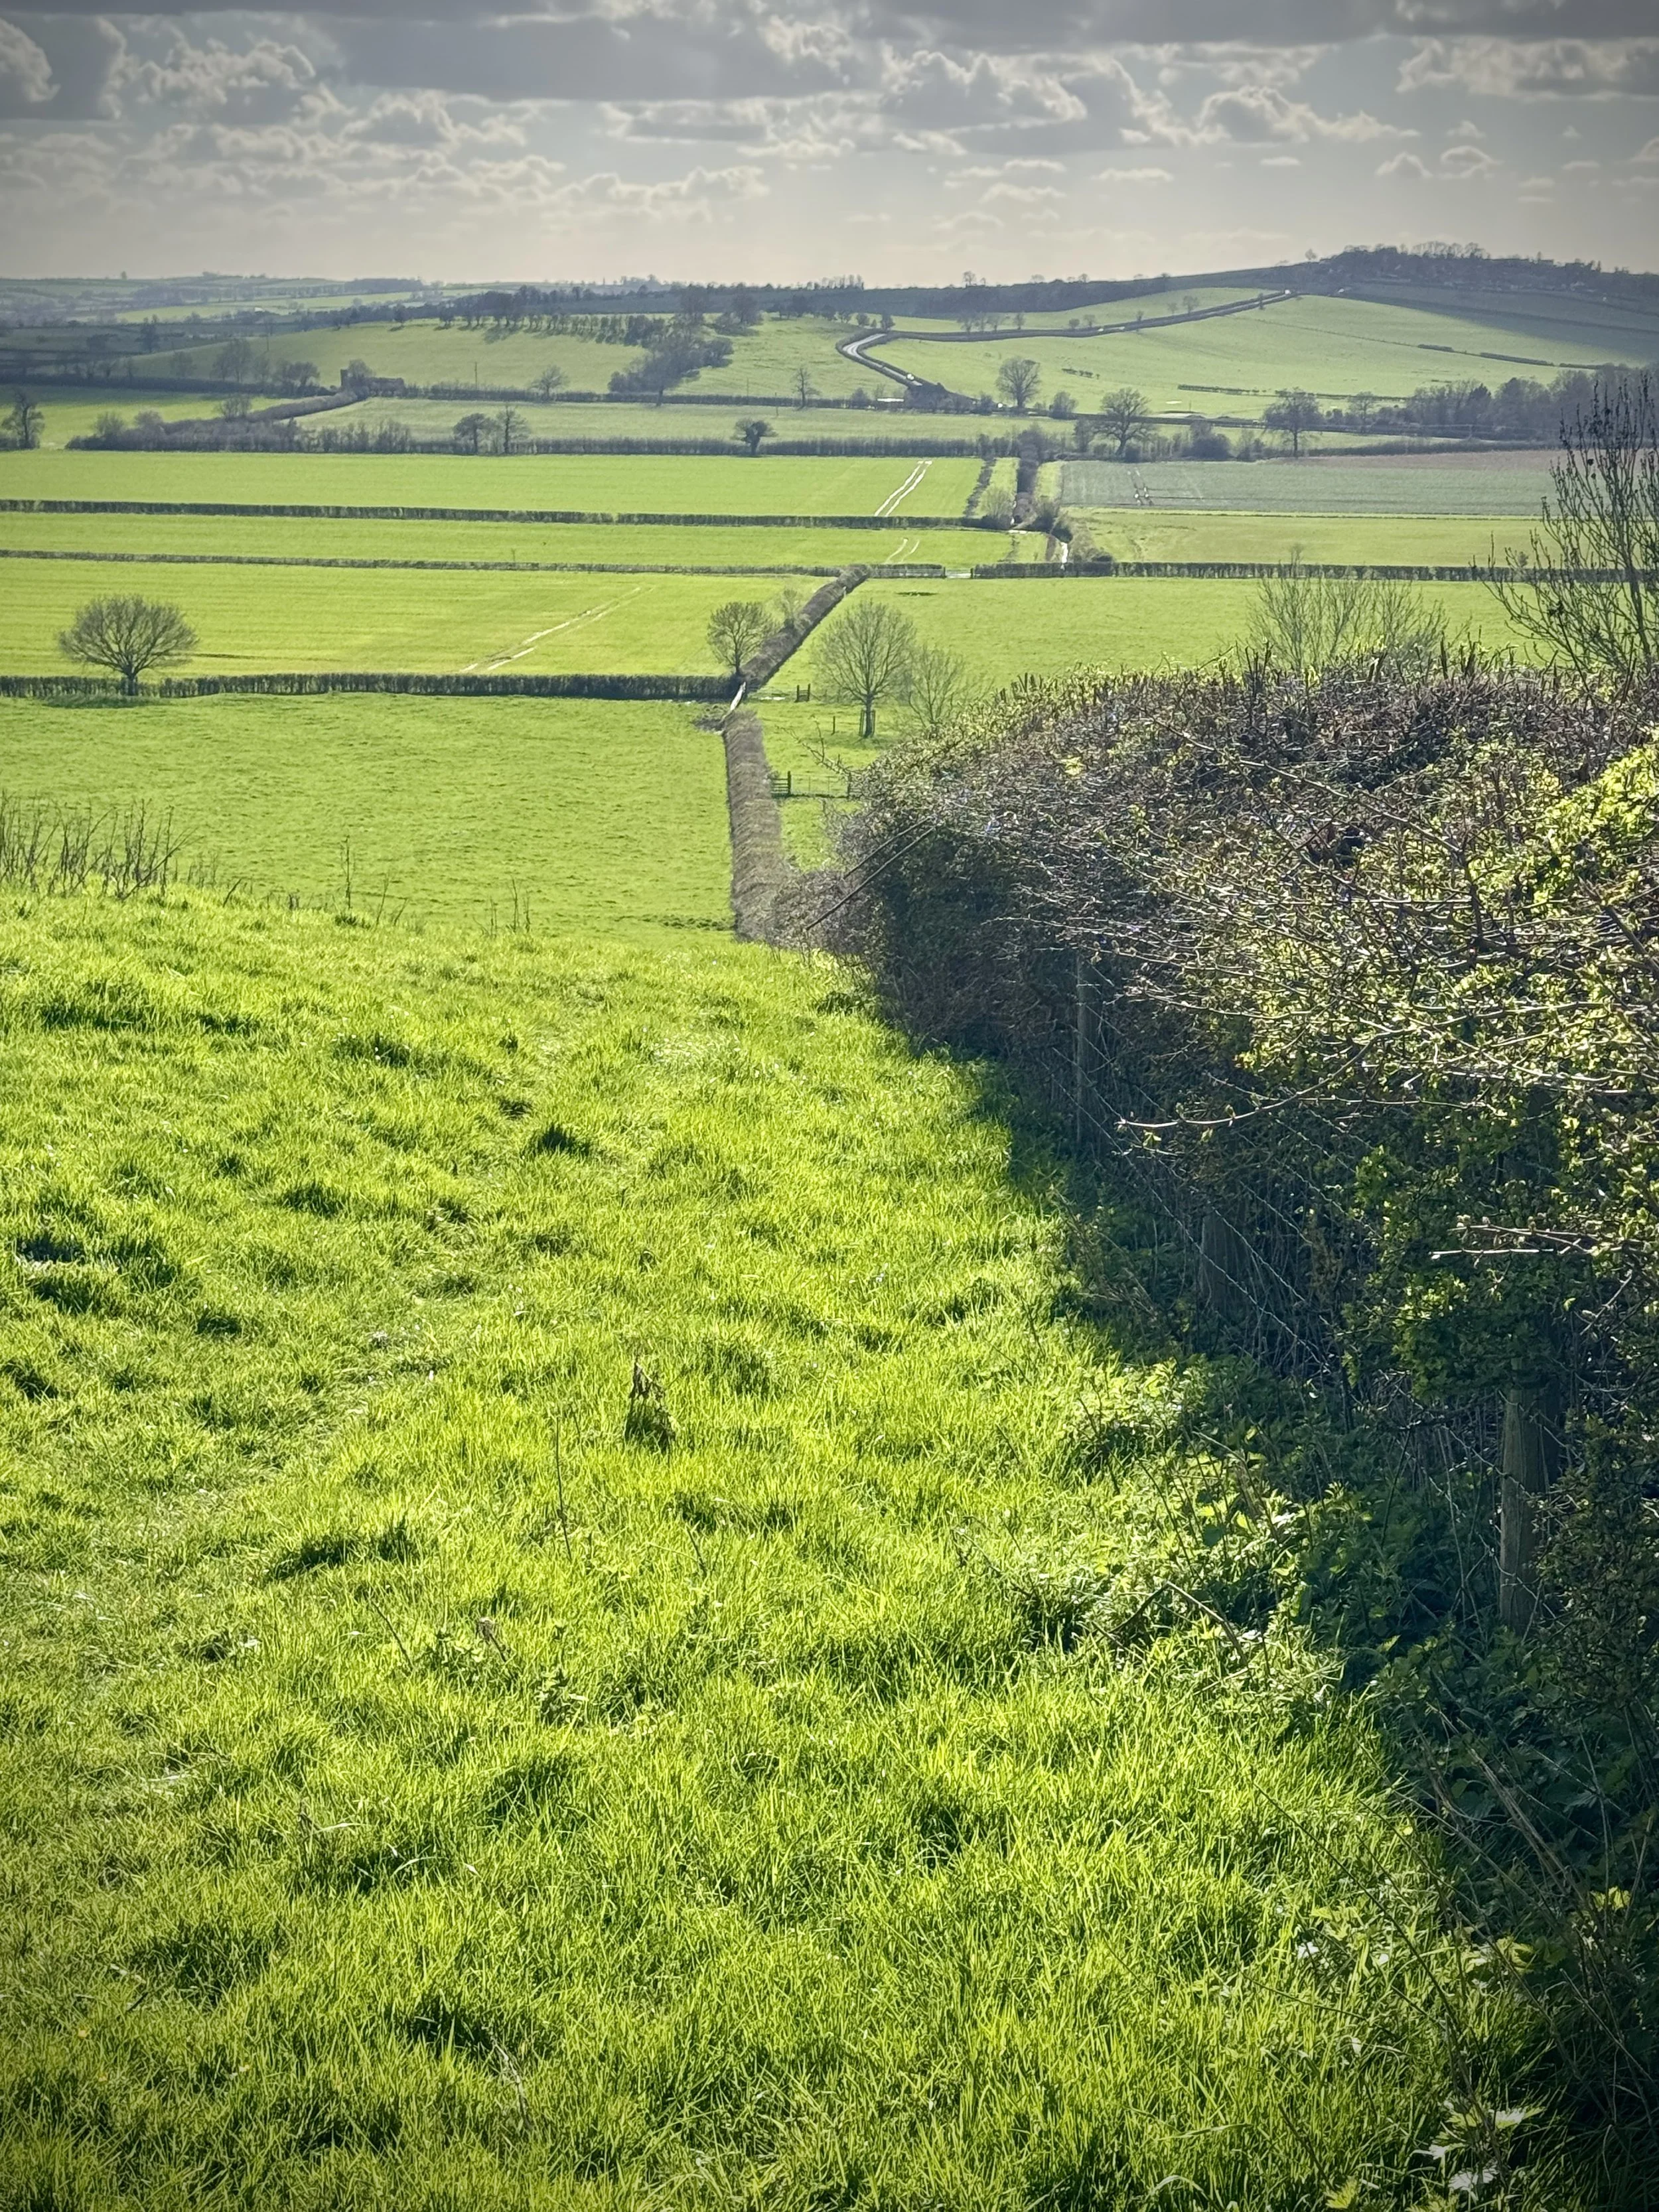
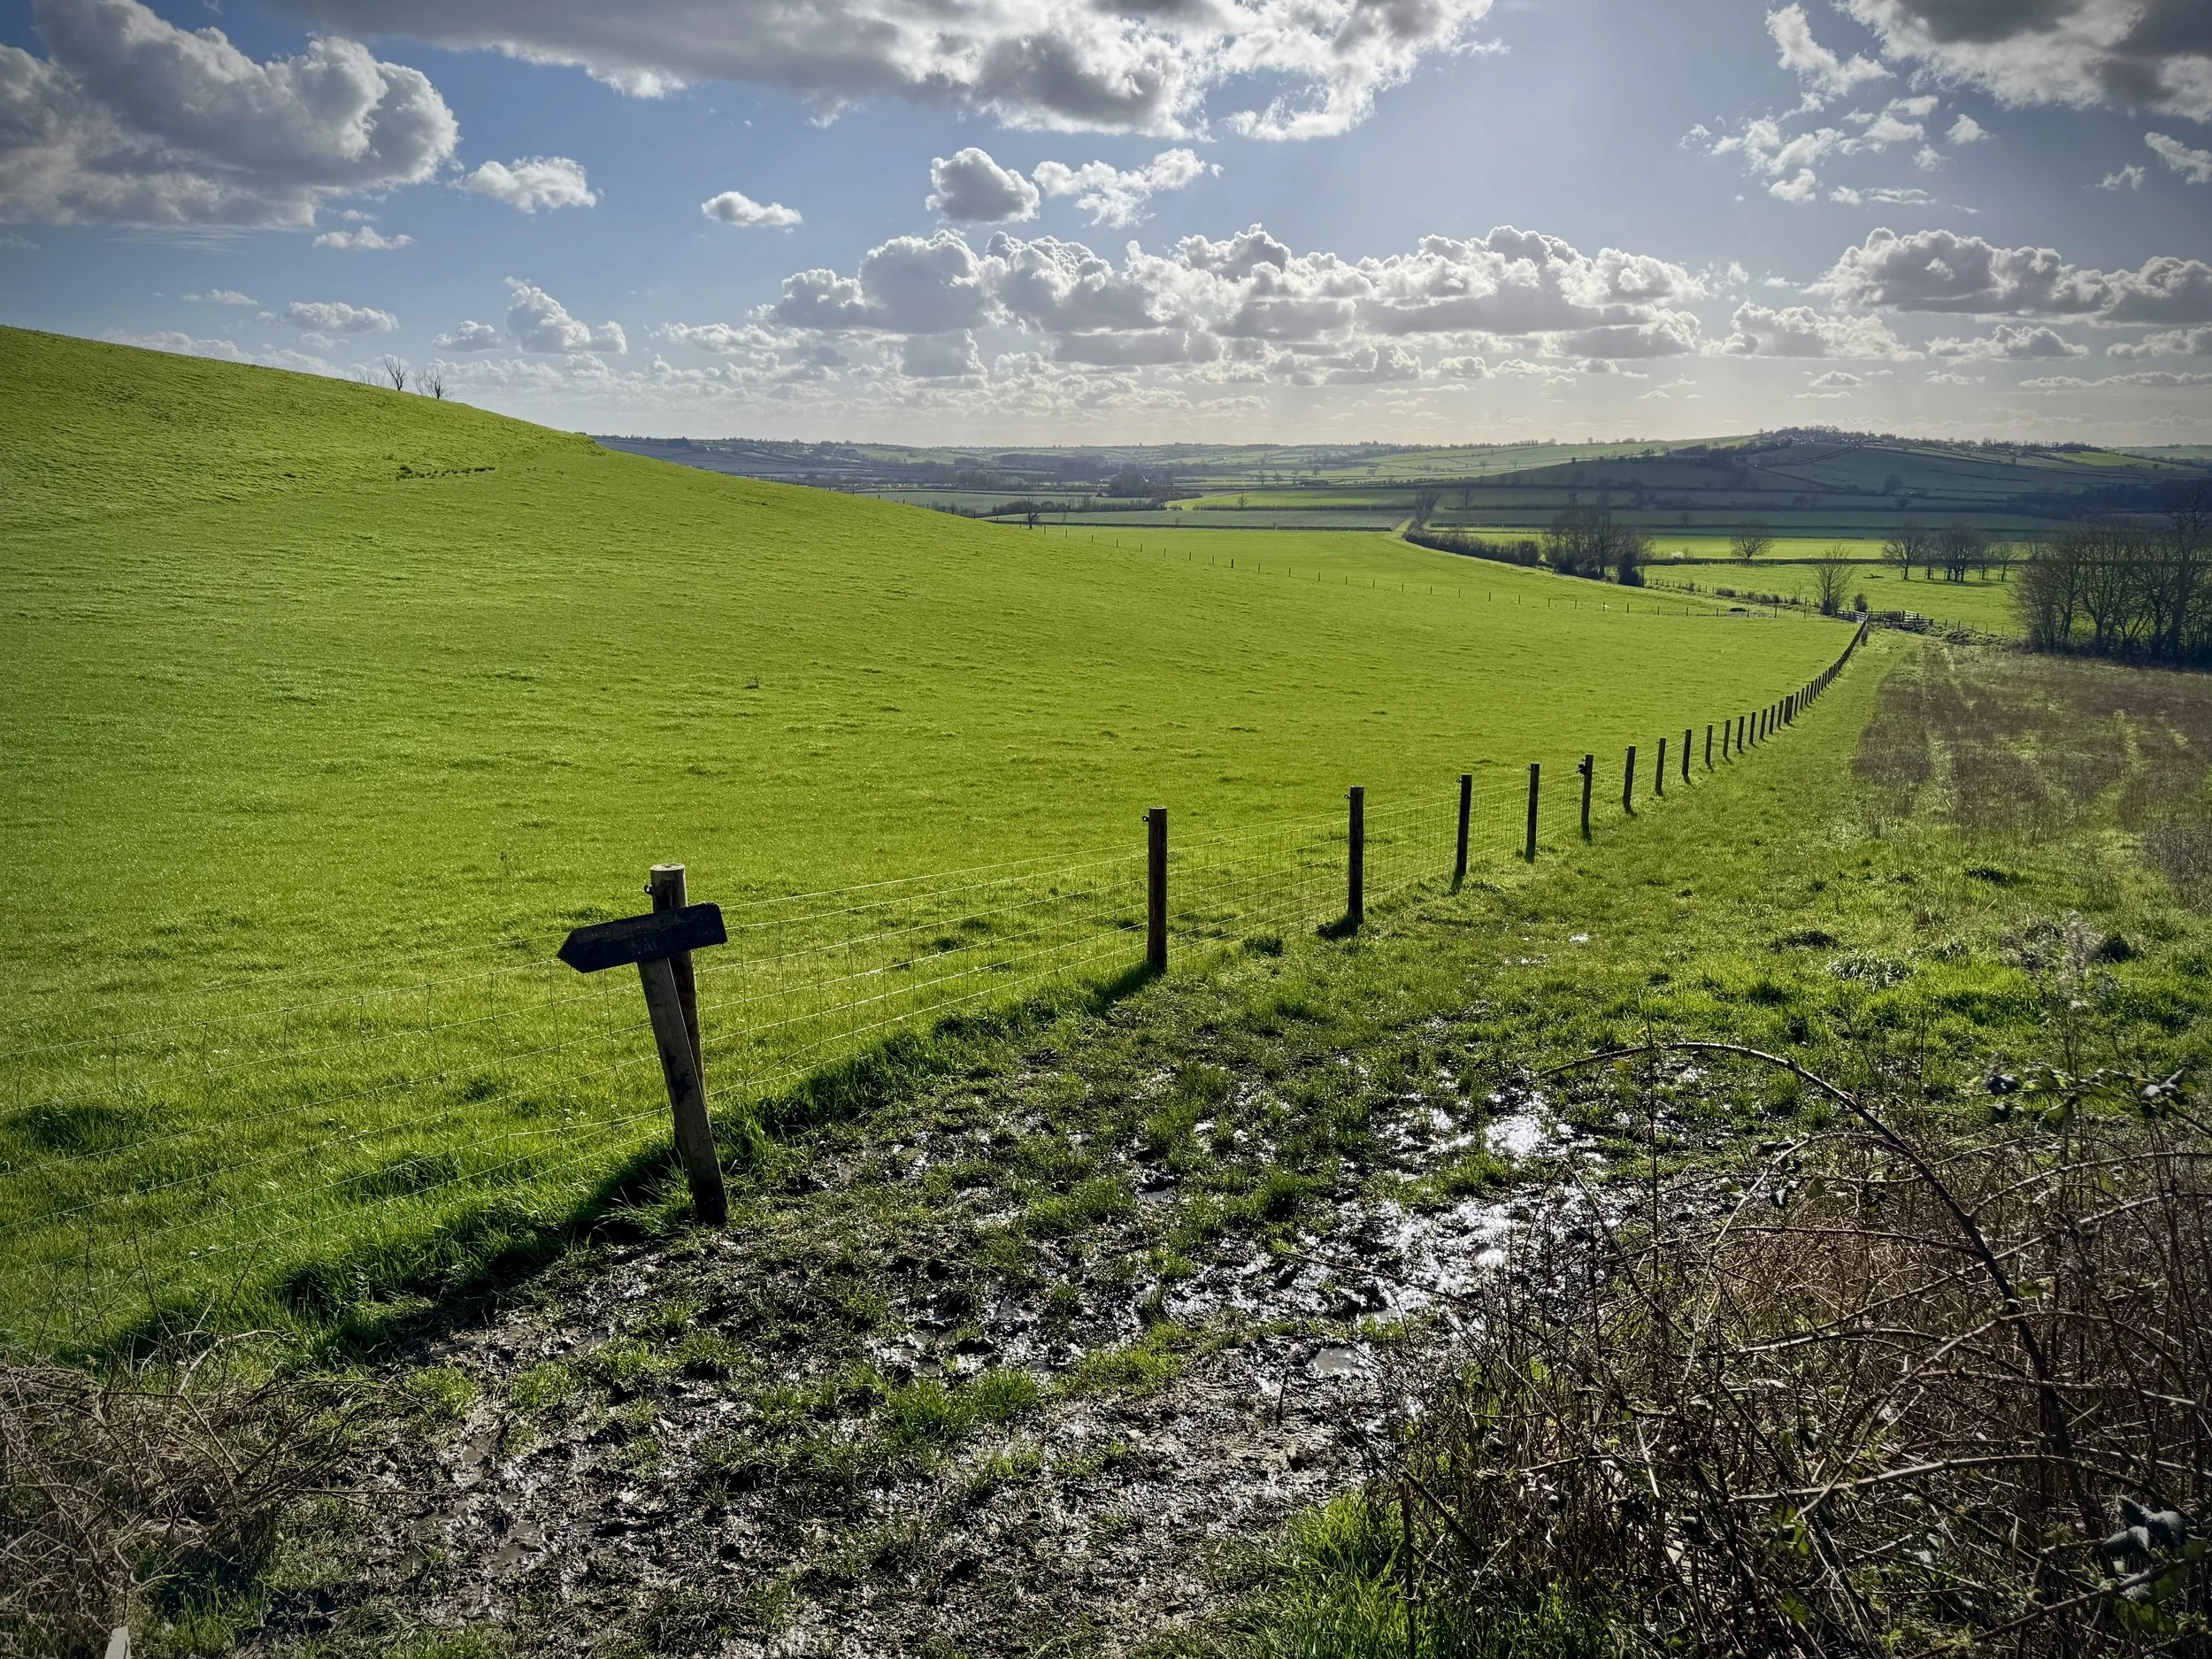
Approaching the Waddesdon Estate from the north-west on the Brill Tramway Walk
*** Note that at the time of writing in March 2026, this route is not possible to complete due to the HS2 works running through the centre. Please check the status of the HS2 work before attempting this route. Scroll down to see our alternative route that avoids the works ***
Start & Finish: Waddesdon Manor Car Park, Waddesdon, Aylesbury, HP18 0JE
Distance: 11.9 km (7.4 miles)
Elevation change: +/- 96m
Terrain: A mixture of paved surfaces, grassy footpaths, and countryside tracks with rolling elevations.
Midshires Way section covered: Waddesdon to Quainton: 4.5 km
GPX File: get via Buy Me a Coffee
Other routes touched (walk): Midshires Way, The Swan Way, North Bucks Way, Aylesbury Ring, Windmill Hill at Waddesdon, Bernwood Jubilee Way, Brill Tramway Walk
Other routes touched (cycle): National Bridleway, Waddesdon Greenway
Pubs / Cafes on route: The Five Arrows, The Bow, The Lion, all near the start and finish at Waddesdon. The George & Dragon, Quainton (4.8 km in)
Maps:
- Chiltern Hills North Map | Aylesbury, Berkhamsted & Chesham | Ordnance Survey | OS Explorer Map 181
- Buckingham & Milton Keynes Map | Leighton Buzzard & Woburn | Ordnance Survey | OS Explorer Map 192
Links: Waddesdon Manor, Waddesdon National Trust, Waddesdon, Quainton, Quainton Road railway station
Welcome to Part 7 of our series of short circular walks along the Buckinghamshire section of the Midshires Way. For a complete overview of the 225-mile trail's history, its connection to the Swan's Way, and preparation tips, please read my complete Midshires Way Through Buckinghamshire Guide.
Walking Directions
This circular route offers a brilliant way to explore the Buckinghamshire countryside, taking you from the historic village of Waddesdon up towards Quainton and back. It is a lovely walk to enjoy on a weekend, whether you are looking for a relaxed hike or trying to build up your stamina for your local parkrun. The views across the Vale of Aylesbury are fantastic, making it a highly rewarding loop for walkers of all abilities.
The path itself is beautifully varied, combining well-trodden tracks with slightly more elevated sections that give you a great perspective of the surrounding landscape. You will wander past some iconic local spots and enjoy the fresh air without feeling like you are on a gruelling expedition. It is simply a great way to spend a few hours outdoors with friends or family.
The guidance below will help you navigate but don’t use it as a fully accurate turn-by-turn guide. Always take a map and/or a GPX route and prepare well for the weather and terrain.
Start at the main Waddesdon Manor car park and take the path through it in an easterly direction.
When you reach the junction with Midshires Way / Aylesbury Ring take a left and follow the Midshires Way / Aylesbury Ring. It will meander through the edge of the Waddesdon Estate, alongside the overflow car park and onto Goss Avenue. At the end of Goss Avenue turn left onto the A41.
Take a right onto Little Britain (road) and follow it as it leads onto a footpath between garden fences and out into open fields.
Continue walking north along the Midshires Way until you reach The Strand (road) at Quainton. Take a left onto The Strand. Here is a good place to stop for a mid-point rest at The George and Dragon pub.
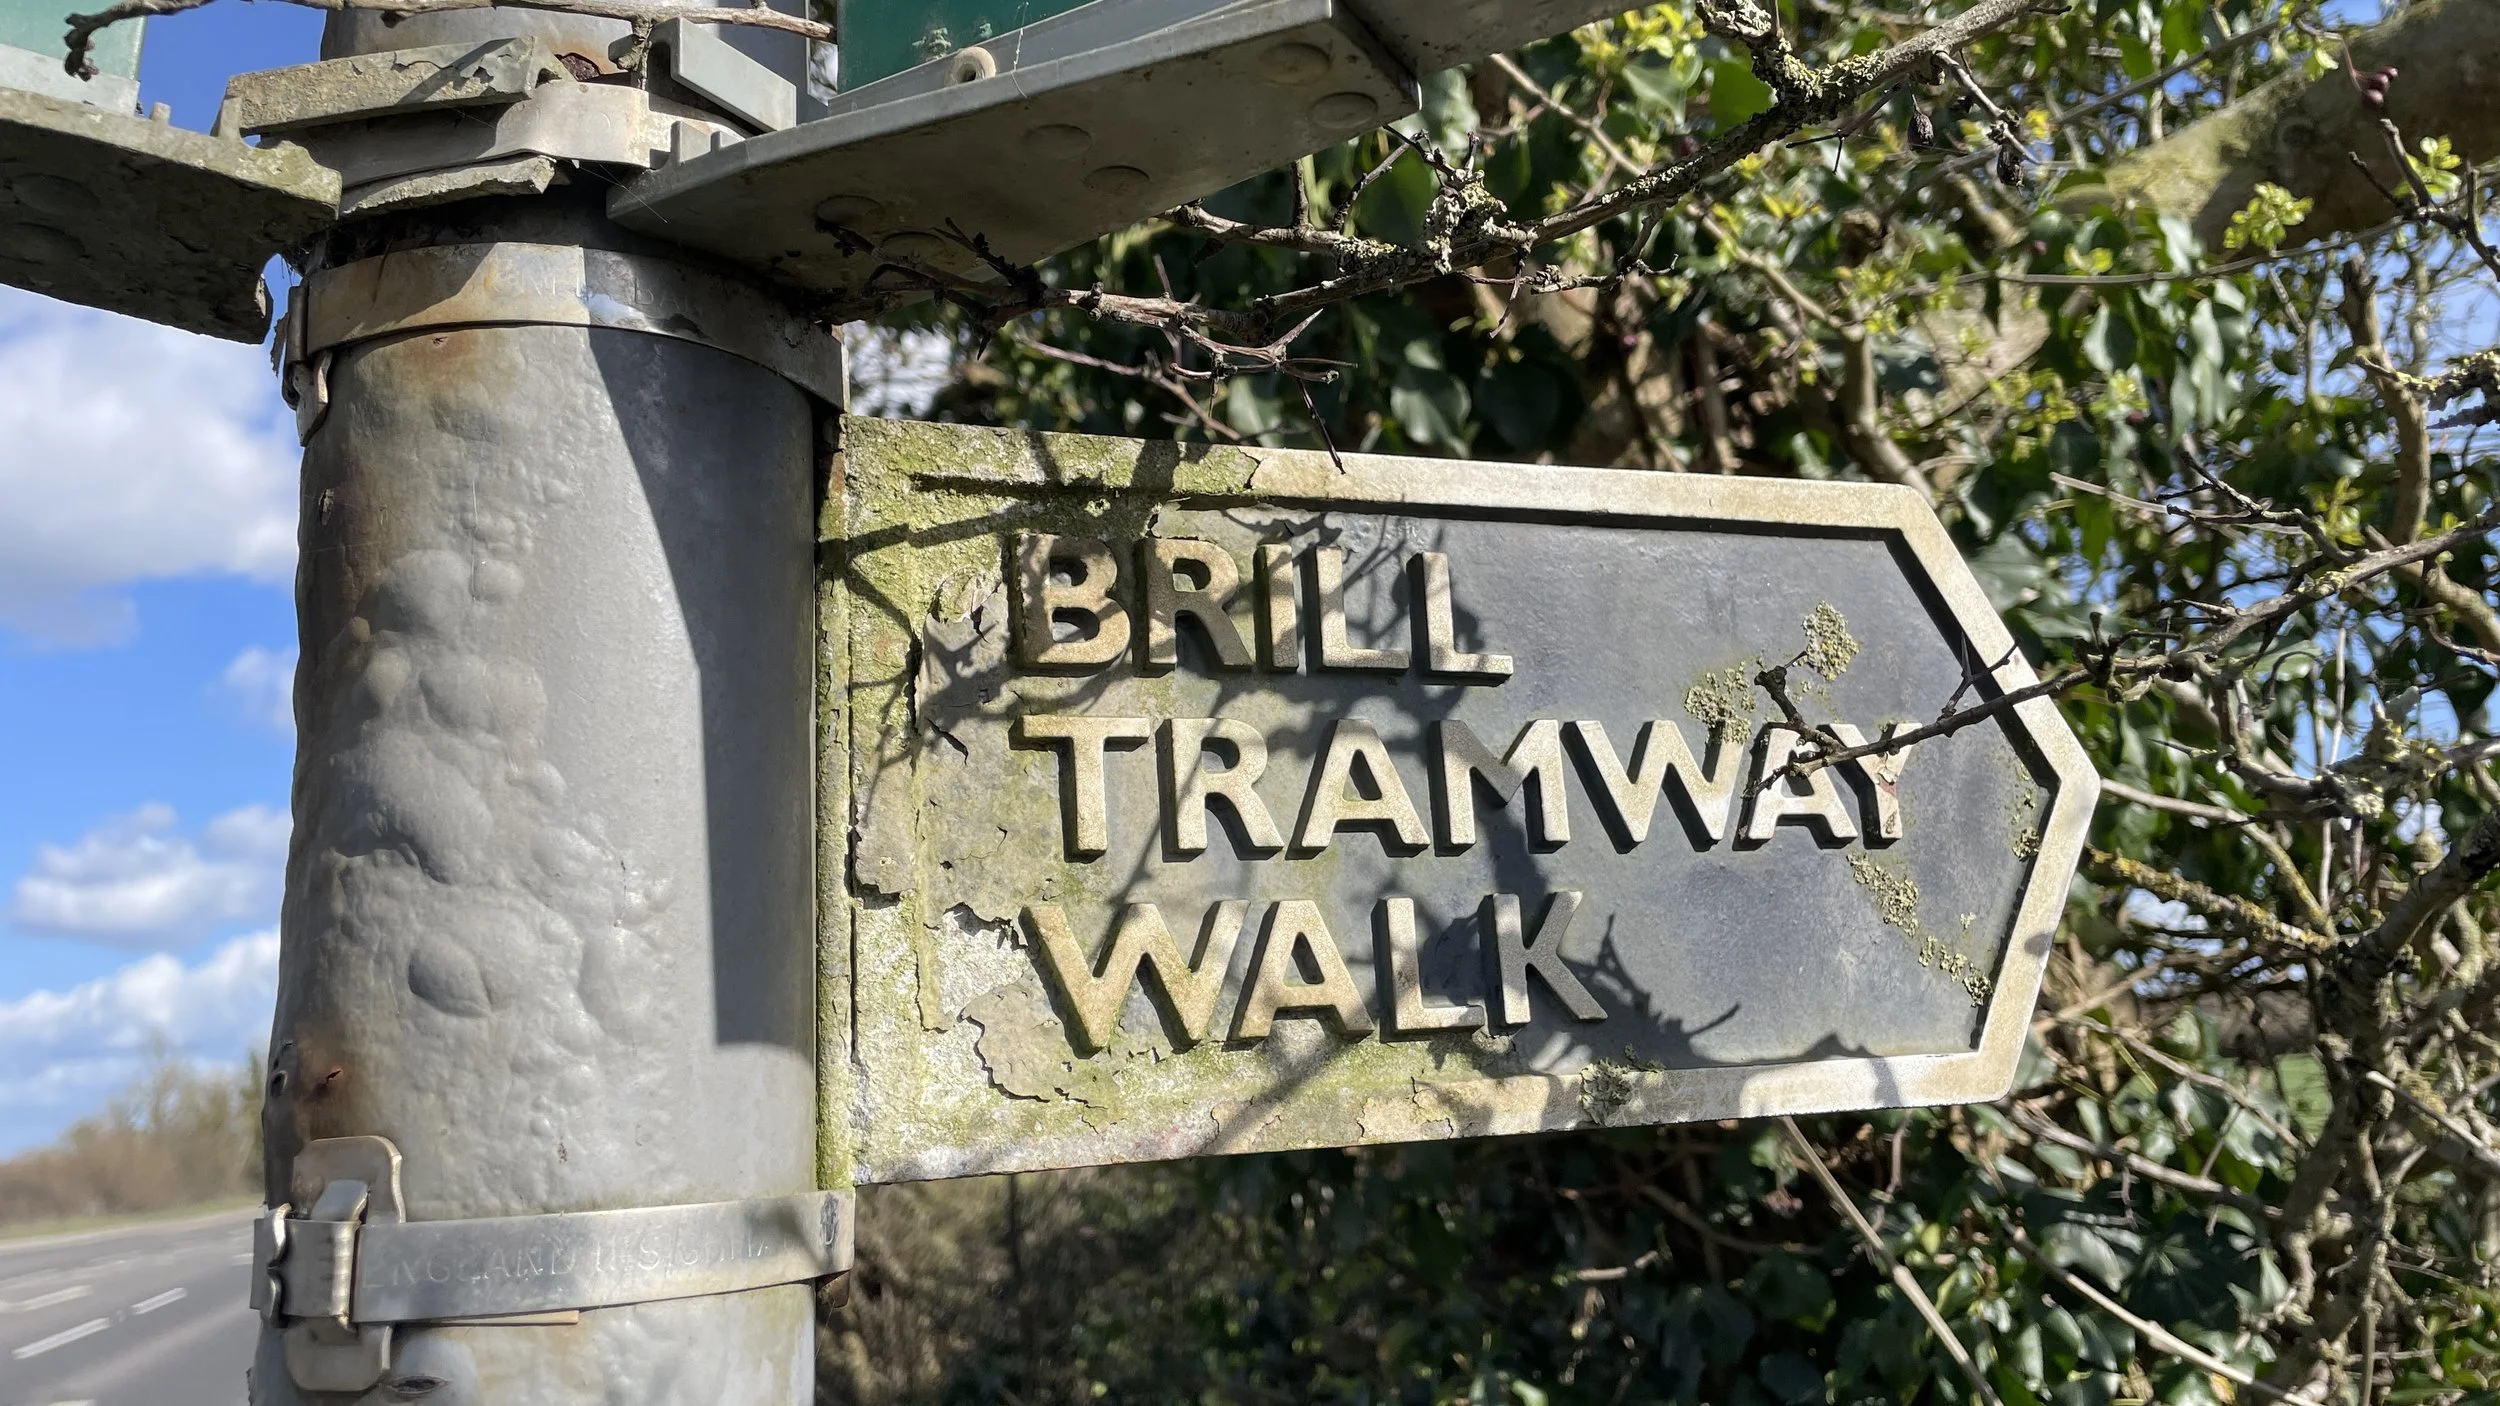
Take a left off The Strand / Lower Road onto Station Road and follow it in a southerly direction for 3.1 km until you reach the A41. Along the way you'll pass the Buckinghamshire Railway Centre at the Old Quainton Road Station. After the station you'll be following the route of the old Brill Tramway.
Cross over the A41 and continue to follow the Brill Tramway Walk through fields and into the Waddesdon Manor Estate. Once into the estate take a right to follow the road back to the Visitor Centre and car park where you started.
Points of Interest along or near to the Route
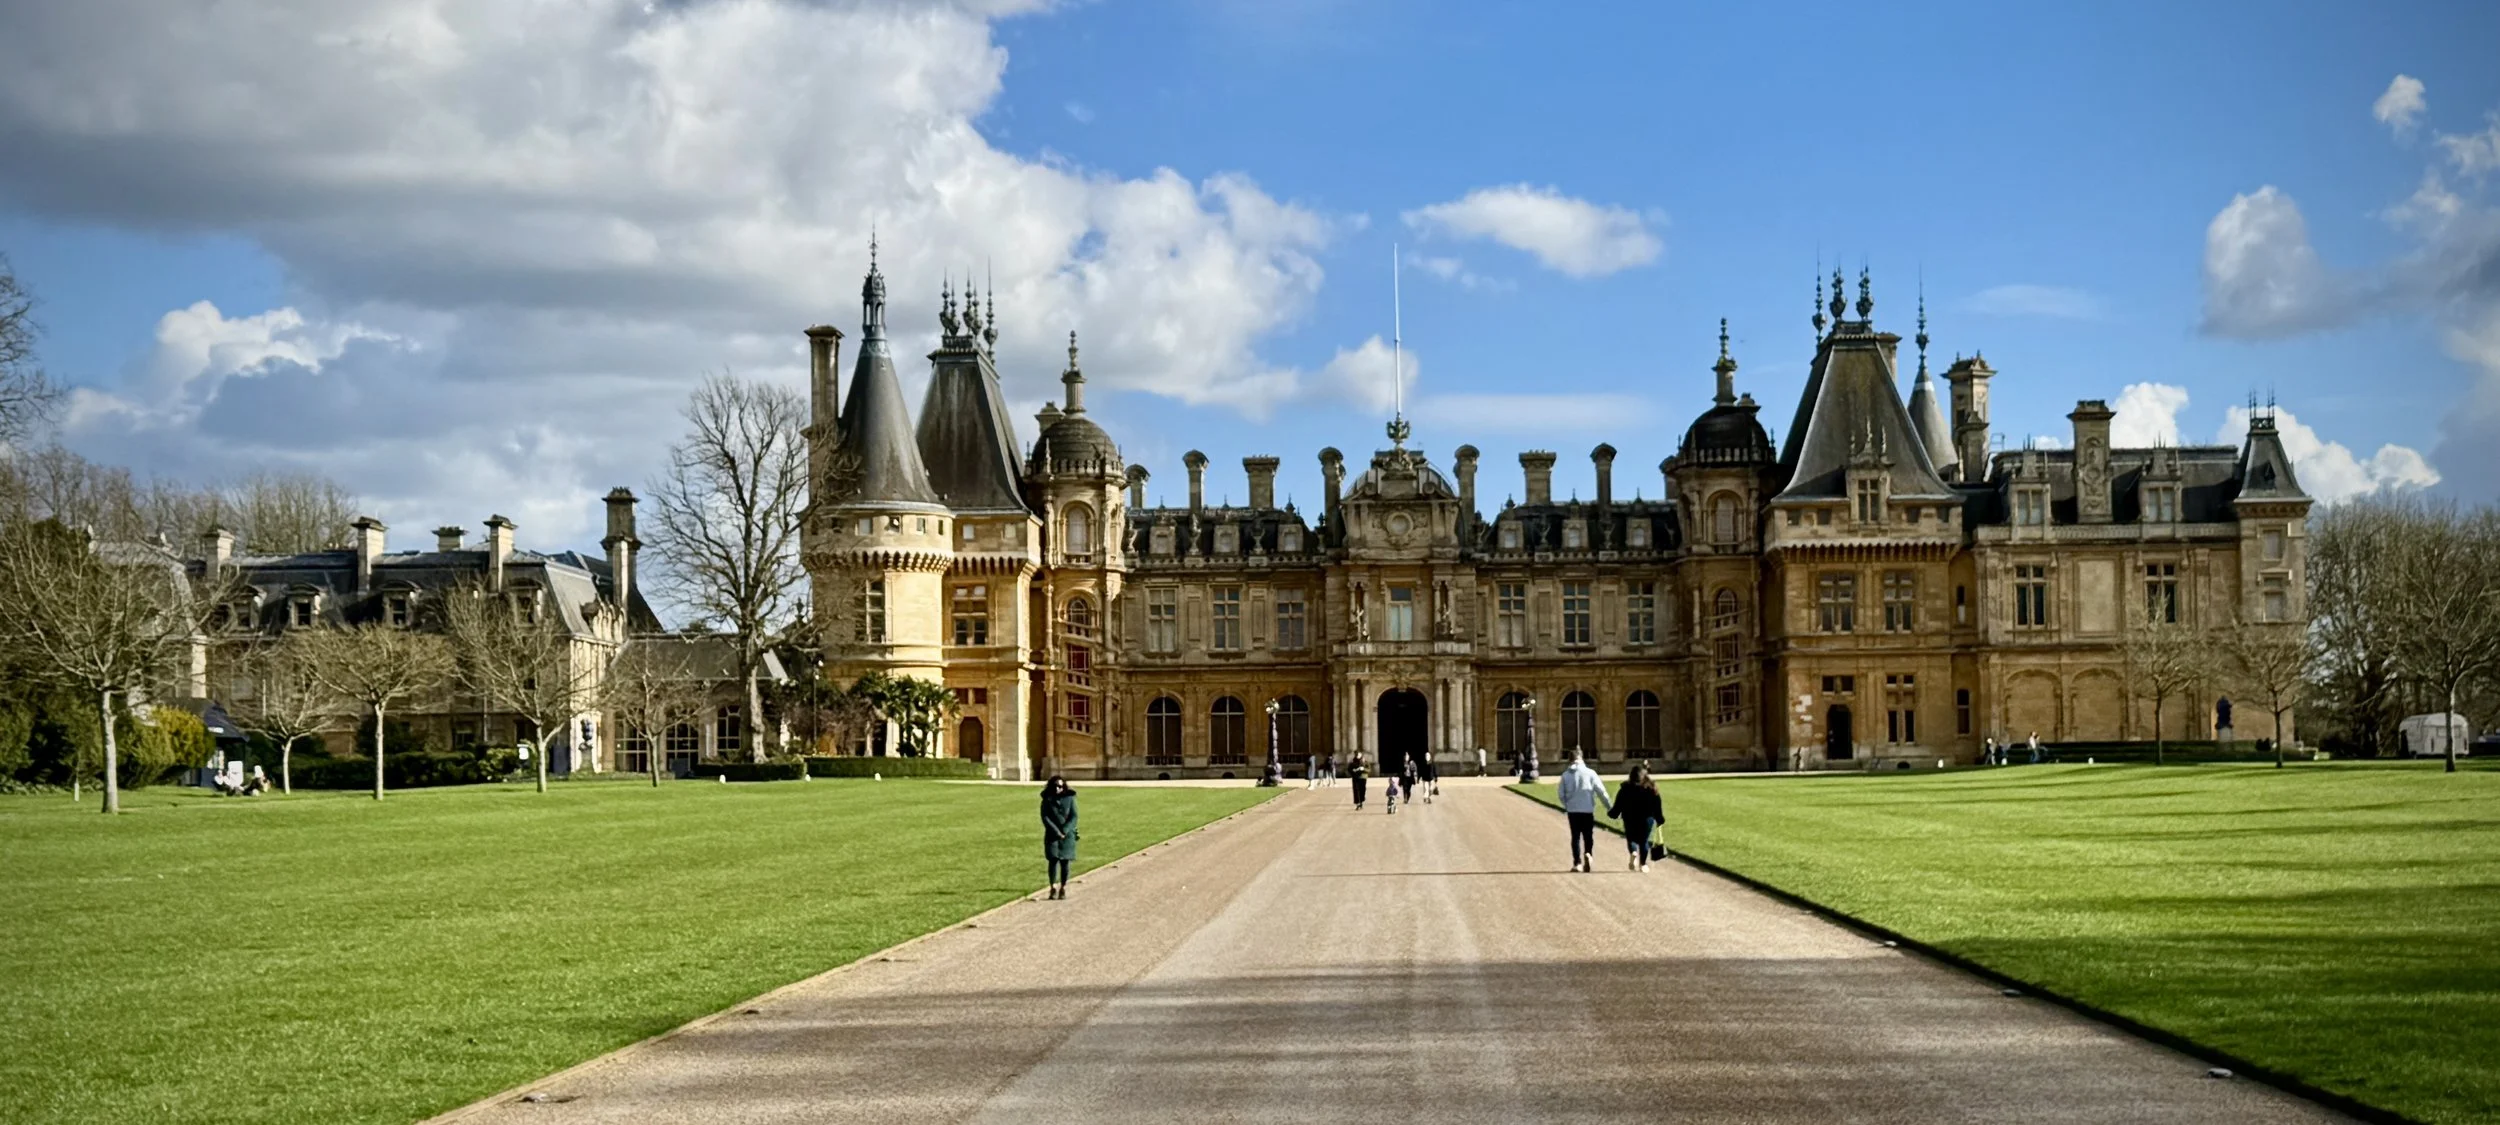
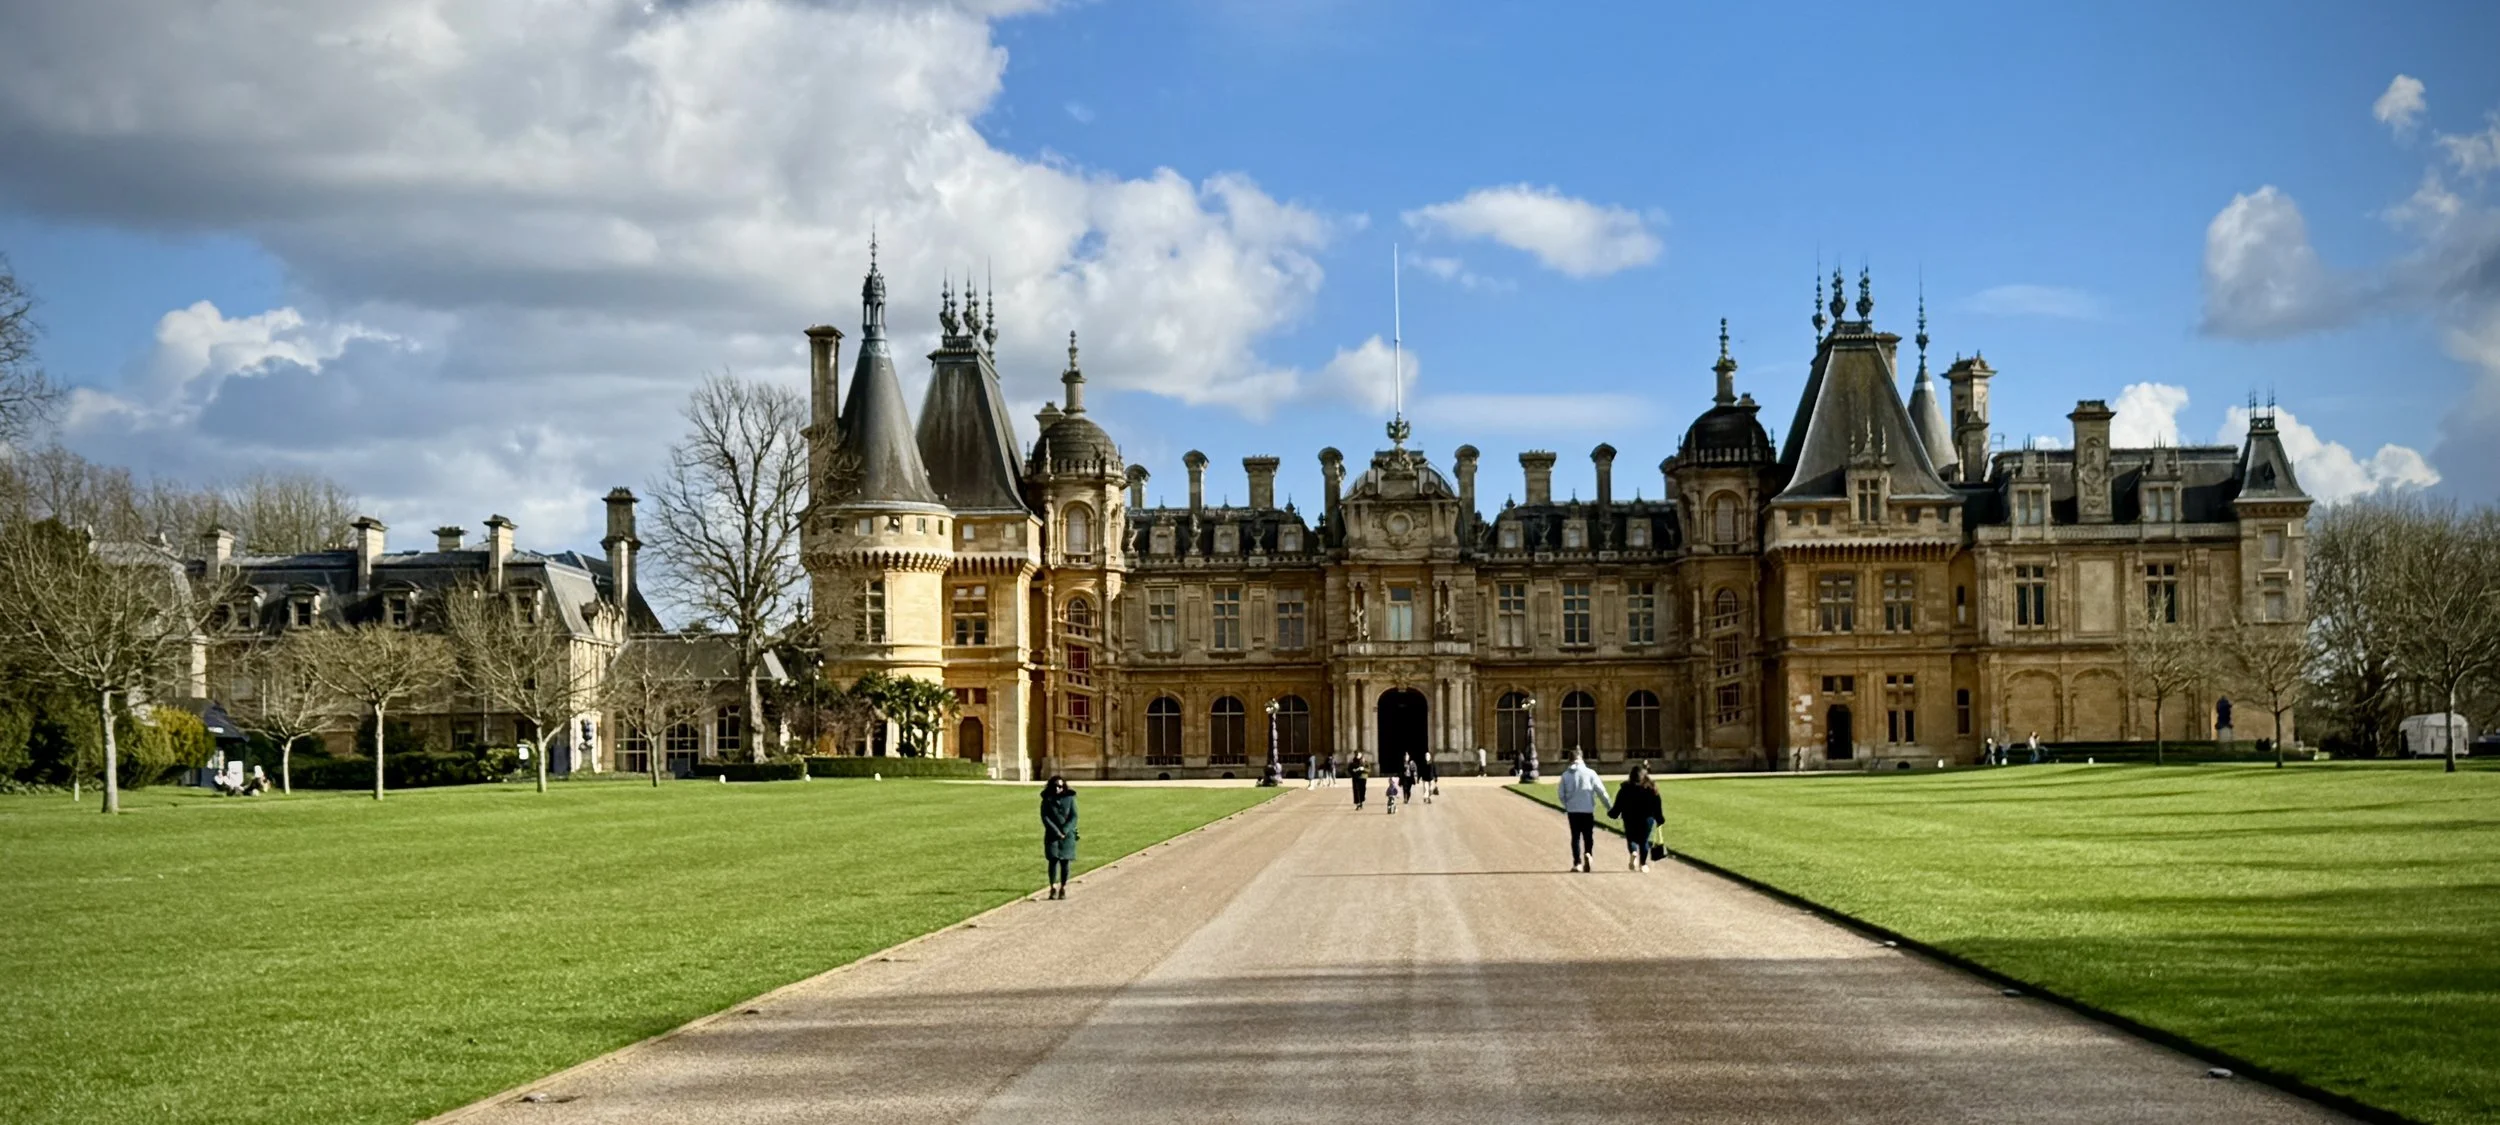
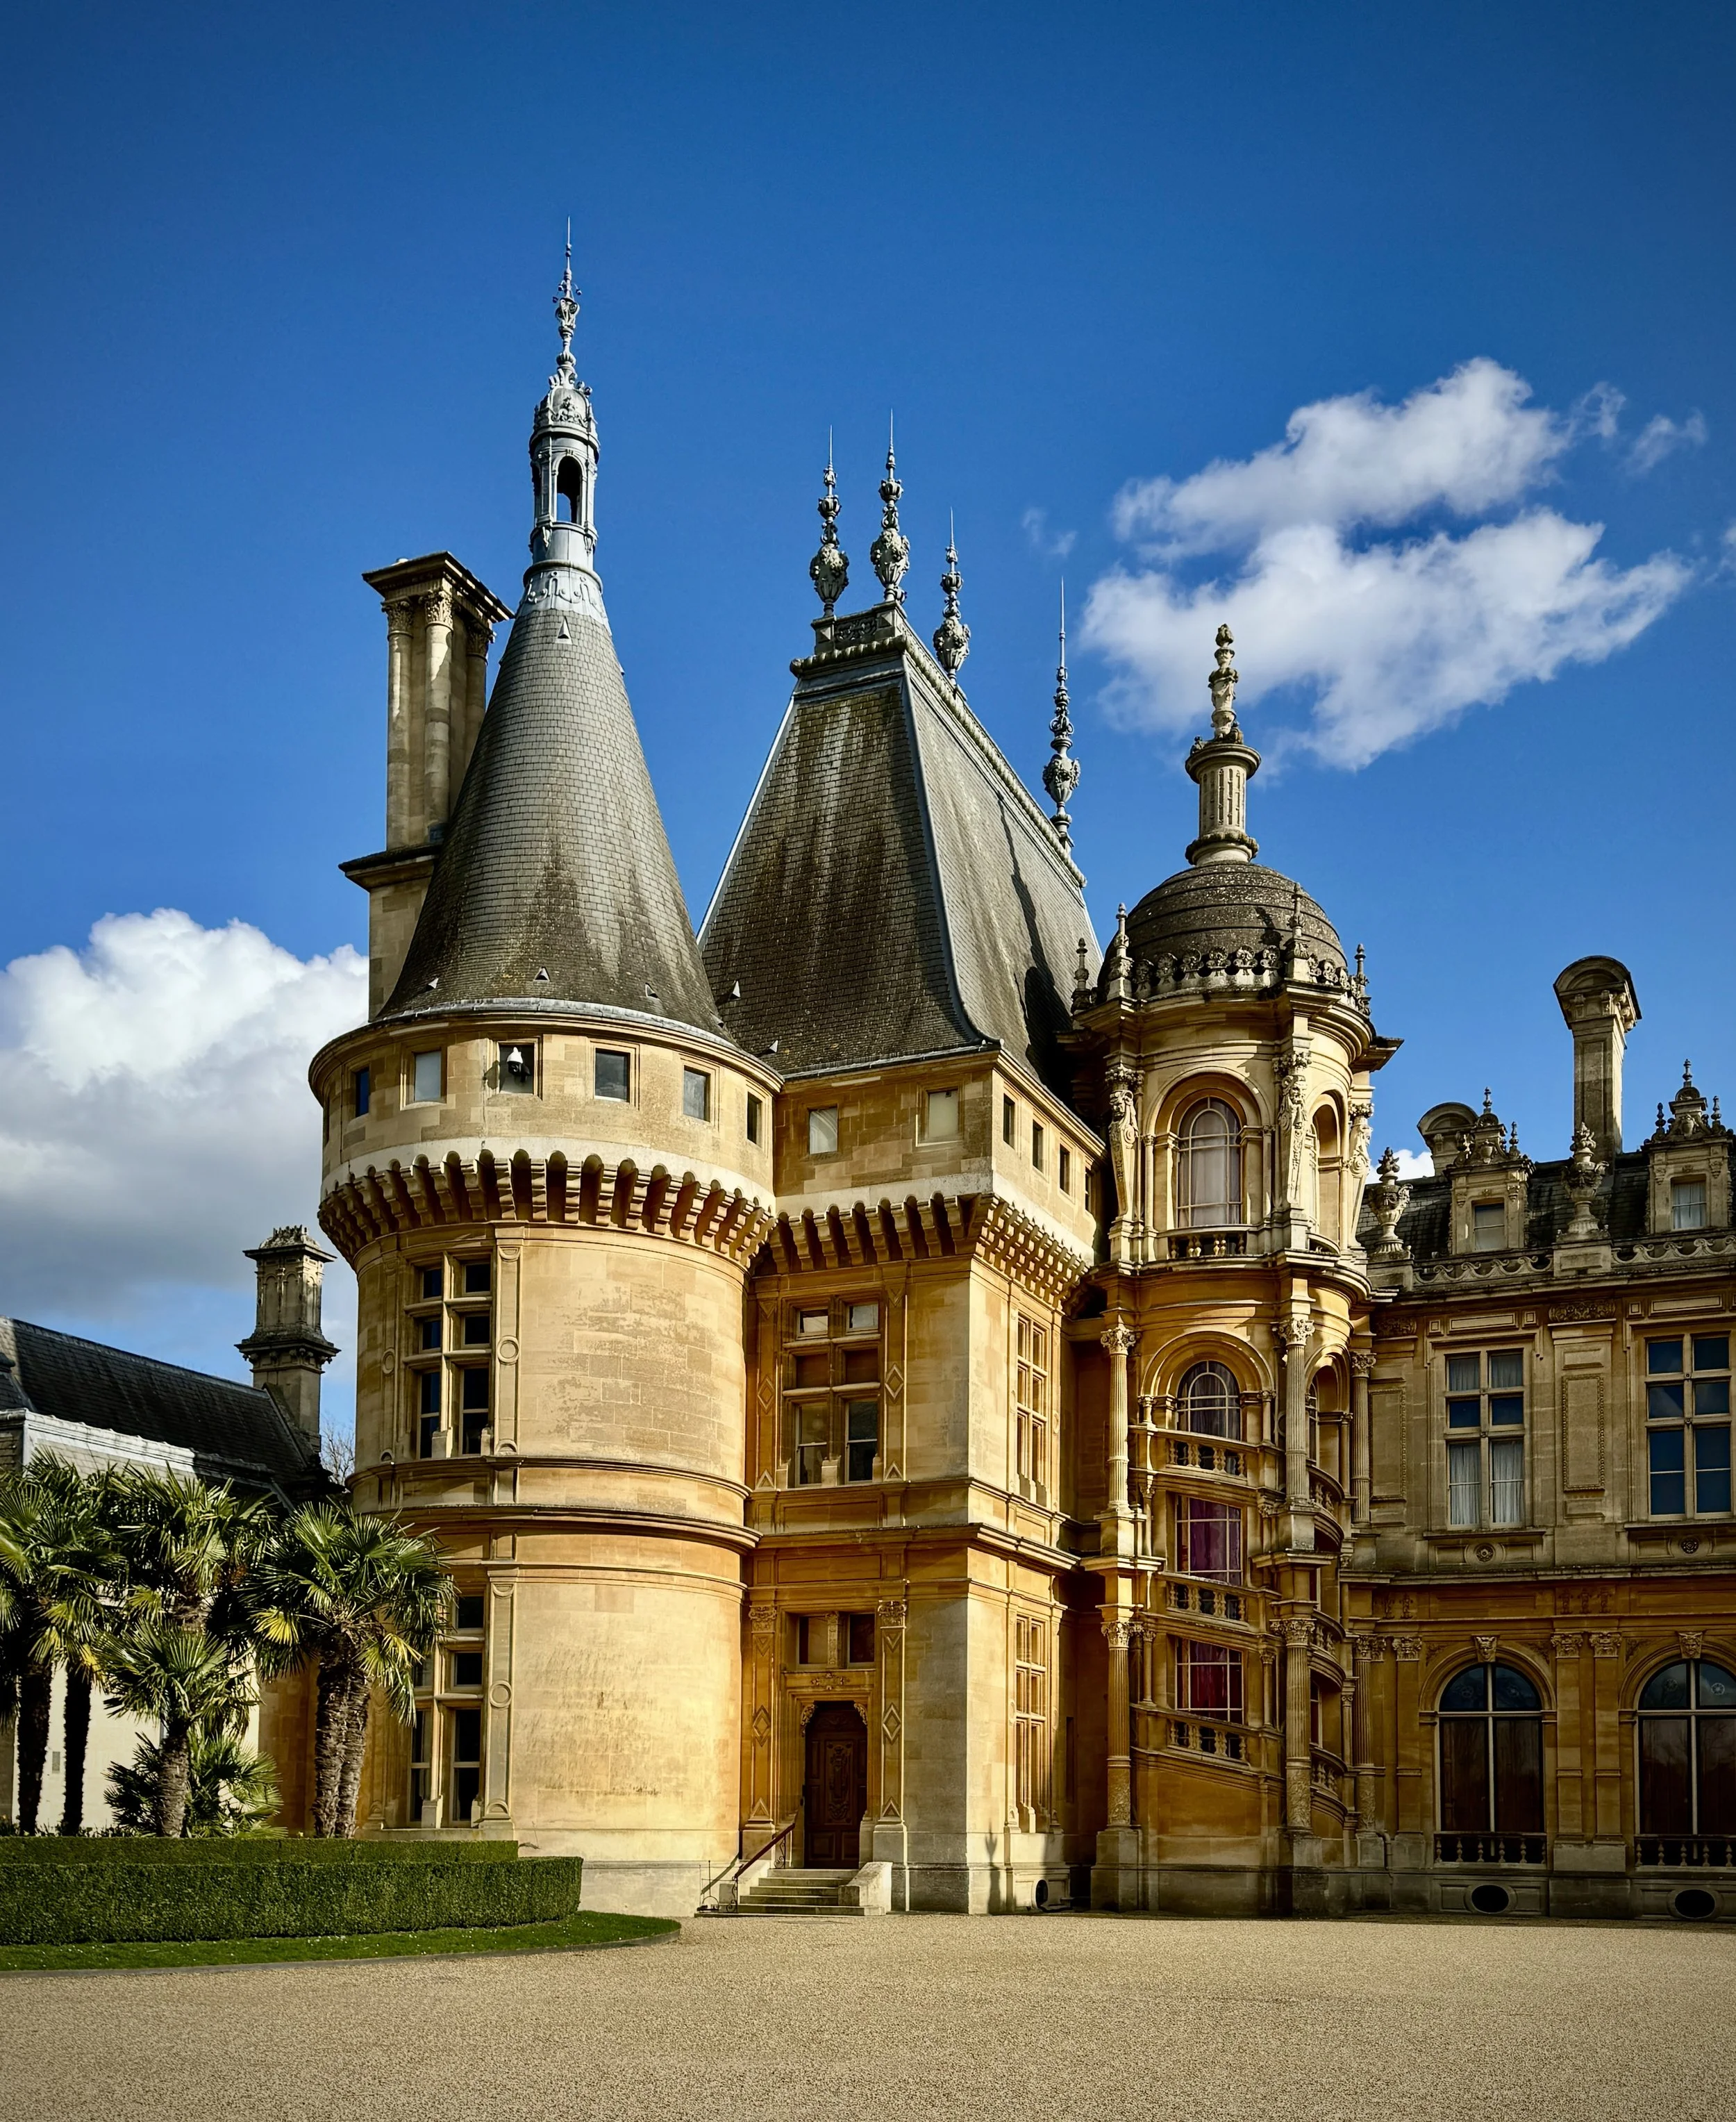
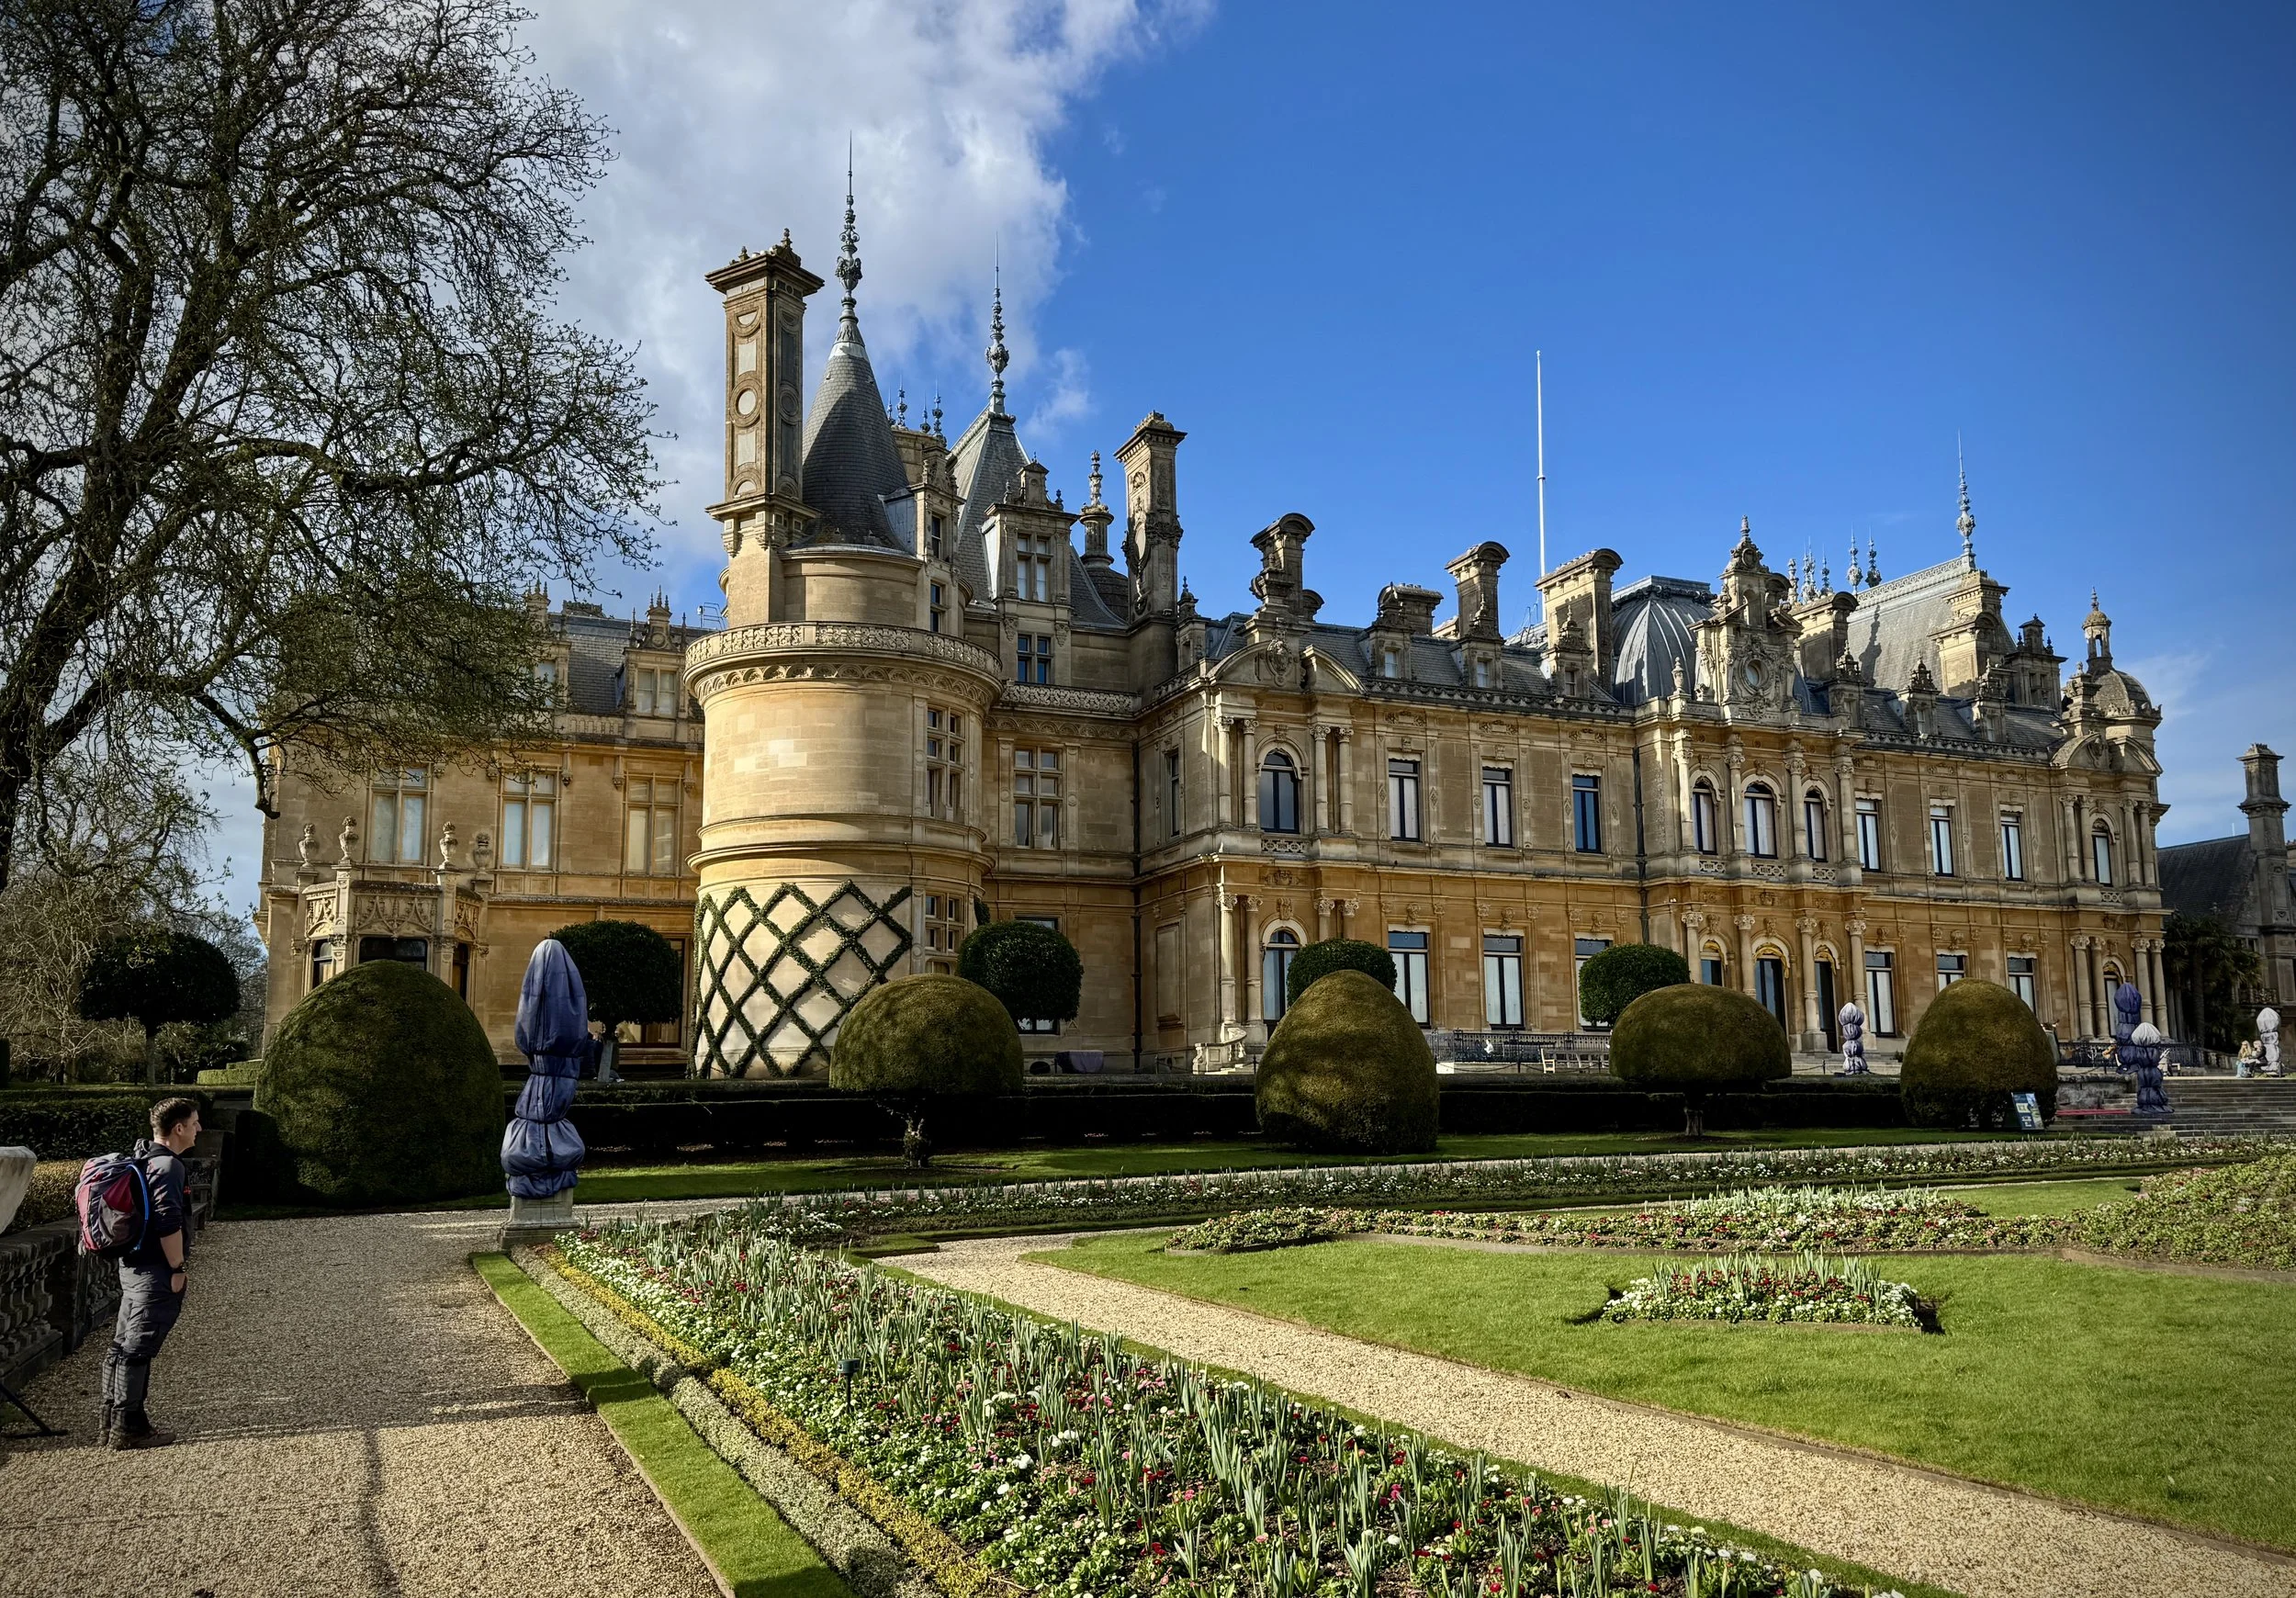
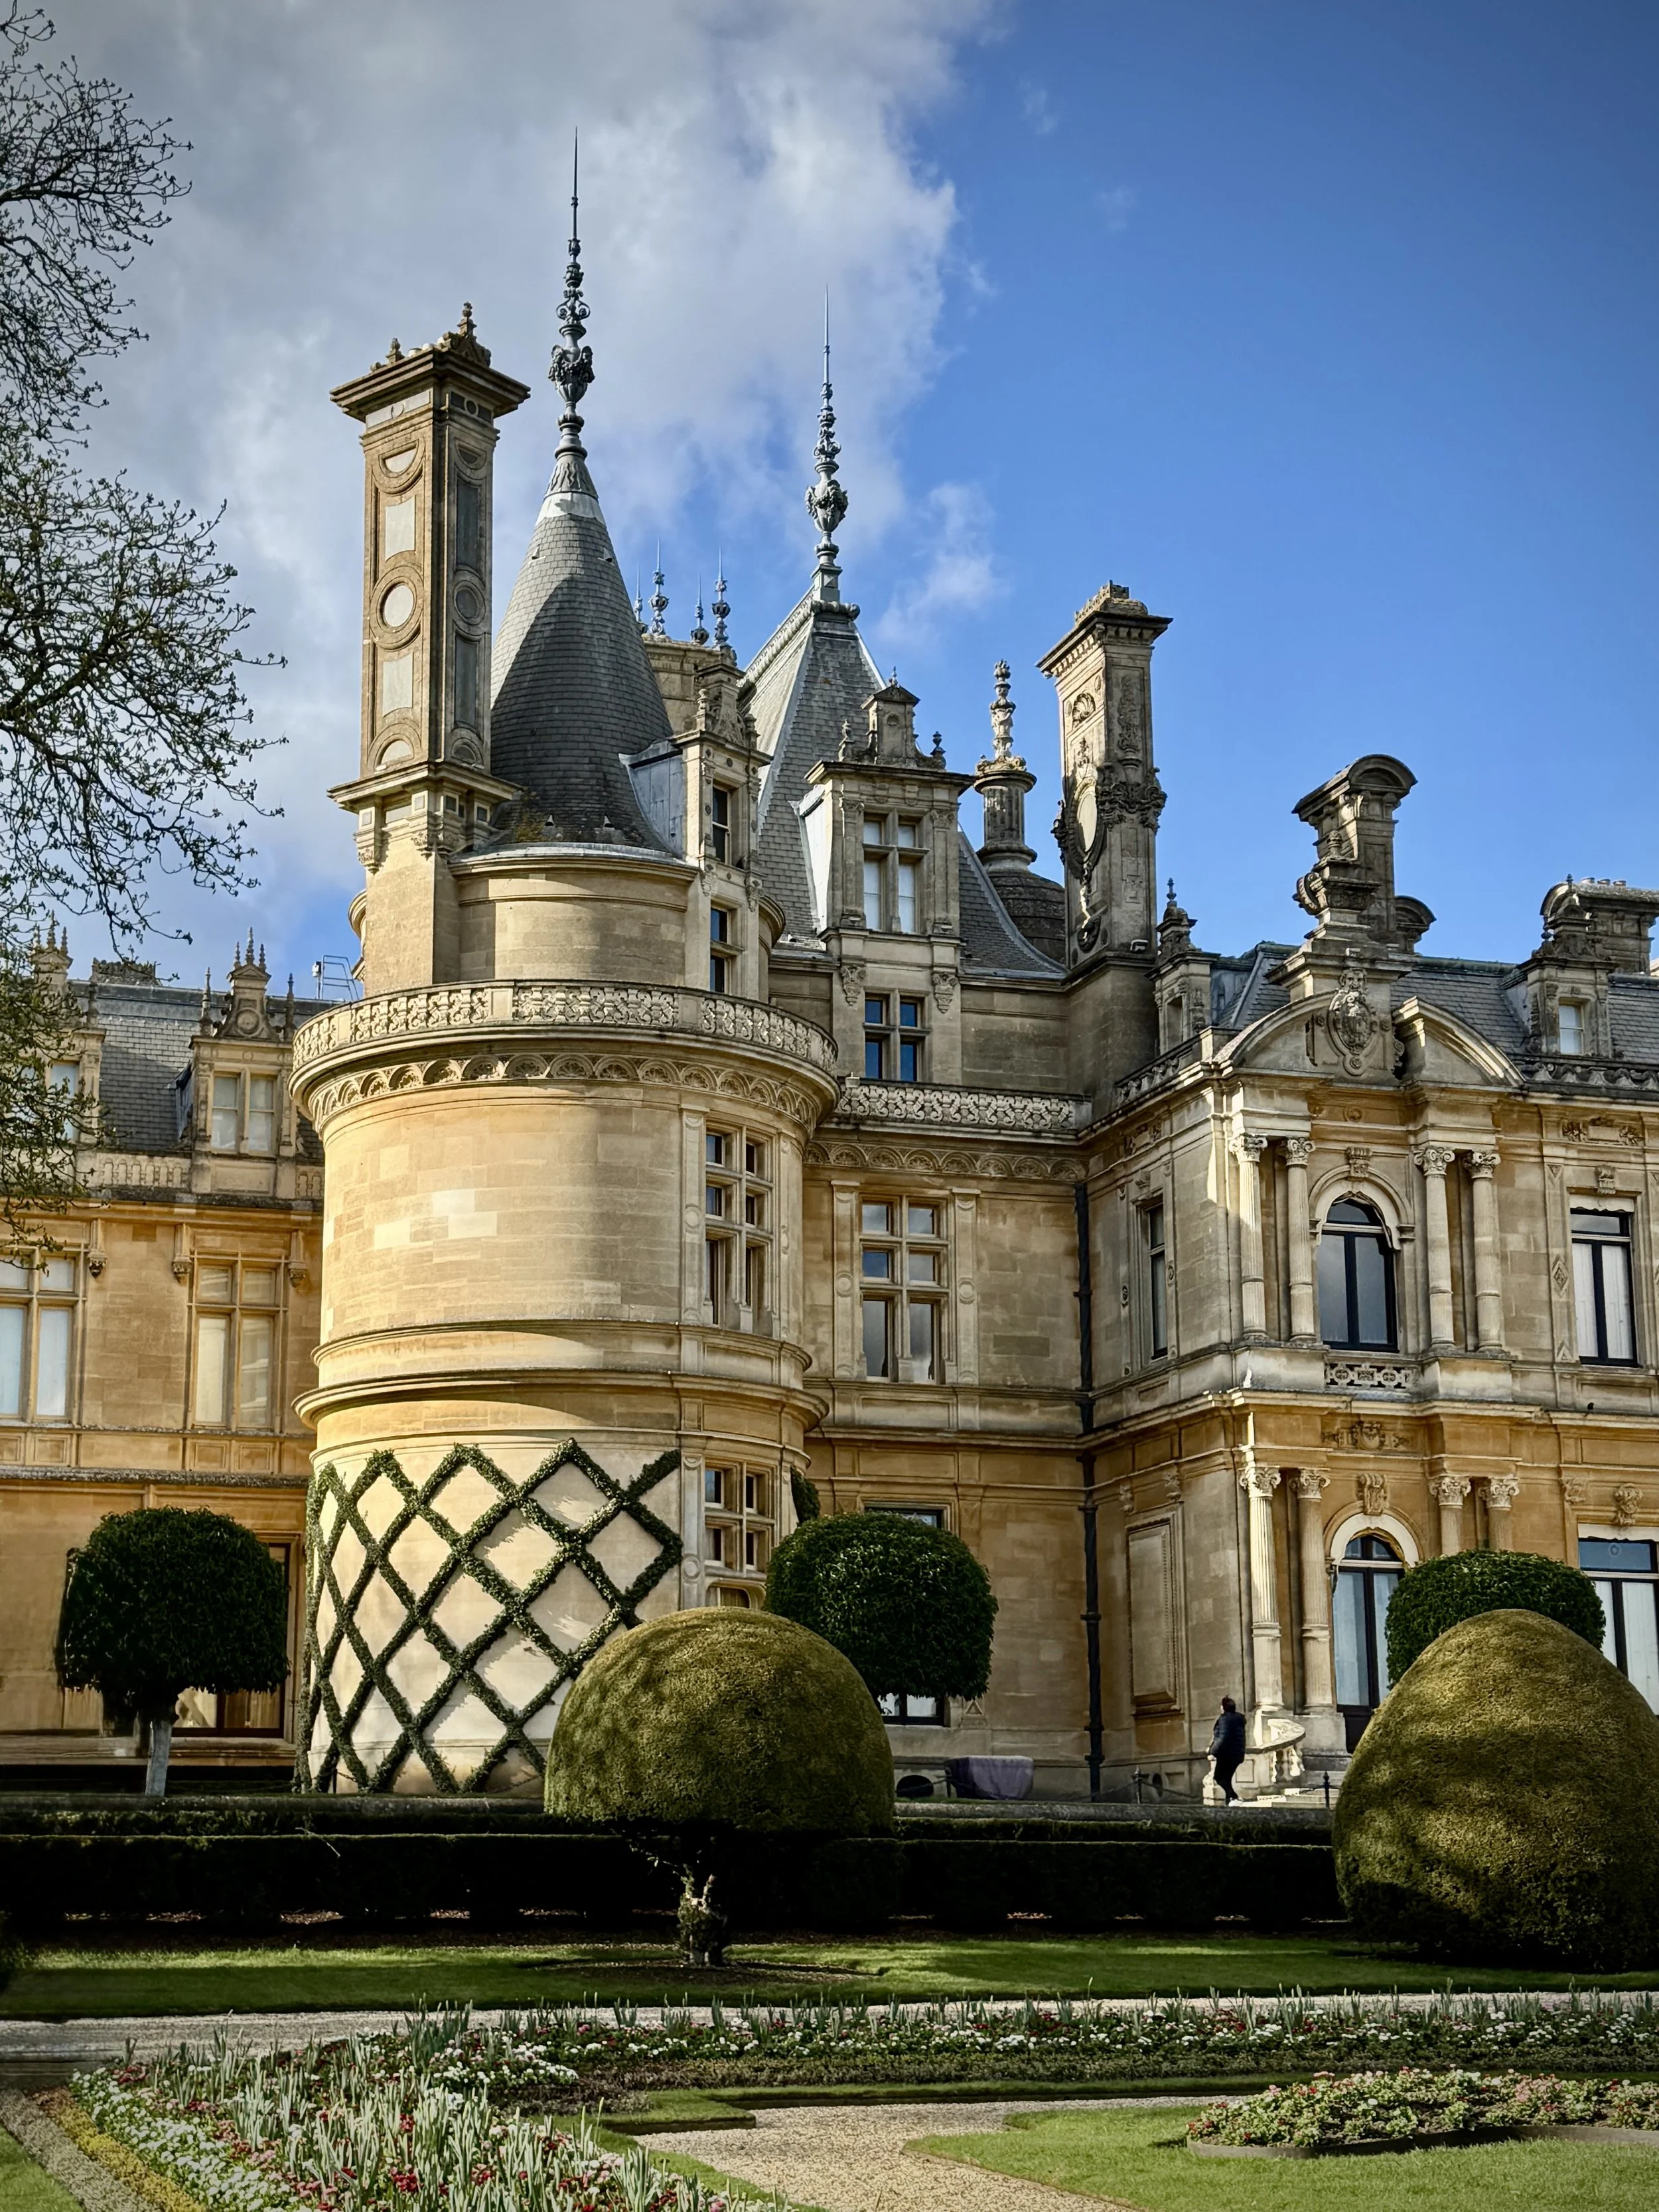
Waddesdon Manor: Built between 1874 and 1889 for Baron Ferdinand de Rothschild, this striking French Renaissance-style château is a spectacular place to visit. Beyond its impressive architecture, the manicured grounds and meticulously designed parterre showcase Victorian horticultural excellence, occasionally hosting vibrant light festivals that illuminate the Buckinghamshire night.
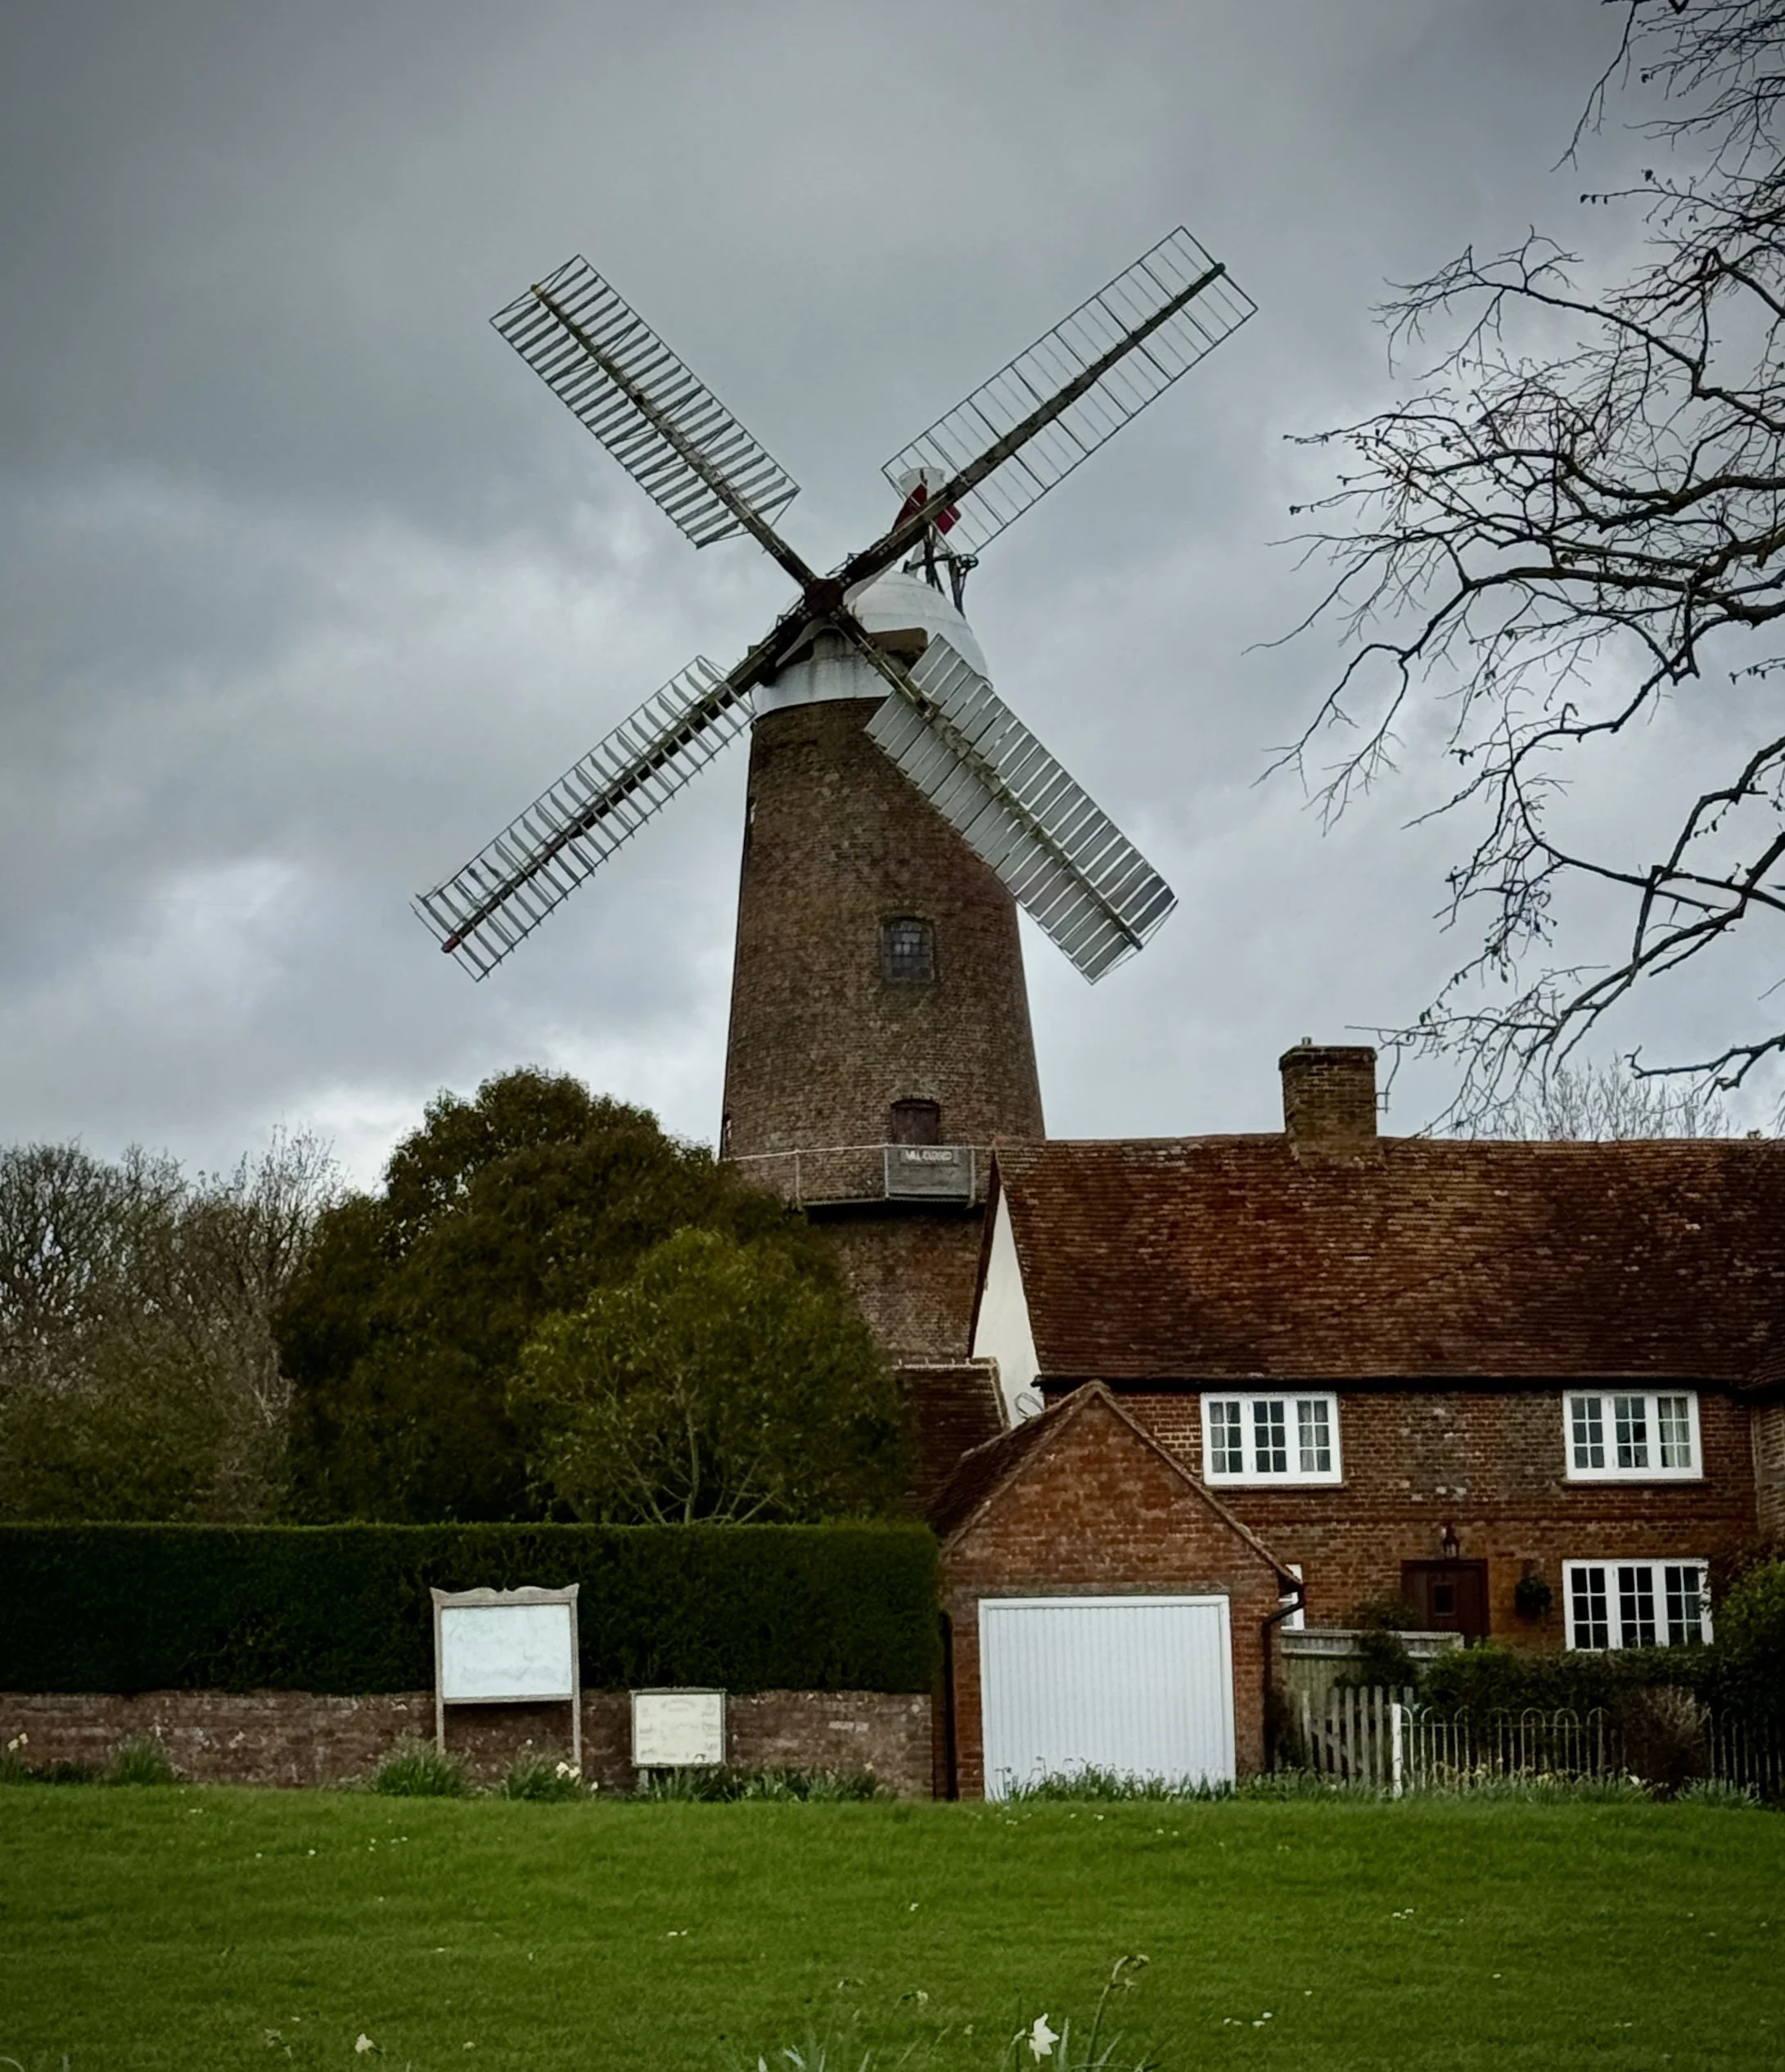
Quainton Windmill: Dominating the picturesque village green, this towering six-storey working windmill was built in 1830 and remains the tallest in Buckinghamshire. Carefully restored by dedicated volunteers, it stands as a testament to the region's agricultural heritage, offering visitors a fascinating glimpse into 19th-century milling practices.
Quainton Road Railway Station: Opened in 1899 and closed to passengers in 1936. A nostalgic stop that once served the far reaches of the Metropolitan Line, this historic station is now a beautifully preserved heritage site. It forms a central part of the Buckinghamshire Railway Centre, where the legacy of the old Brill Tramway and the golden age of steam travel are kept alive for modern enthusiasts.
The George & Dragon: Situated right on the village green in Quainton, this historic pub believed to date from 1777. It provides a quintessential village experience and a fantastic spot to grab a hearty bite to eat or a refreshing drink whilst enjoying uninterrupted views of the nearby windmill turning in the breeze.
Alternative Route to Avoid The HS2 Works
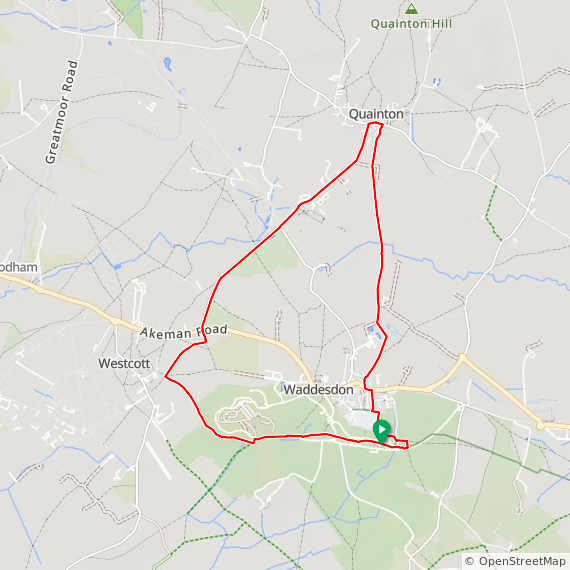
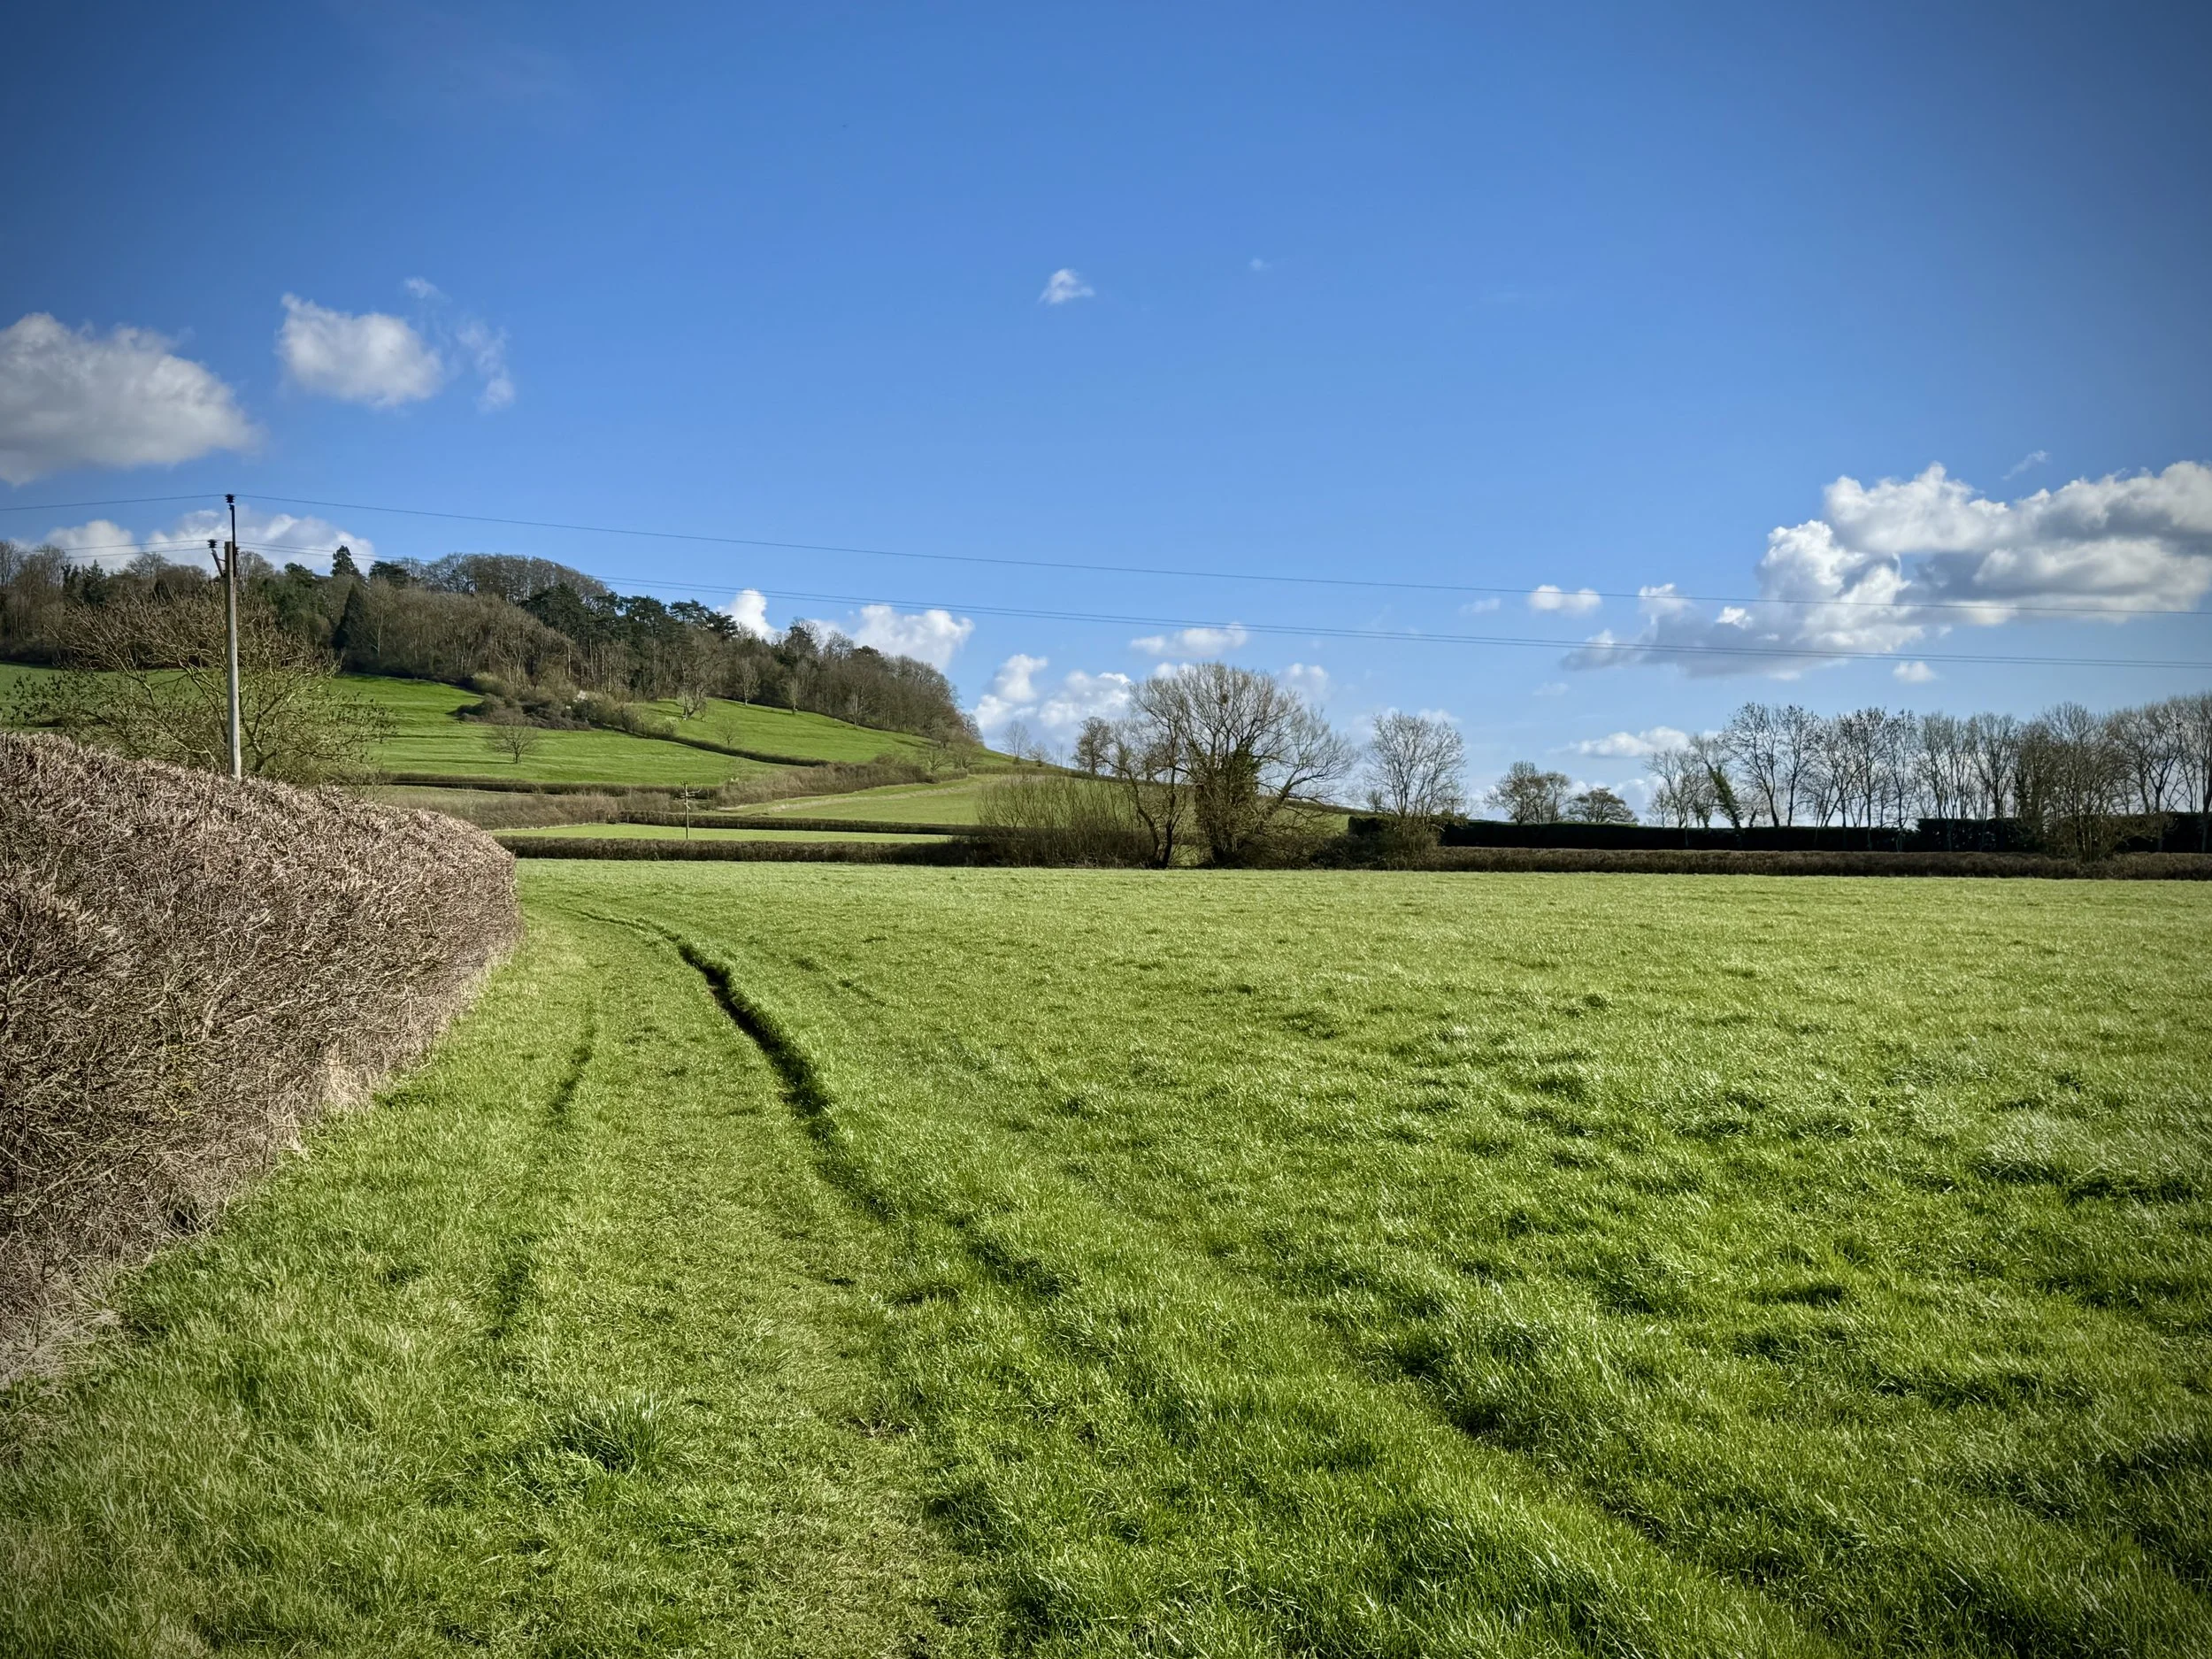
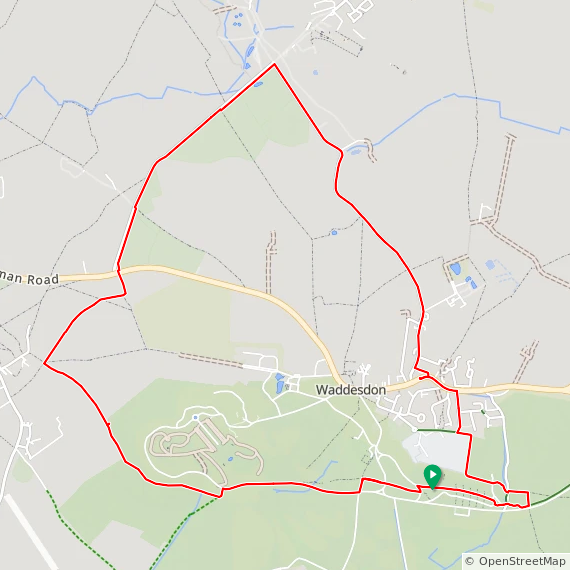
We attempted this route in March 2026 but had to replan it on the fly when we couldn't get much further north than Waddesdon. The HS2 line runs right through the middle of the route between Waddesdon and Quainton and there was no practical route through the construction works. Instead we followed Quainton Road from Waddesdon High Street until the junction of Station Road, then took a left to rejoin the original route following the Brill Tramway Walk towards the Waddesdon Estate. As the walk was slightly shorter than planned we spent some time exploring the Waddesdon Manor grounds. Allow an extra 3 km on top of the walk route distance to explore the Waddesdon grounds.
Start & Finish: Waddesdon Manor Car Park, Waddesdon, Aylesbury, HP18 0JE
Distance: 9.7 km (6 miles)
Elevation change: +/- 81m
Midshires Way section covered: Waddesdon Manor to Little Britain (road): 1.4 km
Midshires Way previous section (south): Waddesdon and Eythrope
Midshires Way next section (north): Quainton and Boltoph Clayton
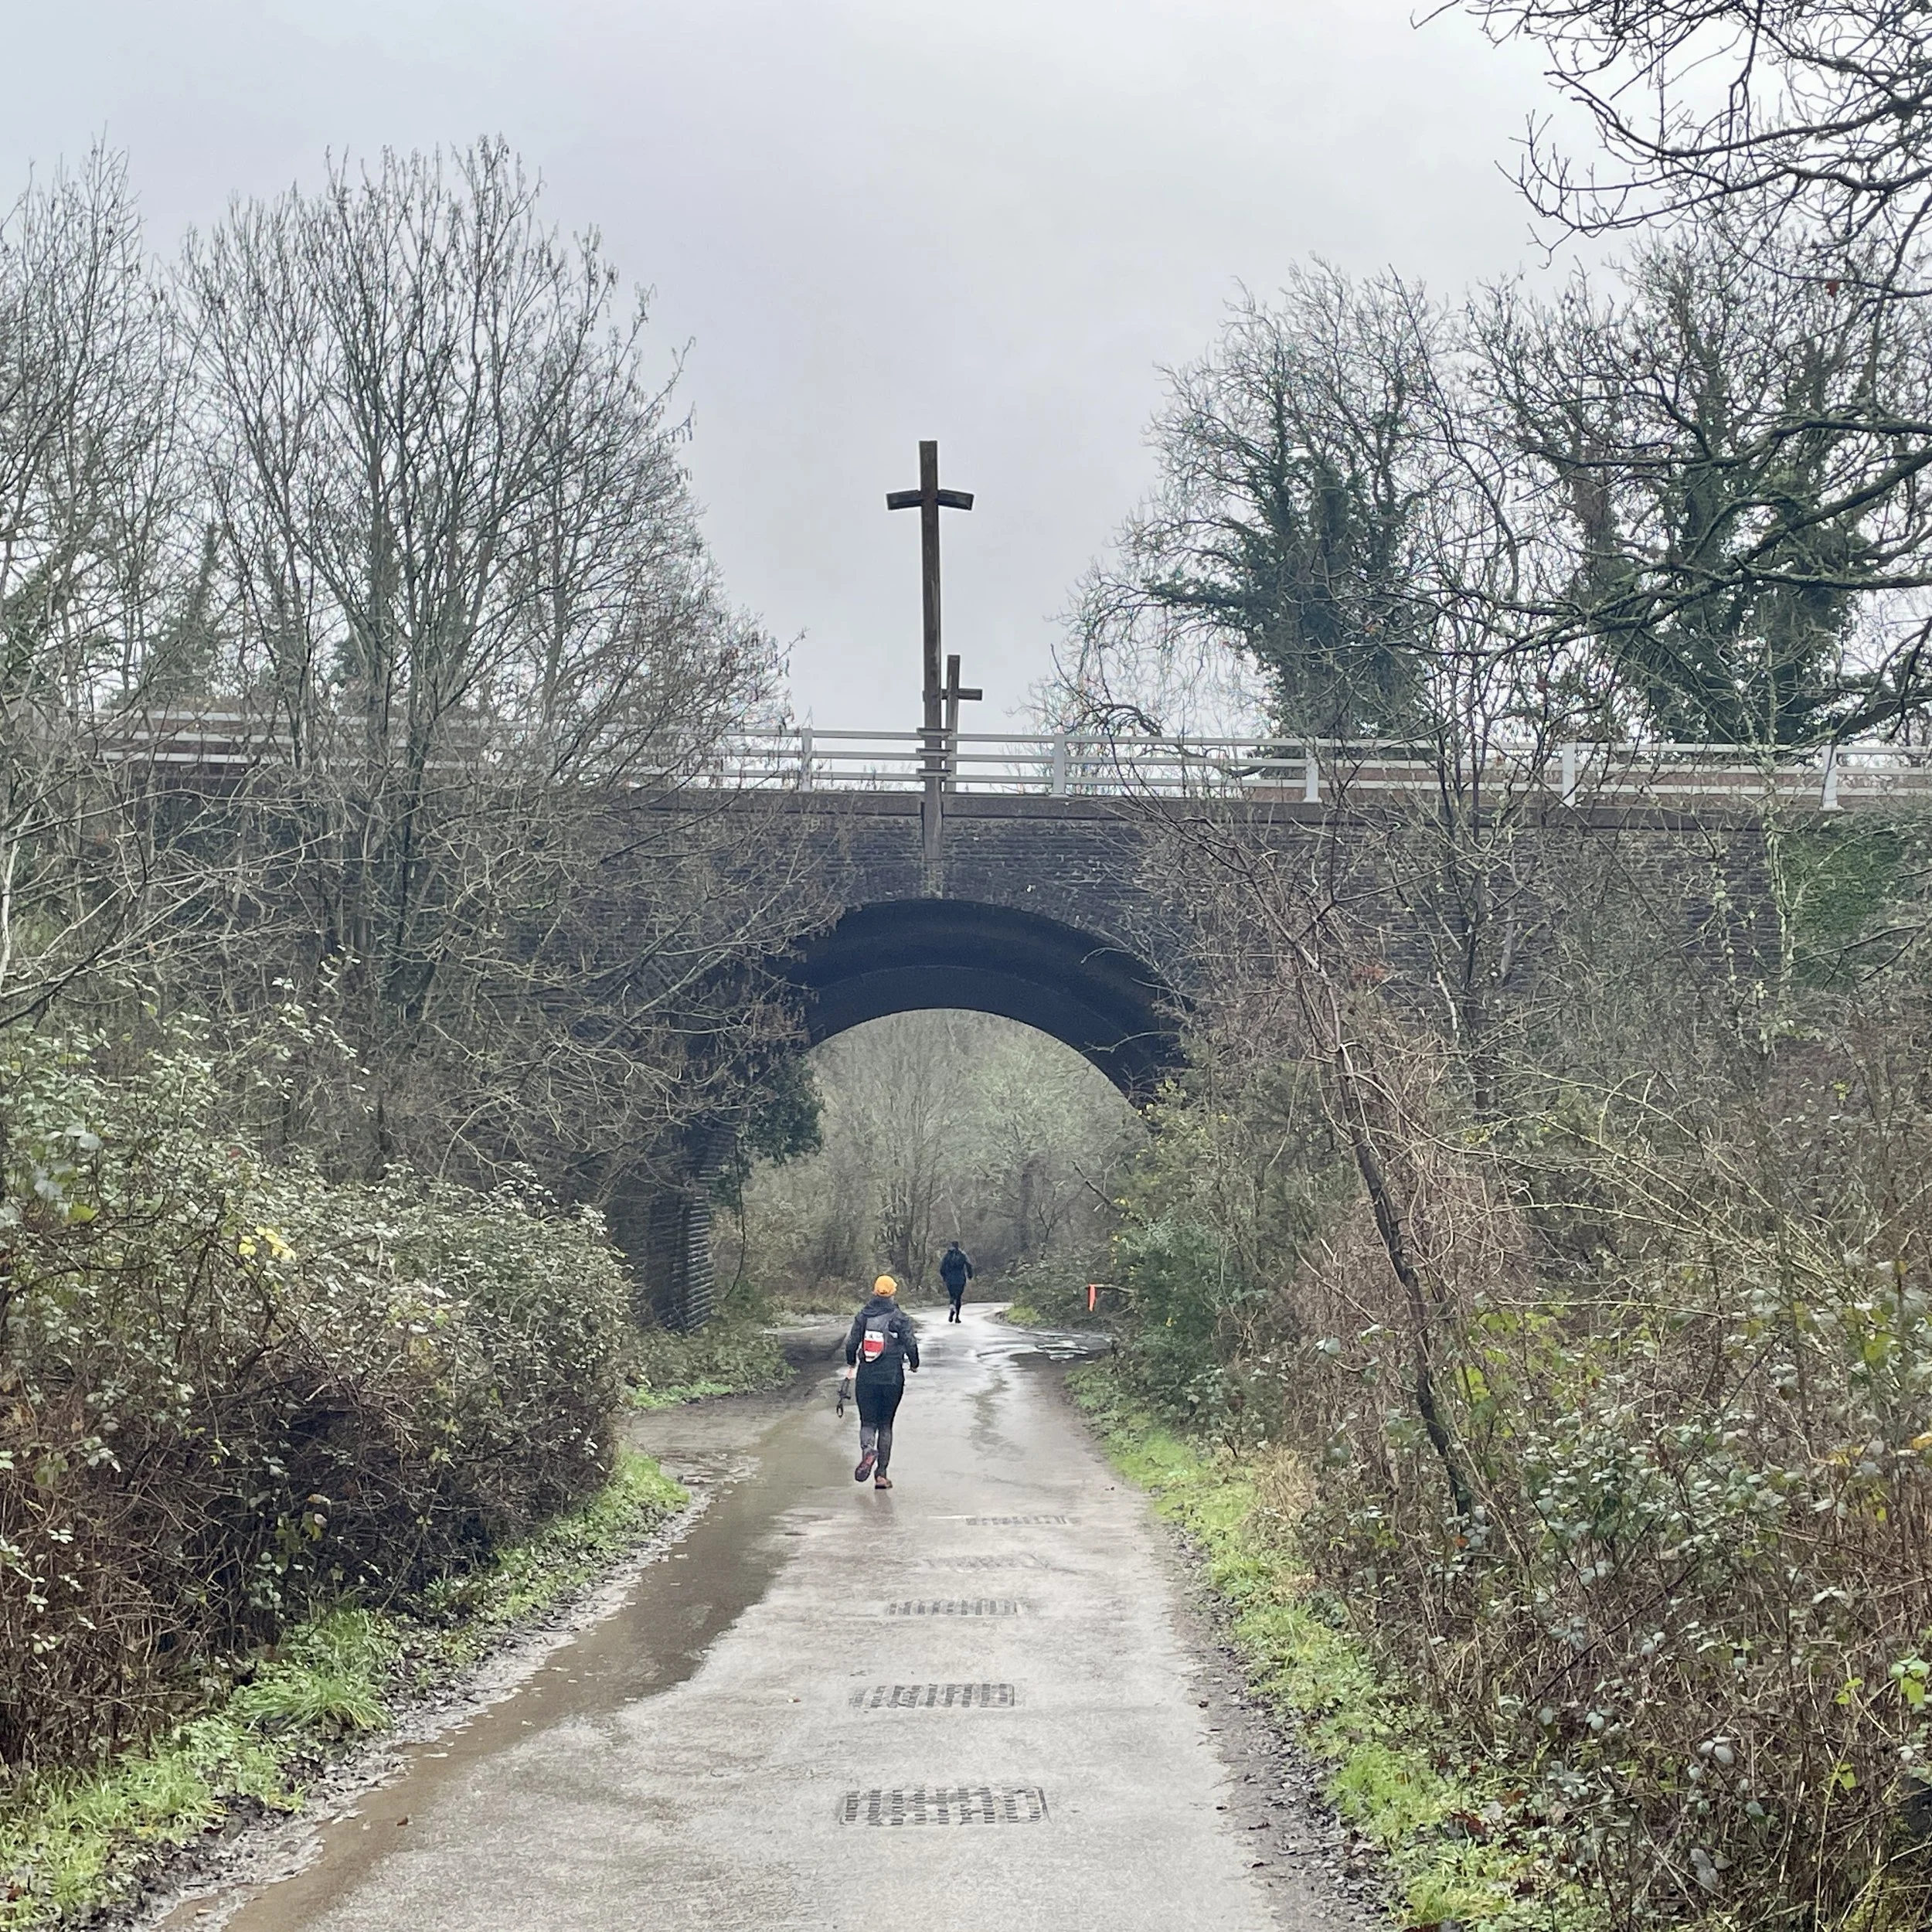
The Pilgrim Challenge 110k Ultra Marathon
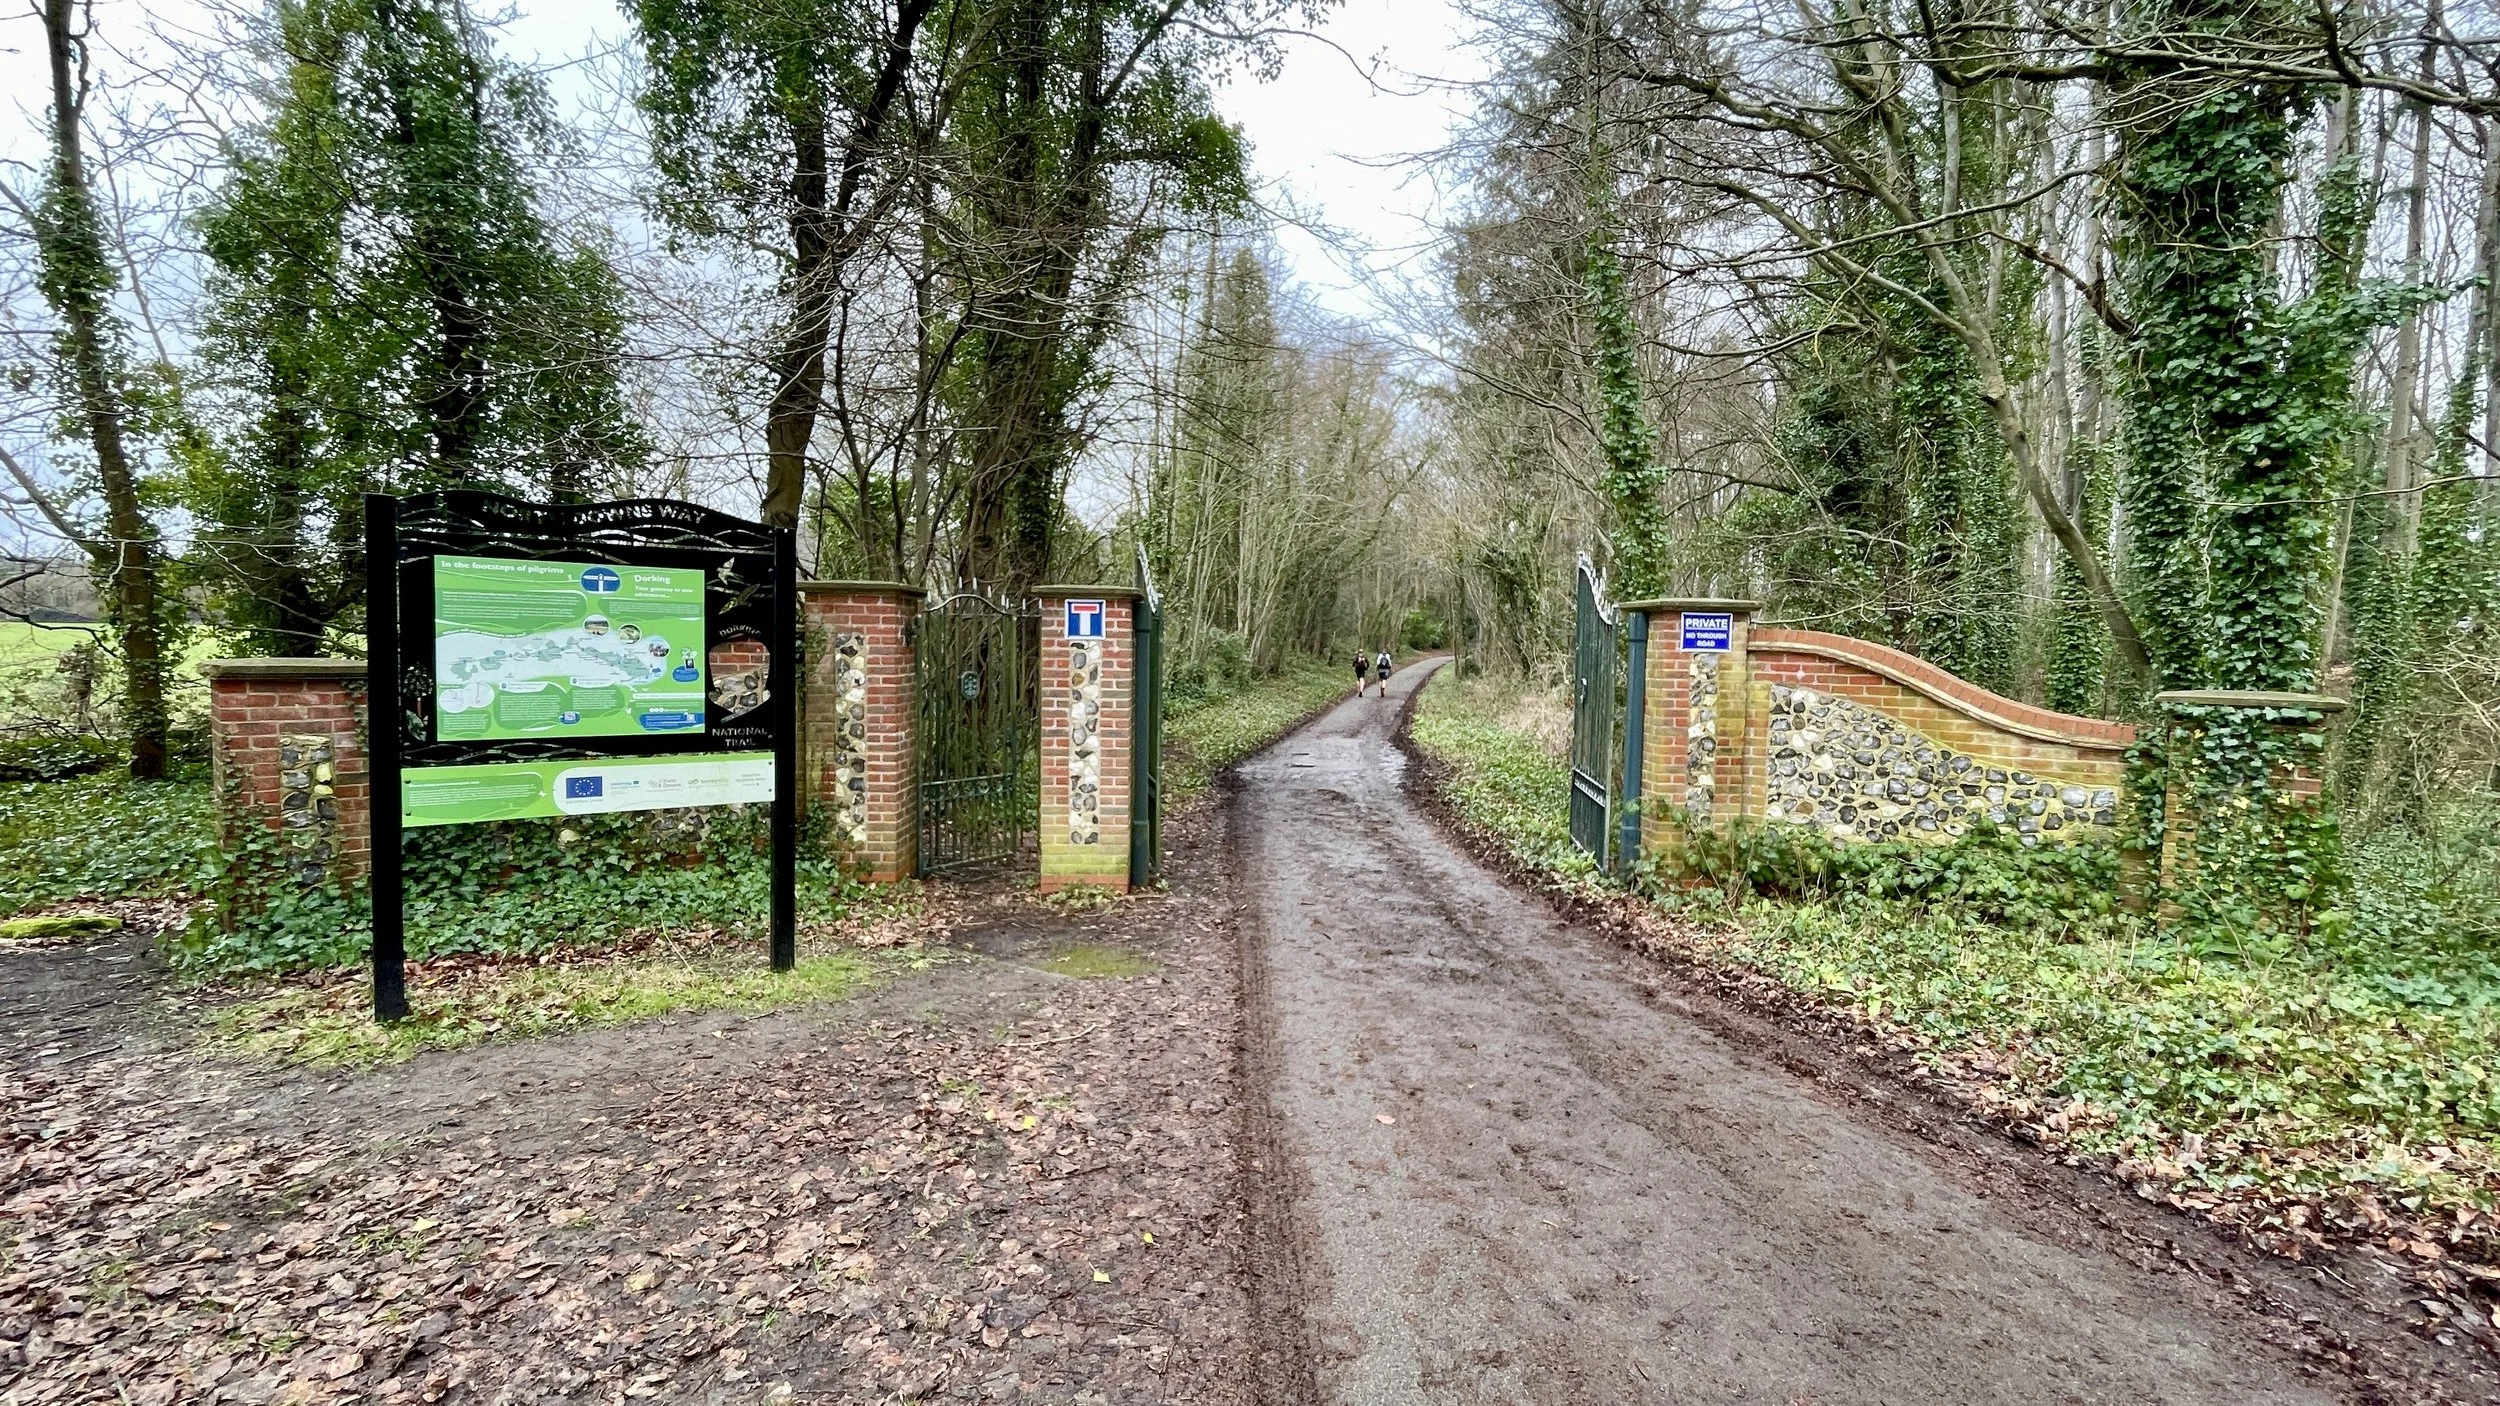
Descent of Box Hill
When: February 7th and 8th 2026
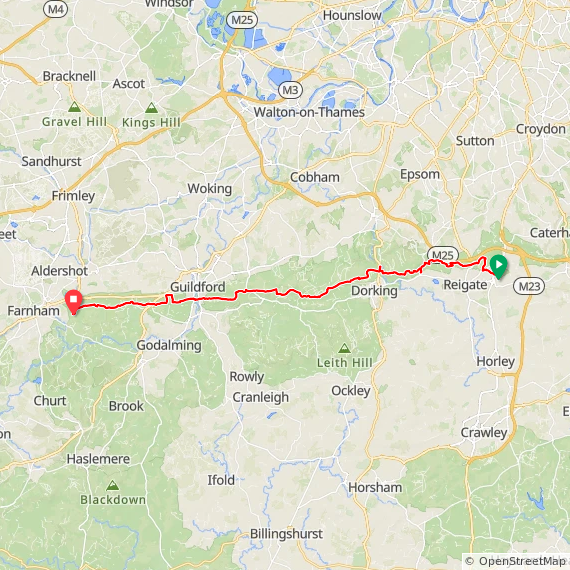
Start and Finish: Sandy Farm Business Park, Sands Road, The Sands, Farnham, Surrey, GU10 1PX
Organiser: XNRG
Distance: 55km (34 miles) x 2 days = 110km (68 miles), including the diversion.
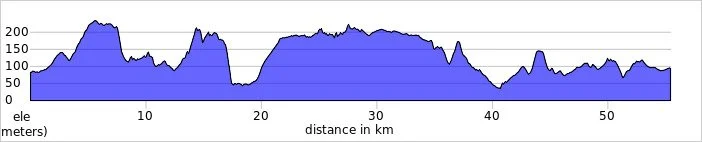
Elevation change: +/- 1,155m per day = +/- 2310m for the 2 day event
GPX File: get via Buy Me a Coffee
Other routes touched (walk): North Downs Way, The Fox Way, Wey South Path, Scholar’s Trail, Downs Link, Prospects of Polesden, Ranmore Circular, Mole Gap Trail, Box Hill Hike, Stepping Stones Path, Leith Hill Greenway, Reigate Hill Walk Harewoods, Greensand Way
Other routes touched (cycle): NCN 22, Surrey Cycleway
Other routes touched (run): Downs Link Ultra, Hardest of Snails 10k
Summits: St. Martha's Hill (175m), Reigate Hill (235m)
OS Trig Pillars: TP1553 - Box Hill
Maps:
- Guildford & Farnham Map | Godalming & Farnborough | Ordnance Survey | OS Explorer Map 145
- Dorking, Box Hill & Reigate Map | Leatherhead & Caterham | Ordnance Survey | OS Explorer Map 146
Finish time Day 1: 9 hours, 41 minutes, 53 seconds
Finish time Day 2: 11 hours, 33 minutes, 27 seconds
Links: North Downs Way, Puttenham, Guildford, St. Martha’s Hill, Newlands Corner, Shere, Denbies, Box Hill, Betchworth, Redhill
After loving The Lap Ultra around Lake Windermere the previous year, I was looking for inspiration for a new event. My social media feeds had no shortage of ads for big races, but they were either ones I had done before, too long, too far away, or simply didn't inspire me enough.
It was at a pre-Christmas family lunch when my sister, Lisa, gave me that inspiration: she had recently completed the Druid's Challenge on the Ridgeway. That was a 3-day event with overnight stays along the way. I had only done single-day Ultras before, so the novelty of doing a multi-day event with Lisa gave me the "Hell Yes" decision I was looking for.
I tried in vain to recruit my friend Mark to sign up too: he is normally up for Ultras but didn't seem too keen on a winter one or the prospect of sleeping in a school. Timea also had no interest in being my support crew in the bleak midwinter (which was fair enough). Then, shortly after New Year, Lisa decided that the race wasn't right for her this year. I briefly considered deferring my place but decided to go ahead anyway when I remembered how much I enjoyed The Hurtwood, an Ultra I did a few years back which was also in the winter.
My January was both dry and wet. I had pressed pause on alcohol before New Year, except for some pre-Christmas drinks with a friend that we postponed until Jan 14th. The wet part came from nearly constant rain for the 3 weeks leading up to the event. The North Downs Way is known for its mud, and I could feel that this was going to be tough.
On the night before the race, we received an email from XNRG, the organisers, stating that a diversion would add a mile to each day. At that point, my attitude was "bring it on". If it was going to be tough, then why not an extra hilly 2 miles? That was the same attitude that meant I wasn't bothered that it was pissing it down with rain through the hour's drive to the start.
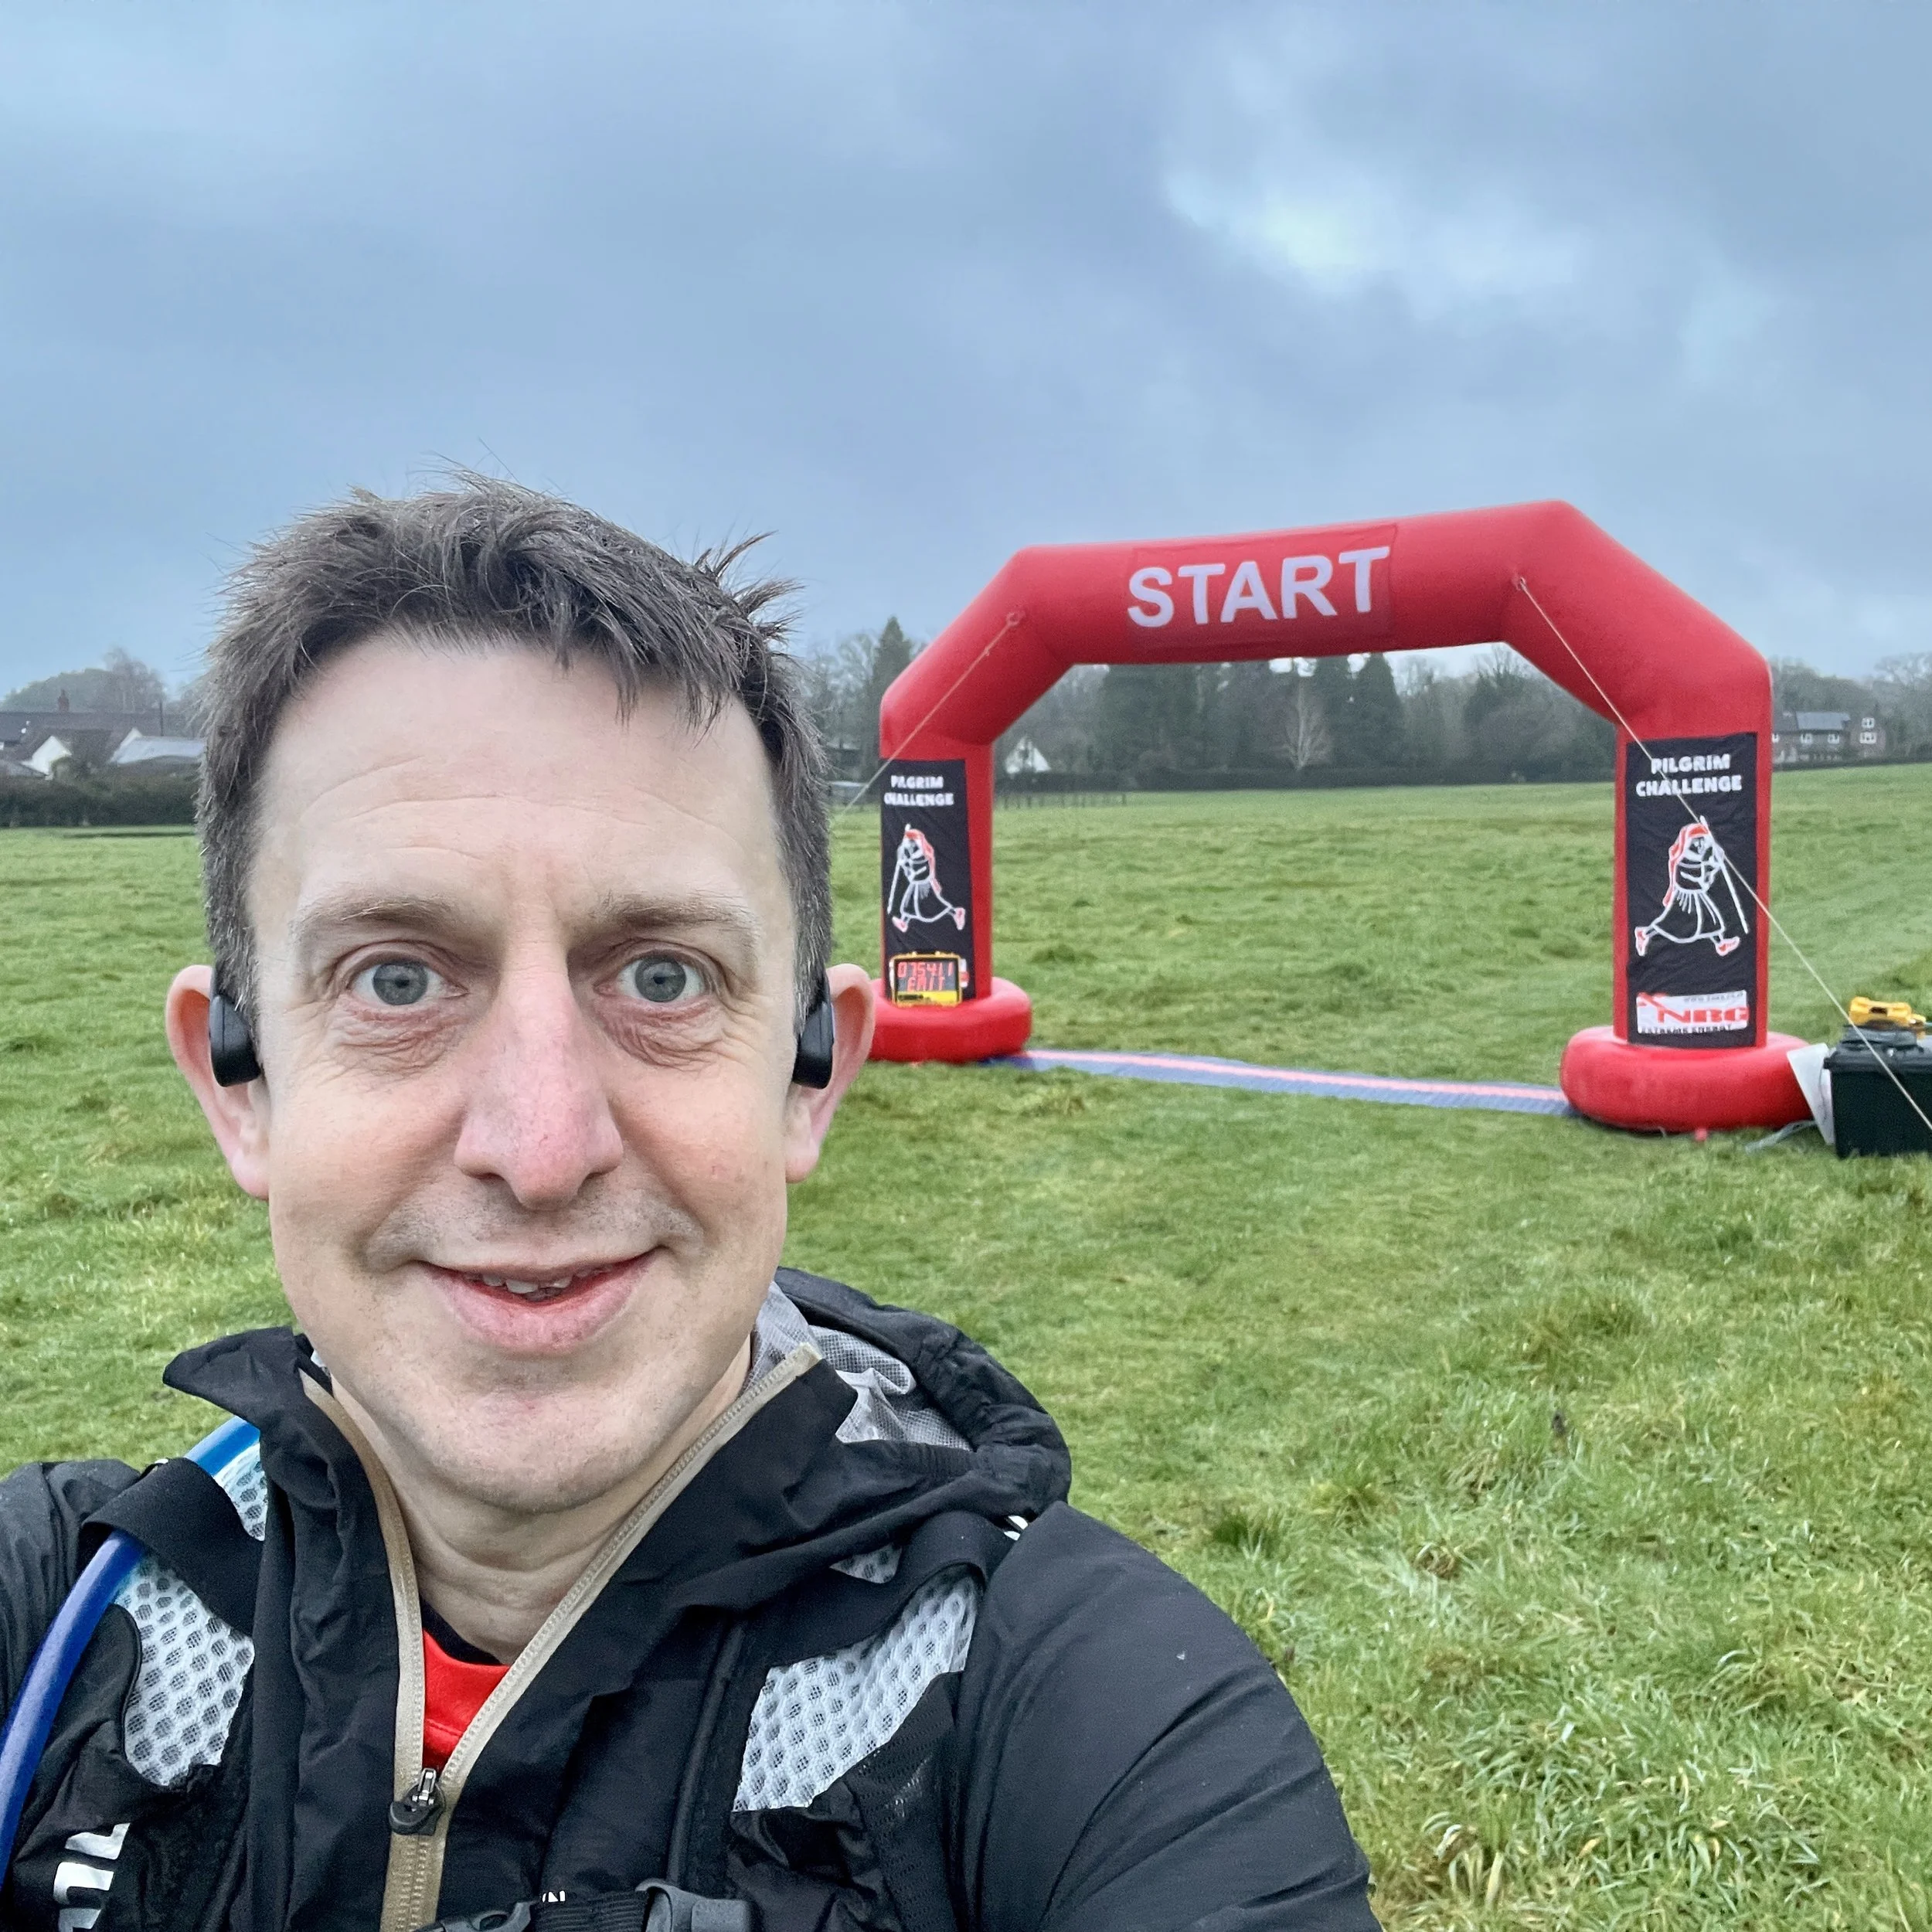
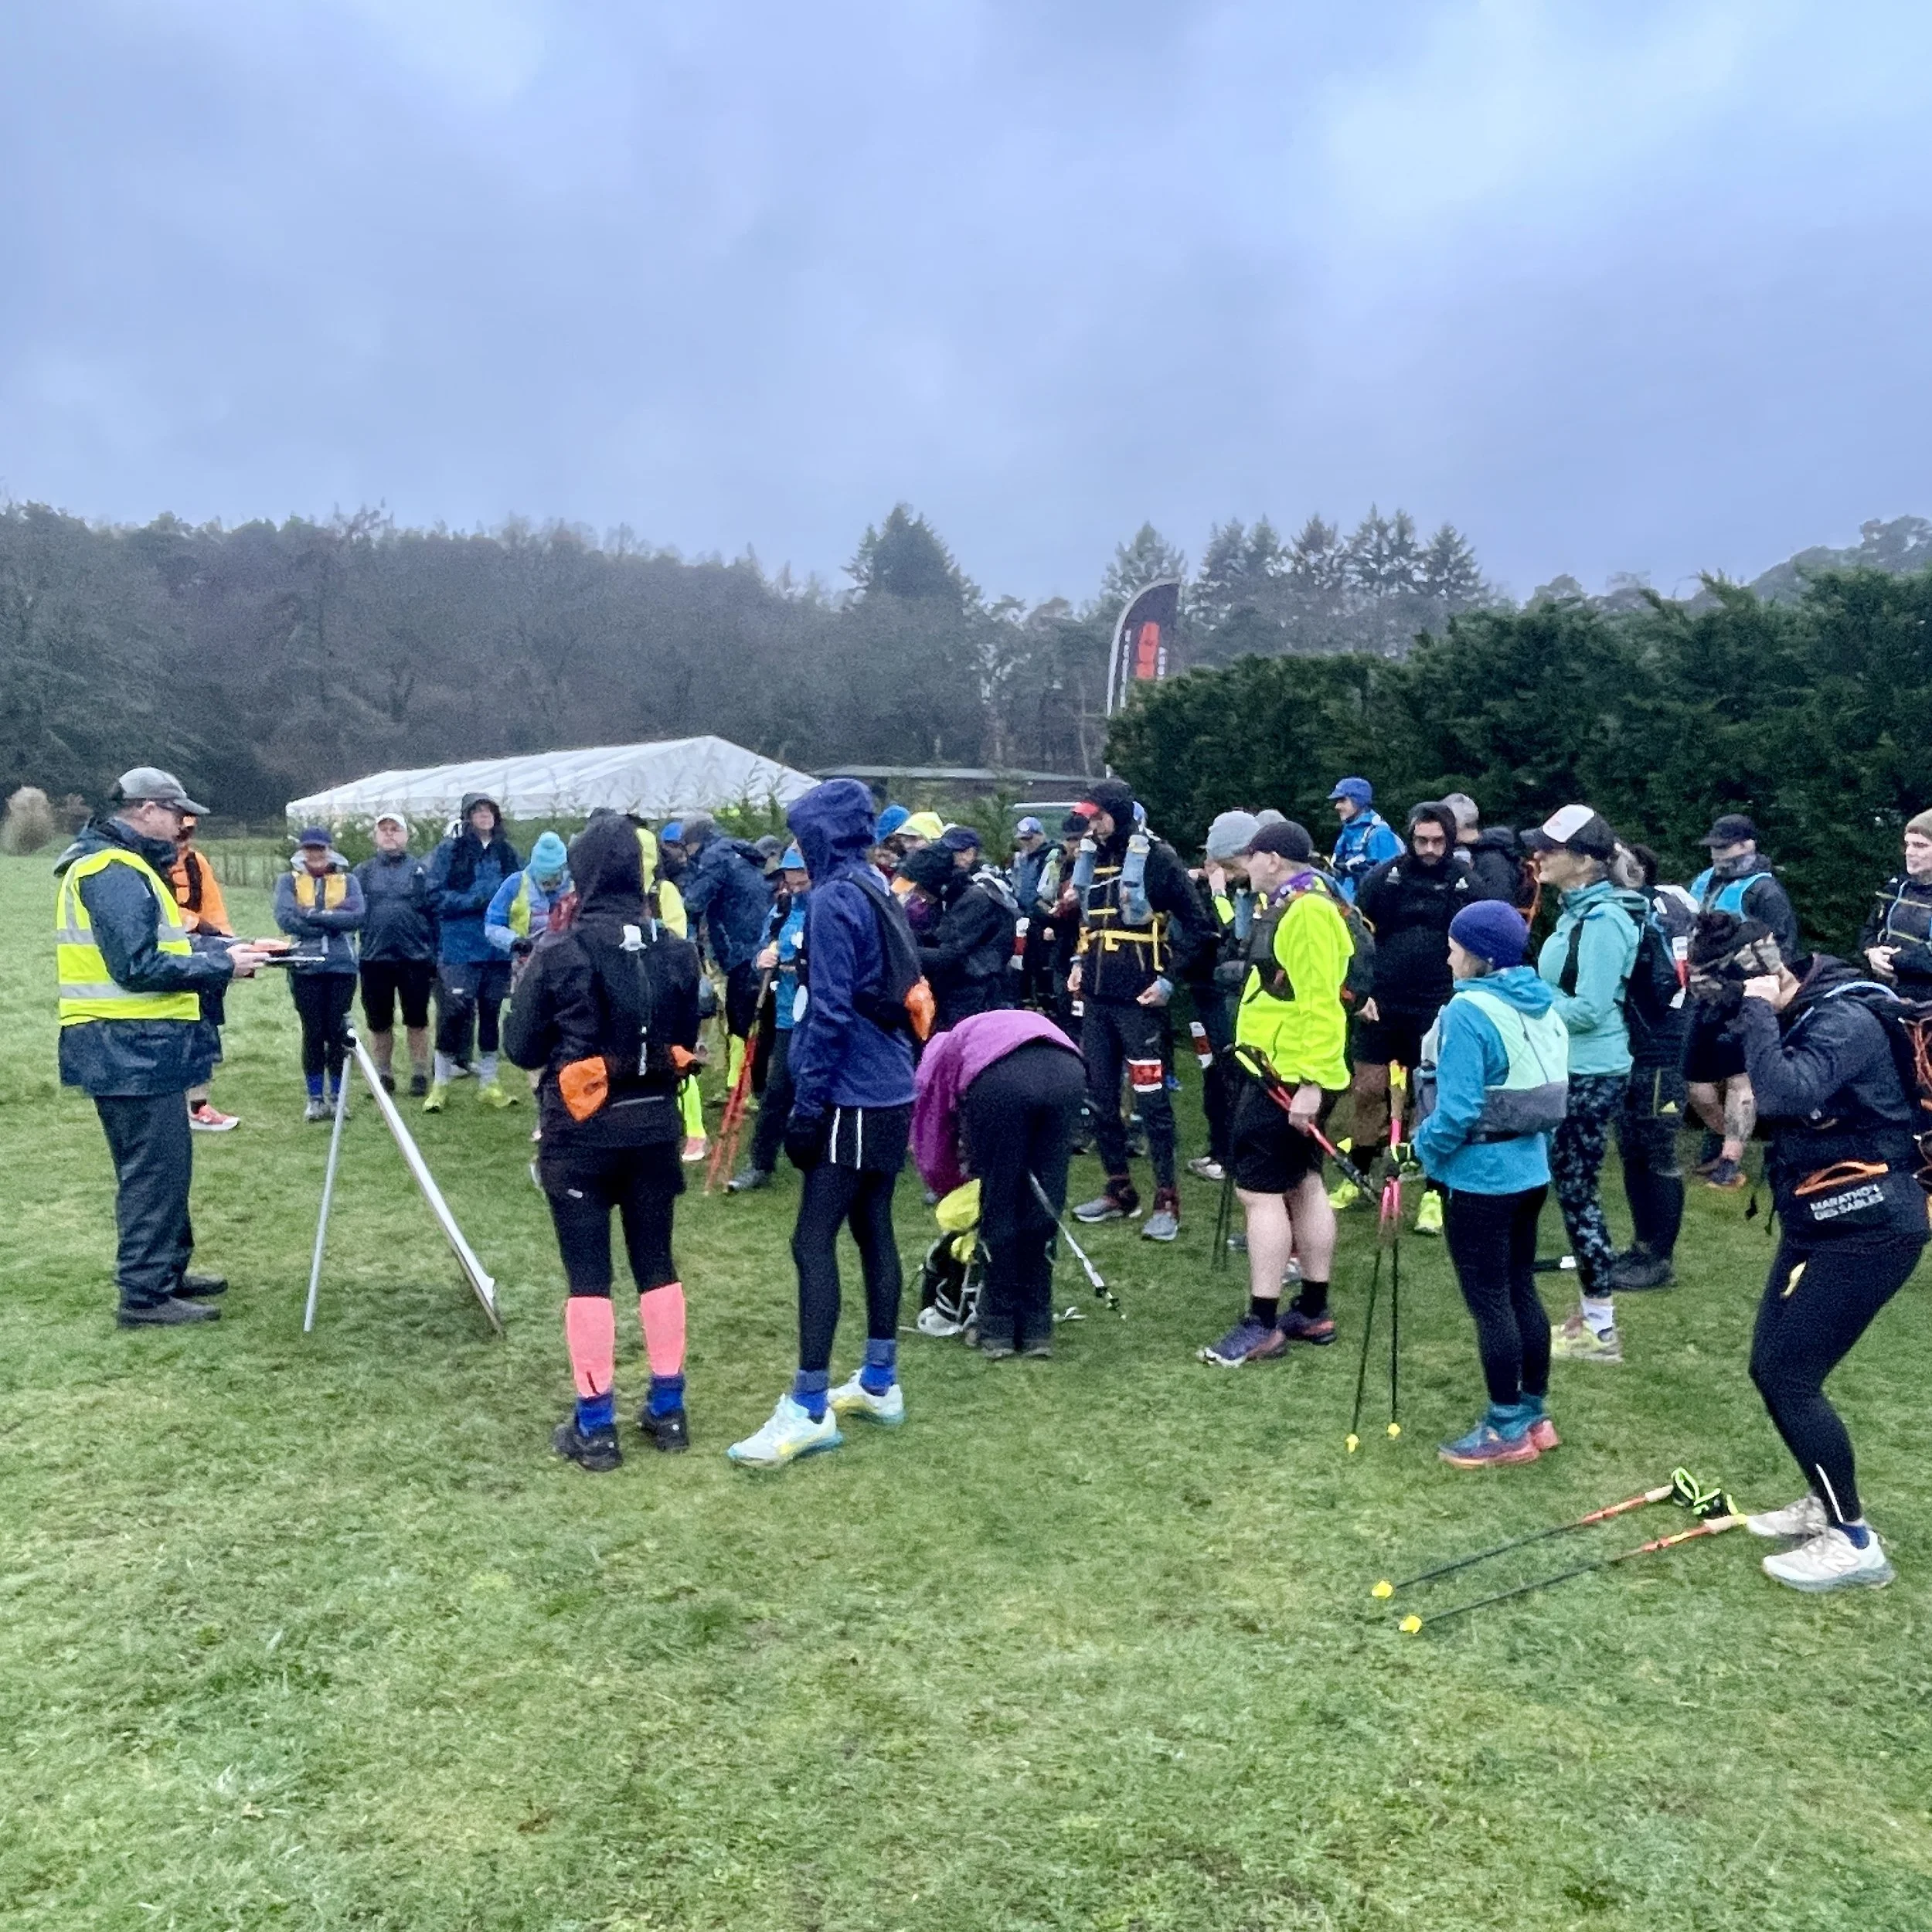
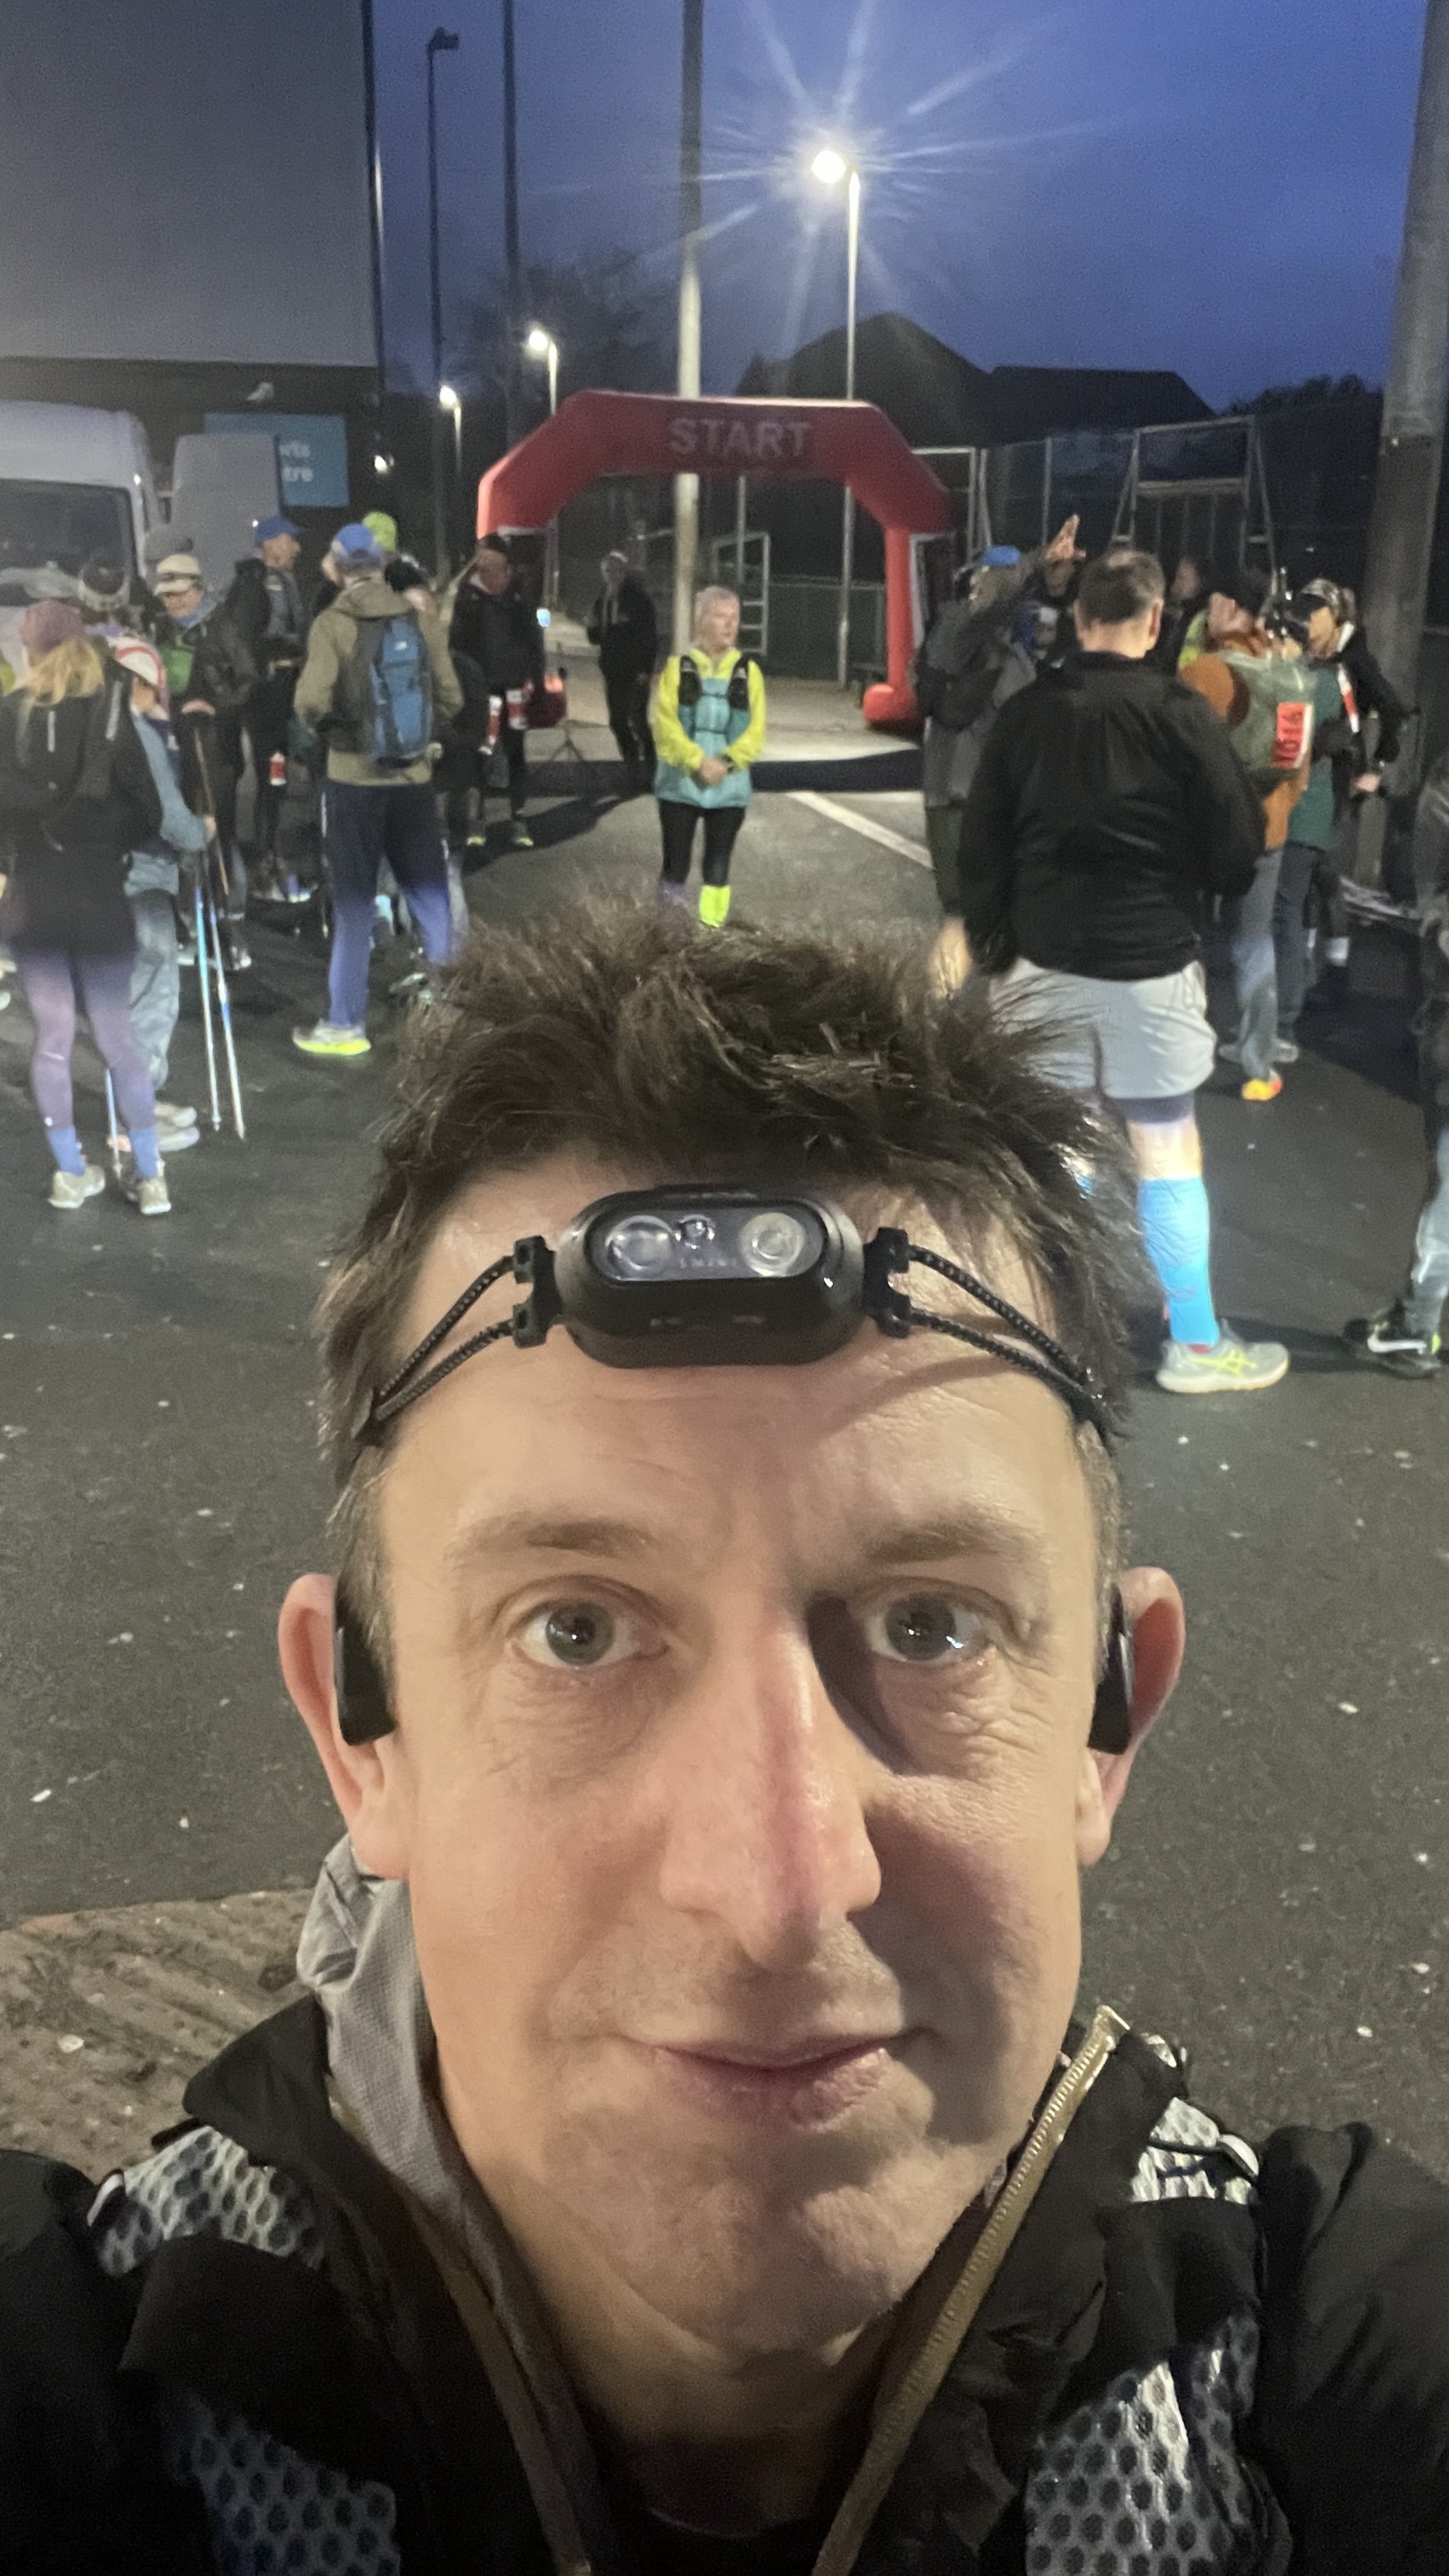
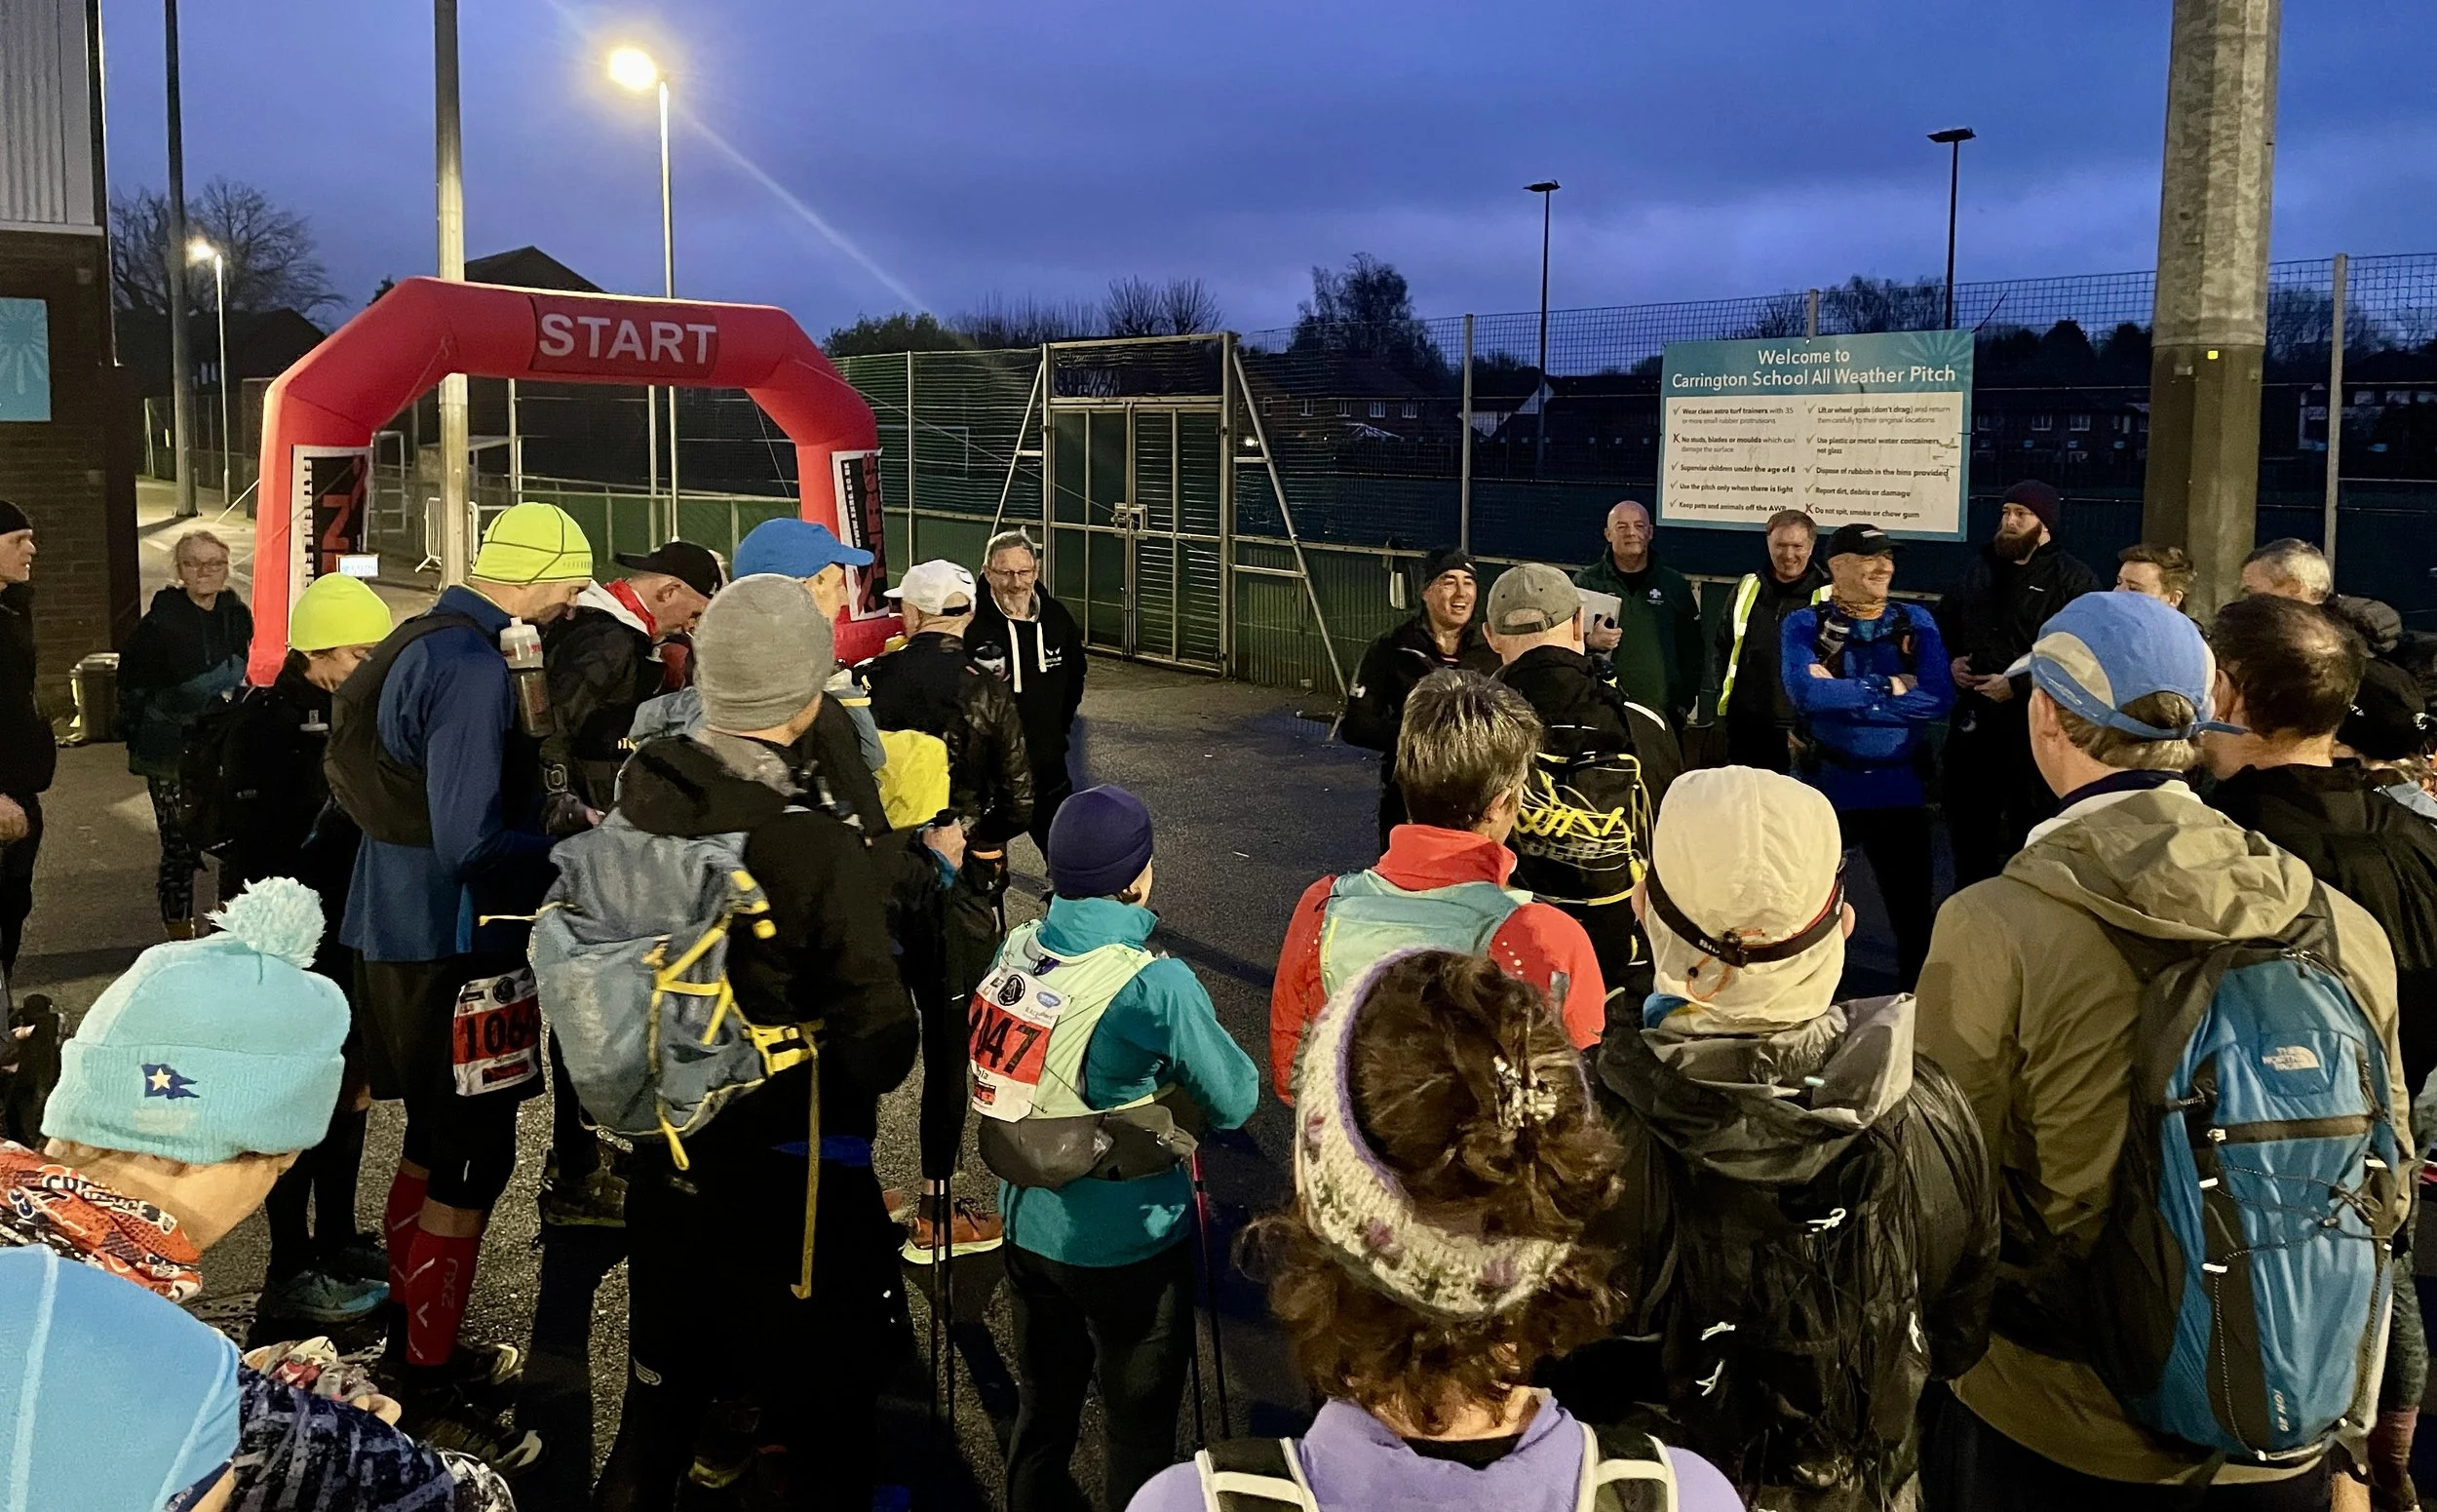
I was in the 08:00 walkers start based on the predicted finish time I gave when I signed up. The runners would start an hour later. After a short briefing, we were off. I usually run the first half of an Ultra but decided to take this one easier. I also didn’t want to be at the front of the pack and risk getting everyone lost.
As it happened, the group I was following took a wrong turn after the first 5 minutes, following the edge of the starting field rather than exiting via the corner. Luckily, other participants noticed and called us back, only adding about 100m to our route.
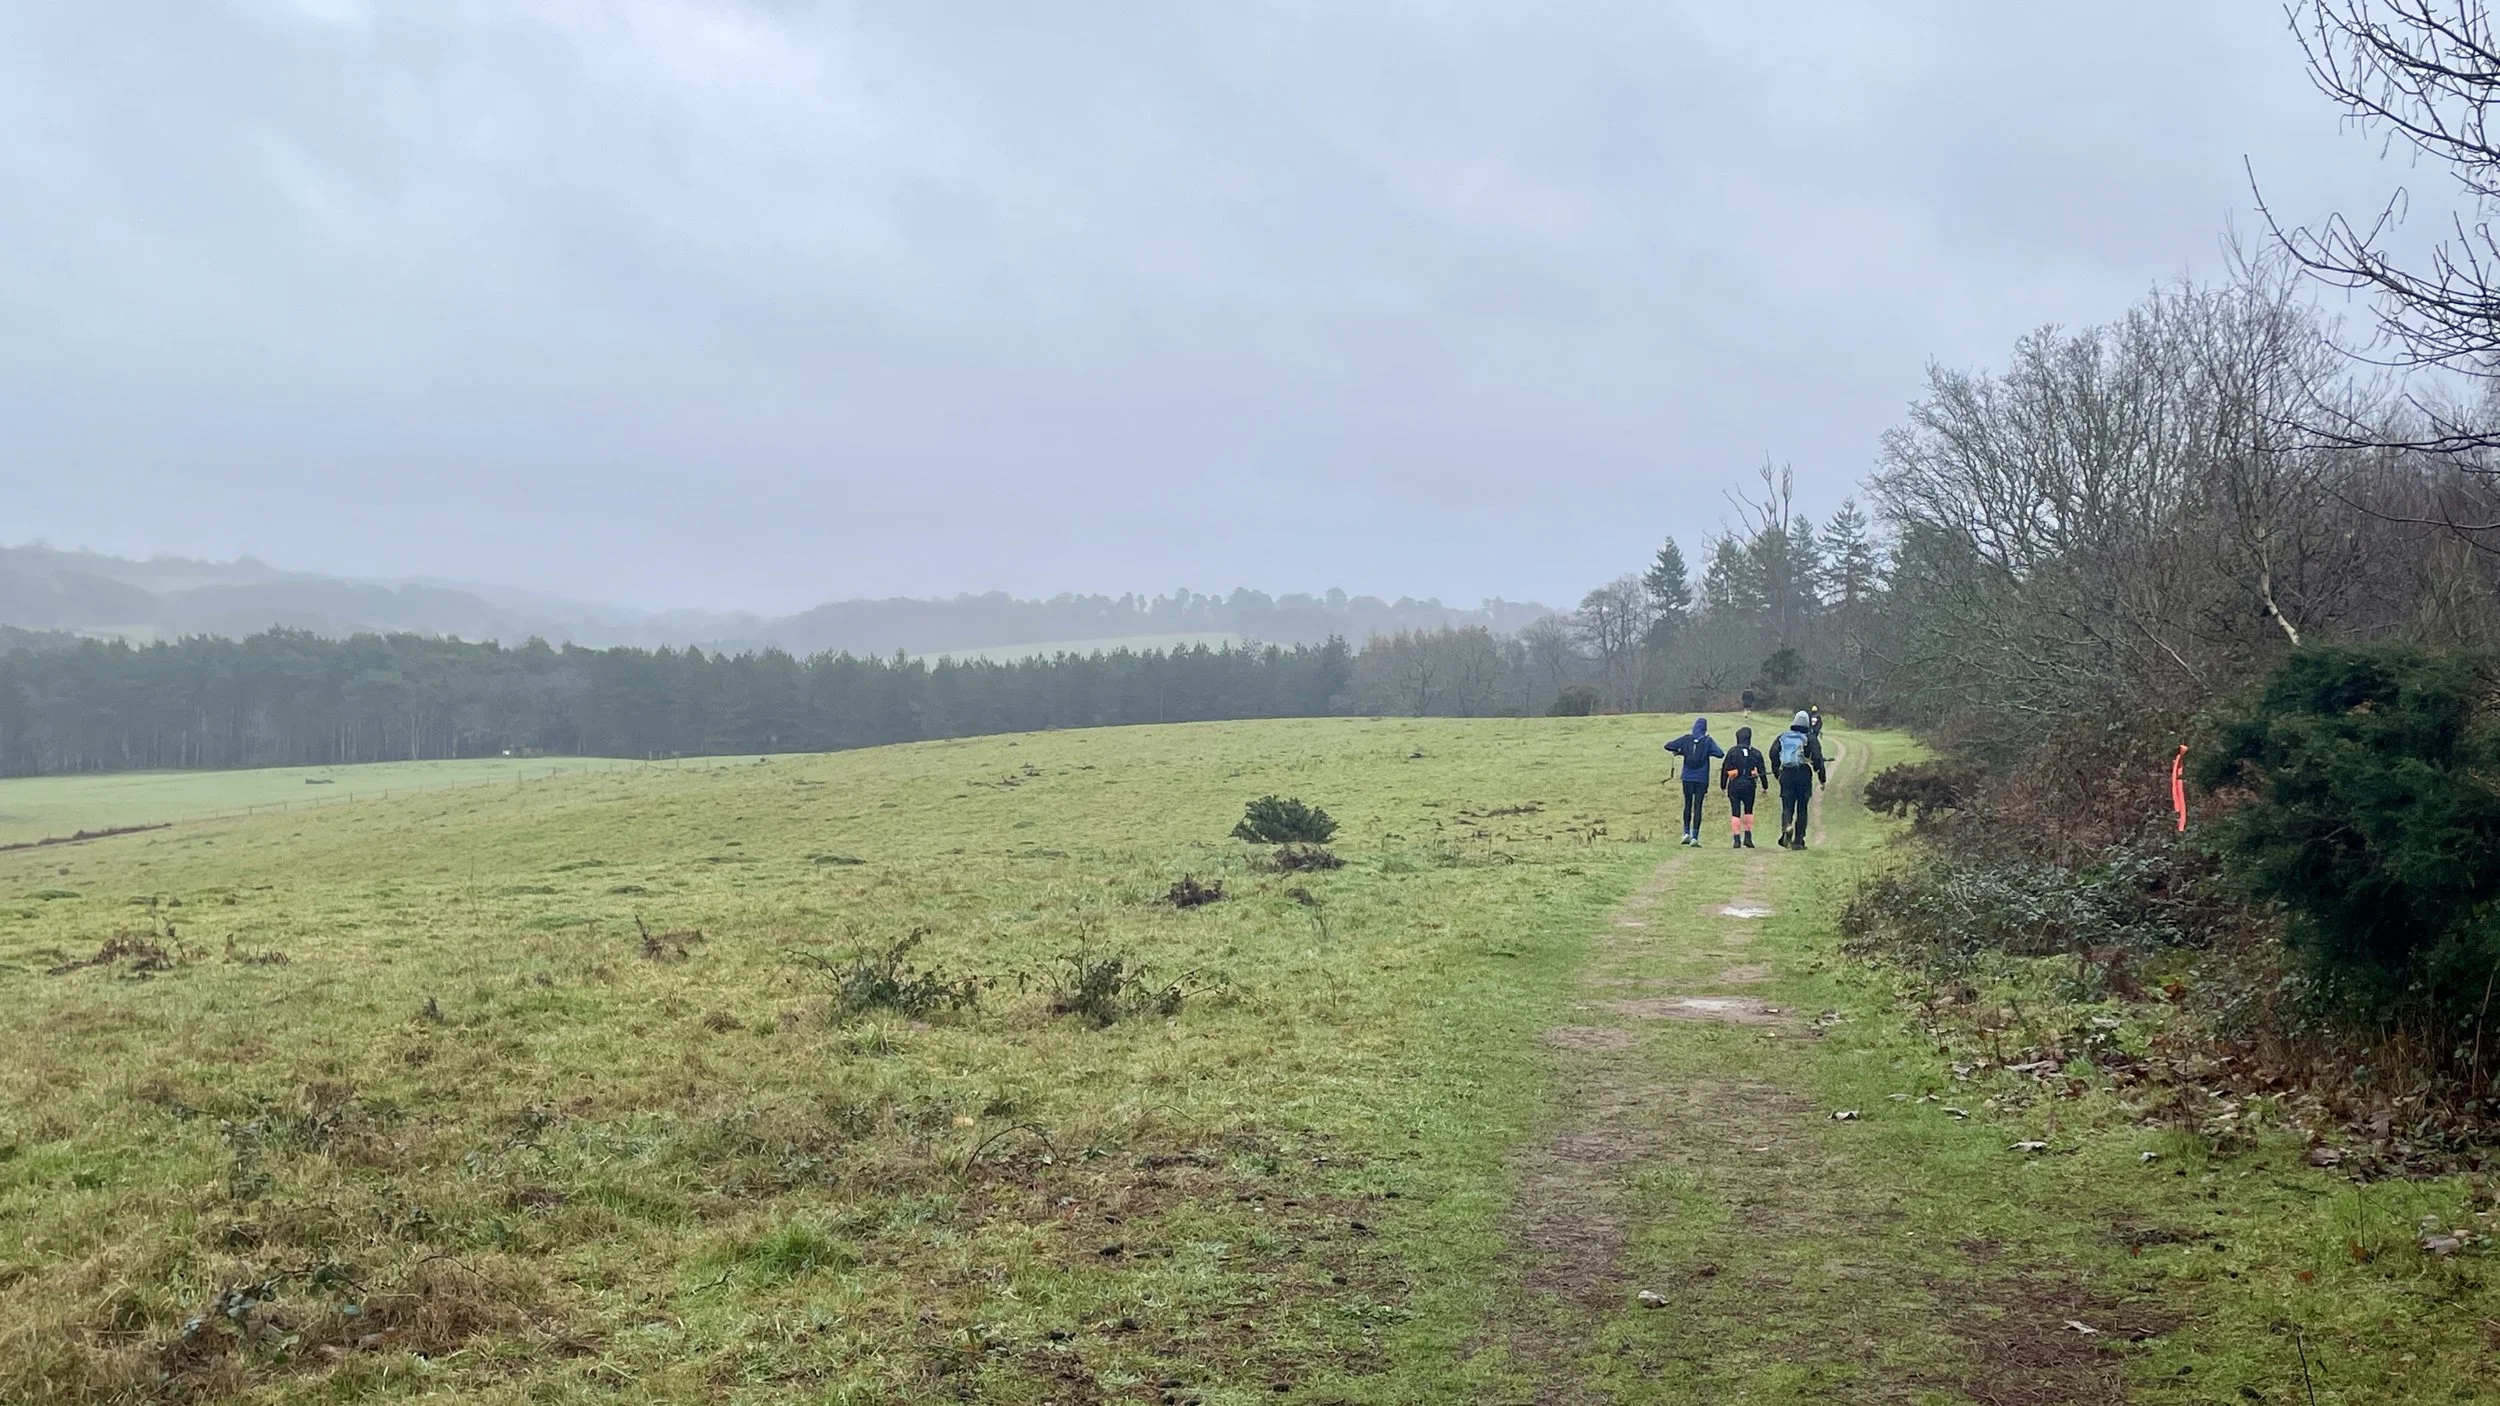
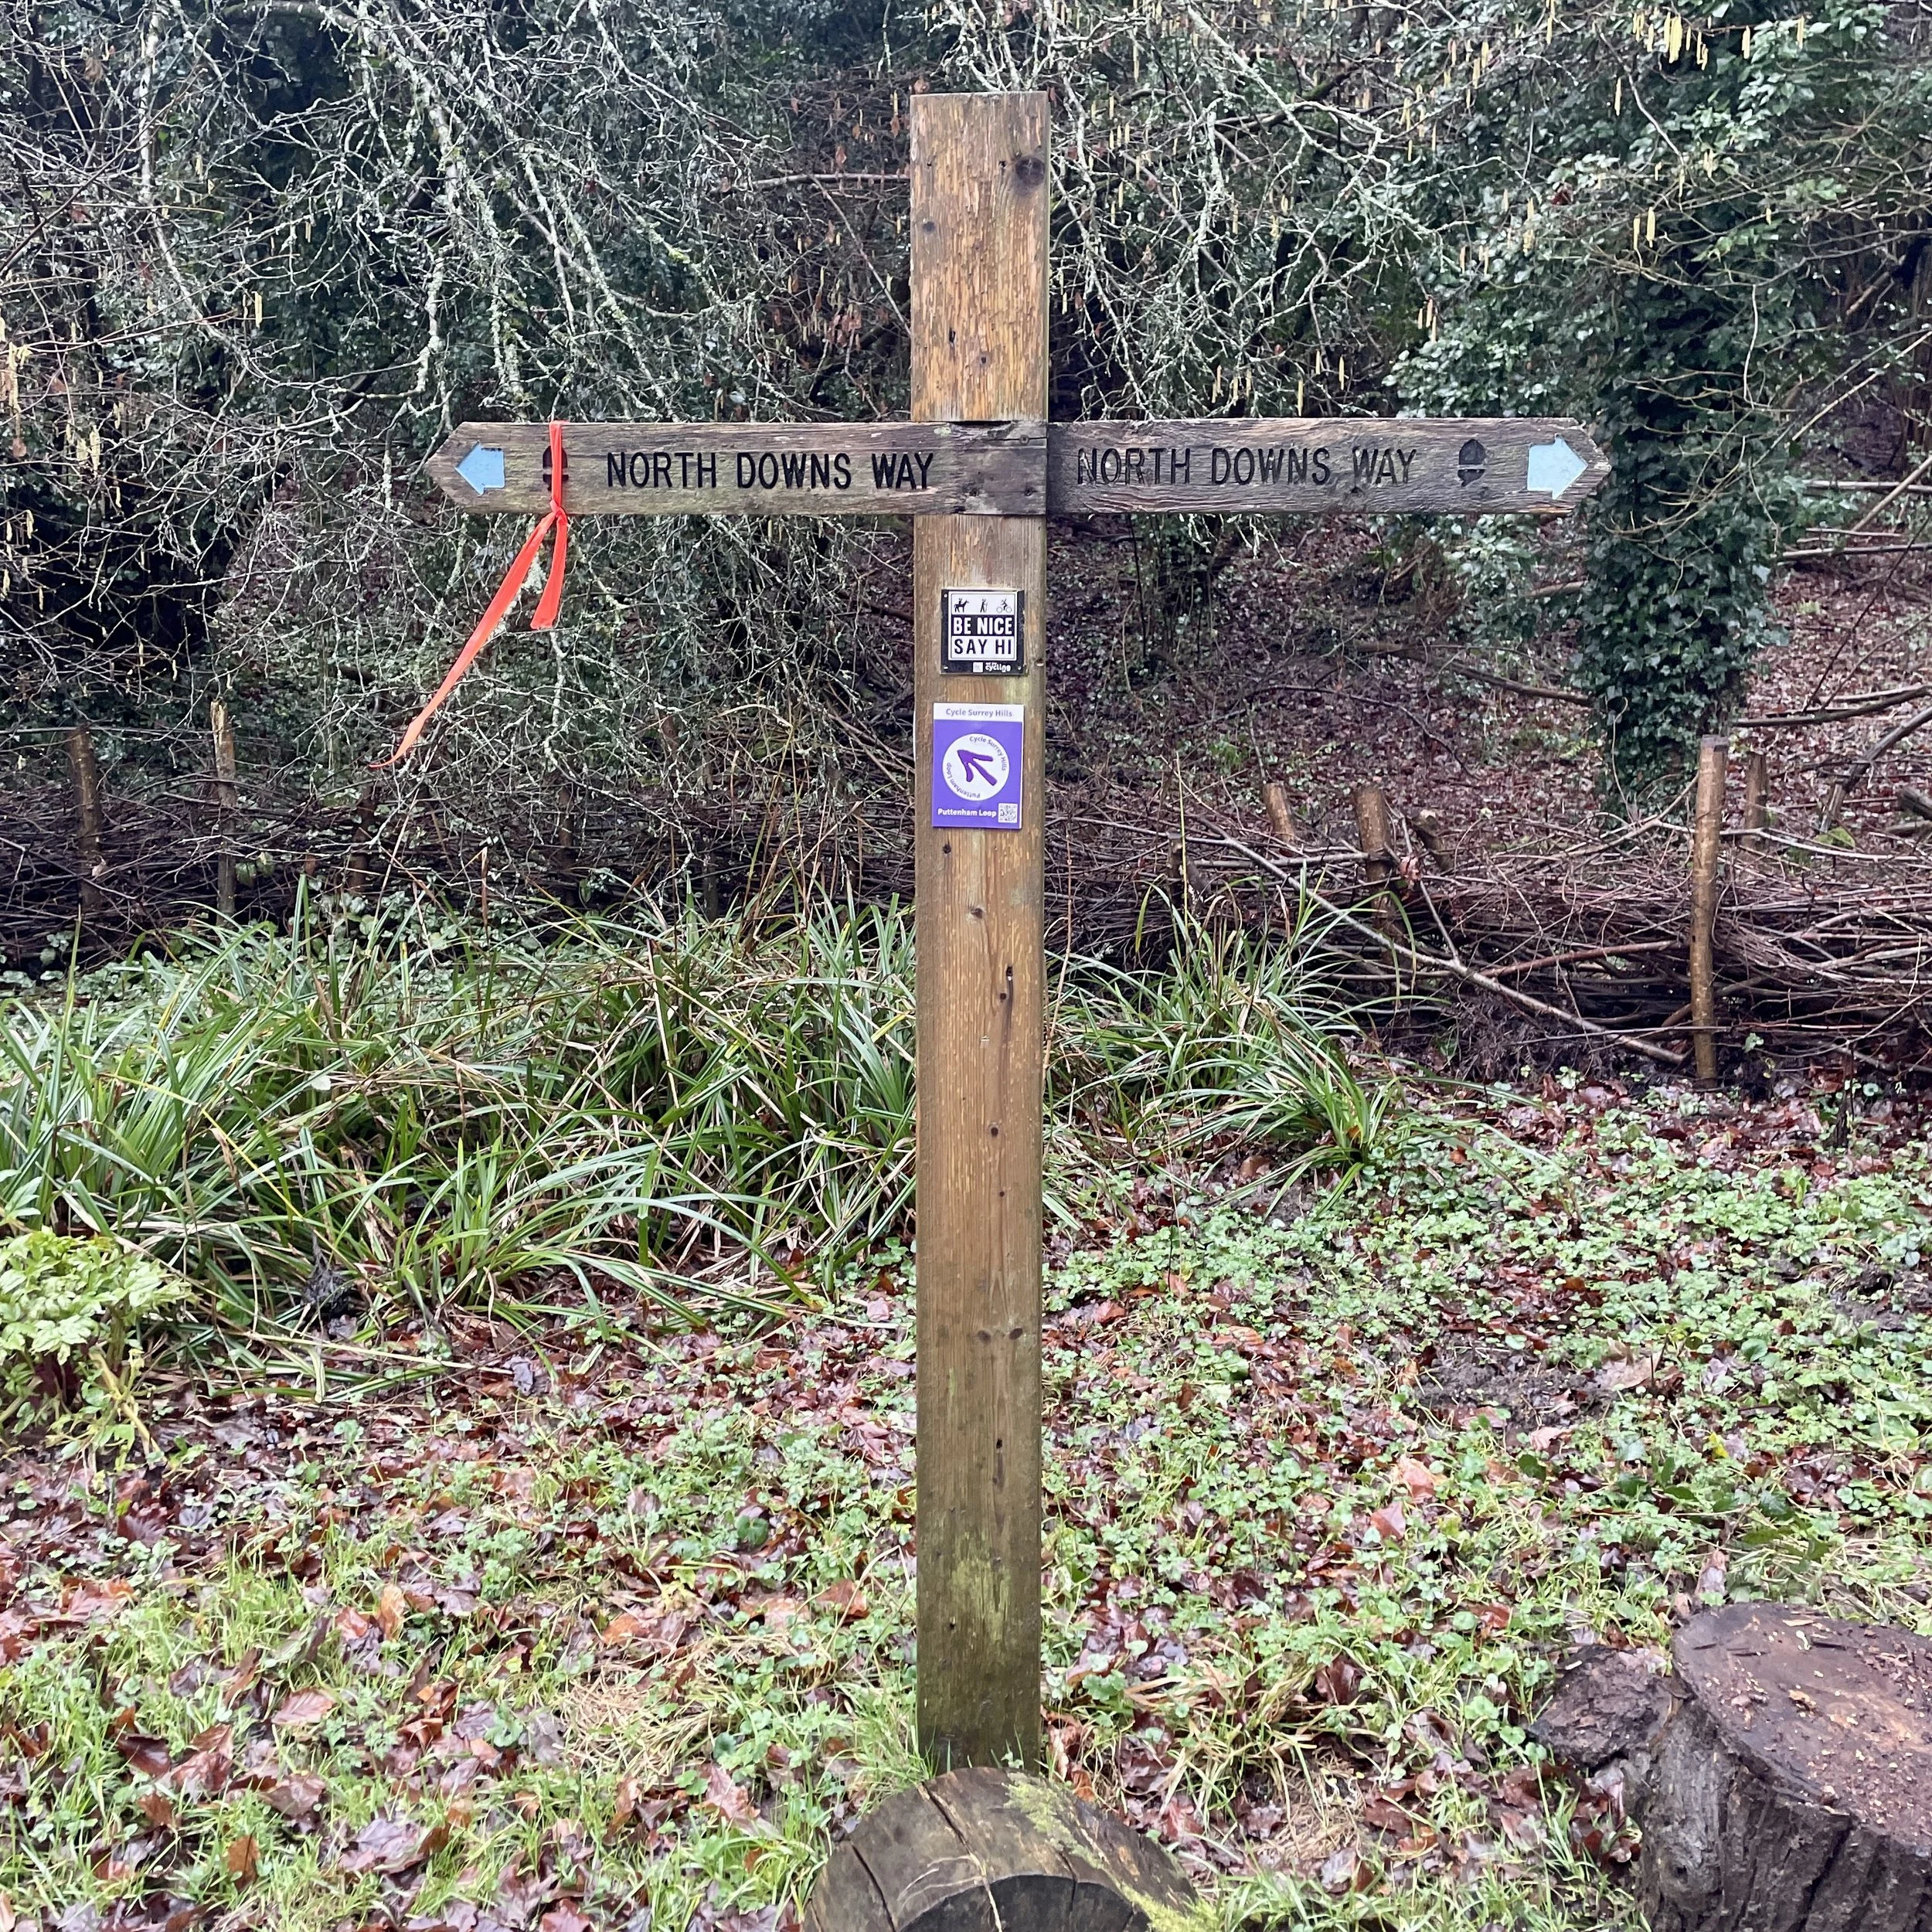
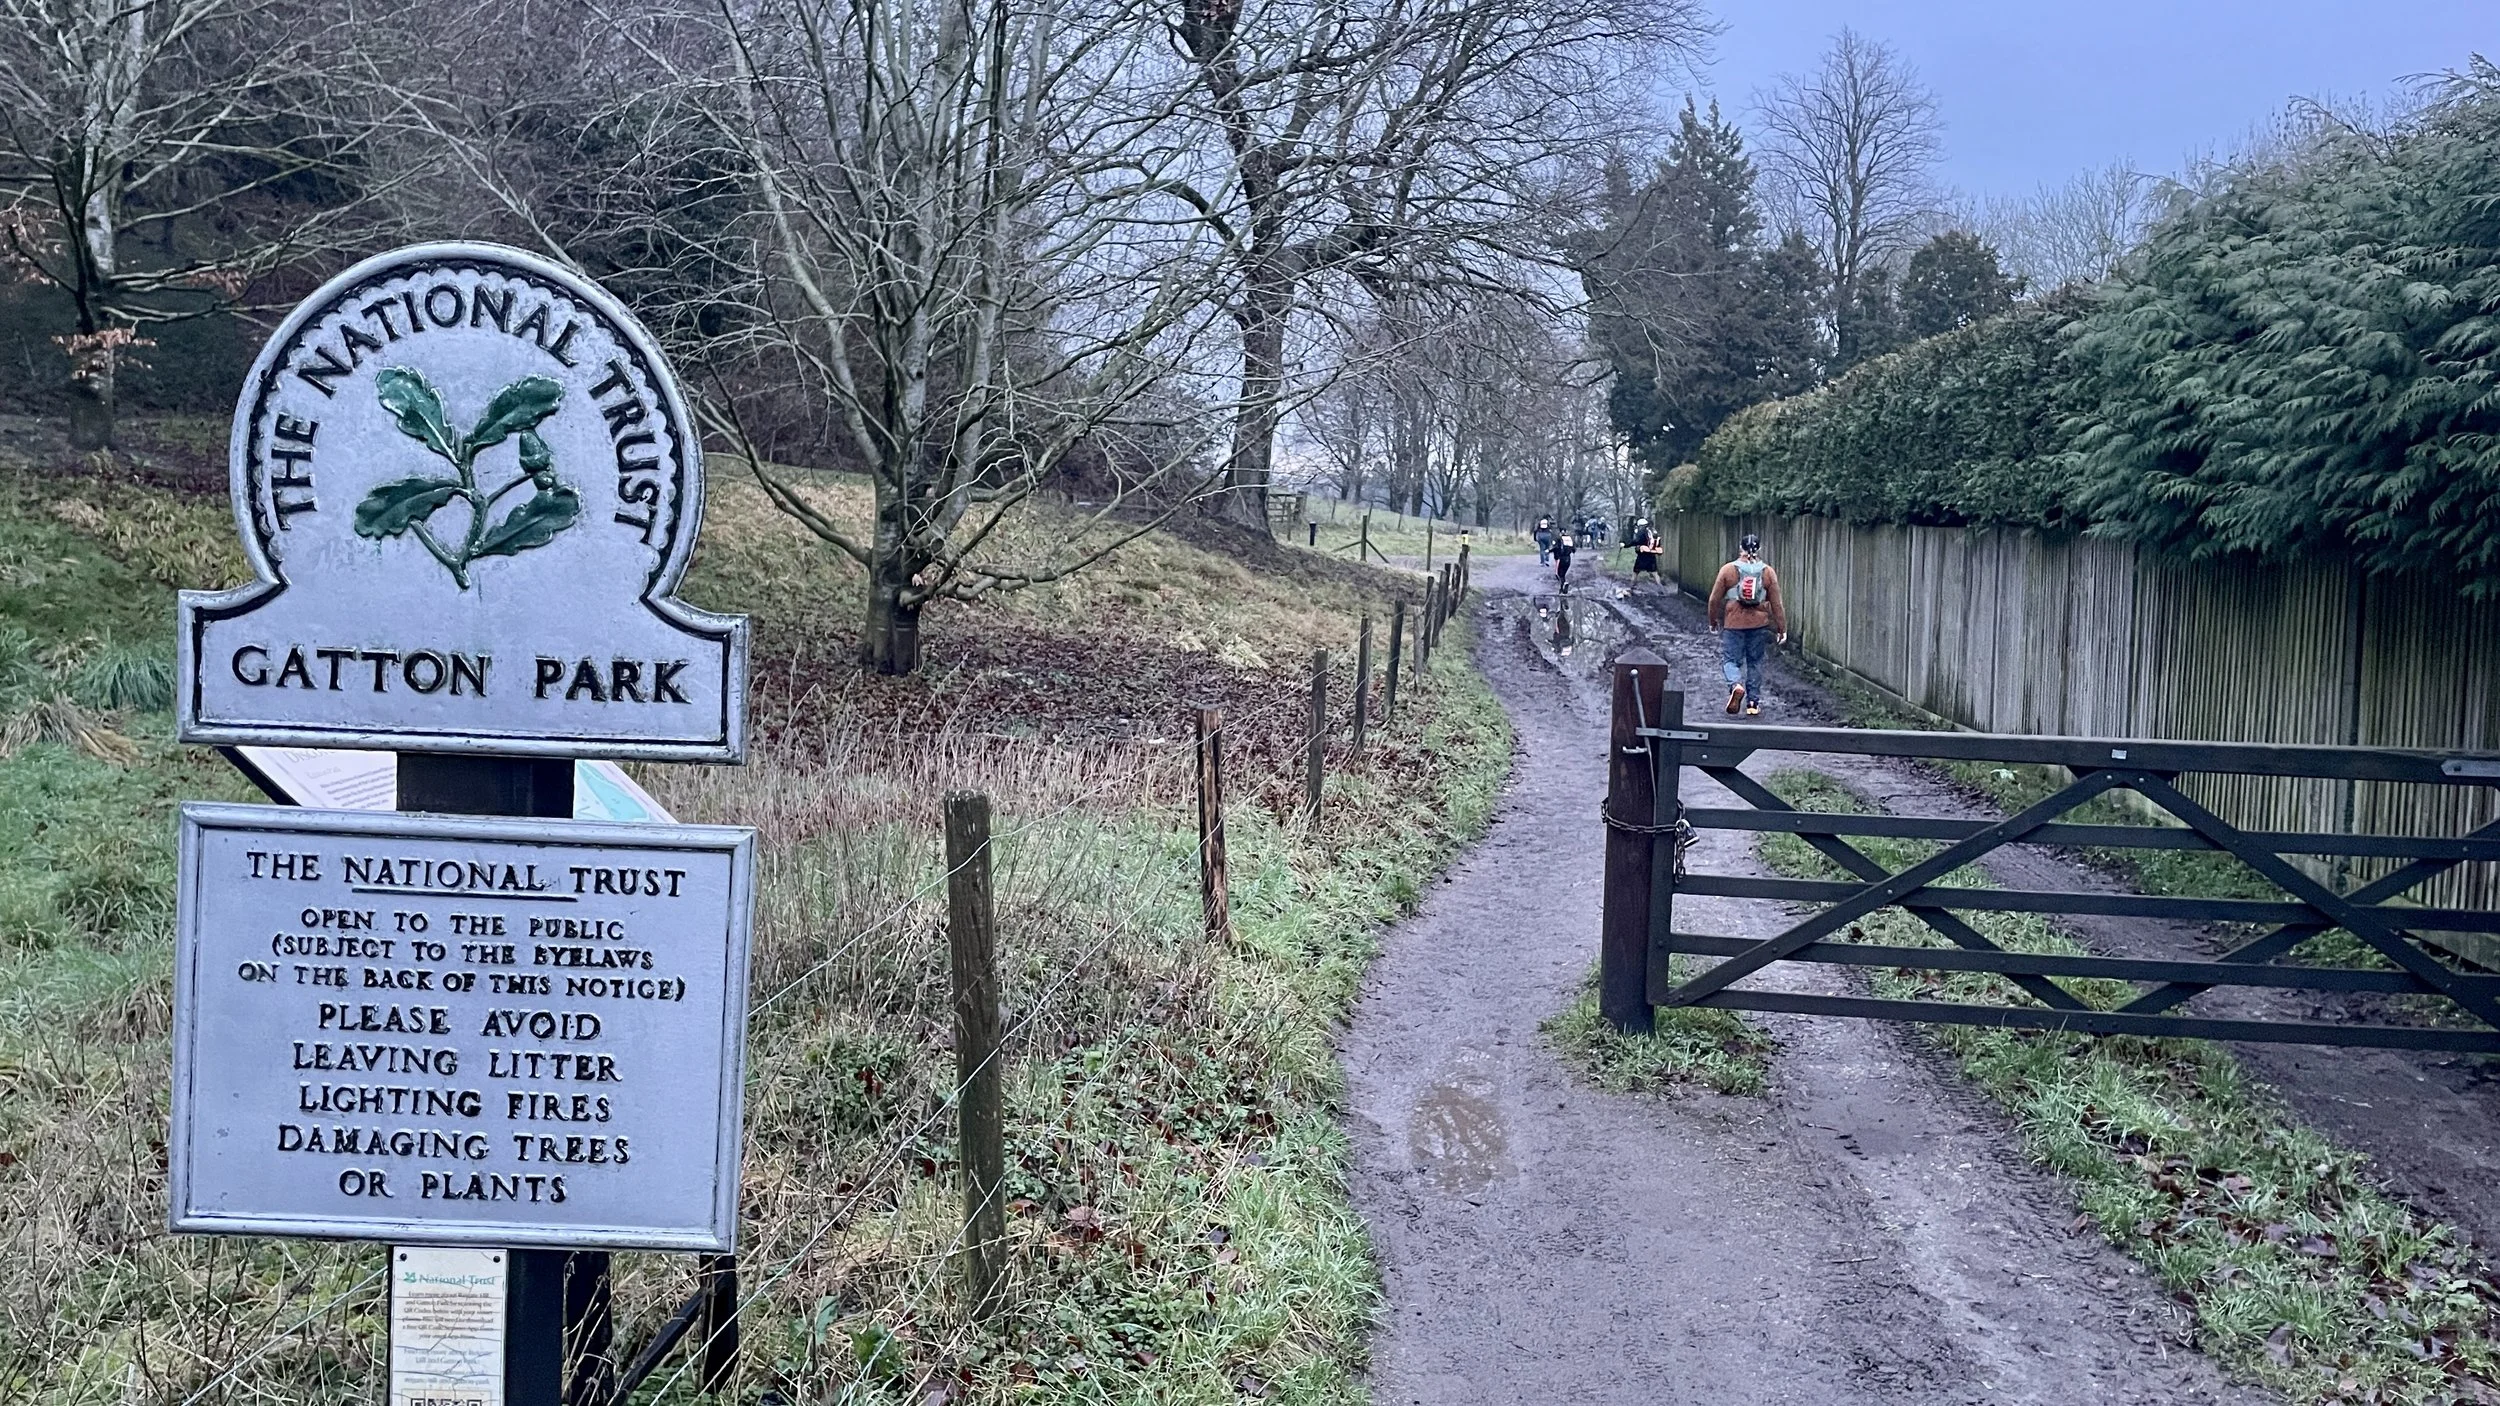
Having previously walked the whole of the North Downs Way, the route was very familiar and felt like an old friend. The first 16 km took us through the villages of Seale and Puttenham, across the River Wey at Guildford and over to Chantry Wood.
This was also the section with the diversion to avoid repairs on the trail. Not only was it an extra mile, but it was all hill: the route climbed a steep hill to the A31 then descended steeply again shortly after.
After the first checkpoint, we climbed up to St Martha’s Hill. This would have been the first great view, but the mist and rain didn’t show off the Downs at their best. Newlands Corner came next, which felt like a big milestone in the race. I half-considered stopping in the cafe for a coffee and cake, but I was making good time and didn’t need the food, so I pressed on.
The 12 km after Newlands Corner through Shere Woodlands is beautiful, but it involves a lot of the same view, so I found it one of the less interesting parts of the route. This was also where I was overtaken by the faster runners who had started an hour behind me.
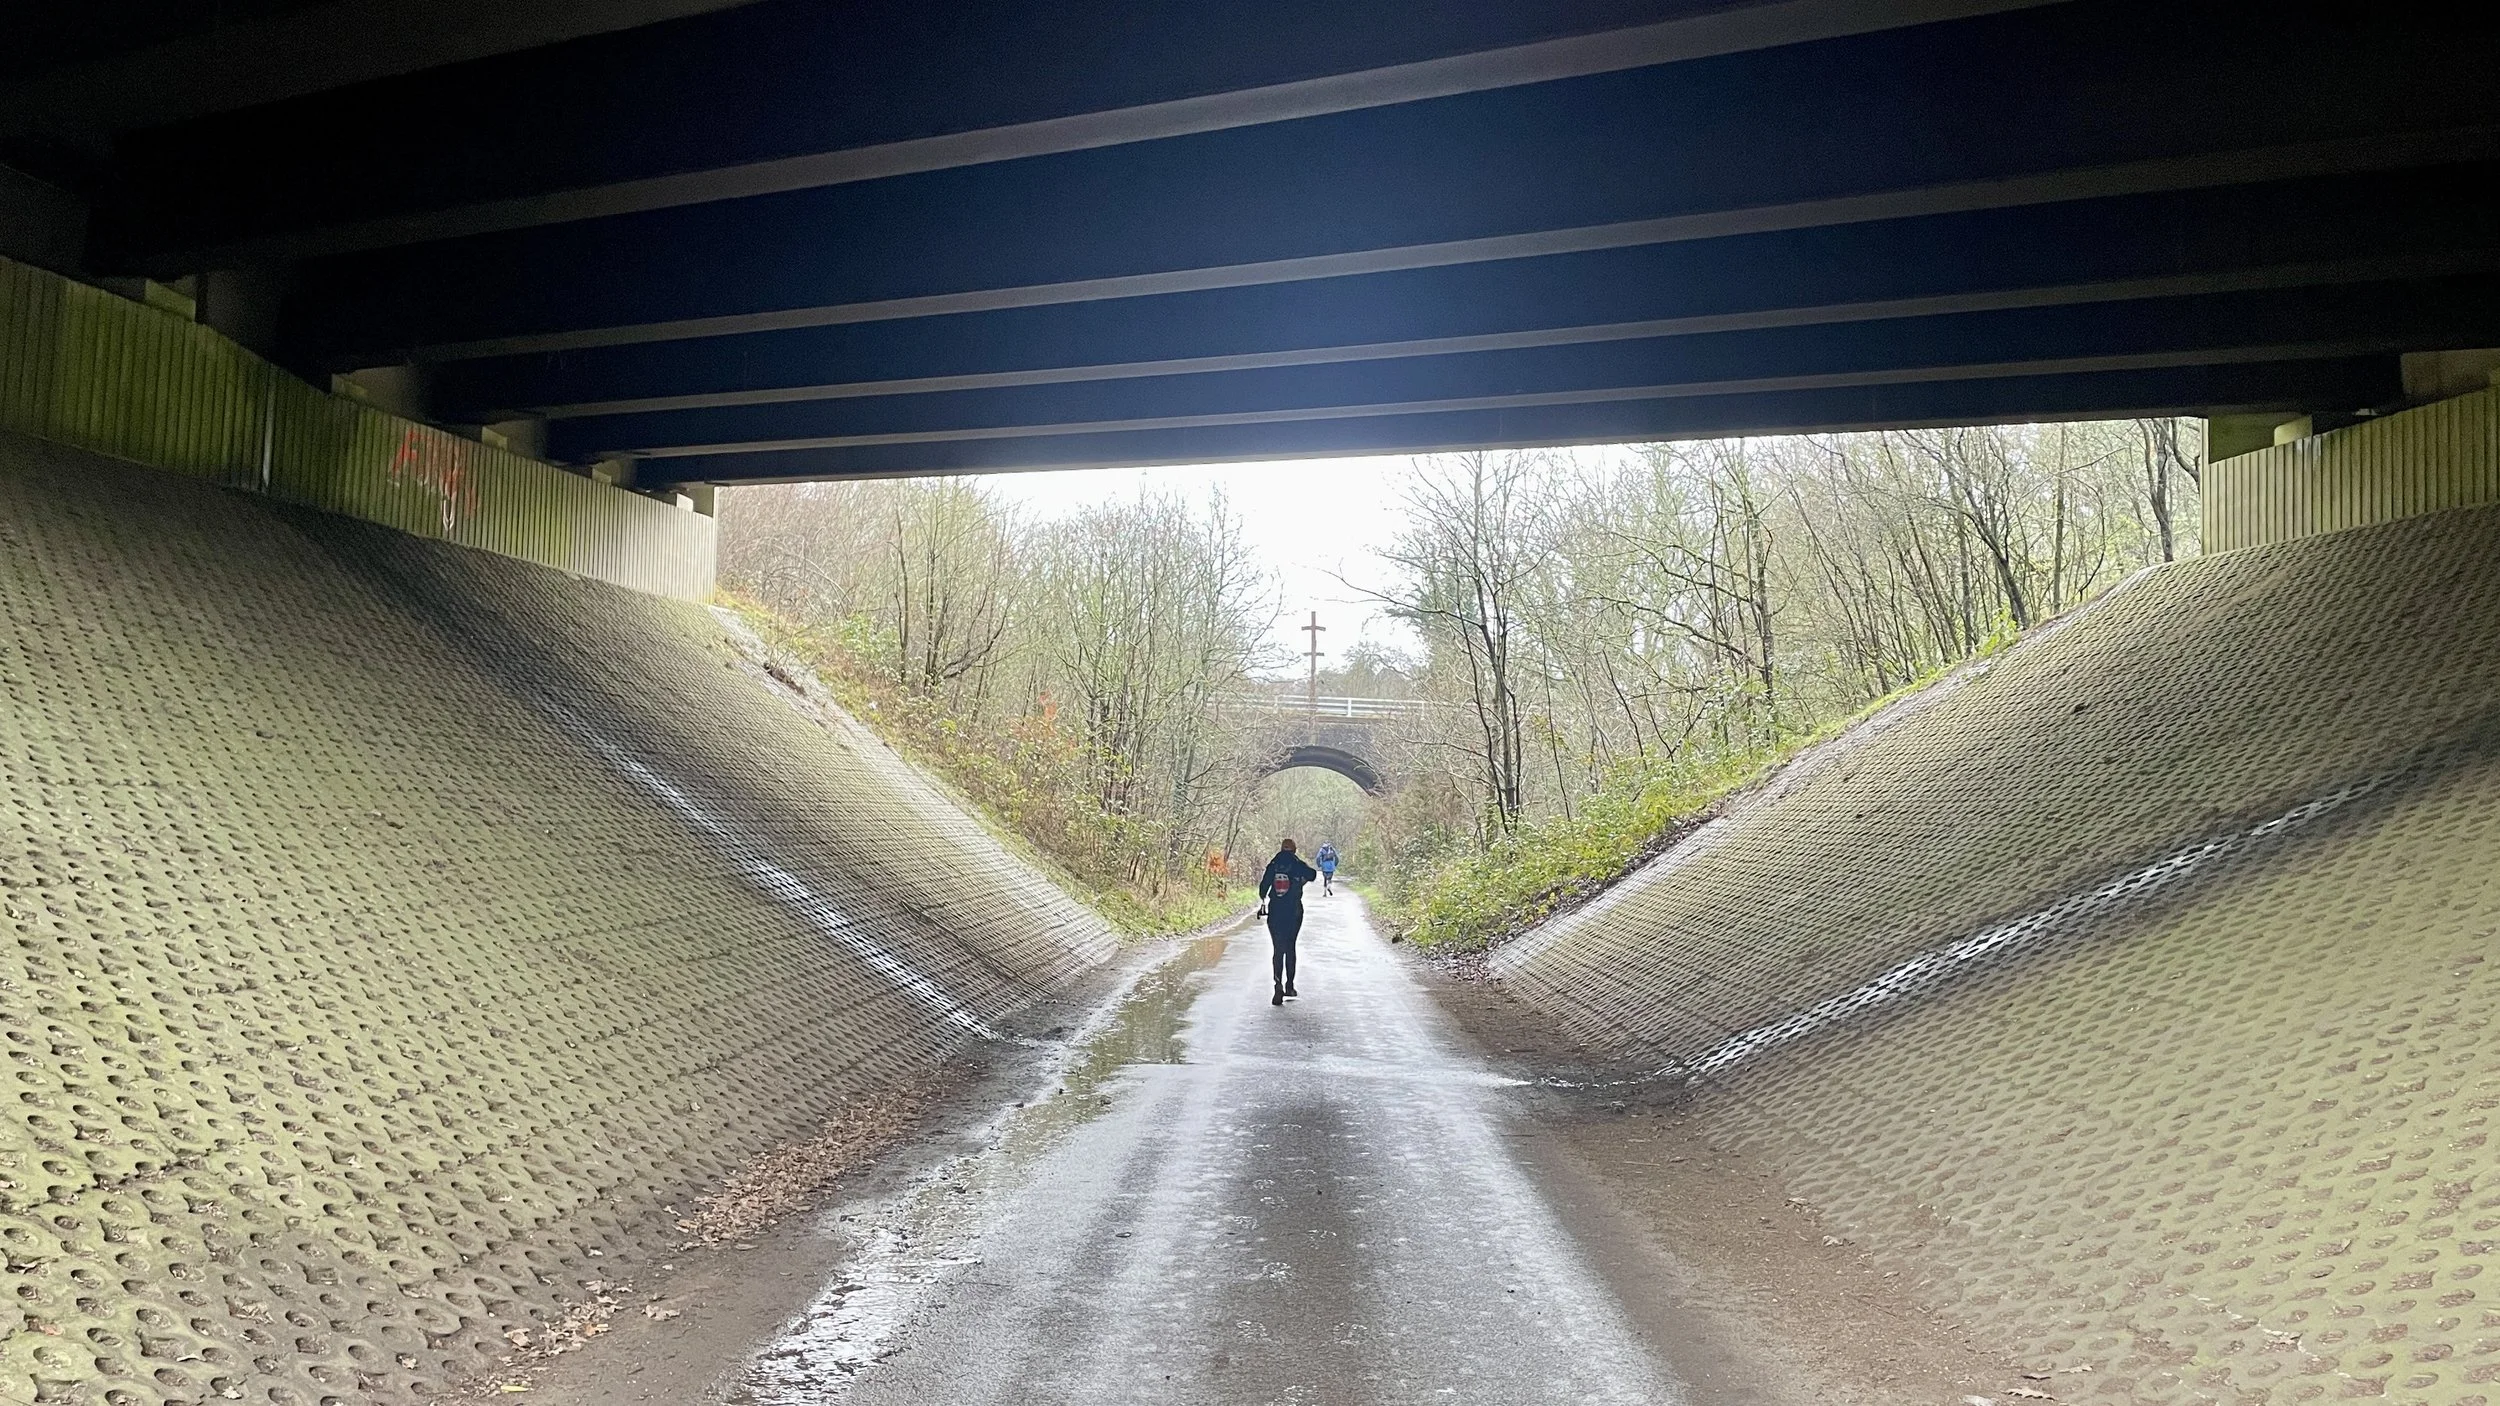
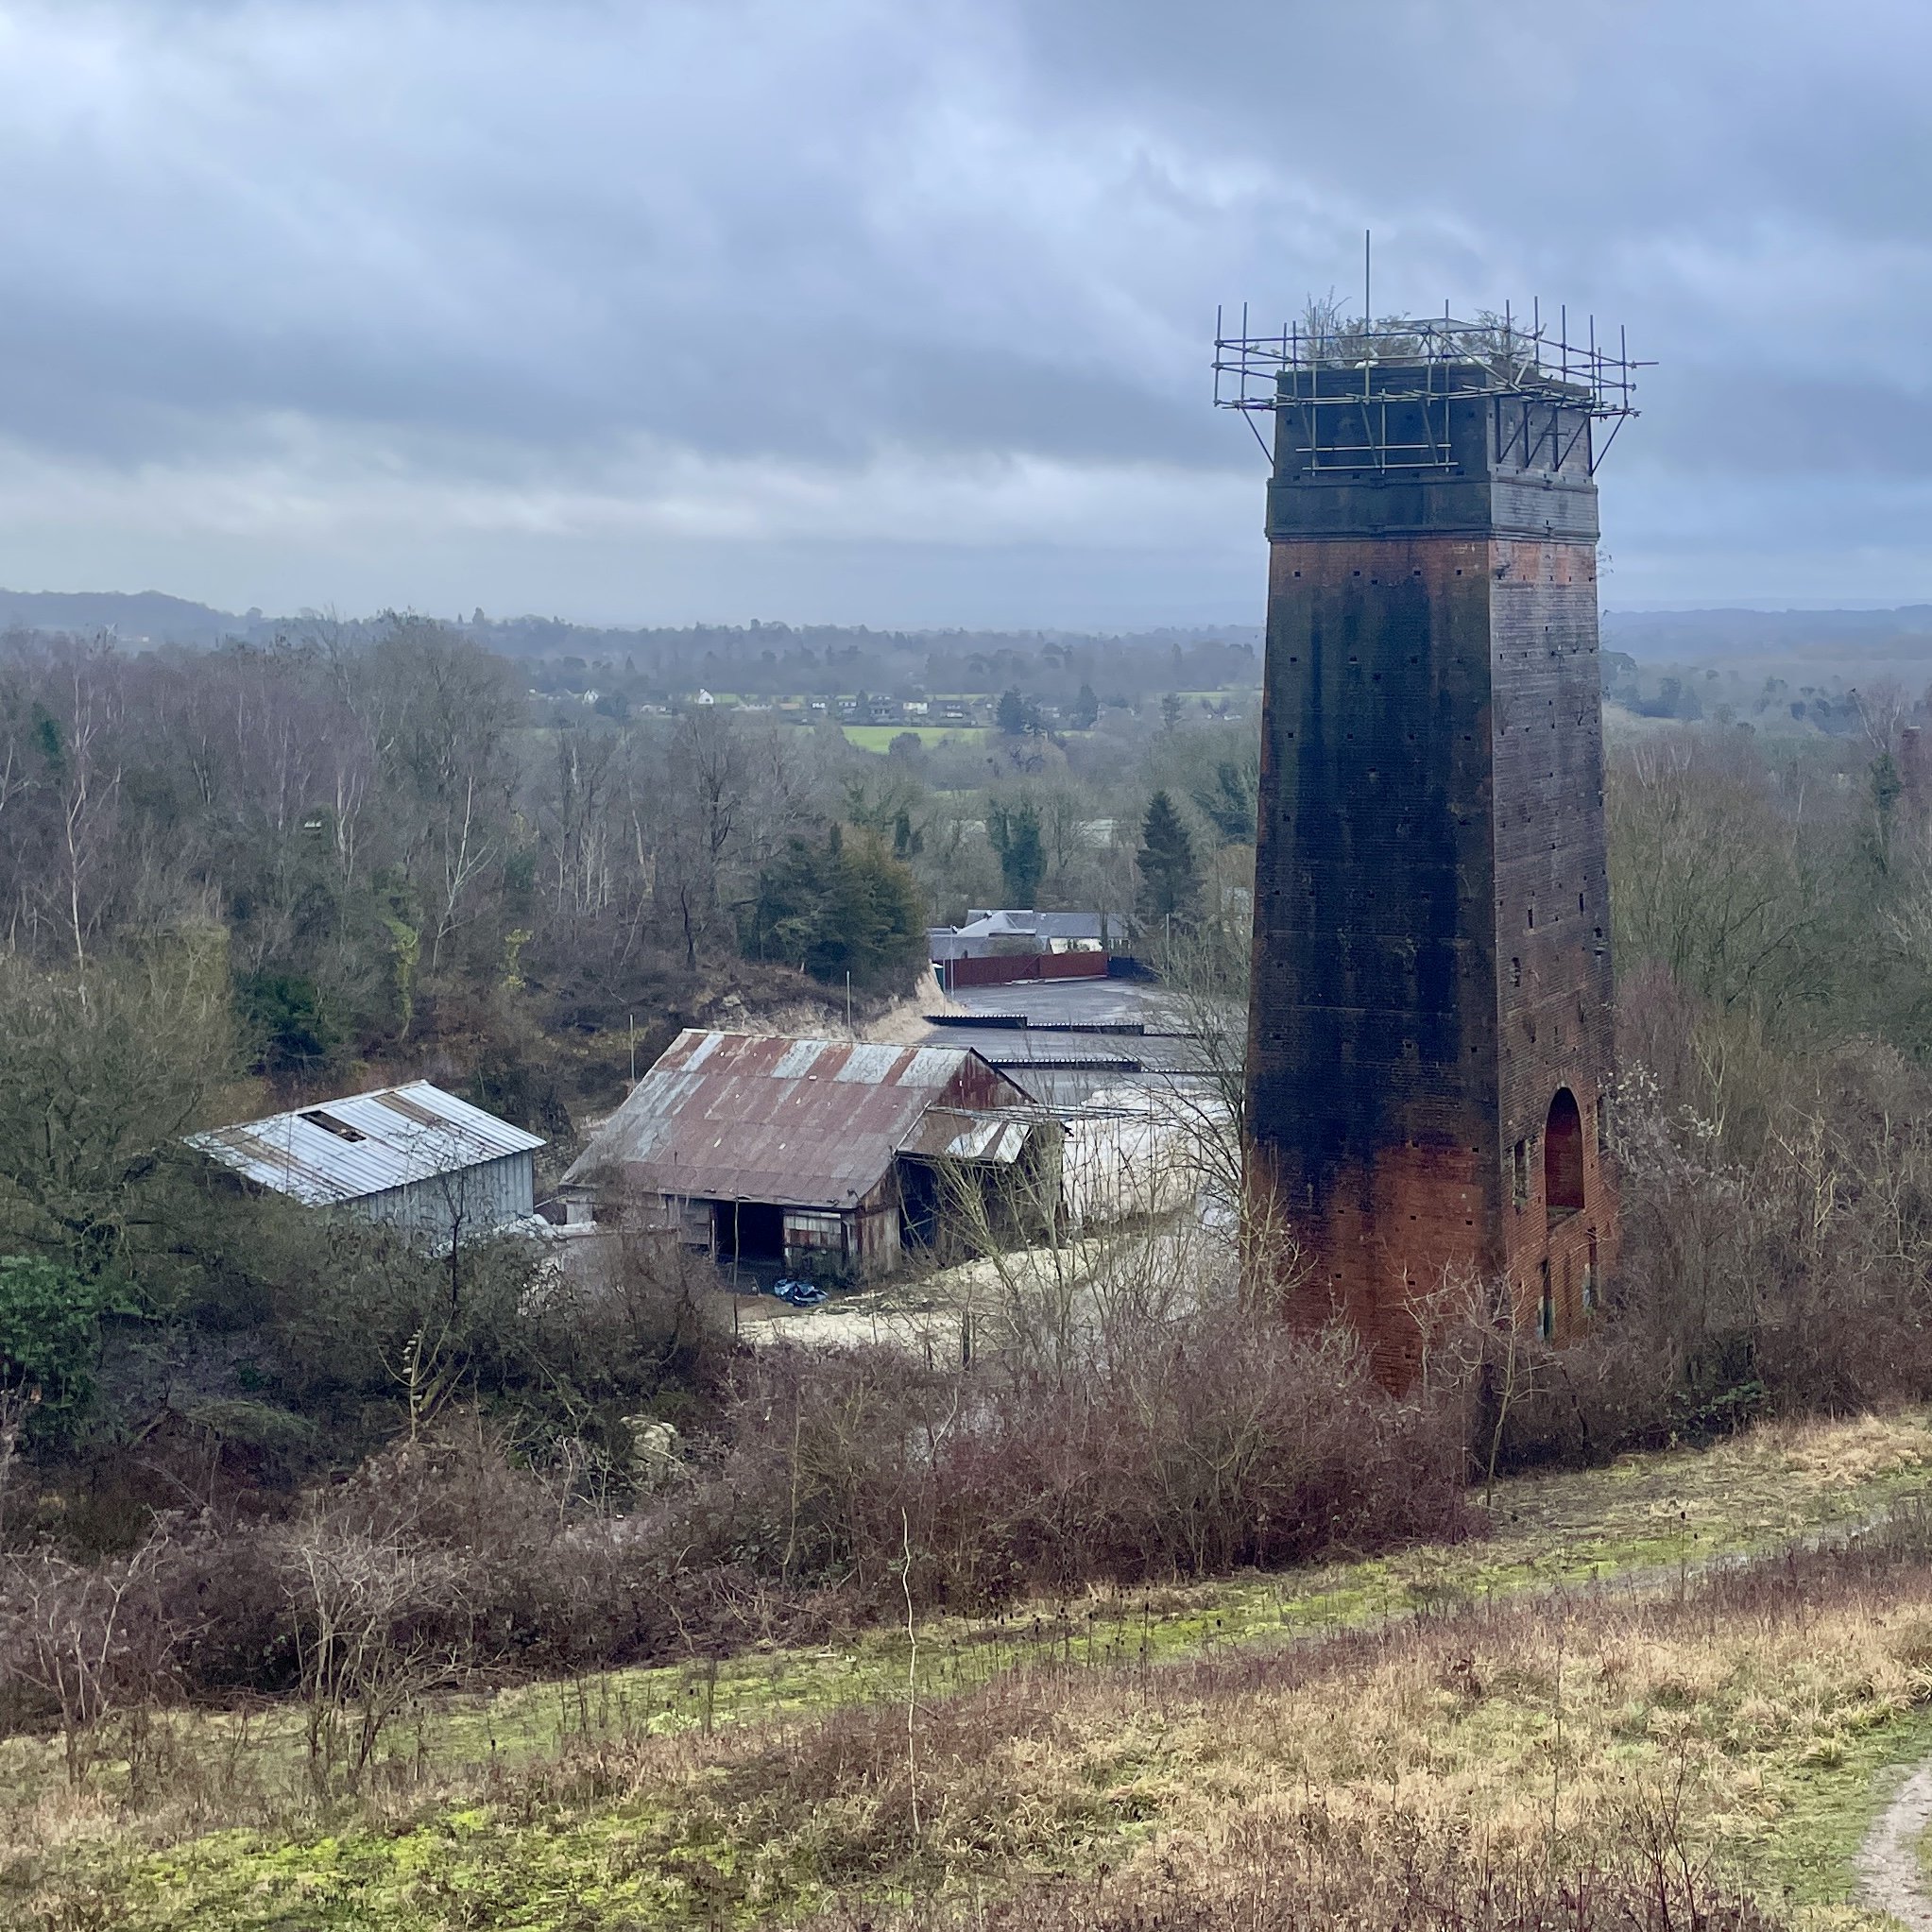
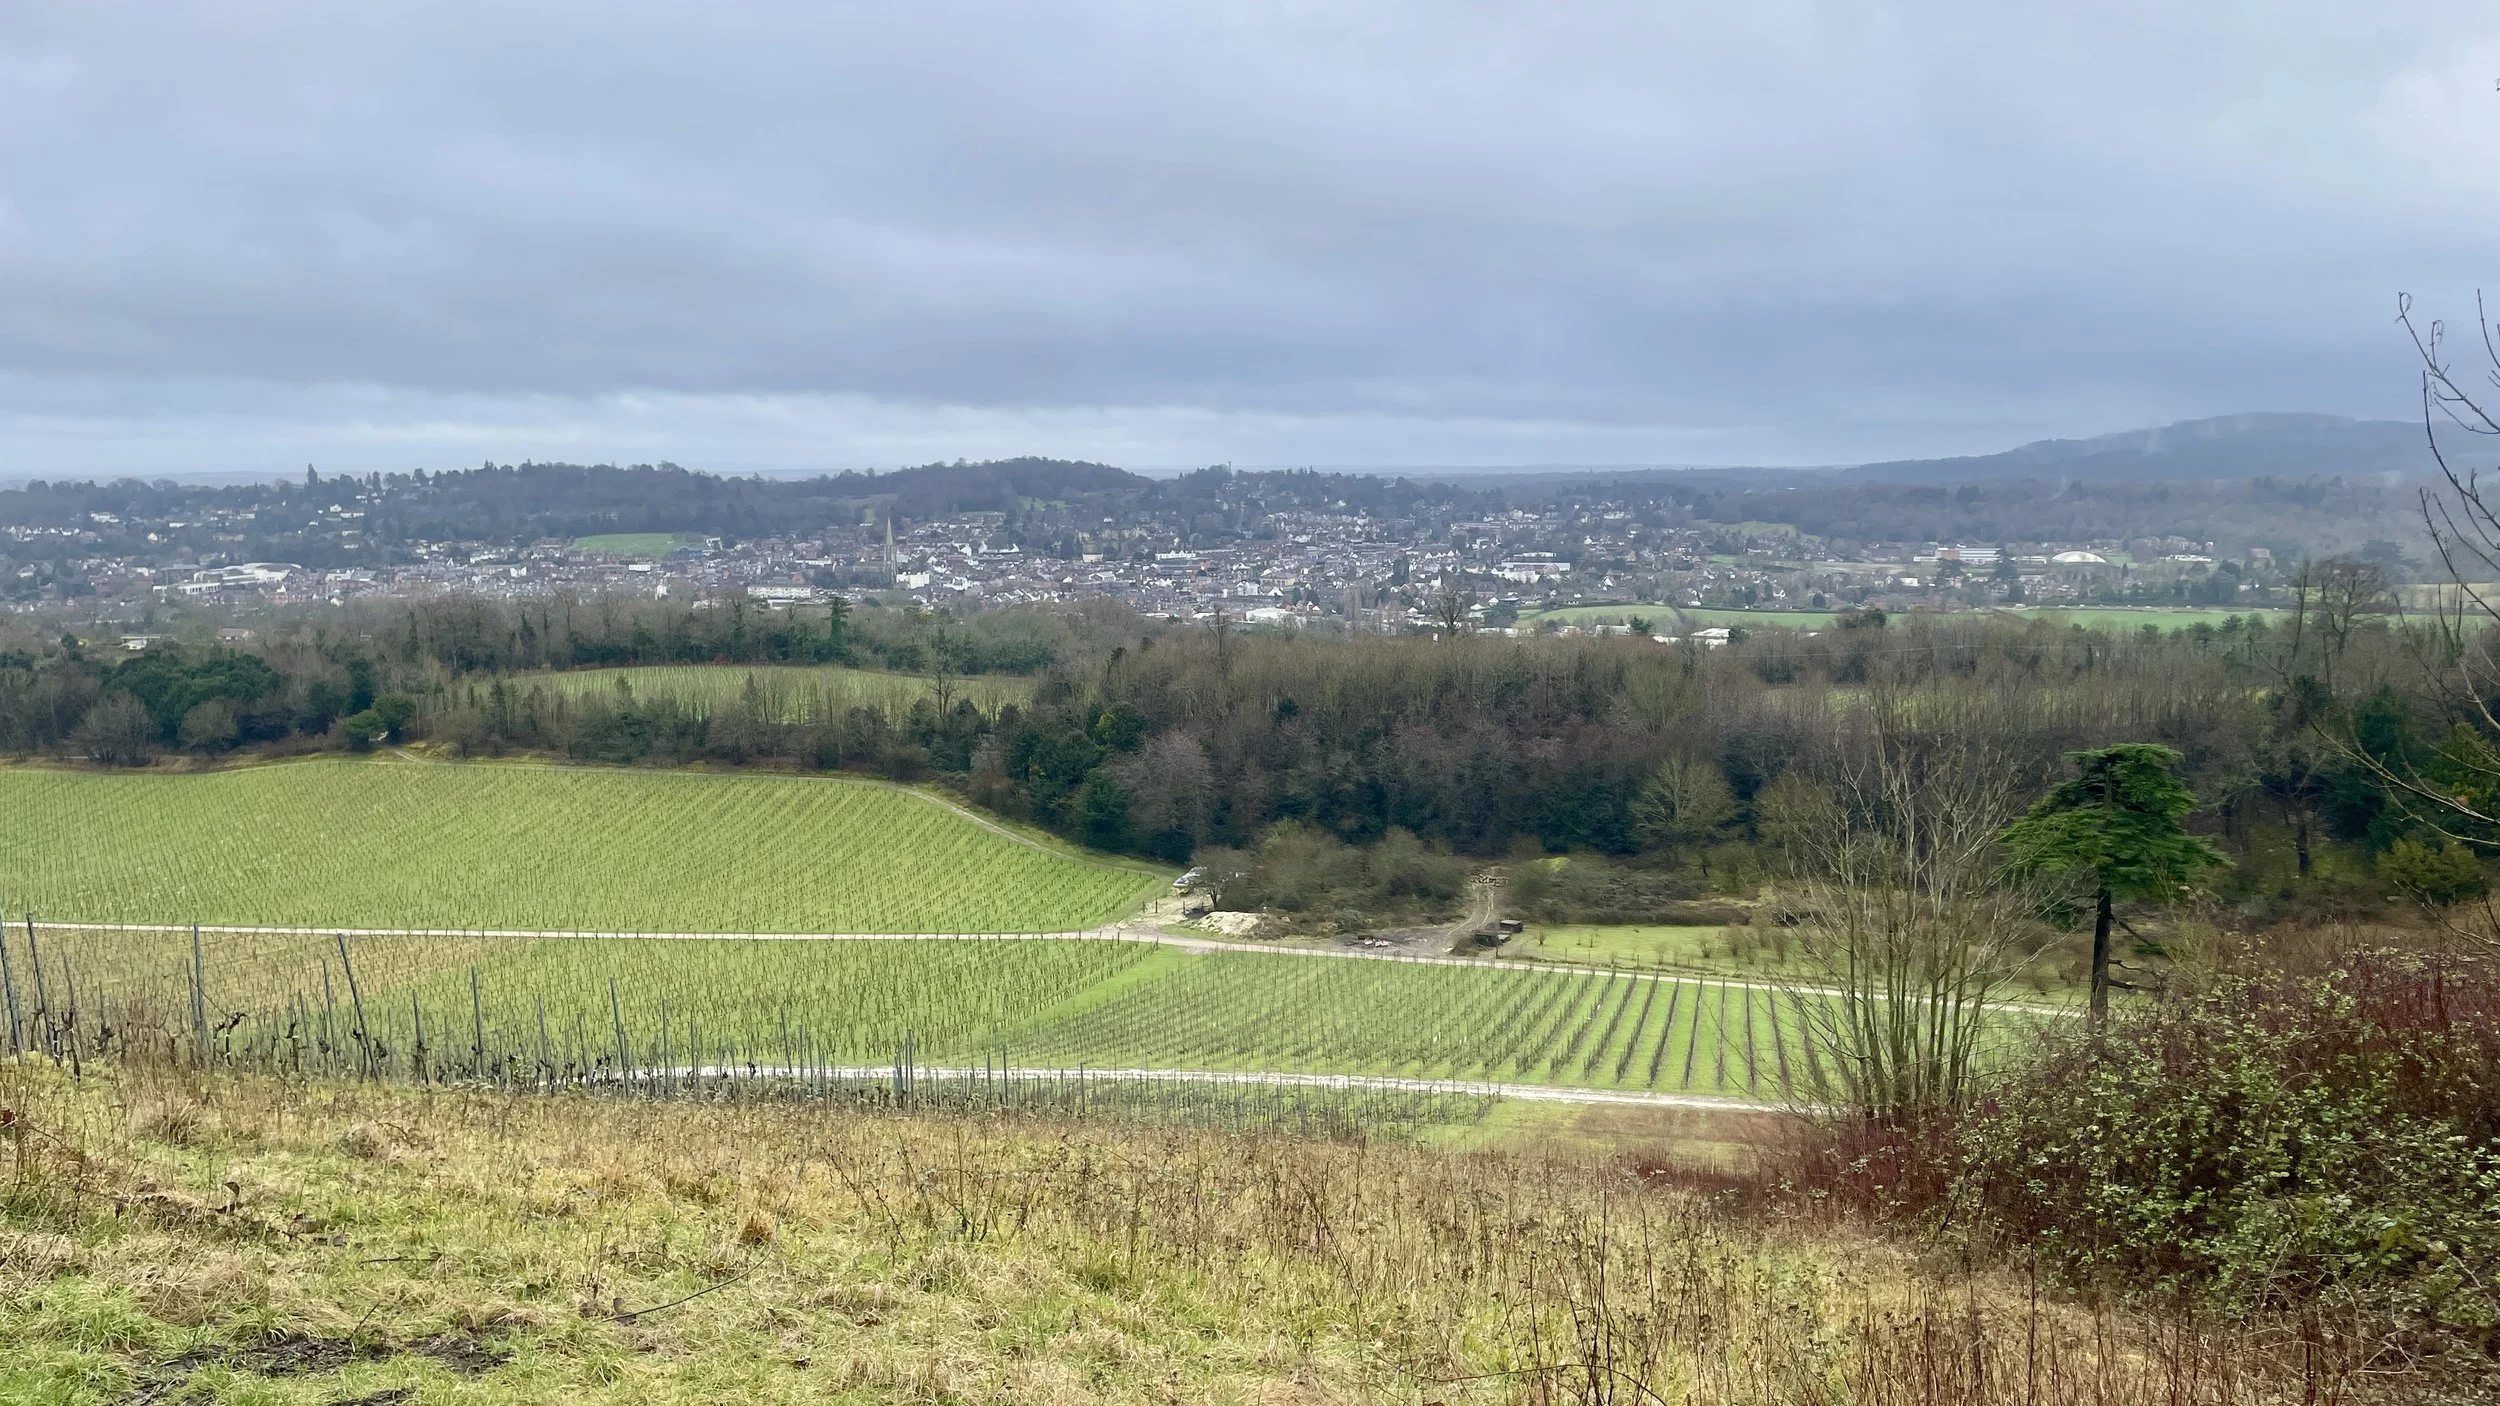
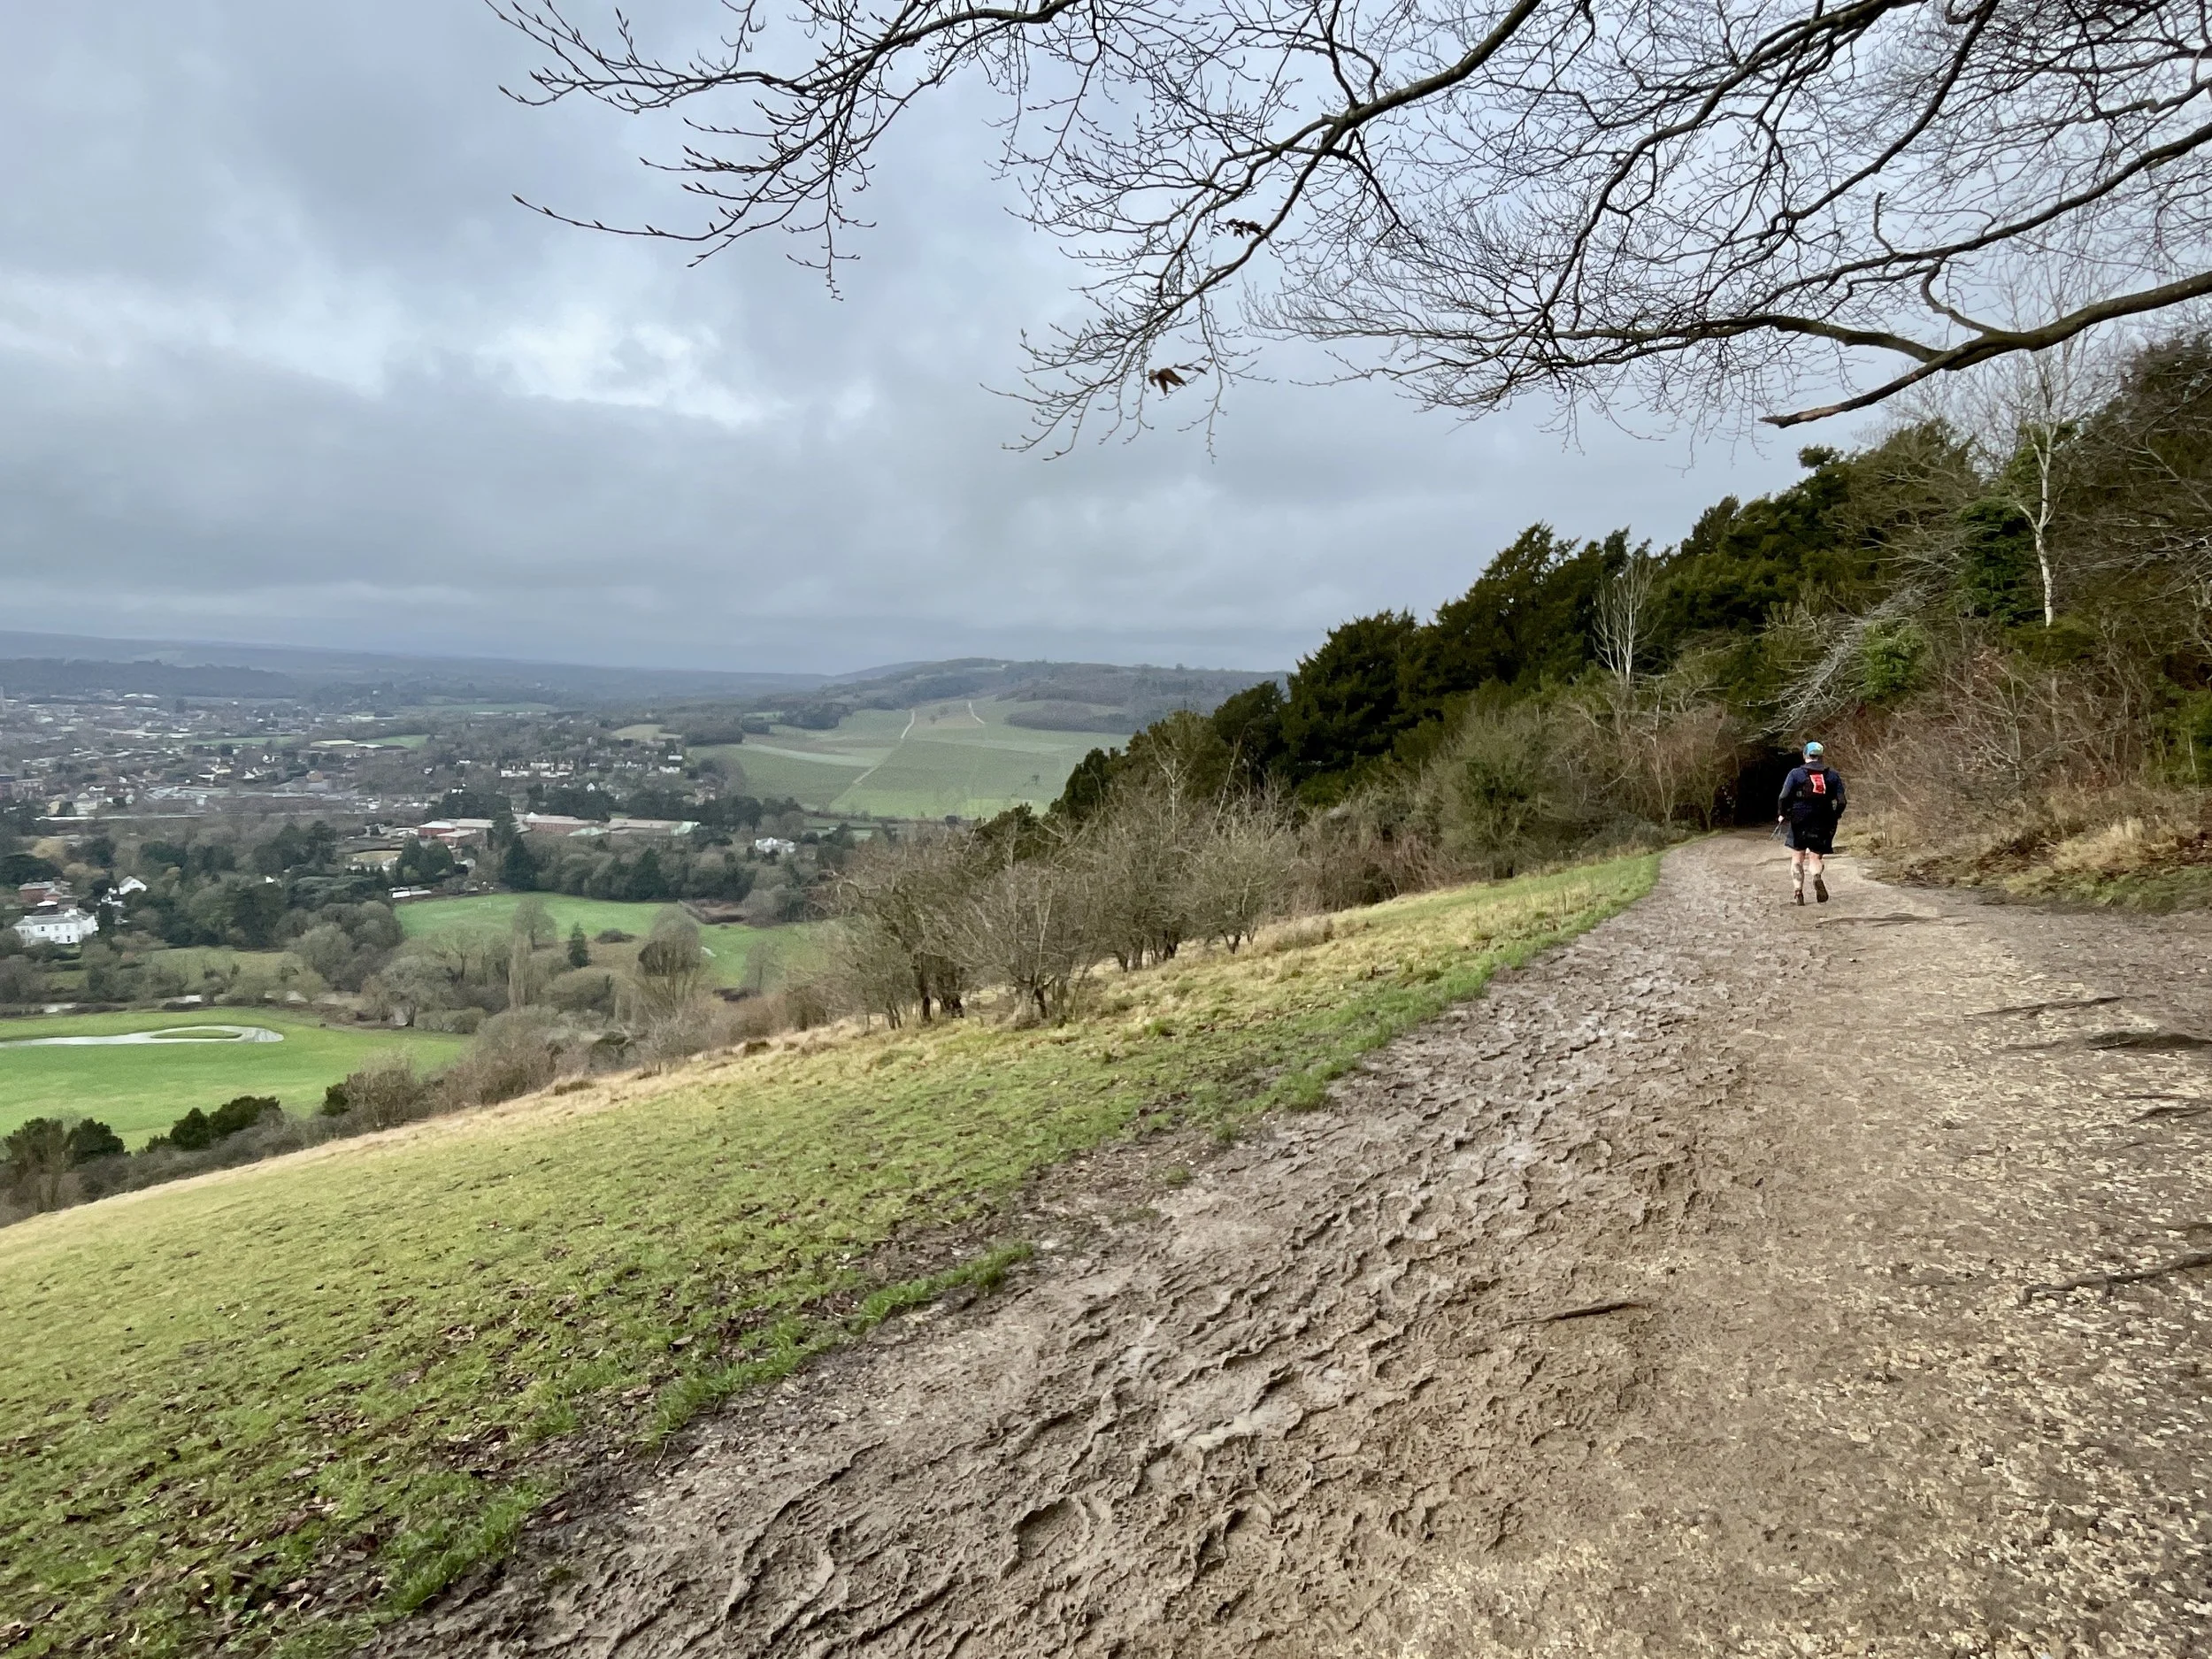
After the Ranmore Common checkpoint, the trail became much more interesting again. The descending curve around Denbies gave us great views across the vineyard over to Dorking and Box Hill.
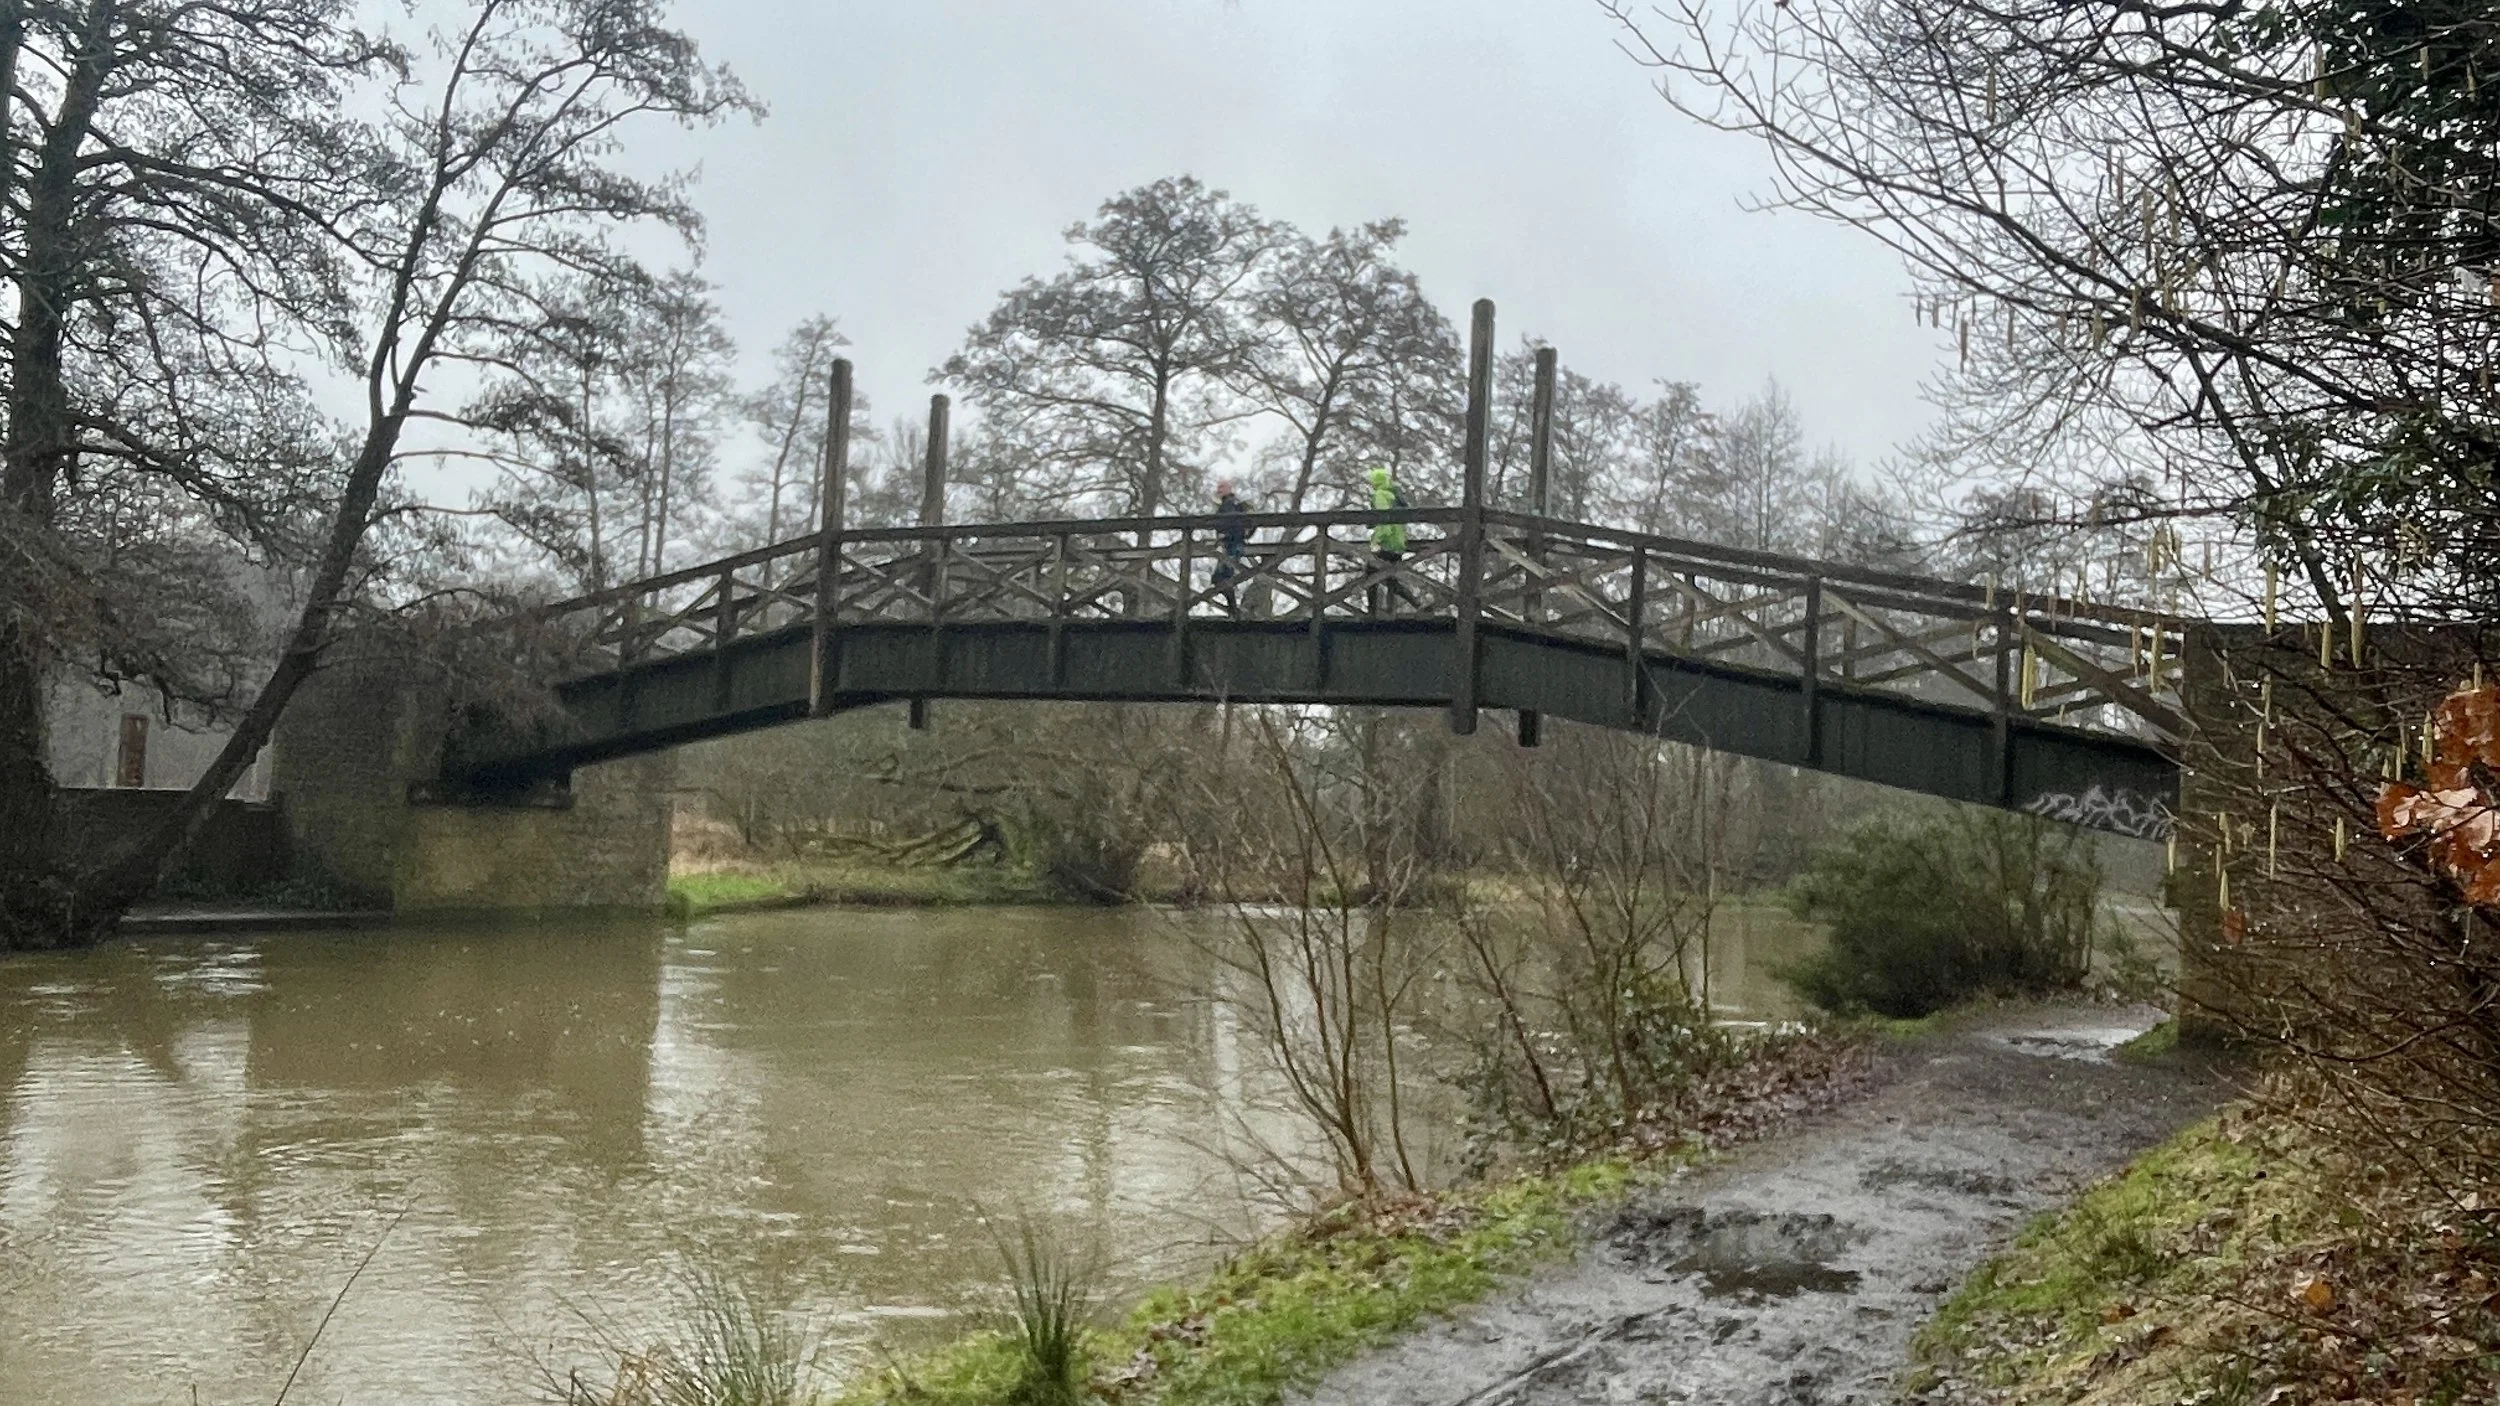
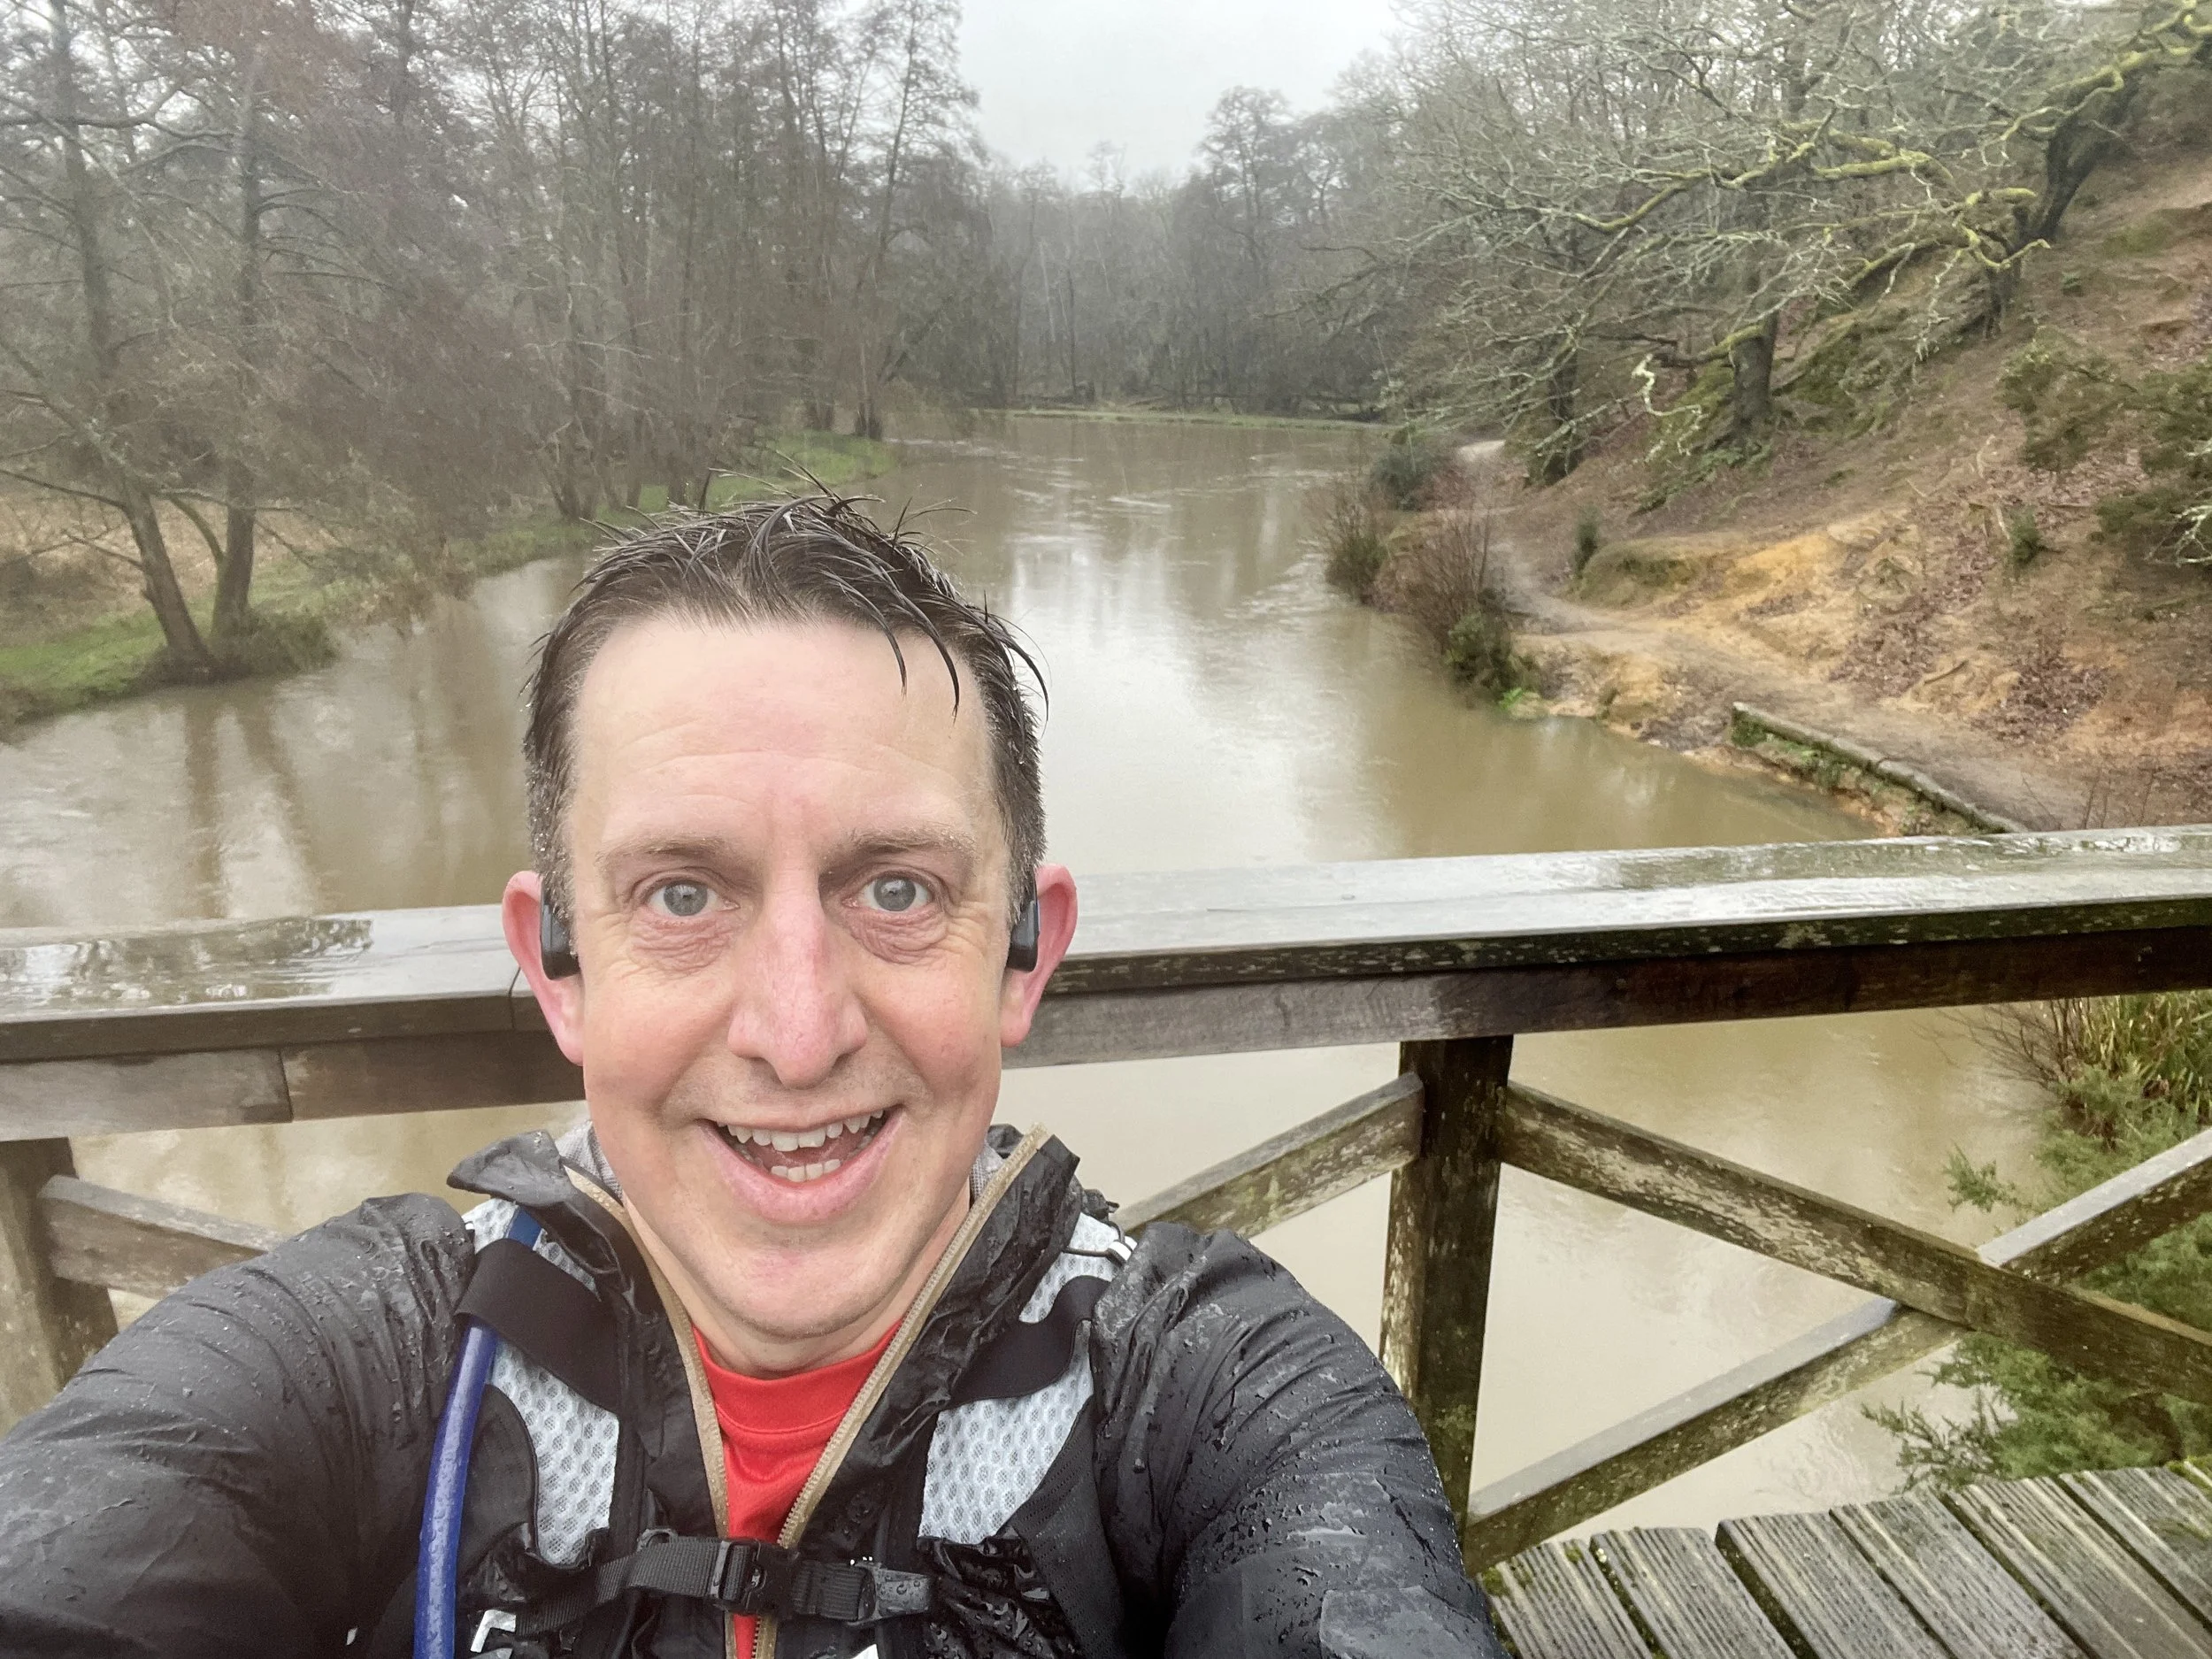
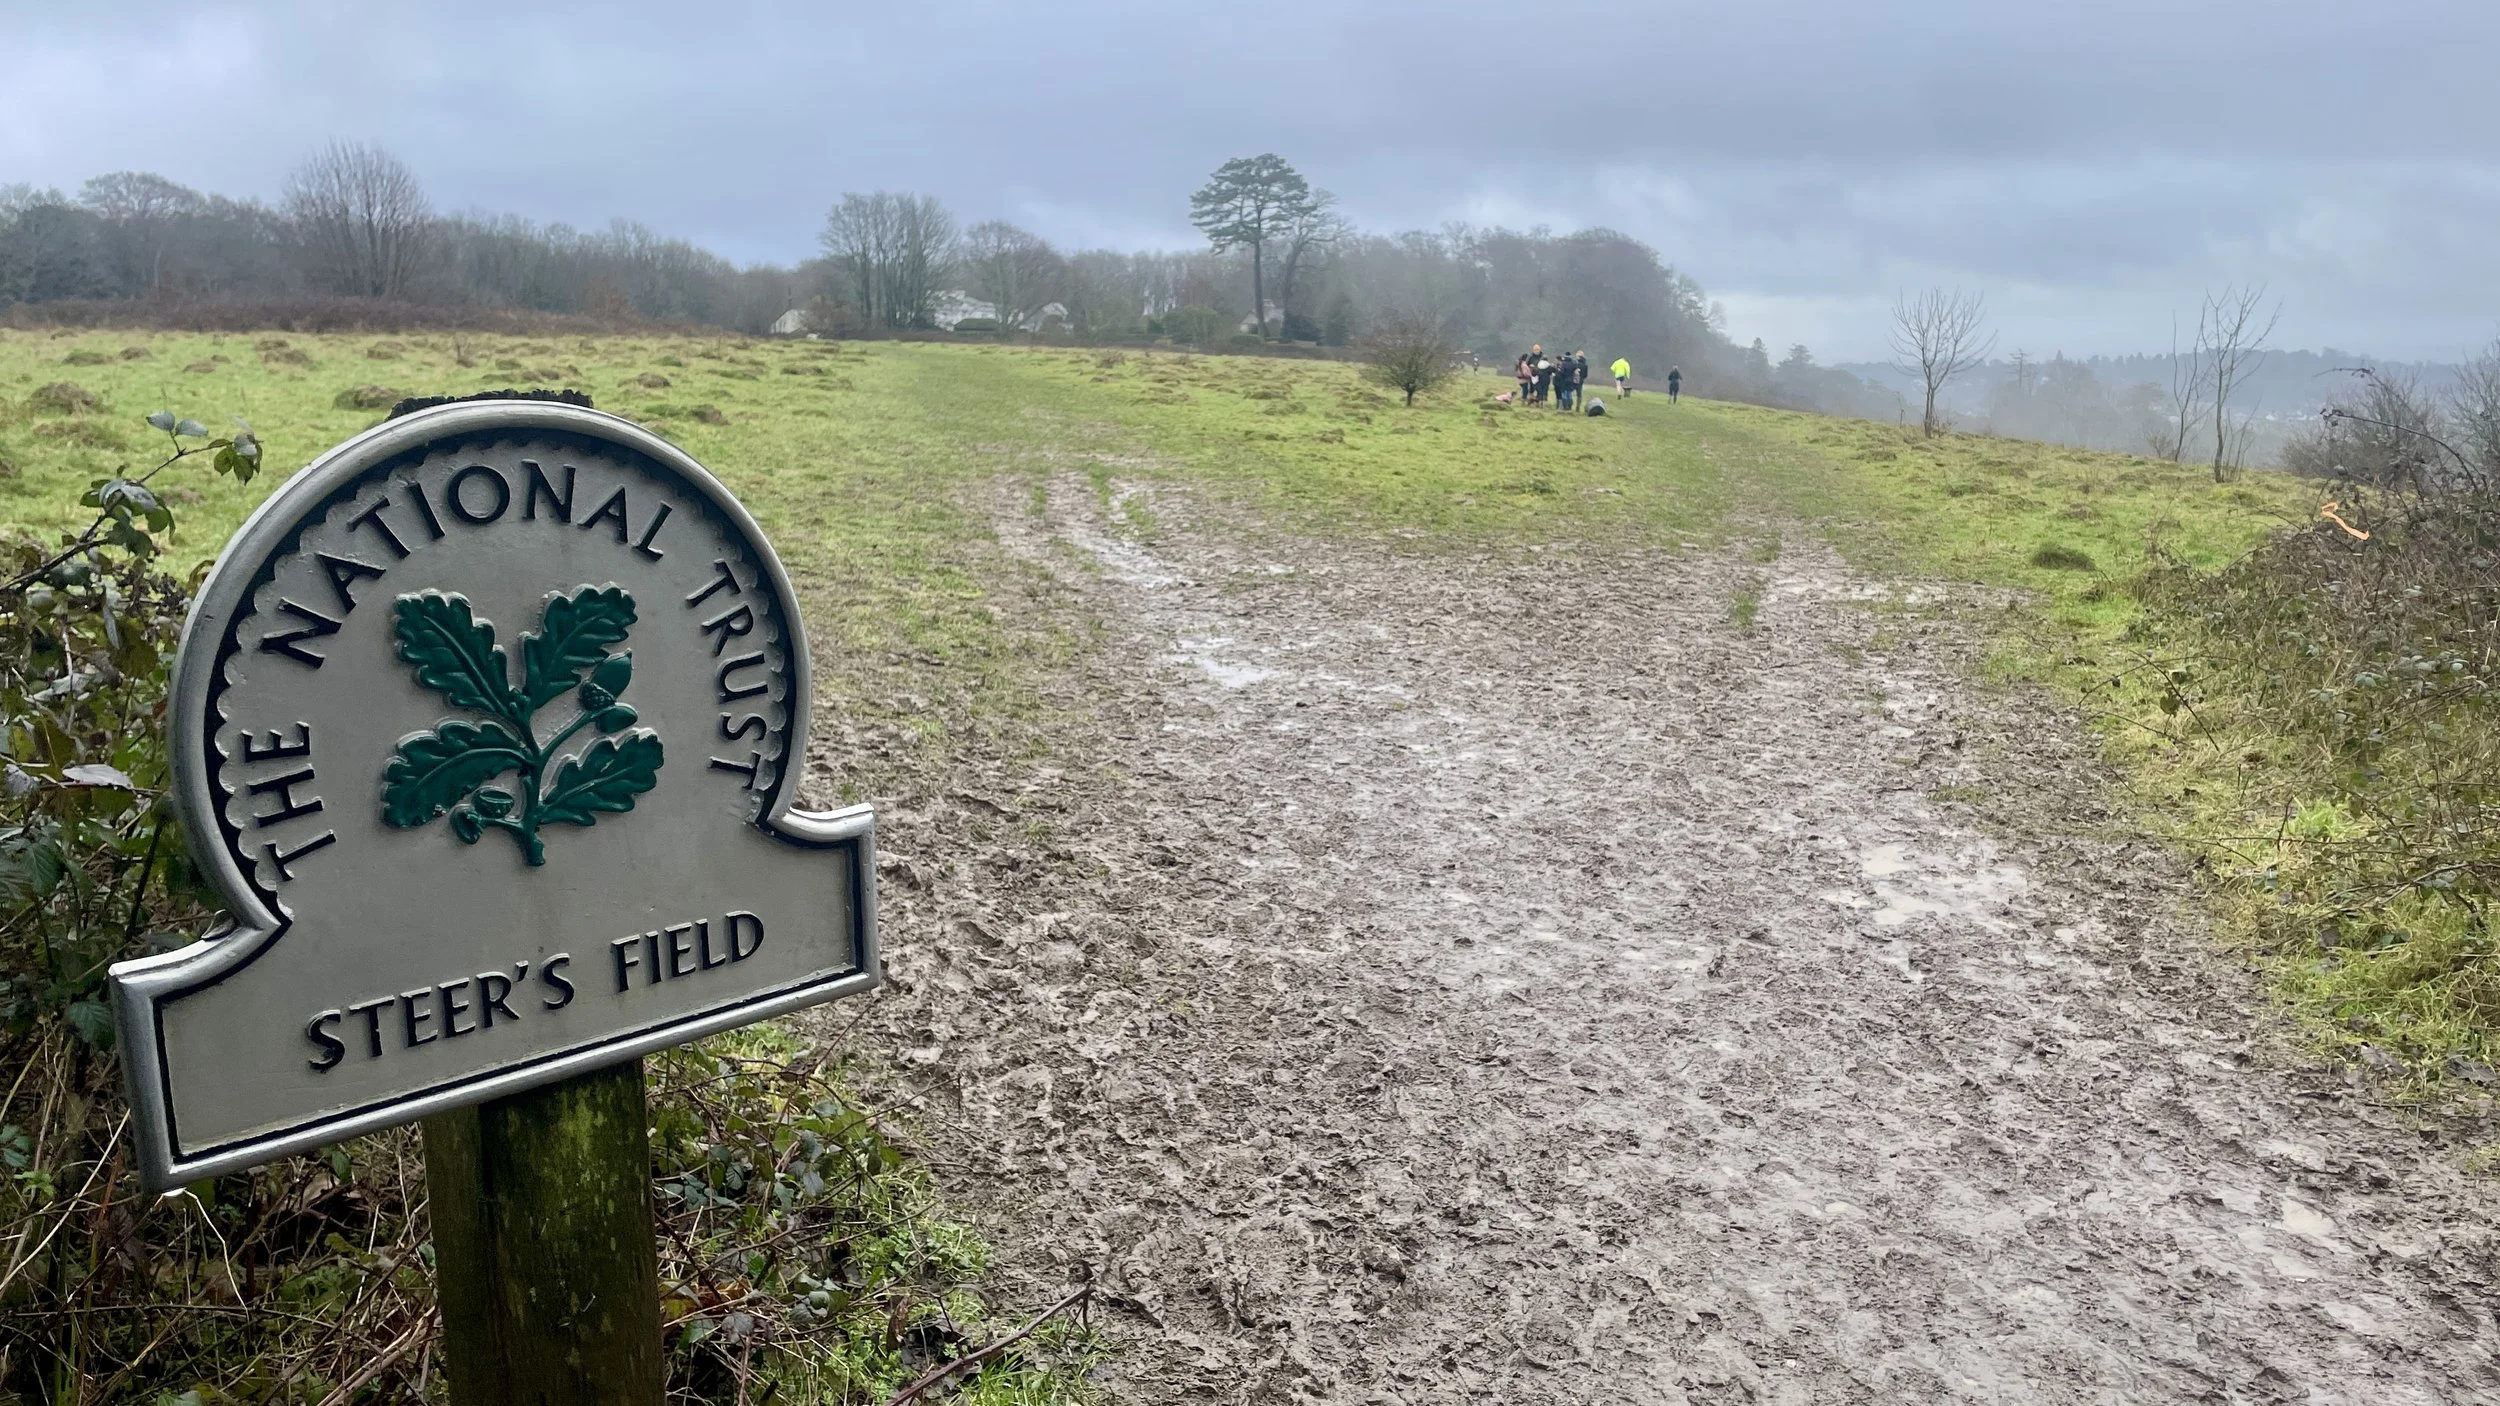
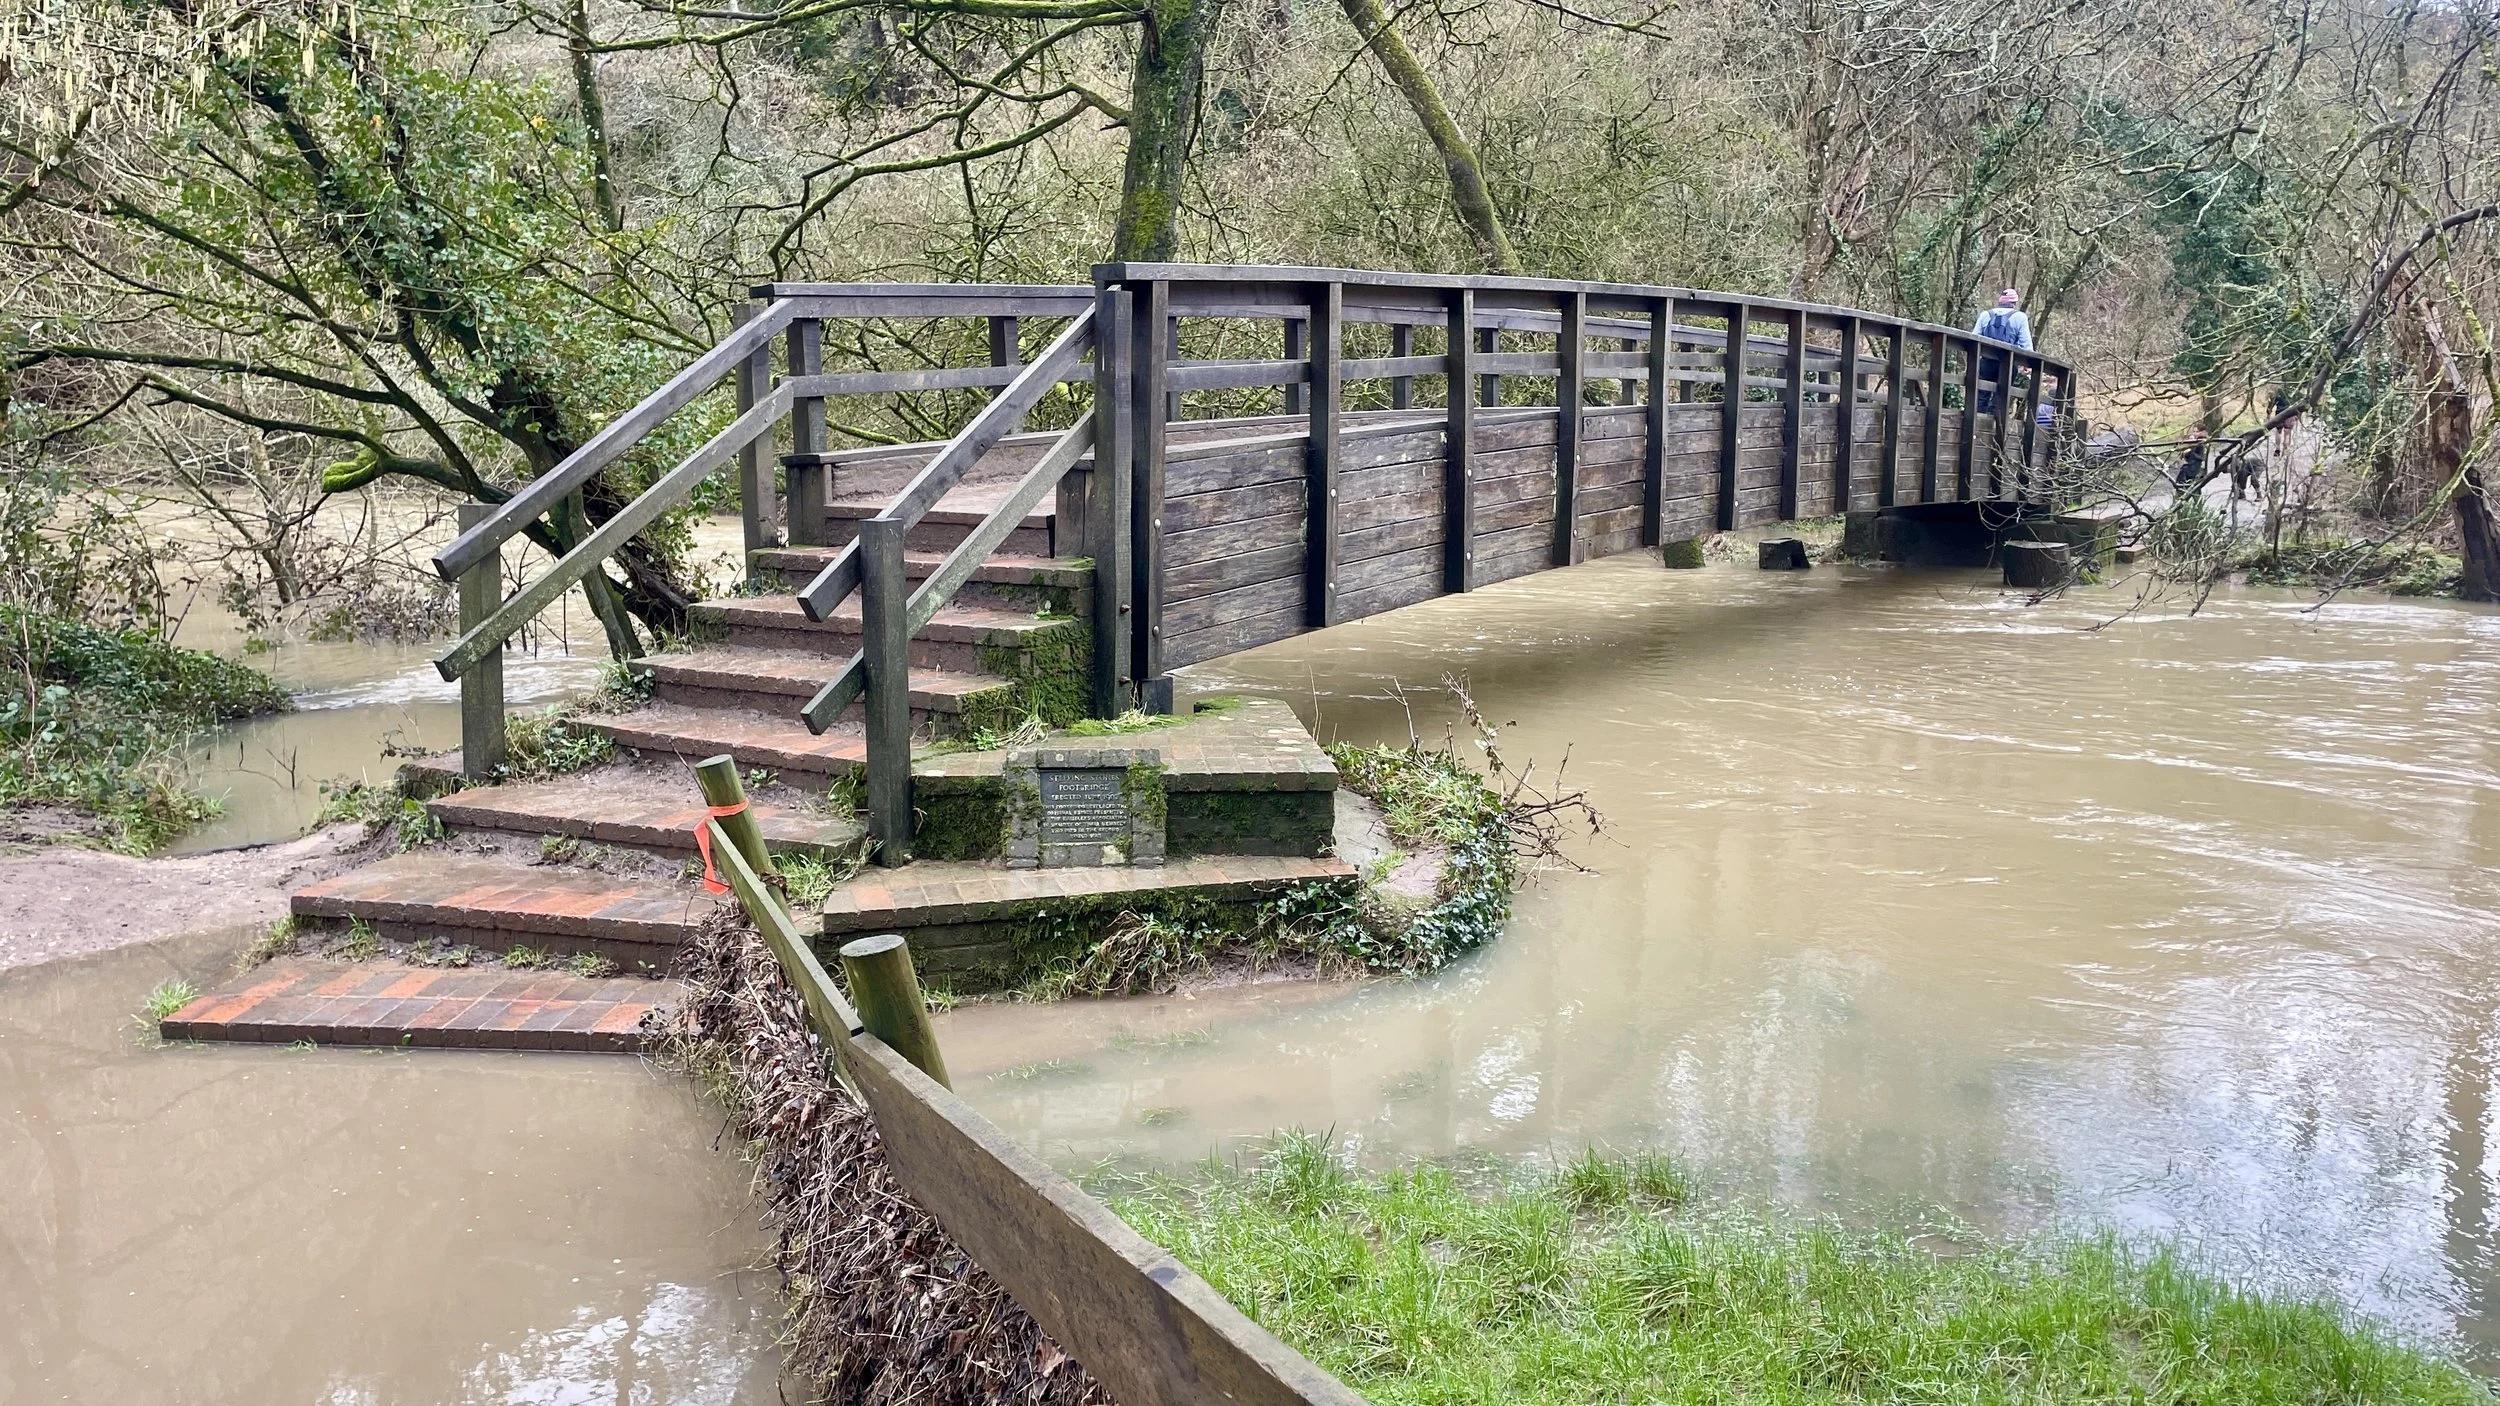
After crossing under the A24 near Dorking, we came to the River Mole crossing. We were told in the briefing that the Mole had burst its banks and it would be a wet one: we would have a choice of crossing over the Stepping Stones or using the dry route over the footbridge.
It was only because I had been to the crossing before that I knew where the stepping stones would be. That day they were submerged under fast-flowing water and couldn’t be seen at all. Even the bridge option wasn’t completely dry as there was a large, deep puddle on the other side that required wading.
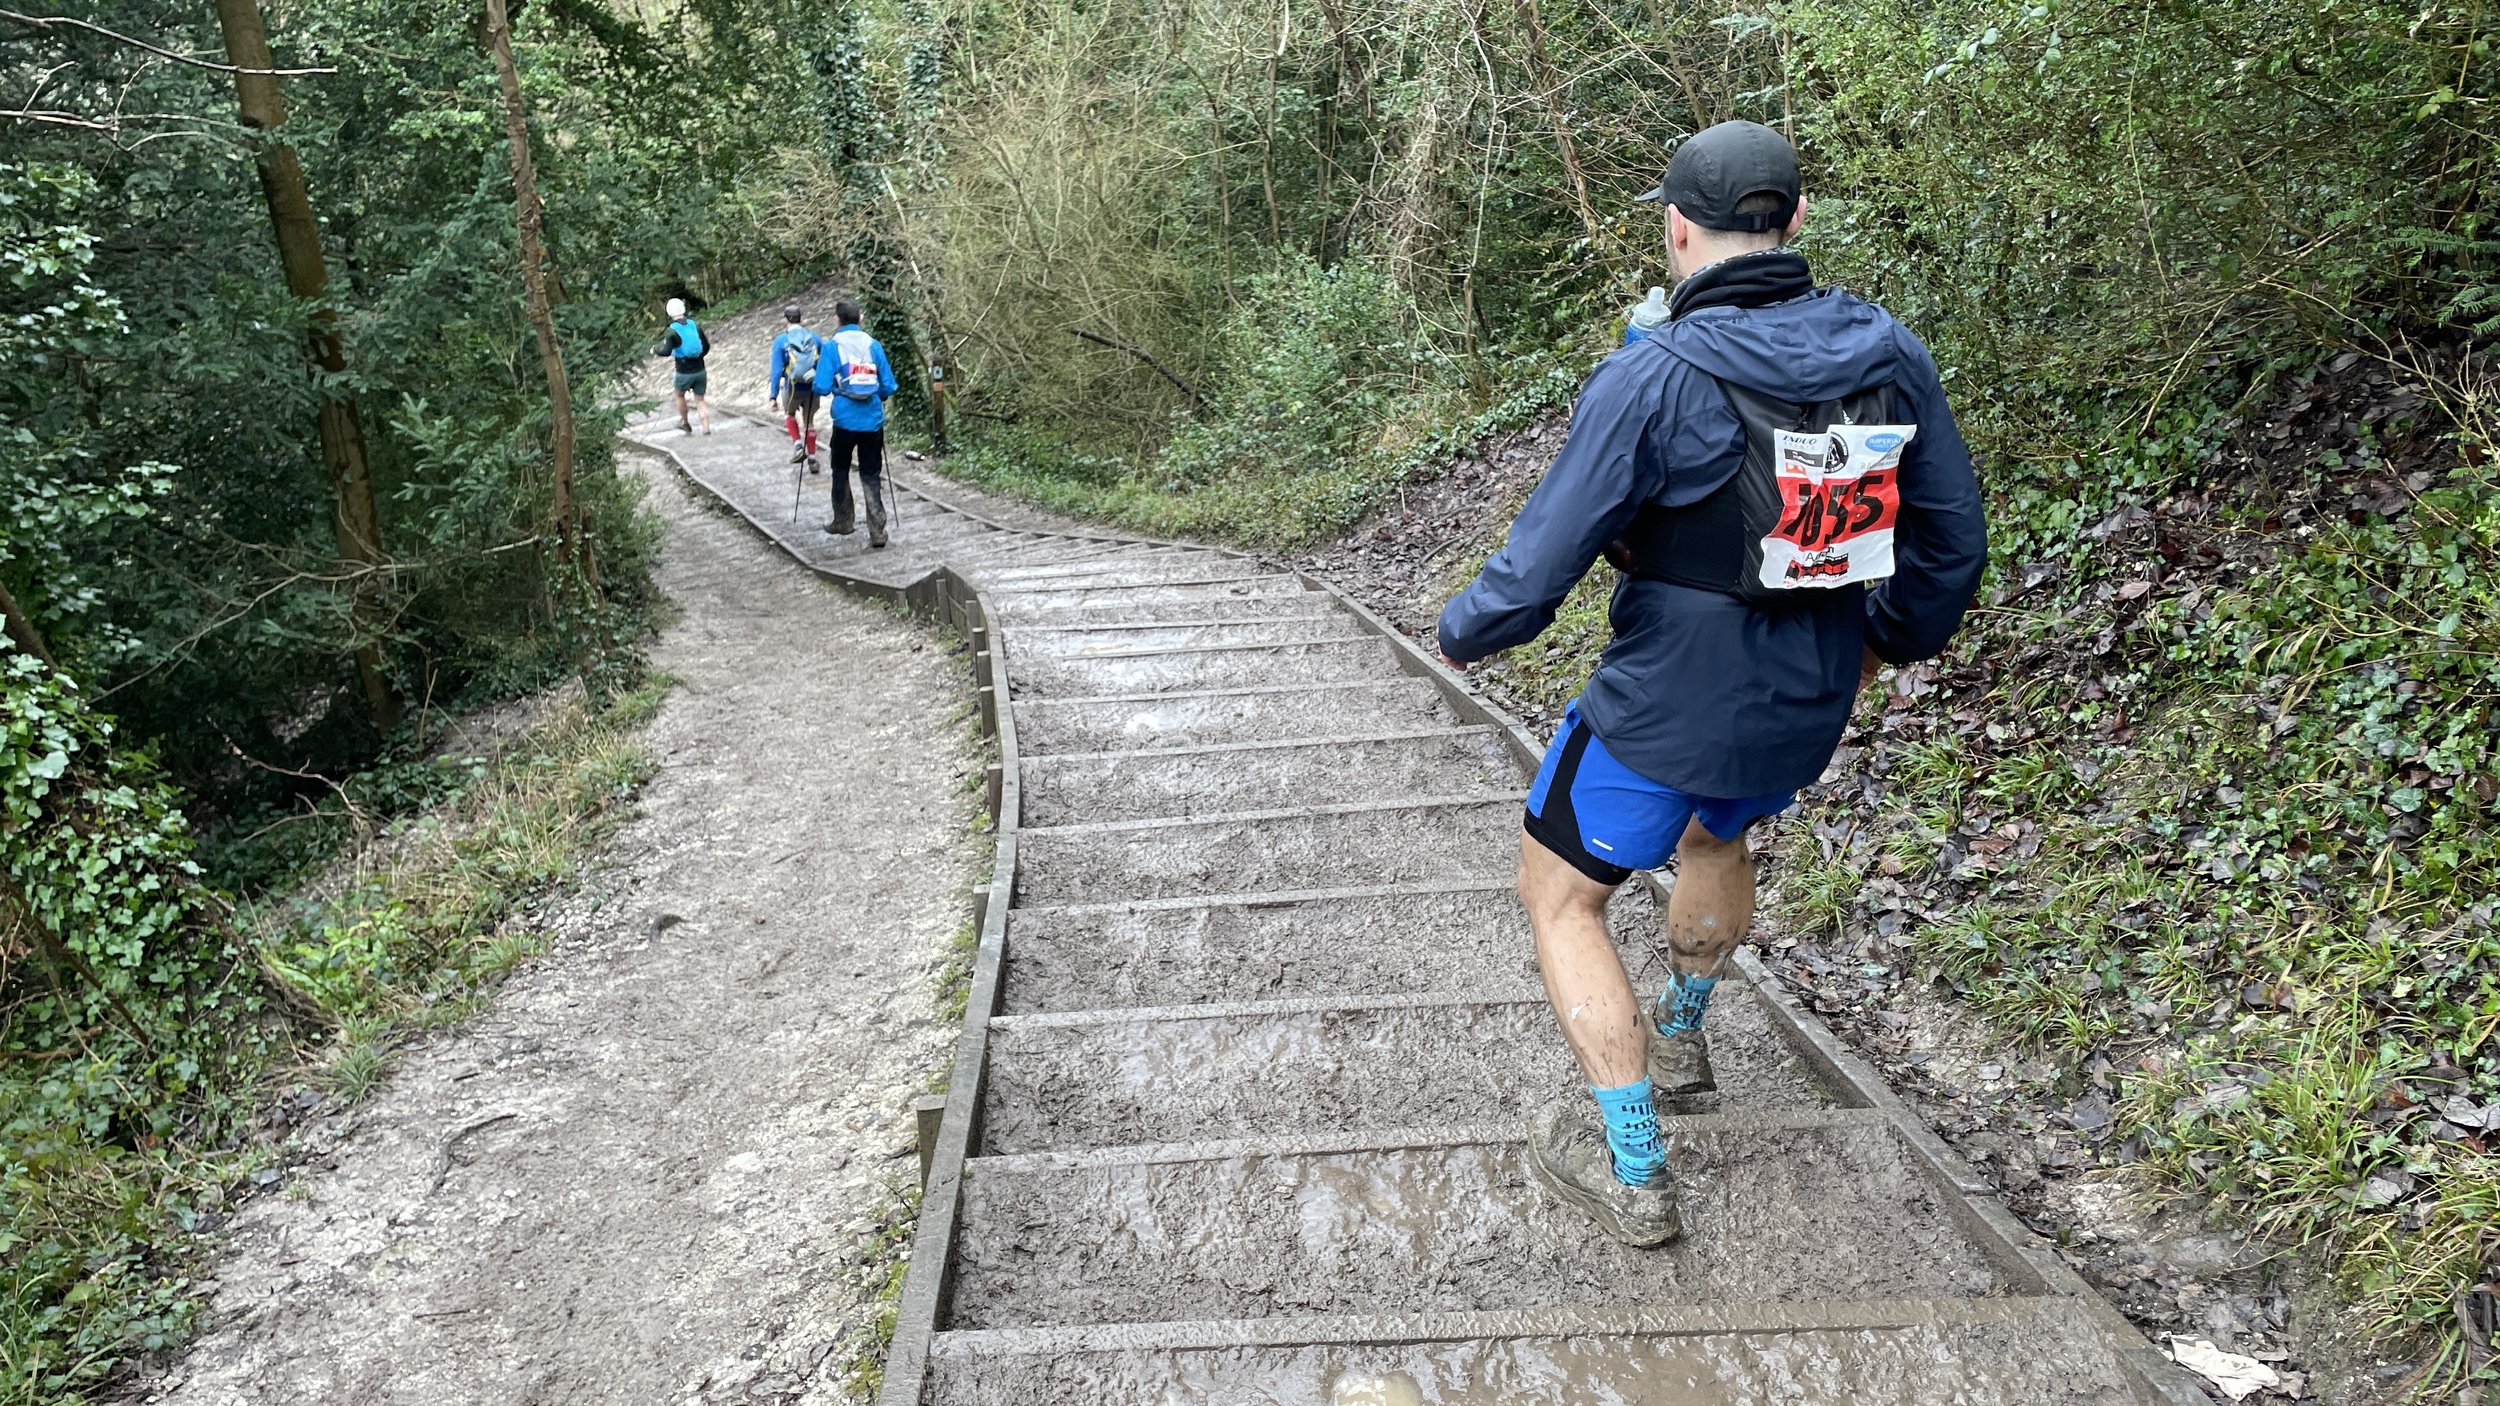
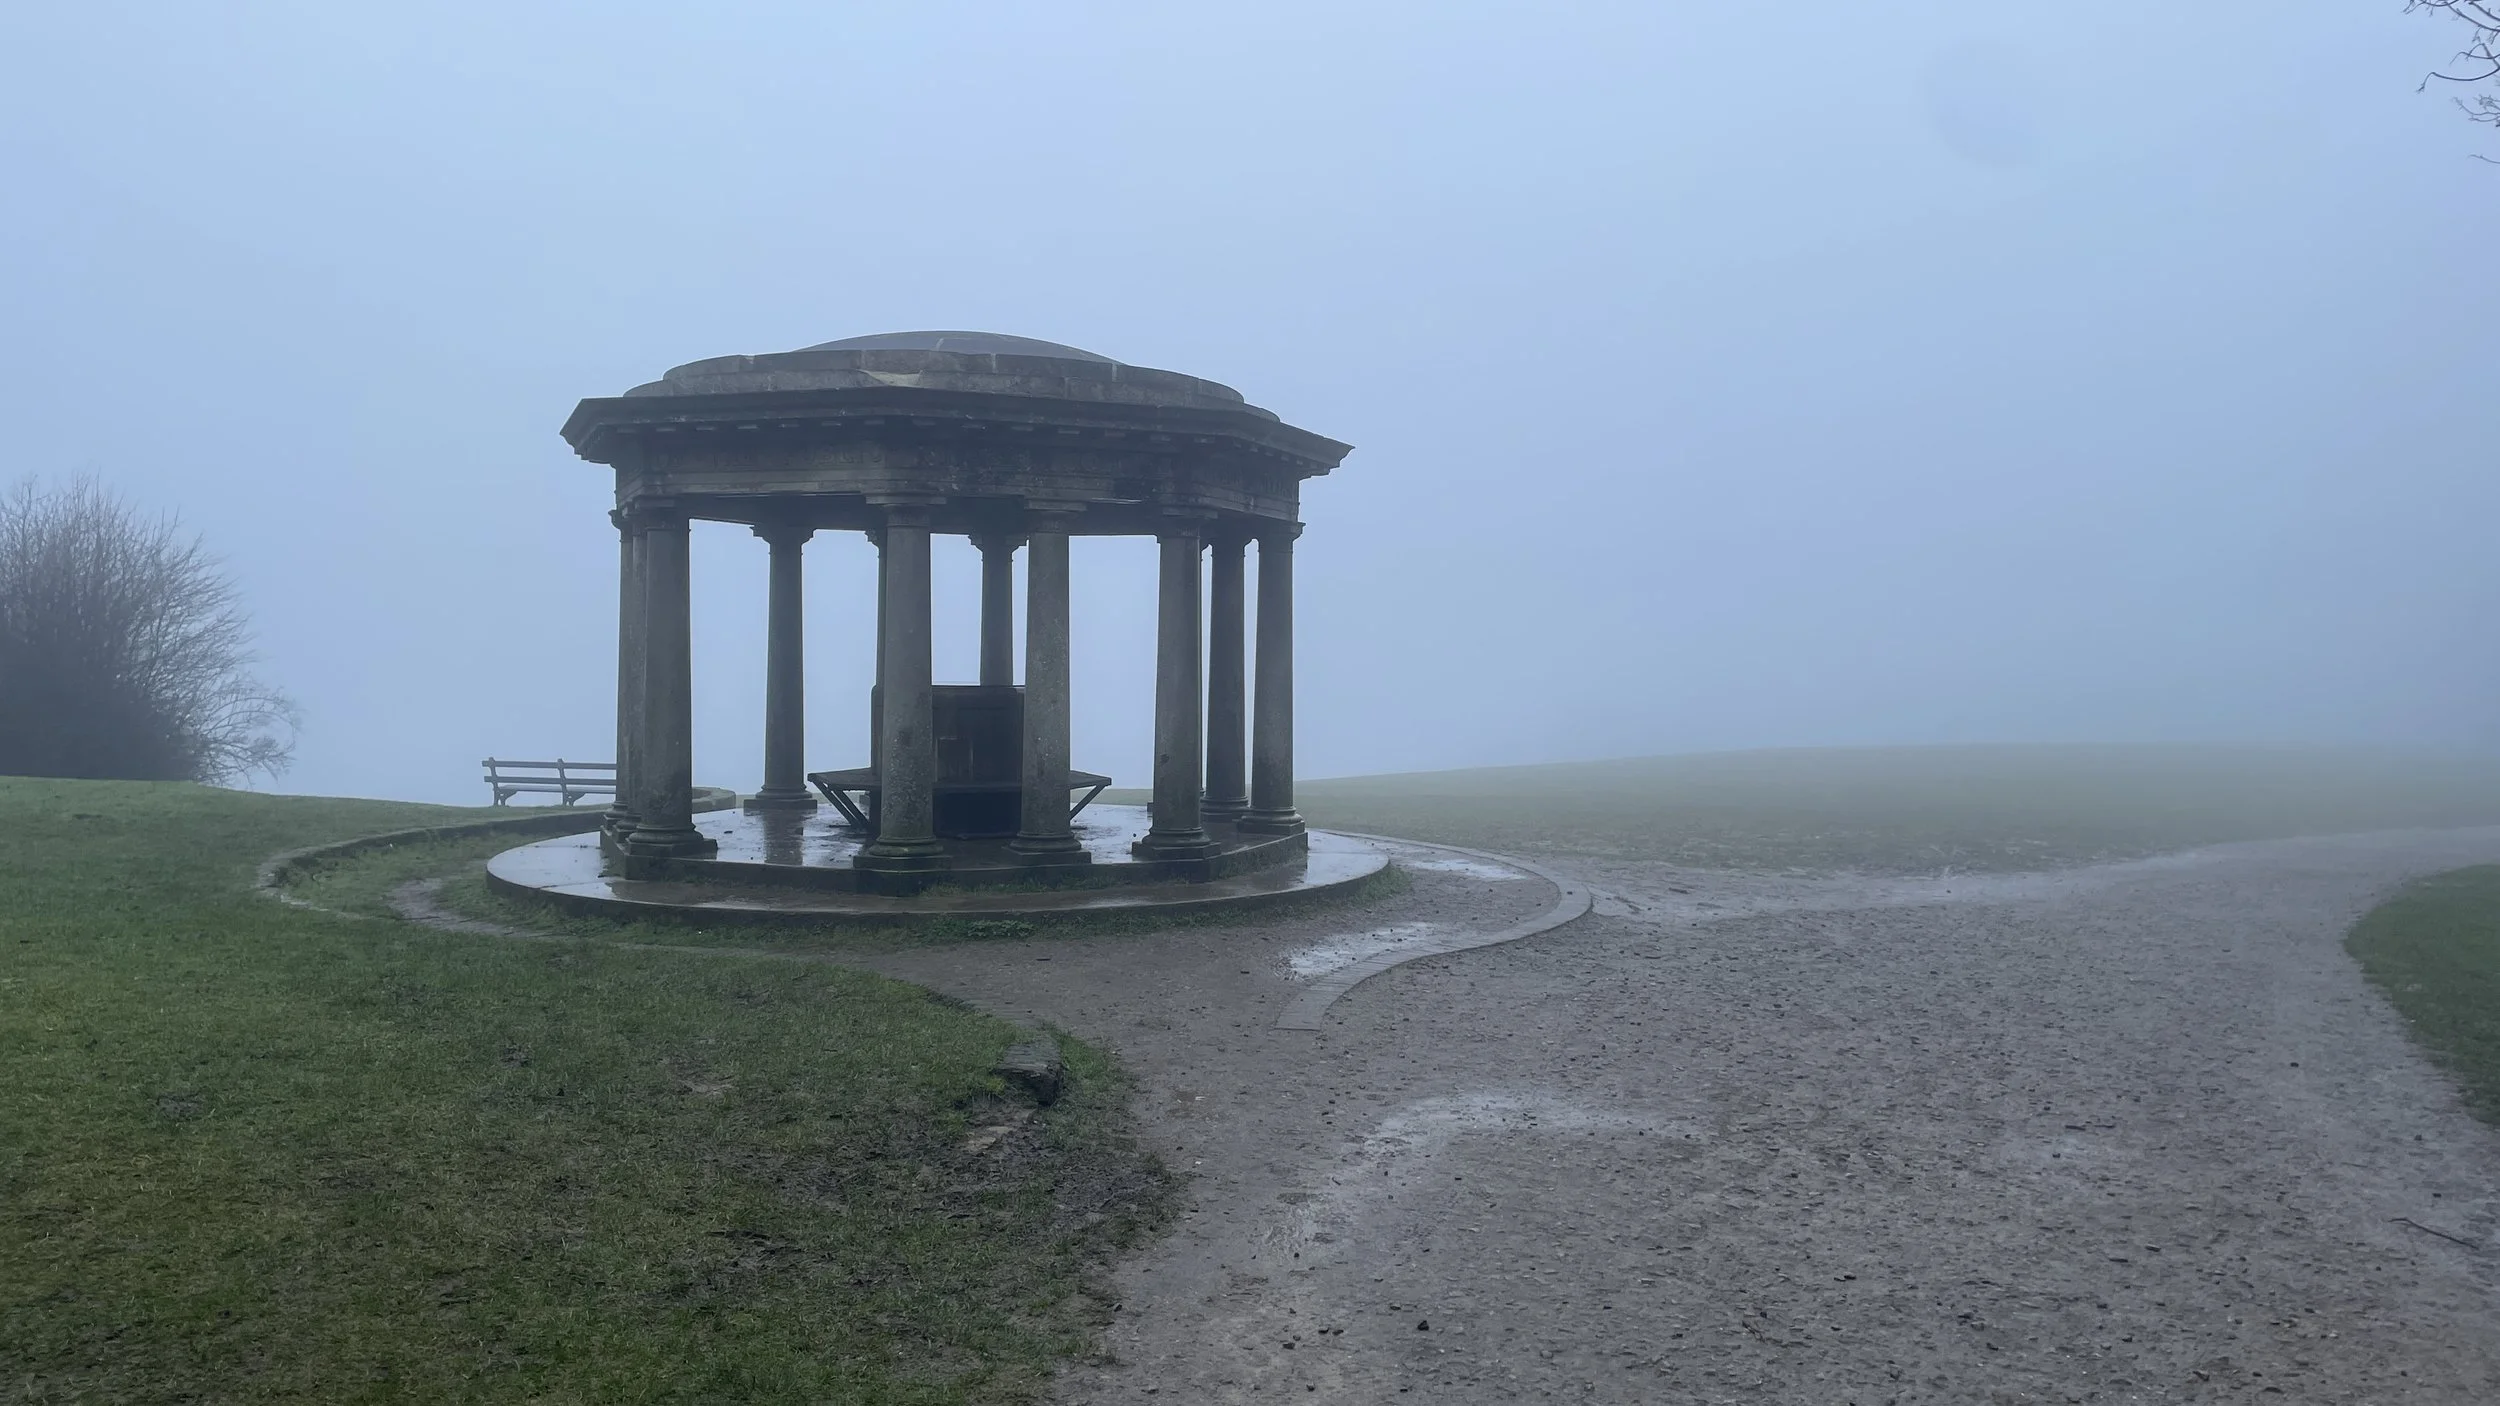
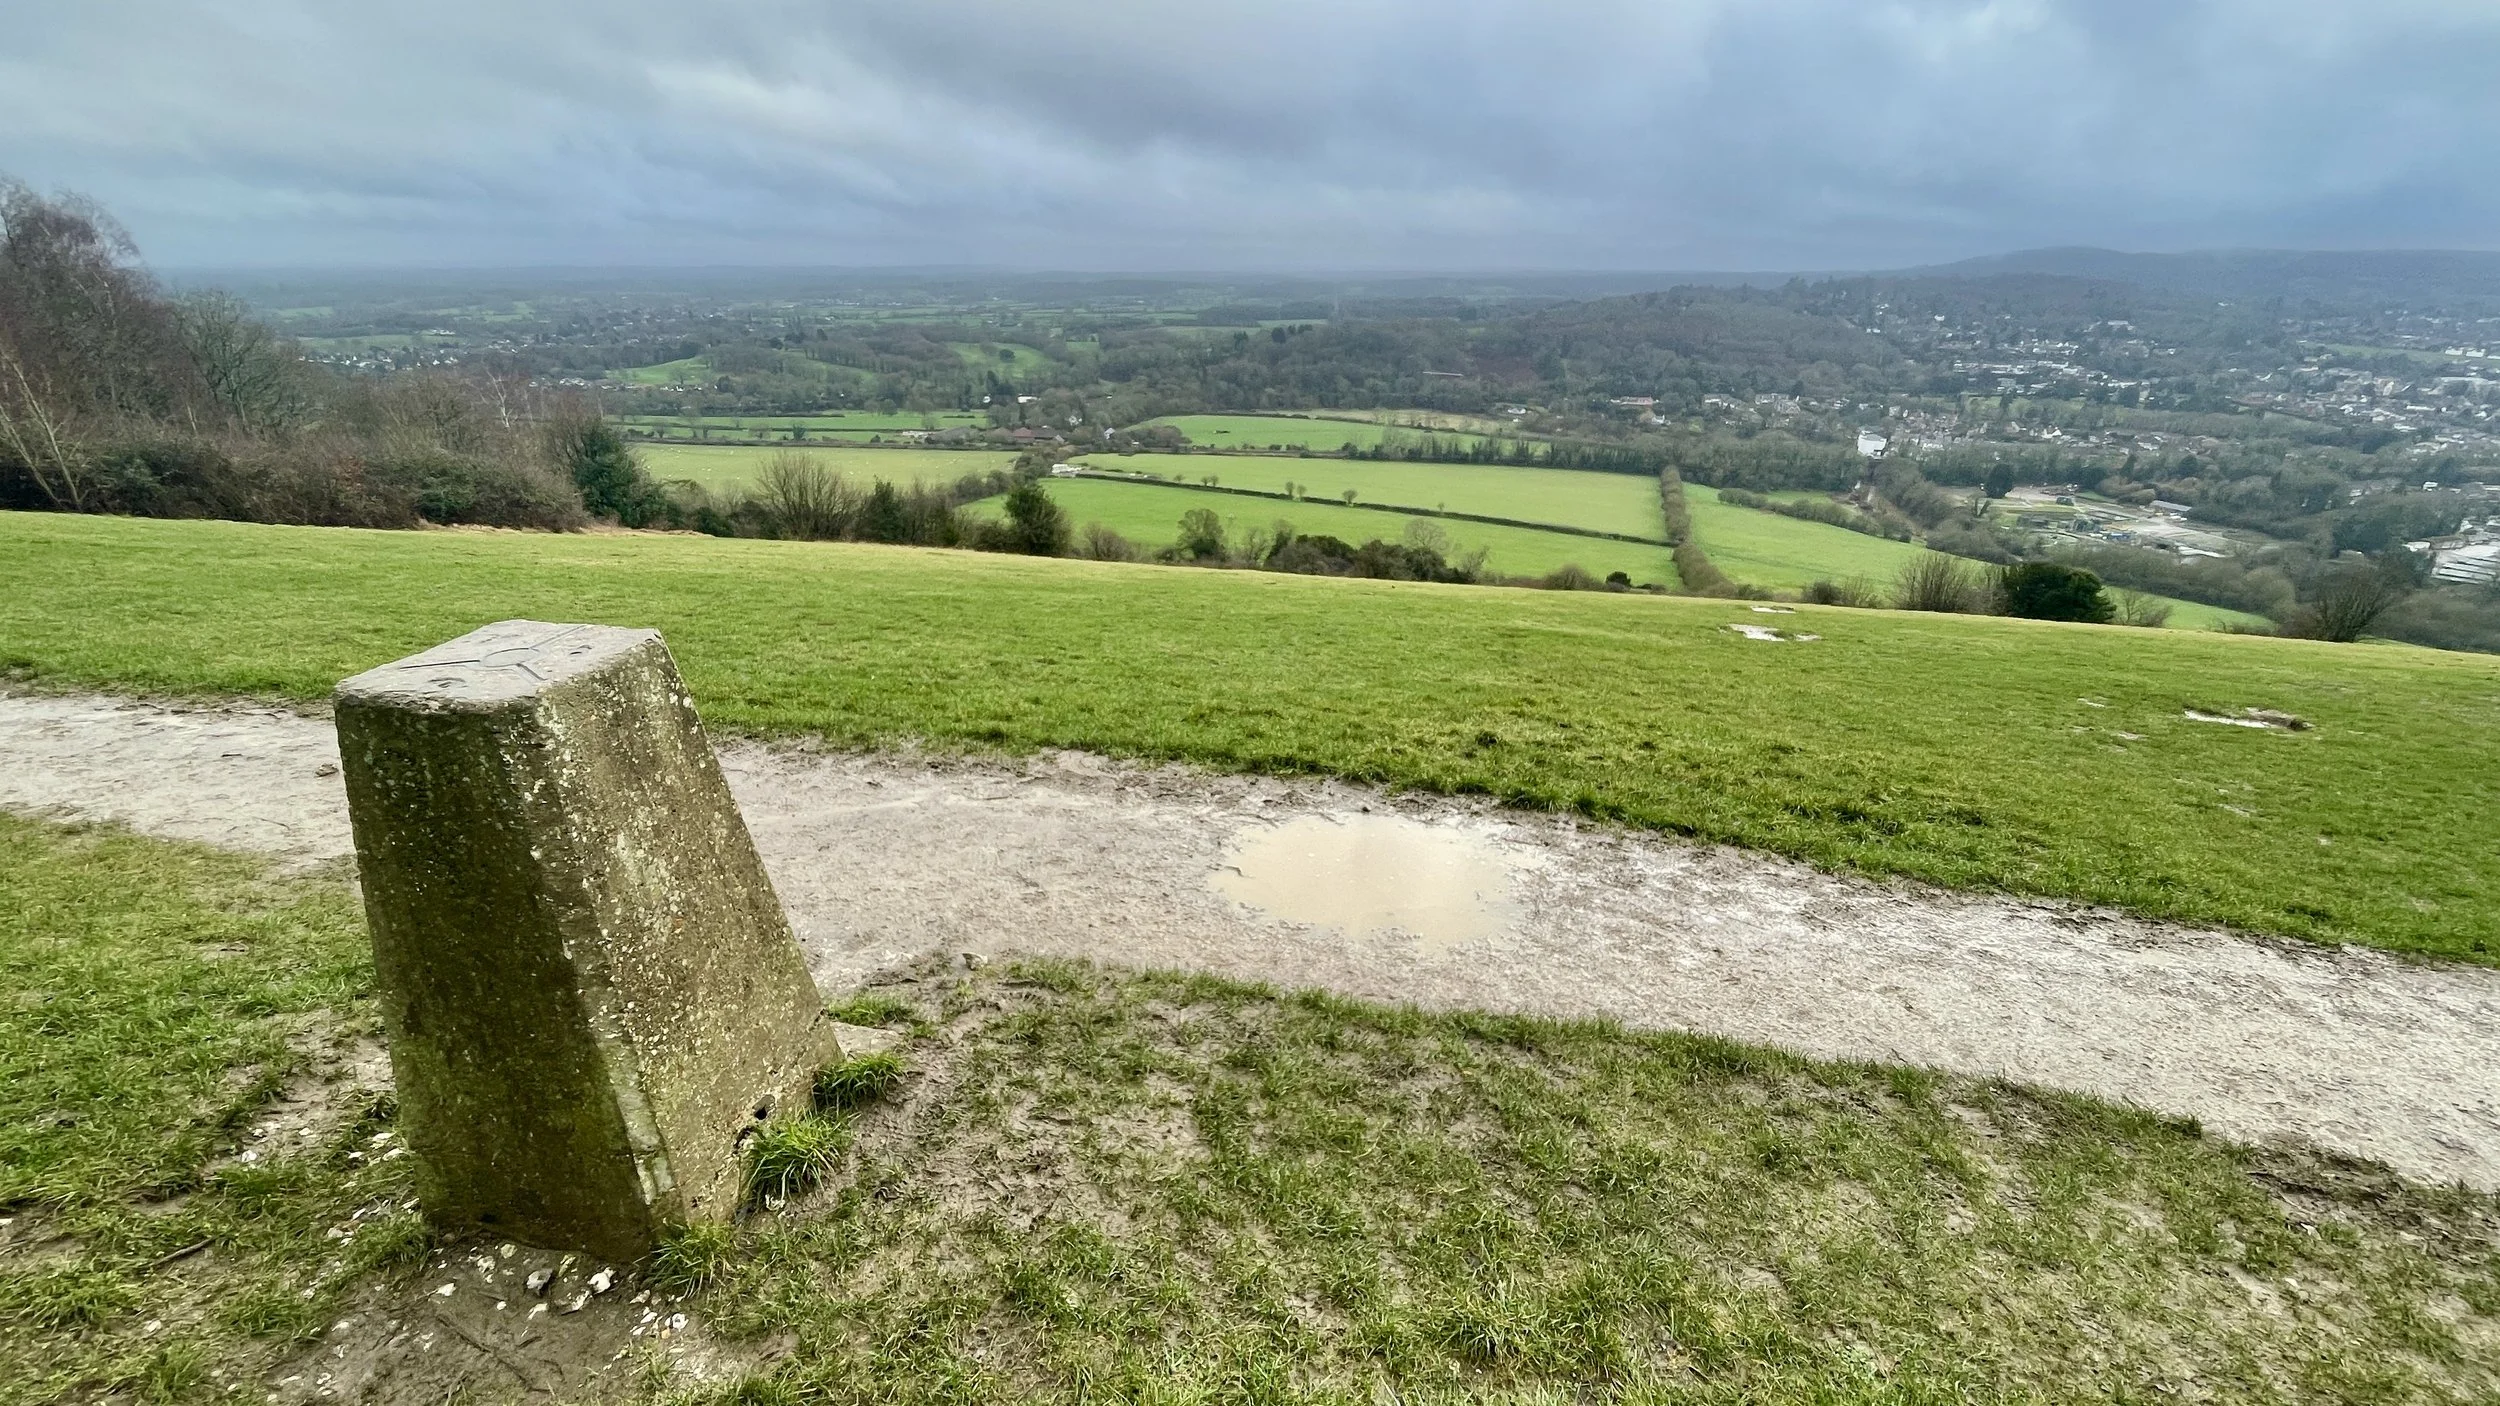
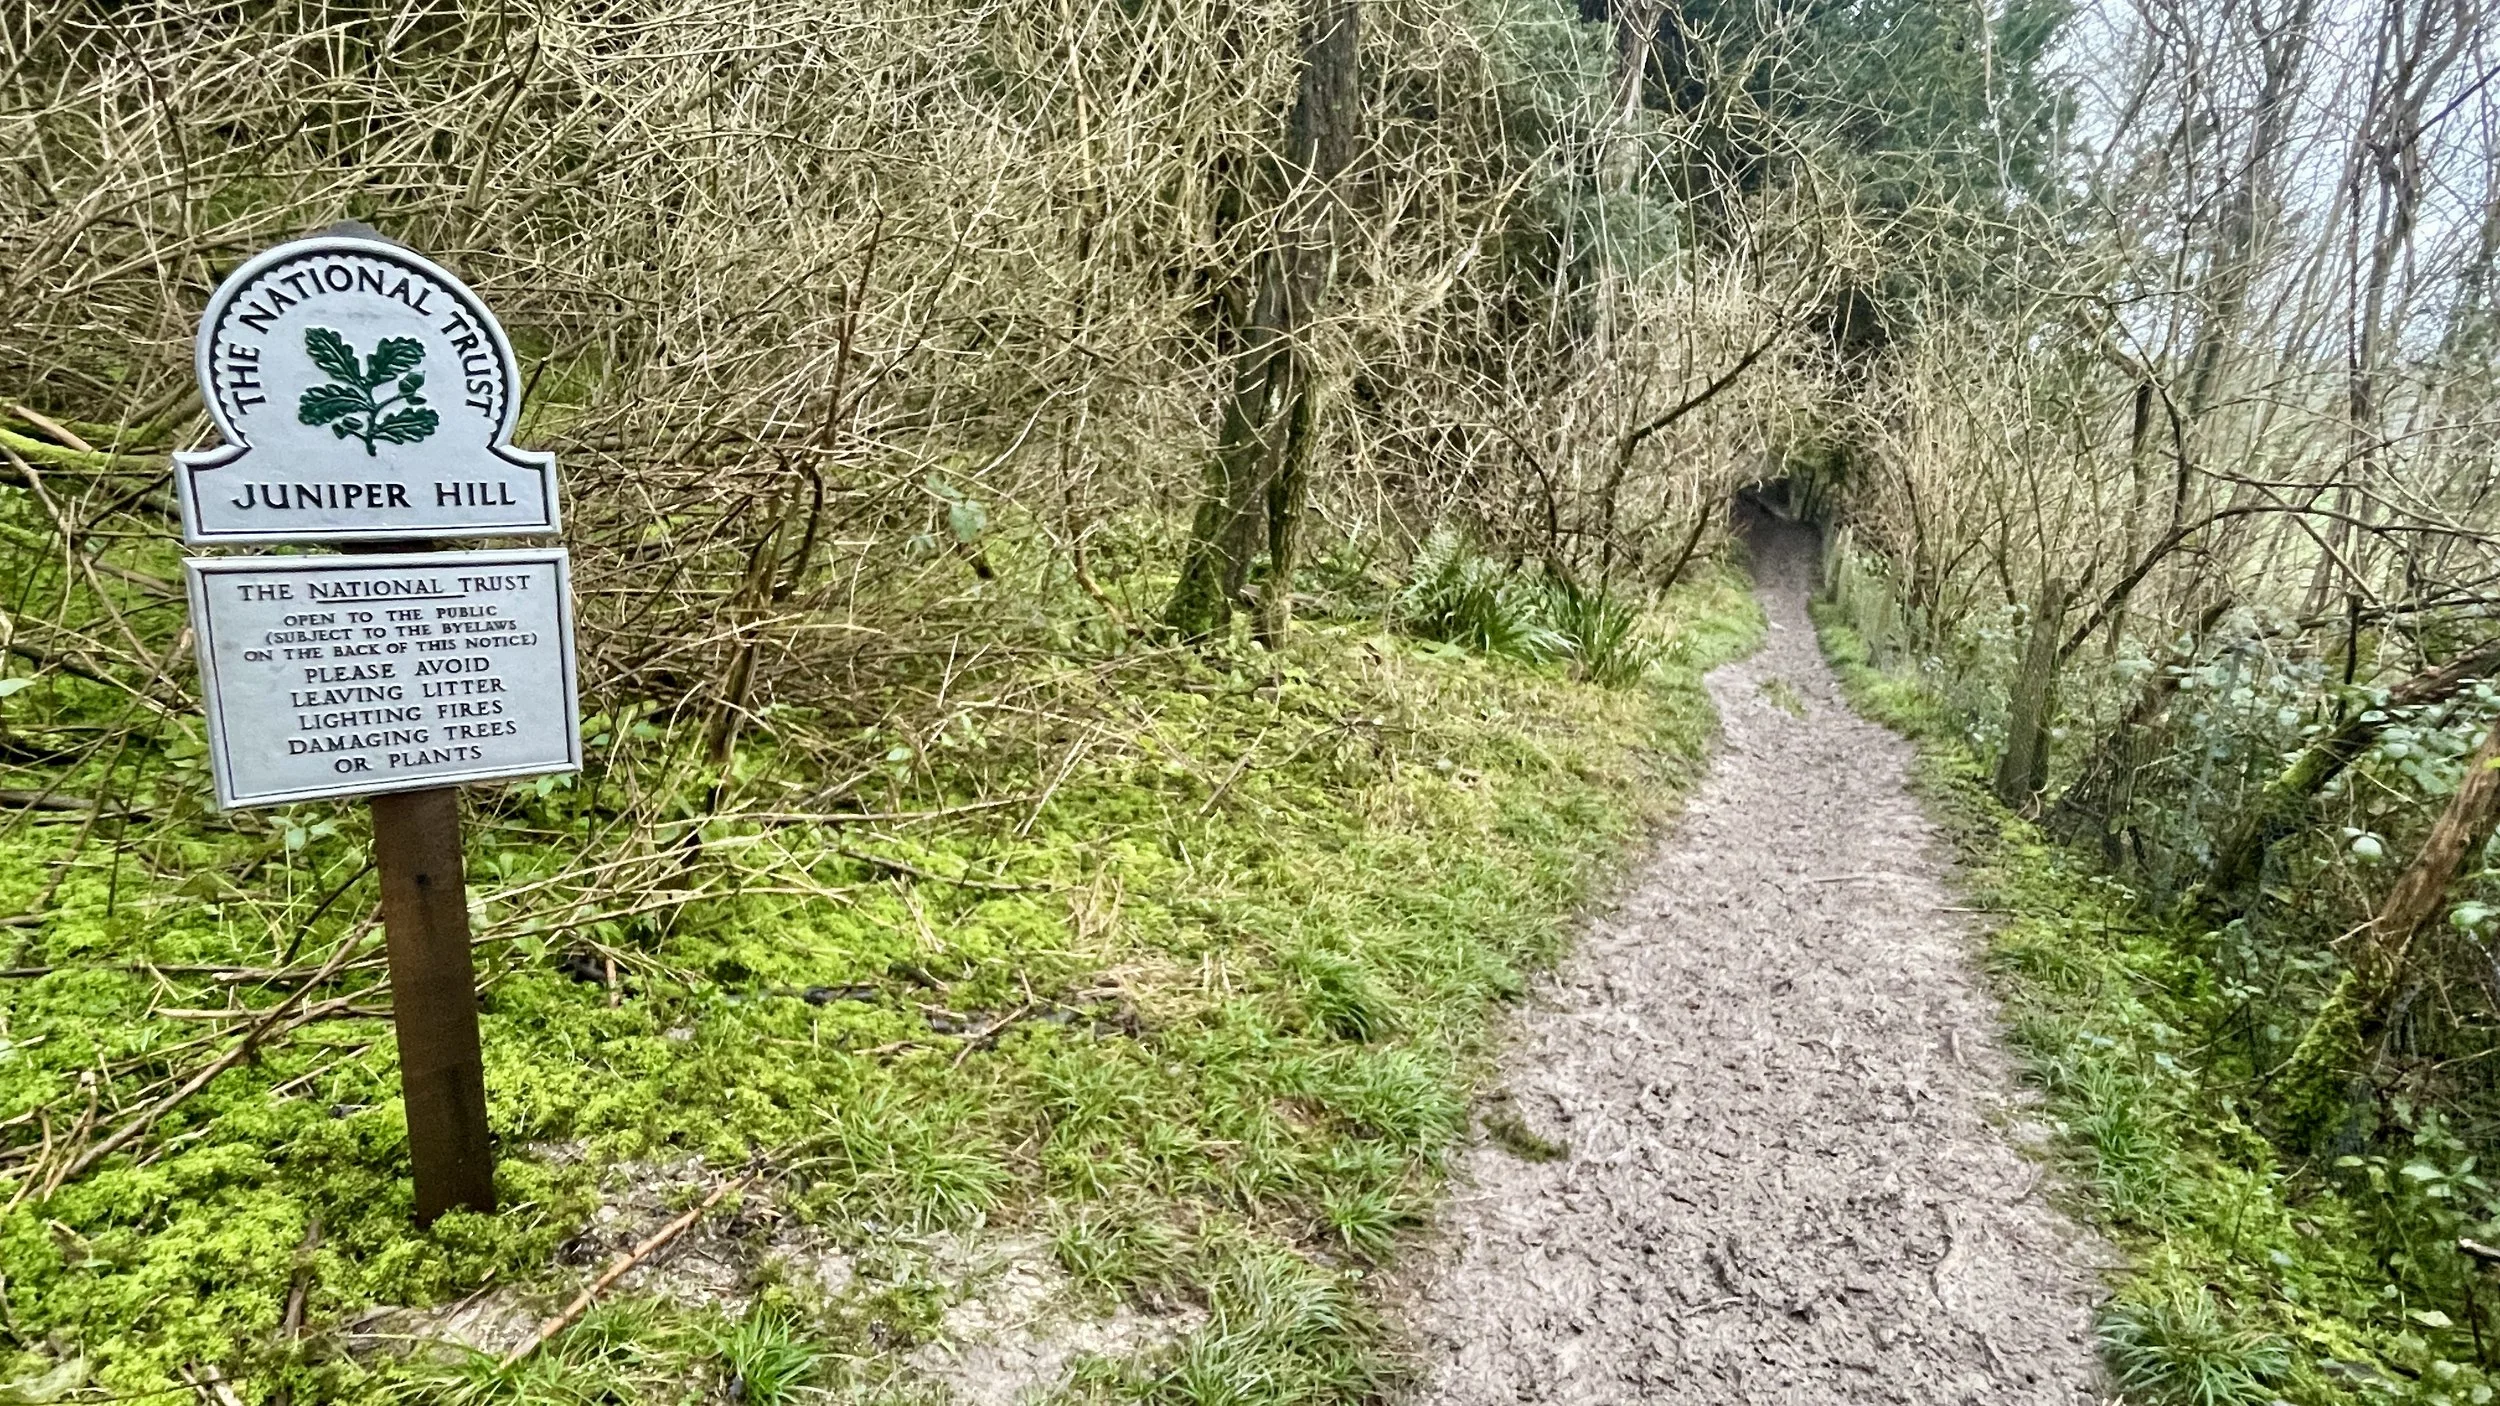
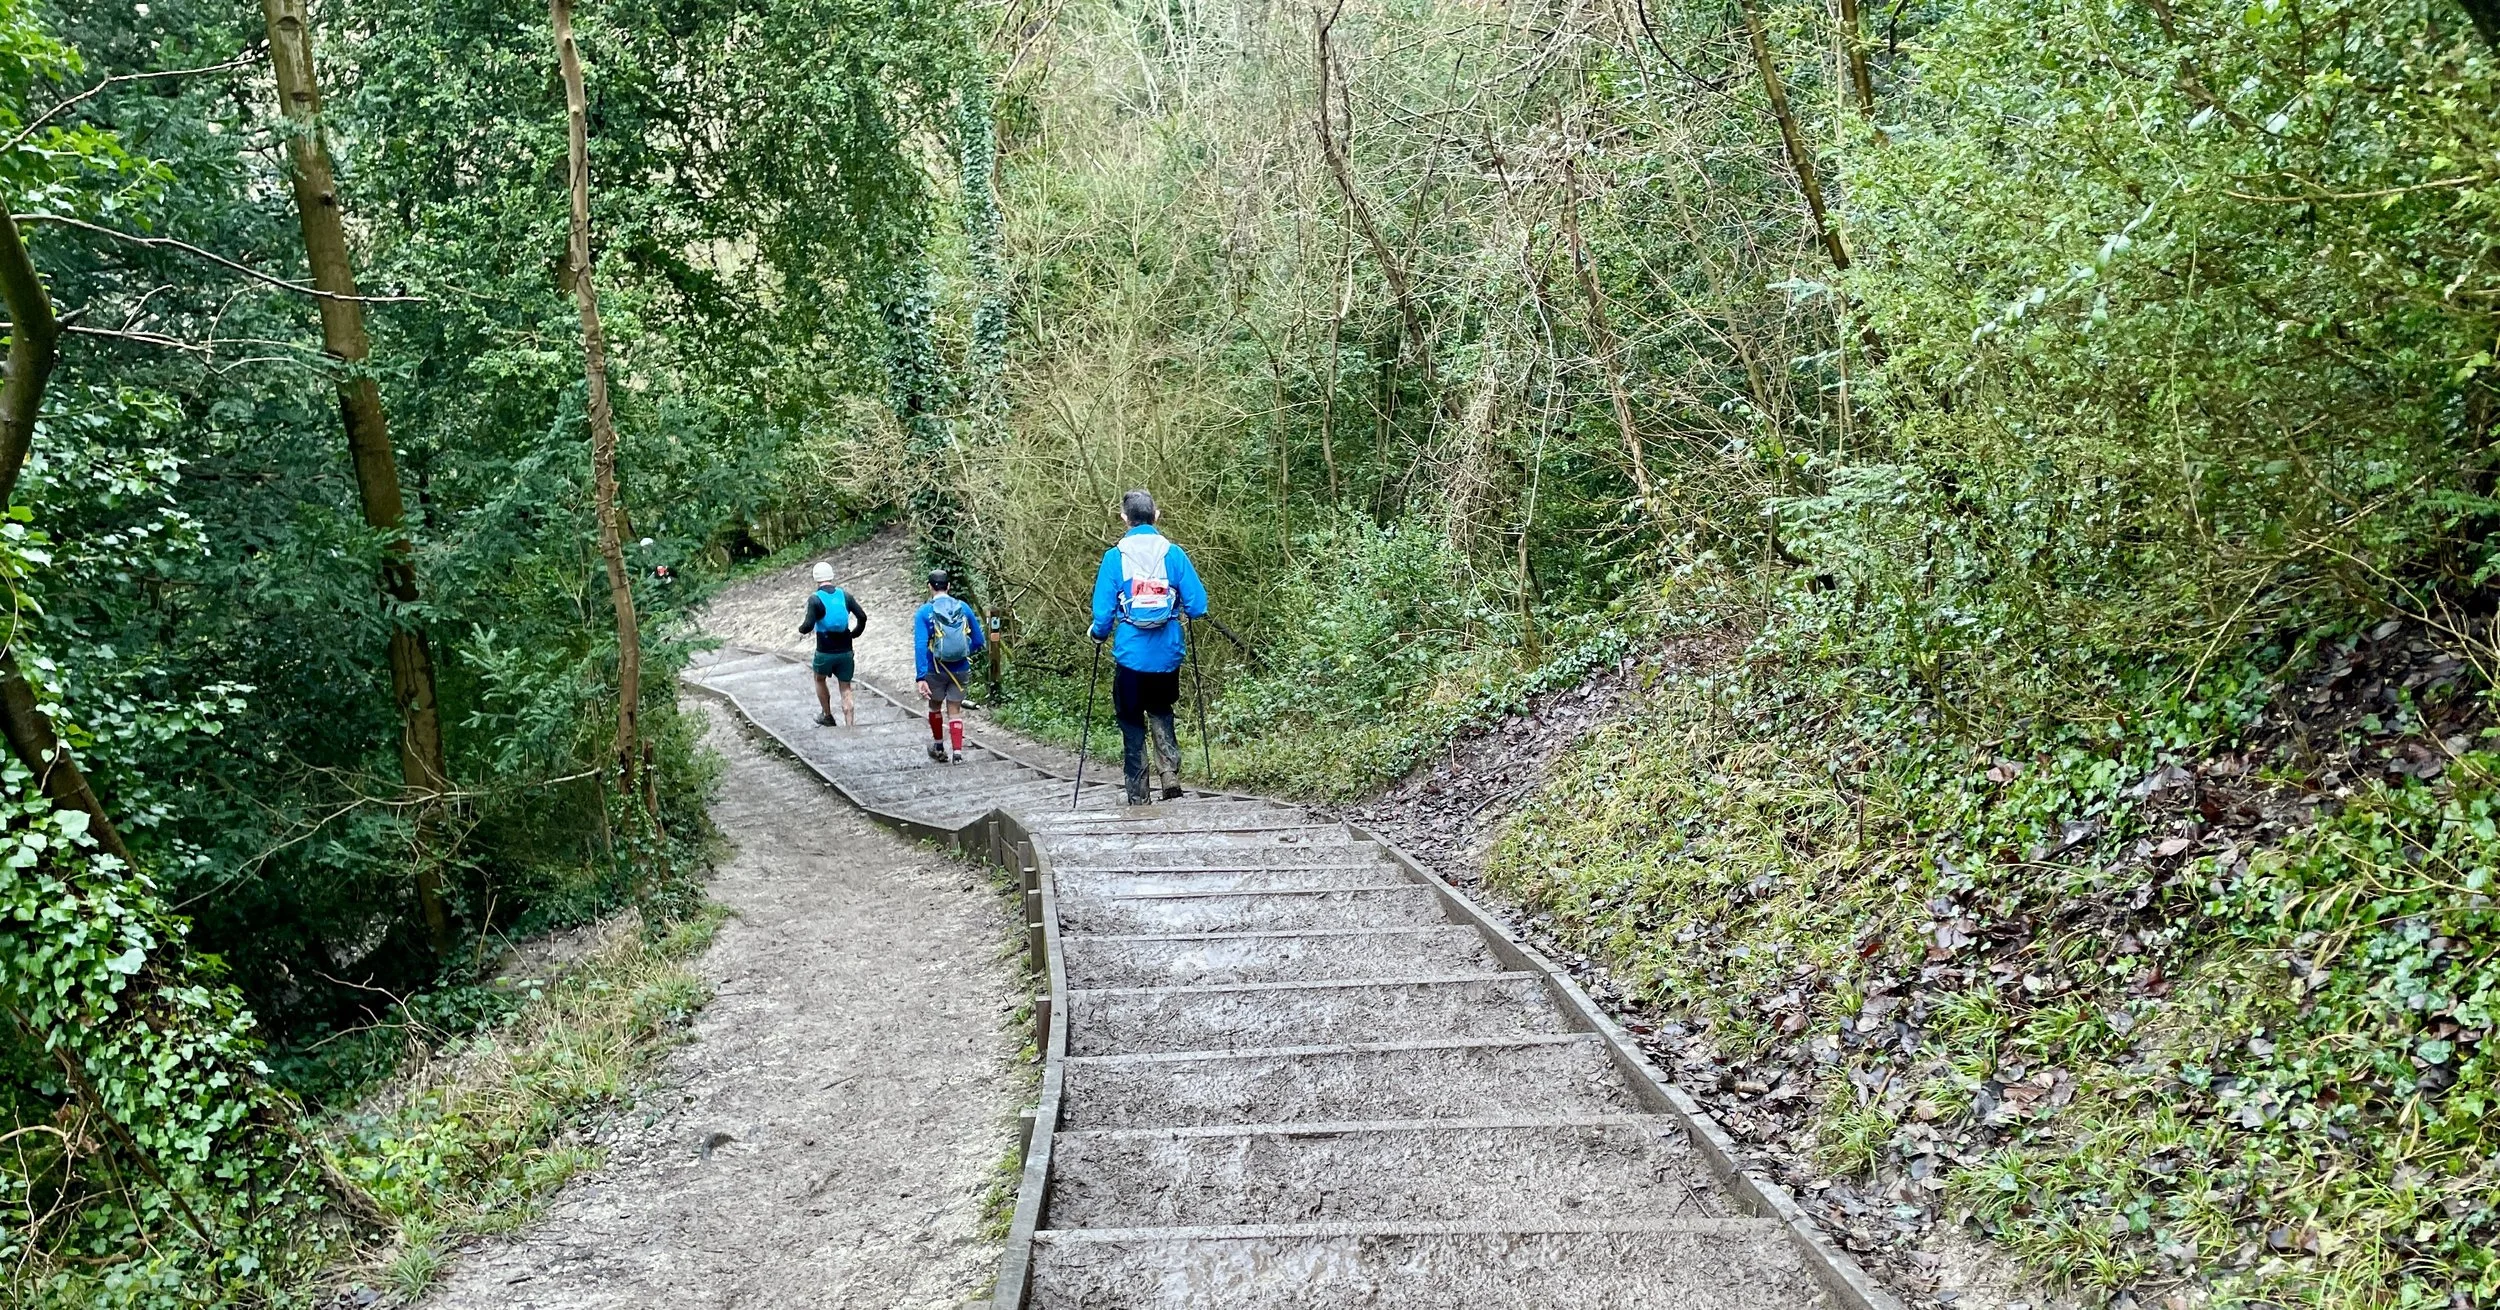
Next up was the steep climb up the steps to the Box Hill viewpoint, followed by an equally steep descent through a narrow wooded path.
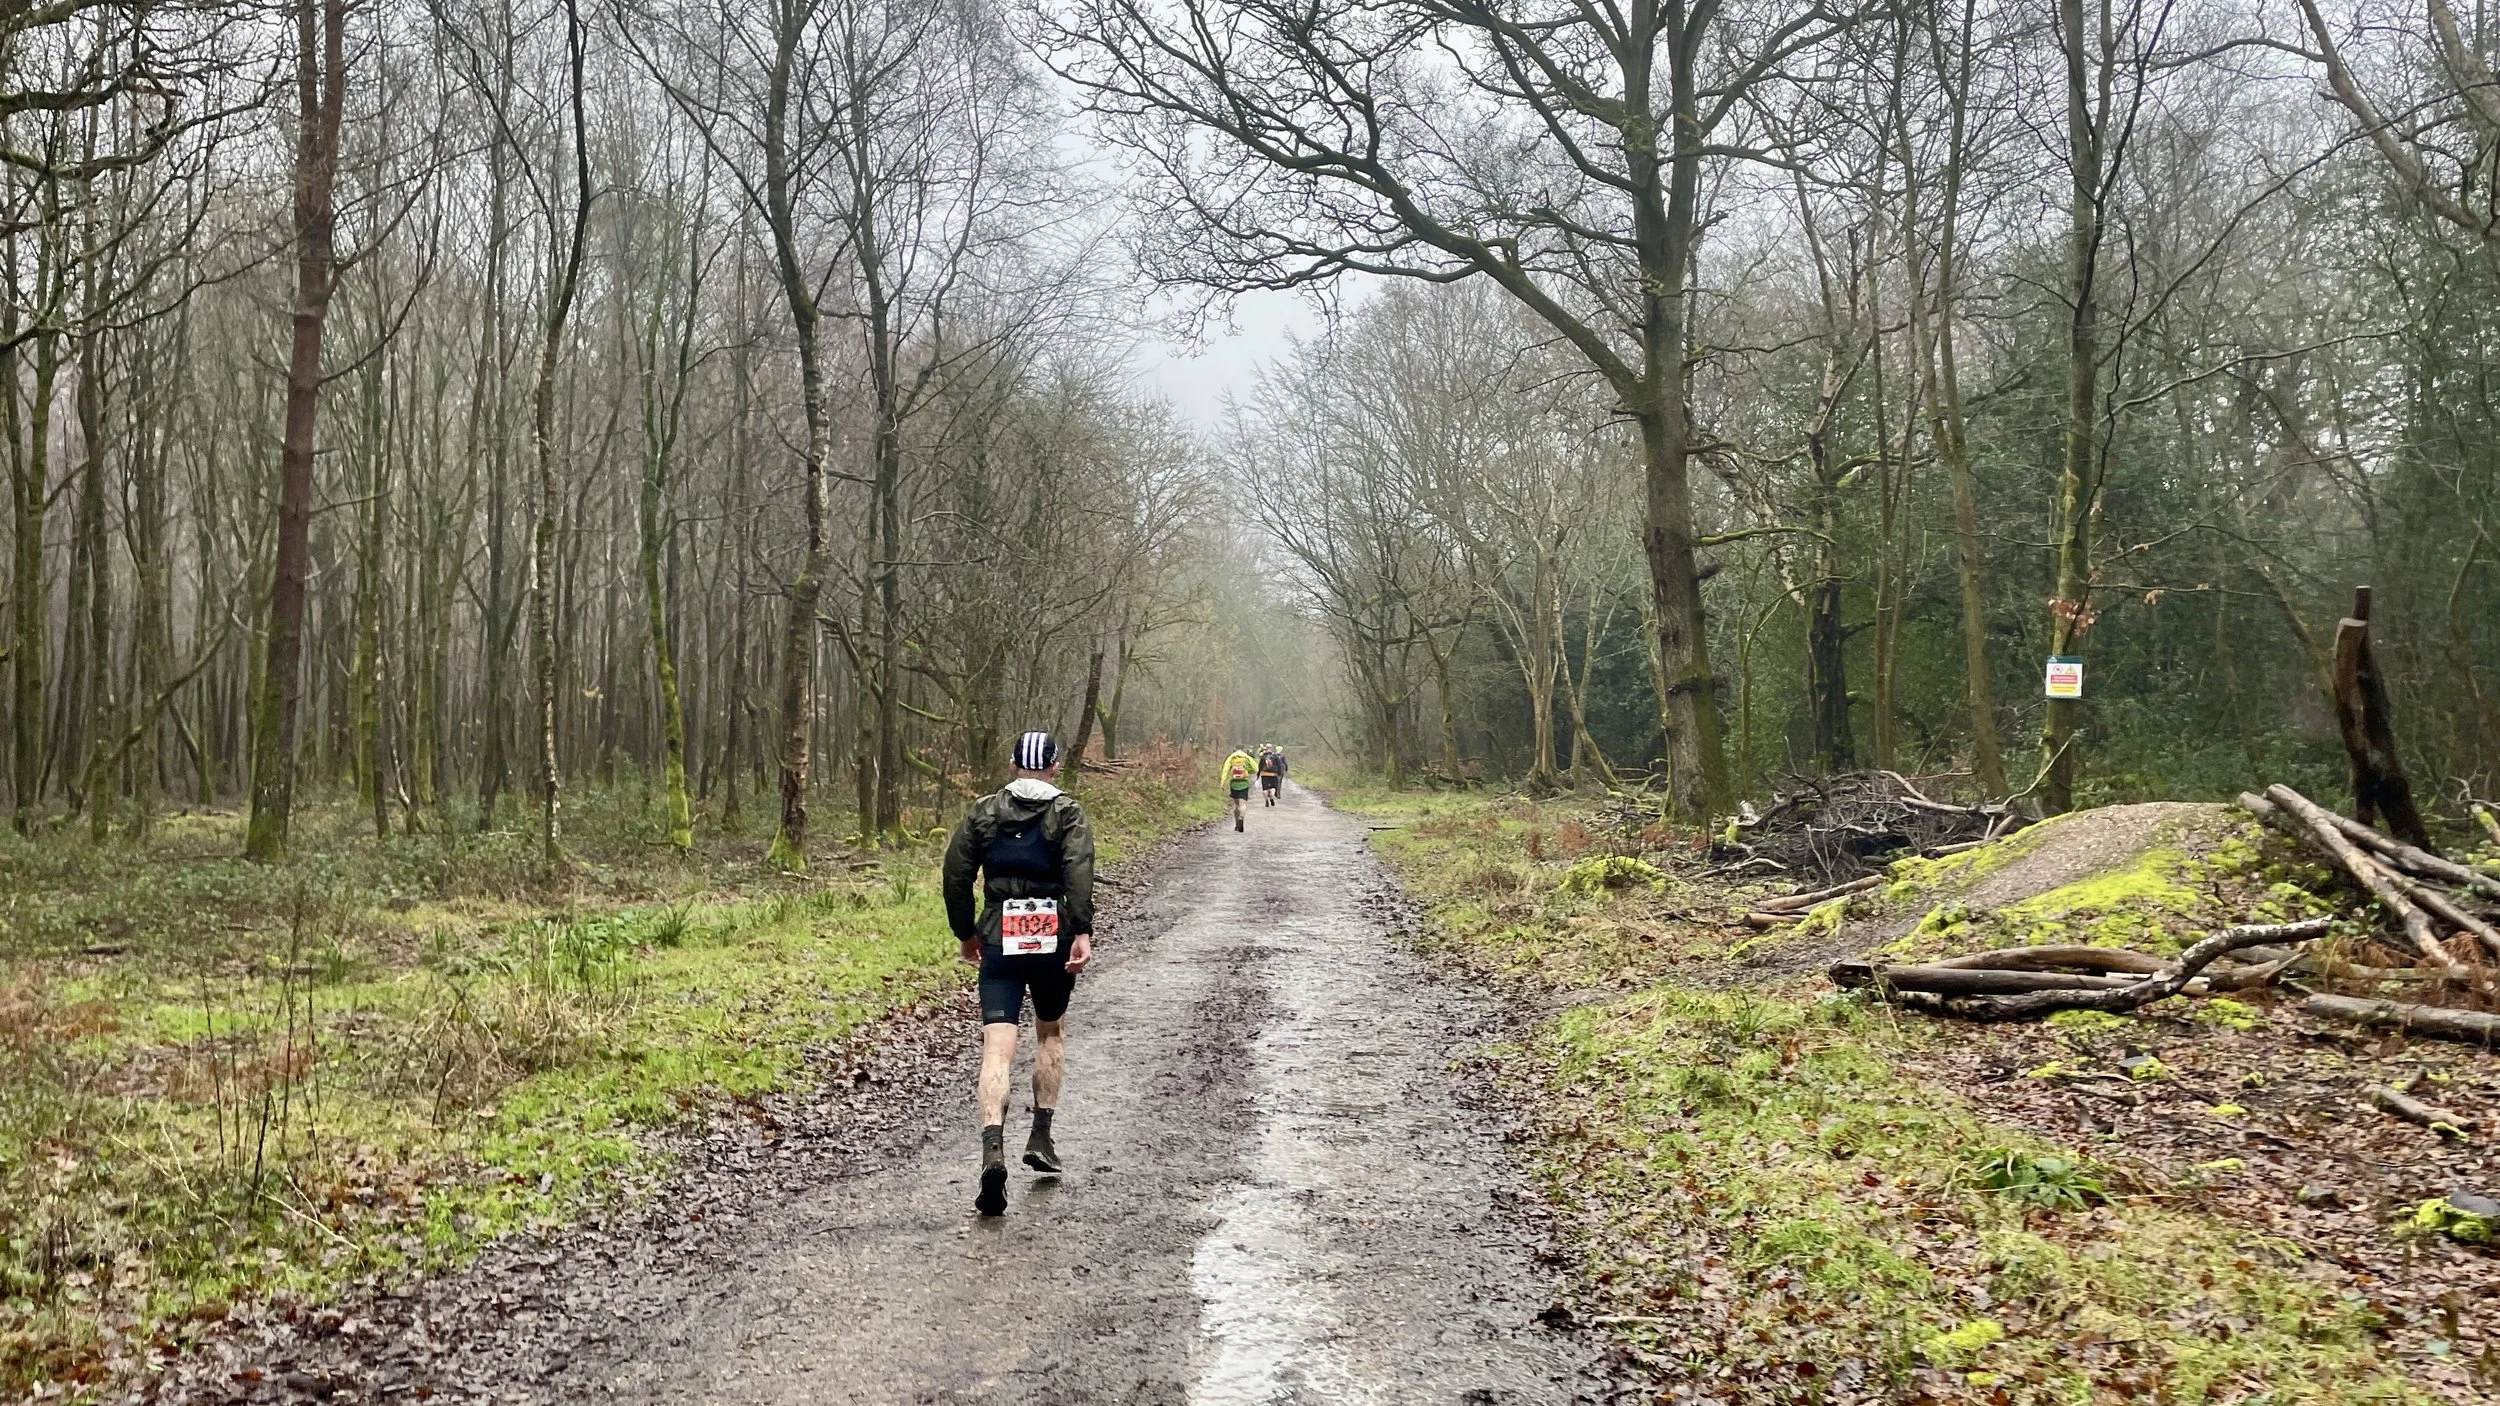
After Checkpoint 3 at Betchworth, I joined a fellow participant named Lee for the final couple of hours. Like several others on the route, Lee was using the event as training for the Marathon des Sables. He was suffering, having fallen earlier in the day, and was going slower than planned. Lee’s slow pace was my normal pace, and it gave us the opportunity to chat for a couple of hours.
I’ve learned that there are two types of Ultra conversation. The usual one is the 2-minute chat as you briefly pass someone at a similar speed before one of you pulls ahead. That chat is a mixture of "tough isn’t it?", "how are you feeling?" and "is this your first Ultra?"
The other type of chat only happens when your pace exactly matches another runner for a long period and you can have a much deeper conversation. Ultra runners tend to have very interesting backstories, and Lee was no exception. I think the chat helped both of us, and it certainly helped me through the last 15 km, which always feel longer.
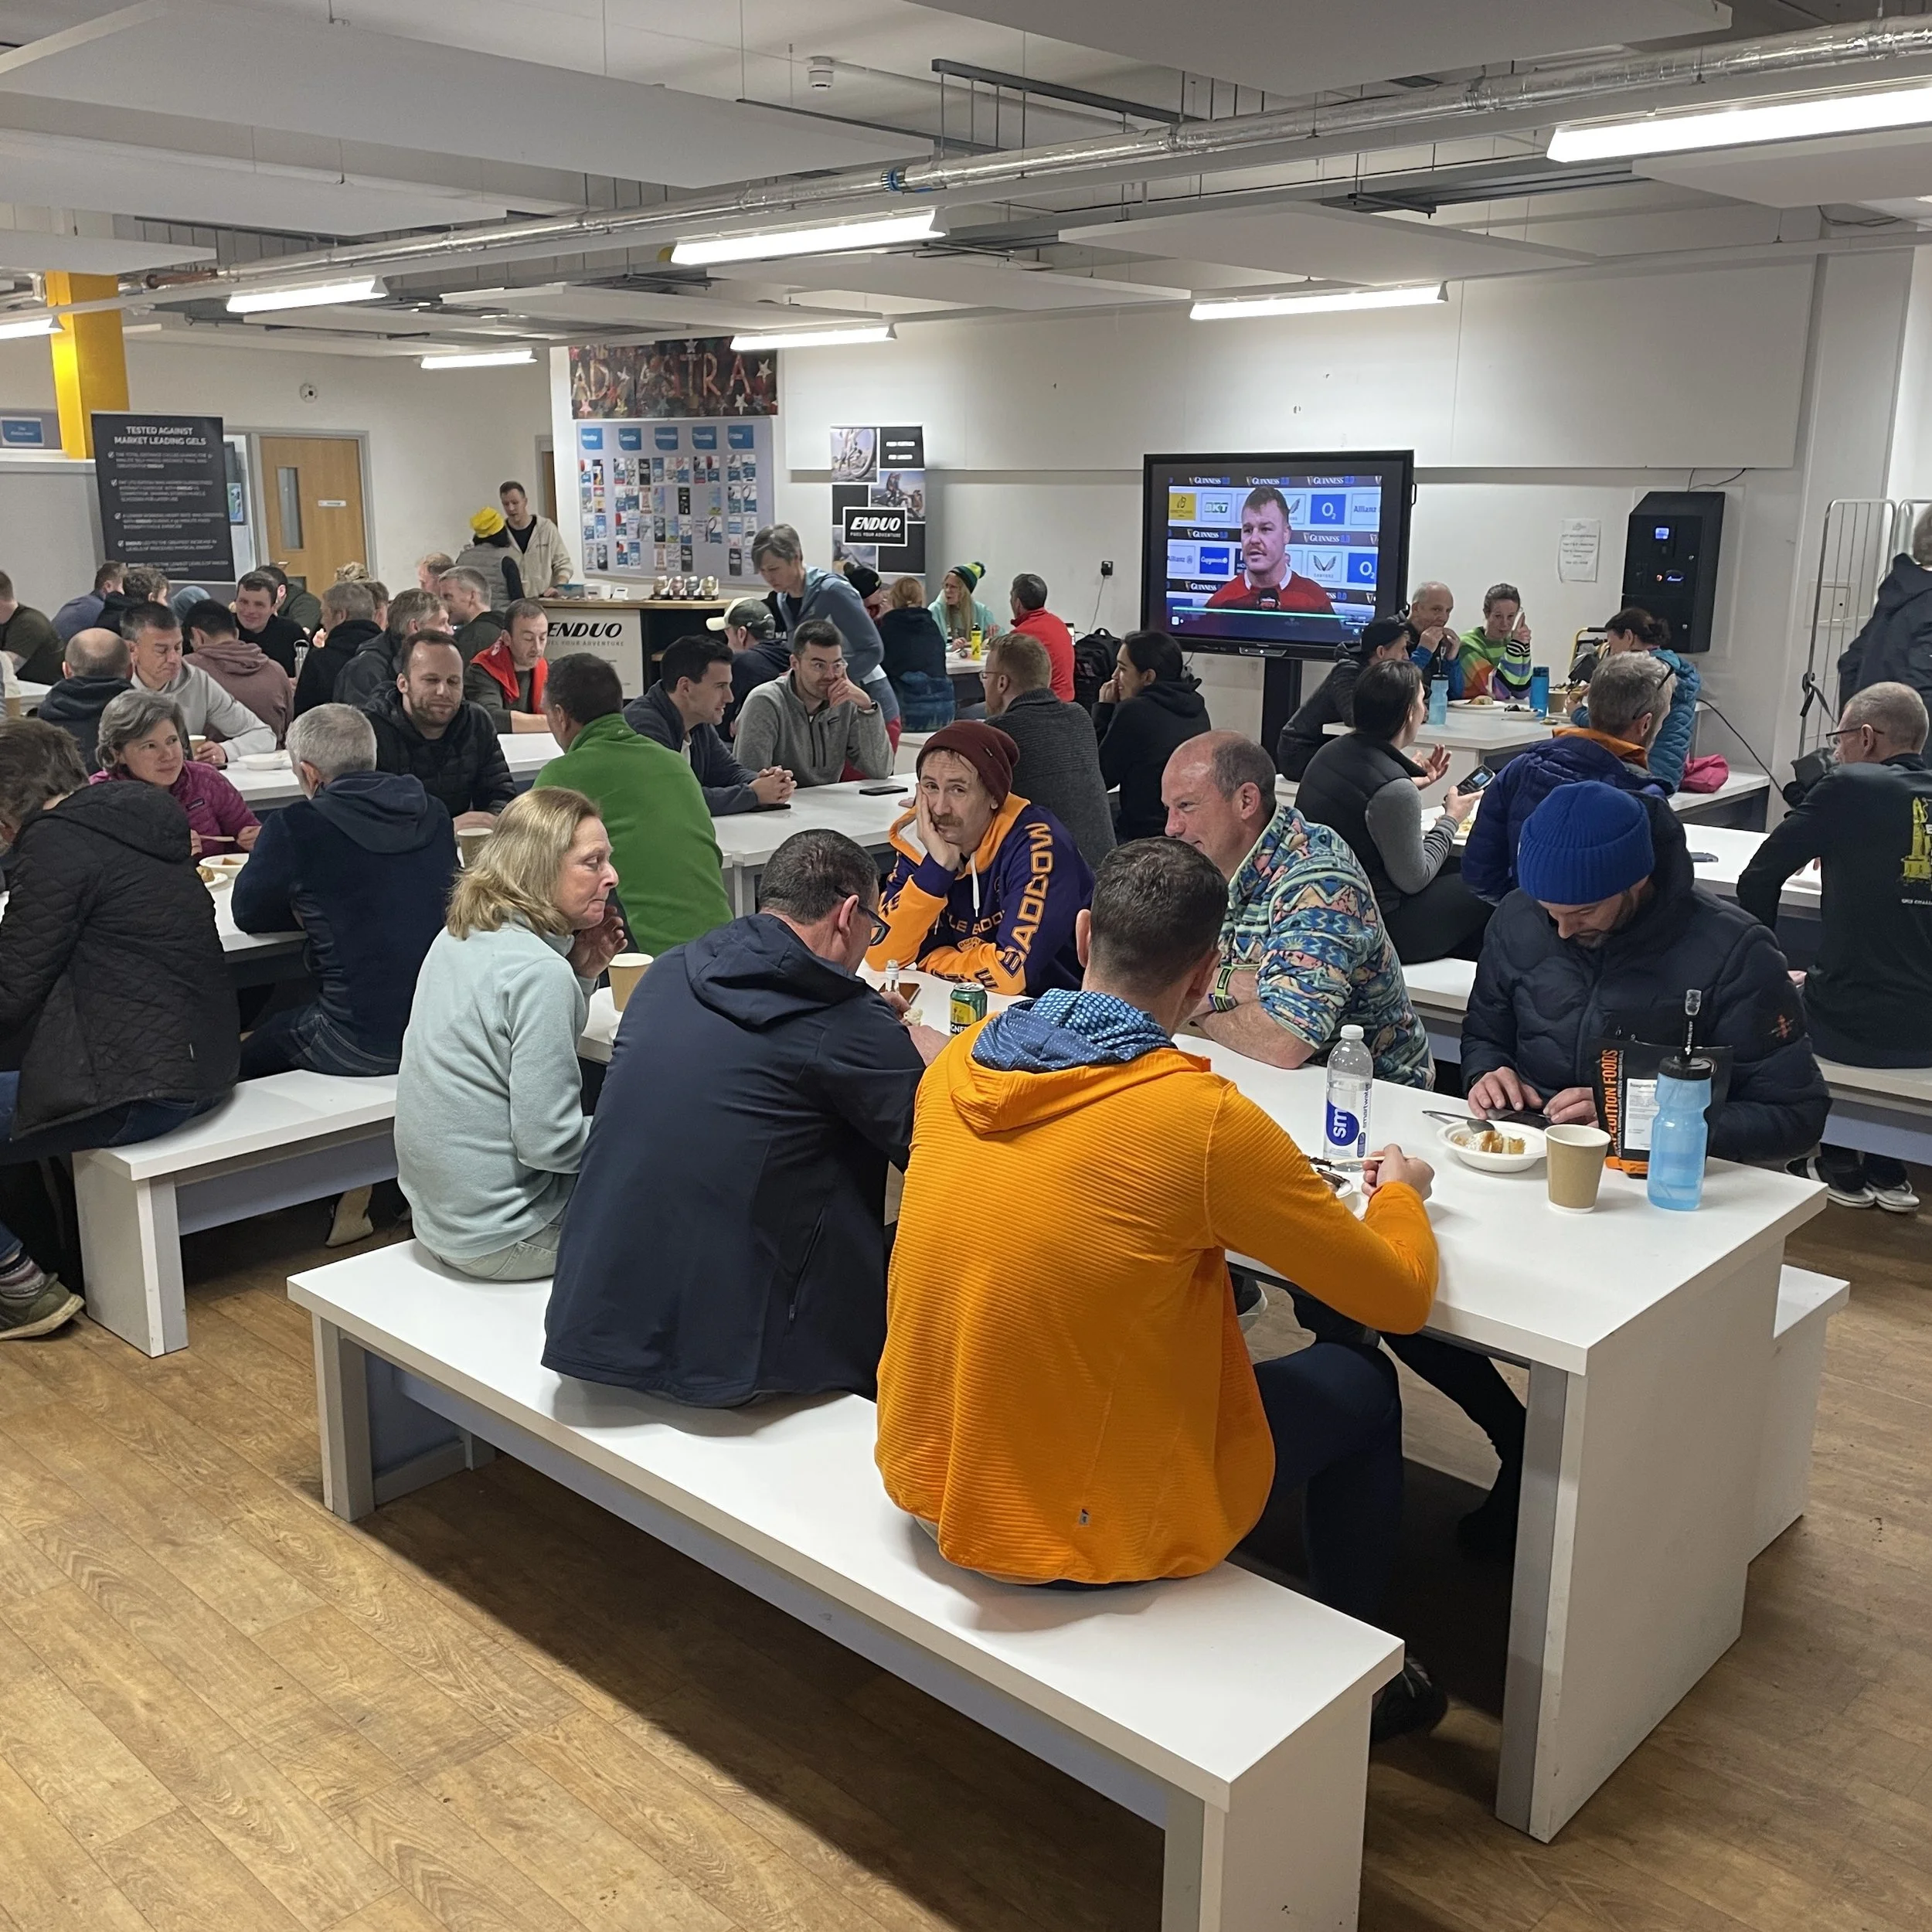
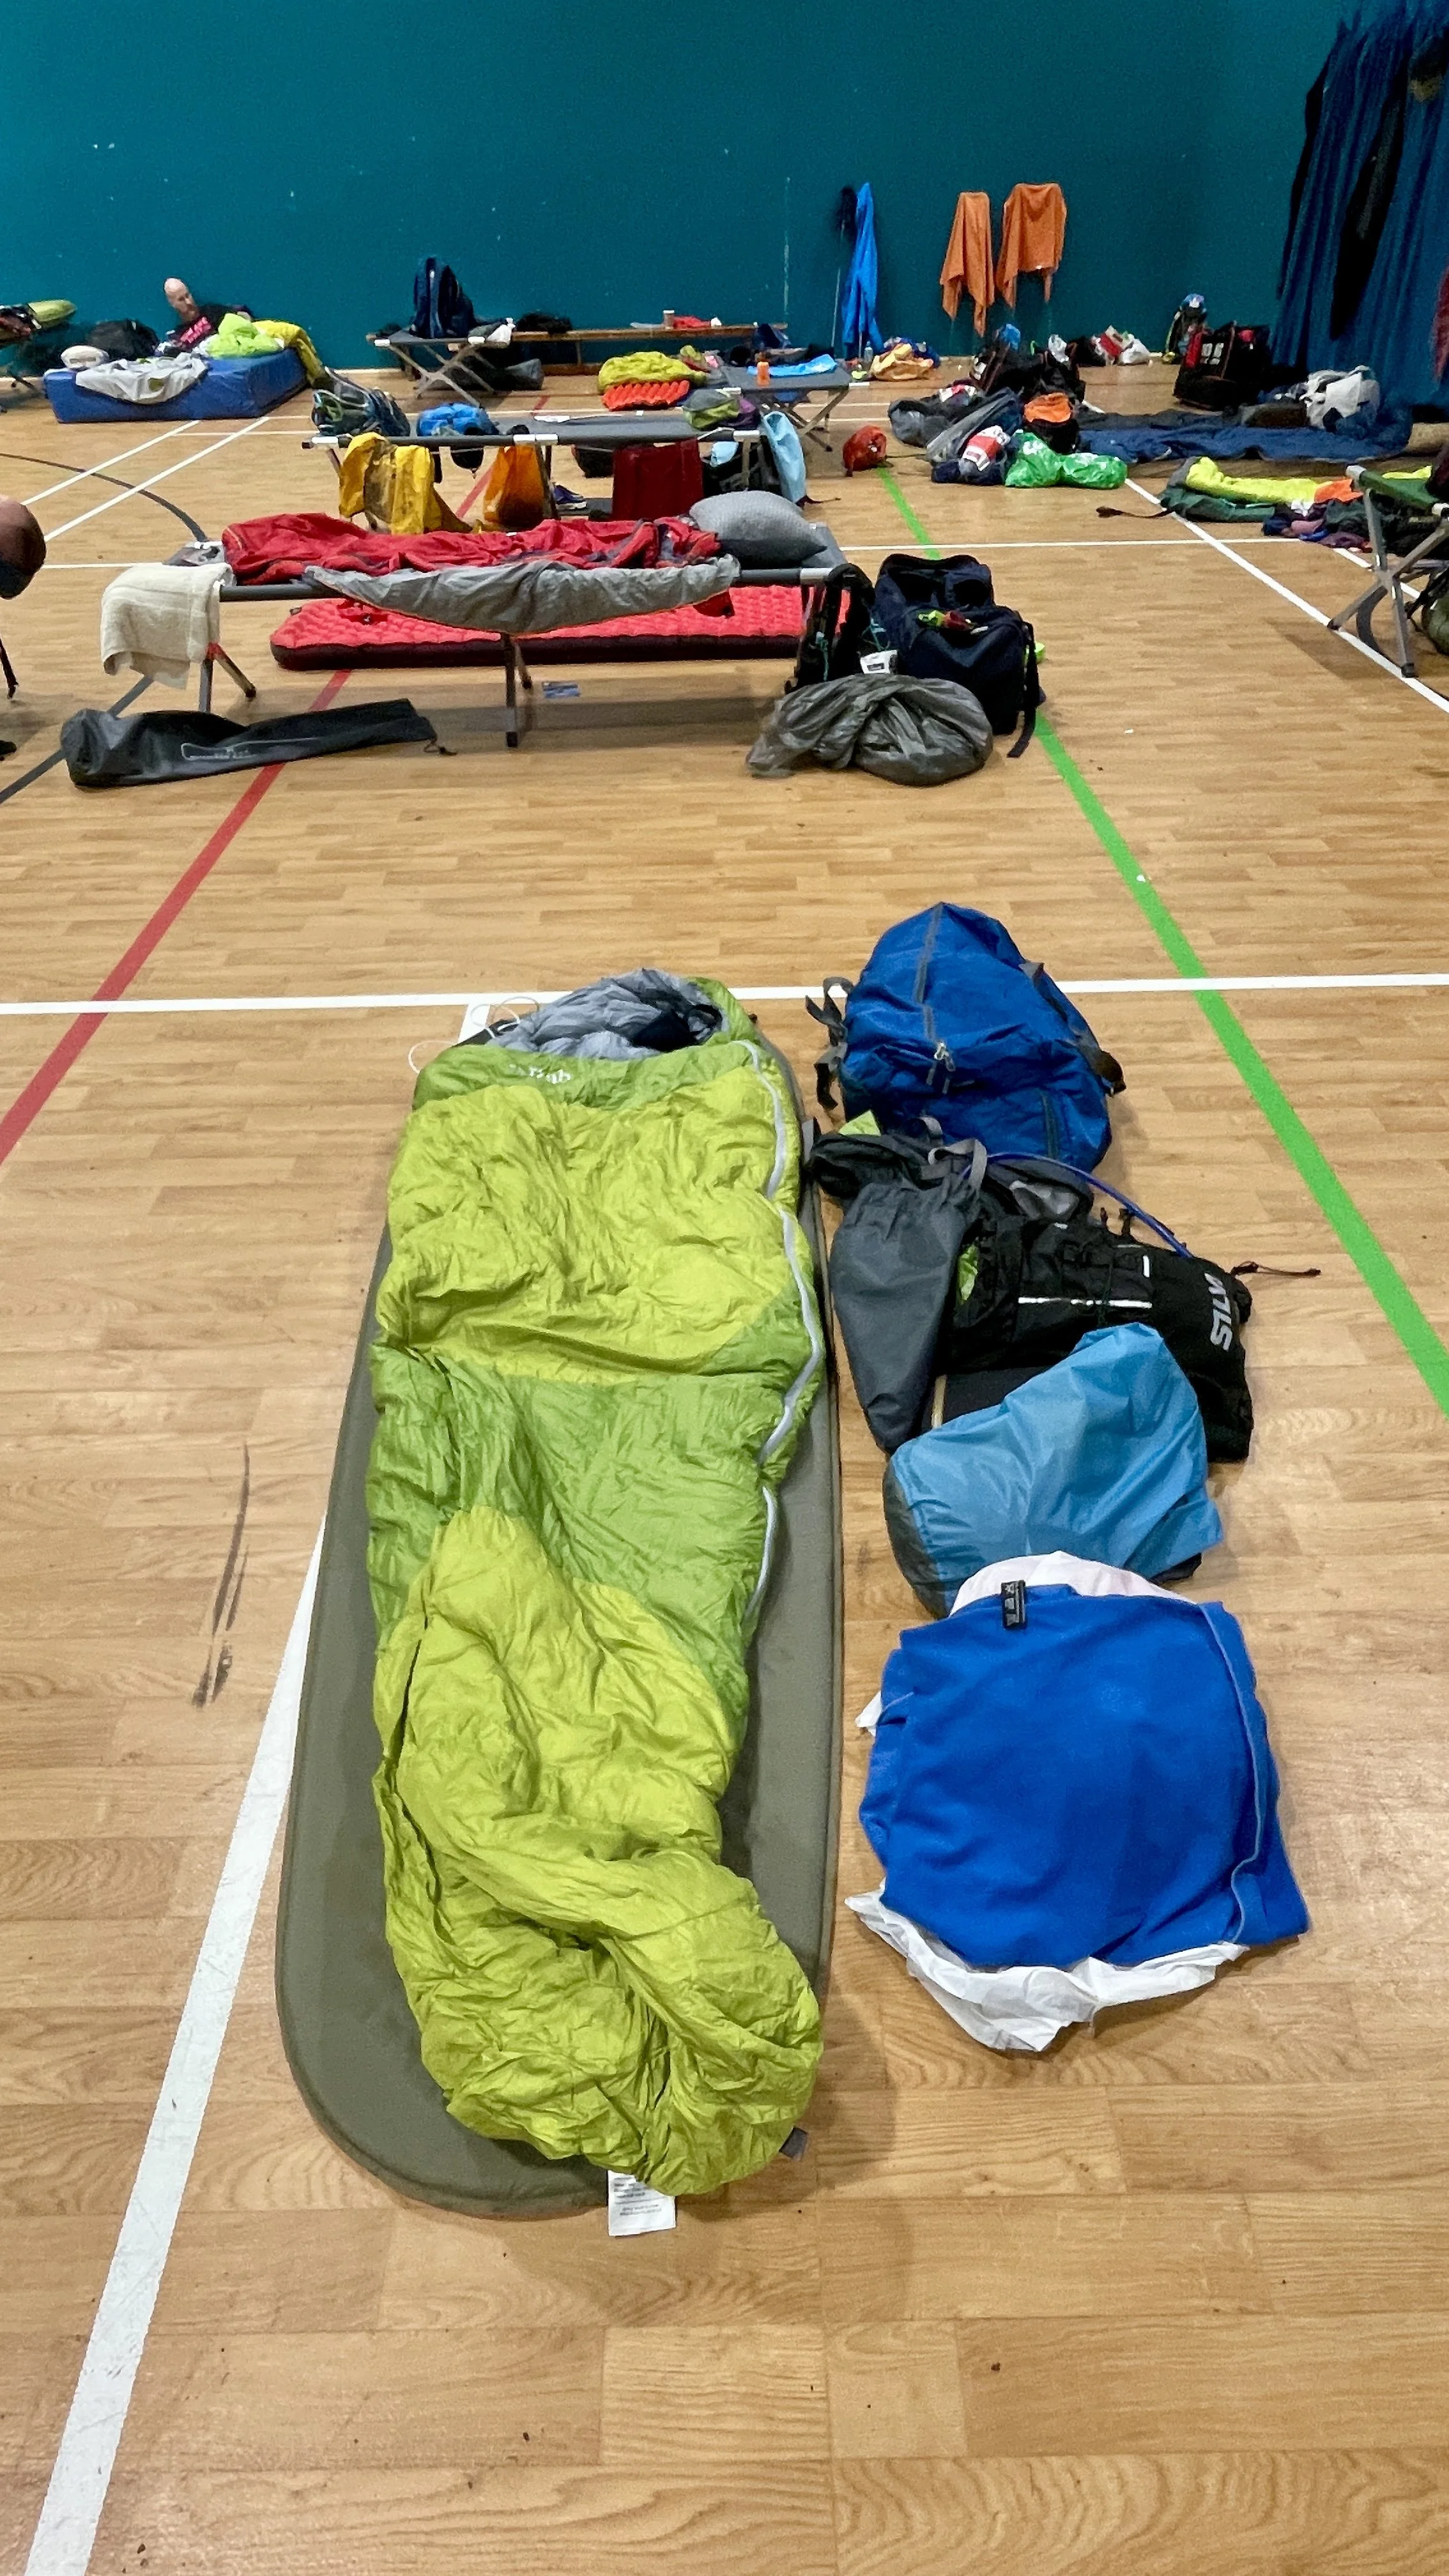
We arrived at the school in Redhill just after it got dark. I was mostly interested in going straight to bed and waking up in the morning, but I managed to summon the energy to get showered, changed, sort my kit and have dinner. Lisa had given good reviews about the evenings based on her Druid's Challenge experience. The food was great, and it was nice to hear the Ultra-related speeches after dinner.
I slept better than expected, although my Garmin wasn't happy with me in the morning. The focused rest I had before the weekend had given me good Body Battery, Sleep and HRV scores. At the start of Day 2, however, I was down to 33% Body Battery, a 43% Sleep Score and an HRV of 54 (down from 91 the previous night). Not the best numbers to have in the tank ahead of the second Ultra distance of the weekend.
Based on my Saturday finish time, I was placed in the earliest starting wave at 07:00. I was happy with this as I had decided I would walk the day and needed all the daylight I could get. Even being in the walker's group, I was still near the back. I wasn't worried, though, as I decided that I would just enjoy another day on the trail.
Day 2 was dry with no rain for much of the route. The mud was still there and the first couple of hours of steep, narrow and mud-filled paths were slow going. I was only 100 minutes in before the fastest of the second wave overtaken me. They may have been half my age and likely to have done significantly more Ultras and training than I had, but the speed they went through on the second day was incredibly impressive.
With my decision to just walk and enjoy the day, I settled into getting through my backlog of podcast episodes and finished an audiobook. On the quieter times without headphones, I got into a "zone": a fairly Zen-like state where the miles slipped away slowly but peacefully towards the finish.
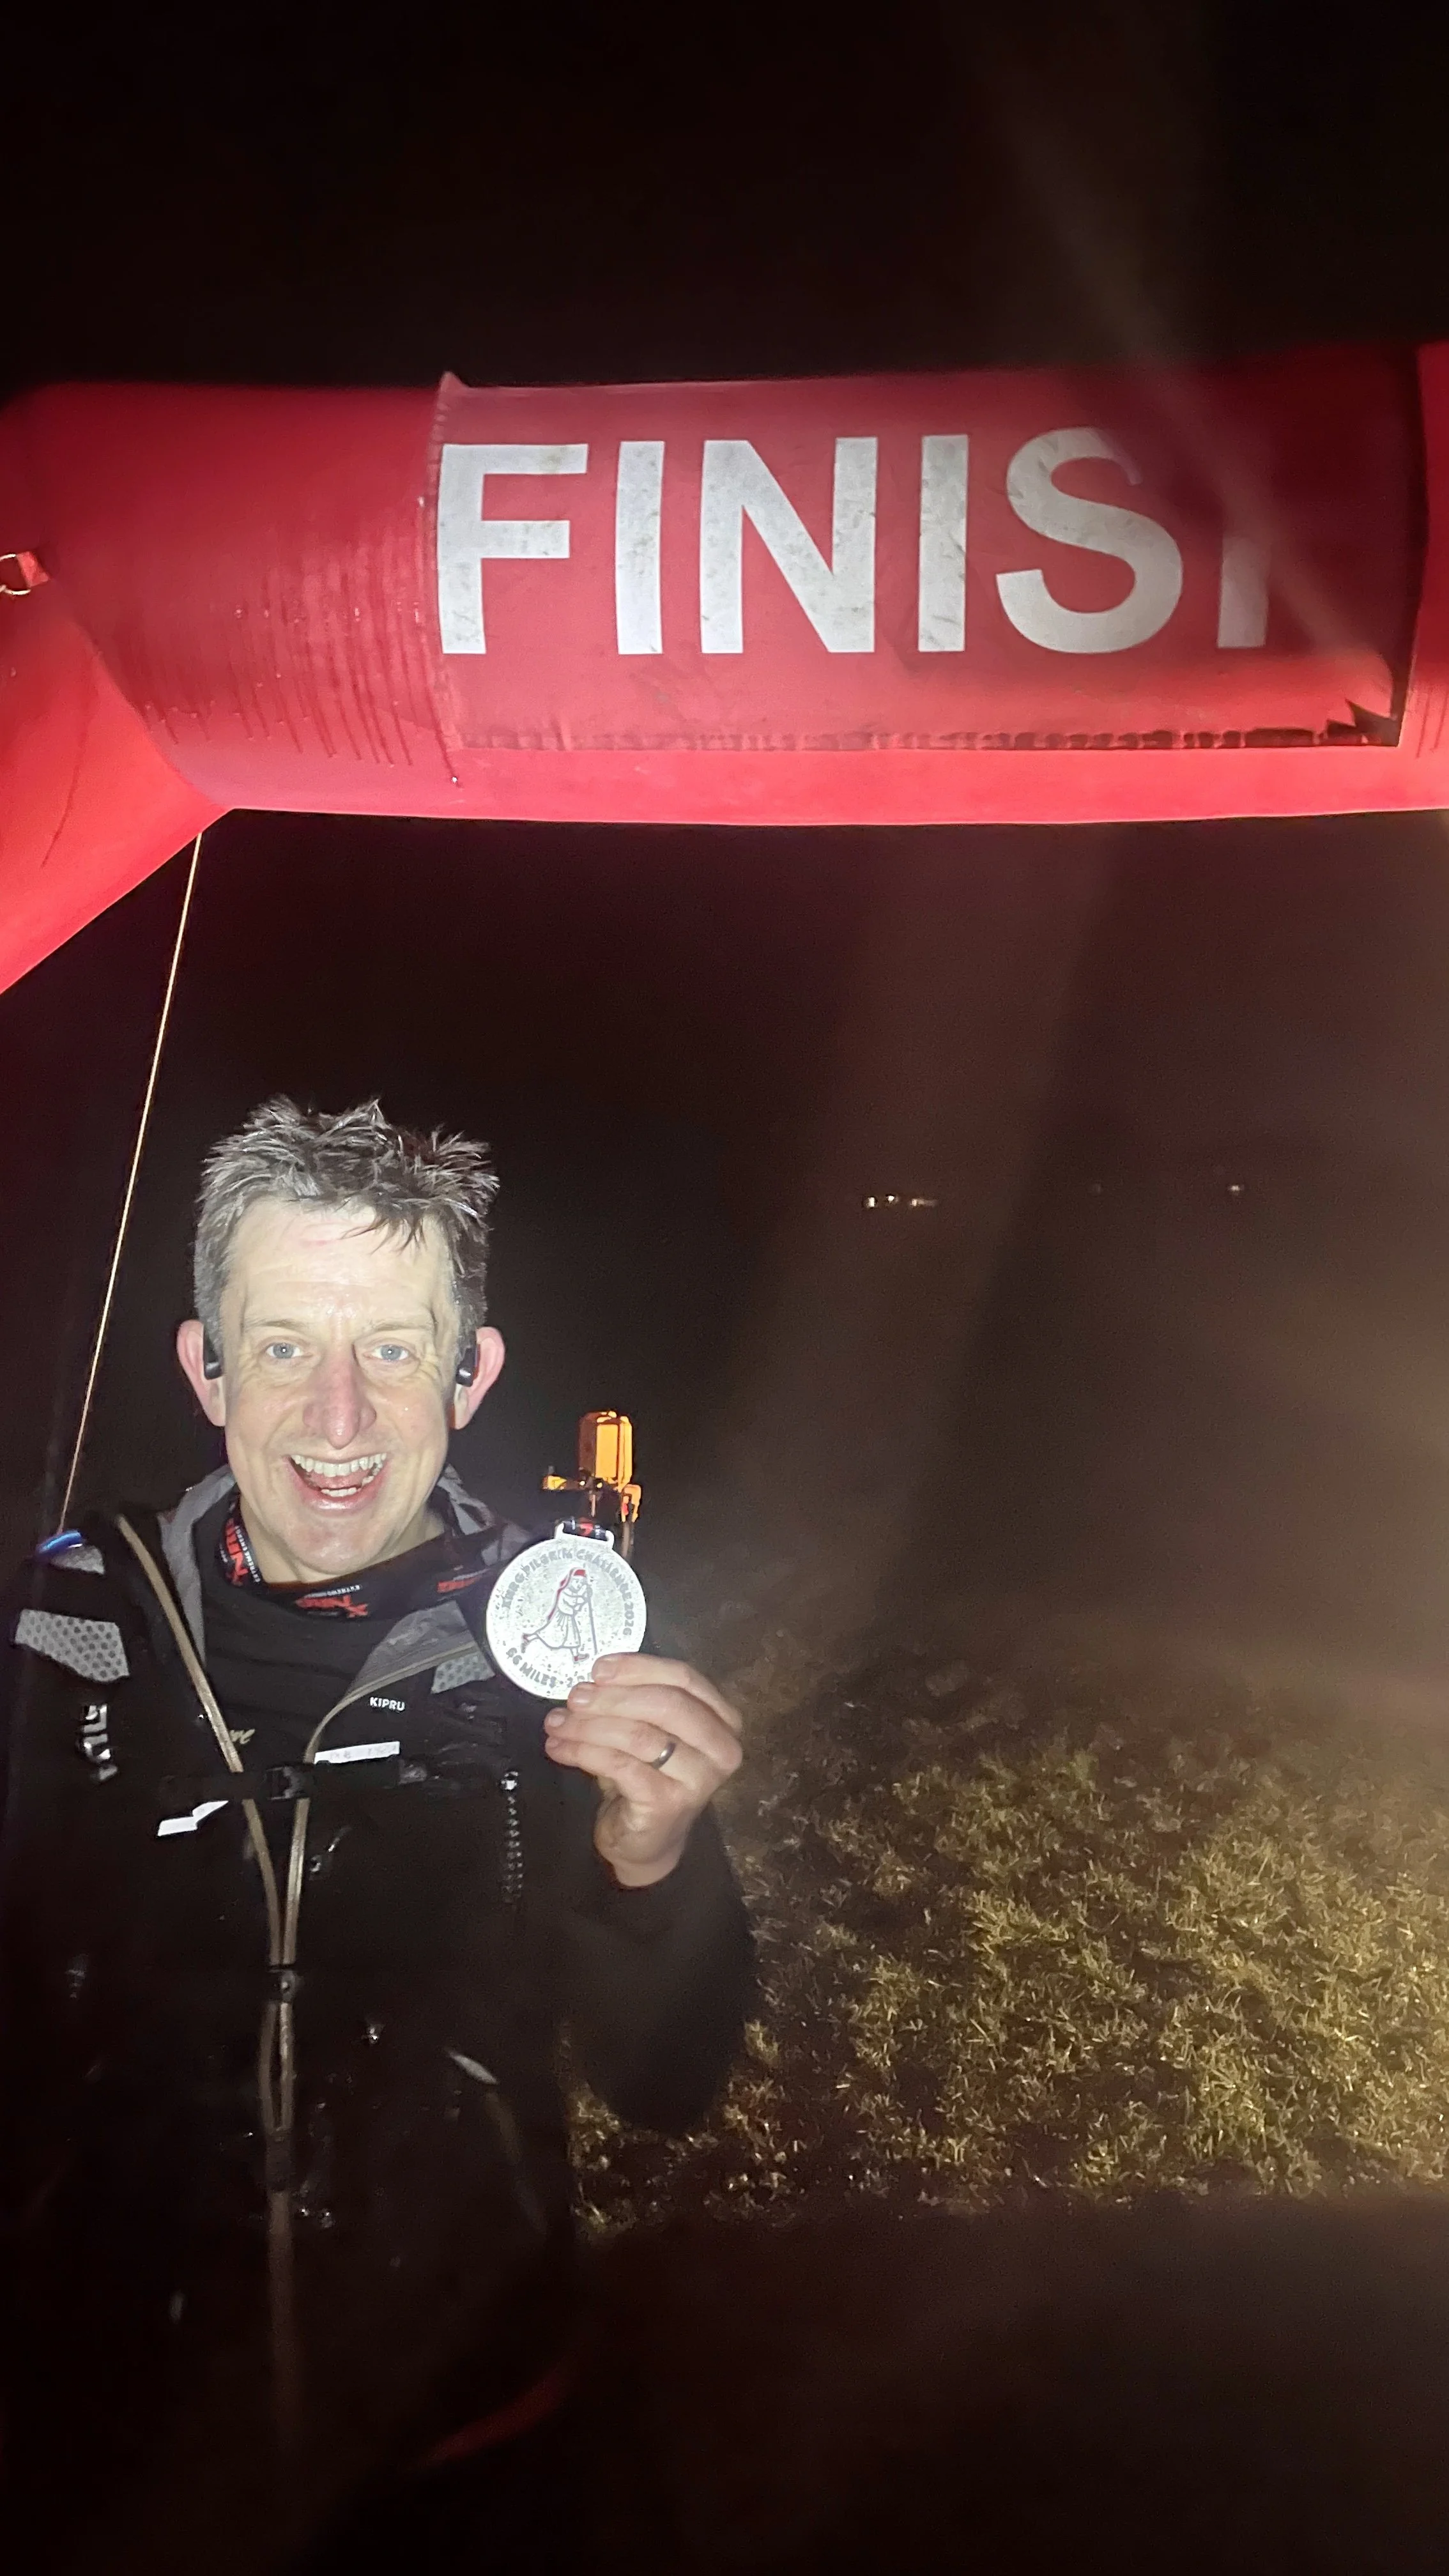
The final hour was a bit tougher as it was all in the dark and with mostly no one else around. With the finish line in sight and the sounds of the event crew audible, I decided to do my only running of the day: the 100 metres to the finish. A bit of drizzle turned into heavy rain within minutes of crossing the finish, so I didn't hang around too long. I was so tired and cold at the end that I couldn't get changed fully, so I drove home still kitted up.
After 14 Ultras, it was good to do one that was a real challenge again. At 110 km, it was the longest distance I've done in a single event. I also found out what it's like to do a 2-dayer with a sleep in between. I think I've scratched that itch for now and will probably stick to single-day 50ks for a while.
A huge thanks goes to the crew at XNRG for putting on a very well-managed, safe and friendly event. When the skin grows back and I've had a few weeks of rest, I'm sure I will be coming back for more.
Day 2: Redhill to Sandy Farm


Walking The Midshires Way Part 6: Waddesdon and Eythrope
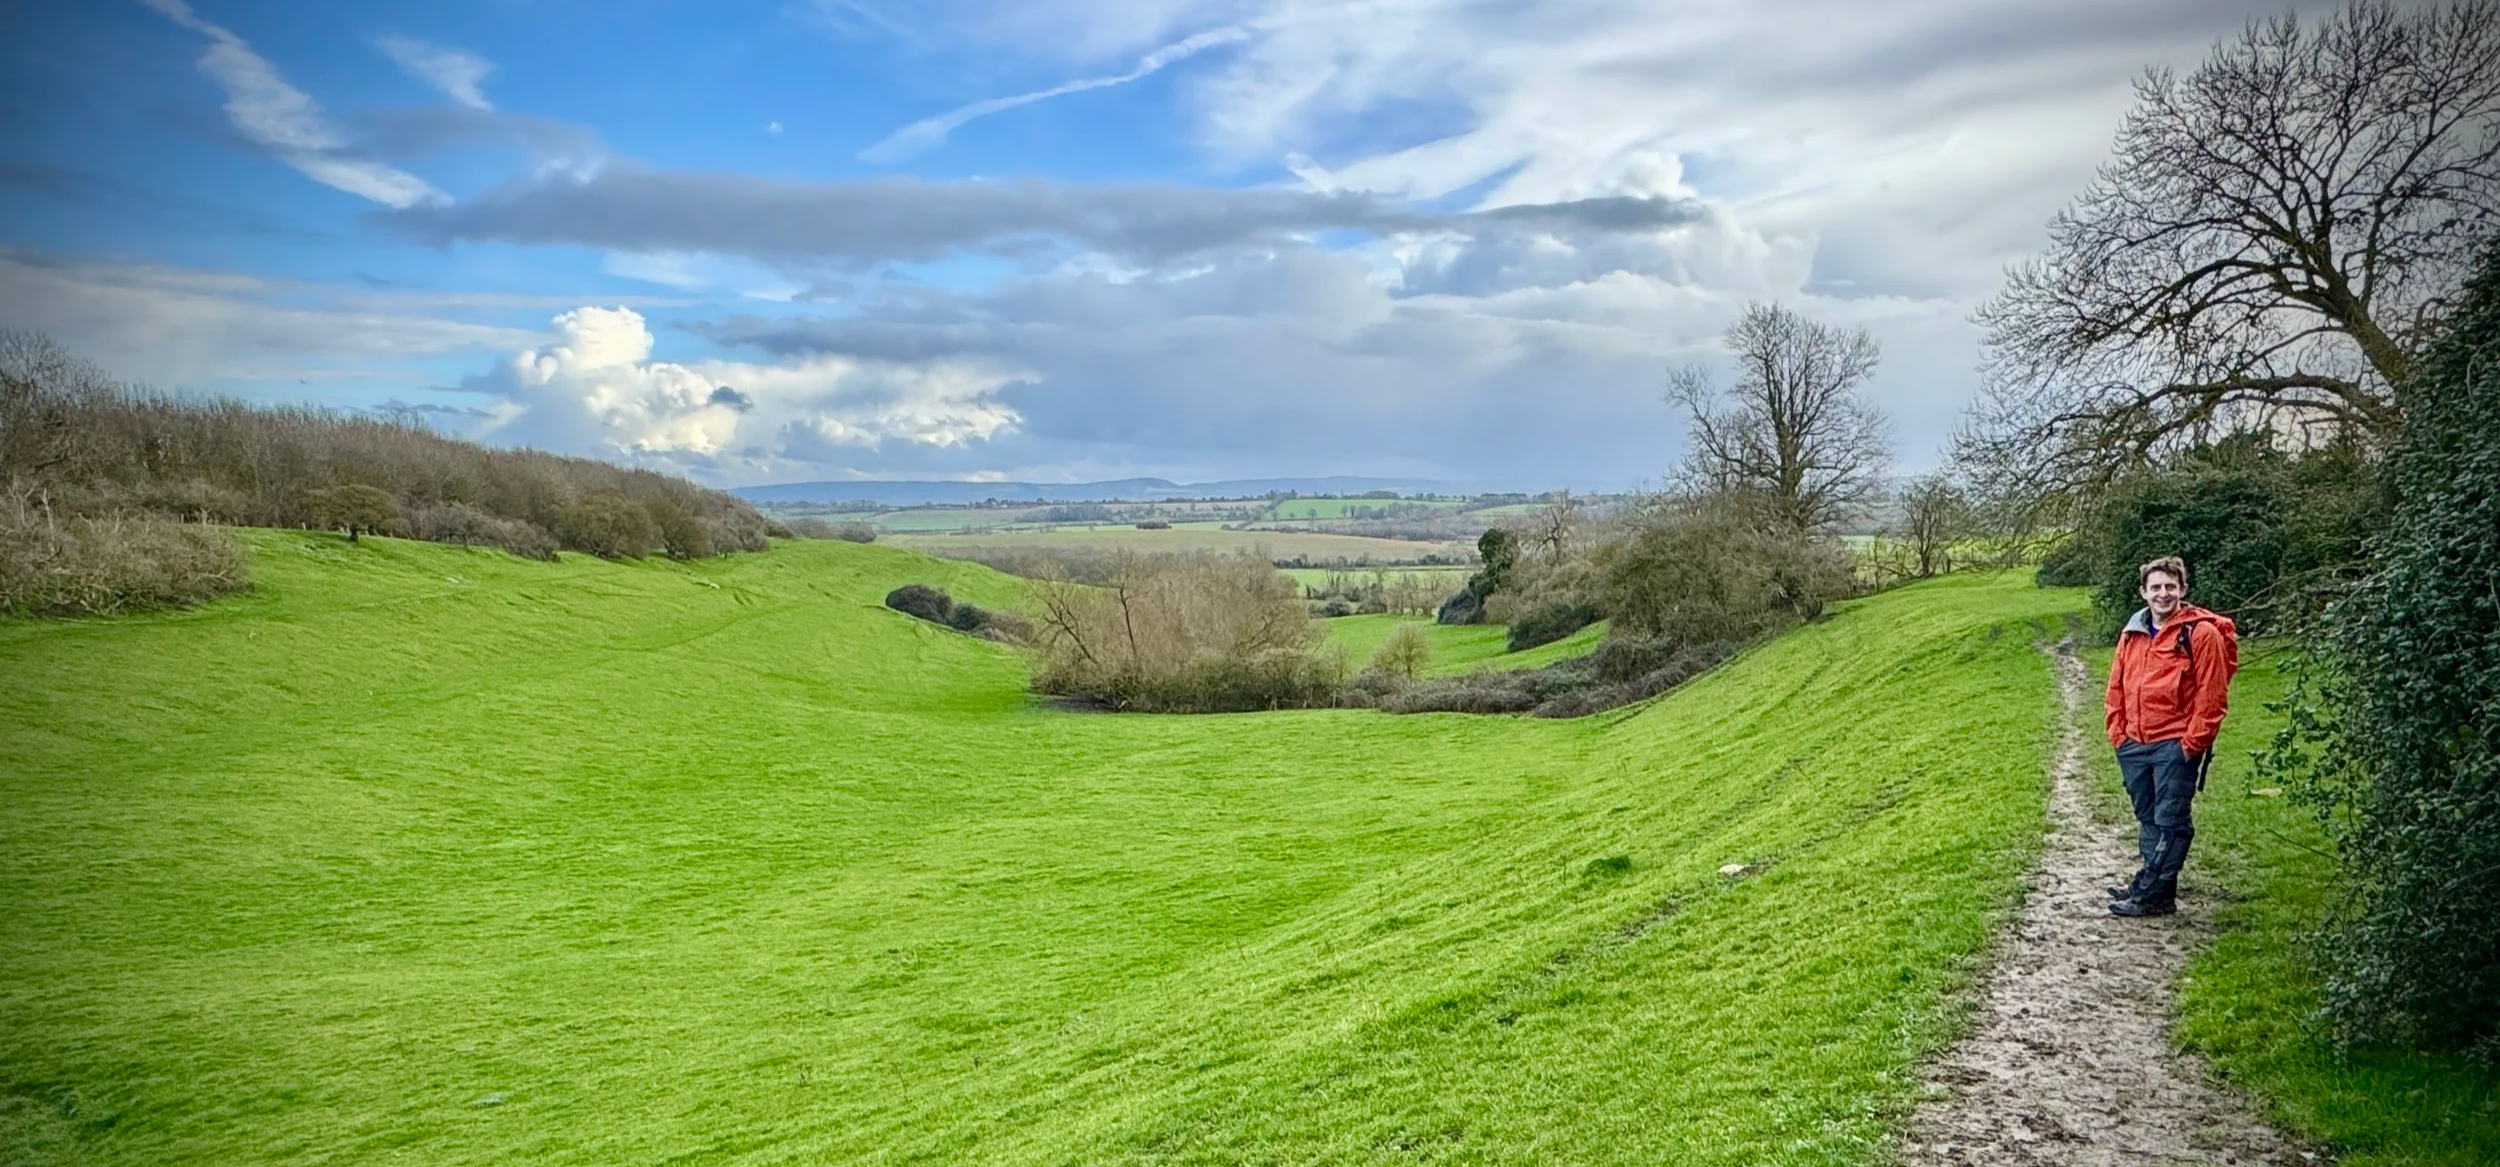
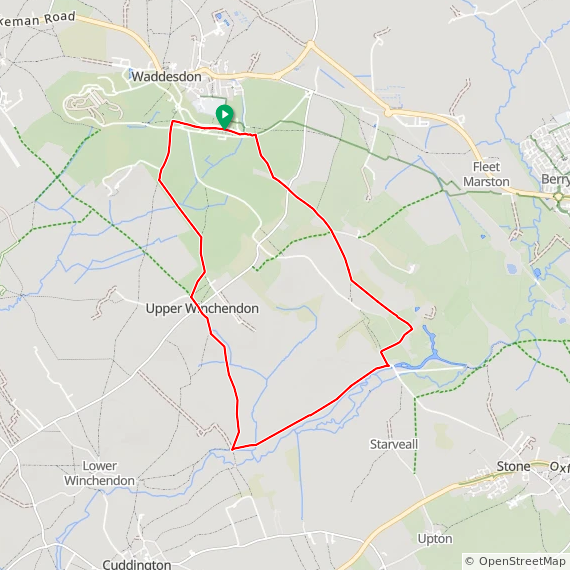
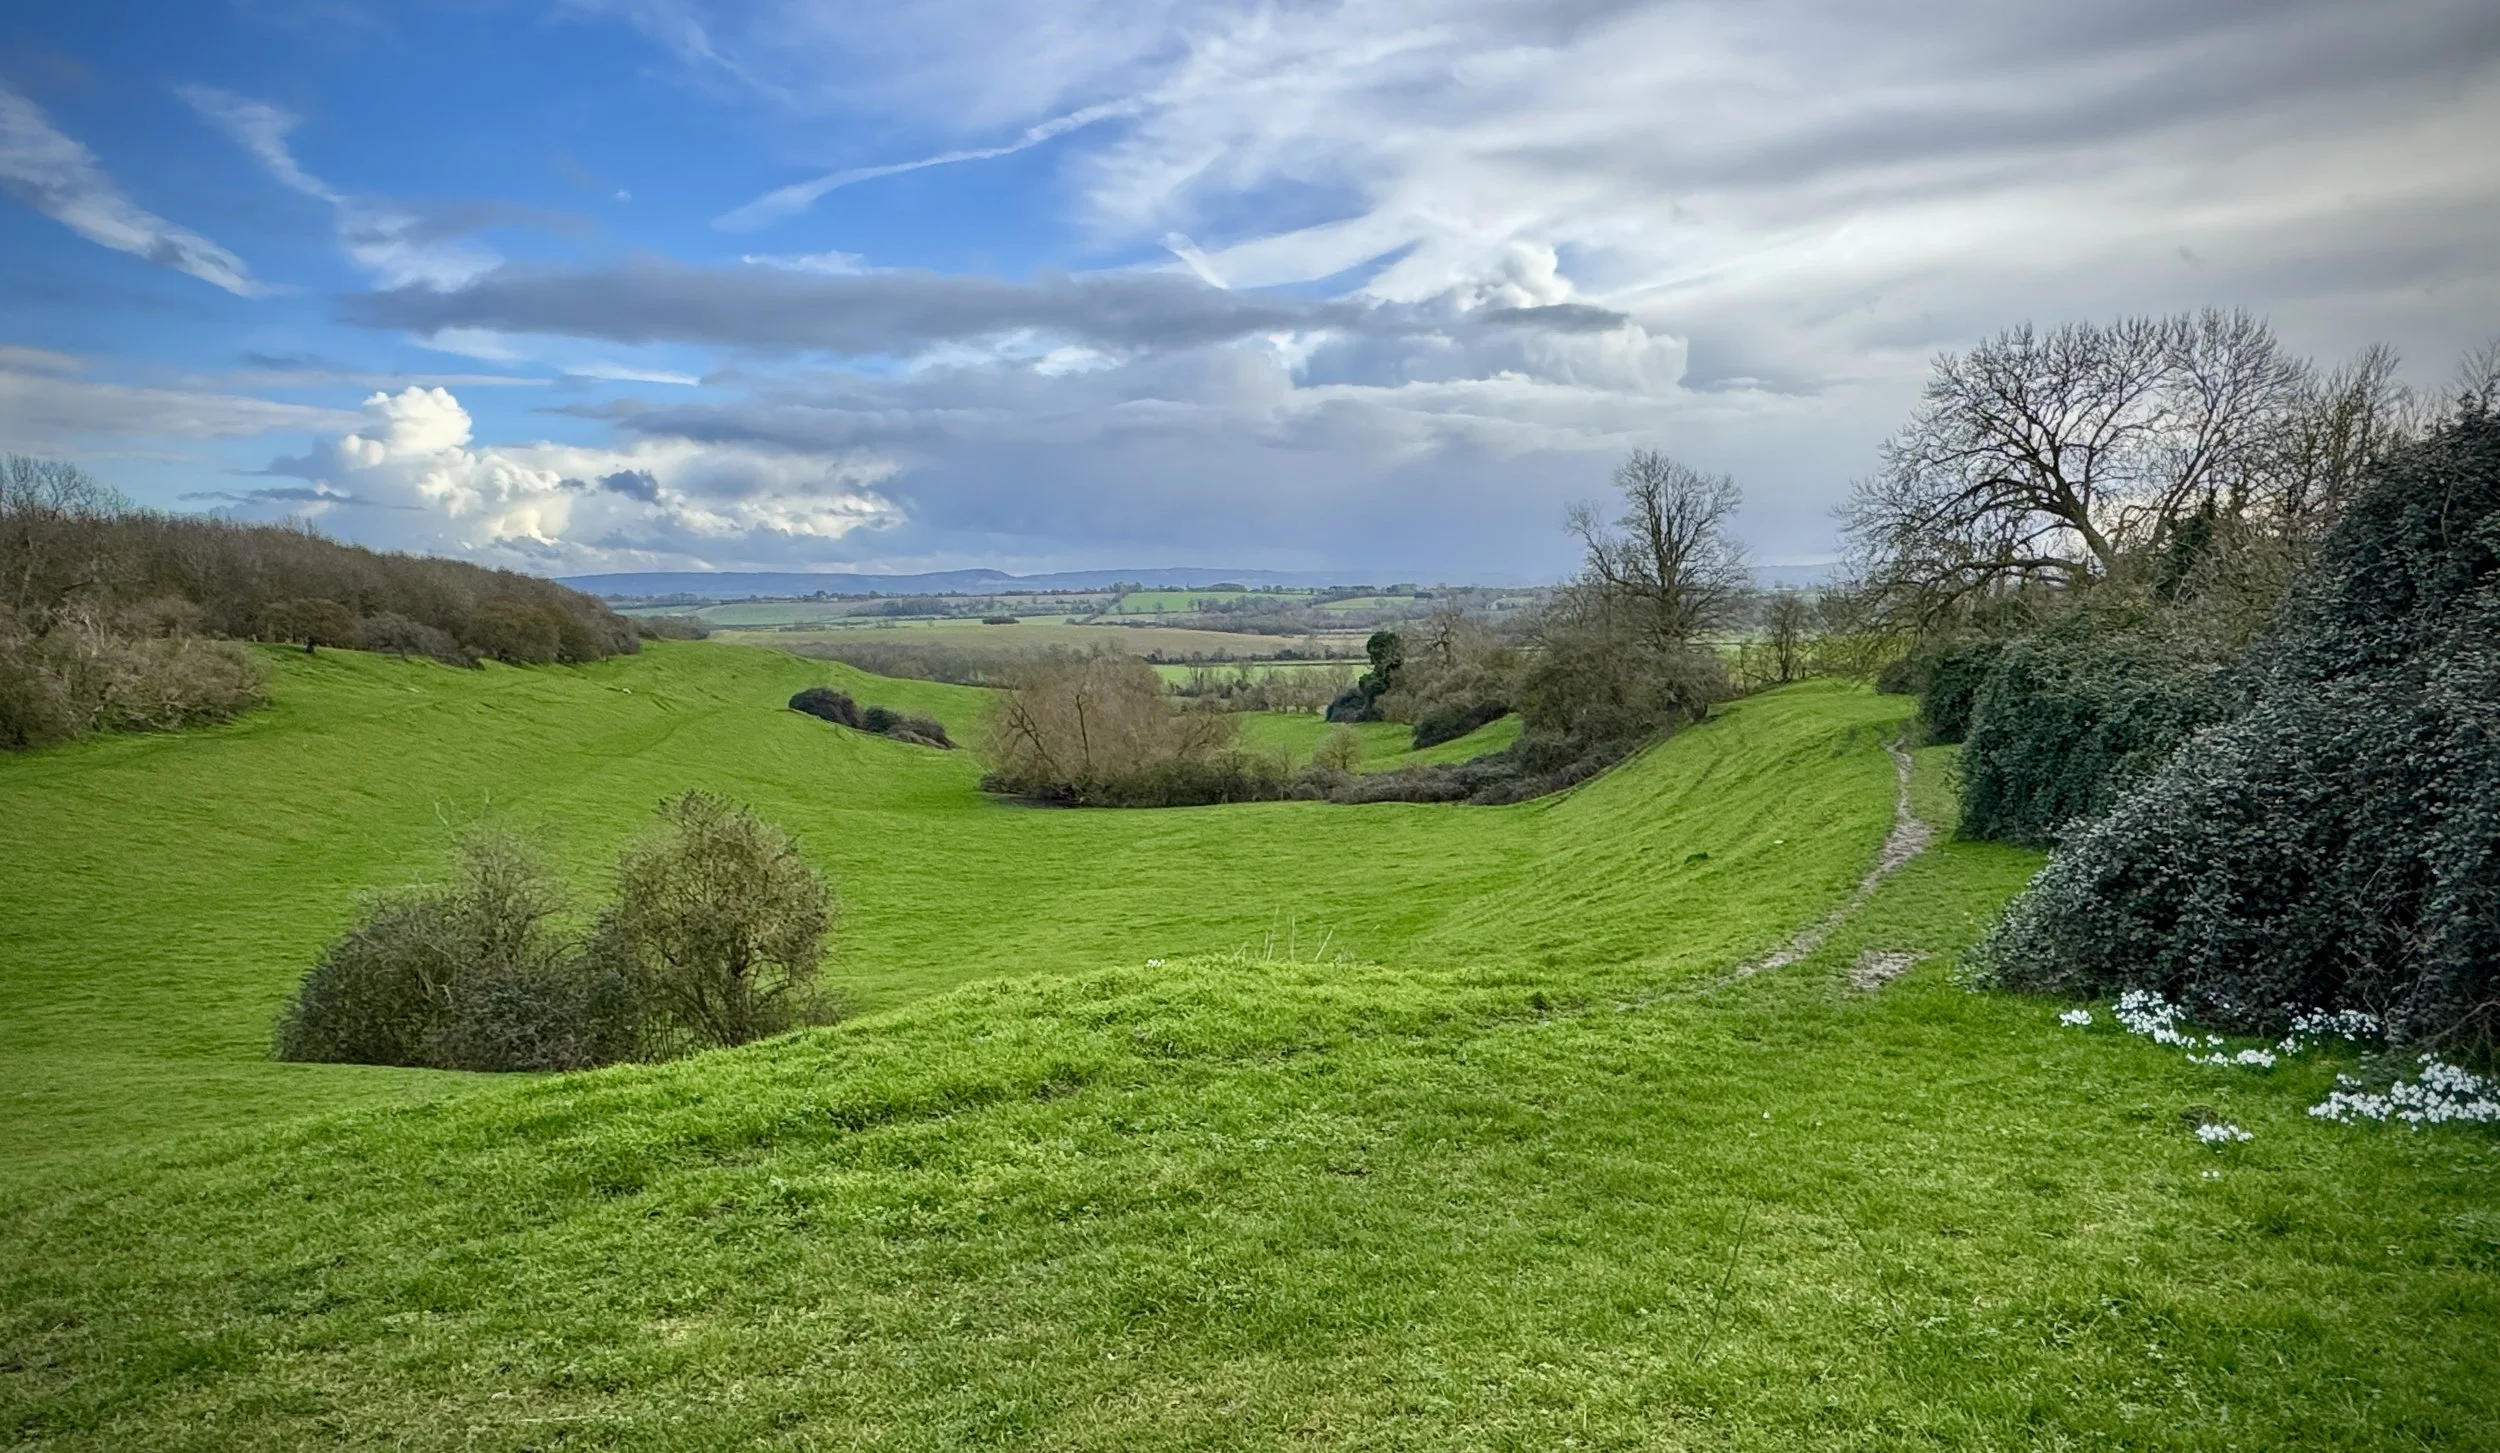
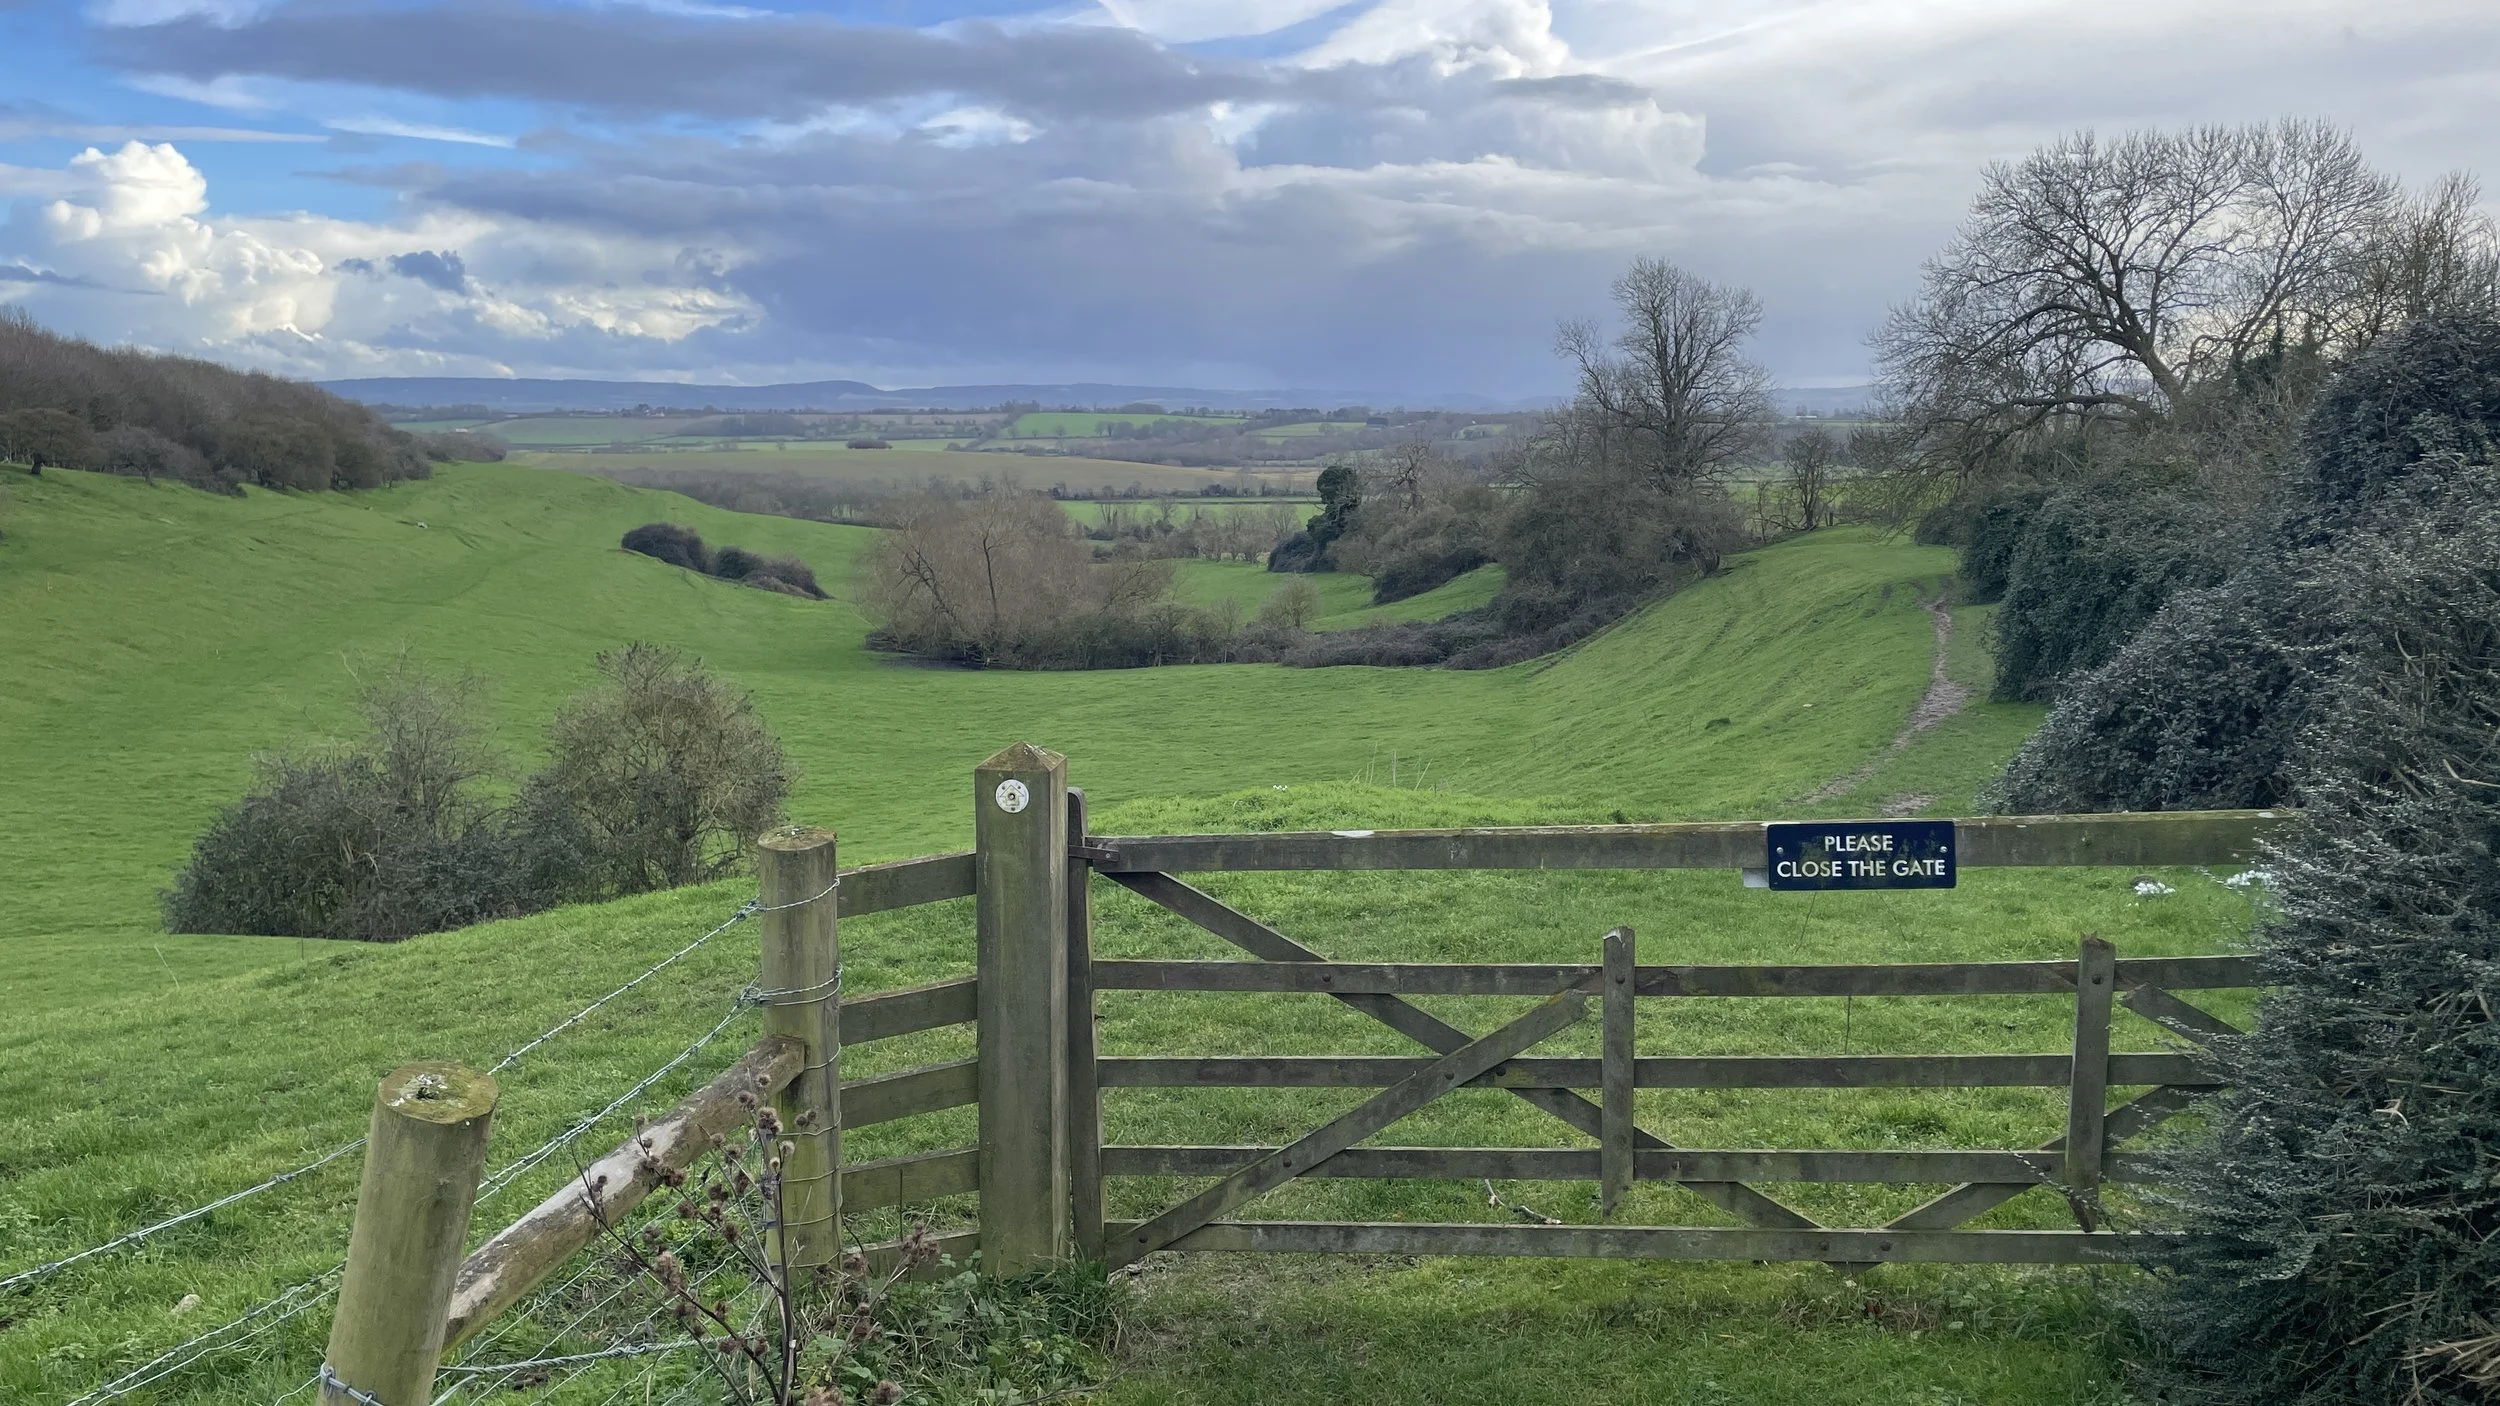
View to the River Thame and the Chilterns from Upper Winchendon
Start & Finish: Waddesdon Manor Car Park, Waddesdon, Aylesbury, HP18 0JE
Distance: 11.1 km (6.9 miles)
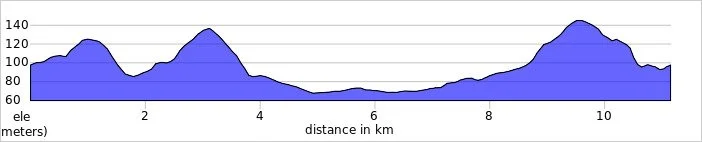
Elevation change: +/- 160 m
Terrain: A mixture of paved estate roads, grassy footpaths, and woodland tracks across undulating farmland.
Midshires Way section covered: River Thame to Waddeston: 3.7 km
GPX File: get via Buy Me a Coffee
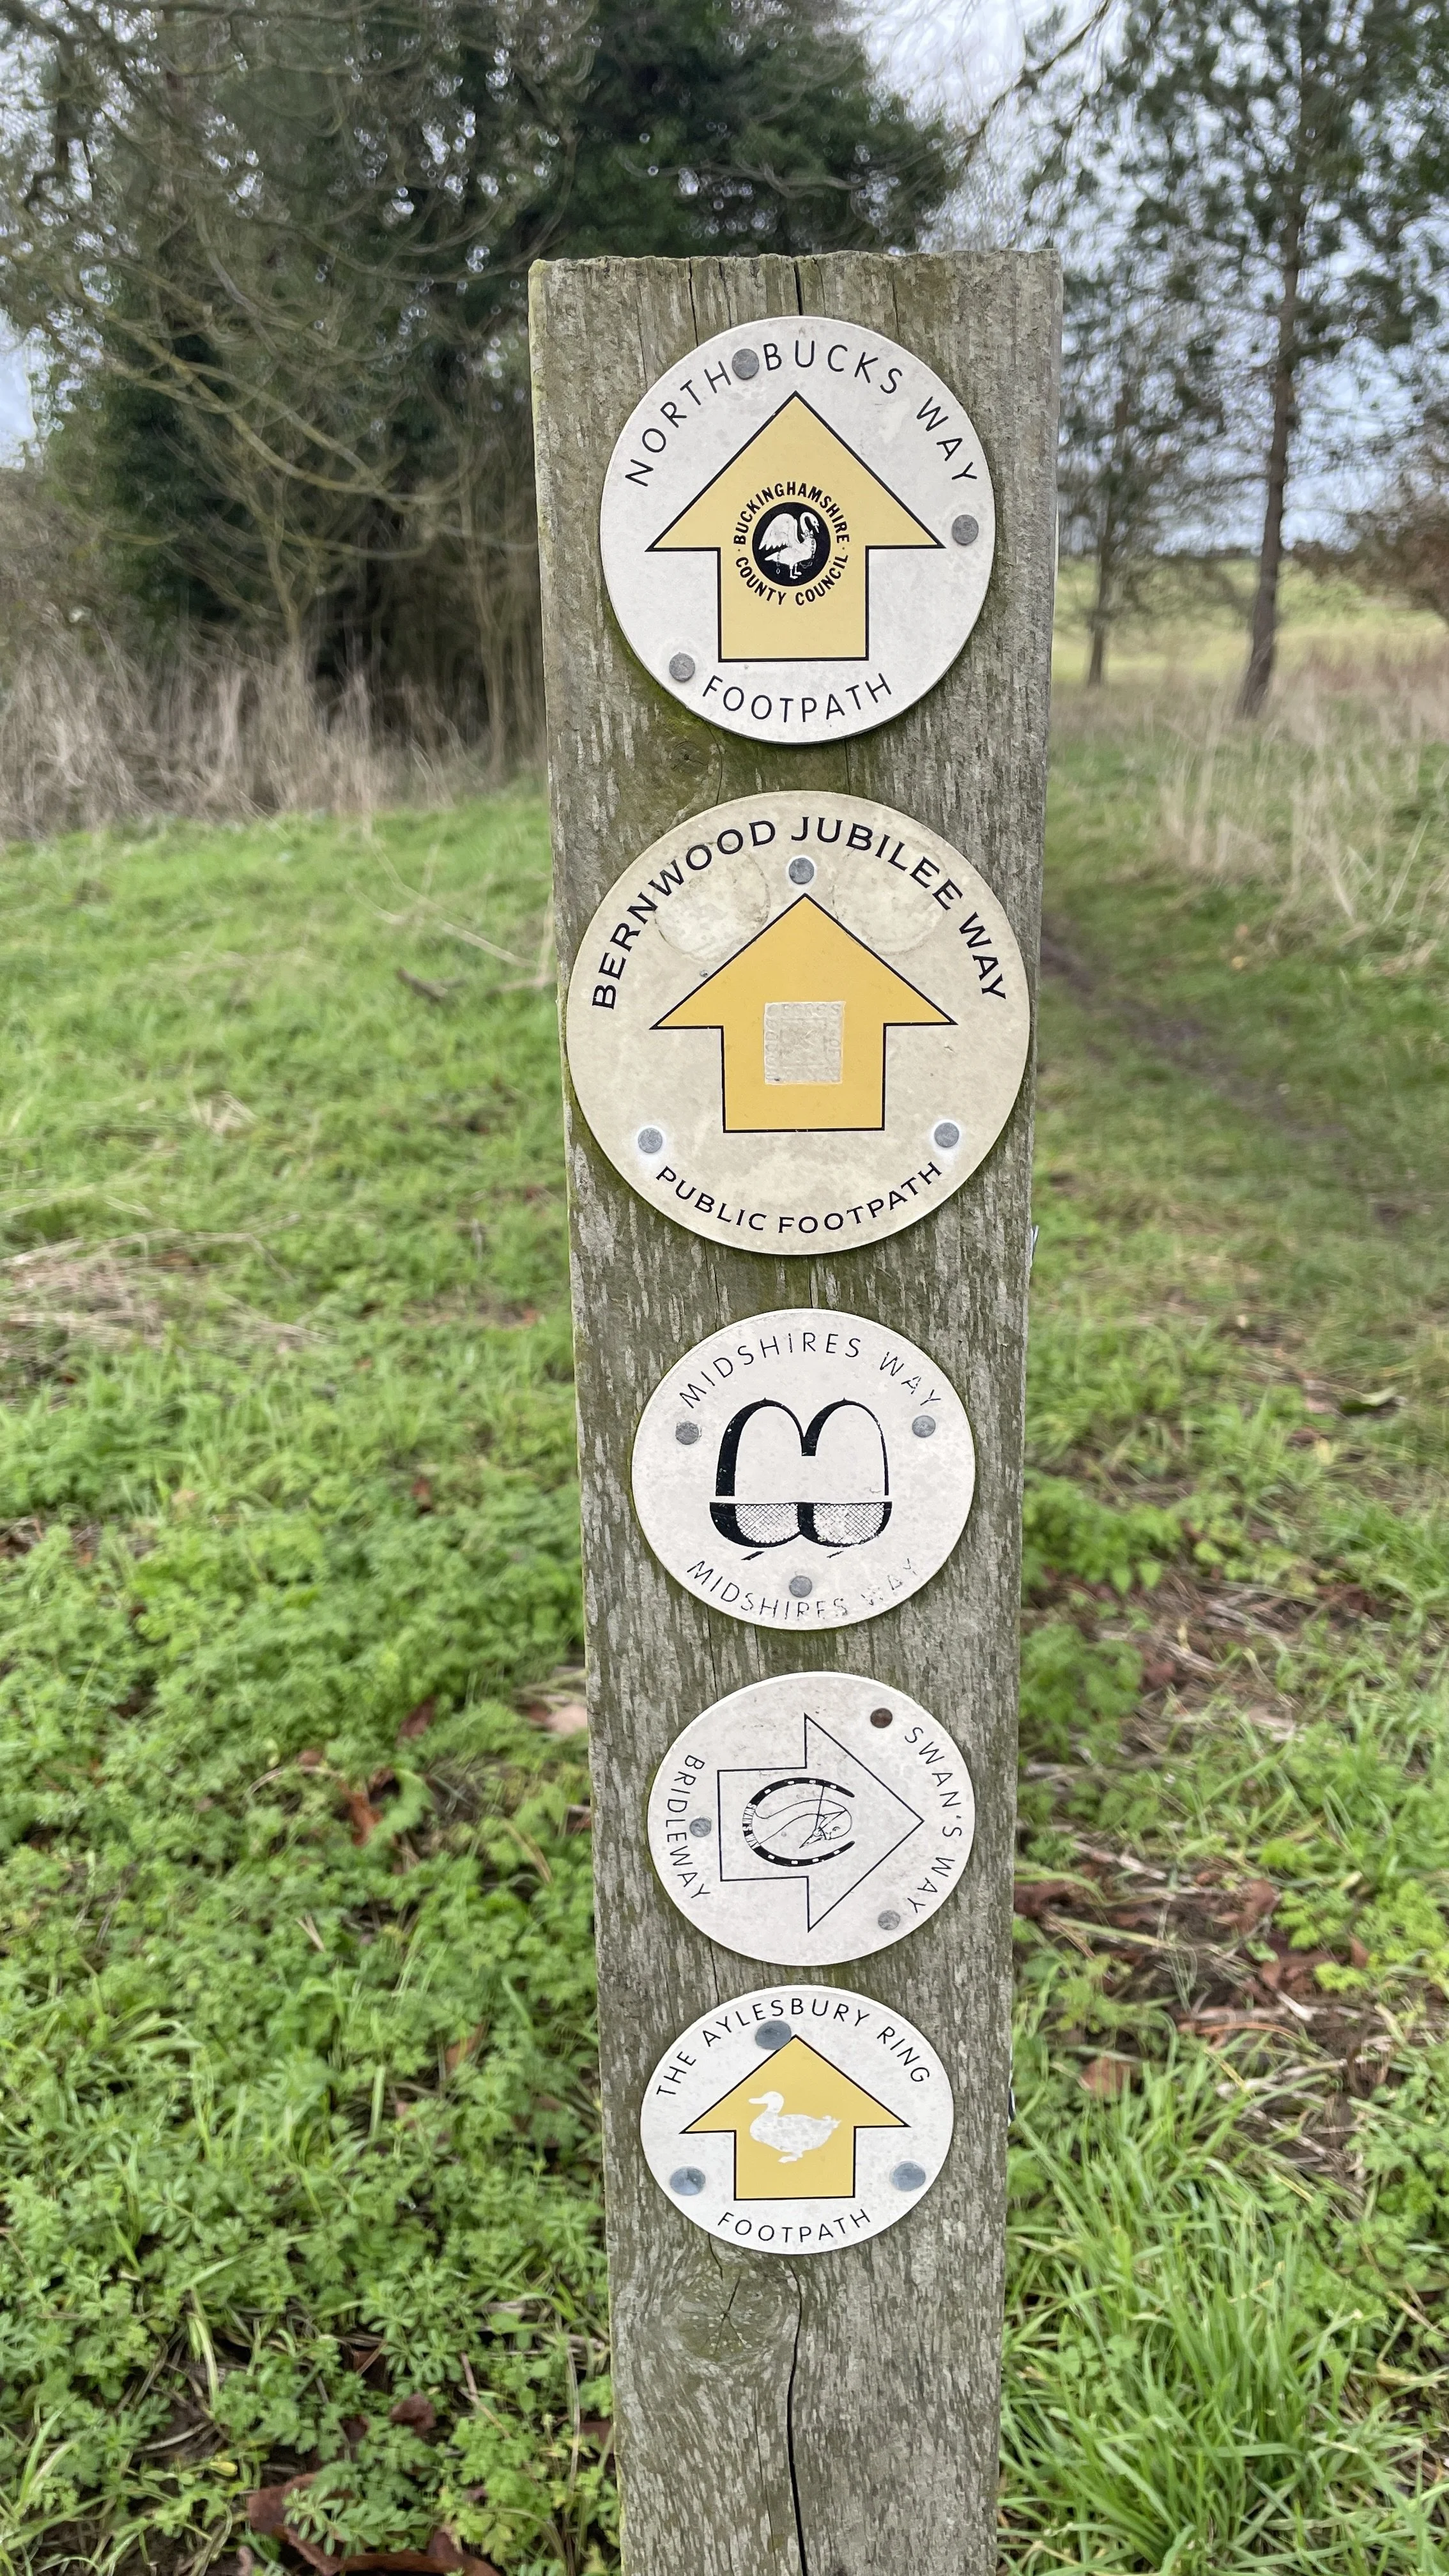
Other routes touched (walk): Midshires Way, The Swan Way, Thame Valley Walk, North Bucks Way, Aylesbury Ring, Windmill Hill at Waddesdon, Bernwood Jubilee Way
Other routes touched (cycle): National Bridleway, Waddesdon Greenway
Pubs / Cafes on route: The Five Arrows, Waddesdon. Near the start and finish.
OS Trig Pillar: TP6692 - Waddesdon Hill
Map: Chiltern Hills North Map | Aylesbury, Berkhamsted & Chesham | Ordnance Survey | OS Explorer Map 181
Links: River Thame, Waddesdon Manor, Waddesdon National Trust, Waddesdon, Eythrope
Welcome to Part 6 of our series of short circular walks along the Buckinghamshire section of the Midshires Way. For a complete overview of the 225-mile trail's history, its connection to the Swan's Way, and preparation tips, please read my complete Midshires Way Through Buckinghamshire Guide.
Walking Directions
This section of the Midshires Way offers a stunning journey through the heart of the Rothschild family's historical estates in Buckinghamshire. Starting at the Waddesdon Manor car park, the route climbs gently to provide sweeping views of the Vale of Aylesbury before descending into the more intimate, tranquil landscape of the Eythrope estate. It is a walk defined by grand architectural statements, ancient trees, and the peaceful meanderings of the River Thame.
The trail transitions from the manicured elegance of Waddesdon to the secluded charm of Eythrope’s private gardens and wilderness areas. As you loop back towards the starting point, the route follows a ridge that showcases the impressive scale of the local landscape. Whether you are interested in Victorian horticultural history or simply a quiet stroll through some of the county’s finest parkland, this route delivers a perfect blend of both.
The guidance below will help you navigate but don’t use it as a fully accurate turn-by-turn guide. Always take a map and/or a GPX route and prepare well for the weather and terrain.
Start at the large, free Waddesdon Manor car park. Check closing times to make sure that you don’t get locked in.
Pass by the Visitors’ Centre, where there are toilets, and walk along the main path in a westerly direction towards the manor. If you are a National Trust member you may be asked to show your membership cards but if not tell the staff that you are having a walk on the public footpaths and not entering the estate grounds.
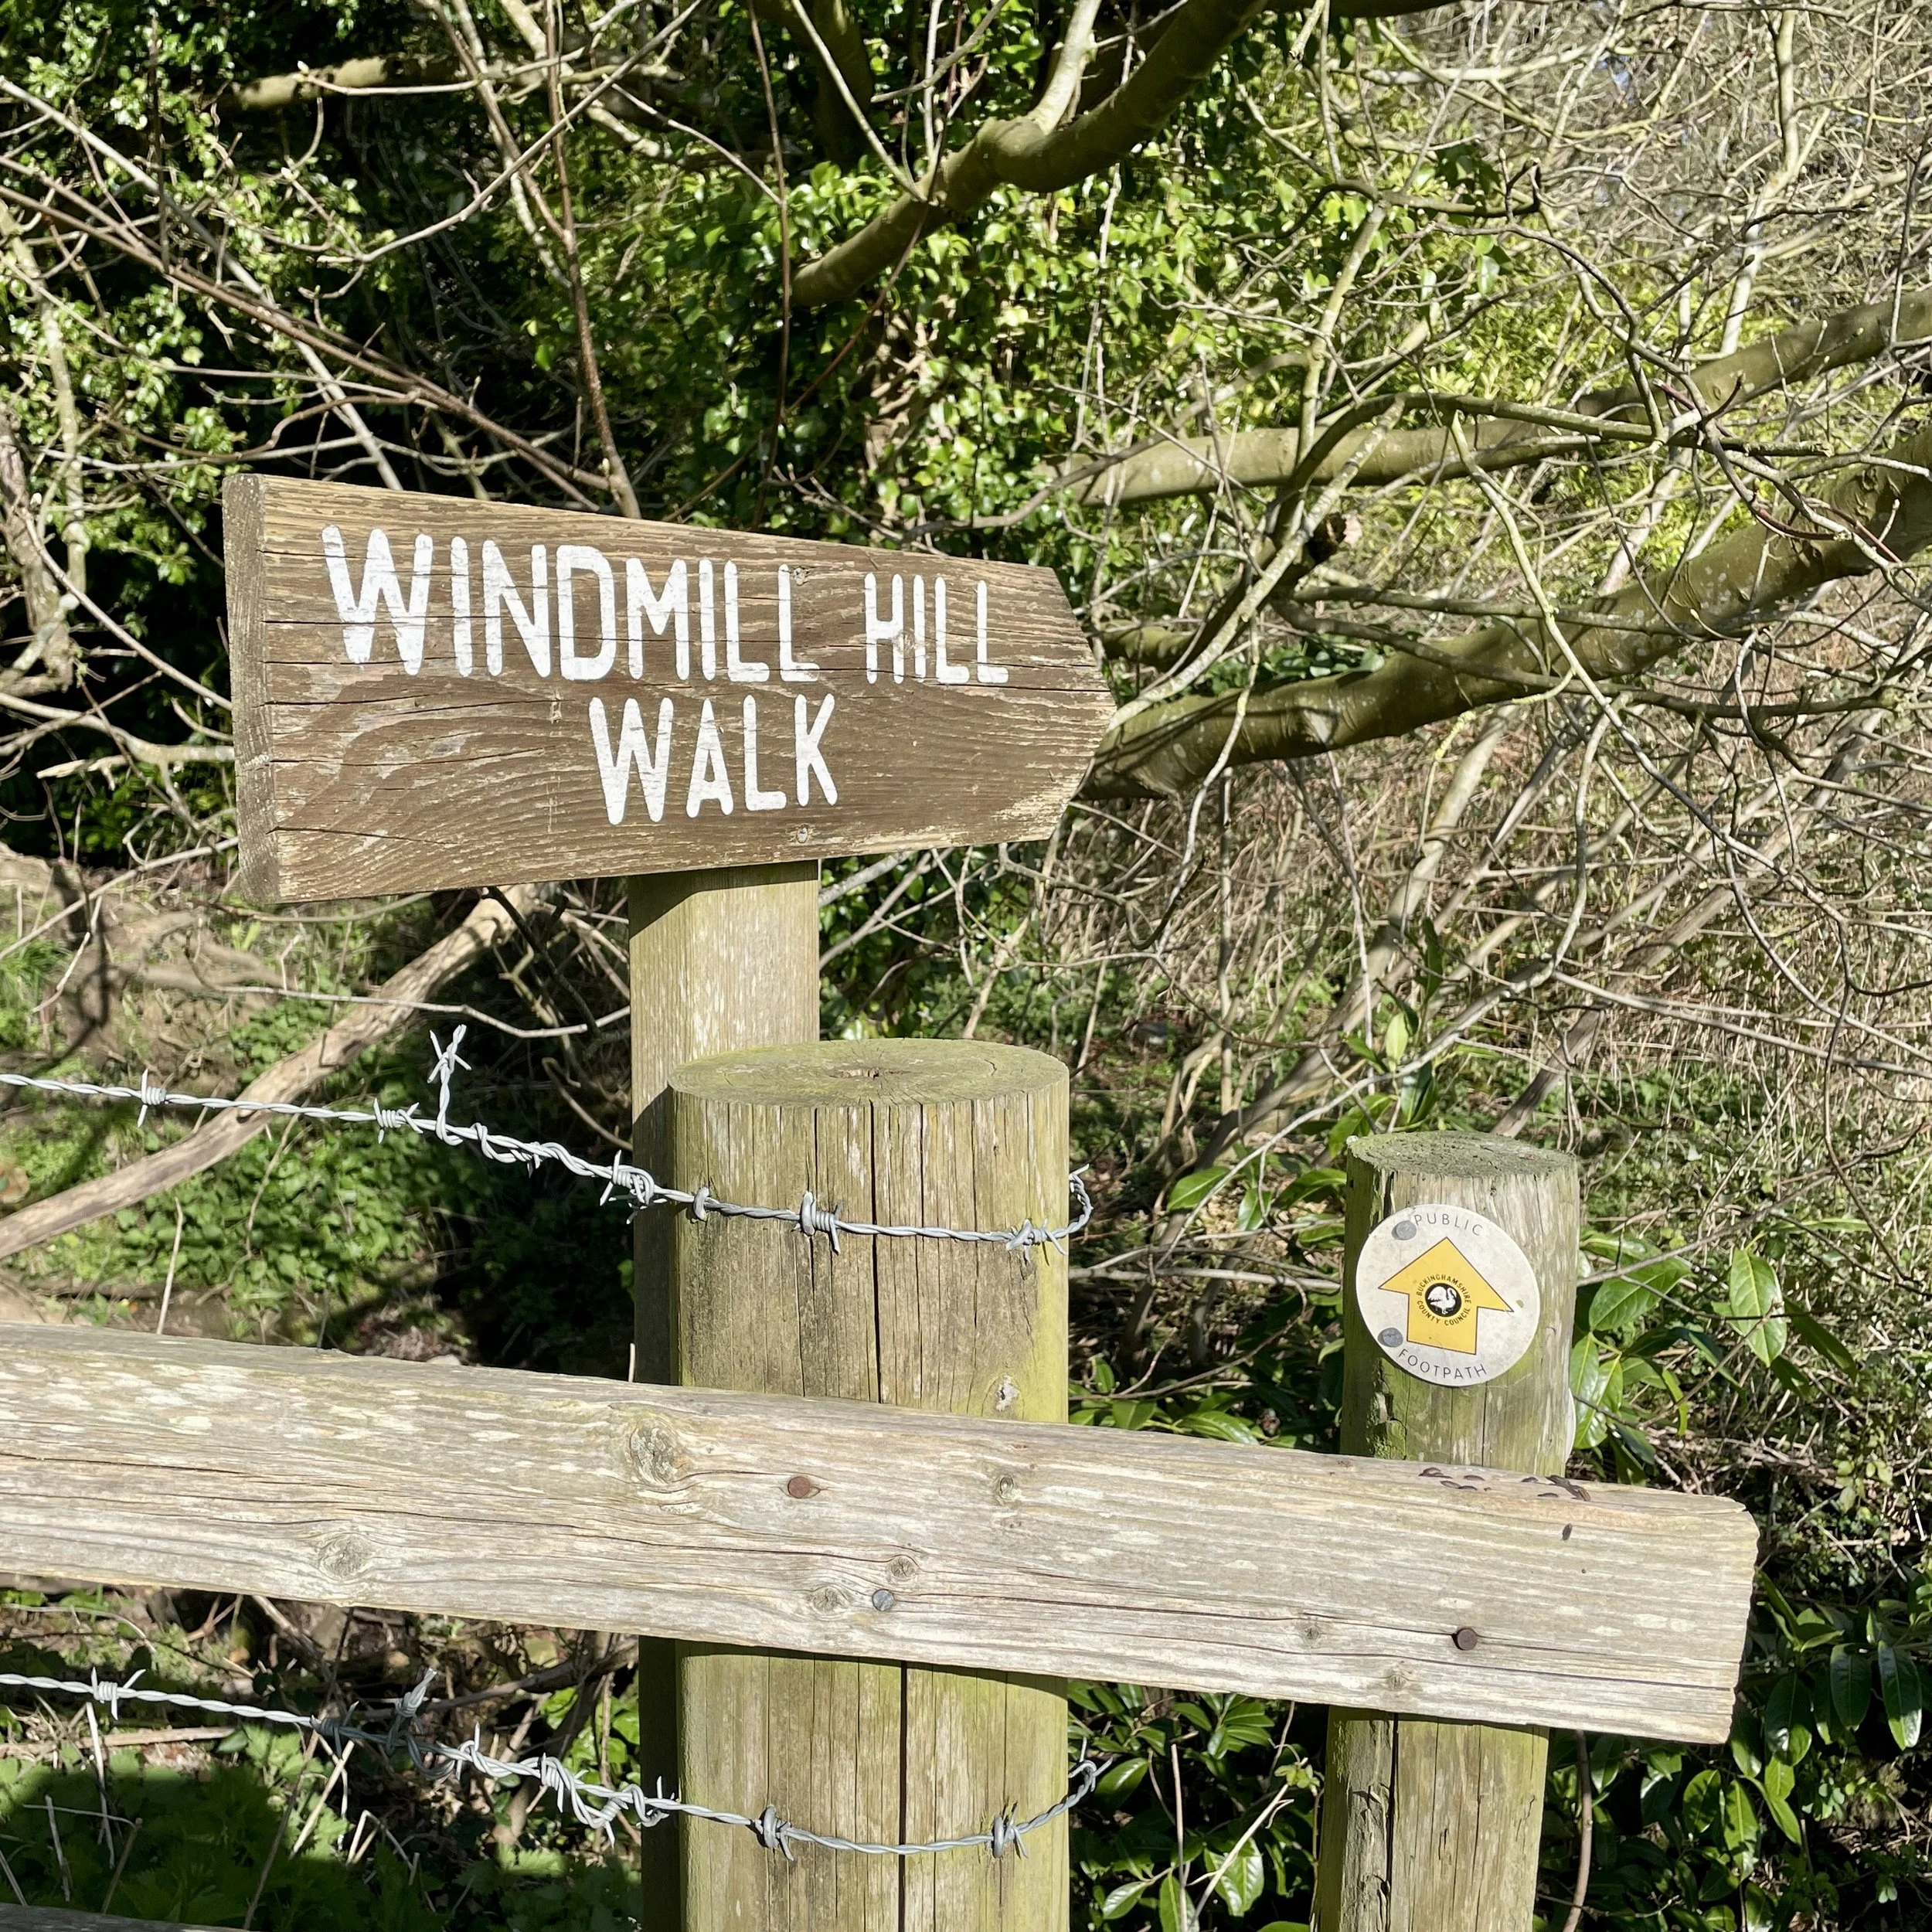
At 400m after the Visitors’ Centre take a road on the right to follow the Windmill at Waddesdon Walk in a southerly direction.
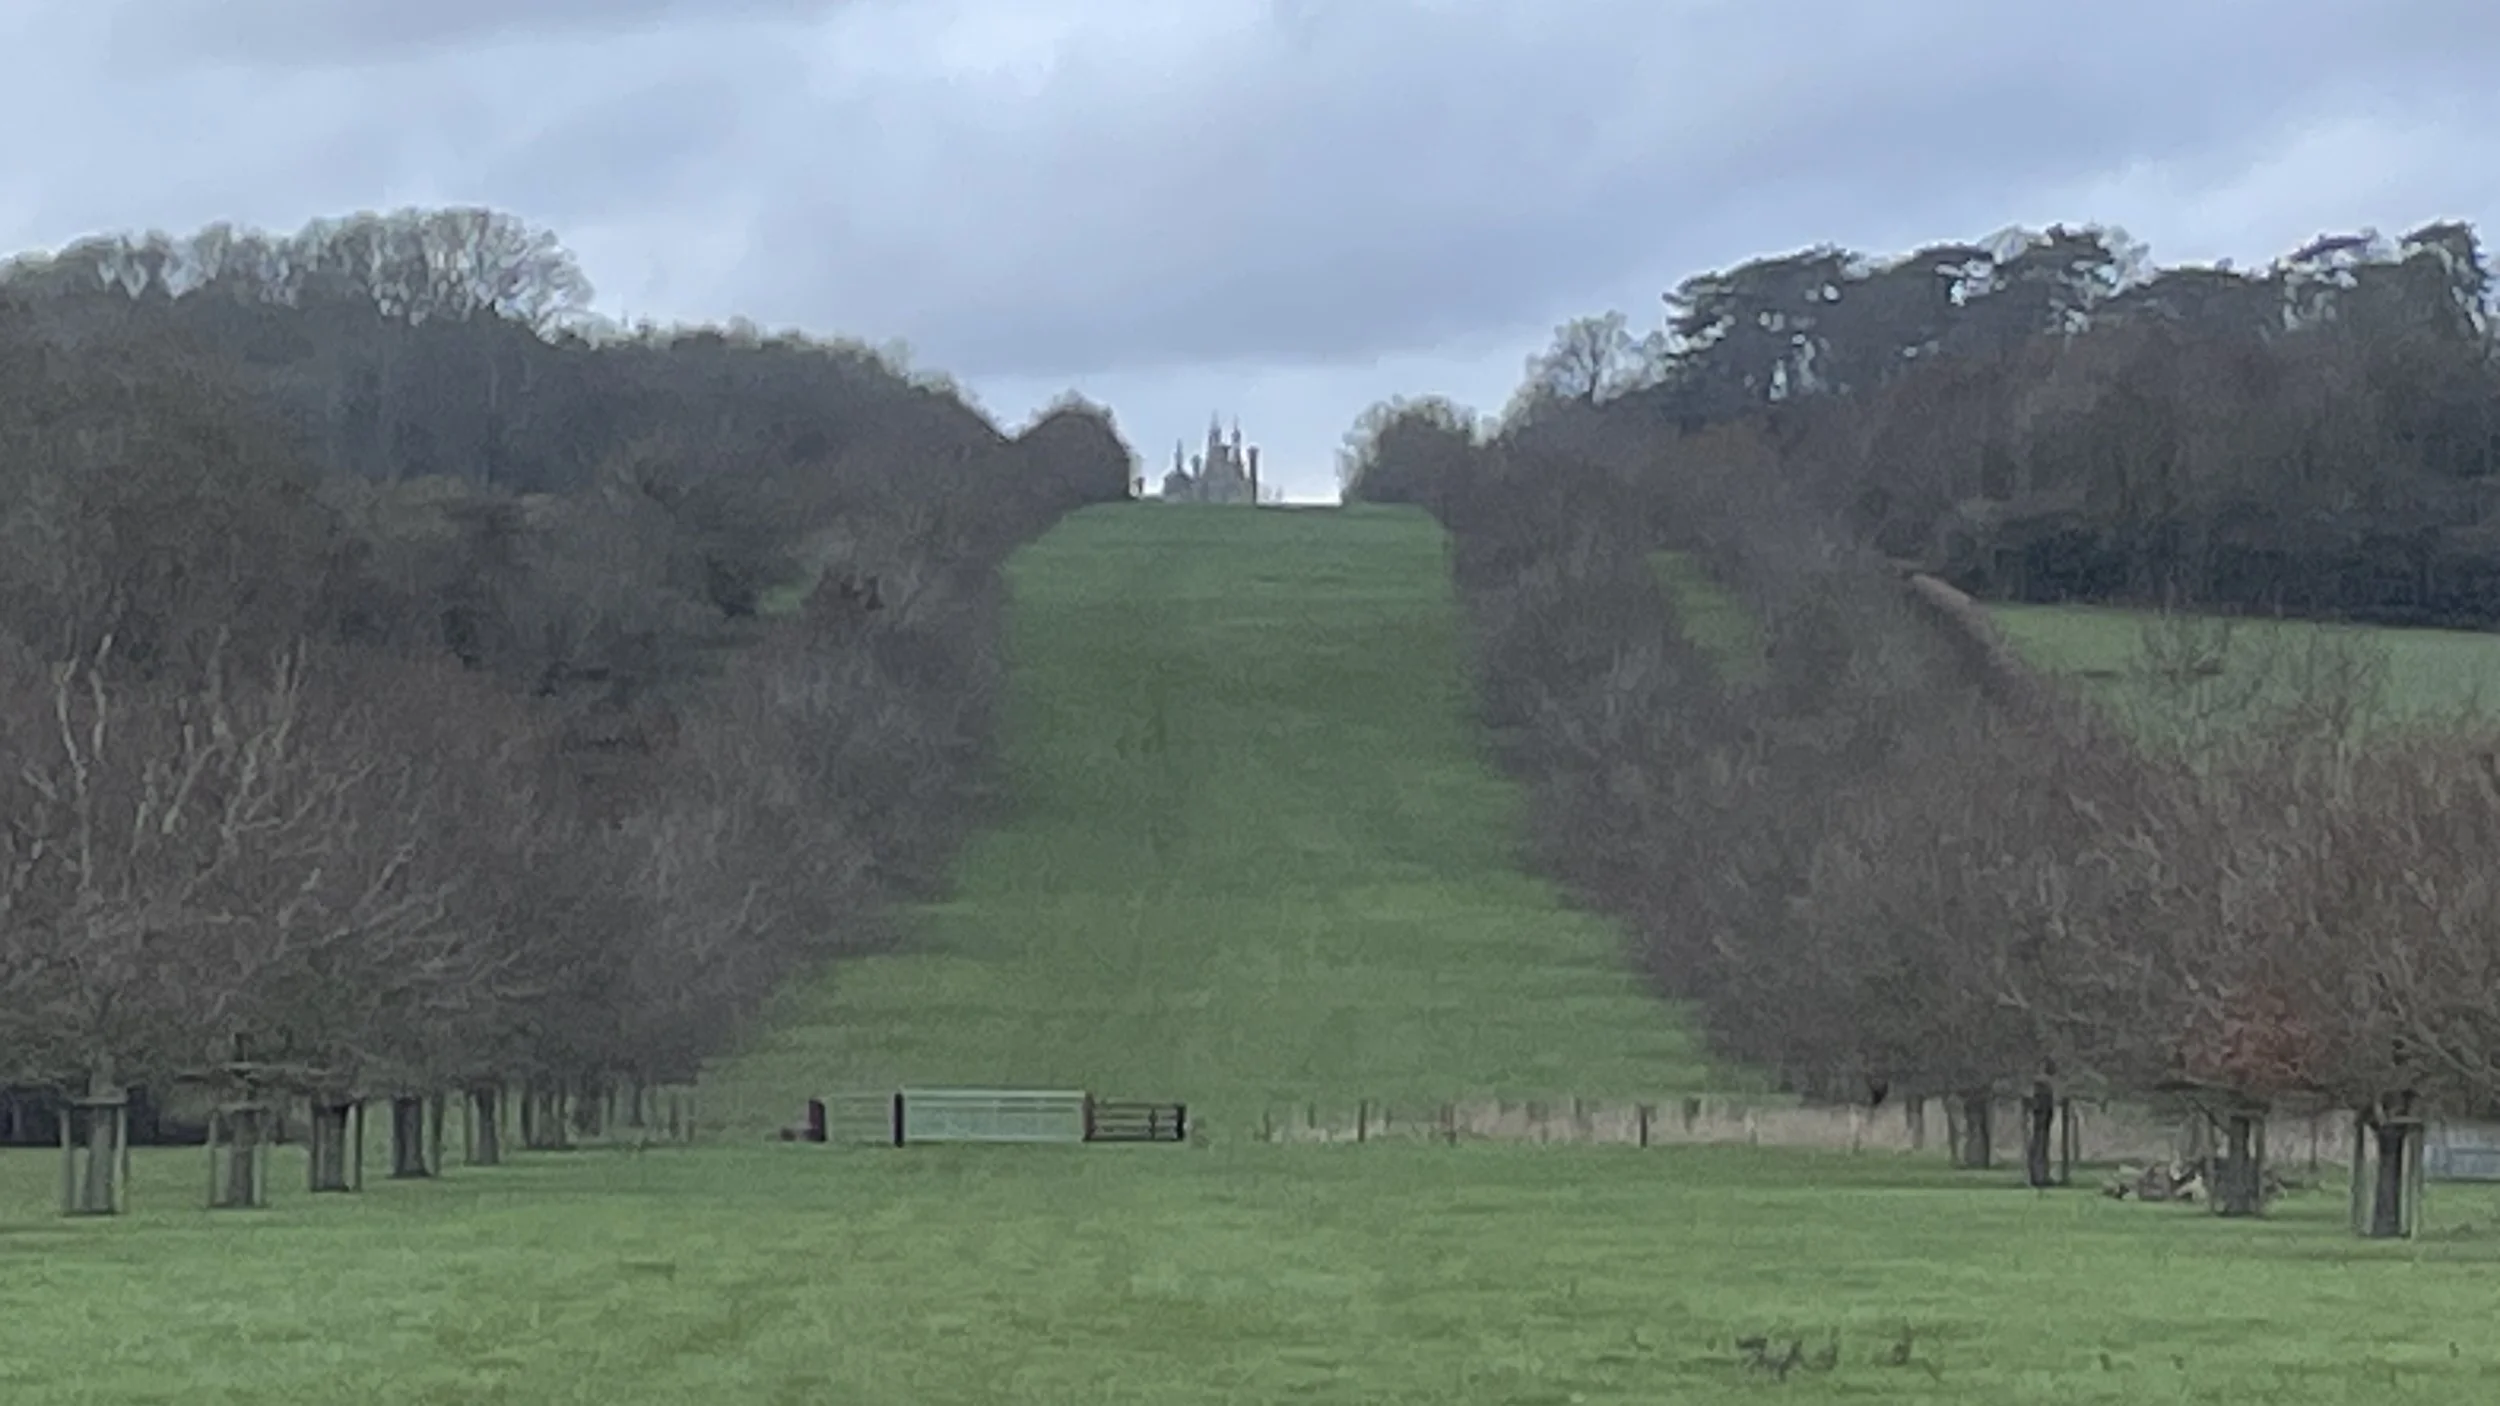
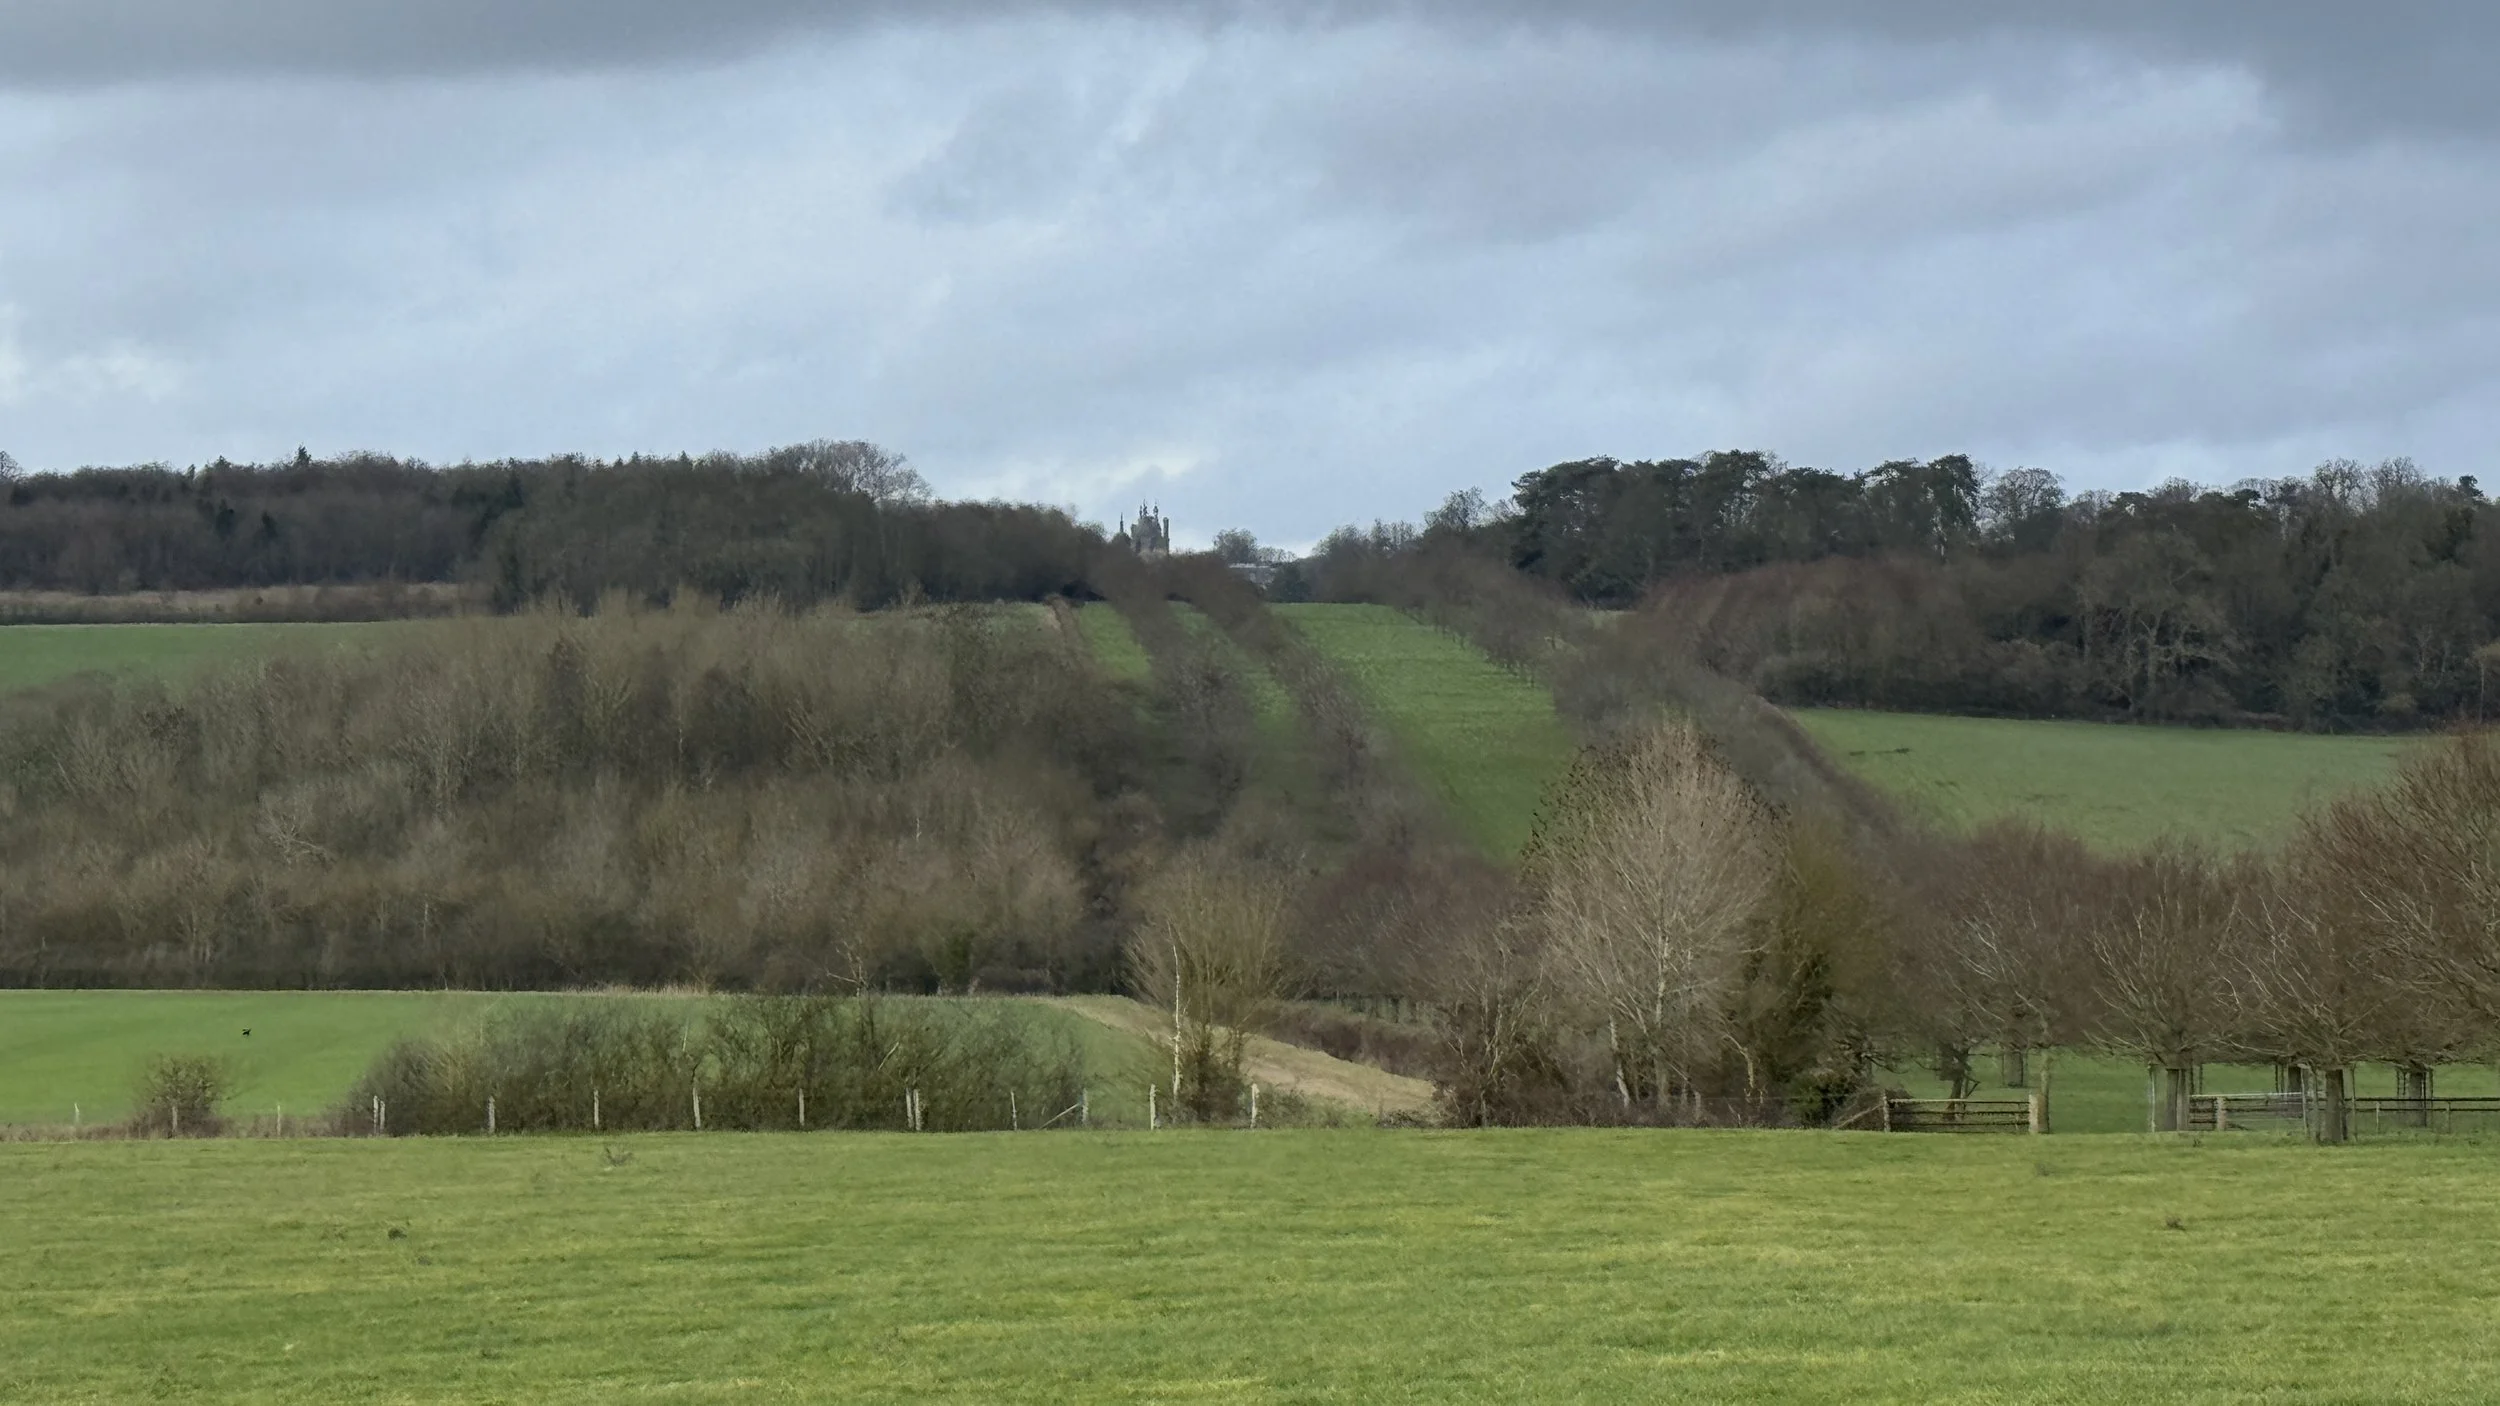
After 700m you’ll reach a boulevard of trees descending from the manor down the valley to the south-east. Take a left to follow the path between the trees. Near the end of the trees, after a gate, curve to the south to reach School Lane on the hamlet of Upper Winchendon.
Cross over Main Road to follow a driveway towards a house. Take the footpath to the left of the house, pausing at the gate to take in the views across the Thame Valley.
Descend down the valley to reach the Bernwood Jubillee Trail before the River Thame.
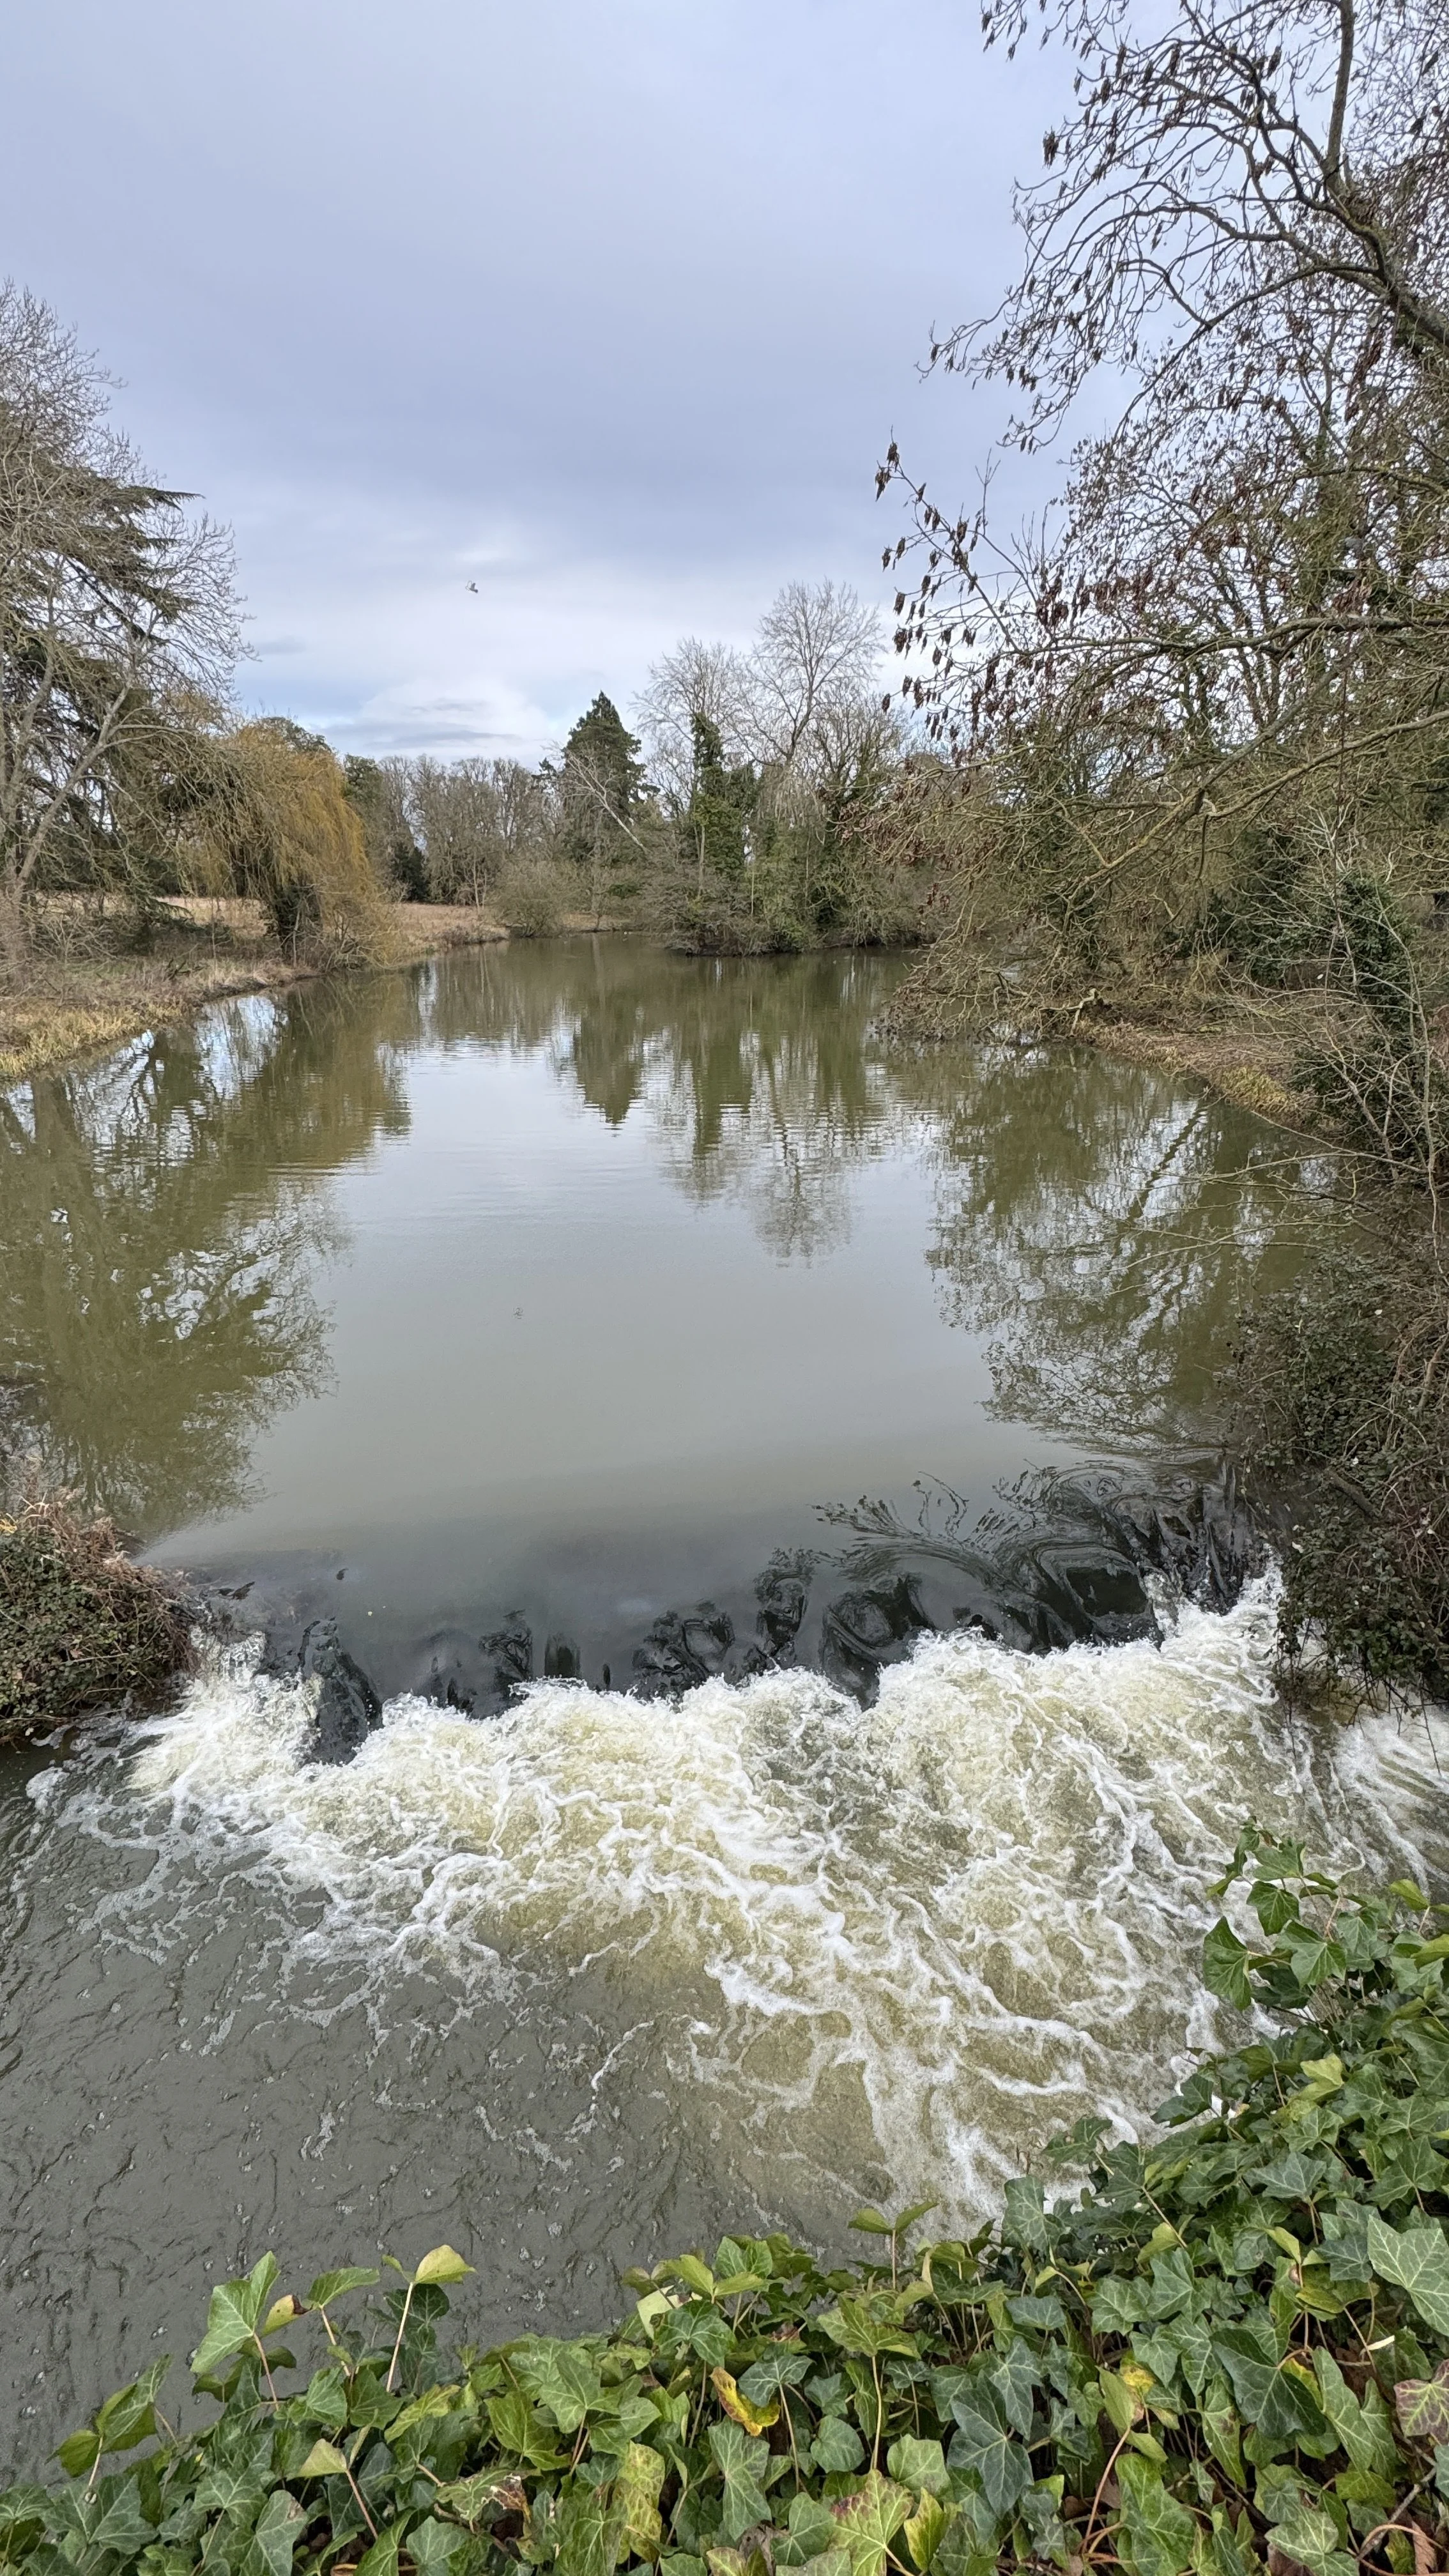
Take a left to follow the Bernwood Jubillee Trail running parallel to the River Thame on its northern bank to the gates of the Eythrope Estate. Here you’'ll take a left into the Estate but if you continue over the bridge for ~100m you’ll meet the point of the Midshires Way where you left it on Section 5. If you visit the bridge, retrace your steps back to the gates of the gates of the Eythrope Estate.
Follow the paths along the gates of the Eythrope Estate drive, following it to the right as it curves towards the main house.
Before the gates of the main house take a left to follow the Midshires Way in a north-westerly direction back towards Waddesdon.
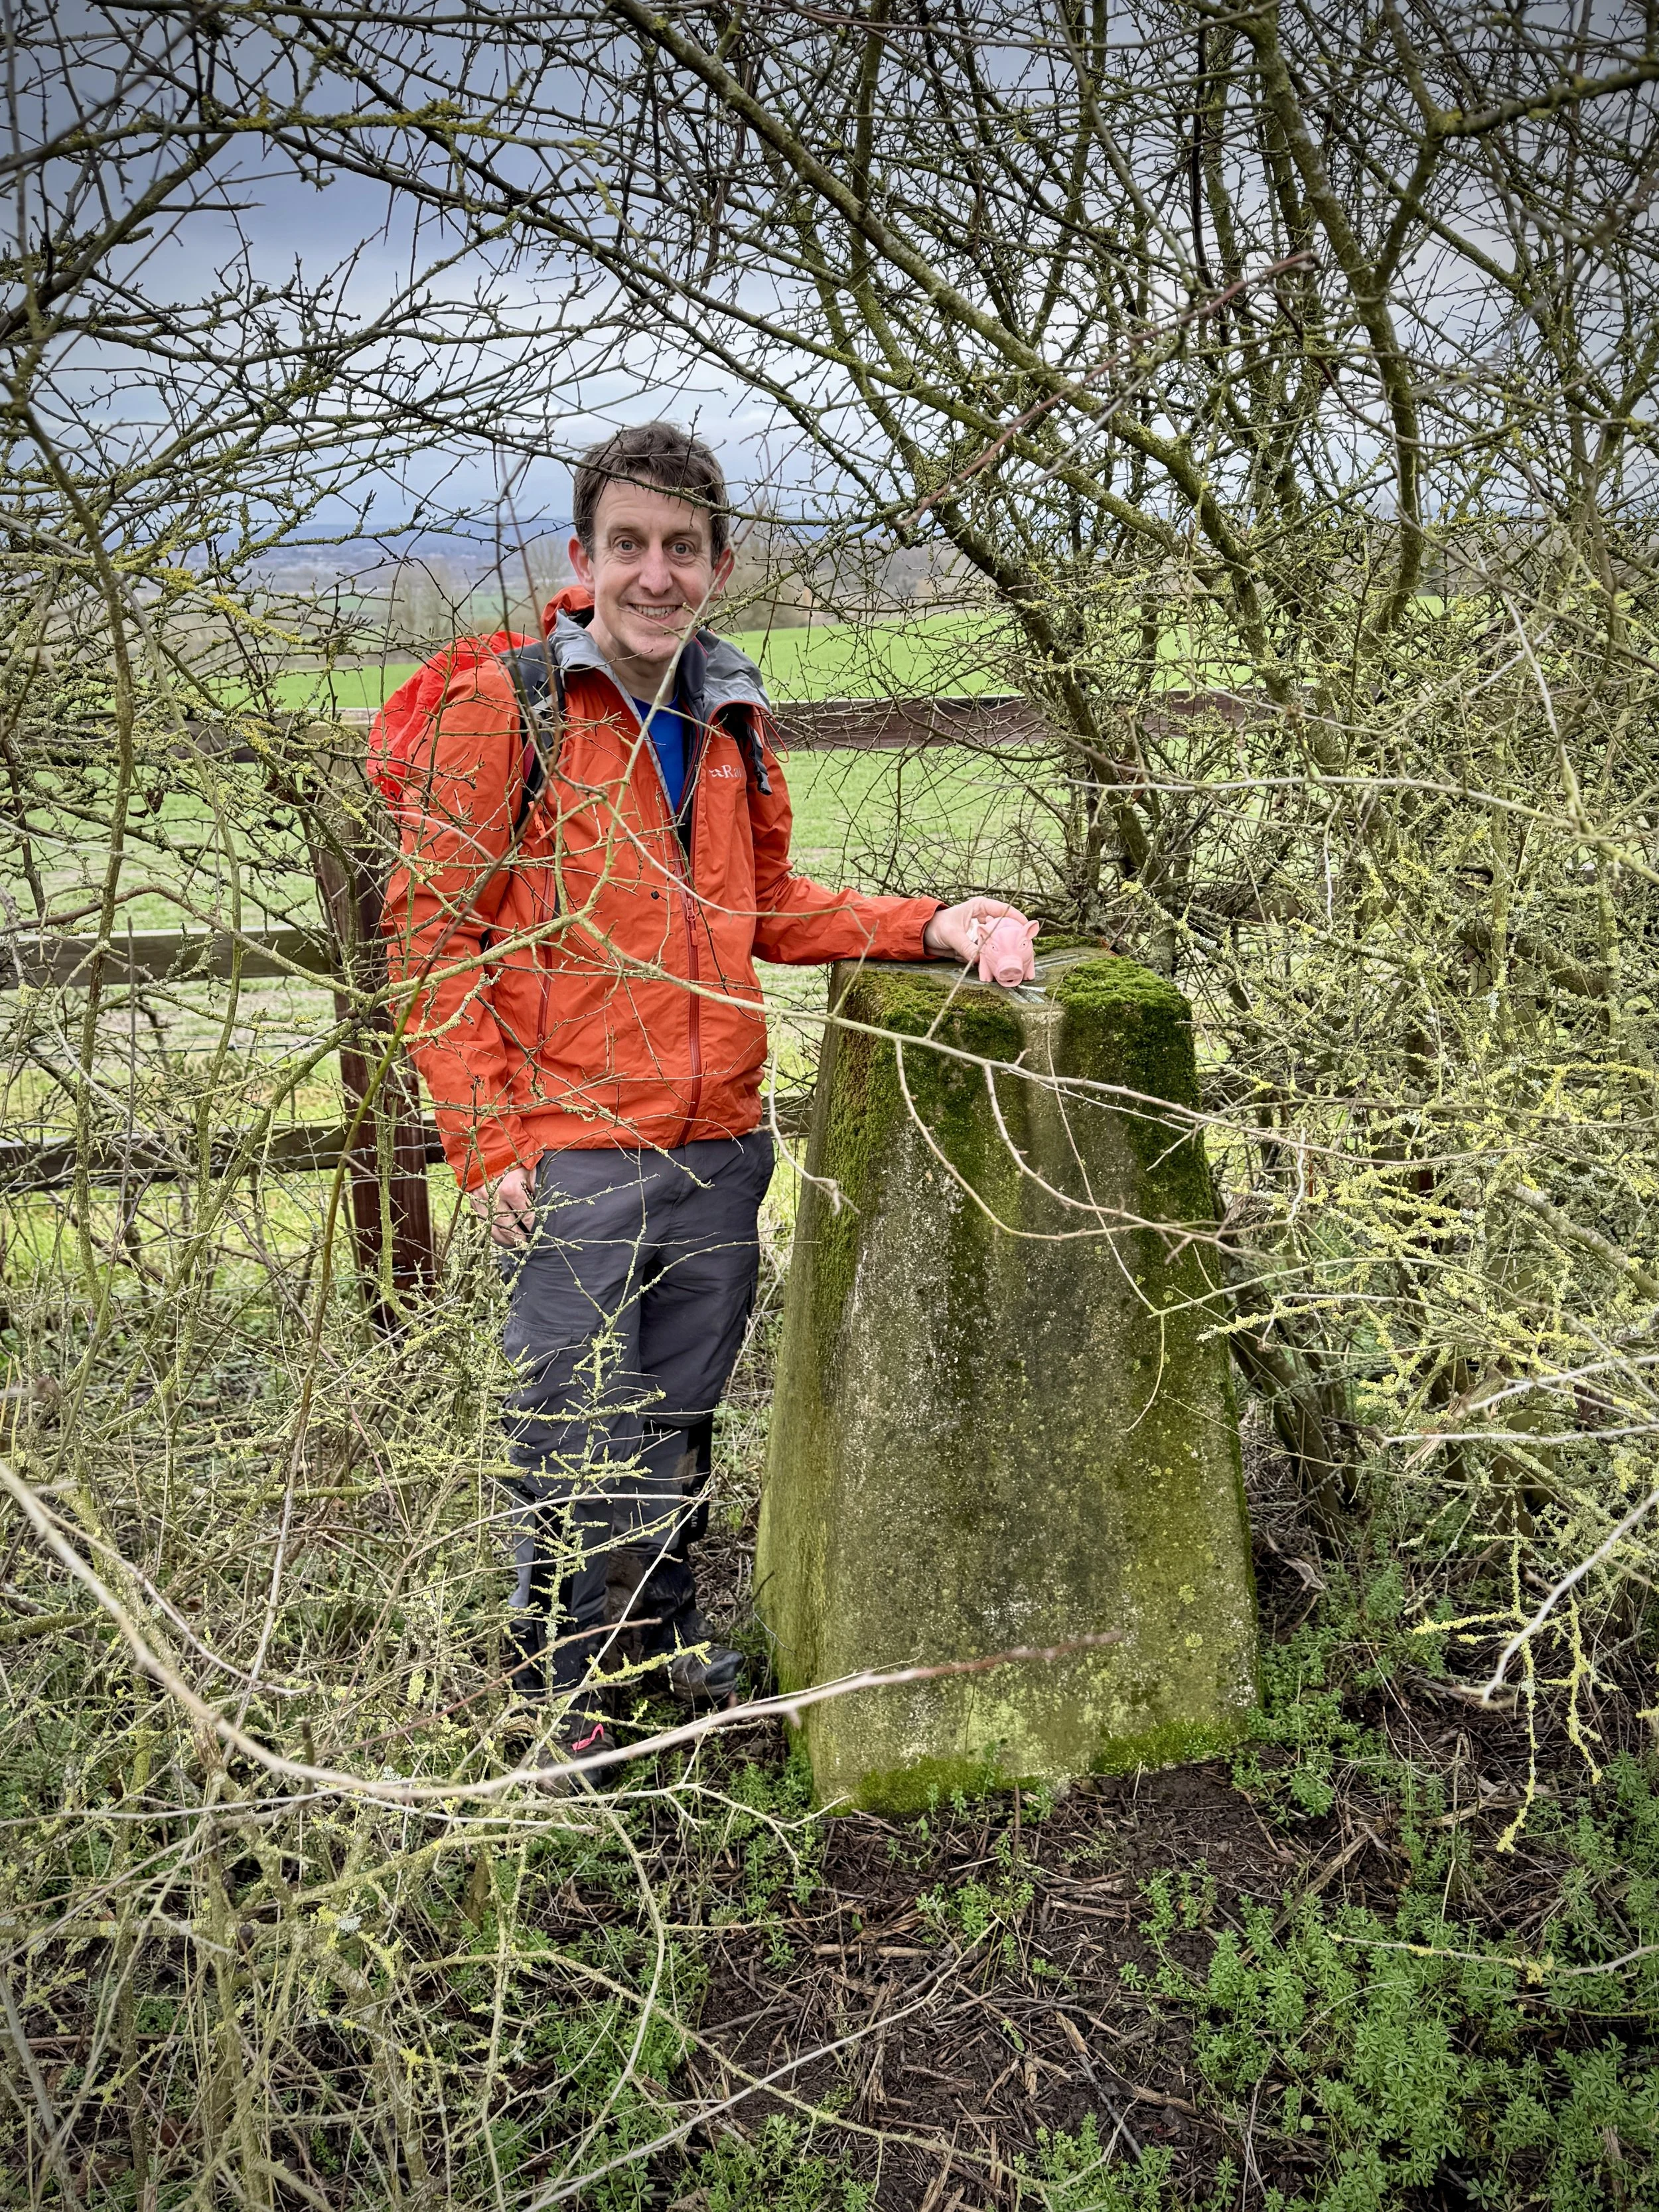
If you’re a Trig Bagger you’ll find the Waddesdon Hill Trig Pillar on a side-path just to the right of the main path approximately 2km from the where you turned left at the Eythrope House.
Cross over Waddesdon Hill Road to take the path alongside Waddesdon Stud.
Continue until the meet the Waddesdon Greenway then take a left to return to the Waddesdon Manor Car Park.
Points of Interest along or near to the Route
Waddesdon Manor: A striking Neo‑Renaissance country house built for Baron Ferdinand de Rothschild in the late 19th century, Waddesdon Manor rises from the landscape like a French château. Its formal gardens, sweeping terraces, and historic aviary showcase the wealth, ambition, and artistic sensibilities of the Rothschild family.
Eythrope Estate: A more secluded corner of the wider Waddesdon estate, Eythrope is renowned for its exceptional walled garden and for The Pavilion, the riverside house created by Alice de Rothschild. The estate has a distinctly intimate character, shaped by its focus on ornamental horticulture and its tranquil setting beside the River Thame.
River Thame: Flowing quietly through the southern stretch of the route, the River Thame supports a rich mosaic of wildlife. Its meadows form a gentle contrast to the higher ground of the estate, with pollarded willows, wetland habitats, and seasonal wildflowers adding texture and colour to the landscape.
Midshires Way previous section (south): Hartwell and Stone
Midshires Way next section (north): Waddesdon and Quainton Road
Cookham Dean and Bisham Wood Circular Walk
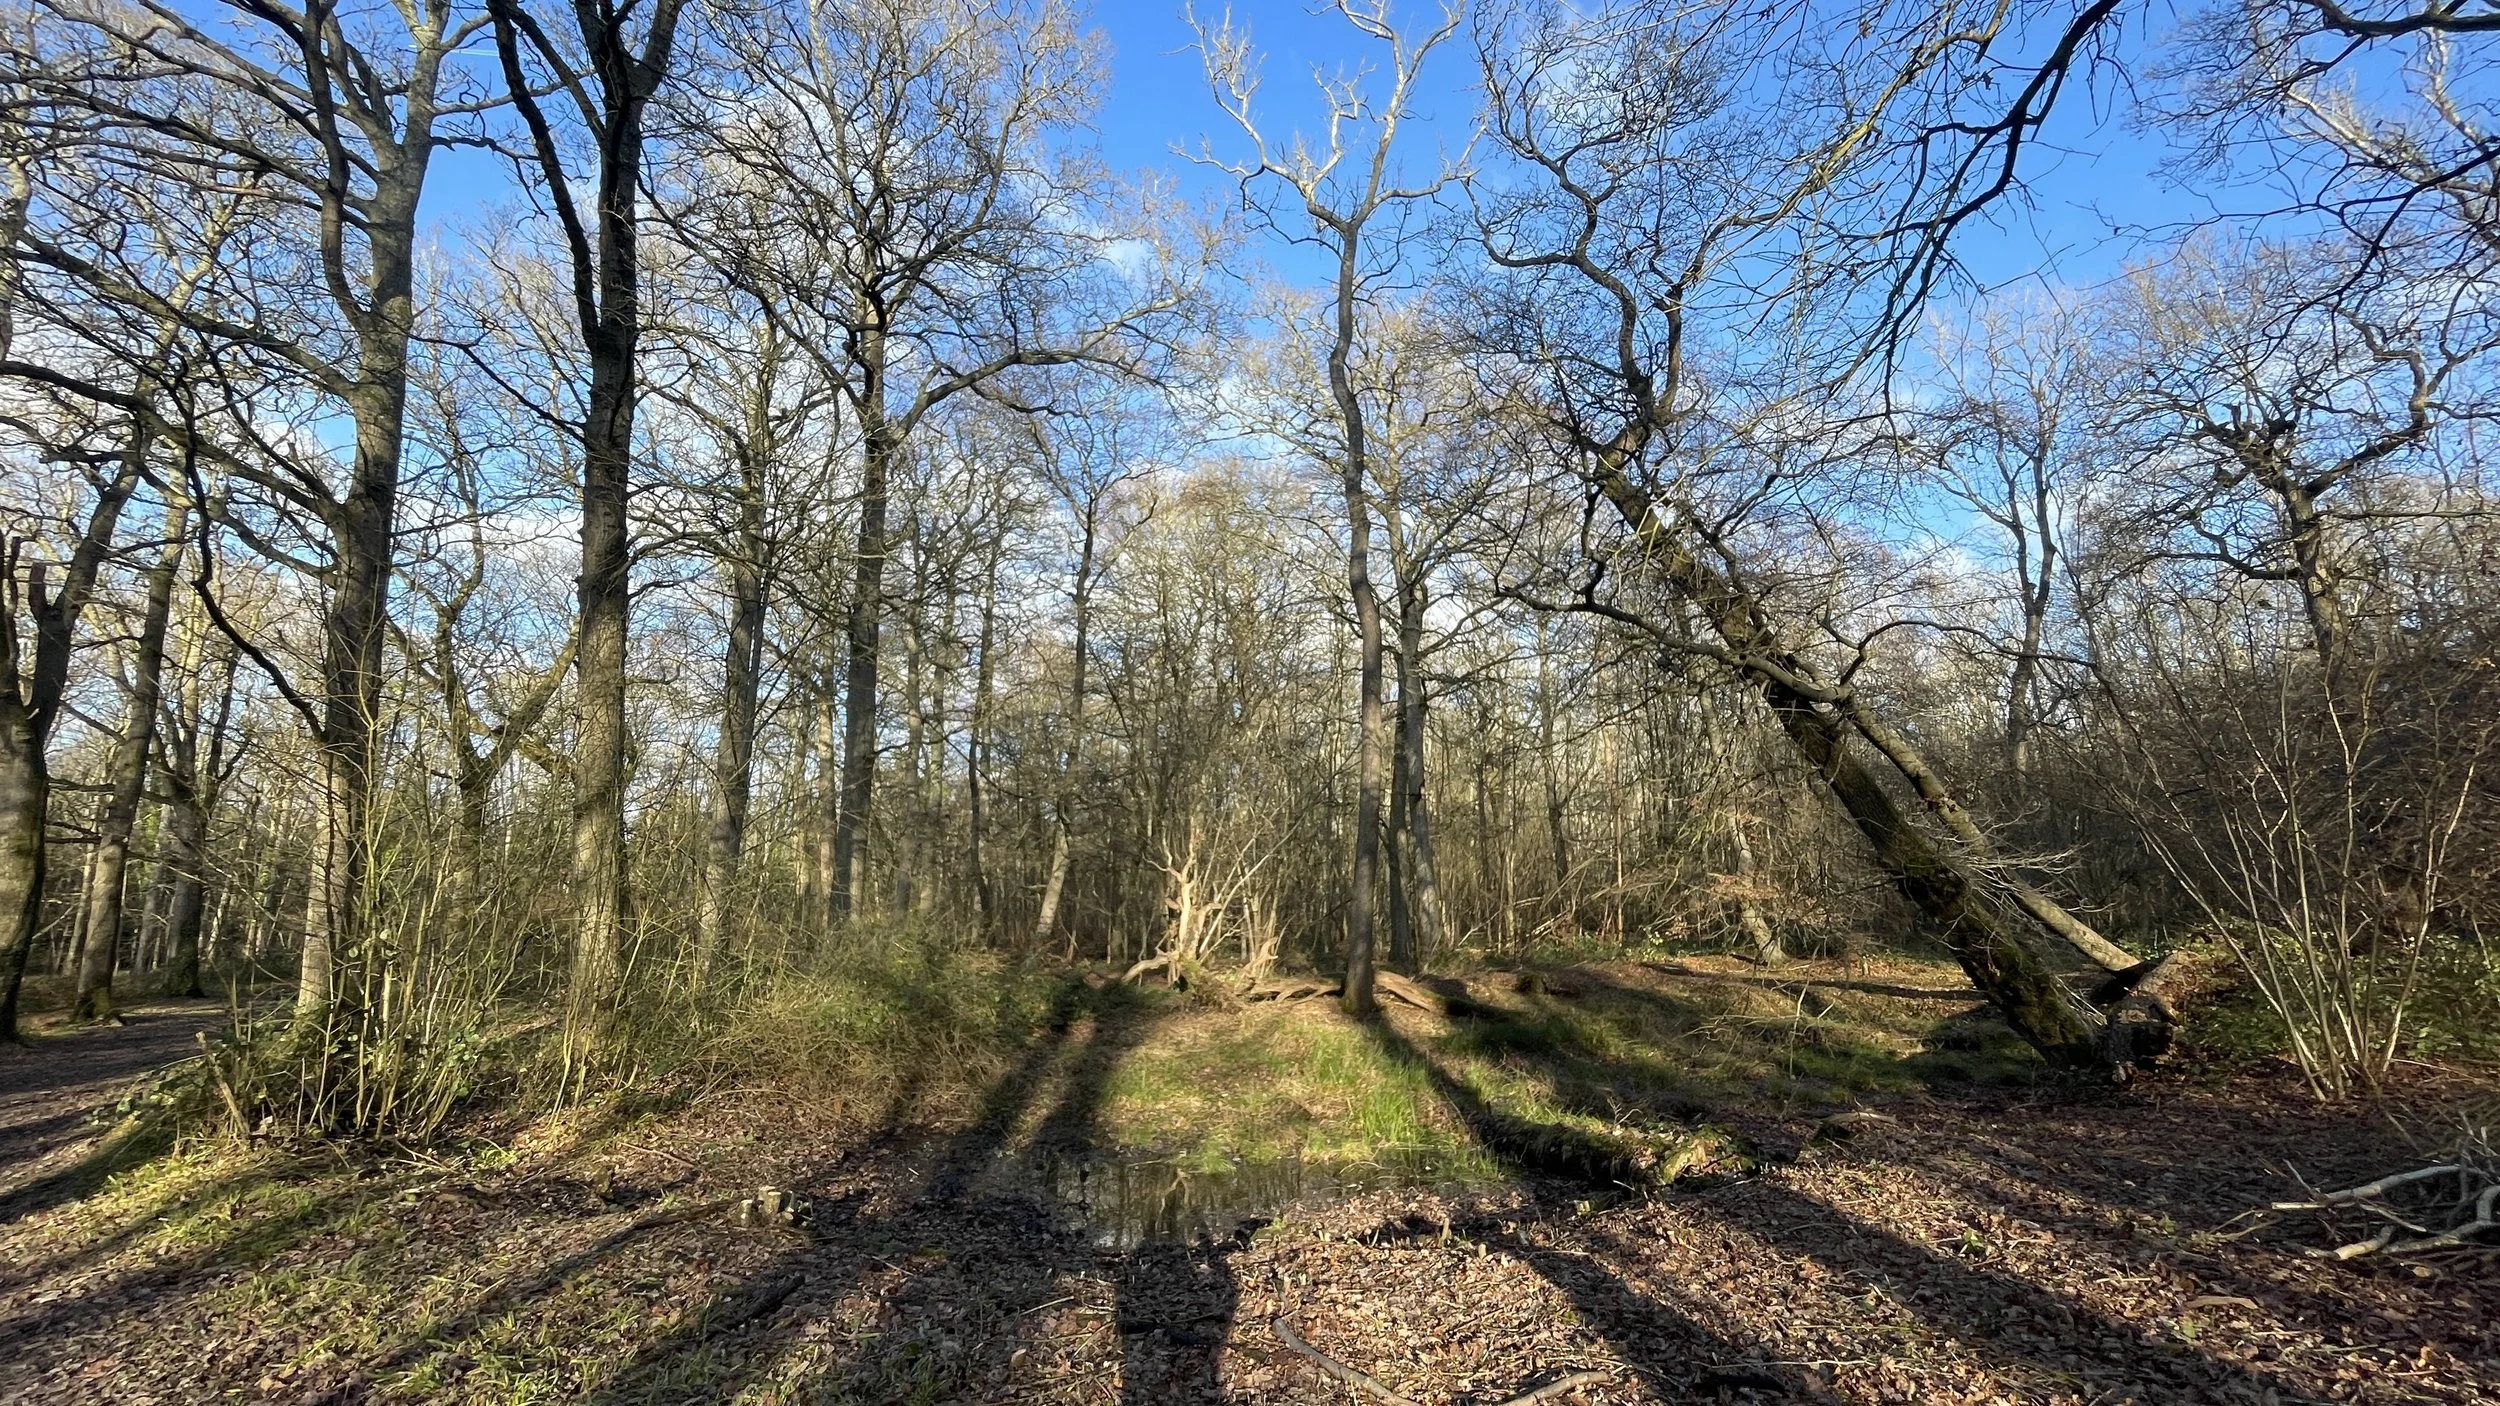
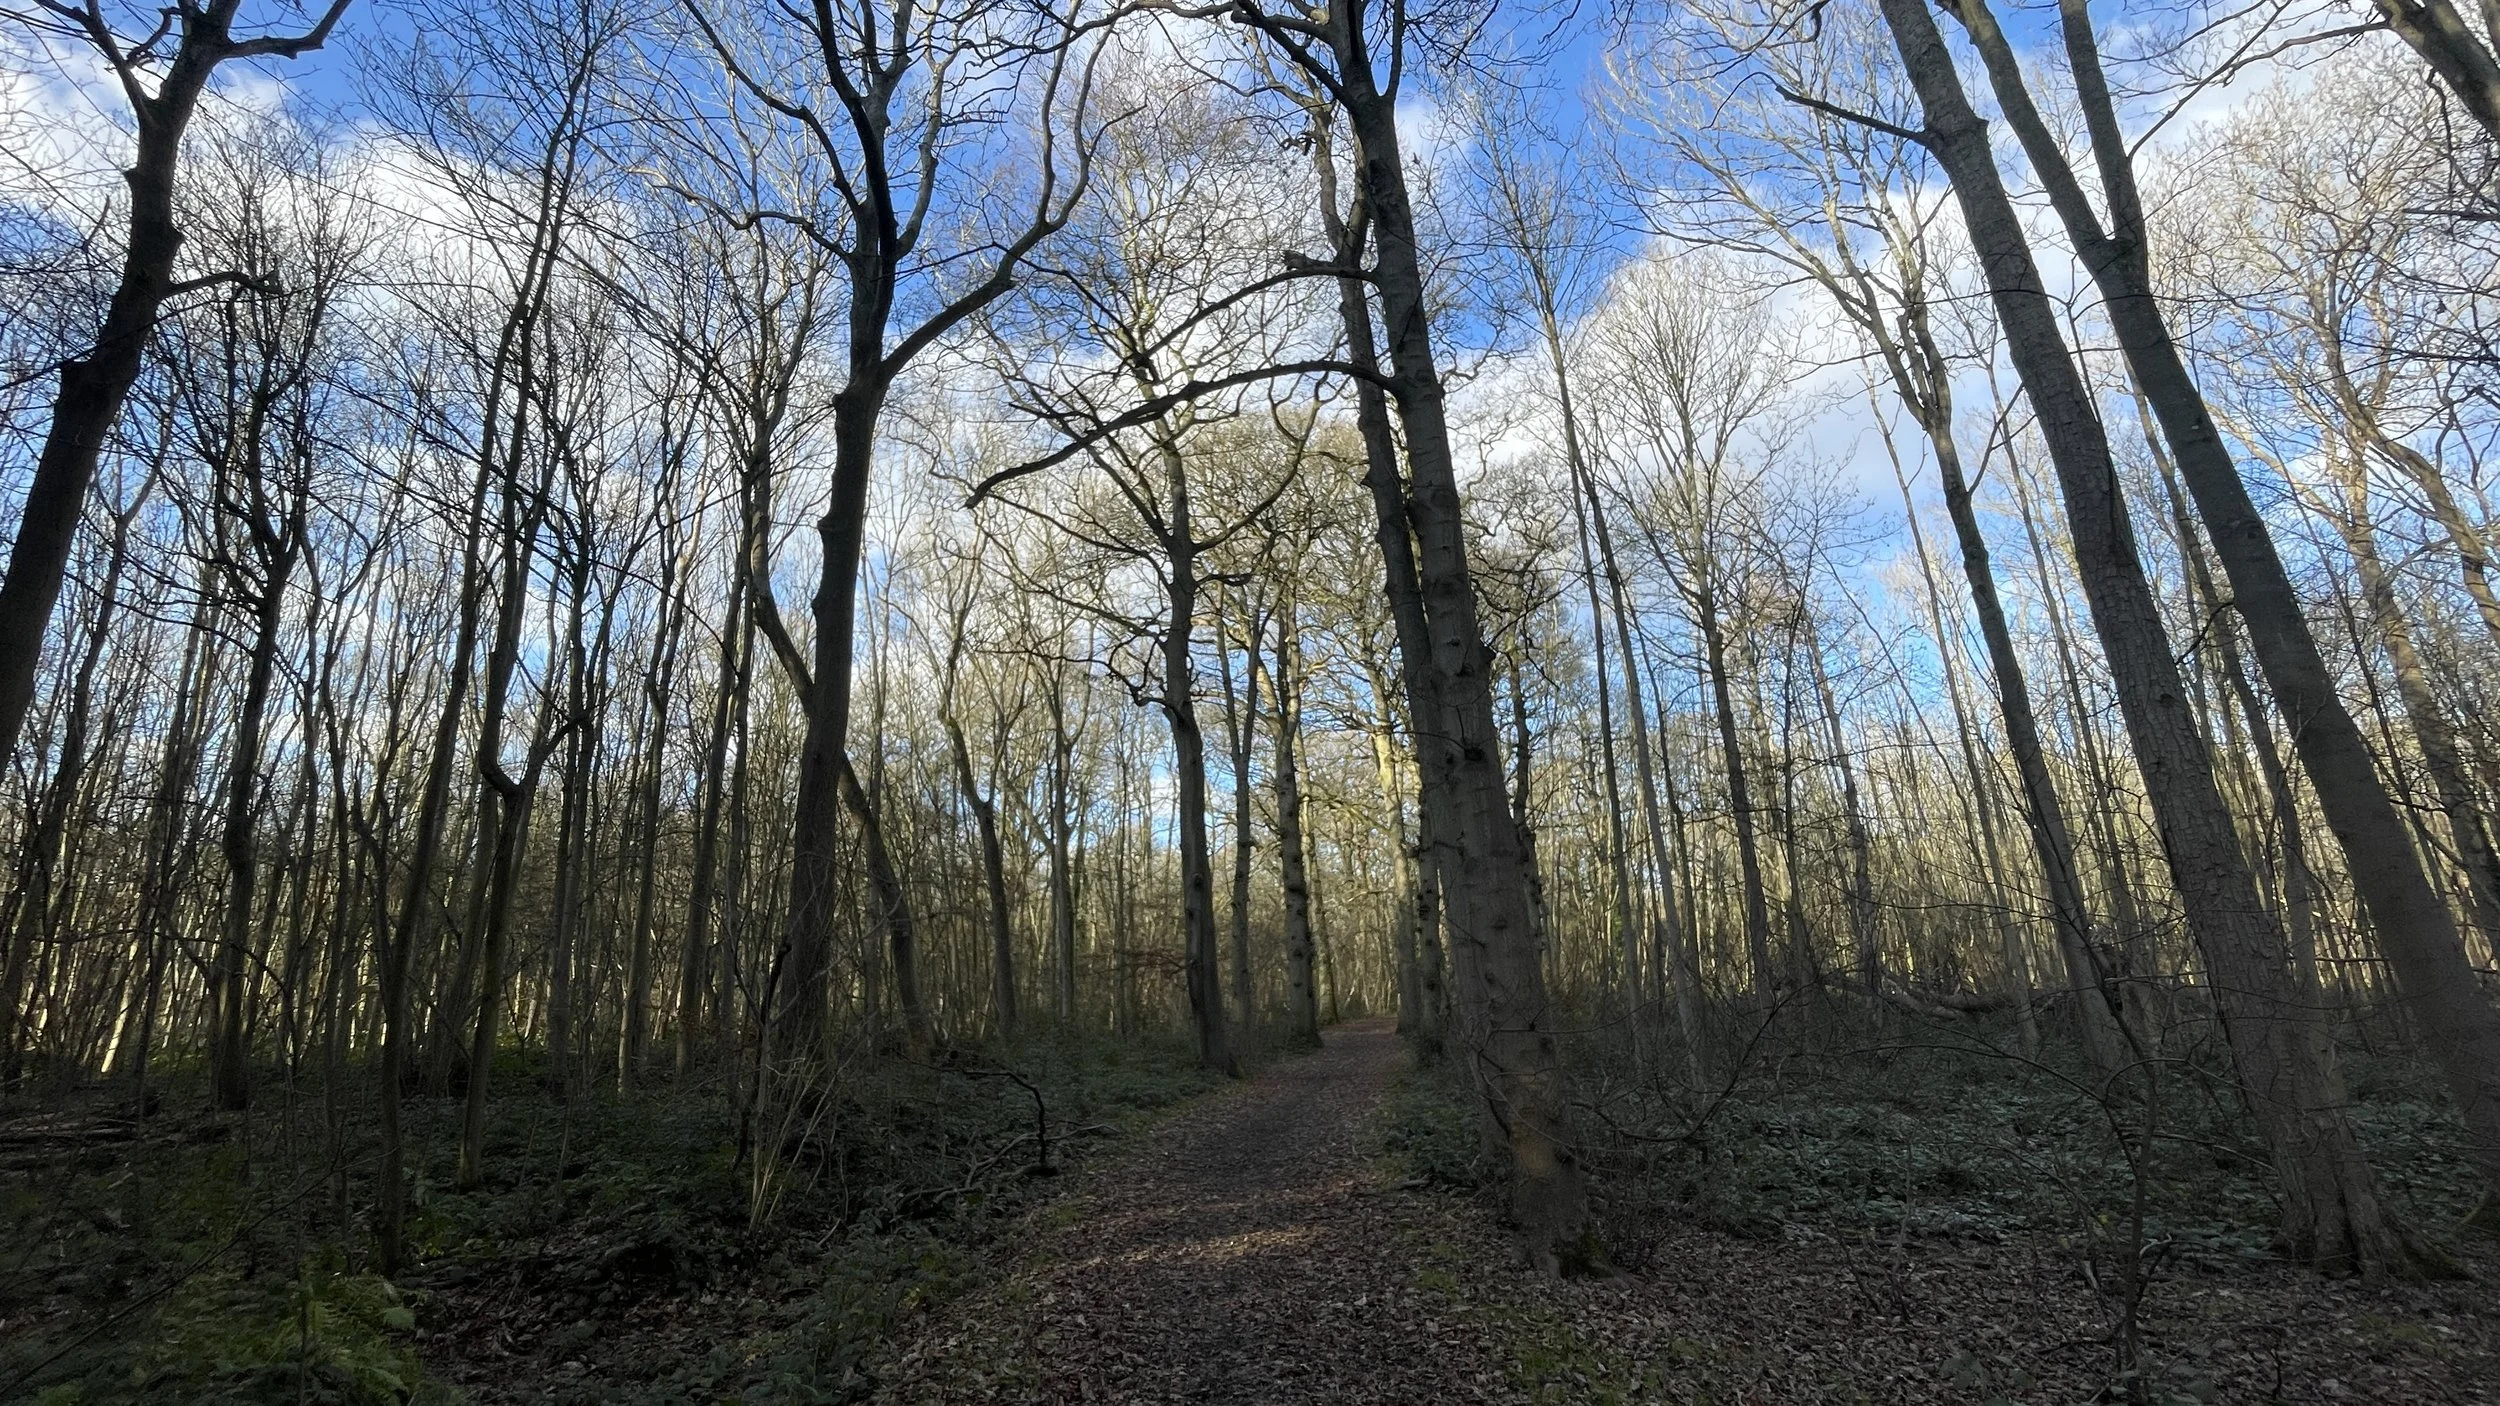
A winter’s day in Bisham Wood
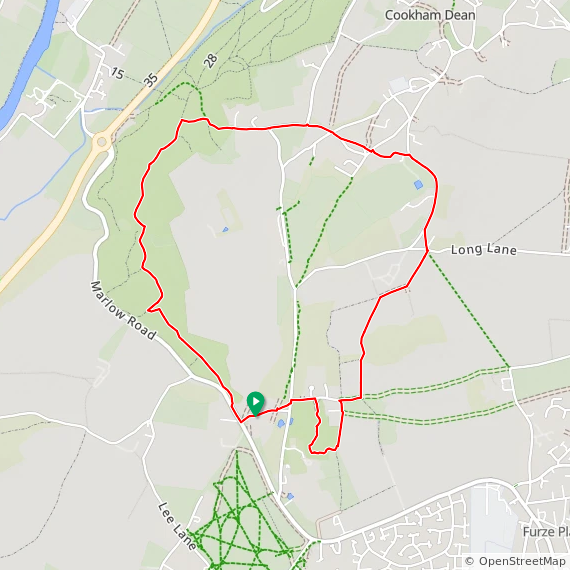
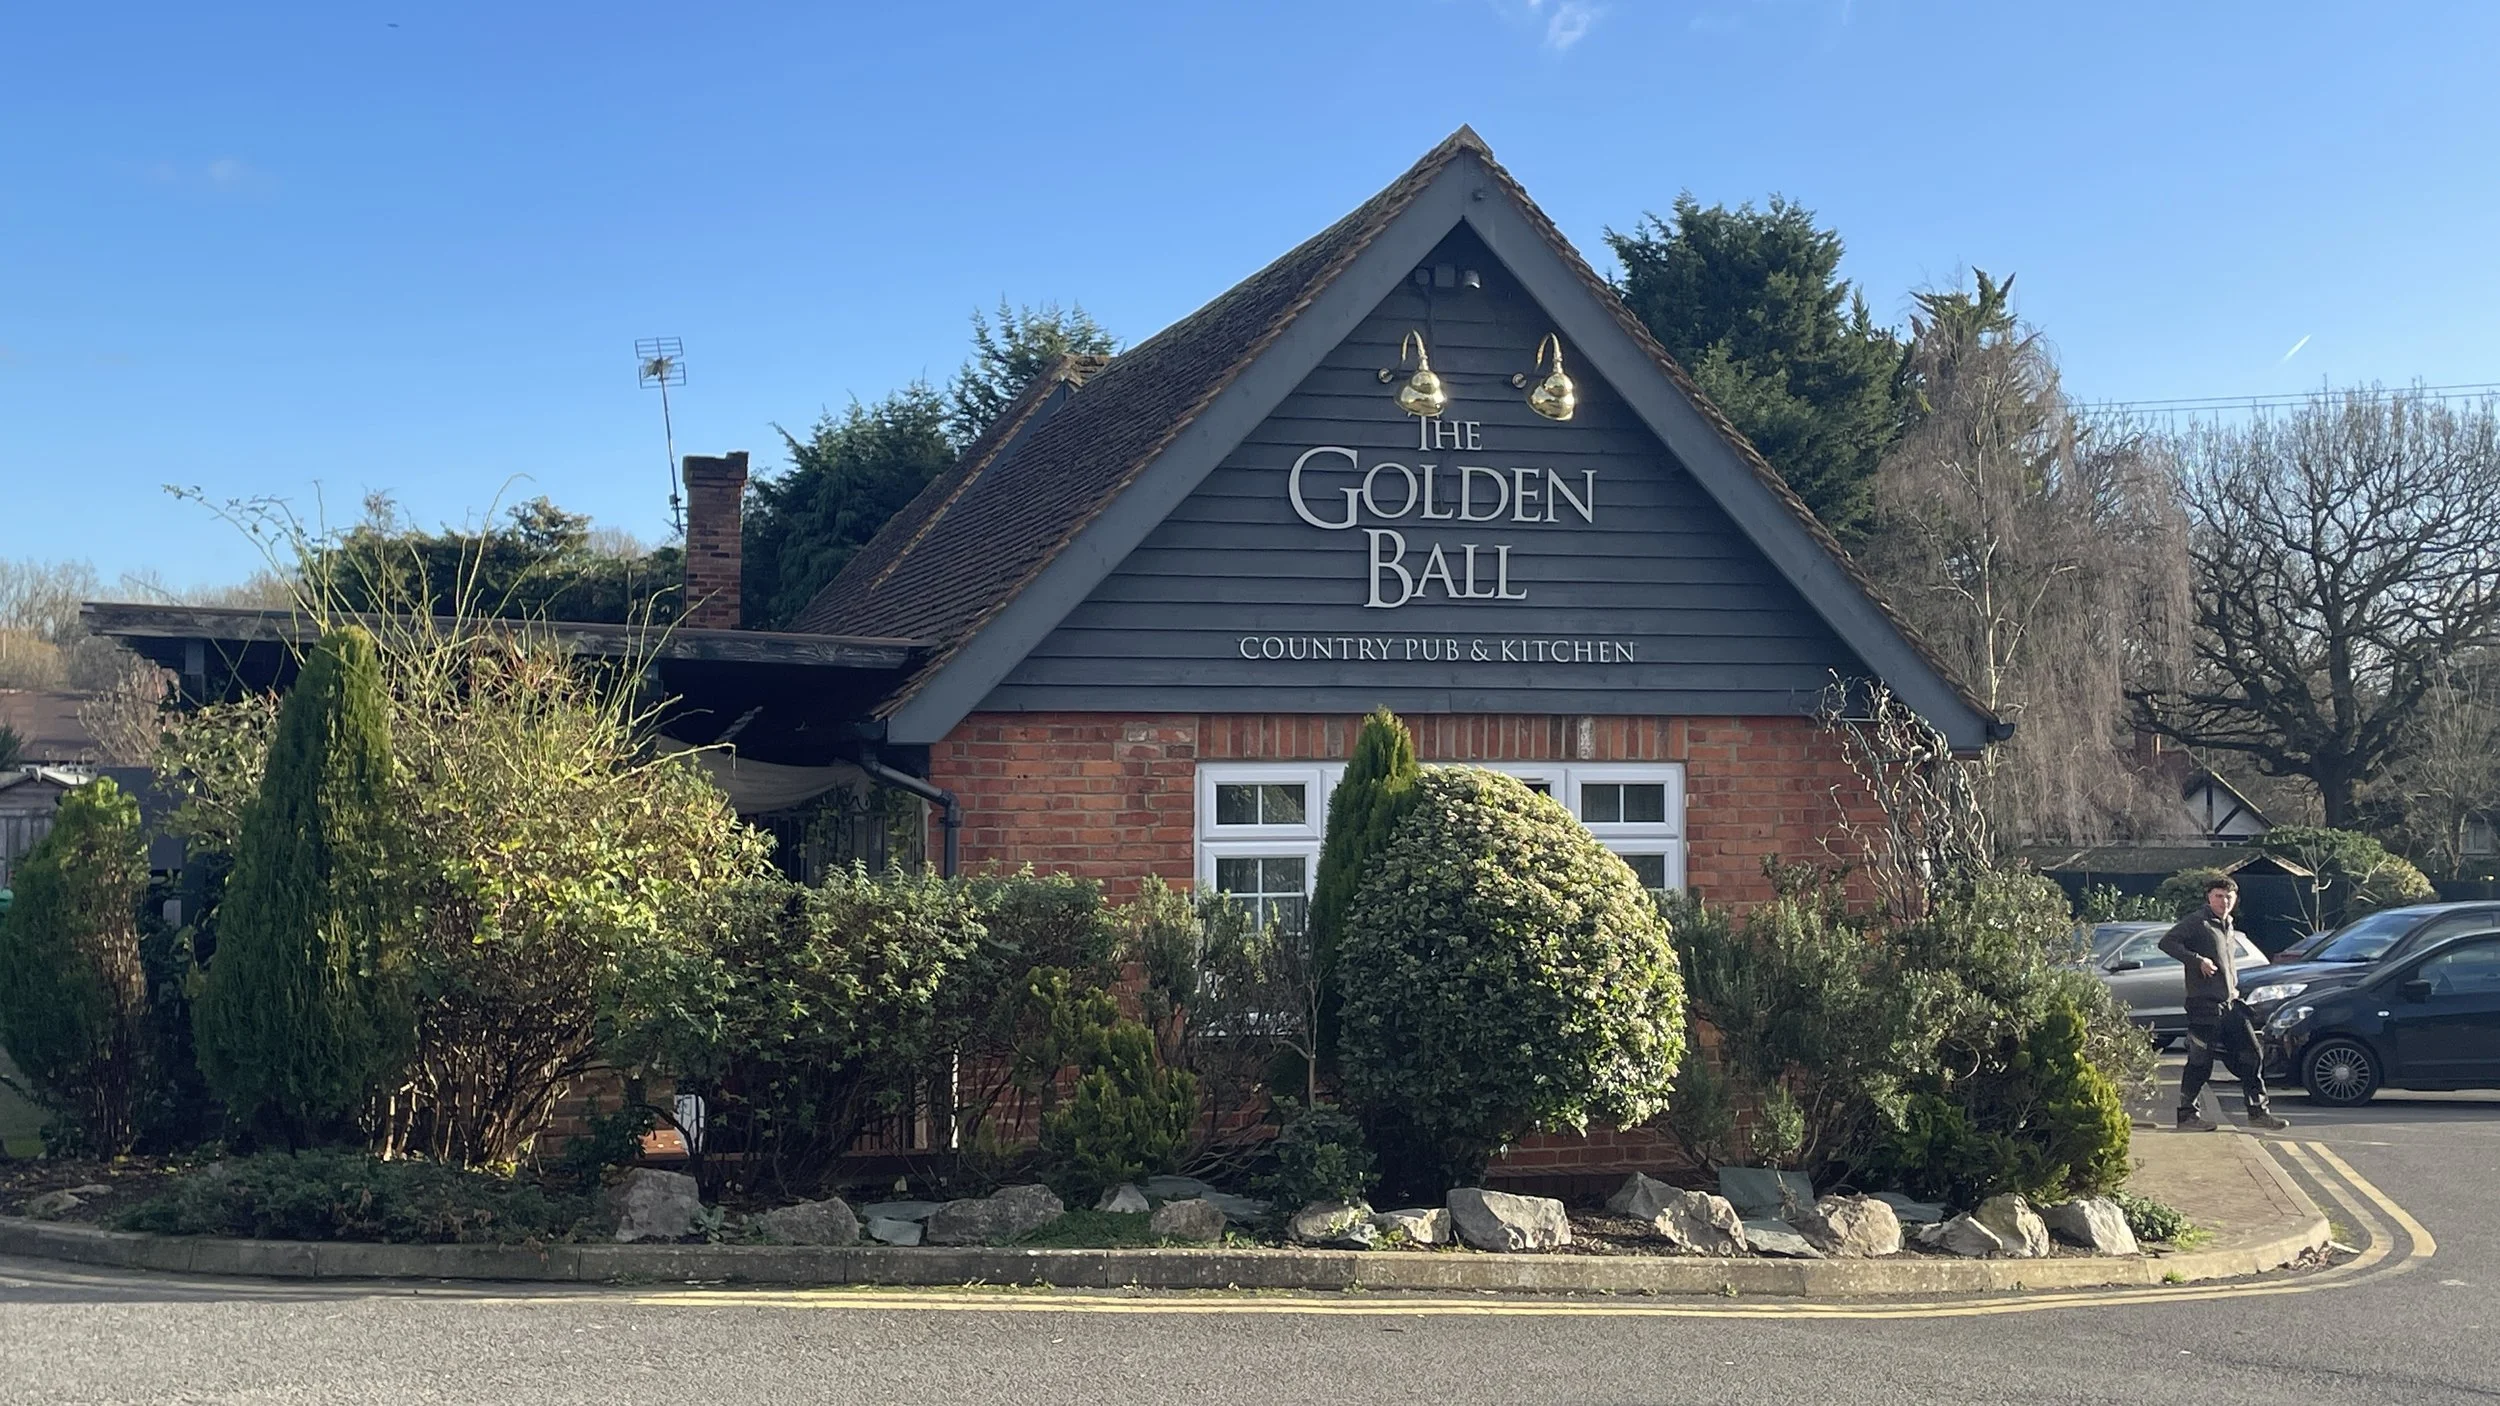
Start & Finish: The Golden Ball Pub and Kitchen, 2 Golden Ball Lane, Maidenhead, SL6 6NW
Distance: 6.9 km (4.3 miles)
Elevation change: +/- 77m
Terrain: Quiet village lanes, woodland tracks through ancient beech woods, and field-edge footpaths.
GPX File: get via Buy Me a Coffee
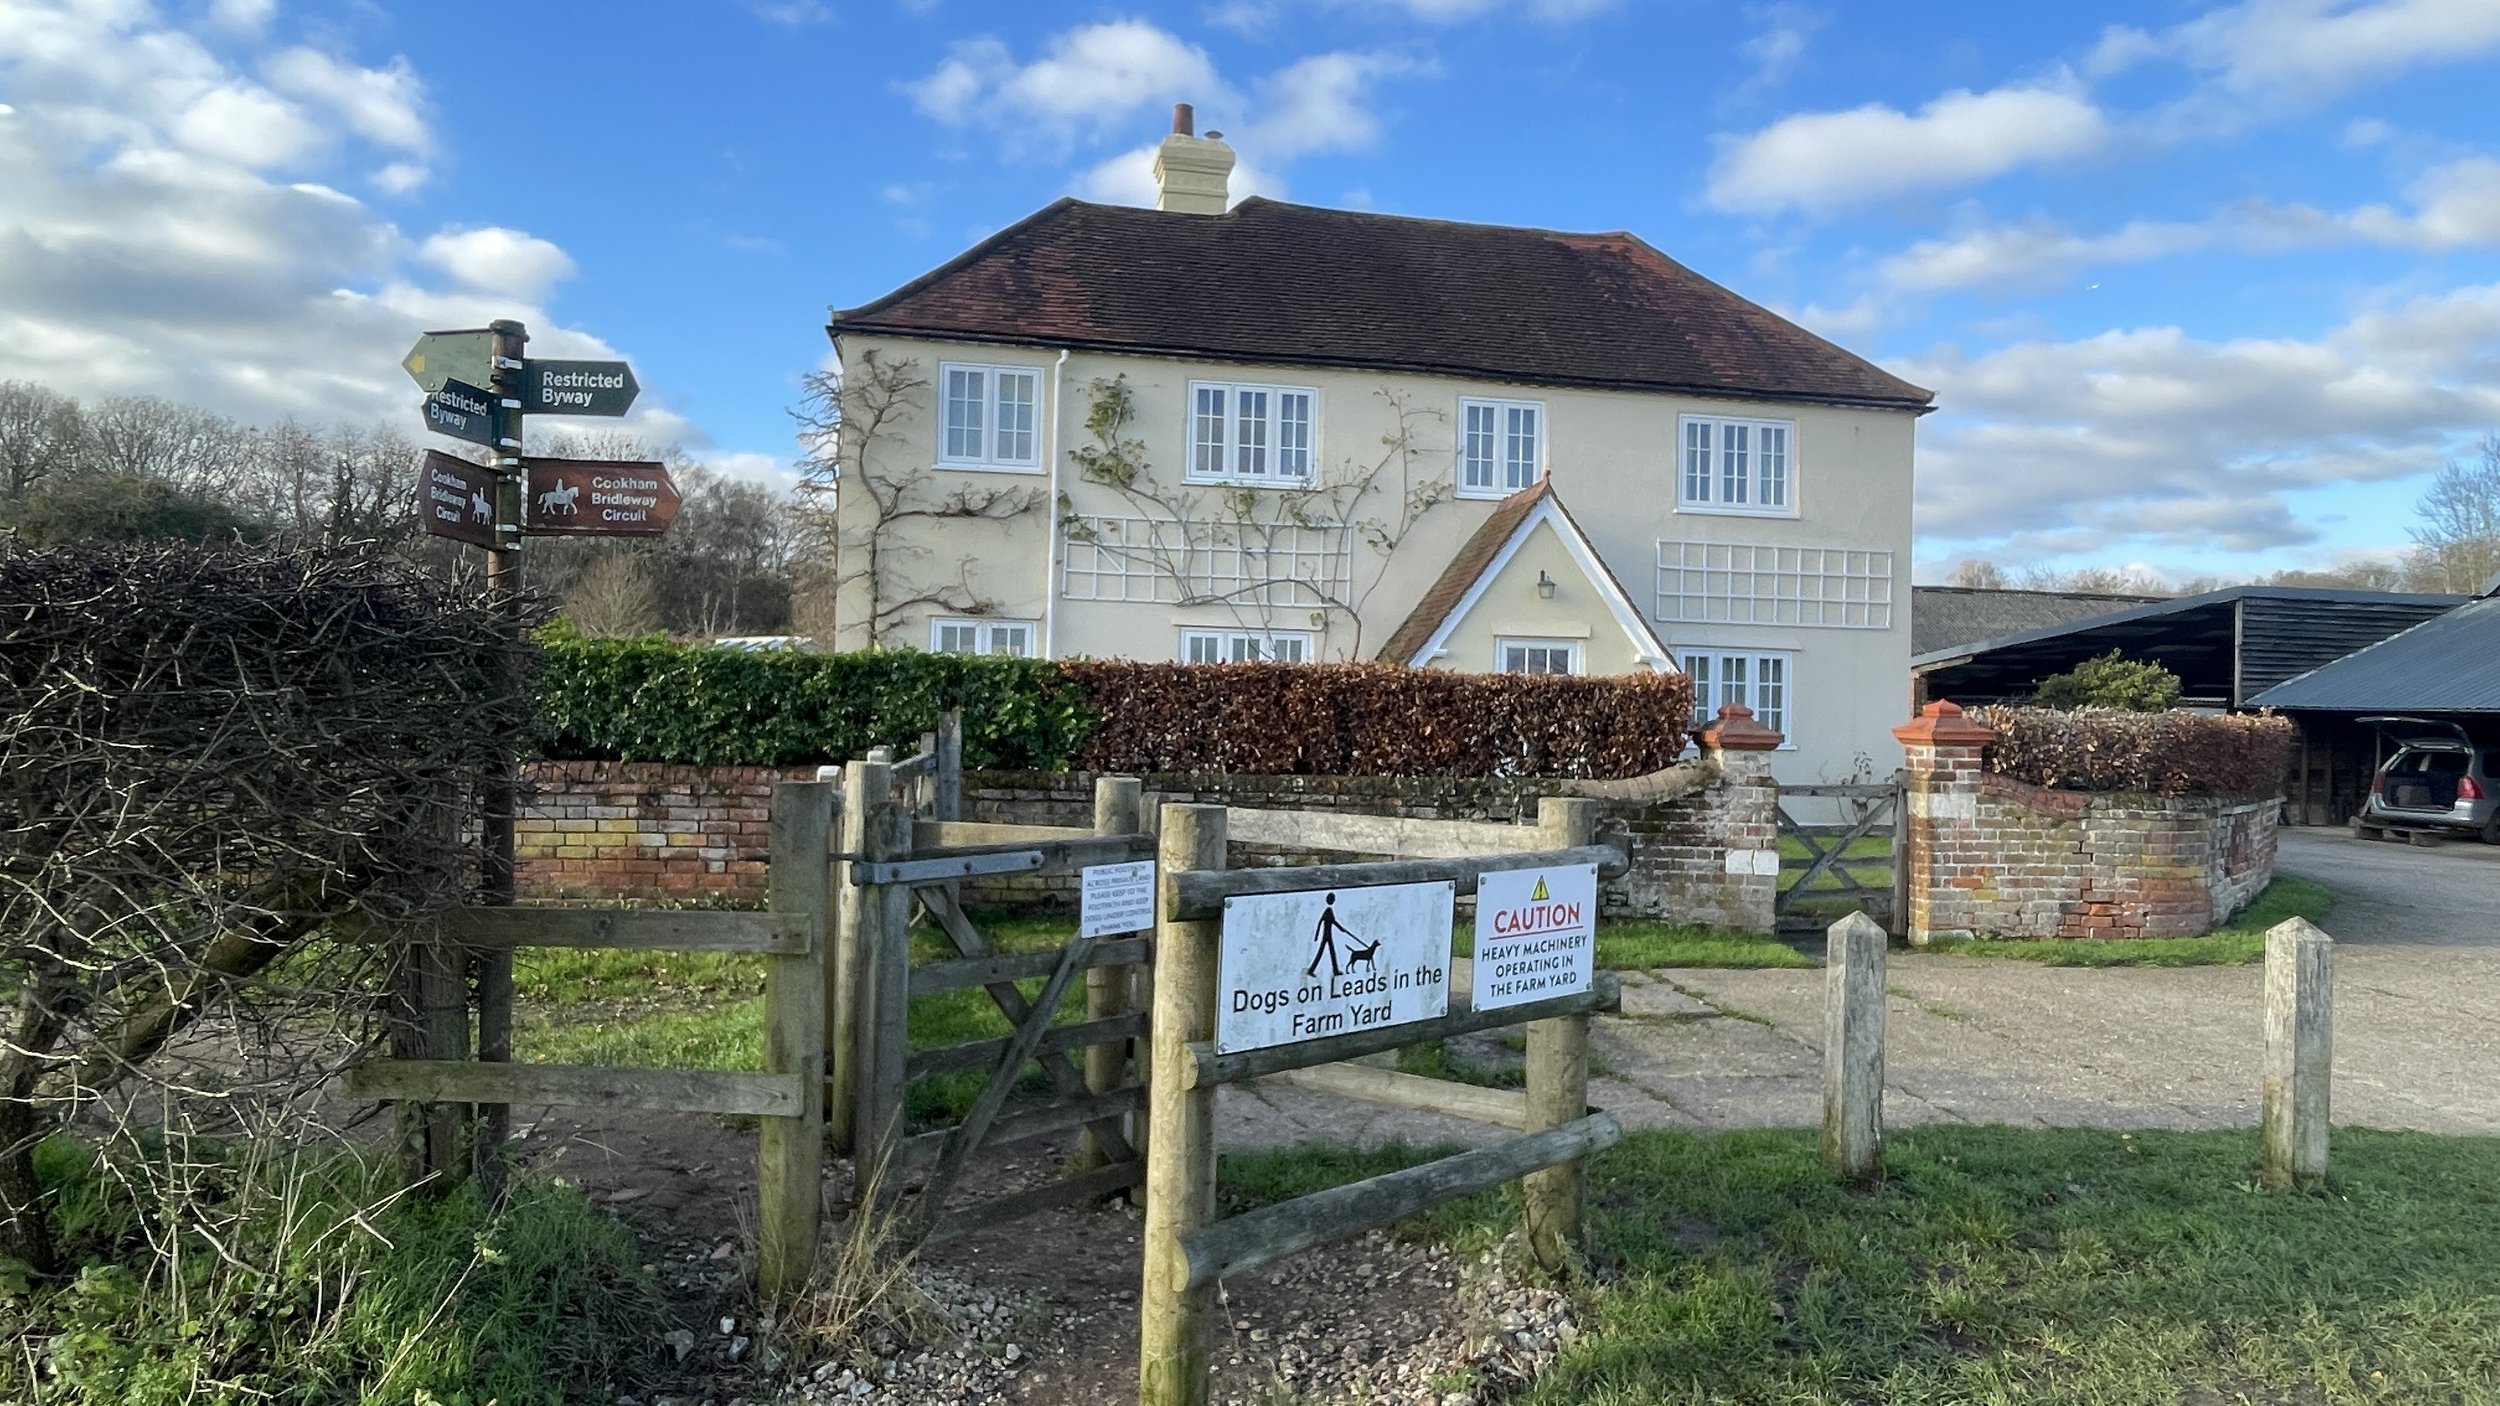
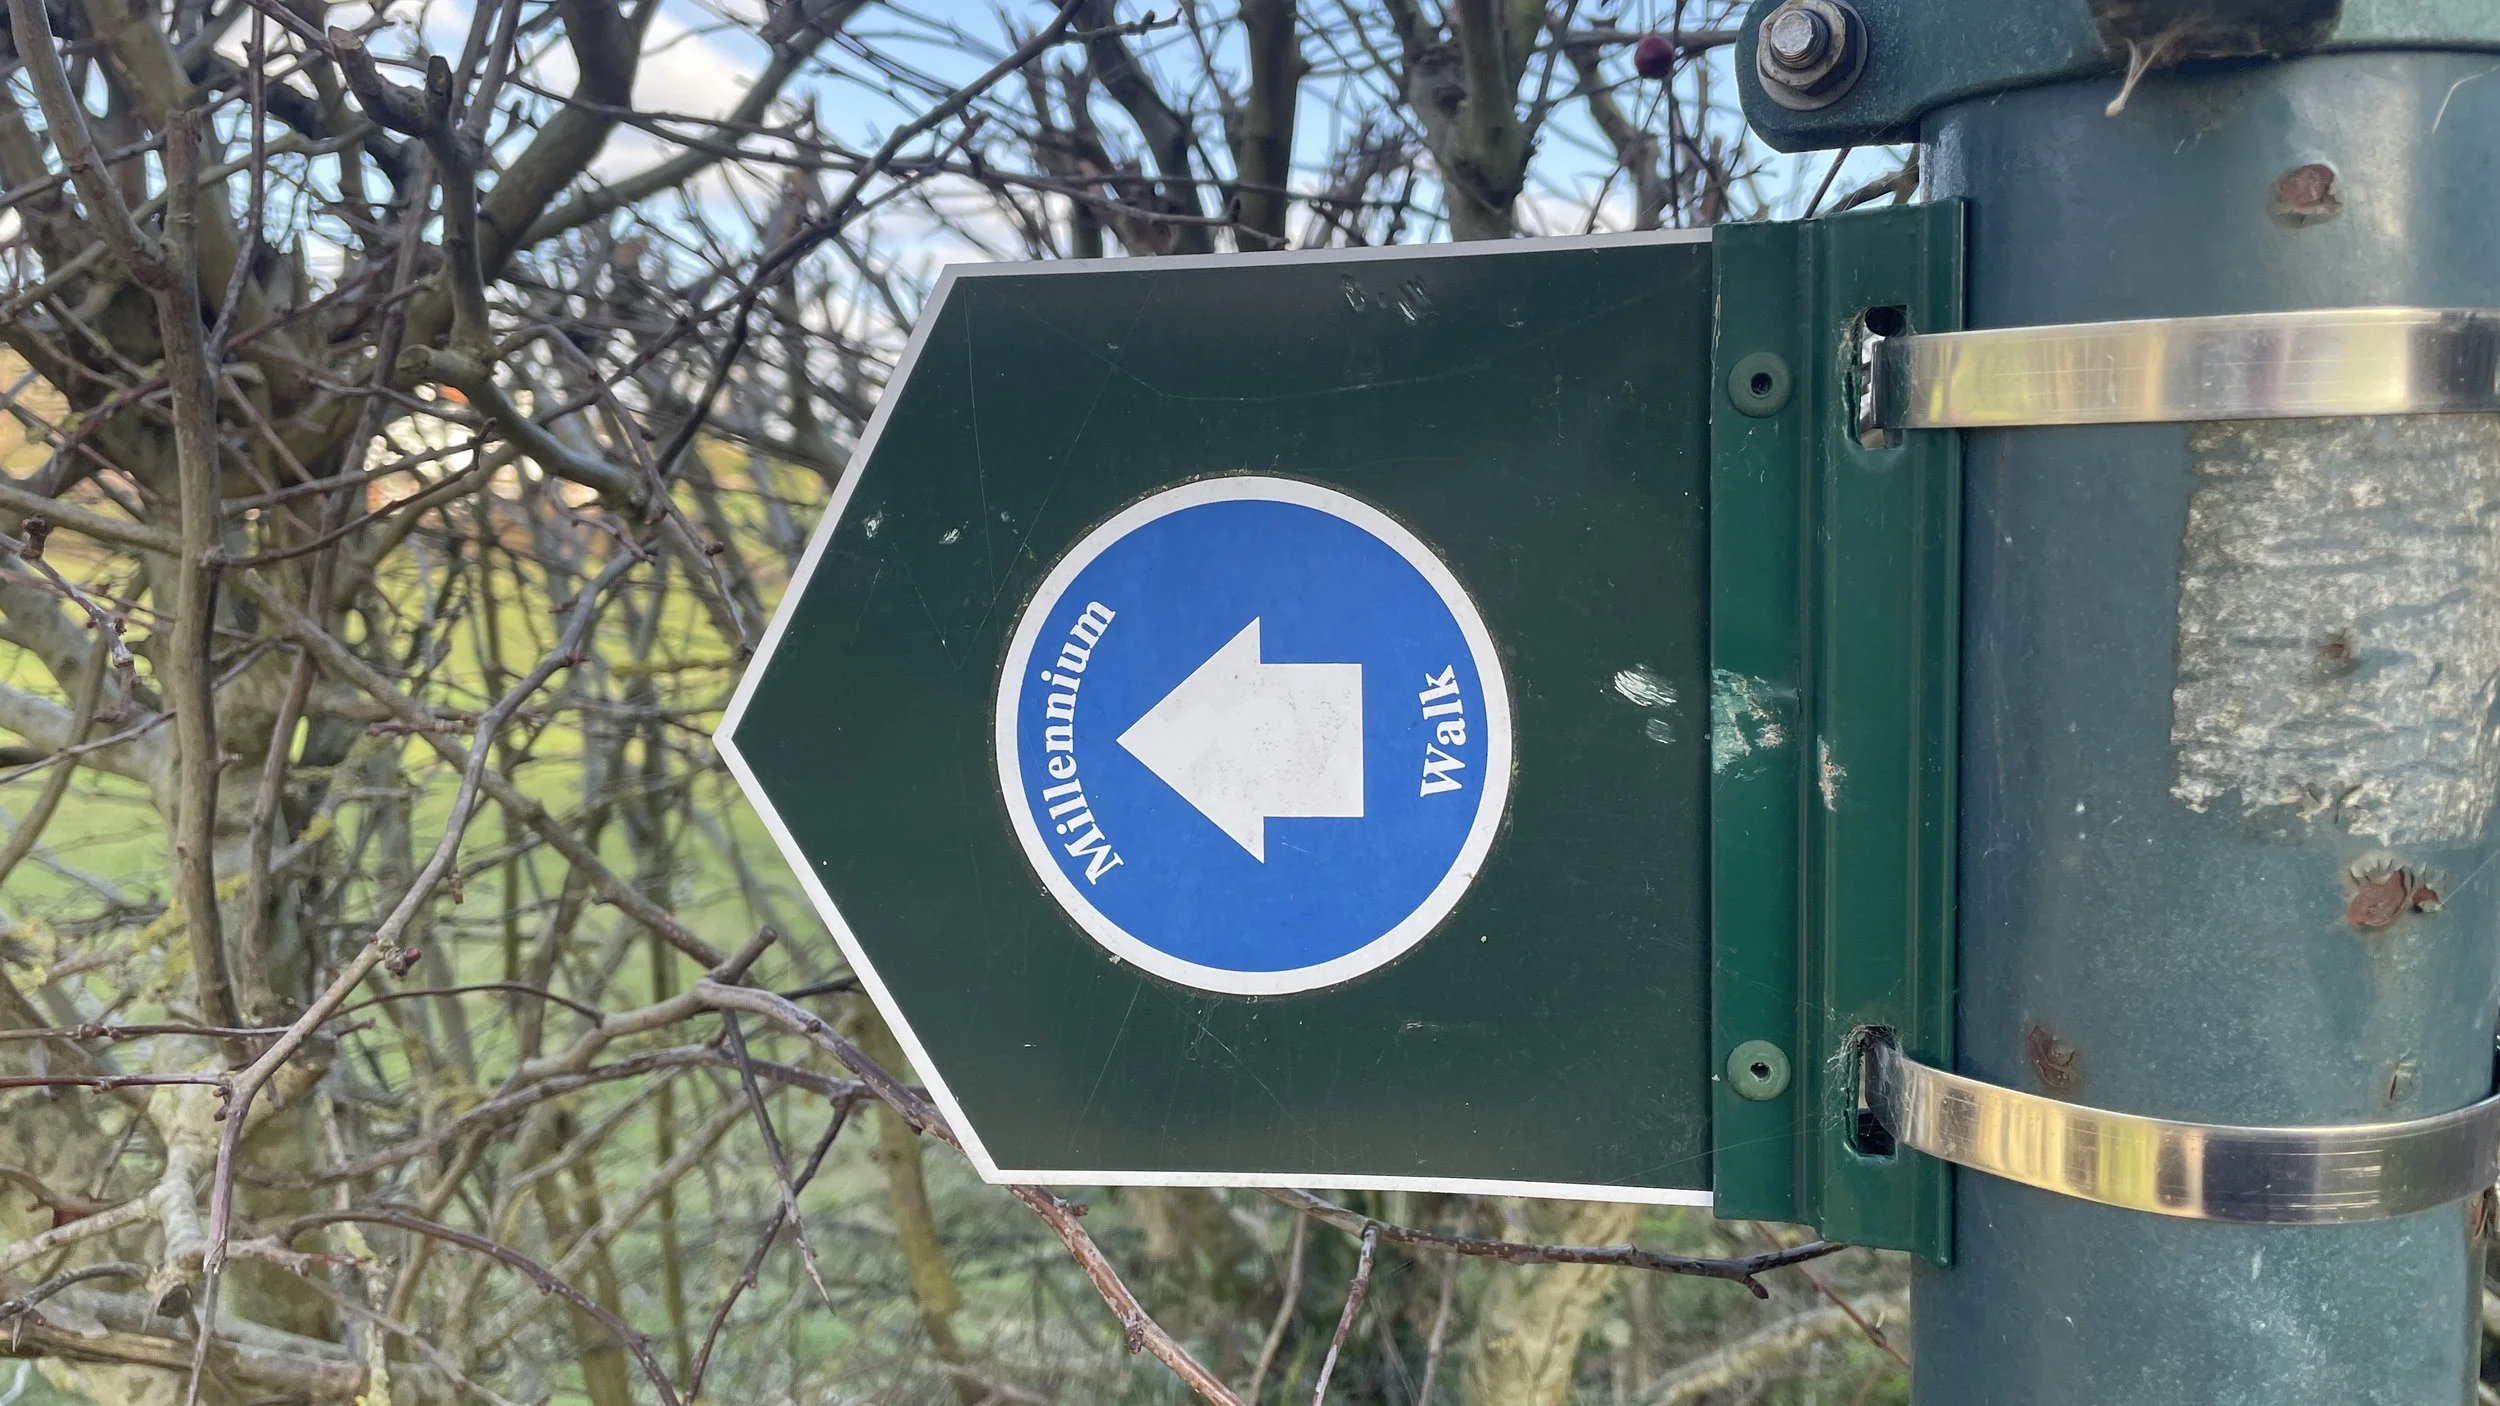
Other routes touched (walk): Maidenhead Boundary Walk, Maidenhead Millennium Walk, Maidenhead Commons Trail, The Chiltern Way Berkshire Loop
Other routes touched (cycle): Round Berkshire Cycle Route
OS Trig Pillar: TP5638 - Resr Mount Hill (On private property and not visible from the public right of way)
Pubs / Cafes on route: The Golden Ball at the start and finish
Map: Chiltern Hills East Map | High Wycombe, Maidenhead & Rickmansworth | Ordnance Survey | OS Explorer Map 172
Links: National Trust Maidenhead and Cookham Commons. Cookham Dean, Bisham Woods, Cookham, Kenneth Grahame, Wind in the Willows
This circular route offers a delightful journey through the rolling landscape of Berkshire and the edges of the Chilterns. The trail takes you through a beautiful combination of ancient woodland and open commons, providing a real sense of peace as you move between the sheltered forest tracks and elevated village paths. It is a perfect choice for those who enjoy a varied landscape within a relatively compact distance.
Walking Directions
For this walk we parked on Golden Ball Lane near the pub of the same name. The guidance below will help you navigate but don’t use it as a fully accurate turn-by-turn guide. Always take a map and/or a GPX route and prepare well for the weather and terrain.
Start at The Golden Ball: Begin at the pub on Golden Ball Lane and head east. Cross over Winter Hill Road to continue onto Malders Lane.
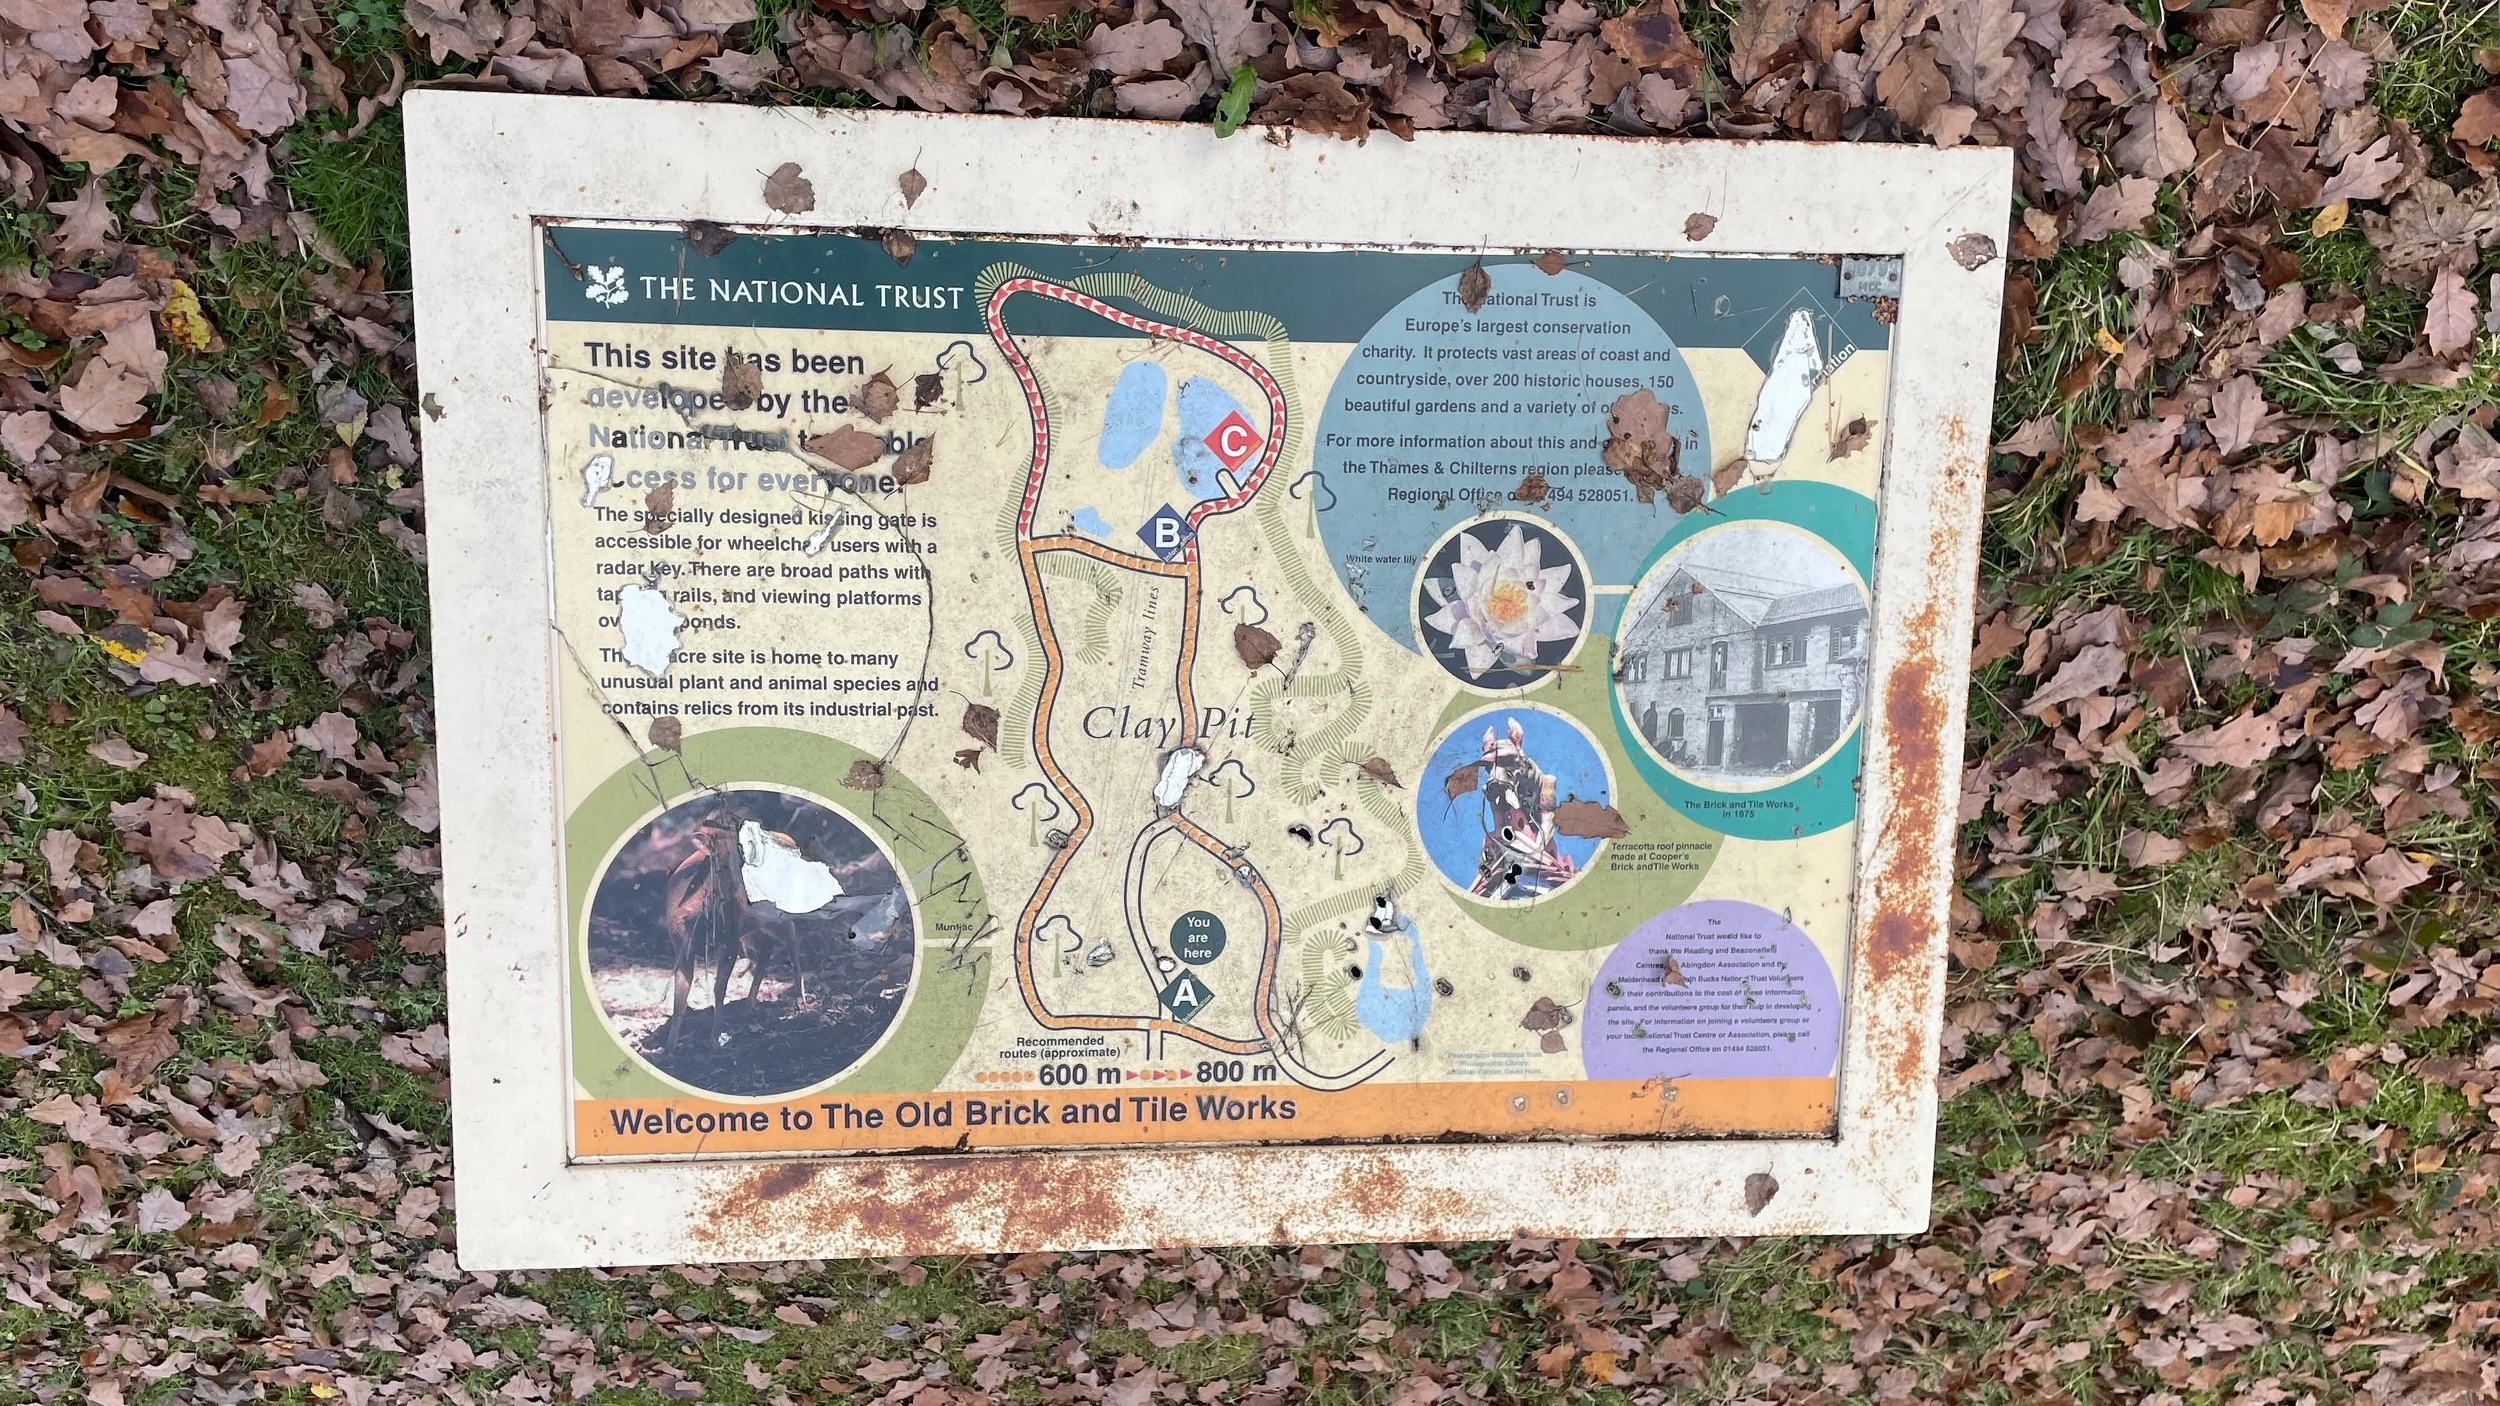
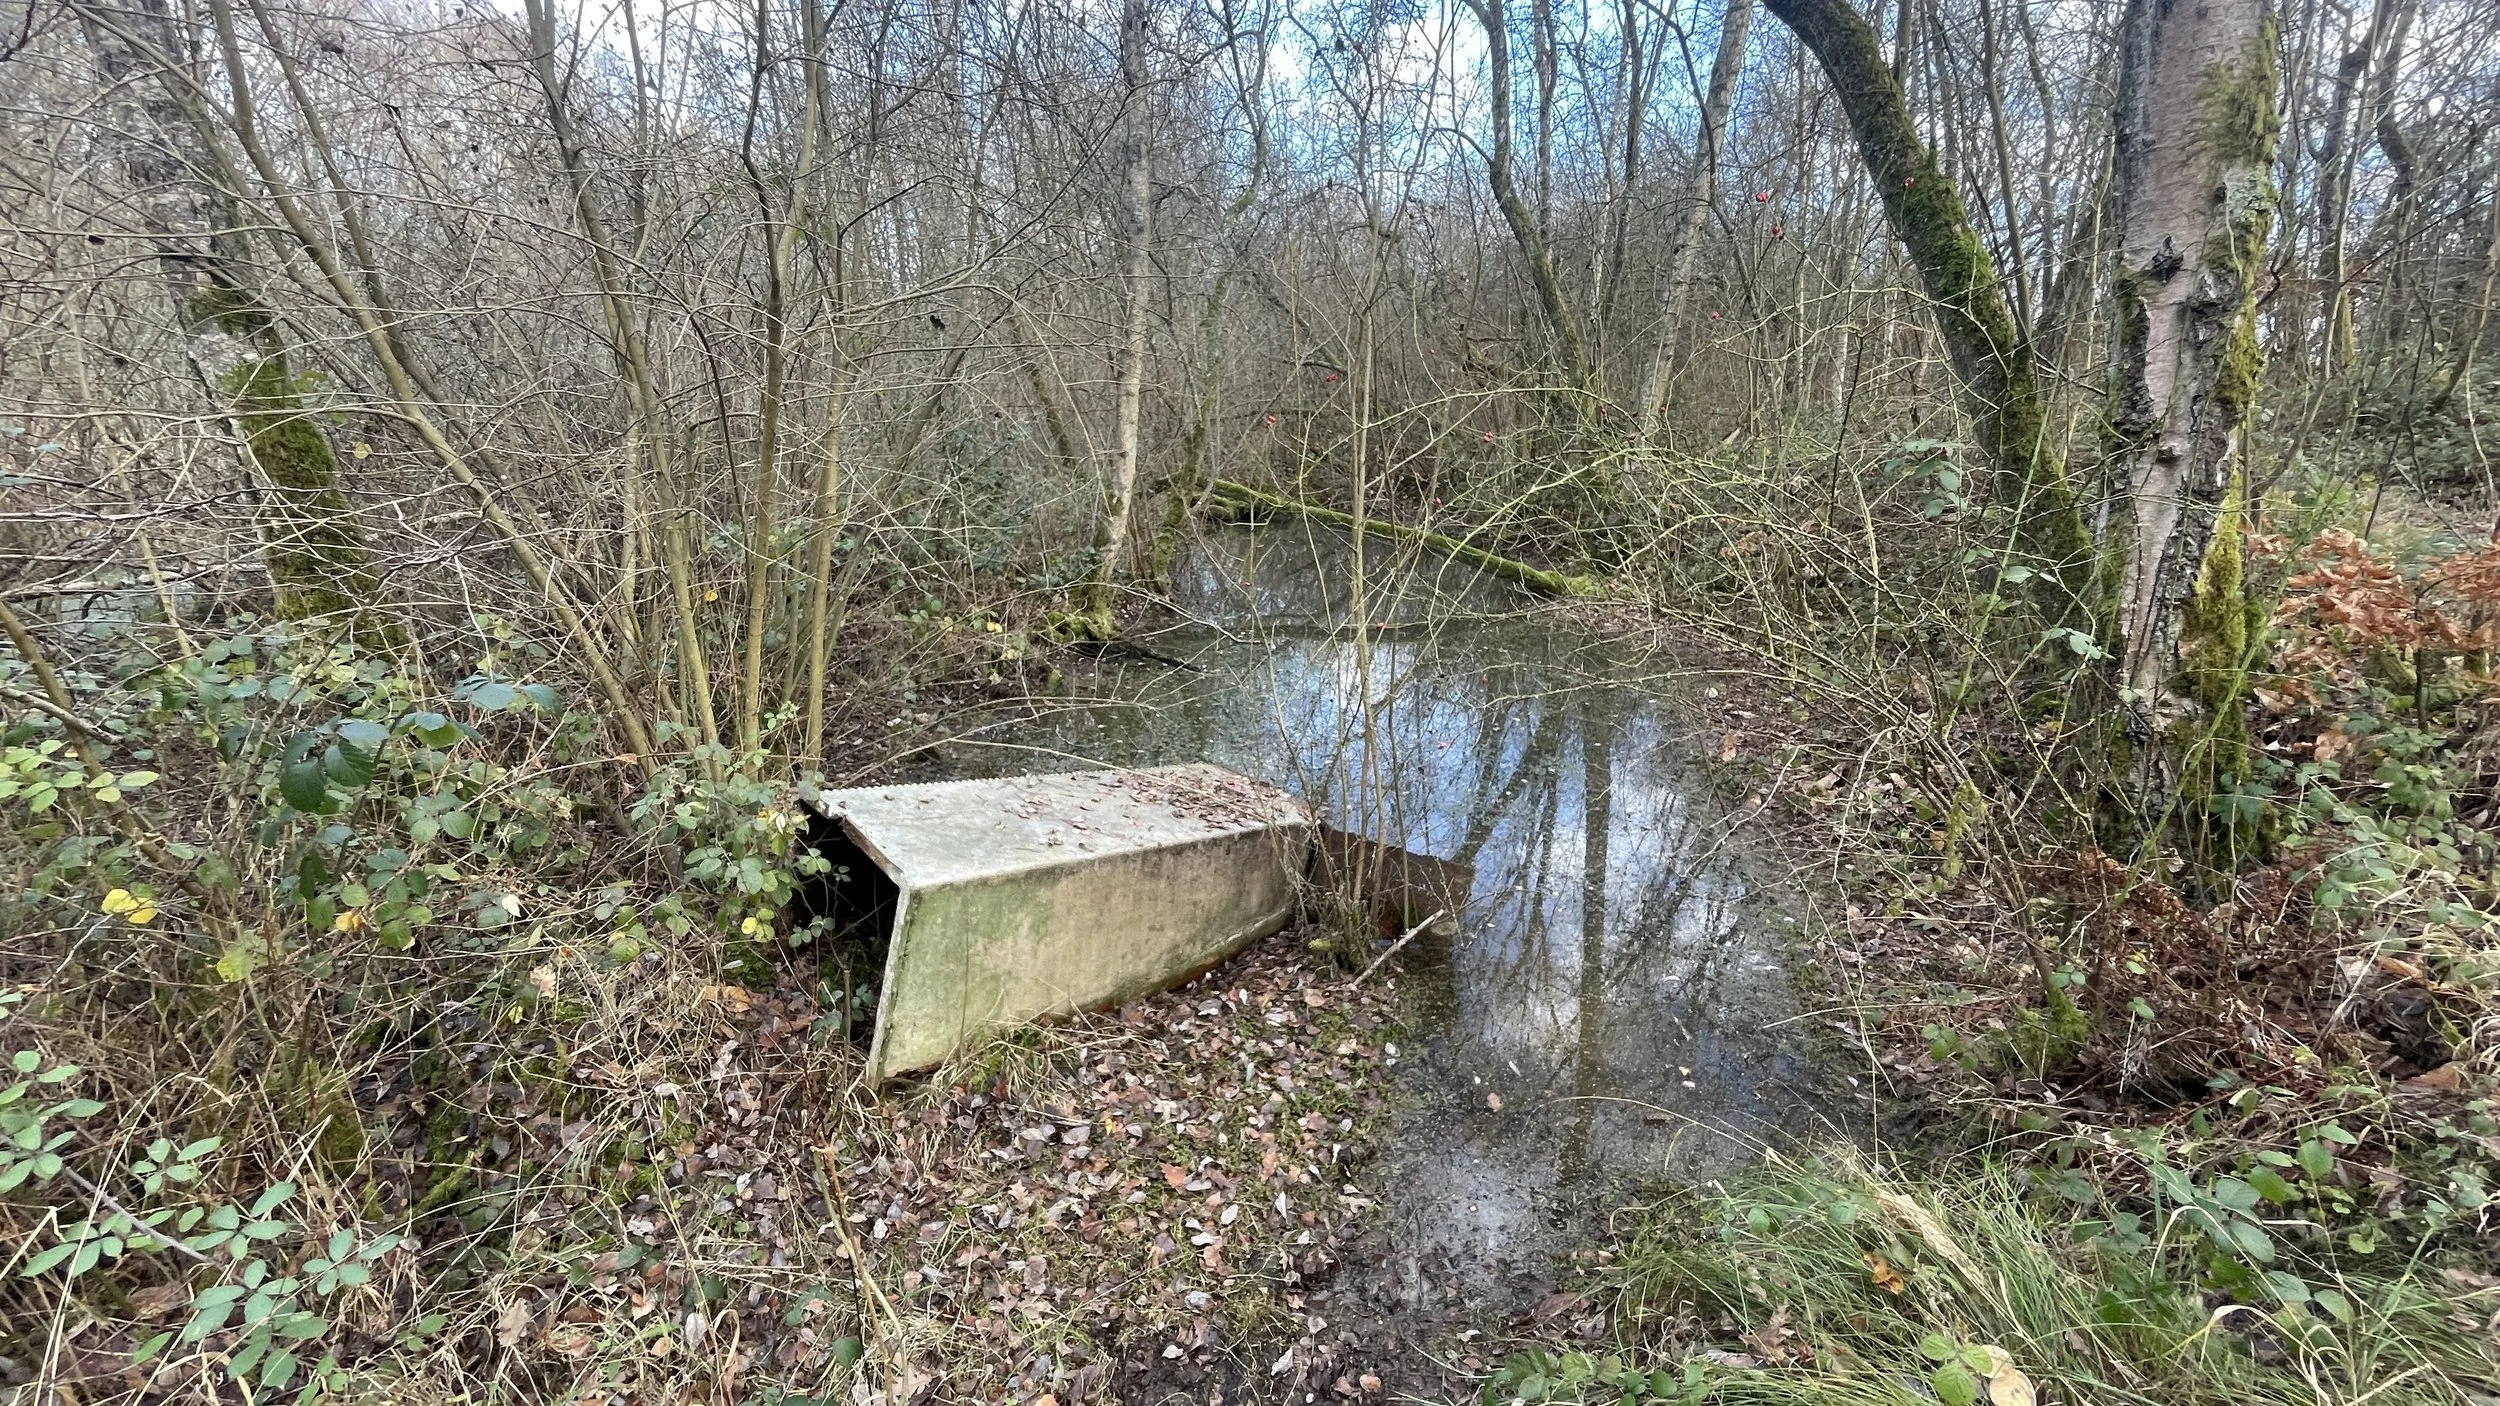
Enter the Old Brick Works: Shortly on your right, enter the National Trust Old Brick Works. Follow the trail down to the pond, circling it to the east before taking the exit path on the right that runs along its eastern edge back up to Malders Lane.
Cross to the Fields: Turn right on Malders Lane for approximately 150m. At the junction of the Maidenhead Boundary and Millennium walks, take a left to head north across the open field.
Long Lane Crossing: Upon reaching the driveway at the 2km mark (Copas Brothers property), turn right and follow it to Long Lane. Cross directly over to Spring Lane and continue north.
Village Navigation: Turn left onto Pudseys Close. Follow this west, cross Church Road, and traverse the village green to reach Hollybush Lane.
Into the Woods: Cross Bigfrith Lane onto Hackett Lane. Follow it to the very end where it enters the ancient canopy of Bisham Woods.
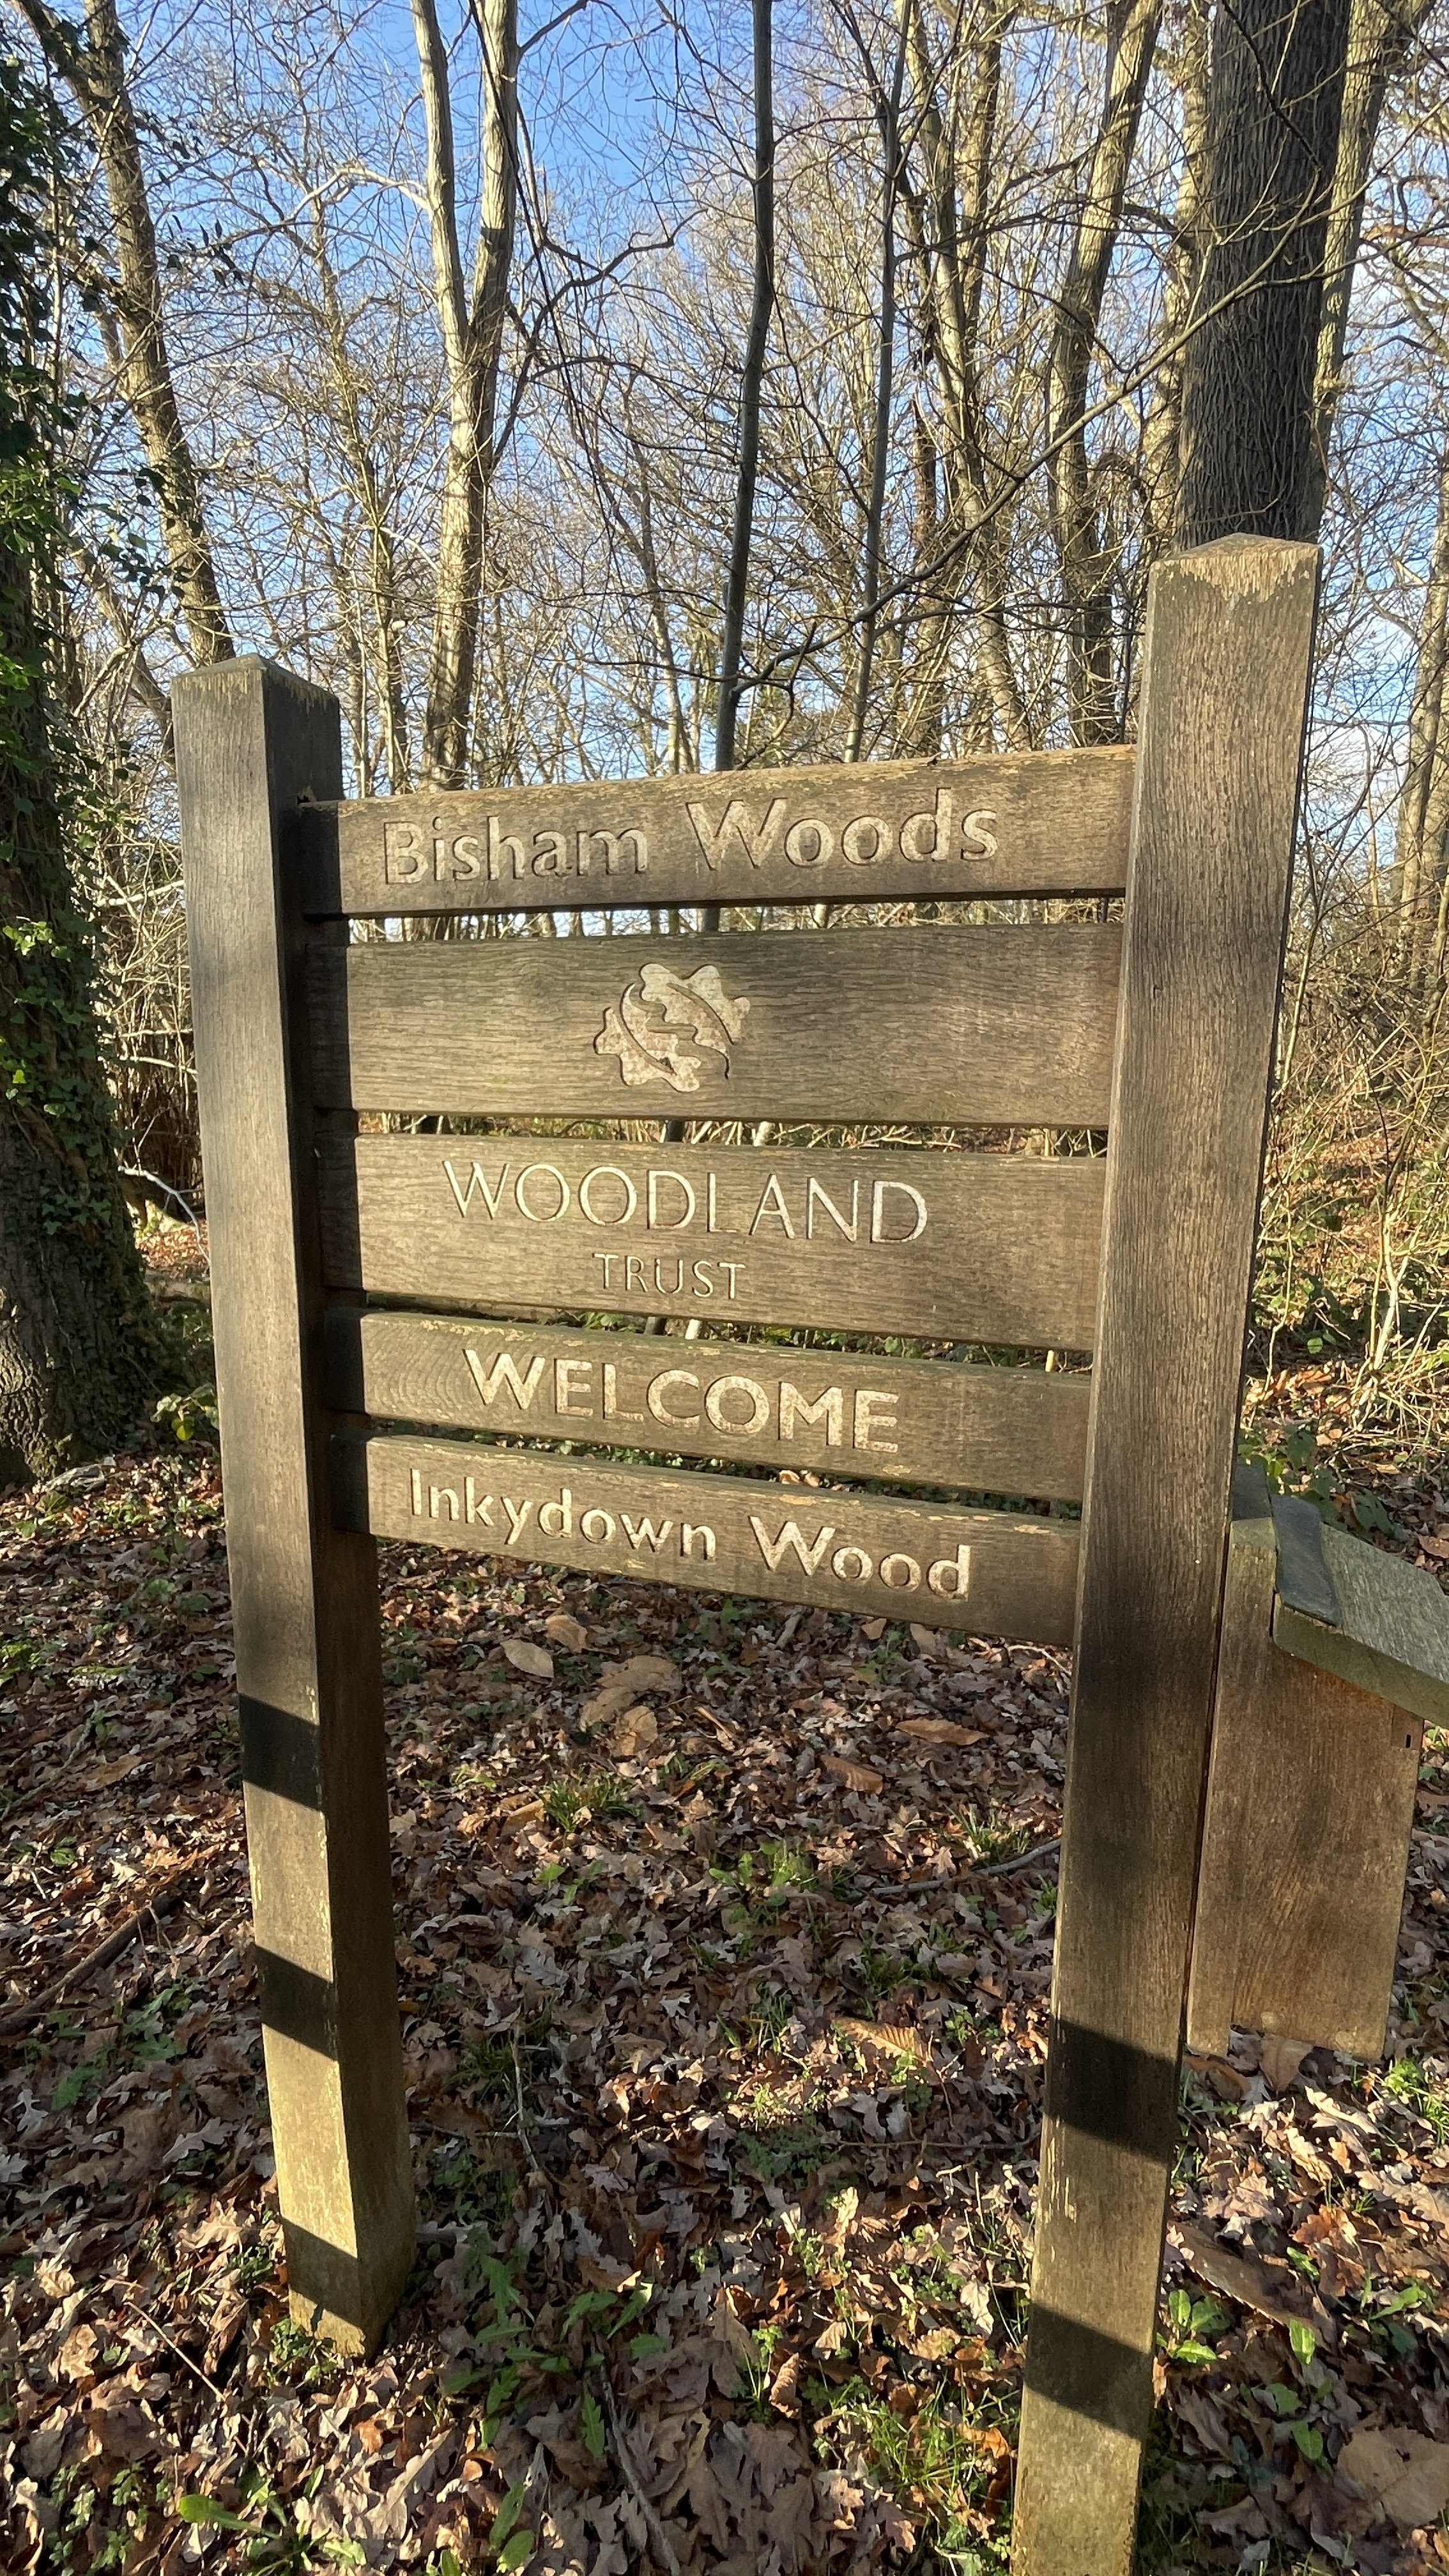
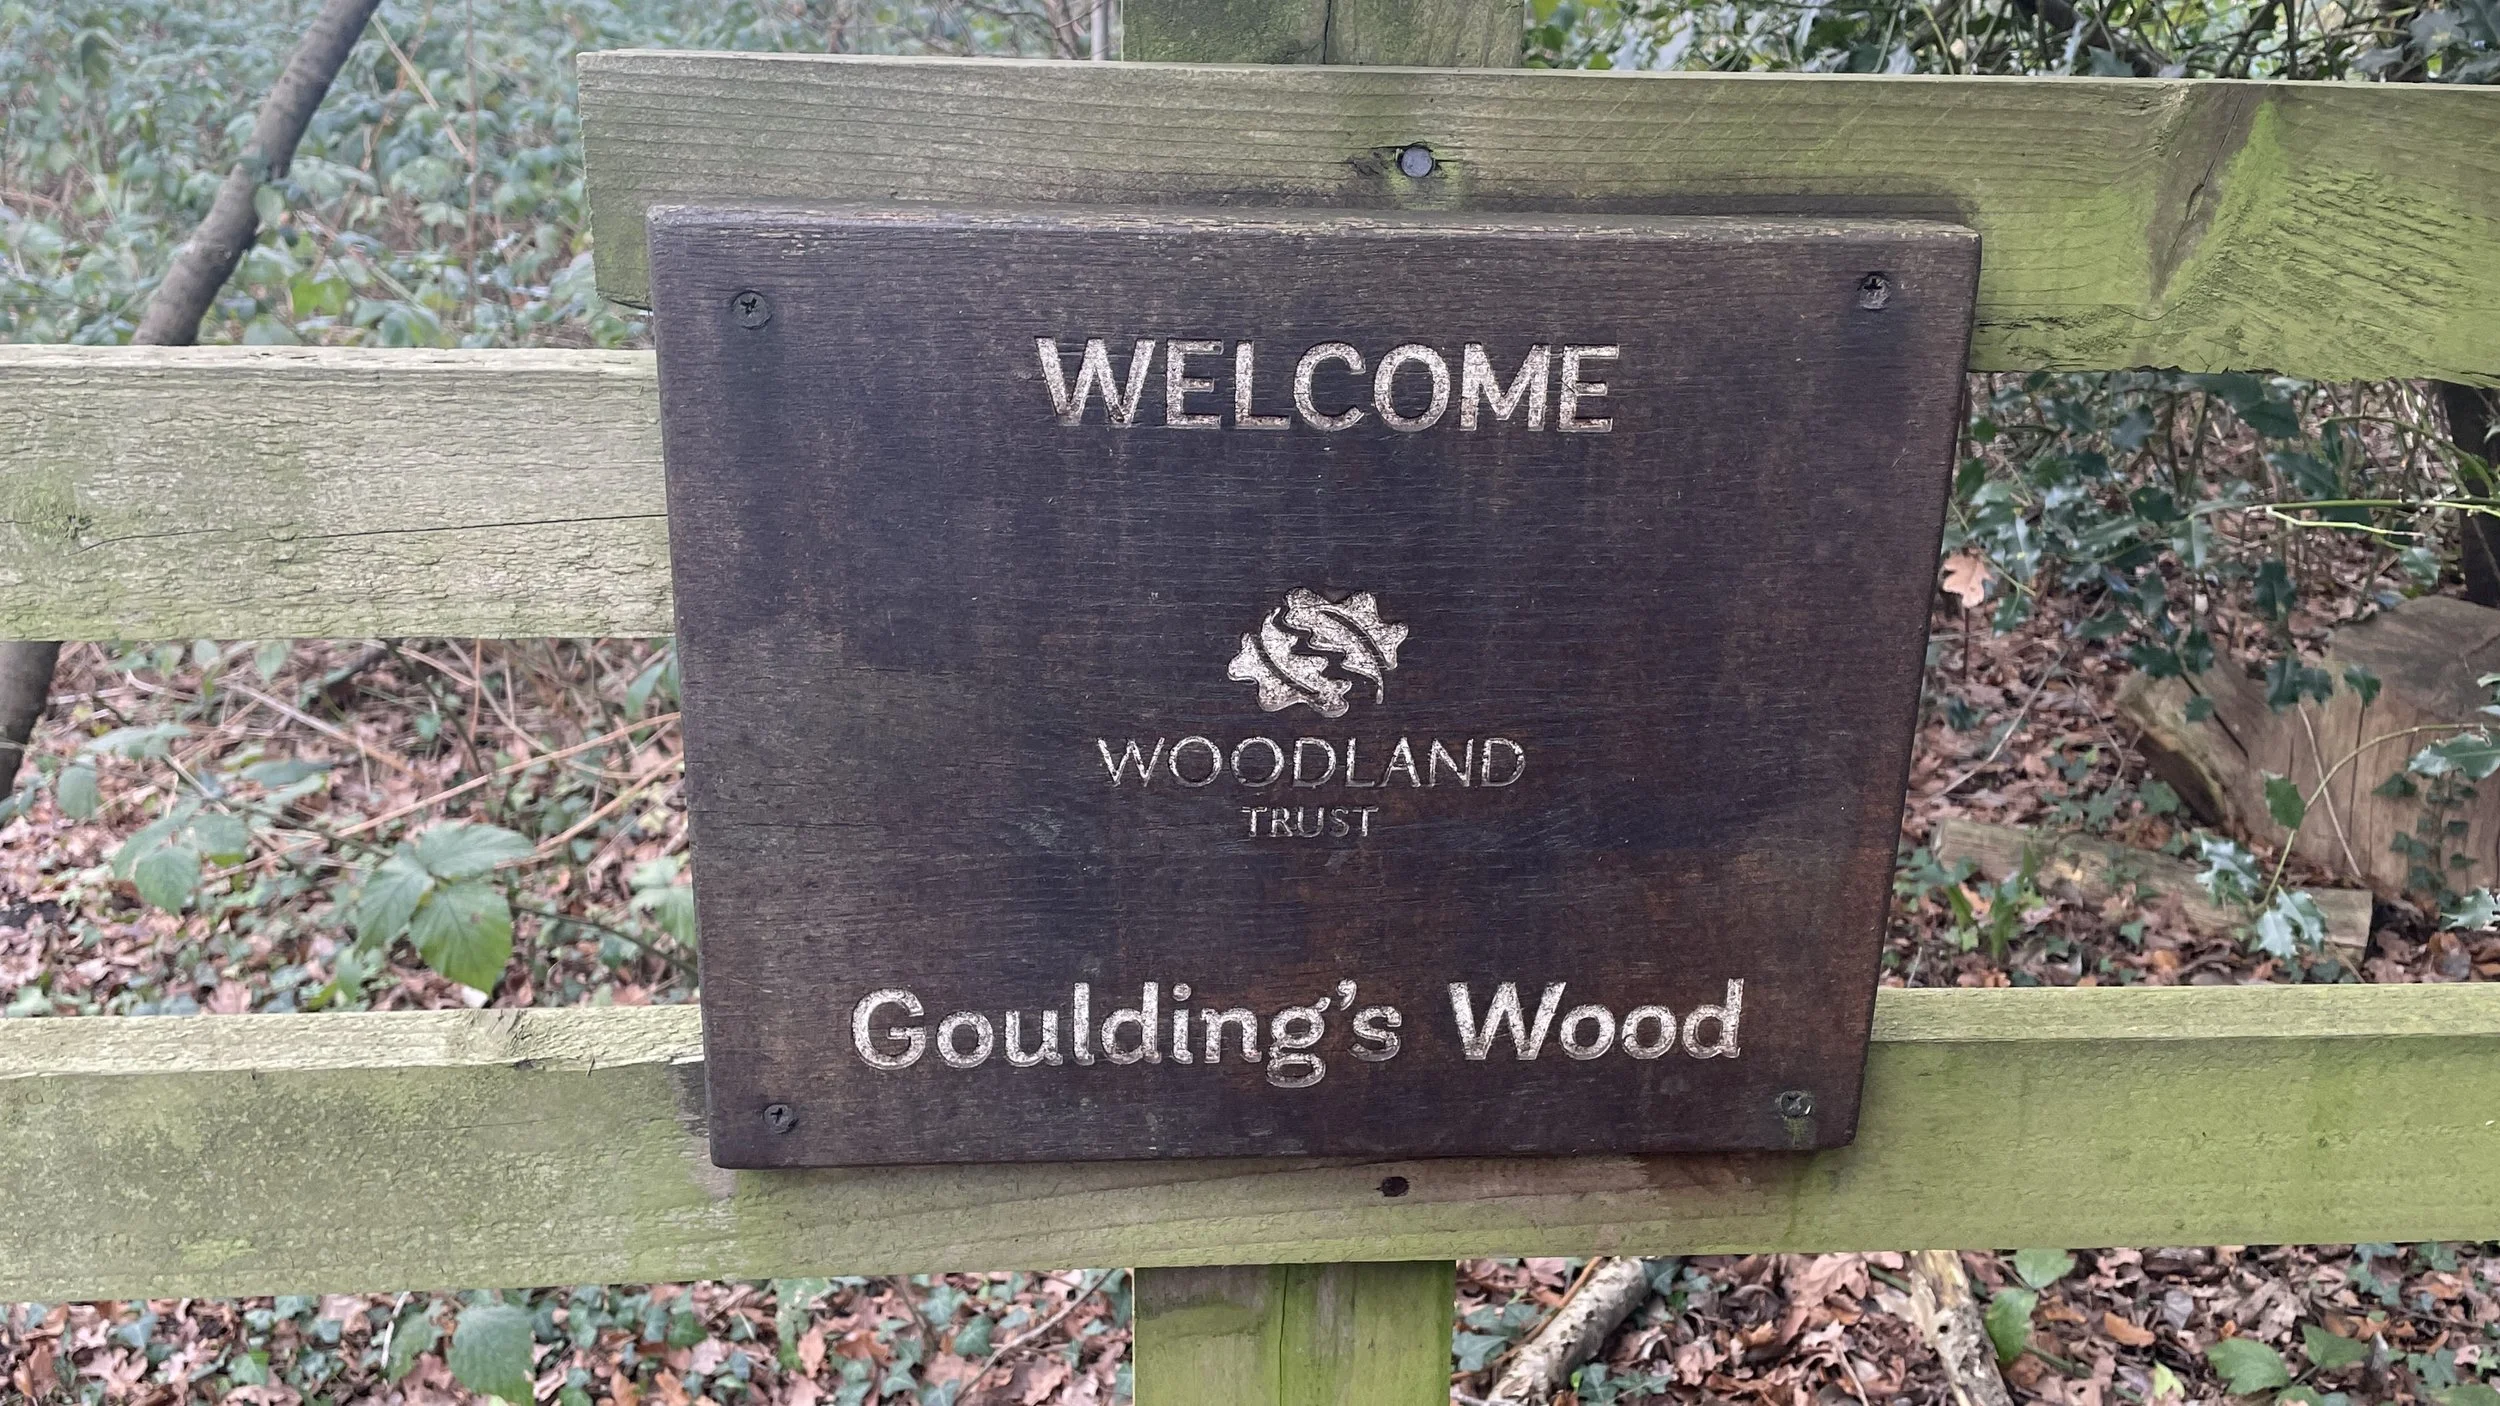
The Woodland Loop: Follow the main tracks in an anti-clockwise curve. You will pass through High Wood and Inkydown Wood before entering Park Wood and finally Goulding Wood.
The Return: The path exits the southern corner of Goulding Wood onto Marlow Road. Turn right to return to the junction with Golden Ball Lane.
Finish: Complete the circular route back at The Golden Ball pub for refreshments.
If you’re feeling adventurous and a bit tresspassy you could bag the Resr Mount Hill OS Trig Pillar. It’s next to the top of the reservoir on Thames Water Property. The locked gate to the driveway up to it is off Pudseys Close. We had a look but decided not to risk it that day.
Points of Interest along or near to the Route
National Trust Old Brick Works: A hidden gem of industrial archaeology. These former clay pits now form a peaceful woodland area and pond, managed for wildlife.
Cookham Dean: This picturesque village is the start and end of your journey. Known for its historic charm and as the childhood home of Kenneth Grahame, the author of The Wind in the Willows, it sets a classic English tone for the walk.
Bisham Woods: A significant portion of the route passes through these ancient woods. They are designated as a Site of Special Scientific Interest (SSSI) and offer a stunning canopy of beech and oak trees, particularly vibrant during the autumn months.
Quarry Wood: As you transition through the woodland areas, you will pass through sections of Quarry Wood. These slopes provide atmospheric walking paths and occasional glimpses through the trees toward the Thames Valley.
Winter Hill: Although the main trail stays largely within the woods and village fringes, the route skirts the area near Winter Hill, offering potential for expansive views across the River Thames toward Marlow.
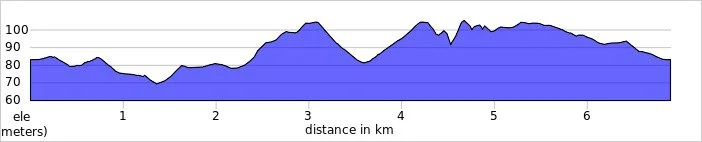
Walking The Hertfordshire Way through the Chilterns
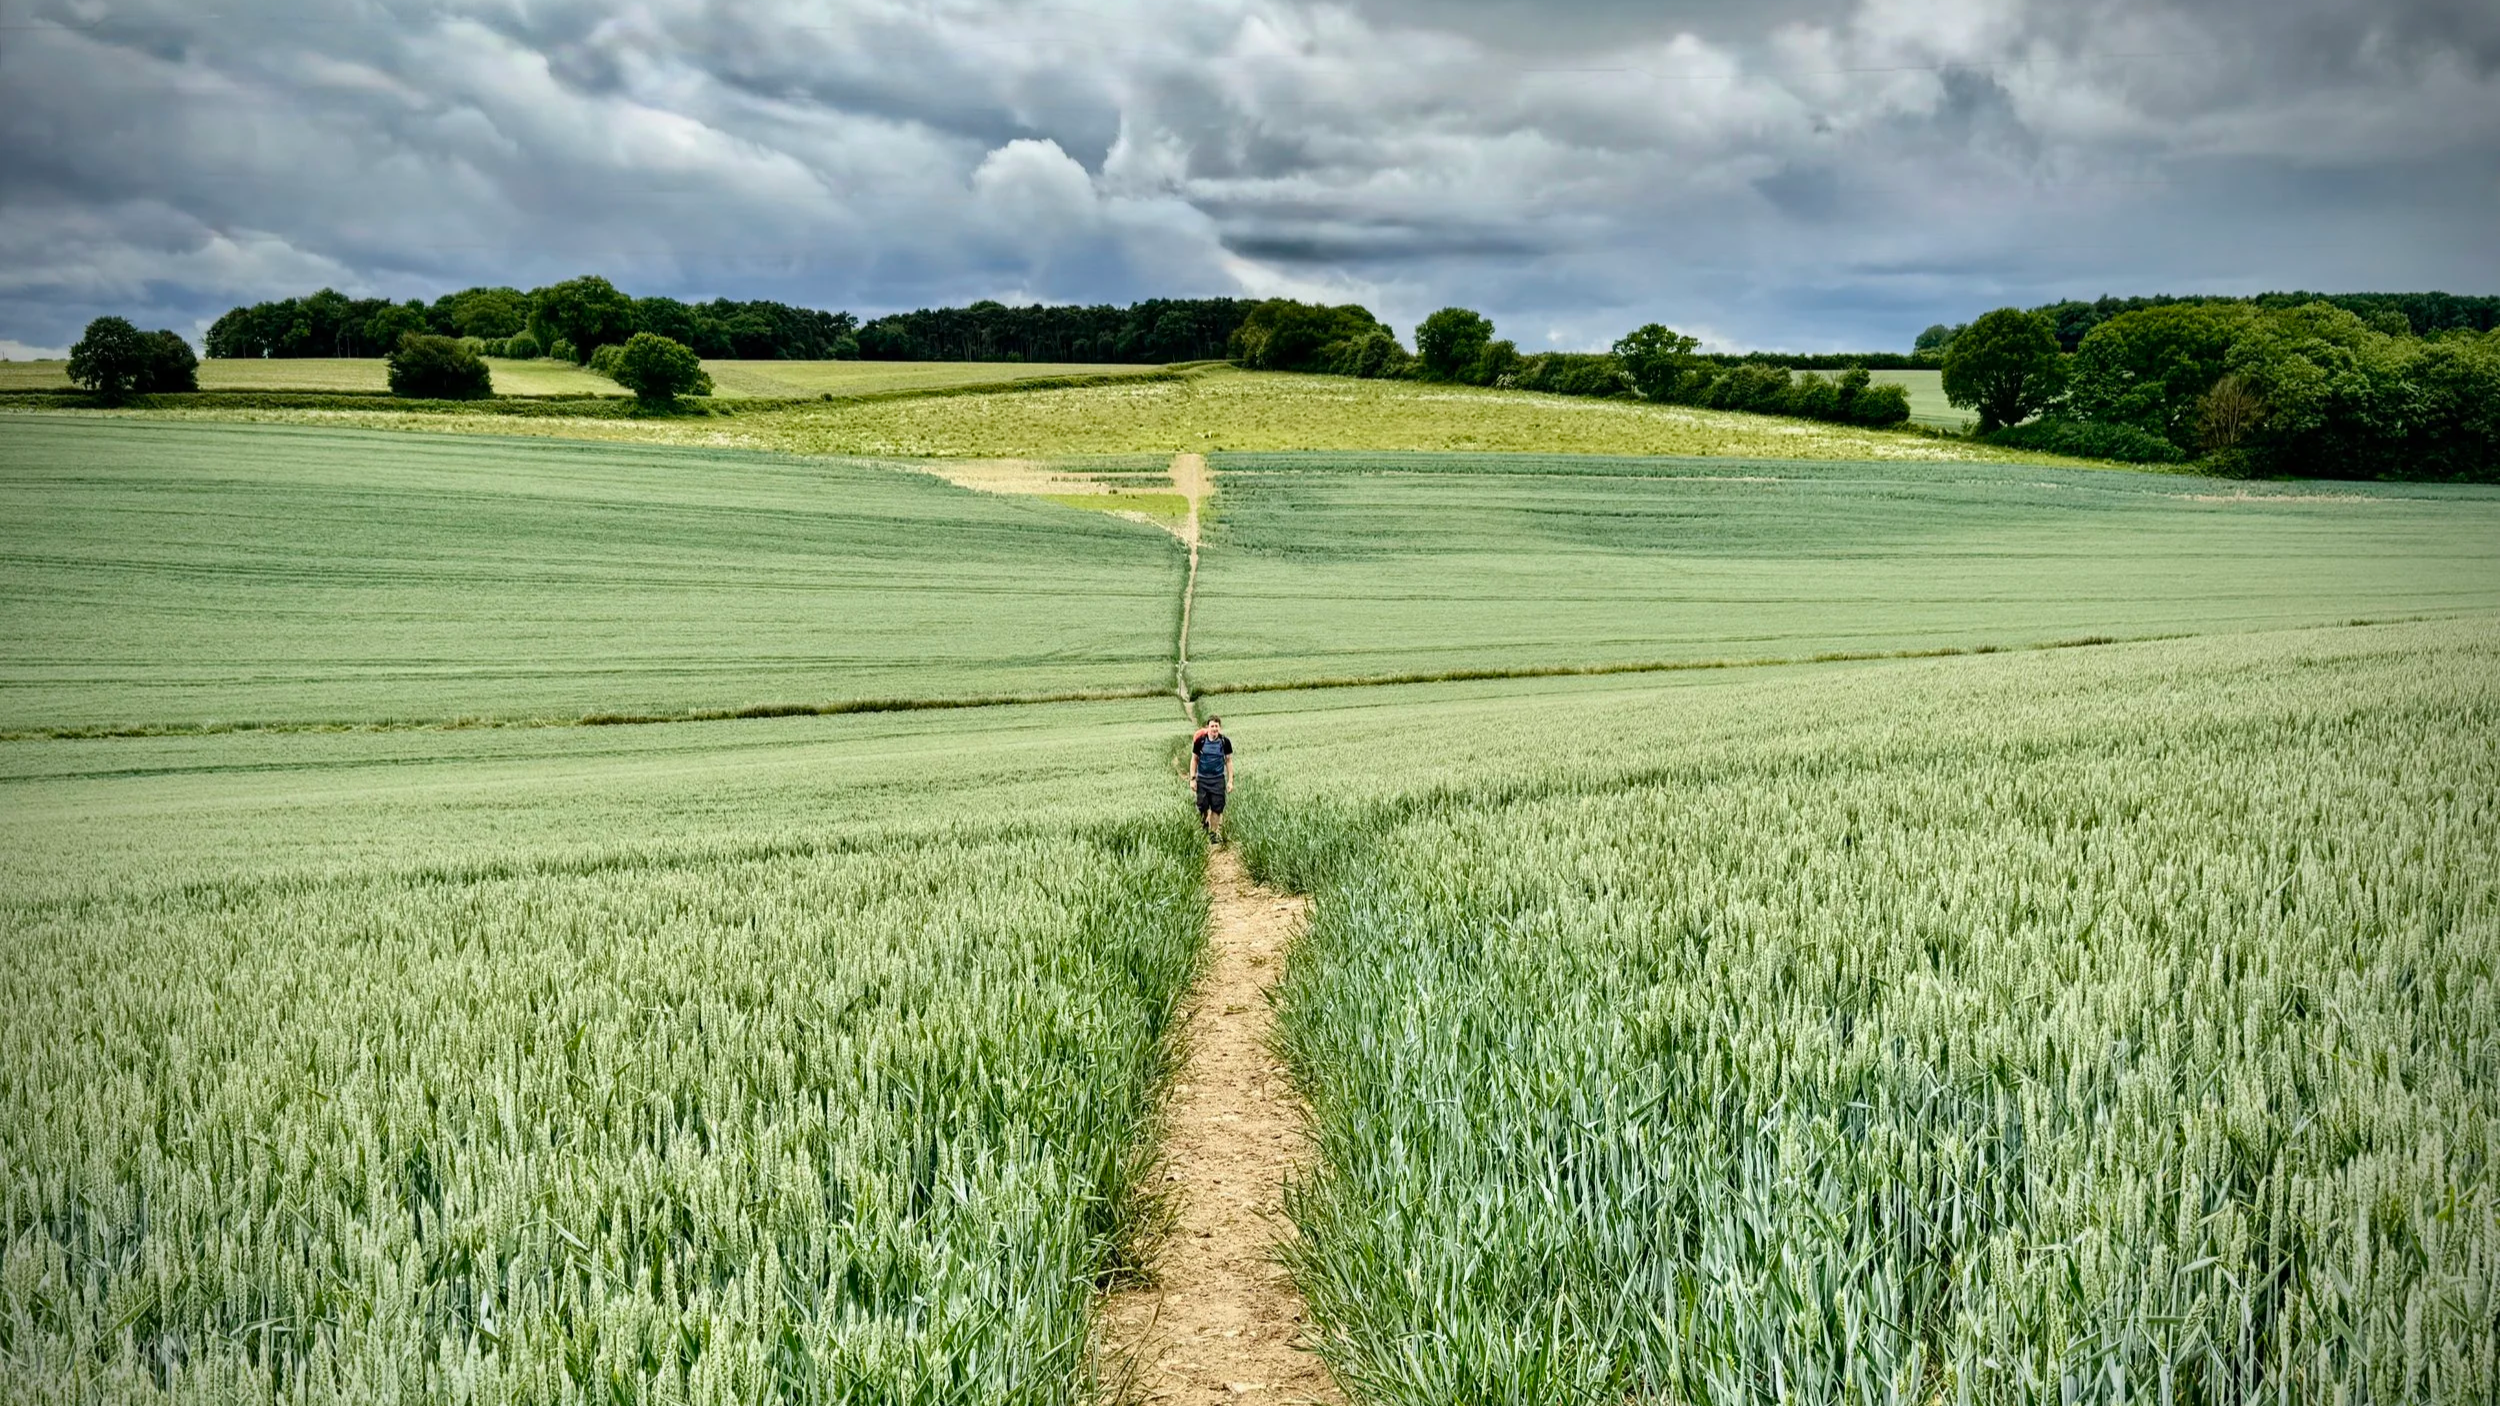
Near Flamstead
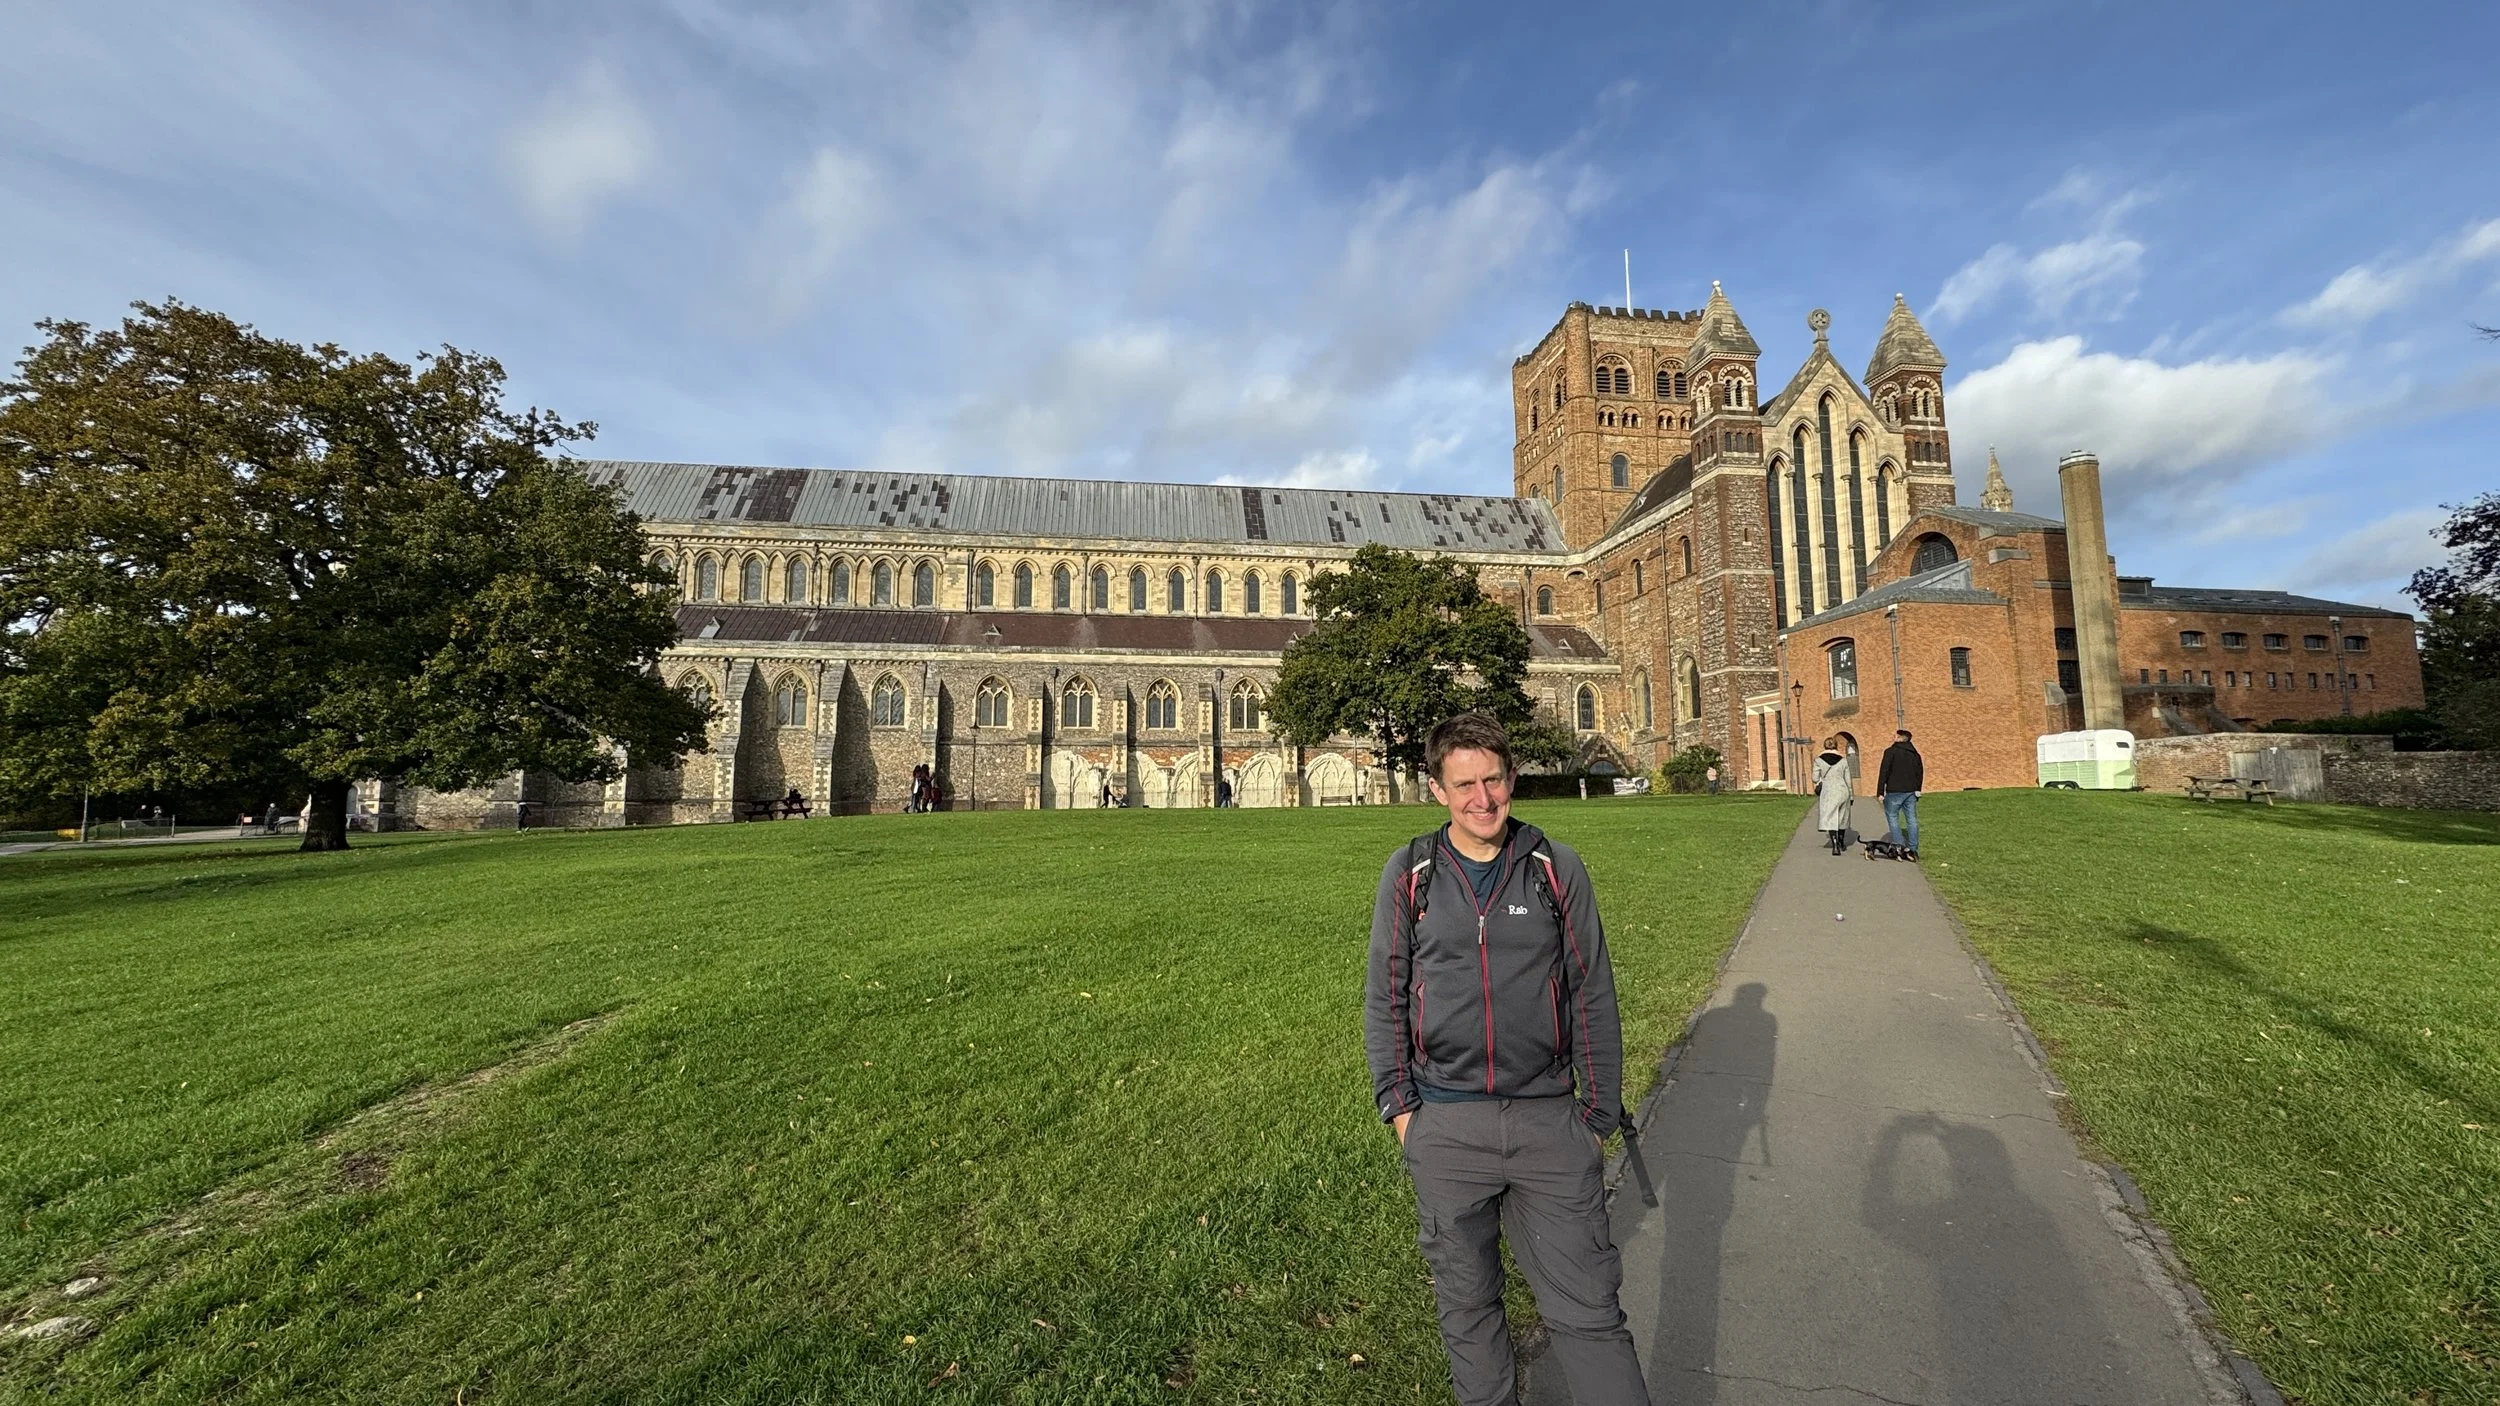
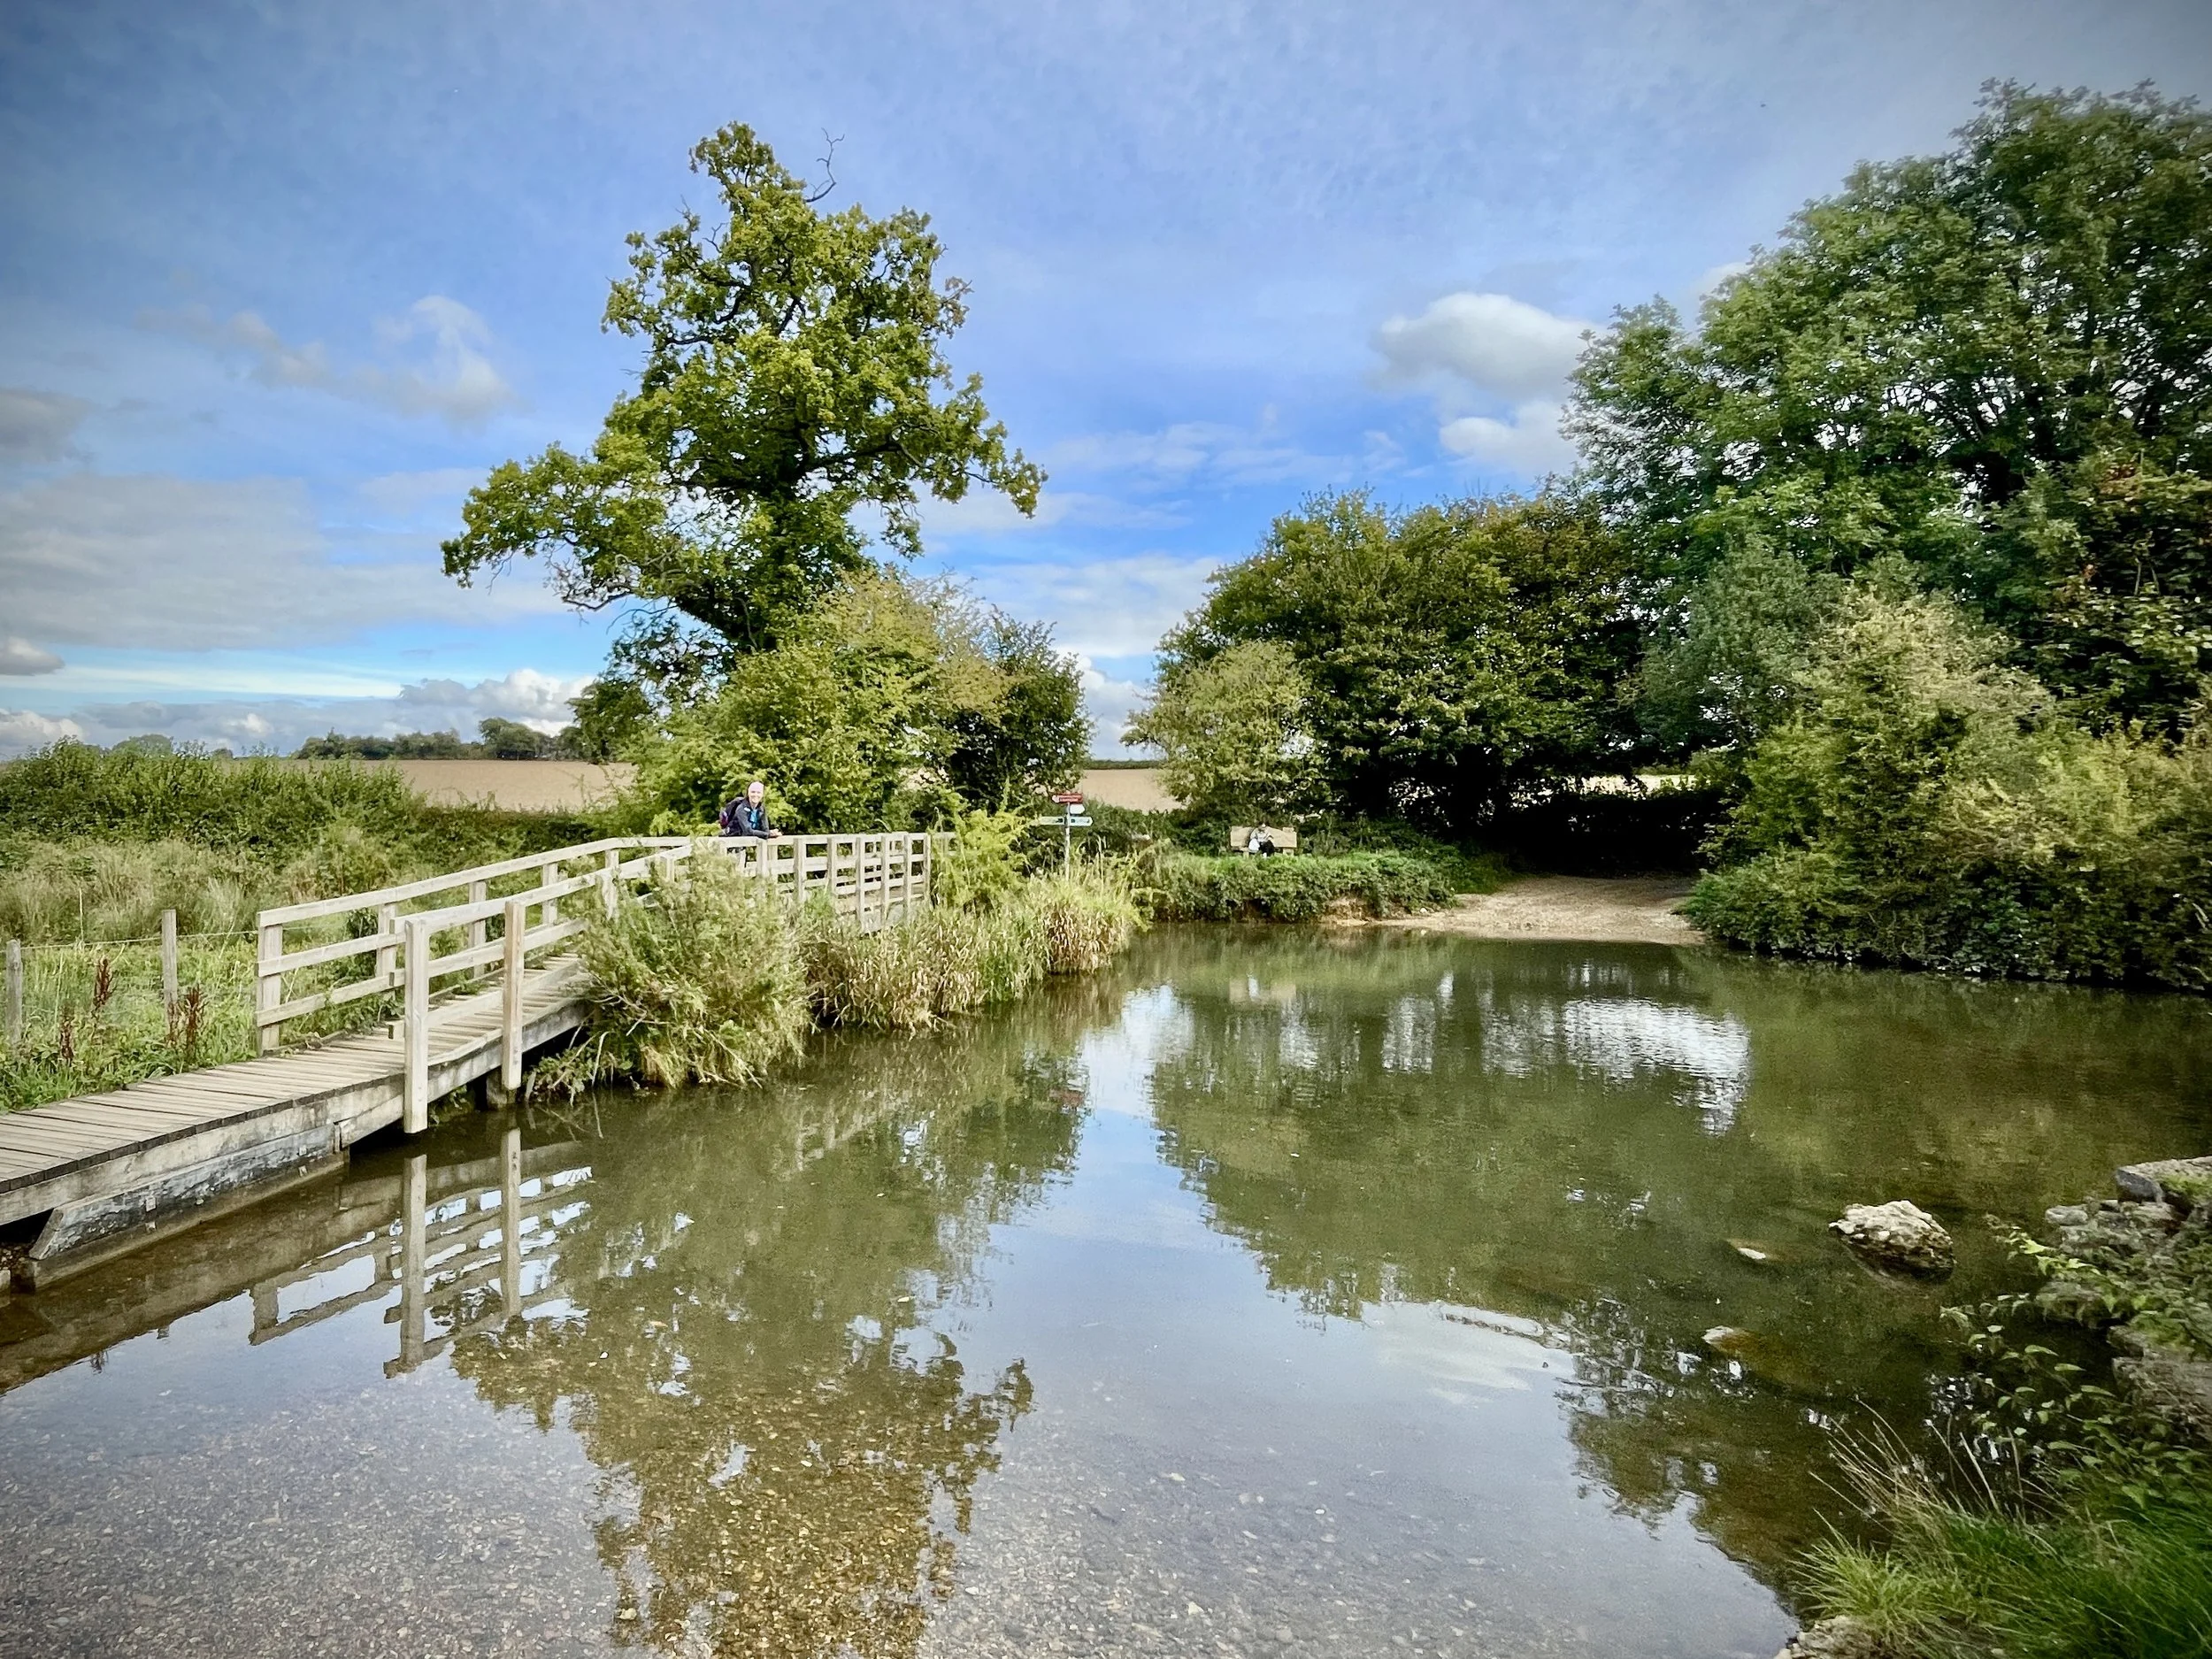
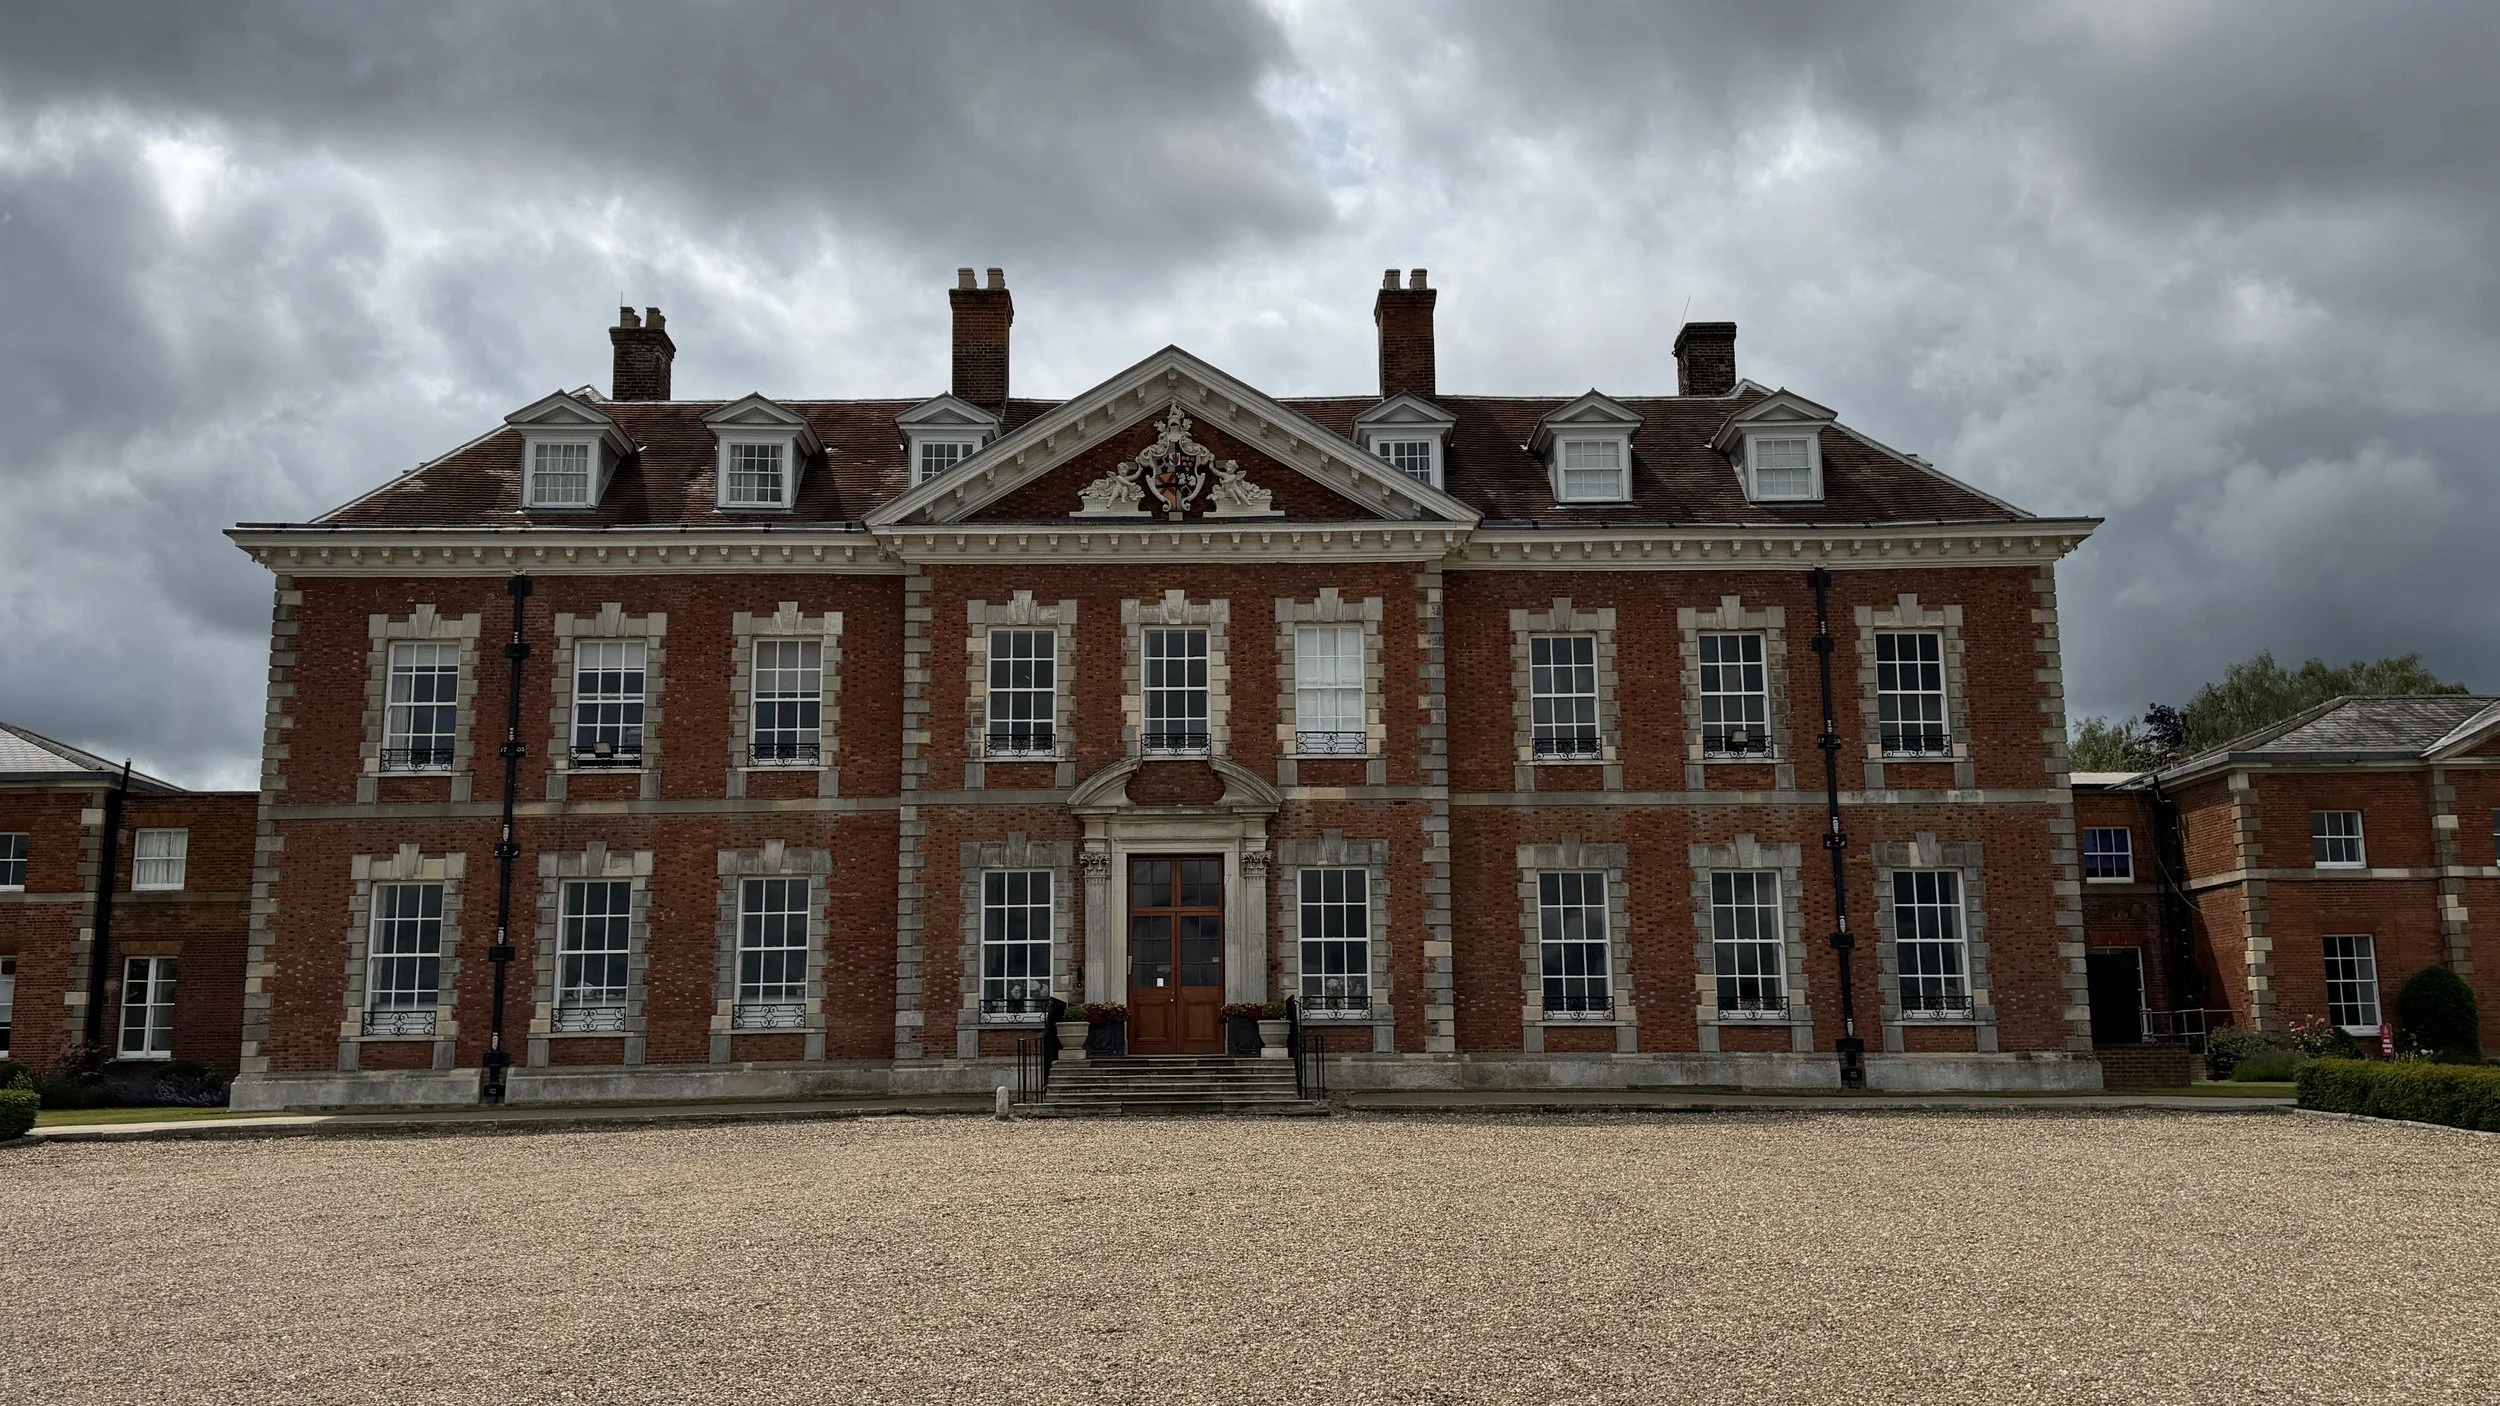
The Hertfordshire Way offers an incredible opportunity to circumnavigate one of England's home counties, revealing its hidden charms and surprising variety. This circular long-distance footpath, stretching around 273 km (170 miles), guides walkers through the county's most picturesque landscapes, proving that green spaces are never far, even in this area close to London.
Beyond the stunning rural vistas, the Hertfordshire Way is a journey through history and charming local life. The route intentionally keeps mostly to the quiet countryside but thoughtfully incorporates visits to a handful of attractive, historic villages and two major centres: the county town of Hertford and the ancient city of St Albans, with its stunning cathedral and Roman heritage. Along the path, you'll encounter a mix of landscapes, from the fringes of the Chiltern Hills near Tring, to the wide views around Royston, and the peaceful valleys further east.
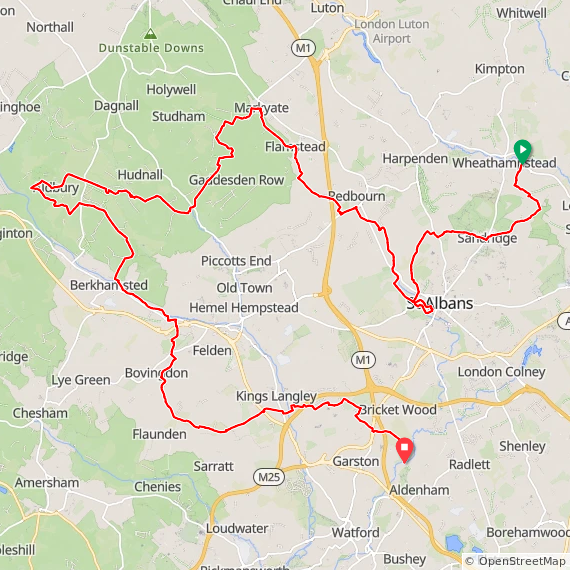
We walked the Chilterns part of the Hertfordshire Way in 15 sections over a couple of years. We used my “Greater Chilterns” definition that takes the trail from the River Lea near Wheathampstead to the River Colne near Garston. The part of the trail that runs through the Chiltern Hills National Landscape (formerly “AONB”) is much shorter and runs from Markyate to Berkhamsted.
Point to Point: Walking the Hertfordshire Way in the Chilterns
Start: River Lea crossing near Wheathampshead, AL4 8NJ
Finish: River Colne crossing near Garston, WD25 9AW
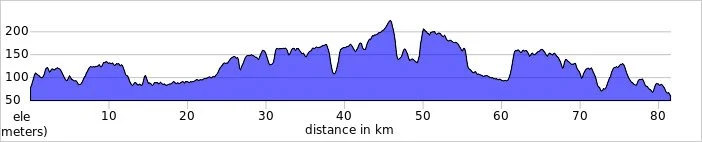
Distance: 81.5 km (51 miles)
Elevation change: + 874m / - 893m. Net -19m
GPX File: get via Buy Me a Coffee
Maps:
- St Albans & Hatfield Map | Hemel Hempstead & Welwyn Garden City | Ordnance Survey | OS Explorer Map 182
- Chiltern Hills North Map | Aylesbury, Berkhamsted & Chesham | Ordnance Survey | OS Explorer Map 181
See individual section posts linked below for other links.
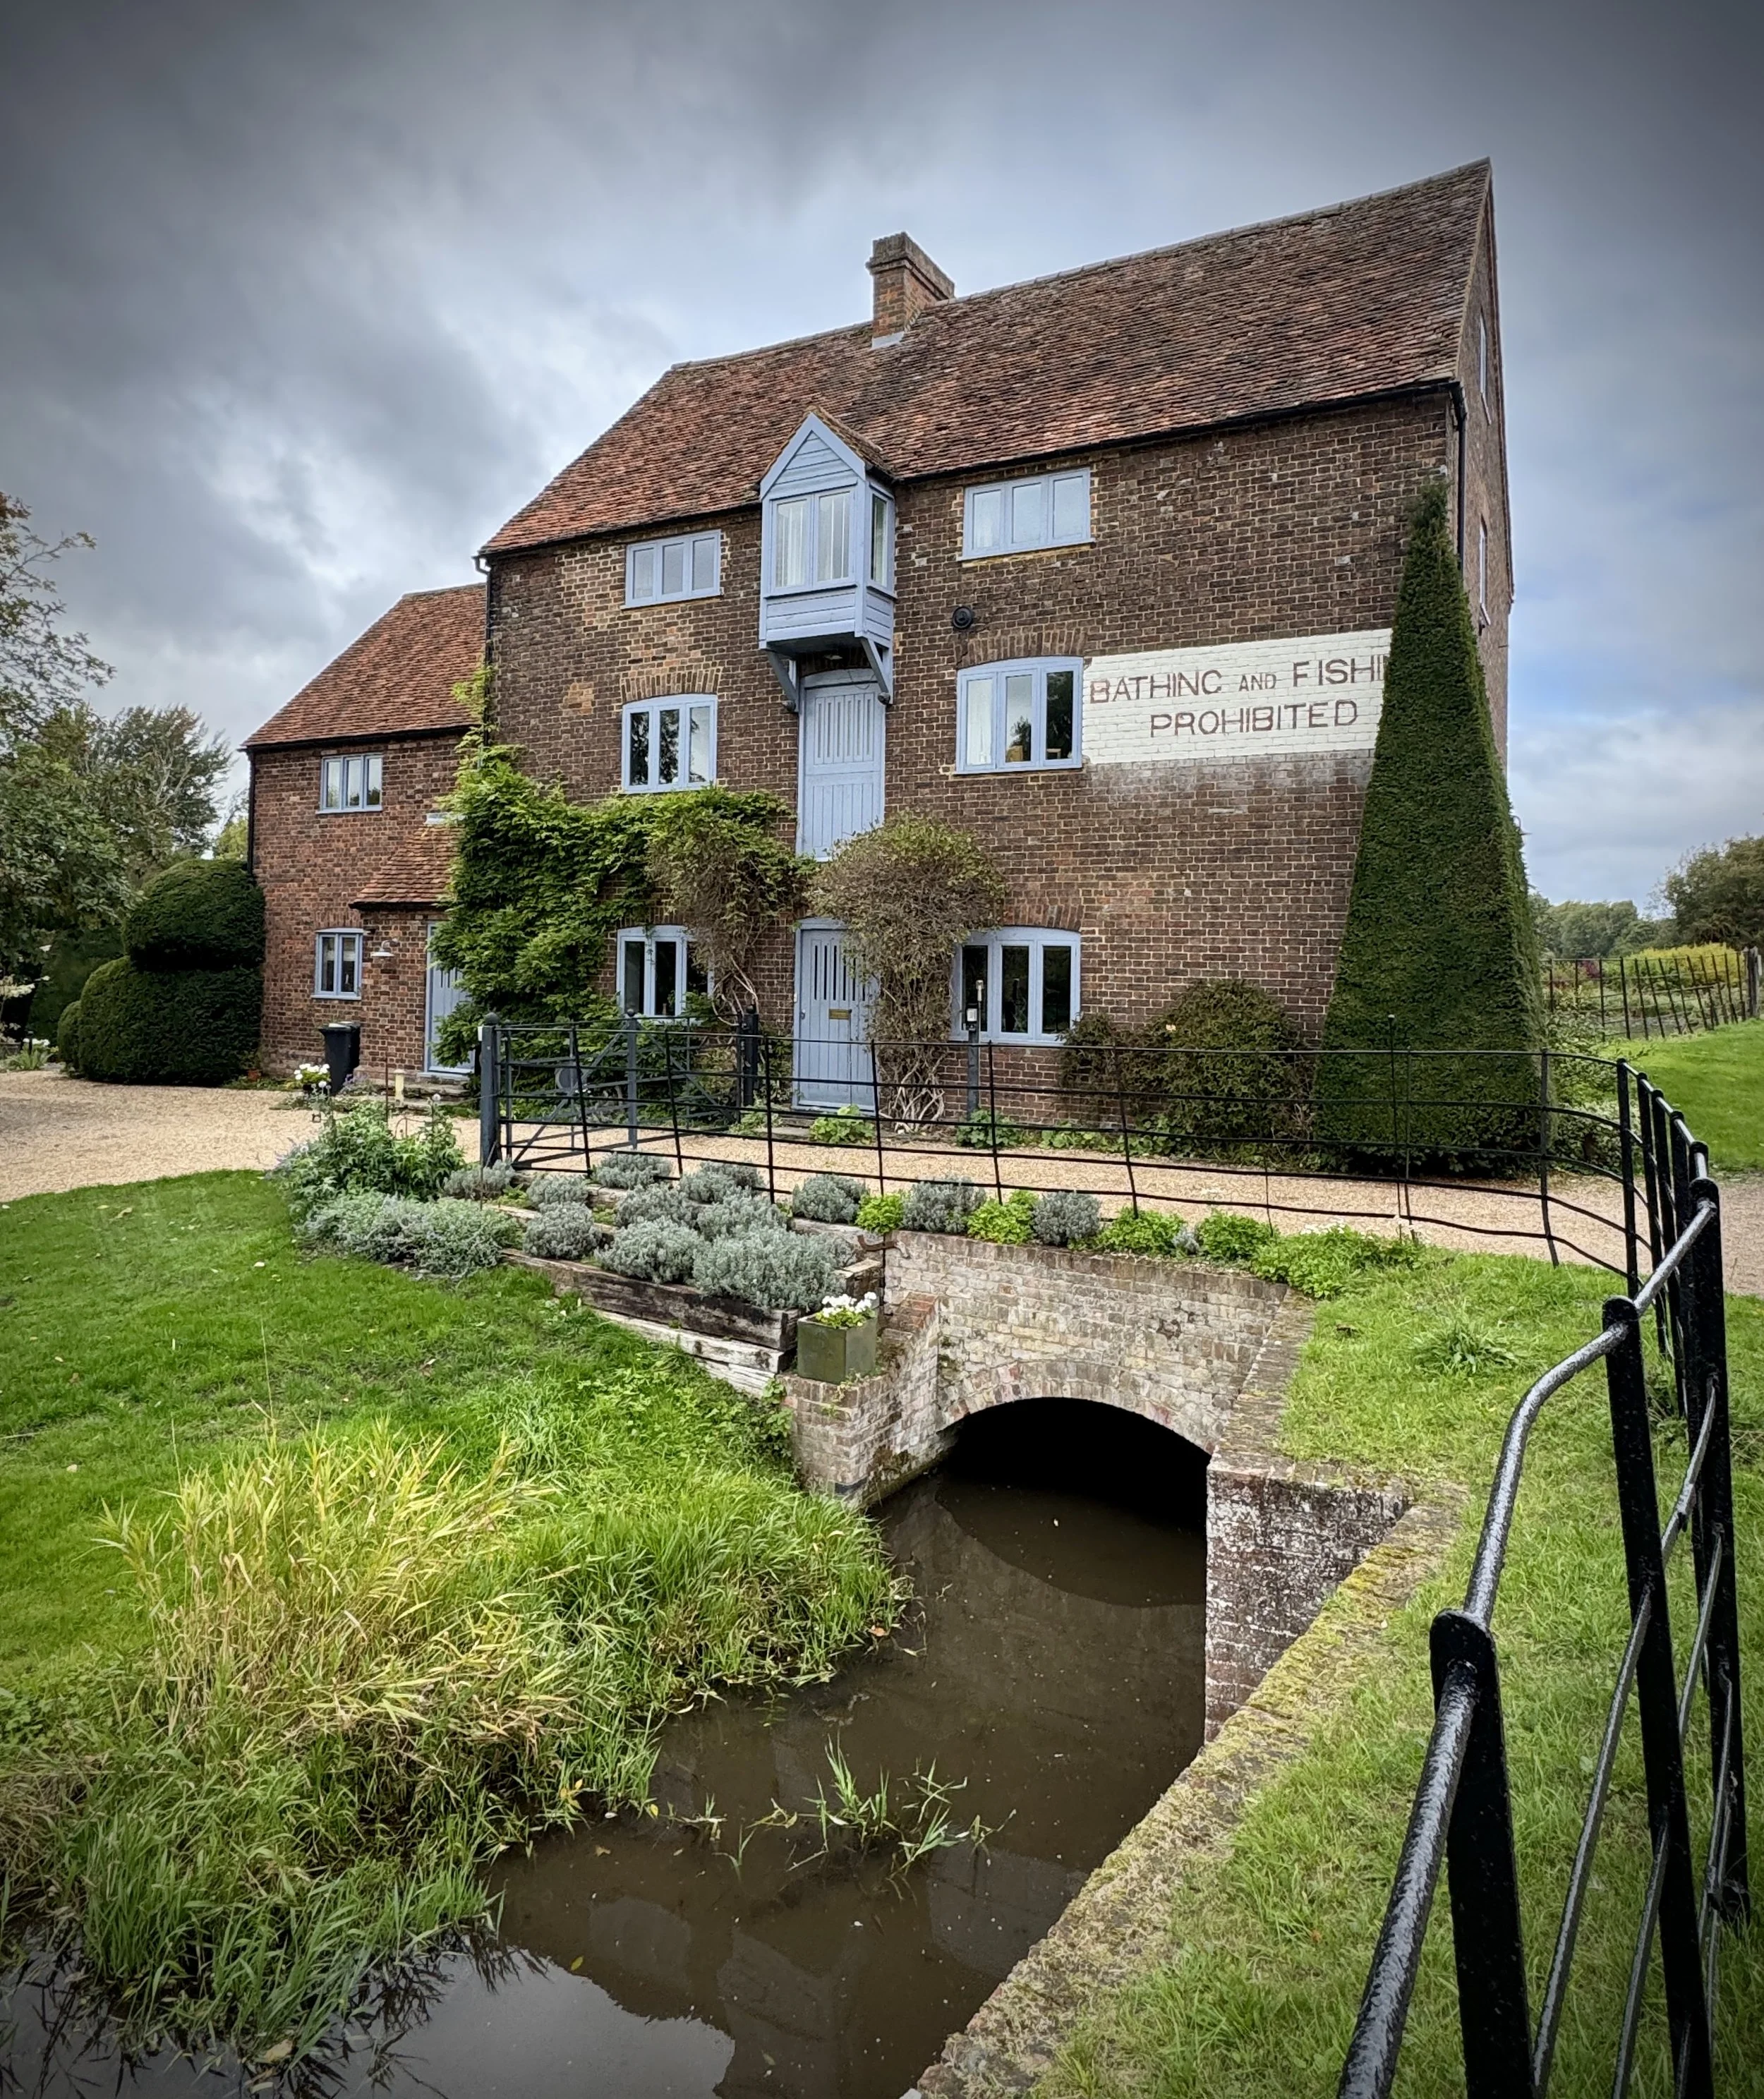
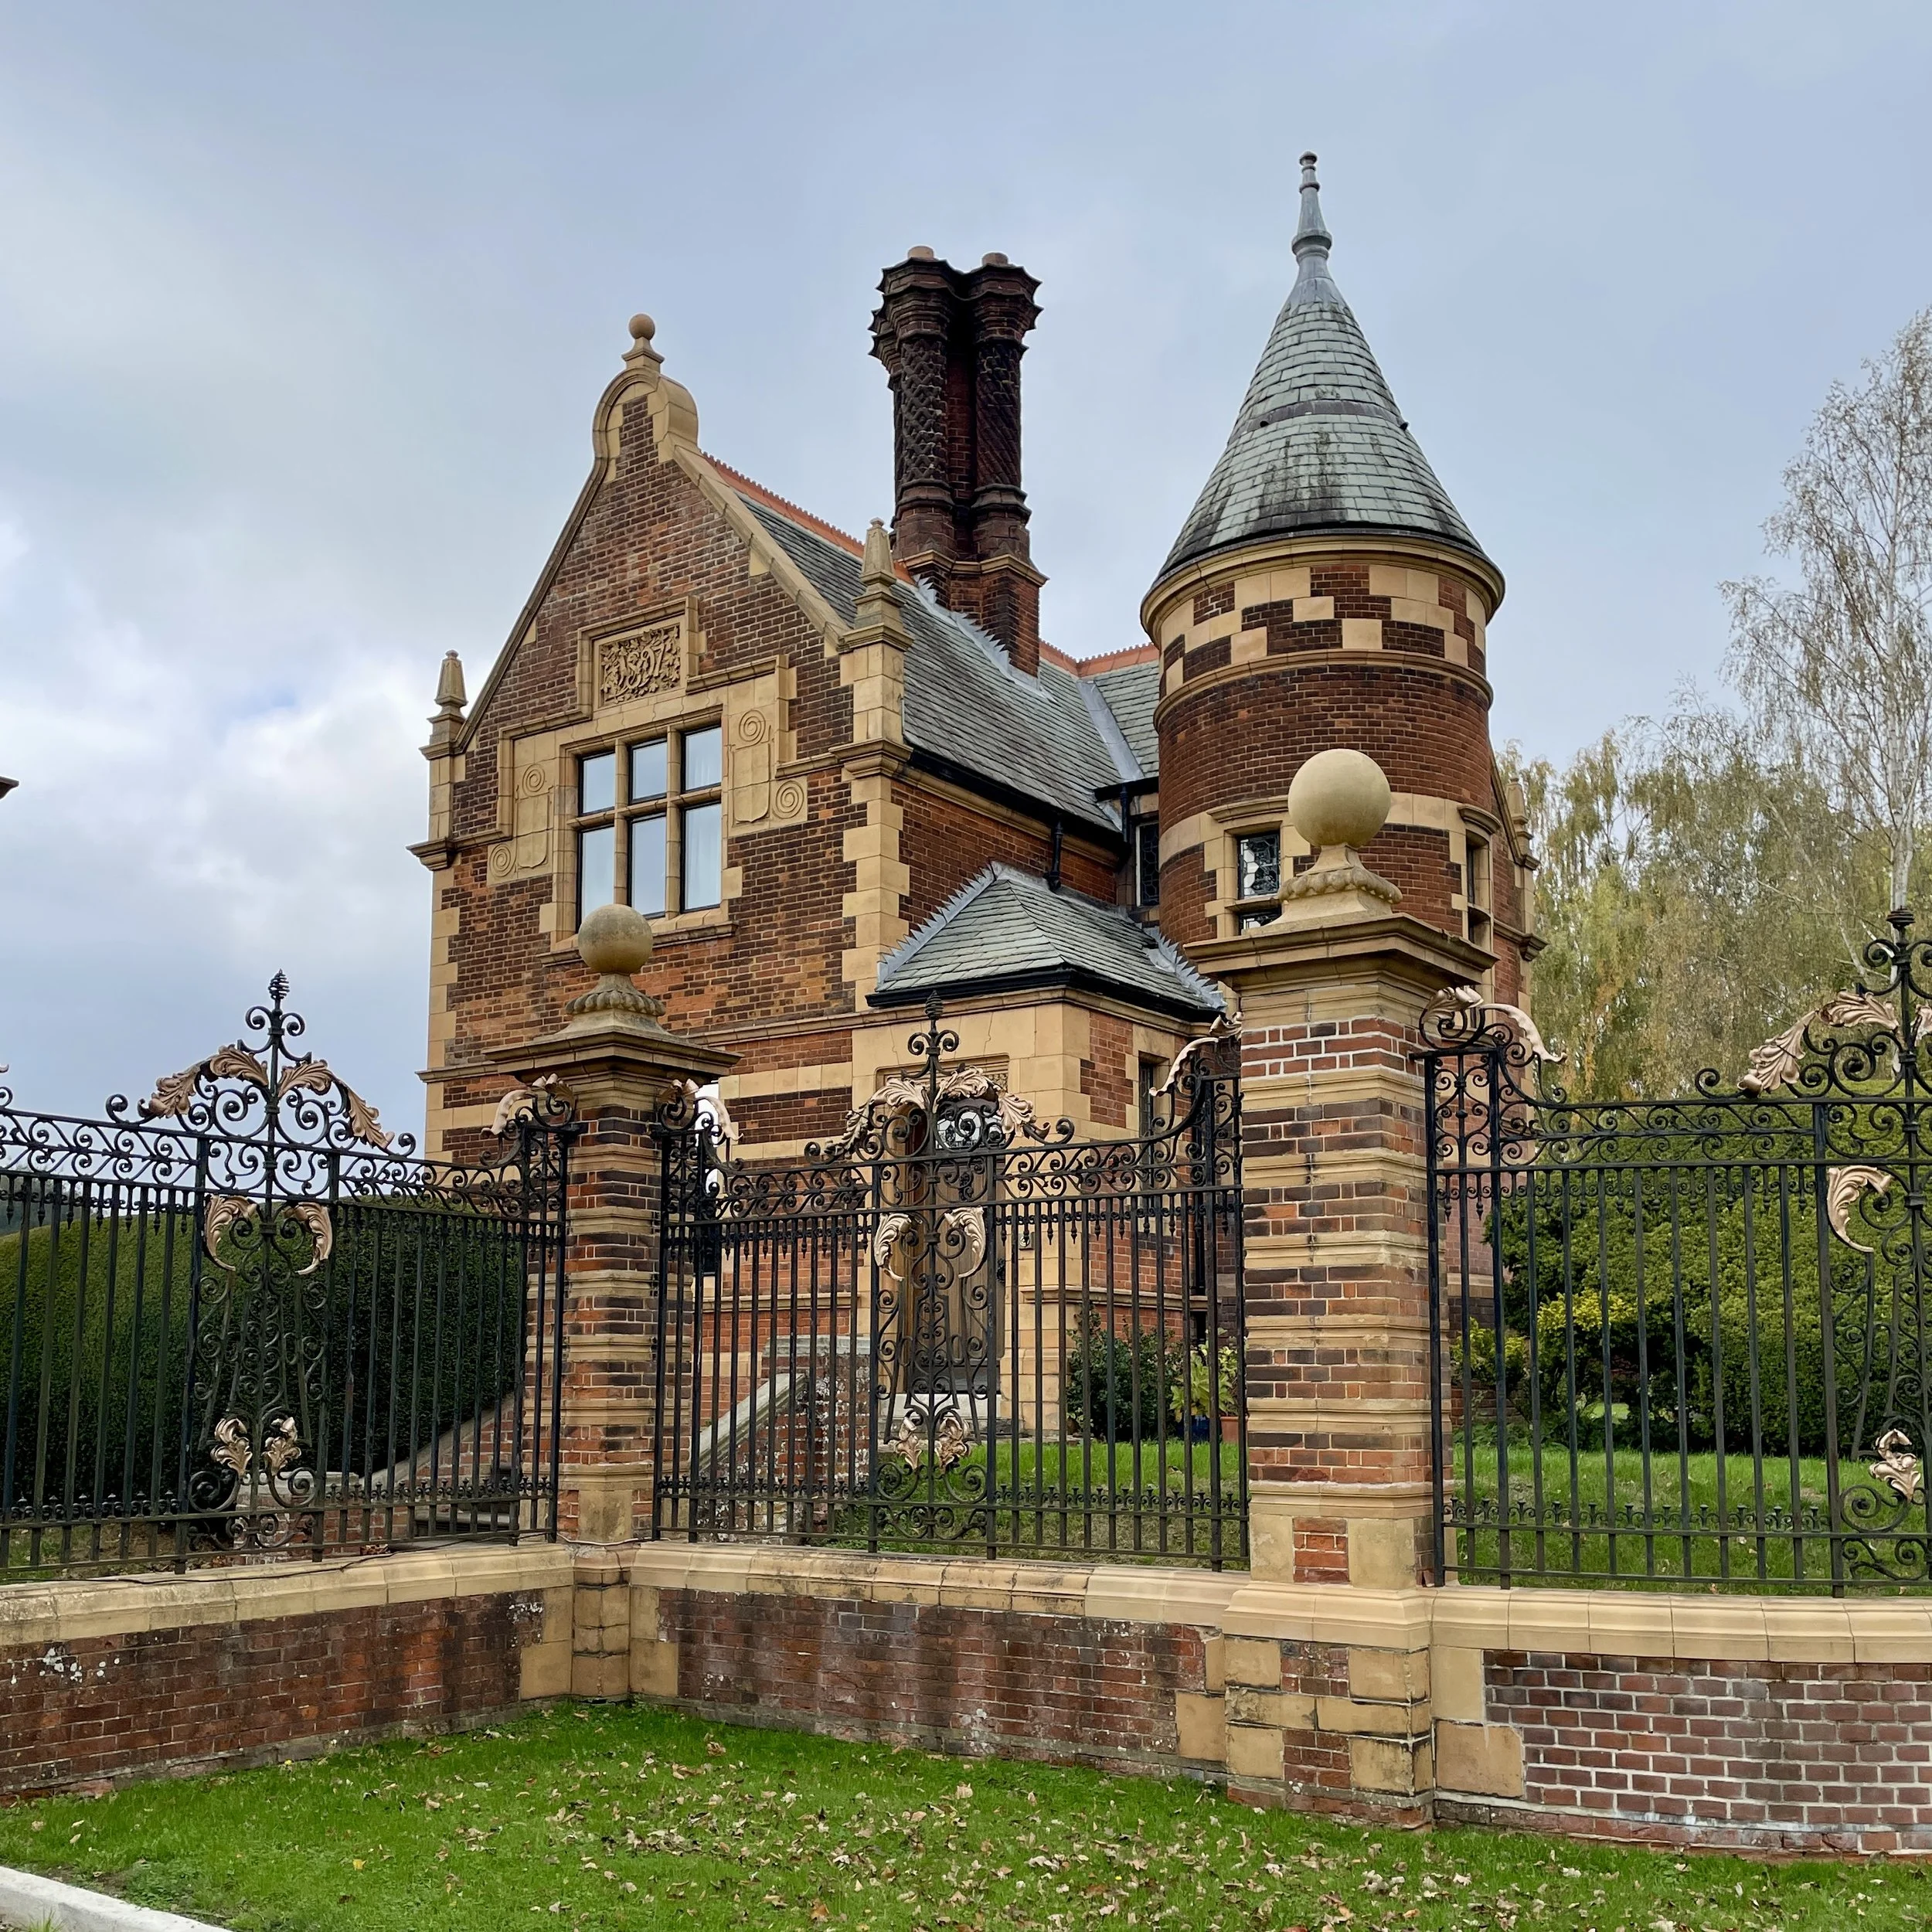
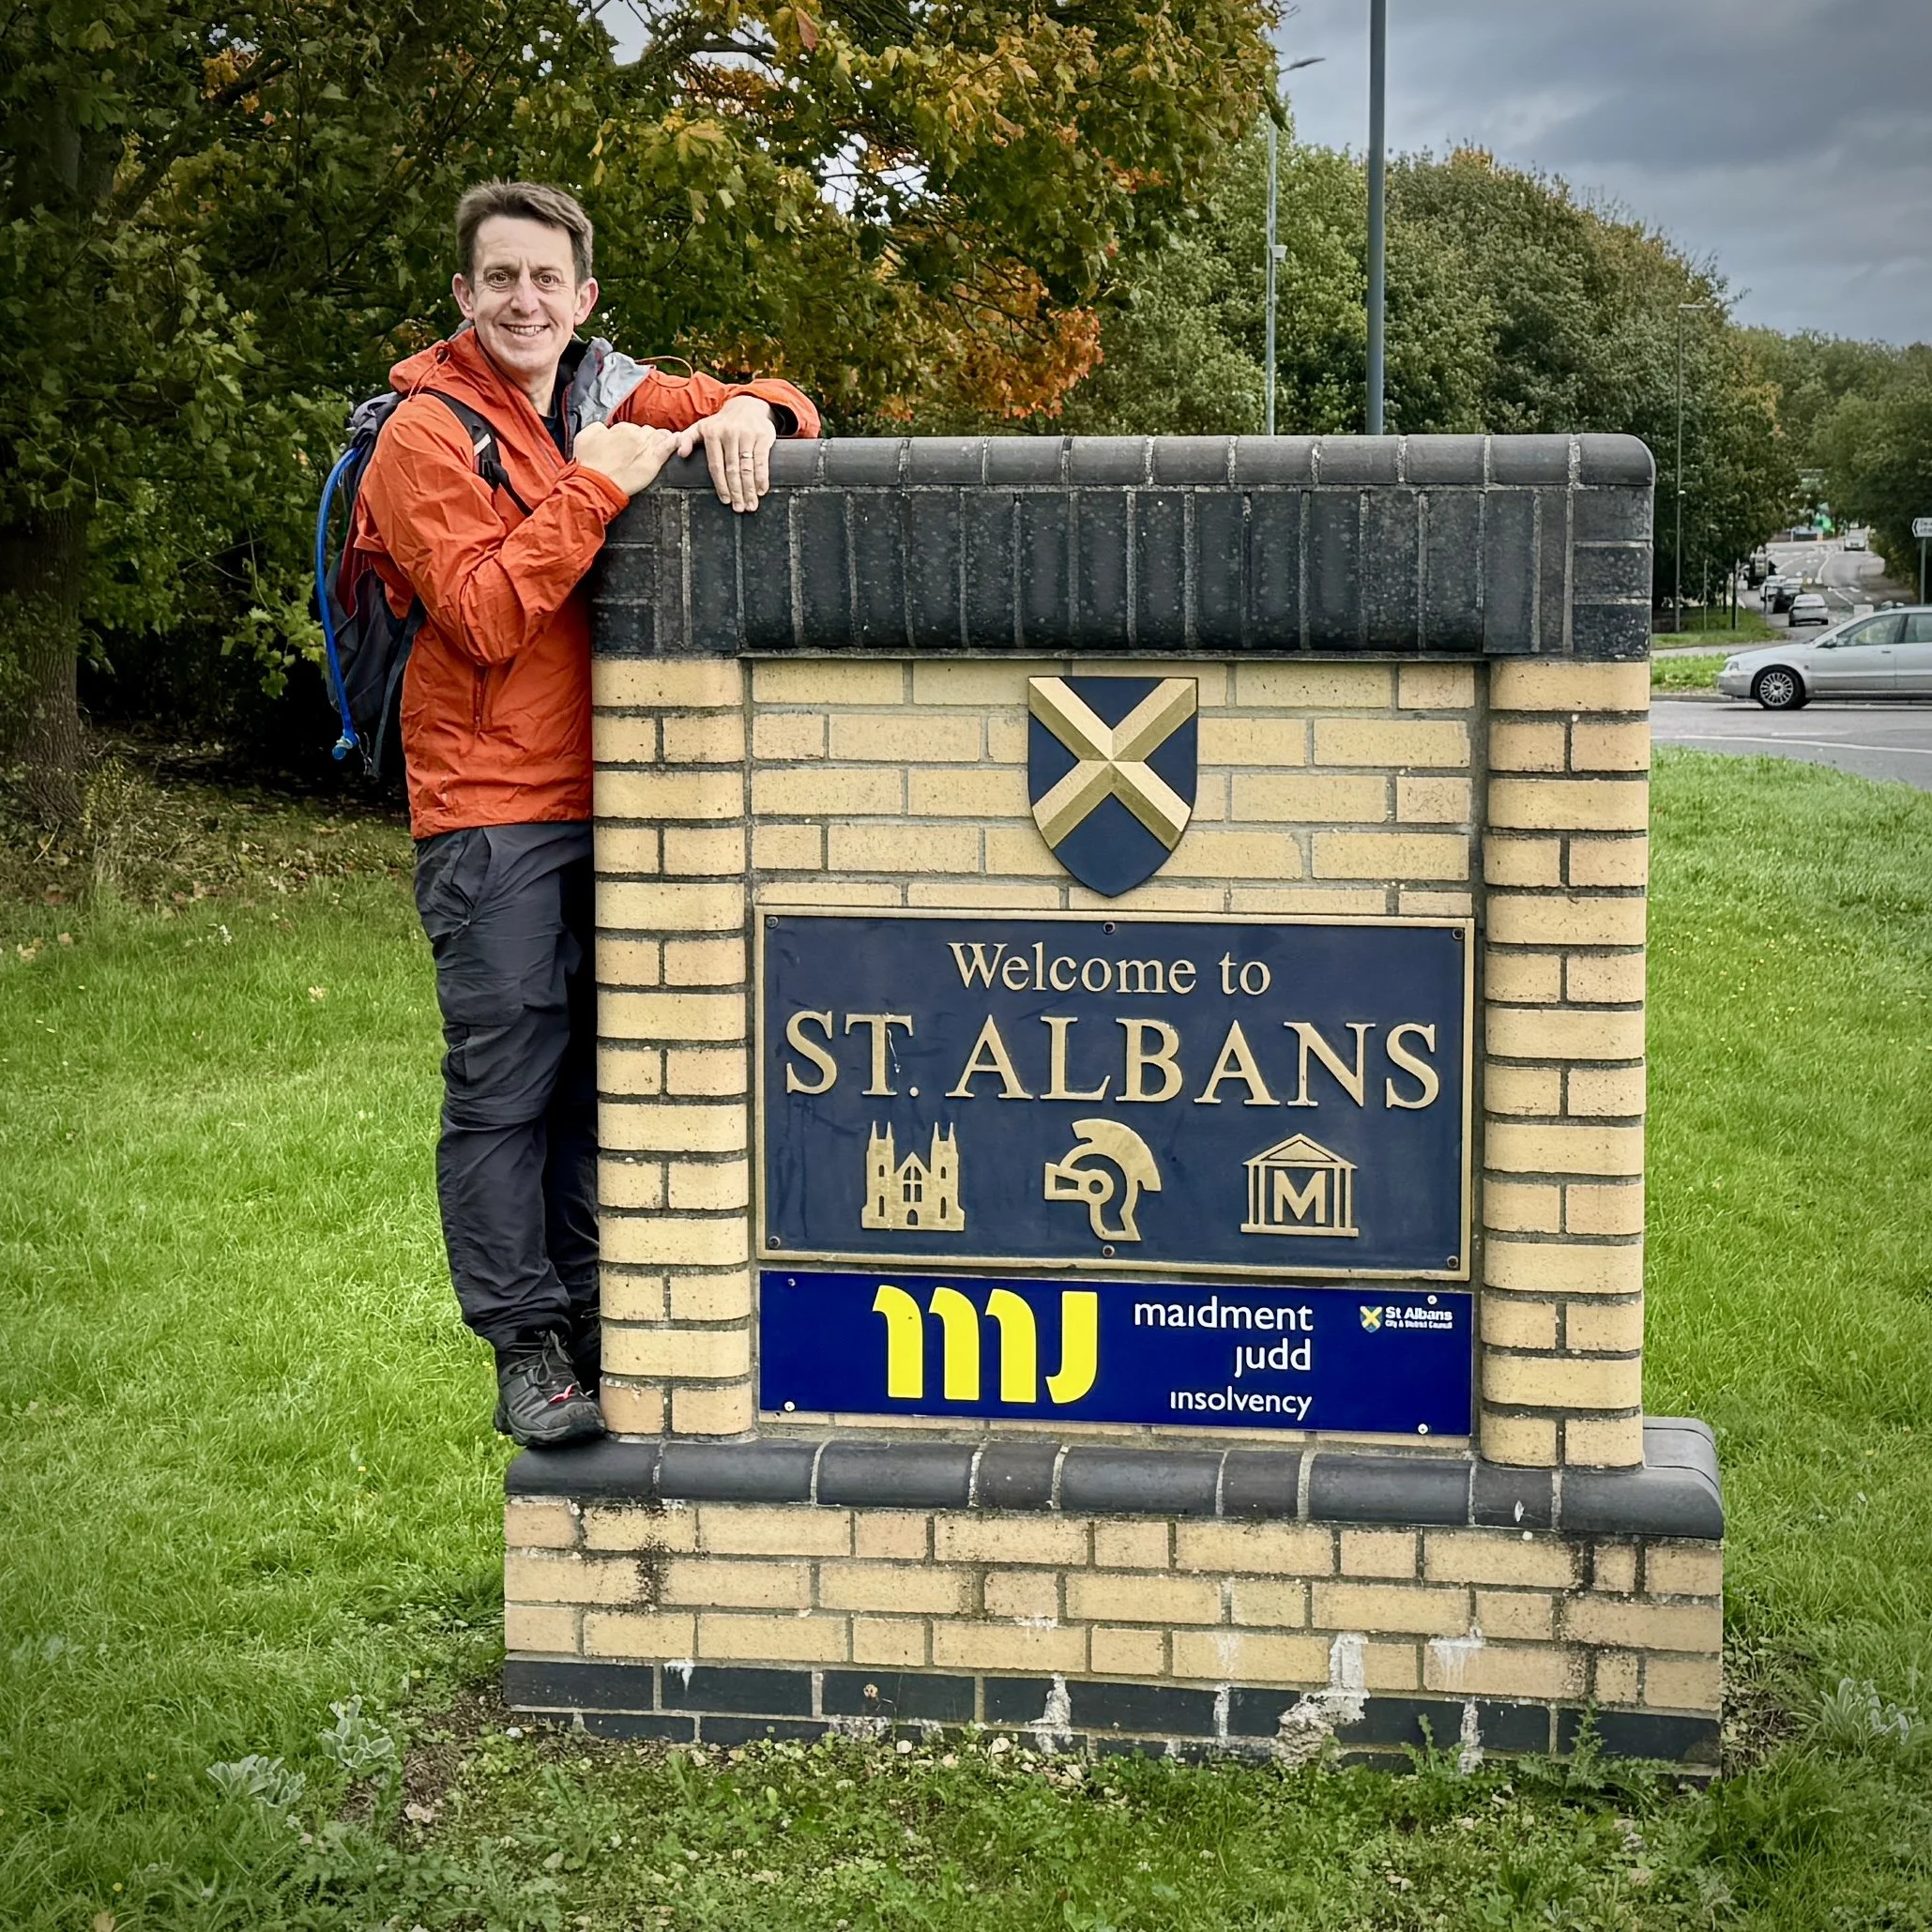
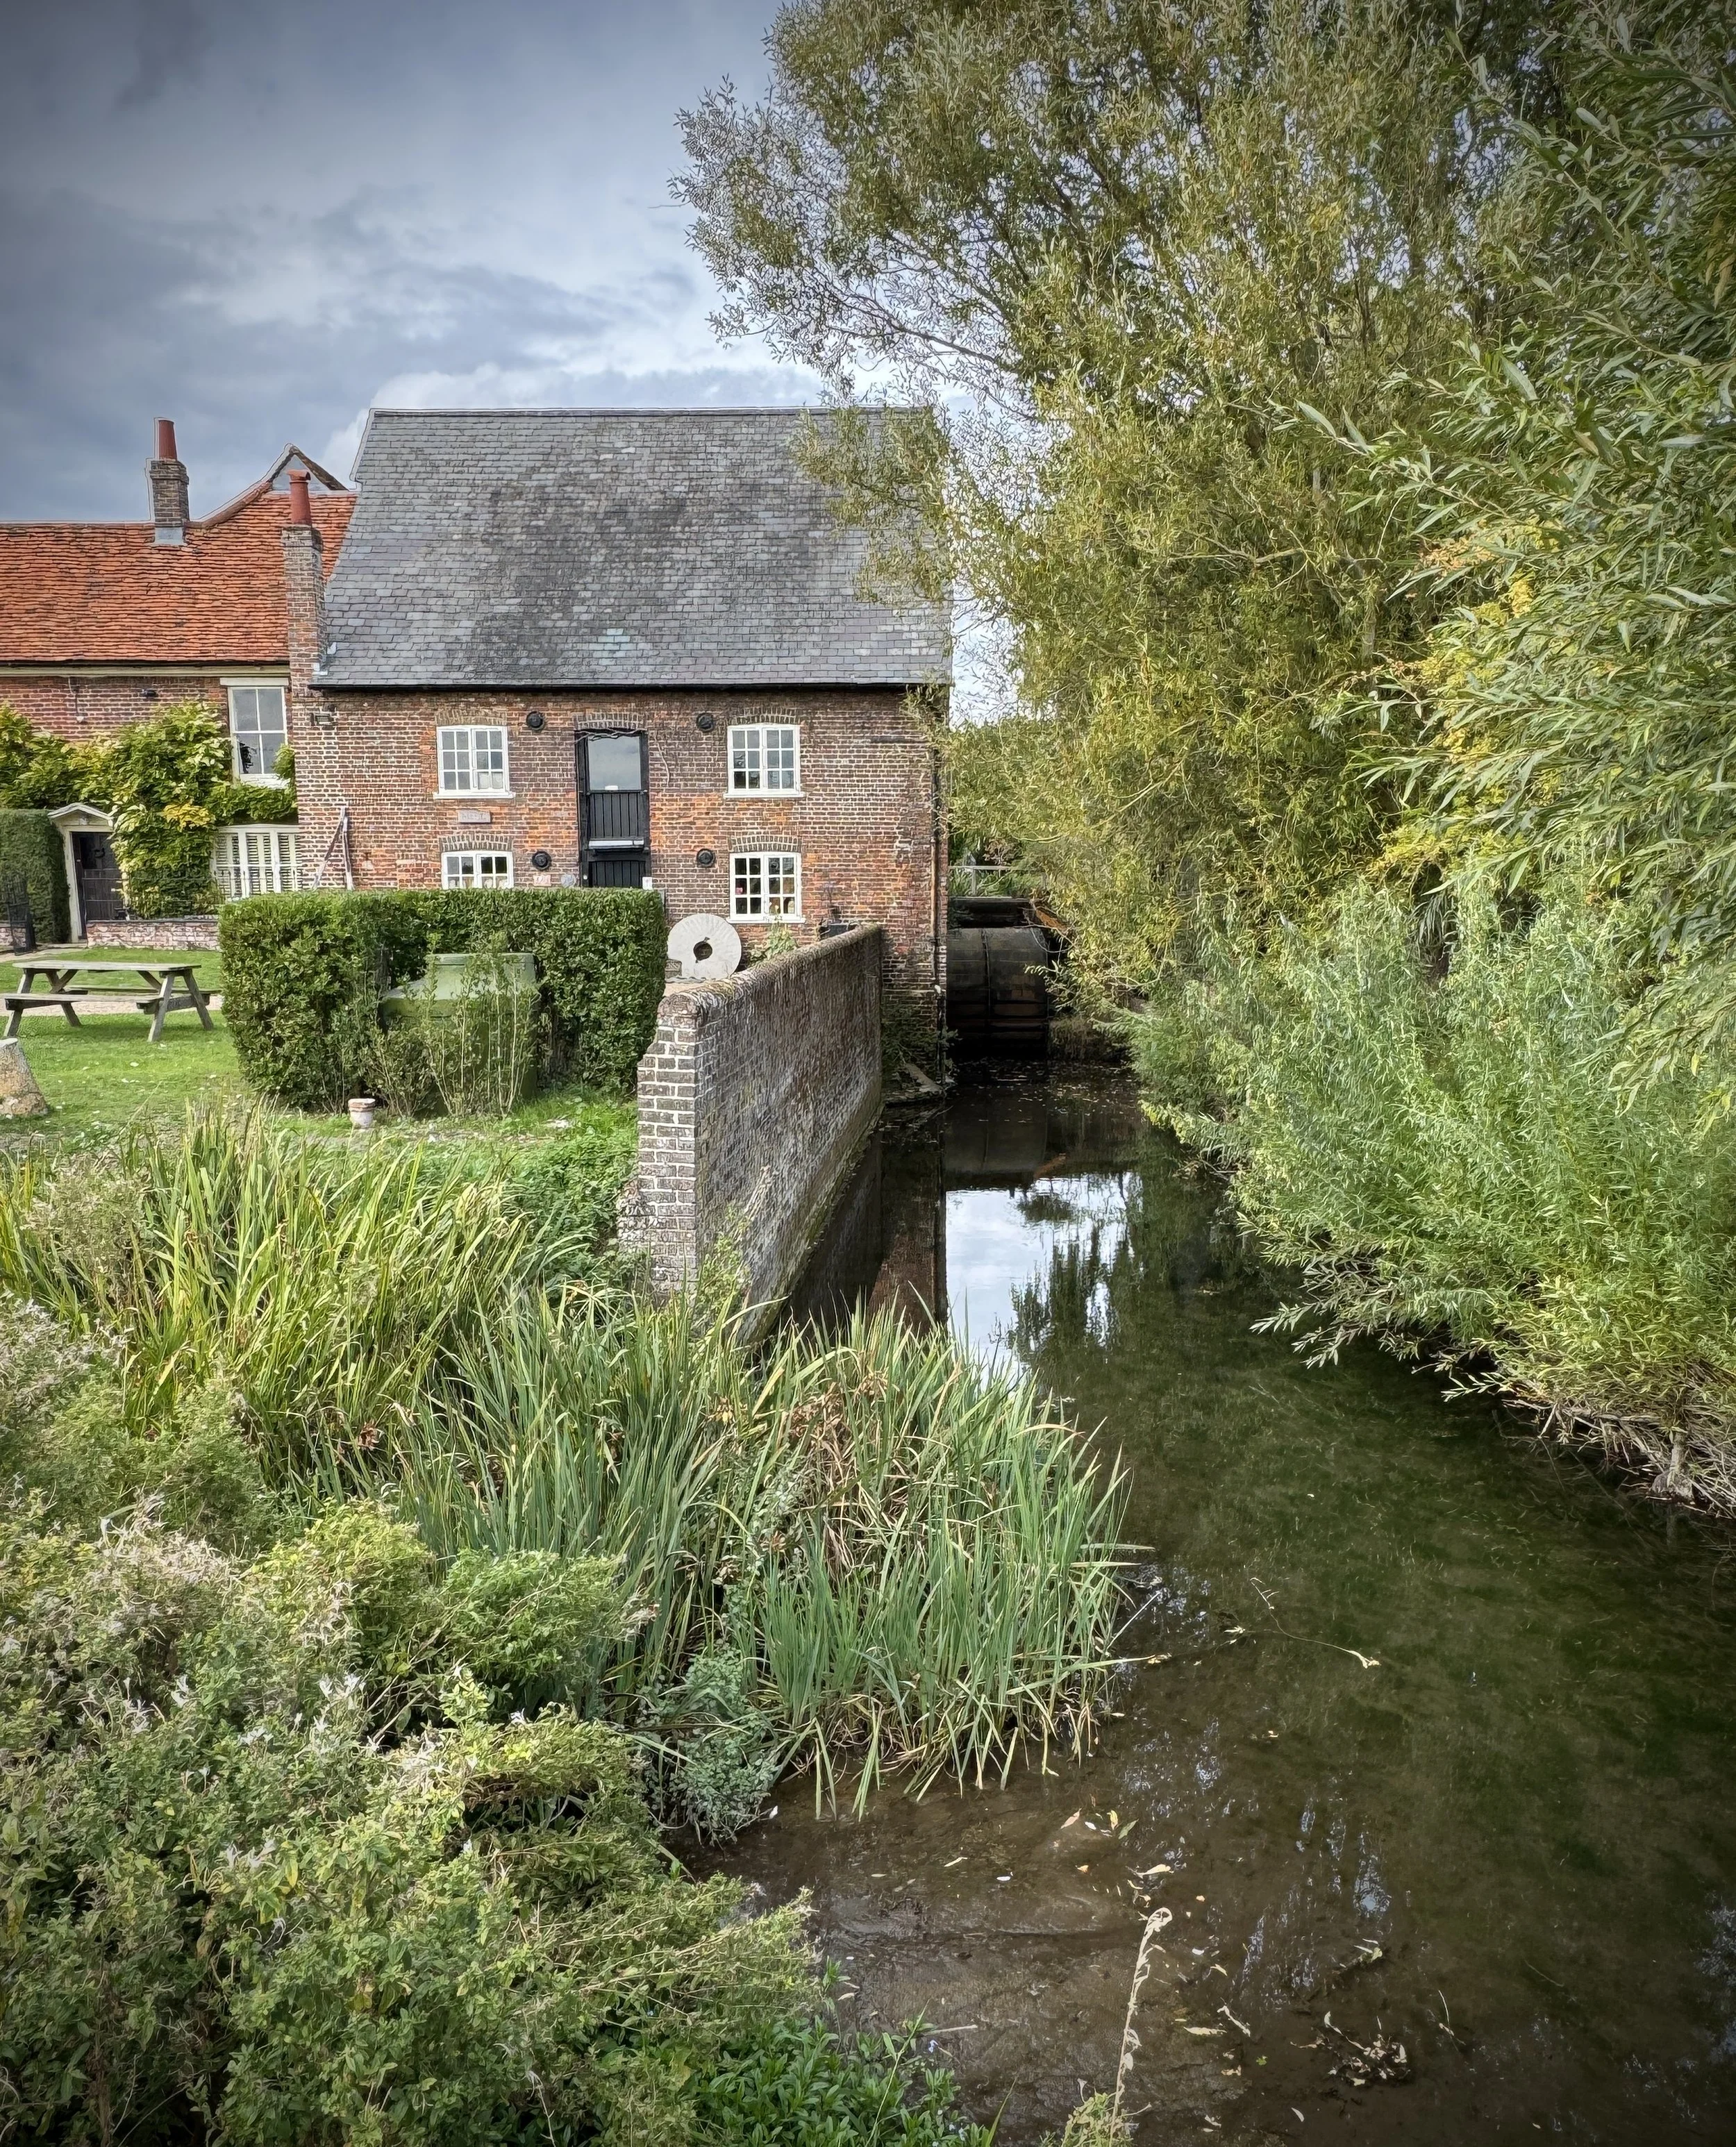


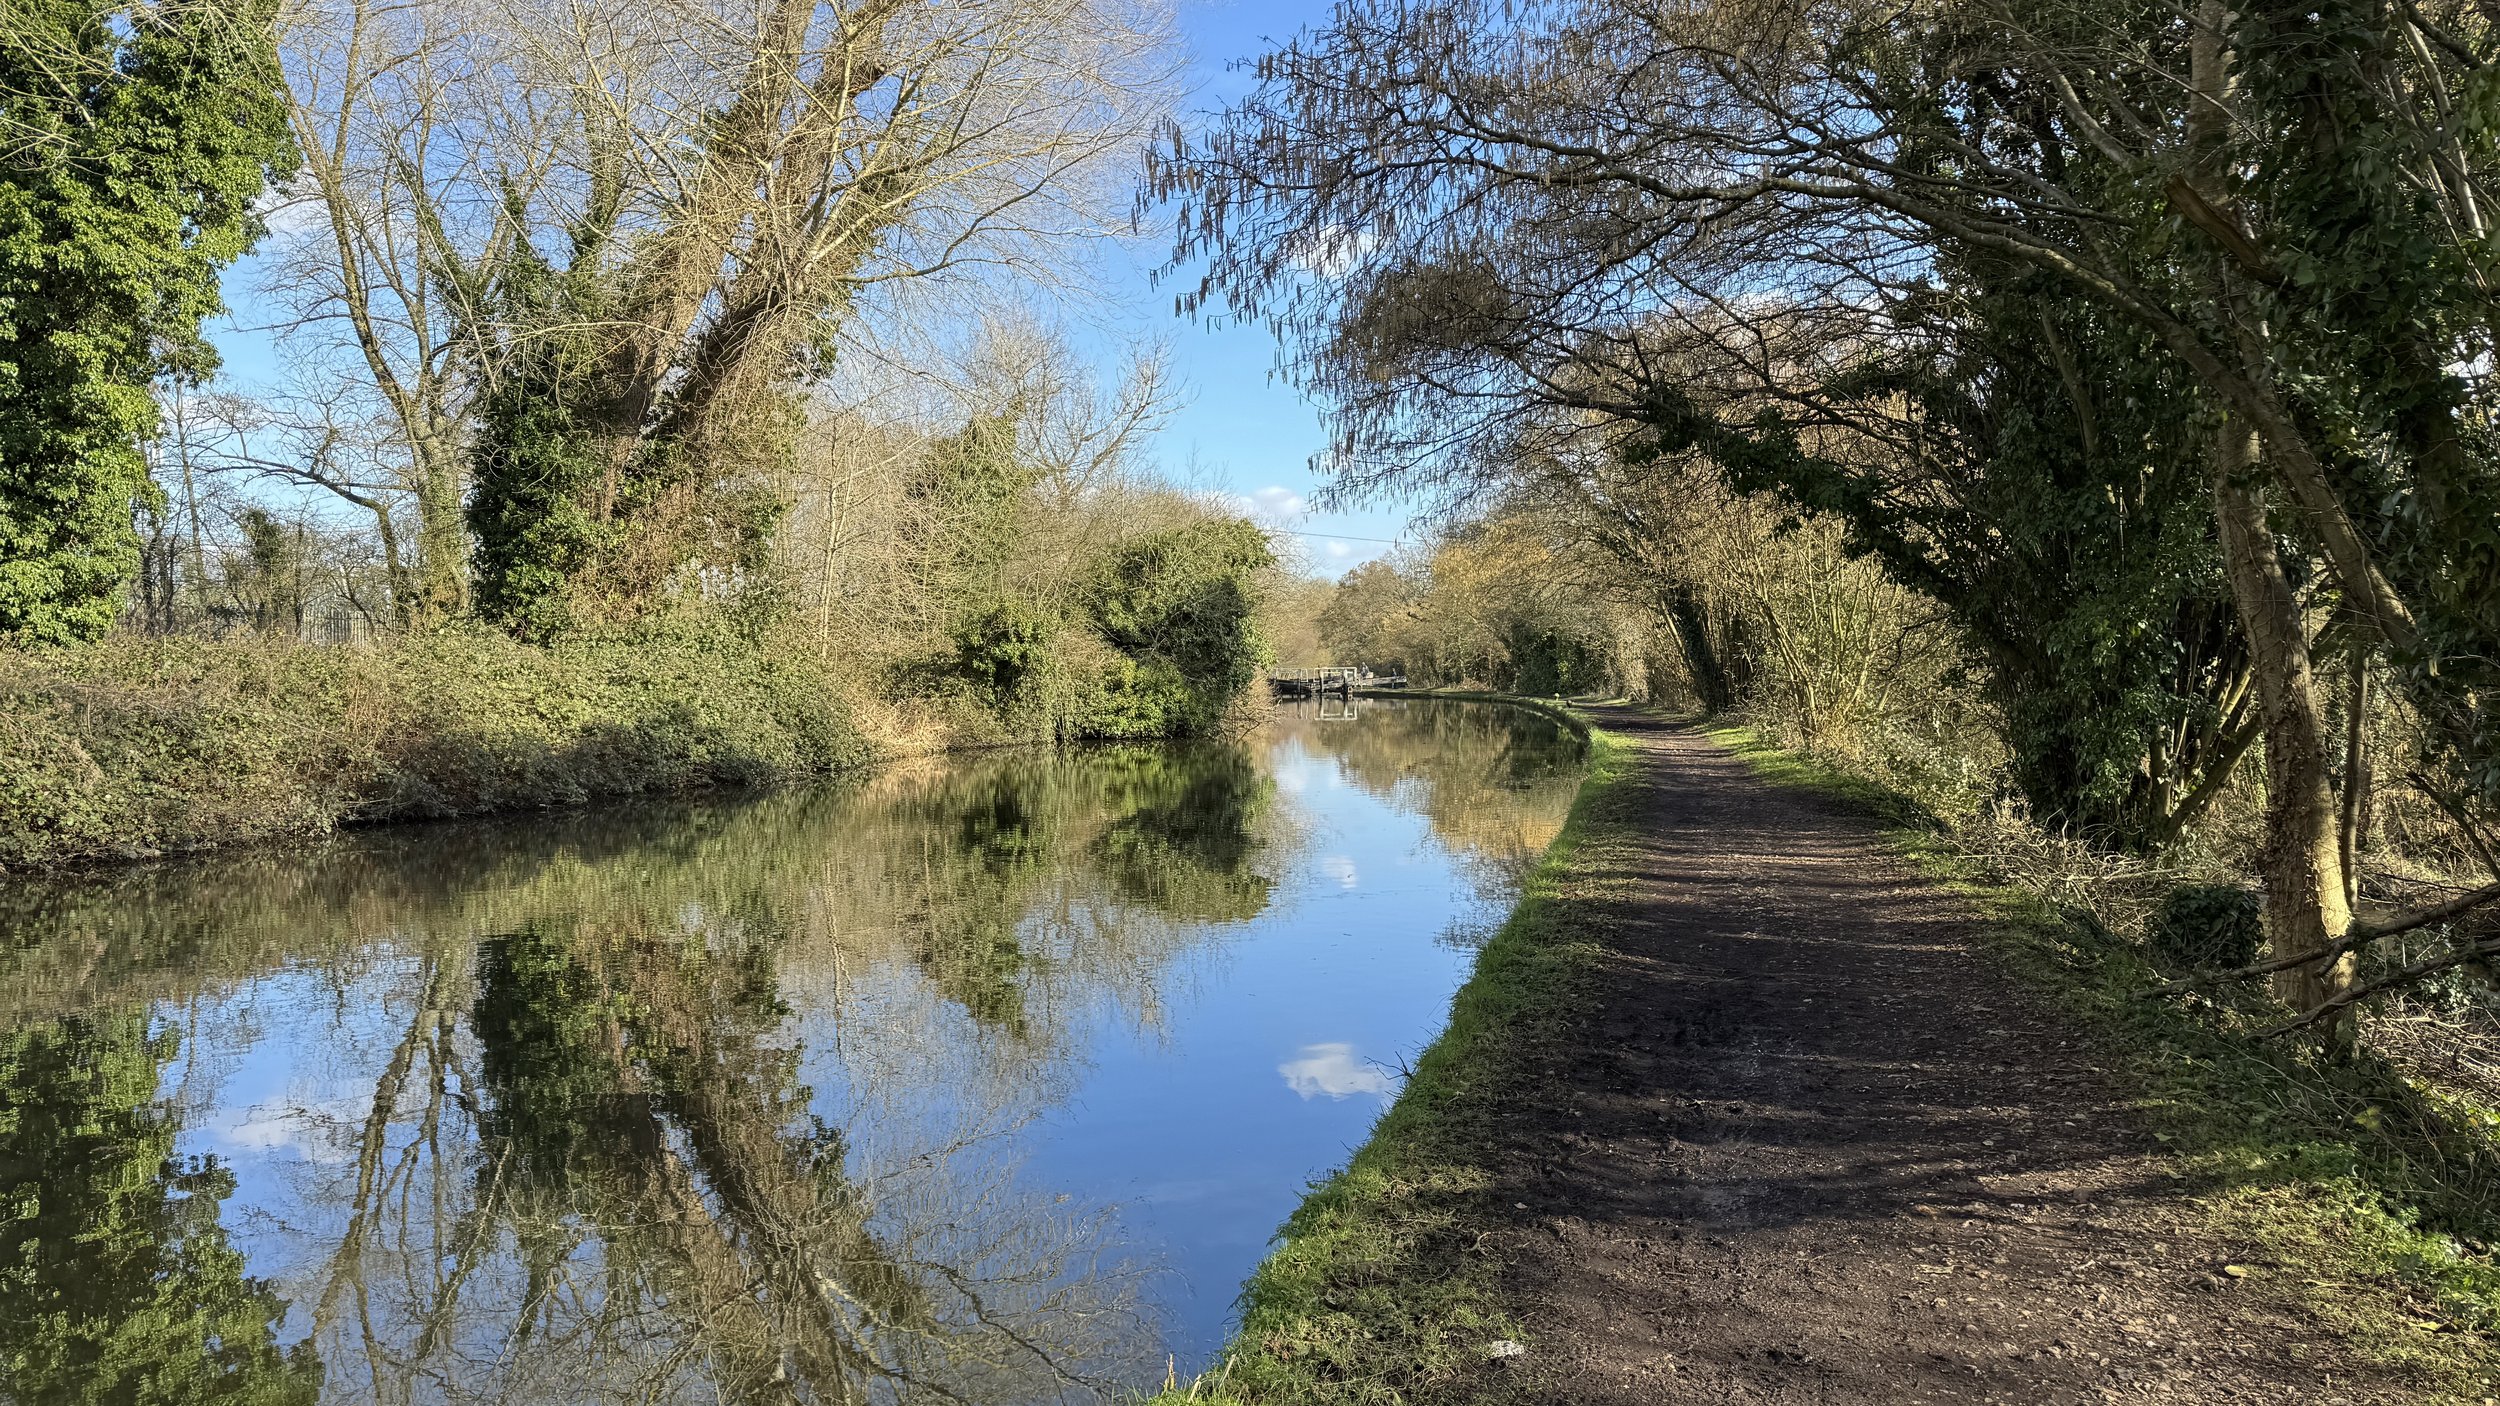
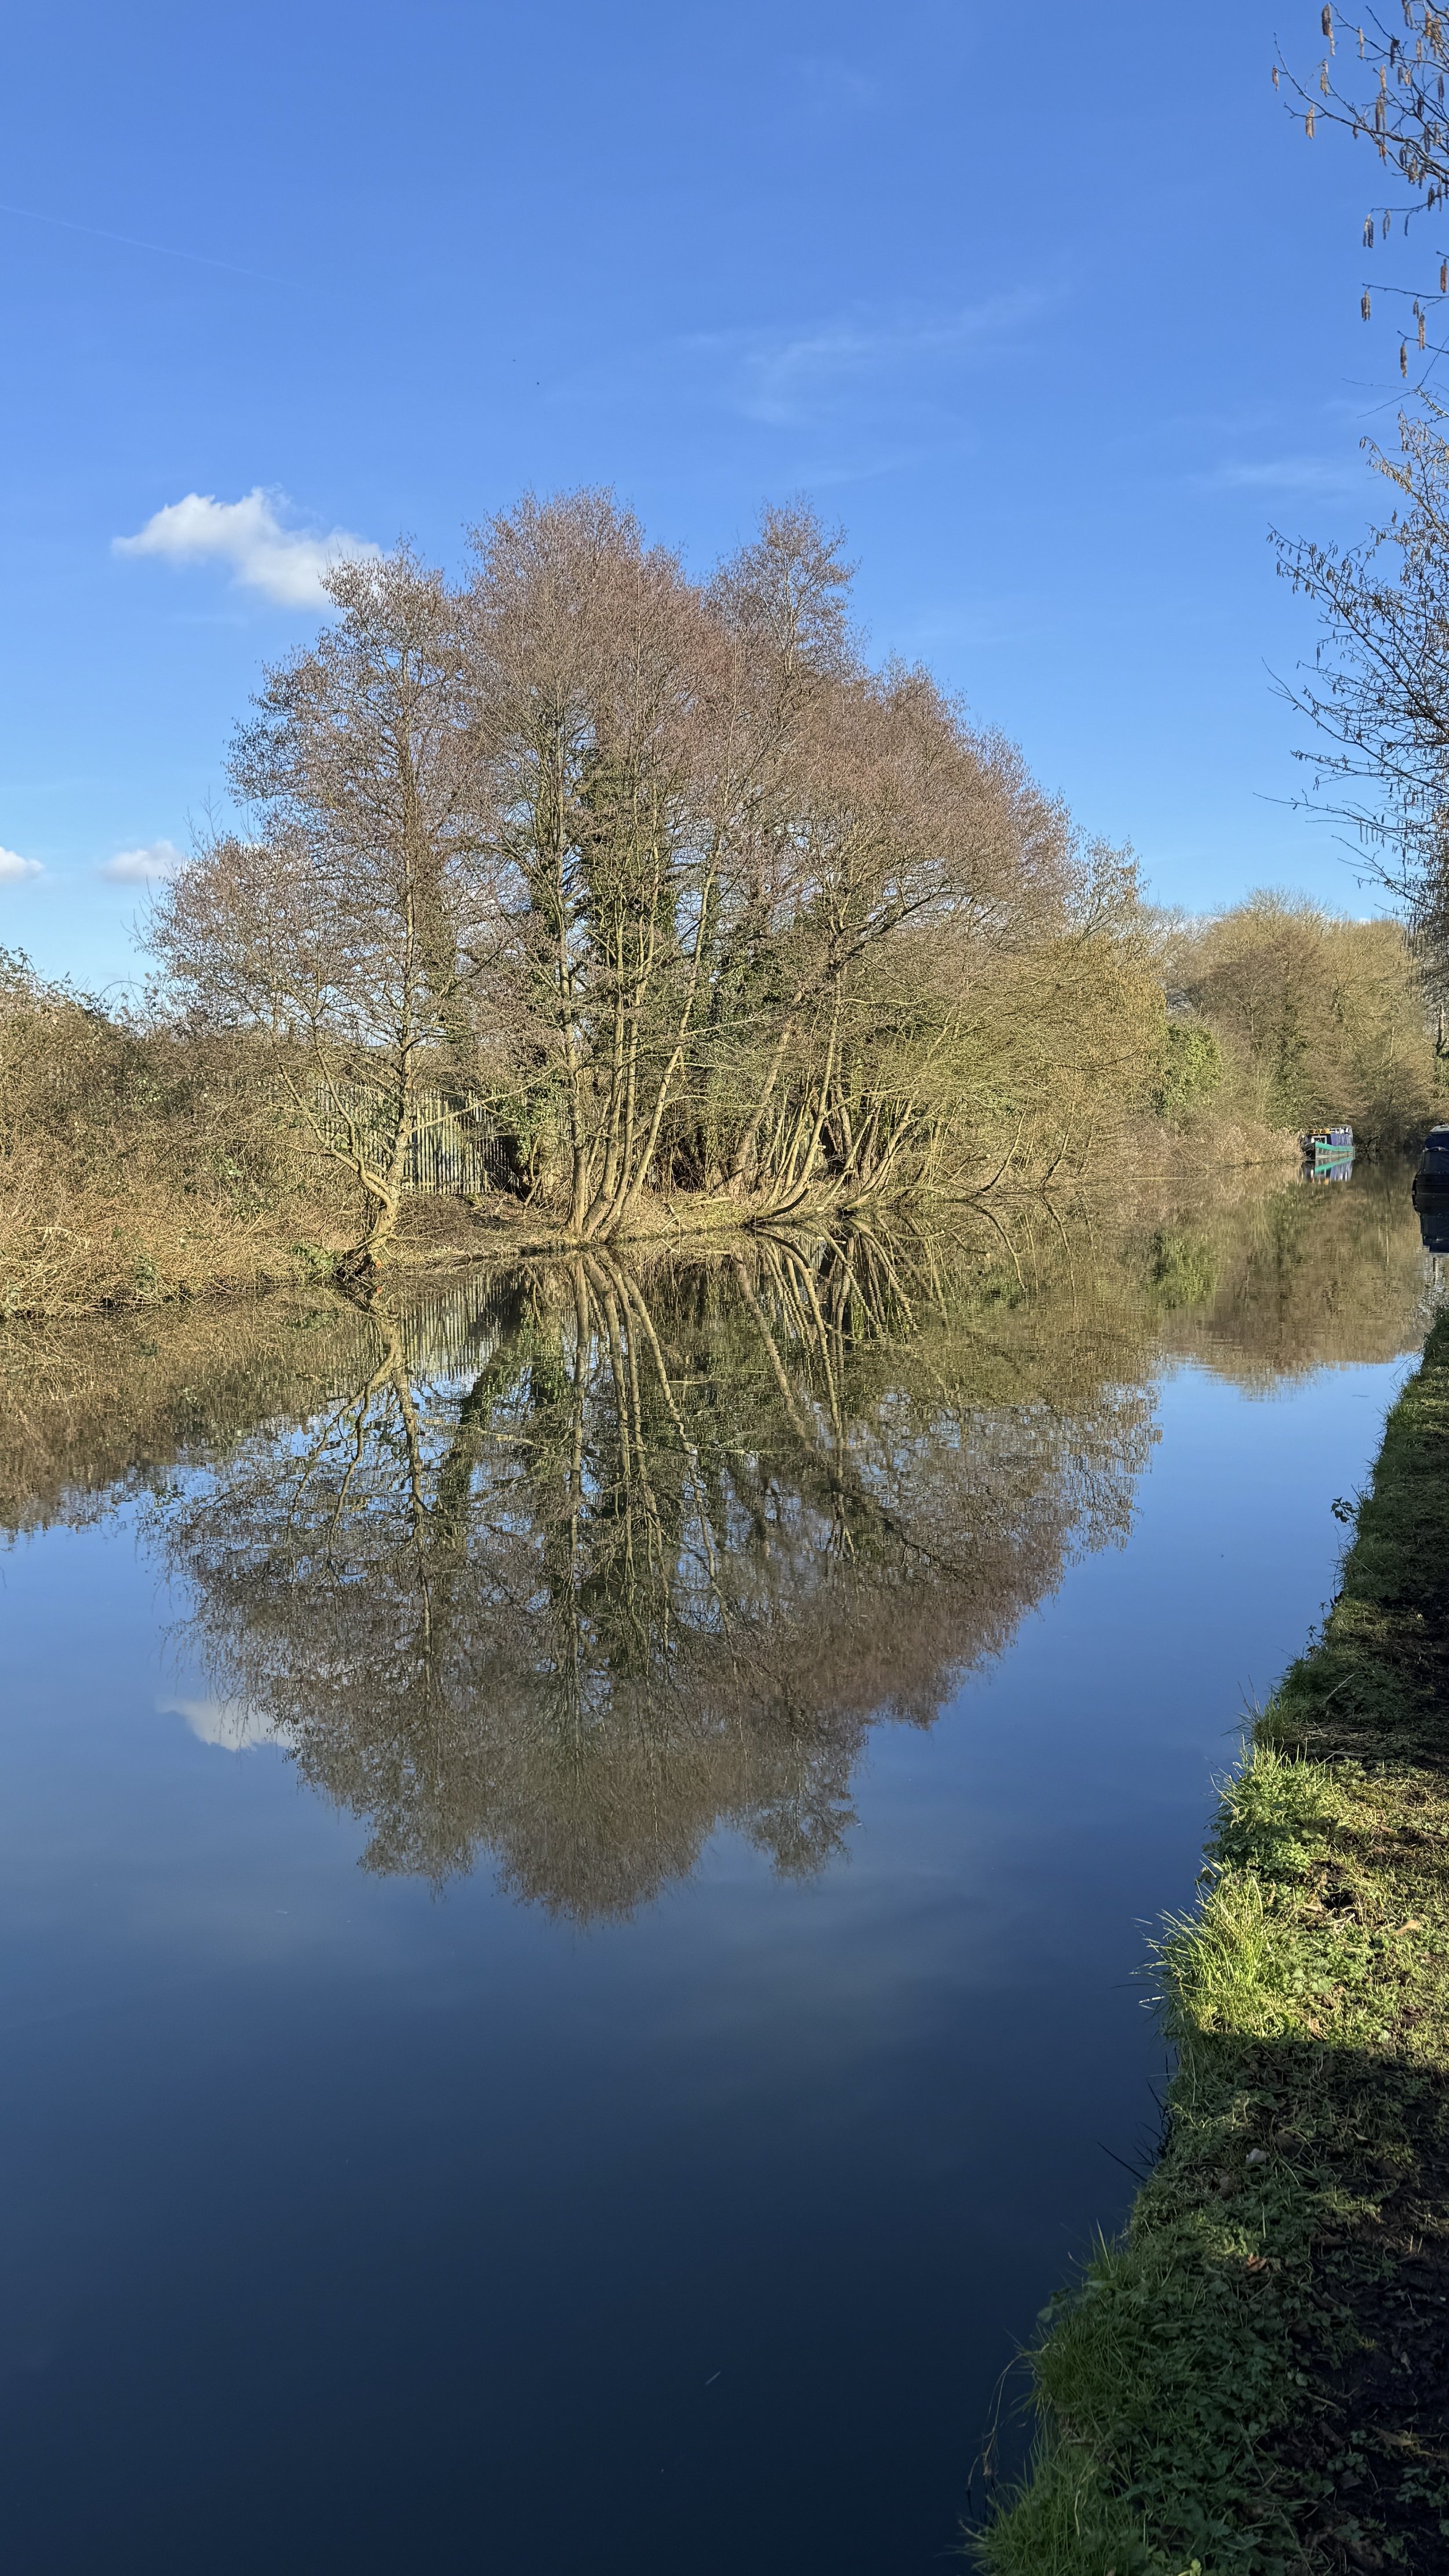
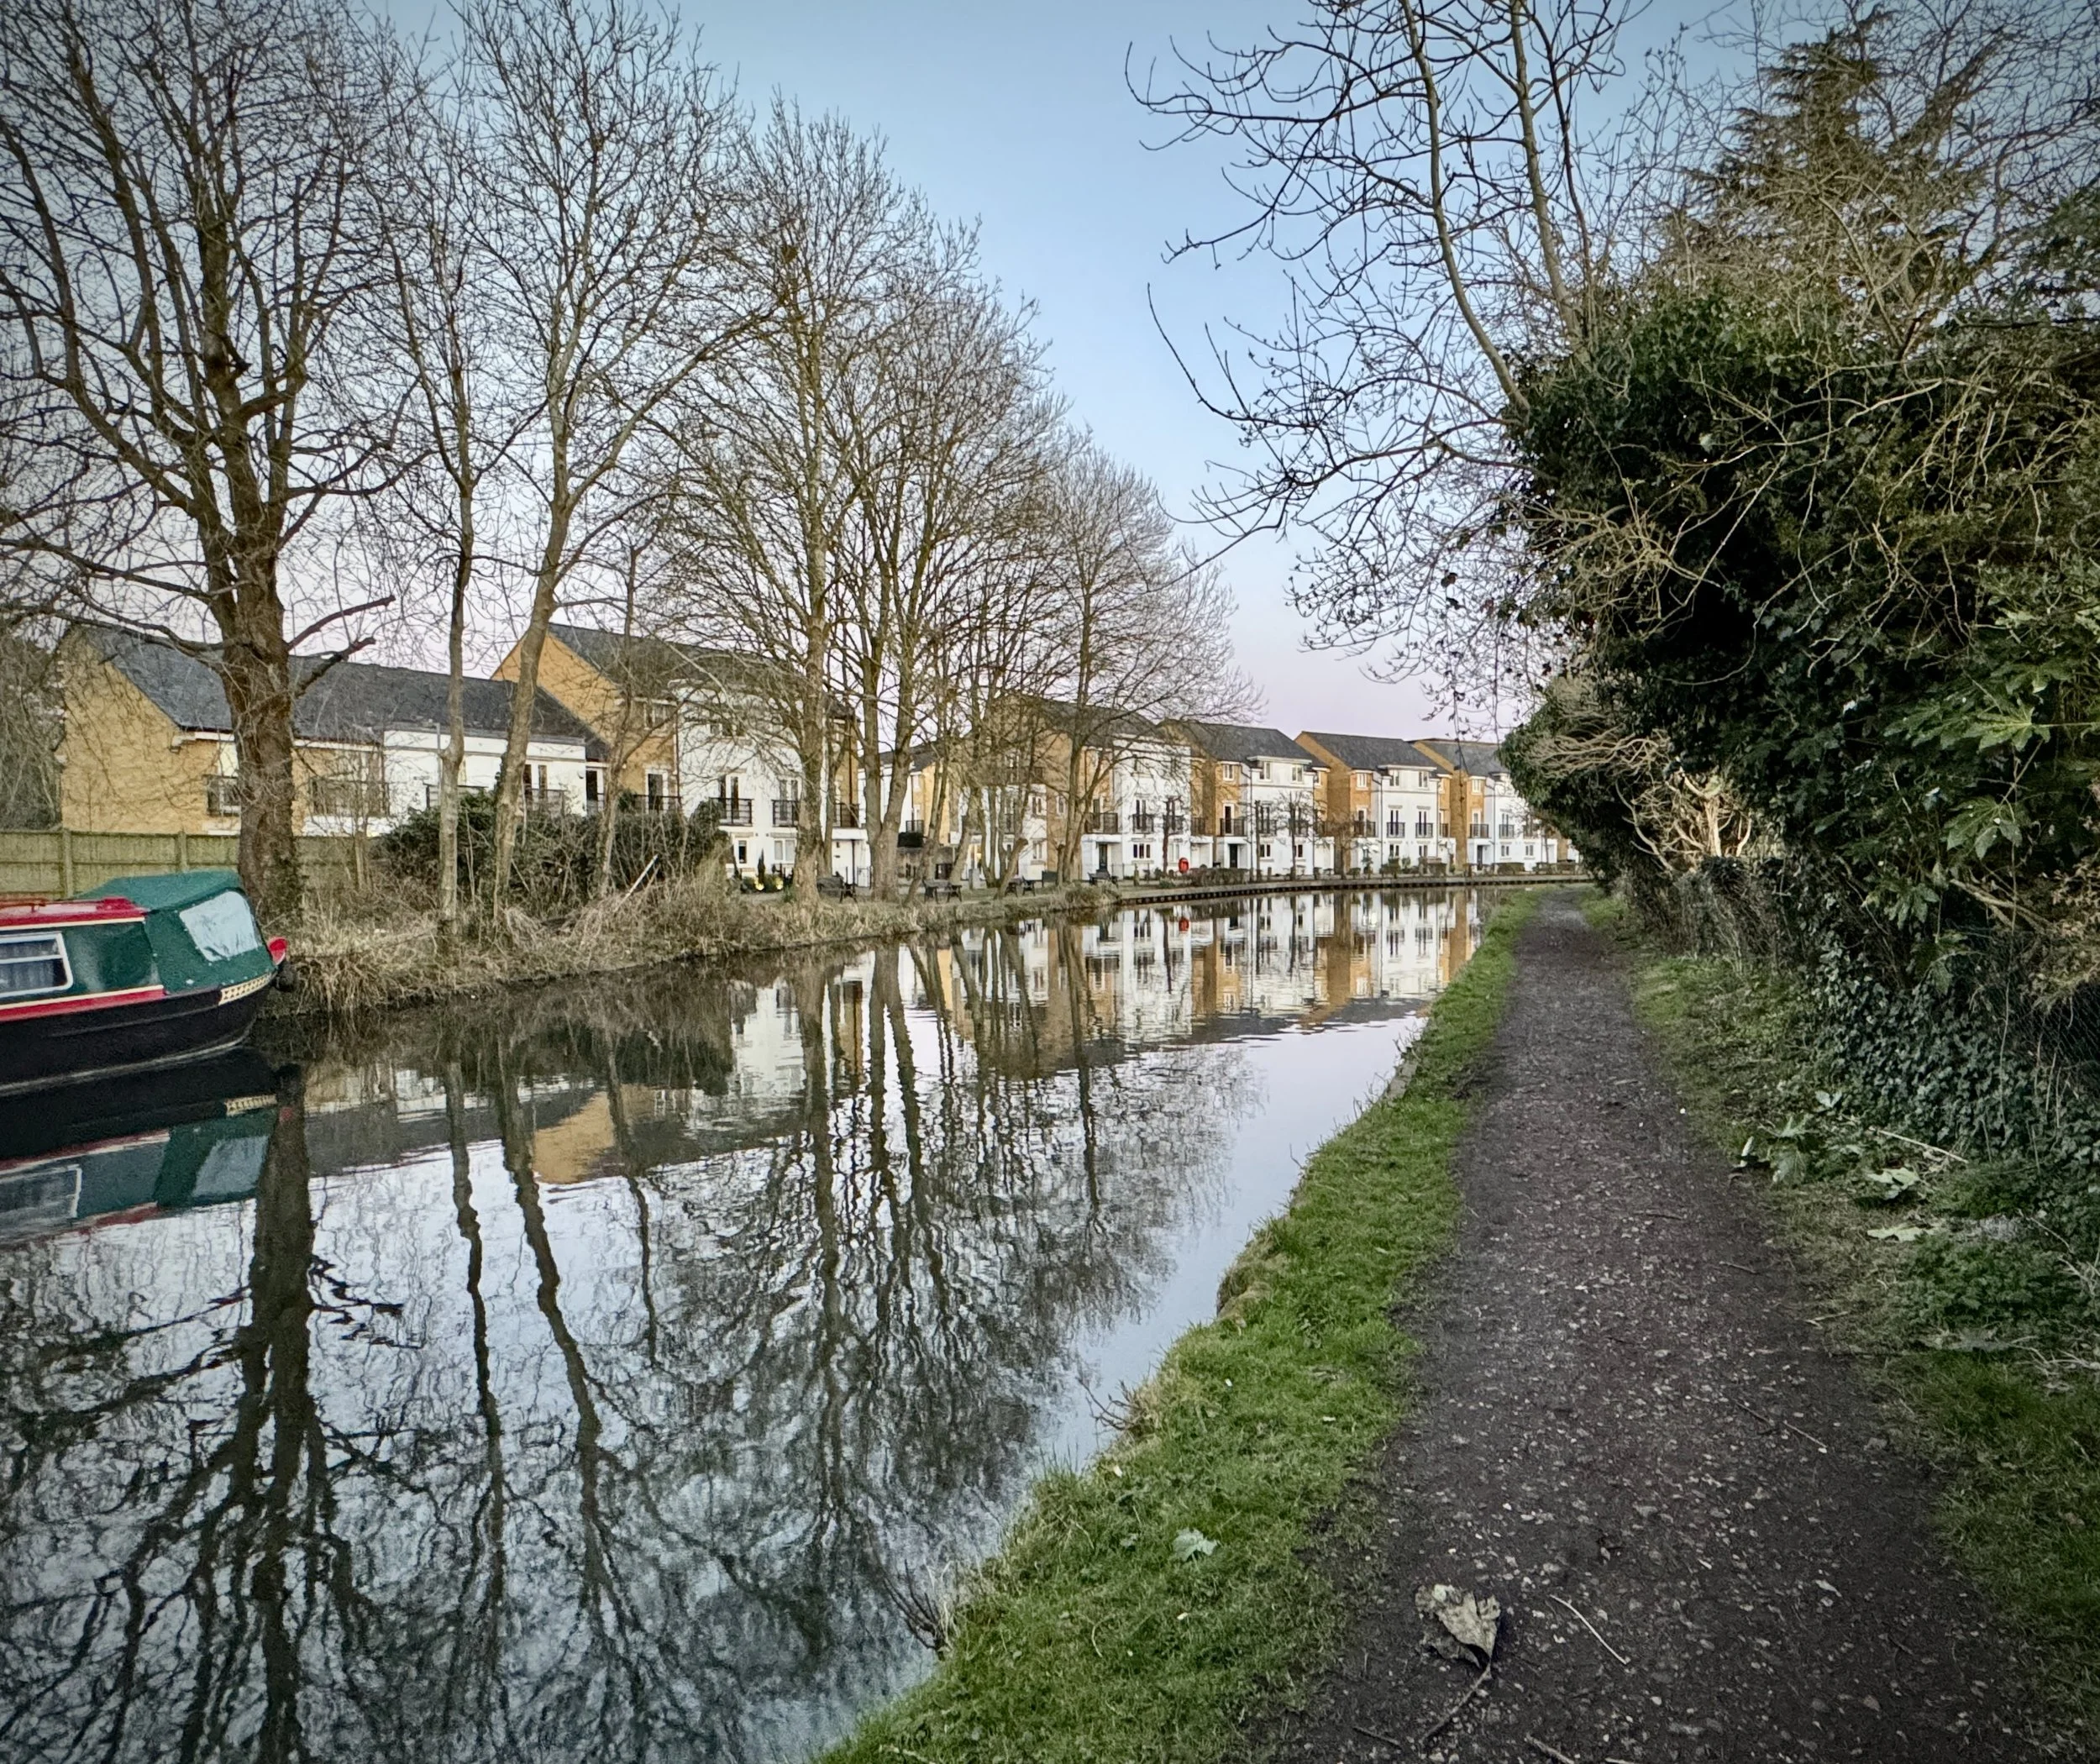
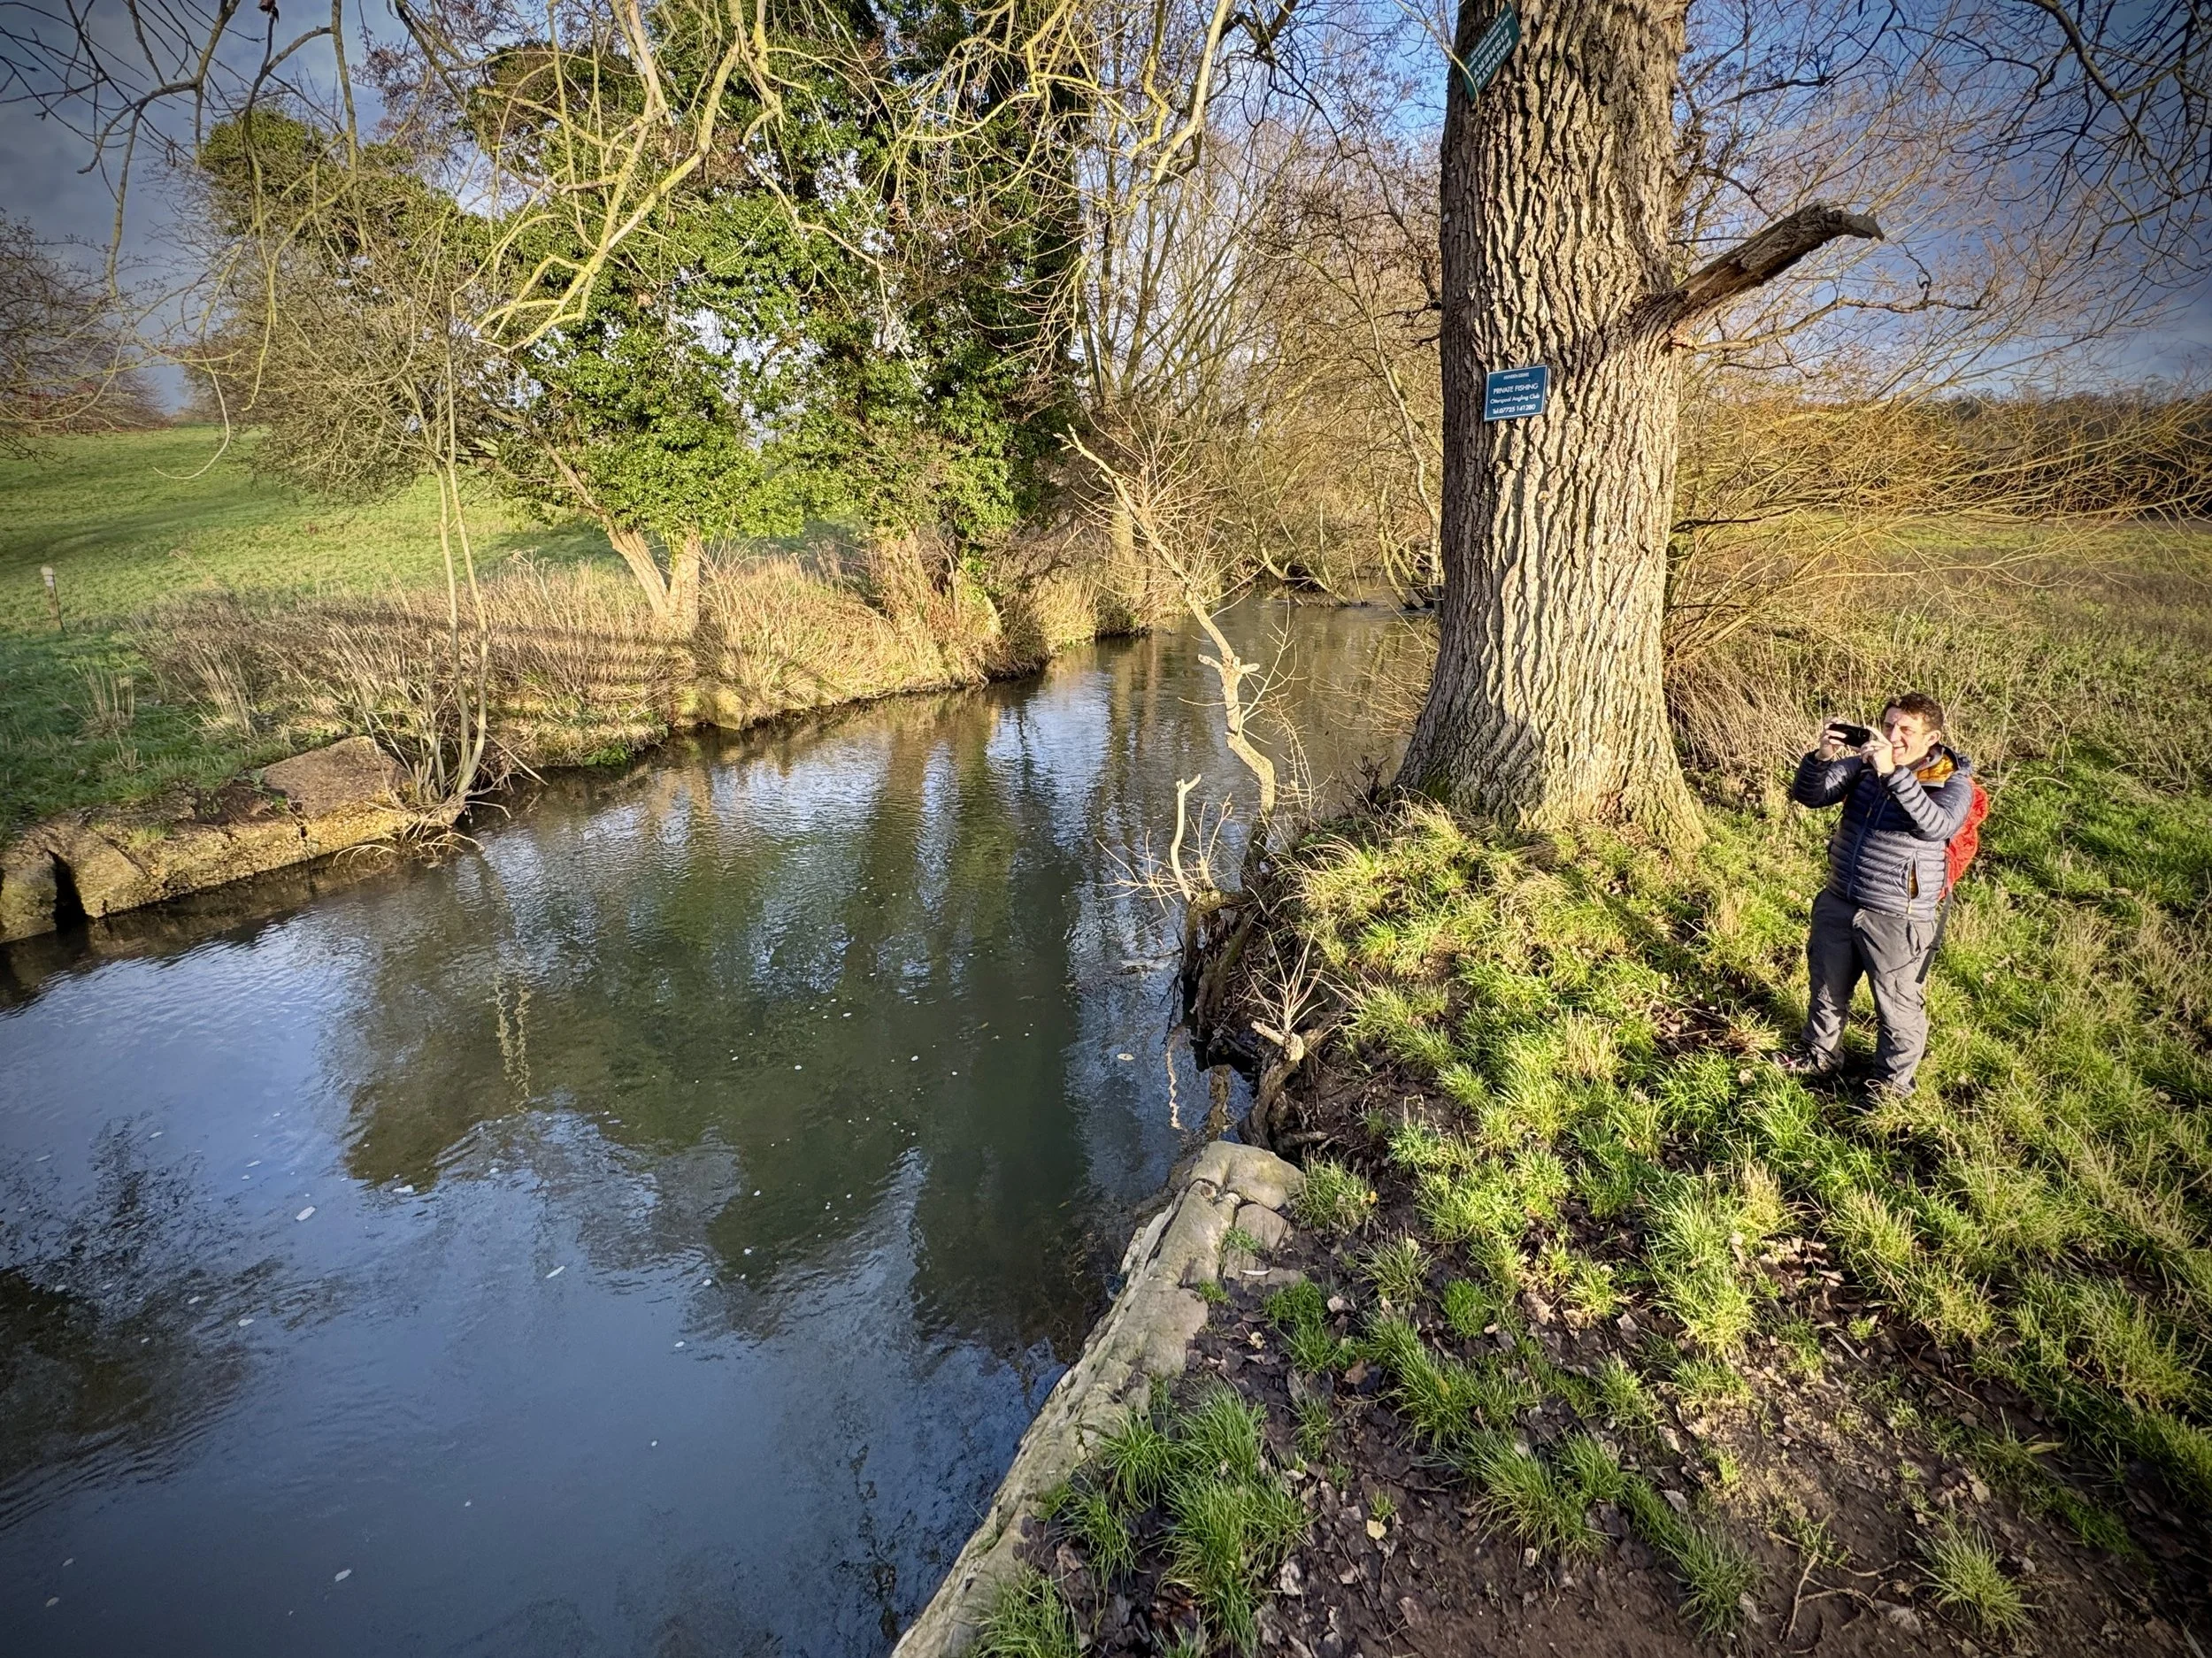
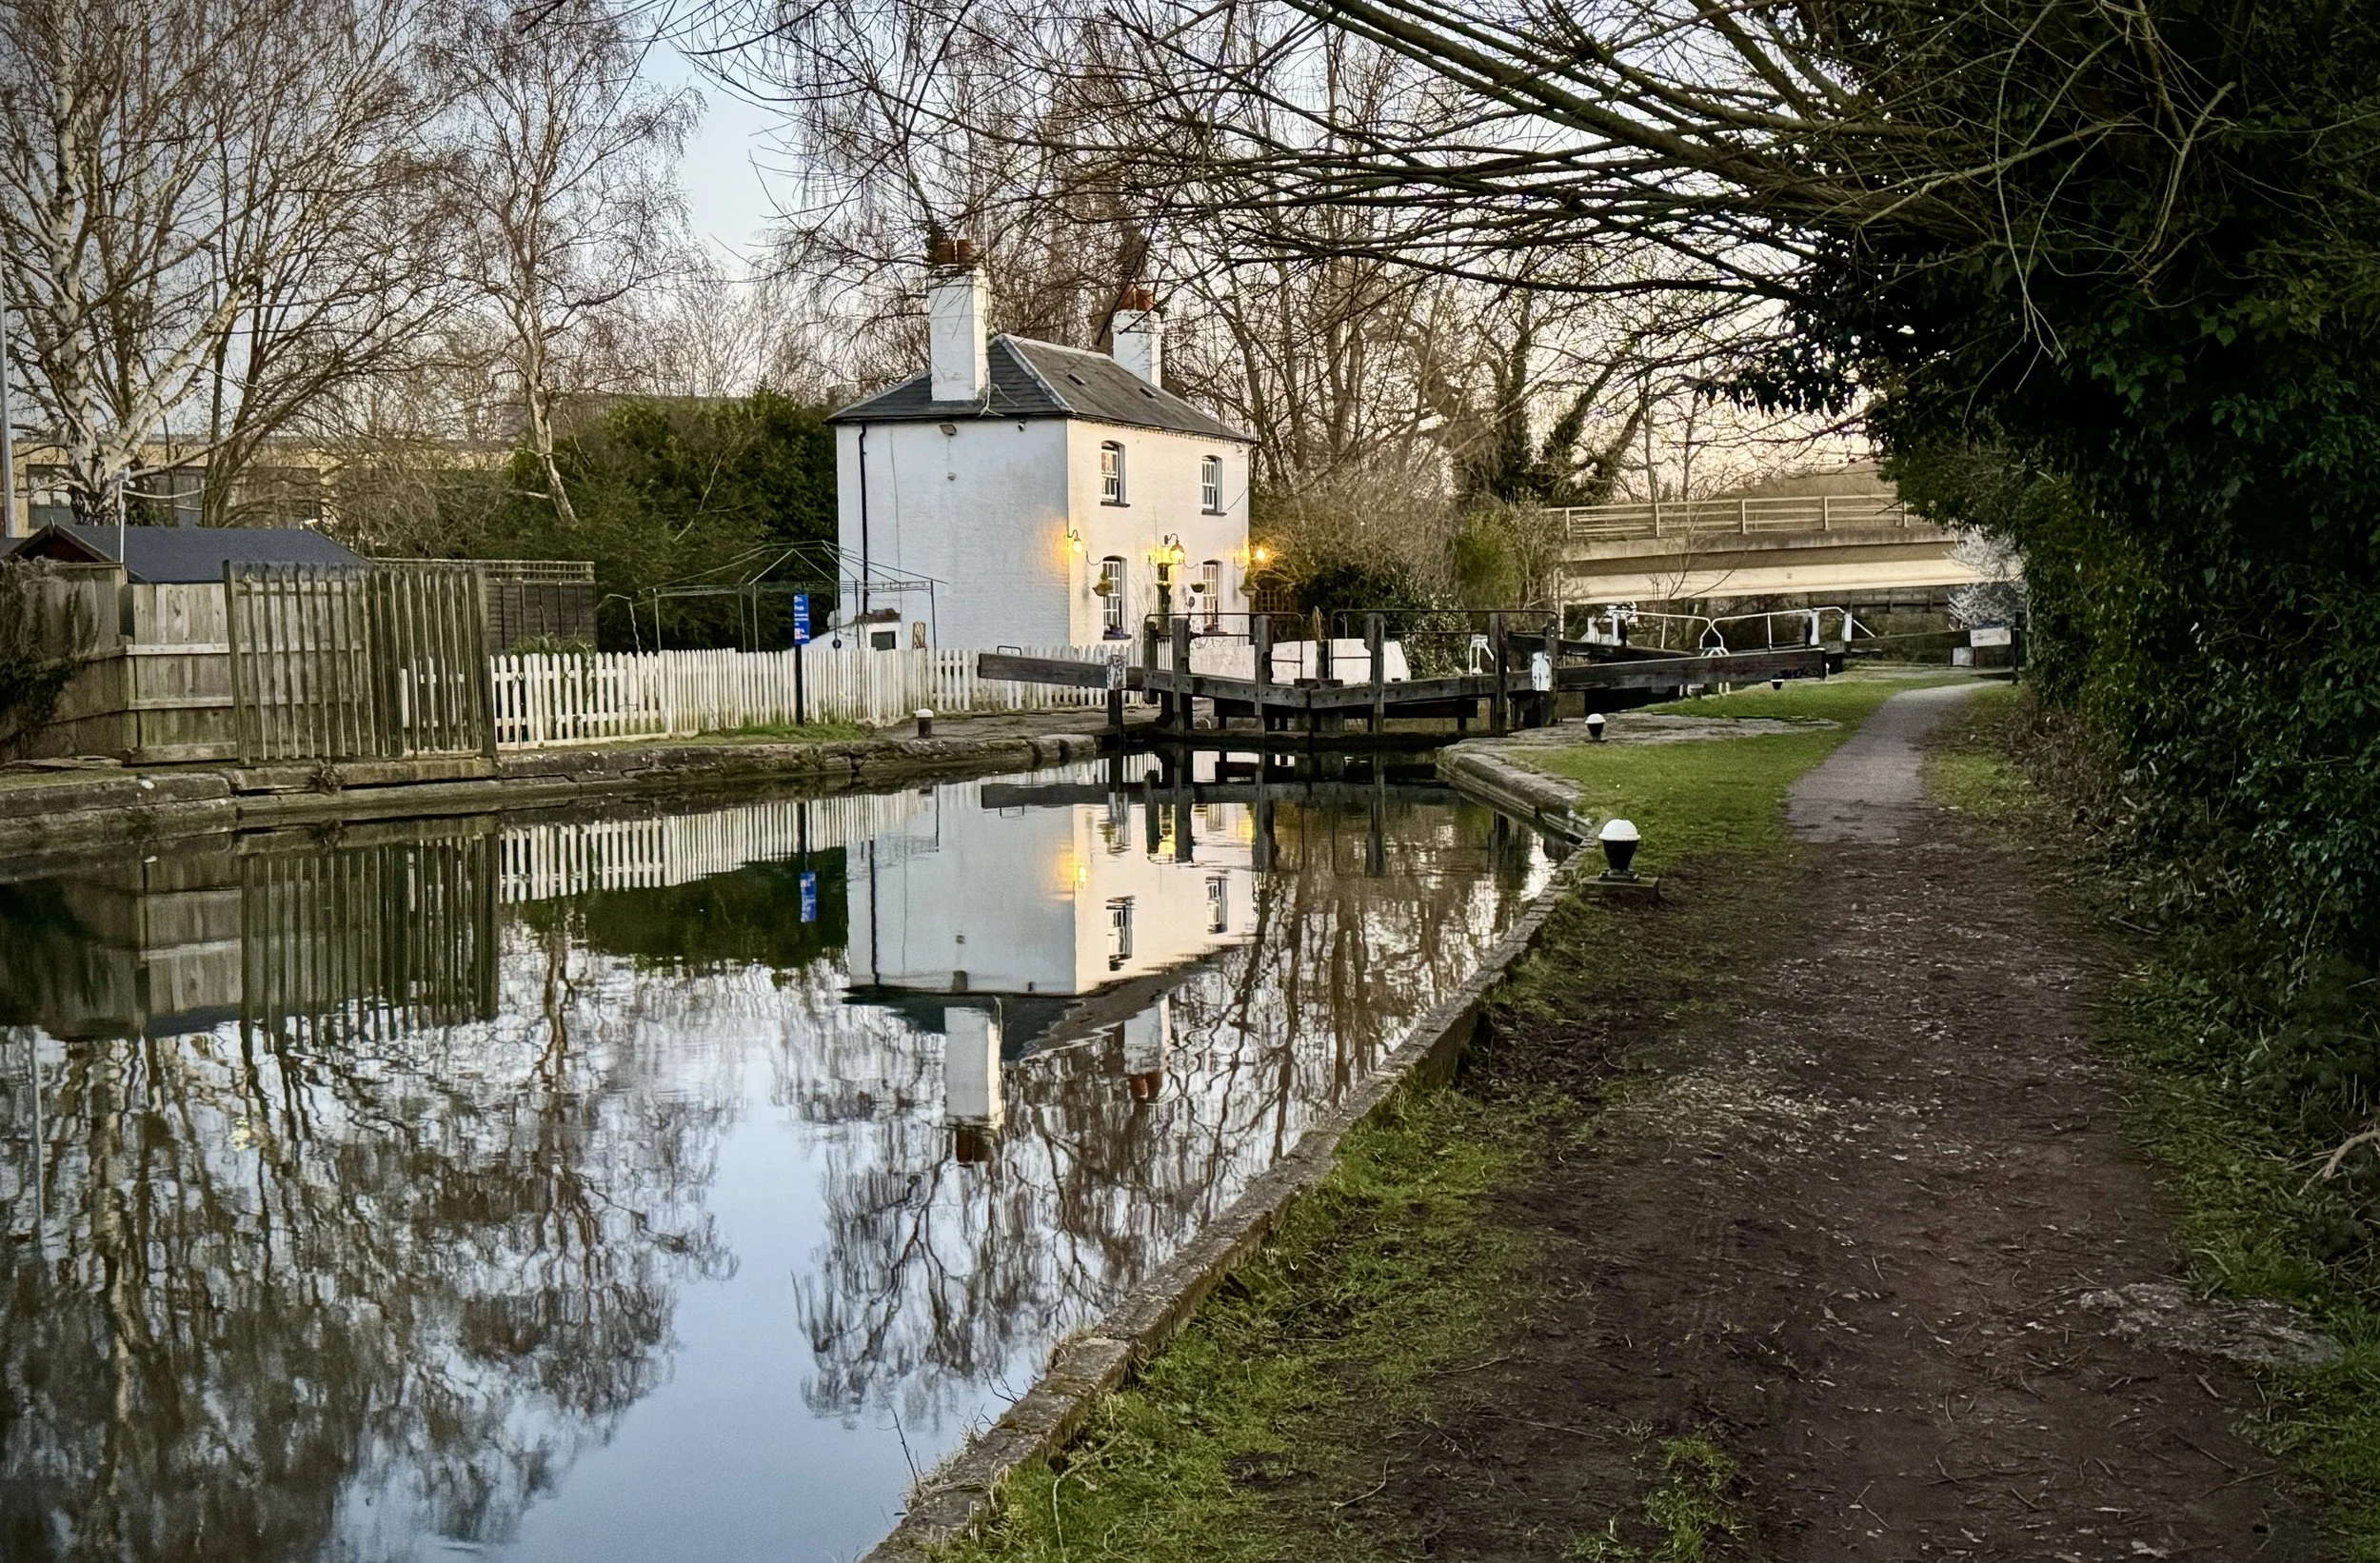
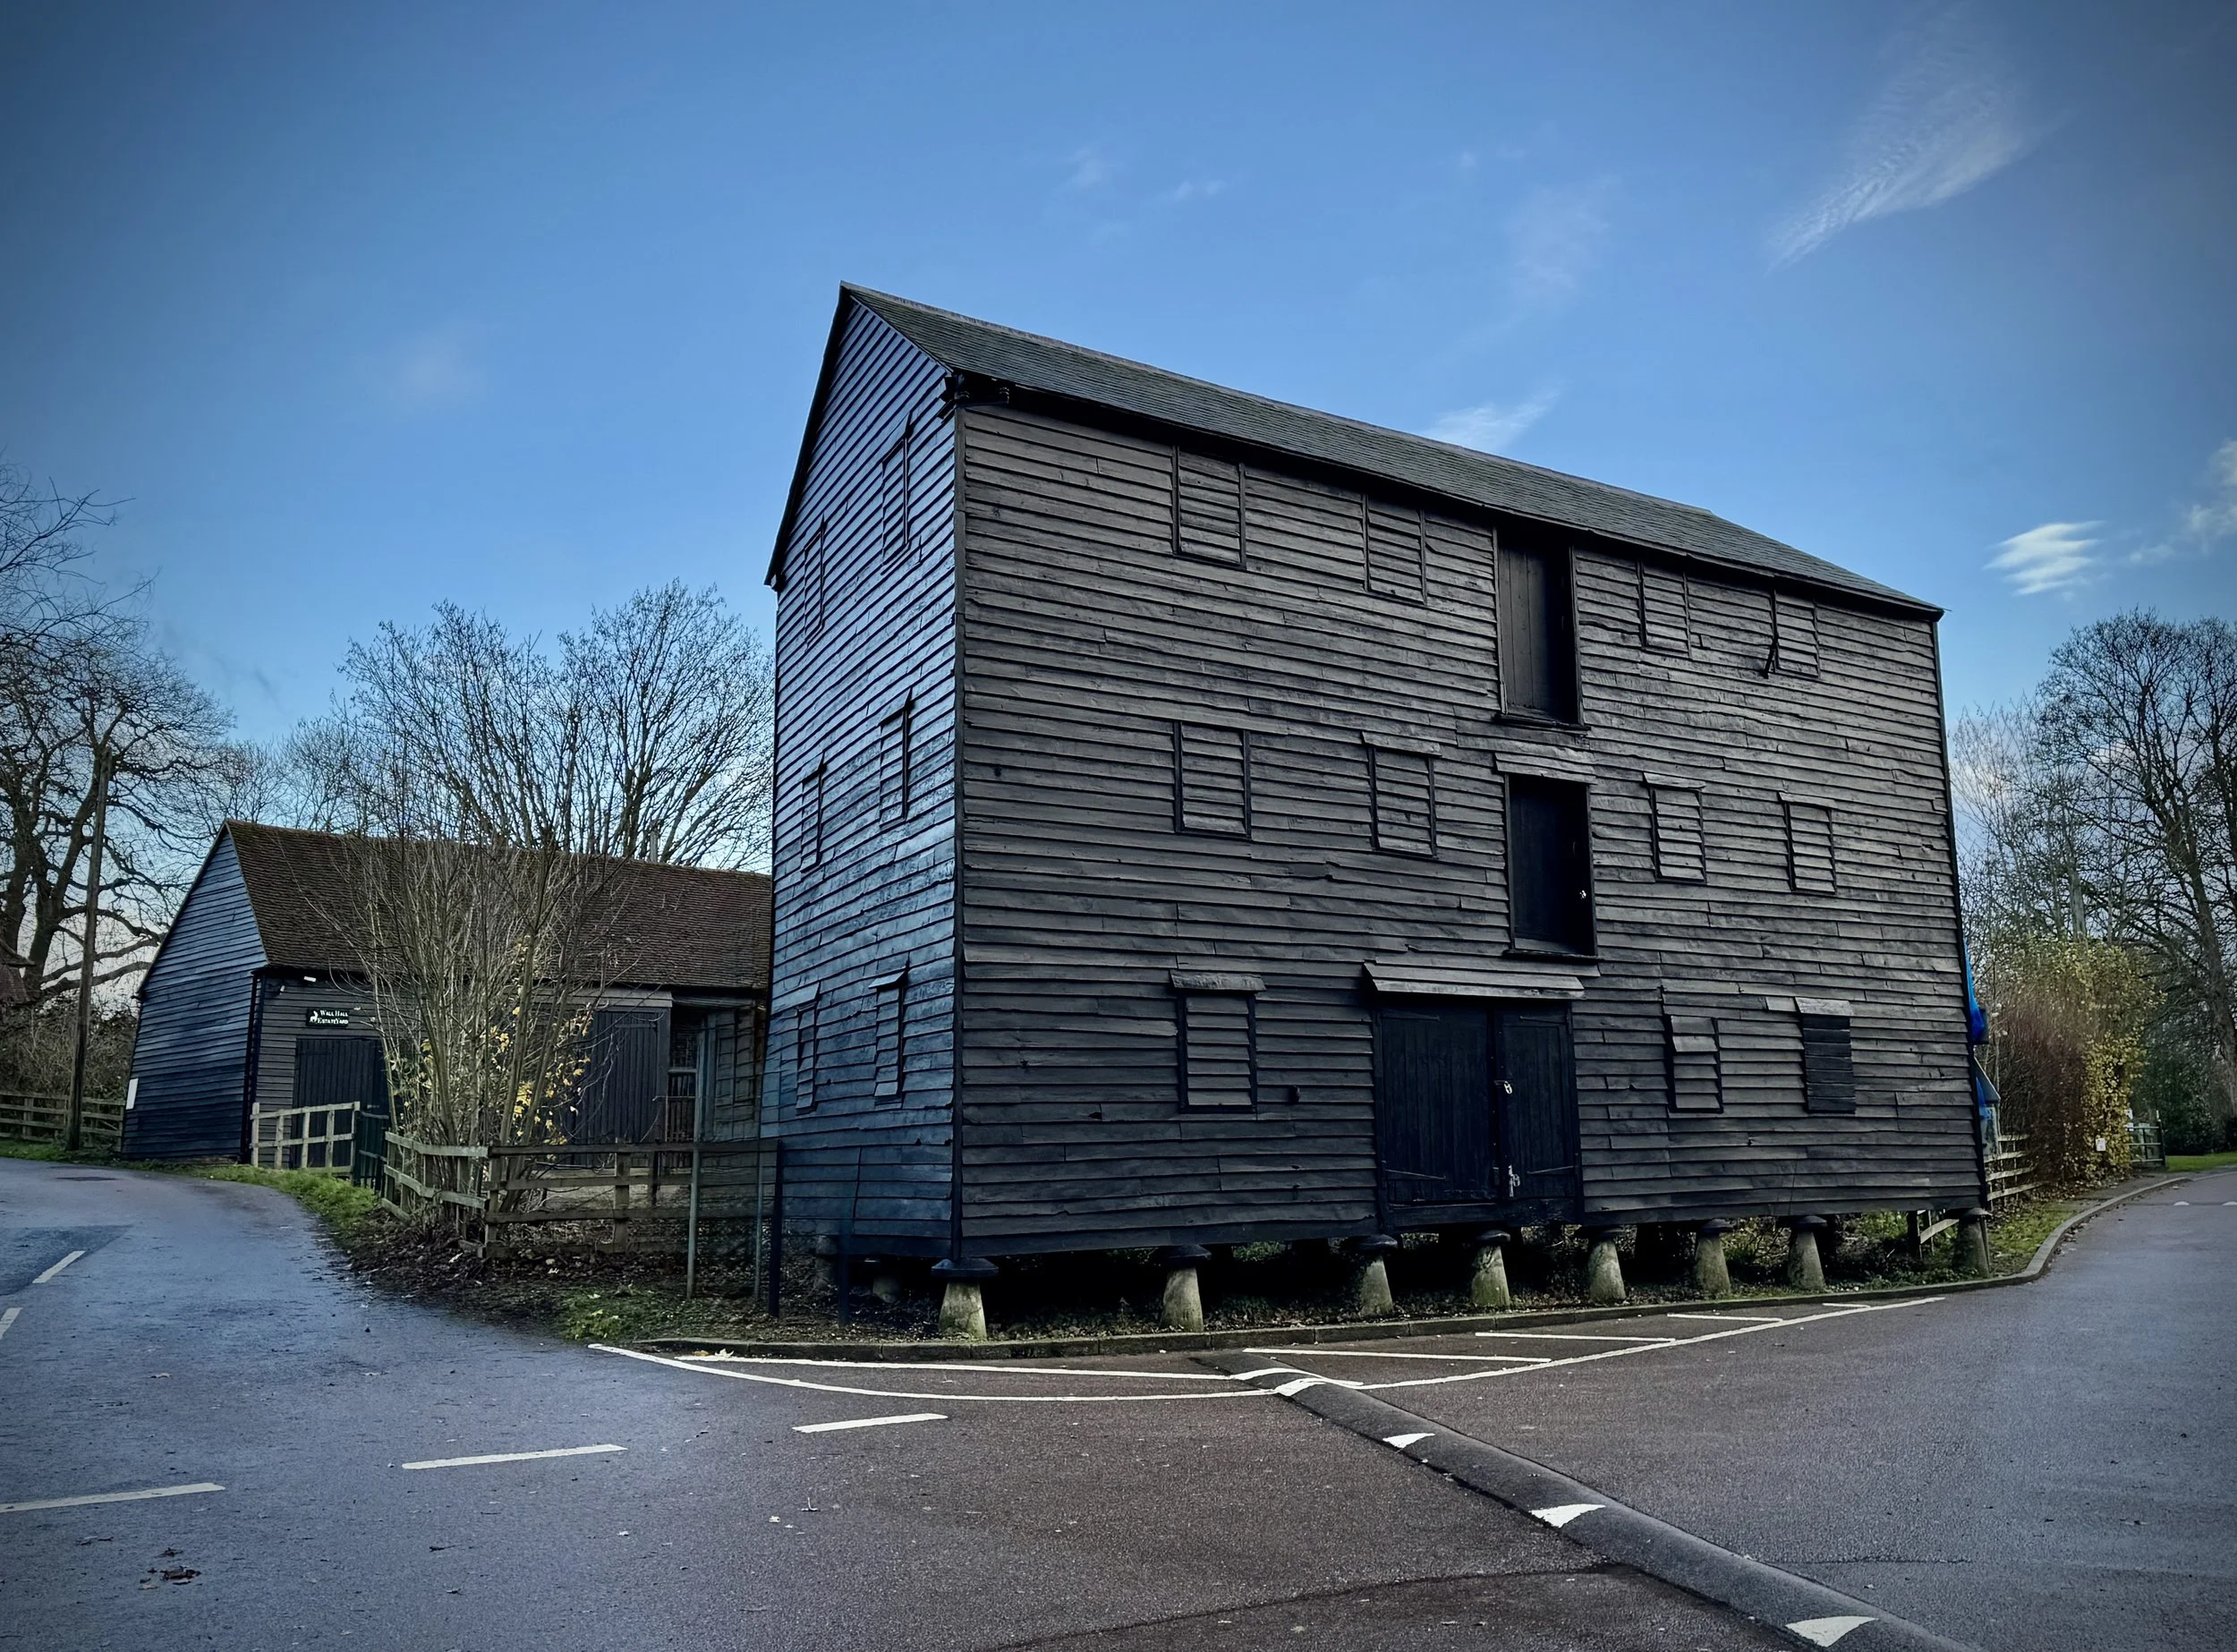
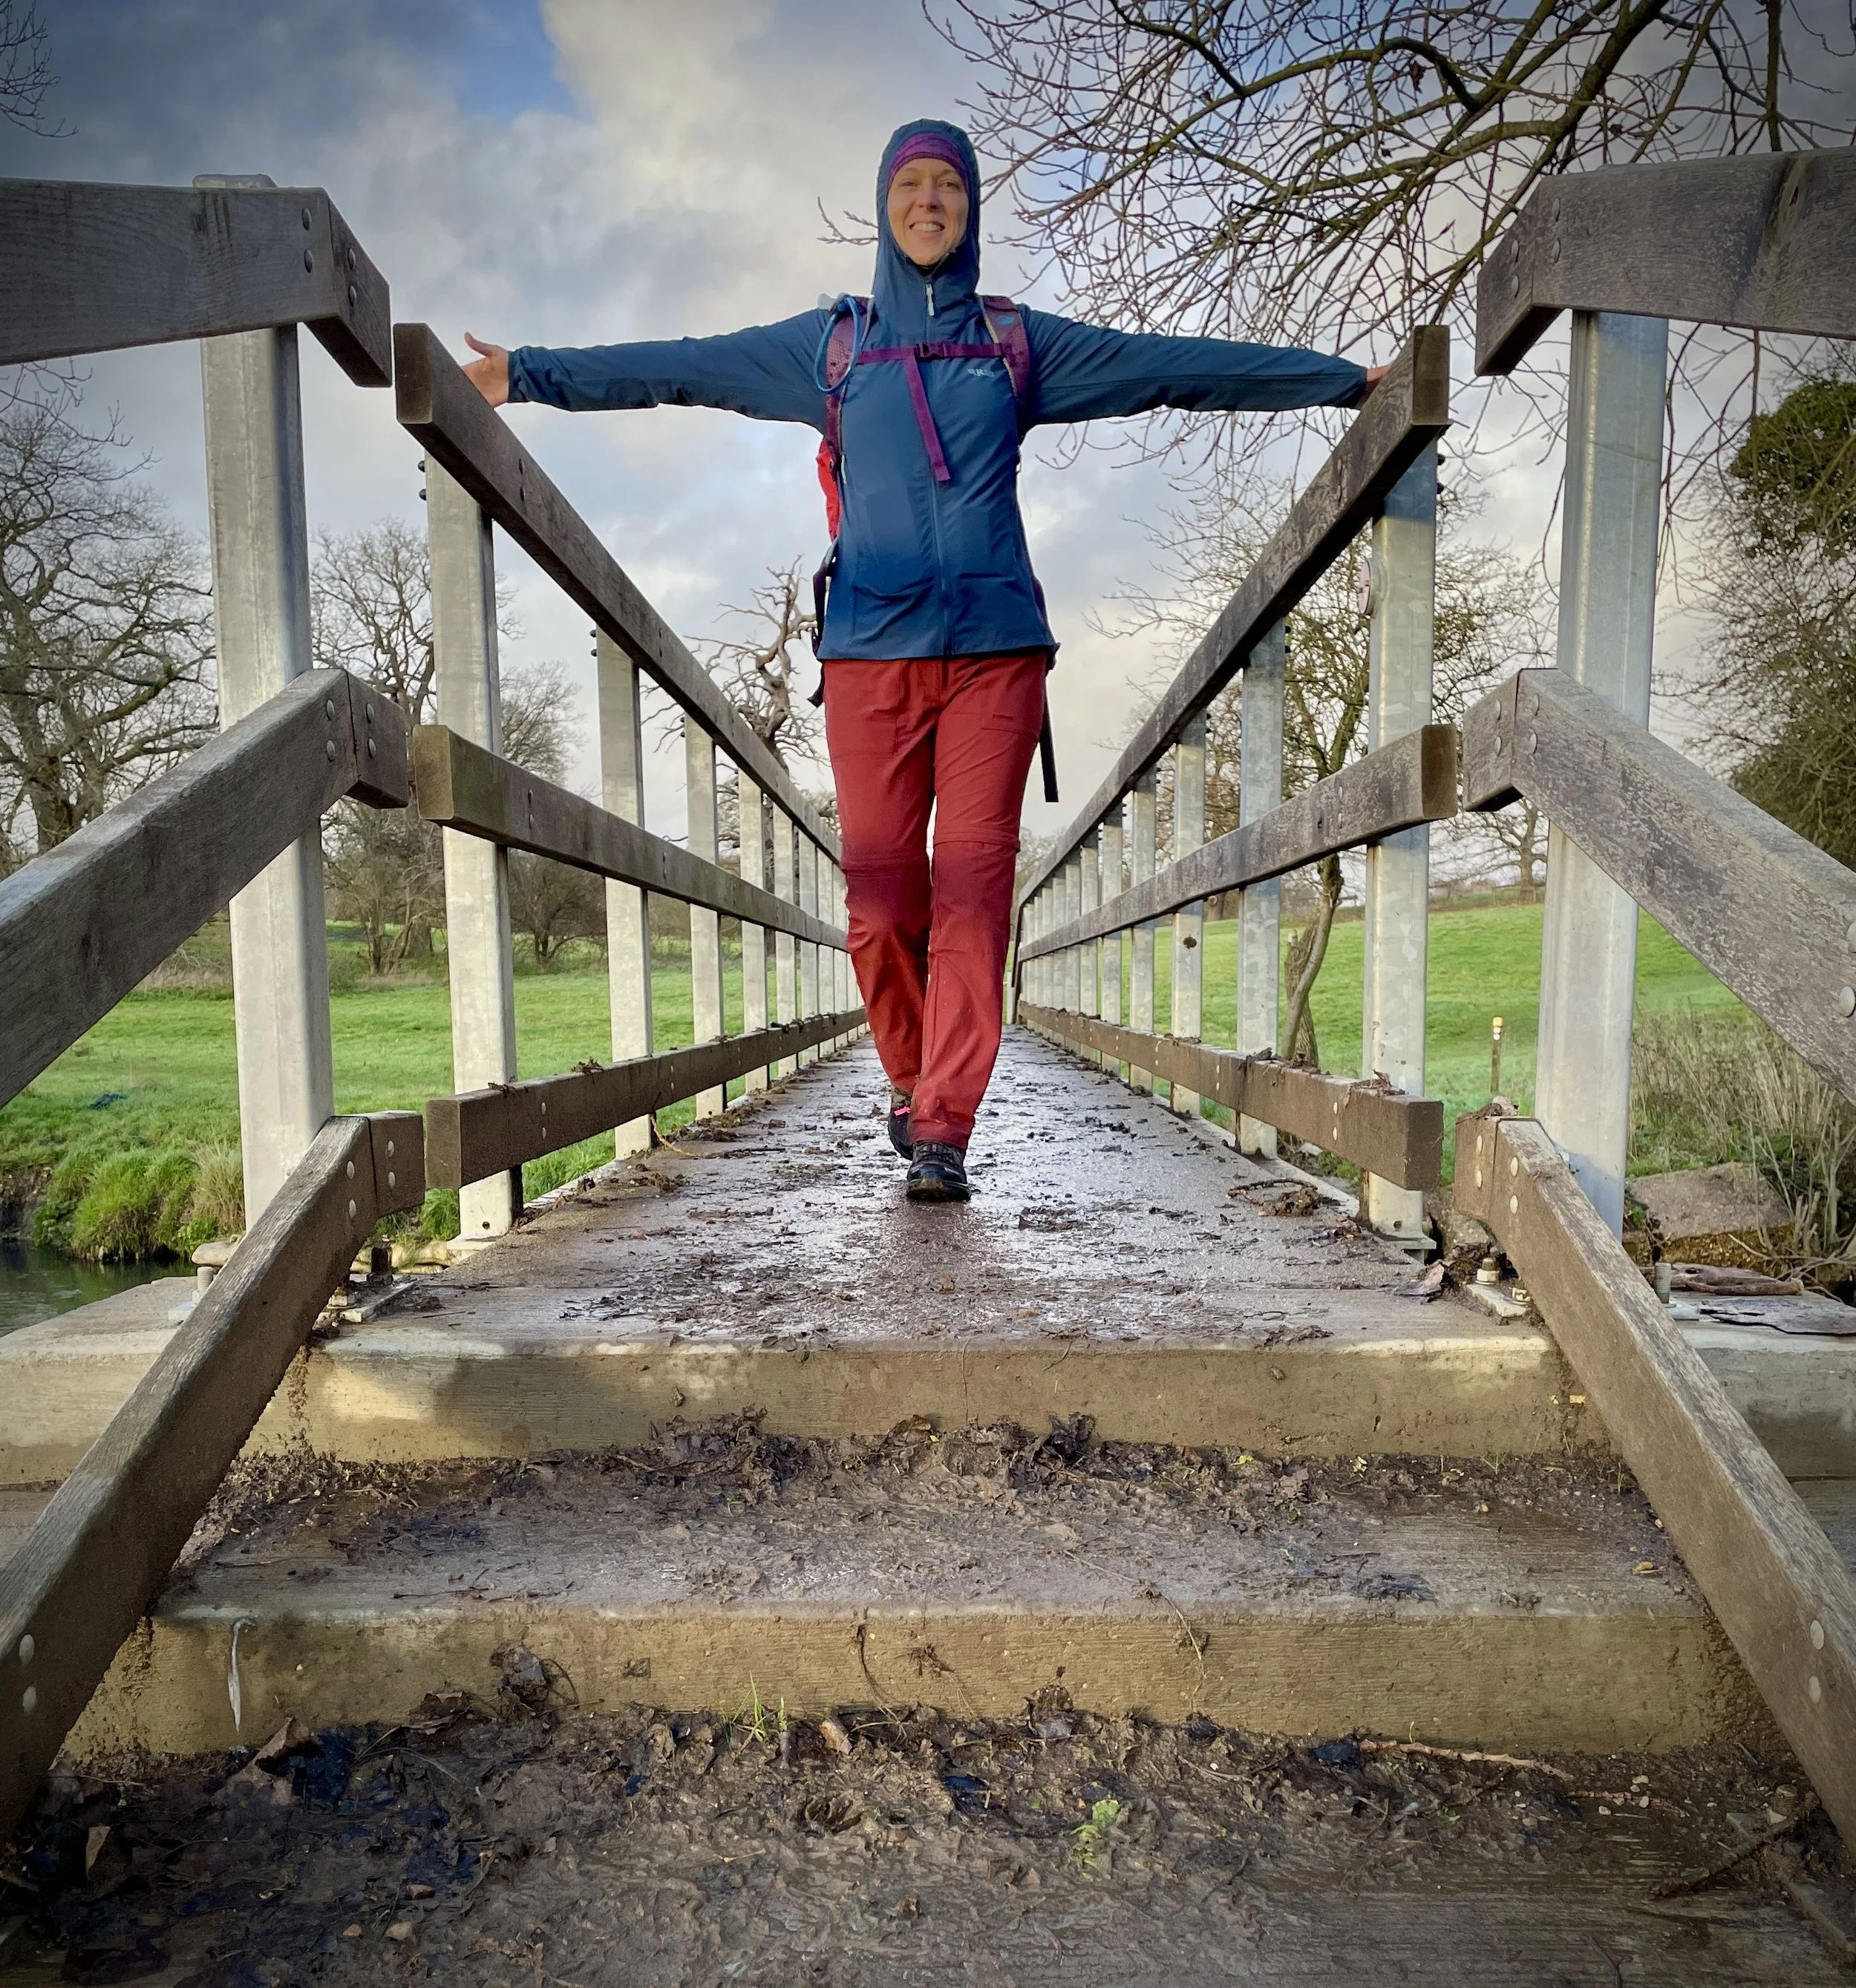
Walking the Hertfordshire Way in the Chilterns in 15 walks
If you’re not up for a 82 km walk in one go, you can take in the Hertfordshire Way in the Surrey Hills in 15 walks of between 8 and 14 km each. We chose this option, completing all 15 sections over 4 years from 2021 to 2025. The advantage of this option is exploring more of the villages and side paths close to the route.
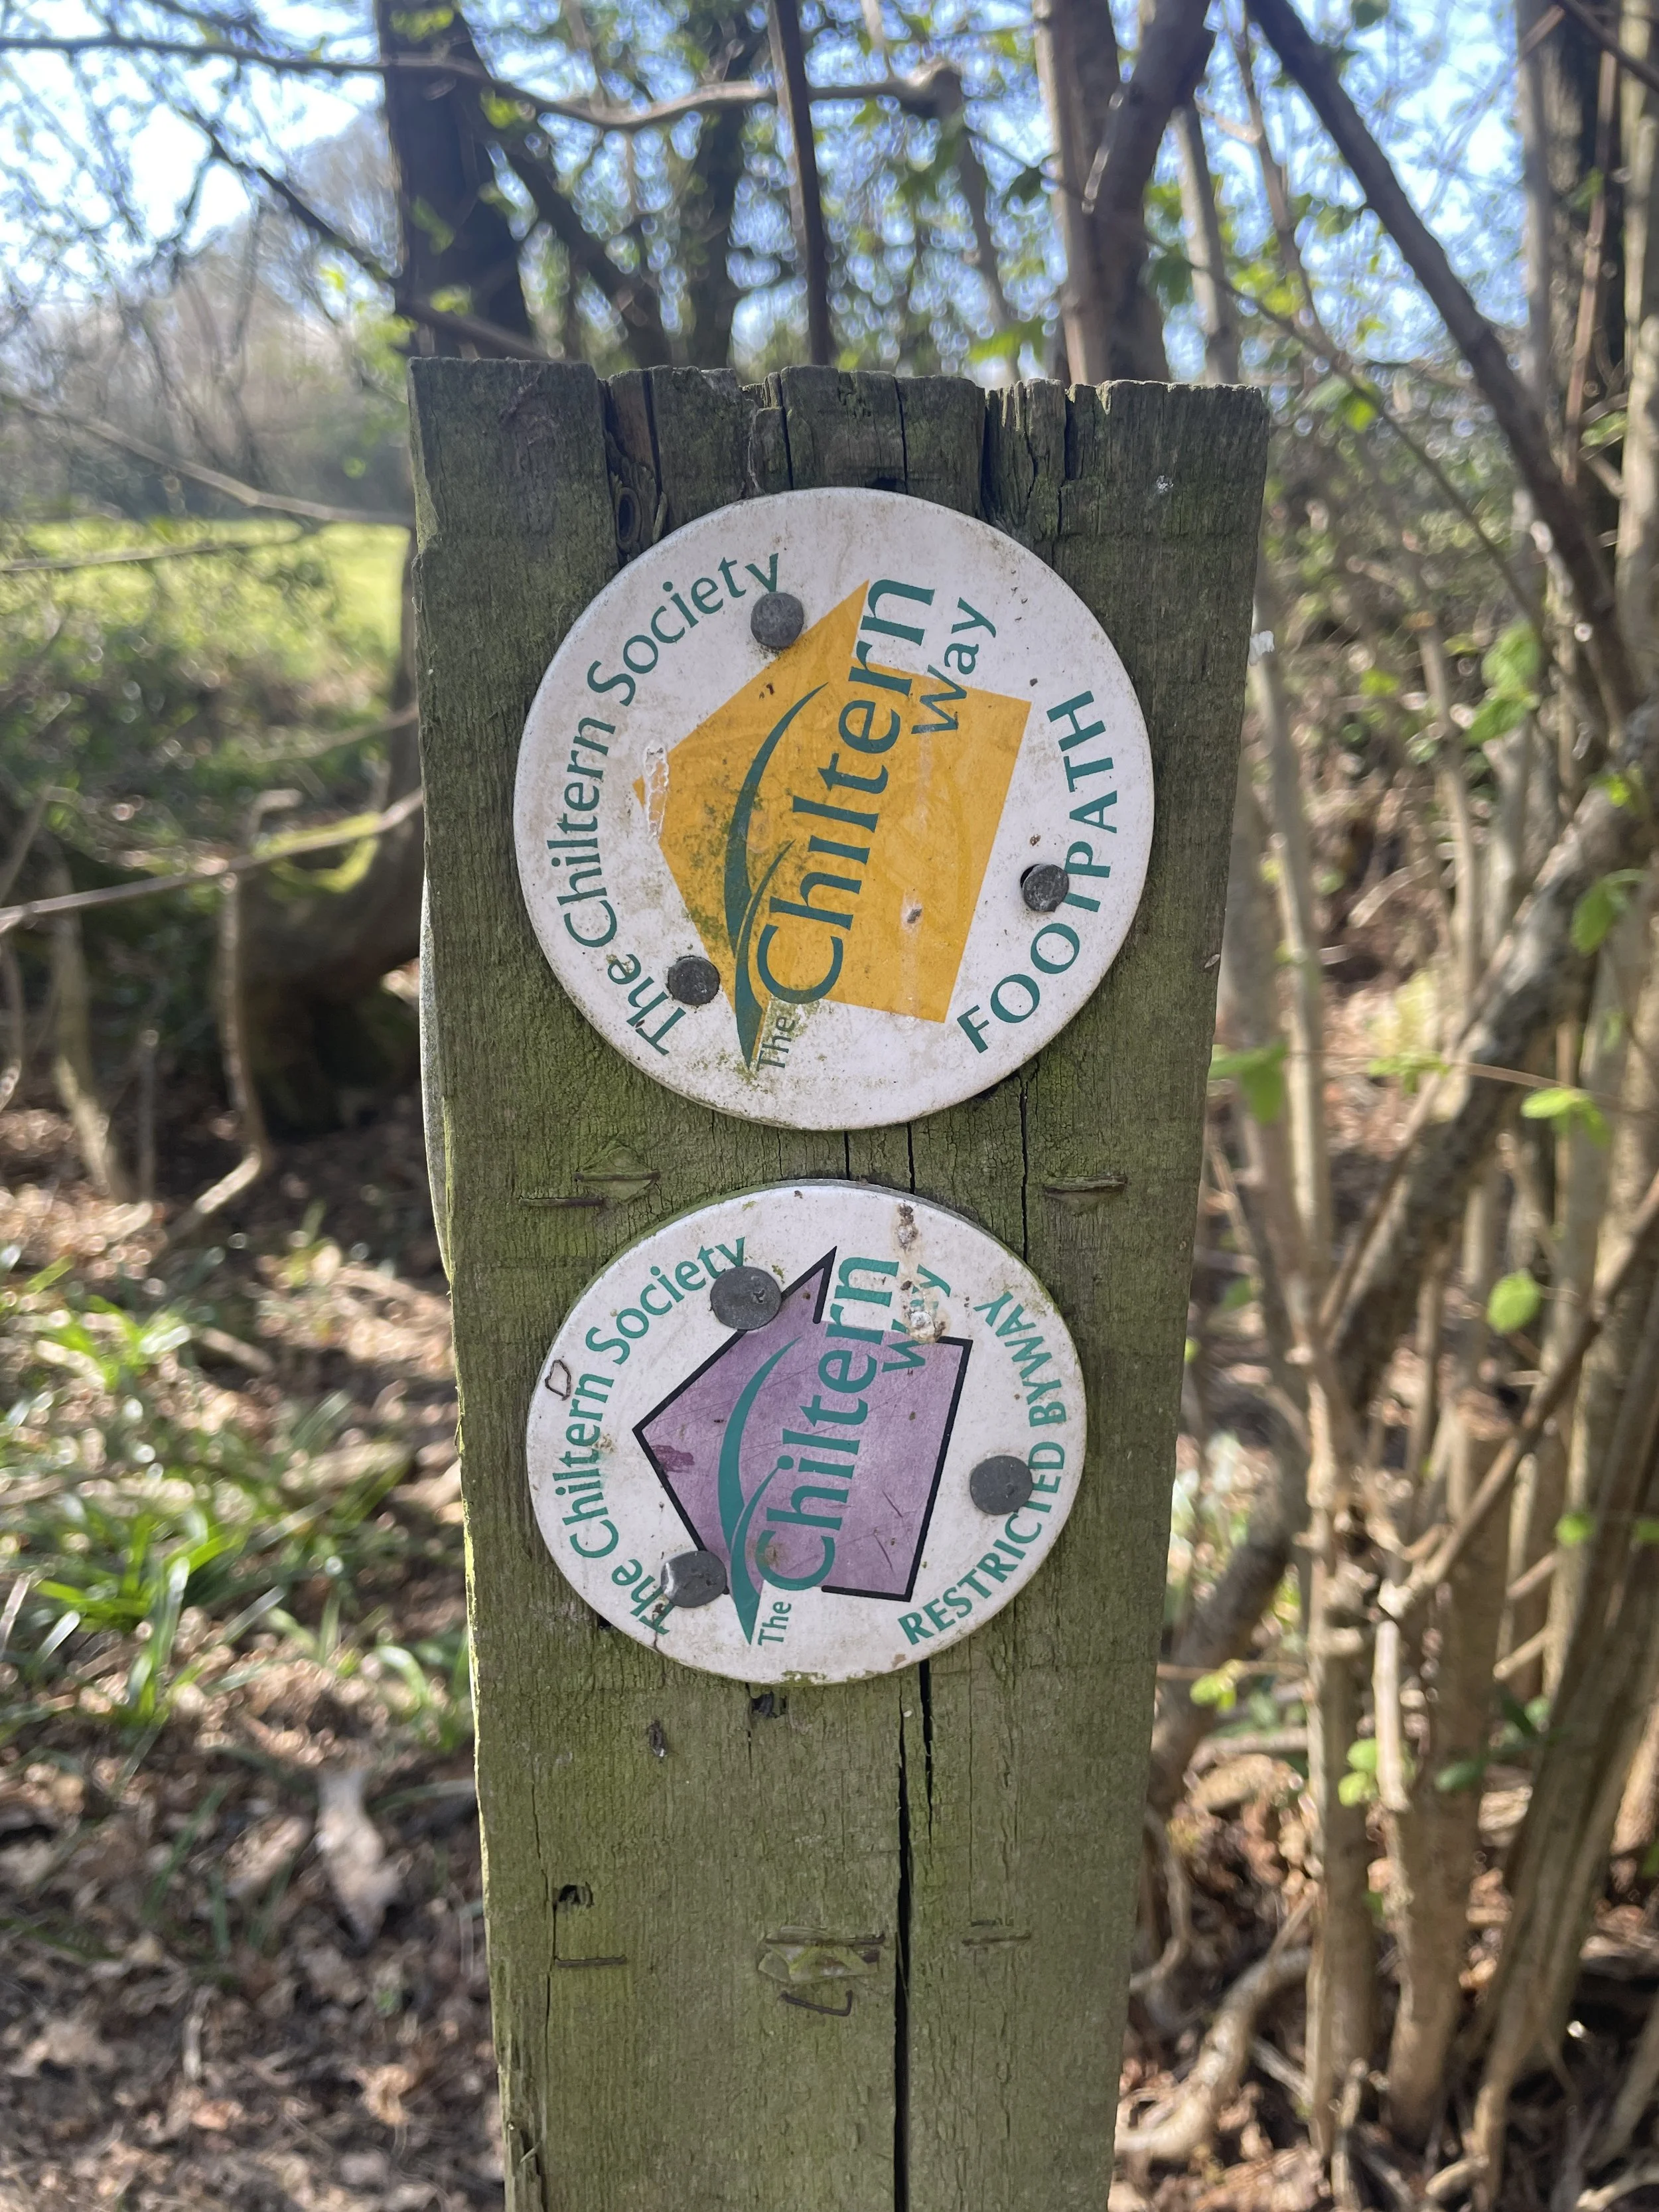
As the complete Hertfordshire Way is a circular route you can walk it in either direction. The roundels on the route show whether you’re heading clockwise or anti-clockwise on either side of the footpath posts. For our short walks linked below we did a mix of clockwise and anti-clockwise and I’ve indicated the direction in the list below. If want to complete them in a consistent direction you’ll need to reverse the route for some of them.
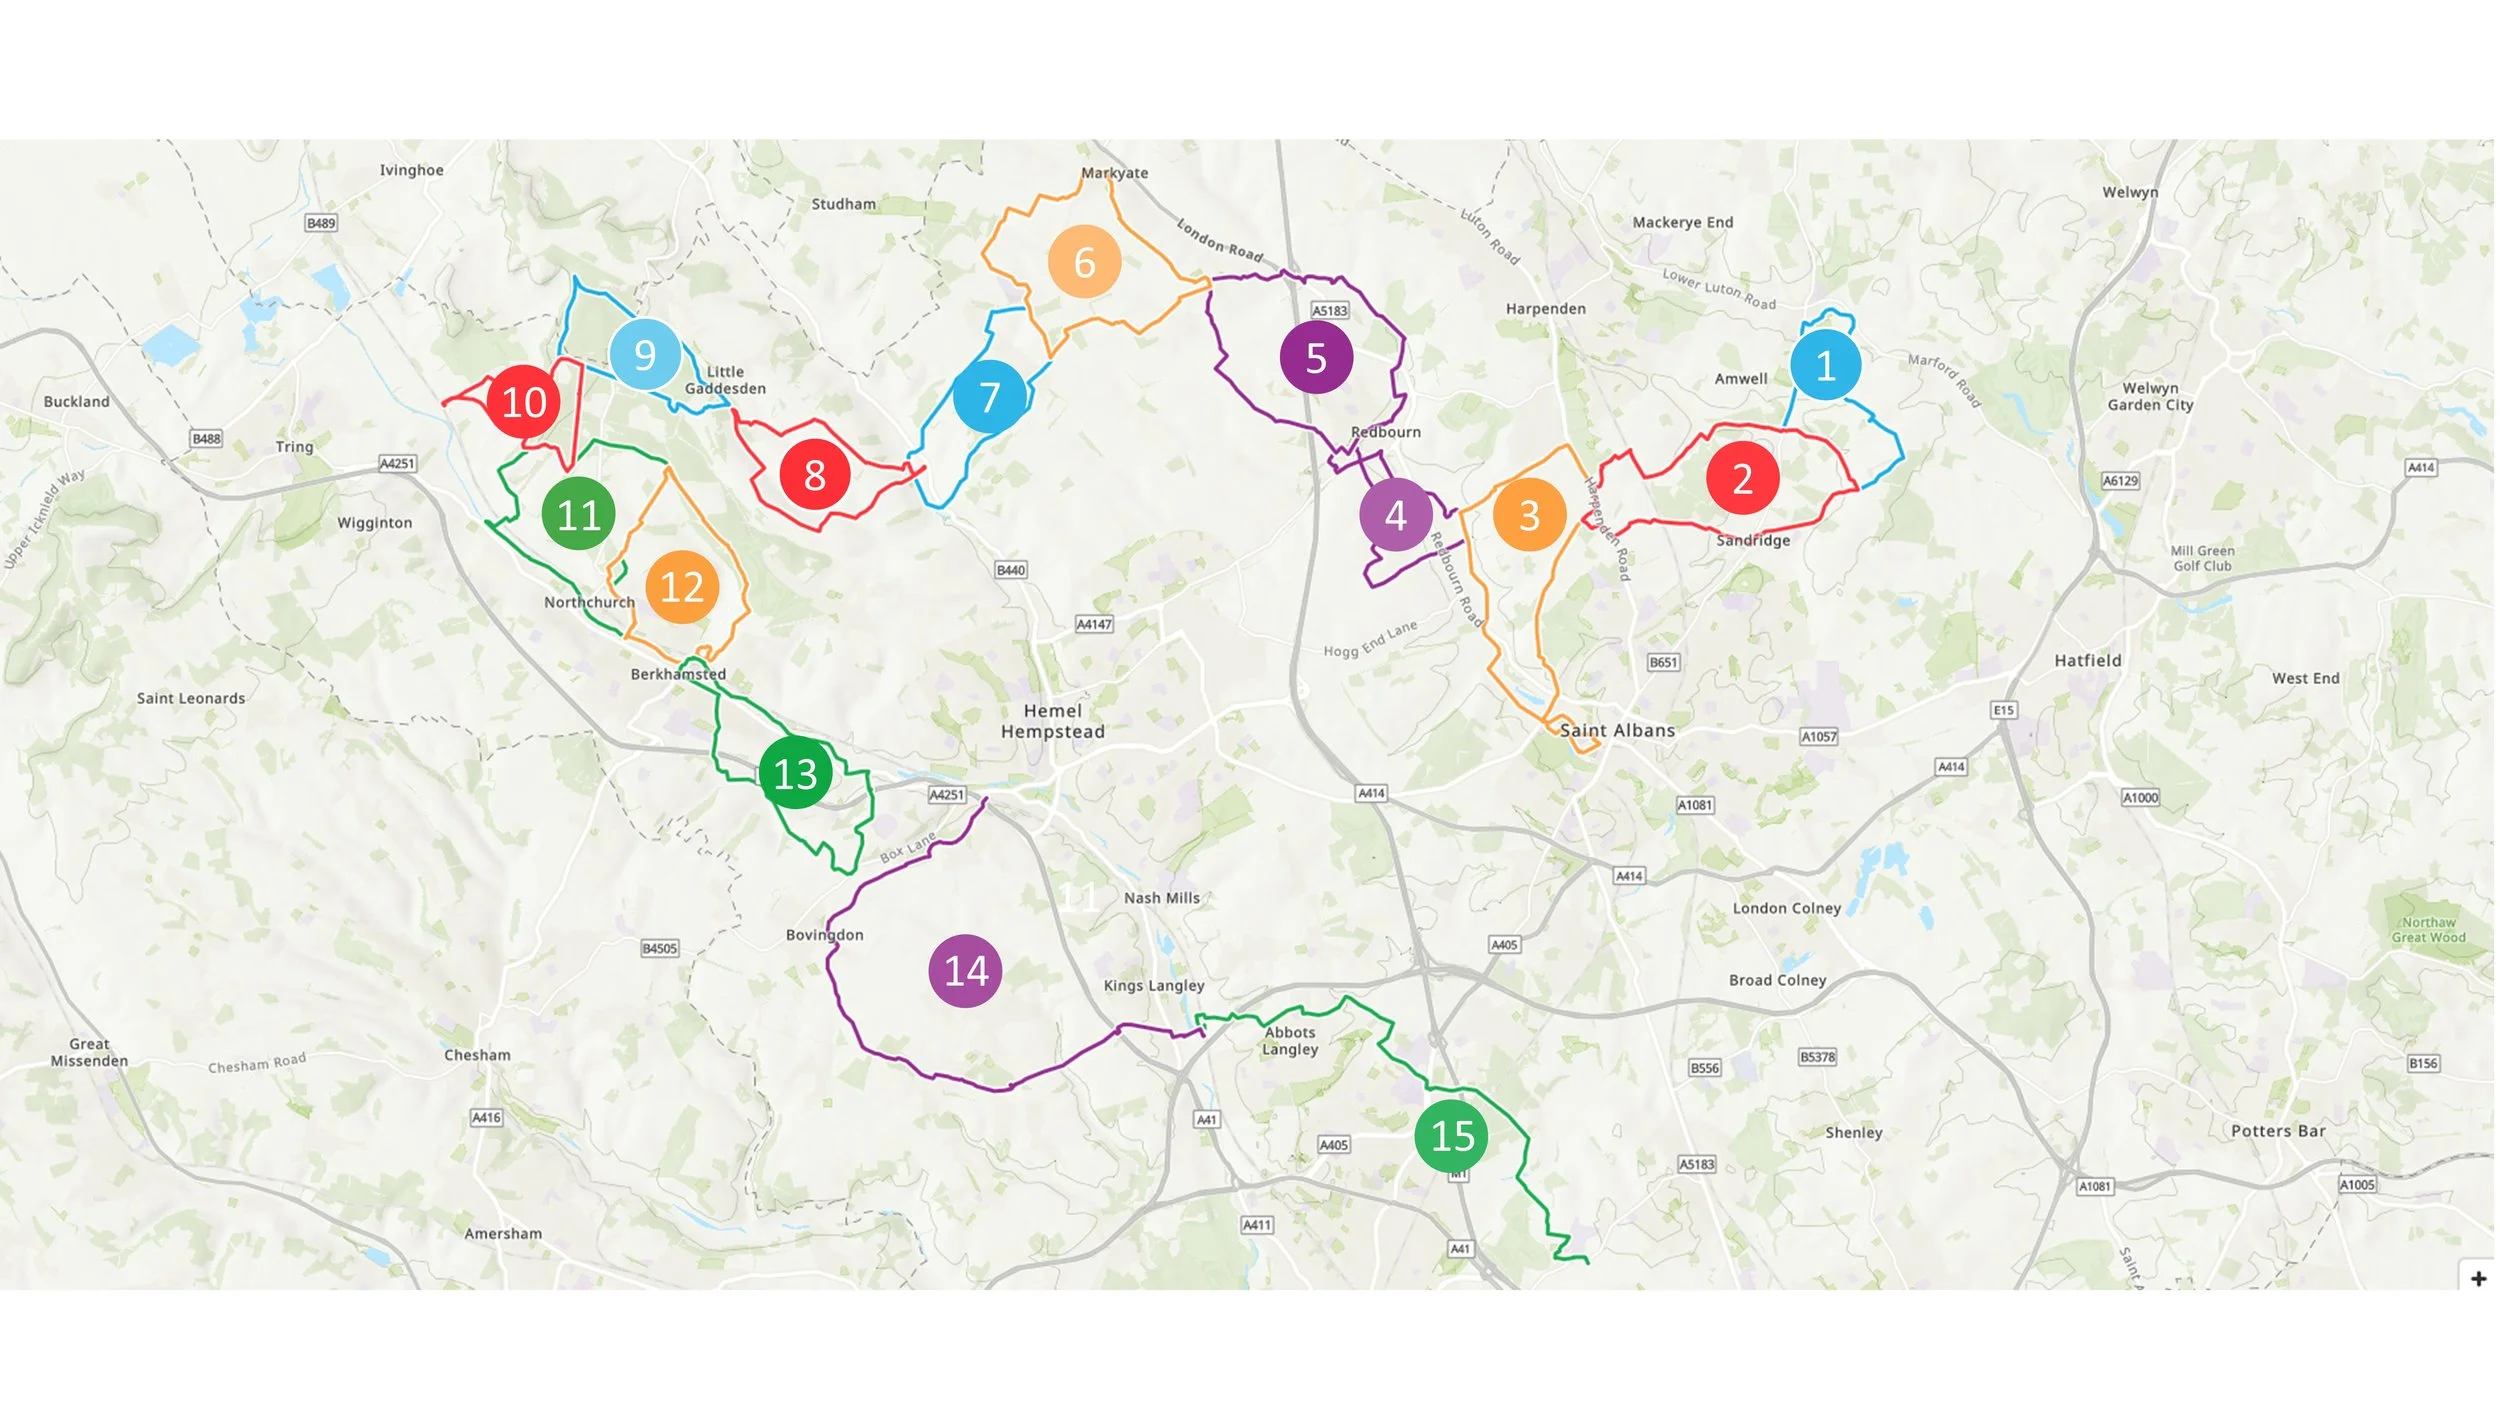
Each number refers to a circular walk below. Base map: Esri Topo via RideWithGPS
Section 1: Coleman Green and Wheathampstead
Start & Finish: East Lane Car Park, 13 East Lane, Wheathampstead, St Albans, AL4 8SB
Distance: 9.1 km (5.7 miles)
Elevation change: +/- 99m
Hertfordshire Way section covered: Hammonds House Farm to the River Lea: 4.15 km
Hertfordshire Way Direction: Clockwise
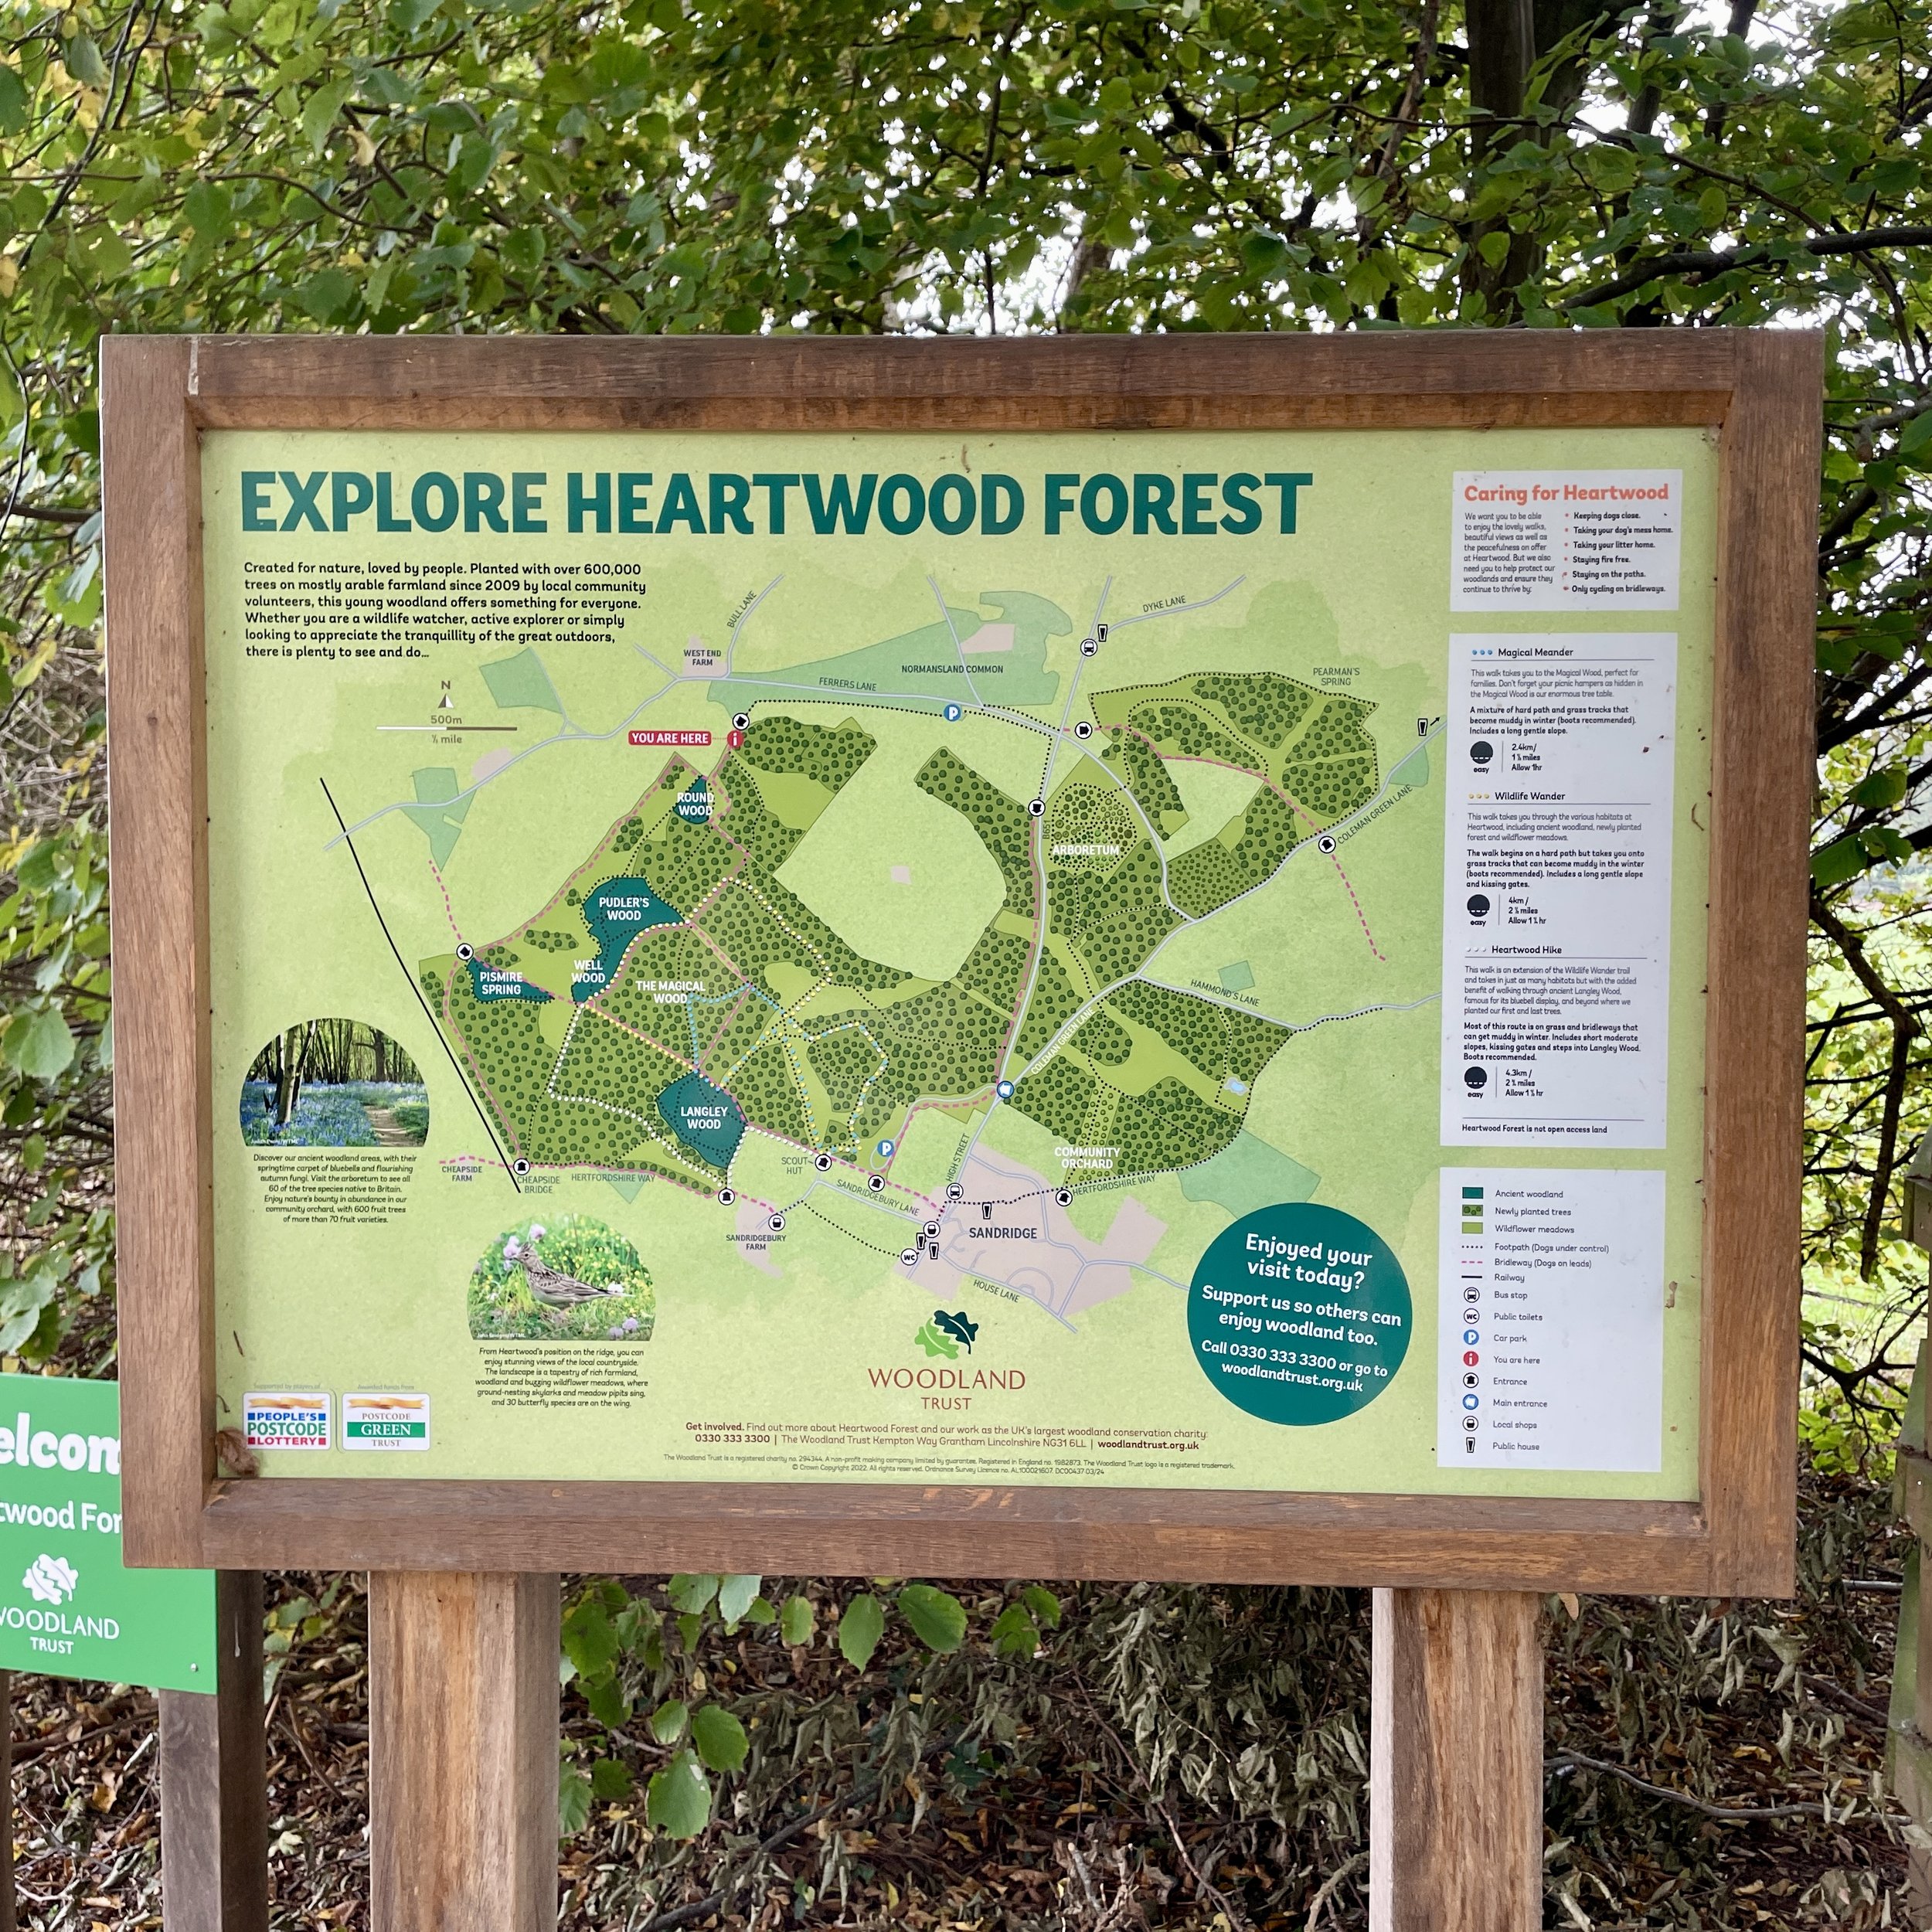
Section 2: Sandridge and Heartwood Forest
Start & Finish: Nomansland Parking, Ferrers Lane, St Albans, AL4 8EG
Distance: 12.3 km (7.7 miles)
Elevation change: +/- 106m
Hertfordshire Way section covered: Chilwickbury to Hammonds House Farm: 5.5 km
Hertfordshire Way Direction: Clockwise
Section 3: St Albans and Childwickbury
Start & Finish: Verulamium Car Park, 39 St Michael's Street, St Albans, AL3 4SW. Alternative parking and public transport options in St Albans
Distance: 14.3 km (8.9 miles)
Elevation change: +/- 122m
Hertfordshire Way section covered: Redbournbury to Childwickbury: 10.6 km
Hertfordshire Way Direction: Clockwise
Section 4: Redbourn and Redbournbury
Start & Finish: Free car park on West Common, Redbourn, St Albans, AL3 7ND
Distance: 9 km (6 miles)
Elevation change: +/- 74m
Hertfordshire Way section covered: Redbourn to Redbournbury: 4 km
Hertfordshire Way Direction: Clockwise
Section 5: Flamstead and Redbourn
Start & Finish: Free car park on West Common, Redbourn, St Albans, AL3 7ND
Distance: 11.4 km (7 miles)
Elevation change: +/- 98m
Hertfordshire Way section covered: Flamstead to Redbourn: 4.2 km
Hertfordshire Way Direction: Clockwise
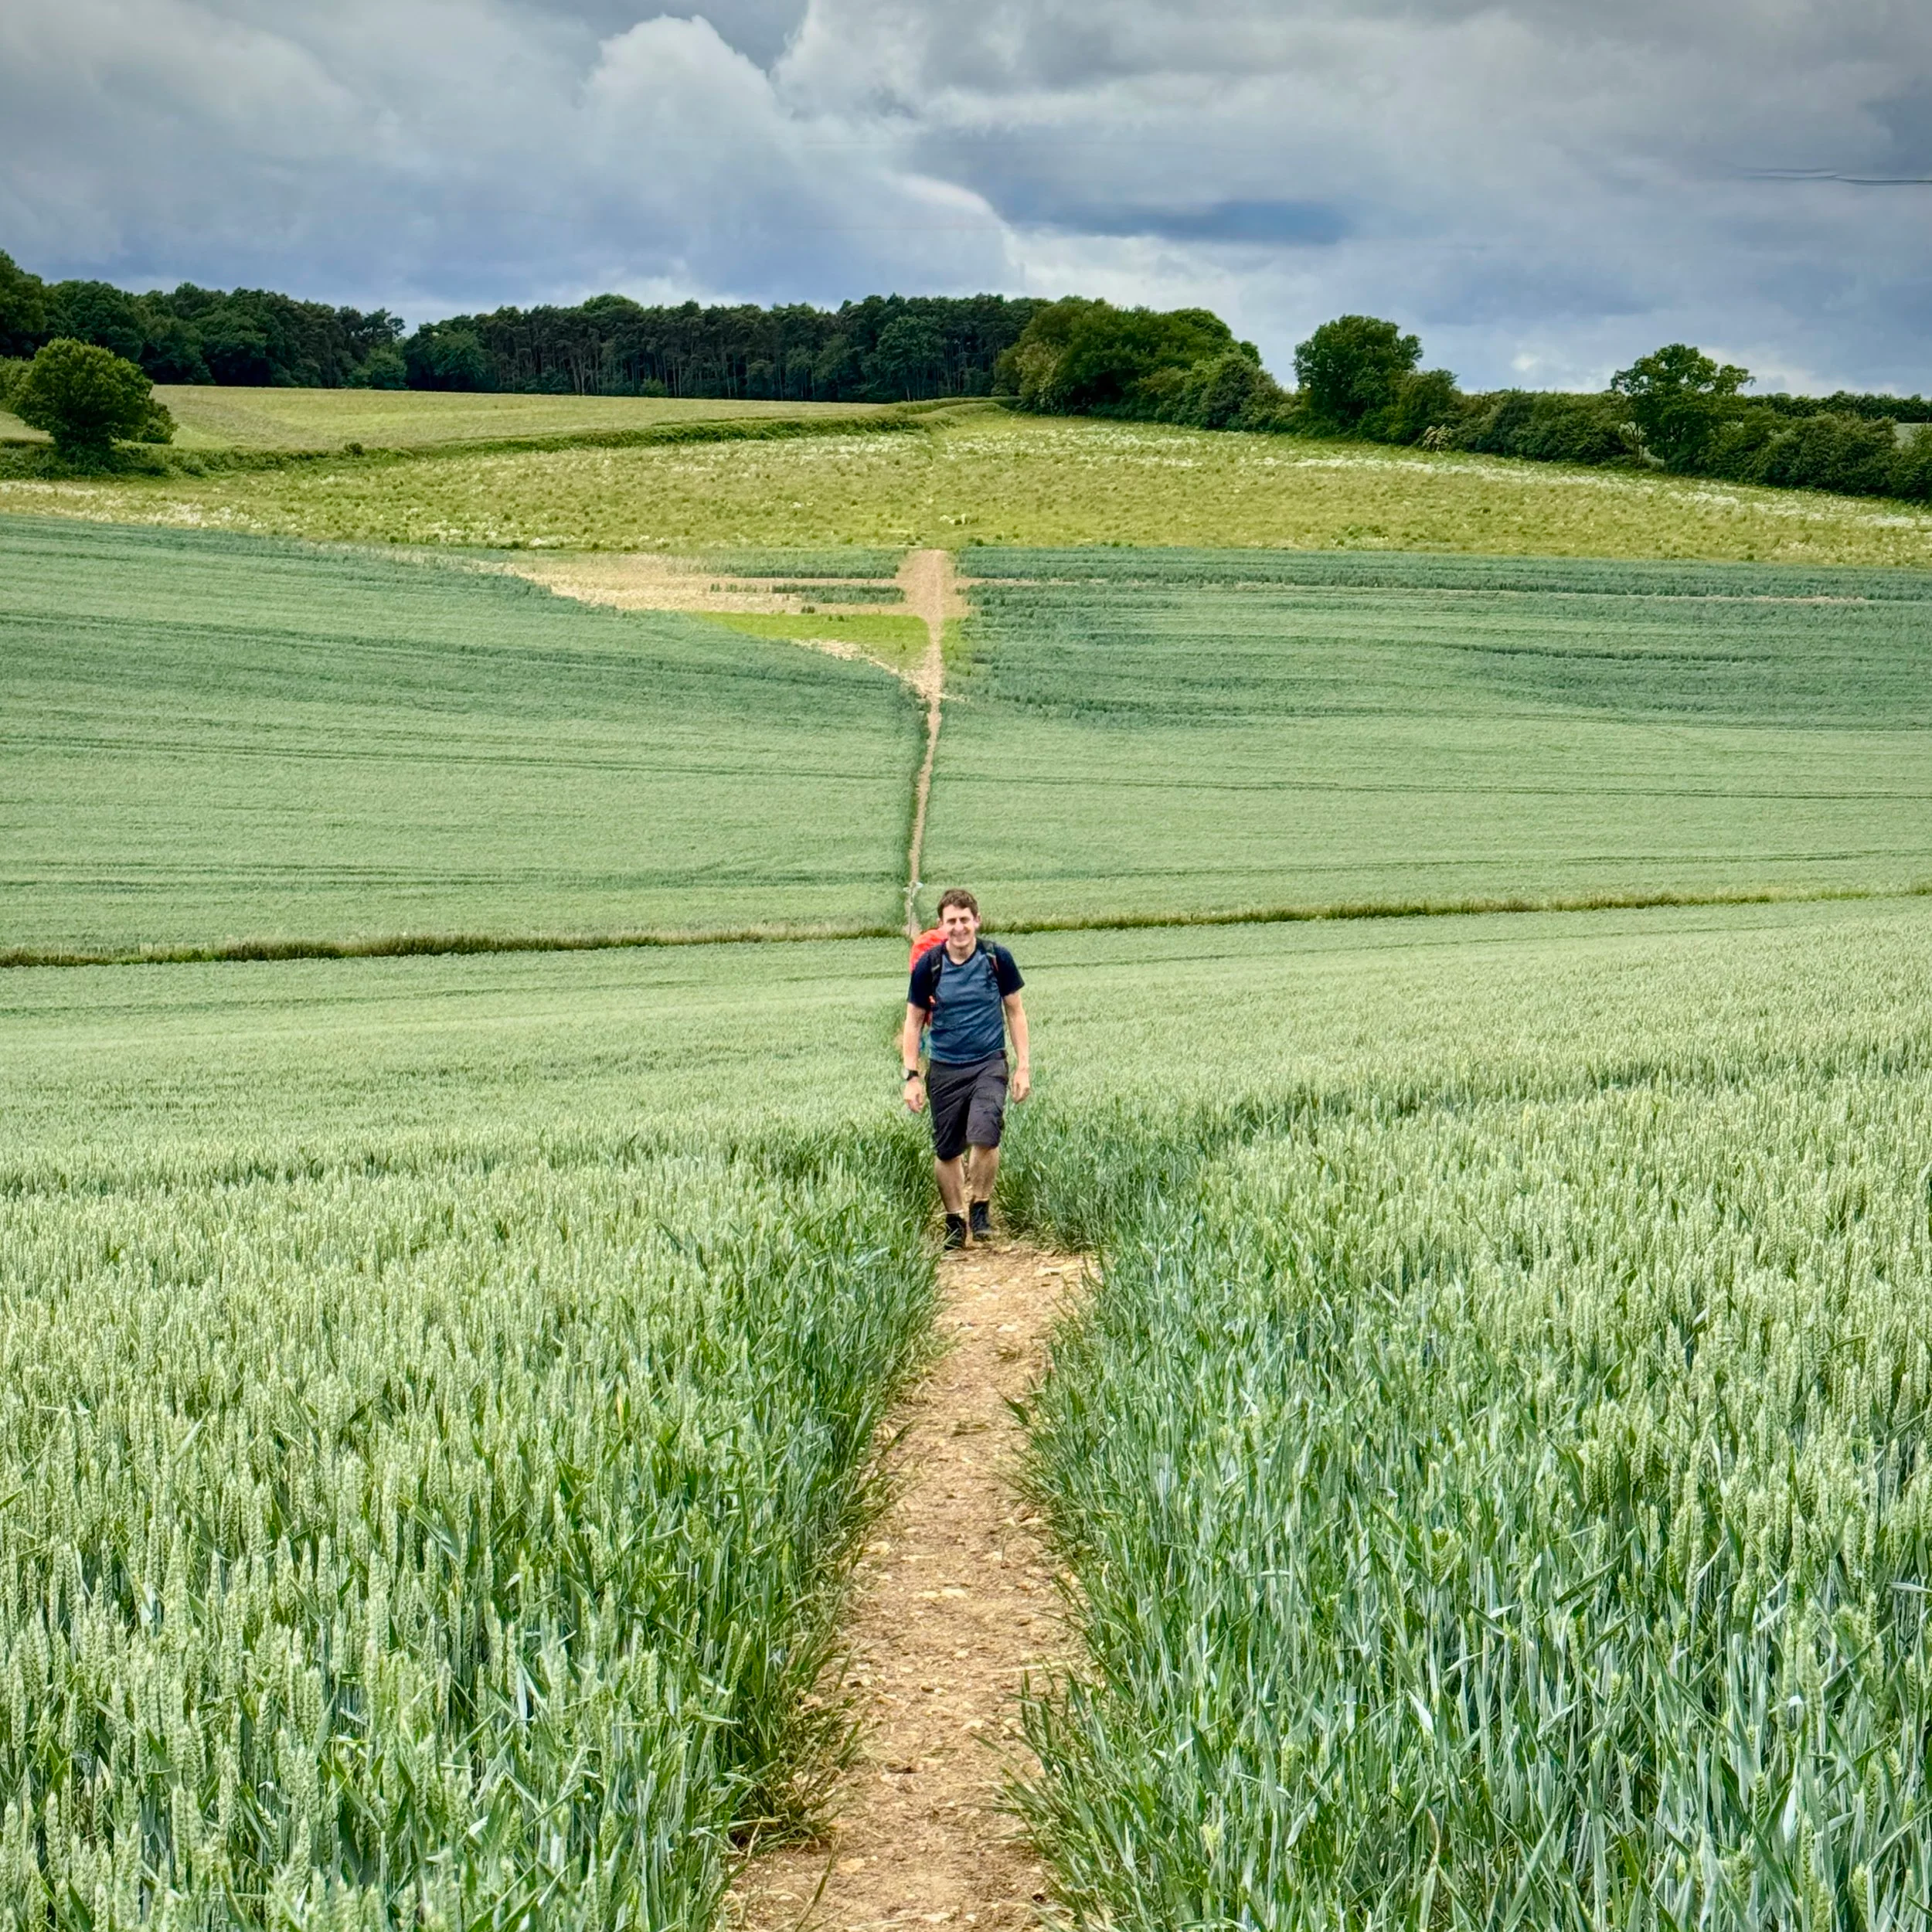
Section 6: Flamstead and Markyate
Start & Finish: Flamstead Recreation Ground, St Albans, AL3 8BS
Distance: 12 km (7.5 miles)
Elevation change: +/- 135m
Hertfordshire Way section covered: Babies Wood to Flamstead: 4.3 km
Hertfordshire Way Direction: Clockwise
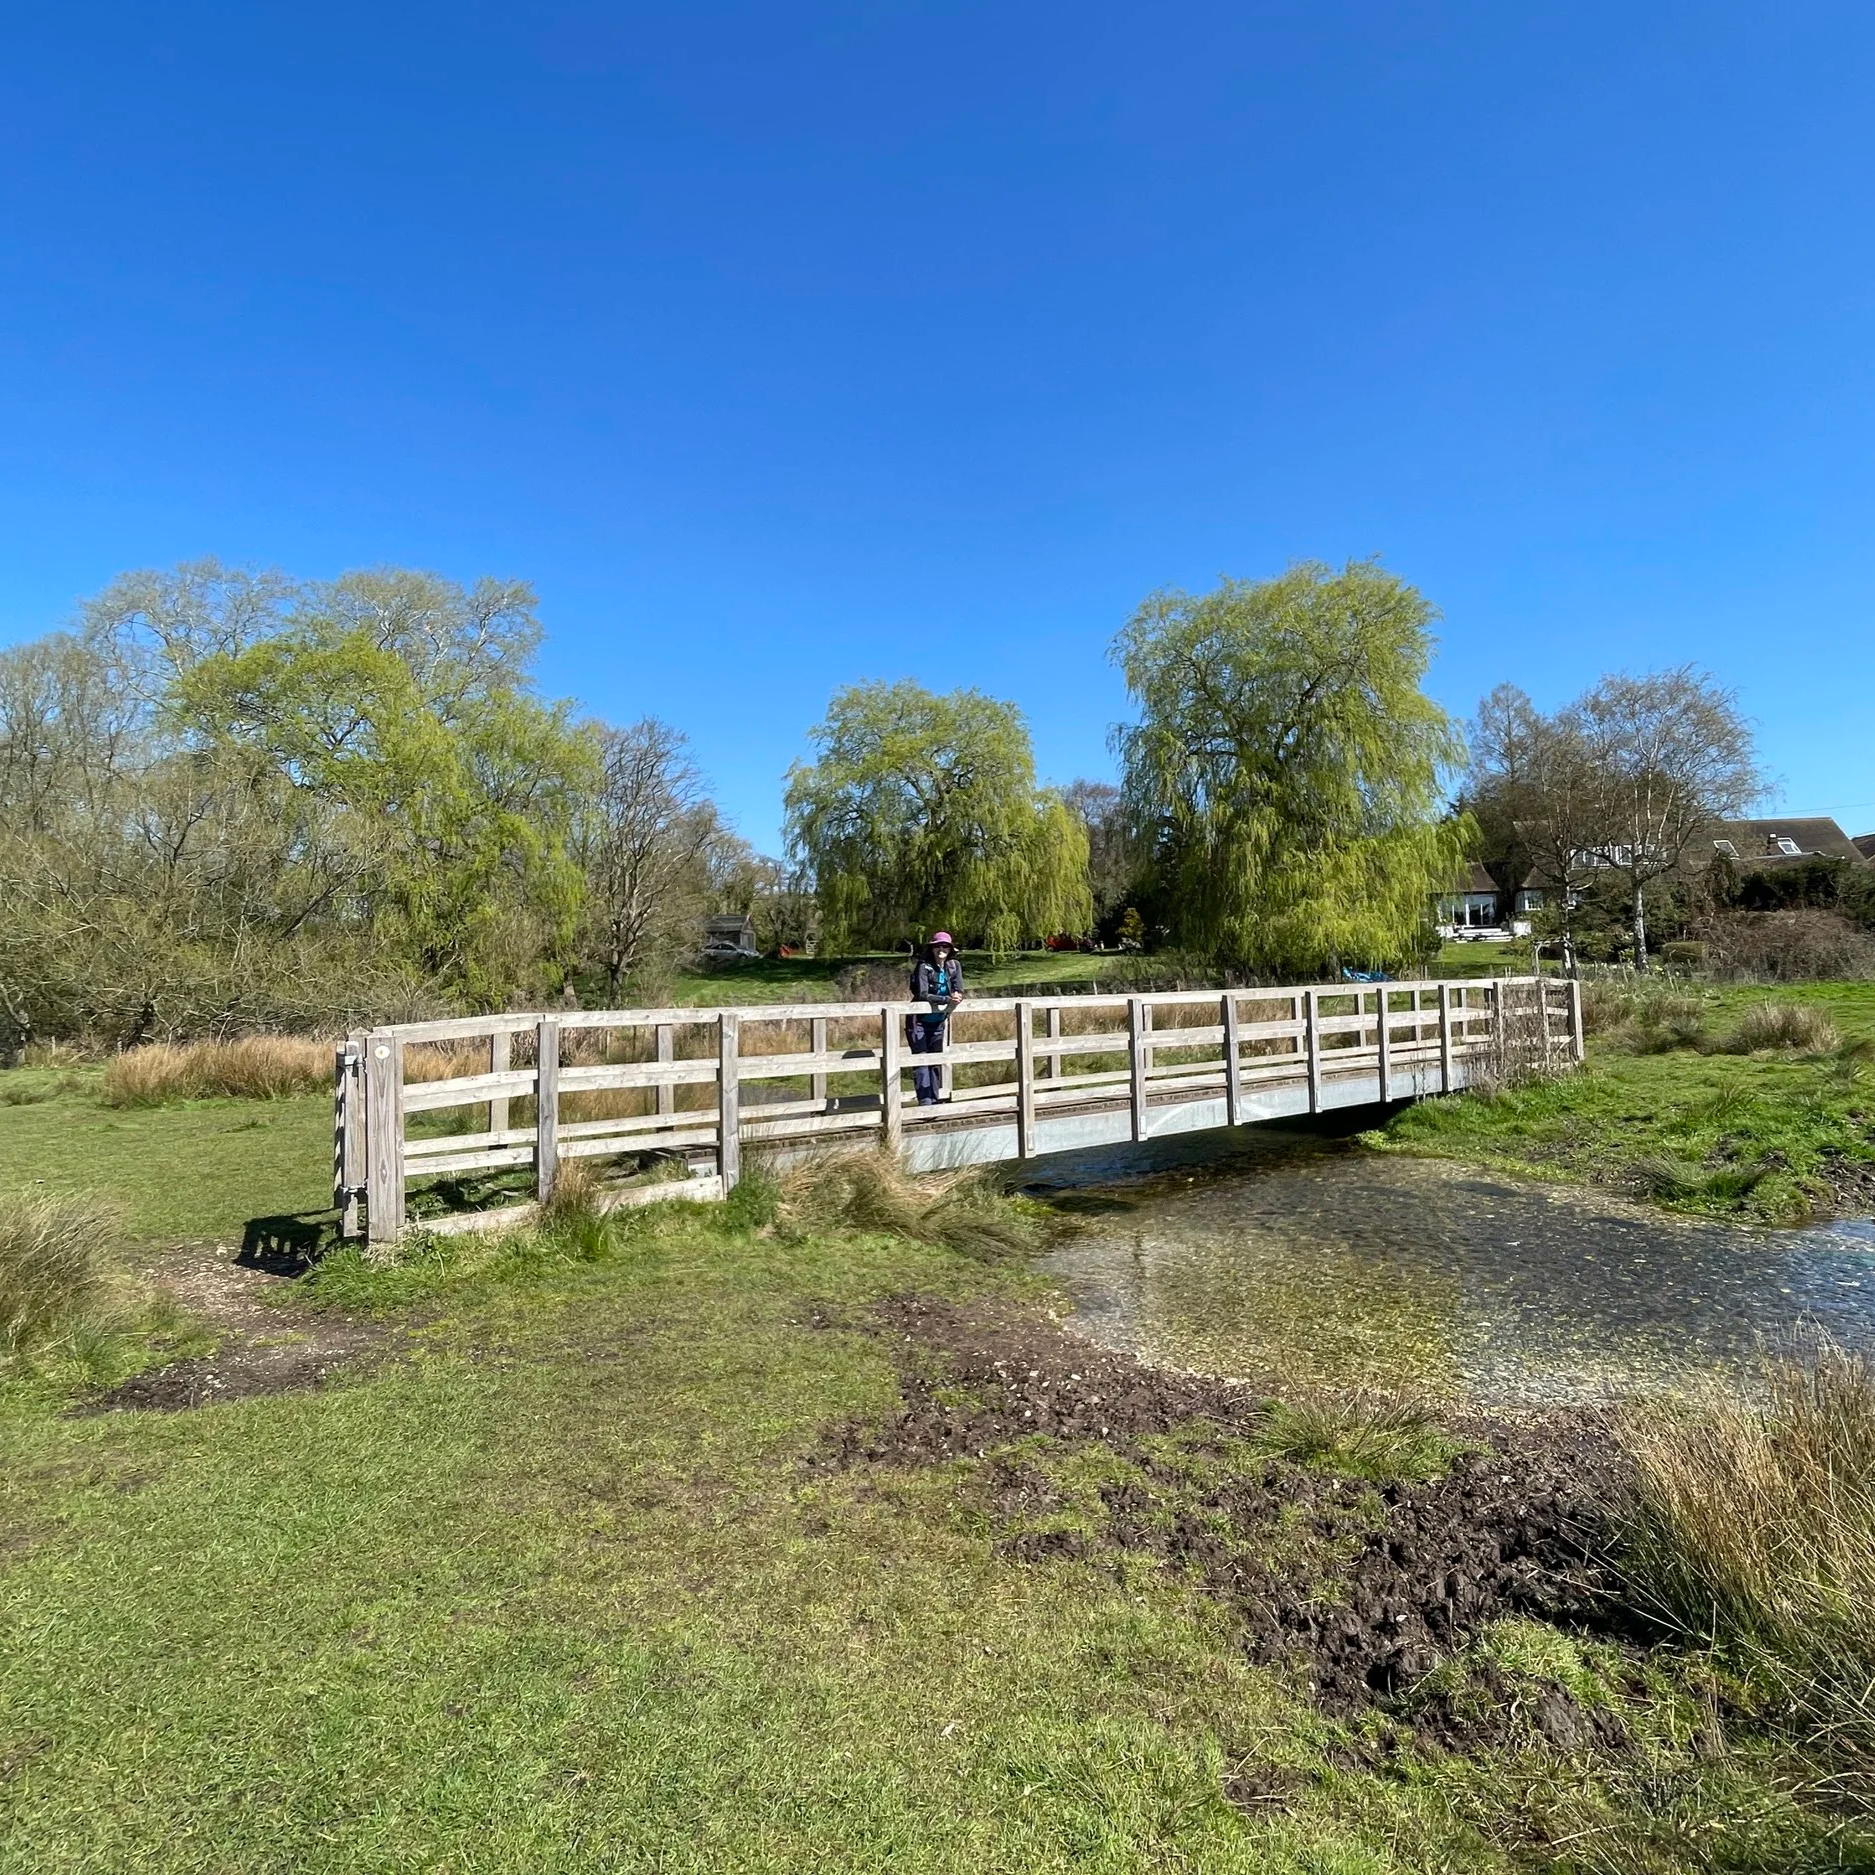
Section 7: Great Gaddesden and Gaddesdon Row
Start & Finish: Hemel Hempstead Garden Centre, Piper's Hill, Great Gaddesden, Hemel Hempstead, HP1 3BY
Distance: 9.1 km (5.7 miles)
Elevation change: +/- 116m
Hertfordshire Way section covered: Great Gaddesden to Babies Wood: 4 km
Hertfordshire Way Direction: Clockwise
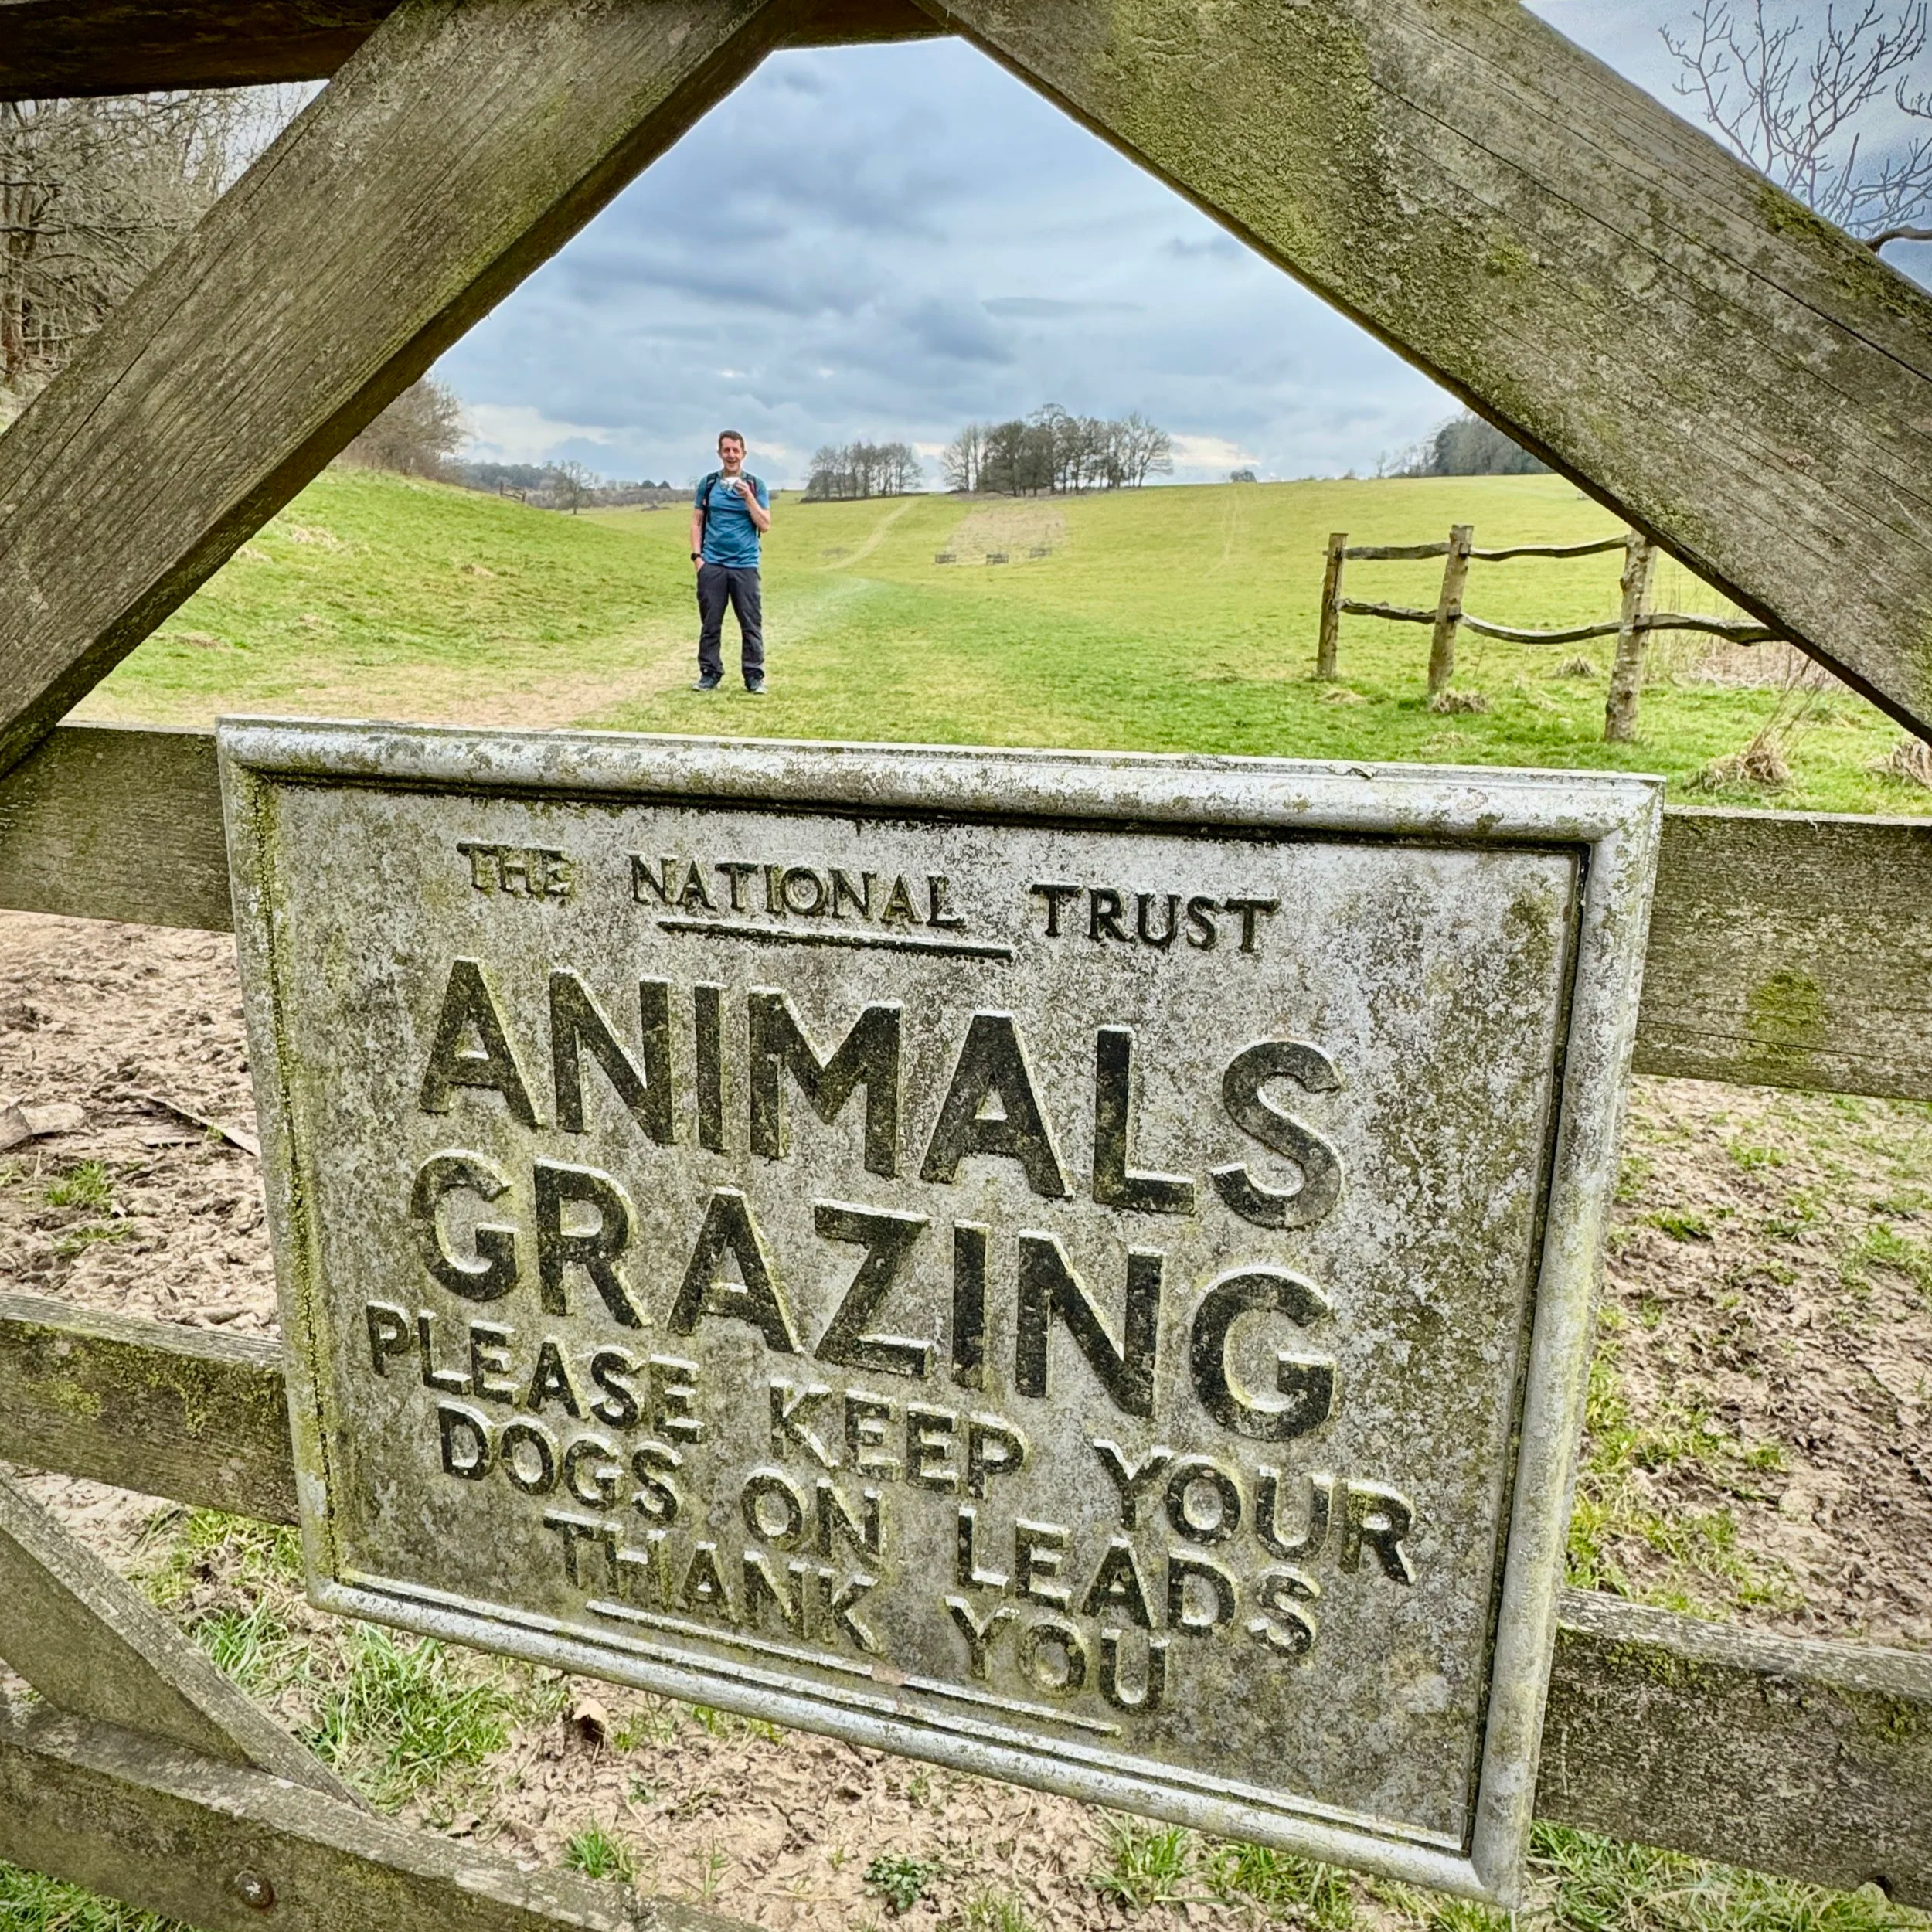
Section 8: Great Gaddesden and Ashridge
Start & Finish: Hemel Hempstead Garden Centre, Piper's Hill, Great Gaddesden, Hemel Hempstead, HP1 3BY
Distance: 9.3 km (5.8 miles)
Elevation change: +/- 153m
Hertfordshire Way section covered: Great Gaddesden to the Ashridge Estate: 4 km
Hertfordshire Way Direction: Clockwise
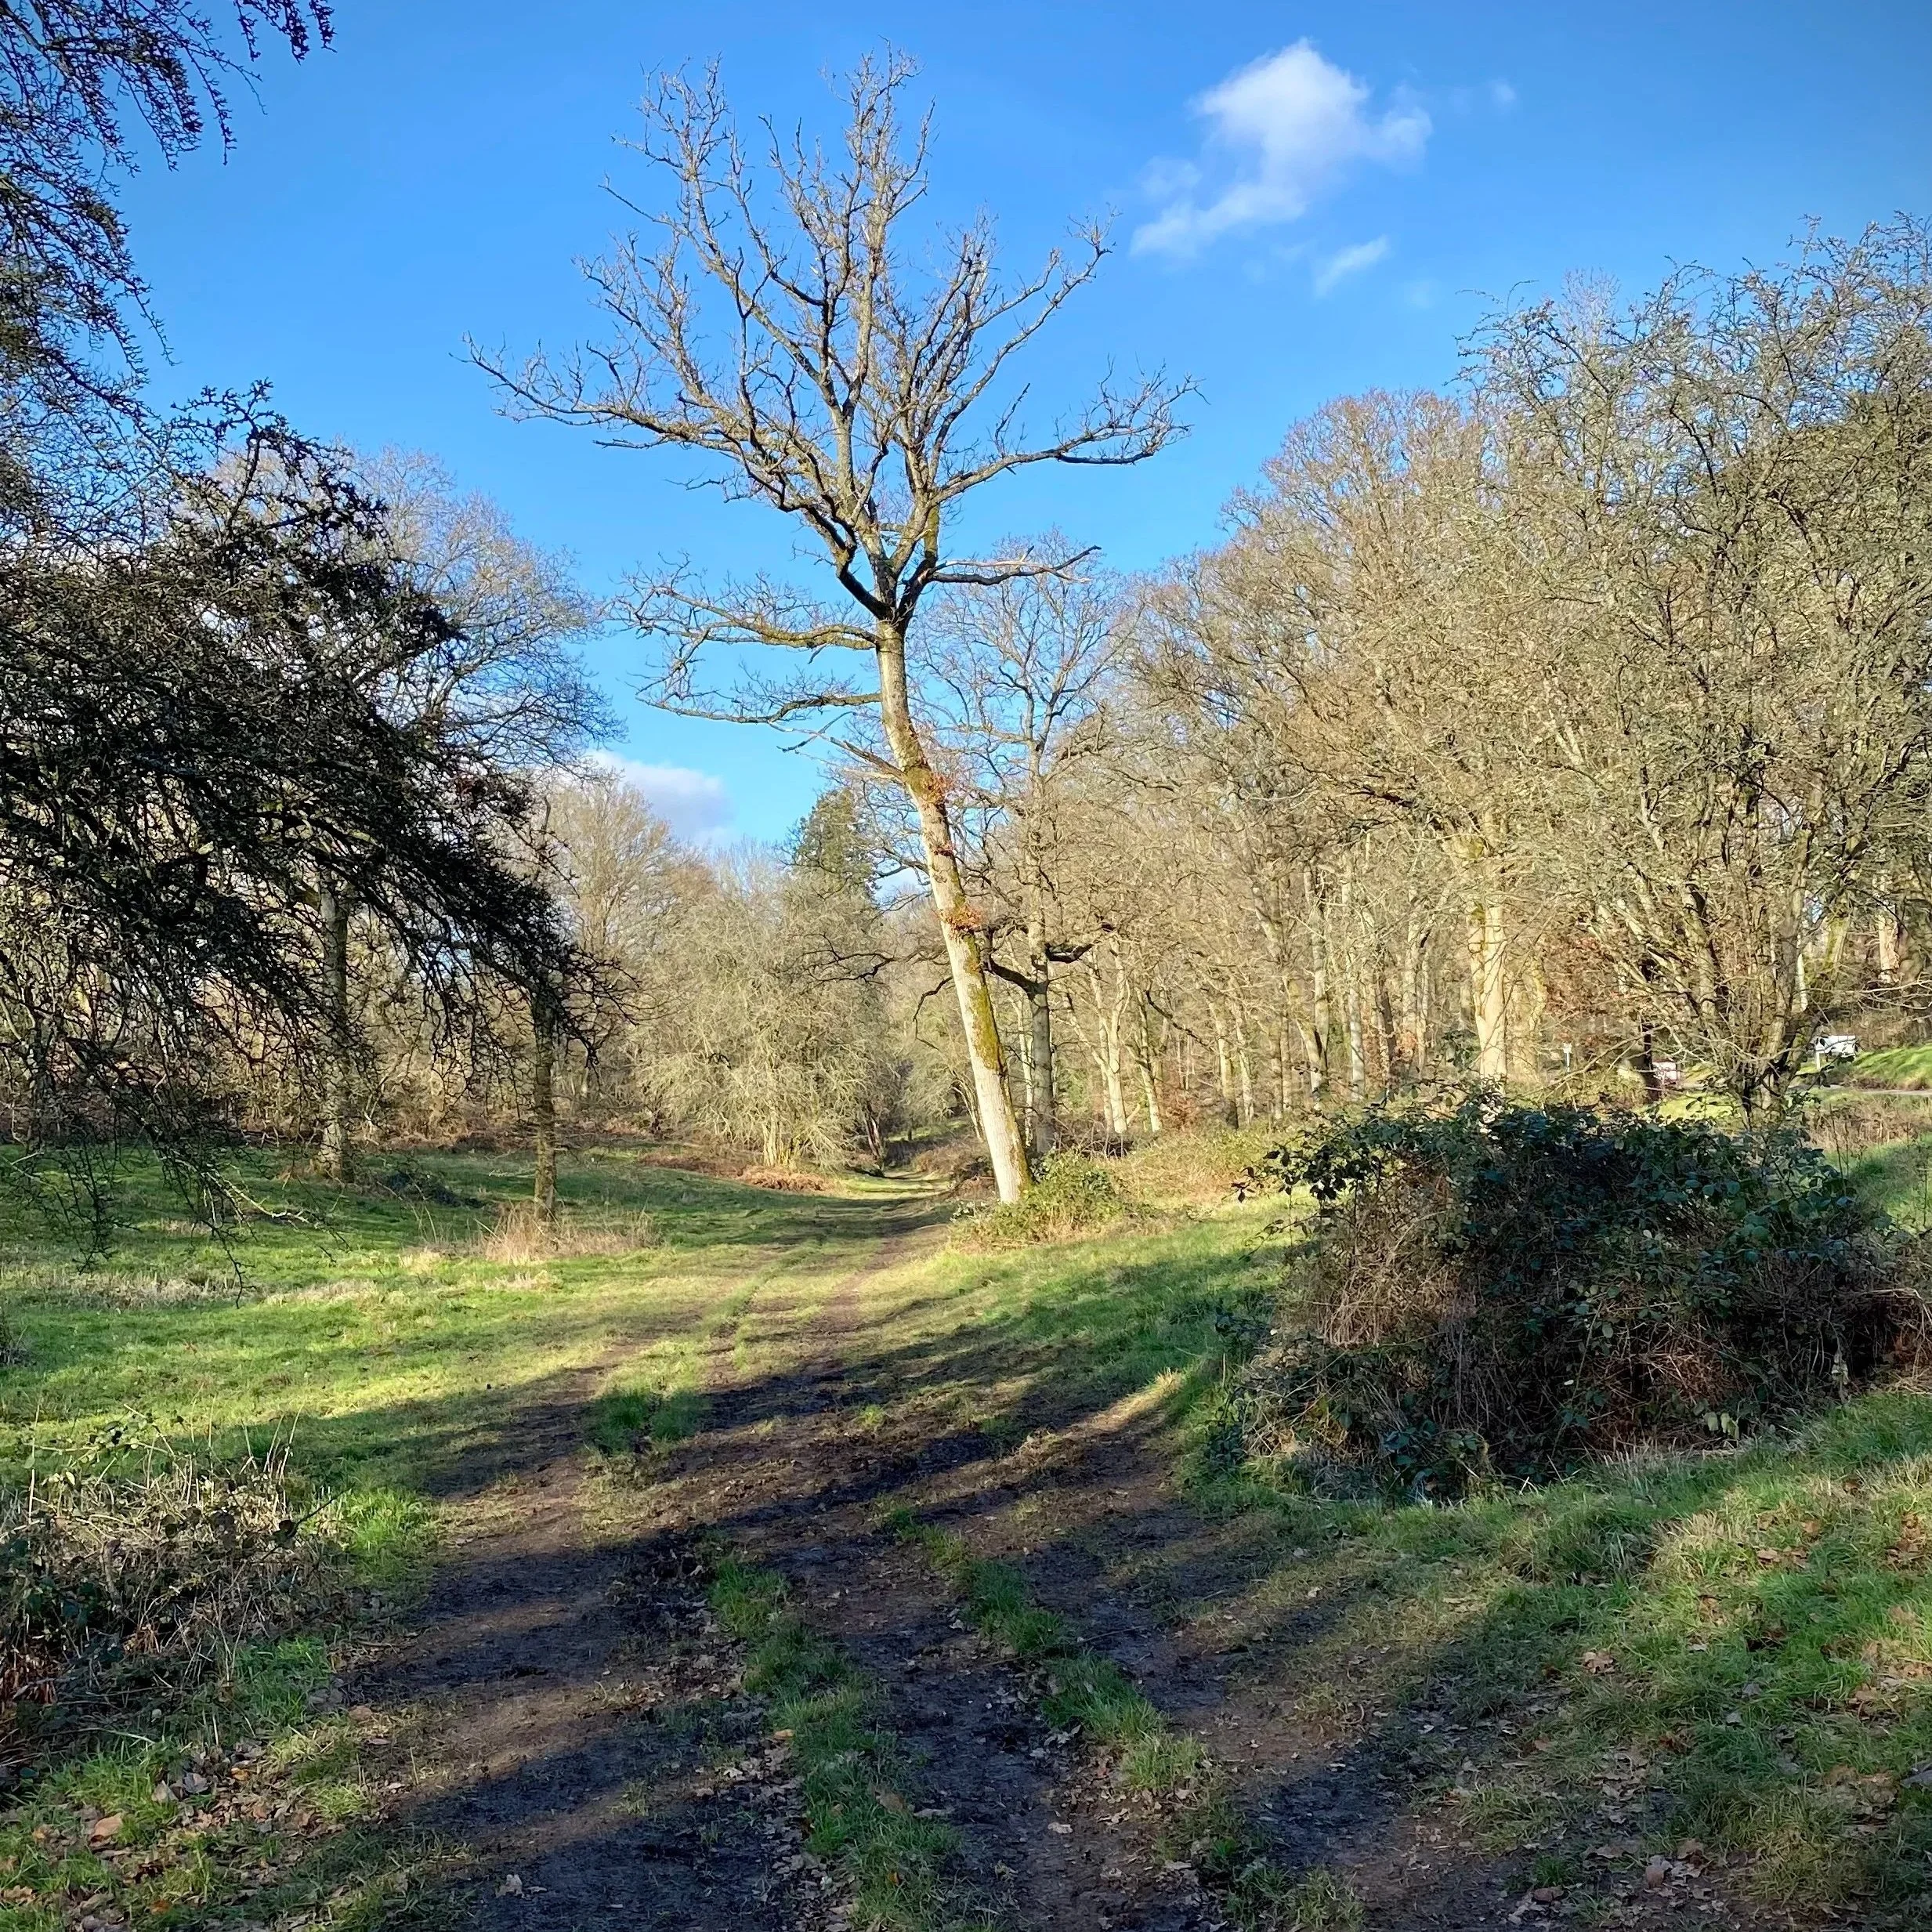
Section 9: (Ashridge Boundary Trail Route 2) Ashridge Golf Club and Moneybury Hill
Start & Finish: Ashridge National Trust Car Park, Aldbury, Berkhamsted, HP4 1LU
Distance: 8.2 km (5.1 miles)
Elevation change: +/- 94m
Hertfordshire Way section covered: Pitstone Common to east of Ashridge House: 4.9 km
Hertfordshire Way Direction: Clockwise
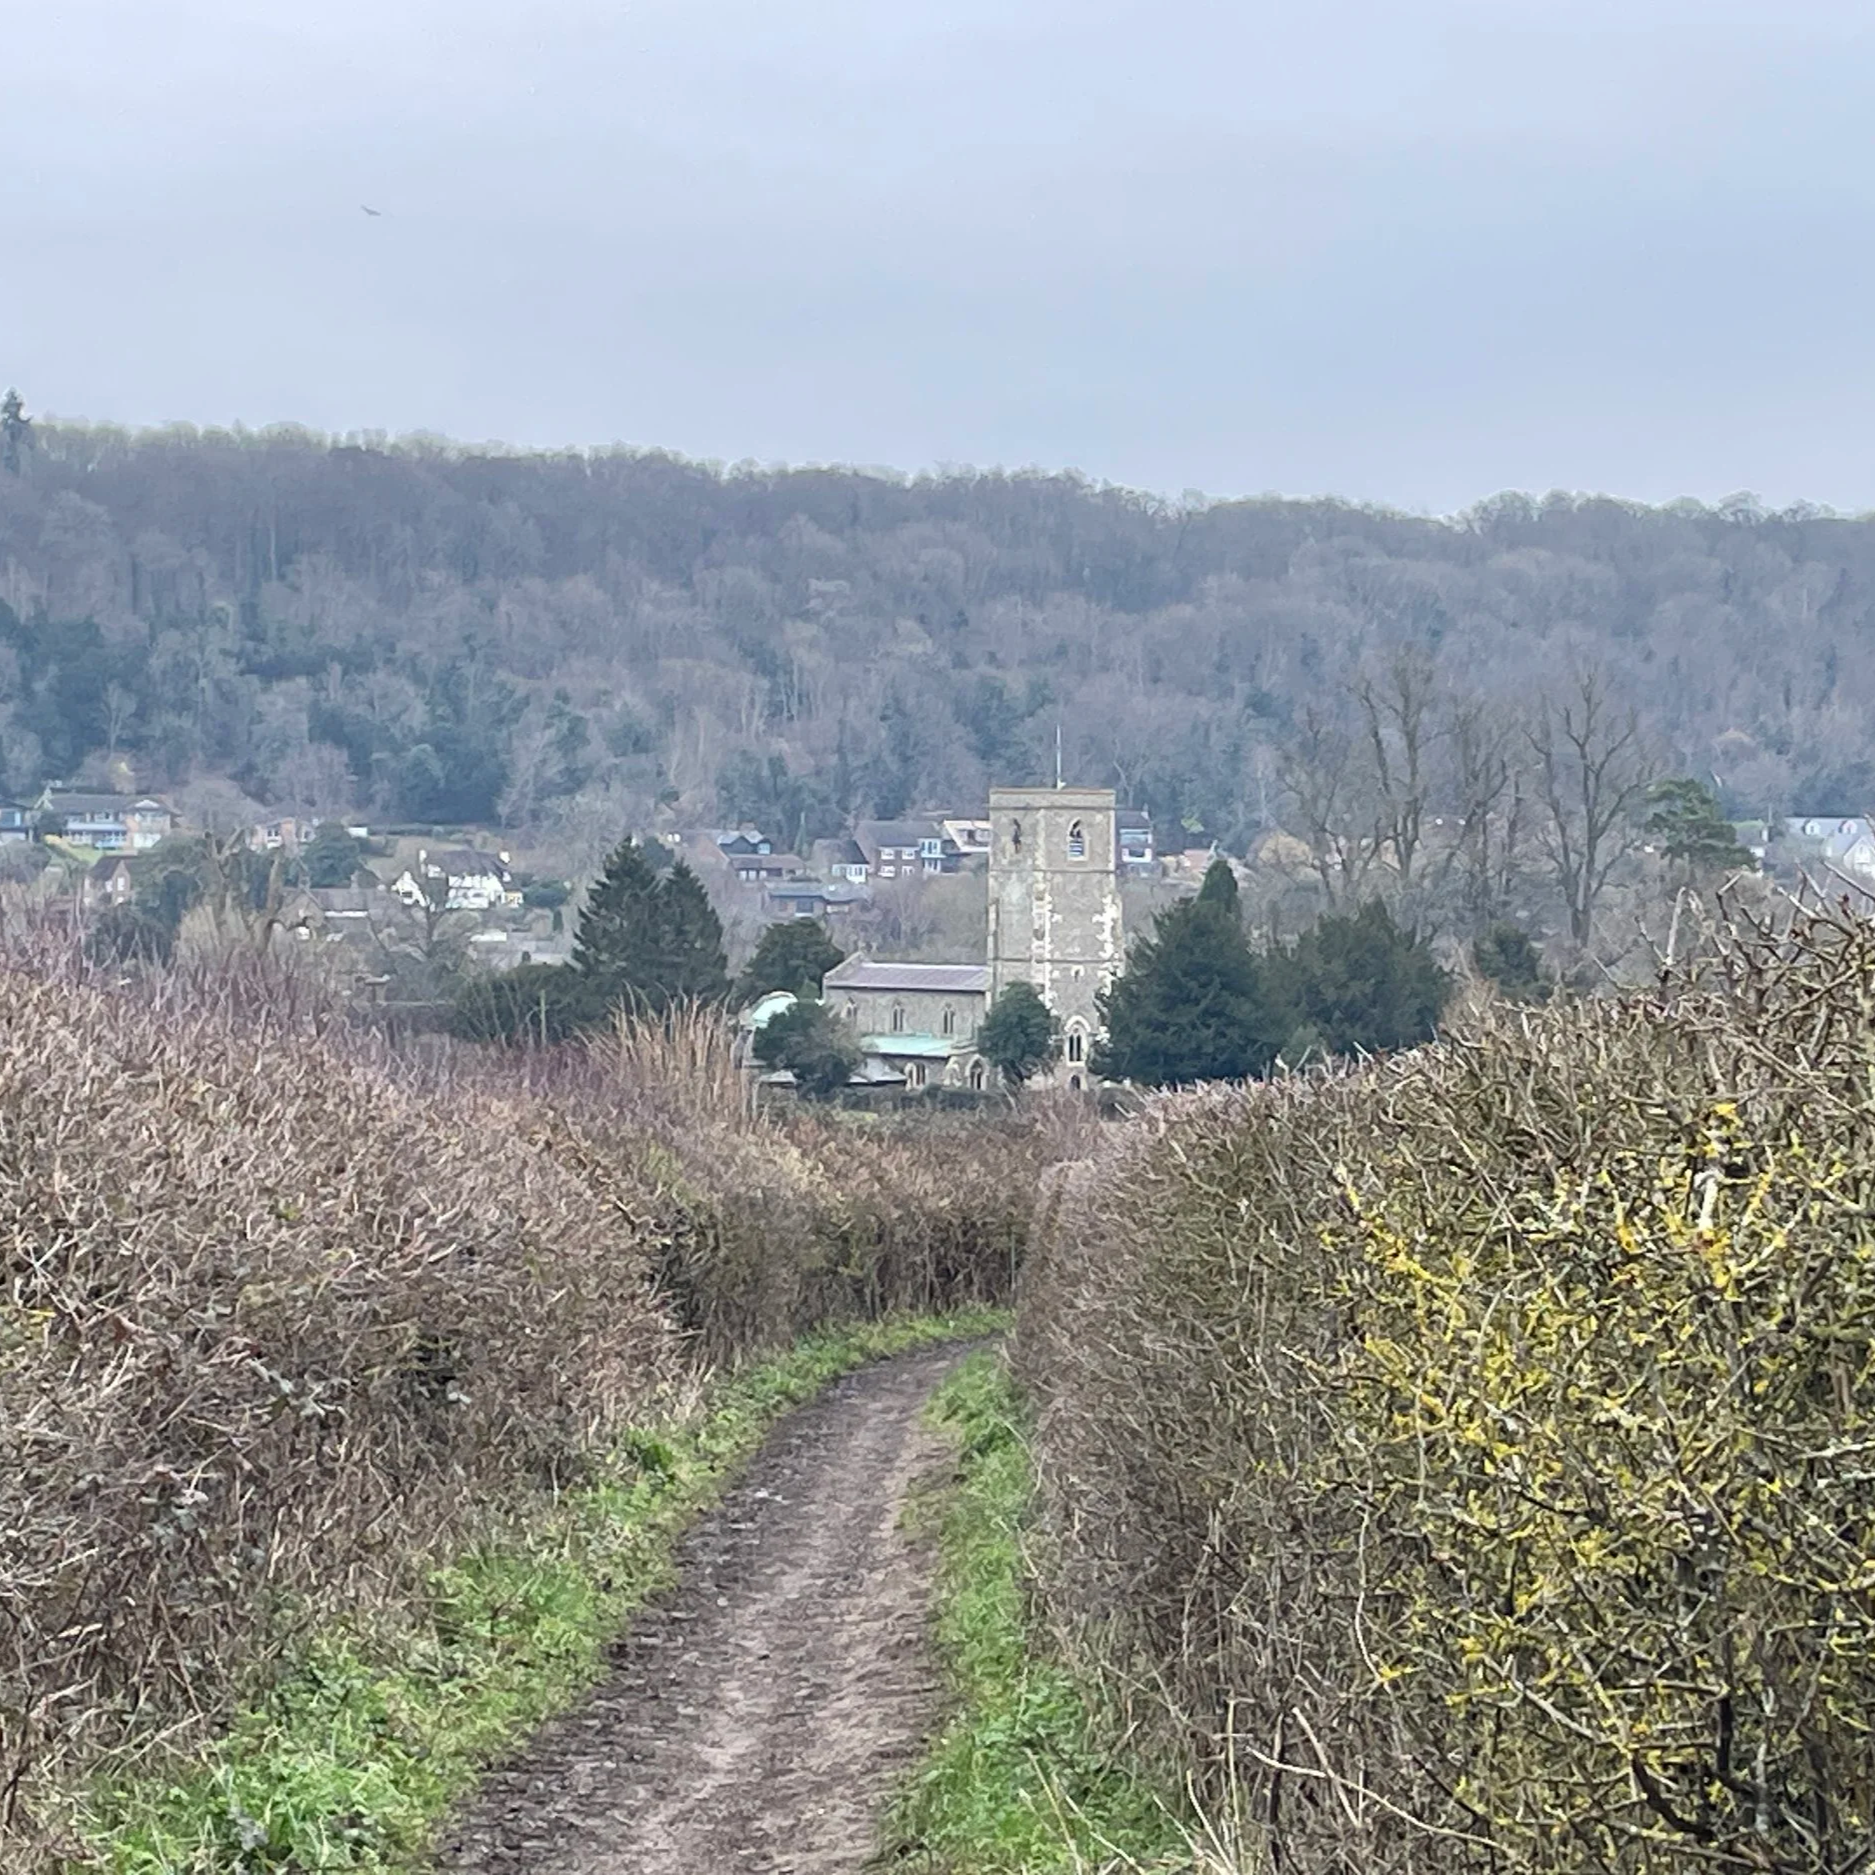
Section 10: Aldbury & Ashridge
Start & Finish: Tring Station, Tring, HP23 5QR
Distance: 7.8 km (4.8 miles)
Elevation change: +/- 138m
Hertfordshire Way section covered: Pitstone Common to Tom’s Hill: 6.15 km
Hertfordshire Way Direction: Both
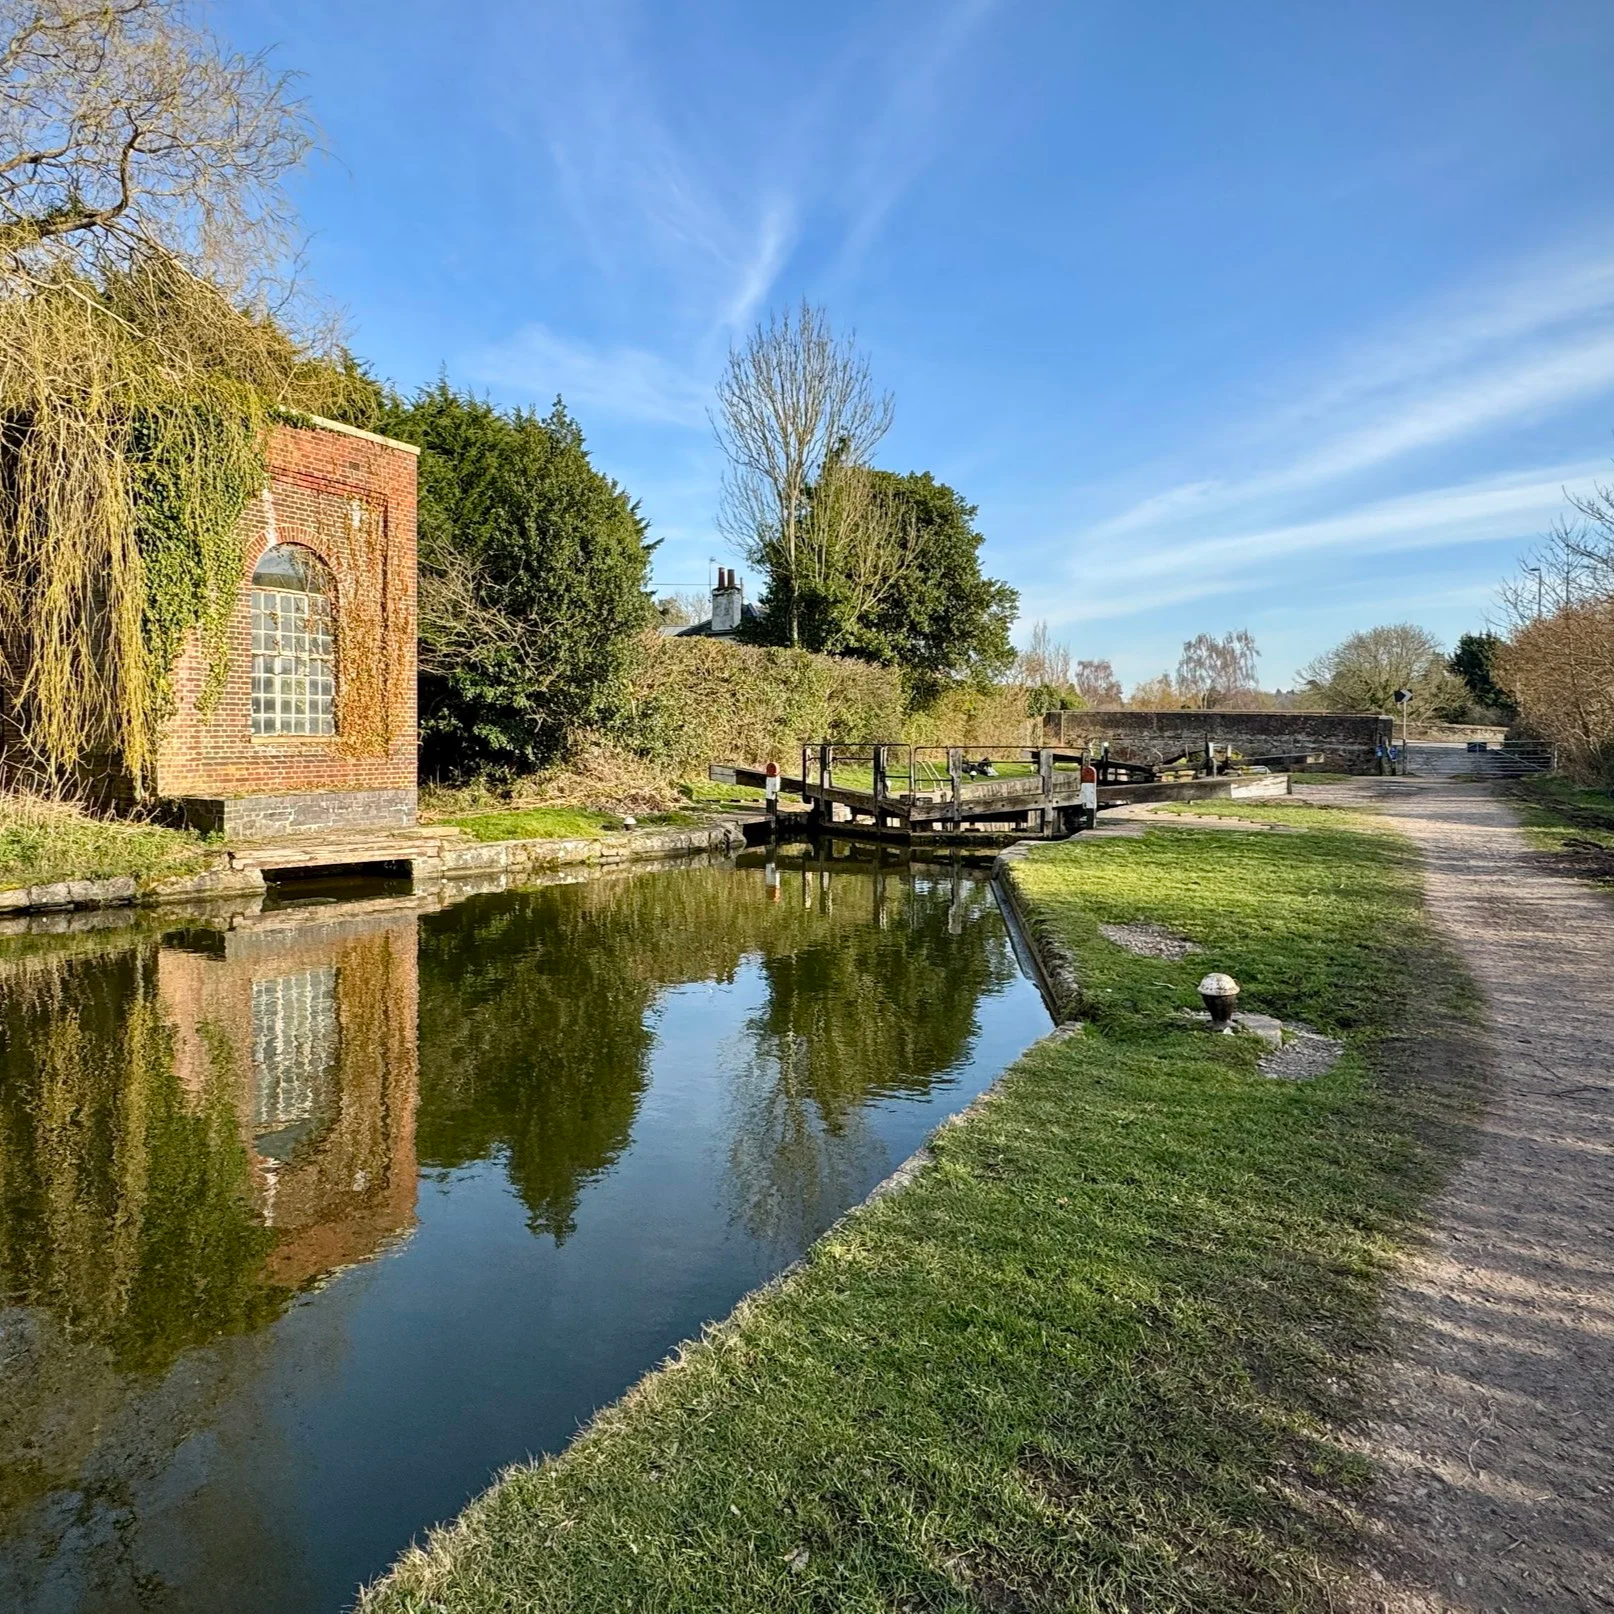
Section 11: Cow Roast and Berkhamsted Common
Start & Finish: Free parking by the Cow Roast Recreation Ground, Tring, HP23 5RE
Distance: 11.9 km (7.3 miles)
Elevation change: +/- 140m
Hertfordshire Way section covered: Tom’s Hill to Berkhamsted Common: 3 km
Hertfordshire Way Direction: Anti-clockwise
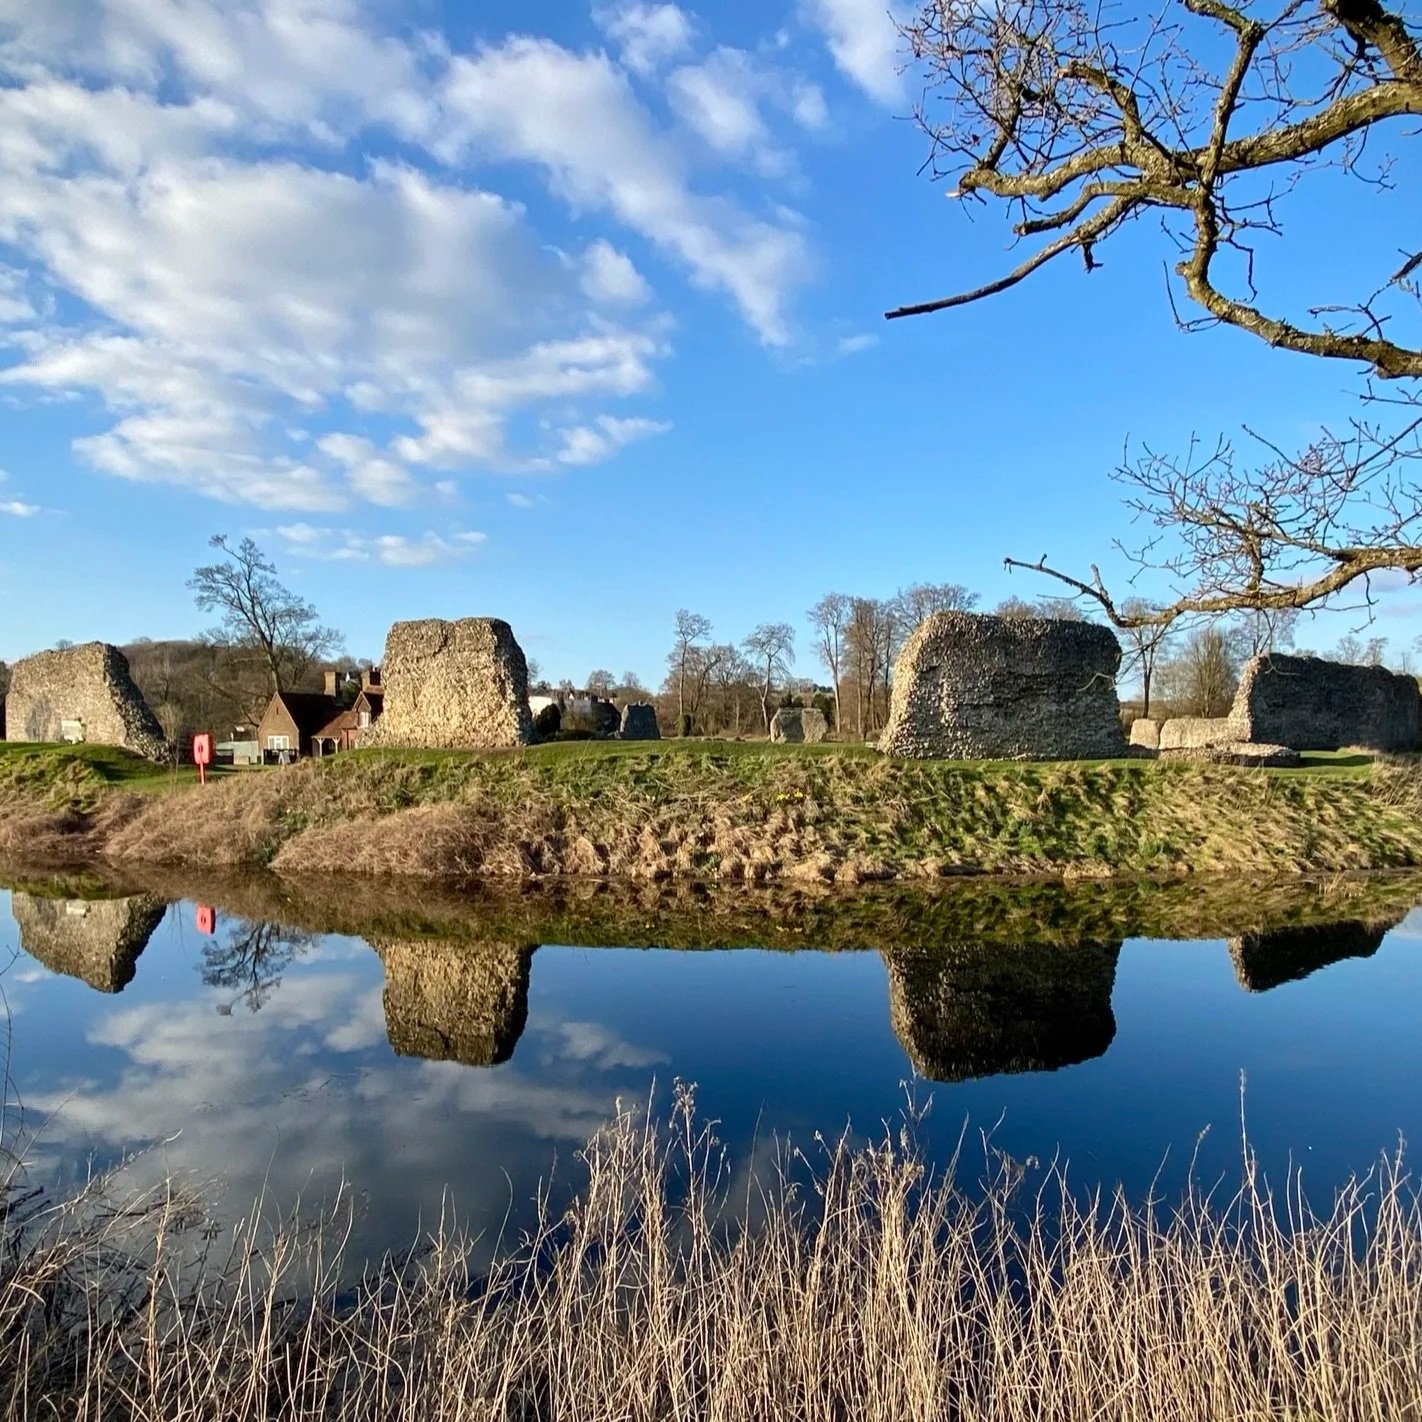
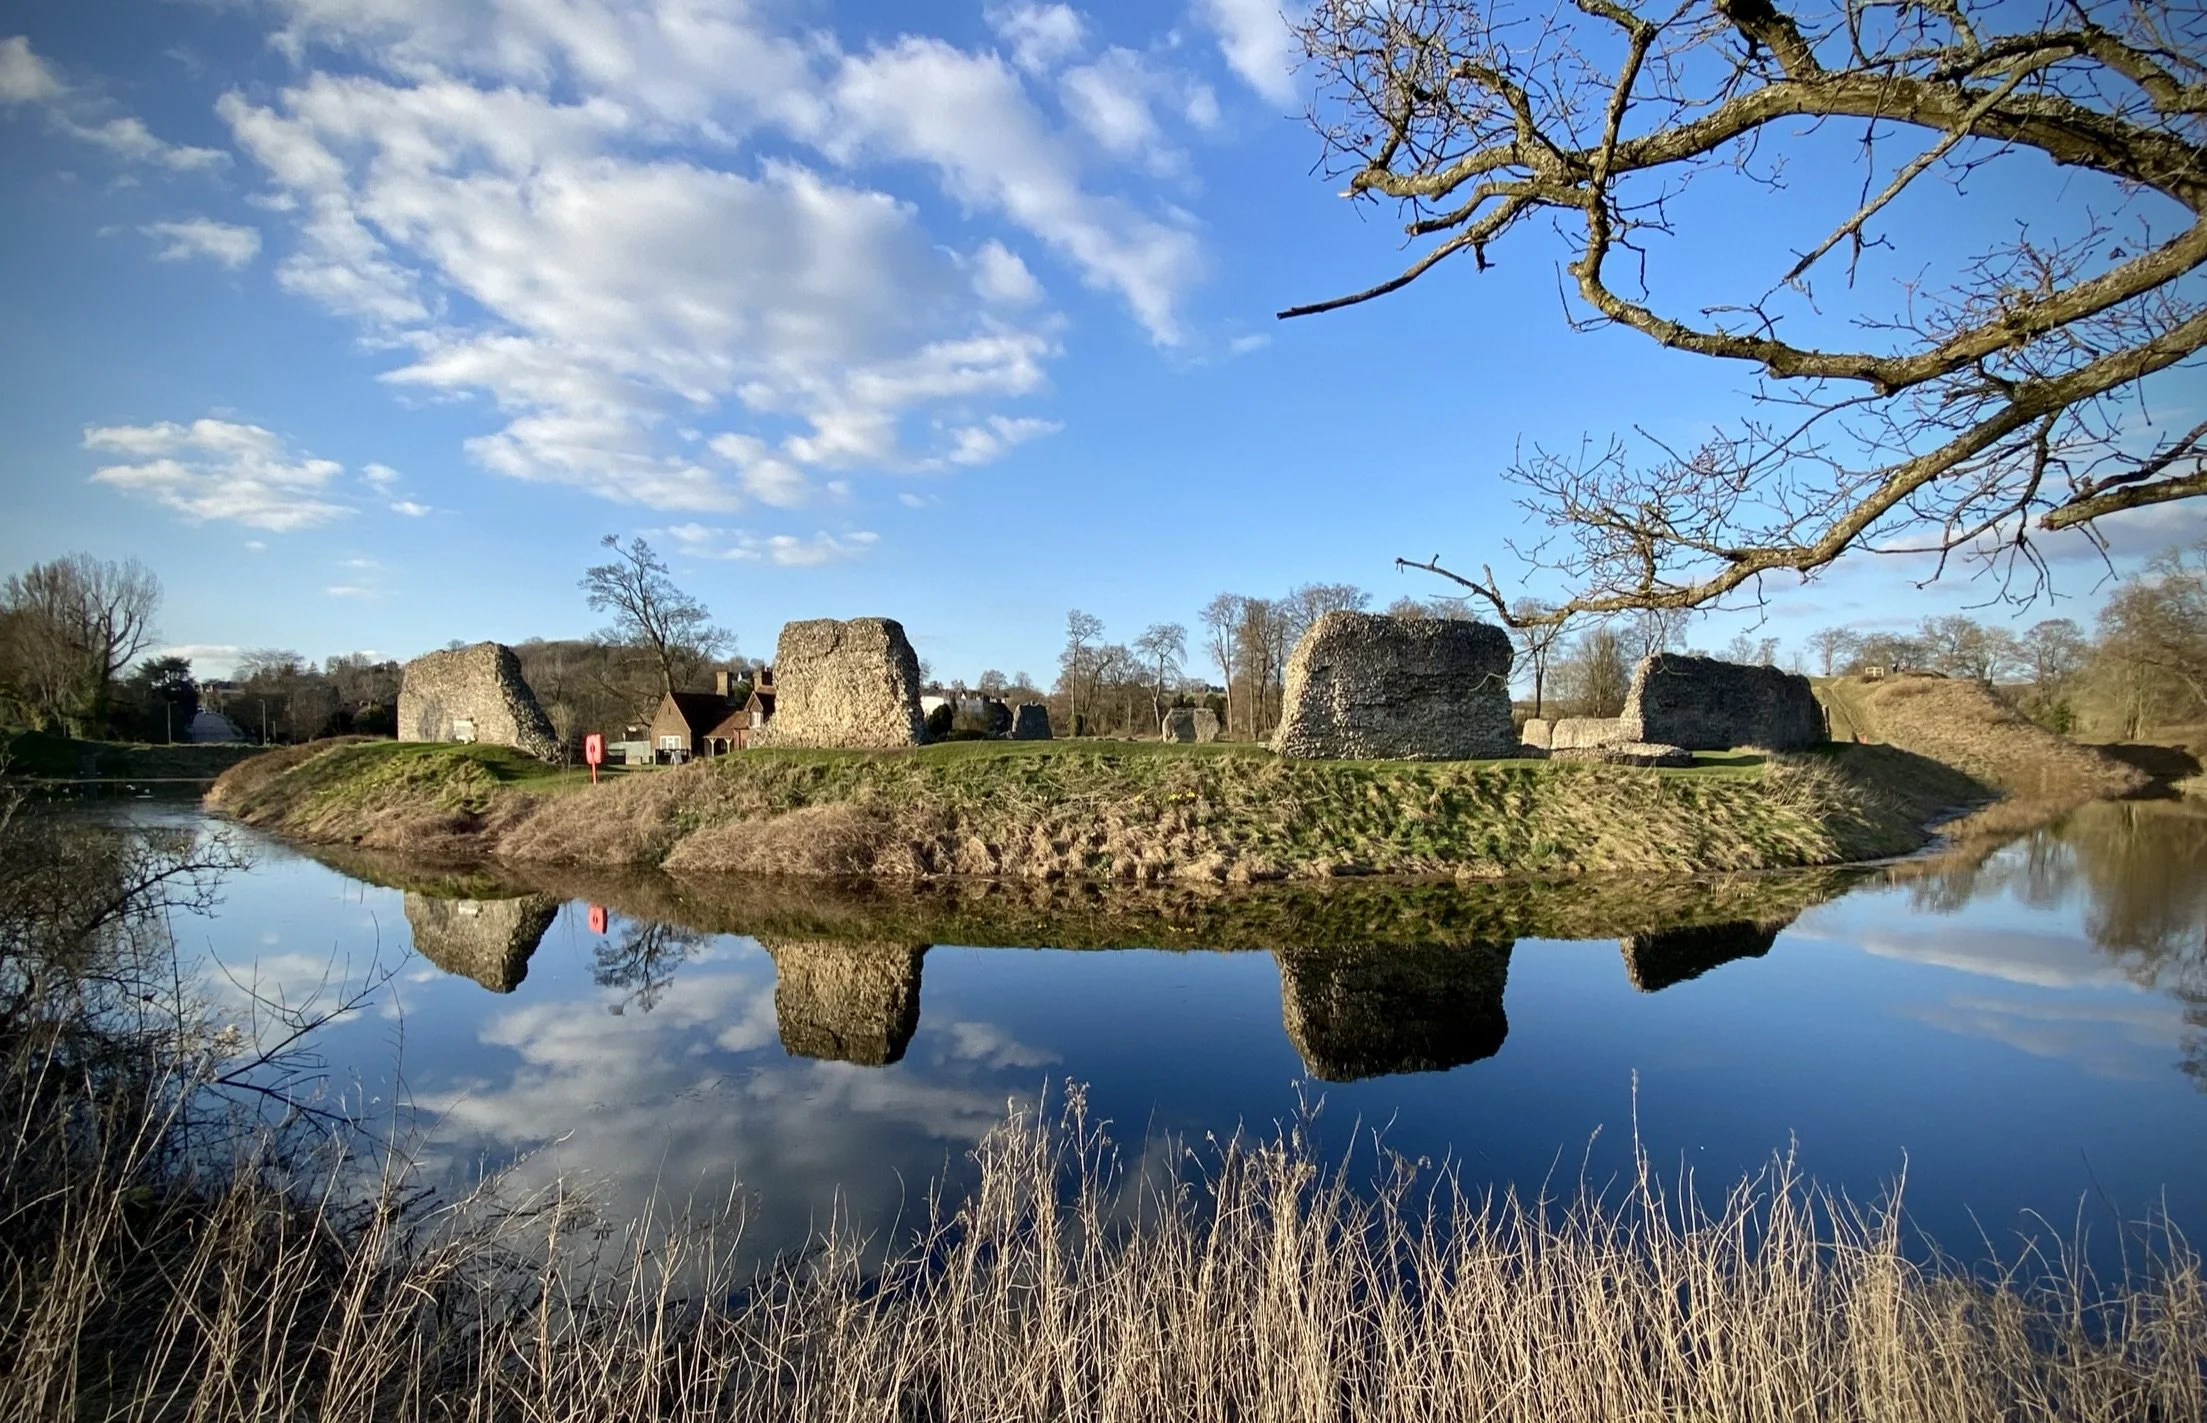
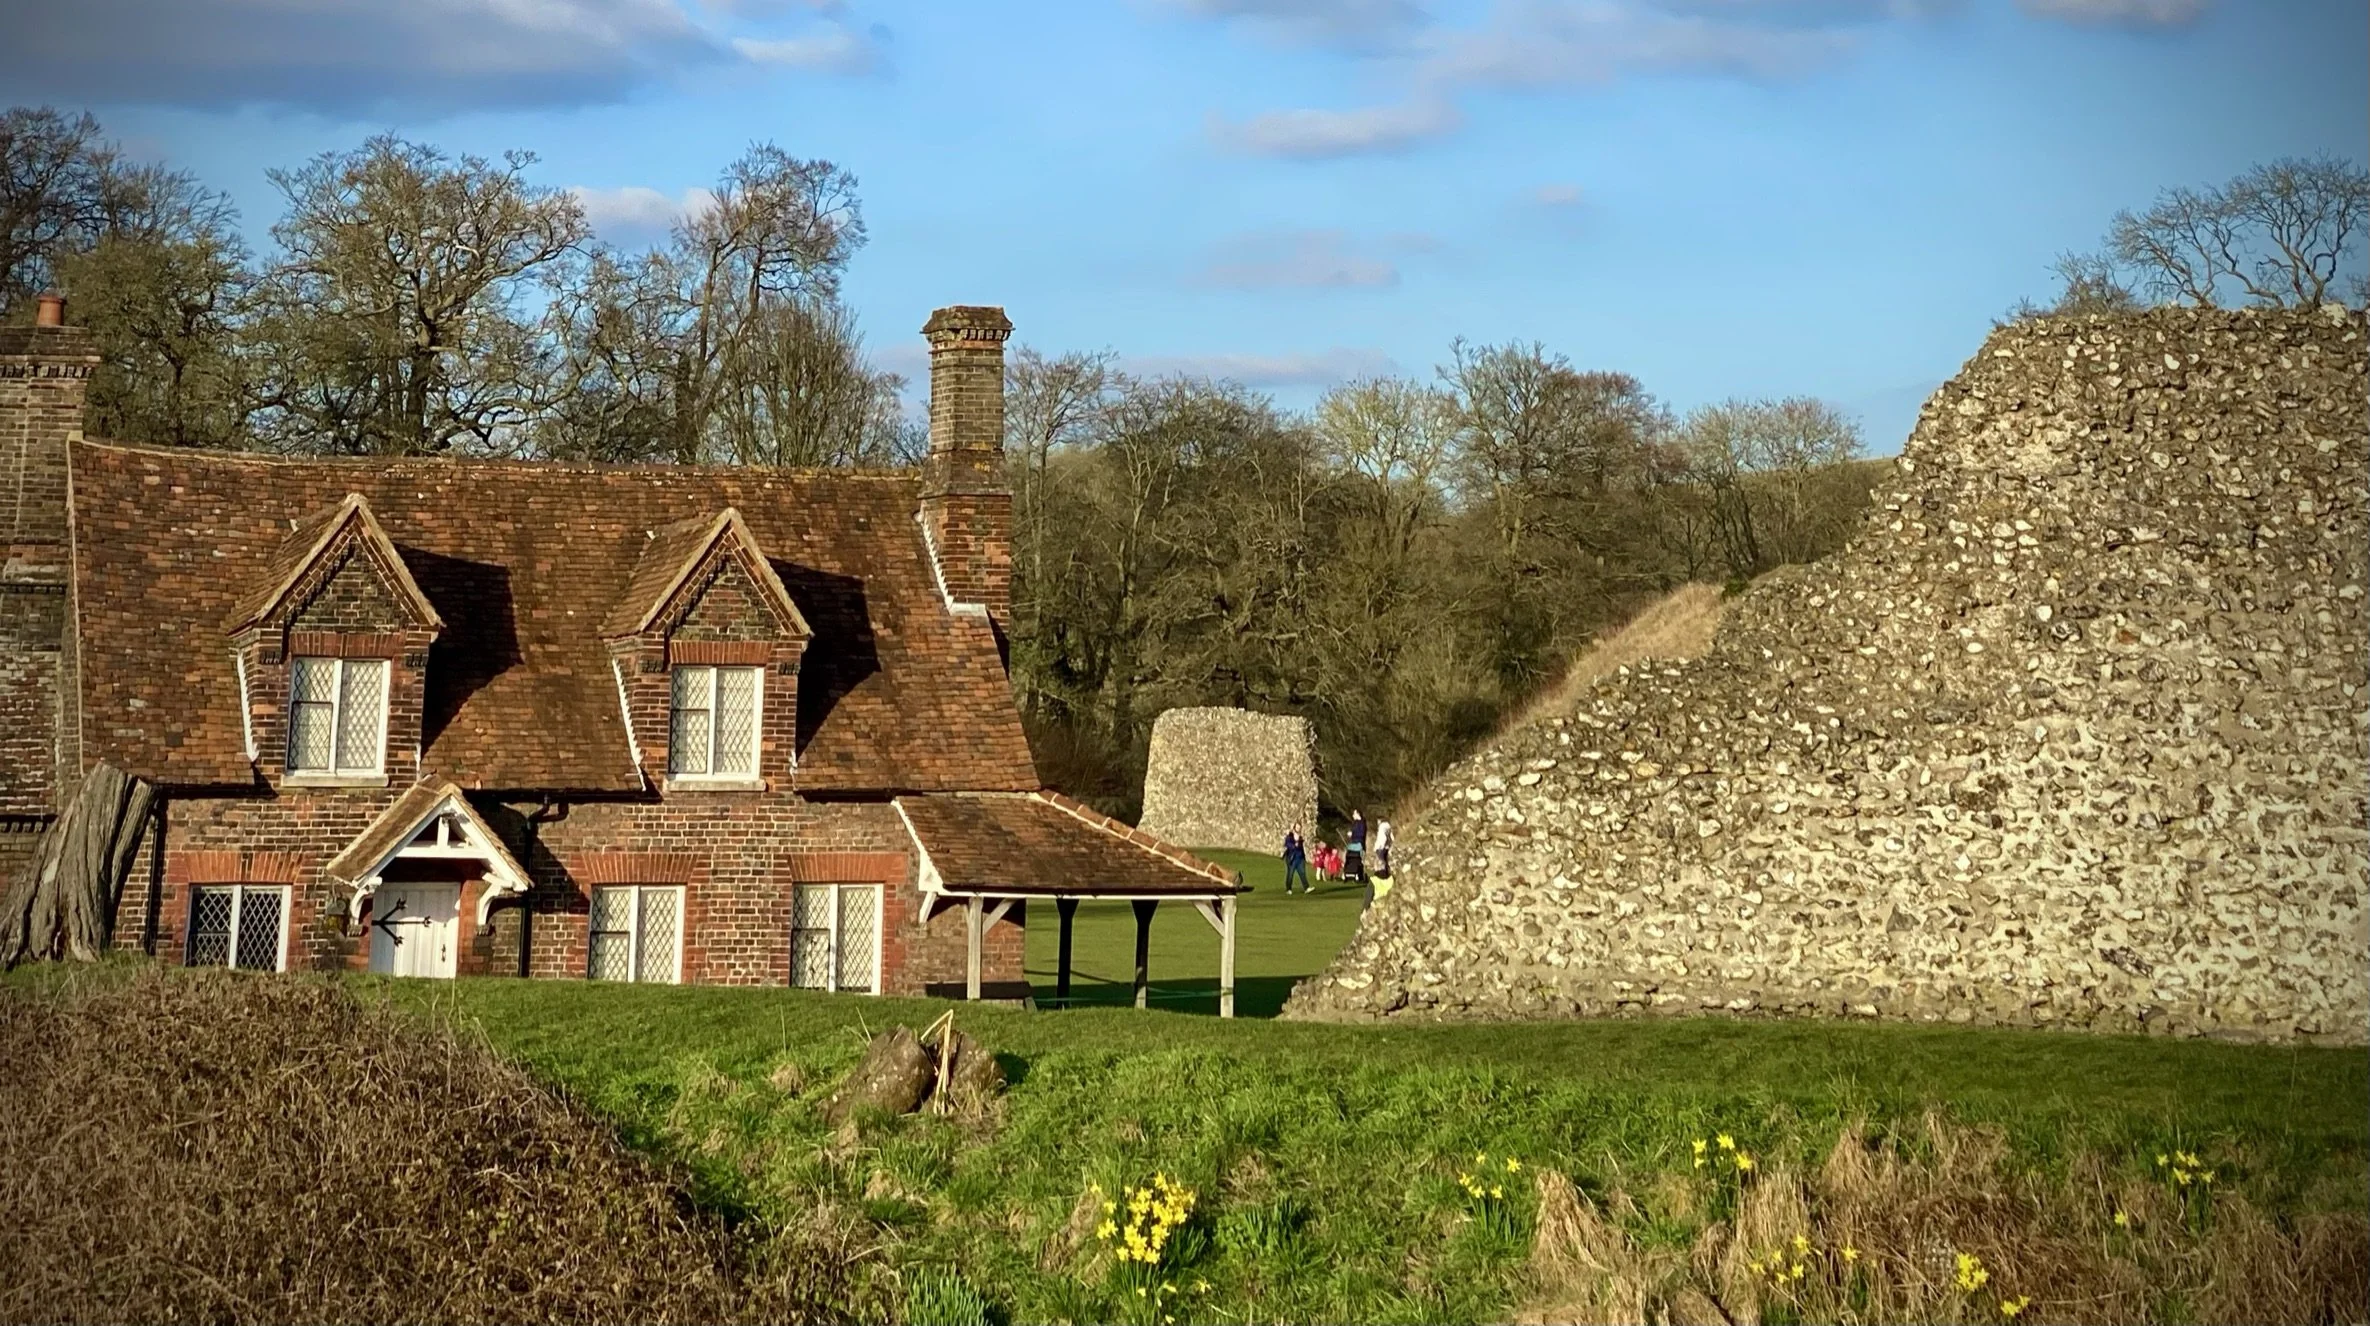
Section 12: Berkhamsted Castle and Common
Start & Finish: Berkhamsted Station, HP4 2AJ
Distance: 10.4 km (6.5 miles)
Elevation change: +/- 119m
Hertfordshire Way section covered: Berkhamsted Common to Berkhamsted Castle: 4 km
Hertfordshire Way Direction: Anti-clockwise
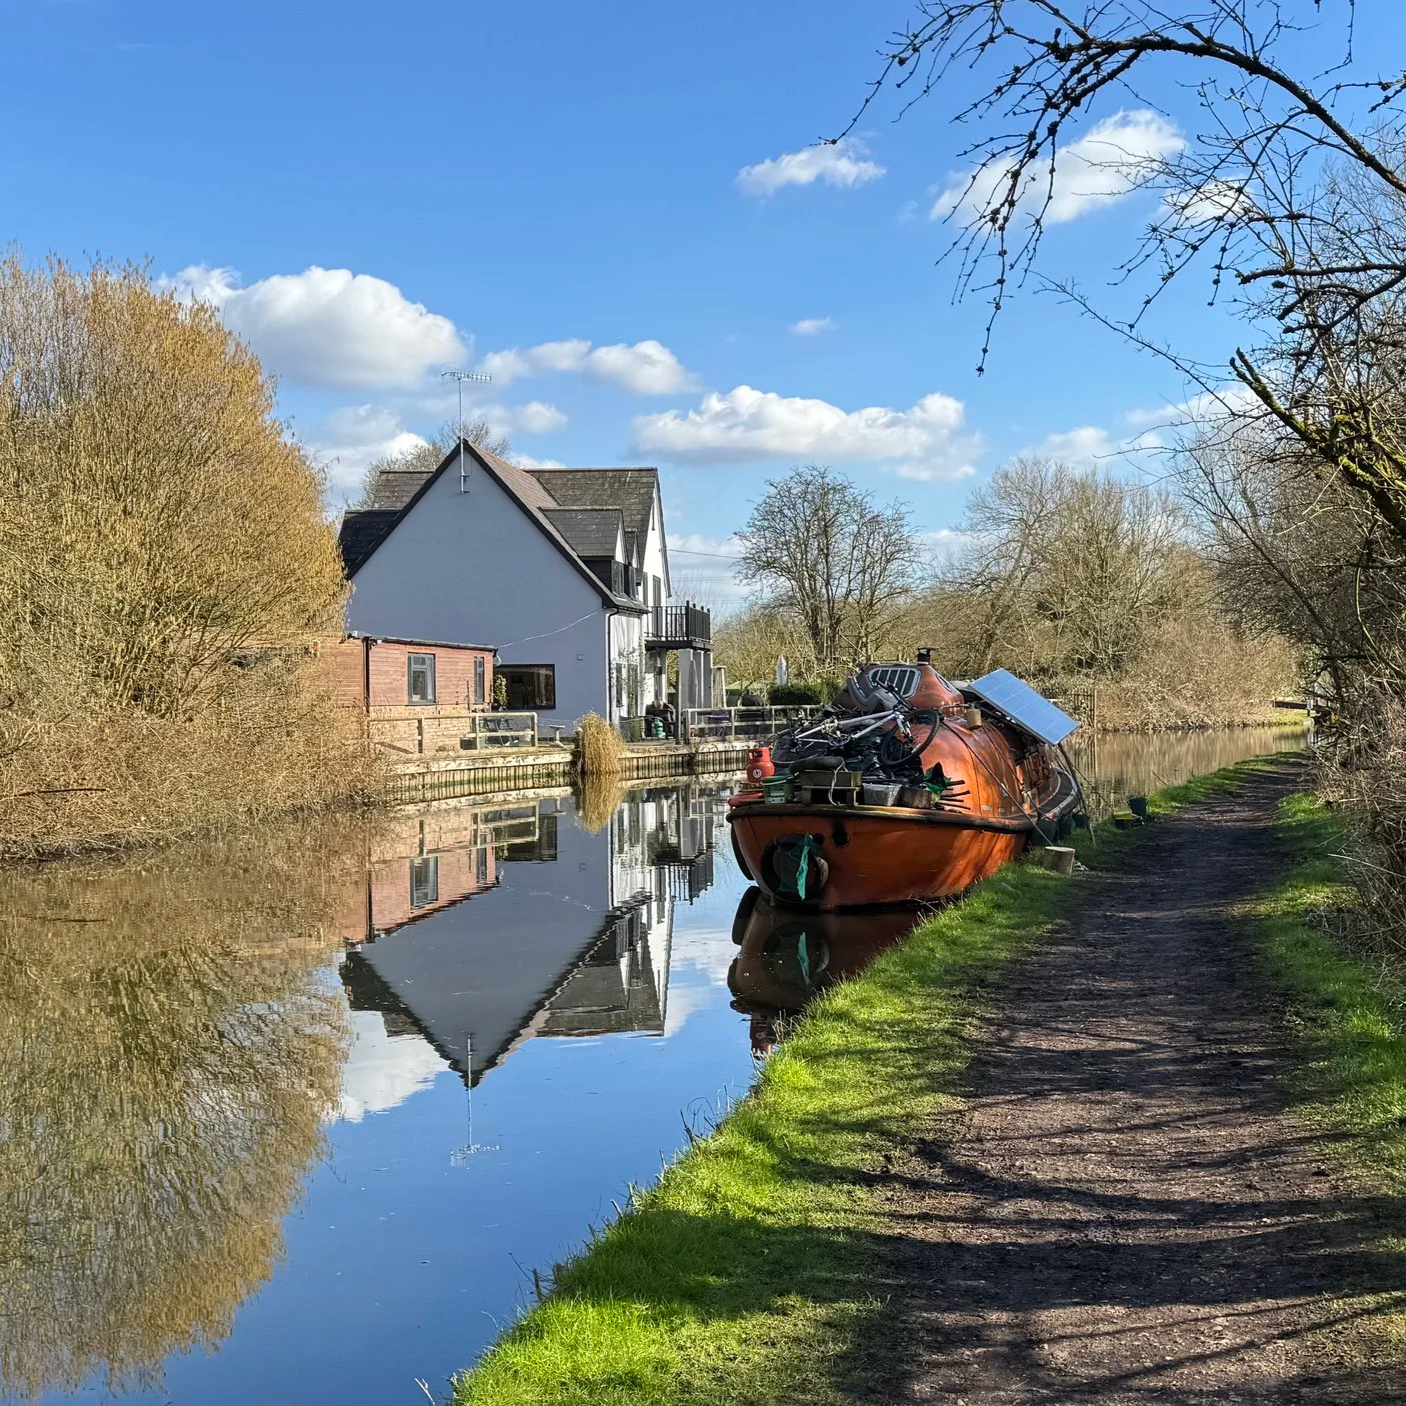
Section 13: Berkhamsted and Bourne End
Start & Finish: Berkhamsted Station, Station Approach, Berkhamsted, HP4 2AR
Distance: 11.9 km (7.3 miles)
Elevation change: +/- 144m
Hertfordshire Way section covered: Berkhamsted to Bushfield Road: 5.8 km
Hertfordshire Way Direction: Anti-clockwise
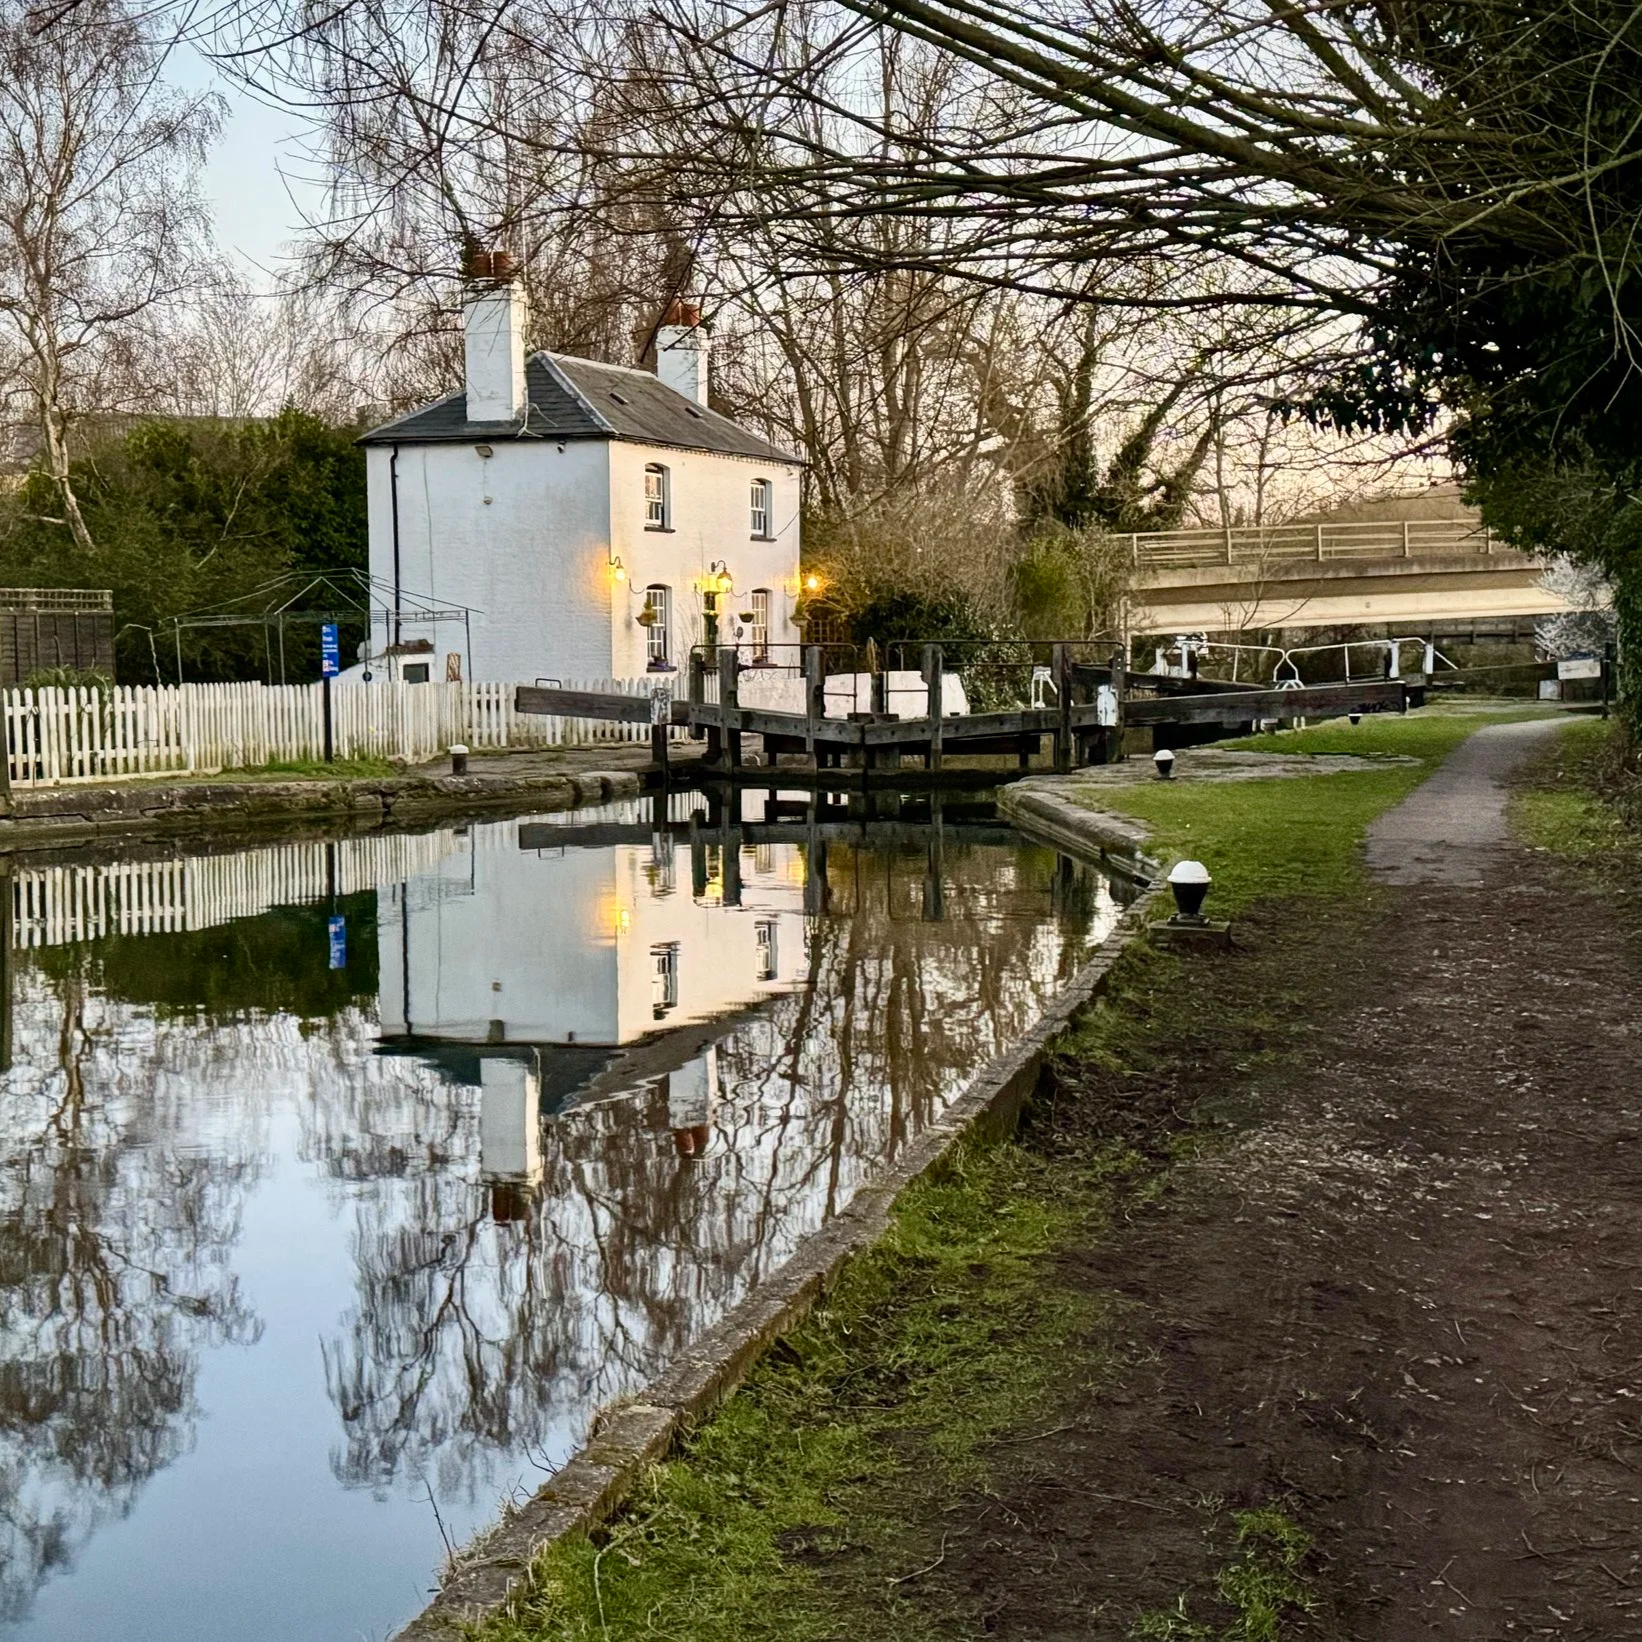
Section 14: Boxmoor to Kings Langley
Start: Hemel Hempstead Station, London Road, Hemel Hempstead, HP3 9BQ
Finish: Kings Langley Station, Station Road, Kings Langley WD4 8LF
Distance: 12.8 km (7.9 miles)
Elevation change: +154m / - 175m. Net -21m
Hertfordshire Way section covered: Bovingdon to Kings Langley: 10 km
Hertfordshire Way Direction: Anti-clockwise
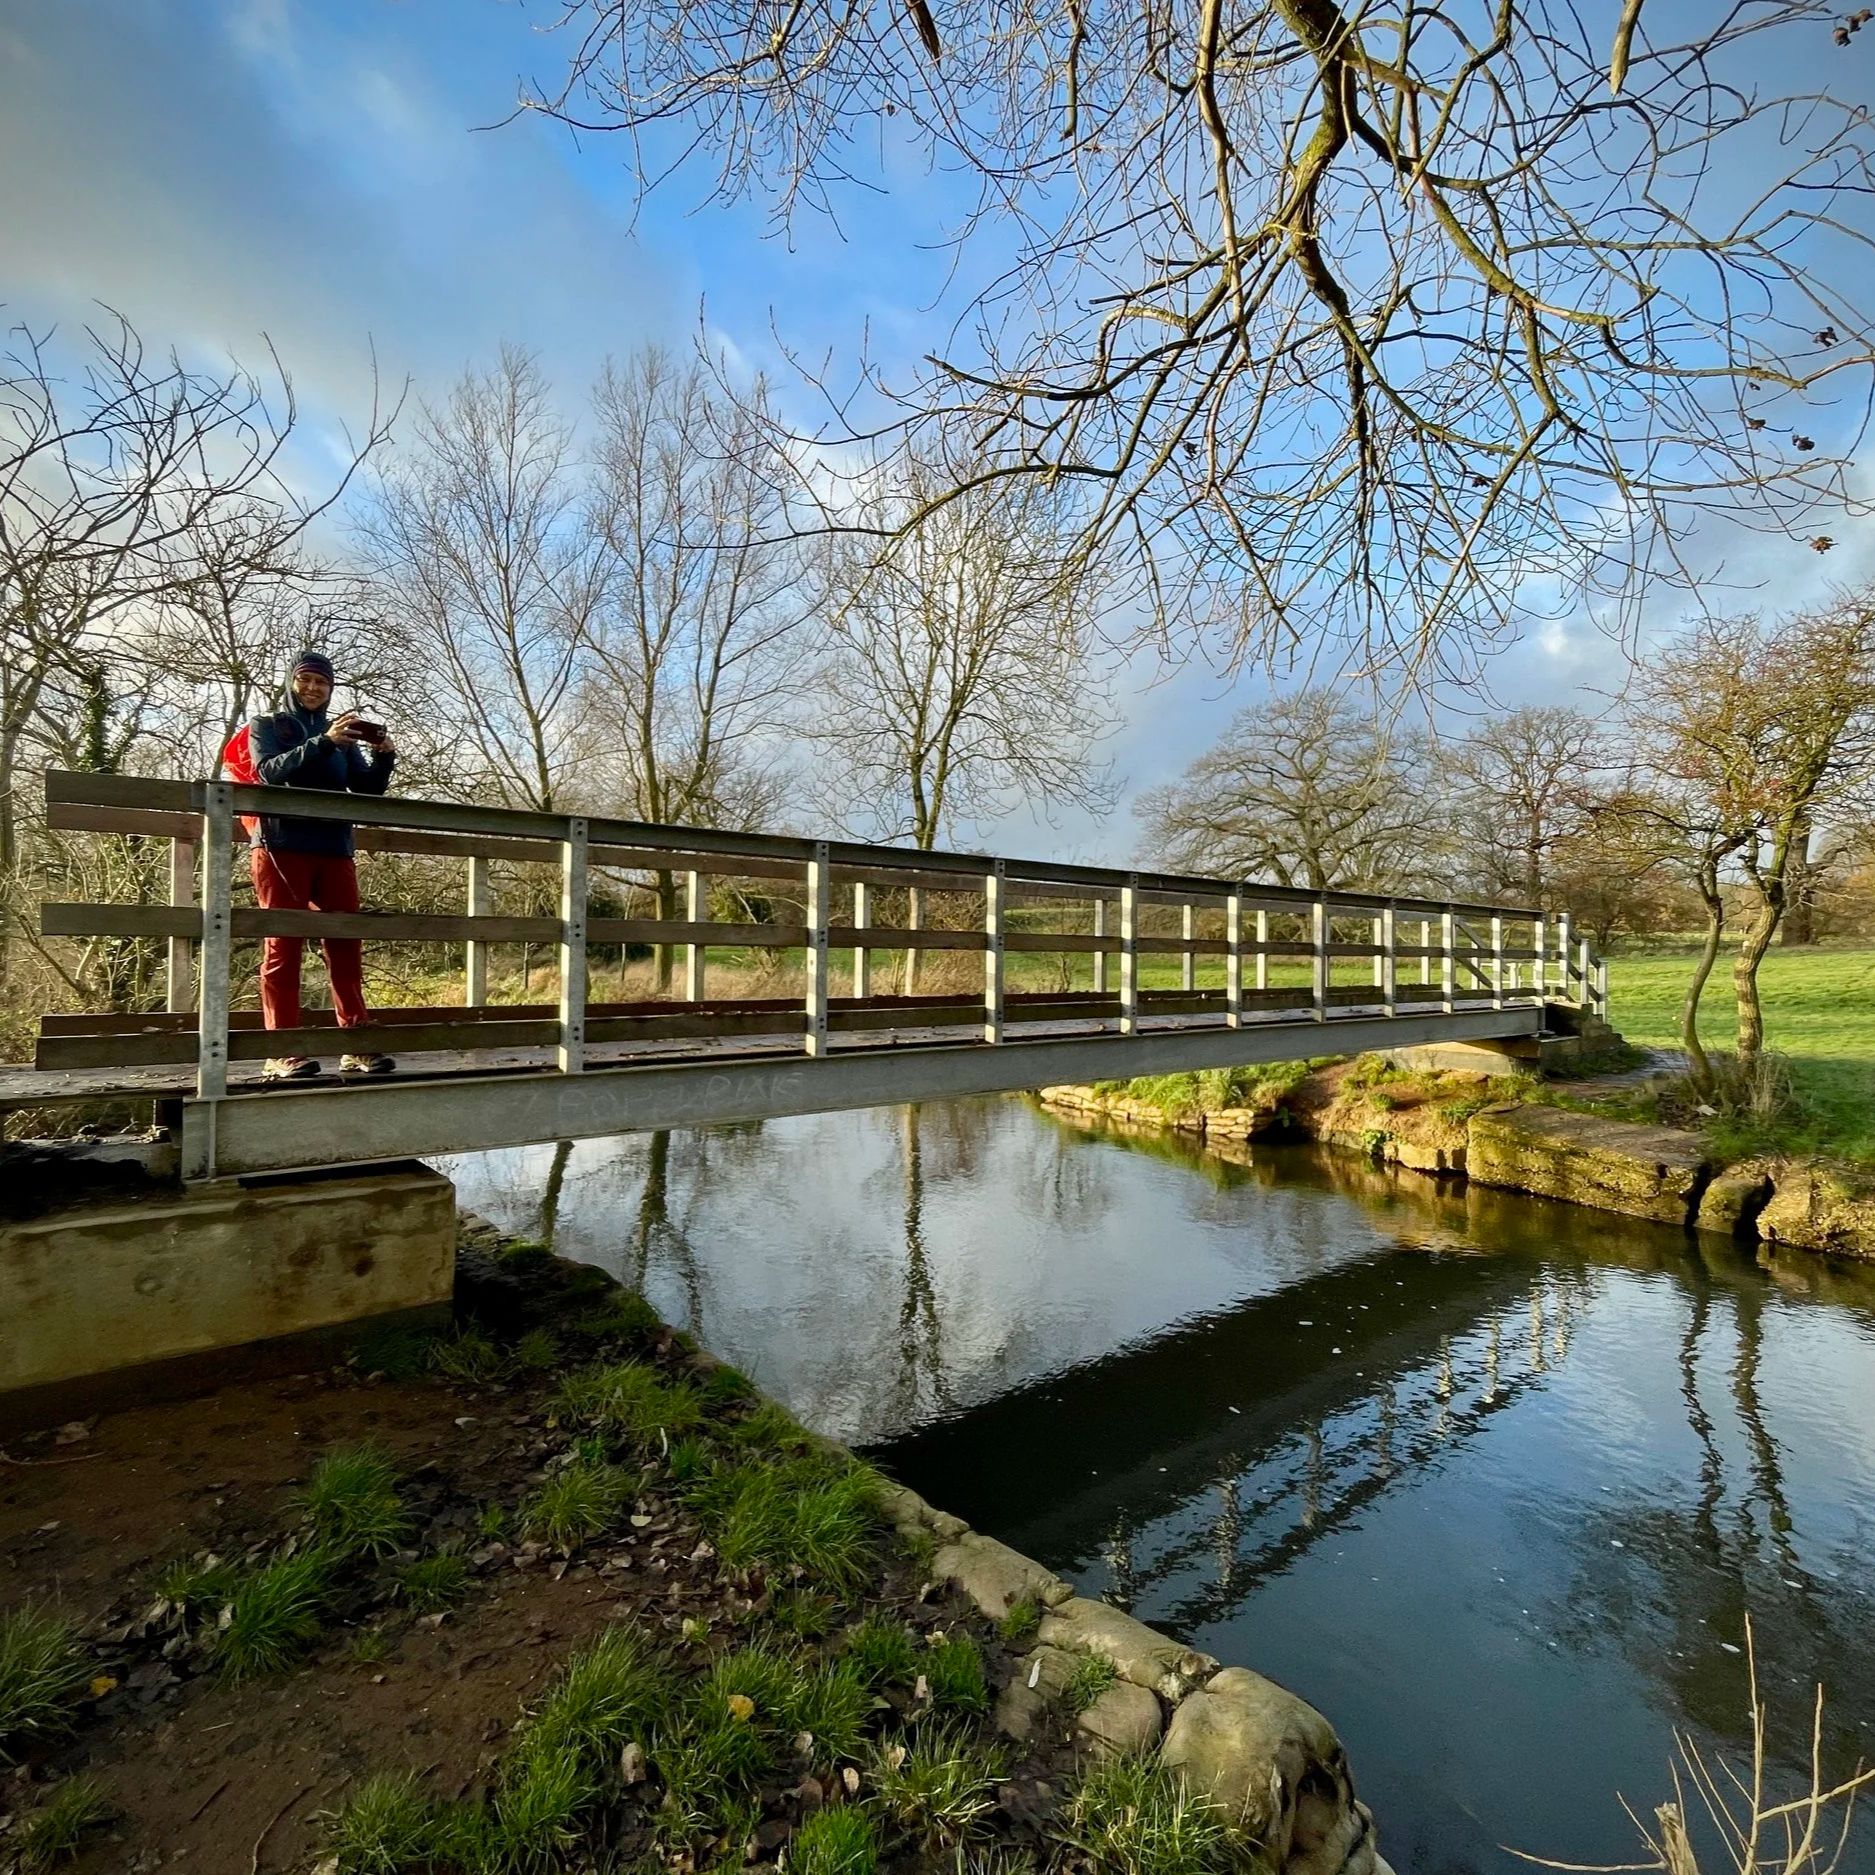
Section 15: Kings Langley to Aldenham
Start: King’s Langley Station, Station Road, Kings Langley, WD4 8LF
Finish: St. John The Baptist Church, Church Lane, Radlett, Watford, WD25 8BE
Distance: 10.4 km (6.5 miles)
Elevation change: +126m / -119m. Net +7m
Hertfordshire Way section covered: King’s Langley to Aldenham: 10.4 km
Hertfordshire Way Direction: Anti-clockwise
Cycling The Horton Brook and Datchet Common Brook

Black Park Lake on the Horton Brook
Part of the Chiltern Rivers Series
Cycle route start and end: Boundary of Black Park and Pinewood Studios, Fulmer
Cycle route length: 39.4 km (24.5 miles)
Cycle route elevation change: +/- 166m
GPX File: get via Buy Me a Coffee
Other routes touched (walk): Beeches Way, Shakespeare’s Way, Colne Valley Trail, Slough Arm Canal Towpath, Rowley Farm Trail
Other routes touched (cycle): NCN 6, 61
Maps:
- Chiltern Hills East Map | High Wycombe, Maidenshead & Rickmansworth | Ordnance Survey | OS Explorer Map 172
- Windsor, Weybridge & Bracknell Map | Thames Path | Ordnance Survey | OS Explorer Map 160
Links: Black Park, George Green, Grand Union Canal Slough Arm, Langley, Colnbrook, Horton, Wraysbury, National Trust Ankerwyke, Sunnymeads, Datchet Common, Ditton Park, Slough, Wexham
It had been a few years since I thought that I had completed all of the Chiltern and Colne Valley rivers. Then I discovered the Horton Brook and The Datchet Common Brook on a map and needed to explore them too. Both are small and easily missed unless you’re looking out for them. They snake through fields and residential areas to the east of Slough but you can walk or cycle fairly close to them if you know where to look. Both of the brook’s sources are close to each other at Fulmer and and have confluences with the Thames near Wraysbury. This means that both can be discovered in a 40 km cycle ride, following the Horton brook from the source then the Datchet Common Brook from its confluence back to the source.
Cycling the Horton Brook from the source to the confluence with the Thames
River start: Boundary of Black Park and Pinewood Studios, Fulmer
River end: Confluence with the River Thames in National Trust, Ankerwyke
River length: 19.7 km (12.2 miles)
Links: DEFRA: Horton Brook
We started our cycle trip at the north-eastern corner of Black Park at the junction of Fulmer Common Road, Alderbourne Lane and Pinewood Road. Different maps show the source of the Brook either right on this corner or a little further south along the boundary of Black Park and Pinewood Studios. I’ve been cycling and walking there for years but always thought that it was a ditch.
After ~700m from Fulmer Common Road, the Brook cuts diagonally across the Country Park to empty into Black Park Lake, emerging on the south western side near the path to the car park. After Black Park the Brook crosses under Rowley Lane and into Rowley Farm. We cycled through the farm on the Rowley Farm Trail but ended up taking a fairly convoluted route to not stay very close to the Brook. The easiest route is to follow the A420 to George Green, although be very careful here is it’s a busy dual carriageway.
After the A420 the Brook snakes through George Green, Middle Green, across Langley Park Road and under the Grand Union Canal Slough Arm. Cycling close to the Brook is pretty straightforward and there’s a nice straight section of the canal to follow. After leaving the canal at Mansion Lane you’ll cross uner the railway and take a left onto Parlaunt Road then right onto Old Slade Lane. Meanwhile, the Brook passes through a field and Ritchlings Park Golf Club. After crossing over the M4, leave the Colne Valley Trail at a footpath junction and follow a messy path initially parallel to the motorway then cutting through a field to cross over the A4 Colnbrook Bypass. Here you’ll briefly re-join the Colne Valley Trail through Colnbrook village. After Colnbrook follow Horton Road keeping the Brook and The Queen Mother Reservoir on your right. Cross over Datchet Road to follow Park Lane and onto the footpath through the lakes to Station Road.
At Station Road you can take a left heading east to the bridge where the Brook flows under and into Wraysbury Lake. According to the DEFRA site, this is where the Horton Brook ends. The Wraysbury Lakes Ditch takes water from the lake and into the Colne Brook, which itself flows into the Thames at Runnymede.
For a more interesting cycle ride we took a right onto Station Road, passing through Wraysbury High Street then took at right into Magna Carta Lane. Here you can pass through the National Trust Ankerwyke site to connect to an arm of the Horton Brook that joins the Thames to the east of Ankerycke Yew. The paths through the National Trust site are for walking so best to lock your bikes up at the parking area.
Cycling The Datchet Common Brook from the Thames to the source
River start: Fulmer Wood Lake, Slough, SL3 6AA
River end: Confluence with the River Thames near The Avenue, Sunnymeads, Wraysbury, Staines, TW19 5EY
River length: 11.3 km (7 miles)
Links: DEFRA: Datchet Common Brook
From the end of the Horton Brook return to the B376 Staines Road and take a left towards Wraysbury. At the mini roundabout continue on the B376, then take a left onto The Avenue at Sunnymeads. Look out for the bridge over the Datchet Common Brook near house #37. This is the closest you’ll get to the confluence with the Thames which is behind the houses on the western side of the road.
After the bridge, turn around and take the next left onto Acacia Avenue to Sunnymeads Station. Take the footpath on the right to climb the steps back up to Welley Road. Take a left and follow Welley Road to the junction with Datchet Road. Take a left onto Datchet Road and follow it in an easterly direction towards Datchet Common. The Brook follows the Datchet Road on the northern side, following the edge of the Queen Mother Reservoir.
Take a right onto Penn Road, a left onto New Road then a right onto Ditton Road. Take a right at the junction with Major’s Farm Road, running parallel with the M4 until you reach the footbridge. Cross the bridge over the motorway to the northern side and look out for the entrance to Ditton Park on the corner of Ridig Court Road and Ditton Park Road.
You’re now in the most enjoyable part of the ride, following the course of the Brook through Ditton Park to Upton Court Road. At the north-eastern corner of Upton Park, take Quaves Road onto Lascelles Road then take a left on the A4 Wellington Street, crossing over to the northern side where safe to do so. At the large Sainsbury’s Roundabout take the A412 heading north. After crossing over the railway line and canal you can follow the quieter residential roads that run parallel to the A412.
Take a left onto Church Lane then a right onto Wexham Park Lane. Look out for the bridge over the Brook at Valley End at the bottom of the hill. Shortly after Valley End, at a curve in the road, take the footpath on the left called Gallions Lane and follow it in a northerly direction. The Brook will now be on your left running through Wexham Park Golf Course. Just before the end of Gallions Lane take a right to follow the path running parallel to Rowley Lane to the end at Black Park Lane. Follow Black Park Lane in a northerly direction to the end at Fulmer Common Road. When you meet the Shakespeare’s Way and Beeches Way that join from the left you’re now as close as you’ll get to the source of the Datchet Common Brook at Fulmer Wood Lake.
Take a right onto Fulmer Common Road to return to the start of the cycle ride at the north-eastern corner of Black Park
Red = Cycle Route, Green = Datchet Common Brook, Blue = Horton Brook


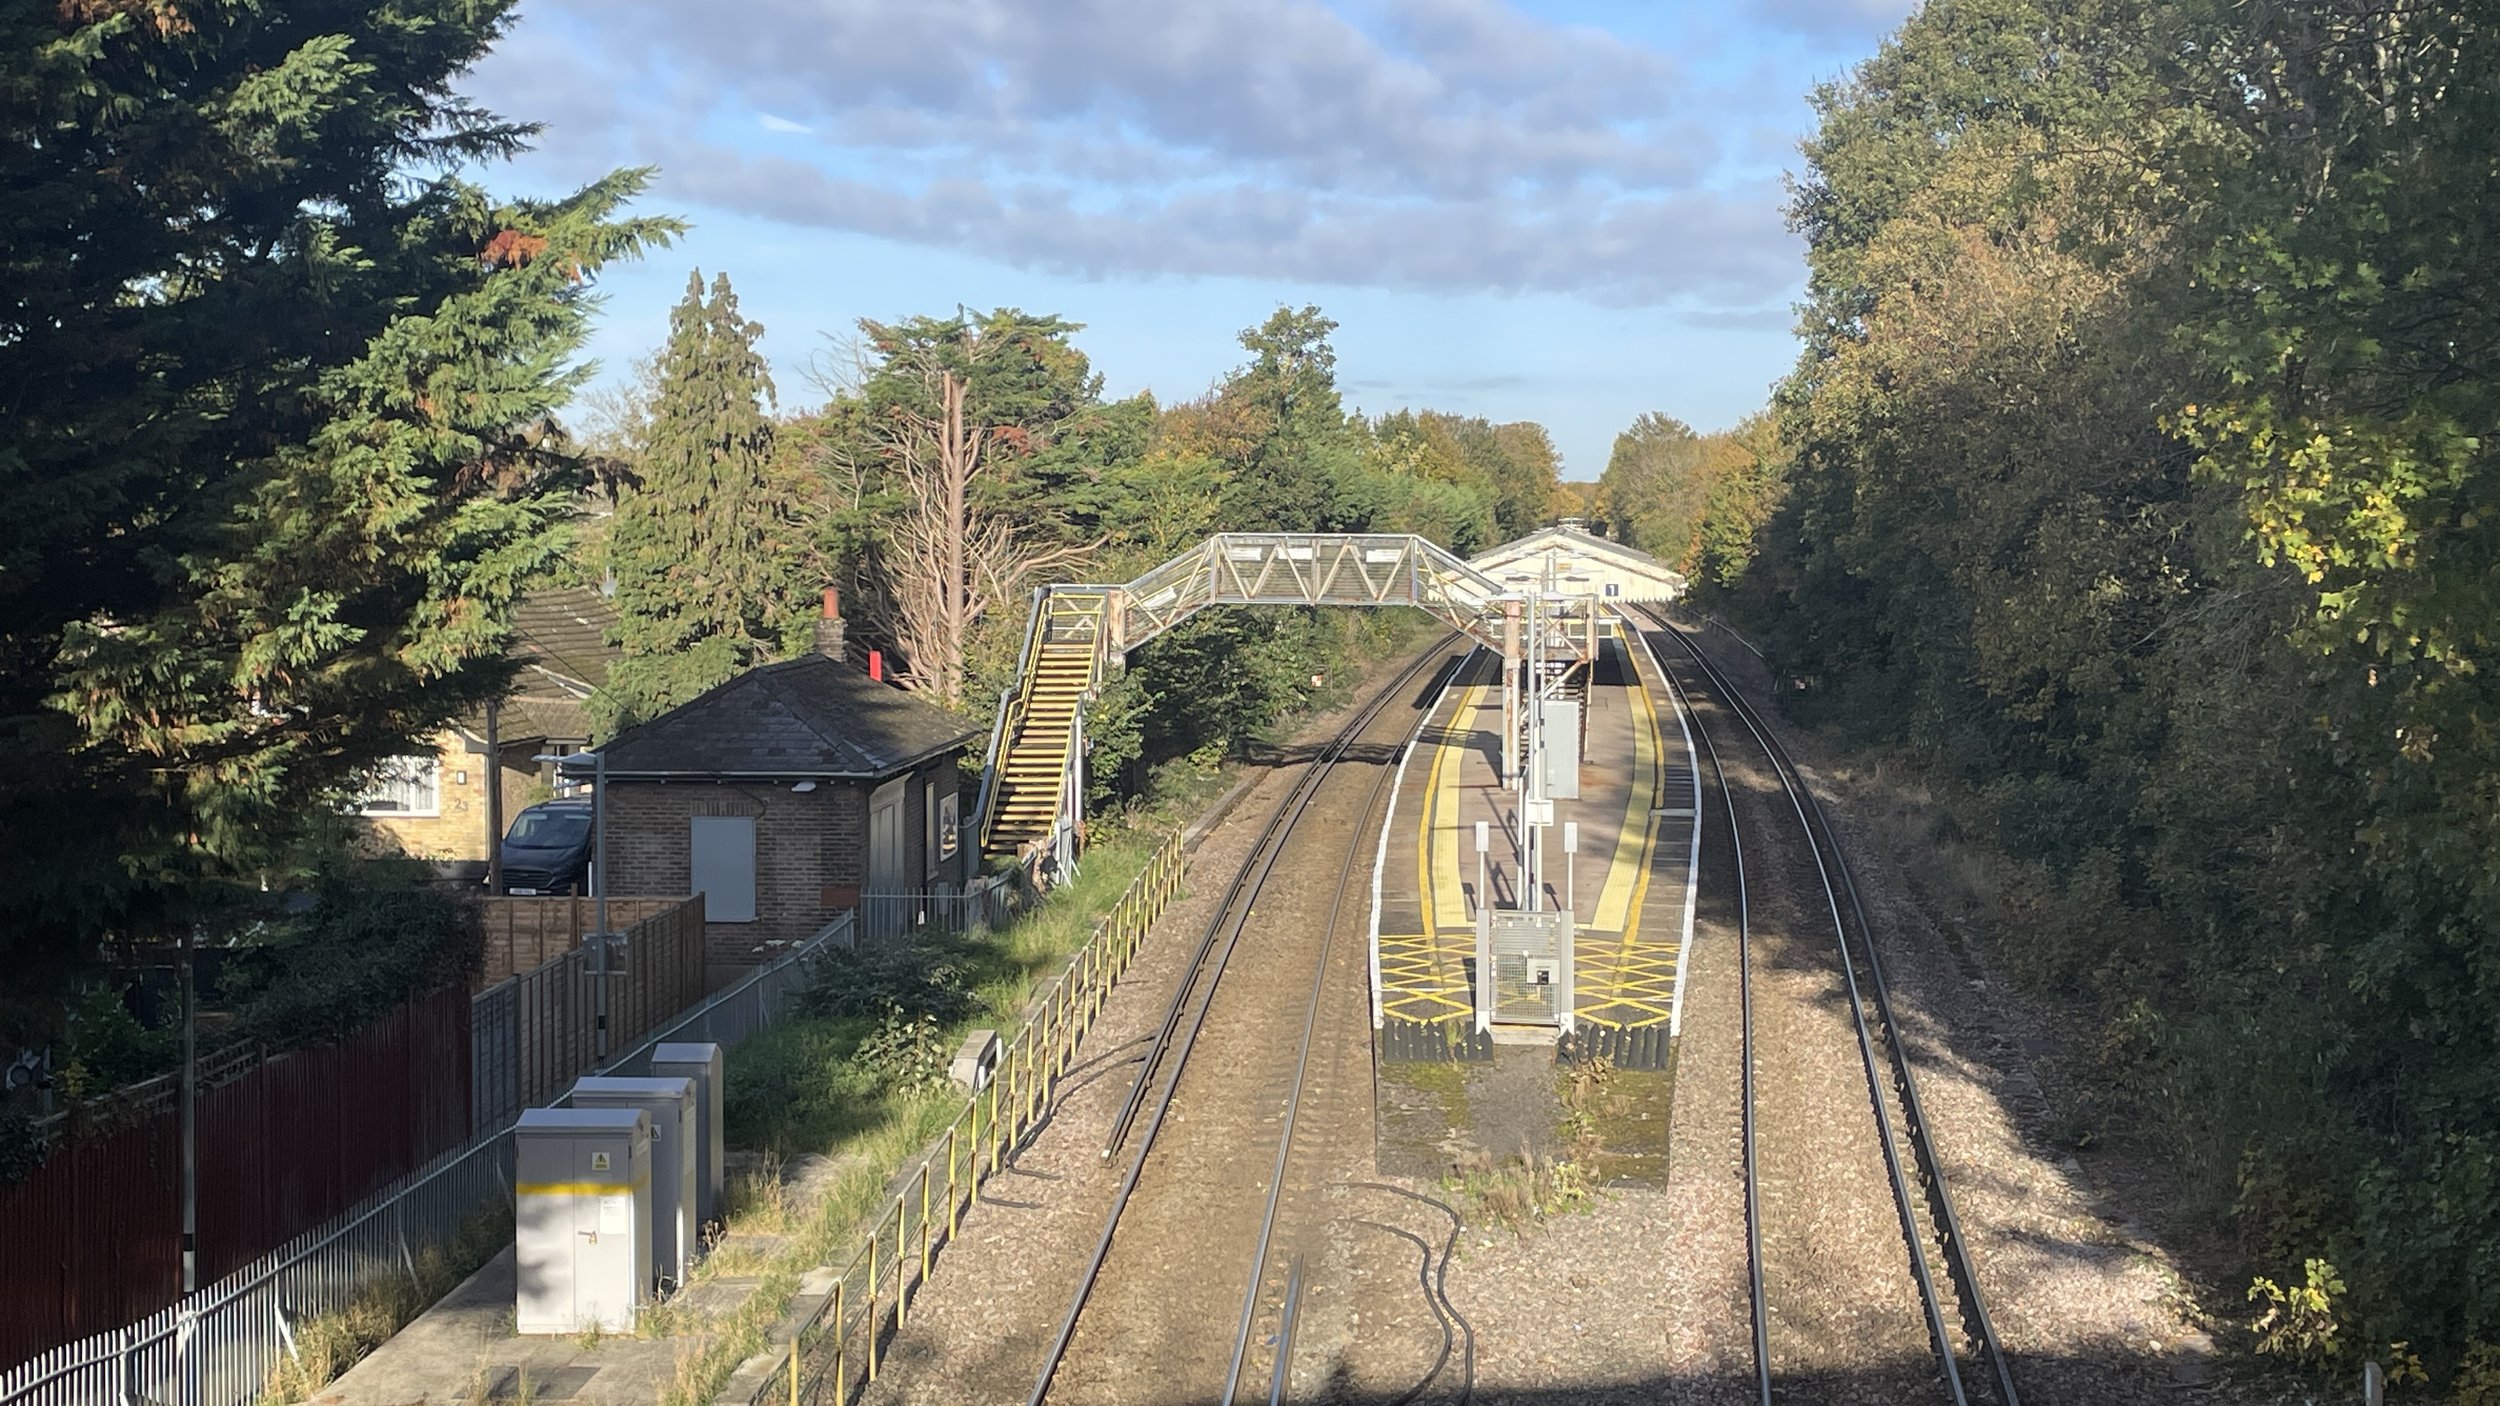


Elevation for cycle route
Walking The Greensand Way through the Surrey Hills
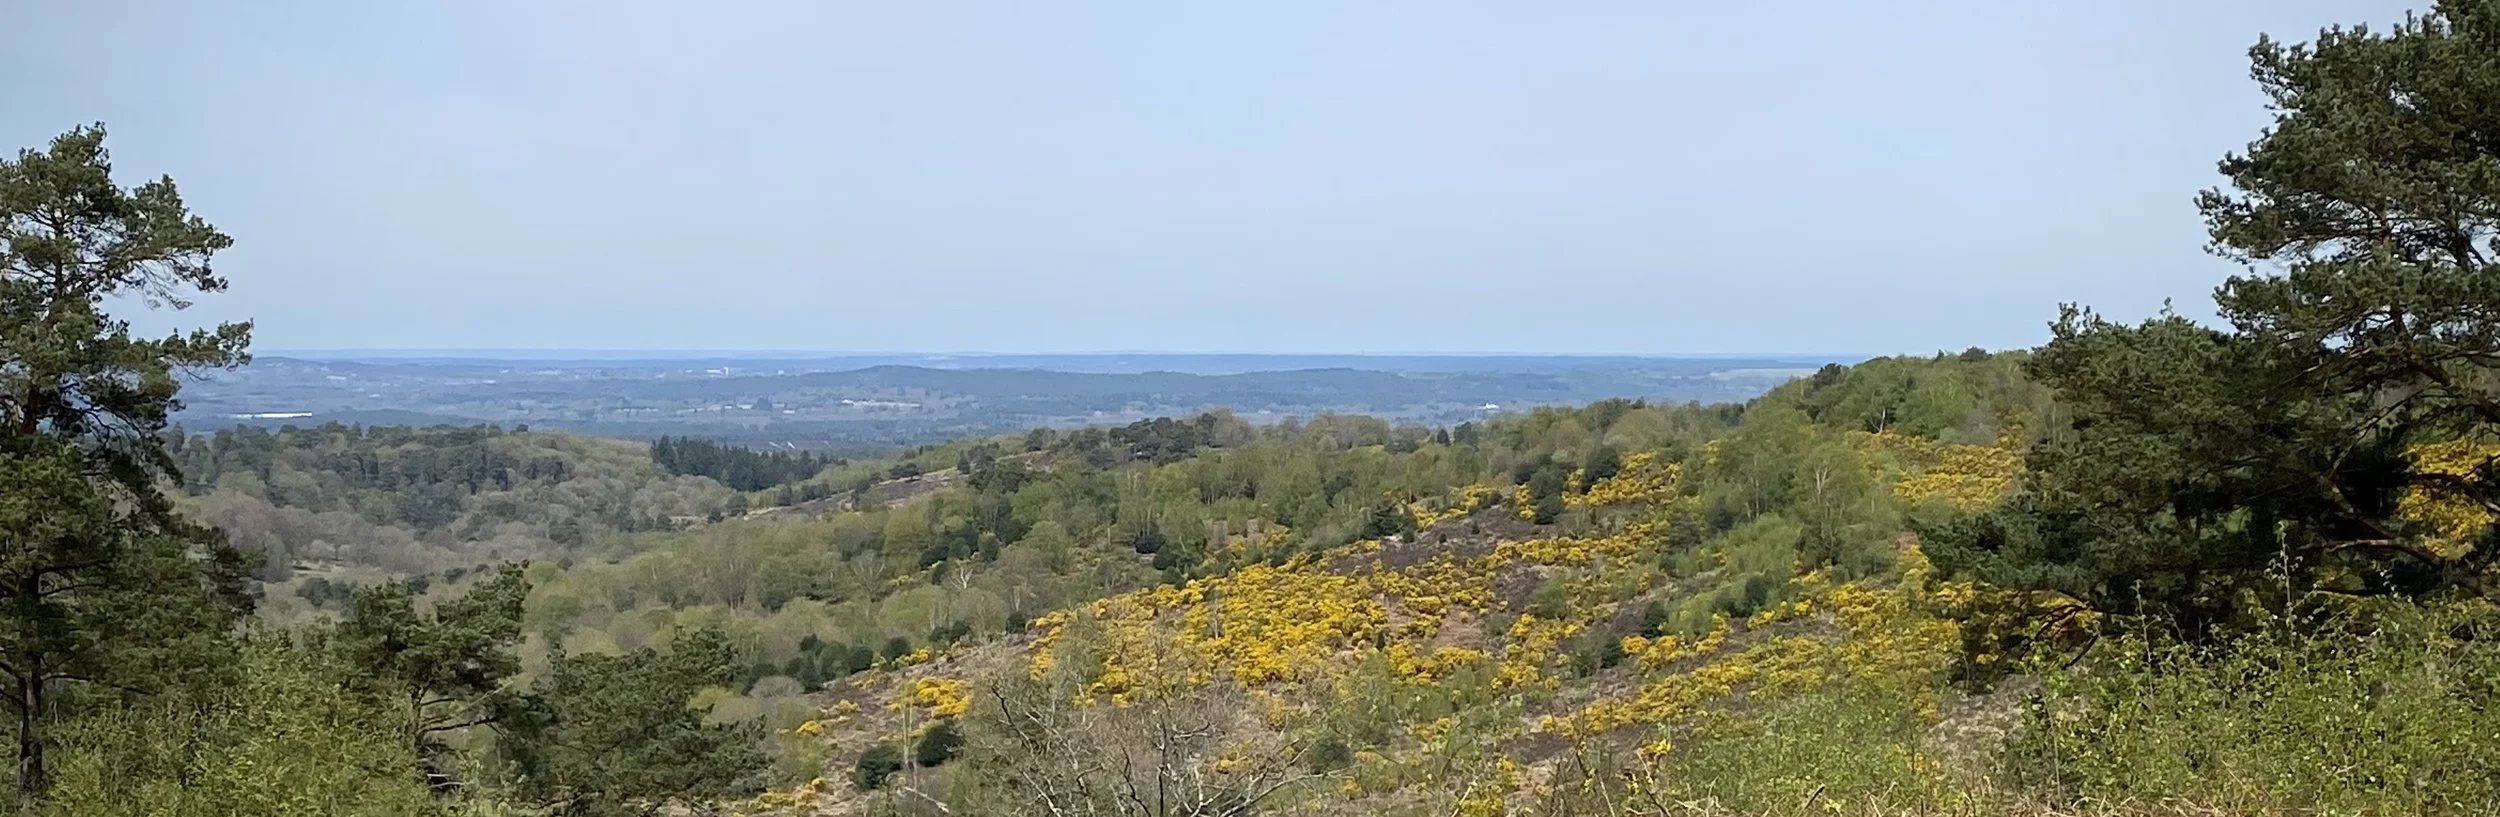
Devil’s Punchbowl
The Greensand Way is a magnificent long-distance footpath that stretches for 108 miles (173 km) across the beautiful landscapes of Surrey and Kent in southeast England. From its western starting point in Haslemere, Surrey, the trail meanders eastward, culminating near Hamstreet in Kent, close to the edge of the Romney Marsh.
True to its name, the route predominantly follows the prominent Greensand Ridge, a geological feature that rises distinctly from the surrounding clay vales. This provides walkers with an incredibly varied and rewarding experience. You'll traverse ancient woodlands, including sections of the Surrey Hills Area of Outstanding Natural Beauty and the Kent Downs Area of Outstanding Natural Beauty, both celebrated for their natural beauty and ecological significance. The trail also passes through charming villages, open farmland, and areas of heathland, offering ever-changing vistas.
One of the defining characteristics of the Greensand Way is the breathtaking views it affords from its elevated position. From various points along the ridge, particularly in Surrey, you can often enjoy expansive panoramas across the Weald to the south, and northwards towards the more distant North Downs. The trail is well-marked with its distinctive Greensand Way logo, making it relatively easy to navigate, though its undulating nature with frequent ascents and descents can provide a good workout for walkers and runners alike.
Beyond the natural beauty, the Greensand Way is rich in history and heritage. You'll encounter historic churches, ancient castles and picturesque villages with traditional pubs, perfect for a refreshment stop. The trail also links to other significant walking routes, offering opportunities for longer adventures. Whether tackling the entire route over several days or enjoying shorter sections, the Greensand Way provides a fantastic opportunity to explore some of southern England's most picturesque and historically significant landscapes.
Point to Point: Walking the Greensand Way in the Surrey Hills
Start: Start of the Greensand Way at alley to the left of 43 High Street, Haslemere, GU27 2LA
Finish: Oxted Station, Oxted, RH8 9EU
Distance: 88 km (55 miles)
Elevation change: + 1,479m / - 1,522m. Net -46m
GPX File: get via Buy Me a Coffee
Maps:
- Haslemere & Petersfield Map | Midhurst & Selborne | Ordnance Survey | OS Explorer Map OL33
- Guildford & Farnham Map | Godalming & Farnborough | Ordnance Survey | OS Explorer Map 145
- Dorking, Box Hill & Reigate Map | Leatherhead & Caterham | Ordnance Survey | OS Explorer Map 146
Links: LDWA: Greensand Way, Surrey County Council: Greensand Way, Wikipedia: Greensand Way
See individual section posts linked below for other links.

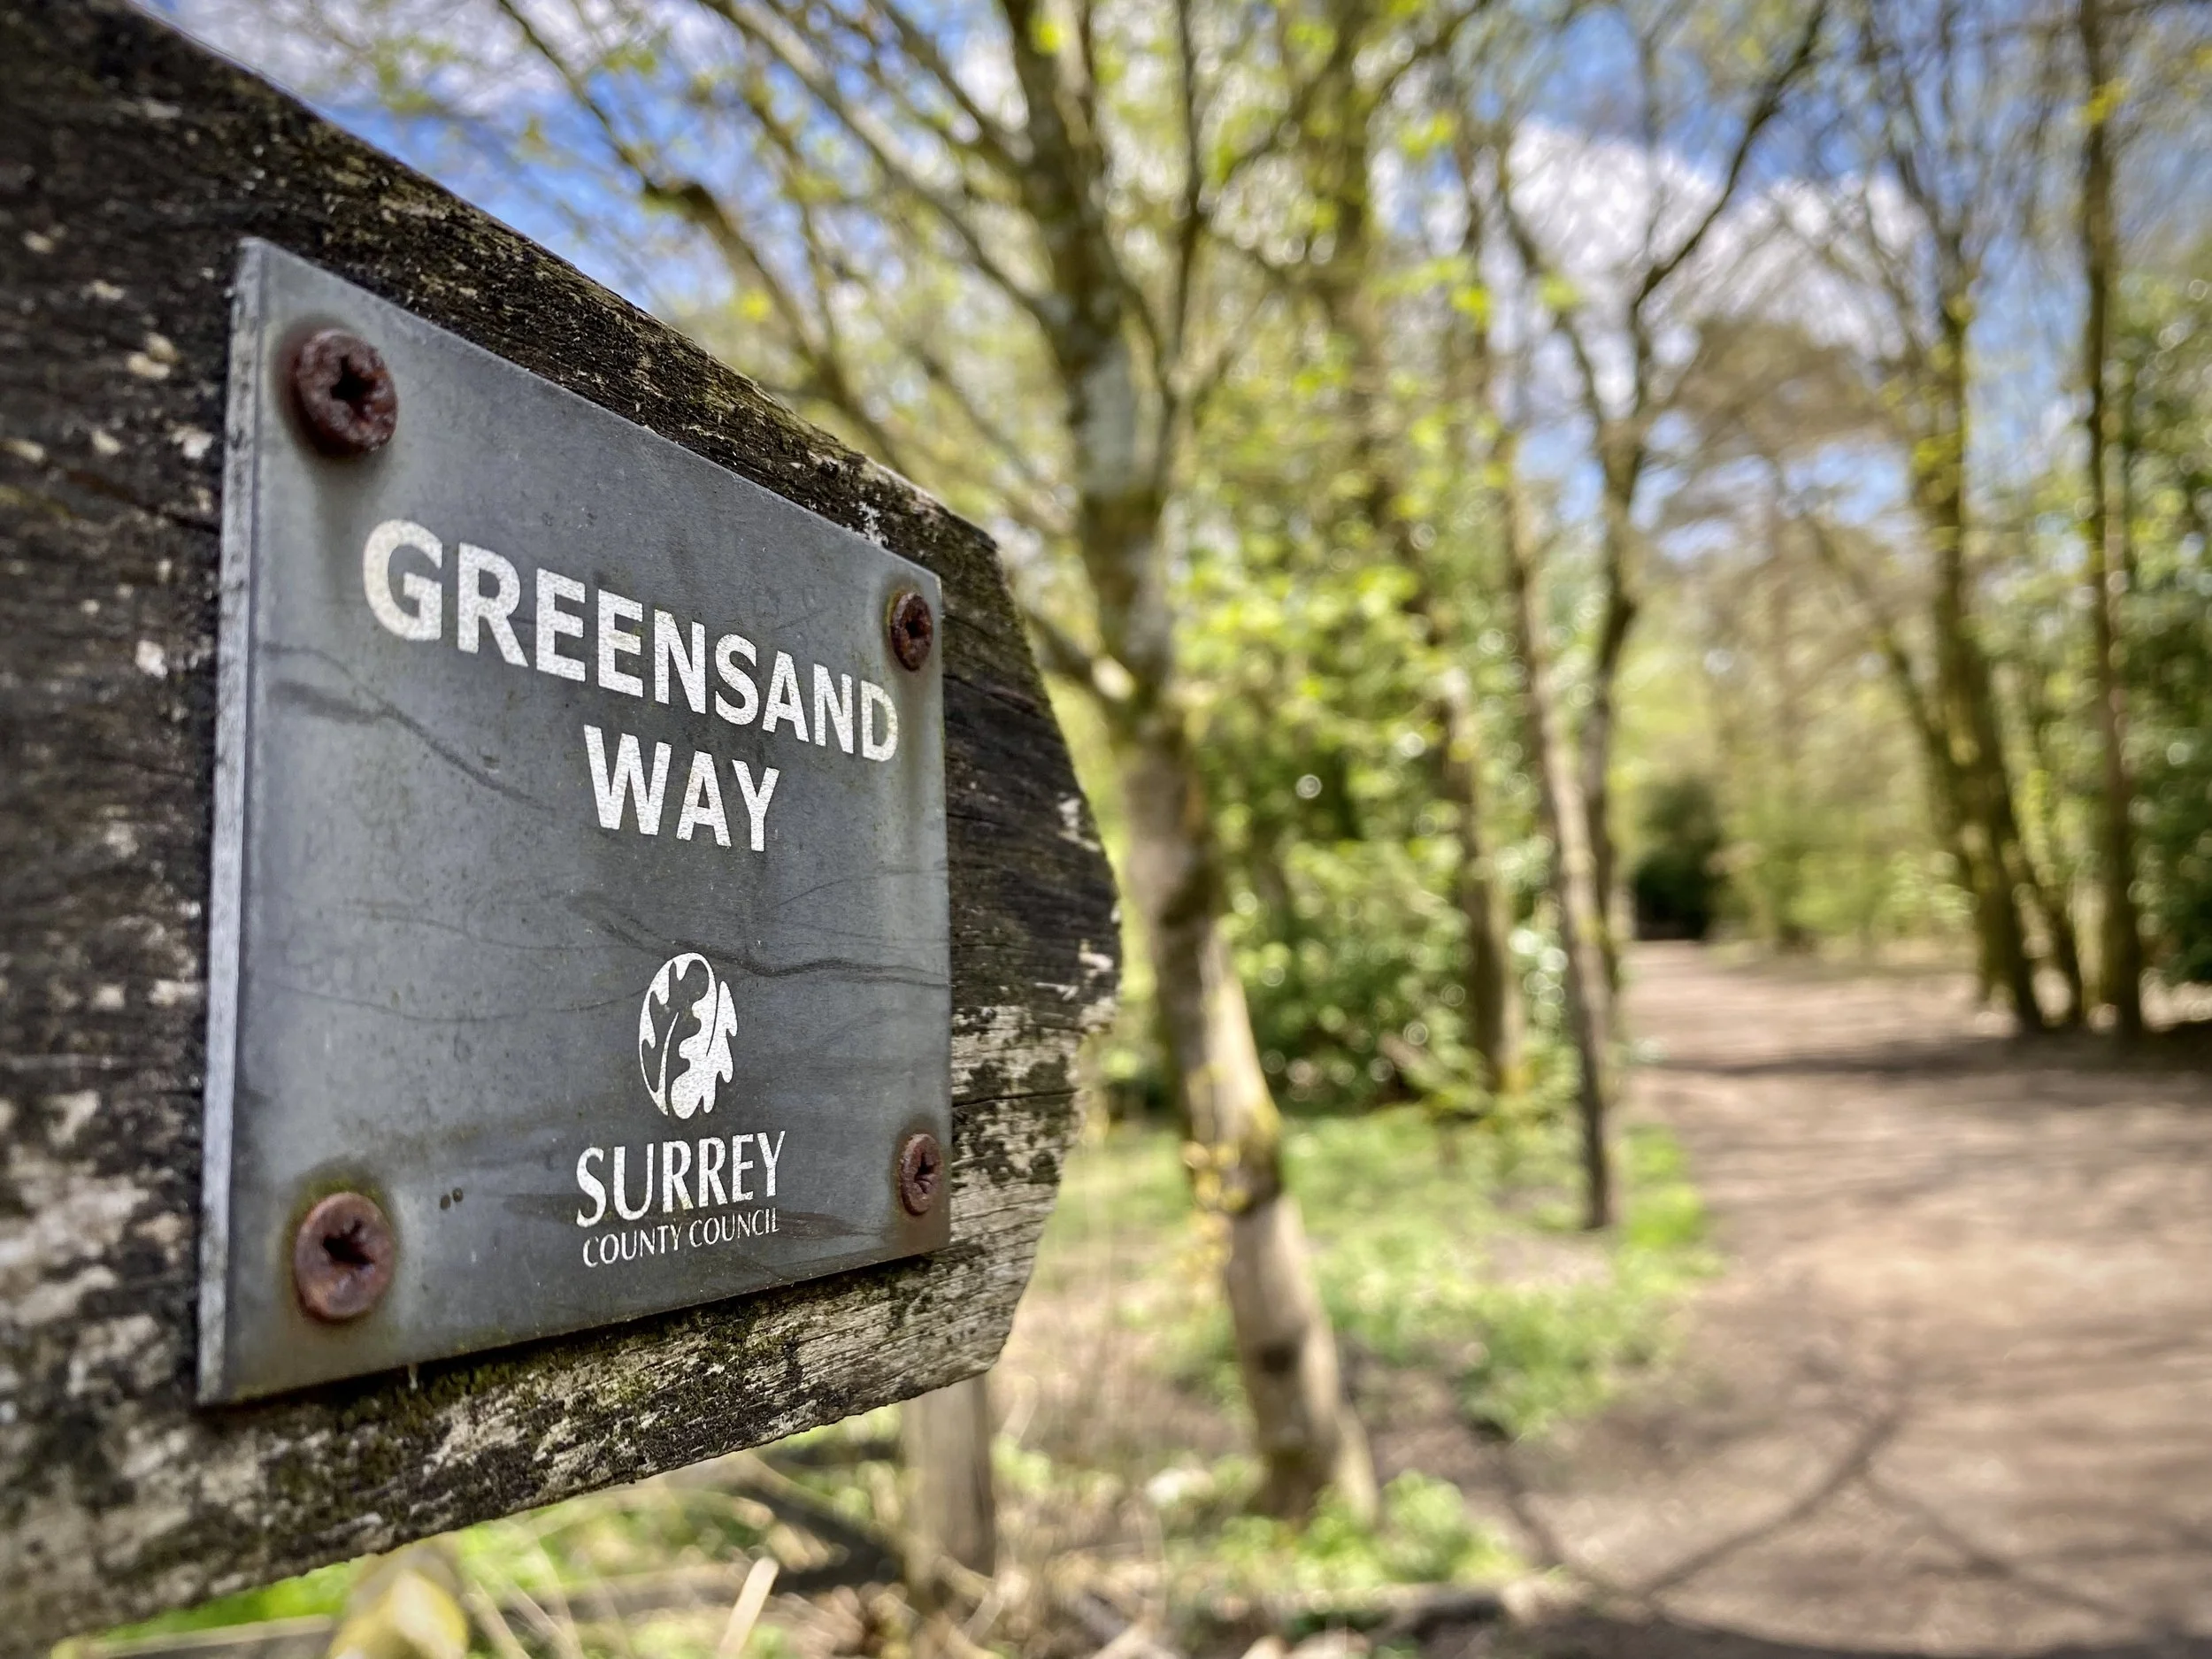
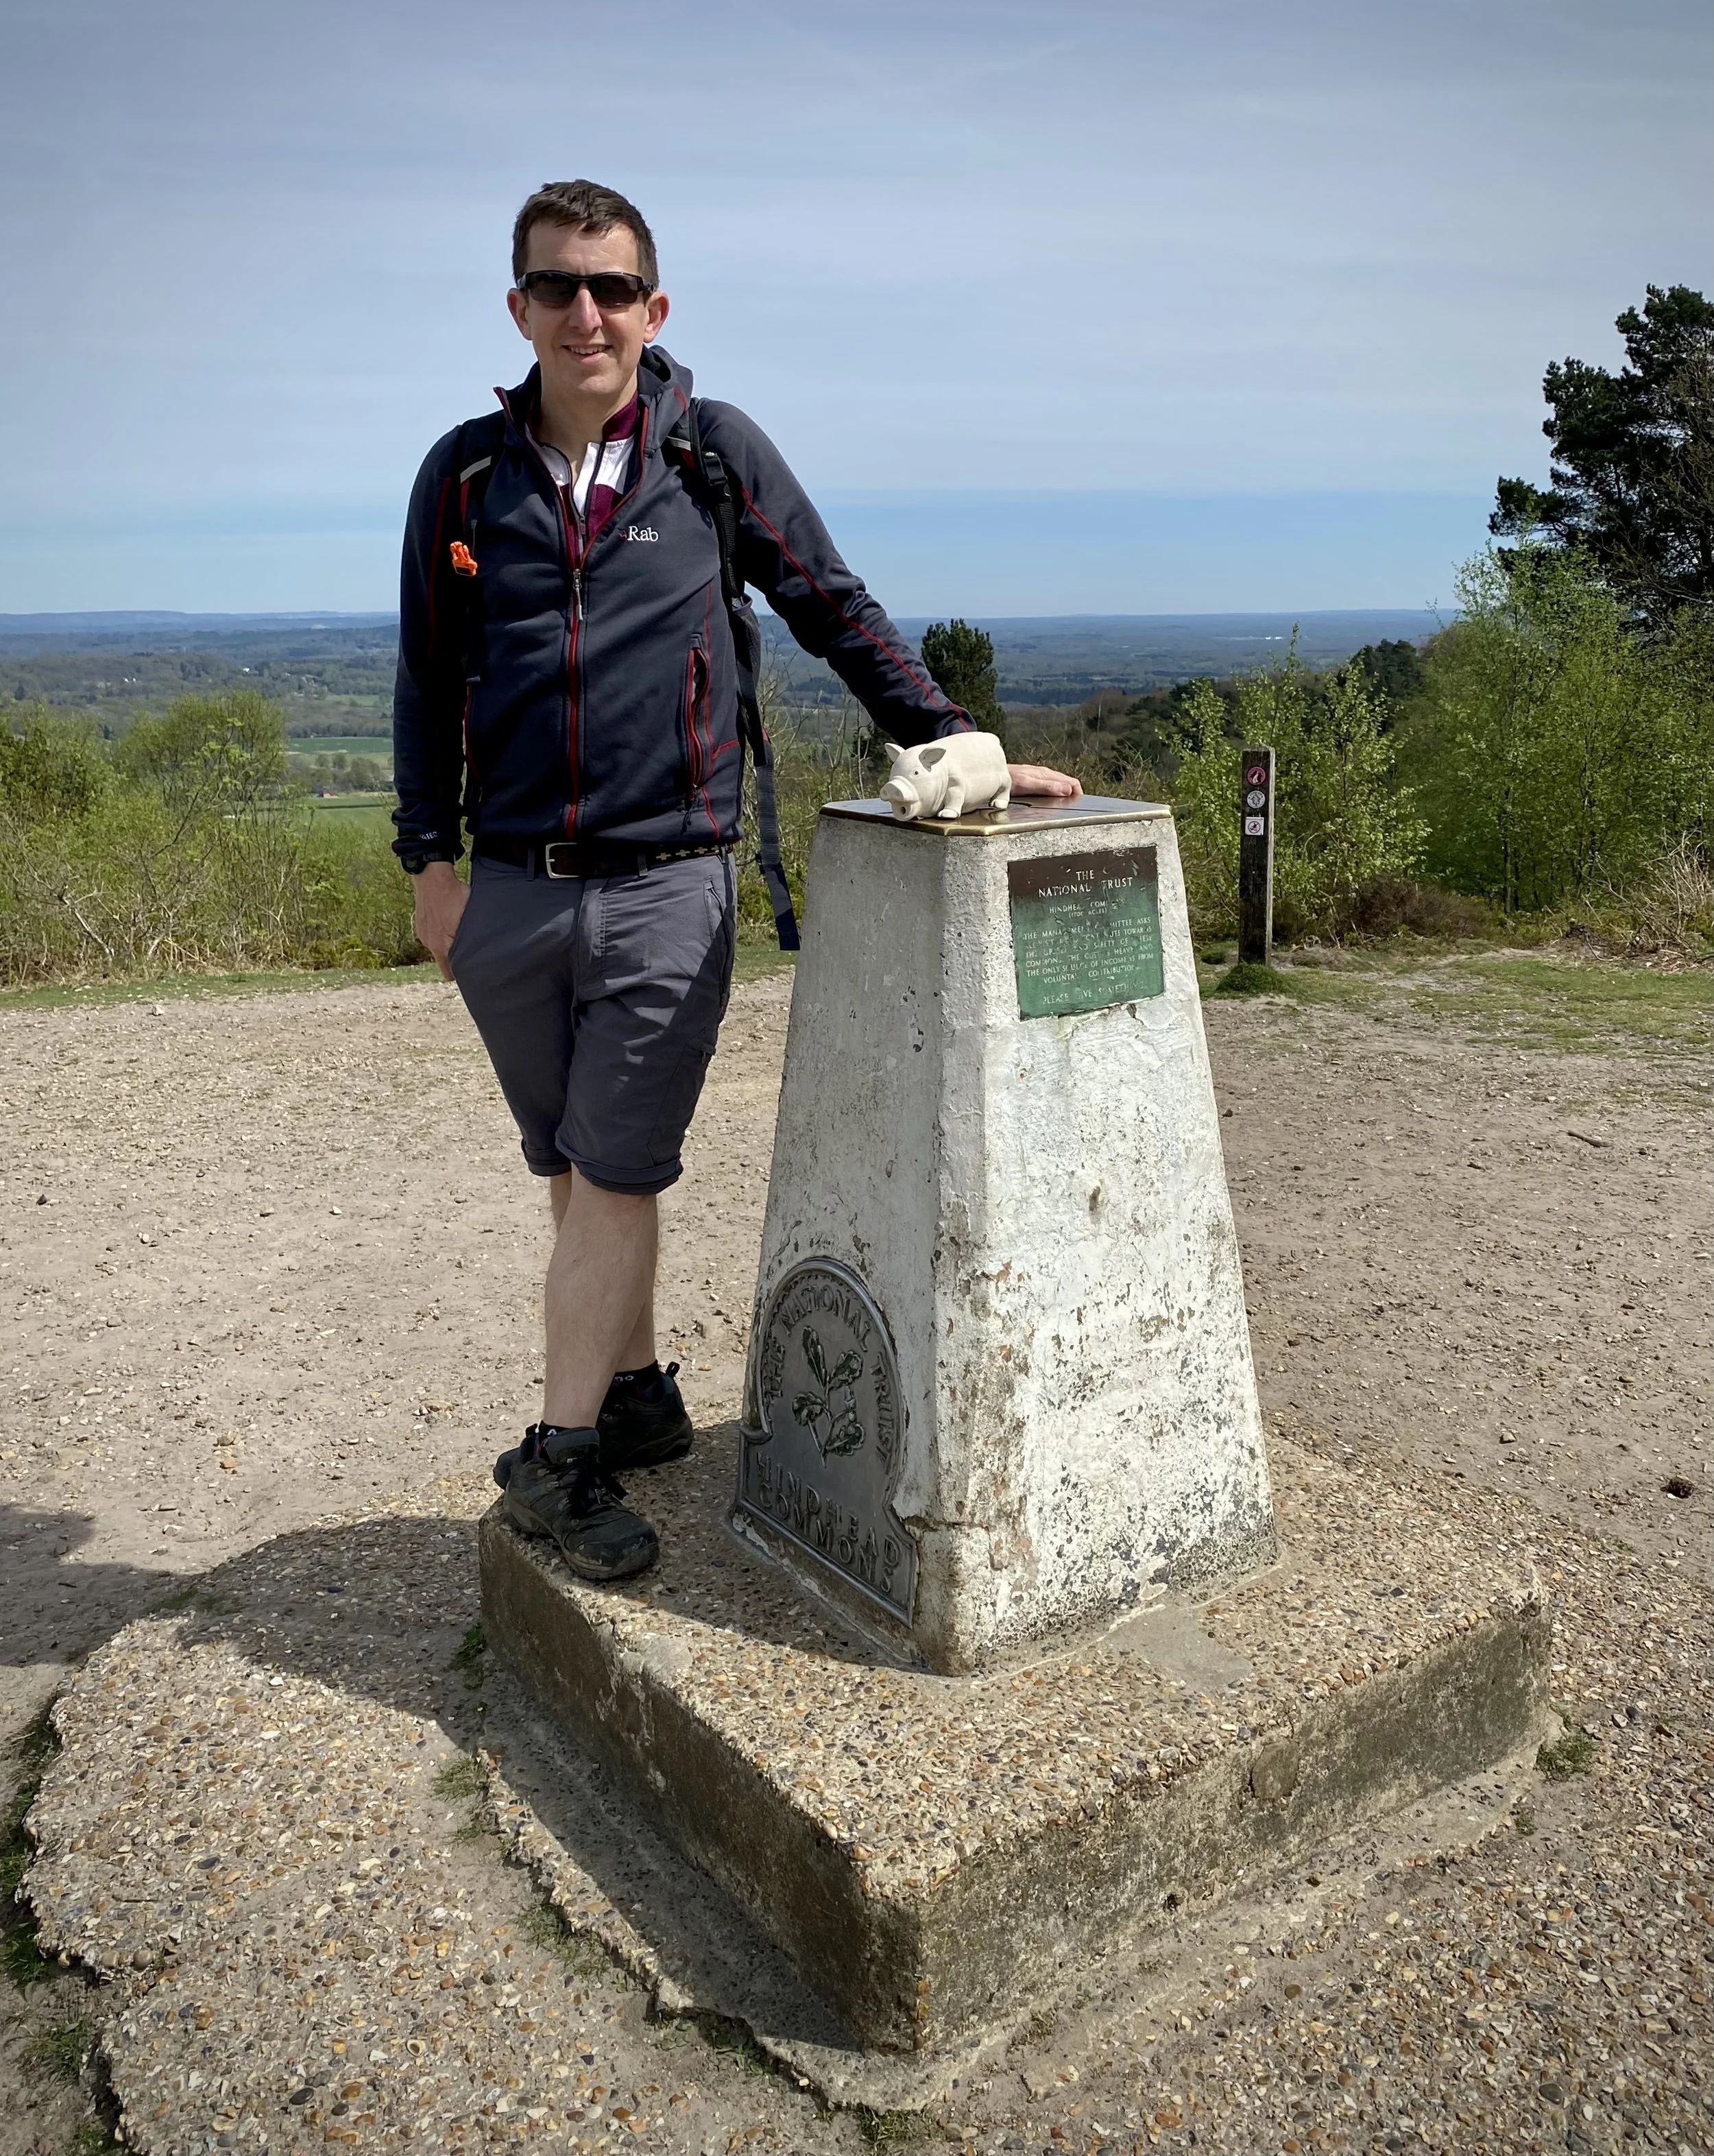
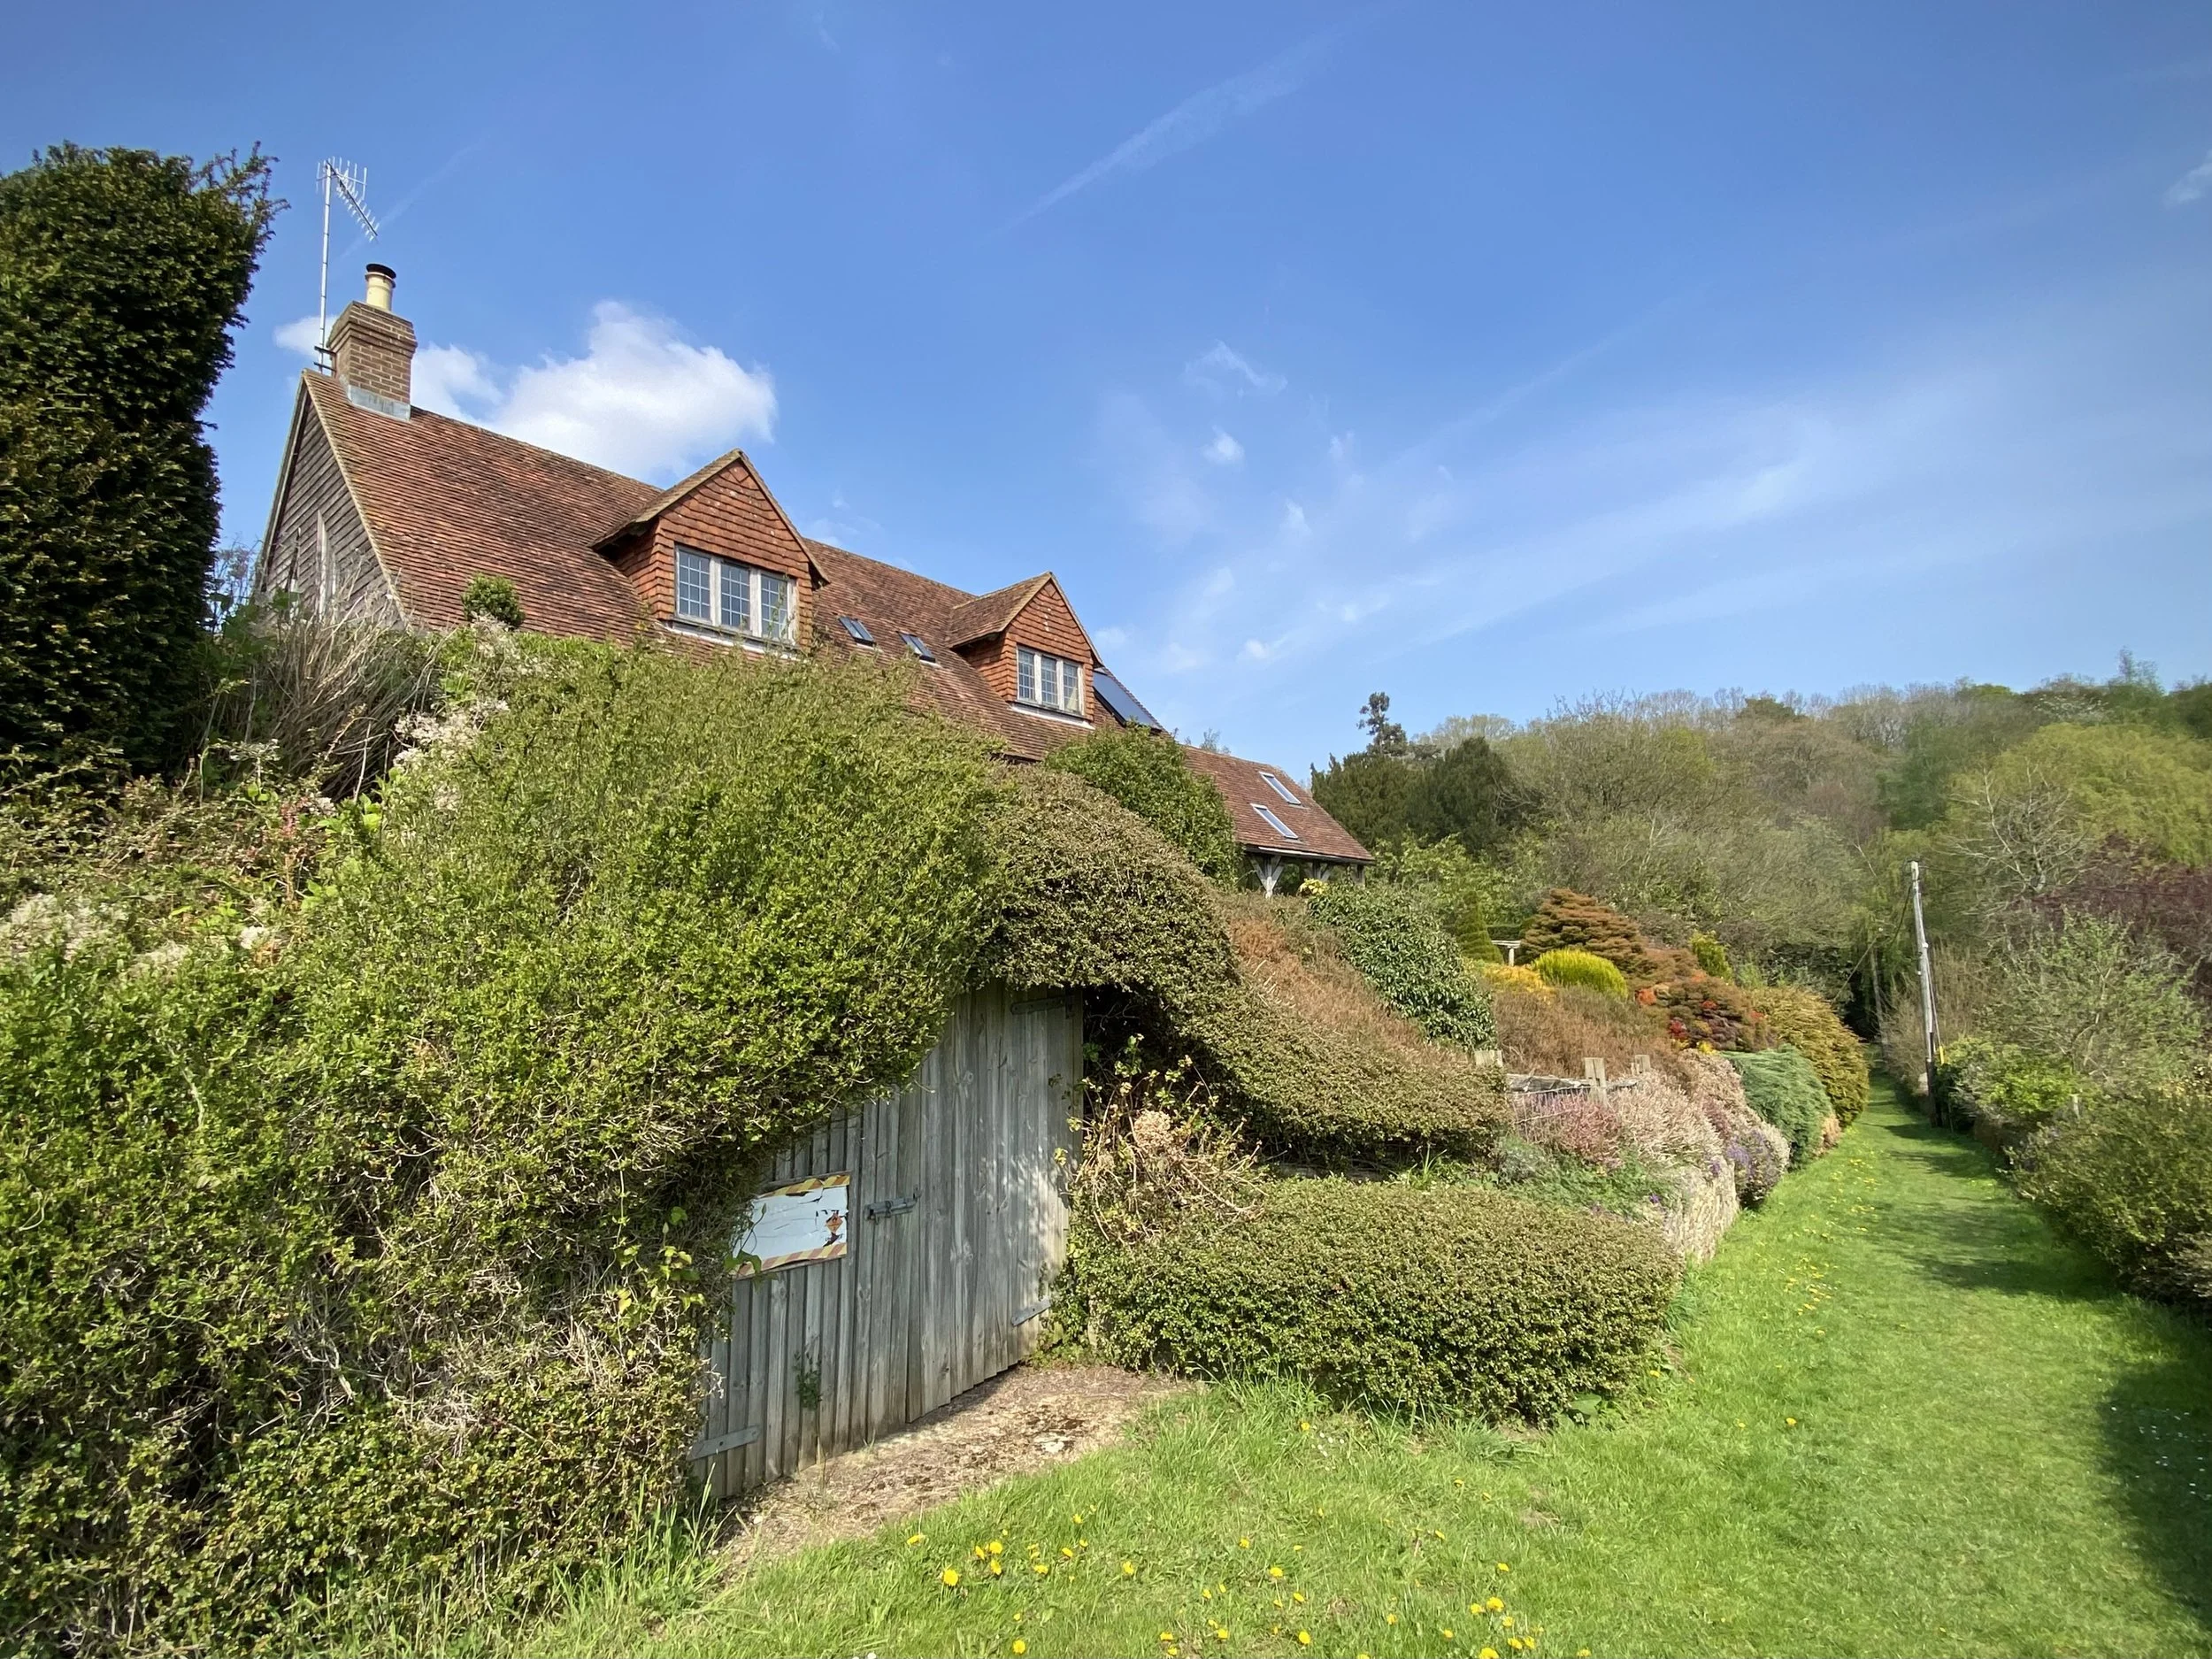
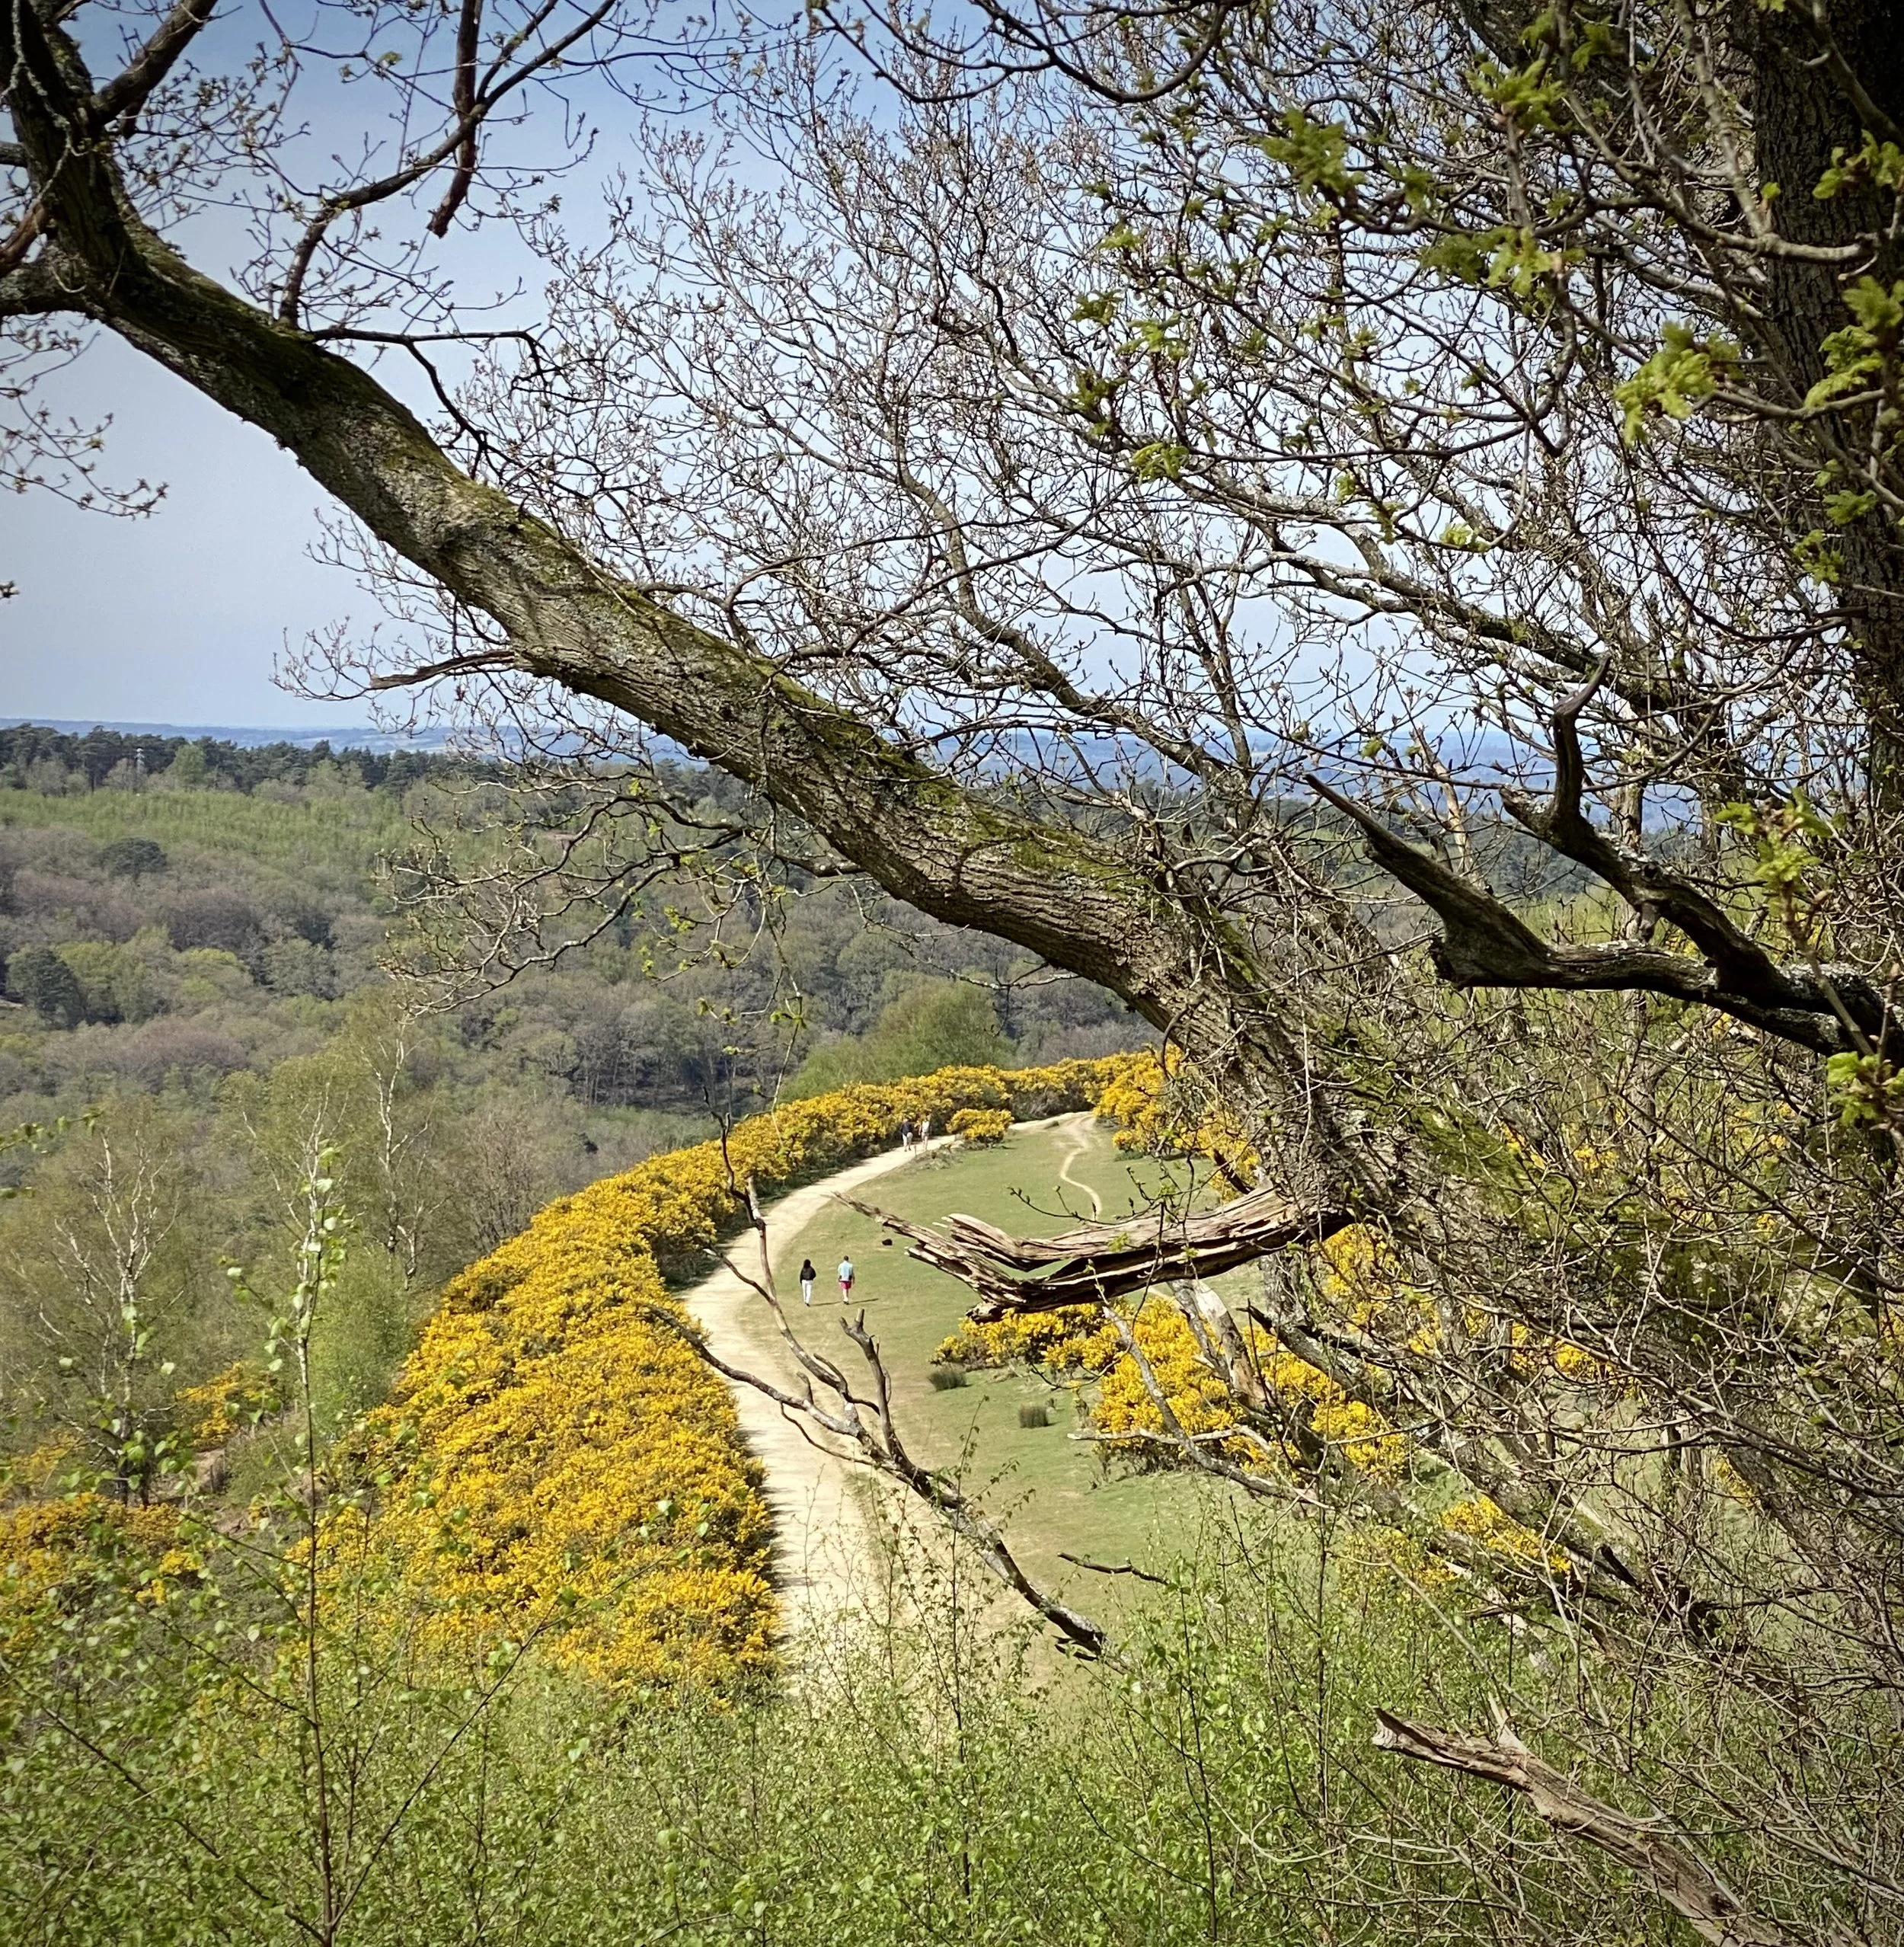



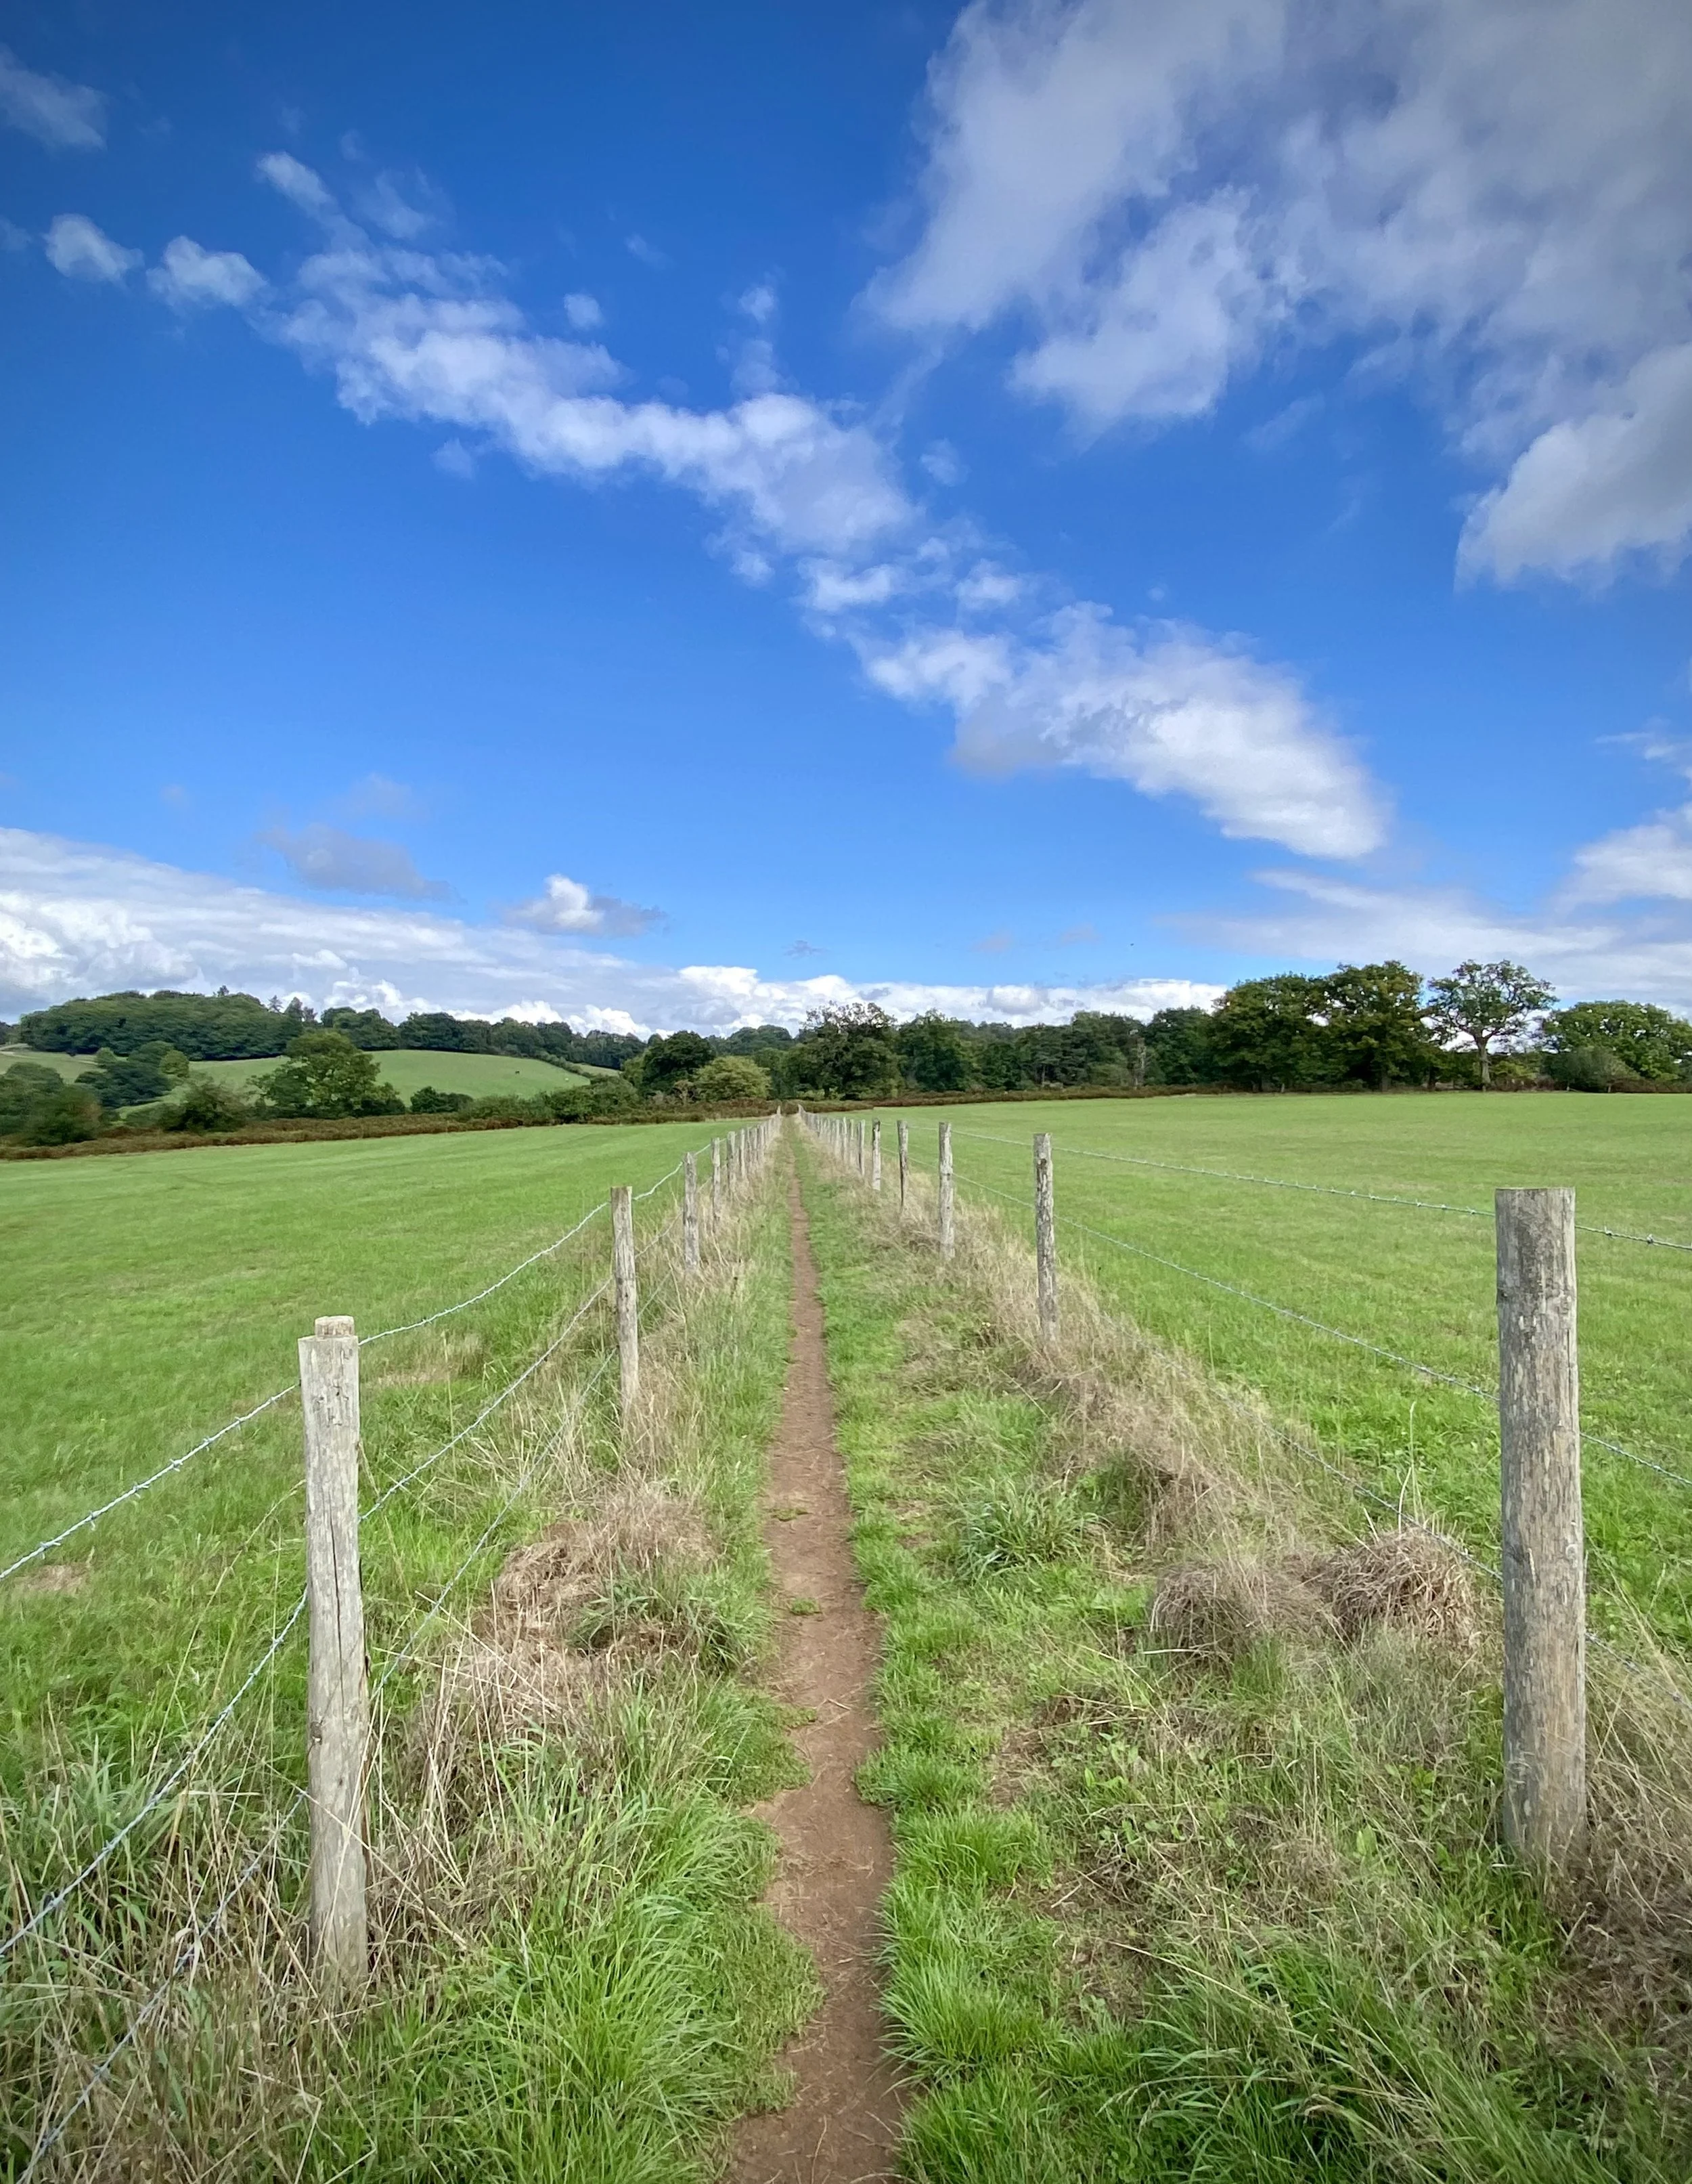
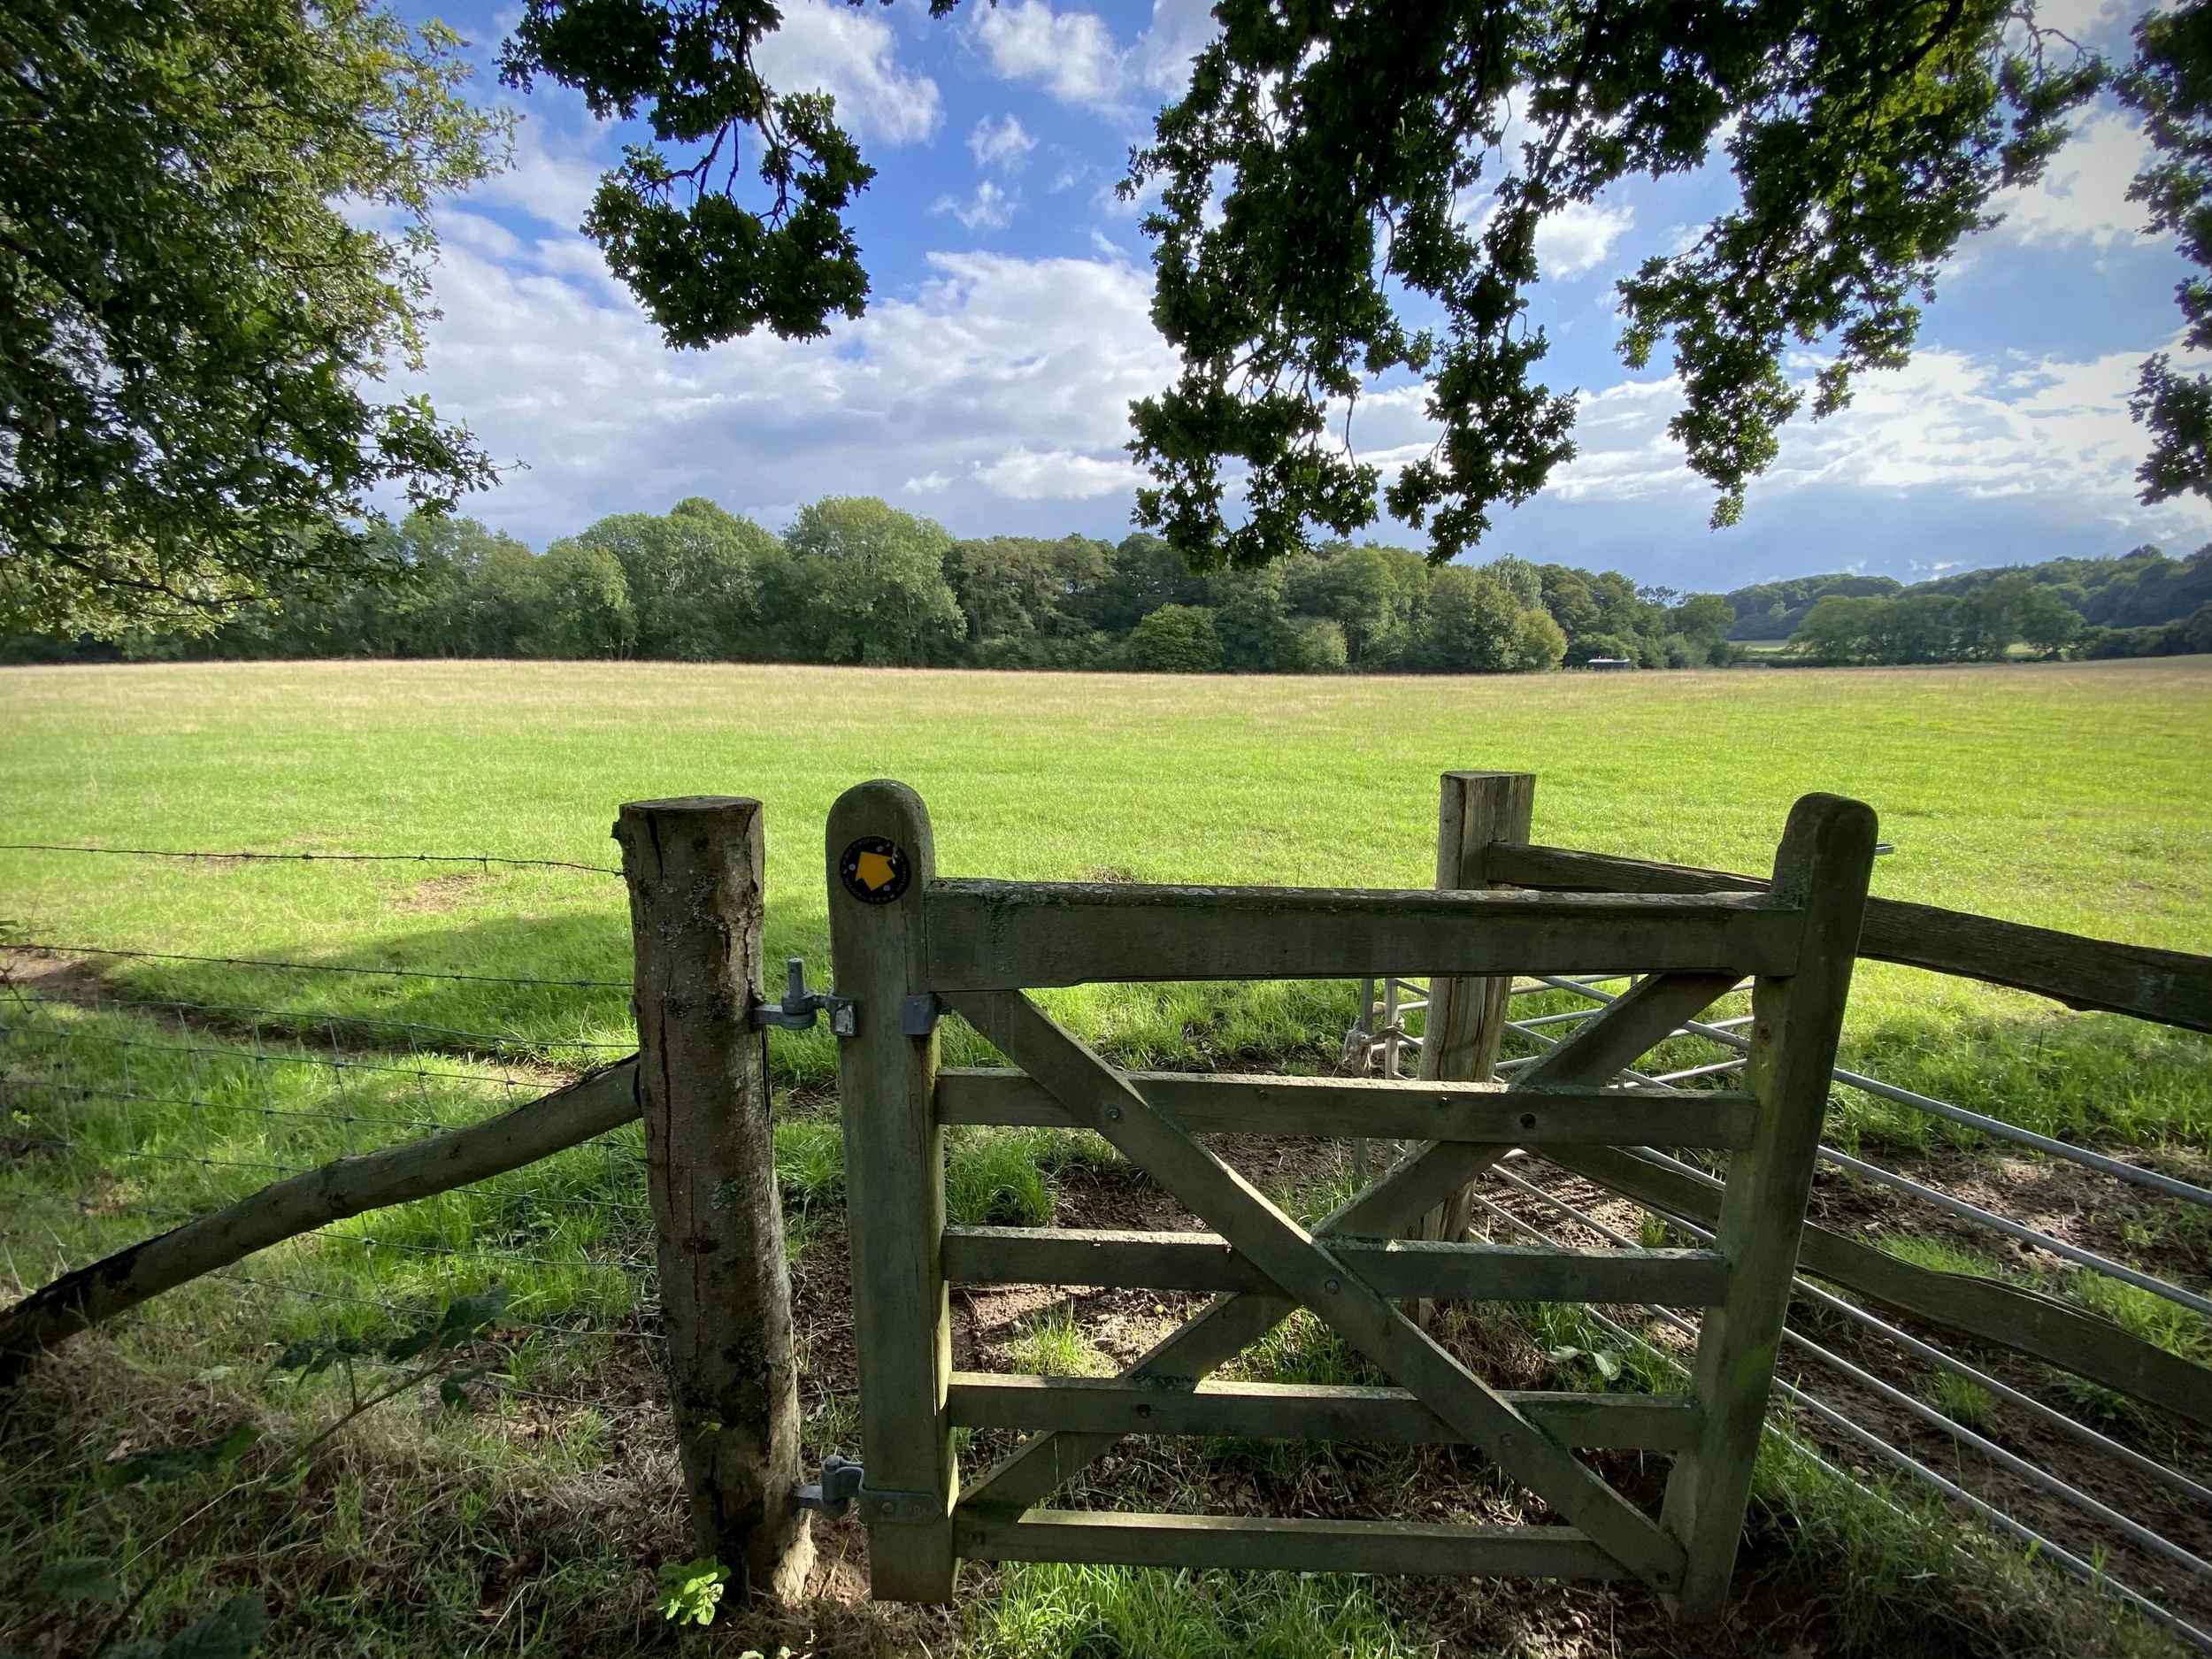


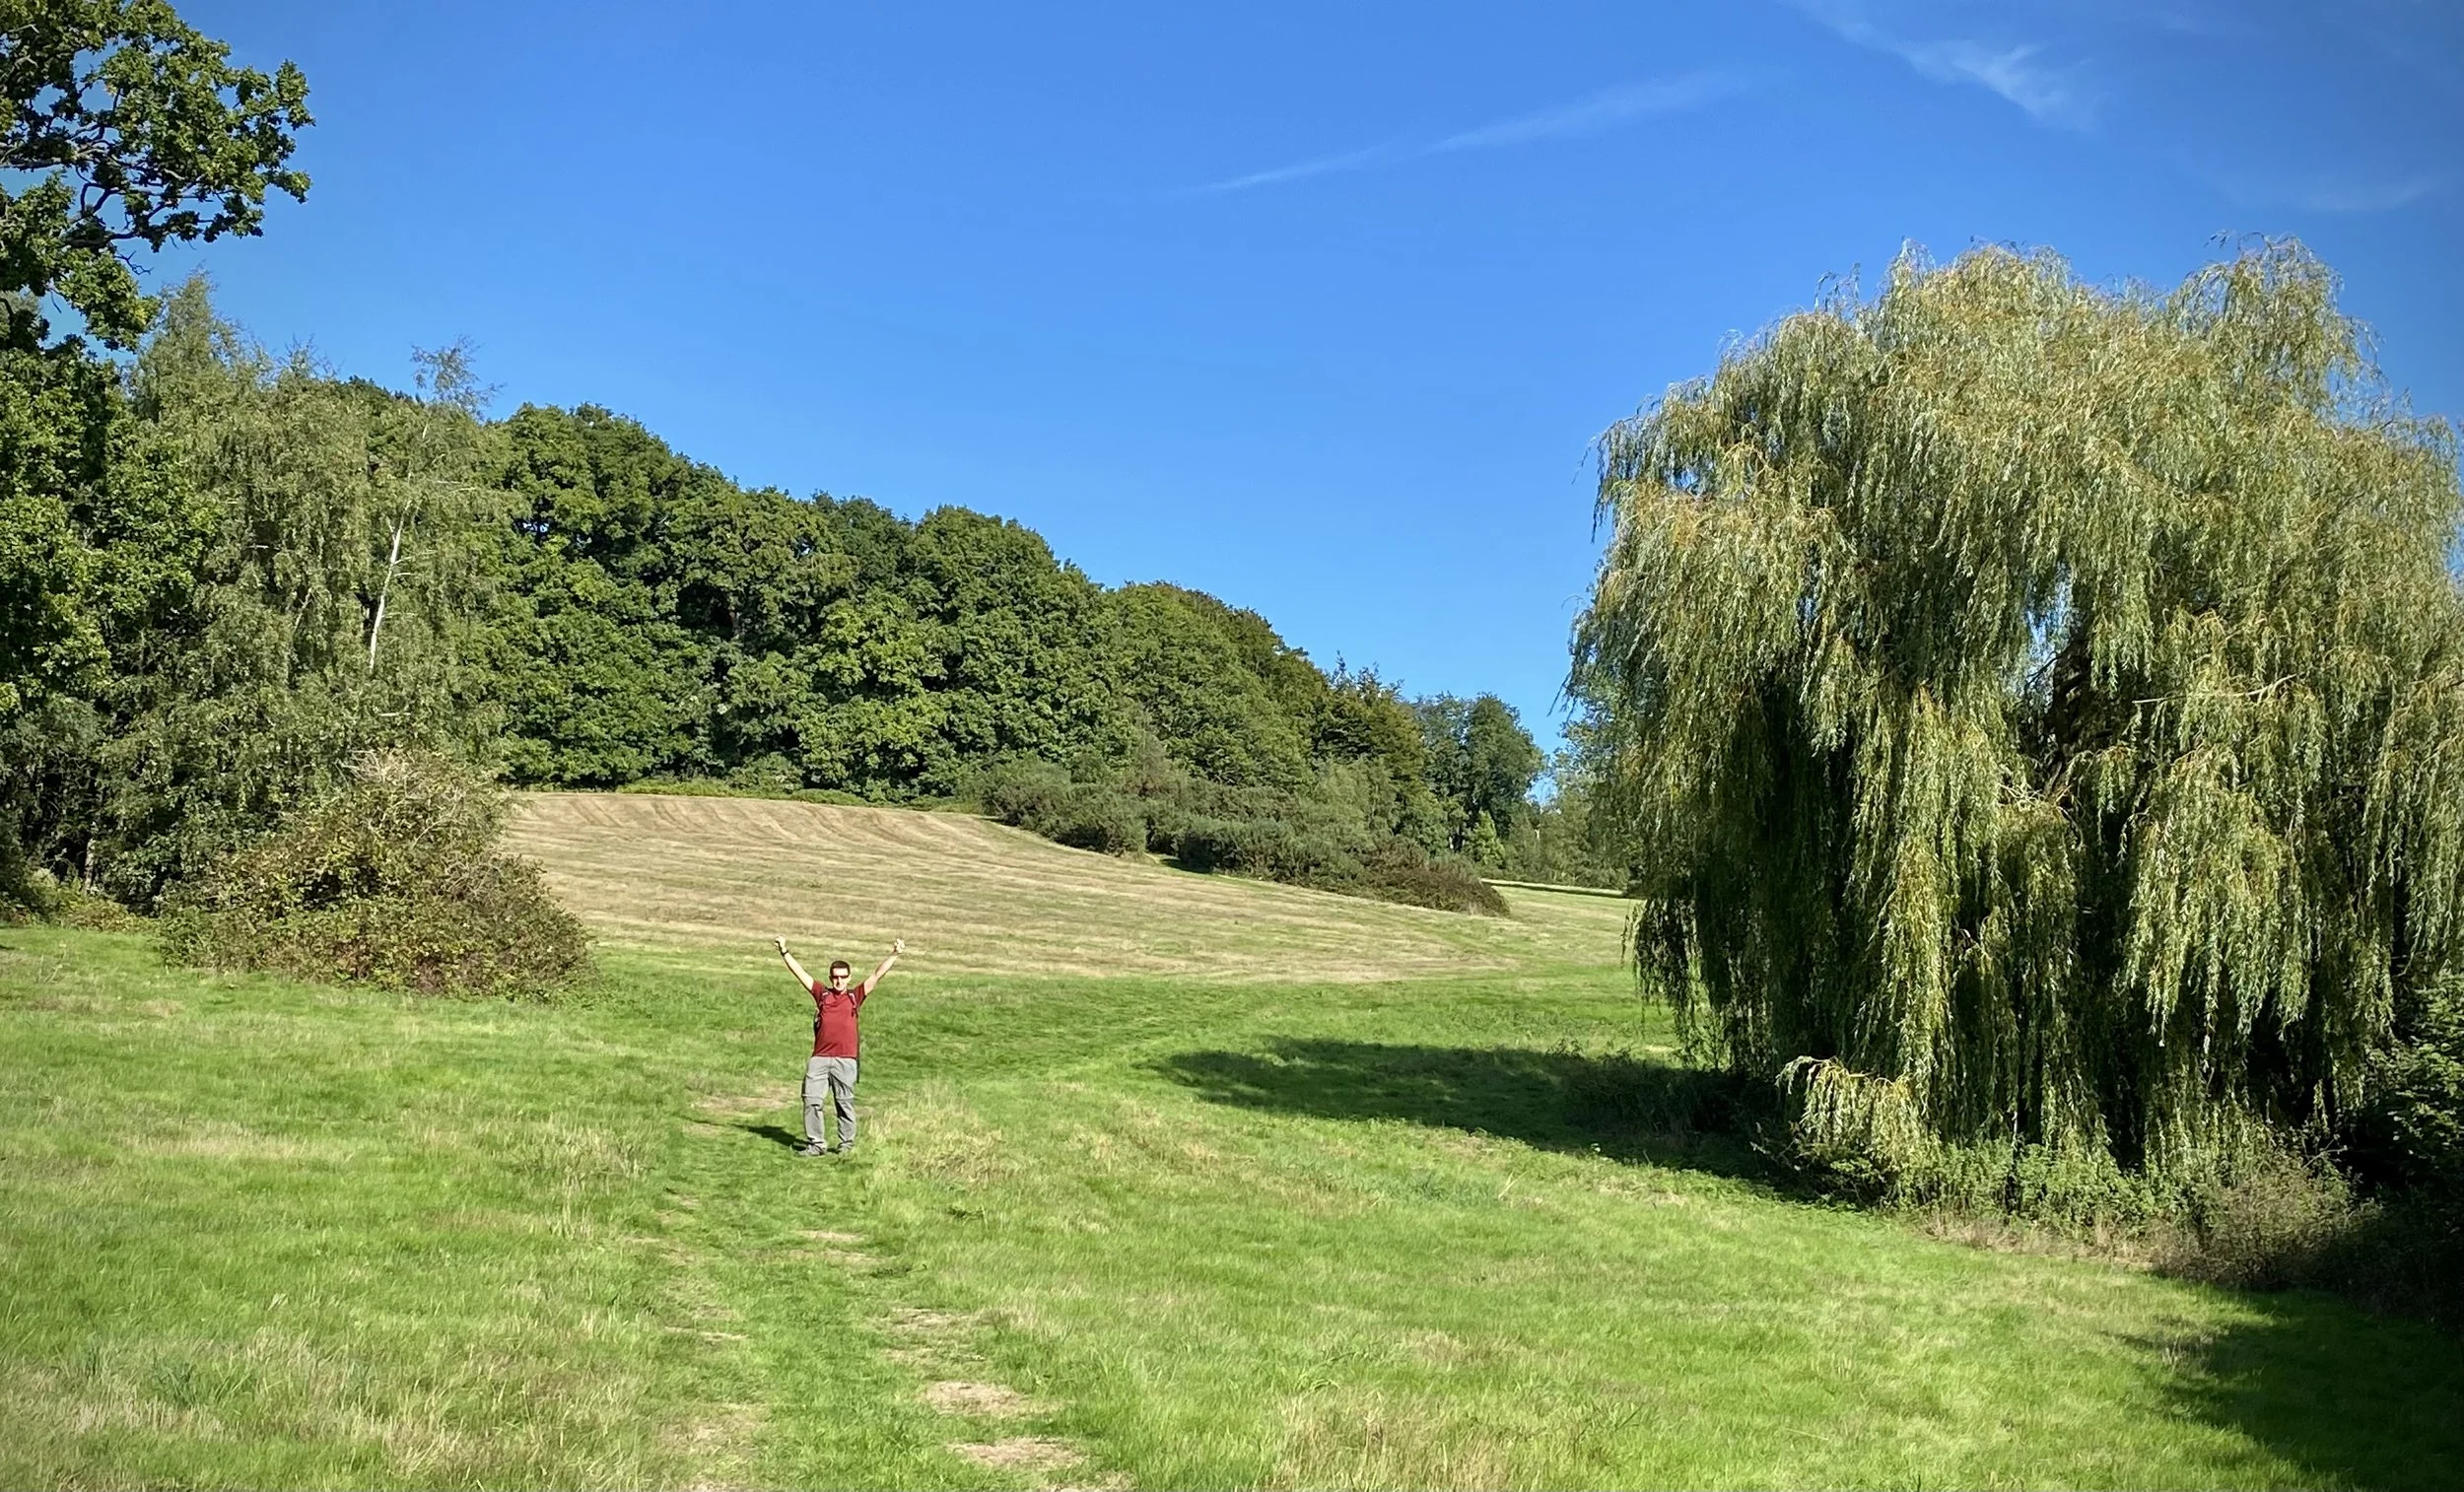


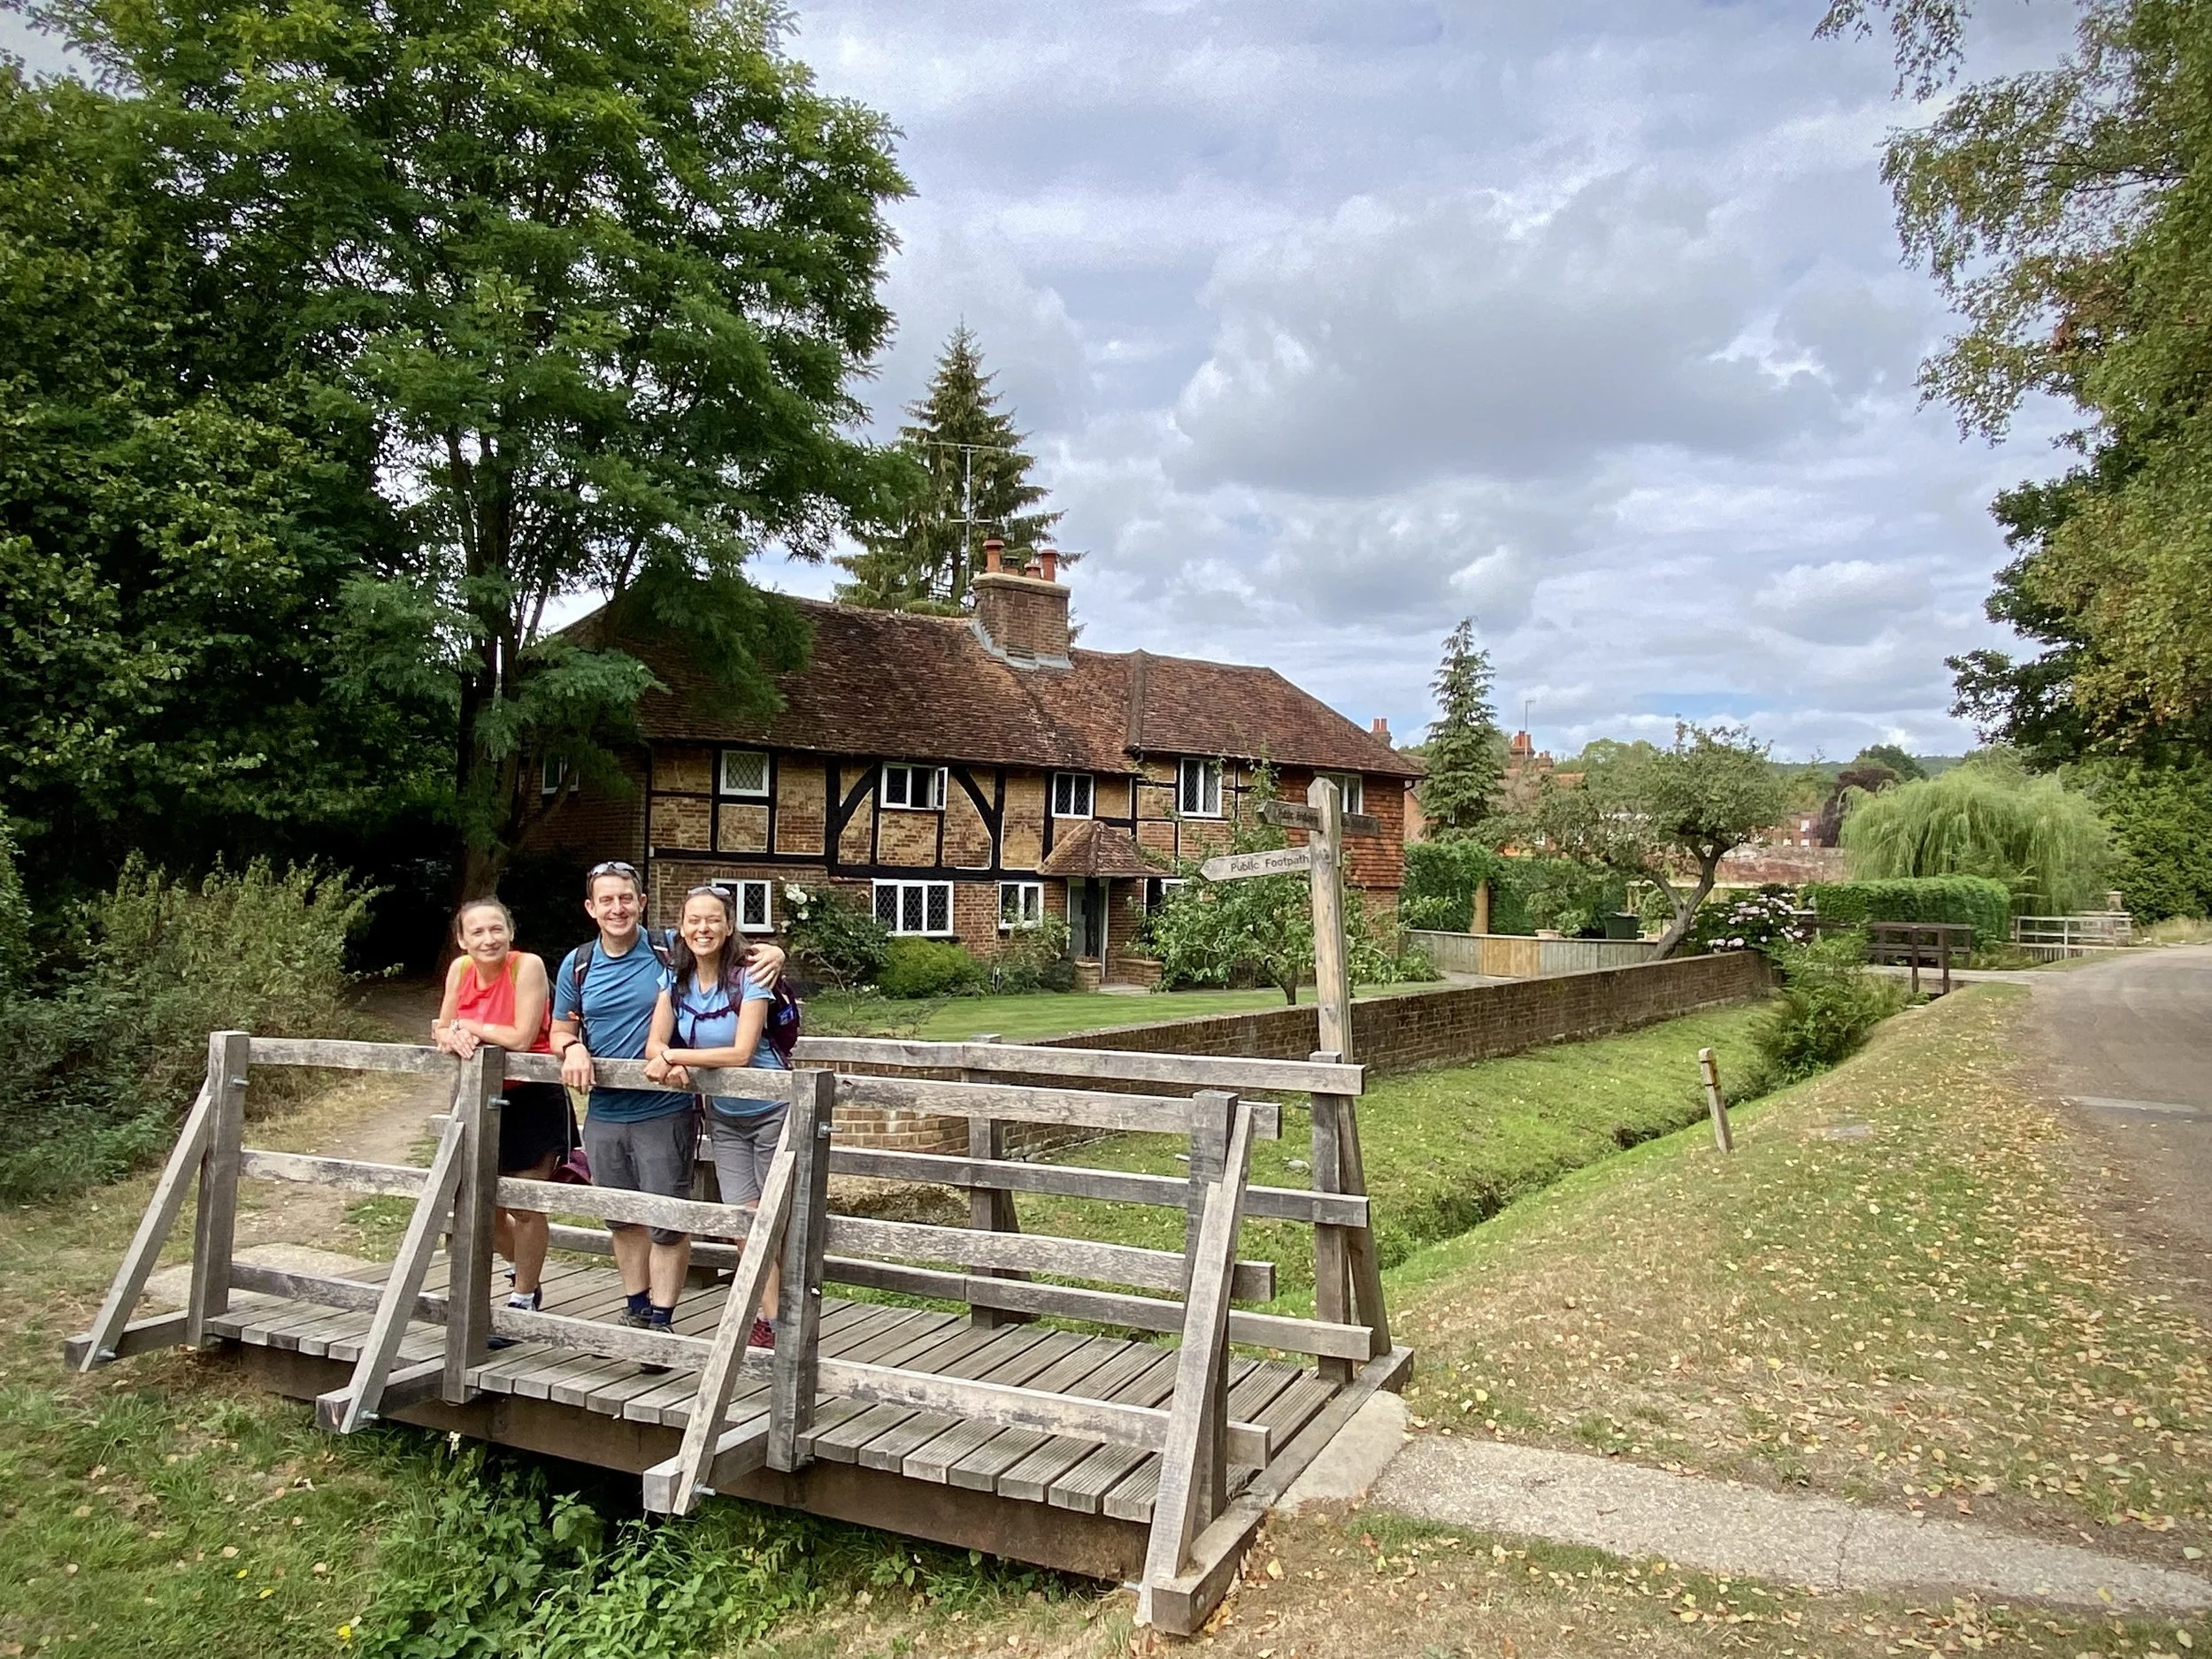






Walking the Greensand Way in the Surrey Hills in 20 walks
If you’re not up for a 88 km walk in one go, you can take in the Greensand Way in the Surrey Hills in 20 walks of between 7 and 11 km each. We chose this option, completing all 20 sections over 2 years from 2022 to 2023. The advantage of this option is exploring more of the villages and side paths close to the route.

Each number refers to a circular walk below. Base map: Esri Topo via RideWithGPS

Section 1: Haslemere and Hindhead
Start & Finish: Start of the Greensand Way at alley to the left of 43 High Street, Haslemere, GU27 2LA
Alternative Start: National Trust Devil's Punchbowl Car Park, Thursley, Hindhead, GU26 6AG
Distance: 9.8 km (6.1 miles)
Elevation change: +/- 231m

Section 2: Devils Punchbowl and Thursley
Start & Finish: National Trust Devil's Punchbowl Car Park, Thursley, Hindhead, GU26 6AG
Distance: 11.1 km (6.9 miles)
Elevation change: +/- 199m

Section 3: Thursley and Witley Park
Start & Finish: St Michael and All Angels Church, Thursley, Godalming, GU8 6QQ
Distance: 10.9 km (6.8 miles)
Elevation change: +/- 163m

Section 4: Witley and Hambledon
Start & Finish: Hambledon Church, 1 Church Lane, Hambledon, Godalming, GU8 4DS
Distance: 9 km (5.6 miles)
Elevation change: +/- 124m

Section 5: Hydon’s Ball and Holloways Heath
Start & Finish: National Trust - Hydon's Ball and Heath car park, Salt Lane, Godalming, GU8 4BB
Distance: 9.3 km (5.8 miles)
Elevation change: +/- 172m

Section 6: Winkworth and Hascombe
Start & Finish: Free parking opposite the White Horse Pub, The Street, Hascombe, Godalming GU8 4JA
Distance: 10 km (6.2 miles)
Elevation change: +/- 179m

Section 7: Shamley Green and Grafham
Start & Finish: Shamley Green Christ Church, Church Hill, Shamley Green, Guildford, GU5 0UD
Distance: 10.3 km (6.4 miles)
Elevation change: +/- 107m

Section 8: Winterfold Wood and Reynards Hill
Start & Finish: Hurtwood Car Park 3, Pitch Hill, Cranleigh, GU6 7NL
Distance: 10 km (6.2 miles)
Elevation change: +/- 204m

Section 9: Pitch Hill and Holmbury Hill
Start & Finish: Hurtwood Car Park 3, Pitch Hill, Cranleigh, GU6 7NL
Distance: 10 km (6.2 miles),
Elevation change: +/- 239m

Section 10: Leith Hill and Broadmoor
Start & Finish: Starveall Car Park, Leith Hill Rd, Dorking, RH5 6LU
Distance: 10.3 km (6.4 miles)
Elevation Change: +/- 206m

Section 11: Westcott and Bury Hill
Start & Finish: Holy Trinity Westcott, Logmore Lane, Westcott, Dorking RH4 3NN
Distance: 9 km (5.6 miles)
Elevation change: +/- 163m
Section 12: The Nower and Dorking
Start & Finish: Reigate Road Car Park, 9 Reigate Rd, Dorking RH4 1SN
Distance: 10.8 km (6.7 miles)
Elevation change: +/- 222m

Section 13: Brockham and Betchworth
Start & Finish: St Michael's Church, The Street, Betchworth, RH3 7DN
Distance: 10.4 km (6.5 miles)
Elevation change: +/- 149m

Section 14: Betchworth and Reigate Heath
Start & Finish: St Michael's Church, The Street, Betchworth, RH3 7DN
Distance: 9.6 km (5.9 miles)
Elevation change: +/- 98m
Section 15: Reigate and Redhill Common
Start & Finish: Bell St Car Park, 83 Bell Street, Reigate, RH2 7AN
Distance: 9.1 km (5.6 miles)
Elevation change: +/- 136m

Section 16: Earlswood and Nutfield Priory
Start & Finish: St John the Evangelist Church, Redhill, Church Rd, Redhill, RH1 6QA
Distance: 8.8 km (5.5 miles)
Elevation change: +/- 165m
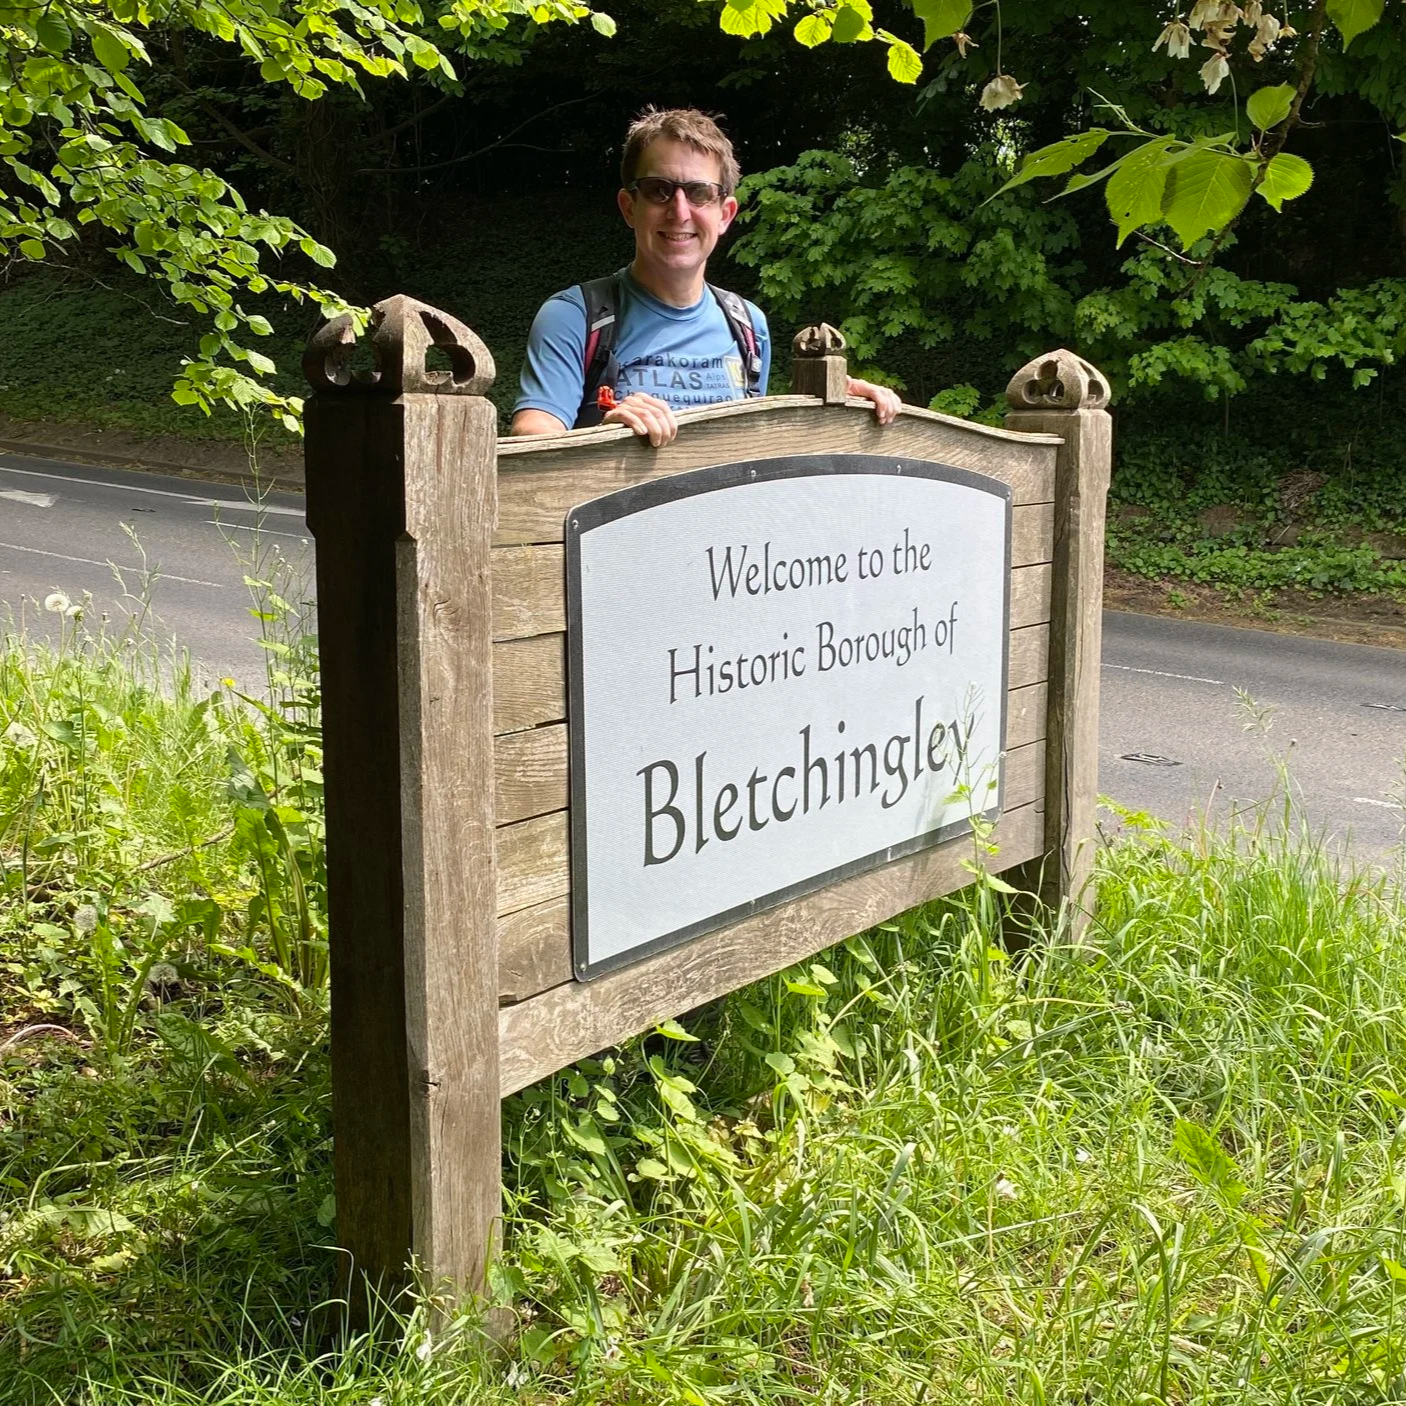
Section 17: Nutfield and Bletchingley
Start & Finish: High Street, Bletchingley, Redhill, RH1 4PA
Distance: 9.9 km (6.1 miles)
Elevation change: +/- 164m

Section 18: Bletchingley and Godstone
Start & Finish: High Street, Bletchingley, Redhill, RH1 4PA
Distance: 10.4 km (6.5 miles)
Elevation change: +/- 143m

Section 19: Tandridge and Oxted
Start & Finish: Oxted Station, Oxted, RH8 9EU
Distance: 10.6 km (6.6 miles)
Elevation change: +/- 165m

Section 20: Oxted and Limpsfield
Start & Finish: Oxted Station, Oxted, RH8 9EU
Distance: 11.2 km (7 miles)
Elevation change: +/- 142m
Walking The River Wey and Wey Navigation
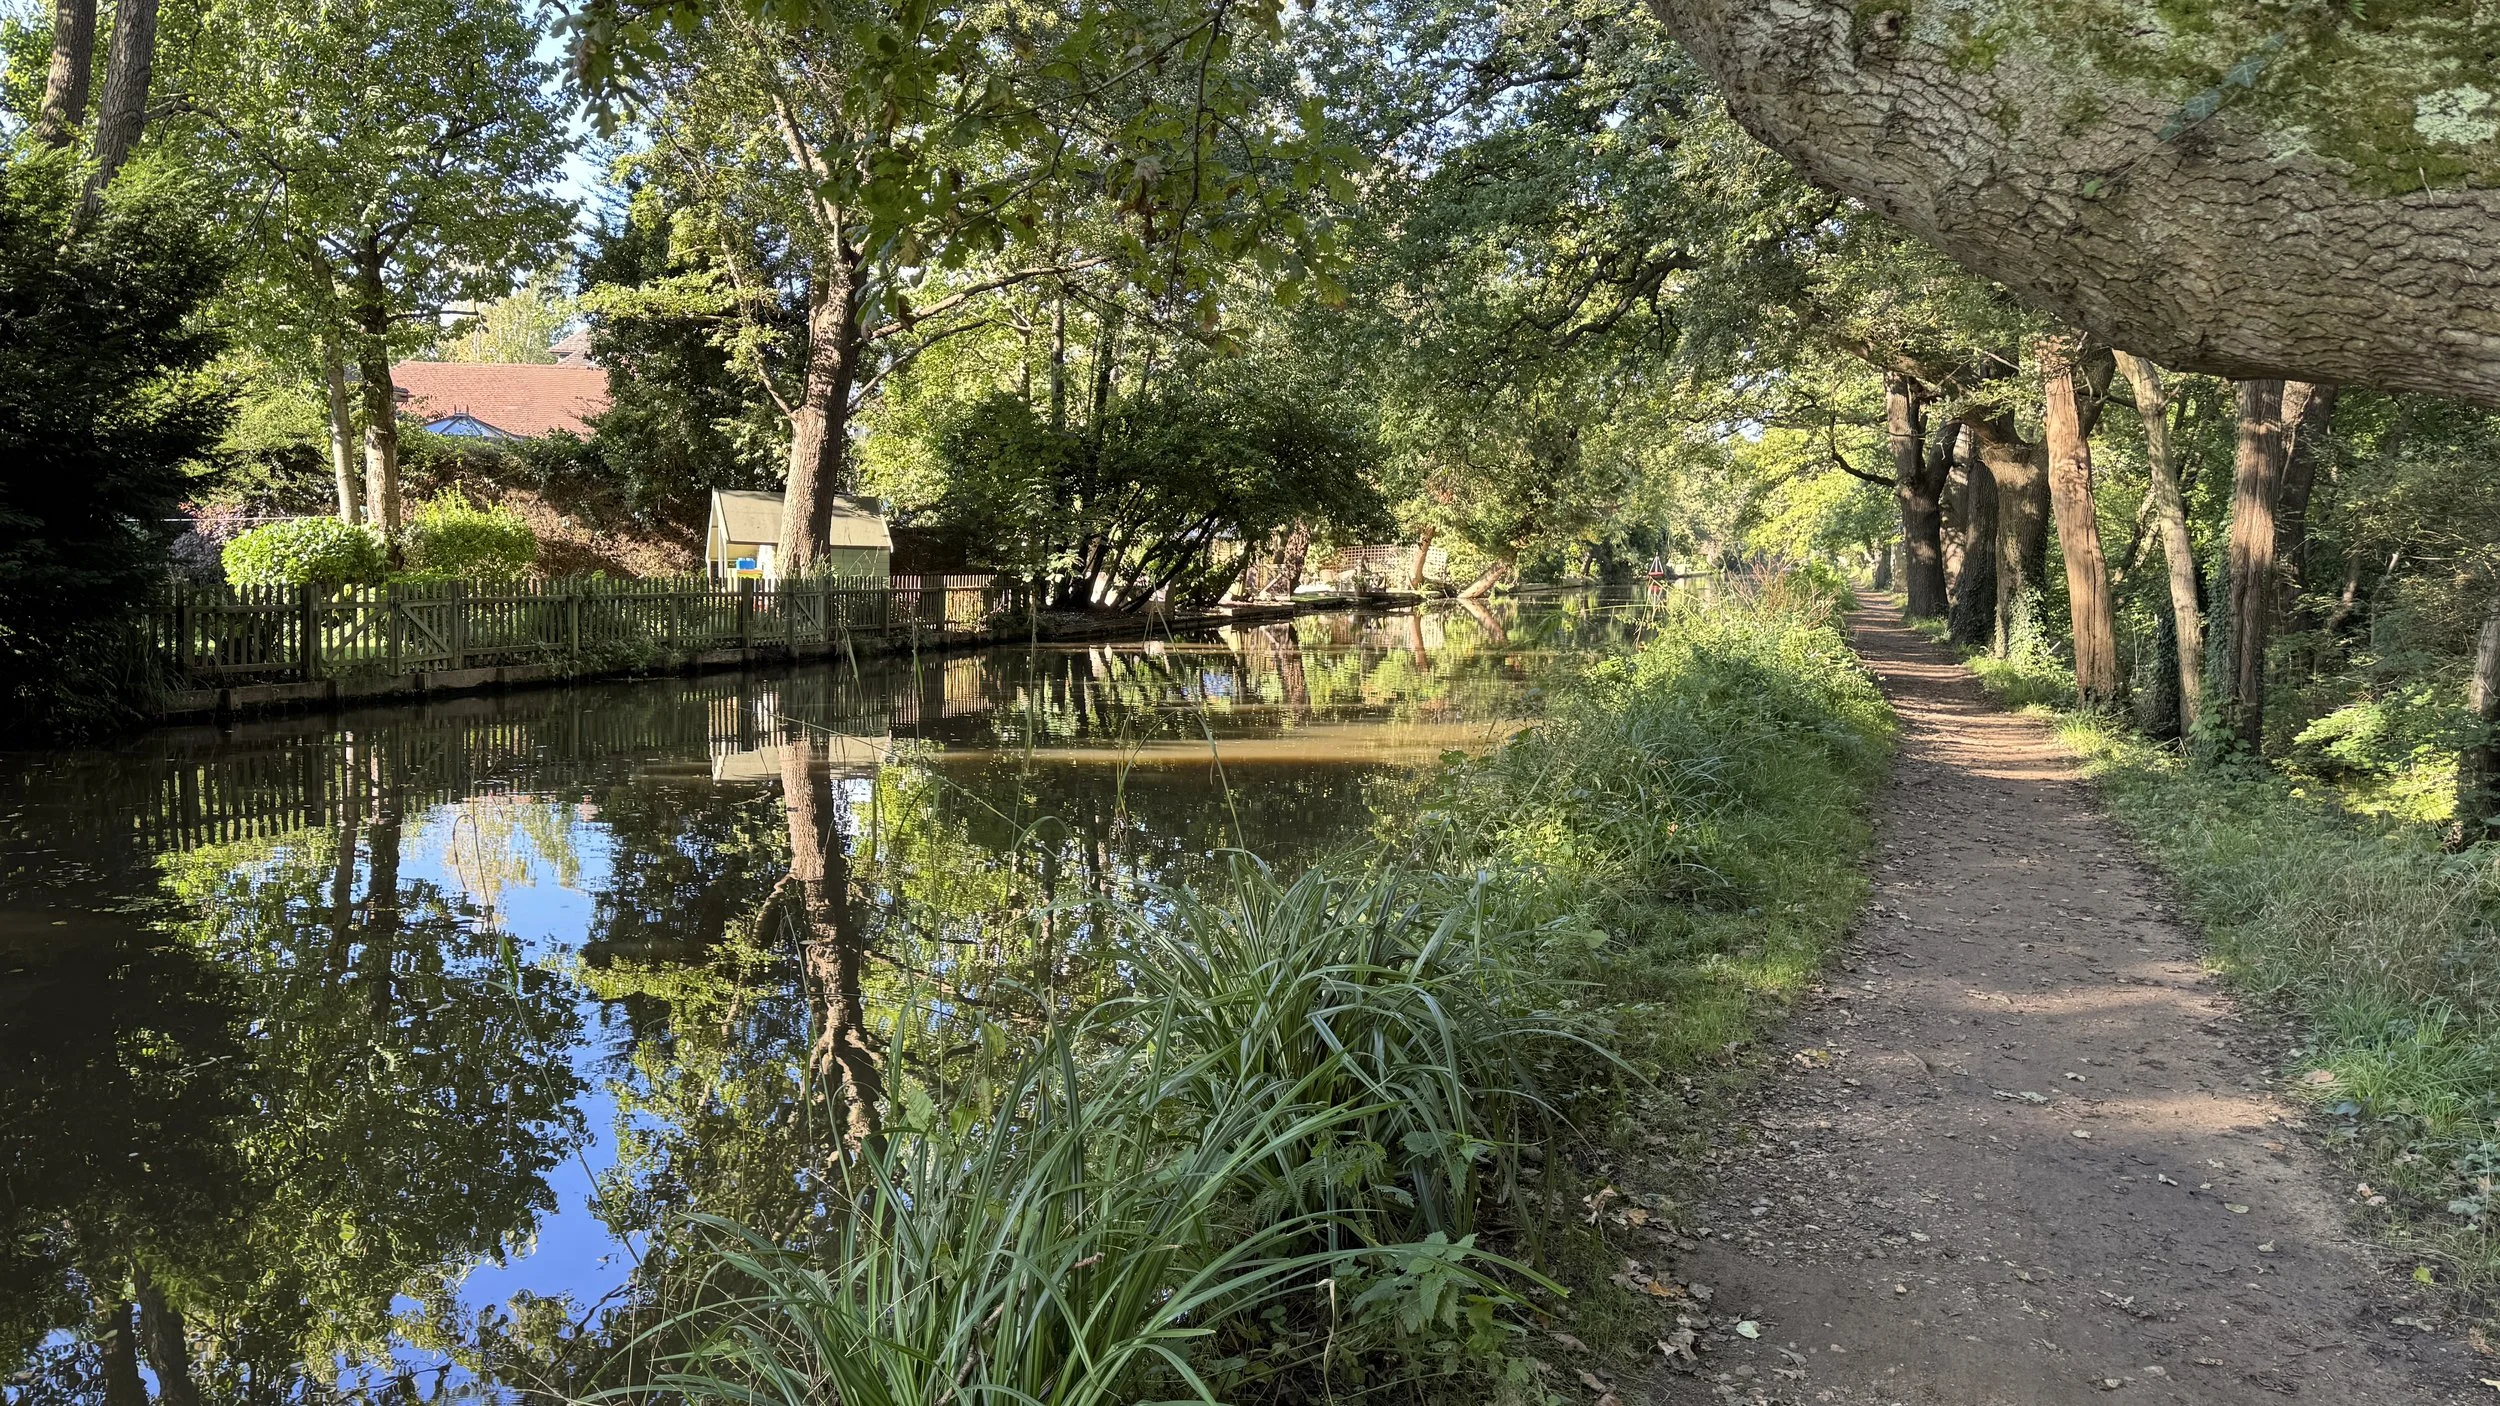
The Wey Navigation near Byfleet
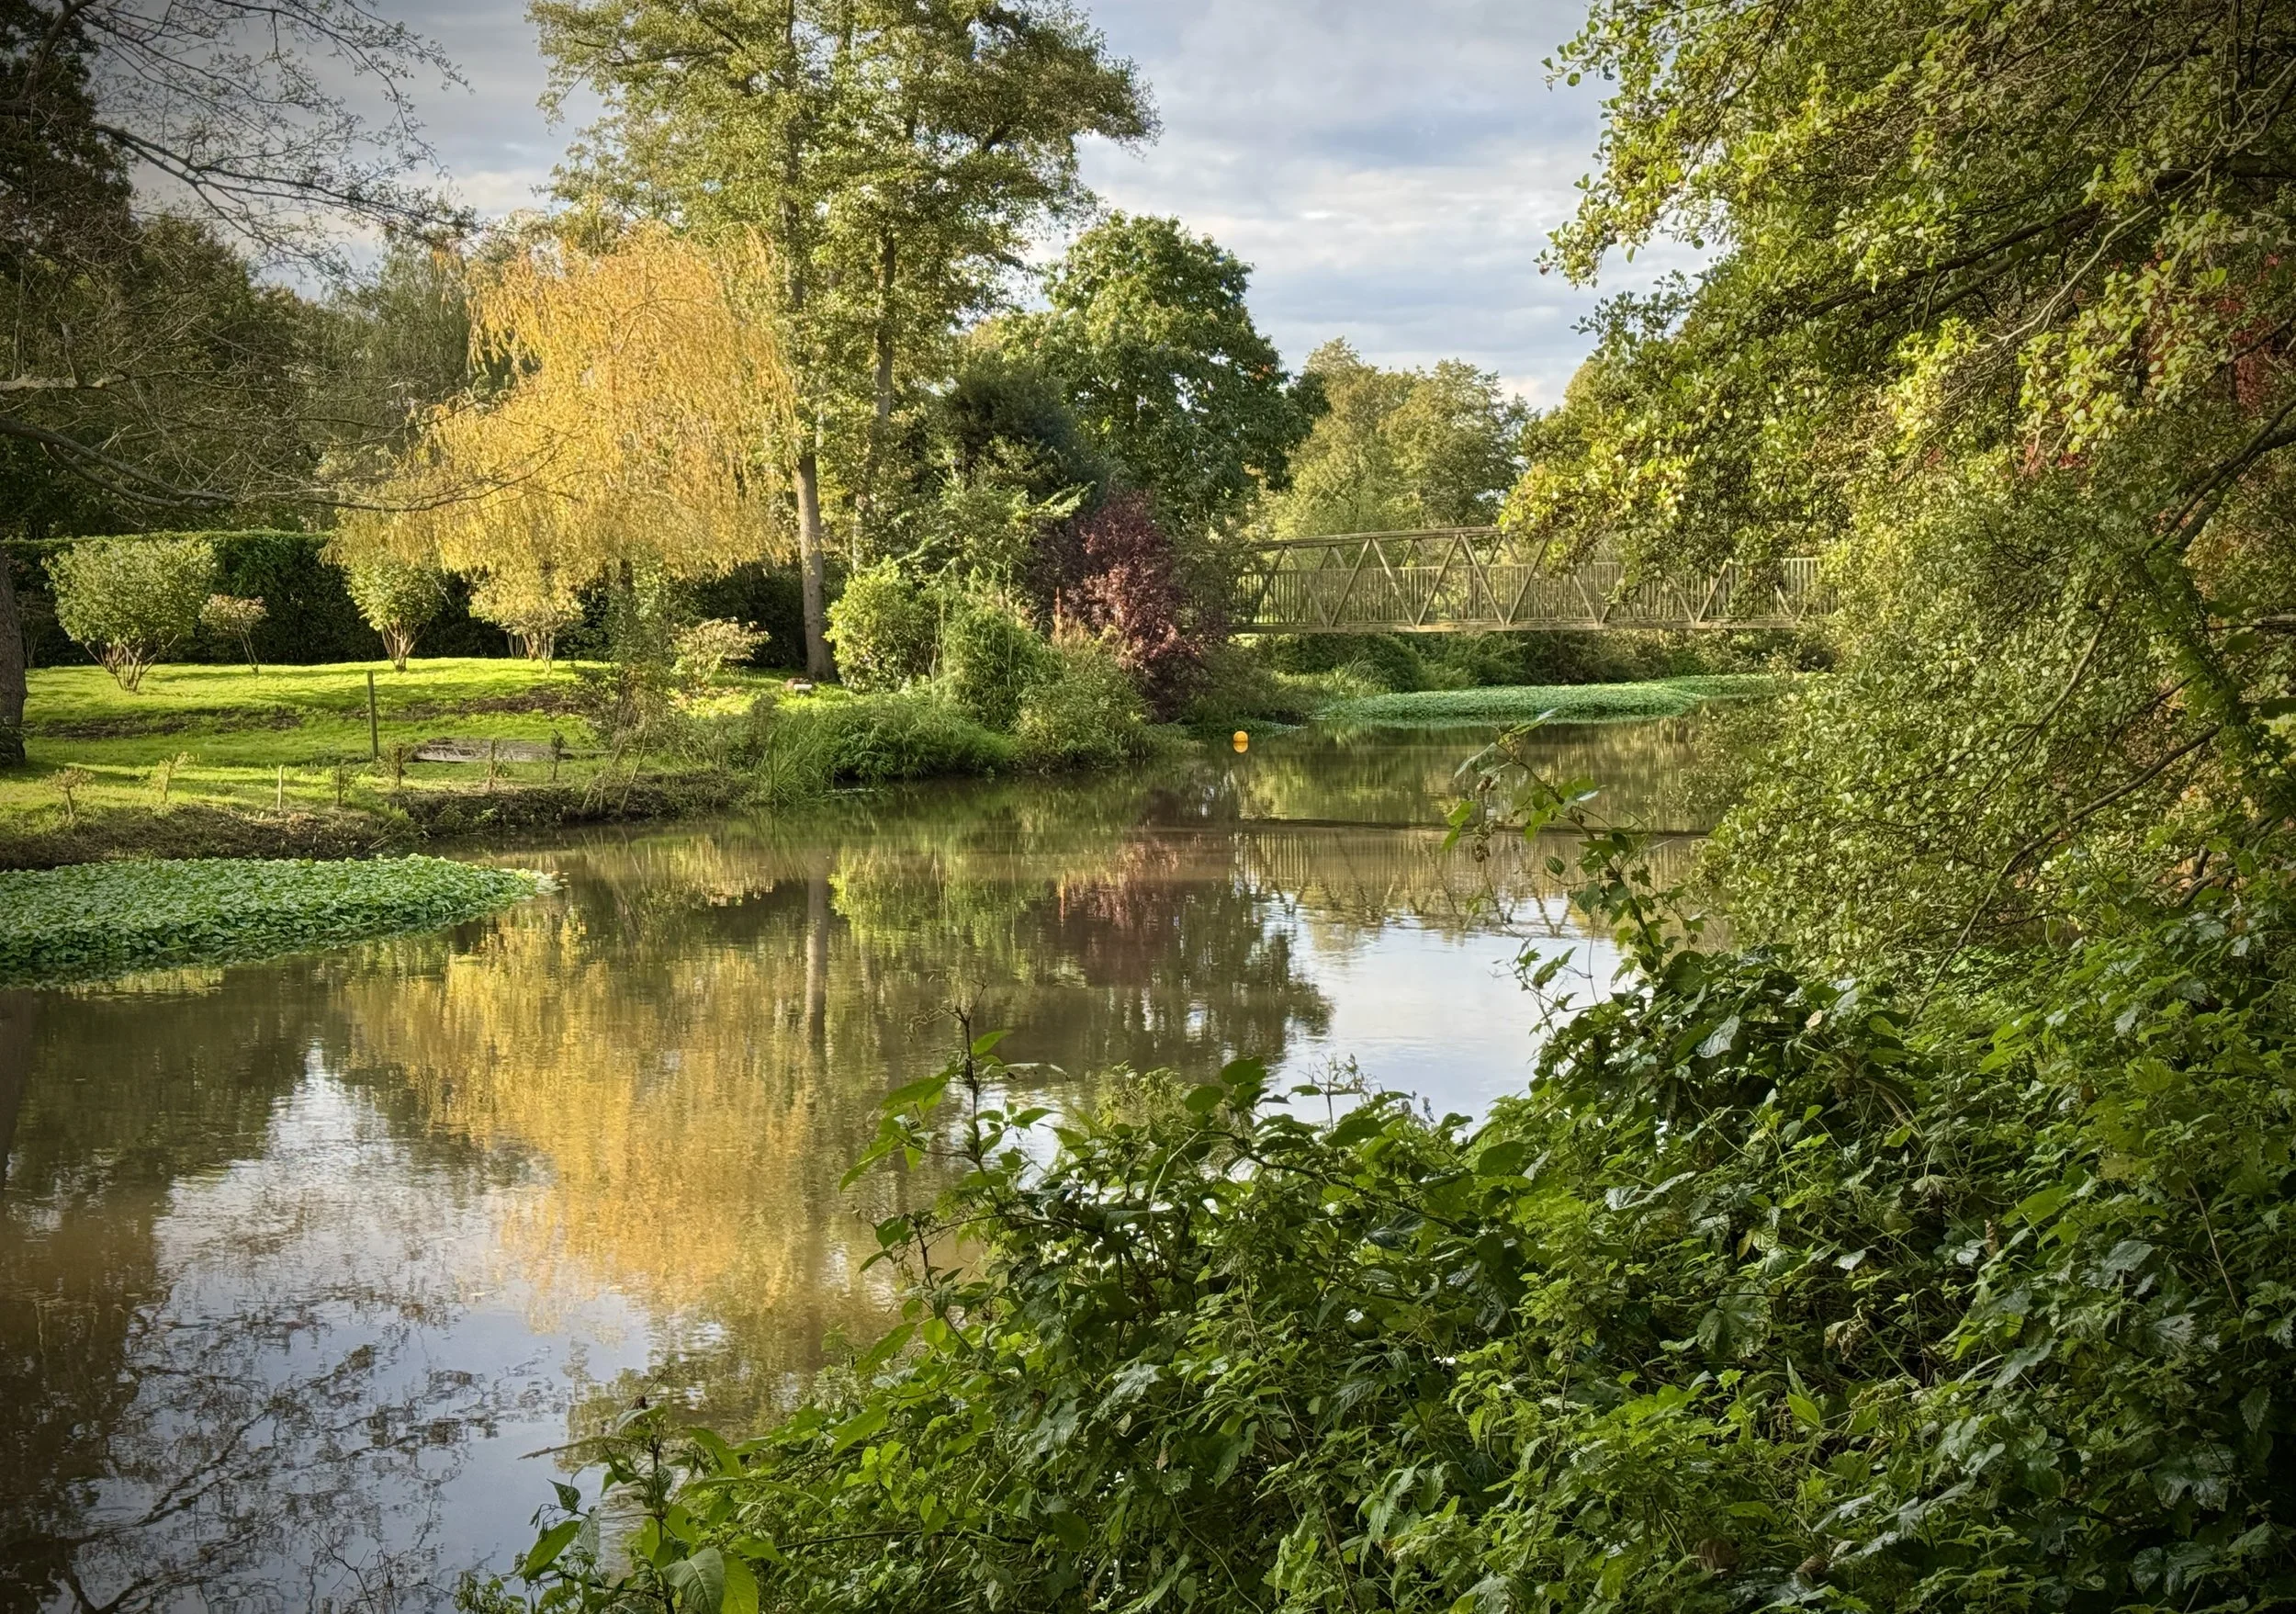
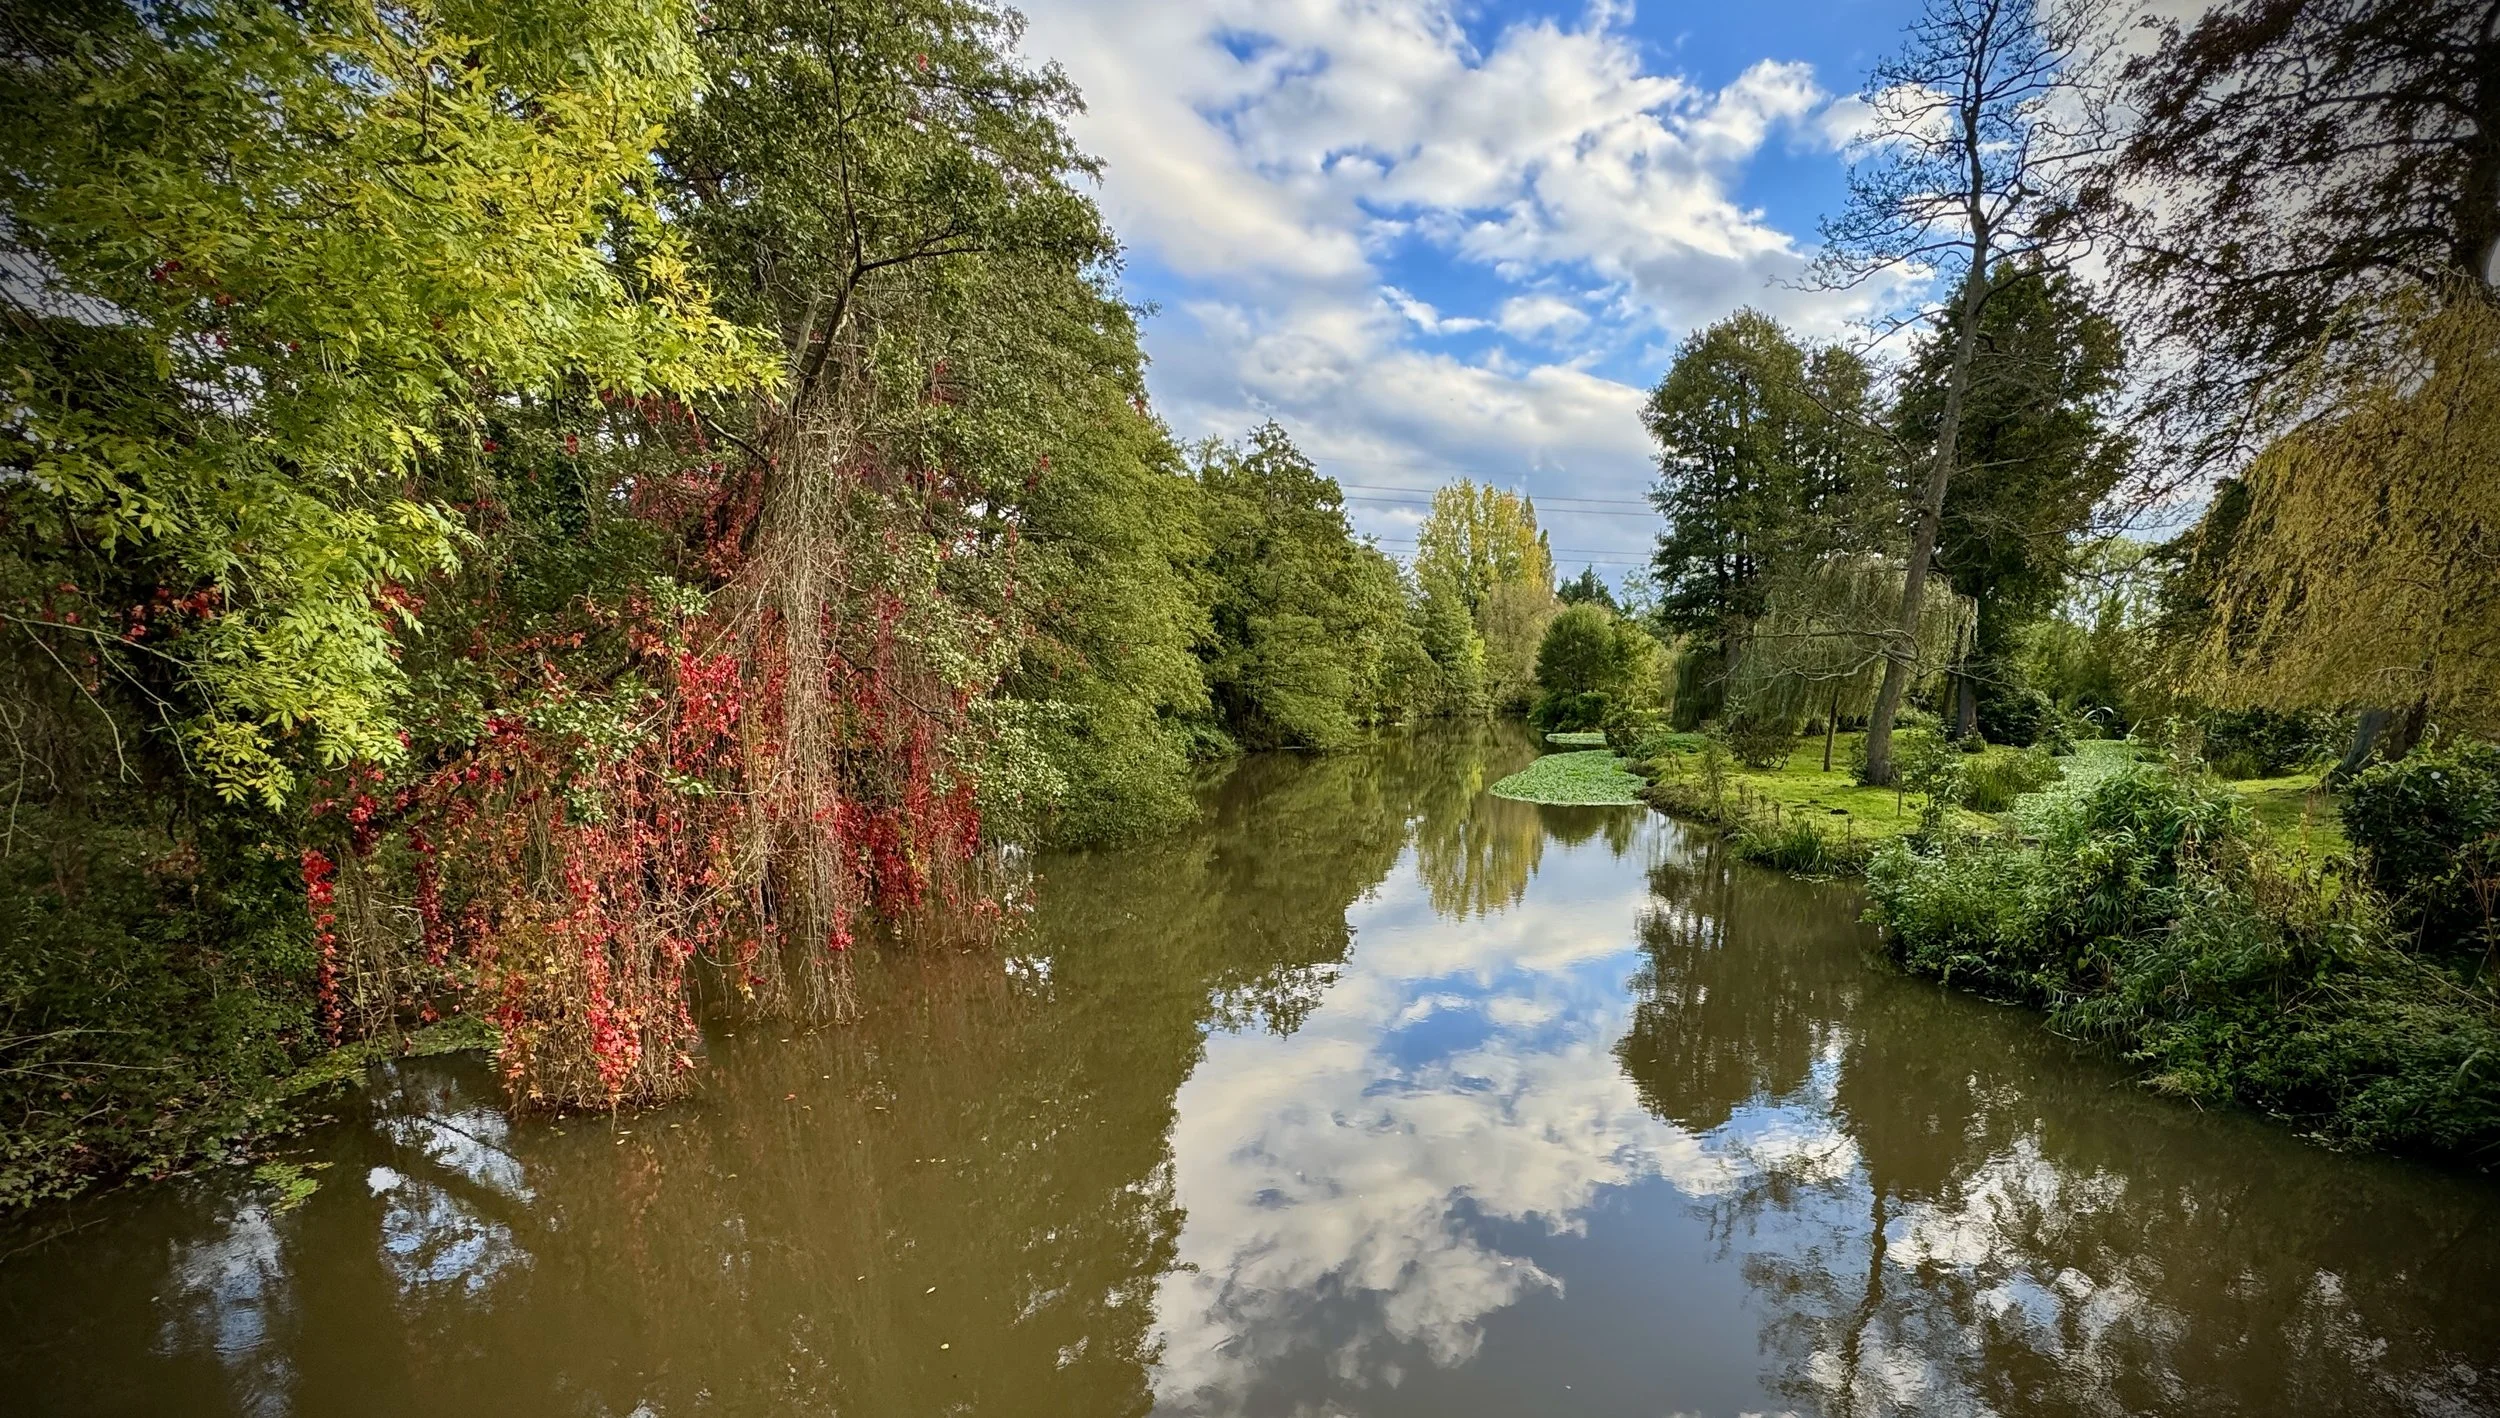
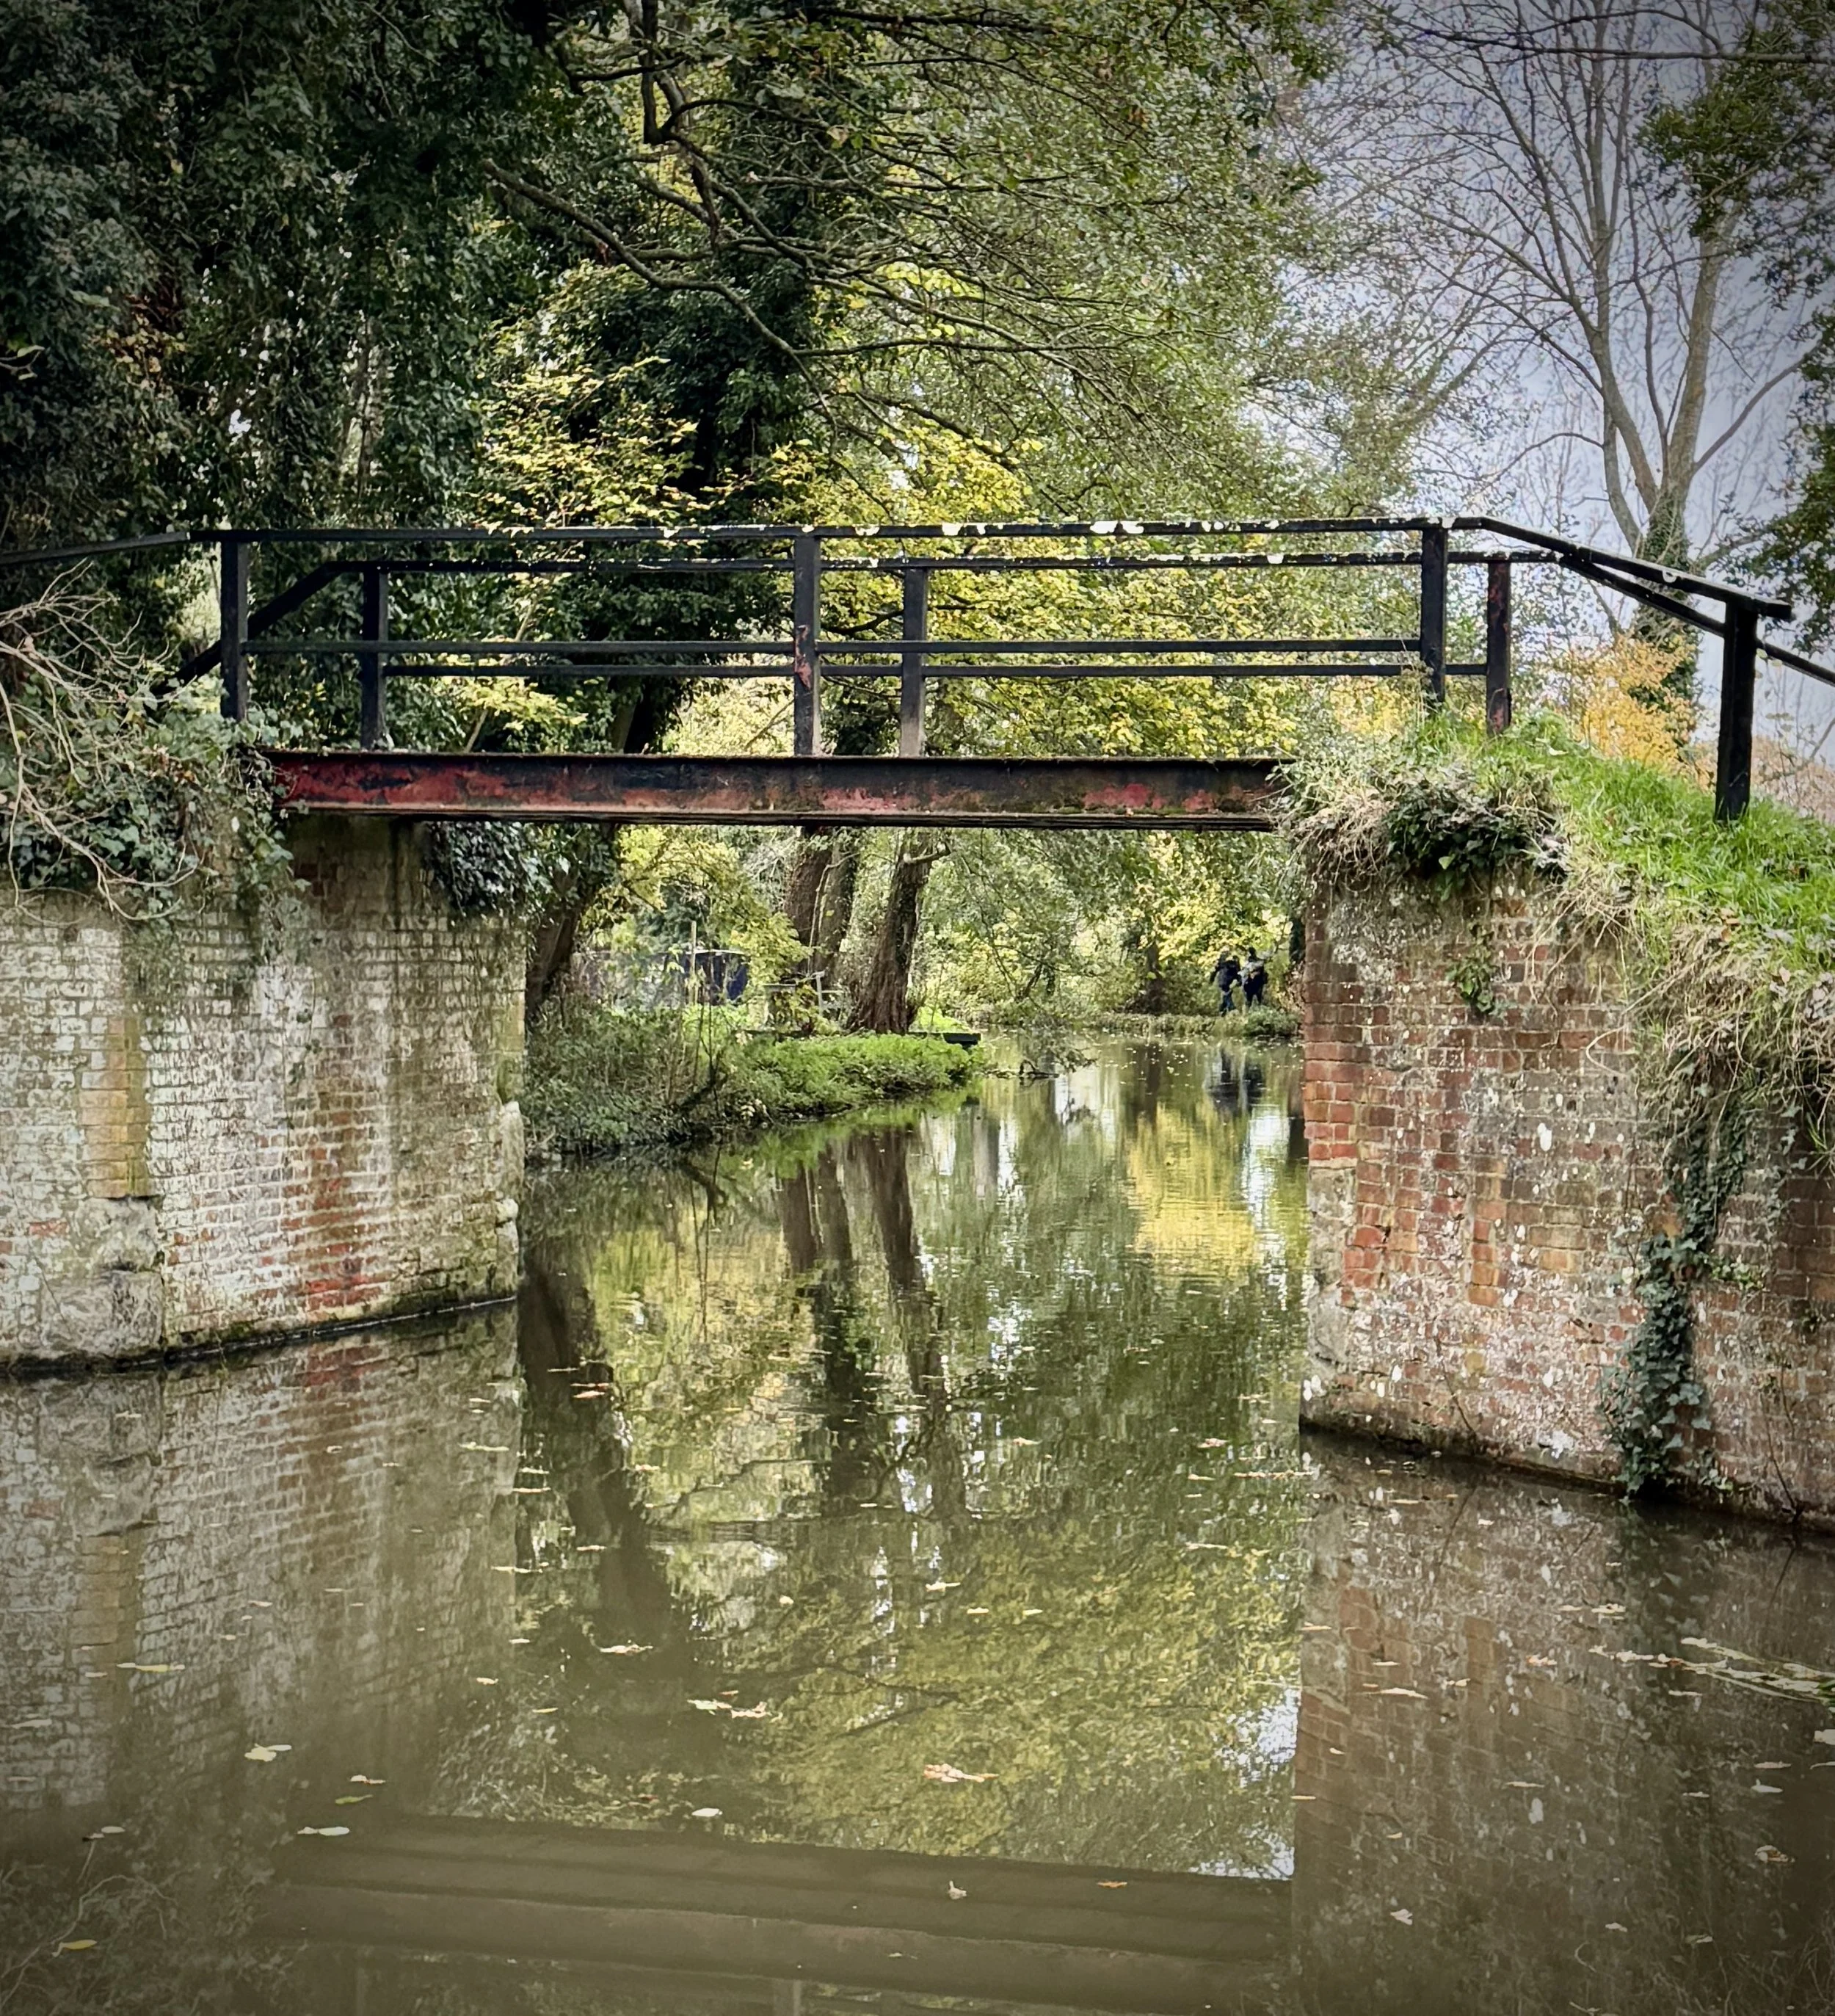
The River Wey Navigation, often simply referred to as the Wey Navigation, is a remarkable feat of 17th-century engineering that transformed the natural course of the River Wey into a navigable waterway. Stretching for just under 20 miles (32 km) through the heart of Surrey, from Godalming to its confluence with the River Thames at Weybridge, it holds the distinction of being one of Britain's first truly successful navigations. Opened in 1653, its creation predates many other well-known canals, making it a pioneering example of inland waterway transport and a vital artery for goods like timber, flour, and agricultural produce to reach London.
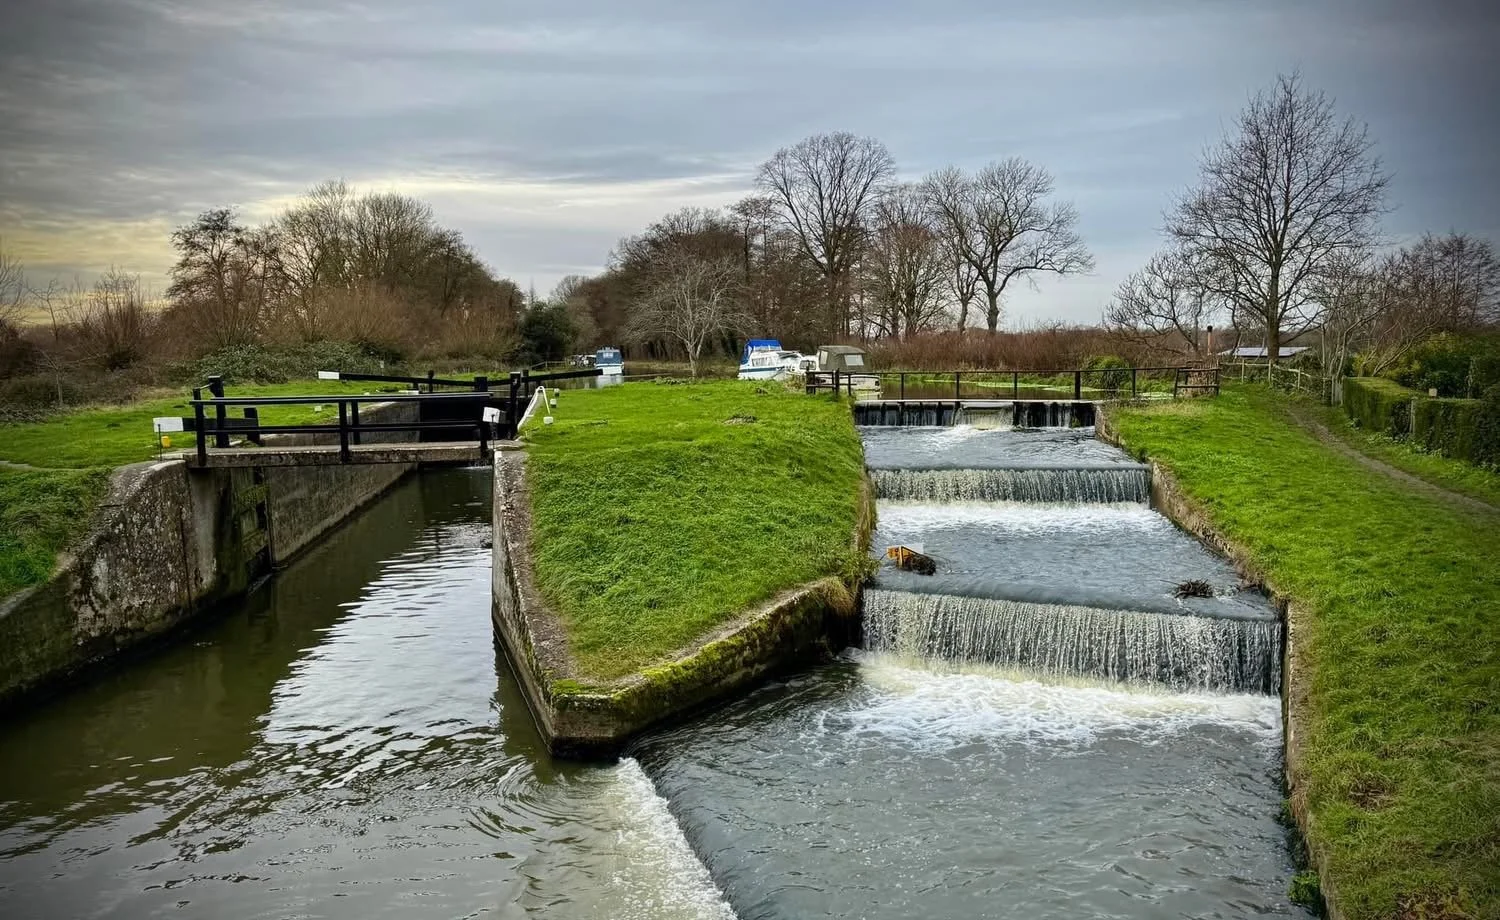
Unlike many later canals that involved extensive cutting and embankment, the Wey Navigation largely followed the natural river course, enhanced by a series of 17 locks, weirs, and cuts. This blend of natural river and engineered improvements allowed barges to bypass shallow sections and rapids, ensuring a reliable transport route. The infrastructure along the navigation is a testament to the ingenuity of its original builders, with many of the locks, lock houses, and associated buildings retaining their historic character. Walking or cycling along its towpaths offers a picturesque journey through diverse landscapes, from tranquil water meadows and ancient woodlands to the fringes of bustling towns like Guildford.
Today, the Wey Navigation is no longer a commercial highway but has found a new life as a cherished recreational asset. Managed by the National Trust since 1968, it provides a haven for wildlife and a tranquil escape for visitors. Boating, canoeing, and paddleboarding are popular activities, offering a unique perspective of the Surrey countryside. Anglers enjoy its well-stocked waters, and birdwatchers are often rewarded with sightings of kingfishers, herons, and various waterfowl.
Beyond its recreational appeal, the Wey Navigation serves as a living museum, offering insights into the industrial past of Surrey. Many of the old wharves and warehouses can still be seen, hinting at the bustling trade that once flowed along its waters. Interpretive boards along the route provide snippets of its history, and the National Trust actively works to conserve its heritage, ensuring that future generations can continue to enjoy this historic waterway. Whether you're interested in engineering history, wildlife, or simply a peaceful day out, the Wey Navigation offers a rich and rewarding experience, connecting communities with nature and a fascinating past.
Point to Point: Walking the Wey Navigation
Start: Thames Lock, Jessamy Road, Weybridge, KT13 8LG
Finish: Godalming Station, Station Approach, Godlaming, GU7 1EU
Distance: 32.5 km (20.2 miles)
Elevation change: + 146m / - 111m. Net -35m
GPX File: get via Buy Me a Coffee
Maps:
- OS Explorer Map (160) Windsor, Weybridge & Bracknell
- Guildford & Farnham Map | Godalming & Farnborough | Ordnance Survey | OS Explorer Map 145
Links: LWDA: Wey Navigations, Wikipedia: Wey and Godalming Navigations, National Trust: River Wey and Godalming Navigations
See individual section posts linked below for other links.

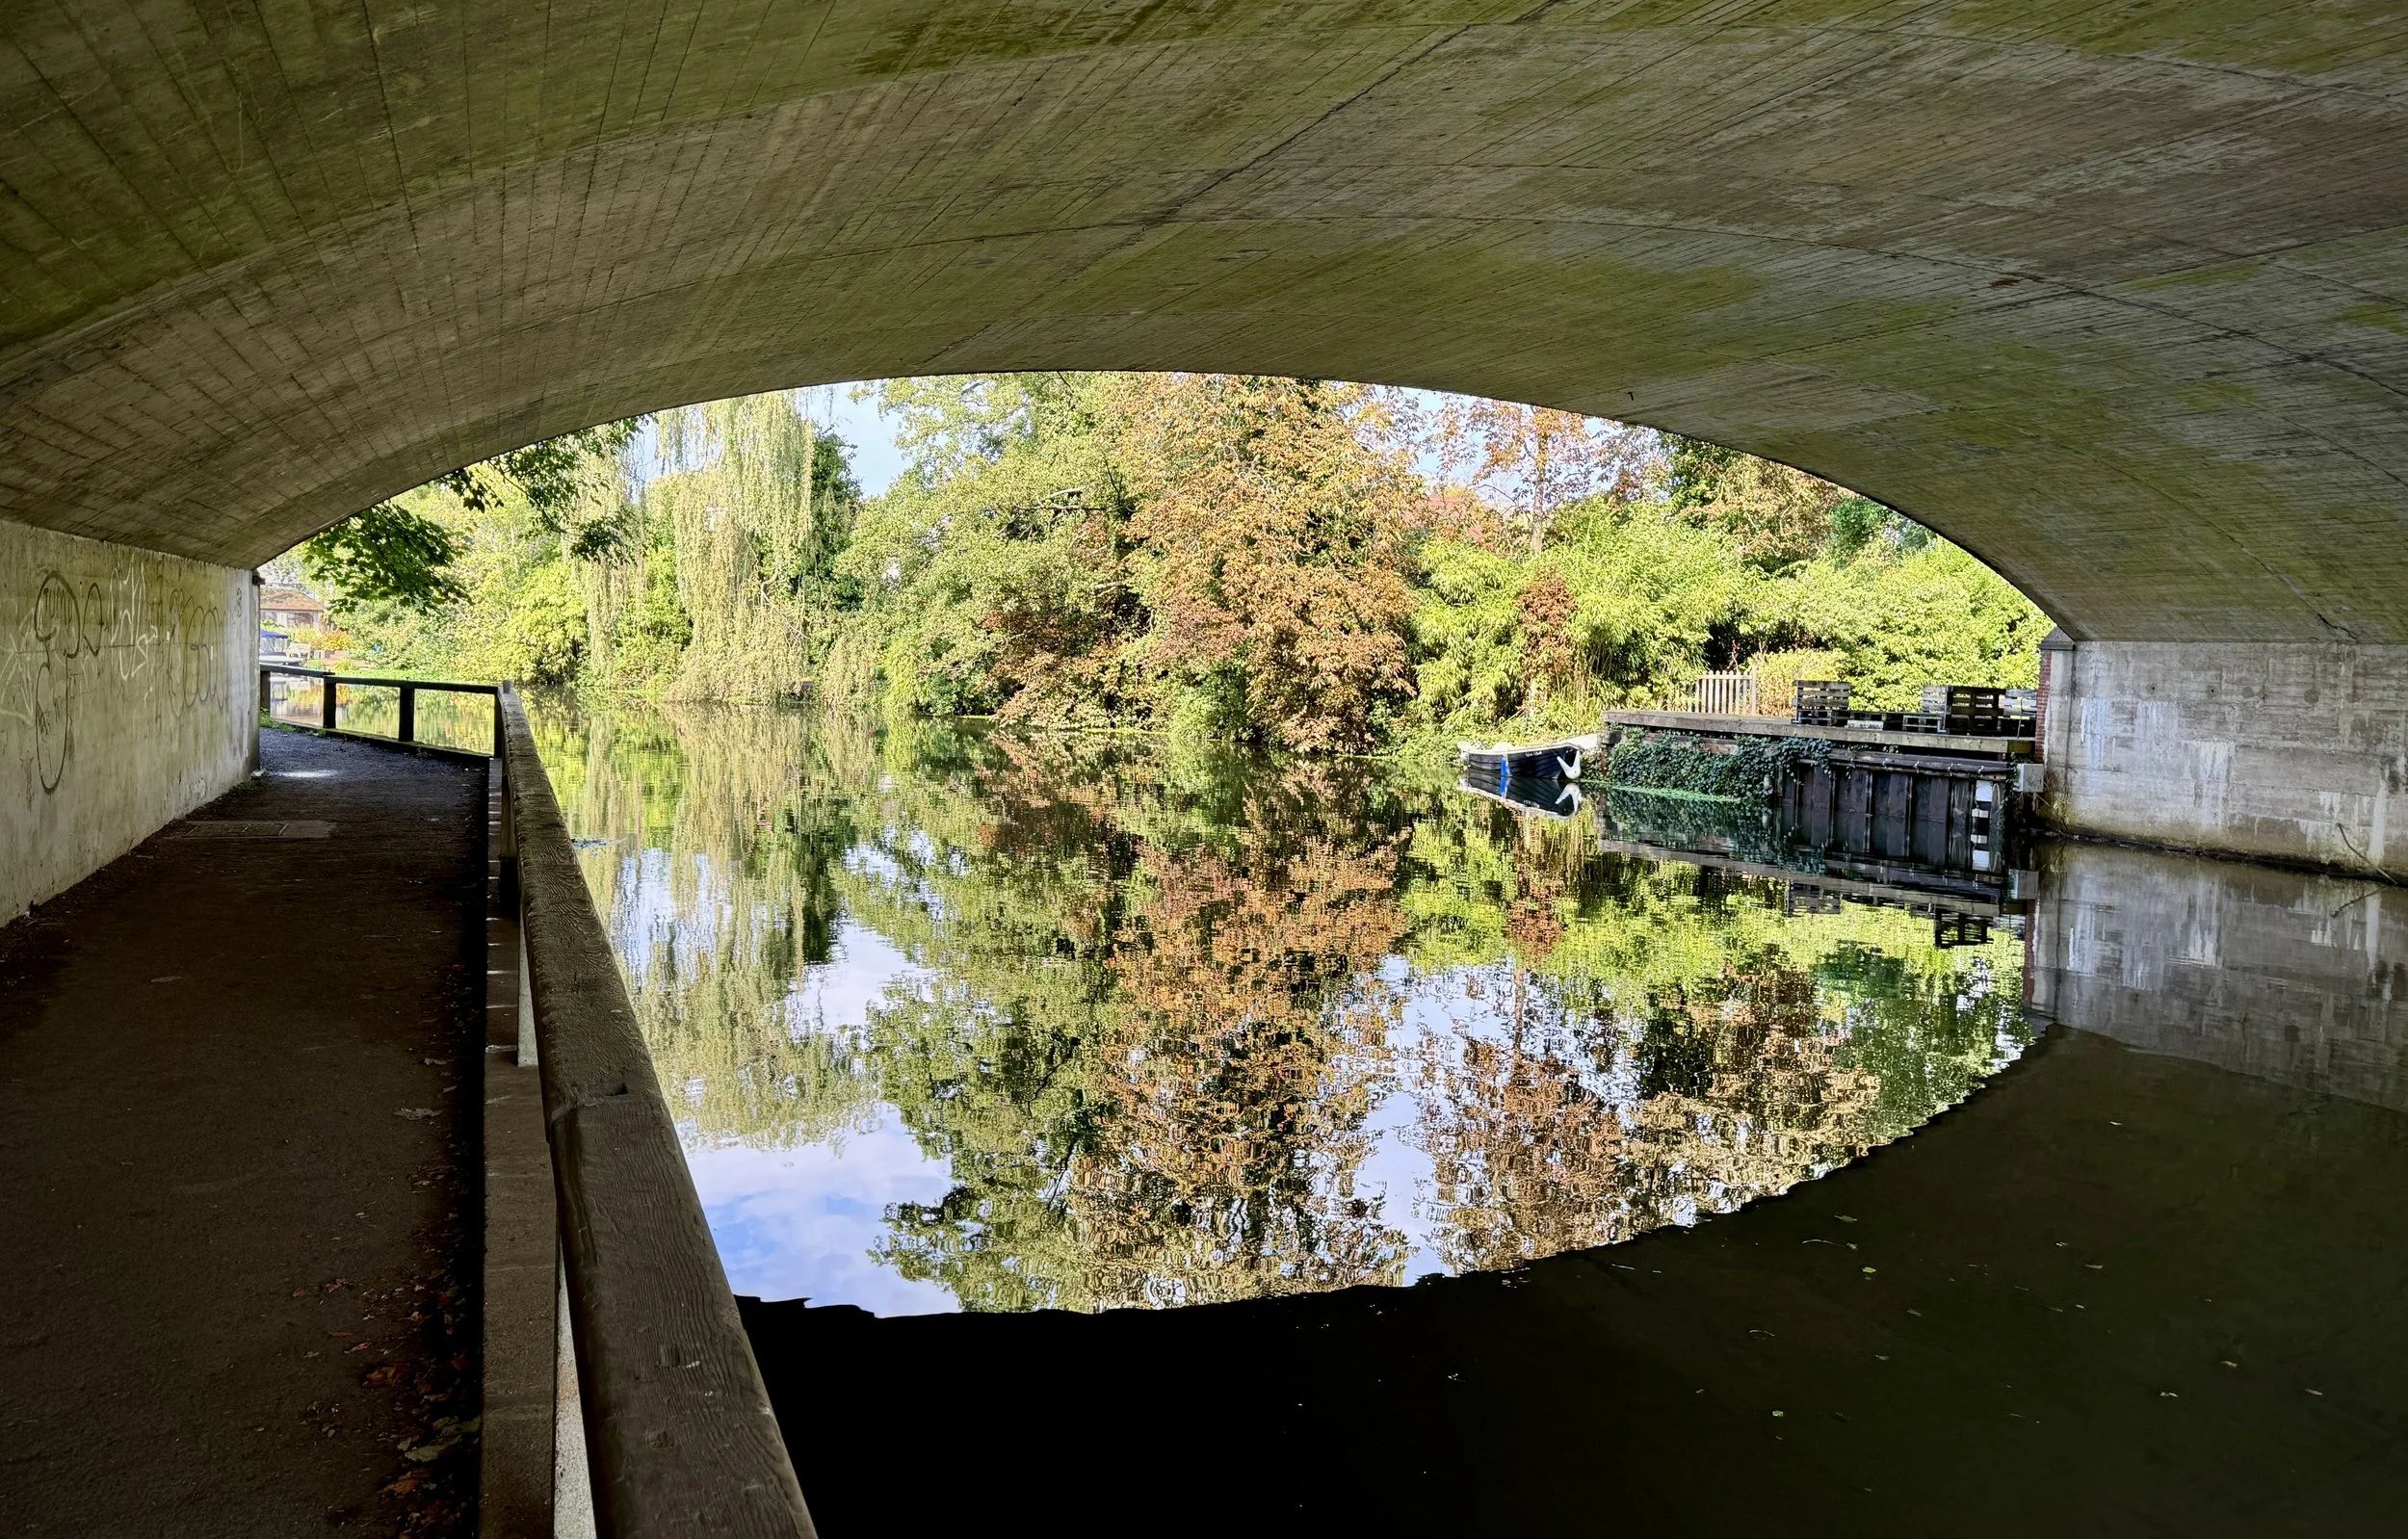


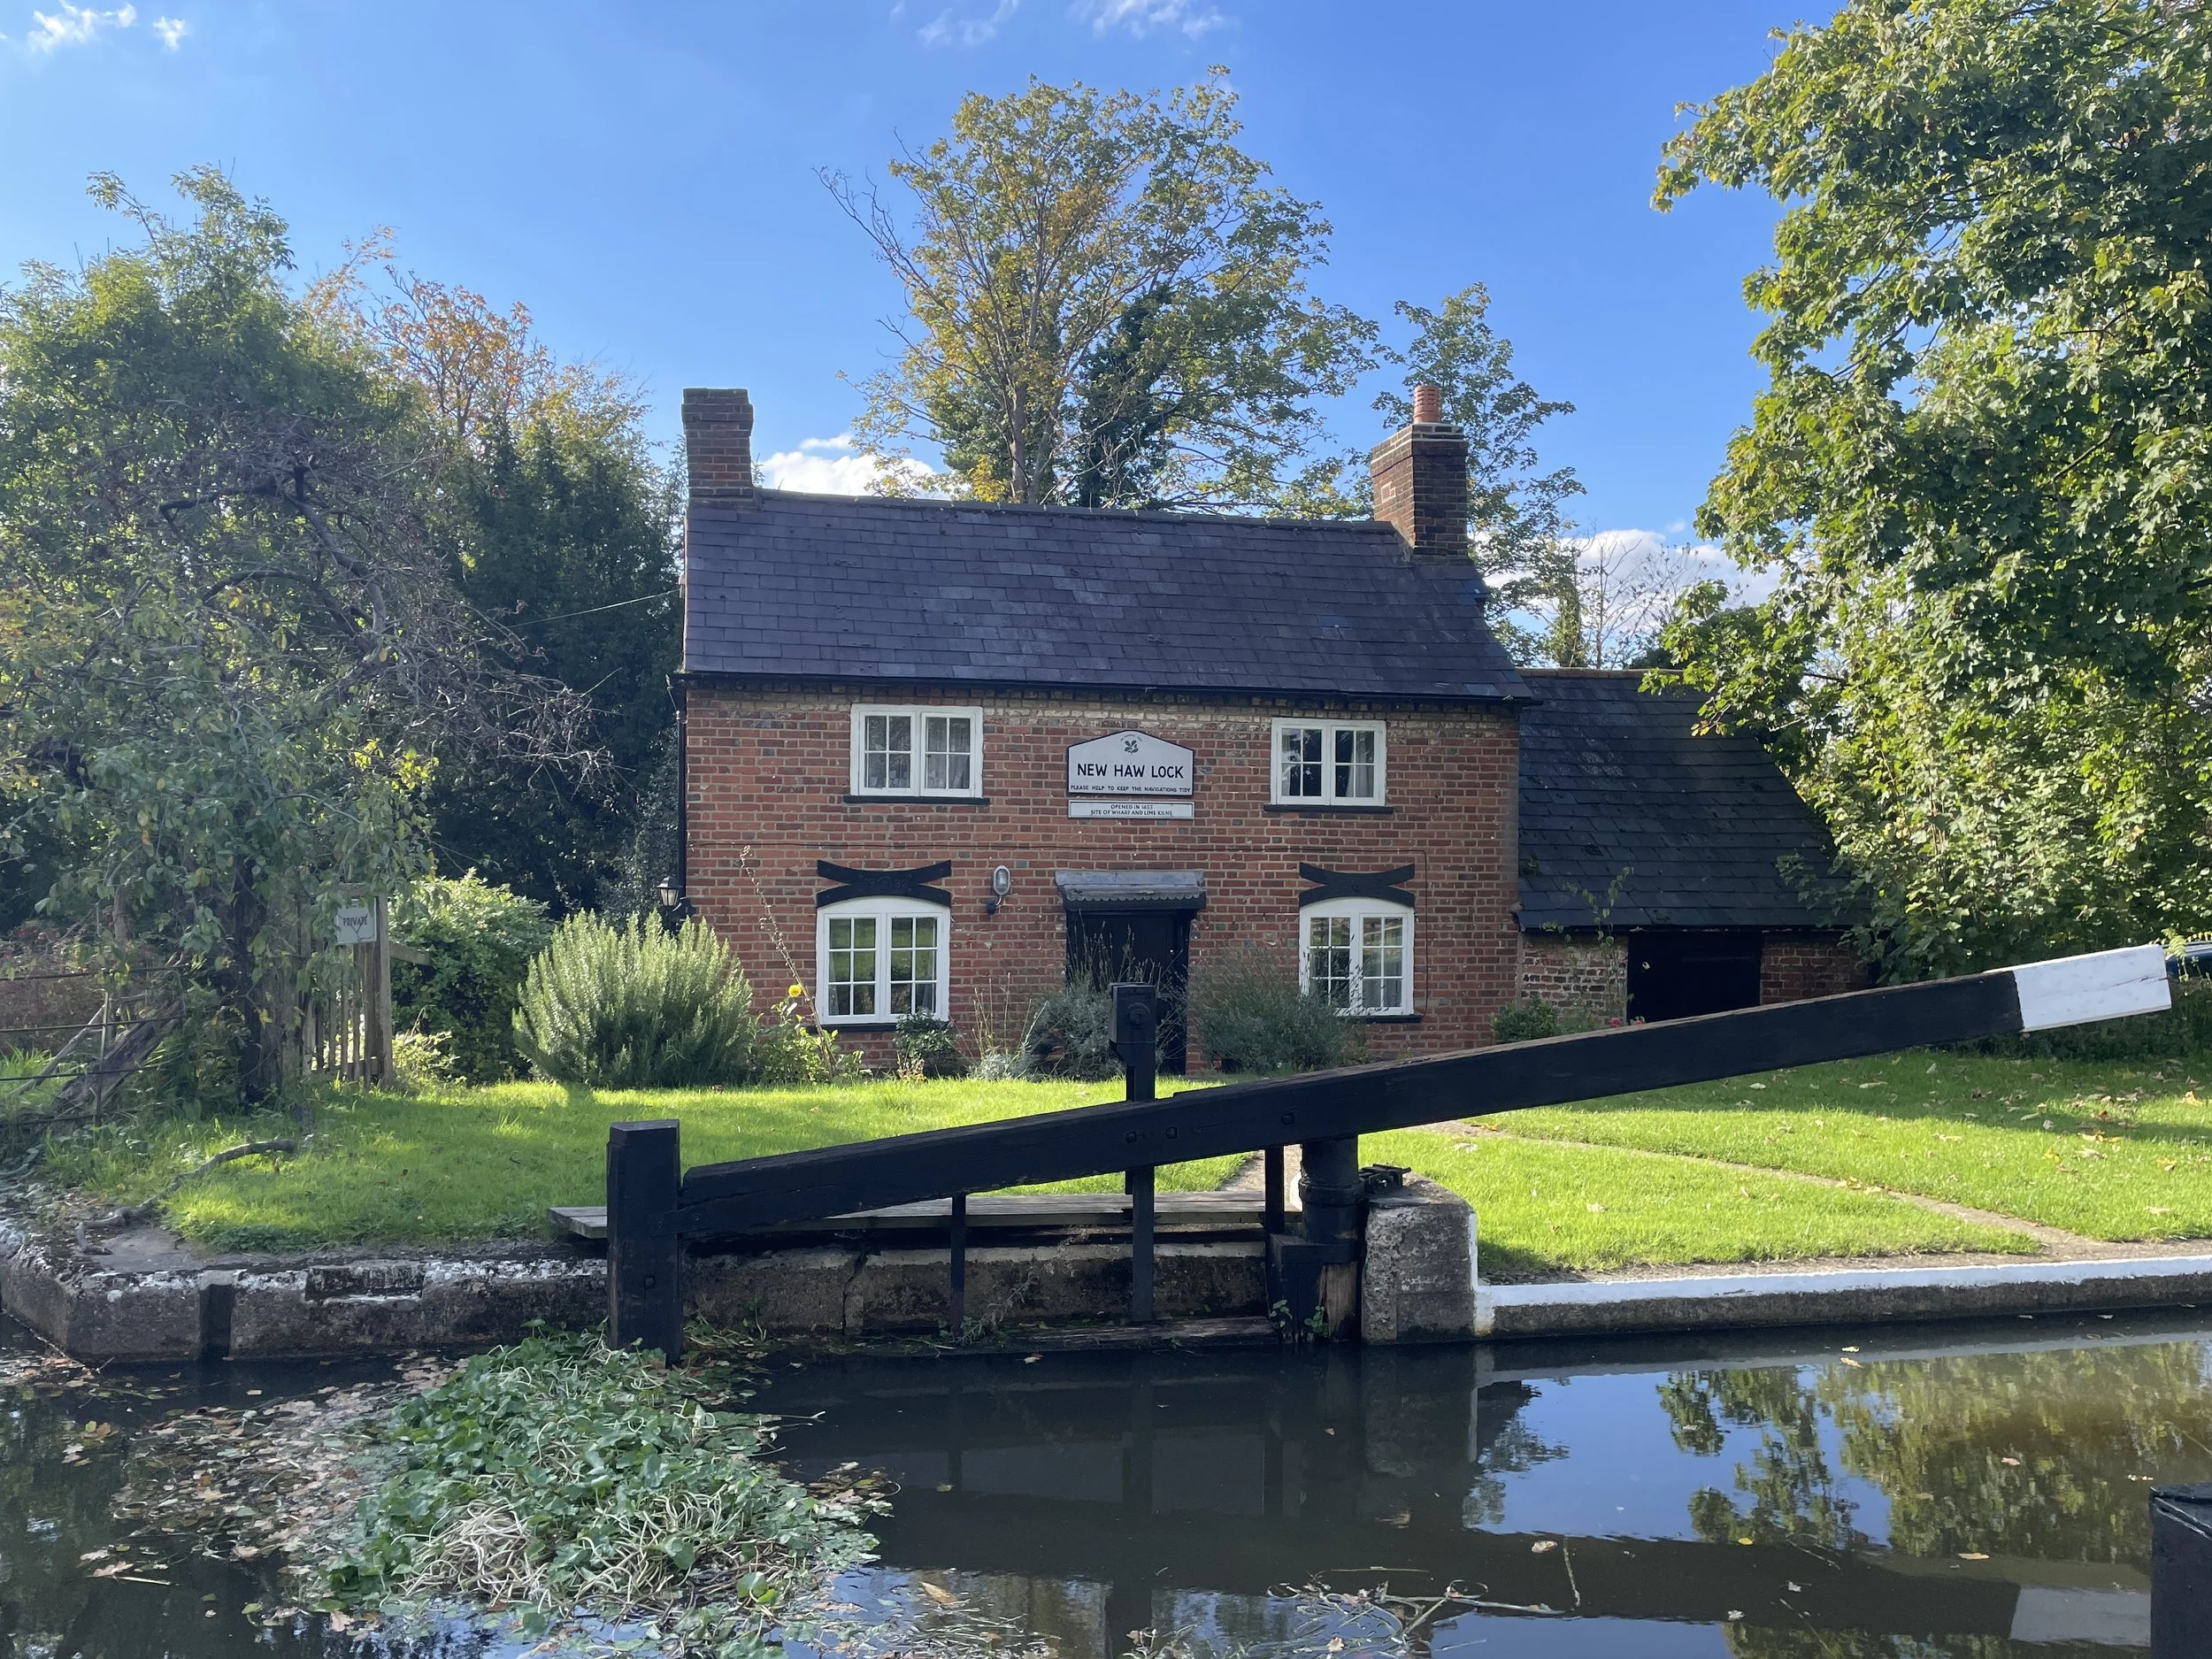














Walking the Wey Navigation and River Wey in 9 walks
If you’re not up for a 32 km walk in one go, you can take in the Wey Navigation and River Wey in 9 walks of between 7 and 12 km each. We chose this option, completing all 9 sections over 2 years from 2024 to 2025. Two of the walks are point-to-point with an easy rail connection from the finish back to the start. The others are circular walks from good parking spots. The final section follows the River Wey beyond the end of the Wey Navigation to Eashing, the final point where you can walk next to the river.

Each number refers to a circular walk below. Base map: Esri Topo via RideWithGPS
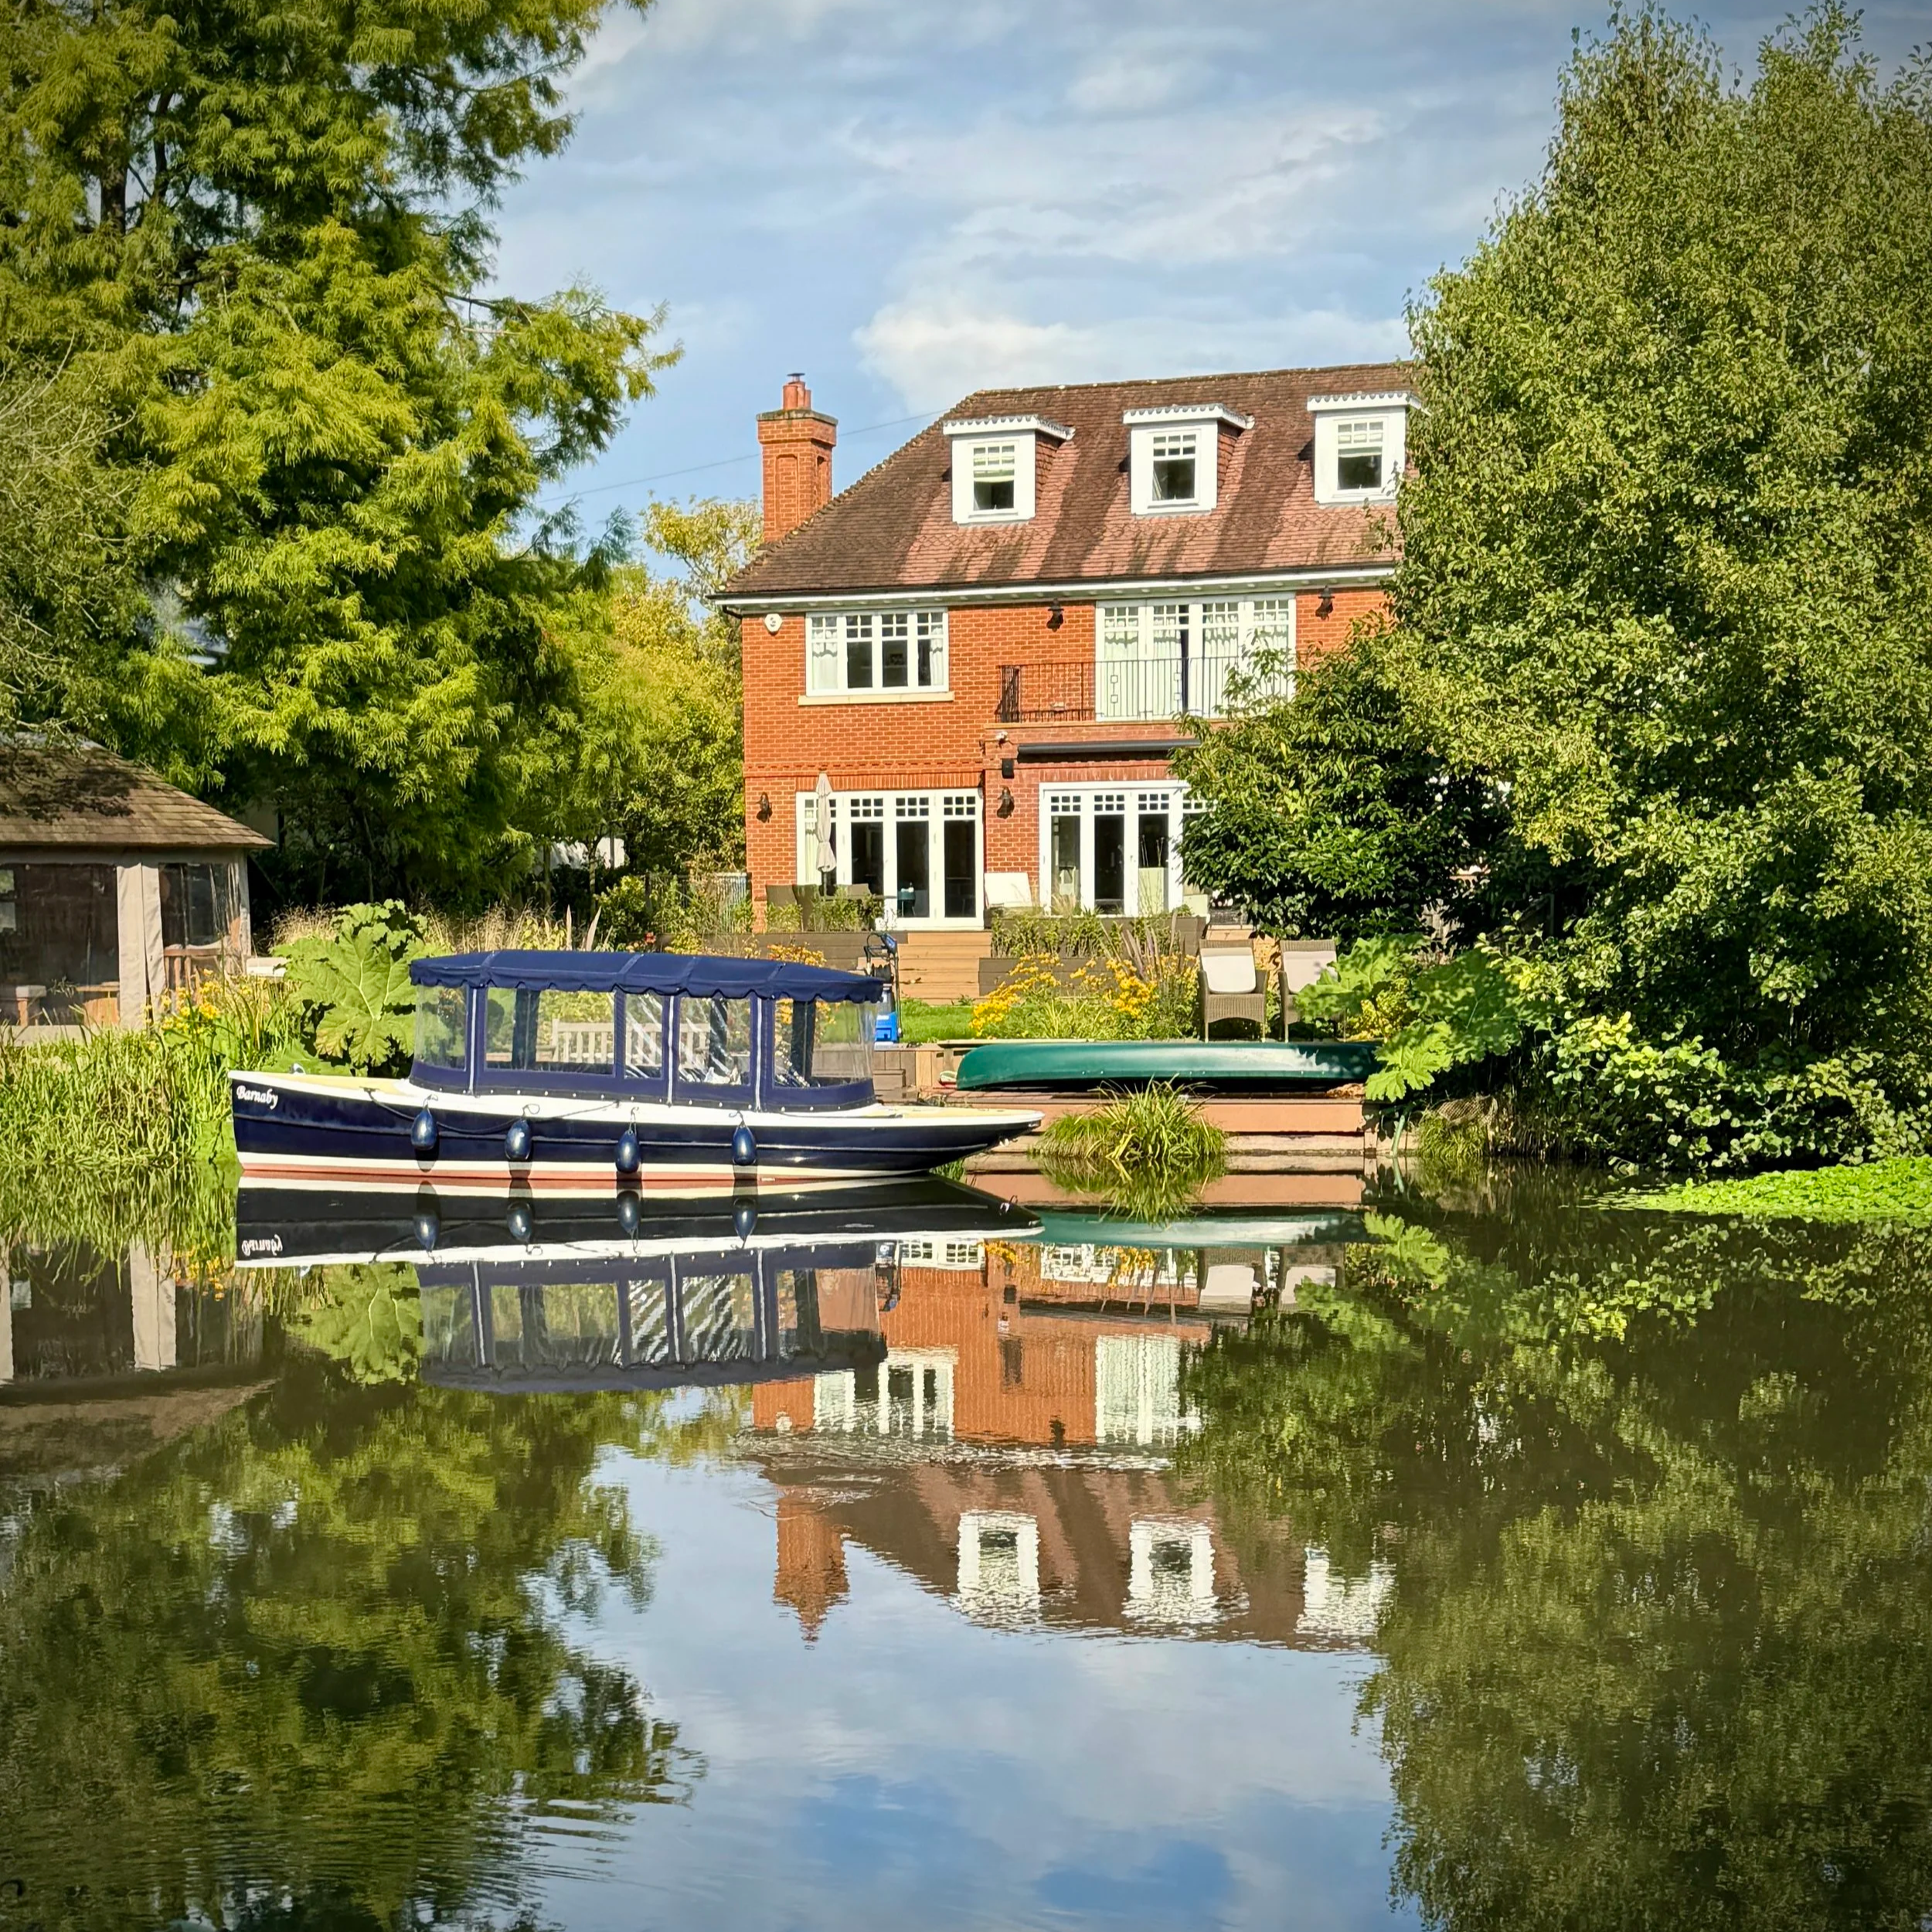
Part 1: Weybridge and Desborough Island
Start & Finish: Churchfield Car Park, Churchfield Road, Weybridge, KT13 8DB
Distance: 8.4 km (5.2 miles)
Elevation Change: +/- 34m
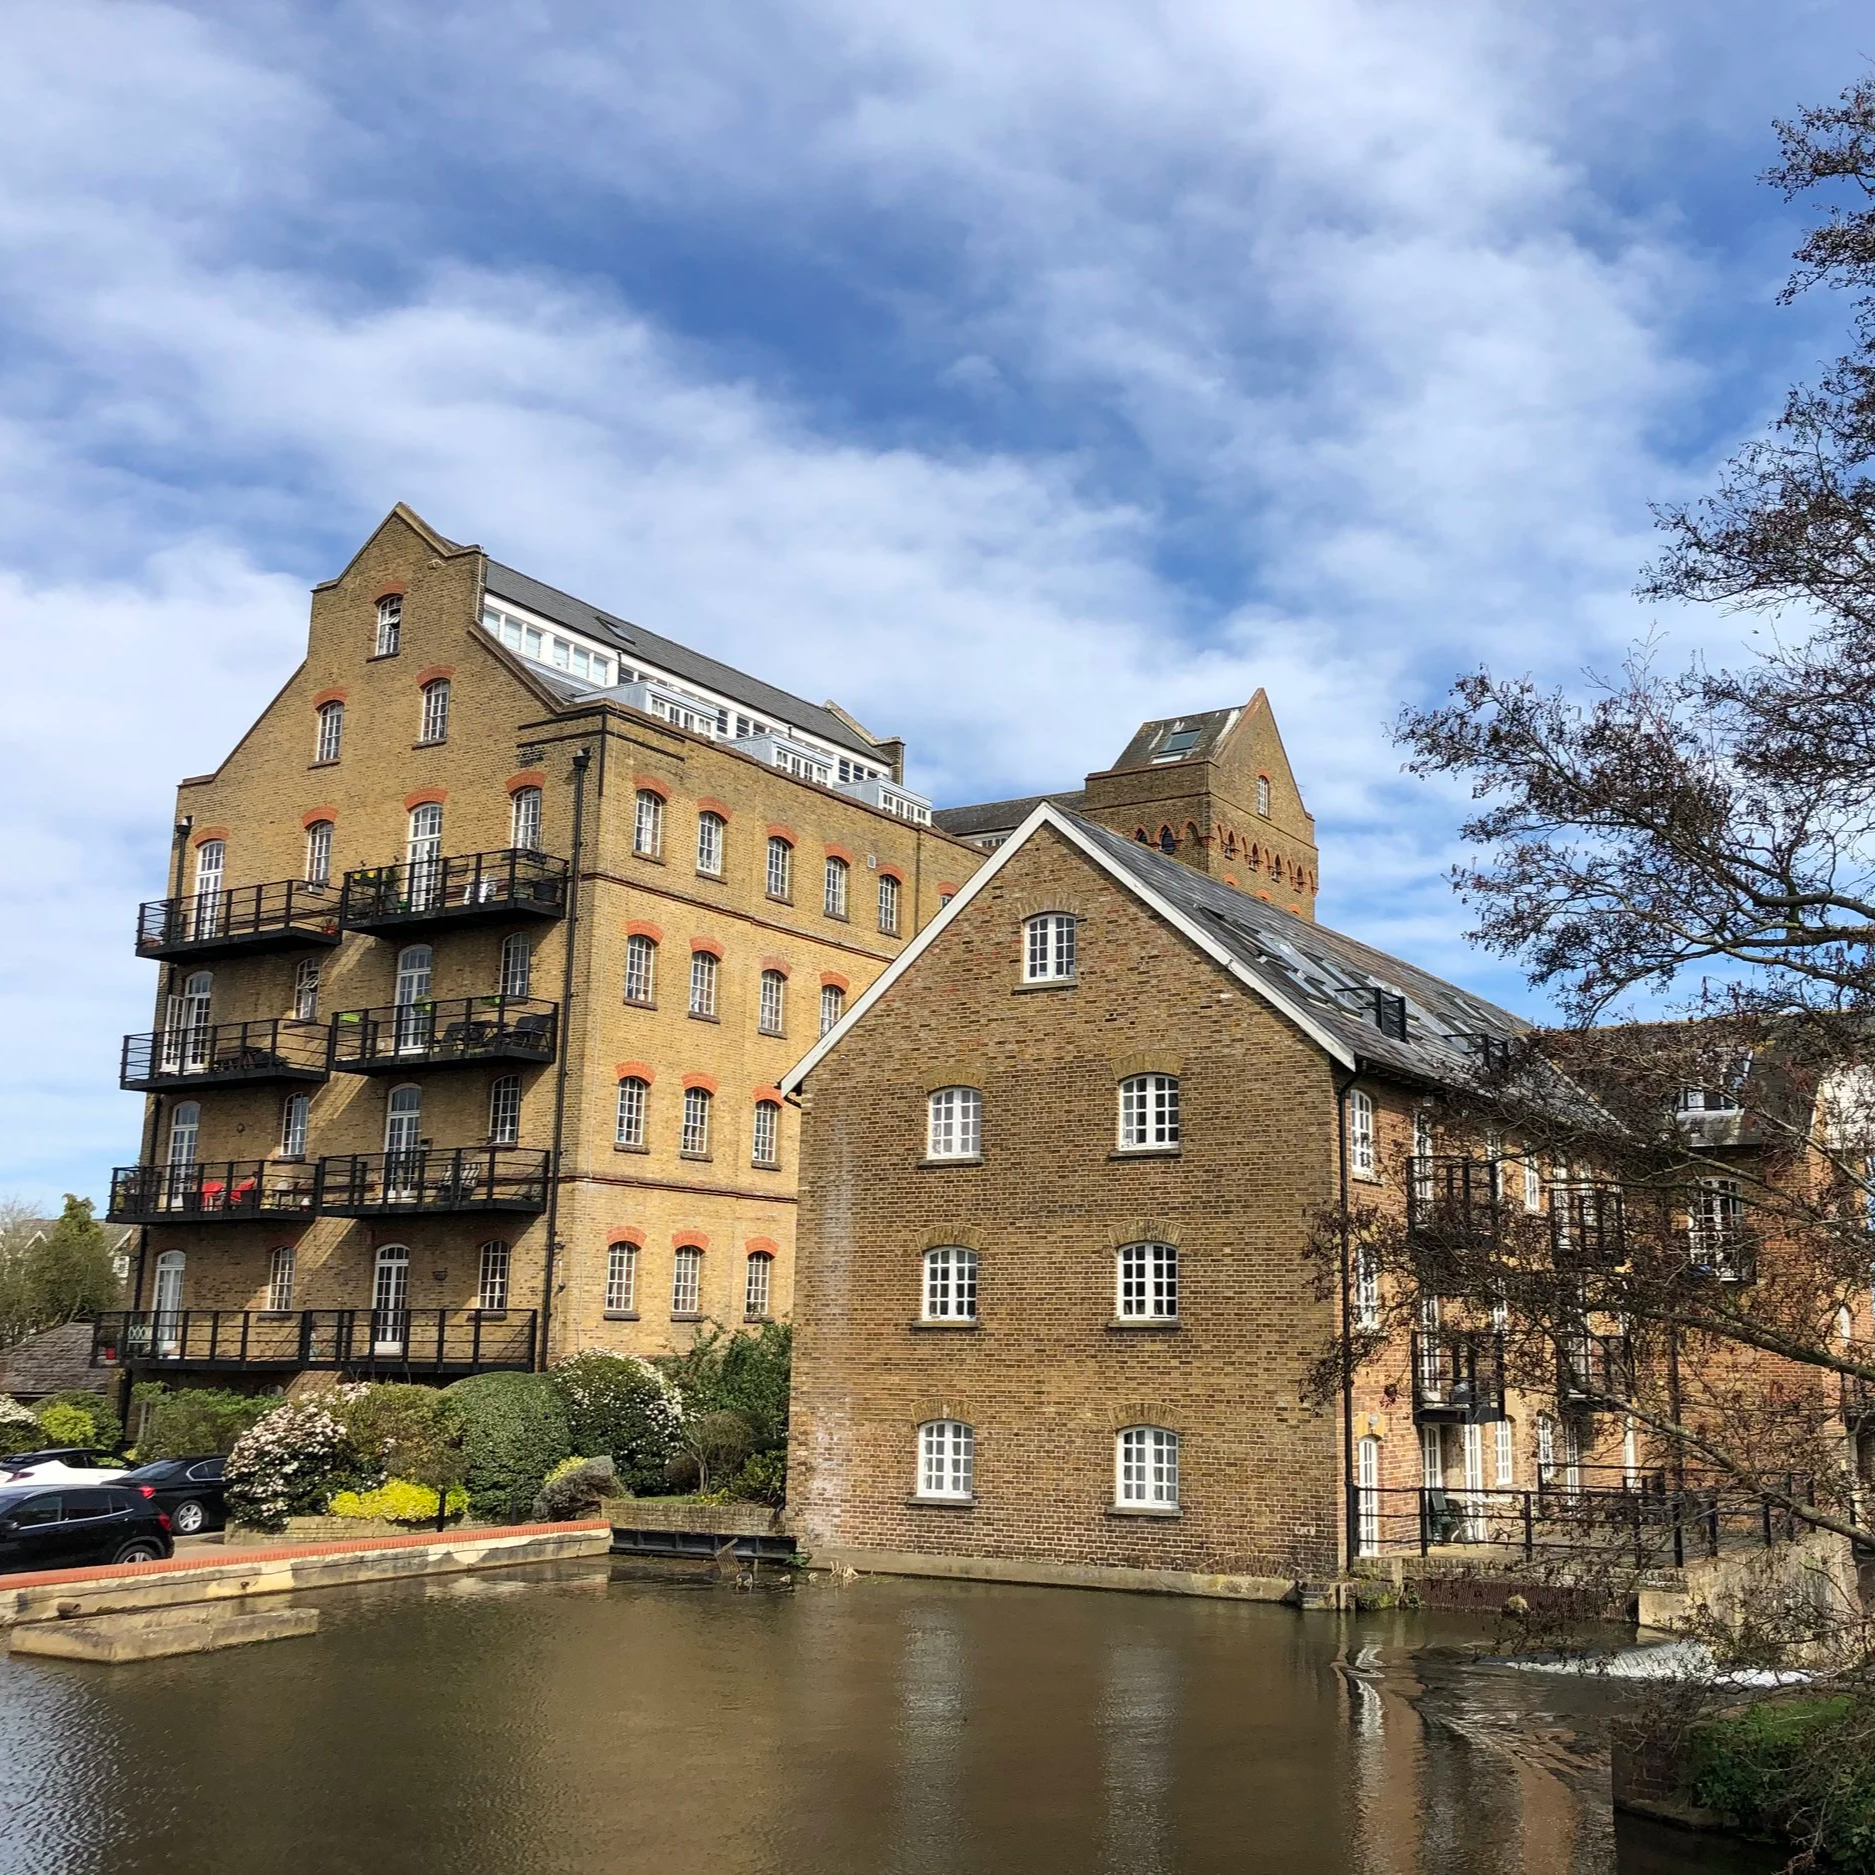
Part 2: Weybridge Locks and Levels Trail
Start & Finish: Churchfield Car Park, Churchfield Road, Weybridge, KT13 8DB
Distance: 7.3 km (4.5 miles)
Elevation Change: +/- 43m

Start / Finish: Weybridge Railway Station, Station Approach, Weybridge, KT13 8UD
Distance: 7.3 km (4.5 miles)
Elevation Change: +/- 28m
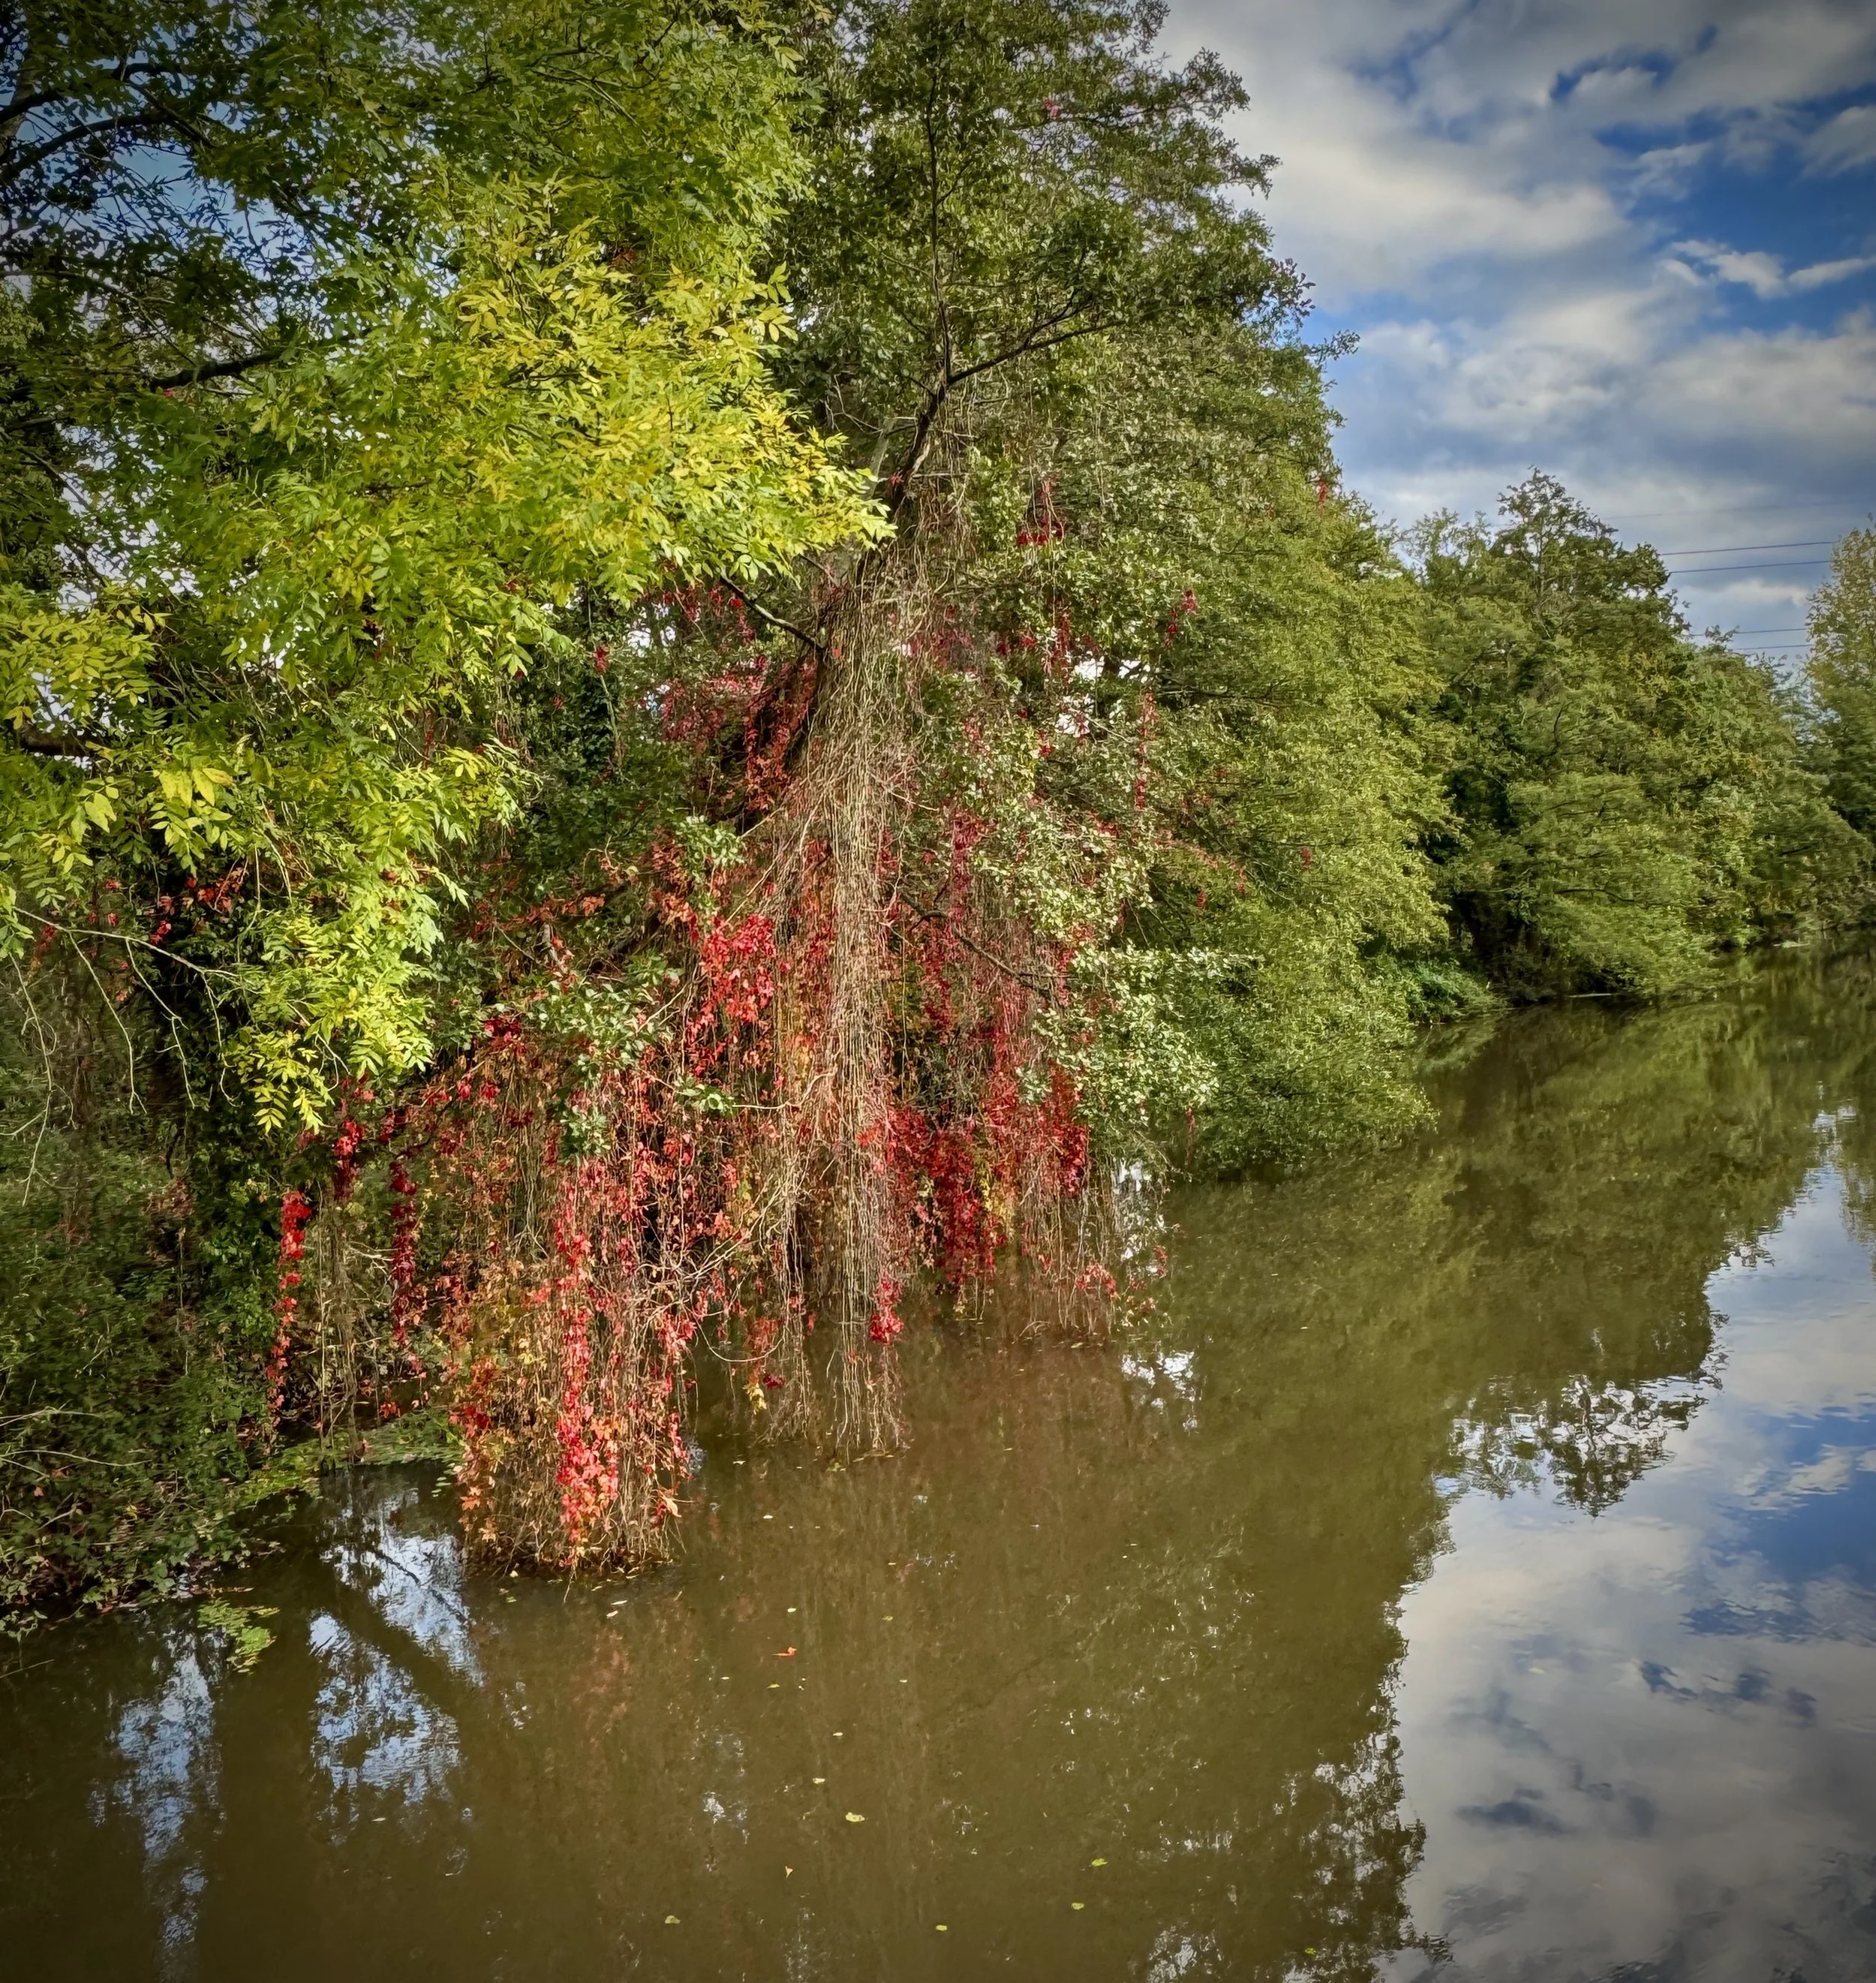
Start & Finish: High Road Parking, 10 High Road, Byfleet, West Byfleet, KT14 7QG
Distance: 8.1 km (5 miles)
Elevation Change: +/- 33m
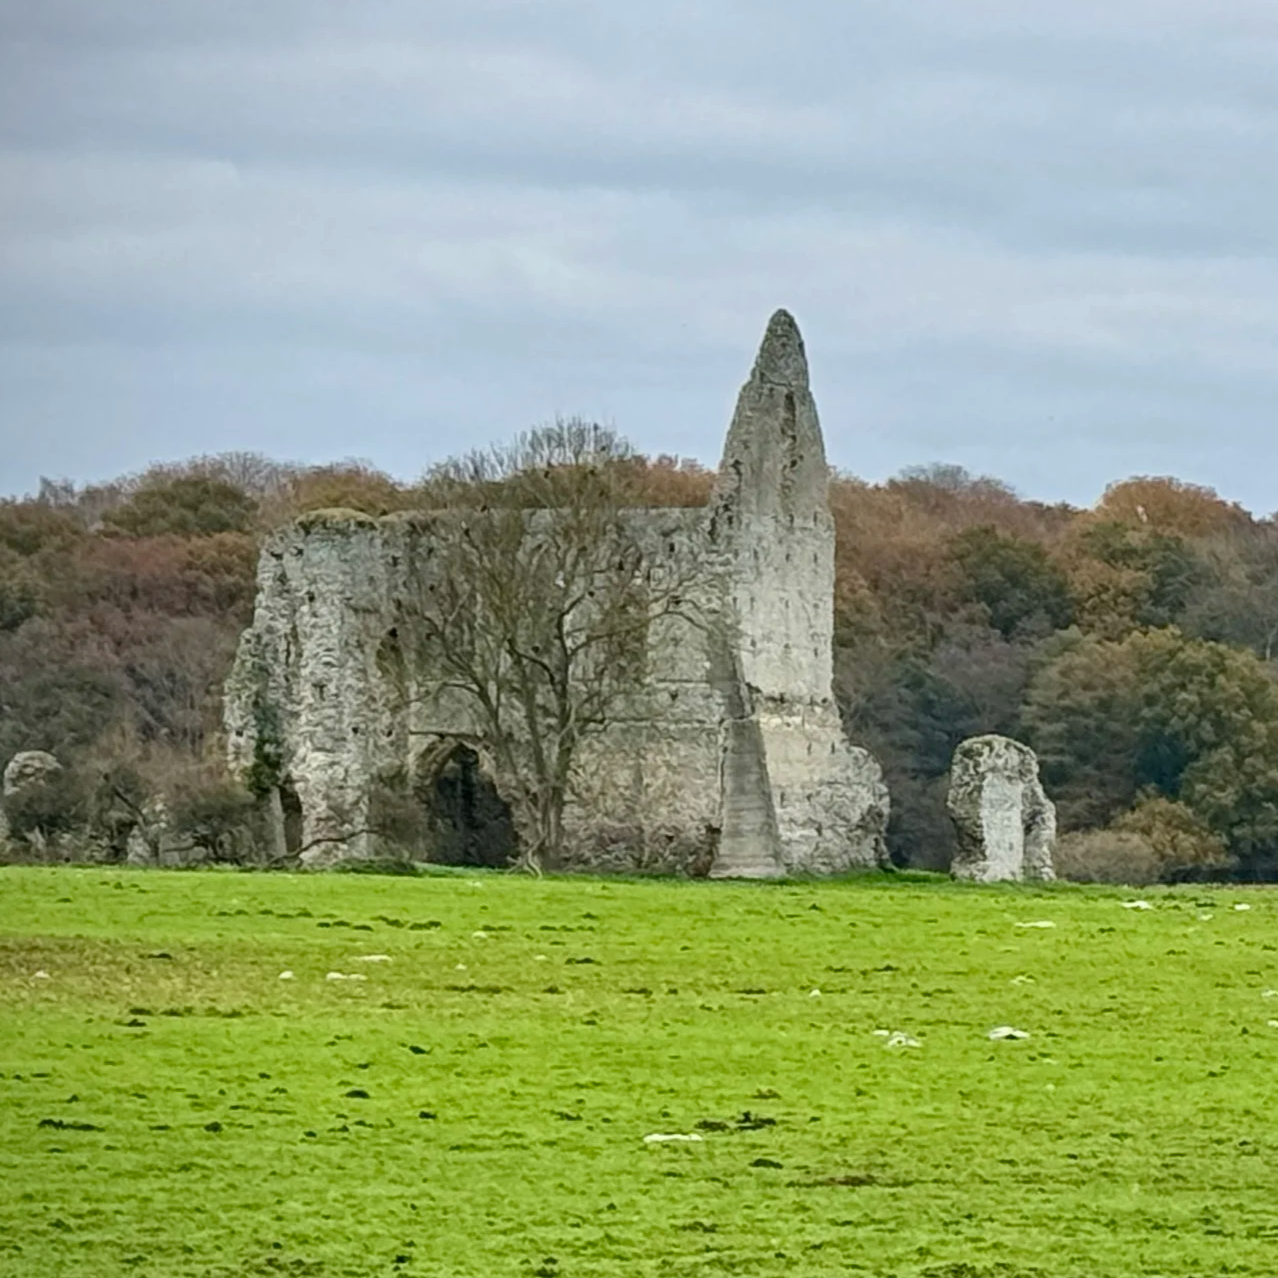
Start & Finish: Ripley High Street, Ripley, Woking, GU23 6AN
Distance: 8.6 km (5.3 miles)
Elevation Change: +/- 50m

Start & Finish: Newark Lane Car Park, Ripley, Woking, GU23 7ES
Distance: 9.7 km (6 miles)
Elevation Change: +/- 39m

Part 7: Worplesdon to Guildford
Start: Worplesdon Station, Woking, GU22 0RN
Finish: Guildford Station, Guildford GU1 4UT
Distance: 11.9 km (7.4 miles)
Elevation Change: +/- 52m

Part 8: Guildford to Godalming
Start: Guildford Station, Guildford GU1 4UT
Finish: Godalming Station, Godalming GU7 1EU
Distance: 8.9 km (5.5 miles)
Elevation Change: +49m / - 42m. Net +7m

Start and Finish: Crown Court Car Park, 41 The Burys, Godalming, GU7 1HR
Alternative Start and Finish: Godalming Station, Godalming GU7 1EU
Distance: 8.2 km (5.1 miles)
Elevation Change: +/- 90m

Start and Finish: Parkin on Tilford Green, 2 Tilford Street, Tilford, Farnham, GU10 2BN
Distance: 9.3 km (5.8 miles)
Elevation Change: +/- 170m
Walking The North Downs Way in The Surrey Hills

View to the south from Ockley Hill
The North Downs Way is a National Trail that weaves its way for 153 miles (246 km) across the stunning landscapes of Surrey and Kent in southeast England. From its starting point in Farnham, Surrey, the trail extends eastward, culminating dramatically at the iconic White Cliffs of Dover in Kent. This well-marked route largely follows the chalk ridge of the North Downs, offering walkers a diverse range of terrain. You'll encounter ancient woodlands, chalk grasslands and panoramic views across the Weald.
Beyond its natural beauty, the North Downs Way is steeped in history. Sections of the trail closely trace the ancient Pilgrims' Way, a historic route used by pilgrims travelling to Canterbury Cathedral, famously immortalised in Chaucer's Canterbury Tales. Along the way, you'll encounter remnants of Roman roads, Norman castles like Rochester and Thurnham, and even Neolithic burial chambers such as Kit's Coty House. The trail passes through two designated National Landscape – the Surrey Hills and the Kent Downs – both recognised for their unique ecological importance and scenic charm. With excellent public transport links, including numerous train stations along its length, the North Downs Way is easily accessible, making it perfect for both multi-day expeditions and shorter day walks.
We completed the Surrey section of the North Downs Way in a series of 7 point-to-point walks over 2 years. This post details both the whole section through the Surrey Hills and links to the 7 individual sections. For further details there’s several books about the Trail and web resources including northdownsway.org and the National Trails’ site.
Point to Point: The full North Downs Way in The Surrey Hills
Start: Farnham Station, Farnham, GU9 8AG
Finish: The Velo Barn, Unit 1, Betsoms Farm, Pilgrims Way, Westerham TN16 2DS
Distance: 75 km (46.6 miles)
Elevation change: + 1,272m / - 1,186m. Net -86m
GPX File: get via Buy Me a Coffee
Maps:
- Guildford & Farnham Map | Godalming & Farnborough | Ordnance Survey | OS Explorer Map 145
- Dorking, Box Hill & Reigate Map | Leatherhead & Caterham | Ordnance Survey | OS Explorer Map 146
- Sevenoaks & Tonbridge Map | Royal Tunbridge Wells & Westerham | Ordnance Survey | OS Explorer Map 147
Guidebook: The North Downs Way National Trail from Farnham to Dover (Cicerone)
Links: LDWA: North Downs Way, National Trails: North Downs Way, northdownsway.org
See individual section posts linked below for other links.















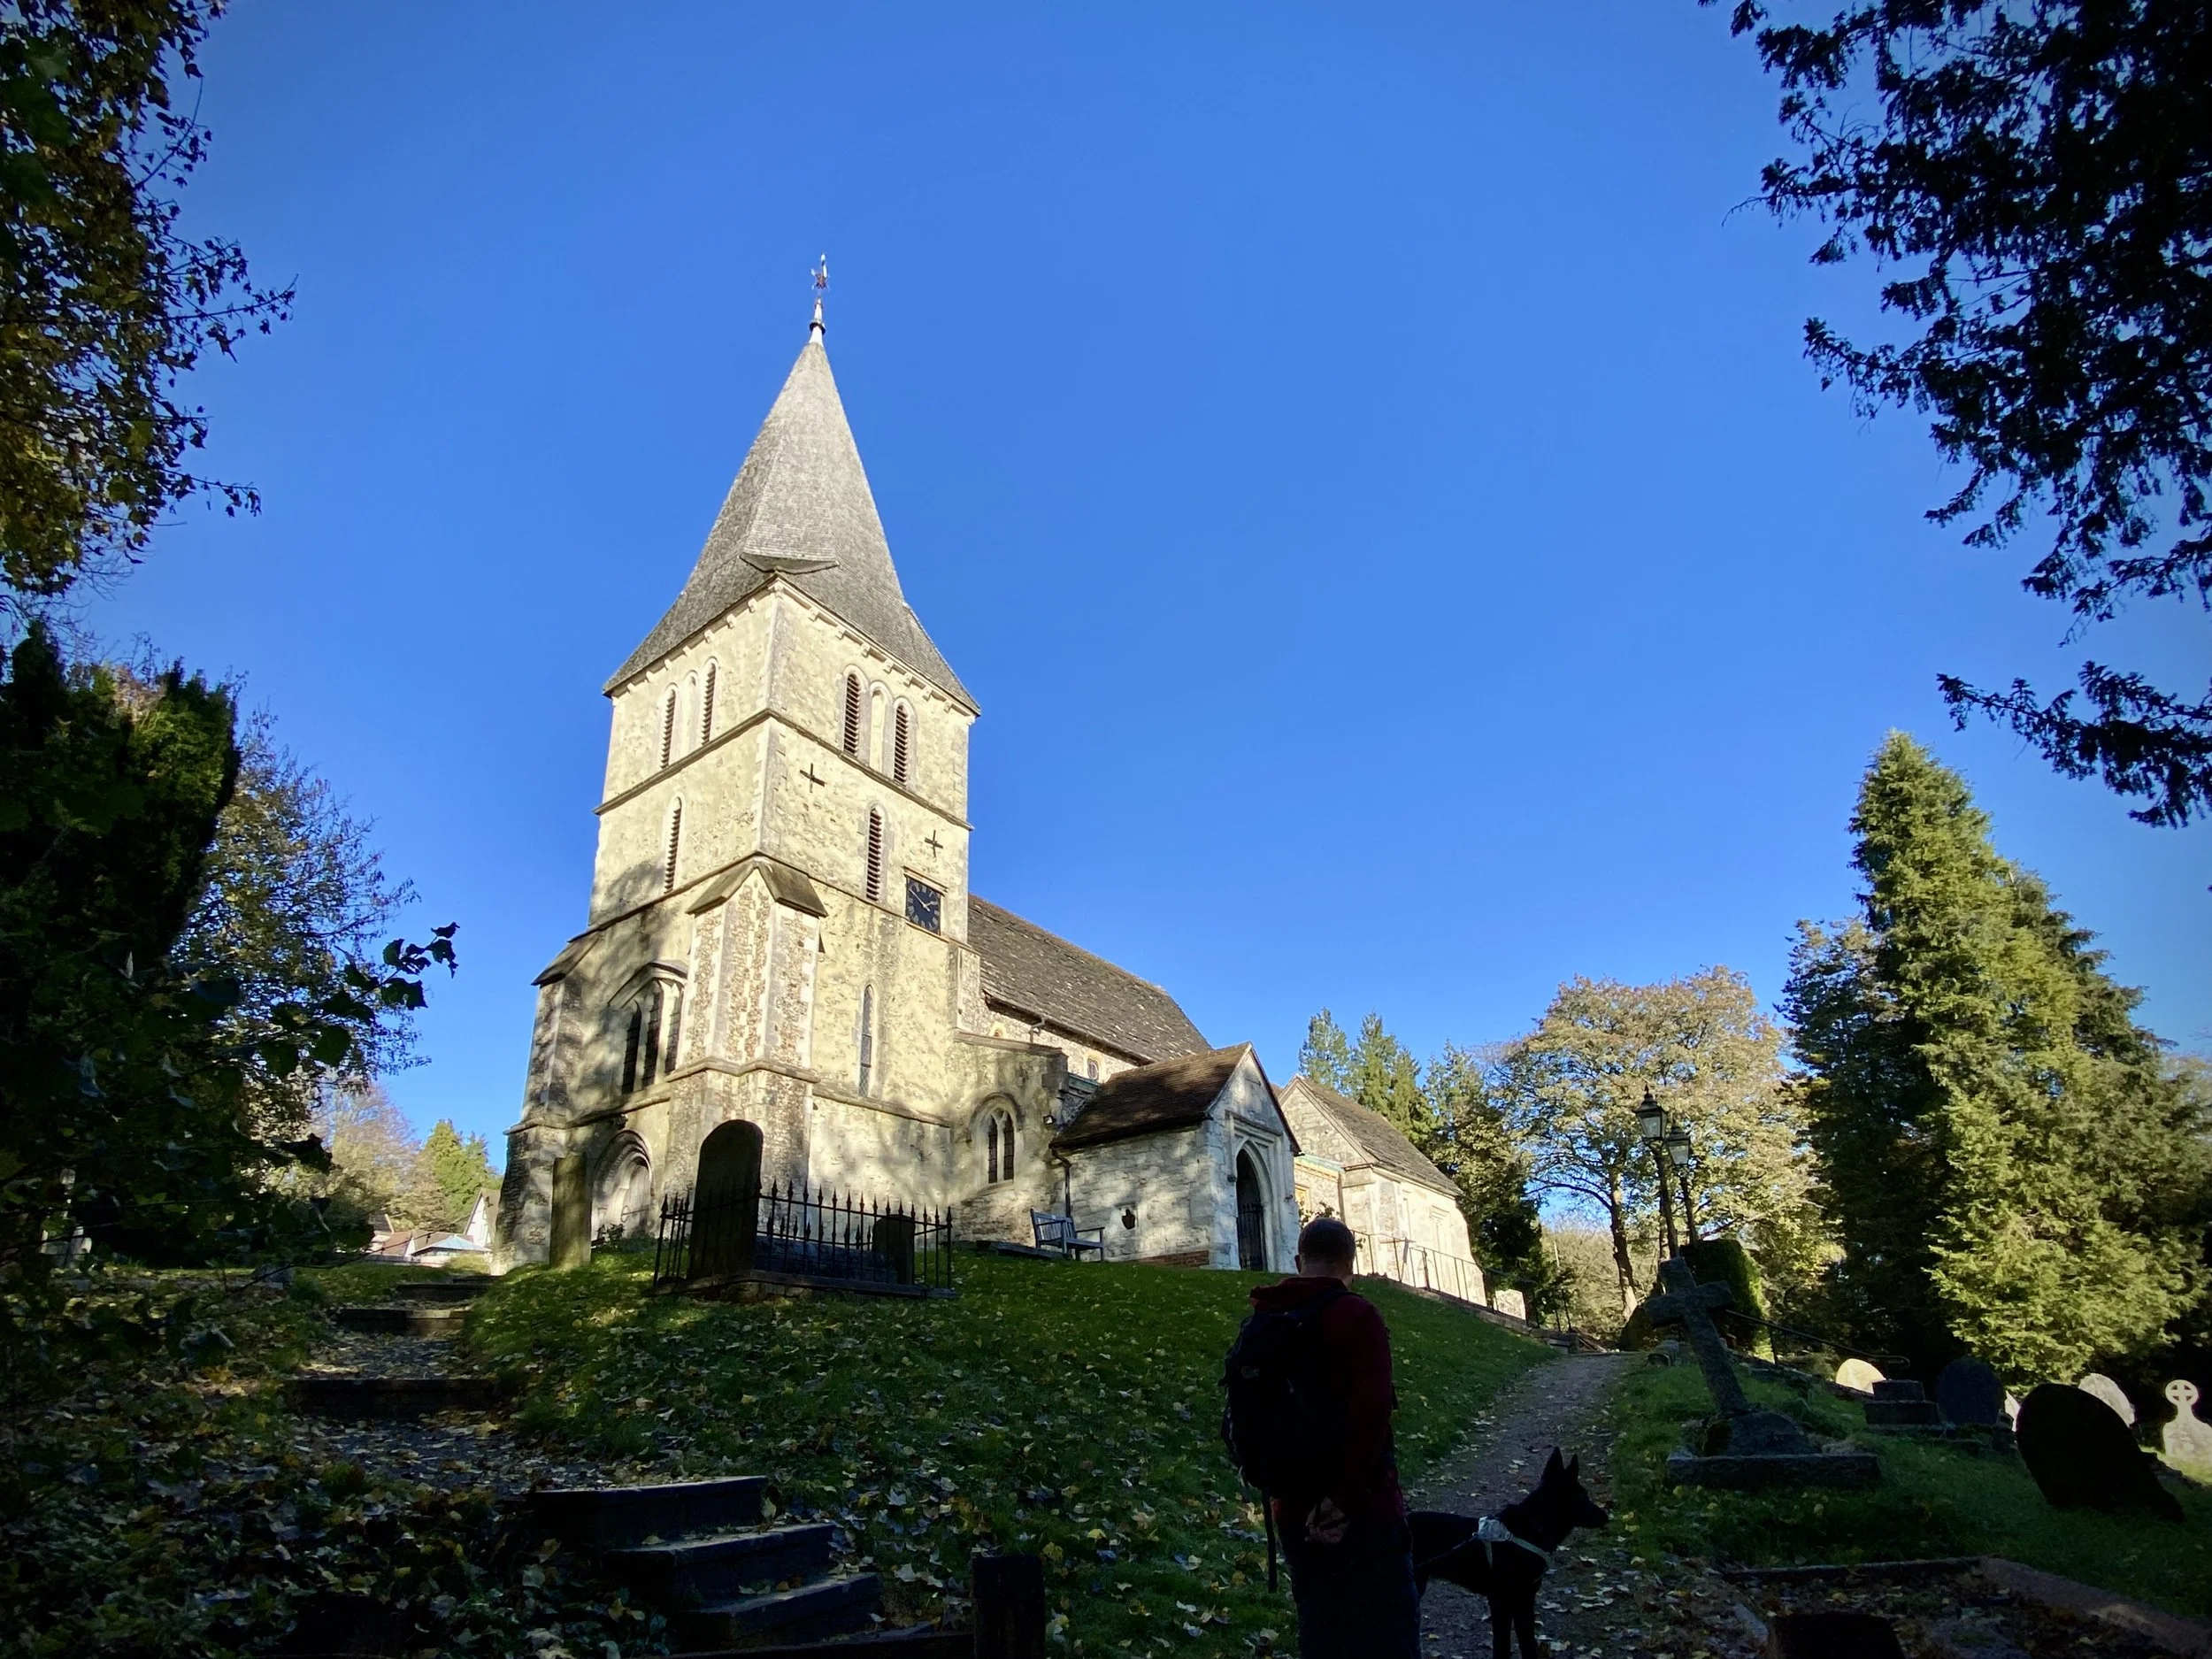


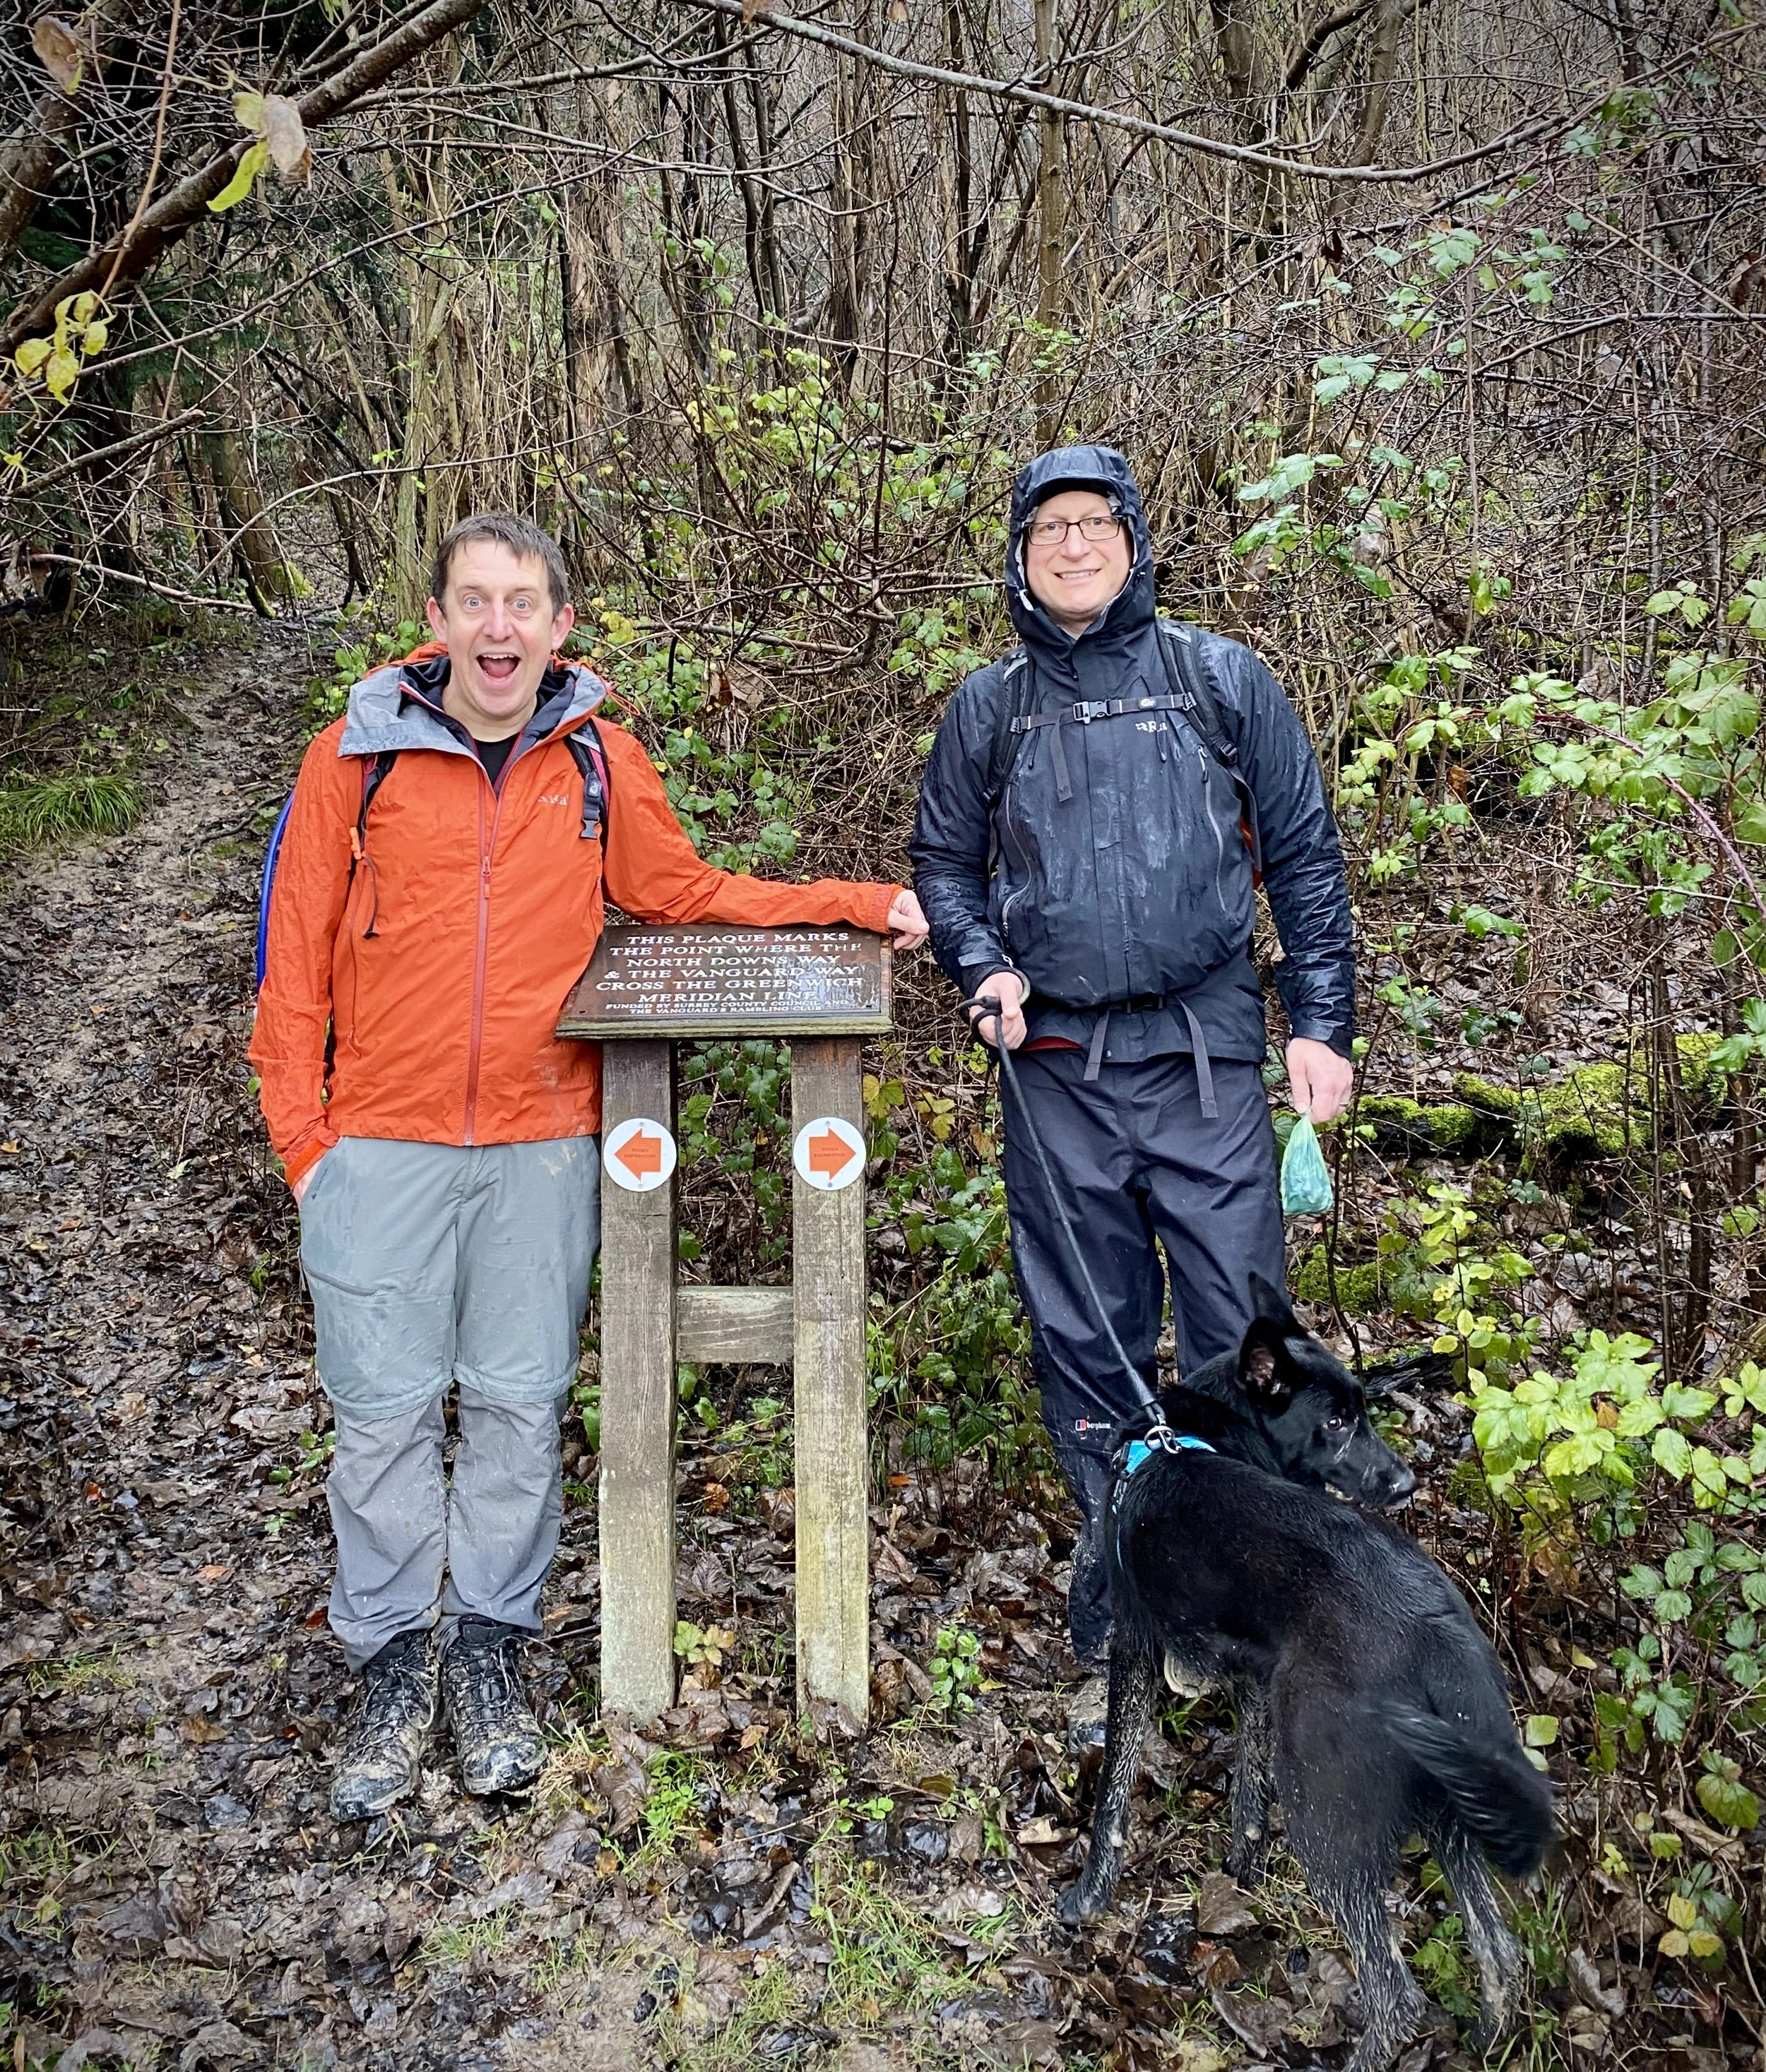


Walking The North Downs Way in the Surrey Hills in 7 trips
If you’re not up for a 75km walk in one go, you can take in the North Downs in 7 point-to-point walks of between 9 and 13 km each. We chose this option, completing all 7 sections over a few years from 2021 to 2024.

Each number refers to a circular walk below. Base map: Esri Topo via RideWithGPS

Section 1: Farnham to Puttenham
Start: Farnham Station, Farnham, GU9 8AG
Finish: The Good Intent Pub, 60-62 The Street, Puttenham, Guildford, GU3 1AR
Distance: 10.6 km (6.6 miles)
Elevation change: +118m / -100m. Net +8m
Section 2: Puttenham to Newlands Corner
Start: The Good Intent Pub, 60-62 The Street, Puttenham, Guildford, GU3 1AR
Finish: Newlands Corner Car Park, A25 Shere Road, Newland's Corner, Albury, GU4 8S
Distance: 12.8 km (7.9 miles)
Elevation change: +256m / -181m. Net +75m

Section 3: Newlands Corner to Ranmore
Start: Newlands Corner Car Park, A25 Shere Road, Newland's Corner, Albury, GU4 8S
Finish: Ranmore Common East Car Park, Wotton, Dorking, RH5 6SR
Distance: 11.6 km (7.2 miles)
Elevation change: +128m / -107m. Net -21m

Section 4: Ranmore to Betchworth
Start: Ranmore Common East Car Park, Wotton, Dorking, RH5 6SR
Finish: Betchworth Station, Betchworth RH3 7BZ
Distance: 10 km (6.2 miles)
Elevation change: +192m / -292m. Net -100m

Section 5: Betchworth to Merstham
Start: Betchworth Station, Betchworth RH3 7BZ
Finish: Merstham Station, Station Rd, Merstham, Redhill, RH1 3ED
Distance: 11.1 km (6.9 miles)
Elevation change: +206m / -197m. Net -9m

Section 6: Merstham to Gangers Hill
Start: Merstham Station, Station Rd, Merstham, Redhill, RH1 3ED
Finish: Gangers Hill Car Park, Gangers Hill, Woldingham, Godstone, CR3 7AD
Distance: 11.8 km (7.3 miles)
Elevation change: +270m / -140m. Net -130m

Section 7: Gangers Hill to Westerham Hill
Start: Gangers Hill Car Park, Gangers Hill, Woldingham, Godstone, CR3 7AD
Finish: The Velo Barn, Unit 1, Betsoms Farm, Pilgrims Way, Westerham TN16 2DS
Distance: 9.1 km (5.6 miles)
Elevation change: +161m / -216m. Net -55m
TP4009 - Hope Farm: The UK's Most South Easterly Trig Pillar

Start & Finish: Parking at Dover Patrol Memorial, Granville Road, St Margarets Bay, St Margaret's at Cliffe, Dover, CT15 6DS
Distance: 5.5 km (3.5 miles)
Elevation change: +/- 83m
GPX File: get via Buy Me a Coffee
Other routes touched (walk): Saxon Shore Way, England Coast Path, St Margaret’s Frontline Britain Trail
Other routes touched (cycle): NCN 1
OS Trig Pillar: TP4009 - Hope Farm
Pubs / Cafes on route: None
Map: Dover, Folkestone & Hythe Map | England Coast Path | Ordnance
Links: St Margaret's at Cliffe, Dover Patrol Memorial, Trig Pillar Extremes
This is a short walk near St Margaret's at Cliffe in Kent that visits the most south easterly OS Trig Pillar in the UK. If you’ve searched for or stumbled across this page then you probably already know what an OS Trig Pillar is. If you don’t then this article from the Ordnance Survey is a good place to start.
The walk starts at the Dover Patrol Memorial where there’s a small free car park. Walk in a south westerly direction away from the Memorial and look out for a brown footpath sign indicating the St Margaret’s Frontline Britain Trail just before you reach the houses. Follow this path in a north-westerly direction until you reach The Droveway (road). Take a left onto The Droveway then take the footpath on the right that takes you to Kingsdown Road. Take a right onto Kingdown Road to follow it in a north-easterly direction for 1.1 km. The road quickly becomes a track which is part of the NCN 1 cycle route.
Leave the track at the path into the Bockhill Farm National Trust property and follow the left hand edge of the field to a path junction. When you reach some open scrubland cut across the to find the Trig Pillar on the golf-course side of the boundary fence. After the Trig Pillar follow the fence to the south east then turn left to follow the boundary path between the golf course and the edge of the farm. Look back to see a good view of the Trig Pillar across the golf course. Continue in a north-easterly direction along the field'/golf-course boundary then take the path on the right that leads down to the coastal path. Take a right onto the coastal path to follow it all the way back to the Memorial.



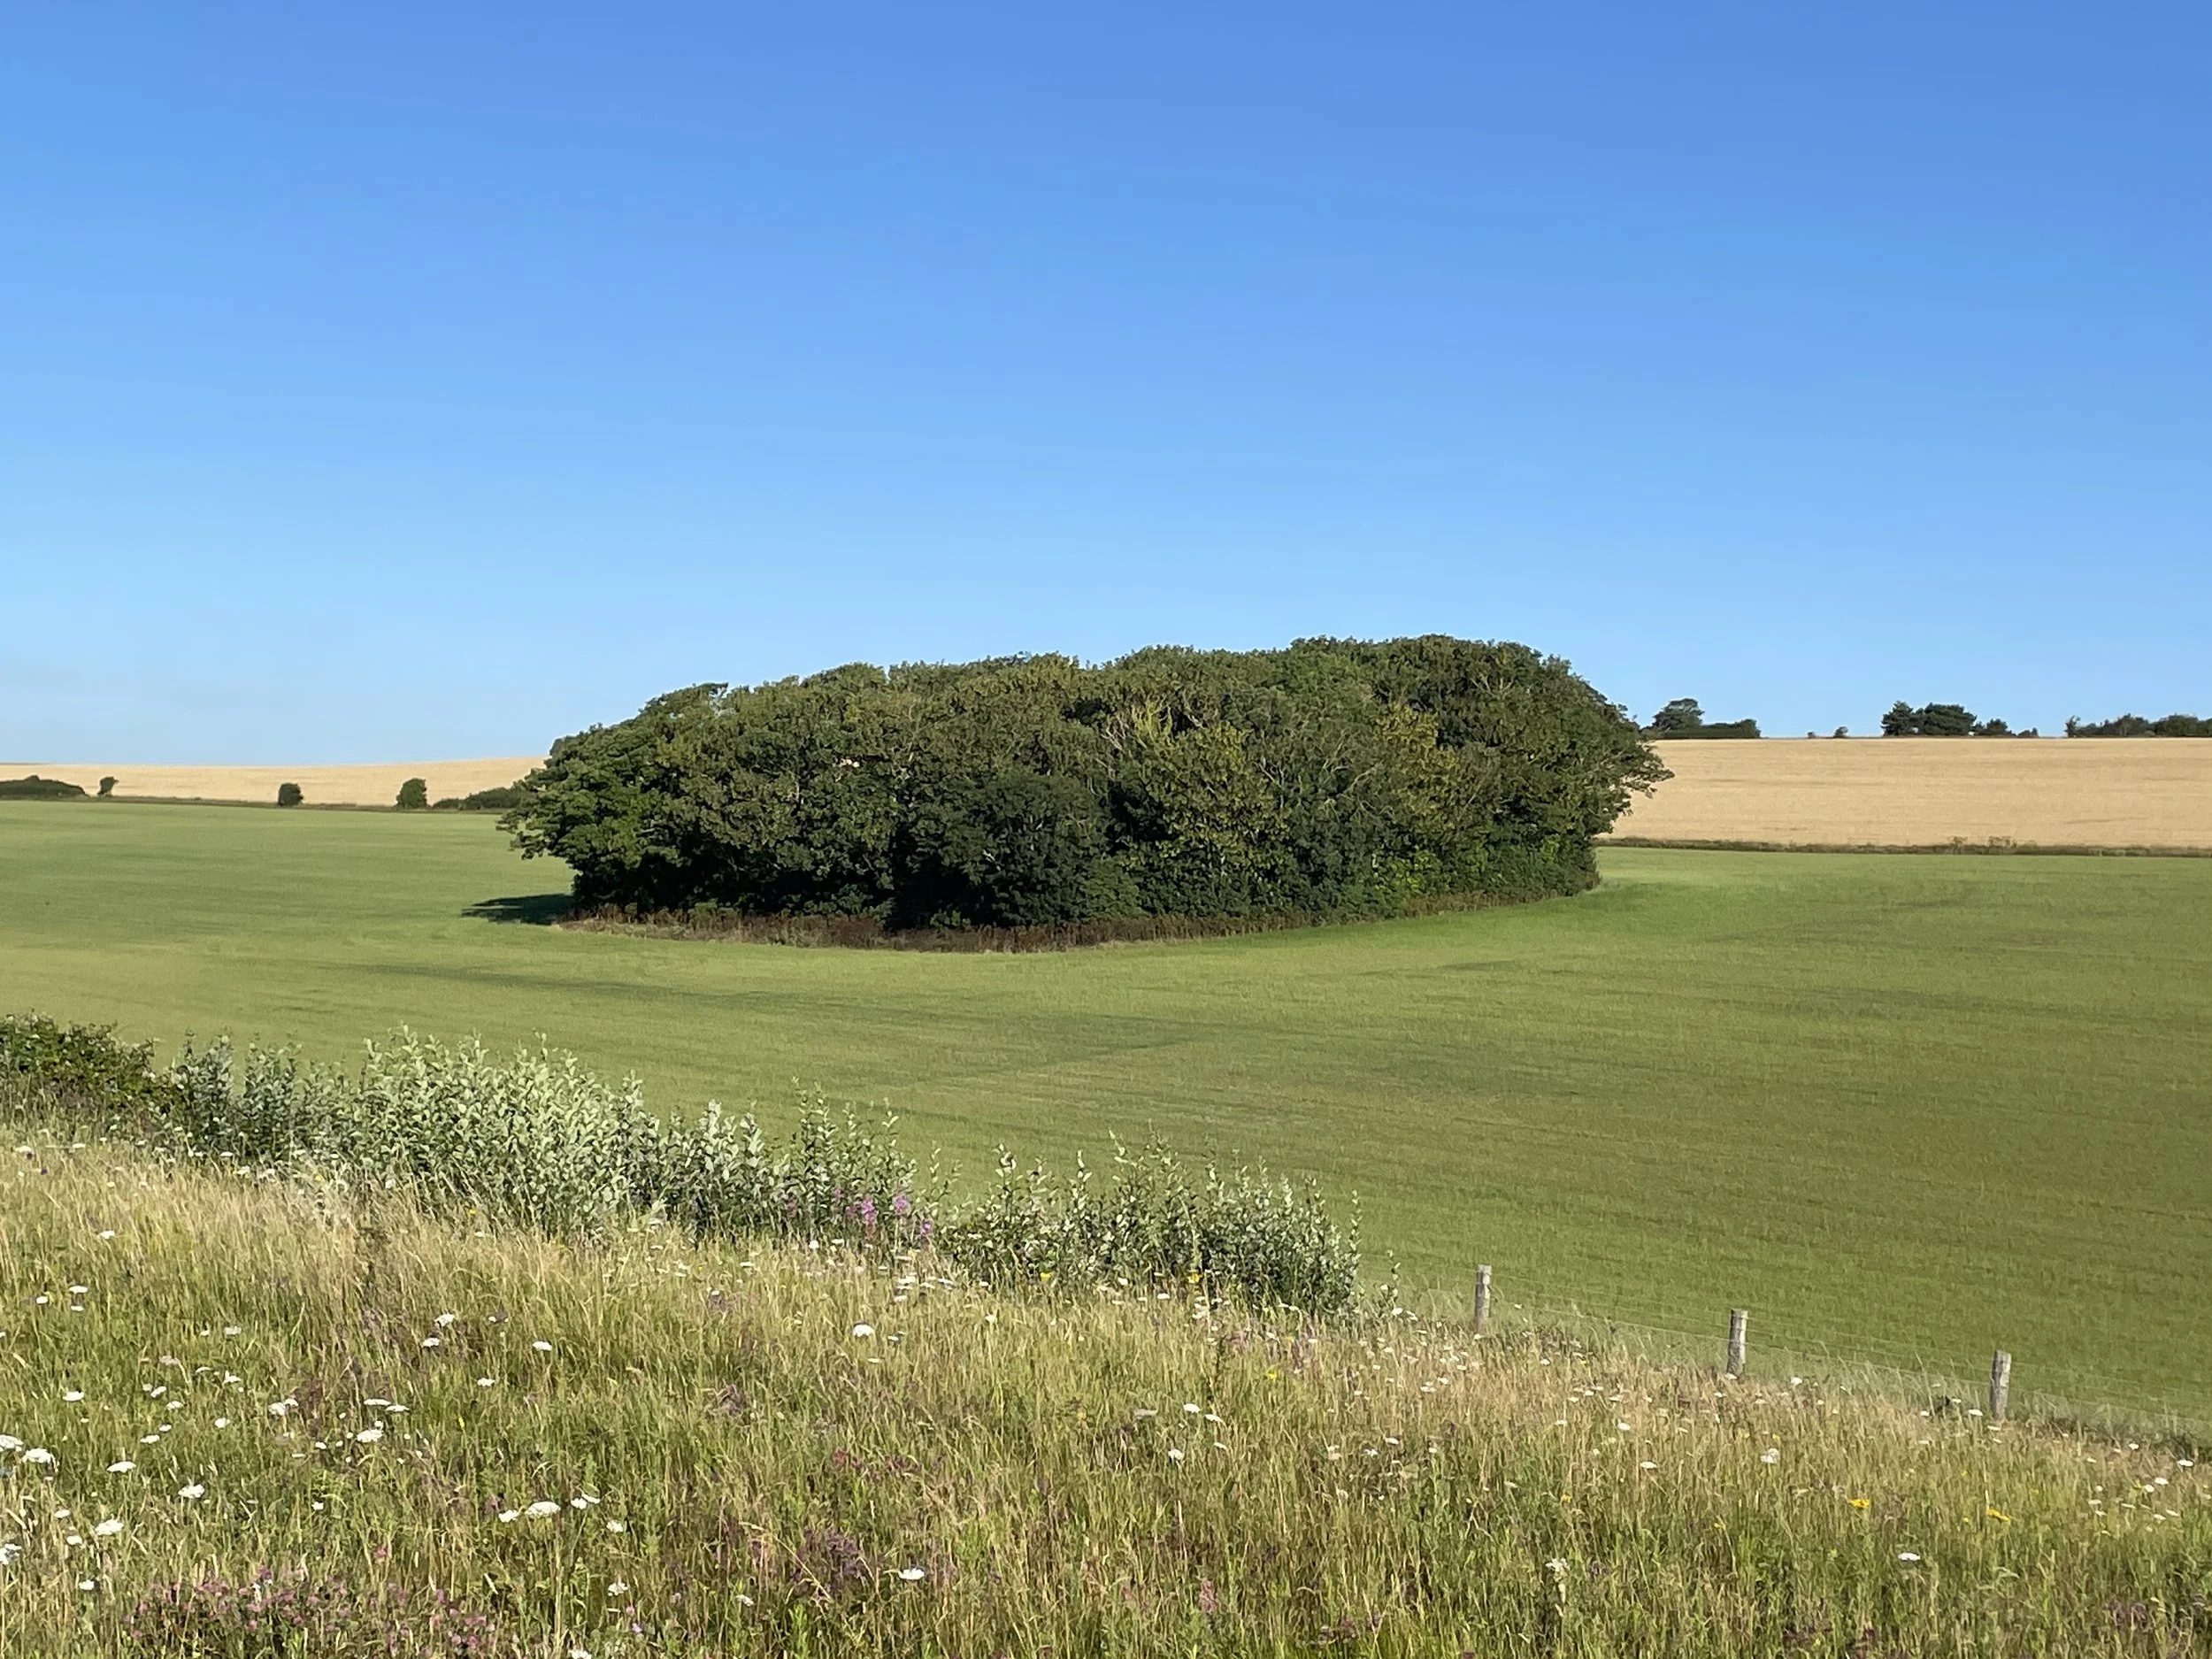


Walking the River Wey Part 9: Godalming and Eashing

Old Eashing Bridge
Start and Finish: Crown Court Car Park, 41 The Burys, Godalming, GU7 1HR
Alternative Start and Finish: Godalming Station, Godalming GU7 1EU
Distance: 8.2 km (5.1 miles)
Elevation Change: +/- 90m
GPX File: get via Buy Me a Coffee
Other Routes Touched (walk): The Fox Way, Salgassens Path
Other Routes Touched (cycle): Surrey Cycleway
Cafe / pubs on route: Several at the start and end at Godalming. Plus: The Stag on the River (just off route at 4.2 km in)
Map: Guildford & Farnham Map | Godalming & Farnborough | Ordnance Survey | OS Explorer Map 145
Links: Wey Navigation, River Wey, Godalming, Eashing, Eashing National Trust
This is the ninth and last of a series of short circular walks along the River Wey and the Wey Navigation canal in Surrey. The guidance below will help you navigate but don’t use it as a fully accurate turn-by-turn guide. Always take a map and/or a GPX route and prepare well for the weather and terrain.
This walk picks up where section 8 left off at Godalming Station. If you’re driving there’s large car parks either at the station or at the Crown Court in the town centre. If you’re starting from the station head north onto Westbrook Road and take the Fox Way in an easterly direction to Borough Road. If you’re starting from the Crown Court Car Park then follow the Fox way in a westerly direction from the north-western corner of the car park to reach Borough Road.
Follow the path on the left hand side of Borough Road in a northerly direction then cross under the railway bridge. You’ll soon cross a cross bridge over Hell Ditch, a series of drainage channels following the northern side of the Wey near the town. Take the first path on the left after the railway bridge to leave Borough Road and follow Salgassens Path parallel to Hell Ditch.
This westerly-heading part of the walk is a quiet, pleasant section running by or close to the Wey as it meanders away from the town. We were there on a dry day buy I could imagine it being quite boggy after rain. There were a few bits that had recently been cut back and would likely be overgrown early summer.
Around the 4km mark the path ends at the road through Lower Eashing, rejoining the Fox Way. Take a left to follow the road over the National Trust Old Eashing Bridges. Take a right after the bridge to visit The Stag on The River pub. As well as a good place to rest half-way, this is the end of the walkable route next to the River Wey.
For the return section retrace your steps back to Eashing Bridge and follow the Fox Way. You’ll keep to the southern bank of the river for 200 metres before zig-zagging in an easterly direction back towards Godalming. When you reach New Way at the 6.5 km mark you have a choice: either take a left to follow the Fox Way back to Godalming Station or, the slightly longer route taking a right onto New Way to follow the railway line to Ockford Road then following Grove Road to Godalming High Street. I recommend taking the slightly longer route via the High Street to explore the old market town.


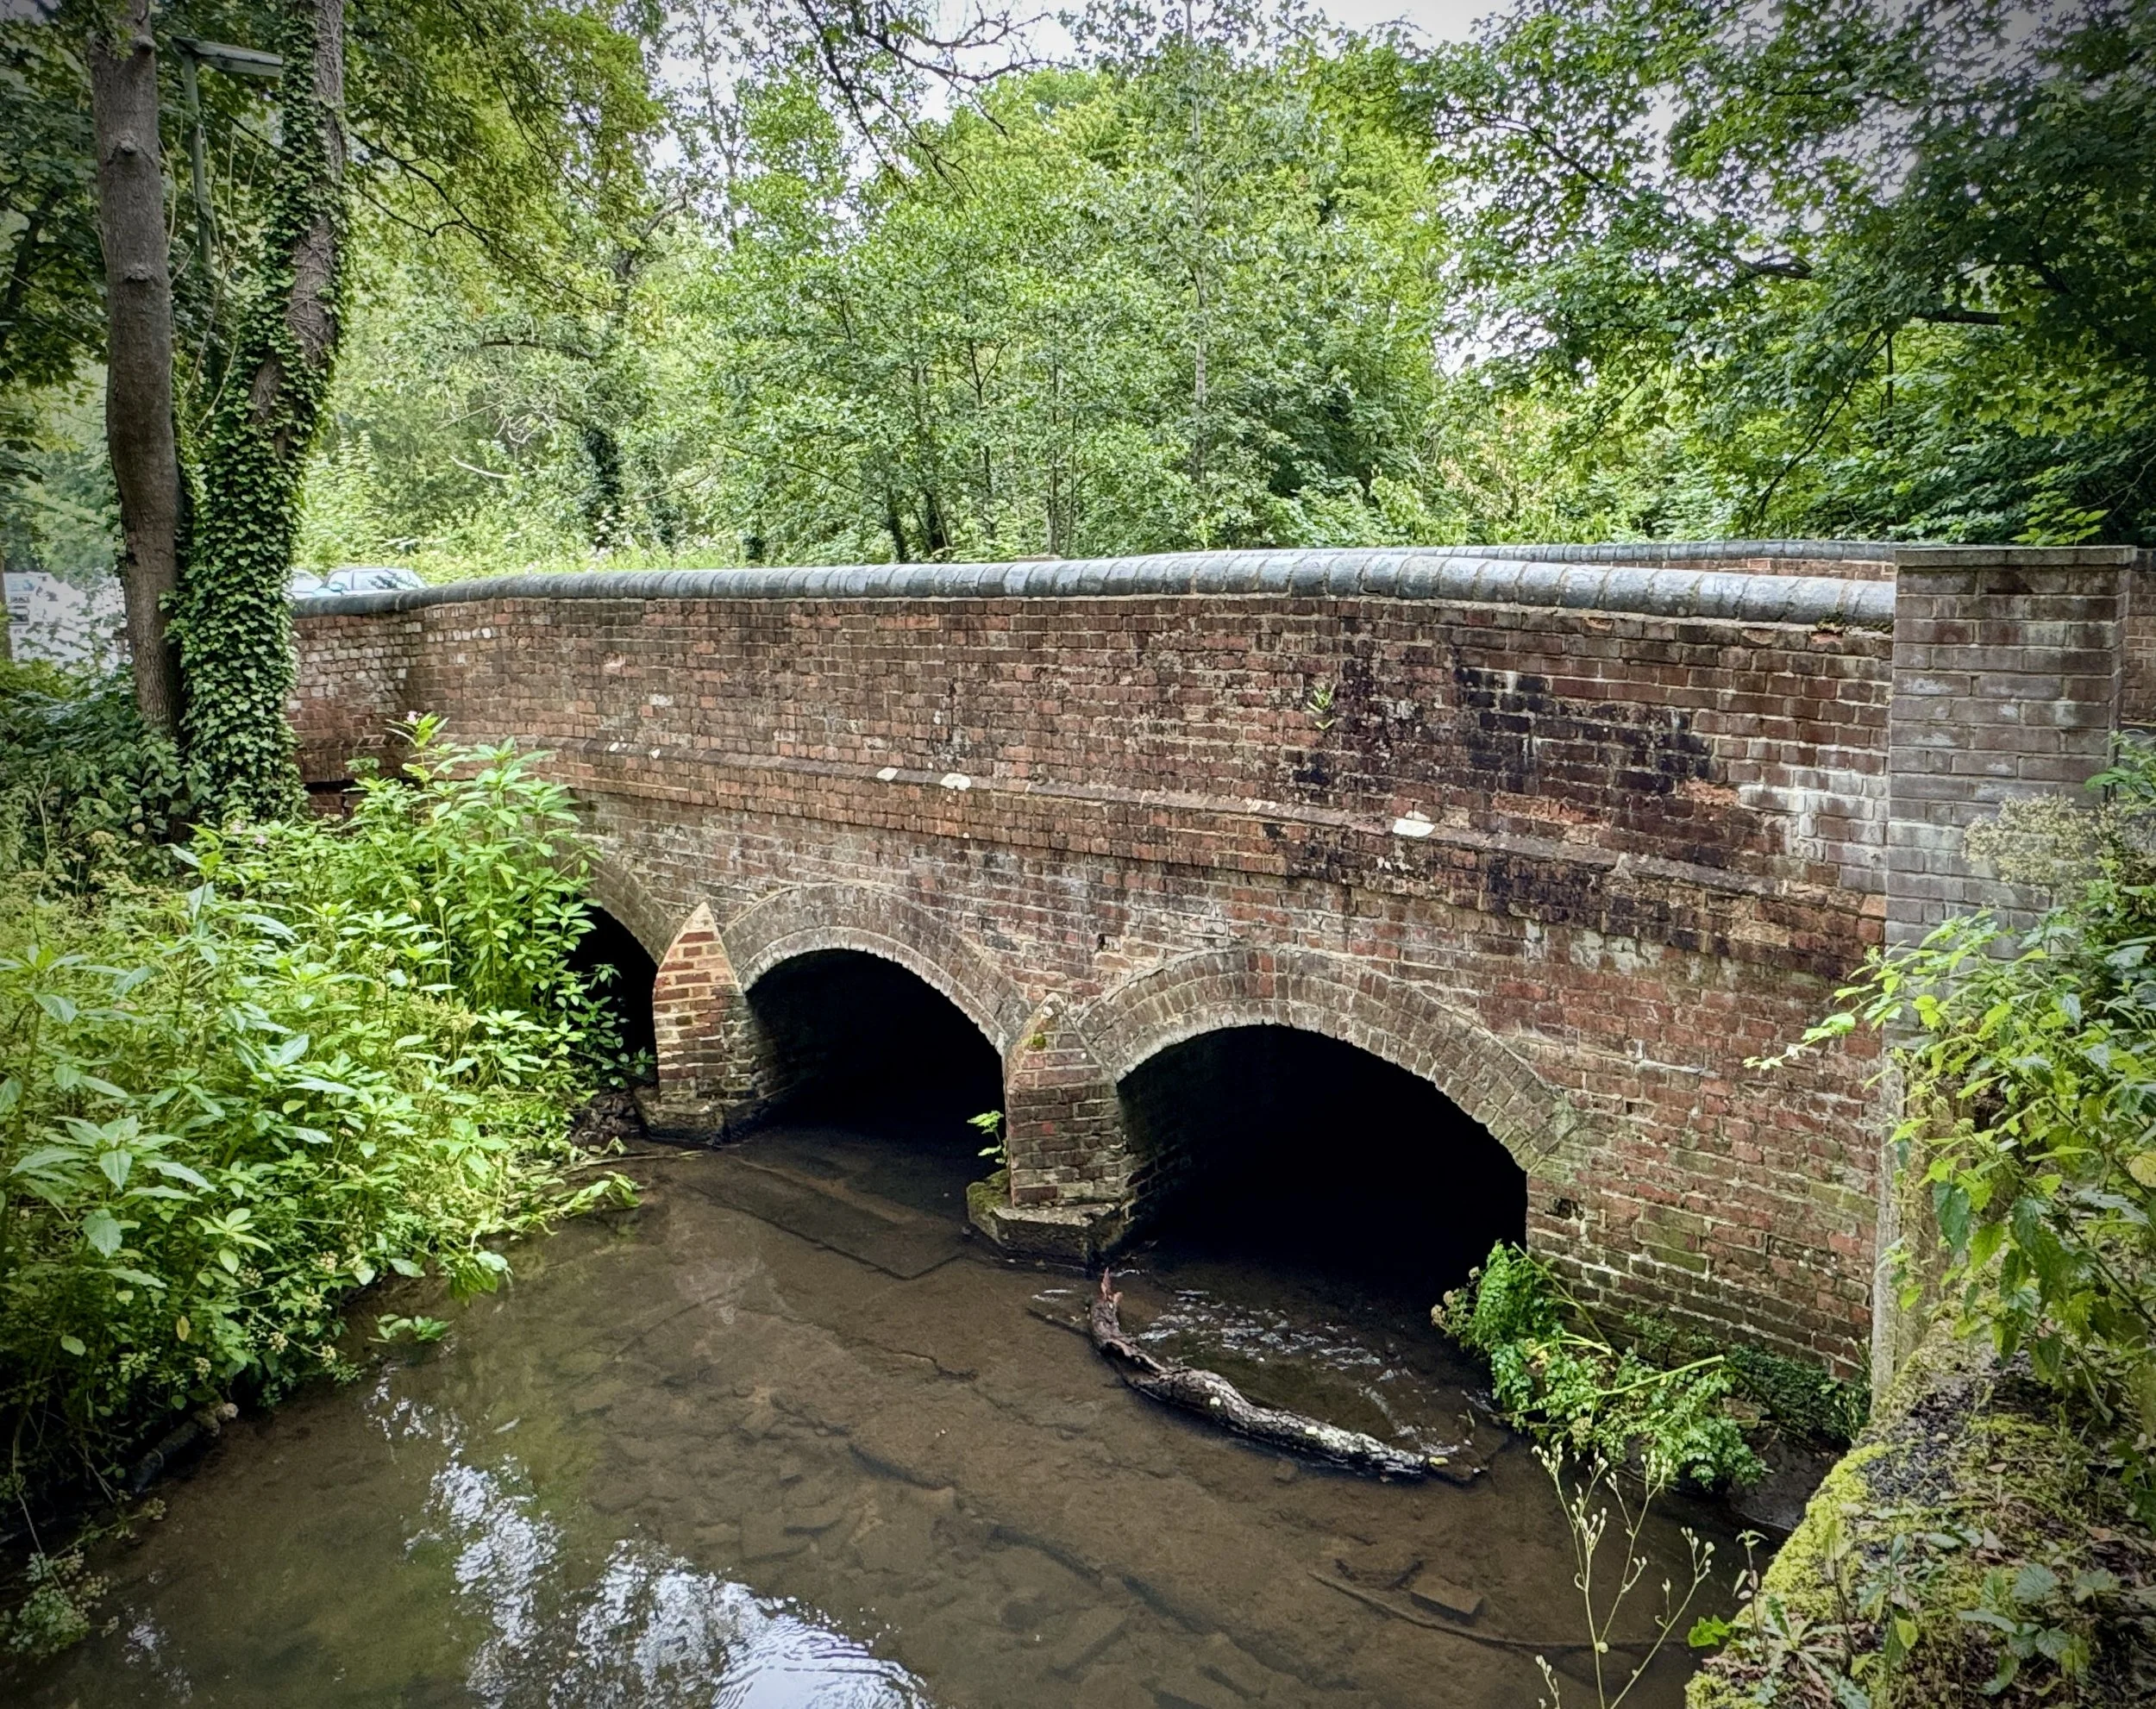


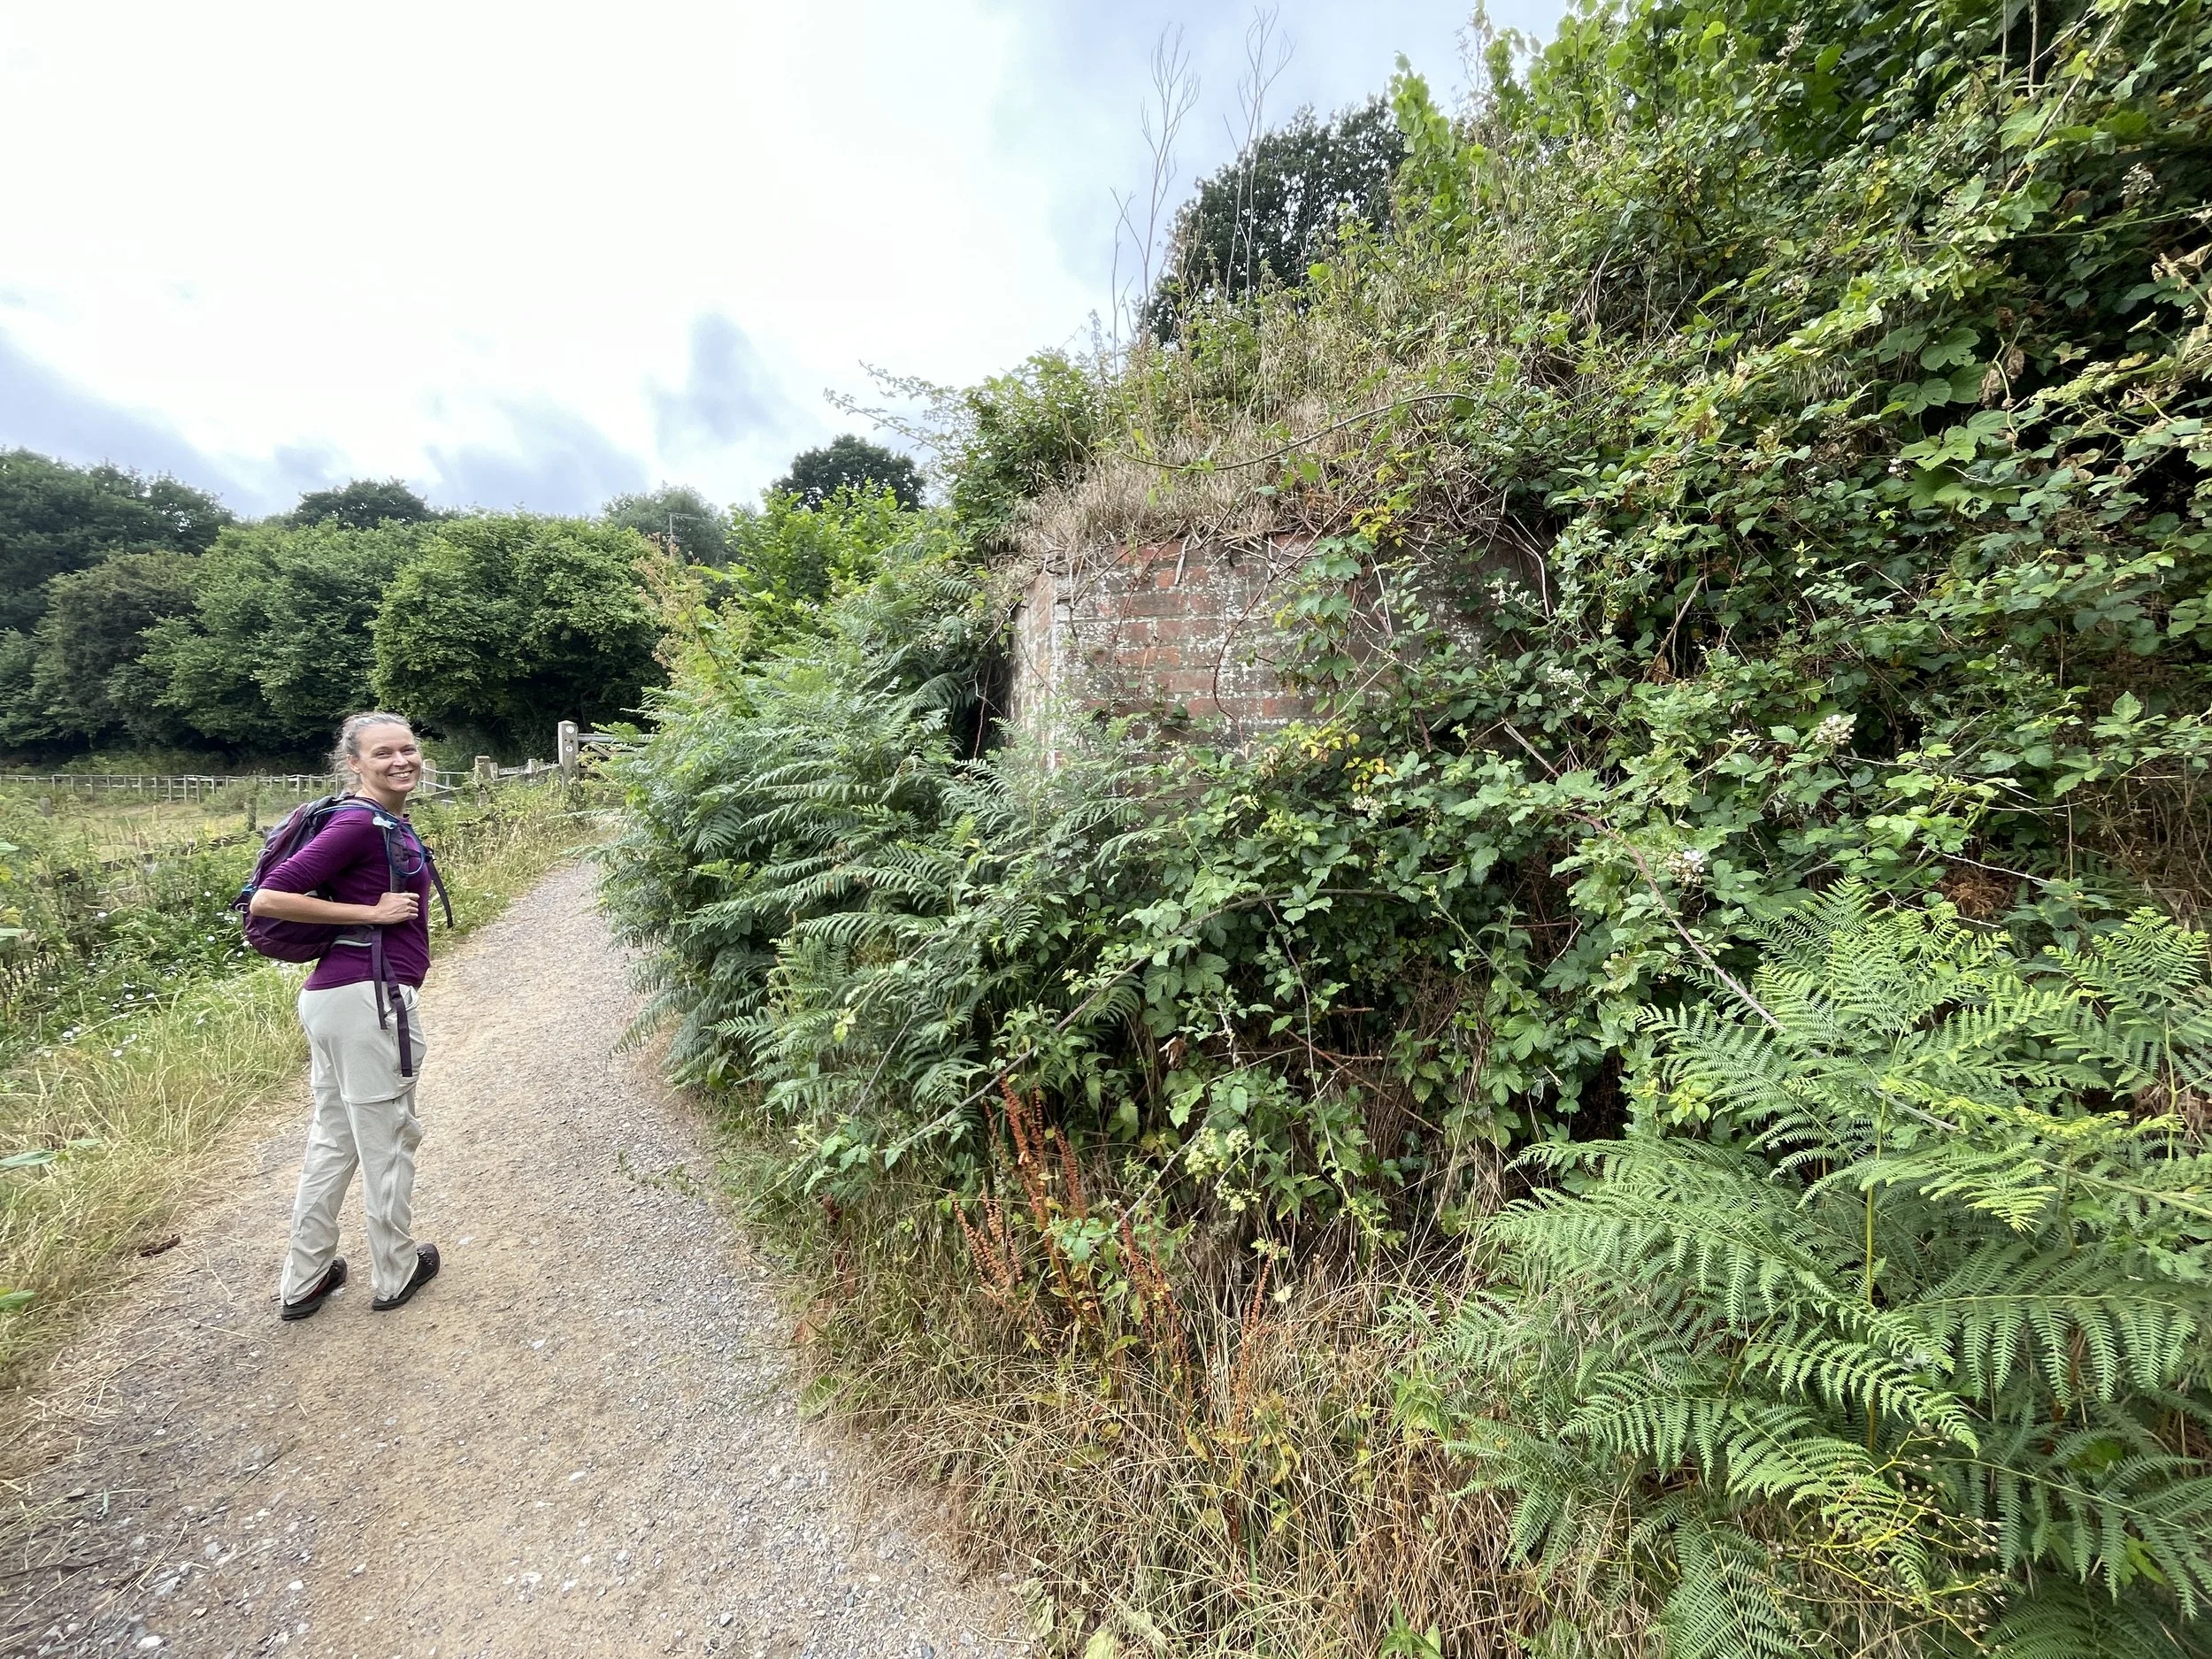


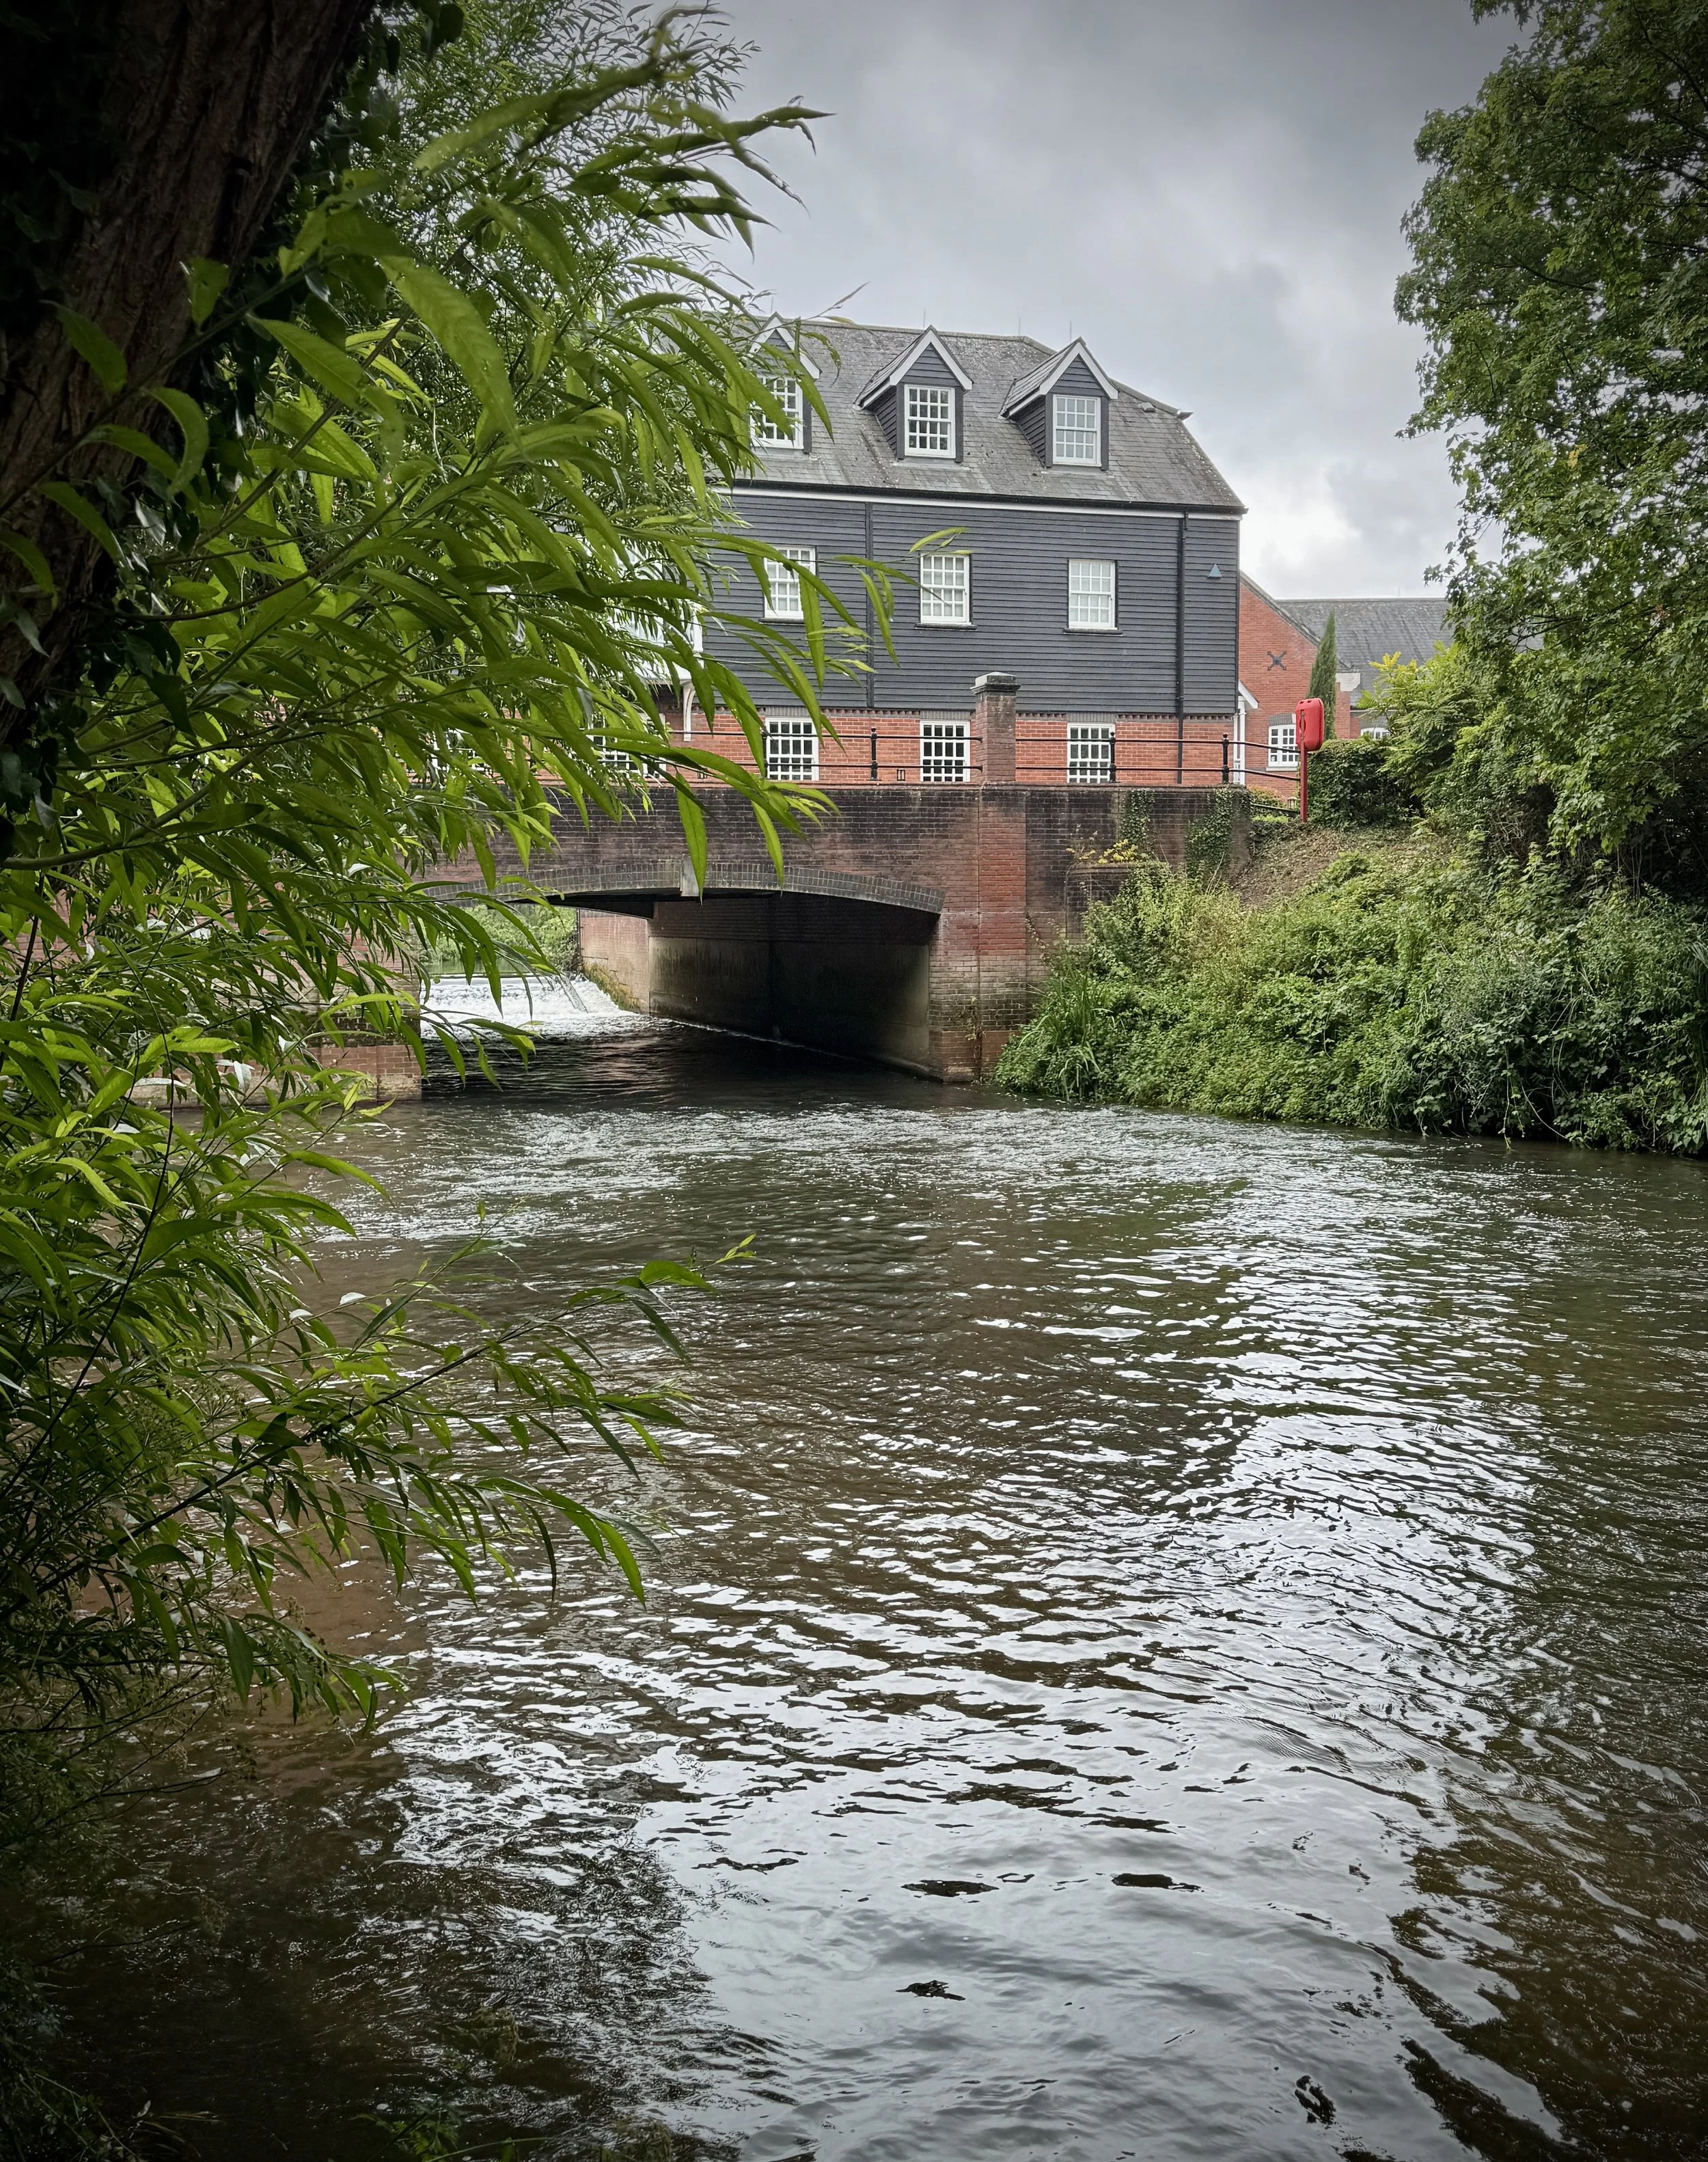
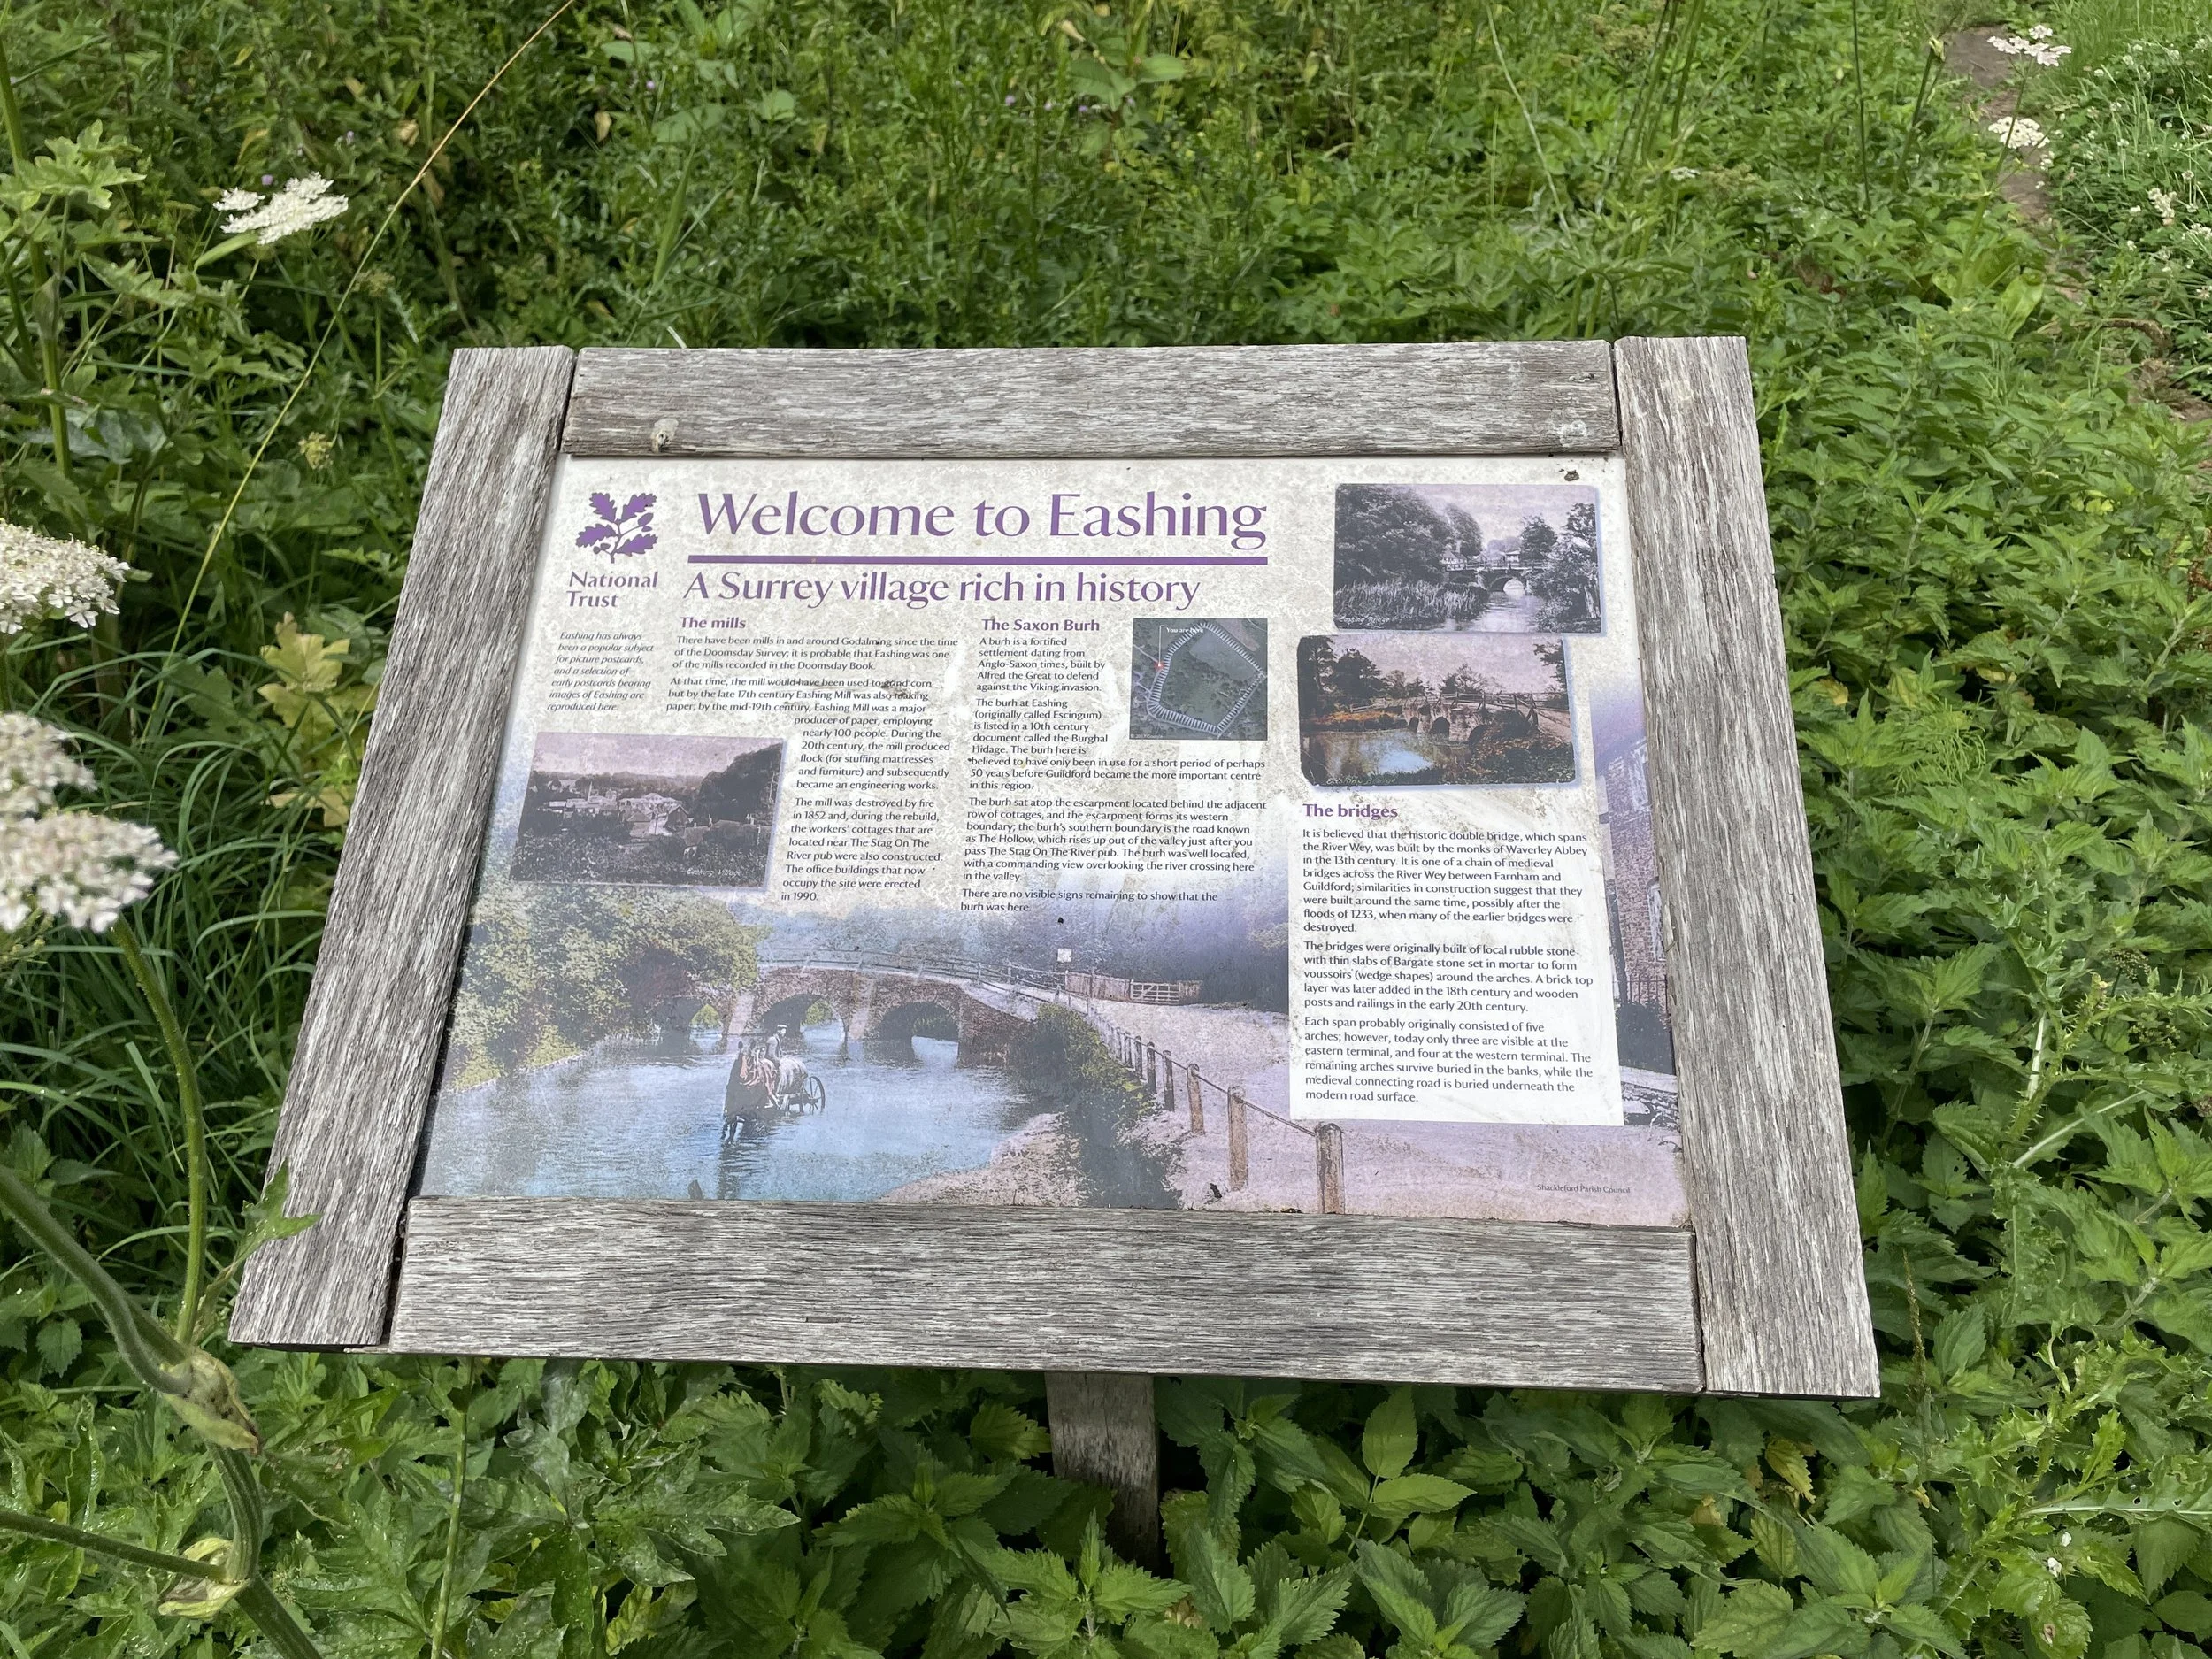


Previous section (north): Walking the River Wey Part 8: Guildford to Godalming
Walking The Bath Skyline
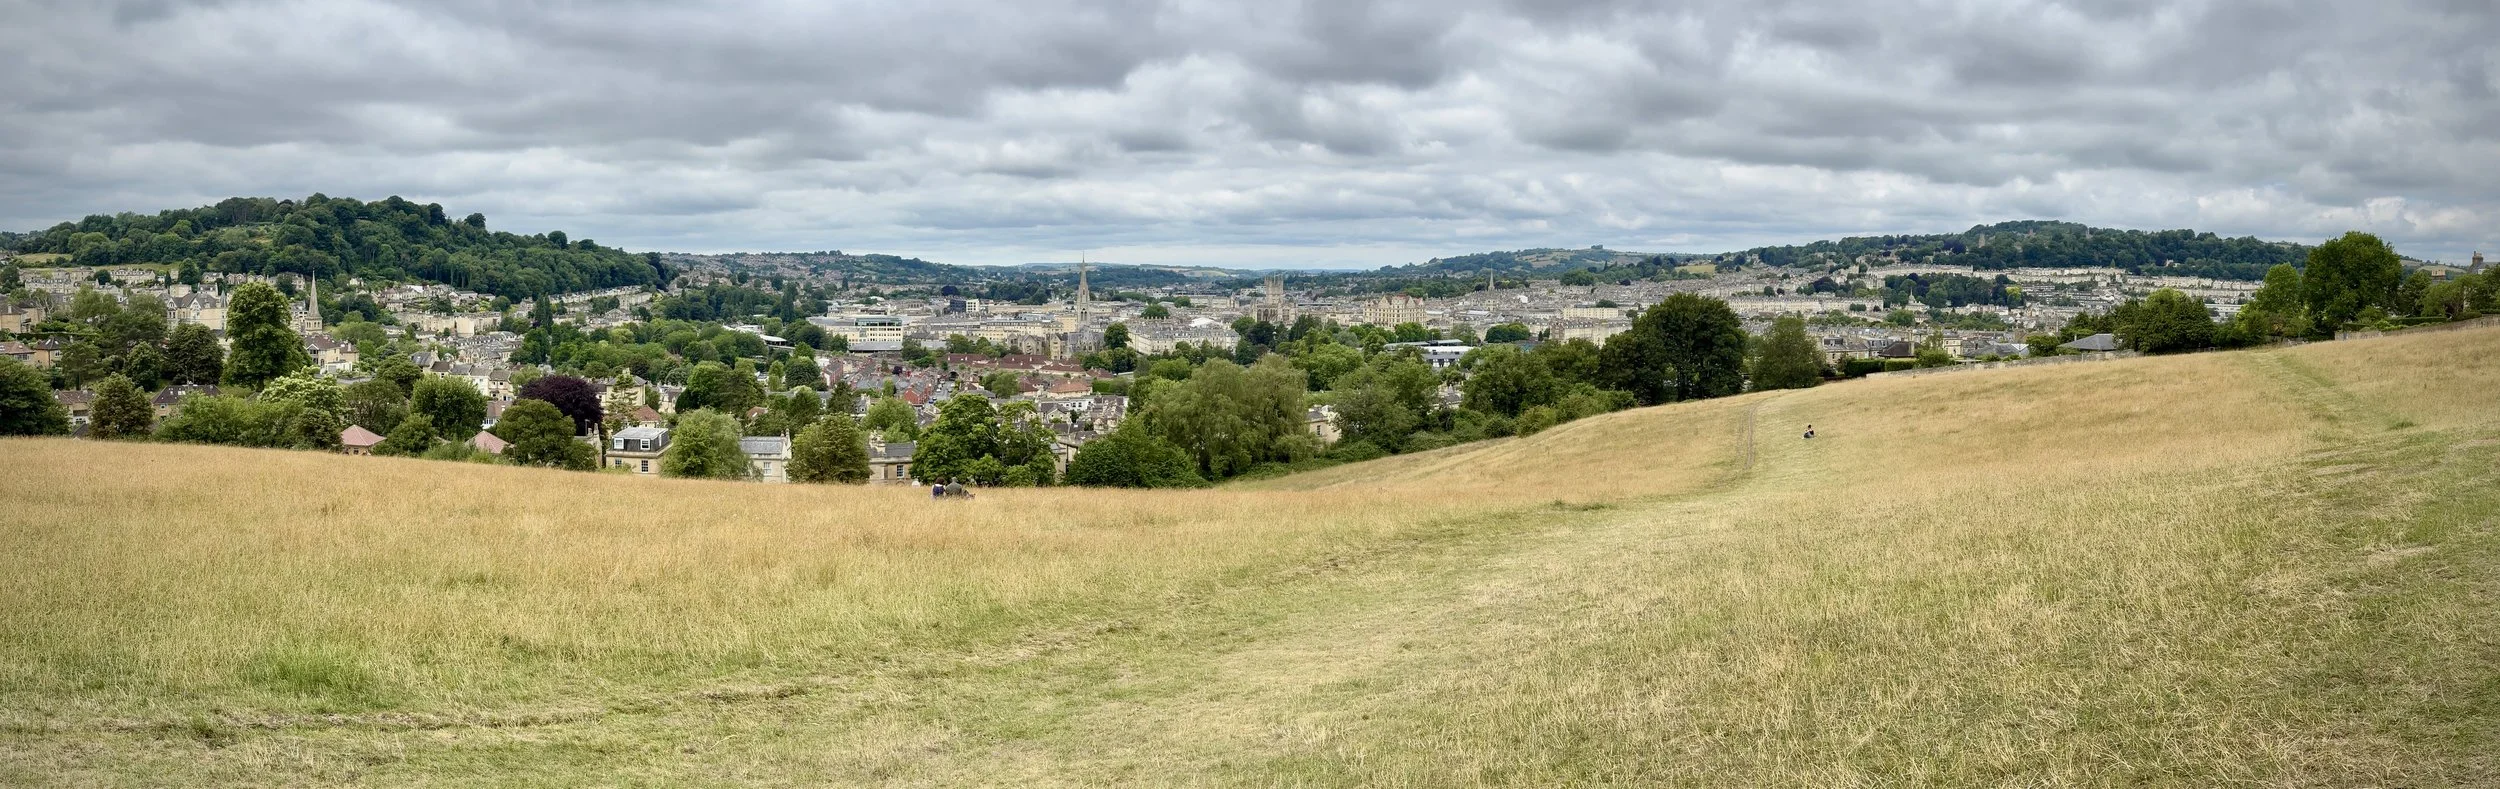
Bathwick Meadows
Start & Finish: Cleveland Walk Bus Stop on Bathwick Hill, Bath BA2 6EP
Distance: 9.4 km (5.8 miles)
Elevation change: +/- 169m
GPX File: get via Buy Me a Coffee
Other routes touched (walk): National Trust Family Discovery Trail
Other routes touched (cycle): None
Pubs / Cafes on route: None
Map: Bristol & Bath Map | Keynsham & Marshfield | Ordnance Survey | OS Explorer Map 155
Links: Bath, National Trust Bath Skyline
The Bath Skyline Walk offers a captivating escape into nature, just a stone's throw from the historic city of Bath. This National Trust trail winds through a diverse tapestry of landscapes, from ancient woodlands with dappled sunlight to open meadows bursting with wildflowers. As you traverse the route, you'll be treated to ever-changing, panoramic vistas that showcase Bath's iconic Georgian architecture, the winding River Avon, and the serene rolling hills beyond, providing a unique and breathtaking perspective of this UNESCO World Heritage city.
A good place to start is the Cleveland Walk Bus Stop on Bathwick Hill. Many people come here for the spectacular view of the city from Bathwick Meadows without actually doing the walk. If you are doing the walk then I recommend starting here and taking a clockwise direction so that you get to see the Bath city panorama as you approach the end of the walk. If you’re up for making the route a little bit longer you could also walk to the start from Bath City Centre or Bath Spa station. If you’re arriving by car and don’t want to pay the high city centre parking charges there’s free on-street parking on or near Cleveland Walk or North Road.


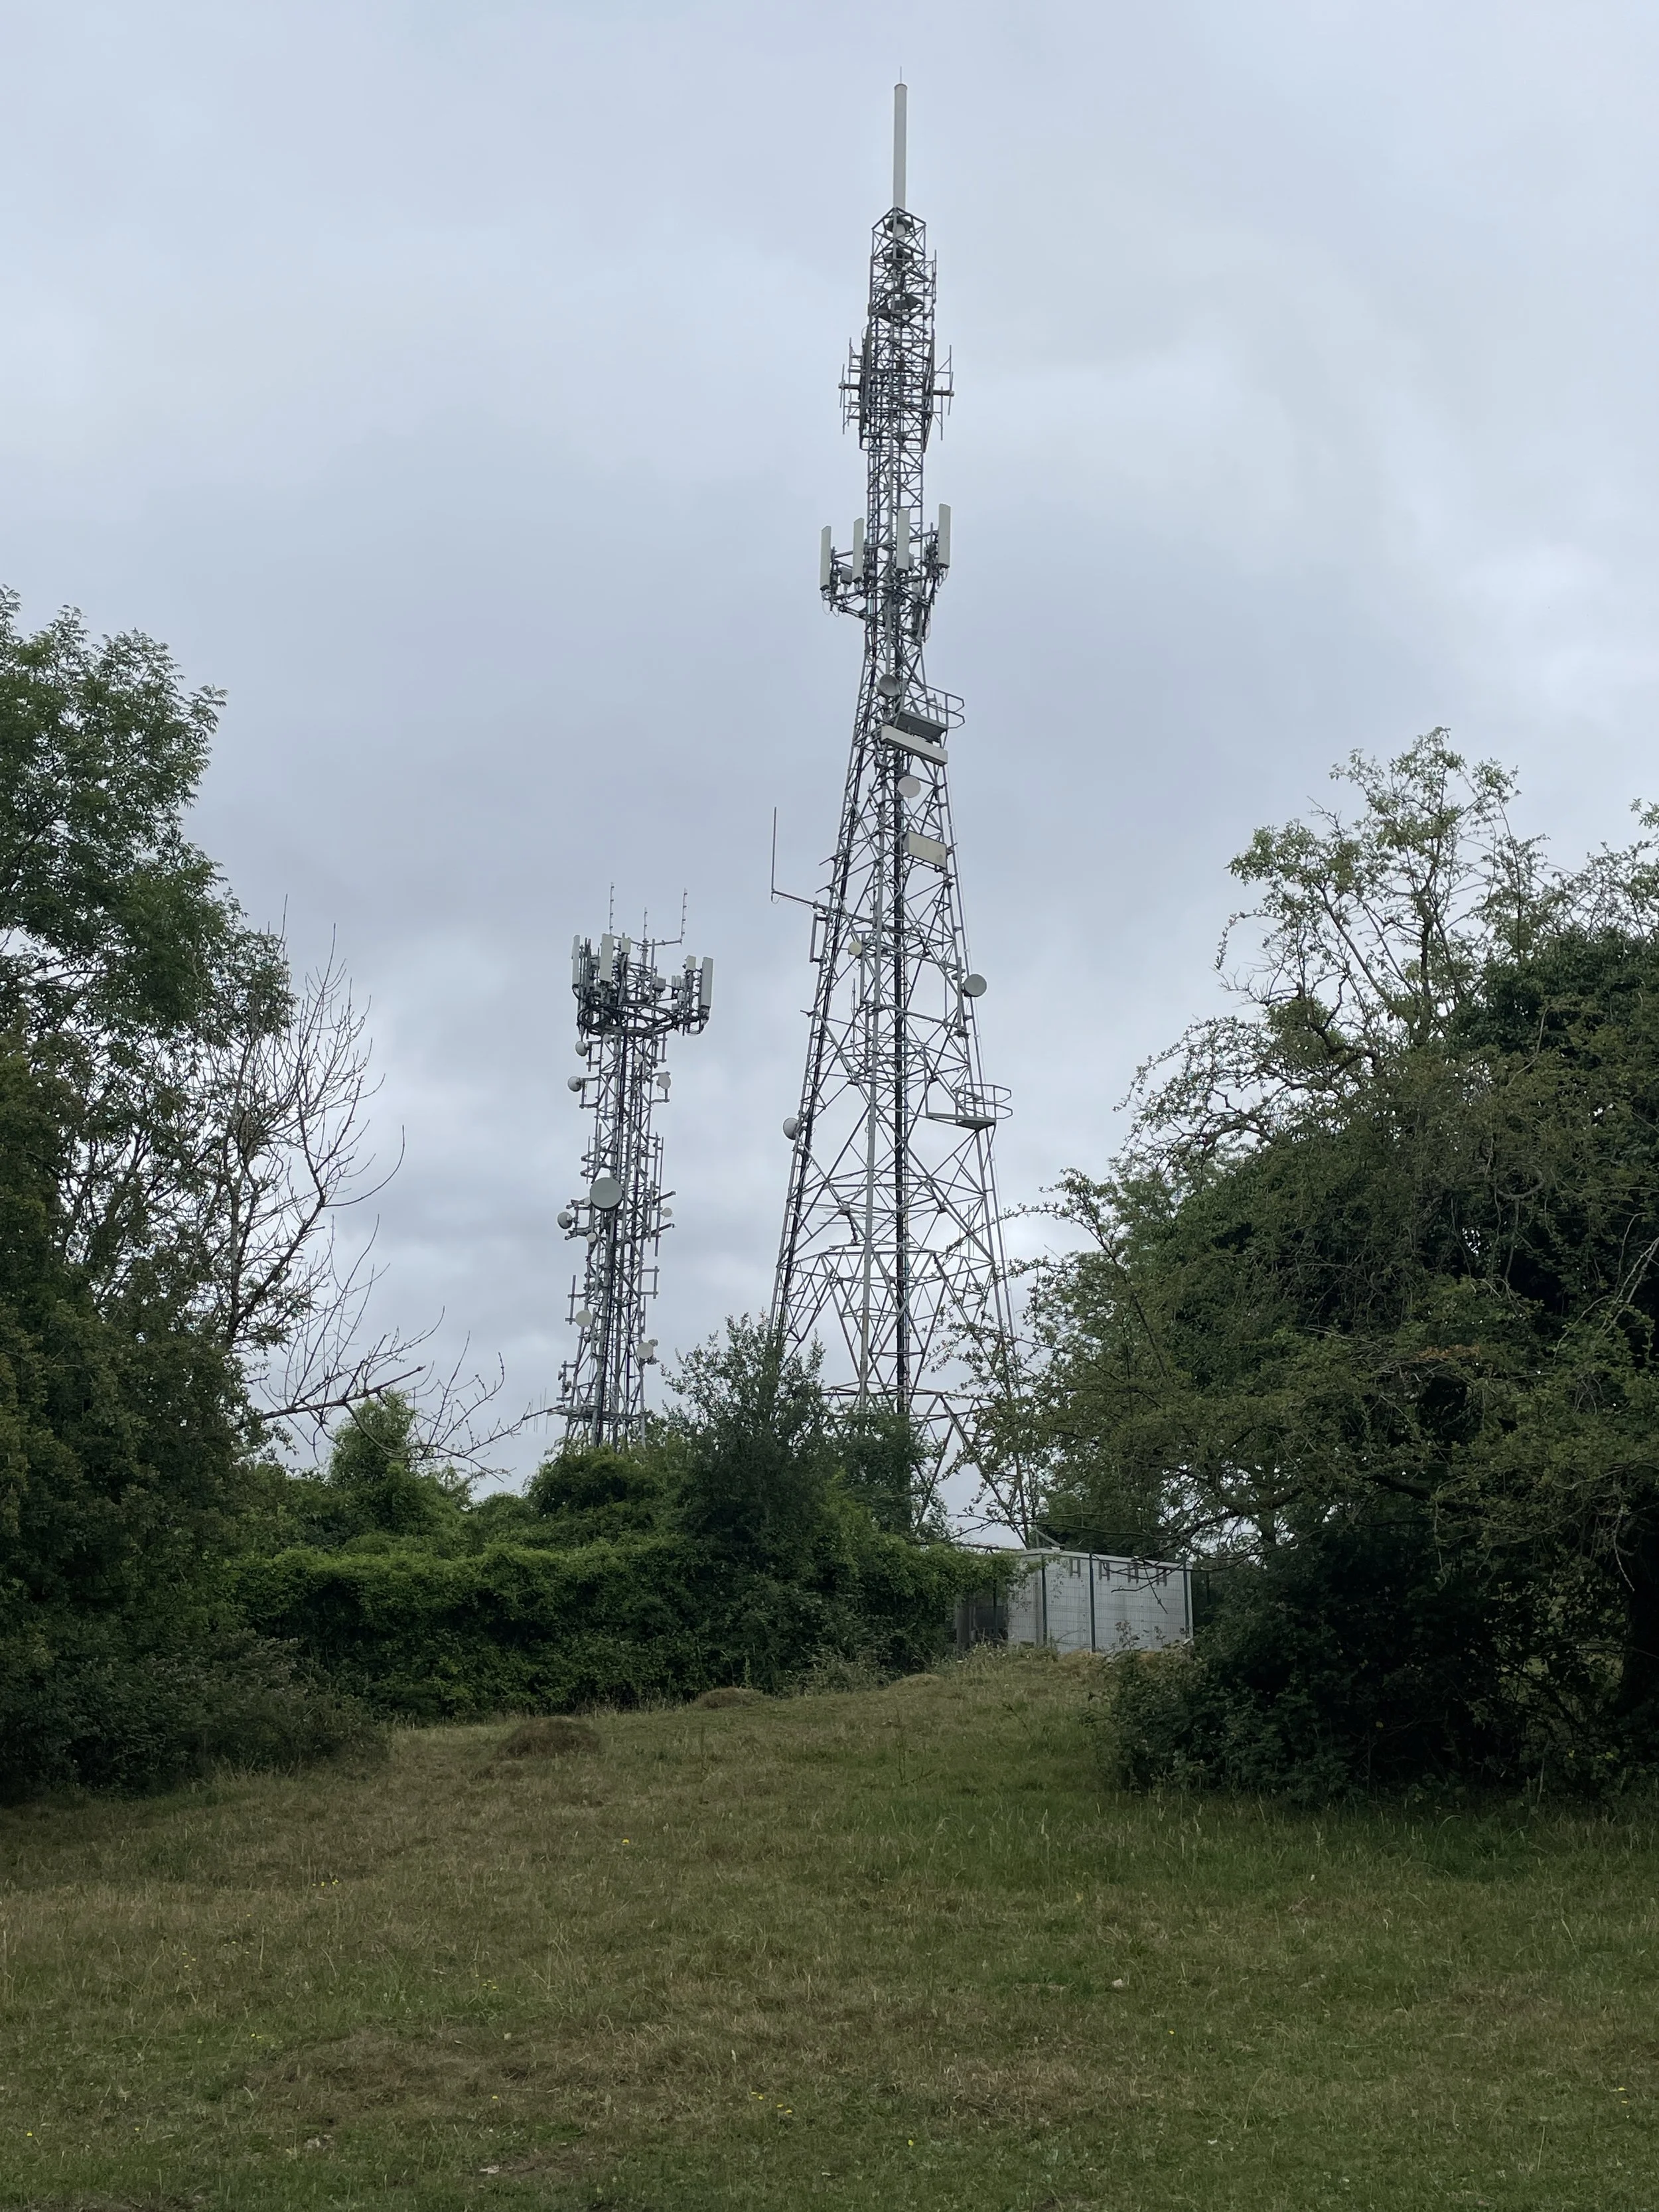


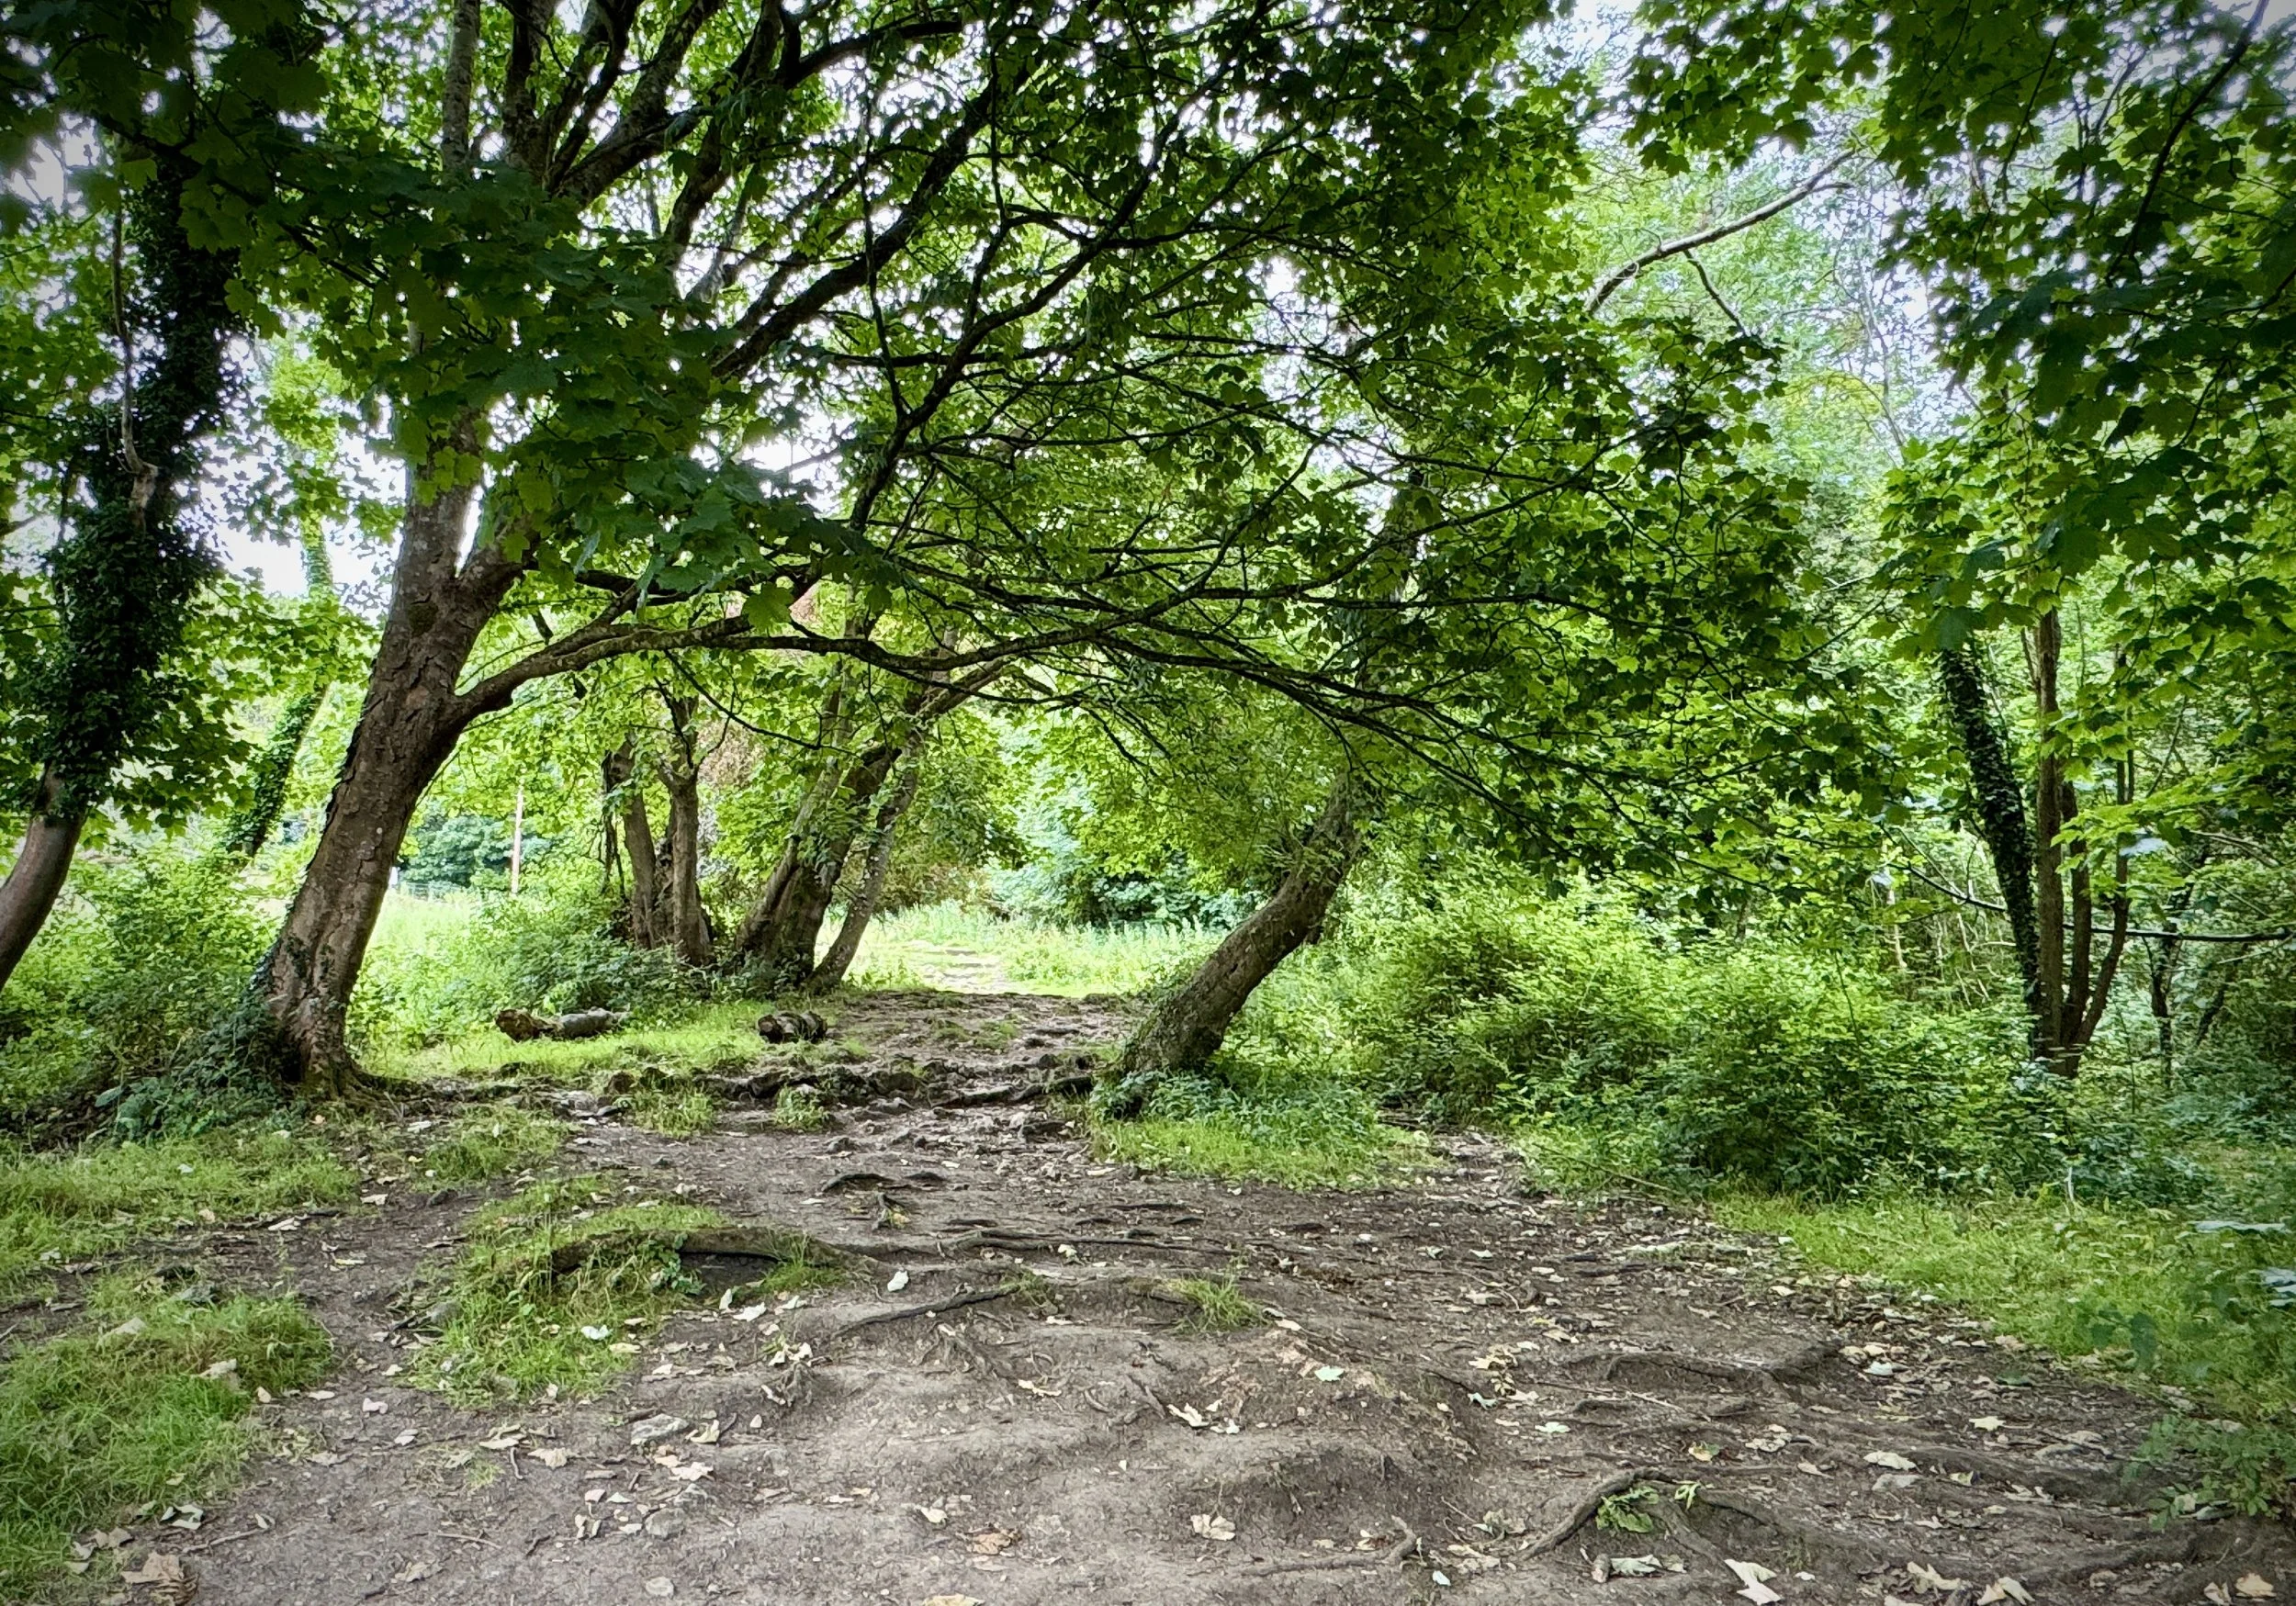

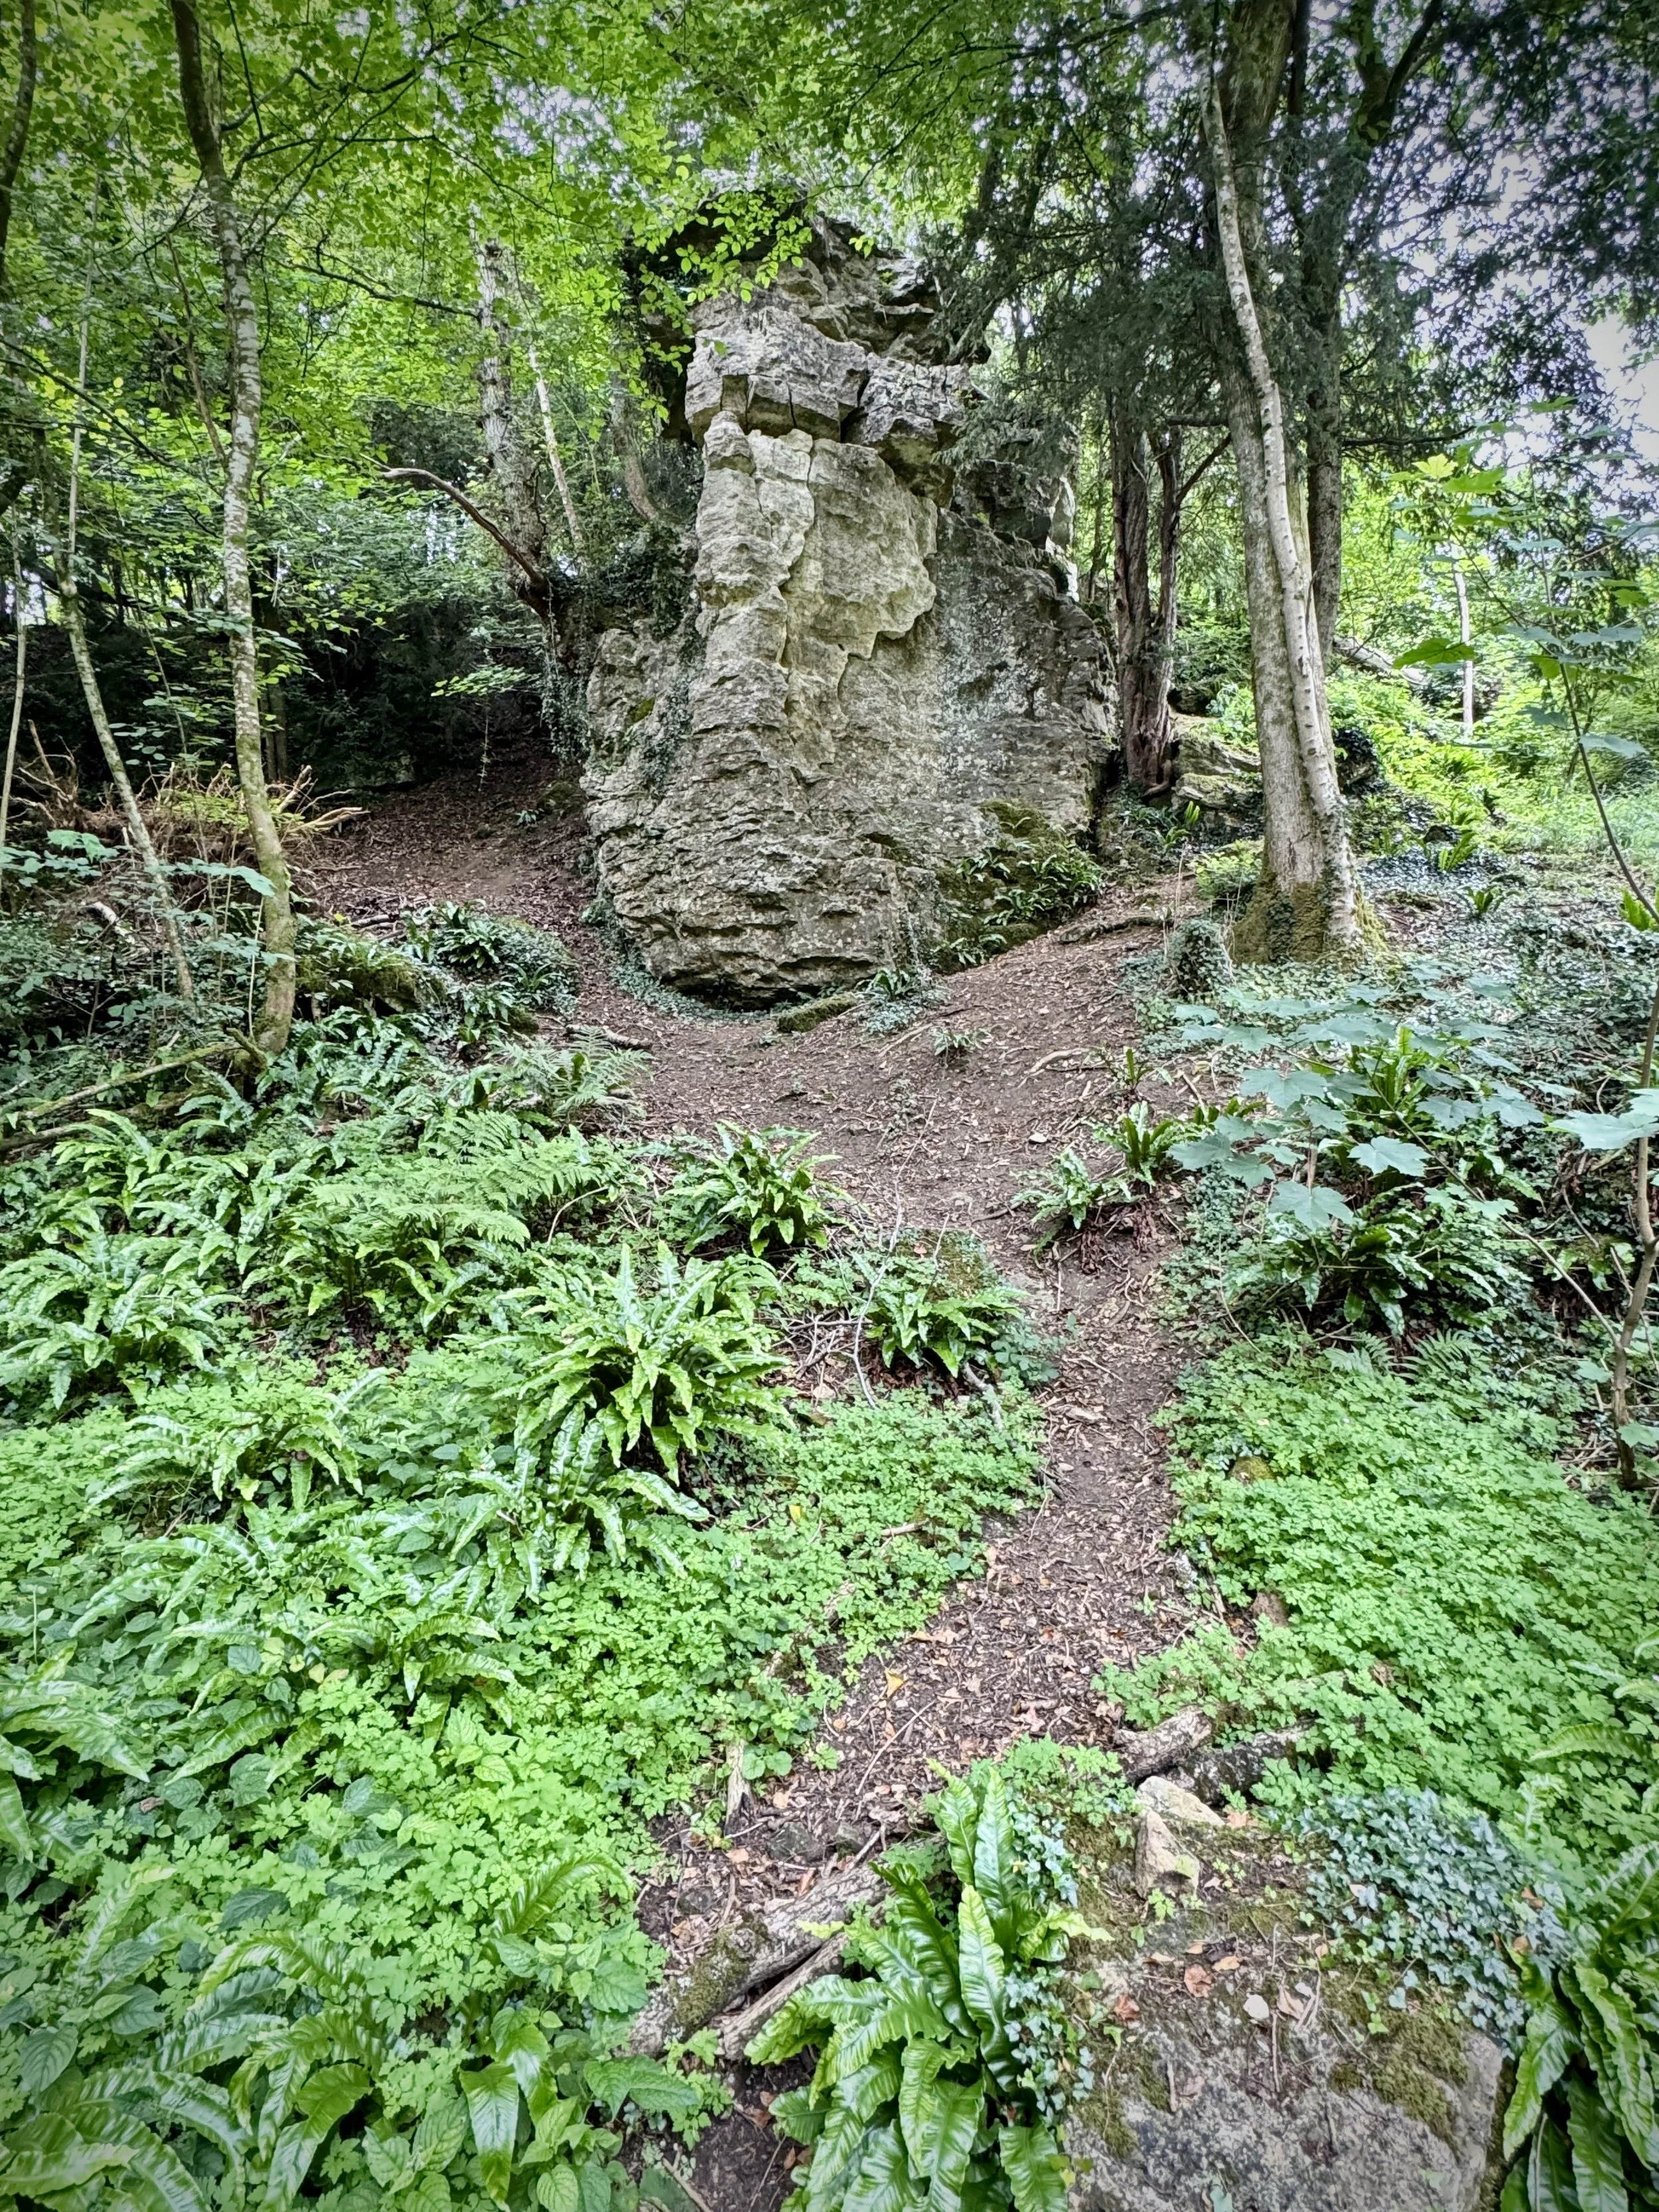

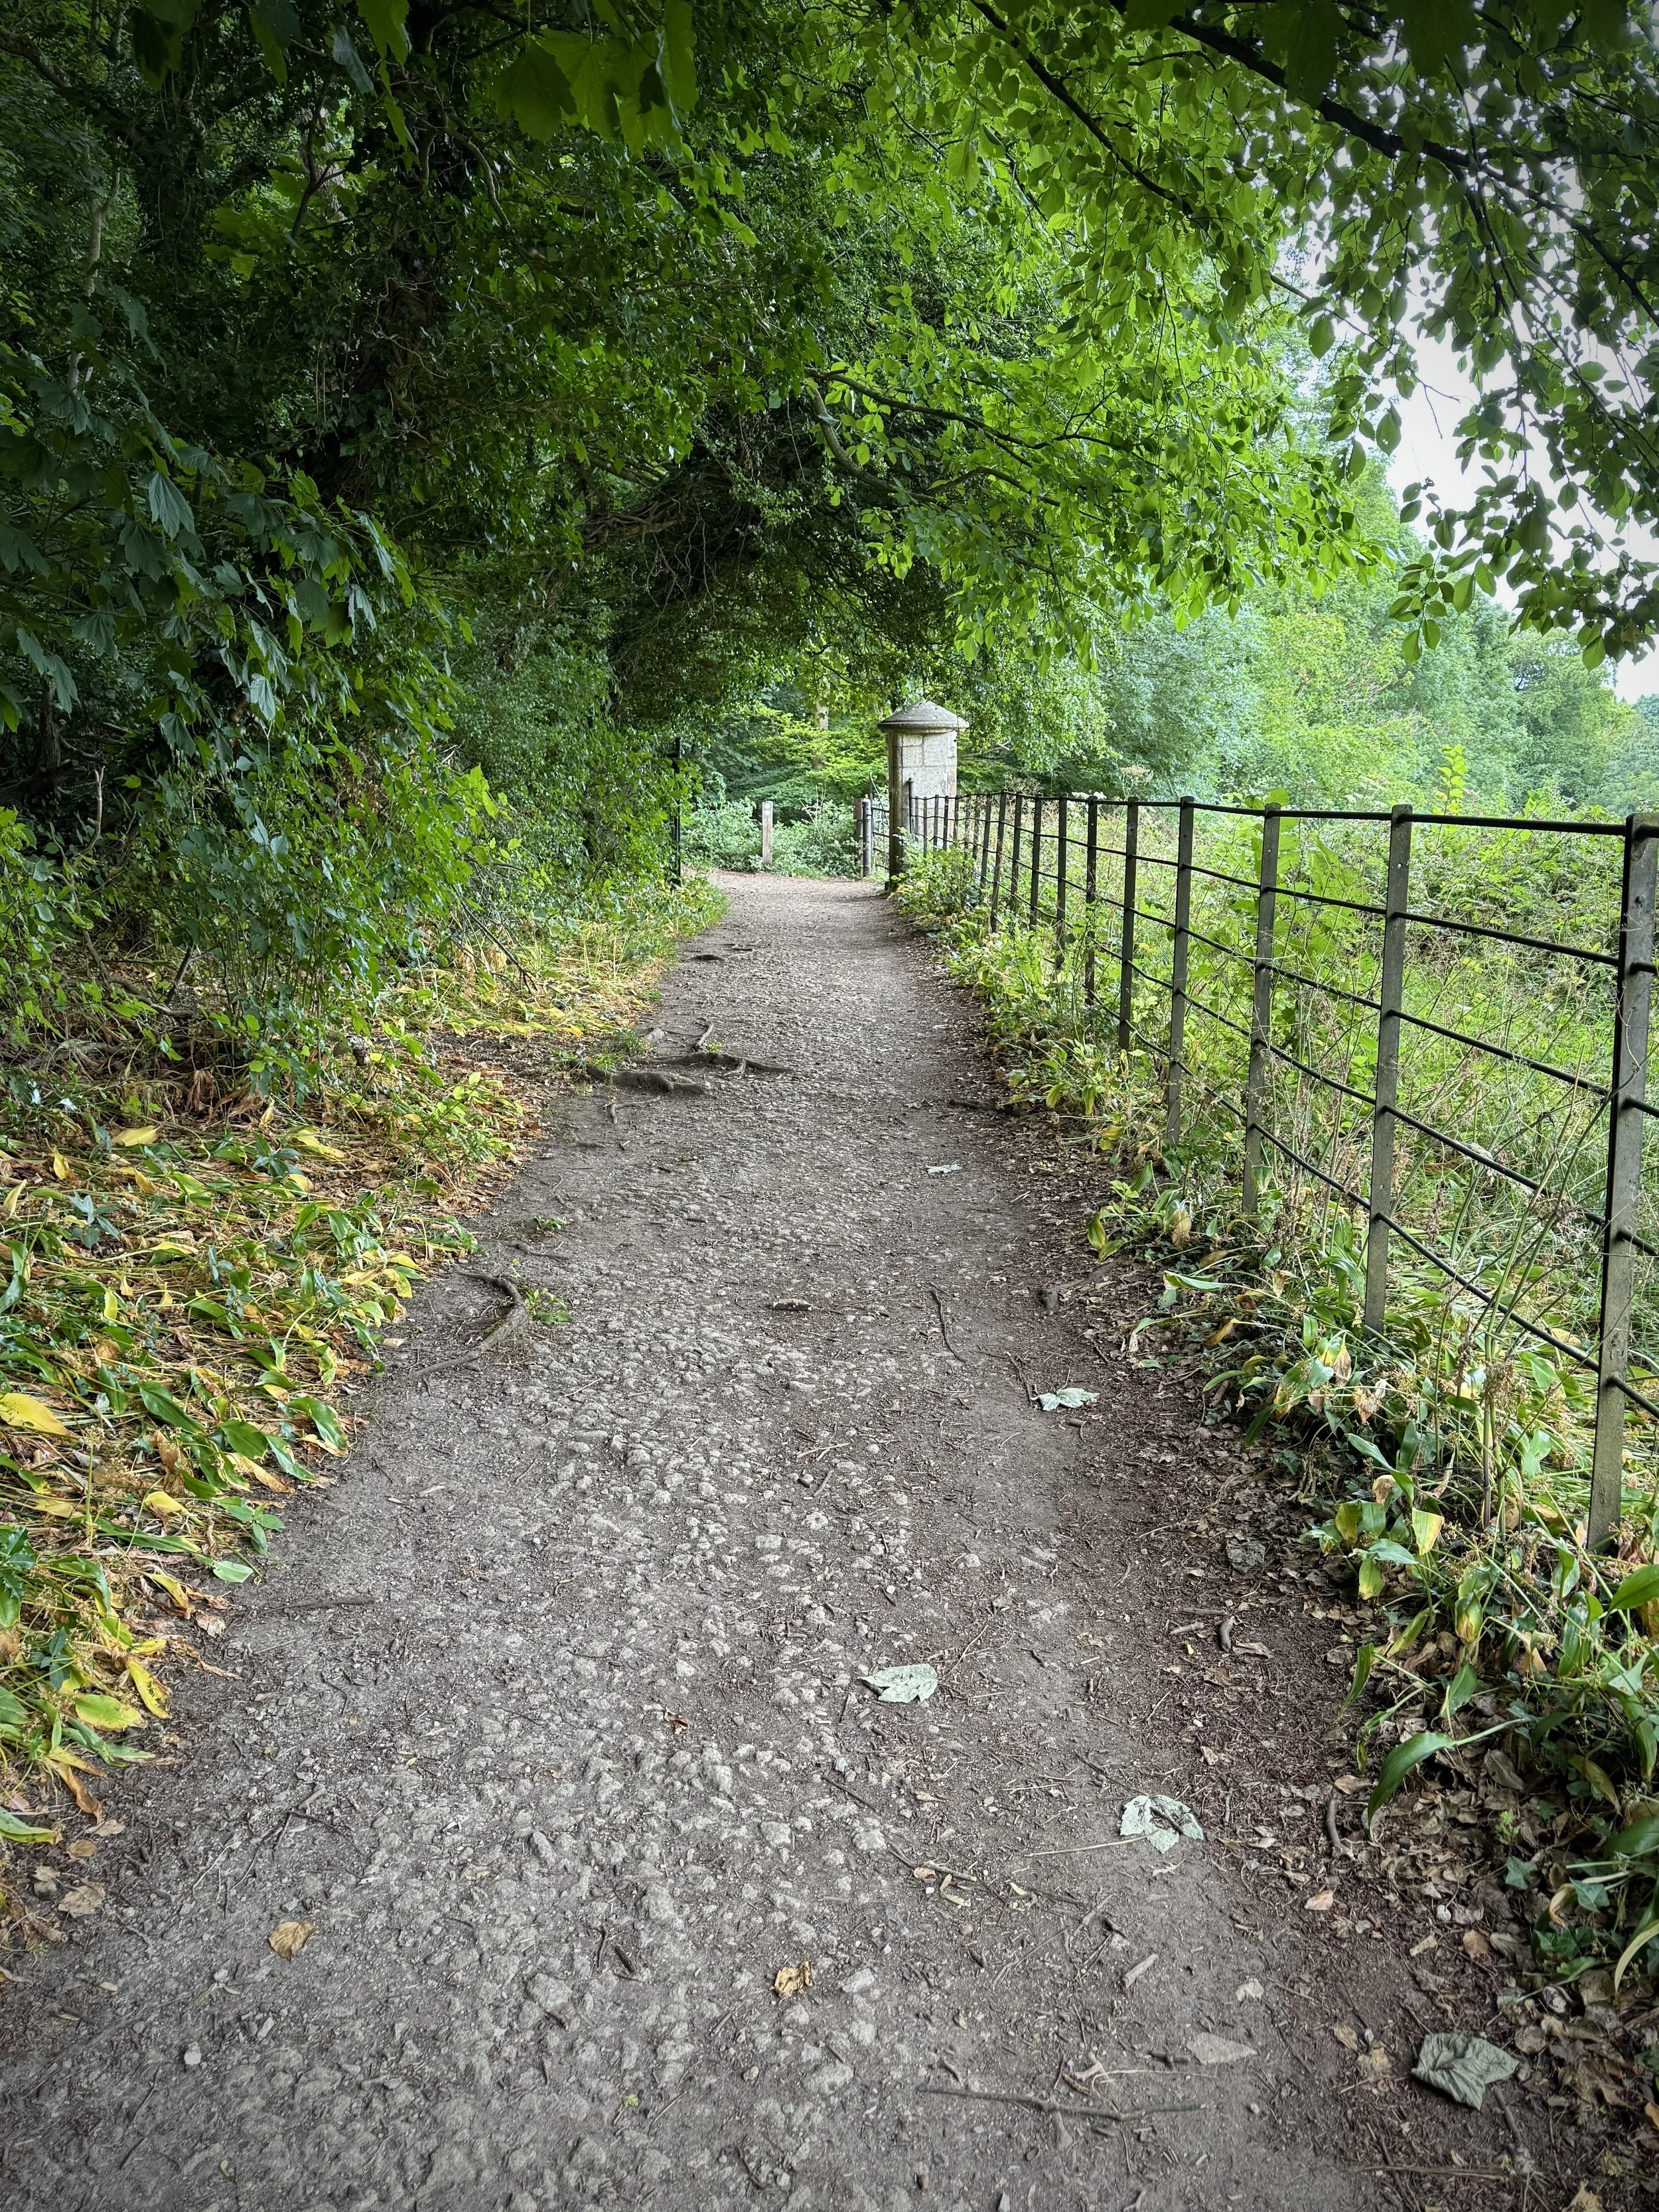


Walking the River Wey Part 8: Guildford to Godalming

Where the North Downs Way crosses the Wey Navigation
Start: Guildford Station, Guildford GU1 4UT
Finish: Godalming Station, Godalming GU7 1EU
Distance: 8.9 km (5.5 miles)
Elevation Change: +49m / - 42m. Net +7m
GPX File: get via Buy Me a Coffee
Other Routes Touched (walk): Wey Navigation Footpath, Wey-South Path, North Downs Way, Scholar’s Trail, Guildford and Shalford Disused Railways Walk, The Fox Way
Other Routes Touched (cycle): Surrey Cycleway
Cafe / pubs on route: Several at the start and end at Guildford and Godalming. Plus: The Ragged Robin (6.3 km in)
Map: Guildford & Farnham Map | Godalming & Farnborough | Ordnance Survey | OS Explorer Map 145
Links: Wey Navigation, River Wey, River Wey and Godalming Navigations (National Trust), Guildford, Godalming
This is the eighth of a series of short circular walks along the River Wey and the Wey Navigation canal in Surrey. The guidance below will help you navigate but don’t use it as a fully accurate turn-by-turn guide. Always take a map and/or a GPX route and prepare well for the weather and terrain.
Similar to Section 7 this is a station-to-station walk with a train connection between them. We parked near Guildford Station for the start of the walk and returned from Godalming Station at the end. There’s plenty of parking options at Guildford Station however we started 1 km away at Dapdune Wharf which has free parking for National Trust members.
Navigation is especially easy for this section as it follows the towpath on the north-western side of the canal for most of the way, crossing over to the southern side at Bridge Road Godalming. The only part to watch out for is at the start where the path across the islands at Millmead has been temporarily closed and you need to take a diversion of ~0.5km along Millbrook (A281), returning to the towpath after the Weyside pub.
Along the route you’ll pass the bridge where the North Downs Way crosses the canal with a very small beach next to it. We were there on a warm summer’s day and a lot of dogs were making the most of the beach for a dog party. Further down you’ll pass the disused section of the railway that once connected Shalford station to the mainline heading south. There’s also several WW2 Pill-boxes on the route guarding over the canal.
At Godalming you’ll reach the end of the navigable / canalised section. Beyond this the river Wey continues west towards Tilford where it splits with 2 sections leading to different sources. This is the final section of the Wey Navigation walks, but there’s one more walk that follows the river to Eashing.


Previous section (north): Walking the River Wey Part 7: Worpleston to Guildford
Next section (south): Walking the River Wey Part 9 - Godalming and Eashing
Walking The Shakespeare's Way: The Chilterns Section

Rotten Row
The Shakespeare’s Way is a 235 km / 146 mile mile long-distance path connecting Shakespeare's birthplace in Stratford-upon-Avon with the Shakespeare's Globe (Theatre), Southwark, London. A 34km section of the path cuts through the Chiltern Hills National Landscape in a south-easterly direction. Our walks take in short sections of the Shakespeare’s Way and loop back to the start on other paths. The Shakespeare’s Way is reasonably well marked however you’ll need a map or GPX route to keep on track for the return sections of the loops. The guidance below will help but don’t use it as a fully accurate turn-by-turn guide.
Point to Point: Britwell Salome to The Grand Union Canal at Yiewsley
Start: Britwell Salome, Watlington, OX49 5LG
Finish: Grand Union Tow Path, Yiewsley, West Drayton, UB7 7XN
Distance: 59 km (36.7 miles)
Elevation change: + 665 / - 755m. Net +90m
GPX File: get via Buy Me a Coffee
Maps: See individual section posts linked below.
- Chiltern Hills West Map | Henley-on-Thames & Wallingford | Ordnance Survey | OS Explorer Map 171
Links: Shakespeare’s Way (LWDA), See individual section posts linked below for other links.


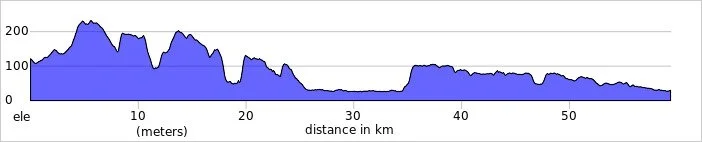
Walking The Shakespeare’s Way Chilterns Section in 12 Circular Routes
If you’re not up for an 59 km walk in one go, you can take in the Shakespeare’s way in 12 circular walks of between 6 and 13 km each. We chose this option, completing all 12 sections over a few years from 2020 to 2025. The advantage of this option is exploring more of the villages and side paths close to the route. After Route 12 you can follow the Beeches Way to reach Yiewsley and the end of the Chilterns Section of the Shakespeare’s Way.
Note that these walks take you through the Chilterns Hills National Landscape. See the Walking The Beeches Way post for the continuation from Cookham to Yiewsley

Each number refers to a circular walk below. Base map: Esri Topo via RideWithGPS

Part 1: Britwell Salome and Lower Warren
Distance: 7.8 km (4.8 miles)
Elevation change: +/- 123m
Shakespeare’s Way section covered: Britwell Salome to The Ridgeway: 2.2 km

Part 2: Swyncombe and The North
Distance: 8.1 km (5 miles)
Elevation change: +/- 176m
Shakespeare’s Way section covered: The Ridgeway to Cookley Green: 3.8 km

Part 3: Swyncombe and Park Corner
Distance: 9.9 km (6.2 miles)
Elevation change: +/- 199m
Shakespeare’s Way section covered: Cookley Green to The Chiltern Way near Maidensgrove: 2.1 km

Part 4: Nettlebed, Park Corner and Maidensgrove
Distance: 8.5 km (5.3 miles)
Elevation change: +/- 159m
Shakespeare’s Way section covered: The Chiltern Way near Maidensgrove to Park Lane: 1.2 km

Part 5: Russell's Water, Pishill and Maidensgrove
Distance: 9.2 km (5.7 miles)
Elevation change: +/- 166m
Shakespeare’s Way section covered: Maidensgrove Common to farm at south Maidensgrove: 1.32 km

Part 6: Stonor and Turville Heath
Distance: 10 km (6.2 miles)
Elevation change: +/- 208m
Shakespeare’s Way section covered: Farm at south of Maidensgrove to Southend: 5.9 km

Distance: 12.3 km (7.6 miles)
Elevation change: +/- 216m
Shakespeare’s Way section covered: Southend to Hambleden: 5.4 km

Part 8: North-east Hambleden Circular
Distance: 9.7 km (6 miles)
Elevation change: +/- 145m
Shakespeare’s Way section covered: Hamble Brook to Rogues Plantation: 2.9 km

Part 9: Bovingdon Green and Shillingridge Wood
Distance: 10.9 km (6.8 miles)
Elevation change: +/- 152m
Shakespeare’s Way section covered: Rogues Plantation to Pullingshill Wood: 2.5 km

Part 10: Marlow and Harleyford
Distance: 10.2 km (6.3 miles)
Elevation change: +/- 94m
Shakespeare’s Way section covered: Pullingshill Wood to The Thames Path at Marlow: 3.4 km

Distance: 11.4 km (7 miles)
Elevation change: + / - 65m
Shakespeare’s Way section covered: The Thames Path at Marlow to Bourne End Rail Bridge: 3.4 km

Part 12: Bourne End, Cookham and Wooburn
Distance: 8.2 km (5.1 miles)
Elevation change: +/- 83m
Shakespeare’s Way section covered: Bourne End Rail Bridge to Broad Lane, Widmoor: 3.9 km
Cycling The NCN 2 from Dover to Brighton

Early morning start in Hastings
This was a 2-day cycle adventure continuing our occasional crawl around the south-coast of England, 1 weekend at a time. We picked up where we left off the previous summer at Dover Waterfront and headed towards Brighton. As well as being well-spaced for a 50(ish) mile a day trip, the towns were also good for trains to and from London. Our main consideration was that the outbound train from London Victoria to Dover Priory has to be after 19:00 to avoid Friday evening rush-hour. It got us into Dover after dark but it was only a 10 minute cycle to the Dover Premier Inn where we were staying. There were no restrictions on the return trip from Brighton to London Victoria on the Friday.
Day 1: Dover to Hastings
Start: Dover Priory Station, Priory Station Approach Road, Dover CT17 9SB
Finish: Hastings Pier, 1-10 White Rock, Hastings, TN34 1JY
Distance: 97.4 km (54 miles)
Elevation change: + 602m / -609m (Net -7)
GPX File: get via Buy Me a Coffee
Other routes touched (walk): Saxon Shore Way, North Downs Way, King Charles III England Coast Path, High Weald Landscape Trail, 1066 Country Walk
Other routes touched (cycle): NCN 1, 2, 17, Cantii Way
Pubs / Cafes on route: Lots, but we stopped at Pedaler on the Port, Dover (1.5 km in), The Star, St Mary in The Marsh (40 kmi in), Brew at 32, Lydd (51 km in), The Lookout, Rye (66 km in)
OS Trig Pillar: TP4139 - Jurys Gap
Maps:
- Dover, Folkestone & Hythe Map | England Coast Path | Ordnance Survey | OS Explorer Map 138
- Romney Marsh, Rye & Winchelsea Map | Tenterden & New Romney | Ordnance Survey | OS Explorer Map 125
- Hastings & Bexhill Map | Battle & Robertsbridge | Ordnance Survey | OS Explorer Map 124
Links: Dover, Folkestone, Royal Military Canal, Romney Marsh, St Mary In The Marsh, Lydd, Camber Sands, Rye, Whichelsea, Hastings
Our trip started at 10:30 on the Saturday after Dover Waterfront parkrun and a slow breakfast at the Pedaler on the Port cycle cafe. The 87 km route was mostly flat but bookended by steep climbs at the start and end of the day. The early climb came right after Dover town as the NCN 2 ascends Shakespeare Cliff to Capel-le-Ferne before a steep descent into Folkestone. Watch out for the Sound Mirror next to the Millennium Milepost at 8 km which gives you a good excuse for a rest around half-way through the climb.
The first part of the flat section under Radnor Cliff in Folkestone and along the Royal Military Canal is a highlight of the route. We bypassed Hythe town but, in hindsight, we would have stopped there for some food as pubs and cafes are few and far between in the marshland west of Hythe. By the time we reached St Mary In The Marsh at 40km we more than ready for a rest in The Star pub. As it happened we were too late for lunch and too early for dinner so, after a short rest, we pressed onto Lydd to have a longer rest and some good food in the cycle-friendly Brew at 32.
After Lydd it’s only 6 km back to the coast at Jury’s Gap, although the strong wind in our face made it feel like 20 km. After another pub stop in Rye we pressed on towards Hastings via the steep climb at Fairlight. After 80 km of wind I had no interest in trying to keep in the saddle and decided to push the bike up most of the hill. The steep down into Hastings was the reward, as was the warm meal and early night ahead of day 2.


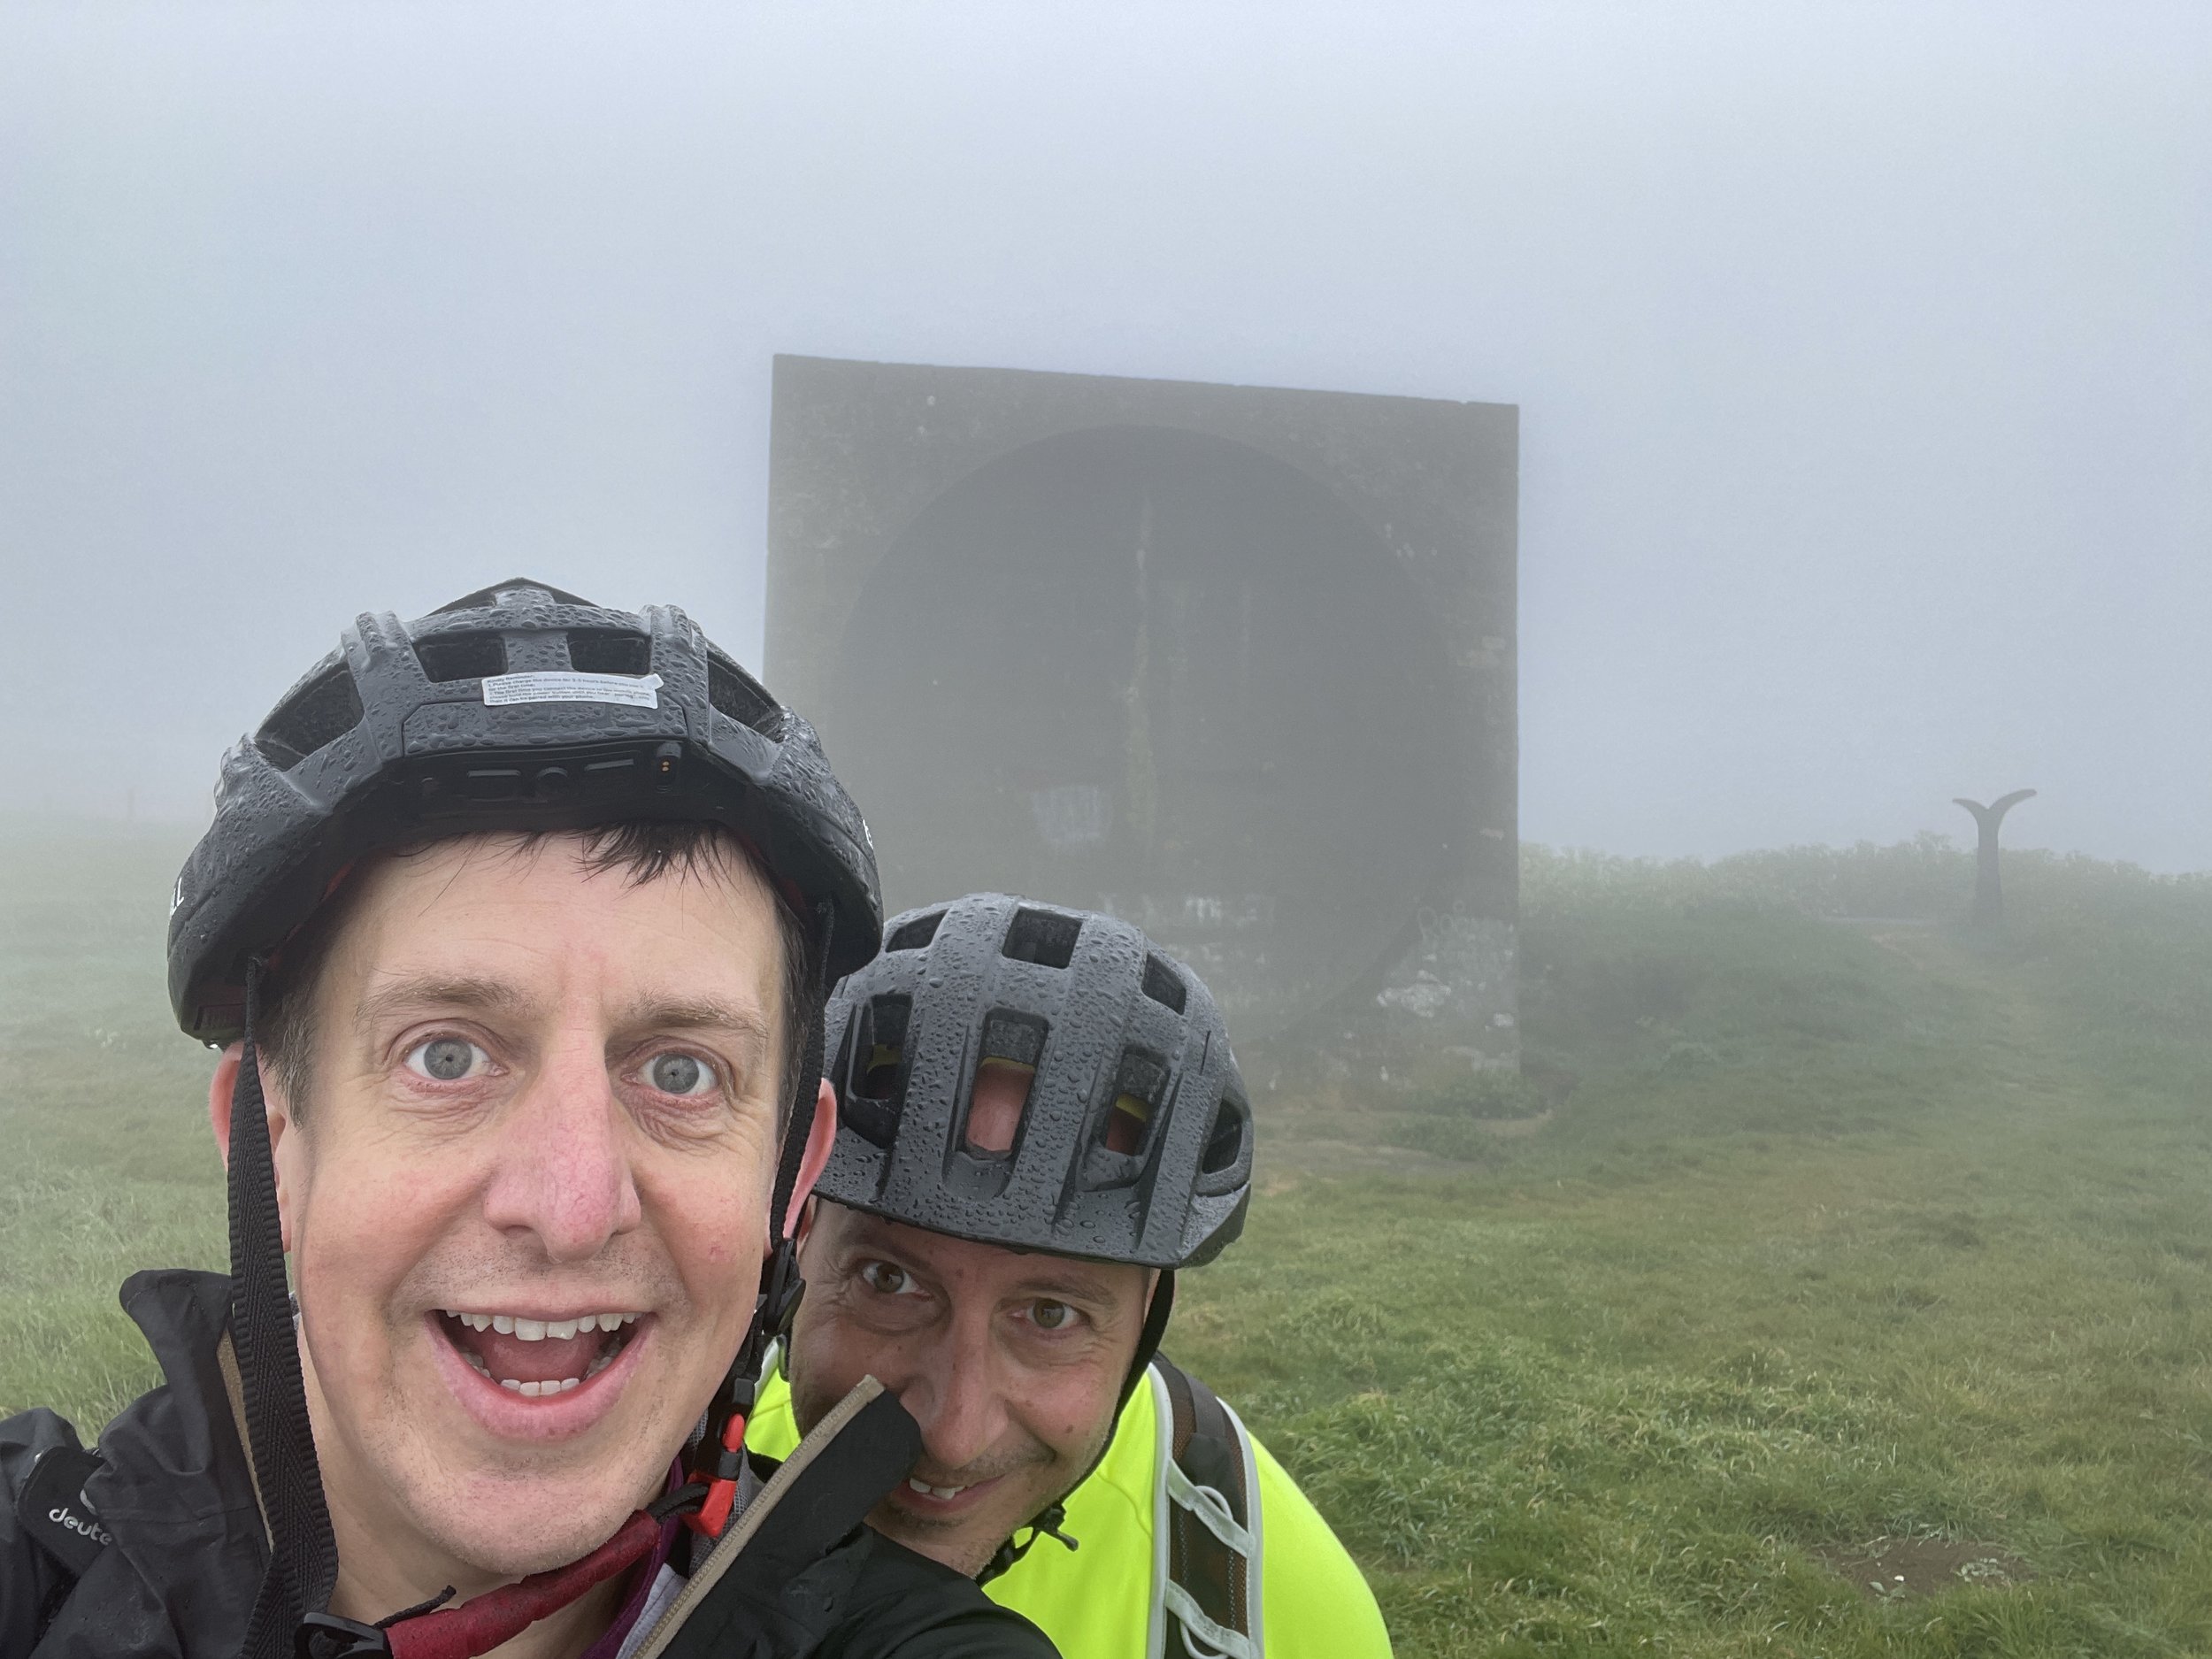


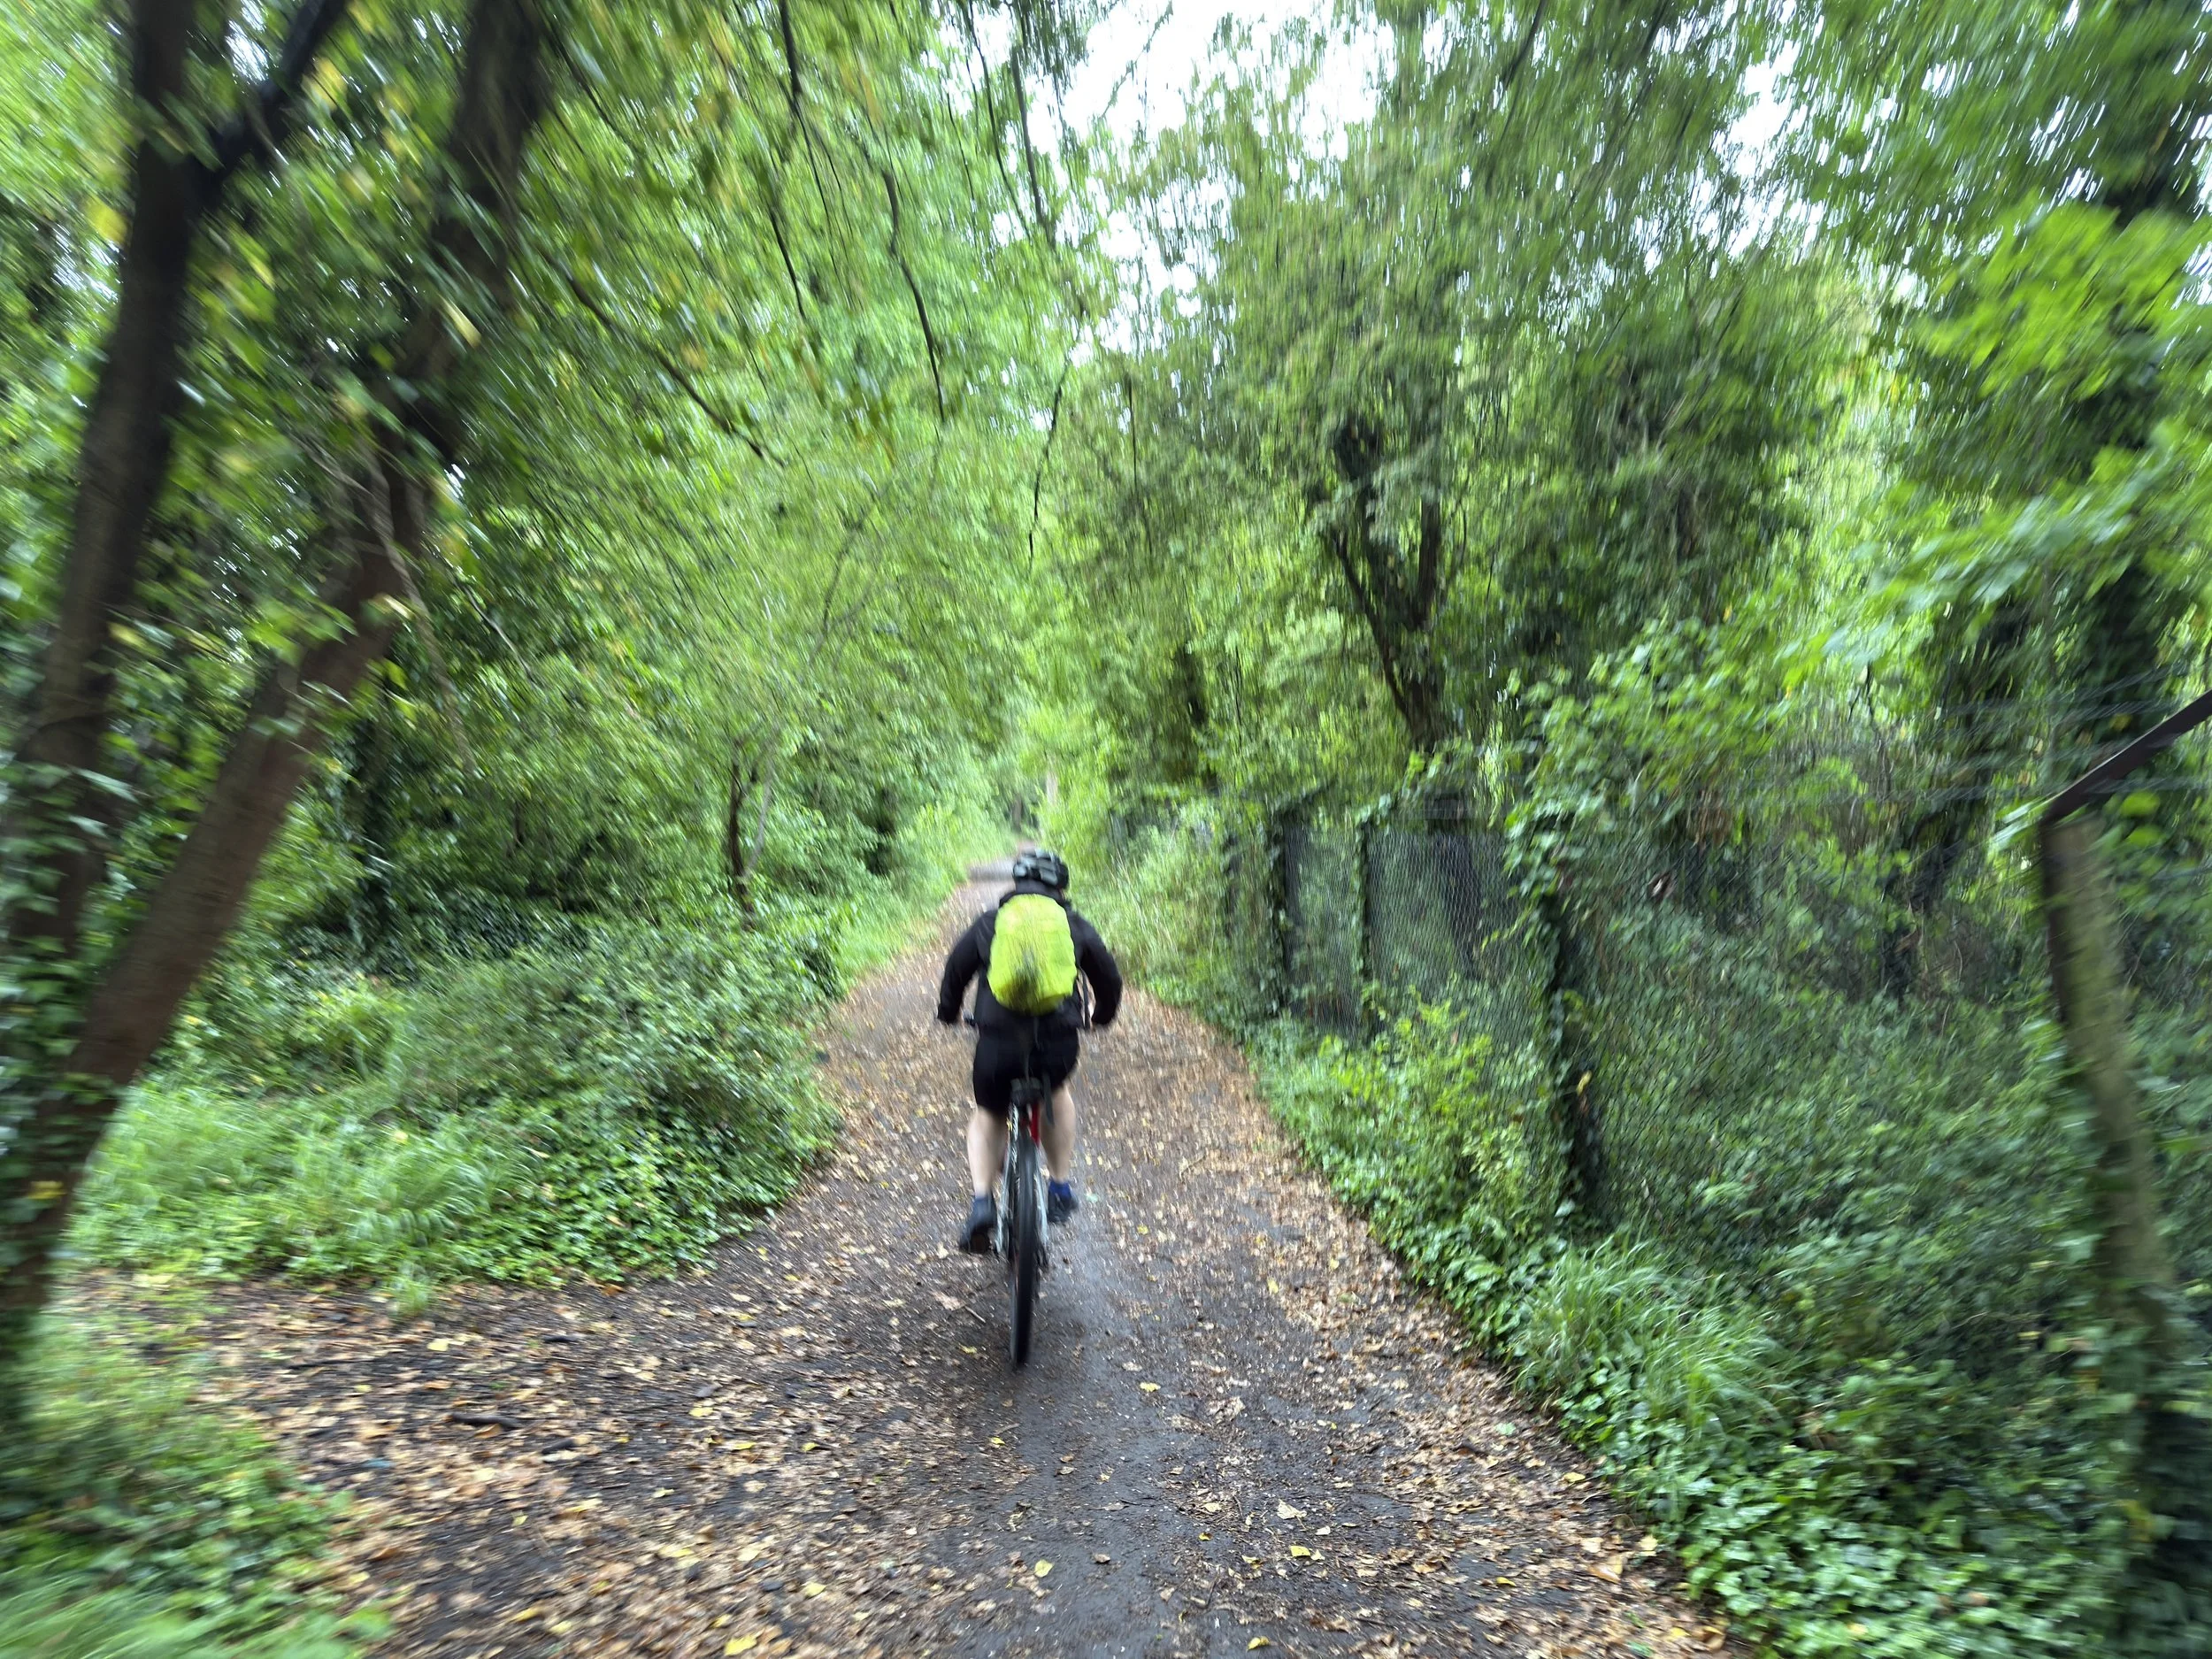


Day 2: Hastings to Brighton
Start: Hastings Pier, 1-10 White Rock, Hastings, TN34 1JY
Finish: Brighton Station, Queens Road, Brighton and Hove, Brighton, BN1 3XP
Distance: 72 km (44.7 miles)
Elevation change: +507m / -475m (Net +32m)
GPX File: get via Buy Me a Coffee
Other routes touched (walk): Motoring Heritage Trail, 1066 Country Walk, Wealdway, South Downs Way, Vanguard Way, Sussex Ouse Valley Way, Newhaven-Brighton Clifftop Path, Greenwich Meridian Trail
Other routes touched (cycle): NCN 2, 21, 90, Cuckoo Trail, Prime Meridan Cycle Route
Pubs / Cafes on route: Lots, but we stopped at Pevensey Starbucks (17.5 km in), Arlington Tea Garden (31.5 km in), The Ark, Newhaven (54.3 km in) and a chip shop near the beach in Brighton.
Maps:
- Hastings & Bexhill Map | Battle & Robertsbridge | Ordnance Survey | OS Explorer Map 124
- Eastbourne & Beachy Head Map | Newhaven, Seaford, Hailsham & Heathfield | Ordnance Survey | OS Explorer Map OL25
- Brighton & Hove Map | Lewes & Burgess Hill | Ordnance Survey | OS Explorer Map OL11
Links: Hastings, Bexhill-on-Sea, Pevensey, Cuckoo Trail, South Downs National Park, Alfriston, Seaford, Newhaven, Peacehaven, Rottingdean, Brighton
With no parkrun to work around we set off early along the Hastings to Bexford seafront with the aim of finding breakfast around 15km in. After passing several sea-side places that weren’t quiet open we settled for a Starbucks next to a petrol station in Pevensey. Not the nice coastal stop like we found in Walmer on the previous trip but it did the job.
Our original plan for this second day was to come off the NCN s at Pevensey, sticking to the coast through to Eastbourne then crossing the South Downs through Jevington. In the end we decided to stick to the NCN 2 through Polegate, Arlington and Alfriston. Although it takes a wide path away from the coast, it’s an interesting route through pretty villages.
After the South Downs section the NCN 2 took us back to the coast at Seaford. We were on familiar territory having visited Peacehaven, Rottingdean and Brighton on previous cycle trips.
Our final section took us along the coast to Brighton Pier with a quick stop near the beach for chips before heading north to the station to get the train back to London. The next section will likely be in 2026 with a return to Brighton for the next section to Poole.


The Full 2-Day Route
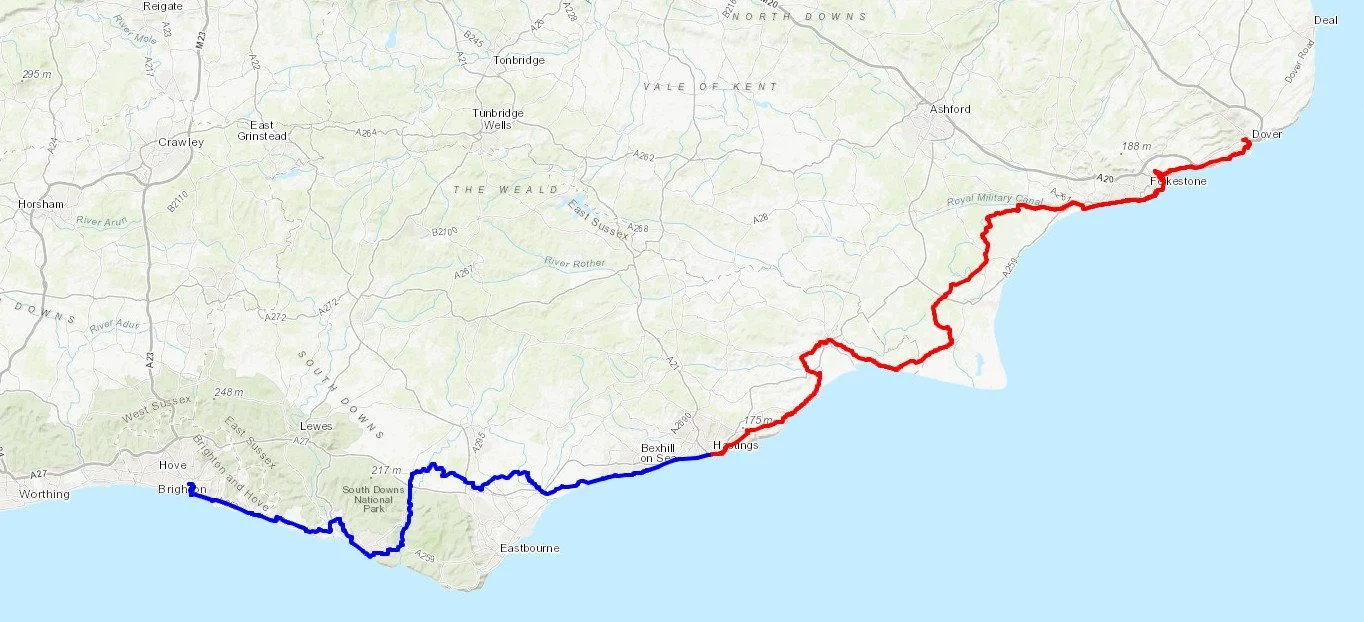
Day 1 in red, day 2 in blue
The Millennium Mileposts
Dotting the UK's National Cycle Network are over 1,000 unique markers known as the Millennium Mileposts. Unveiled in 2000, these cast-iron sculptures are more than just waymarkers. Designed by four artists, one from each nation of the UK, they celebrate the diversity of the cycling routes. These artistic mileposts come in various shapes and can be found in both bustling towns and scenic landscapes, adding a touch of artistic charm to a cycling adventure.
Here’s the 27 Mileposts that I spotted on the 2 day cycle trip. The first 22 were on Day 1 and the final 4 were on day 2.


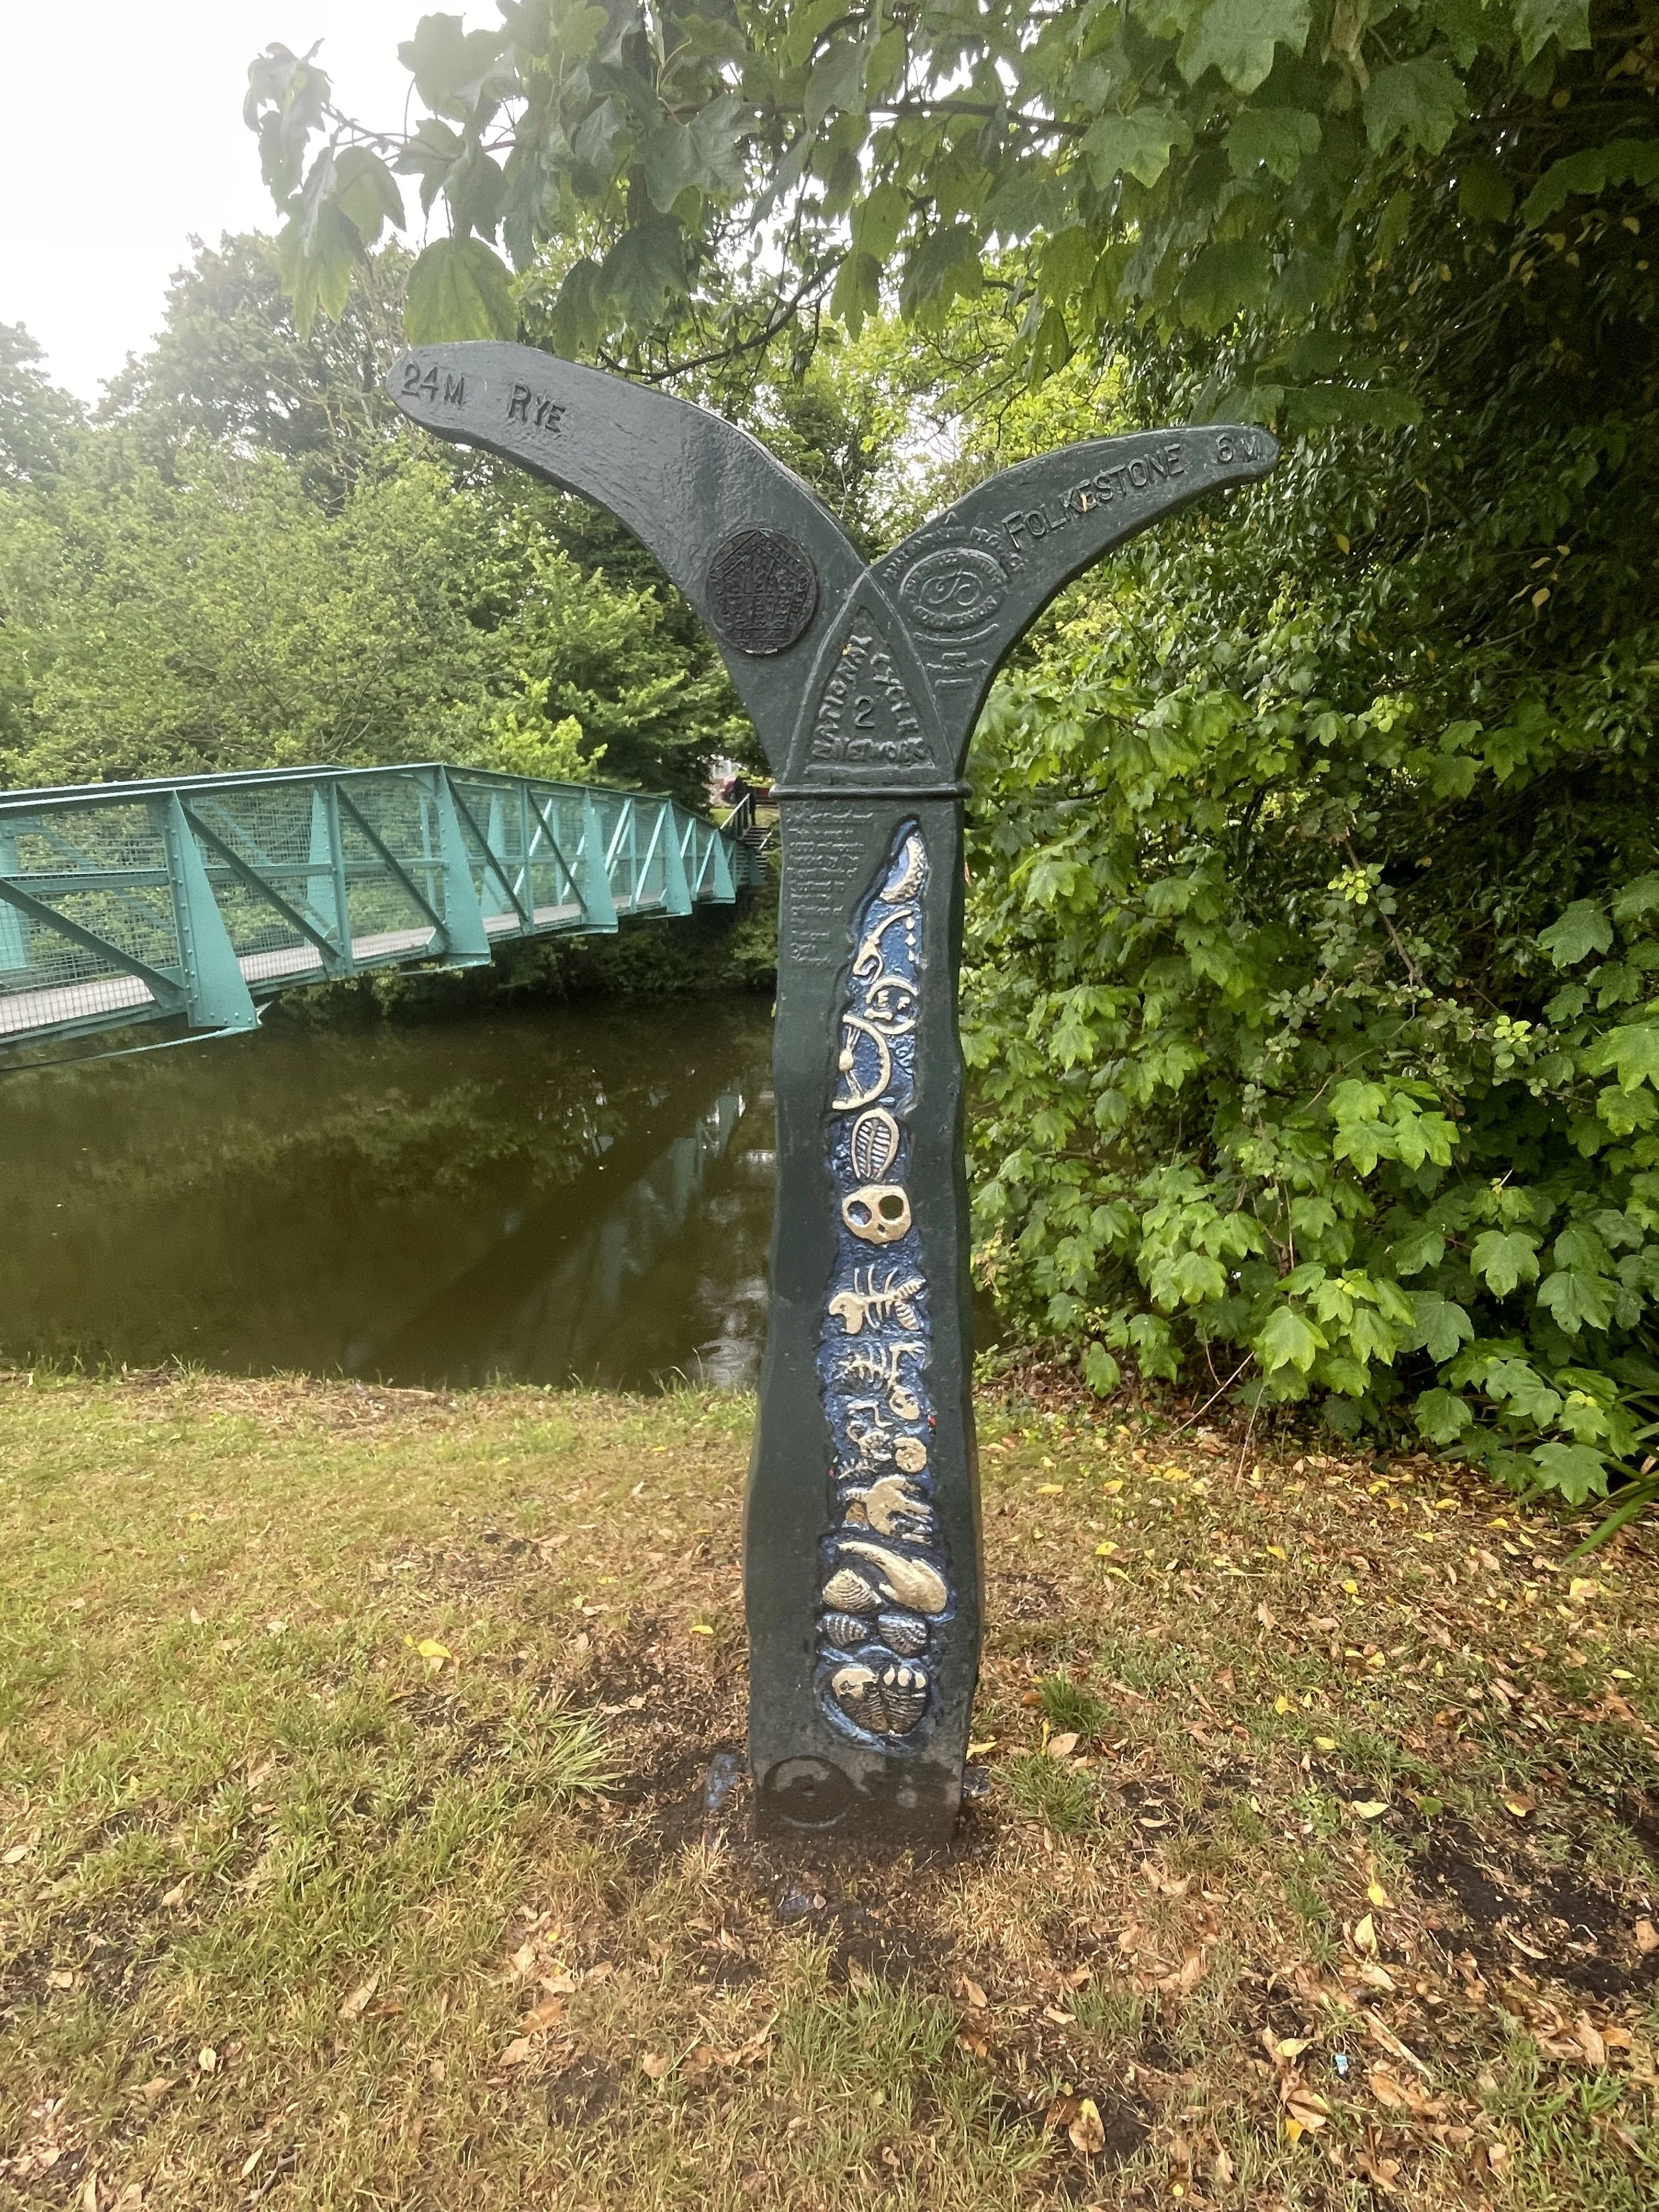


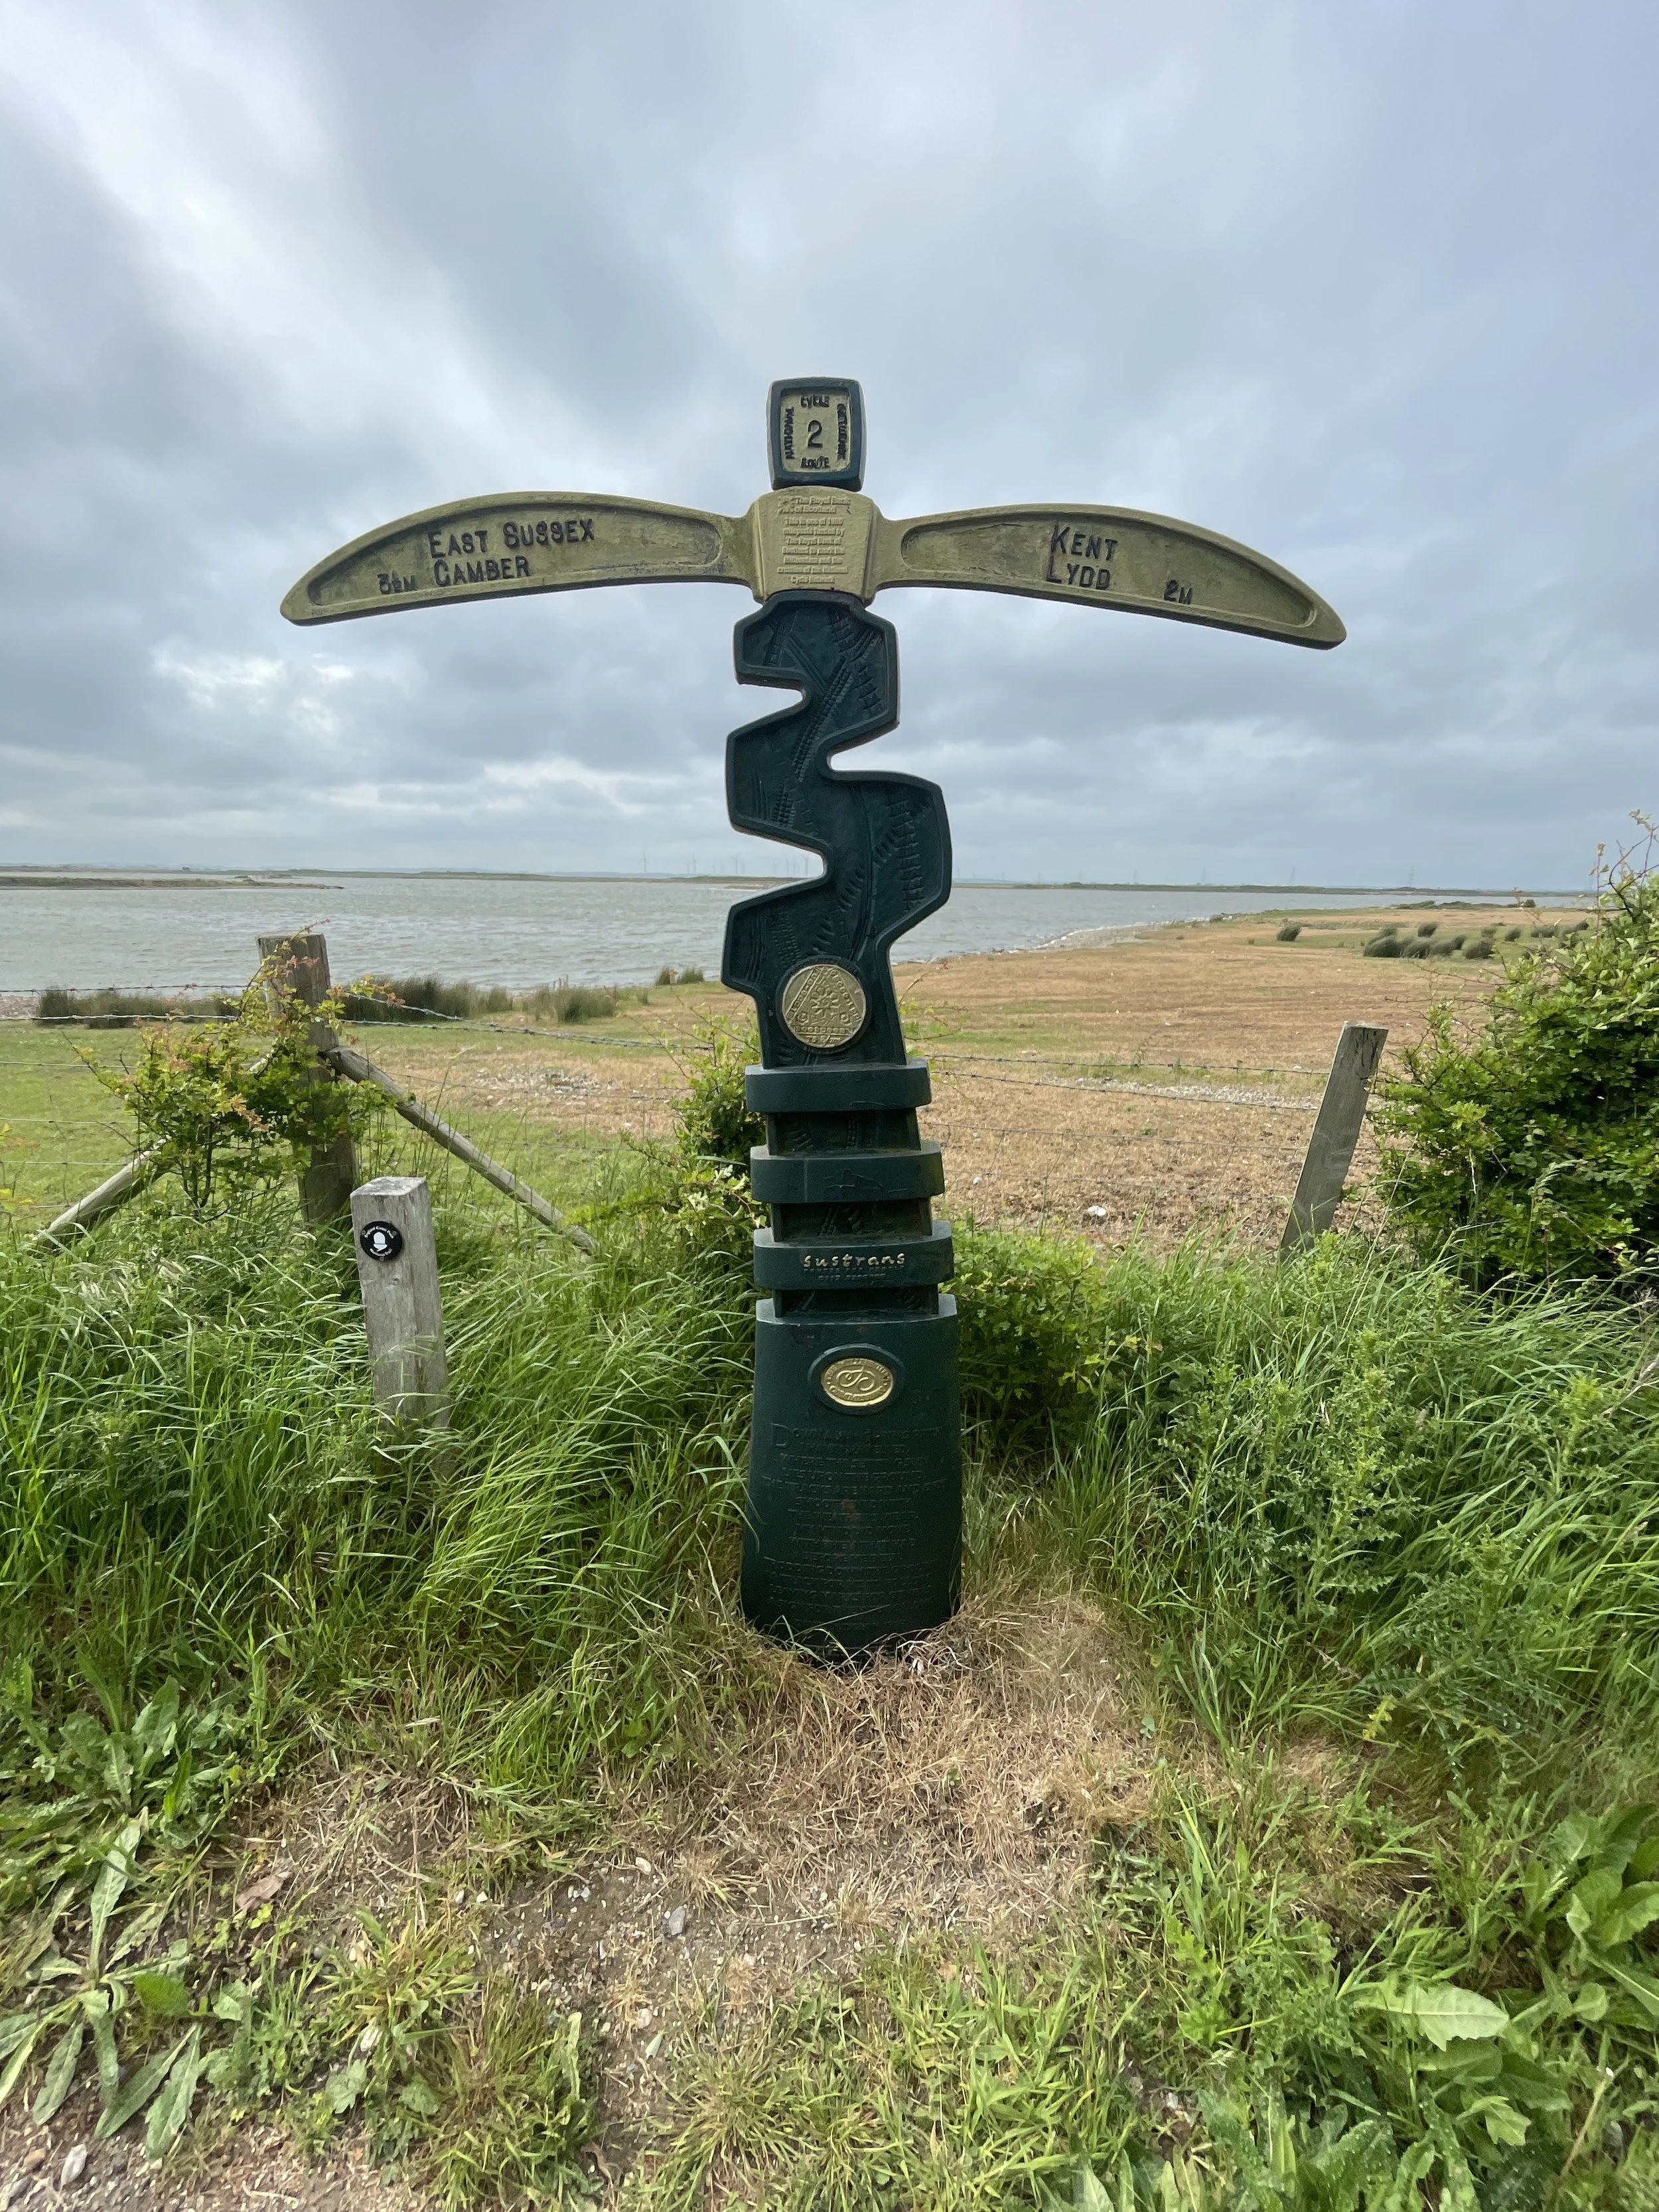


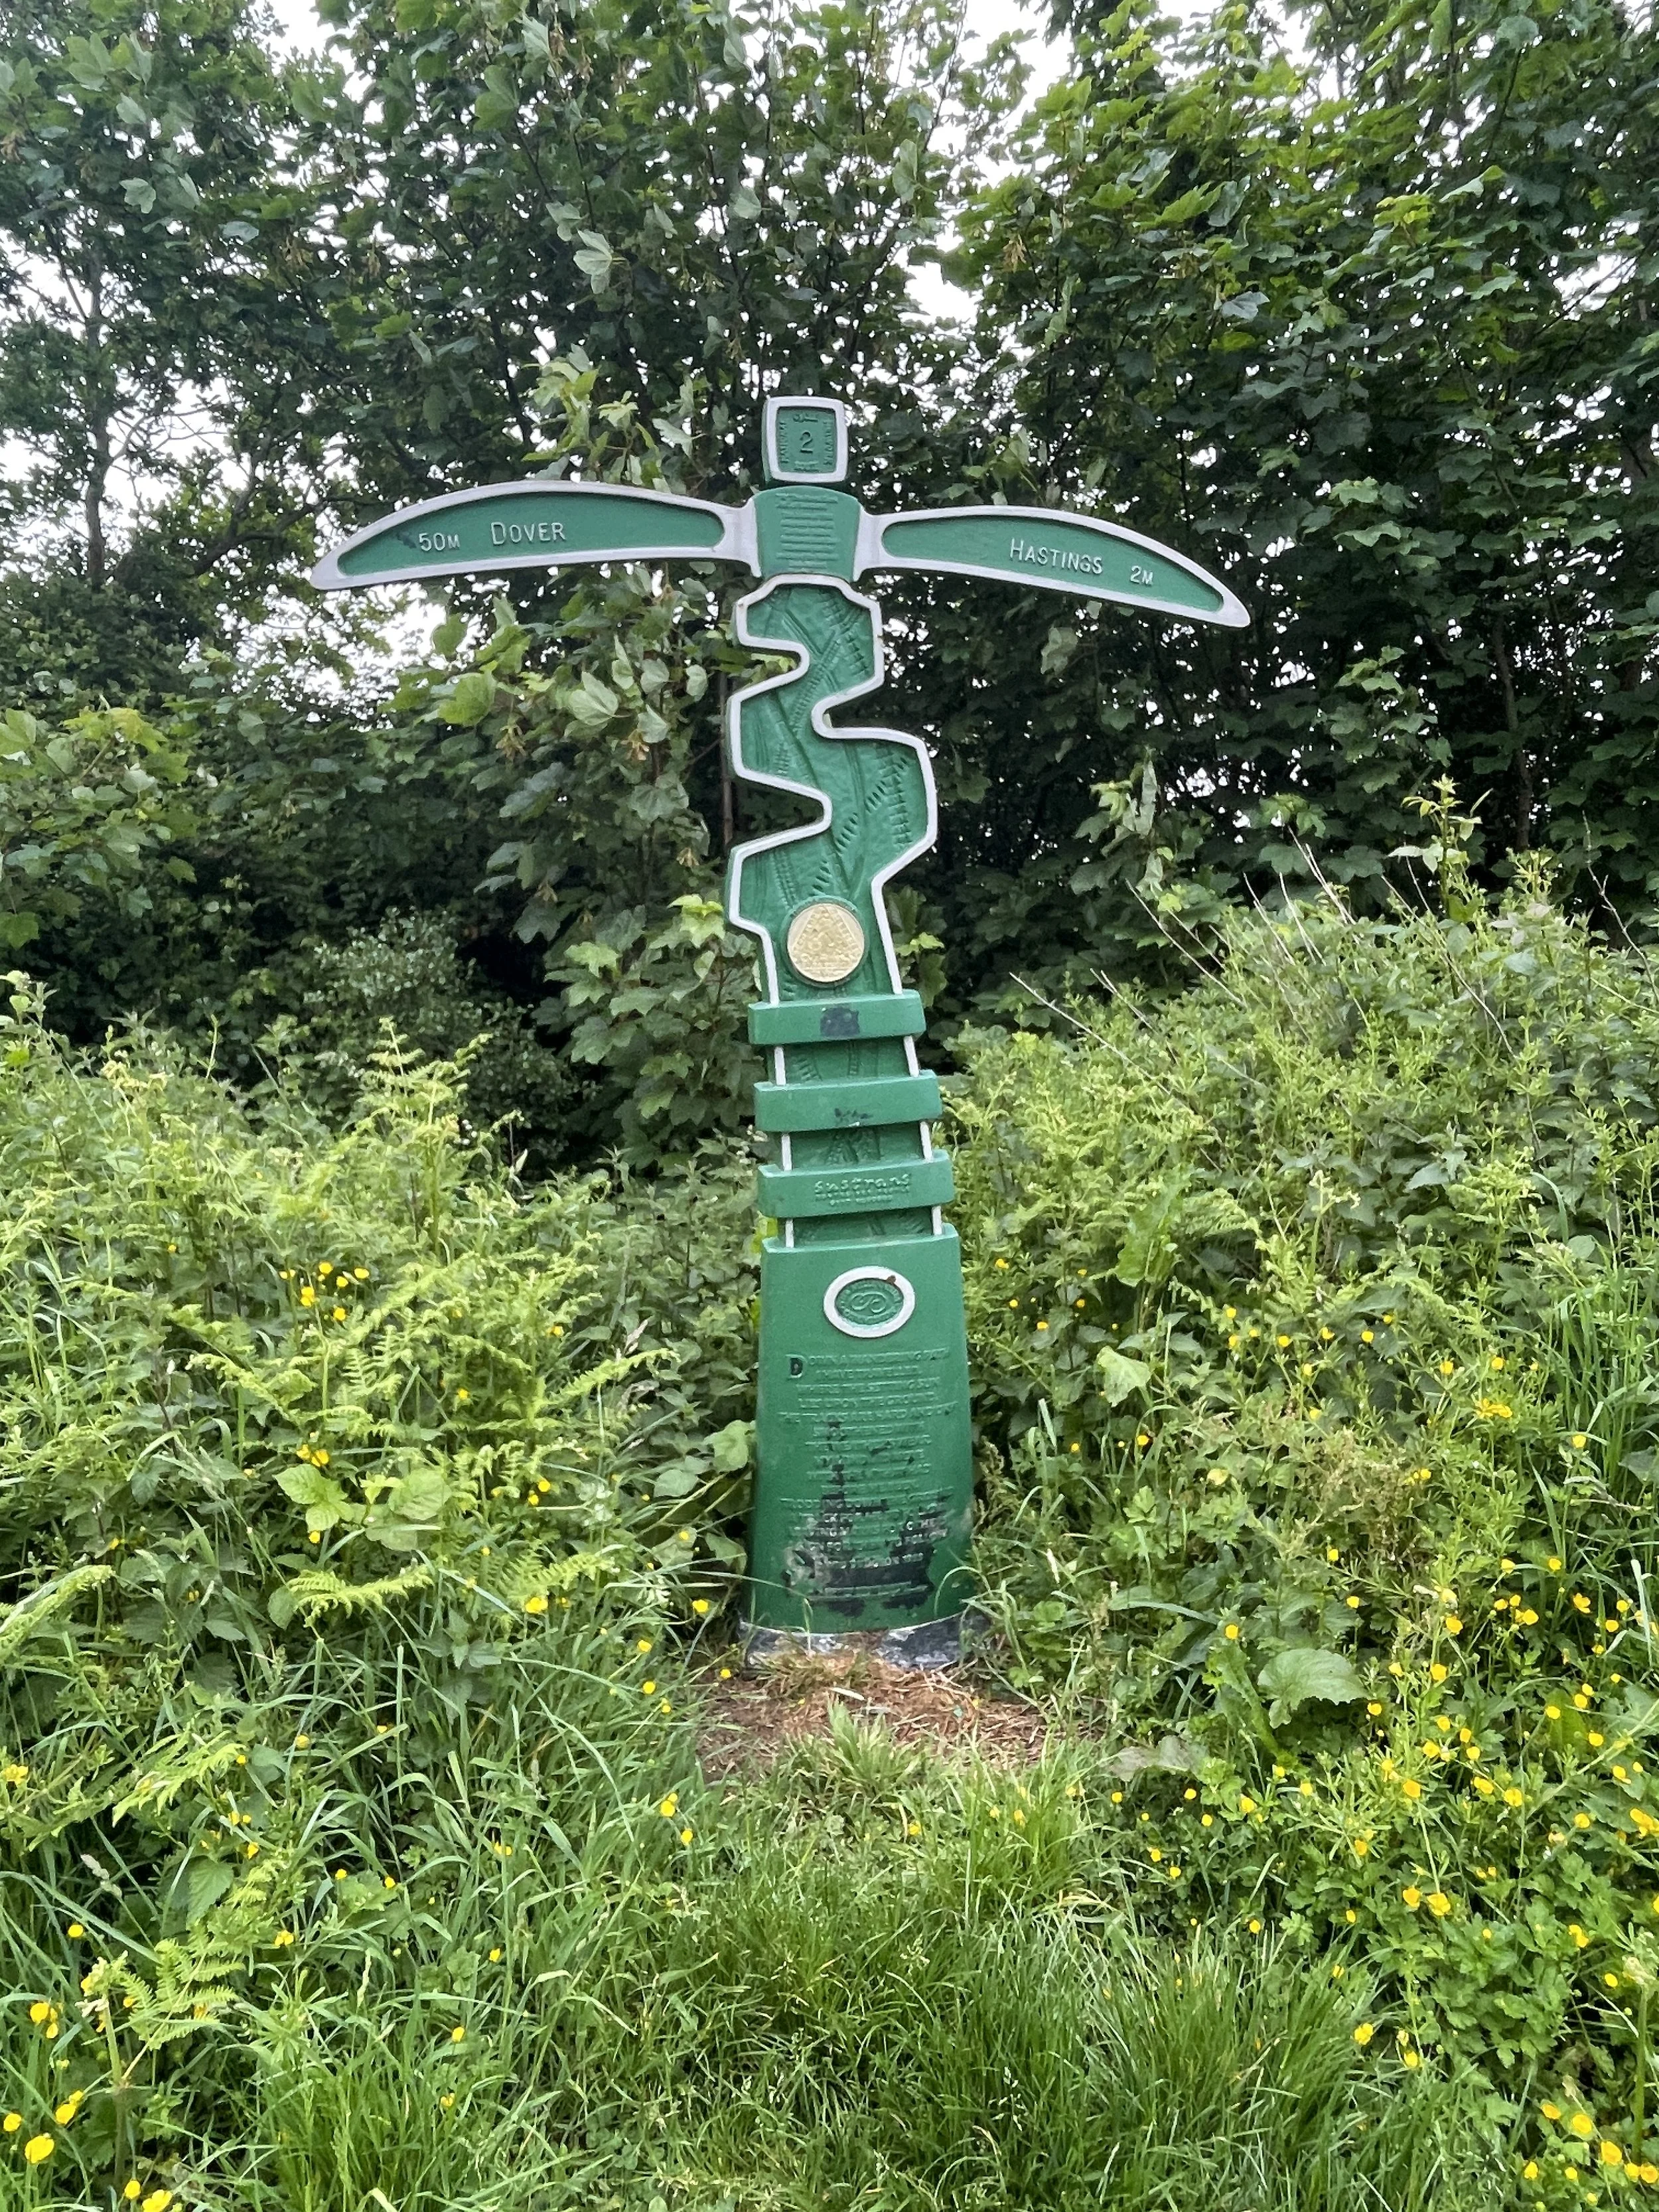


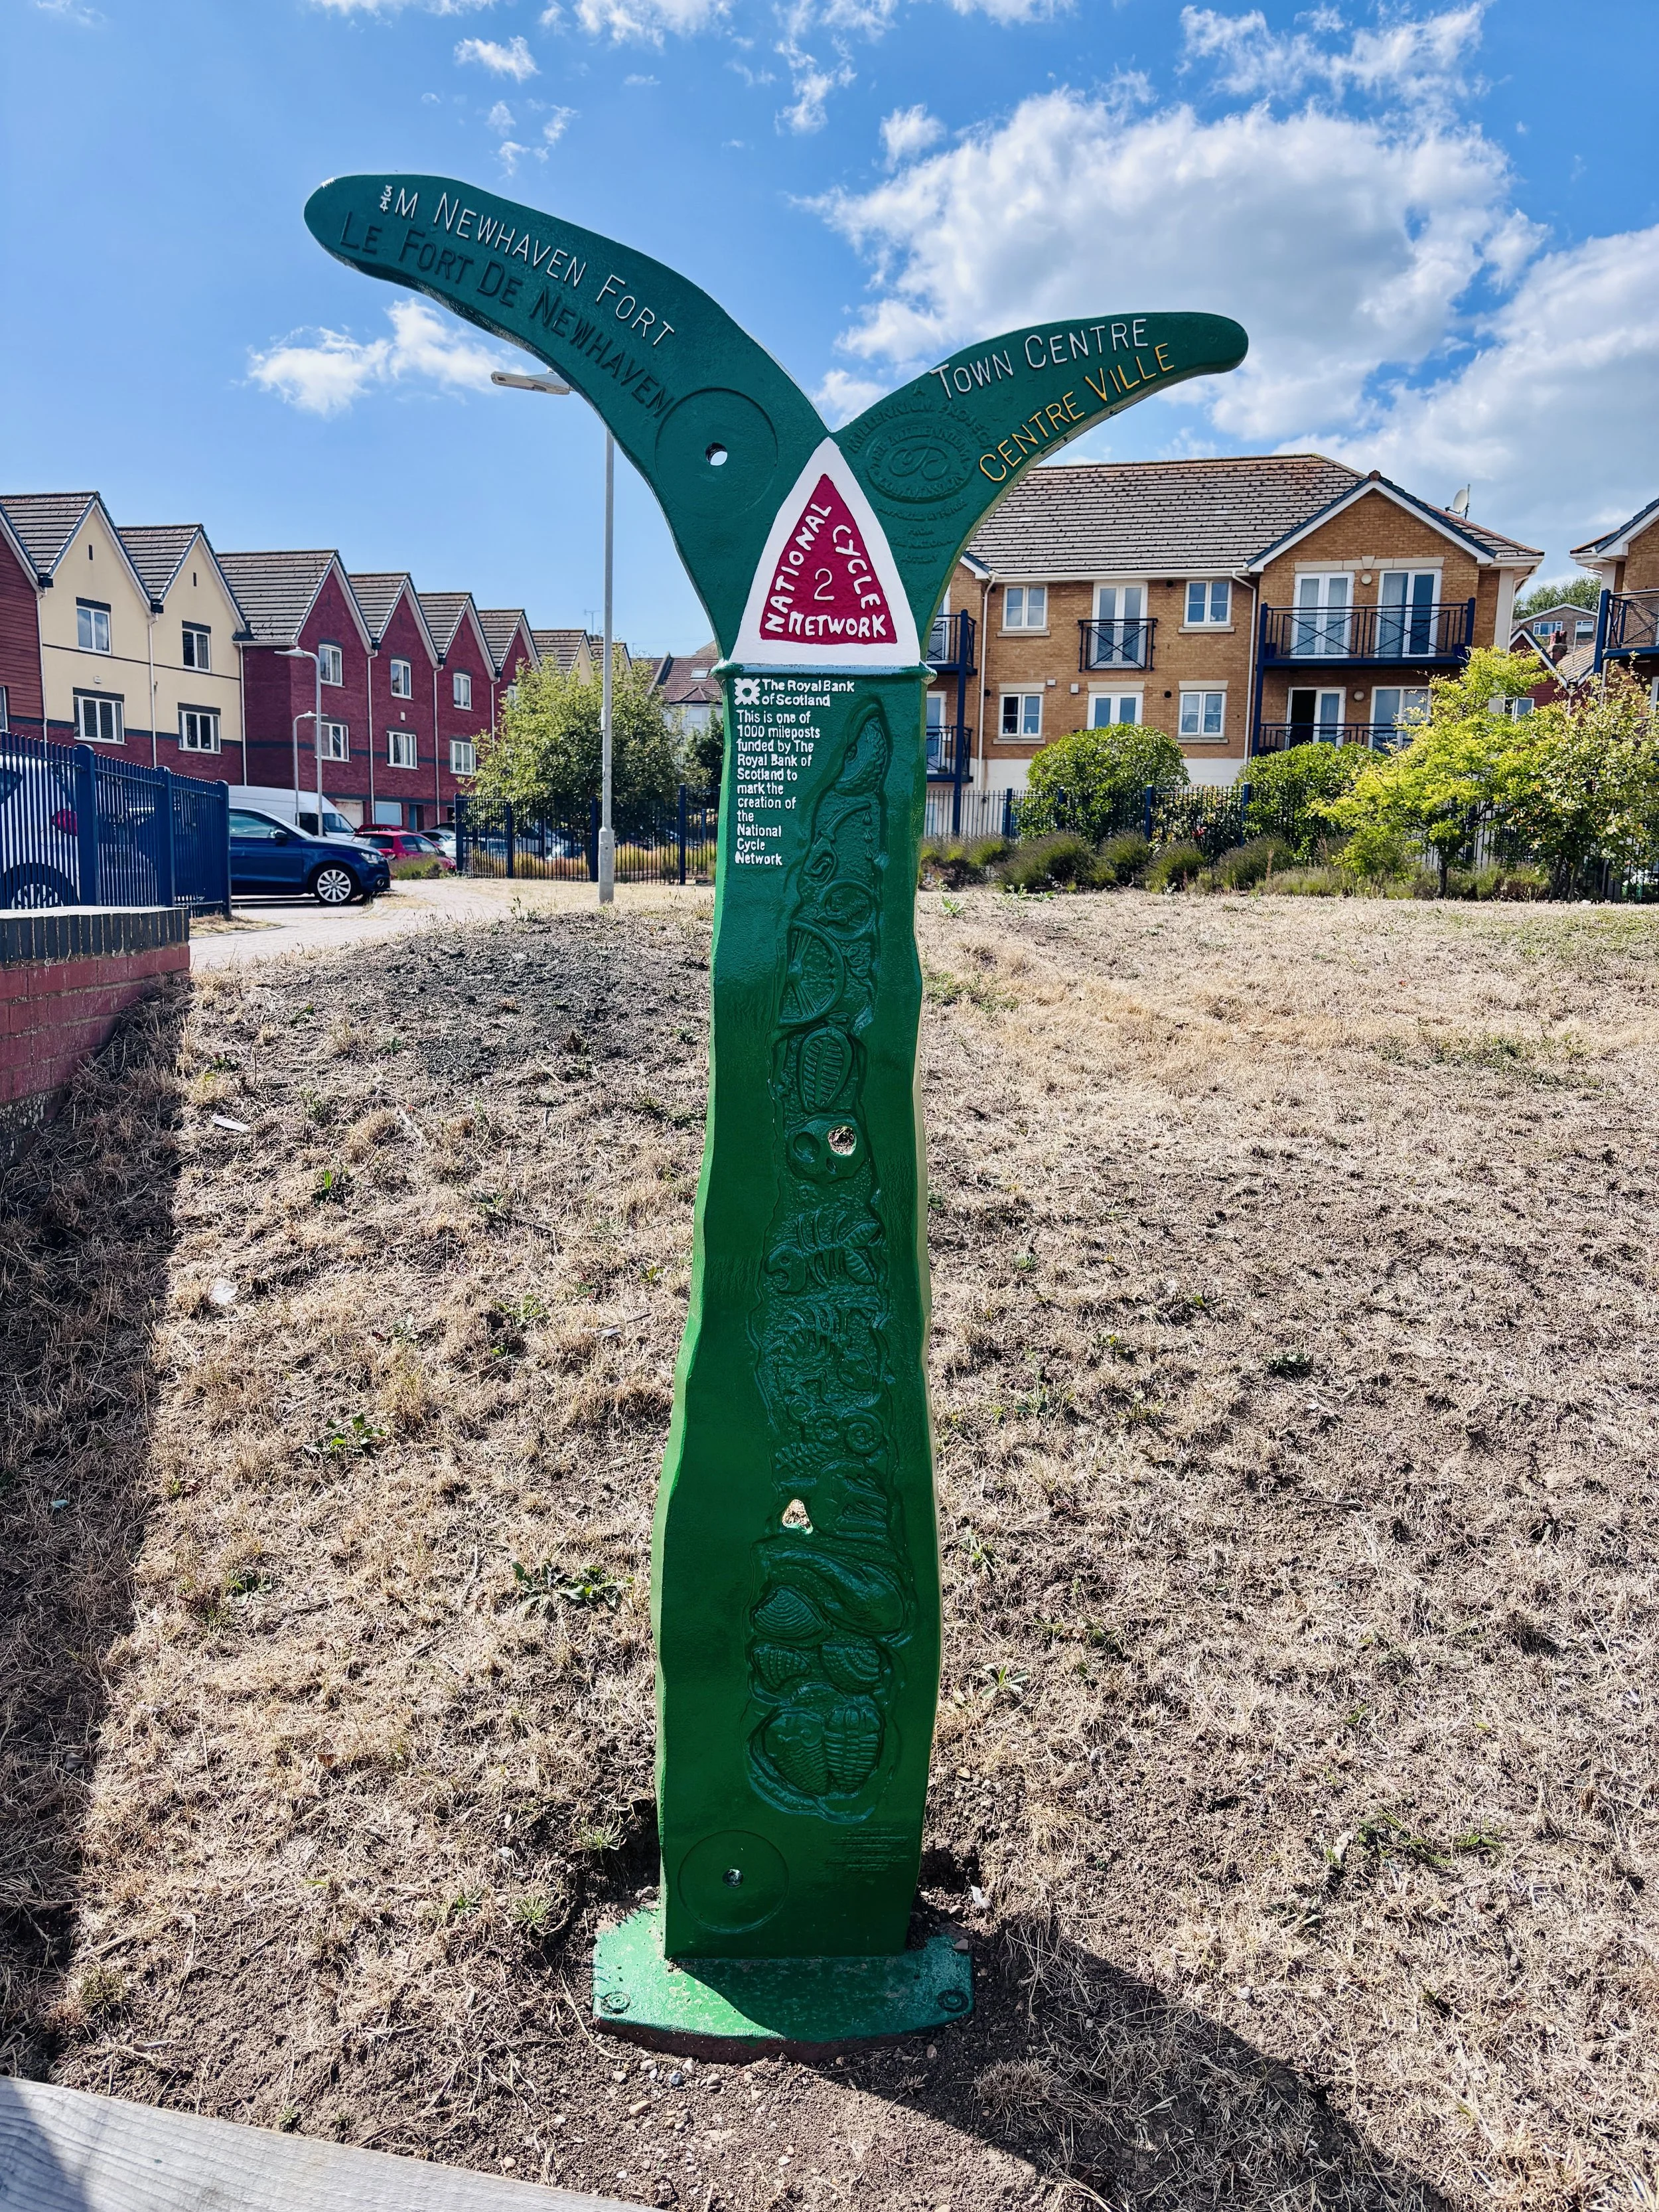


The Lap 75k Ultra Marathon
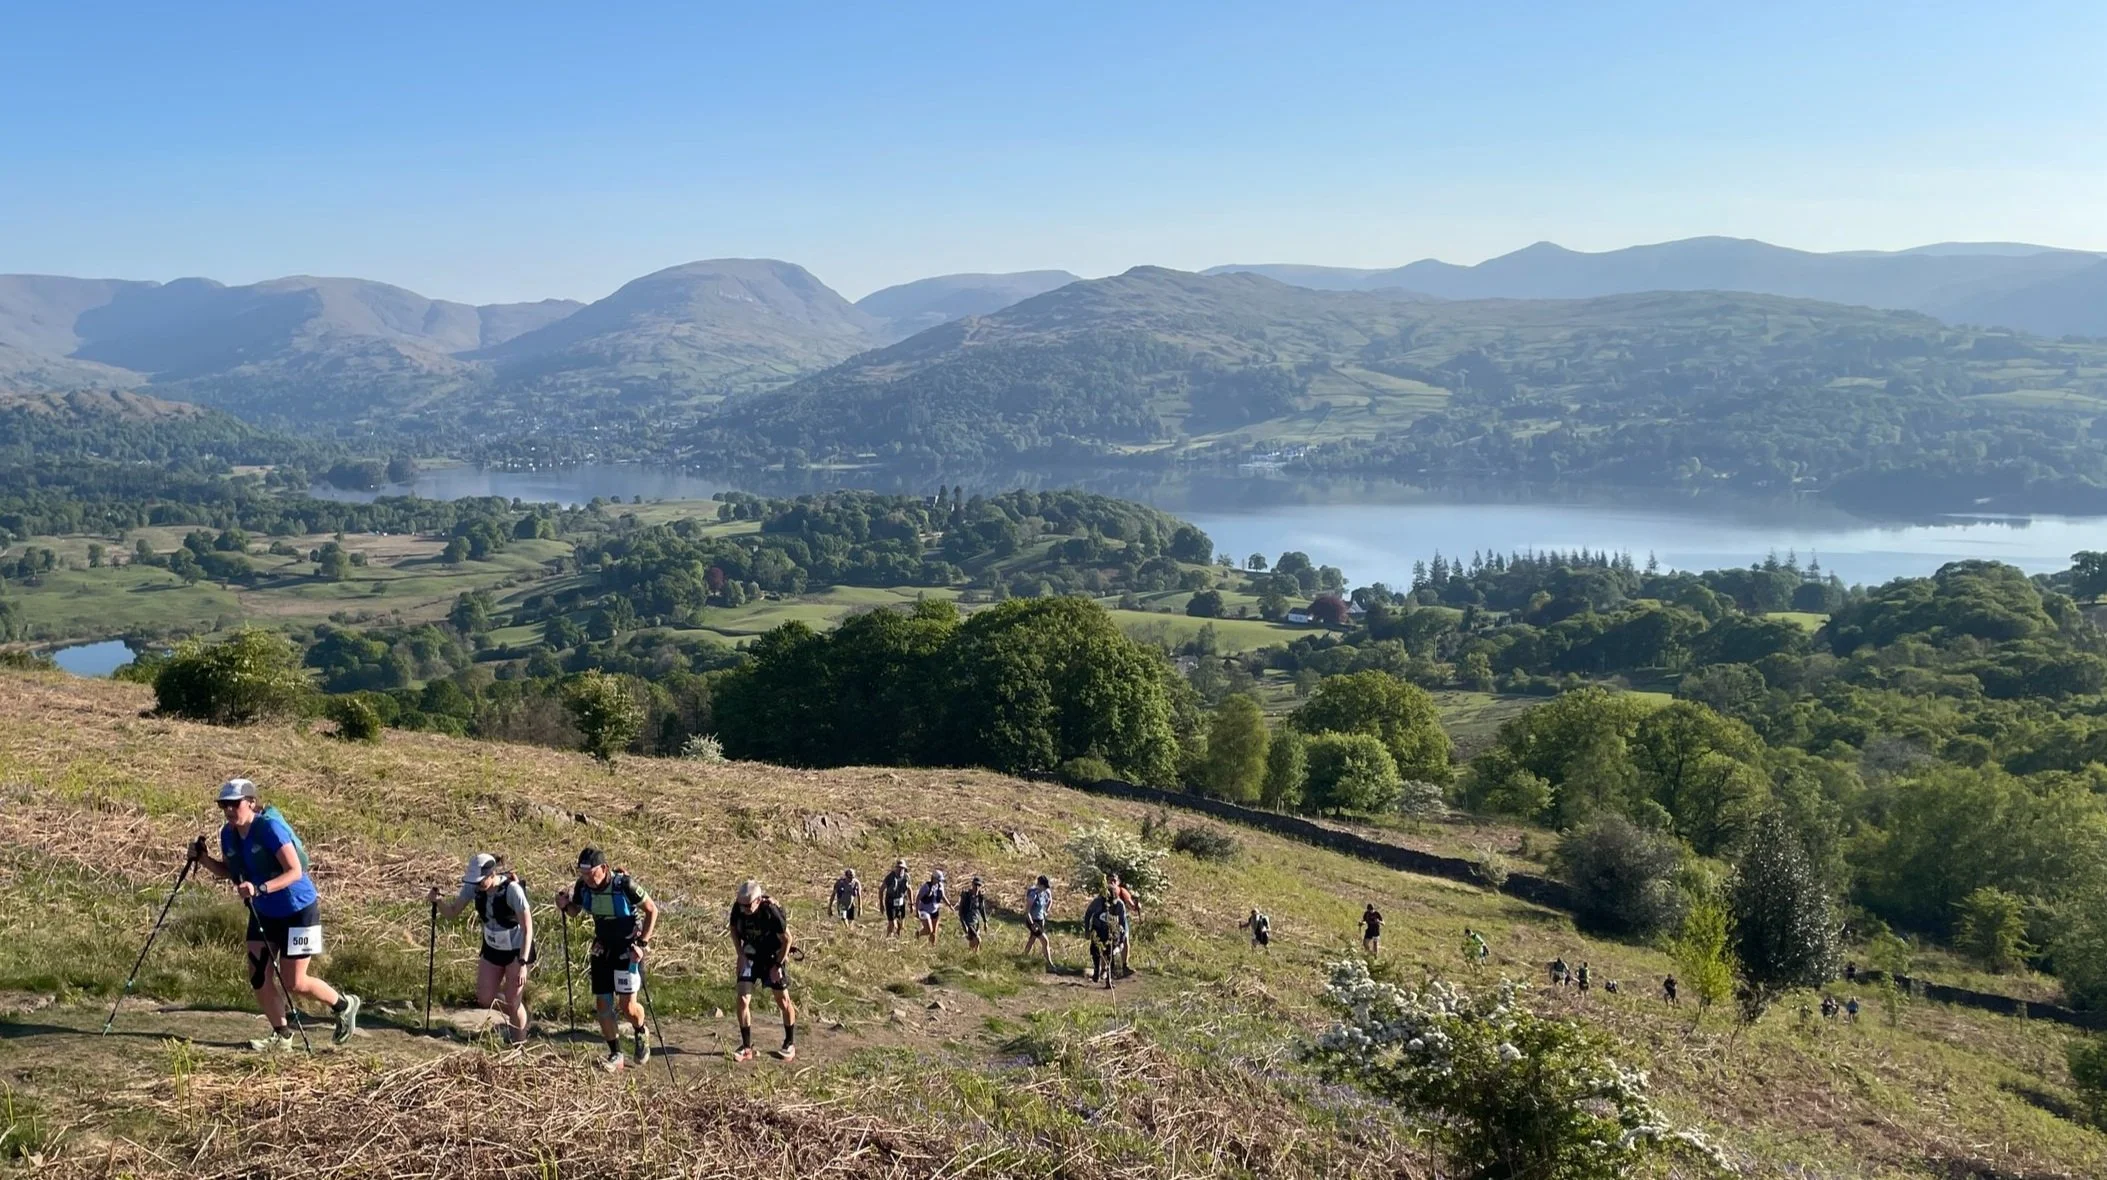
Ascent of Latterbarrow
When: May 10th 2025
Start and Finish: Low Cunsey Farm, Cunsey, Far Sawrey, Ambleside, LA22 0LU
Organiser: The Lap
Distance: 77km (47 miles)
Elevation change: +/- 2681m
GPX File: get via Buy Me a Coffee
Other routes touched (walk): Windermere Shore Footpath, Windermere West Shore, Dales Way, West Windermere Way
Other routes touched (cycle): NCN 6, 637. Lakes and Dales Loop
Other routes touched (run): Rothay Park parkrun
Summits: Latterbarrow, Loughrigg Fell, Wansfell Pike, Wansfell, Baystones, Orrest Head, Brant Fell, Gummer’s How
OS Trig Pillars: TP4549 - Loughrigg Fell, TP3536 - Gummers How
Map: The English Lakes: South-Eastern Area Map | Windermere, Kendal & Silverdale | Ordnance Survey | OS Explorer Map OL7
Finish time: 14 hours, 51 minutes, 24 seconds
Links: Lake Windermere, Graythwaite Estate, Far Sawrey, Skelwith Bridge, Ambleside, Troutbeck, Windermere (Town), Newby Bridge, Finsthwaite
This was my 14th Ultra and my 5th with my friend Mark. It was also my first big Ultra since the 100k Race To The Castle in 2021. Since then I’d had a few years of local 50k Ultras, waiting for another big one to excite me. After another friend had completed The Lap the previous year and loved it, I signed up straight away.
The Lap is a 75km circuit of Windermere, England’s largest lake. It takes a scenic, hilly route away from the lake with some tough climbs paid back by some great views. With the climbs, I found it hard to estimate what my finish time would be so I decided that finishing would be good enough and coming in before dark would be amazing.
As we arrived at the basecamp for the 06:00 start, the sun was coming up over the hills to the east of the lake. As usual at the start-line, I reminded myself not to get over excited and start too quickly. I need not have worried as the narrow country lanes and single-track through woods kept everyone at a slow, often walking, pace.
After the first feed station at Far Sawtry the pack was more spread out and we could speed up. Latterbarrow was the first climb at 11 km with a short steep climb up to the monument then an equally steep down. Shortly after the descent I saw road signs to Ambleside and decided that we were making very good time and would be there by our target of 09:30. I was wrong. I had forgotten that the route veers away from the lake at its north-west corner and climbs Loughrigg Fell before descending to Ambleside. It was at the second feed station at Skelwith that I realised we were actually an hour behind plan. It was also now getting hot and we still had the 2 big climbs to do. The new plan was “forget the plan”.
The northern section of the route has the 3 big climbs, Loughrigg Fell at 335m elevation and Wansfell at 487m. By Lake District standards, they’re both easy fells to walk but on an Ultra on a hot day they were killers. By the time we were down from Wansfell at the Troutbeck half-way feed-station, most of my running ability was gone.
Mark and I stayed mostly together until Gummers How, the final climb at 57 km. Mark is faster than I am so I generally lose him by the half way point. I often gain a bit of time at feed-stations as I don’t like to stop for long which gives me a bit of distance before Mark catches up with me again. Mark did a great job of encouraging me to run a few extra times rather than speed walk. That probably shaved up to 2 minutes off my total time.
My low-point of the route was a long stretch after Windermere of very similar-looking plantation and not many people around. Mark and I re-connected for the ascent of Gummer’s How. By the time we met Timea, our support crew for the day, we were both a bit tired and grumpy. I was still recovering from a cold and any running was now giving me a headache. Timea saved us with a pasty and some painkillers and we were back on the route.
Timea met us several times on the early evening southern section of the route greatly helping my motivation. After Newby Bridge the route turned back to the north for the final 10 km to the finish line. Although behind my “optimistic” plan, I had some new energy and felt that I could reach the finish before dark. I crossed the finish line at 20:51, well before dark and under 15 hours. Mark very kindly finished 18 minutes ahead of me so that he could be ready to video my finish.
It was in the top 3 most difficult Ultras that I’ve done but also in the top 3 most enjoyable.


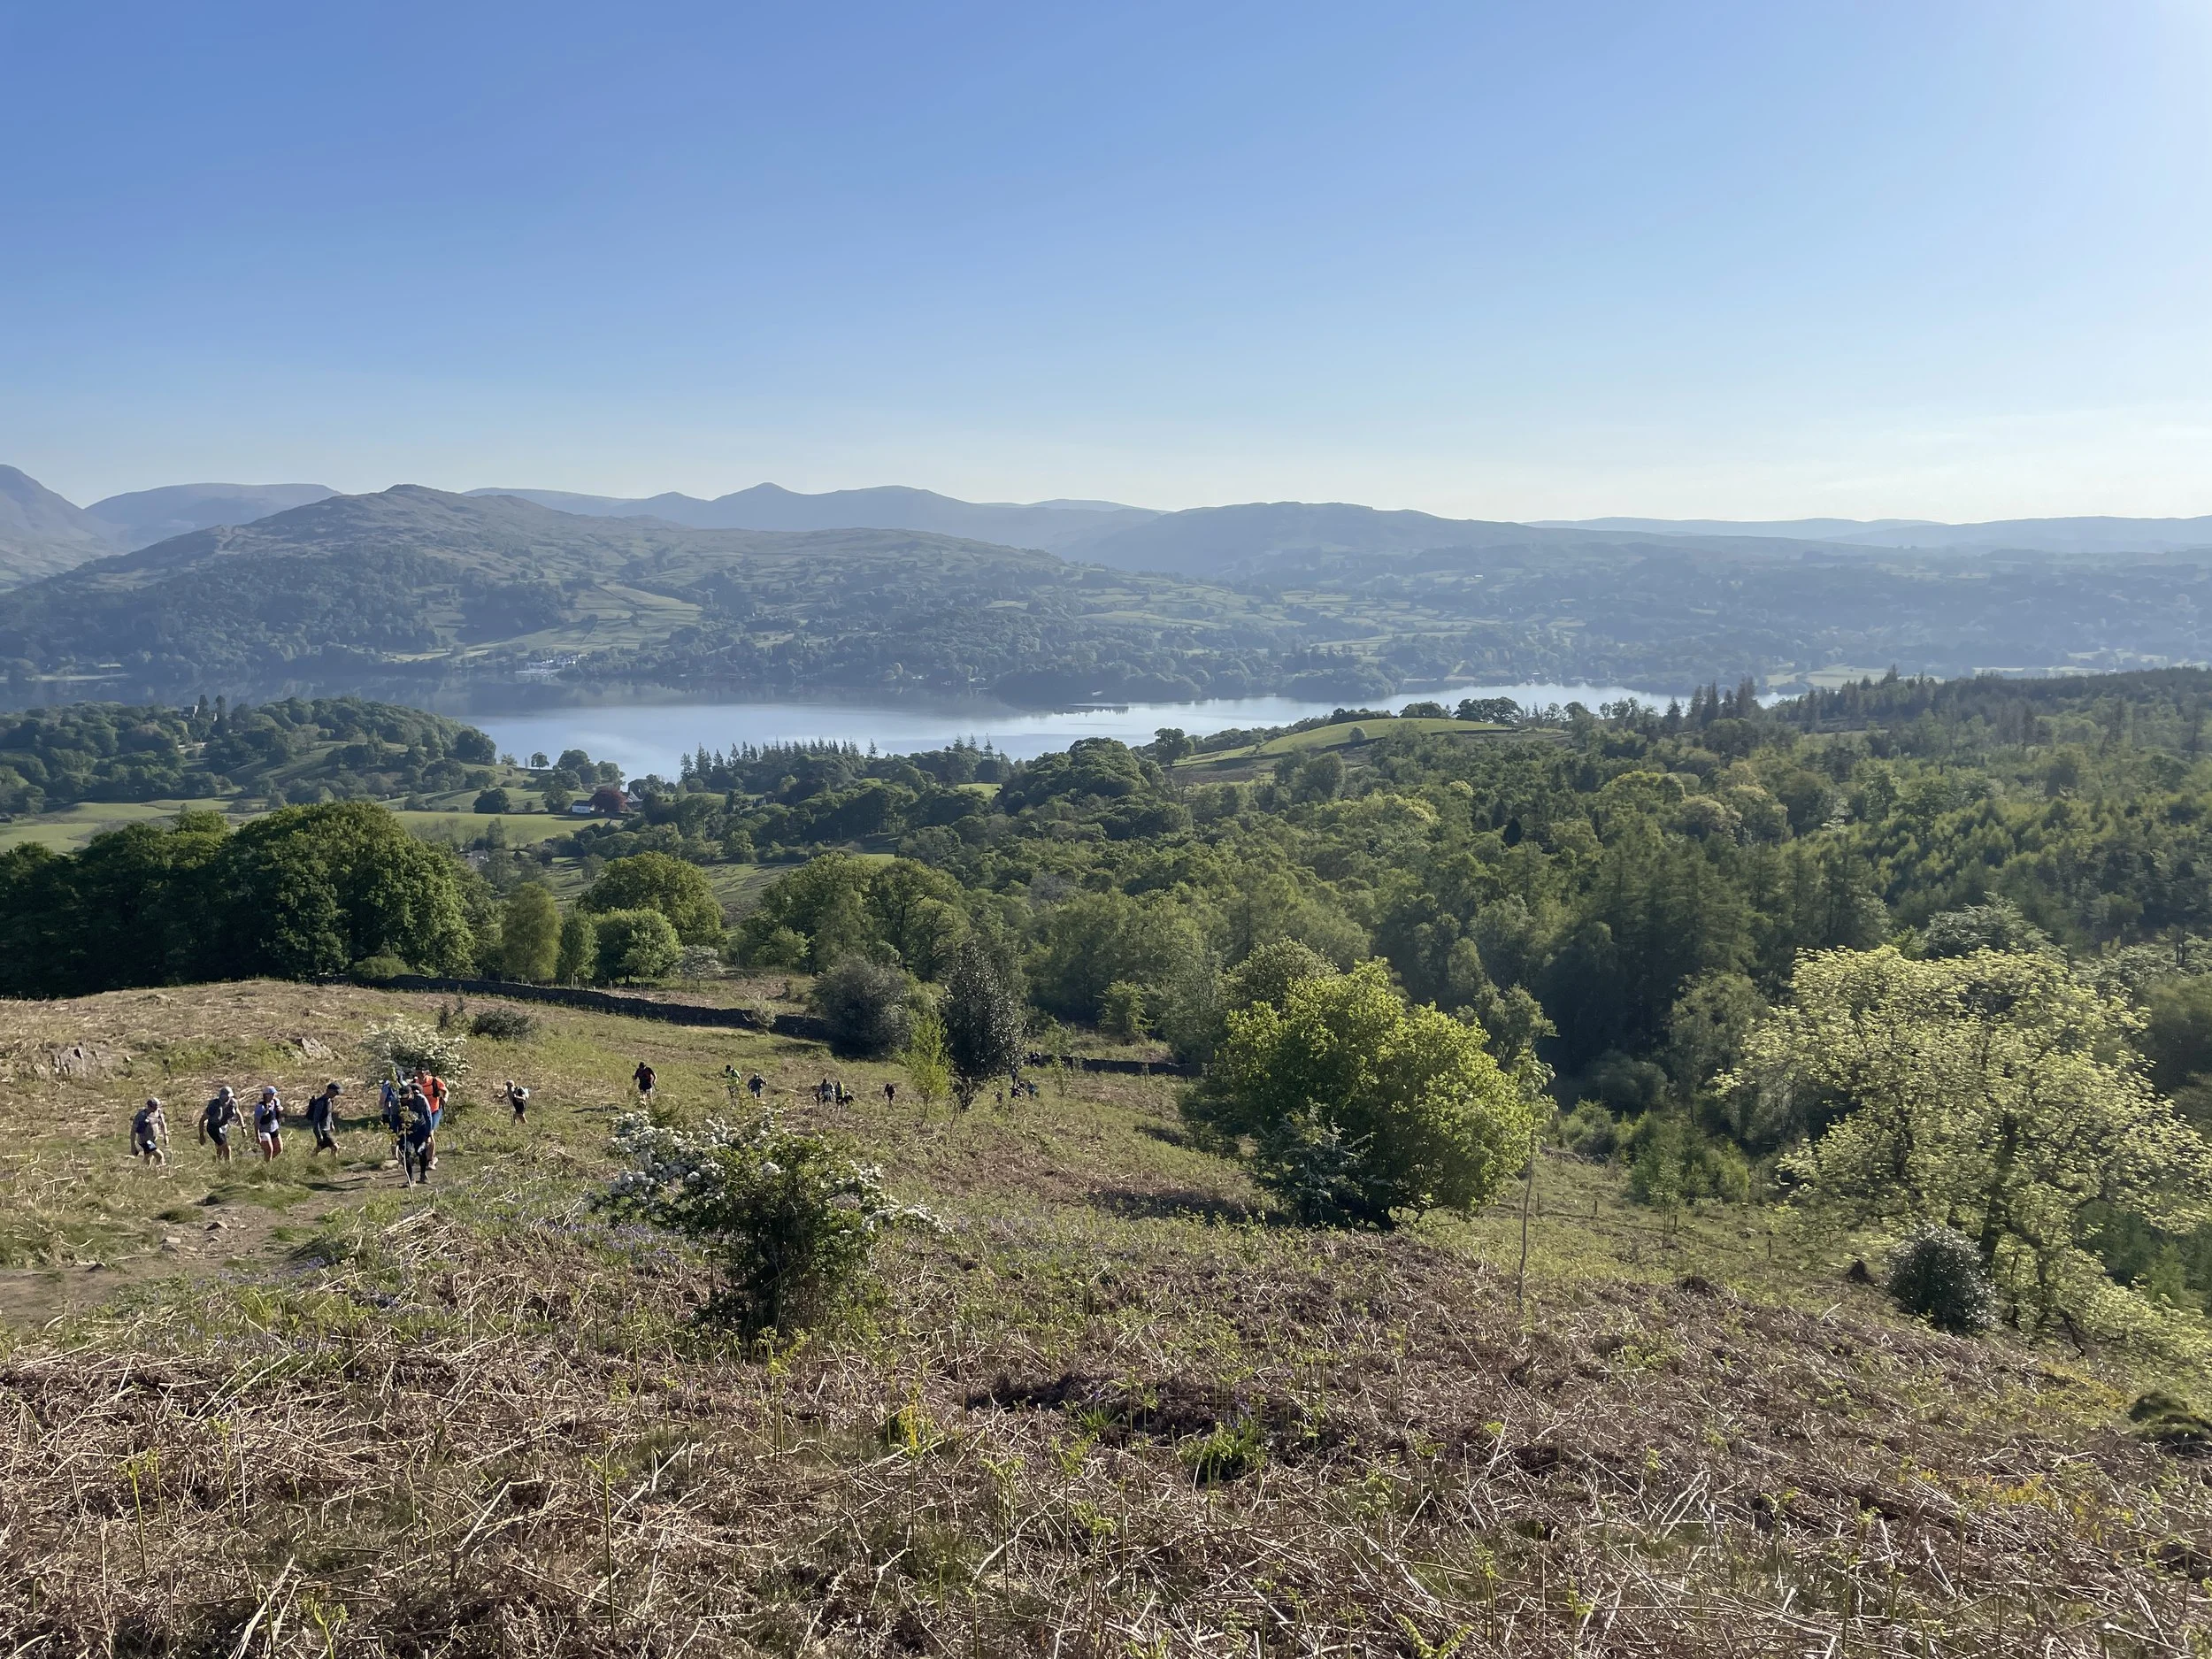


Walking The North Downs Way Part 8 - Westerham Hill to Otford

North Downs Way near Chevening
Start: The Velo Barn, Unit 1, Betsoms Farm, Pilgrims Way, Westerham TN16 2DS
Finish: Otford Memorial Hall, 28A High St, Otford, Sevenoaks, TN14 5PQ
Distance: 12.8 km (7.9 miles)
Elevation change: +128m / -225m. Net -97m
GPX File: get via Buy Me a Coffee
Other routes touched (walk): North Downs Way, Berry’s Green Circular Walk, Darent Valley Path
Other routes touched (cycle): None
Pubs / Cafes on route: The Velo Barn at the start of the route, Rose & Crown Sevenoaks (10 km in), several in Otford High Street
OS Trig Pilllar: TP4287 - Knockholt Beeches
Map: Sevenoaks & Tonbridge Map | Royal Tunbridge Wells & Westerham | Ordnance Survey | OS Explorer Map 147
Guidebook: The North Downs Way National Trail from Farnham to Dover (Cicerone)
Links: Chevening, Otford, LDWA: North Downs Way, National Trails: North Downs Way, northdownsway.org
This is the eighth of a series of short point-to-point walks along the North Downs Way. The full trail is a long distance path stretching from Farnham in Surrey to Dover in Kent. Our walks took in short sections of 10 km to 13 km which we did with a friend over the course of a couple of years when our schedules coincided. The North Downs Way is well sign-posted however I highly recommend taking a map or GPX route to keep you on track. The Cicerone book on the trail is a great guide to the points of interest along the way.
Our original plan was to only walk the first seven sections covering Surrey before the driving from home started getting to long. It was only when I was completing my quest to bag all OS Trig Pillars within the M25 that I realised that I needed to do one final section and get the Knockholt Beeches Trig Pillar to complete the set.
Picking up from the Velobarn at Westerham Heights we continued east along the North Downs Way. This was a bright, sunny day in mid-April and a nice change from the gloominess of the previous section that we did nearly 18 months ago. The first 5 km of this section stays high on the ridge with great views to the south across open fields. At around 4.7 km you can take a very minor diversion to the north of the trail to find the Trig Pillar hiding in a bush along a field fence-line.
Shortly after the Trig Pillar the trail enters Cooper’s Wood. Watch out for the cutting in the trees where you can see down to Chevening House, the official country residence of the British Foreign Secretary. You can also get a good view of the estate as the trail descends out of the woods, across farmland to Sundridge Road. When we were there in April 2025 a diversion was being put in place to cut off part of the route that follows Sundridge Road. We chose not to take it, preferring to stick to the route that we had on the map. In hindsight I wish we had taken the diversion as there’s no pavement on some of the road and very fast cars wizzing by.
Shortly after crossing over the A21 on Morrants Court Road you’ll reach the Rose and Crown at the 10 km point. It’s the first pub to stop for a rest on this section. The final 3 km after the Rose and Crown also follows the Darent Valley Path into Otford. This is a pretty village with some well kept old buildings and several information boards detailing its history.


Previous Section (west): Walking The North Downs Way Part 7: Gangers Hill to Westerham Hill
Walking the River Wey Part 7: Worplesdon to Guildford

Woodbridge Crossing, Guildford
Start: Worplesdon Station, Woking, GU22 0RN
Finish: Guildford Station, Guildford GU1 4UT
Distance: 11.9 km (7.4 miles)
Elevation Change: +/- 52m
GPX File: get via Buy Me a Coffee
Other Routes Touched (walk): Wey Navigation Footpath, The Fox Way
Other Routes Touched (cycle): Surrey Cycleway
Cafe / pubs on route: The Olive Tree (2.5 km in), The Row Barge (9.1 km in), Cafe at National Trust Dapdune Wharf (just off route at 11 km in), many in Guildford Town Centre at end
Map: Guildford & Farnham Map | Godalming & Farnborough | Ordnance Survey | OS Explorer Map 145
Links: Wey Navigation, River Wey, River Wey and Godalming Navigations (National Trust), Worpledon, National Trust Dapdune Wharf, Guildford
This is the seventh of a series of short circular walks along the River Wey and the Wey Navigation canal in Surrey. The guidance below will help you navigate but don’t use it as a fully accurate turn-by-turn guide. Always take a map and/or a GPX route and prepare well for the weather and terrain.
In a change to the circular routes of previous sections, this one is a station-to-station walk with a train connection between them. We parked near Guildford Station and took the train one stop north to start the walk at Worplesdon Station. From Worplesdon Station entrance walk north to meet Prey Heath Road and take a right. You’ll now be on the Fox Way which you’ll follow in an easterly direction until you reach the Wey Navigation between Sutton Green and Fell Hill. Note that the Fox Way isn’t well sign-posted so a map or GPX route is important here.
You’ll reach the Wey Navigation at the marshy island where section 6 left the canal. Cross over to the eastern side of the canal and take a right heading south. From here the rest of the route is very simple with 8.5 km of towpath walking all the way back to Guildford Station. When you get to the Woodbridge Crossing (as featured on the banner photo above), around 11 km in, it’s worth taking a short diversion over the footbridge to the National Trust property at Dapdune Wharf. There’s exhibitions about the Wey Navigation, a cafe and and old barge.





Previous section (north): Walking the River Wey Part 6: Newark Lane and Send
Next section (south): Walking the River Wey Part 8: Guildford to Godalming