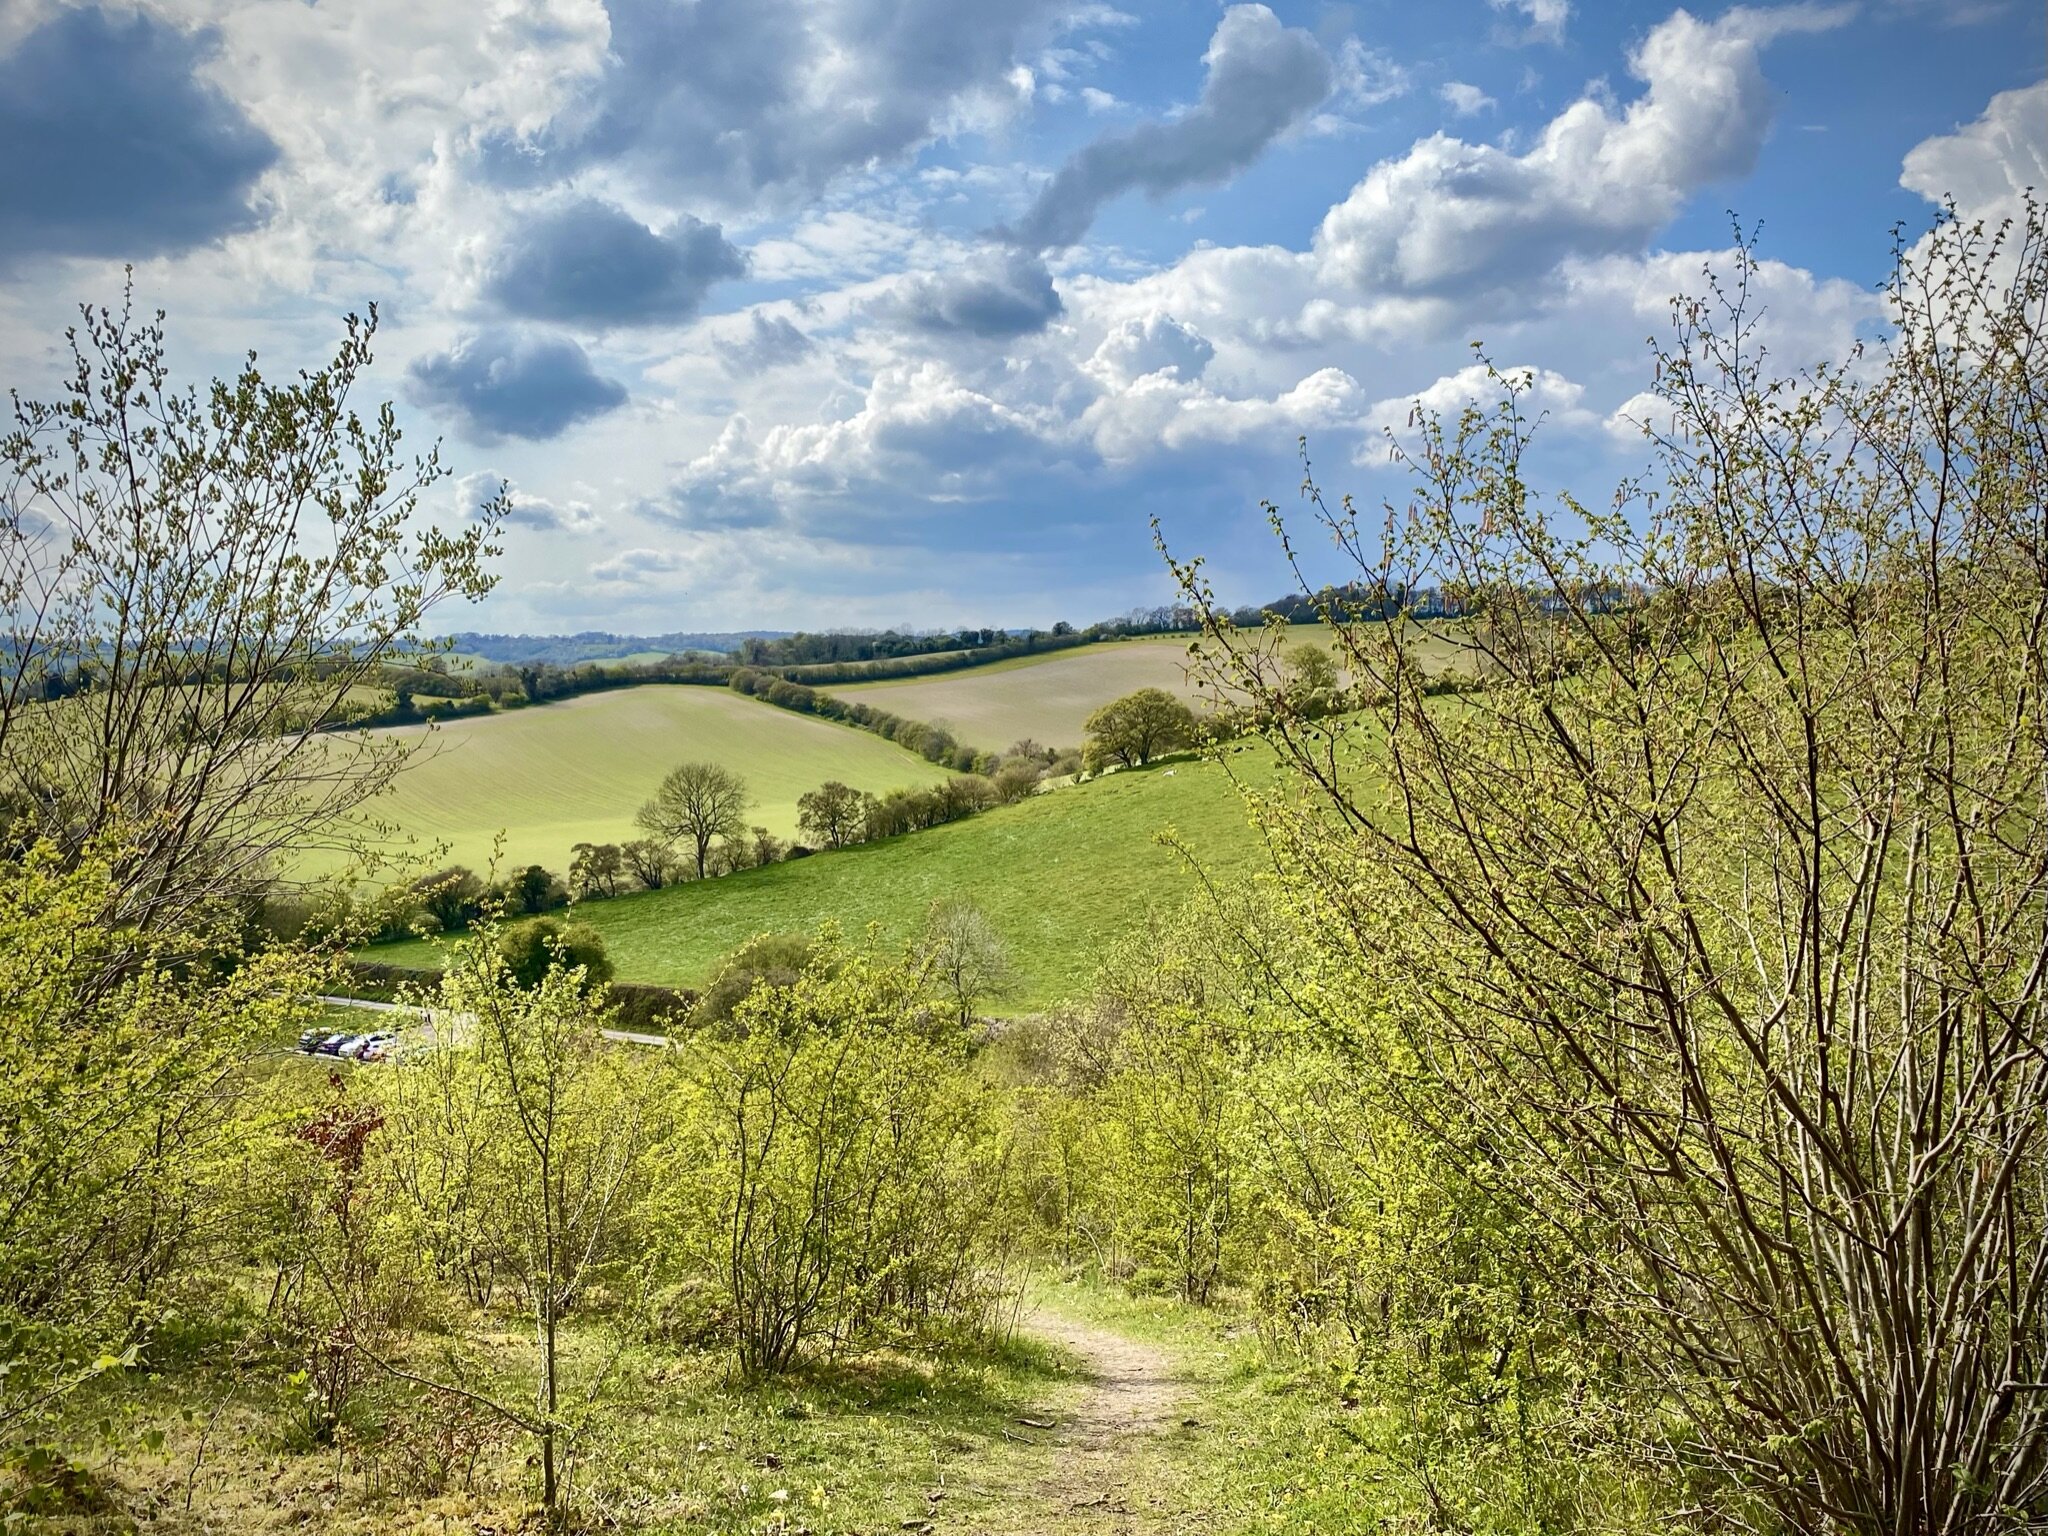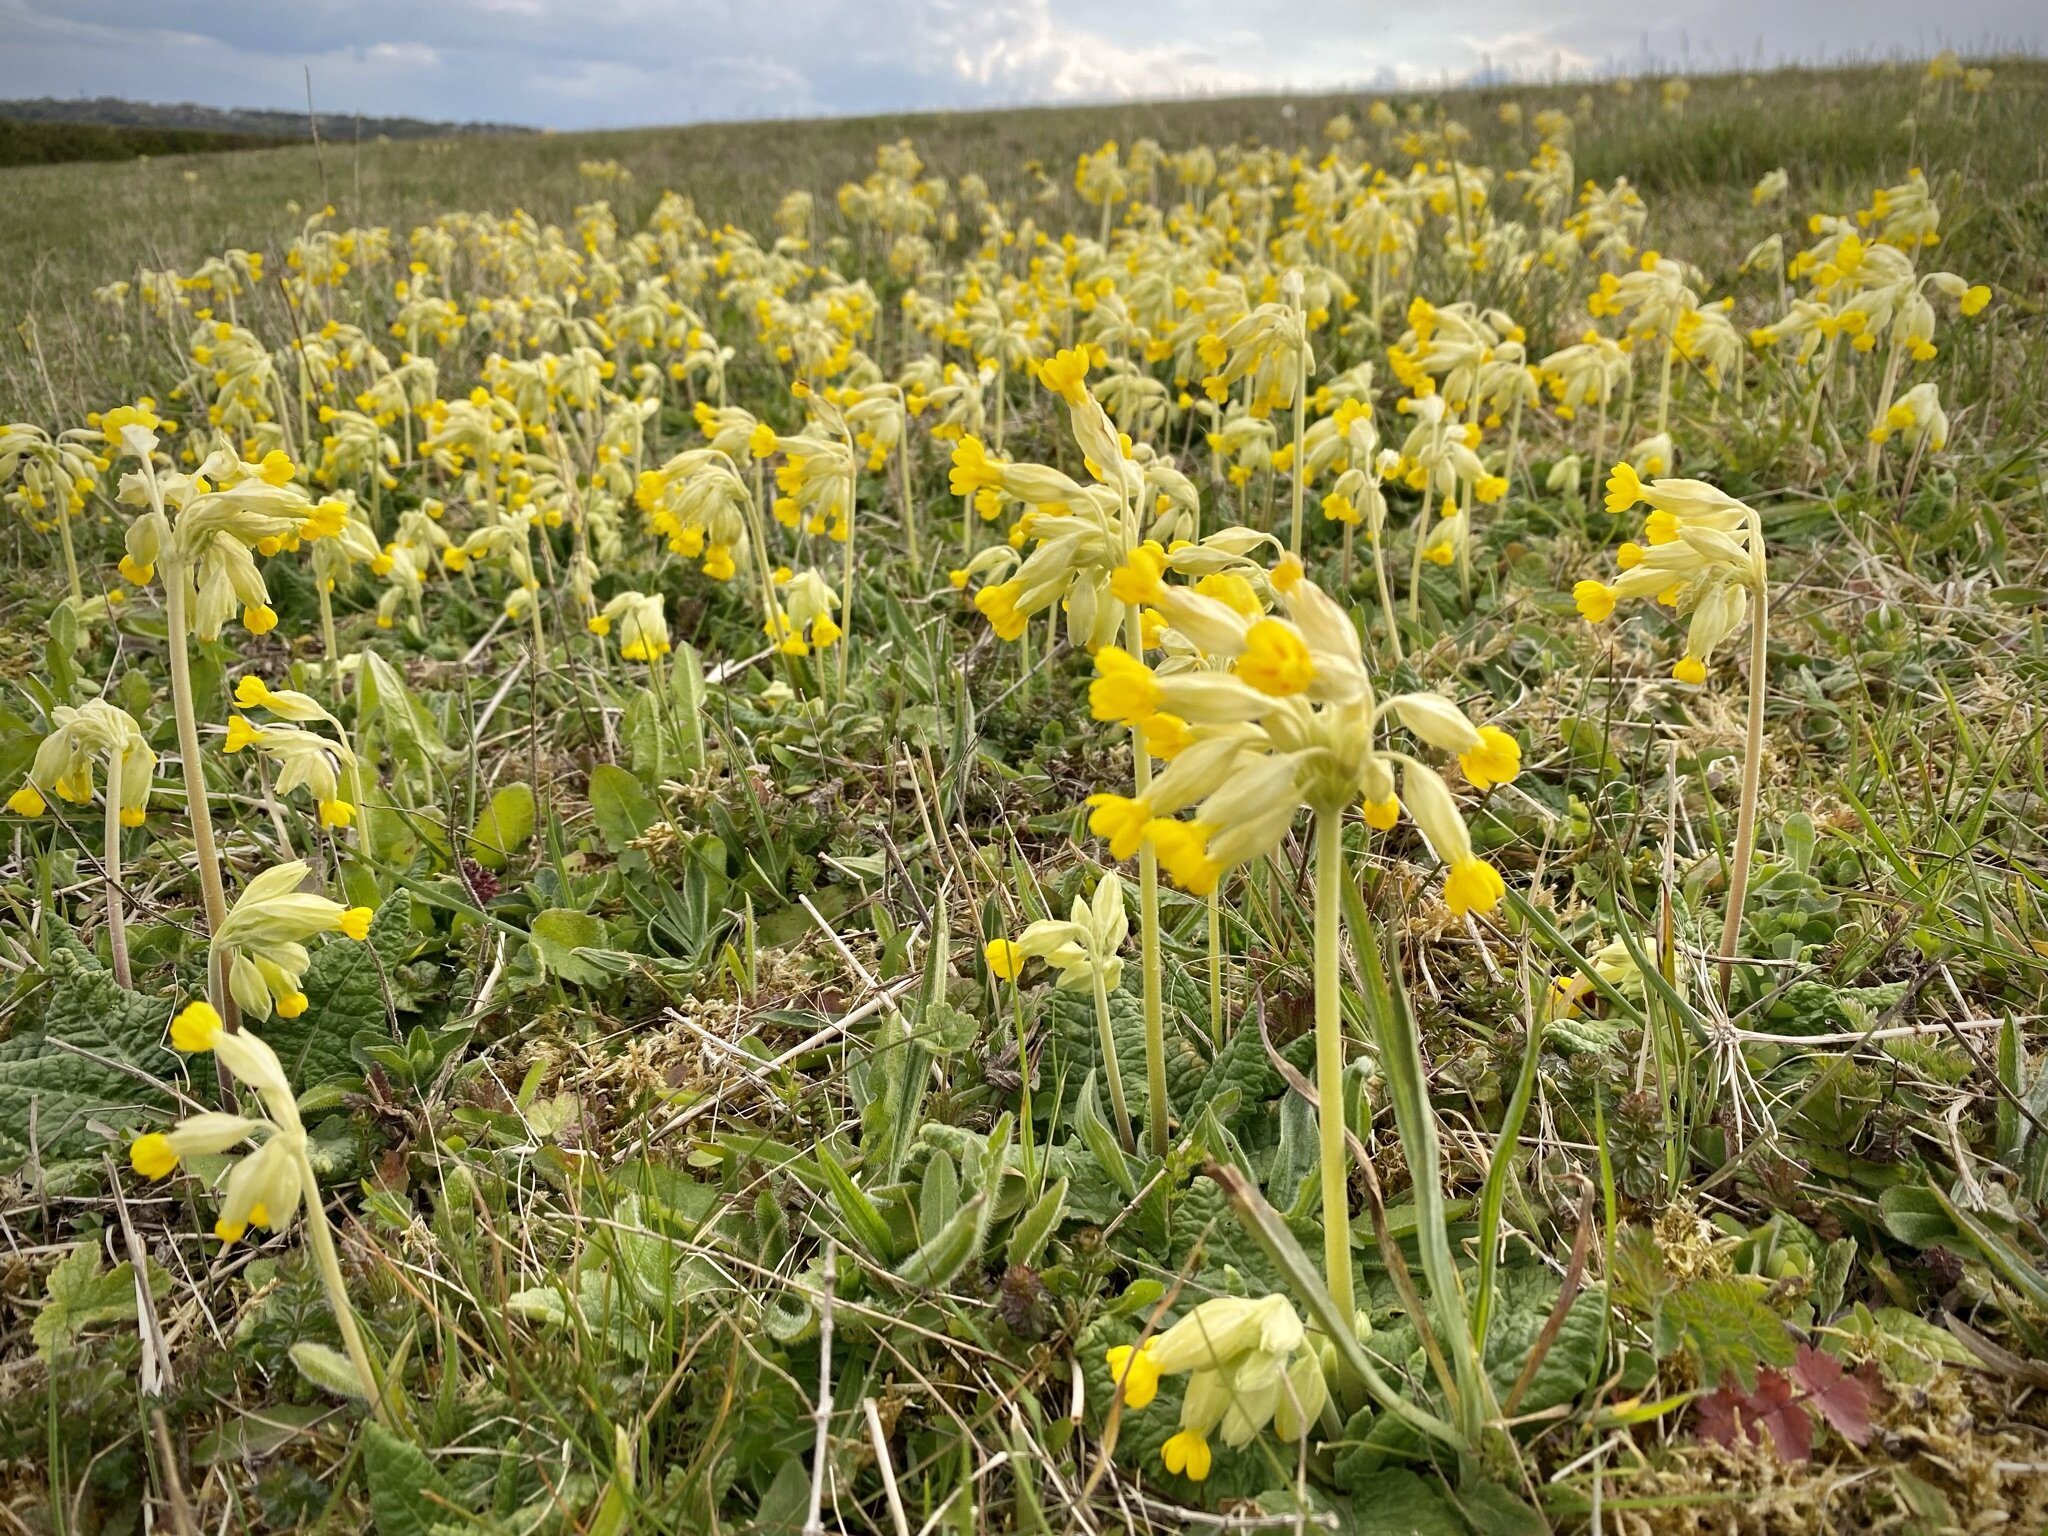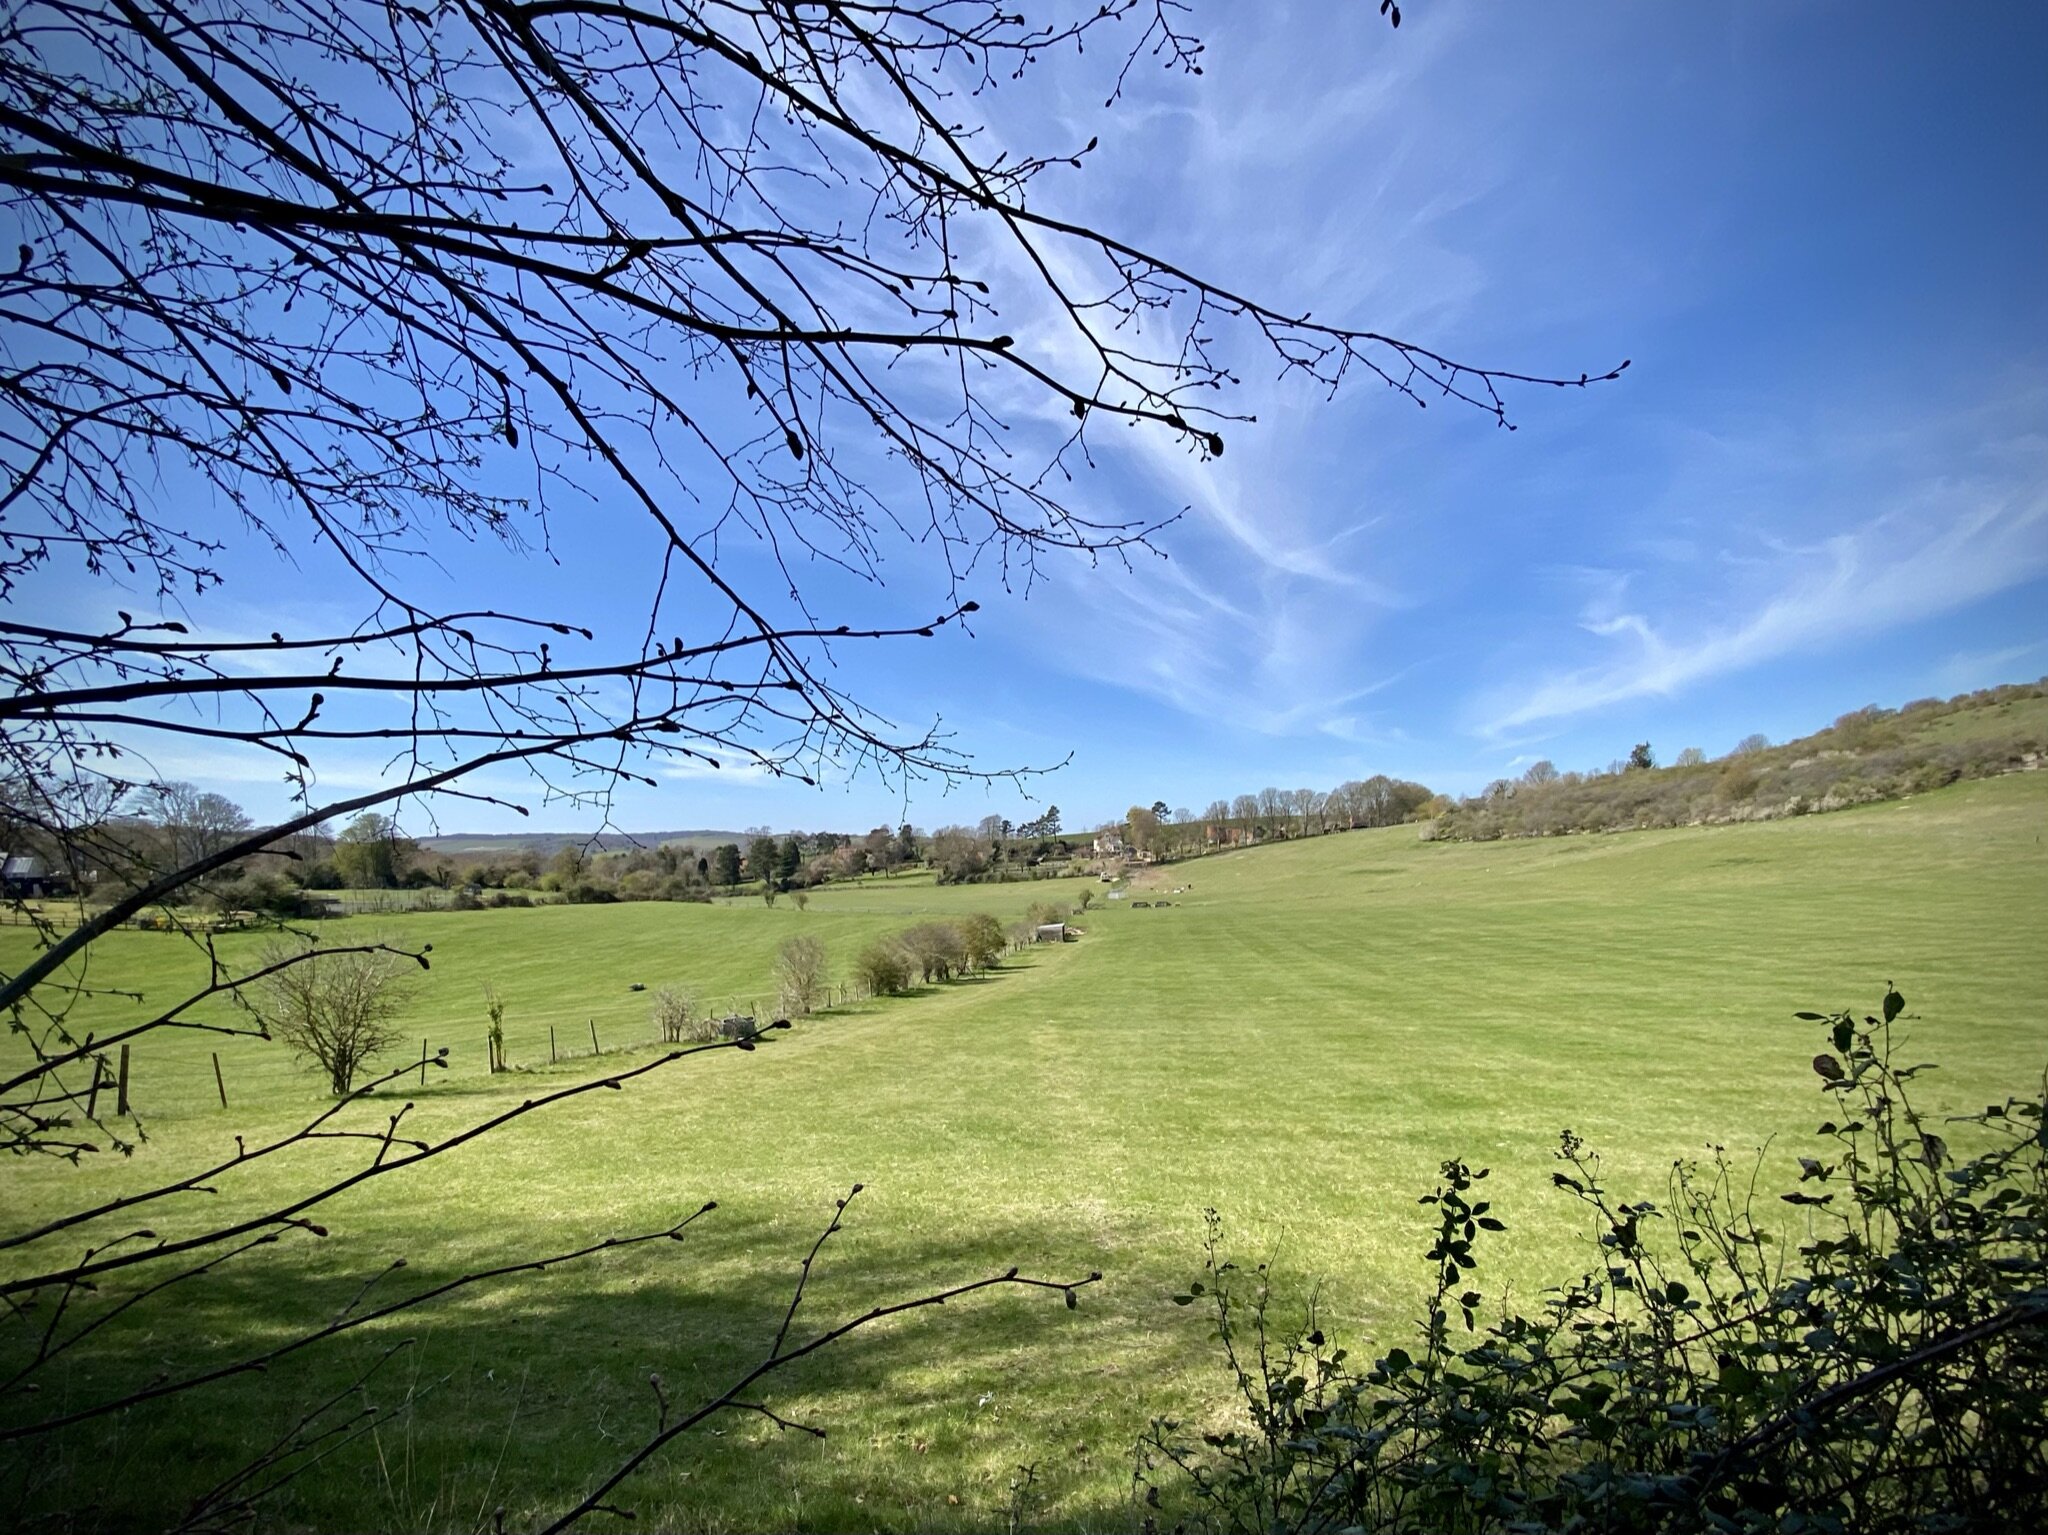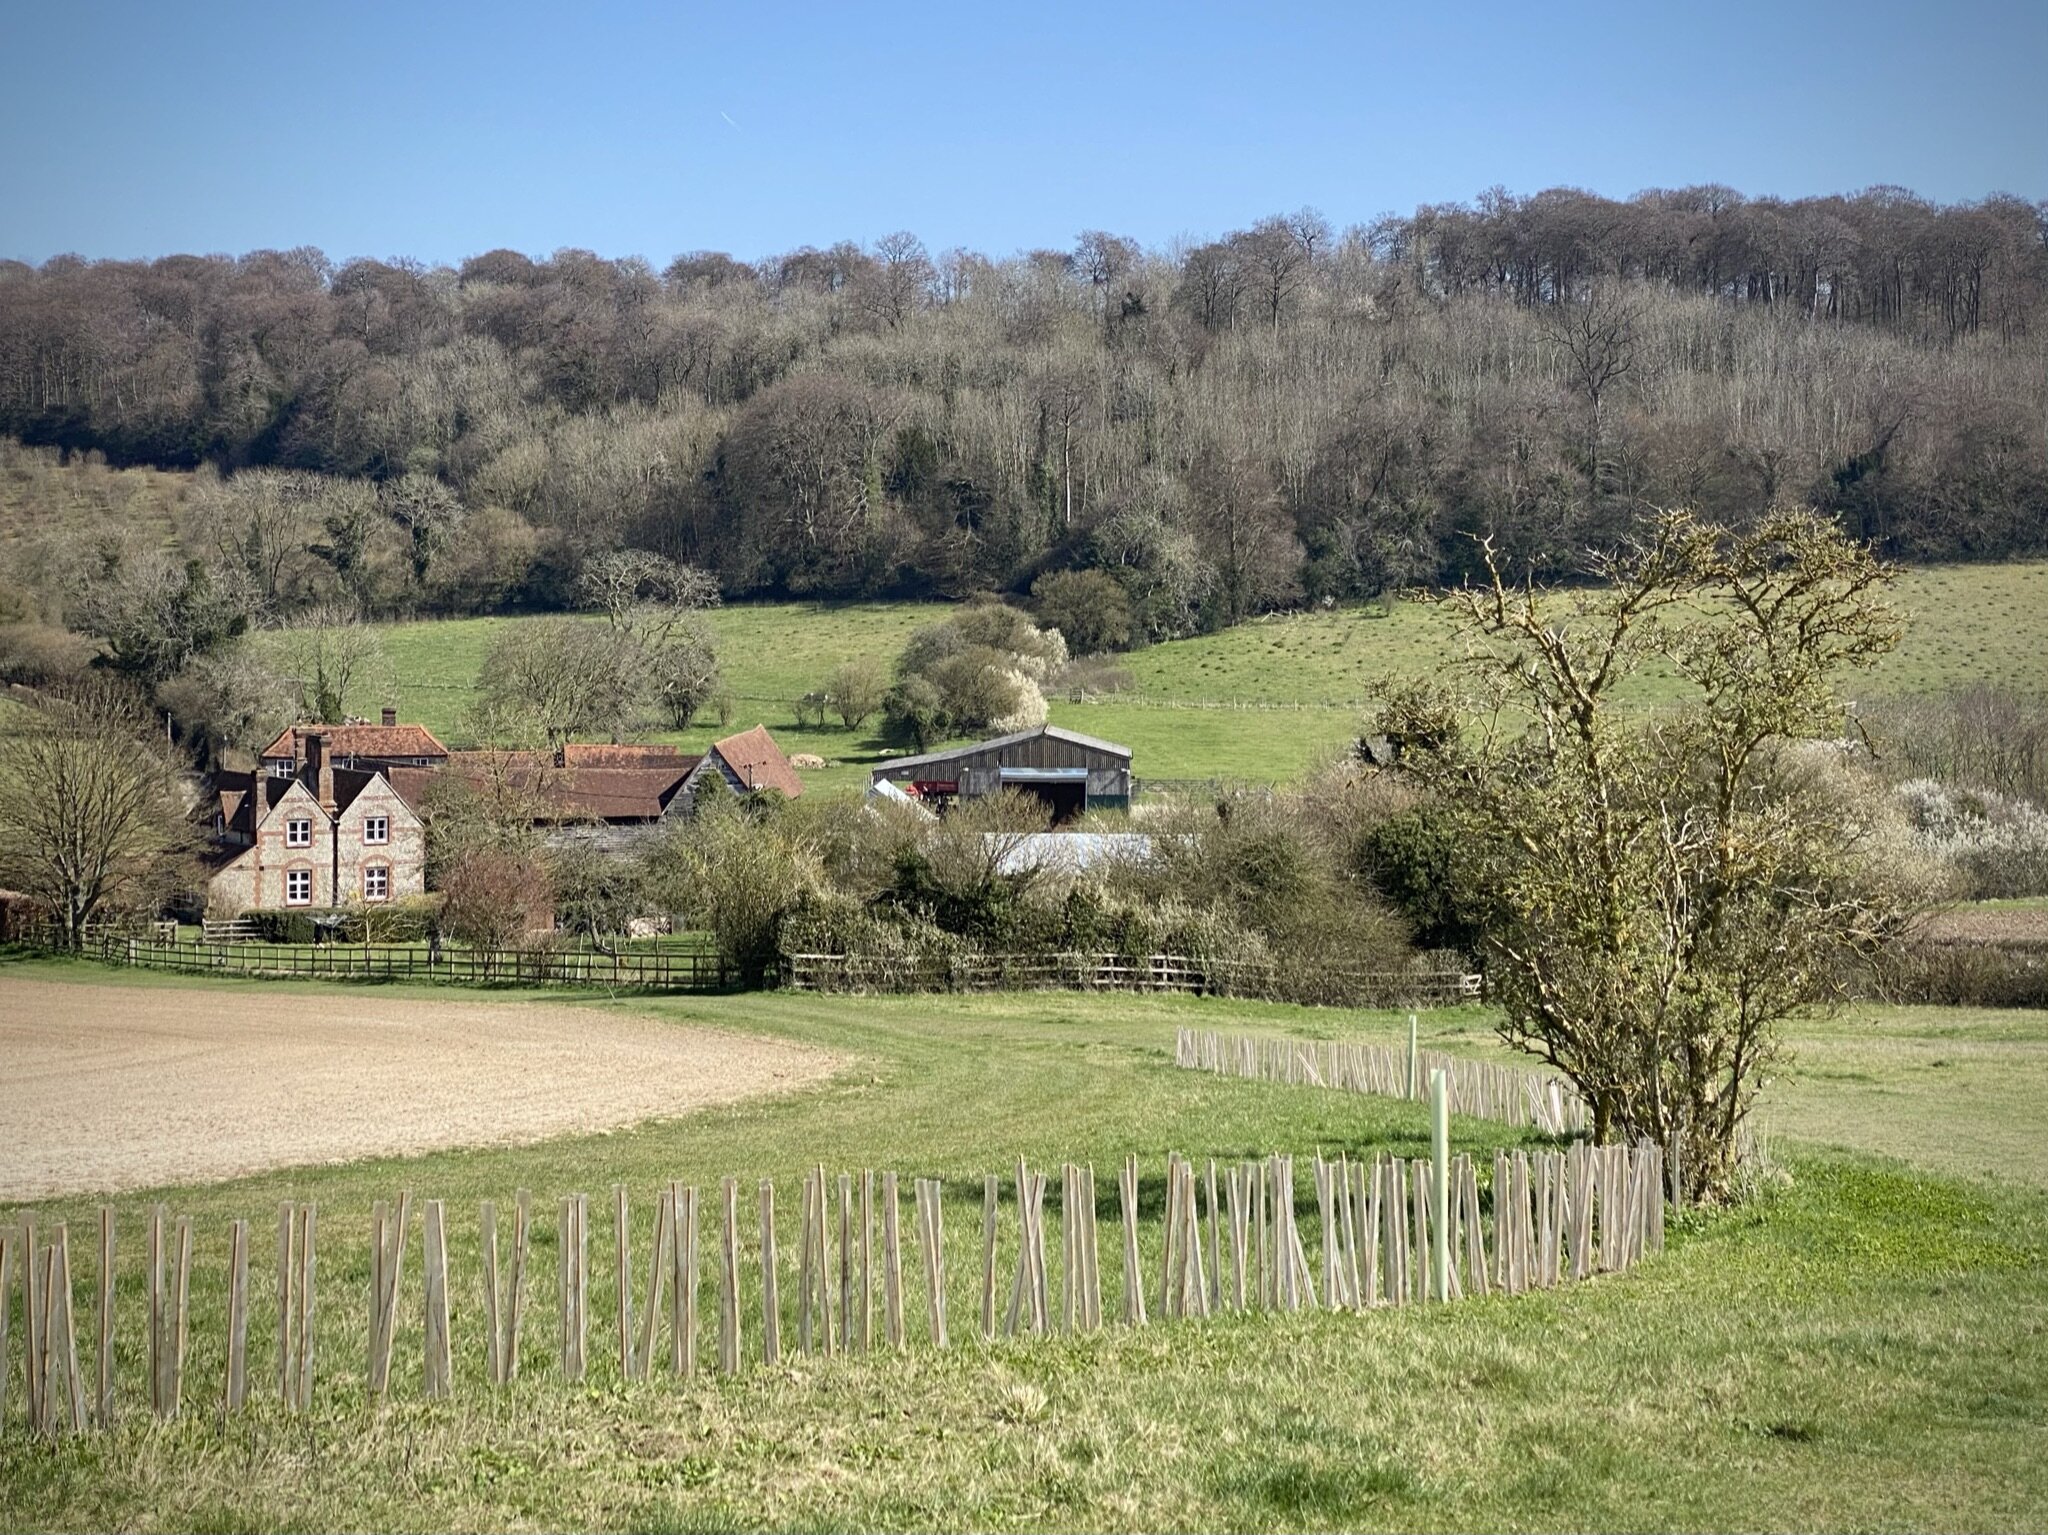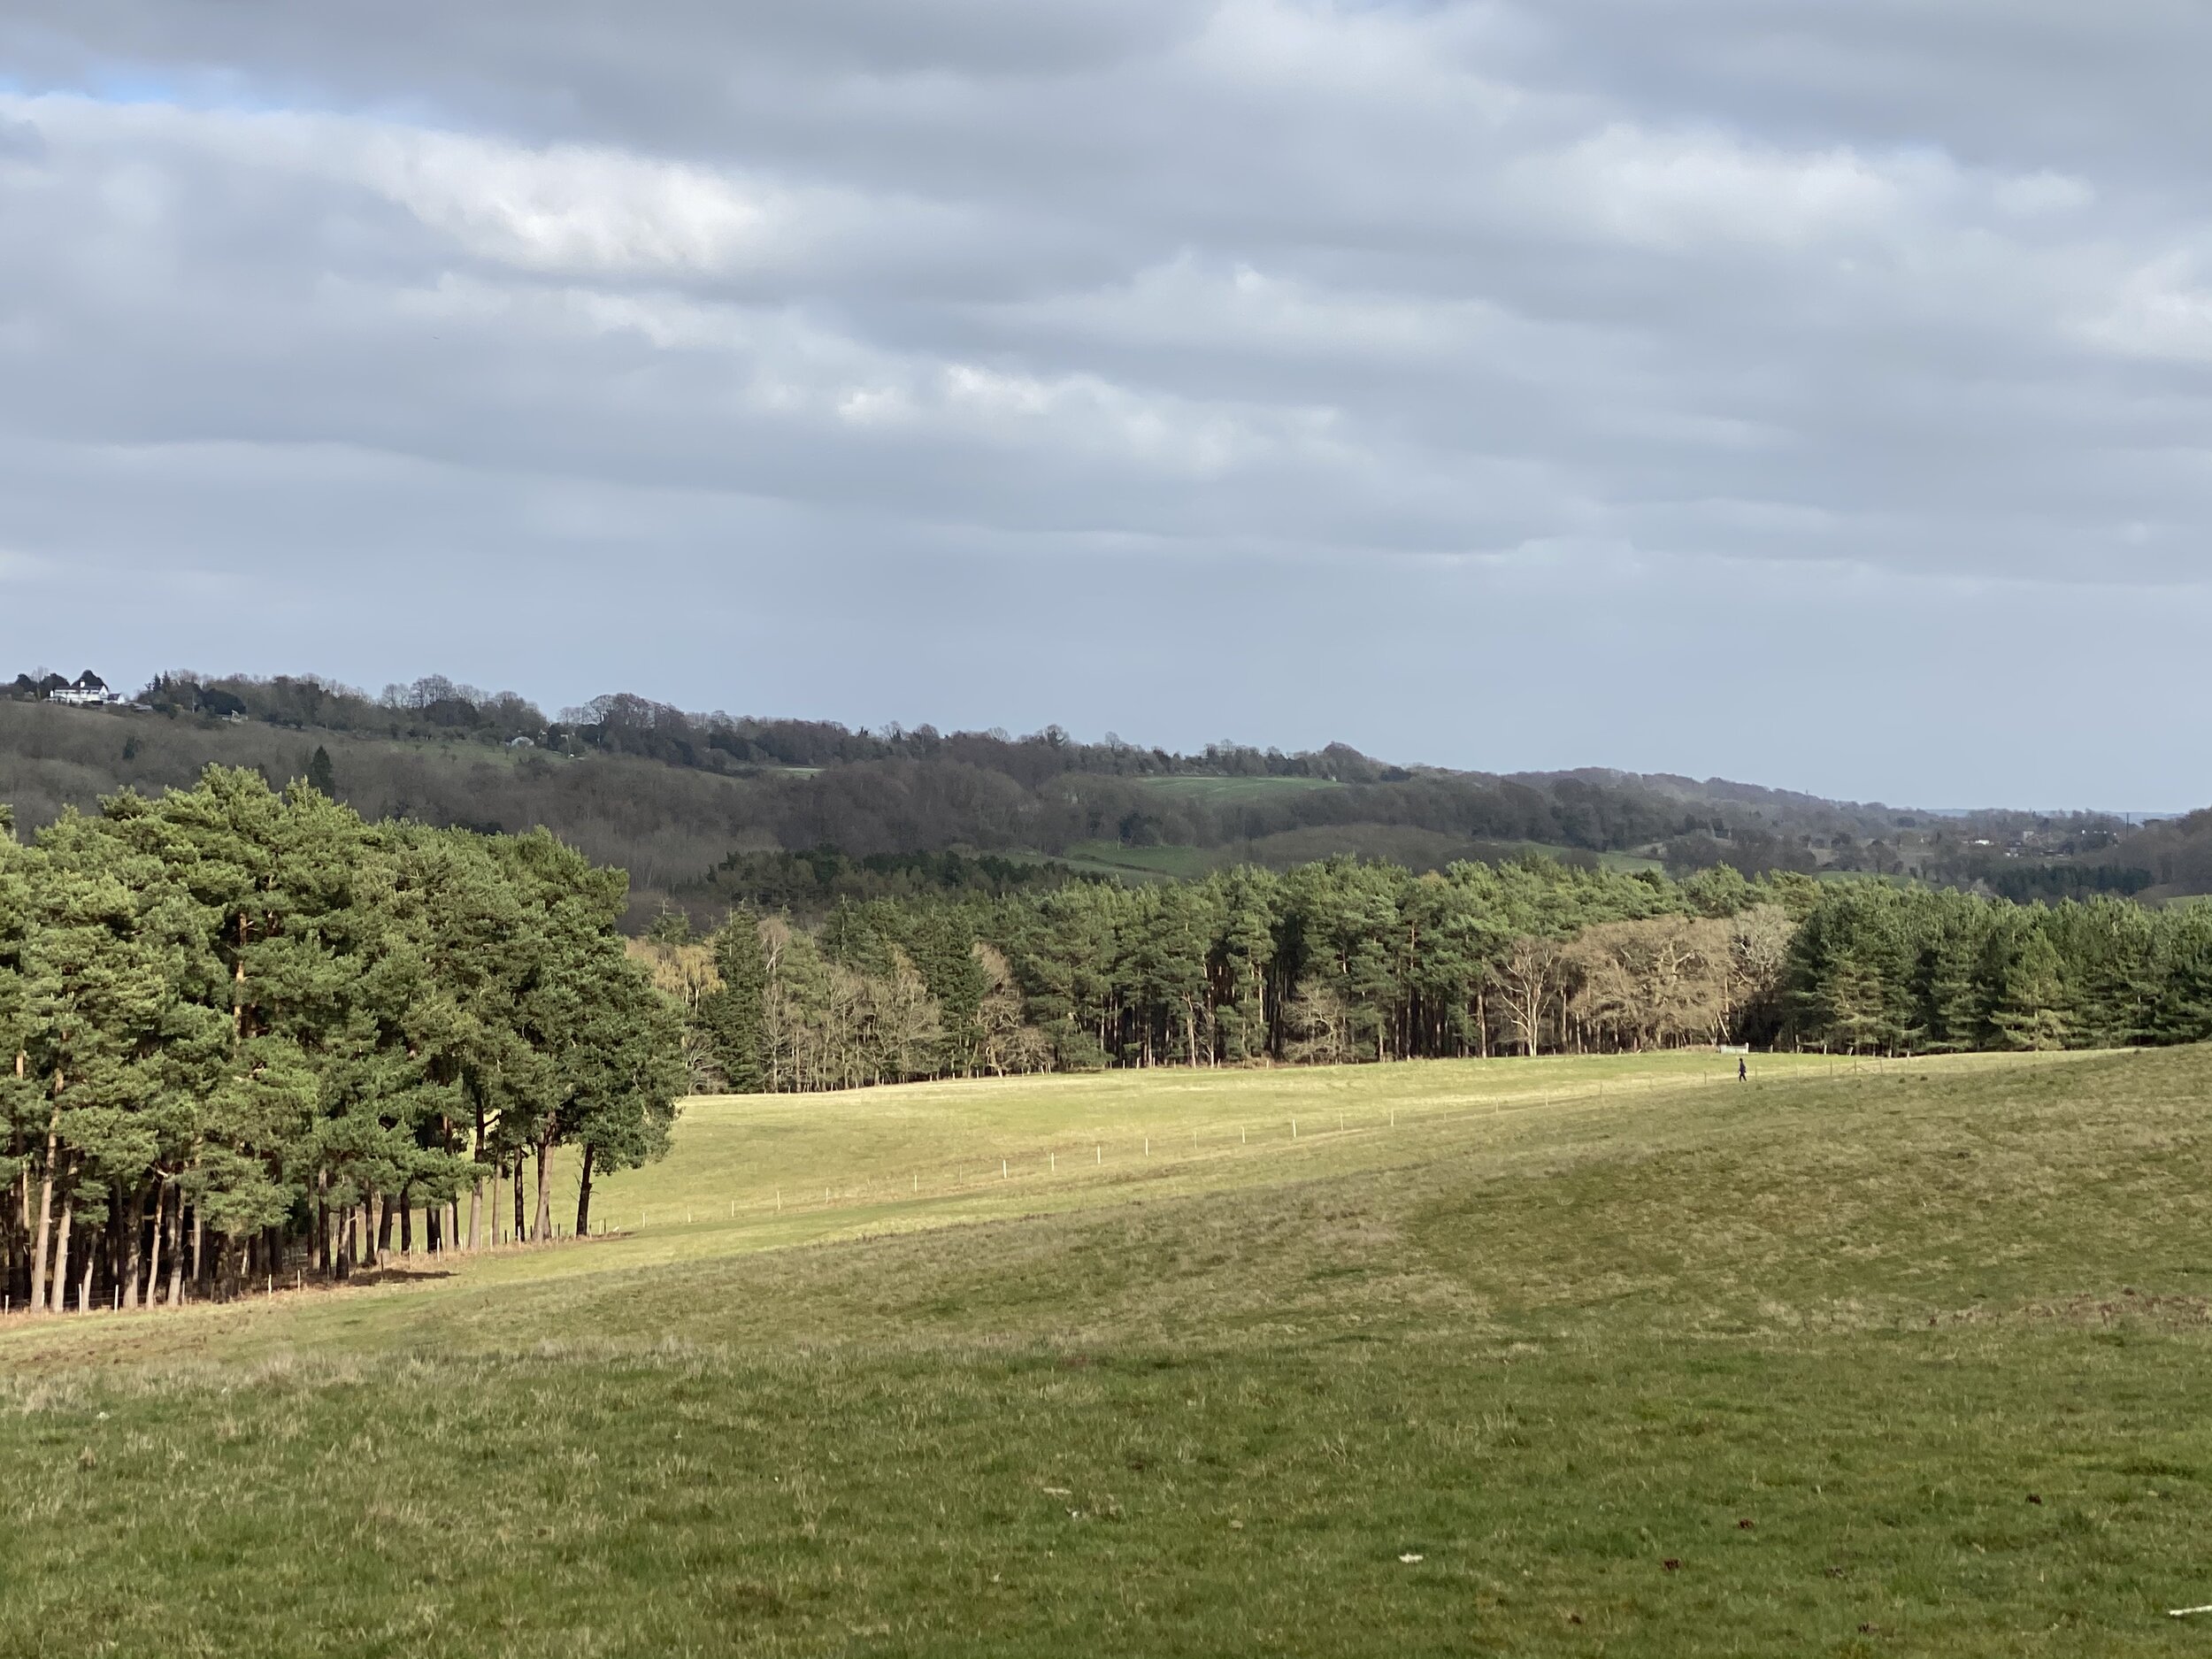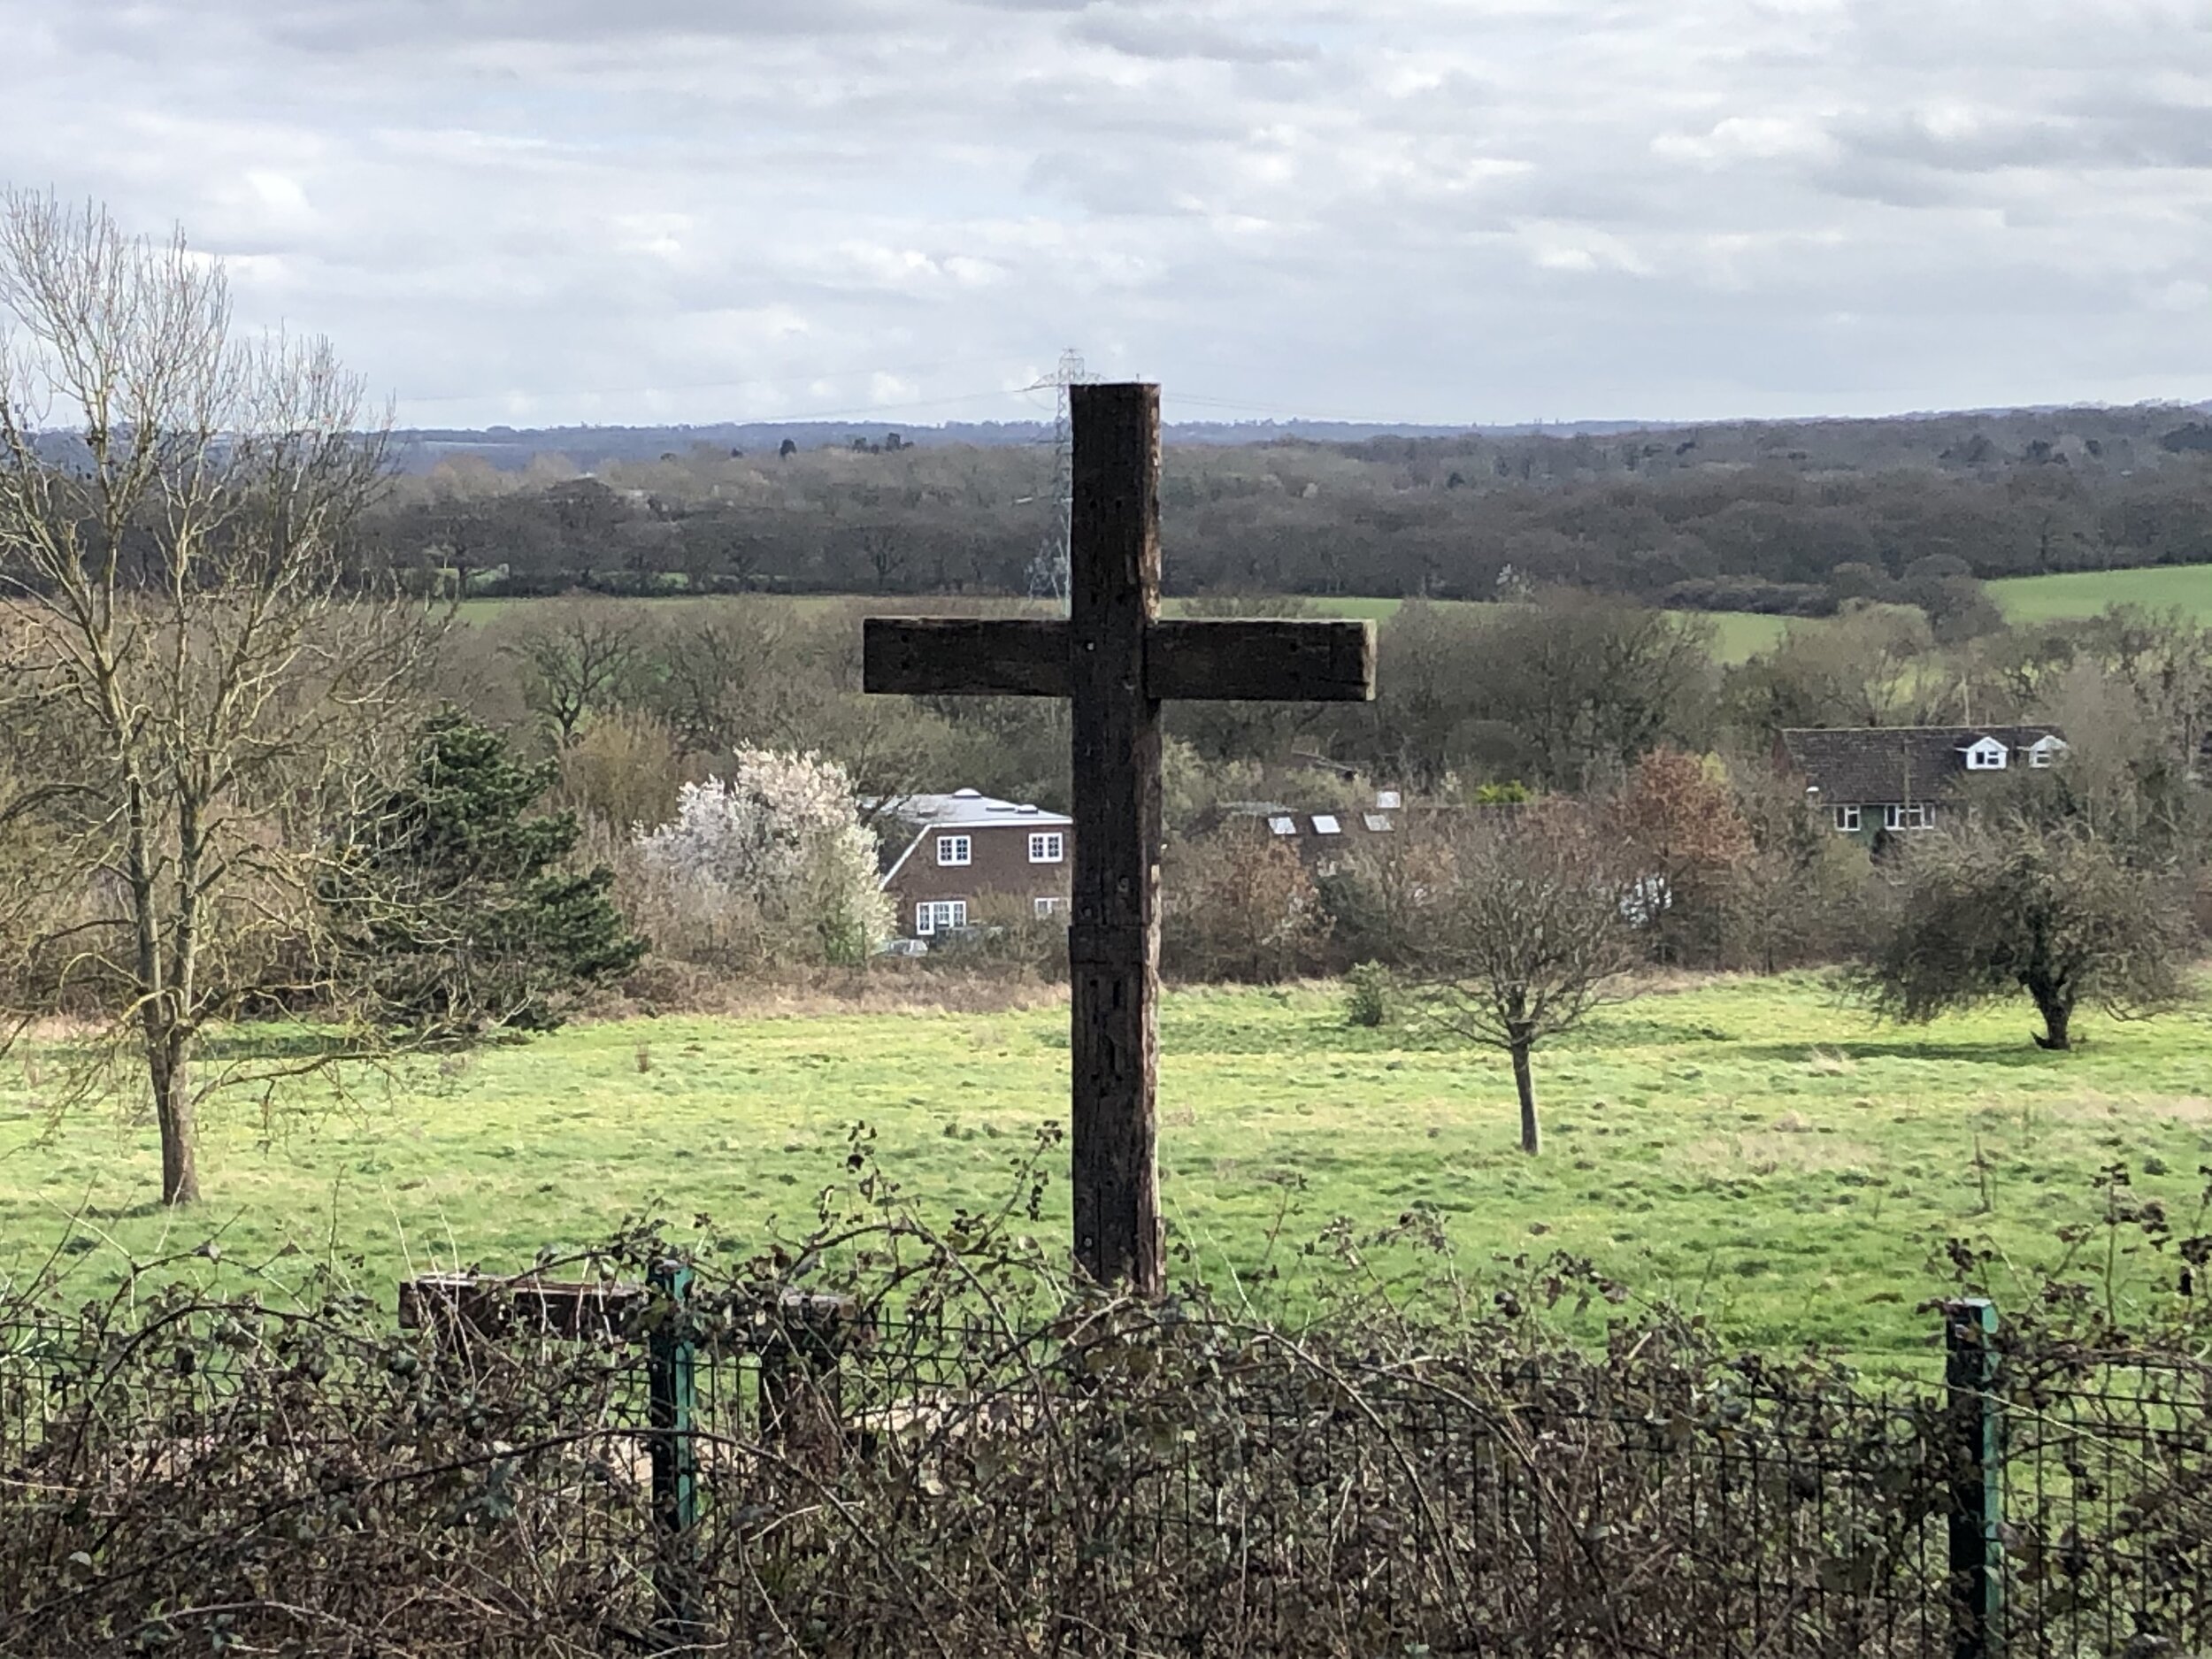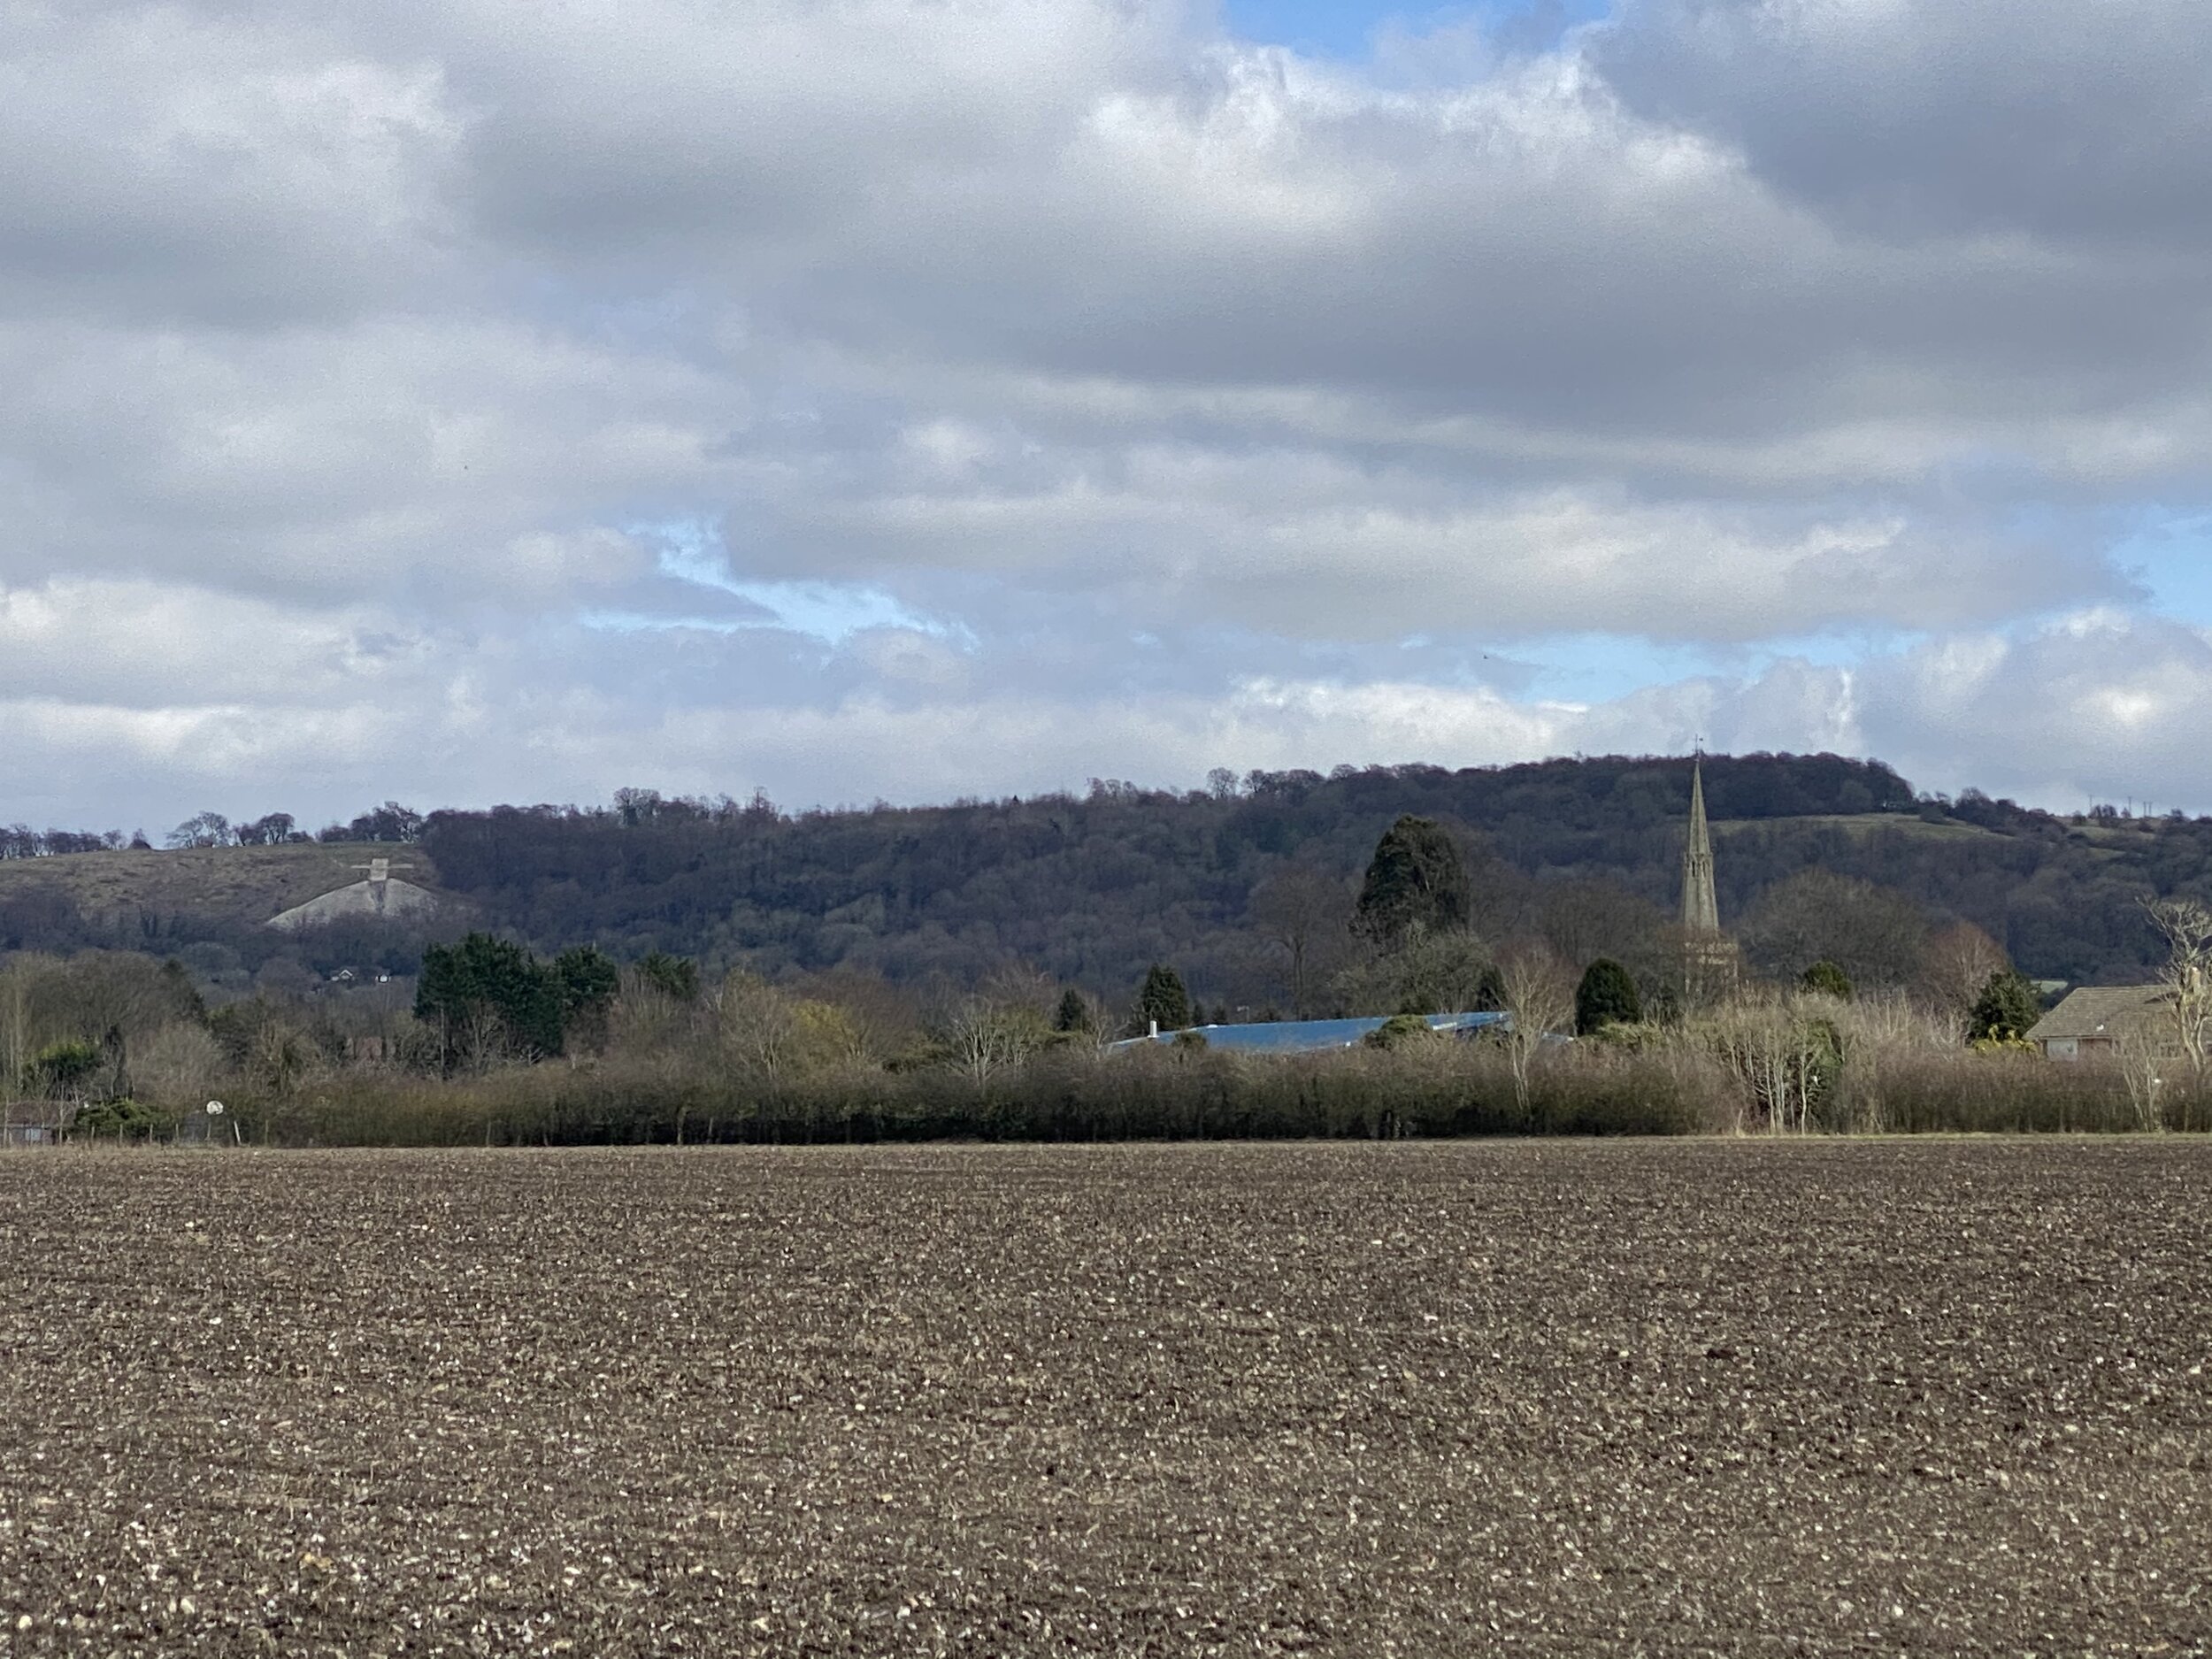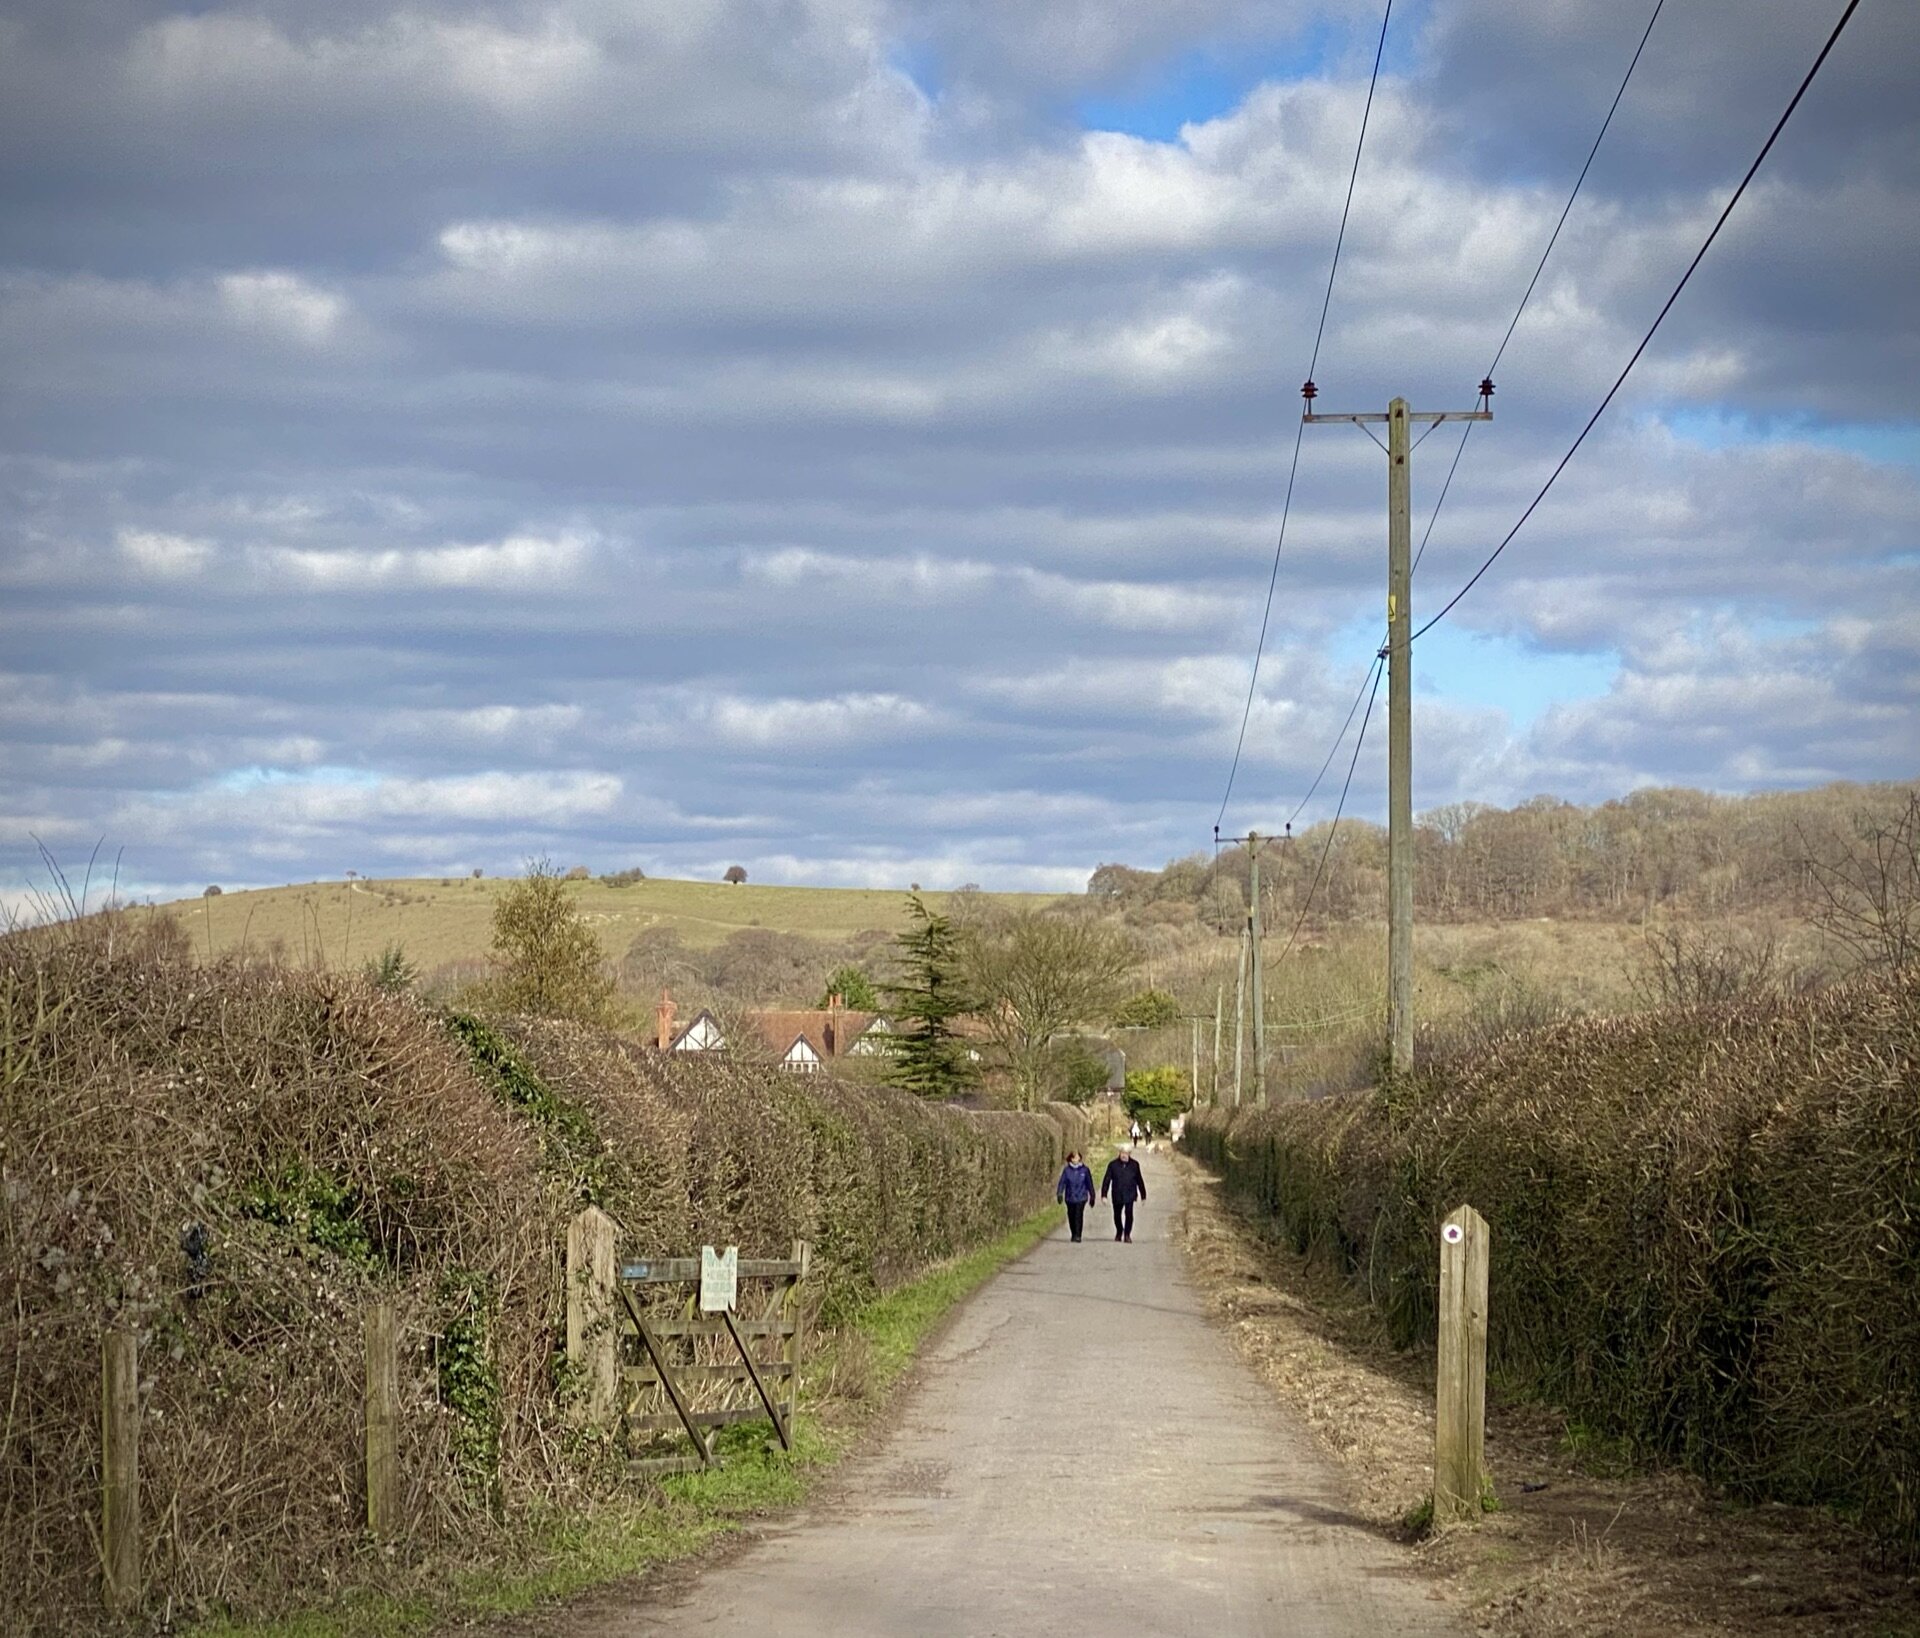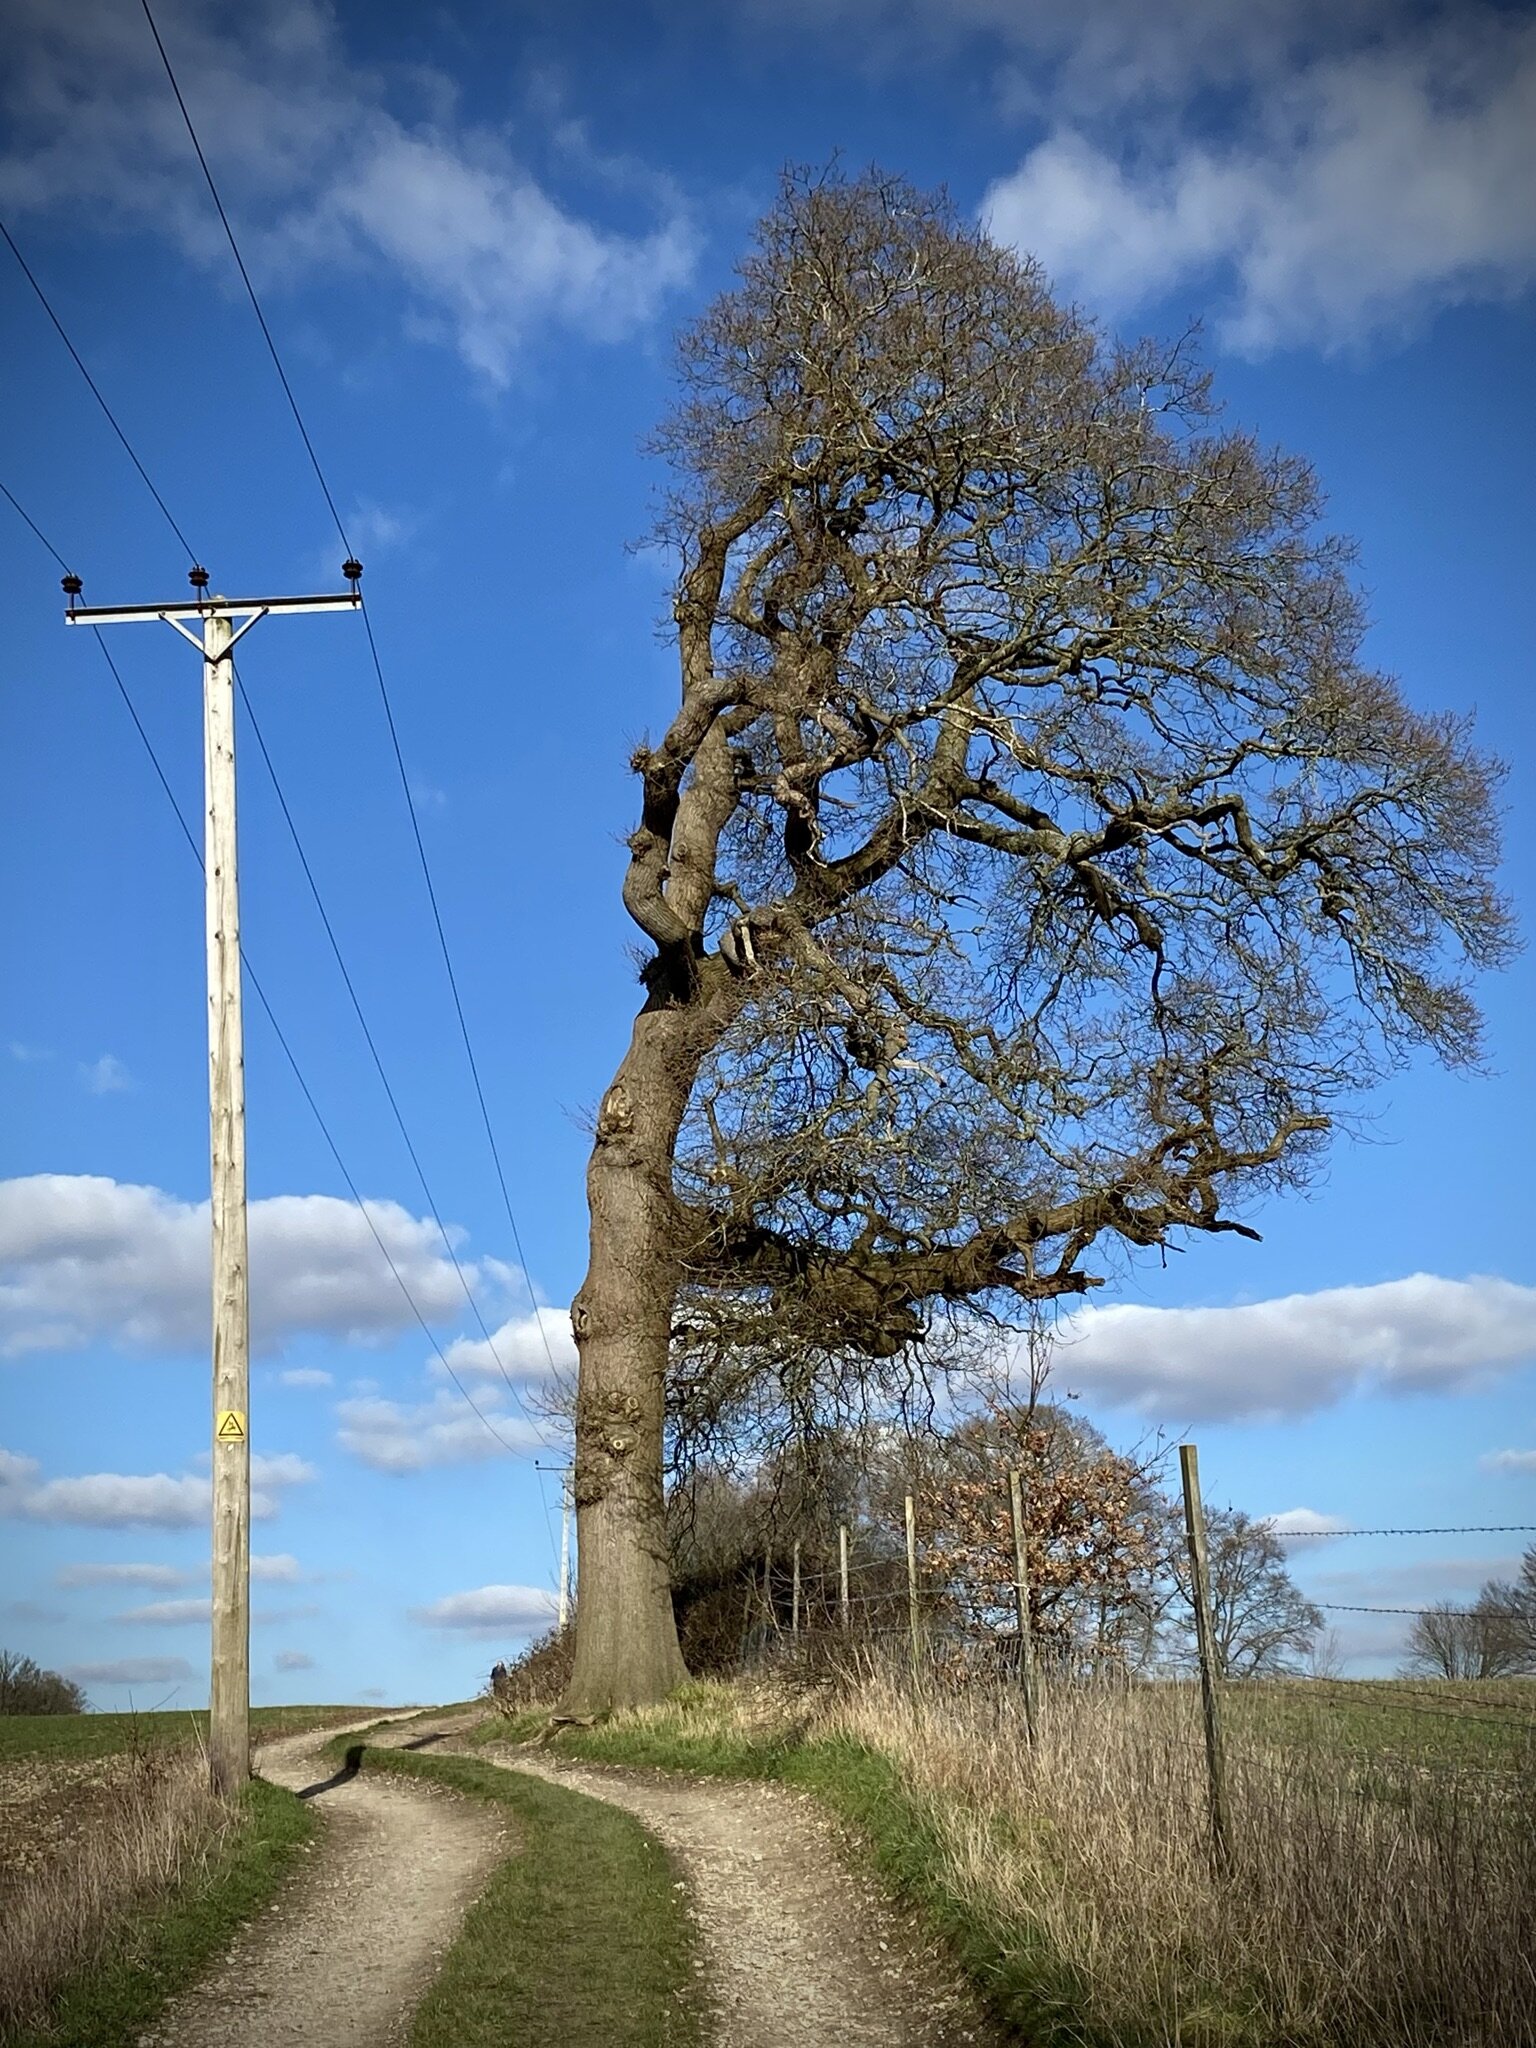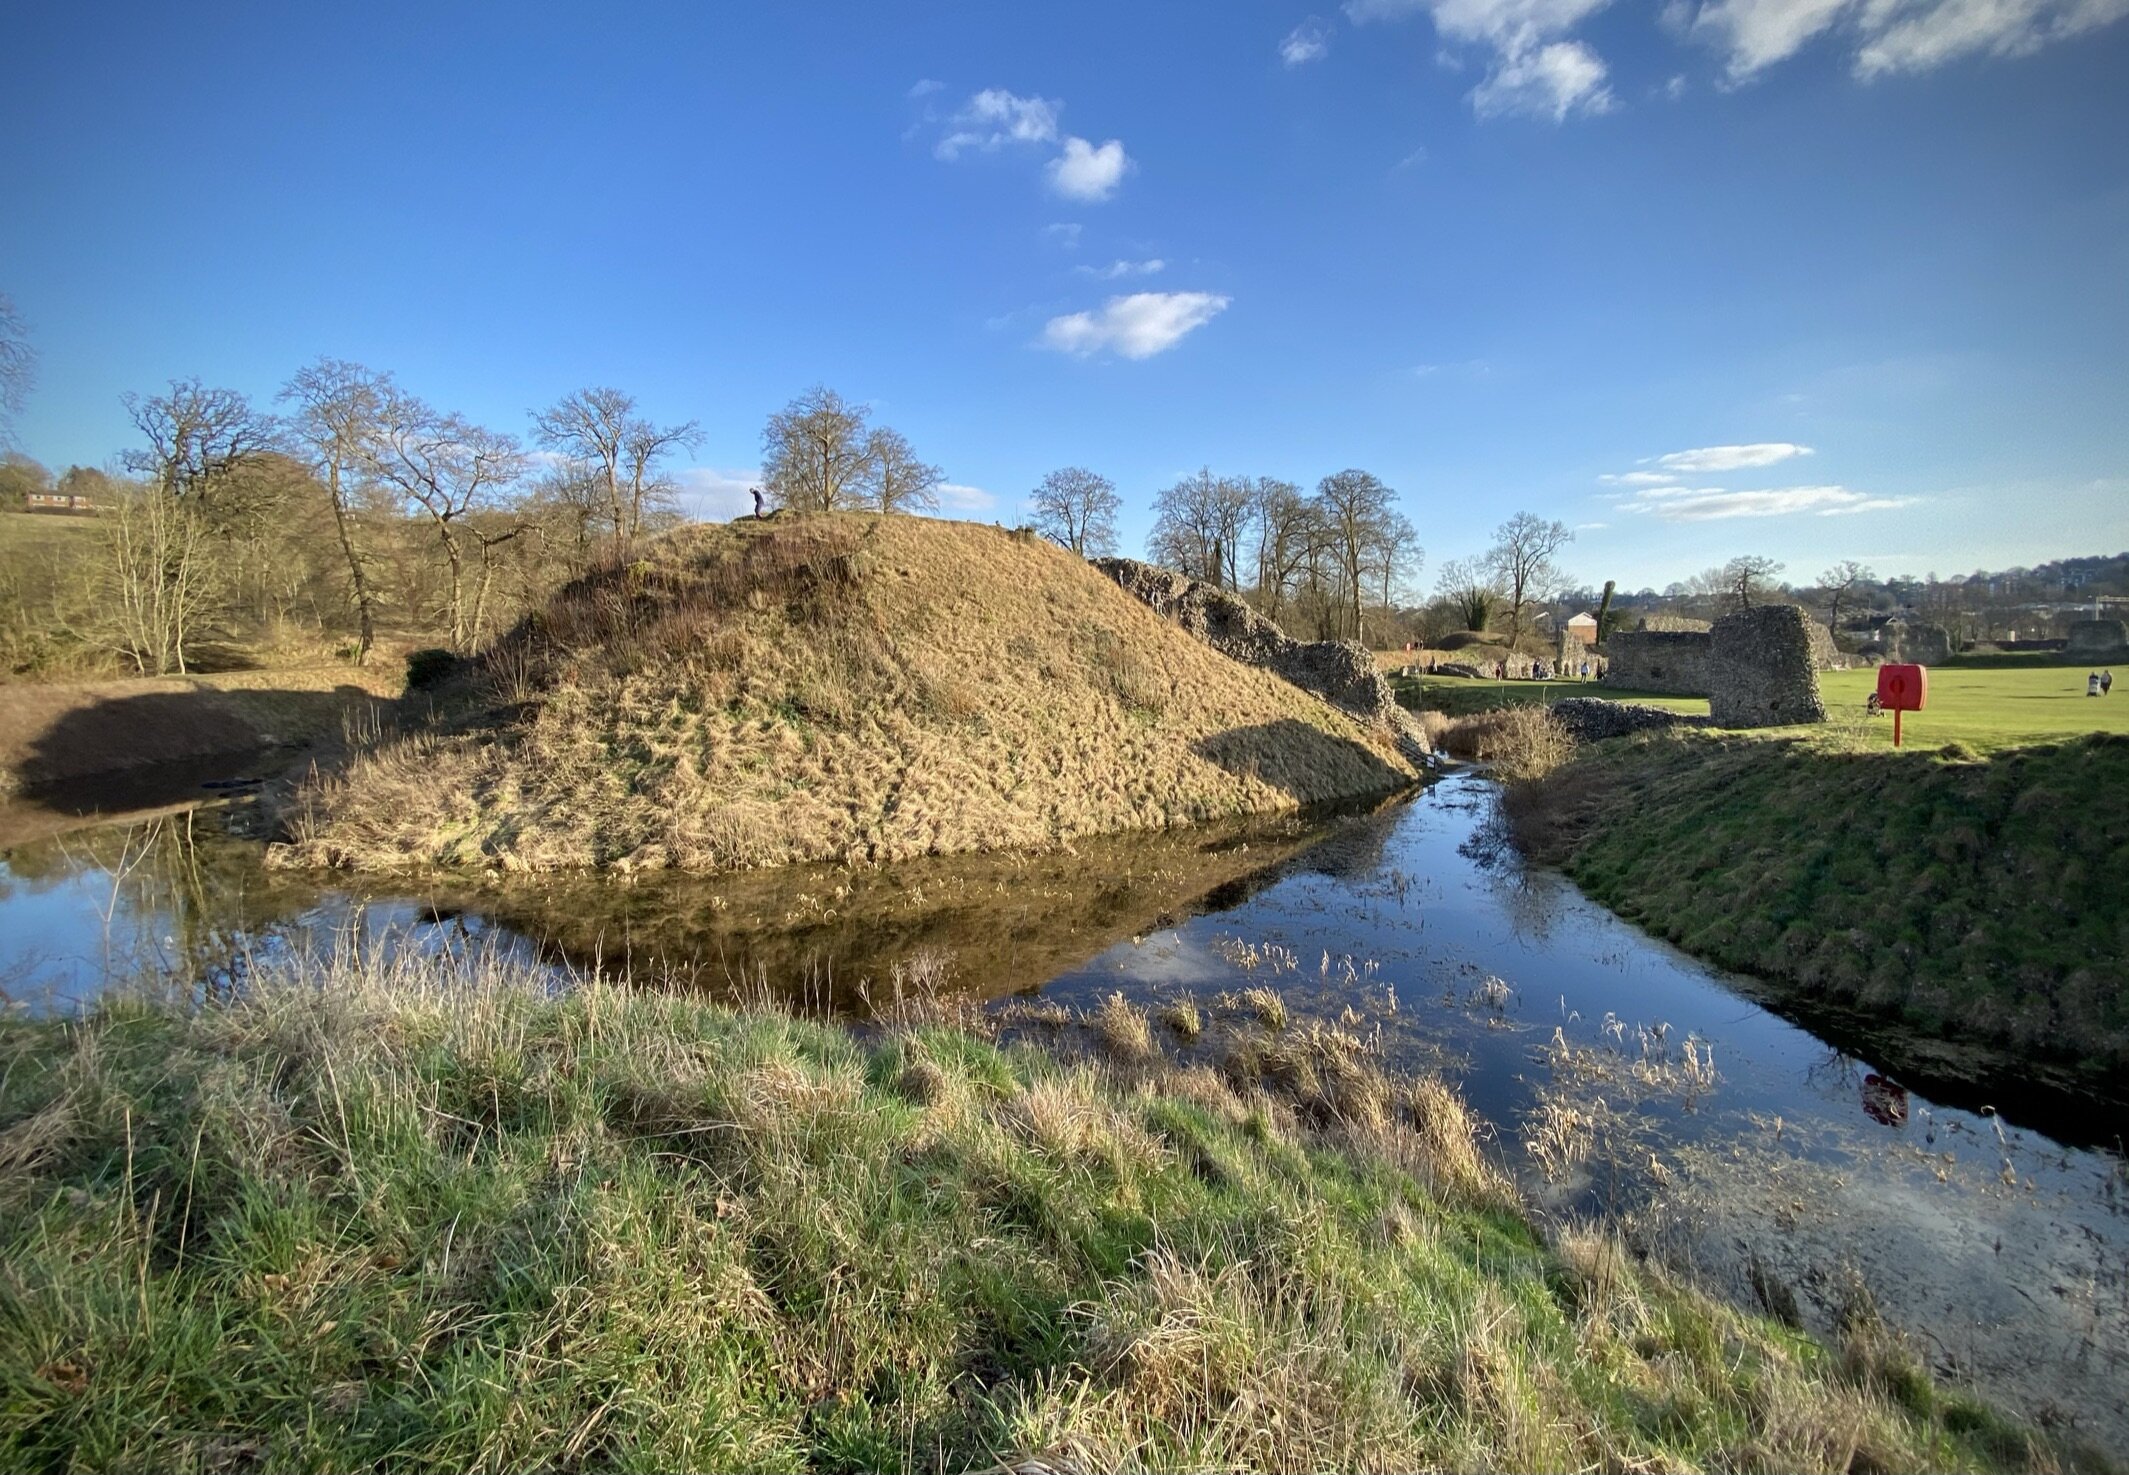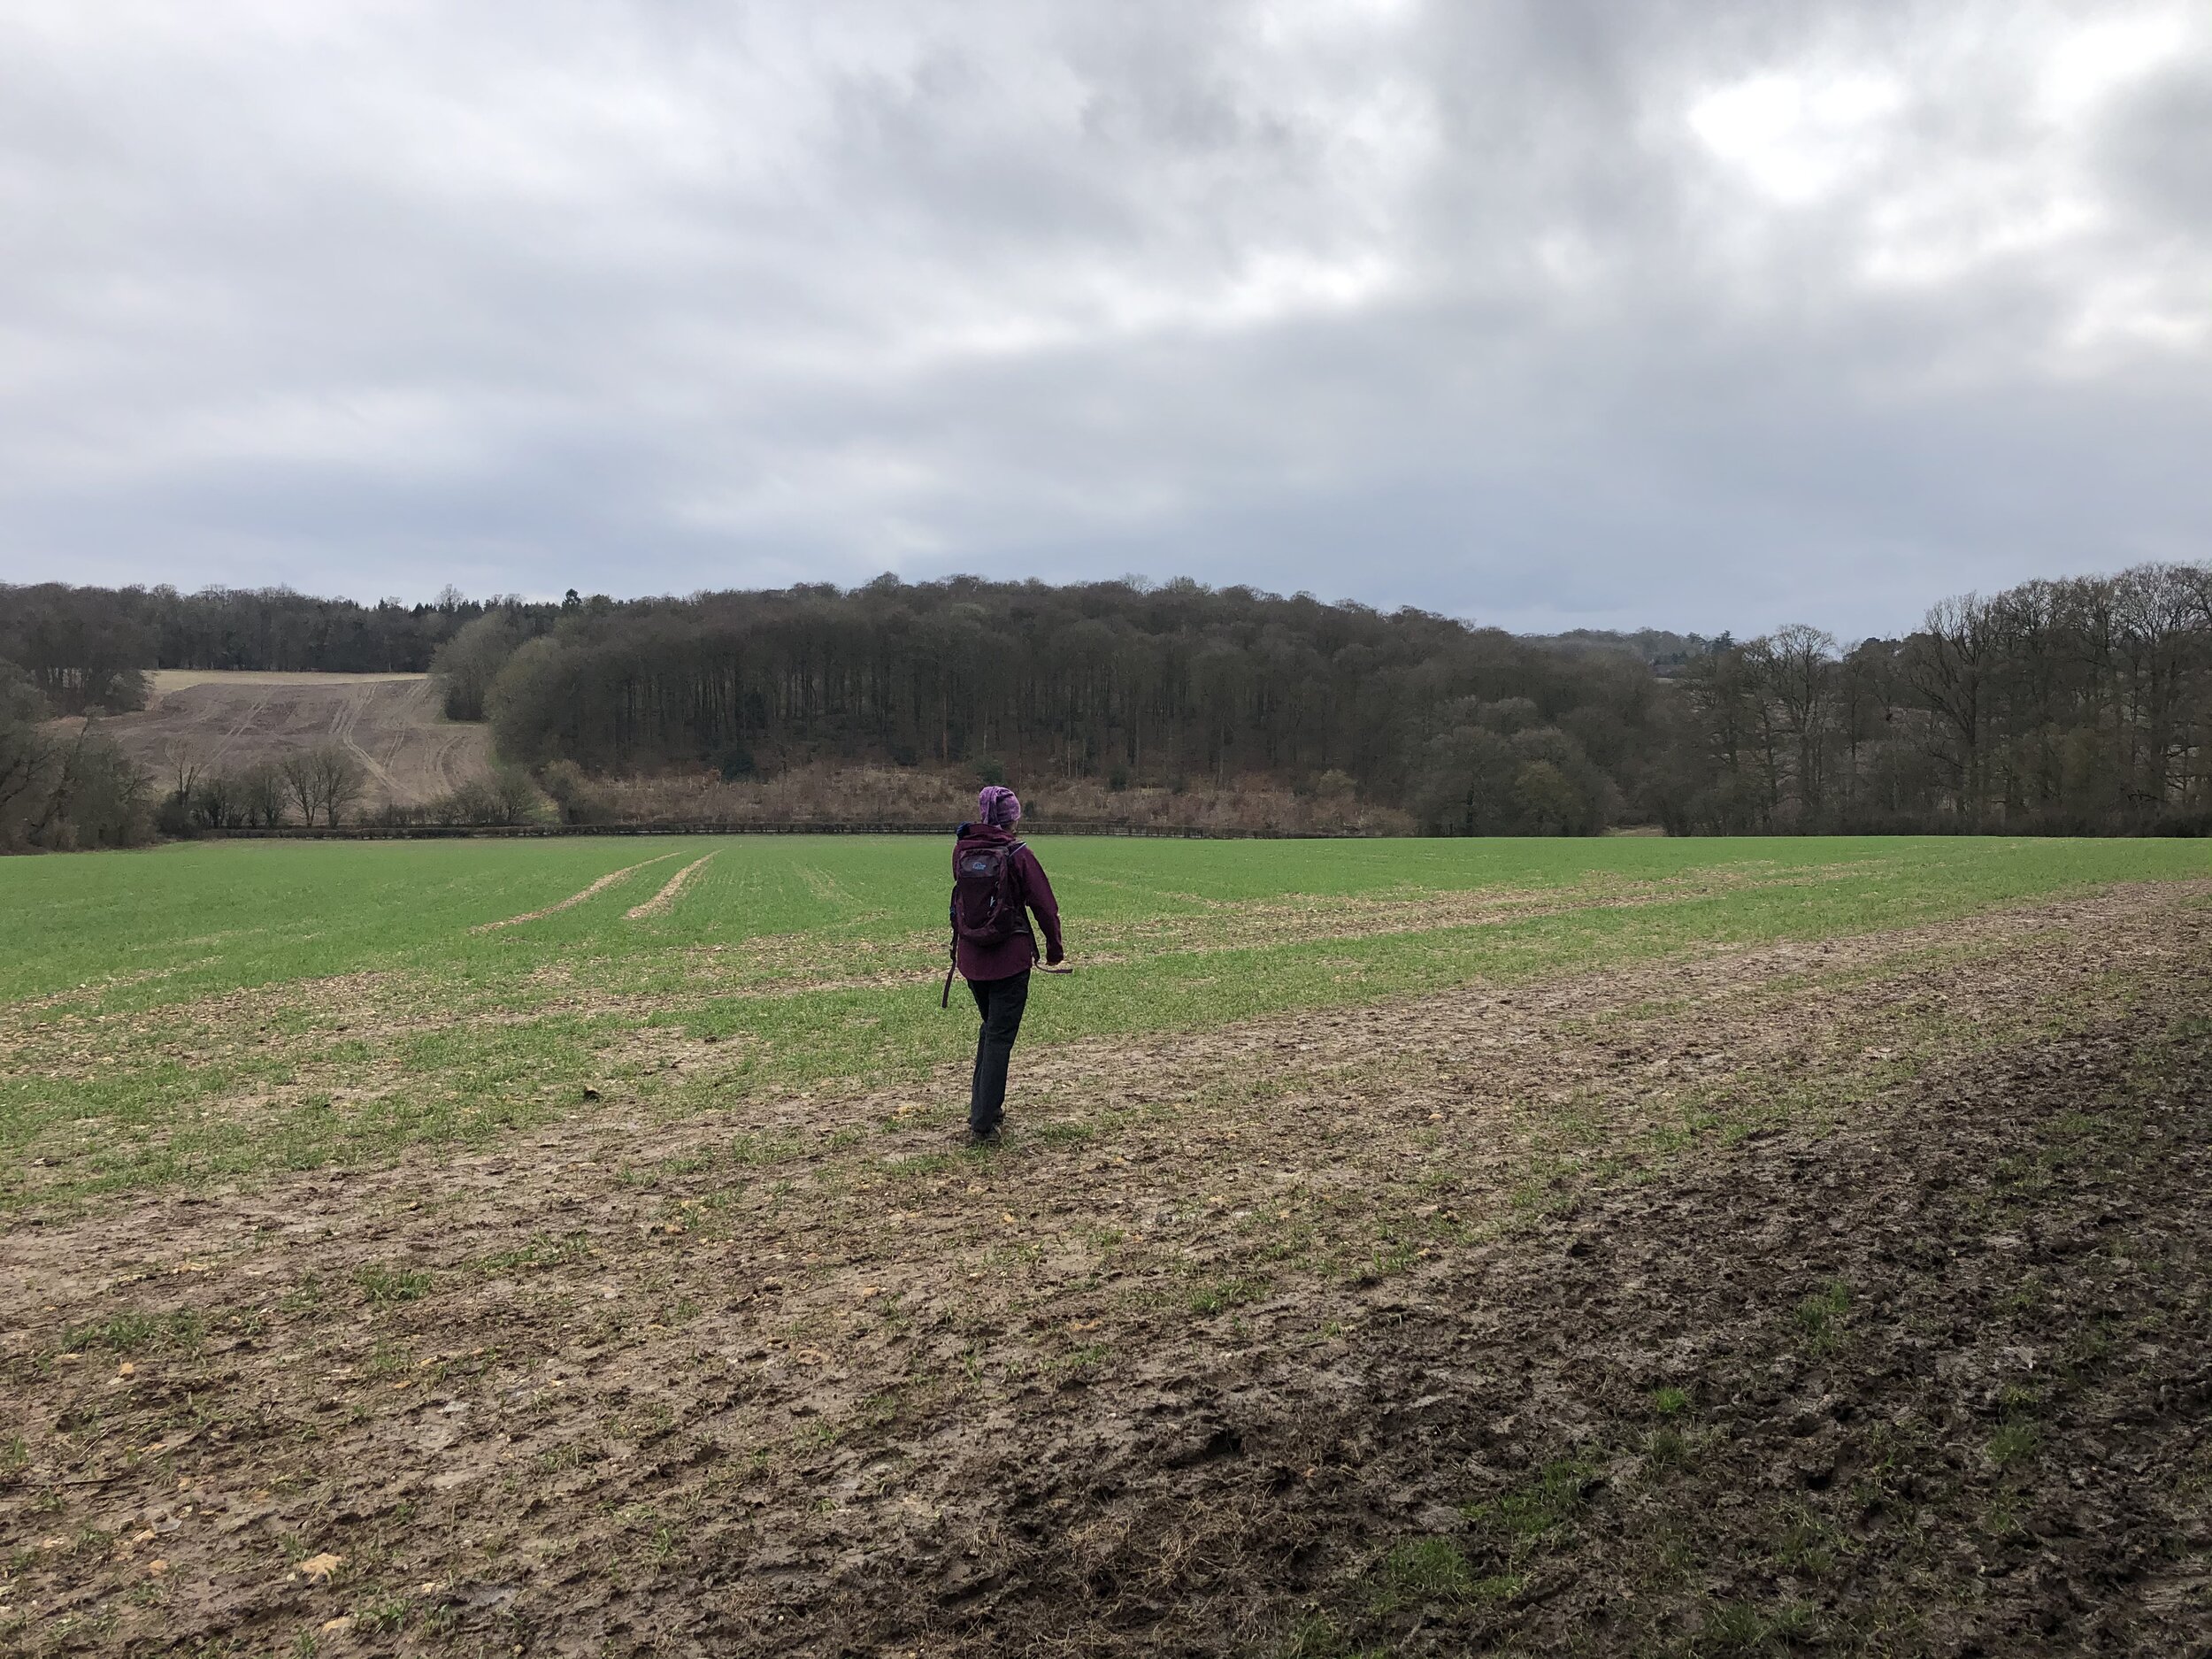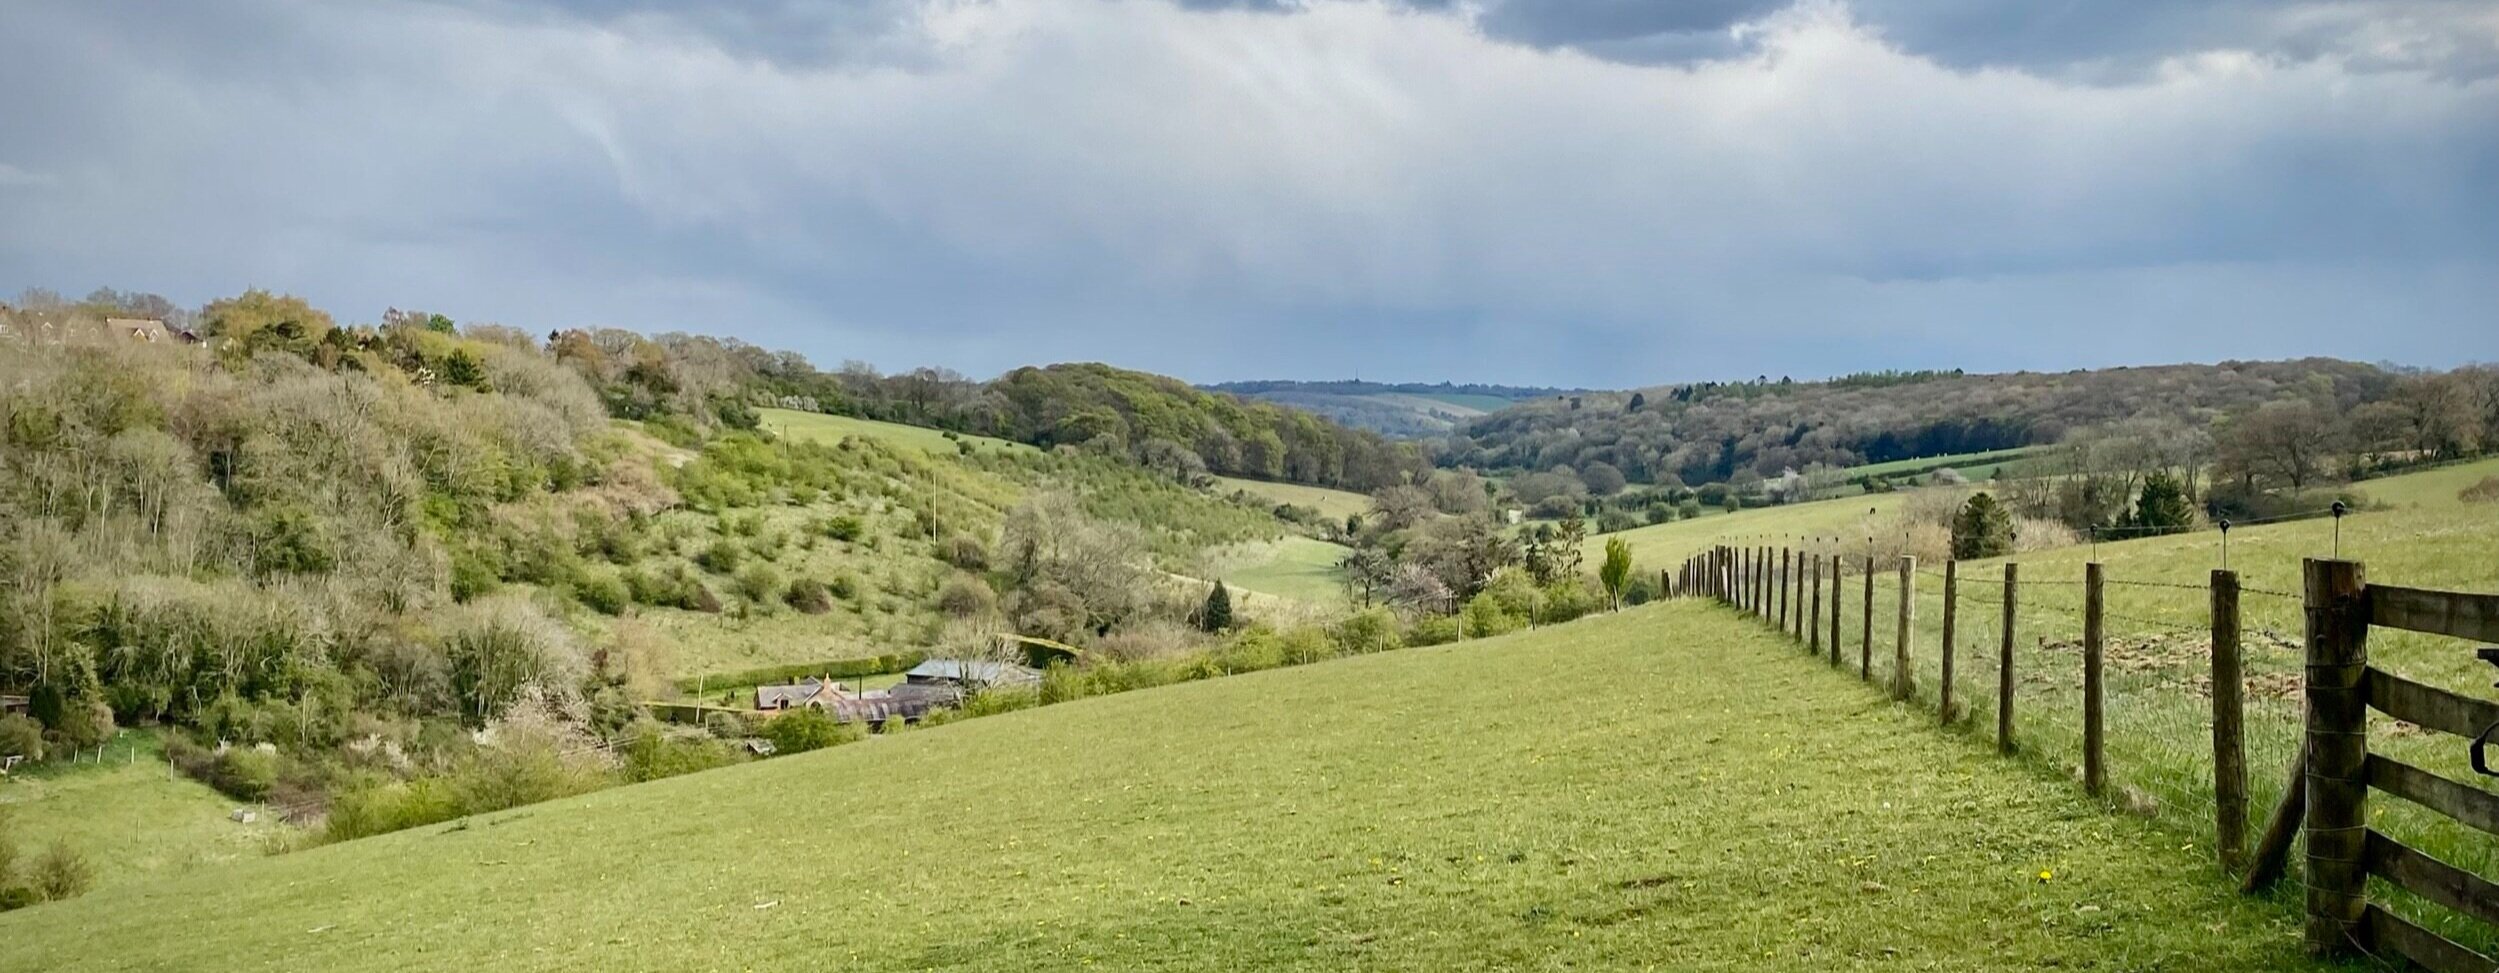
Valley view near Flowers Bottom Lane
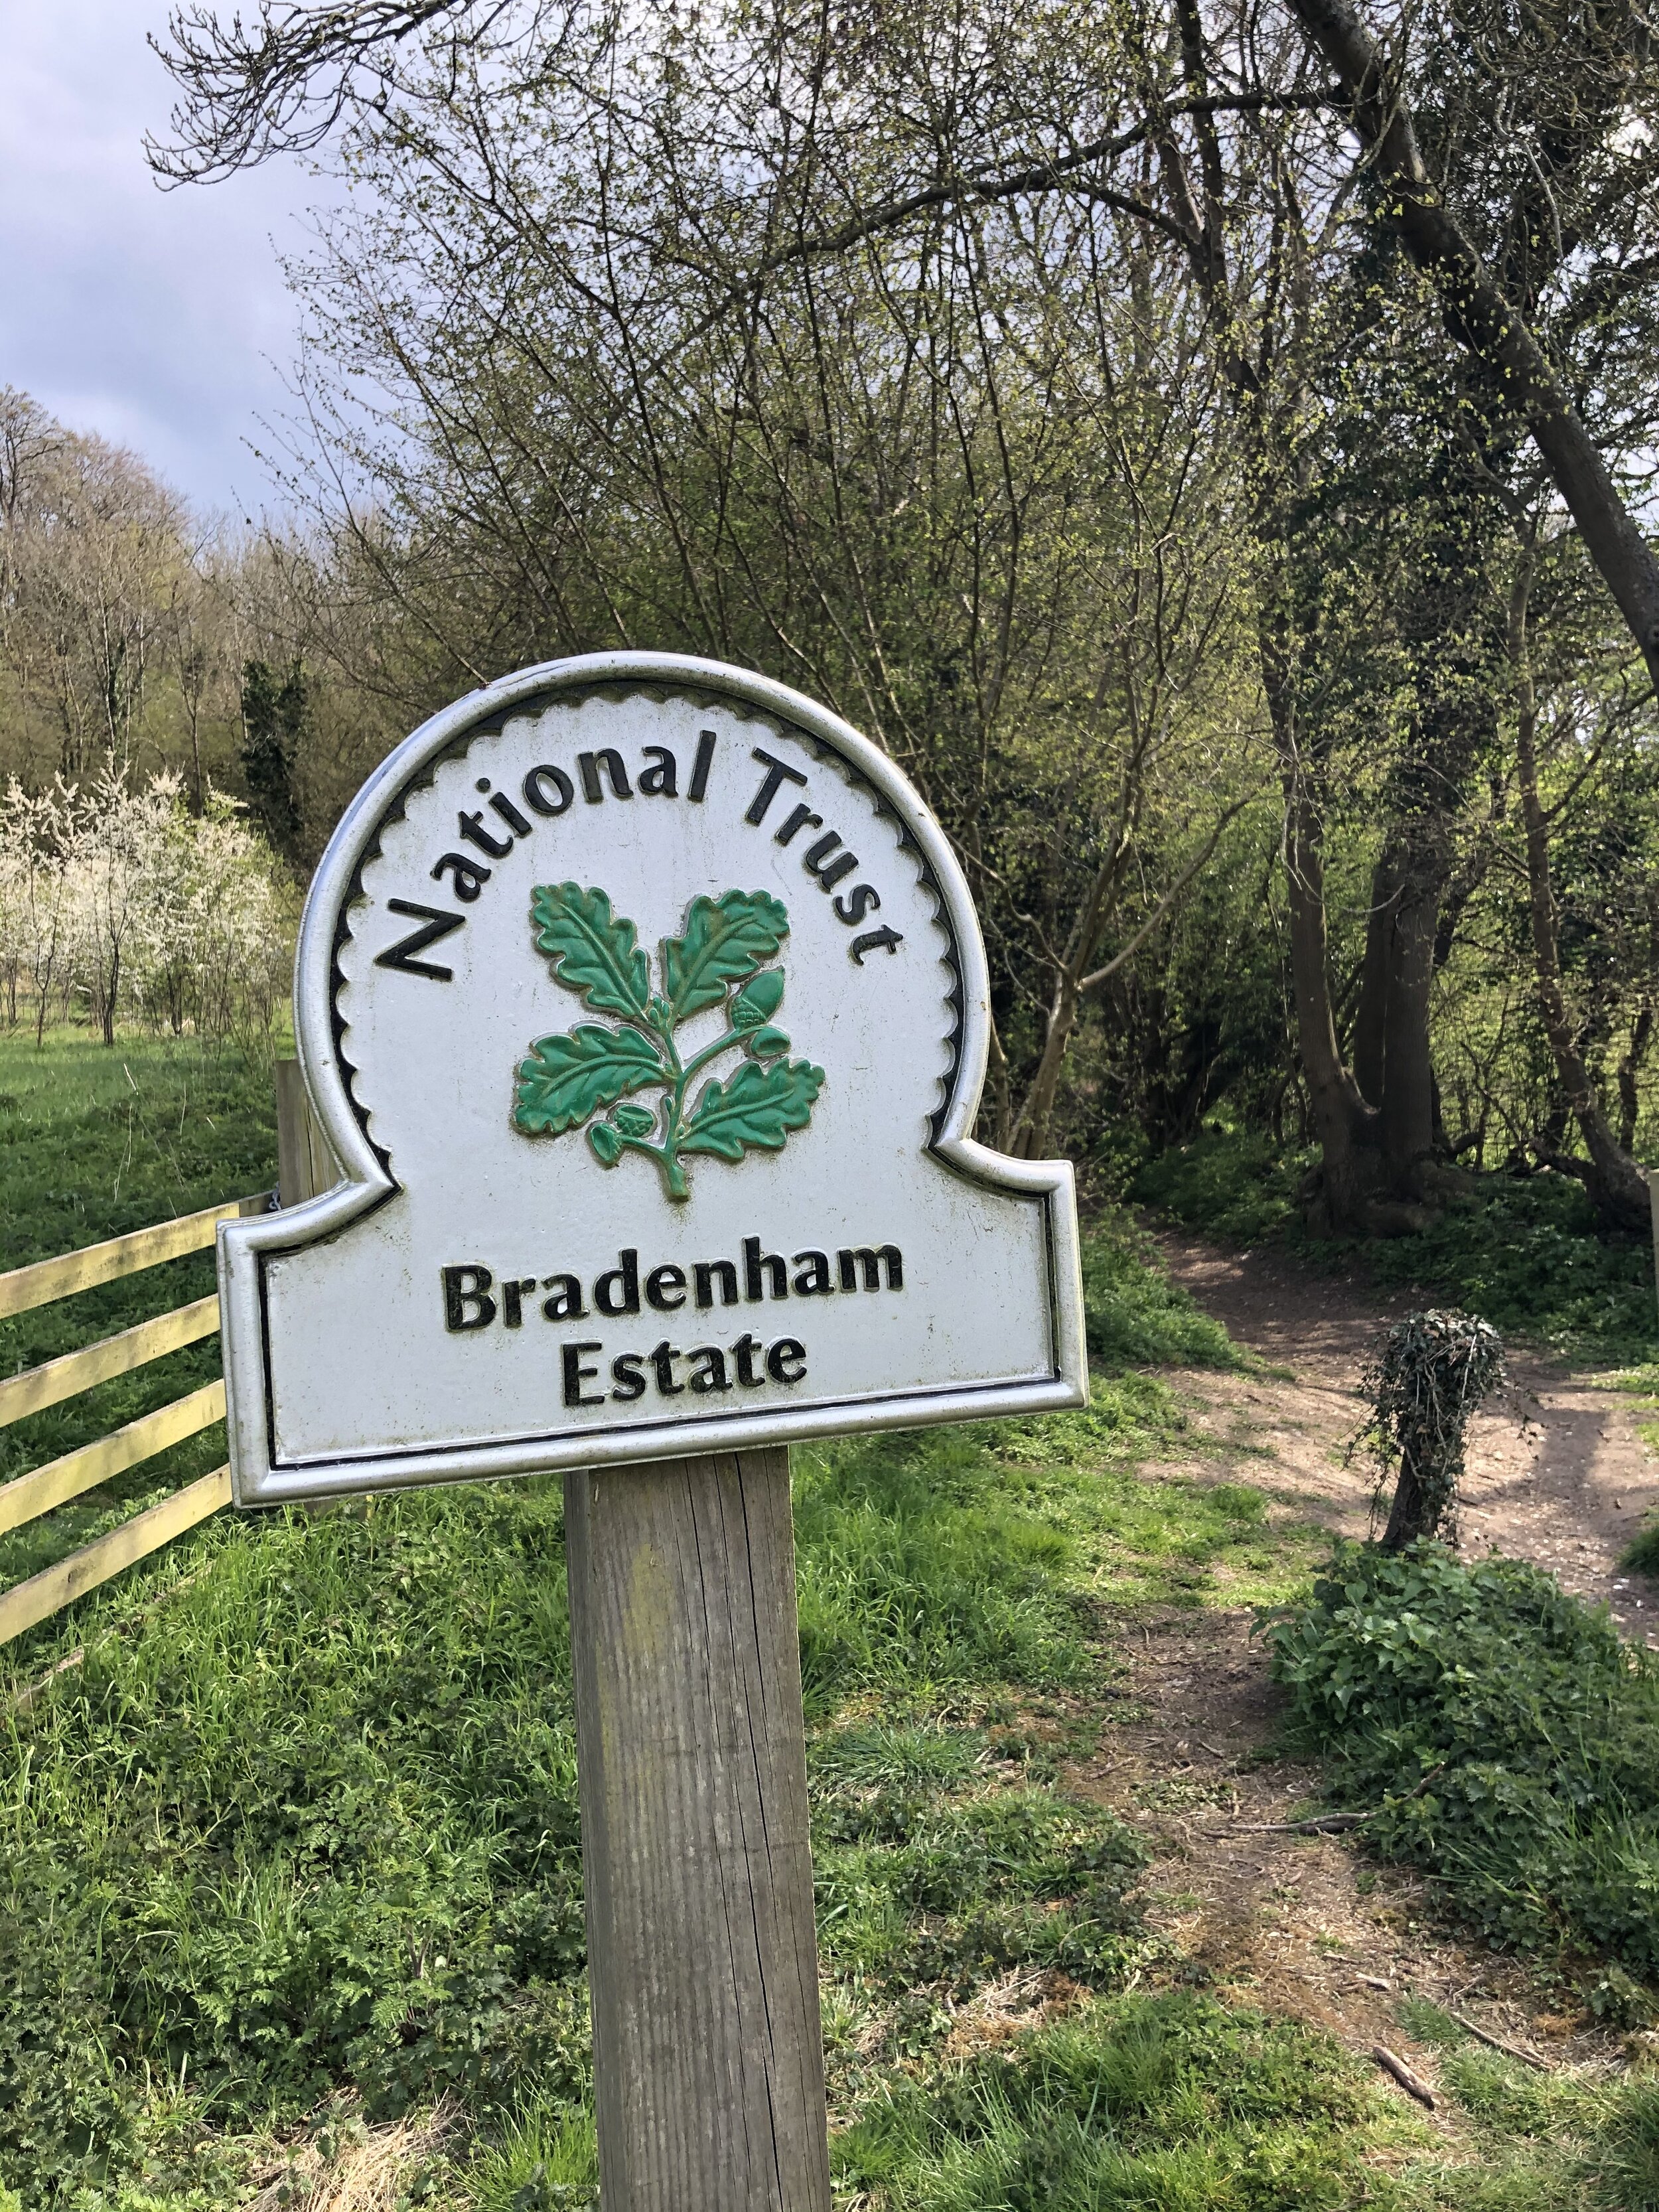
Start & Finish: Bradenham National Trust Car Park, Bradenham, Princes Risborough, HP27 0PR
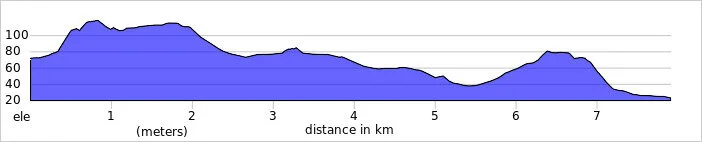
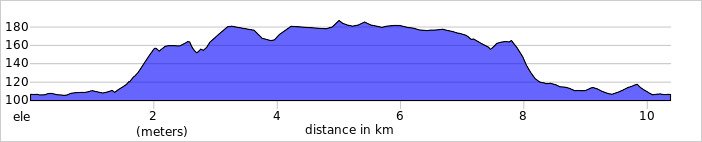
Distance: 7.4 km (4.6 miles)
Elevation change: +/- 125m
GPX File: get via Buy Me a Coffee
Other routes touched (walk): N/A
Other routes touched (cycle): Chilterns Cycleway
Pubs / Cafes on route: None
Map: OS Explorer Map (172) Chiltern Hills East and OS Explorer Map (181) Chiltern Hills North
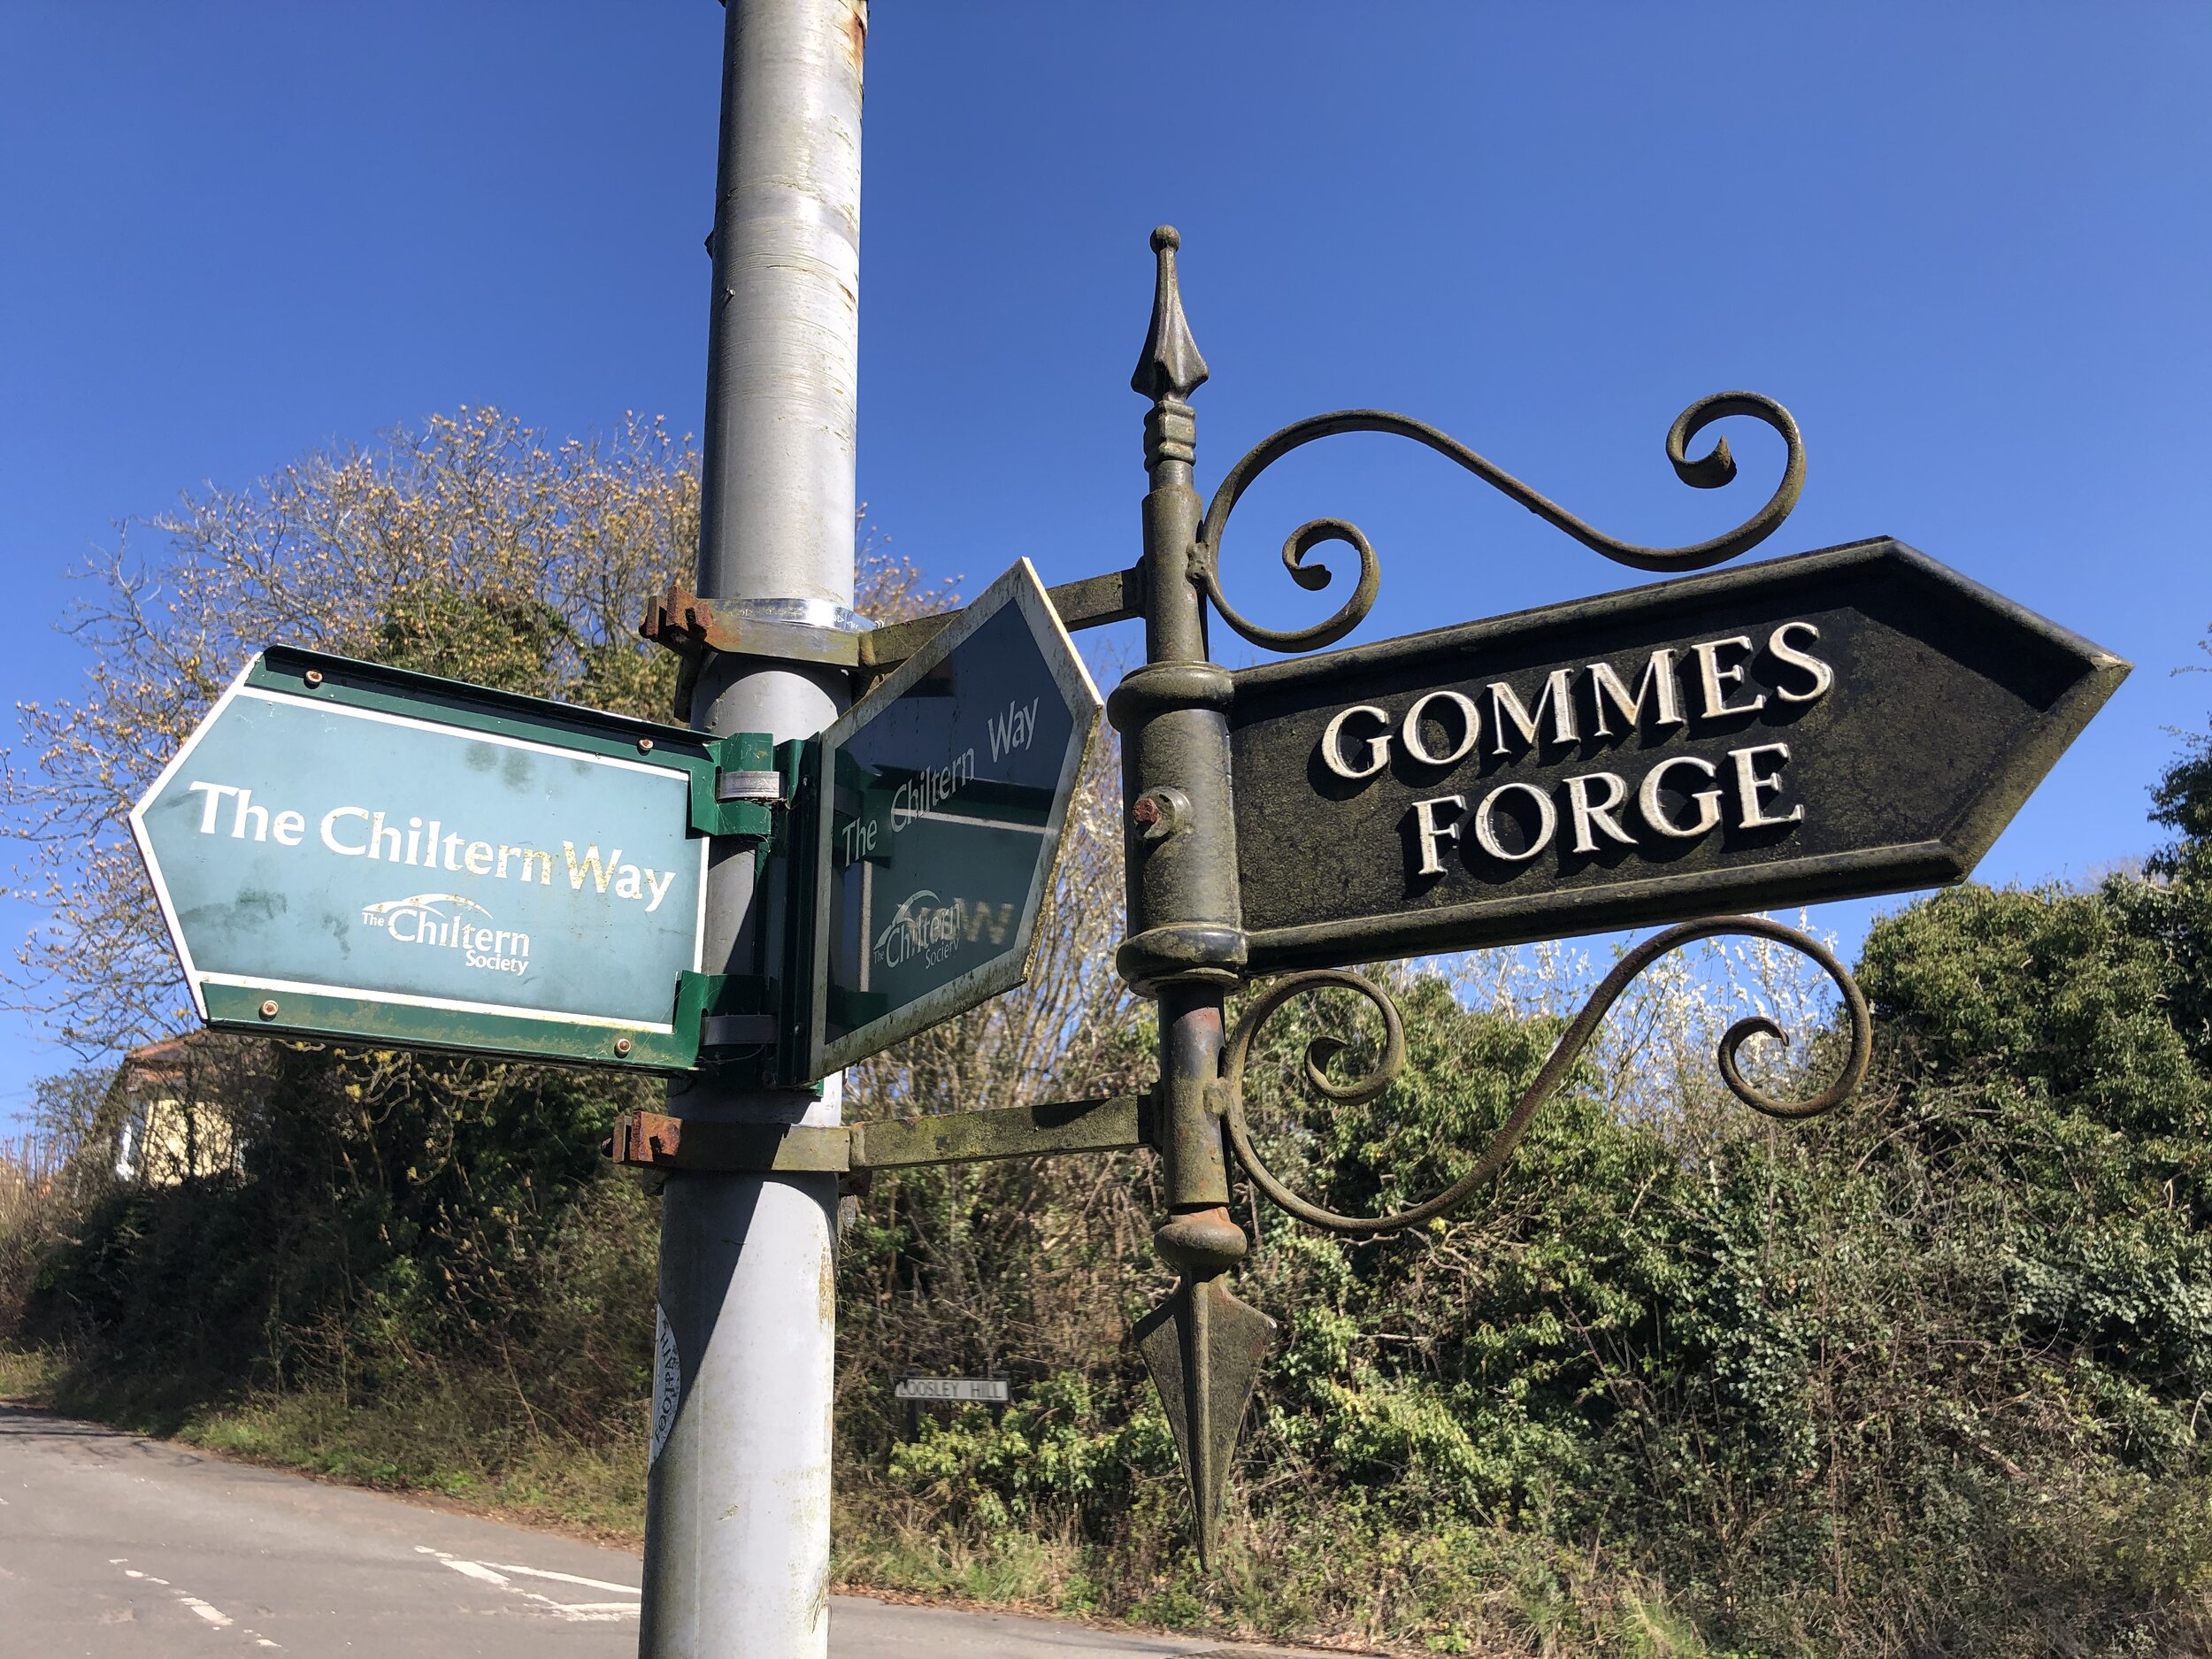
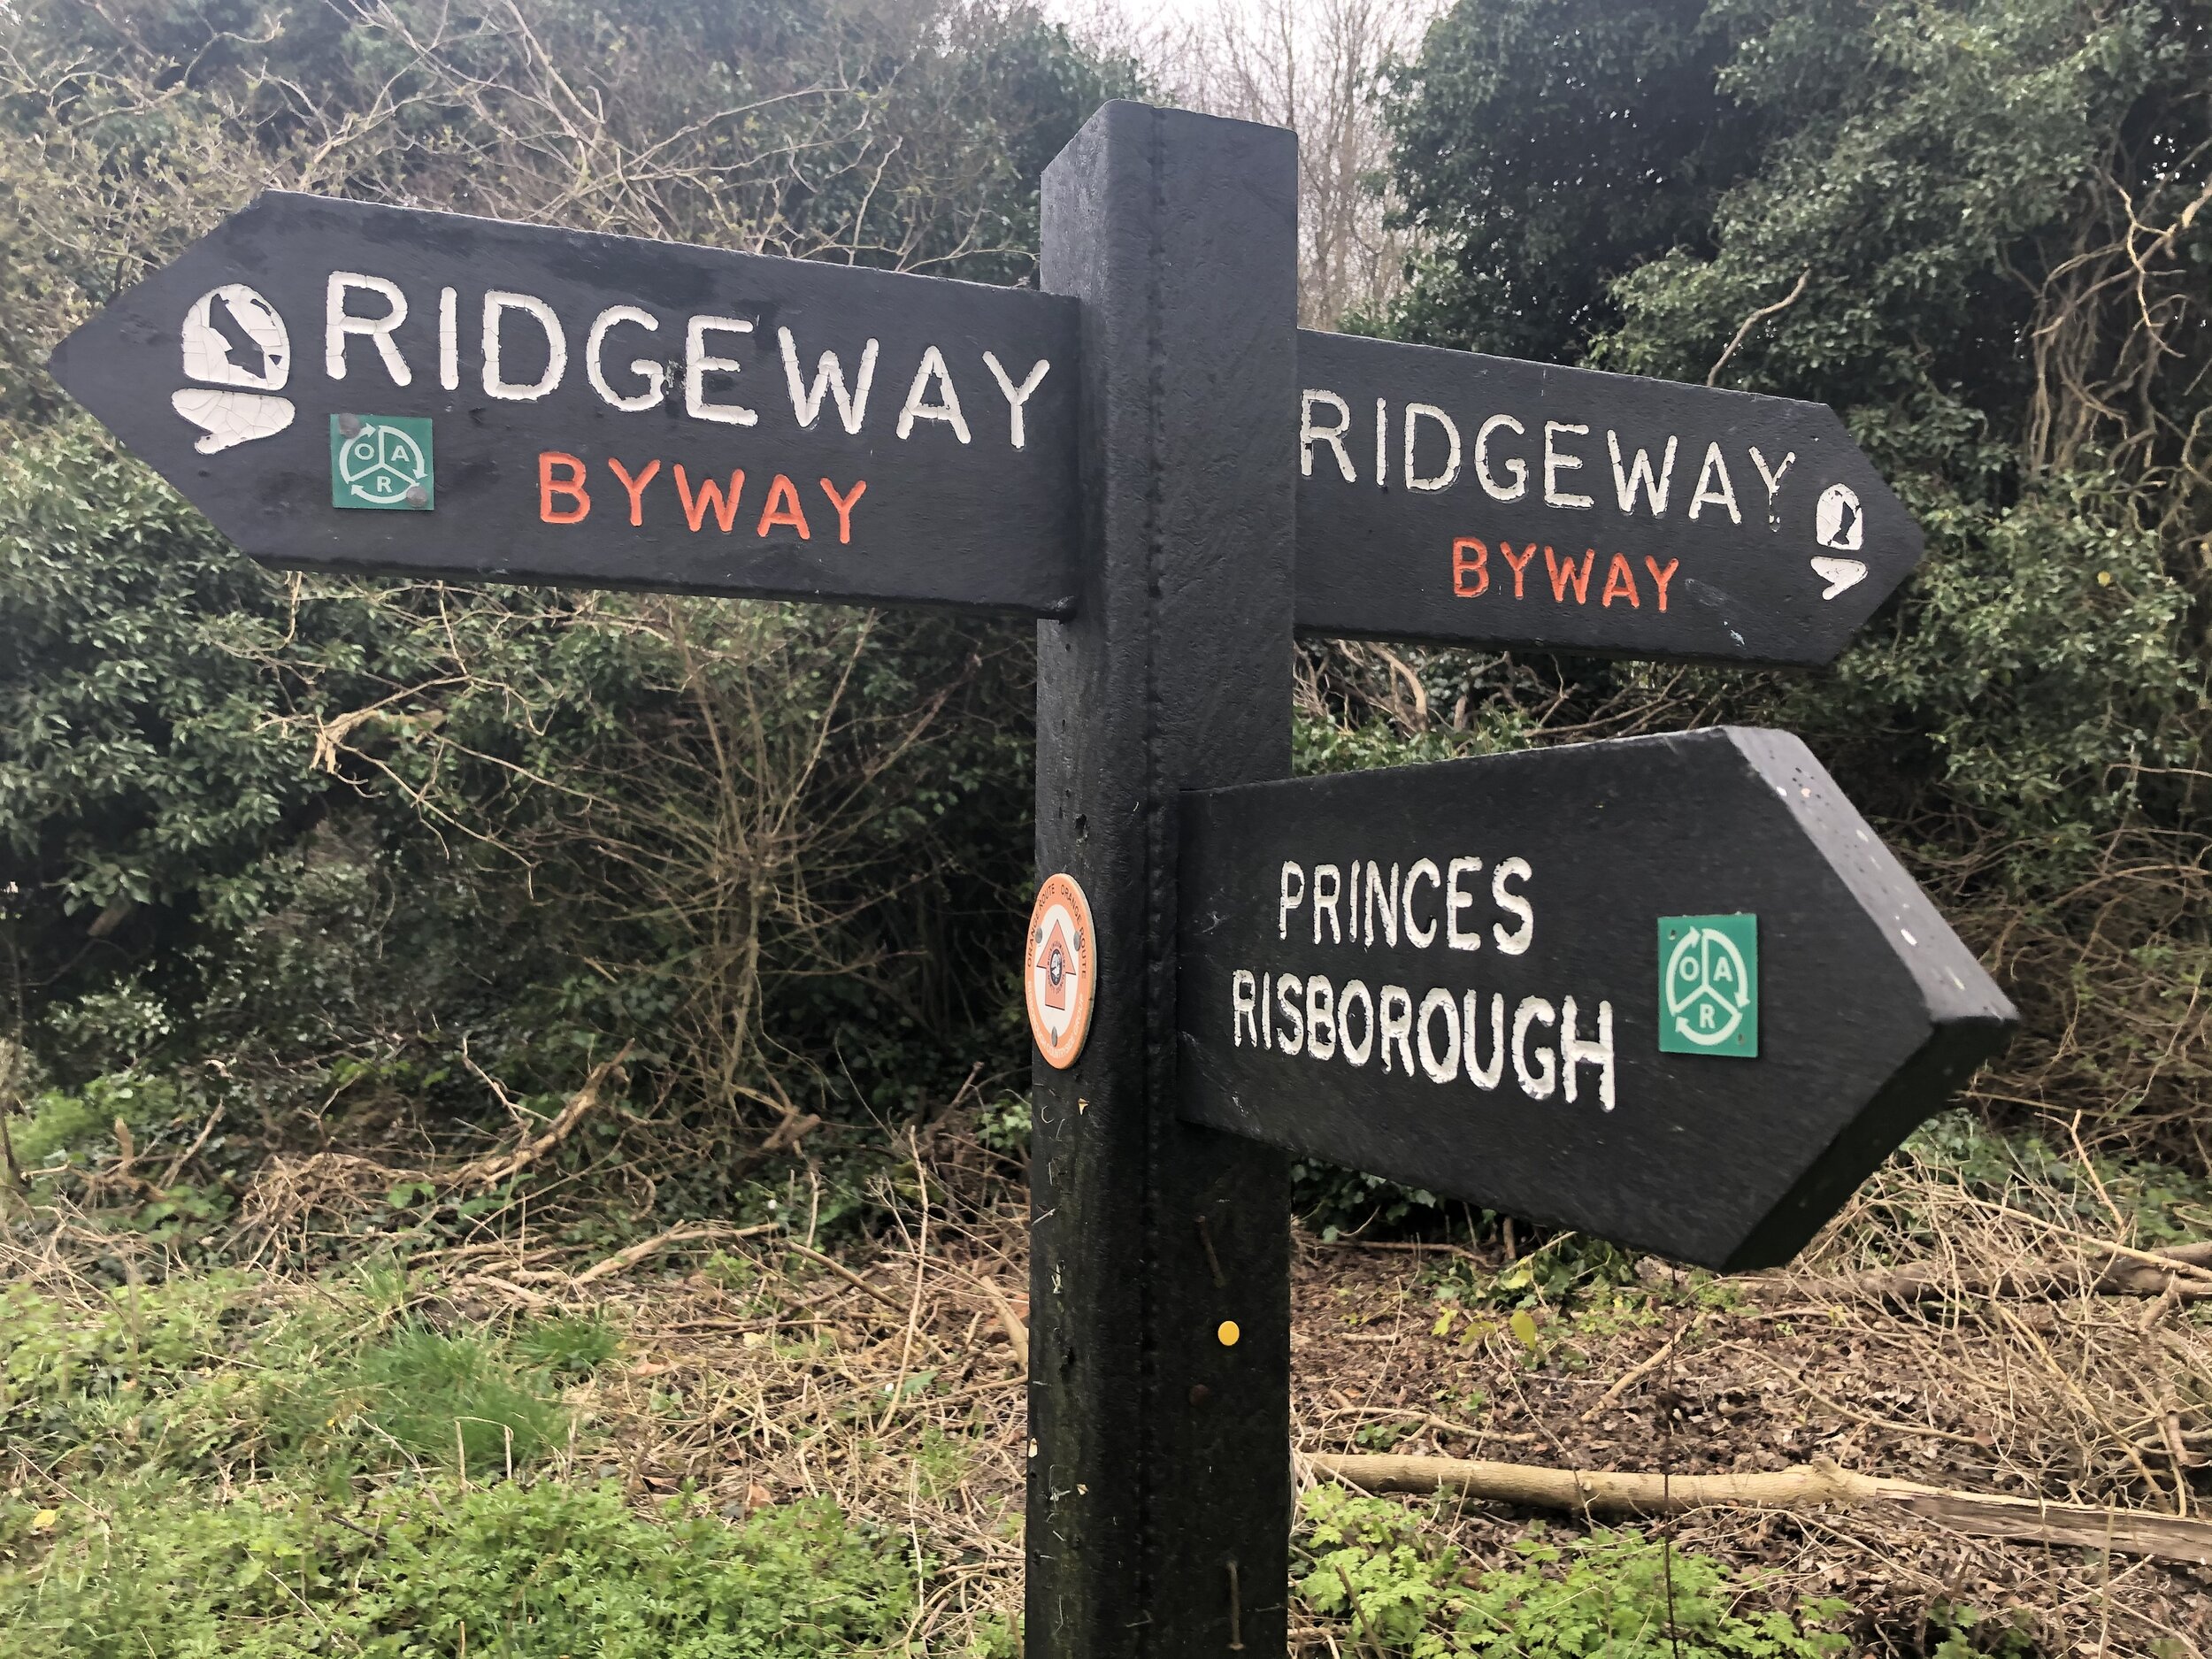
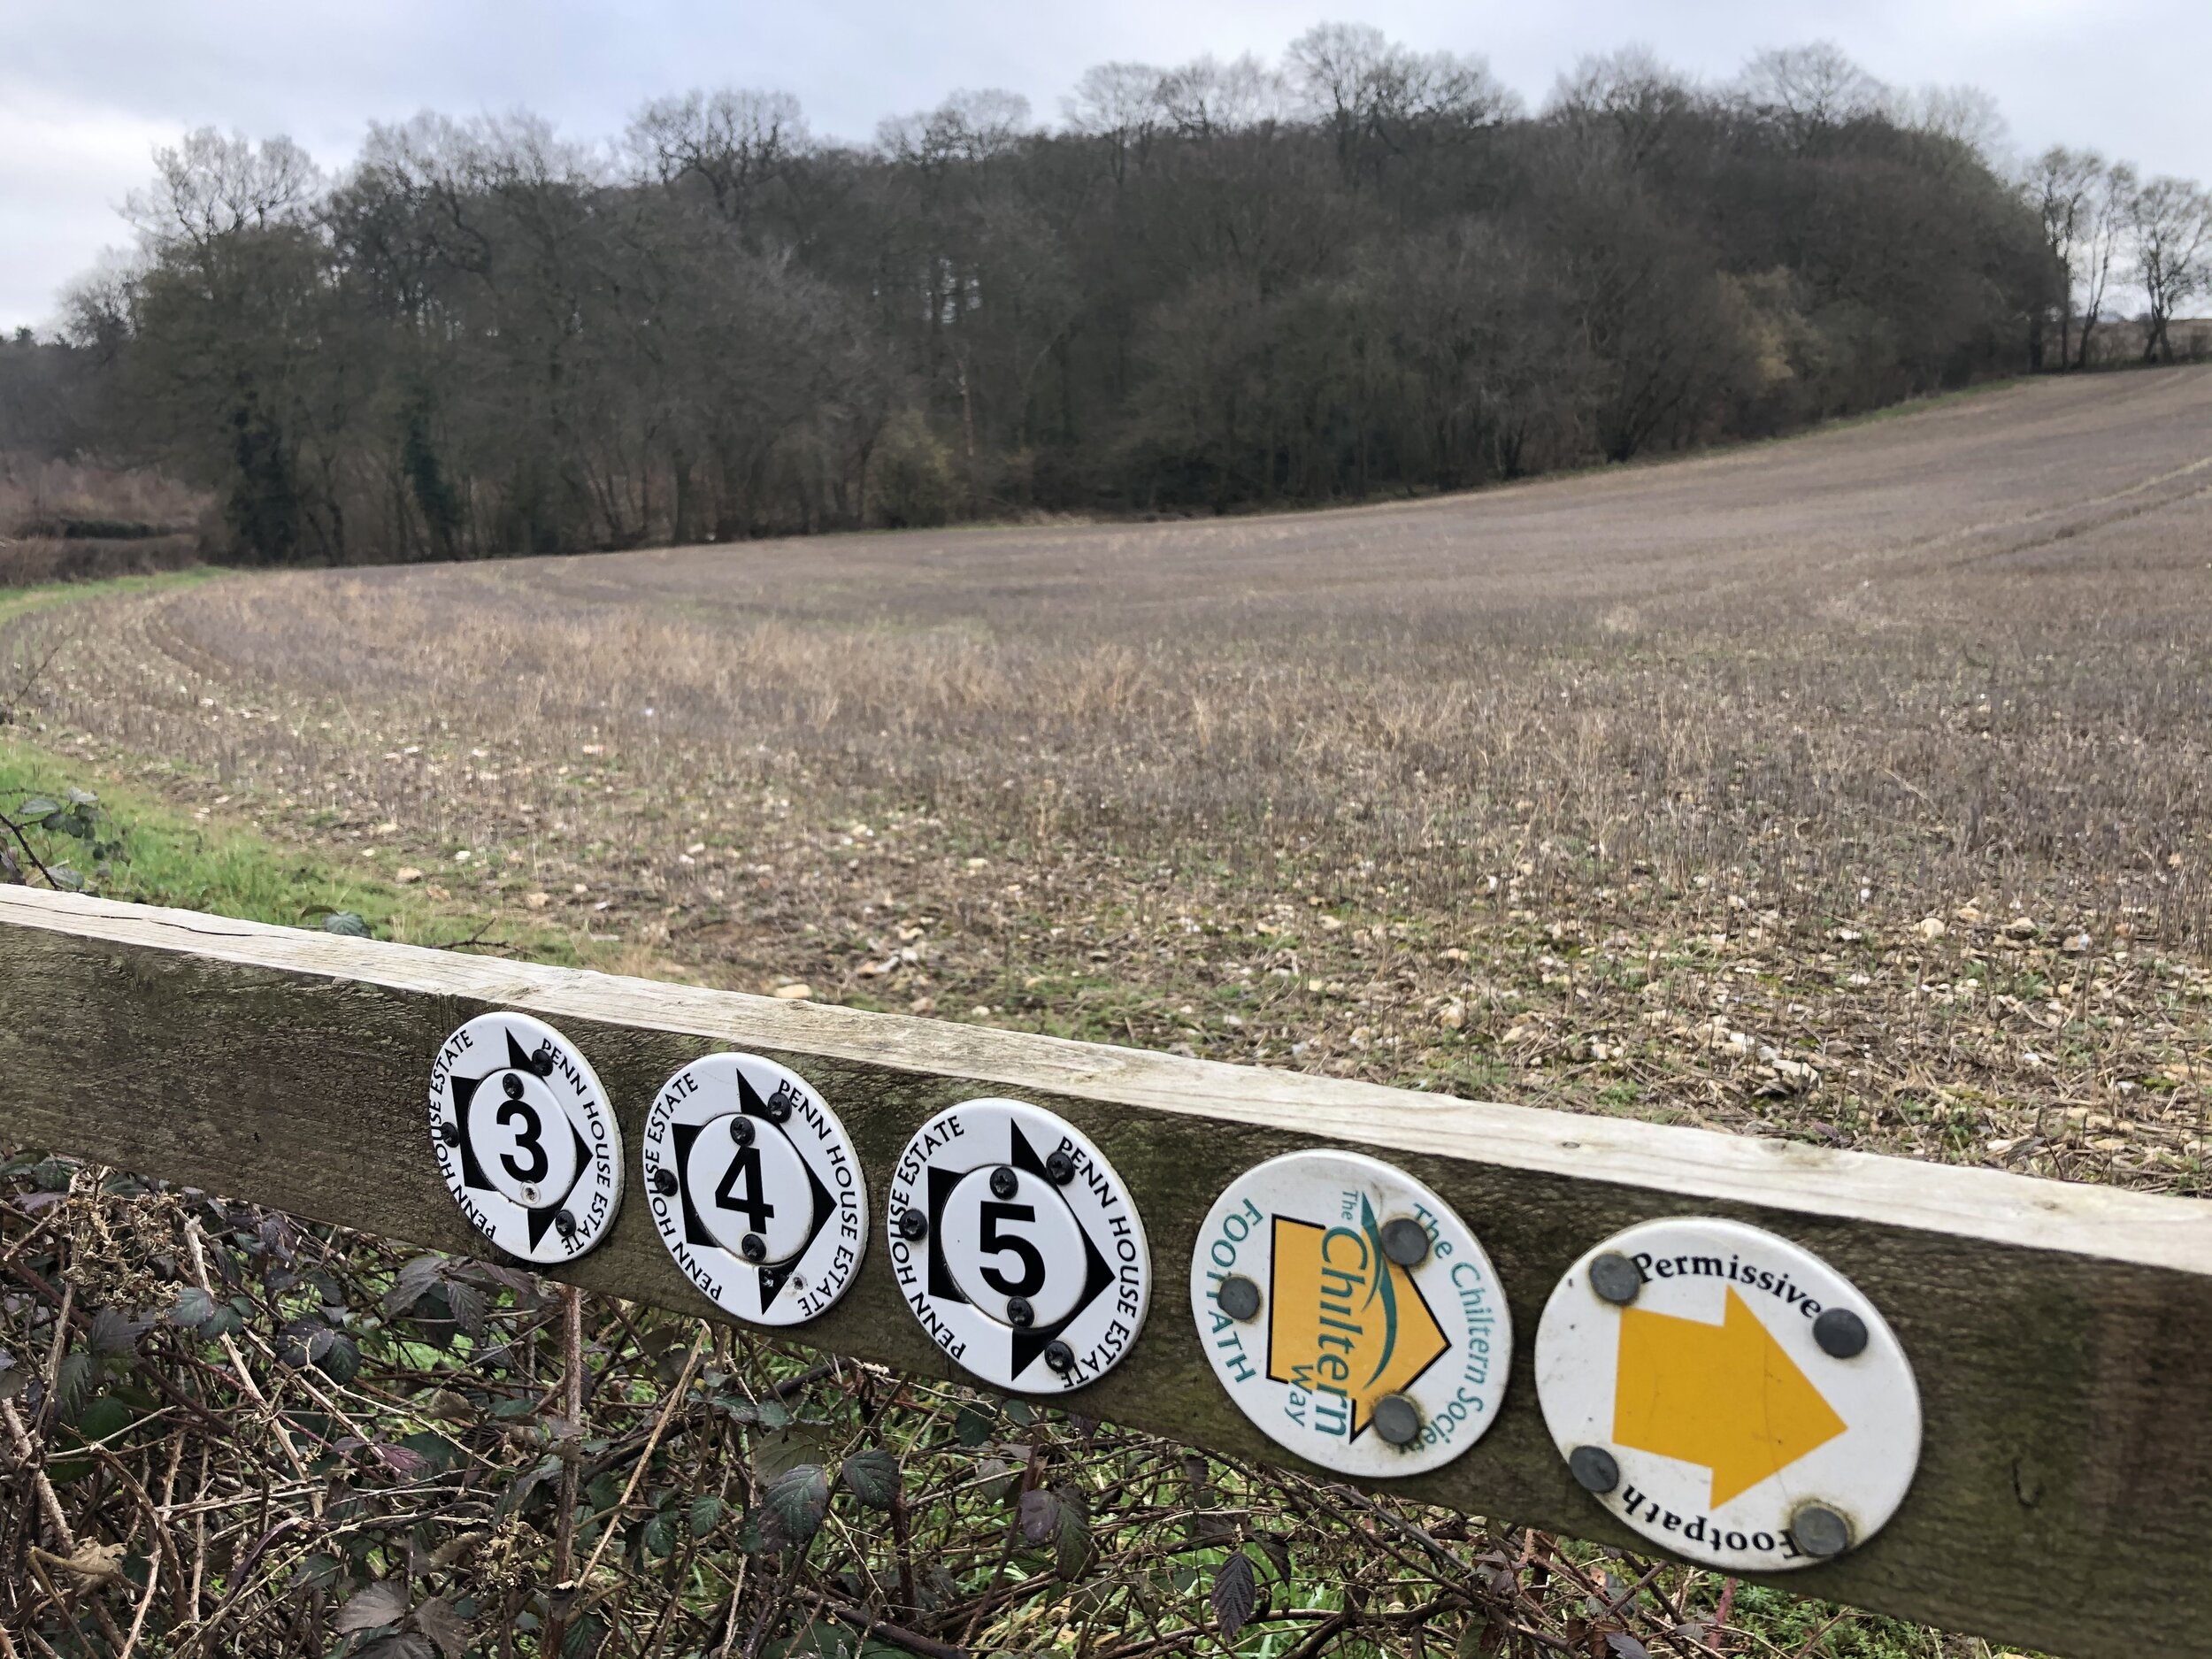
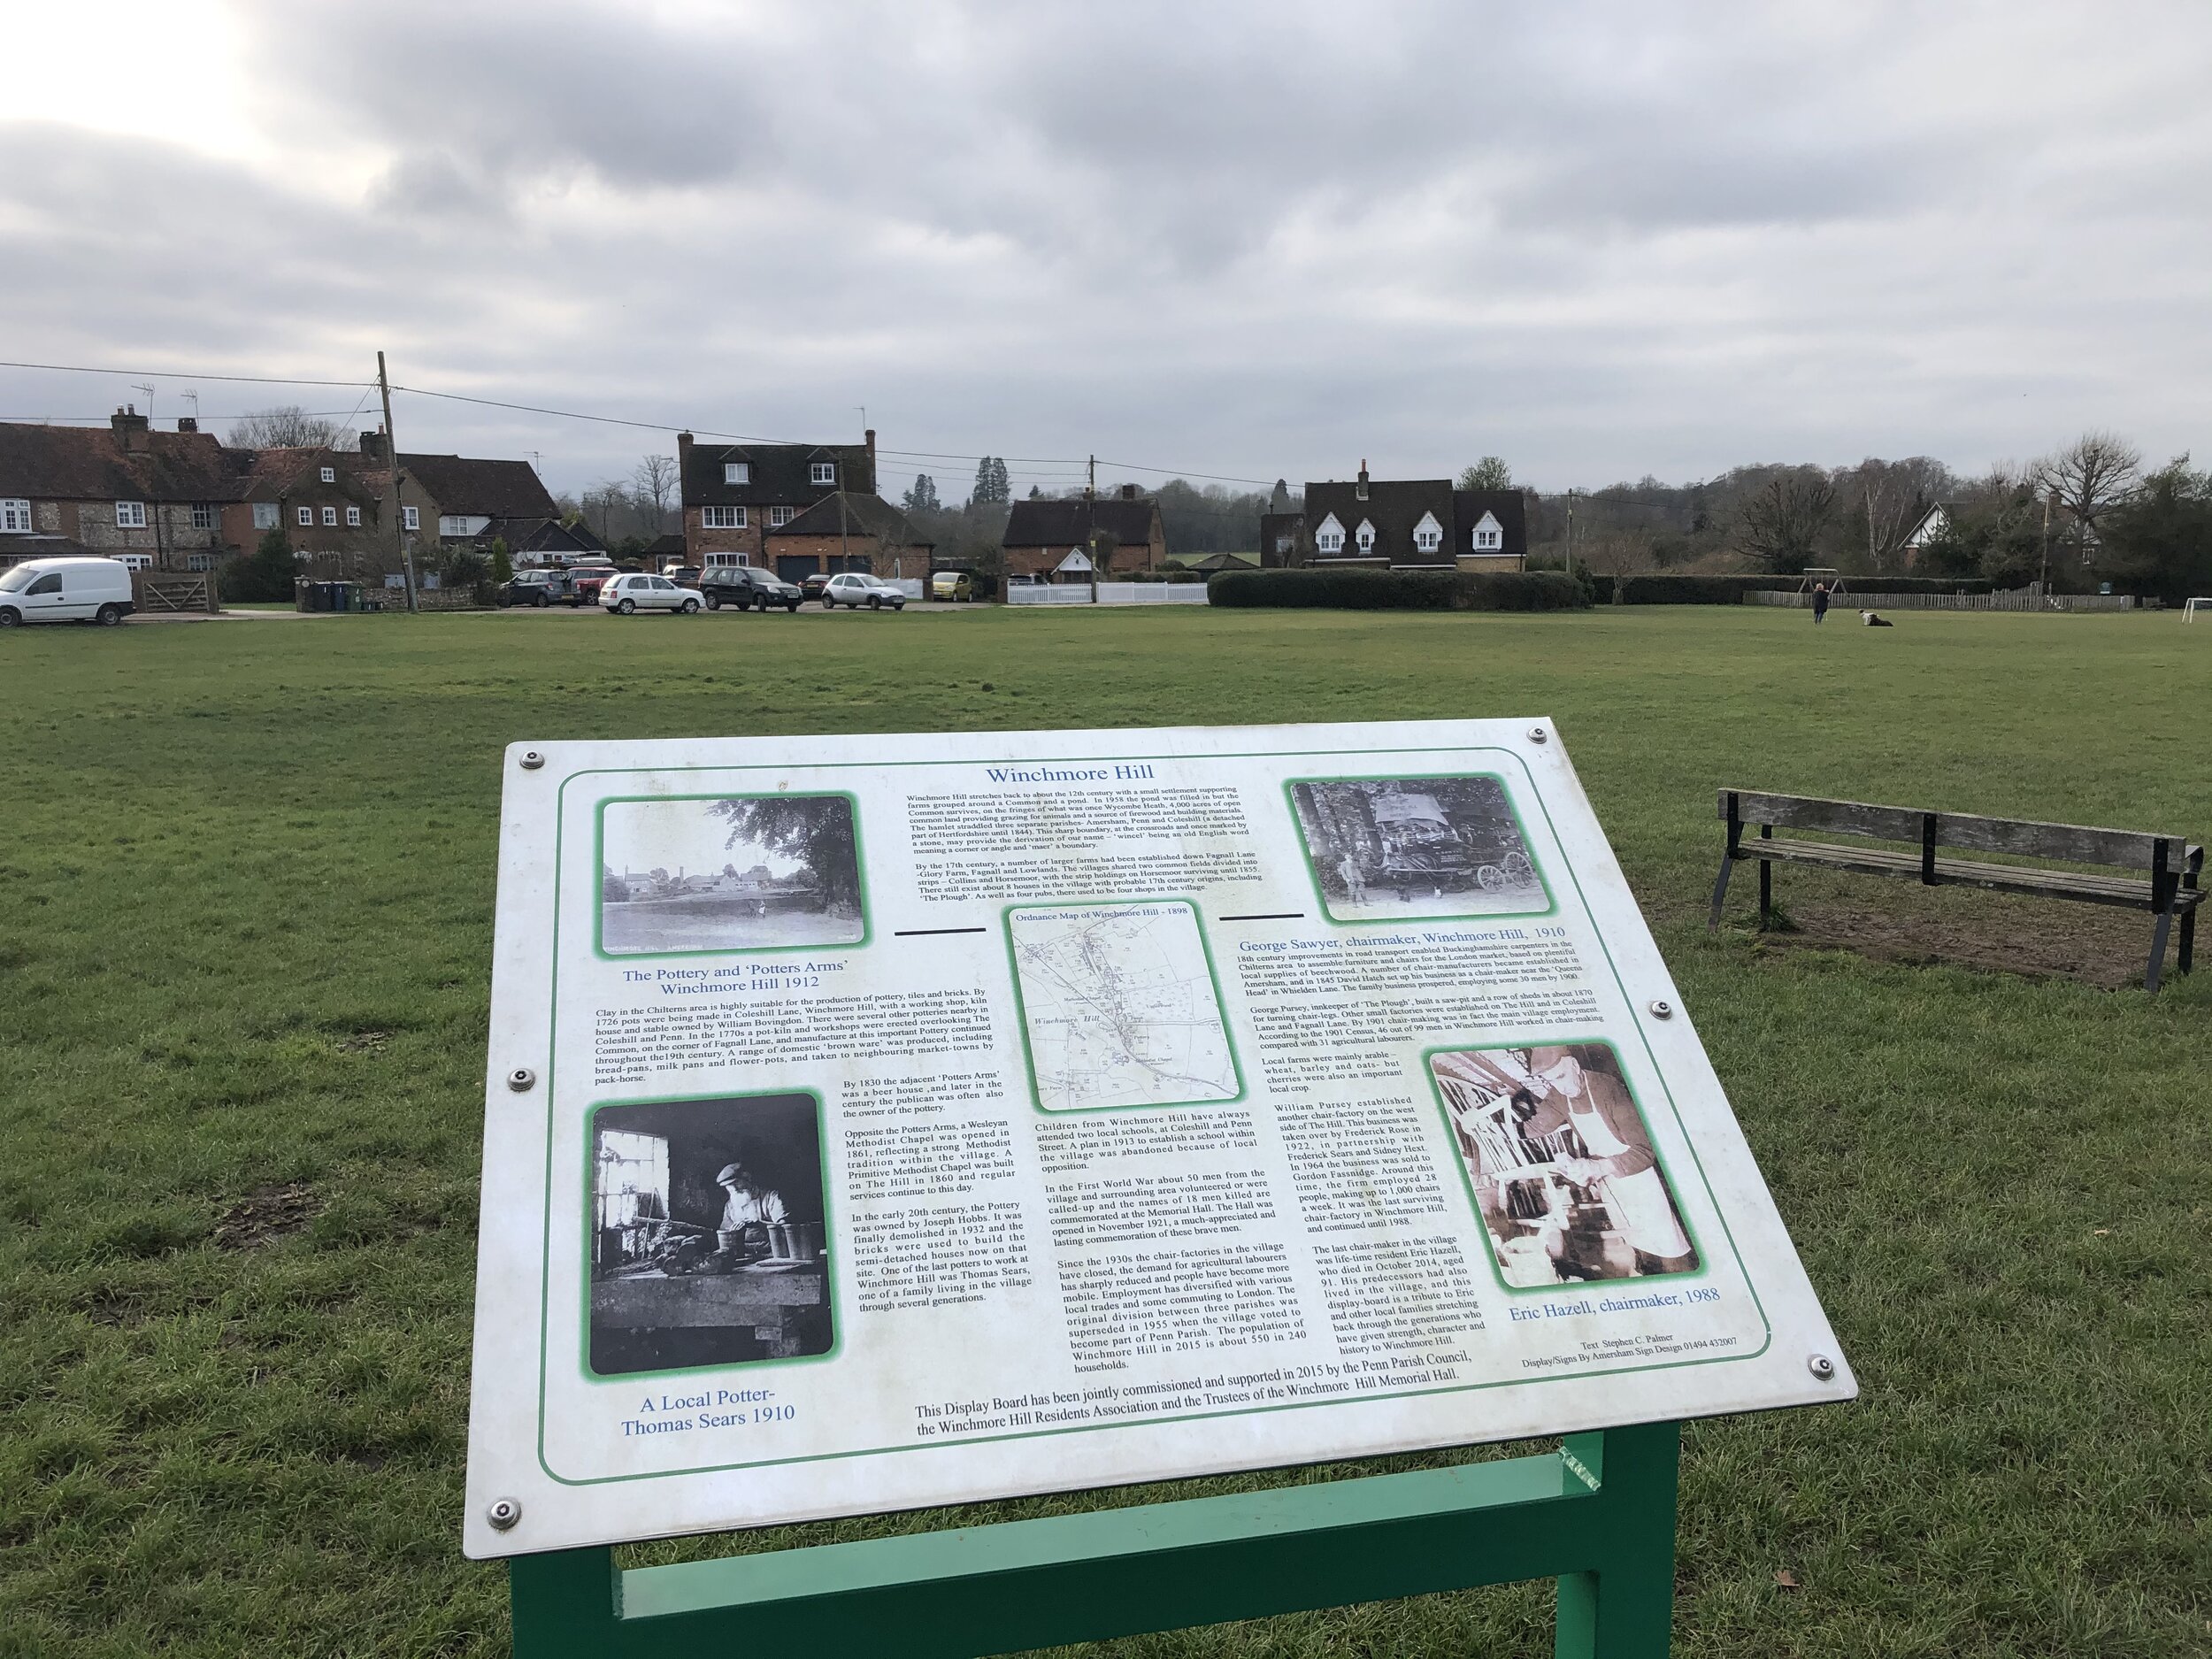
Links: Bradenham National Trust Estate, Speen, Lacey Green, Loosley Row
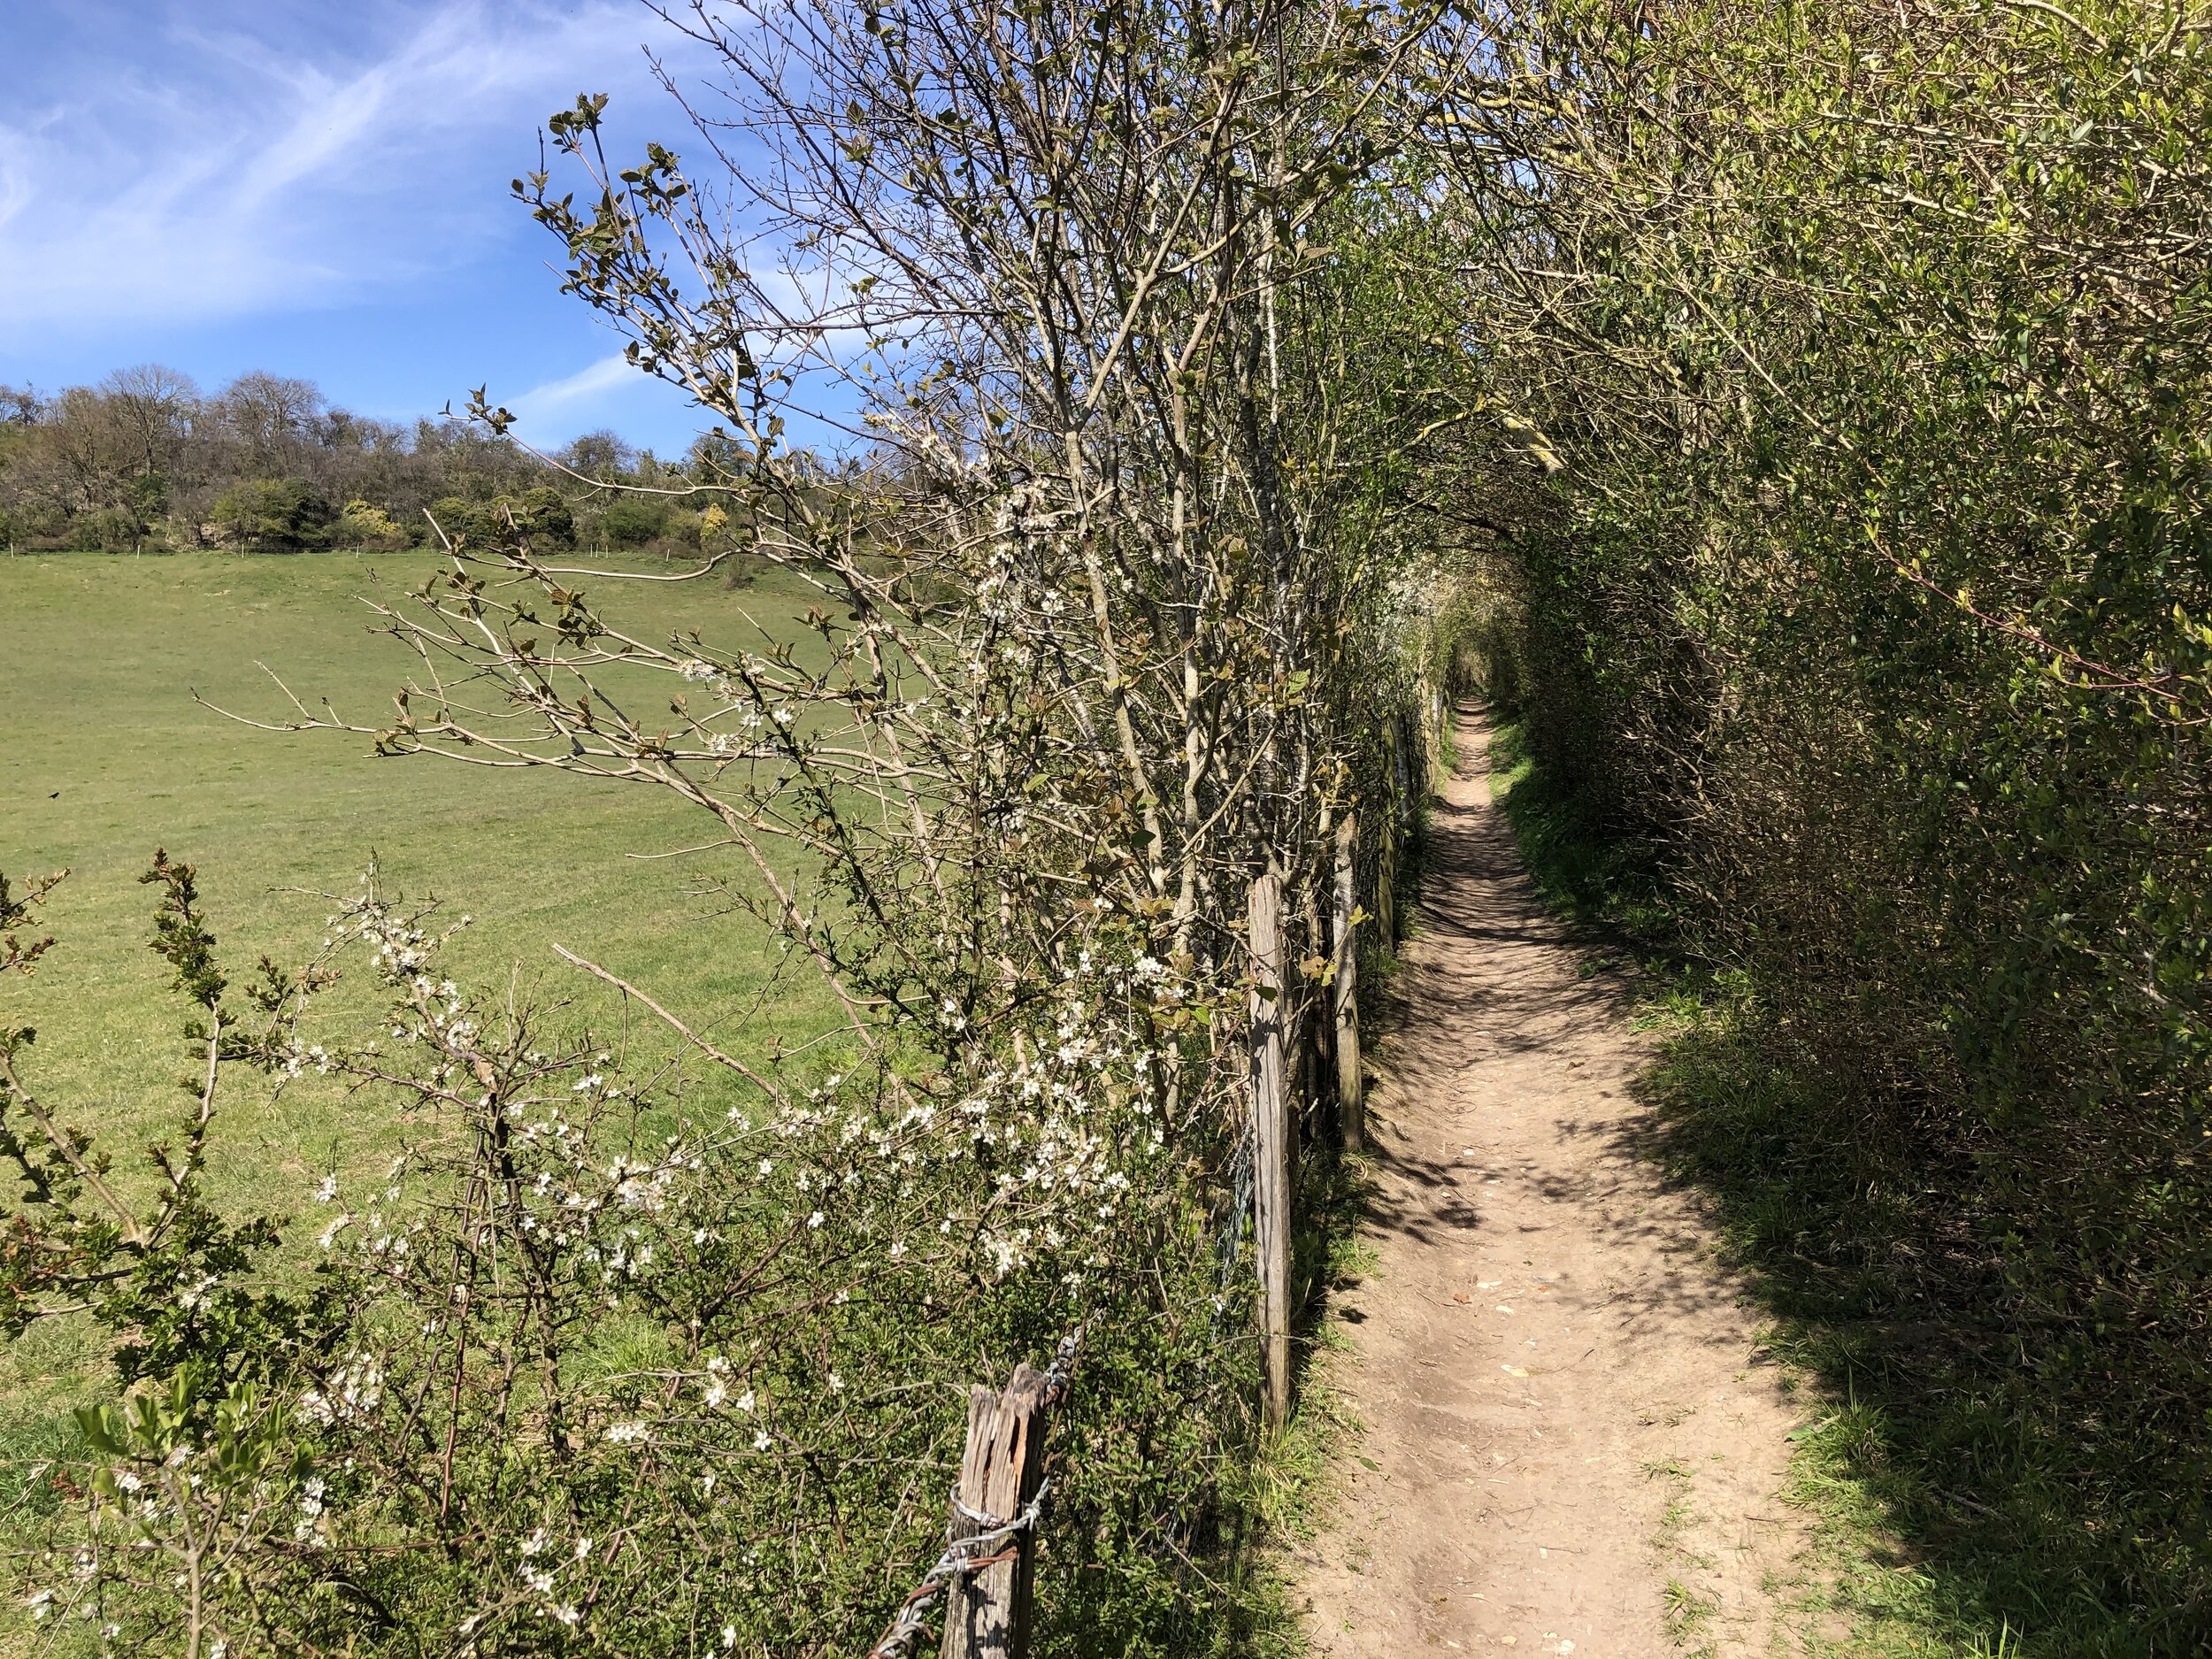
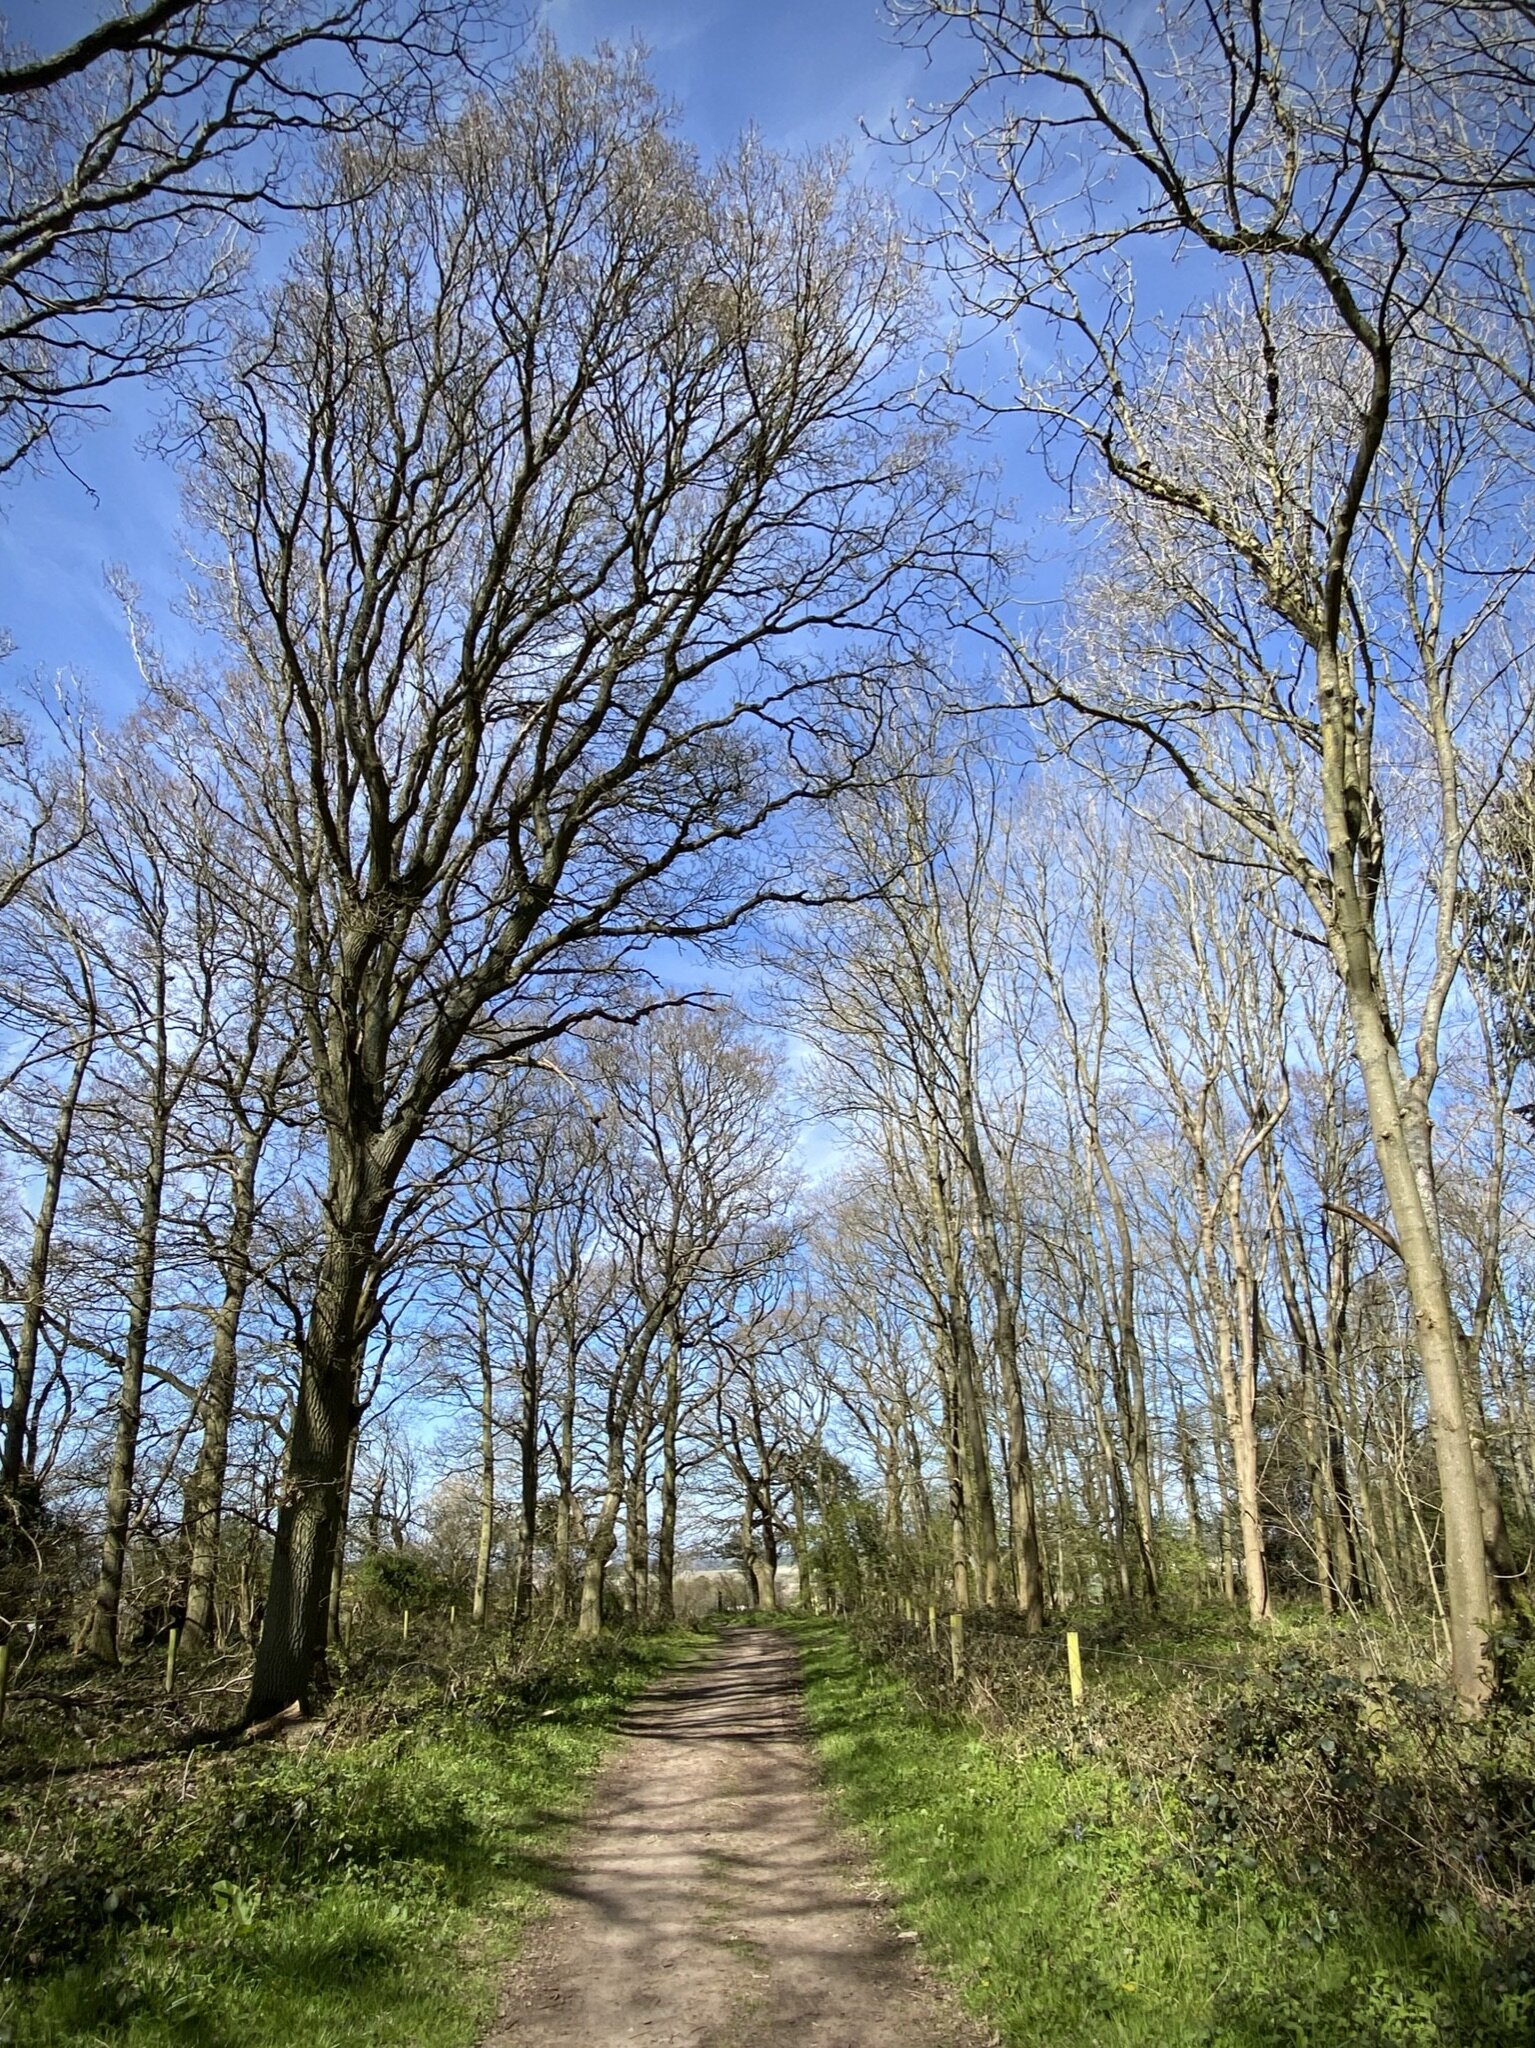
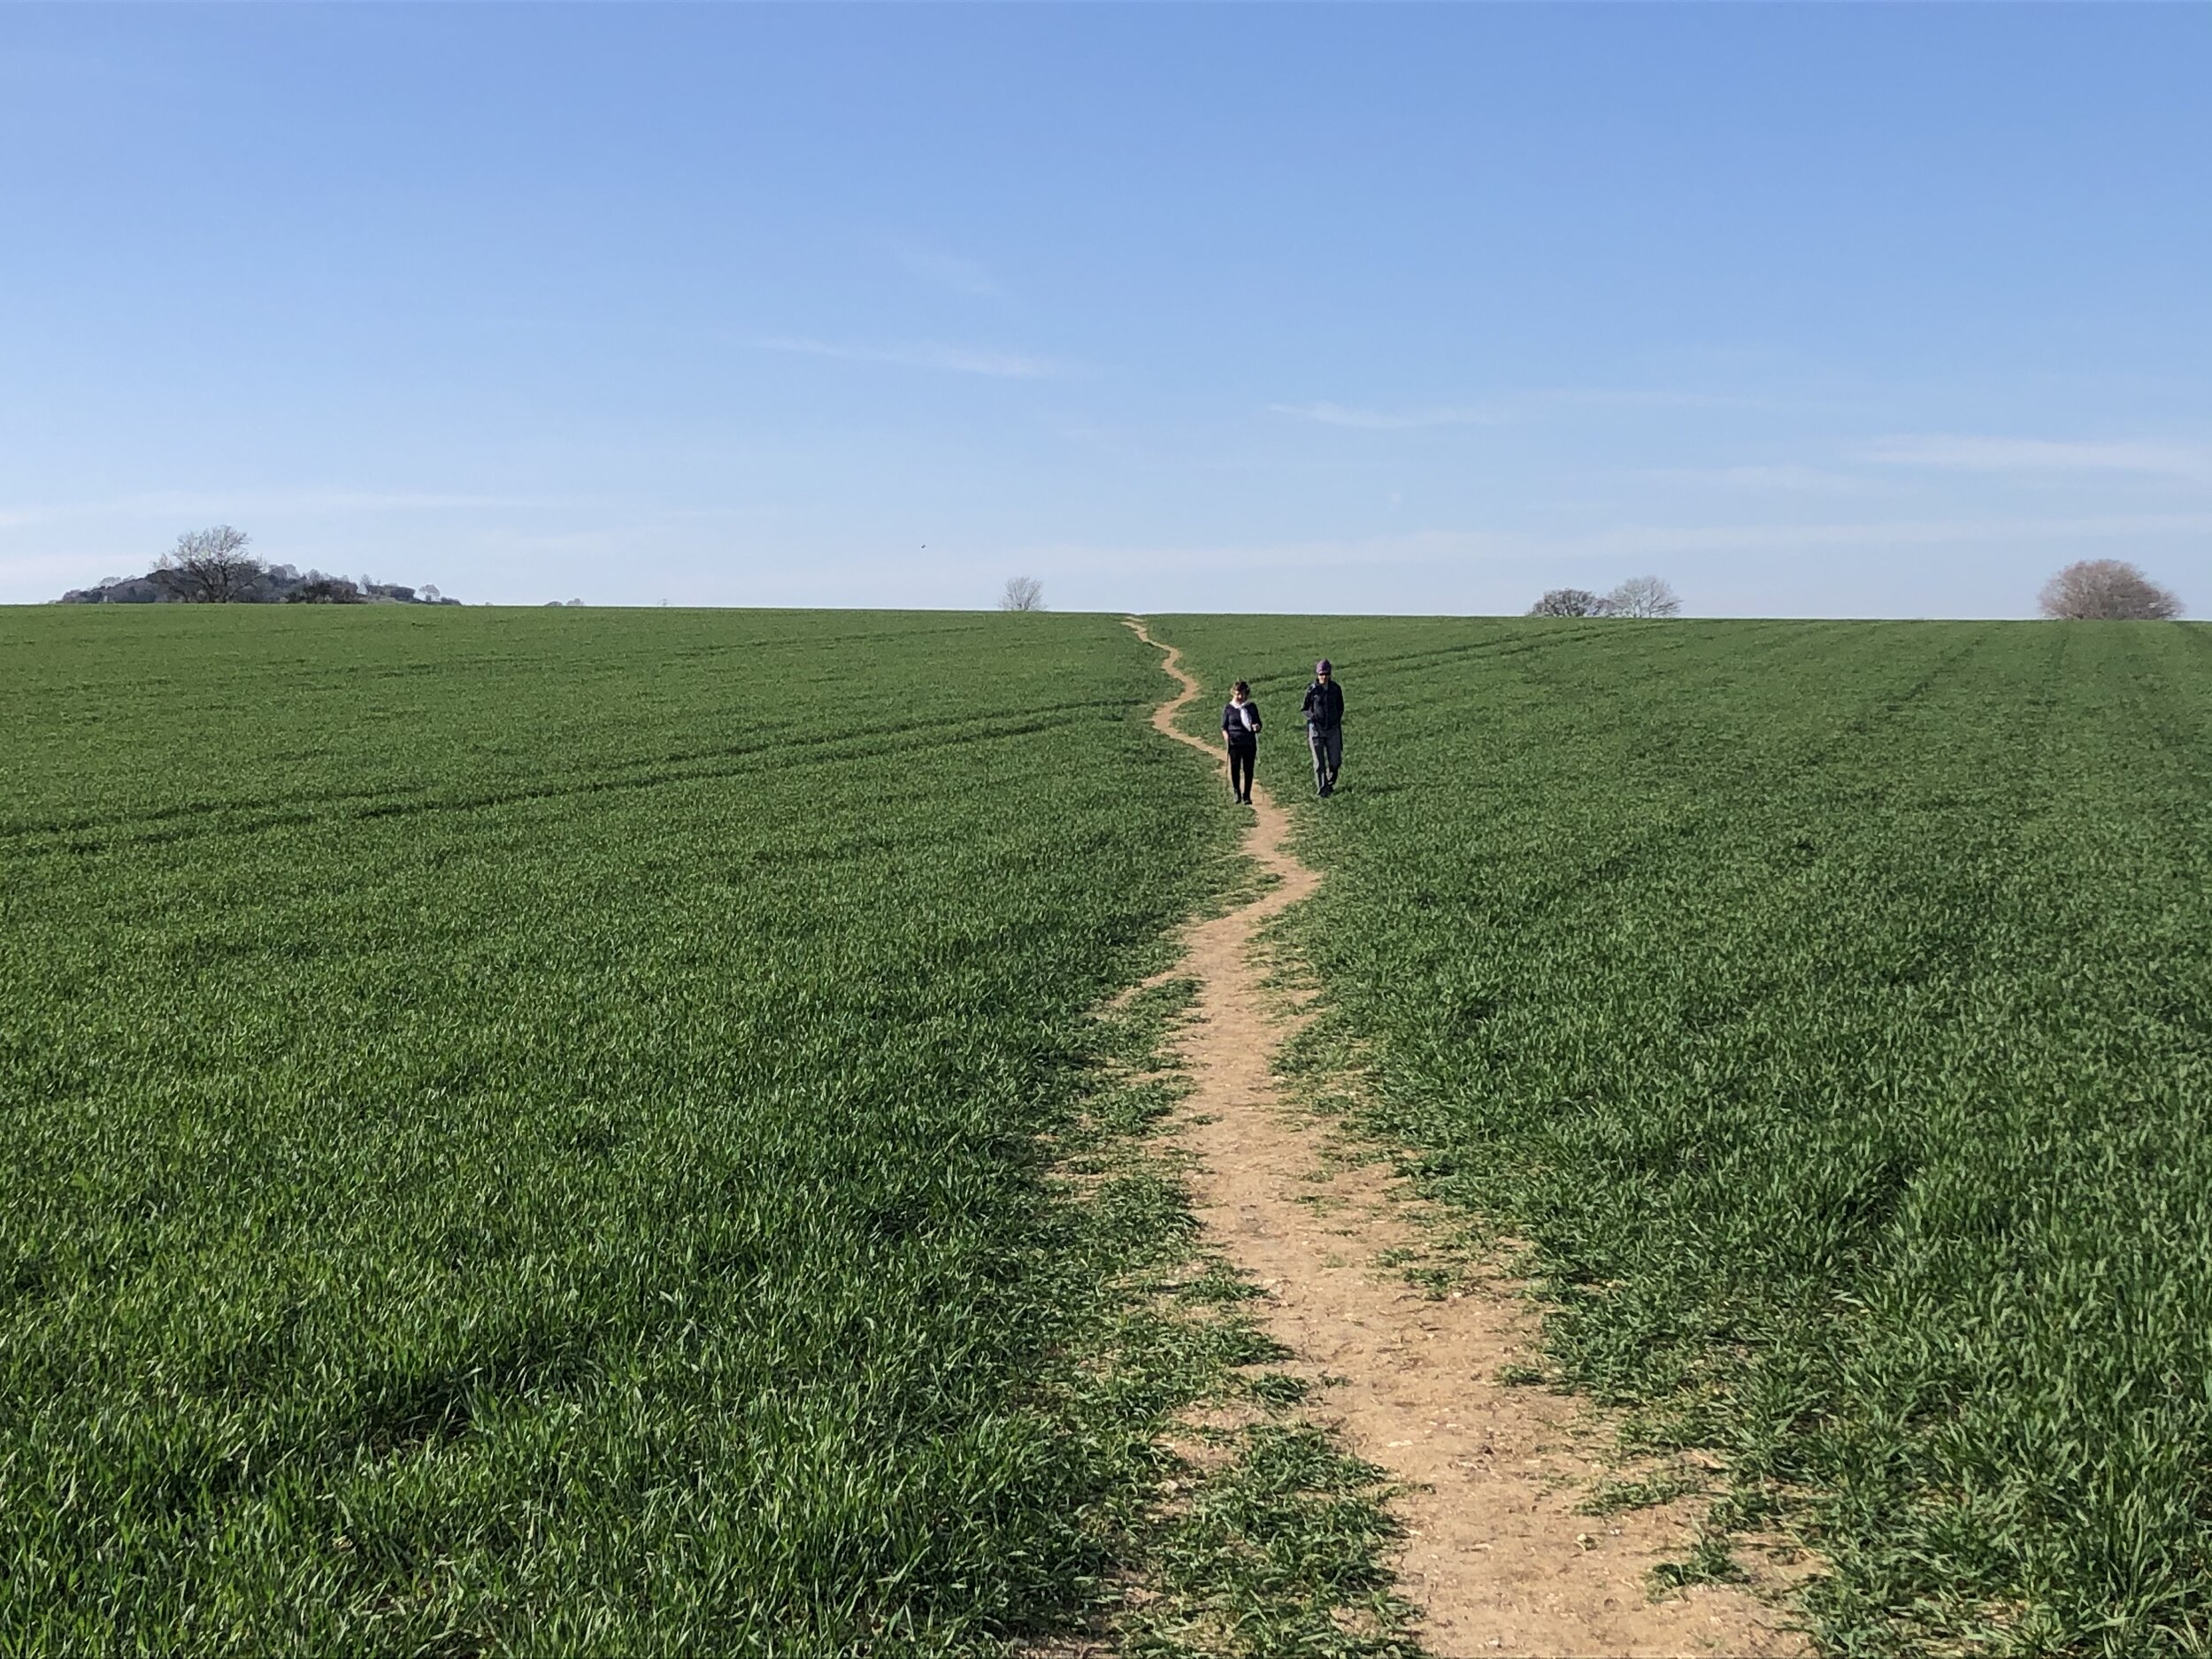
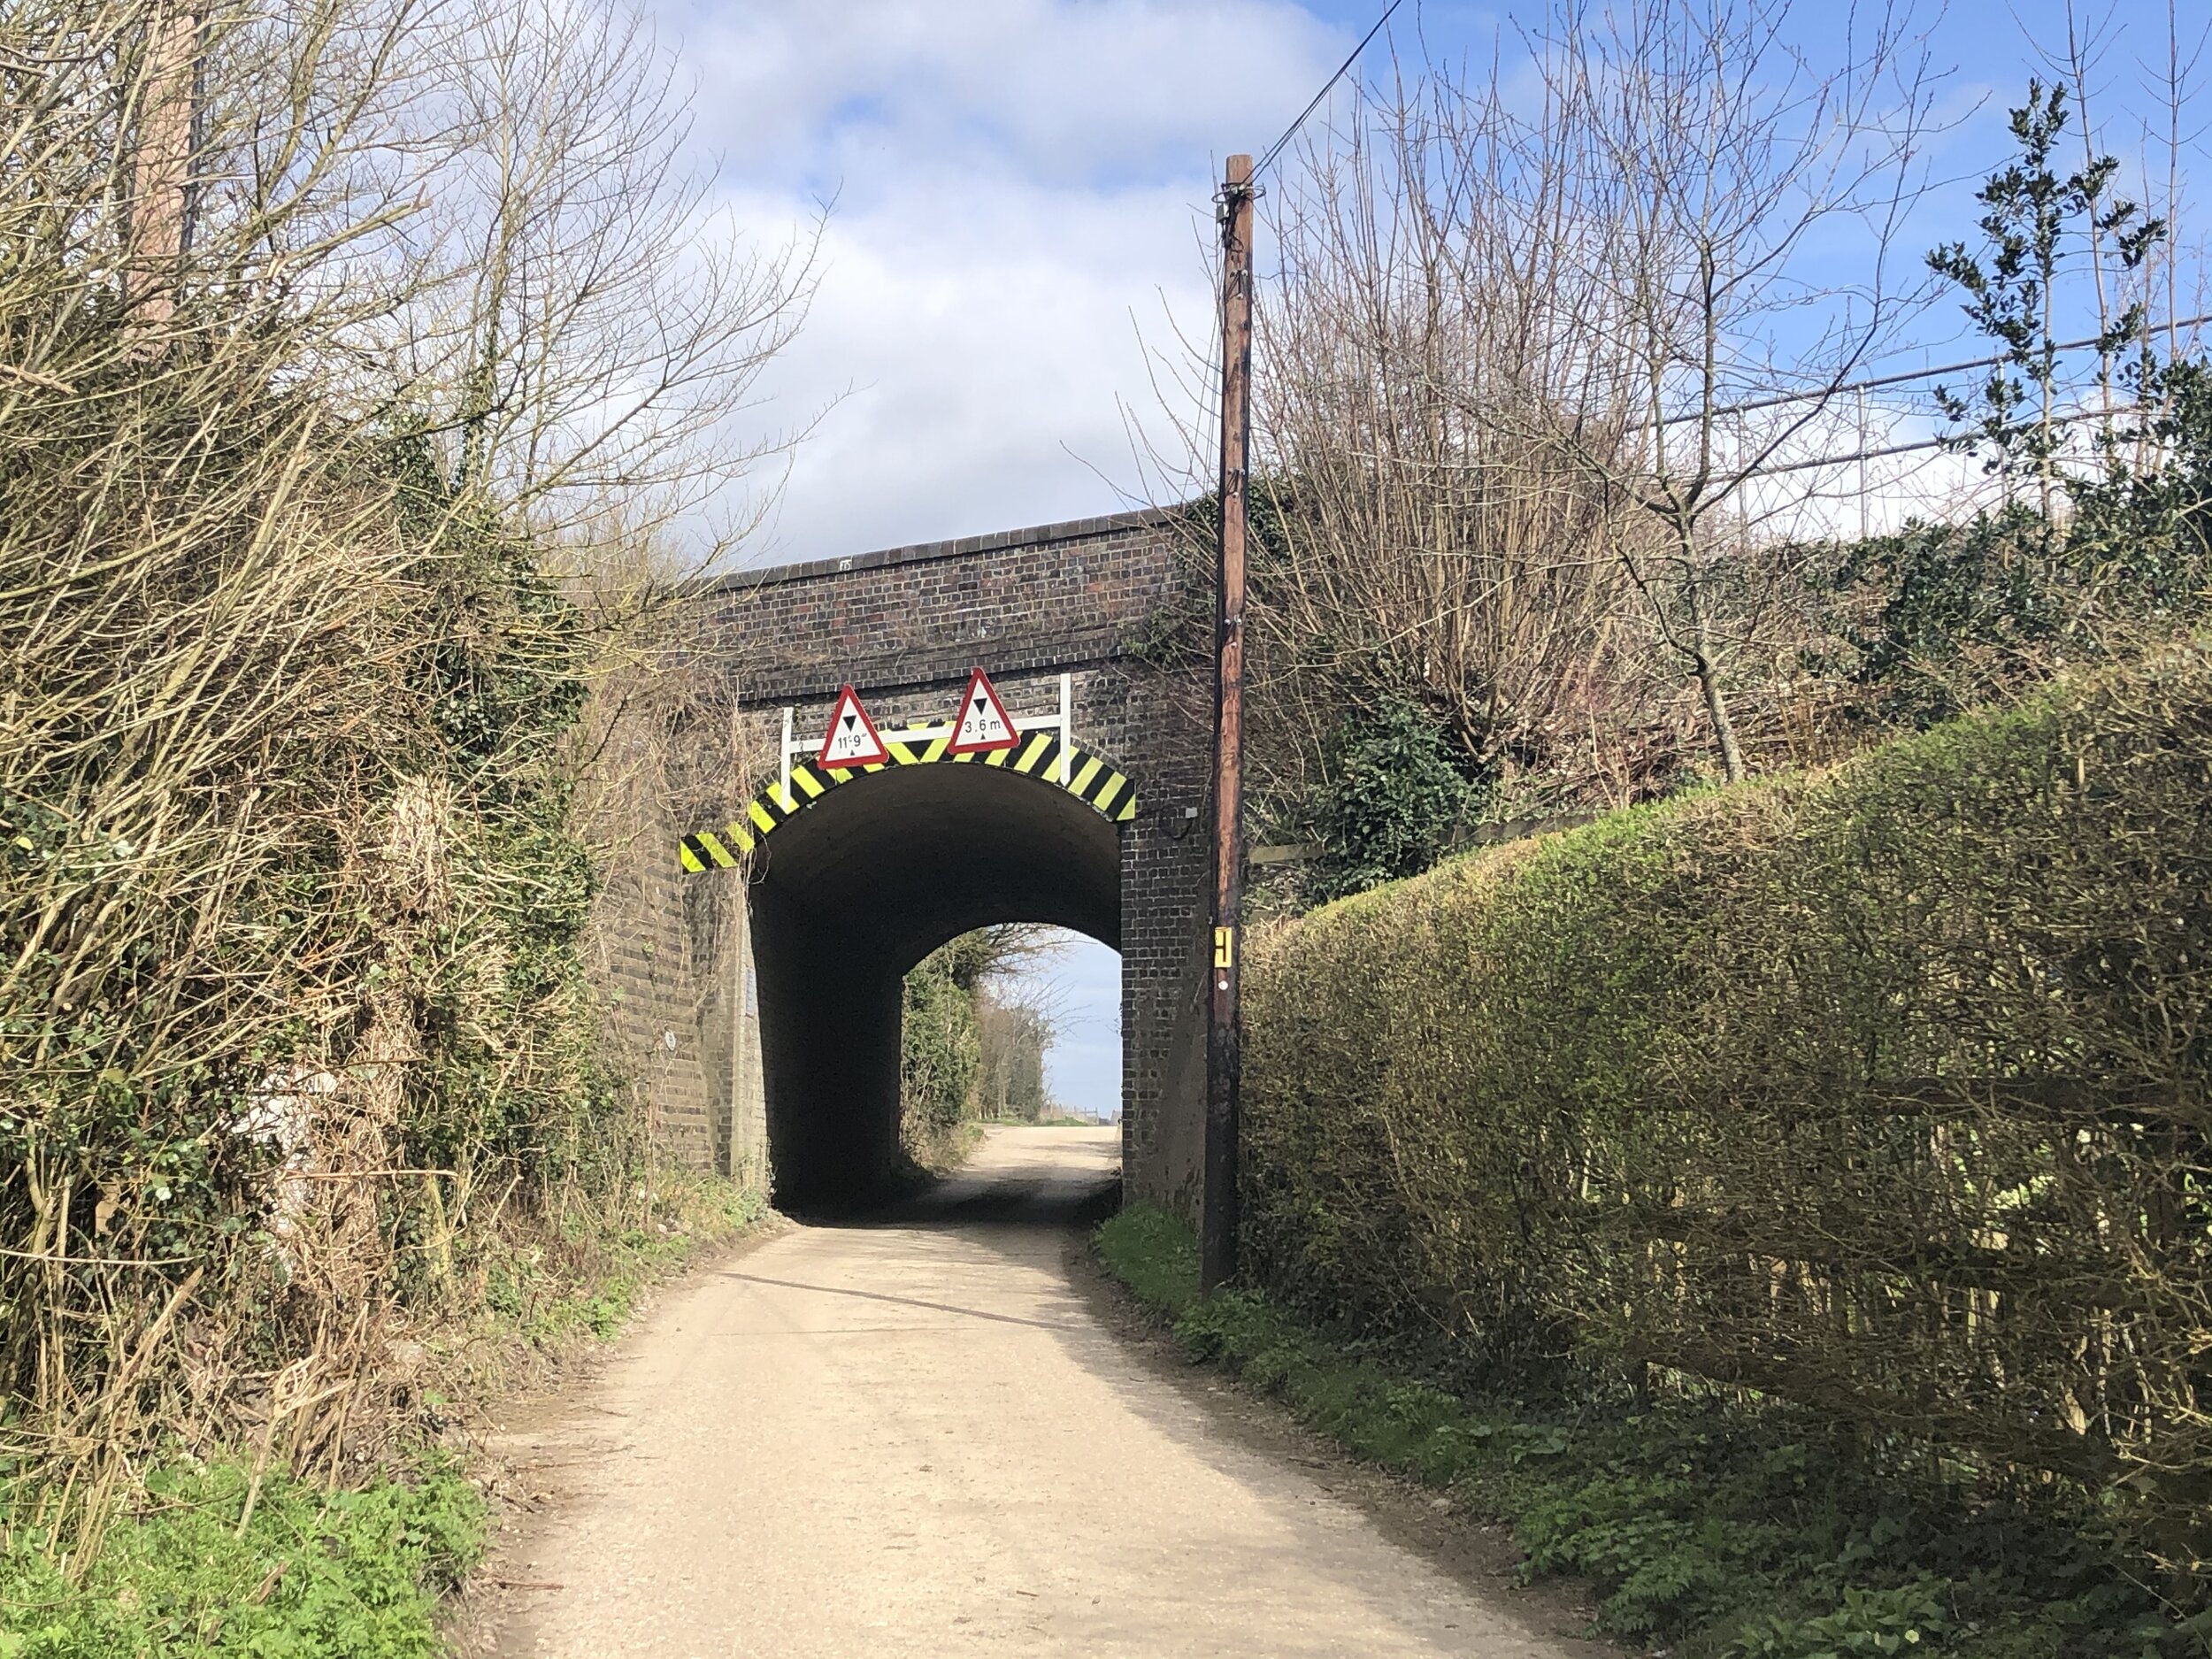
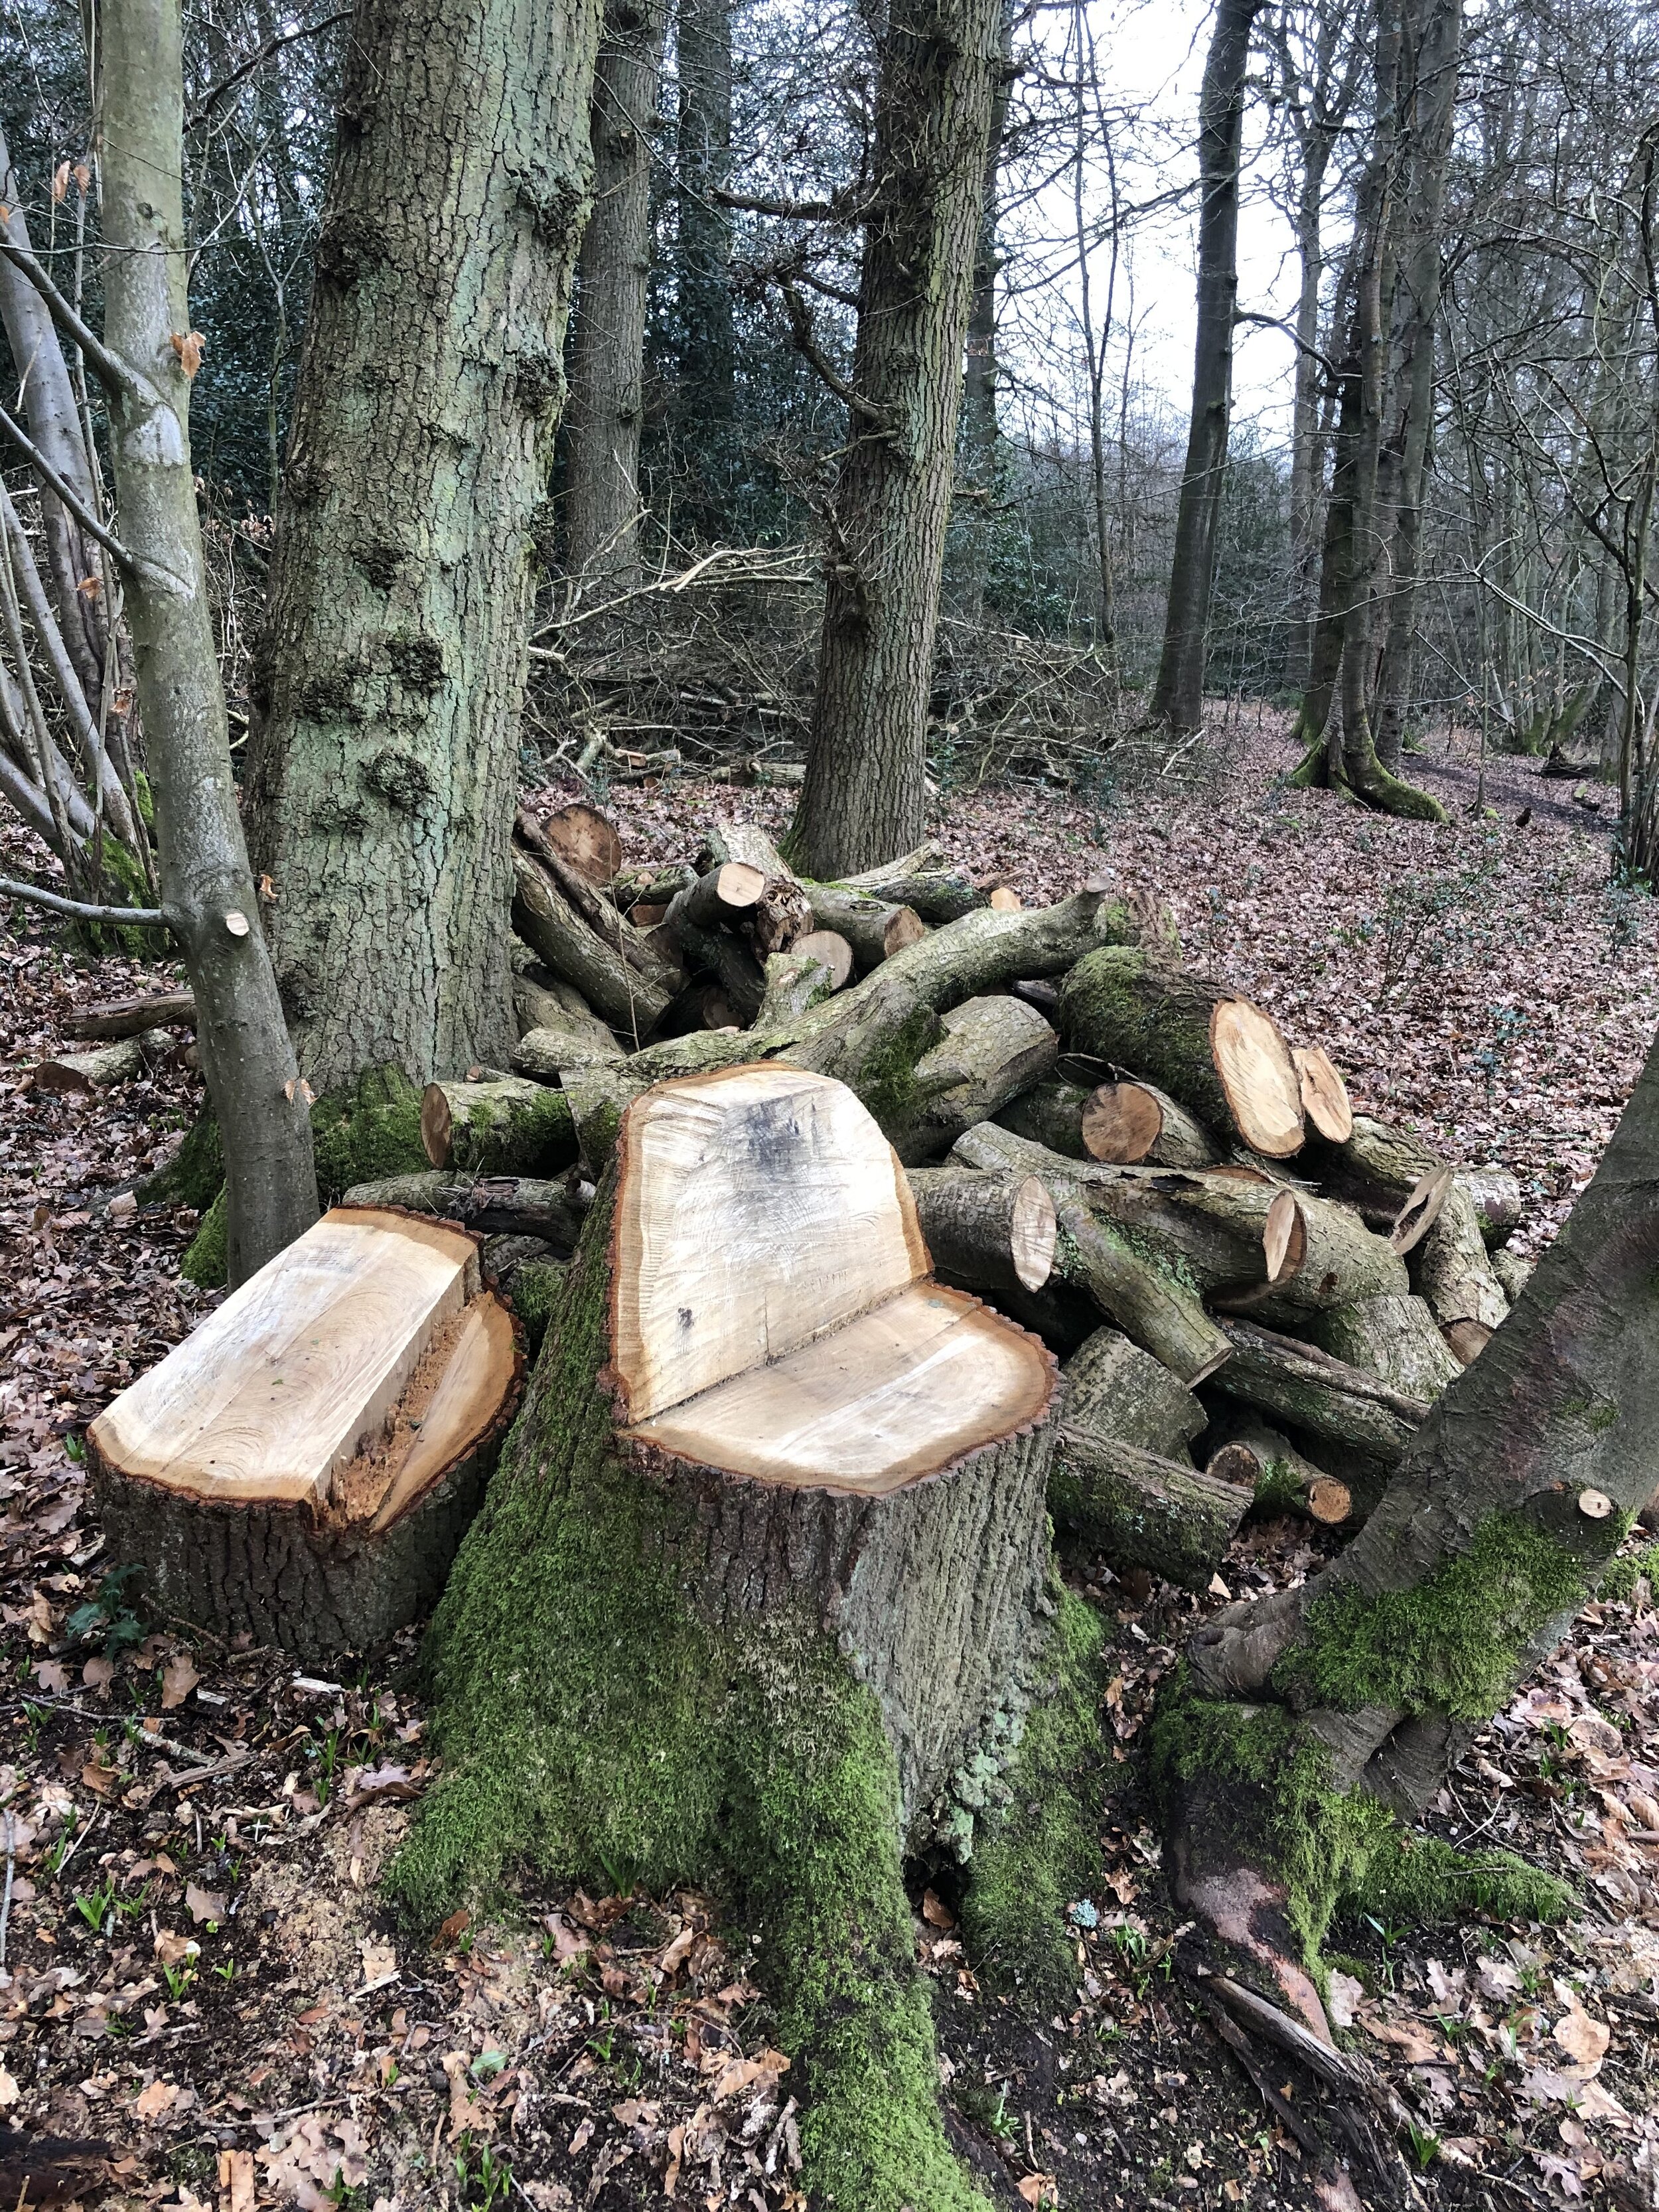
This pleasant, short Chiltern walk starts with a steep climb through the woods from Bradenham National Trust Car Park. Unlike a lot of our recent Chiltern walks it doesn’t follow or cross any of the well marked trails such as the Chiltern Way or Ridgeway. The guidance below will help you navigate but don’t use it as a fully accurate turn-by-turn guide. Always take a map and/or a GPX route and prepare well for the weather and terrain.
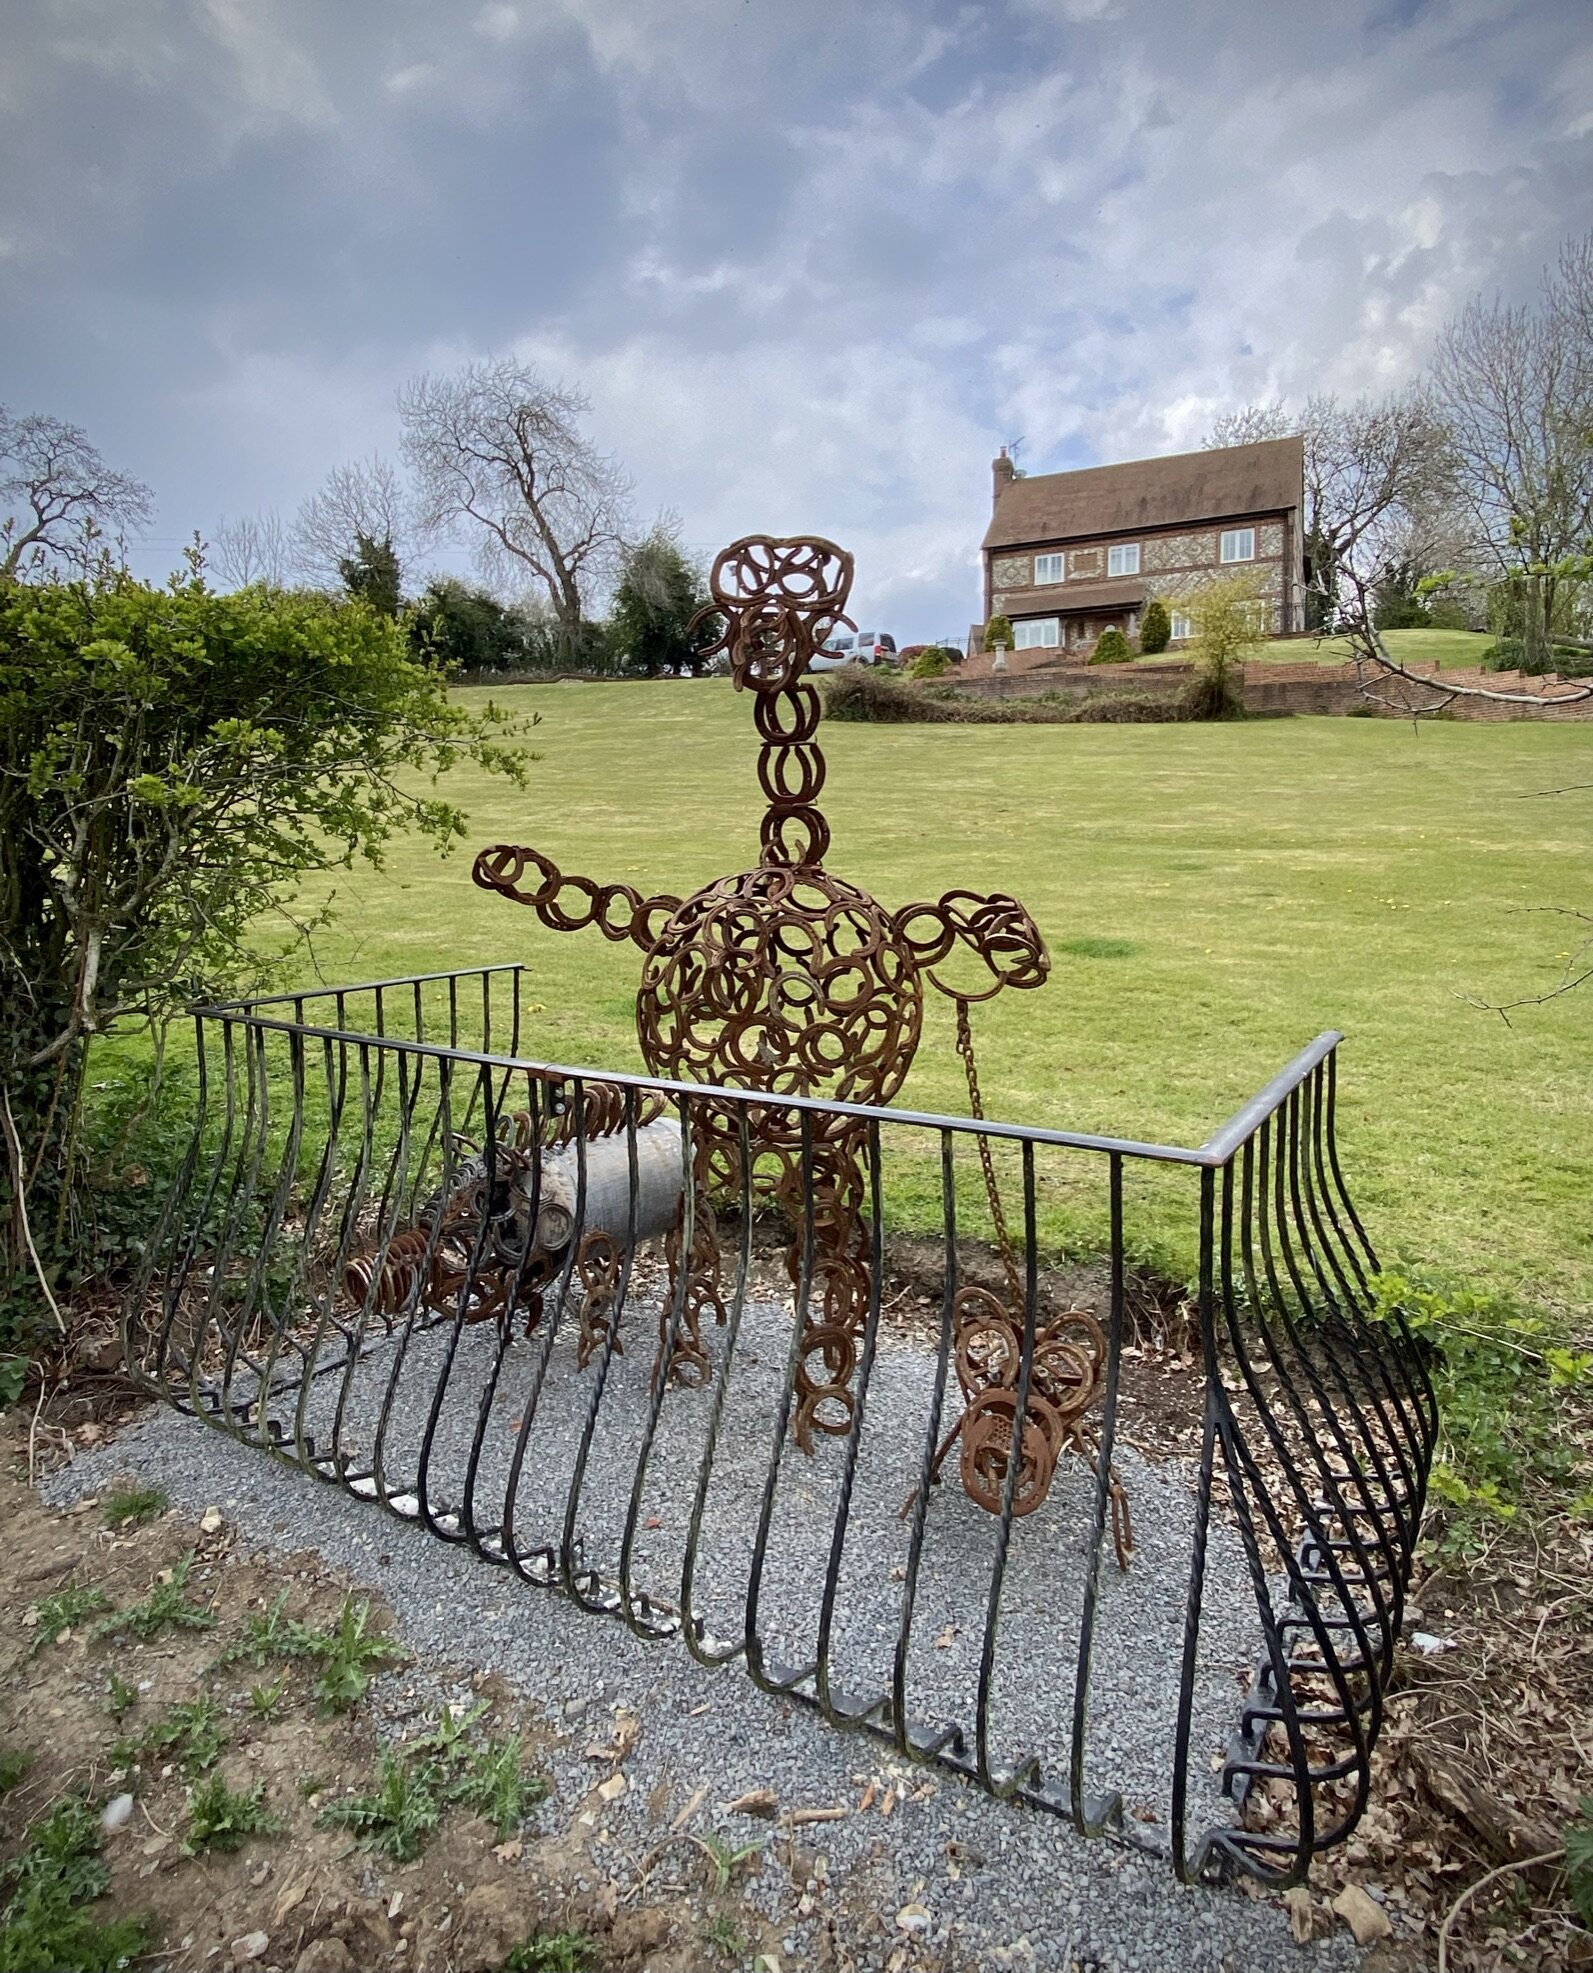
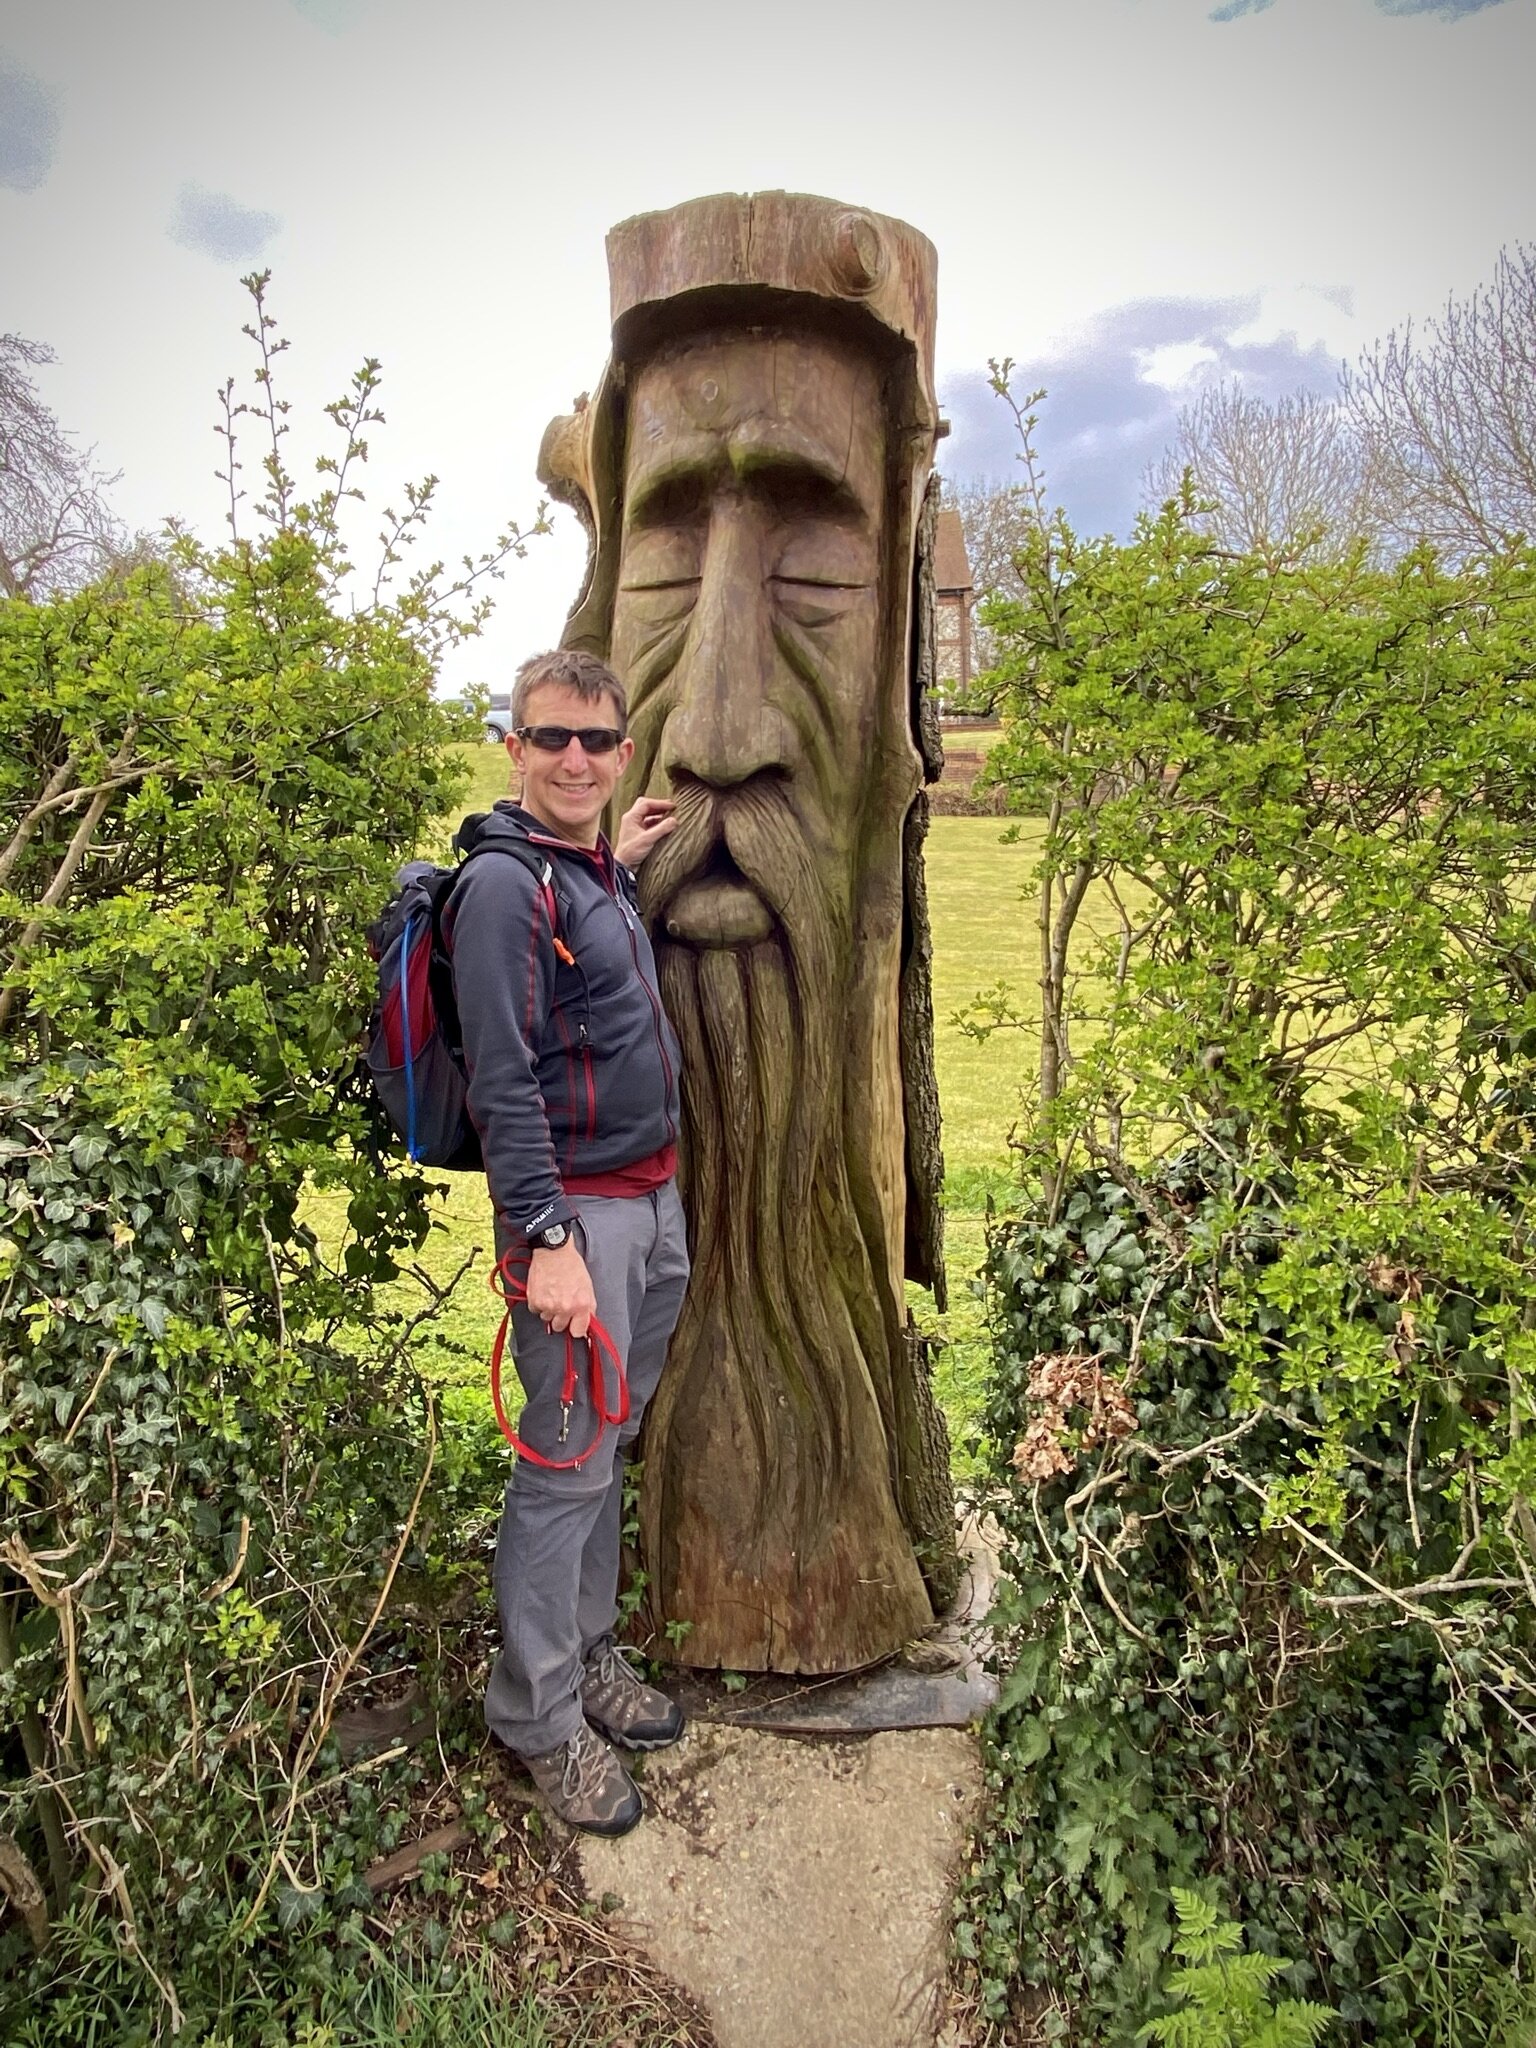
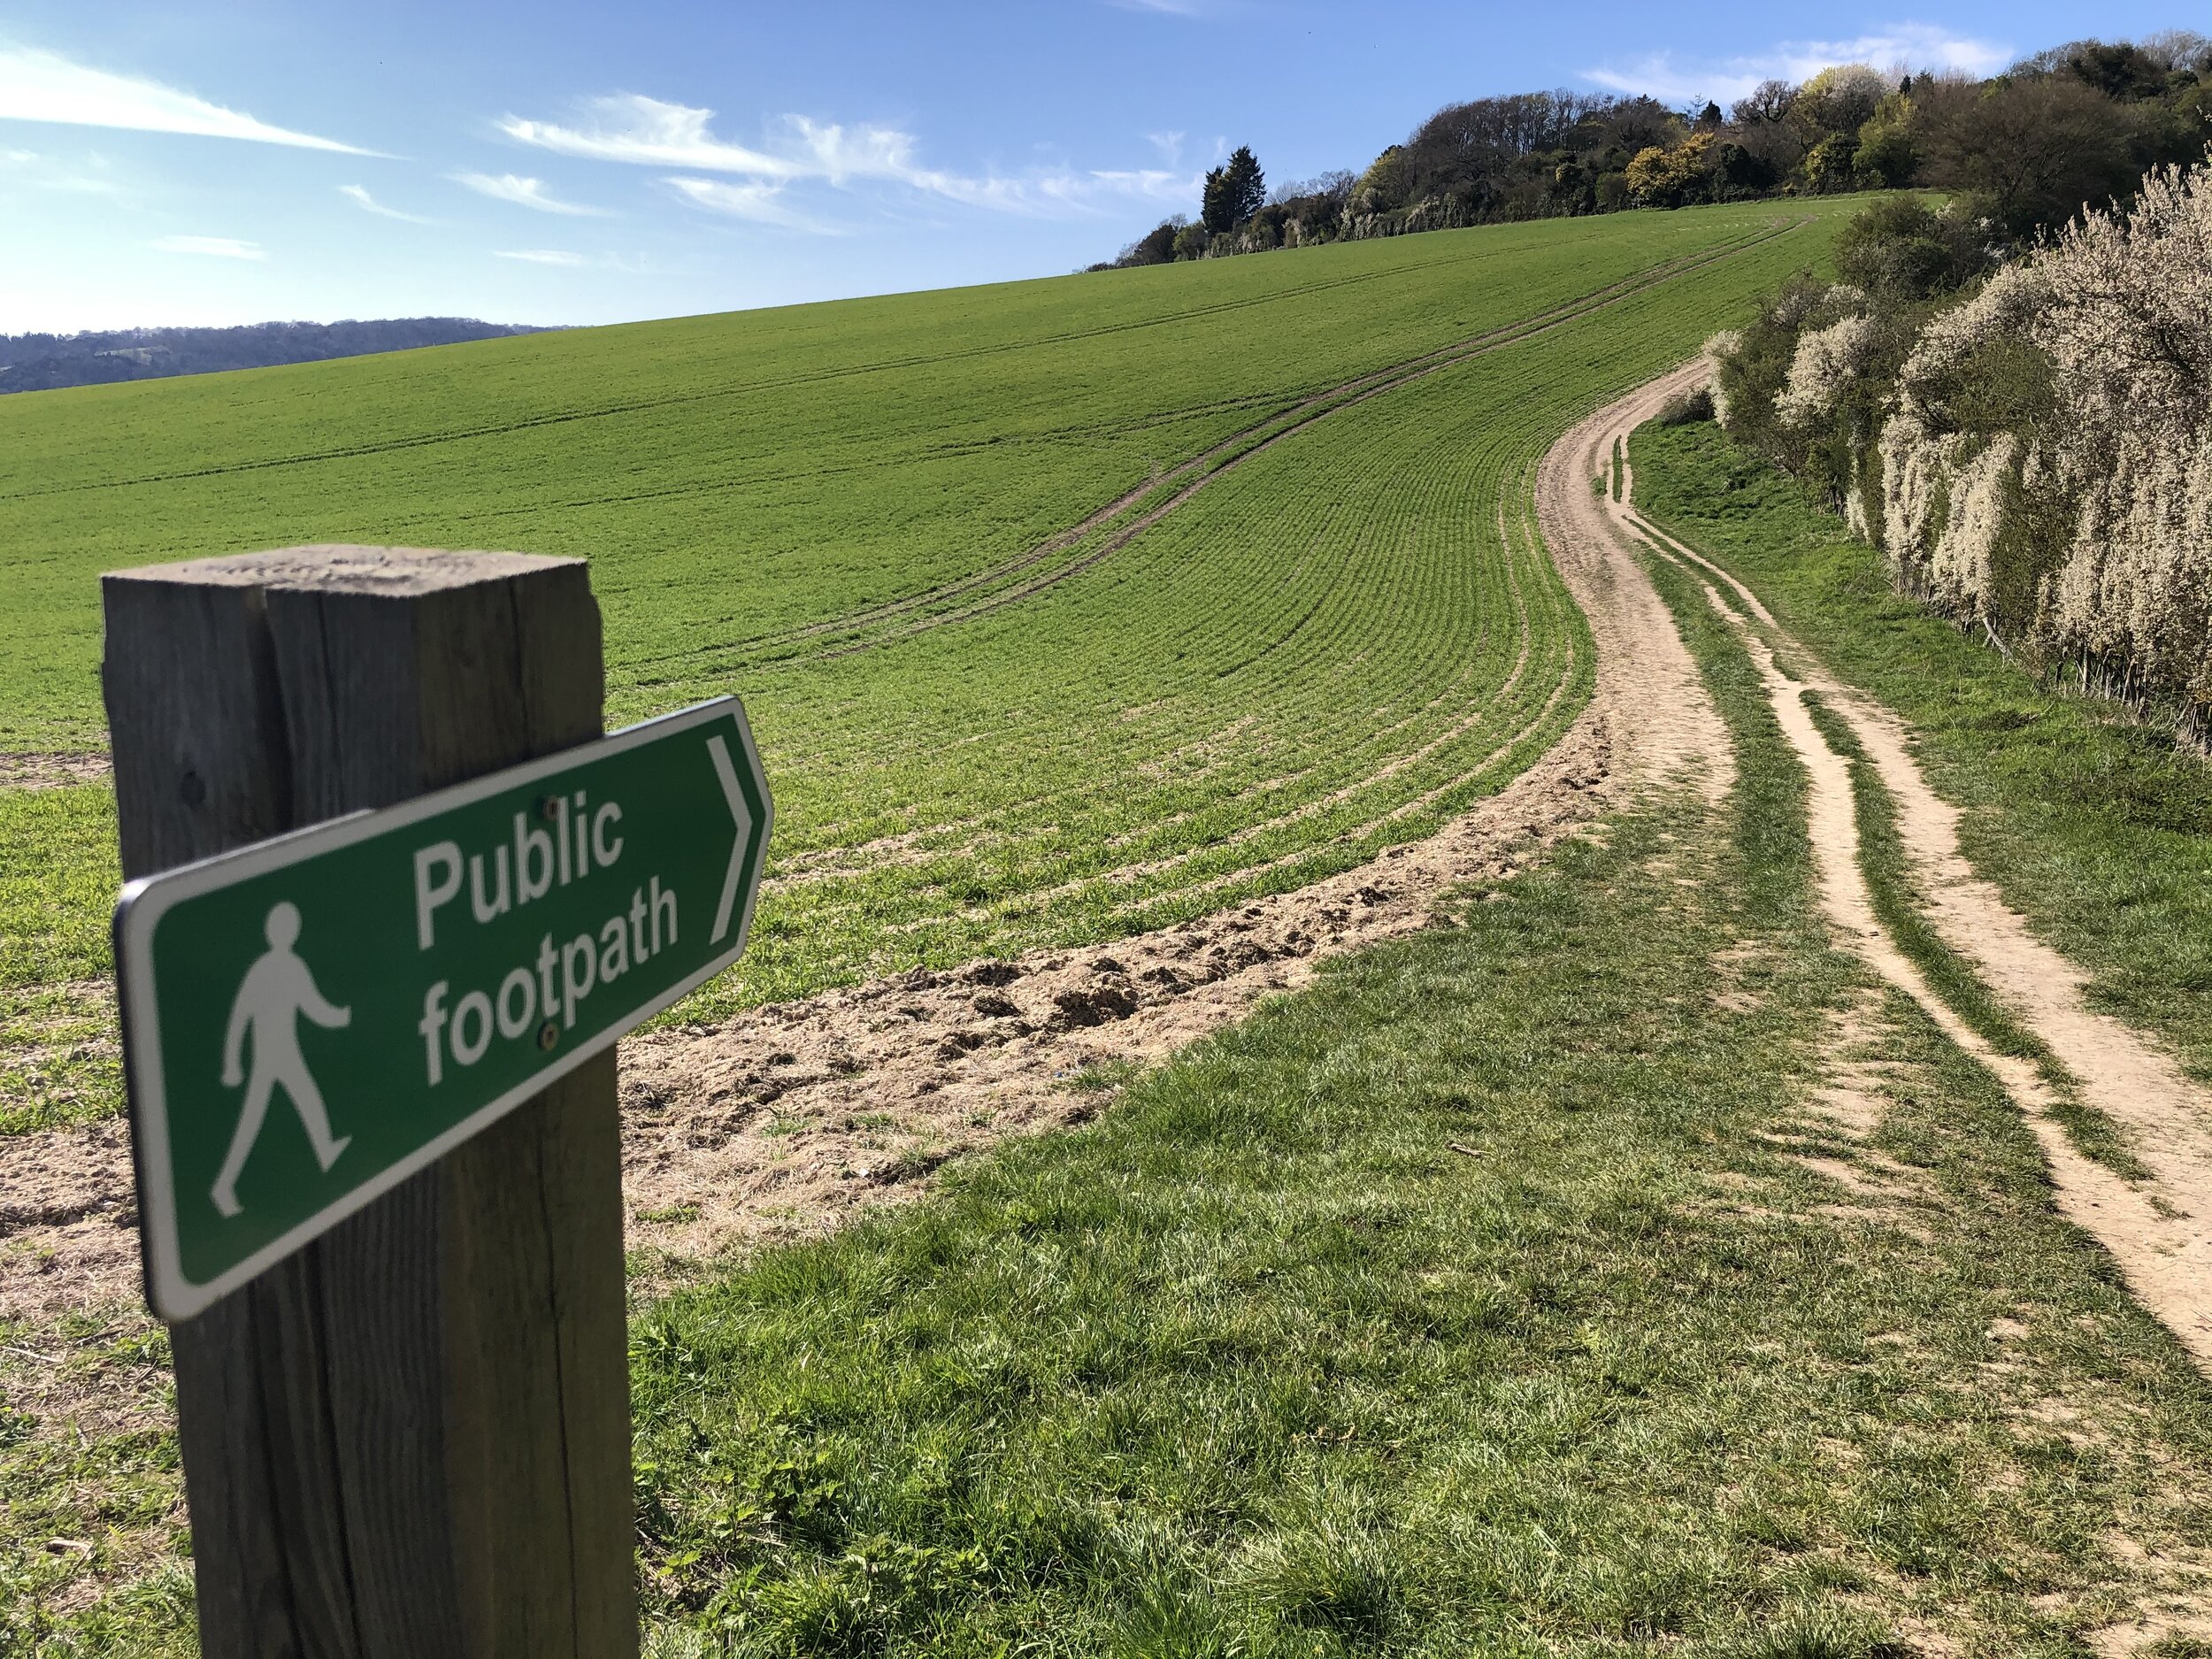
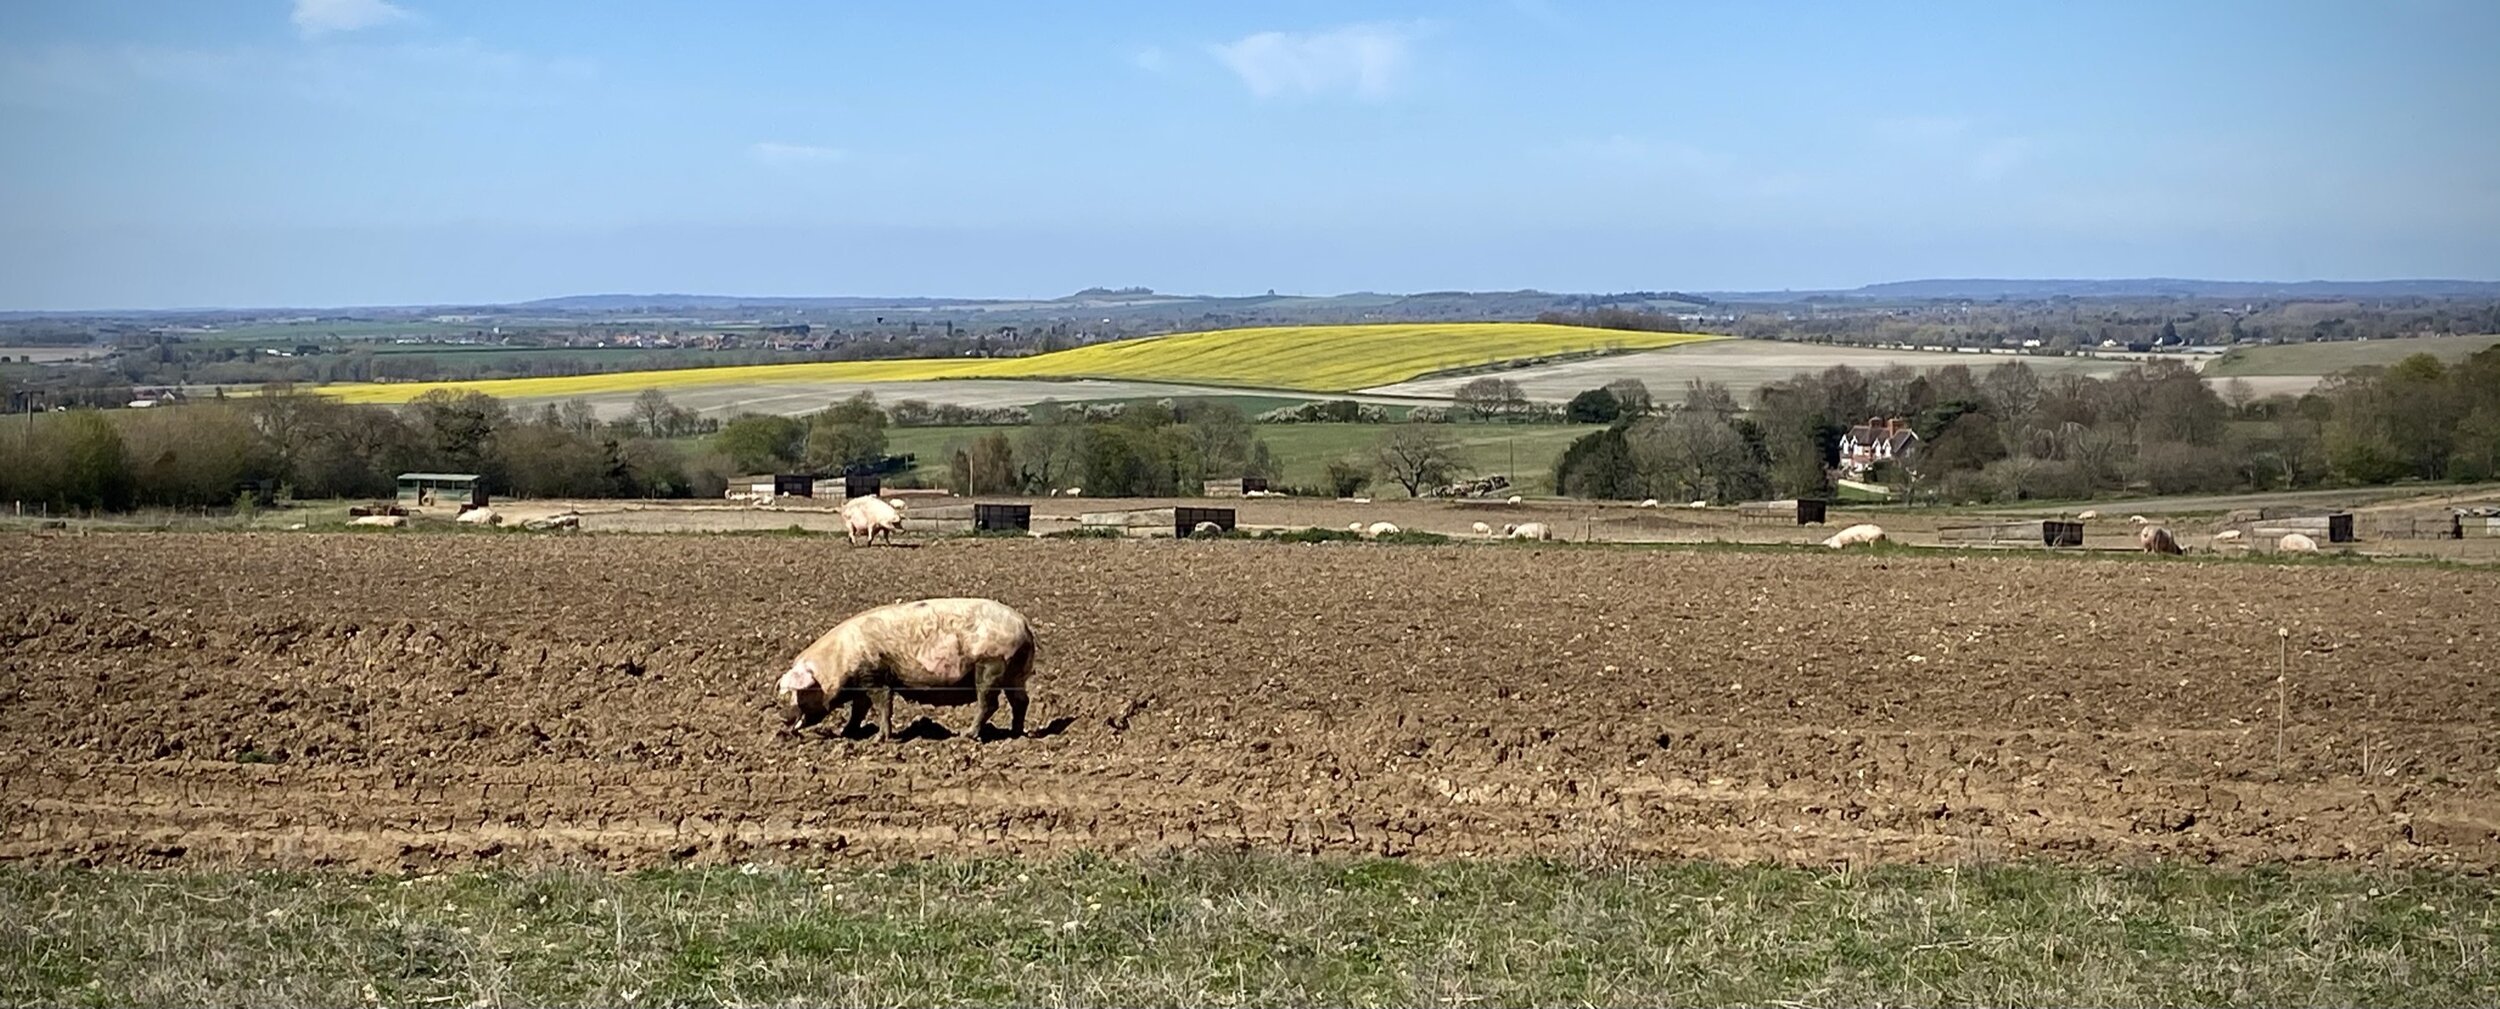
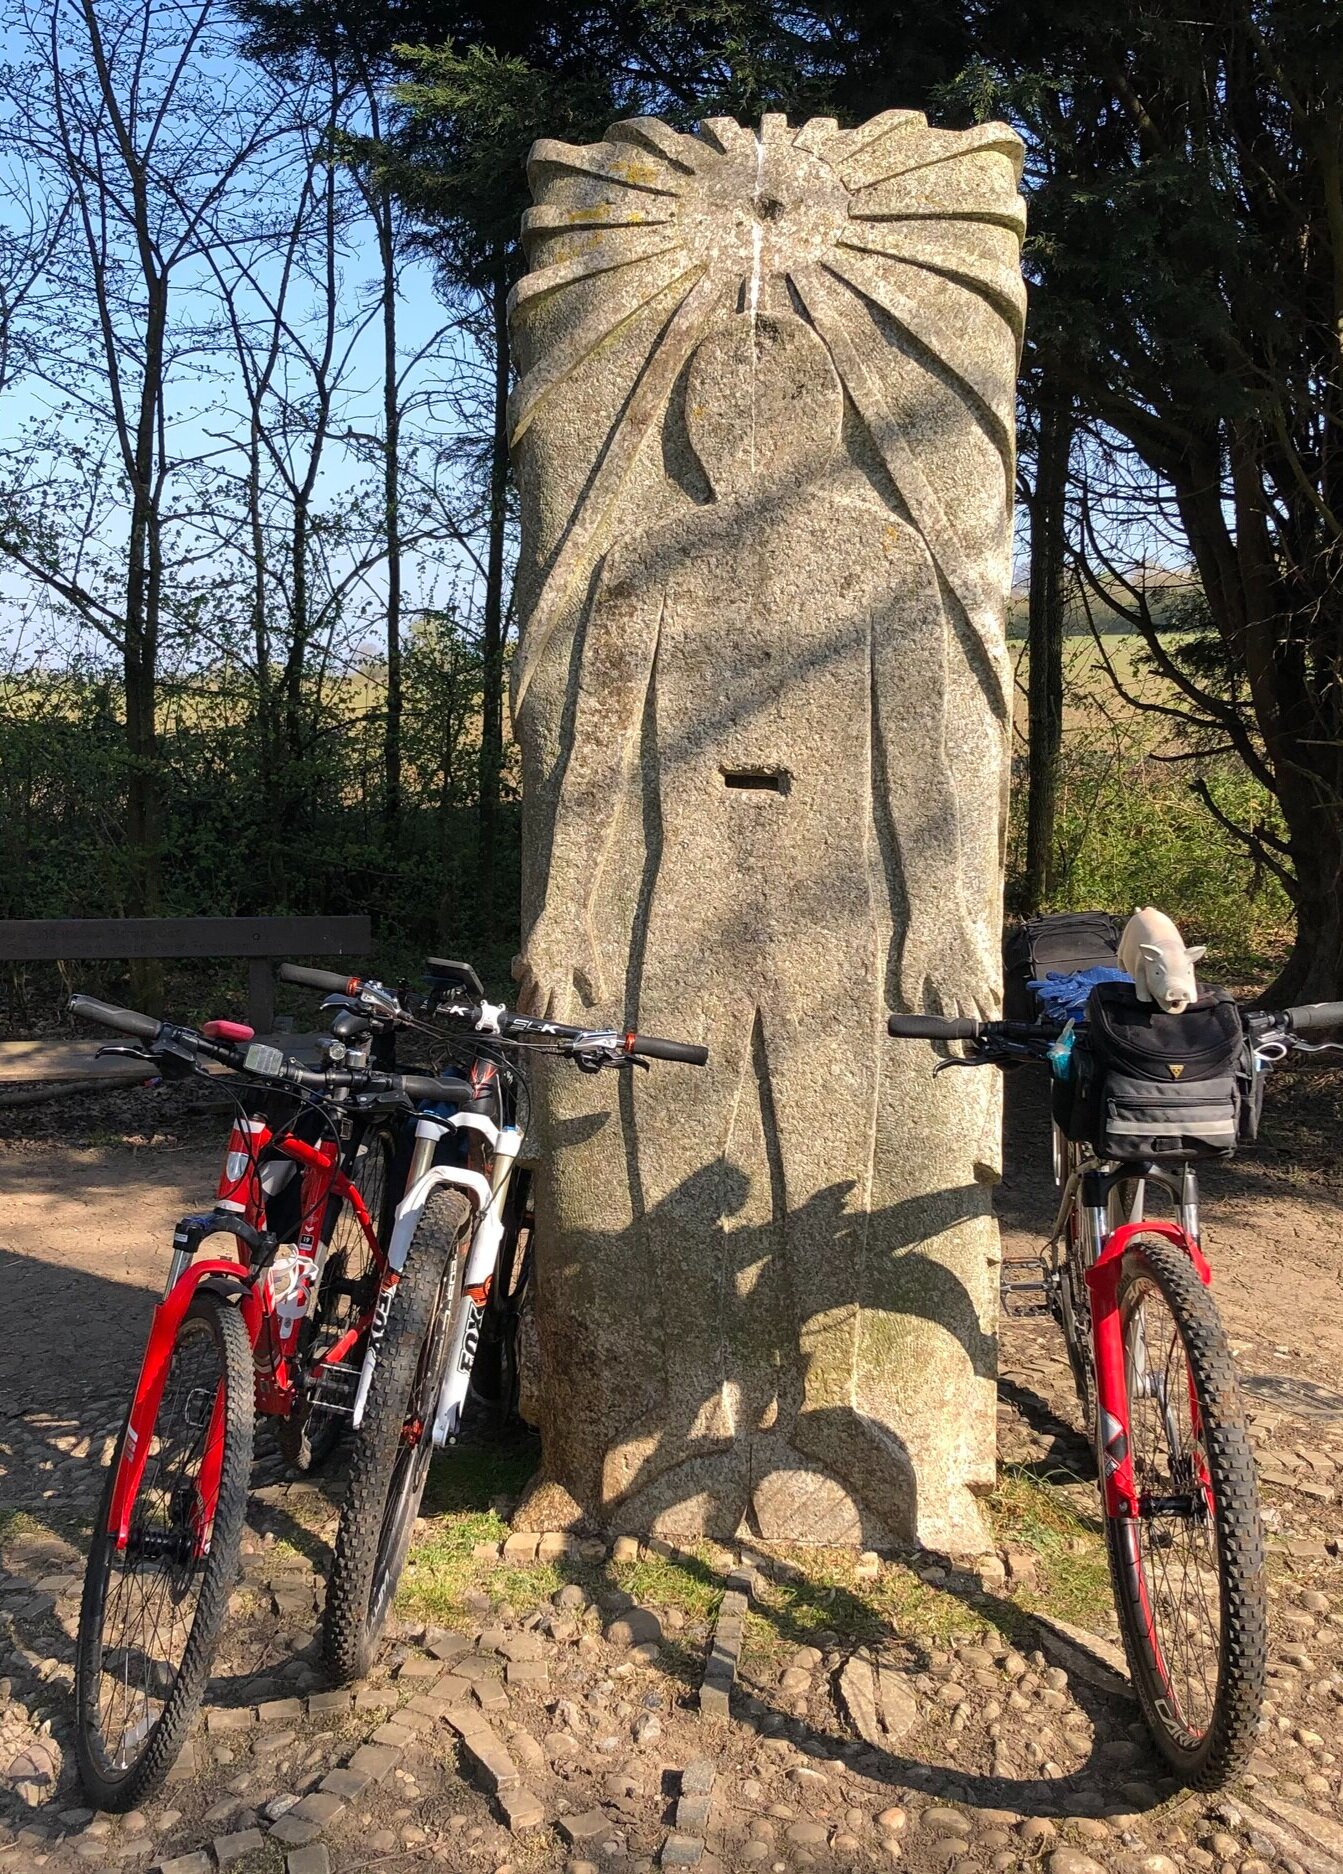
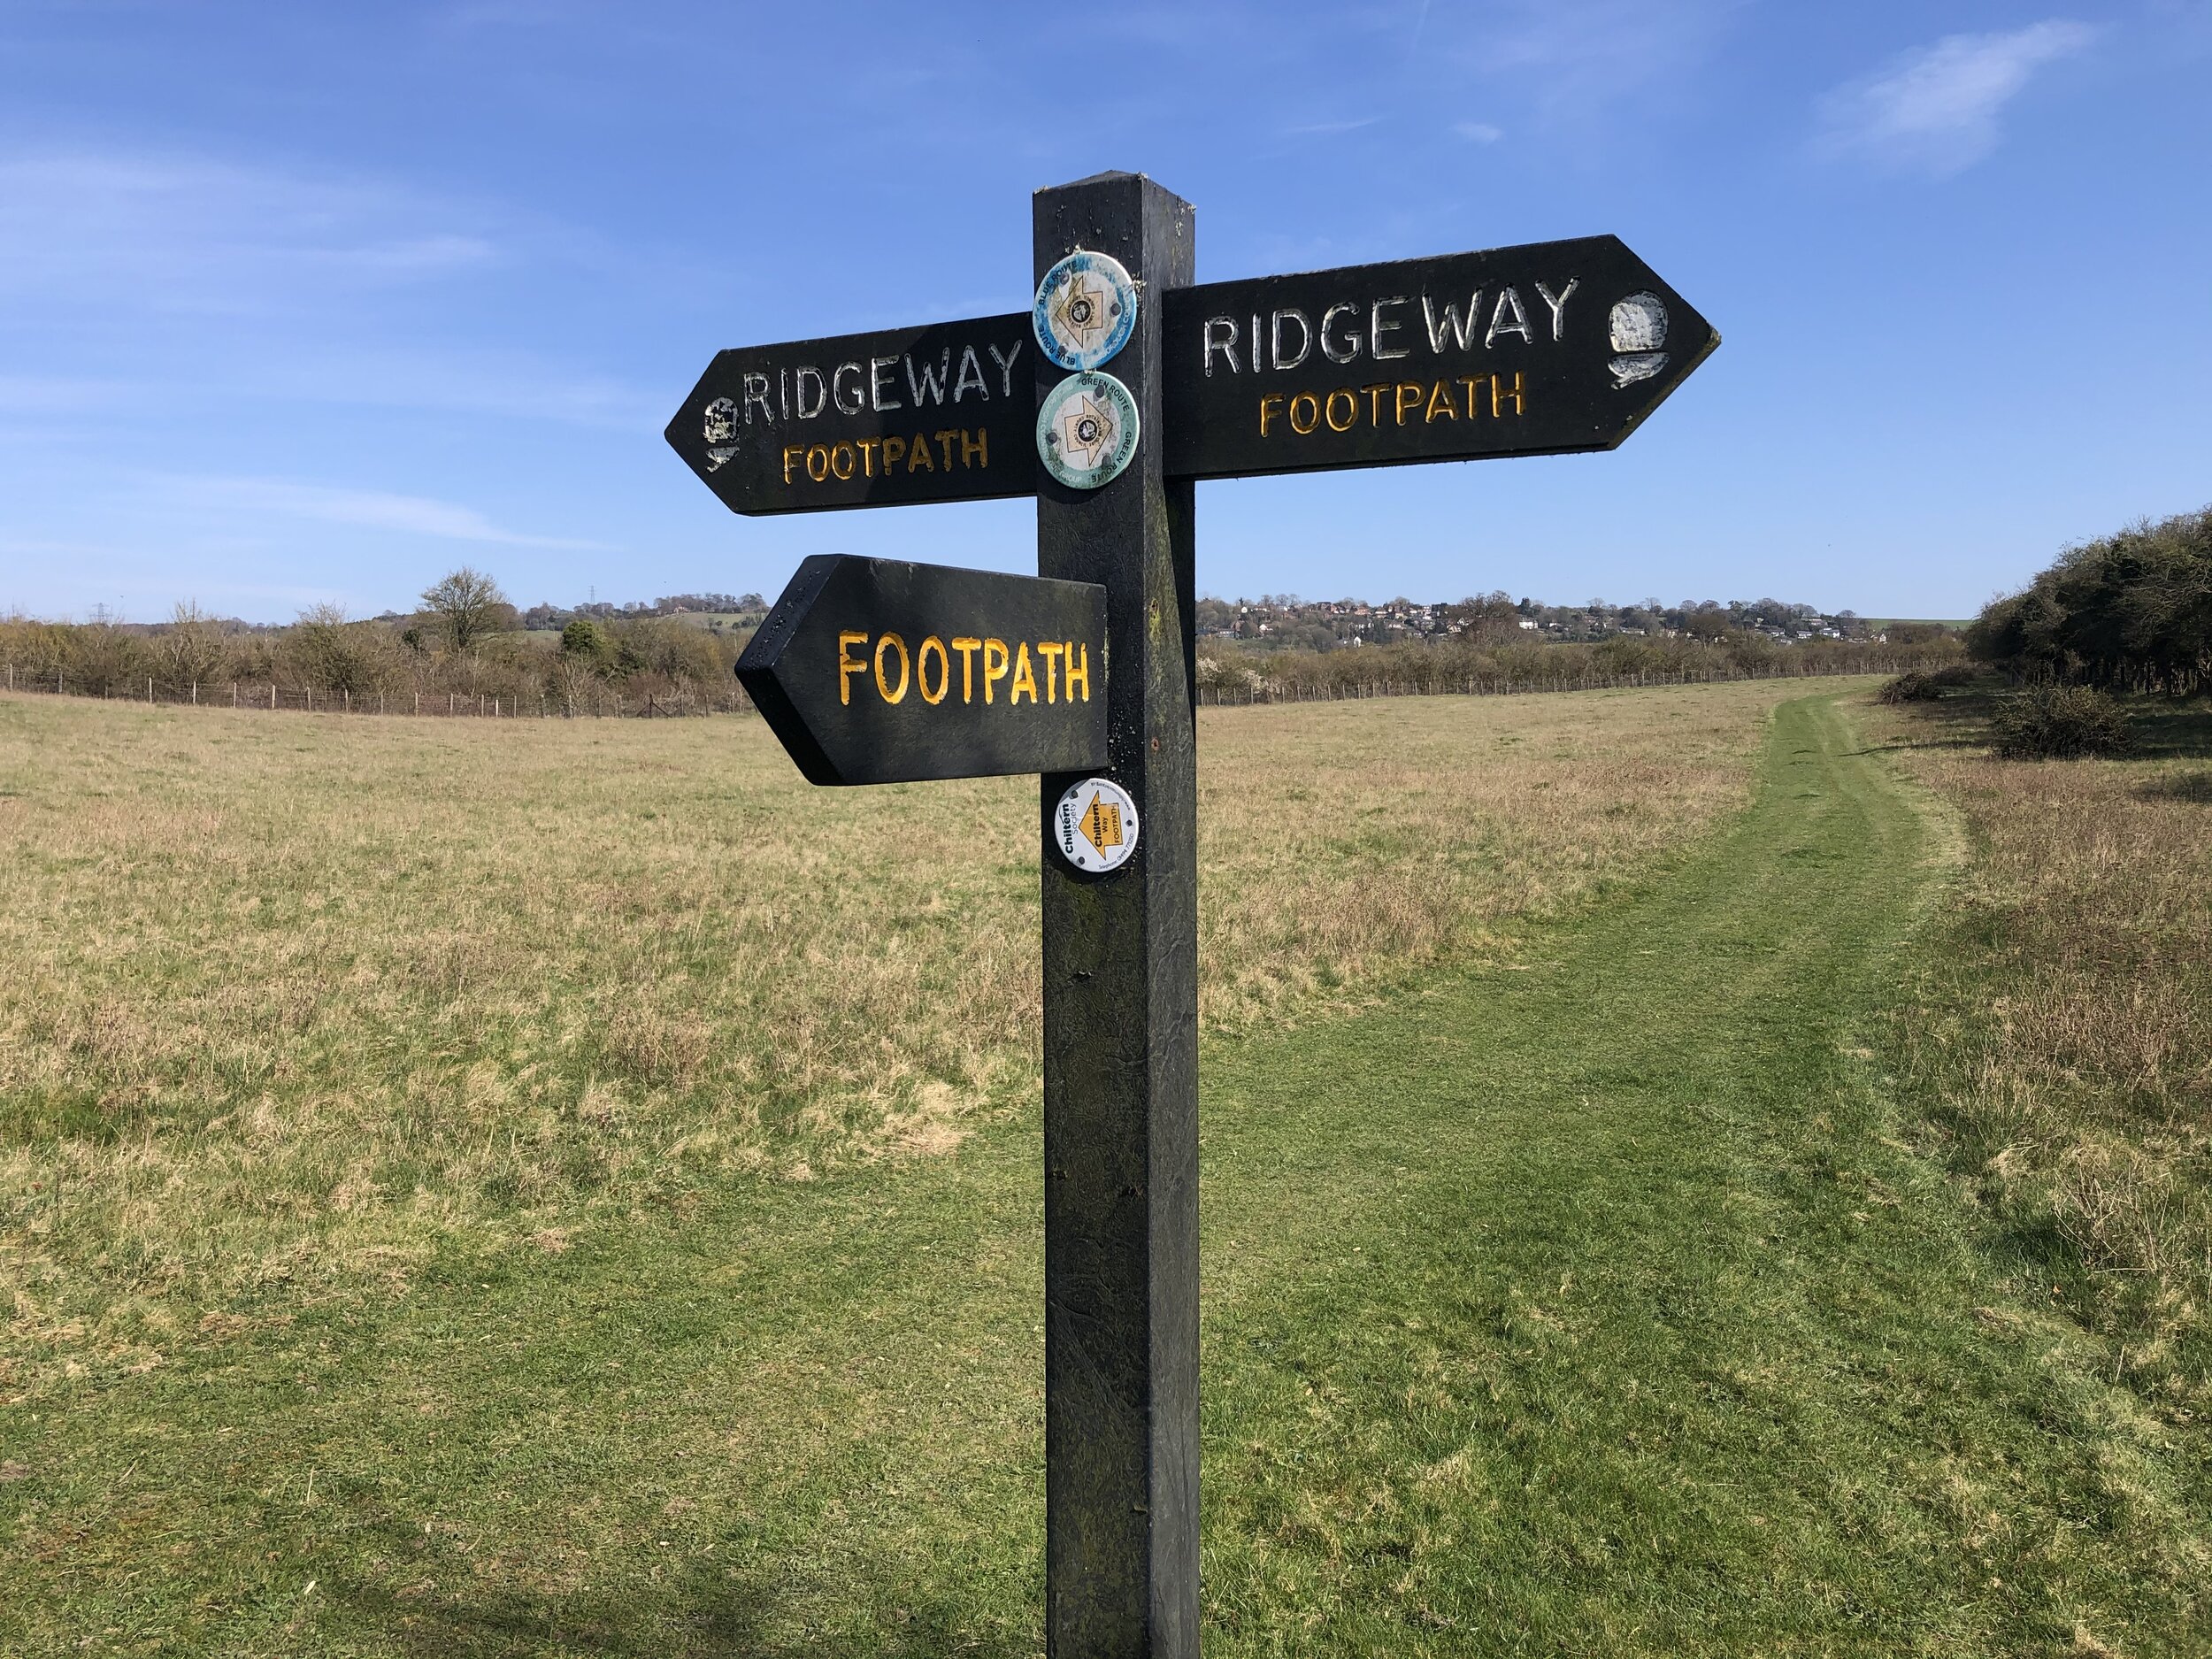
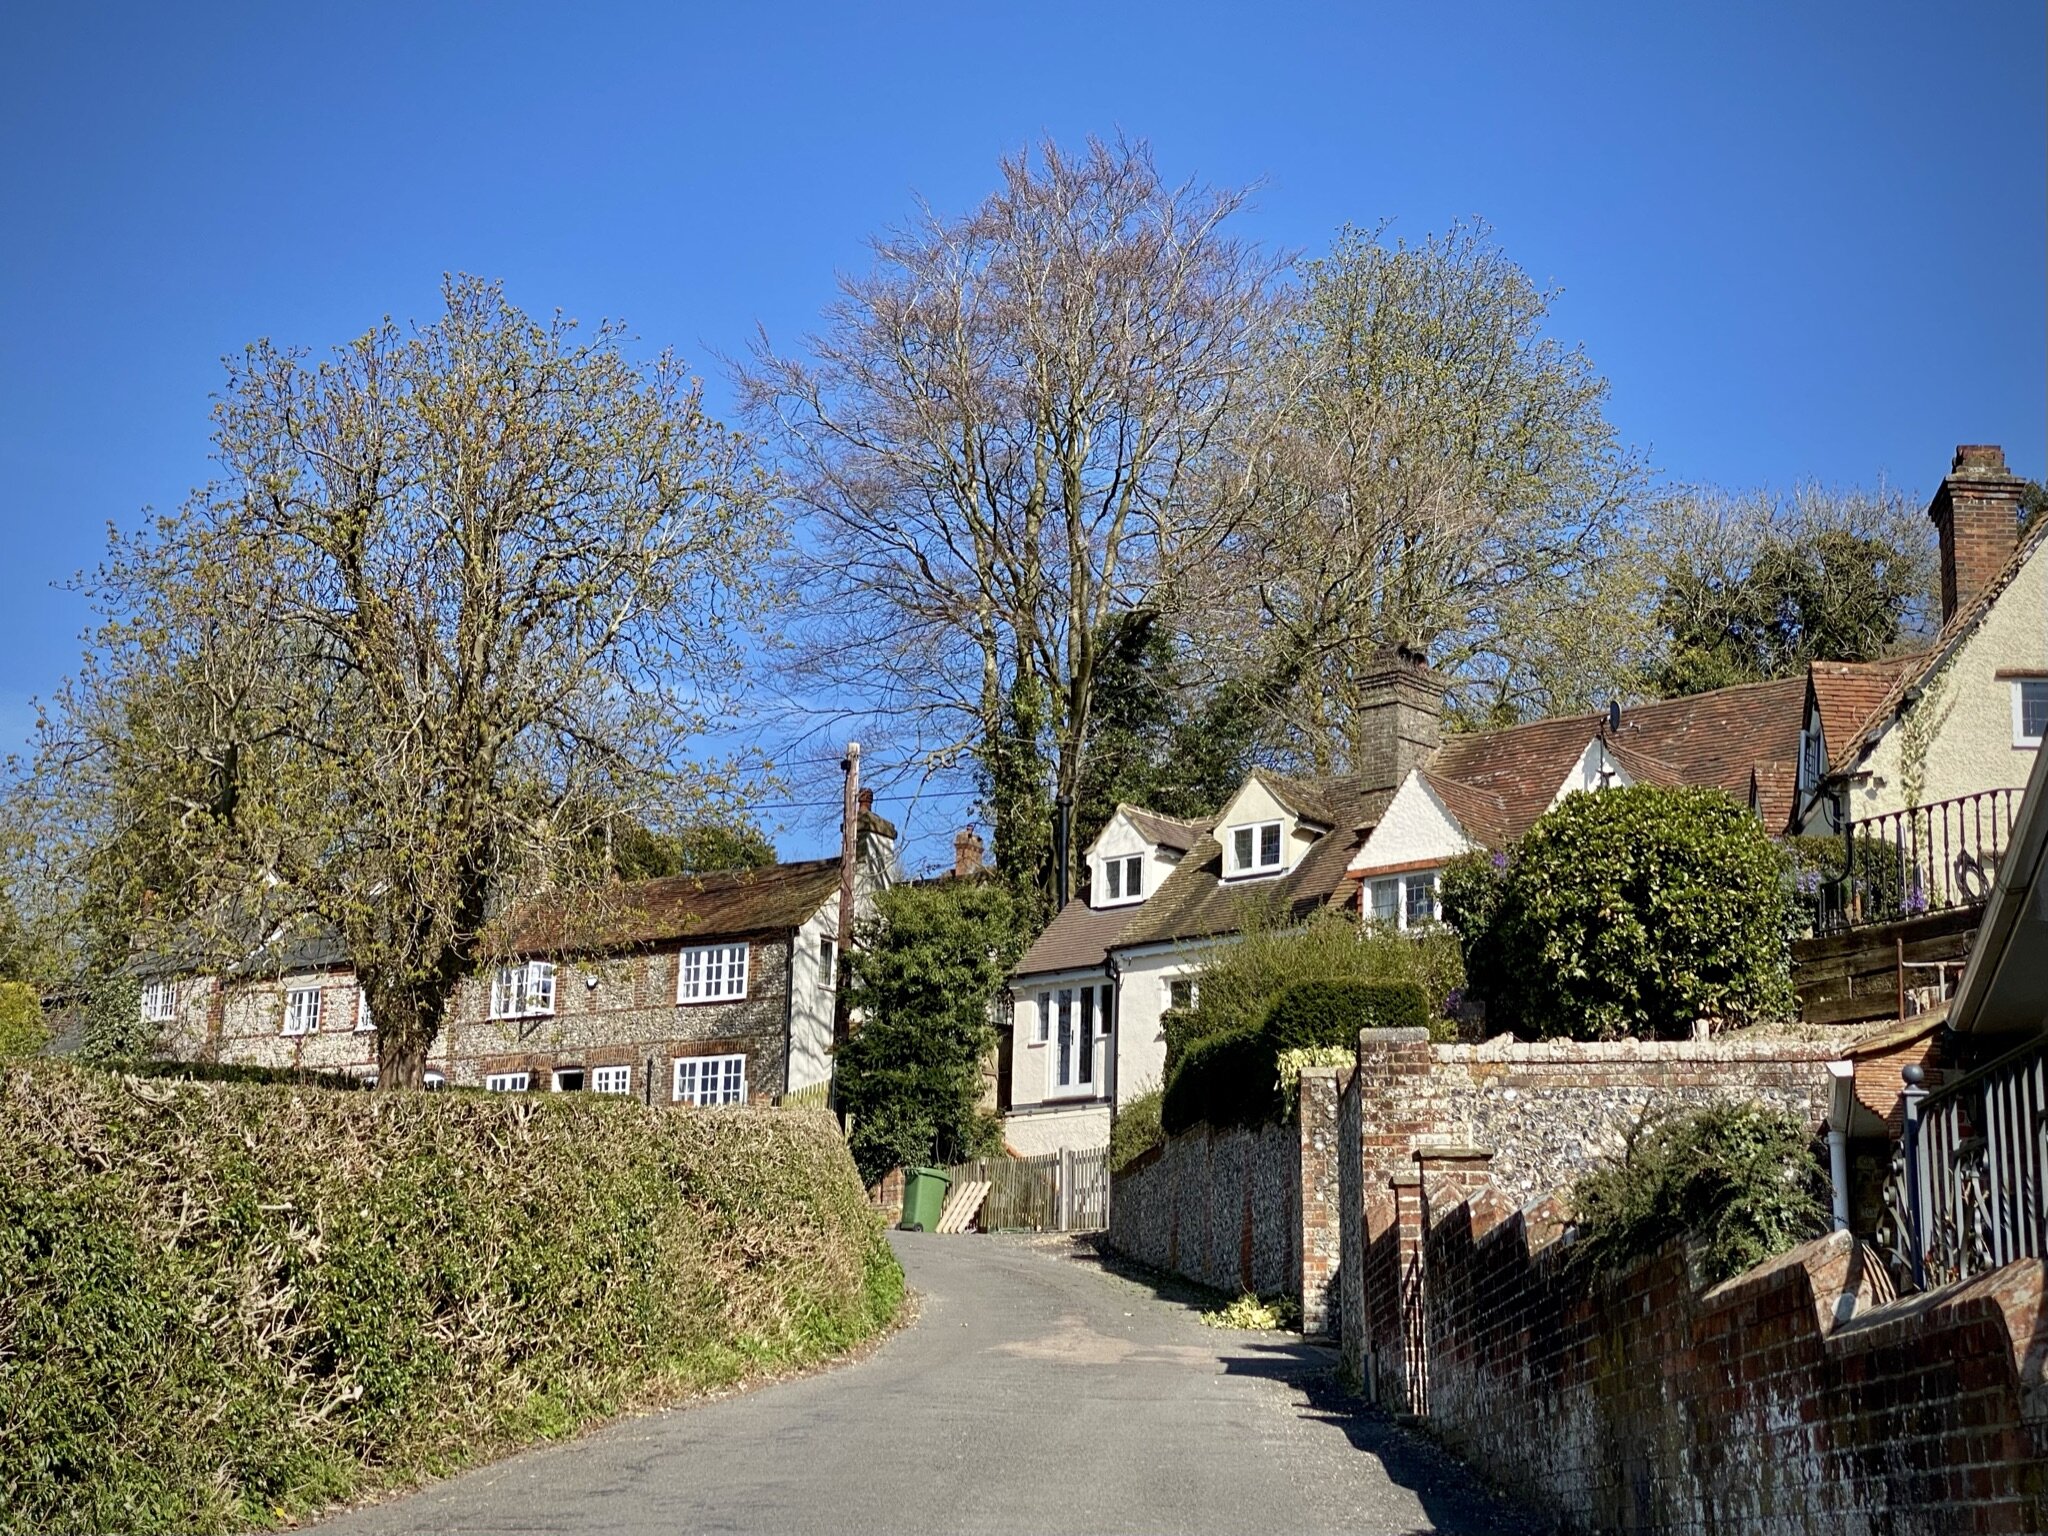
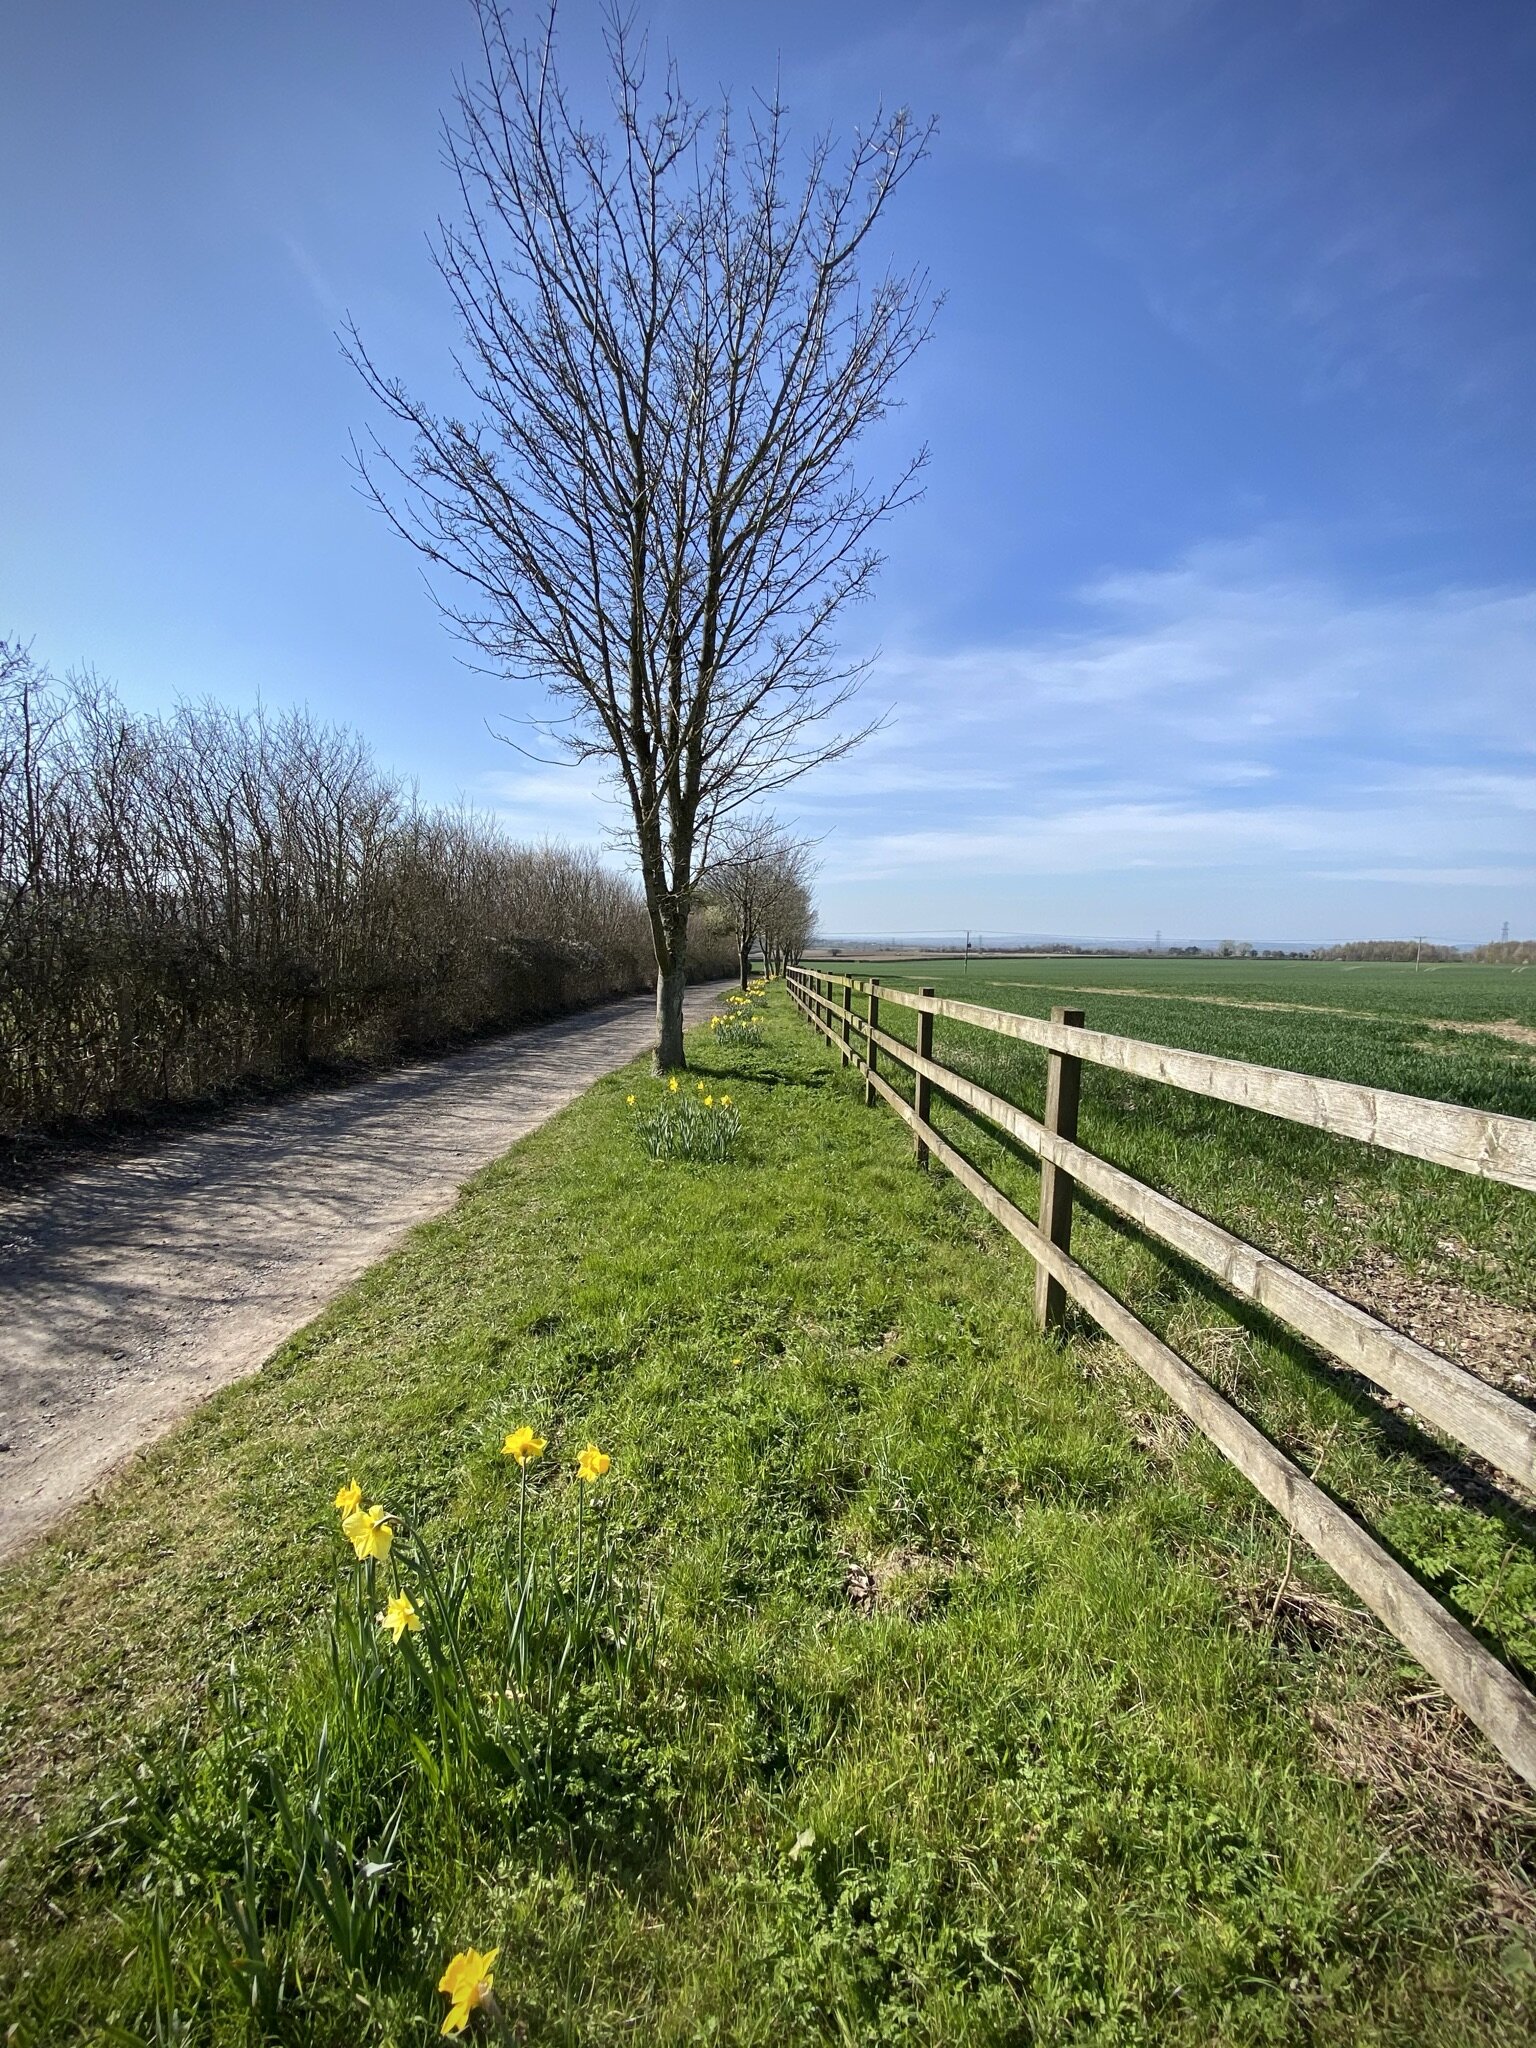
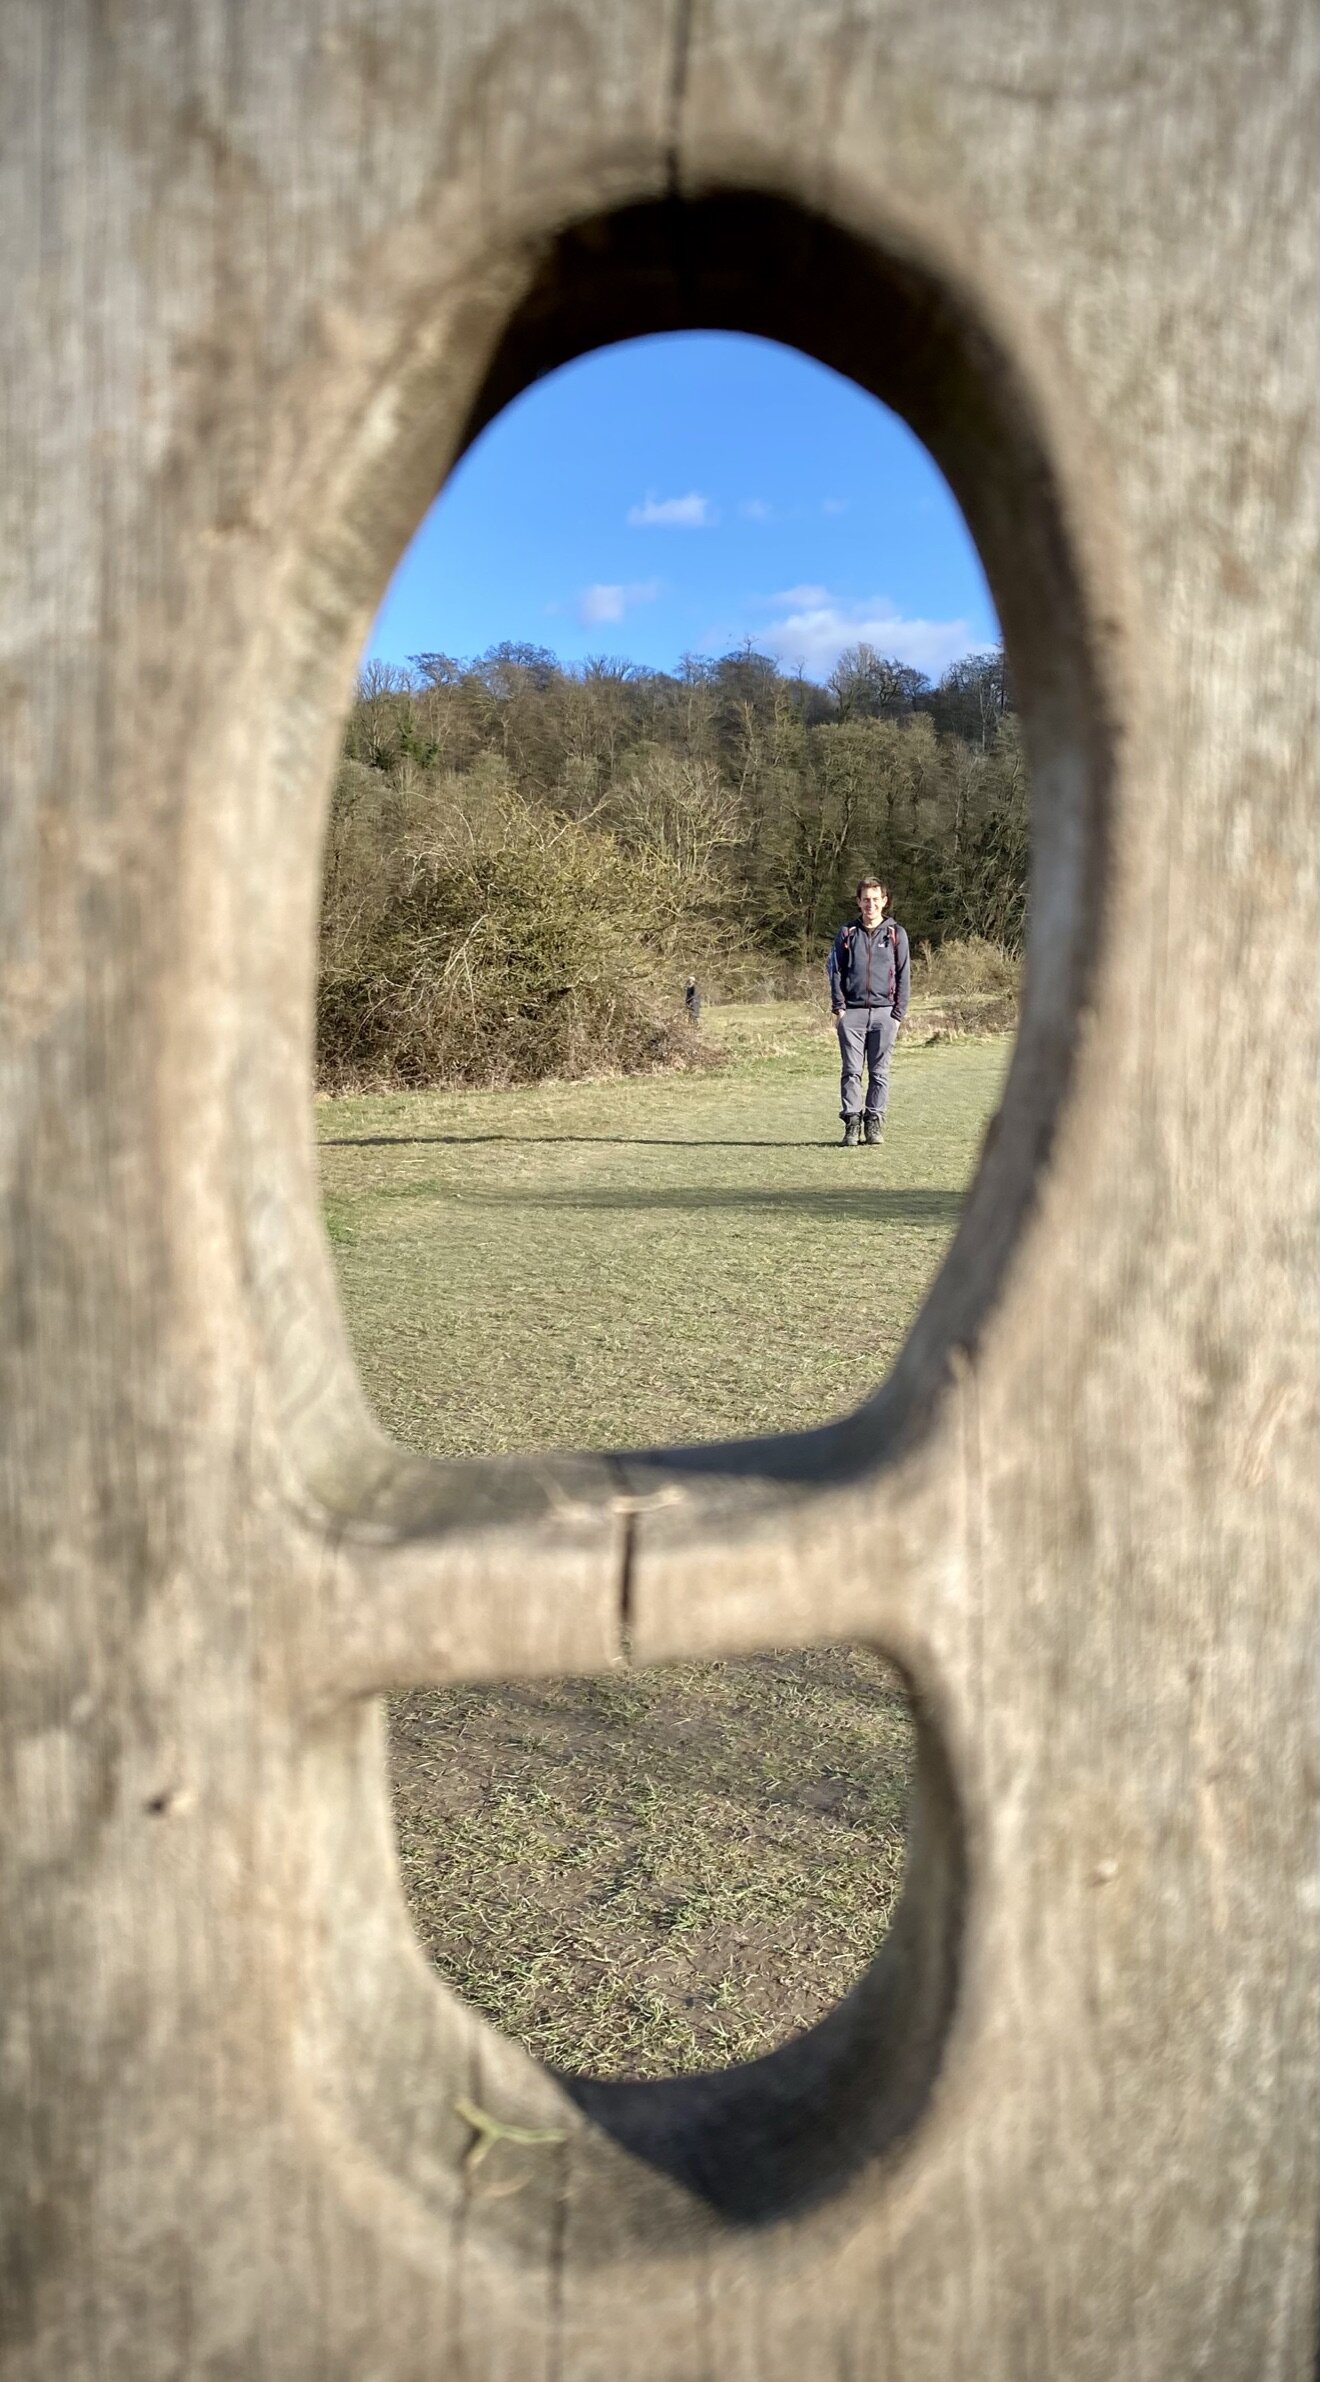
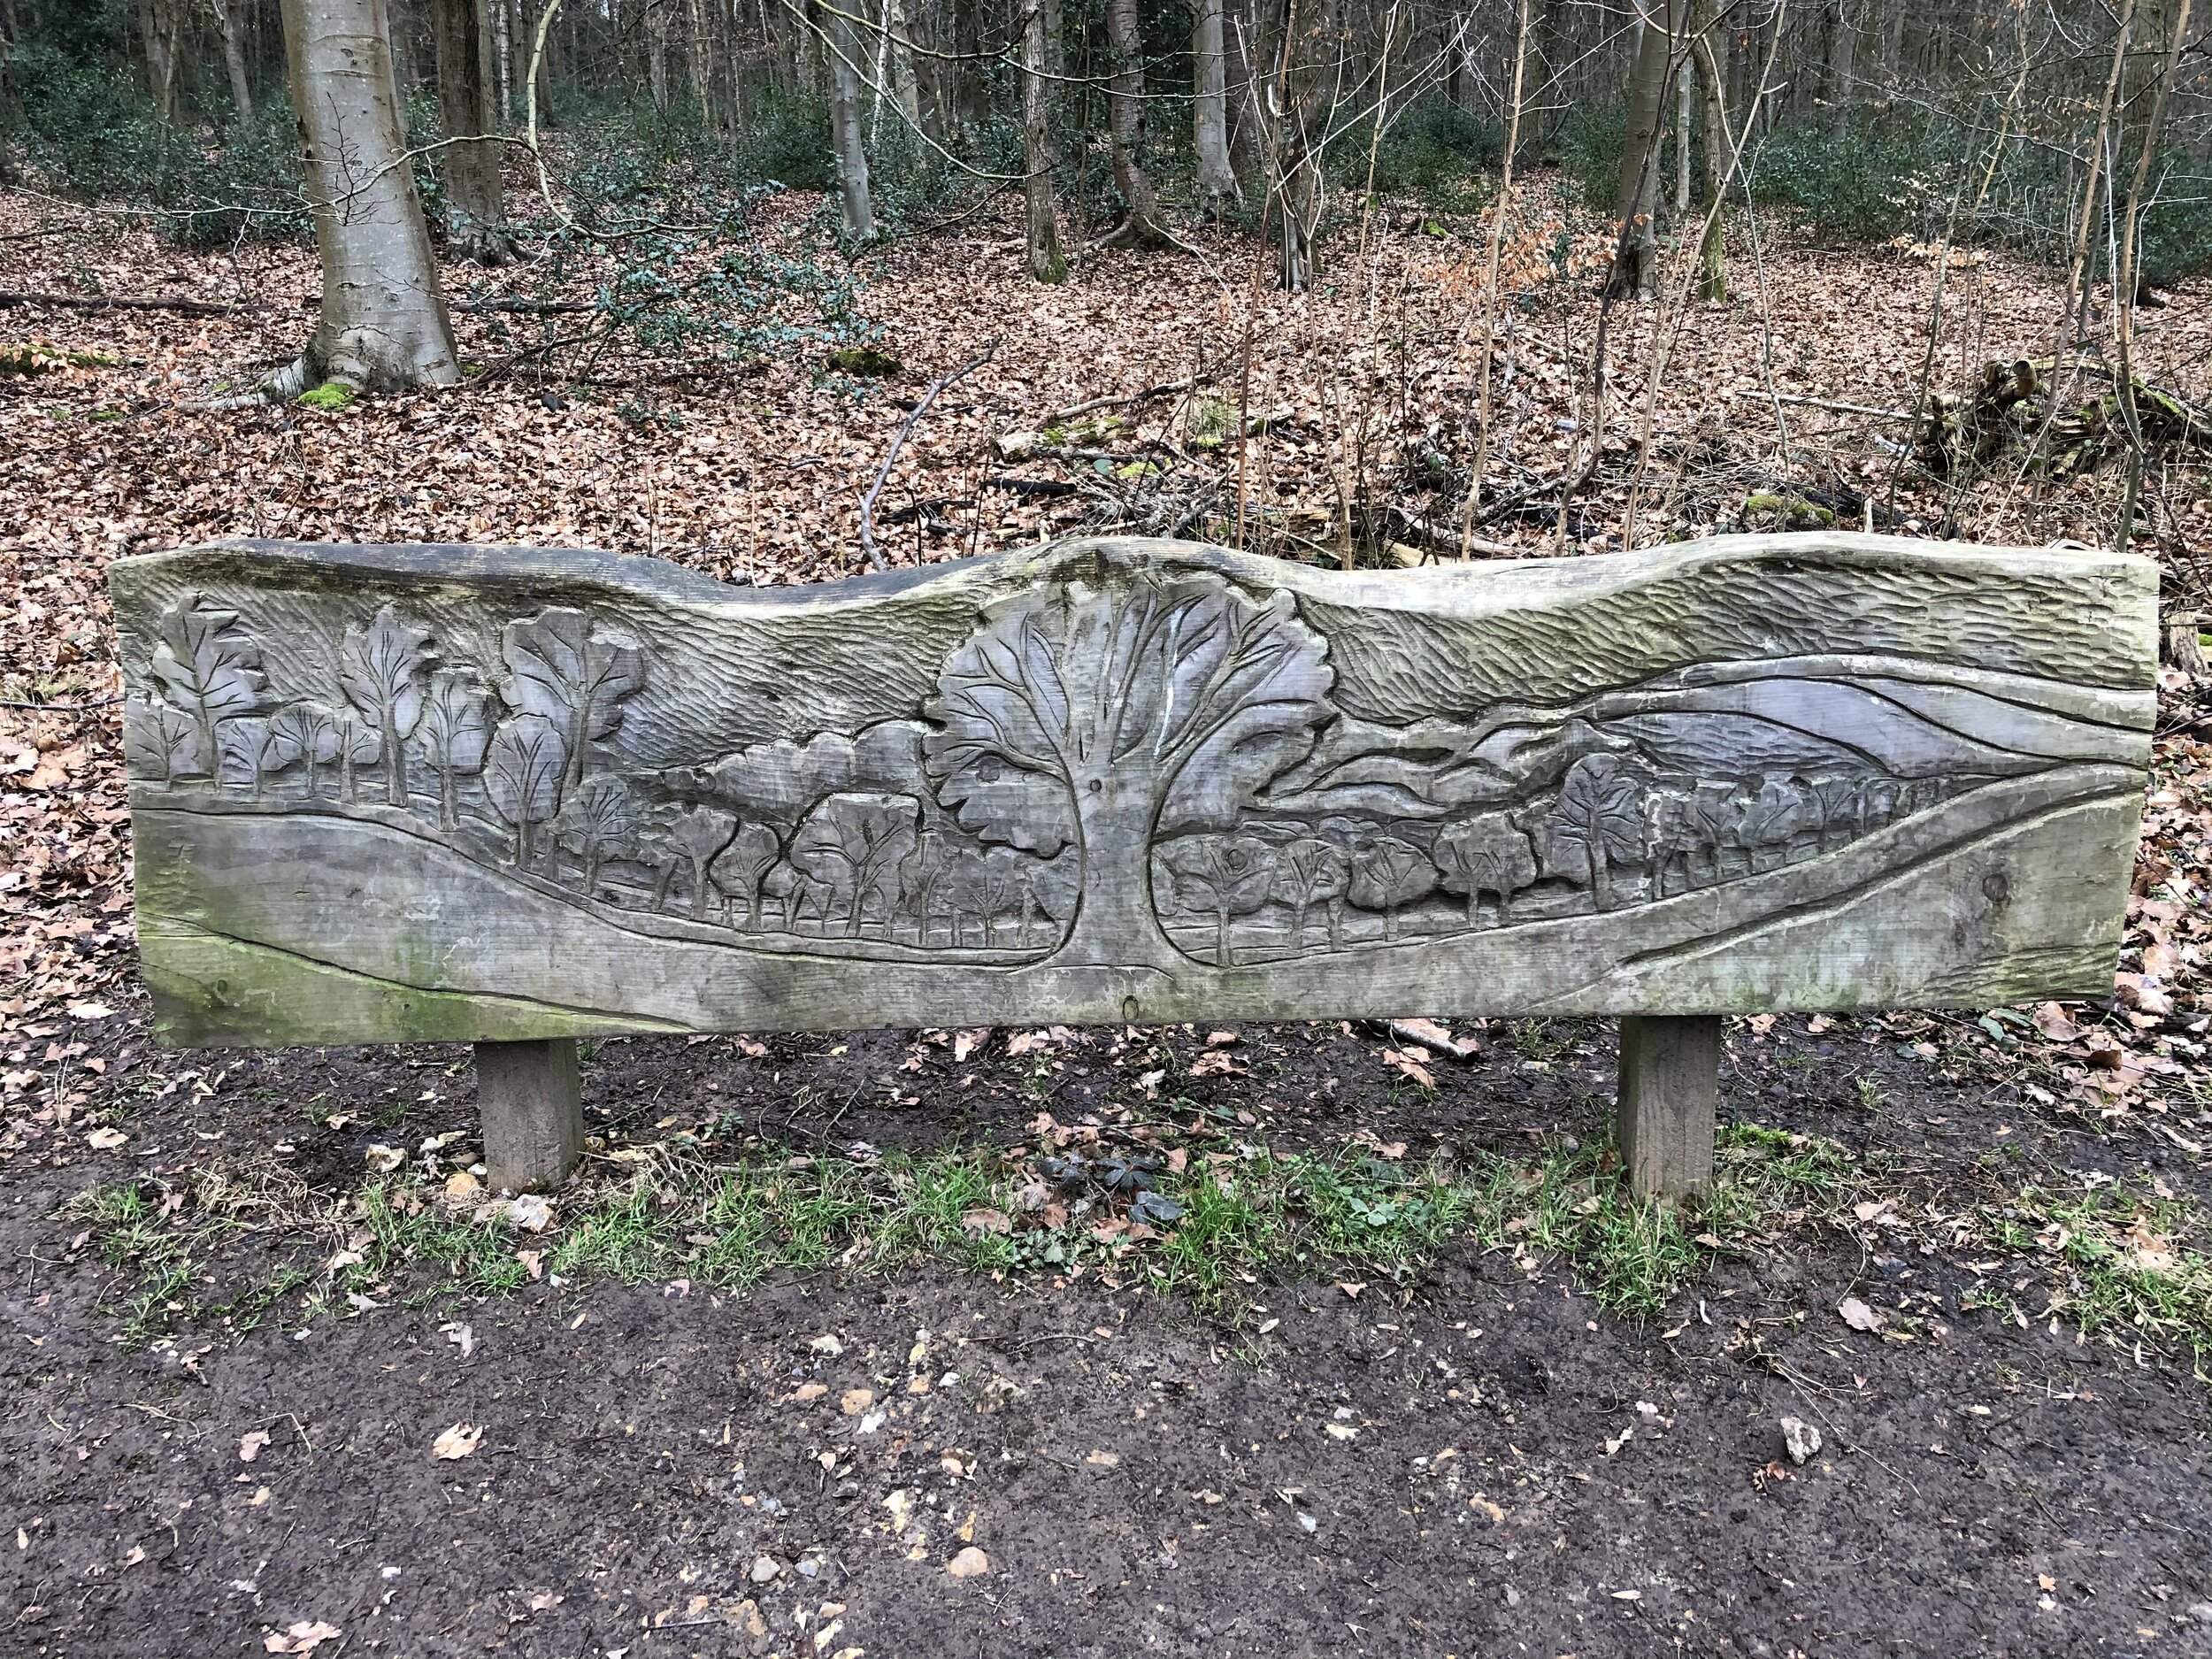
Start at the Bradenham National Trust Car park on Smalldean Lane and take the path in the woods that runs to the south of the lane in a north easterly direction. You’ll re-join Smalldean Lane after 450m then take the first path on the left heading north. When you reach New Road cross over and follow Slad Lane in an easterly direction. Take a left onto Flowers Bottom then next left to follow the path onto an unnamed lane. Just before the end of this lane take a right to follow the footpath to Highwood Bottom. Take a left to follow Highwood Bottom in a northerly direction and continue as it curves to the west onto Kiln Lane. At approximately the 4 km mark in the walk and just before Kiln Lane enters Lacey Green take a right onto a path that connects to Goodacres Lane. Keep an eye out for the sculptures on display in the garden of the large house on the north side of Kiln Lane.
Follow Goodacres Lane to the western edge of Lacey Green then take a right to follow the path to Lowe Road. Take a left to connect to the junction with The Foundry (road). Leave the road to follow a footpath heading south all the way back to Smalldean Lane. Take a left to return to the car park.